

|
Rabbi Raccoon posted:What do you think Link's least favorite outfit is? The Tingle outfit. He's just as scared of it as everyone else. Only he can't escape it once he's inside of it. So he just has to deal. The same way he deals with everything ever since Majora's Mask: screaming like a Re-dead/Gibdo on the inside.
|
 #
?
Aug 7, 2017 23:28
#
?
Aug 7, 2017 23:28
|
|


|

|
| # ? Jun 11, 2024 10:12 |
|
|
 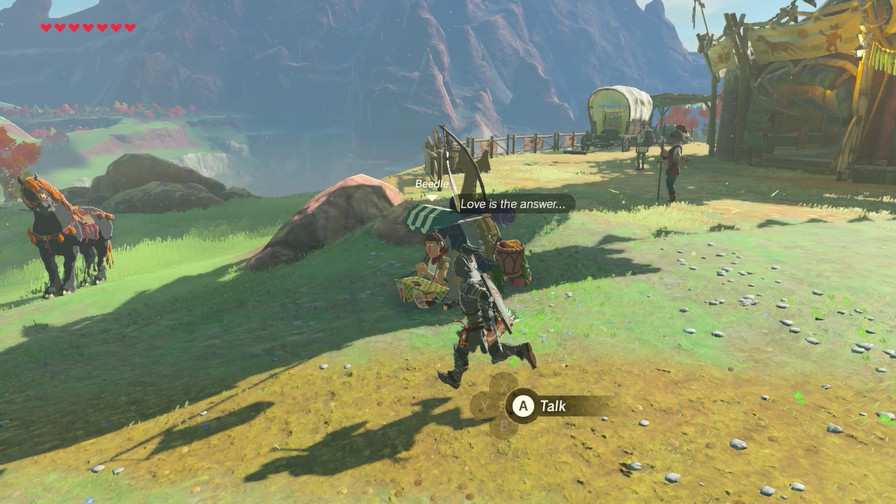 Before we start today's adventure, let's get creepy with Beedle. 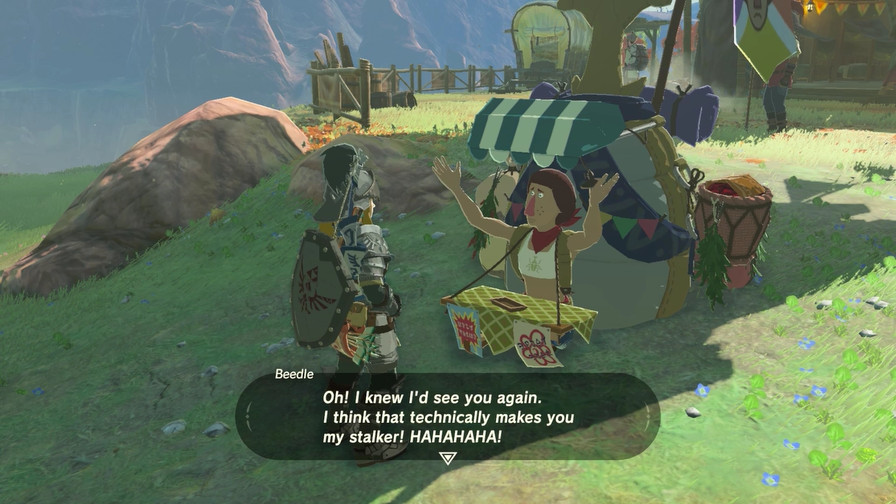 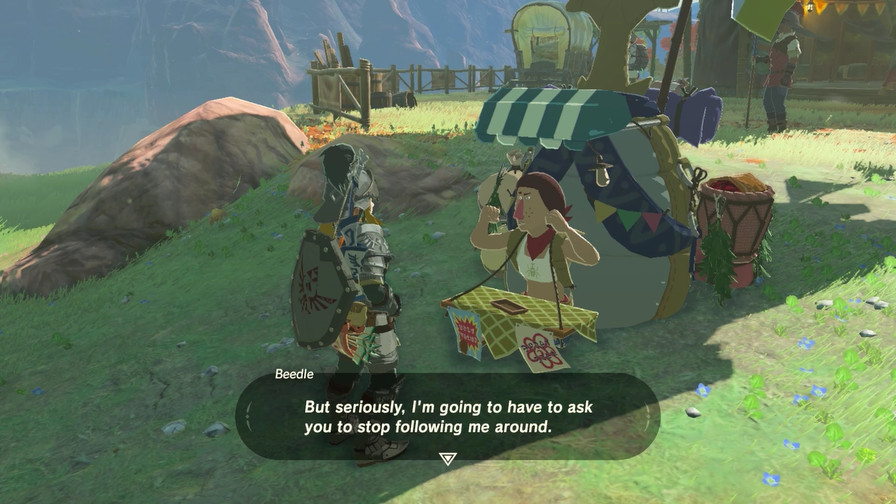  ... ... Never change, Beedle. 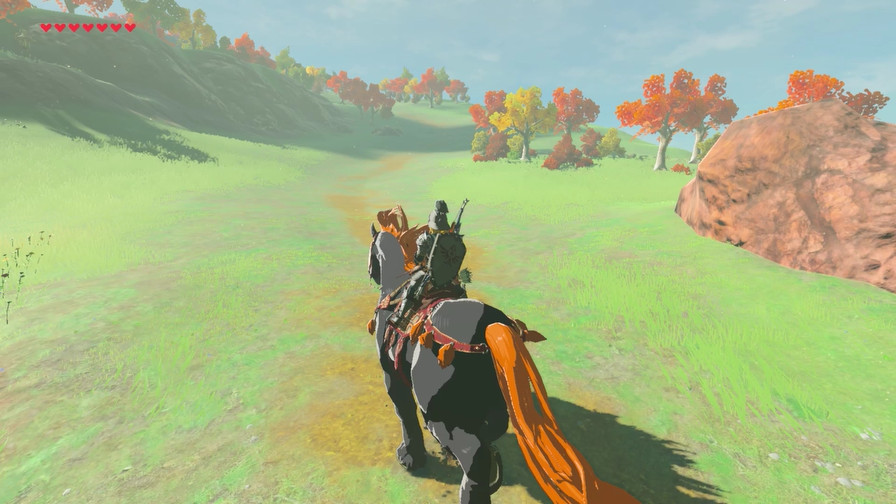 Today's the day we finally check out that lab we've heard so much about. 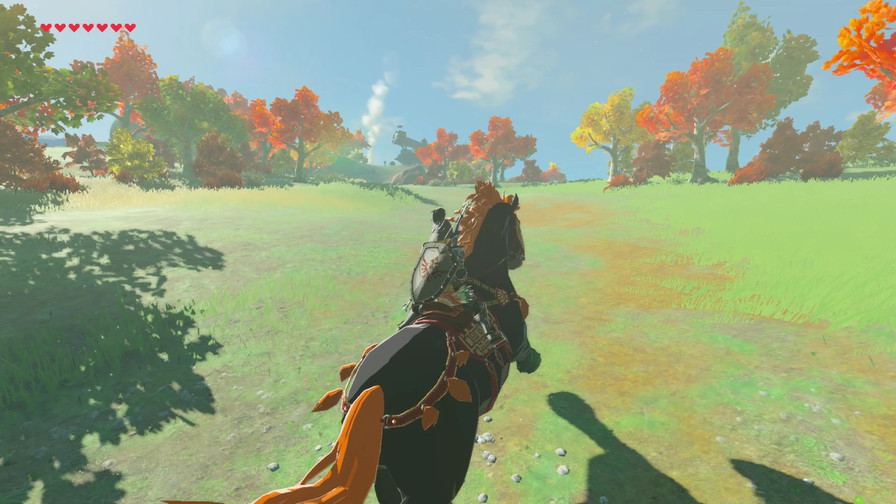 It's a mostly uneventful trek up this steep road. 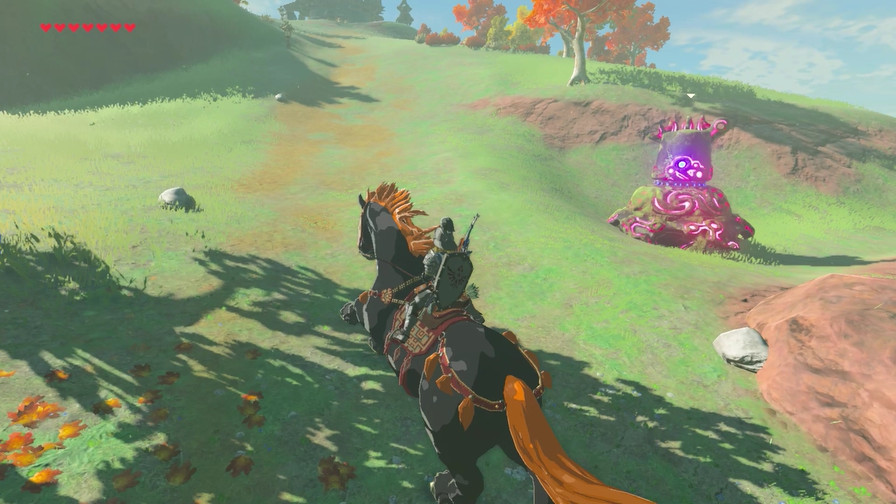 ...Mostly. 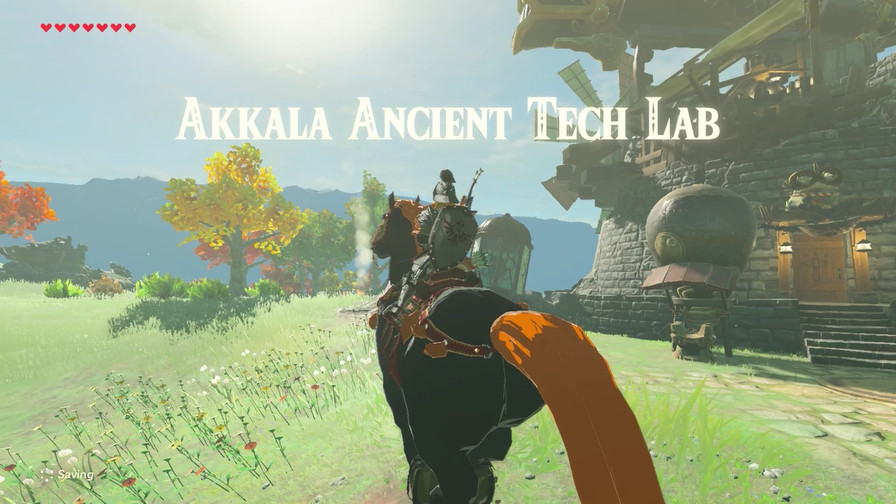 I reach the lab, but that Guardian might be a problem later. Let's go ahead and take care of it. 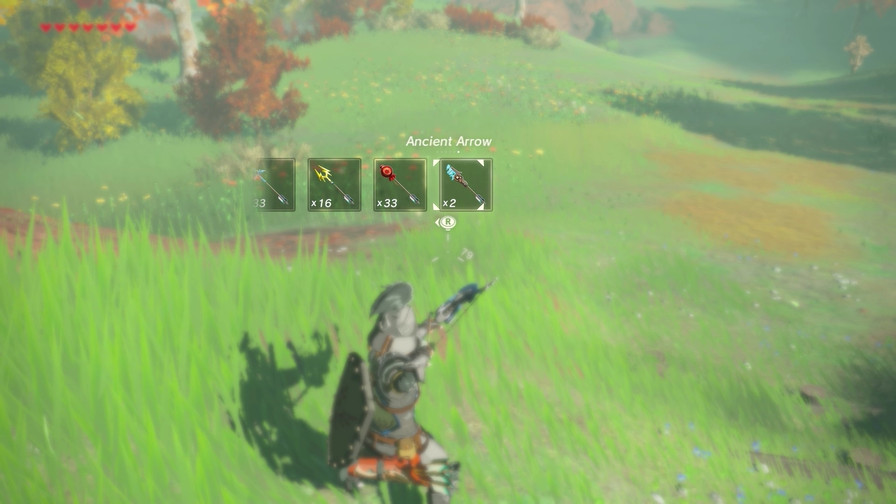 While we could beat it up, why not use one of our instant kill weapons? https://f.mega64.net/botw/u44/011.mp4 The Ancient Arrow will kill almost anything in one hit. There are exceptions, like the scouts within shrines and a lot of hardier enemies. But they're perfect for Guardians, at least if you hit them directly in the eye. 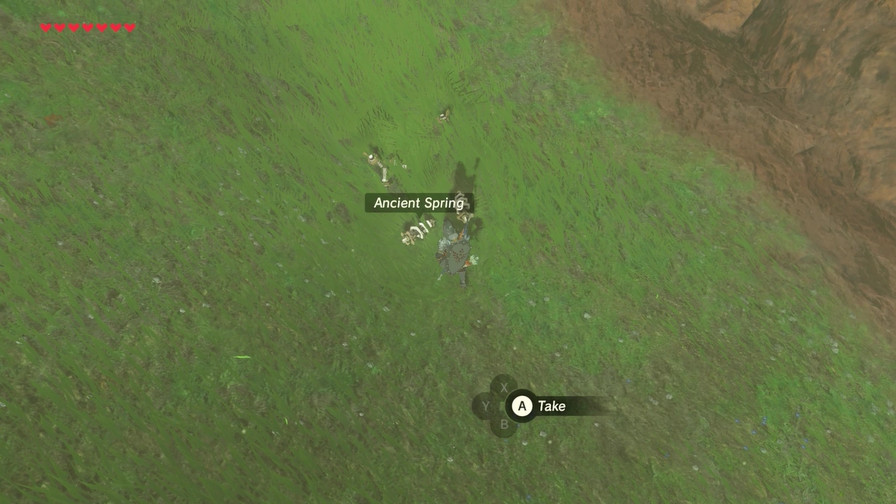 In fact, Guardians are the only thing that drop loot when shot with Ancient Arrows. 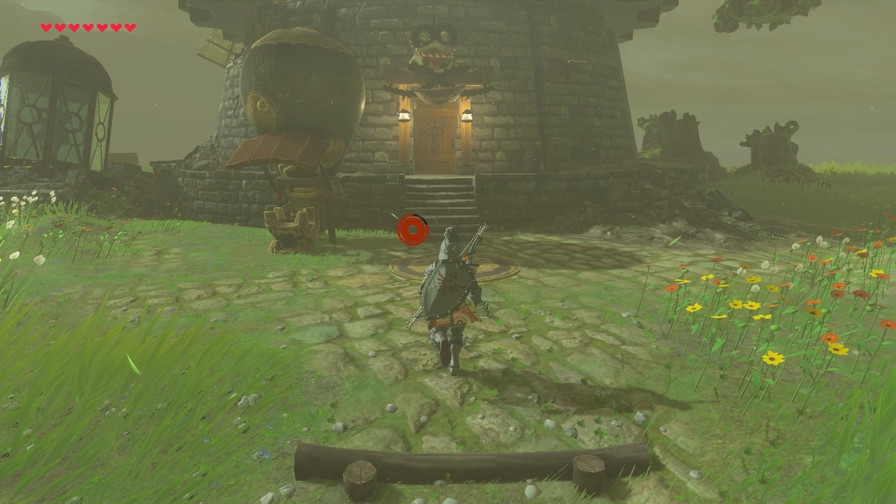 Anyway, the lab. Let's check it out. 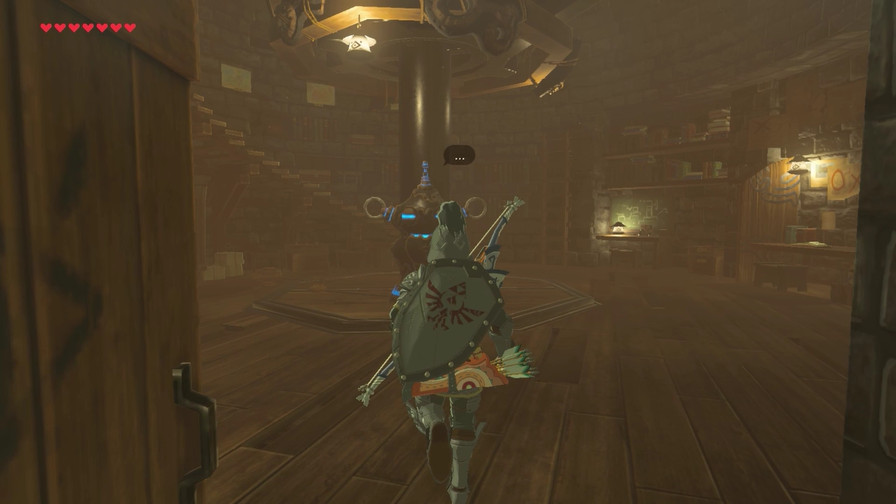 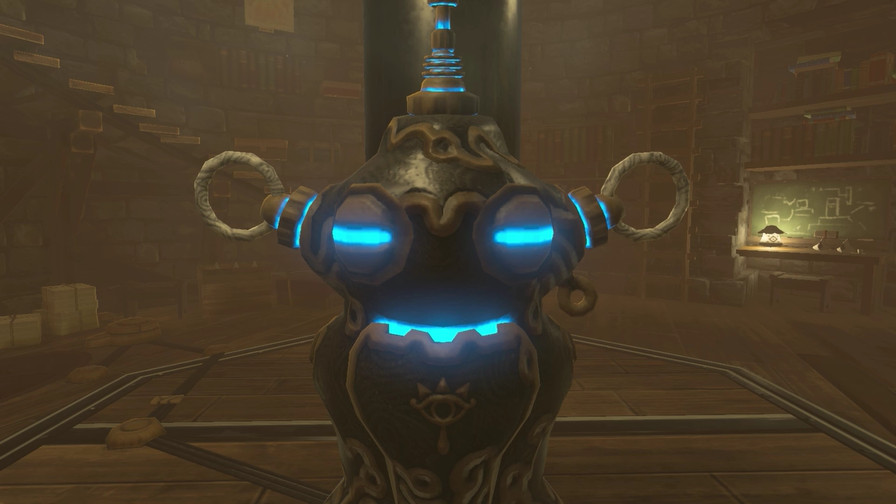 Coming in is...uh... 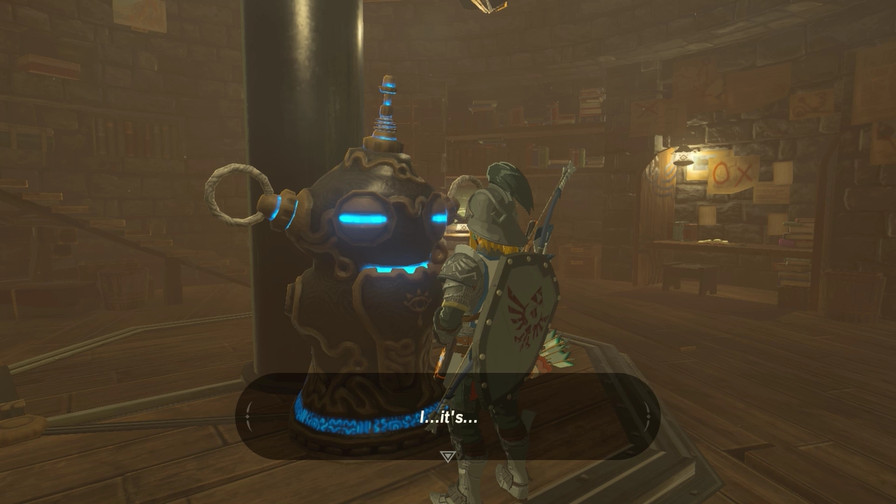  An...it's... An...it's...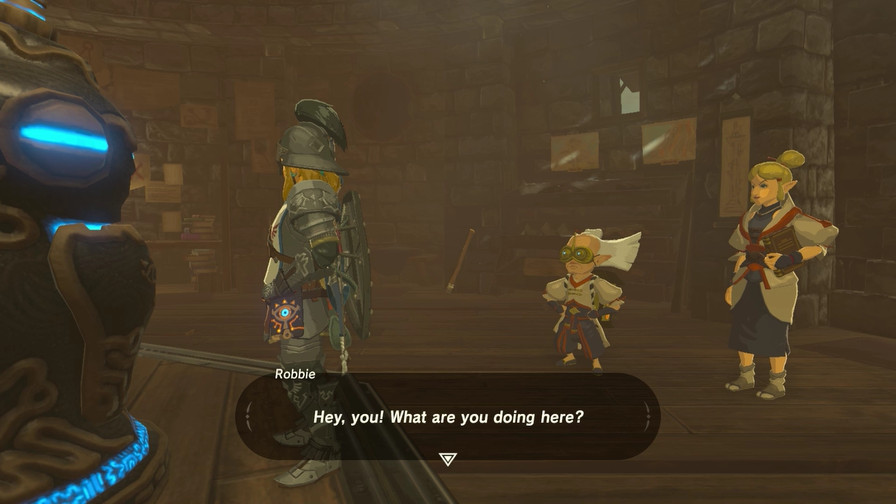  Hmmm... Hm? Hmmm... Hm?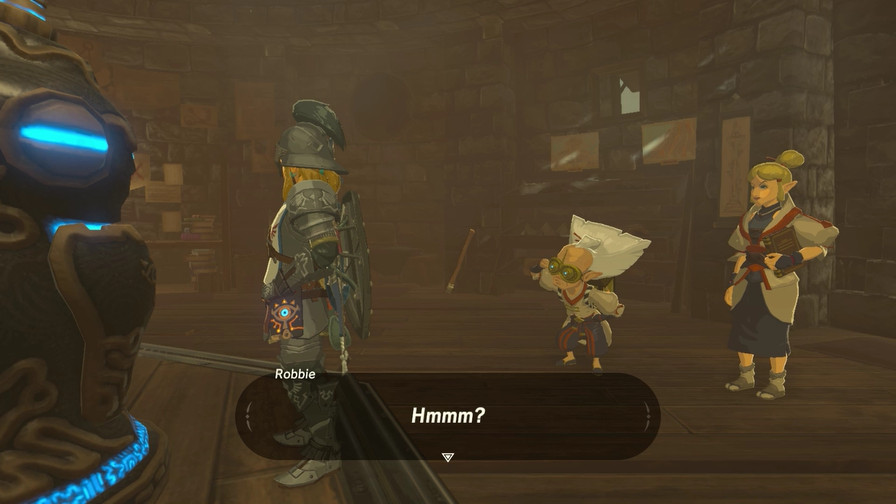 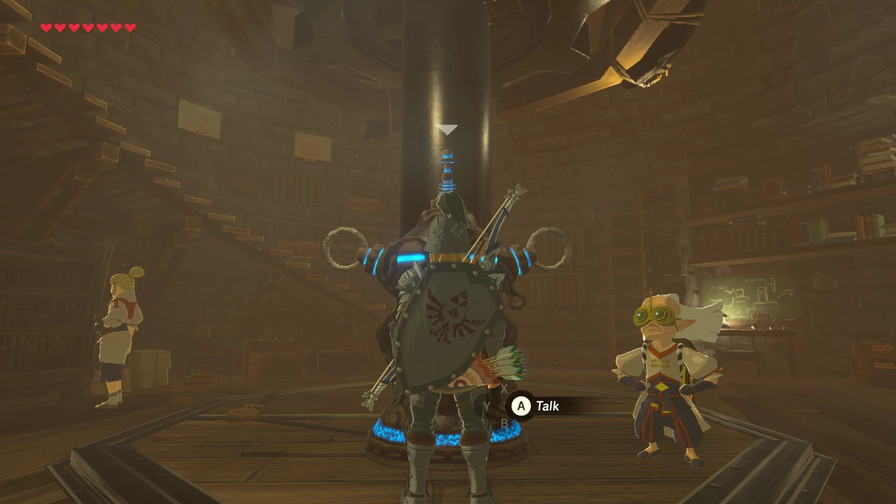 OK, so there's someone...slightly less weird to talk to. 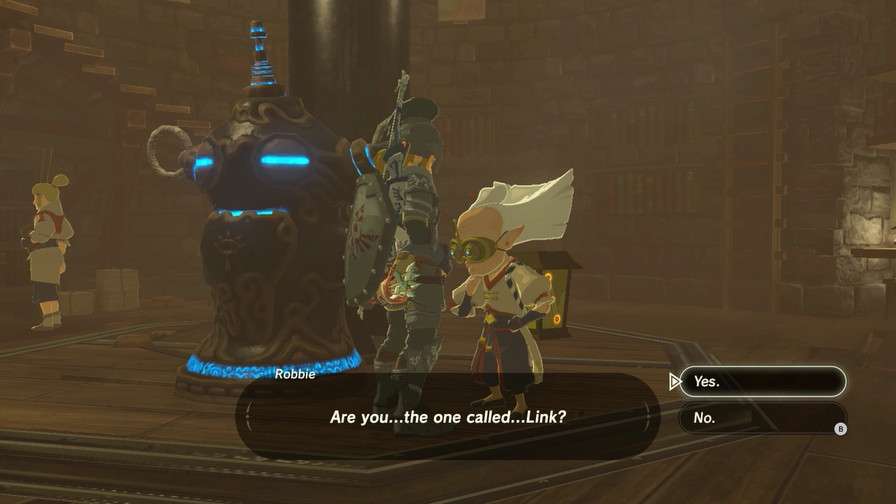 Yep! Hm? Hm. That's too bad. If you WERE the legendary Link, there would be something important I'd need to tell you. But how can I determine with full certainty whether or not you are the true hero? Yes, how indeed? Hm?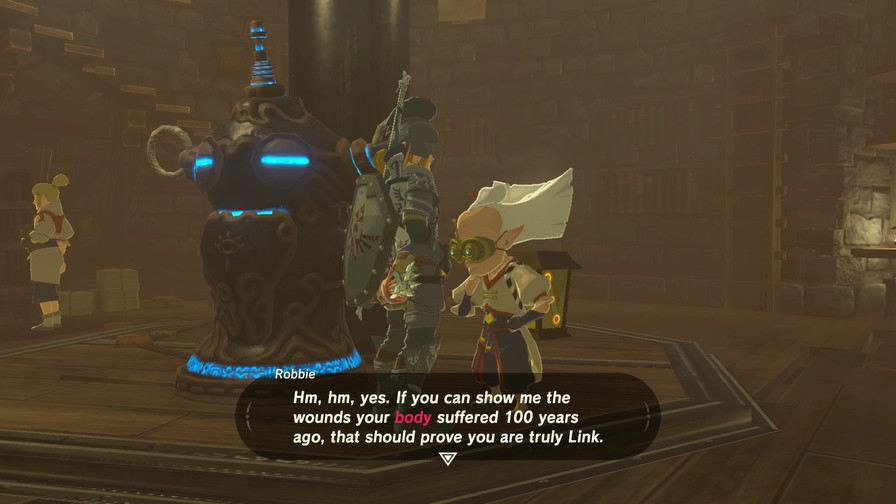 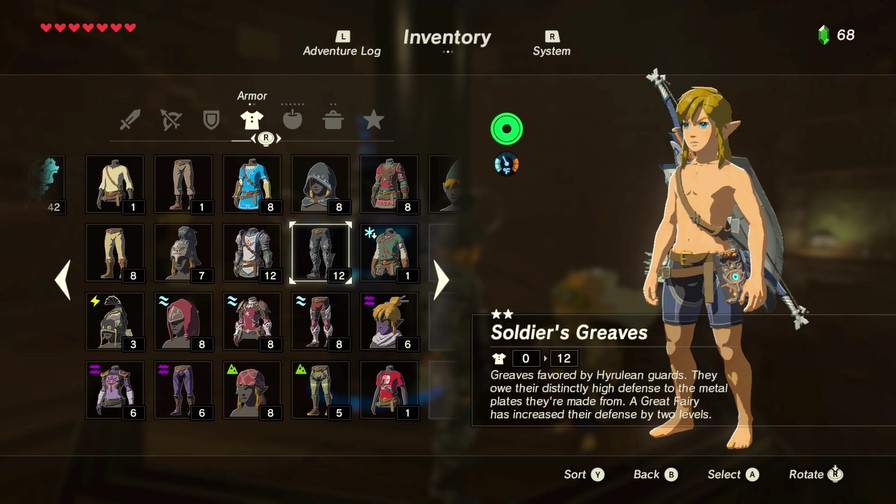 Yep, to progress we need to strip down for Robbie. 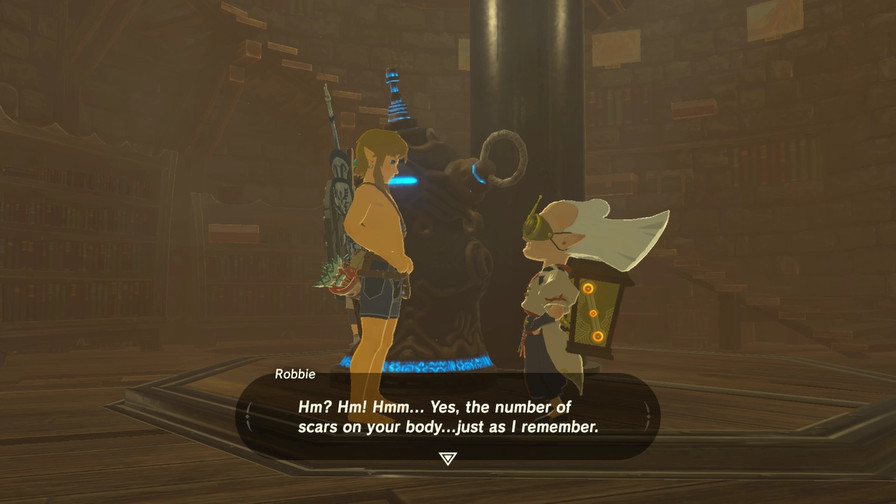 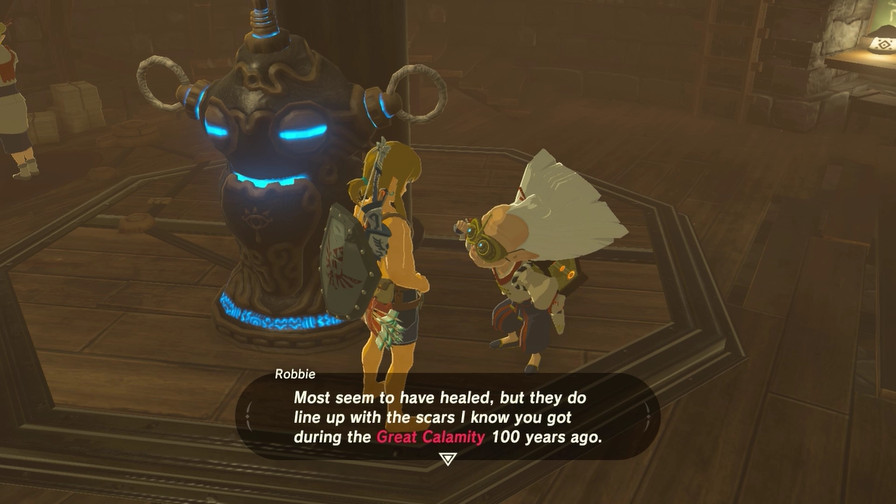 Hm. Yes, I acknowledge you as the real Link. So let us begin again... I am the lead Guardian researcher and director of the Akkala Ancient Tech Lab. Hm. Yes, I acknowledge you as the real Link. So let us begin again... I am the lead Guardian researcher and director of the Akkala Ancient Tech Lab.https://f.mega64.net/botw/u44/031.mp4 In any case, I really am impressed that you made it all the way out to this rather remote location.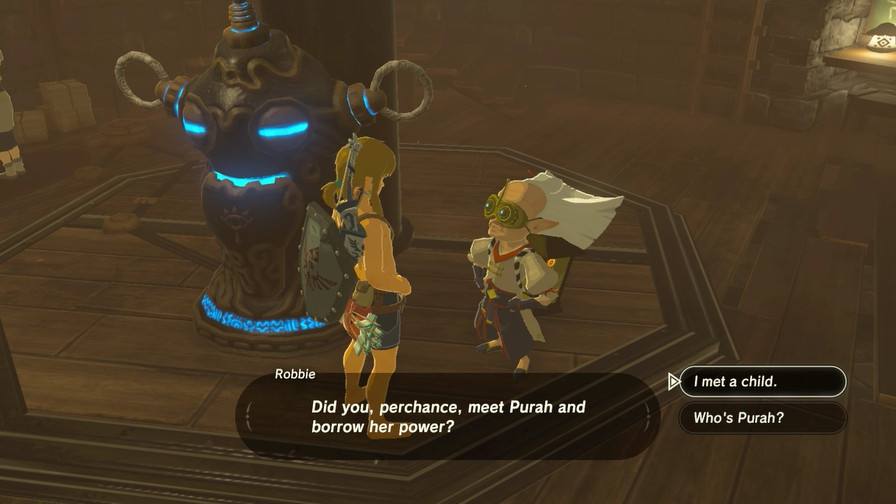 Well, sort of... 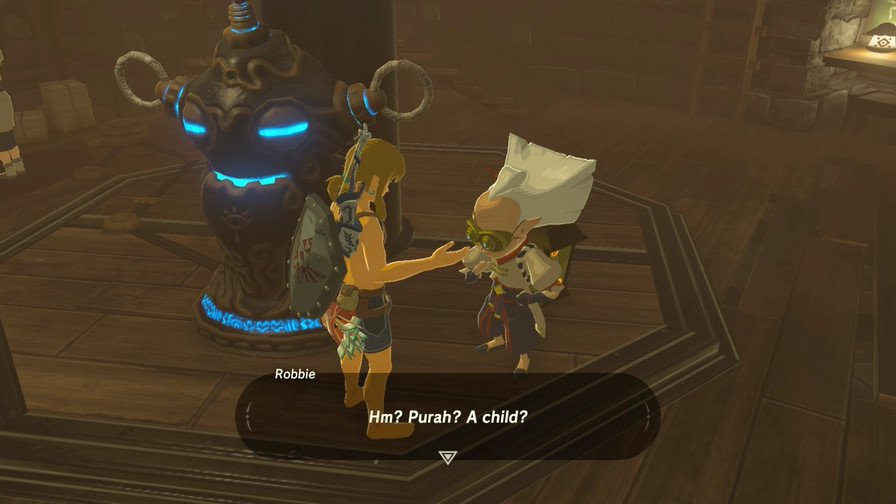 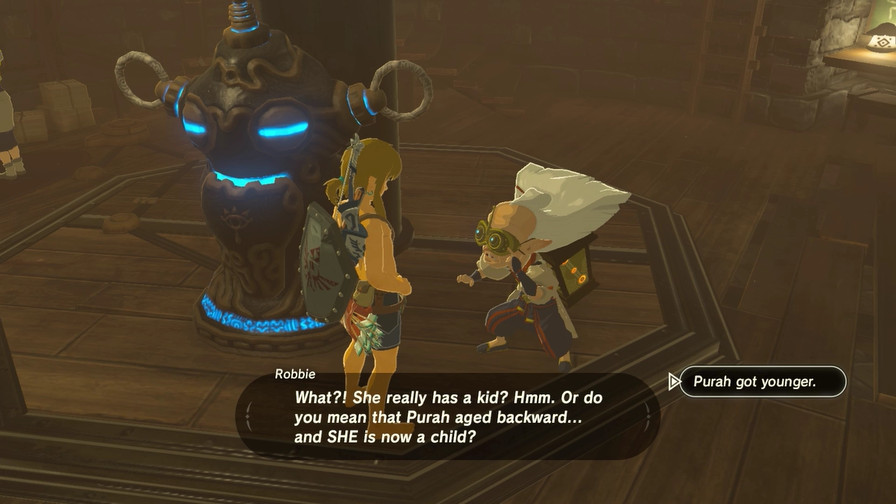 The latter. Hm? Are you certain? Hm! So she's as crazy as ever. Okeydoke. Knowing her, I'm guessing she screwed up some experiment. Hm, hm, yes. Typical. Let us return to the subject at hand, hm? Yeah, we may have heard about that.  Let's hear it! Hm! Yes, I see. In that case...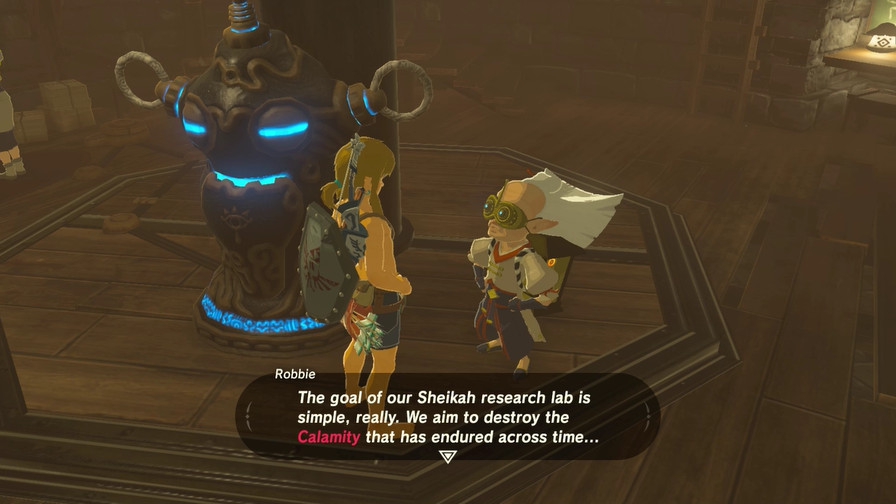 ...to rid Hyrule of its dark influence...and above all...to rescue Princess Zelda, who is now a prisoner of the Calamity. We have worked ourselves to the bone conducting our research. For a time, I feared I'd pass before we could prevail. HOWEVER! You, Link, managed to awaken before this old sack of flesh gave out. That means... ...to rid Hyrule of its dark influence...and above all...to rescue Princess Zelda, who is now a prisoner of the Calamity. We have worked ourselves to the bone conducting our research. For a time, I feared I'd pass before we could prevail. HOWEVER! You, Link, managed to awaken before this old sack of flesh gave out. That means... You! Now is the time to join forces with us Sheikah, yes? You! Now is the time to join forces with us Sheikah, yes? Sounds good to us! 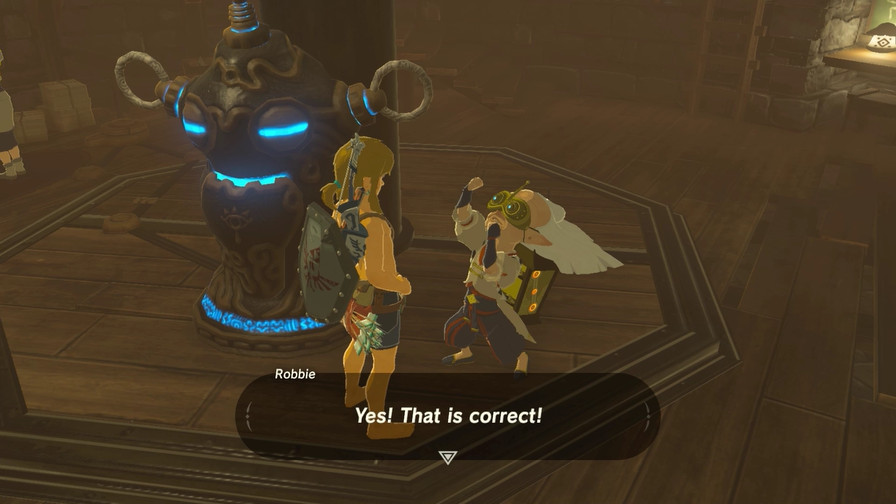 You and I are going to join forces to put an end to the Calamity! You and I are going to join forces to put an end to the Calamity!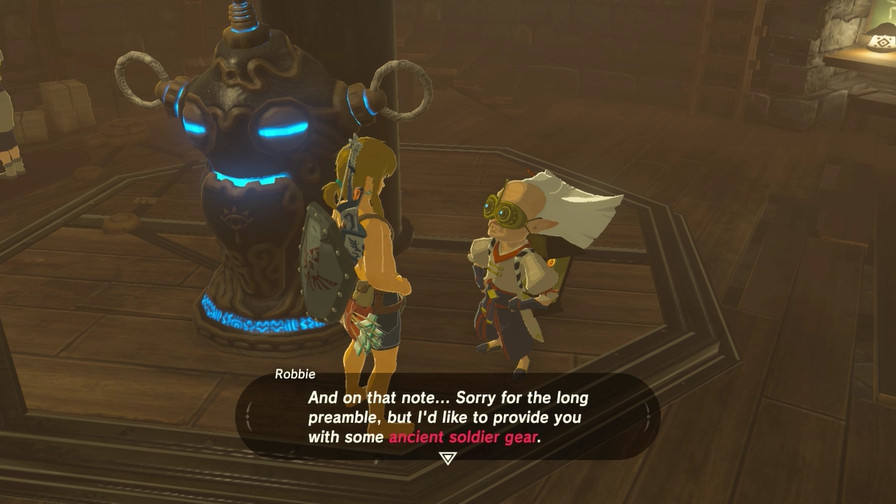 Hm! Hm? Did you catch all that? Hm! Hm? Did you catch all that? Hm. I'm afraid someone will have to bring the blue flame from the ancient furnace again... Hm. I'm afraid someone will have to bring the blue flame from the ancient furnace again...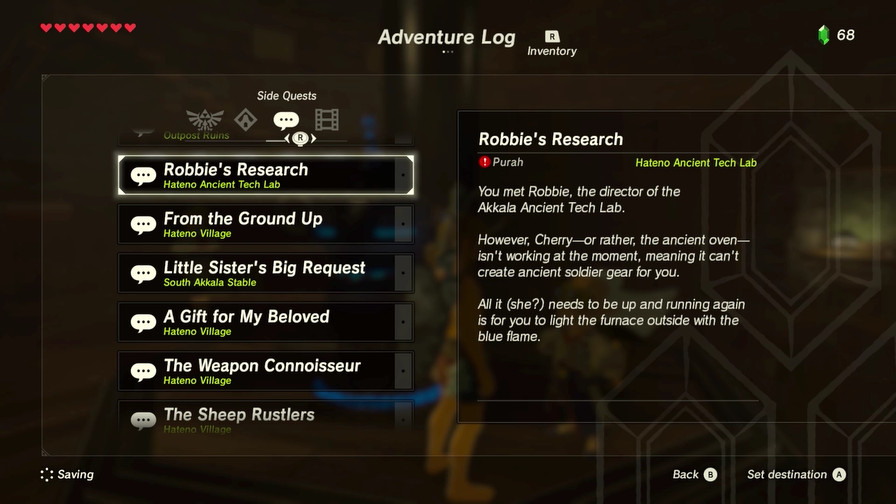 Oh, gee. I wonder who will be the one to bring the blue flame to the ancient furnace. Before we puzzle out who this lucky person will be, let's chat up Robbie again. 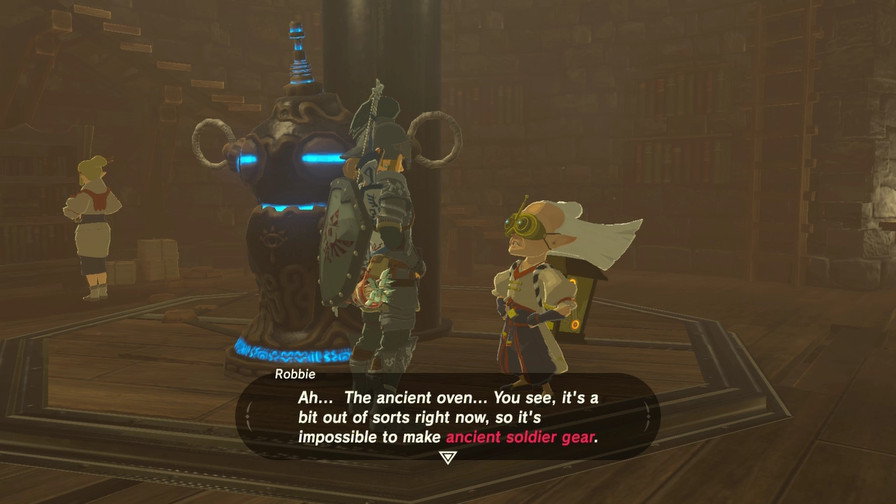 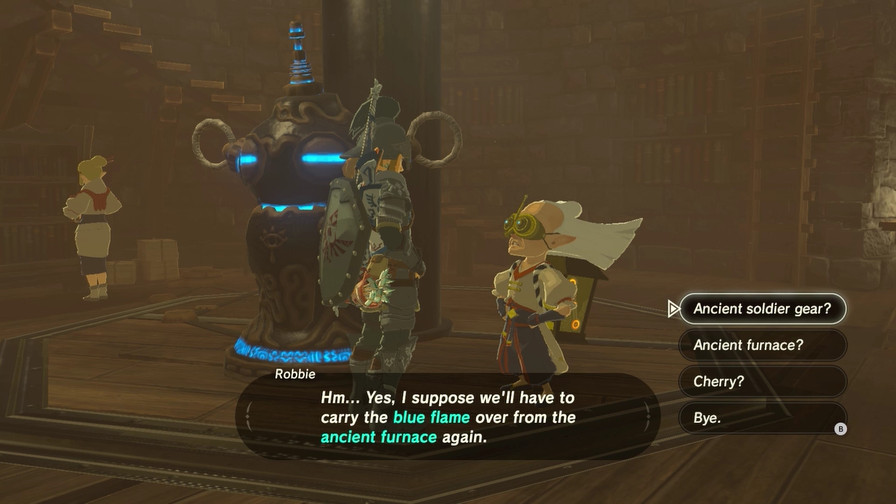 So what's this about ancient soldier gear? Ancient soldier gear is something we Sheikah developed with ancient power. It's easy to make it. Yes, hm! A breeze!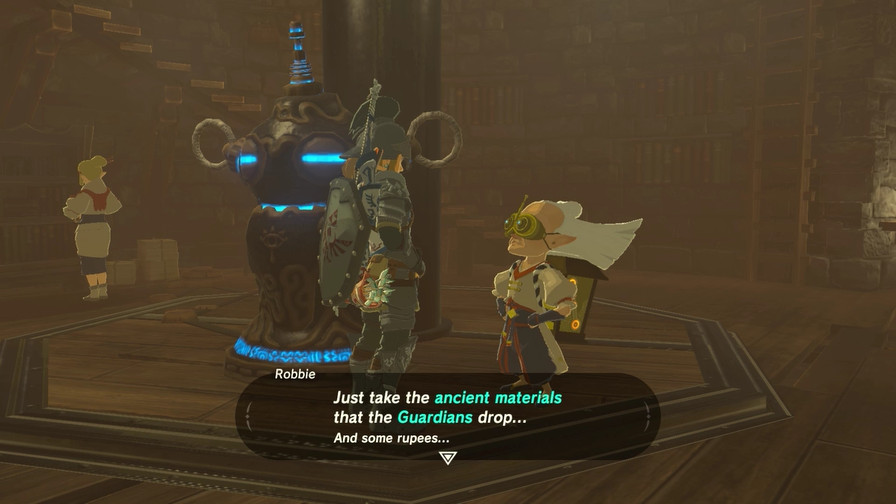 And toss them into Cherry. I mean...into the ancient oven. Yes. That. However! The ancient oven is still out of sorts. Hmm... Who do we know who can do something about that? And toss them into Cherry. I mean...into the ancient oven. Yes. That. However! The ancient oven is still out of sorts. Hmm... Who do we know who can do something about that?Beats me. So what's this about the ancient furnace? An ancient furnace can be simply described as a singular place that gathers massive amounts of energy. Get the blue flame from Tumlea Heights, put it in the furnace, and then Cherry....I mean...the ancient oven will be fixed. However! At my age, it's not so easy to climb mountains and cross rivers. Hm. And my wife is jealous of Cherry, so she refuses to get the blue flame for me... *sigh*So the two people who live near and know about the flame can't or won't get it to power Cherry, I mean, the ancient furnace. So it'll fall to someone else to do it. That's a tough one. In the meantime, why does Robbie keep calling the ancient furnace Cherry? 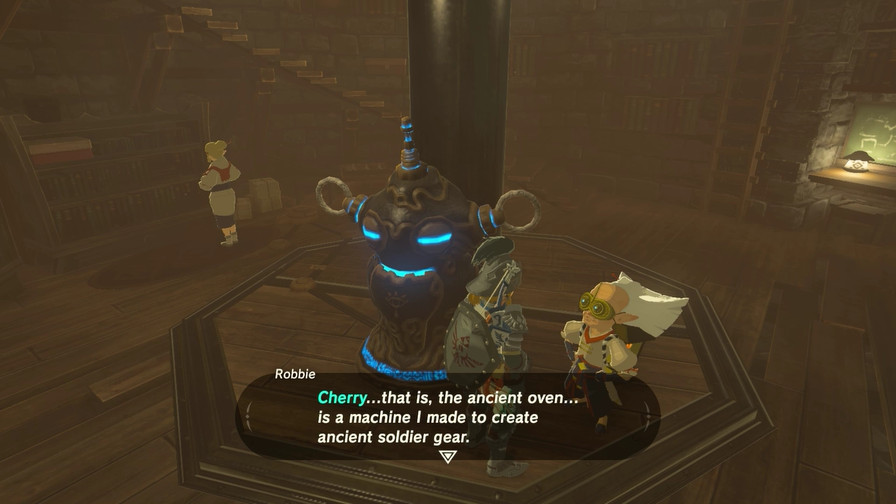 Isn't she adorable? Yes, hm? My first love... She shares the name of my first love, you see. My wife...isn't as crazy about her as I am. Isn't she adorable? Yes, hm? My first love... She shares the name of my first love, you see. My wife...isn't as crazy about her as I am.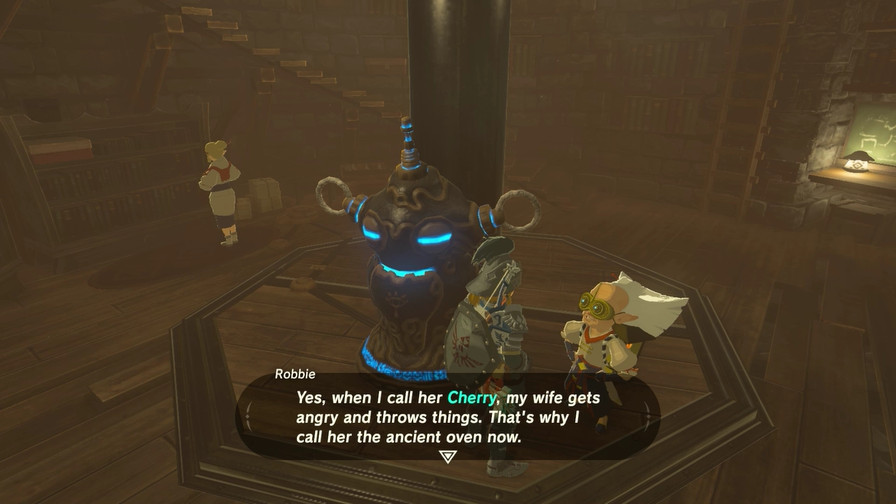 Well, I...guess that makes sense. 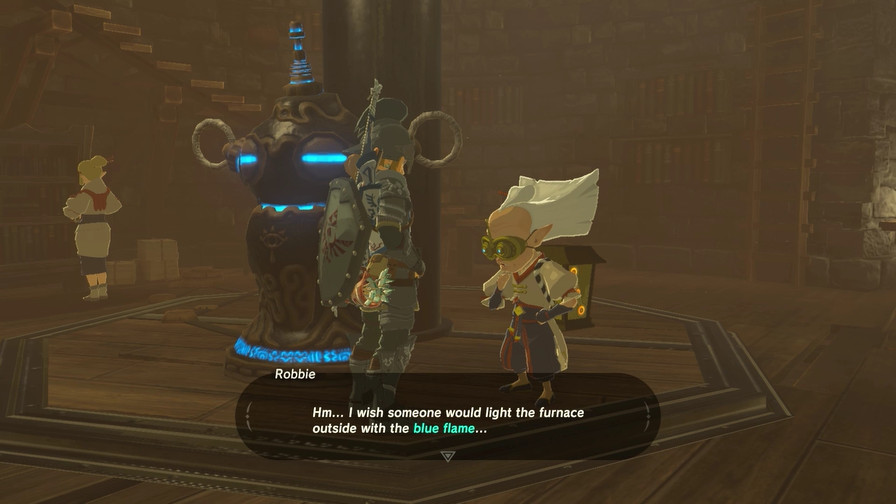 I guess standing here won't solve anything. We better go find someone to bring that blue flame back here! 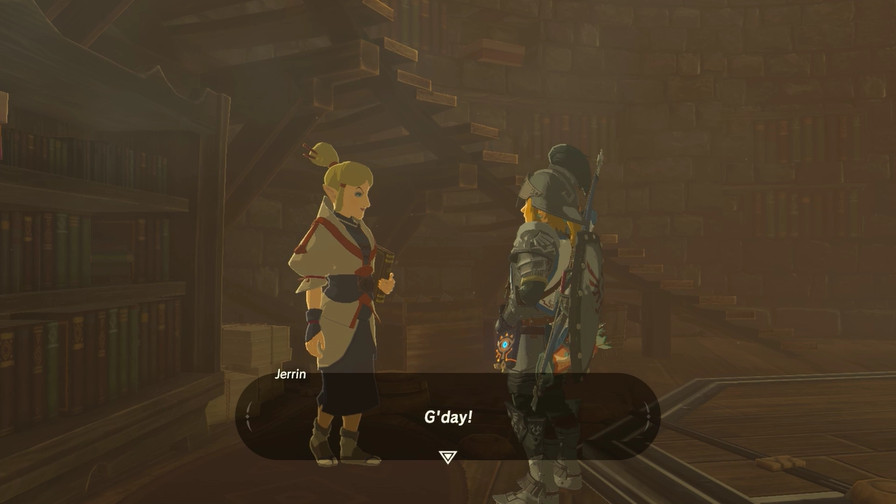 Aaaaand. Aaaaand.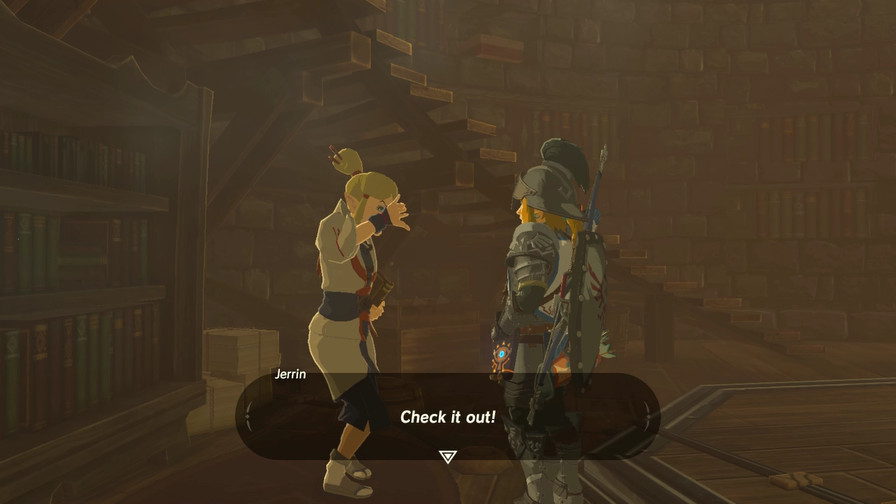 ...How was that? I figured I'd give an impression of Hateno Ancient Tech Lab's director, Purah, a shot. ...How was that? I figured I'd give an impression of Hateno Ancient Tech Lab's director, Purah, a shot.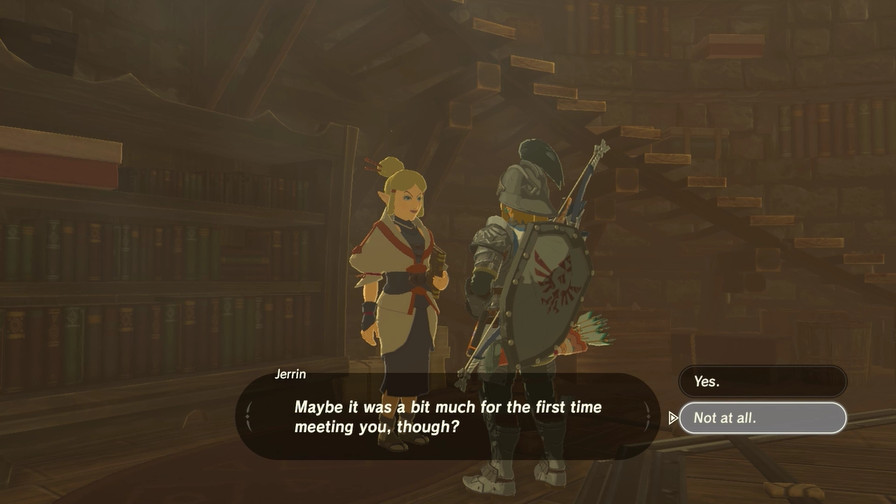 Considering everything we've seen so far, we have no issues with it. Aww, Link, I'm really glad you're such a friendly guy!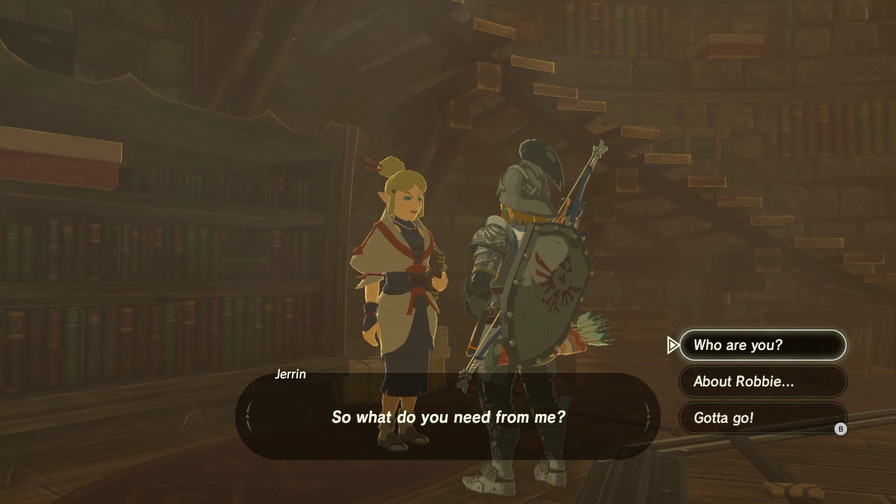 Who are you? Heya! I'm Jerrin!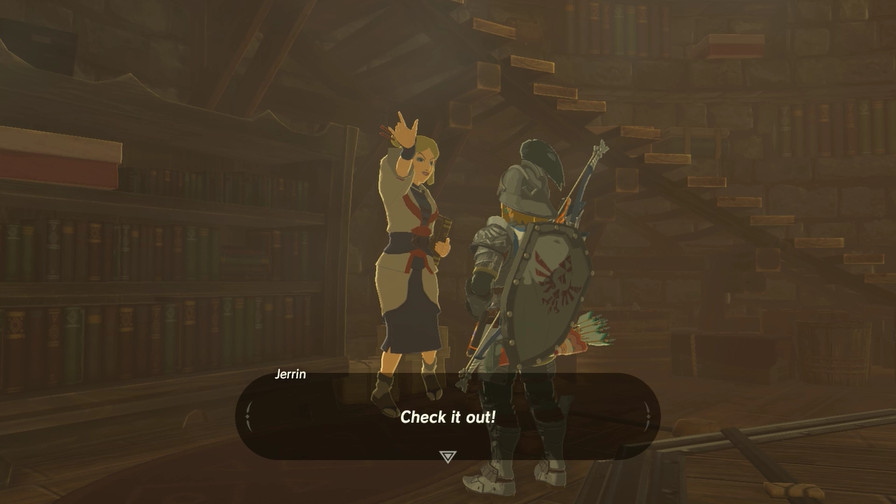 I'm an amateur scholar of ancient history. To be honest...I've been focusing a lot of my research on shrines. I'm an amateur scholar of ancient history. To be honest...I've been focusing a lot of my research on shrines.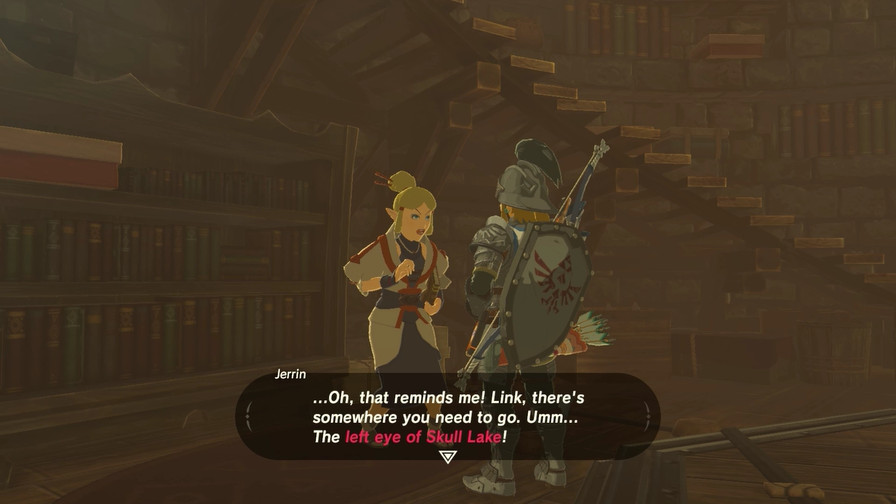 I know there's a shrine there, but it's a challenge to get to it... The left eye of Skull Lake is higher up. The right one is lower down. If you run into Kilton, you're on the wrong eye! I know there's a shrine there, but it's a challenge to get to it... The left eye of Skull Lake is higher up. The right one is lower down. If you run into Kilton, you're on the wrong eye!Way ahead of ya there. So about Robbie... 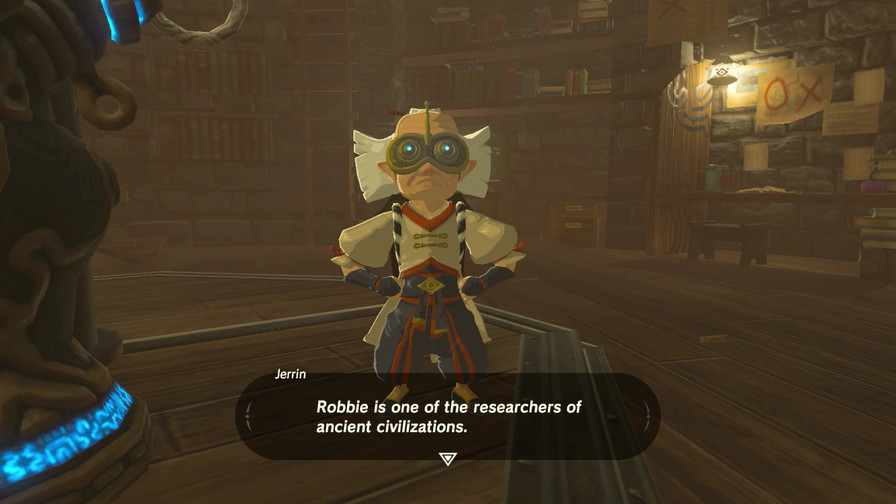 He was studying Guardians at Hyrule Castle 100 years ago. He was studying Guardians at Hyrule Castle 100 years ago.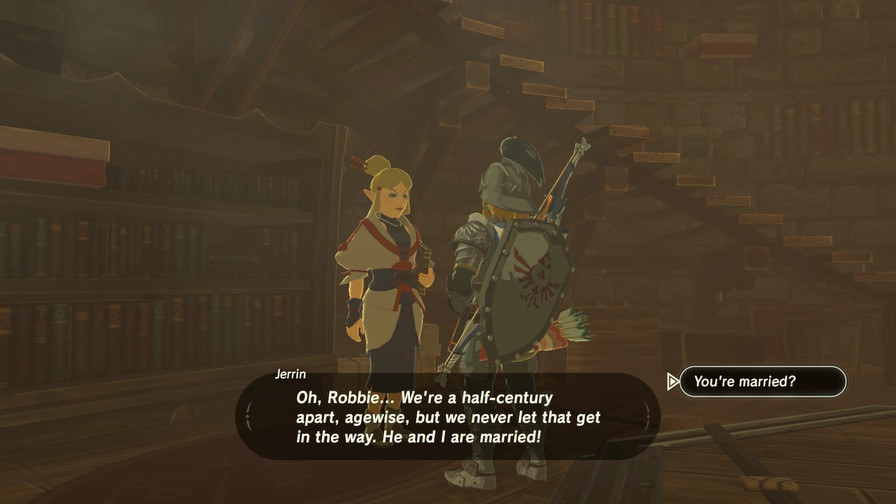 Married? That's...quite the age difference. Yes, indeed! Together we run the Akkala Ancient Tech Lab. I've got a son, as well!This dialogue opens up a new choice where we can ask Jerrin about her son. 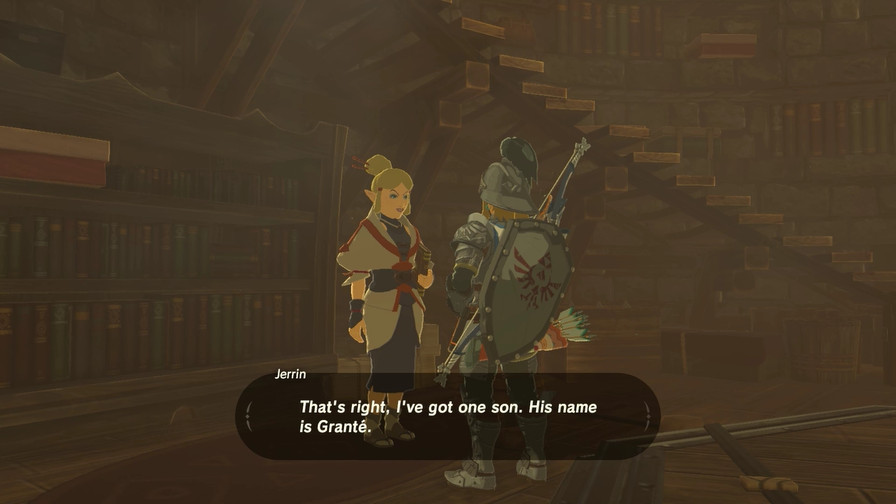  Not yet. Really... Well, if you see him, be nice to him, OK?At this point I triggered the first question (Who are you?) again to see if dialogue changed. And it did!  ...Oh, you don't have to tell me anything. My magical Sheikah nose implant gives me a supernatural sense of smell. Just one sniff tells me everything you did yesterday and what you ate for dinner last night. ...Oh, you don't have to tell me anything. My magical Sheikah nose implant gives me a supernatural sense of smell. Just one sniff tells me everything you did yesterday and what you ate for dinner last night.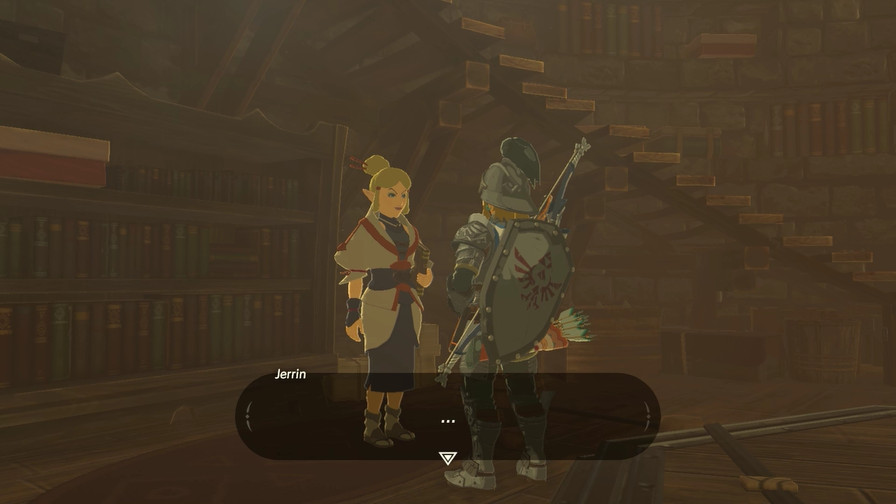 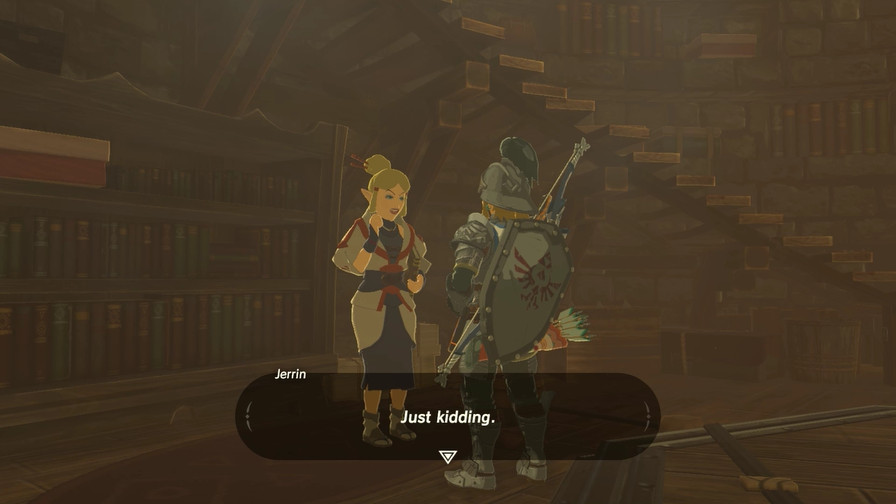 But judging by your dormant sense of humor, I'm guessing things didn't go as smoothly as you had hoped. In any case, thanks for the report. I wish I could give you a reward, but we're short on funding as it is. That's life in Hyrule for ya! But judging by your dormant sense of humor, I'm guessing things didn't go as smoothly as you had hoped. In any case, thanks for the report. I wish I could give you a reward, but we're short on funding as it is. That's life in Hyrule for ya!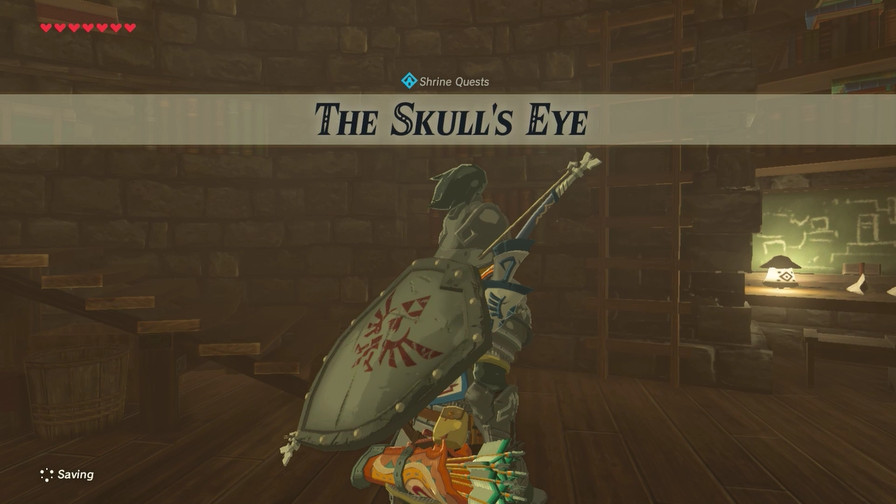 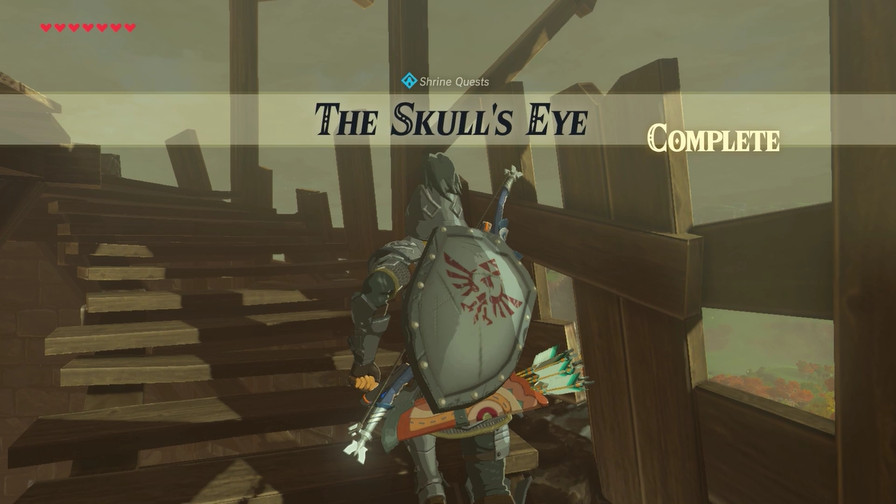 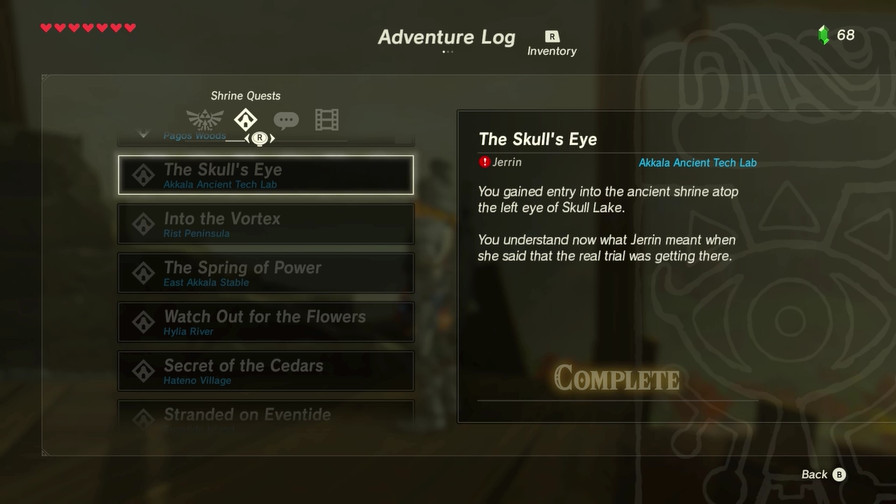 And so we begin and immediately end the quest for the Skull's Eye shrine. Yeah, sometimes you'll accidentally fulfill a quest without even being aware of it. So simply finding all 120 shrines isn't enough if you want 100% quest completion percentage, you also have to find the actual quests too! 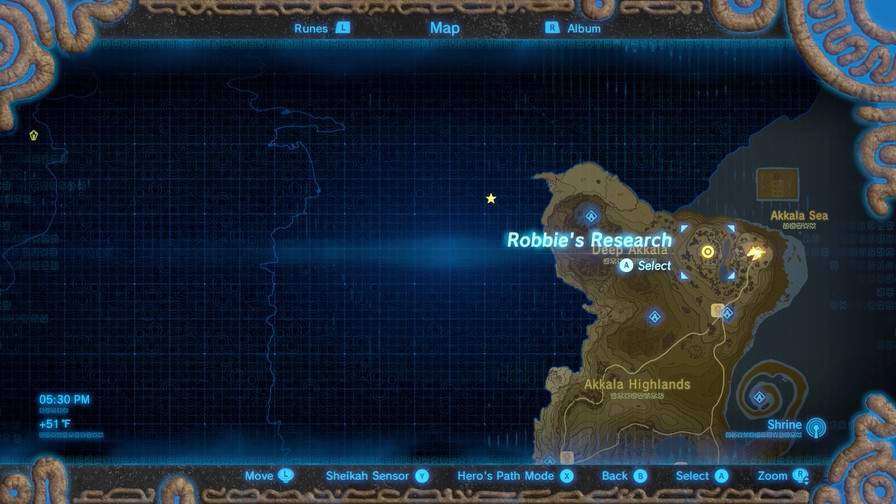 Anyway, the blue flame. If you remember the quest from the Hateno Lab, it's pretty much the same thing, except...a bit more of a walk. I hope we can find someone capable to do this! 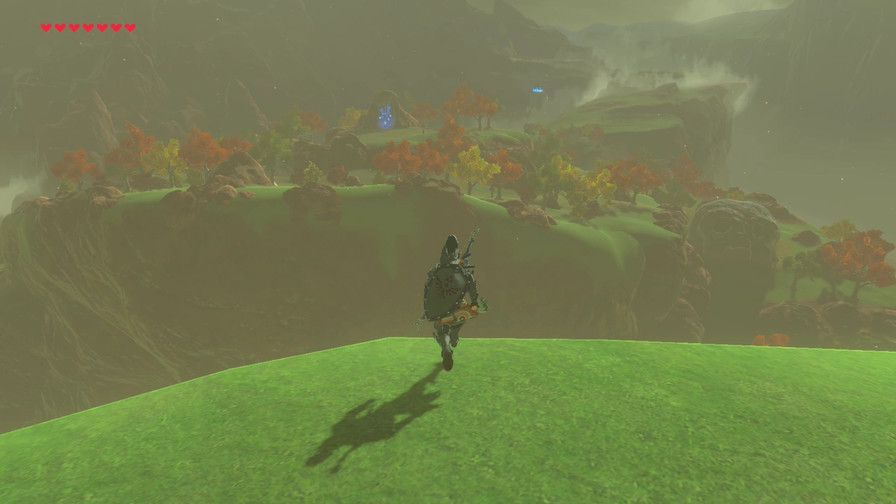 Distance-wise, it's not that far. It's just there's...a bit of a gap between the flame and the lab. 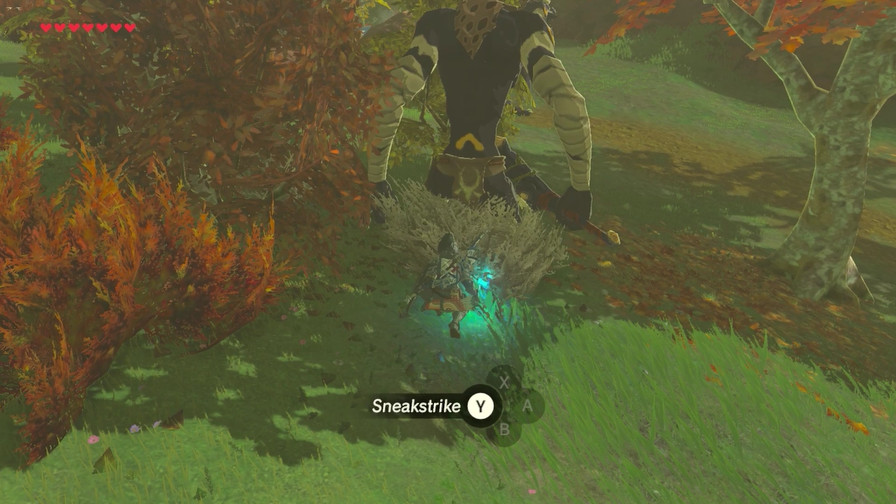 There's also a good number of Moblins and Bokoblins around the area. 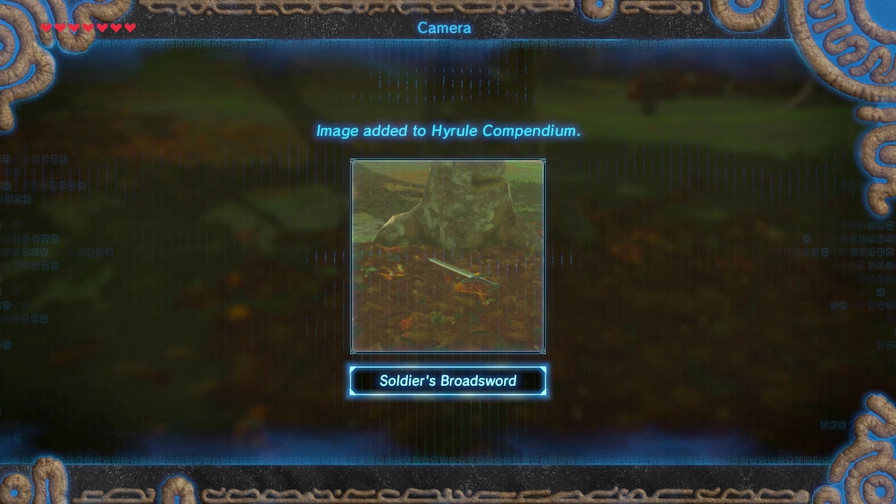 Good photo-op opportunity, at least! 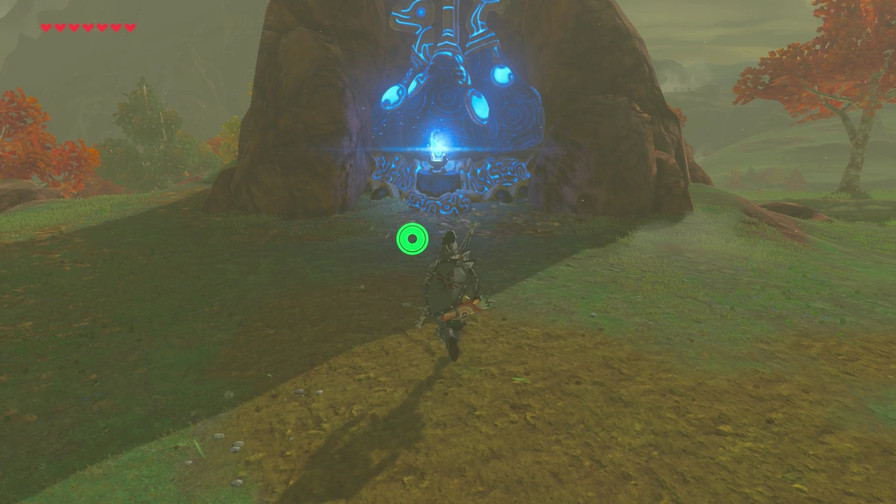 So if we're going to find someone to do this, we'll need a torch to give them. Unfortunately, there's no torch nearby. Even the Sheikah Sensor failed us. And we don't have any wooden melee weapons, either. 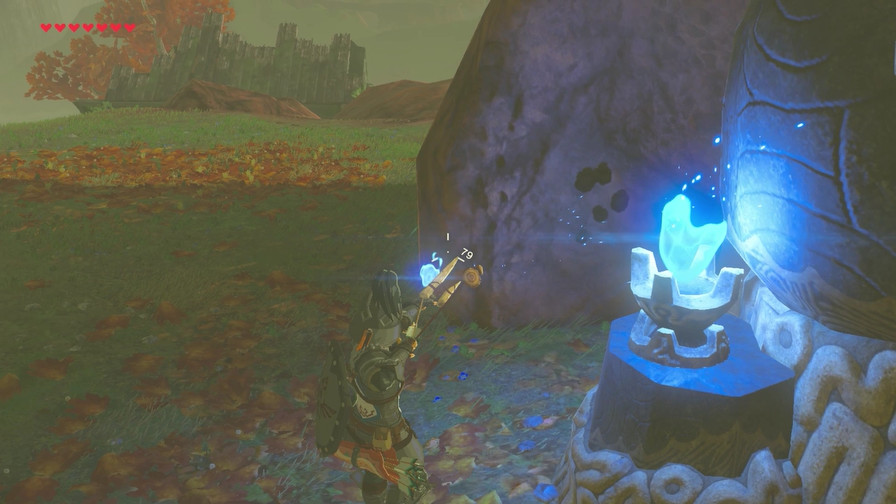 A notched arrow works temporarily, but it wears off too quickly to be a functional solution. 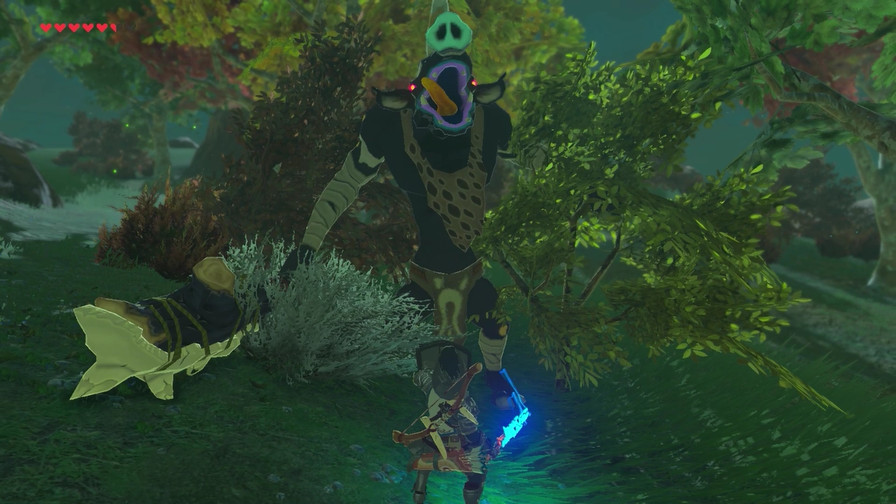 I guess for now we'll scout the area and clear off potential hazards. 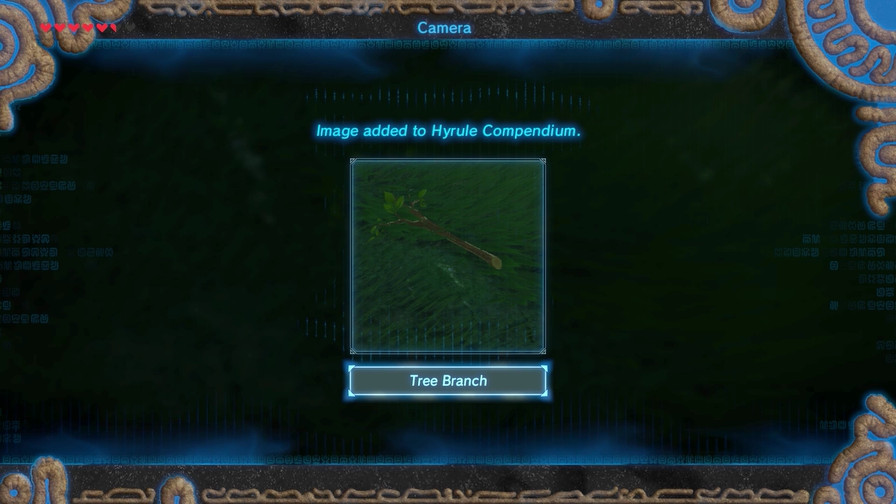 And photos, of course. 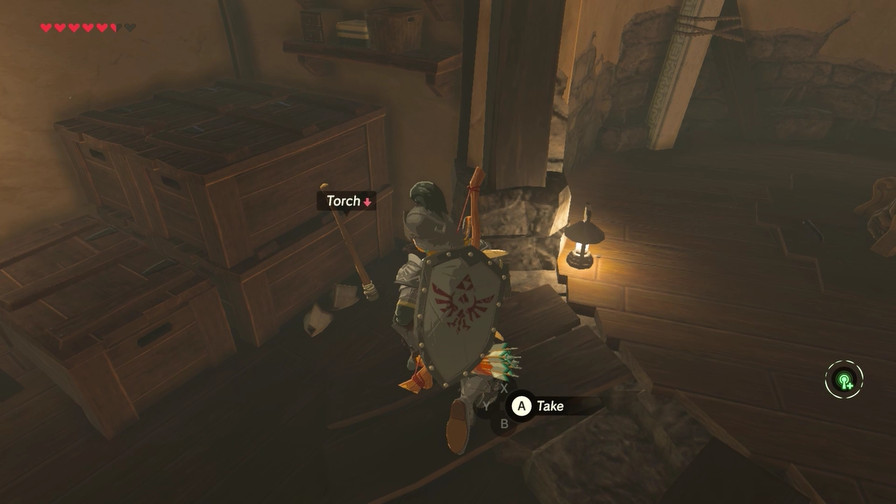 Anyway, the Hateno Lab has a torch to do its blue flame thing, so it's a good a source as any! 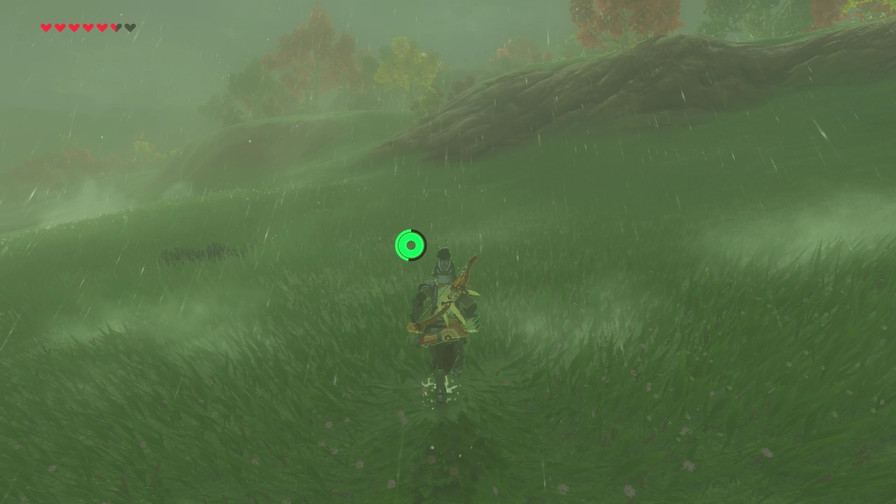 As usual, rain makes flame transportation difficult. Thankfully it wears off by the time I backtrack to where the flame is. 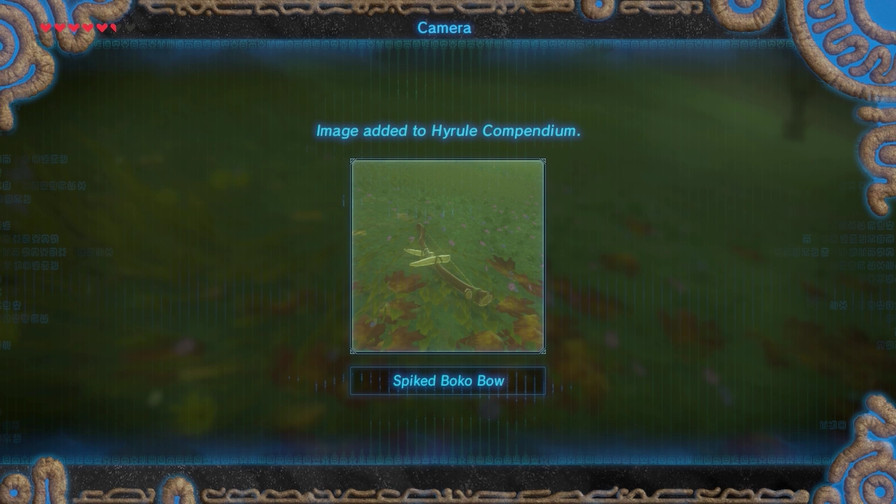 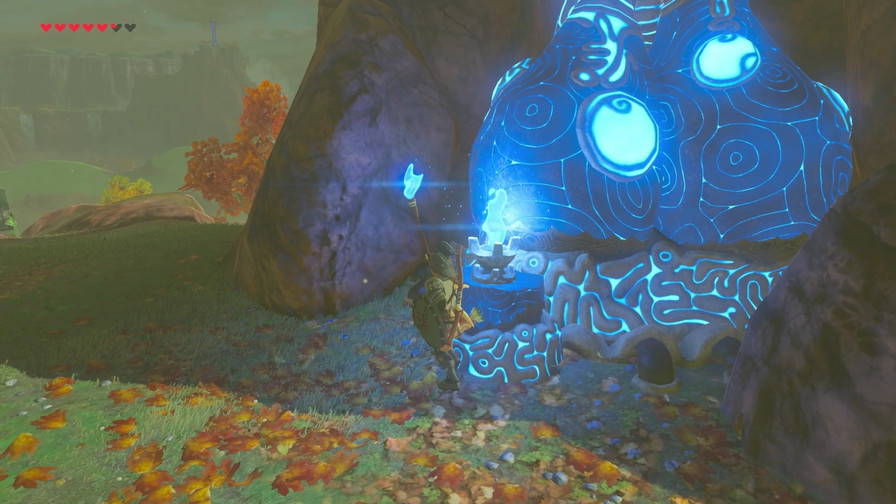 With the torch, we can carry the blue flame around until we can find someone willing to carry the torch to the Tech Lab and light the furnace. 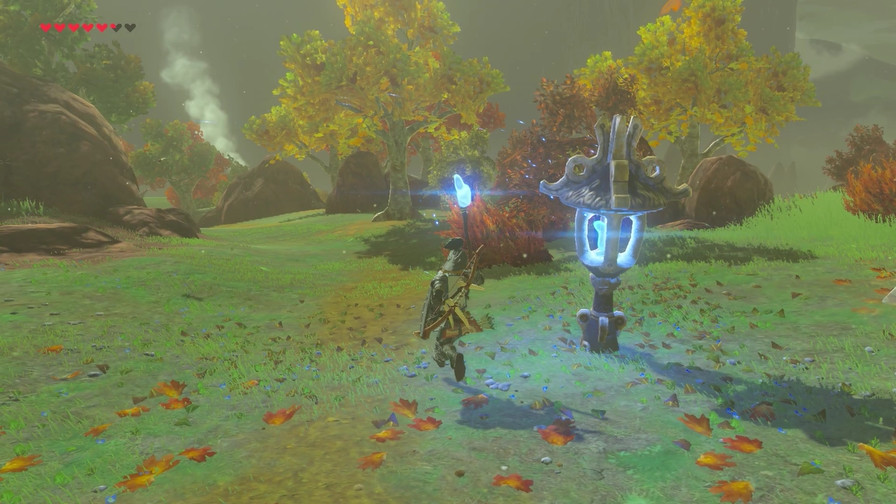 Like the Hateno task, there's tons of torches littering the area that will keep the blue flame safe from weather once lit. I was fortunate this time, as the first time I did this there was...quite a bit of rain... 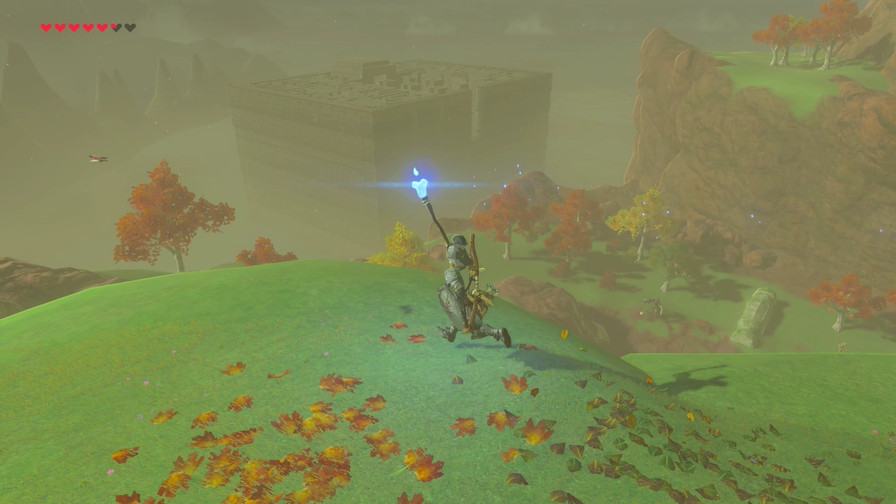 Well that looks interesting. 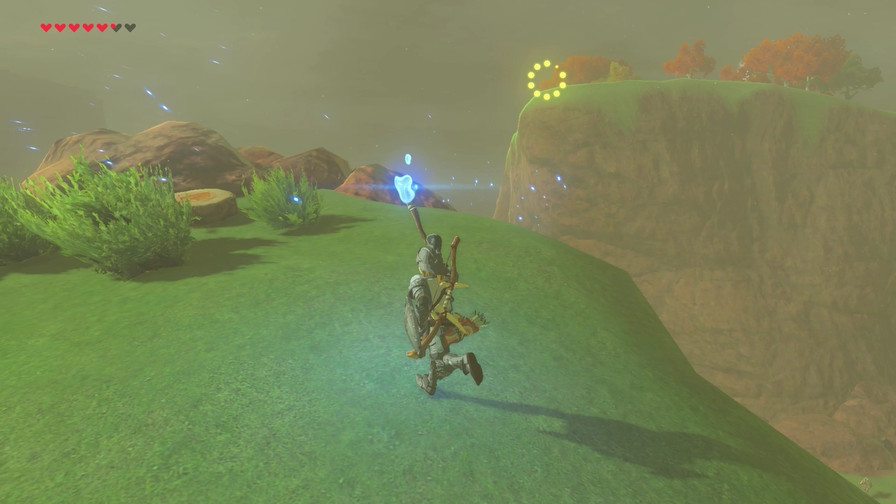 This particular Korok puzzle is pretty difficult to do right now. Maybe once we get another trick up our sleeve... 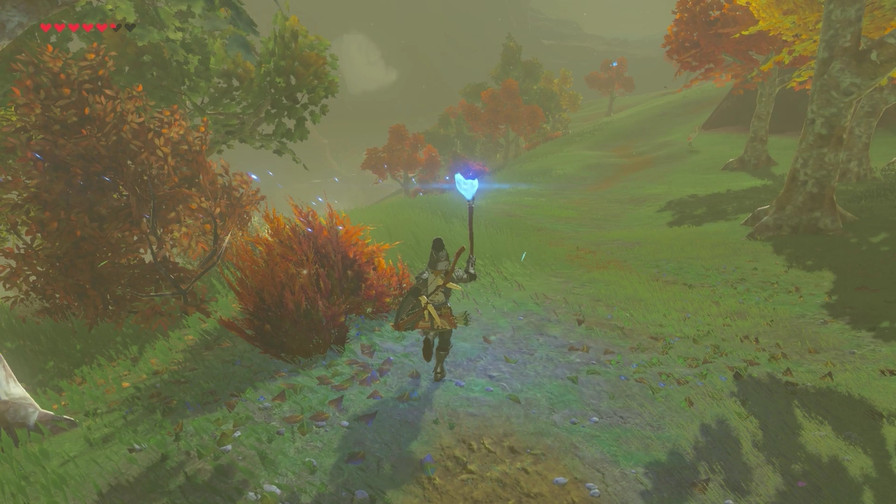 Otherwise, it's trying to get back to the lab while having to navigate the lower areas you glided over before. 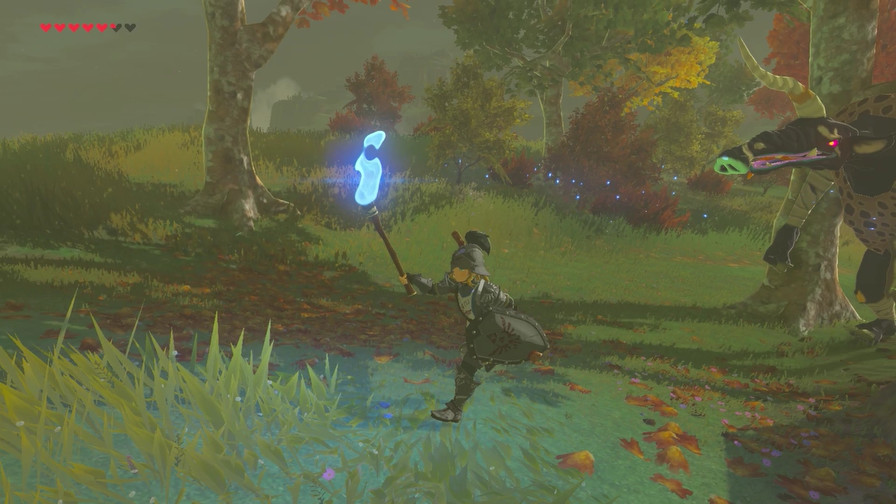 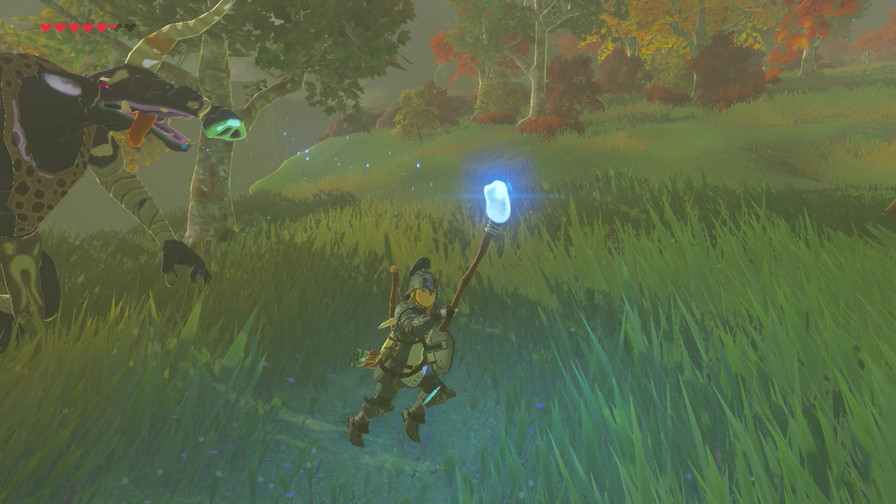 It's rather uneventful. 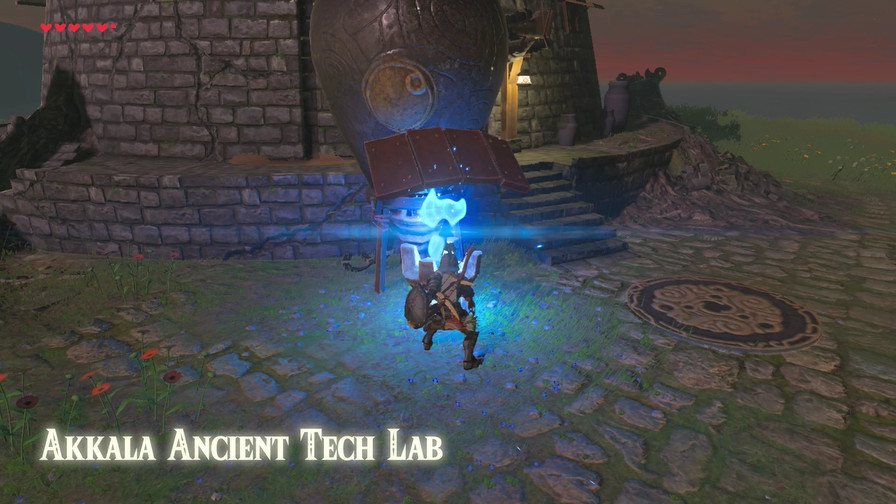 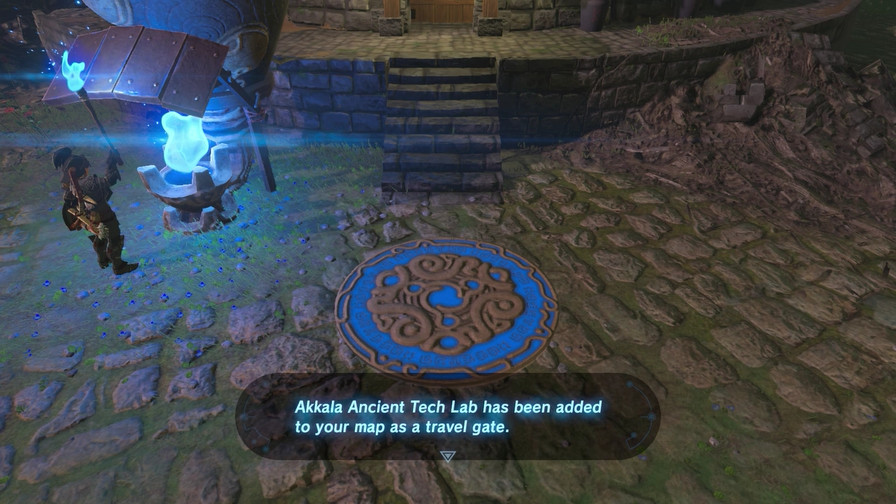 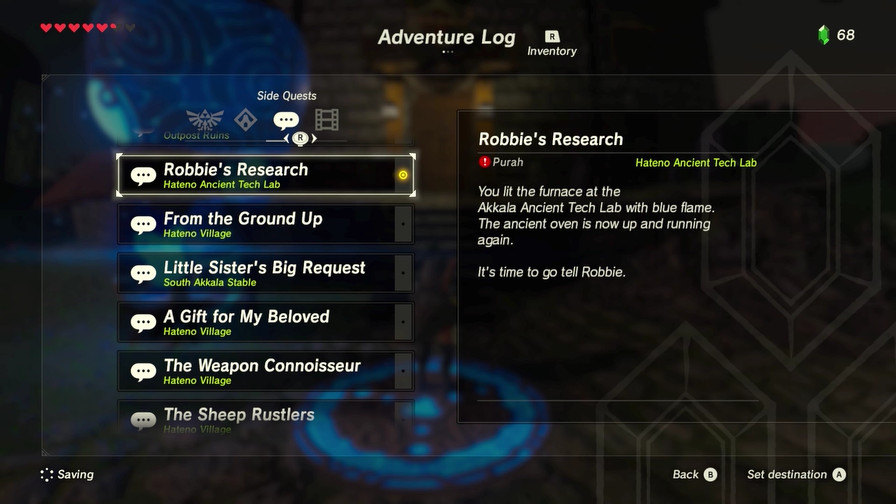 Oh! Well, look at that! We accidentally did it ourselves! I guess when you put your mind to something, you accidentally do something else! 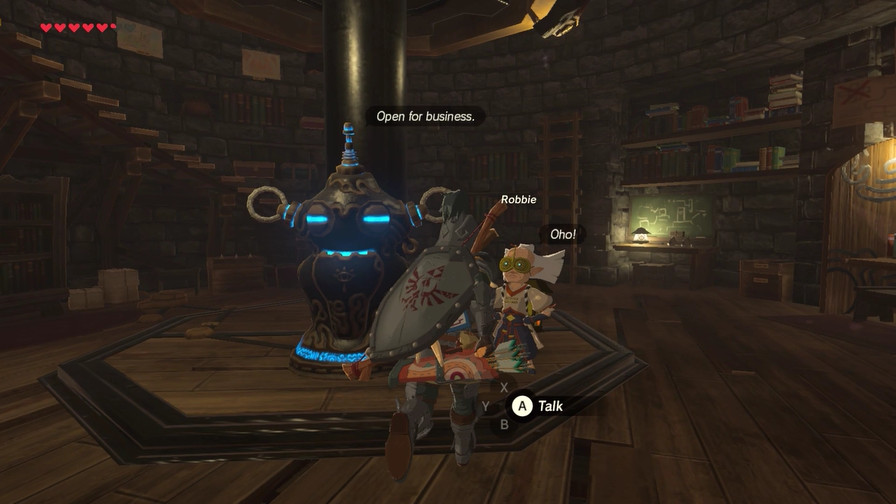 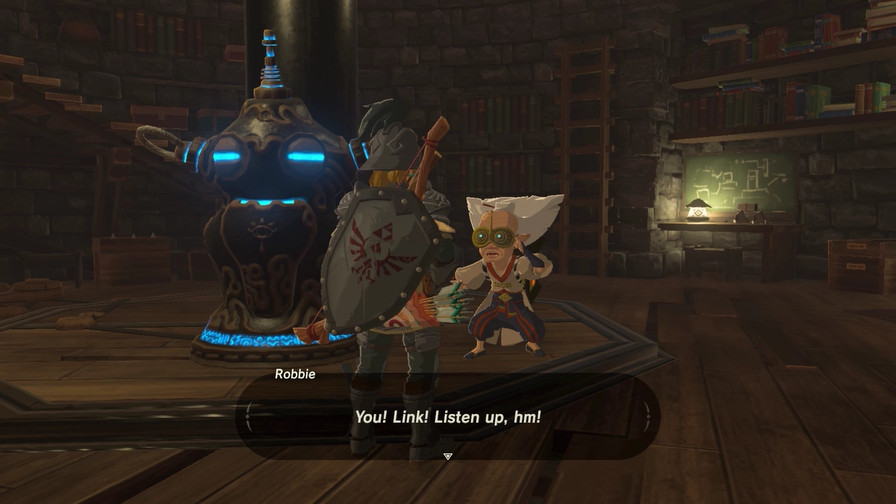 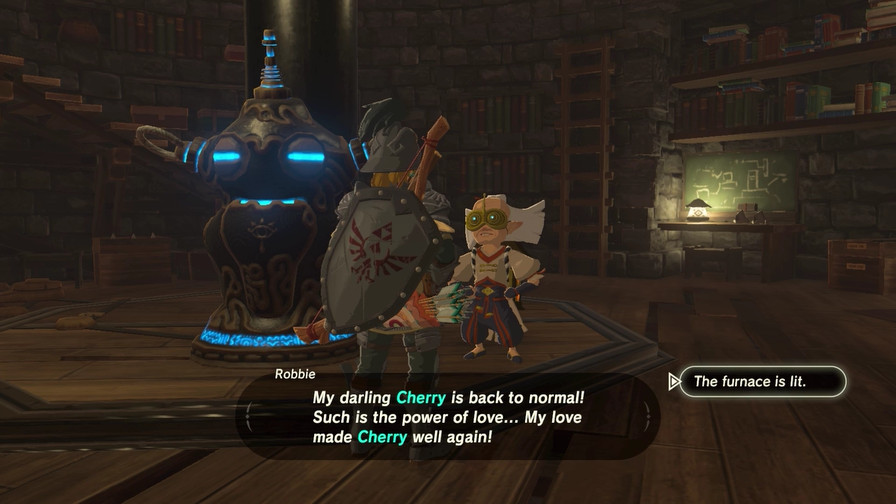 About that... 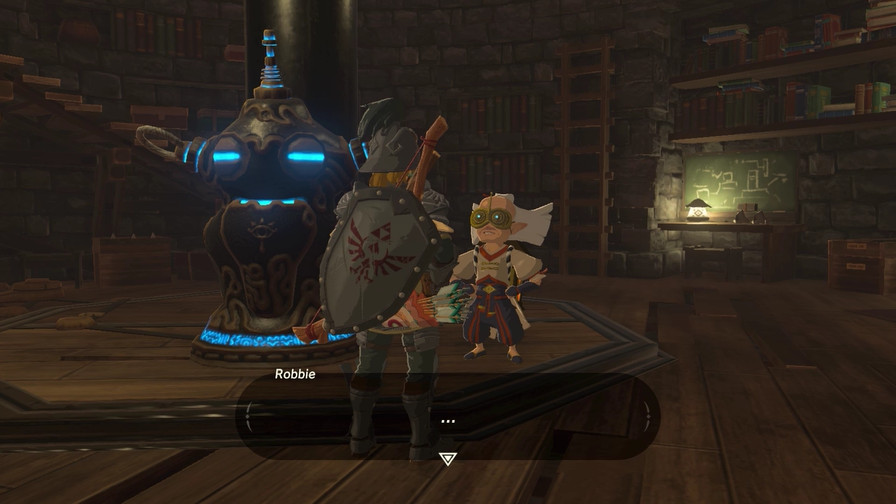 Oh... Well, thank you. Yes, quite. Now then, please take this as a gift of my gratitude now that Cherry is fixed! Oh... Well, thank you. Yes, quite. Now then, please take this as a gift of my gratitude now that Cherry is fixed!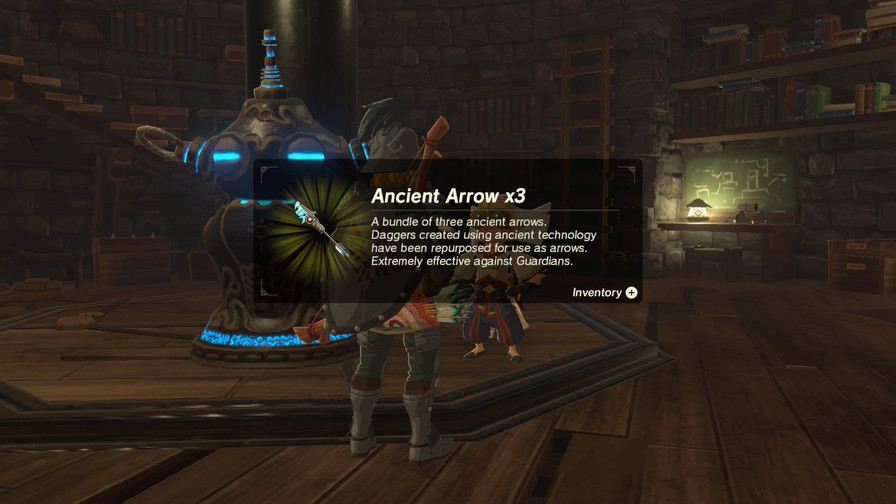 That's...not a bad reward! They are made using secret Sheikah technology. With the addition of my upgrades, they have morphed into...Anti-Calamity weapons! So to speak... Needless to say, they are an incredibly powerful type of ancient soldier gear. I like to call them...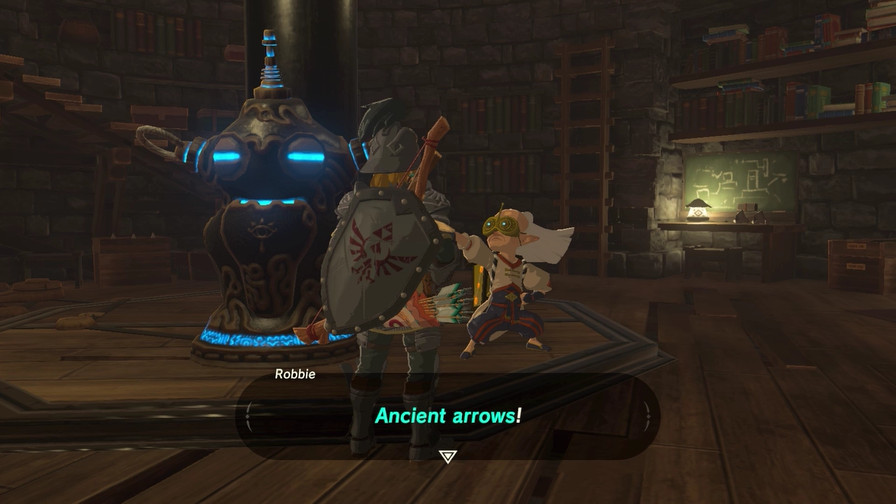 In addition to ancient arrows, Cherry can make all kinds of ancient soldier gear. In addition to ancient arrows, Cherry can make all kinds of ancient soldier gear.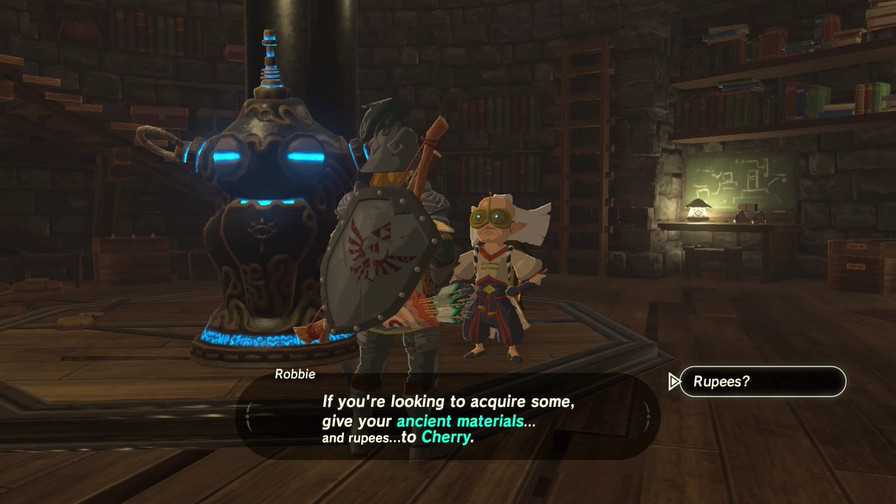 What was that last part? Did you hear that? Ah! Forgive me, Link. Ever since the fall of Hyrule Castle, we haven't had much in the way of funds for our research.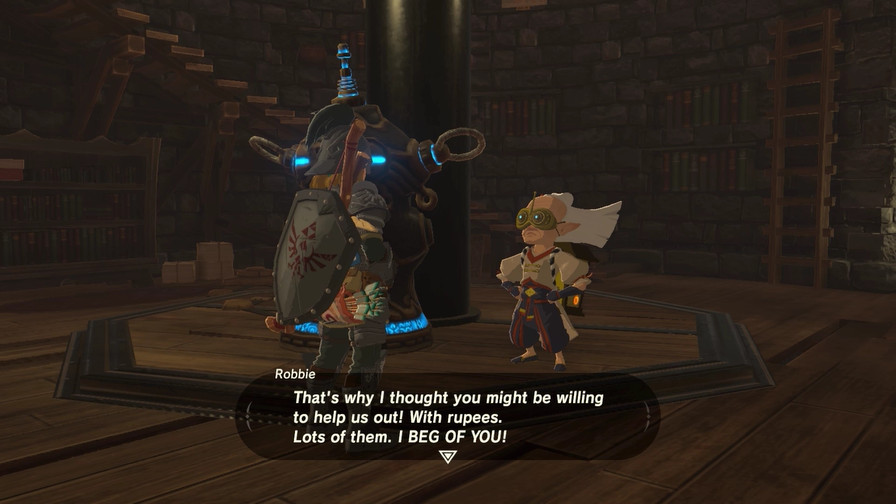 Then let's do it, hm? The two of us, as soon as possible, yes. Let's... Then let's do it, hm? The two of us, as soon as possible, yes. Let's...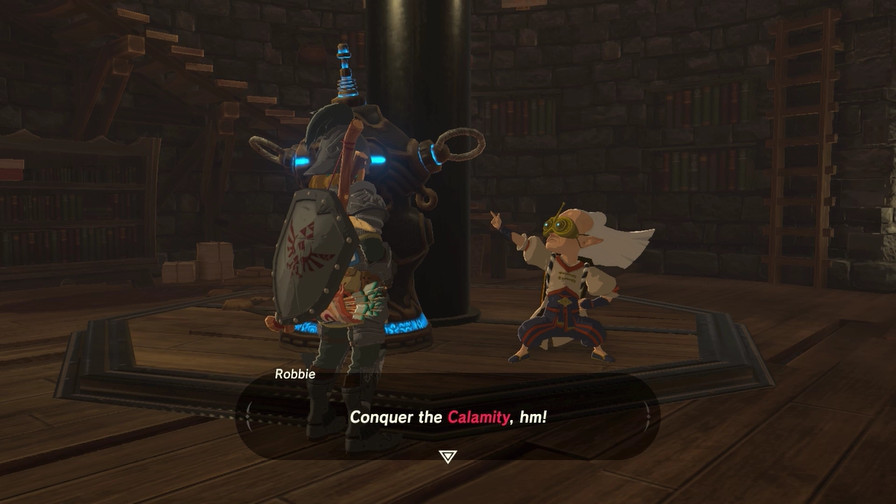 Let's do it! 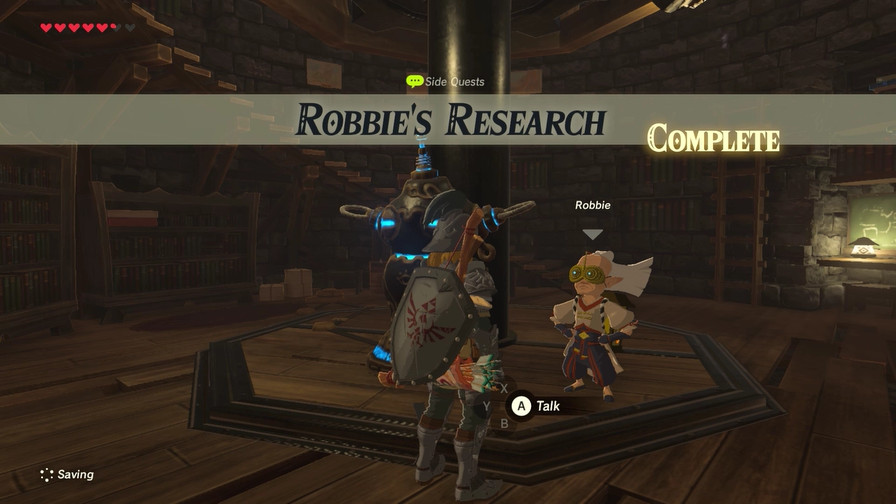 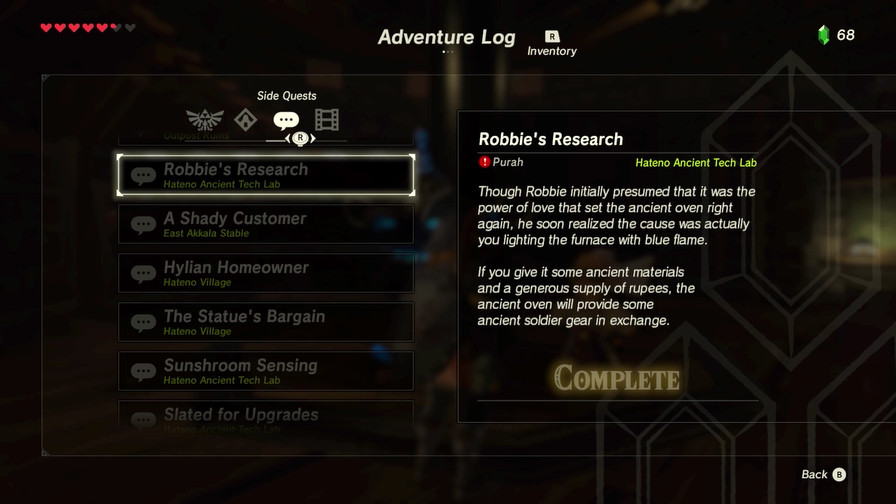 So now we've unlocked the ability to buy ancient soldier gear. 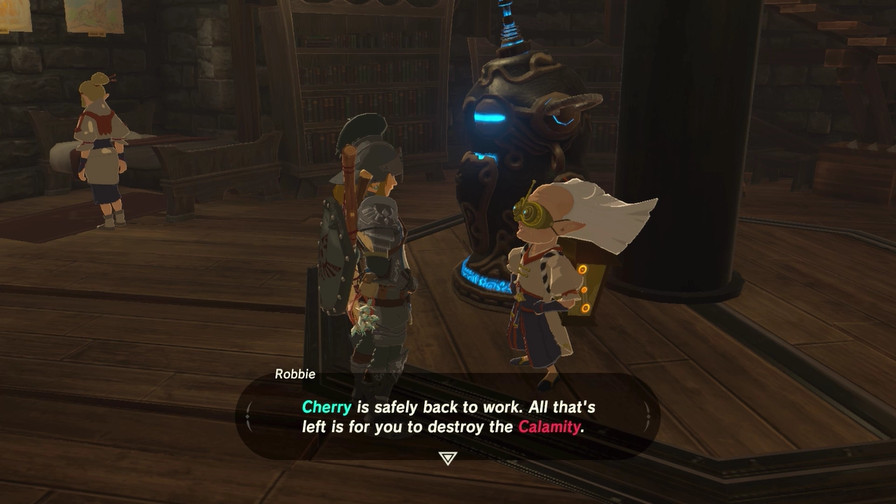 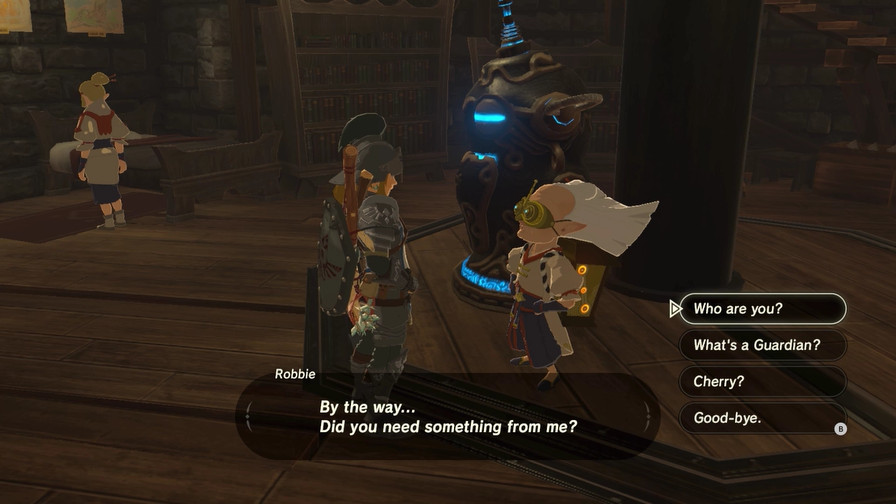 There's some updated text for the Who are you option. I am the lead Guardian researcher and director of the Akkala Ancient Tech Lab. But I think it's unwise to try and make the Guardians our allies now... Just...too difficult... I think I'll offer you ancient equipment in exchange for Guardian parts, instead.So what exactly is a Guardian? The Guardians are self-guided weapons built to fight Calamity Ganon and developed by our Sheikah ancestors. For many years, the Guardians were kept below Hyrule Castle. However, when the Calamity struck, they were stolen away. I've been researching ways to take them back...Alright, let's check out this ancient oven. 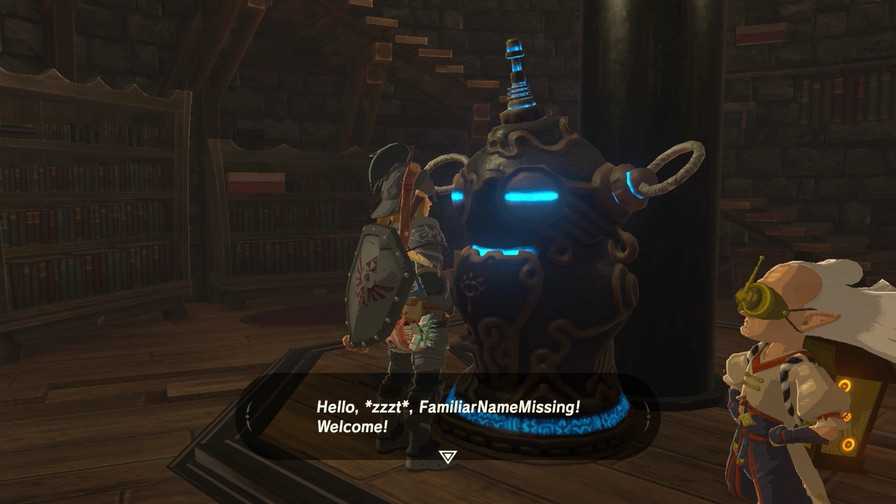 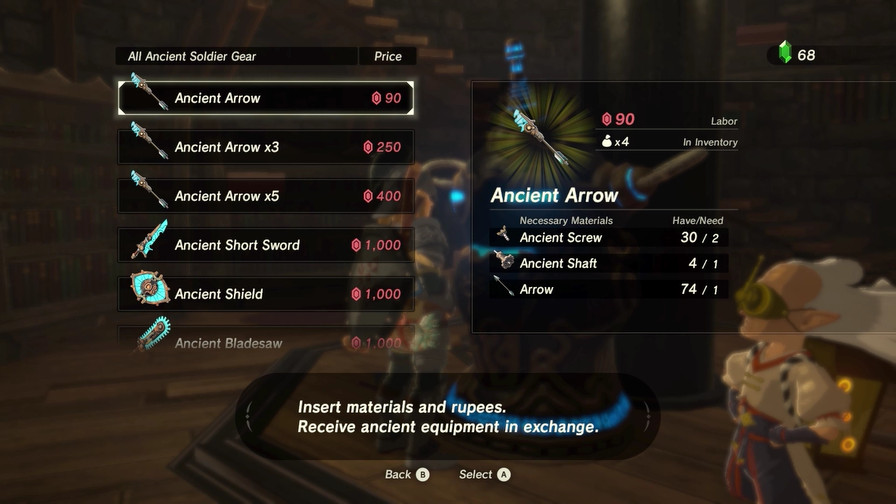 So Cherry, er, the ancient oven will give you powerful weaponry and armor in exchange for rupees and ancient materials. This is where the majority of the Guardian drops you find will come in handy, and also why you should never sell them. First off are Ancient Arrows. They're expensive but arguably worth the money and resources. 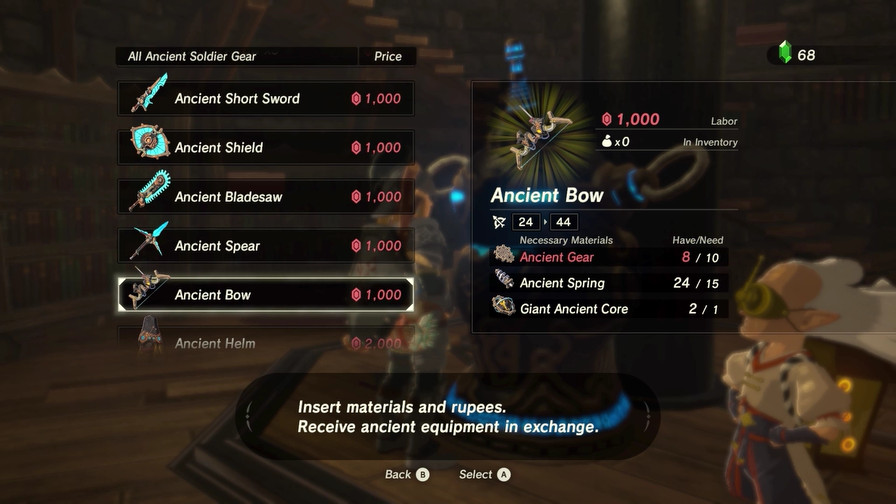 Next are the various ancient weapon types. These are all very solid options, with high durability and damage. The Ancient Bow in particular is one of the best bows in the game and arguably the best you get under normal circumstances due to its high strength and durability as well as the longest range of any normal bow (the Amiibo-exclusive Twilight Bow has a range 160 (yes, 160, the range is ludicrous) times that of the Ancient Bow but is also a very rare drop from the Smash Bros. Zelda Amiibo). I'll certainly grab the bow at some point.  Finally, there's the Ancient Armor Set. These are very expensive mats-wise, but they're tied defense-wise with the regular Soldier Gear, meaning they have the highest defenses in the game outside the Champion's Tunic, plus they give resistance to Guardian attacks, which is great under a lot of circumstances since Guardians lurk in a lot of places you don't expect them to. These will likely be my primary focus after I get the necessary materials. 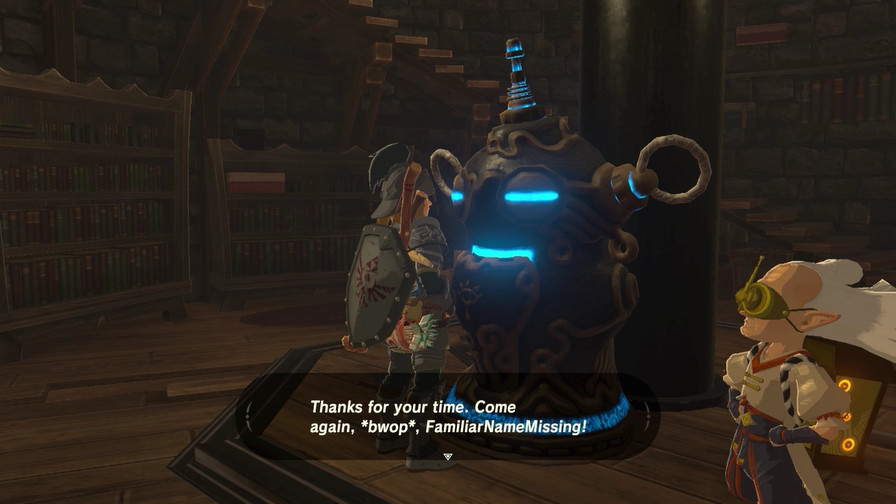 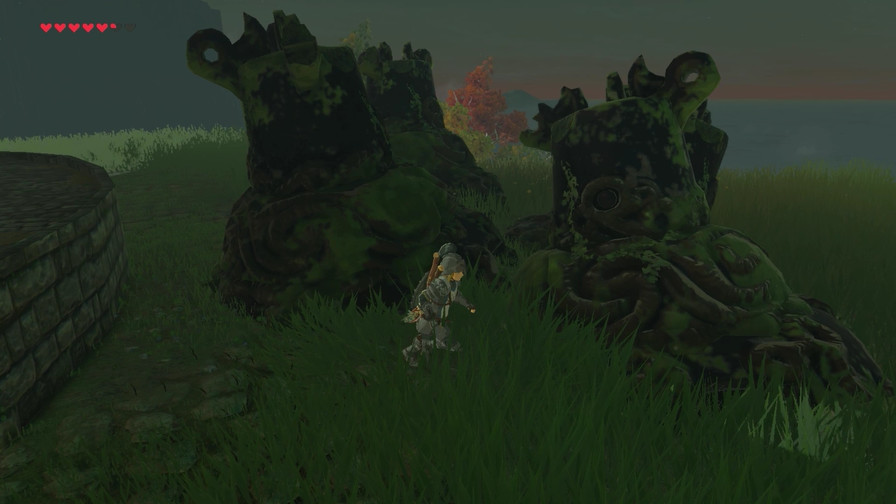 This may shock you, but there are dead Guardians around the lab where they research Guardians. 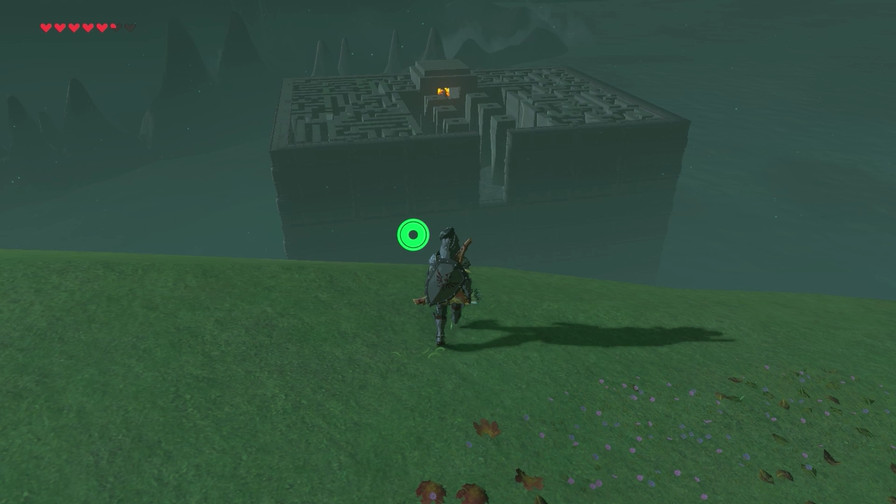 There's also...uh...this. Looks like there might be a shrine there? Next time, what the hell, let's check it out! Also vote for our next Spirit Orb upgrade.
|
|
#
?
Aug 8, 2017 23:43
|
|
|
That last pic is amazing.  MORE HEALTH
|
|
#
?
Aug 9, 2017 04:46
|
|


|
So when did Robbie make his pose-activated power chord? Honestly I could believe he did it at any given point in his life.
|
|
#
?
Aug 9, 2017 13:01
|
|


|
That place in the last picture looks like a fantastic place to climb everywhere about like a hylian monkey. So it's probably one of those unclimbable sheikah structures, sadly.
|
|
#
?
Aug 10, 2017 01:18
|
|

|
Rawkking posted:That place in the last picture looks like a fantastic place to climb everywhere about like a hylian monkey. You actually can climb them! It's just that it takes a lot of stamina to do so and it actually isn't as useful as you'd think.There's still something very cool about standing on top of what's essentially a giant maze, though.
|
|
#
?
Aug 10, 2017 01:55
|
|
|
I don't think this got enough notice. Look at that. Look at that Chainsaw sword.
|
|
#
?
Aug 10, 2017 02:15
|
|

|
If I remember right from when I did it, the walls are about two stamina circles high. And there's complications. But it's cool that they let you climb it, and that can actually help with the maze (or confuse matters if you're still trying to work out where to go).
|
|
#
?
Aug 10, 2017 02:15
|
|


|
 Groovy. Gonna start writing up the next update now, should be up soonish.
|
|
#
?
Aug 13, 2017 15:39
|
|
|
I wonder if we'll get a whole row of hearts first before going back to upgrading stamina.
|
|
#
?
Aug 13, 2017 16:13
|
|
|
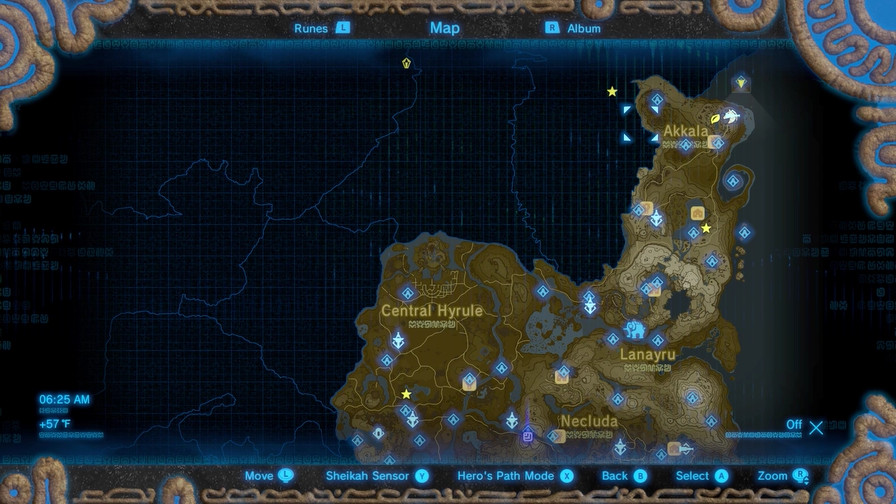
 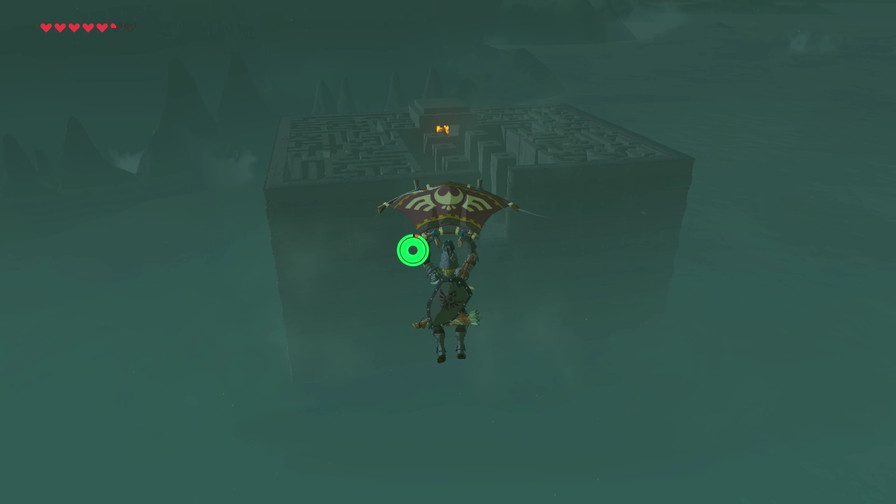 This place looks interesting. Let's check it out! 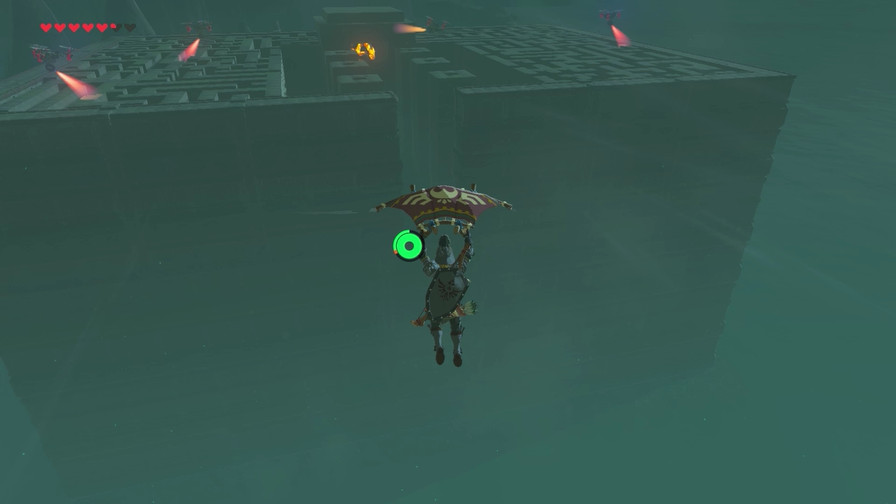 So this area pretty much requires gliding in from the Tech Lab, as it's high above the ocean. There's also quite a few flying guardians about... 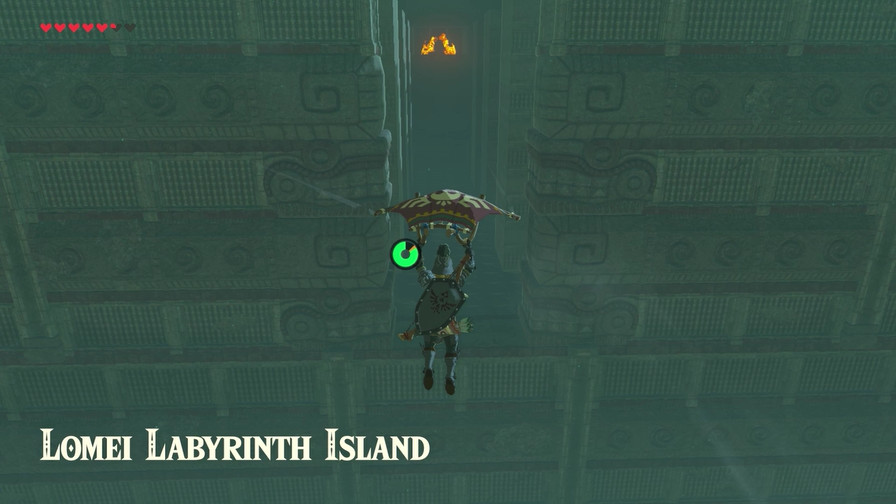 Welcome to the Lomei Labyrinth Island. It's...quite the place. 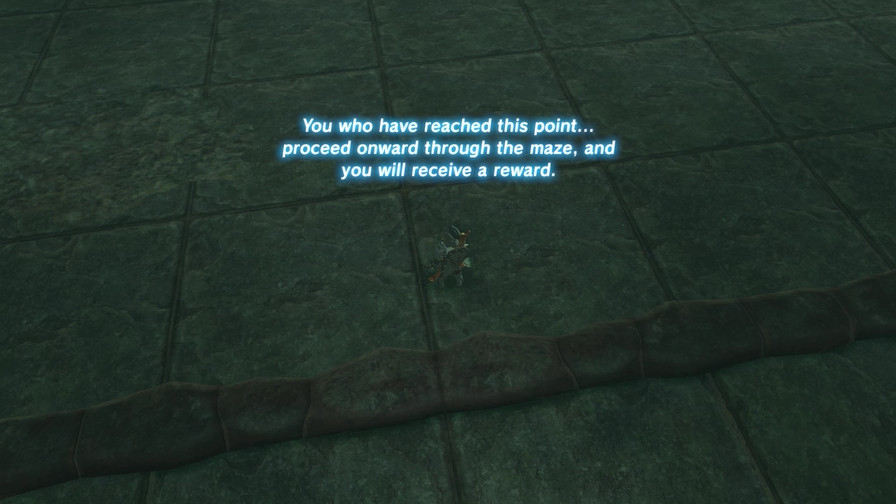 Music: Maze 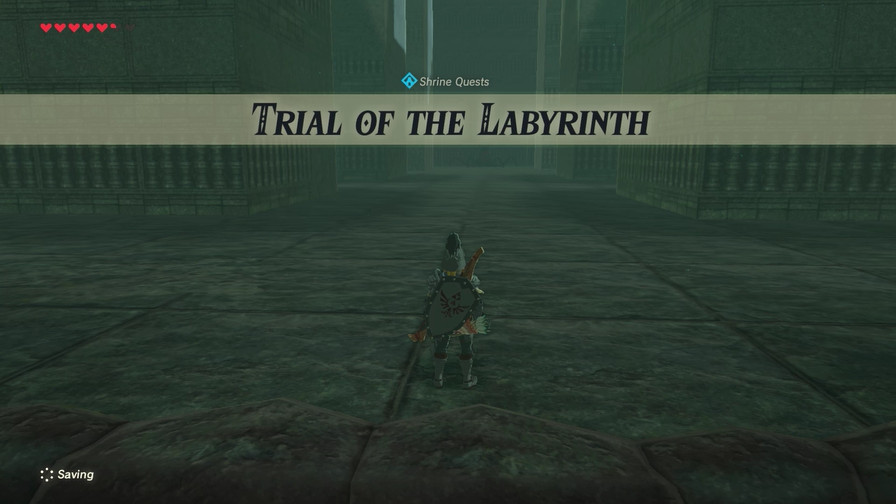 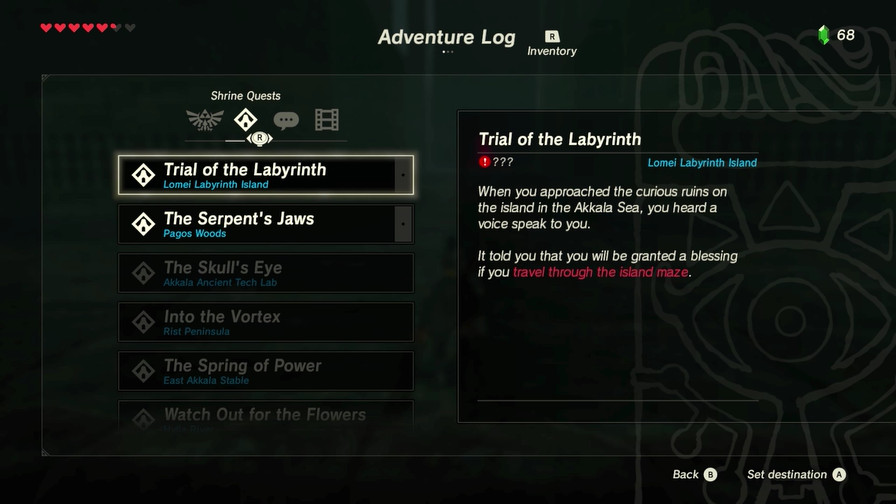 The goal is simply to reach the shrine in the middle of the labyrinth. Simple enough, right? 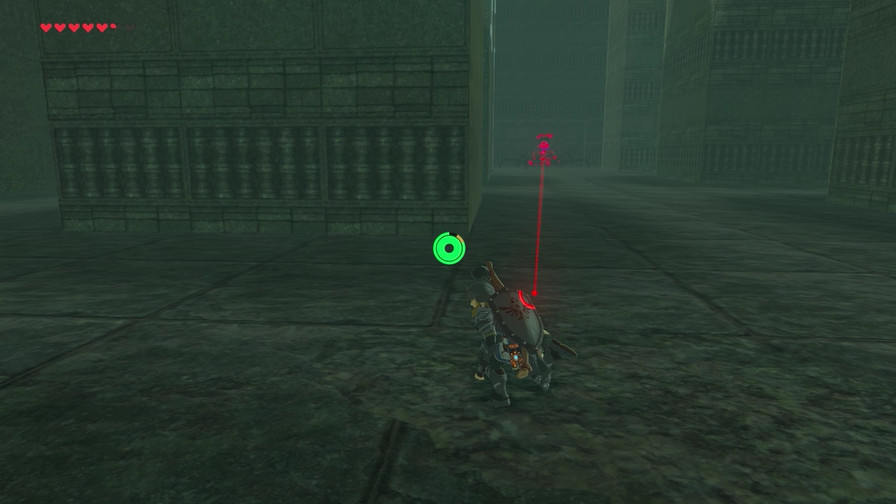 First fun fact: There's a walking Guardian patrolling the central area. 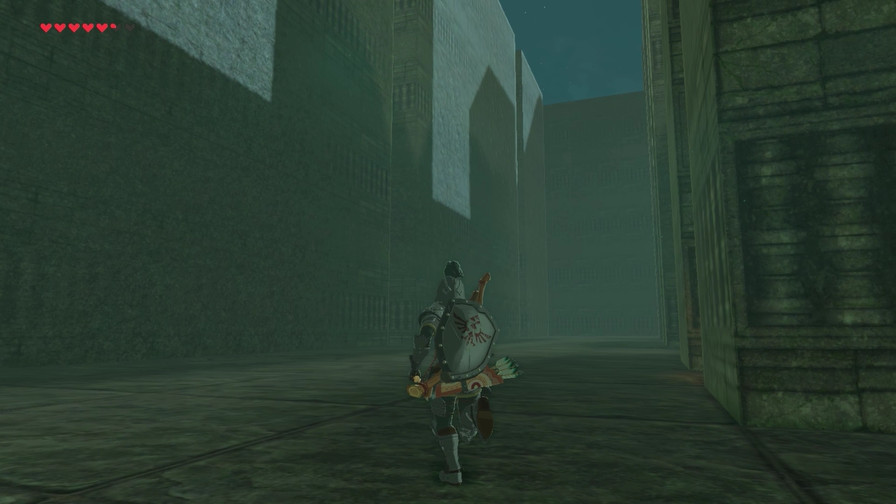 The walls here are tall, but completely climbable. 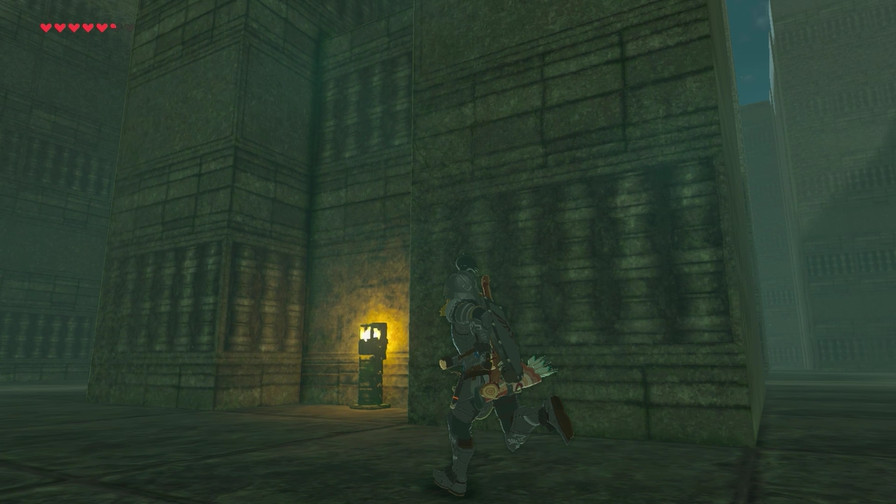 There's six pillars in this central room. 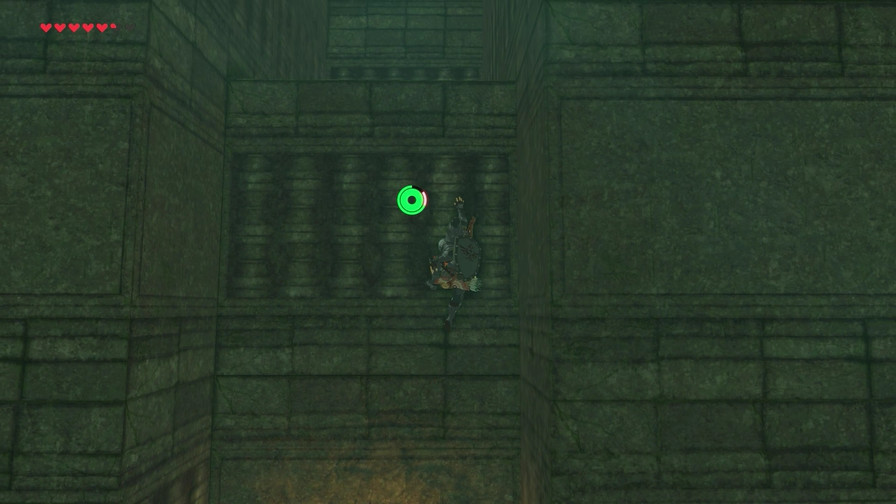  Each one actually has a little hidden aclove in the center, though only the two central columns have chests in them. The left one has Bomb Arrows, the right a Silver Rupee. 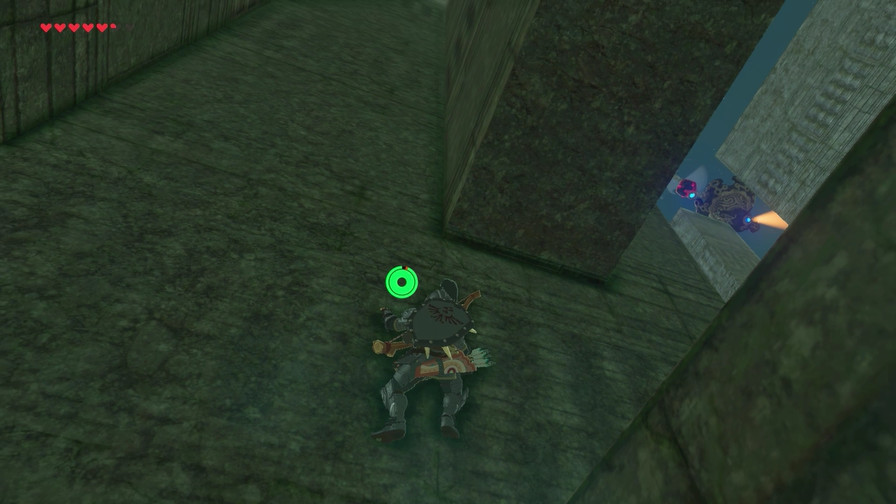 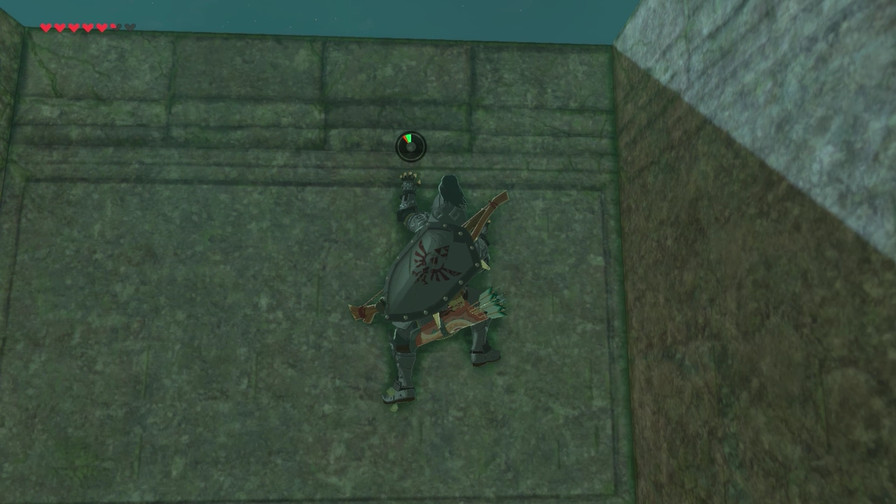 We can also use the platforms to give us a bit of height to climb up top. We have just enough stamina to pull it off this way! 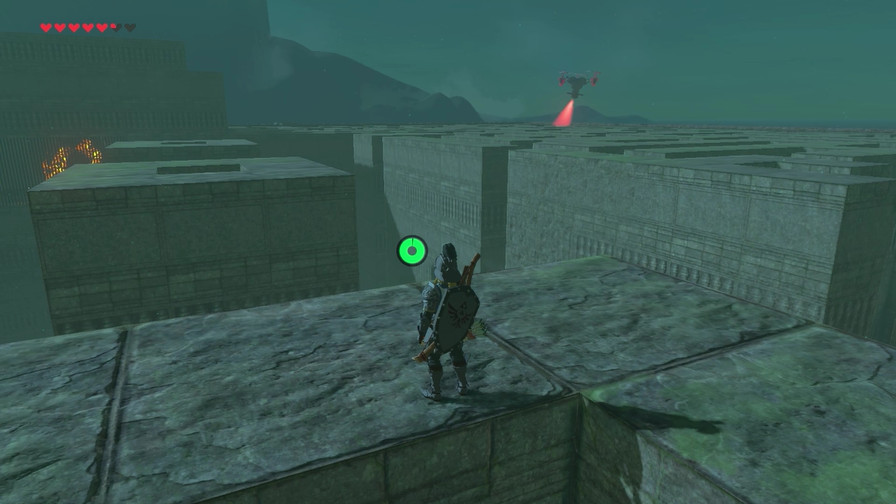  So the shrine is at the center of the labyrinth, but we're not getting in through the front door. That'd be too easy. 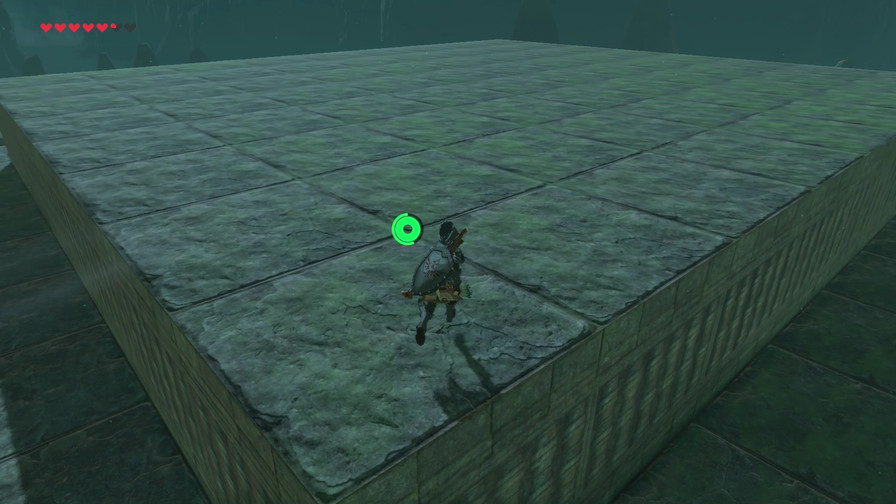 And honestly, while you may thing scouting from above is useful, it's not going to lead you to the solution. It's better to treat it like a regular labyrinth. 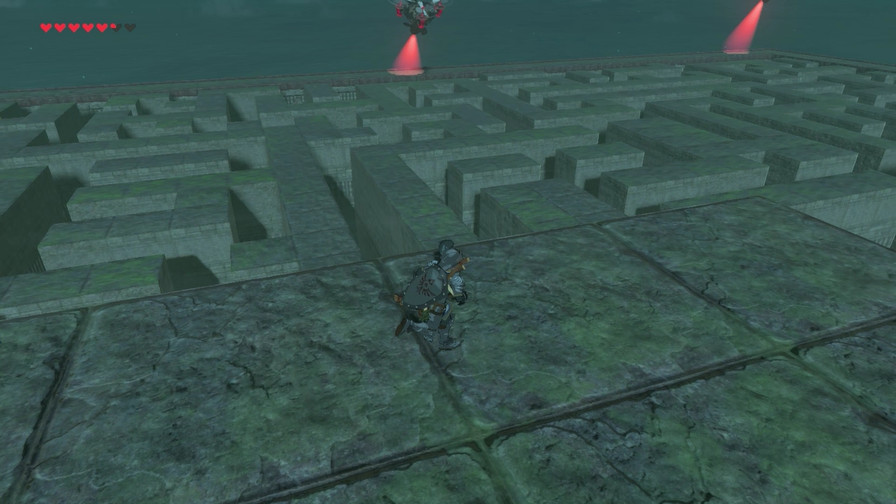 Plus it's a bit risky with all the Guardians about. 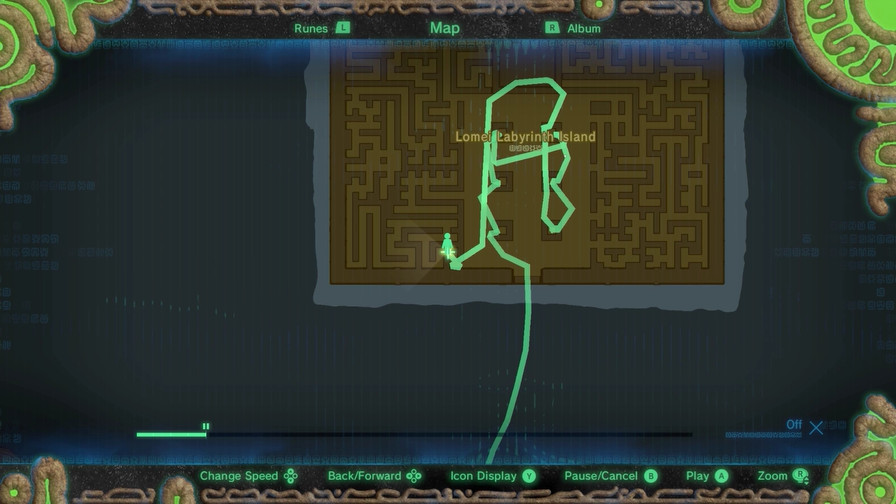 I make liberal use of the Hero's Path tool from the first DLC for this place. The map in general is a useful, albeit not perfect tool in navigating this place. 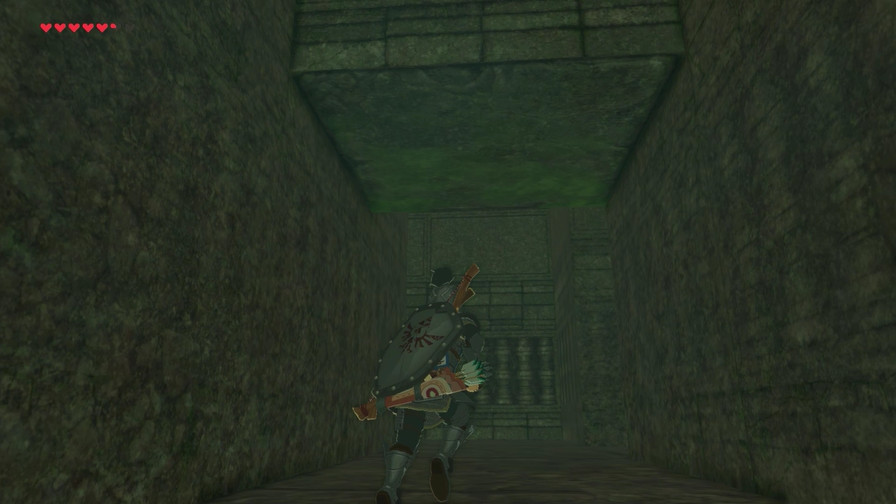 You see, the map does a pure overhead view of the dungeon. However, there are places where there's a ceiling that obstruct the view from overhead, making these "secret" passages in a way. So the map is useful but won't show you everything. 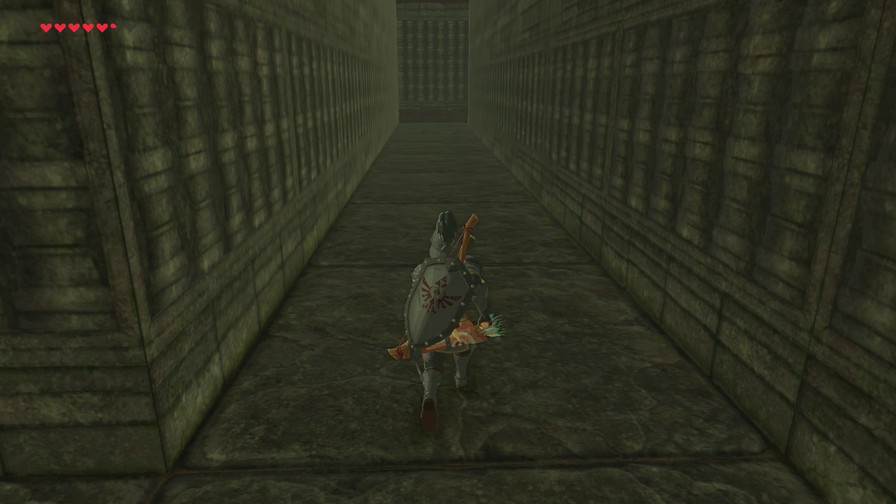 Otherwise...it's a maze. One with plenty of secrets, but also plenty of nothing. Of course I'll only be showing the highlights and not the tedious parts. 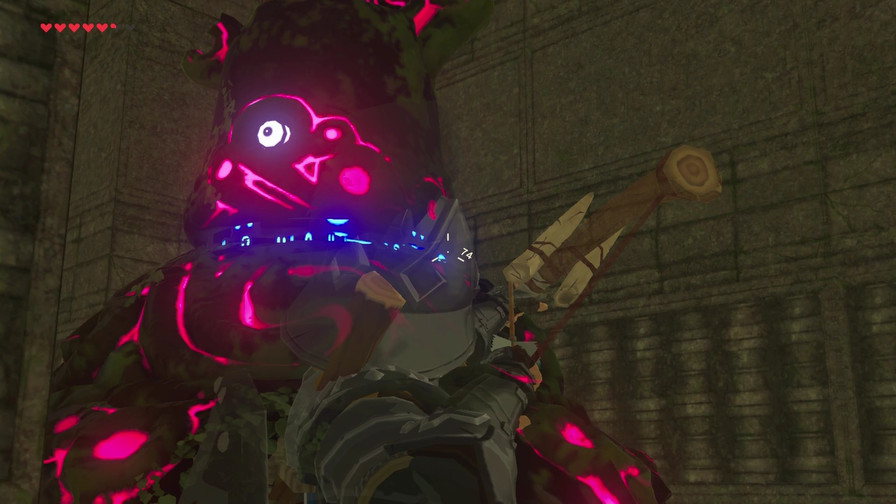 Like, say, this random Guardian just lying here. 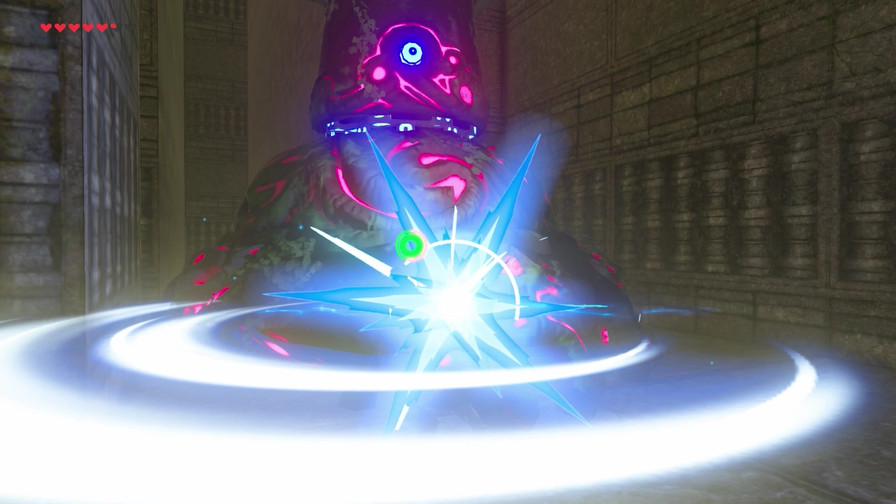 I dispatch it relatively easily. It's simple to stun the stationary guys with arrows to the eye. 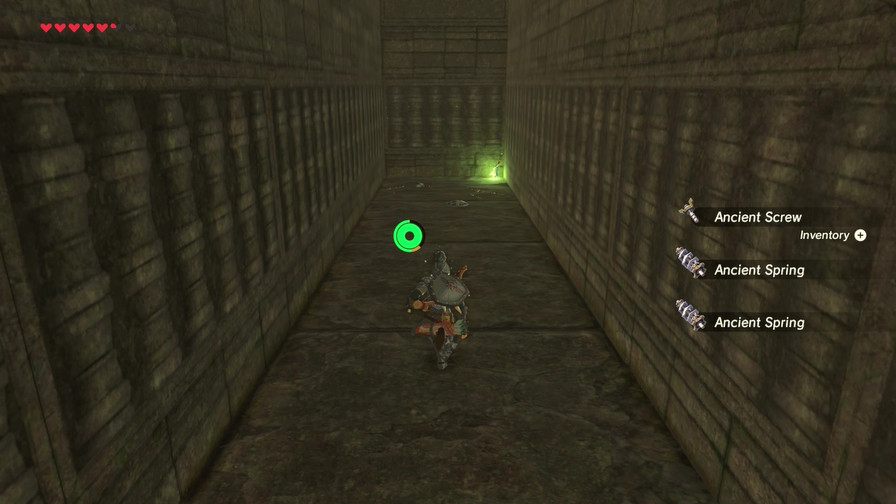 Over here is a neat little story. 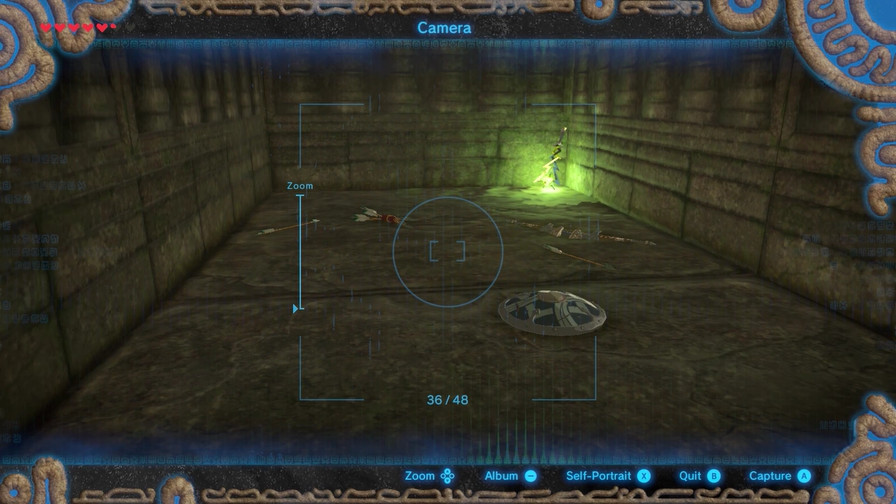 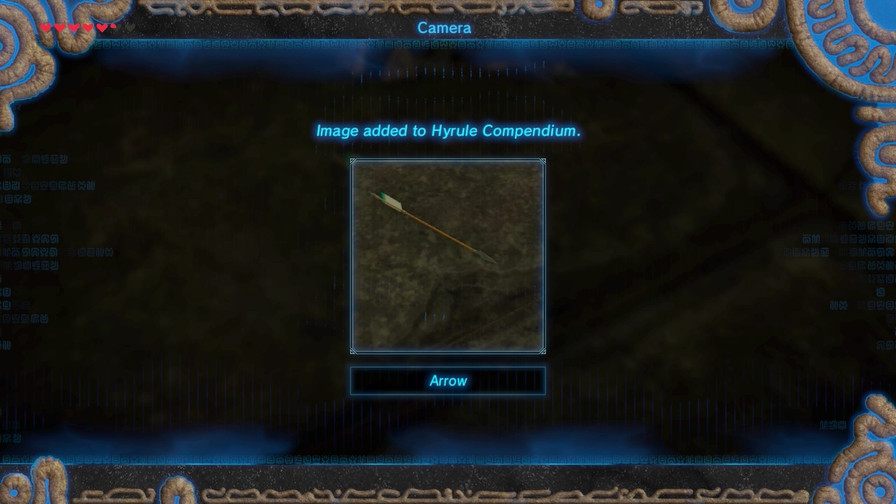 Arrows, a bow, and a shield.  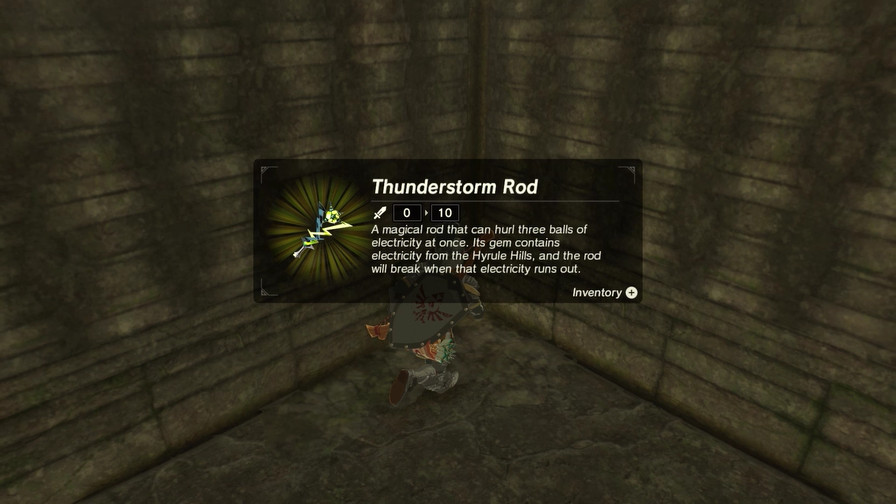 And also some random Thunderstorm Rod just lying around here. Sure, we'll take it. 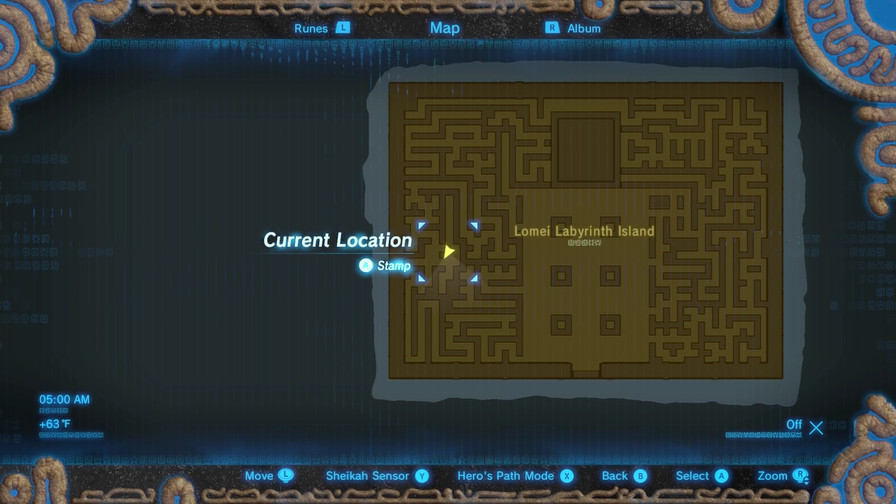 So far, we're exploring the west end of the labyrinth. Some areas seem inaccessible, such as the top area and the section to the left of the giant square, but don't forget there are likely passages to those areas. 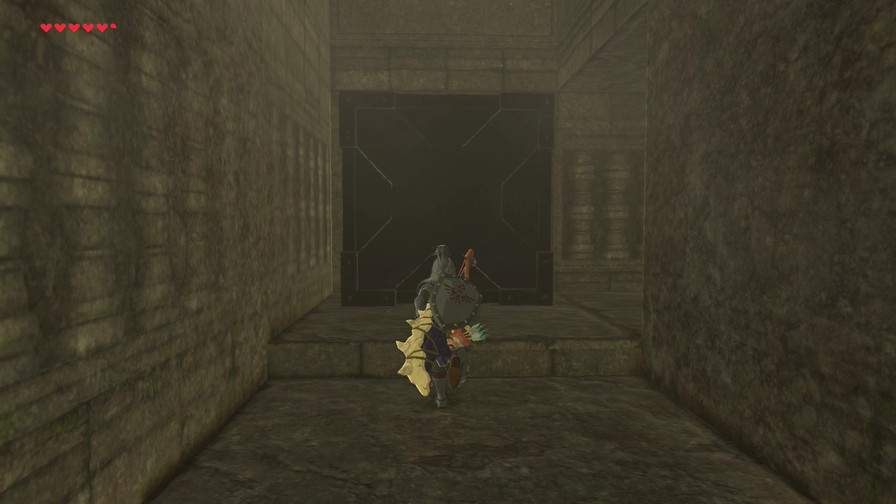 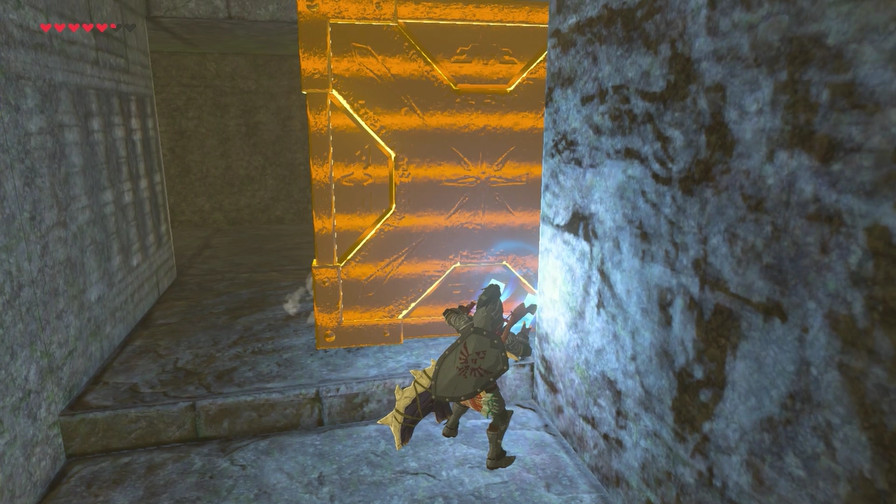 There's various obstacles as well. Metal blocks usually hide secret passages and treasure. 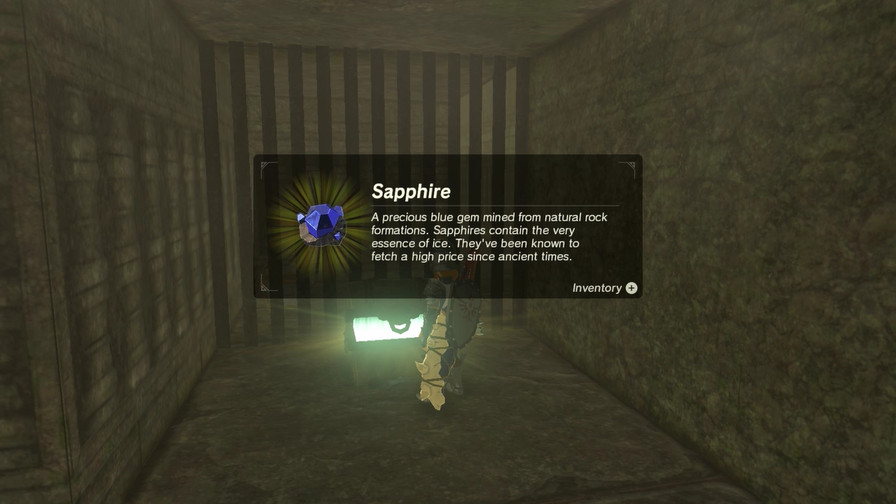 In this case, a sapphire. However, from this vantage point you can see another treasure chest on the other side (well, you can't from that screenshot, but take my word on it since I'm the one doing the actual playing).  Time to go around and see what it holds! 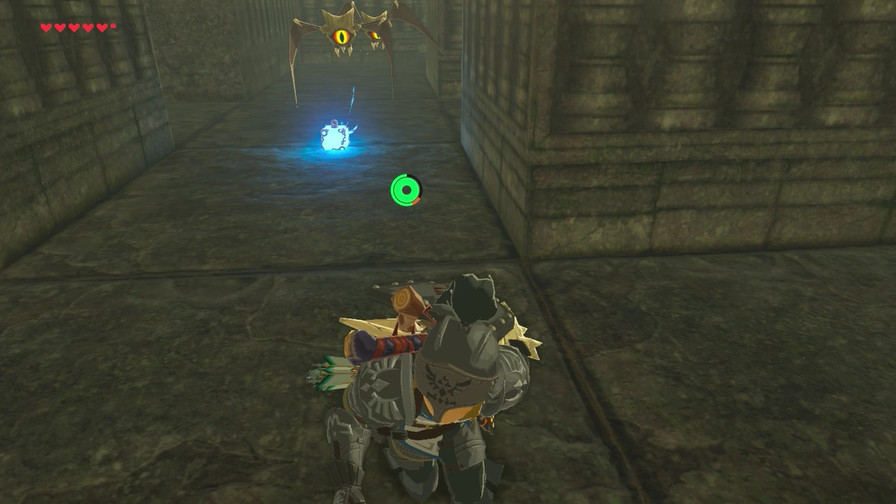 Once night hits, the Keese come out to play. And die. Mostly die. 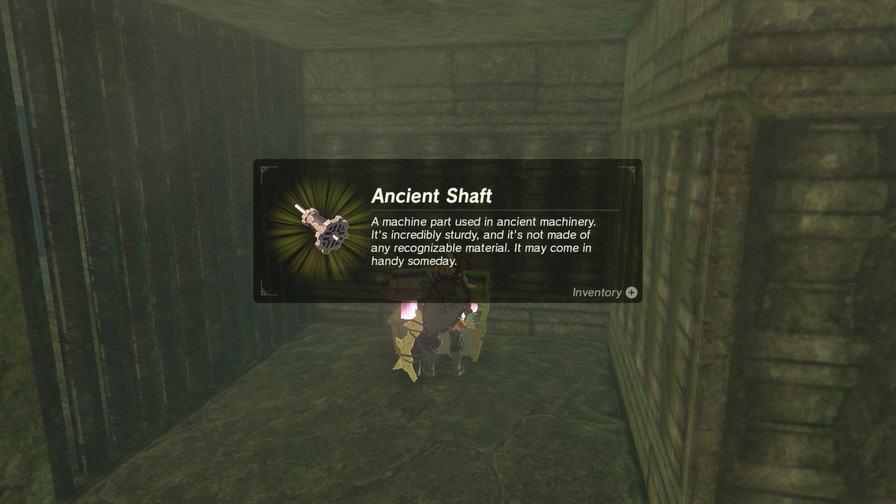 The other treasure chest has some loot which is...eh. 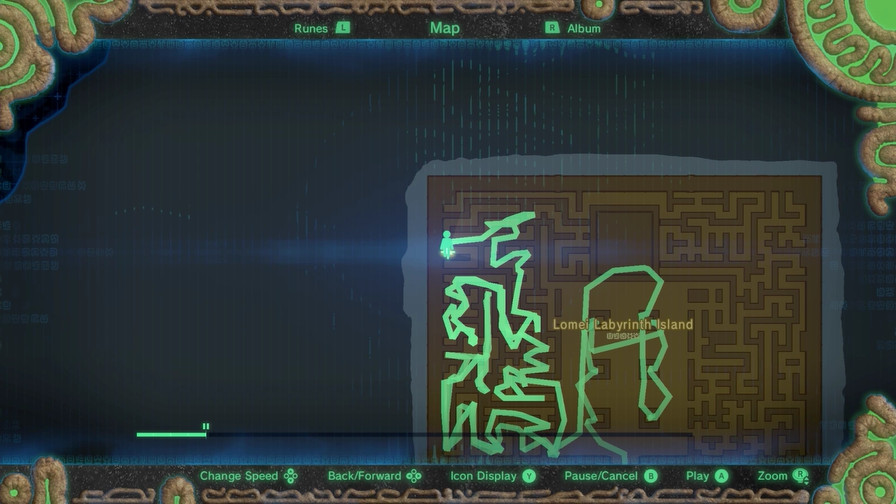 Progress! 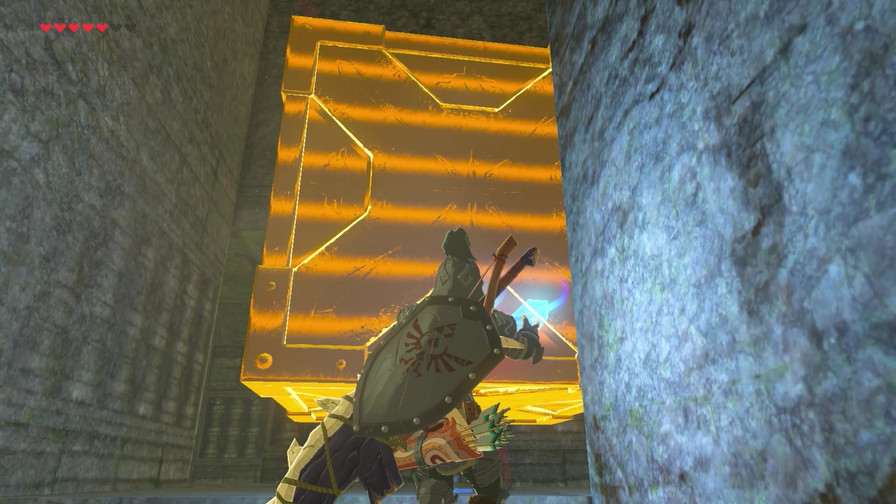 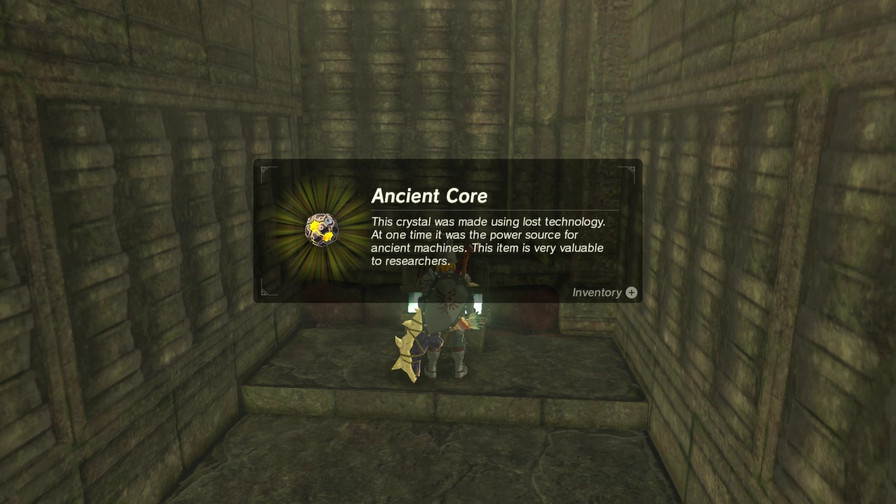 The end of this branch has a nice Ancient Core. 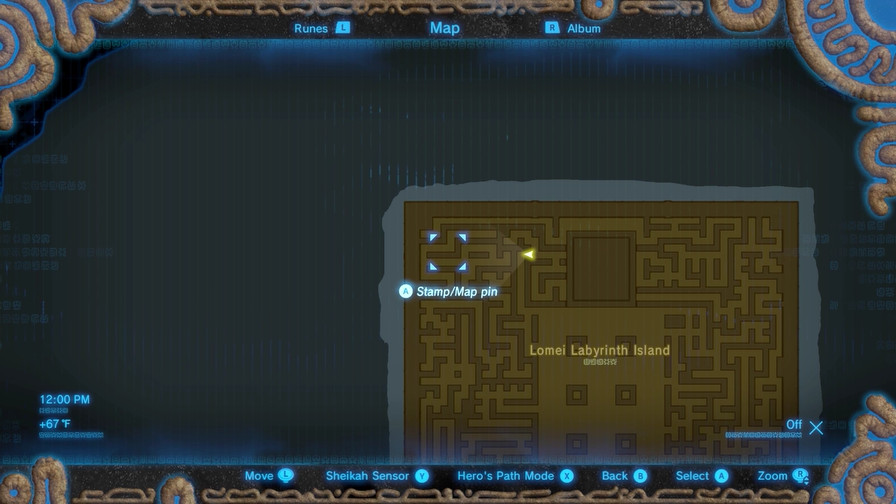 Remember how I mentioned this area to the left of the giant square seeming inaccessible? Surprise, there's a secret path here that leads into there. 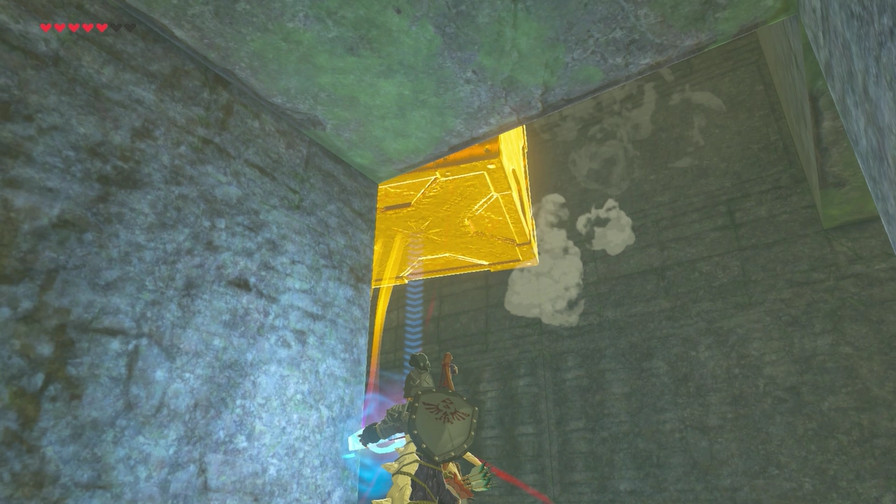 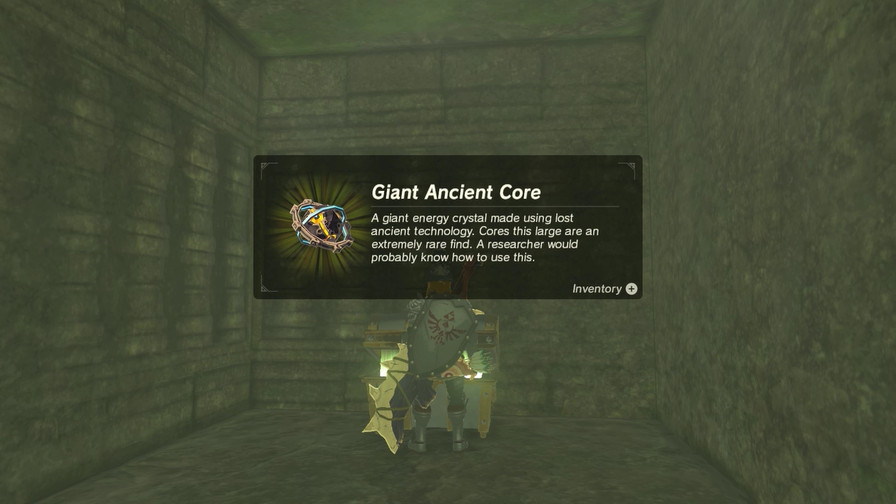 It leads to more treasure. 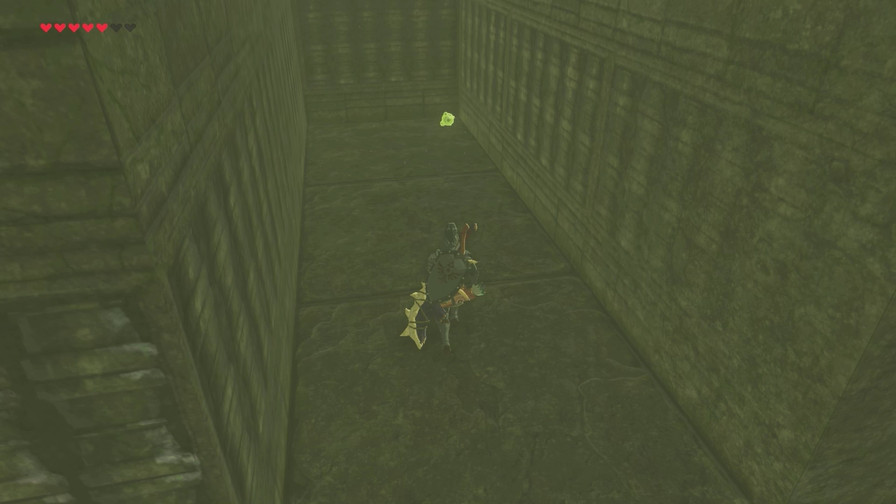  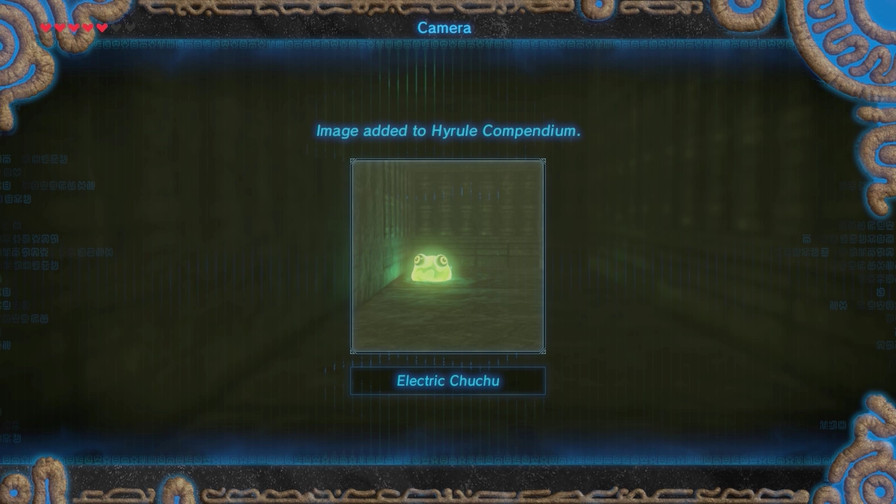 And to the first of several Electric Chuchu traps. 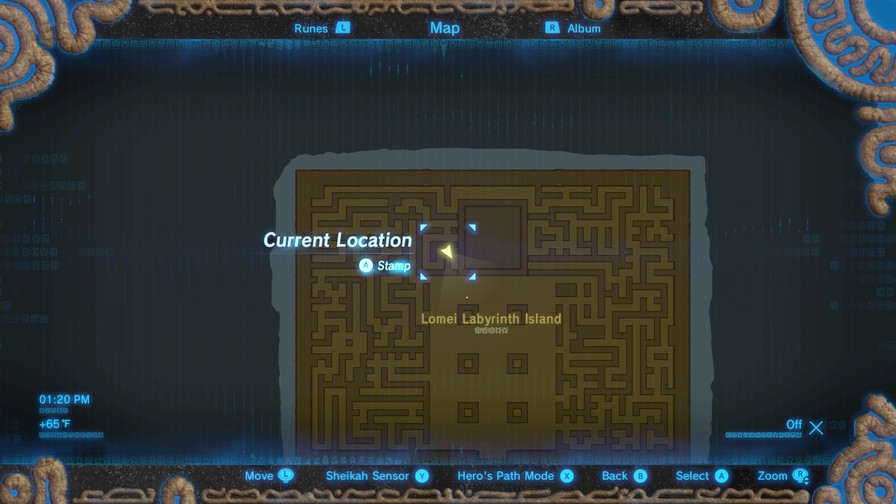 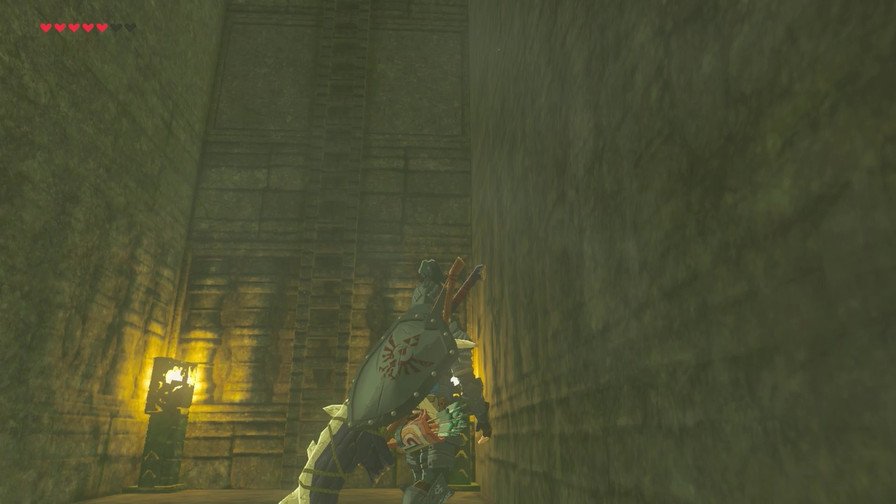 And also, this...ladder? 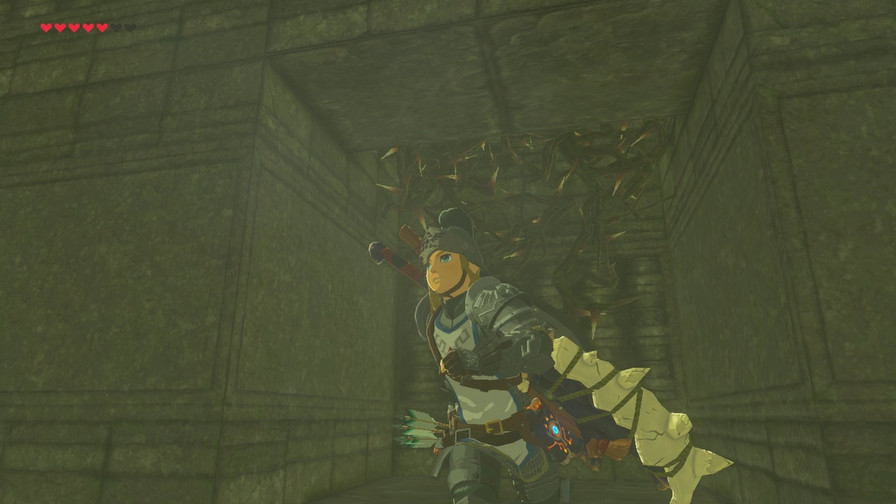 We'll get back to this in a moment. 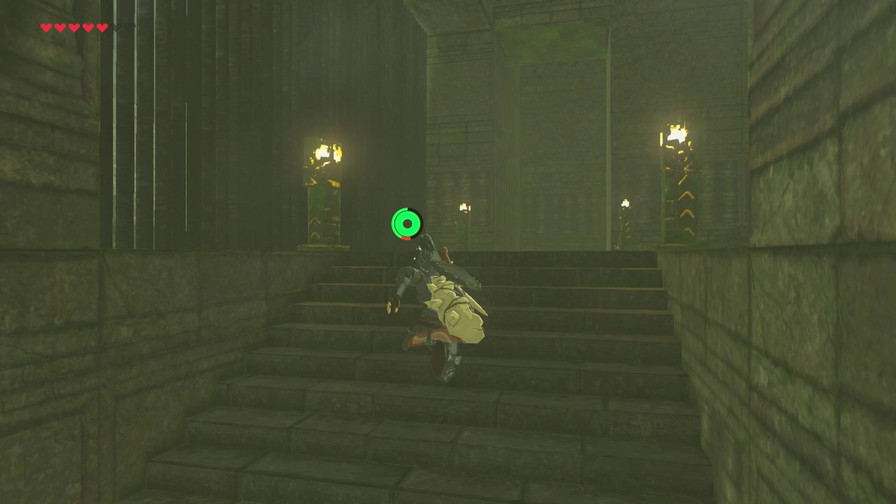 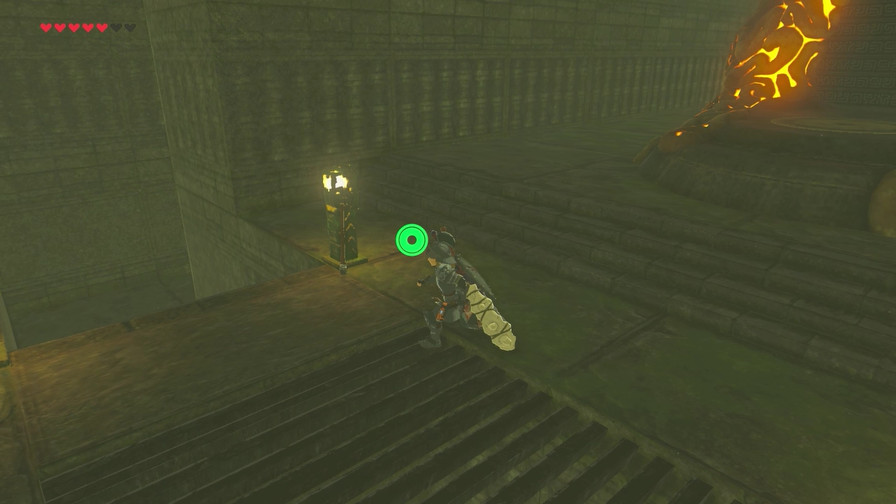 Looks like we found the entrance! 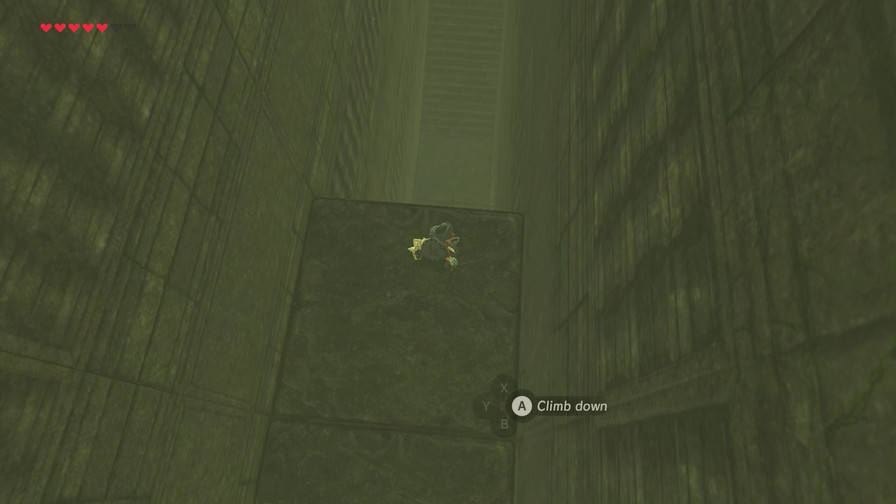 The other path is a dead end, so let's claim our prize while we're here. 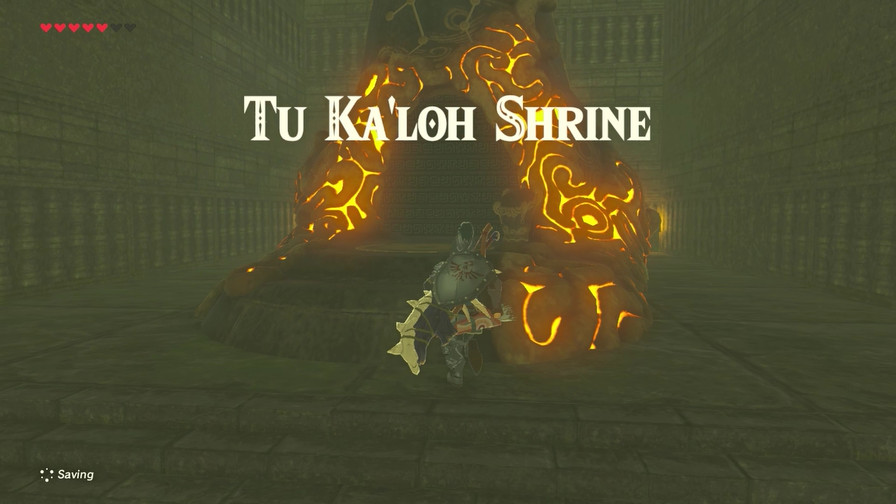 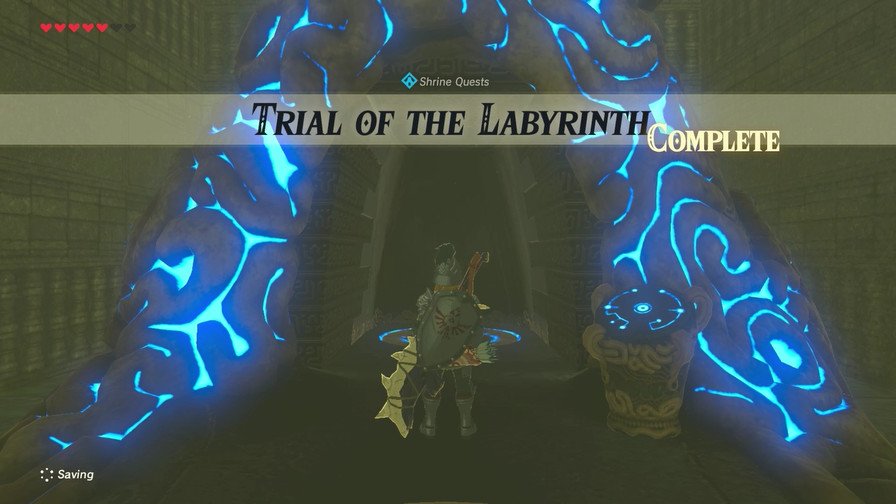 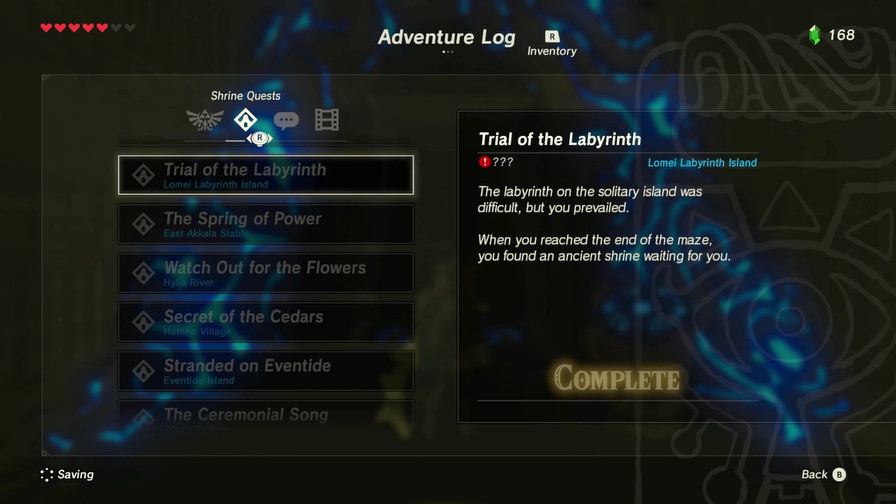 That was simple enough! 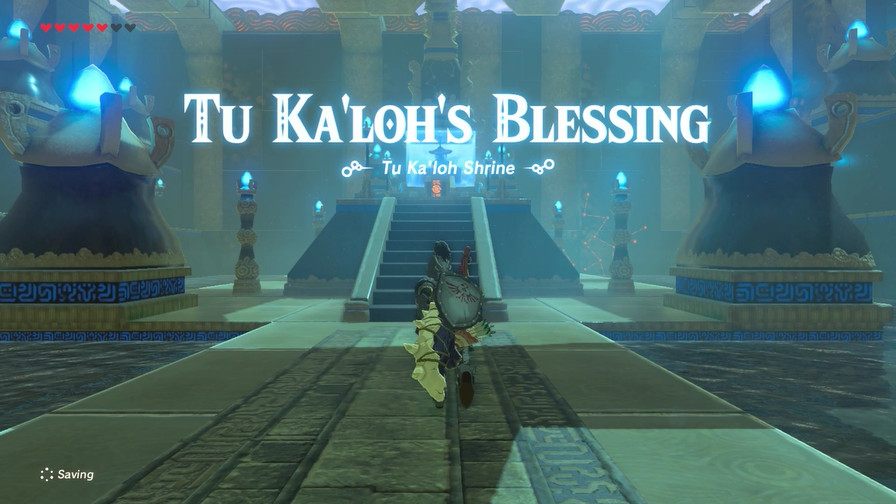 And our reward, besides the obligatory shrine orb? 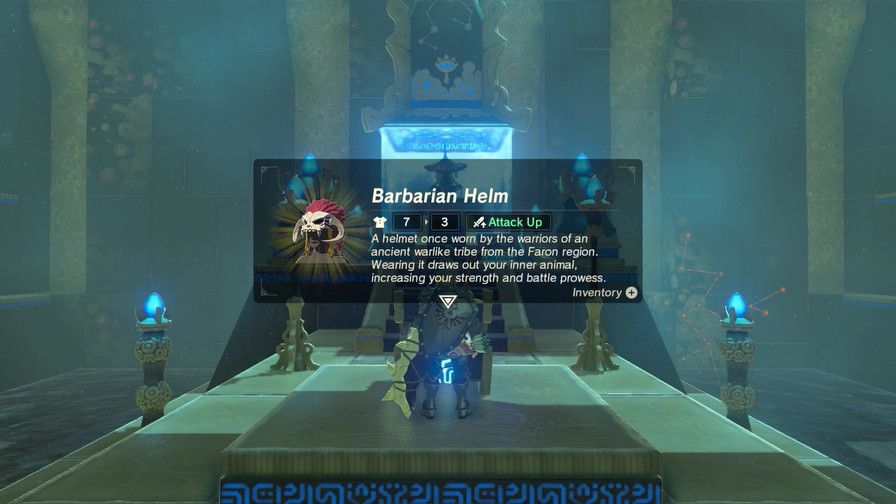 The first piece of Barbarian Gear. This stuff gives Attack Up bonuses, which...yeah, they're pretty solid. The only real problem with them is that they're somewhat difficult to get upgrade materials for, since they mostly require Lynel parts. ...Yeah.  We'll save that for another day, though. 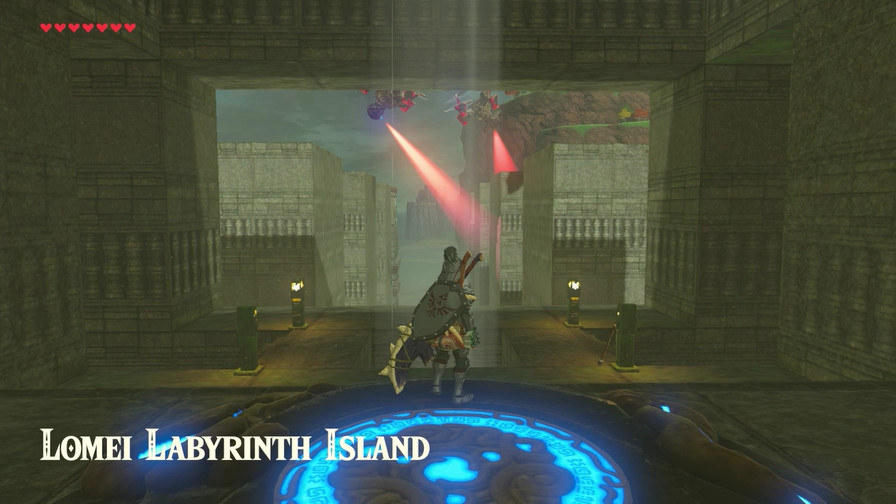 With that, the gate is now open and there's a new hole in the floor with a nice updraft.  But we're far from done exploring yet! 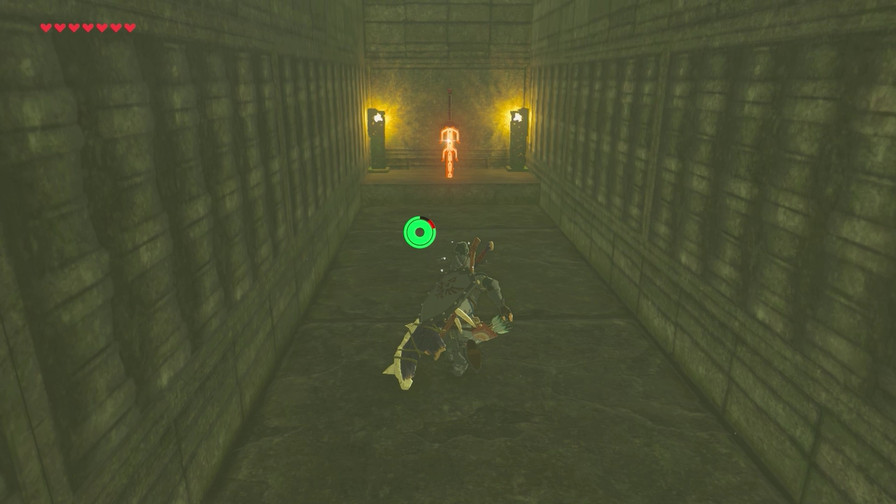 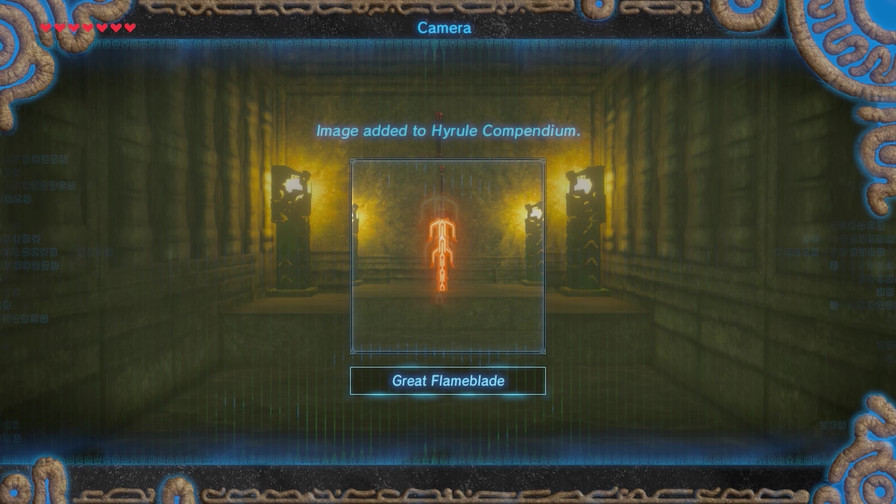 This path we passed a bit ago leads to another handy weapon. 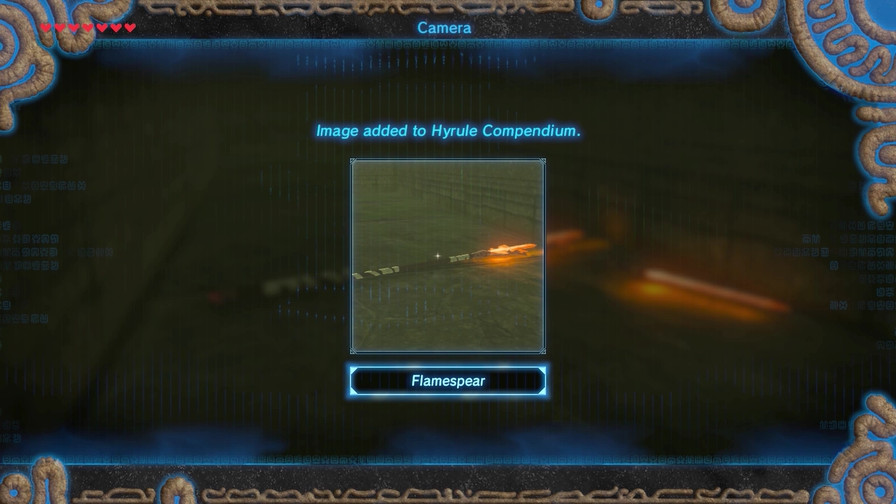 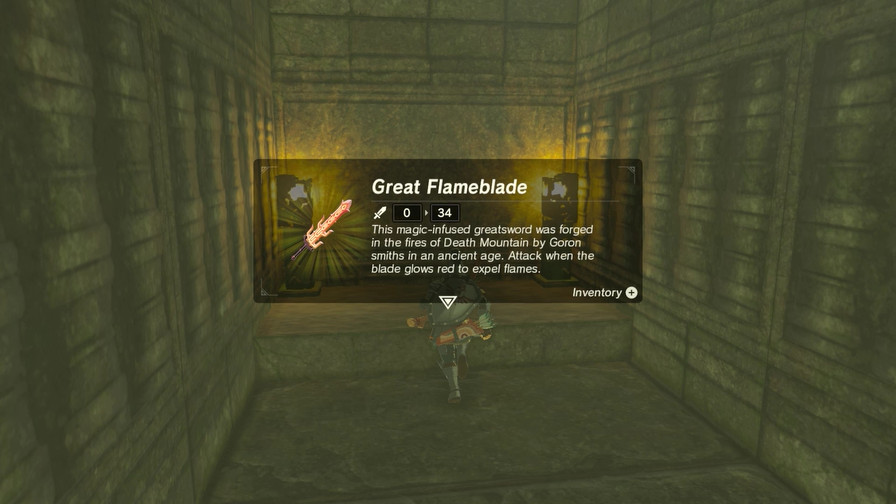 After we dispose of some old flame weapons to make room for it, we take it for ourselves. 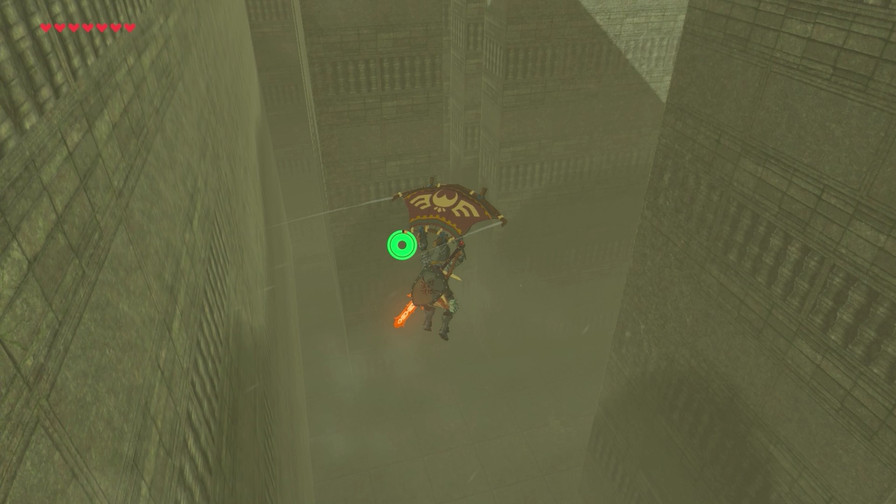 We've thoroughly explored the west half of the labyrinth, but there's still the entire eastern half to explore, too! 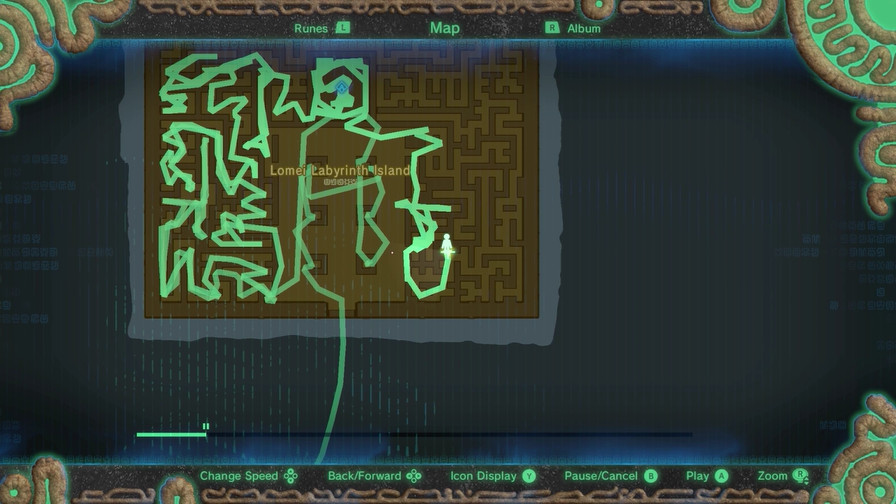 Though, there doesn't seem to be as much loot in this half. 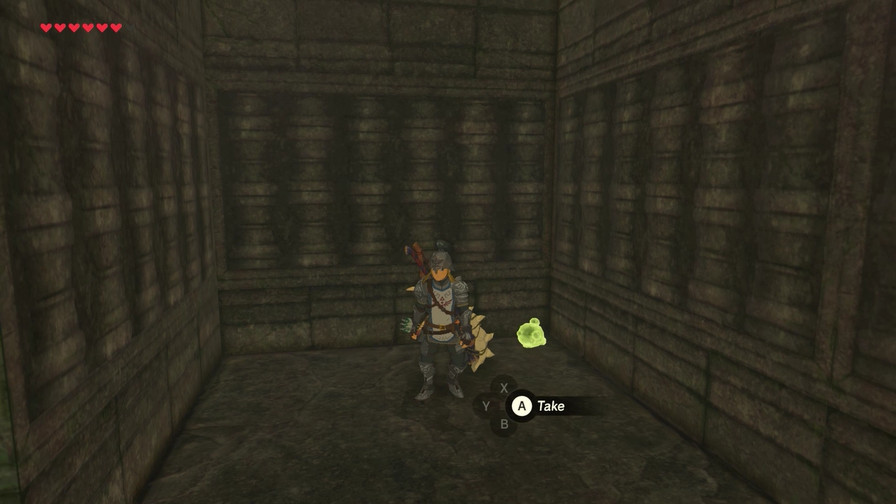 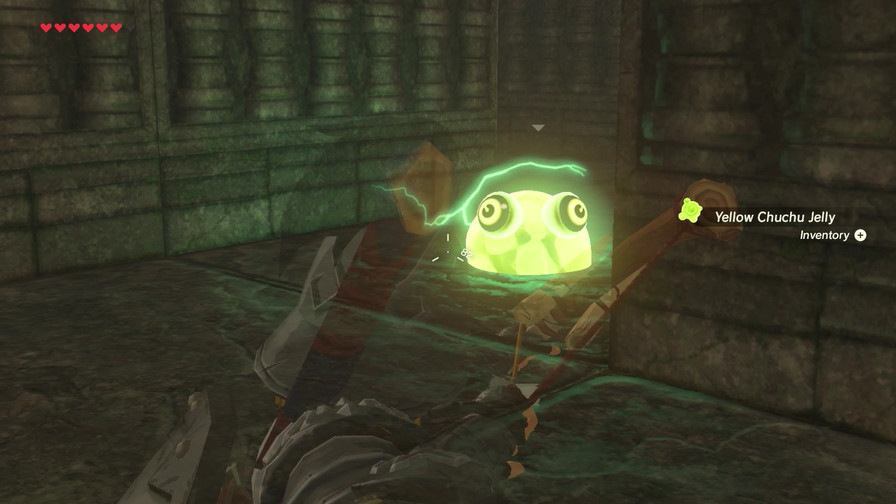 Another Chuchu trap... 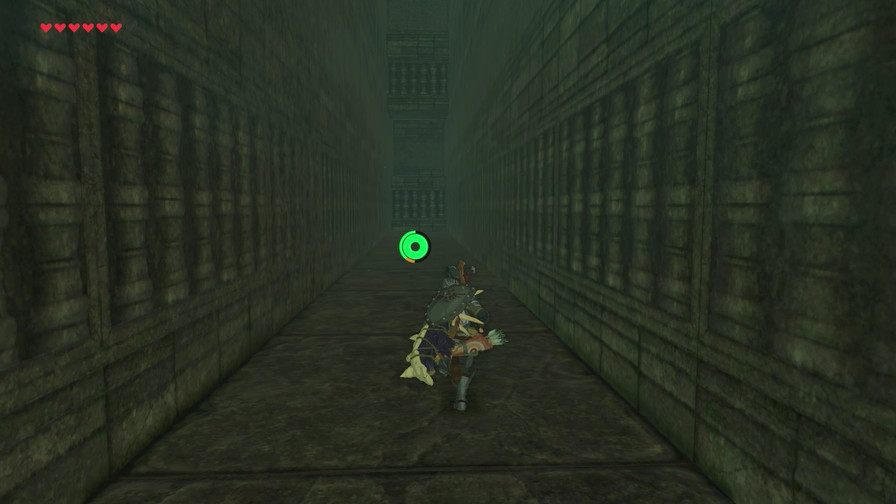 ...and this seemingly dead end.  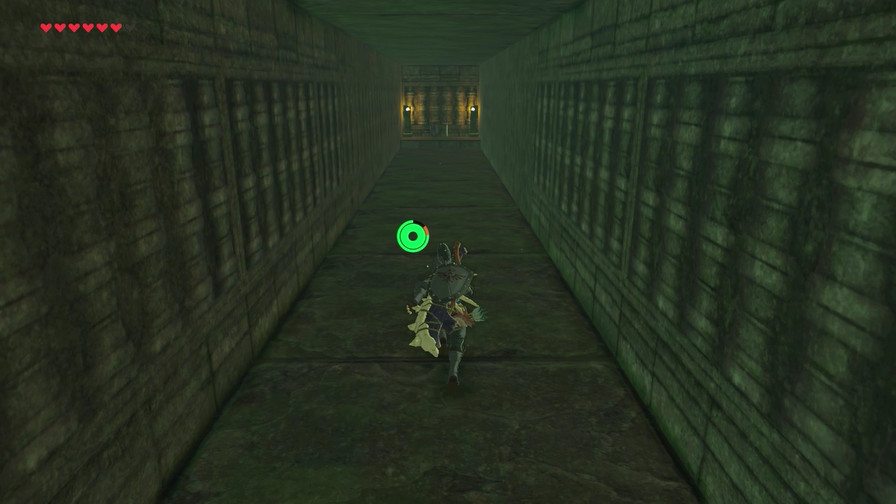 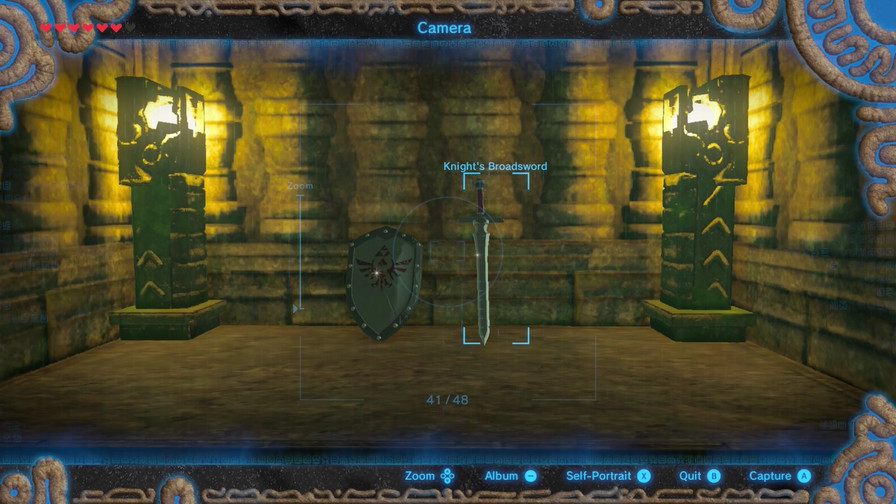 Which of course isn't, and after a bit of climbing we find some Knight gear. 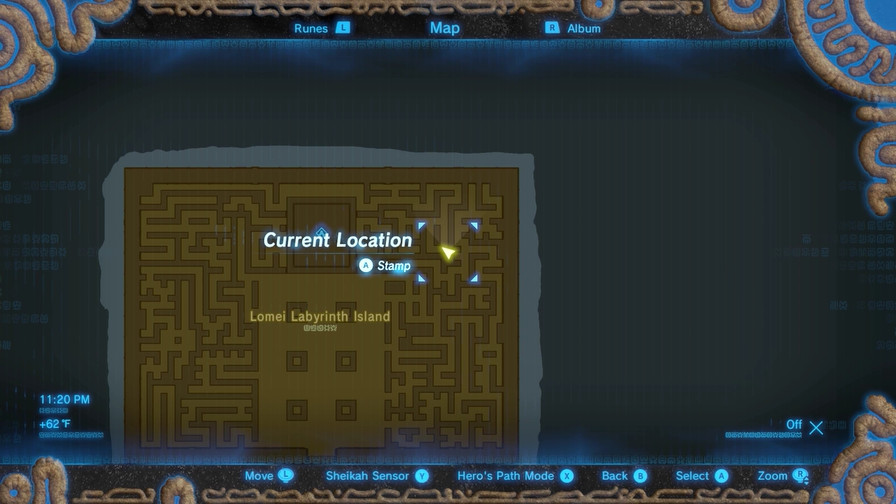 Otherwise it's rather uneventful until we find the secret path to the top section of the map. 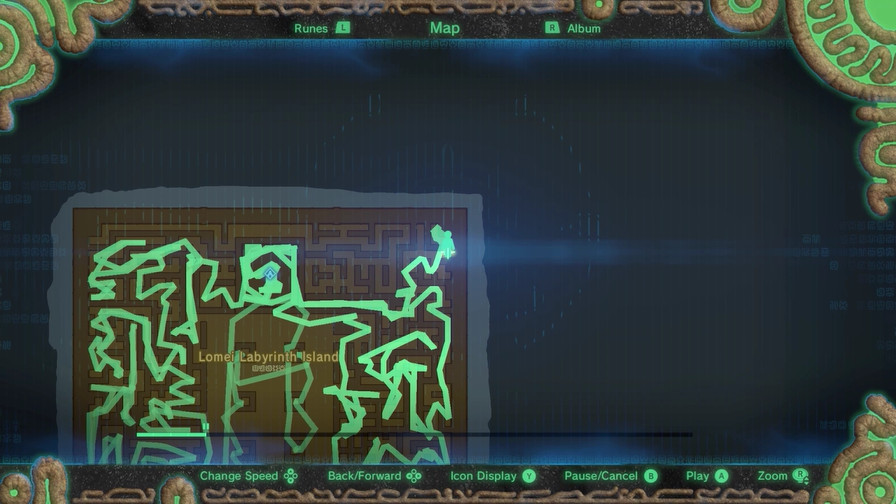 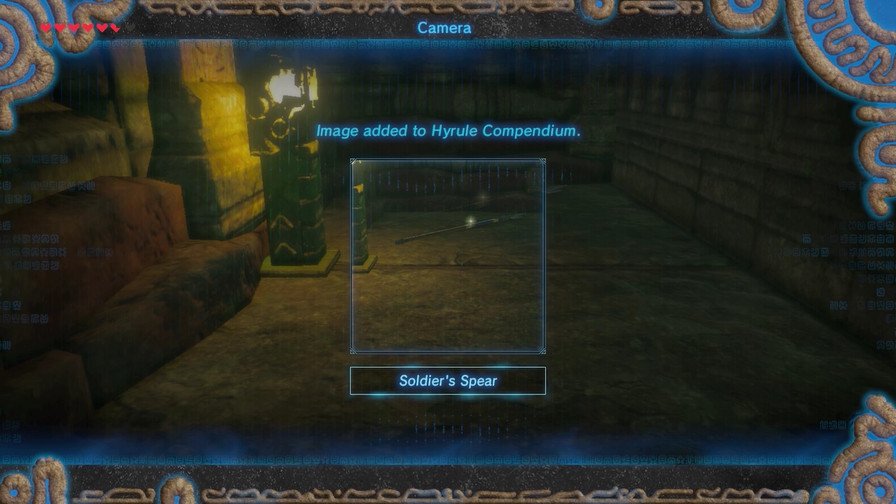 After we finish up this current area, which leads to a spear, we explore this final area of the map. 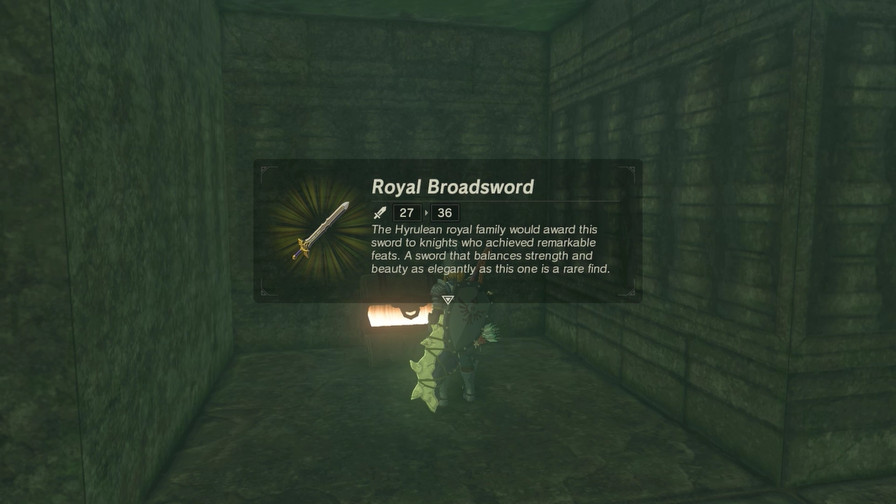 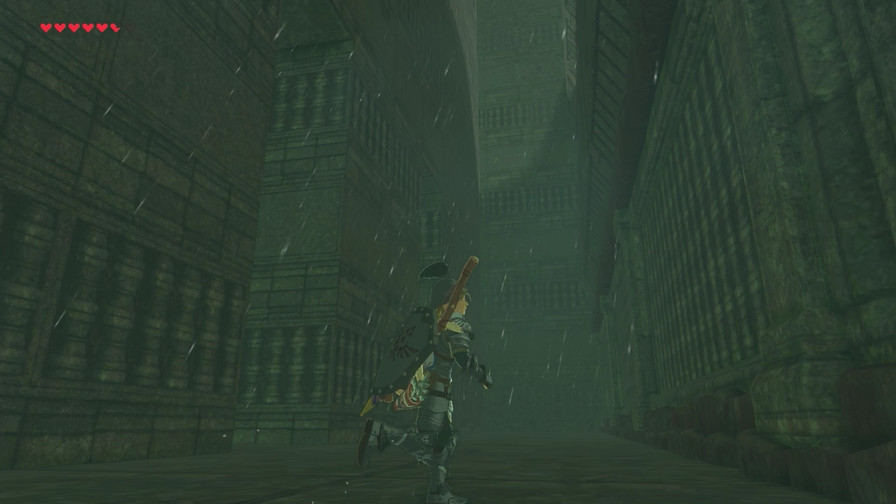 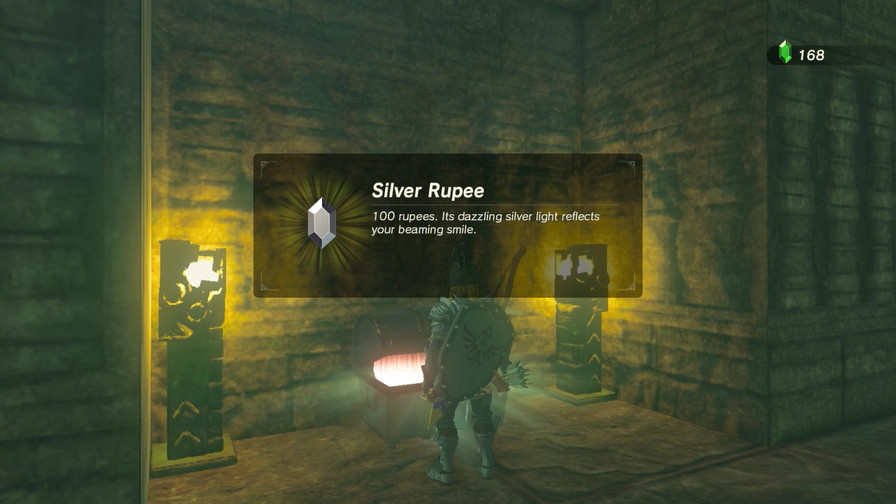 Some decent stuff. 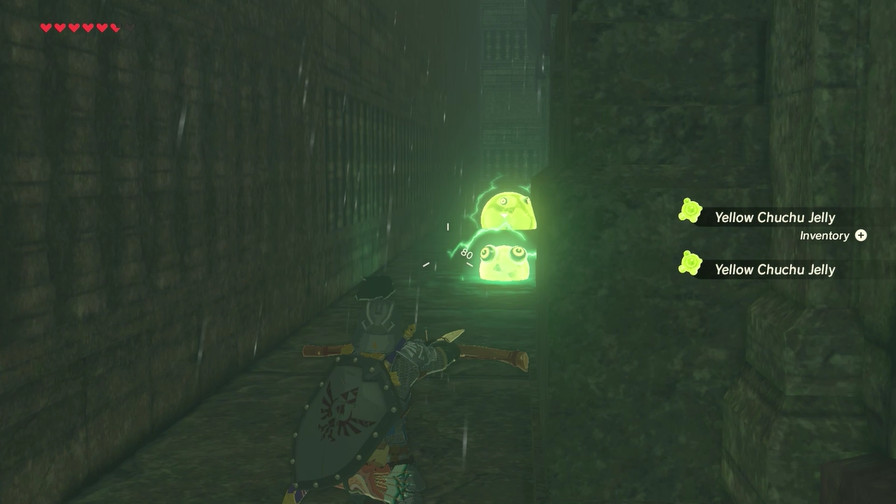 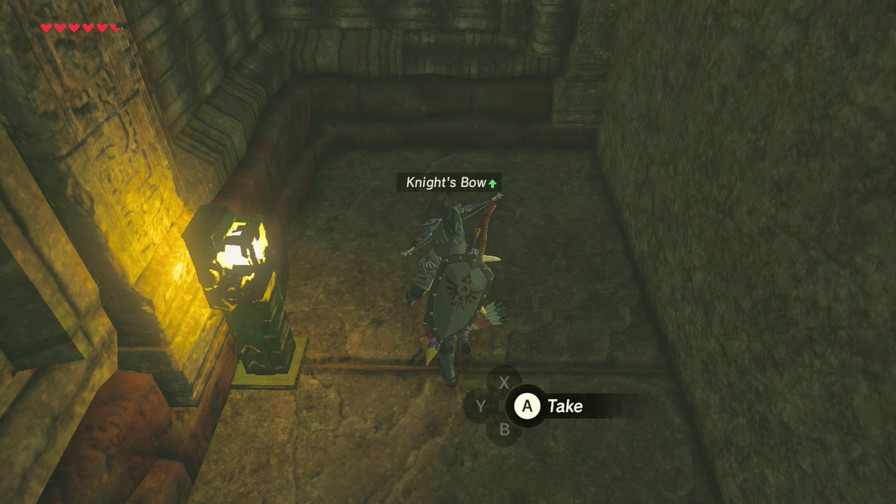 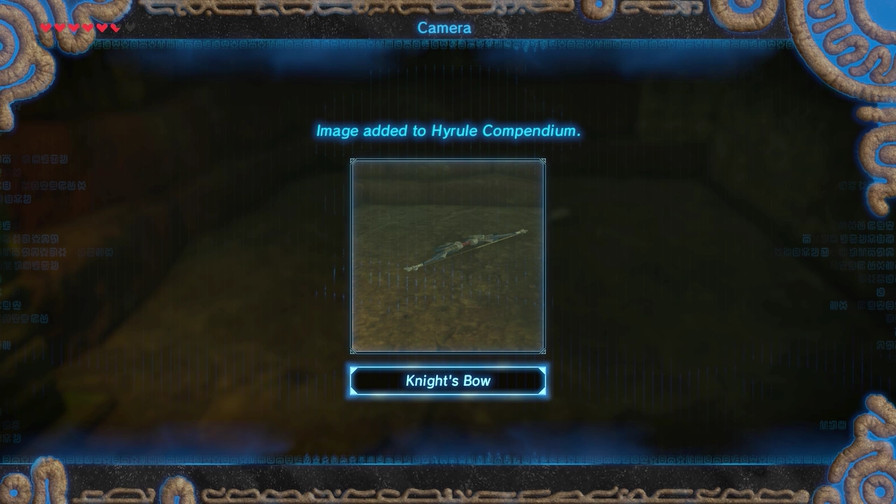 And the last stretch ends in a bow I already have three of. 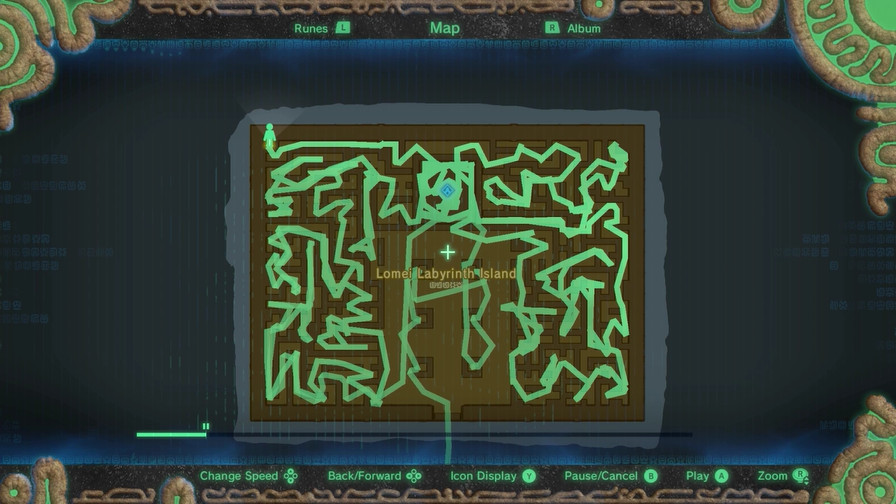 And with that, we've fully explored the labyrinth! Nothing else left to find! 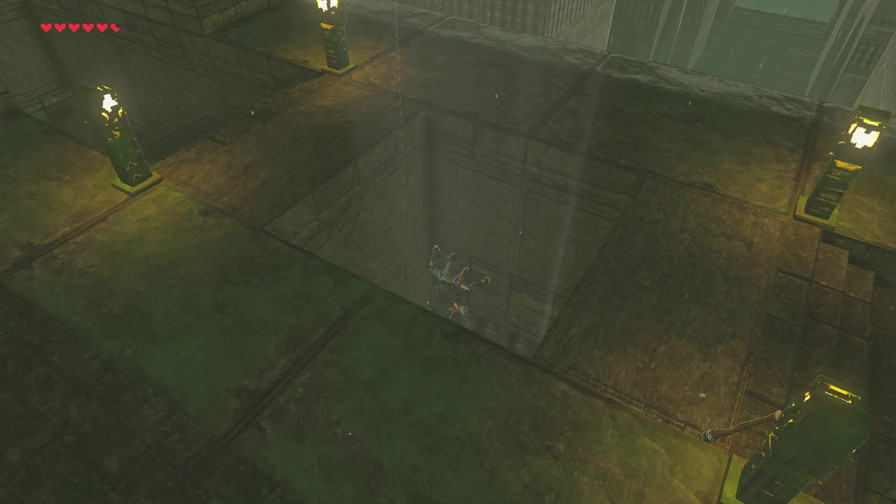 ...except this. 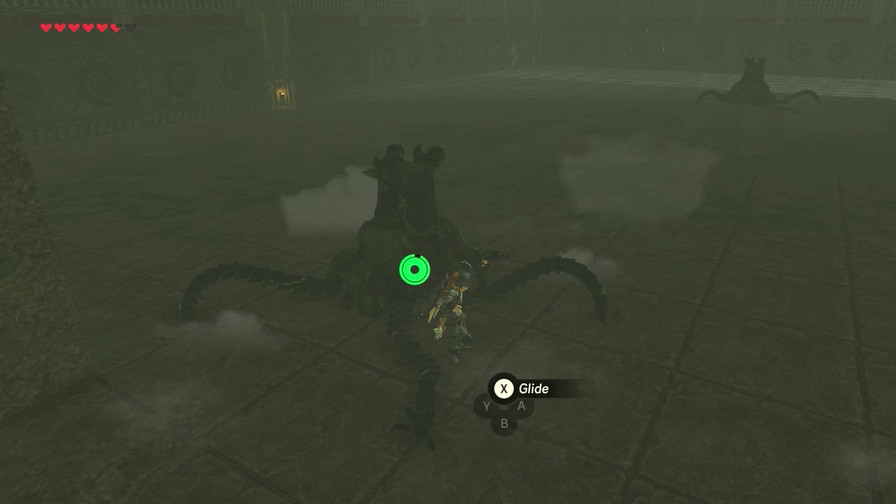 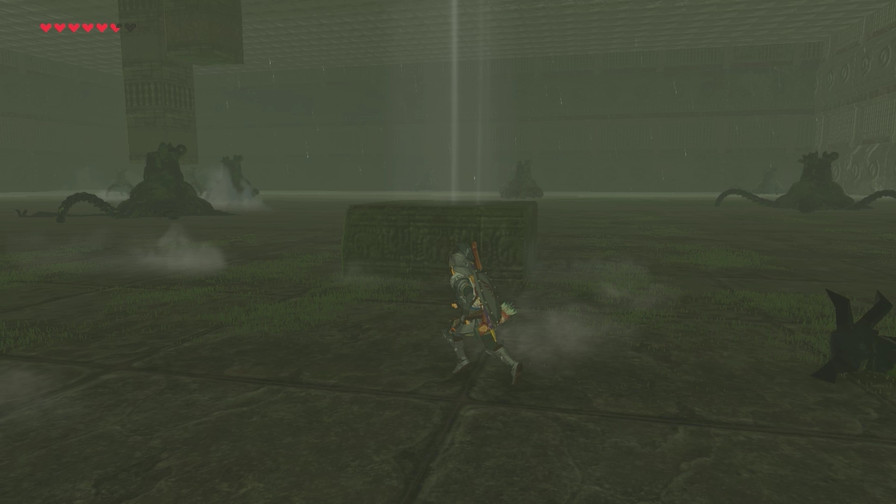 Yeah, just a massive basement full of dead Guardians. Nothing too special. 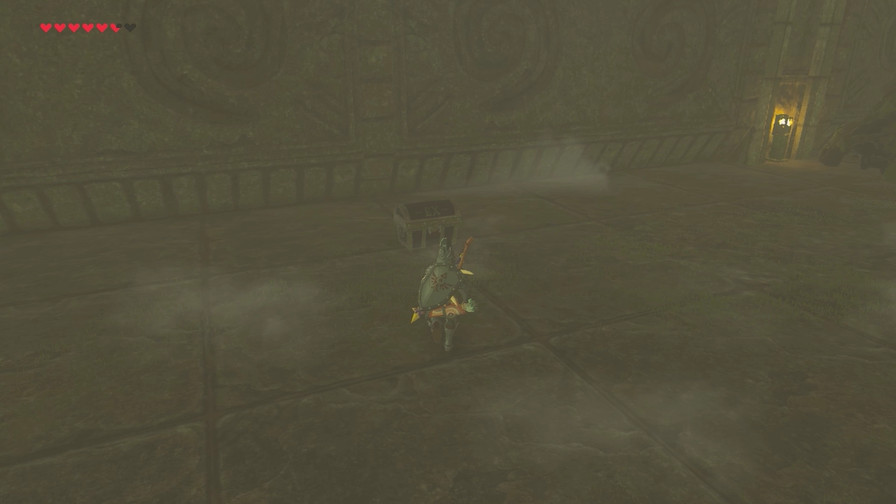 Though there are a couple of chests, including a new DLC item. 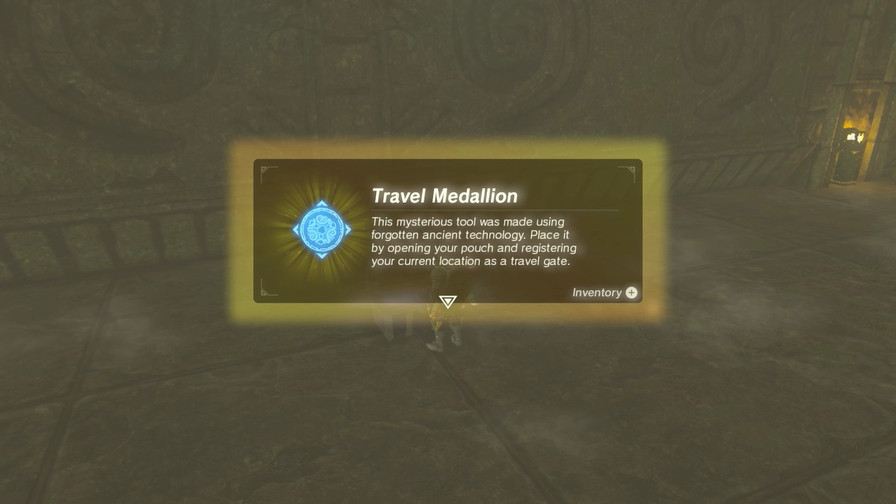 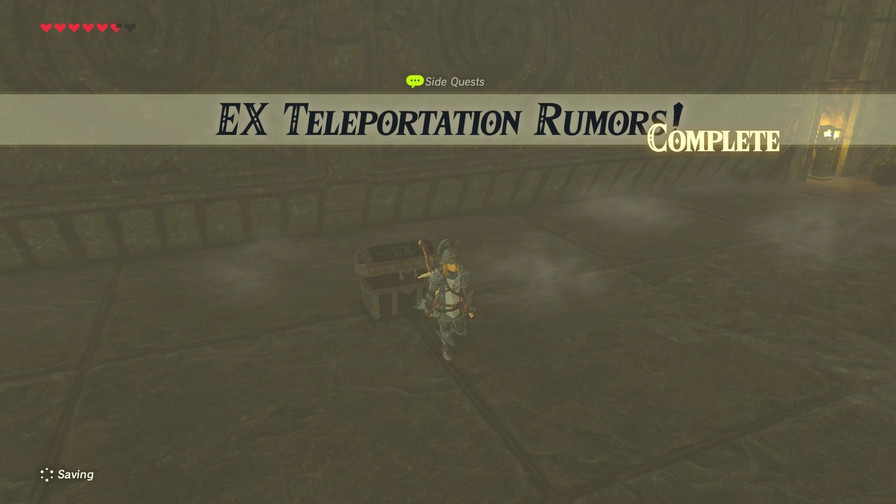 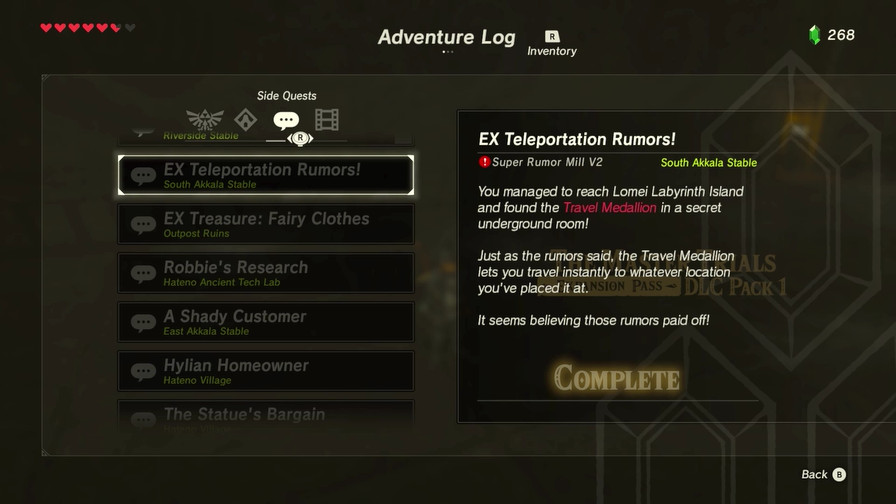 The Travel Medallion lets you create a teleportation place. It's this game's Mark/Recall. Quite a few handy places to use it. 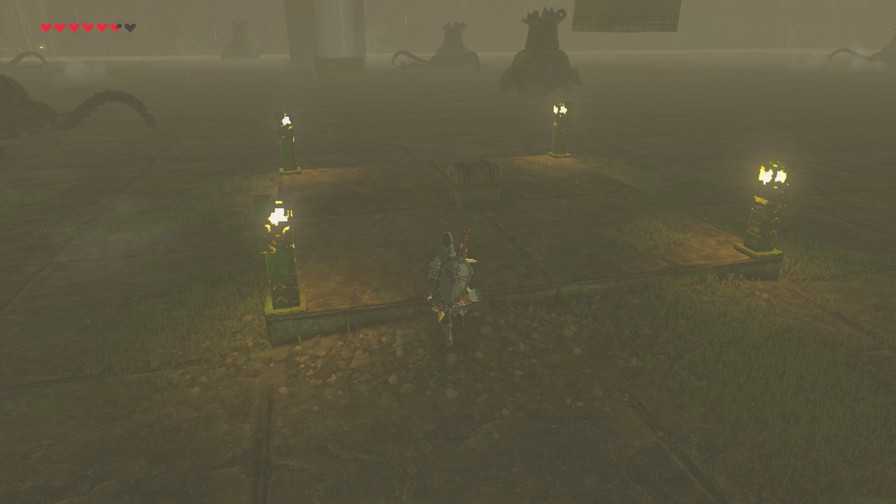 And near the center is this chest. 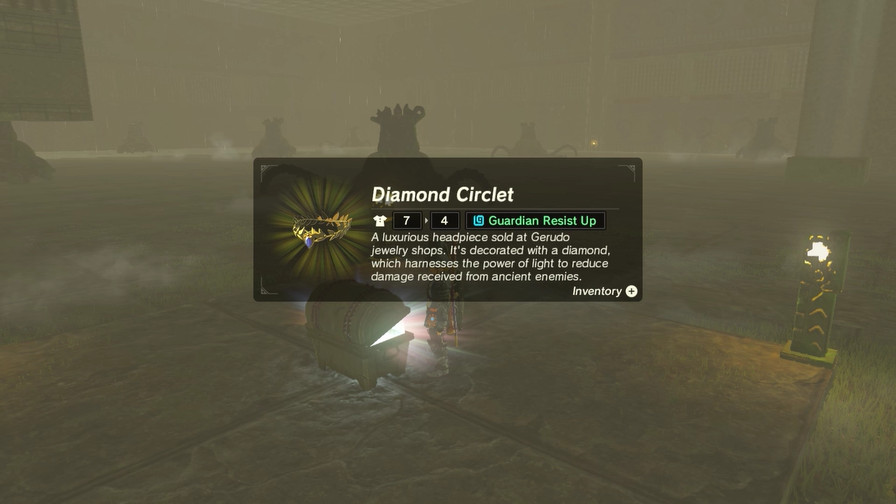 Our first piece of head jewelry. The Diamond Circlet has the defense values of the Soldier Helm, but with bonus Guardian Resist. How appropriate. https://g.mega64.net/botw/u45/115.mp4 ...For reasons that suddenly make sense. 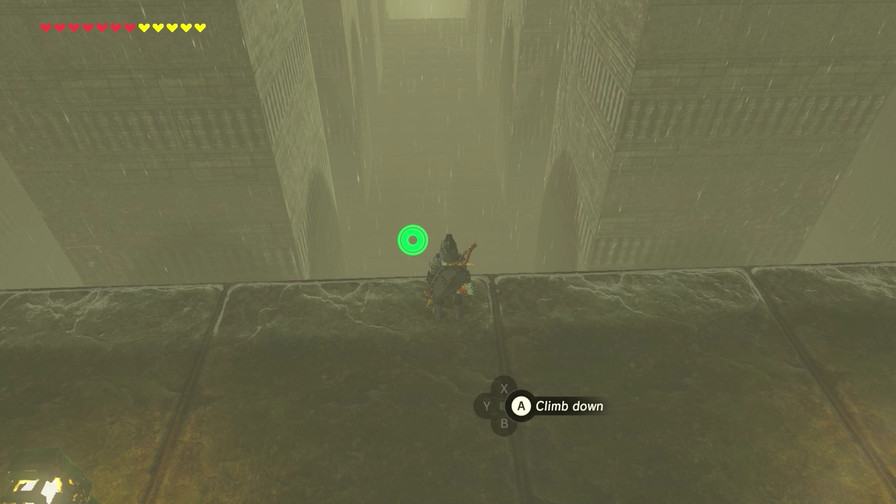 And now we're finally done exploring! In fact, I've pretty much showed off most of the interesting stuff in Akkala. So I think it's time to plot our new course! I'm going to cook up one last update where I check the map and visit the shrines I marked, solely because I like having an even number of updates per chapter. But in the meantime, it's time once again to plan what we do next! First off, our current map: 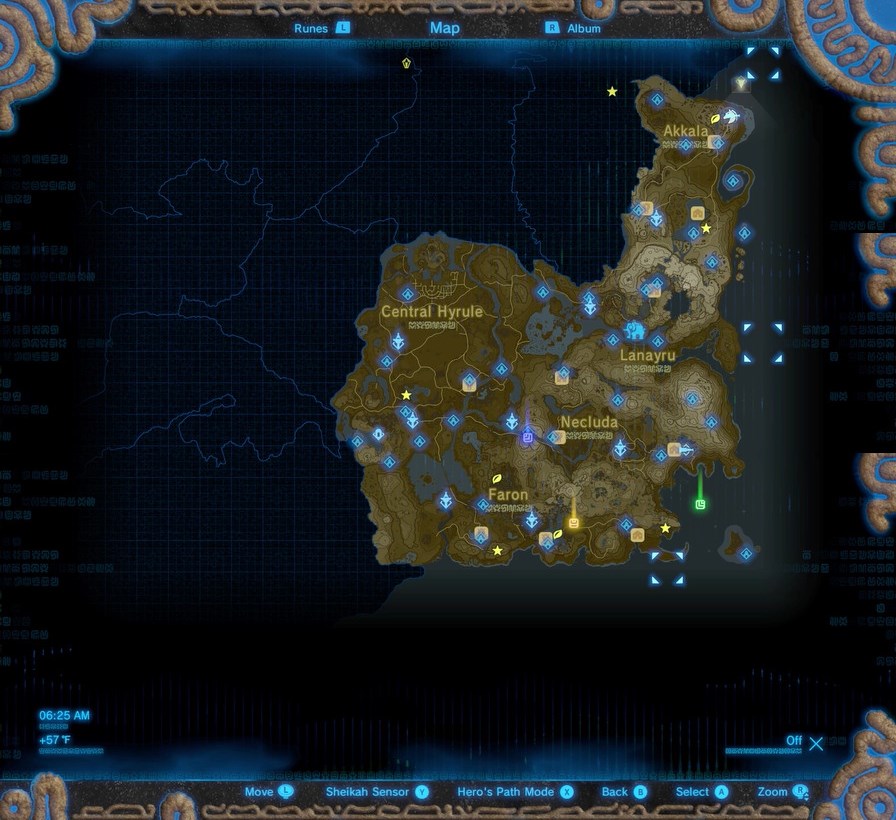 That's seven regions still undiscovered! Not to mention there's still a ton of stuff to discover in the places we have discovered... Our current available quests. You can also check the third post for available memories as well. And here's our current fashion. Mega64 posted:CURRENT ARMOR So let's get to it: * Where to? * What to wear? * Since I'm going to tackle more shrines and get more Spirit Orbs, what should our next upgrade be? I'm planning to change ISPs soon so I might be without service for a bit, thus a new excuse for why I may not update promptly. Otherwise, I'll make polls for the suggestions and we'll have a vote as usual. Until next time!
|
|
#
?
Aug 13, 2017 16:22
|
|
|
Bomb yourself, go in direction you face Also, is a line of jelly creatures a Chuchu train?
|
|
#
?
Aug 13, 2017 16:34
|
|
|
I think you should explore more of the volcano and go visit the Gorons in full Tingle gear
|
|
#
?
Aug 13, 2017 16:54
|
|

|
Go west, young Link
|
|
#
?
Aug 13, 2017 19:28
|
|


|
Volcano Also, that Ancient armor set is amazing. After a few upgrades (with the whole set), you only take a quarter heart damage from Guardian lasers. They become a complete non-threat.
|
|
#
?
Aug 13, 2017 19:45
|
|
|
If you take off running right away you have just enough time after grabbing the circlet to get onto the air vent and shoot up as they fire. It's an incredible rush.
|
|
#
?
Aug 13, 2017 19:45
|
|
|
I feel like some of these shrine quests should have maybe more than 1 spirit orb as a reward for getting to them. I dunno. The Barbarian Helm seems nice?
|
|
#
?
Aug 13, 2017 20:35
|
|

|
How about collecting the rest of the Barbarian set?
|
|
#
?
Aug 13, 2017 21:30
|
|


|
seeing as how you've already done the east and southeast parts of the map, it makes sense to the west and southwest next
|
|
#
?
Aug 13, 2017 21:32
|
|


|
Jade Rider posted:Go west, young Link Yeah. Explore the area to the North of Hyrule Castle.
|
|
#
?
Aug 13, 2017 22:35
|
|

|
Trump Card posted:I think you should explore more of the volcano and go visit the Gorons in full Tingle gear Gorons are cool, so I say this.
|
|
#
?
Aug 14, 2017 05:02
|
|

|
I agree with visiting the Gorons, but never wear the tingle armor again. Throw it away. Wear something else.
|
|
#
?
Aug 14, 2017 05:13
|
|
|
Go west, young man. And do it wearing the Sheikah armor.
|
|
#
?
Aug 14, 2017 16:28
|
|


|
Continue the counterclockwise tour of Hyrule!
|
|
#
?
Aug 14, 2017 16:45
|
|
|
bladeworksmaster posted:Go west, young man. And do it wearing the Sheikah armor. The Sheikah Set Counterclockwise Tour seems like a great idea! vdate fucked around with this message at 19:45 on Aug 14, 2017 |
|
#
?
Aug 14, 2017 19:42
|
|
|
I'll do a poll for choices tomorrow afternoon. Meanwhile, I'm now 1/3 done with shrines. After what will be 46 updates. This will probably take awhile.
|
|
#
?
Aug 15, 2017 00:54
|
|
|
Meet and greet with the Gorons sounds like a good time. Maybe you will find one with a good name son. Besides, blatantly ignoring Thermal Convection is always a fun time.
|
|
#
?
Aug 15, 2017 14:27
|
|

|
Zebrin posted:Besides, blatantly ignoring Thermal Convection is always a fun time. Ahaha, haha... ah. Continue moving west from Akkala, but be sure to visit the area north of Hyrule Castle as soon as practical.
|
|
#
?
Aug 16, 2017 12:37
|
|
|
Zebrin posted:Meet and greet with the Gorons sounds like a good time. Maybe you will find one with a good name son. This. Let's see if we can find a Failson to help us out!
|
|
#
?
Aug 16, 2017 13:51
|
|

|
Sorry for the delay, but next update won't be up until Friday anyway. Anyway here's the poll finally. Don't forget you have multiple choices!
|
|
#
?
Aug 17, 2017 10:05
|
|
|
Results! Going back to the Stamina Vessel well.  And it looks like we've got our next destination decided! And I also finally got off my lazy butt and got the screenshots for the next update ready and will write it up shortly. I'm on vacation this week so hopefully I'll get this thing back to a decent pace again.
|
|
#
?
Aug 21, 2017 16:13
|
|
|
  Since I want to make the OP pretty and have an even number of updates per "chapter", I'm dedicating today's update to cleaning up a few shrines, since there's quite a few I missed during my previous adventures. I'll be covering four of those today. First off, remember that one area we passed by with the Gorons a few updates ago in favor of chasing a dragon? Maybe we should go ahead and revisit that. 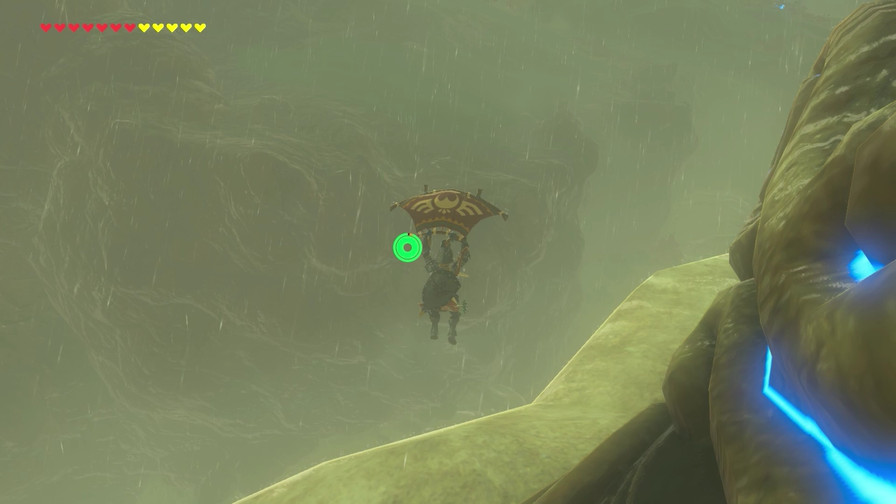 So back to the shrine atop Skull Lake, and then parasailing our way to our destination. 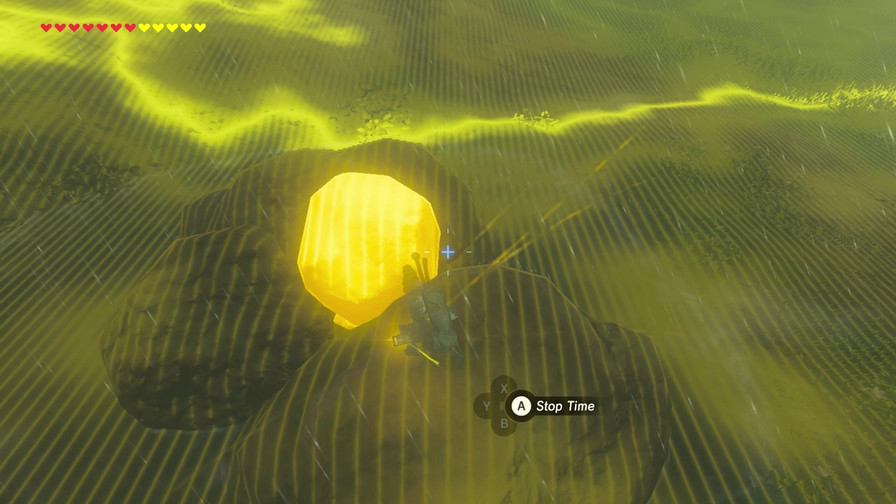 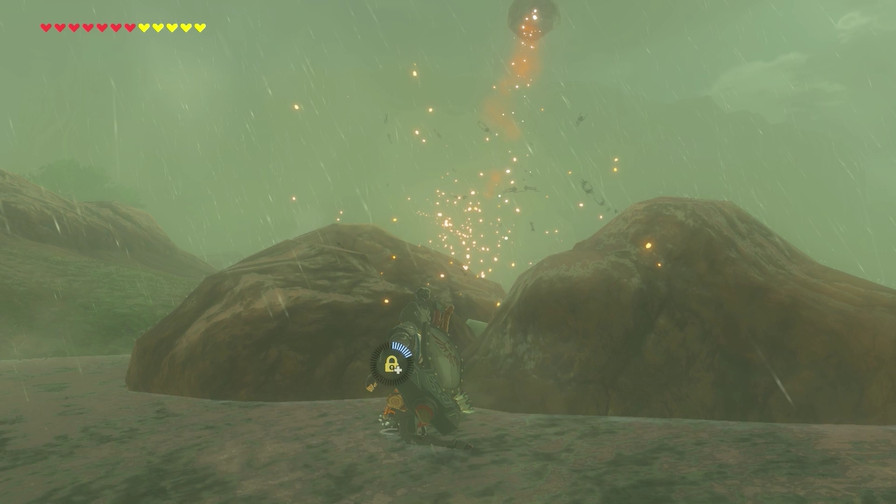  With the usual distractions along the way, of course. 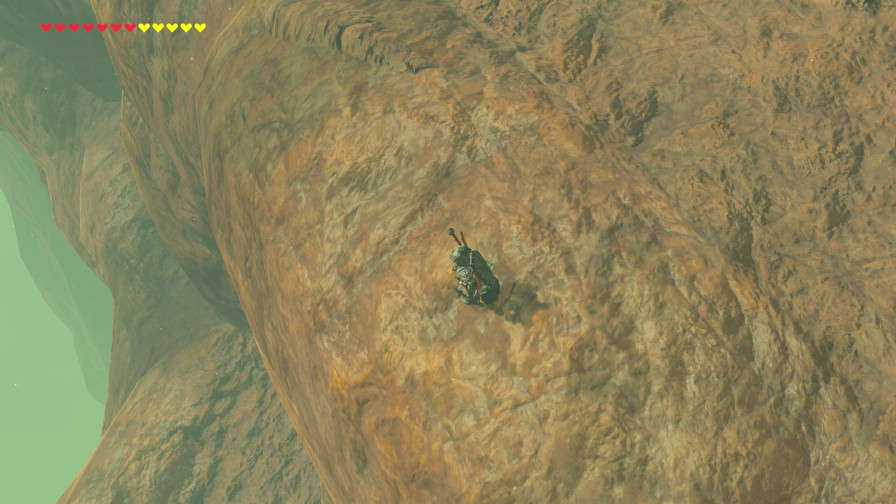 I get distracted (of course) by a lower ledge and feel compelled to explore it. 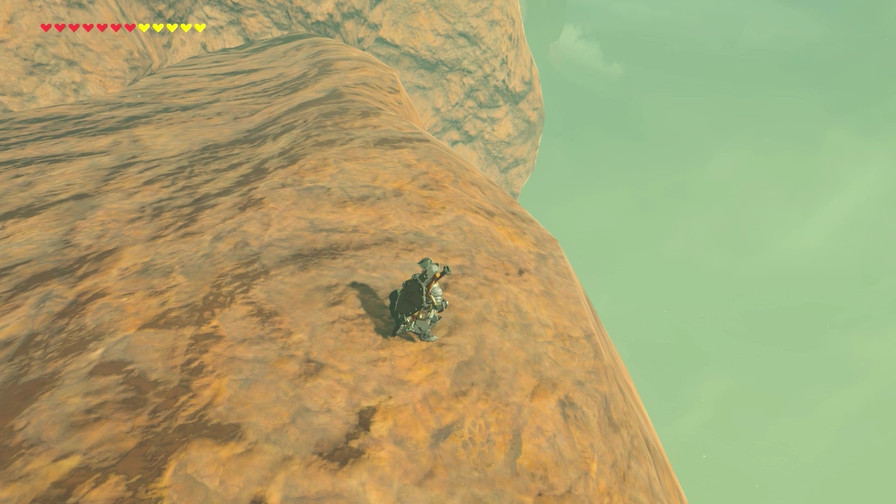 This is the northern boundary of the map. Nothing but bottomless depths that will respawn us with less health. 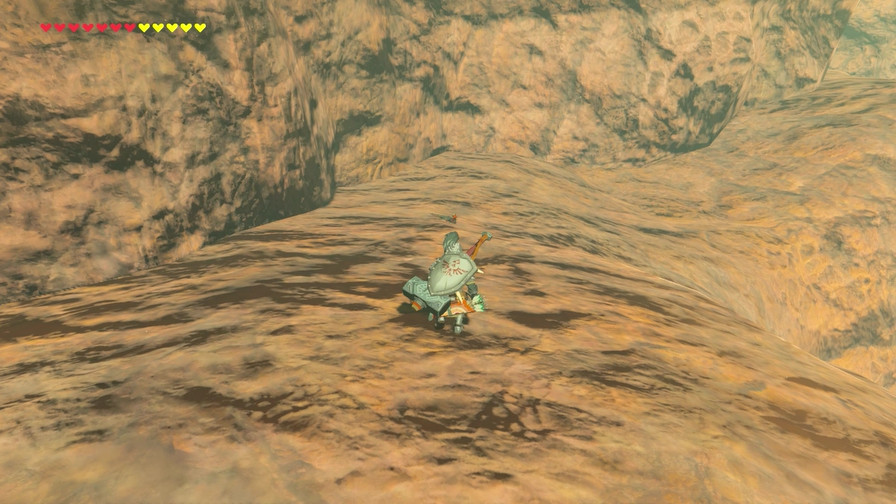 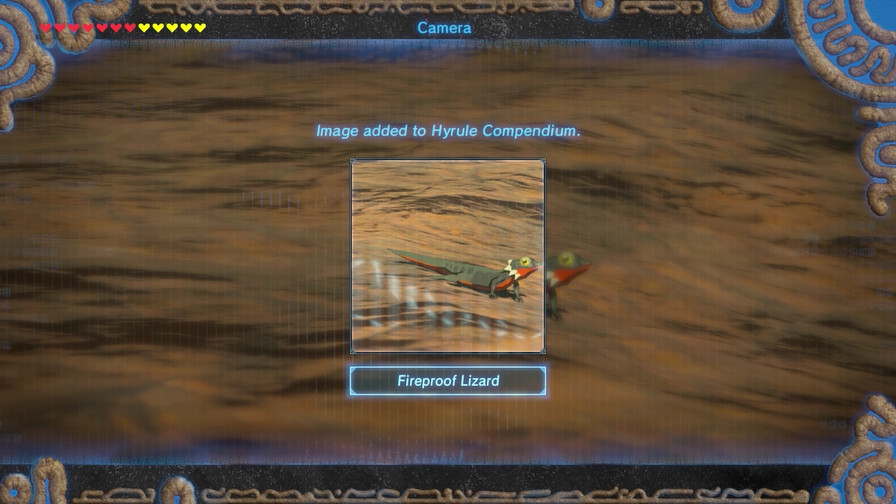 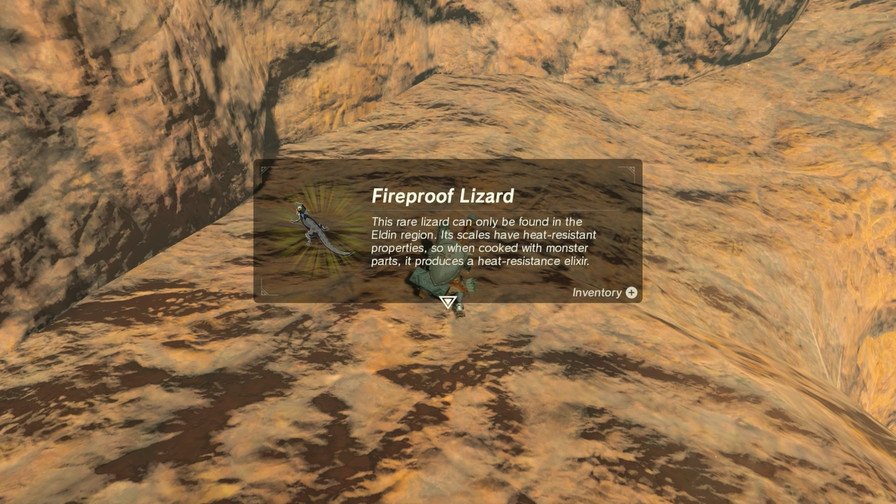 It did let me find this, though. These guys can be a pain to find since lizards scare easily, and it'll be valuable to be able to find these guys later. I make this guy into an elixir later, but I won't be showing that this update because, well, I want it to be a surprise. 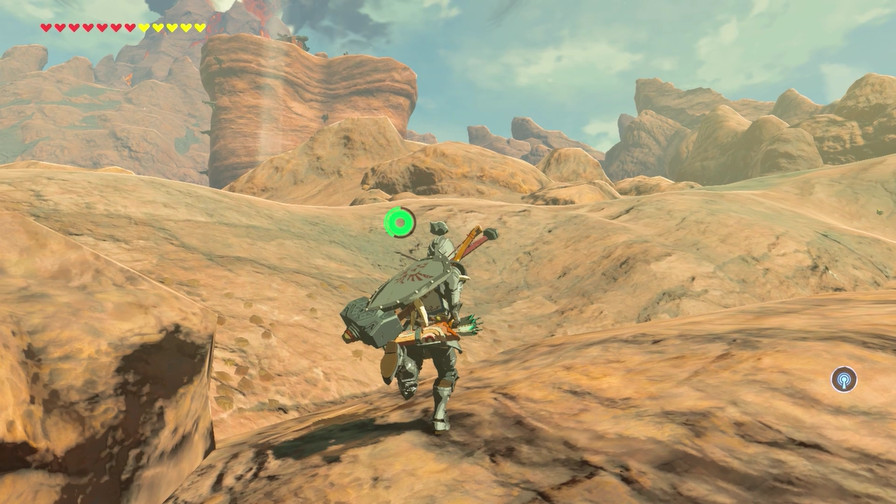  Otherwise there's nothing of interest down there and after a few failed attempts to climb up, finally end up near our destination.  Welcome to Gut Check Rock! 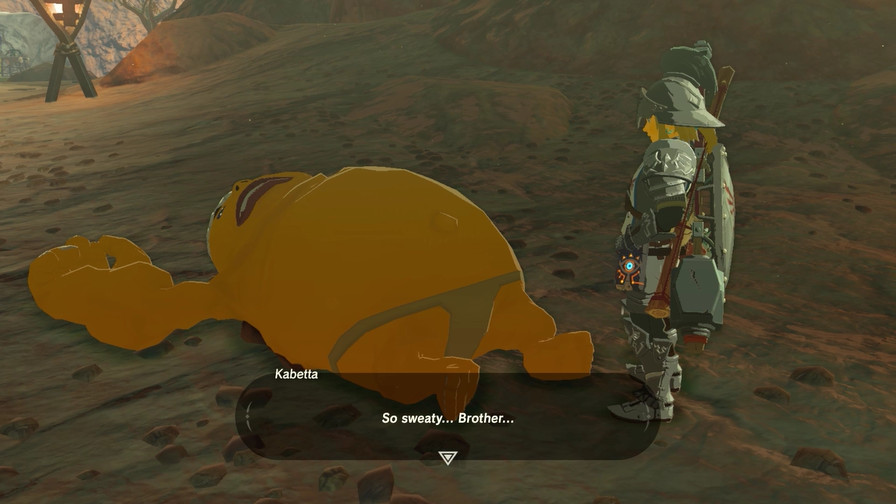 Hi... I'm trainin'...and sweaty... Go me... I can do it... Brother... Argh... If I were a Rito...I could just fly right up there... If only... Hi... I'm trainin'...and sweaty... Go me... I can do it... Brother... Argh... If I were a Rito...I could just fly right up there... If only...Guess he doesn't have the guts. 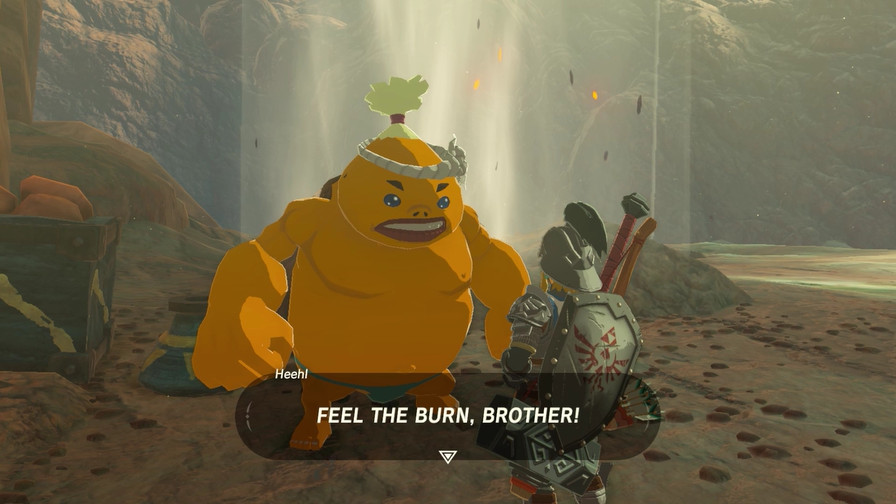 This hotness here is a training ground for manly Goron men. We climb this cliff like it's nothin', to prove our grit! If you've got some guts in that tiny bellt of yours, then talk to my big bro up top and prove it! This hotness here is a training ground for manly Goron men. We climb this cliff like it's nothin', to prove our grit! If you've got some guts in that tiny bellt of yours, then talk to my big bro up top and prove it!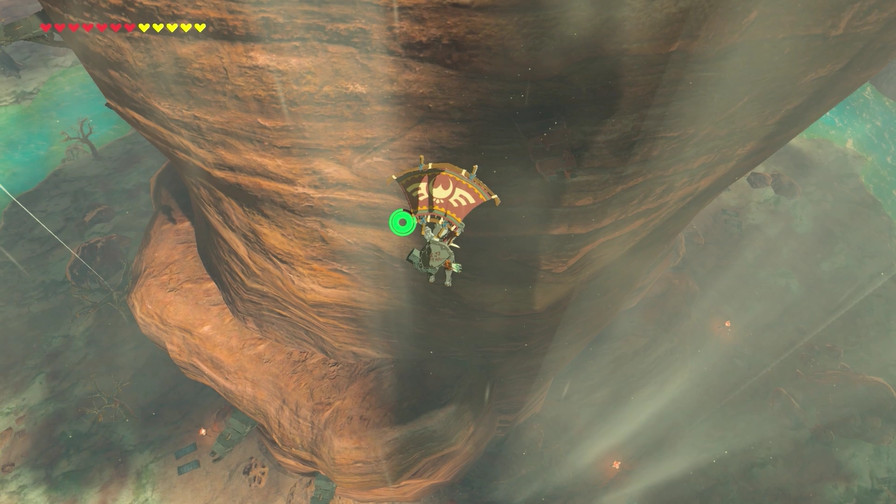 Let's do just that, then! Music: Death Mountain 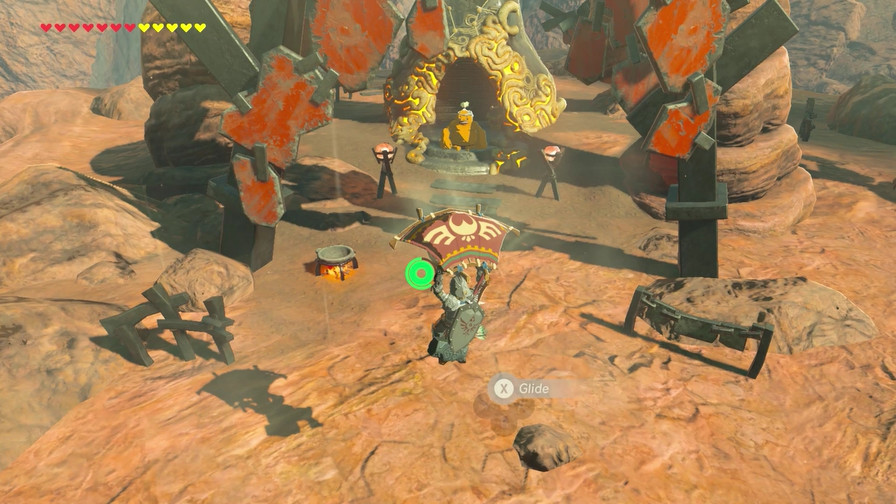 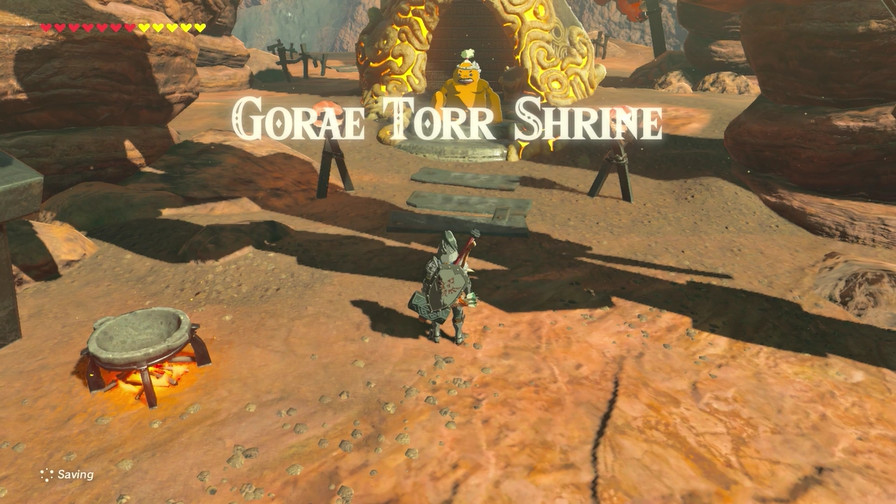 Well, would you look at that! Let's just mosey over to that shrine and- 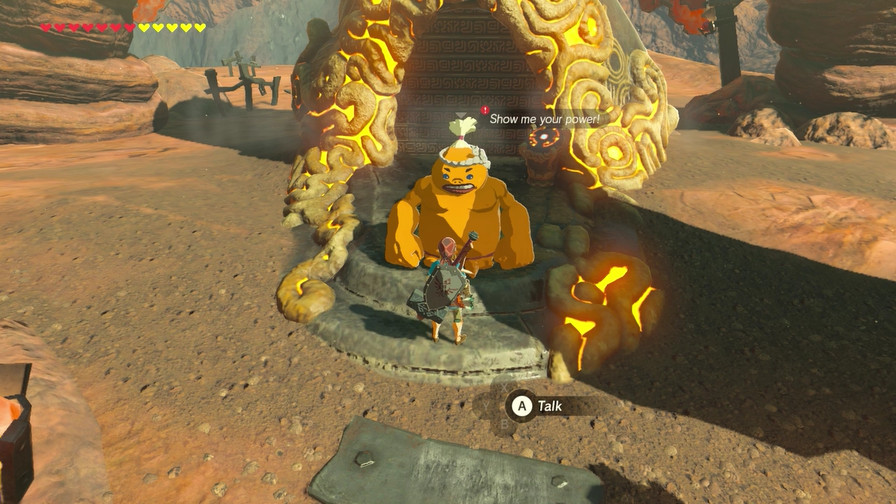 Hm. I get the feeling entering this shrine won't be as simple as I hoped. 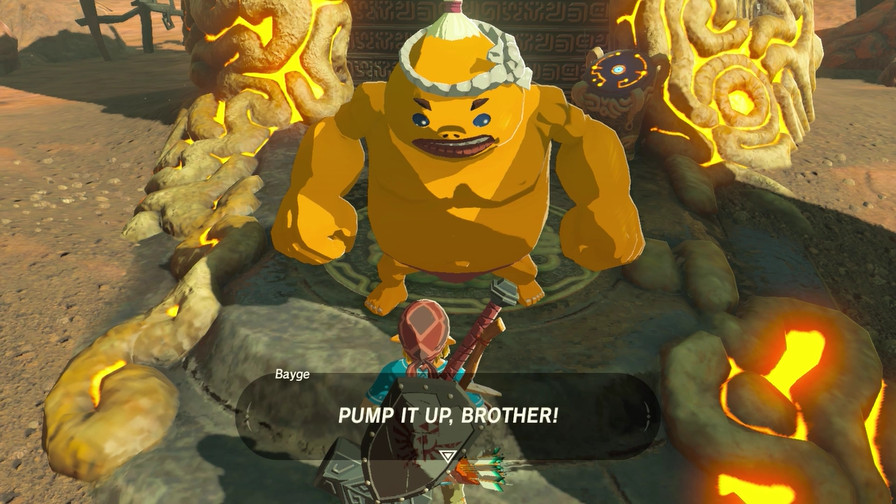 By the gods, I love me some muscle. This right here is our hard-core training ground, string bean. By the gods, I love me some muscle. This right here is our hard-core training ground, string bean.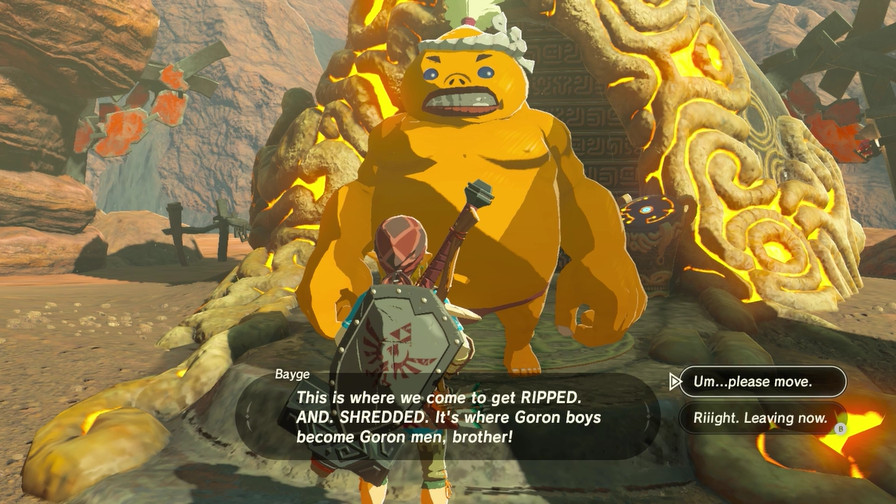 That sounds nice. Could you, uh, move? 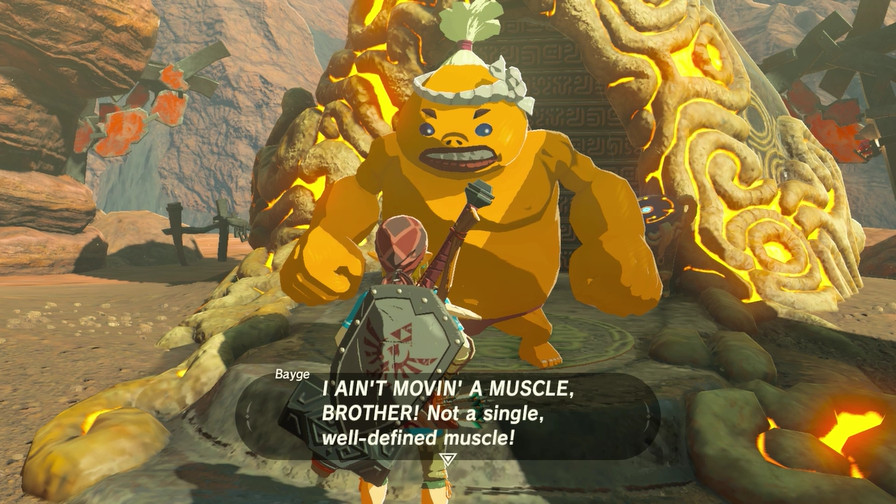 This is a special platform! Sacred even! Only real Goron men, as decided by us three Goron Blood Brothers, are allowed. Besides, my littlest bro is in the middle of trainin' right now. A brother does NOT interrupt a brother's trainin', brother! This is a special platform! Sacred even! Only real Goron men, as decided by us three Goron Blood Brothers, are allowed. Besides, my littlest bro is in the middle of trainin' right now. A brother does NOT interrupt a brother's trainin', brother!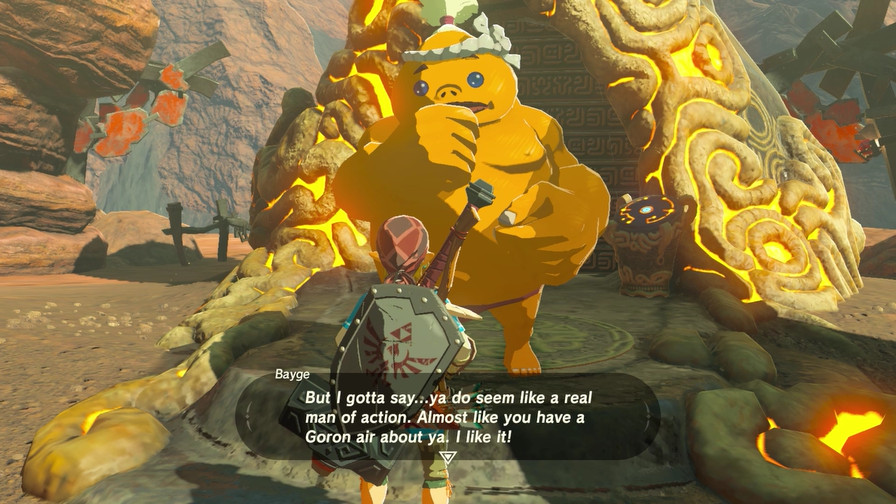 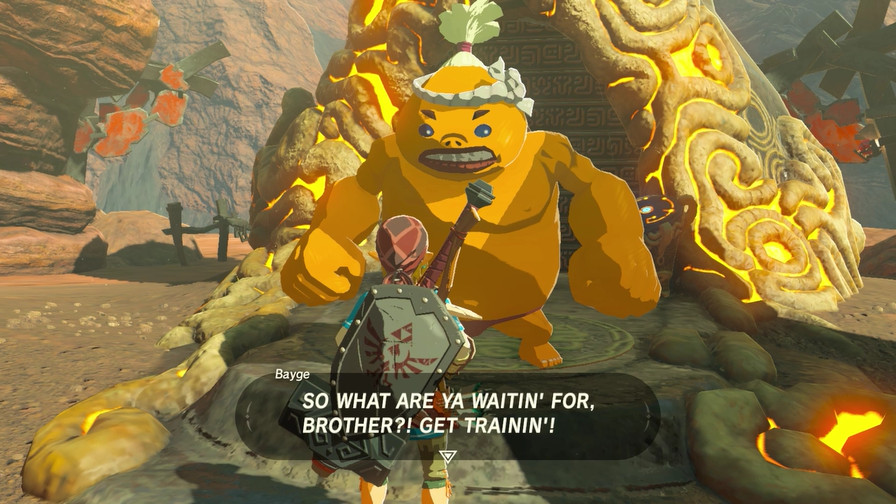 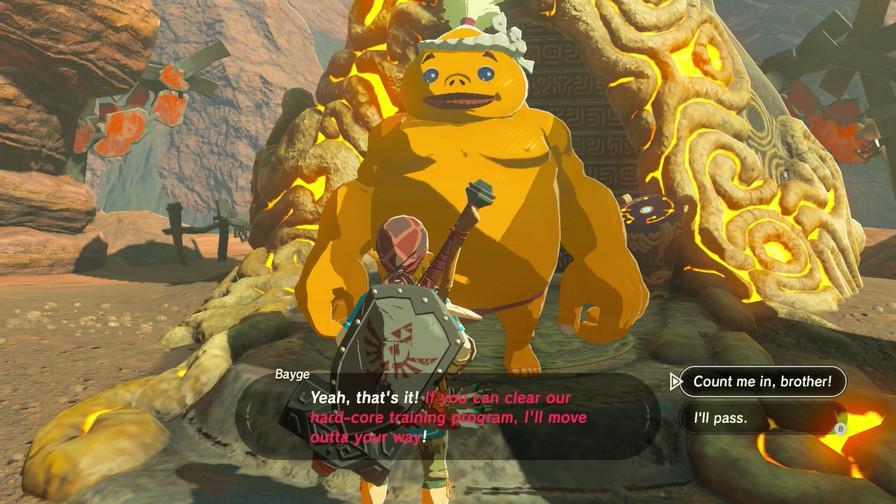 Considering everything else Link has been through so far, I'm sure we can handle whatever you throw at us. Ha! Good answer, brother! We're gonna shred you to pieces, little man. Prepare your tiny self! OK, lemme explain how this hard-core training works. The rules are dead simple. Simple as a deadlift, brother!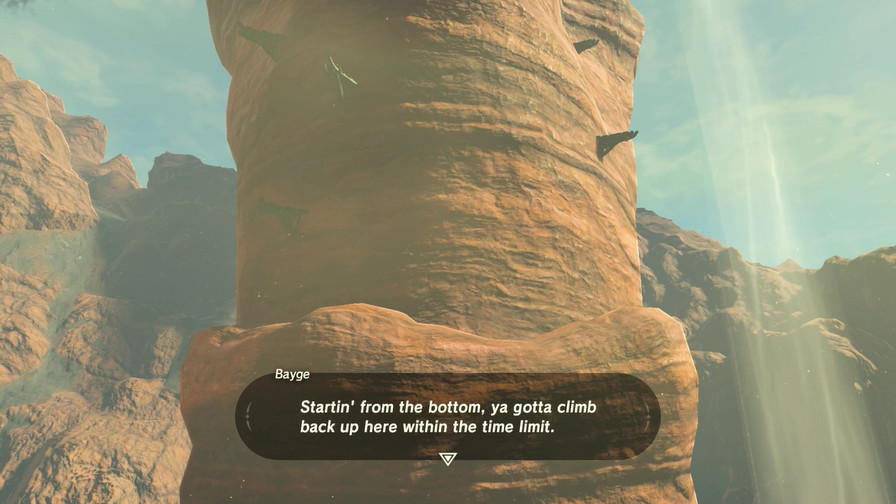 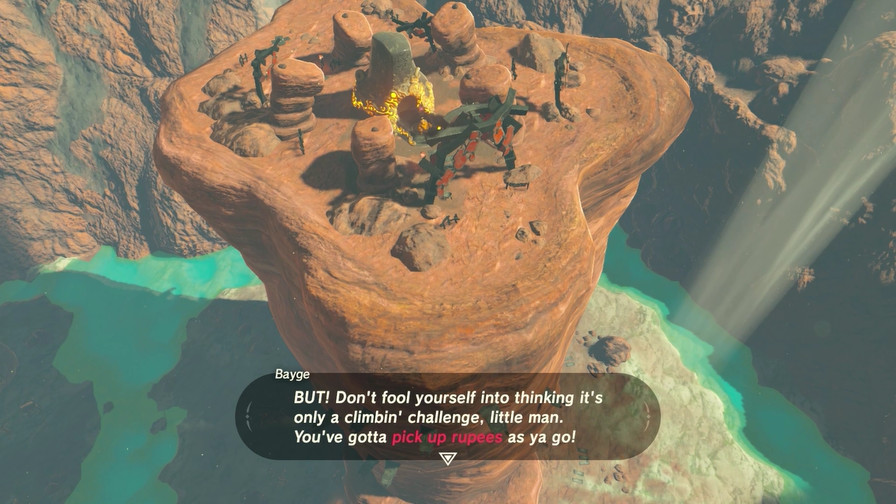 Get up the cliff within the time limit, and grab a passable number of rupees. Do that, and you pass the test! If ya run outta time or decide to give up halfway through your climb... Get up the cliff within the time limit, and grab a passable number of rupees. Do that, and you pass the test! If ya run outta time or decide to give up halfway through your climb...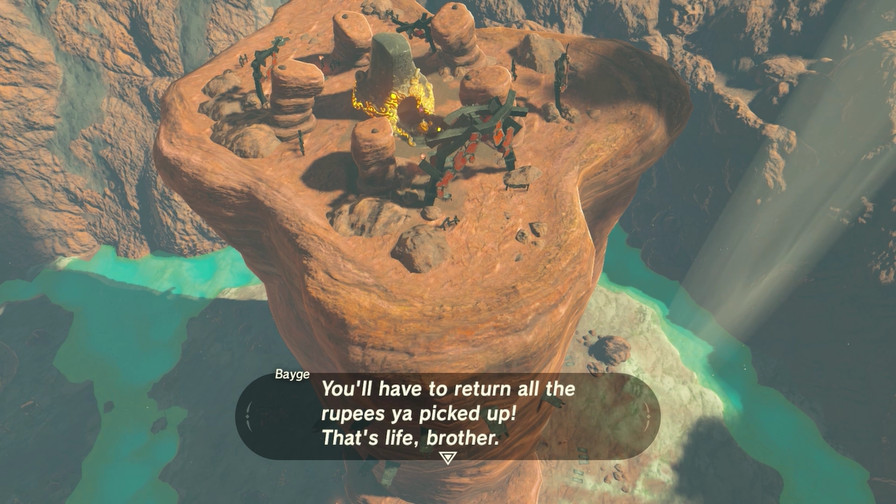 We're gonna help ya push past your limits, brother. Your physical, mental, AND emotional limits! OK, enough messin' around. It's time for the hardest of hard-core feats... We're gonna help ya push past your limits, brother. Your physical, mental, AND emotional limits! OK, enough messin' around. It's time for the hardest of hard-core feats...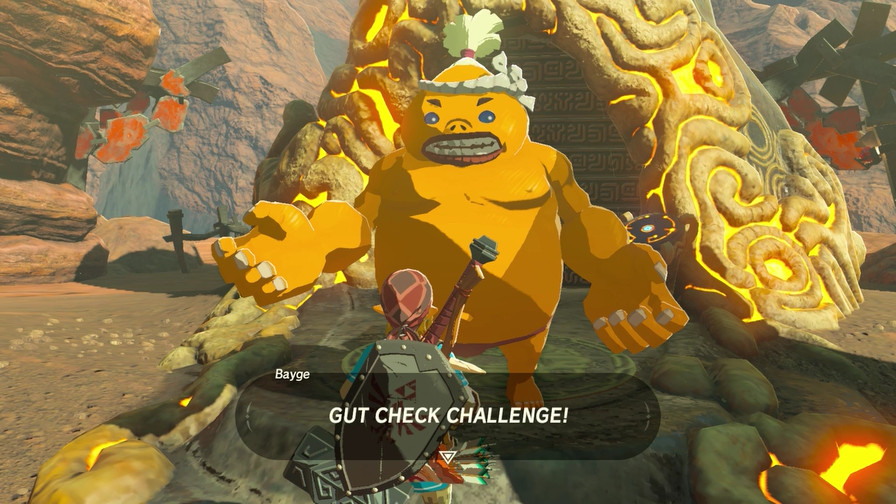 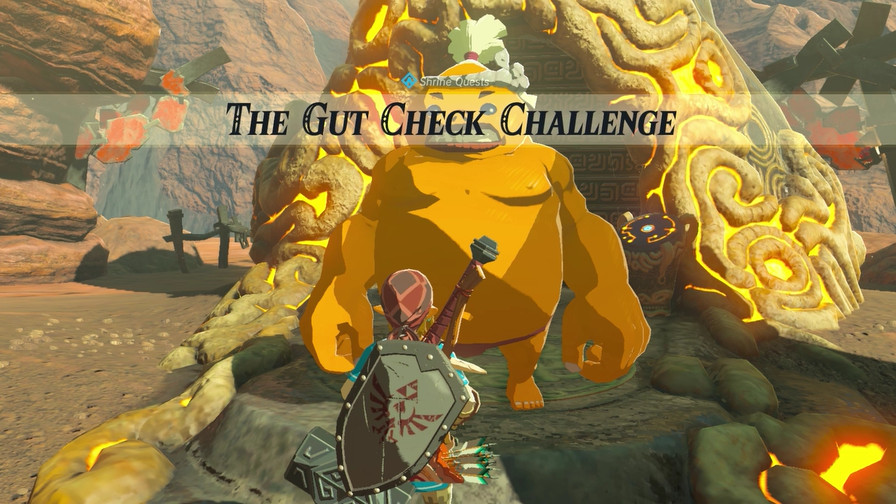 So yeah, to access this shrine we have to complete this minigame. Let's just say this isn't the only shrine that requires a minigame to be unlocked. Luckily the minigames in this one are pretty simple and pretty fun. 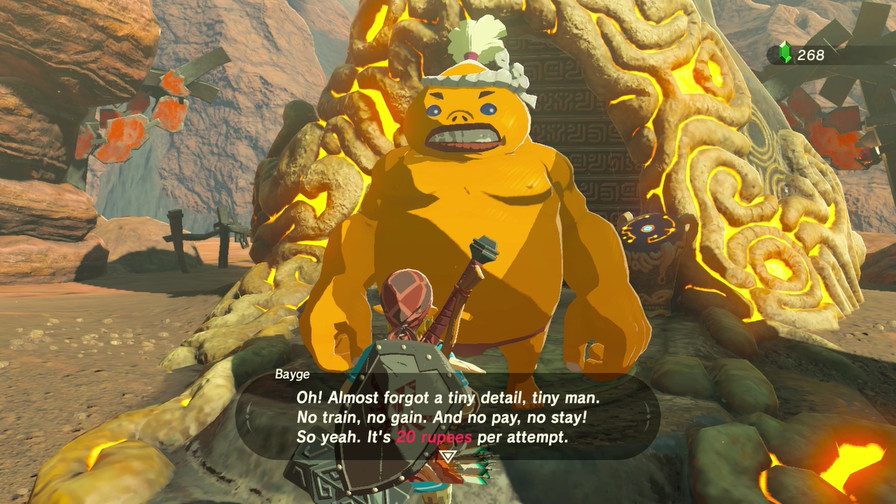 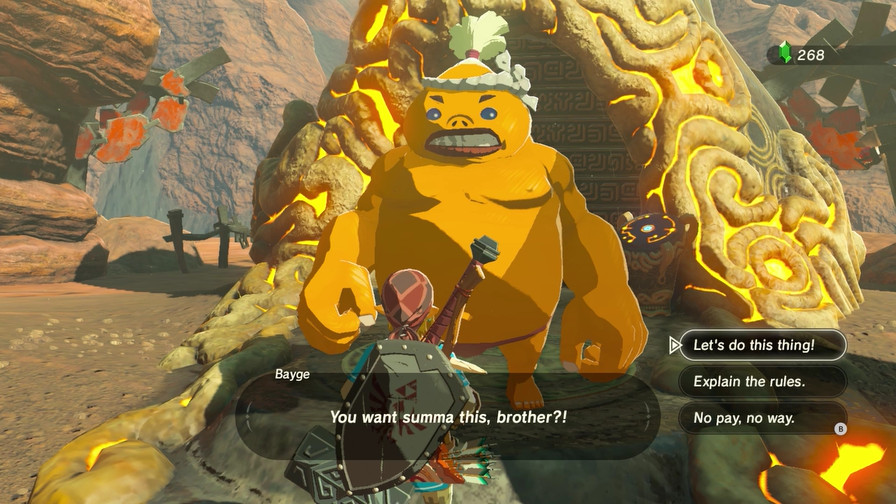 Let's do it! You've gotta collect 100 rupees as ya climb. A hard-core Goron man should be able to handle that no problem! Even if ya reach the goal before time runs out, if ya don't grab enough rupees, ya fail! DON'T FAIL, BROTHER! Got it? Good. Then it's finally time for...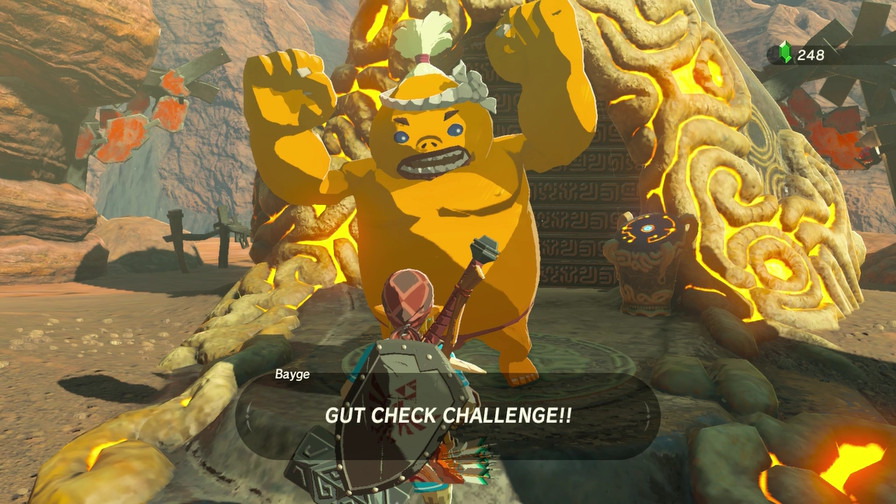 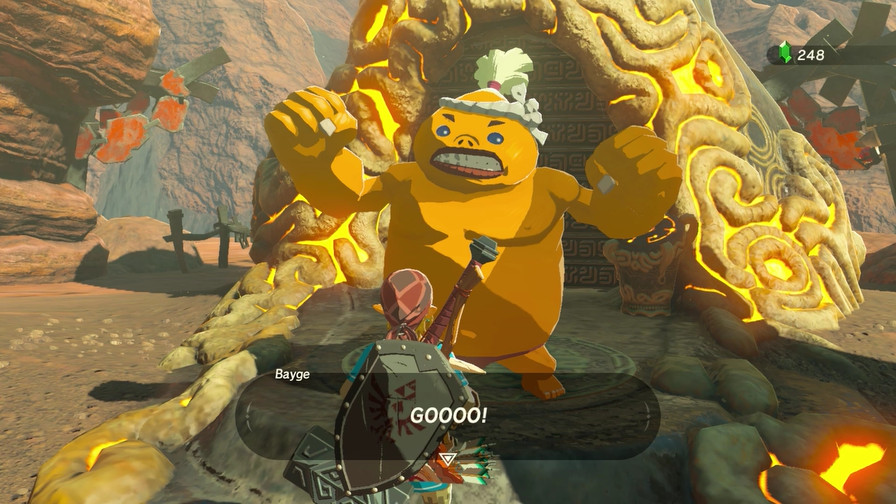 Gut Check Challenge! 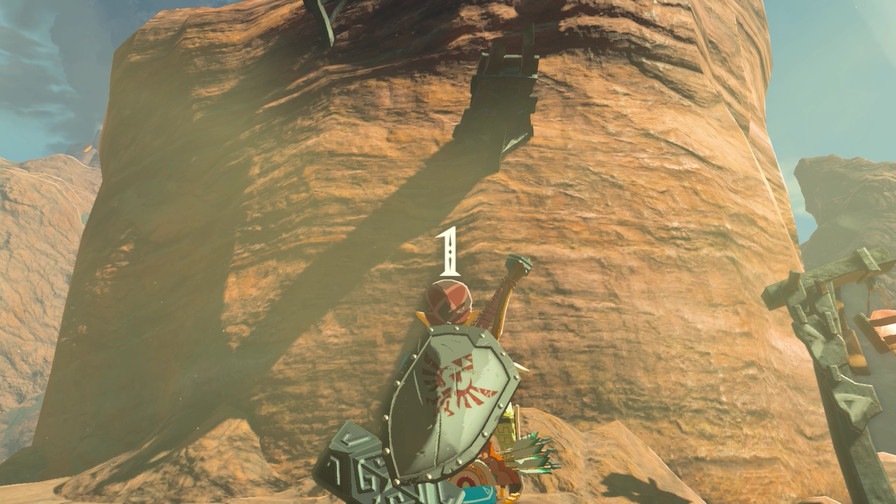 Music: Racing Minigame 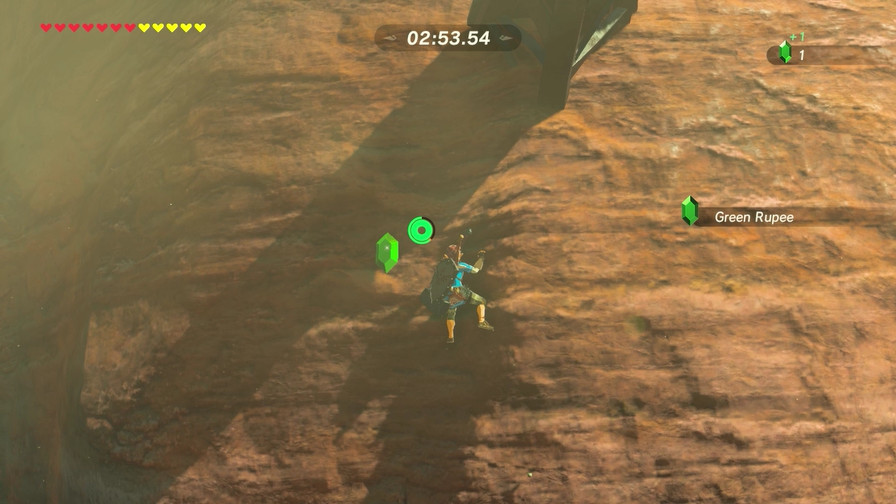 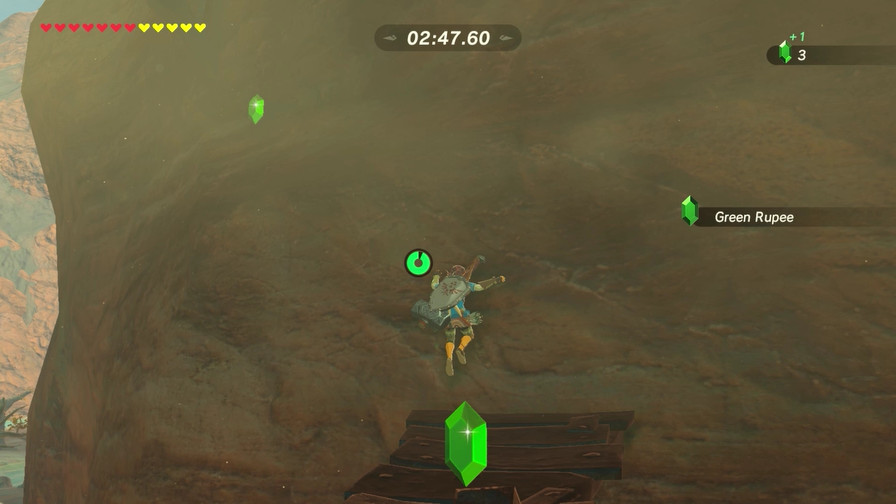 This challenge is simple. There are plenty of platforms to give Link a place to rest. I wouldn't recommend doing this with a single stamina wheel, but it's more than doable with two wheels. The climbing gear also lets you climb faster, so of course it's a good idea to have it on for this challenge. 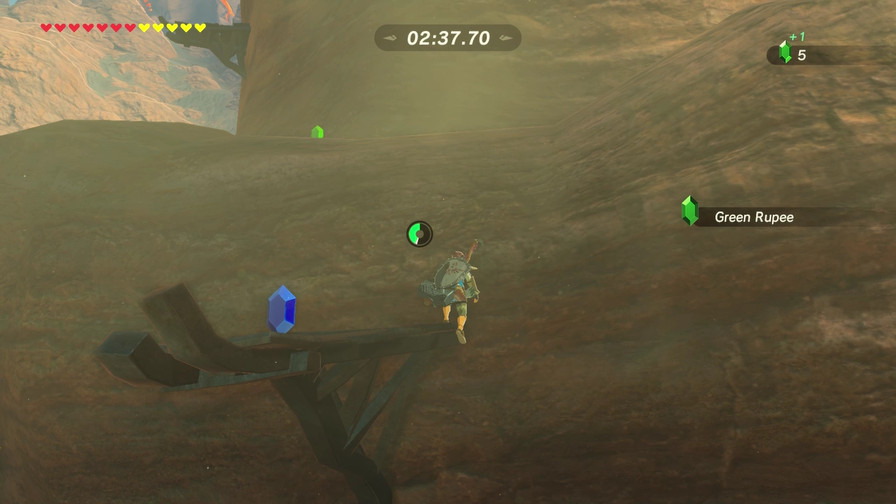 Honestly if you know what you're doing this game is pretty simple. The rupees give a helpful path for climbing between outcroppings, where there are more rupees. 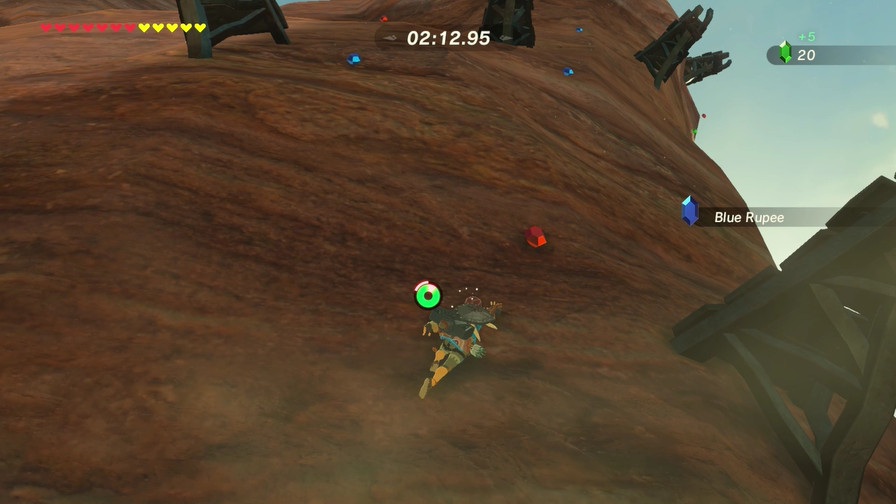 There's enough blue and red rupees surrounding the mountain that reaching one hundred isn't difficult. 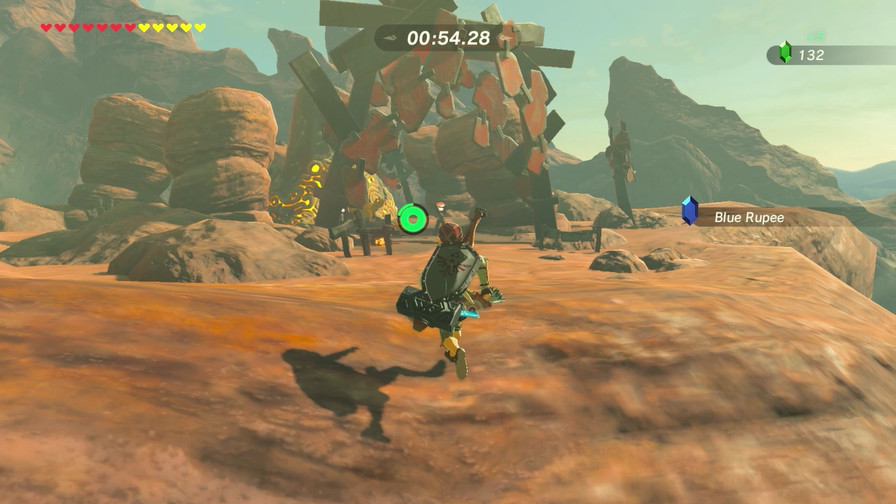 You get three minutes, but I manage to do it with more than enough rupees in slightly more than two. More stamina gives you a lot of leeway for this one. 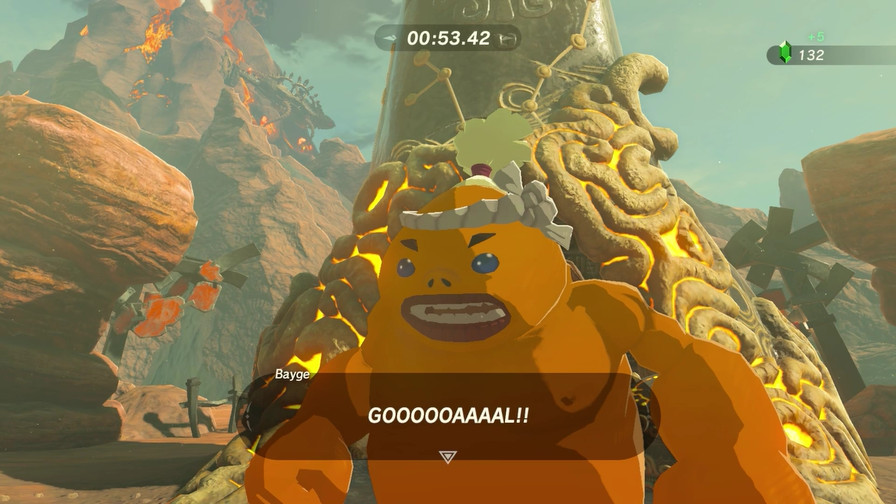 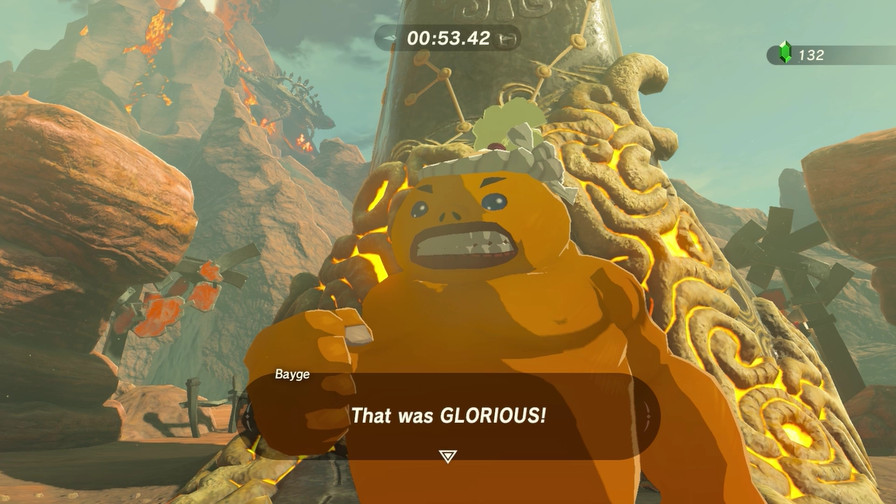 Nice goin', brother! Now let's see how many rupees ya scored. Looks like ya got... 132 rupees! Nice goin', brother! Now let's see how many rupees ya scored. Looks like ya got... 132 rupees!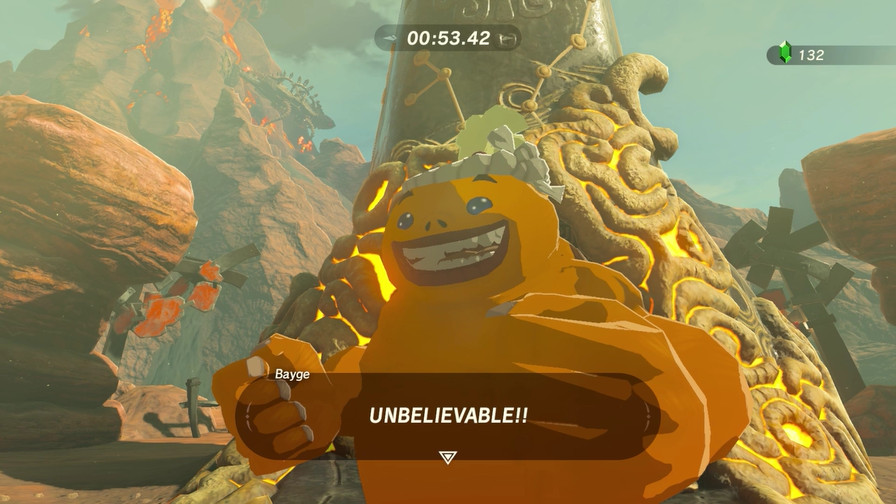 You've passed our training with the grit of a true Goron, my brother! In fact...you've earned the right to call yourself... You've passed our training with the grit of a true Goron, my brother! In fact...you've earned the right to call yourself...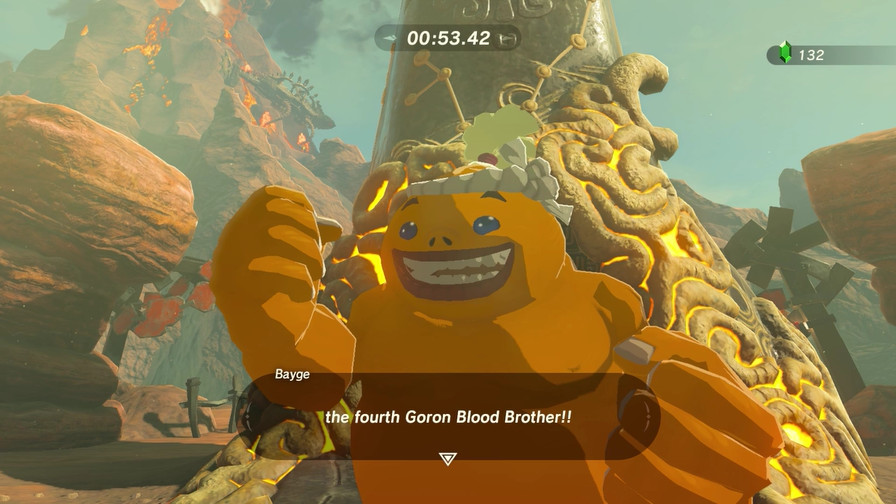 As promised, you are now allowed to stand on this sacred platform of Goron manliness. A real honor, I know. You're officially one of us now! Our true Goron brother, brother! Welcome to the family! And good news, fourth brother! That means you can do the GUT CHECK CHALLENGE all you want! As a Goron Blood Brother, you're ready for the HARD stuff! Just lemme know when you're pumped enough to try it! As promised, you are now allowed to stand on this sacred platform of Goron manliness. A real honor, I know. You're officially one of us now! Our true Goron brother, brother! Welcome to the family! And good news, fourth brother! That means you can do the GUT CHECK CHALLENGE all you want! As a Goron Blood Brother, you're ready for the HARD stuff! Just lemme know when you're pumped enough to try it! 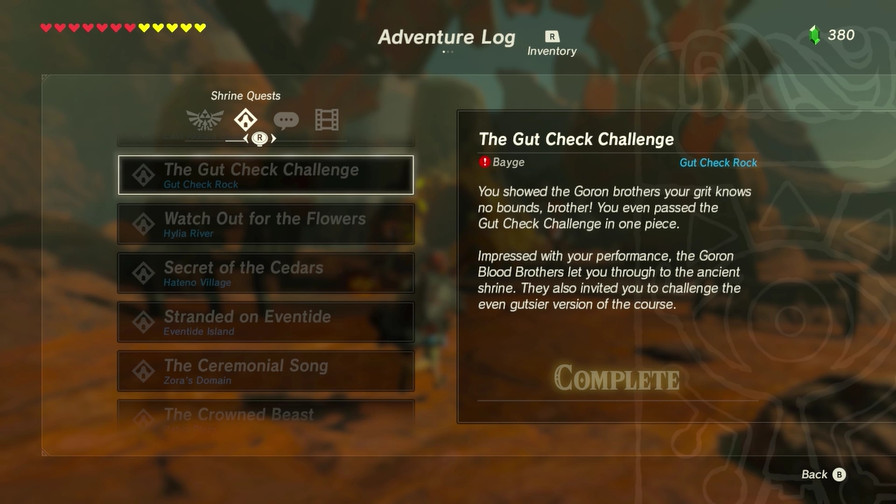 There's a hard version of this minigame, but I'm going to save it. I...may have plans on when I want to show it off. 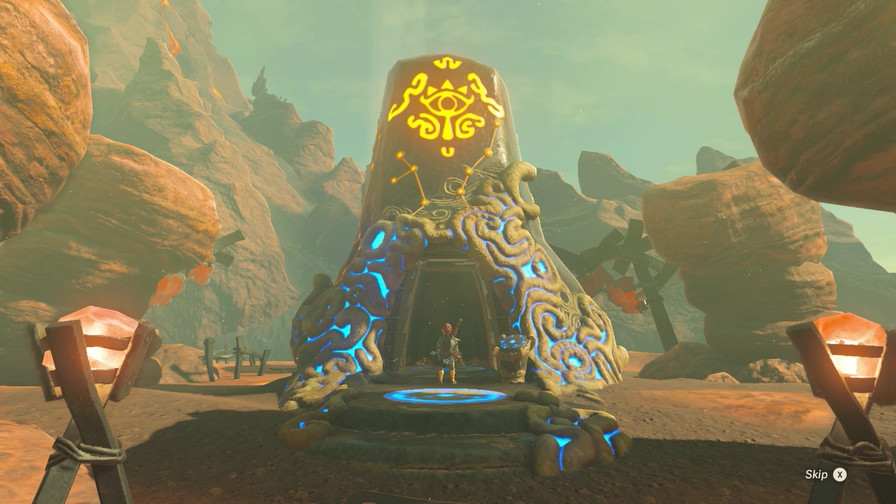  Anyway, this is another "accessing the shrine is the challenge" so the shrine itself is a freebie. 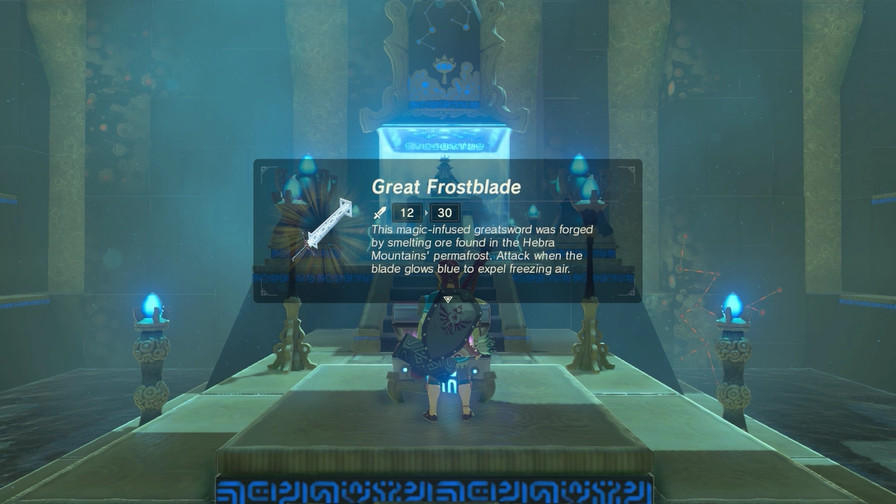 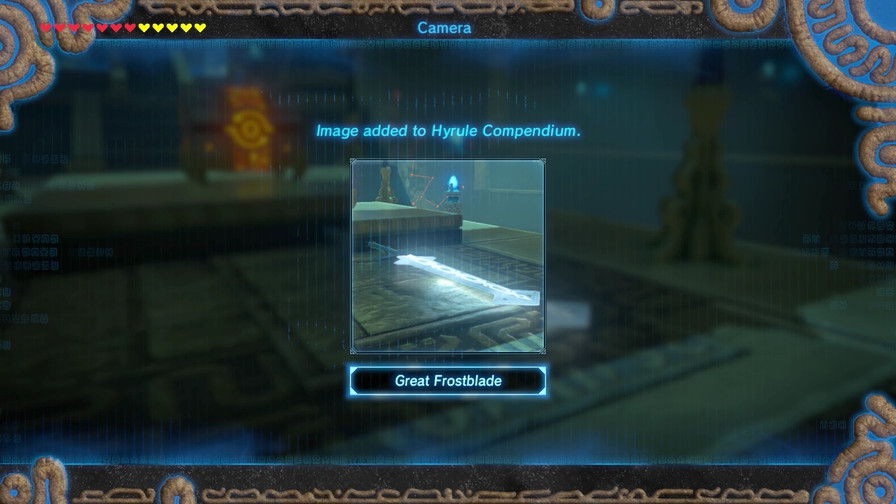 I've already got one of these. At least I have an excuse to photograph it! 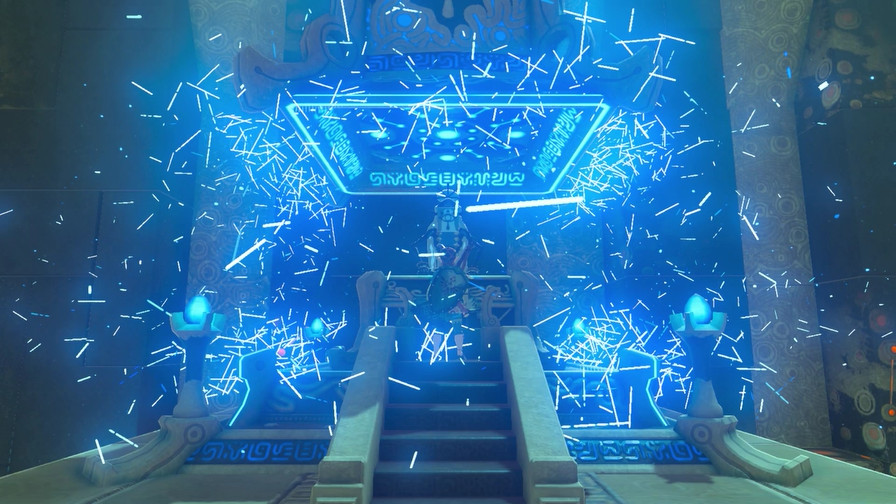 And another shrine done! 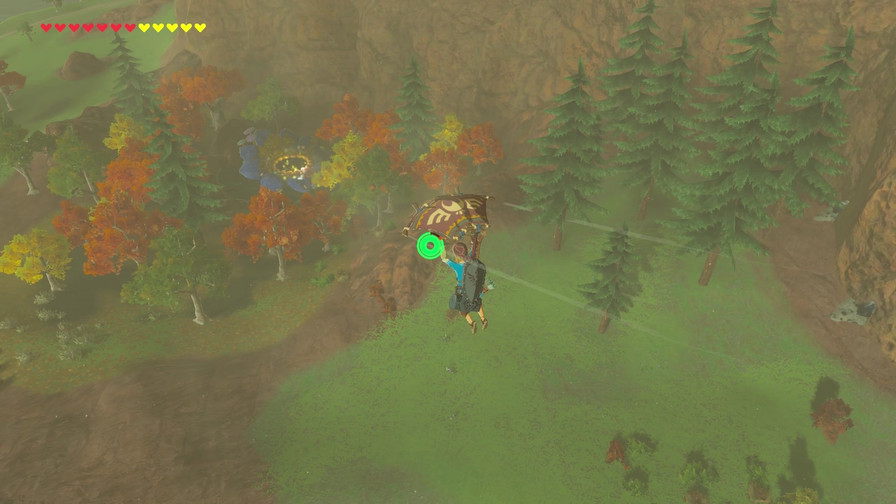 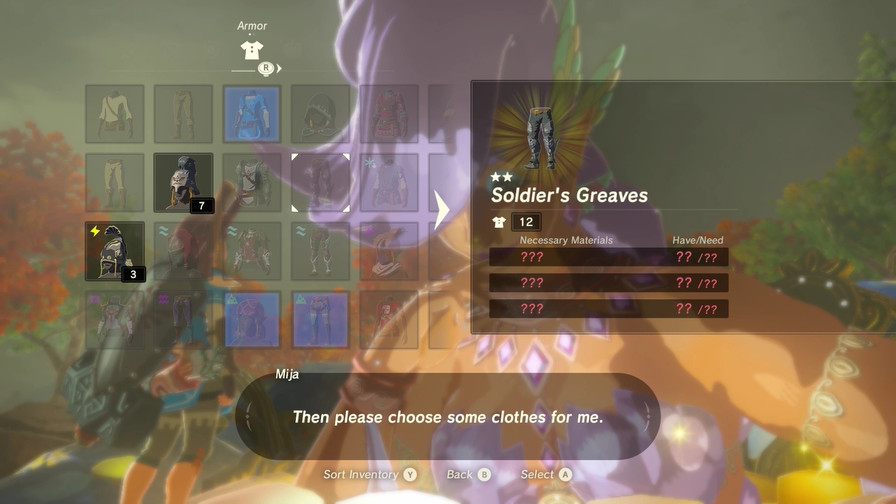 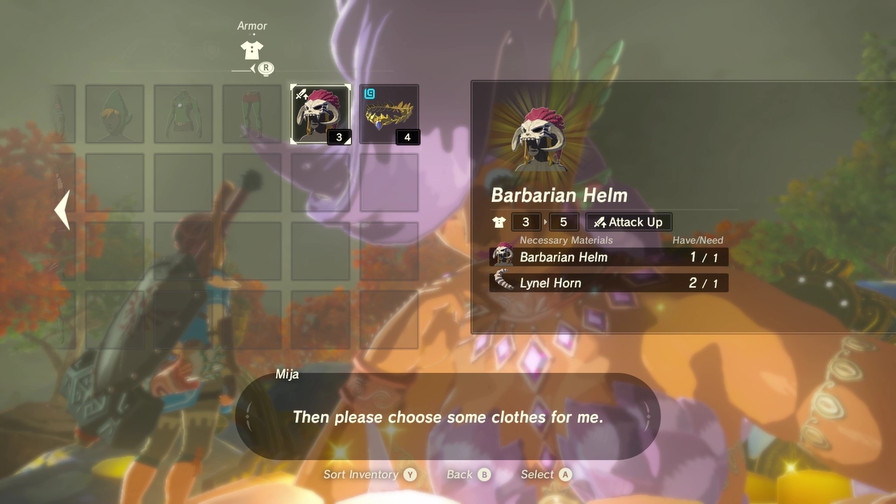 Next up, the Great Fairy to upgrade a few things. I have the mats to upgrade the Rubber and Soldier Helms now, plus these two new headpieces I just picked up at the labyrinth. 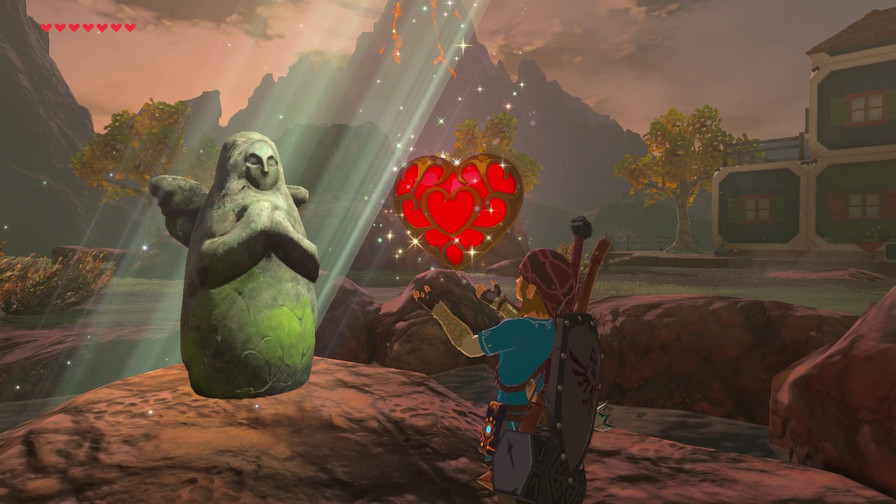 And also another Heart Container. The next one we get will be a Stamina Vessel. 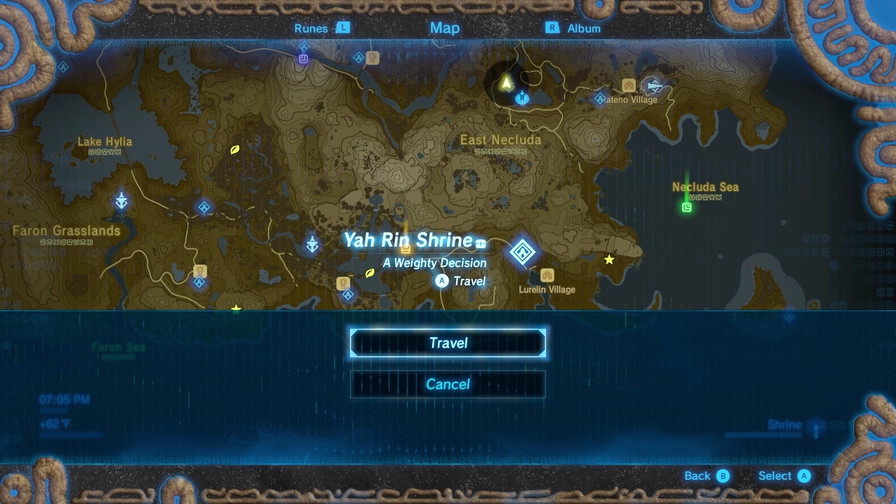 Next up, back to Lurelin Village. There's a couple shrines I want to do in this area. 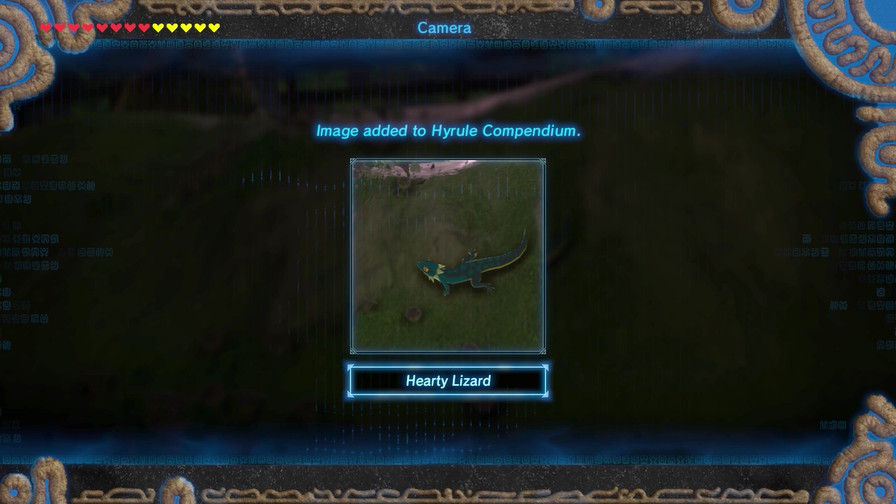 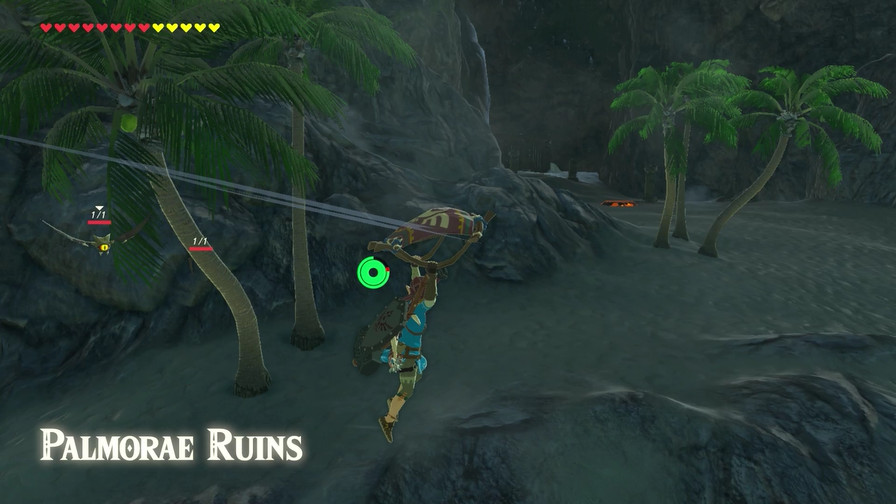 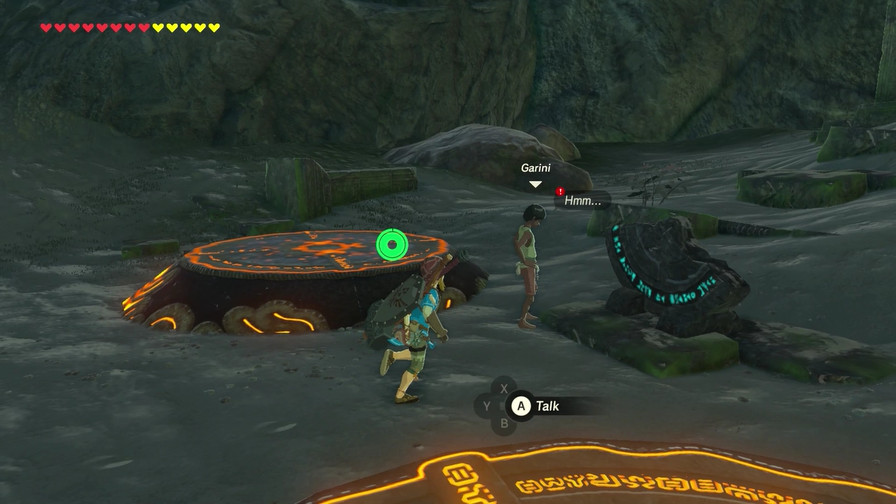 Before, I couldn't access the quest for this location because I happened to be missing the camera rune, which is required to do this quest. But now I have it, so... 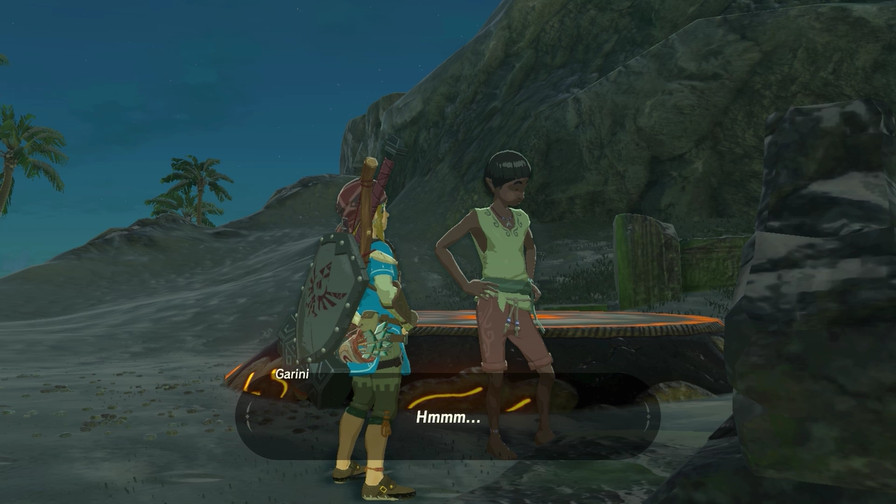 Ahhh! Ahhh! What's up? I was just examining this stone monument. This place has a very...spiritual aura to it. Do you feel it? I recently realized that there is writing engraved on this stone monument... I think if we help this guy, it might lead us to a shrine. Call it a hunch...since those platforms certainly look familiar. So let's help. Ah, so you're the curious type, too. This stone monument was once much larger, but it broke apart during an earthquake a while back. If you really want to help, help me find the missing fragments, will you? They'll be scattered all around. I think the fragments had the same kind of script carved into them... If you find a fragment, please draw a picture of it and bring it to me. I'll be here finishing my examination of this stone monument! ...Oh, right.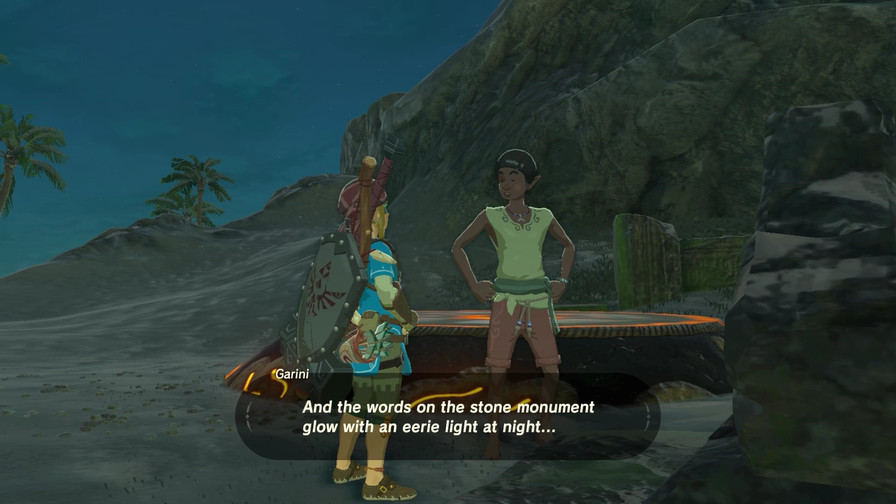 That should make them easier to find. One of them should be right around here. Please find that first! That should make them easier to find. One of them should be right around here. Please find that first!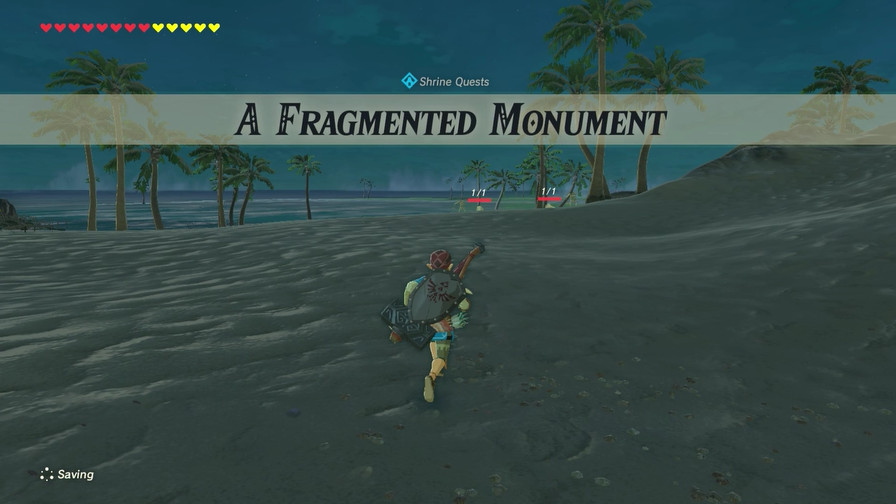 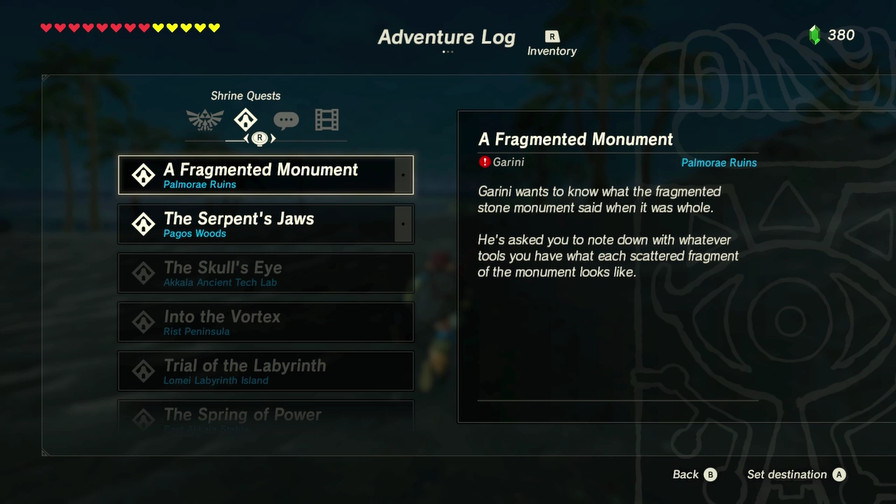 I've already futzed around here previously and know just where one of them is. 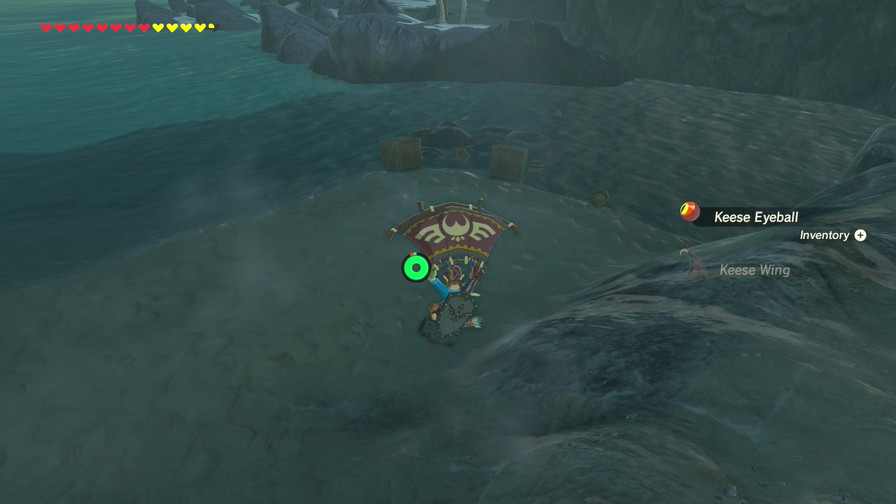 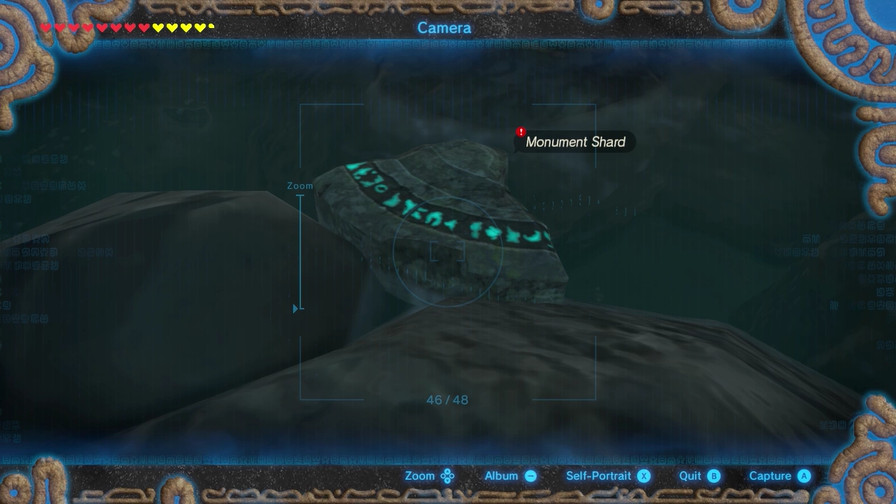 Simple. 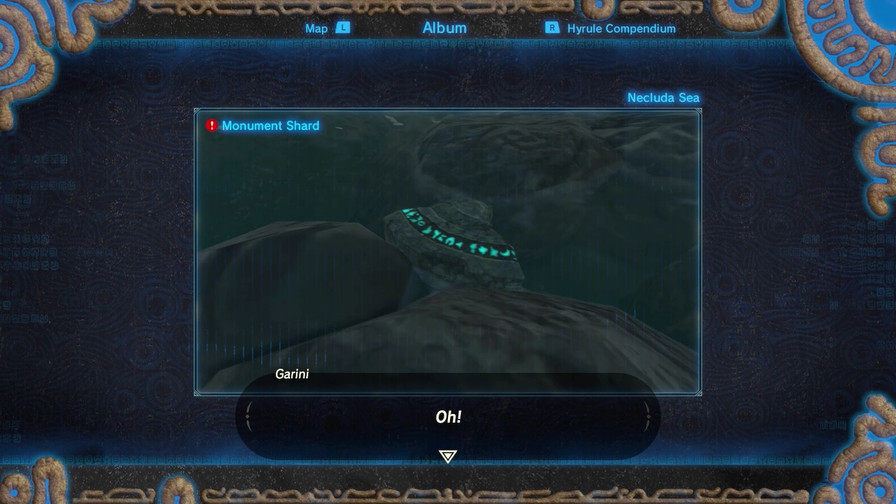 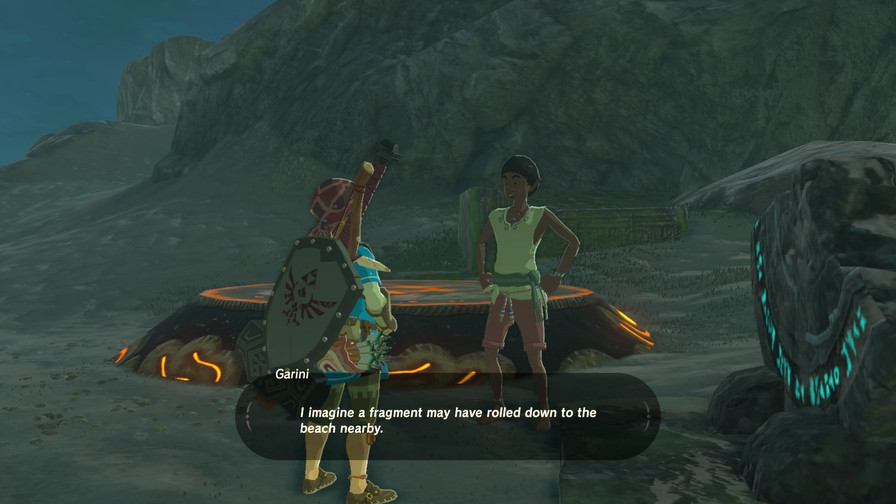 After you show Garini a fragment, he'll give a clue to the location of the next fragment. 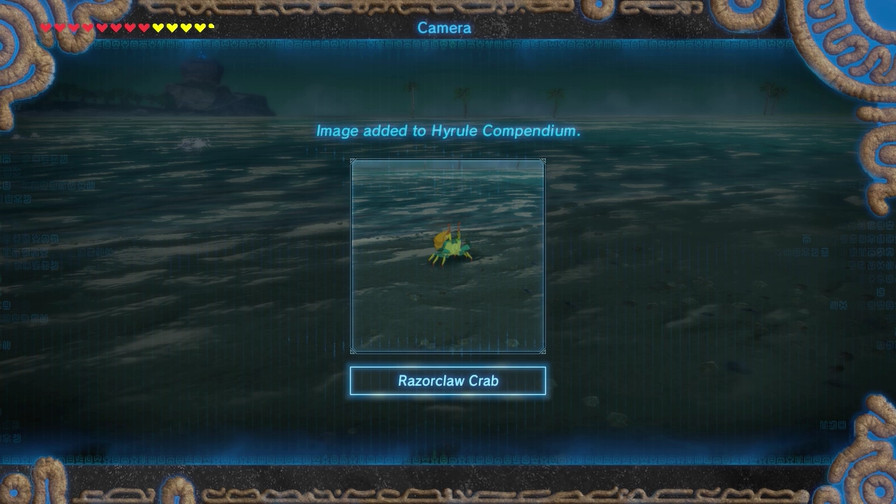 That's not it. 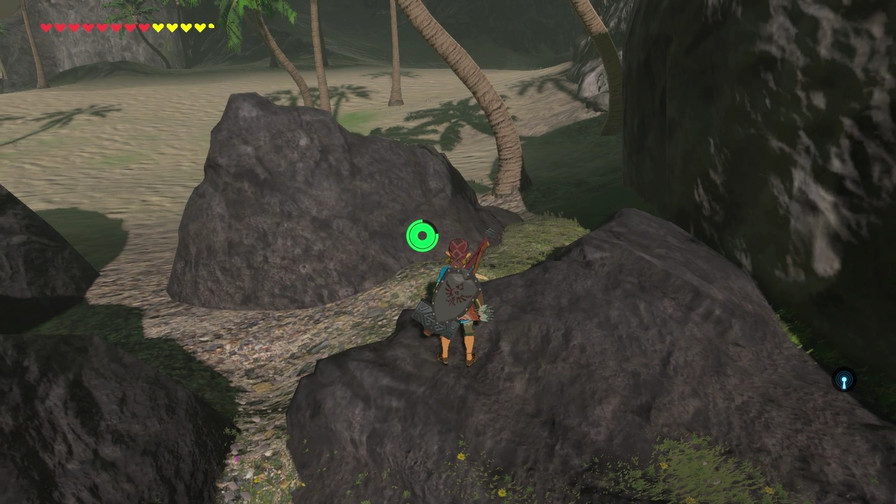 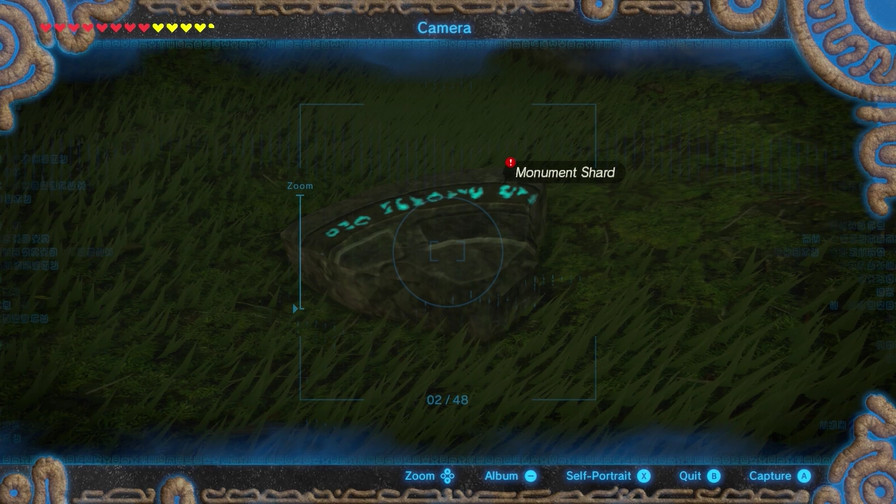 The next one is along the left mountainside coming from the ruins. 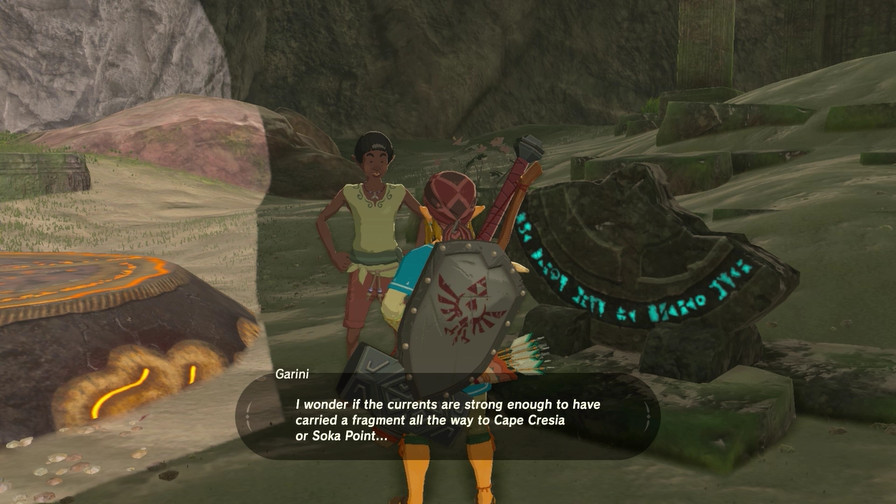 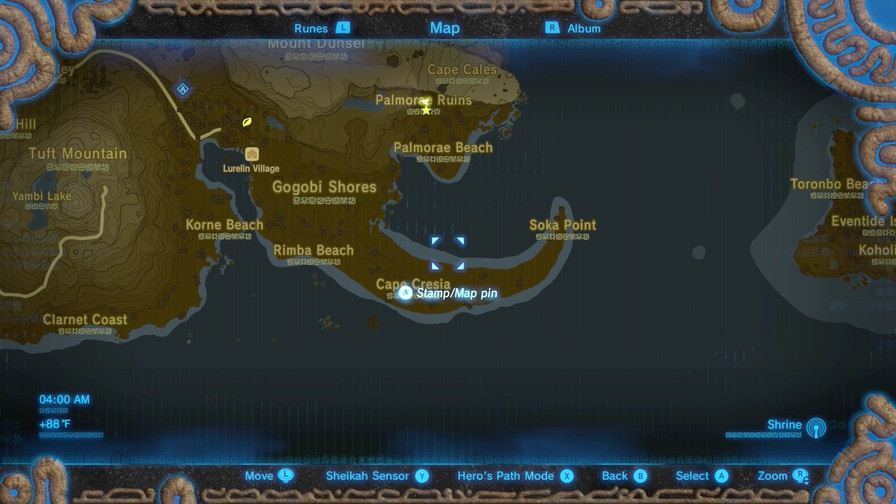 The final one is across the bay to the peninsula. 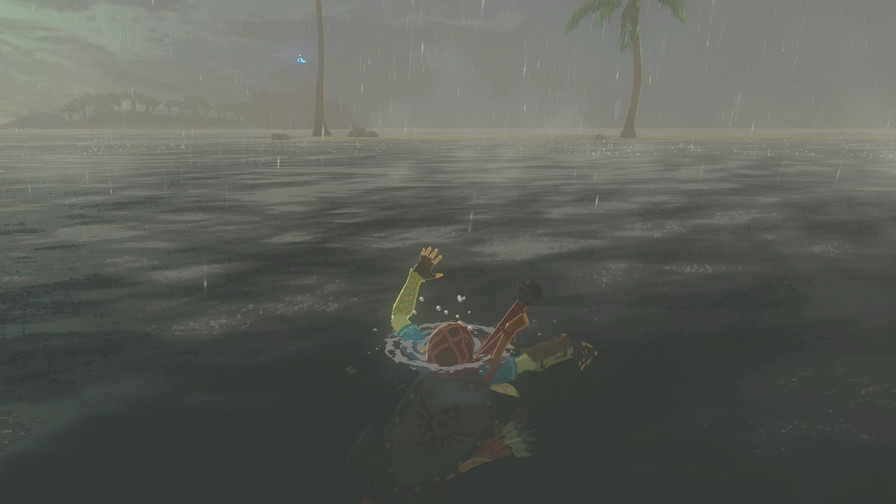 The Cyro-jump method worked until I pushed my luck and drowned. 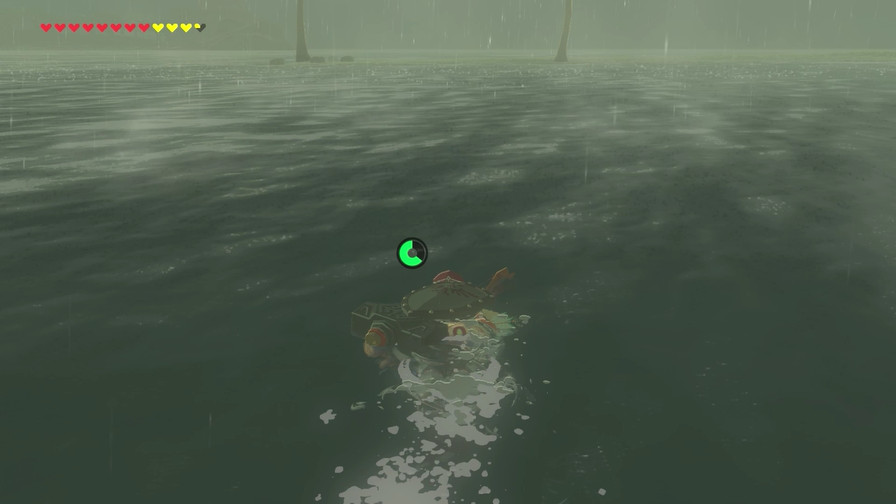 But Zora Link makes it across easily since with the set bonus swimming uses up little stamina. 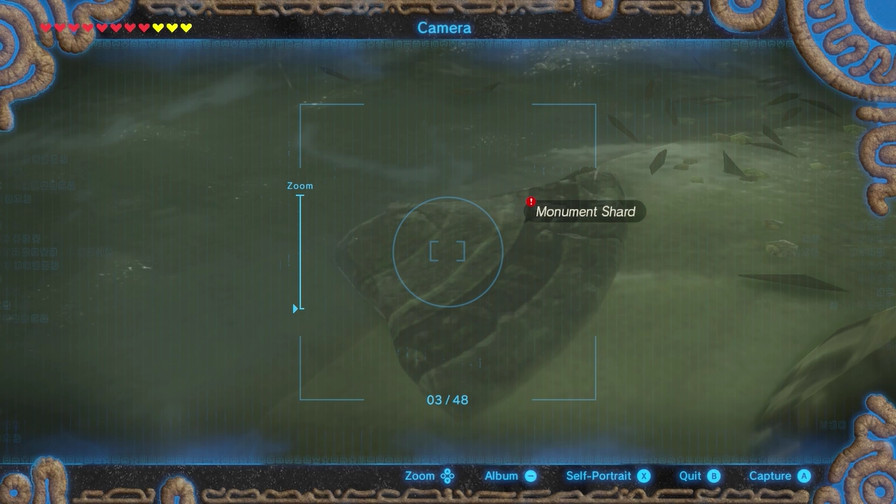 There we go! 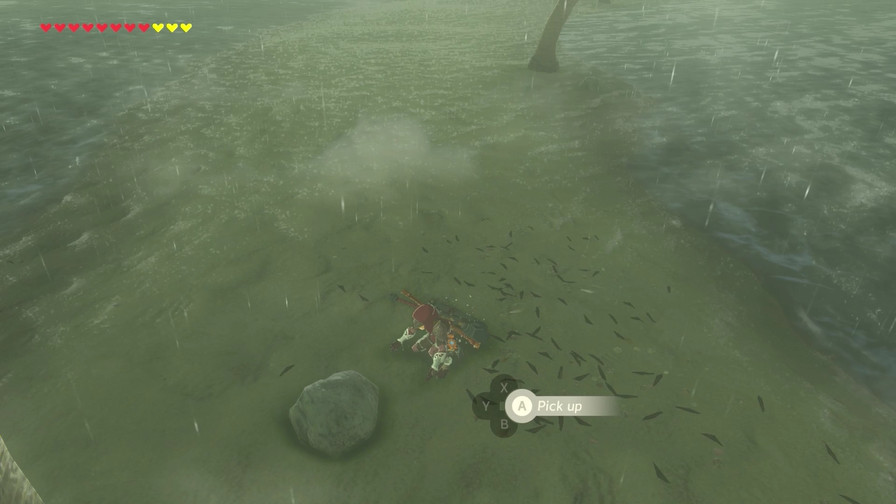 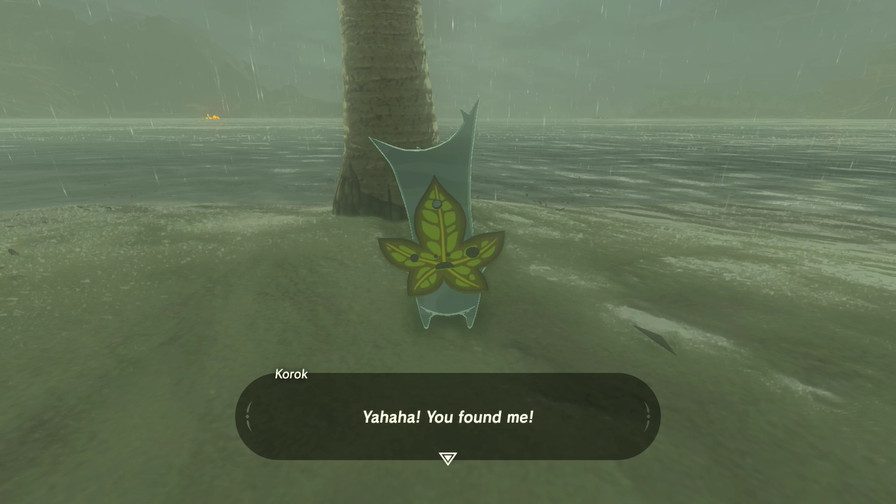 Also this. 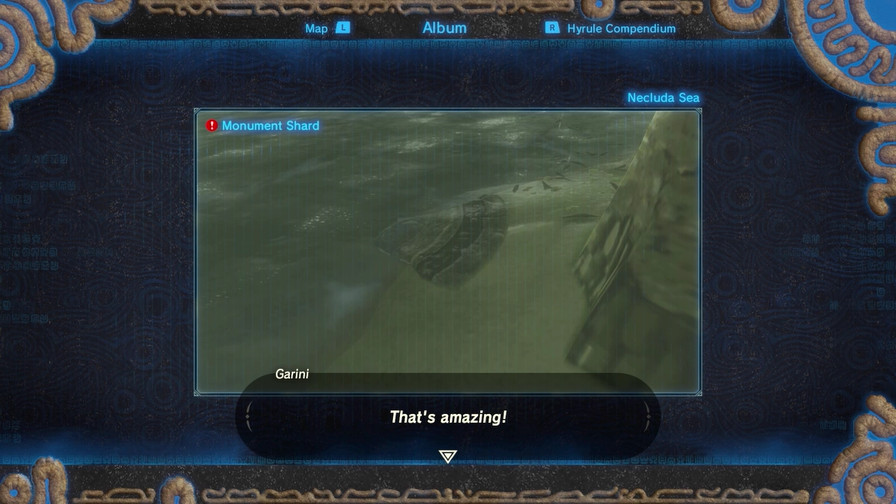 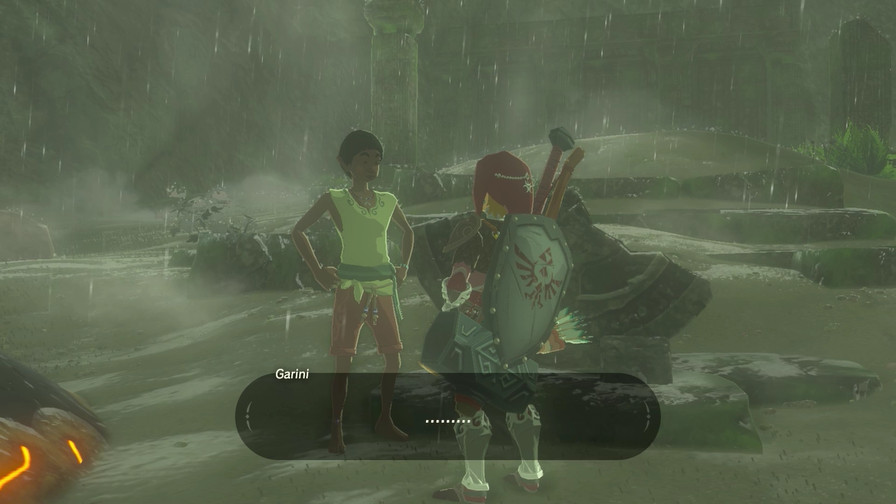 Excellent. Thanks to you, I've got a good shot at deciphering the entire monument. Give me a second to see if I can put this all together... Excellent. Thanks to you, I've got a good shot at deciphering the entire monument. Give me a second to see if I can put this all together...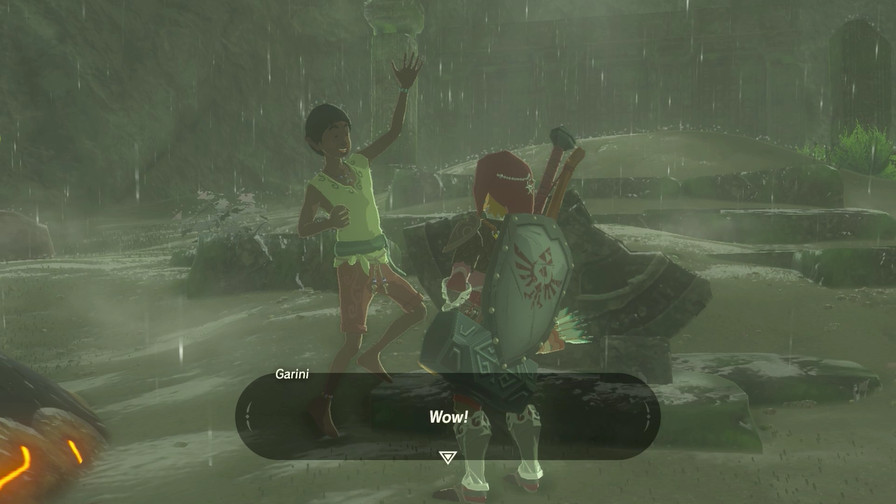 Thanks to you, I've deciphered the entire passage! Thanks to you, I've deciphered the entire passage!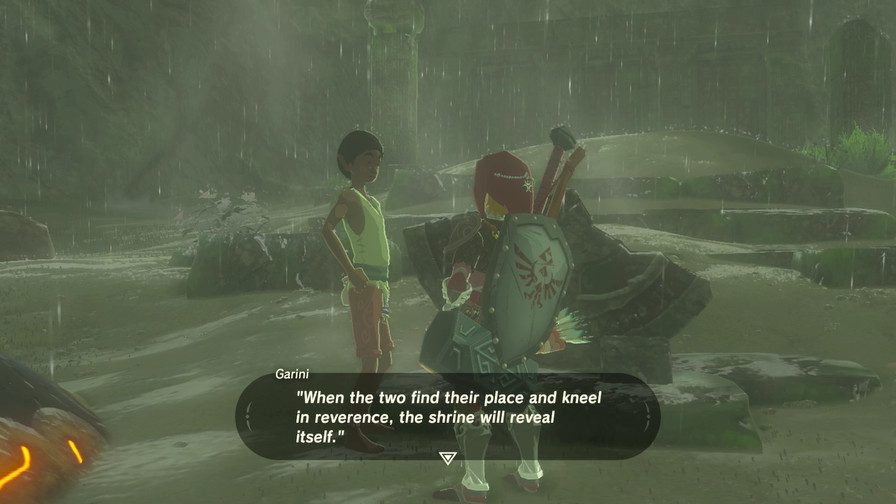 ...Ah! I...haven't the foggiest what that's supposed to mean. ...Ah! I...haven't the foggiest what that's supposed to mean.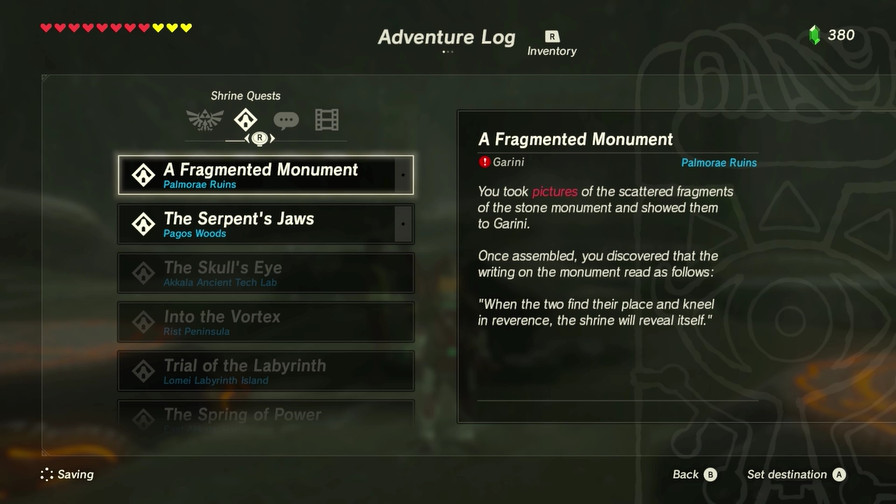 There's two platforms here... 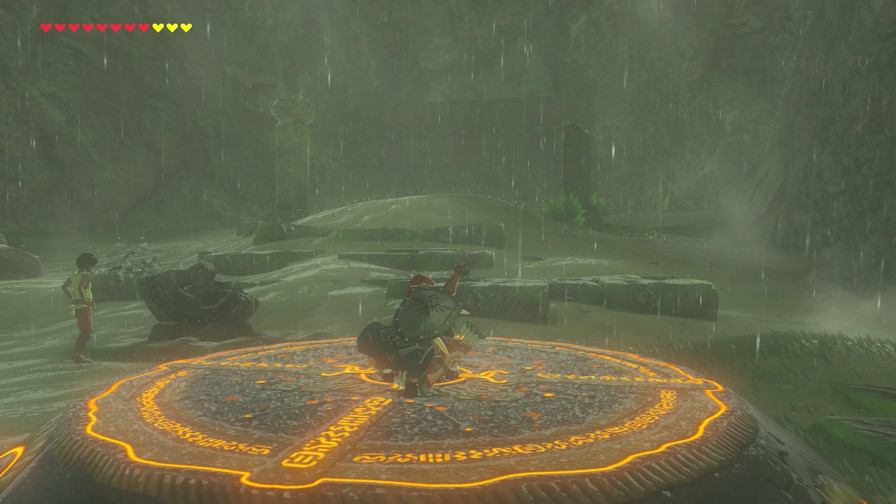 Yep. Just gotta do a simple Tebow on the platform. 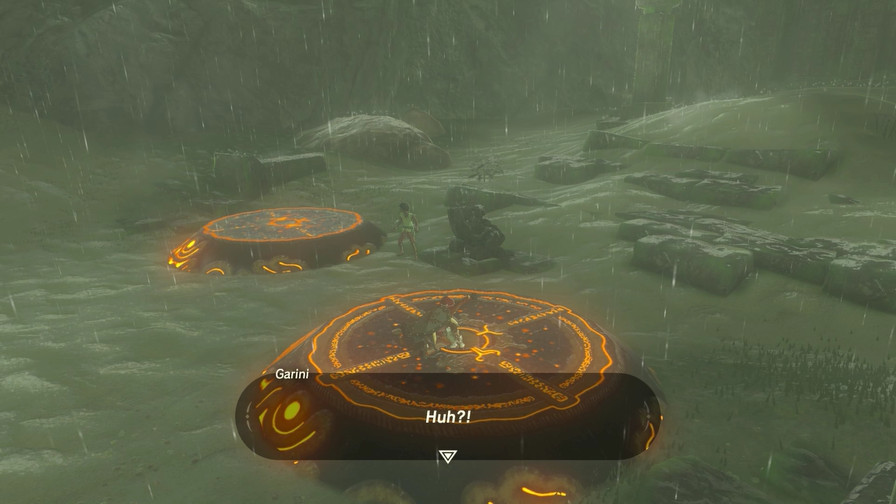 ...Is that it?! ...Is that it?! 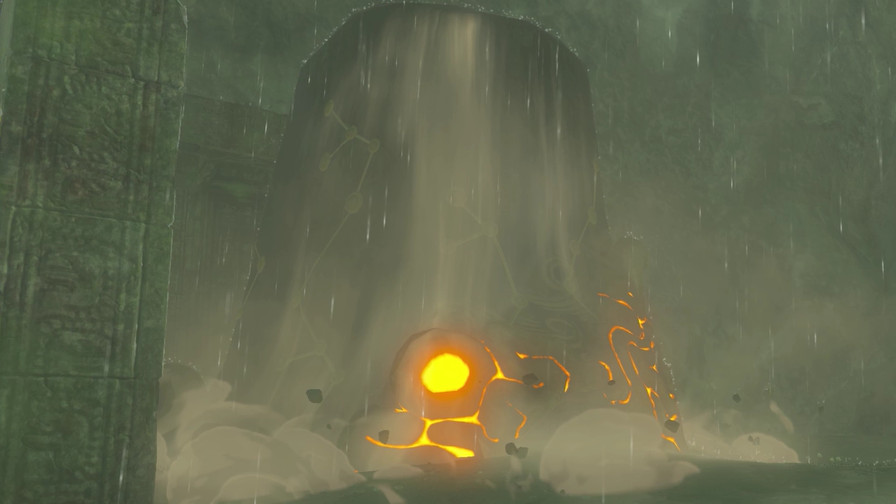 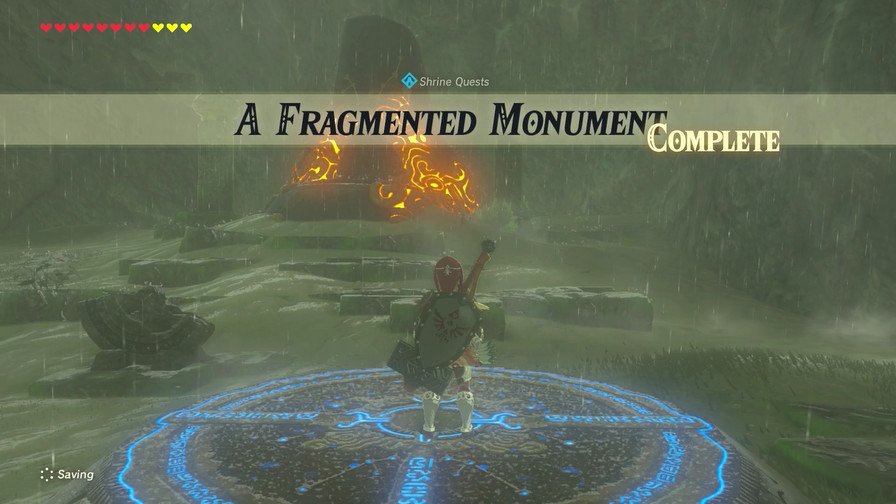 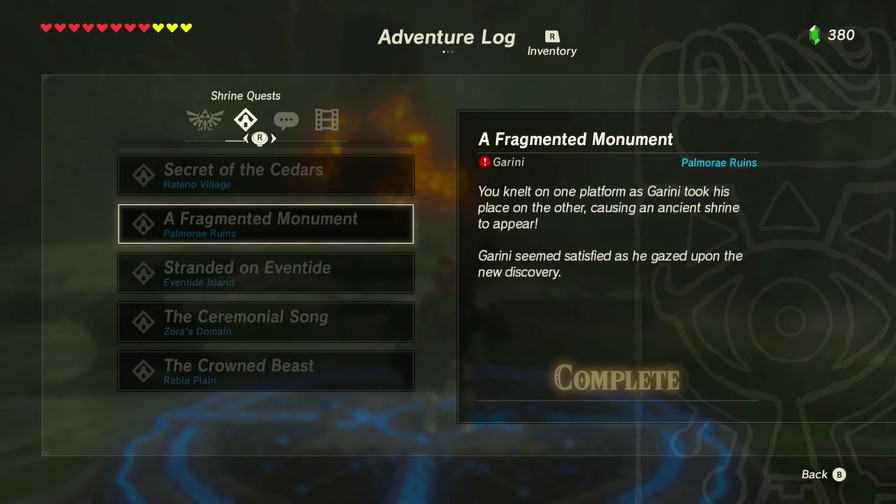 That is indeed it. 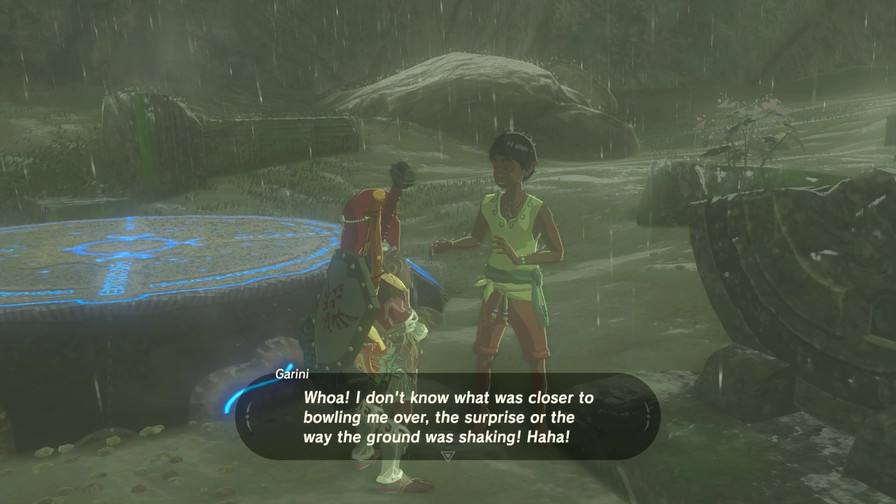 So the two who needed to "find their place" were you and me... Makes sense. Good job figuring that one out! I sure never would have... So the two who needed to "find their place" were you and me... Makes sense. Good job figuring that one out! I sure never would have...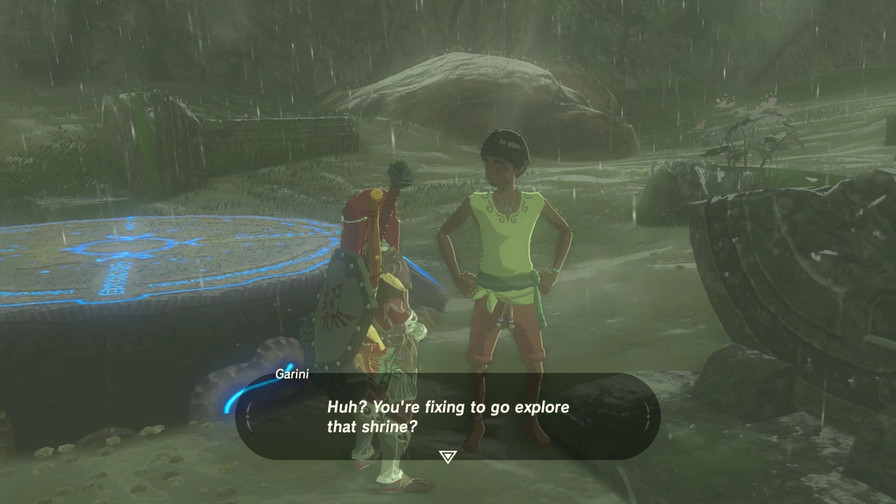 Oh, sorry. I won't keep you any longer. Off you go! Oh, sorry. I won't keep you any longer. Off you go!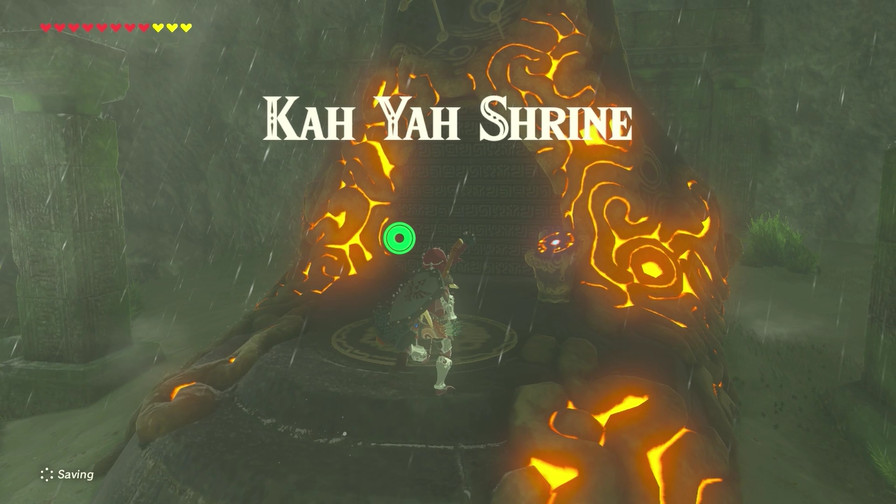 Time for our next shrine! 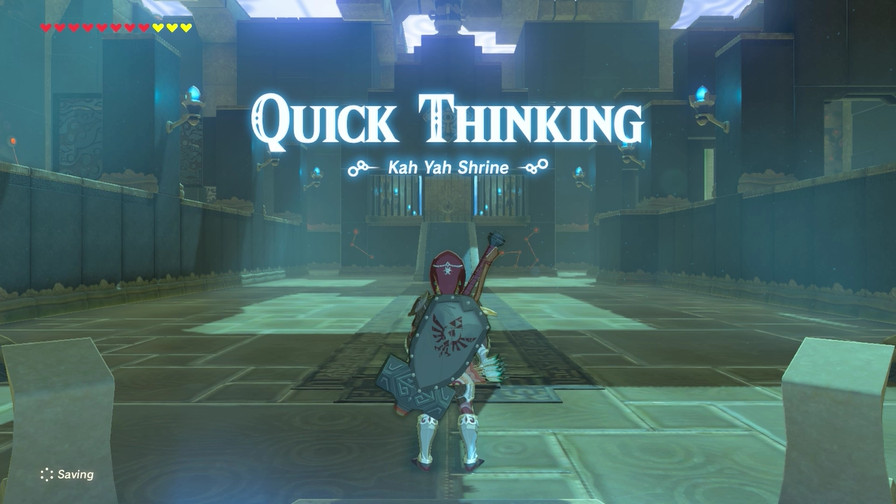 This one is another puzzle shrine. It's also one of the few I didn't do my first game (I ended up missing eight or so shrines total, including this one), so it's fresh to me. Luckily it's still pretty simple. 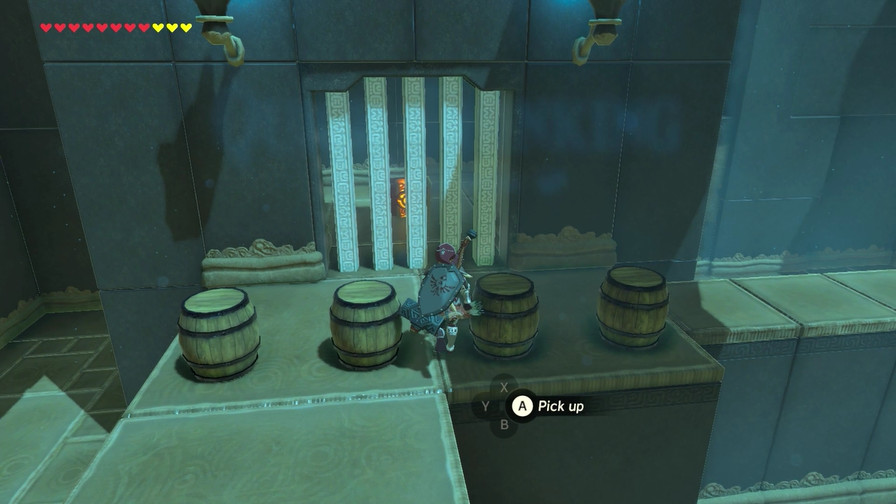 On each side is a locked chest along with some barrels. 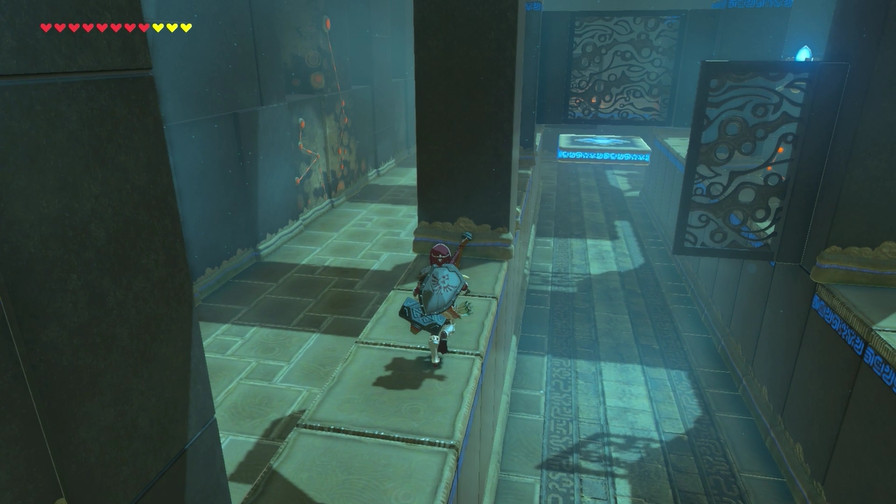 And a moving platform leading to a switch. The goal is to get the barrel to the switch using the platform. 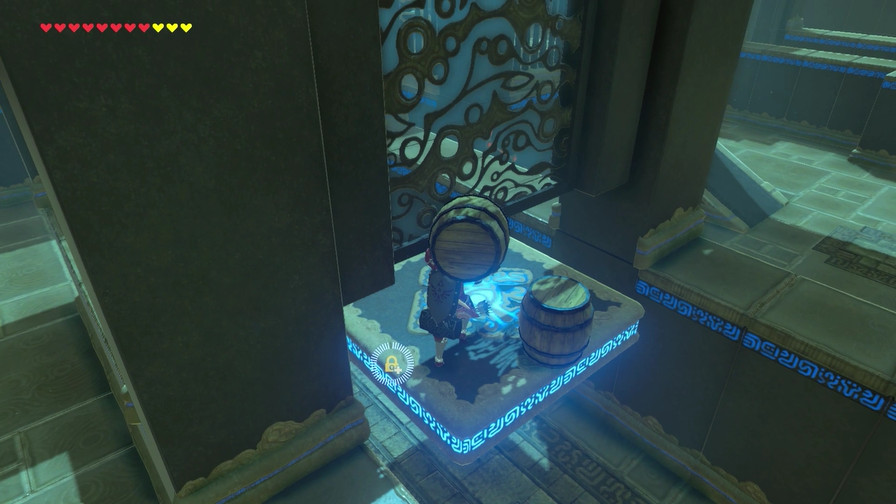 This path has a gate that blocks the right path, then a full gate with an opening to let the barrels through, and then a gate that blocks the left side. Thus no matter where you put the barrel, it will fall off if left alone, plus the middle gate prevents Link from simply holding and moving with the barrel. 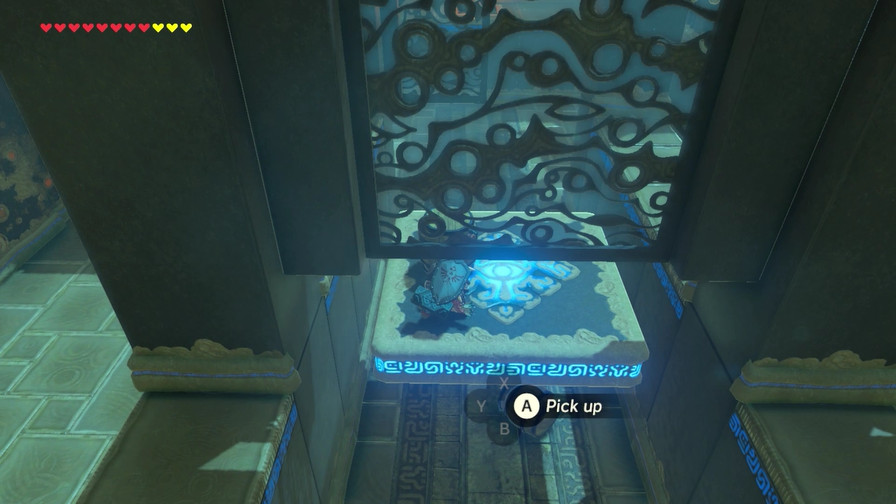 It's all about quick timing. Link can duck under this gate then quickly pick up the barrel and move it to the right side. Stasis can help a lot here, for obvious reasons. 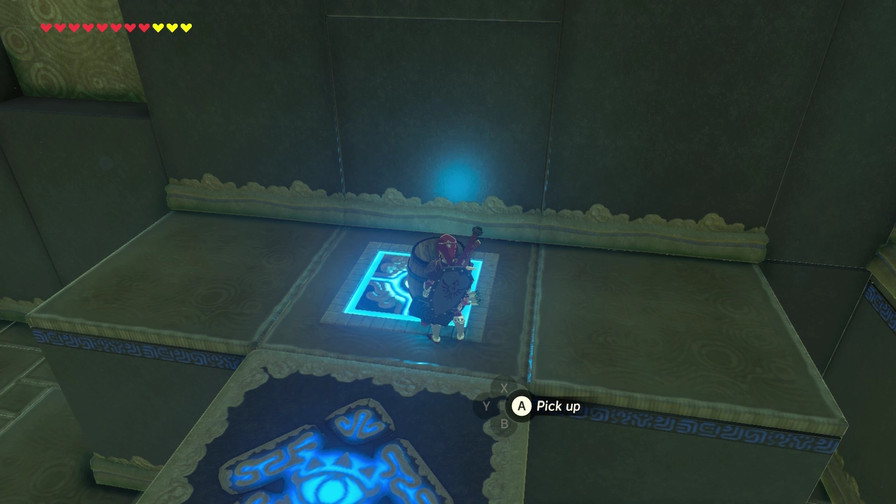 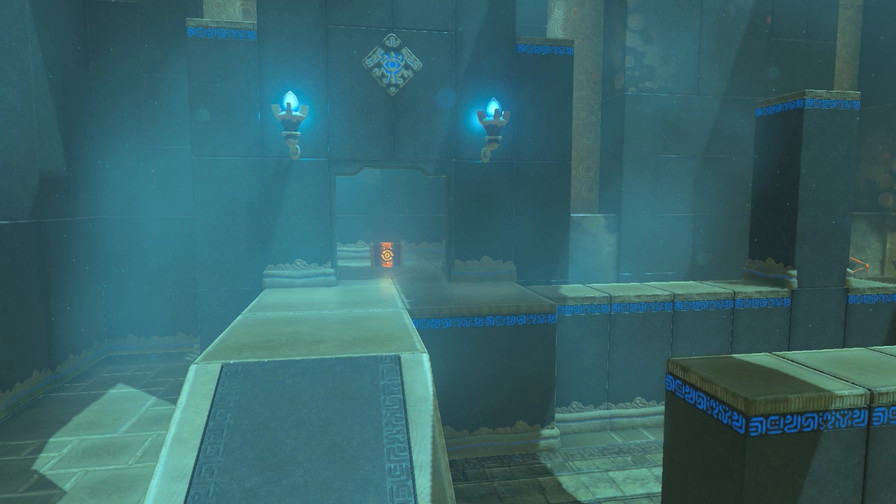 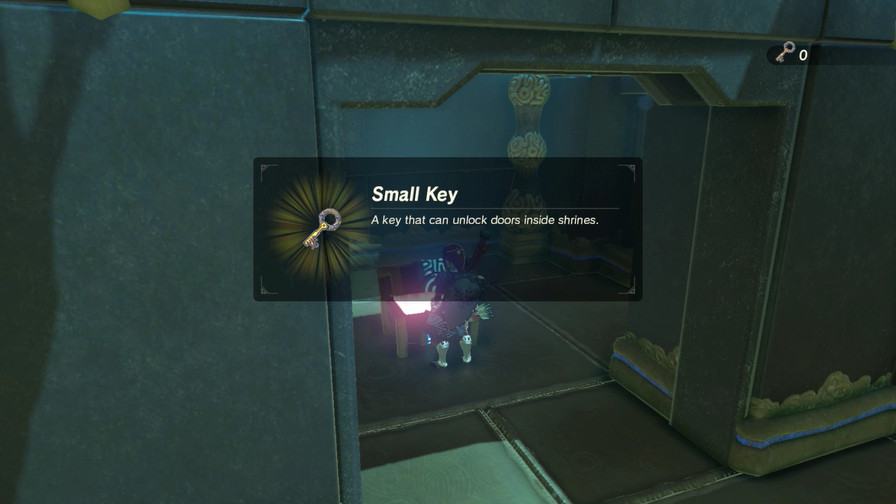 This unlocks the door to the shrine's monk.  The bonus chest is on the right side. There are three gates, and a switch that alternates them. https://h.mega64.net/botw/u46/167.mp4 The switch alternates between 1/3 and 2. The timing's a bit tight since if you're too early the gate will close on Link and also break the barrel. 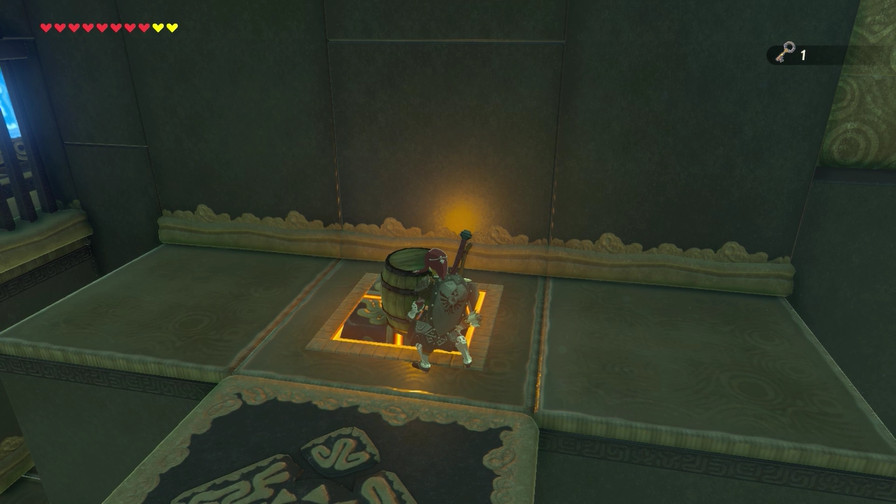 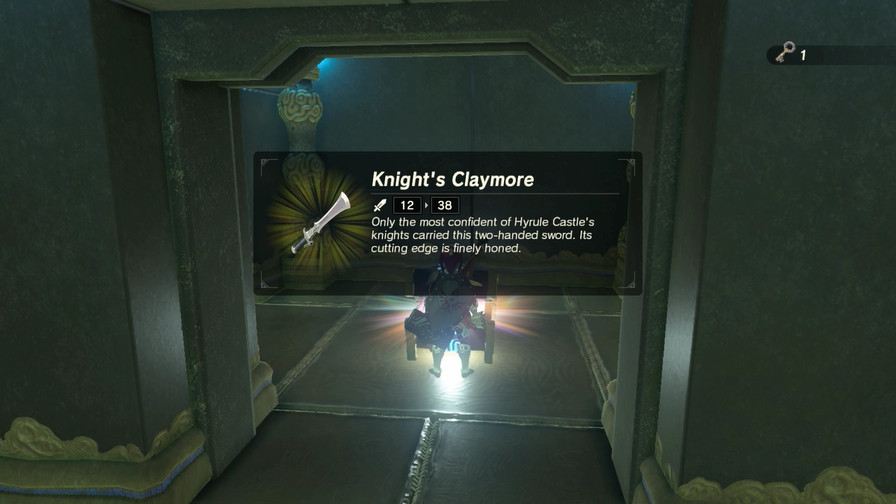 Otherwise, it's pretty simple once you learn not to go too early. 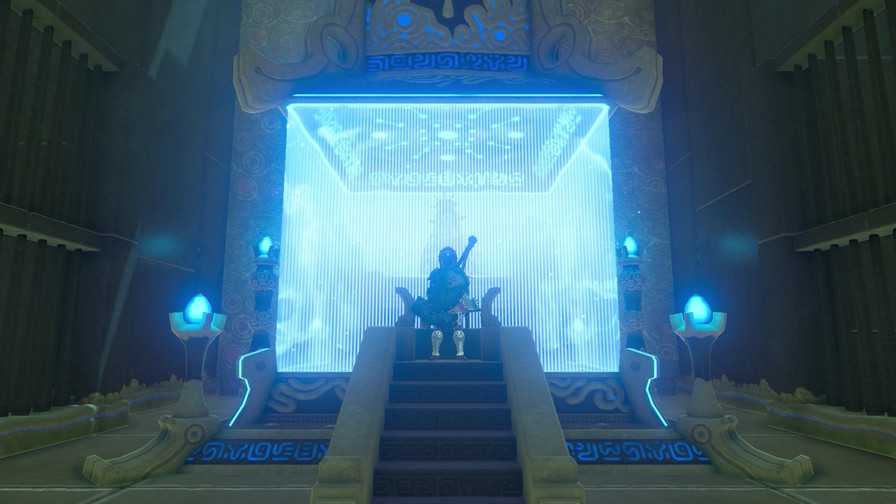 Overall, it's alright. Nothing really challenging, though. 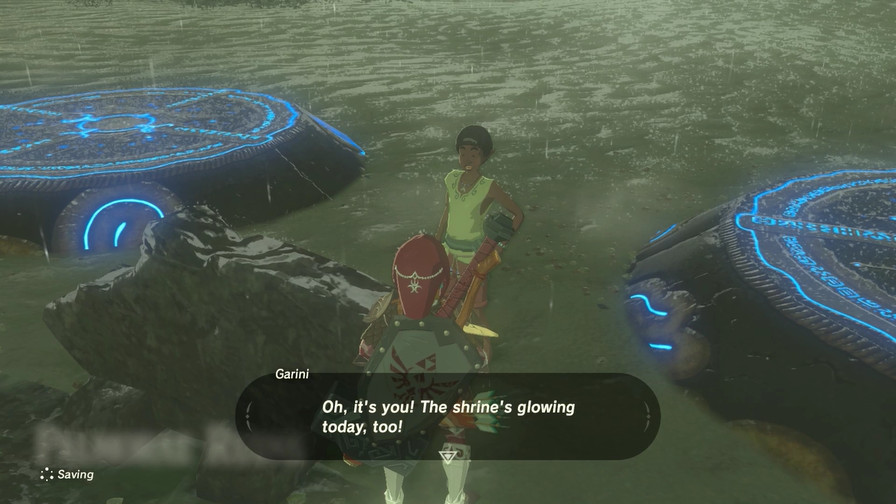 You aren't just a normal lad, are you? I'm just happy that the mystery was solved! I don't want to do more snooping than is absolutely necessary! You aren't just a normal lad, are you? I'm just happy that the mystery was solved! I don't want to do more snooping than is absolutely necessary!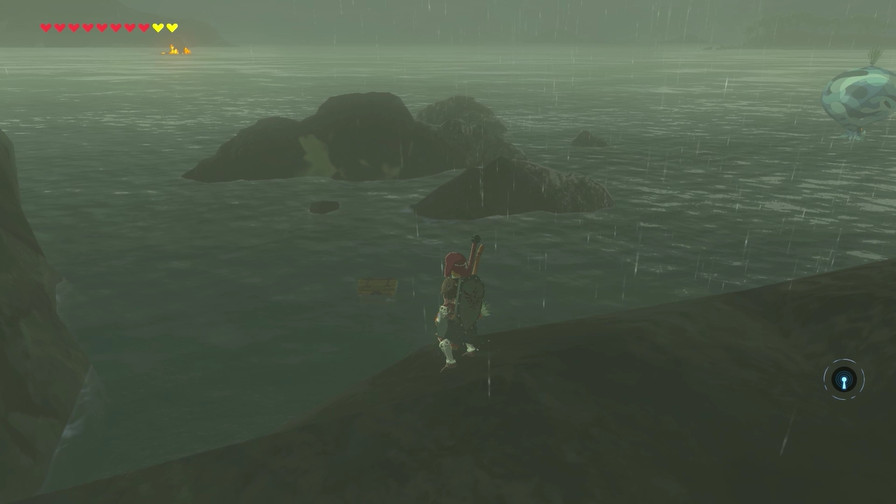 Alright, next shrine is off in the distance. 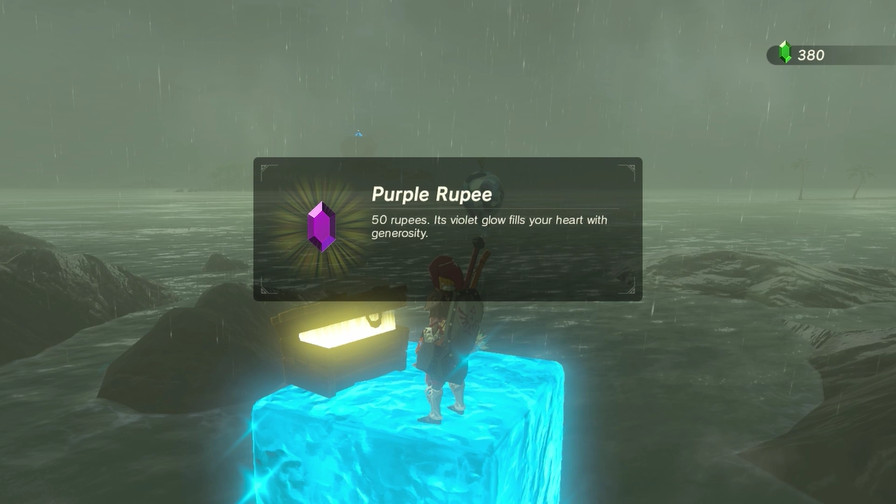  I opt to swim for this one, too.  Though it's a lot farther than I anticipated. But that's why I keep stamina food for just such an emergency. 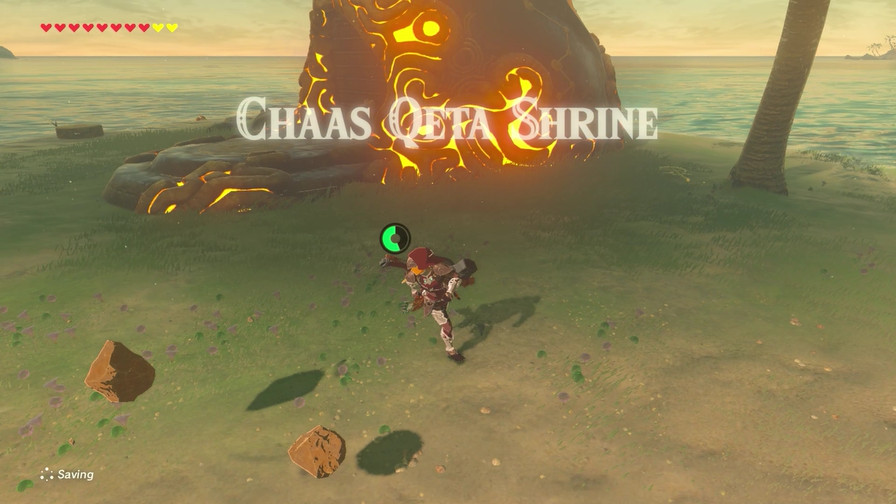  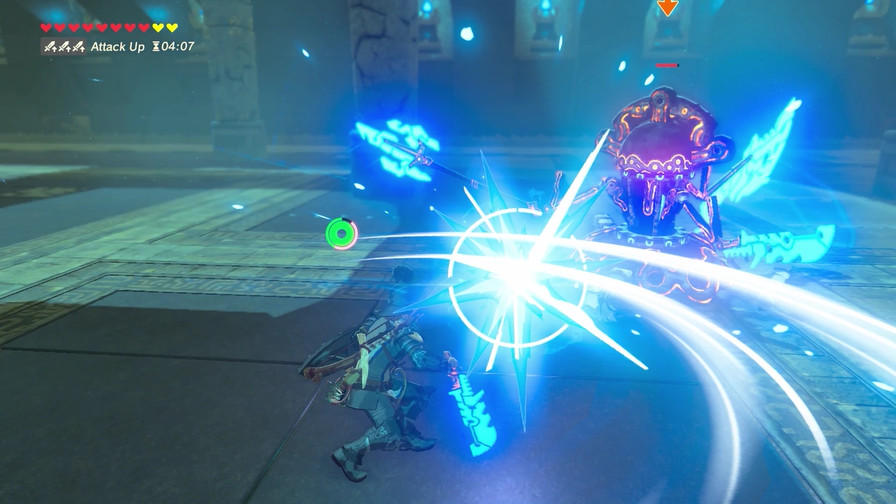  Again, there's really nothing to talk about for the strength shrines anymore. Attack food and my current weaponry and skills more than outmatch these guys at this point.  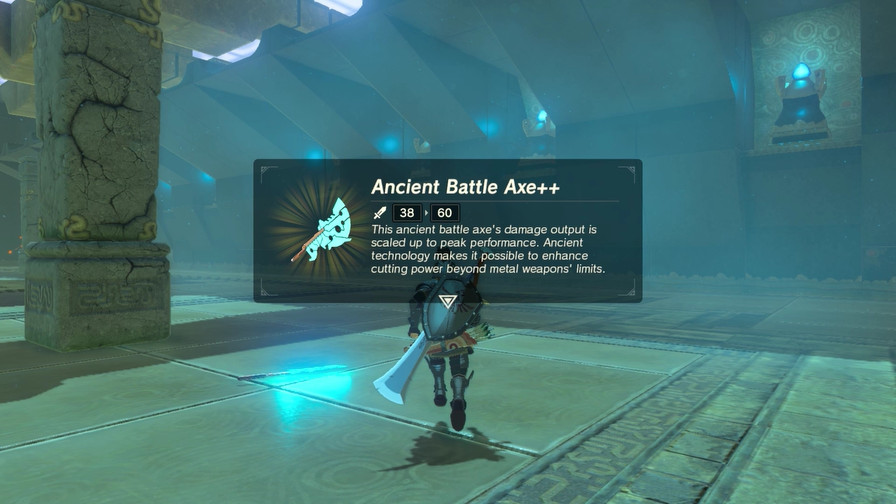  Though the loot is still nice, and gives me an excuse to photograph discarded weaponry. 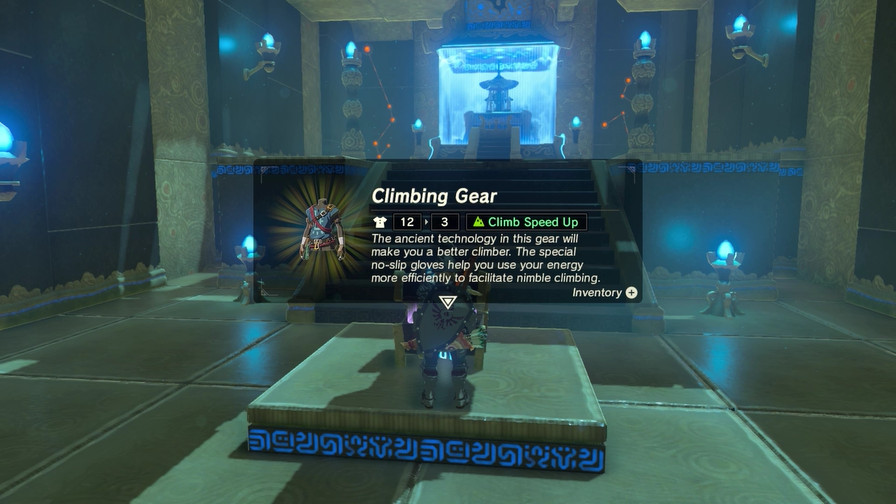 That said, this shrine was more than worth doing since it unlocks the final piece of climbing gear. Now we just have to get the mats to upgrade them all to L2 and we'll get one of the better set bonuses in the game. 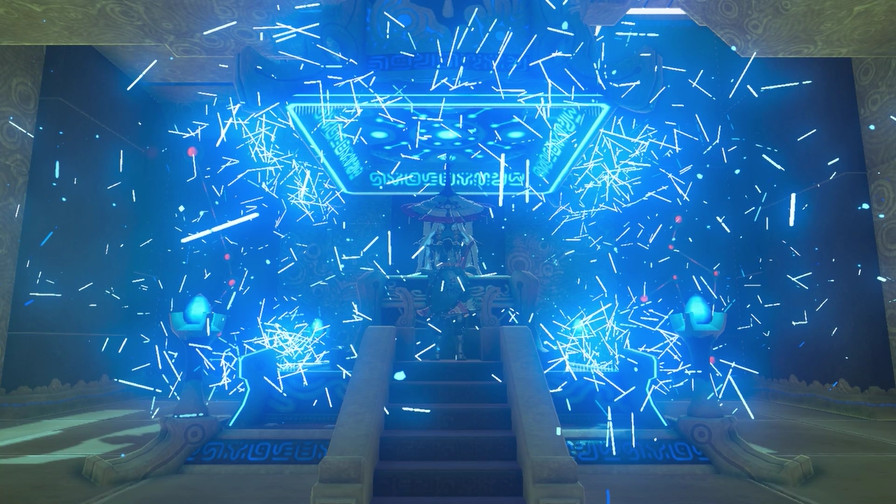 And another Spirit Orb never hurts, either. 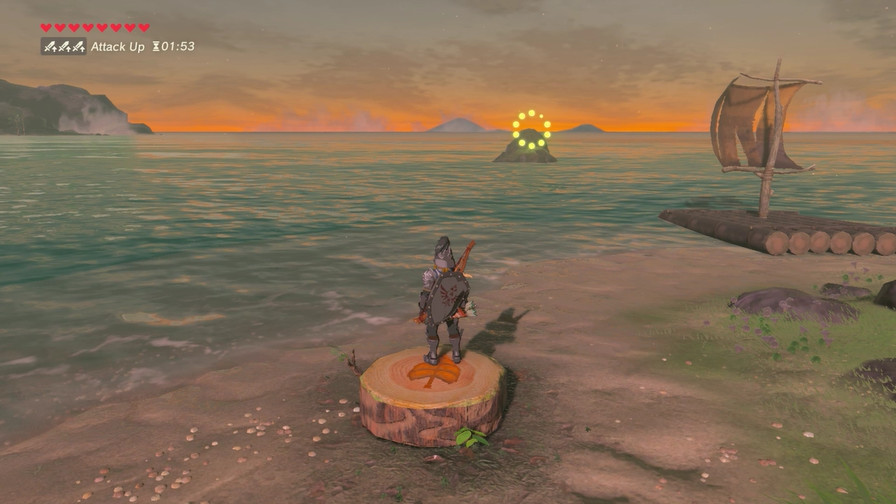  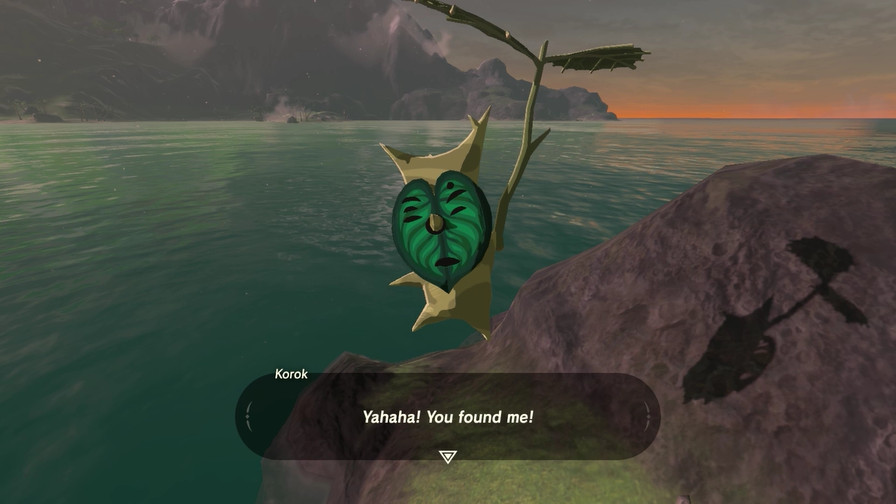 Also another Korok Seed. 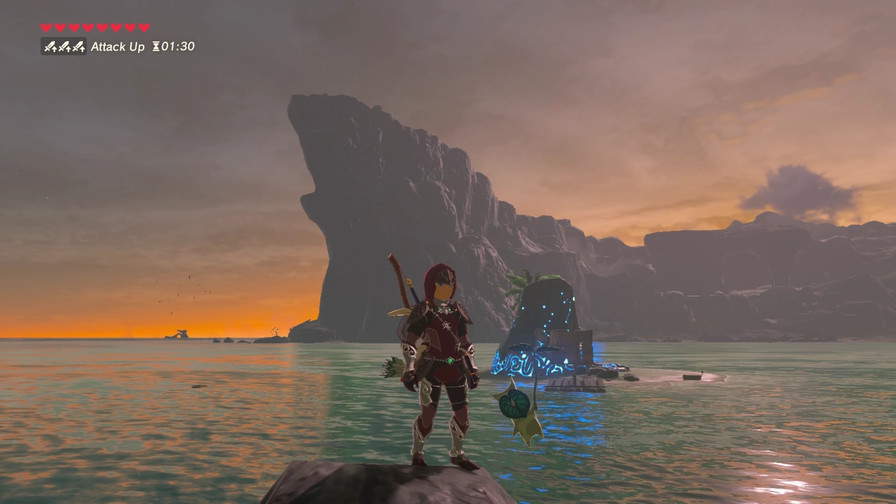 That's three down. Let's do one more for today. 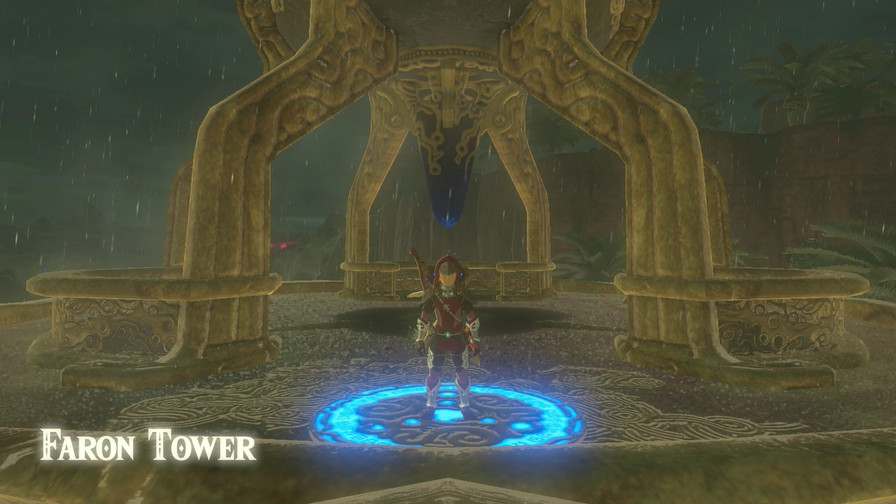 Back to Faron. 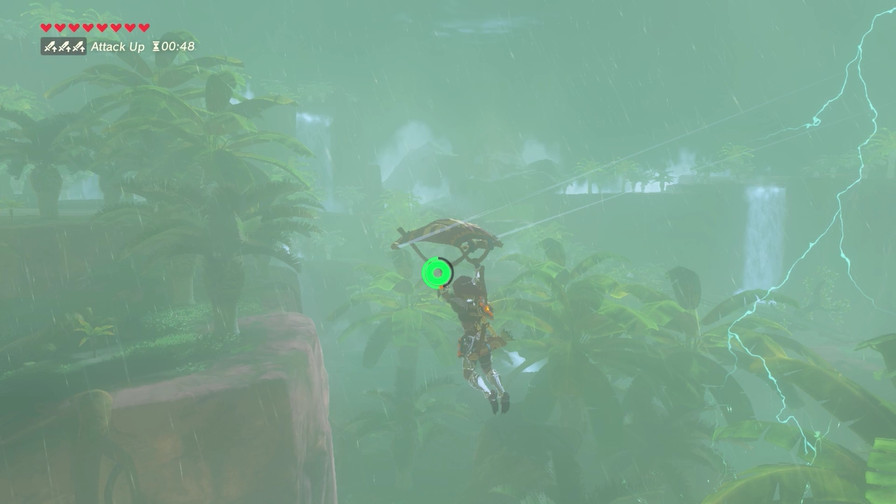   So originally I was going to do another shrine in the area. 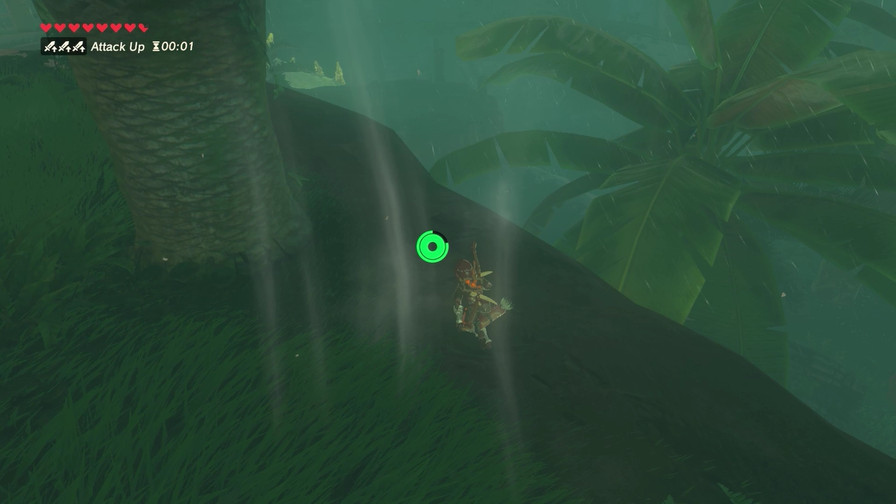 Music: Dragon 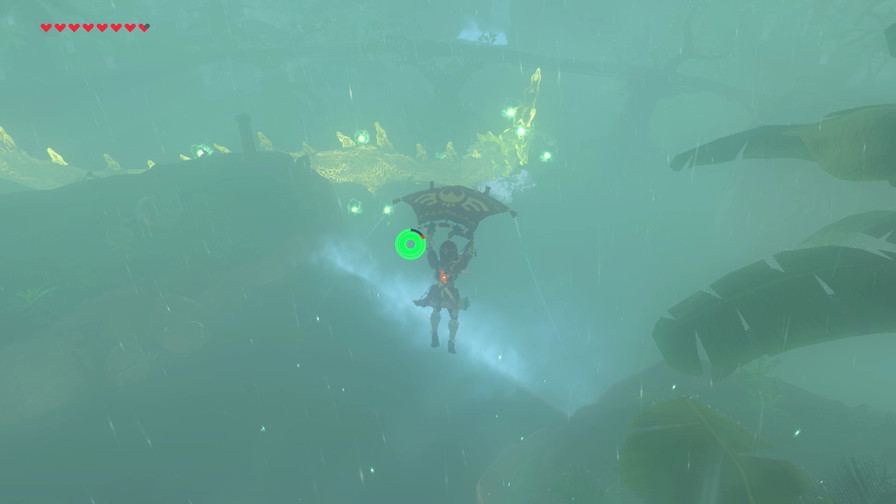 ...but I got distracted. Again. You see, this area is one of the various spawning points of the final dragon we'll meet. I say final but it's the one most people will find first since it also pops up in Hyrule Lake. It's easiest to find here, though. 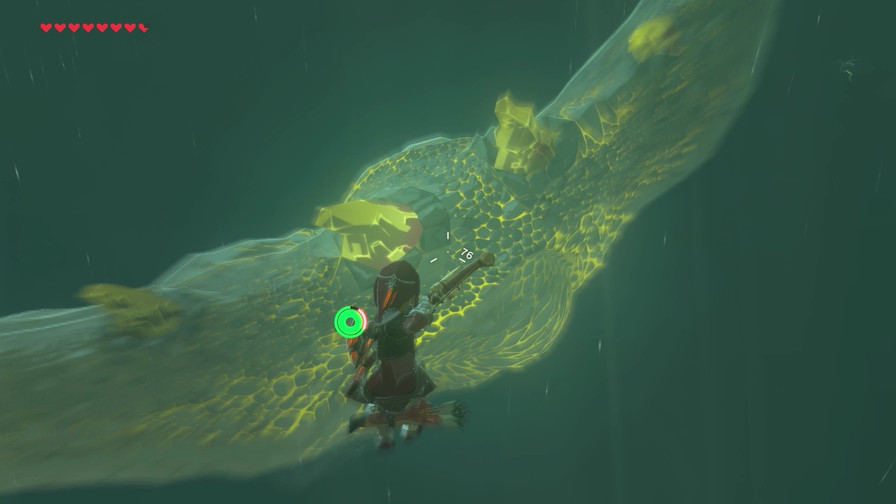 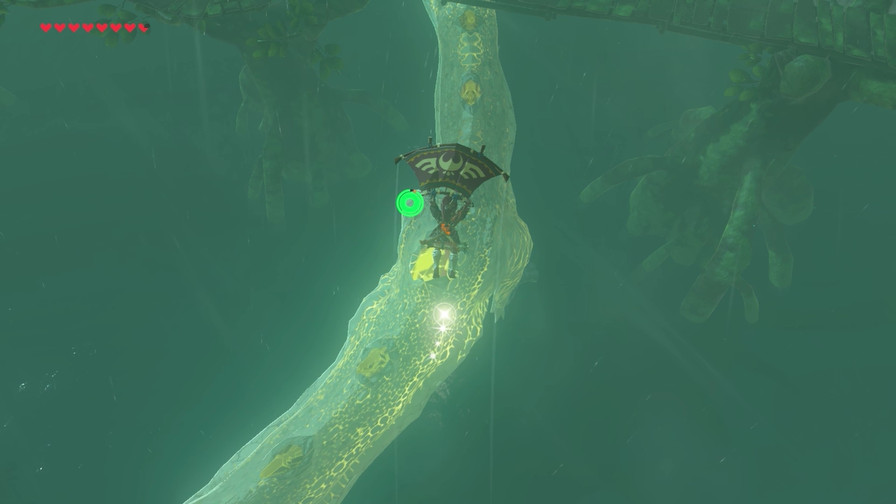 Same deal as the other dragons. Shoot it for its scale. 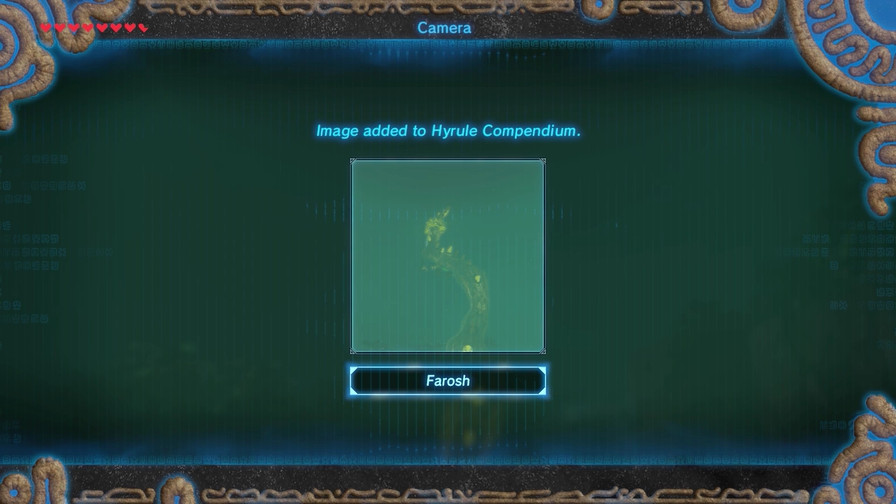 Shouldn't surprise you that this Dragon is Farosh. 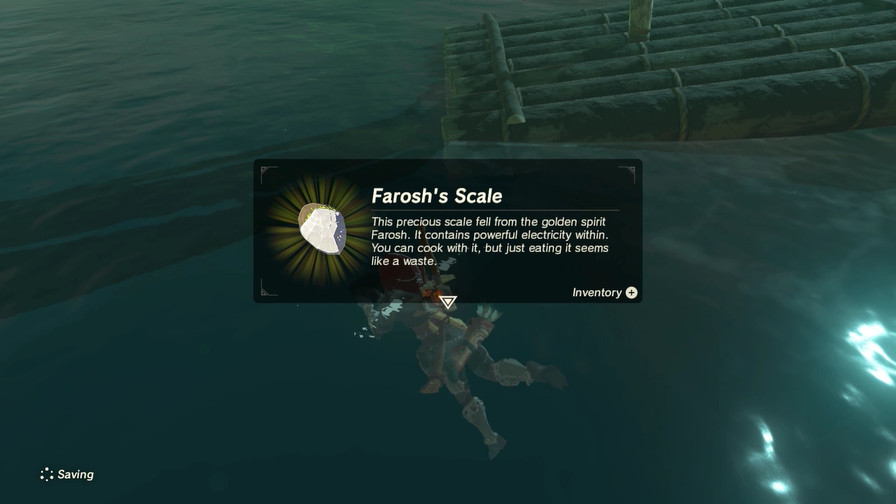 The same Farosh whose scale we need to open up the Spring of Courage. 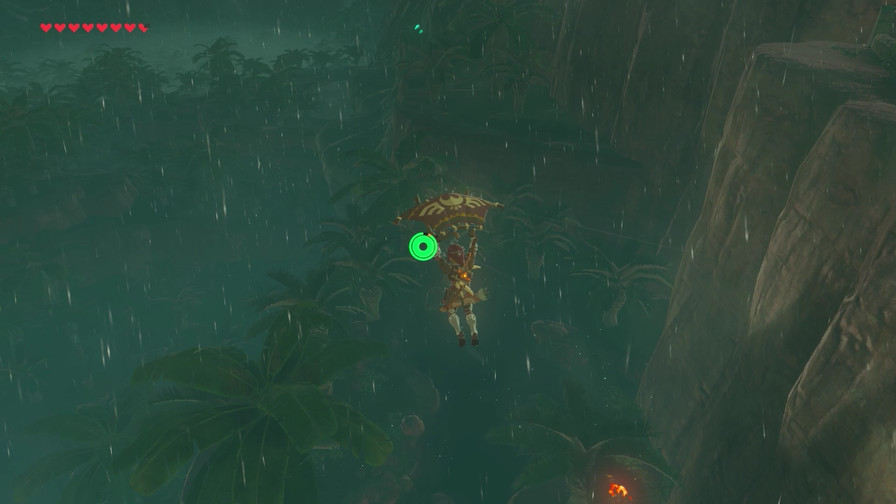 So back to Faron Tower to go back to the Spring of Courage!   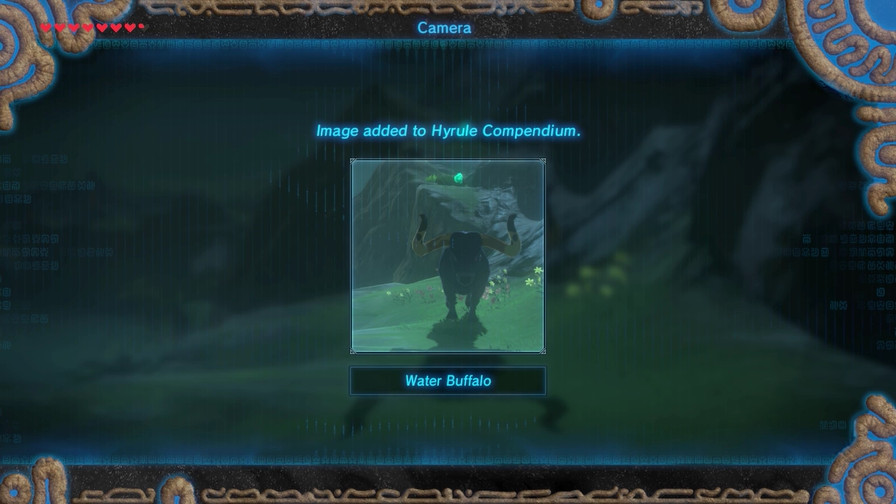 During which we get more photos and get hit with another Blood Moon. 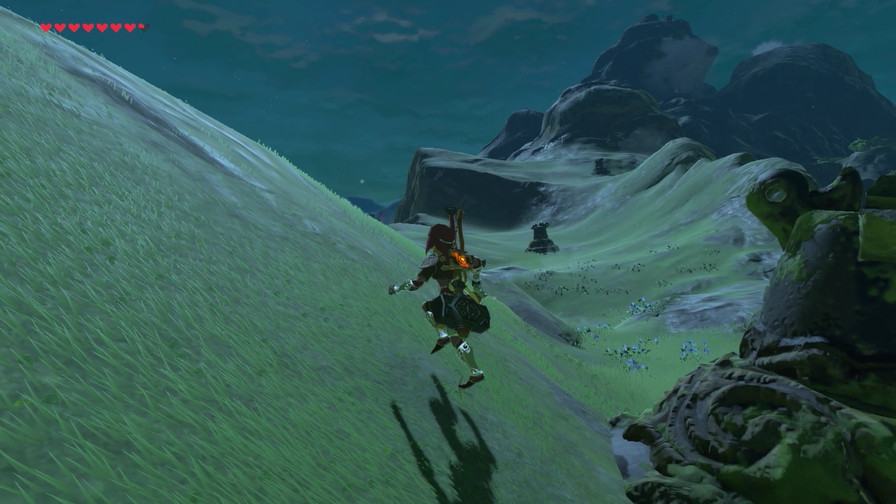 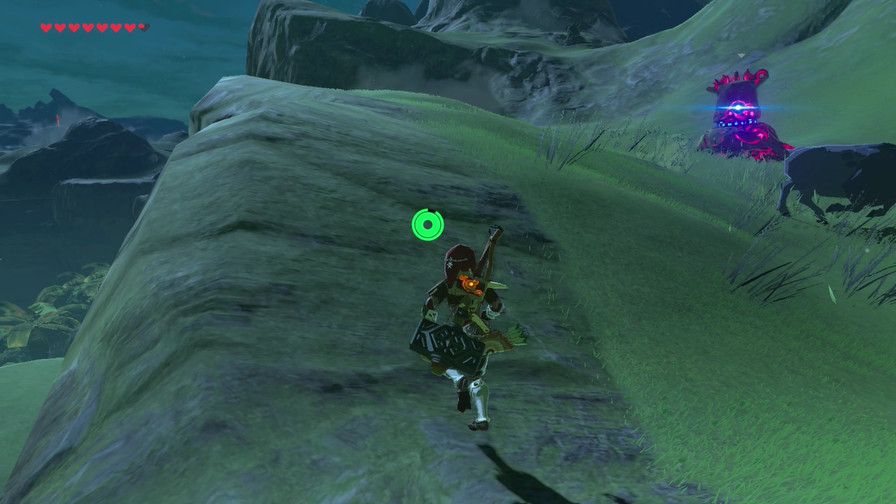 ...Welp. 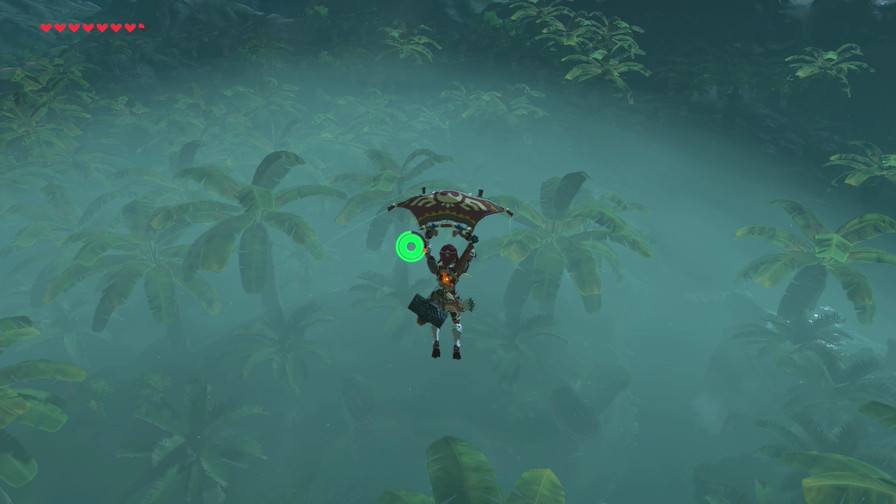 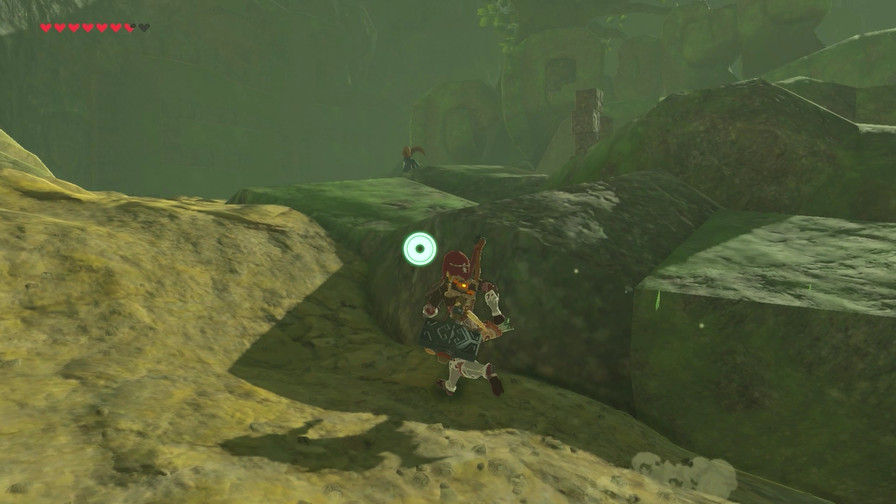 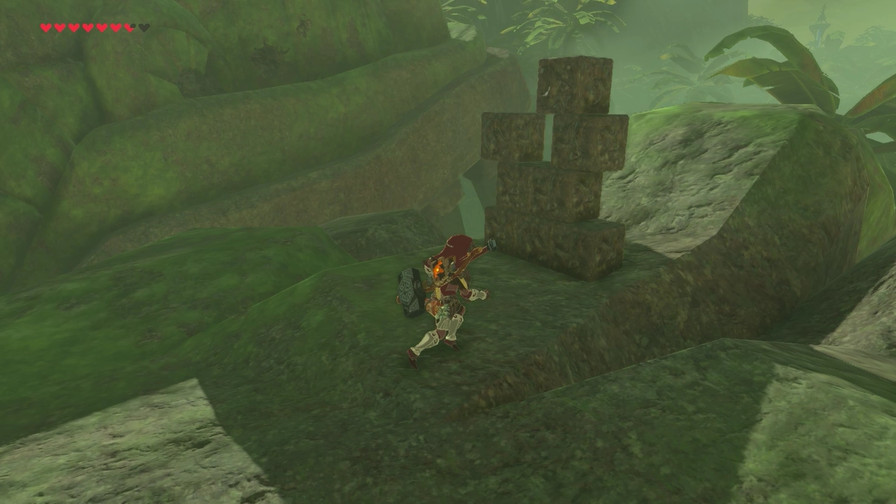 I get back in the spring area and notice another Korok Puzzle. 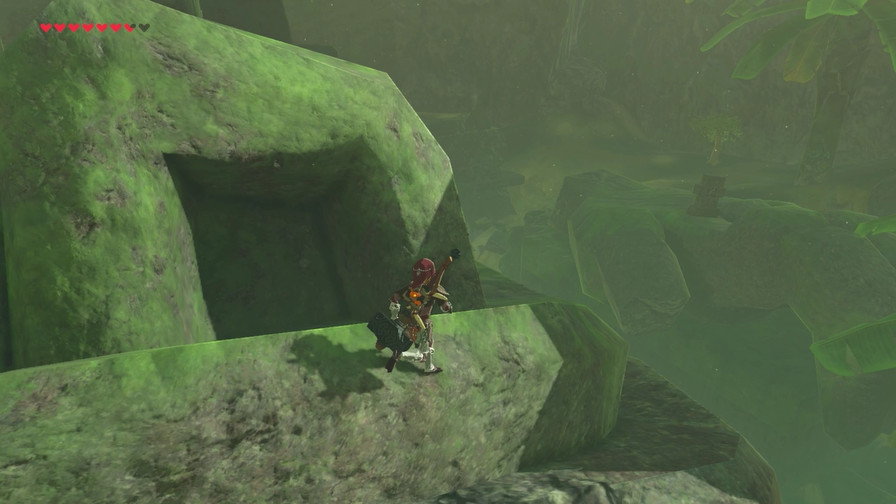 This one's a bit trickier than usual since the other part is all the way on the other side of this giant statue. 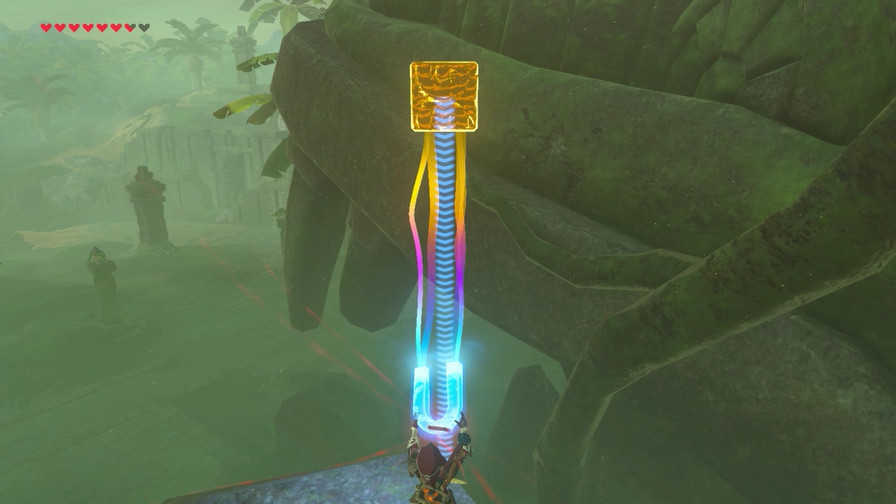 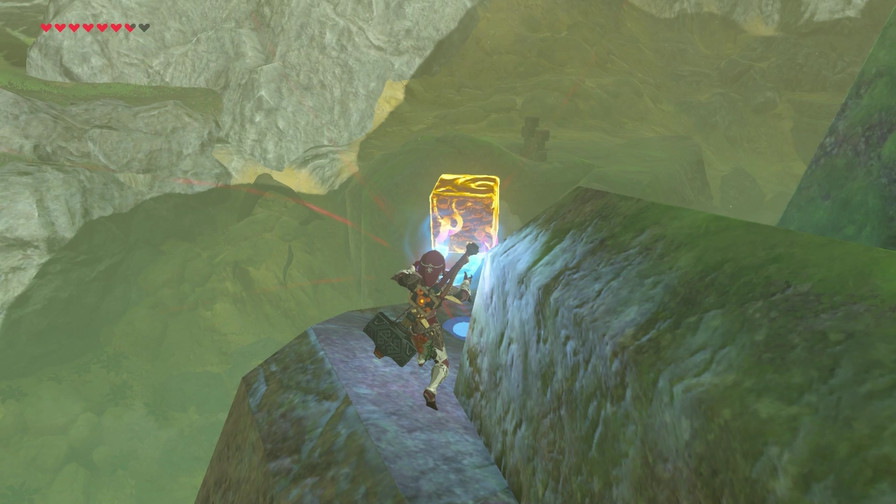 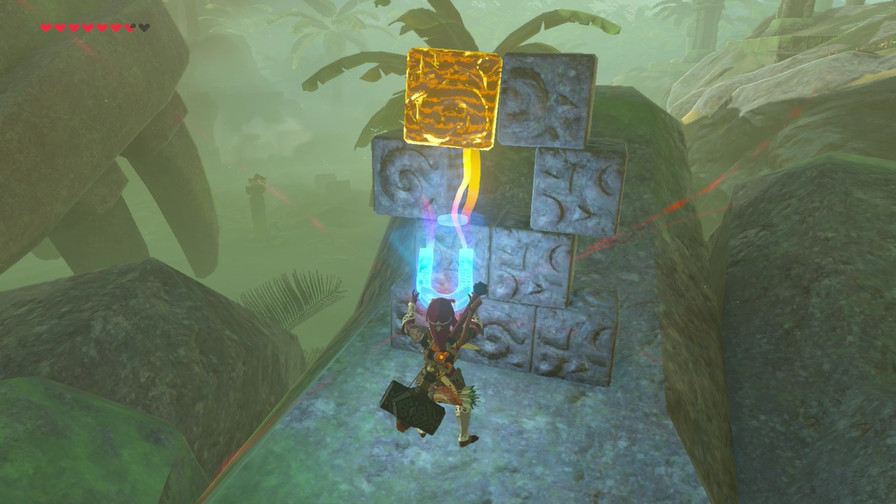 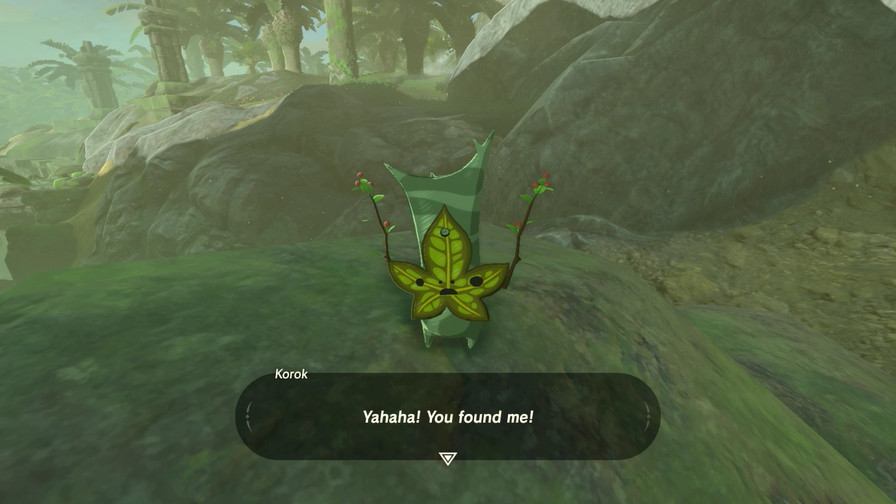 That said, Magnesis gives you a lot of distance to manipulate, so it's still not too difficult. 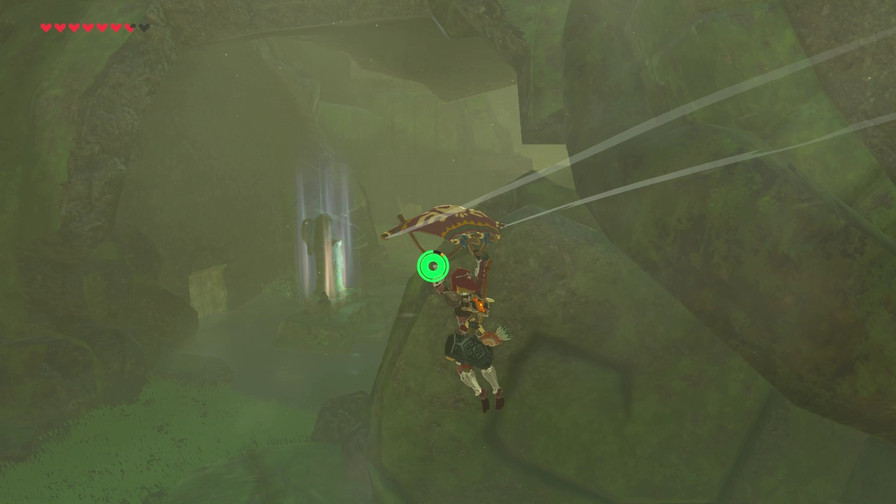 Alright, let's complete this final spring. 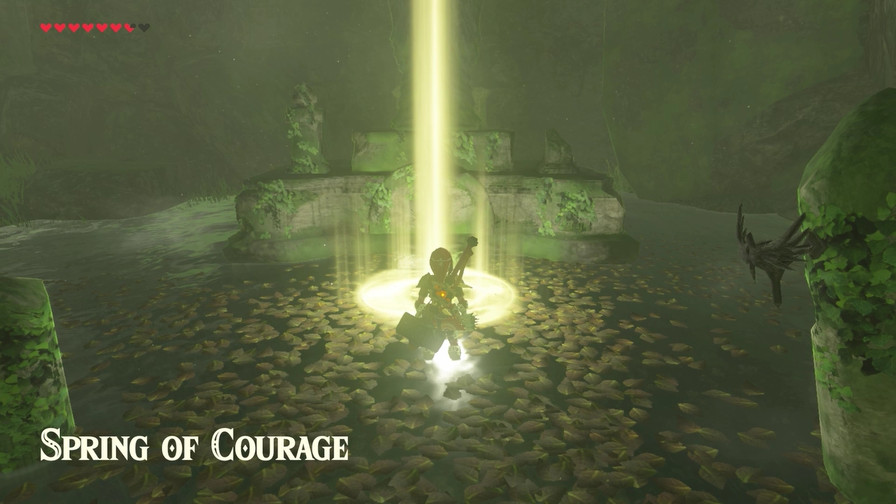 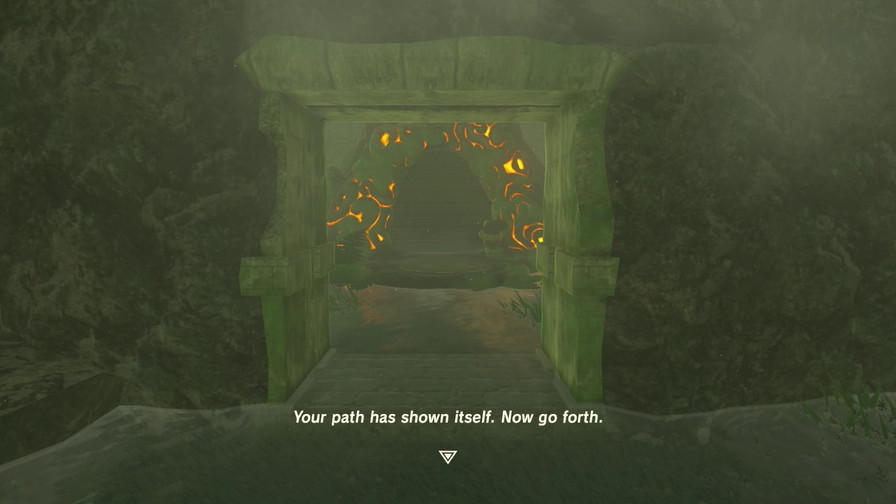 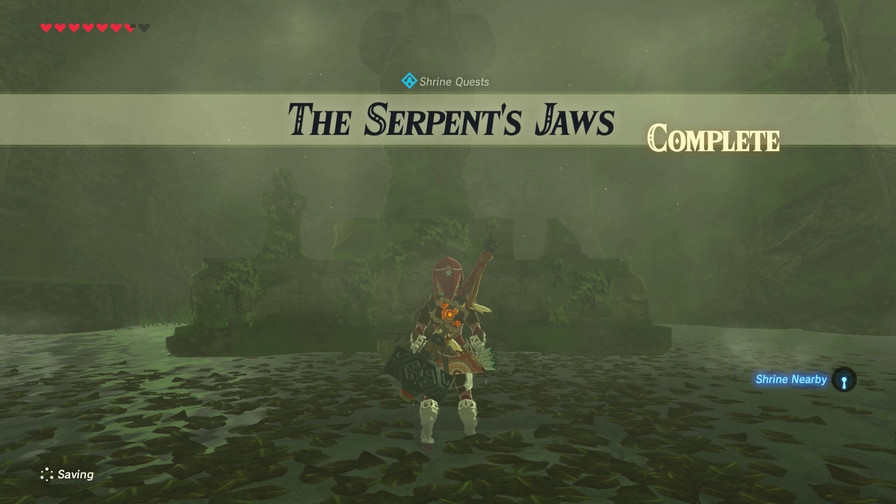 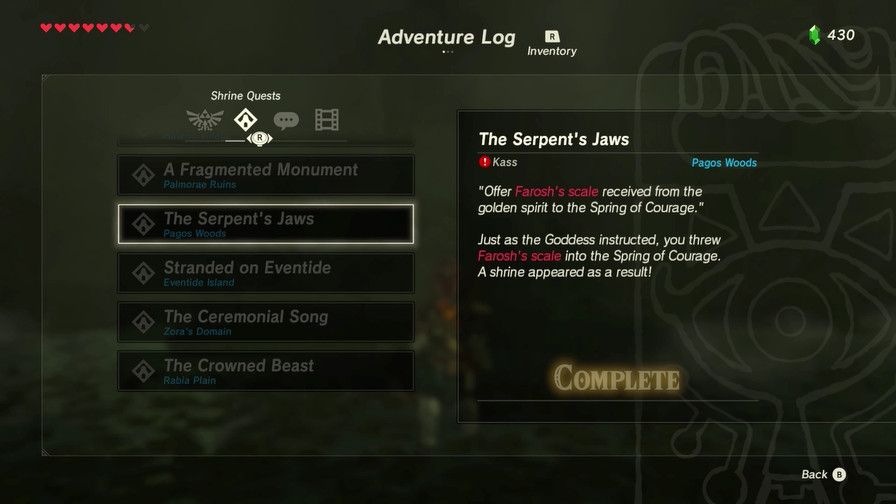 And we've now done all three Springs of the Triforce! Sadly nothing interesting arises from doing them besides the shrines. 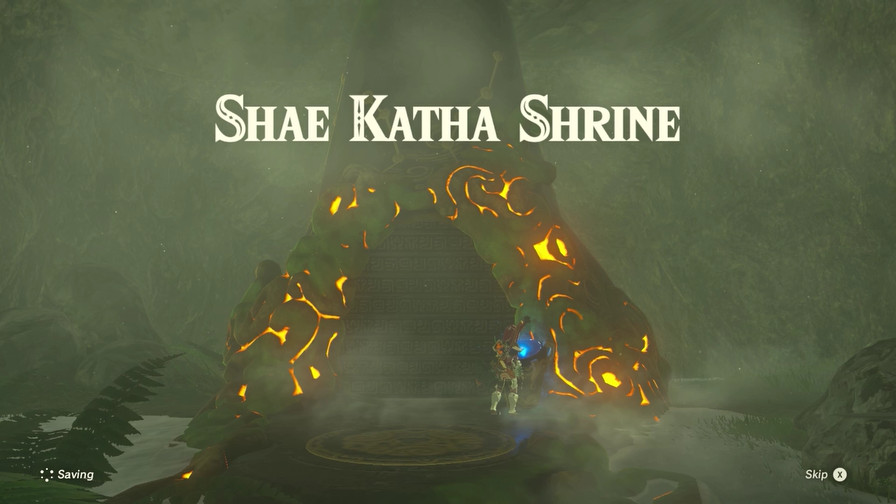 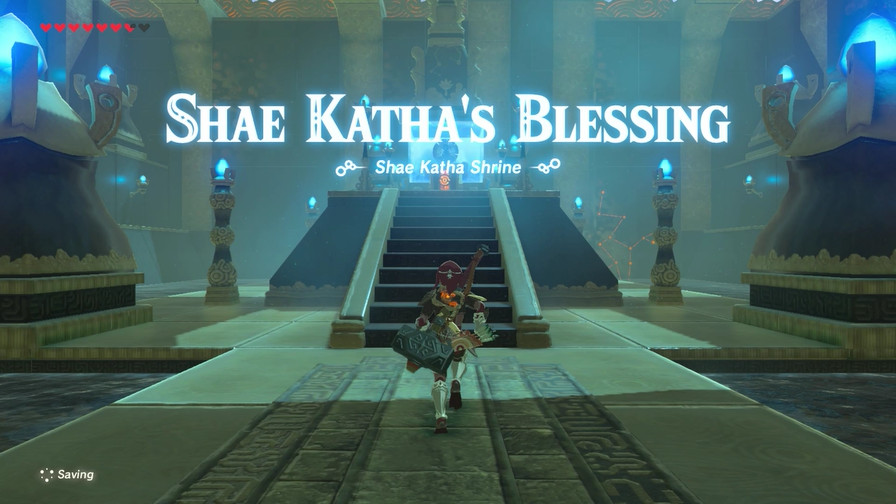 Another Blessing shrine, at least. 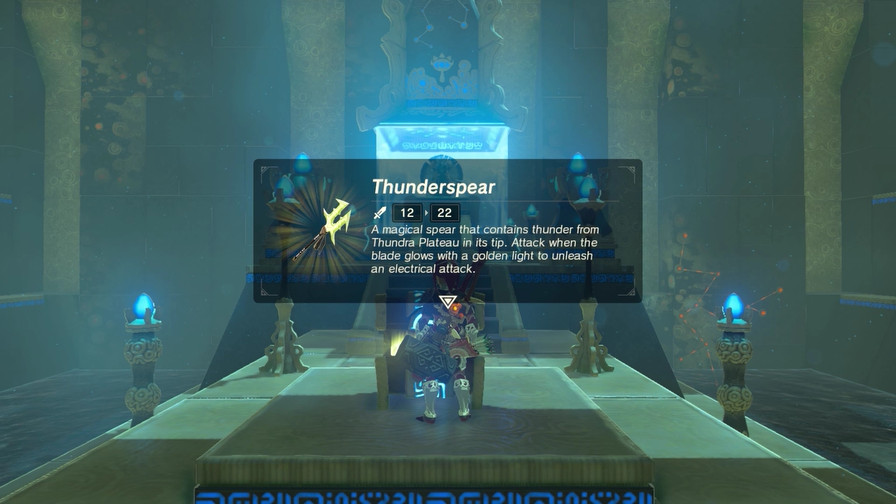 And appropriate of the Thunder Dragon, this weapon is lightning-elemental. 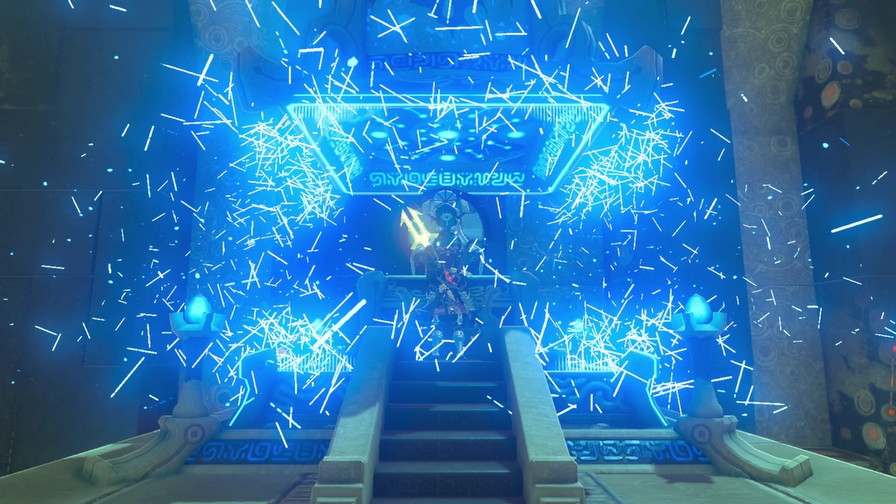 And that's Spirit Orb #4! And Shrine #40! We've now done a third of all the shrines in this game! 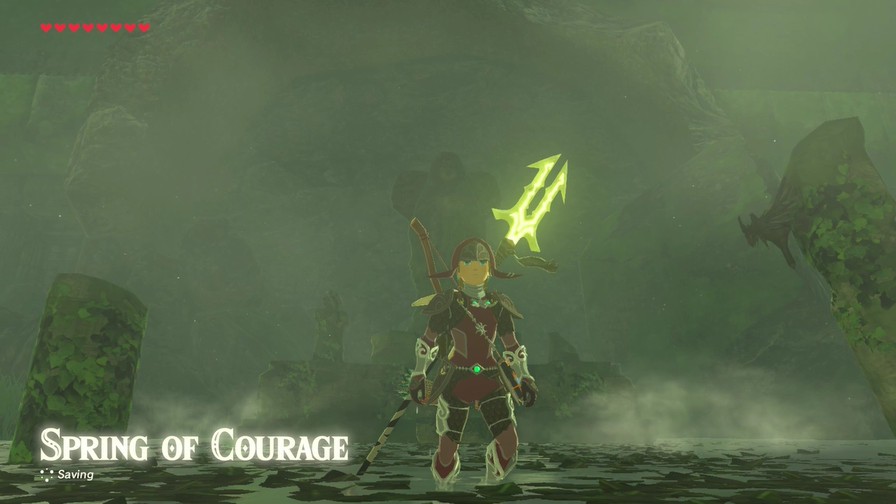 Next time, we're gonna head over to the volcano and meet the Gorons! I get the feeling we may also continue our quest to quell the Divine Beasts by doing so. Call it a hunch...
|
|
#
?
Aug 21, 2017 17:31
|
|
|
The spring was a Kass quest, right? Does he have anything to say once it's done, or has he moved on?
|
|
#
?
Aug 22, 2017 01:42
|
|
|
This sequence of pictures had me wondering: Can you stasis a Korok? And if it is possible, how far would they be launched? Please research this for science. 
|
|
#
?
Aug 22, 2017 11:34
|
|
|
Glazius posted:The spring was a Kass quest, right? Does he have anything to say once it's done, or has he moved on? I tried going back to Kass in my game and he was gone. Guess he's far enough away that it's considered a location change?
|
|
#
?
Aug 22, 2017 13:44
|
|
|
Glazius posted:The spring was a Kass quest, right? Does he have anything to say once it's done, or has he moved on? VibrantPareidolia posted:I tried going back to Kass in my game and he was gone. Guess he's far enough away that it's considered a location change? Most of the Kass quests have him near wherever you're doing the quest the entire time, I think this one is an exception. Generally you can talk to him again immediately after doing the quest to get his reaction, but then he leaves after you fast travel or enter the shrine. He also may disappear after giving you the Spring of Courage quest, I don't really have any way of checking since Nintendo currently doesn't have a way to backup saves for the Switch. Theoretically it's probably possible to go back to Kass if you don't fast travel or enter shrines while doing the entire quest (it might help to get Farosh's Scale first since Farosh will spawn without the quest), drop the scale and open the shrine up, and then manually walk back to where Kass is. That may be far enough for Kass to disappear, but it also wouldn't surprise me if the developers gave him some post-quest dialogue. At any rate I'm going to start my next gameplay session soon so I'll check on that before I head to the volcano. Pea posted:This sequence of pictures had me wondering: Can you stasis a Korok? And if it is possible, how far would they be launched? Sadly NPCs cannot be Stasised. Enemies with Stasis+ can be affected (though I keep forgetting to show this off), but I don't think they get launched either, just stunned while you wail on them.
|
|
#
?
Aug 22, 2017 13:56
|
|
|
Mega64 posted:Most of the Kass quests have him near wherever you're doing the quest the entire time, I think this one is an exception. Generally you can talk to him again immediately after doing the quest to get his reaction, but then he leaves after you fast travel or enter the shrine. He also may disappear after giving you the Spring of Courage quest, I don't really have any way of checking since Nintendo currently doesn't have a way to backup saves for the Switch. Yeah, looks like friendly NPCs can't be messed with that much... you can drop rocks on them and the like, but meh. Now a fun thing to do is stasis an enemy while they ride a horse, then steal the horse and kill them with it.
|
|
#
?
Aug 23, 2017 00:26
|
|
|
Working on the next update right now. In the meantime, a couple more posts to get this to the next page would be great!
|
|
#
?
Aug 24, 2017 17:13
|
|
|
Mega64 posted:Working on the next update right now. In the meantime, a couple more posts to get this to the next page would be great! So, what about them Gorons?
|
|
#
?
Aug 24, 2017 17:21
|
|
|

|
| # ? Jun 11, 2024 10:12 |
|
|
Mega64 posted:Working on the next update right now. In the meantime, a couple more posts to get this to the next page would be great! So when are you going to blow Link up?
|
|
#
?
Aug 24, 2017 17:33
|
|