


|
A, we must explore the CUBE!
|
 #
?
Apr 12, 2024 23:54
#
?
Apr 12, 2024 23:54
|
|


|

|
| # ? Apr 29, 2024 14:49 |
|
|
PurpleXVI posted:Someone getting the game after reading any of this LP is something I take as a badge of honour, managing to make it look interesting to folks. If you do a rando run, I think my main recommendations would be to turn off summoner/scholar/samurai randomization. Scholar and Summoner because one of their skills at the "start" of a class can lock off most of it for most of the game, Samurai because they really only work with their full tree. Also if you want to just enjoy a nice power fantasy run, turn off the weapon limitations on skills. As for NG+, I didn't plan to mess with the internals of each job, just the placement of stuff. Will probably turn off equipment limits as you say, though it'd make me go edgelord Assassin/Reaper even harder  ed: as for adventure direction, I vote for Meat Boss  and Meat Tunnel and Meat Tunnel  . .Pierzak fucked around with this message at 20:37 on Apr 19, 2024 |
|
#
?
Apr 19, 2024 20:34
|
|
|
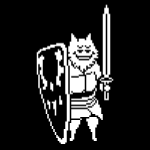
Update 20: The Worst Platforming Until The Next Worst Platforming Looks like ocean adventuring wins out for now. But as promised, first we'll clear out a couple of things in the Tall, Tall Heights and nearby environs that can only be reached now we have the Owl. 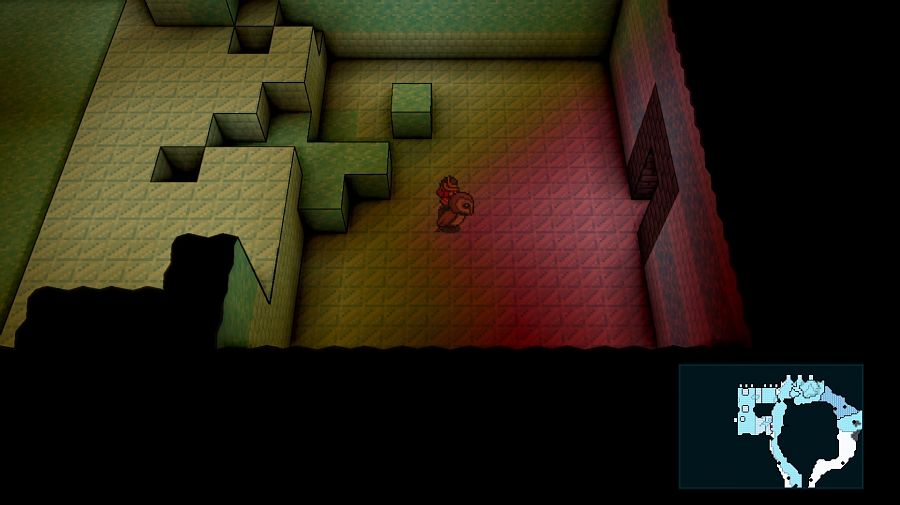 Hamza: I feel like you're all overreacting, it only happened once. Vanessa: Which is once more than you want to crash. Hamza: There's no fall damage, we're fine! Tau: Maybe you are, but when we clipped into the ground I got motion sick and... there was cleanup, okay? Hamza: Fine. But what are we doing here? Charity: You're going to get your Owl License before we let you out to fly in the overworld again. 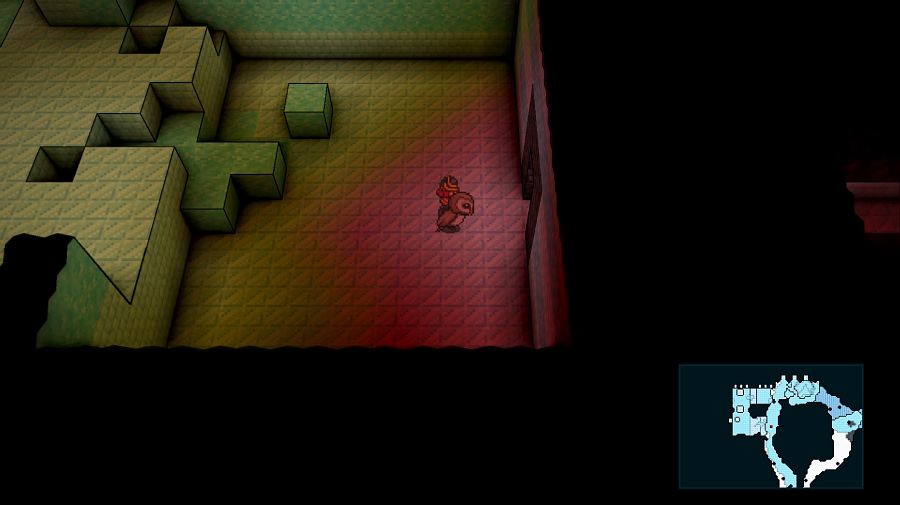 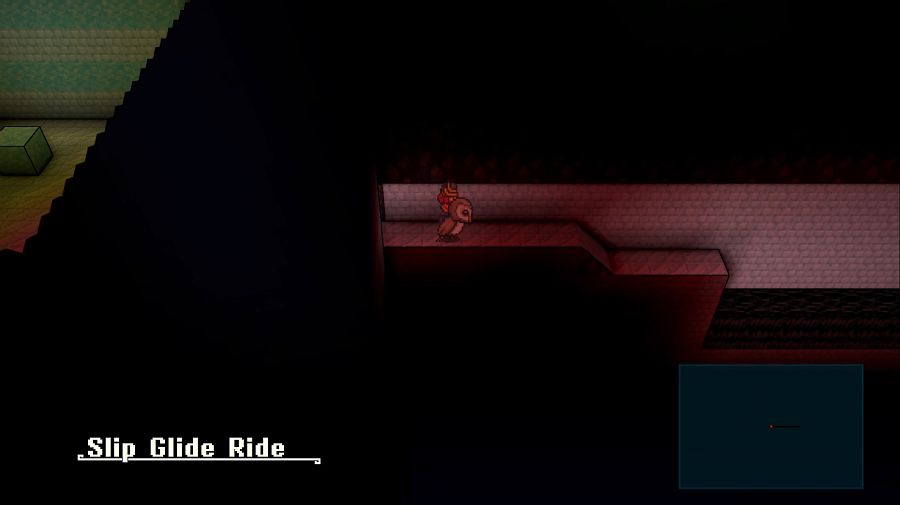 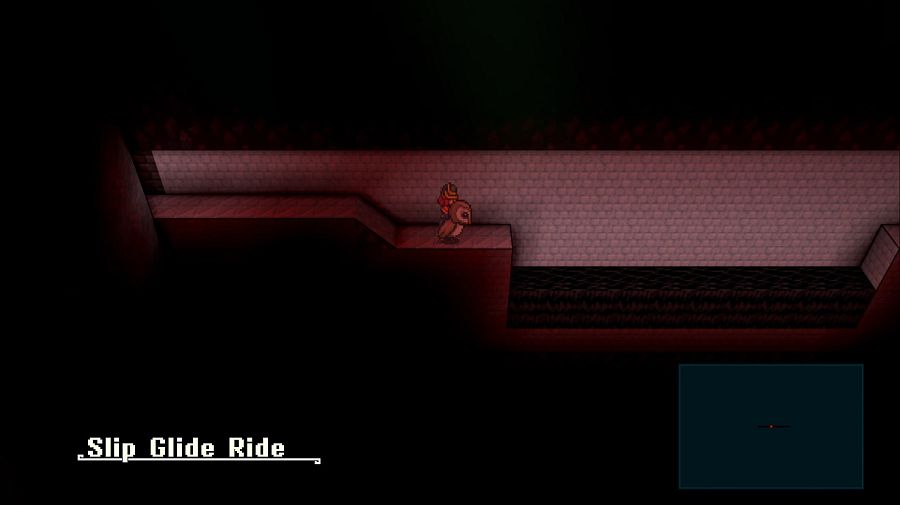 Welcome back to the Slip Glide Ride. 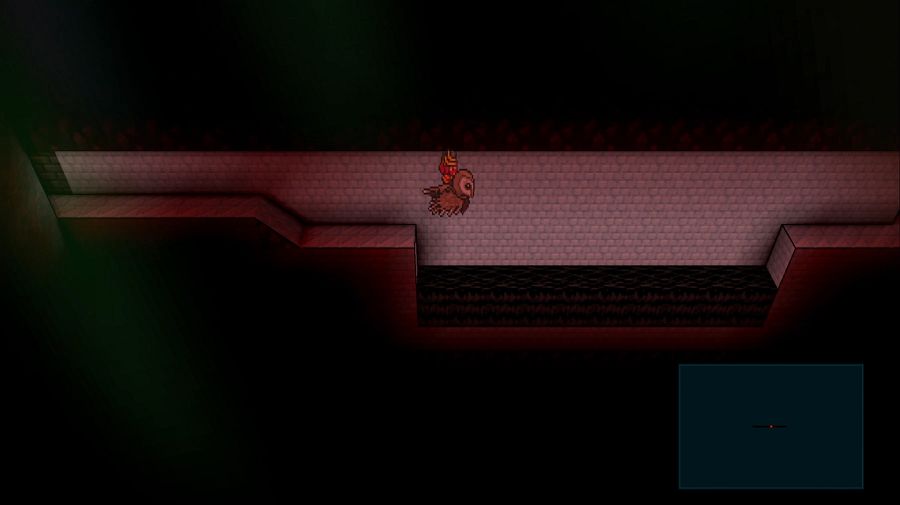 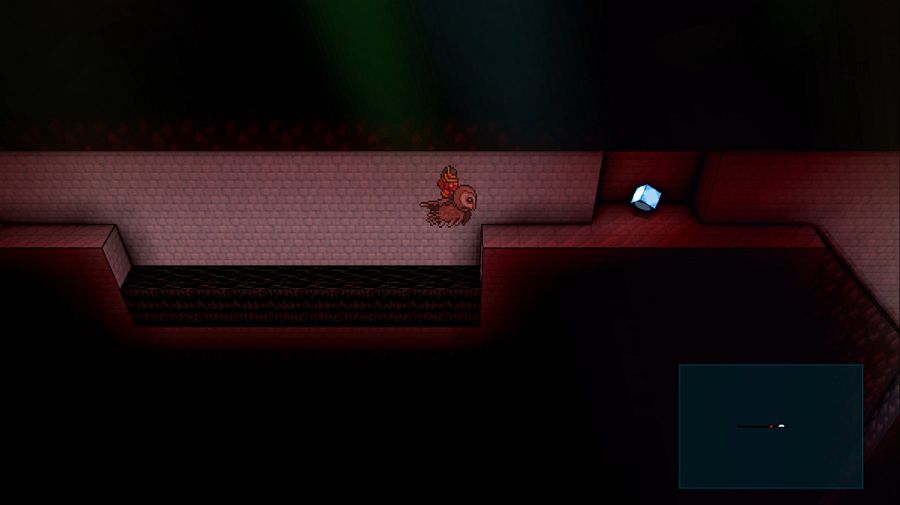 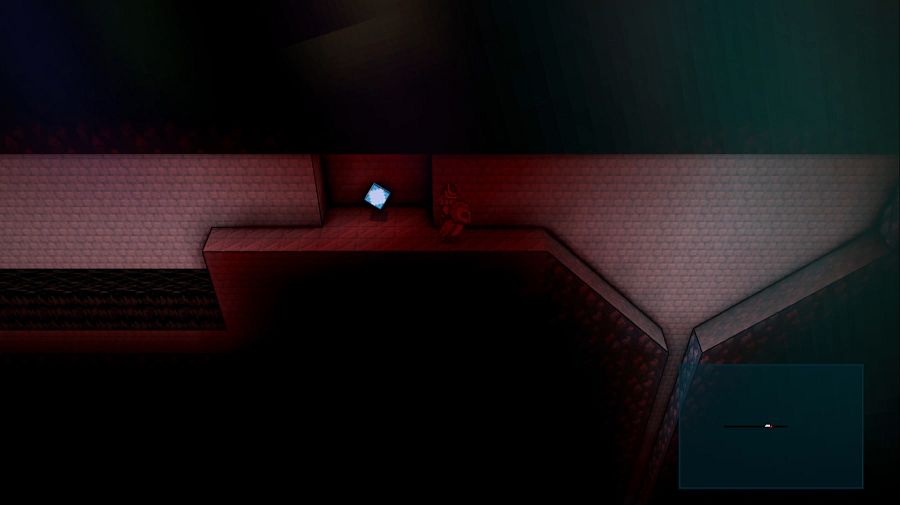  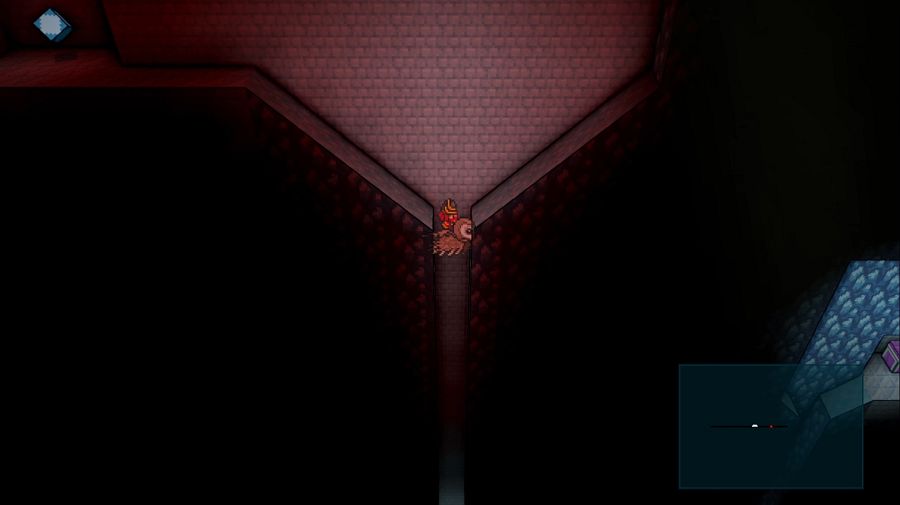 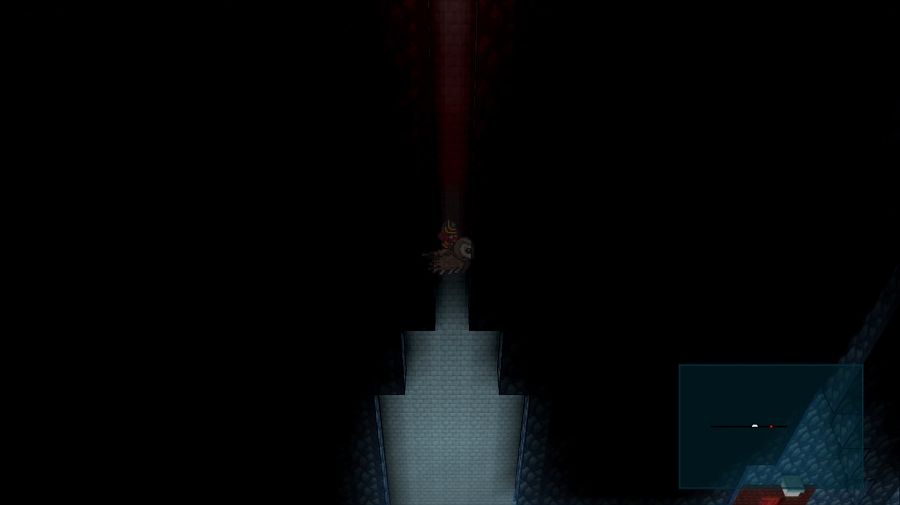 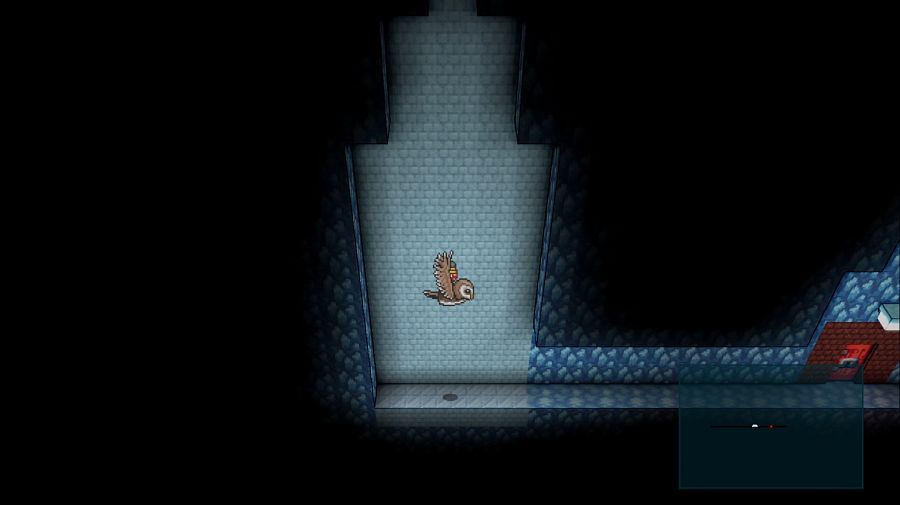 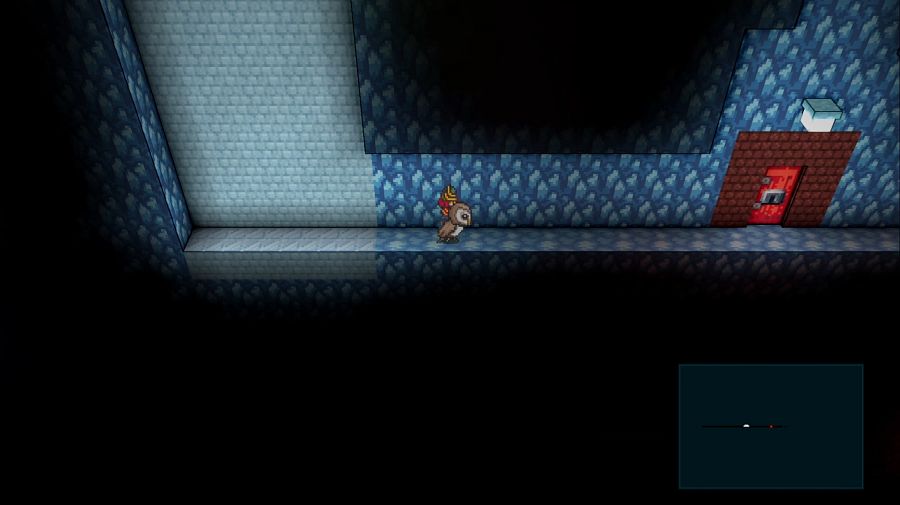 It's completely skippable and easily missable, and it's also your tutorial to how the owl works as well as what Crystal Project platforming is like when it gets mean. 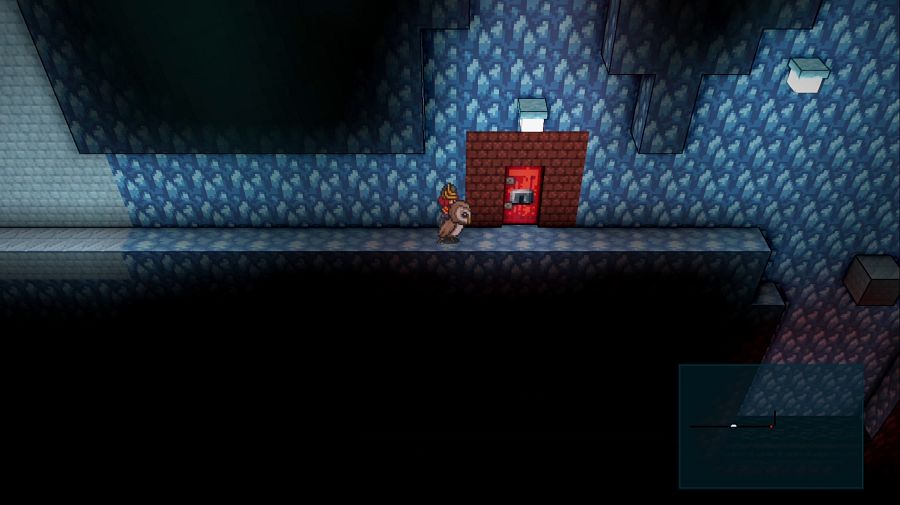 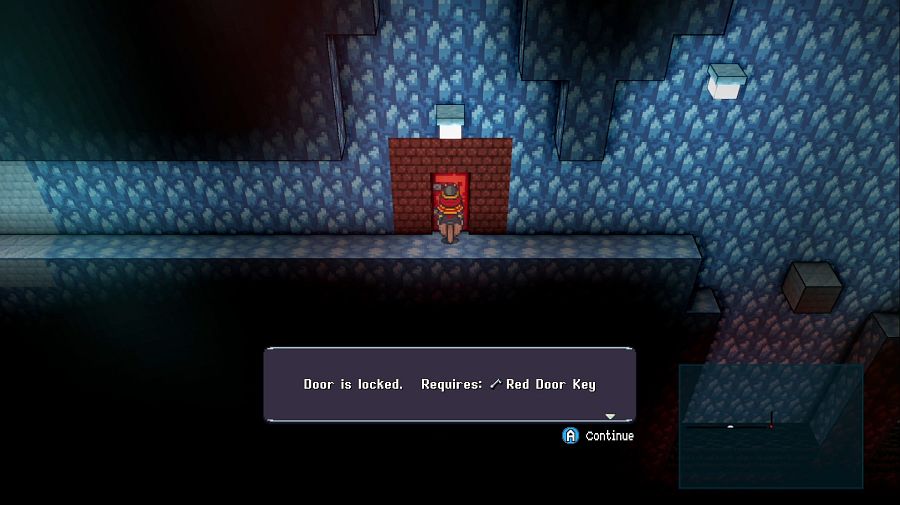 It's split up into three "2D" sections seen side-on where we have to find a key for a red door to advance. 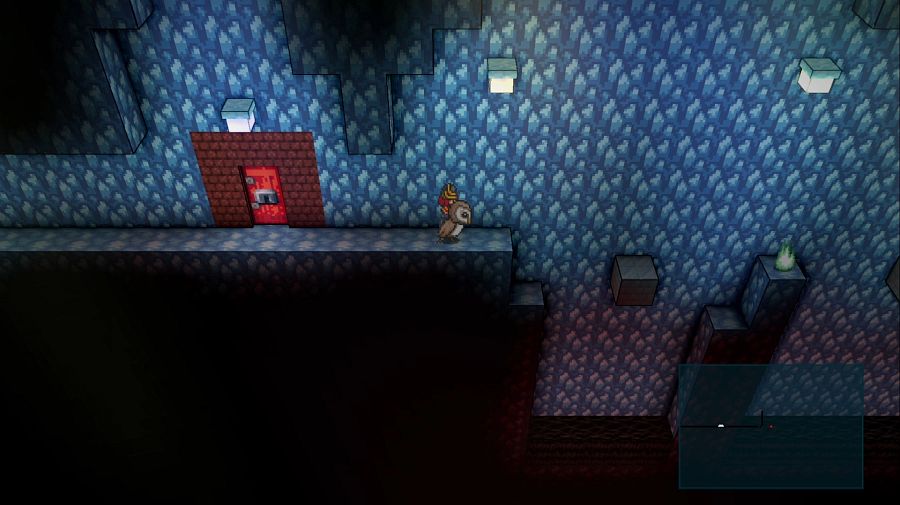 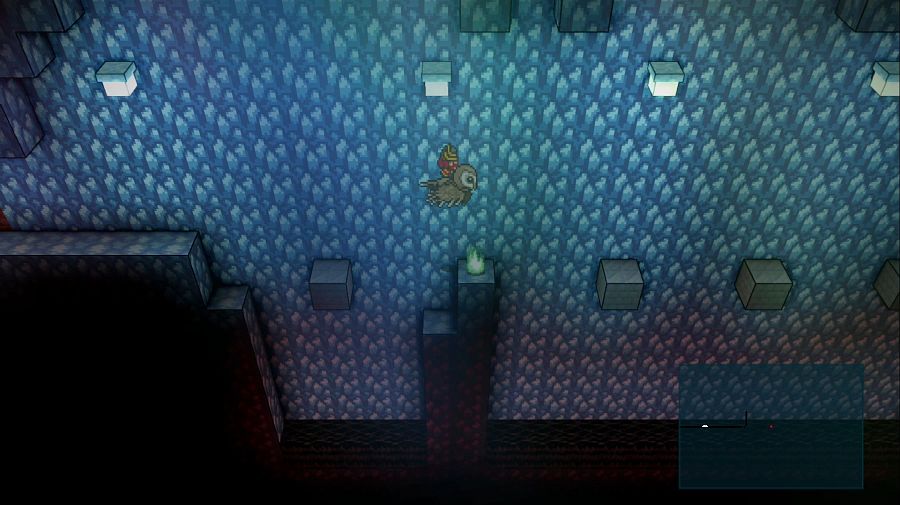  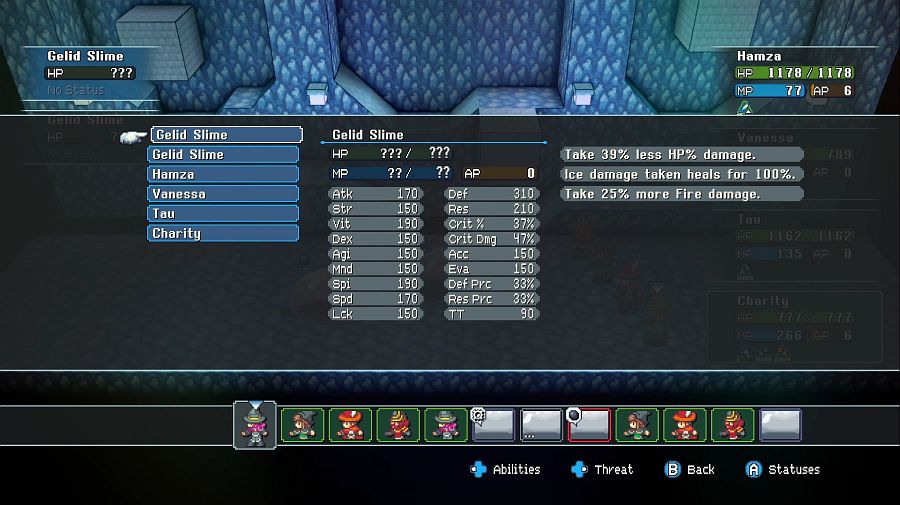 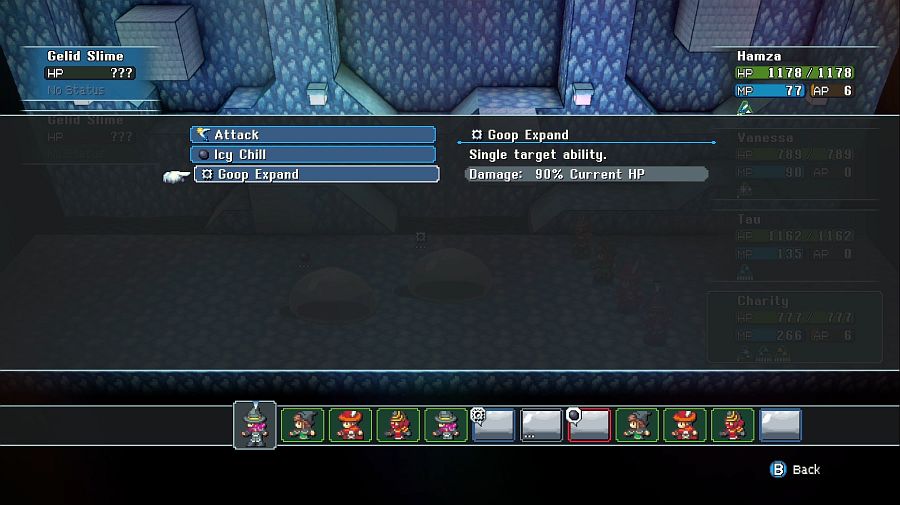 Gelid Slimes are mostly a damage check, if you can't take them out before they eat 90% of your health with a single attack, you're in for a bad time down here. 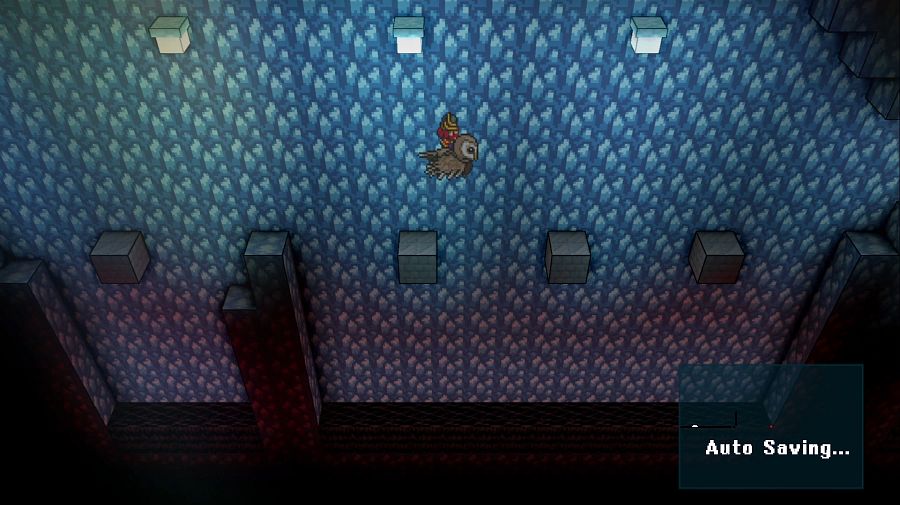 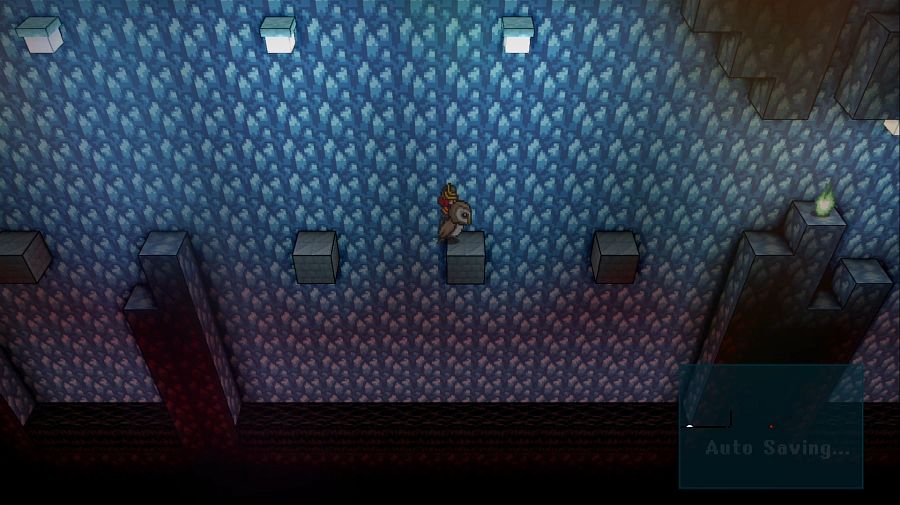 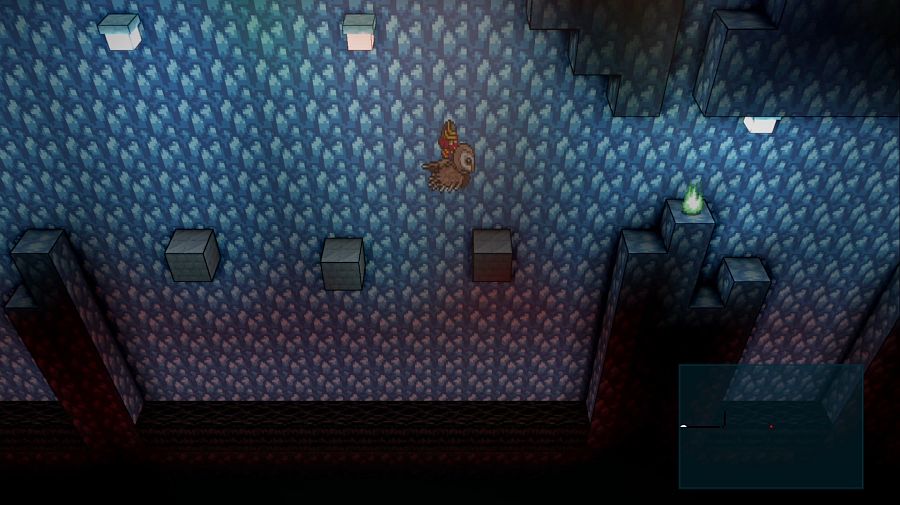 The ice "brick" blocks are also different from the "natural" ice surfaces, in that they rapidly start to drop when you land on them, and after they've dropped I want to say, about a quarter of their height, they temporarily vanish, usually dropping you into the drink. 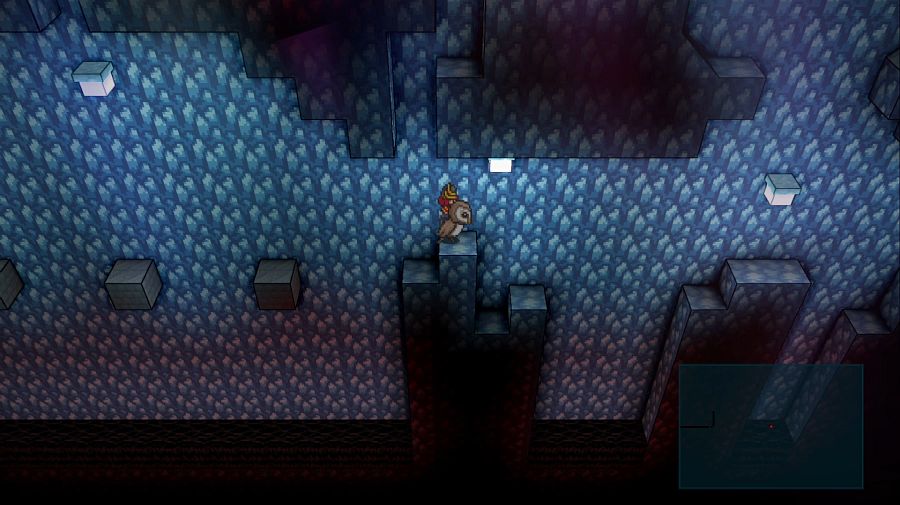 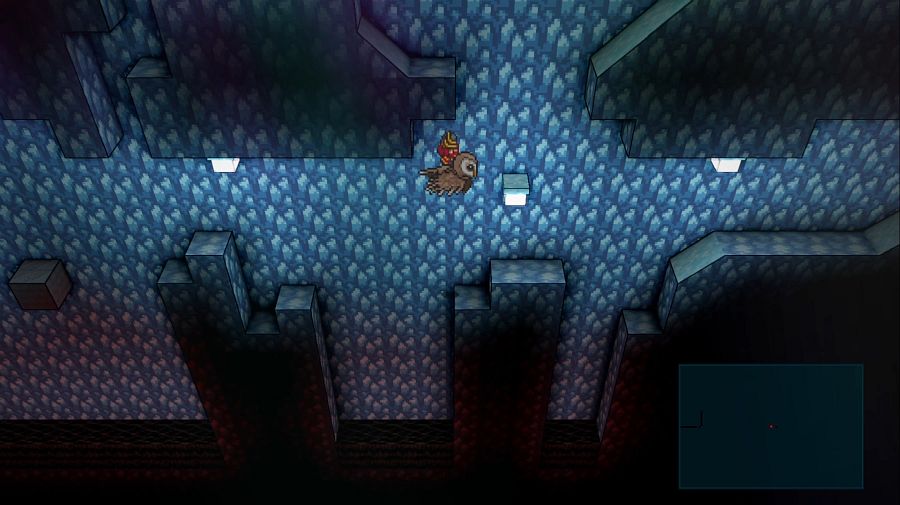 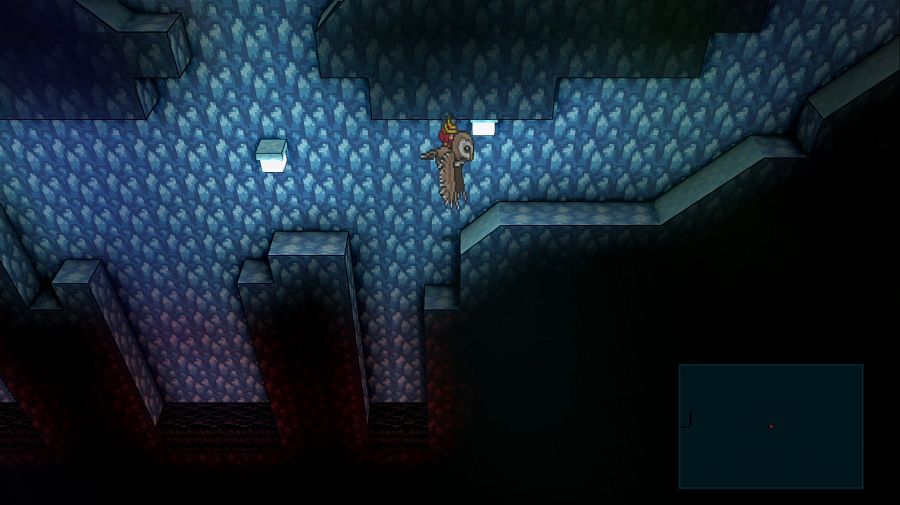 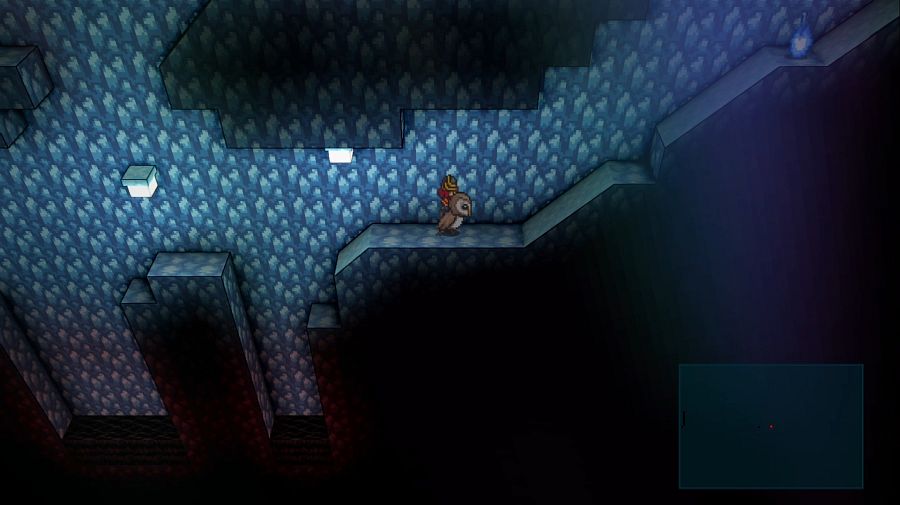 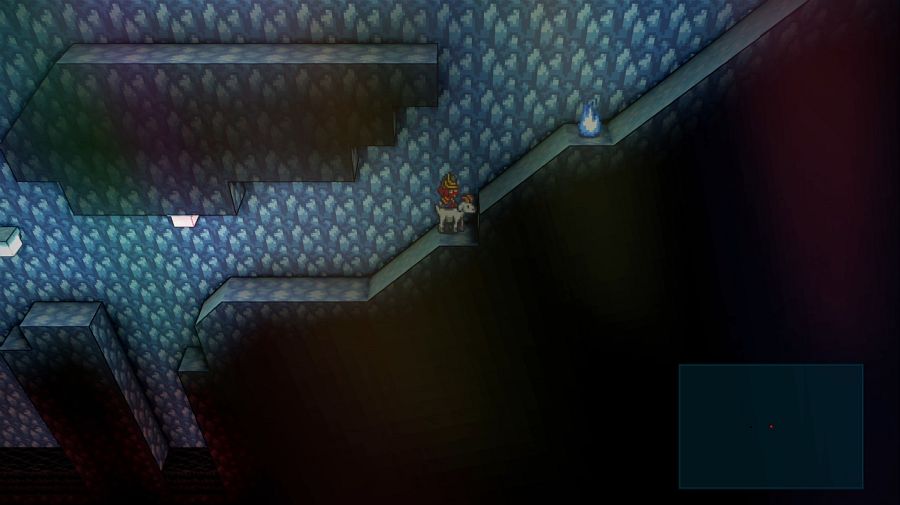 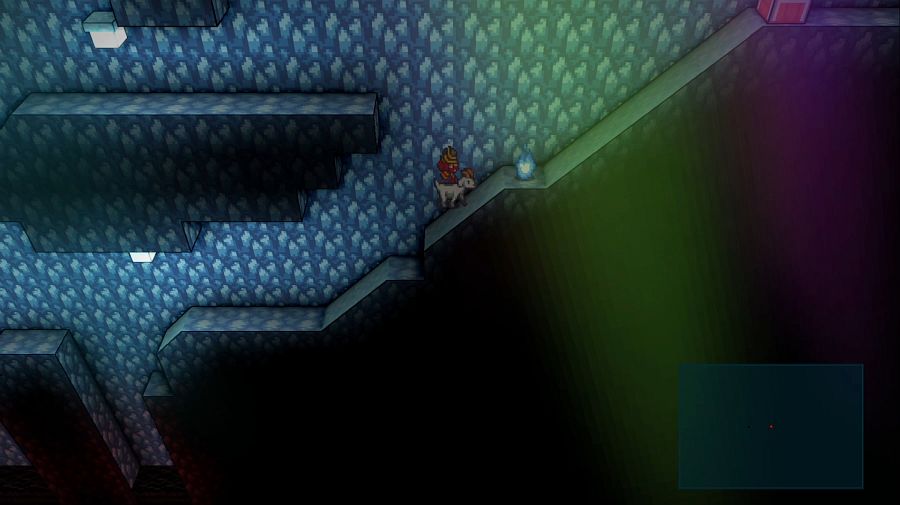 And the last novel mechanic for this area, or at least the first time we're encountering it, is that these 45-degree surfaces slide you down rapidly when you land on them. I think in earlier versions you could kind of game them before you could still jump off them and somehow jump-spam your way to the top, but that's no longer an option. For now we can't reach that chest. Vanessa: Don't worry chest, I'll never forget about you, you'll be in my heart until your contents are in my inventory...  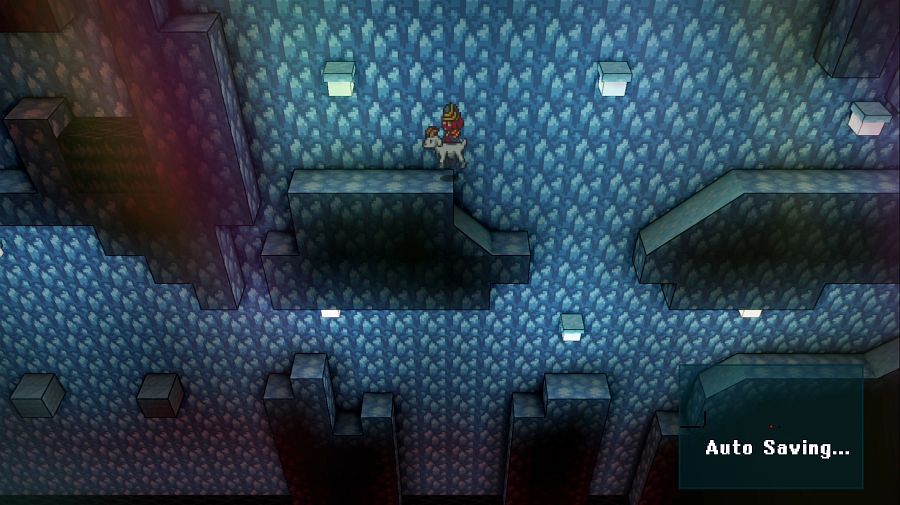 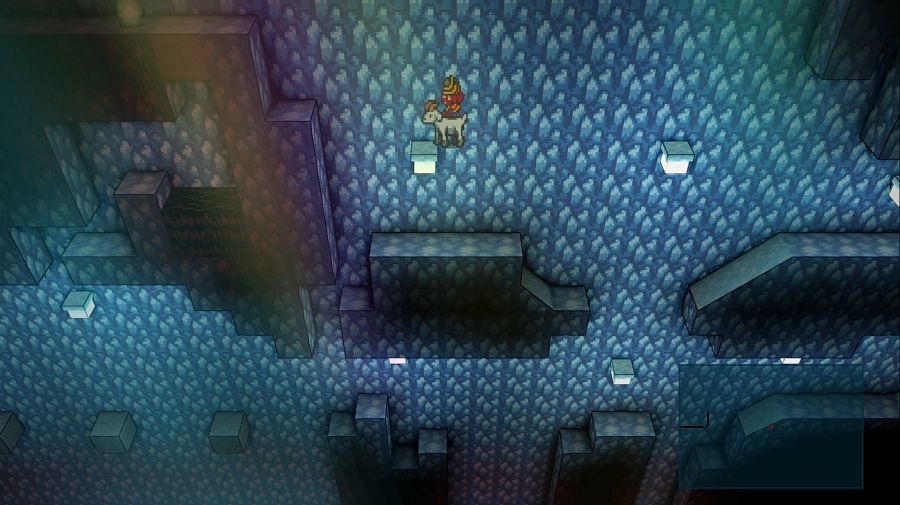 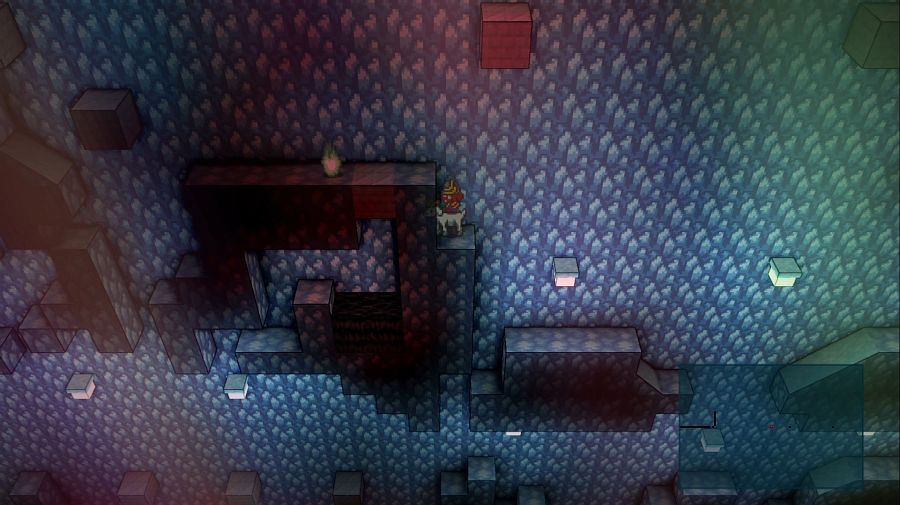 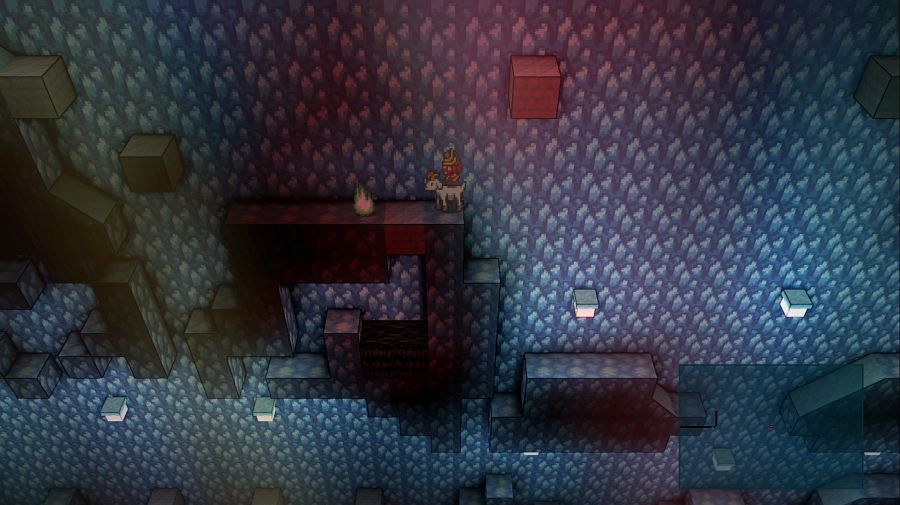 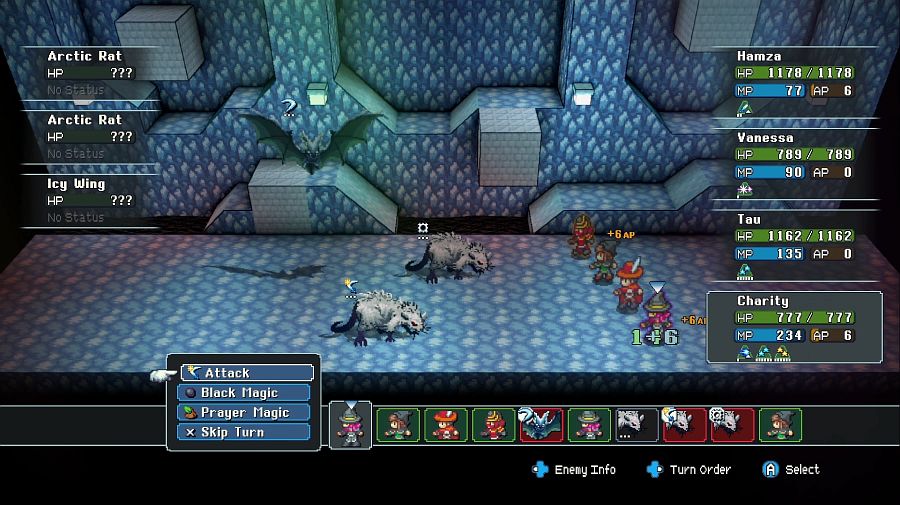  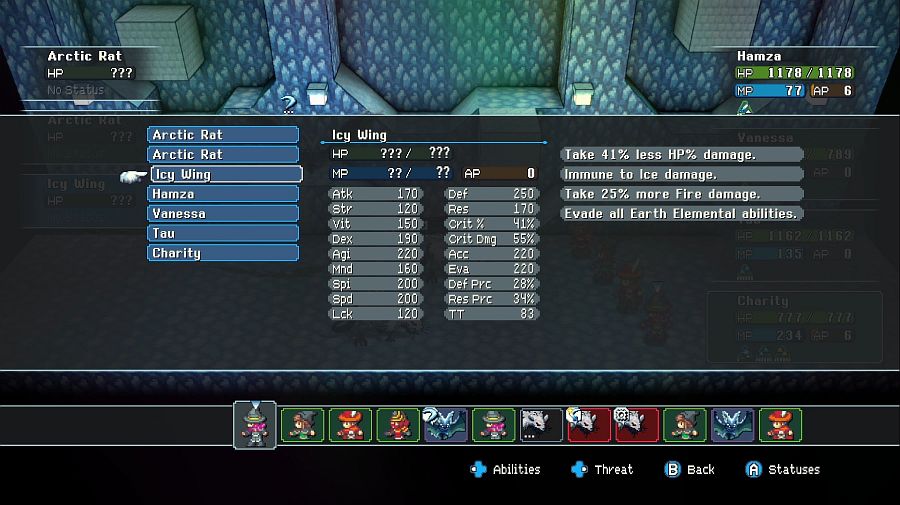 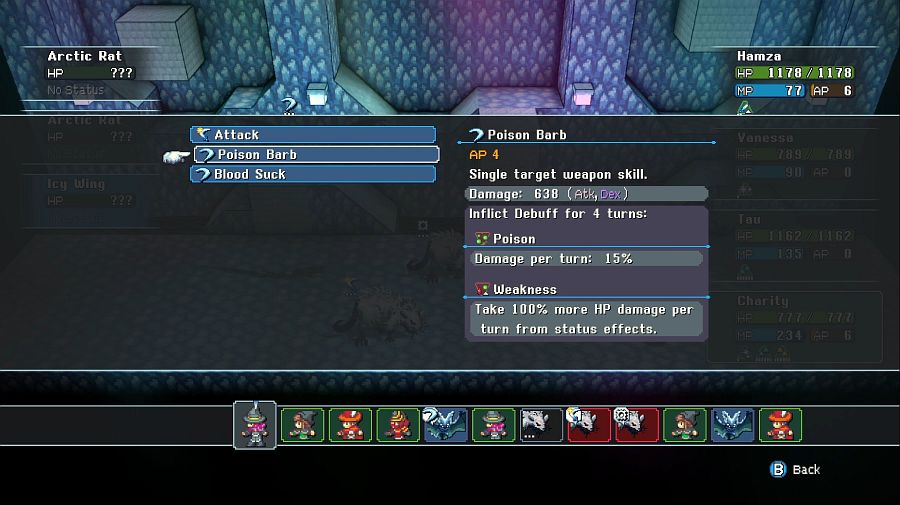 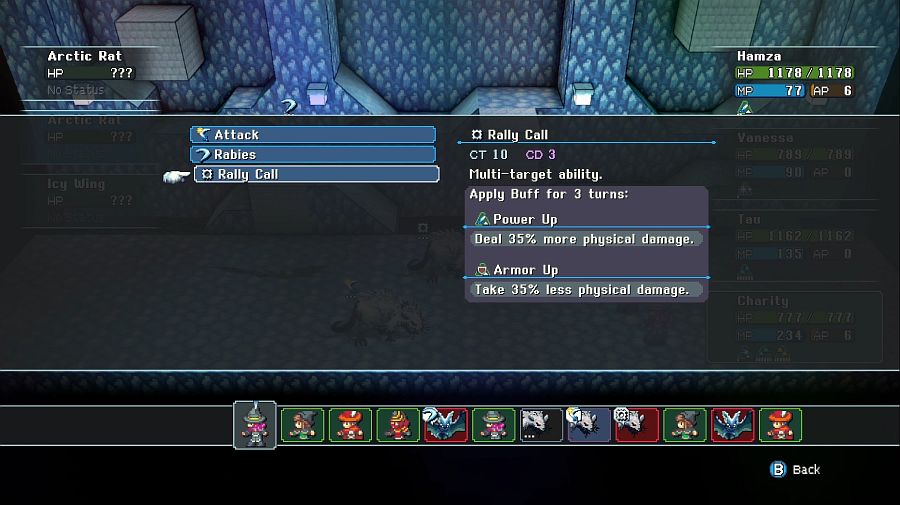 Arctic Rats and Icy Wings mostly function by way of smashing you with damage-over-time conditions that melt you real fast. But since Charity's a Wizard, she solves most of these encounters by nuking them with big multi-target Fire spell casts. Charity: Explooooooooosion~! 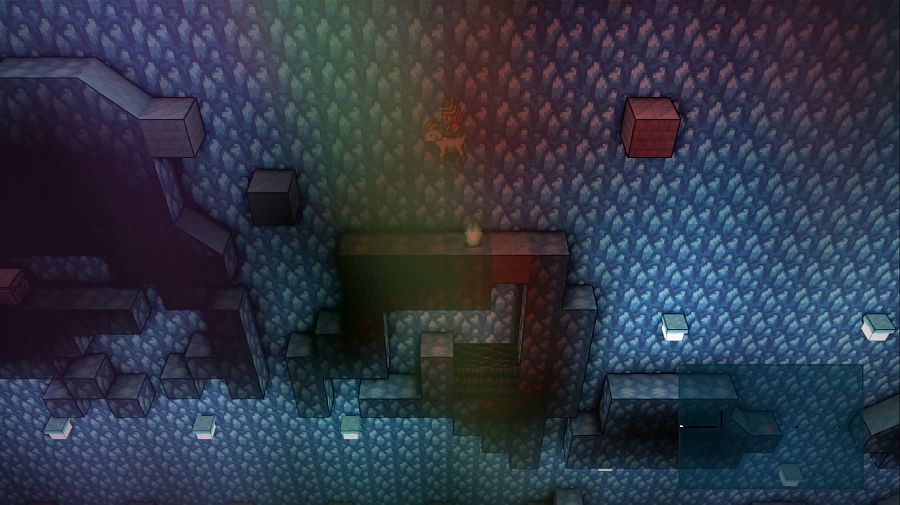 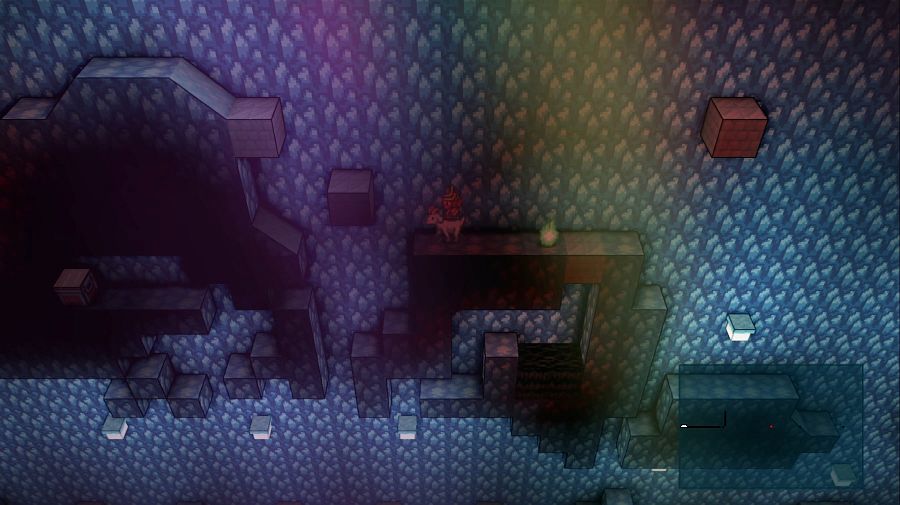 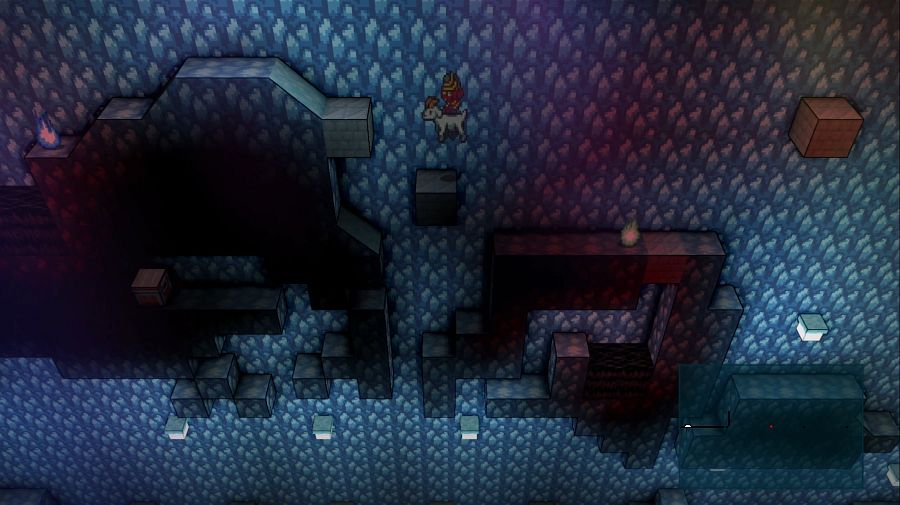 So the real rear end in a top hat thing that the Slip Glide Ride does is... 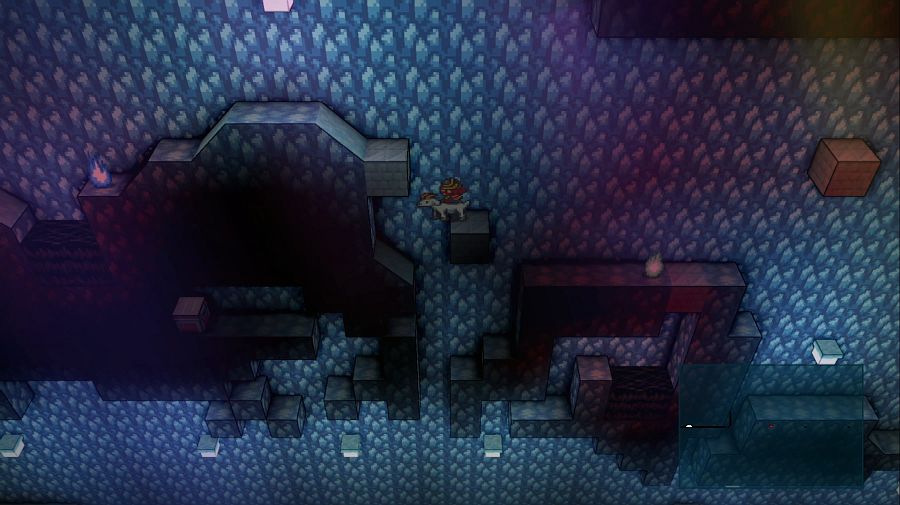 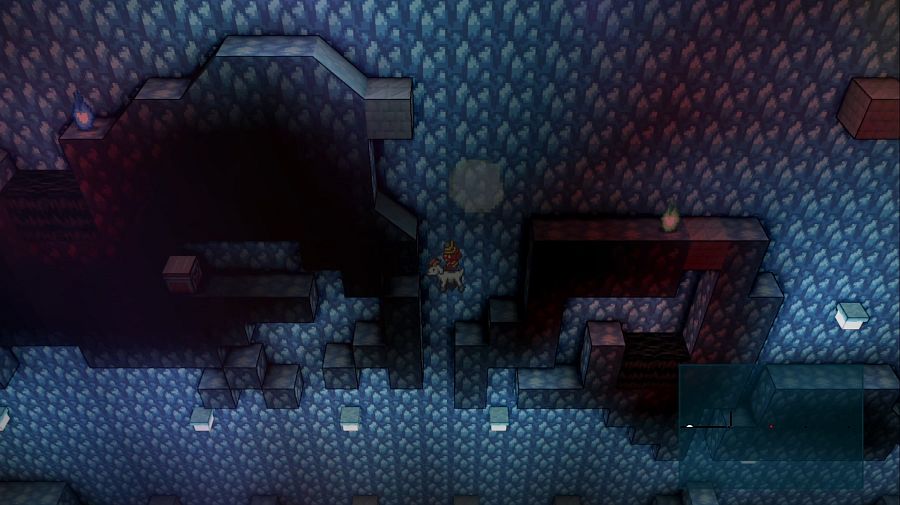  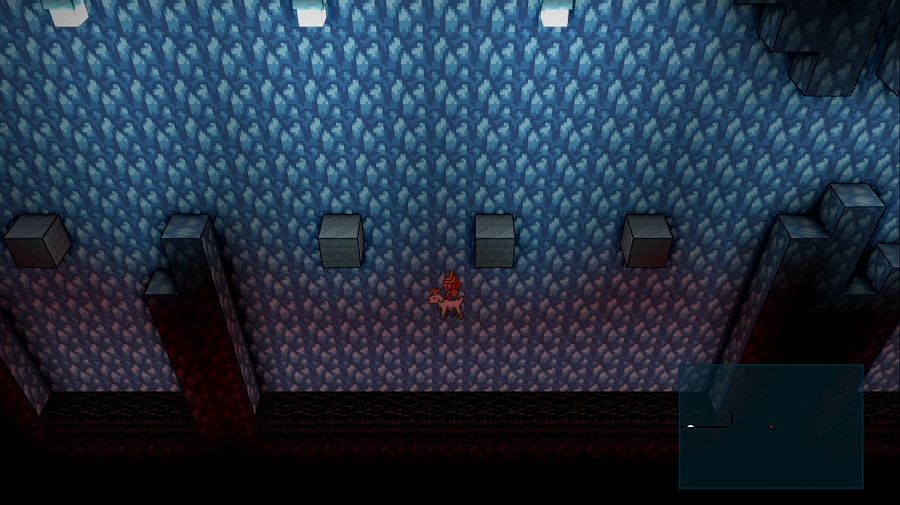 These loving jumps where you land on a sinking block on the Ibek, then have to charge the Ibek enough to jump on to the NEXT sinking block and on to the FOLLOWING sinking block before one of them vanishes under you or drops far enough that you can't make the drat jump. 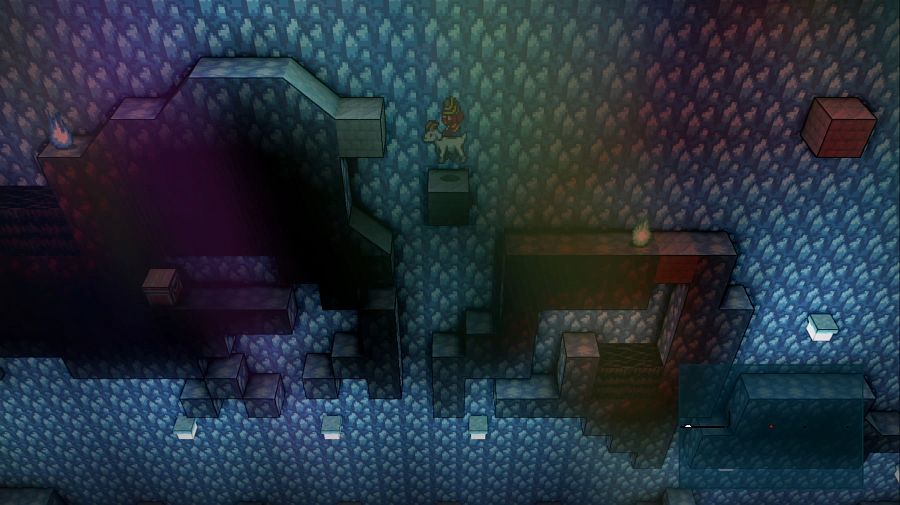 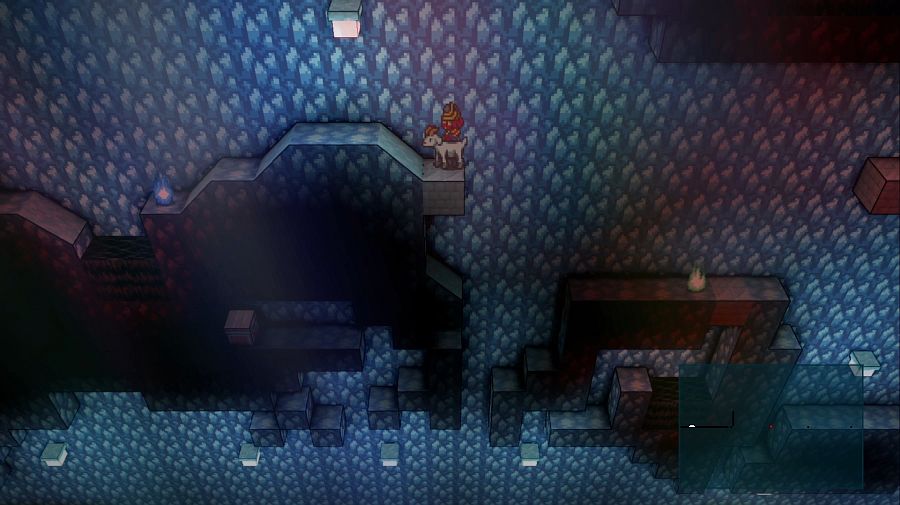 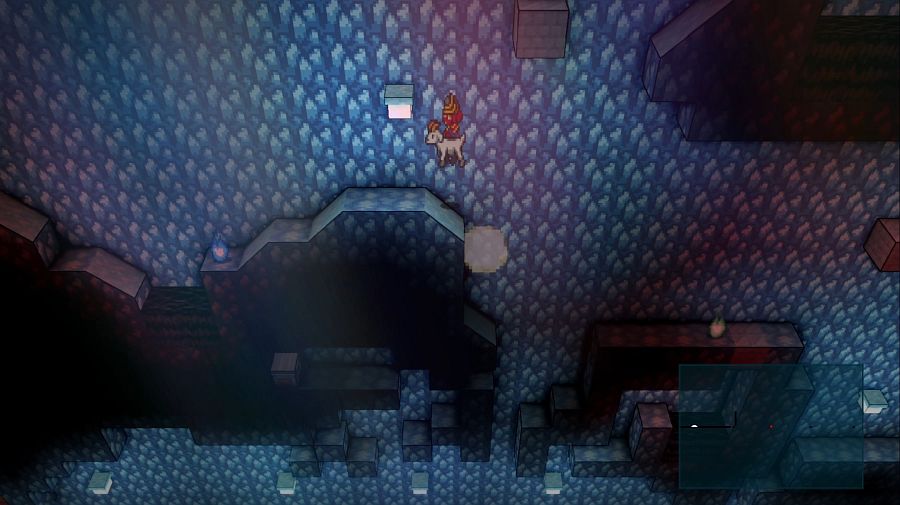 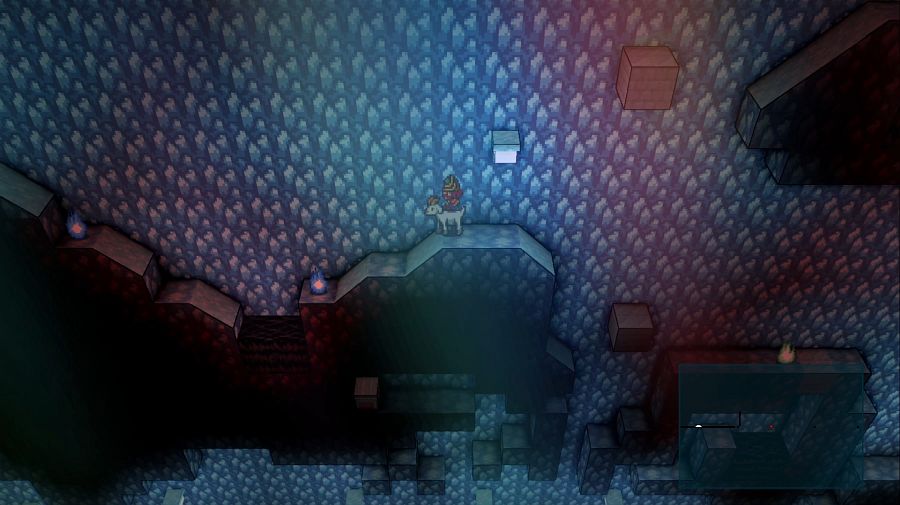 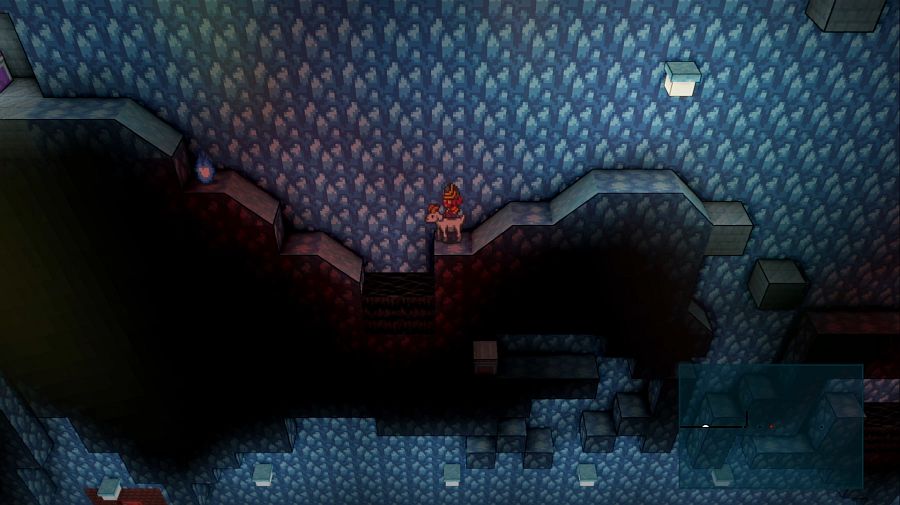 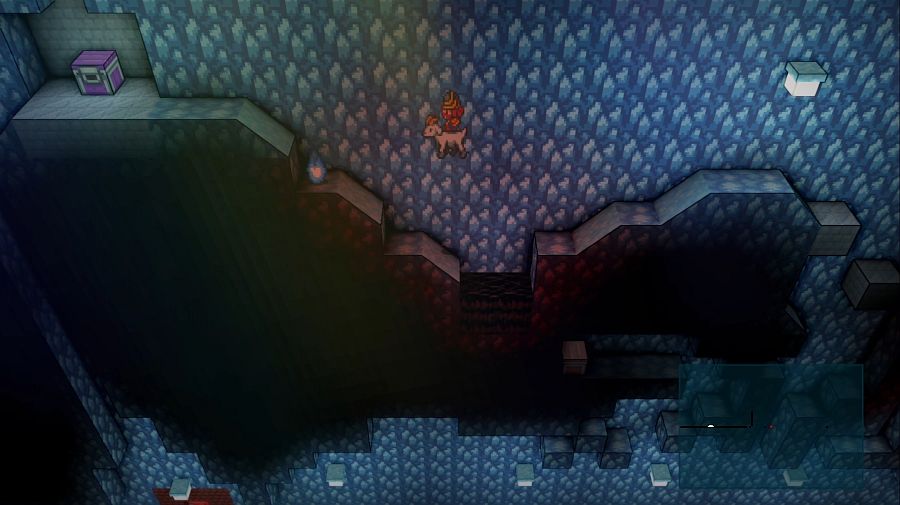 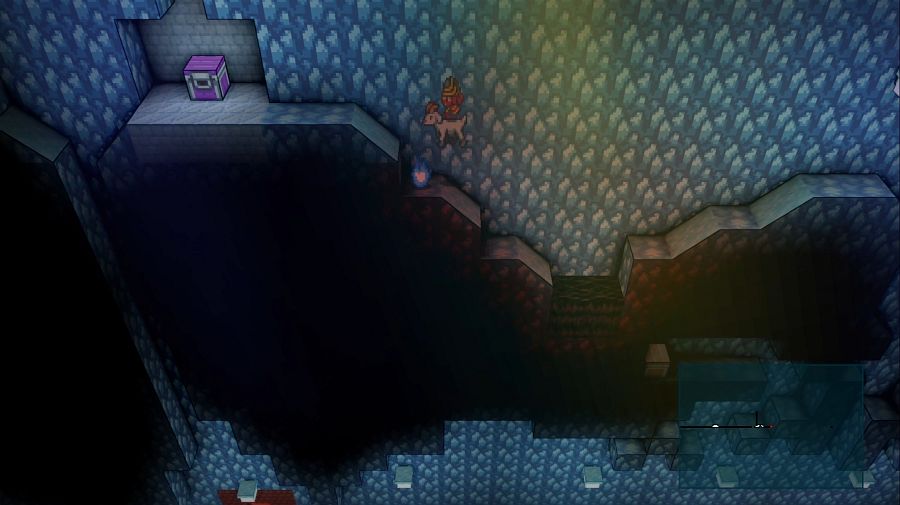 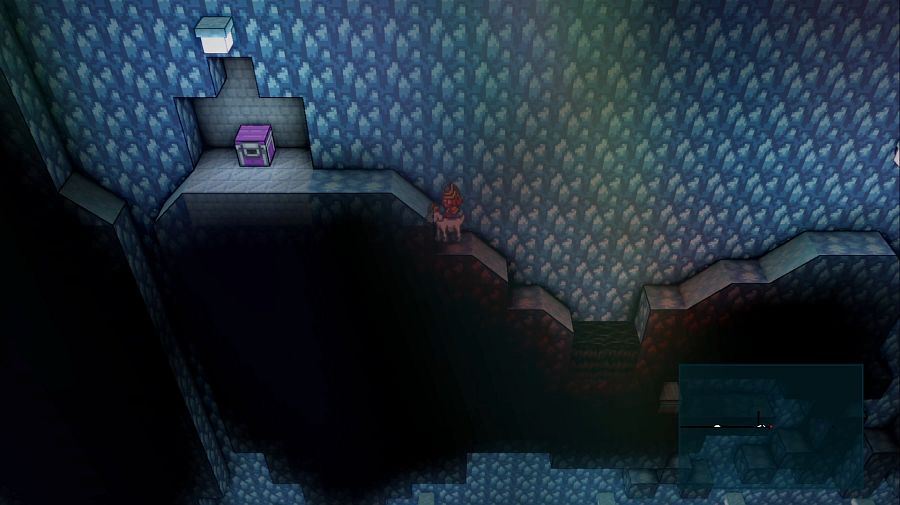 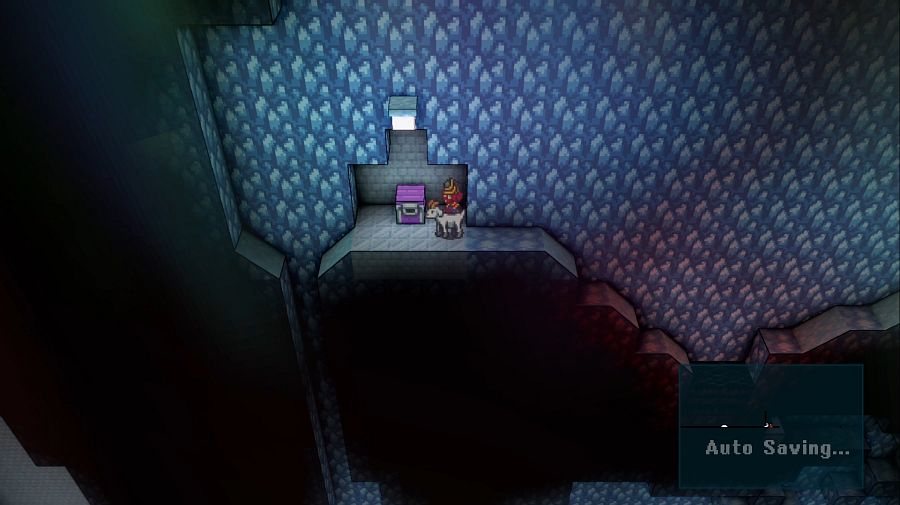 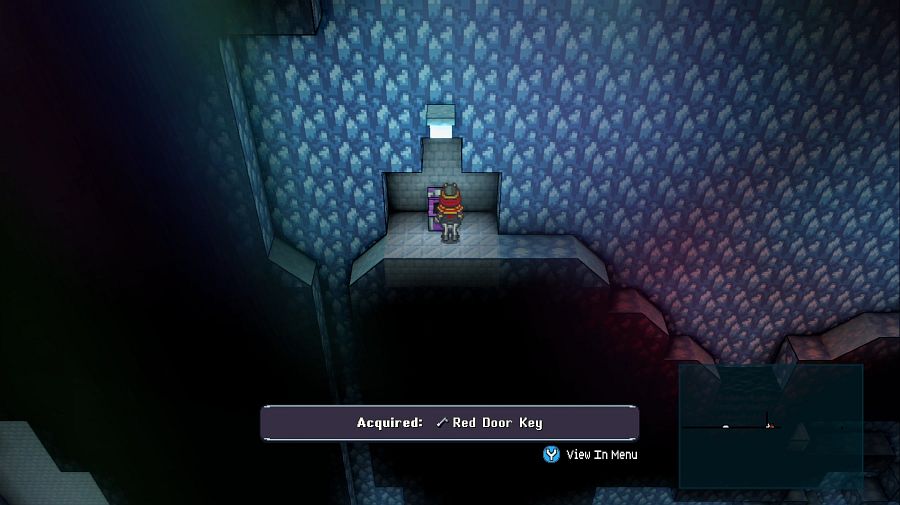 Thankfully, each section generally leaves you with a comparatively easy trip to get the key to advance, and anything more is just for loot and bragging rights. Tau: Who would make a dungeon like this?! This makes me tense! Hamza: Someone who thought they could stop me, ONWARDS! Tau: ...I'm gonna need my medication for this. 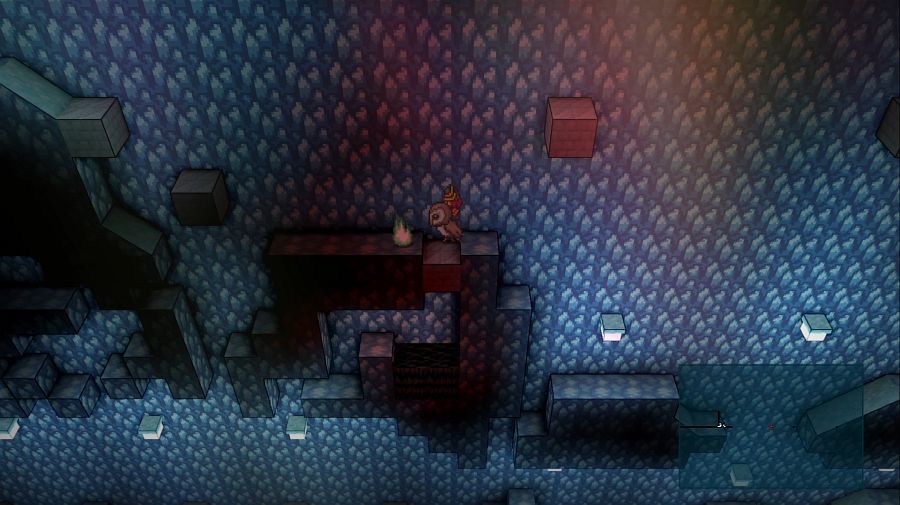 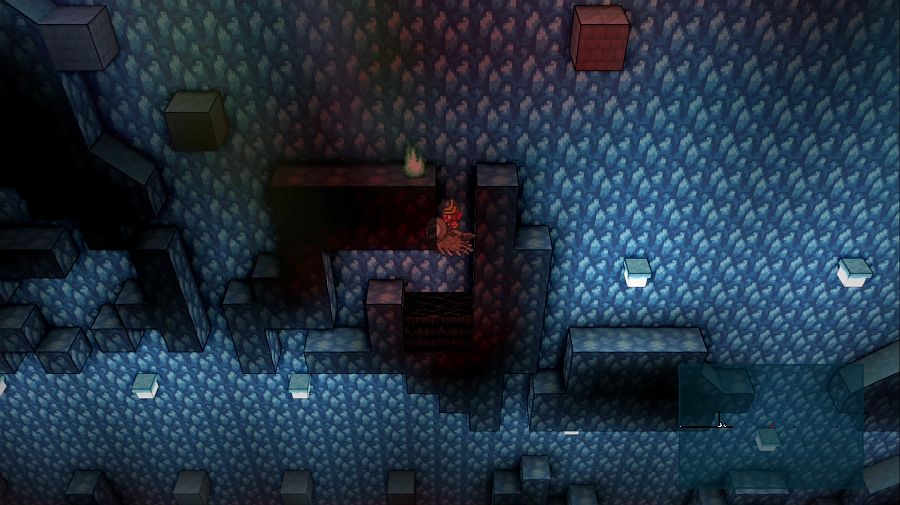 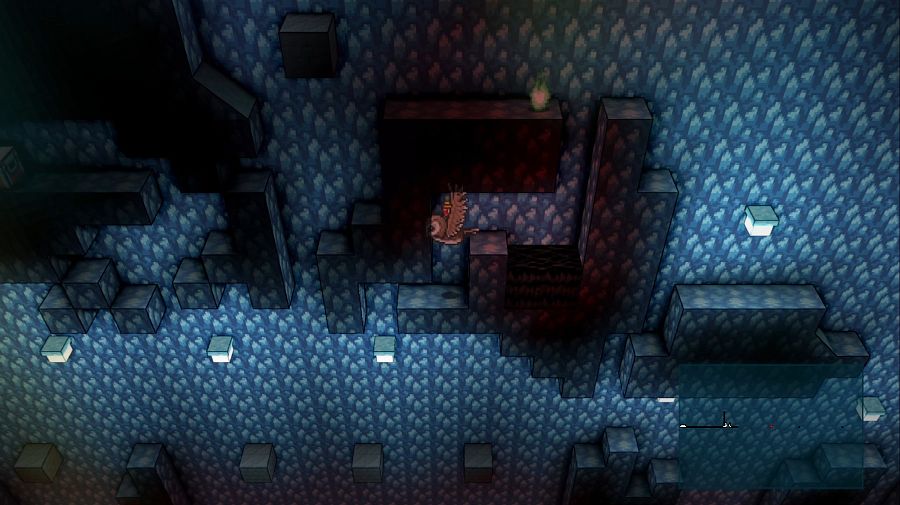 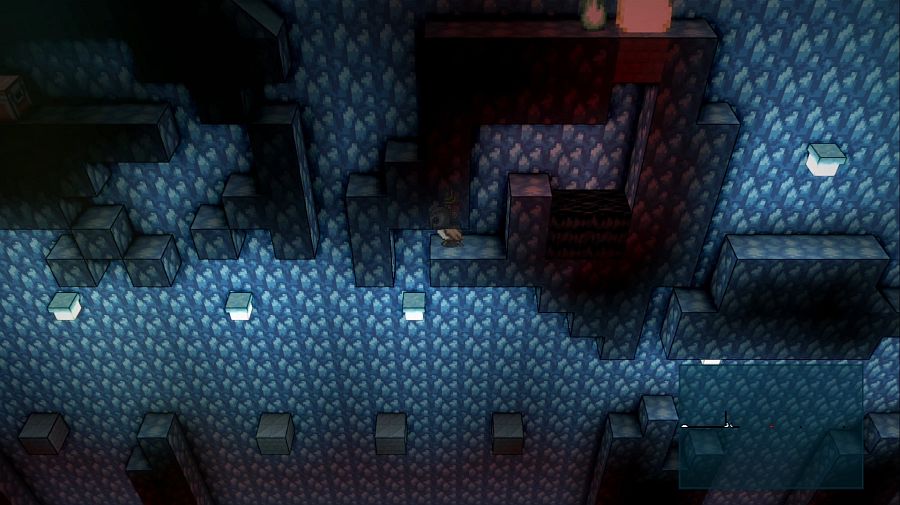 Going back a bit, this weird little side path seems initially pointless... 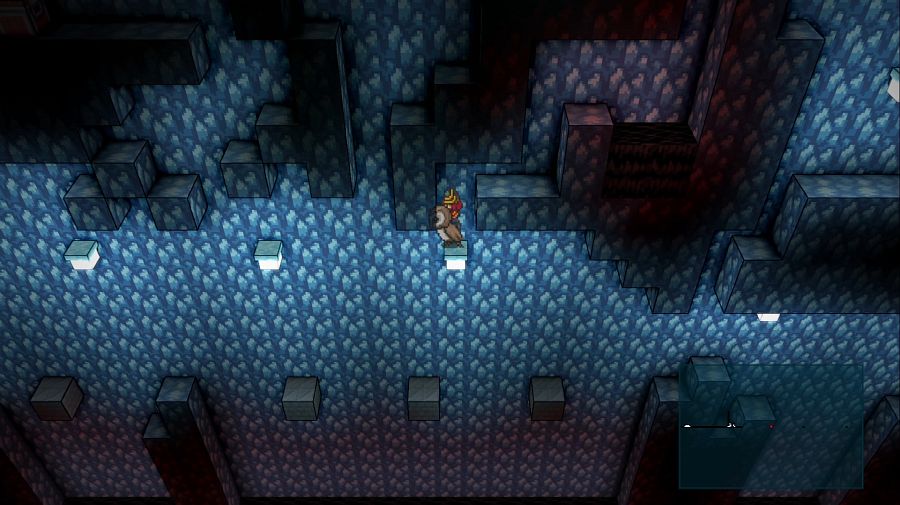 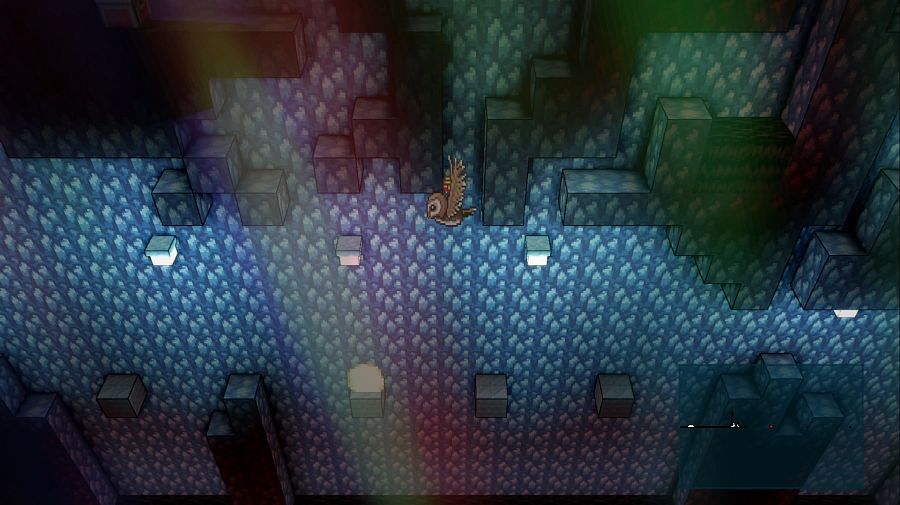 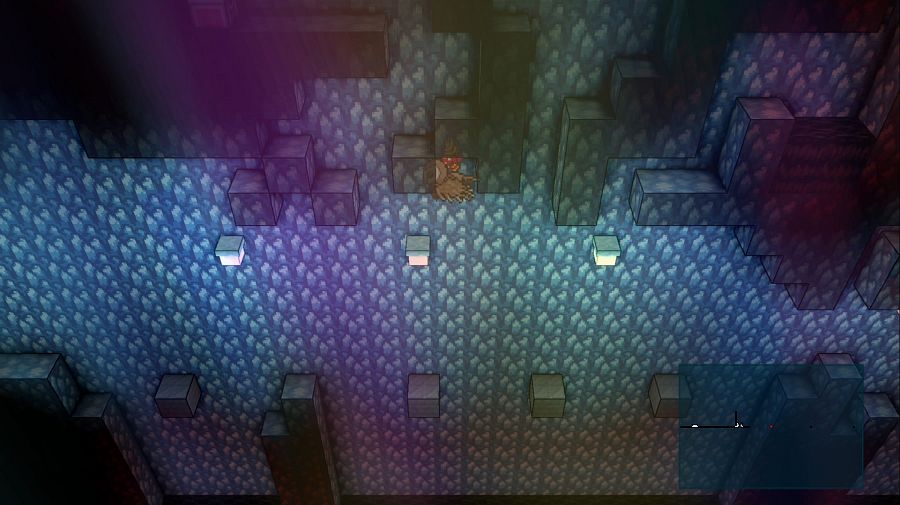 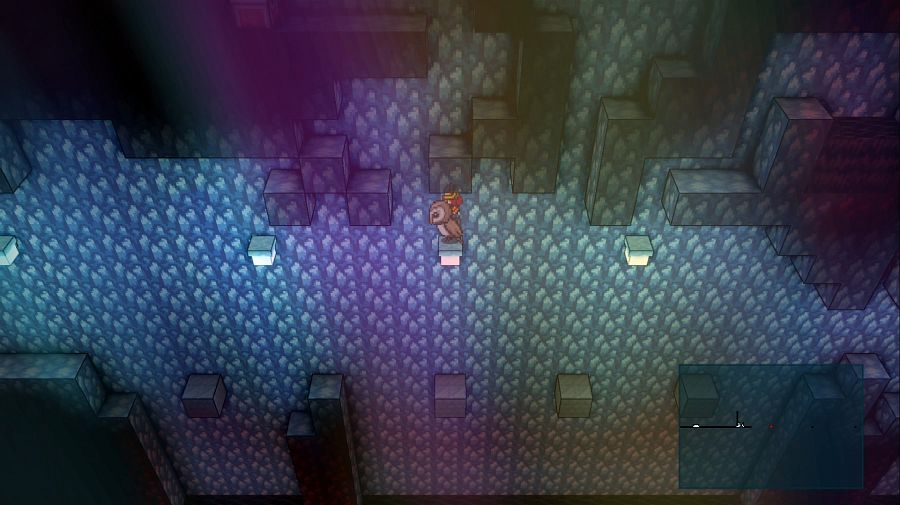 But it's the only way to make this jump, because if you "bump" your head on something above you while in the Owl's "rising" phase of its jump, you maintain your upwards momentum until you come out the far side, even getting some more height if you come out in the clear soon enough. If you dropped down the obvious straight shaft from above, you'd only have falling speed, not rising. 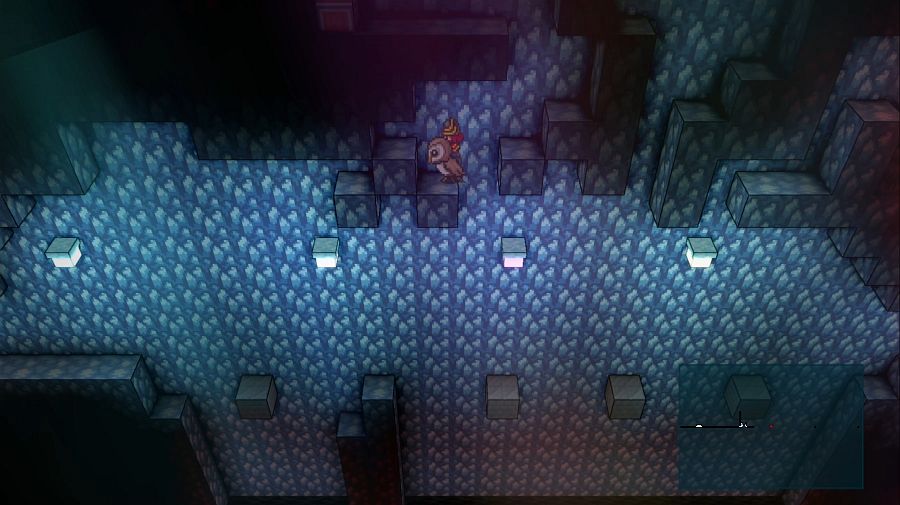 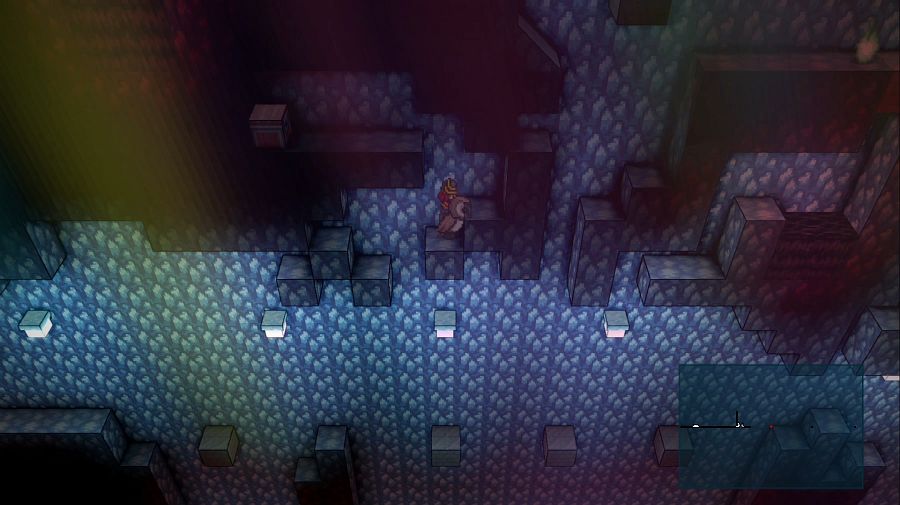 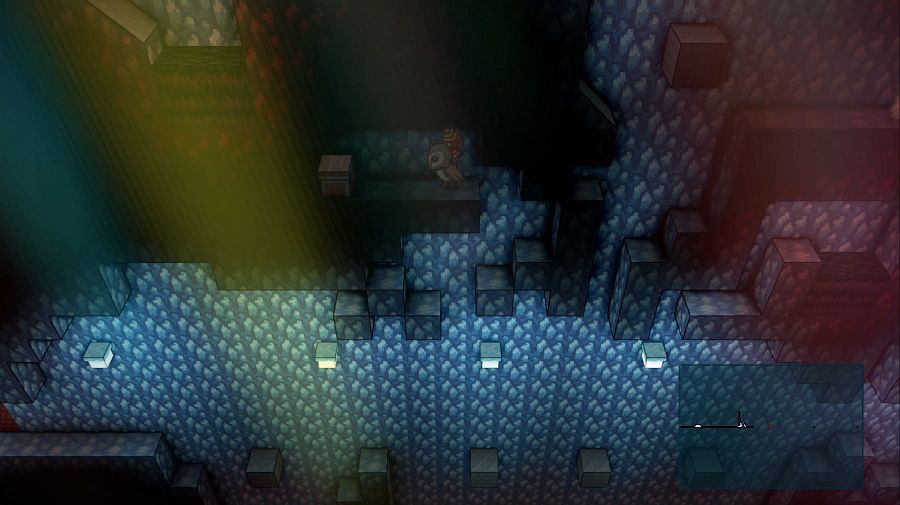 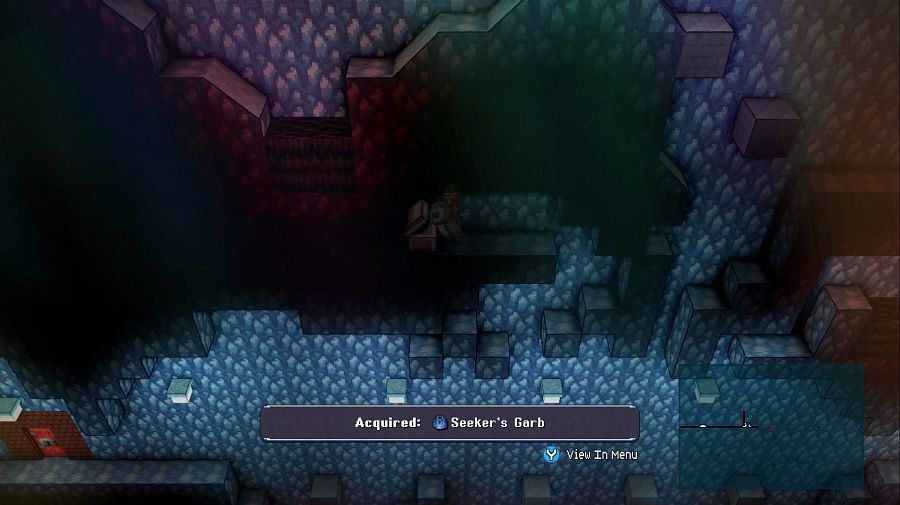 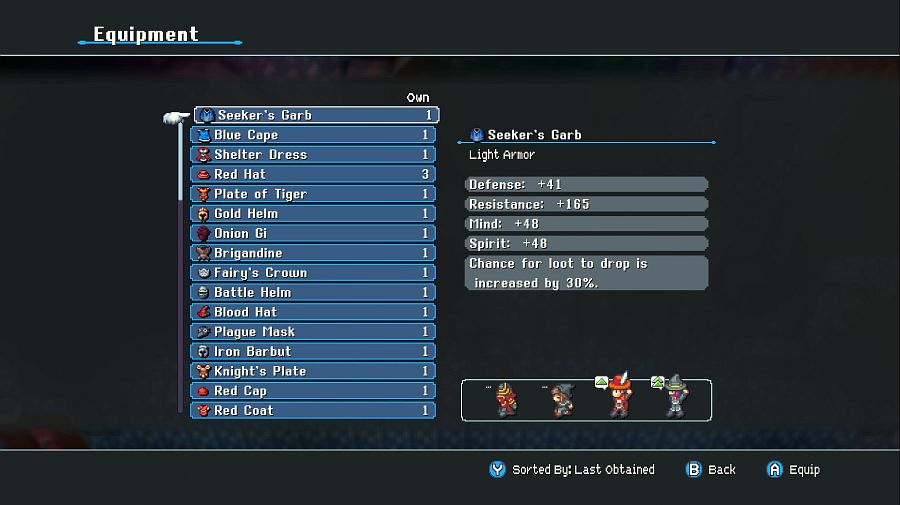 The reward is a very nice piece of Light Armor for casters that also massively increases drop chances. Both good for keeping you topped up on consumables and good for getting you more stuff to sell, you'll generally only want one of a given piece of gear, but sellable gear drops tend to generate more money than actually killing the enemies does. 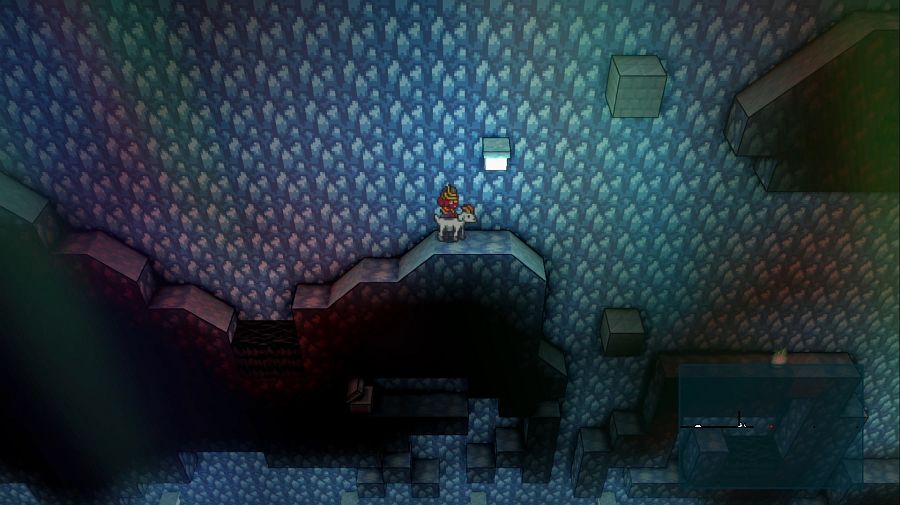 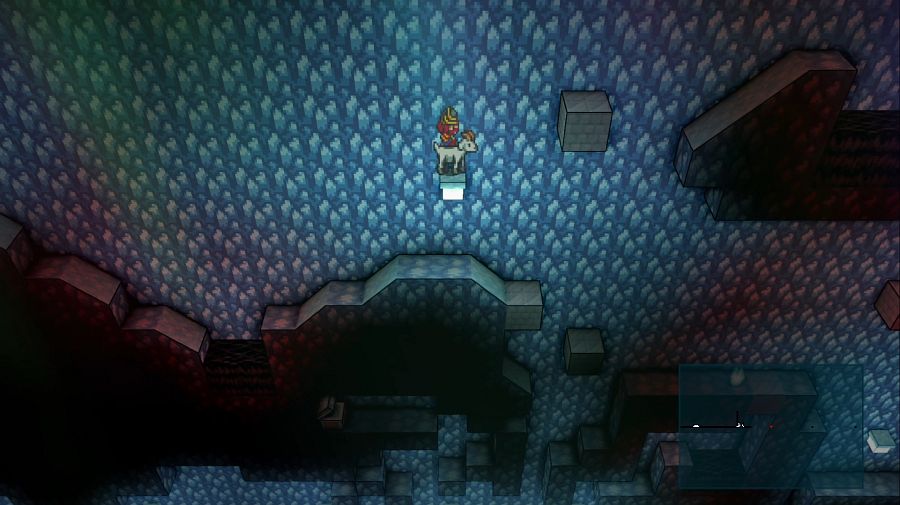 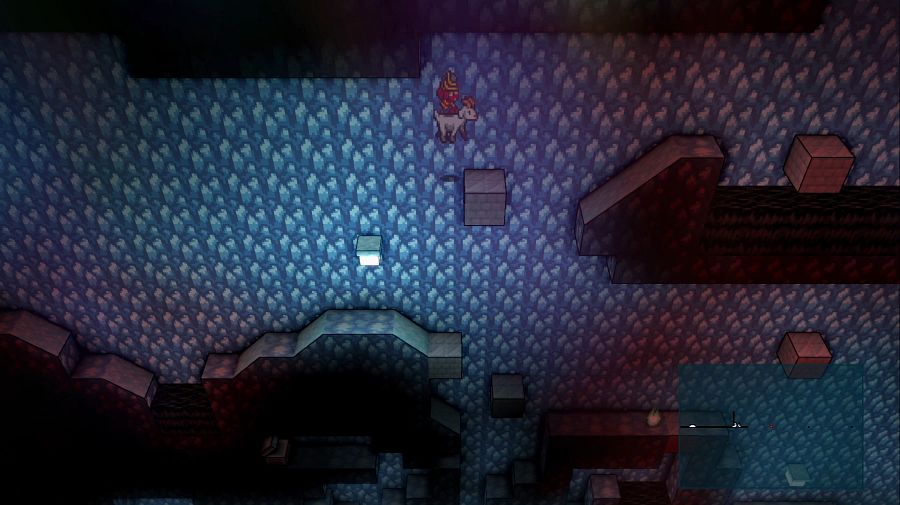  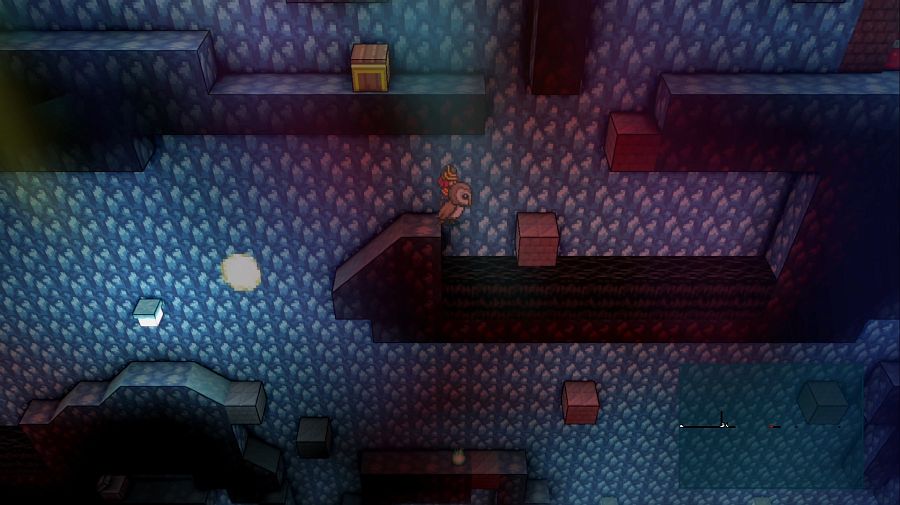 This loving jump is the one jump in the SGR that I could not make. I had to check if I was doing it right, and yep, it's just two Ibek jumps but I could NOT get the timing down even over 20+ tries. The only reward is a staff for Monks(i.e. no caster boosts, entirely for bonking), so I'm willing to pass on that. 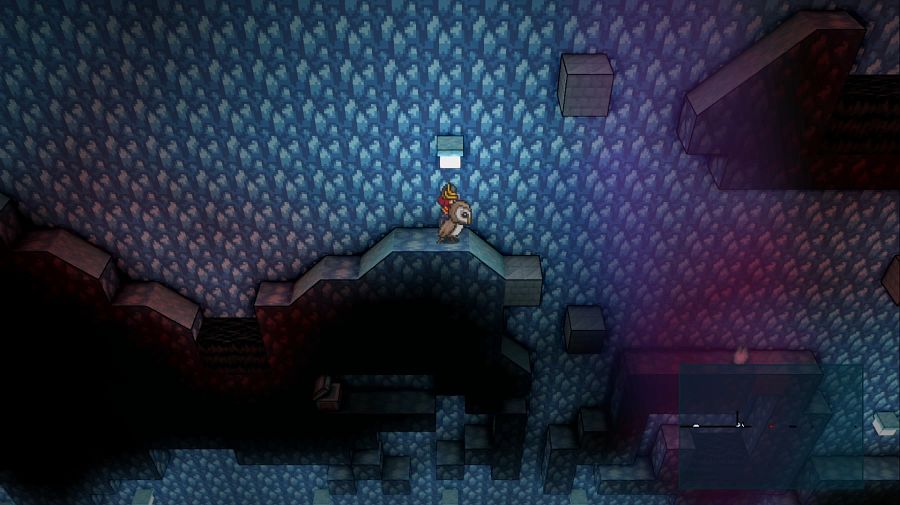 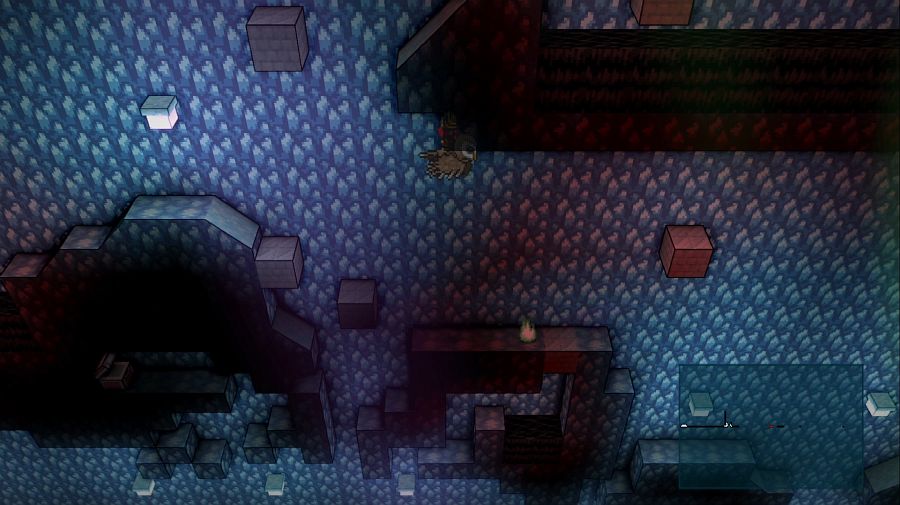 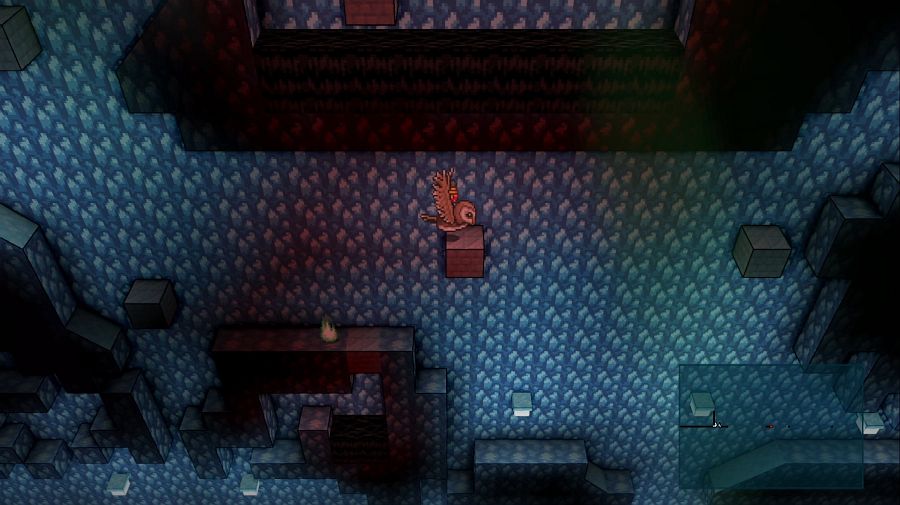 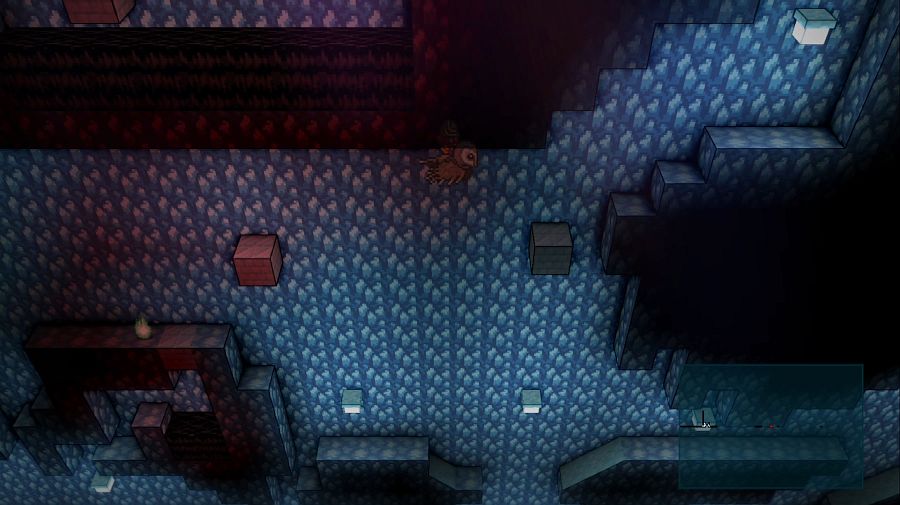 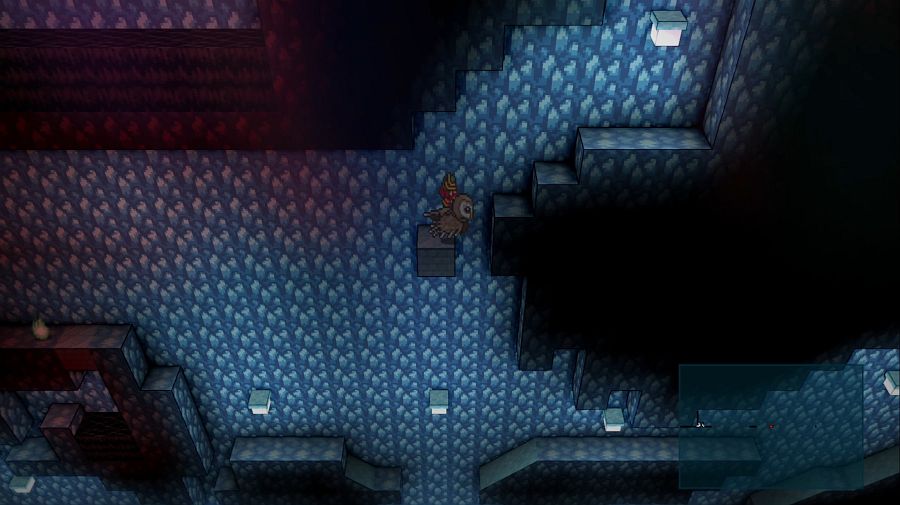 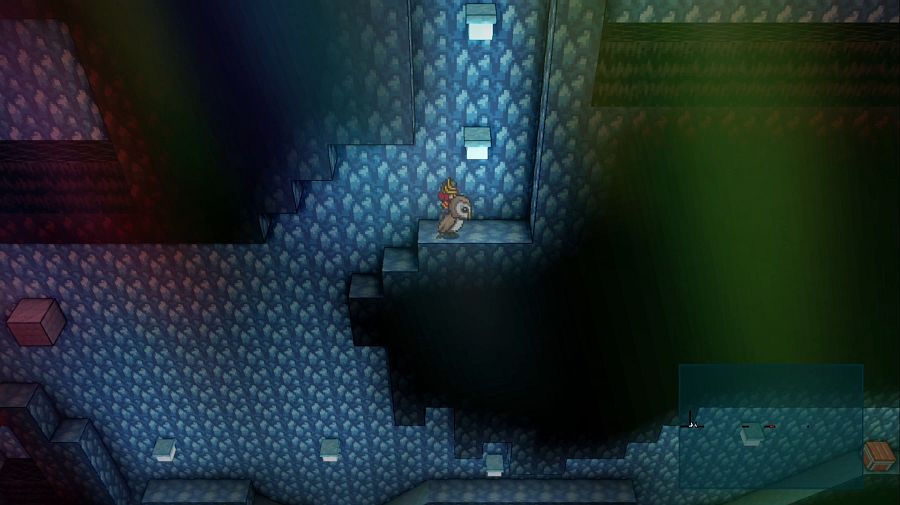 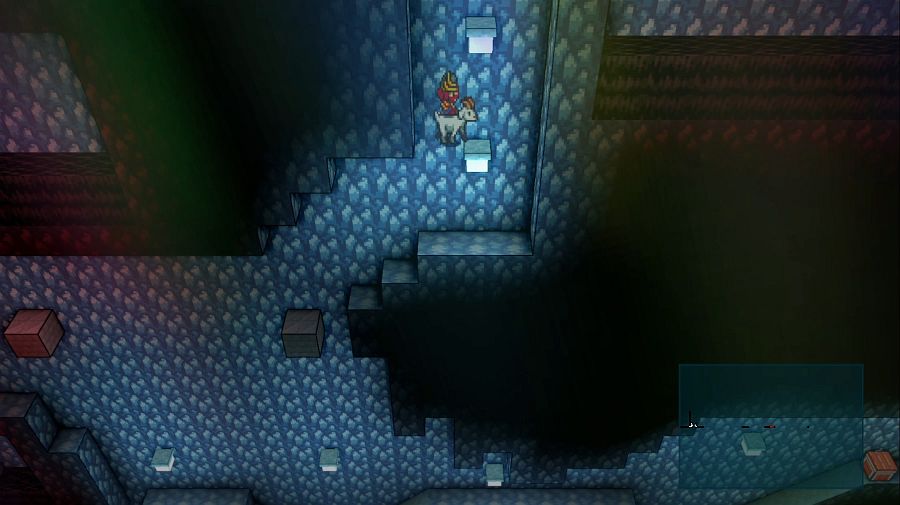 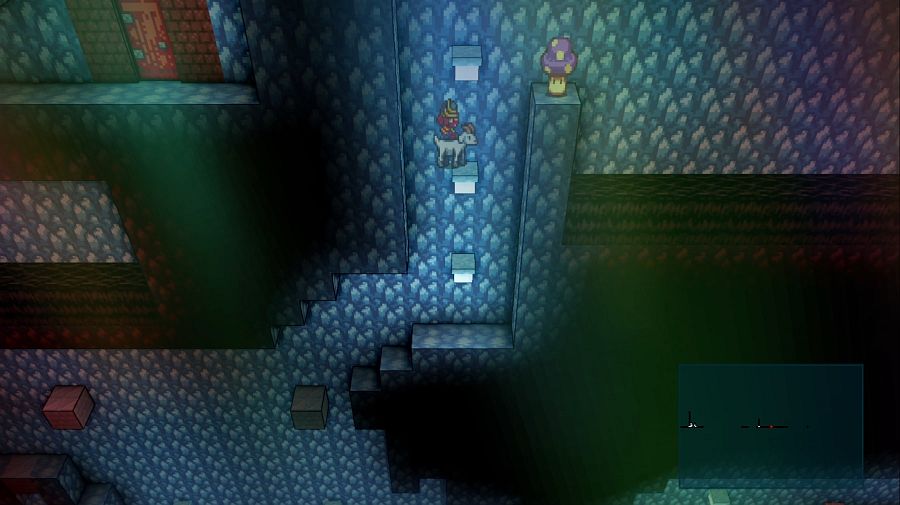 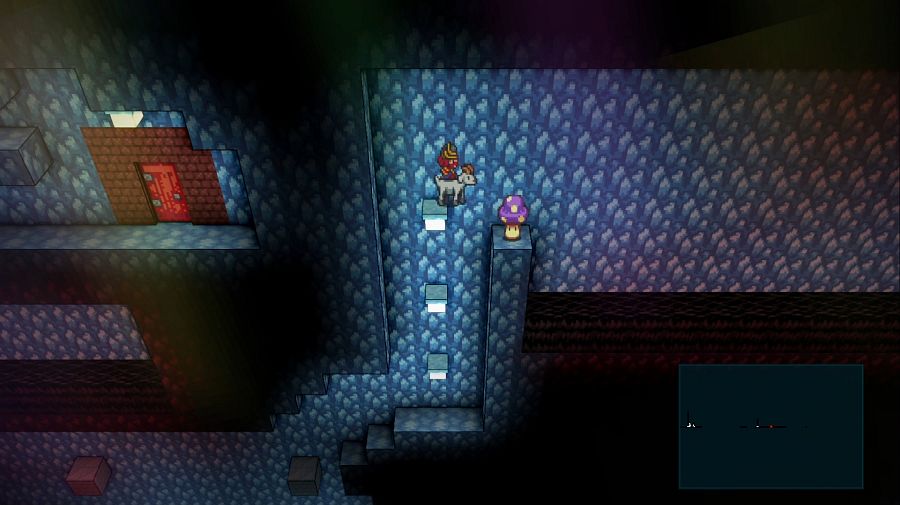 The last optional reward for the first section requires a couple of slightly tricky Owl jumps, but otherwise aren't too bad. The important thing when making these jumps is that when you gently caress up, to make sure you hit nothing but temporary blocks on your way down, because then you won't get set back to somewhere earlier. 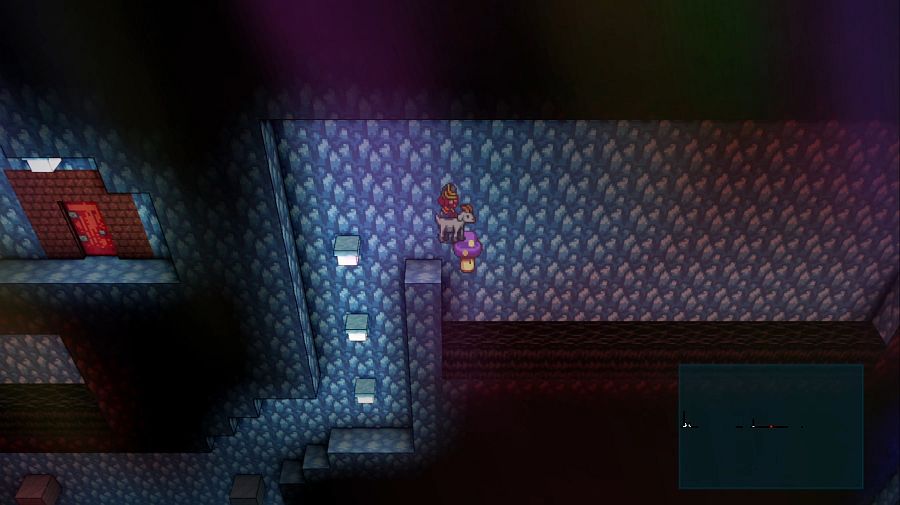 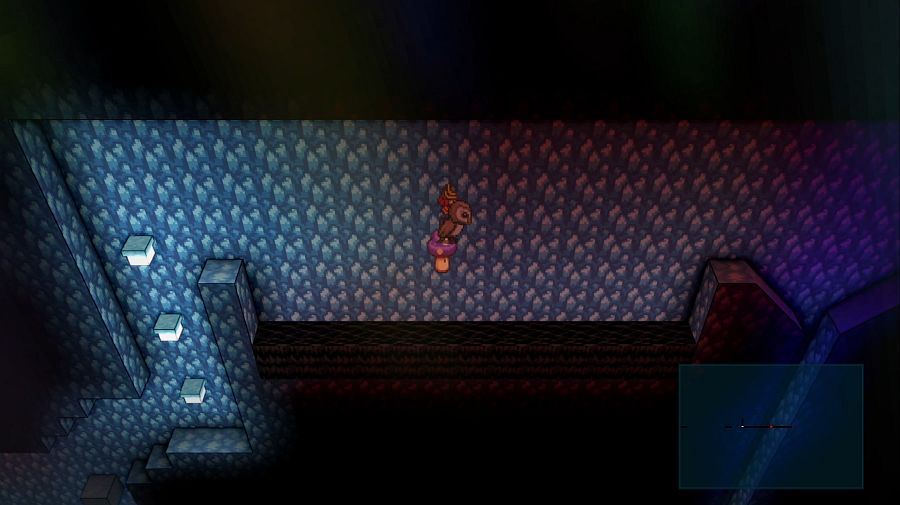 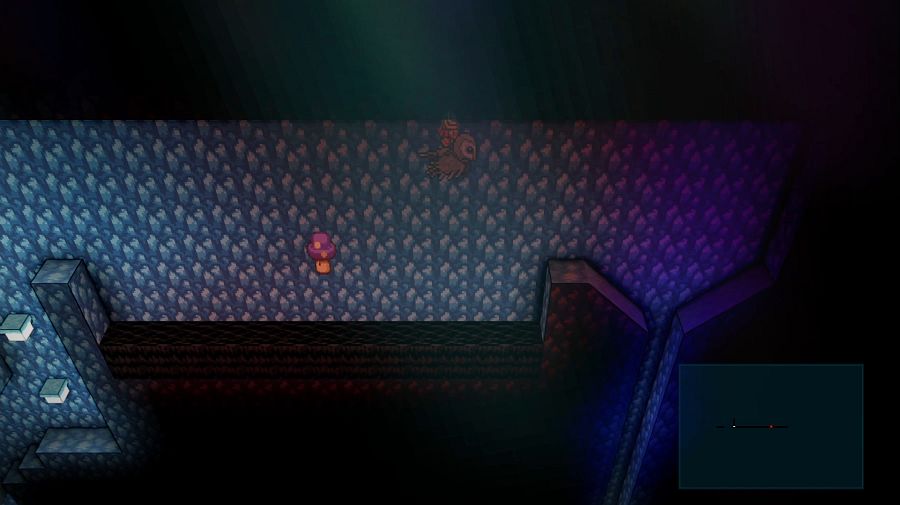 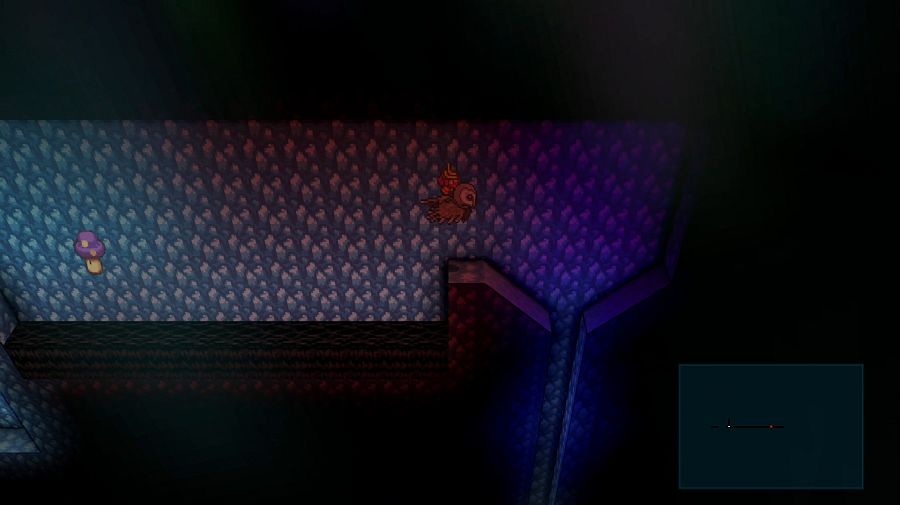 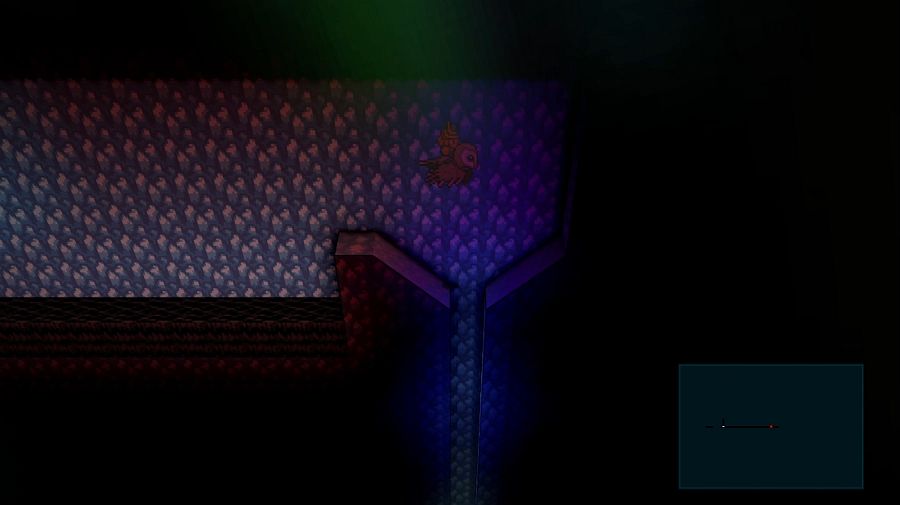 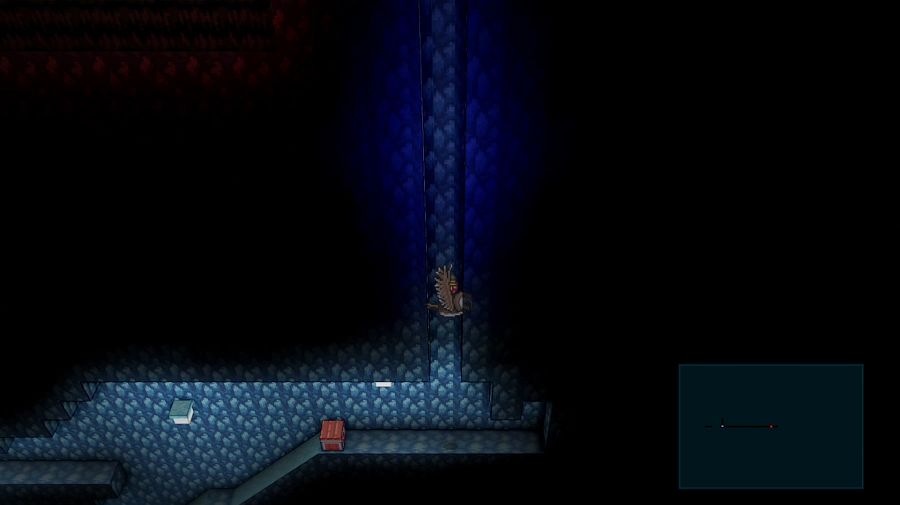 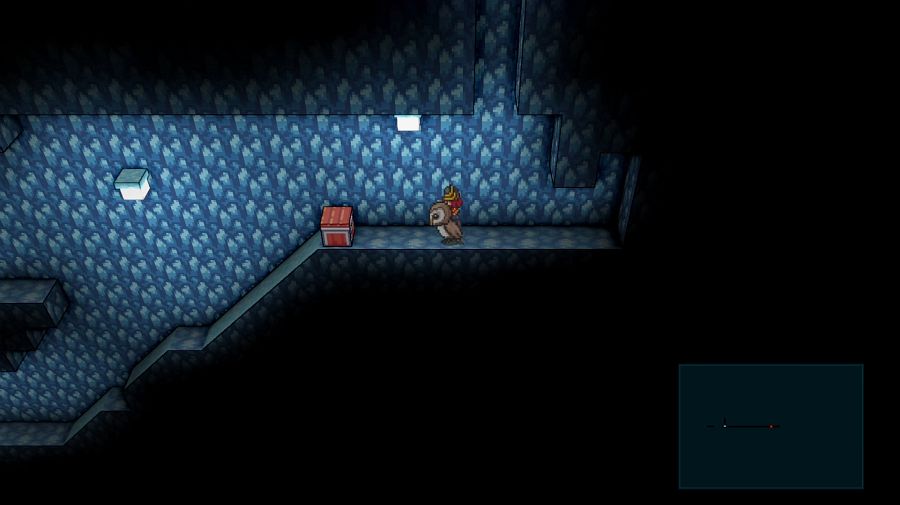 Vanessa: There's no hiding from me! 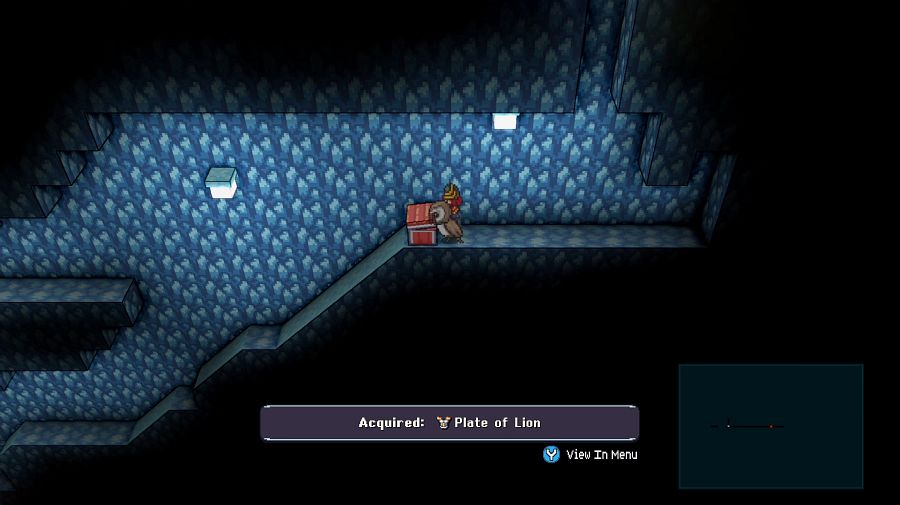 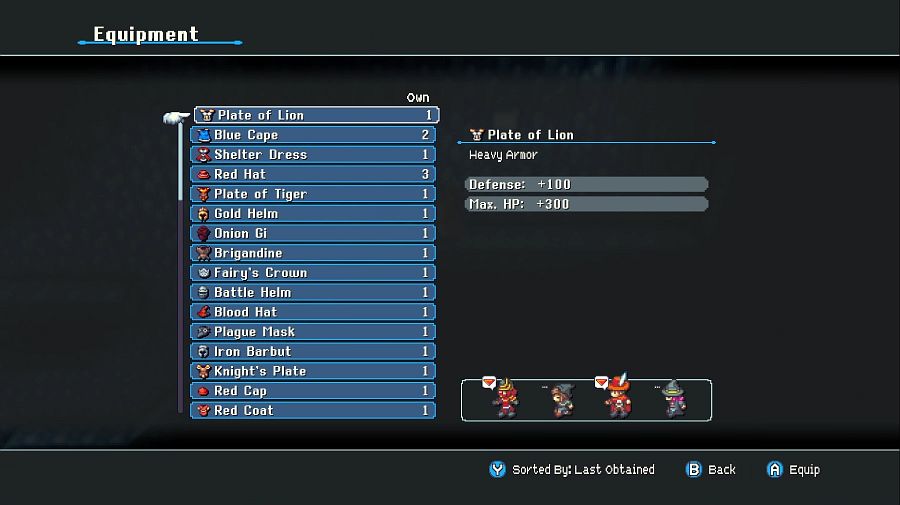 It's got less defense than what we have at the moment, but it's a decent enough HP booster. 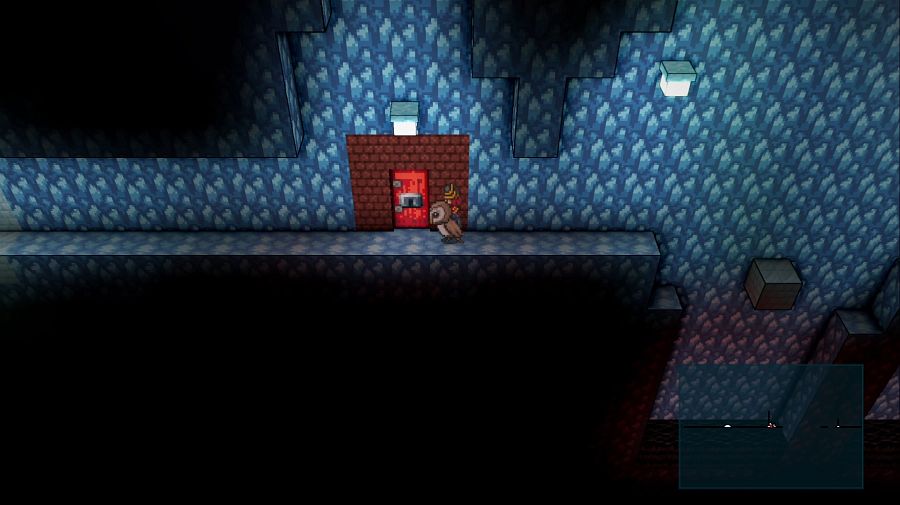 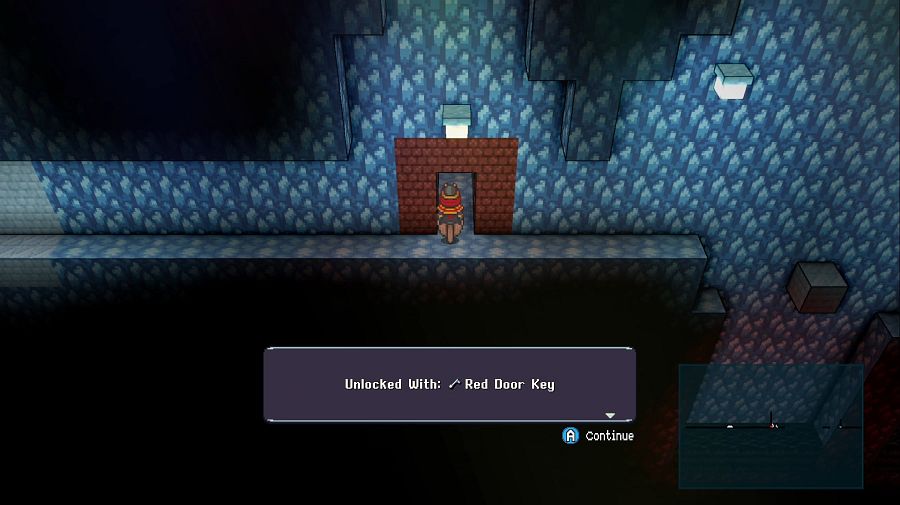 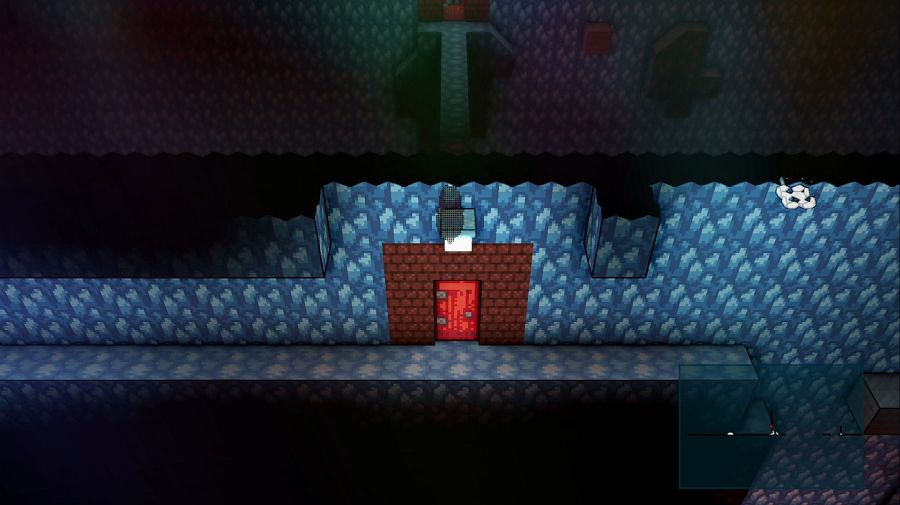 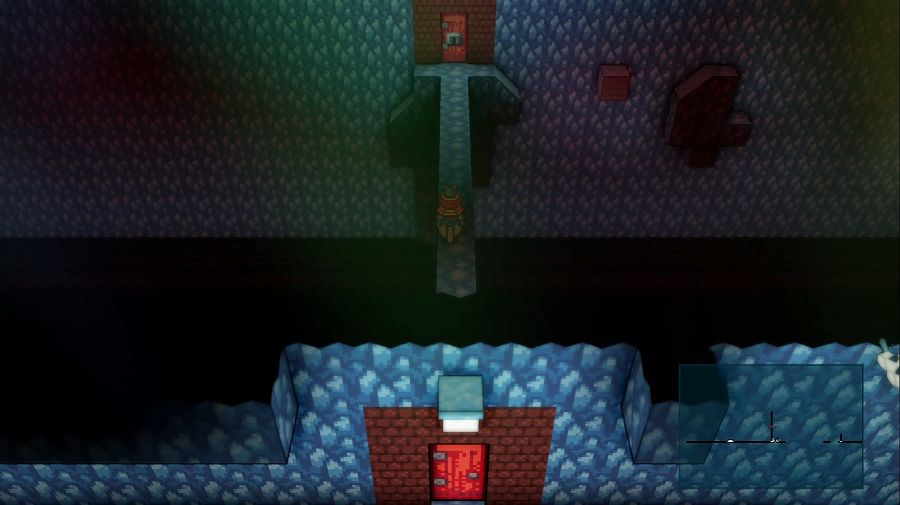  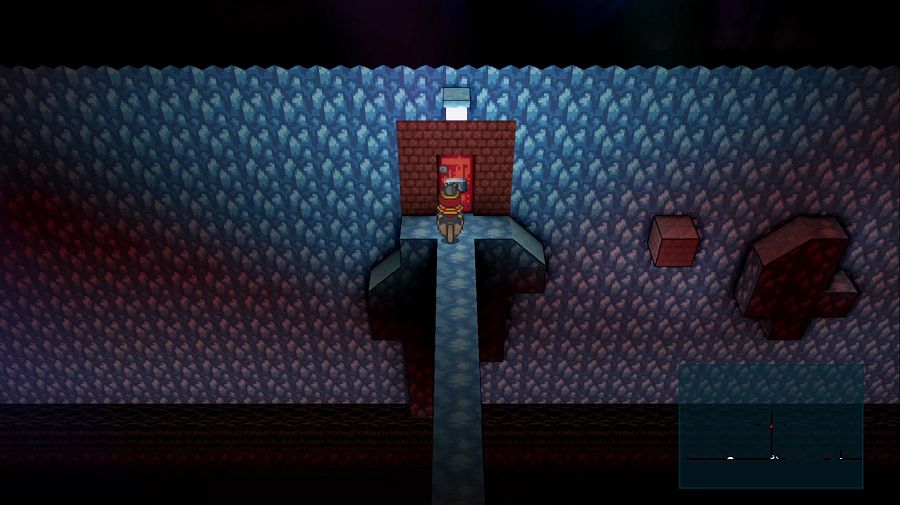 Anyone paying attention may note that our map looks a bit weird compared to usual, that's because the map is always displayed from the top down, and since this is more or less a side-scrolling segment... yeah, it's gonna look a bit odd. 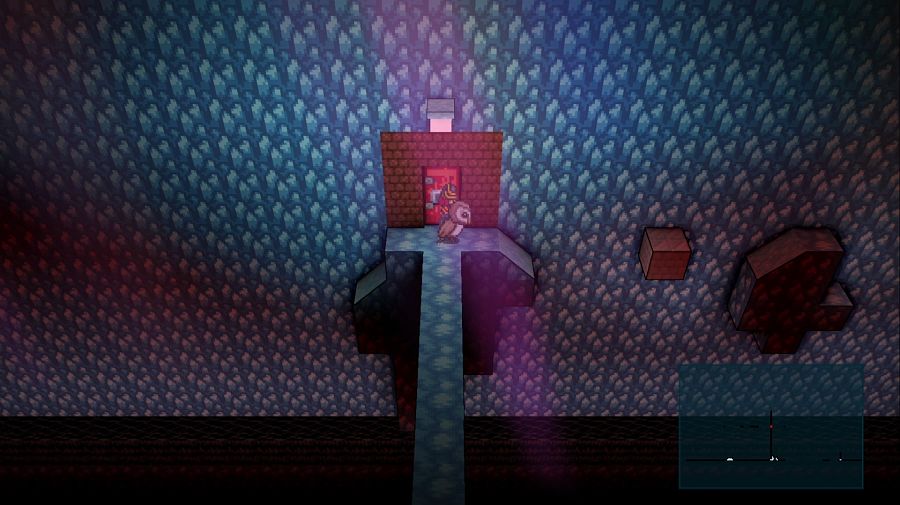 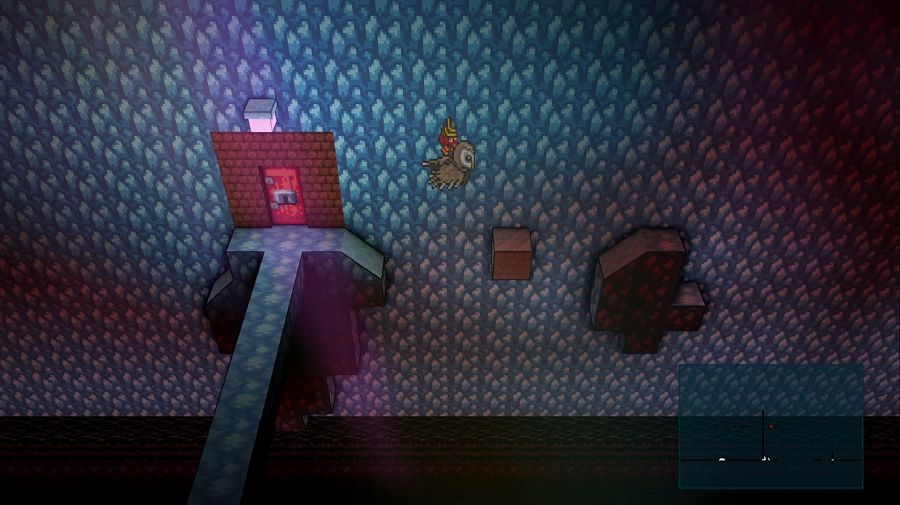 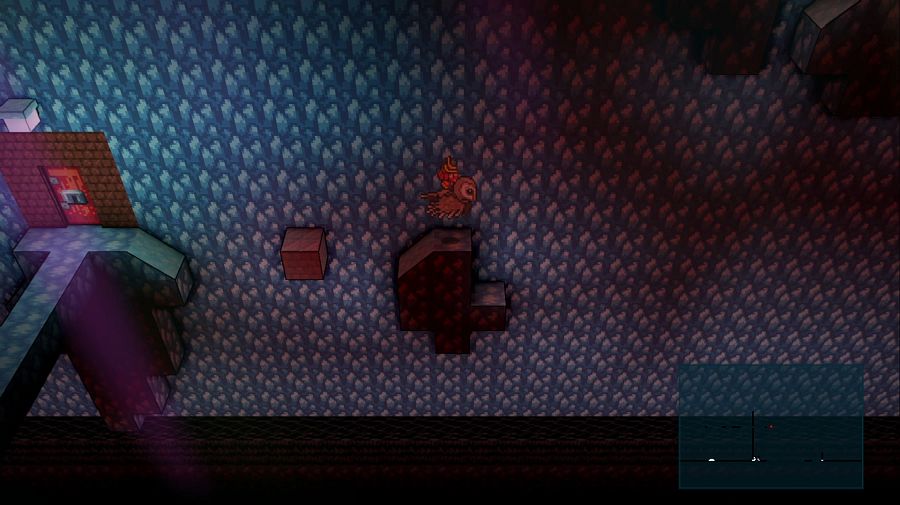  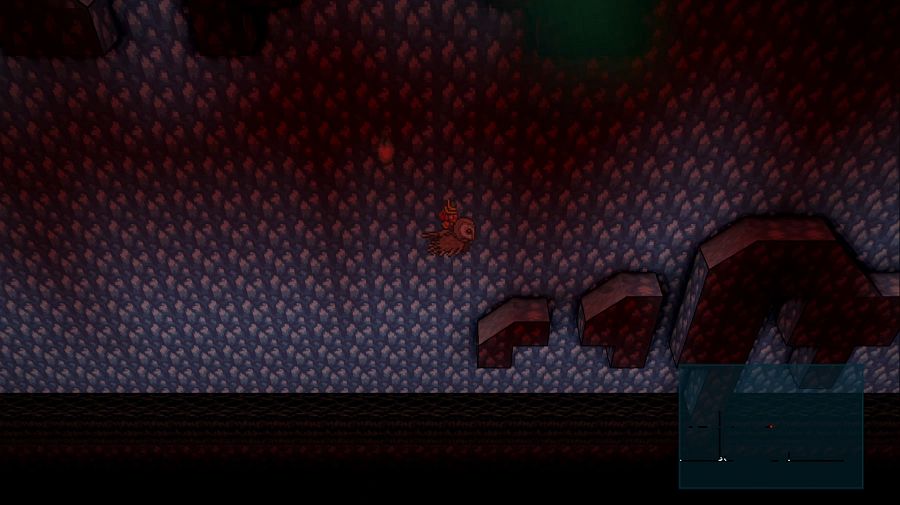 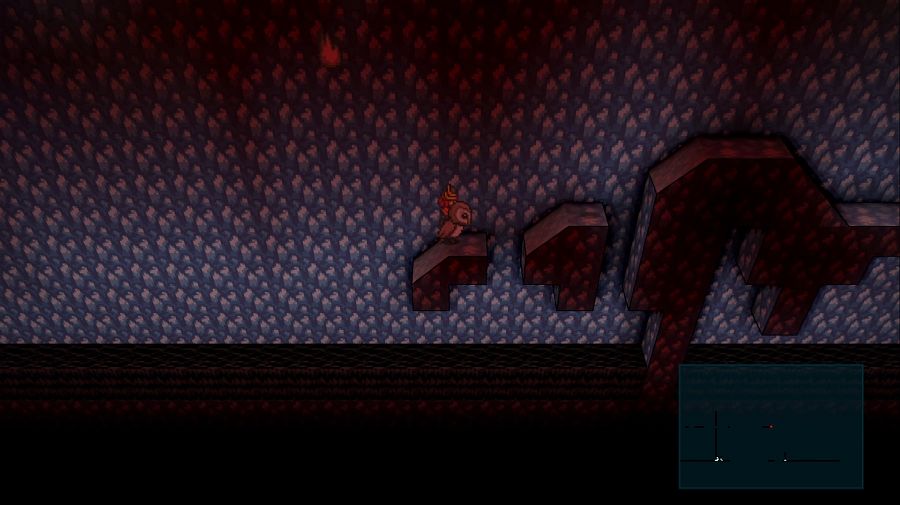 This section isn't actually much tougher in terms of jumps, but there are now mid-air enemies that can gently caress up your jumps, eating your momentum even if you beat the fight. 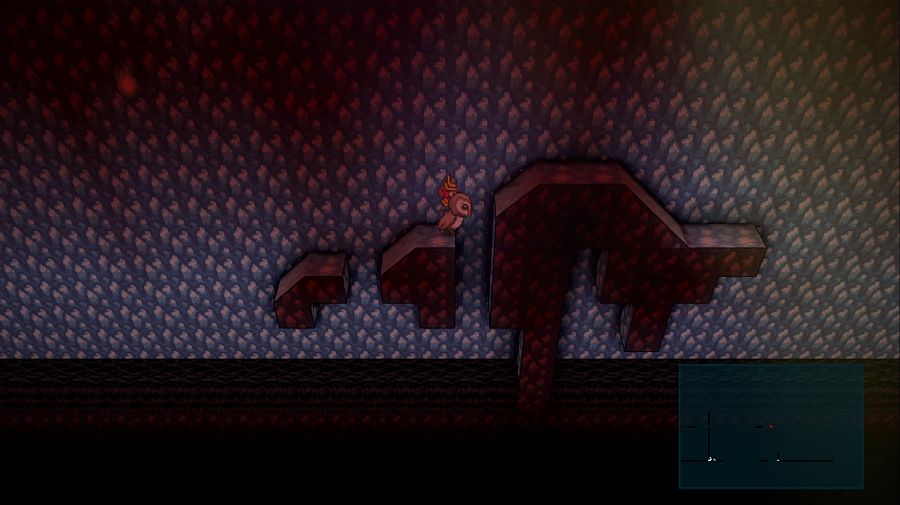 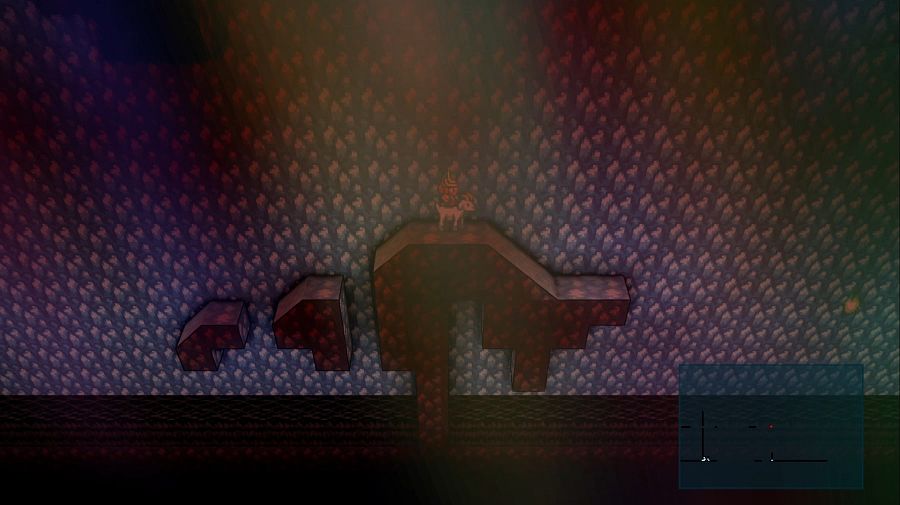 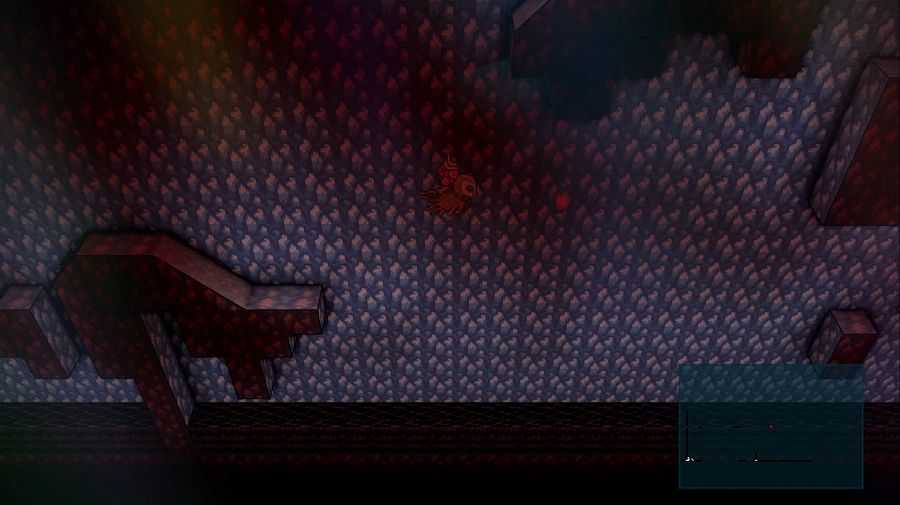 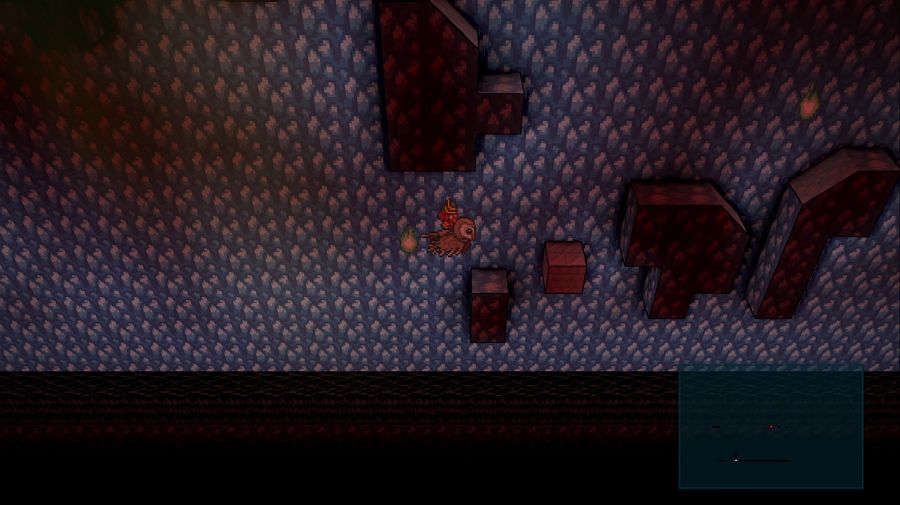 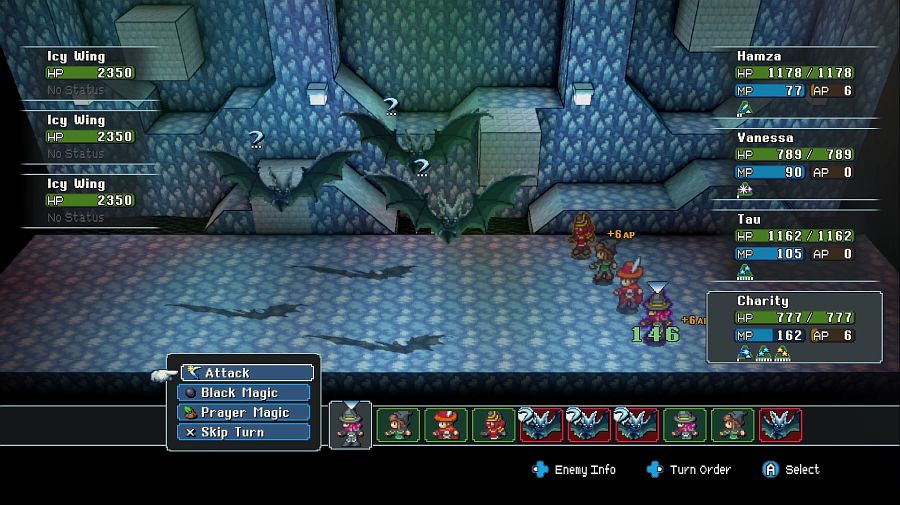 Hamza: Bats? Bats? Where's the challenge? There are some tough fights here, but bats are not it. 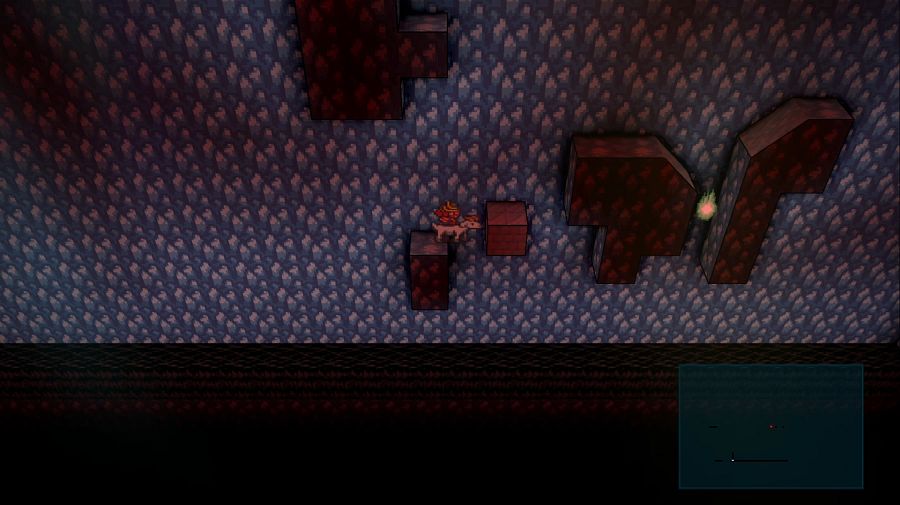 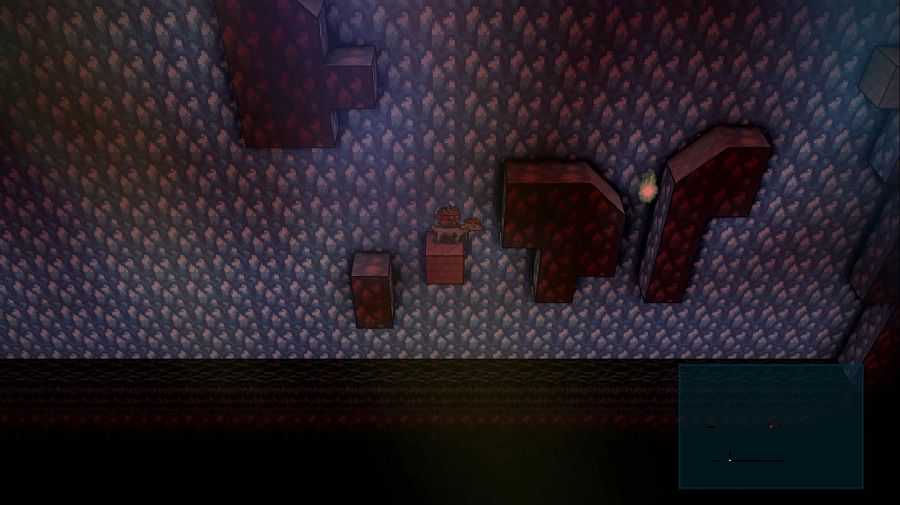 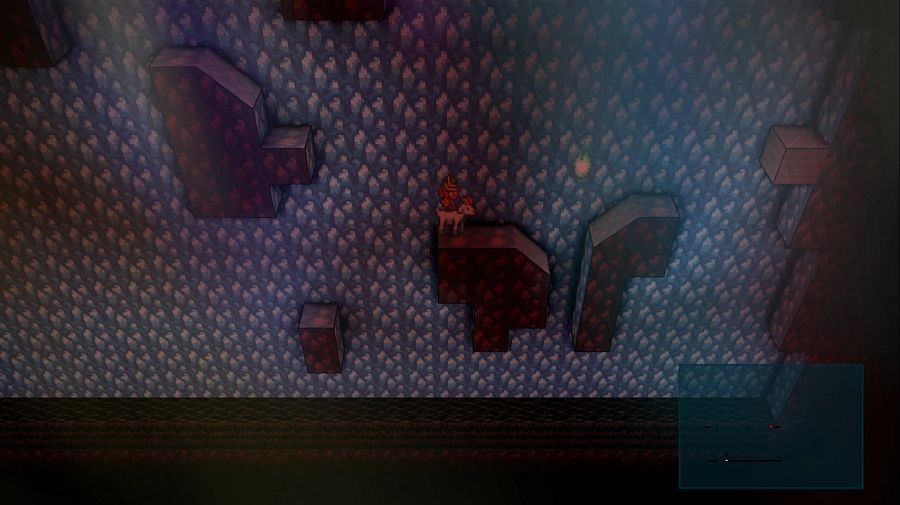 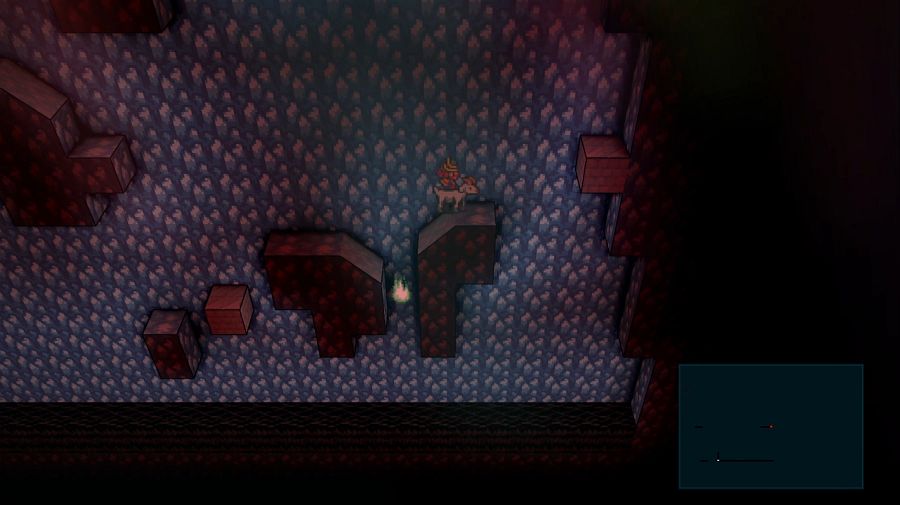 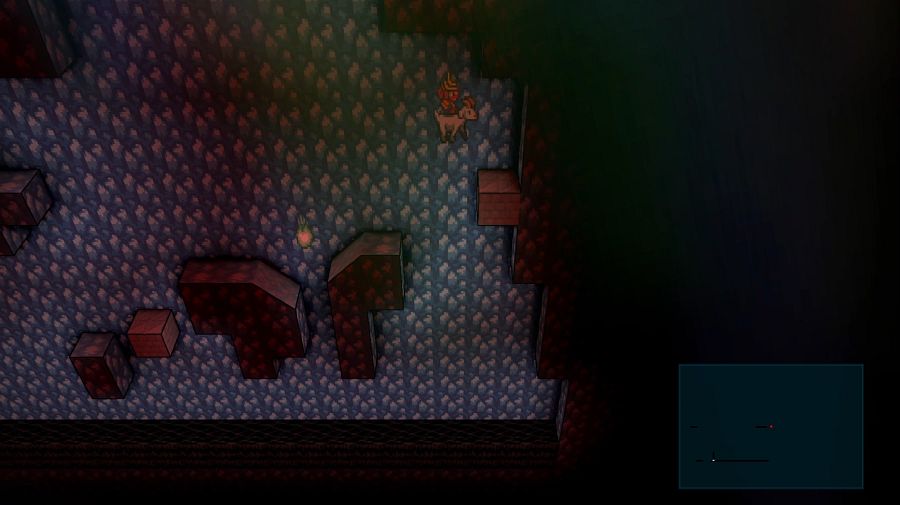 This jump teaches us something new. 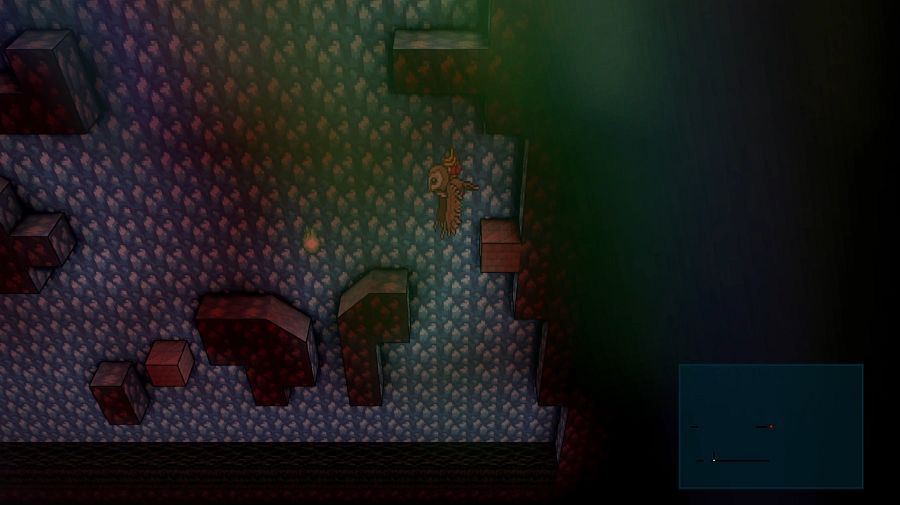 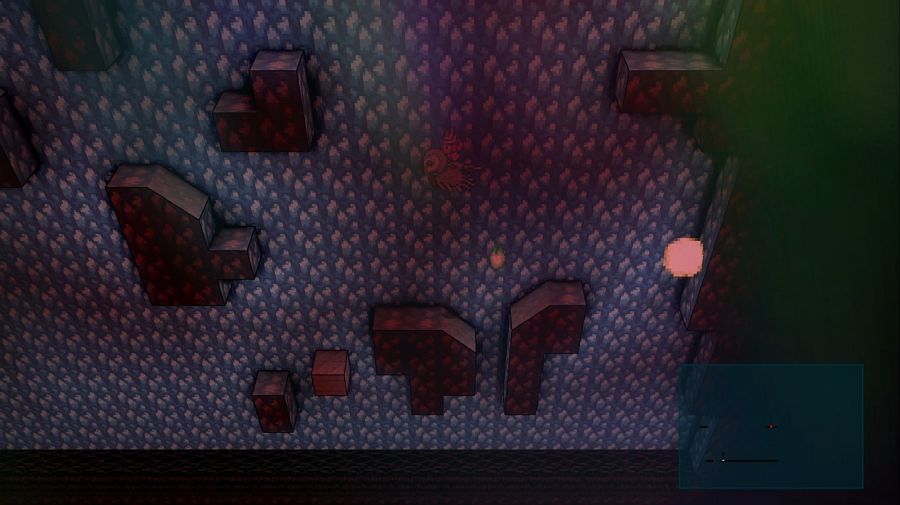 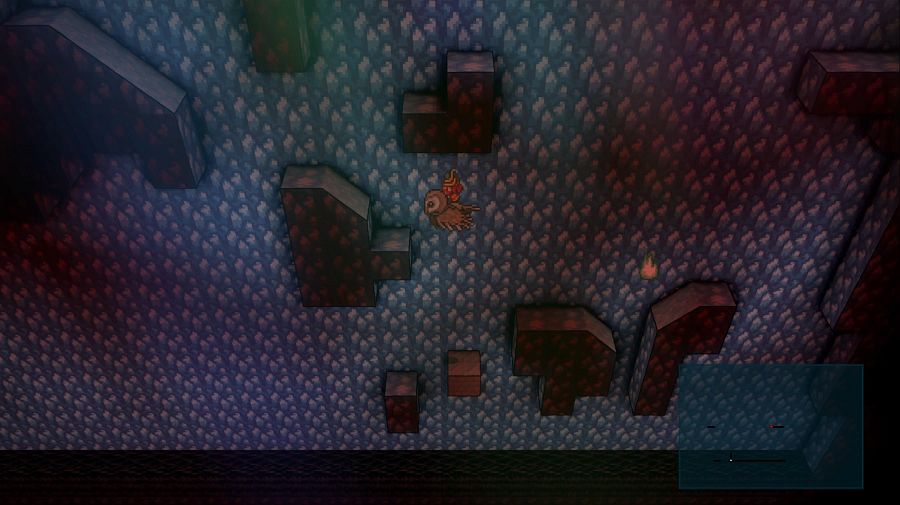 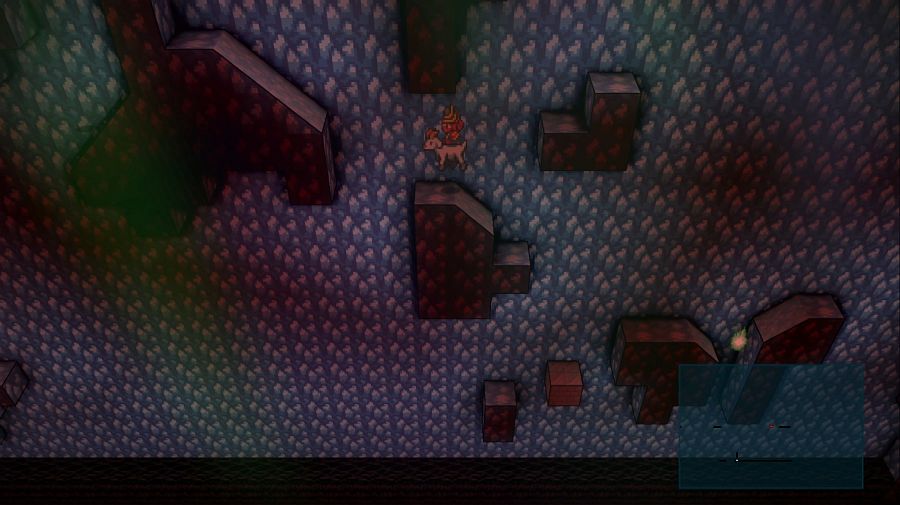 Switching mounts mid-jump so you're immediately ready to turn around and take off as the owl the moment you touch the ice block. 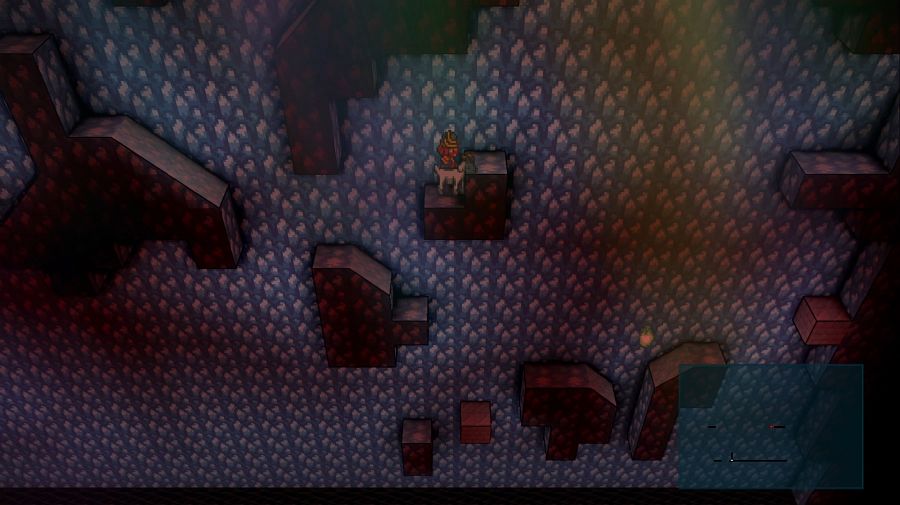 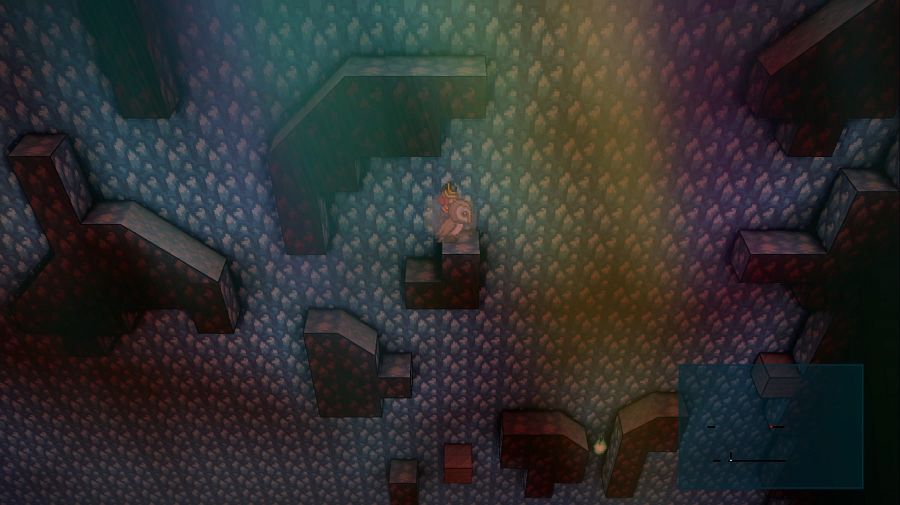 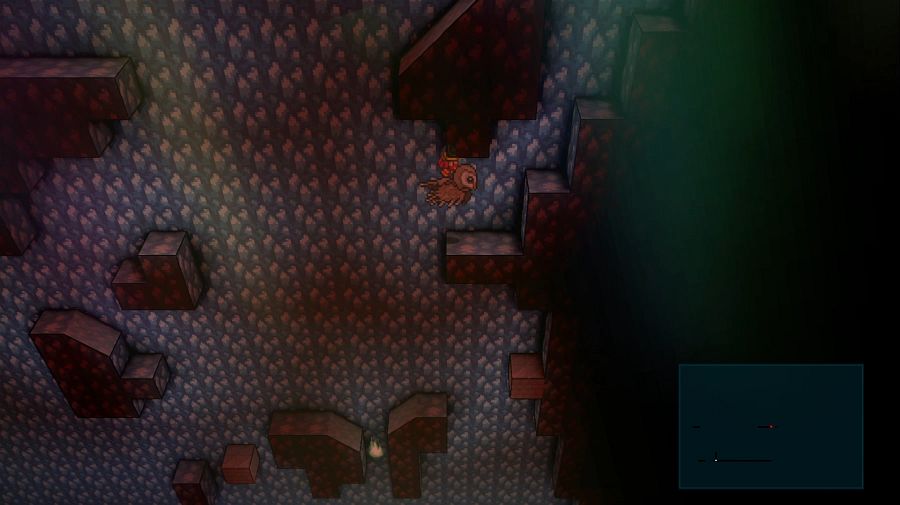 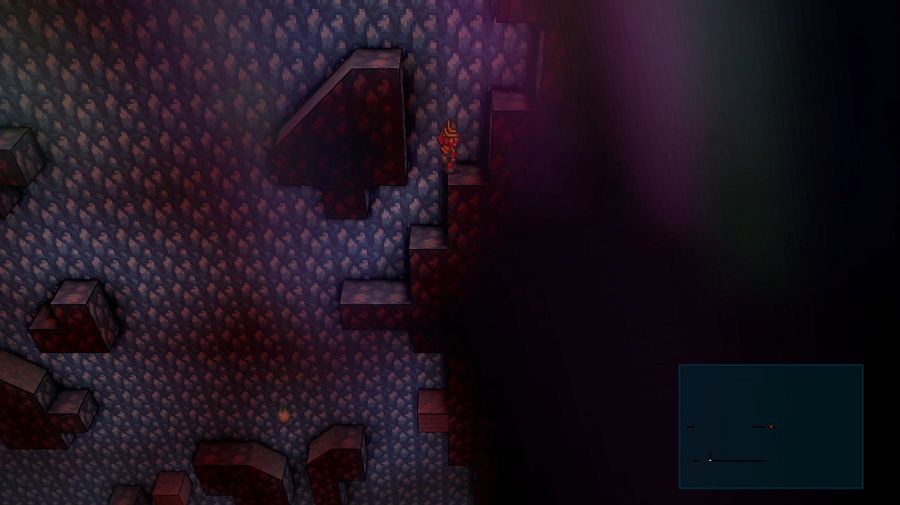 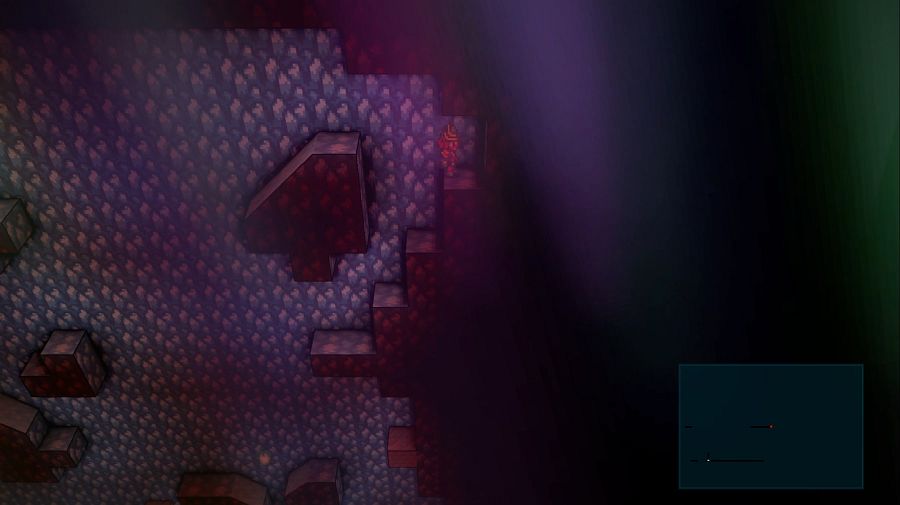 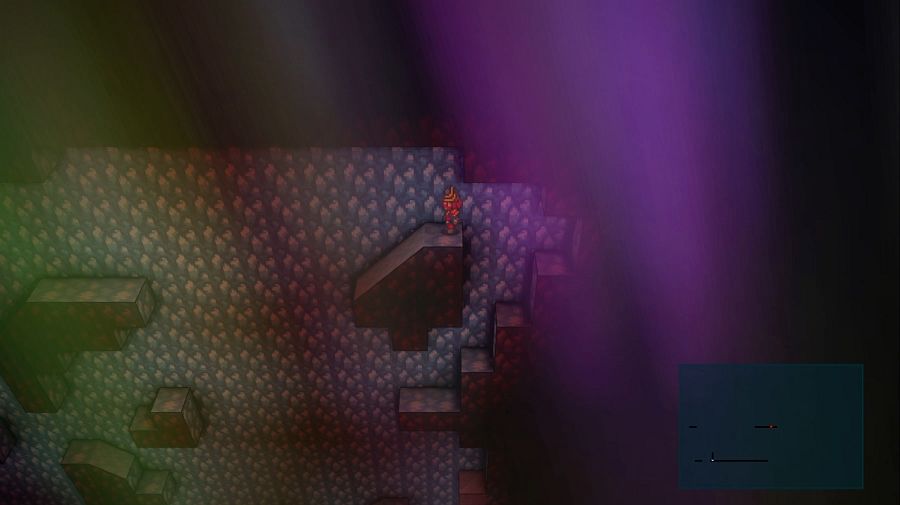 Tau: ...okay this is getting kind of Zen at this point. Jump, slide, glide, ride... Charity: Not much to look at, though. Just blue, ice, cold. Vanessa: At least Hamza's getting the hang of the owl, he hardly ever dumps us into the tar pit any longer. Hamza: Thanks for the shining vote of confidence. Vanessa: I figure you've got enough of it without me adding any. 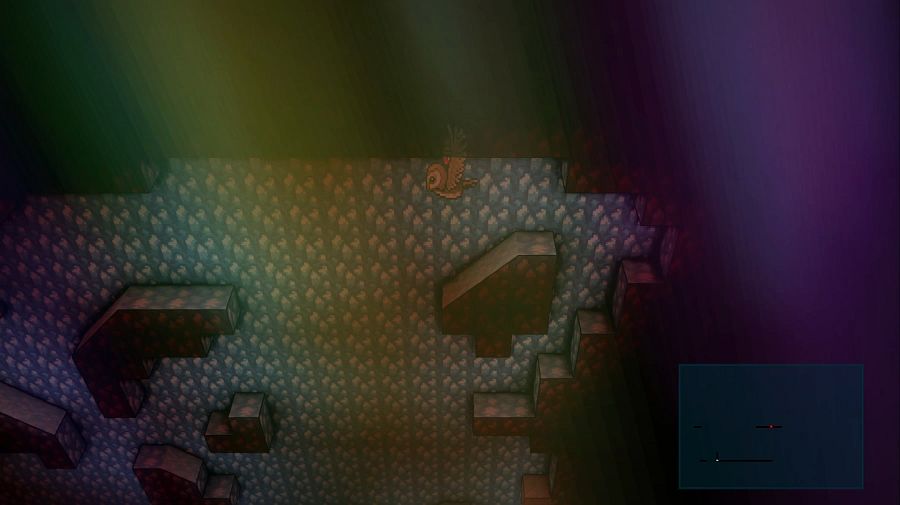 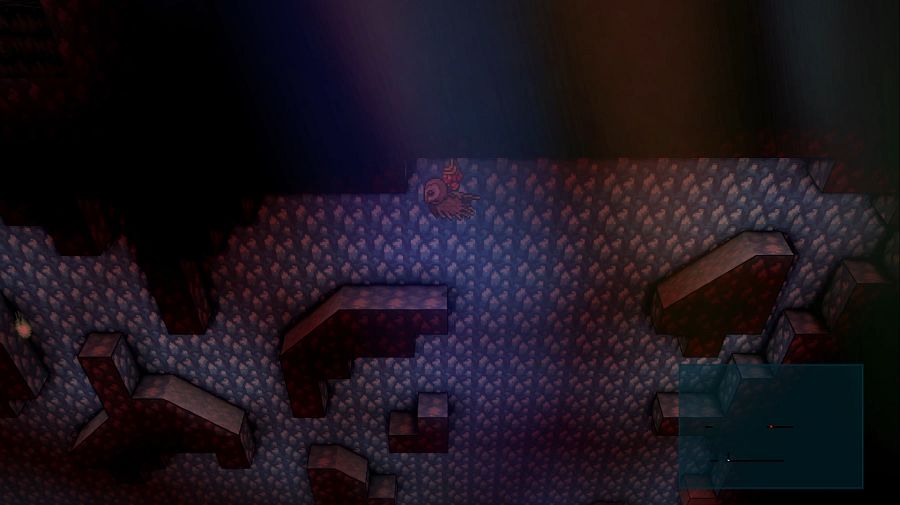 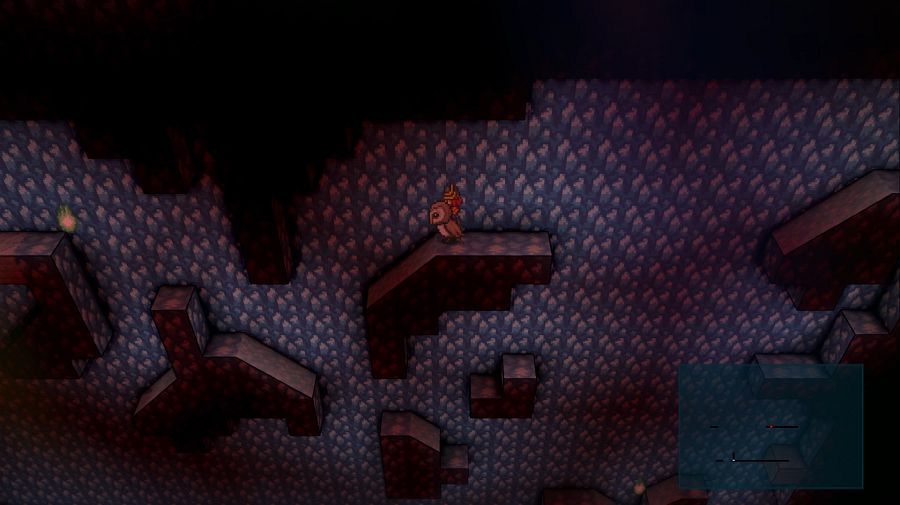 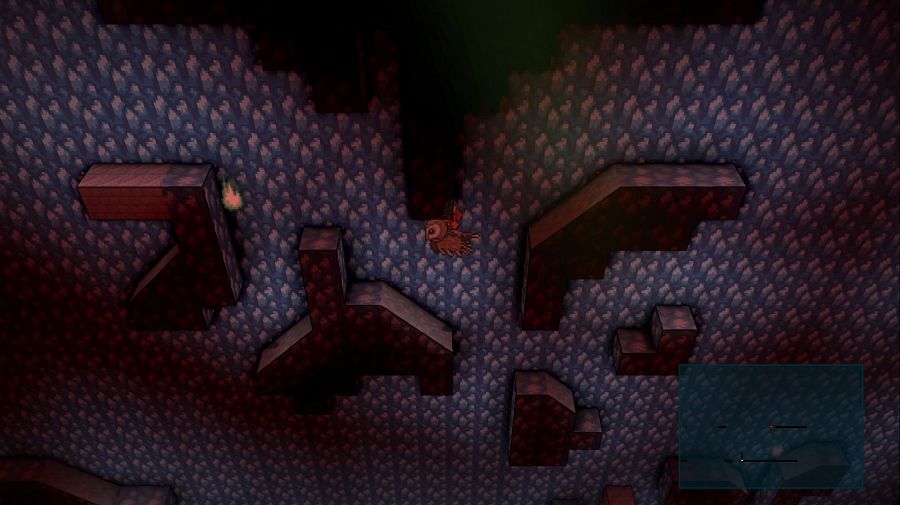 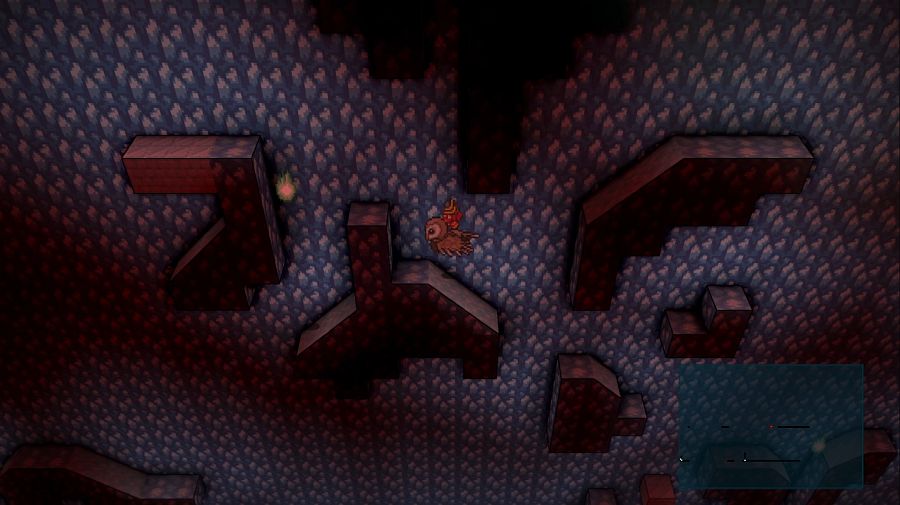 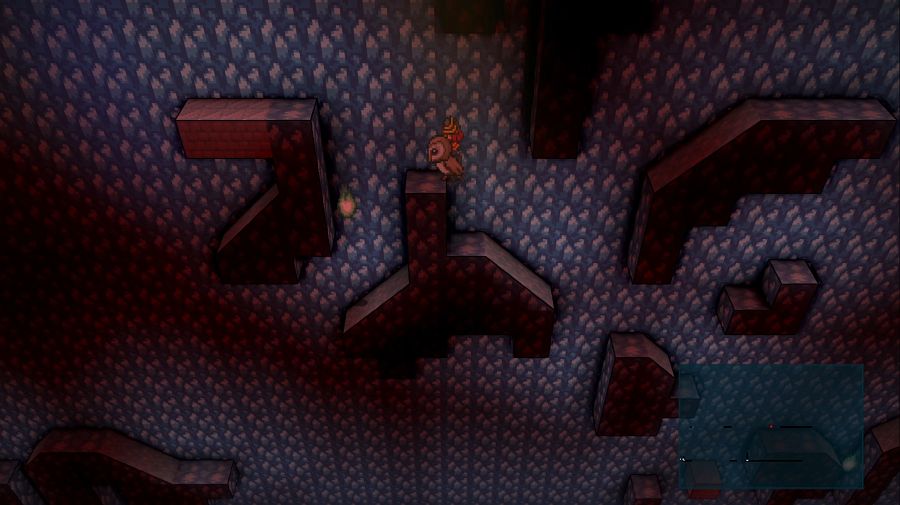   There's one jump later that requires some precision, but that's about it. 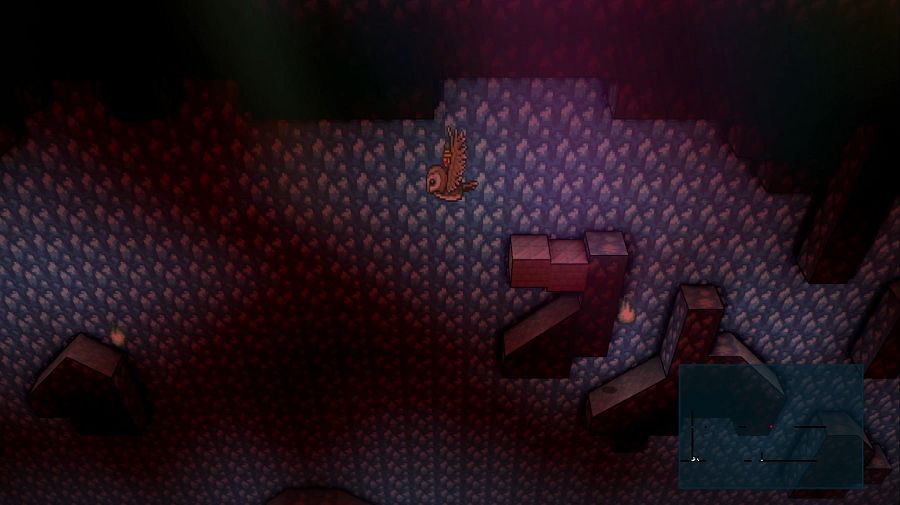 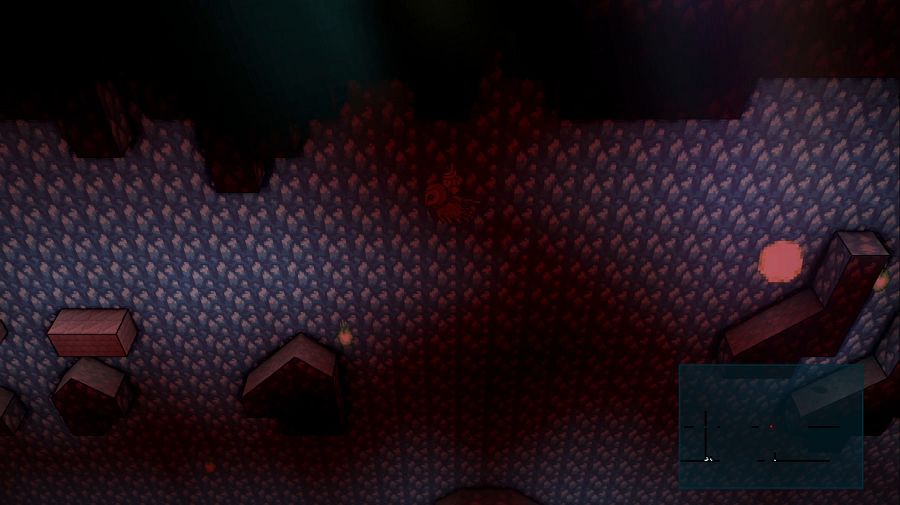 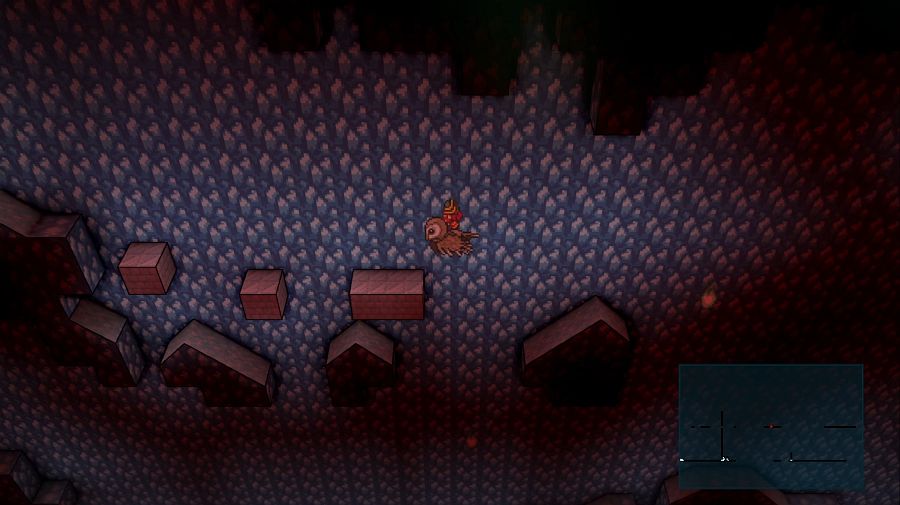 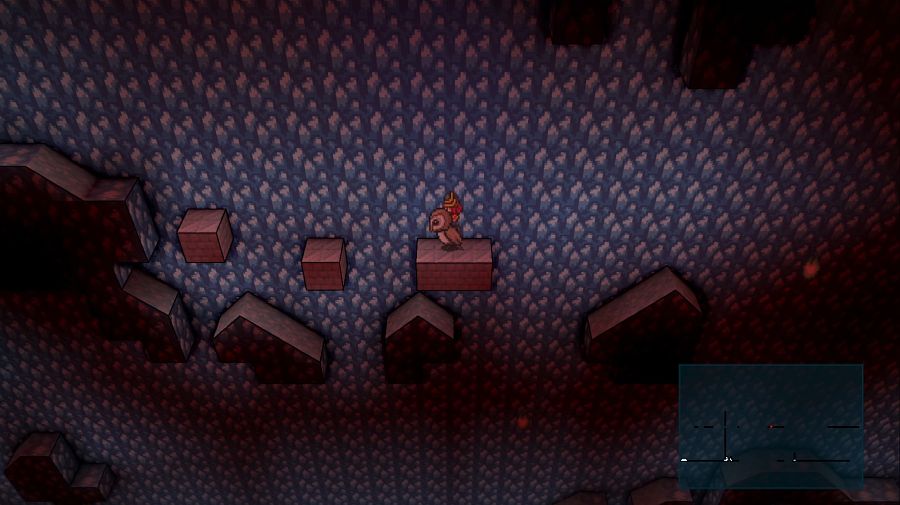 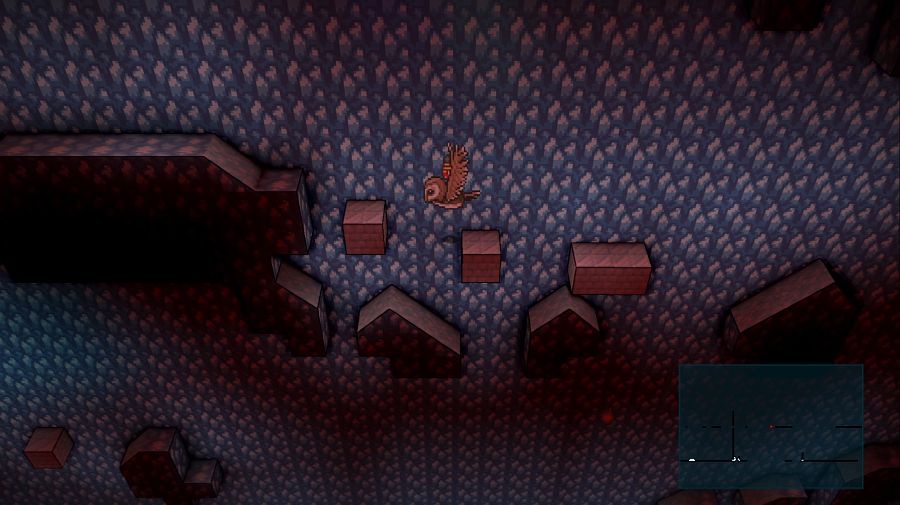 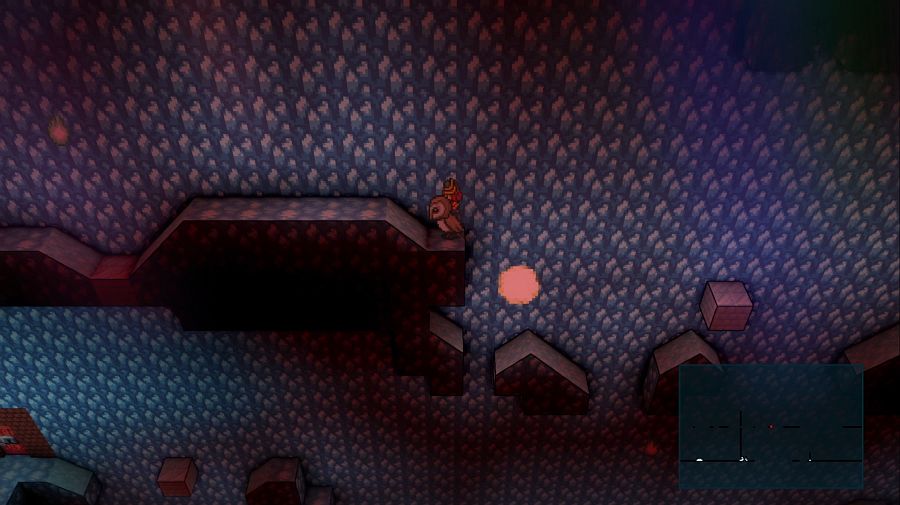 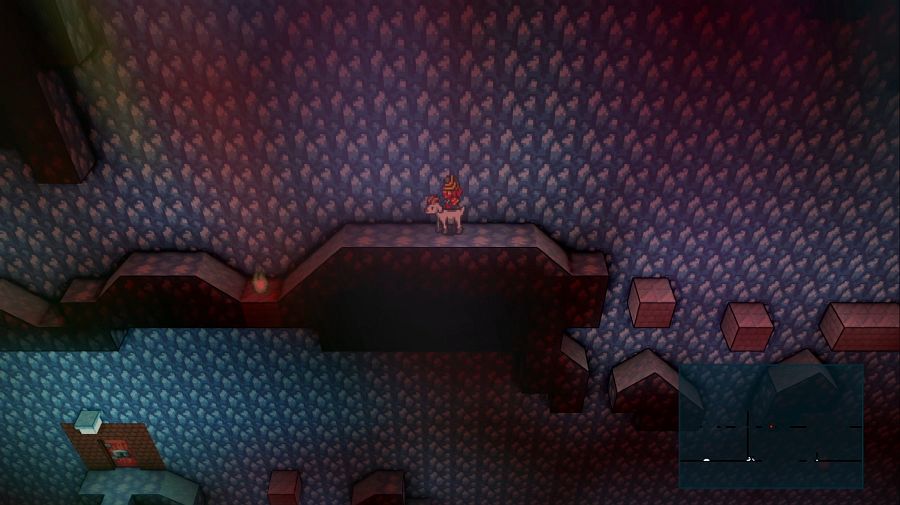 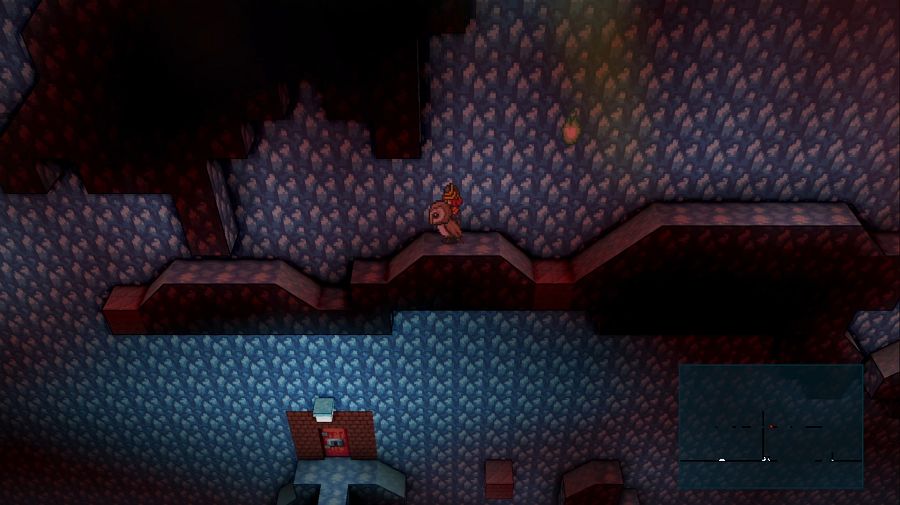 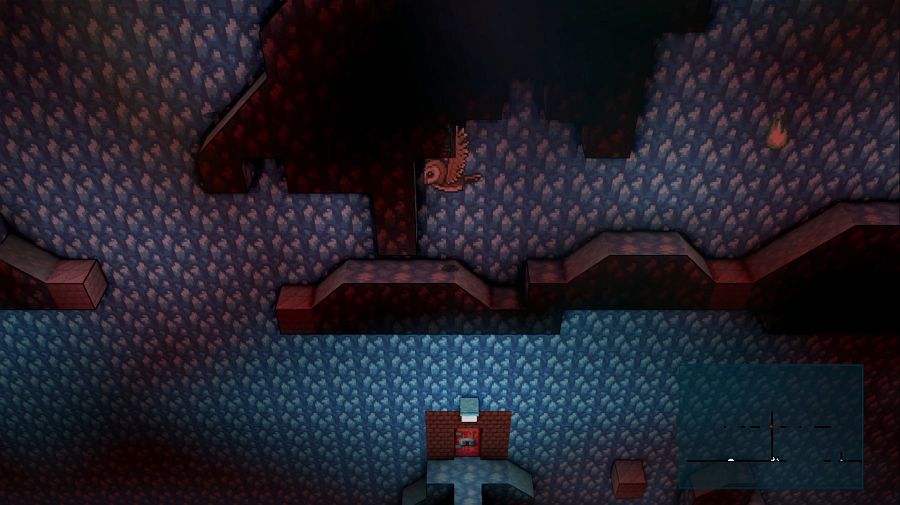 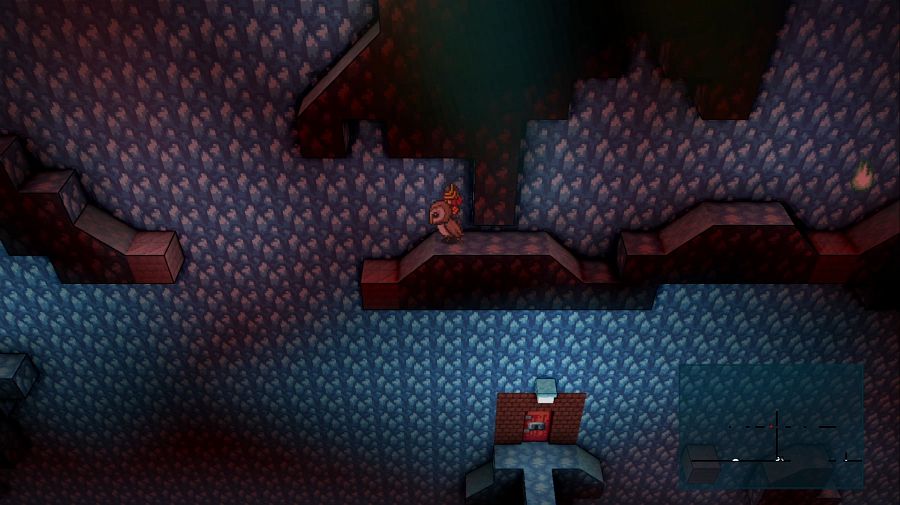 And EVERY nasty jump drops you into the tar unless you really panic on the way down. 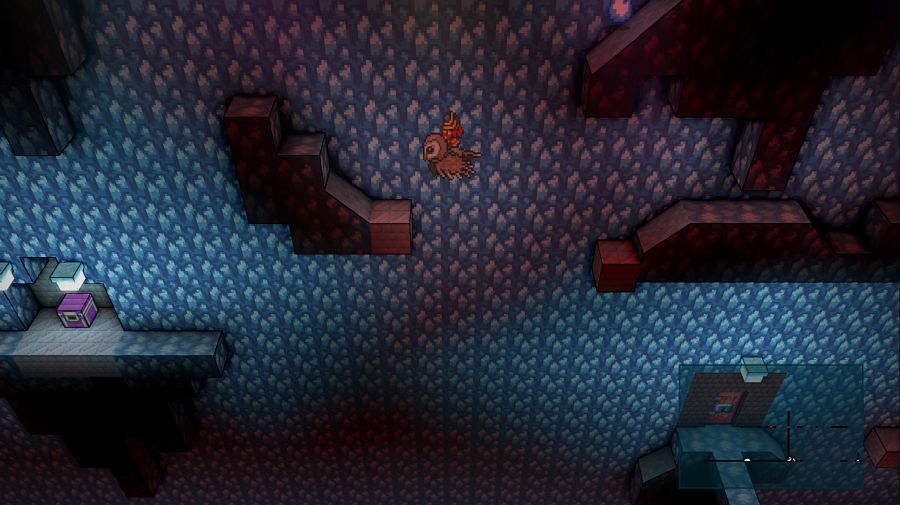 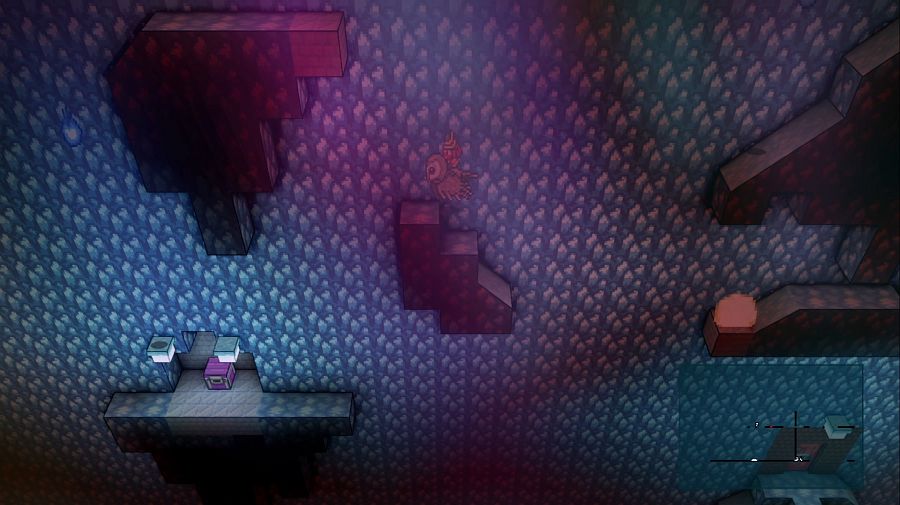 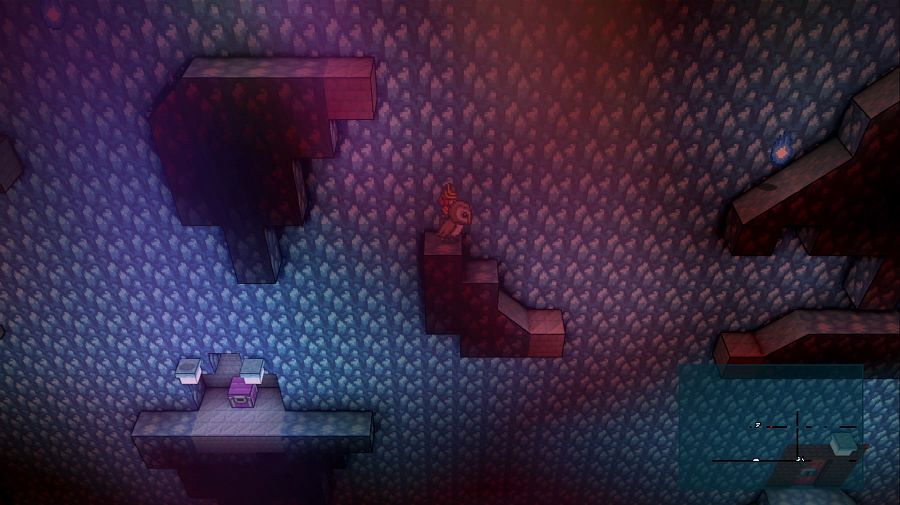 Charity: Hm, we're heading downwards again already? But there's more stuff we haven't seen yet... 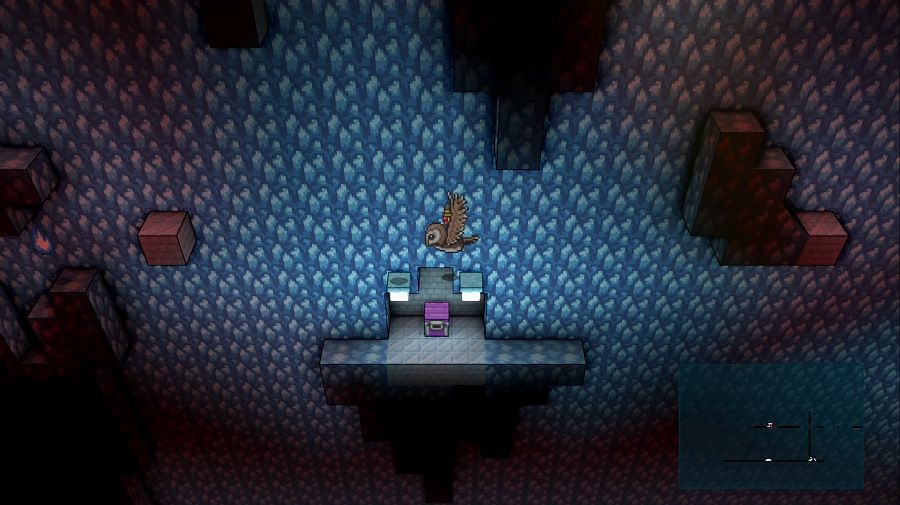 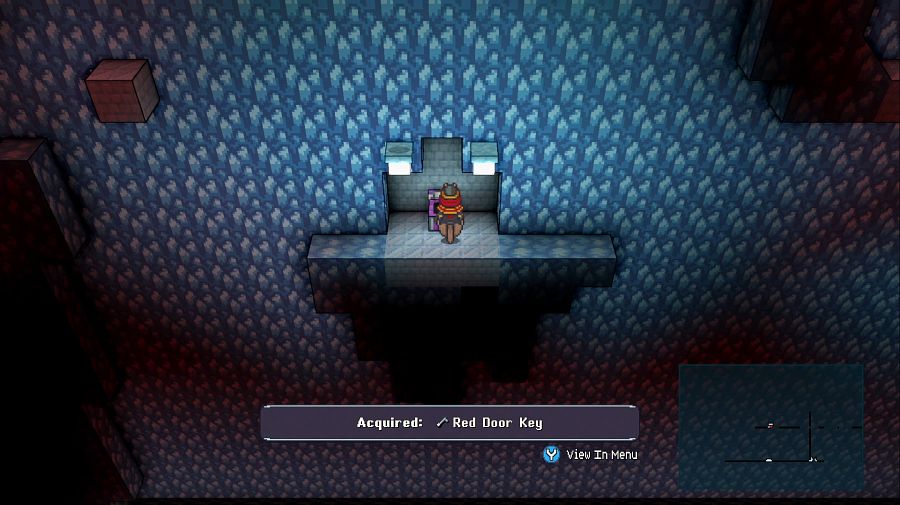 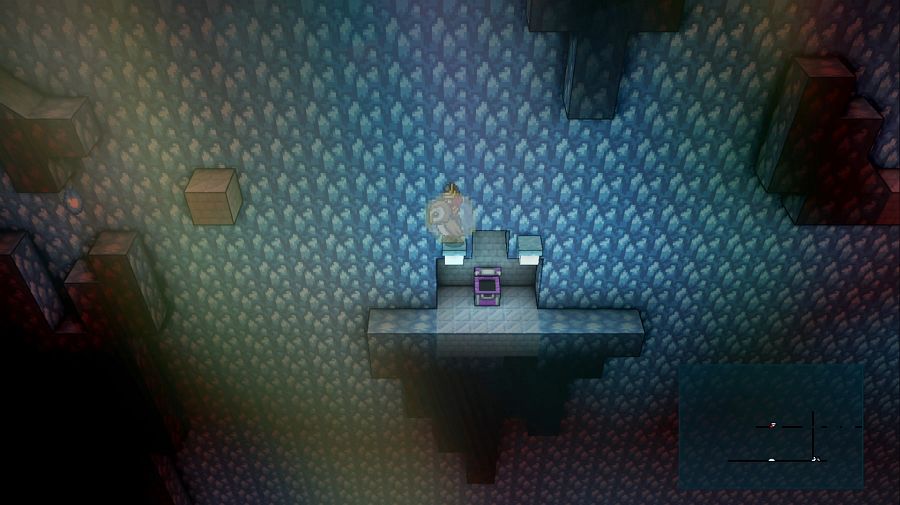 Once you have the key, jump on to this lamp to continue spending your time heading for an incredible disappointment. 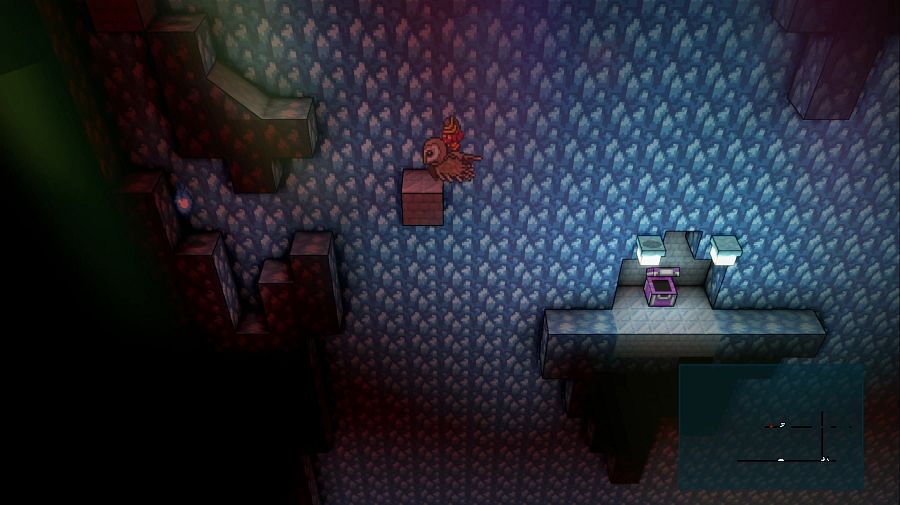 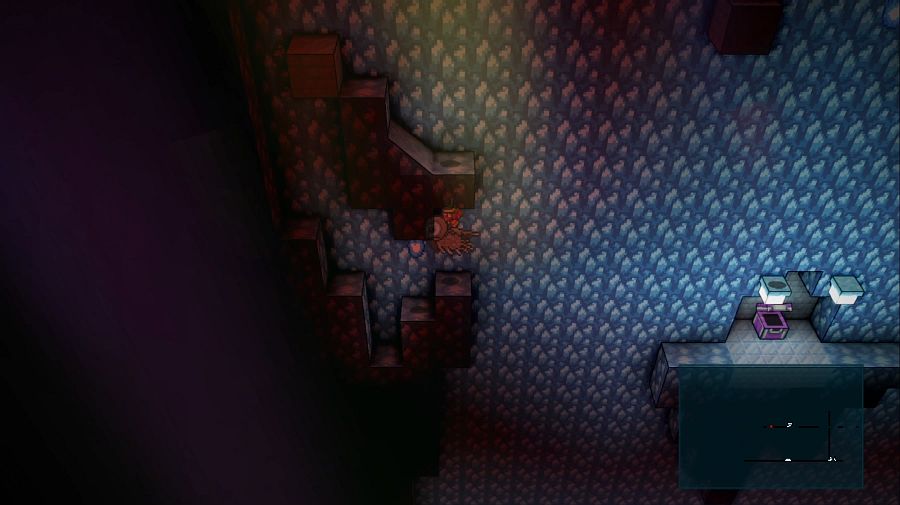 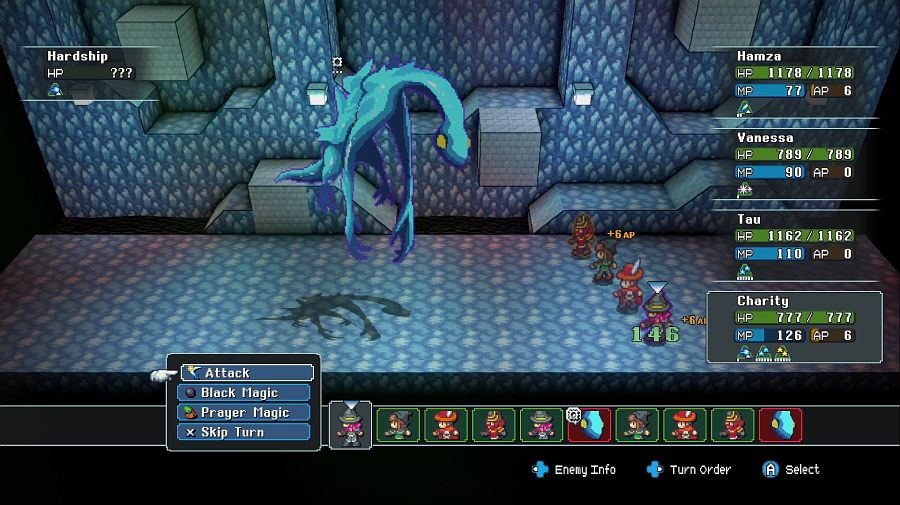 And a new enemy! This one actually somewhat scary! 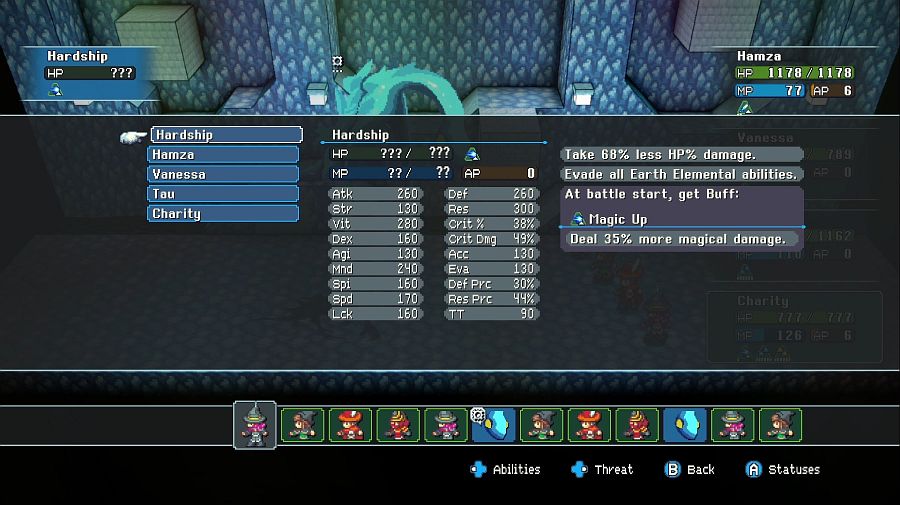  Because despite appearances it's just a giant blue goddamn fairy but now with some ice tricks on top of the sleep tricks! gently caress! 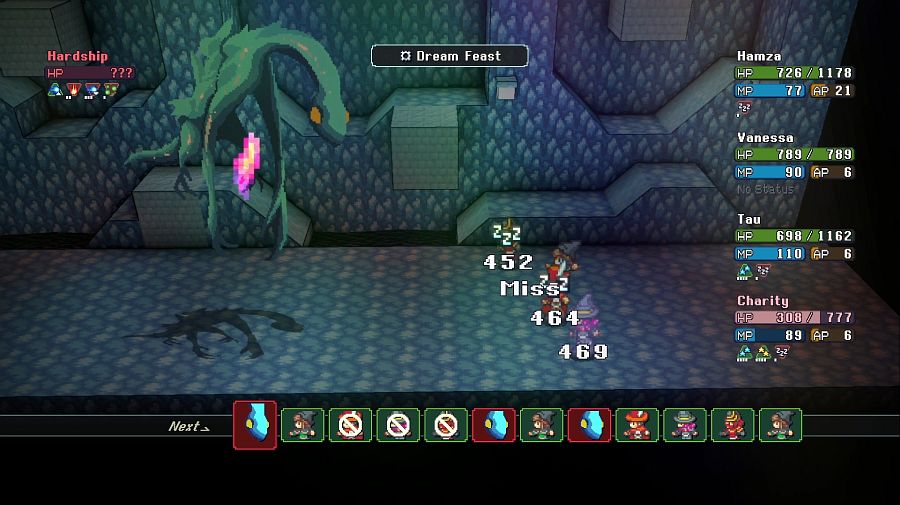 I hate fairies. I HATE FAIRIES.   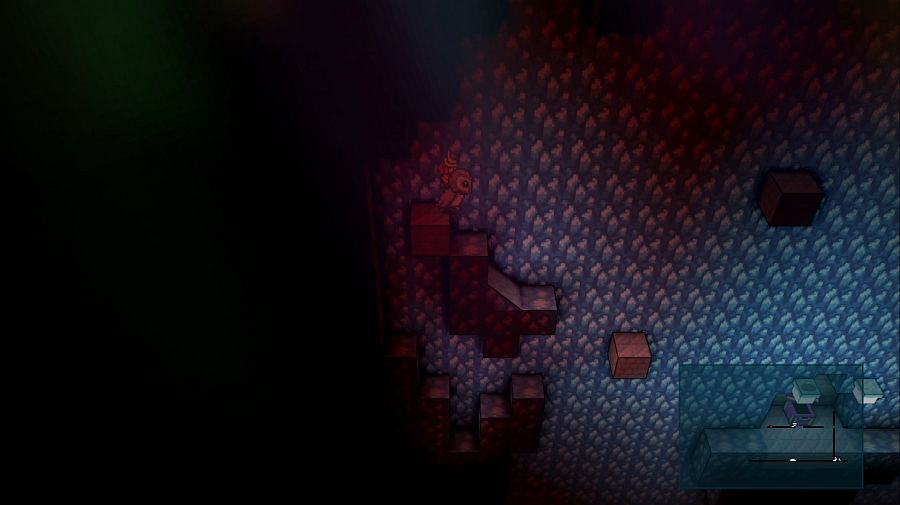 For this section, this is the sole jump that stumped me for a bit. 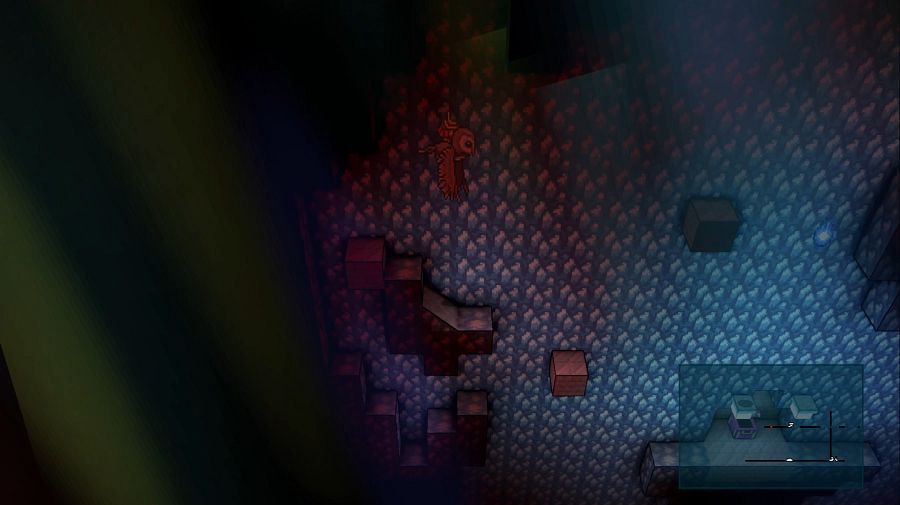 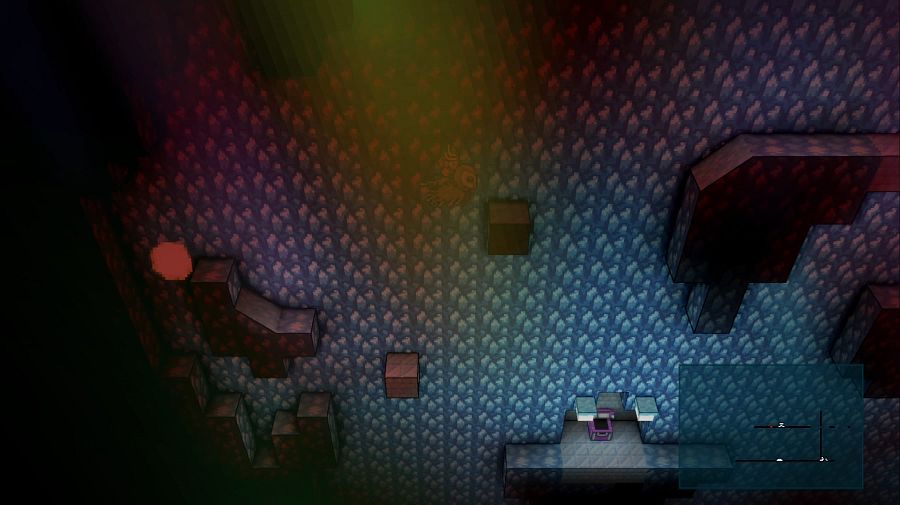 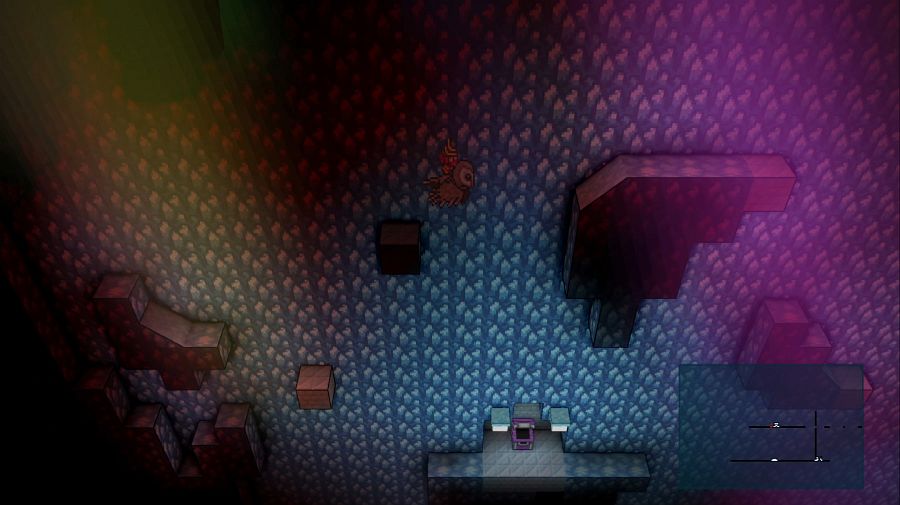 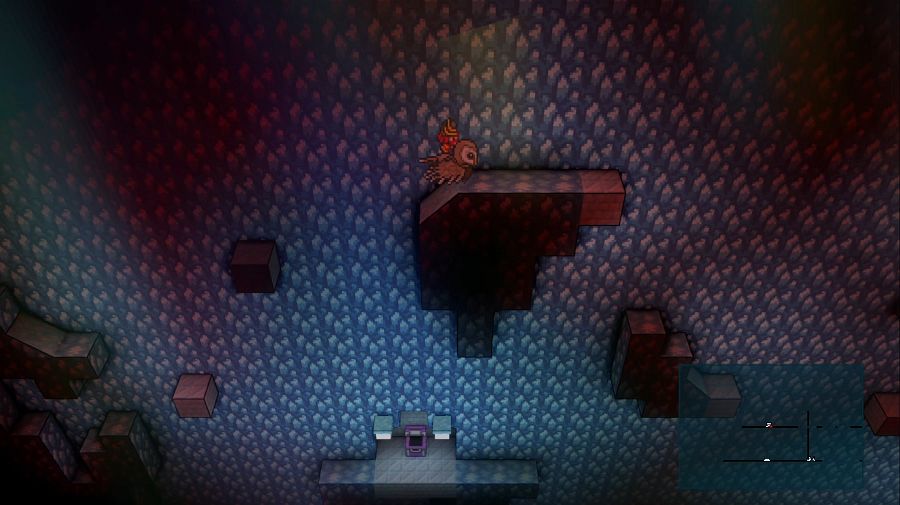 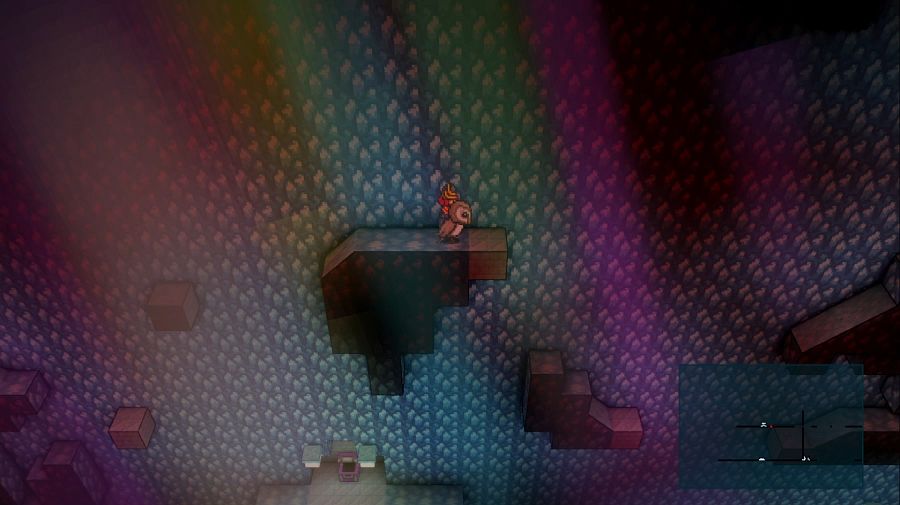 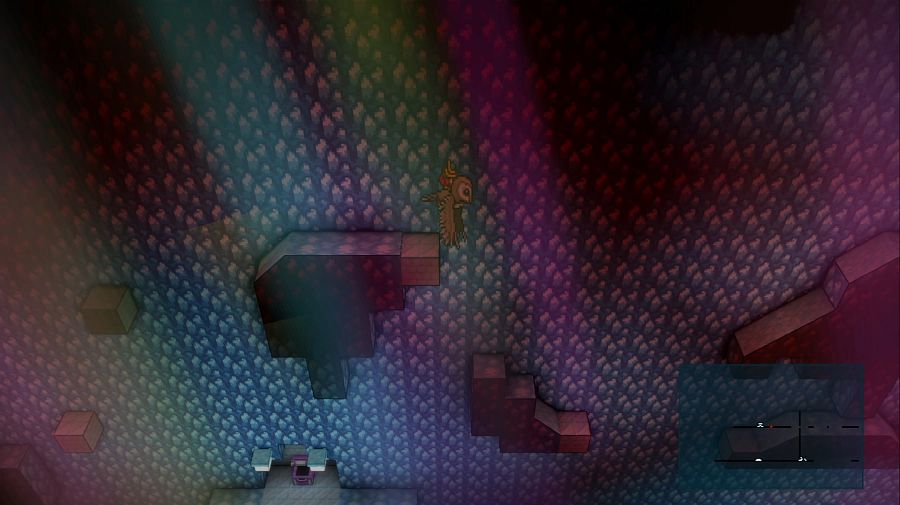 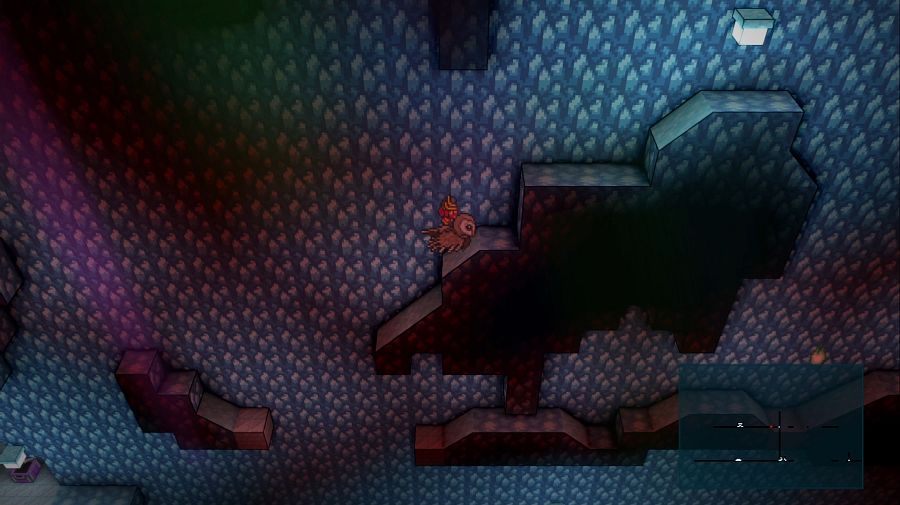 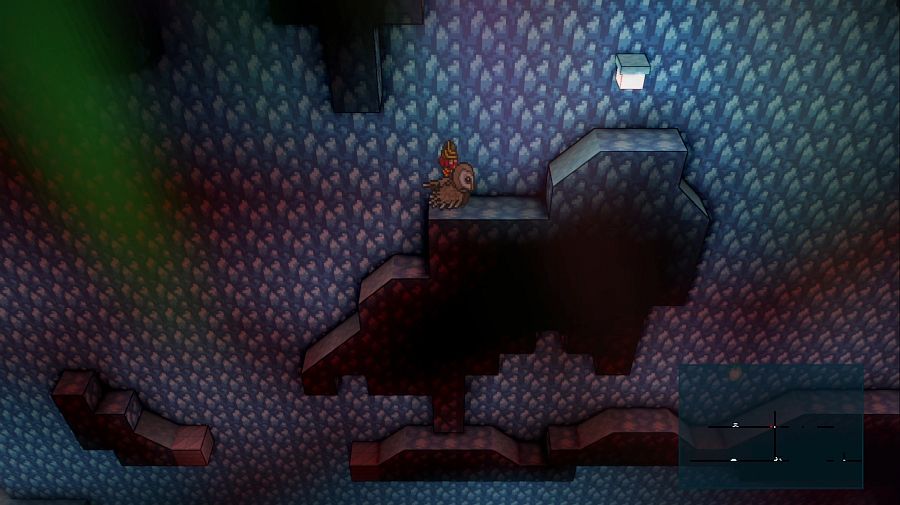 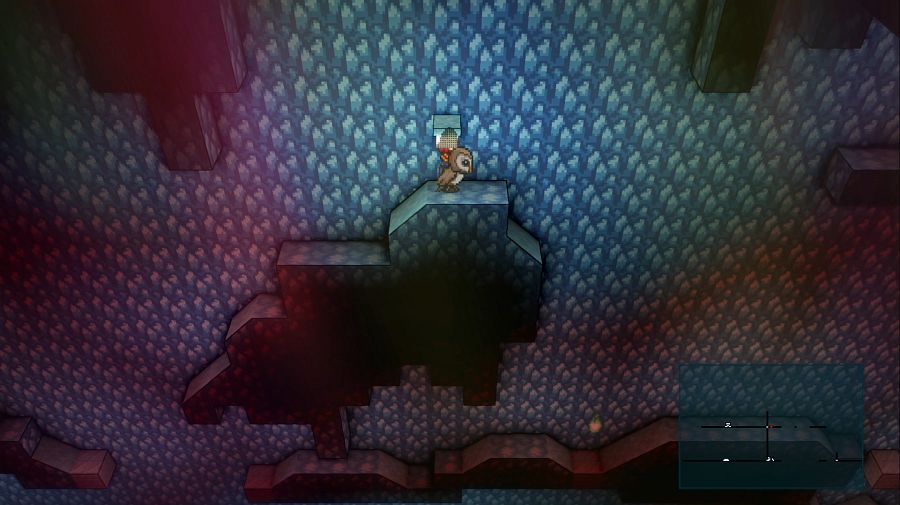 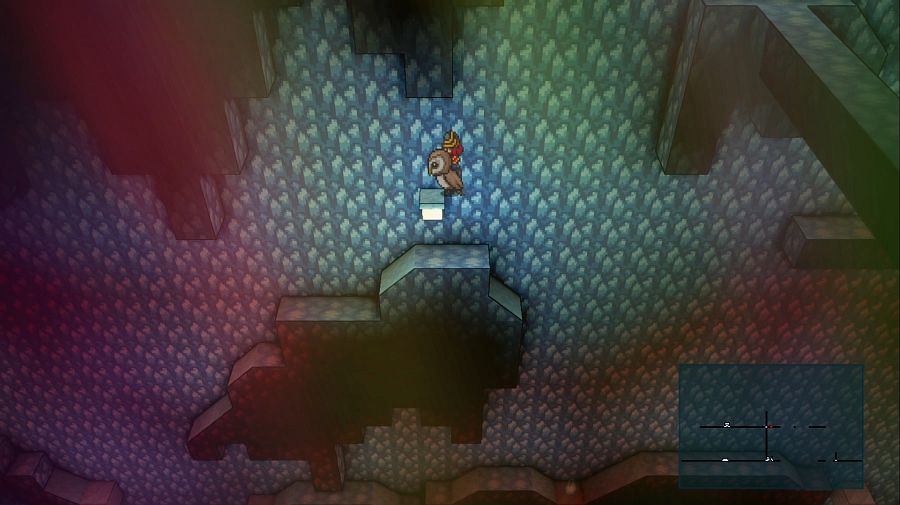 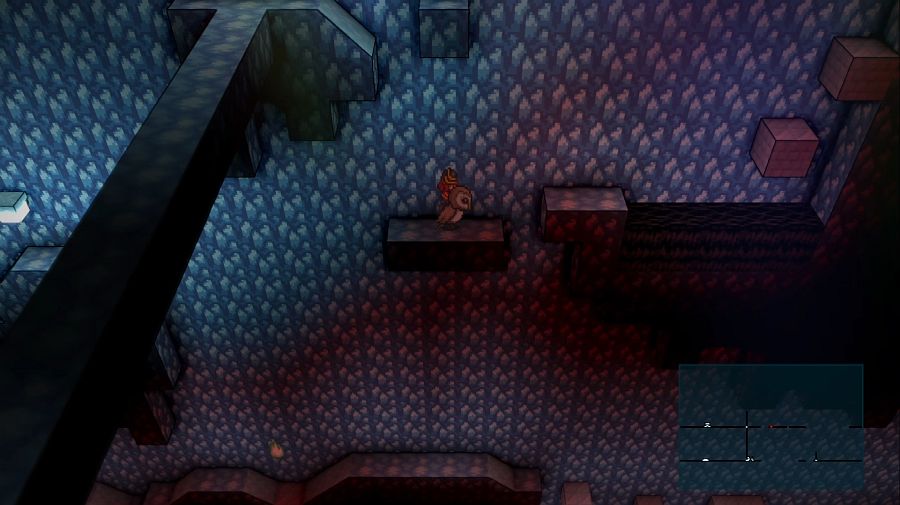 Charity: Oh this looks a bit different! 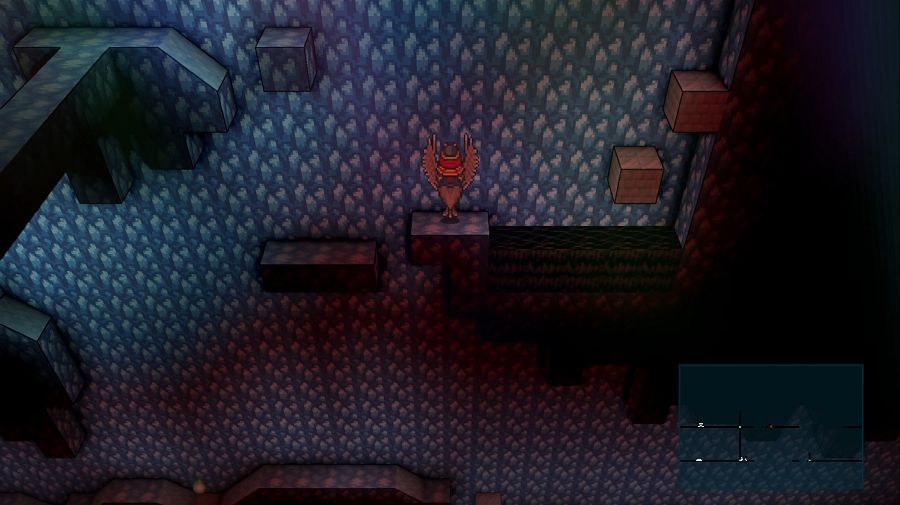 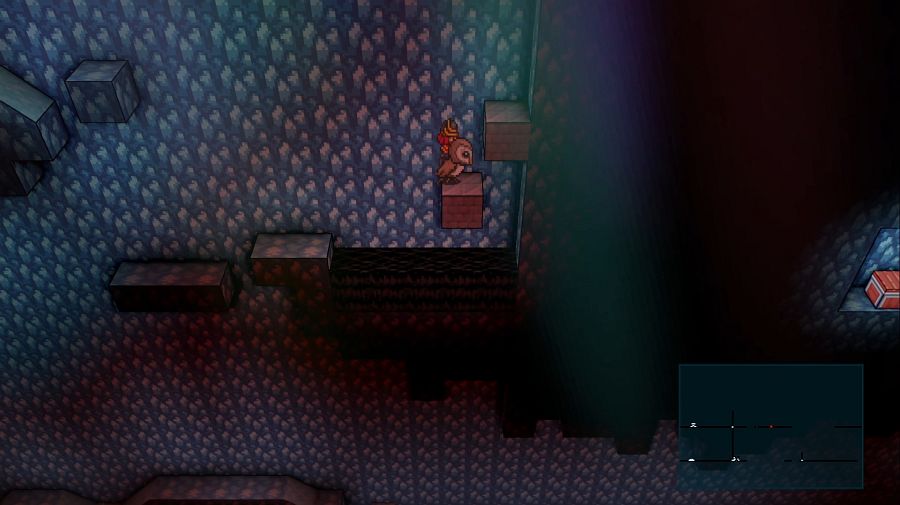 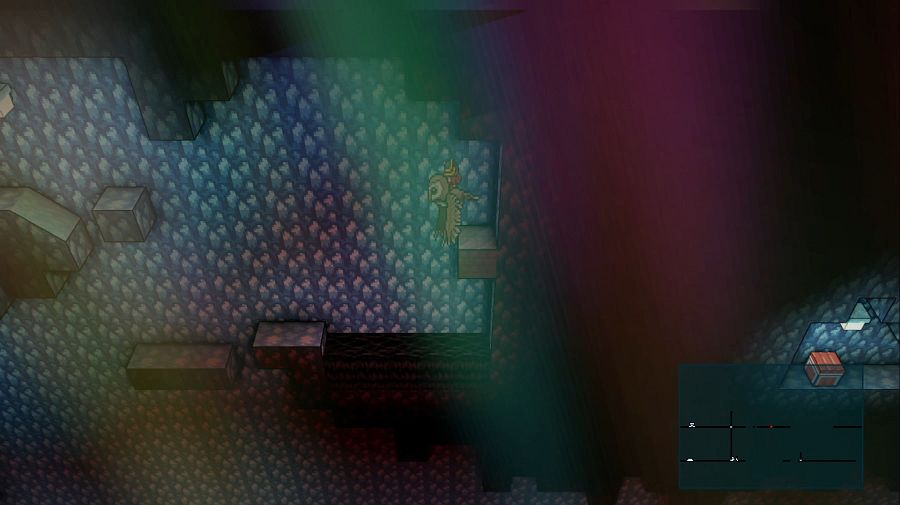 The chest you can see at the edge of the screen there is the reward for the jump I gave up on earlier. gently caress that chest. 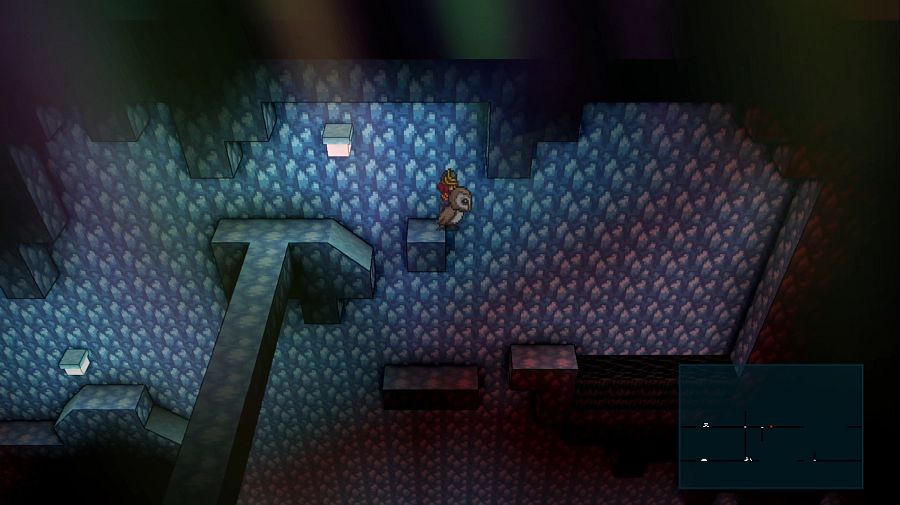 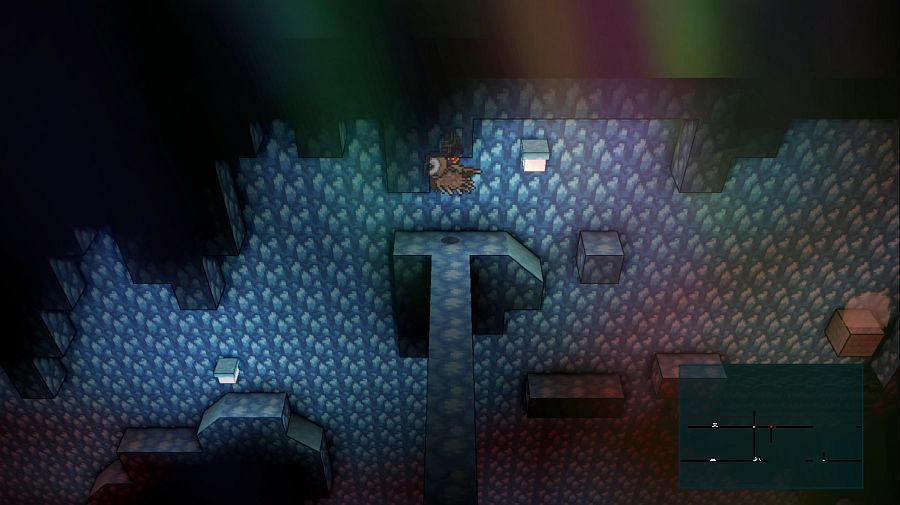 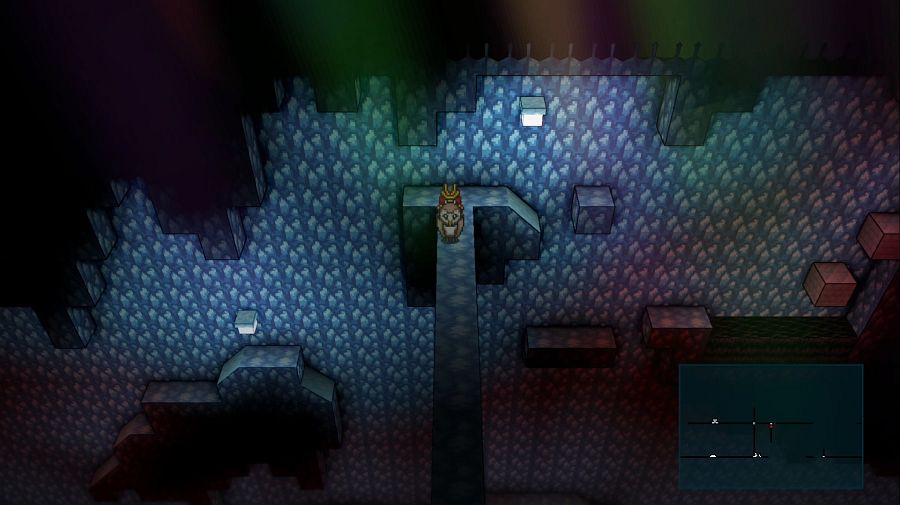 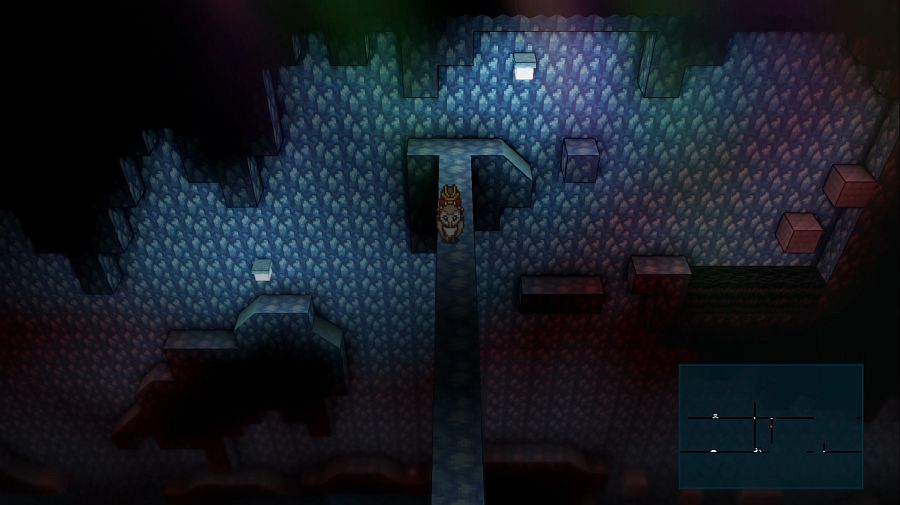 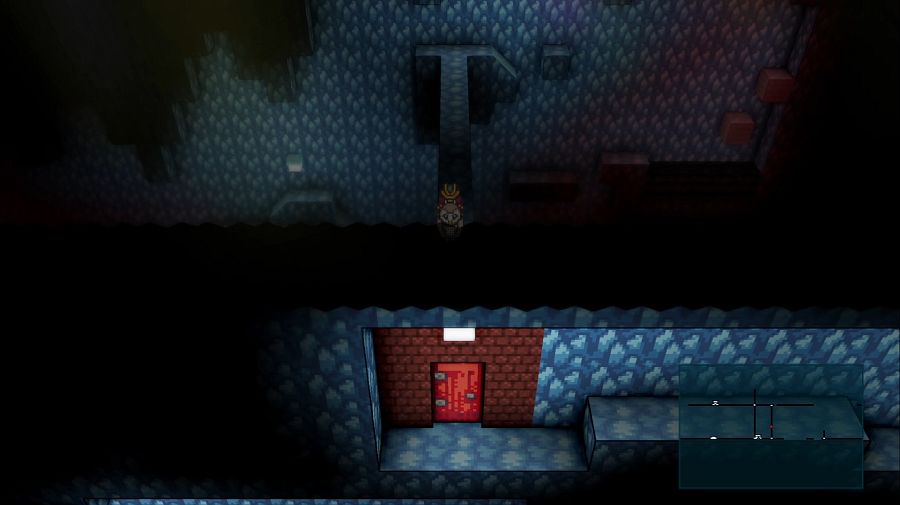 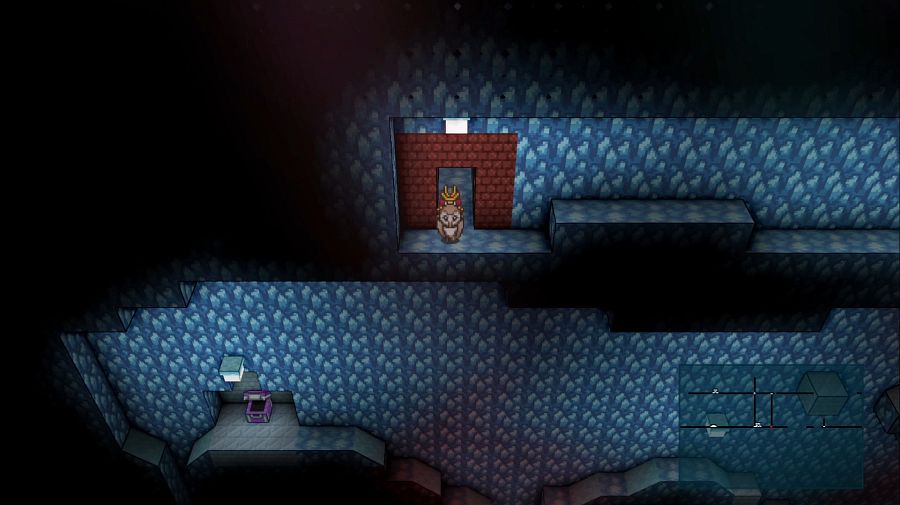 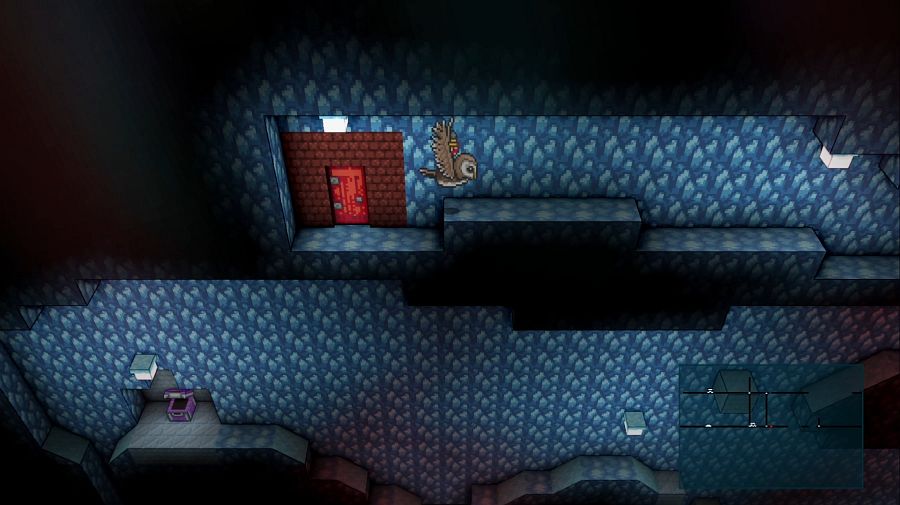 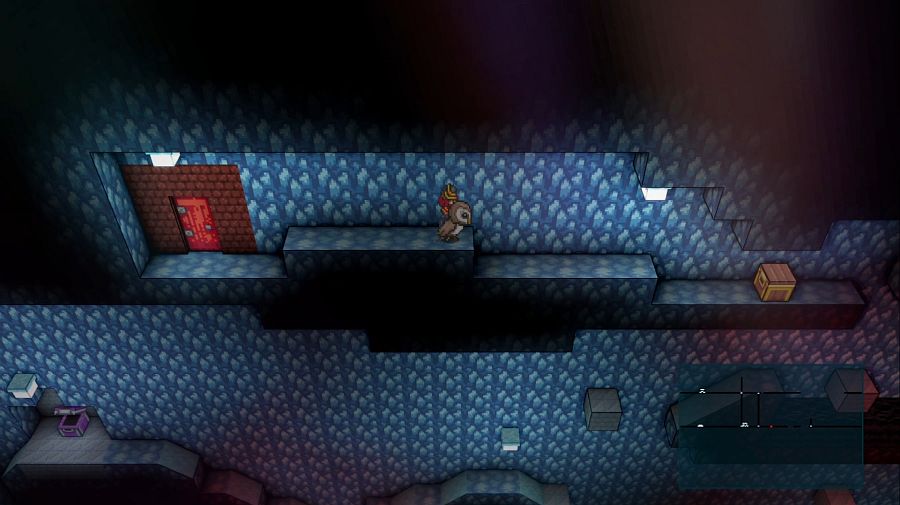 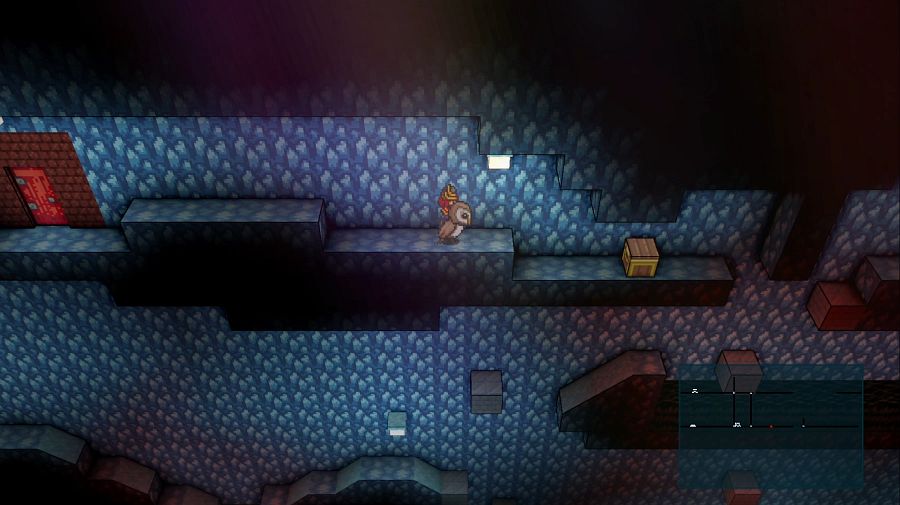 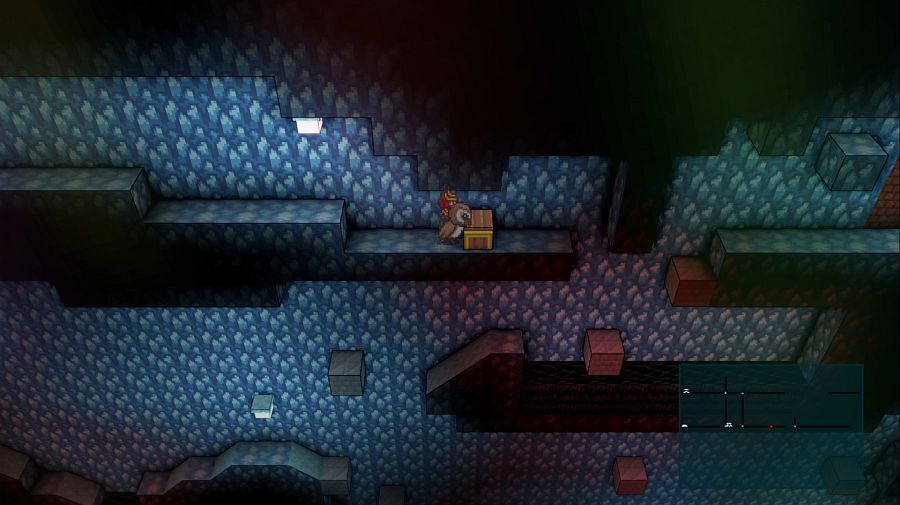 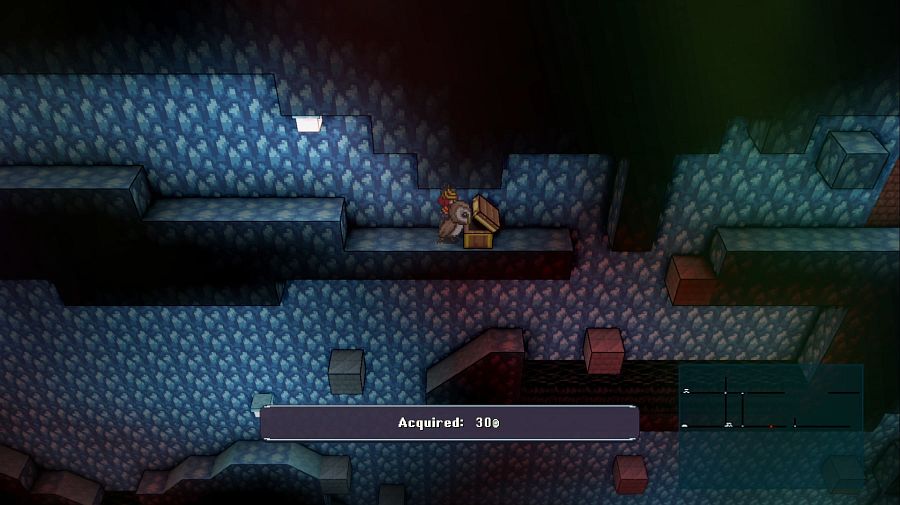 What can I even loving say? All that jumping and gliding and the reward is 30 Silver after getting to a part of the game where battles regularly give 1 Gold(equal to a hundred Silver) and some change. Dick move, developer fella. 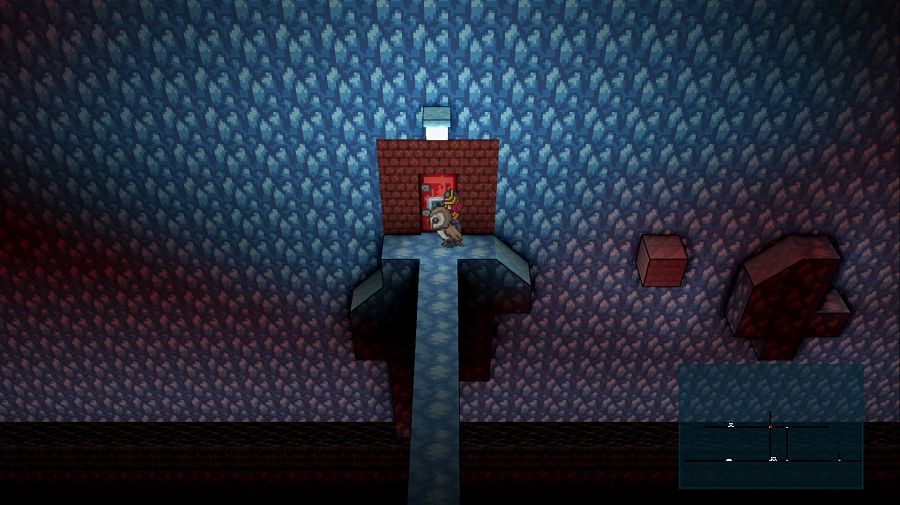 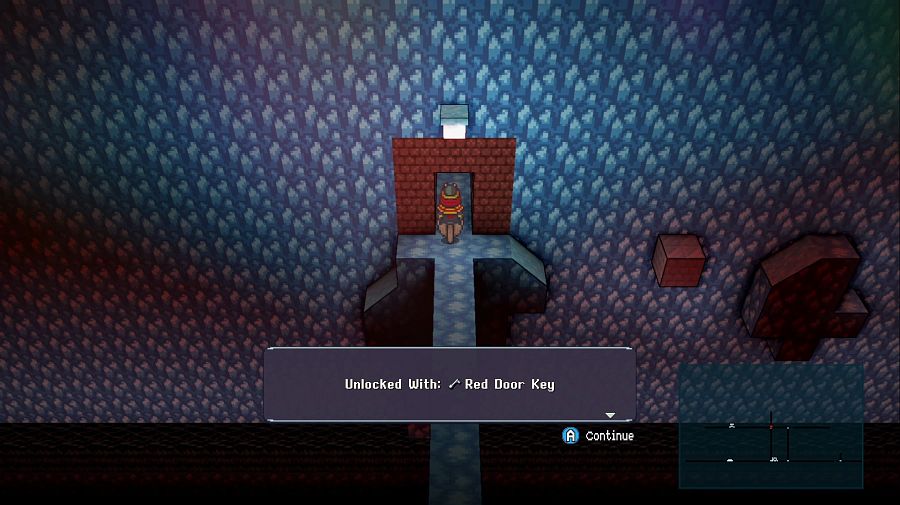 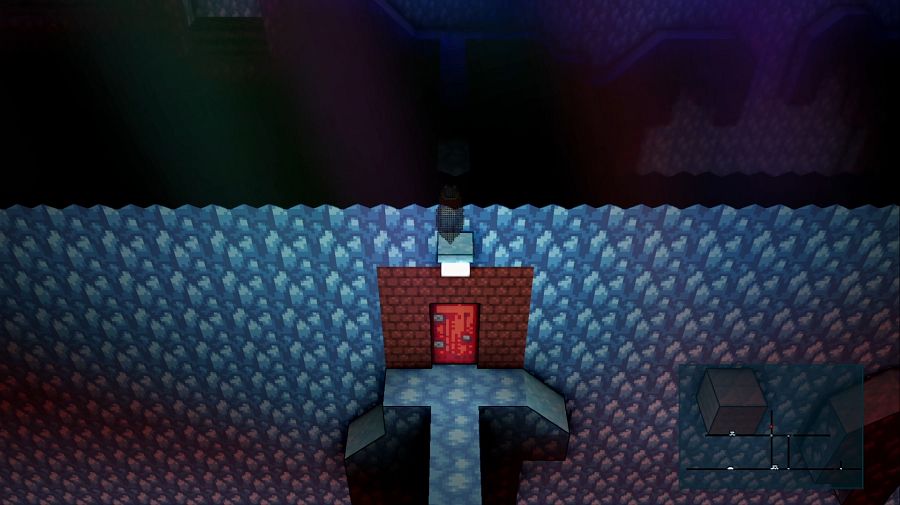 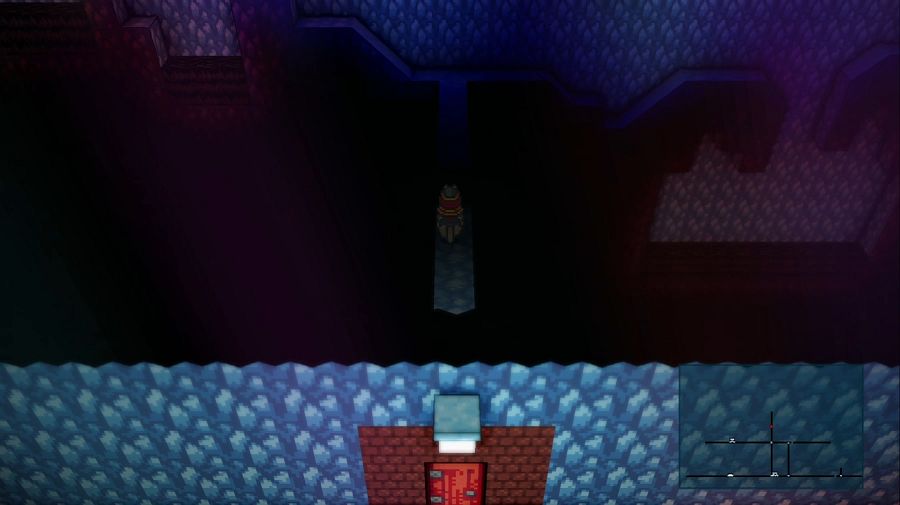 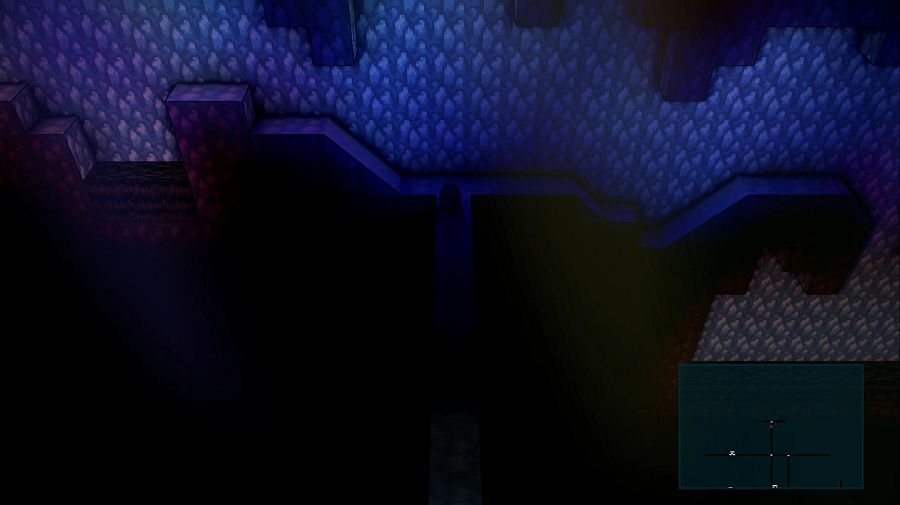 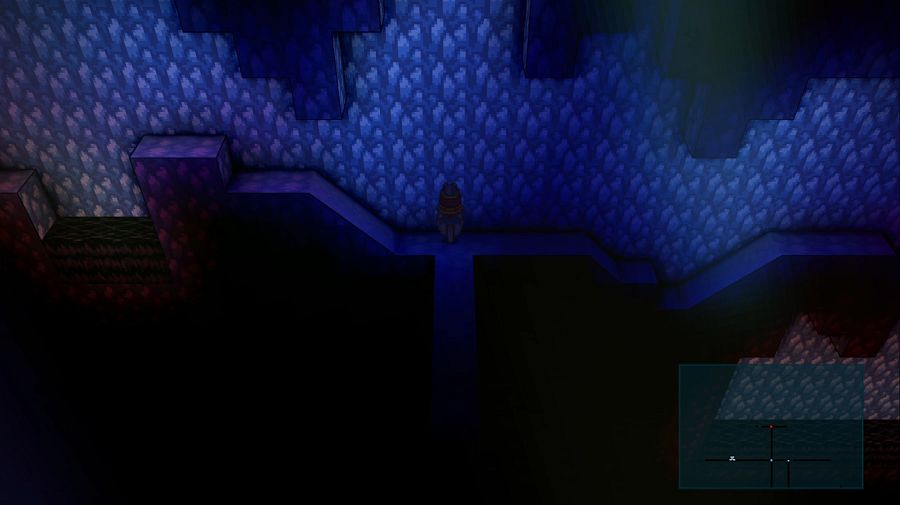 So the third part, that's gonna have the nastiest jumping challenges, right? 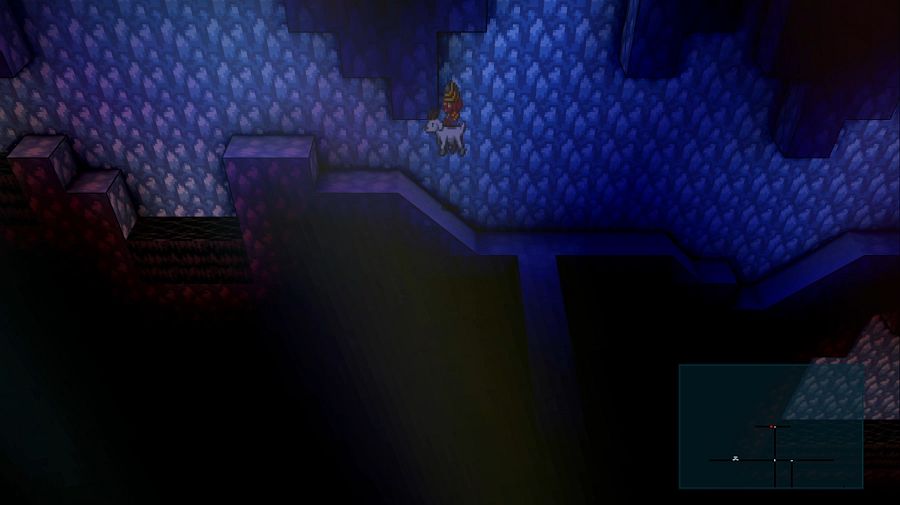 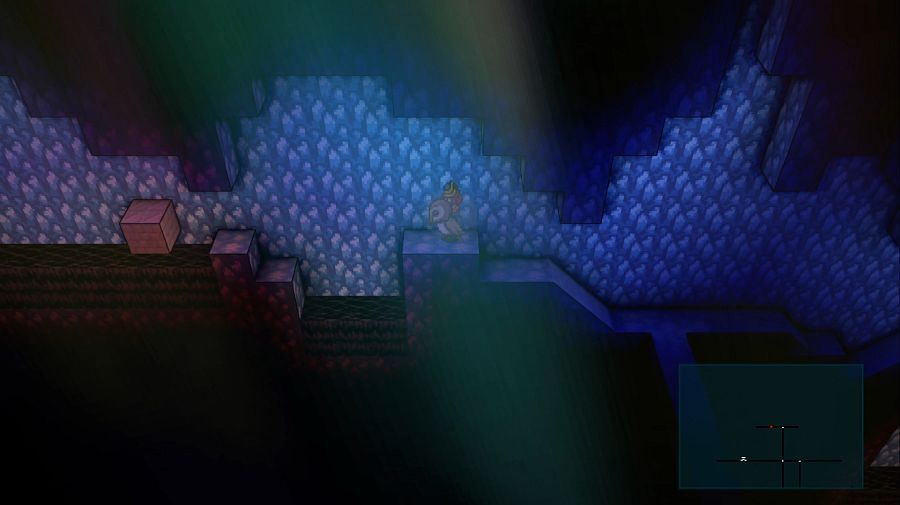 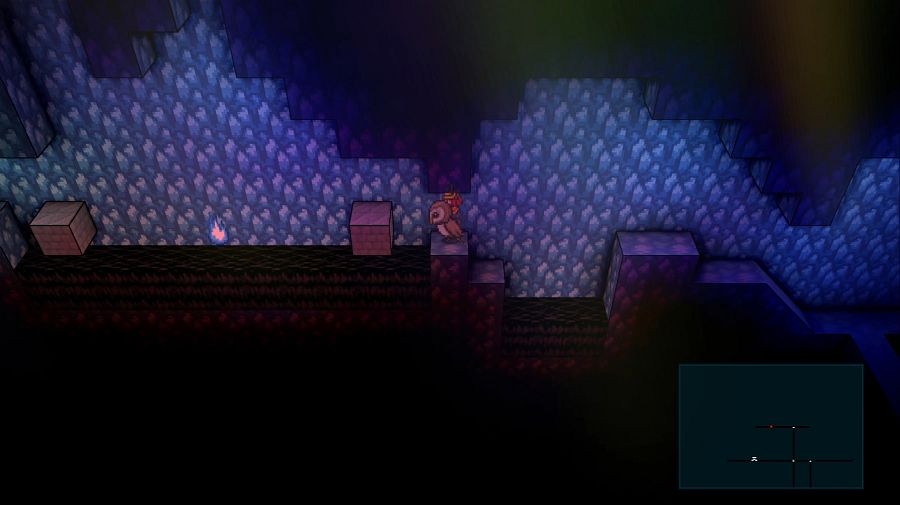 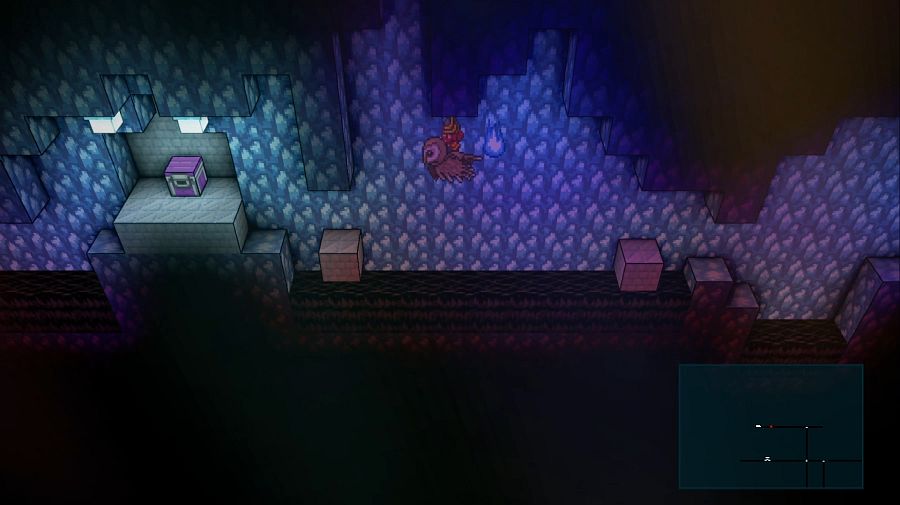 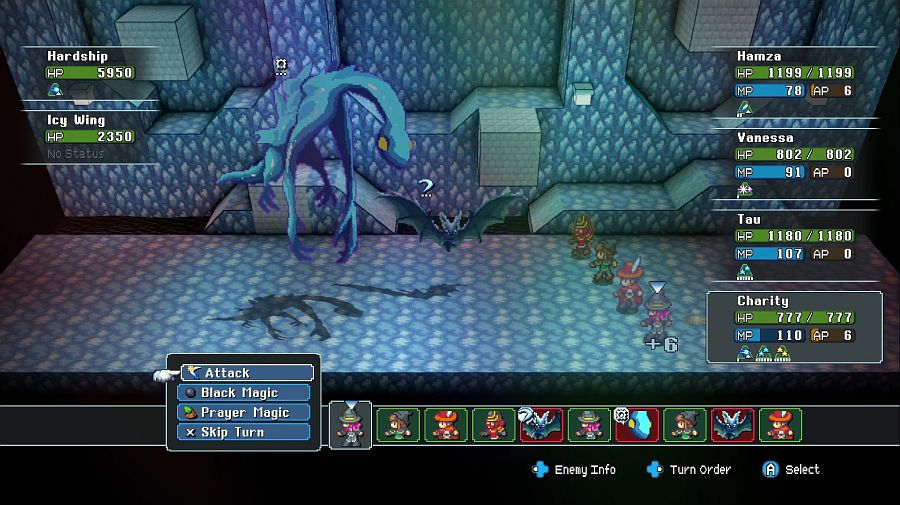 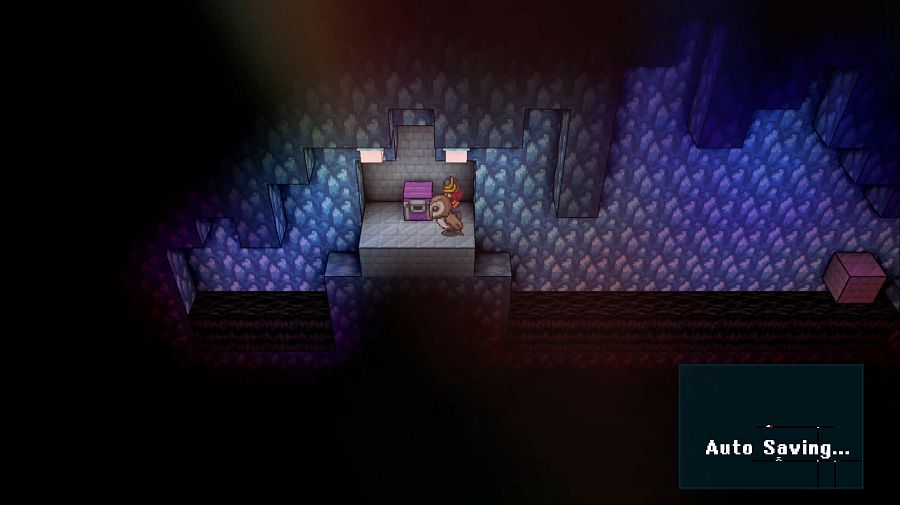 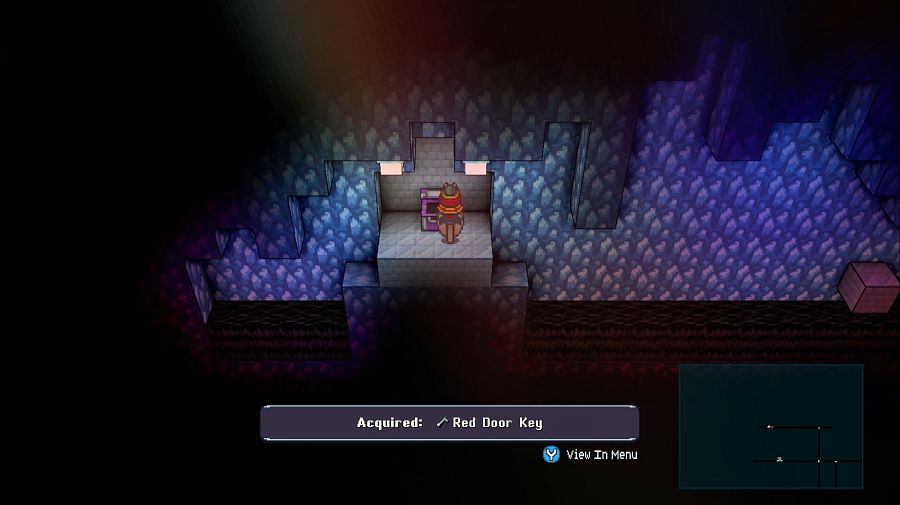 Wrong, it has none. Just one slightly tougher(if you don't use multi-attacks to clear the screen regularly) battle.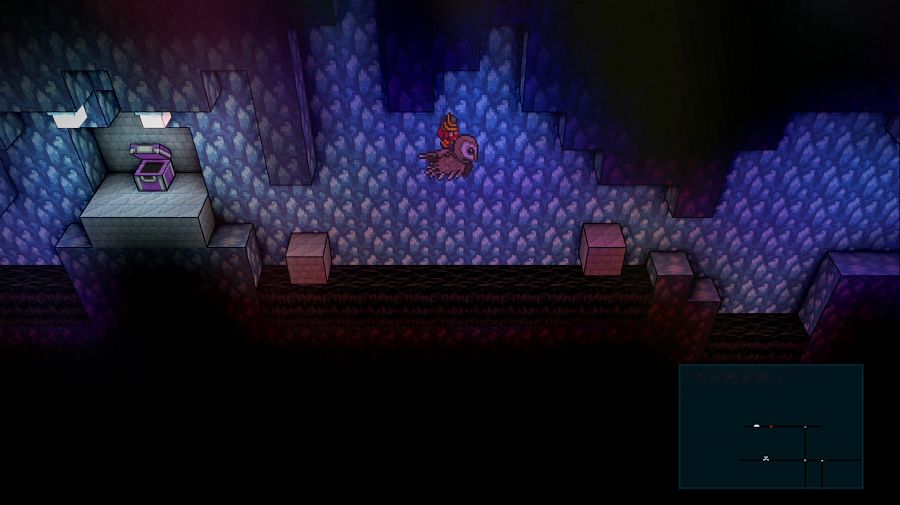 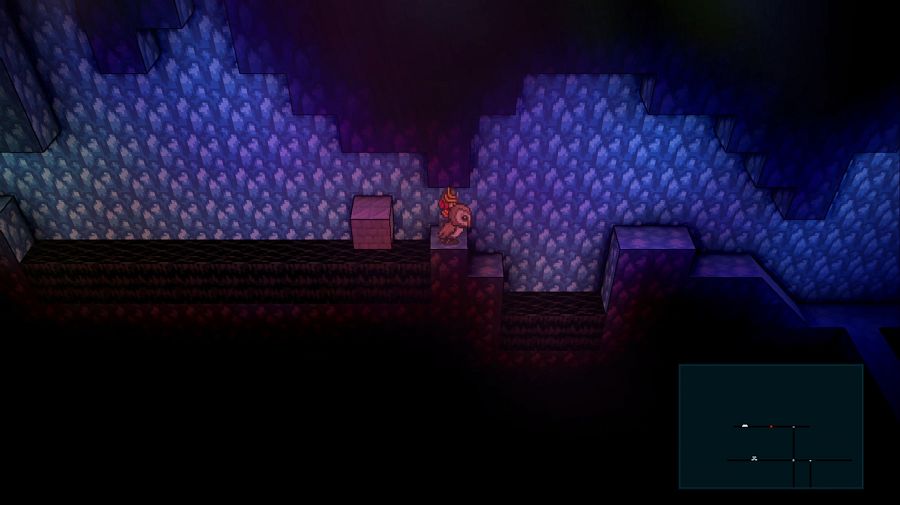 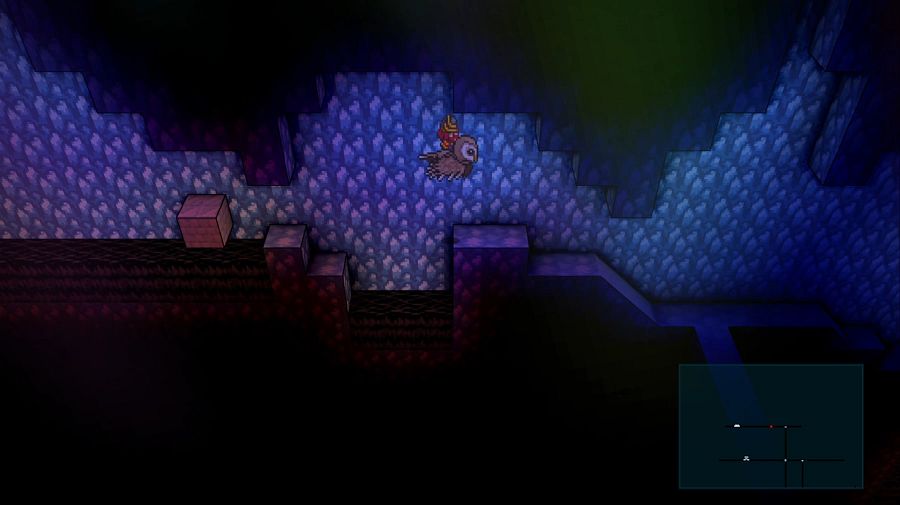 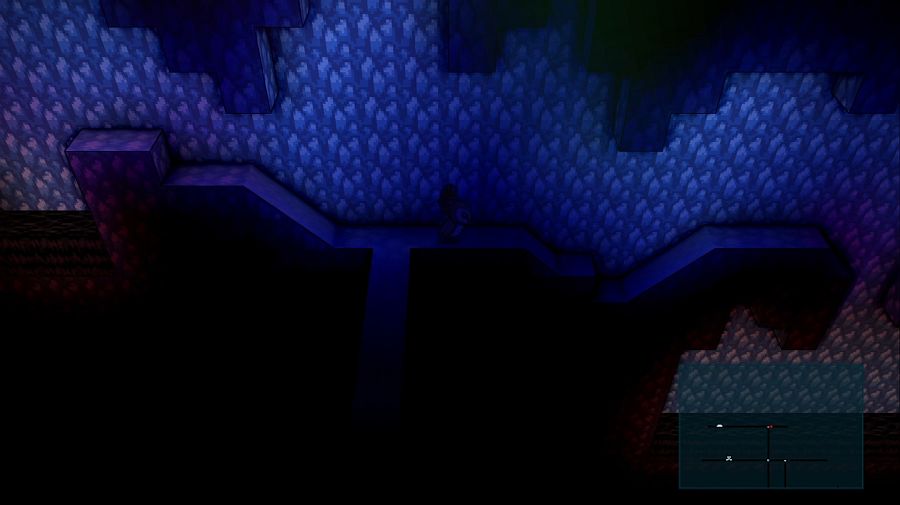 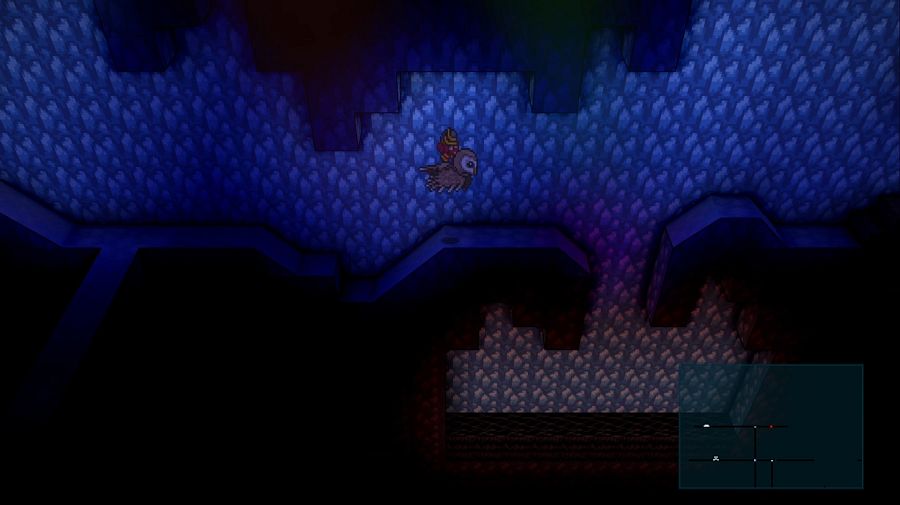 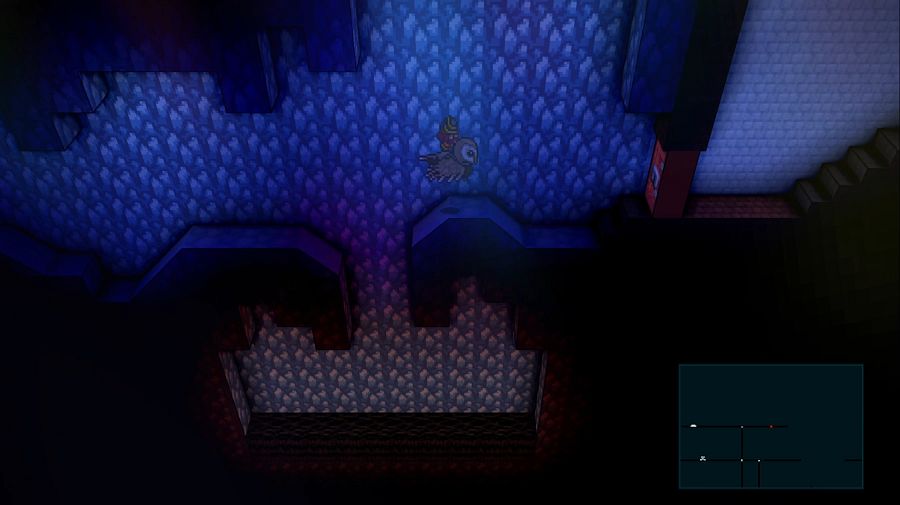 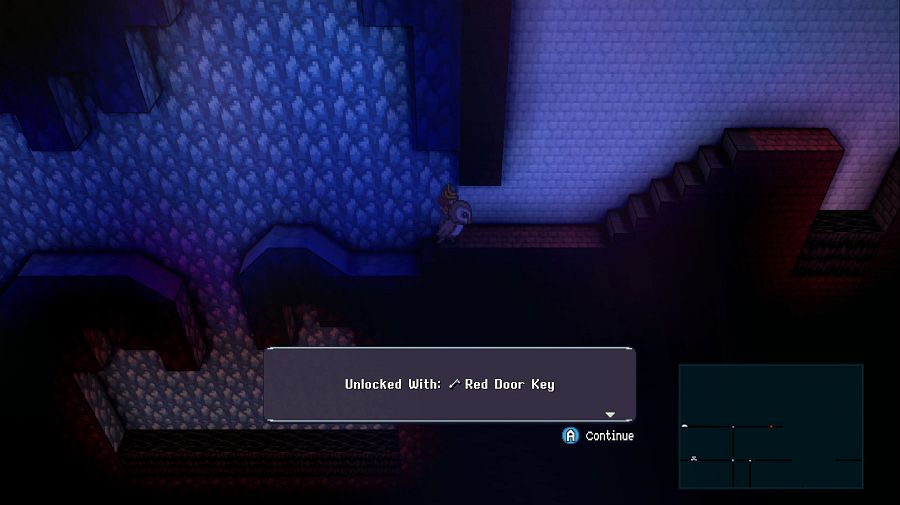 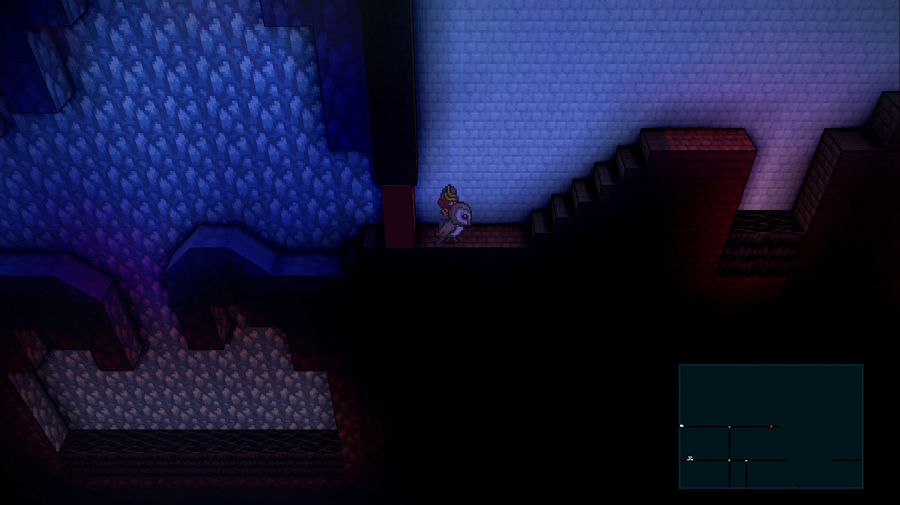 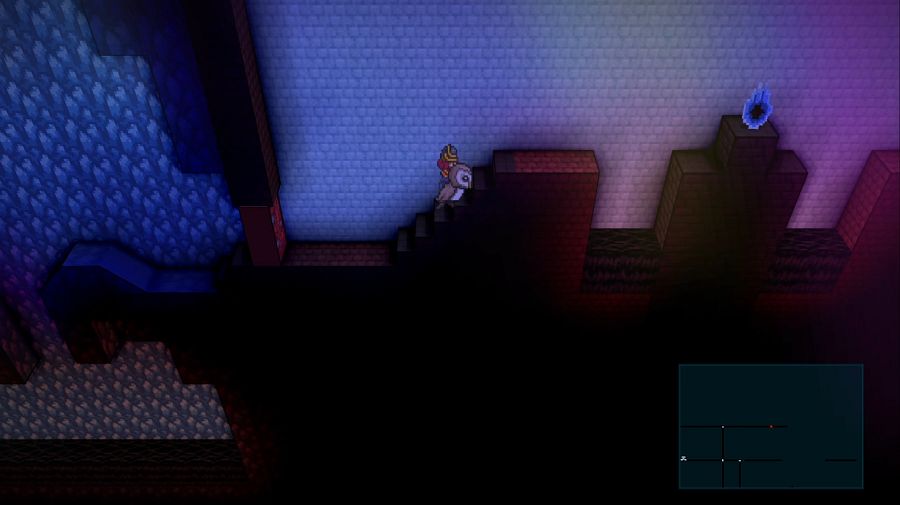 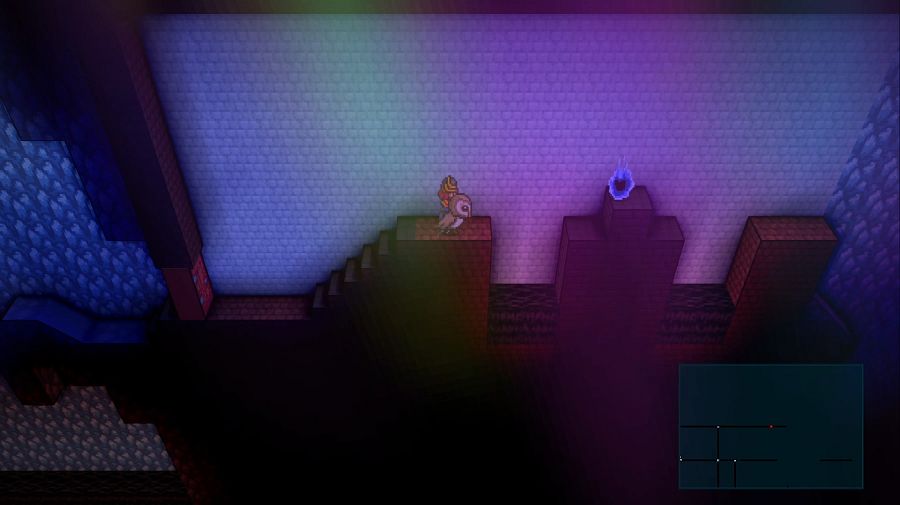 And a boss. Hamza: Ha ha! This is the real test of my Owl-piloting ability, not mere jumping puzzles, but a battle! I will wrest my license from this boss! 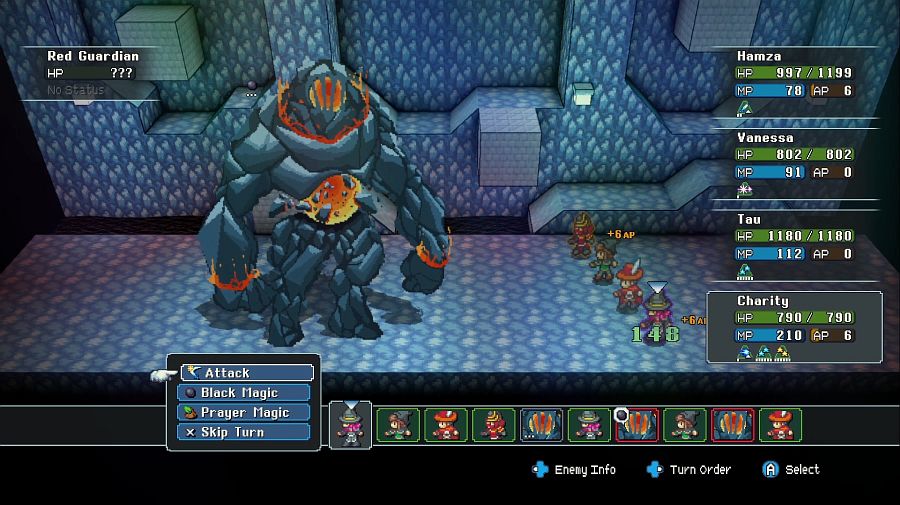 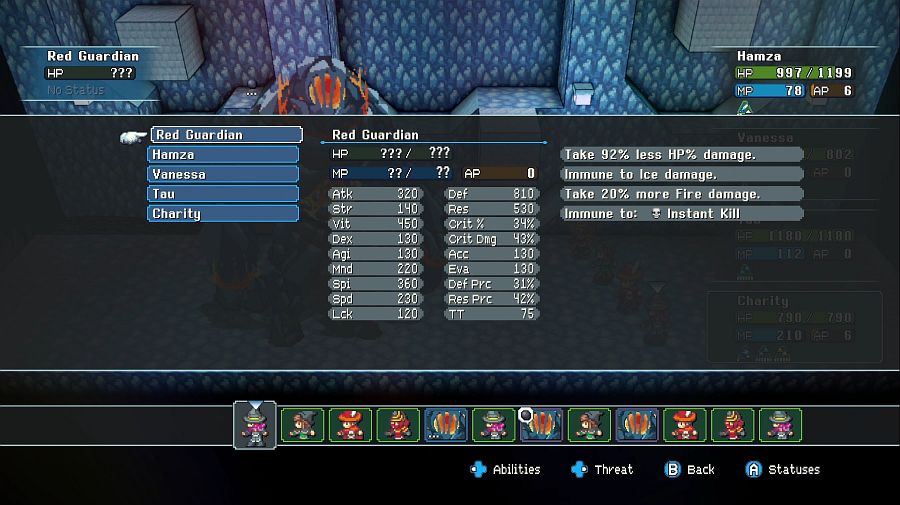 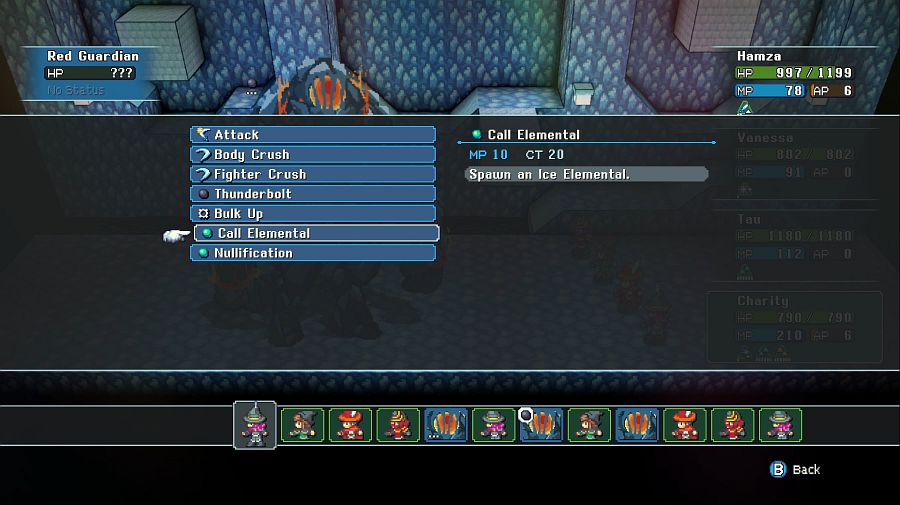 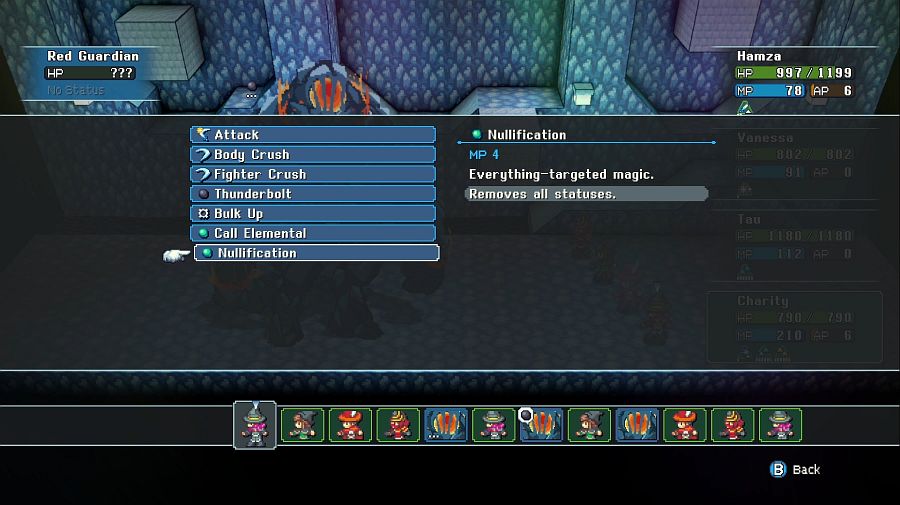 I have absolutely the wrong setup for a serious attempt at the Red Guardian. I should have a Rogue here who can Blind him and Trick Slash my way out of his Thunderbolts.  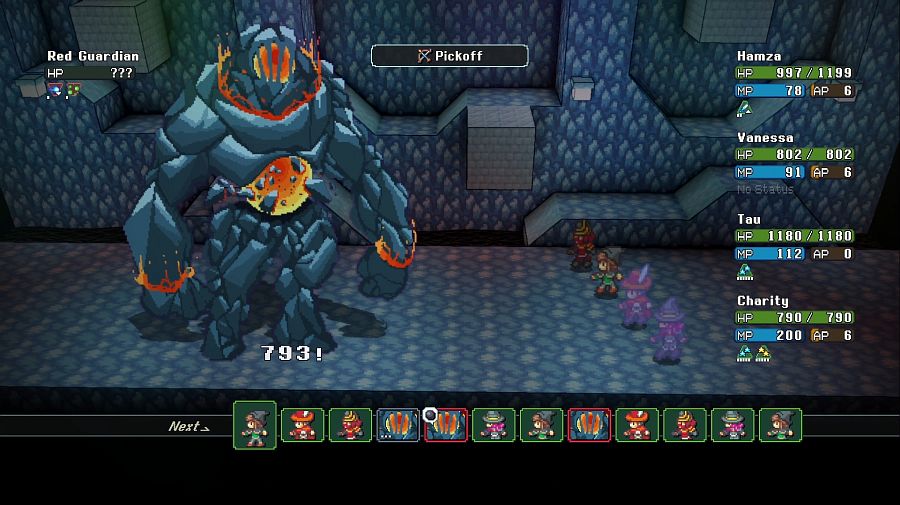 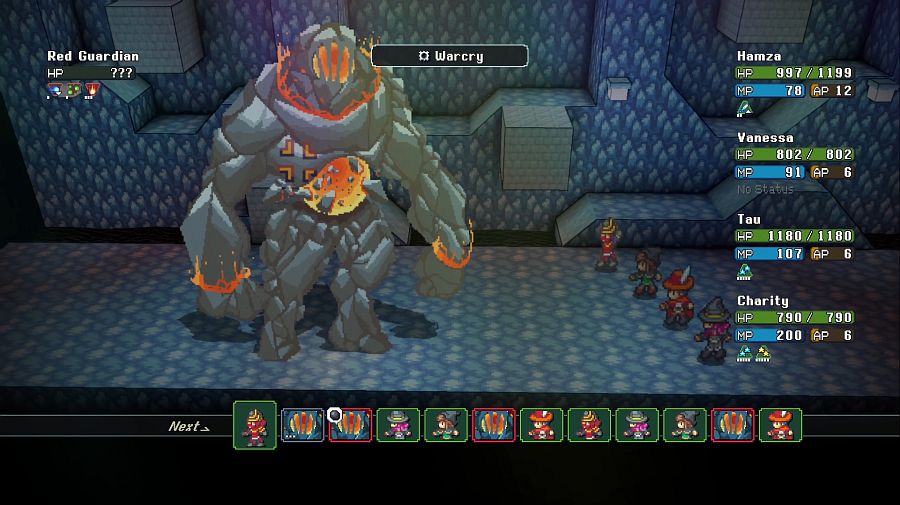 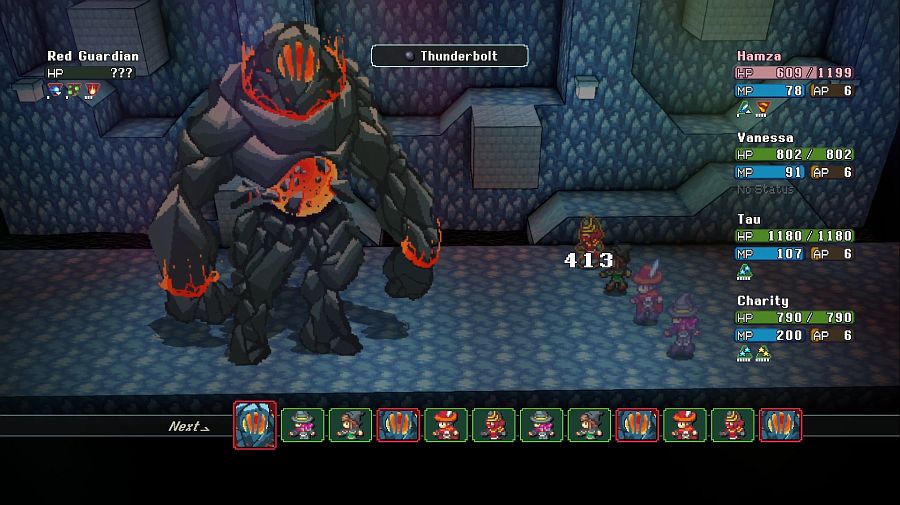 But thankfully he doesn't really hit that hard if you just keep up the debuffs and buffs? And Tau is on top of the healing enough to patch up anyone who gets bonked.  Nullification complicates things slightly by stripping all buffs and debuffs occasionally, but not greatly so. 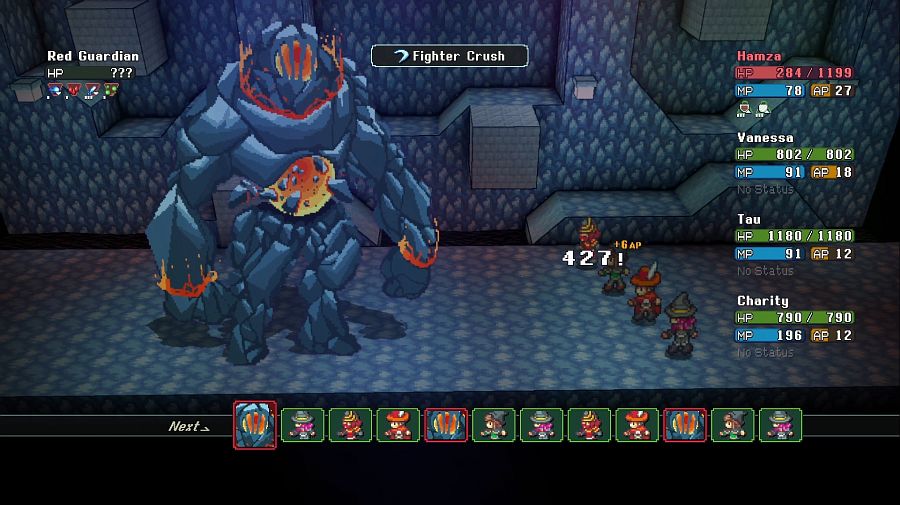 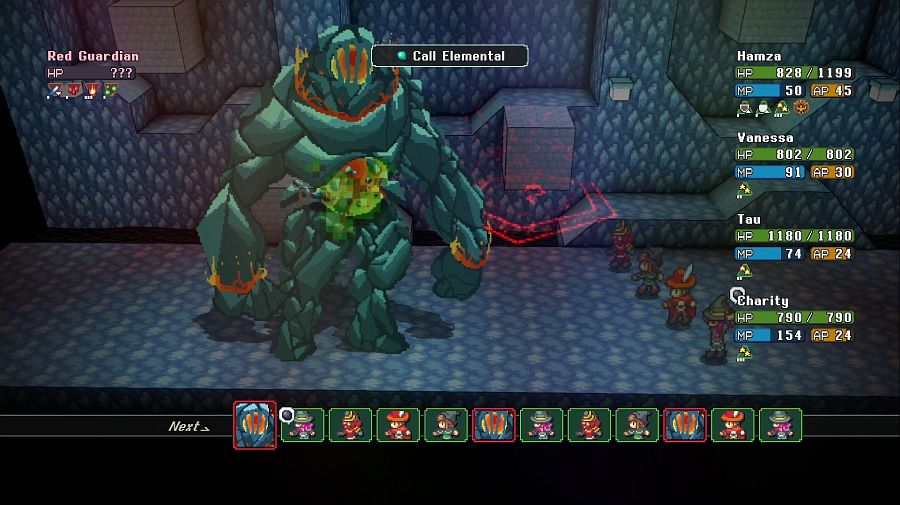 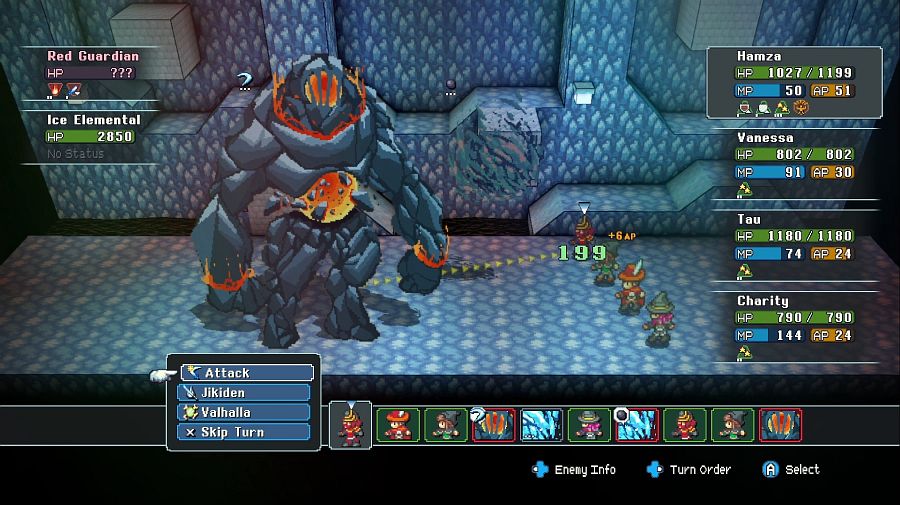 Ice Elementals we've dealt with before, Charity's big spells hit both it and the Red Guardian at the same time, so it doesn't even divert much offensive power. 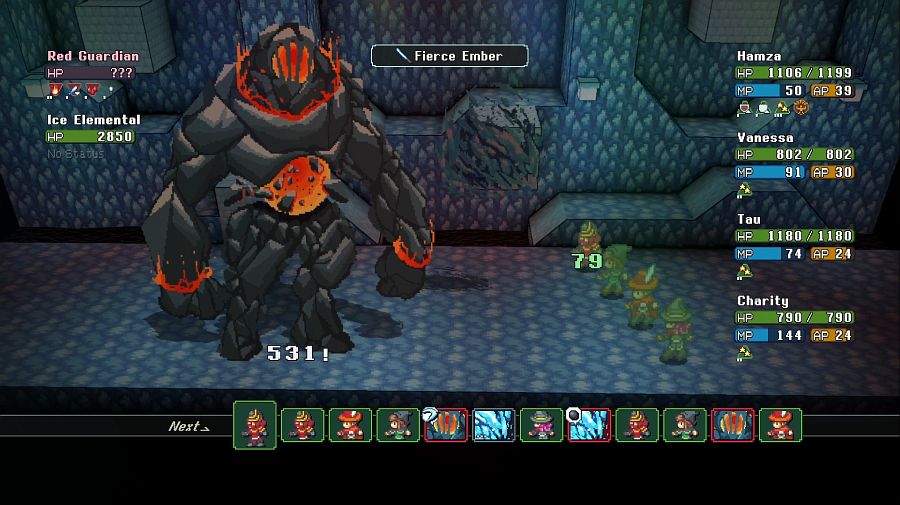 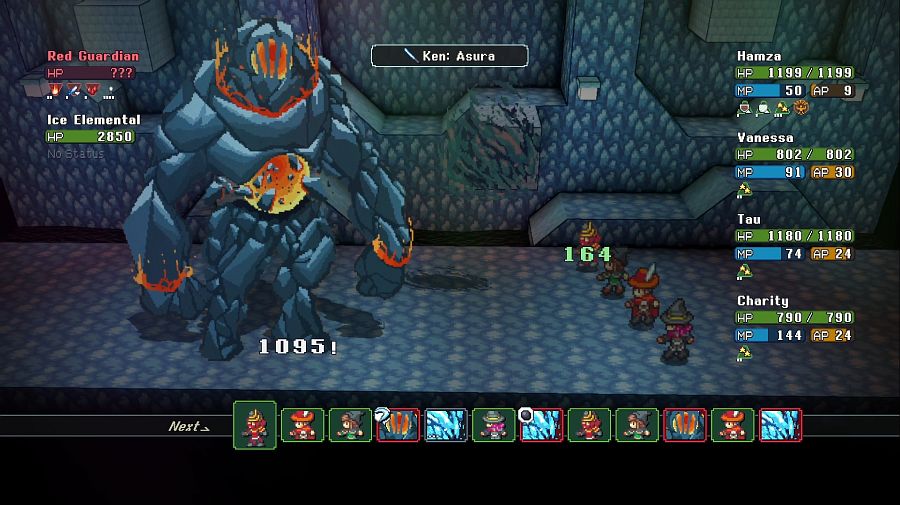 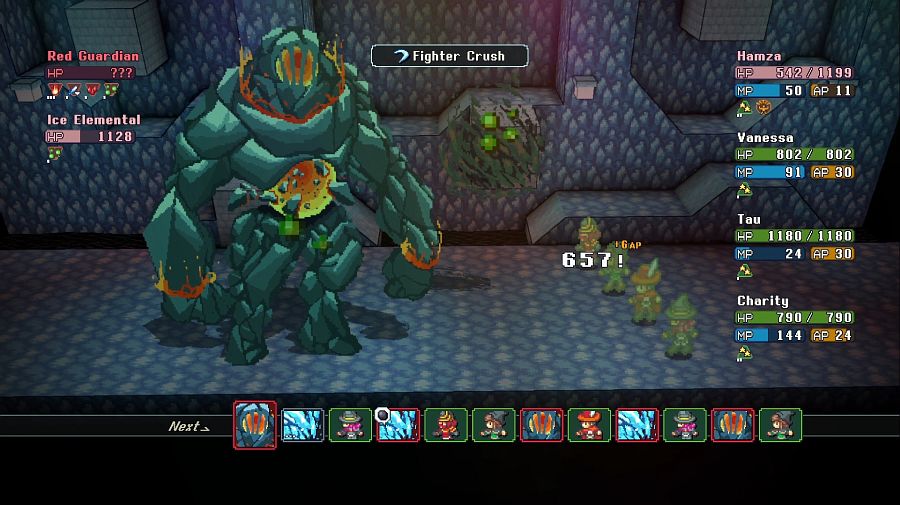 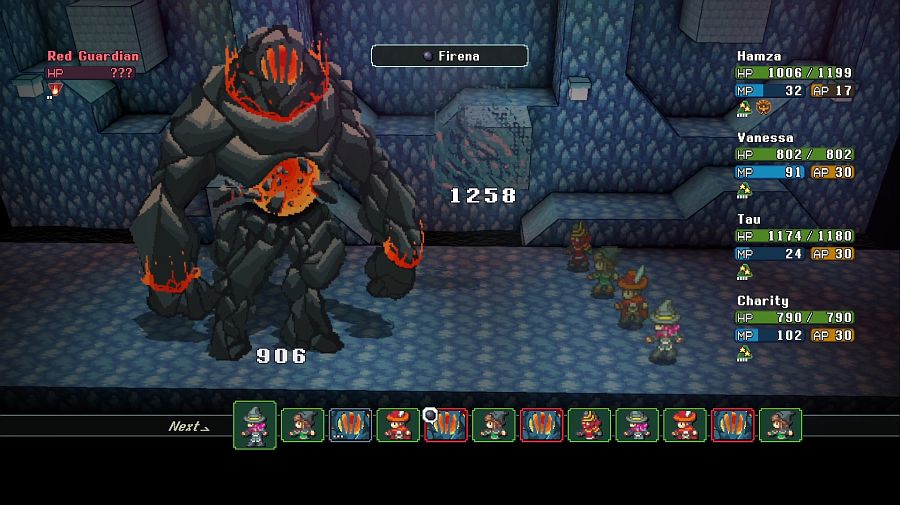 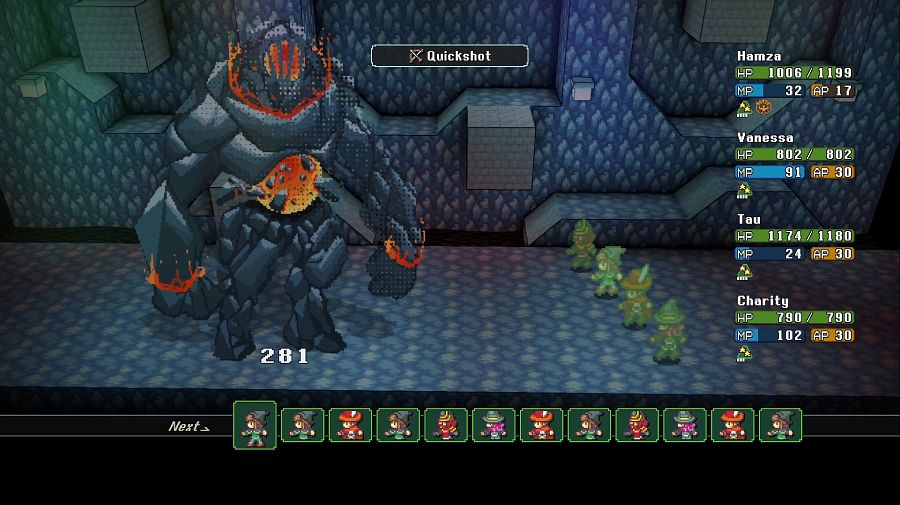 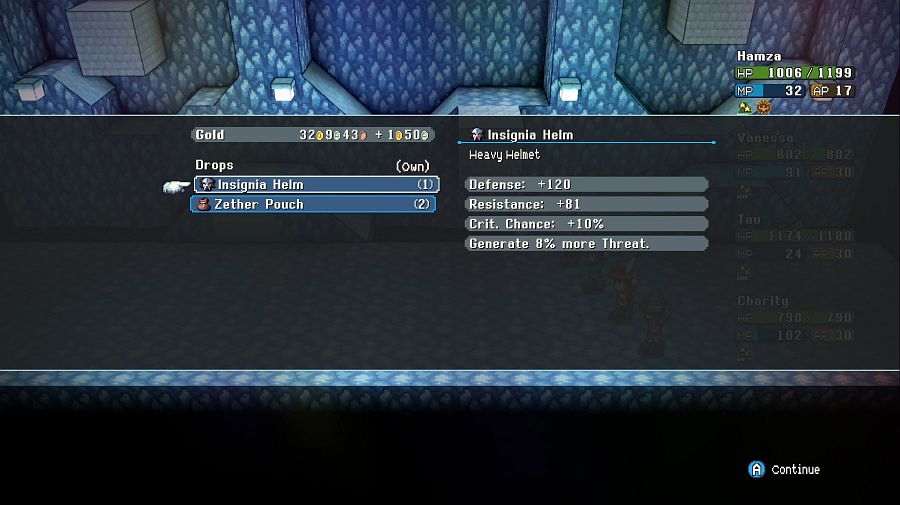 There isn't a lot to say about the battle, but we do get a nice tank helmet out of it, that and something I've been waiting for all game.  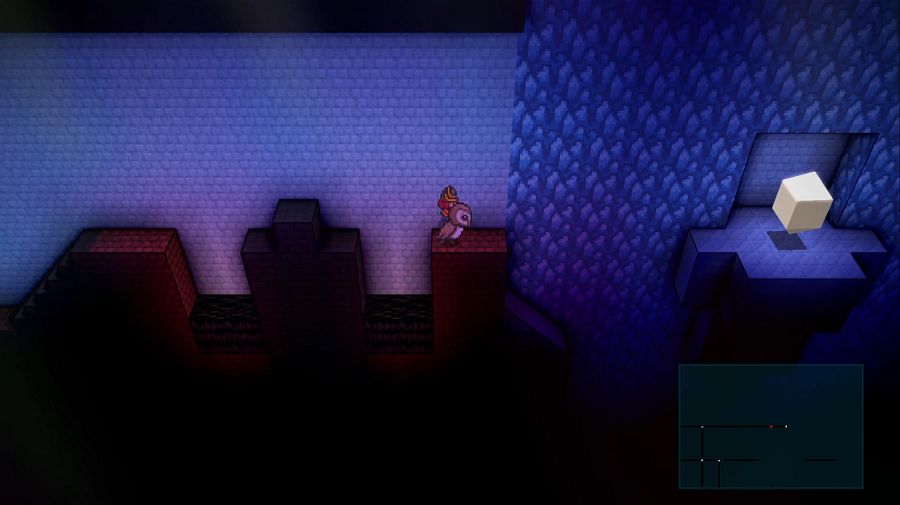 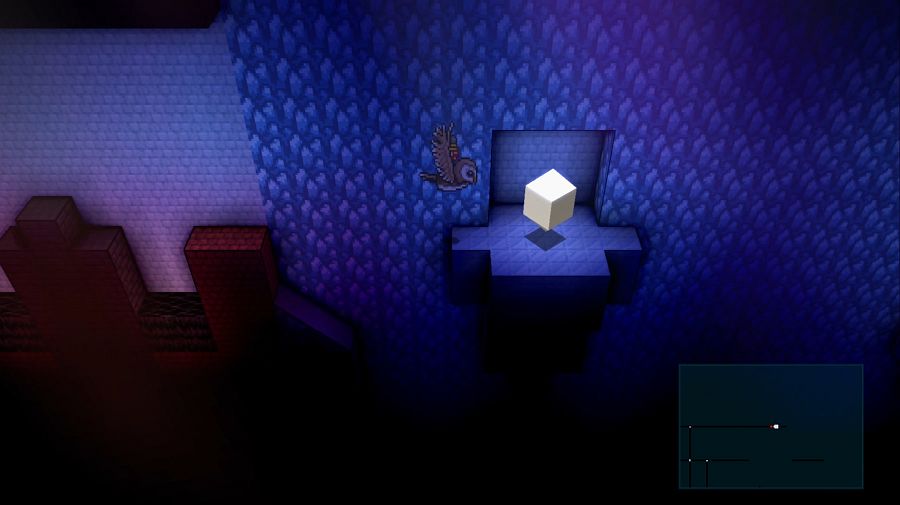 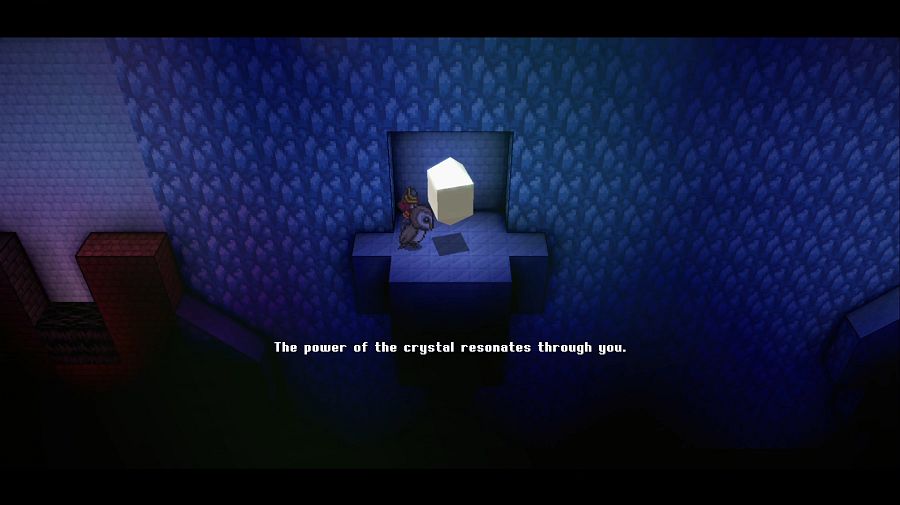 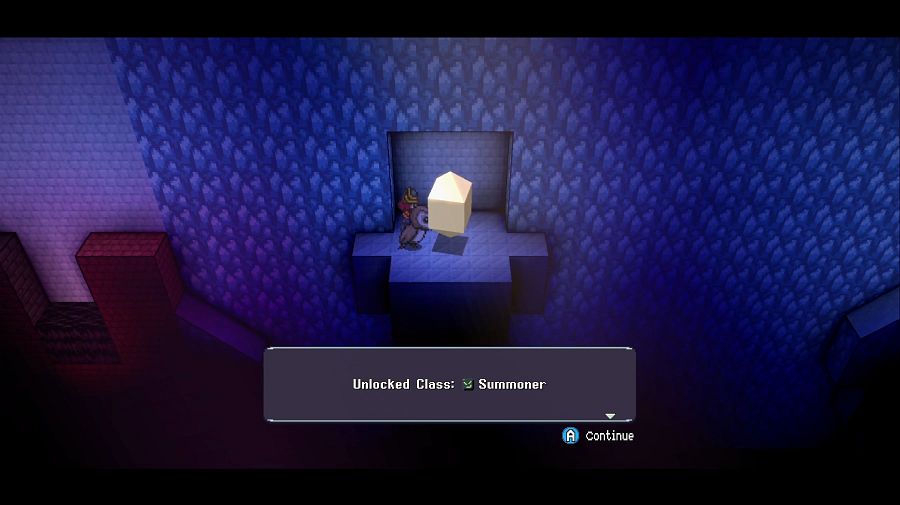 Summoners... you know what they do, though they work slightly differently than in, say, Final Fantasy games. They can only cast each of their summons ONCE per battle, but additionally they have a passive that gives them +20% MP, making them a good caster primary. Unlocking new summons requires fighting challenge bosses hiding under trees, some of which we've seen already: There's one in Capital Seqoia behind the Gaia Shrine, one in the Spawning Meadows high up on the east side, one just below the Ganymede Shrine in Shoudu Province and one in the dry bottom of Lake Delende. We can also reach two more, currently, but the remainder require a new mode of transport. 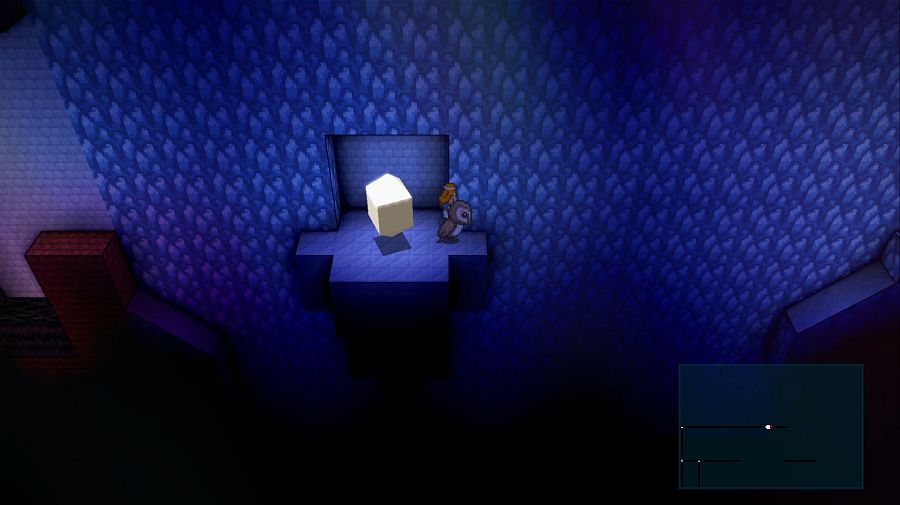   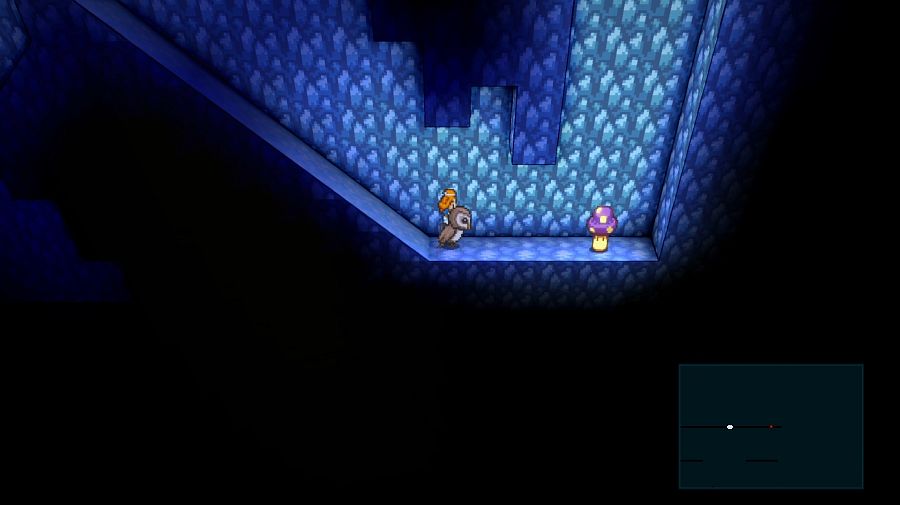 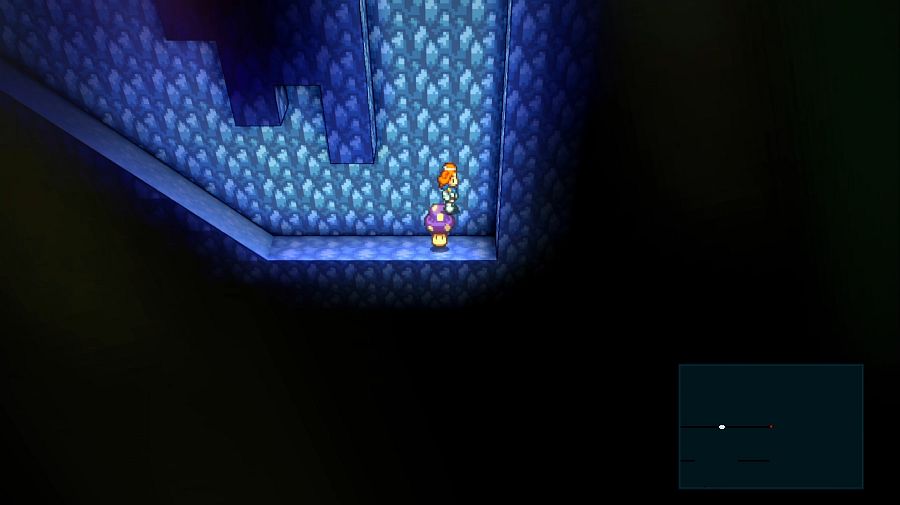  Hamza: So... can I fly the owl now? Vanessa: You're on probation. Charity: Owl probation. Vanessa: One crash and your license is mine.   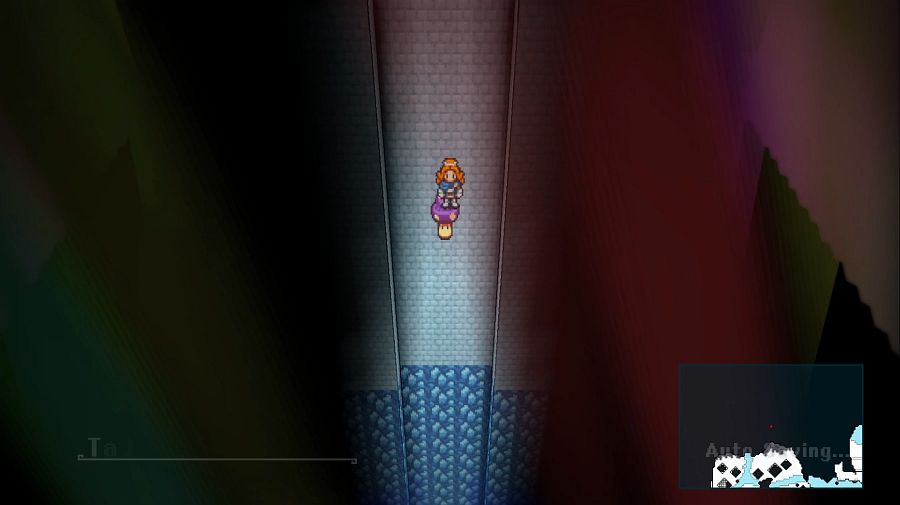 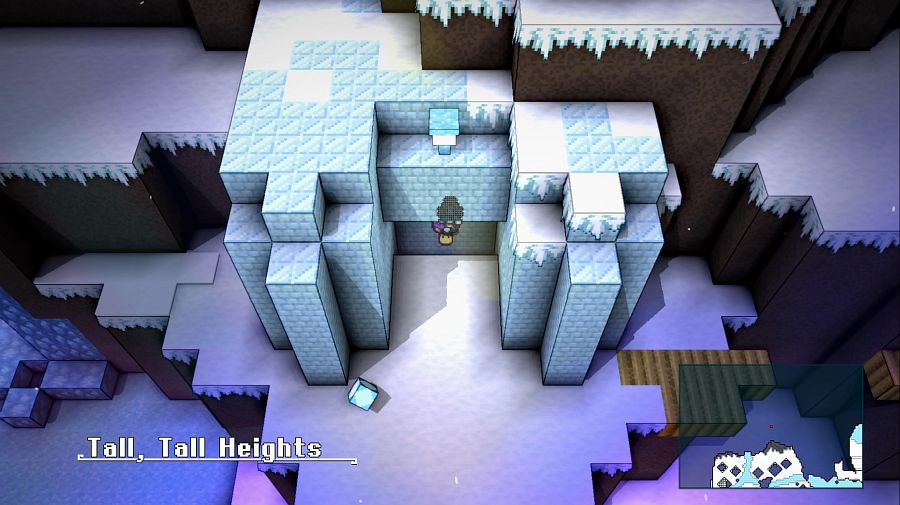  The Mushroomvator drops us off back in the Tall, Tall Heights, let's finish this place off. 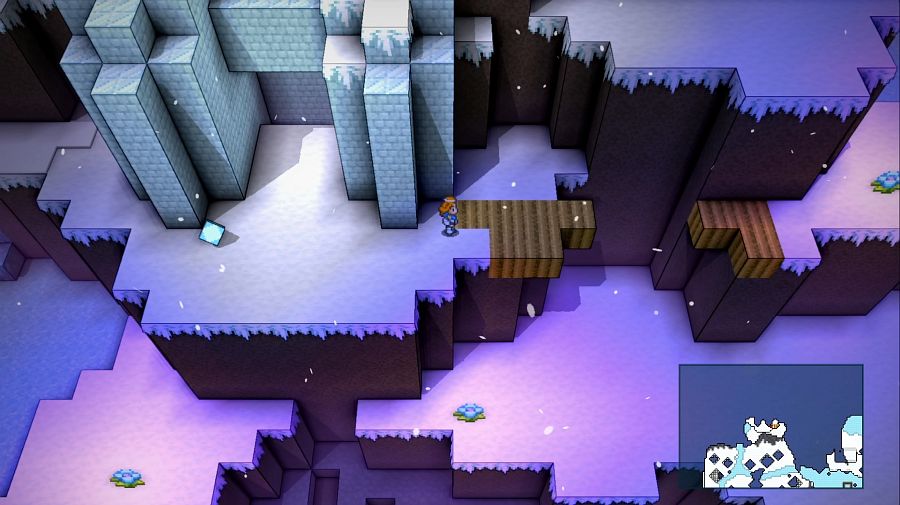 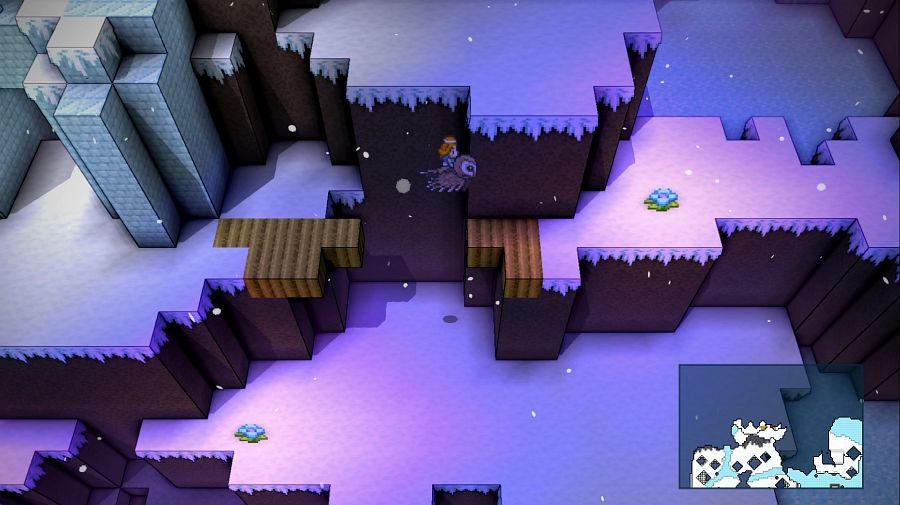 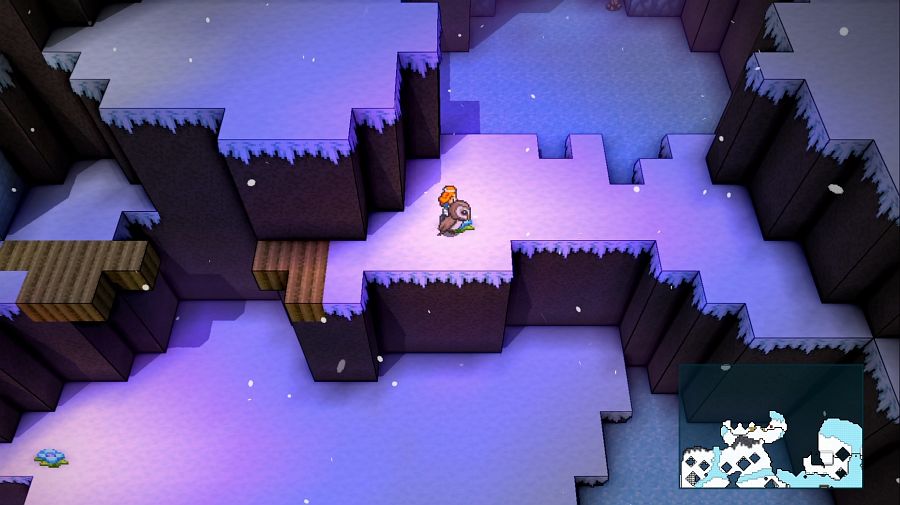 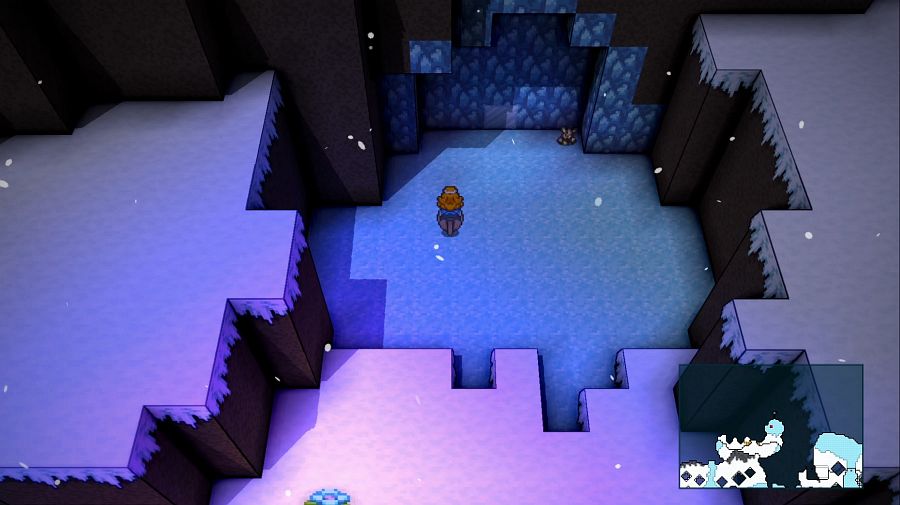 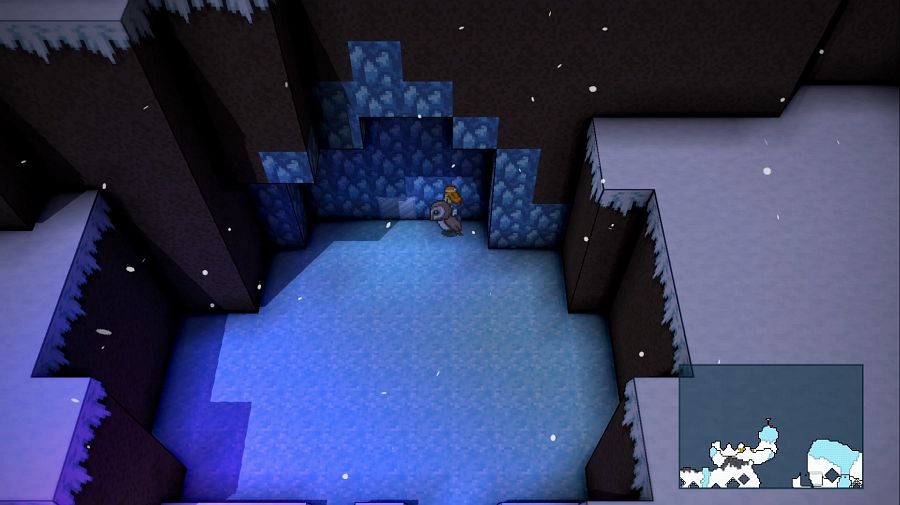 Starting off with this super sneaky secret. That discoloured block is actually a pushable ice block! 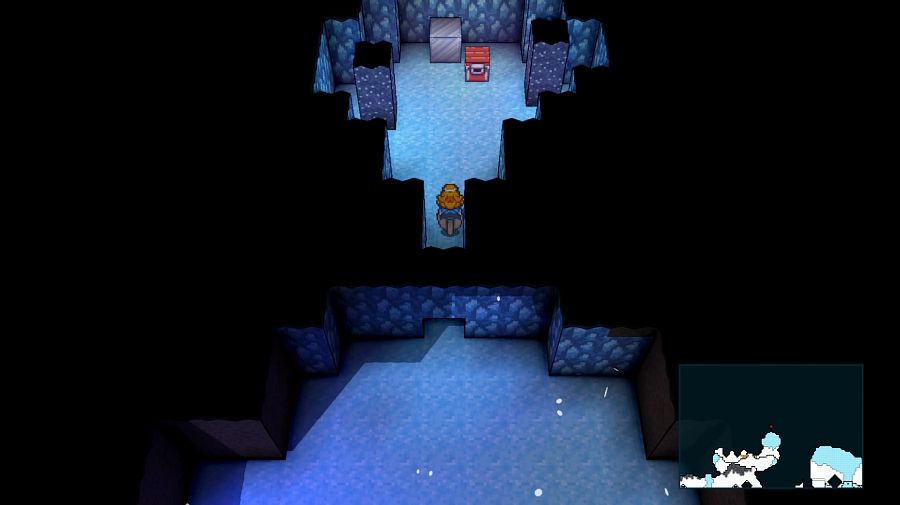 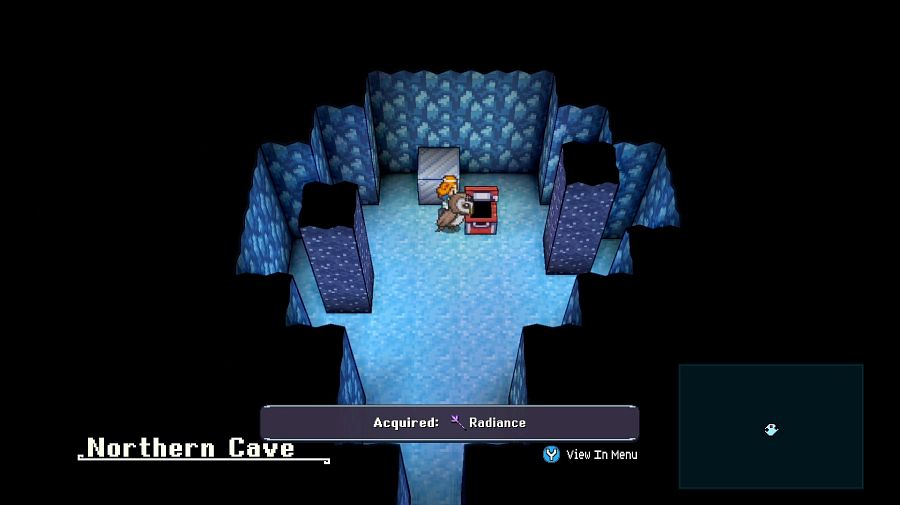  If Hamza wasn't an Aegis and using a shield right now, he'd definitely be picking up this spear. It has some nice defense boosts. 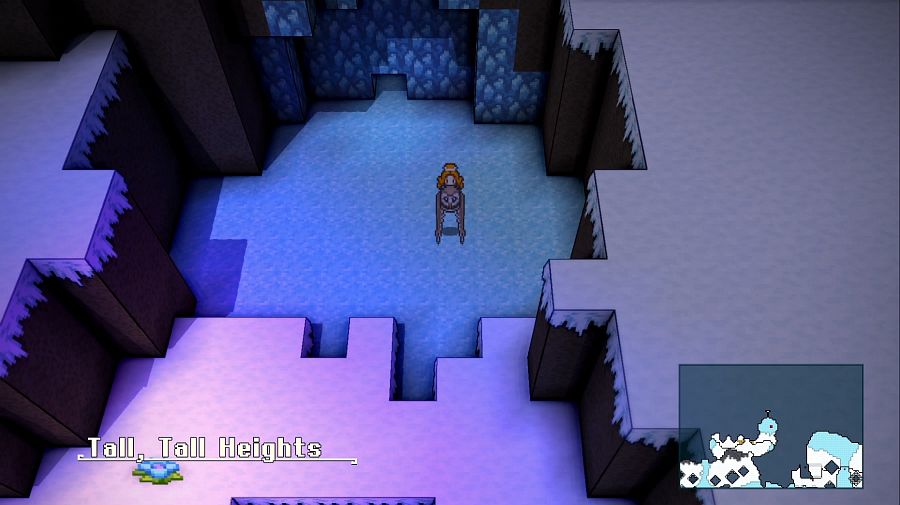 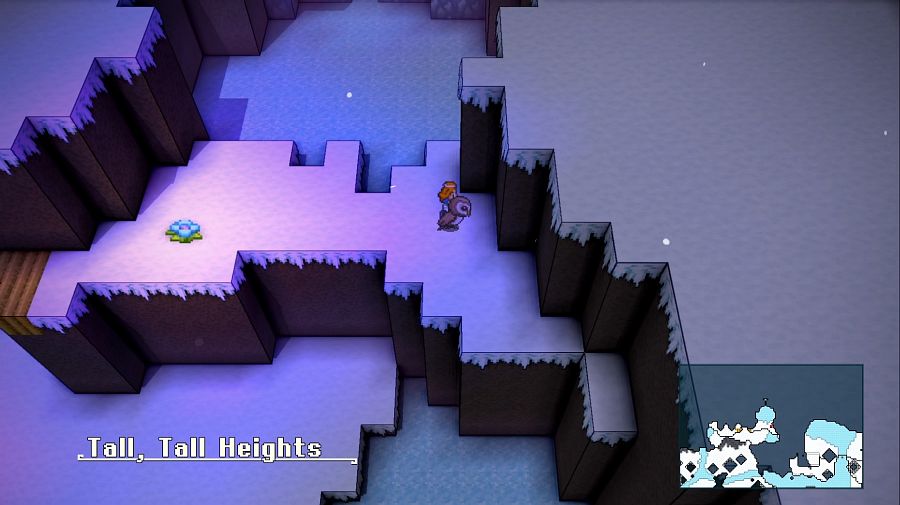 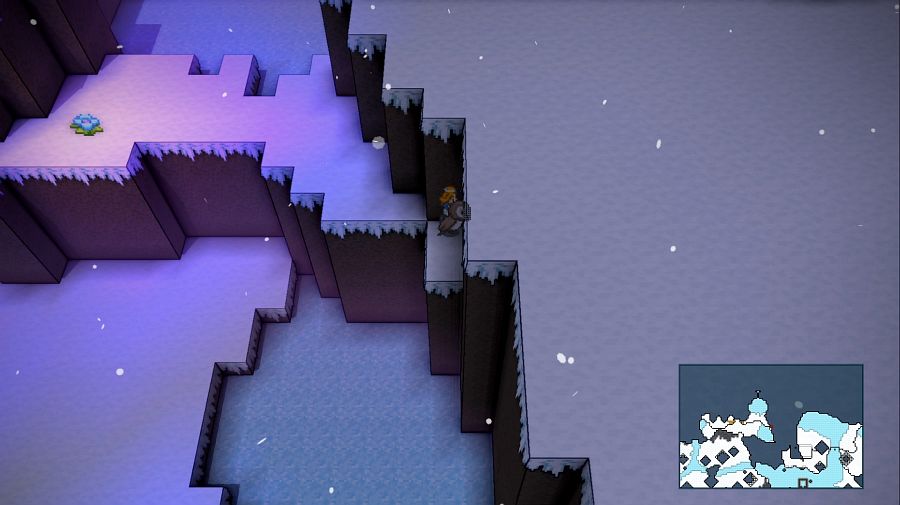 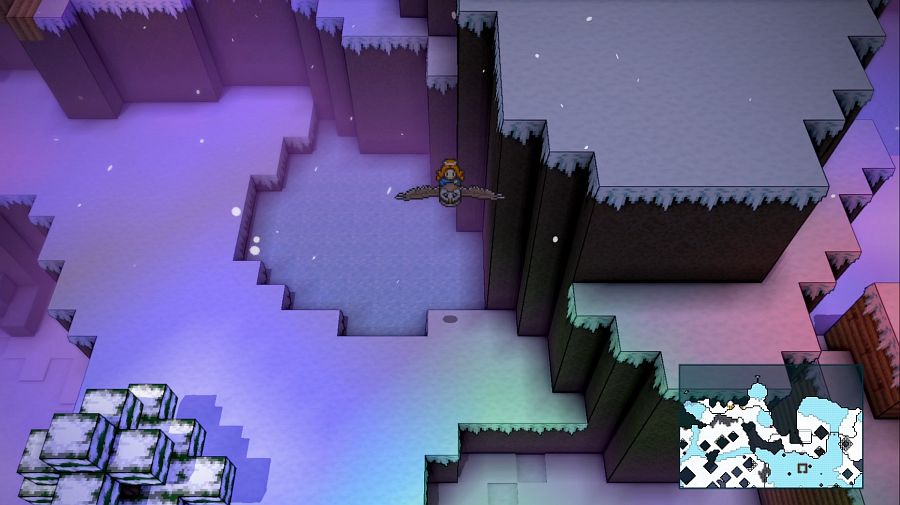 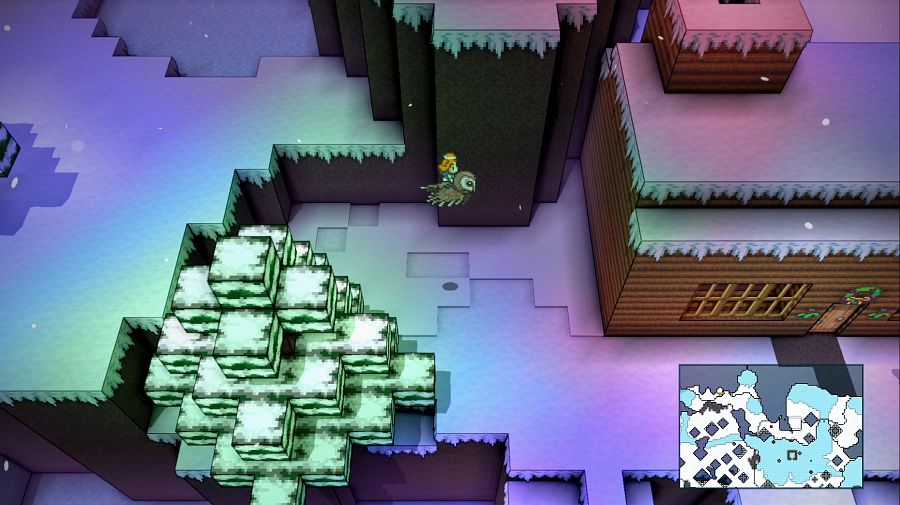 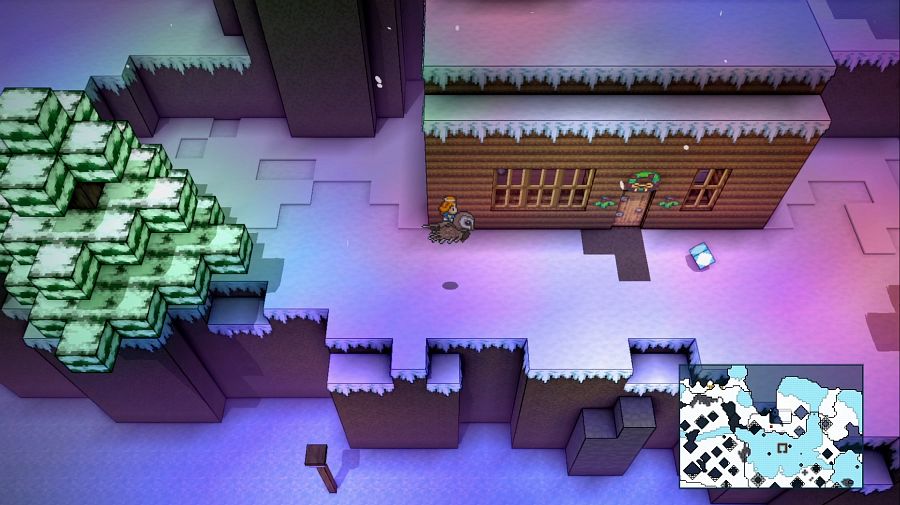 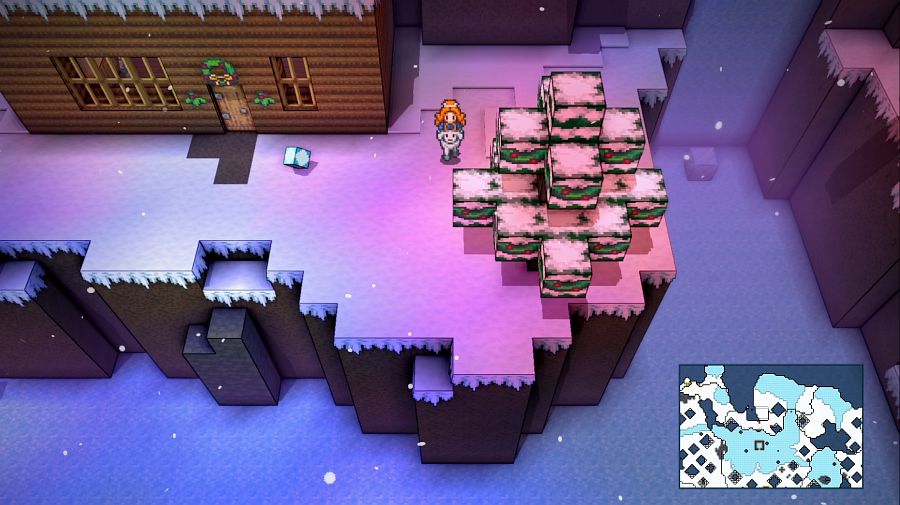 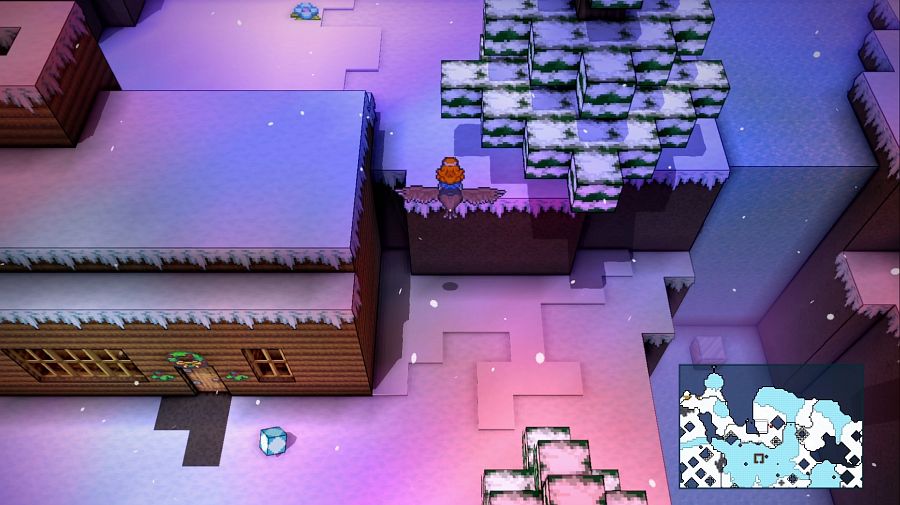 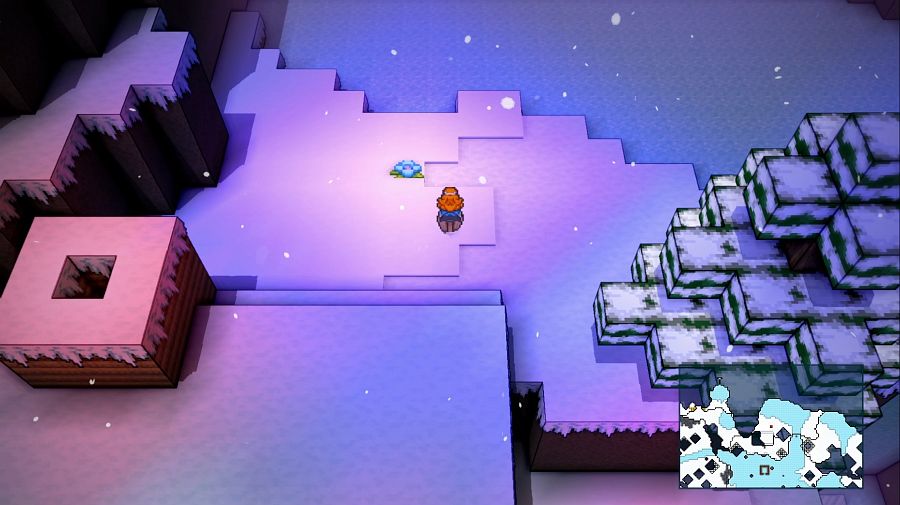 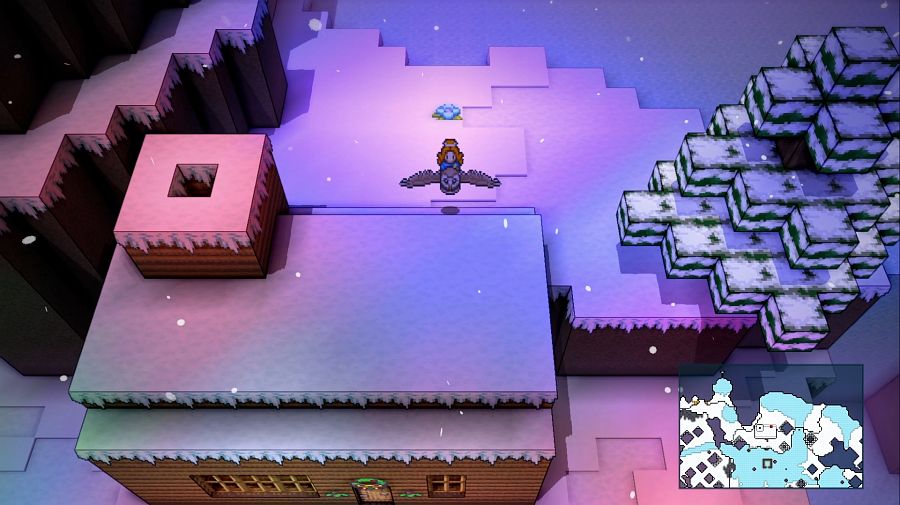 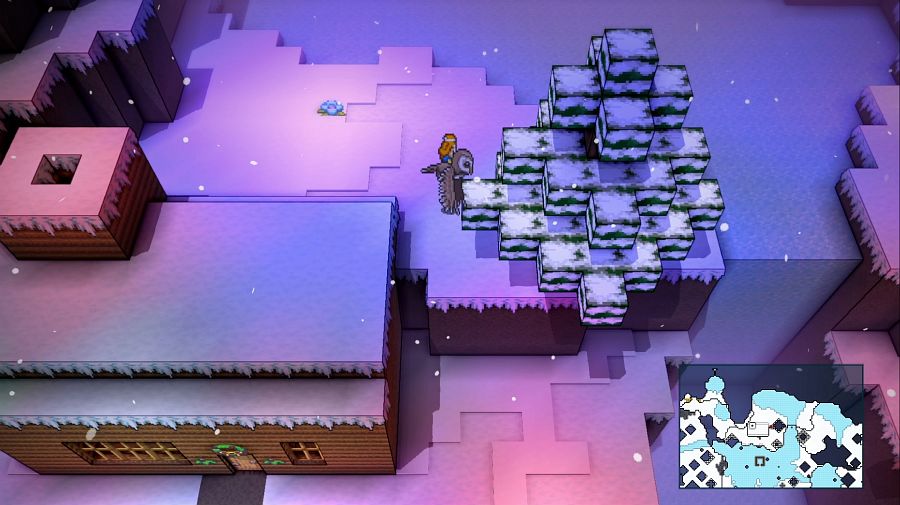 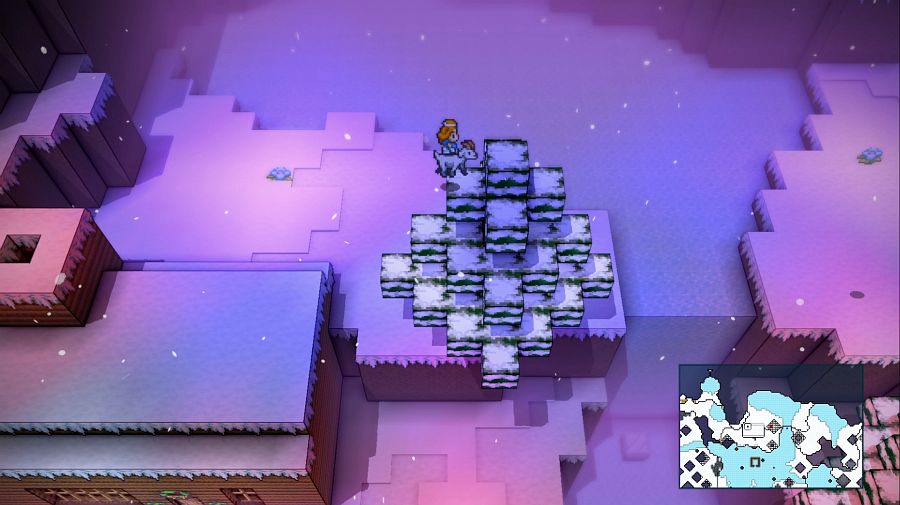 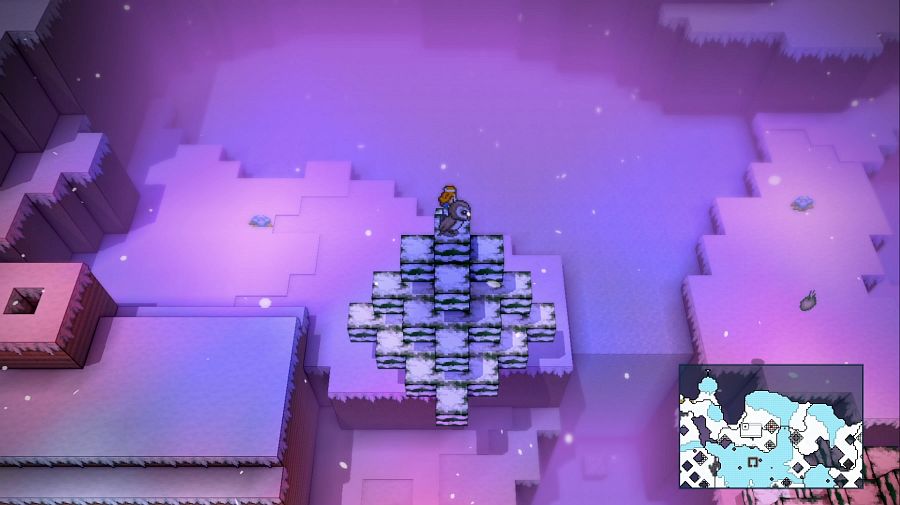 Next we need to gain some height, which we can do here by using this tree next to the souvenir shop. There are other ways to get up real high, but this is the most convenient for our purposes. 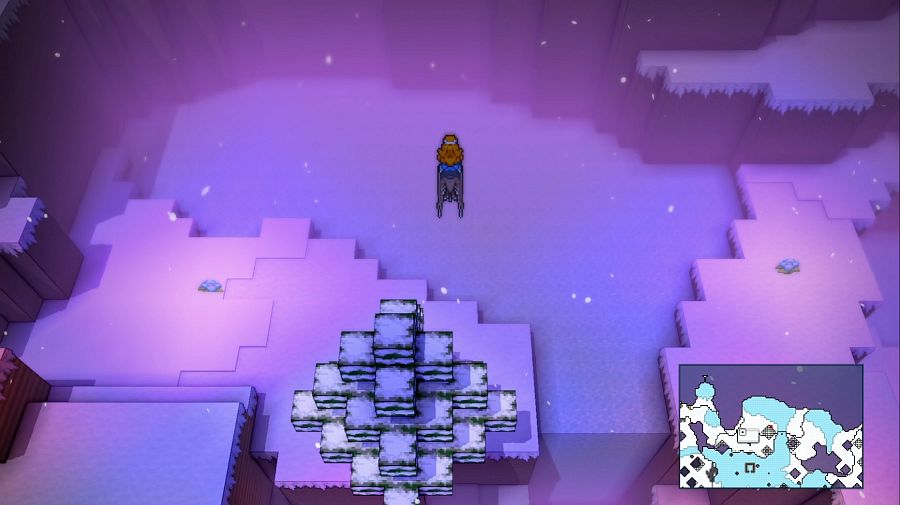 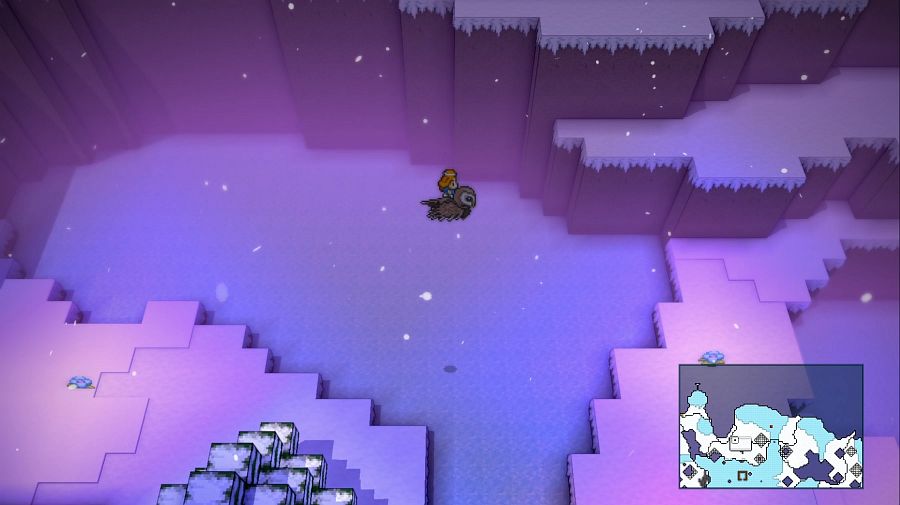 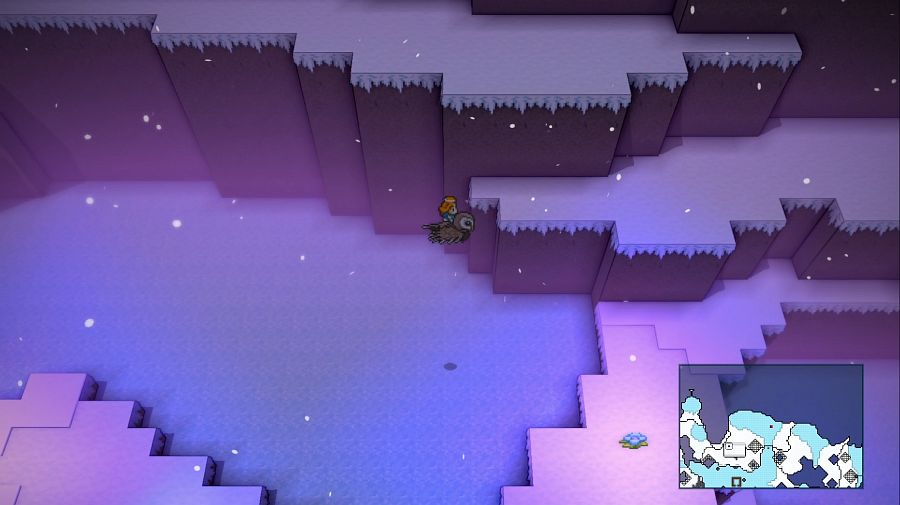 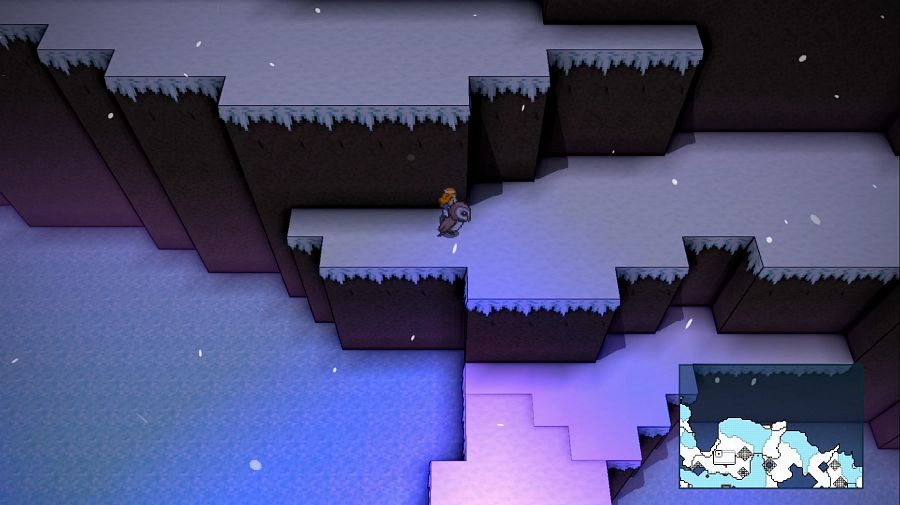 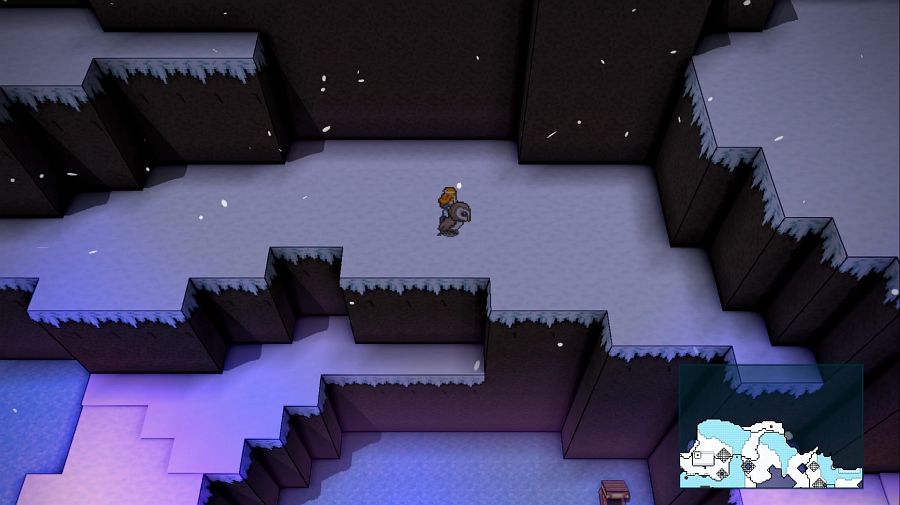 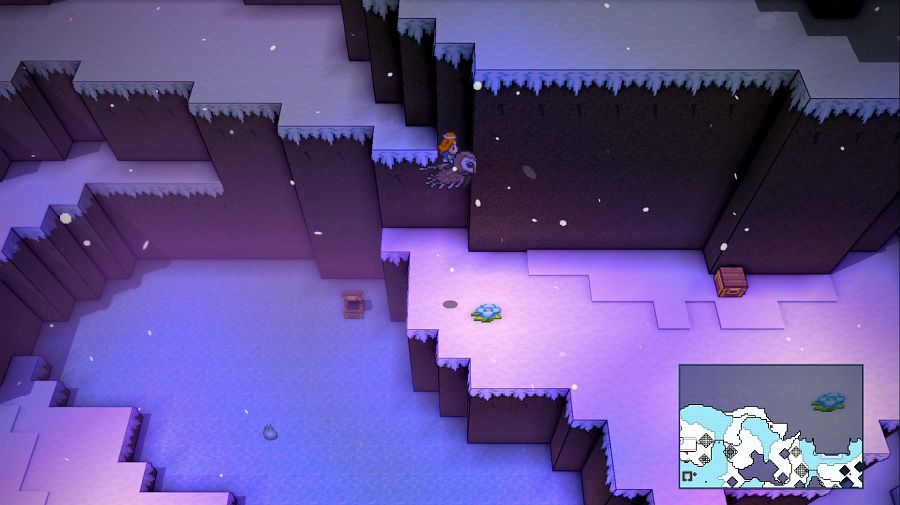 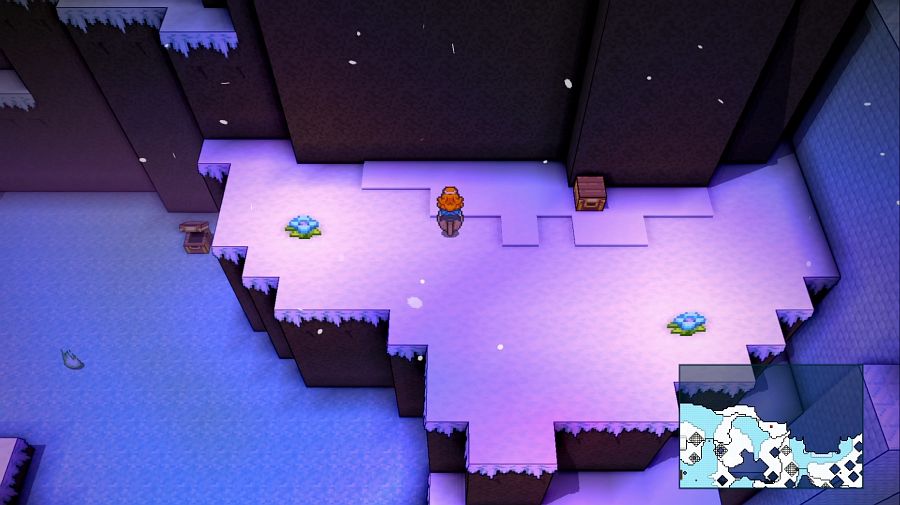 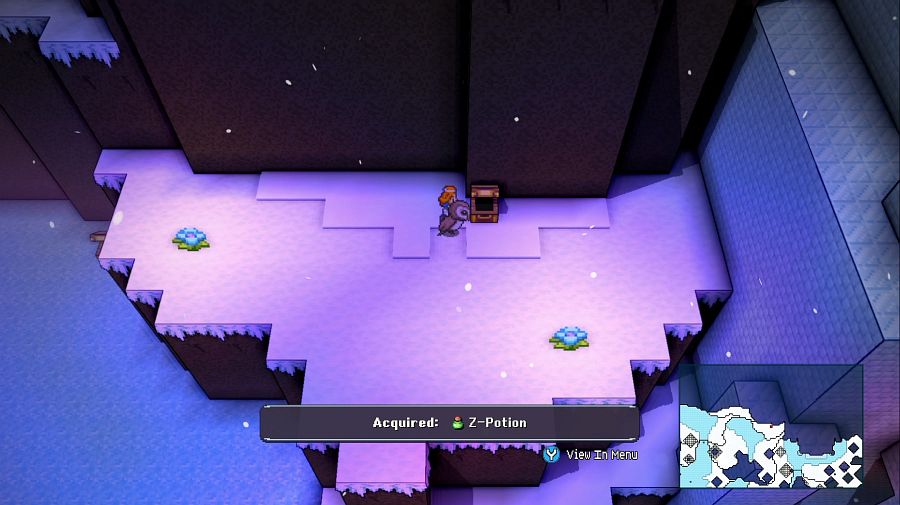 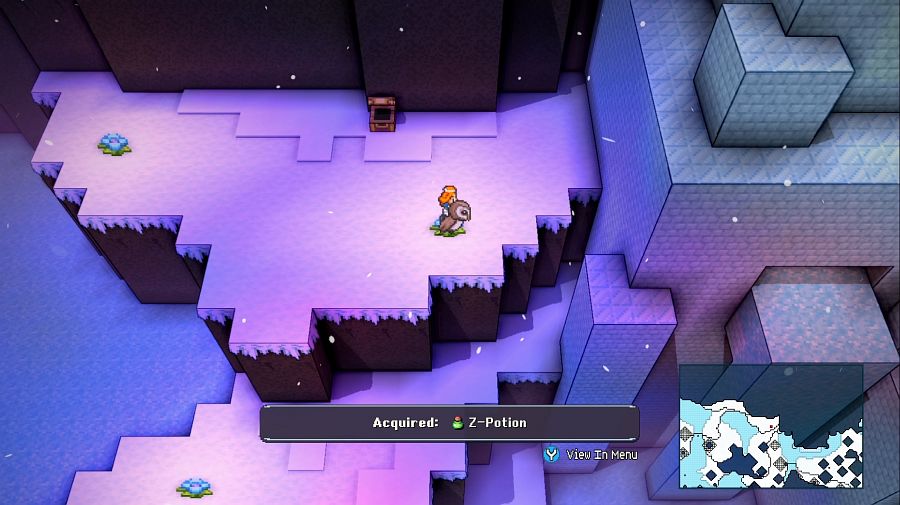 And it's not just for the Z-potion, this puts us at level with those conspicuous-looking entrances into the Sequoia Athenaeum. Vanessa: Try to make us pay for entry, will you? Not while I'm around. 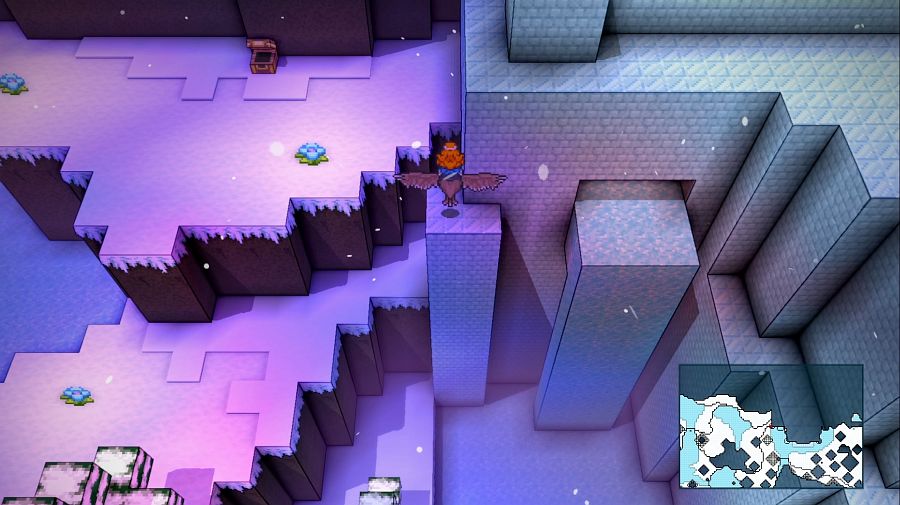 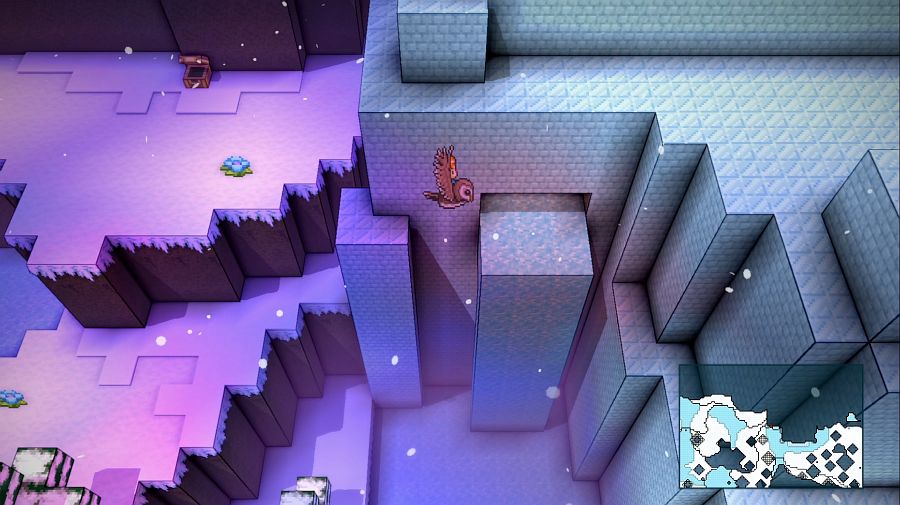 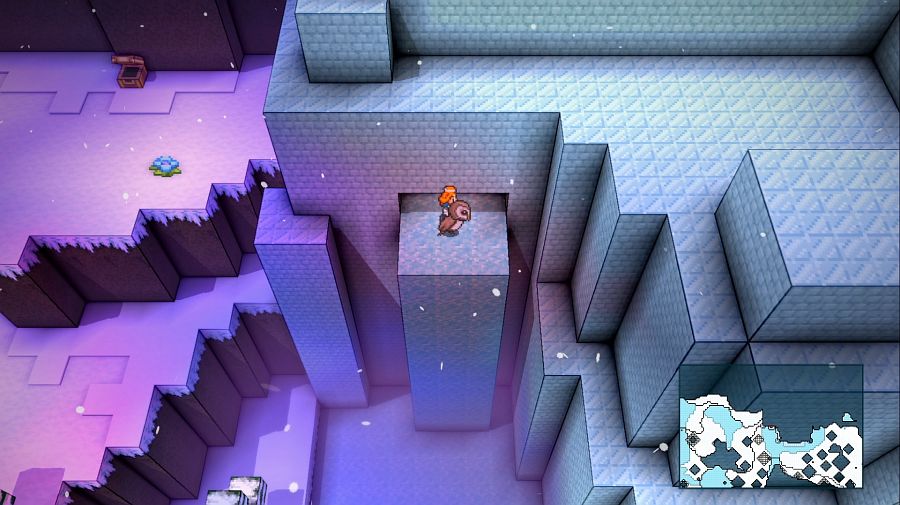 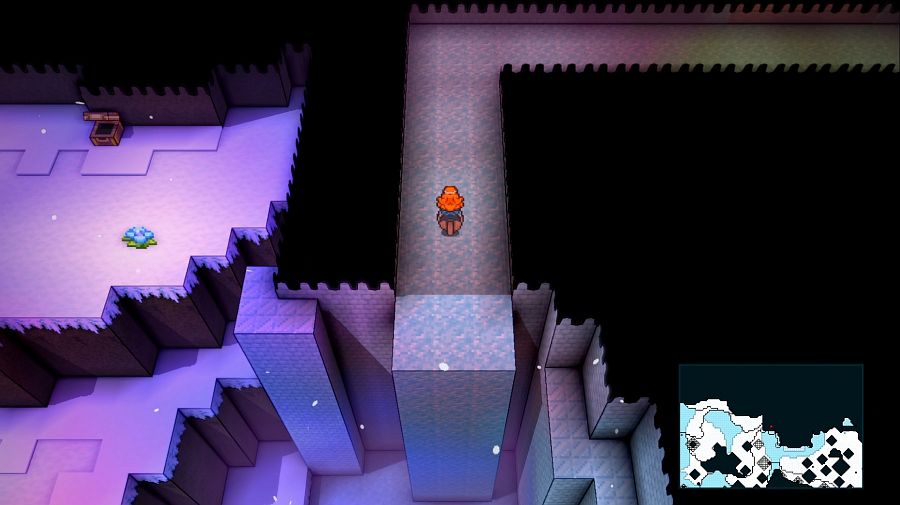  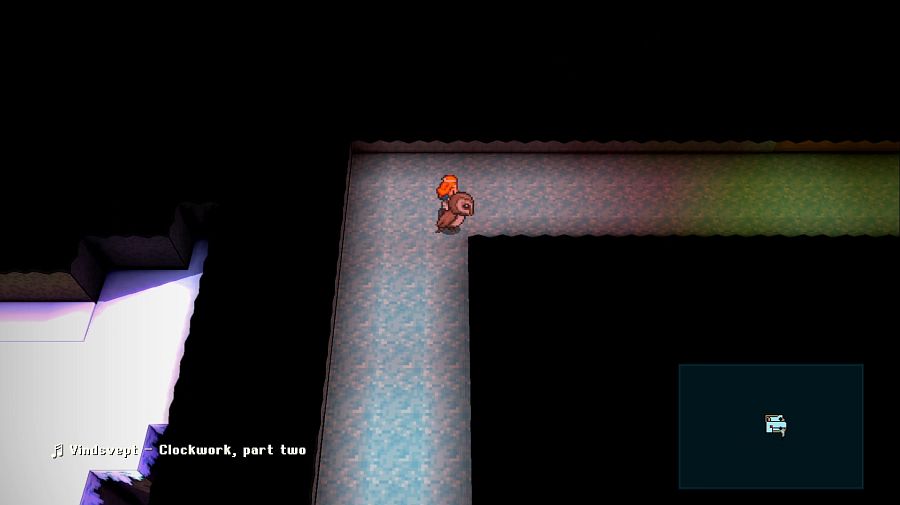 https://www.youtube.com/watch?v=BLOVphAO1eA The tune here is very melancholic, I'd call it. It makes you feel like you're exploring somewhere abandoned that used to mean a lot, not filled with monsters or traps, just sad. Tau: ...I don't know, this doesn't really feel like a way in. Vanessa: It's an entrance, of course it's a way in. Tau: I mean in to the part we want to get into. 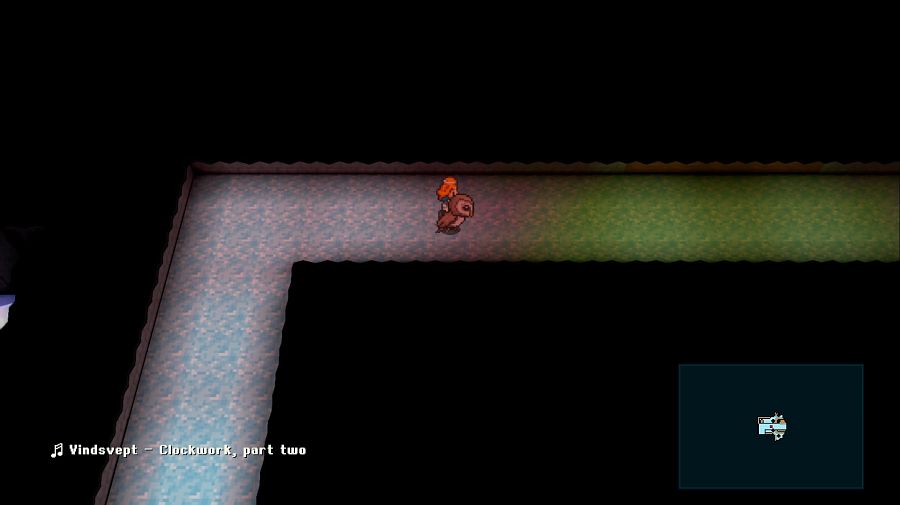 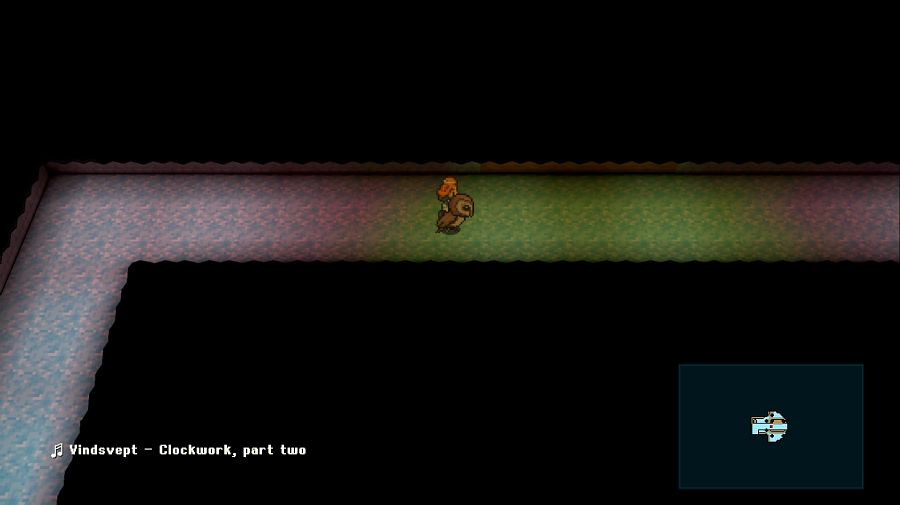 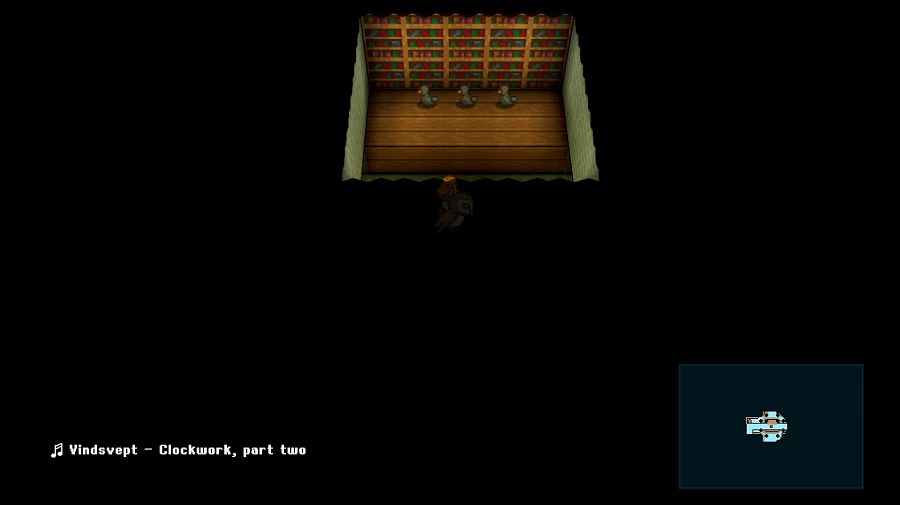 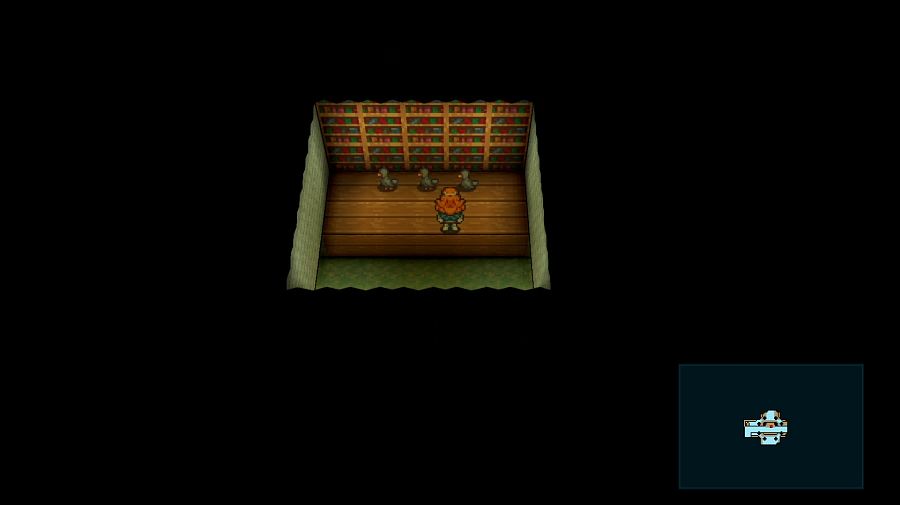 Charity: Ooooh! Ducks! I'm so glad we're getting more cute animals instead of weird ones. 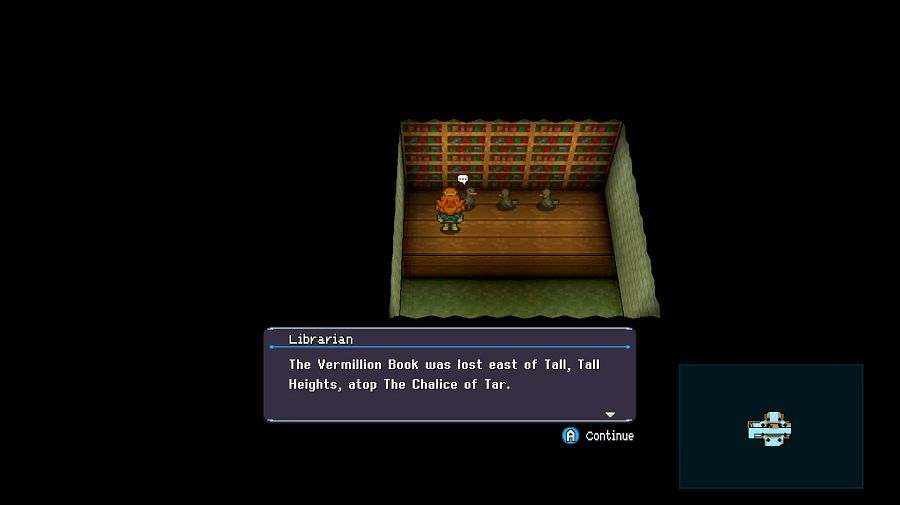 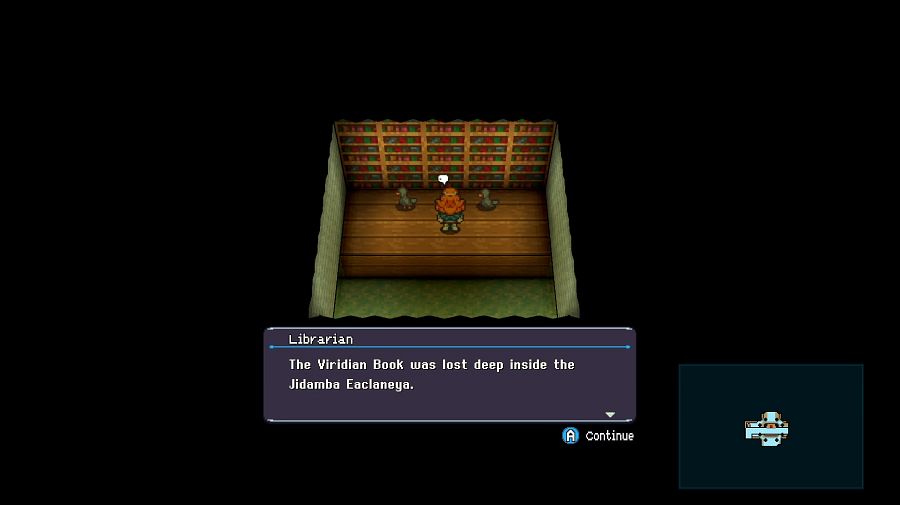 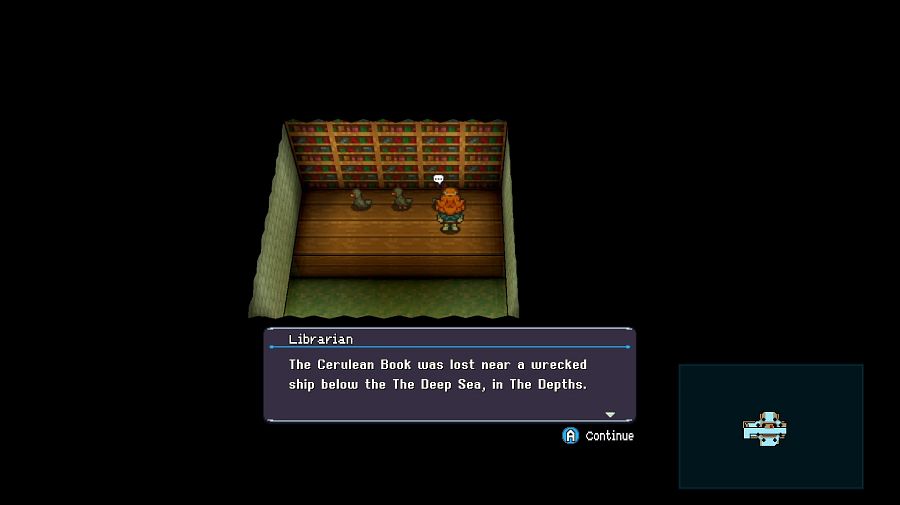 You can absolutely stumble across the three books for the Athenaeum on your own, but having an idea of where to look makes it a lot more likely you'll actually find the drat things. 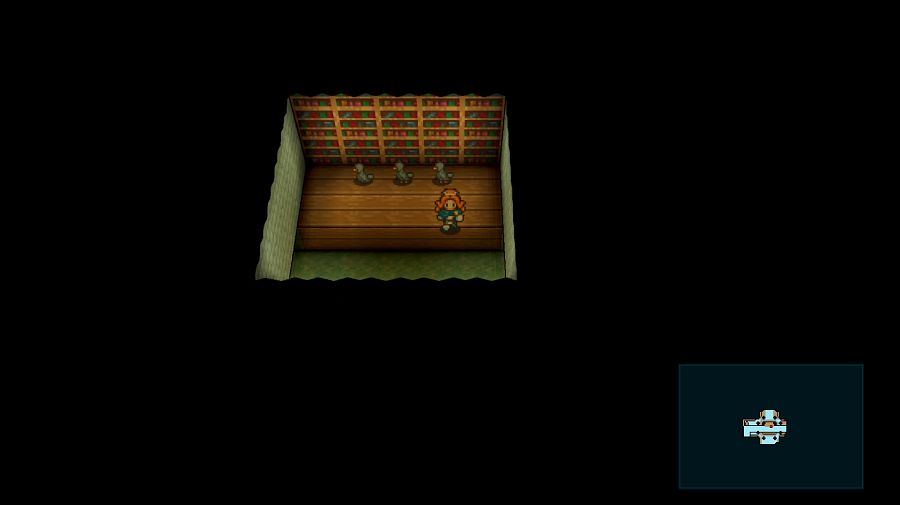 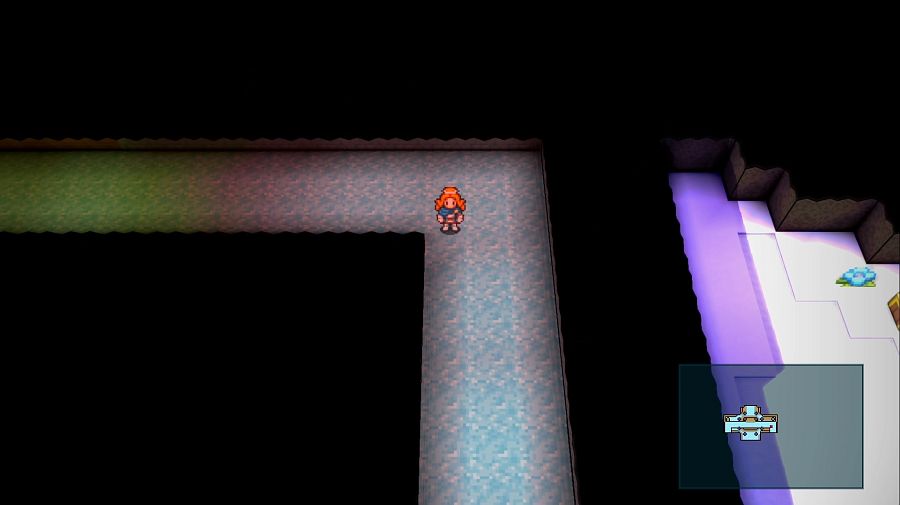 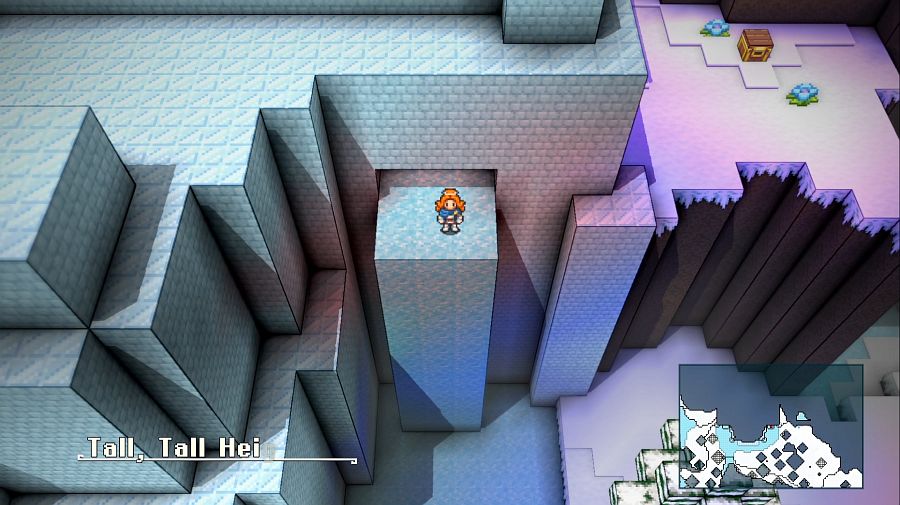 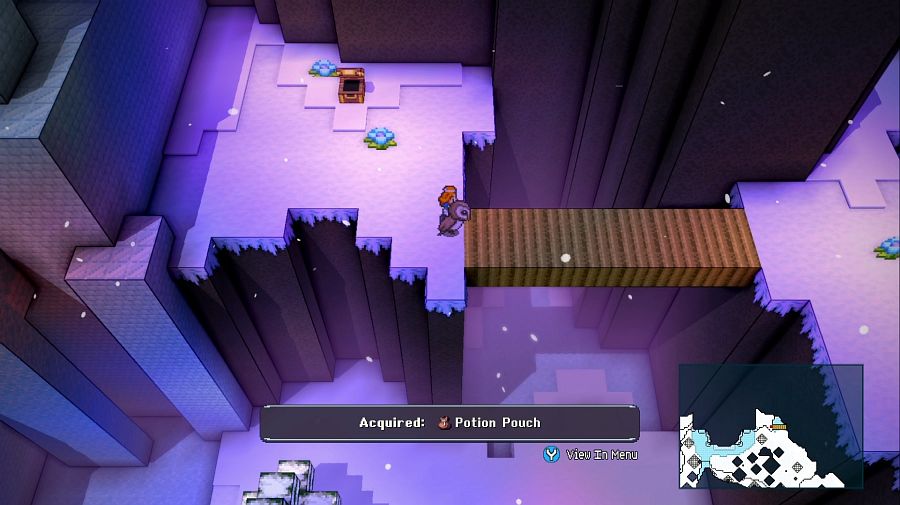  Coming out the east side there are a few more small treasures to collect. 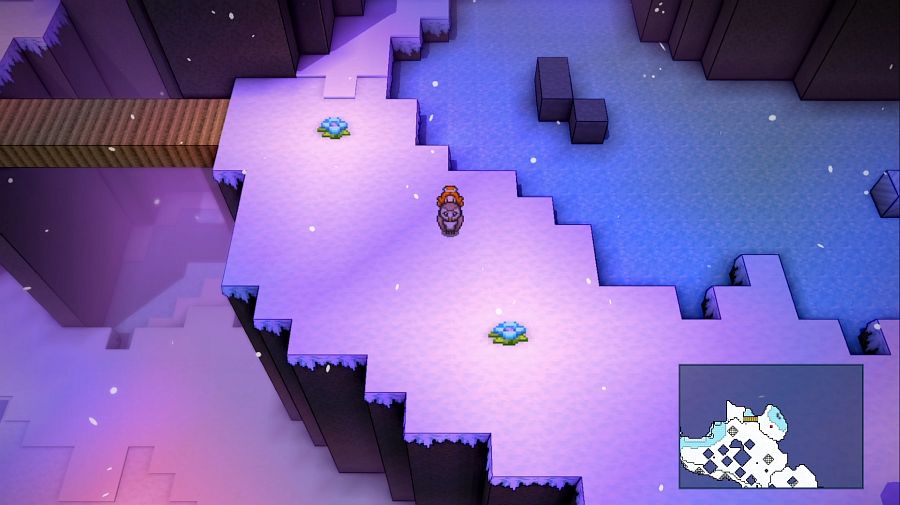 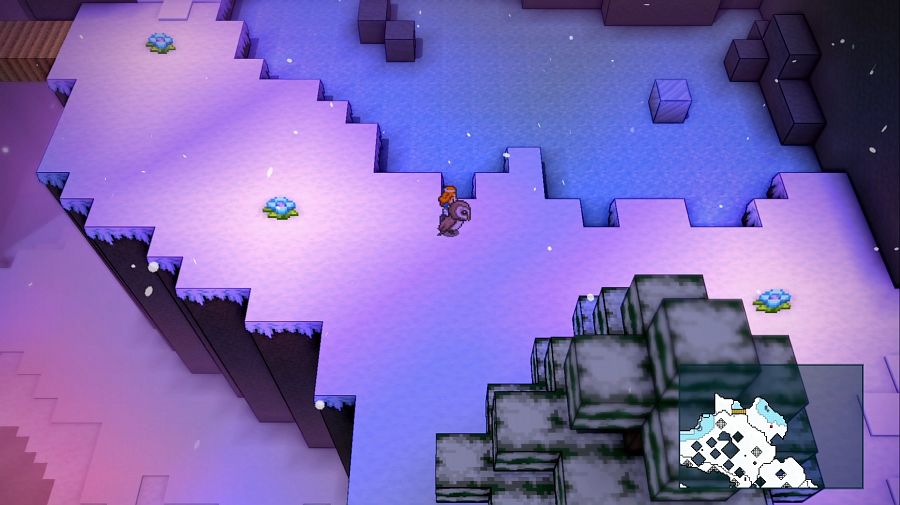 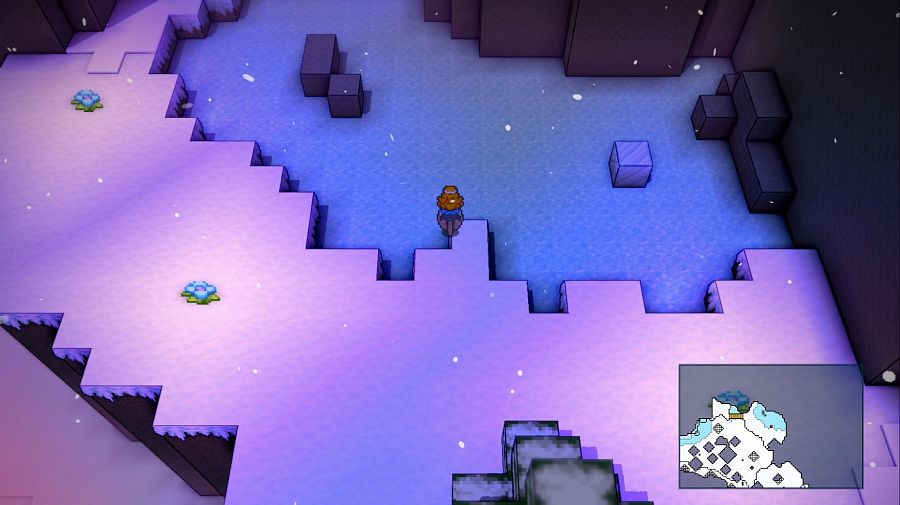 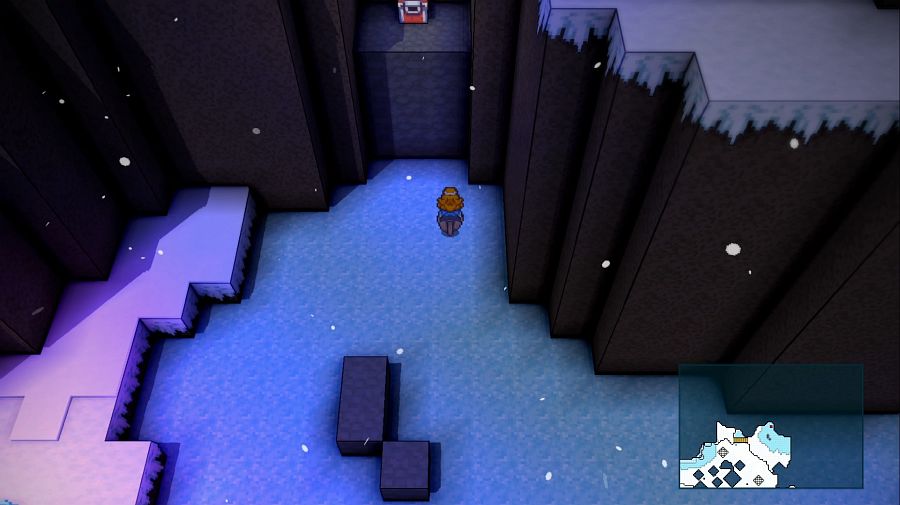 For instance, a chest on a ledge and an ice block, we know how this goes. 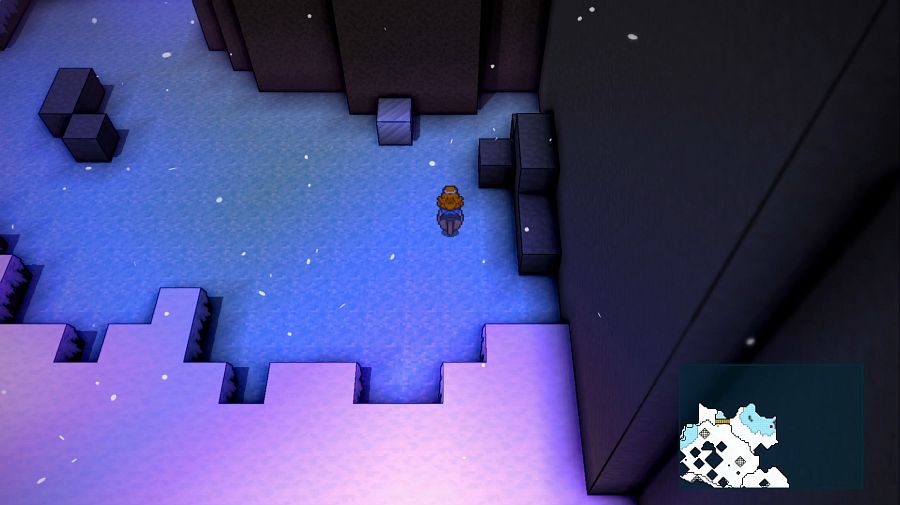 But oh no! You softlocked the puzzle and there's no reset button! You could just go away and wait for the zone to reset or...  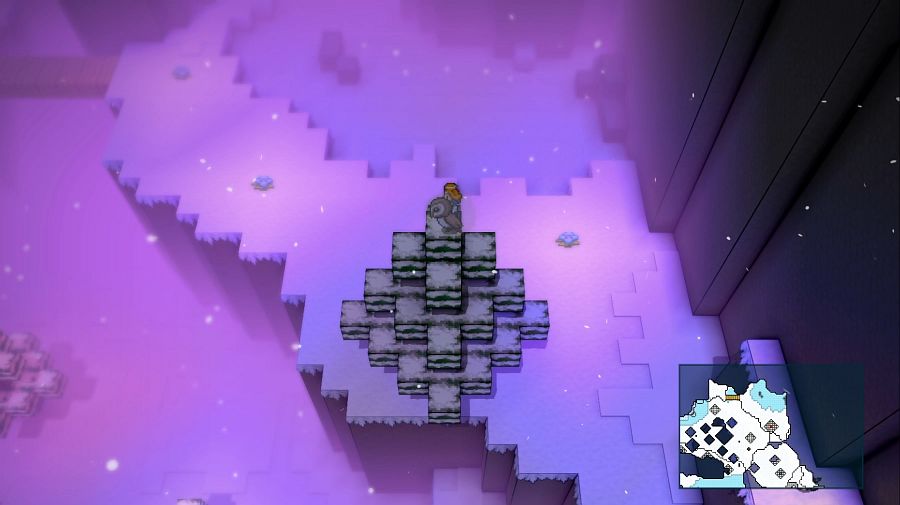 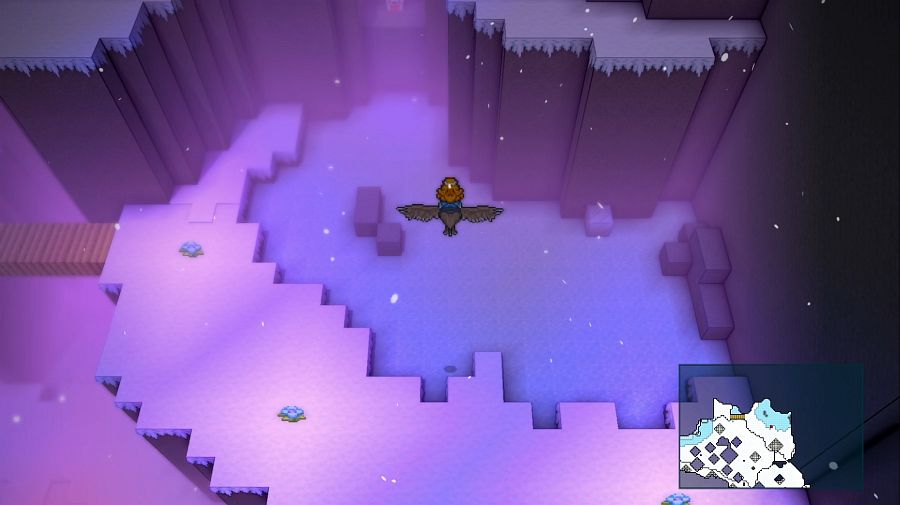 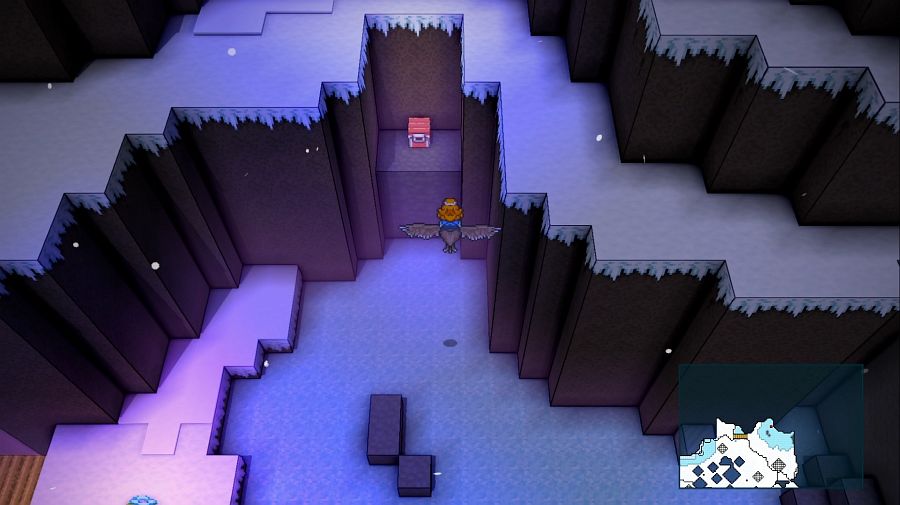 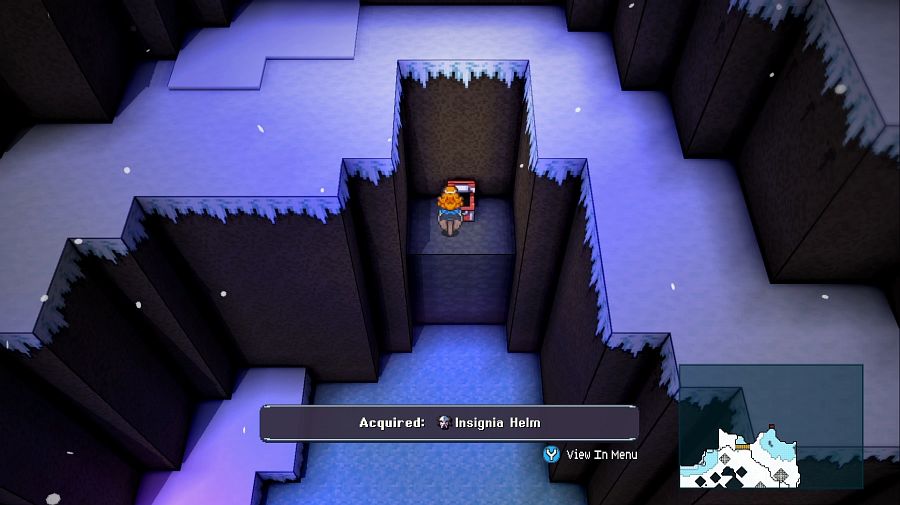 Just taking the owl off the top of the nearby tree gets us another one of the helmets the Red Guardian just dropped. Anyway, almost done with the Tall, Tall Heights, let's zoop back to the local shrine. 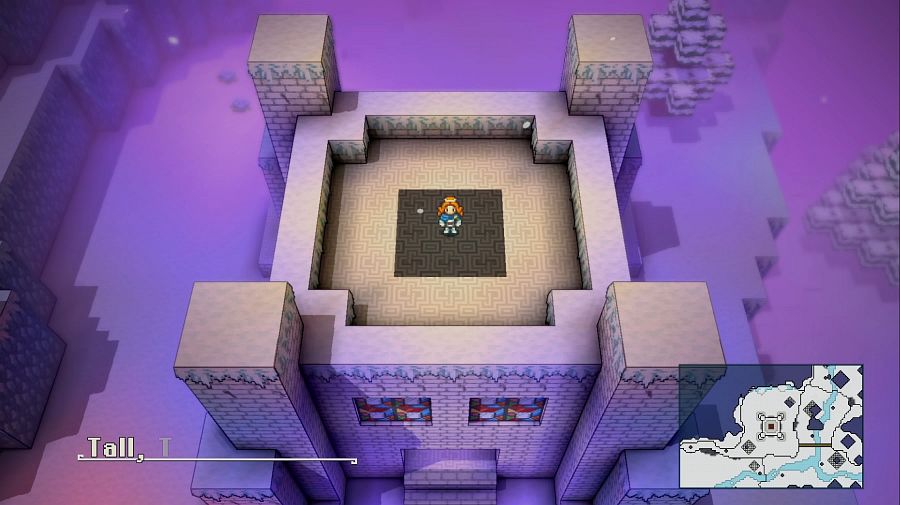 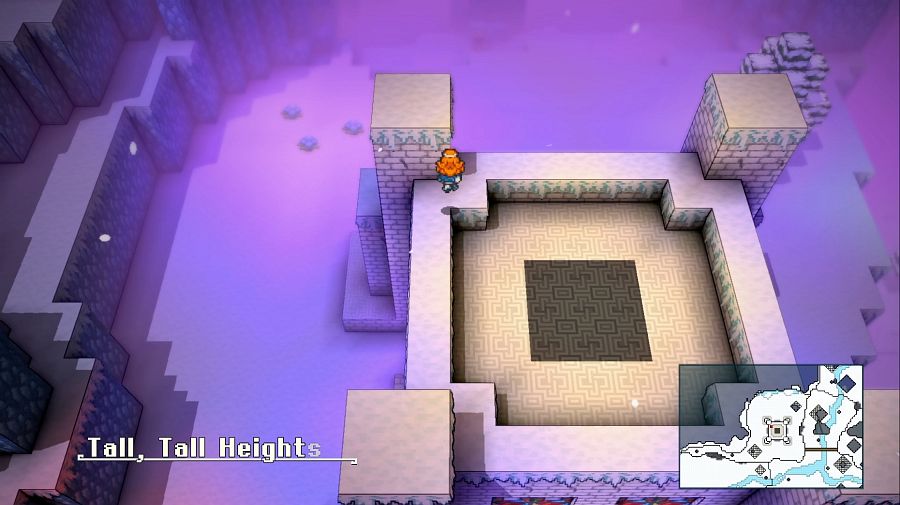  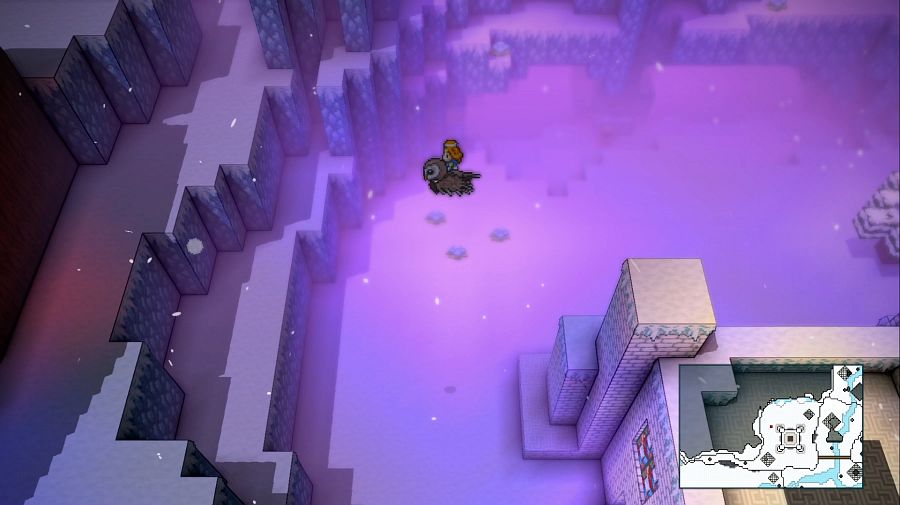 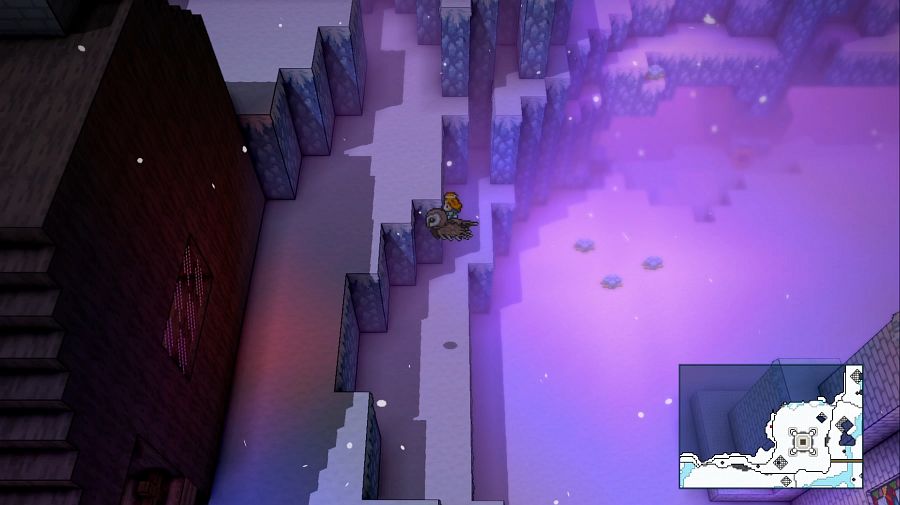 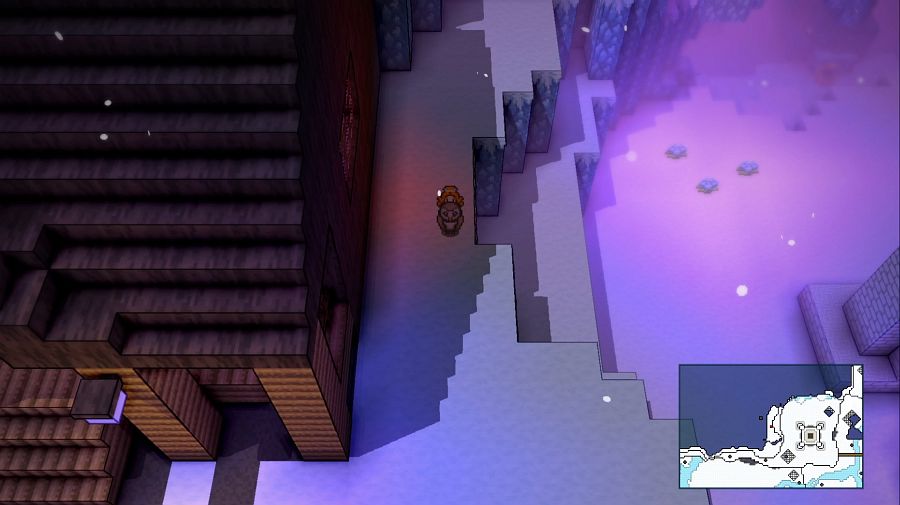 Owl off the top and you reach a semi-hidden shop. 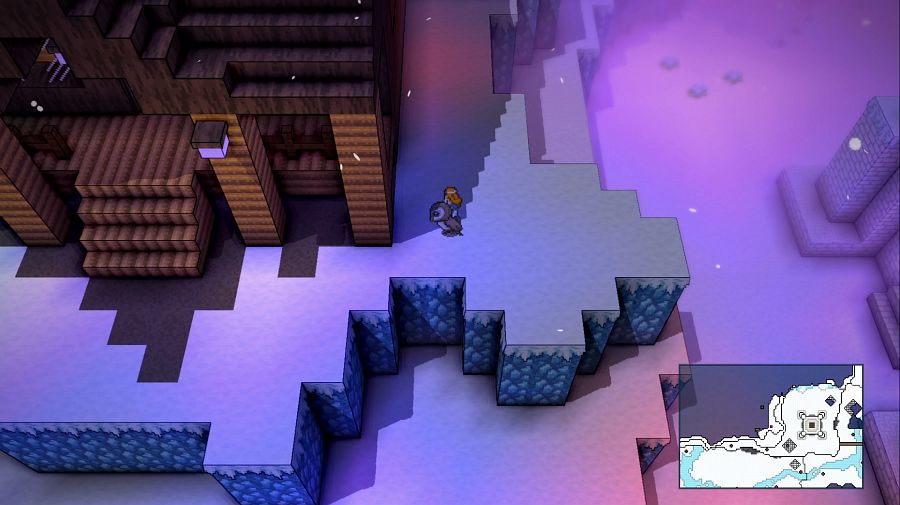 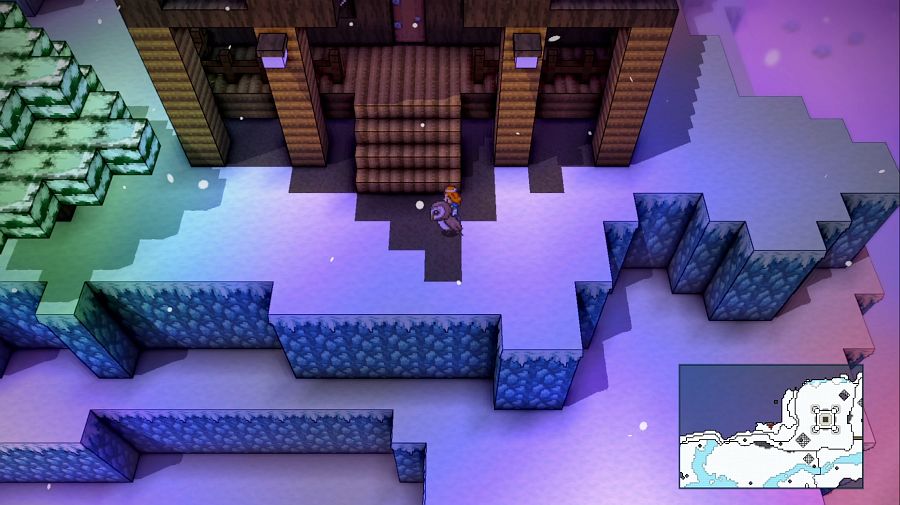 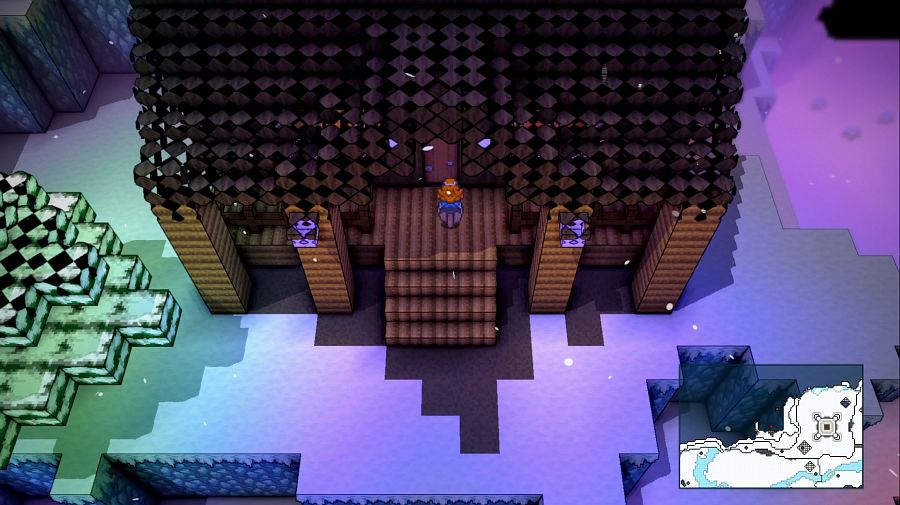 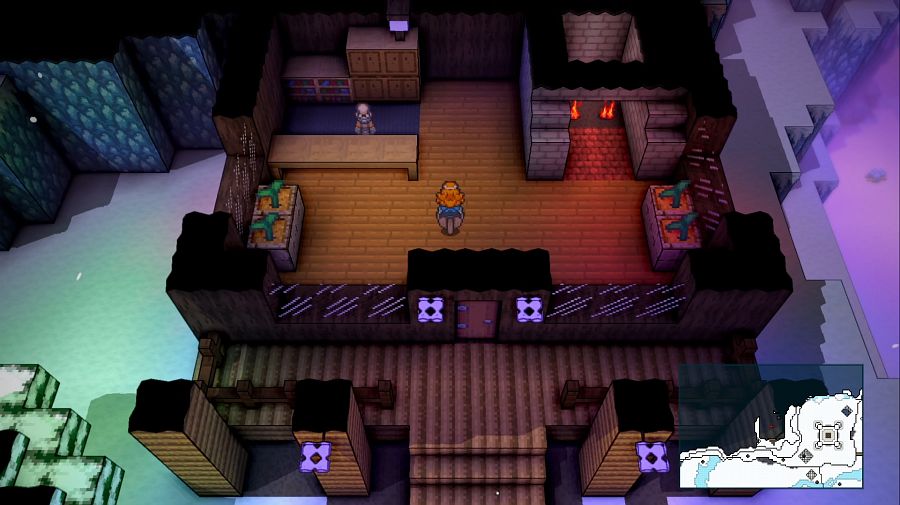 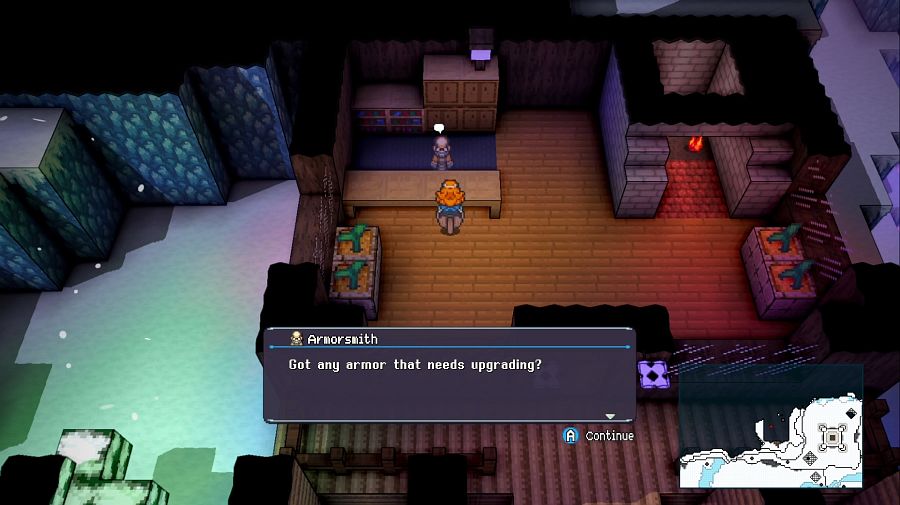  And with that we have access to diamond-tier armor upgrades. We still need diamond-tier weapon upgrades, but we'll get there. 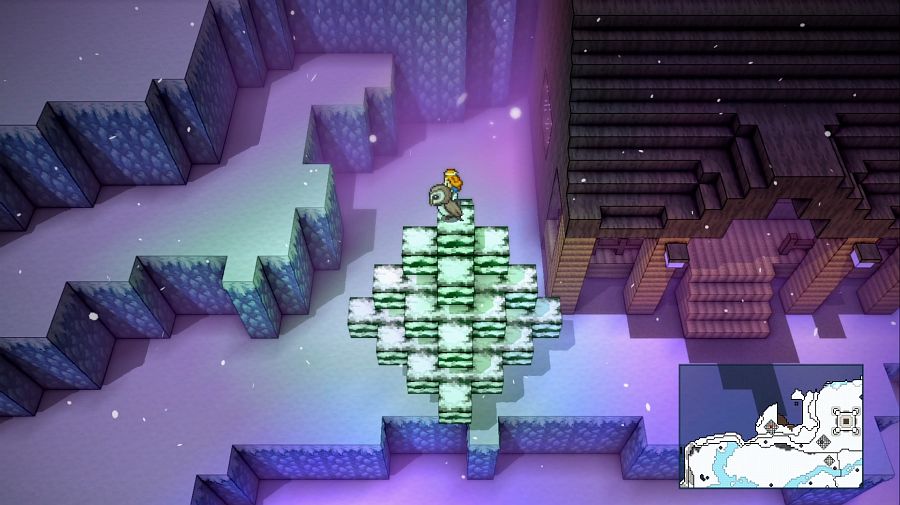 The play session for this update got a LOT longer than I expected, so I'm cutting this one off a bit early. Next time... let's see what the sea hides!
|
|
#
?
Apr 23, 2024 00:49
|
|


|
PurpleXVI posted:Looks like ocean adventuring wins out for now. But as promised, first we'll clear out a couple of things in the Tall, Tall Heights and nearby environs that can only be reached now we have the Owl. Yay! *grabs my swim trunks and a bucket and shovel for sand castles* PurpleXVI posted:The play session for this update got a LOT longer than I expected, so I'm cutting this one off a bit early. Next time... let's see what the sea hides! *stares sadly from the backseat of the car* Nah just messin'. Fun to see a slippy slidey ice world region. Feels like a Mario reference almost. I'm really looking forward to seeing the Summons too!
|
|
#
?
Apr 23, 2024 04:30
|
|
|
Man, gently caress Slip Glide Ride. I skipped most of it the first time around and going back to grab stuff to fill the item compendium only vindicated that decision. There are way nastier sections, but still. A very appropriately named episode. Still, nice to see how some jumps I had unreasonable amount of trouble with are supposed to be done... long after I did that part  (also, you didn't show the one with sliding/falling onto an ice block with pre-charged goat jump) Ravenson posted:*stares sadly from the backseat of the car*
|
|
#
?
Apr 23, 2024 15:02
|
|
|
Pierzak posted:Man, gently caress Slip Glide Ride. I skipped most of it the first time around and going back to grab stuff to fill the item compendium only vindicated that decision. There are way nastier sections, but still. A very appropriately named episode. I would say there are only two sections that I had more trouble with, one of them because it relies very much on timing, the second because a fuckup will actually set you back appreciably. But, you know, you'll hear my wailing and sobbing when we get there.
|
|
#
?
Apr 23, 2024 15:14
|
|
|
I like this dungeon because, as you mentioned in the update, it's easy to get through the parts that get you to the crystal but more demanding if you want to get the chests. None of the optional ones are very important, but if you're up for a platforming test it's a pretty good one. IIRC, that jump you skipped is way easier to get from the 30 silver chest, because it makes it simpler to repeat. Drop down as the goat while charging the jump then go for it the moment you land. Still a pain, but much less bad. I figure this is why the chest is bad--the easier set-up is your actual prize. Still sort of rude to make the jump available earlier than that, so that I imagine a lot of people waste time trying to do it the hard way and don't try it the easier one. (Also I generally think of the physical staves more as Beatsmith weapons than Monk ones, but it's fair to forget that Beatsmith exists. )Summoner is probably the biggest power-boost of any class, more than justifying the double unlock requirement and all the footwork. The Summoner getting unconditional statuses with 100% affliction rate is insane. It feels like a nice acknowledgment that if you've gotten this far, then you understand the game systems, so now you're granted permission to damage race all that your heart desires.
|
|
#
?
Apr 23, 2024 15:39
|
|
|
PurpleXVI posted:I would say there are only two sections that I had more trouble with, one of them because it relies very much on timing, the second because a fuckup will actually set you back appreciably. But, you know, you'll hear my wailing and sobbing when we get there. Also, is Radiance ever available as an enemy drop or something? I know for a fact that I had one due to 100% item completion, but I have no recollection of finding that iceblock-in-a-wall secret.
|
|
#
?
Apr 23, 2024 15:47
|
|
|
Pierzak posted:I immediately knew which second section you were talking about and the mere thought of it makes me seethe even now. The game isn't very well-documented by guides or any such, as far as I can tell it only exists in there. Einander posted:I like this dungeon because, as you mentioned in the update, it's easy to get through the parts that get you to the crystal but more demanding if you want to get the chests. None of the optional ones are very important, but if you're up for a platforming test it's a pretty good one. Yeah, I know some people who deeply loathed Crystal Project's platforming, but most of the actually tough platforming is opt-in if you want 100% completion stuff or extra challenges. As for the Summoner, they're a power boost but... I think a balanced one? They're mostly great for wiping out wandering flames and for the MP boost passive, which makes your casters last longer in long boss battles. But I would argue that in boss battles they're also a bit of a liability because of their limited "ammo." They're very strong shots, often with debilitating status effects that can buy you some extra time, but, say, a Shaman can keep blasting for longer and has durability due to the spell lifesteal. A Dervish has passive MP regen that makes them hold out for much longer. A Nomad... uh, exists. A Wizard would get more worth for each shot because they do more damage with certain elements. So I think they're very good, but on par with the other already-strong classes rather than explicitly a jump up in power, except in the sense that every new class is a jump up in power because it broadens your options.
|
|
#
?
Apr 23, 2024 15:58
|
|
|
PurpleXVI posted:The game isn't very well-documented by guides or any such, as far as I can tell it only exists in there. I look at Summoner like this: it essentially gives you absolute negation of a minimum of 3-4 actions, which you can call in almost at any time. If they use single-target physicals you get more turns, if they use both physicals and magic then you also get more turns. (Plus your one use of Sleep per enemy.) Their status support lends itself to either very lightweight teams that shed all other defenses to damage race, or as an incredible supplement to the standard Tank+Rogue core, and no mage can play either of these roles as well as Summoner. The damage is irrelevant, they're almost entirely a support class. Also, putting a pin on "A Nomad... uh, exists" for later. It's probably the single class most reliant on having all its combo pieces, and the class hasn't even shown up in the LP yet anyway.
|
|
#
?
Apr 23, 2024 21:40
|
|
|
I'd argue that other magic classes being good actually adds to the value that Summoner provides as a strong chassis for caster builds. Classes in general feel pretty feature complete on their own. That means you can make a Summoner/X (or X/Summoner), have a coherent gameplan for day to day courtesy of whatever X is... and also a bunch of powerful oh poo poo panic buttons in your back pocket if you need them. Personally I'm partial to Warlock/Summoner for the full contrast of low cost, low impact vs. high cost, high impact.
|
|
#
?
Apr 23, 2024 22:03
|
|

|
From my perspective of playing it on hard, summoner felt like it warped the entirety of the late game boss fights around it existing, but we haven't seen any of its abilities in LP yet.
|
|
#
?
Apr 23, 2024 22:50
|
|

|
Update 21: Ocean-Adjacent Adventuring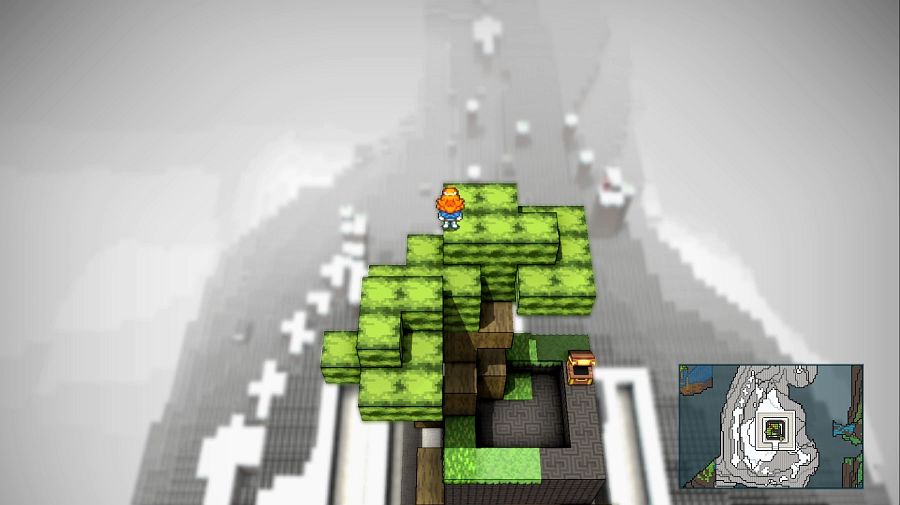 Tau: Where do we go from here? We've been following Astley and their friends... but where did they go now? Charity: Does it really matter? We can go where we want to go. Tau: Where we want to go... hey Hamza? Can I drive the owl for a few minutes? Hamza: ...drive? Yeah, sure, I kinda wanna see how this goes. 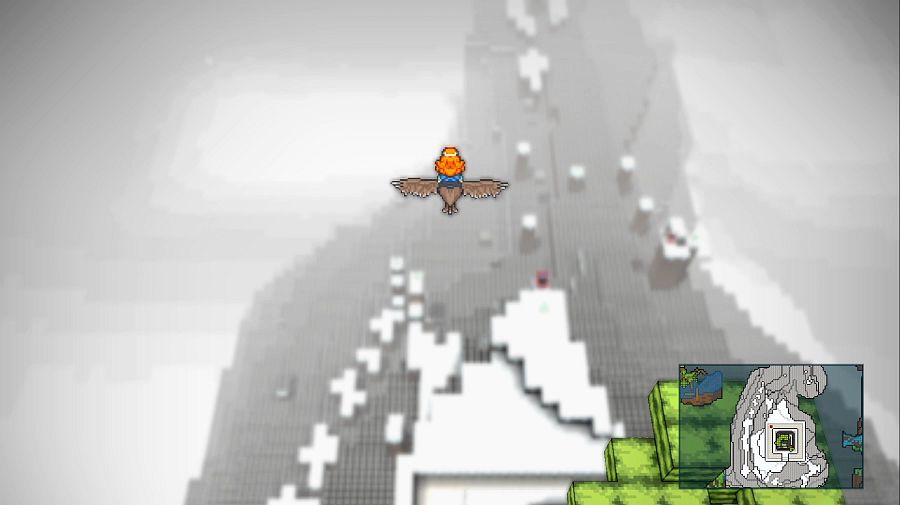 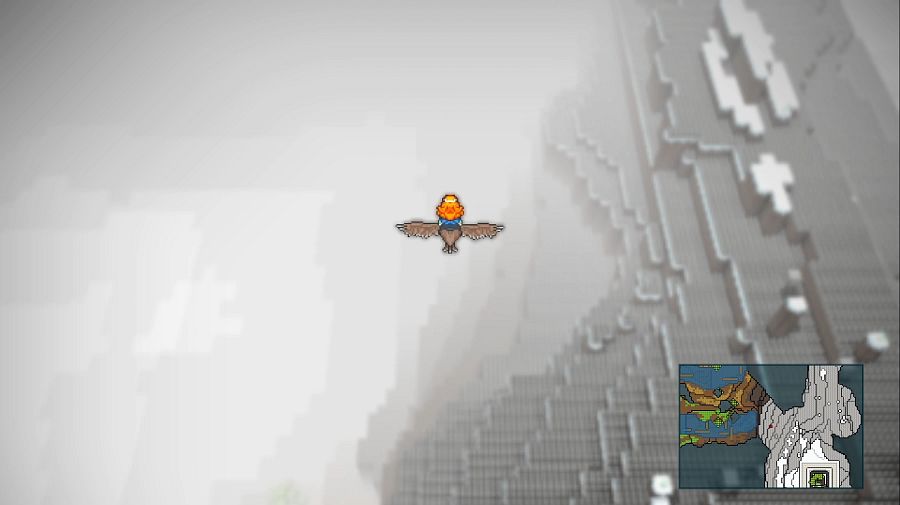 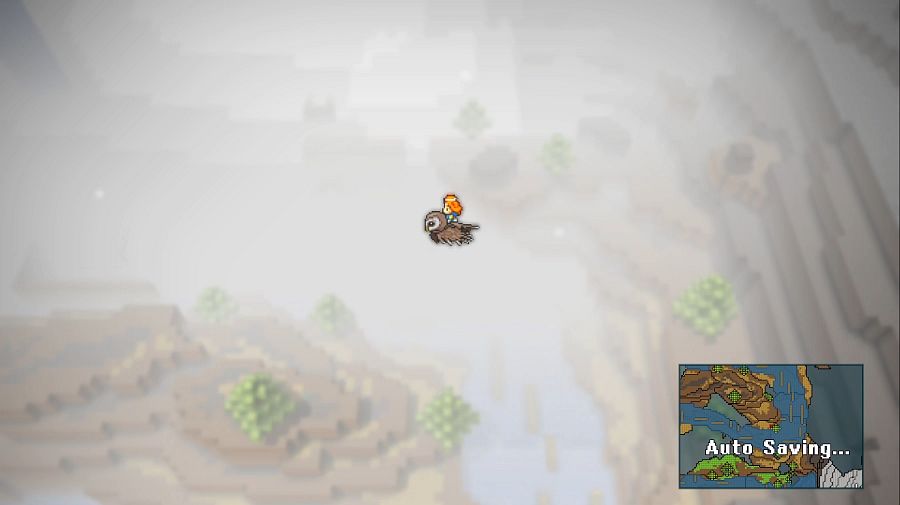 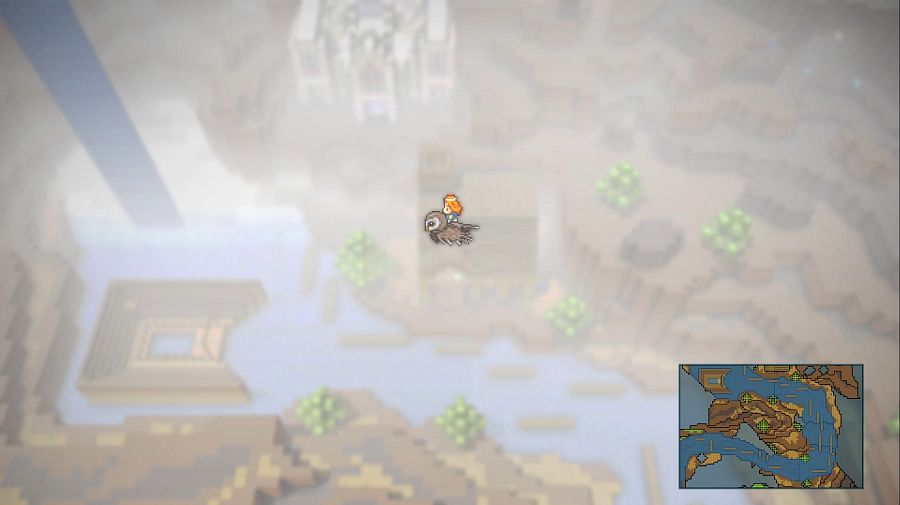 Vanessa: Where are we headed? Did you wanna take another crack at the Salmon Run? I don't think we're getting a first place. Tau: Shhhh, I need to concentrate, this requires precision. 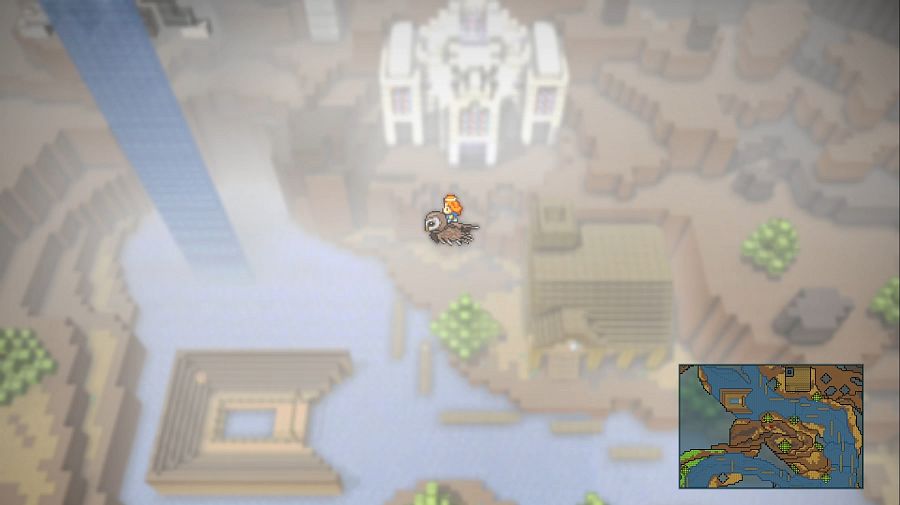 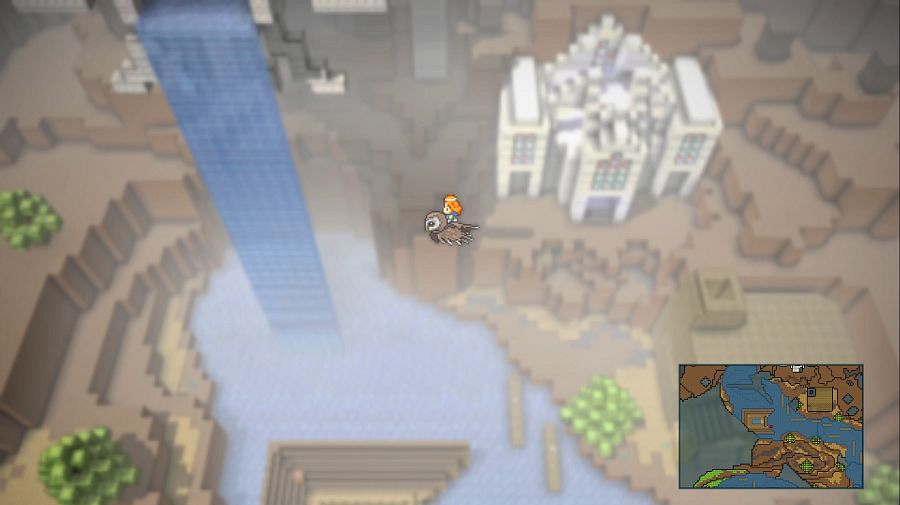 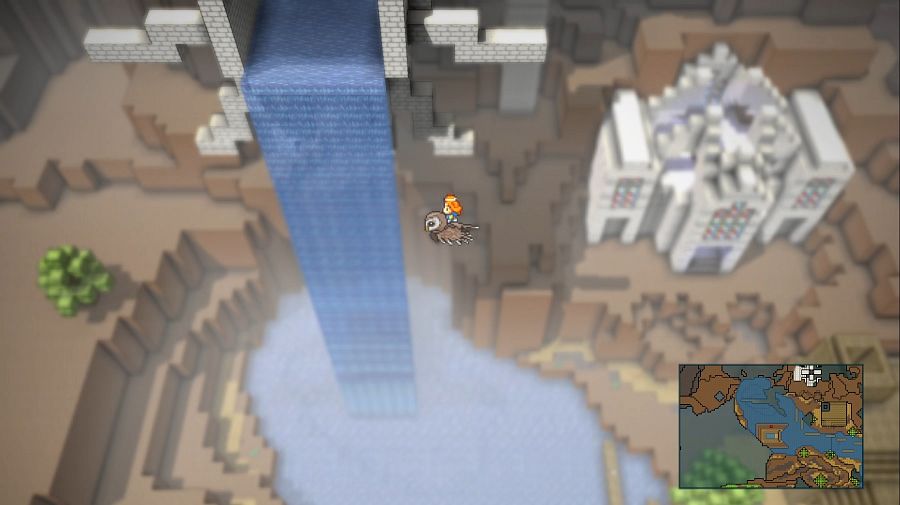 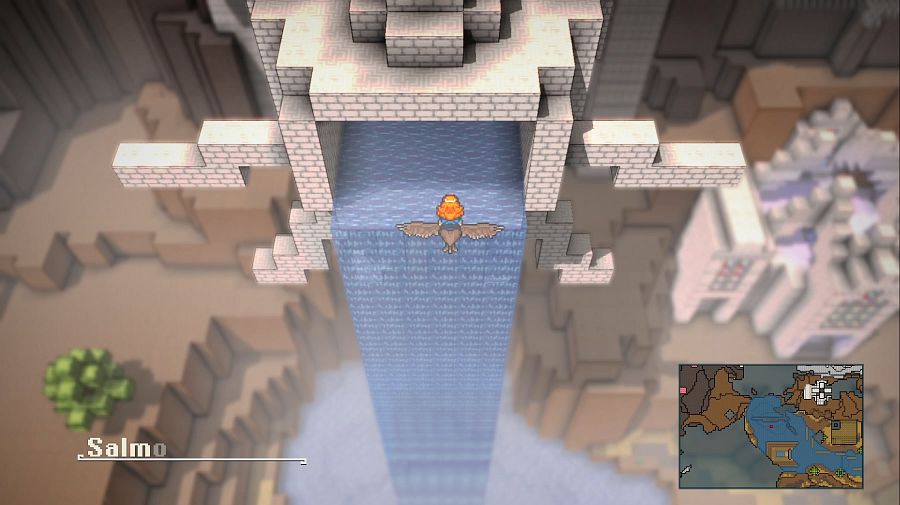 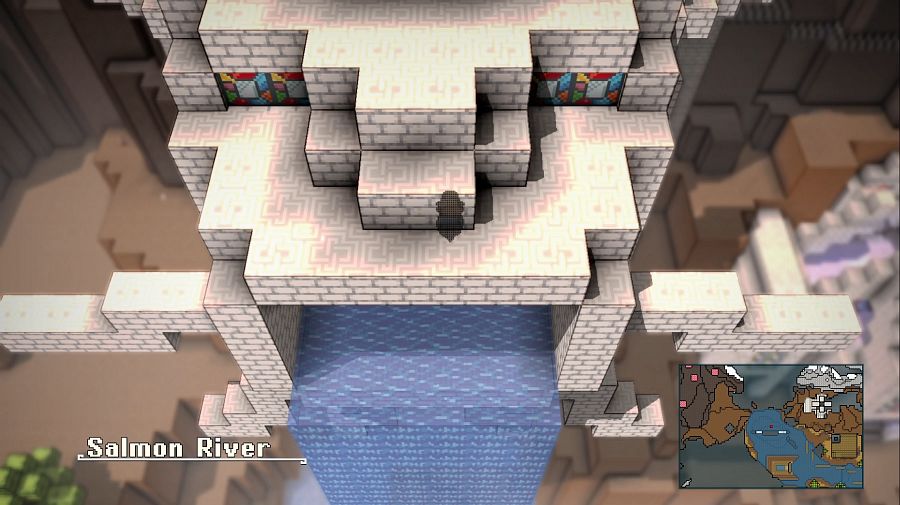 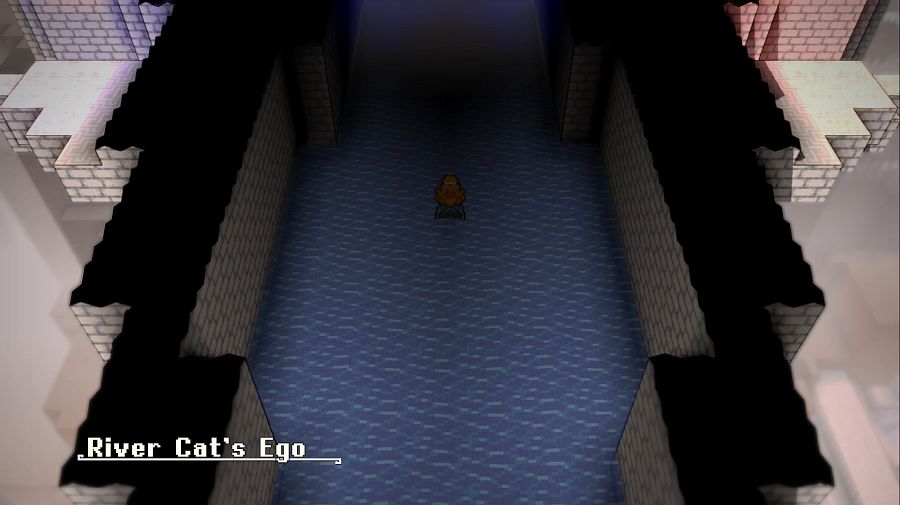 Vanessa: ...Where the hell is this? WHAT is this? This is the big structure we passed by on our way up to the Master Nomad. The River Cat's Ego, and definitely one of the more missable areas since the obvious way to get in is with water mobility, and water mobility is entirely optional for completing the game. You might think you can't get in here, but the water inside the "mouth" is shallow and walkable. 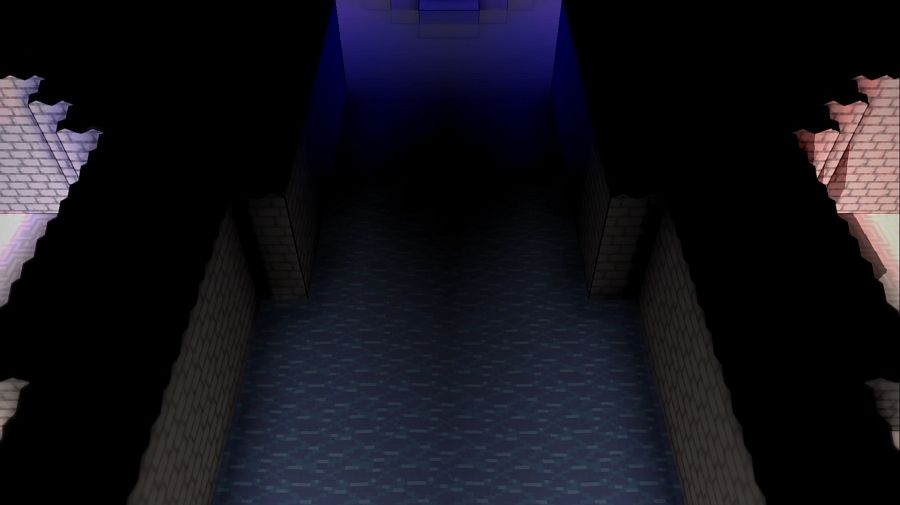 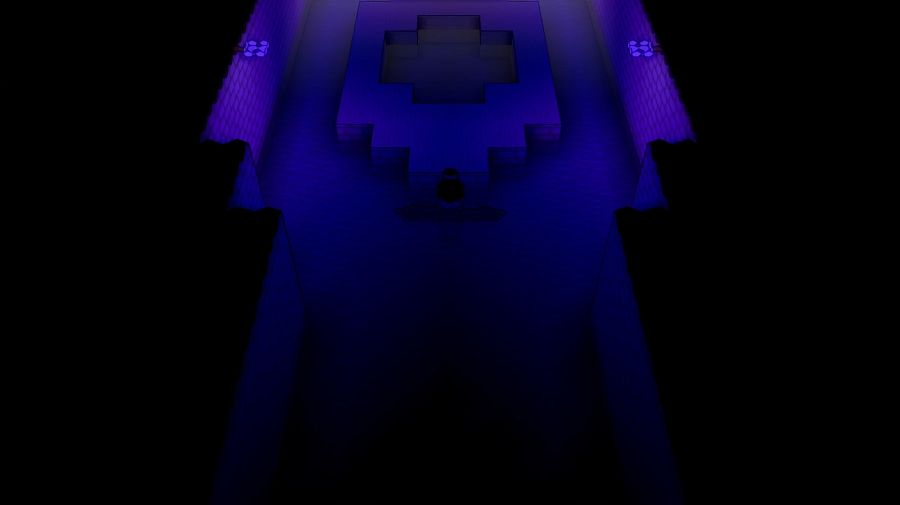 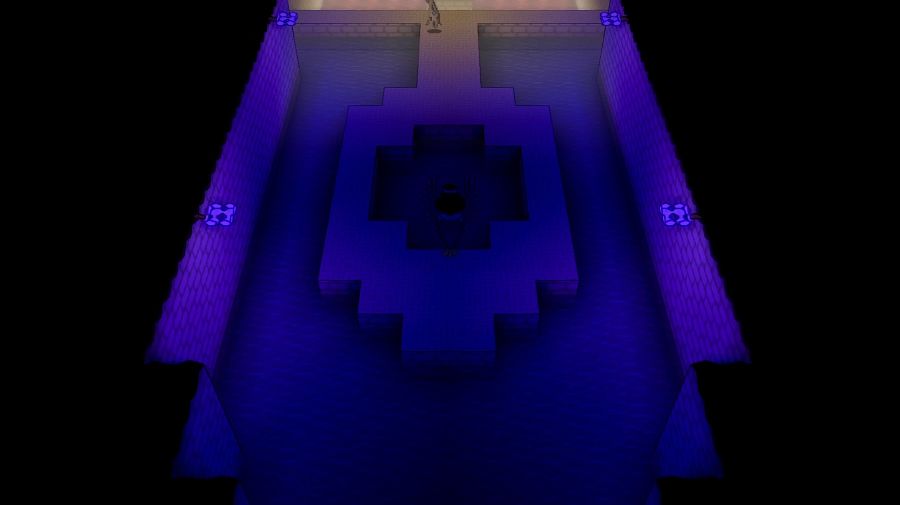 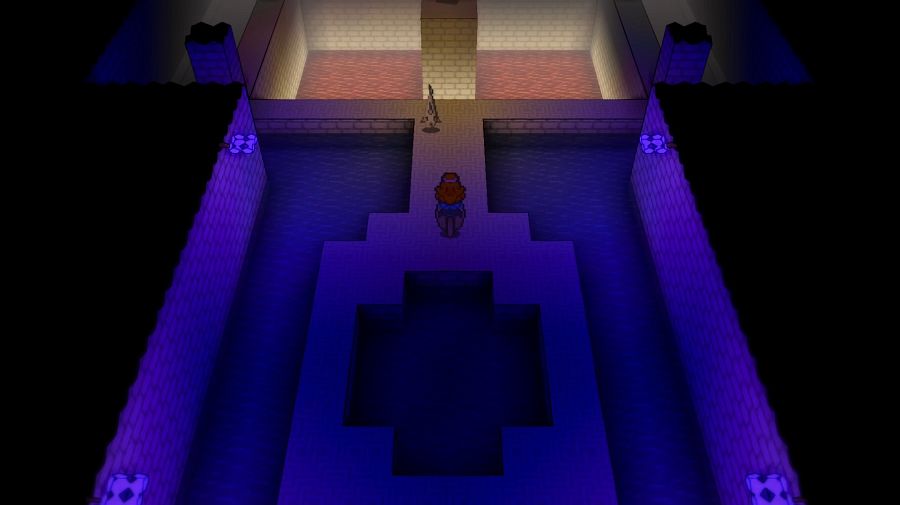 Vanessa: Of course there's a fish inside the giant catfish statue mouth, on the ground. Sure. Why not. 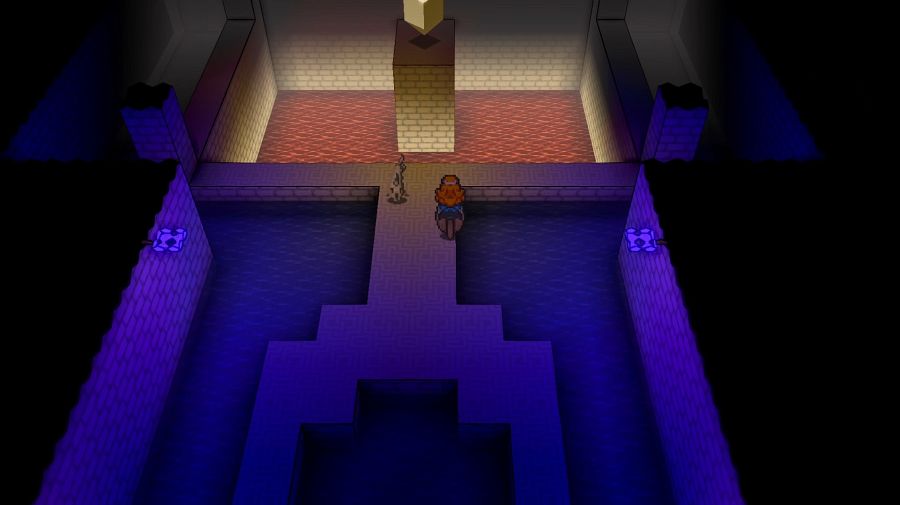 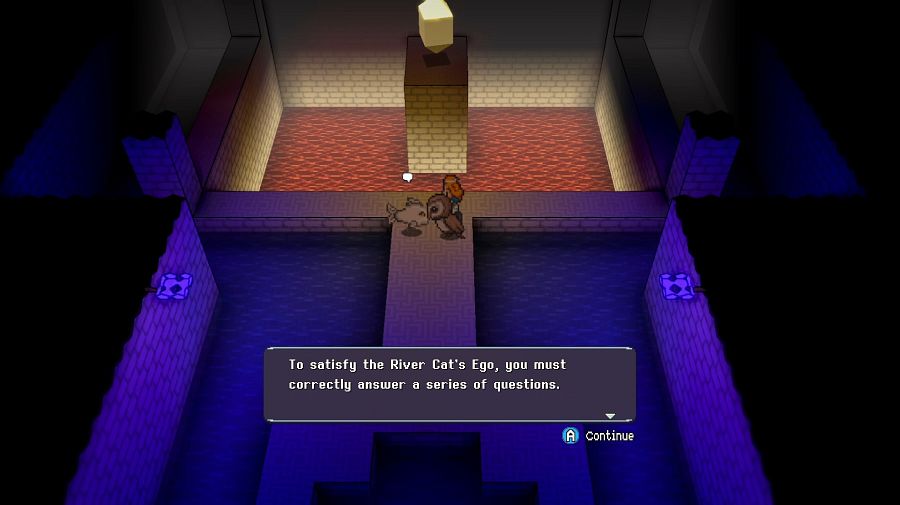 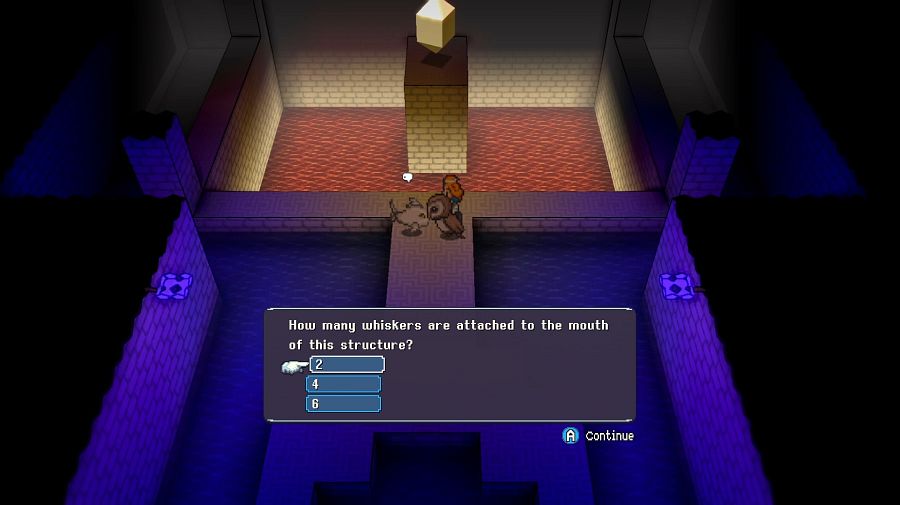 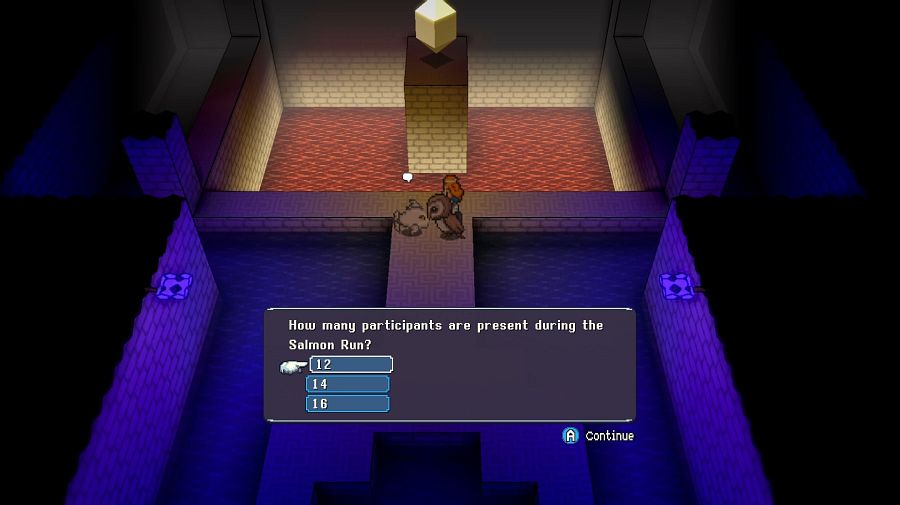 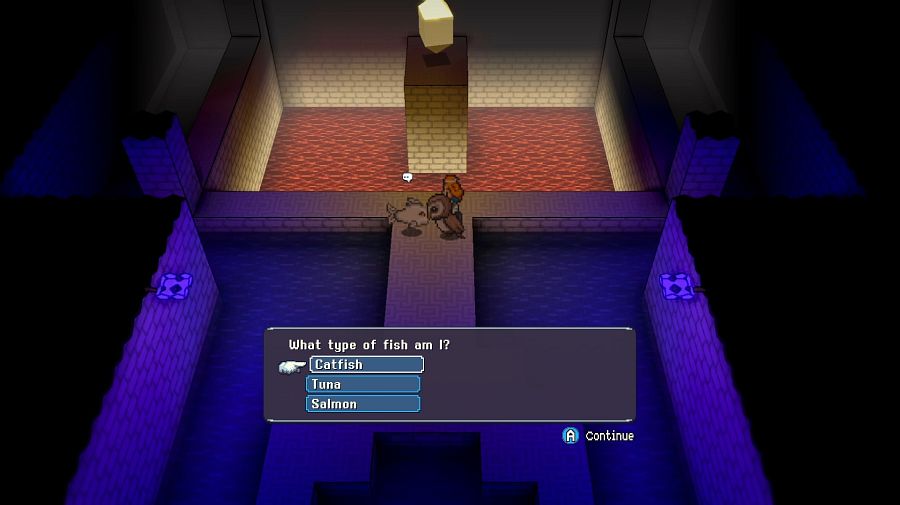 The Salmon is guarding a class crystal and asks you three questions, each reply you give gets the reply: 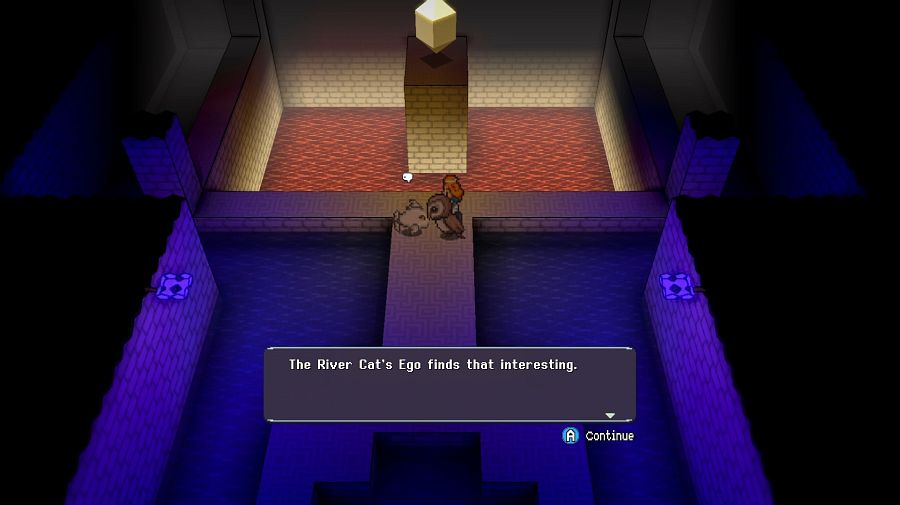 Which means you don't know till the end until you've got it right. It's not too hard to brute force, but it should be pretty obvious that the answers are: 6 whiskers, 16 salmon and salmon. 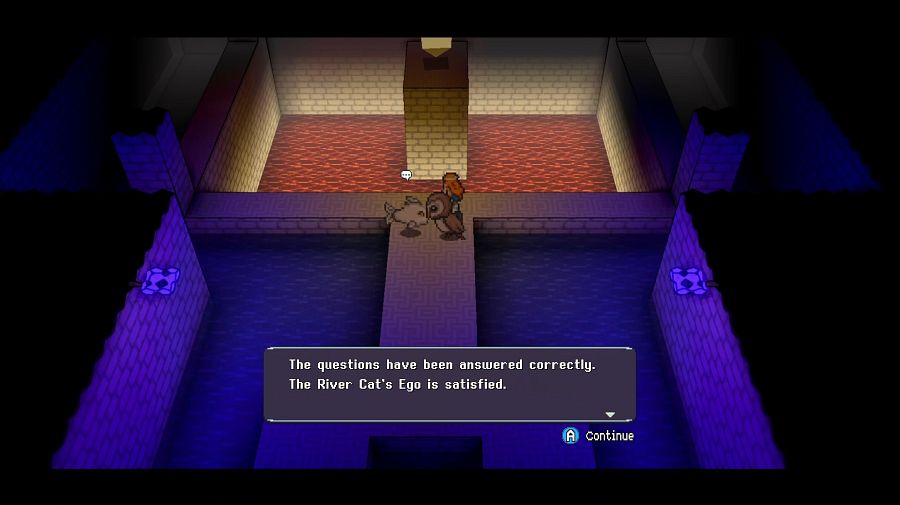 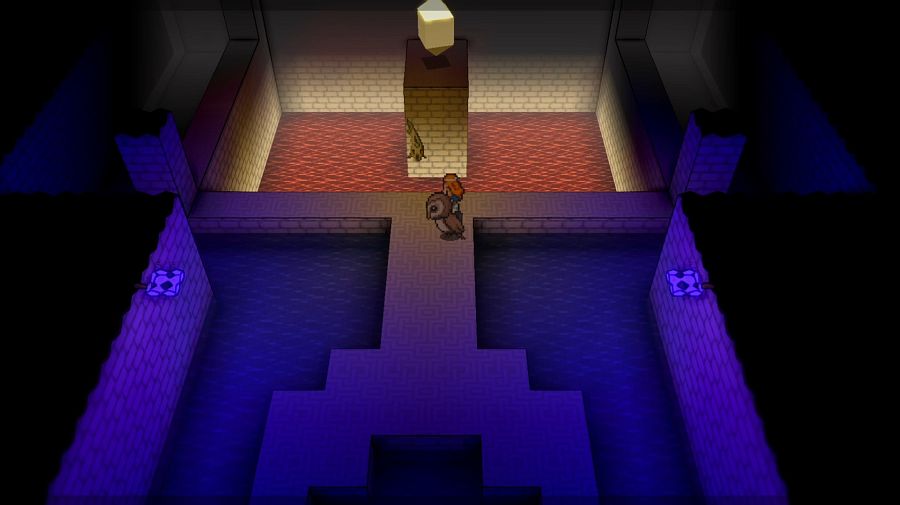 If you get it right, the salmon pops up as a platform to let you jump over the lava but... this is silly for several reasons. If you have an owl, you can just FLY OVER and land next to it. You can theoretically have the water movement mount to ride up the waterfall before getting the owl, but it's very, very unlikely unless you use the salmon run "glitch" or are very serious about exploring every single side area before continuing to the "intended" areas, grinding to get past red and orange flames. 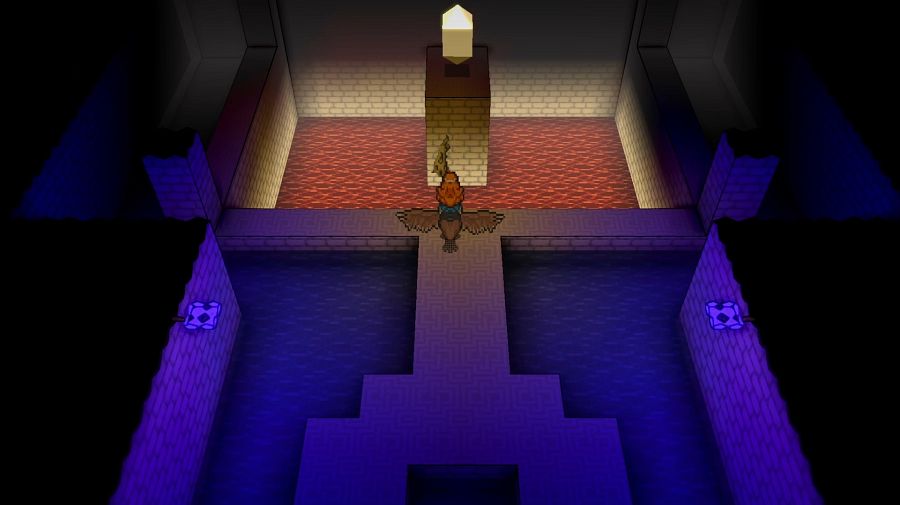 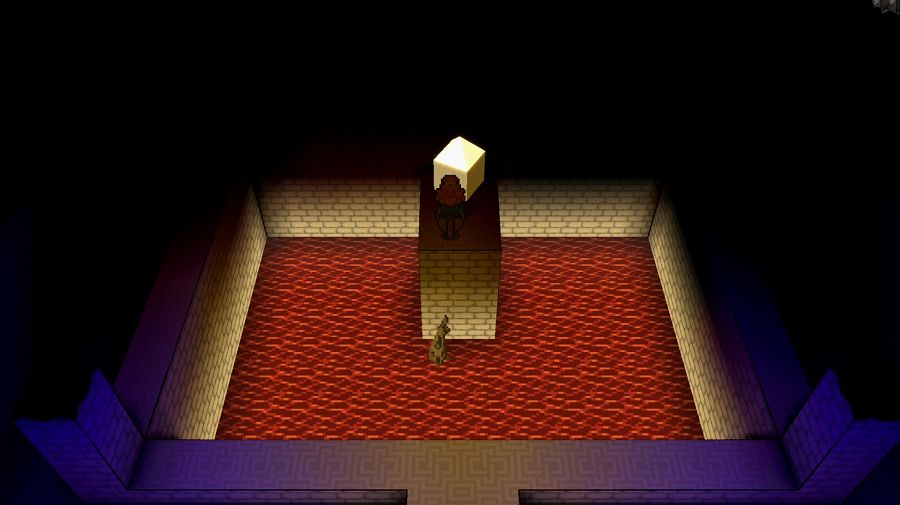 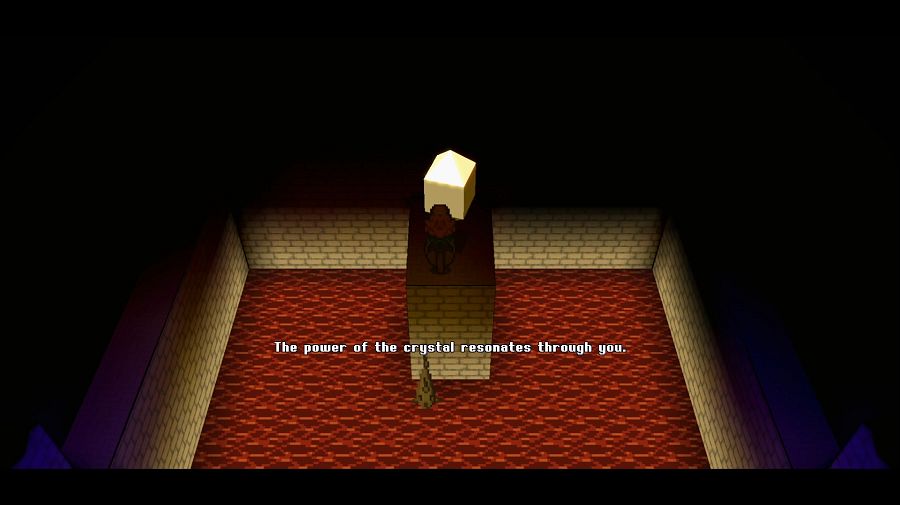 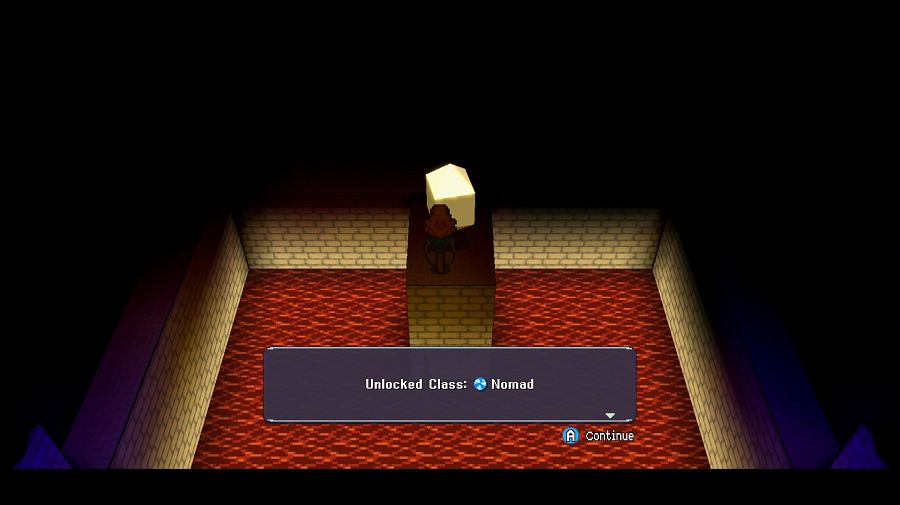 Our reward here is... the Nomad class. What a class. They're a caster class but defined by almost exclusively using AP for "casting" instead of MP. The problem with this is that unlike just about every other mage class and most physical classes, who can either let rip with their full array from round one or within a couple of actions(Samurai, Rogue and Assassin are probably the biggest exceptions with long charge times for their biggest and nastiest abilities), the Nomad doesn't really get to do anything until several rounds into the battle. They ARE, however, about the sole source of Water-type damage(excepting the one Warlock skill and one Summoner summon), and being AP-powered means that they technically have infinite "ammo." Their passive is that any AP-powered ability heals/damages X% more where X is 1.5 times the AP cost. Theoretically this makes them a good primary choice for physical attackers, but not in practice. Rogues and Fencers lose out on Crits, Assassins on their finishers, Samurai lose out on their higher AP max that lets them do more damage in a round, Beatsmiths lose out on their "repeated actions"-boost... while Hunters, Reapers and Beastmasters have cooldown-based, rather than AP-based, limits. I think probably the best combo would be Nomad/Samurai, so you'd do shorter combos more regularly but squeeze a bit more damage out of them, or Any Caster/Nomad using the Nomad skills to do damage without spending MP after the first few rounds. In particular I think it might go well with Scholar, who have a lot of MP hungry skills and can drop Adrenaline to give themselves a quick AP boost. But I still think they're one of the weaker classes in the game. Plus, they look very silly. Now, about that trip to the sea... To explain it, I have to pull back the curtain somewhat and show you the world map as we currently know it, by grabbing a proper full world map and jankily cropping parts out(including a lot of ocean, a LOT of ocean, the world map is bigger than this). 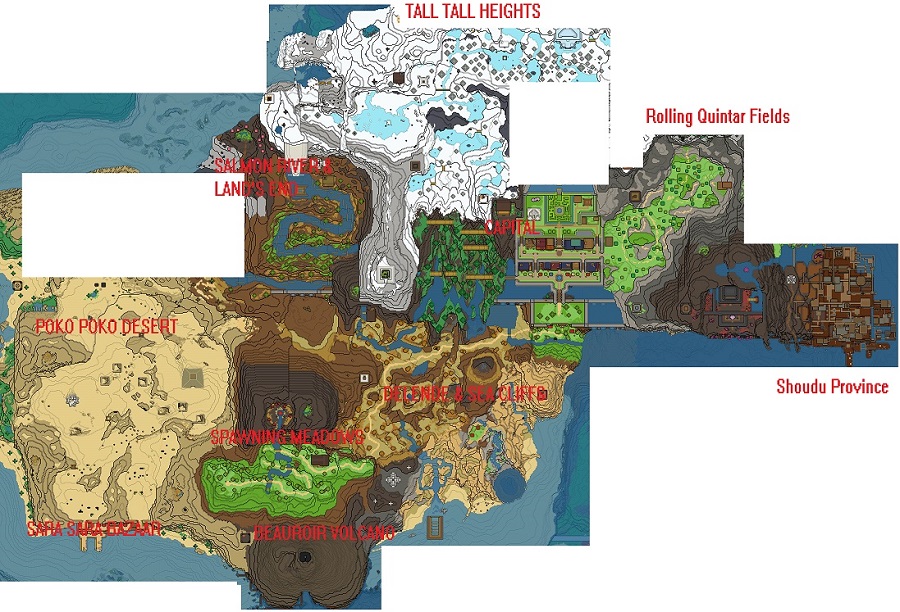 Despite how it might seem while playing it, there's primarily only one actual land mass in the game. That's not to say there isn't interesting stuff in the sea, of course, but that finding it without looping back to where you started or dropping into the drink is difficult. Flying east from Shoudu, for instance, will just drop us back on the Sara Sara Beach, despite it having some nice tall locations, and flying north from the Tall, Tall Heights will at best drop us off at the Sea Cliffs. So how the hell are you meant to guess where to go? The in-game world map doesn't even zoom out enough to let you see much more than a single zone at once. Let us away to Ganymede Shrine. It's nice and tall, but not our launch perch. 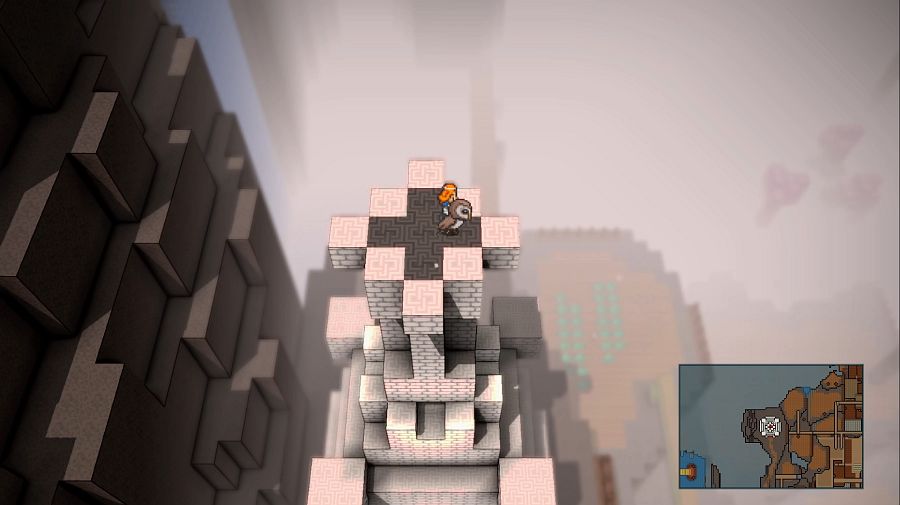 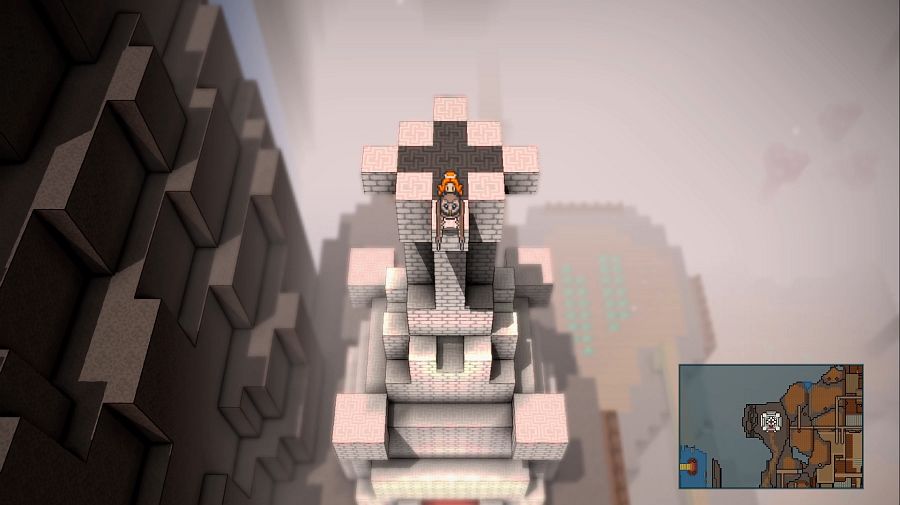 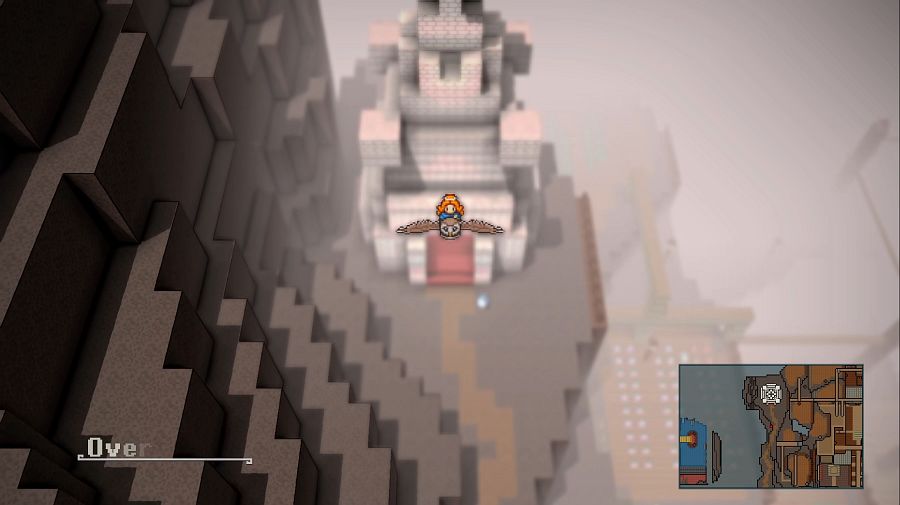 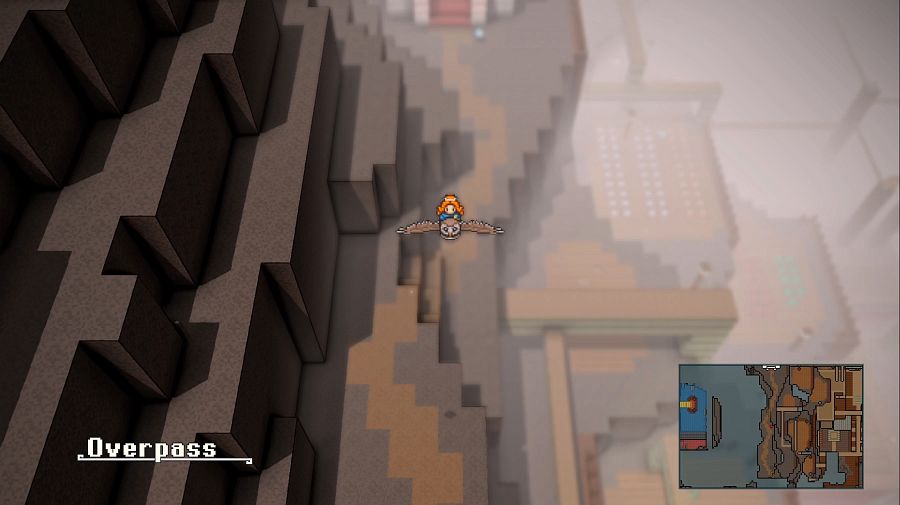 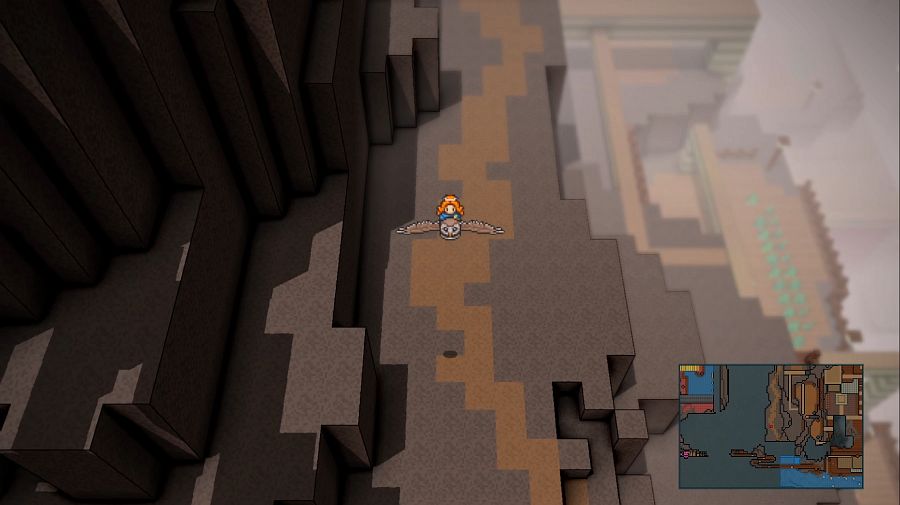 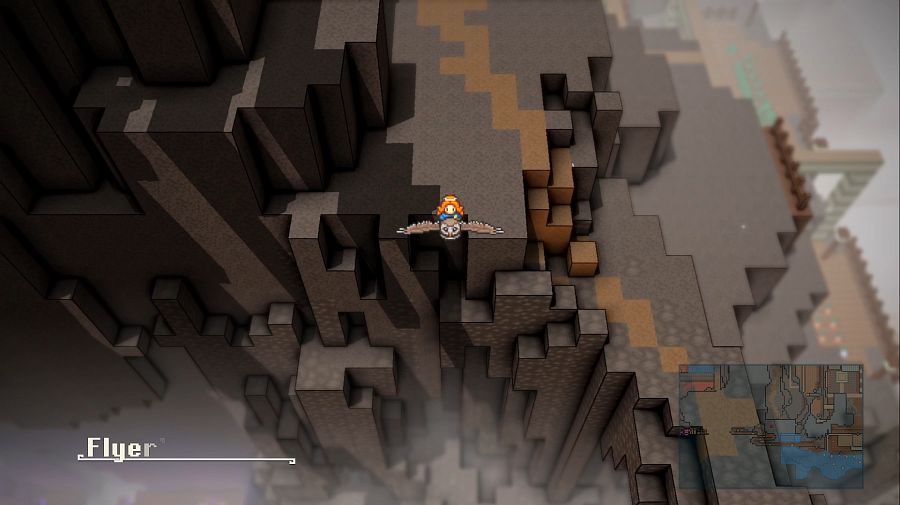 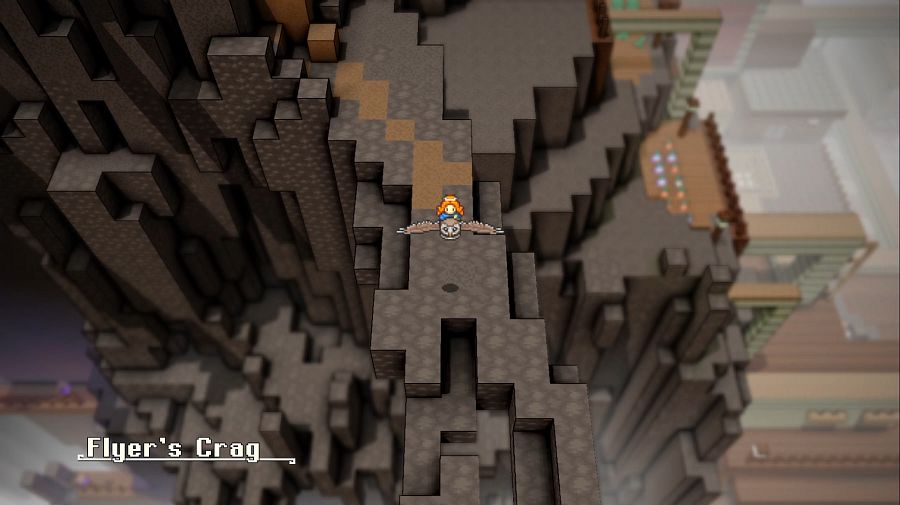 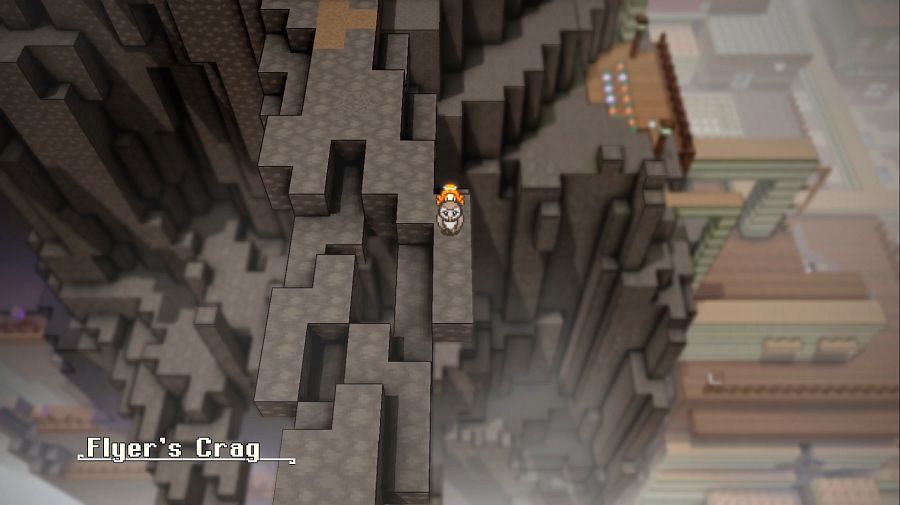 South of Ganymede Shrine, and one other place in the game, is a small "sub-biome" called Flyer's Crag. 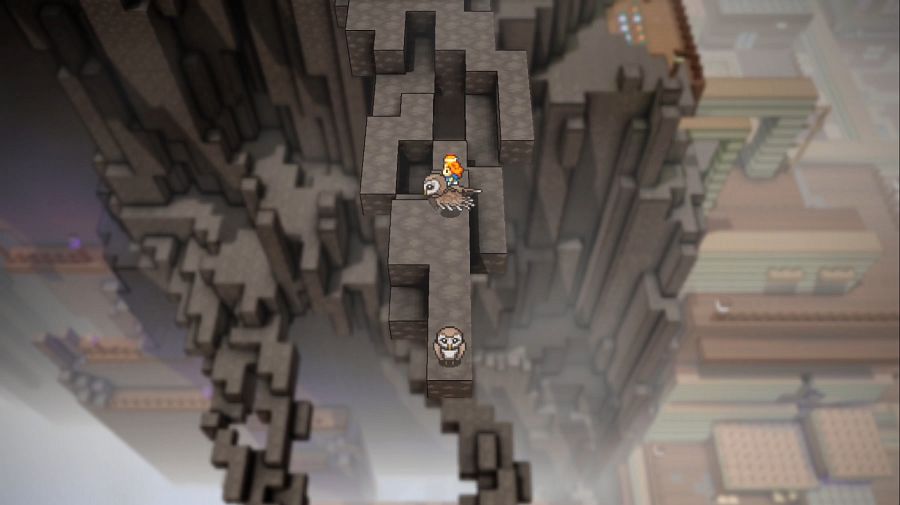 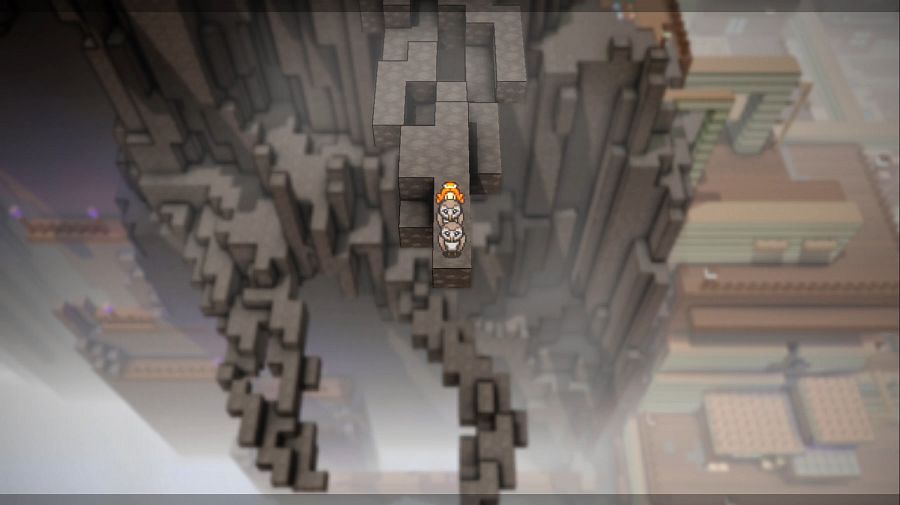 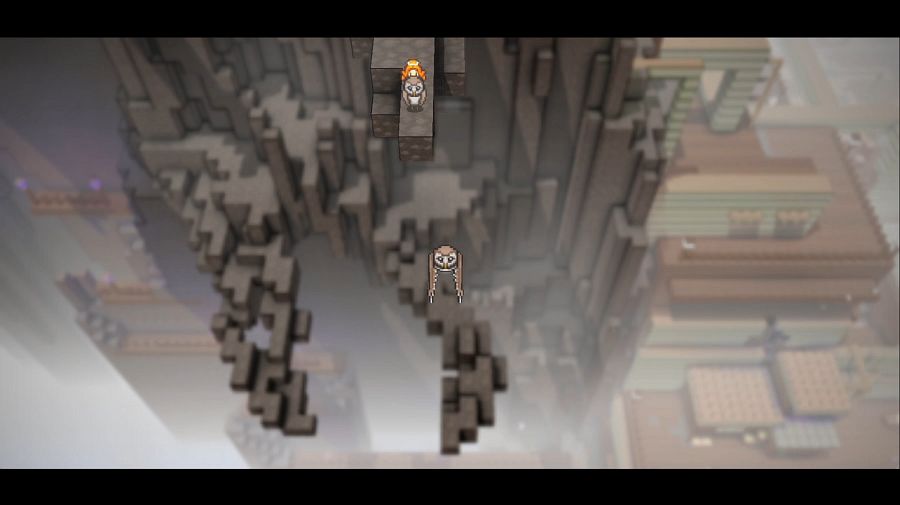 Poke the owl here and it takes off out over the ocean, which just seems like a bit of flavour until you have an owl yourself... Vanessa: So you want to follow the owl. Charity: I want to follow the owl. Vanessa: And what's following this dumb NPC going to do for us? Charity: You said it yourself, it's an NPC, someone put it here and made it fly that way. I think it's indicating a route somewhere. Vanessa: Fine, but if it just drops us into the sea, you owe me some Warframe cosmetics. 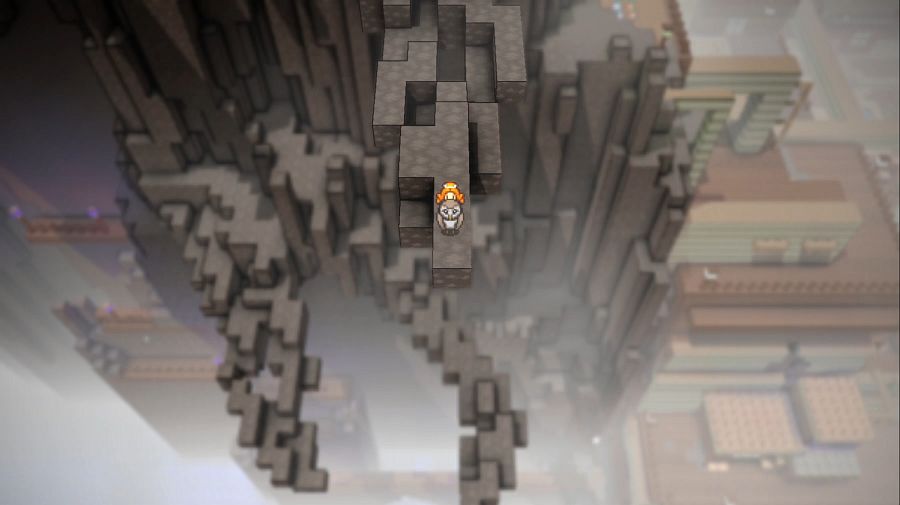 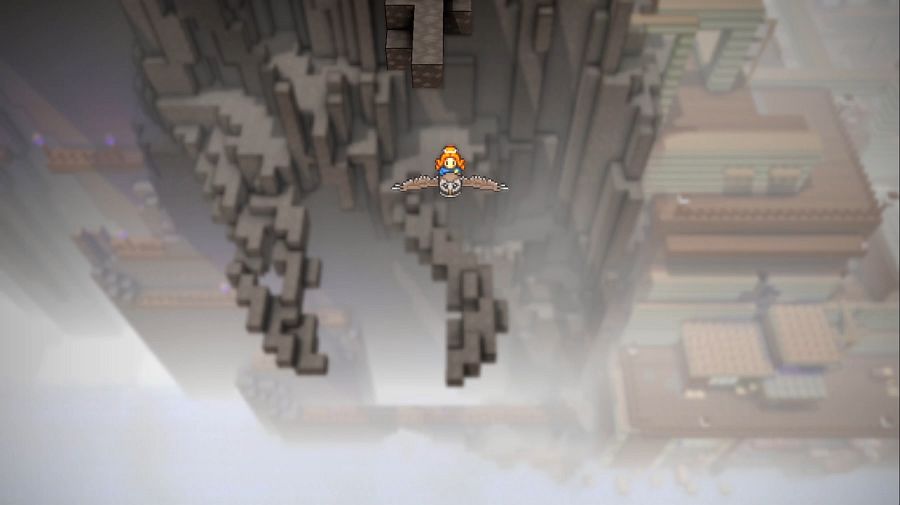 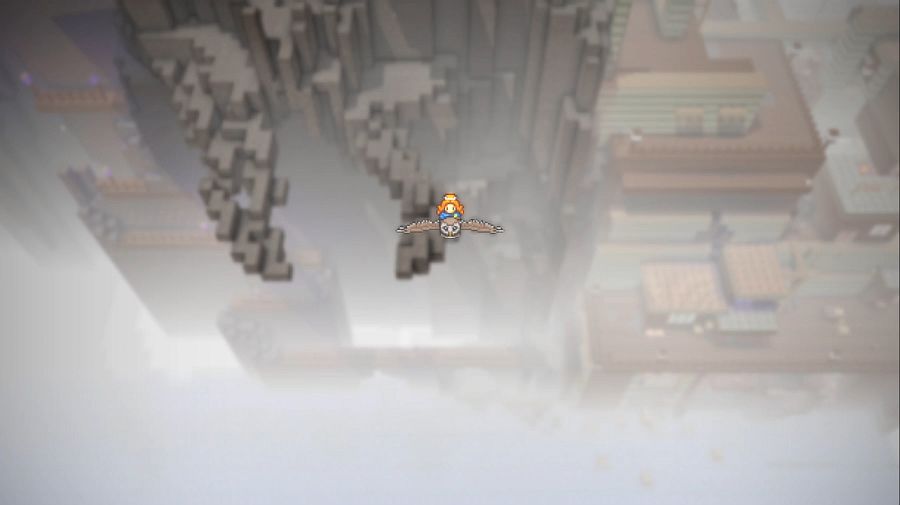 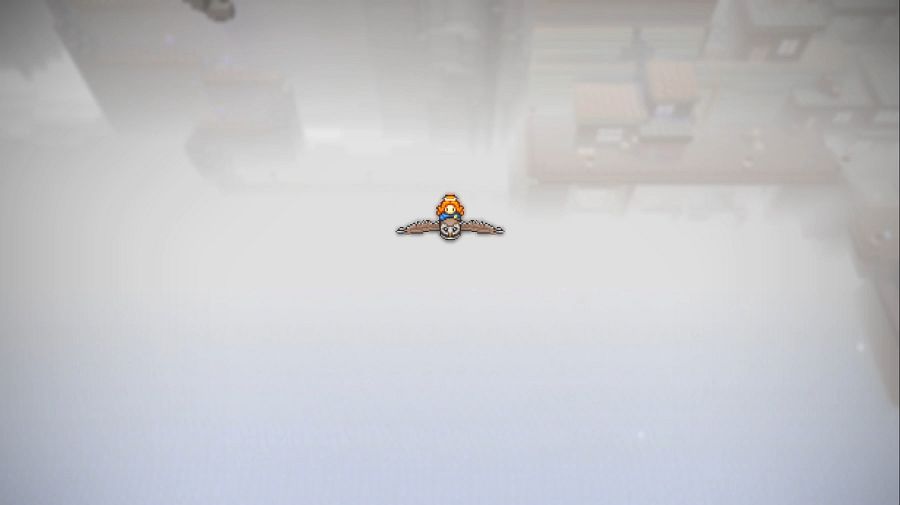 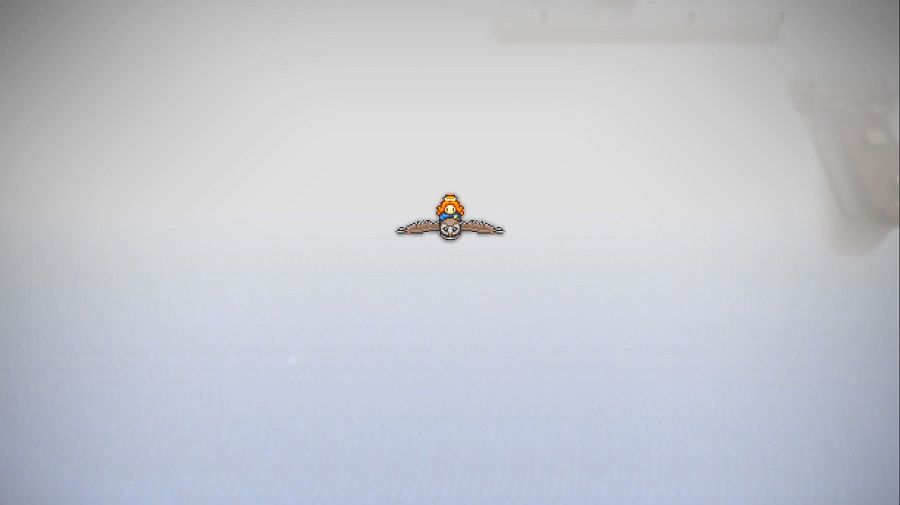 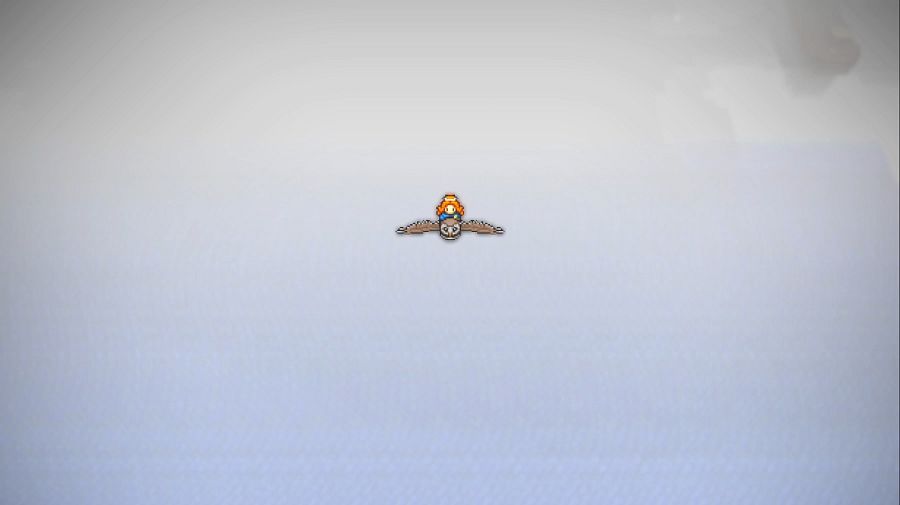 And off we go. Shoudu rapidly fades out of view, and for a while we're high up enough that even the surface of the sea is just a vague suggestion. 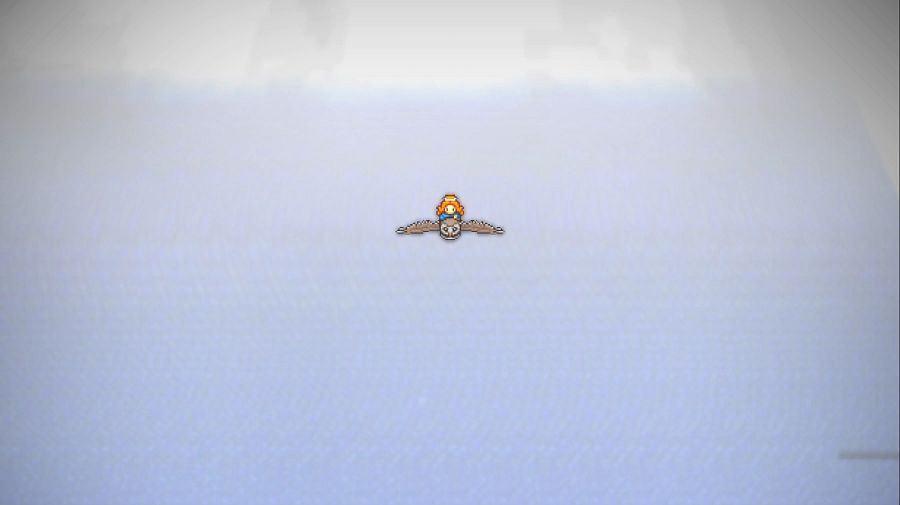 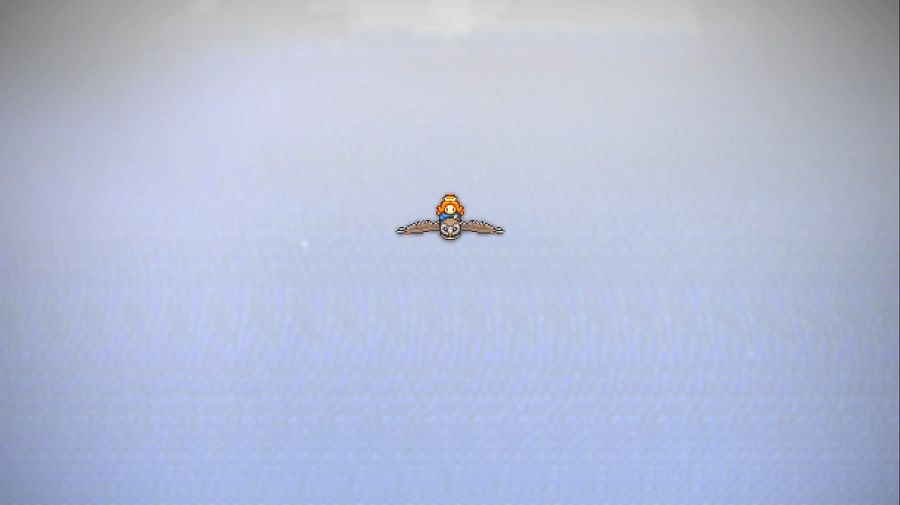  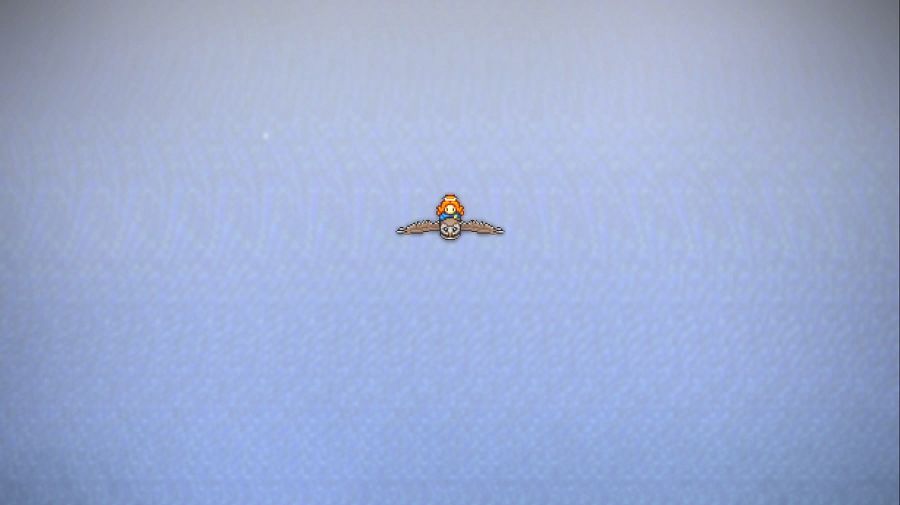 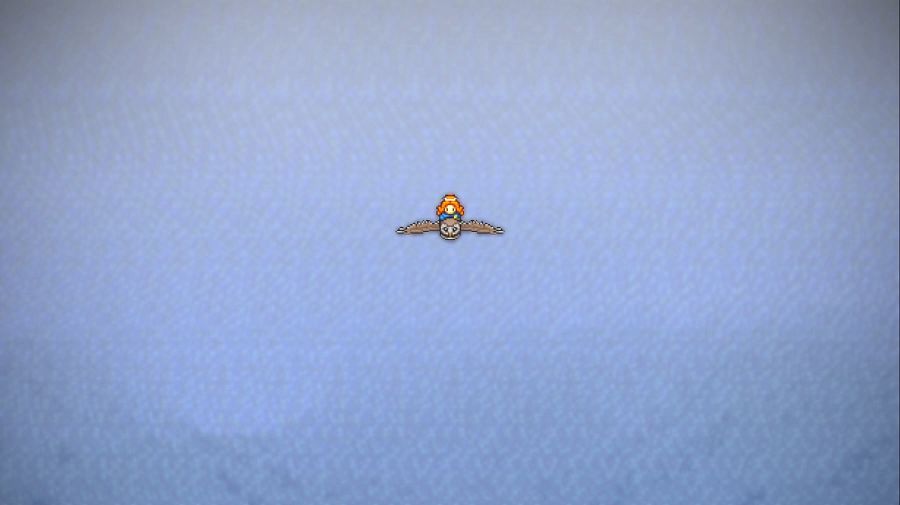 Of course, that's always going to be a temporary situation. Vanessa: Still think you're right? Charity: I believe in the owls! 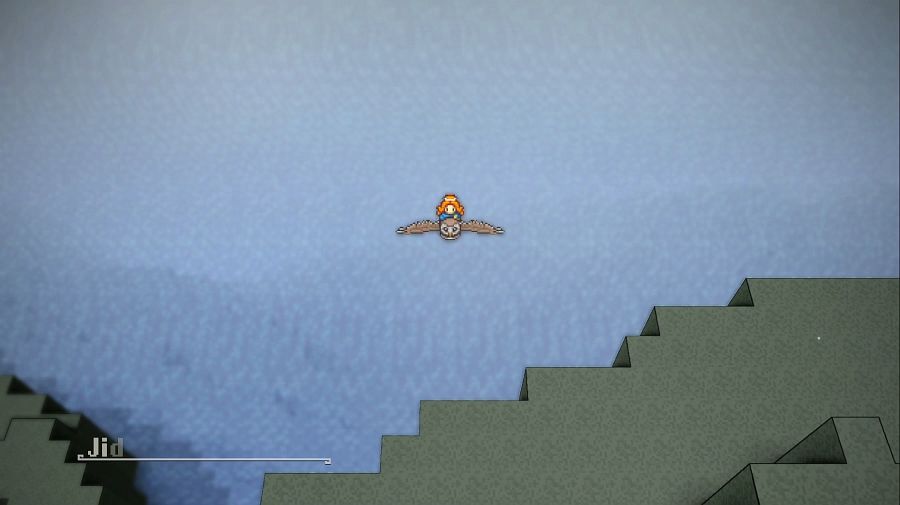 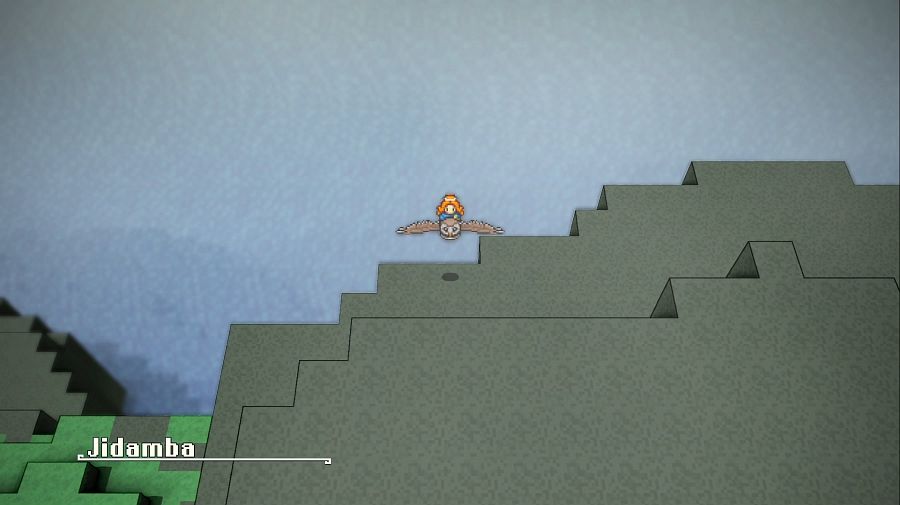 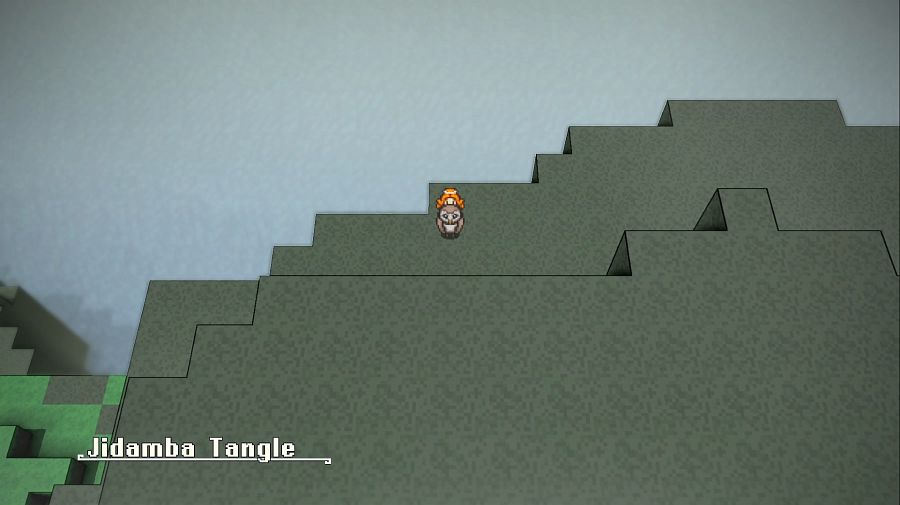 Charity: Hah! Now, what do I get? Vanessa: Since you didn't ask for anything: just smug satisfaction. Hamza: Seems kind of empty, what's there around here to fight? https://www.youtube.com/watch?v=LqM6Huu7xs4 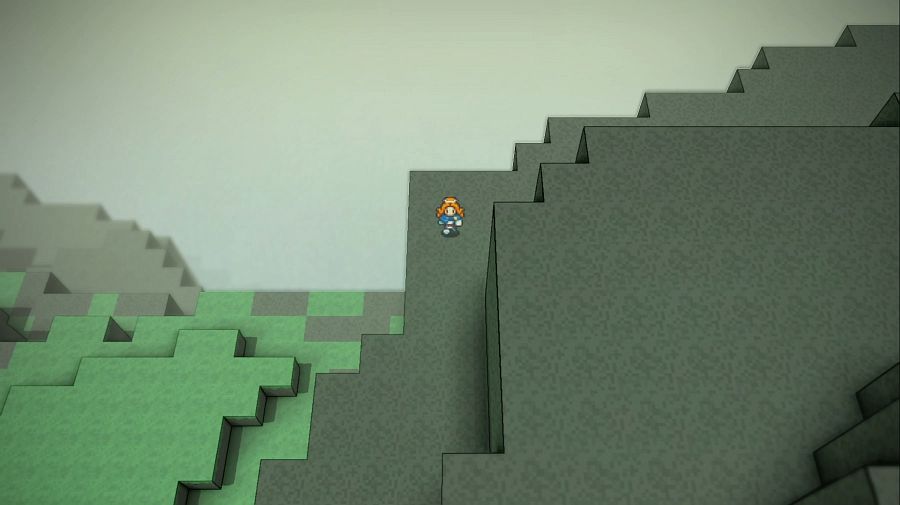 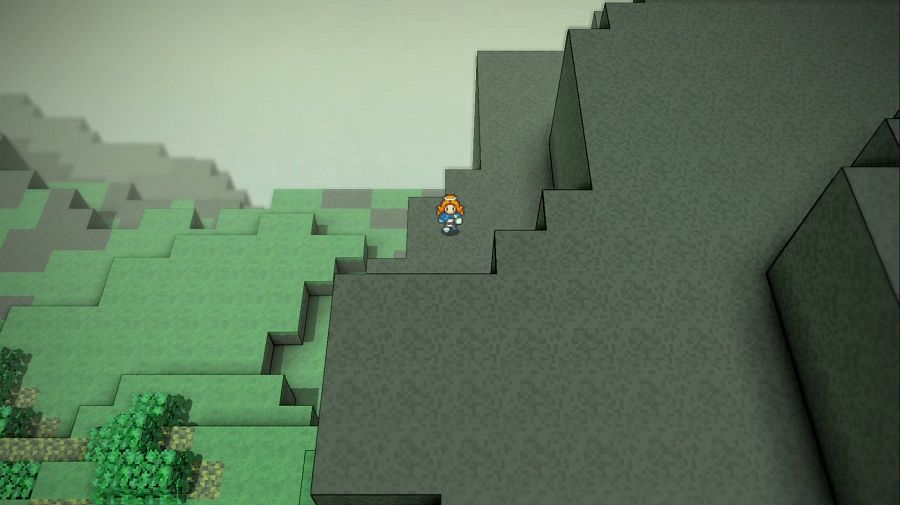 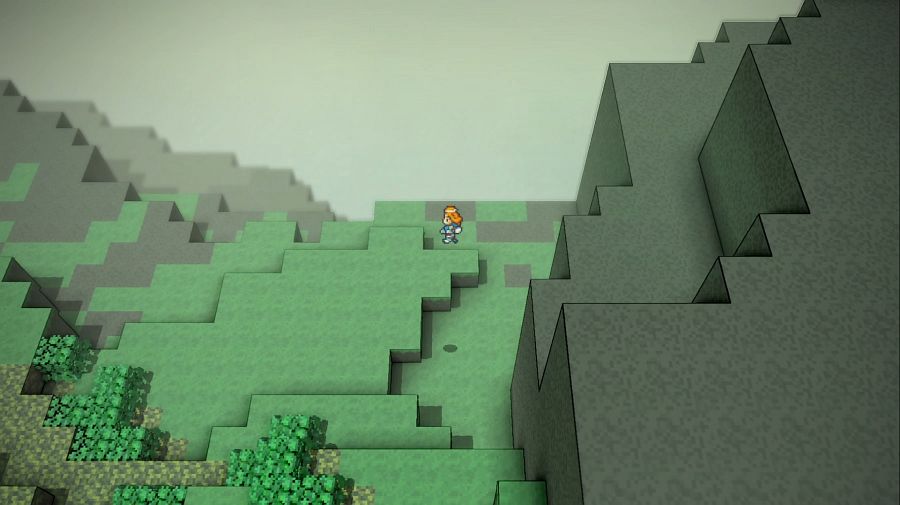 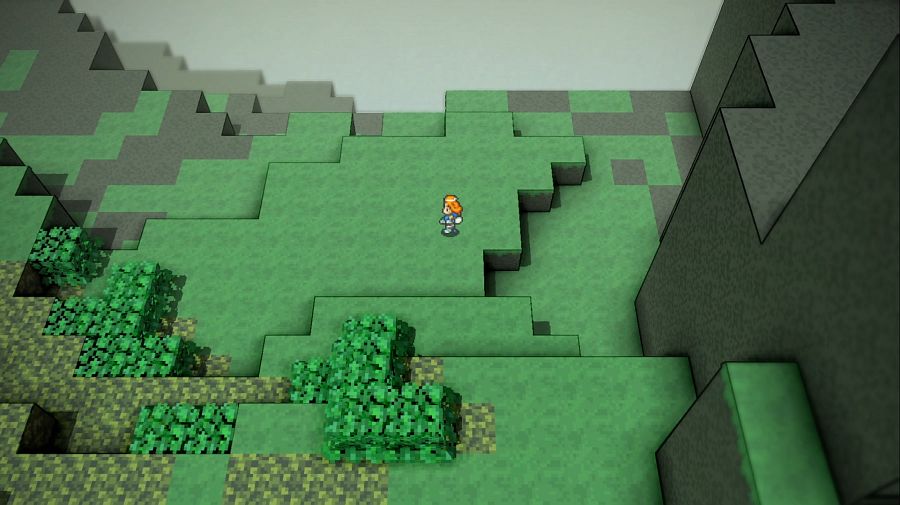 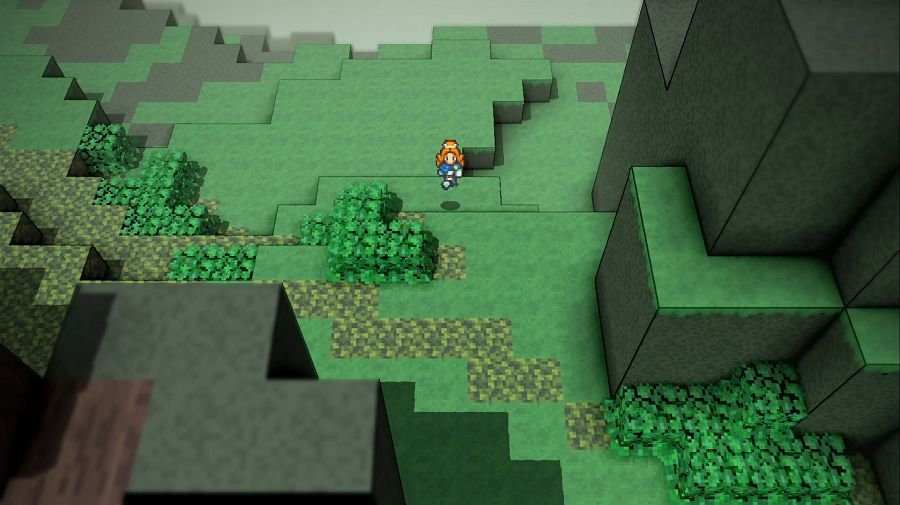 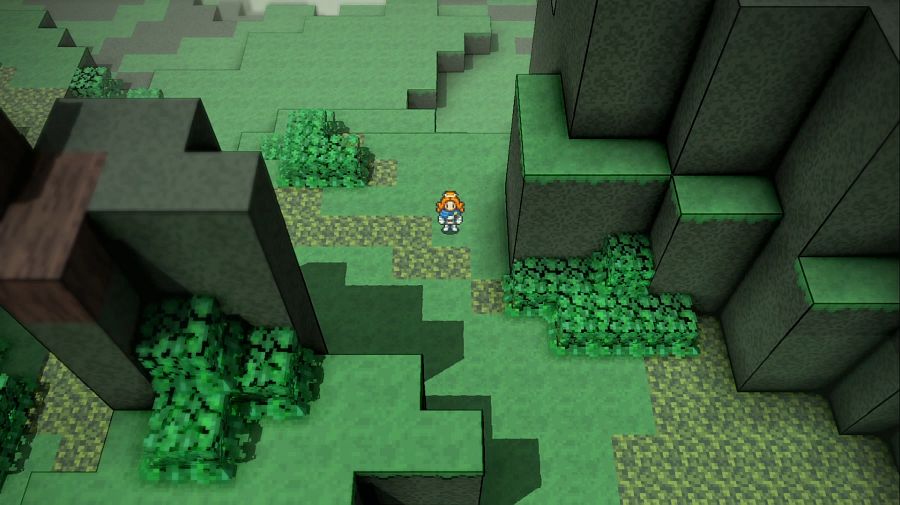 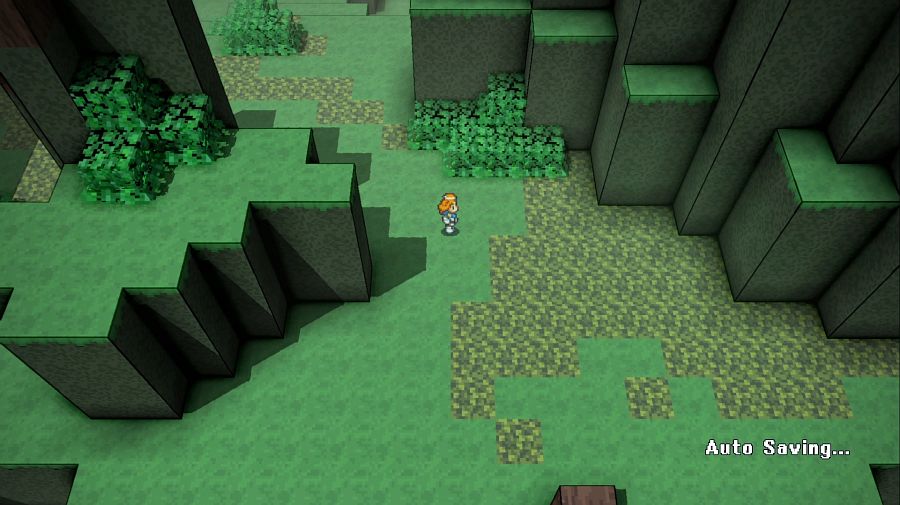 Tau: Well, at least it's pretty lively in terms of plants. Hamza: I guess I could fight a tree. 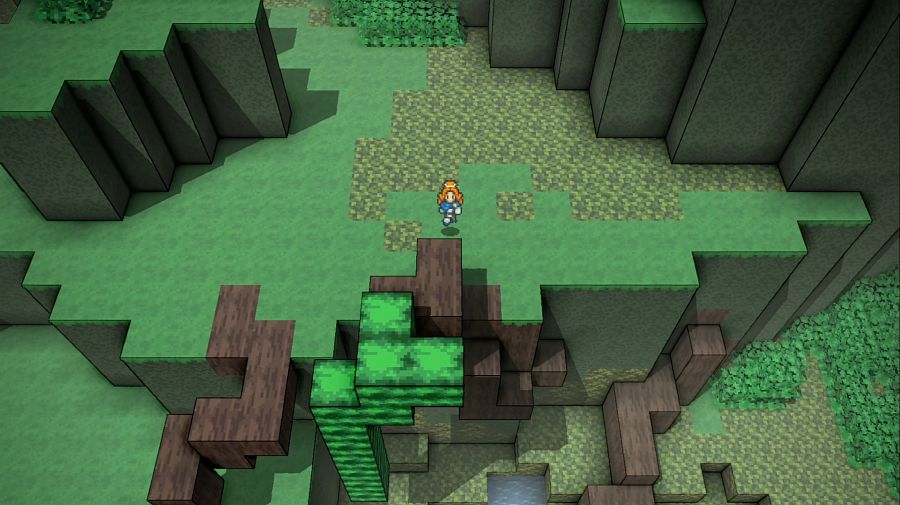  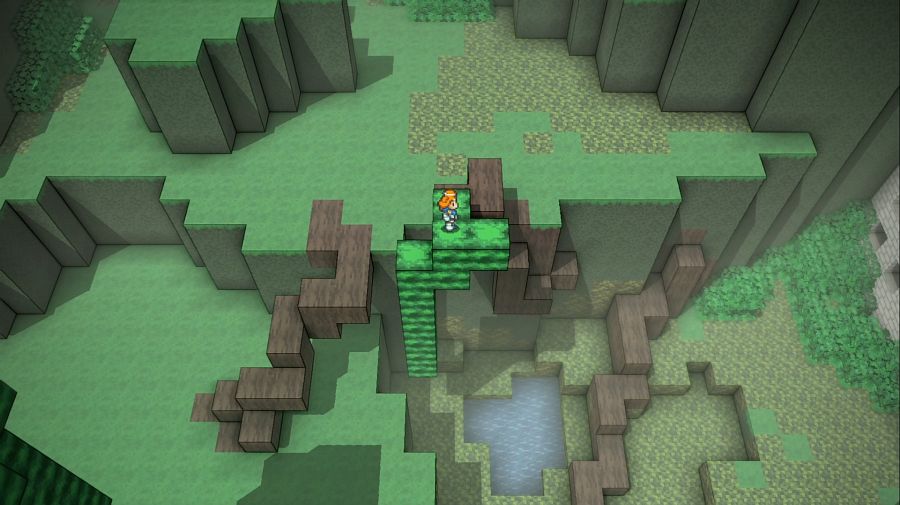 Charity: Looks like there's more than trees here, at least. Look over there! 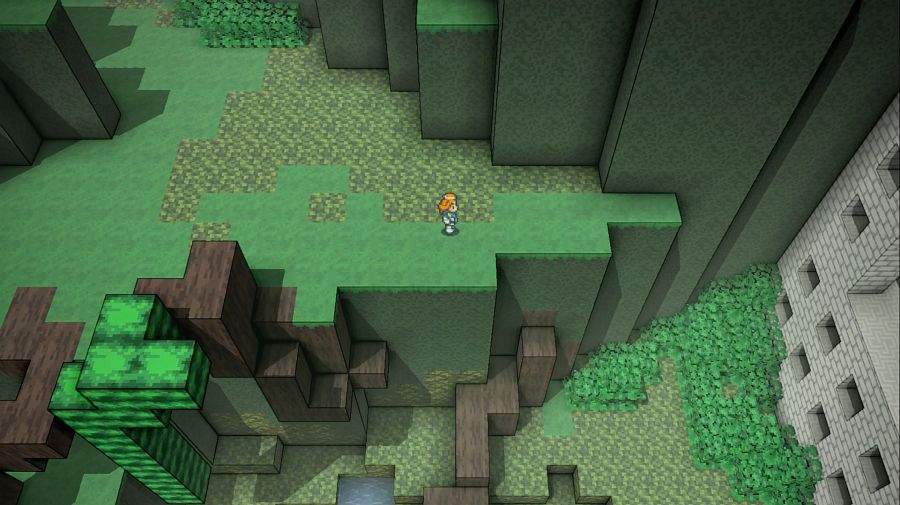 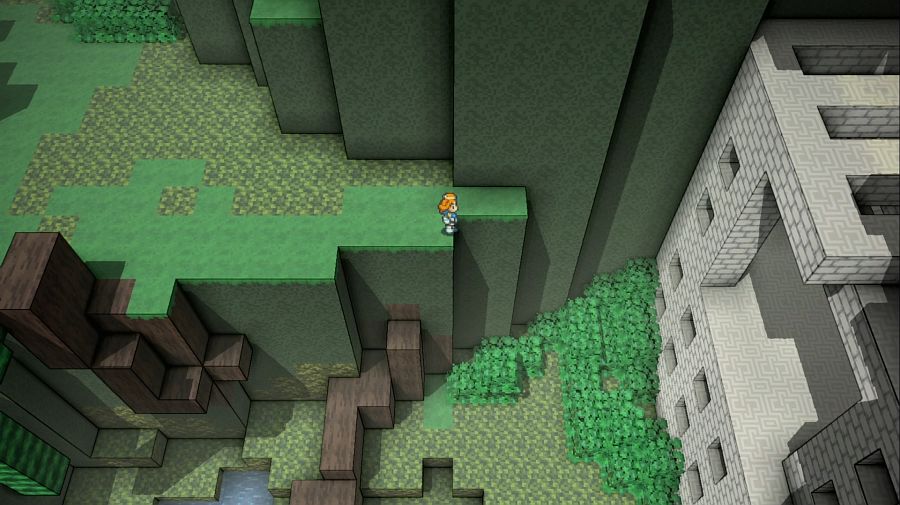  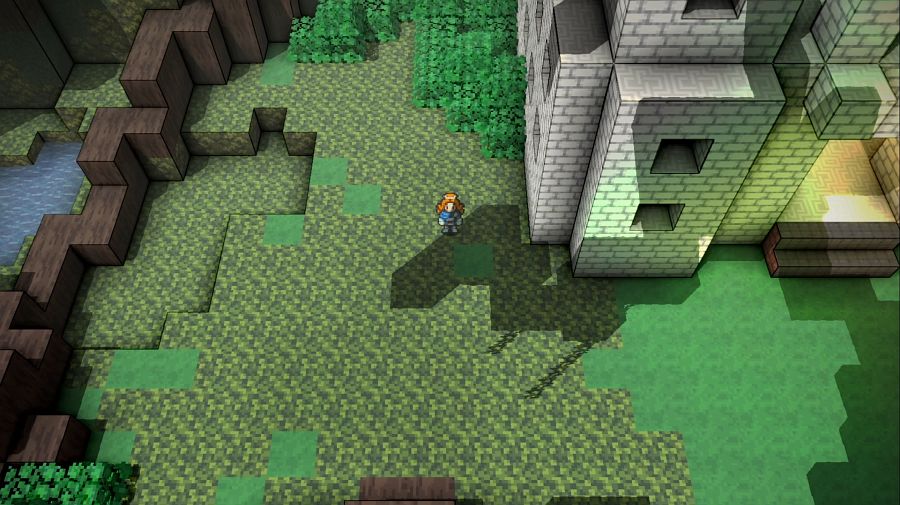 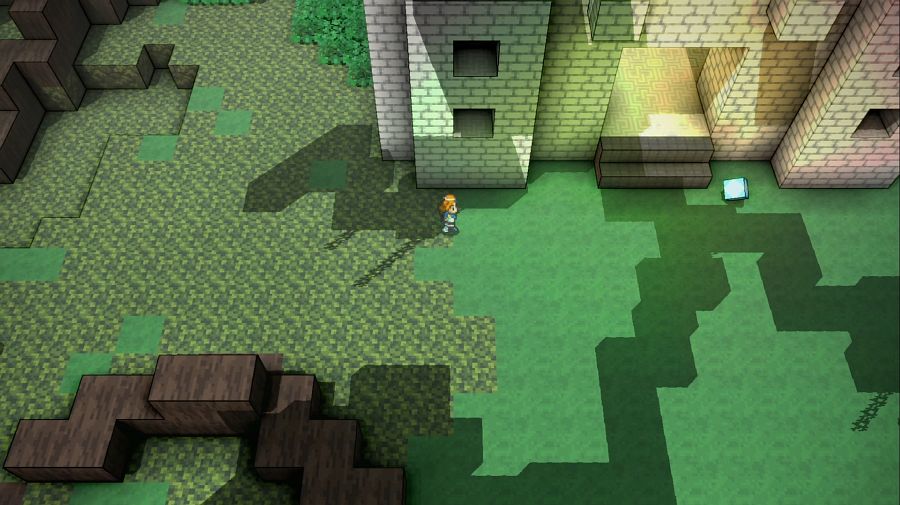 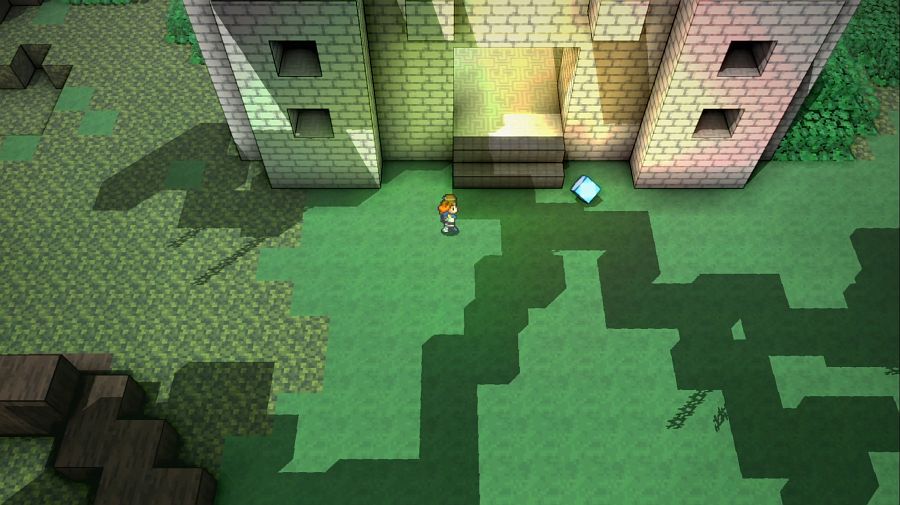 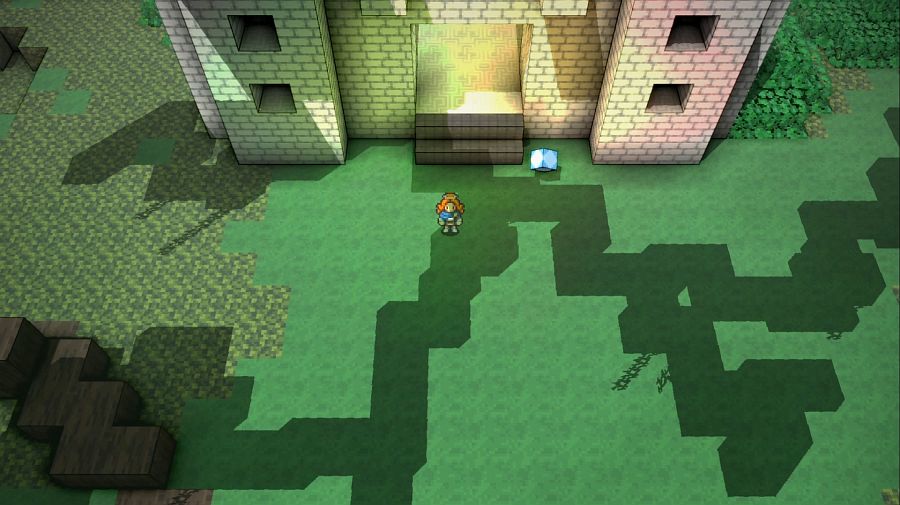 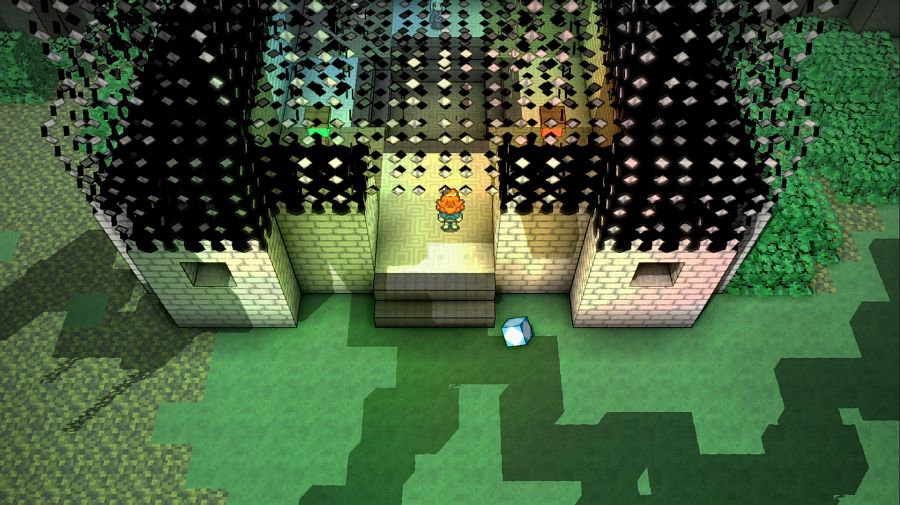 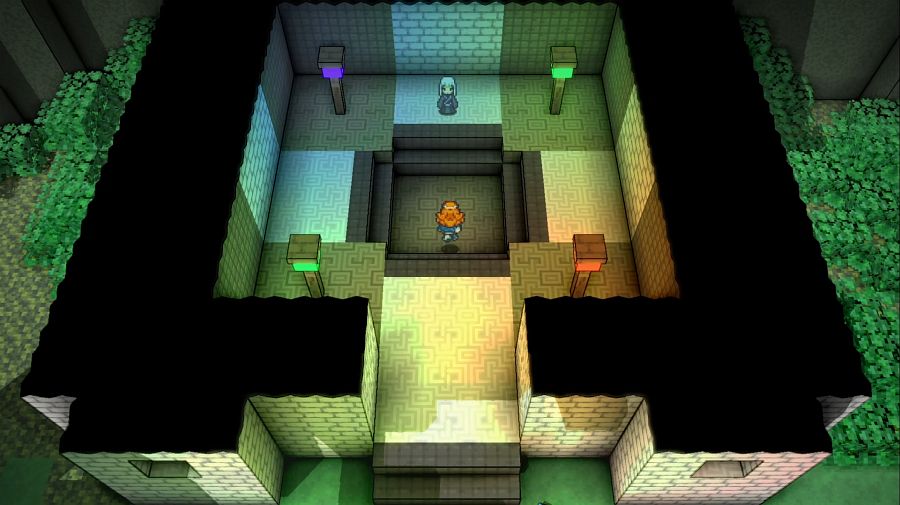 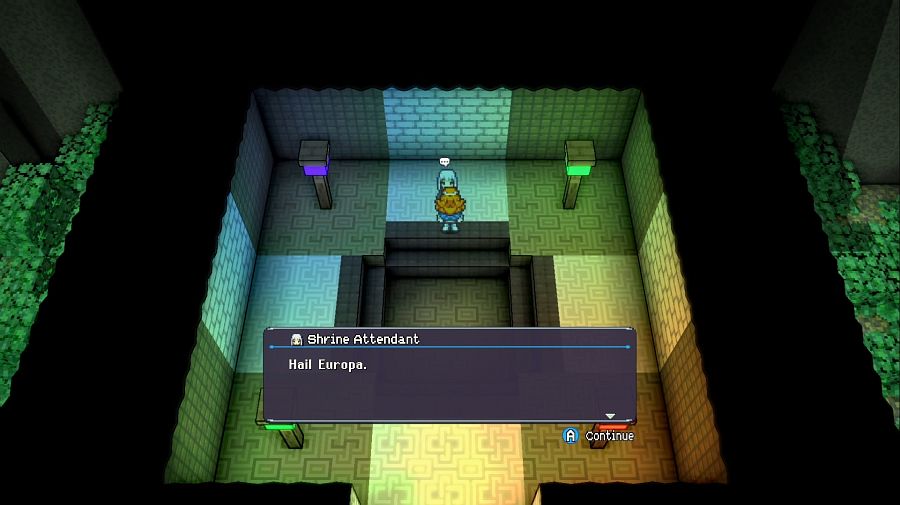  Thank God for shrines, now we can return here any time we want and also look around without worrying about getting mercilessly owned and having to fly back. 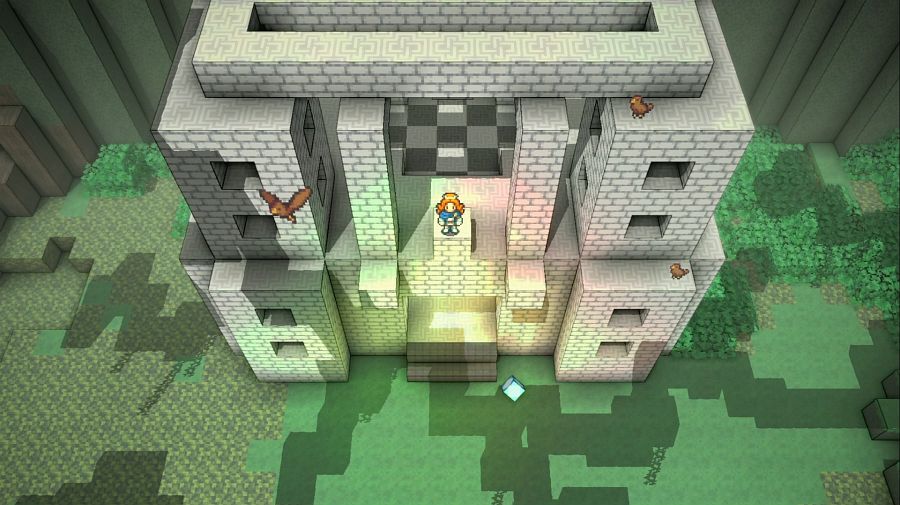 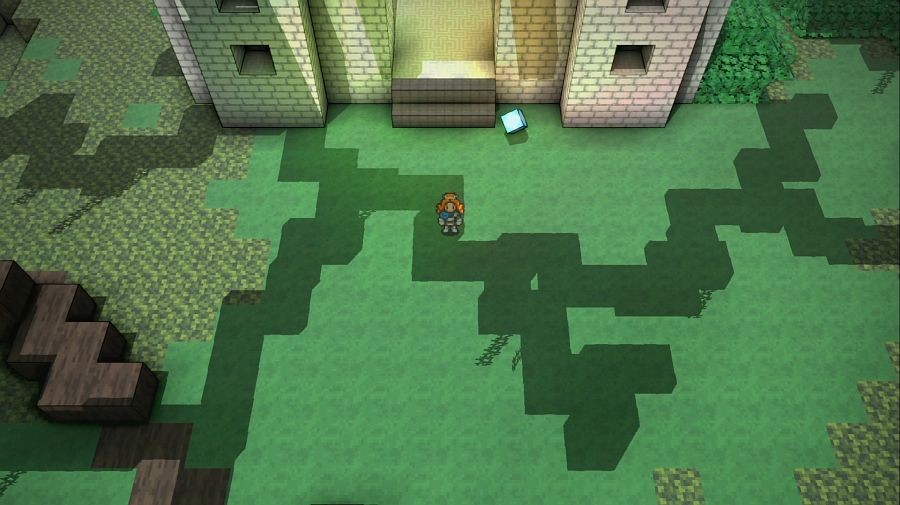 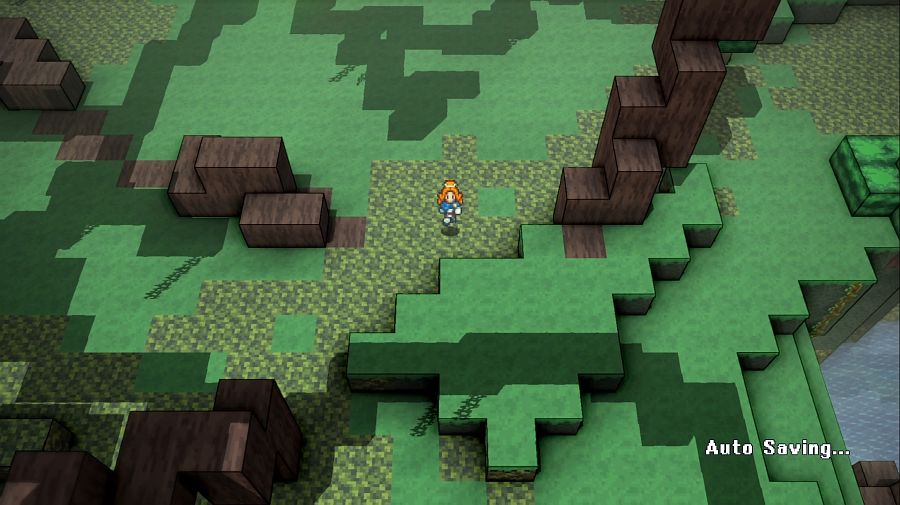 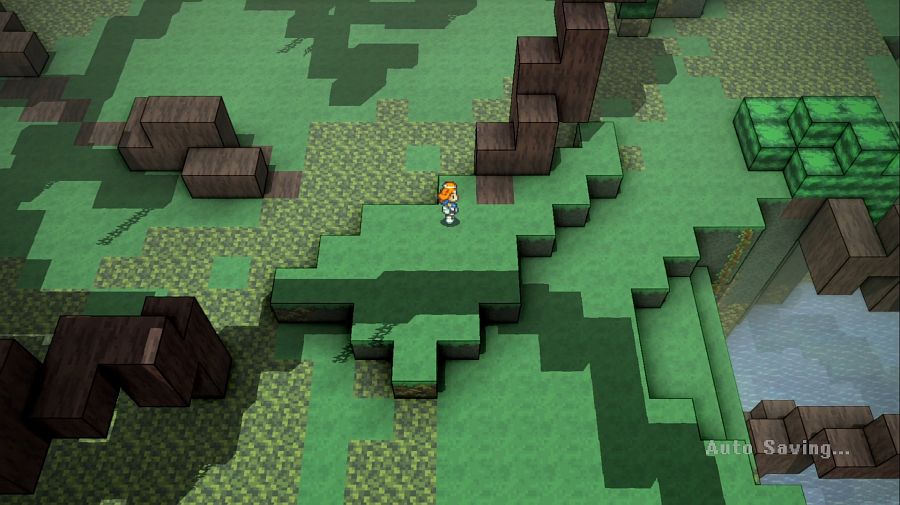 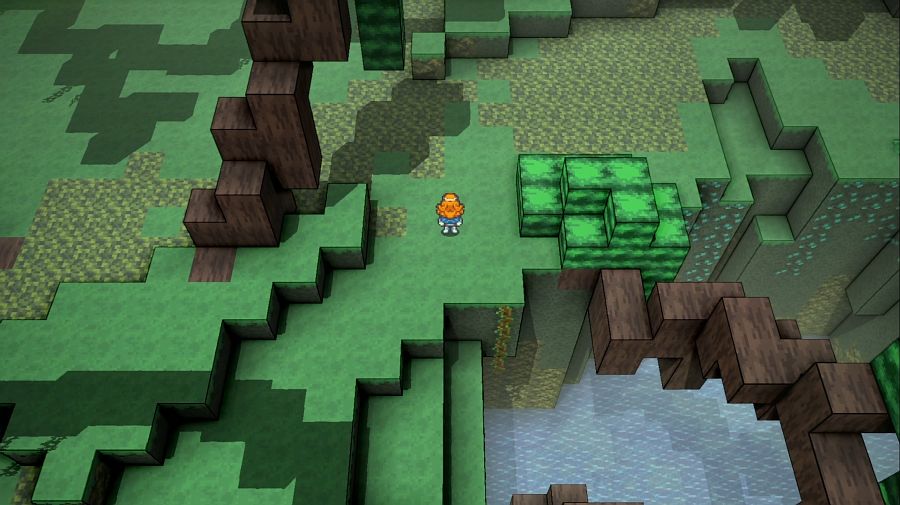 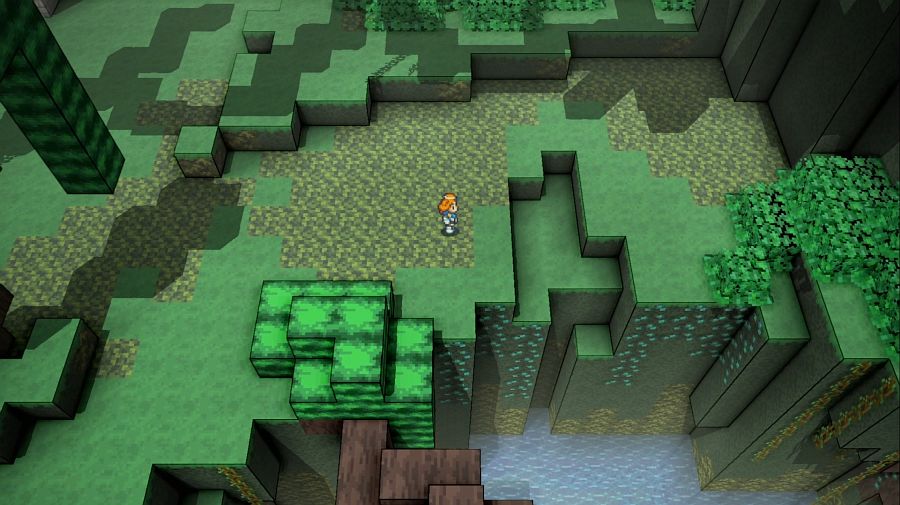  Without a map, though, we're mostly wandering blind(or would be, if I didn't have a pretty good idea of what the Jidamba Tangle is designed like). 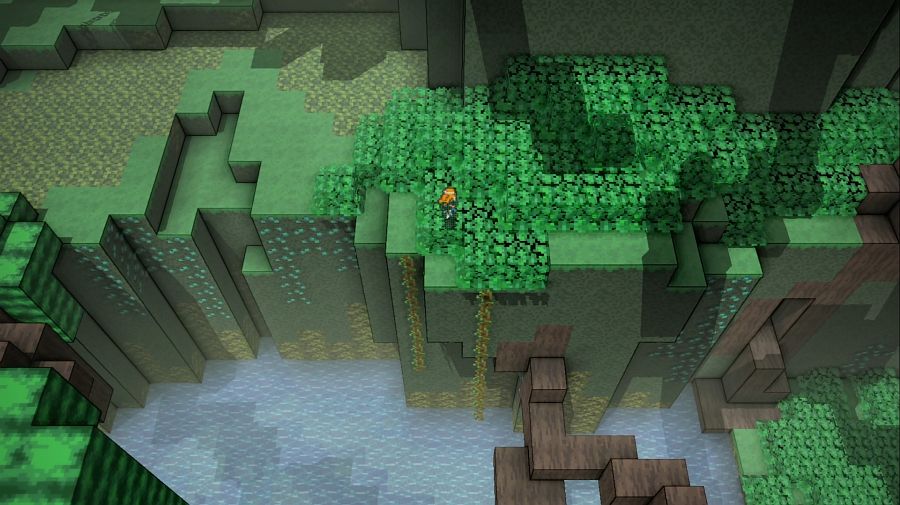 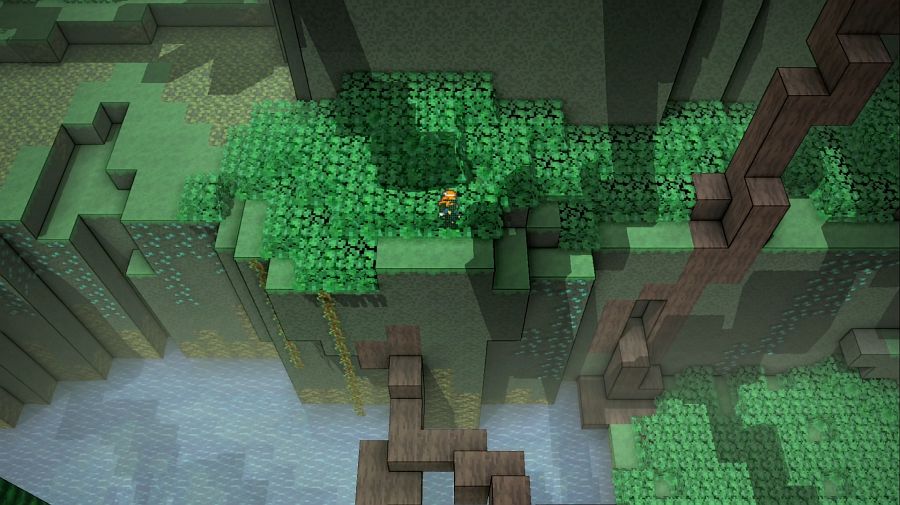  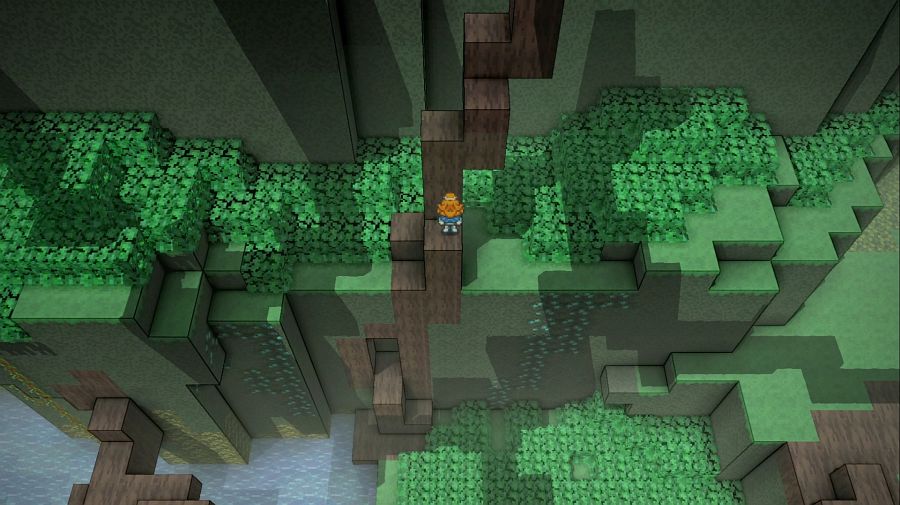 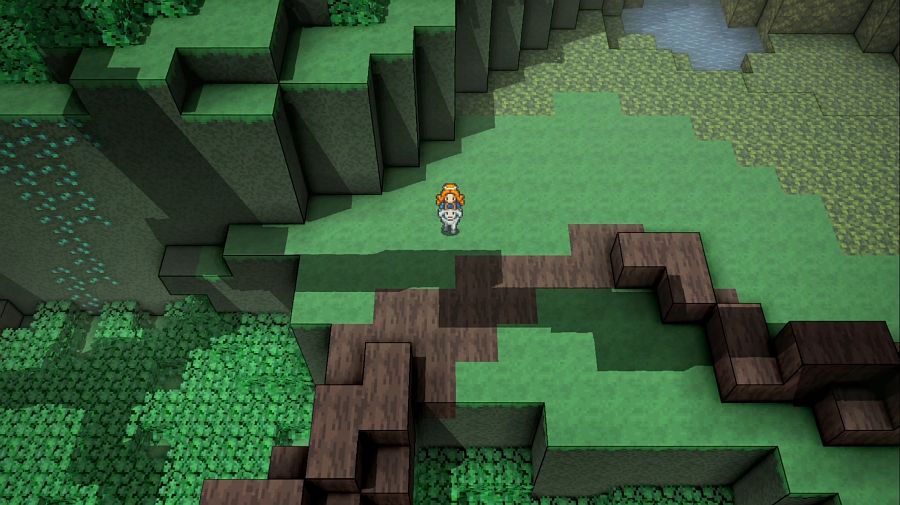 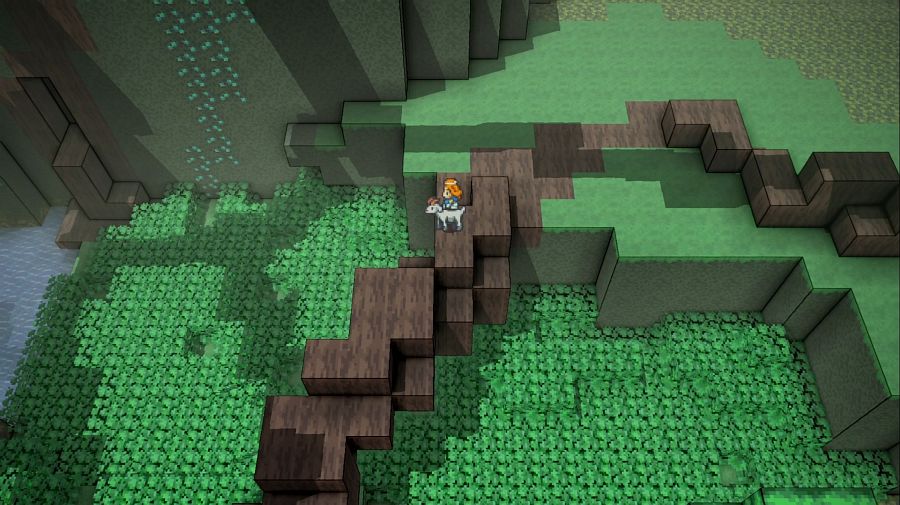 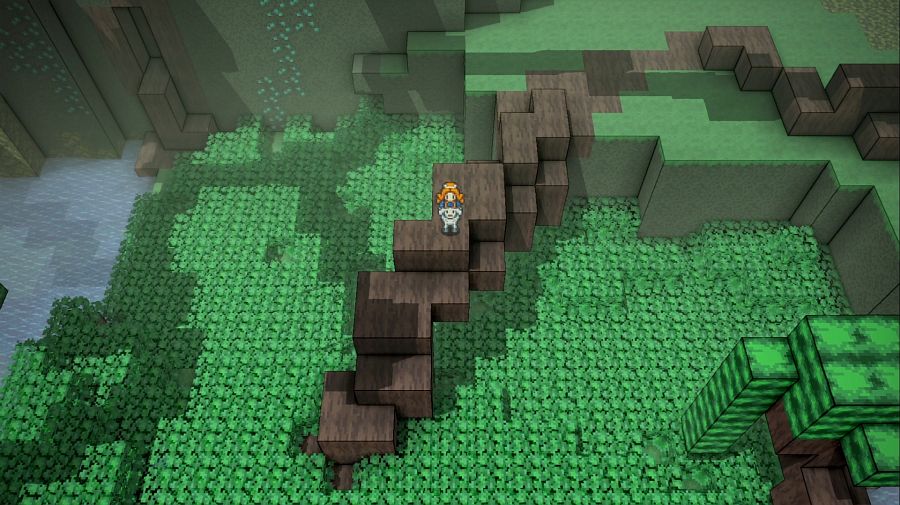 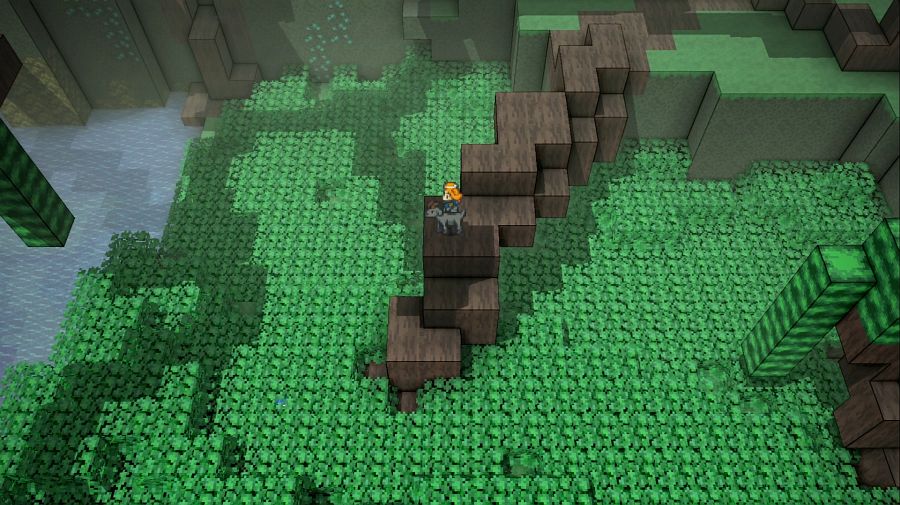 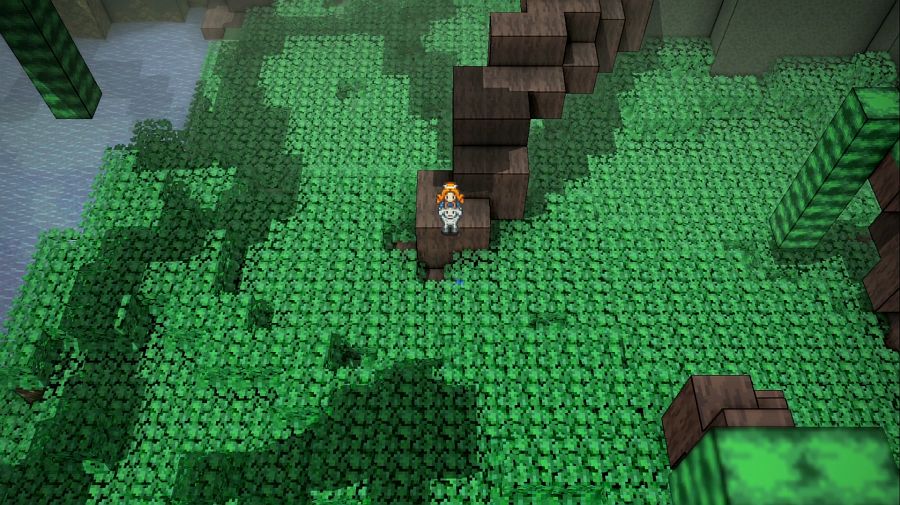 Much of the terrain is these big roots and giant branches looming over everything, and at the lowest levels, this dense undergrowth. You can hardly even see the blue flame just below the party, but you can hear them move, since they make the same "disturbing the plants"-sound effects on passing through it as the party does.  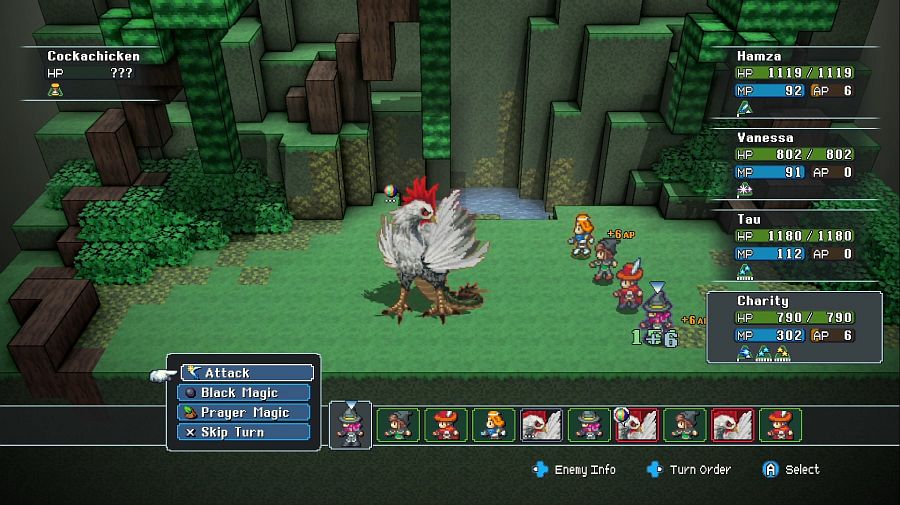 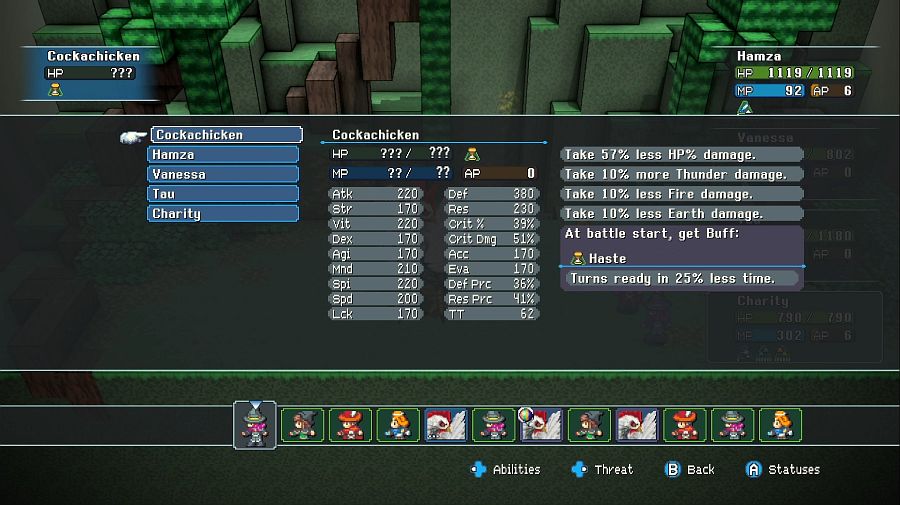 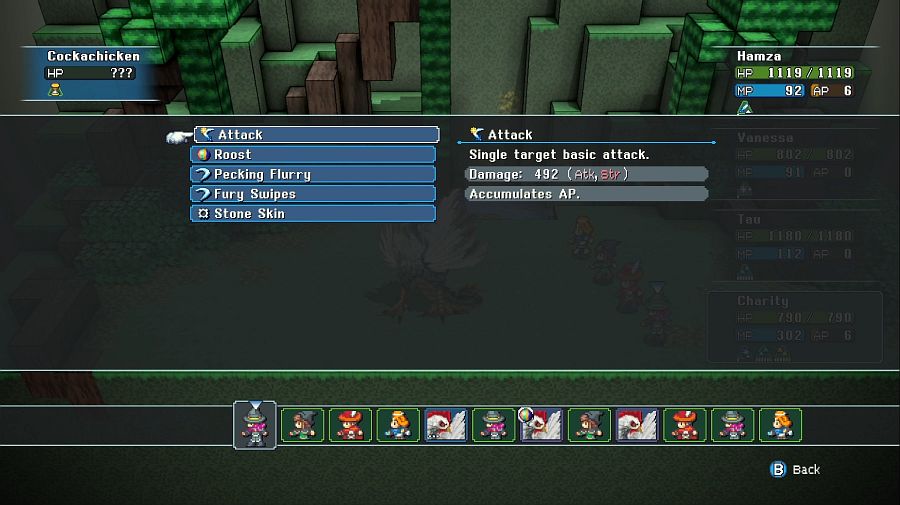 Since there's no petrification instakill status effect, Cockachickens are probably the least dangerous enemy in this area. I can usually take them out with no or minimal damage to the party. 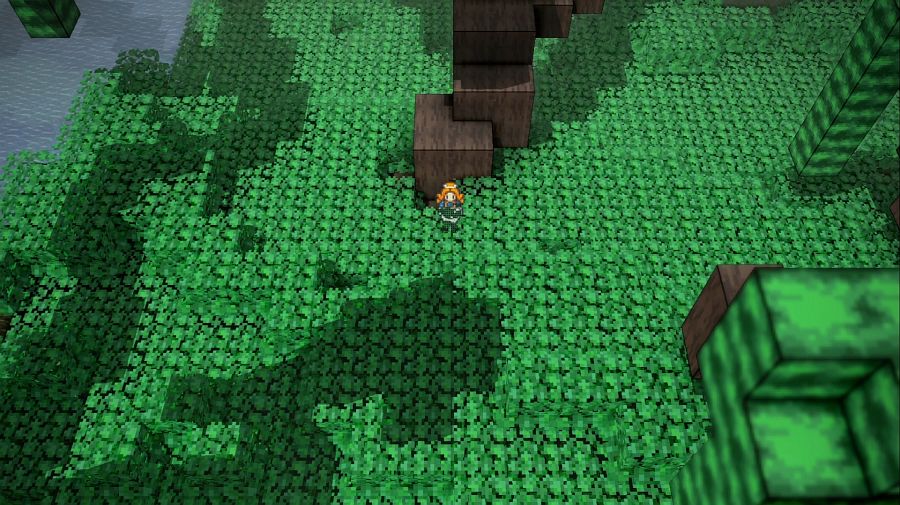 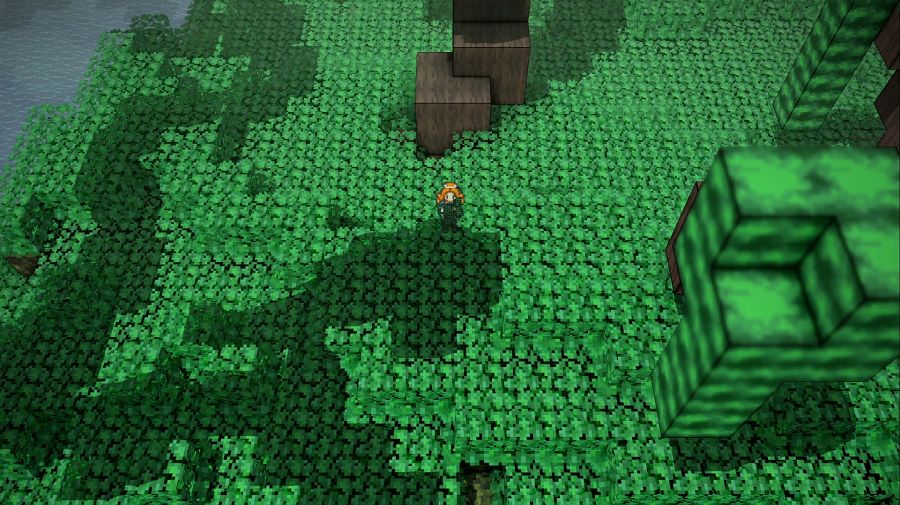 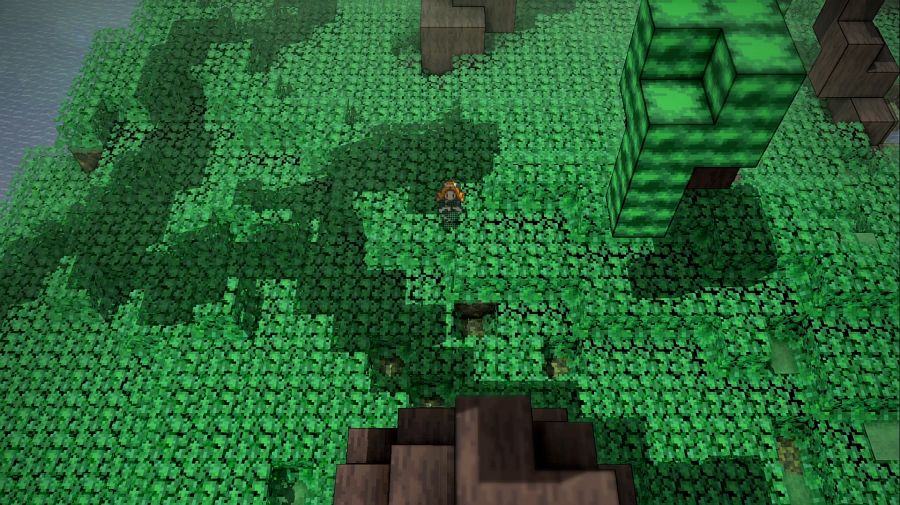 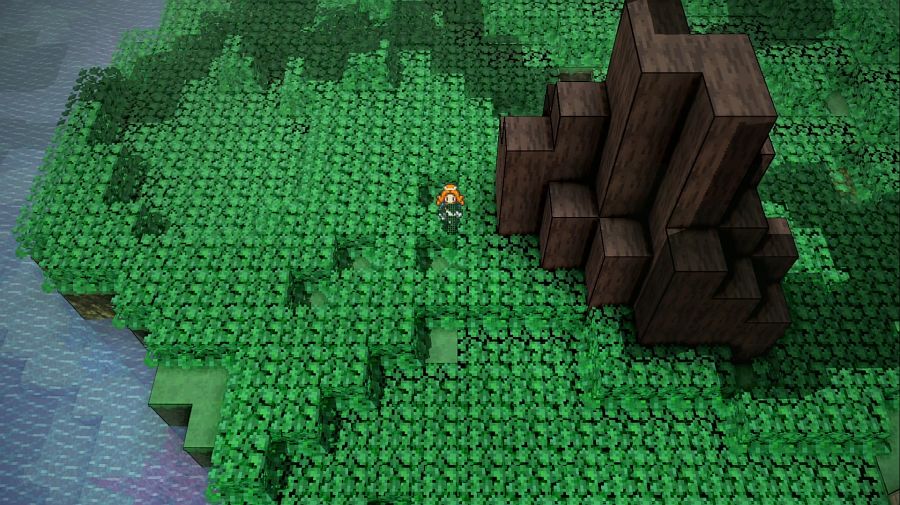 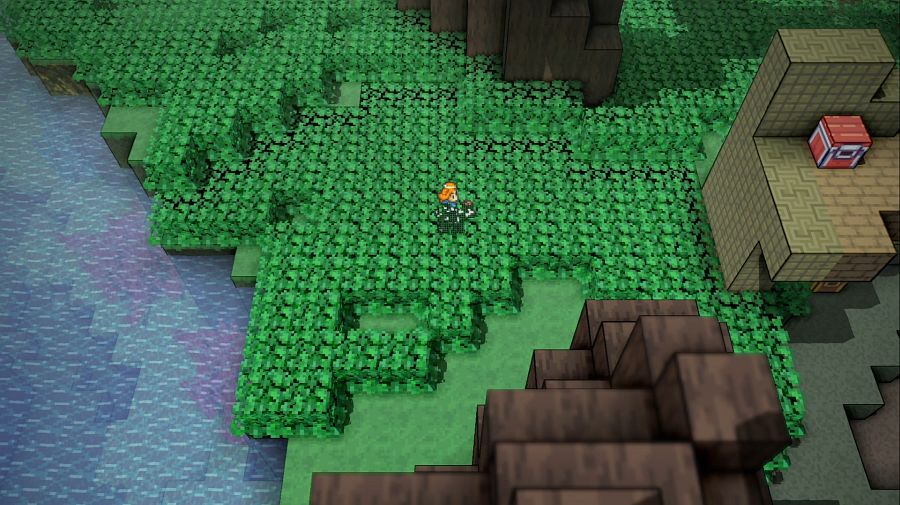 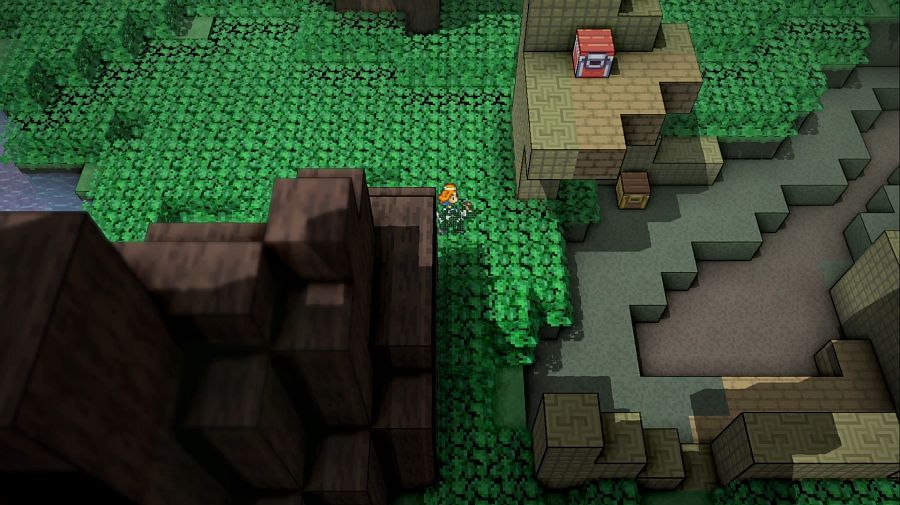 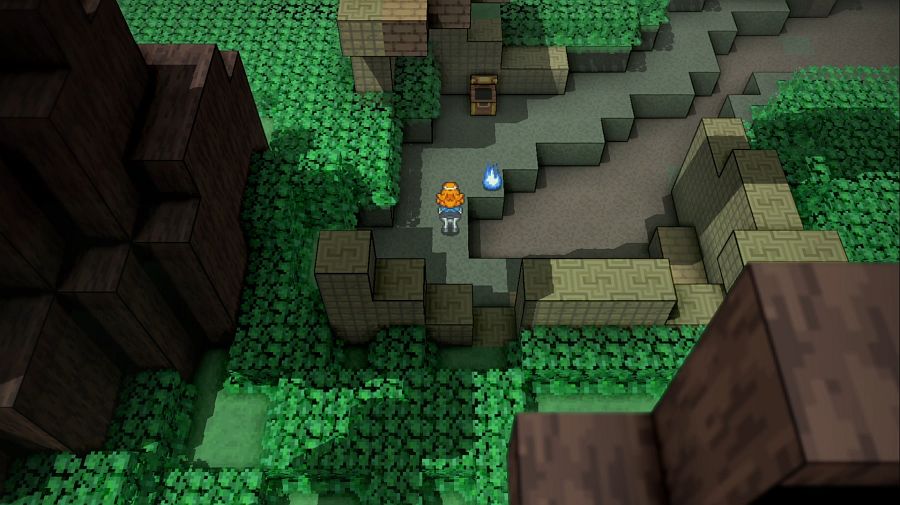  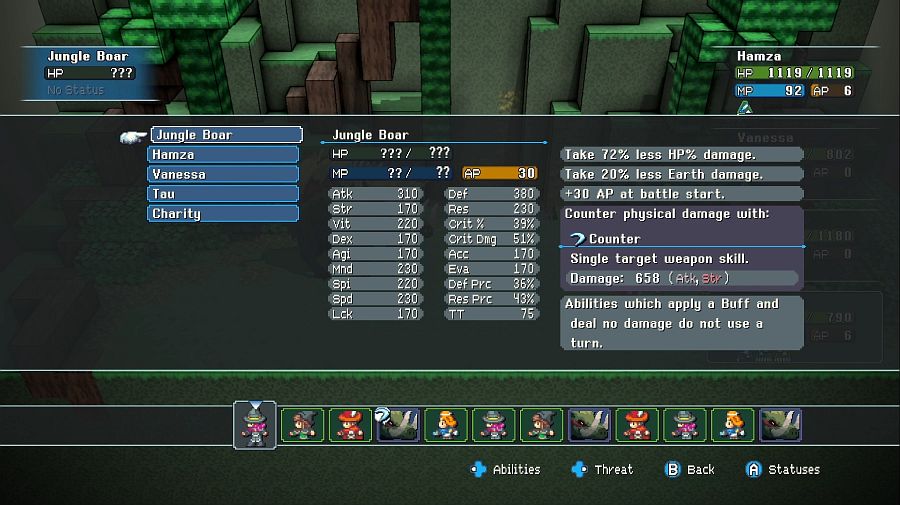 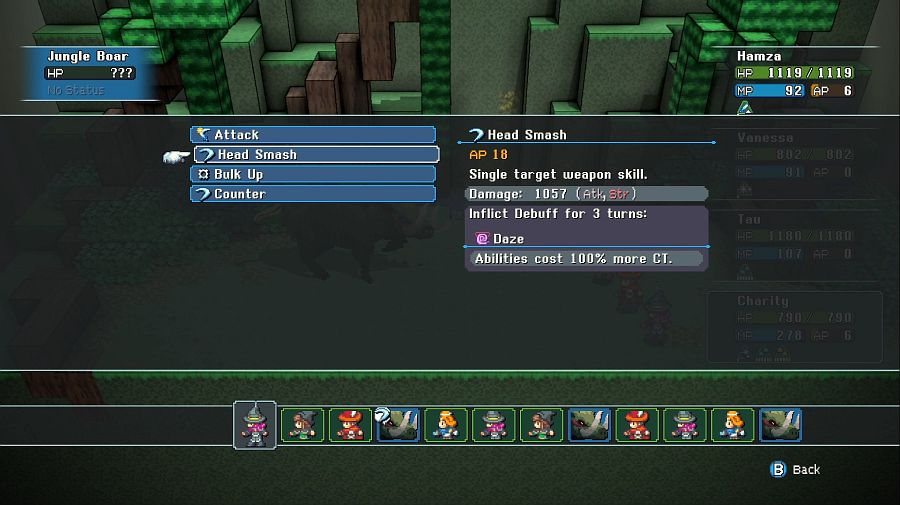 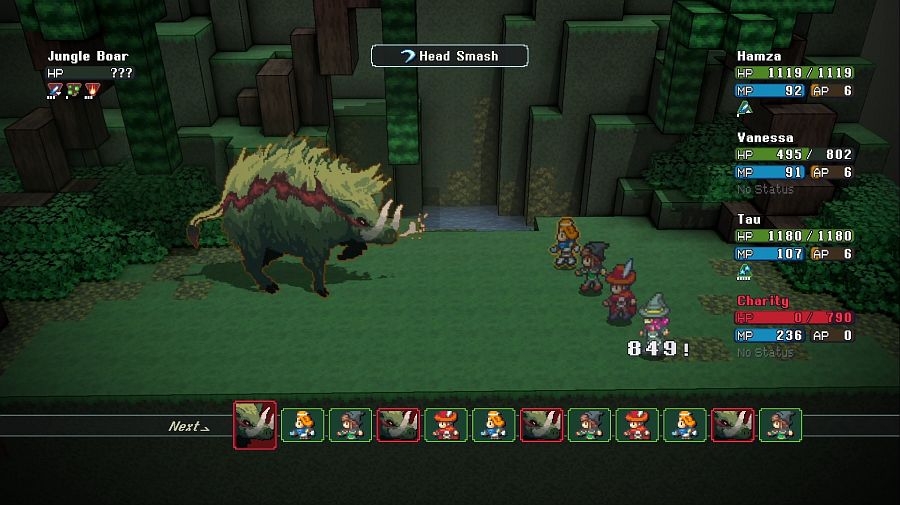  Jungle Boars are a LOT more scary because their counterattacks hurt like hell and they're bulky enough to not go down quite as easily. If I'd been a clever gamer and made sure Vanessa was a Rogue(for non-counterable attacks) and that Hamza had the no-counters passive from Samurai equipped, it would probably have gone less poorly, but I manage to scrape by. They're the majority of what you'll be fighting down at ground level. 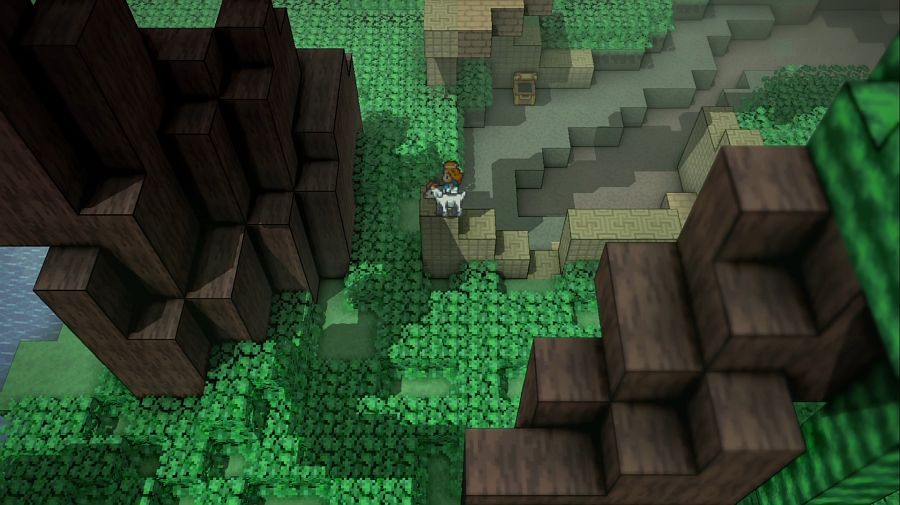 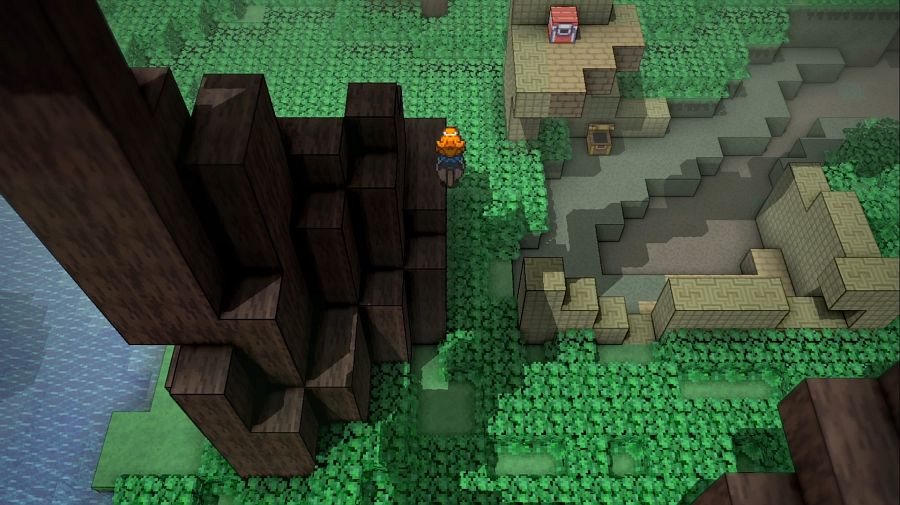  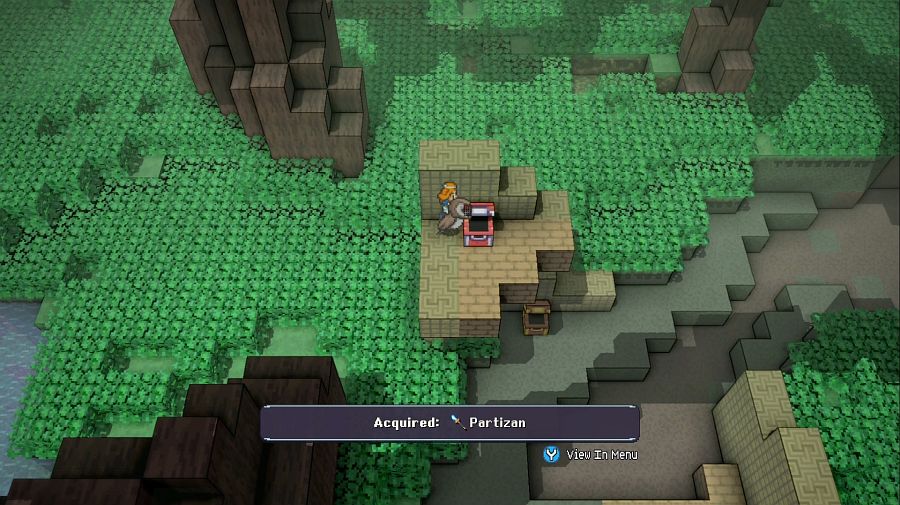 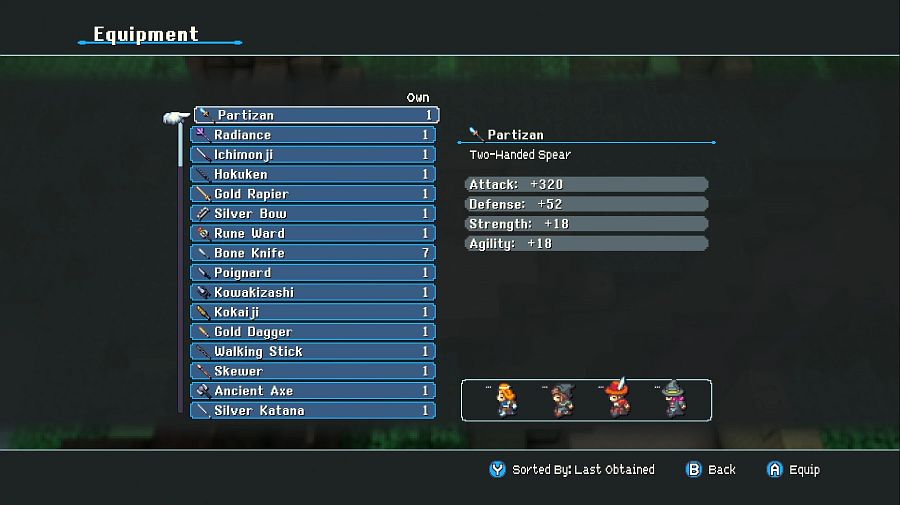 This ruin also holds one of the best spears in the game, the Partizan is absolutely end-game competitive and does a frightening amount of damage.  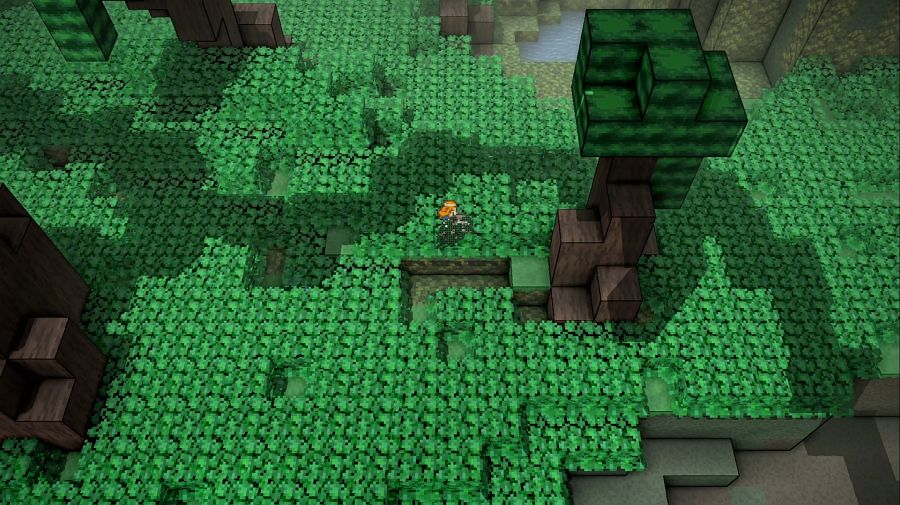 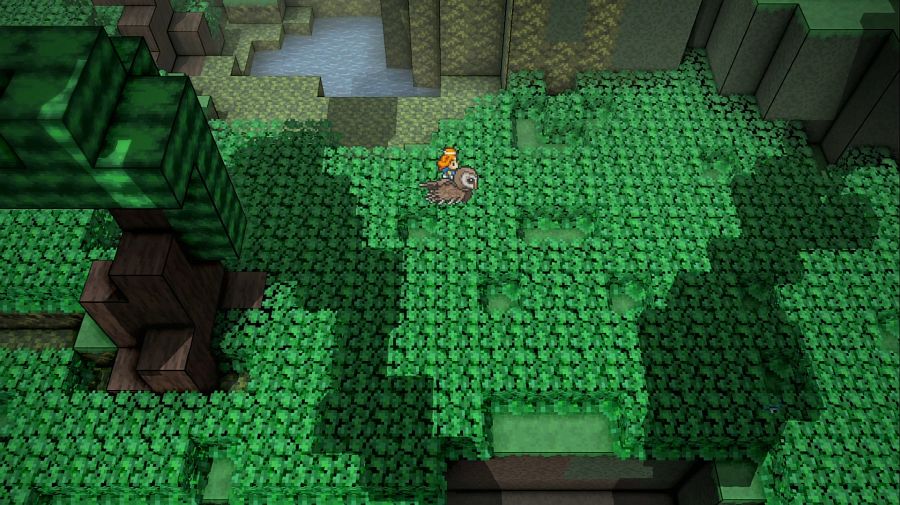 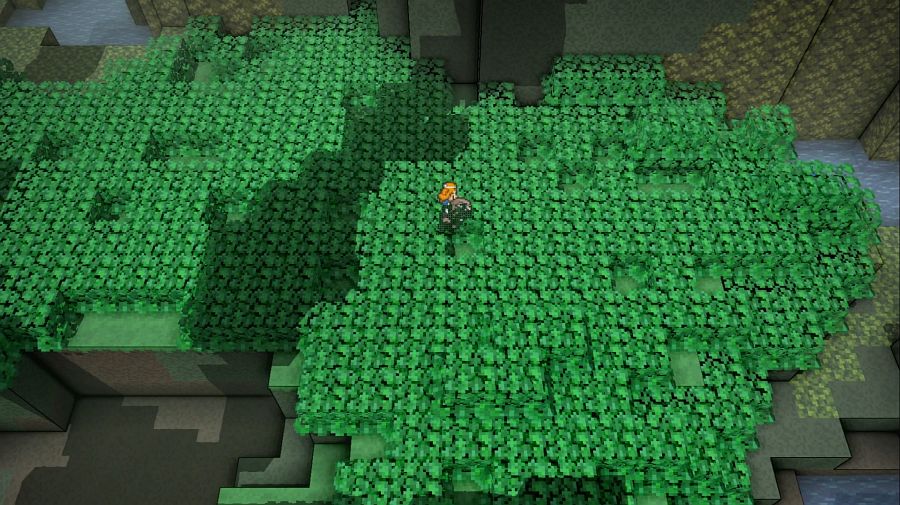 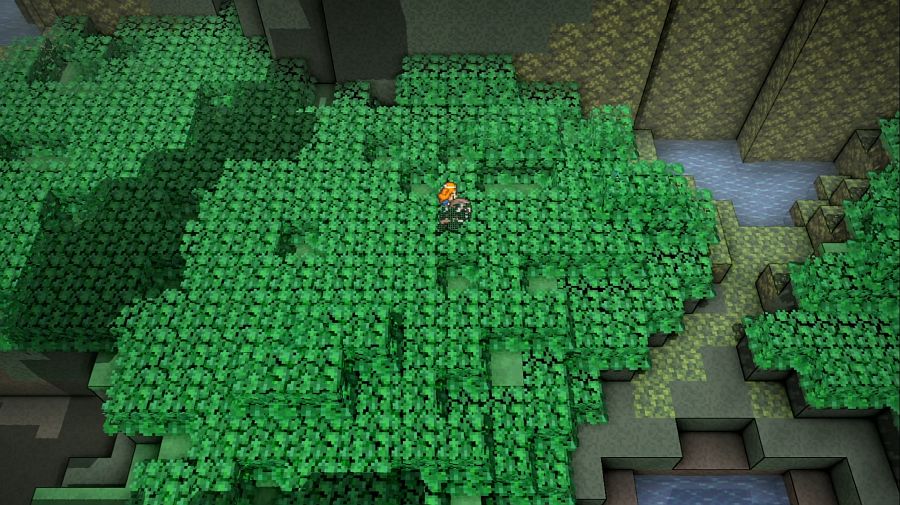  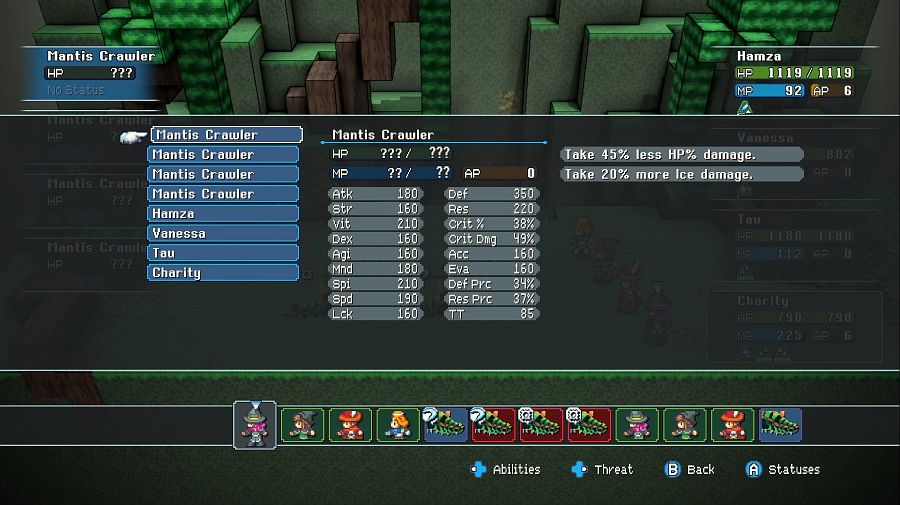 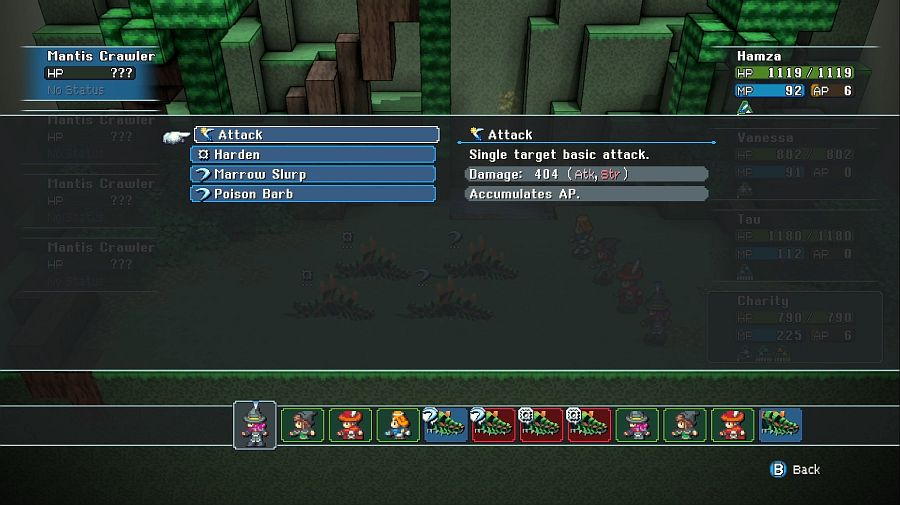 Mantis Crawlers are potentially dangerous because they can drain MP and poison, but mostly if you're running a party focused on single target damage. We're just about the opposite, focused on multi-target damage, so they never live long enough to actually do anything before they're reduced to ashes. 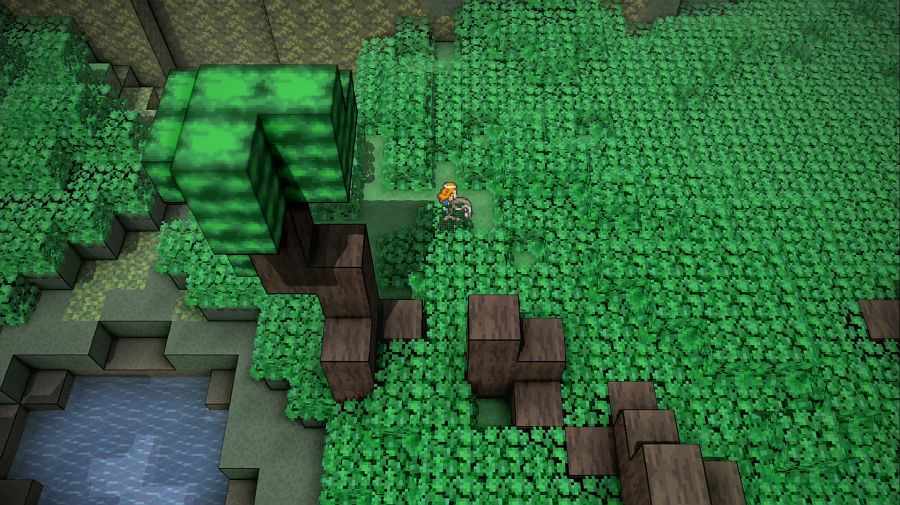 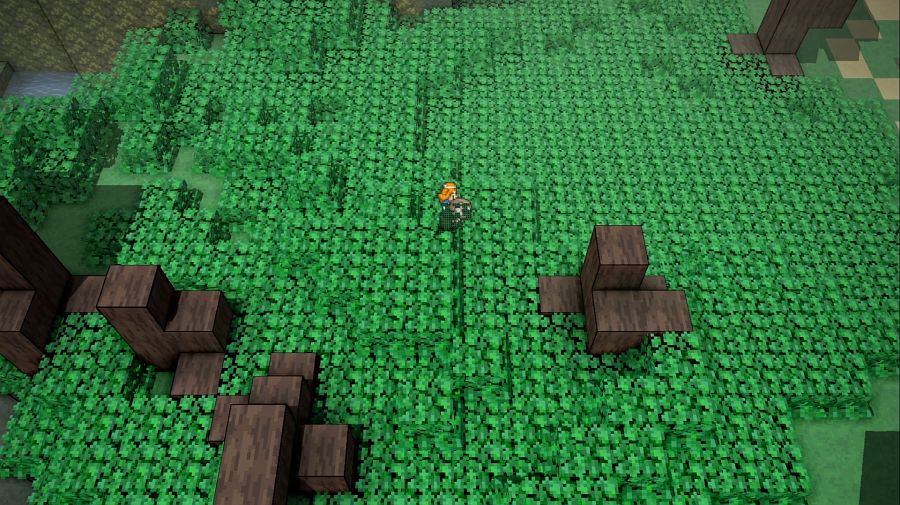 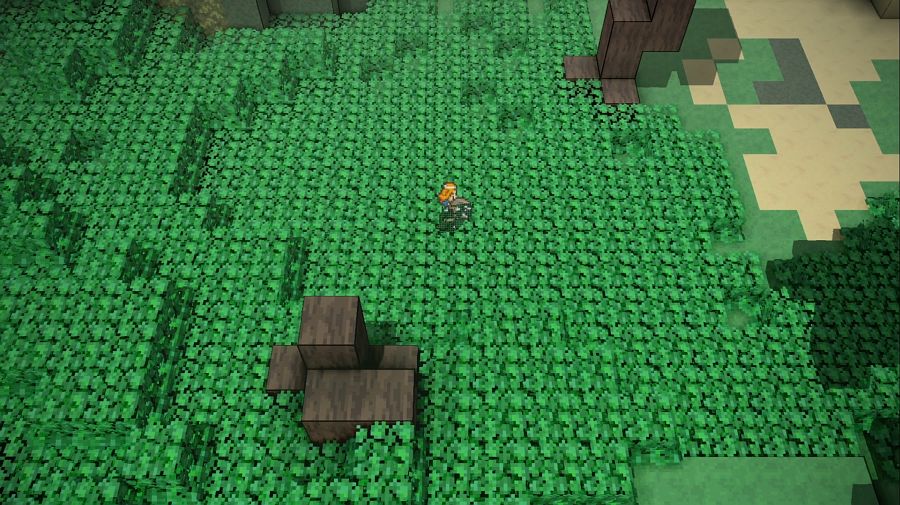 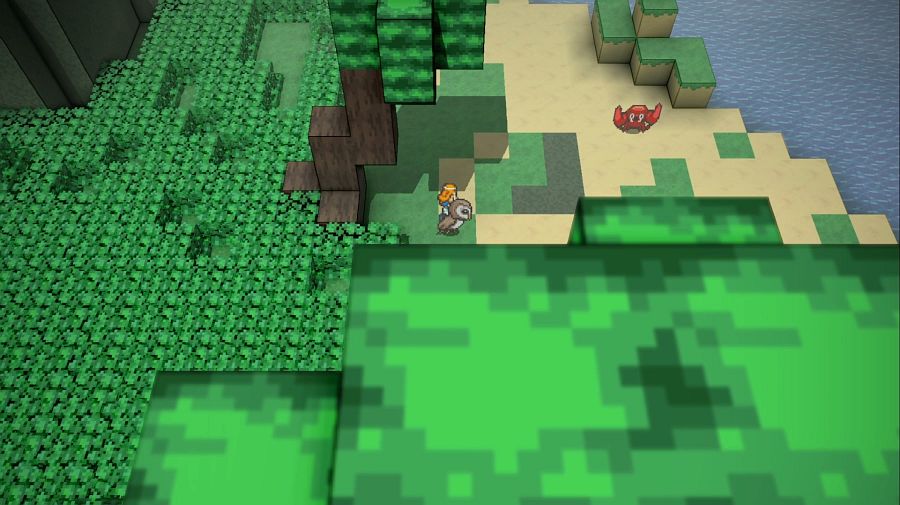 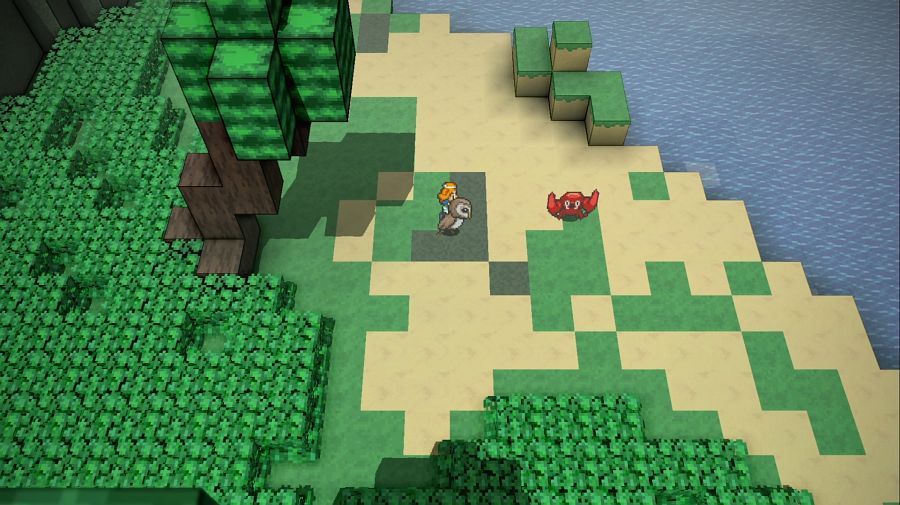 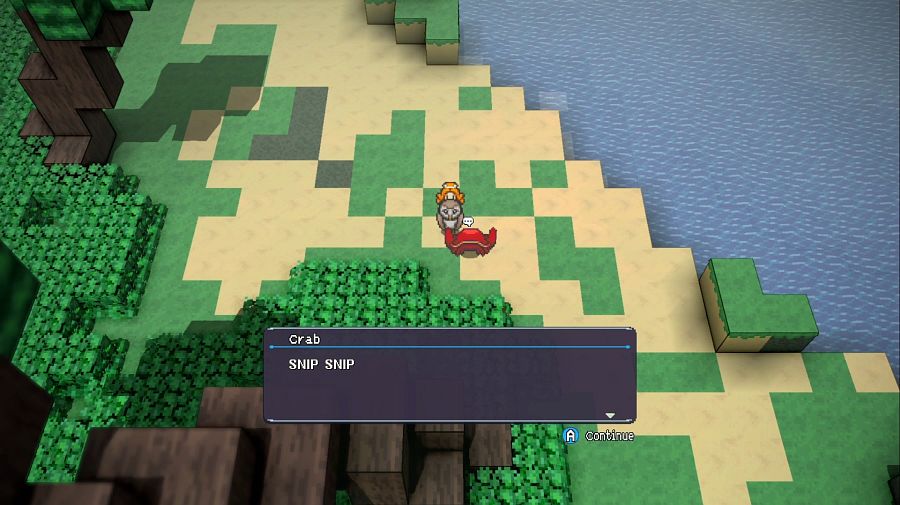 On the east coast there is also a crab. Charity: SNIP SNIP. Tau: I still don't get how you can hate quintars and like crabs. Charity: Crabs are cute and you shush. 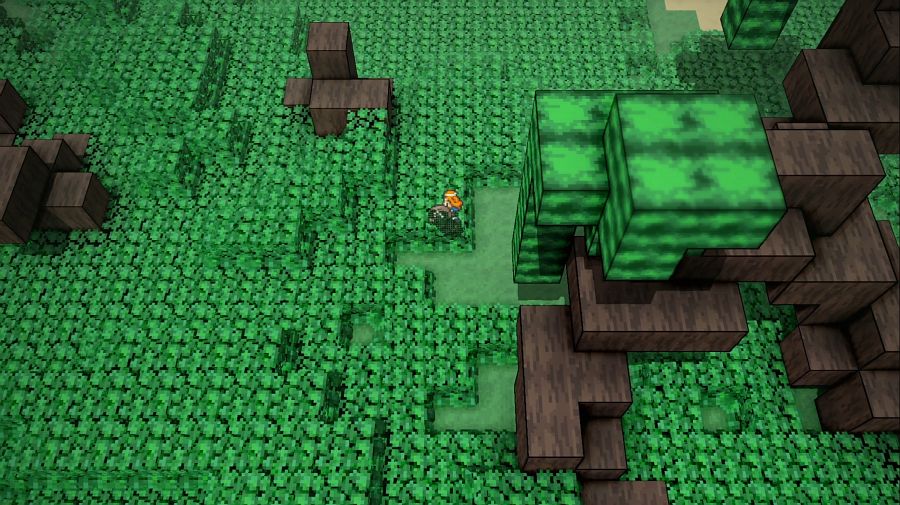 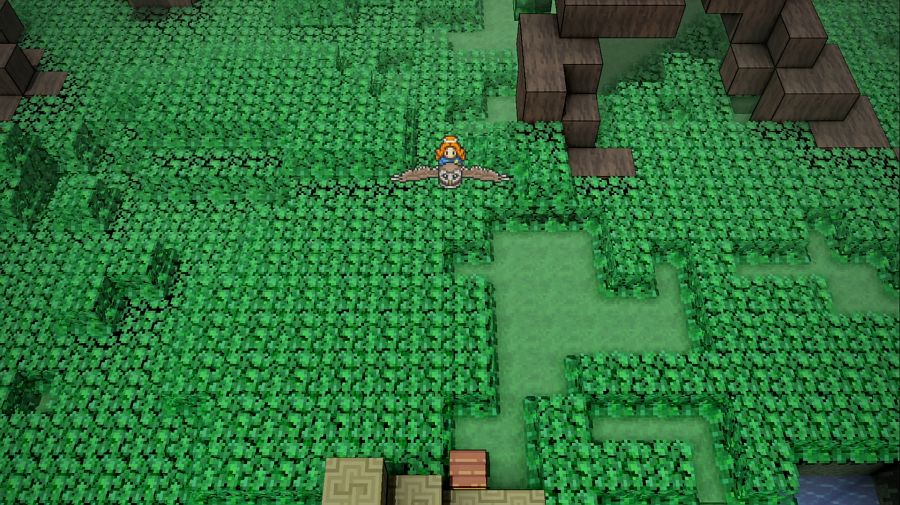 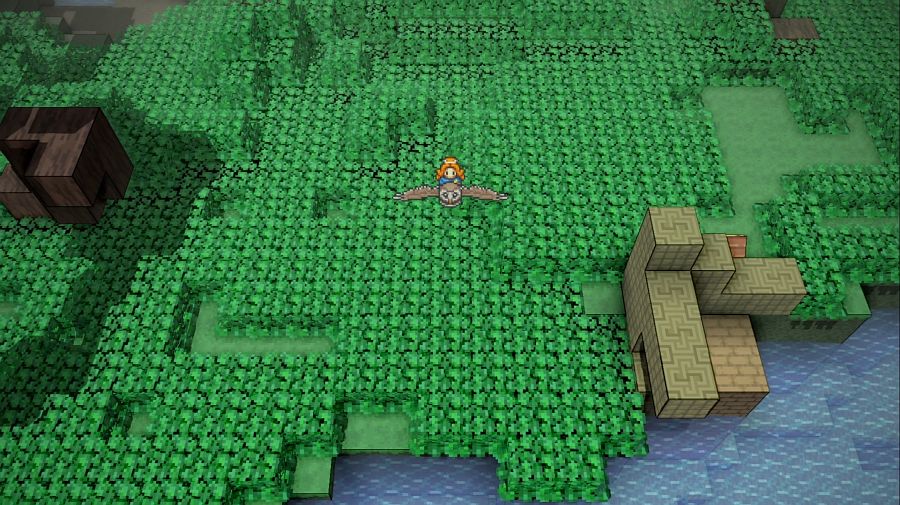 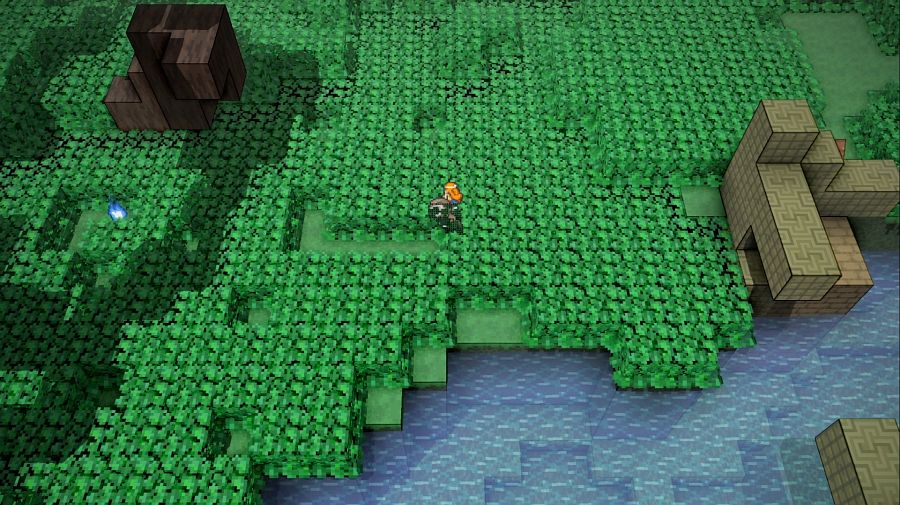 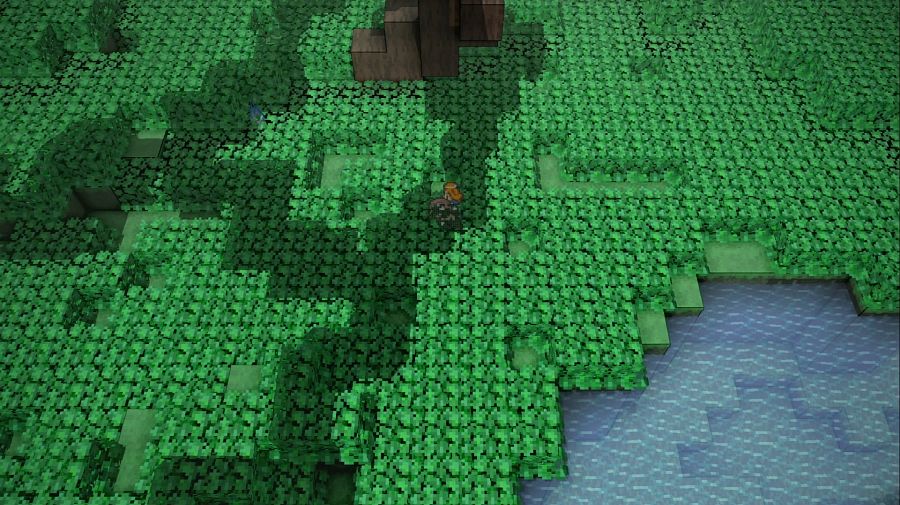 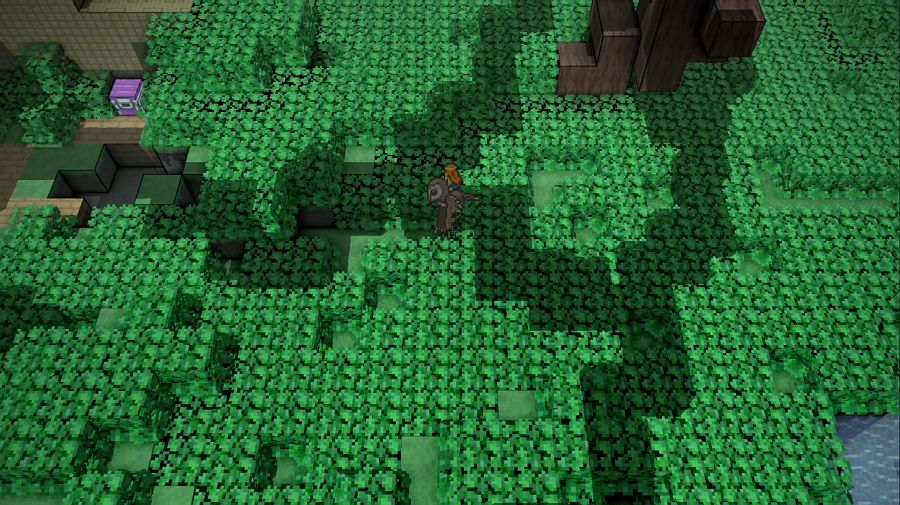 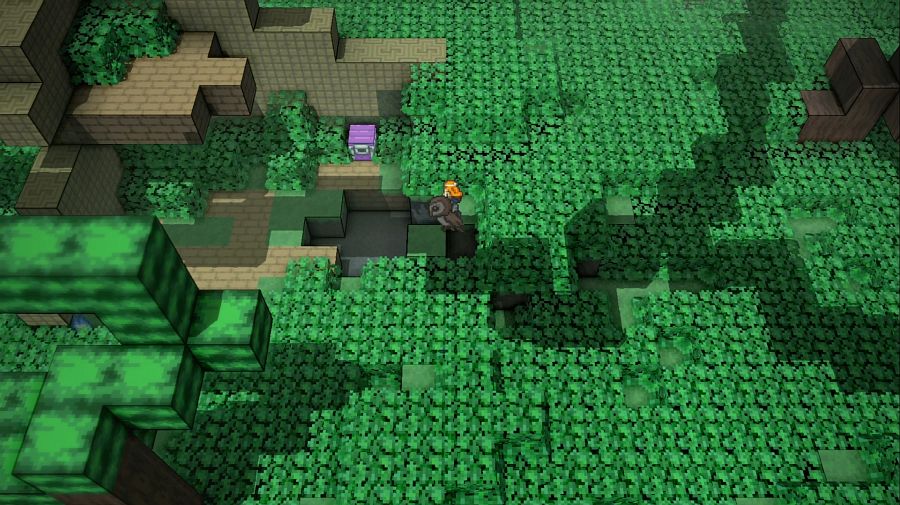 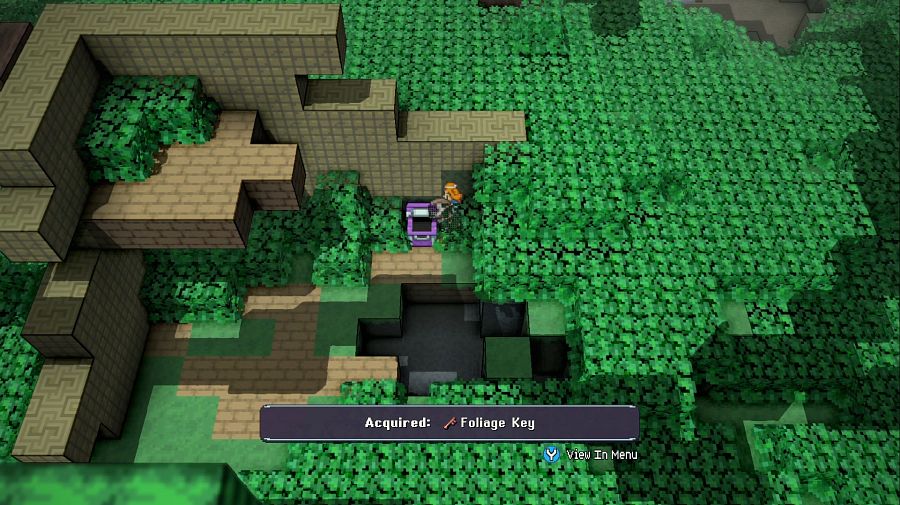 Vanessa: ...foliage key? Hamza: Maybe there's a locked tree around. Vanessa: That's phenomenally stupid, you're stupid. Charity: Just like following the owl was stupid? Vanessa: That one was a fluke. 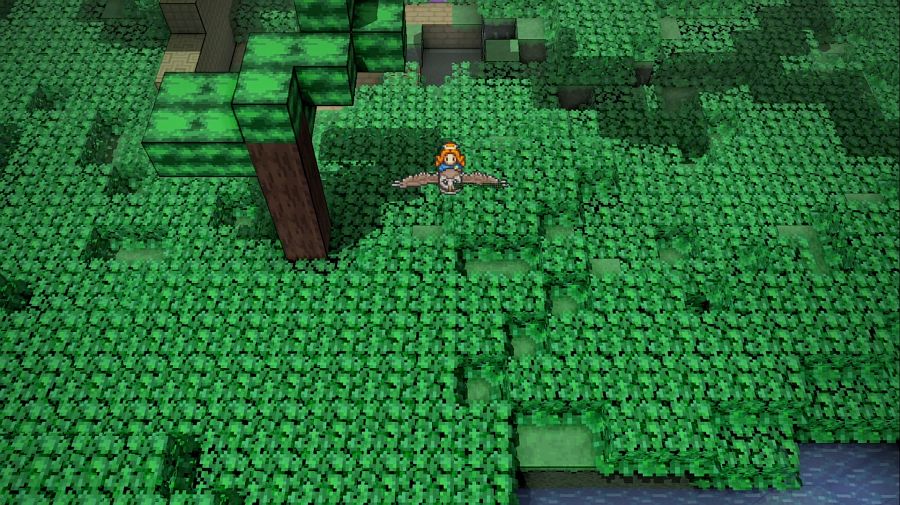 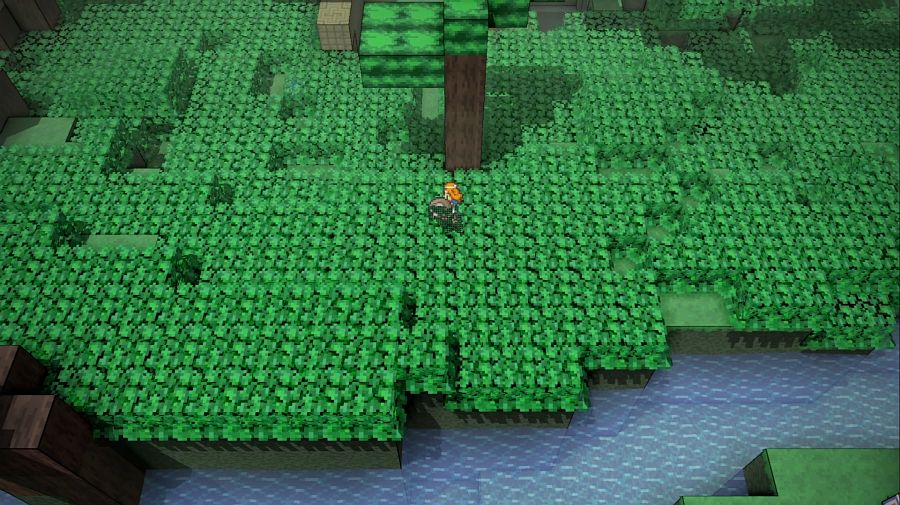 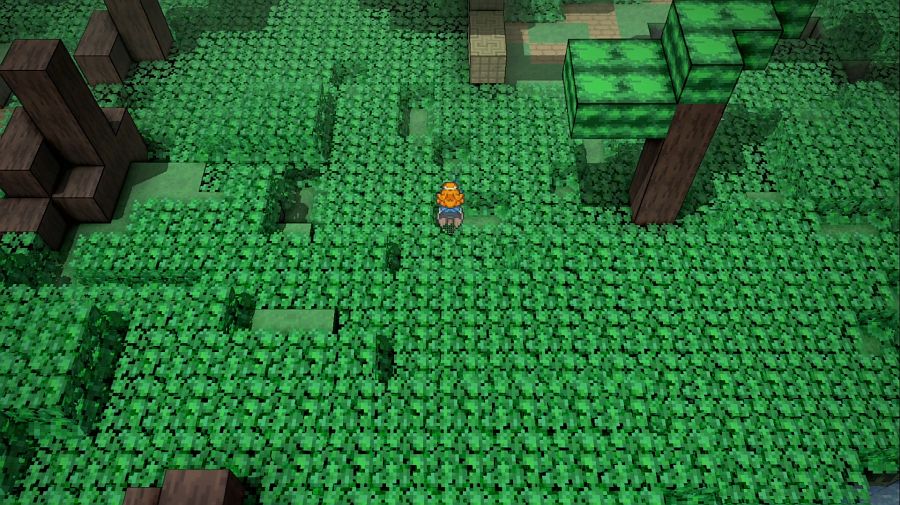 Now, you see that completely normal blue flame in the brush ahead of us? 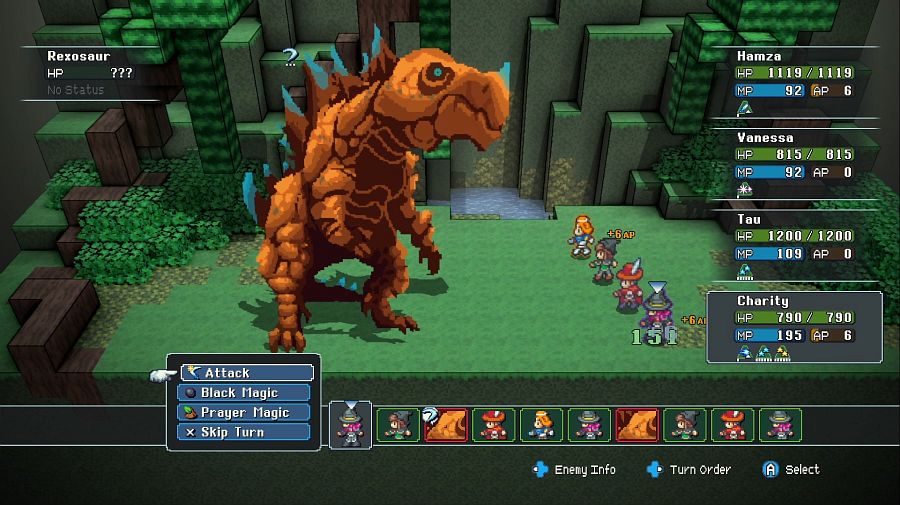 It's this fella! Jidamba Tangle undergrowth fights have a random chance to be the Rexosaur, a surprise boss! One of two surprise wilderness bosses that you can learn about later if you don't stumble on them by accident otherwise. 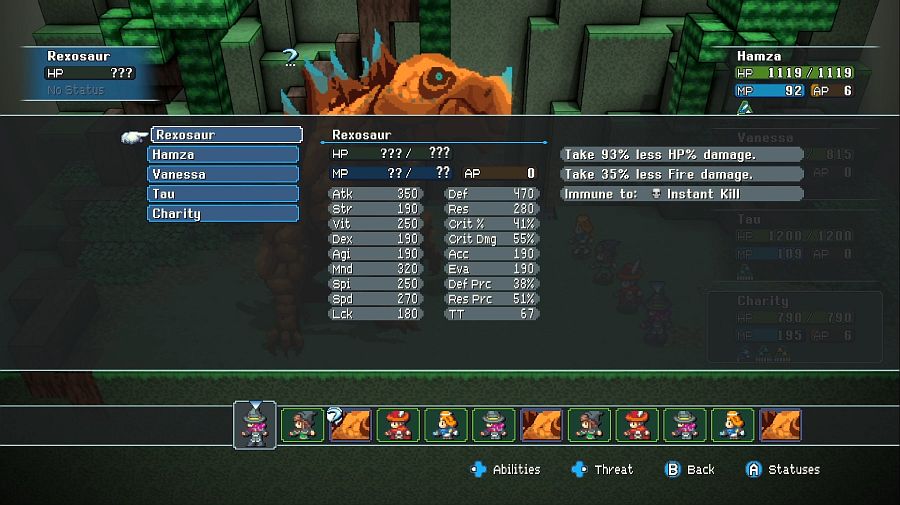 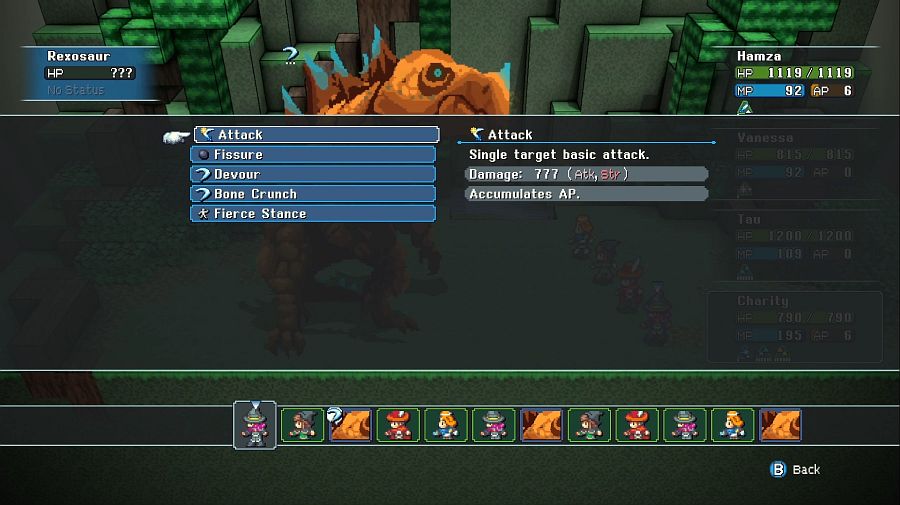 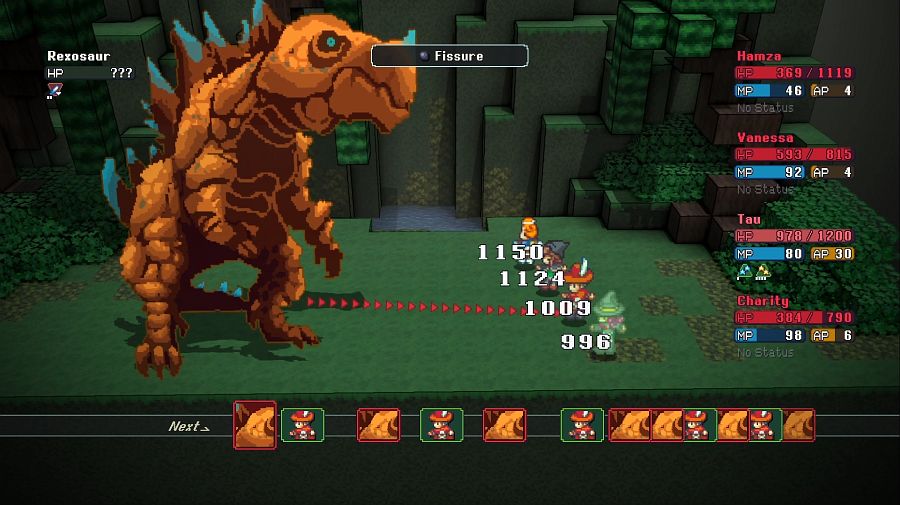 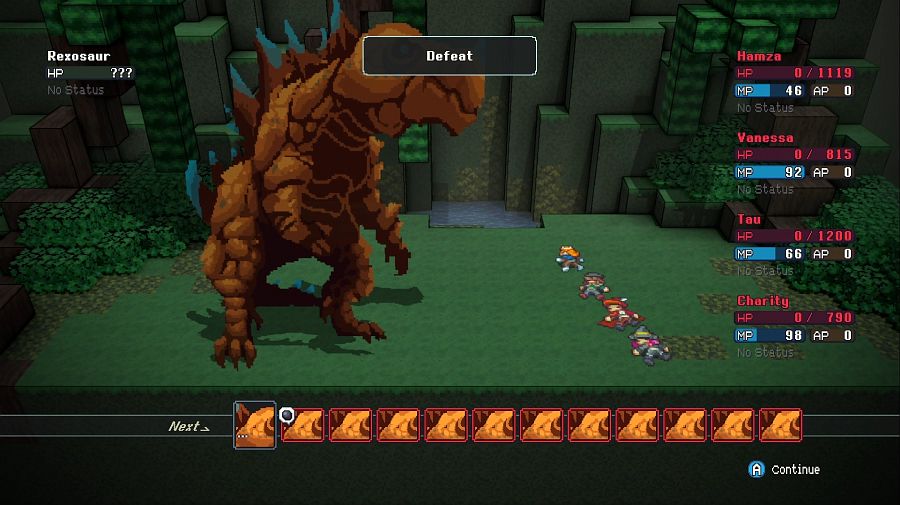 Despite being a blue flame he completely demolishes us because I cannot imagine beating him without a Rogue considering that he has instakill Devour, and ideally Float Rings for everyone to ignore Fissure.  Anyway, let's just pretend that he didn't completely annihilate us and keep exploring. 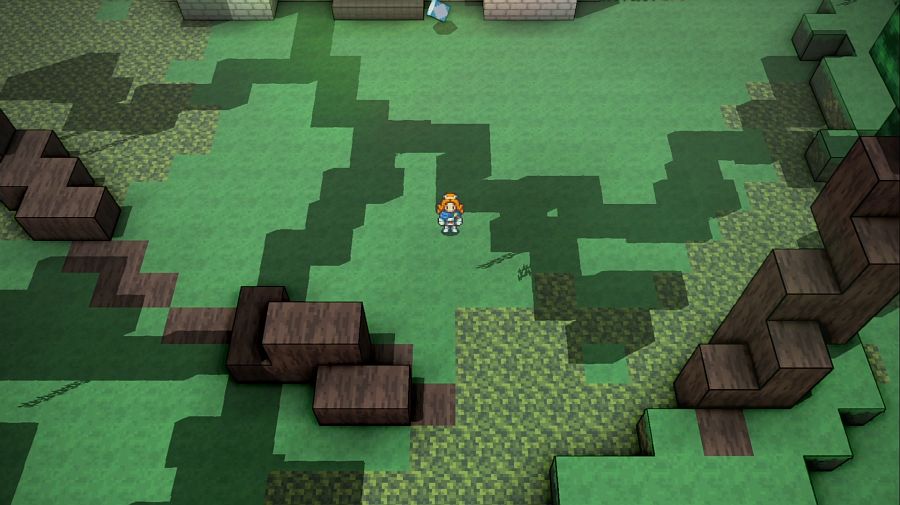 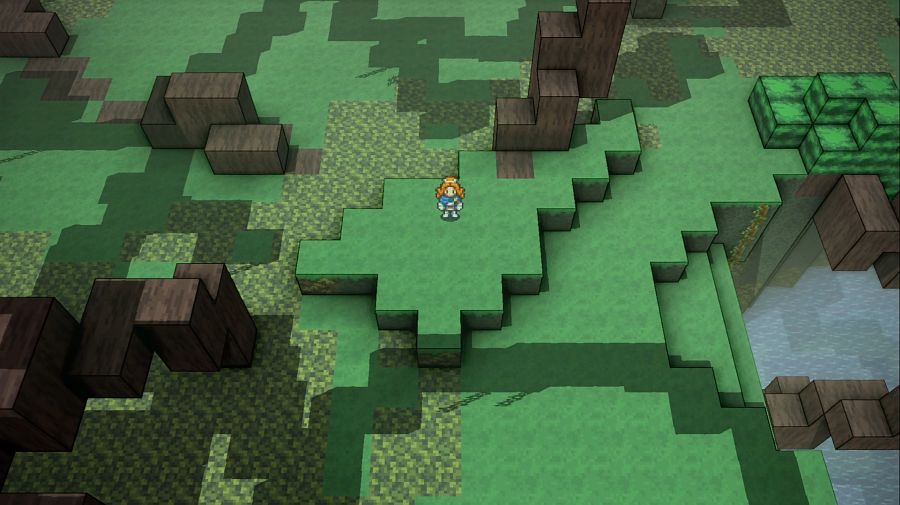 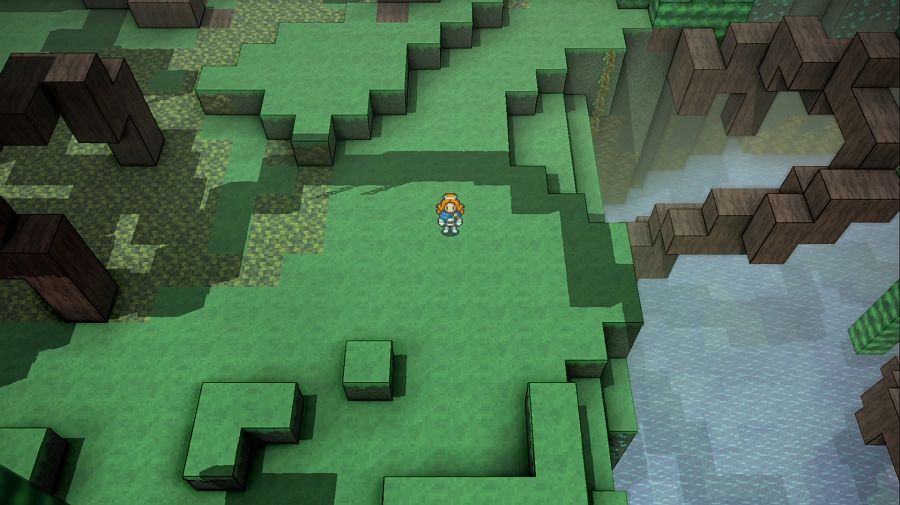 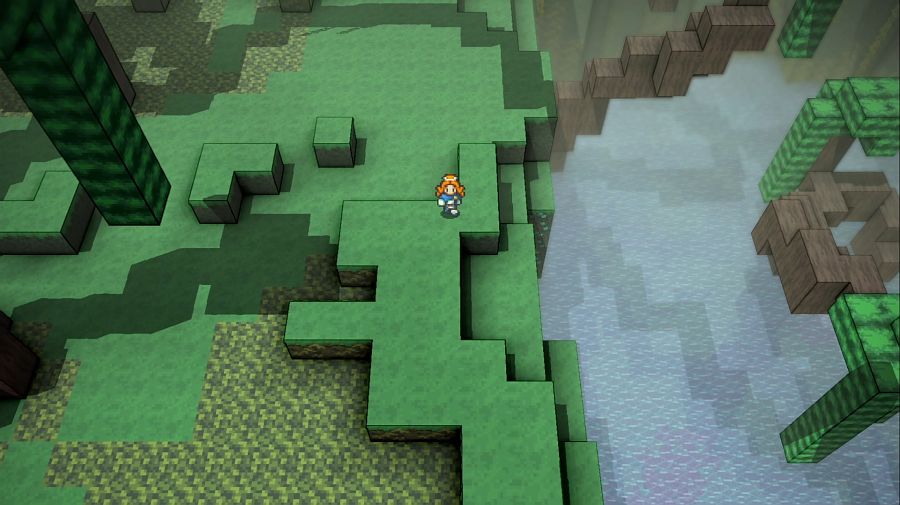 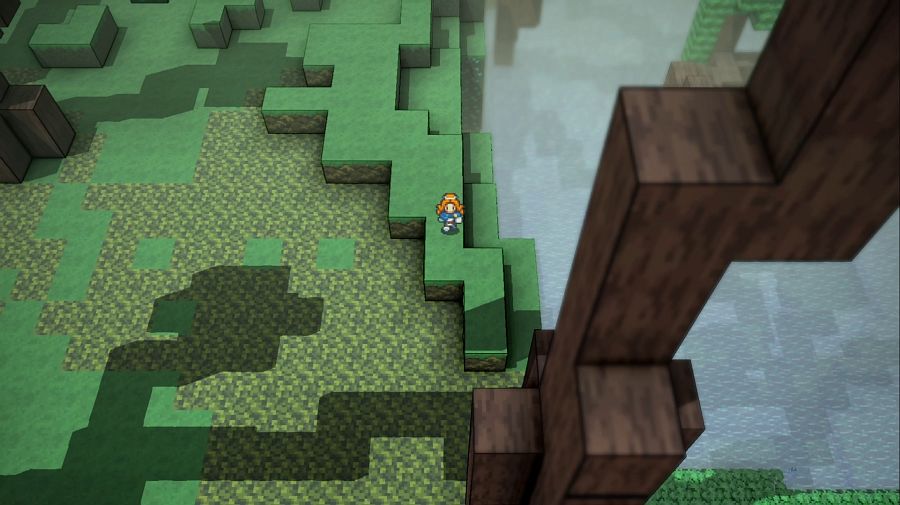  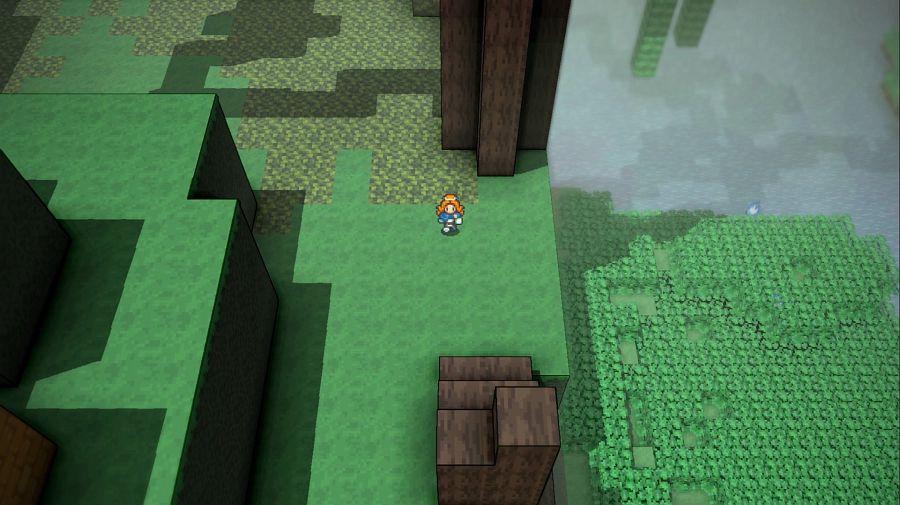 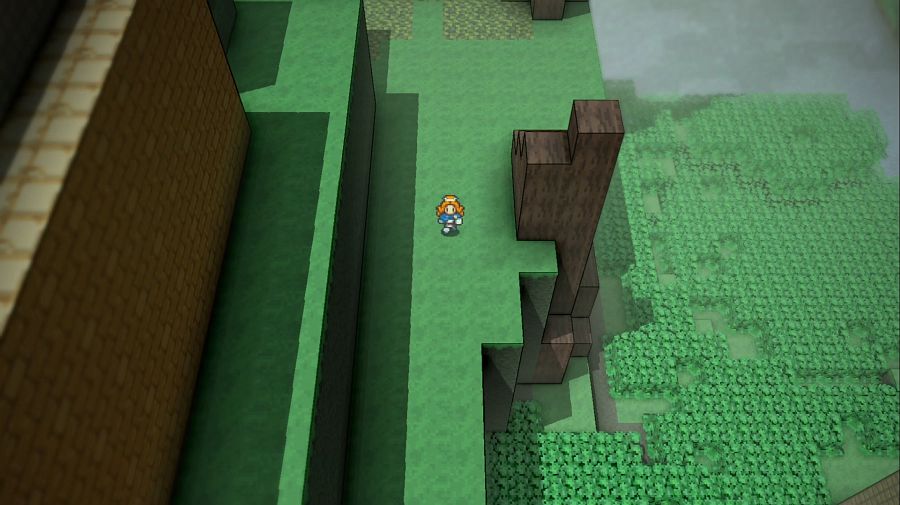  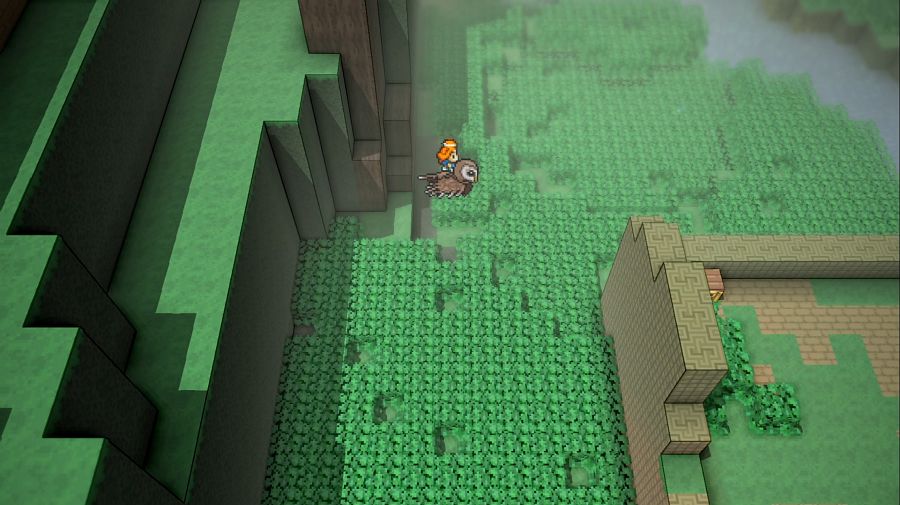 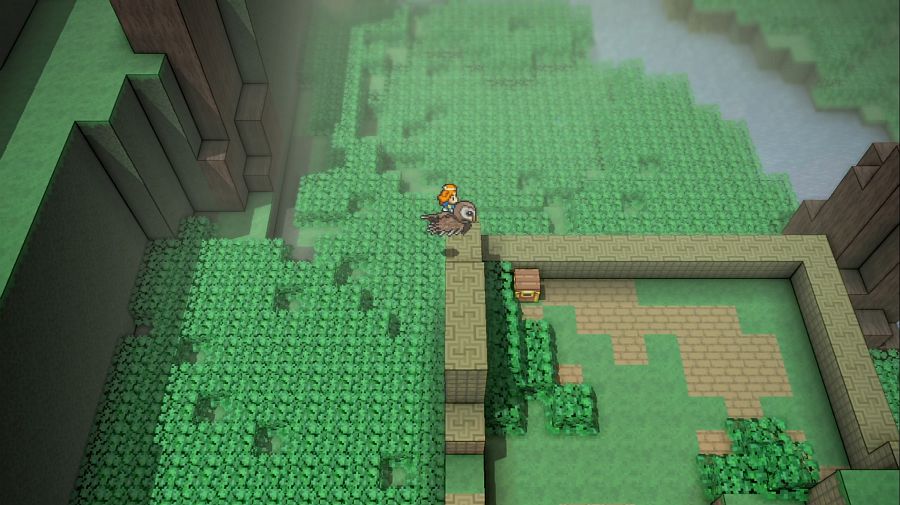 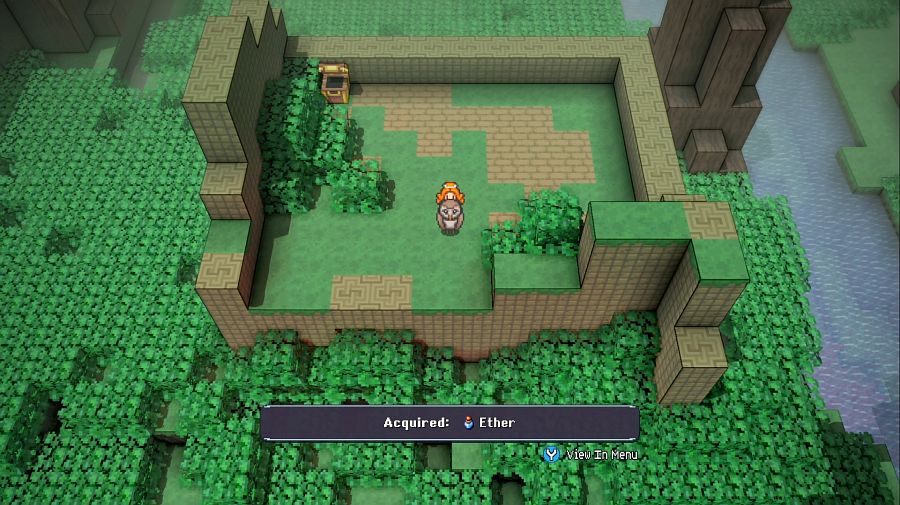 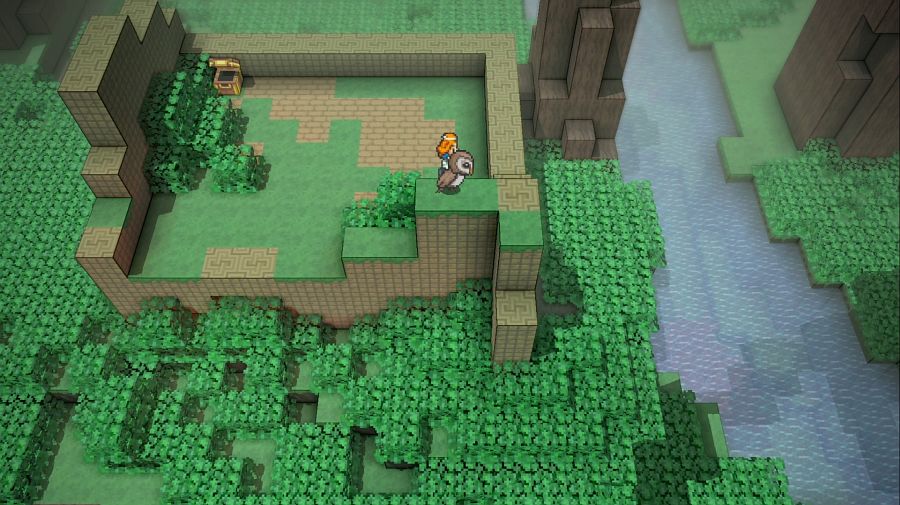 There are a lot of ruins in the jungle, and here you can see me missing the hidden lower part of this one(the brush in front hides the entryway, but it's obvious as a still screenshot in a way it isn't necessarily when playing and things are moving around). 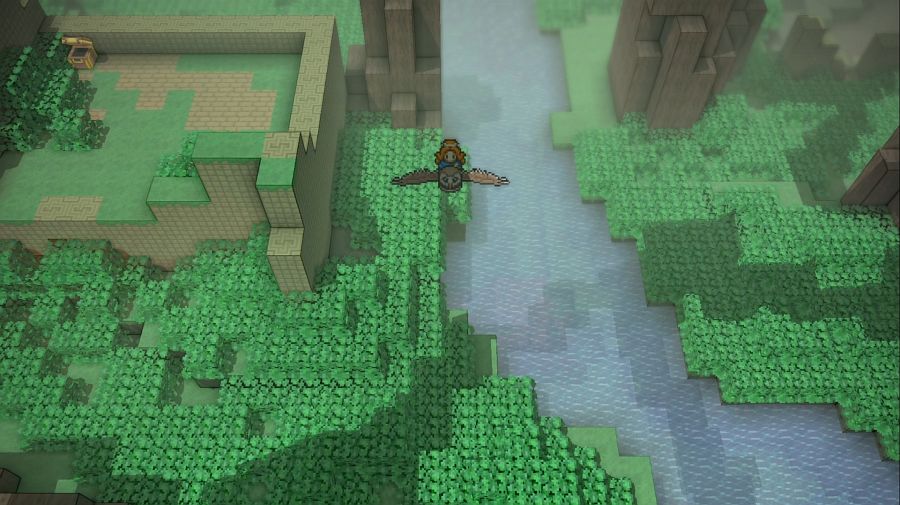  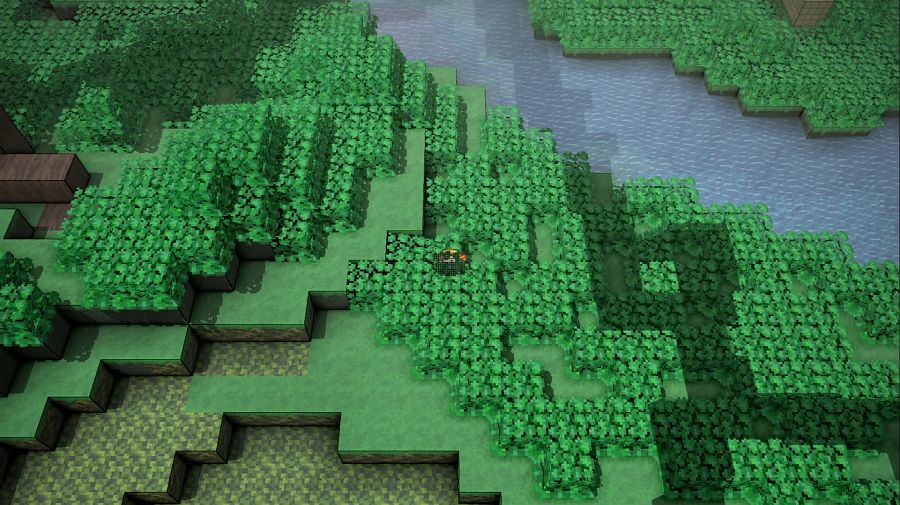 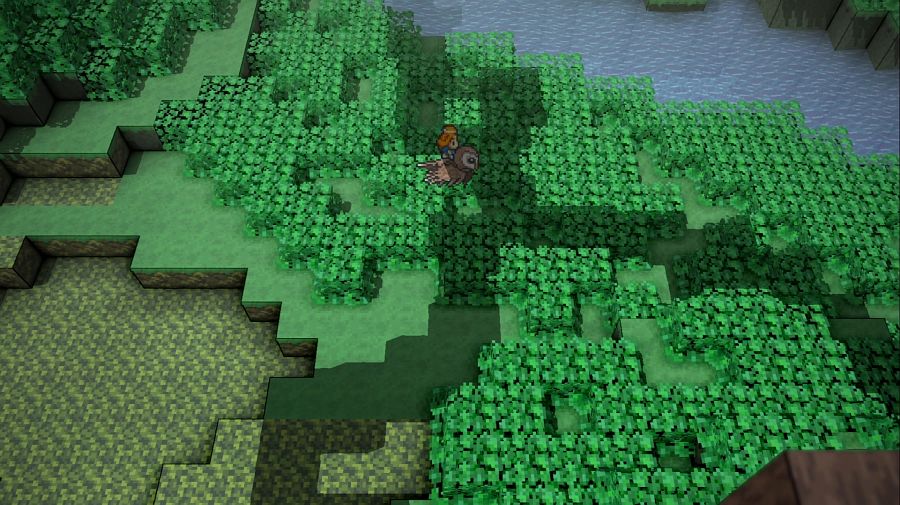 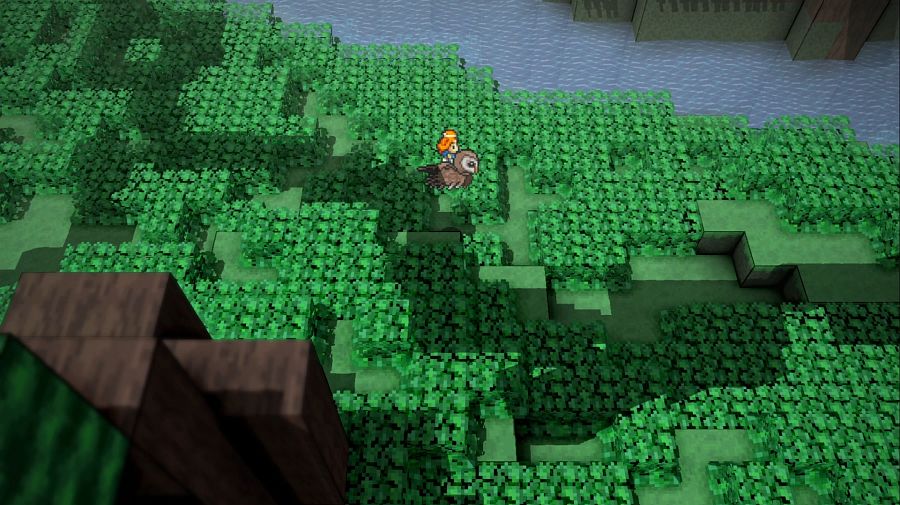 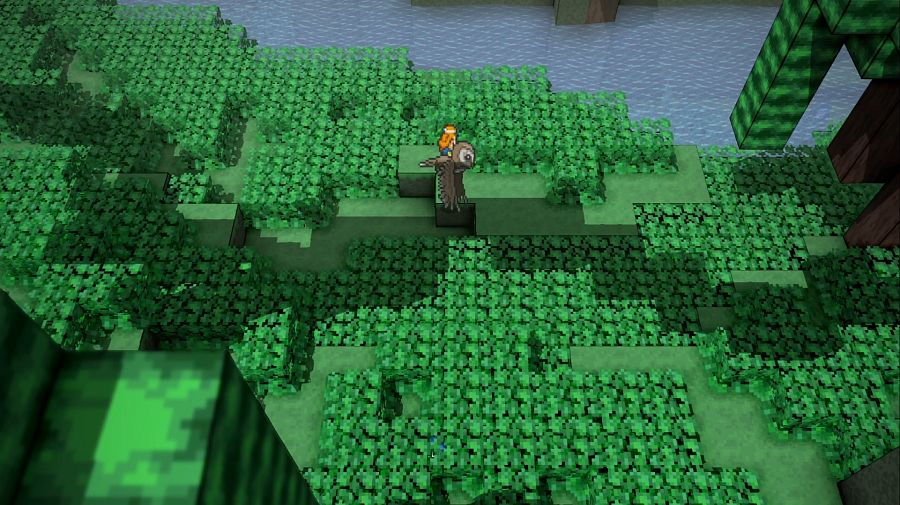 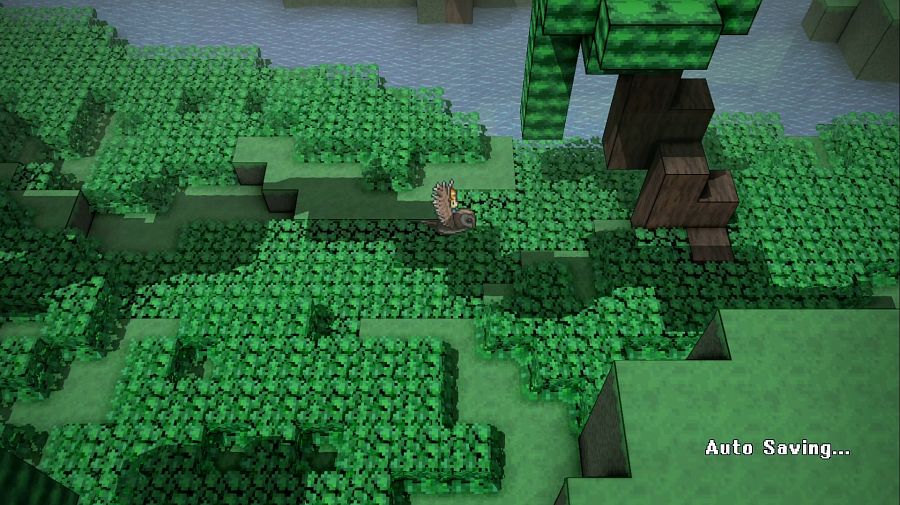 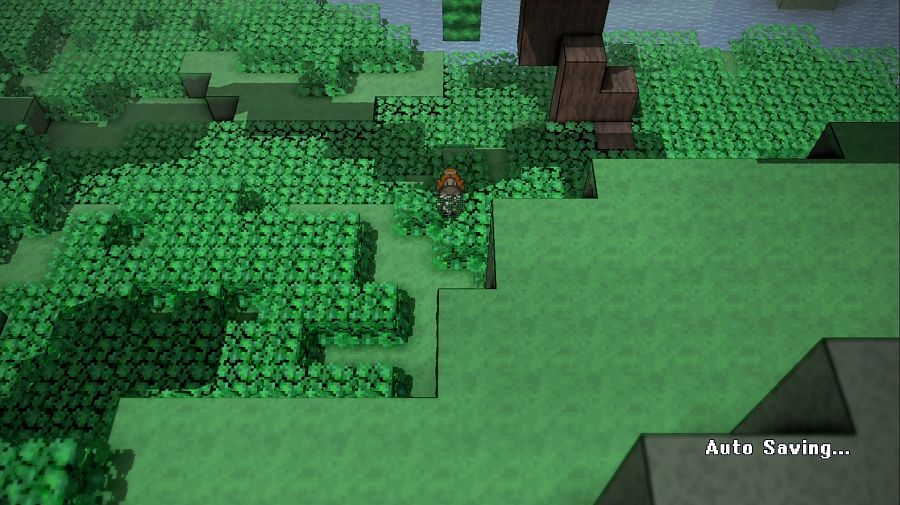 There's a little river delta on the east side of this island, and I'm heading for this plateau on the south side of said river. 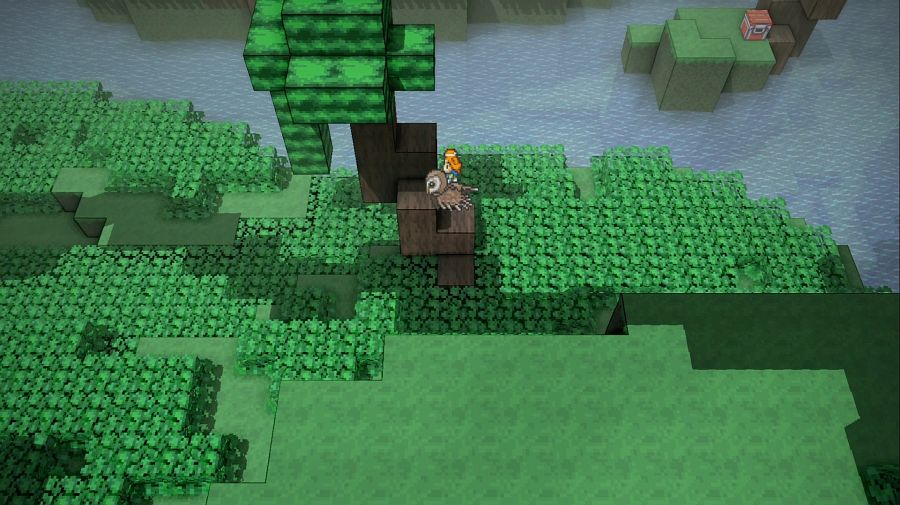 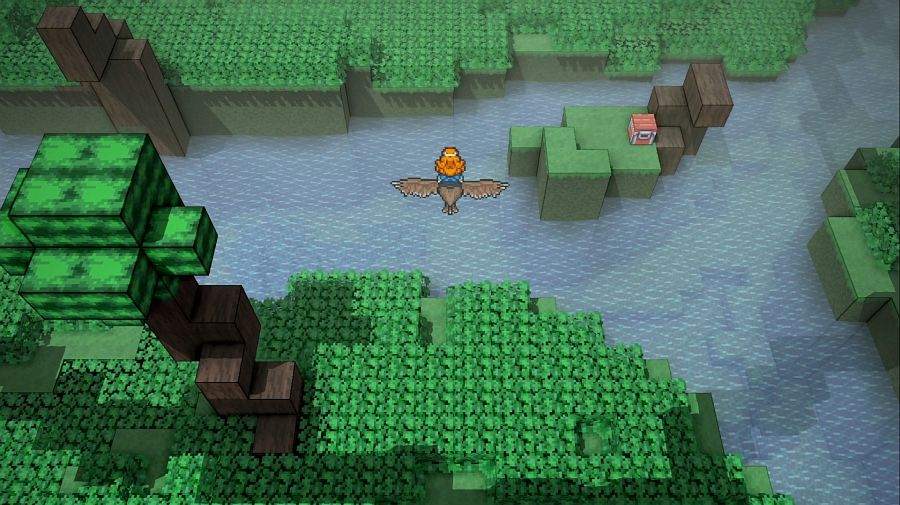 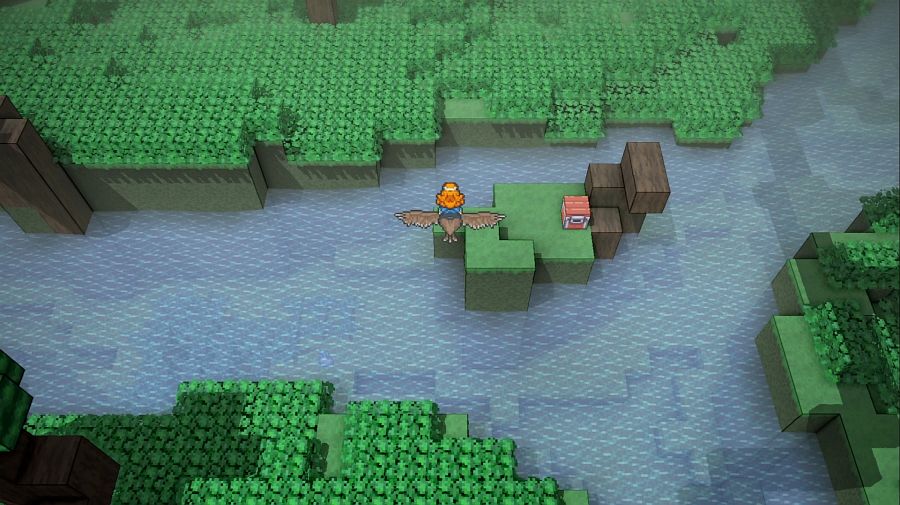 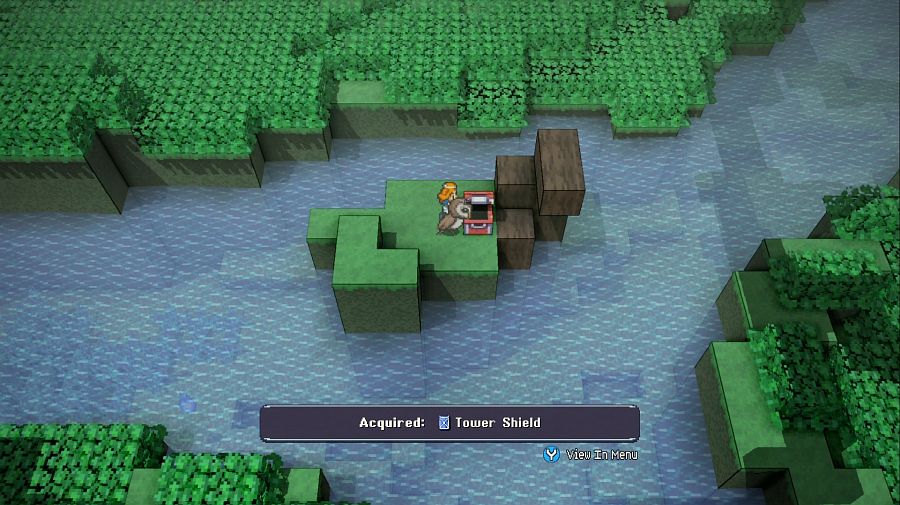 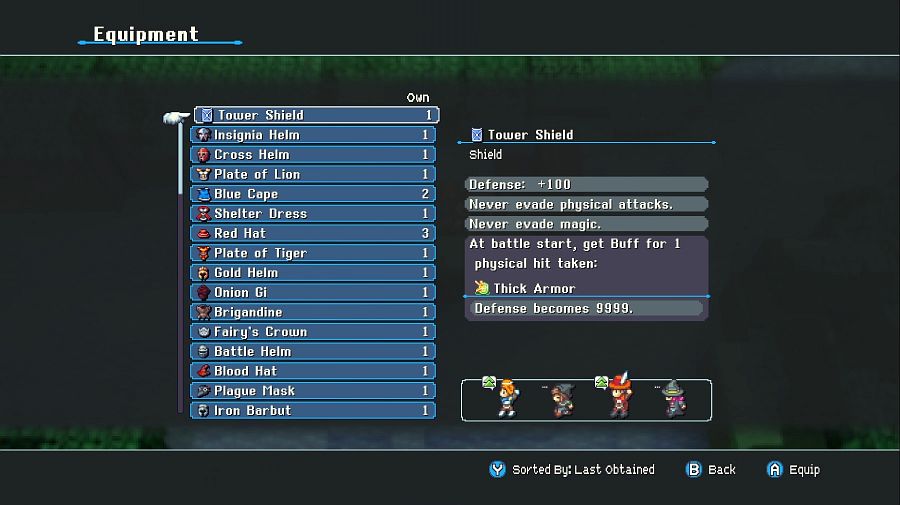 But also stopping to pick up this SUPER RAD tank shield on the way. 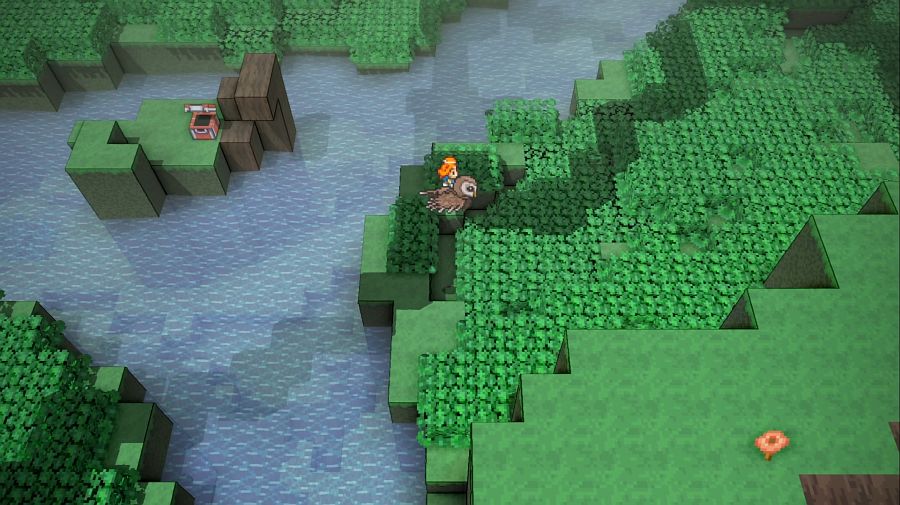 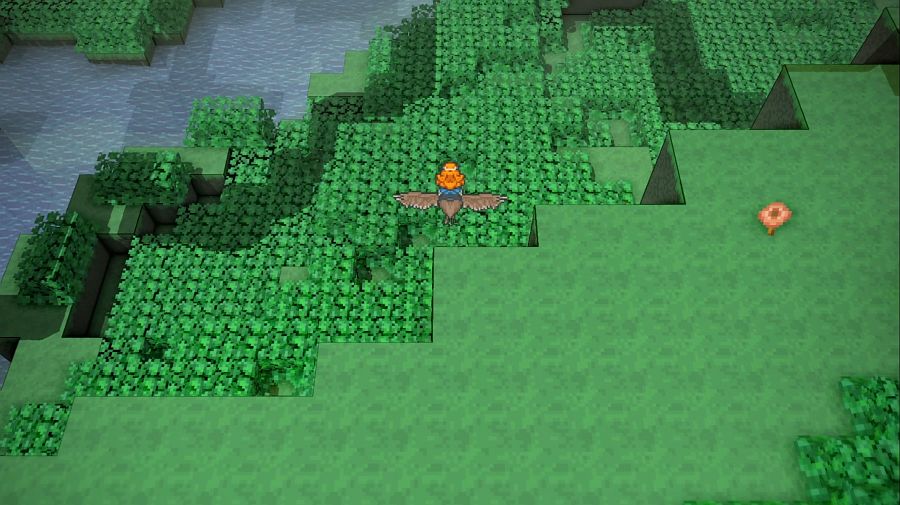 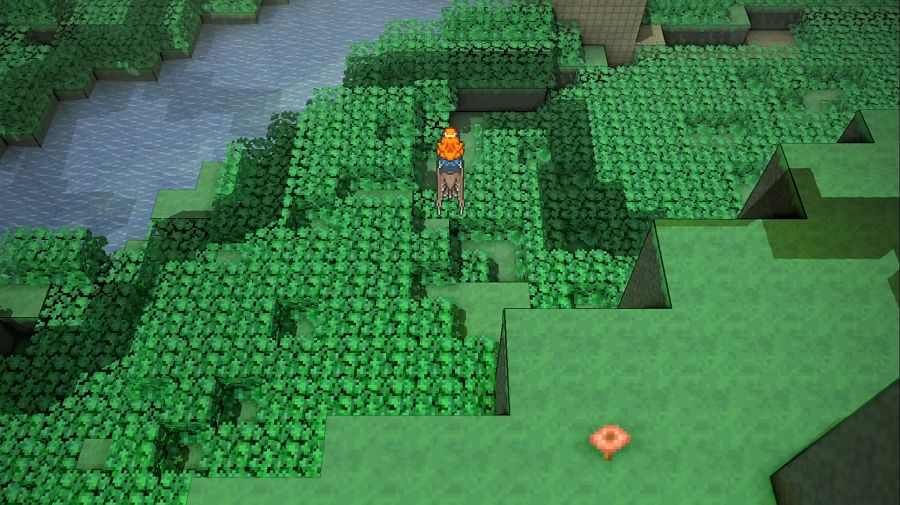 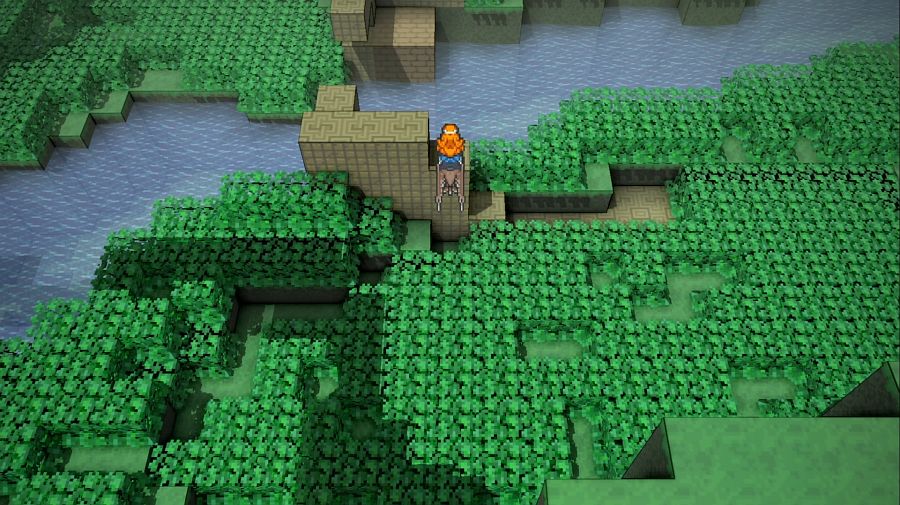 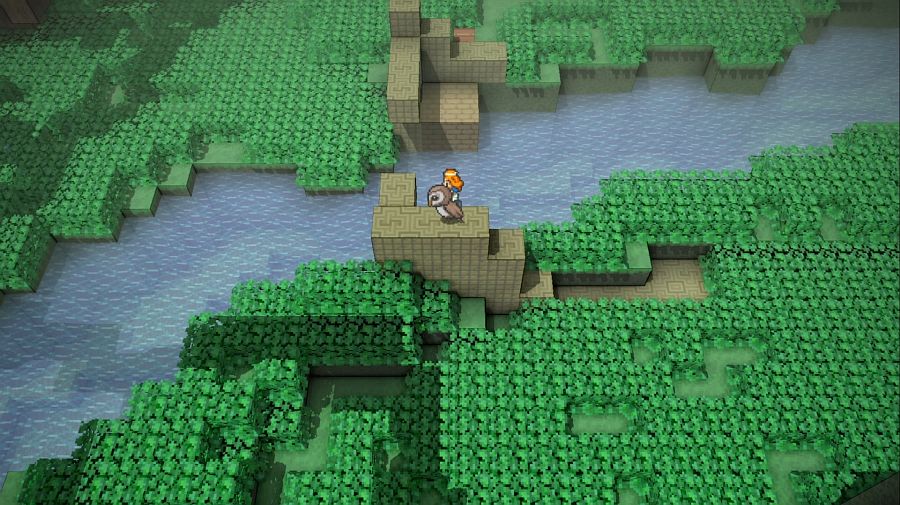 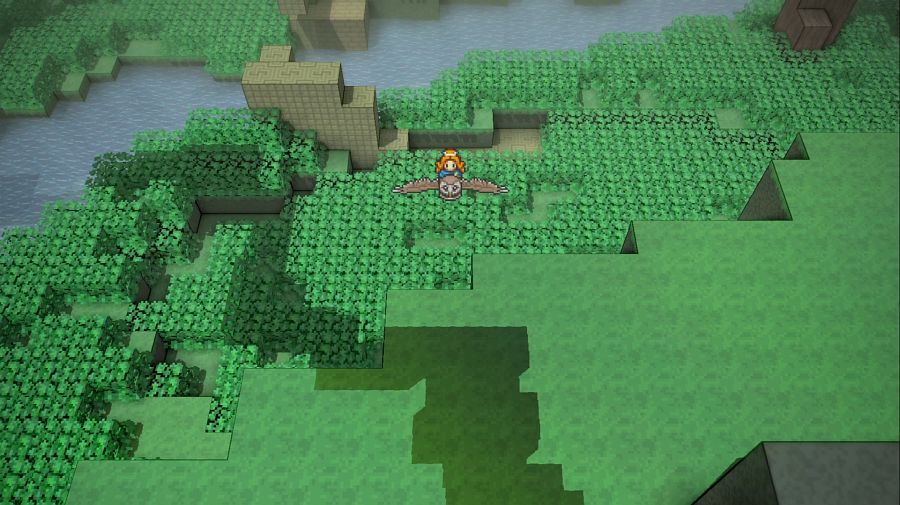 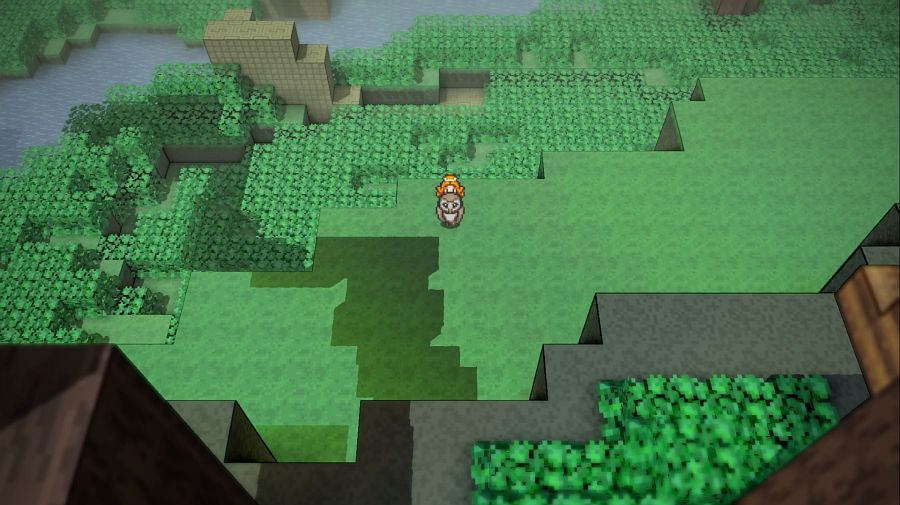 You can vaguely glimpse a house atop the nearby plateau. Let's get up there. 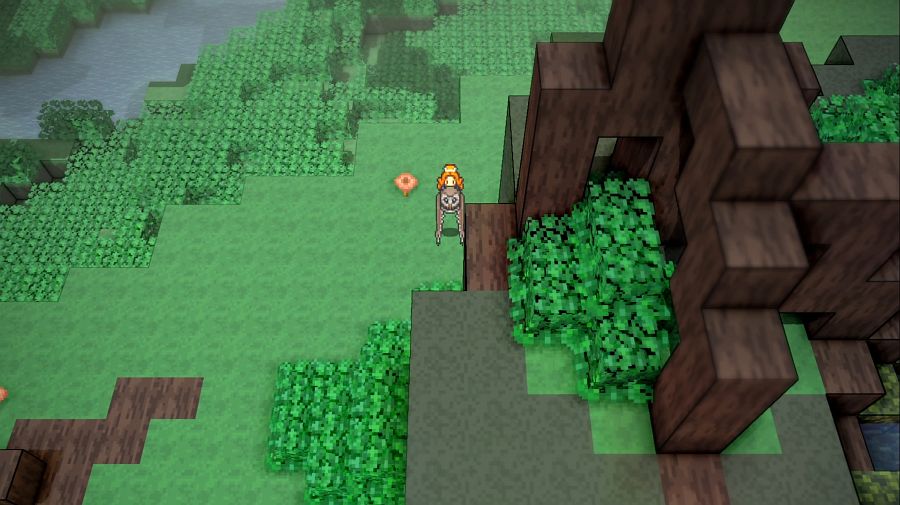  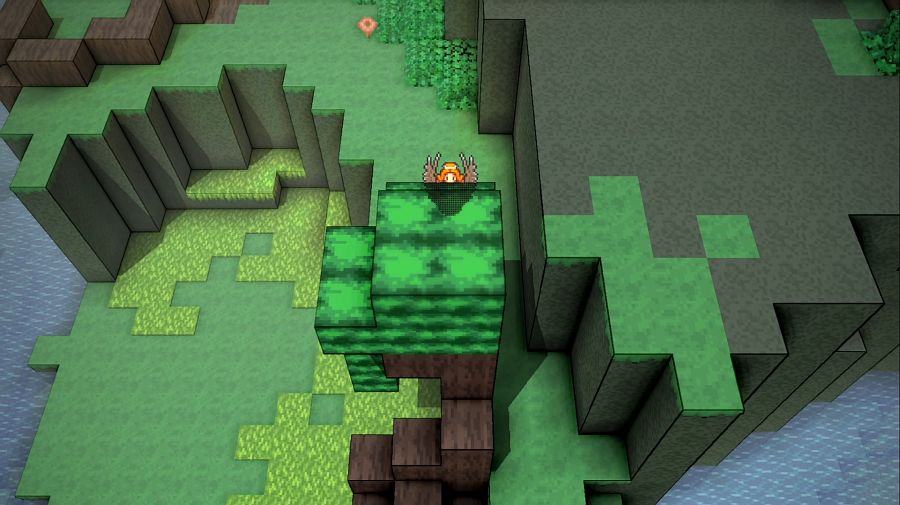 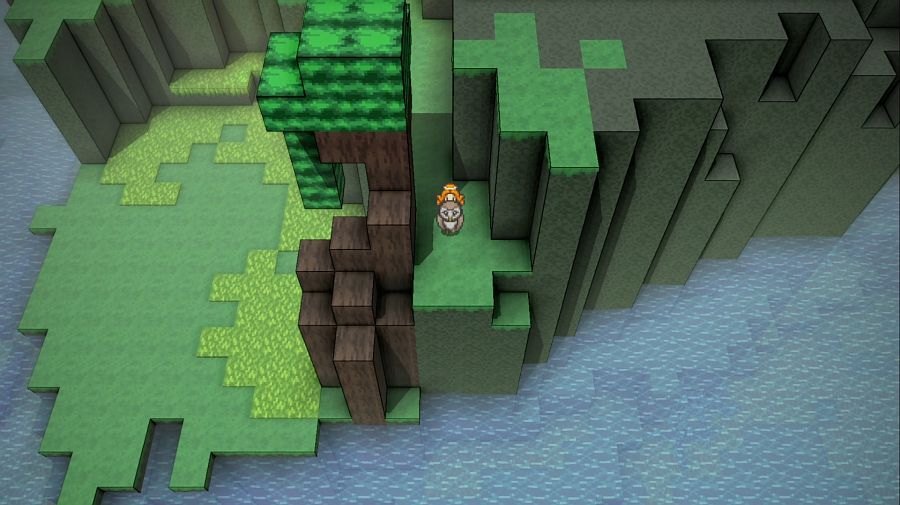 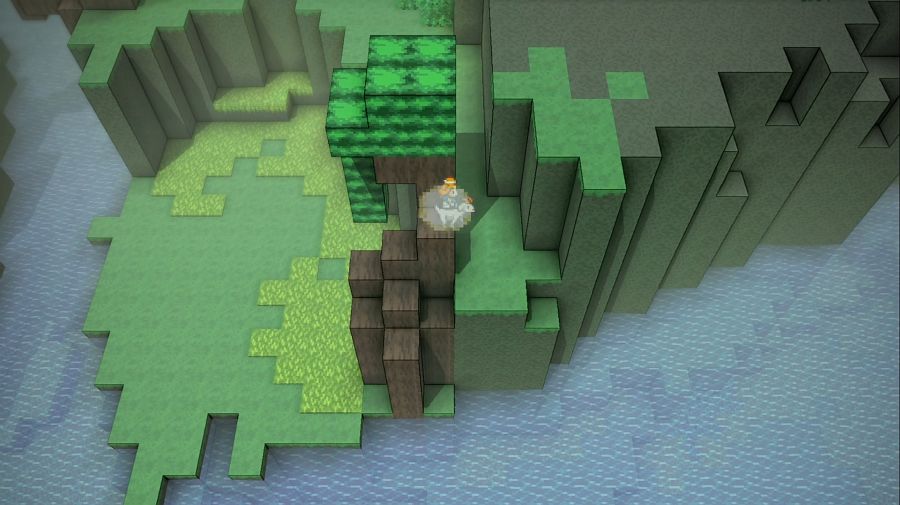 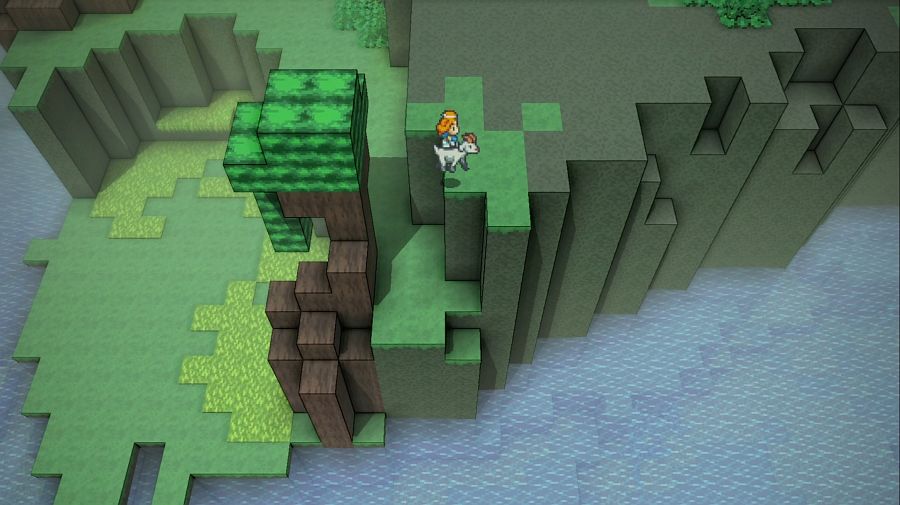 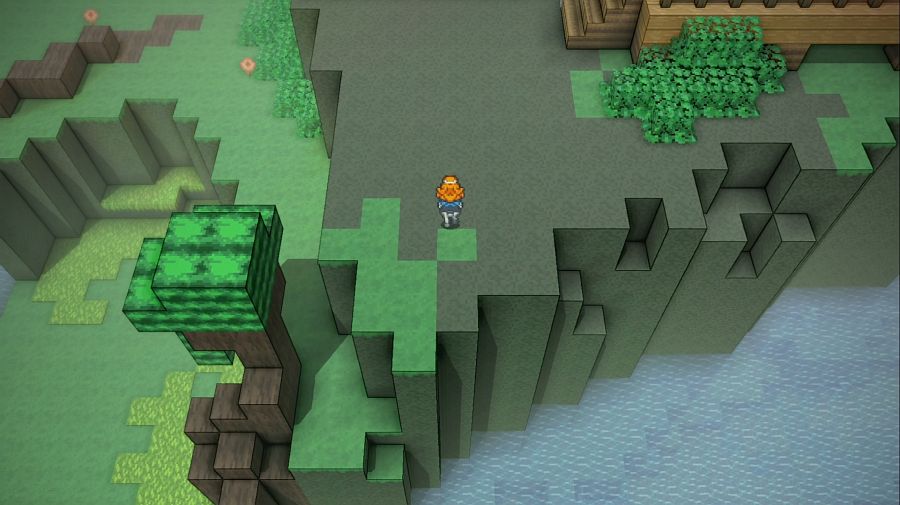 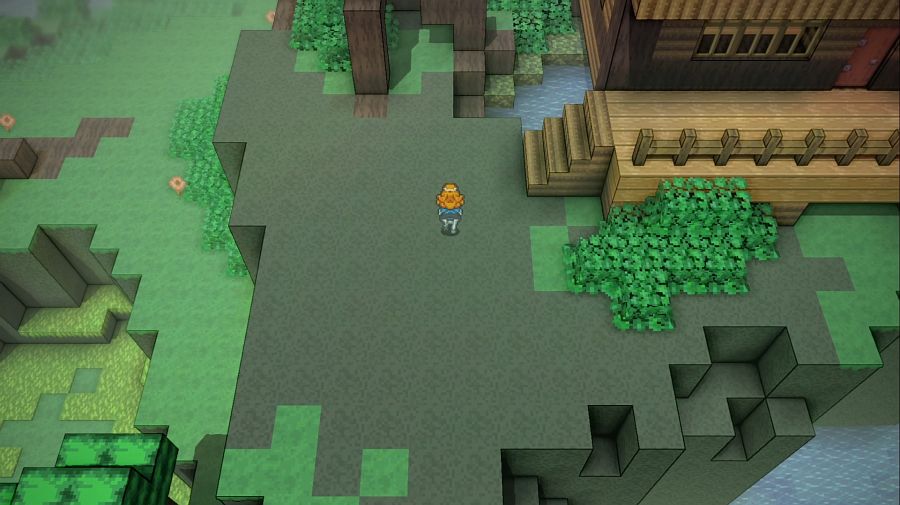 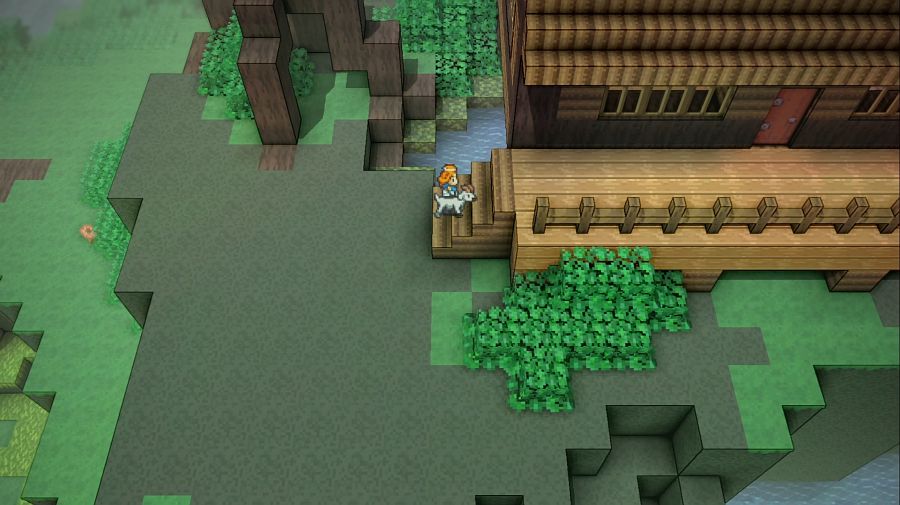 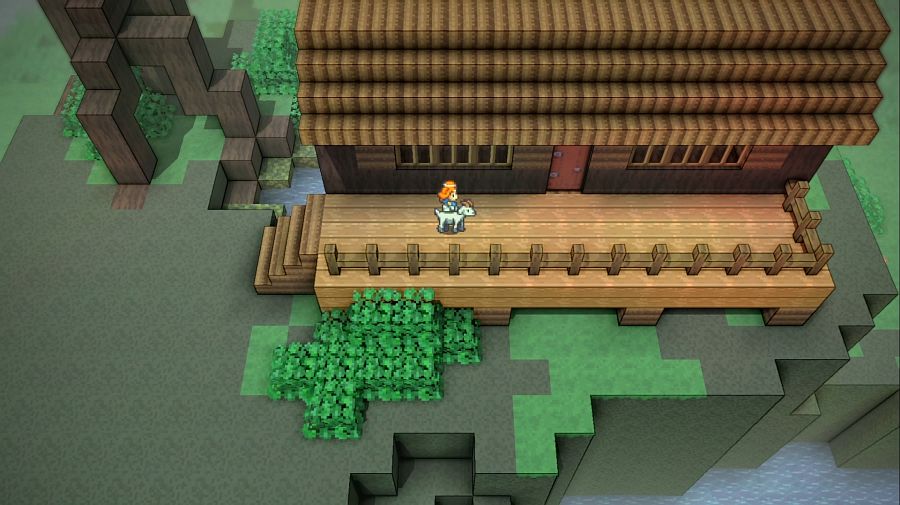 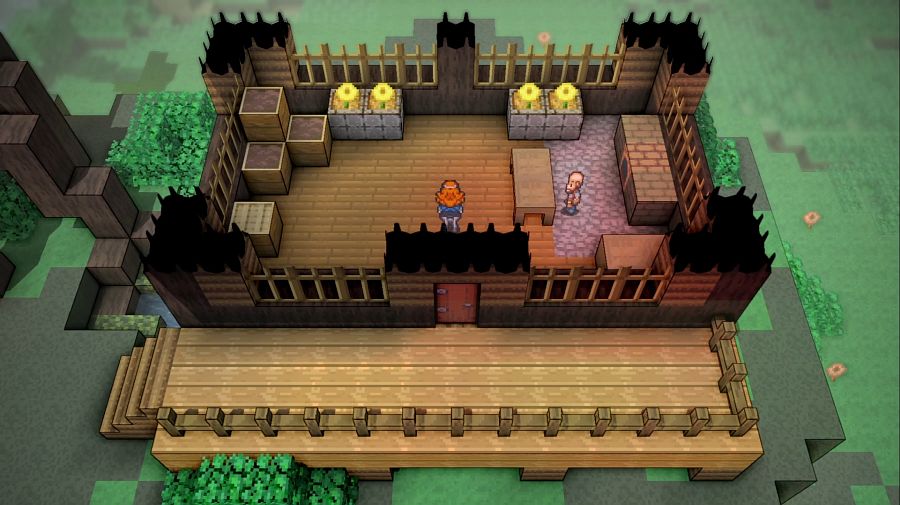 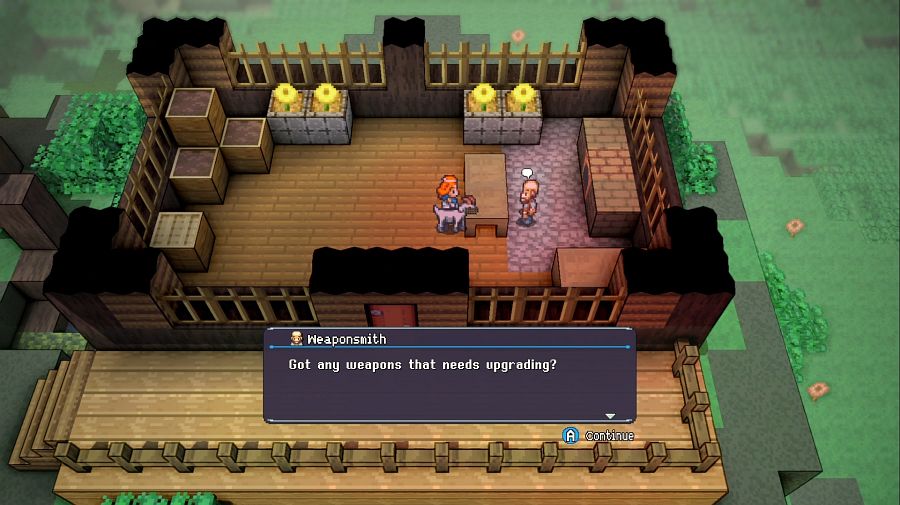 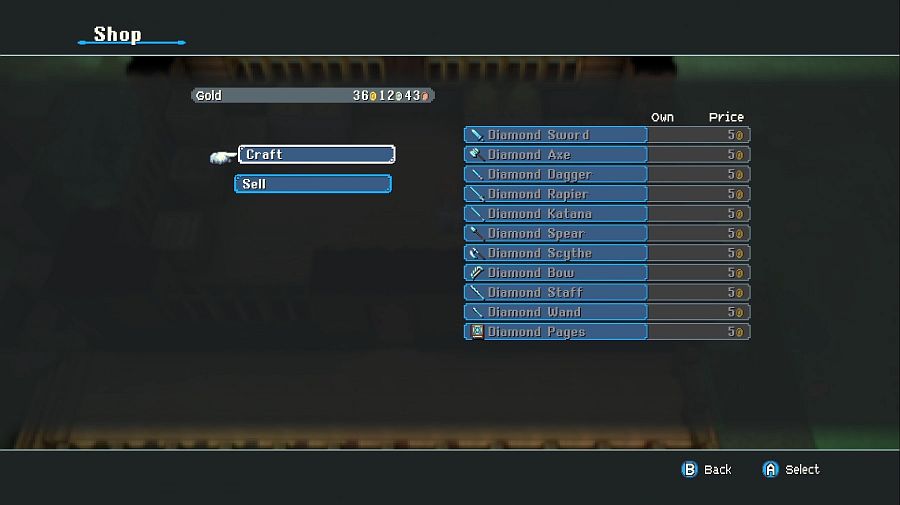 Because it's the diamond upgrader fella! Shame we don't have any diamonds. 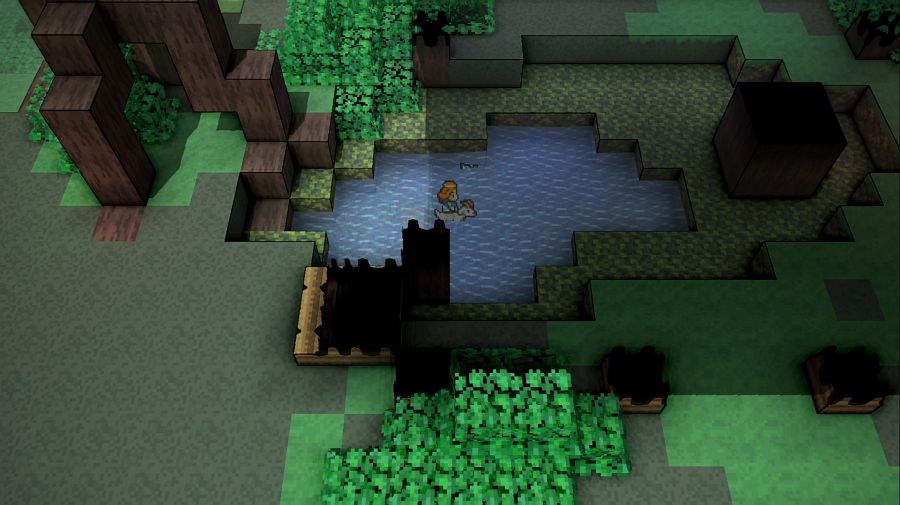 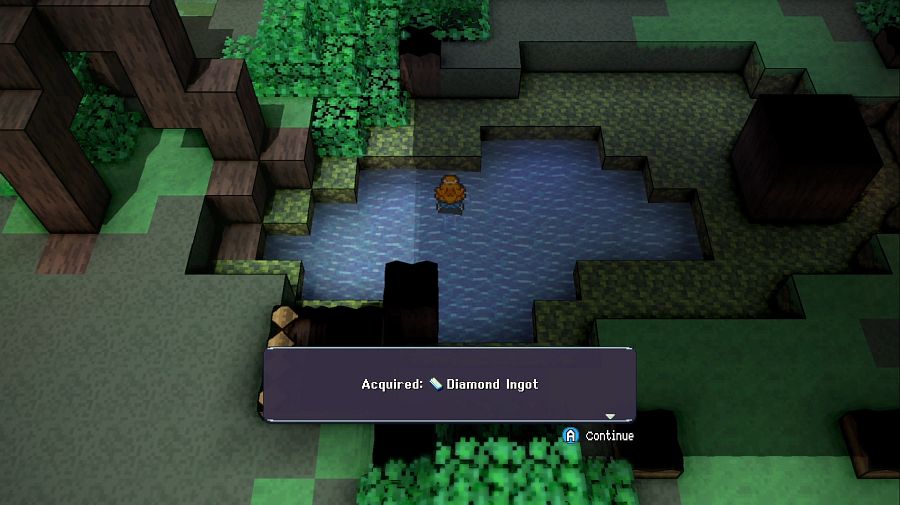 Good thing there's an ingot of it hidden underneath his house. Diamond upgrades are different from silver and gold in that you only need ONE unit of diamond resource for an upgrade, rather than three gold or three silver for the others.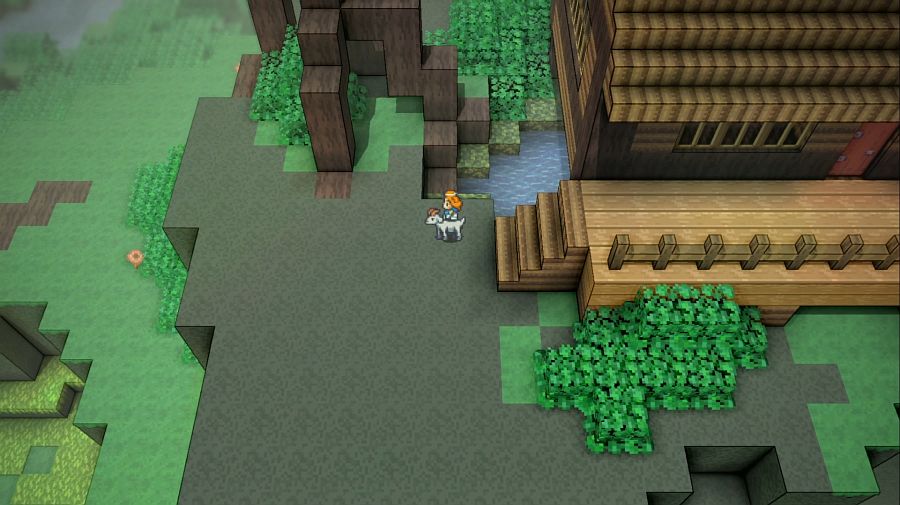 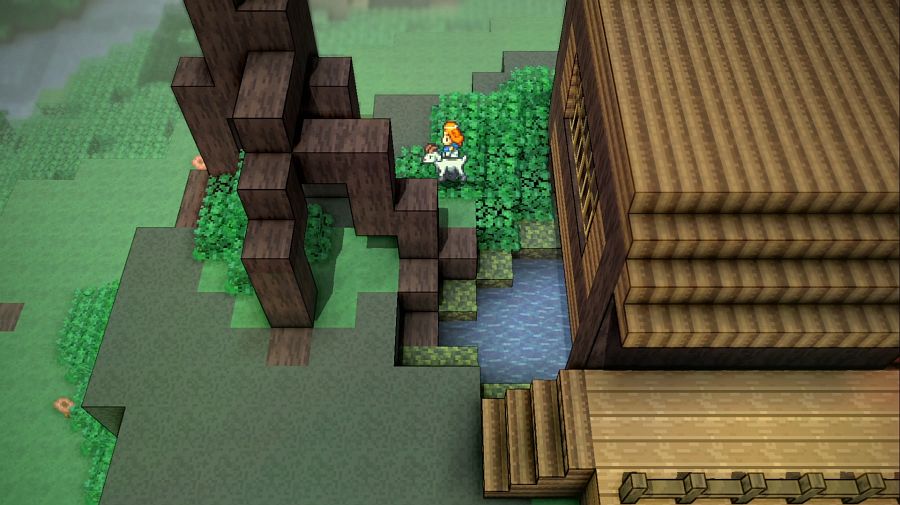 Vanessa: You're not seriously climbing this tree because you think we can unlock it, right? Hamza: ...no I just like climbing stuff and getting up to tall places. 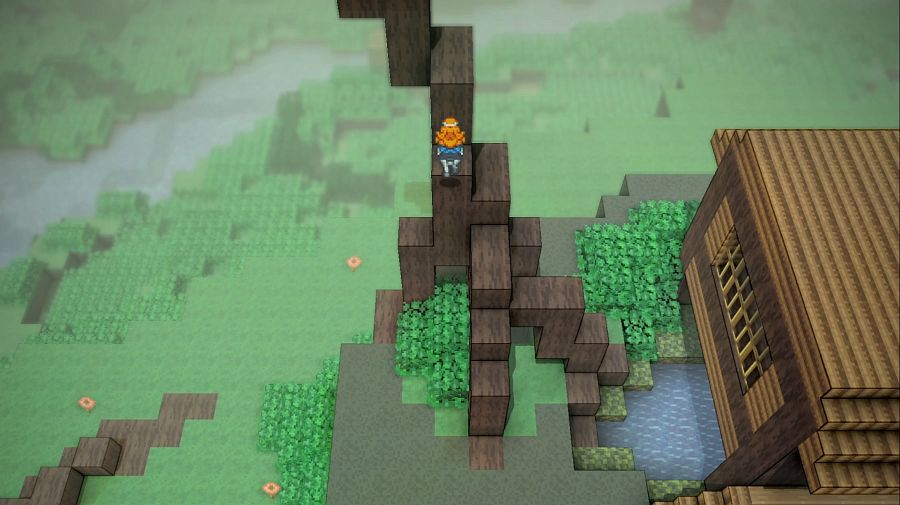 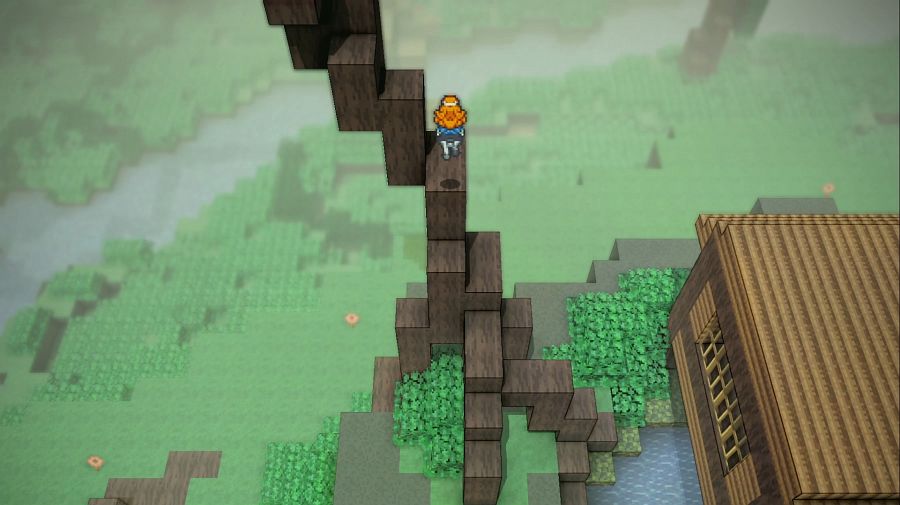  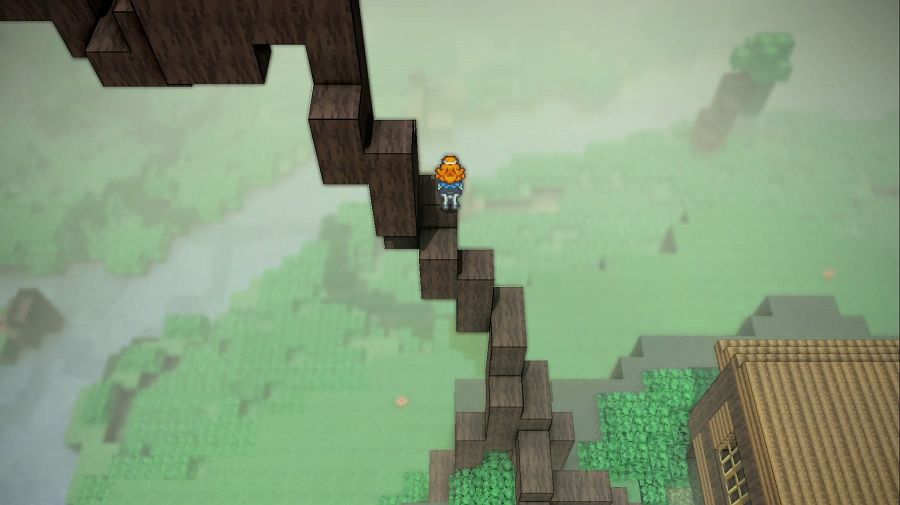 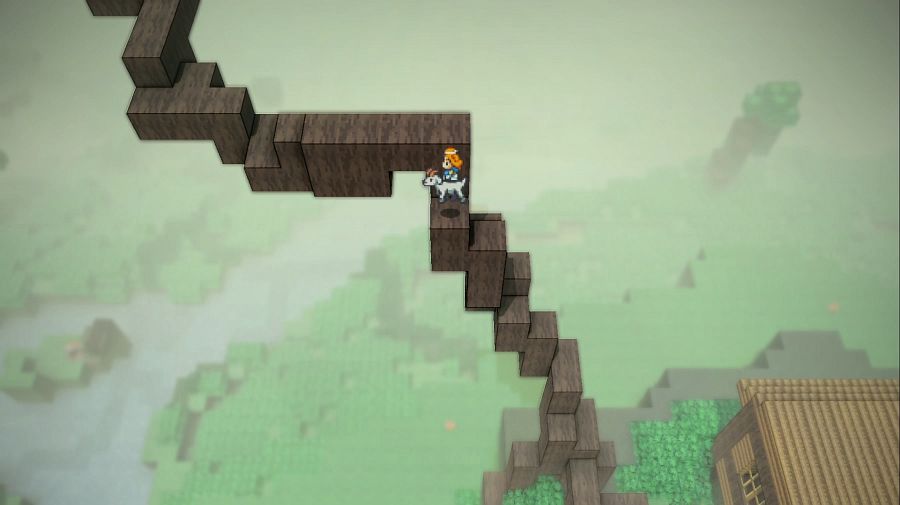 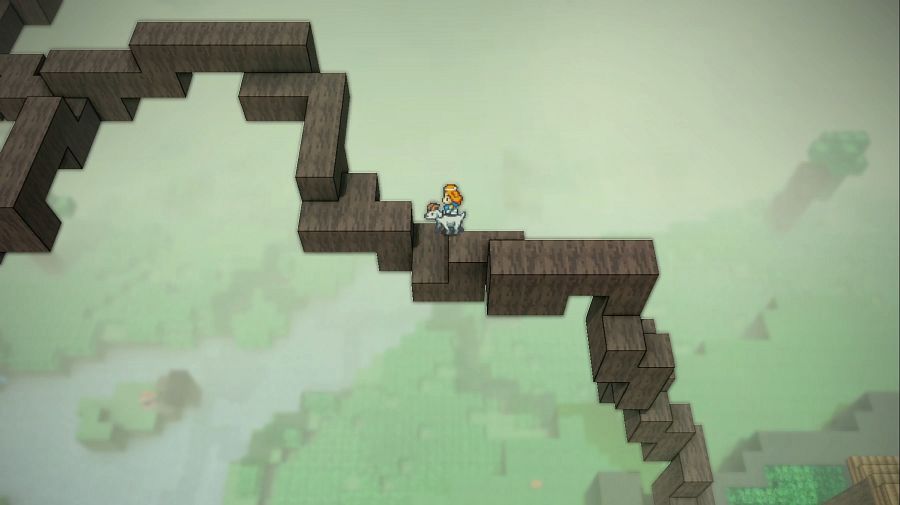 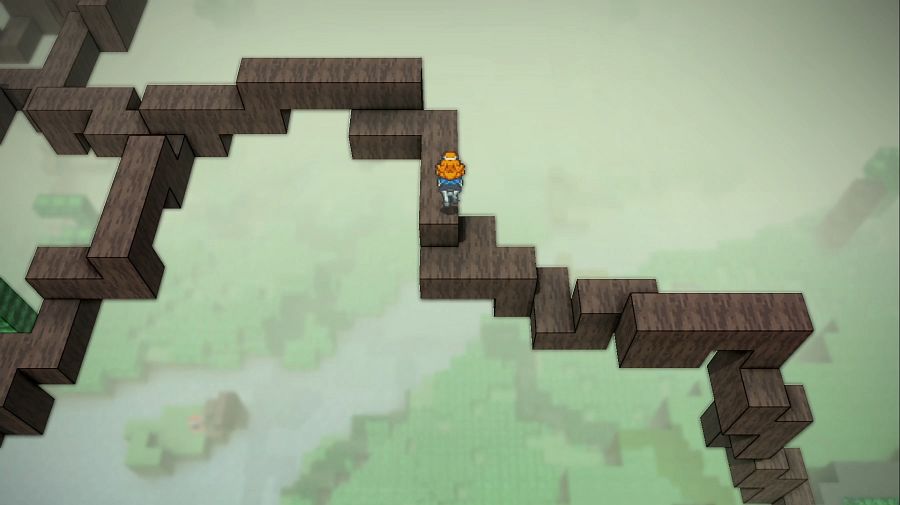 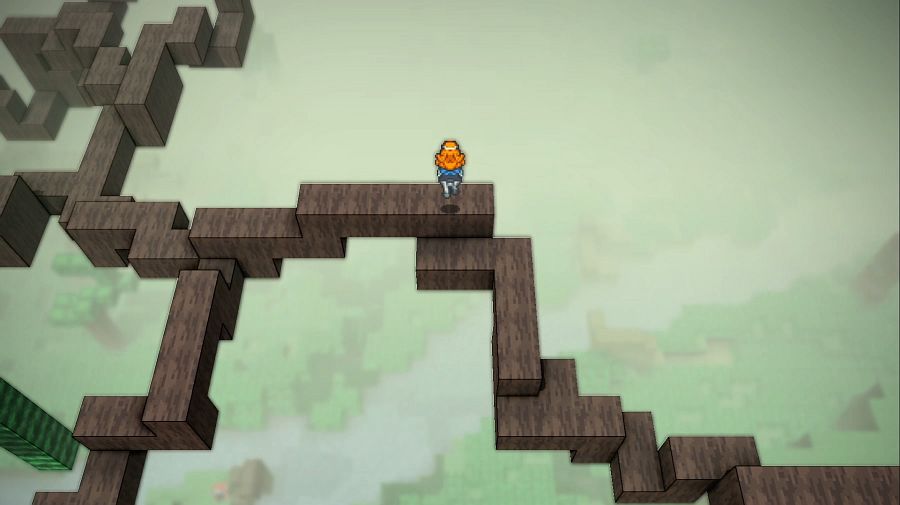 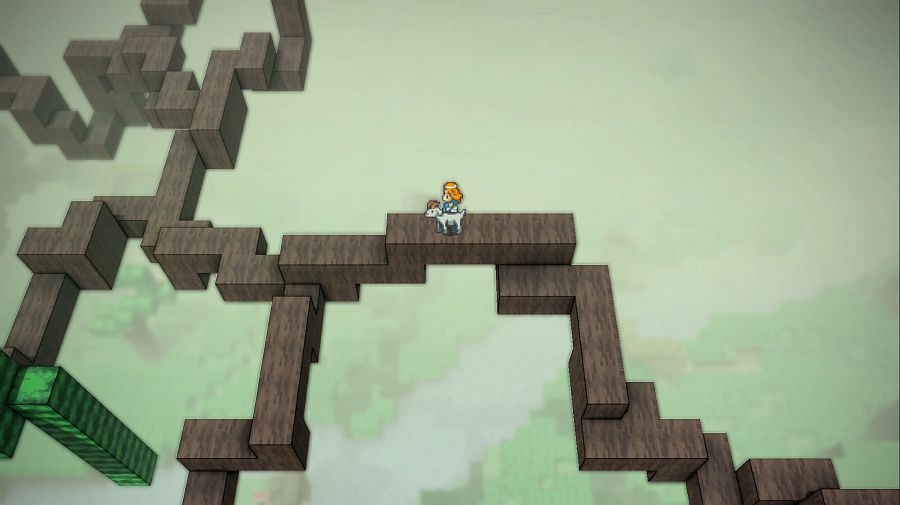 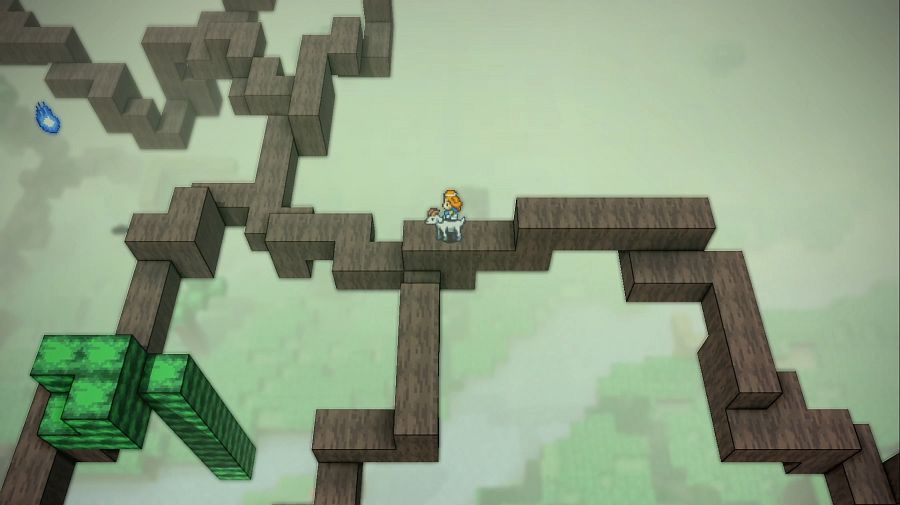 This part of the area is kind of hidden without a map if you don't think to start climbing the roots(or trunks?) there are a couple of places you can start, and this is probably one of the less obvious ones. 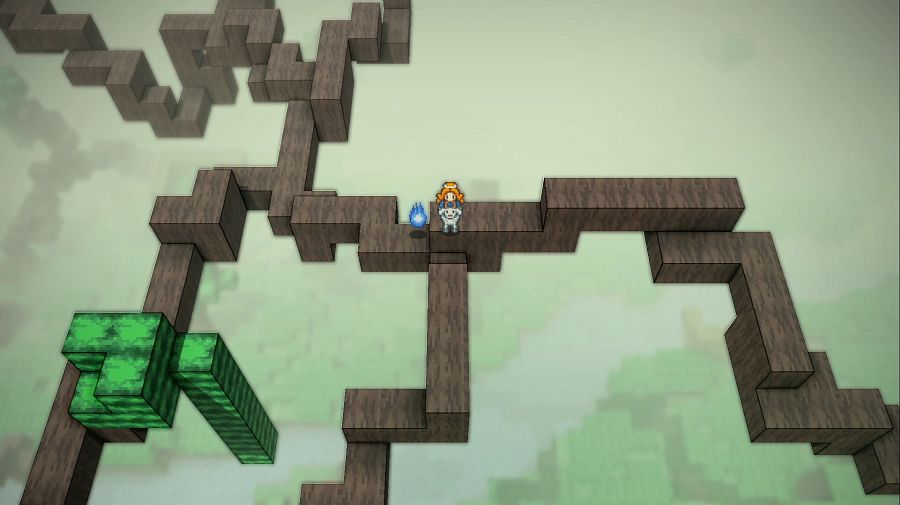 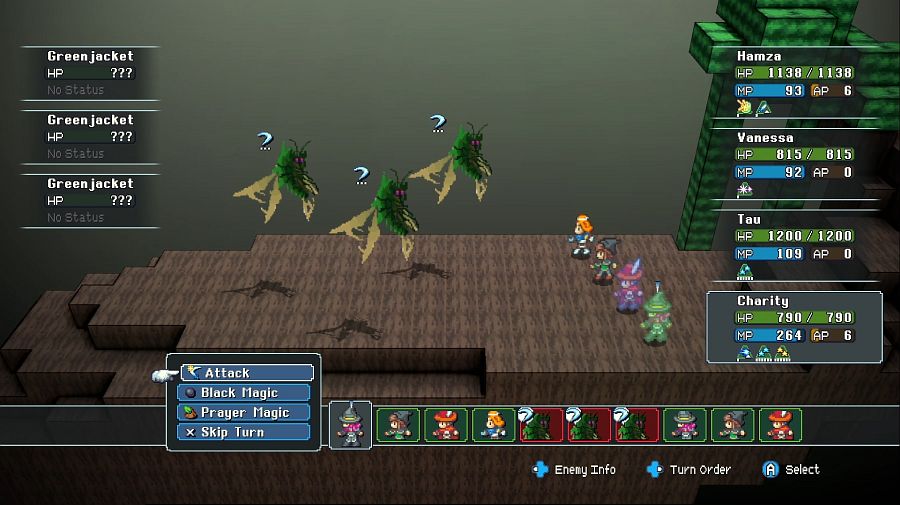 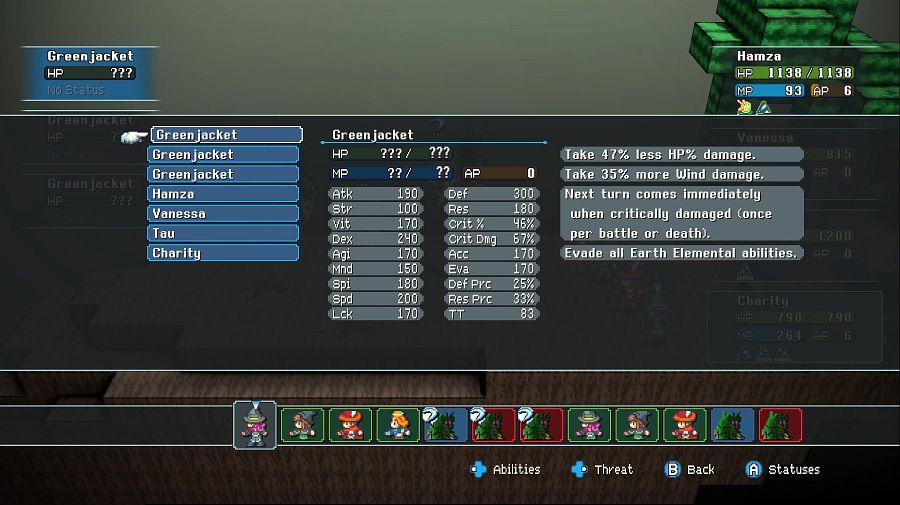 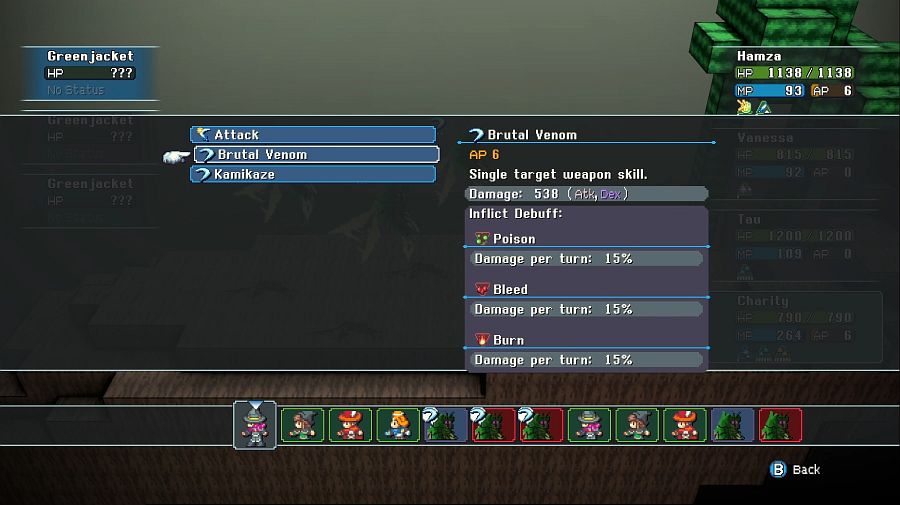 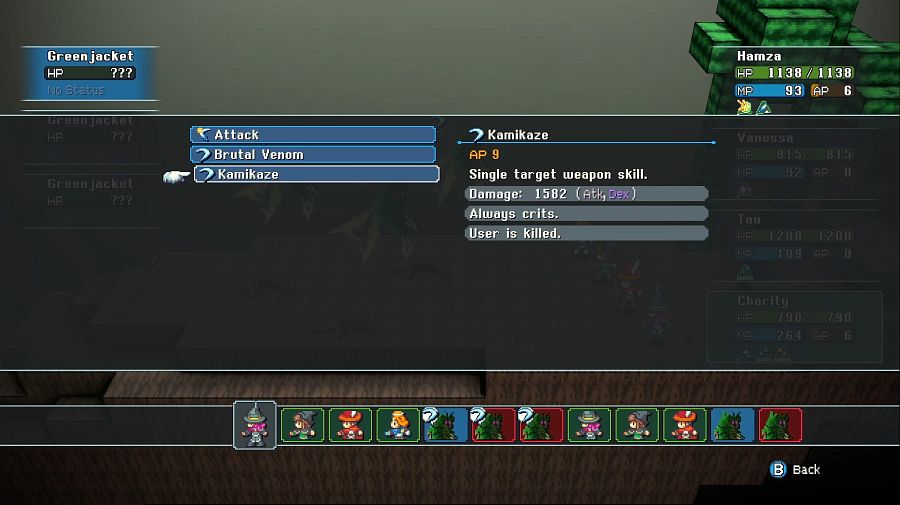 Greenjackets are EXTREMELY scary if you can't kill them quick, since they'll either be hitting you with an (almost guaranteed) instakill suicide attack or an attack that, in addition to its basic damage, drains 45% of your total health away per turn. Thankfully Charity's current secondary is Dervish so she can blast them into the atmosphere with Cyclone pretty effectively. 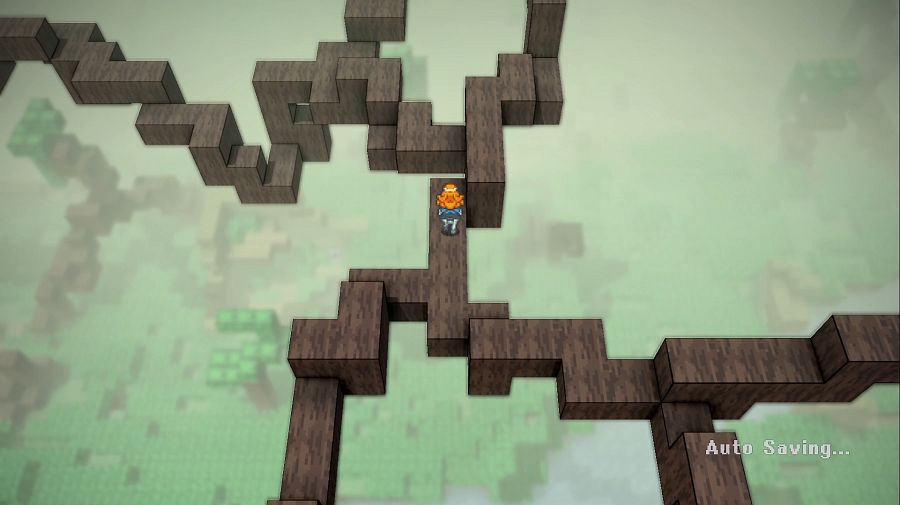 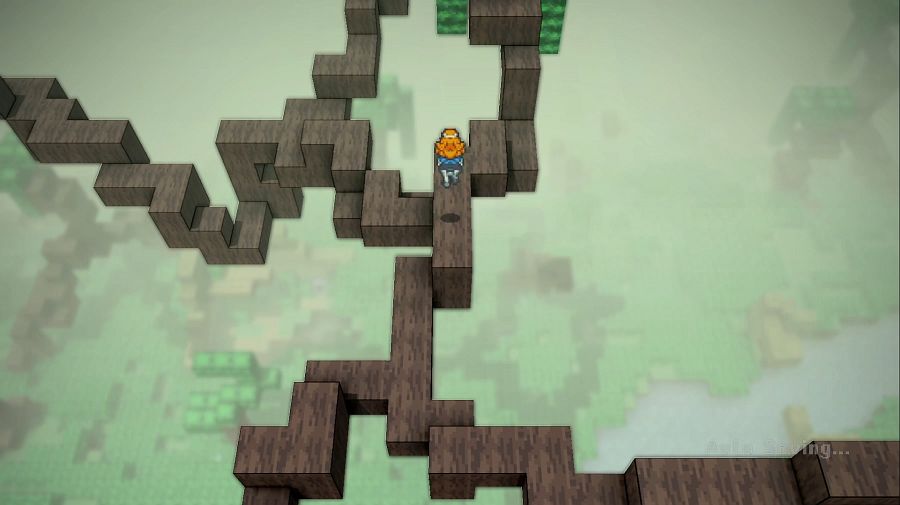 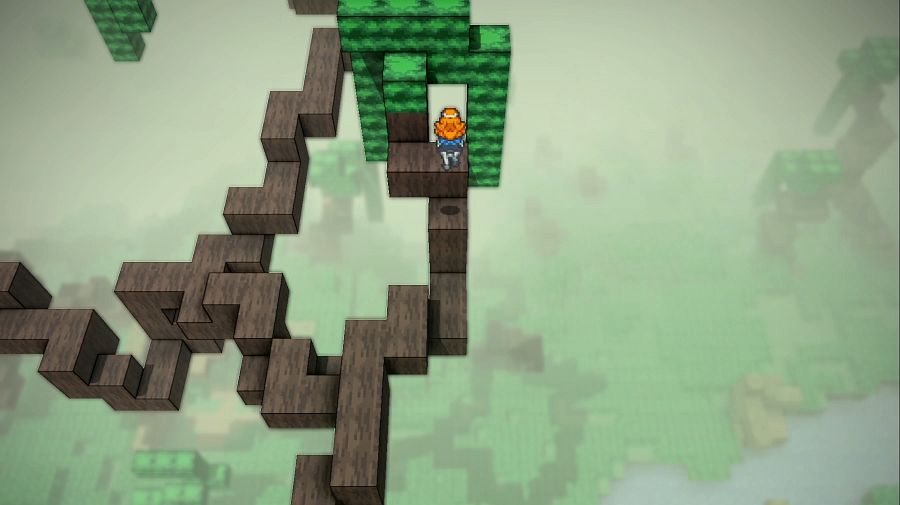 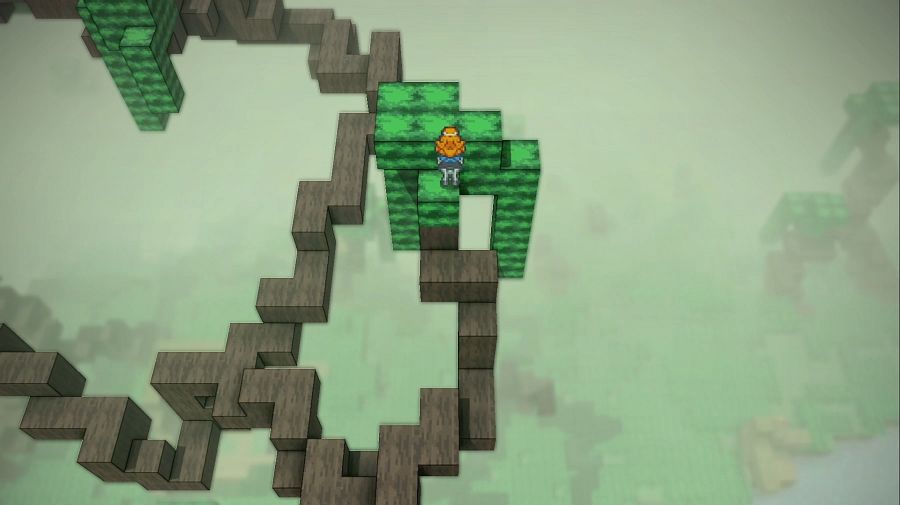 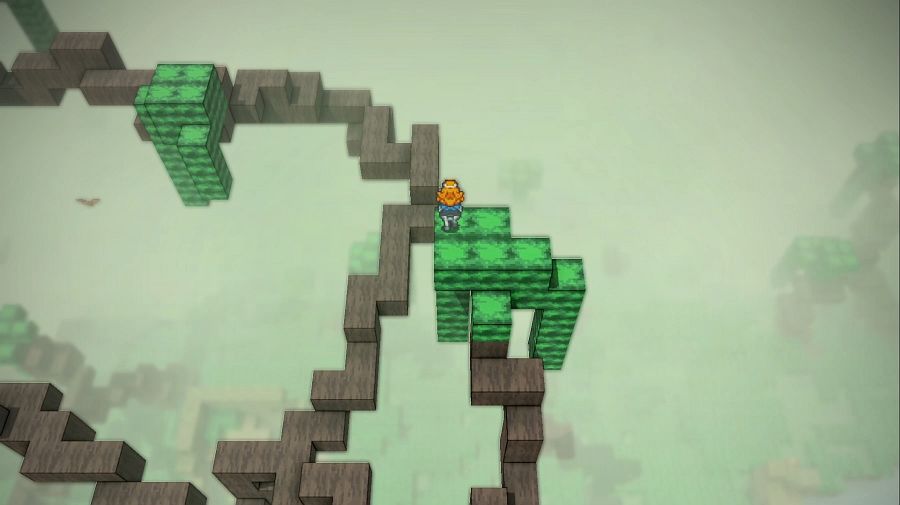 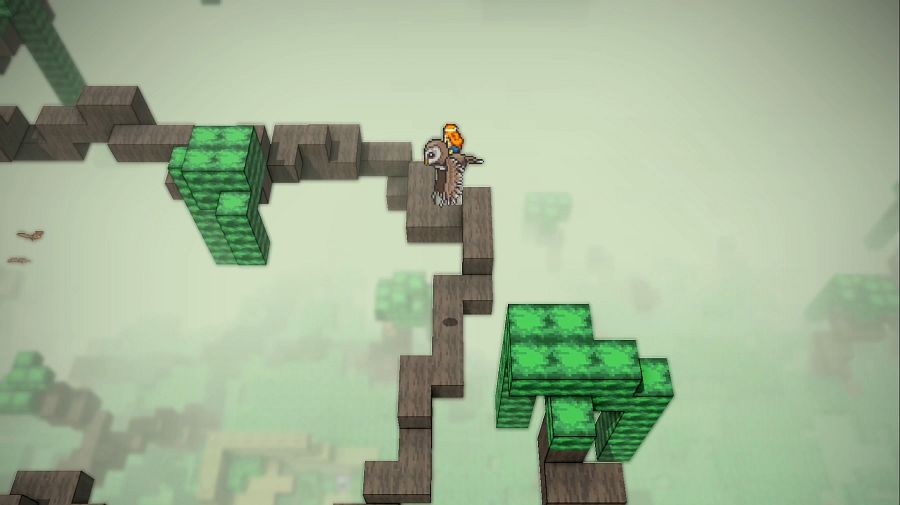  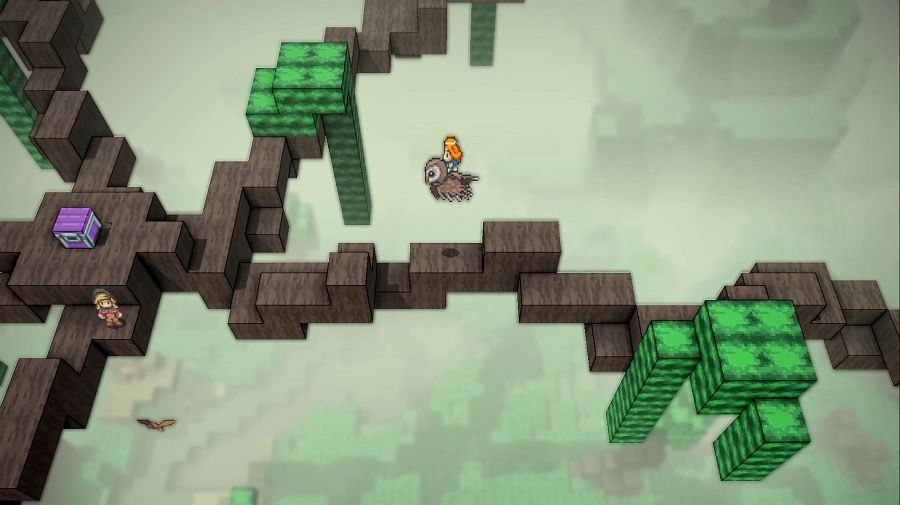 Tau: Hang on, is that... Charity: Chloe? Tau: I guess that explains why she wasn't up at Land's End with the others, but why is she out here? 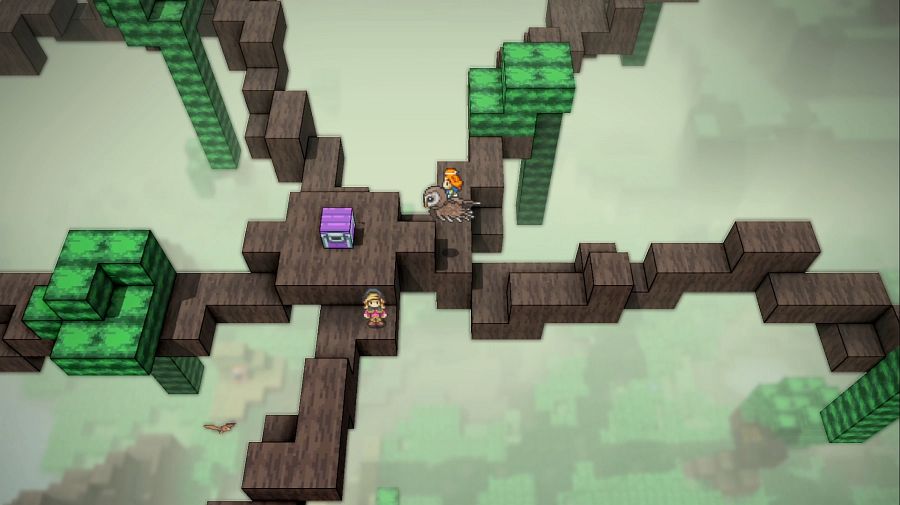 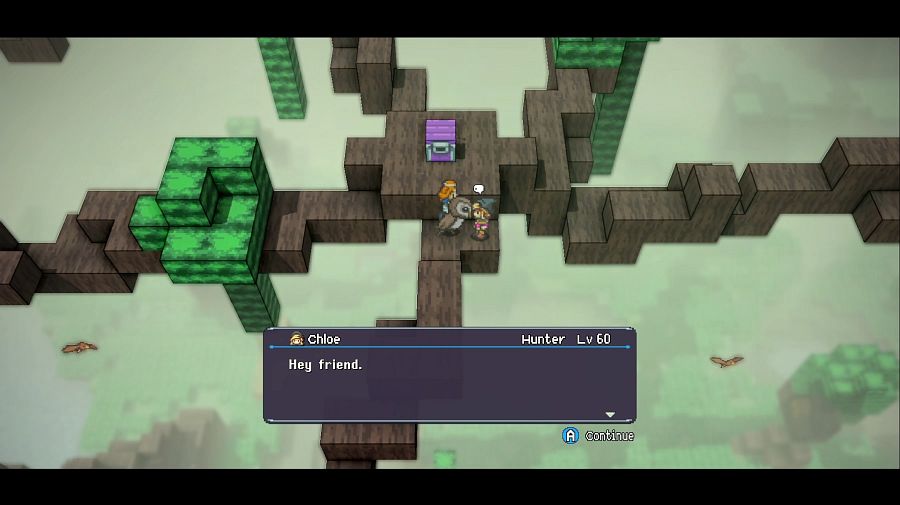 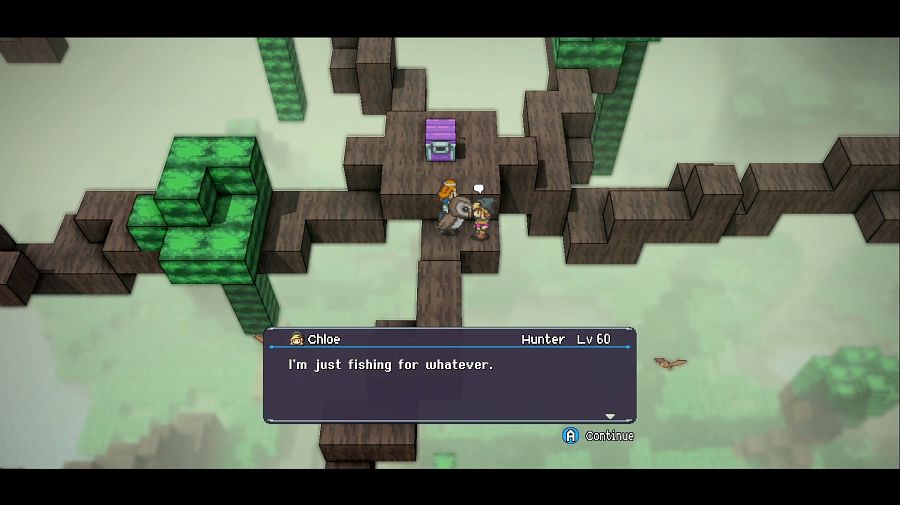 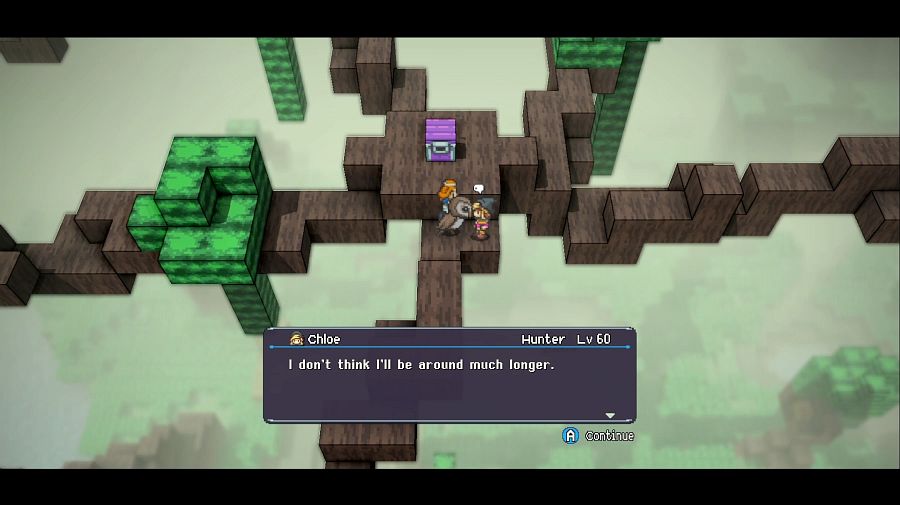   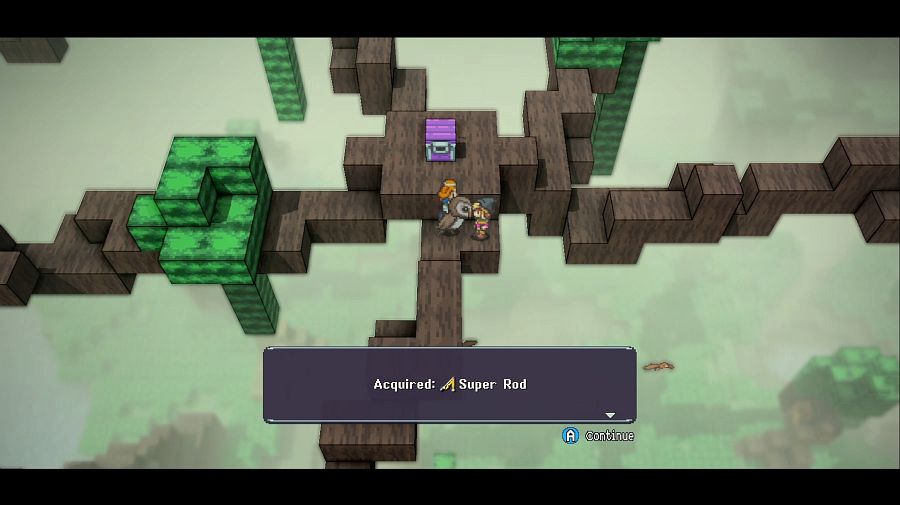 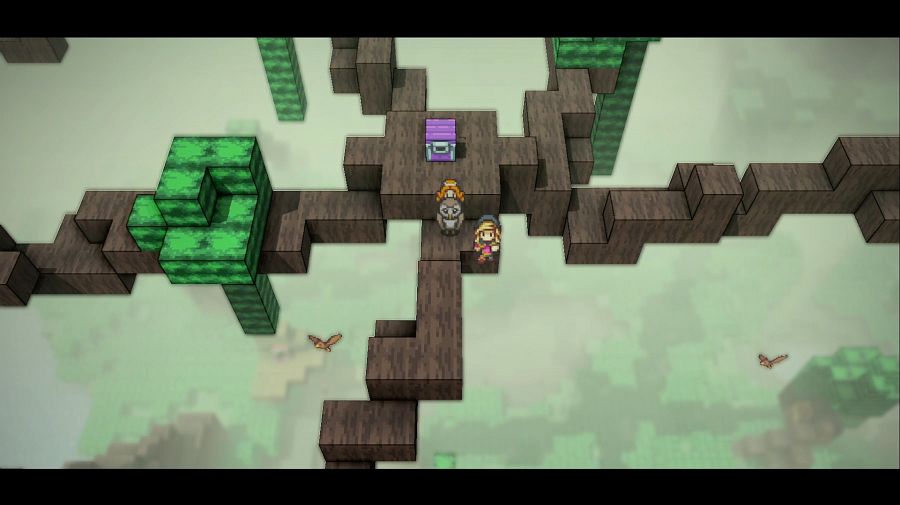 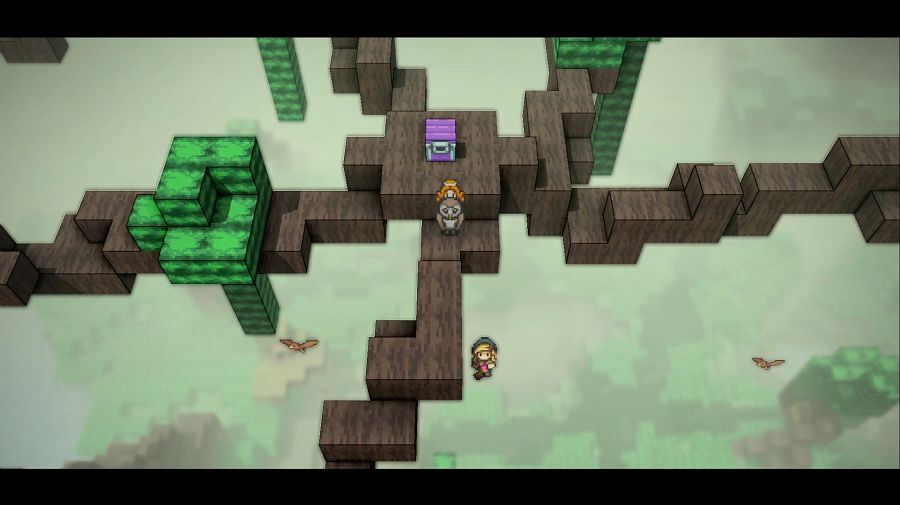 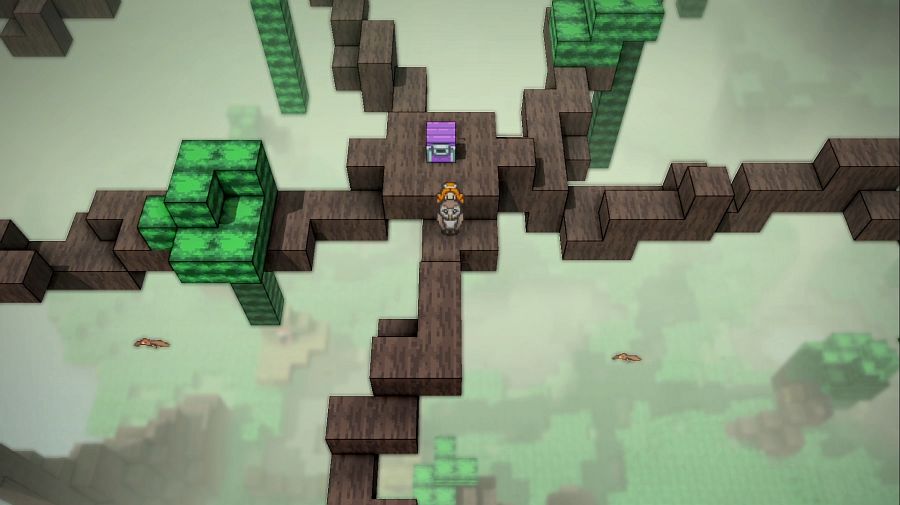 Hamza: Why is everyone being such a sadsack? Charity: ...because their game is about to be over and it might be over even sooner if the Grand Master banishes them? Hamza: Cowards, they should just be looking forward to the BIGGEST AND BEST OF FIGHTS. 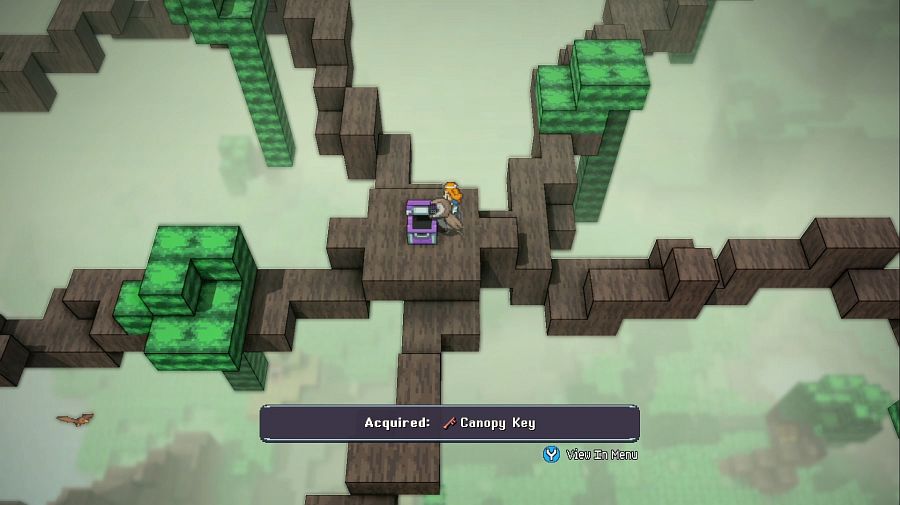 Vanessa: Another goddamn plant key. Hamza: Mystery treasure tree... they do call it a tree trunk after all. Trunks can be full of stuff and also locked. Vanessa: I will bop you. 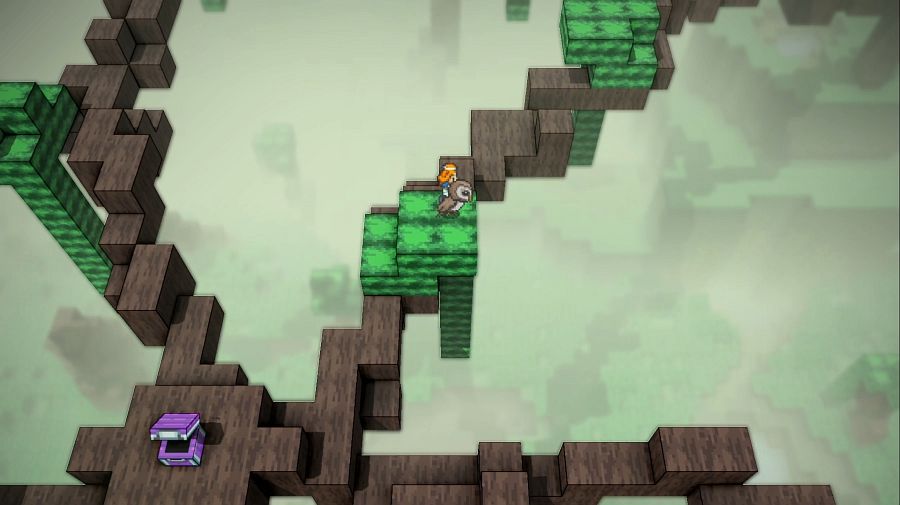 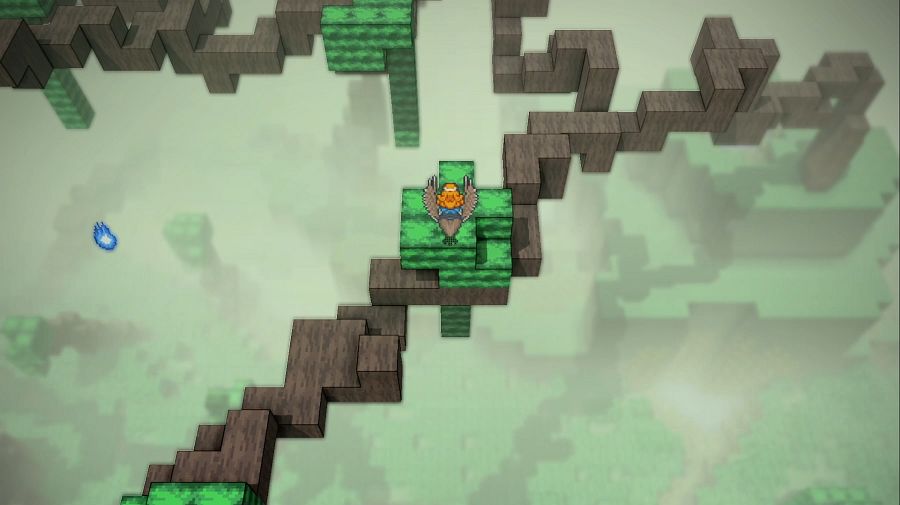 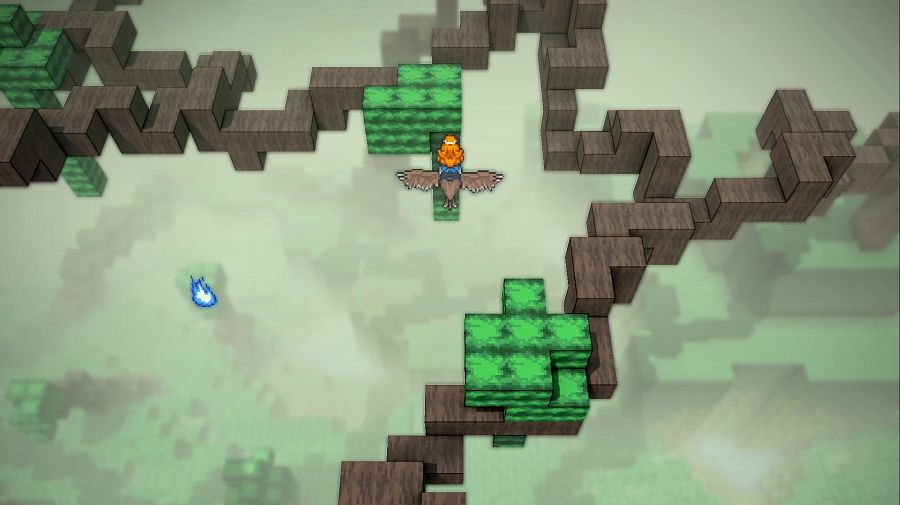 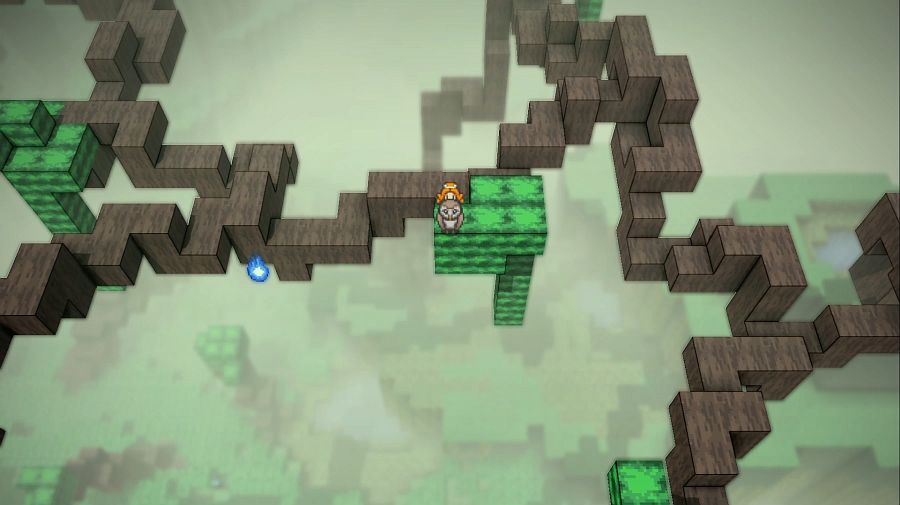 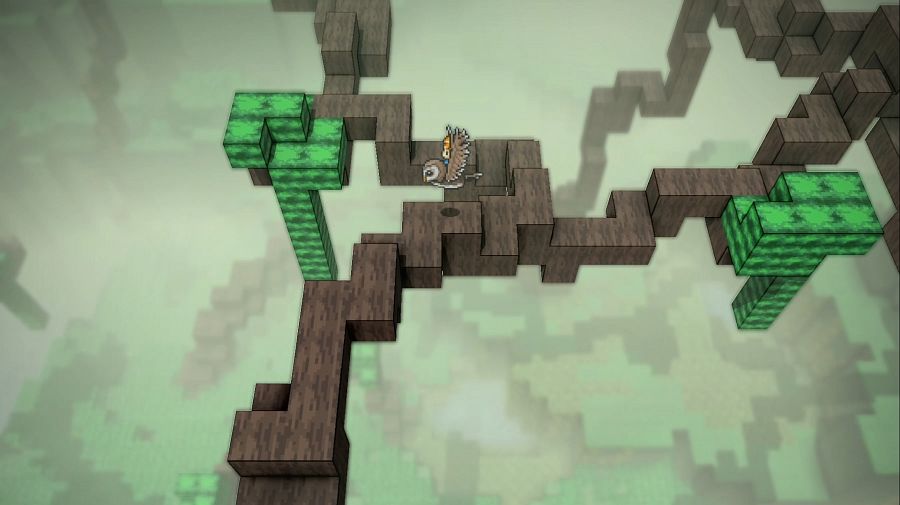 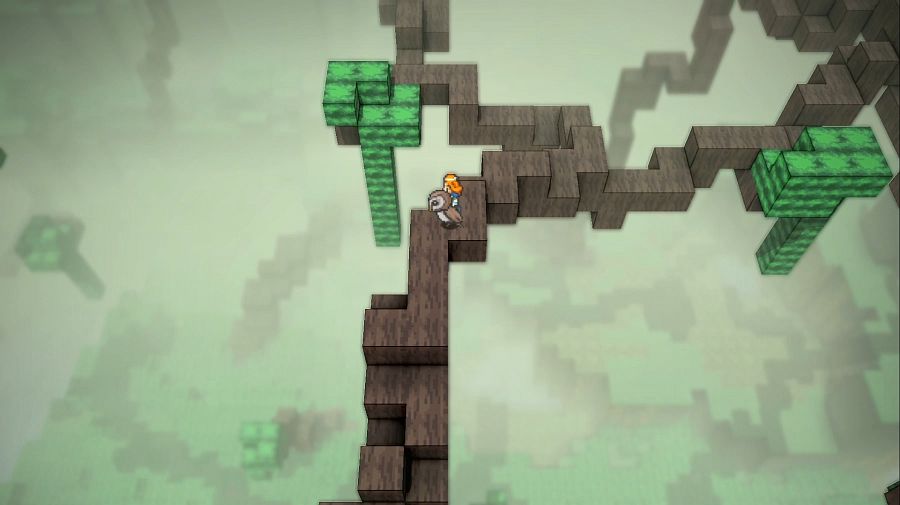 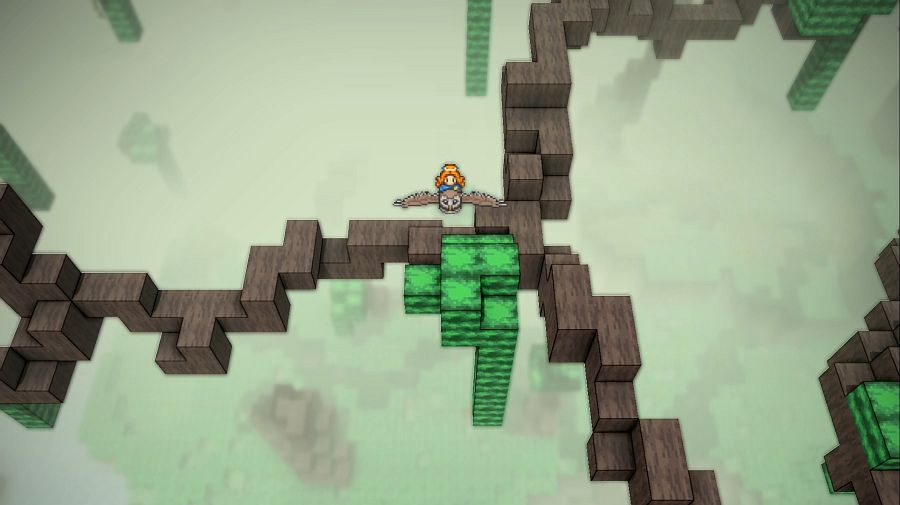 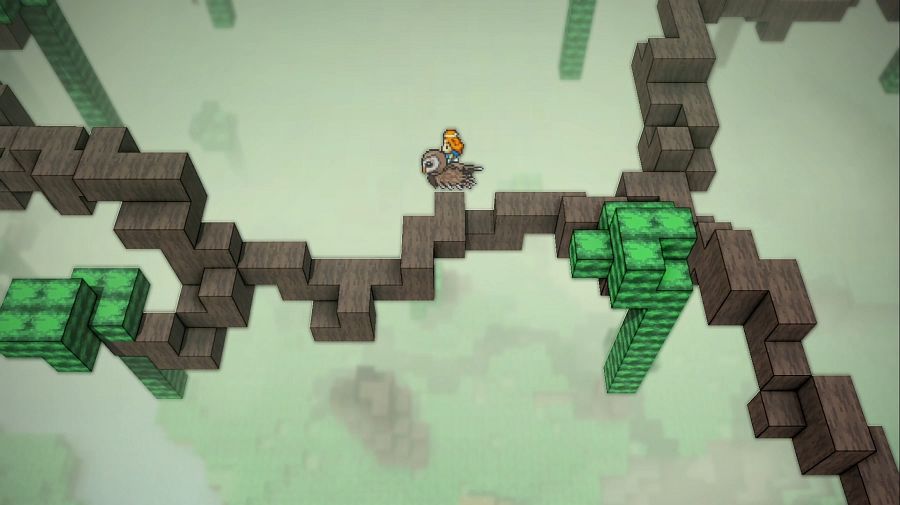 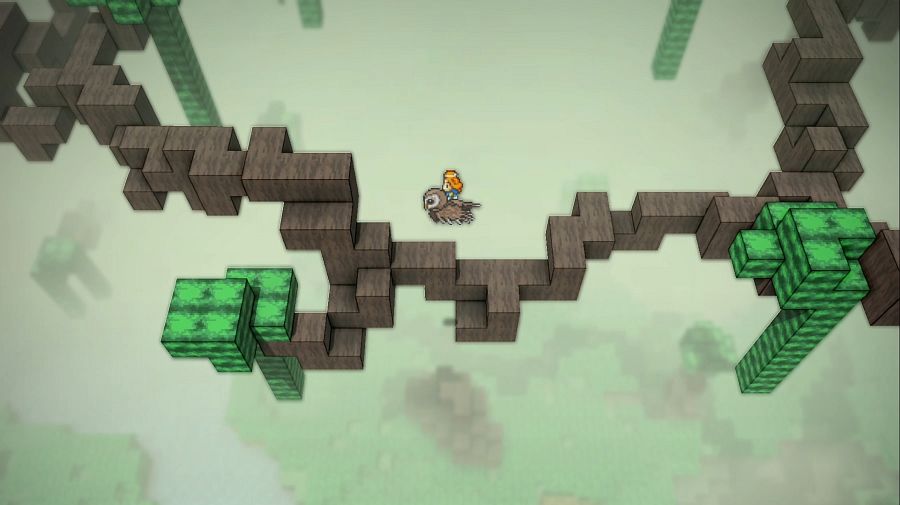 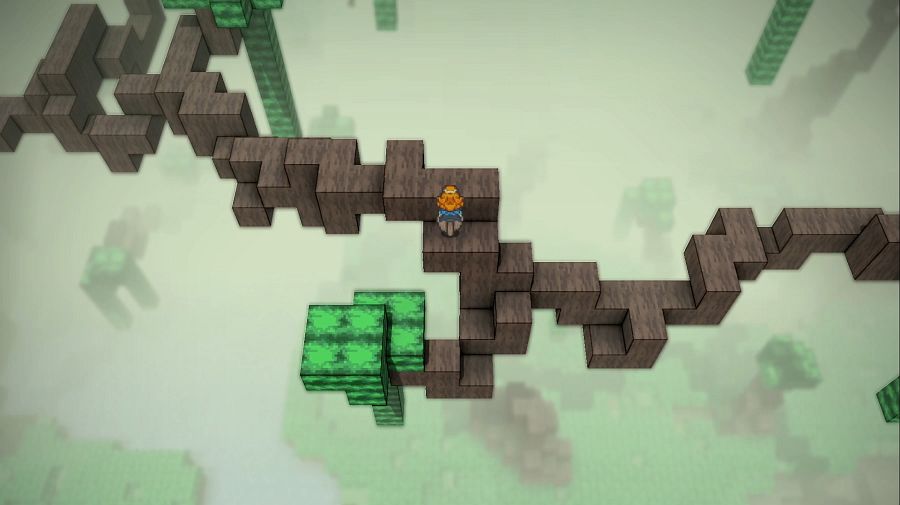 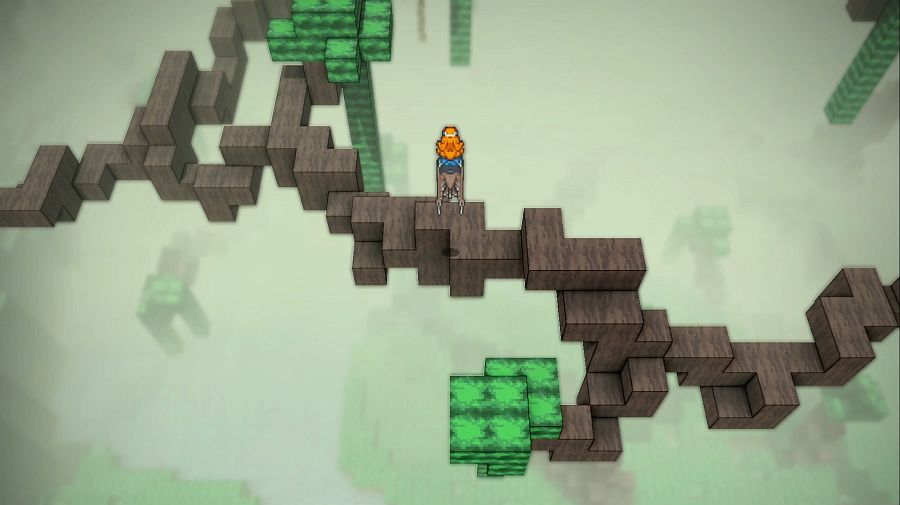 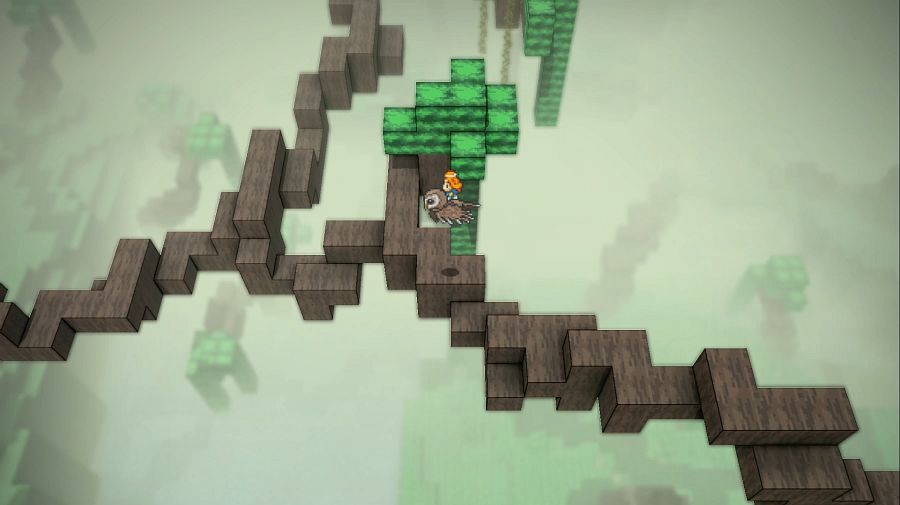 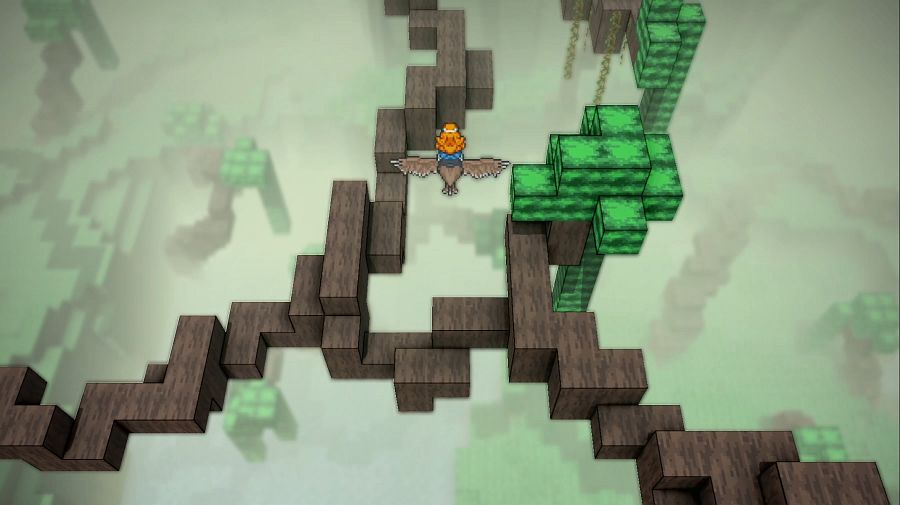 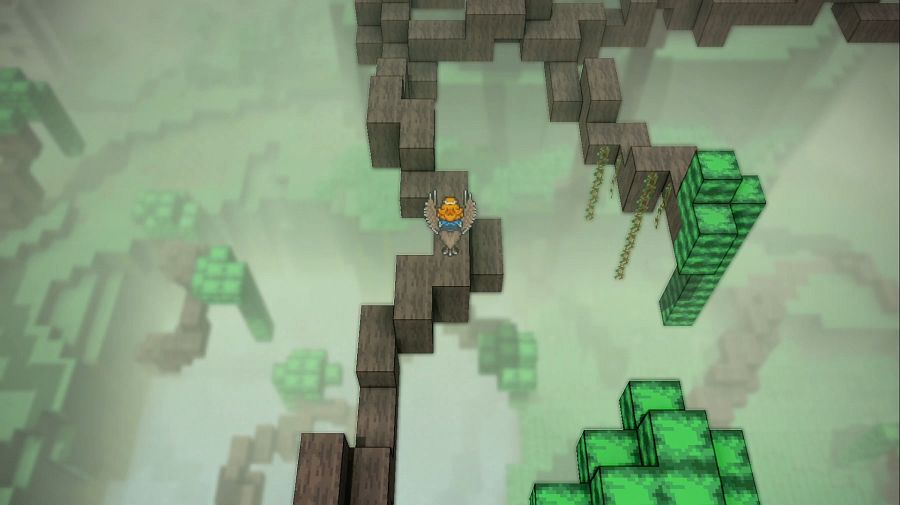 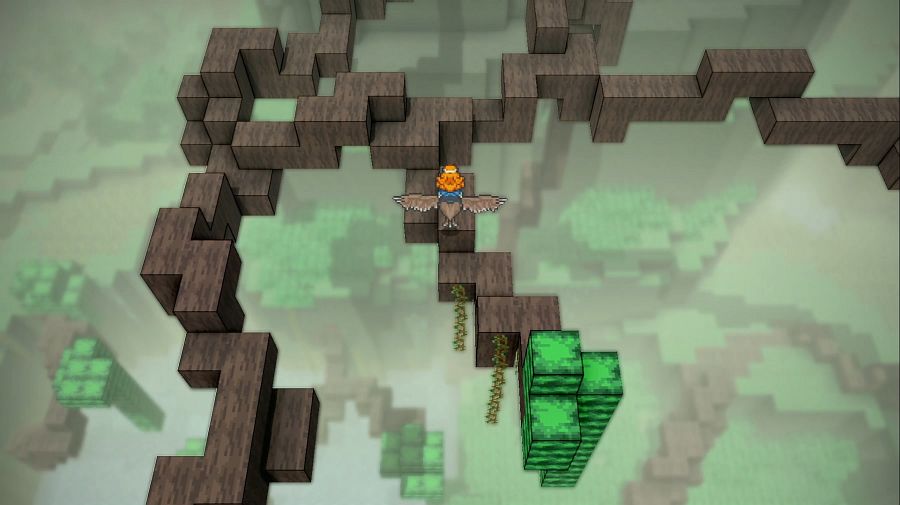 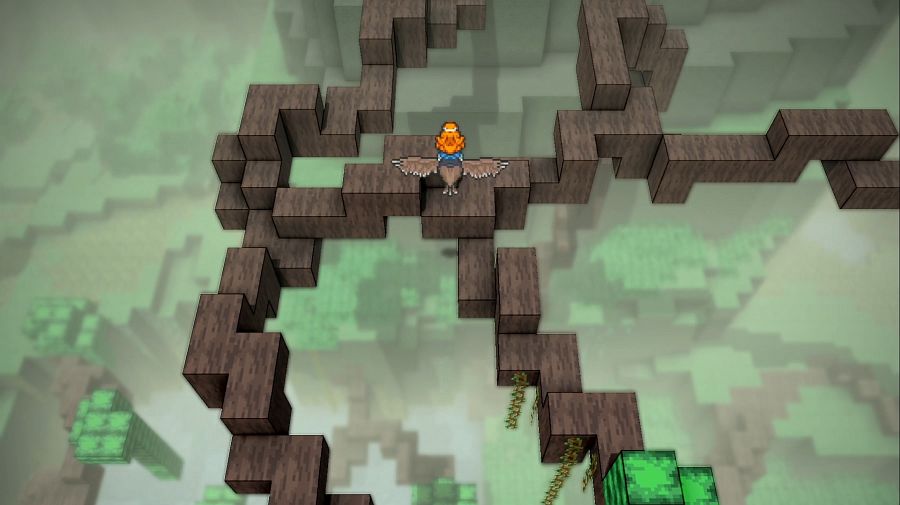 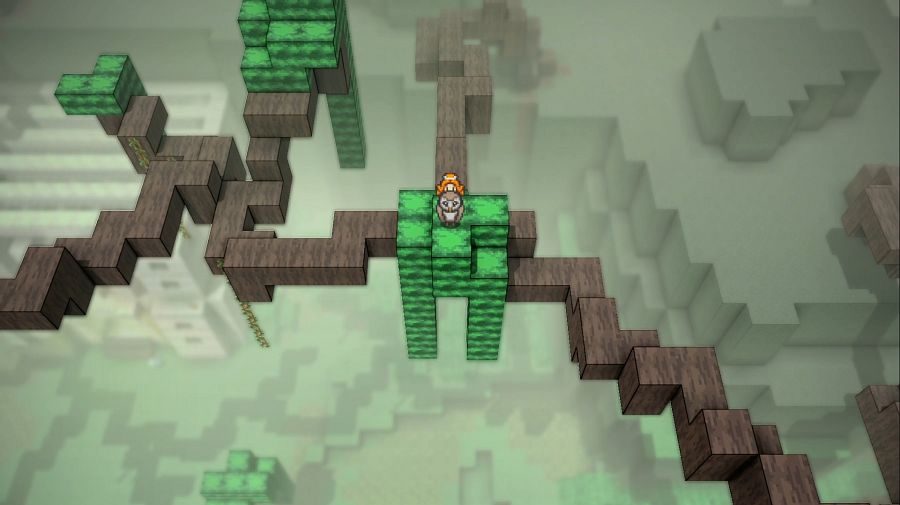 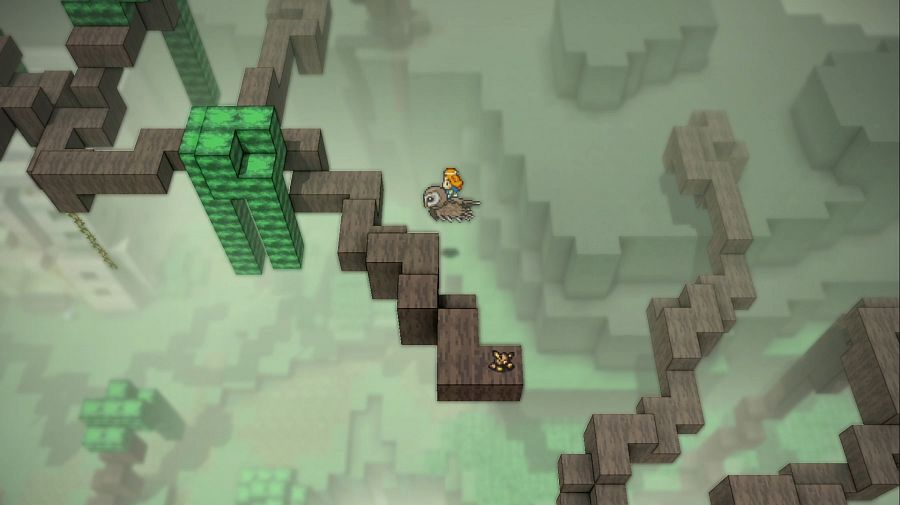 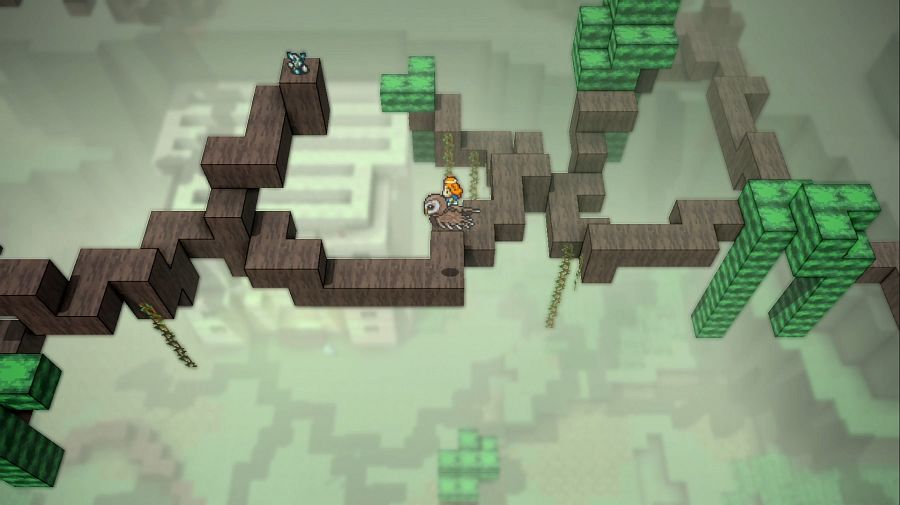 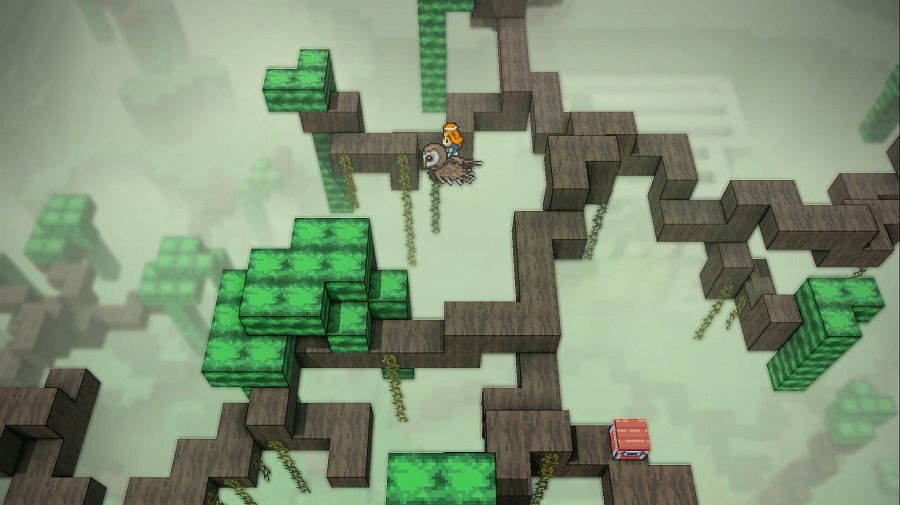 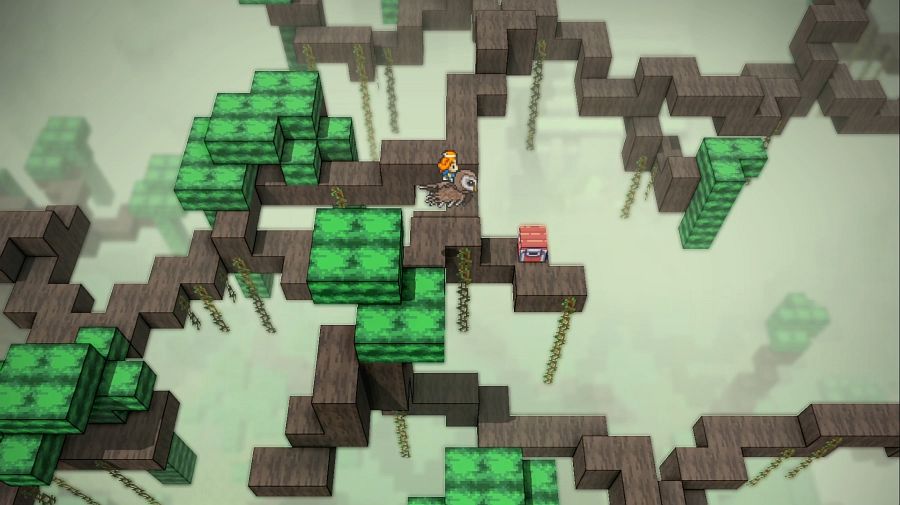 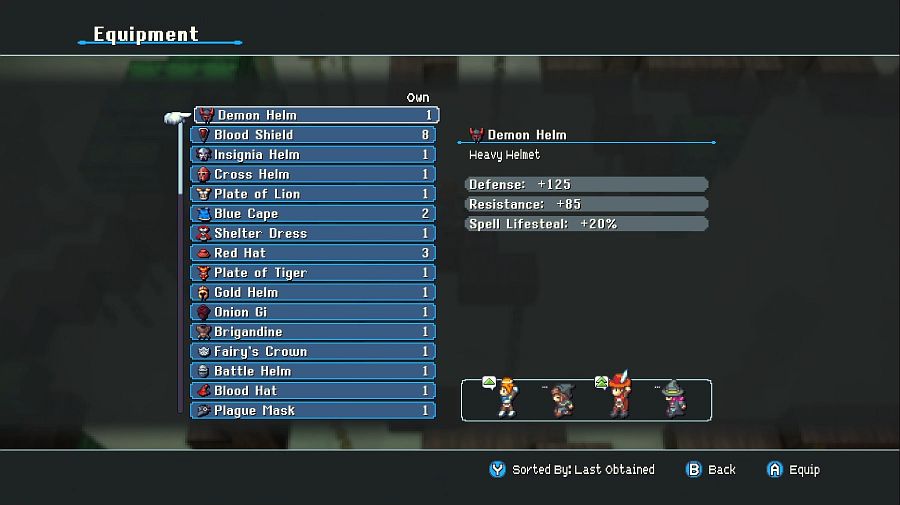 Aside from providing easier access to some higher areas, the Canopy Key(one of three Jidamba keys needed to access a dungeon) and Chloe(who gives us the best Rod, now we can actually go visit the final fishing spot and get some meaningful drops), all the high branches have are a few ores lying around. 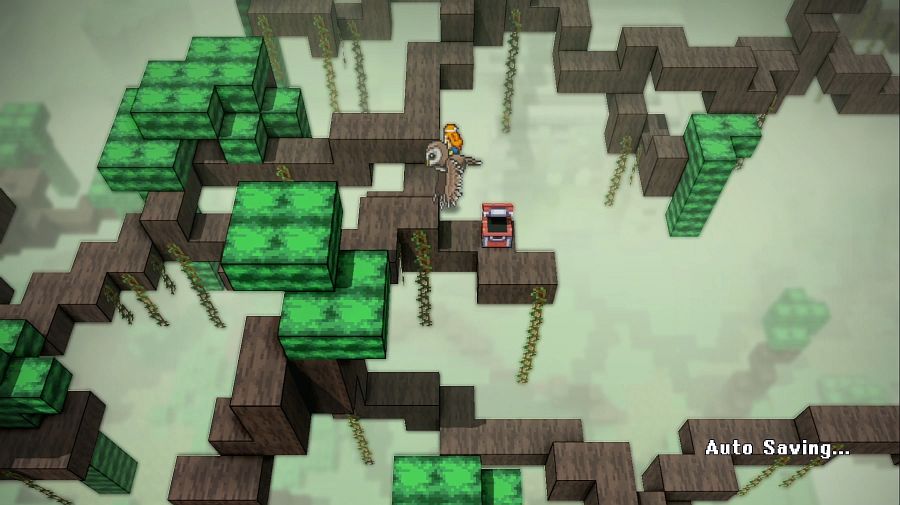 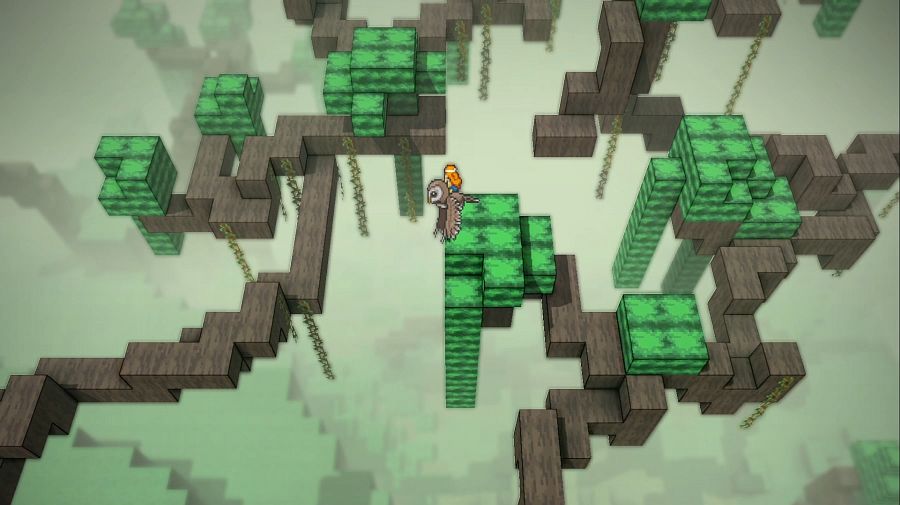 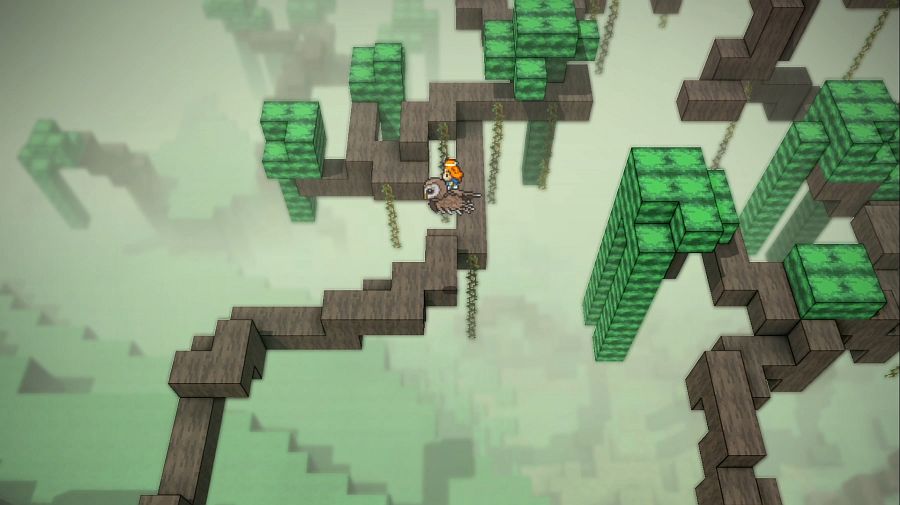 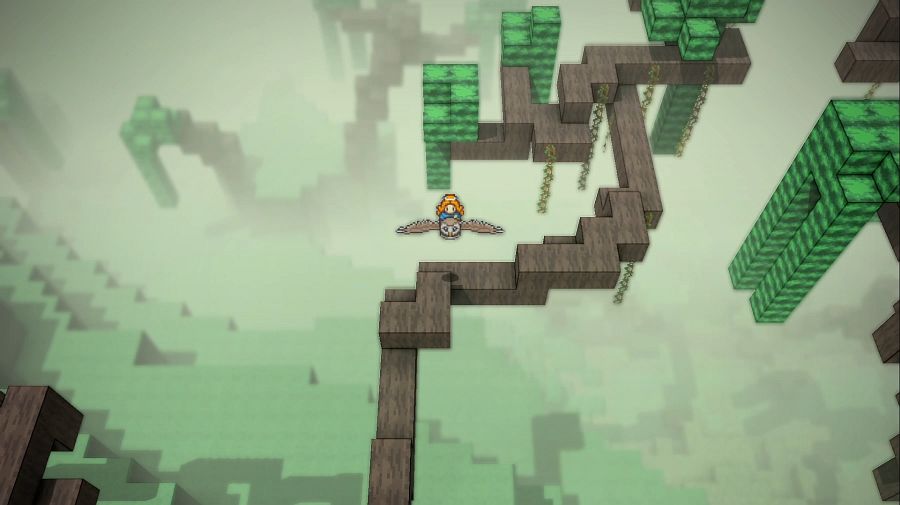   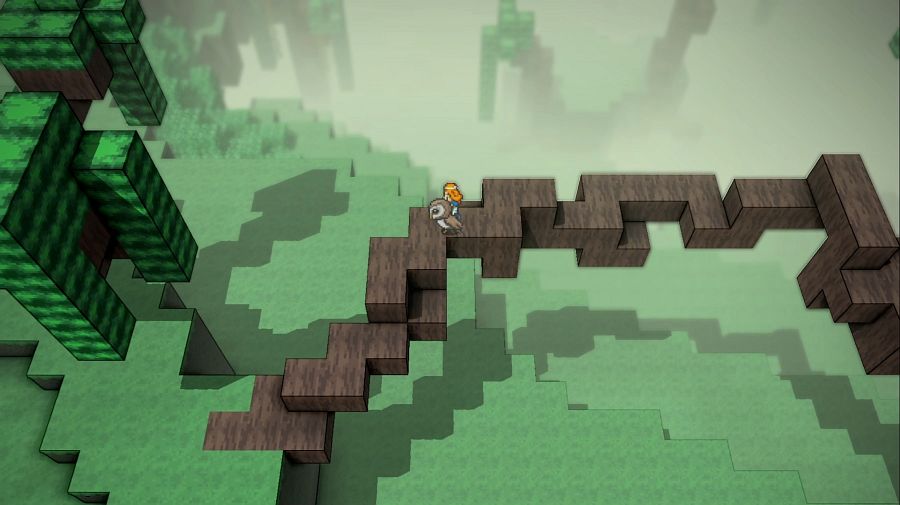 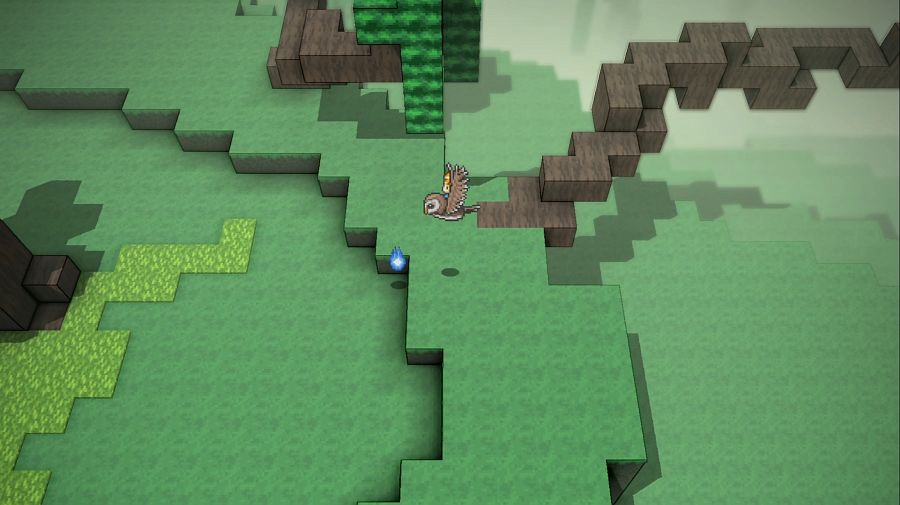  Tau: I hate to say it, but I don't think we're strong enough for this place. There's that Rexosaur and those boars... they're wearing us down. Hamza: Ugh, fine, but where are we going to go instead? Charity: Mystery cube? Vanessa: Mystery cube might be a giant vault... Tau: I like a good cube. Nice, orderly, square. Hamza: Fine, you weirdos. Next up: MYSTERY CUBE, after that is visiting the Quintars, and tied for last are east of the Castle Ramparts and the Meat Tunnel. Pre-cube I'll also be heading around to pick up as many summons as we can, currently. Once this is cleared up, I figure I'll have a vote for the remaining options.
|
|
#
?
Apr 24, 2024 00:07
|
|
|
I do think getting up to River Cat's Ego on the rental salmon is "intended" in a way that other Salmon Sprint shenanigans aren't, based on Nomad's position in the class order. The quiz fish being redundant if you already have the owl feels like another point towards that. Pre-echoing that I'm far, far higher on Nomad than you are. There's a few parts of its toolkit that might as well not exist (mostly anything that tries to lean into the hybrid thing it's going for), but as a pure spellcaster almost everything it does is excellent once you've built properly for it. There's also several pieces of lategame caster gear that Nomad makes uniquely good use of. Anyway, Jidamba Tangle is #2 after Tall, Tall Heights on my "pain in the rear end to navigate without a map, far too easy to never find the map" shitlist.
|
|
#
?
Apr 24, 2024 00:55
|
|
|
I remember using Nomad a lot but I don't remember why
|
|
#
?
Apr 24, 2024 00:58
|
|
|
There's two main Nomad strategies early on. The first focuses on finding a way to support Wave Armor. So long as you start each turn with at least 12 AP, you get a free AoE attack. They hand you a free way to support this early on, using the Art of War from the Ninja Shrine for its +6 AP a turn effect. The tricky thing is that since Wave Armor takes effect and activates the attack every time you take a turn, the Nomad wants to take as many turns as possible, meaning they don't want to cast anything with CT. So Warlock is their most natural partner, especially since their Water and Ice spells are effectively a buff to their Wave Armor's damage. Make sure you have very good aggro management, though, because two spells a turn (or three, with Doublecast!) means two times the generated aggro. It's easy to mess up and get them killed. (An example of what Summoner is good for!) The alternative is also a Warlock combo, where you're instead activating Therapy Stance and using them as your healer. This is the game's most reliable source of AoE debuff healing. The volcano dungeon, for example, can be made a little easier by starting every fight with Therapy Stance -> Remedy to remove the start-of-fight burn debuff there. Being able to cast with AP through Nomad also lowers the strain on the Warlock's MP, so this build can afford to Dualcast more often than most Warlocks. The Tangle is the game's #1 "don't get into fights here" area. The dungeon you unlock with the keys is perfectly manageable in comparison and fights are relatively easily avoided there, so I'm guessing it being mean was the point. In particular, the Greenjackets are a nightmare and should be avoided at all costs.
|
|
#
?
Apr 24, 2024 07:19
|
|
|
It feels weird watching you navigate Jidamba with an owl. Partly because I got there without one in the first place, partly because I found the megavines surprisingly hard to navigate (probably the perspective plus random height changes?) and every time you fall it's a long way back up, so I ended up using the goat (super nice for precision jumping since you can lock yourself in place before you jump). And here's the split second I got sad about Chloe committing suicide before I remembered there's no fall damage in this game in general.
|
|
#
?
Apr 24, 2024 11:09
|
|
|
Alright, because I forgot how much of a massive pain in the rear end Ioske is, the next update is going to be almost entirely a failure reel of my attempts at getting the four first summons(I loving got them, though, the bastards).
|
|
#
?
Apr 24, 2024 14:04
|
|
|
Update 22: Summoner Roundup I was originally going to tackle THE CUBE in the same update because I thought "oh hey it's just four summons, how long can it take? I remember how these fellas work" and it turns out that I had forgotten a few things. Primarily I had forgotten how much loving Ioske sucks to fight. I'll also be dropping some class roundups at the start here since the main post has ended up being too long for me to add more to. Probably someone intelligent would have foreseen this, I did not. Assassin   Assassins are, in general, a wonderful class. By using a weapon that another class also specializes in, daggers, for most of their abilities, and having a very strong ability for countering overworld mobs(double damage on attacks if the attack would result in a kill, if it was doubled), my non-randomized playthrough had a Rogue/Assassin or Assassin/Rogue as part of the party almost perpetually.   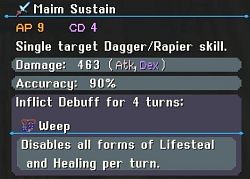 Early on what you get out of them is some very useful debuffs. Weep less so, few enemies have self-heals, but reducing enemy offense and damage-over-time is always worth it. 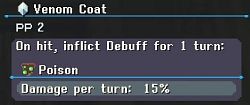 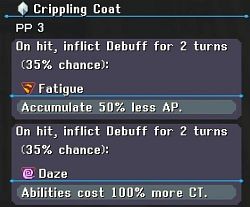 Their learnable passives are also very handy, because they're a good buff to anything that hits enemies with a weapon. It also synergizes well with one of the Assassin's capstone abilities. 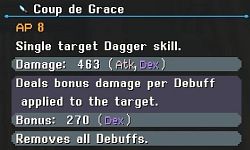 Which would be this one. Being able to apply debuffs without needing to spend turns on it, means you can get around to dropping a big bomb of damage with Coup de Grace sooner. 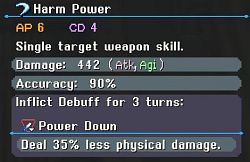 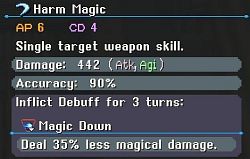 Another couple of workhorse debuffs, but notable for being weapon agnostic, so the Assassin can use them no matter which of their THREE weapons options they're equipping. 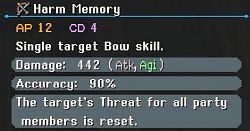 The only other bow user is the Hunter, and a Hunter/Assassin would be a weird combo, especially since the Hunter already has a threat management skill. The main use of this one, in my opinion, is if you're treating to keep heat off your big blasty casters because your tank can't keep up with it. 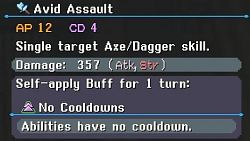 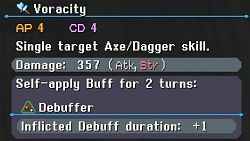 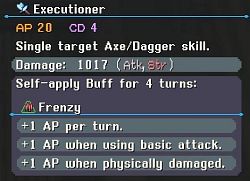 Lastly, three Axe/Dagger skills. They're all useful, though least of them would be Avid Assault, since with their abilities having BOTH cooldowns AND AP costs, it's rare you'd have something on cooldown but still the available AP to whip it out. Beastmaster   Beastmasters are a decent physical class, though not a tank class in the sense that they aren't all that great at attracting hostility and don't have many survivability powers outside of a lifedrain ability. Their innate passive is always knowing enemy HP and MP, which saves you a single Warlock action, but that's about it. Dubiously useful. 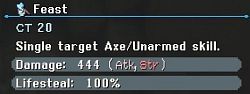 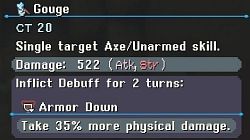 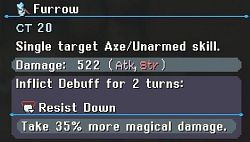 Where the Assassin can knock down enemy offense, the Beastmaster can knock down their defense and has a pretty good self-preserving lifesteal attack in Feast. 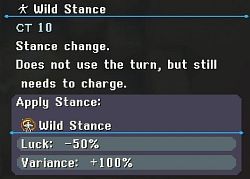 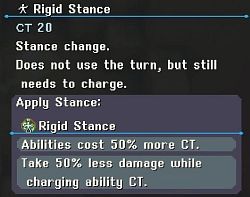 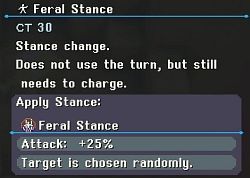 Fierce Stance makes their already-swingy axe attacks even swingier, but is a gamble since it also increases the chance of low damage swings. Rigid Stance actually makes more sense to combo with a caster since spells are mostly the ones that have charge time, not physical attacks, but since it also makes your attacks charge slower... I think I'd generally just not use it. Feral Stance... I mean against bosses or other big solo targets it makes sense since you can't accidentally hit the wrong thing, it's just free damage, then.  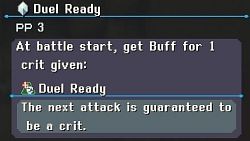 Threatening would be fine to get on your tanks, but Duel Ready is the real magic if you get that on a Fencer who has both a stance that increases their crit damage and an attack that does +150% damage if it crits and an inherent crit damage boost. It can be pretty good for wiping out wandering flames, especially if combined with a class we haven't gotten yet(though that sacrifices the Fencer's bonus crit damage), that practically lets you clear out any wandering group in one swing. 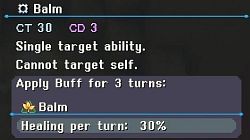 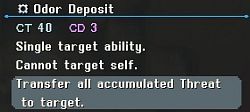 Balm is probably the strongest heal-over-time effect in the game, and Odor Deposit combos well with your tank later in the battle once you've racked up a good bit of Threat. But since it also makes you Bottom Threat, it risks exposing your Rogue unless it's some sort of weird Rogue/Beastmaster build. 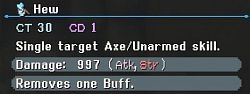 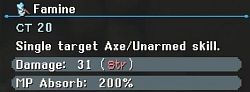 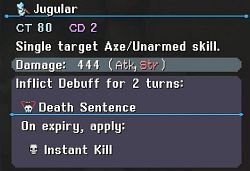 Being able to remove enemy buffs is situational but VERY useful in those situations since some enemies have very strong attack and defense self-buffs. Famine is theoretically useful, but note that it doesn't damage enemy MP, only MP Sickle from Scholars does that, and Beastmasters have no innate use for MP. Jugular suffers from the usual problem that instakill abilities in RPG's have, which is that anything worth using it on is usually going to be immune to it(i.e. bosses) and anything else can generally be cleared out without needing to go through the trouble/expenditure. Nomad   I've complained about the Nomad and their weird setup of using AP instead of MP before, but I'll do it again: I think they're a somewhat bad class outside of some very niche applications.   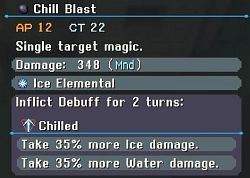 If you ignore the AP issue, they do have some interesting powers, a combination of healing and damage, but primarily damage. 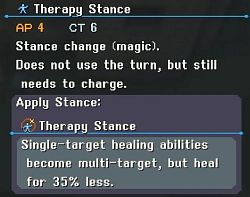 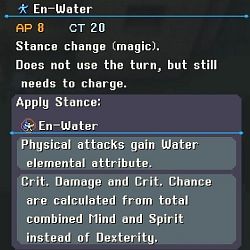 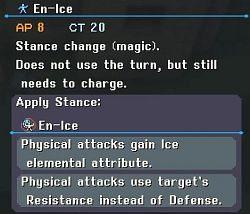 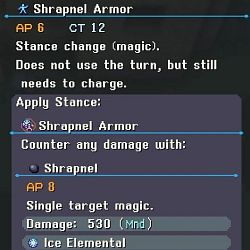 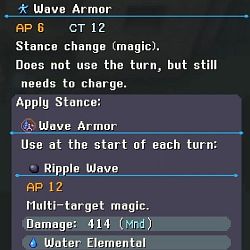 They also have a LOT of stances. I can absolutely see use cases for En-Ice and En-Water, less so for Therapy Stance, since in my opinion the single-target heals will become so weak as to be useless once turned multi-target, since they default to being the weakest ones already. Wave Armor is nice except every use also drains AP, plus drains more than you passively generate in a turn, so you'd need to be something like a Reaper, a physical attacker who even so doesn't use AP, or a Nomad/Scholar or Scholar/Nomad who uses Adrenaline to pump a bunch of AP every turn. I think they just don't really work, mostly.  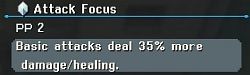 Frenzy Stance is pretty useful, but deeply overcosted since a character only ever gets 10PP to spend and there are some MUCH better ones for practically every class, especially since most classes are going to switch stance at most once or twice in a fight. Compare to the Warrior who for 3PP gets +6 AP from Adrenaline(Adrenaline PP) at the start of the fight no matter what, or the Samurai who can get +3 AP on every basic attack(Fury) for 1 PP. Attack Focus is more worthwhile, it combos pretty well with the Samurai's Fury, for instance. 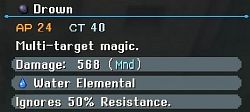 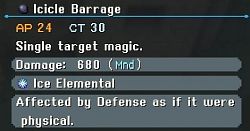 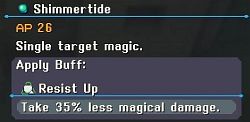 Shimmertide is probably the biggest standout skill since it does something that I think no other buff ability does: it applies a buff with no timer, it's just a flat magic resistance boost for the rest of the fight unless something explicitly removes buffs. It's super expensive to use, fairly enough, but over a long battle, say a boss battle, it could definitely pay off. Summoner   Summoners, as previously discussed, are an excellent primary class for casters(MP max bonus as their passive) and have, once you gather them, a very powerful assortment of once-per-battle abilities(summons), but they start out with very little.  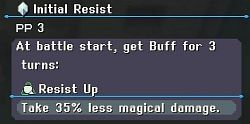 MP Boost is worthwhile for more or less all casters, probably one of the most universally applicable passives. 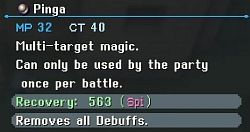 And our sole starting summon is this all-heal that removes debuffs. It's very useful as a panic button, especially since some bosses really love piling on the debuffs, but anyway... let's get summon hunting. 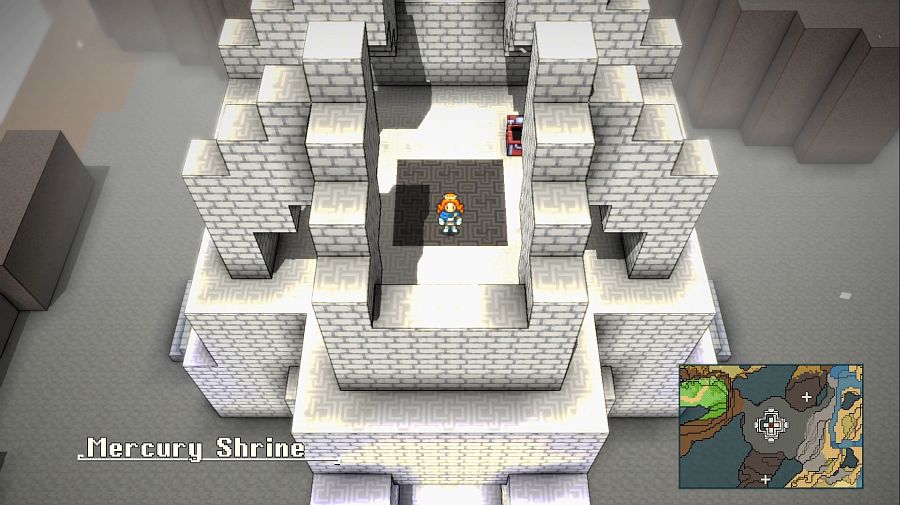 Our first target is also our easiest, the Deity of Fire in the Spawning Meadows. Mercury Shrine is the easiest place to start if you wanna head down there since that leaves it all downhill and right next door. 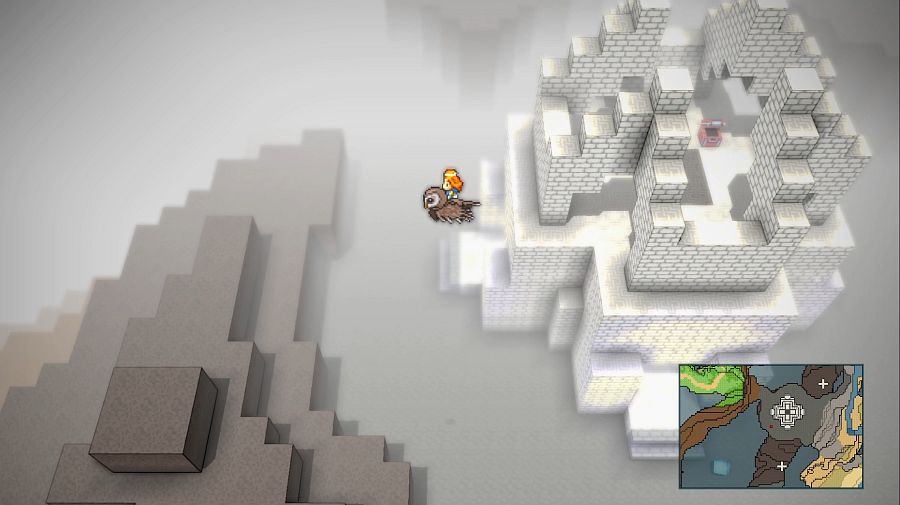   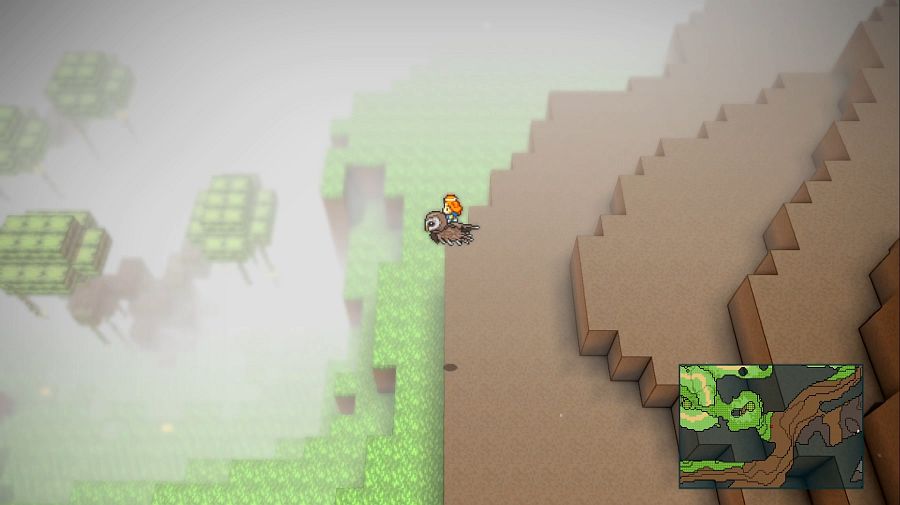 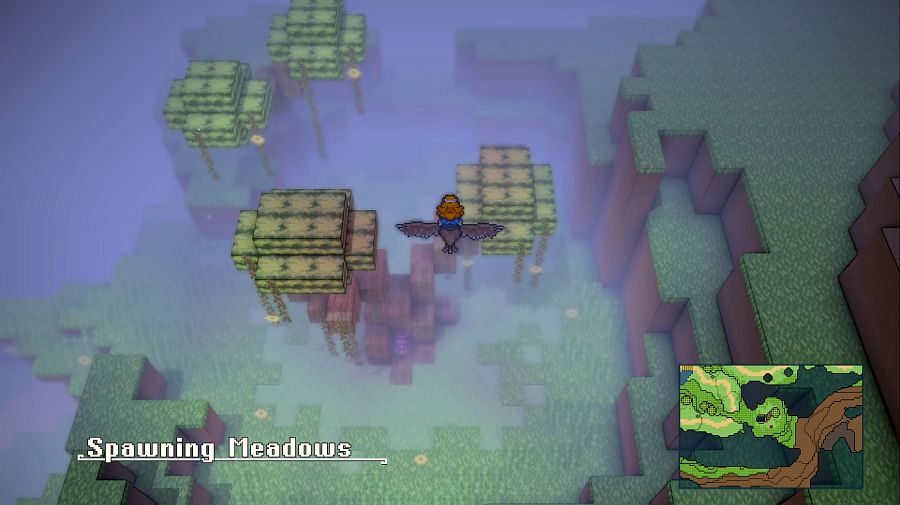 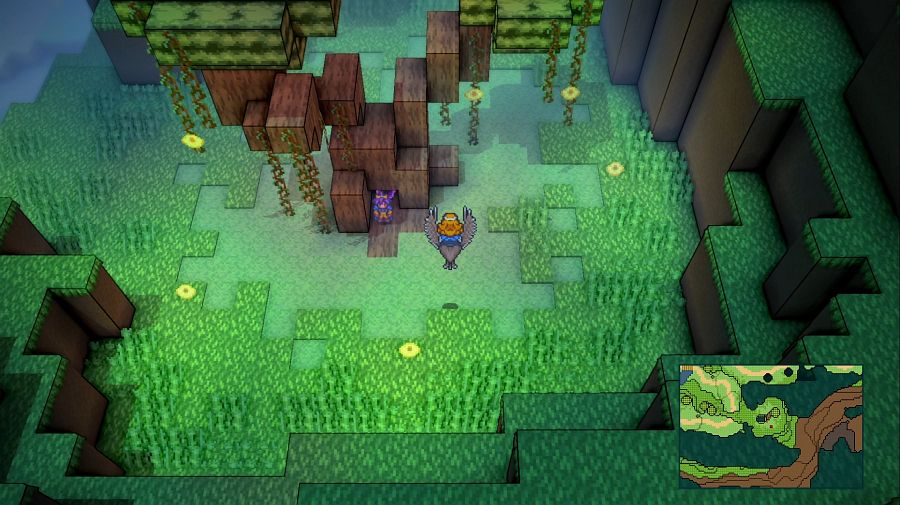 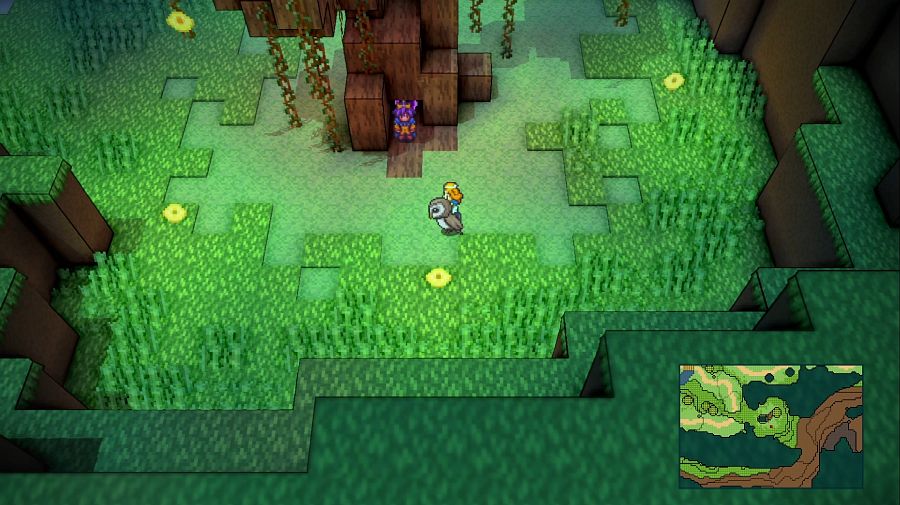 All summons being located under one of these trees tends to make them pretty easy to spot from the air, which is handy since there are a couple which are truly out in the boonies and annoying to re-find if you haven't done so a bunch of times already. 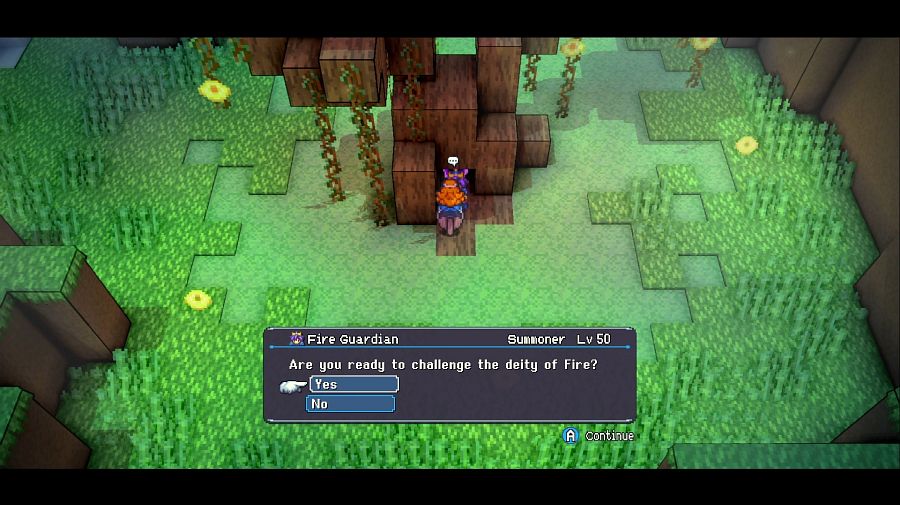 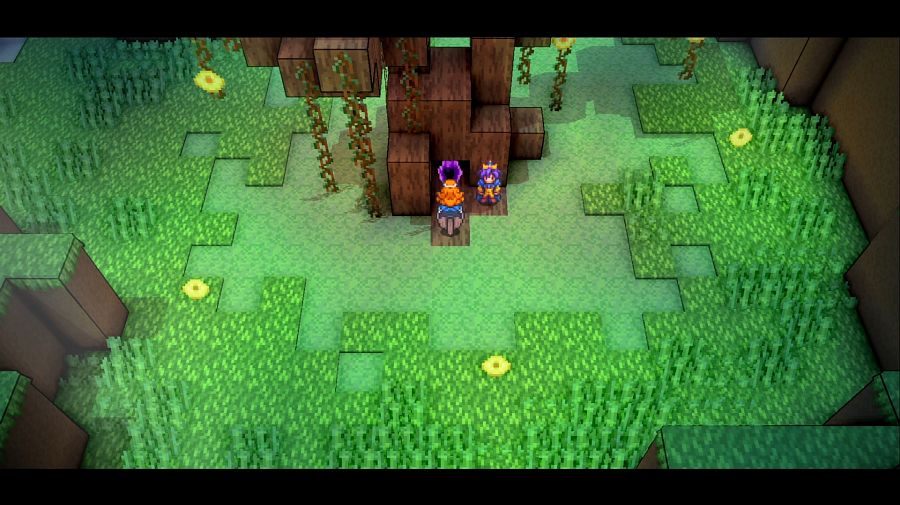 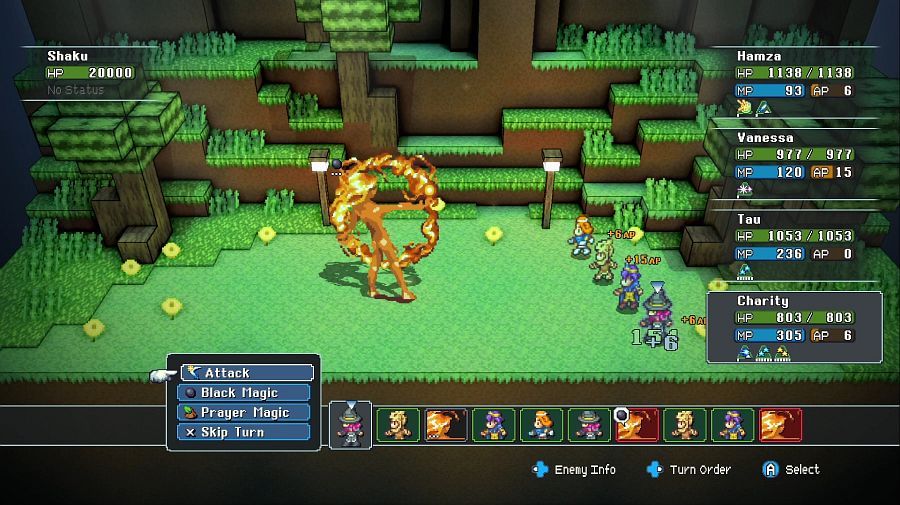 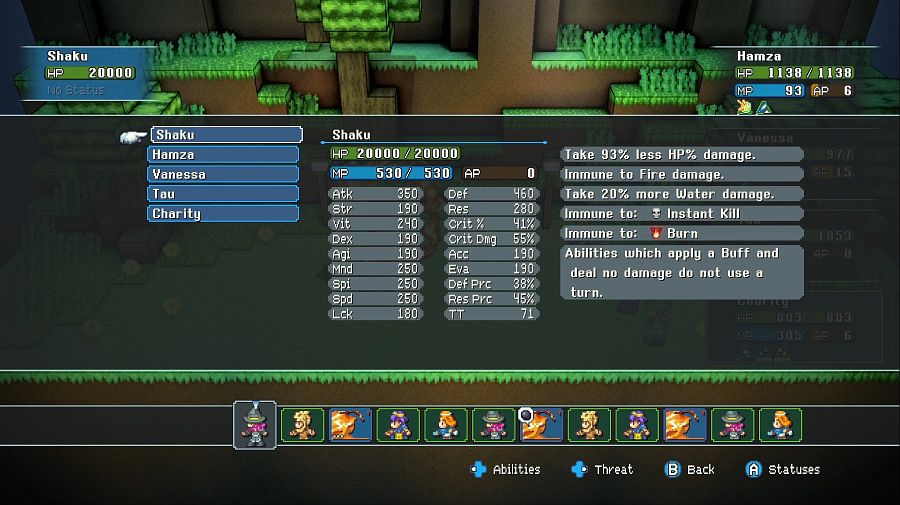 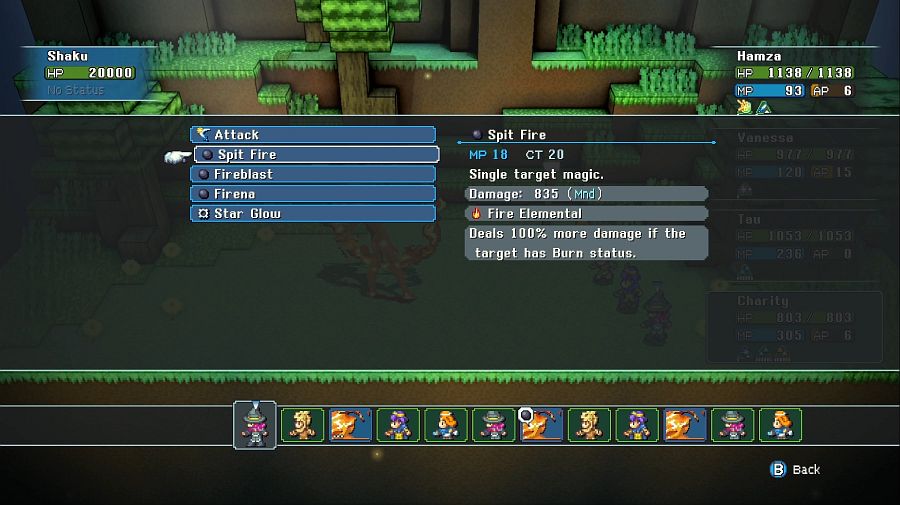 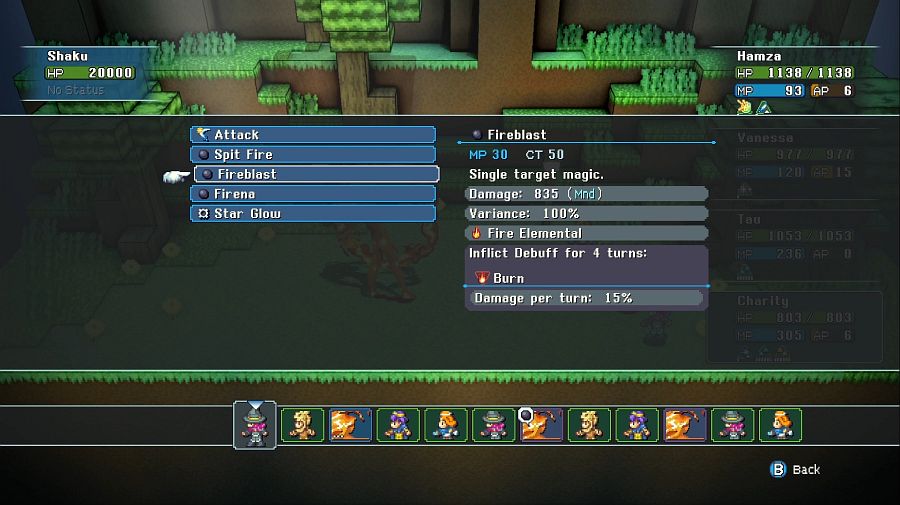  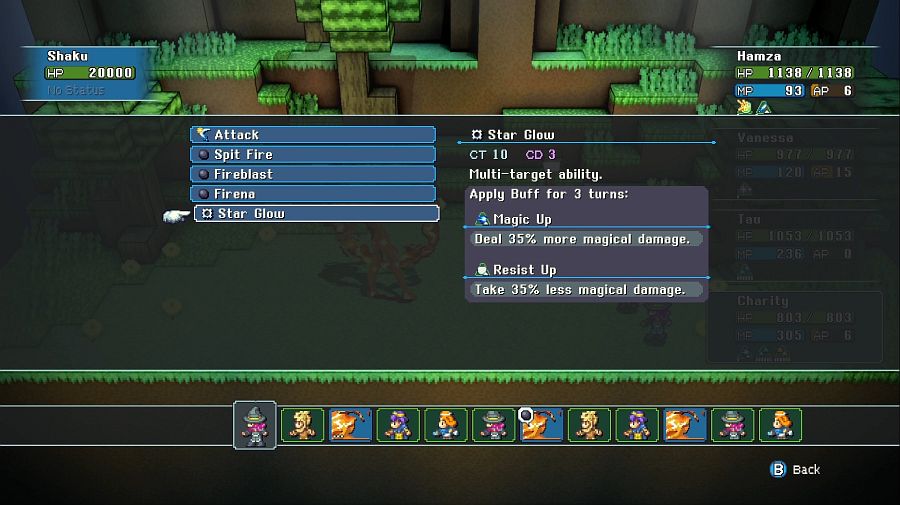 So, Shaku. Shaku is a bit of a beast! But a single-note one. He sets you on fire, and keeps setting you on fire, and it hurts. We've been in a similar situation before, in Beauroir Volcano. Remember the solution then? 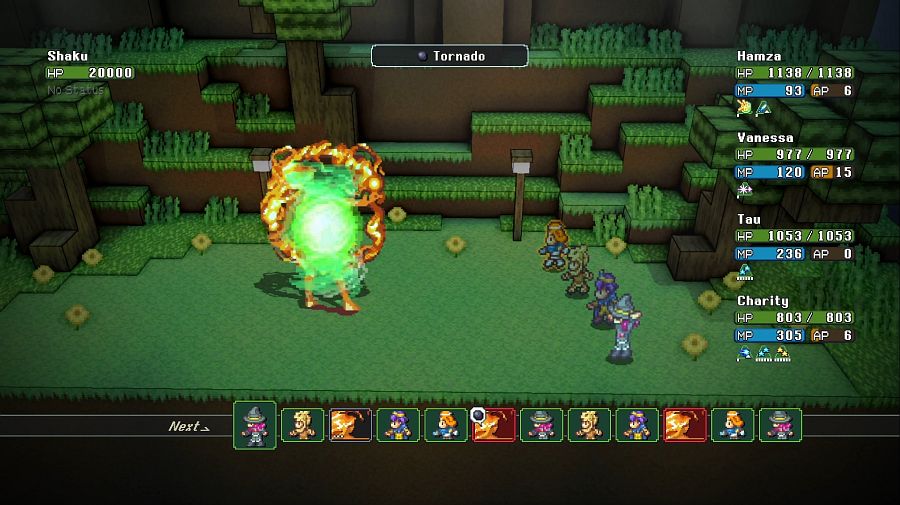 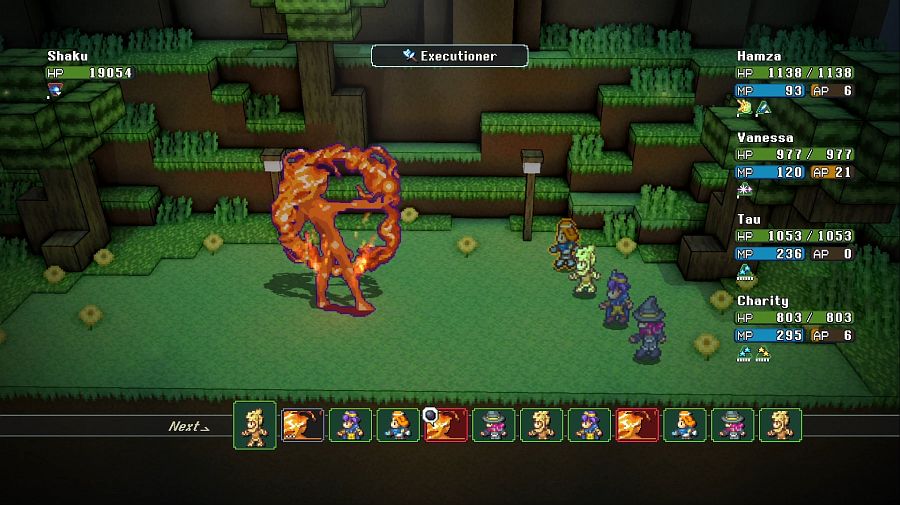 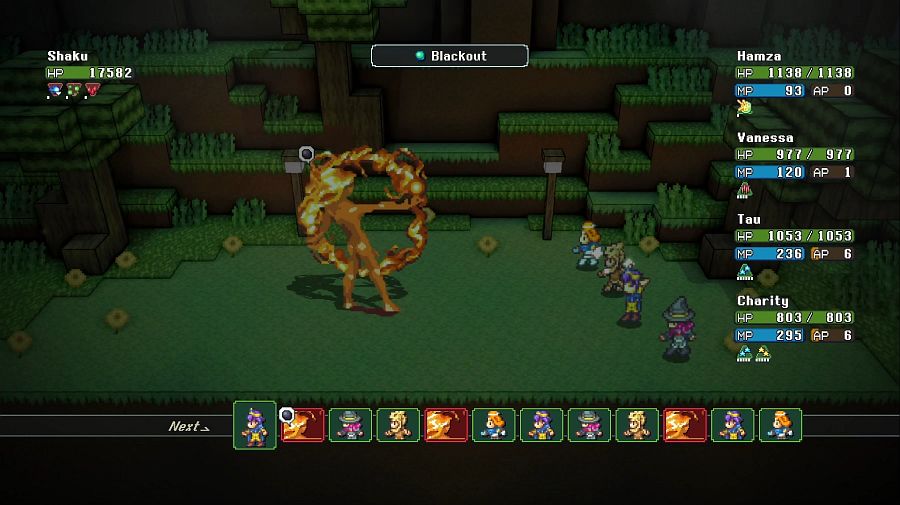 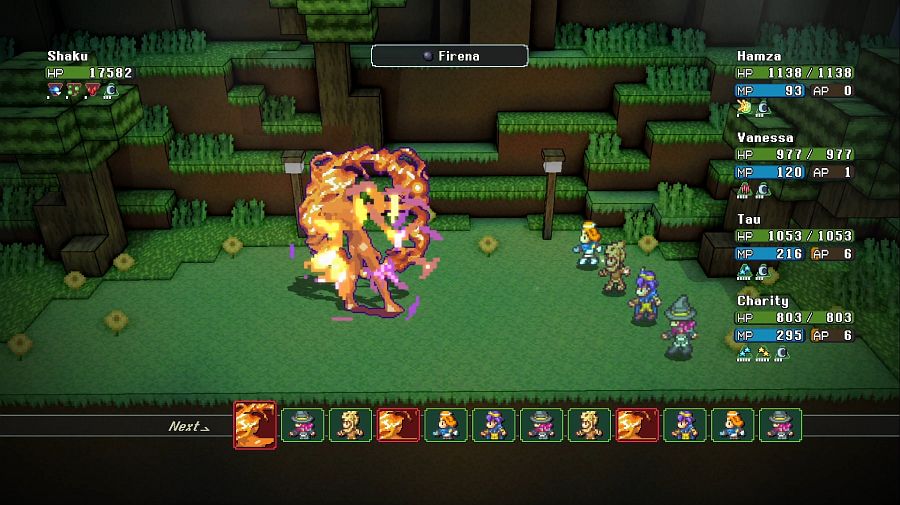 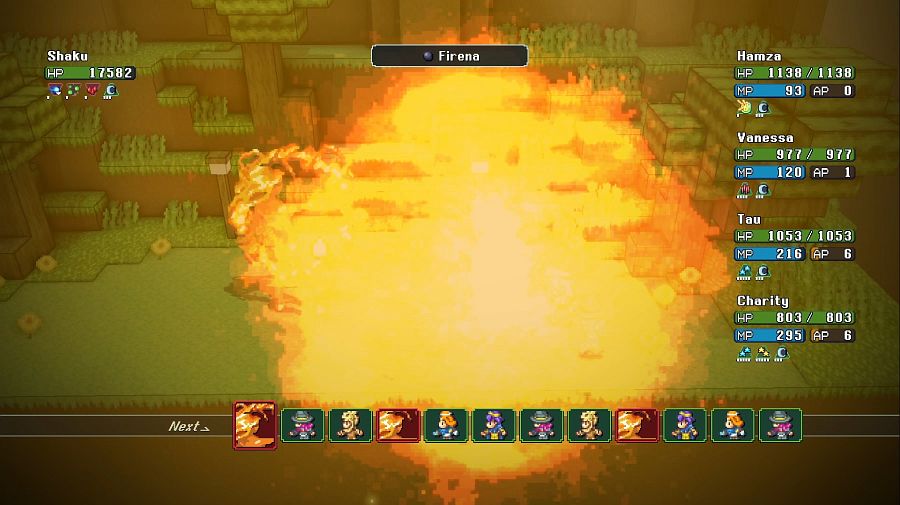  That's right! We just drop Blackout and keep it up until he's dead, and that completely neuters him. Except for Hamza getting set a little bit on fire at the start, the party emerges completely unscathed. 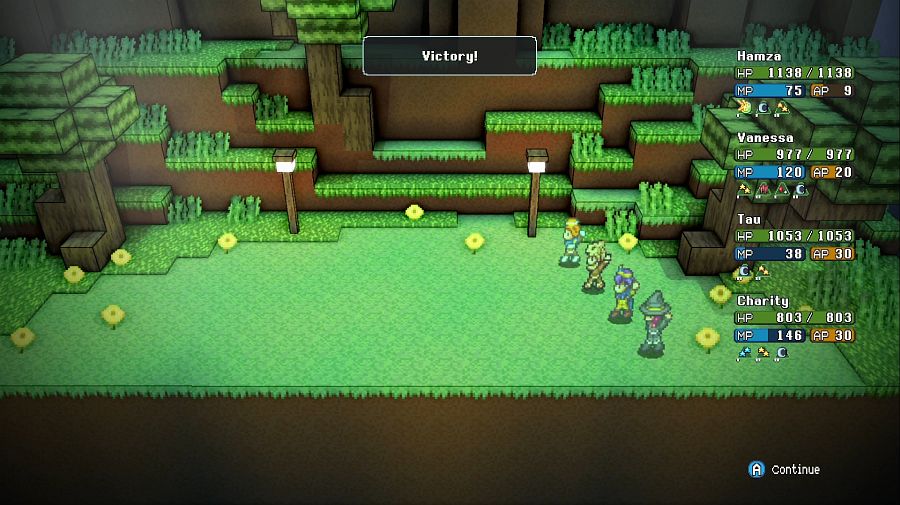 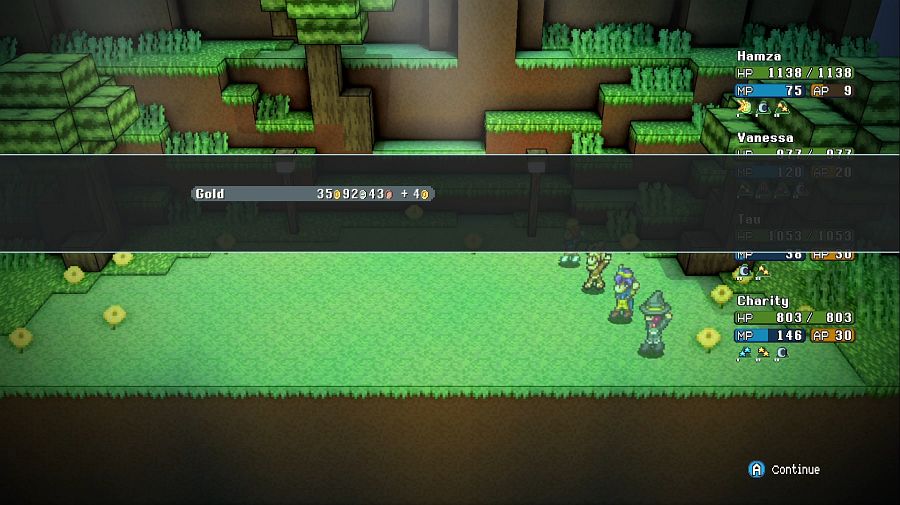 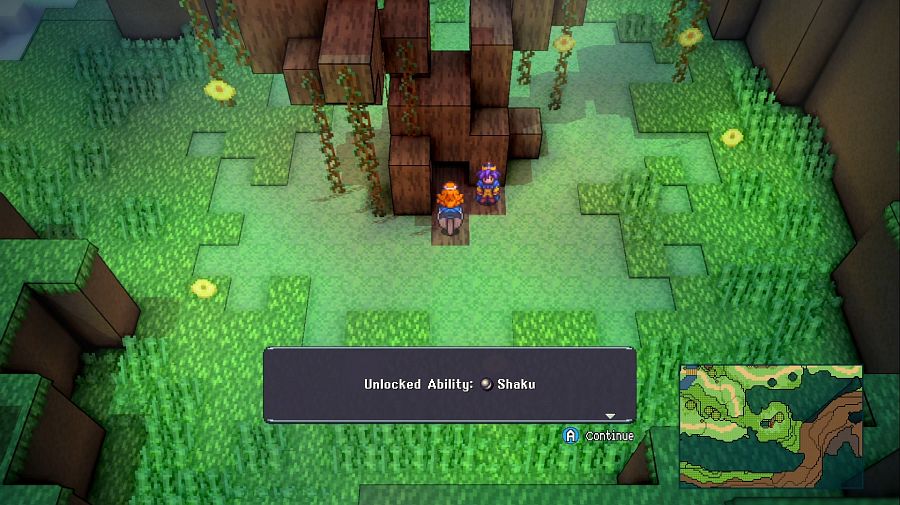 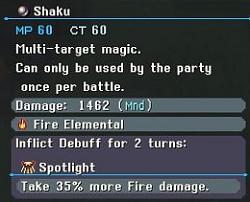 I'd also rate Shaku as one of the least useful summons since all it does is damage and boosting further fire damage. Not bad, not useless, but with one exception, the remainder are all more universal in their applications. Let's continue on to the next. 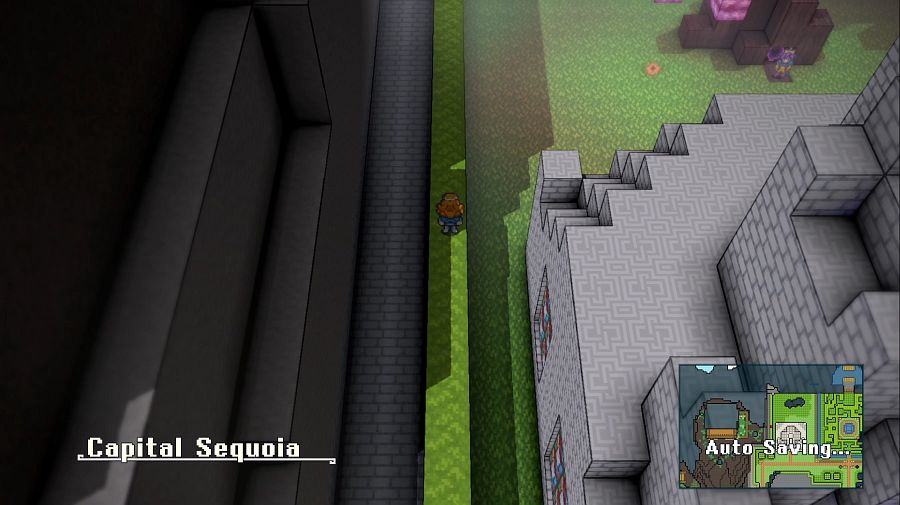 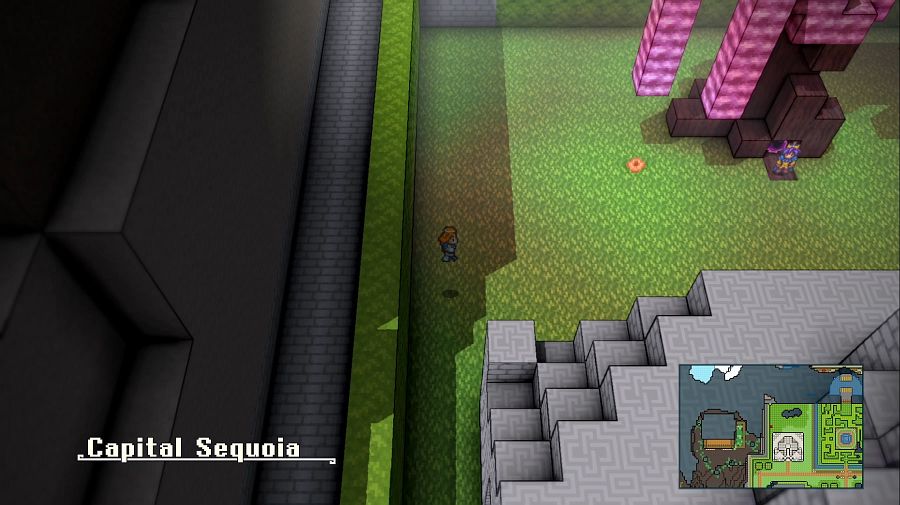 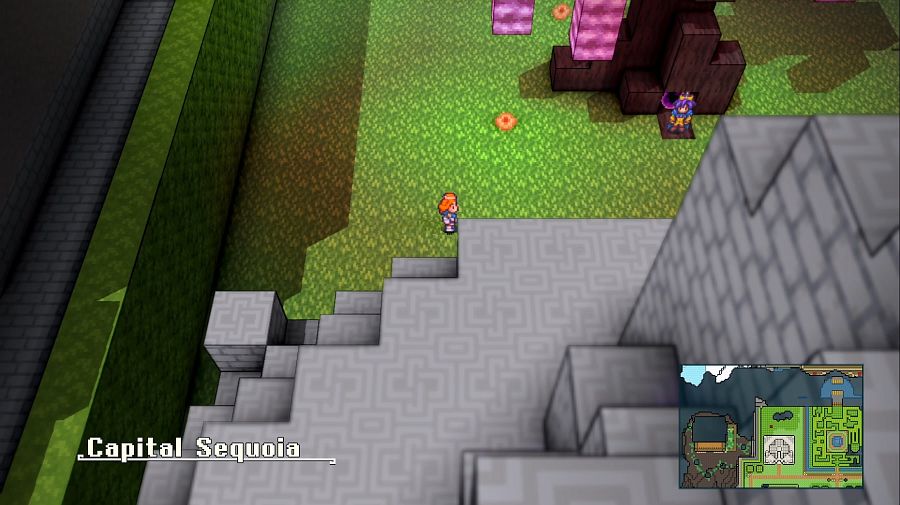 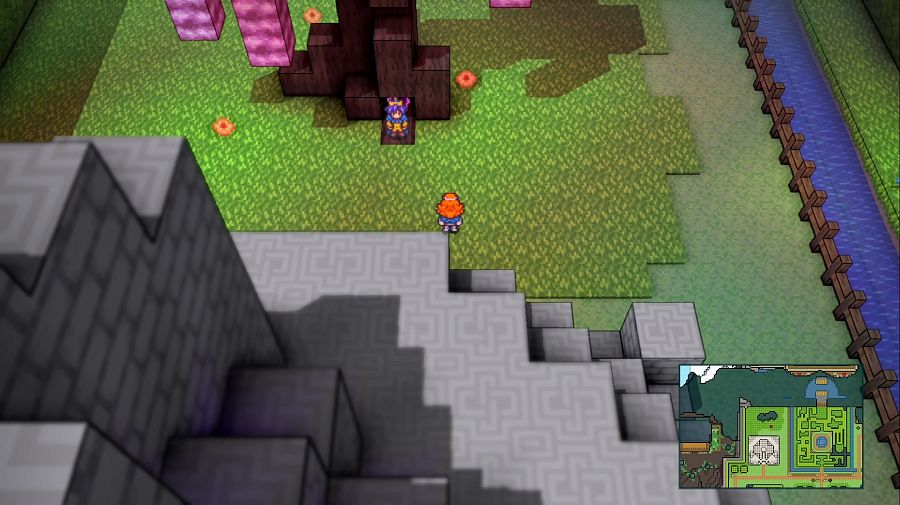 It's in the capital behind the Gaea Shrine, and probably the least missable of the summons as a result. For this one, we actually need to do a small piece of prep. 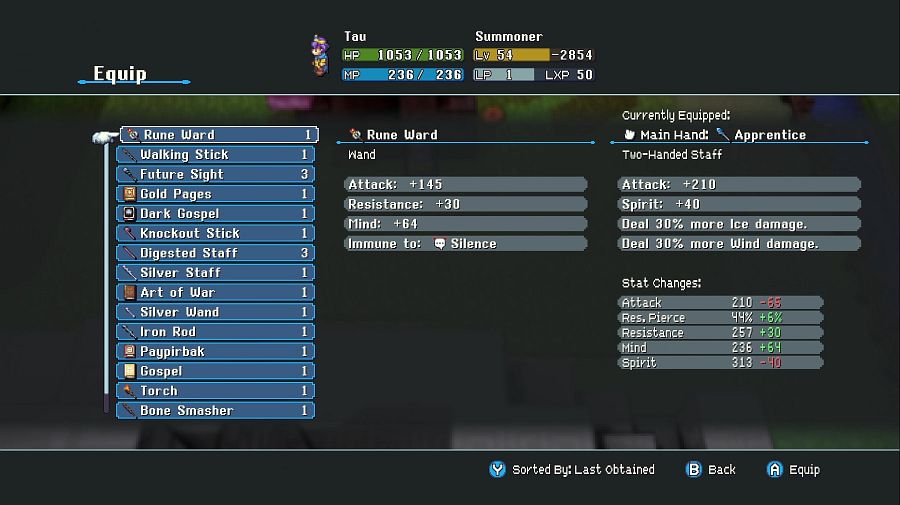 Namely, equipping the Rune Ward wand on Tau since it negates Silence. 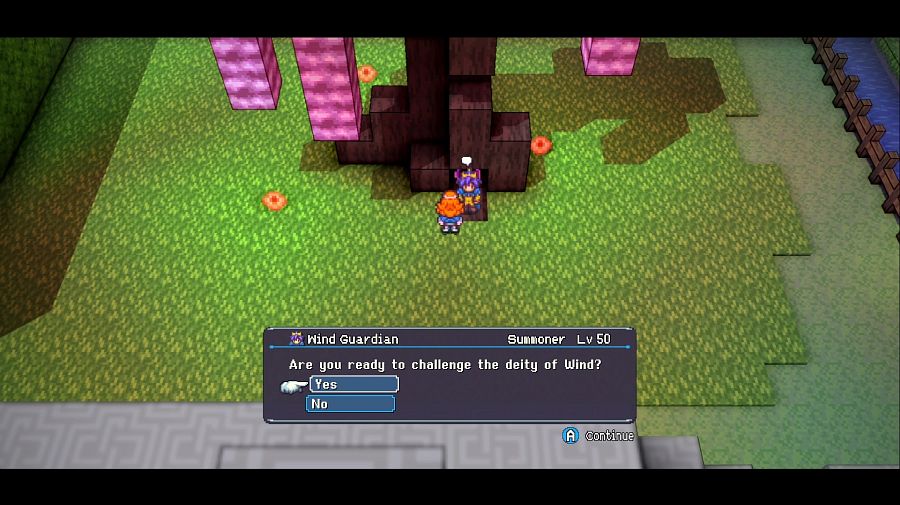 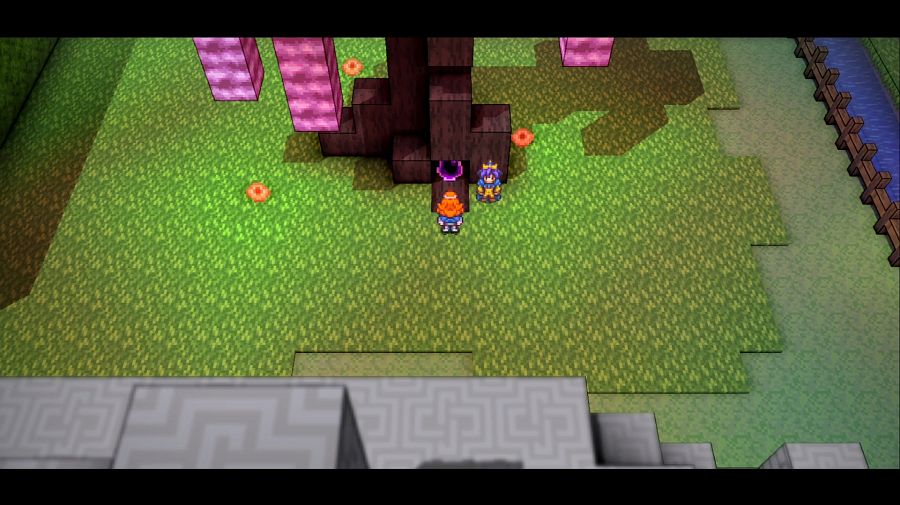 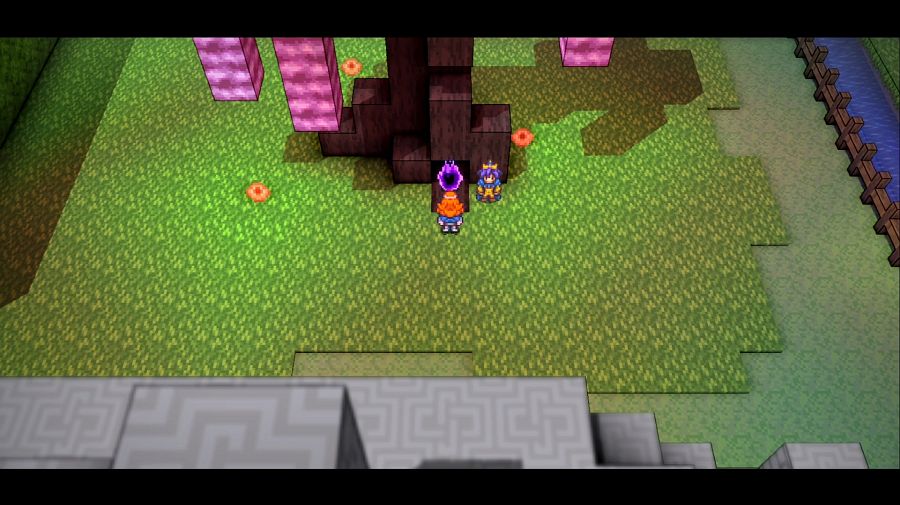 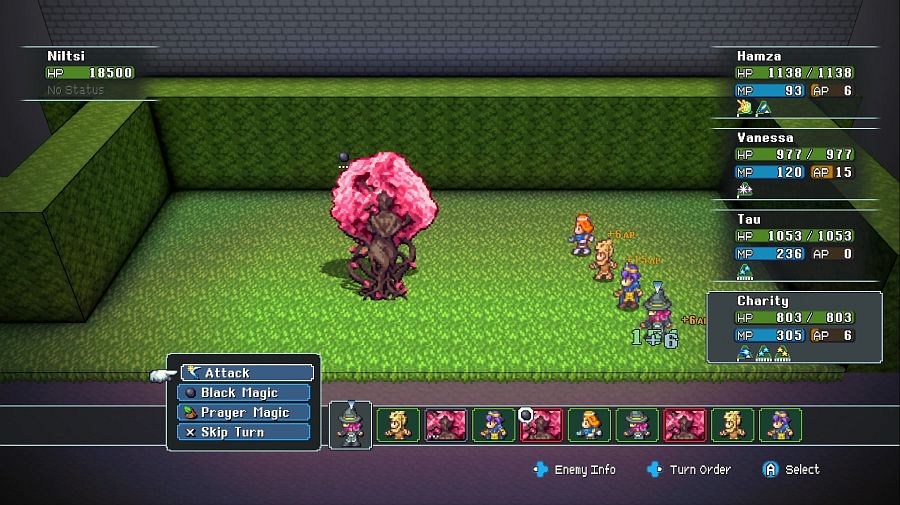 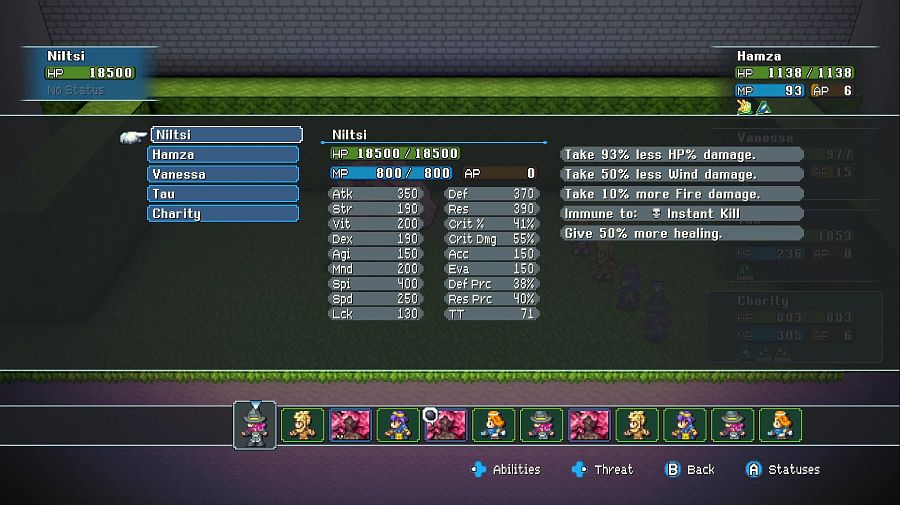 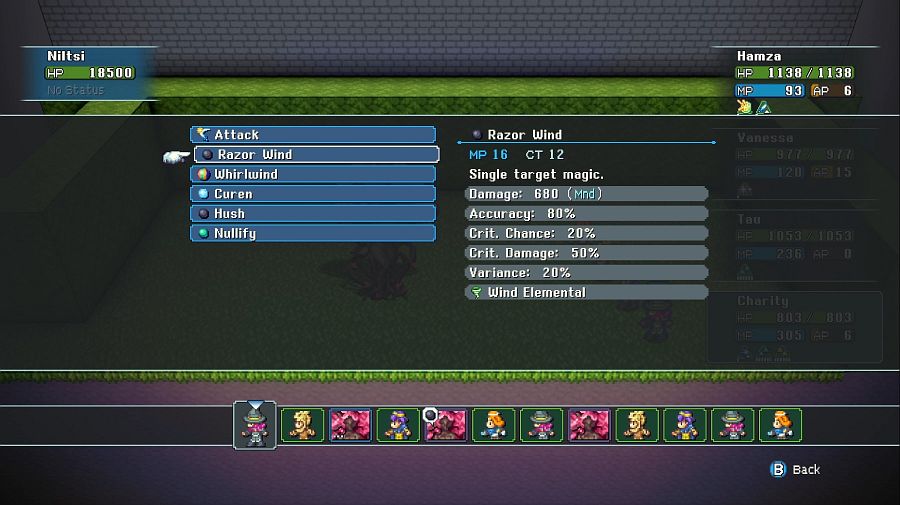 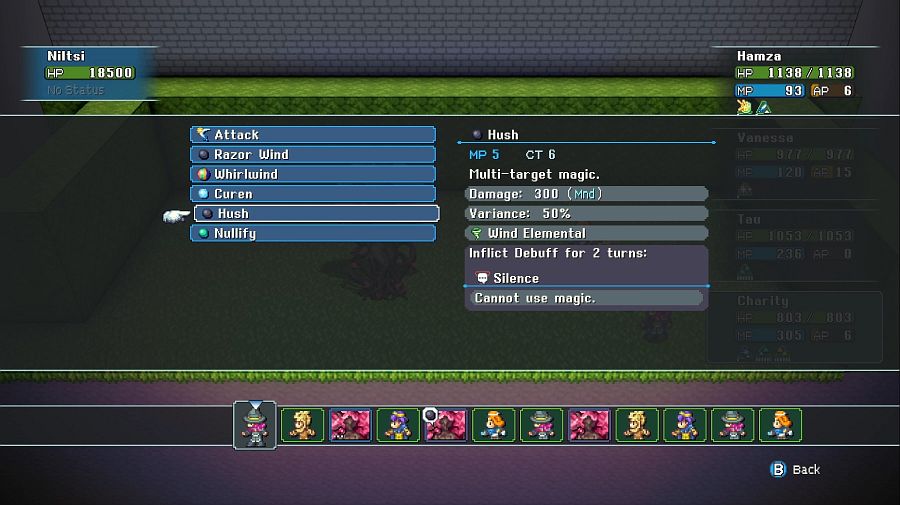 Niltsi has mostly abilities we've seen before, but also Hush, which Silences the entire party. No biggie for Vanessa and Hamza, but yes biggie for Charity and Tau. And since Tau can cure debuffs with Mend... he gets the resistance item. 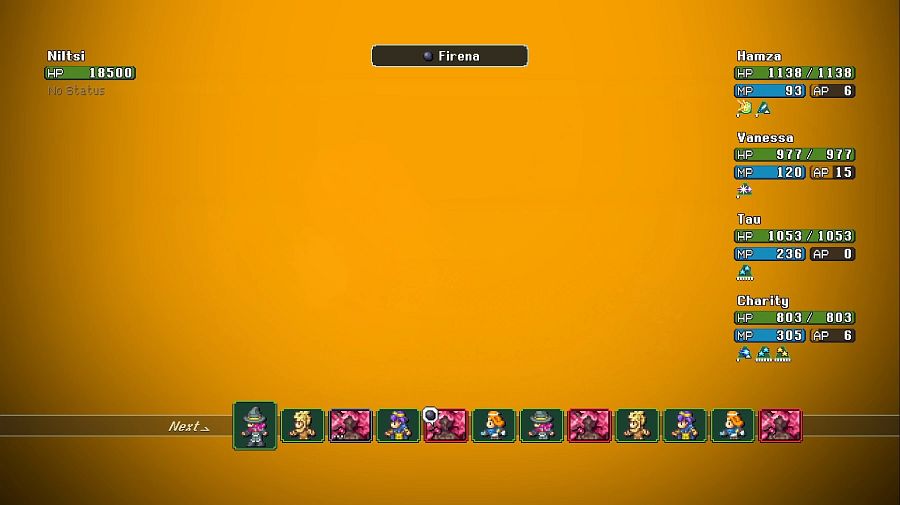 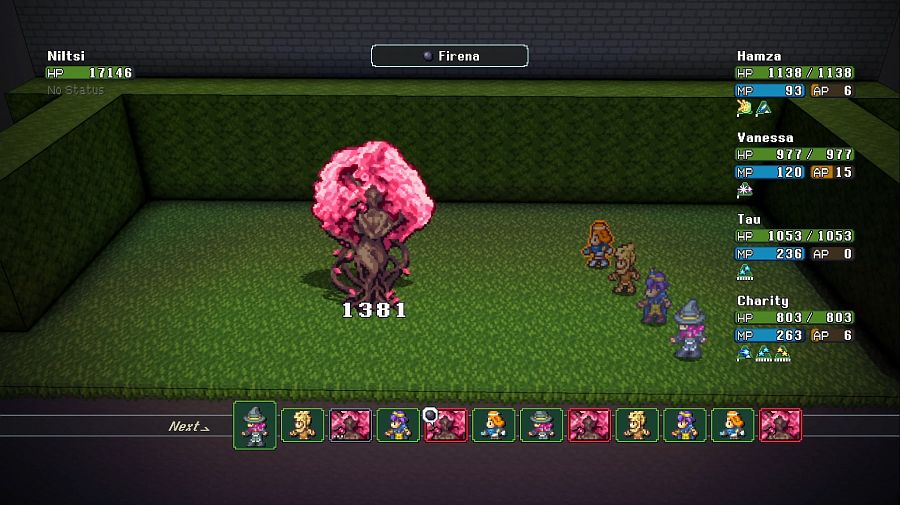  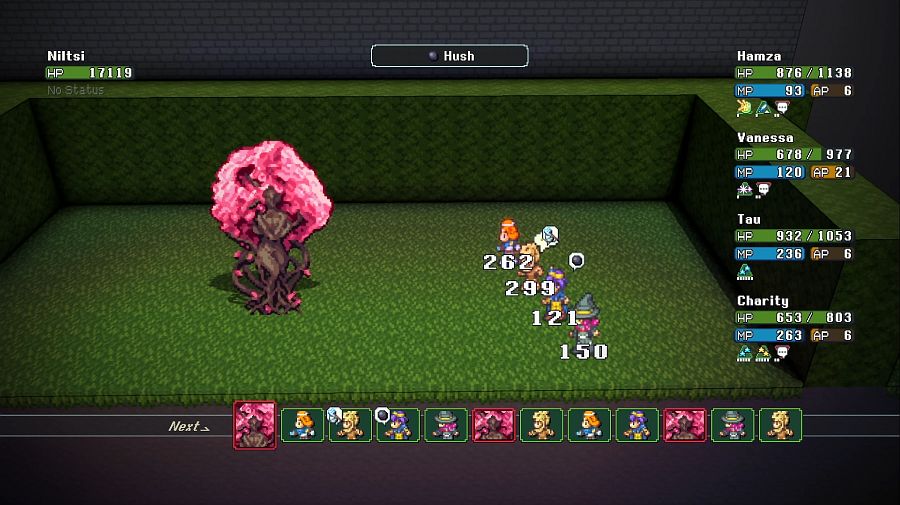 If it wasn't for Hush, Niltsi would survive barely ten rounds with Charity alone. 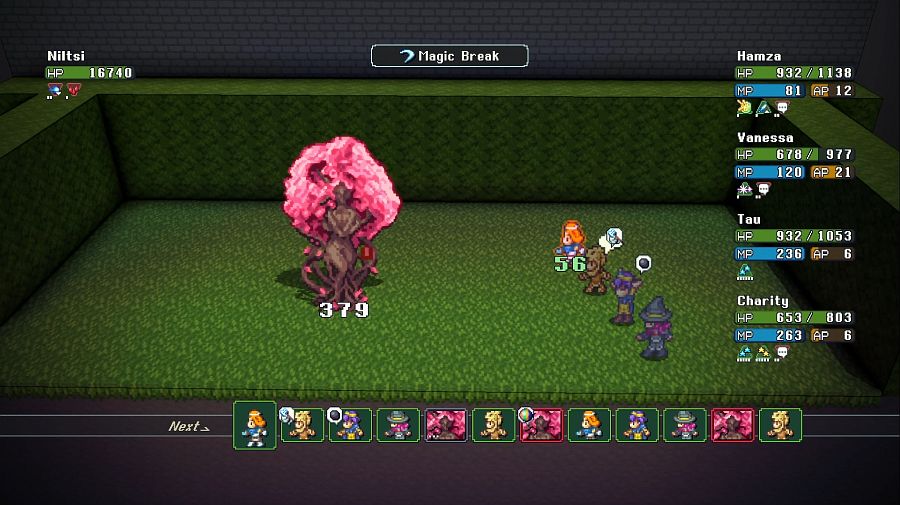 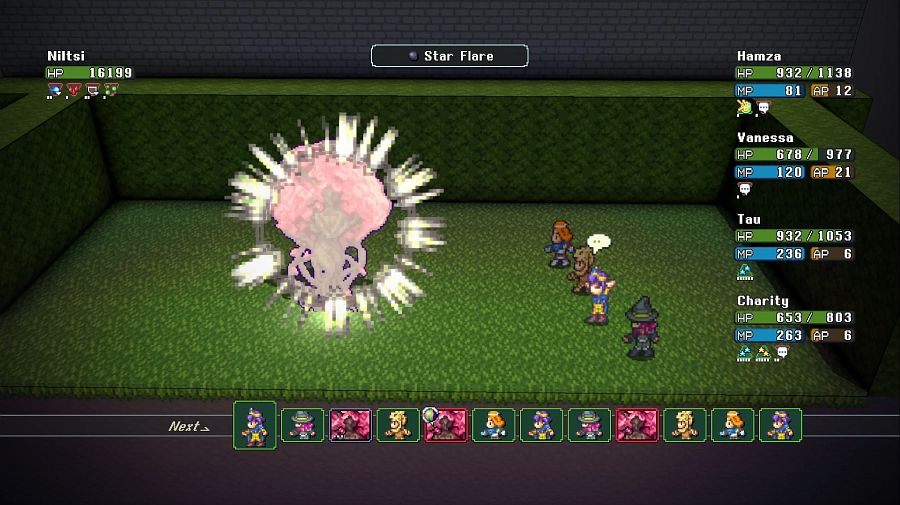 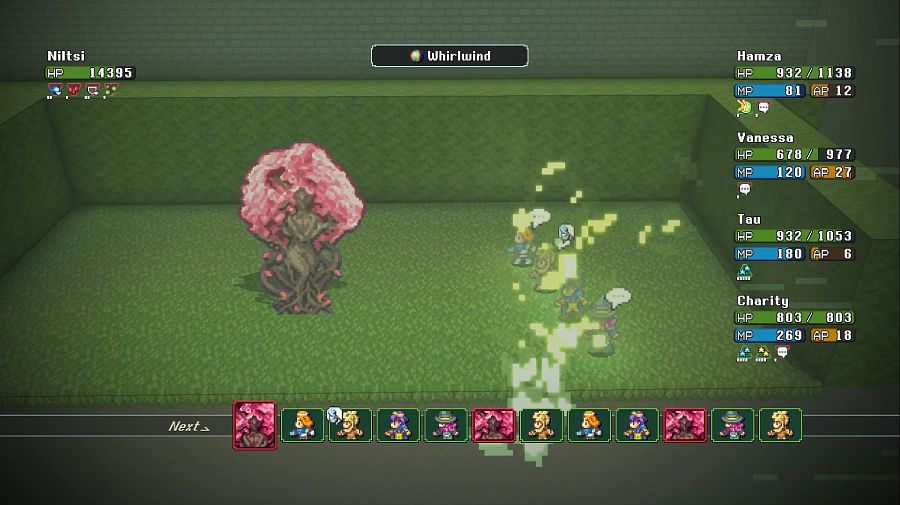 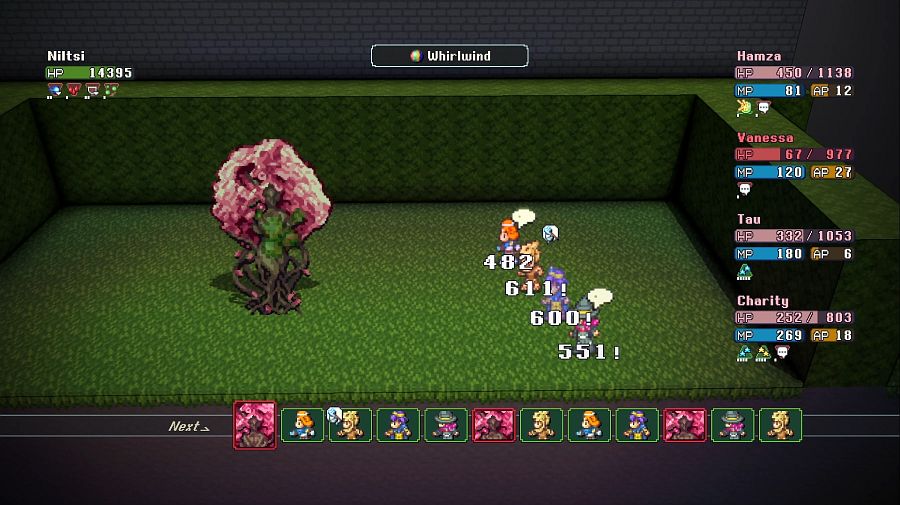 But she does hit reasonably hard, if I wasn't giving her a magic damage debuff from Hamza, she'd be clearing the board pretty often. 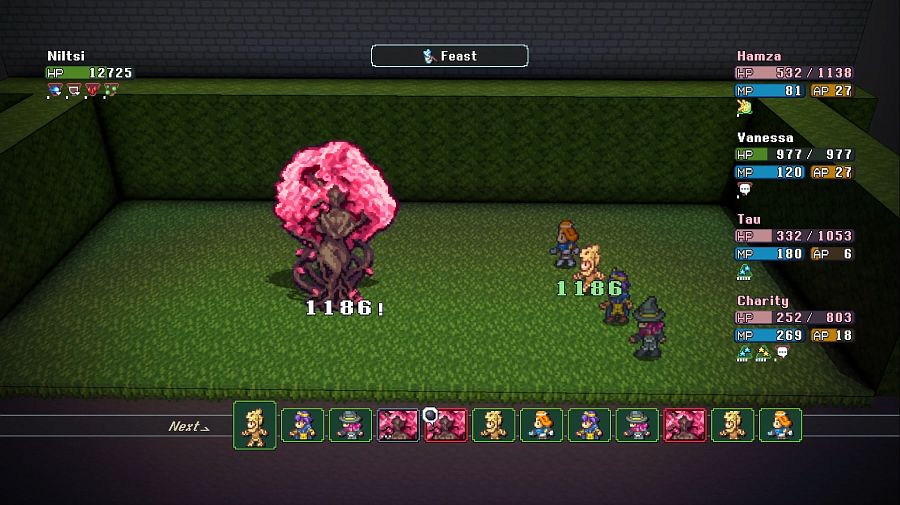 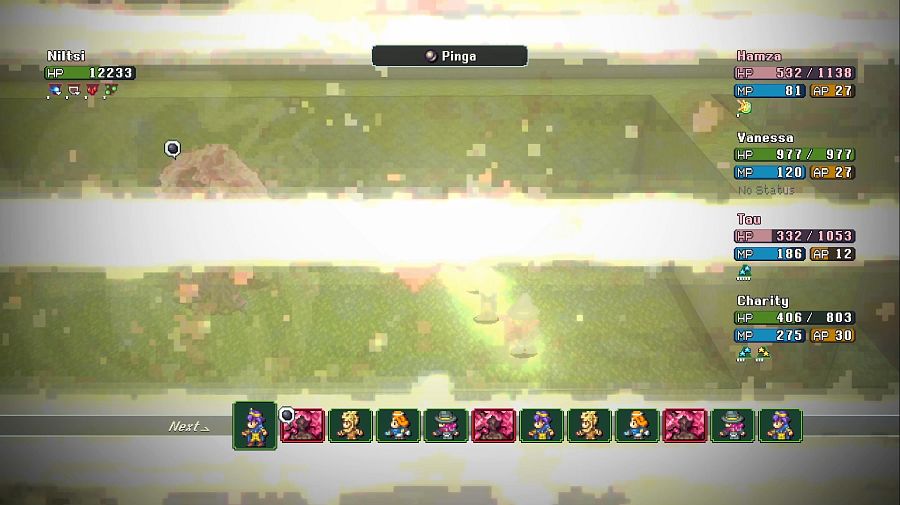 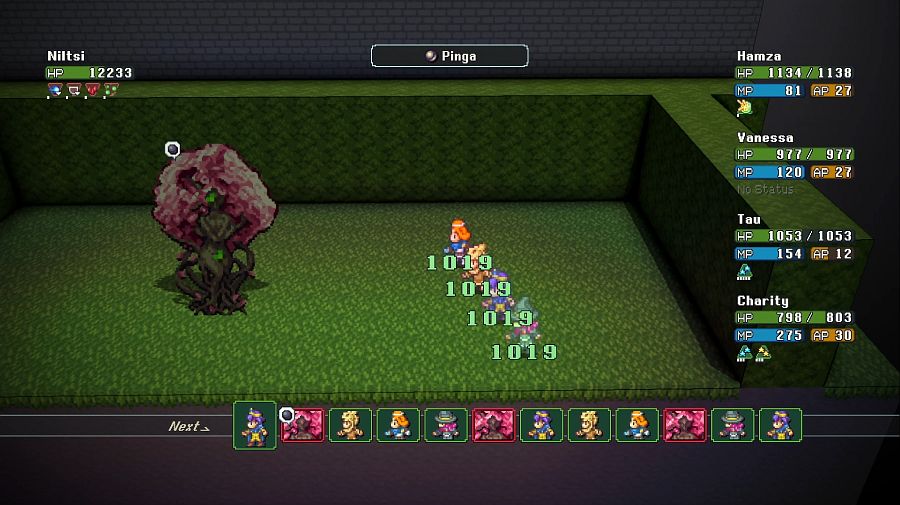 But that's what we have panic buttons for. Anyway, we win! 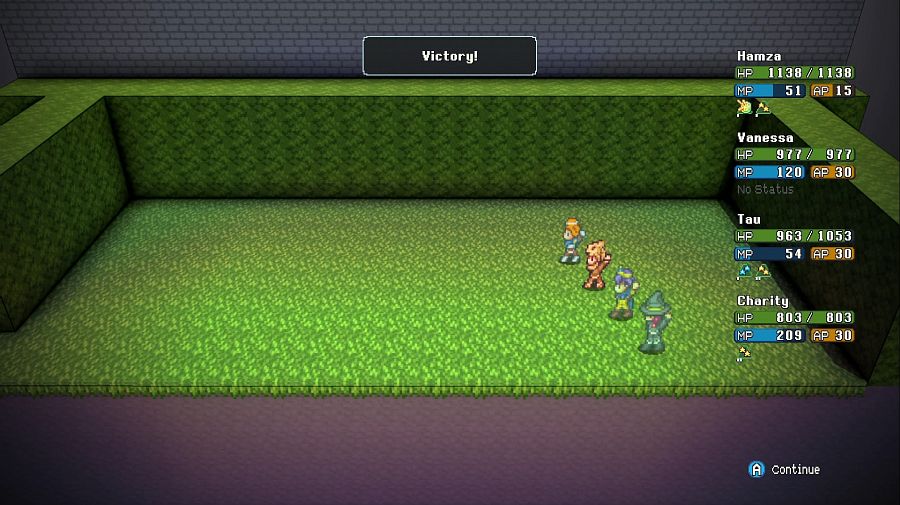 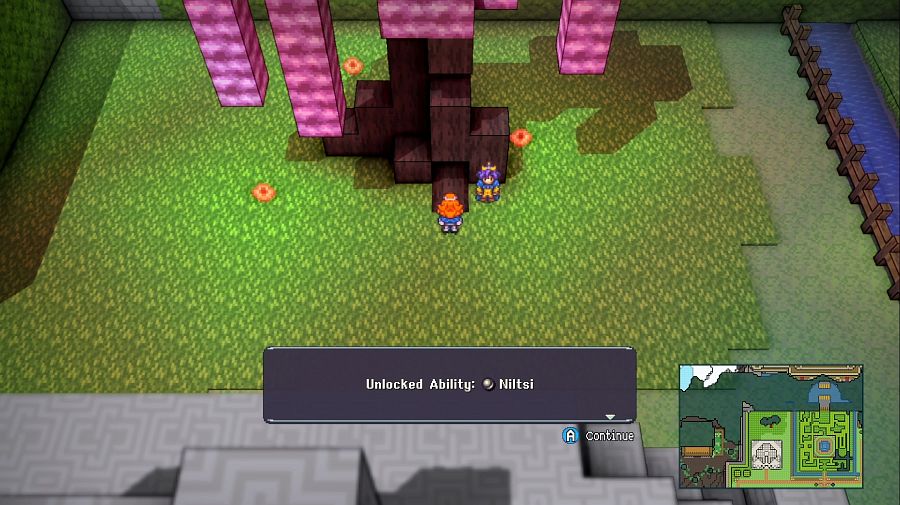 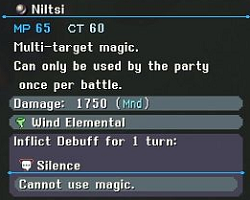 And for our trouble, we get what I rate one of the BEST summons. It's only one action, but one action can be enough to disrupt enemies casting a big spell and can thus save the day if Vanessa's turn order doesn't come up in time to stab them in the brain and make them forget they were going to cast it. This is about it for the easy summon battles, though, now we're going to get to the ones that probably stump some folks. Next stop: Ganymede Shrine in Shoudu Province. 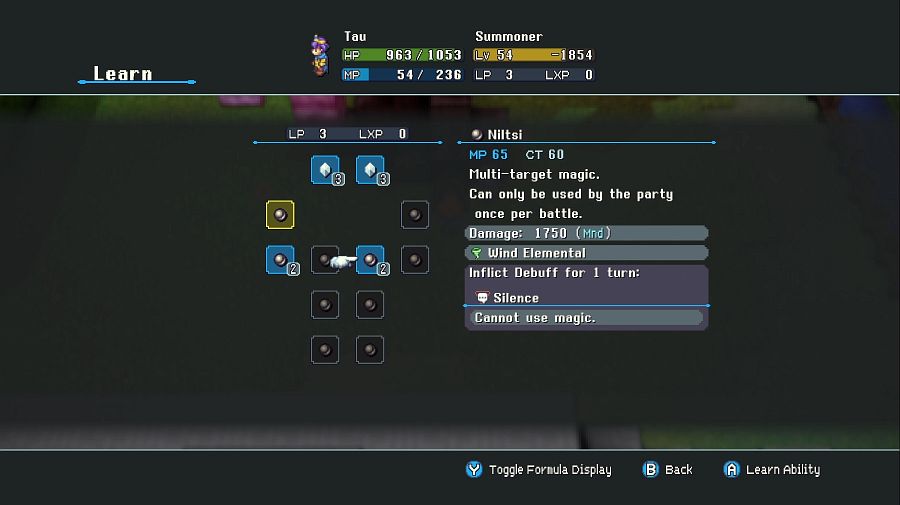 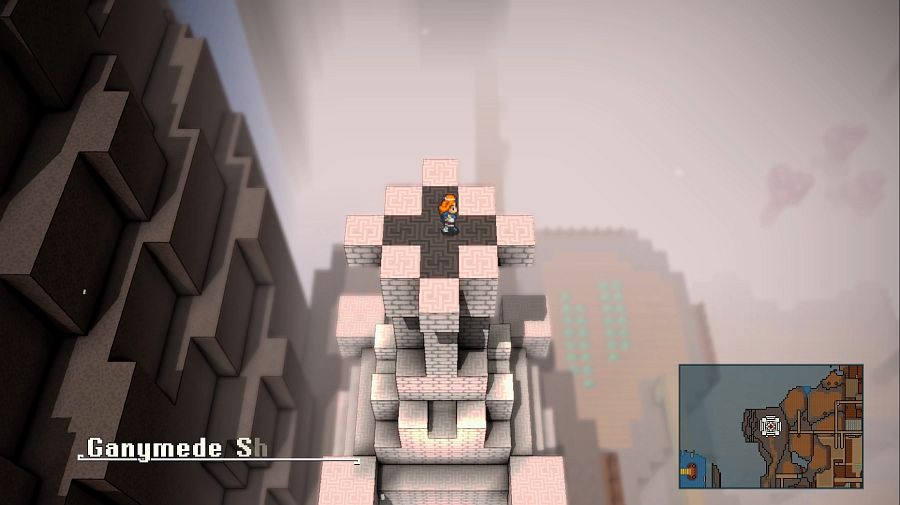 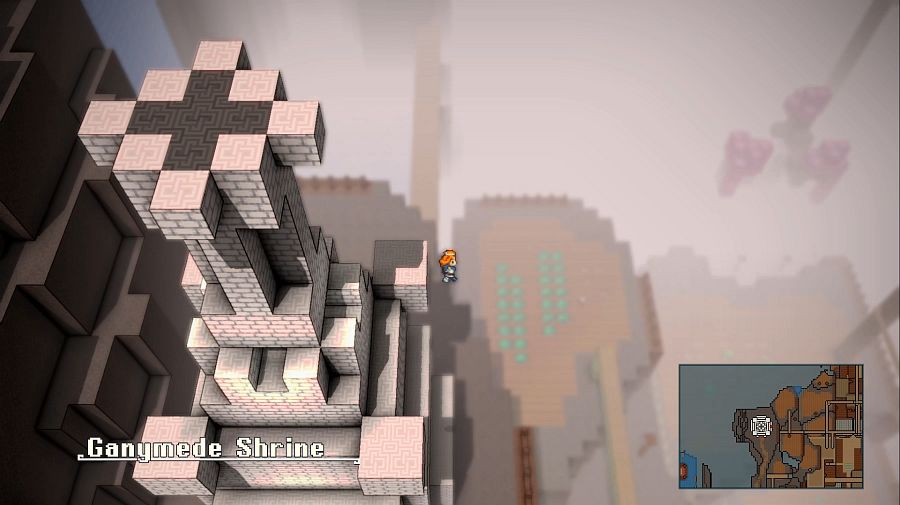 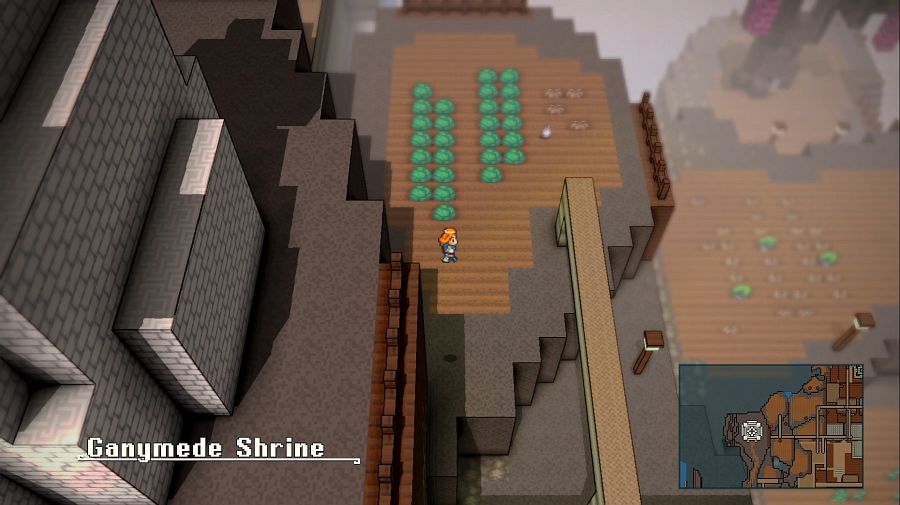 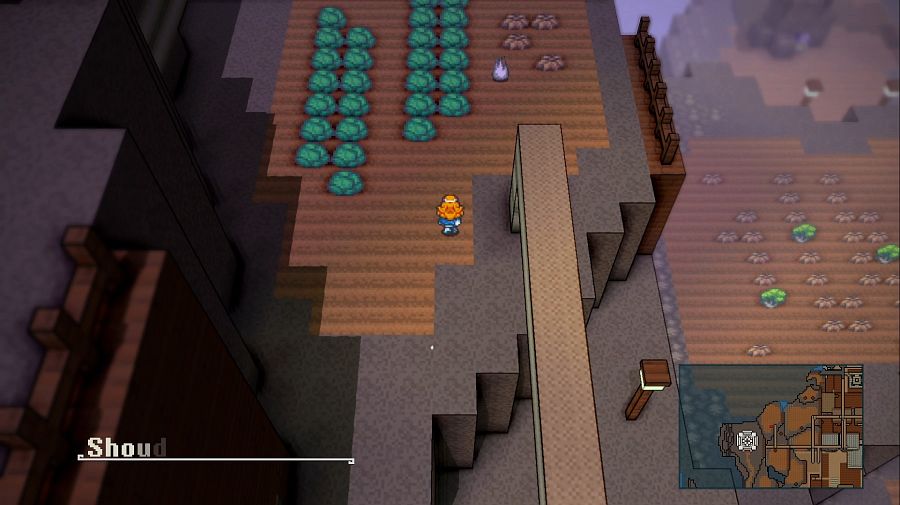 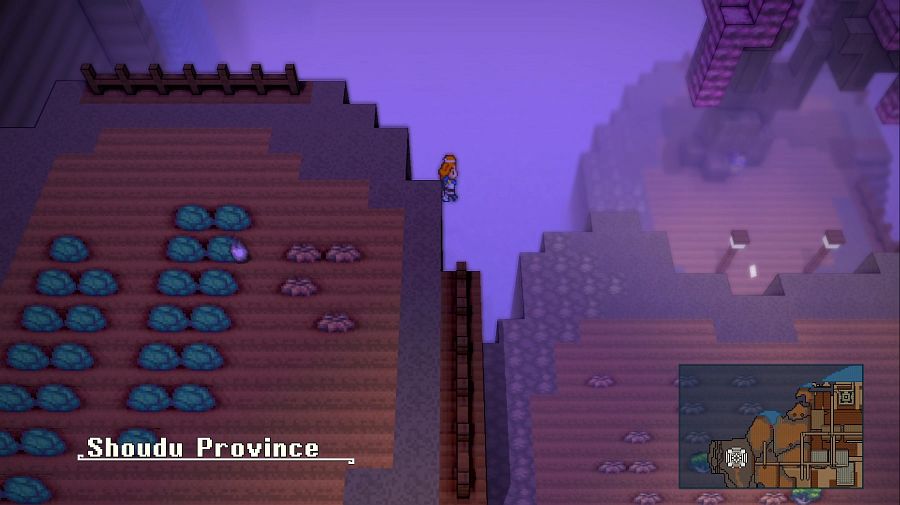 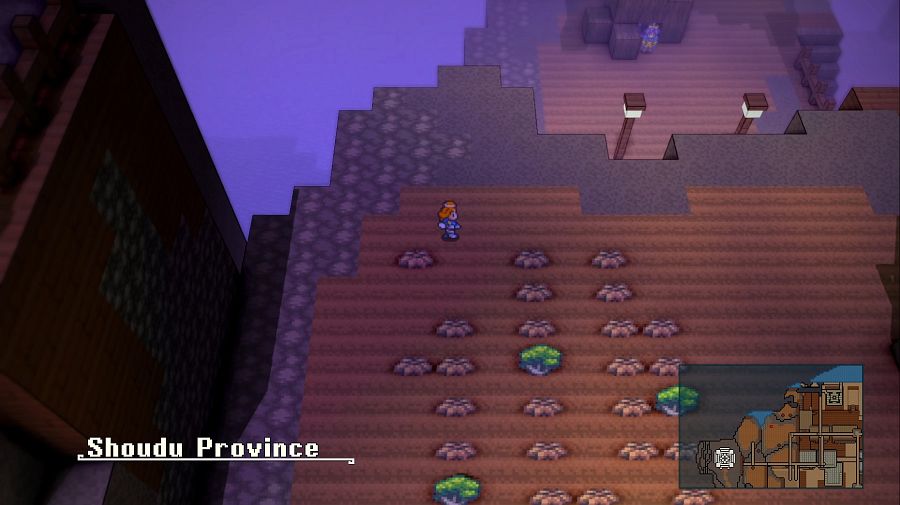 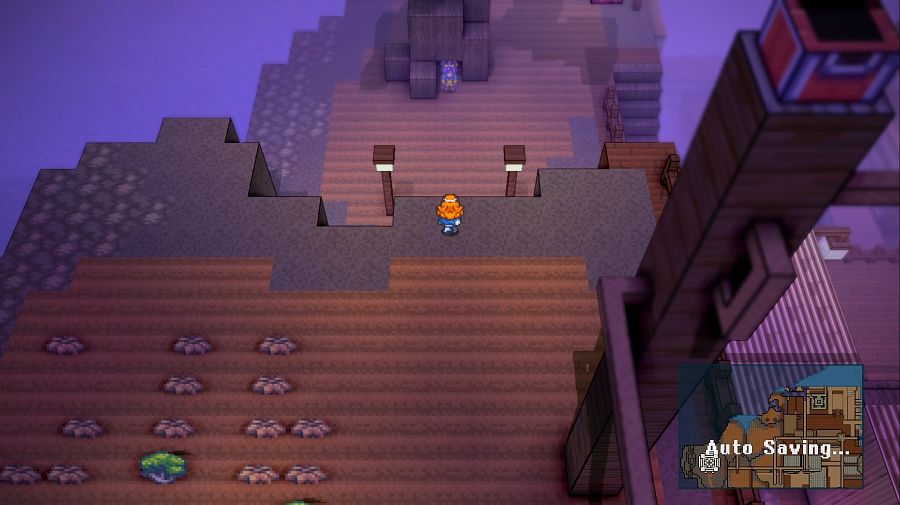 The Deity of Shadows is at the back here, up behind the arena vaults. 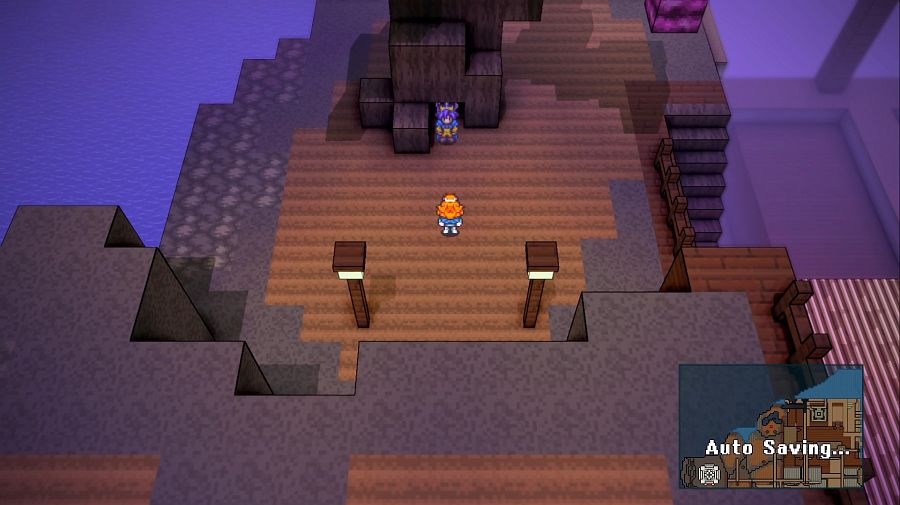 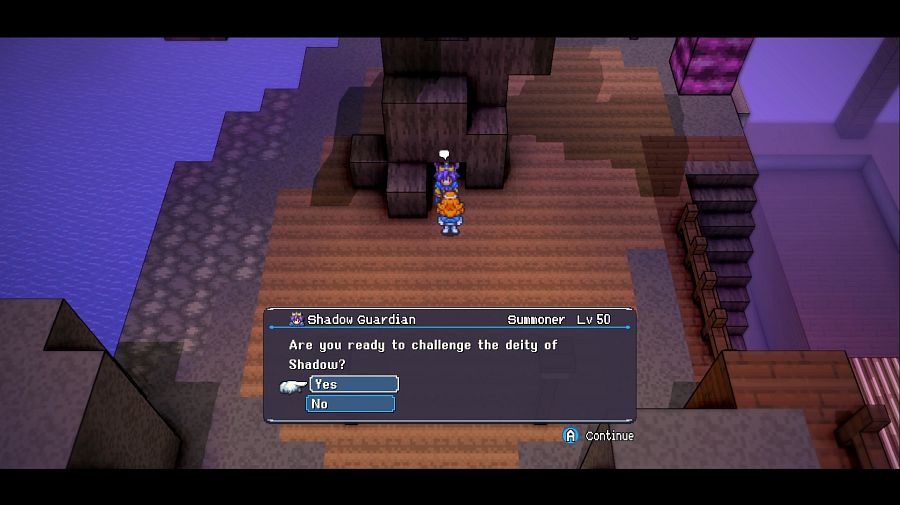 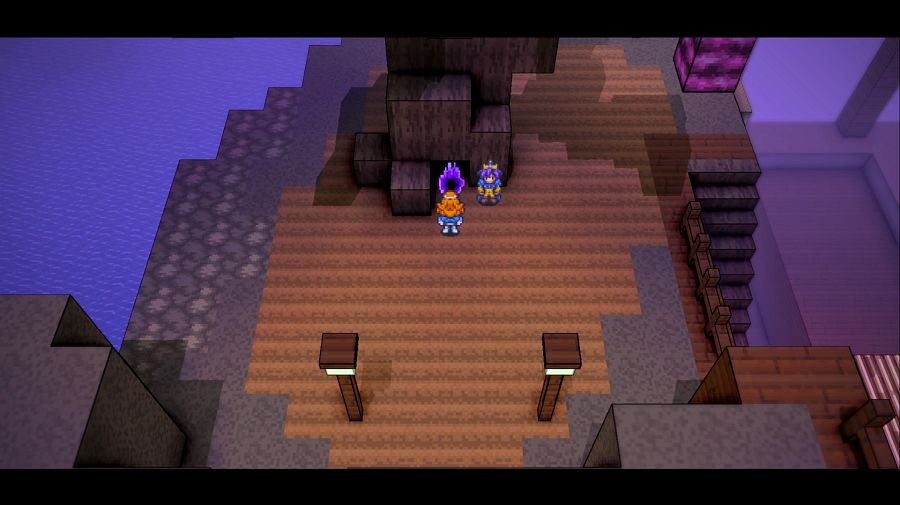 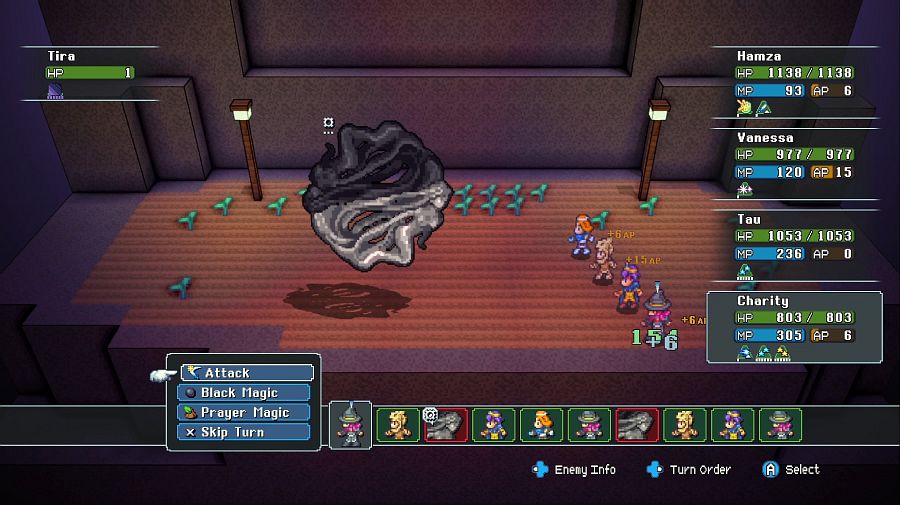 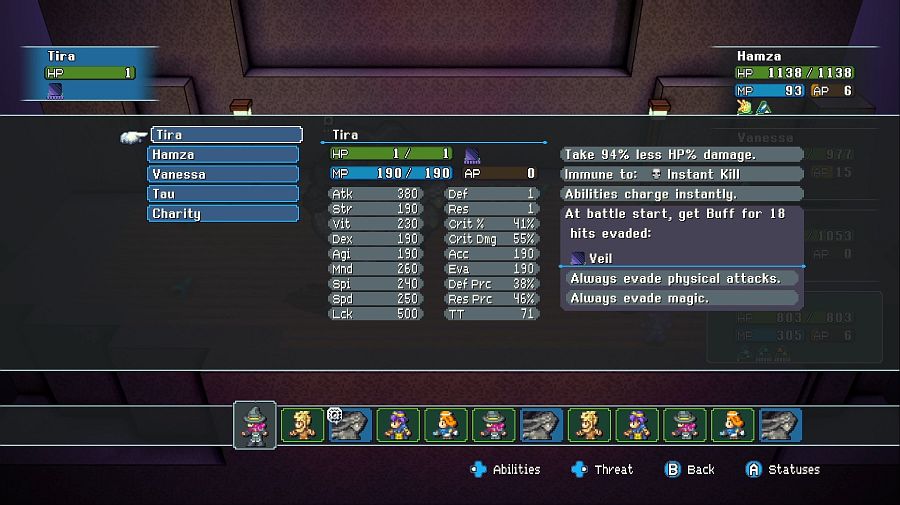 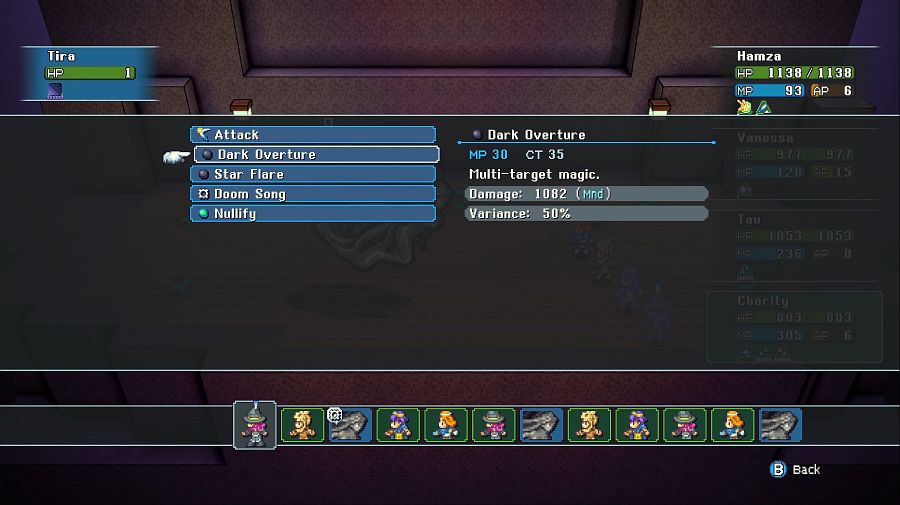 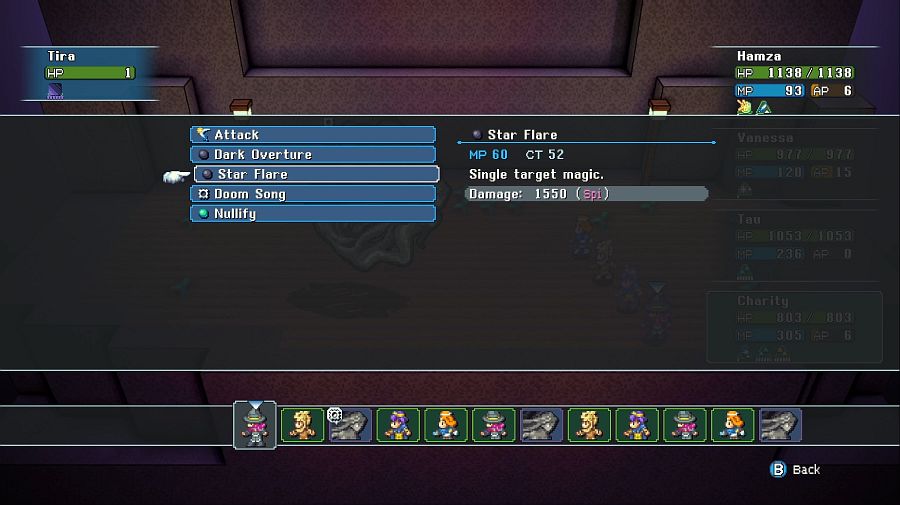 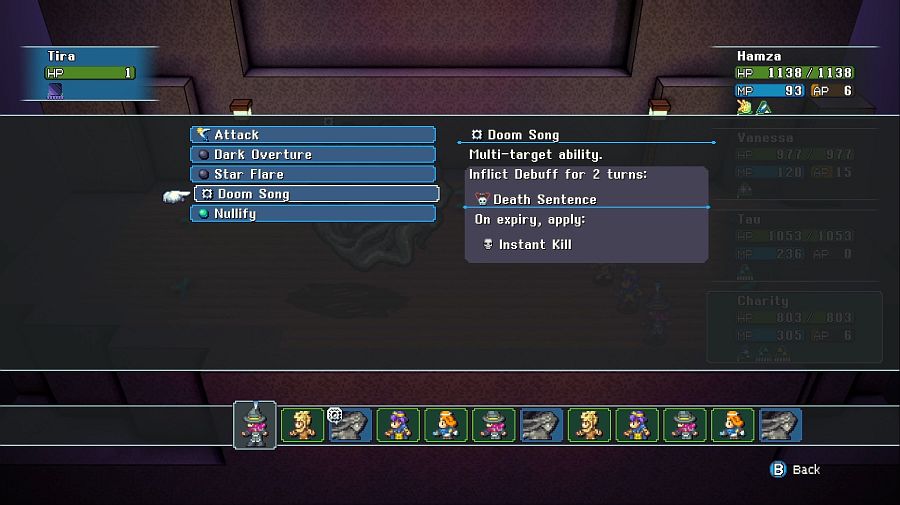 Tira is a bit of a puzzle boss, the first 18 attacks against her miss automatically(spells, too) but she only has 1 HP and 190MP, however, even if you wait out her MP she'll drop Death Sentence on everyone for "free." Dark Overture also has 50% Variance so it's a potentially fight-ending cast every time if the dice roll her way. Let's see how it goes with the default setup. 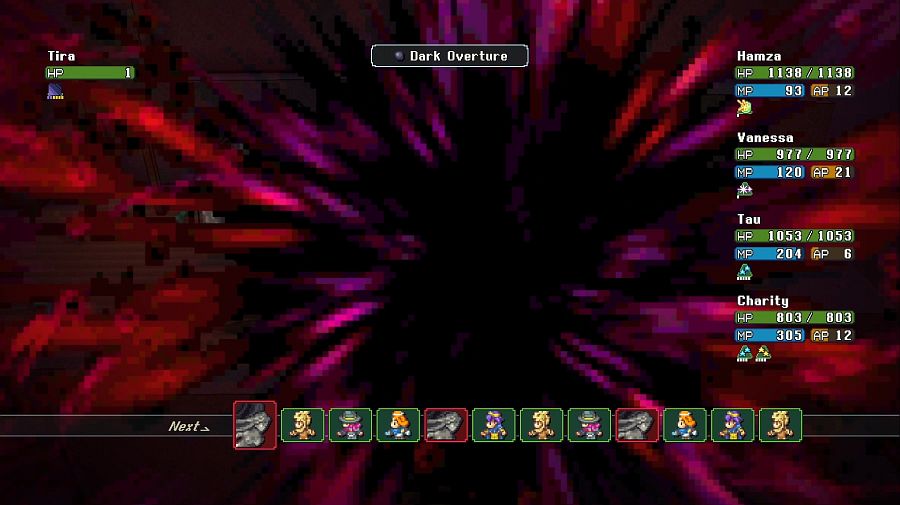 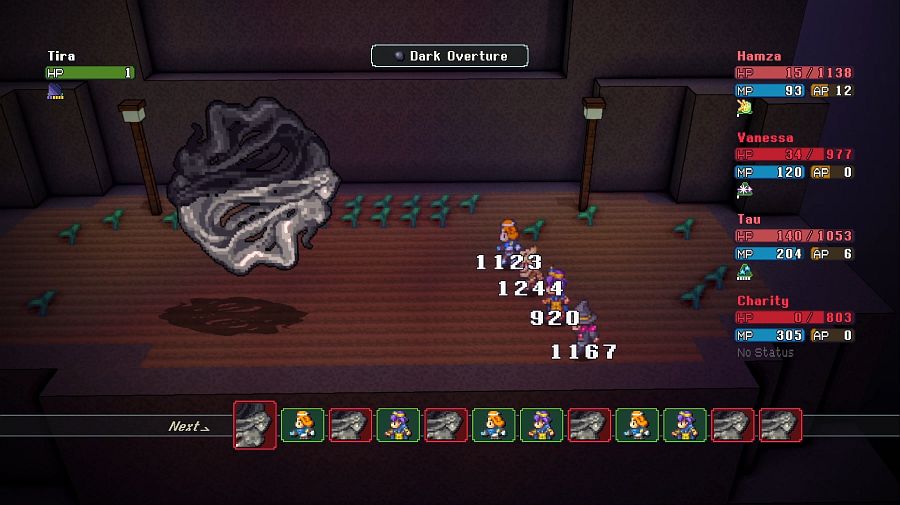 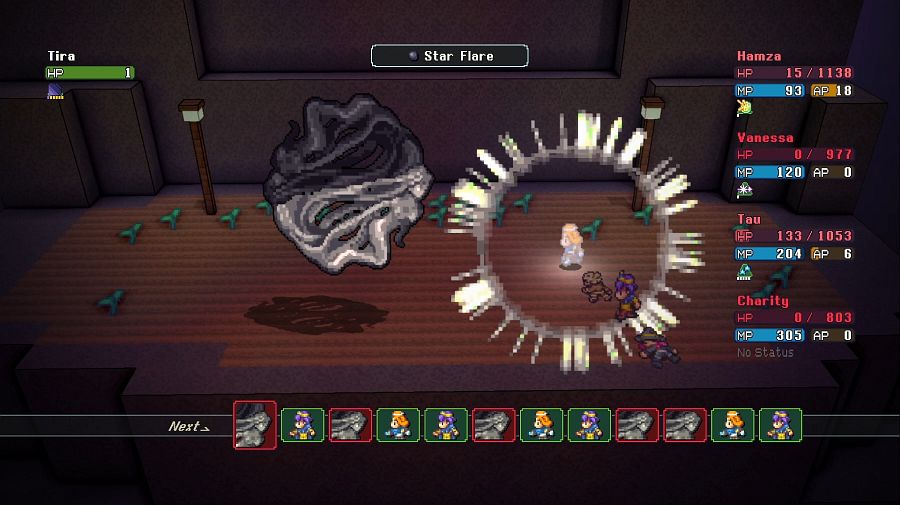 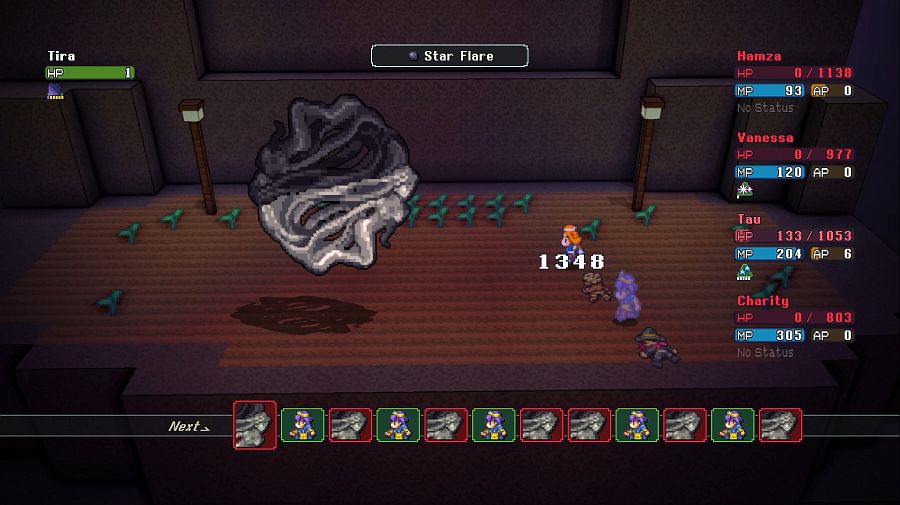 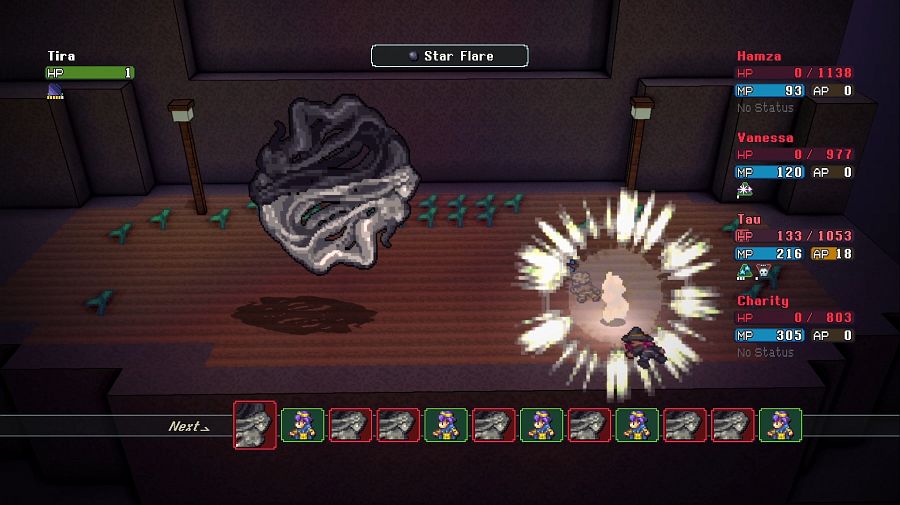 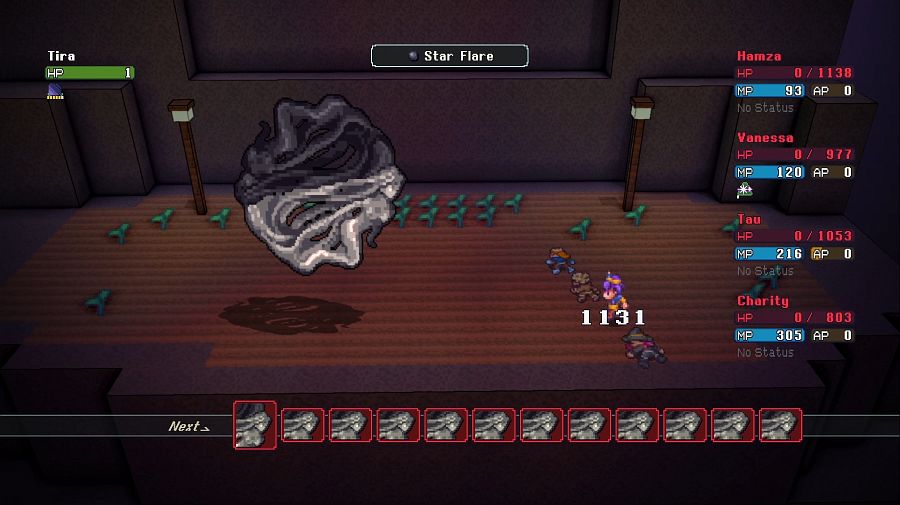 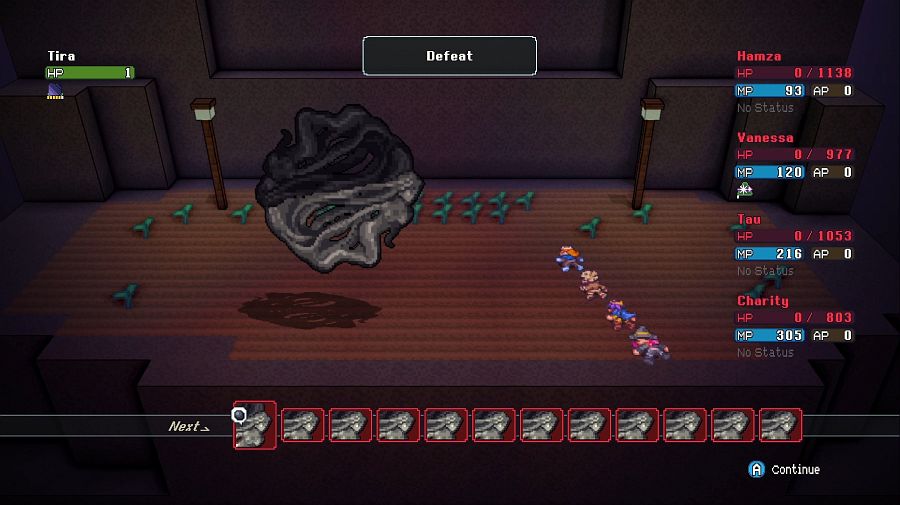 7 out of 18 hits! We can do better, but we're going to need a gimmick.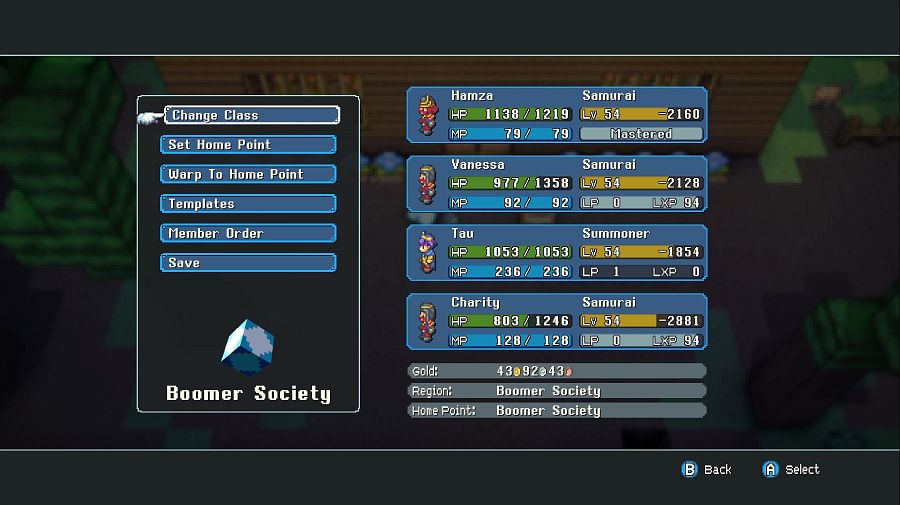 We need one Summoner to trigger the fight at all, but everyone else is now a Samurai since for 8 AP they can make a "free" attack, meaning they get more attacks per turn. I also slapped Scholar on Hamza and taught him Adrenaline, since it'll let him intermittently sacrifice an attack for +11AP which in my mind he comes out ahead on. 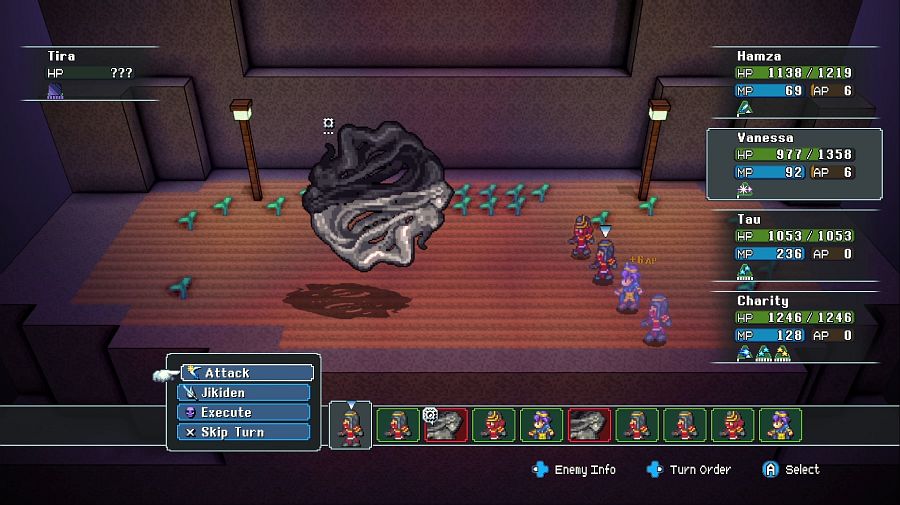  Okay, 9 out of 18! It's a slight improvement, but we can still do better. Gonna need to dip back to the capital and do some shopping for that, though.  First everyone uses one of their accessory slots on a Shell Amulet. It's three turns' worth of magic defense, but if the fight lasts much longer than three turns, we're in trouble anyway. 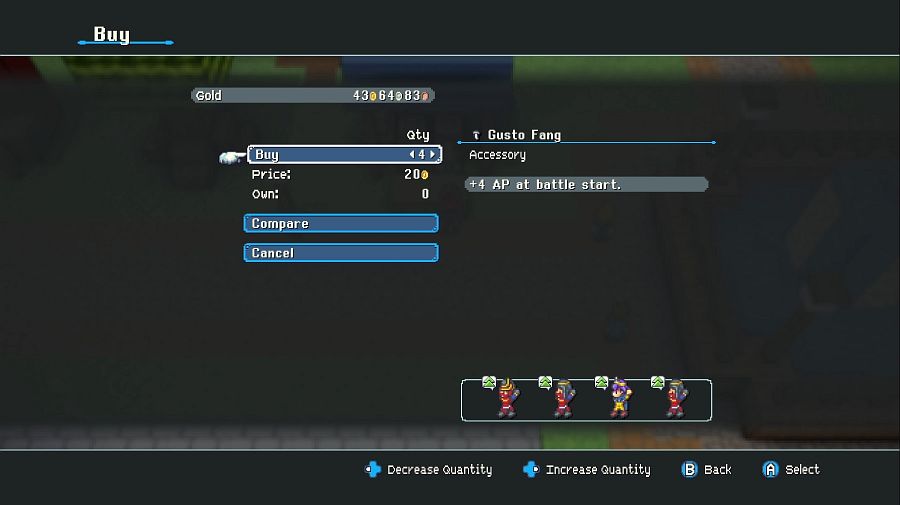 And then Hamza, Vanessa and Charity get a Gusto Fang in their spare slots. This should get each of them another "free" attack right at the start, which will mean another three hits in at the very least.  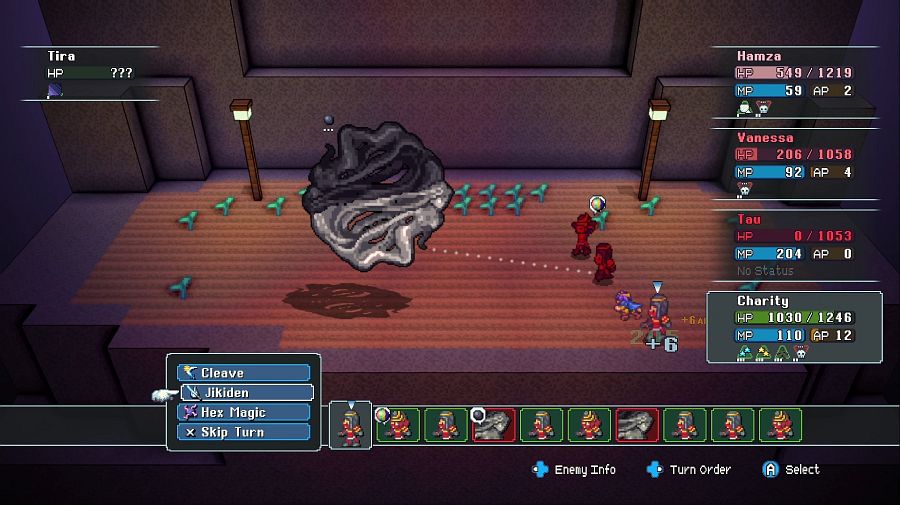 It's not a perfect run, but as intended Tau negates the first Doom Song with a cast of Pinga, then eventually succumbs to a Star Flare(since no one else is hitting, but Tau is healing, Tau is the only one who racks up any Threat at all.) 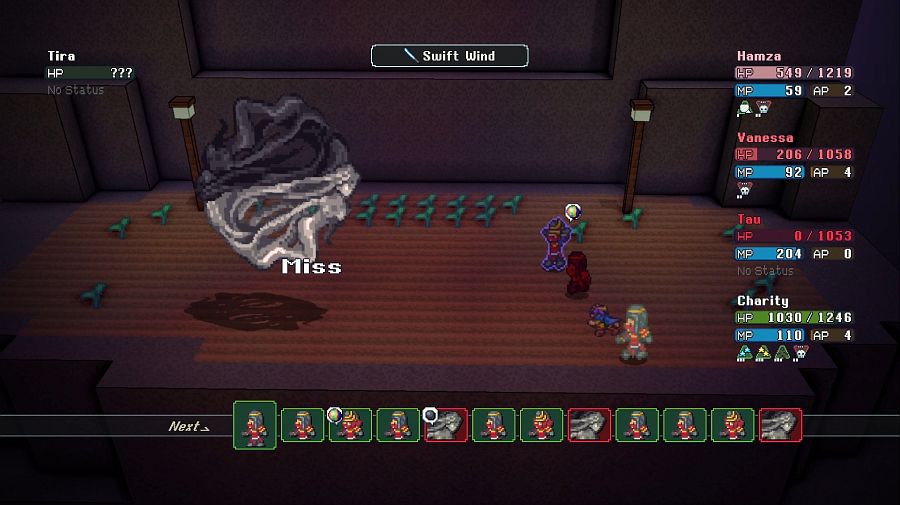 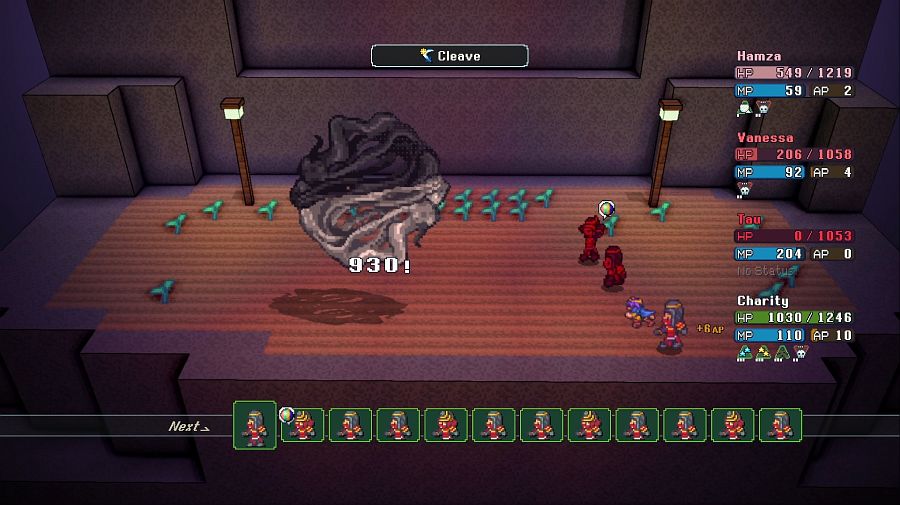 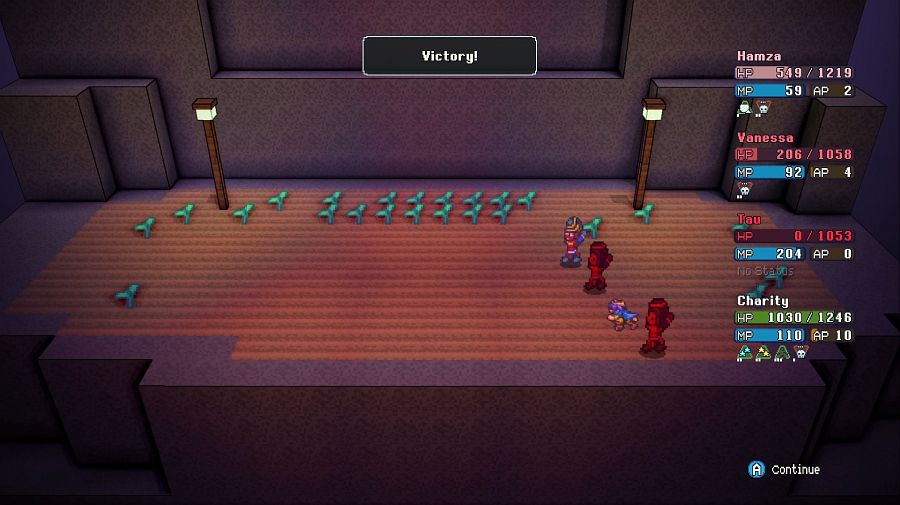 Eventually, though, Charity cinches the kill just before Tira can rock us with another Dark Overture. I hate that spell. 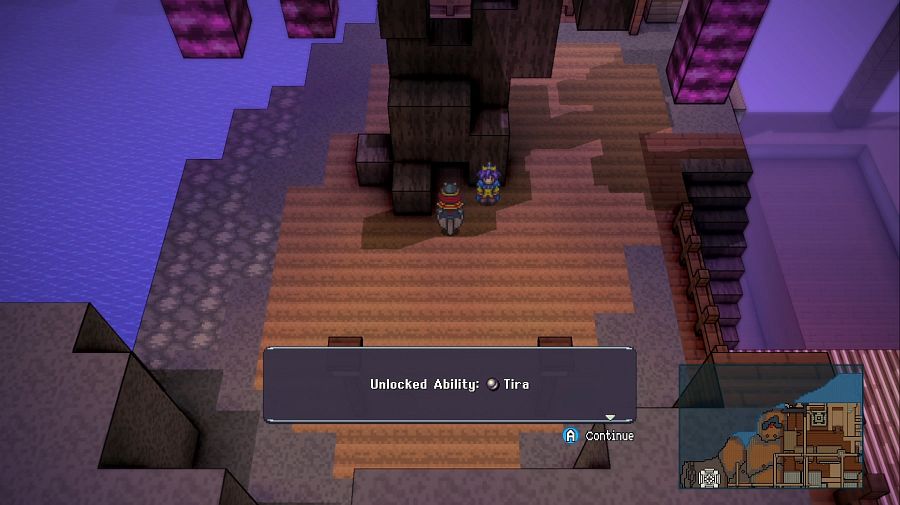  And our reward is very worth it. Note that this effect doesn't have a duration, only a number of times it works. So it's great for no-selling any variety of physical attacker enemies, or even just setting up as "insurance" against future attacks if you've got a "spare" round. Now, for our fourth and last summon of the update, we're heading back to Callisto Shrine up atop the Land's End mountains. 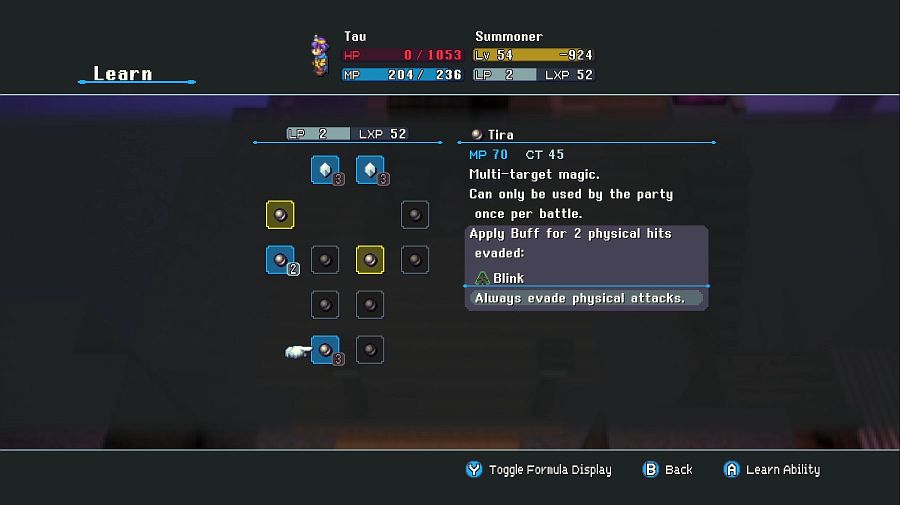 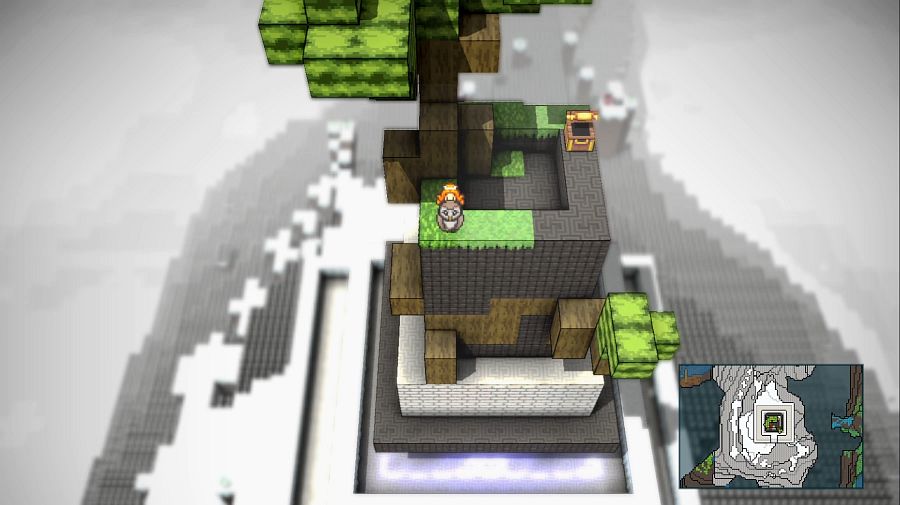 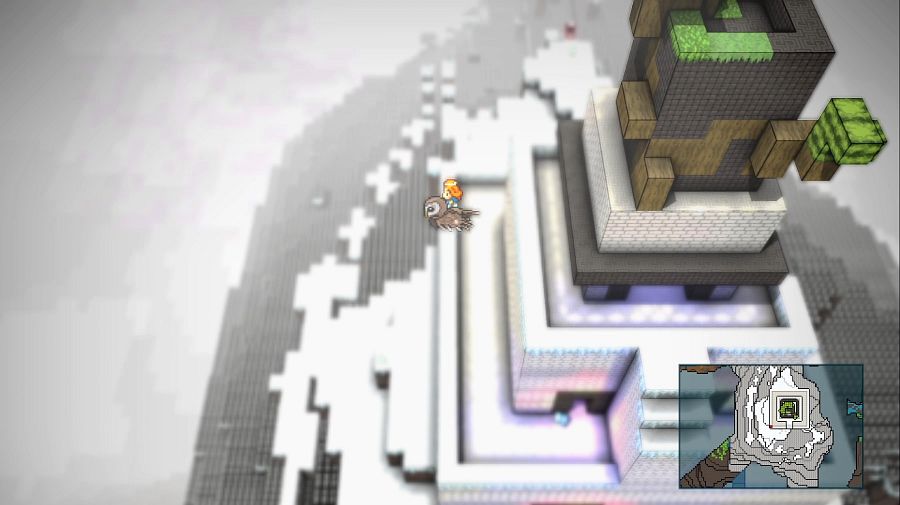 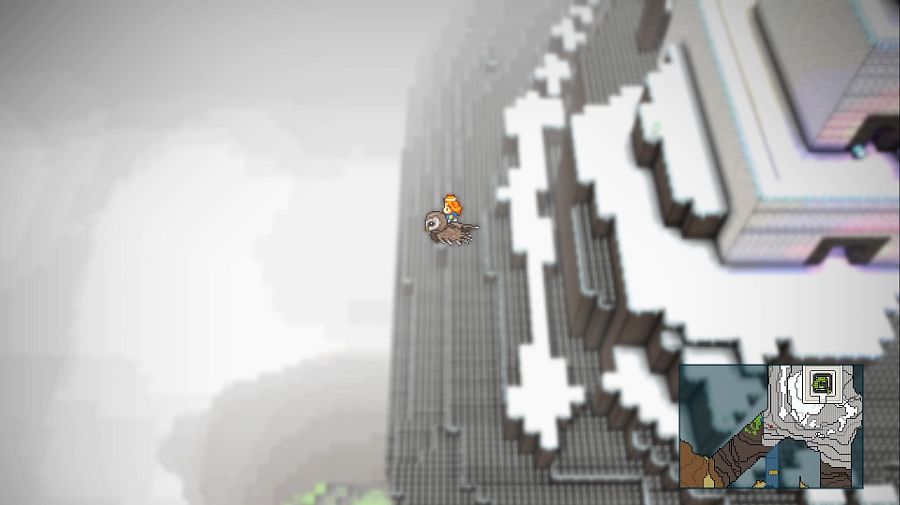 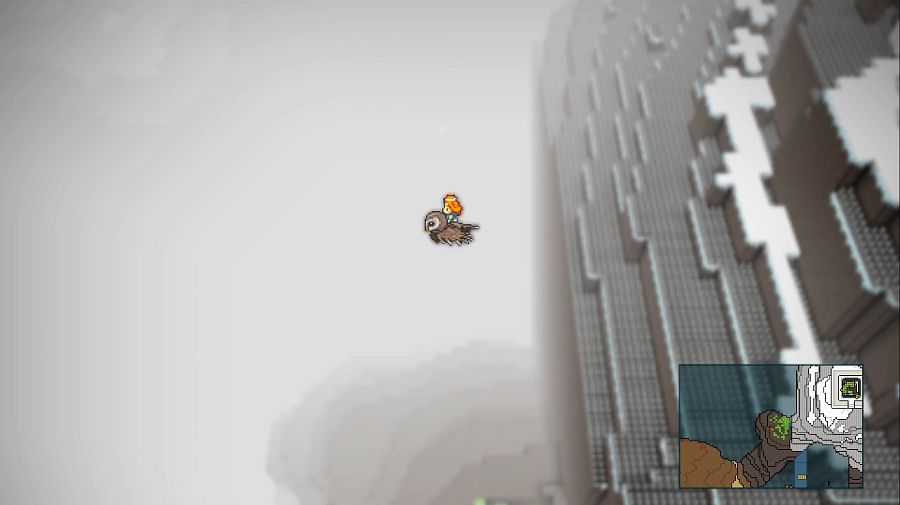  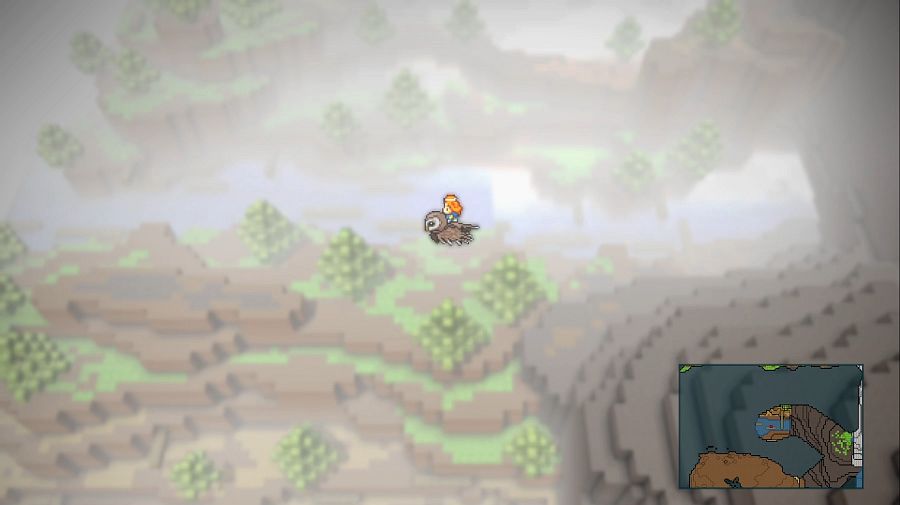 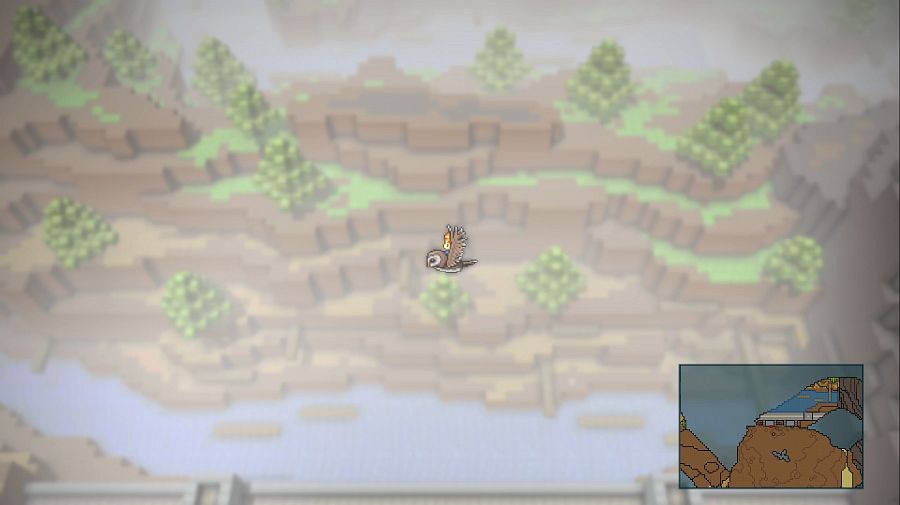 This summon is out at the bottom of the dry lakebed of Lake Delende. 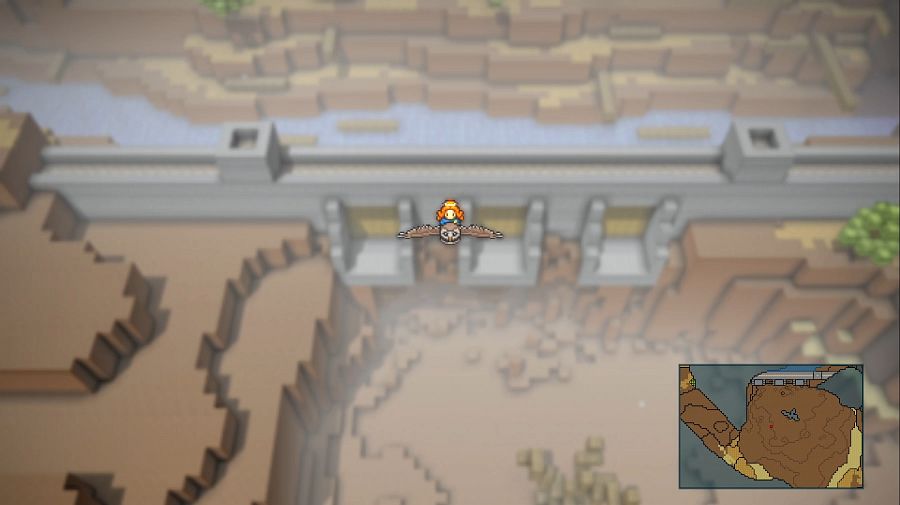 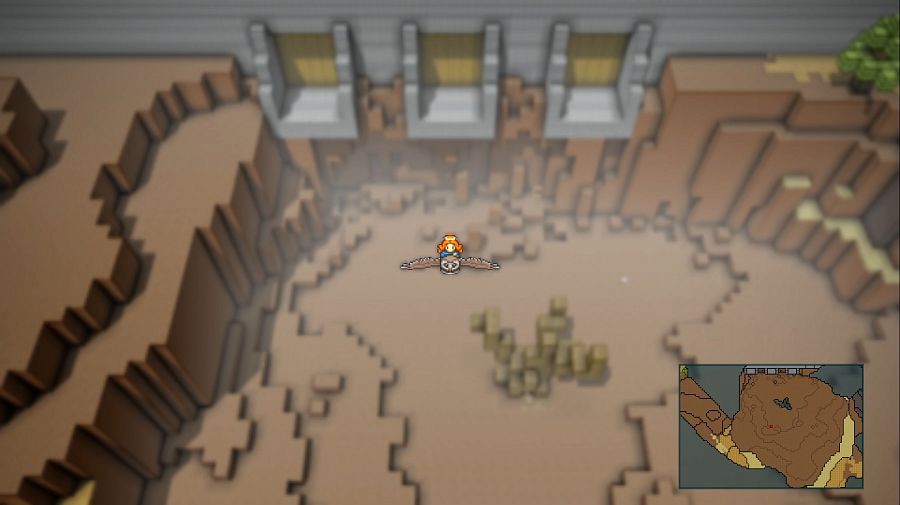 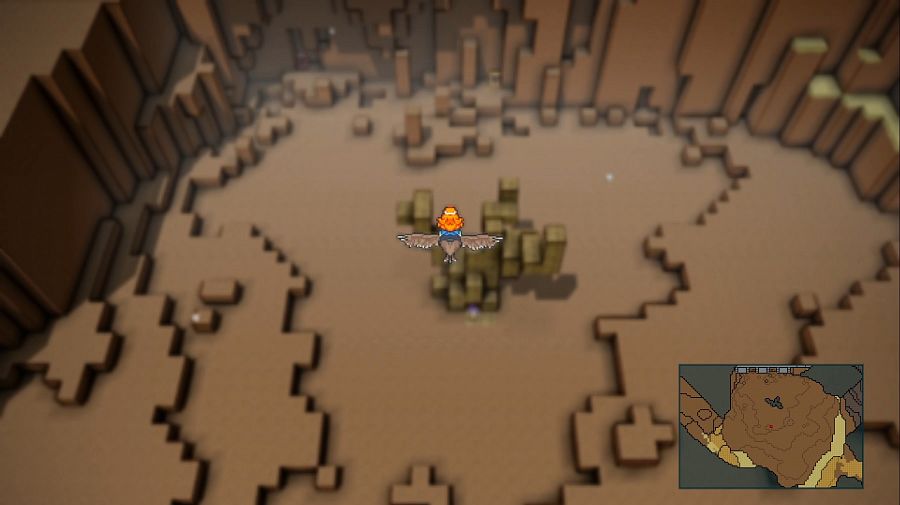 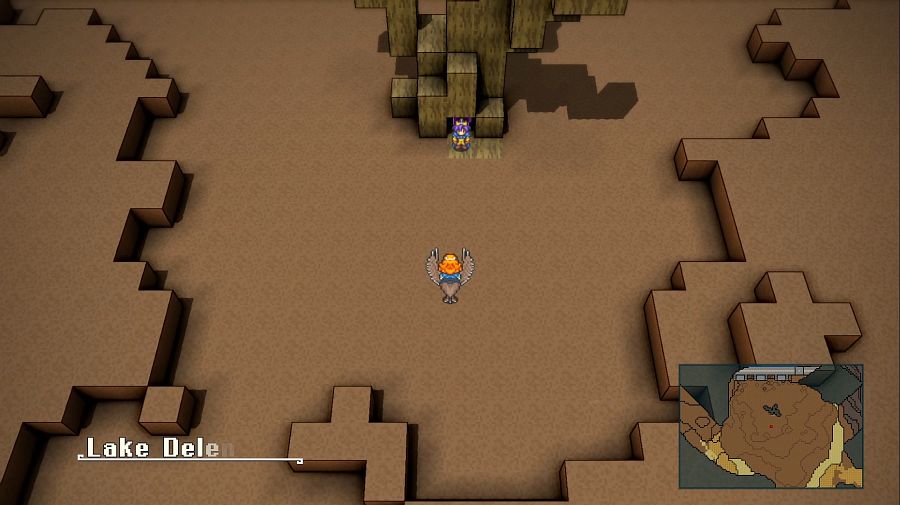 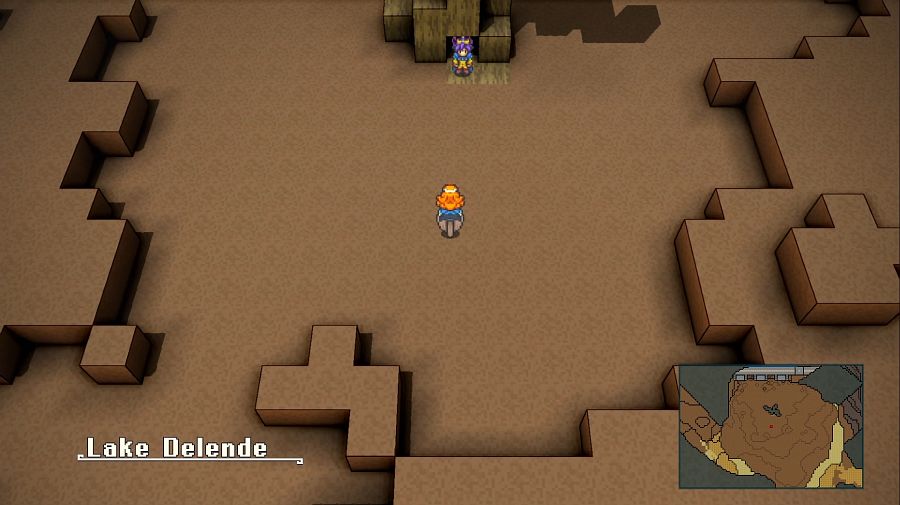 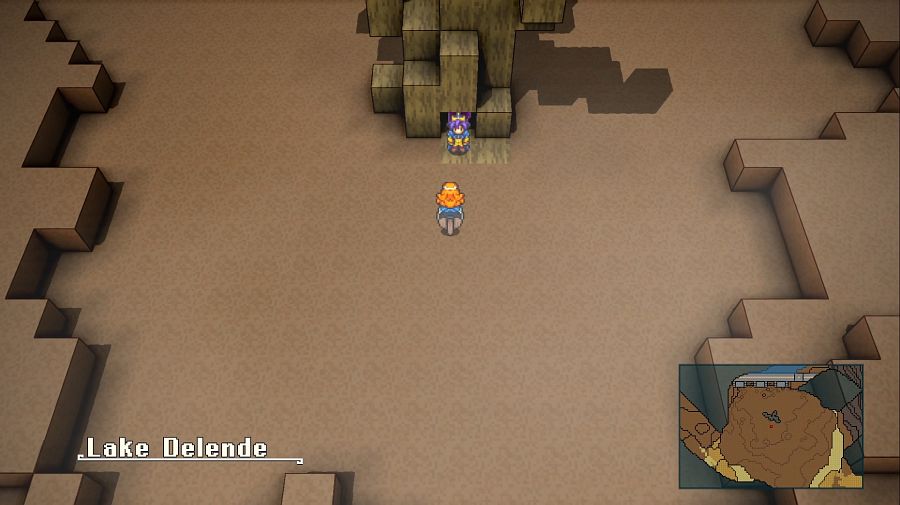 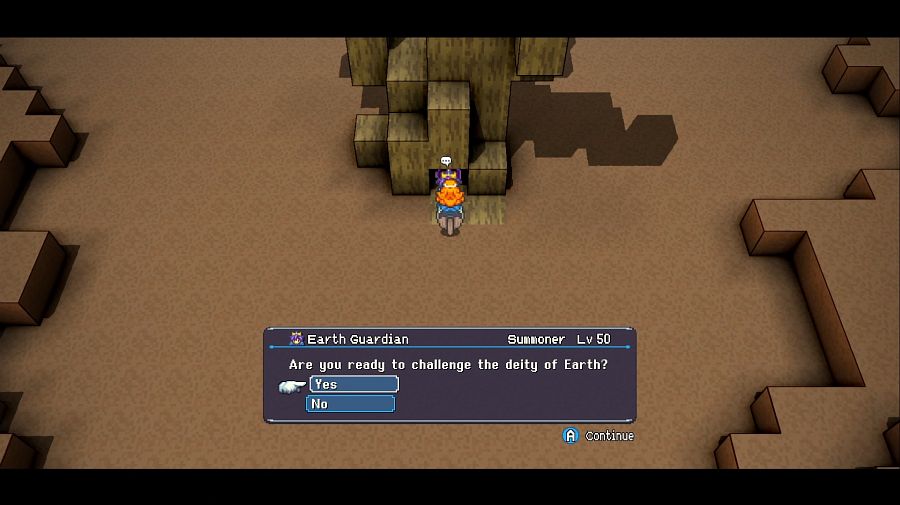 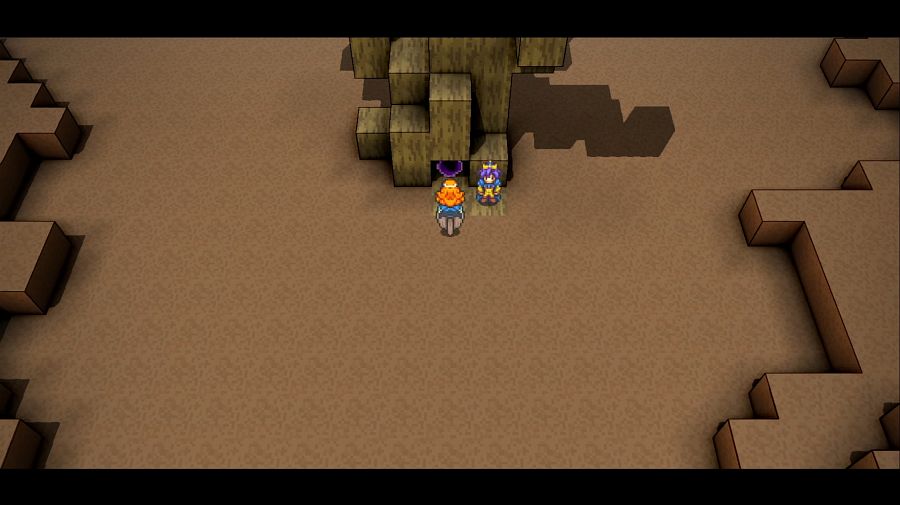 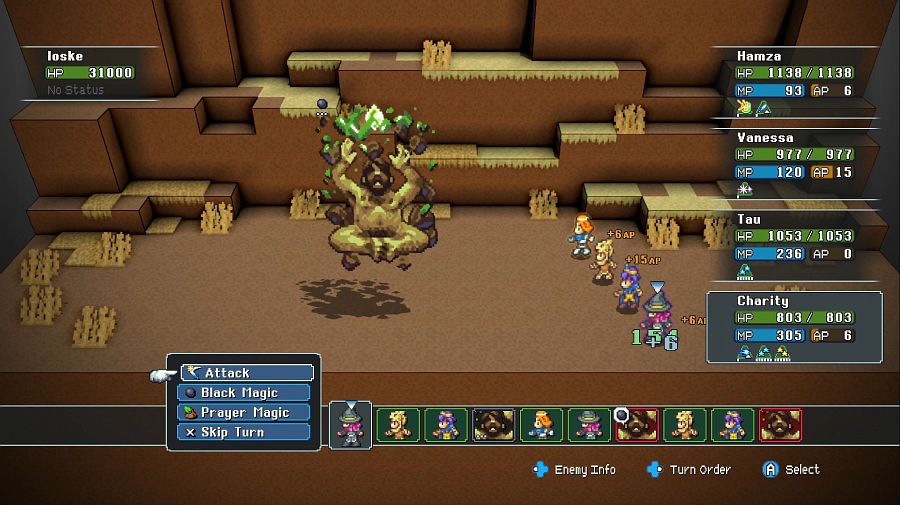 Meet Ioske, the deity of Earth. He loving sucks. 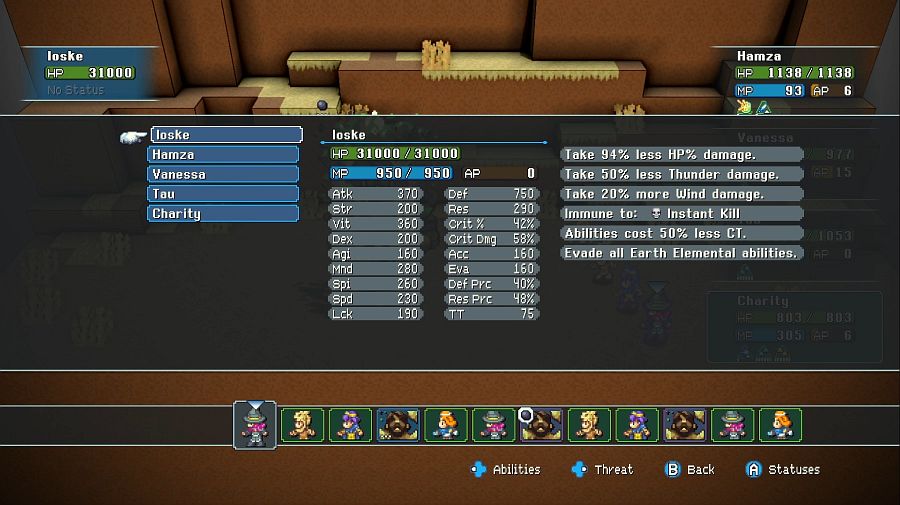 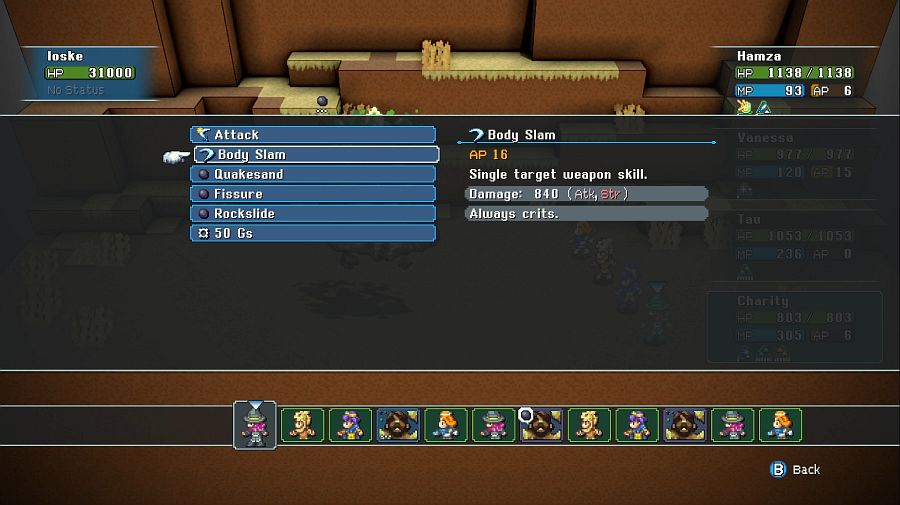 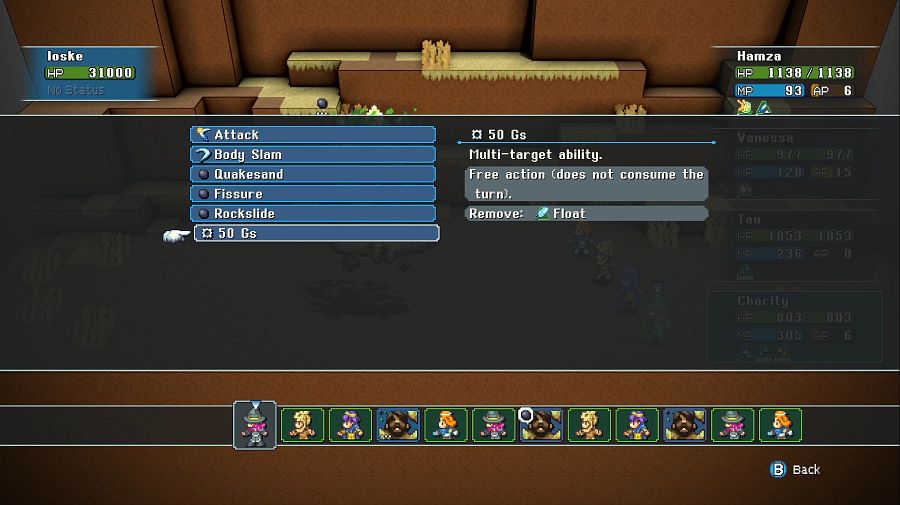 He has all of the Dervish's Earth spells, a single-target "gently caress you up"-physical and 50Gs, a spell that negates Float without costing him an action, so there's no clever way to trivialize him. Taking him on with the default setup we've had for Nilti and Shaku?  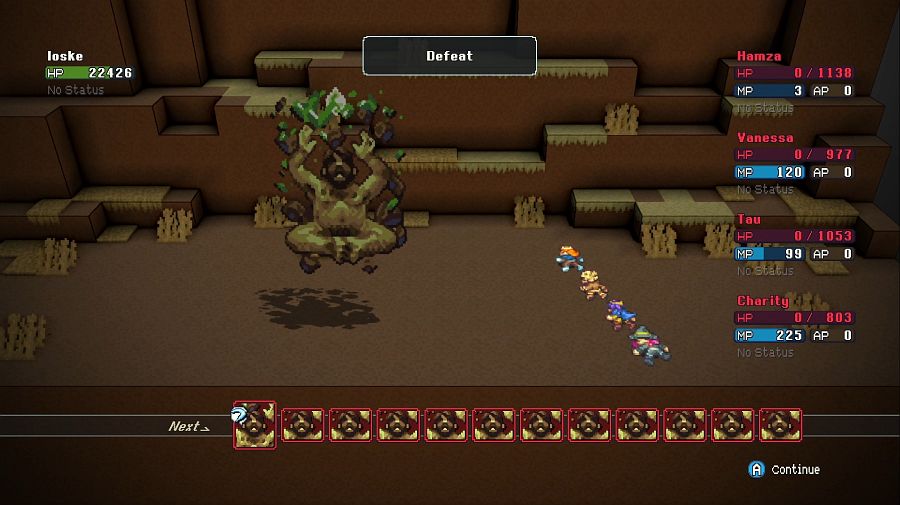 Doesn't work. It's time to be real boring and go with what works against almost everything in the game. 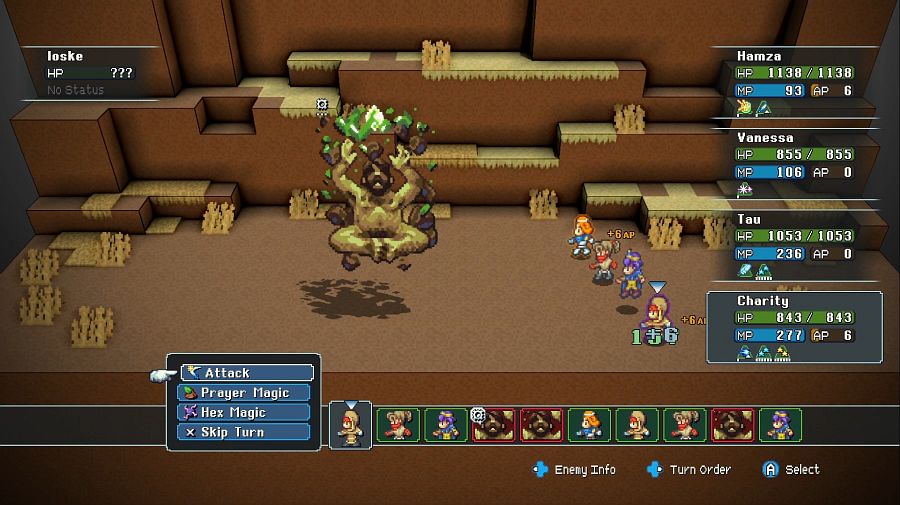 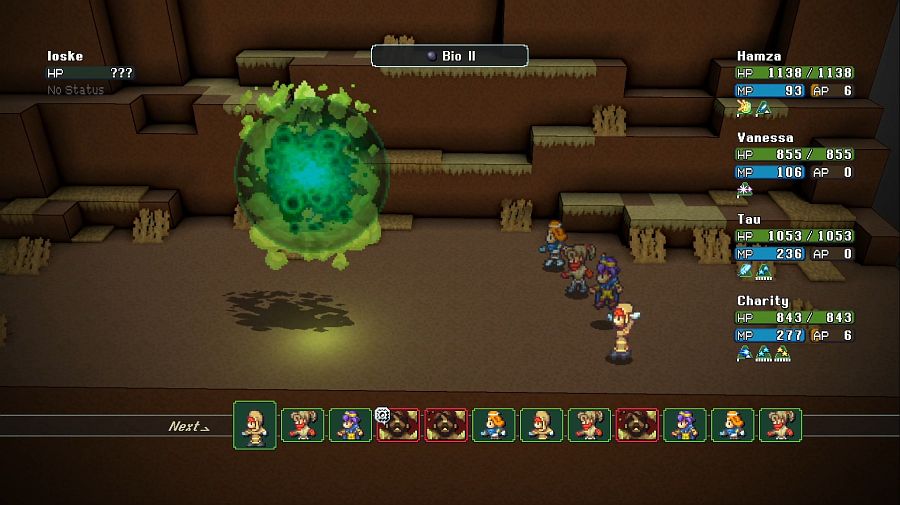 Charity is now a Dervish/Shaman. Dervish because Ioske has a weakness to Wind damage, Shaman because Bio 2 adds Daze, a condition that doubles the CT for all of Ioske's spells, and we need this because Vanessa is a Rogue again, which lets her interrupt them with Trick Slash, and the longer the CT, the bigger the chance she's correctly placed to land the interrupt and has the AP for it when it rolls around. 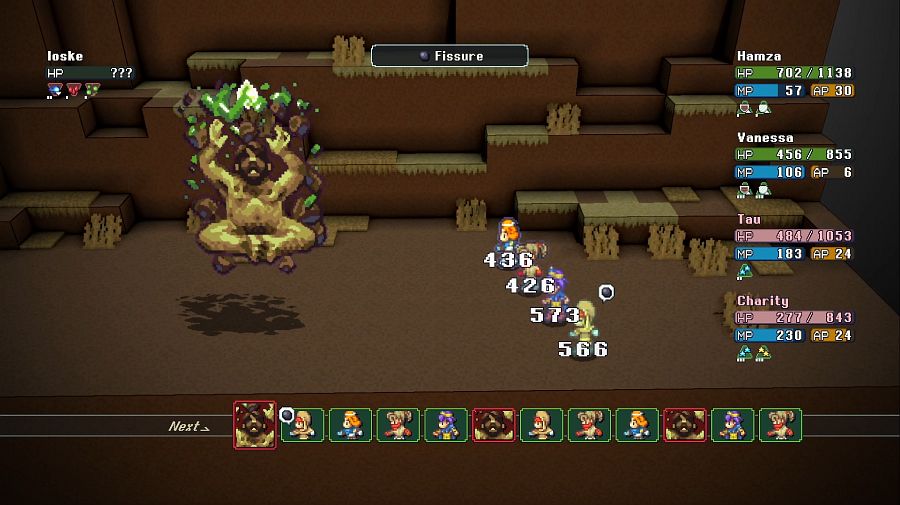   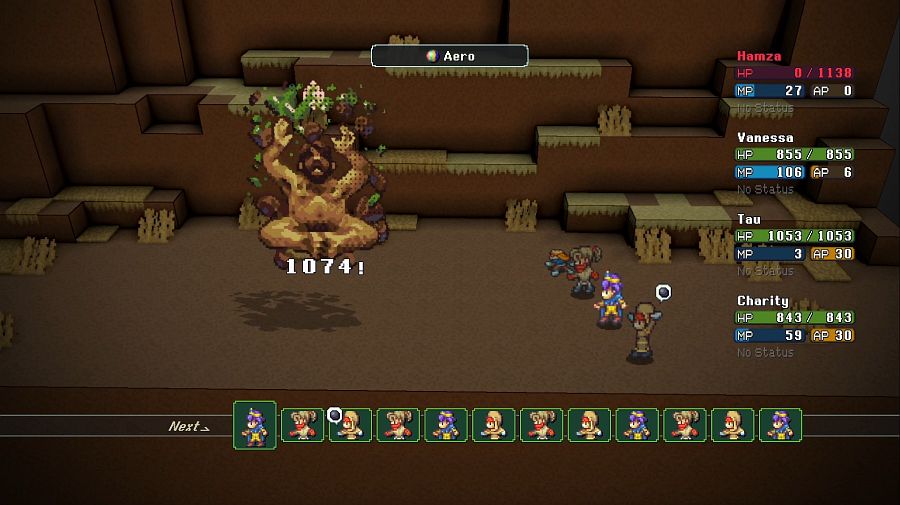 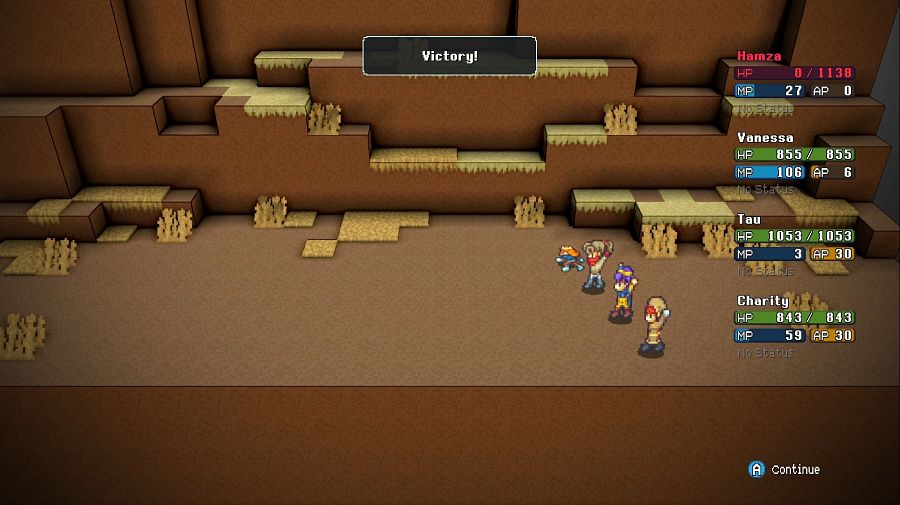 It's not an effortless fight, and there are a couple of pinchy moments(I lost one run because Tau managed to drop low enough in the threat ratings that Vanessa couldn't land her interrupt properly, but I was acting so much on reflex I'd already entered the command before it registered), but he goes down, and Tau as a summoner is now actually useful. 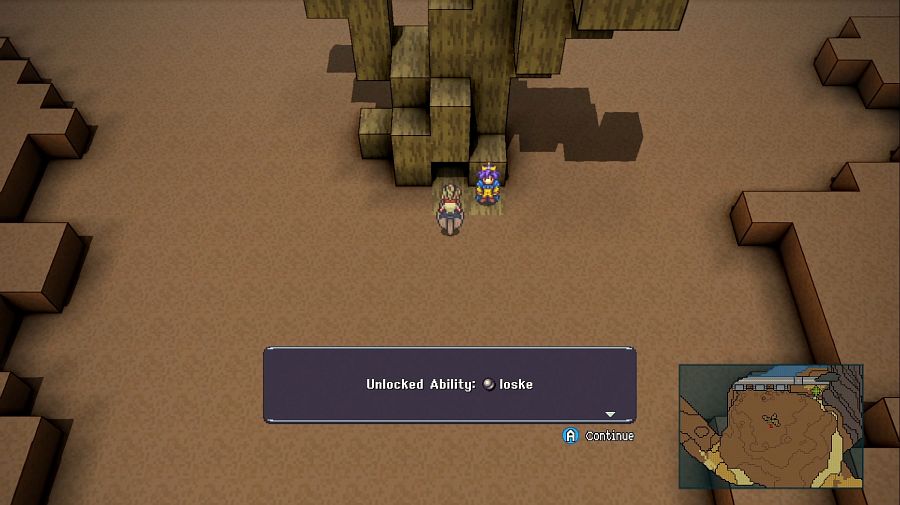 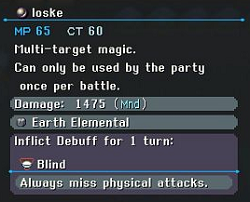 Ioske's use is obvious for dunking on a bunch of physical attackers, though his weakness is that a LOT of enemies are immune to Earth elemental damage. Anyway, next time. THE CUBE. This time no delays, I promise.
|
|
#
?
Apr 26, 2024 21:07
|
|
|
One thing I always appreciate about Crystal Project is how much people vary in their takes on different classes/abilities based on the synergies/playstyles they prefer. For me, I used Beastmaster (combined with a later class we haven't seen yet) as a flame clearer, and generally used Nomad extensively, paired with Warlock or Dervish. Nomad, in particular, has a fun trick with staff weapons that replace the basic attack with Aid. This functions similarly to the Healing Staff from FFV, where your basic attack becomes a free single-target heal. This is still treated as a basic attack, so it benefits from the 35% boost, and is also valid for Therapy Stance, meaning you can spam modest party-wide healing for free while also generating AP. More generally, Nomad naturally synergizes well as a secondary to Dervish to create a caster with an extremely large replenishing battery to support a more defensive endurance-based strategy. You can equip Staffs (for the Aid trick, as above) or Wands (for more damage) or even just take the native Book option from Dervish to really push the "never runs out of MP" gimmick.
|
|
#
?
Apr 26, 2024 22:36
|
|


|
Also THE CUBE has been defeated, the next update will cover this exciting (and pinchy) turn of events.
|
|
#
?
Apr 26, 2024 23:16
|
|
|
Olesh posted:One thing I always appreciate about Crystal Project is how much people vary in their takes on different classes/abilities based on the synergies/playstyles they prefer. This is really interesting, yeah! Like, at some point I came to the realization that basically every time I disagreed with OP's assessment of something, I could trace the source of that disagreement back to "OP considers Rogue more or less mandatory for any serious fight, while I do not," and all the ways in which that initial foundation impacts further teambuilding. And that's fine! It's cool to disagree. "Play the way you want" is basically the game's thesis, after all. Case in point, there's a couple other fun ways to cheese Tira. Its veil specifically only stops physicals and magic, so the handful of abilities that are neither still get through. This means you can A) Put it to sleep with a Rogue's Sleep Bomb and burn through the veil stacks at your leisure, since missed attacks don't break sleep. or B) Poke it with a Monk's Chi Burst, killing it instantly.
|
|
#
?
Apr 27, 2024 01:35
|
|
|
PurpleXVI posted:Fierce Stance makes their already-swingy axe attacks even swingier, but is a gamble since it also increases the chance of low damage swings.
|
|
#
?
Apr 27, 2024 03:00
|
|
|
I'm a little surprised your Summon options are still so limited. I really need to sit down and get good at this game.
|
|
#
?
Apr 27, 2024 03:24
|
|
|
Olesh posted:One thing I always appreciate about Crystal Project is how much people vary in their takes on different classes/abilities based on the synergies/playstyles they prefer. For me, I used Beastmaster (combined with a later class we haven't seen yet) as a flame clearer, and generally used Nomad extensively, paired with Warlock or Dervish. Nomad, in particular, has a fun trick with staff weapons that replace the basic attack with Aid. This functions similarly to the Healing Staff from FFV, where your basic attack becomes a free single-target heal. This is still treated as a basic attack, so it benefits from the 35% boost, and is also valid for Therapy Stance, meaning you can spam modest party-wide healing for free while also generating AP. More generally, Nomad naturally synergizes well as a secondary to Dervish to create a caster with an extremely large replenishing battery to support a more defensive endurance-based strategy. You can equip Staffs (for the Aid trick, as above) or Wands (for more damage) or even just take the native Book option from Dervish to really push the "never runs out of MP" gimmick. Lol, awesome. I'm pretty sure I never found any cool strats like this and just brute forced everything by stacking every debuff on the enemy and buff on my party
|
|
#
?
Apr 27, 2024 04:33
|
|
|
Cattail Prophet posted:A) Put it to sleep with a Rogue's Sleep Bomb and burn through the veil stacks at your leisure, since missed attacks don't break sleep. Oh my loving God, why did it never occur to me that "gear" icon abilities are specifically neither physical or magical? Now I feel about as stupid as I did the first time someone told me the clever solution to Gran. Though this only further justifies my insistence that Rogue is a necessary class for all tougher encounters.
|
|
#
?
Apr 27, 2024 09:18
|
|
|

|
| # ? Apr 29, 2024 14:49 |
|
|
PurpleXVI posted:Oh my loving God, why did it never occur to me that "gear" icon abilities are specifically neither physical or magical? Now I feel about as stupid as I did the first time someone told me the clever solution to Gran. Something else I appreciate about this game is that if you dig deep enough, there's probably a clever solution to every boss (or at least, a way to make them significantly easier). I didn't find most of them, but I figured out some. The more gimmicky a boss appears to be, the more likely there is some kind of clever solution.
|
|
#
?
Apr 28, 2024 04:27
|
|