

|
So what exactly are the limits to Pappets' charm ability? Would it actually be able to work on a boss monster, like say the Baby Dragon? I don't understand why they would introduce such a innovative mechanic to the SF series and then stuff it away to be used for only a handful of battles at the end of the game...yes, there's Scenario 3, but still...
|
 #
?
Aug 19, 2014 19:14
#
?
Aug 19, 2014 19:14
|
|


|

|
| # ? Jun 11, 2024 12:43 |
|
|
Shiki Dan posted:So what exactly are the limits to Pappets' charm ability? Pappets ability only works on beast type monstes, so no humanoids or dragons. There's a Scenario 3 character who can recruit dragons. I'd assume boss types are immune, but it might be fun for somebody with the premium disk to go try and recruit the queen worm.
|
|
#
?
Aug 19, 2014 19:36
|
|

|
I think the main reason they introduce it so late is in case you missed any of the secret characters. Like the first scenario had the mercenary recruitment for the last double map this one lets you use Pappet.
|
|
#
?
Aug 20, 2014 14:38
|
|
|
Ardeem posted:Pappets ability only works on beast type monstes, so no humanoids or dragons. There's a Scenario 3 character who can recruit dragons. I believe the bonus dungeon for 2 has a Queen Worm, and I'm pretty sure that Queen Worm is capturable, despite being the boss of it's part of the dungeon. Point to note is that if they die, you'll have to get a new one. Monsters come with whatever items they usually have in their inventory-a Minotaur will have it's Healing Drop, for instance. I believe they can't change their equipment(If they HAVE equipment), even if given a piece. No Minotaurs with Mythril equip. Effectively Pappets is the answer to Scen1's mercenary characters. Scen 3 gets it's own variant-though far earlier.
|
|
#
?
Aug 20, 2014 15:02
|
|
|
Bloodly posted:I believe the bonus dungeon for 2 has a Queen Worm, and I'm pretty sure that Queen Worm is capturable, despite being the boss of it's part of the dungeon. You can definitely get a Queen Worm. I remember using her, a Minotaur, and a Griffon as my three monsters. You can get three Queen Worms if you want, but I wouldn't because their movement isn't great. Also, you can talk to the monsters back at HQ and each one has a different line of text talking about how they were forced to fight or what they plan to do now they're in your army.
|
|
#
?
Aug 21, 2014 08:59
|
|

|
Part 67: Redemption Round!  Such vision. Grantack can devise ingenious strategies like no other... and at his age! Such vision. Grantack can devise ingenious strategies like no other... and at his age! Yes, then let us discuss this Juggernaut. It's a weapon created to advance on its enemies. If we attack it from the front, we will be at a disadvantage, since its defense is strong. One thing is for sure: We must disarm the tank's primary weapon. What are your thoughts, Campbell? Yes, then let us discuss this Juggernaut. It's a weapon created to advance on its enemies. If we attack it from the front, we will be at a disadvantage, since its defense is strong. One thing is for sure: We must disarm the tank's primary weapon. What are your thoughts, Campbell? It is not likely we could destroy it by attacking it head on. We're in agreement. We will not attempt a frontal attack. It could be disabled from the inside, but where is the access and how do we get inside without being seen? It is not likely we could destroy it by attacking it head on. We're in agreement. We will not attempt a frontal attack. It could be disabled from the inside, but where is the access and how do we get inside without being seen? The side of the tank! Grantack, the side is accessible, and there's a blind spot! Can it be boarded? The side of the tank! Grantack, the side is accessible, and there's a blind spot! Can it be boarded? No way! Boarding it would be hard. One of Garvin's soldiers entered the tank just before that last battle. He used steps on the side of the tank. We should be able to use those steps to get inside the tank. If so, the tank can be secured from the inside. There will be many enemies surrounding the tank. We'll never get inside with a direct attack. You're right, David. We will need to distract the enemies around the tank. No way! Boarding it would be hard. One of Garvin's soldiers entered the tank just before that last battle. He used steps on the side of the tank. We should be able to use those steps to get inside the tank. If so, the tank can be secured from the inside. There will be many enemies surrounding the tank. We'll never get inside with a direct attack. You're right, David. We will need to distract the enemies around the tank. Distract them? How will we distract them? With an elite force led by Prince Medion! But there are two battalions moving with the tank! If both battalions attack at once, Prince Medion's force could be in trouble. We don't have much choice. We'll place most of our army in the Medion force, since Garvin's forces are concentrated in the front. Distract them? How will we distract them? With an elite force led by Prince Medion! But there are two battalions moving with the tank! If both battalions attack at once, Prince Medion's force could be in trouble. We don't have much choice. We'll place most of our army in the Medion force, since Garvin's forces are concentrated in the front. To make yourself a target... You are very brave, Prince Medion. We have heard the prince's opinion. How does everyone else feel about this? We don't need to worry. The prince always makes good decisions. I'm part of the prince's army, and I will do as he asks. And anyway, I think it's exciting! We must execute our plan to perfection. Timing is critical. The tank must be disabled before it reaches Aspia's wall. Everyone believes in you, Prince Medion. Give us your orders, whatever they be. To make yourself a target... You are very brave, Prince Medion. We have heard the prince's opinion. How does everyone else feel about this? We don't need to worry. The prince always makes good decisions. I'm part of the prince's army, and I will do as he asks. And anyway, I think it's exciting! We must execute our plan to perfection. Timing is critical. The tank must be disabled before it reaches Aspia's wall. Everyone believes in you, Prince Medion. Give us your orders, whatever they be. An excellent strategy, Grantack. If we are to stop Garvin, we must look at every detail. An excellent strategy, Grantack. If we are to stop Garvin, we must look at every detail.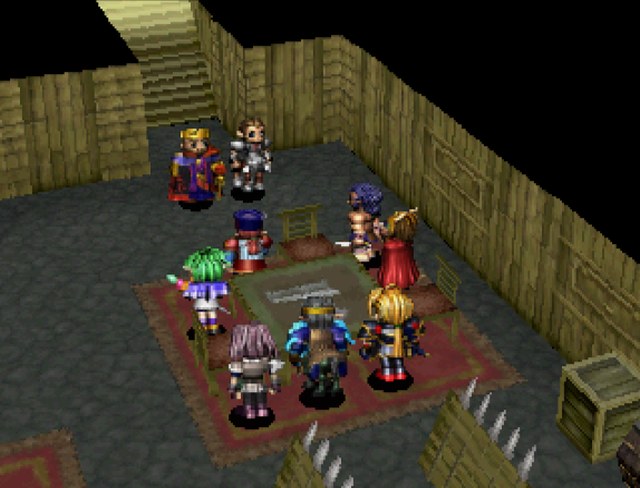  After that last battle in the ruins, Emperor Domaric was concerned about the Medion army and wanted to pay a visit to your headquarters. We had to let Garvin go even though we had the upper hand. I wanted to pursue Garvin... Emperor, Medion is not to blame for Garvin's escape. Don't misunderstand, I'm not blaming Medion. I am to blame for Garvin's escape from the ruins. I should have come earlier. So the tank has left the ruins. We won't rest until it is stopped. Thus, we offer our full support. The Medion army is fortunate to have a strategist such as yourself, Grantack. Your experience is invaluable in dealing with this Juggernaut. I have a bit of experience forming battle strategies myself. Then what do you think of my plan for disabling the tank? It's a solid idea. Maybe Emperor Domaric has some thoughts to add. The elite of the Medion force may be thinking, �How can we overcome the enemy as a decoy?� The answer lies in the strengths and abilities of the two enemy battalions. If the enemy's forward battalion needs reinforcements, it will take priority. This will leave the inside battalion without reinforcements. After that last battle in the ruins, Emperor Domaric was concerned about the Medion army and wanted to pay a visit to your headquarters. We had to let Garvin go even though we had the upper hand. I wanted to pursue Garvin... Emperor, Medion is not to blame for Garvin's escape. Don't misunderstand, I'm not blaming Medion. I am to blame for Garvin's escape from the ruins. I should have come earlier. So the tank has left the ruins. We won't rest until it is stopped. Thus, we offer our full support. The Medion army is fortunate to have a strategist such as yourself, Grantack. Your experience is invaluable in dealing with this Juggernaut. I have a bit of experience forming battle strategies myself. Then what do you think of my plan for disabling the tank? It's a solid idea. Maybe Emperor Domaric has some thoughts to add. The elite of the Medion force may be thinking, �How can we overcome the enemy as a decoy?� The answer lies in the strengths and abilities of the two enemy battalions. If the enemy's forward battalion needs reinforcements, it will take priority. This will leave the inside battalion without reinforcements. Well, that's a creepy note for Domaric to leave on.  David, can you lead the second battalion inside the tank? The mission will be difficult and dangerous, but I believe we can succeed if I have everyone's support. In the Elven Forest, David was the elves' leader! He's a perfect leader for this mission. Then our lives are in your hands, David. Be strong. May Elbesem's grace be with me. Aspia's security depends on us. We must stop that tank! David, can you lead the second battalion inside the tank? The mission will be difficult and dangerous, but I believe we can succeed if I have everyone's support. In the Elven Forest, David was the elves' leader! He's a perfect leader for this mission. Then our lives are in your hands, David. Be strong. May Elbesem's grace be with me. Aspia's security depends on us. We must stop that tank!It's like Camelot is trying to punish the player by making them use David. As you may recall, he hasn't seen any action since his brain got eaten by zombies several chapters ago. Of course, this means it's boot camp time for him and everyone else who got benched over the course of the game. 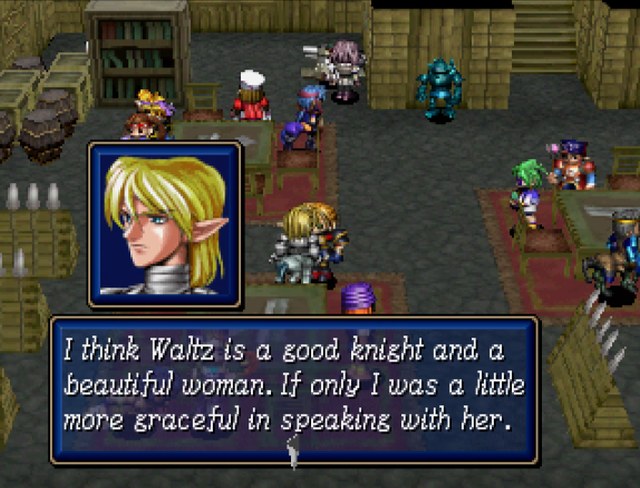  This was too cute not to include.  I took this screenshot about two months ago, so it's hard to remember the details. The thing to notice is that David, Penko, Waltz, and Bernard are all in. Time to play some catch up, but it's slightly more tedious than it was in scenario 1. 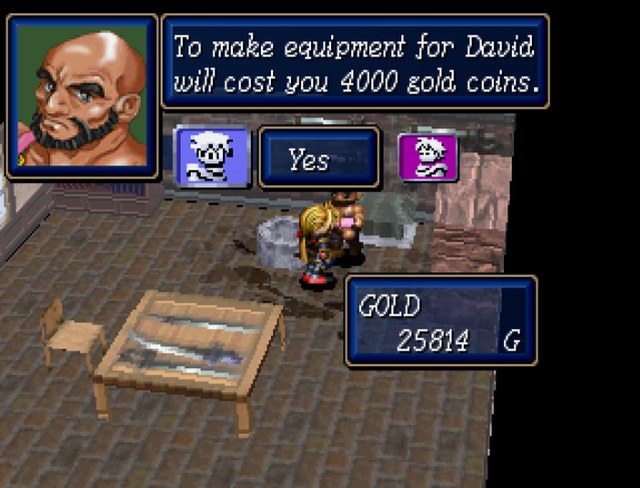 This does make things slightly easier. 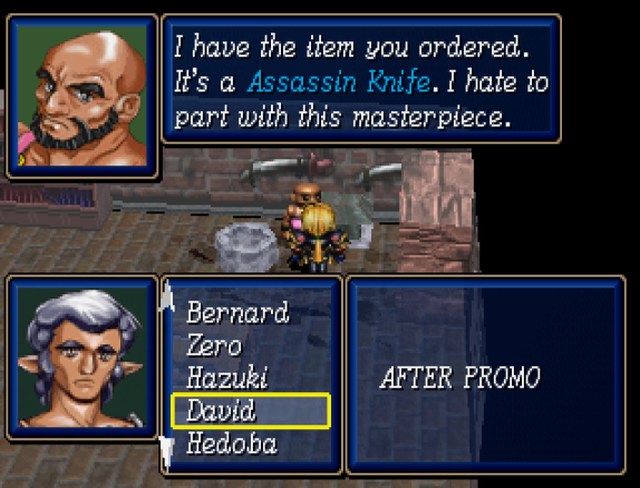 Or not.  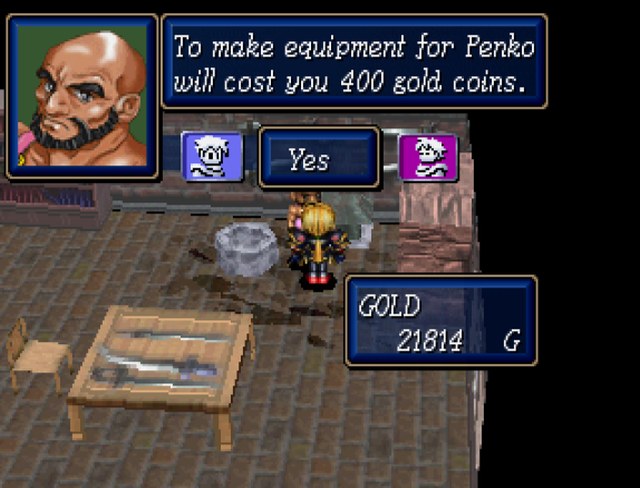 This is something to look forward to, though.  And it took a bit of savescumming, but this is an amazing weapon for Pappets. More on this later.  This door here is the path to the bonus dungeon. If you don't catch it, Pappets will hint at it if you talk to him (her?) in HQ. 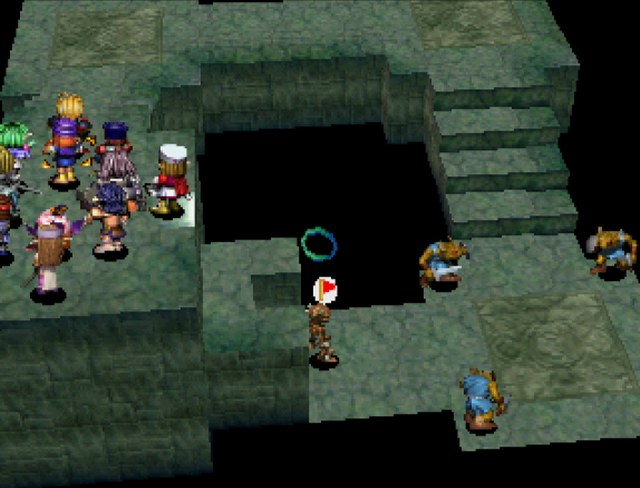 This is the layout of every floor of the bonus dungeon except for the eight and final floor. The boss is guarding a door, with uniform mooks on the last platform. As you walk downwards, each platform will spawn another four of the same mook enemy. It's extremely lazy and one of the larger signals that the budget ran out in scenario 2. 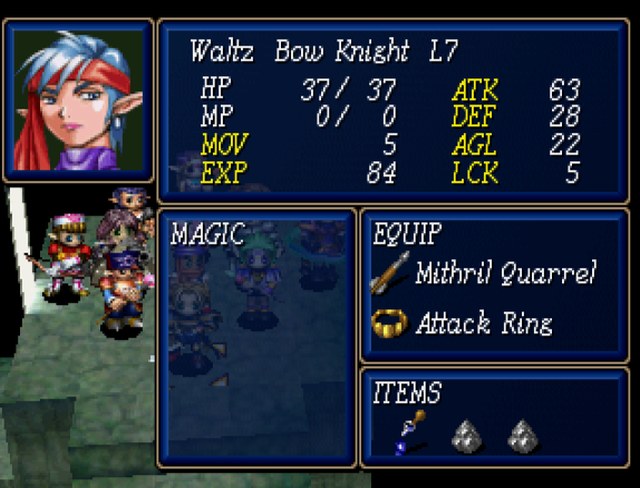 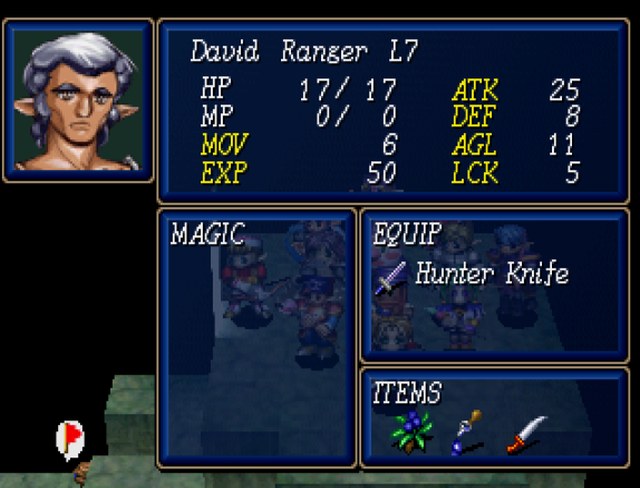  Waltz doesn't need much in terms of levels, but David and Penko have a long way to go.  Luckily, the bonun dungeon has no qualms with spawning tons of bonus experience for them to farm. 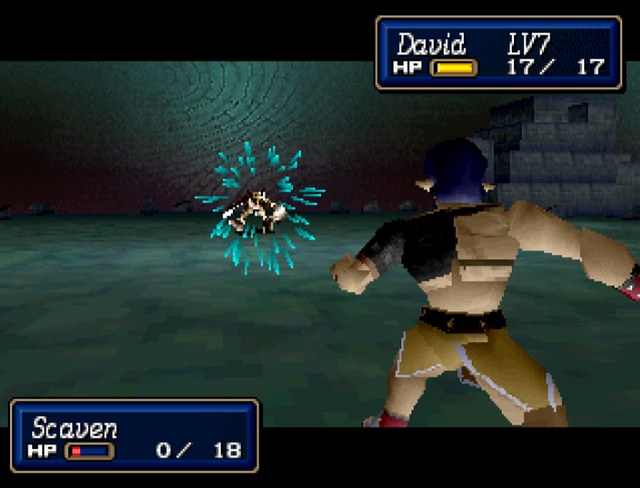  David can deal decent amounts of damage to these things and get levels without too much trouble, but Penko is in 1 damage territory.  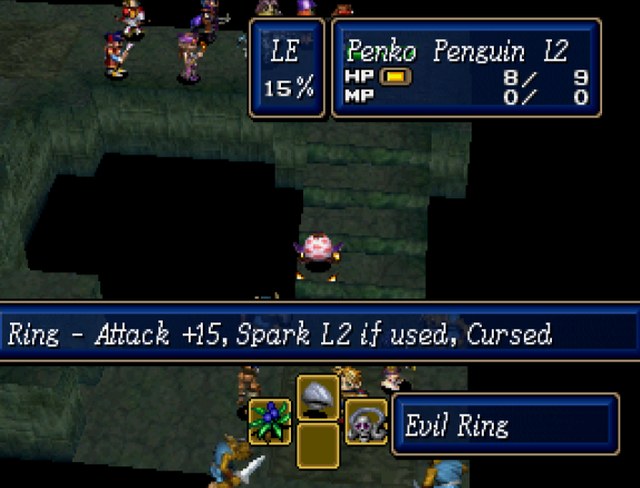 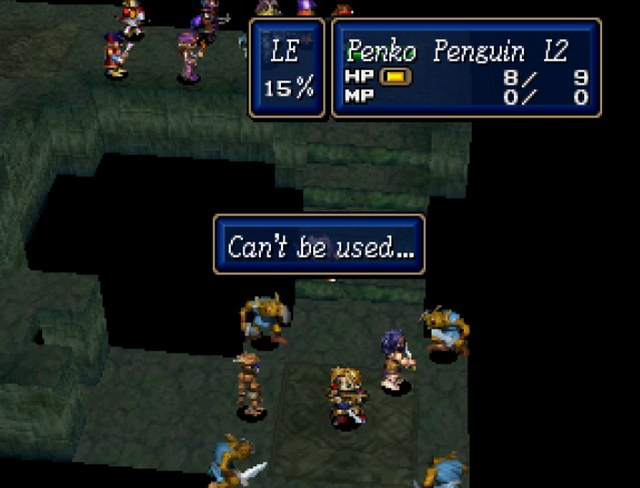 Wouldn't that be too easy if that worked. 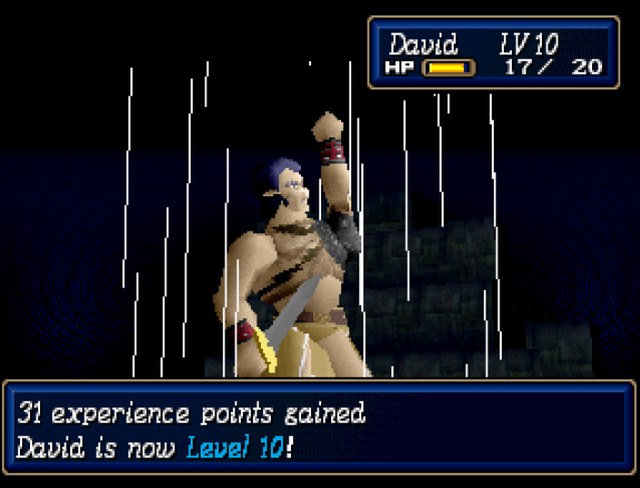 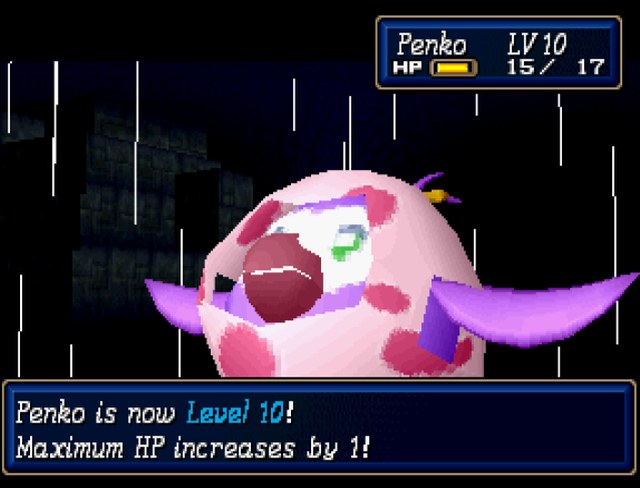 However, the last platform with the boss always has infinitely respawning enemies, so David and Penko can sit around and farm them for a while. And boy does it take a while. 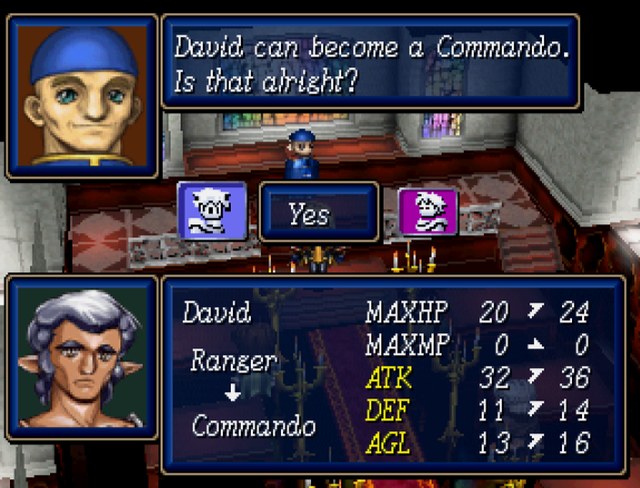 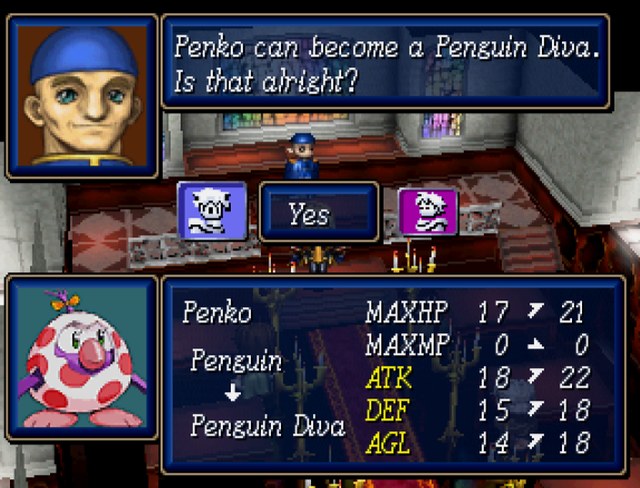 As we learned last time, promotion does not save useless characters from being useless.  New to chapter 2, though, are mithril beaks! It's not a huge boost to damage, but it gives Penko much better weapon rank scaling than Penn ever had, which makes leveling her up much easier. In fact, if you decide to level her all the way up, she's almost useful. 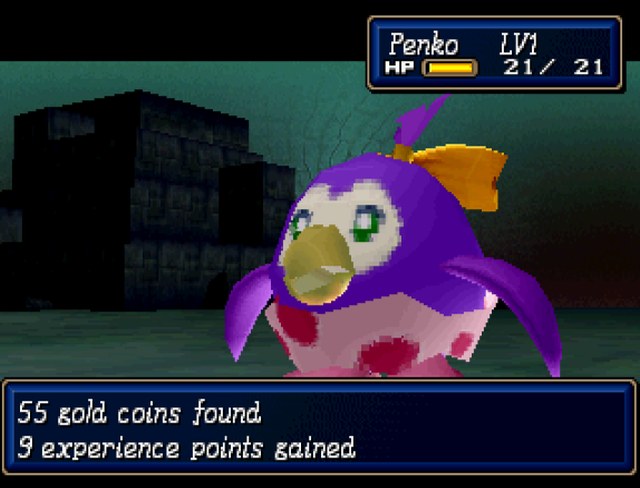 Unlike scenario 1 where the first bonus map leveled you all the way up to 11 post-promotion, the grunts here don't dole out nearly so much. We have to go down a floor to get more experience for David and Penko. 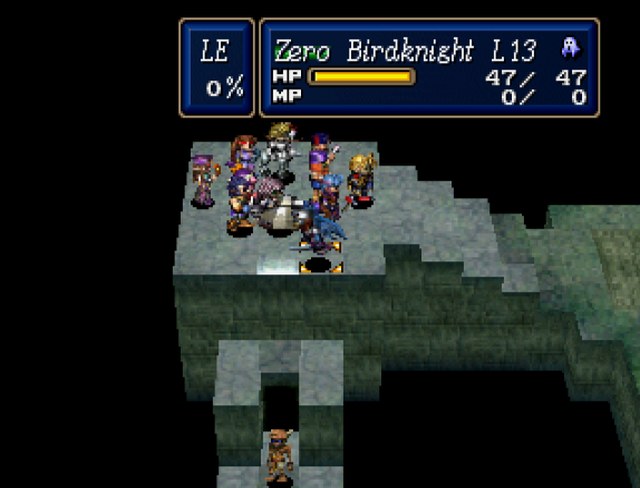  Here's the hilarious thing about the bonus dungeon: Because it goes in a circle, Zero can flap down next to the boss to engage it one-on-one. At his level, there's only one floor boss he can't take on by himself. 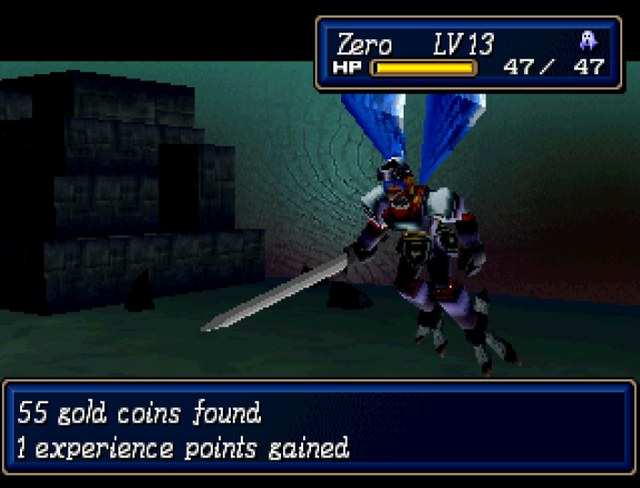 This boss isn't it. 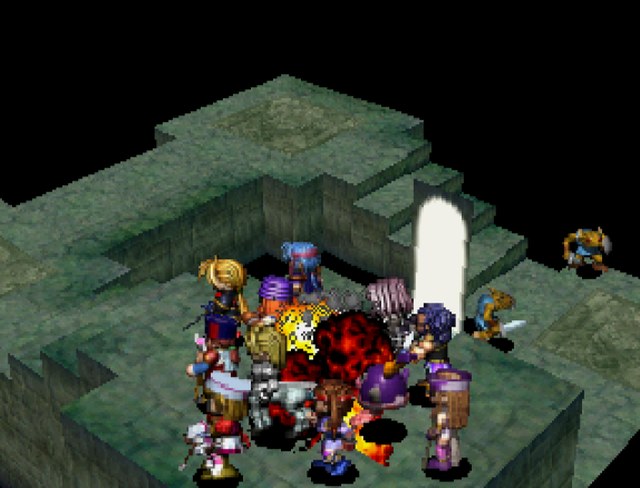  The floor blows up, and Medion proceeds.  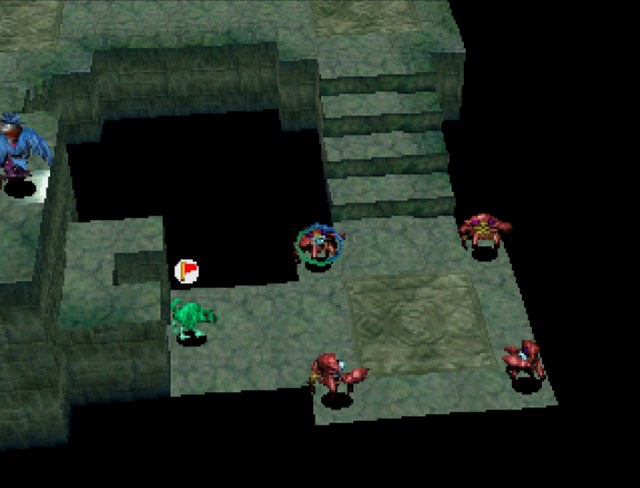  This goes uniformly: David and Penko beat up enemies until they stop giving reasonable amounts of experience (you can really only get two levels at most per floor now), and then Zero goes down and beats the boss in the face to access the next floor.   The result is we now have a pair of characters who still suck but won't be dead weight when we're forced to use them in the split fight at the end. 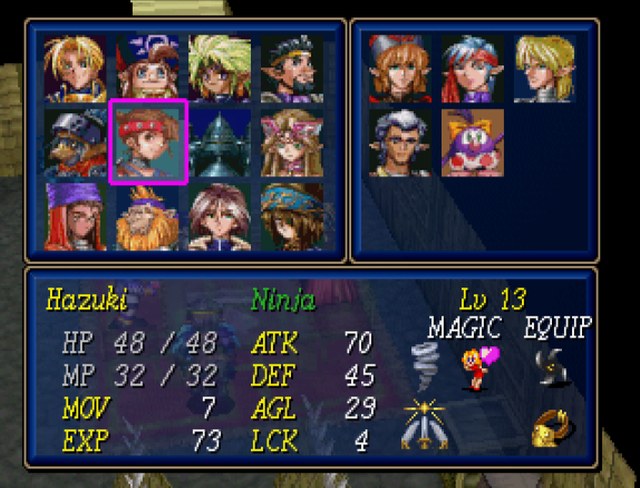 Back to the bench, you two. The real characters have some business now. 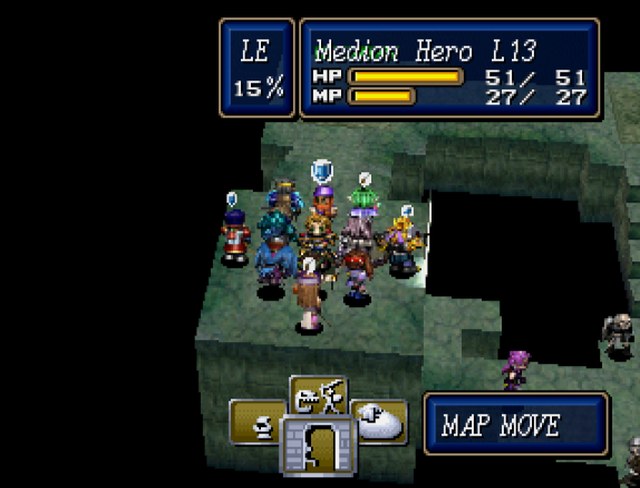 The reason why the floor blows up when you beat a map for the first time is that it opens a hole in the middle of the starting platform. Medion can move on top of it and immediately jump down to the next level, which is just barely faster than using Zero to kill the boss in one hit.  Floor 5 is where things get trick for Zero. You can see that boss down there is a queen worm. While not the strongest monster we'll find in this dungeon, it packs a whopping 220 HP, which is the highest after the big boss of this entire thing. While Zero can kill it in four turns, he doesn't quite have the defenses to deal with it. 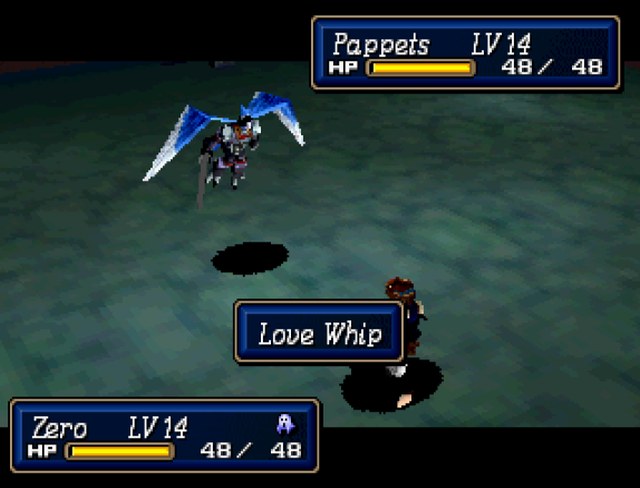 That's where Pappets' mithril weapon comes in. 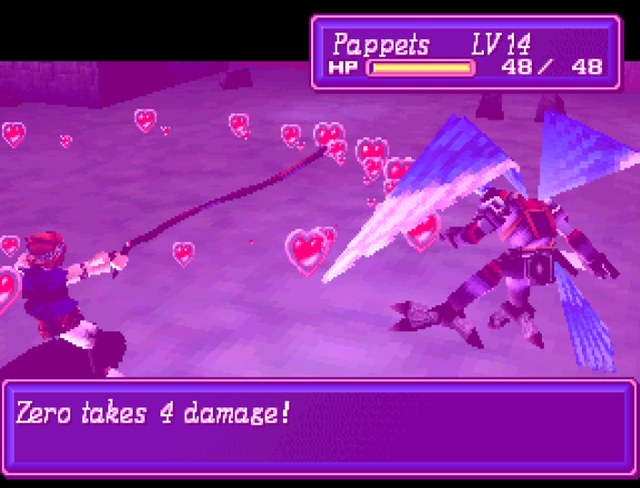 If the Love Whip is used as an item, it targets a friendly character and does a small amount of damage to them.  But it also casts Attack and Support on them in return. Give me this every day. 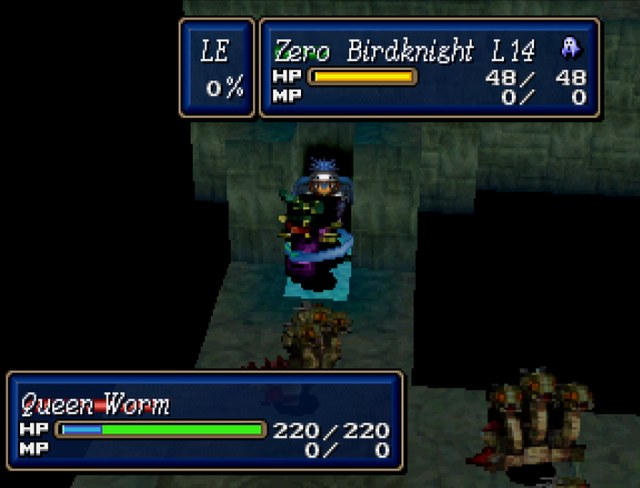  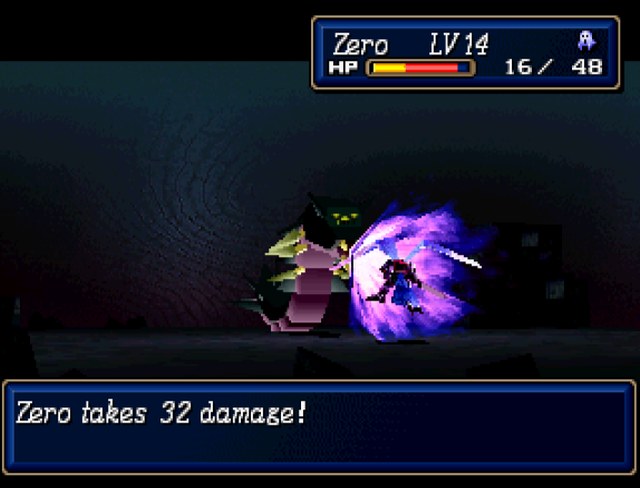 Zero can do good damage, but the queen worm has enough staying power to win the fight if left unchecked. Side note, if you get hit with a defense down status effect while Support is on, all it does is dispel Support without further lowering your defense.  Basically, every other turn Zero has to fly up for Hera or Uryudo to heal him, and then go back down to serve the boss another whack. It takes some time, but it's still faster than slogging through the level the normal way. 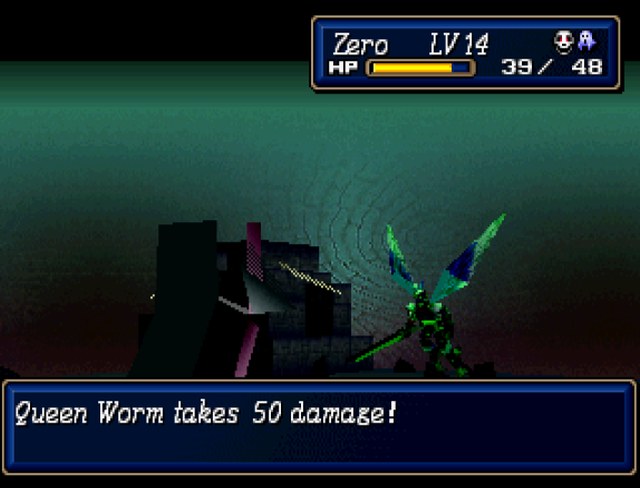 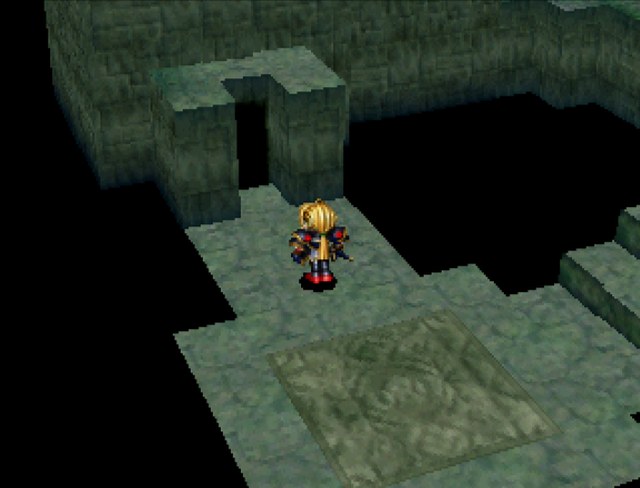 Moving on.  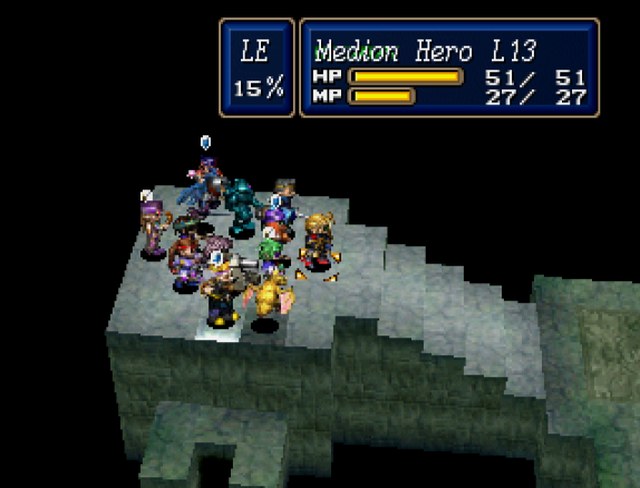 The boss of floor 6 is a wyvern. It can fly. It does not have good AI. 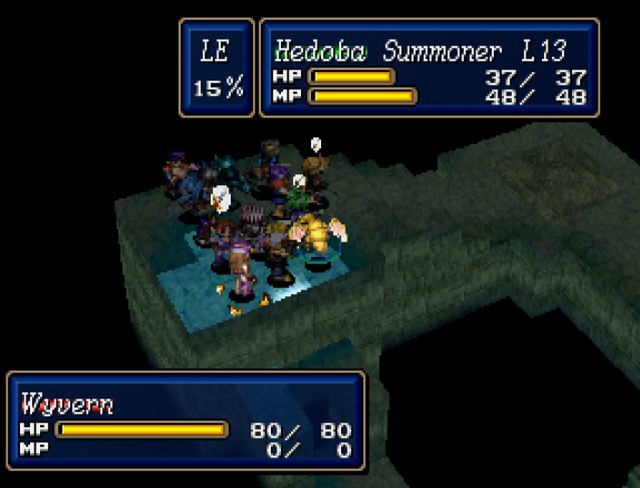 That about takes care of that. 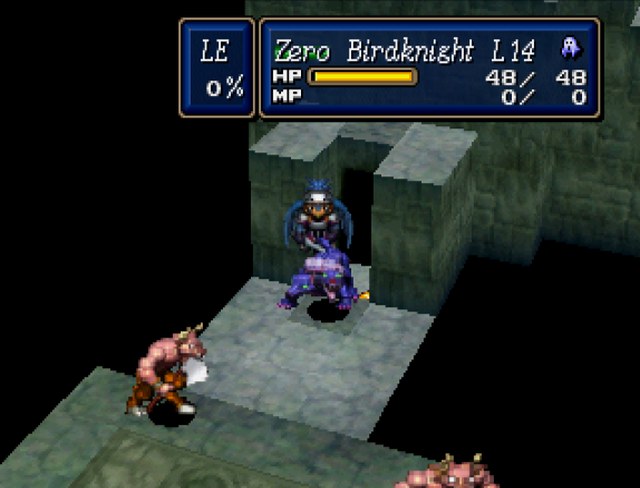 Boss of floor 7 is a cerberus which only has 75 HP. It can't kill Zero in one hit, and Zero can kill it in two. You figure out what happens.  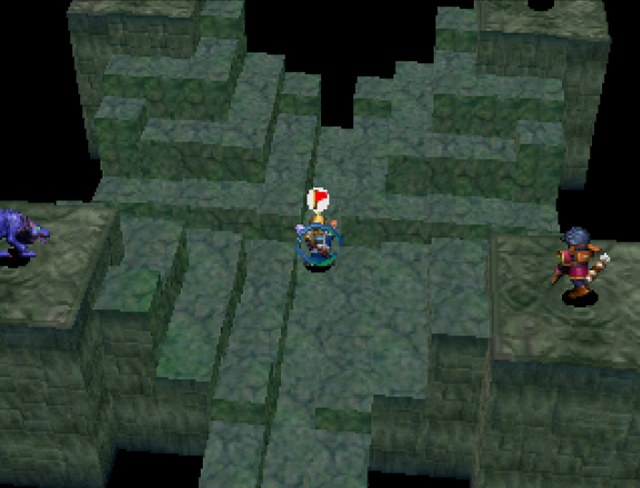 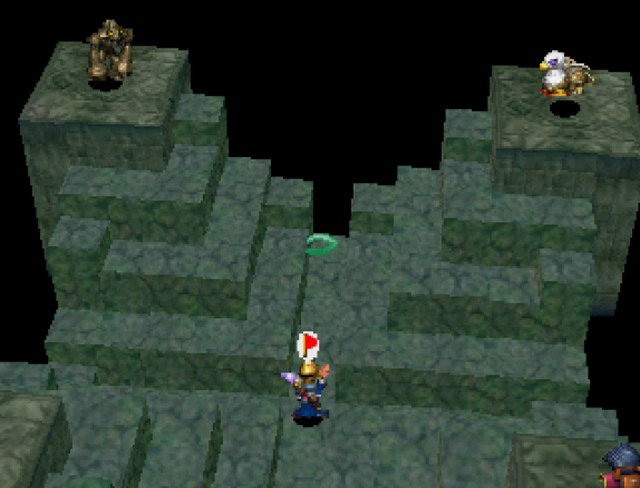 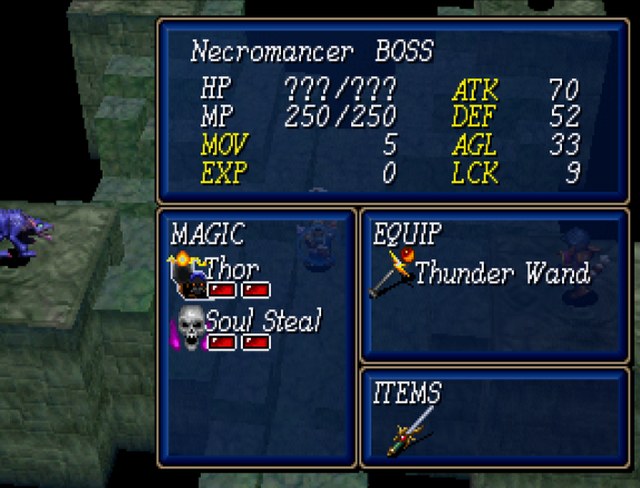 The last floor looks a little different. The four elevated platforms have a griffon, a hell sniper, a cerberus, and a clay golem, each of which will respawn if you kill them. Dead center is the big bad necromancer, sporting a new summon that will rip our faces off if we're not careful. 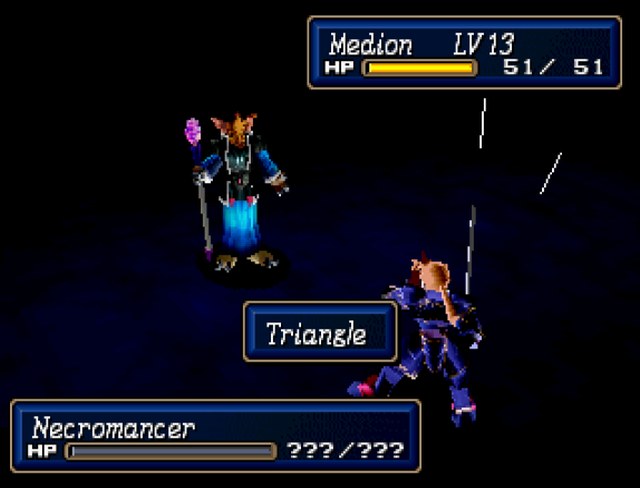 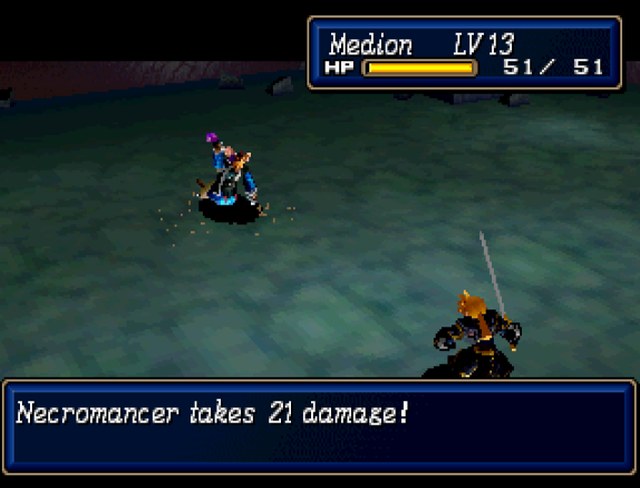 He's also got good stats. 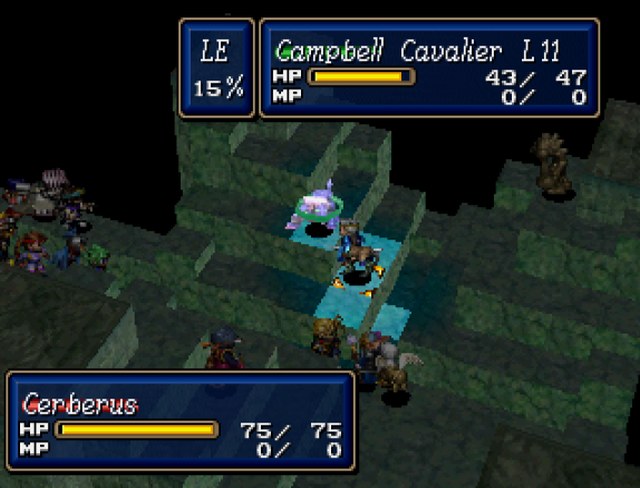 1 1It's more or less a game of running everyone down the middle and keeping Resist on so he can't blast everyone's faces off. 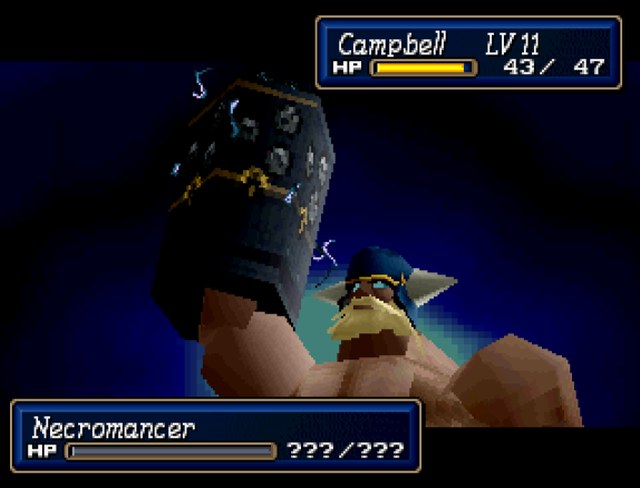 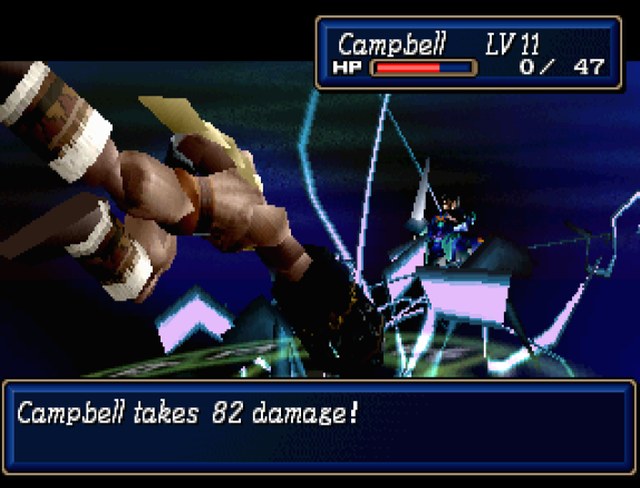 It's been two months since I've last played the game, though. Mistakes are bound to happen.  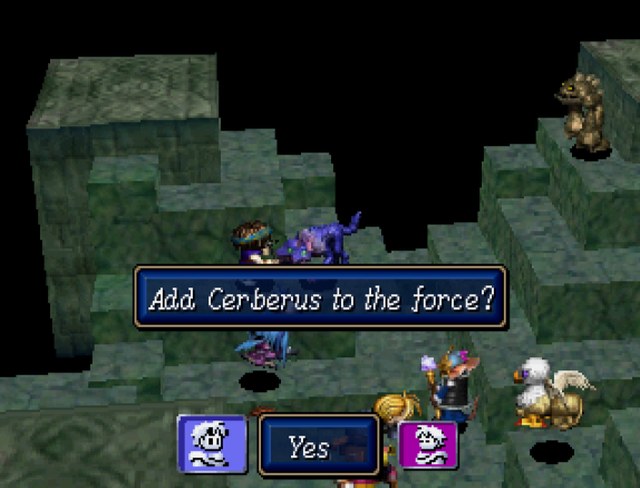 Pappets does us the favor of finishing off a cerberus, and this is what happens. Any time he kills a beast-type monster, we get the option of recruiting it into our army. We get full control of it, but it won't have any experience or levels. If you're guessing that these monsters will take the place of the mercenaries we recruited in scenario 1, you'd be correct. 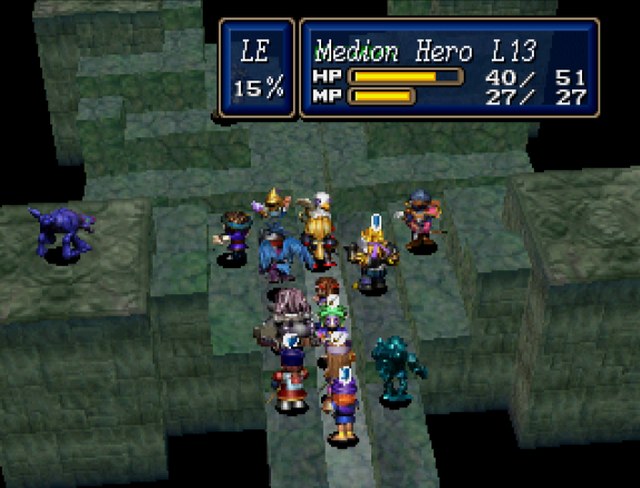 The layout of the map is far more inconvenient than its equivalent in scenario 1. It chokes out, and it's hard to get up on the ramps to surround the necromancer. 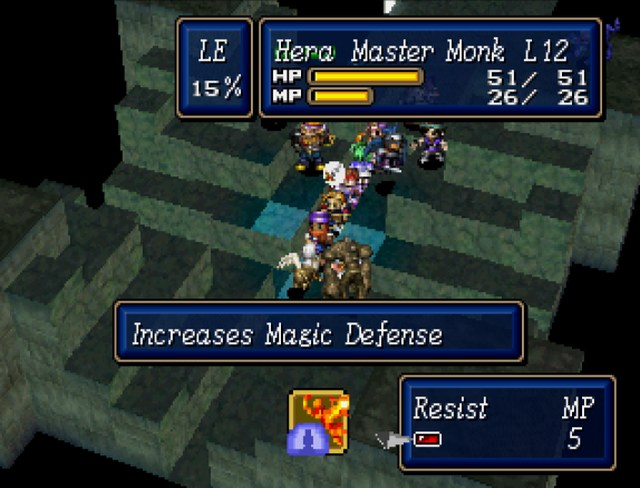 Hera also doesn't have Resist 2 yet, which is a gigantic problem. No throwing magic defense up on the entire army at once. 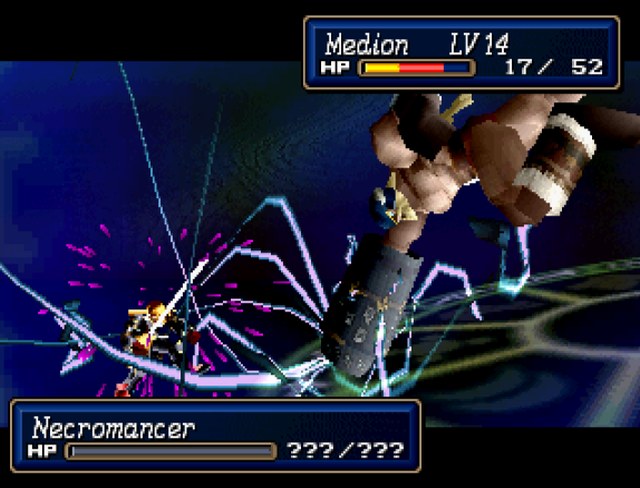 Gotta say though, Thor is quite nicely rendered. 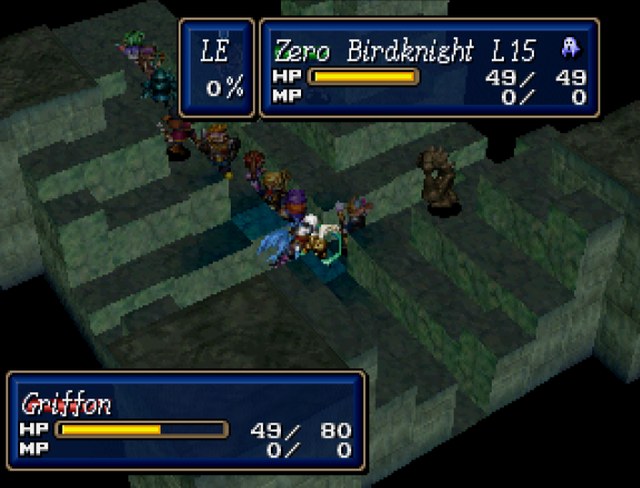 The other enemies aren't dangerous and are there to get in the way or finish off stragglers from Thor. 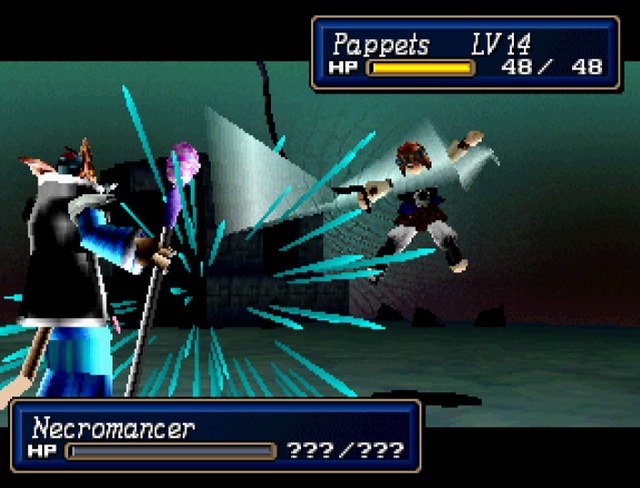 Like the bonus boss in scenario 1, the necromancer has one thousand hit points and pretty decent defense to go with it. While not a particularly hard hitter, Pappets is only whipping for 7 damage here. 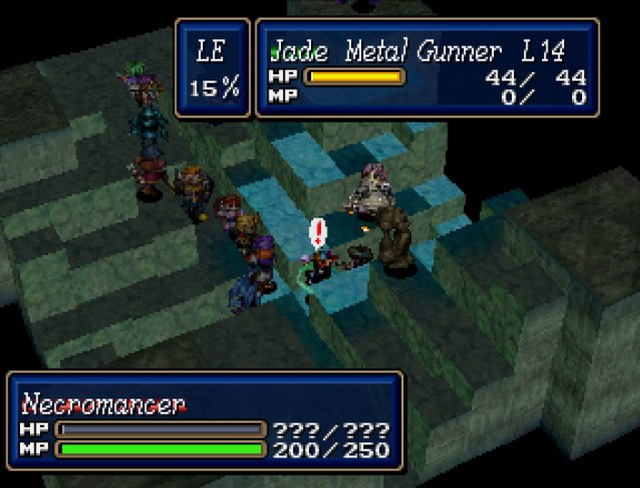 For some reason, Jade has advantage over the necromancer.  Clay golems are an enemy that appear only on this map, and thus I'm not too concerned with saying anything substantial about them. 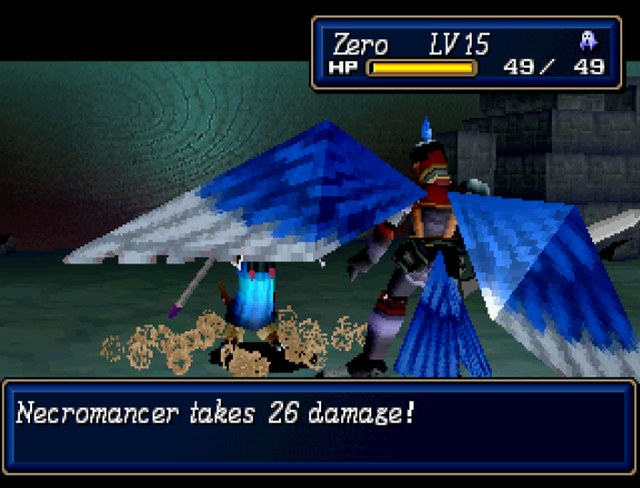 Even with the dark sword, Zero isn't doing that much damage without a critical hit.   Jade can fire off some damage, though.  Of course, the women have to roll in to save the day. 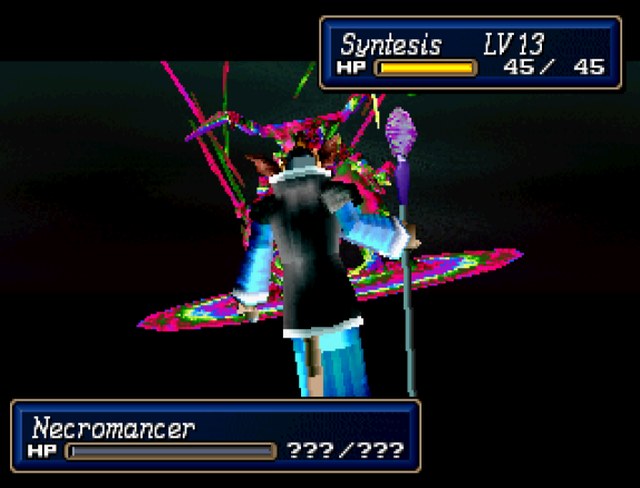 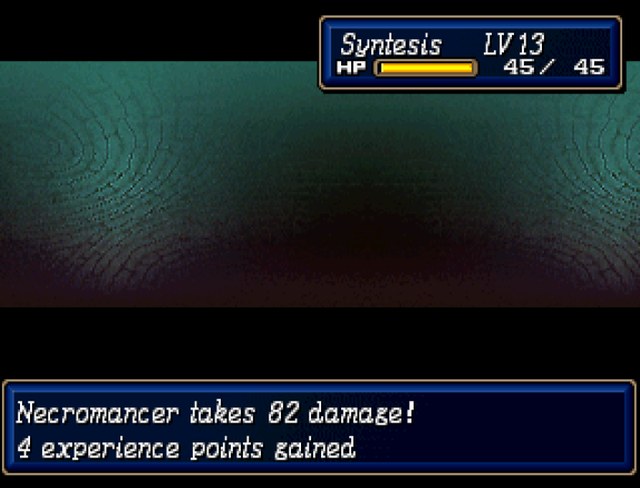 That's more like it.  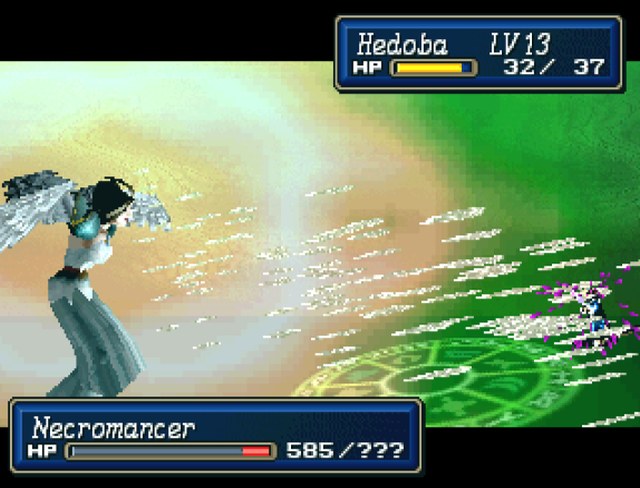 It goes on like this for a while, because 1,000 HP is quite a bit to chew through. 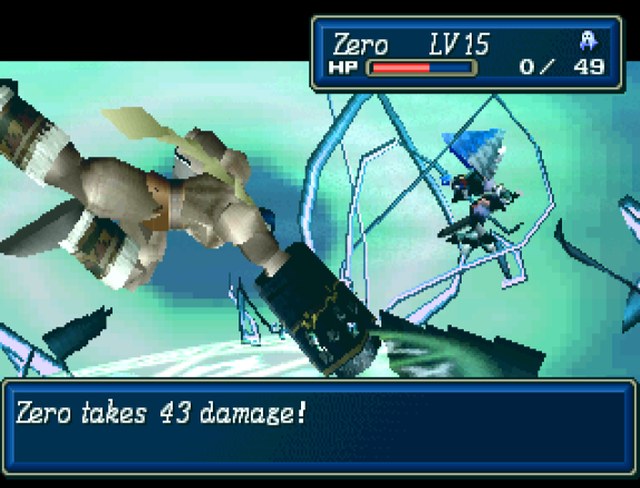 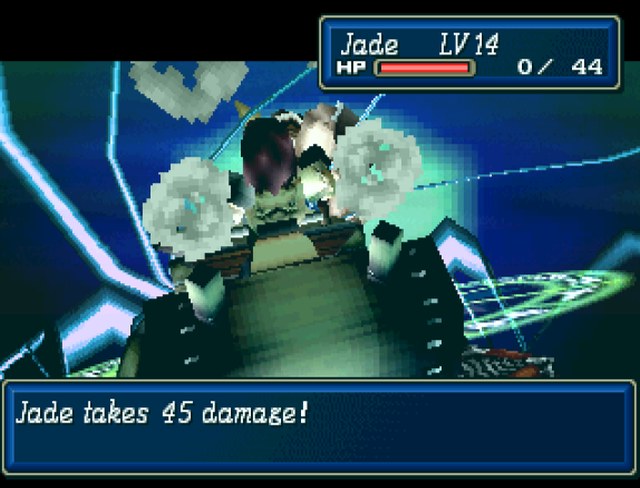 Ouch, that's a lot of damage to be losing between my hardest hitter and an archer with innate advantage.   But we'll get there eventually. With Medion tying up the necromancer's attention, Uryudo next to him, and Hera casting Resist, it's unlikely that Medion is going to die.  Of course, that does mean other characters can die. And this is the one I didn't want dying.  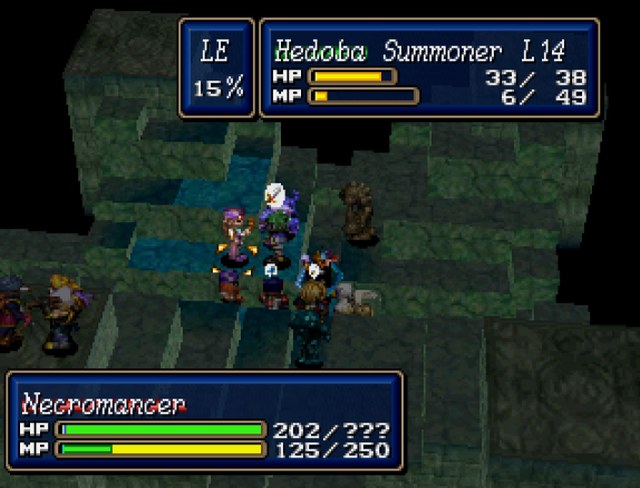 Just whittling away at that bar. Hedoba looks like she's almost out of MP, but I forgot I was carrying aorund a magic ring. It's an accessory that has negligible equip stats, but when you use it in combat:    This is especially painful, because Robby had just received a support with Medion. I can't have nice things. 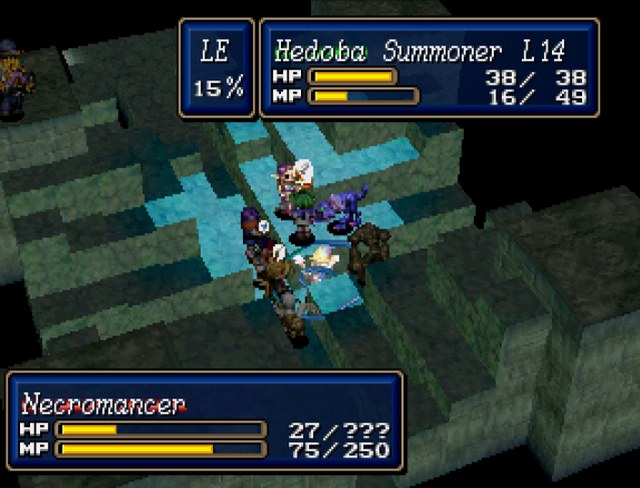 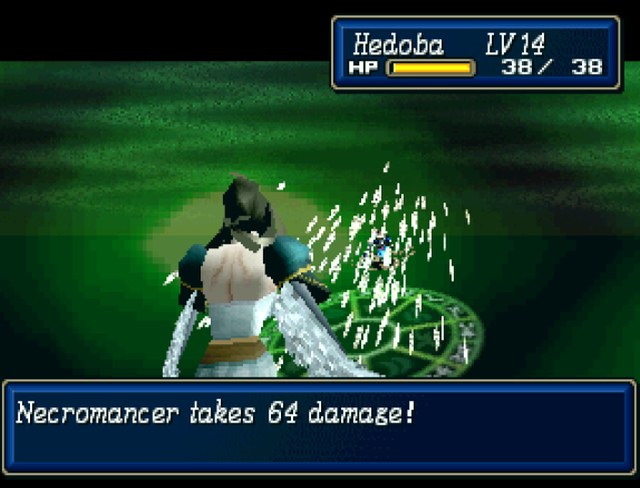 It took a while and half the characters dying, but we've beaten the bonus boss. As with most JRPGs of this era, the bonus boss is far harder than the real final boss, so this is a good litmus test for whether or not we're going to steamroll the rest of the game. (We will.)   And these are our prizes. The final rapier is a good addition for Medion, but the thunder wand is useless since the tiamat wand is far better for Syntesis.  Back up in HQ, we can check on our monster buddies. They have randomized quotes regardless of what monster type they are. We can carry up to three at a time, and if you recruit a new one while there's already three, the oldest one gets shoved out. 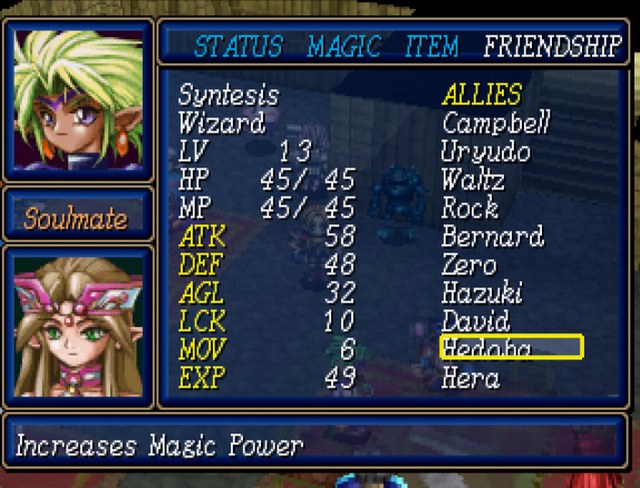 Also, the killing blow on the necromancer netted Syntesis and Hedoba the holy grail of supports. 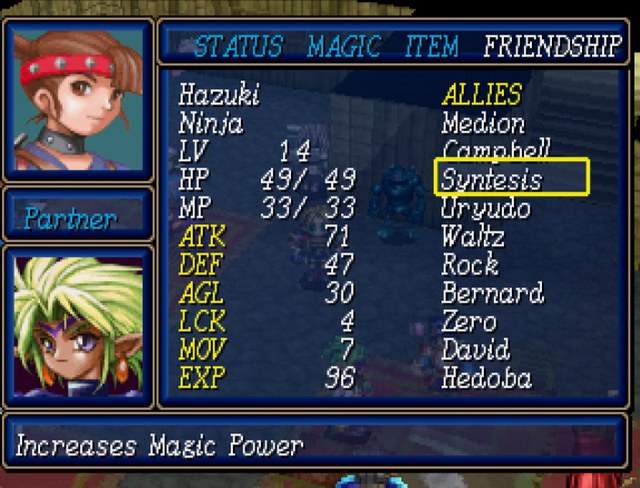 Of course, Hazuki dying means that she's back down to support rank 1 with her fellow mages. It's going to be a lot of grinding to get her back up to speed. Which means I'm going to be spending all of November, between frantic National Novel Writing Month sessions, doing this grinding. And hell, I still need to beat scenario 3 while I'm at it. I'll see you all in December. NEXT TIME: Endgame!
|
|
#
?
Oct 31, 2014 04:46
|
|

|
Huh. Apparently I've got good timing--I only just caught up with the thread earlier this morning! ...just in time for Mo'grind Movember. Yay?
|
|
#
?
Oct 31, 2014 05:34
|
|
|
Ooof. Glad to have you back. See you after Thanksgiving.
|
|
#
?
Oct 31, 2014 05:46
|
|

|
Good to see this again, it's a pity about your supports, but oh well. Good luck with your novel and I'm looking forward to the December update.
|
|
#
?
Oct 31, 2014 06:17
|
|
|
I was just waiting for the moment you realised you had to use David again. He really is a crap character though.
|
|
#
?
Nov 1, 2014 15:24
|
|
|
The thunder wand is good on Hedoba though. Gives her a good summon to use when not blasting things with Zephrus.
|
|
#
?
Nov 3, 2014 06:32
|
|

|
Man, all this support level drop thing just makes death even more punishing than it hitting you right in the wallet.
|
|
#
?
Nov 4, 2014 04:33
|
|


|
That's because he/she's min-maxing. It's in no way required. Take it from someone who's been through the game not bothering.
Bloodly fucked around with this message at 15:43 on Nov 4, 2014 |
|
#
?
Nov 4, 2014 15:40
|
|
|
Part 68: Oops There's a lot of uncapped grinding that's happened in the previous month. During that time, I used Pappets to capture a few monsters for the upcoming fight. While you can get a queen worm for cool points and a whopping 220 HP, it doesn't have the best ATT/DEF out of your choices in the bonus dungeon, and also has a terrible 4 MOV. I picked up a cerberus for the best ATT/DEF with 6 MOV, and two wyverns for flying and the third best ATT/DEF. Minotaurs rank #2 and come with healing drops, but they only have 5 MOV. I'd rather have the movement flexibility. 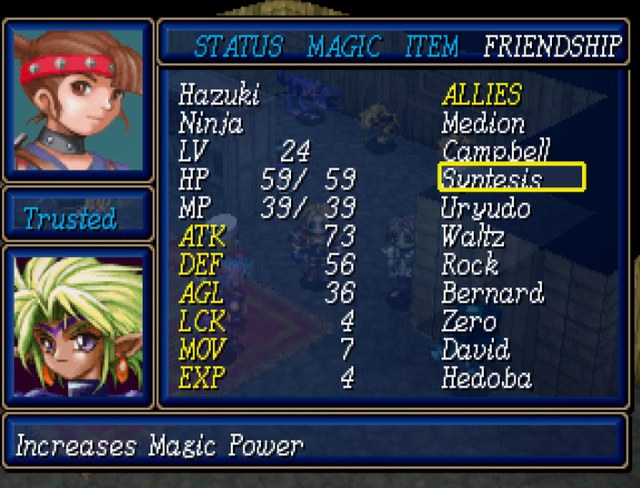 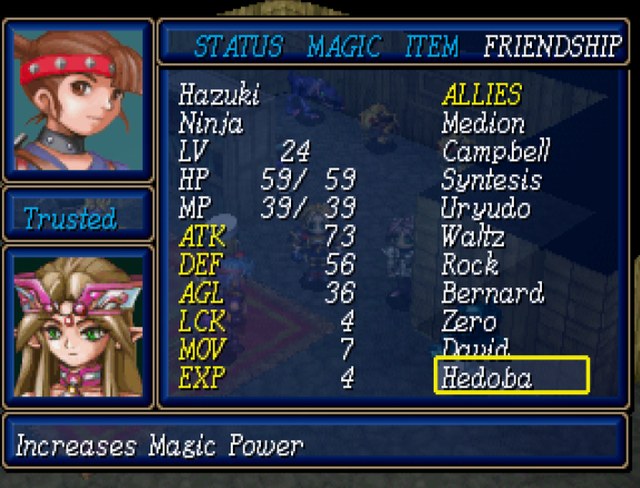 Unfortunately, for all the grinding I did, I couldn't get Hazuki to soulmate levels with Syntesis and Hedoba. See, when you're jumping from trusted to soulmate, it's actually random, with the RNG determining whether or not the rank goes up every 15 friendship points, which means every 8 kills. I tried to keep tally on the points, but I got really bored of it after a while. There's also another small problem that popped up as I was trying to grind out those friendships.  That's my lowest level character. The mages are somewhere around level 24 or 25, which is way too high and is going to trivialize the last few fights in uninteresting ways. Sorry, thread! Anyways, since it's time to enter the endgame, let's do a rundown of the entire team. The Beaters 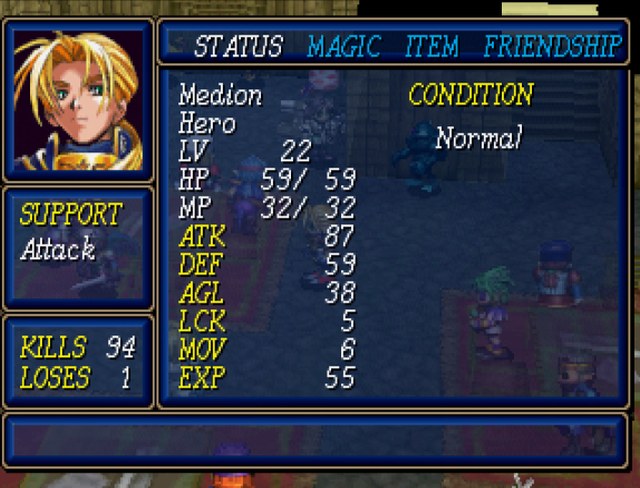 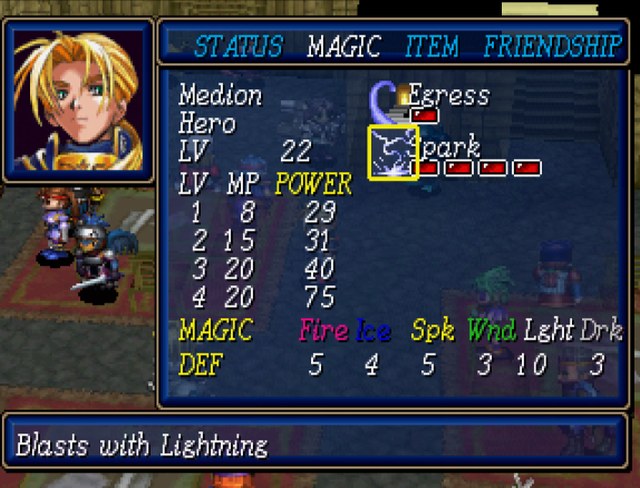 Medion is a typical Shining Force hero with stats that are way too good. He's tied for the highest attack, and third in defense only trailing Rock and Hedoba who has way too many defense items on her. He also has Spark 4 which he definitely is not supposed to have in scenario 2. The chances of him dying in this game are practically none. Naturally, being the hero, he is stuck being on the main force. 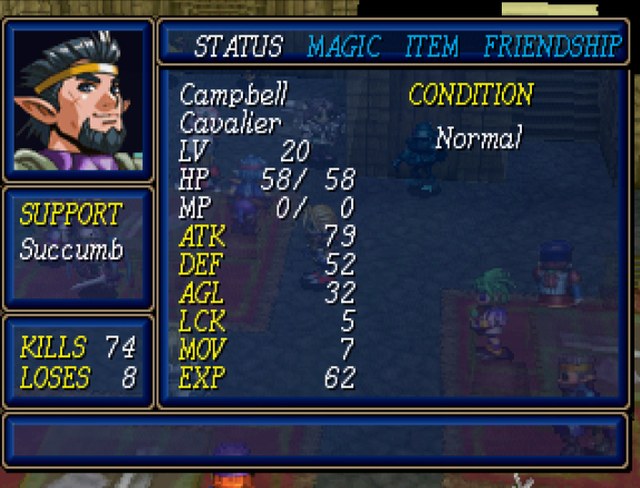 Campbell is Campbell. He has robust stats and 7 MOV in a scenario that has no more movement penalty terrain. His ATT is a little lower than it should be, mostly because I've stuck him with a crappy mithril weapon and don't care enough to give him a new one. At level 20, it's not going to matter. 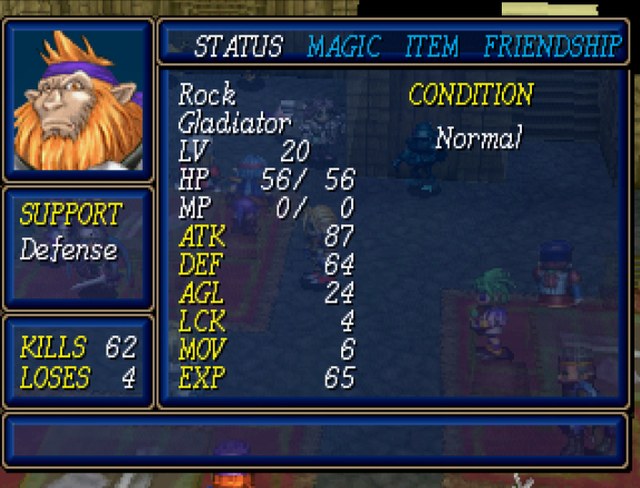 Rock has the highest DEF and is also tied for highest ATT. Sure, his AGL is crap, but when has that stat ever mattered in Shining Force? Due to his superb stats, he'll be stuck going to the secondary team depending on where the mages go. 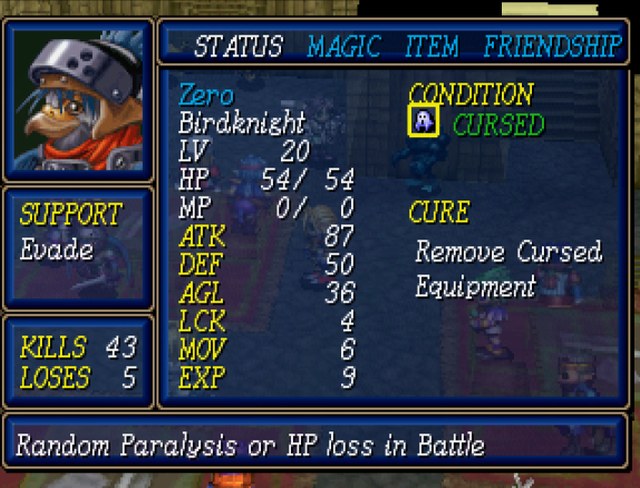 Zero also has that magical 87 ATT, thanks to his dark sword. He would be a good choice to send to the secondary fight due to his hard hits and mobility, but there's a special reason to keep him in the main fight. You'll all get to see that later. 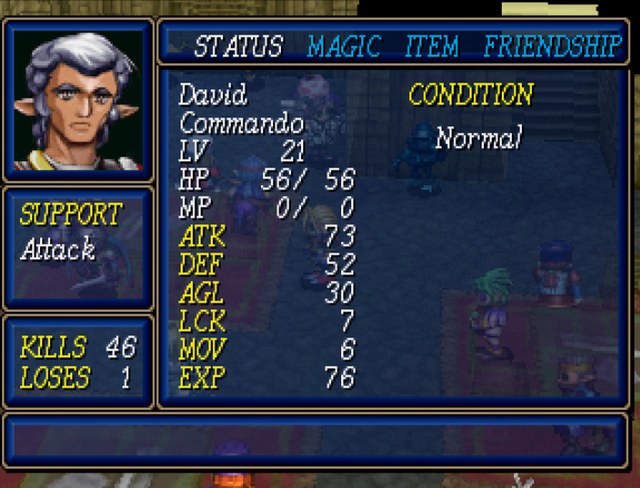 Tied for second-lowest ATT with Pappets and only outdone by Penko. David never ceases to be garbage, but he's so high level it doesn't matter anymore. He's forced to be on the secondary team, and sends the team into game over if he dies. This is the only piece of difficulty the game has left to throw at us. 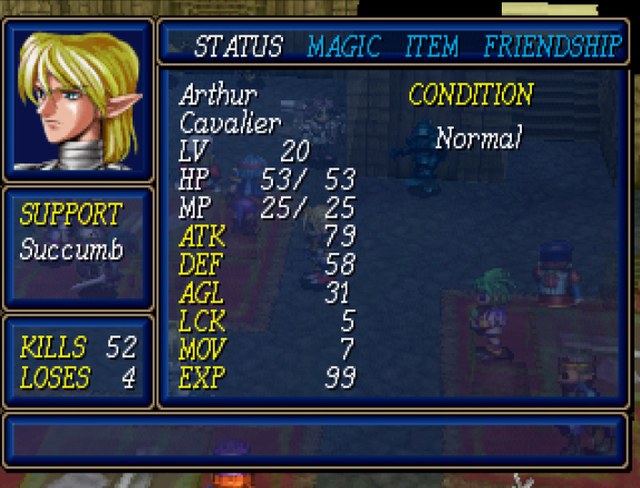 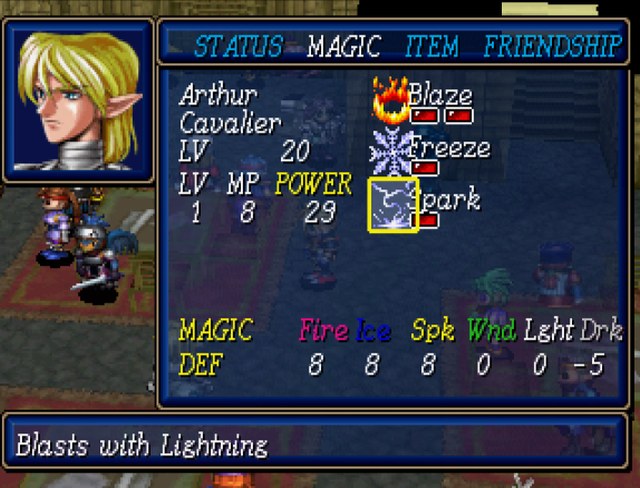 Arthur's stats are better than Campbell's, but that's due to having a better weapon and the white ring giving him +10 DEF. Without those, his physical stats would be pretty middling but still better than David's. His magic is nothing to write home about, and I'm too lazy to grind up his support ranks with the mage trio, despite how hilarious that would be. 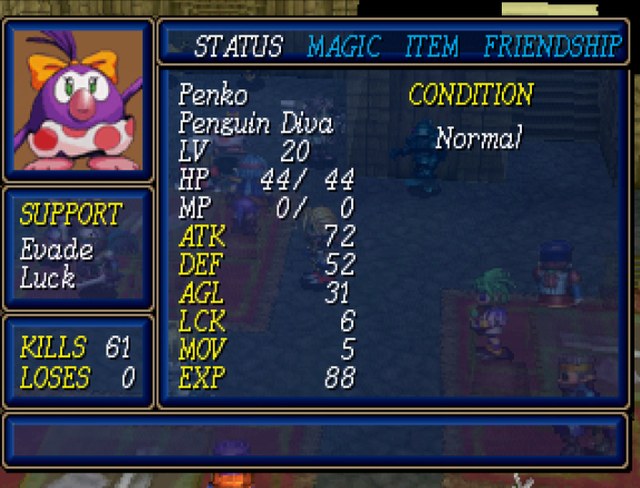 Not quite useless like Penn, but still bad. Next. 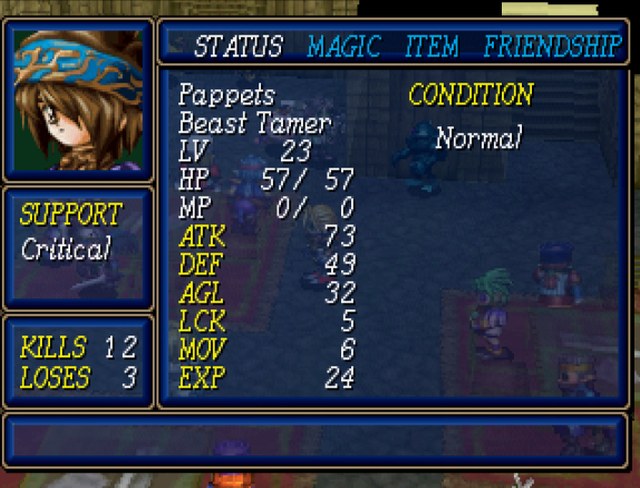 Pappets has some pretty dumpy stats and would be useless if I didn't give him/her the love whip. But Pappets does indeed have a love whip, which makes Pappets awesome. Pappets, you're okay. The Blasters 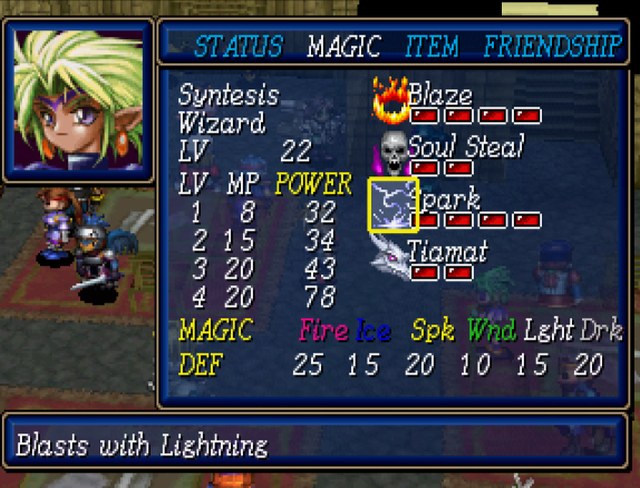 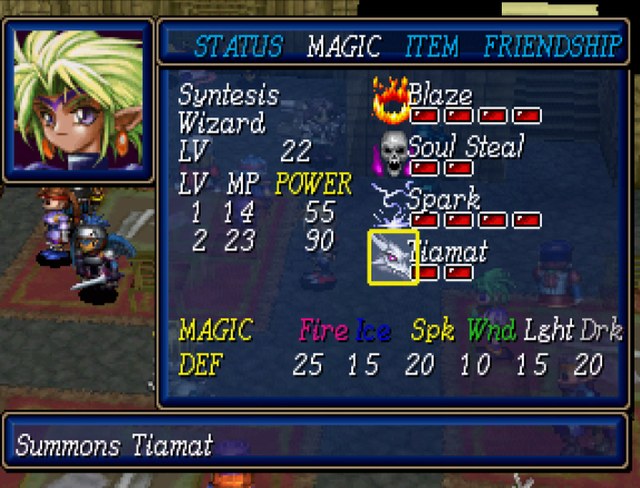 While she has the worst physical stats of the mages, we all know by now that they don't matter too much. She also has the best affinity with Tiamat, which absolutely rips faces off. Since it has the highest MP consumption, I've equipped her with the MP regeneration accessory. 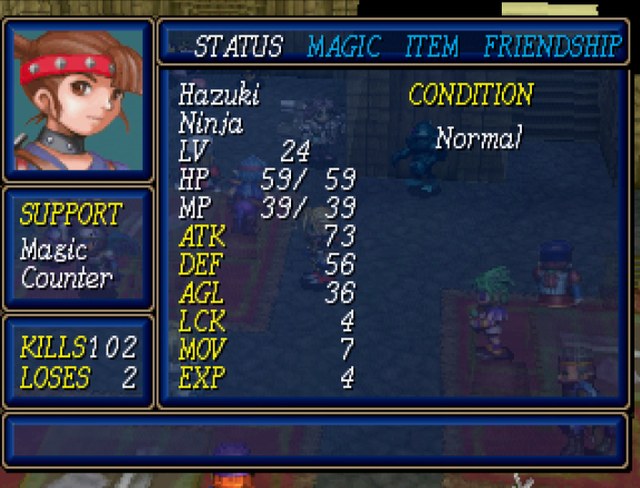 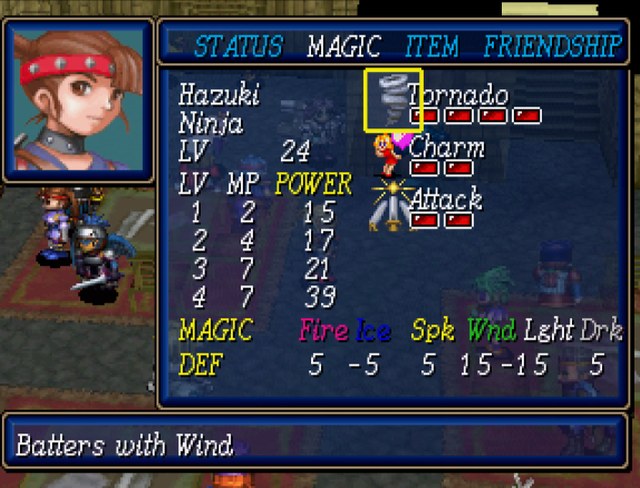 Hazuki's fallen a bit behind in damage output, but she still has those amazing supports. She also leveled so high that she gets Attack 2, which is an incredible spell that will be pumping damage when she has nothing to hit. Tornado 4 will still be very efficient at 7 MP, especially when boosted by Syntesis and Hedoba. 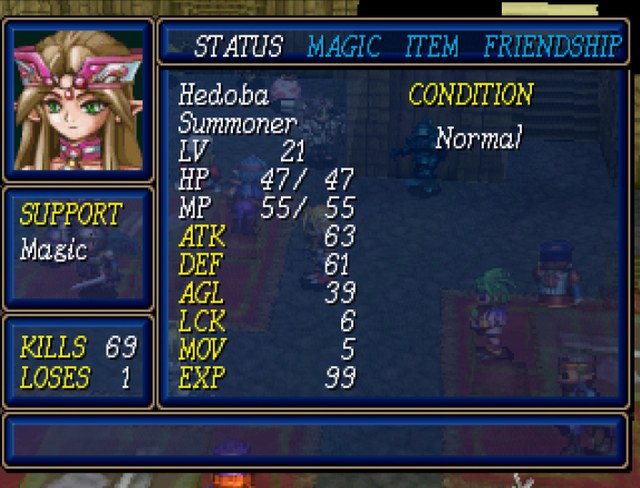 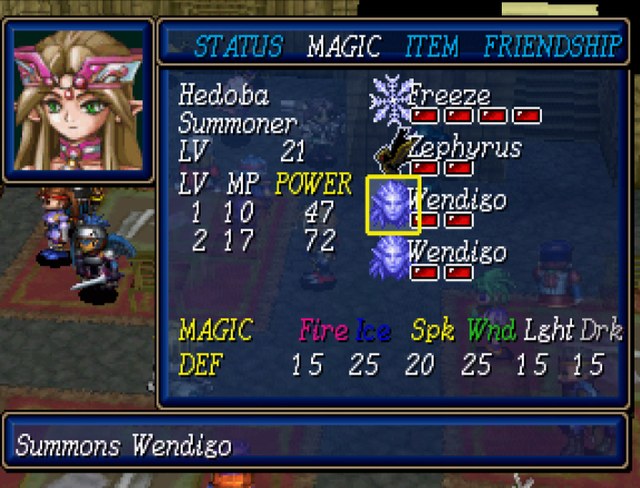 The white ring and the wendigo wand make Hedoba incredibly tanky. While Wendigo doesn't hit as hard as Tiamat, it's still hard enough. 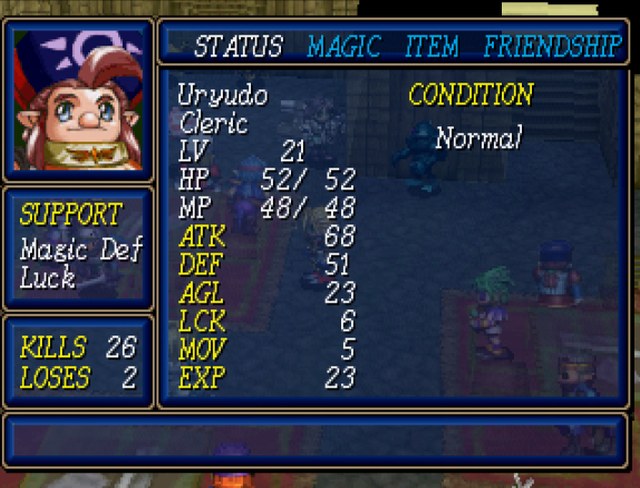 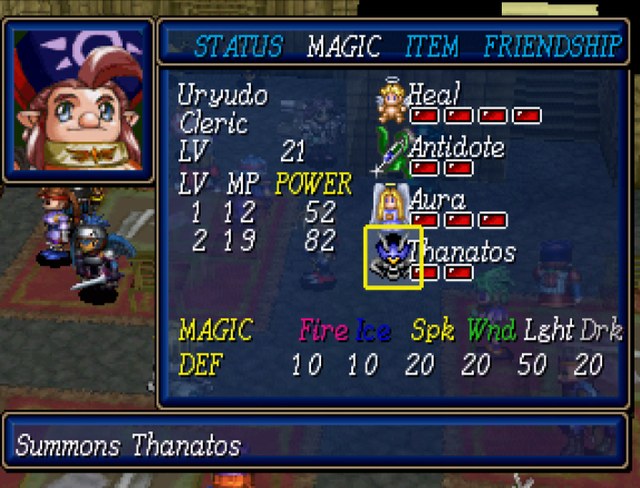 Thanatos doesn't hit as hard as Tiamat, but it still hits really hard. Aura 3 is more than enough raw healing power to keep everyone alive. As the primary healer, he pretty much has to stay in the main team, due to it being thrown into the more protracted battle. 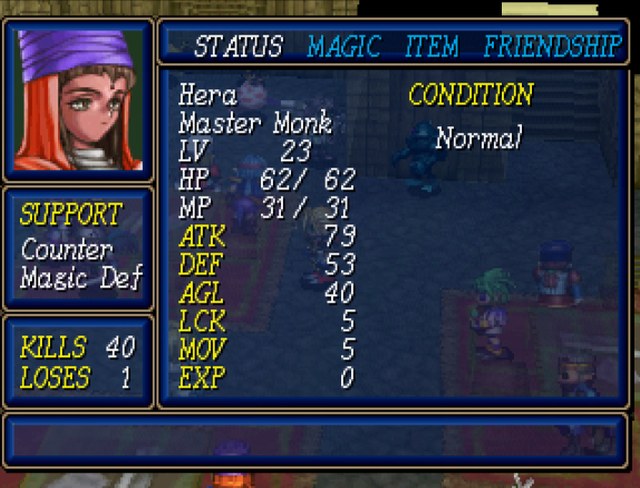 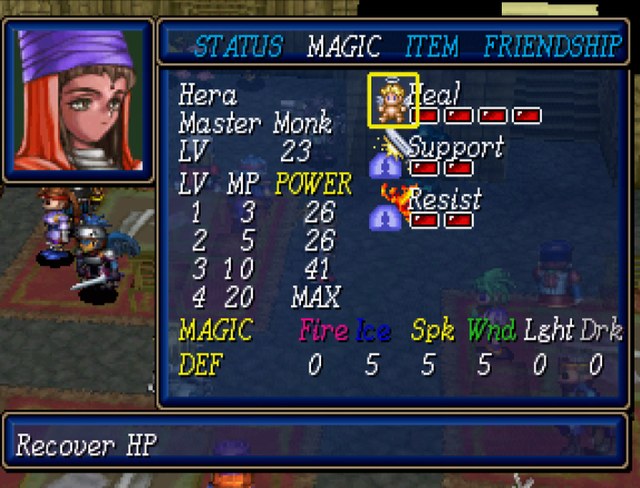 Hera's got good spells, but not enough MP to sling it around. She can still punch decently, and will basically be going wherever the mages aren't, due to the fact that the mages will be blasting things so badly that we won't need to heal. The Shooters 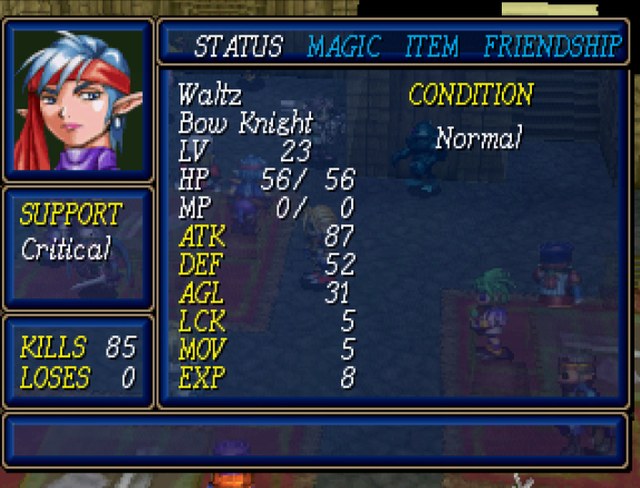 Waltz sports the highest ATT but lowest DEF. But due to how the AI works, this doesn't matter. 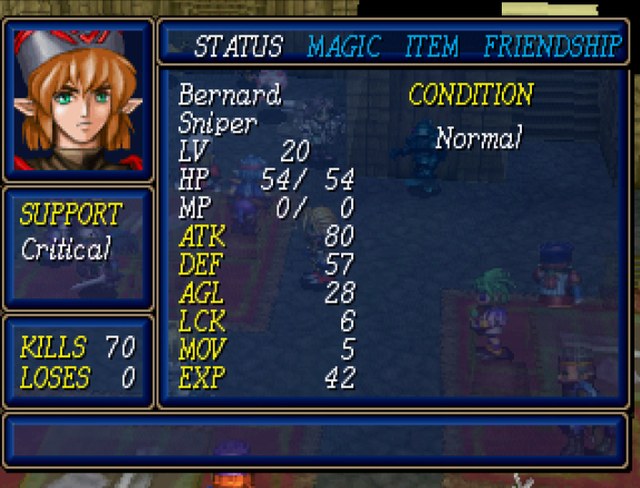 Bernard's stats are actually strictly worse than Waltz's due to his DEF being boosted by his weapon, but once again the poor AI makes none of this matter. 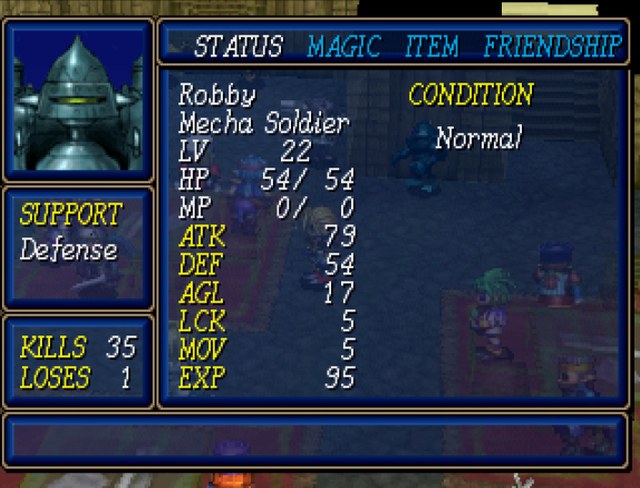 Robby's stats are surprisingly good considering he doesn't have a high scaling weapon at his disposal. He also has a more useful support, but that doesn't seem to matter. 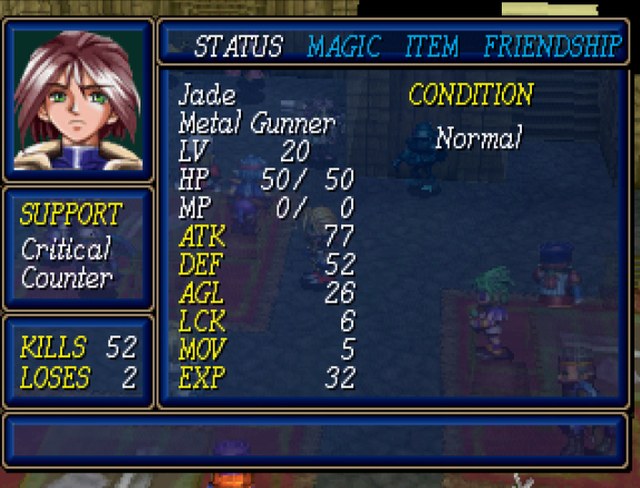 Jade... is just not doing very well. He's strictly worse than Robby, and he even has a high scaling weapon equipped. This is probably supposed to be balanced out by having a double support, but those supports aren't very useful. Oh well, he's still not David. So, with all that reviewed, there's basically two team setups we can go for: Team Setup A 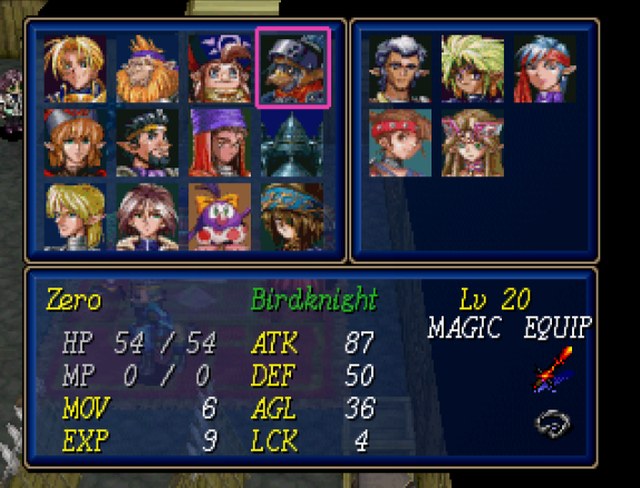 This one throws all three mages into the side fight, which is actually harder than the �main� fight. With this setup, the goal is to basically bumrush the boss of the side fight and evaporate him in a humorously short amount of time. Team Setup B  This one throws a standard team into the side fight, which will actually make it harder. Naturally, that means I fill the side team with the best physical characters and some healing support. The questionable upside to this is that it means the main team's second fight becomes easier, but that's not an issue because the main team's second fight is really easy.  Get voting one which team setup you guys want to see! Get voting one which team setup you guys want to see!
|
|
#
?
Dec 2, 2014 00:22
|
|
|
In 999 a crack commando unit was sent to prison by a military court for a crime they didn't commit. These men promptly escaped from a maximum security stockade to the Aspina underground. Today, still wanted by the government, they survive as soldiers of fortune. If you have a problem, if no one else can help, and if you can find them, maybe you can hire the A-Team. ... That's actually a better joke for Disk 3, but I'll work with what I've got.
|
|
#
?
Dec 2, 2014 00:33
|
|
|
A-Team, let the mages do their thing.
|
|
#
?
Dec 2, 2014 00:38
|
|

|
We sat through this much of  because we wanted to see you utterly make the game weep through the power of the Mage Trifecta. Go with Team A and make it beg for mercy. because we wanted to see you utterly make the game weep through the power of the Mage Trifecta. Go with Team A and make it beg for mercy.
|
|
#
?
Dec 2, 2014 10:00
|
|

|
Team A, because seriously, Garvin has had it coming for a long, long time.
|
|
#
?
Dec 2, 2014 15:11
|
|
|
Part 69: You had ONE job, David You guys voted on blasting Garvin's face off as quickly as possible, so that's what we're going to do. I toss some throwaway accessories on David and Penko, but I can't even remember what they are because the fights were so easy it didn't matter. After that, it's just a straight shot out of Storich to start the endgame. 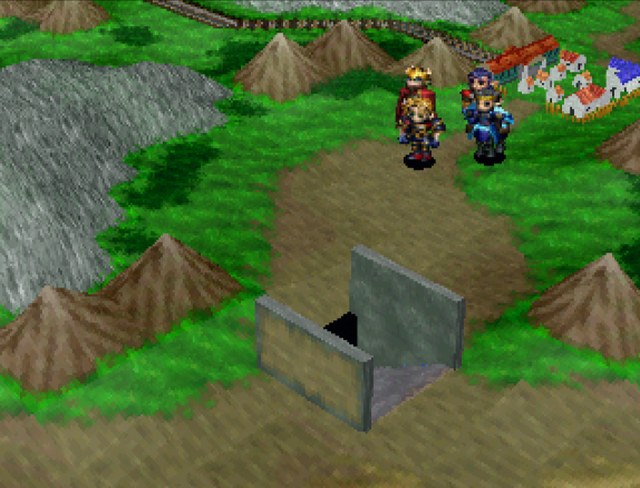 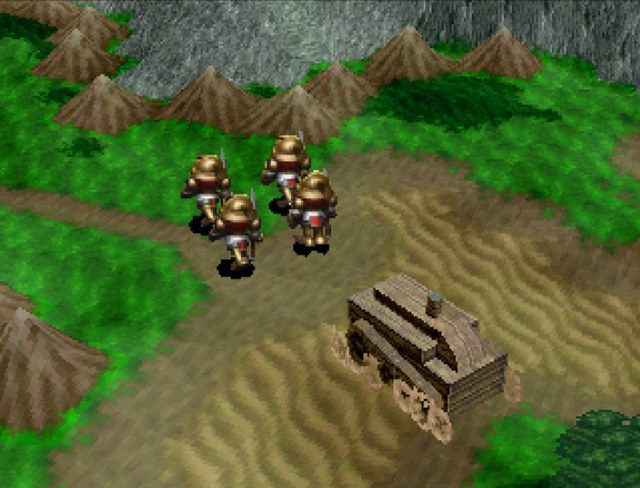 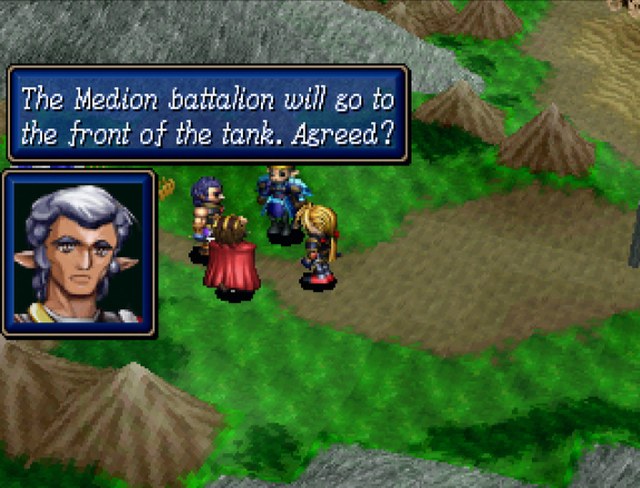 Judging by how slowly it moves, we should be able to stay in front of it. Let's split up now. We'll face this Juggernaut head on while David gets inside. While Garvin is distracted, I'll board the tank. Keep him busy as long as possible. Judging by how slowly it moves, we should be able to stay in front of it. Let's split up now. We'll face this Juggernaut head on while David gets inside. While Garvin is distracted, I'll board the tank. Keep him busy as long as possible.Everyone walks off and we get a scene cut. 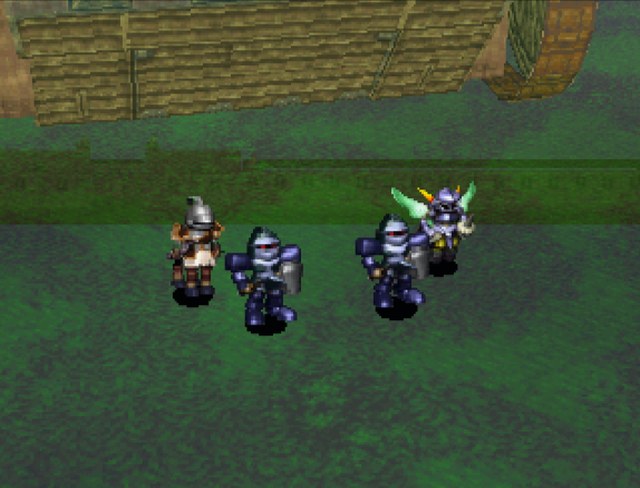 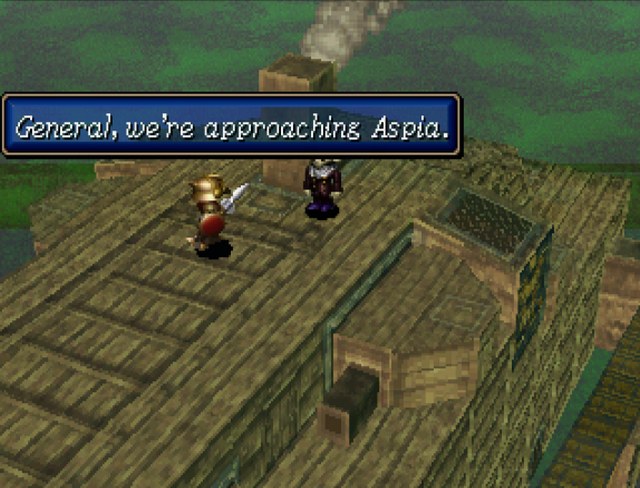  I see the castle wall. The wall is thought to be impenetrable. We shall see. I see the castle wall. The wall is thought to be impenetrable. We shall see.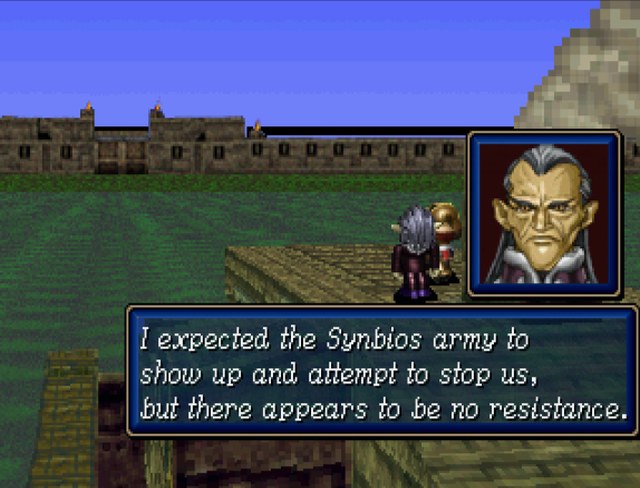 I expected the Synbios army to show up and attempt to stop us, but there appears to be no resistance. Haha! It is no wonder. Any army would cower at the sight of the mighty Juggernaut! I expected the Synbios army to show up and attempt to stop us, but there appears to be no resistance. Haha! It is no wonder. Any army would cower at the sight of the mighty Juggernaut! If I were in an opposing army, I would want no part of this tank. Indeed, but considering the confidence they have in Aspia's outer wall, I wonder if they are even bothering to guard it. I'll show them their confidence is woefully misplaced. I'll completely destroy Aspia's wall! Once that wall comes down, victory will be mine! If I were in an opposing army, I would want no part of this tank. Indeed, but considering the confidence they have in Aspia's outer wall, I wonder if they are even bothering to guard it. I'll show them their confidence is woefully misplaced. I'll completely destroy Aspia's wall! Once that wall comes down, victory will be mine! Do not become overconfident, Governor! Do not become overconfident, Governor! We appear to have surprised you Garvin, but the surprises are not over yet! We appear to have surprised you Garvin, but the surprises are not over yet!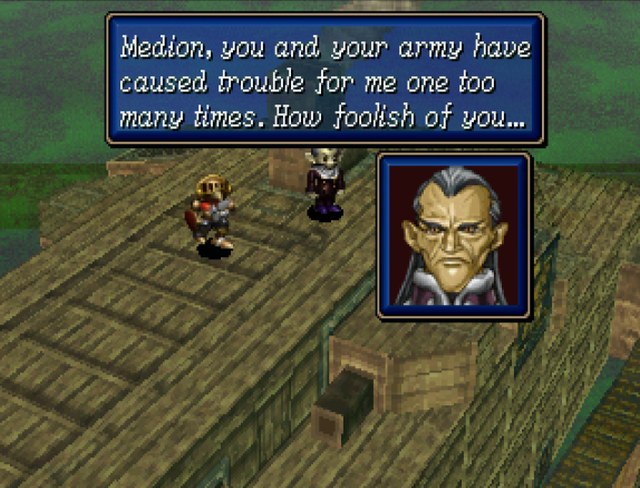  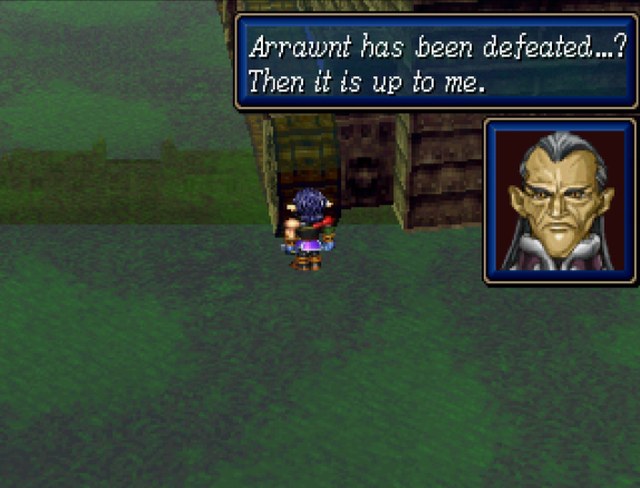 The emperor was right about you, Garvin... The emperor was right about you, Garvin... 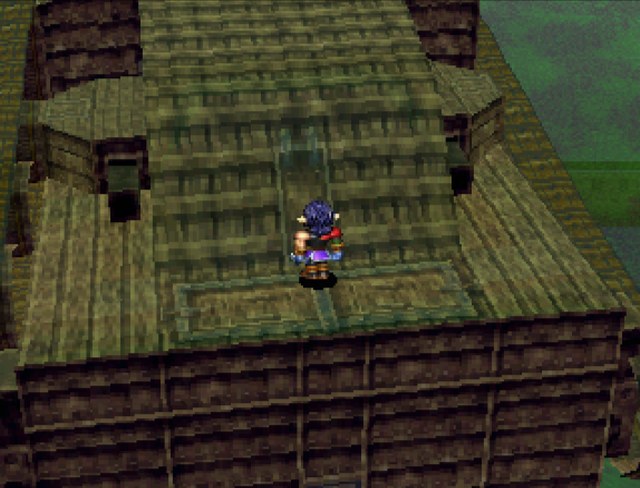 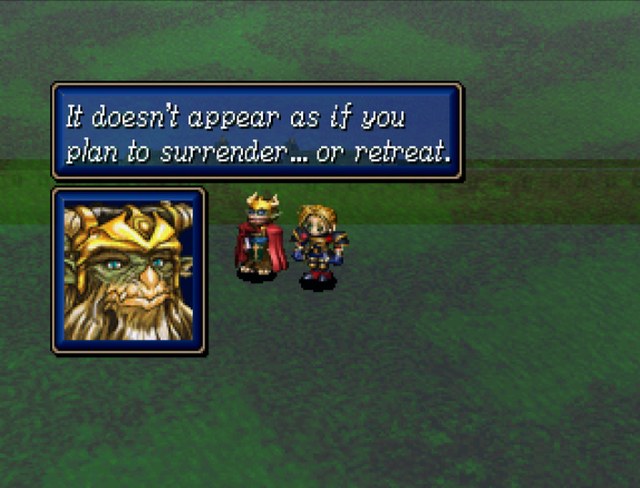 Never! How could you possibly stop me? We will easily defeat your forward battalion and then board the tank to secure your capture! You plan to defeat my army, me, AND the Juggernaut? You're welcome to try! Never! How could you possibly stop me? We will easily defeat your forward battalion and then board the tank to secure your capture! You plan to defeat my army, me, AND the Juggernaut? You're welcome to try!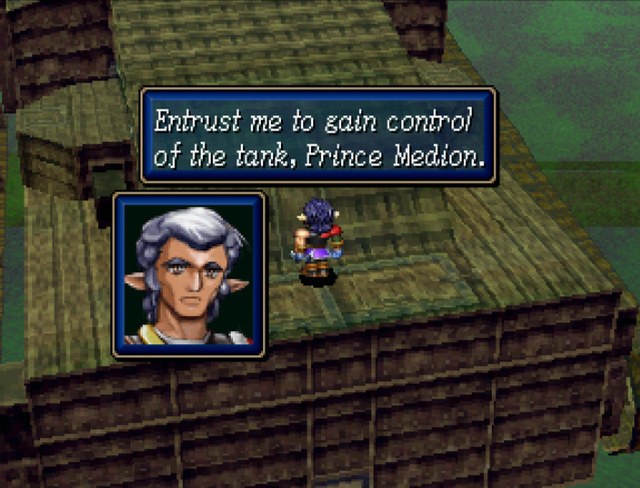 David is inside. We will have to endure until he can disable the tank. David is inside. We will have to endure until he can disable the tank.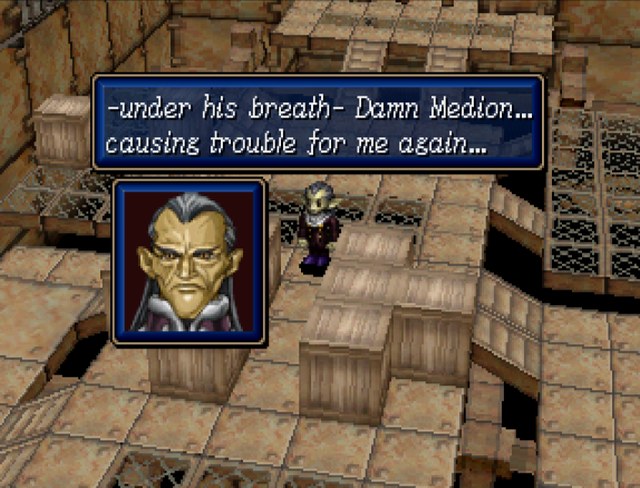 Forward battalion! Protect the Juggernaut! Don't let the Medion army near the tank no matter what! Forward battalion! Protect the Juggernaut! Don't let the Medion army near the tank no matter what!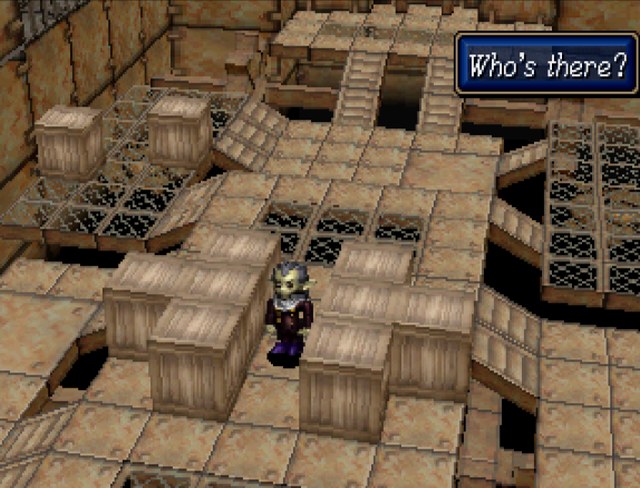 I am David of the Medion army. I am David of the Medion army.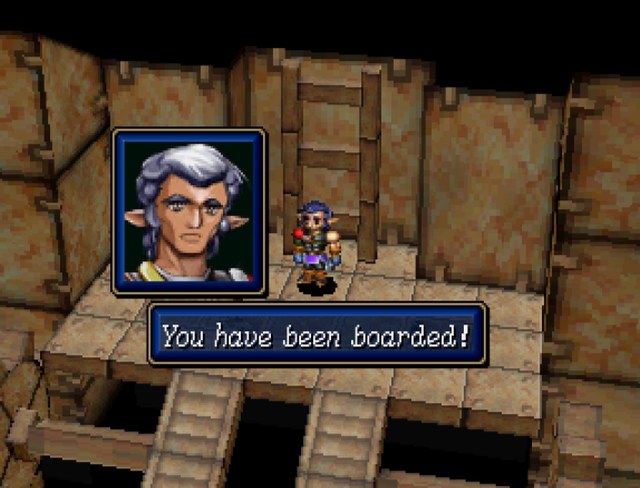 !!! Unfortunately for you, Garvin, we are here to stop you and this tank! So Medion was just a distraction. Guards! Attack these fools! Eliminate the Medion army! !!! Unfortunately for you, Garvin, we are here to stop you and this tank! So Medion was just a distraction. Guards! Attack these fools! Eliminate the Medion army!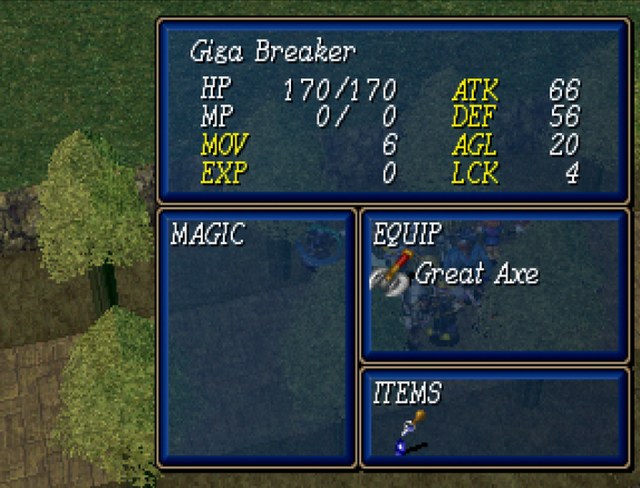 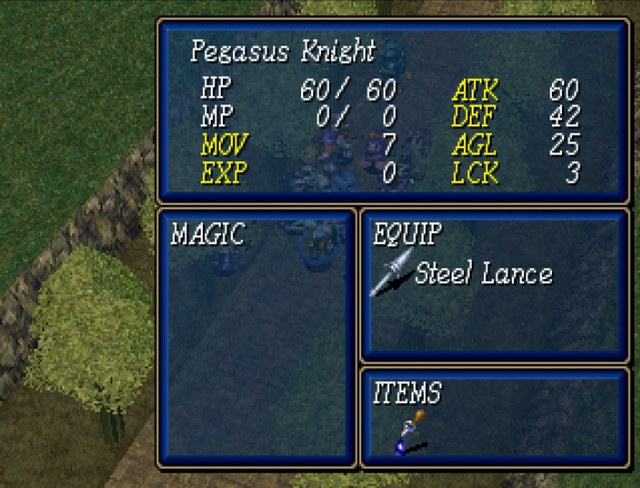 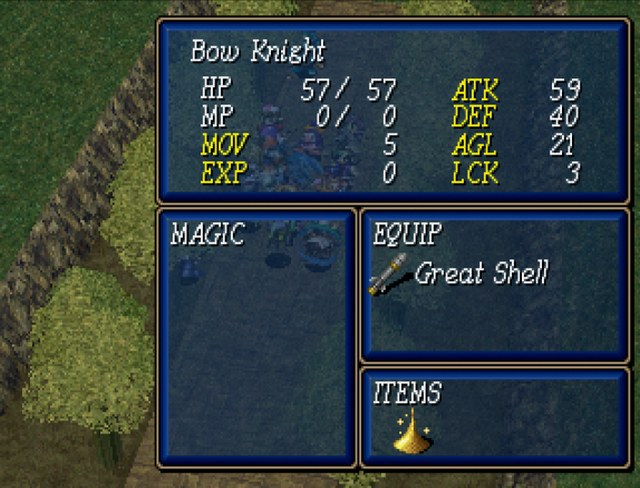 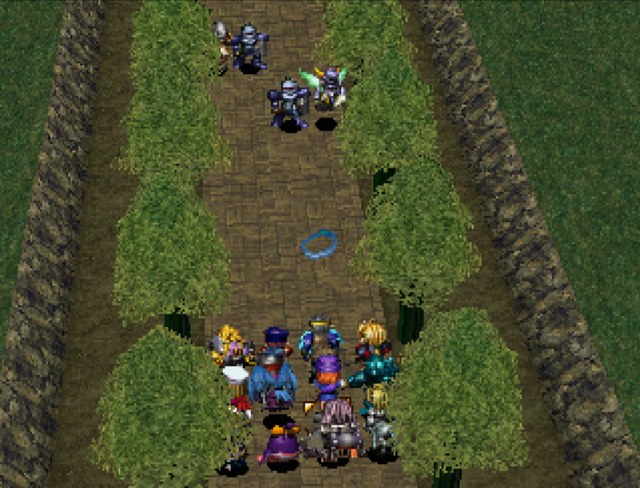 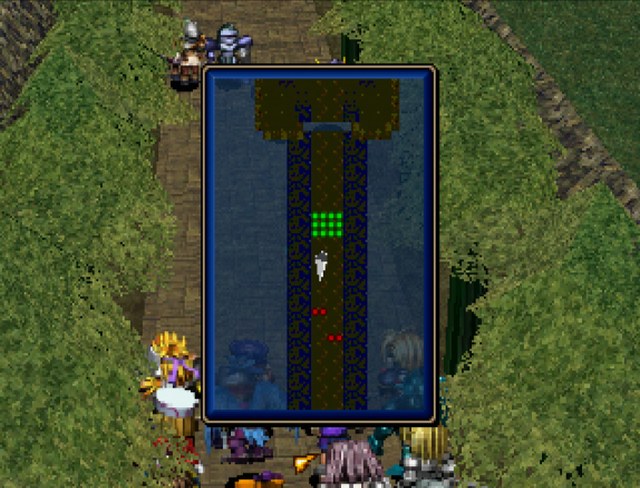 So this is the �main� fight with Medion's team. As you can see, there's only four enemies: two giga breakers, a pegasus knight, and a bow knight. This is a constant. At the start of every turn, whichever enemies you kill will be replaced with exact copies, so there will always be those four enemies at the start of every turn. Considering the enemy is outnumbered 3 to 1, this is an incredibly easy fight. 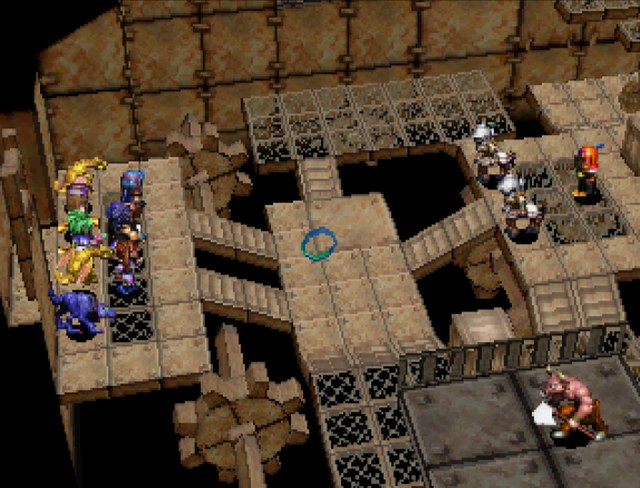 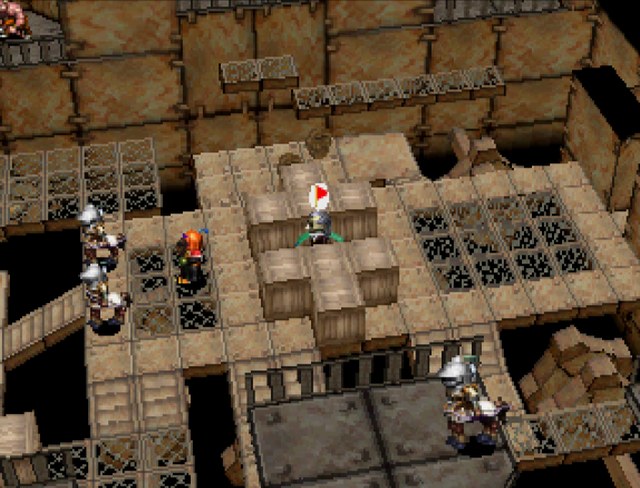 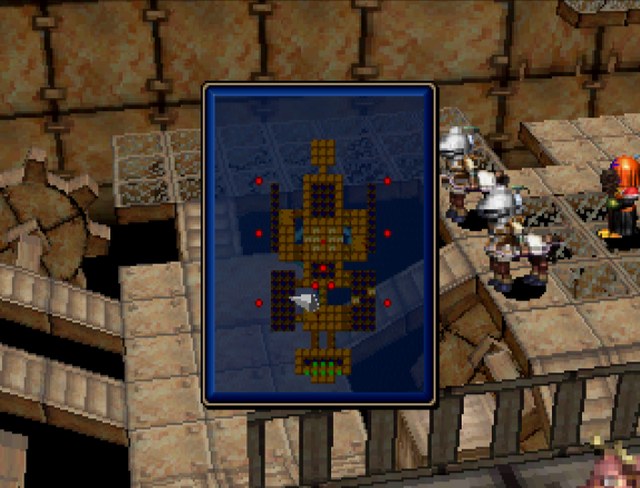 Indoors is a little bit different. Here, you only get five characters, one of whom is David, plus whatever three monsters you picked up with Pappets. While the map only starts with two bow knights and a sorcerer, there's another pair of bow knights, minotaurs, and gigabreaks waiting up on the rafters who will trigger at certain points. Due to the lack of raw manpower, this fight is tricky if you're not prepared for it, but luckily I am. 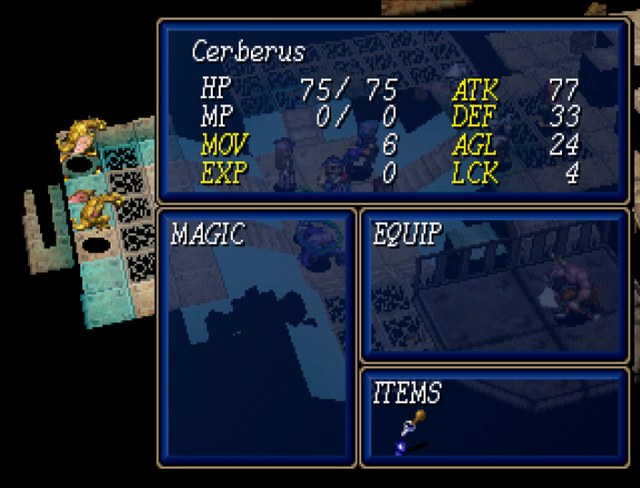 The cerberus has such good stats that, in retrospect, I should have recruited three of them, but it's not a big deal. Also, I believe all monsters come equipped with a healing drop, in case you forgot to stack up your characters with healing items. 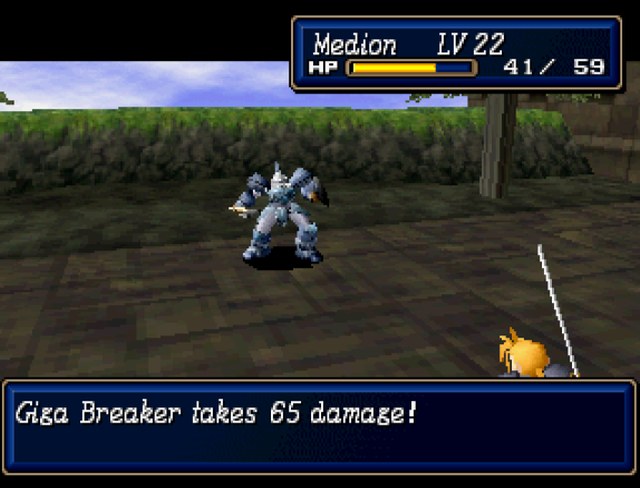 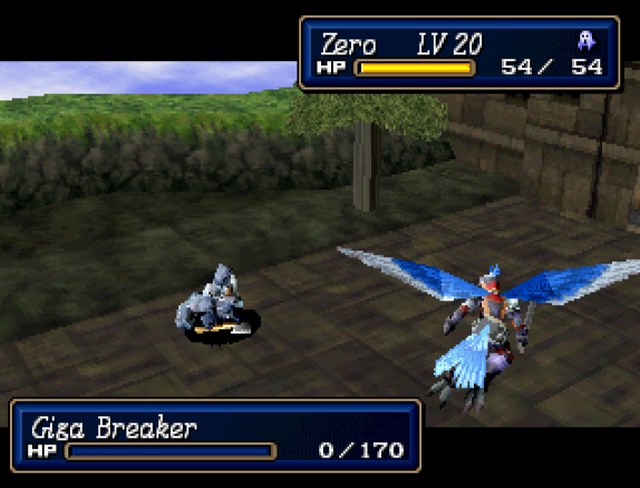 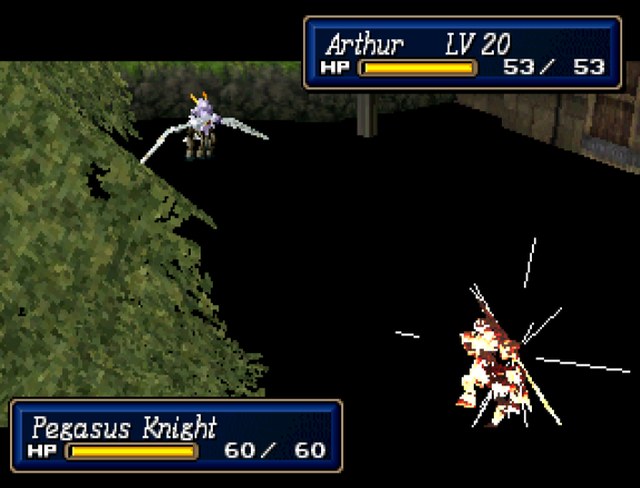 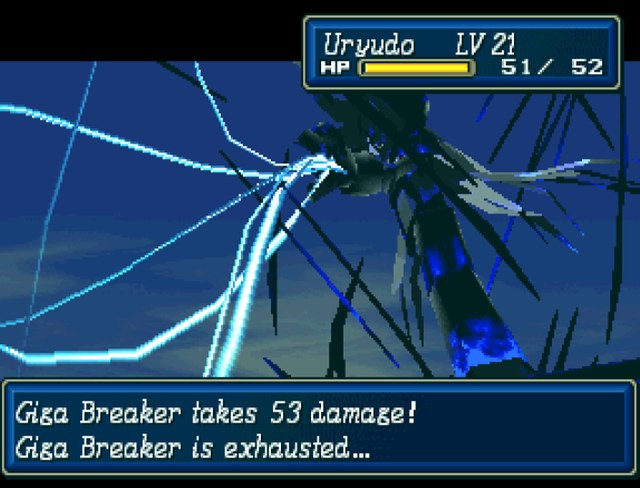 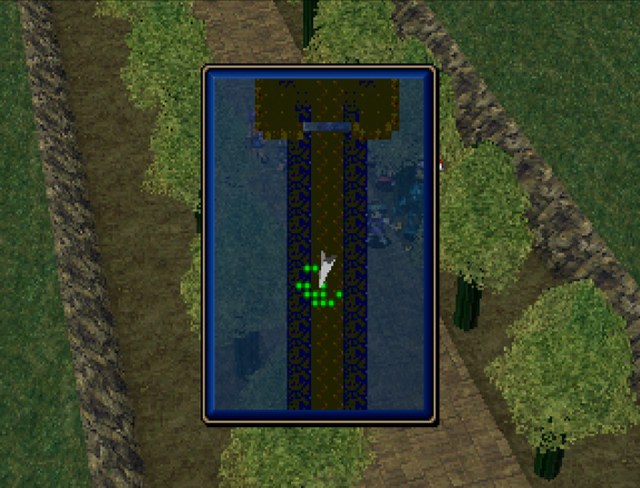 And due to overwhelming numbers, Medion's team wipes out its half of the battle in a single turn. Yes, there will be an exact replacement next turn, but this demonstrates how insultingly easy it is. At this point, I'm not even going to talk about it any more, because it's just Medion's characters pounding on the same four enemies turn after turn.  One thing to notice, though, is that most characters hit a leveling softcap at 20, where at 21 and above they only gain one or two stats per level. However, Arthur tends to get full levels, probably as a callback to Shining Force 1. 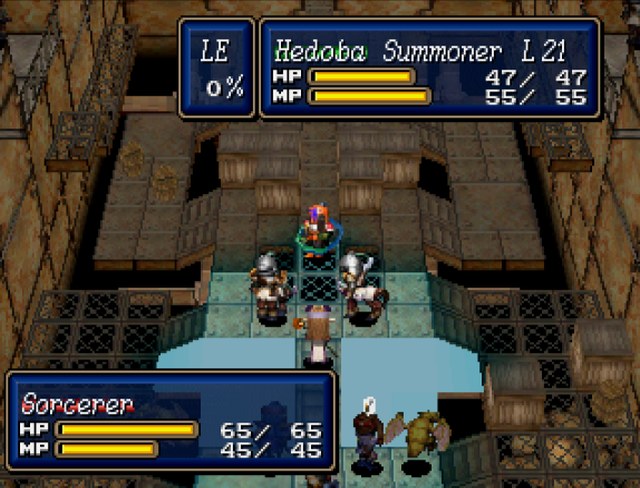 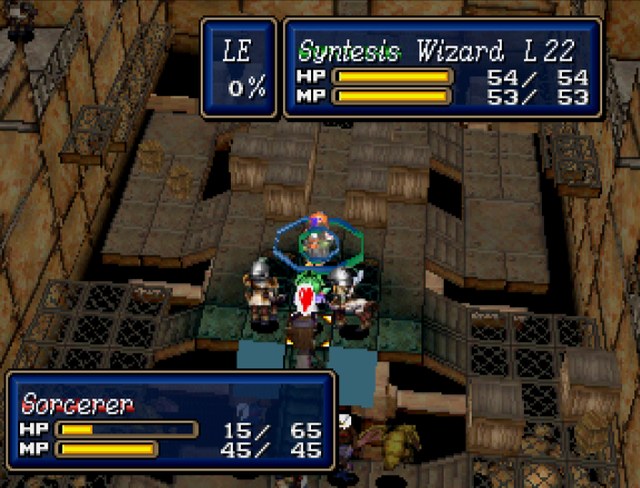 Syntesis and Hedoba run straight at Garvin and wipe the only moderately threatening enemy off the map. When you cross that bridge, however, the following triggers: 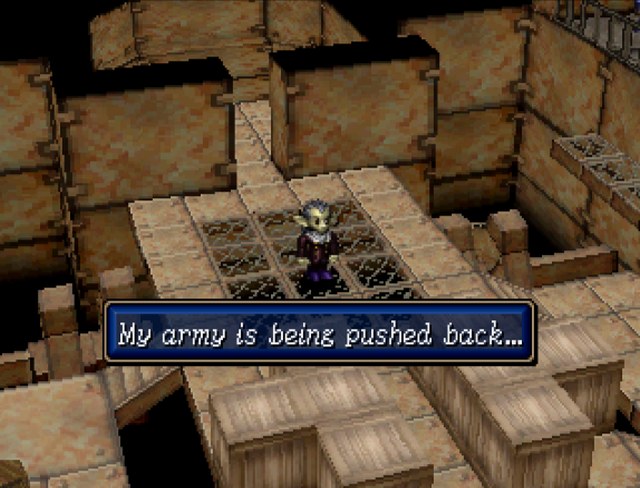 The Medion army fights splendidly. If you wish to surrender, Garvin, you may be spared. Why would I surrender when I am destined for victory? That is very amusing. I will never surrender to you. One only seeks to surrender when they are assured defeat, and wish their life spared. If I were to surrender now, I wouldn't have the opportunity to display the abilities I've acquired. Will you only surrender after defeat? Don't mock me, boy! Now you have made me angry and you will suffer the consequences! The Medion army fights splendidly. If you wish to surrender, Garvin, you may be spared. Why would I surrender when I am destined for victory? That is very amusing. I will never surrender to you. One only seeks to surrender when they are assured defeat, and wish their life spared. If I were to surrender now, I wouldn't have the opportunity to display the abilities I've acquired. Will you only surrender after defeat? Don't mock me, boy! Now you have made me angry and you will suffer the consequences!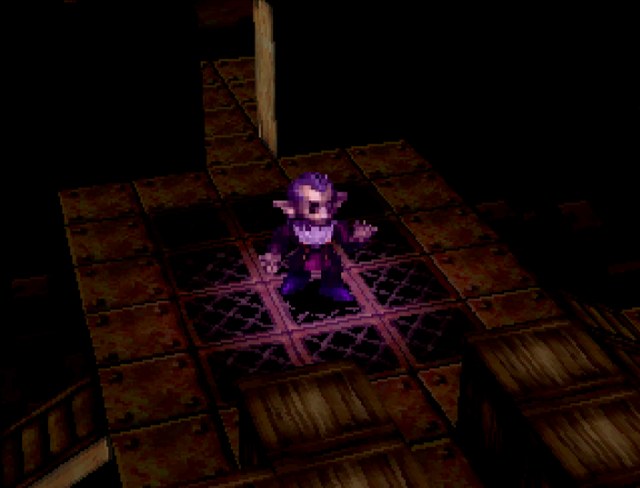  What has happened to Garvin? What has happened to Garvin?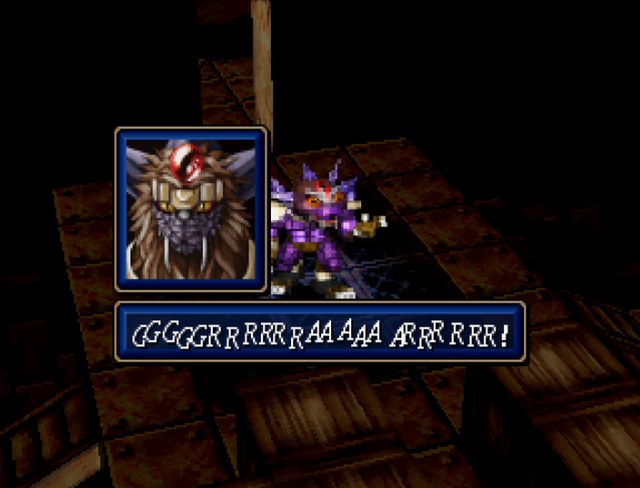 Garvin? You are a beast? Have you gone mad? Garvin? You are a beast? Have you gone mad? By my contract with Bulzome, I have obtained the strongest form of body and power. You don't stand a chance. Let's end this battle and defeat Garvin! Prince Medion and our army will be saved! By my contract with Bulzome, I have obtained the strongest form of body and power. You don't stand a chance. Let's end this battle and defeat Garvin! Prince Medion and our army will be saved!I forgot to cap it, but Garvin starts the fight with 18 HP and stats so low that anyone could kill him in one shot. After transforming... 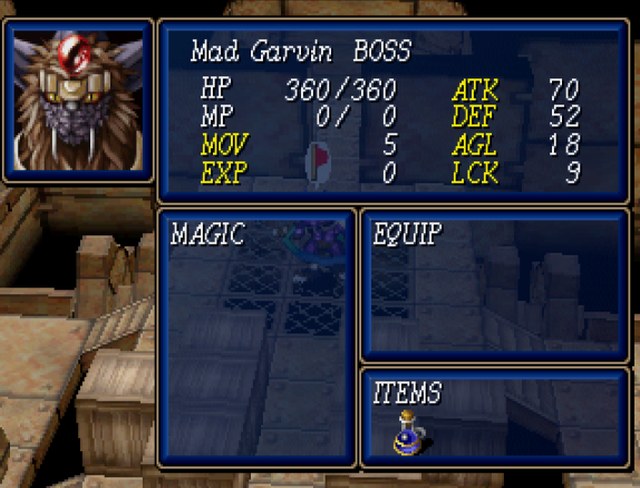 ...well, that's actually not that impressive. The only reason Garvin is a challenge is because you're not expecting to tackle the boss with the sub-team, and come in unprepared. Which we didn't do. At all. 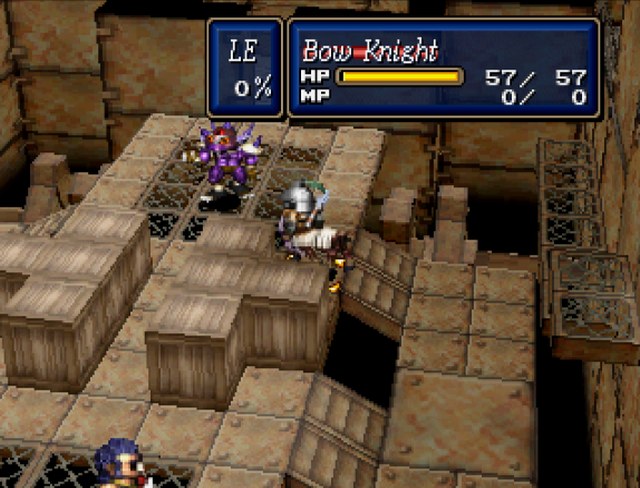 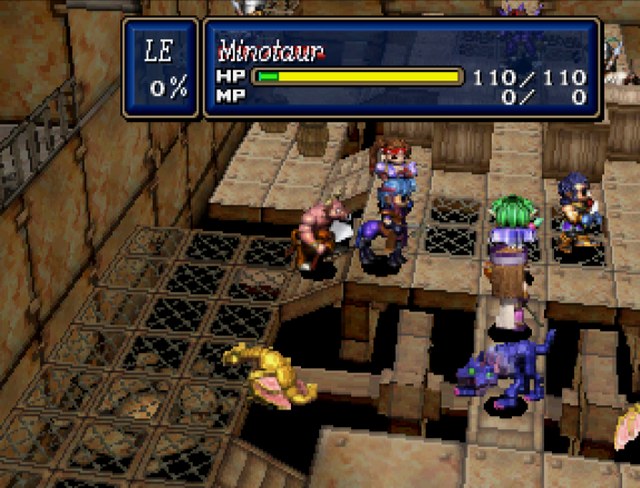 The bow knights and minotaurs hop down. The giga breakers are a bit slower to trigger, but they don't matter. In this case, they tend to be road blocks more than anything else. 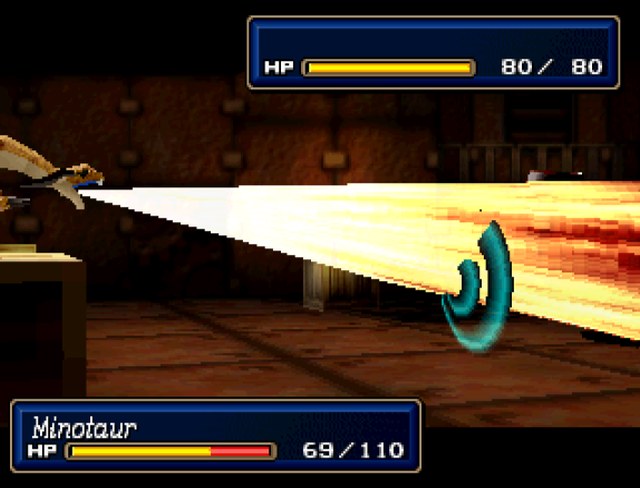 The monsters can do a pretty nice chunk of damage to the enemy monsters, though. 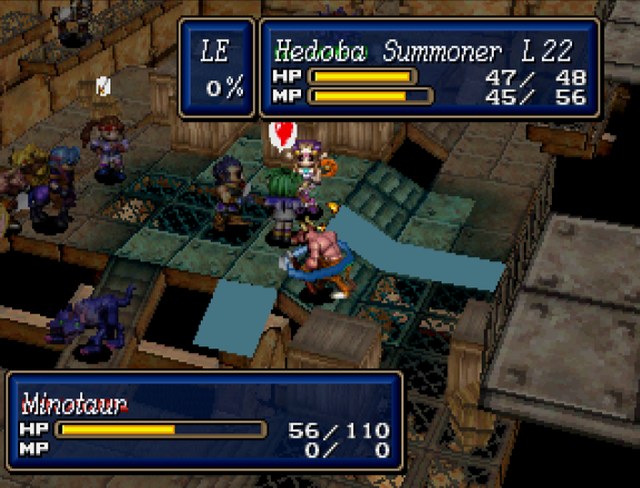 Second turn. The minotaurs are coming up from behind, and considering how powerful Hedoba and Syntesis are right now, it's easier to take care of them now rather than having them get in our way in the future. 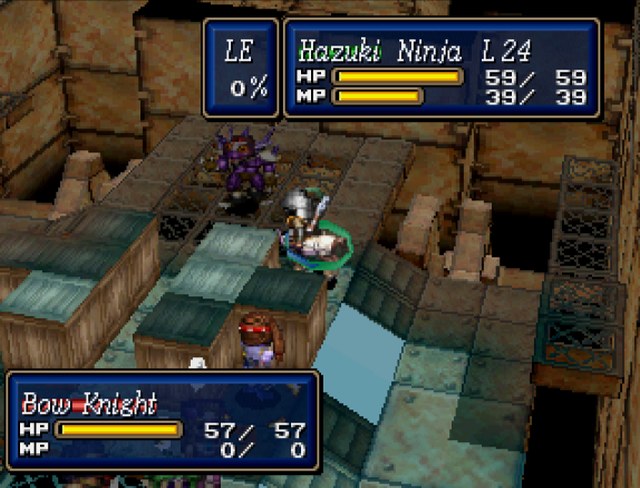 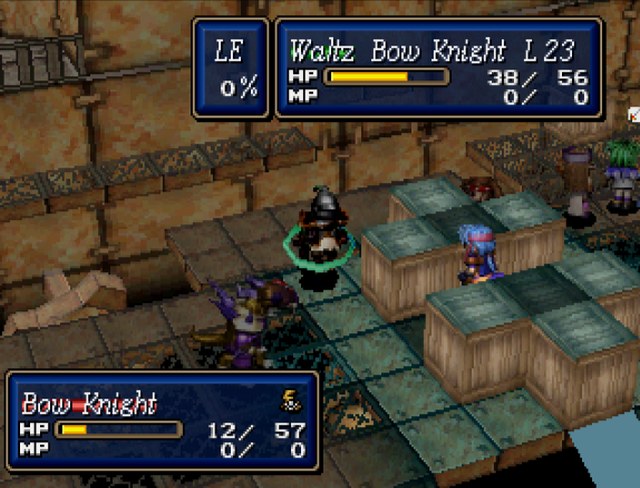 Hazuki and Waltz take care of one of the backup bow knights.   David makes himself marginally useful, as his rank 3 sword critical is an instant kill. This cleans the map of everything except Garvin, his two giga breakers, and one bow knight who won't do anything, all on turn 2. Next! 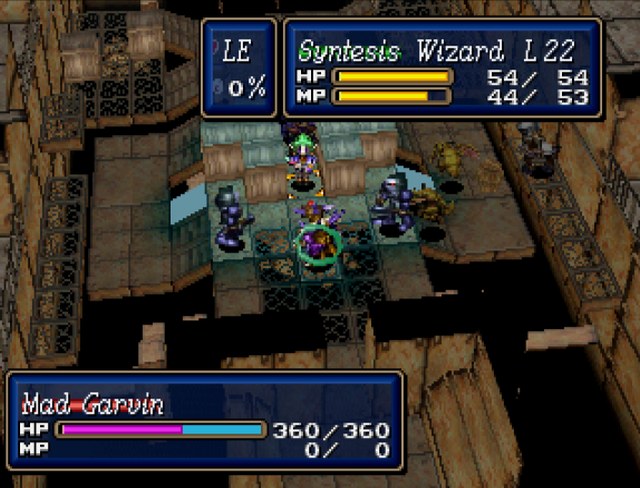 Syntesis is kind of lacking reach, so she has to settle for using Spark 4 which is a bit less MP efficient than Tiamat 2. 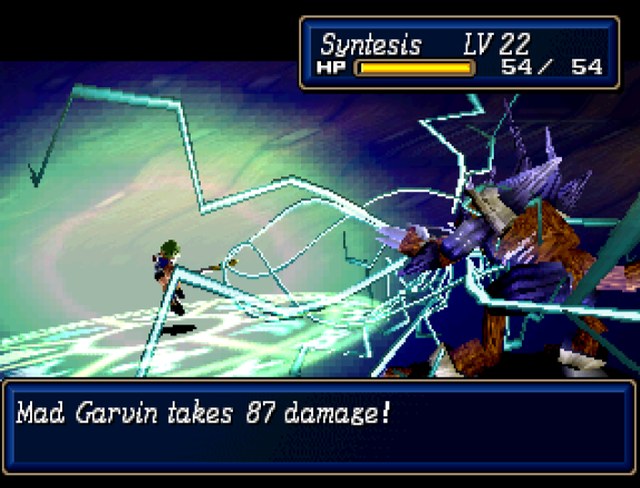 It does adequate amounts of damage, though. And that's being too far from Hedoba or Hazuki to get any support.  Blast 4 with support from Syntesis, minus the animation. 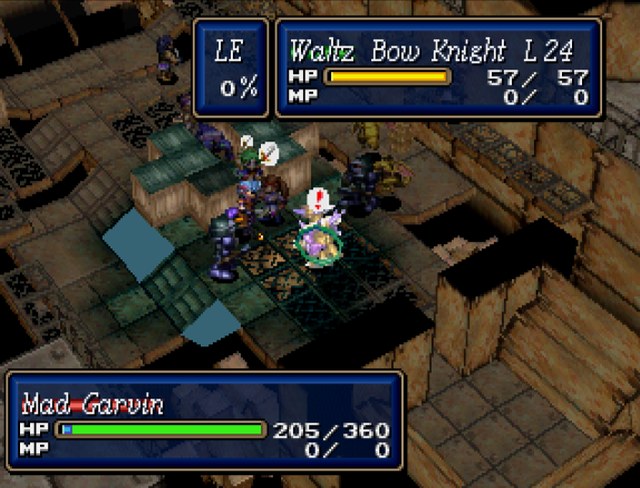 Waltz gets in on the fun because as great as it would be to kill Garvin with only magic, I got lazy with positioning. Also, since Waltz's mithril bolt has holy element, she gets weapon advantage on Garvin. 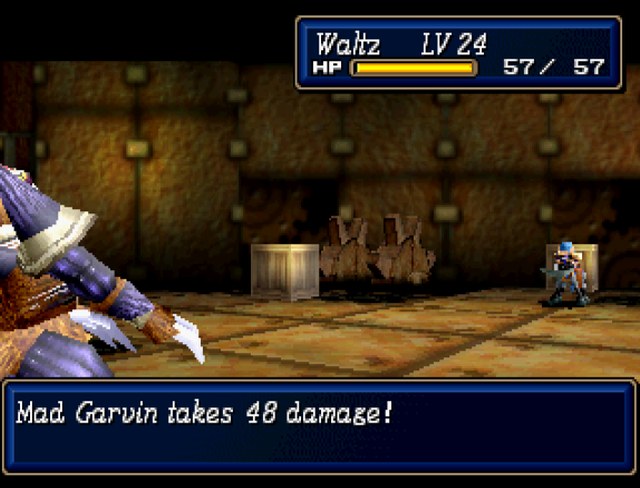 That's about as good as damage can get without a critical or magic. 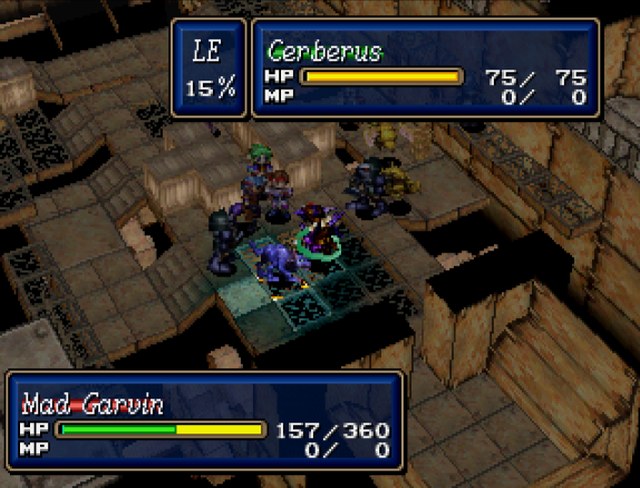 I get the dog in on the fun too. The reason for this is because after every turn, Garvin heals for 20 HP. Not much in the grand scheme of things, but we want to kill him as quickly as possible. The reason for this is that if you dally around too long, eventually the tank shows up on Medion's field. After two or three turns of that, the tank runs over them and you lose. Not that we even come close to the time limit, but I'm a bit fed up with scenario 2's awful storytelling and want to smash it as hard as possible now. 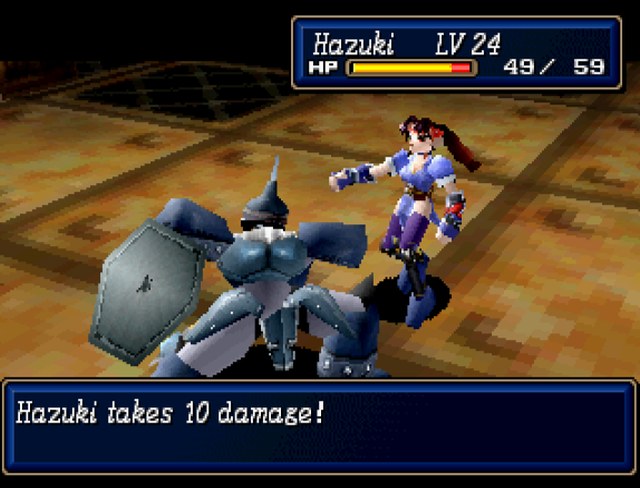 The giga breakers pose zero threat.  And Garvin's AI is so dumb, it would rather attempt to kill a monster than actually hit something threatening. 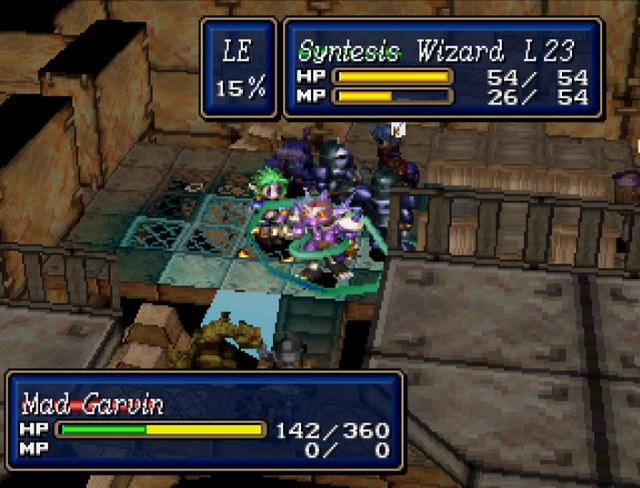 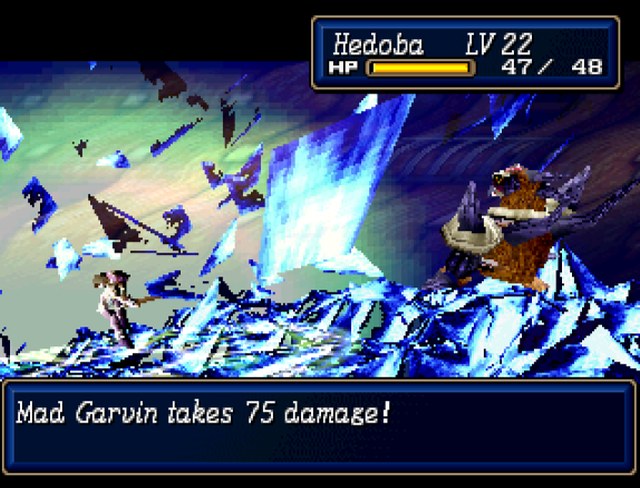 And with two more spells, that's all she wrote. Even without help from Waltz and the cerberus, I believe Hazuki could have finished Garvin with another Tornado 4. Four turns, and the hardest boss of scenario 2 is toast!  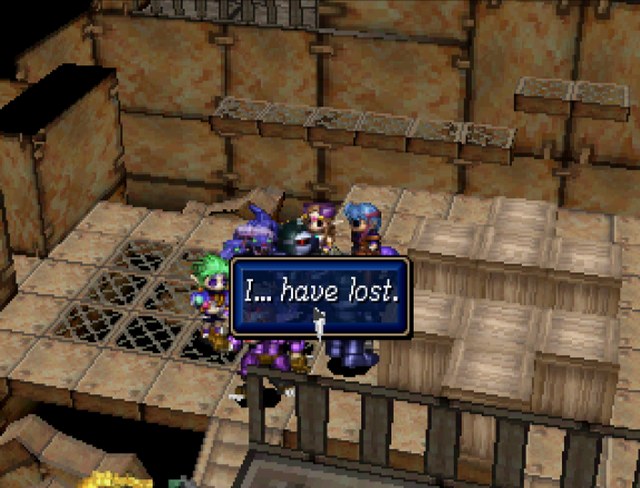 I couldn't defeat the Medion army... This battle is over! Garvin has been defeated! The tank has stopped. Prince Medion and the others should be safe. I couldn't defeat the Medion army... This battle is over! Garvin has been defeated! The tank has stopped. Prince Medion and the others should be safe. The tank stopped! Has David succeeded? David and the others must have defeated Garvin! General Garvin has been defeated?! It was foolish to believe Garvin was invincible. The tank stopped! Has David succeeded? David and the others must have defeated Garvin! General Garvin has been defeated?! It was foolish to believe Garvin was invincible.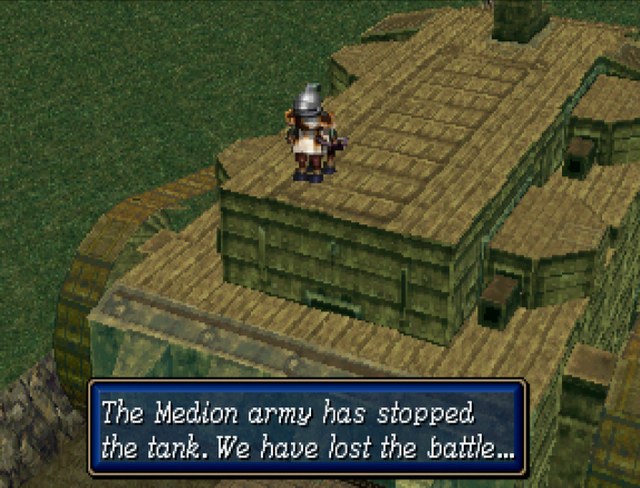   Prince Medion, it looks like this battle is over. Prince Medion, it looks like this battle is over.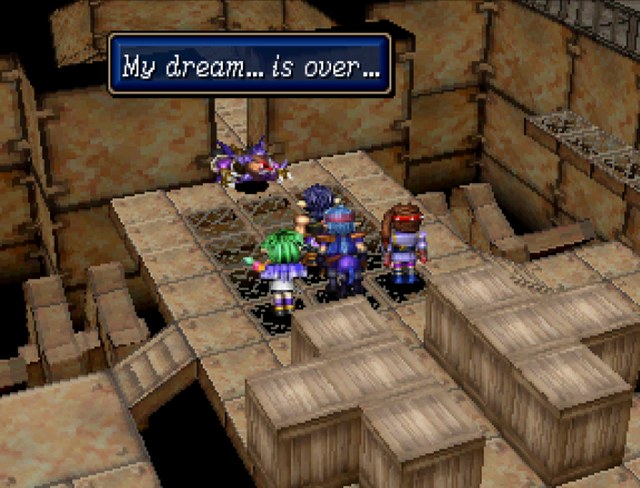 Your dream is over because you had bad intentions. Those kinds of dreams will never be realized. I was so close... I was sure I would be victorious. If you had only surrendered. You shouldn't have been so foolish. This tank... was part of my dream. I hope it isn't destroyed in the finale... What are you talking about? It's only fitting this ends with fireworks. The end is coming. Your dream is over because you had bad intentions. Those kinds of dreams will never be realized. I was so close... I was sure I would be victorious. If you had only surrendered. You shouldn't have been so foolish. This tank... was part of my dream. I hope it isn't destroyed in the finale... What are you talking about? It's only fitting this ends with fireworks. The end is coming.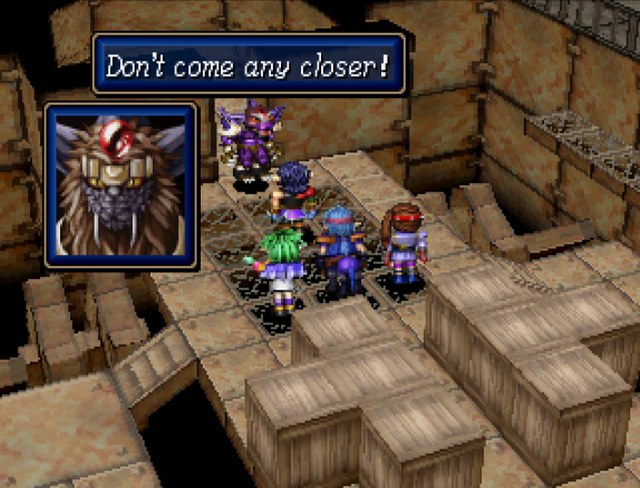 The battle is over. We have stopped you, Garvin. The battle is over. We have stopped you, Garvin.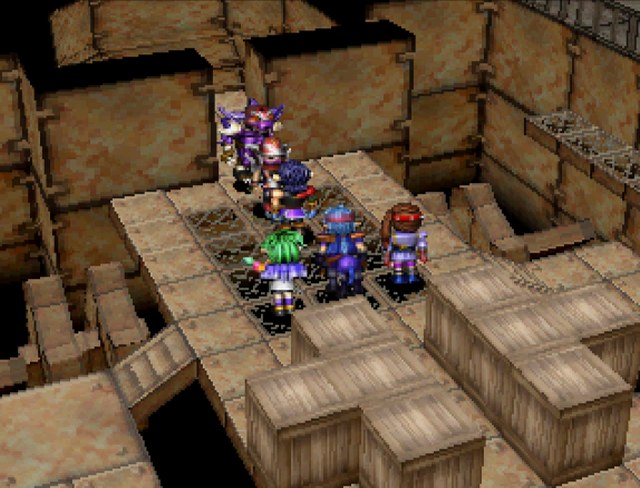 Why is Yasha here? Why else... he's helping Garvin under orders from Domaric! Why is Yasha here? Why else... he's helping Garvin under orders from Domaric!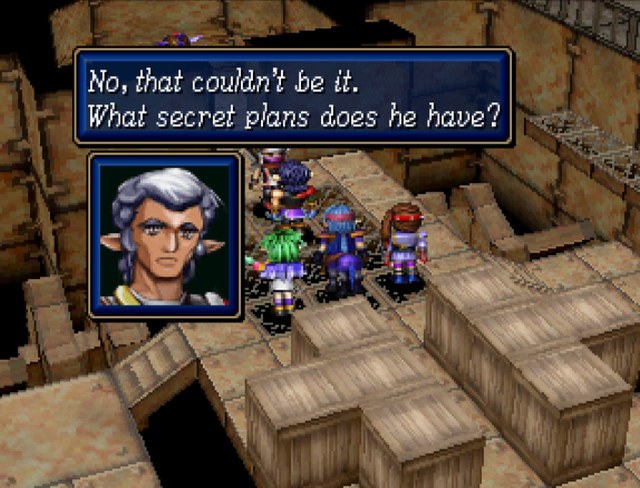 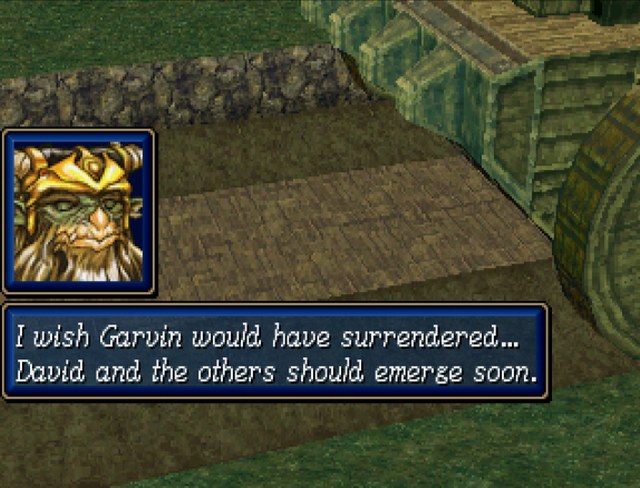 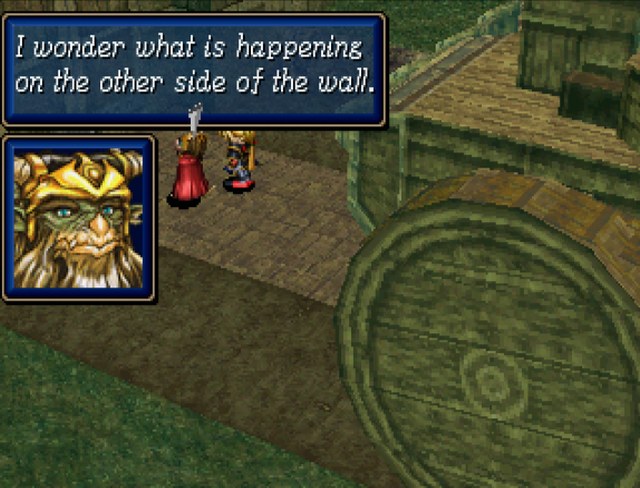 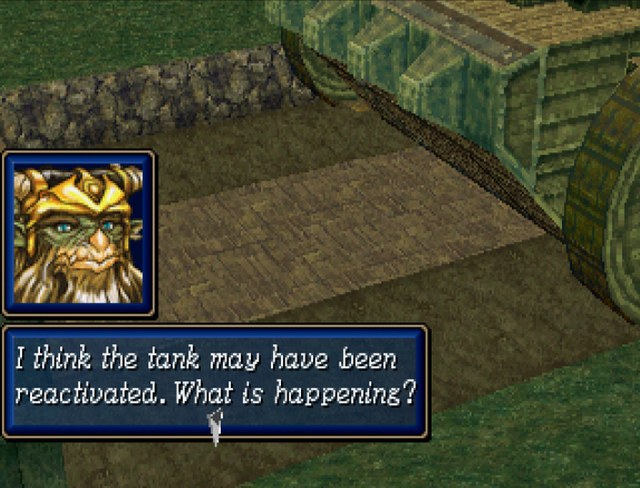 I don't understand. Prince, be very careful. I don't understand. Prince, be very careful.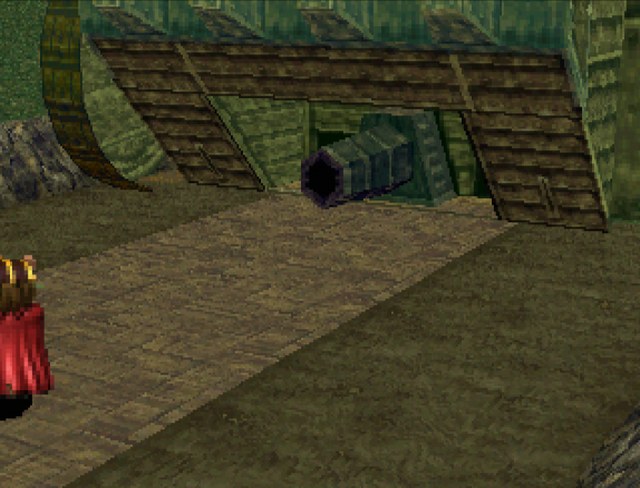 Welp, good job David. 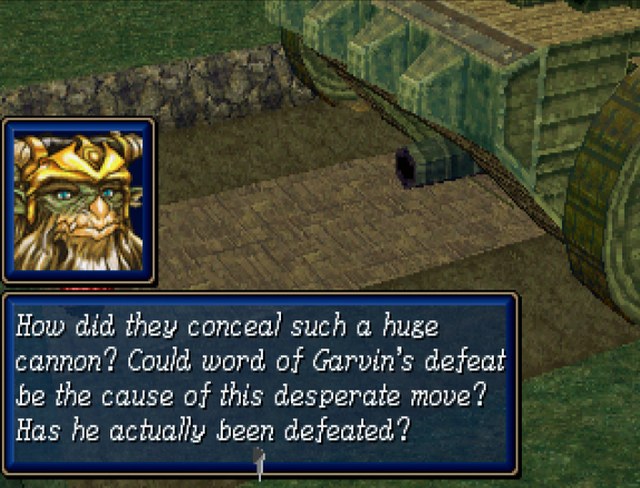 If that cannon... We're in the line of fire! Quickly, stand clear! If that cannon... We're in the line of fire! Quickly, stand clear!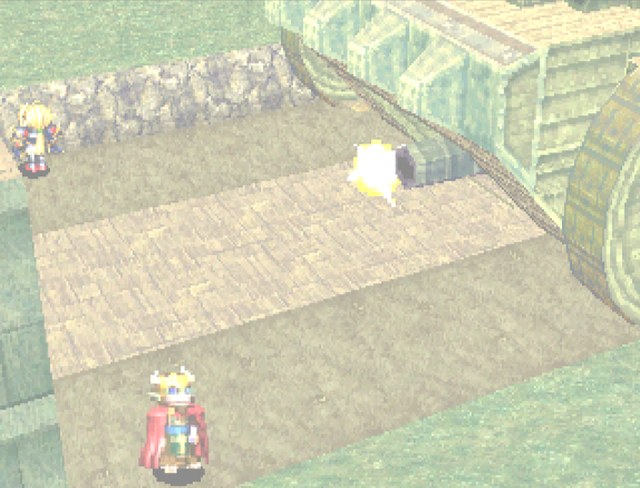  God dammit, David! 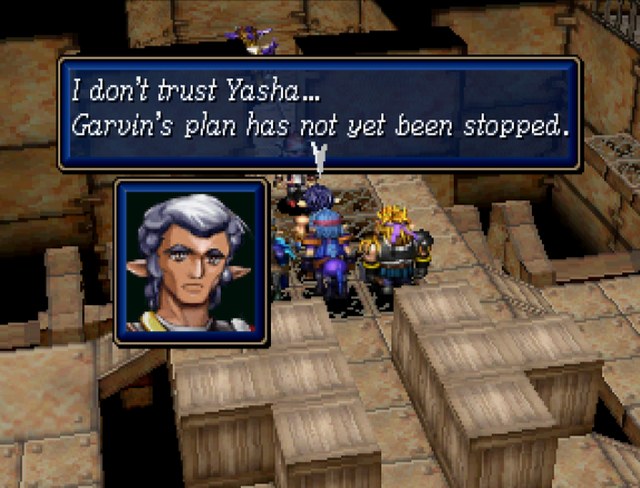  Now is the time for the fireworks. Fireworks!? What are you talking about? The Juggernaut's cannon will flatten Aspia. Cannon?! You intend to destroy Aspia?! Have you no soul? What is that sound? My beautiful weapon is coming out of hiding. The cannon must be deploying... from the front of the tank?! You are clearly mad! Don't worry.. The cannon won't destroy everything... You might still be able to tell there was a city there. You are one evil bastard! Was this your plan all along? Things didn't turn out exactly as I had planned, but the tank will yet serve its purpose. I'll show you the cannon's destructive power! We won't be able to stop the cannon from firing... The others will think we have failed... and I suppose we have... This is what Emperor Domaric wanted all along! To take down Aspia's wall! Now is the time for the fireworks. Fireworks!? What are you talking about? The Juggernaut's cannon will flatten Aspia. Cannon?! You intend to destroy Aspia?! Have you no soul? What is that sound? My beautiful weapon is coming out of hiding. The cannon must be deploying... from the front of the tank?! You are clearly mad! Don't worry.. The cannon won't destroy everything... You might still be able to tell there was a city there. You are one evil bastard! Was this your plan all along? Things didn't turn out exactly as I had planned, but the tank will yet serve its purpose. I'll show you the cannon's destructive power! We won't be able to stop the cannon from firing... The others will think we have failed... and I suppose we have... This is what Emperor Domaric wanted all along! To take down Aspia's wall!Hey David, maybe you should stop mumbling to yourself and do something about it. 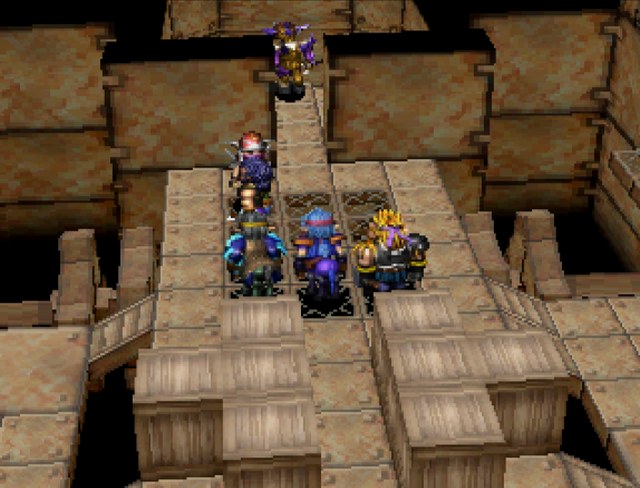 And he does, by meekly running at Garvin. He is promptly stopped by Yasha stepping in his way. loving hell David, you're useless. 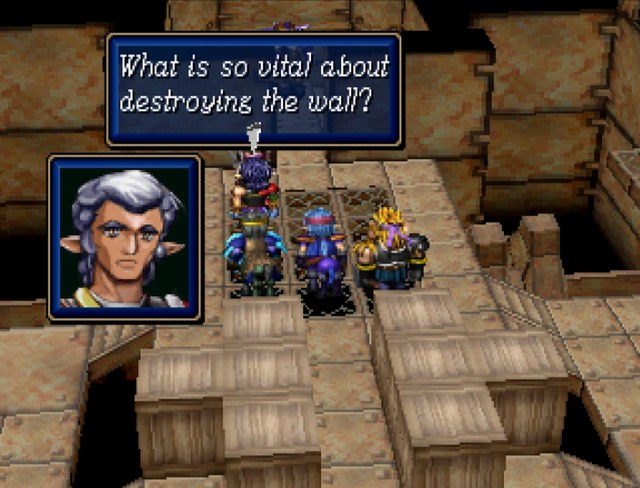 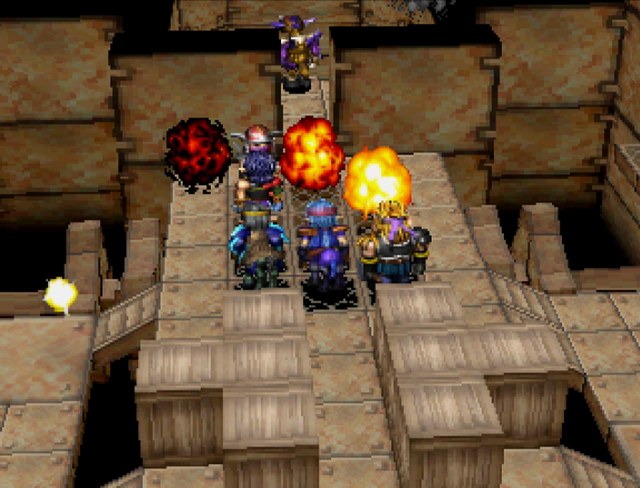 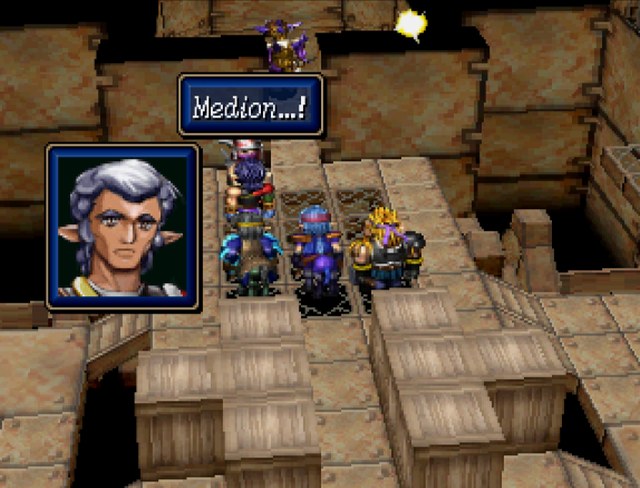  David.  NEXT TIME: Finally, this lovely disc is over!
|
|
#
?
Dec 3, 2014 15:21
|
|
|
This...has been an underwhelming experience, yeah.
|
|
#
?
Dec 4, 2014 03:32
|
|
|
After watching this scenario I am kinda glad it never came to the US.
|
|
#
?
Dec 5, 2014 18:28
|
|

|
I'd swear to god that there's an entire town's worth of plot missing from the chapter before this one that actually gave Medion a reason to be going along with this nonsense other than Emperor-Dad said to, but it's been several years since I played, but we're also rapidly running out game for that to have happened in. 
|
|
#
?
Dec 5, 2014 19:08
|
|
|
The other thing that sucks about this final battle is that Scenario 1's final battle had you releasing into a flood against your own kingdom on the sliver of a hope that you'll destroy an ancient monstrosity. Here it's just a big boring brown pile of poo poo on both ends with Garvin turning out to be the unholy love child of Robert Pattinson and Taylor Lautner, and what makes it worse is that inside the tank, the music is just a constant loop of a 5-second Scenario 3 tune that happens when you personally attack some of the endgame bosses.
|
|
#
?
Dec 5, 2014 19:28
|
|
|
Shitenshi posted:The other thing that sucks about this final battle is that Scenario 1's final battle had you releasing into a flood against your own kingdom on the sliver of a hope that you'll destroy an ancient monstrosity. Here it's just a big boring brown pile of poo poo on both ends with Garvin turning out to be the unholy love child of Robert Pattinson and Taylor Lautner, and what makes it worse is that inside the tank, the music is just a constant loop of a 5-second Scenario 3 tune that happens when you personally attack some of the endgame bosses. This really can't be stated enough. The music is so ear-ruiningly horrible. I had to mute my sound whenever I was fighting inside the tank because it was such poo poo.
|
|
#
?
Dec 5, 2014 19:32
|
|

|
Really, after messing up Scenario 2 this badly, they make up for it in Scenario 3, right?
|
|
#
?
Dec 5, 2014 20:14
|
|
|
Were David's last words "what's really happening here?" Even his last words suck.
|
|
#
?
Dec 7, 2014 22:11
|
|
|
Part 70: lovely plot twist! Thanks to David's fuckup, we are now all dead.  Okay, maybe not. But let's be honest, that wouldn't have been the worst possible ending.  It appears to be safe. It appears to be safe.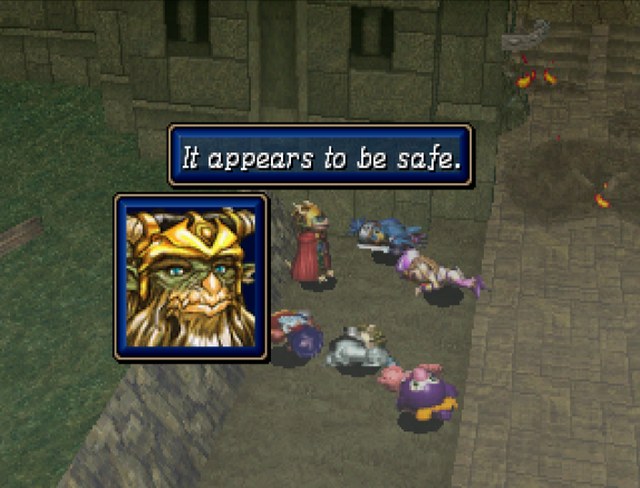 But where is David's battalion? I don't see them anywhere. I hope they survived. The huge blast apparently took out the Juggernaut, and Garvin with it. But where is David's battalion? I don't see them anywhere. I hope they survived. The huge blast apparently took out the Juggernaut, and Garvin with it.  At this point, all the characters who participated in Medion's fight get up with a spoken line. Syntesis and her crew are in here because I decided to have two different saves, so I could humiliate the final boss just as badly as I did Garvin. Also, another cute touch is that Robby is simply deactivated instead of knocked out. Our allies must have defeated Garvin by destroying the tank. I would be surprised if any of them survived. My head is spinning. I feel a little dizzy. My head is spinning. I feel a little dizzy. That blast was very powerful. My ears are ringing. That blast was very powerful. My ears are ringing. Garvin's plan has failed. He died fighting for his evil beliefs. Garvin's plan has failed. He died fighting for his evil beliefs. We have defeated Garvin. Now, I must defeat that evil ninja to complete my mission. We have defeated Garvin. Now, I must defeat that evil ninja to complete my mission. We are very fortunate. We are very fortunate. I may have survived, but I am worried about David. Please be okay, David. I may have survived, but I am worried about David. Please be okay, David. We can thank Elbesem for our survival. His watchful eye saved us. We can thank Elbesem for our survival. His watchful eye saved us. b Bzz... Each limb is accounted for. Bzz...No abnormalities... Bzz. That blast took a lot out of me, but I'm alright. b Bzz... Each limb is accounted for. Bzz...No abnormalities... Bzz. That blast took a lot out of me, but I'm alright. We should have a ceremony for the brave soldiers who died today. We should have a ceremony for the brave soldiers who died today. They died fighting bravely for their beliefs. They died fighting bravely for their beliefs.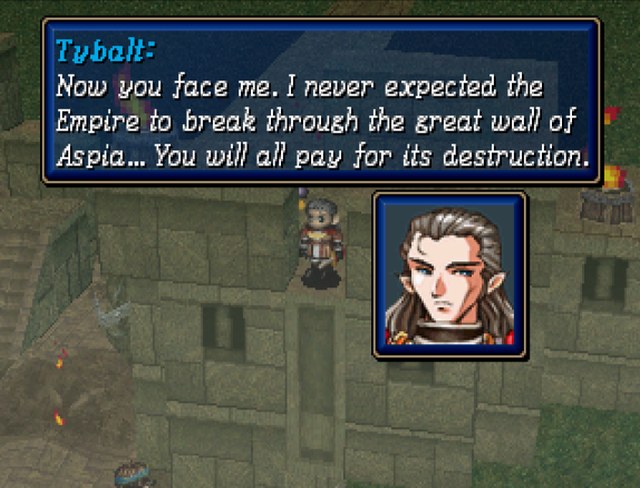  It's my destiny to destroy you! I will avenge Headland and Swampland, which have been occupied by the Empire. We never occupied the Republic... Garvin invaded Aspinia. He's the cause of your problems. Still your tongue you filthy Imperial dog. This is war! Garvin may have been helping Arrawnt, but they have both been stopped. Now it's your turn. If not for the tank's blast, the wall would still be standing. I know you're behind this. We prepared for this moment. King Benetram told us to guard the wall and surprise the invading army. It seems we succeeded. Who is that with you? A survivor of the Garvin army. He surrendered and told us of your strategy. It's my destiny to destroy you! I will avenge Headland and Swampland, which have been occupied by the Empire. We never occupied the Republic... Garvin invaded Aspinia. He's the cause of your problems. Still your tongue you filthy Imperial dog. This is war! Garvin may have been helping Arrawnt, but they have both been stopped. Now it's your turn. If not for the tank's blast, the wall would still be standing. I know you're behind this. We prepared for this moment. King Benetram told us to guard the wall and surprise the invading army. It seems we succeeded. Who is that with you? A survivor of the Garvin army. He surrendered and told us of your strategy. I will defend General Tybalt and destroy your pathetic army. Yasha, I should have expected... This is all a lie arranged by your leader. This is Domaric's strategy. He's using conflicts in the capital to gain passage. Your army is powerful Medion, but I shall not be defeated. This time I have an elite force to stop your advance. Take your positions! I will defend General Tybalt and destroy your pathetic army. Yasha, I should have expected... This is all a lie arranged by your leader. This is Domaric's strategy. He's using conflicts in the capital to gain passage. Your army is powerful Medion, but I shall not be defeated. This time I have an elite force to stop your advance. Take your positions!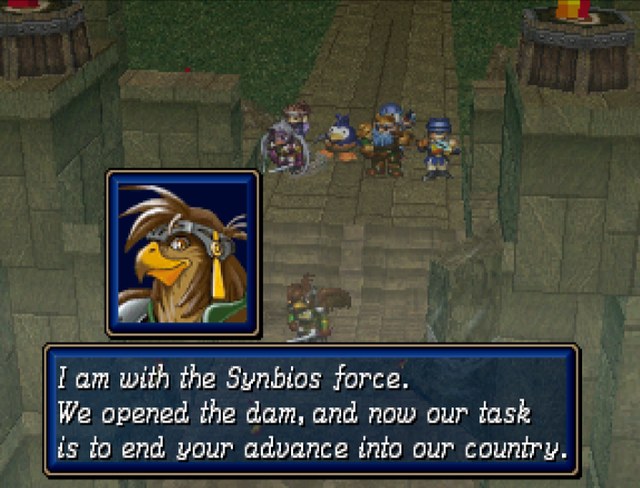 Yep, that sure is Fynnding's squad from scenario 1. Every character has a unique line if they're in here, so I'll just post them all since I have a script lying around.  I've been waiting, Medion army... With my magic, I'll burn anyone trying to occupy Aspia! I've been waiting, Medion army... With my magic, I'll burn anyone trying to occupy Aspia! We cooperated with the Medion army in the switching point and valley battles... but in the end, Imperials are Imperials. We cooperated with the Medion army in the switching point and valley battles... but in the end, Imperials are Imperials. Lord Synbios must feel deceived, knowing the Medion army is invading Aspia... I can't forgive you. Lord Synbios must feel deceived, knowing the Medion army is invading Aspia... I can't forgive you. So it's true. The Medion army did aid General Varlant. So it's true. The Medion army did aid General Varlant. Prince Medion, I like you, but you can't take land. I punish you in name of Elbesem. Prince Medion, I like you, but you can't take land. I punish you in name of Elbesem. You are revealing your true, evil nature now. You are revealing your true, evil nature now. You have betrayed Lord Synbios, who entrusted you with my brother Zero. No... No, that's wrong older sister... It's no use... I can't convince her. Will I have to battle my sister? � You have betrayed Lord Synbios, who entrusted you with my brother Zero. No... No, that's wrong older sister... It's no use... I can't convince her. Will I have to battle my sister? � The Medion army is blinded by desire. Elbesem is not your ally, and you will face his wrath! The Medion army is blinded by desire. Elbesem is not your ally, and you will face his wrath! The Medion army has accumulated many victories, and are formidable enemies. Now bear my artic blast! The Medion army has accumulated many victories, and are formidable enemies. Now bear my artic blast! For General Edmund, I will protect Aspia. For General Edmund, I will protect Aspia. You seem surprised the Synbios army stands ready to do battle against you. You seem surprised the Synbios army stands ready to do battle against you. Garvin was a villainous man, but the real villains are you who lured him into a trap and defeated him. Garvin was a villainous man, but the real villains are you who lured him into a trap and defeated him. You certainly are the child of the emperor, Prince Medion. Devastating and annexing Aspinia... Arrrrooooooooooow! You certainly are the child of the emperor, Prince Medion. Devastating and annexing Aspinia... Arrrrooooooooooow! You tricked Lord Synbios into trusting you... and then you betrayed him... You tricked Lord Synbios into trusting you... and then you betrayed him... Prince Medion, you are sacrificing your friendship with Lord Synbios. Prince Medion, you are sacrificing your friendship with Lord Synbios. Although we did not come here to take Aspia, we have been forced into a battle with the Synbios army. Prepare to die, Medion! Although we did not come here to take Aspia, we have been forced into a battle with the Synbios army. Prepare to die, Medion!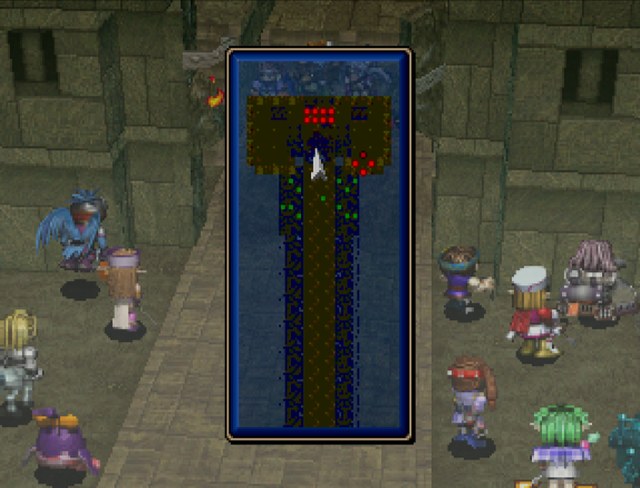 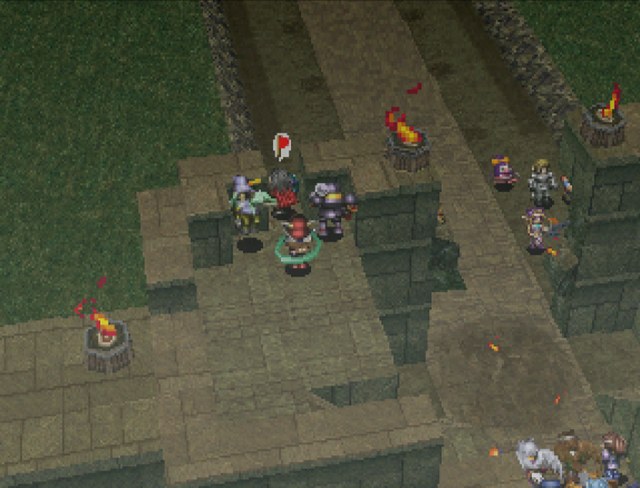 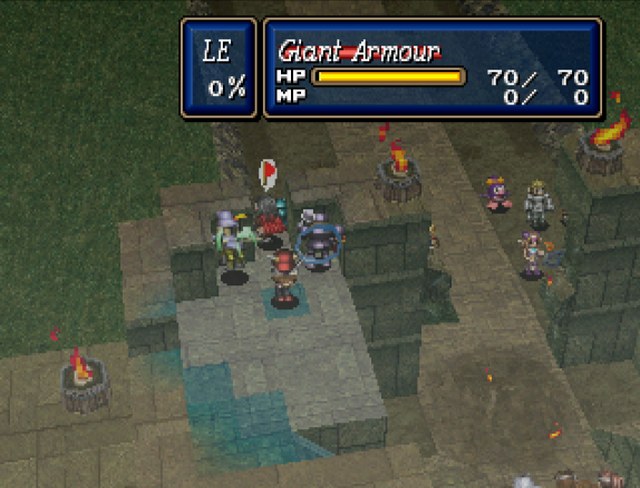 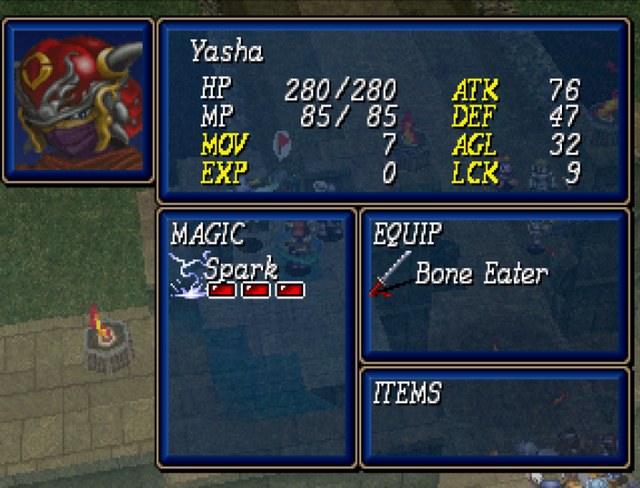 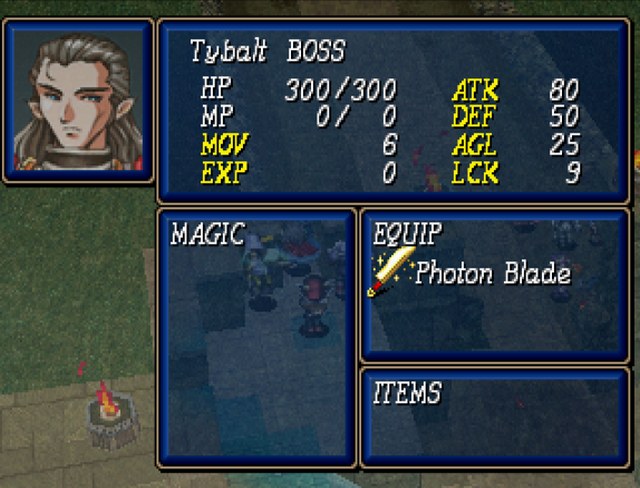 This fight is Fynnding and whoever else you sent to the sub-fight in scenario 1, plus Tybalt, Yasha, and two more mooks. Since Fynnding's army tends to be much lower level, this fight is basically a joke. Whie Yasha and Tybalt form a duo boss, they're not nearly as hard as Arrawnt's ability to punch in teeth from scenario 1.  I'll be glad to assist in their destruction. Yasha, you dare attack the youngest prince of the Empire? We must not lose this battle. We need to speak to the leaders of the Republic. I'll be glad to assist in their destruction. Yasha, you dare attack the youngest prince of the Empire? We must not lose this battle. We need to speak to the leaders of the Republic.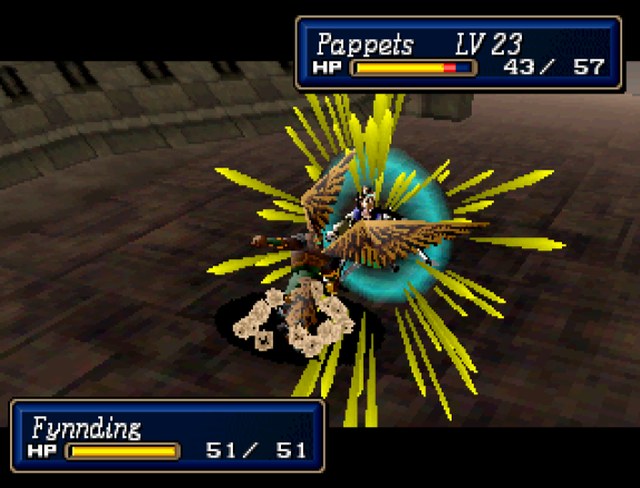  This is how easy the fight is. Fynnding criticals one of the wimpiest characters on my team and barely scratches the paint. I'll just skip over all the boring details of my team one-shotting all of Synbios' bench and give you all their death quotes: Kyaaaa! ...Didn't see defeat coming. Now I'll never be able to apologize to Lord Synbios... I'm sorry, General Tybalt. Please, take care of the rest... Ahh, if I am unable to fight, I won't be able to heal everyone's injuries. Long live Aspia... You Imperials, suppressing the Republic's ideals of equality... I will not allow you or Emperor Domaric to set one foot... in the capital of Aspinia... drat! It's a shame to be defeated by our deceivers. Master say eat ramen for strength. I ate to prepare but lost. So sad. Master, it not good to lie. I have to keep... Imperial army from entering the castle... Give me strength... You saved Gracia and Elbesem from Bulzome and the Rainbloods... Yet you lead an invasion of Aspia and ruin the peace... Why? Although we defeated a Vandal... The Imperial army was too strong... I can't allow Aspia to be annexed by the Empire... I must keep fighting... The hope of equality can't die. Even if I have been defeated... My powered armour has been destroyed. I can't fight without it... Awooooooo! I have been beaten... at the hands of the Medion army... They are even more powerful than rumoured... My strength has run out... I have exhausted all my secret arts. Full of regret... I've been defeated... It's over... By the pitiless attacks of my enemies... My sword is broken and my strength is gone. This... is my fate. Lord Synbios didn't send Zero to the Medion army to assist in the invasion of Aspia. I can't forgive Medion for trampling that good will, but it's no use... My wings have lost all strength... You are strong, Medion army... At this rate, it's only a matter of time until the Barrand army is wiped out. I must inform King Benetram to prepare to meet the Medion army! You are strong, Medion army... At this rate, it's only a matter of time until the Barrand army is wiped out. I must inform King Benetram to prepare to meet the Medion army!Even in death, Synbios' army is still a bunch of patriots.  However, Eldar doesn't have to die. I sent her to the bench in scenario 1 because she gets a special interaction. 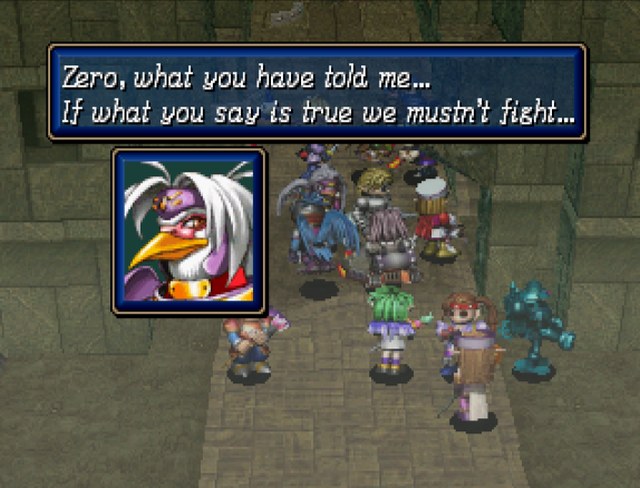 Yes, this is one of the emperor's tricks. If we stop the battle and talk, we should be able to reach an understanding! Understood, Zero. I will advise General Tybalt. Yes, this is one of the emperor's tricks. If we stop the battle and talk, we should be able to reach an understanding! Understood, Zero. I will advise General Tybalt.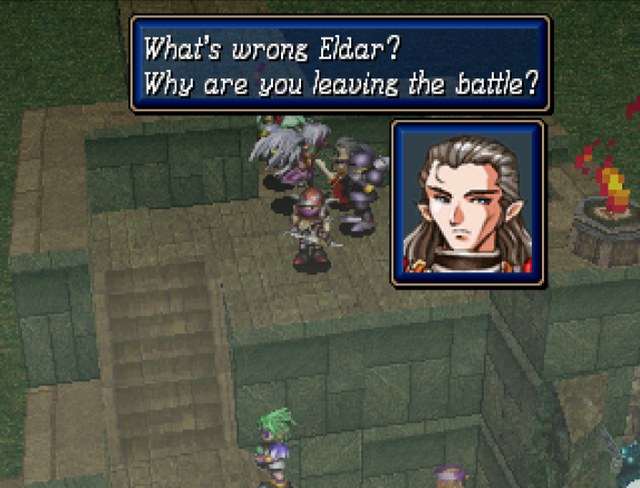 Please listen, General Tybalt. The Medion army doesn't want this battle, and have asked for an armistice. This is the same army that tricked Garvin and struck him down. How can we trust them? My brother Zero is in the Medion army. This battle was the emperor's plot. Please reconsider, General Tybalt. This is sudden. I will consider it. Please listen, General Tybalt. The Medion army doesn't want this battle, and have asked for an armistice. This is the same army that tricked Garvin and struck him down. How can we trust them? My brother Zero is in the Medion army. This battle was the emperor's plot. Please reconsider, General Tybalt. This is sudden. I will consider it.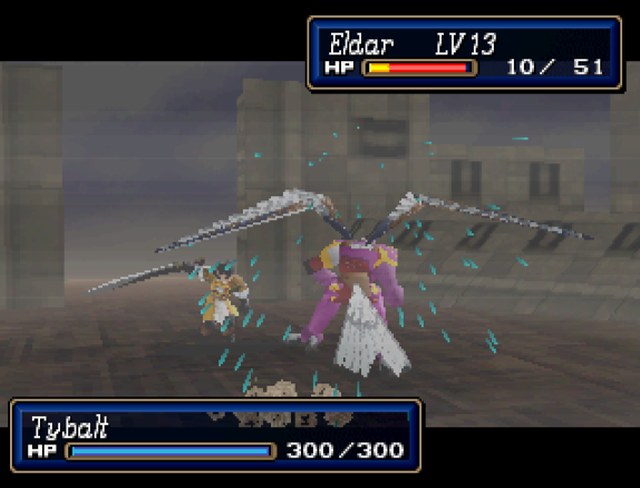 Uh, what? 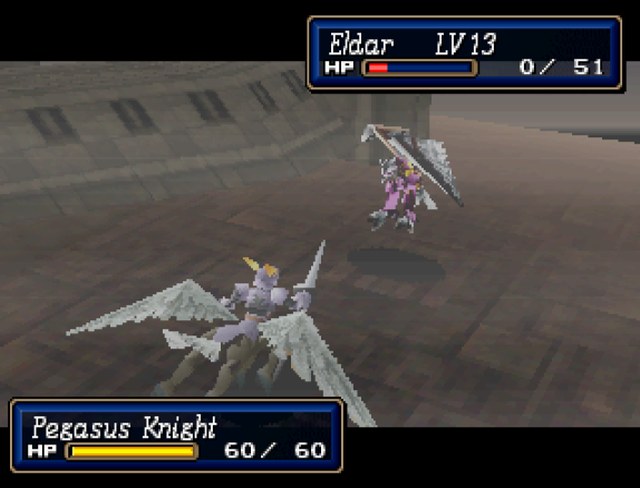 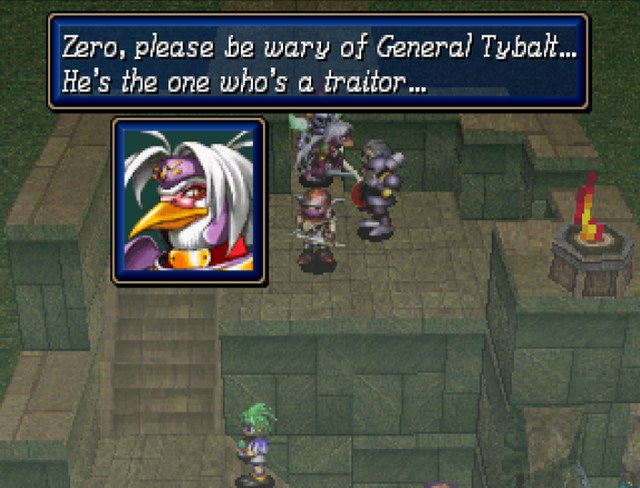 Okay then. That had almost zero foreshadowing. Once all the scenario 1 characters are taken care of, it's just a matter of tussling with Yasha and Tybalt. As they individually have weaker stats than Garvin did and you'll typically have your stronger characters here, this fight is far easier than Garvin's fight.  Start climbing the stairs, and Yasha will sprint over to start dropping Spark 3 on you. 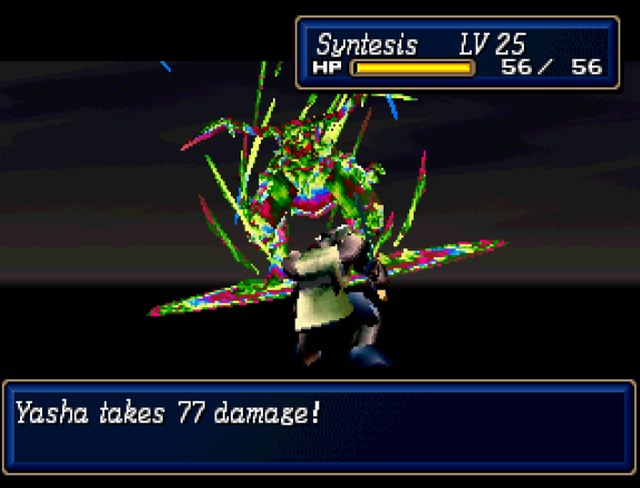 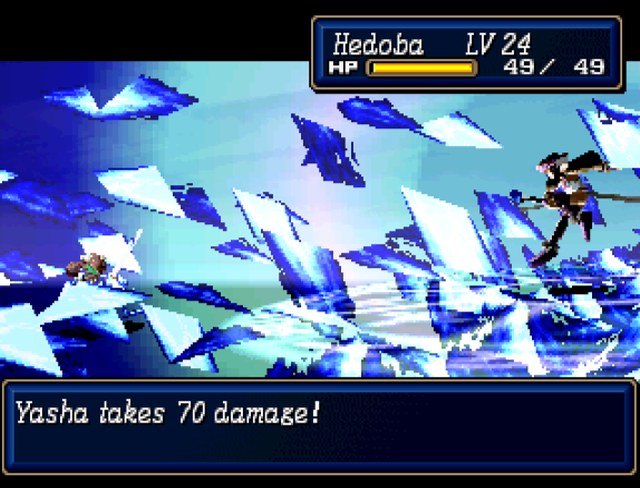 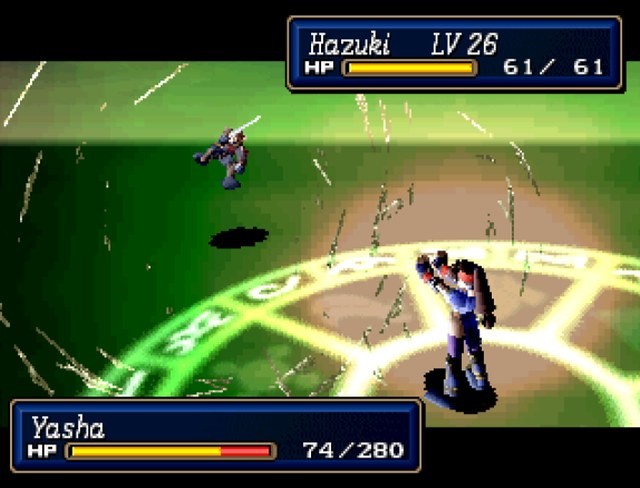 It doesn't exactly work out in his favor. 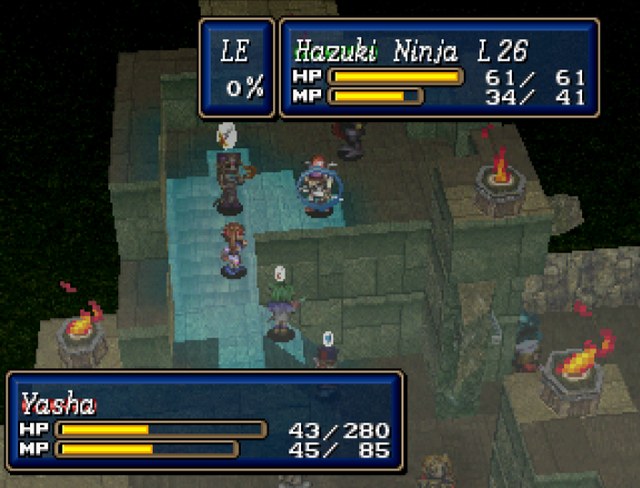 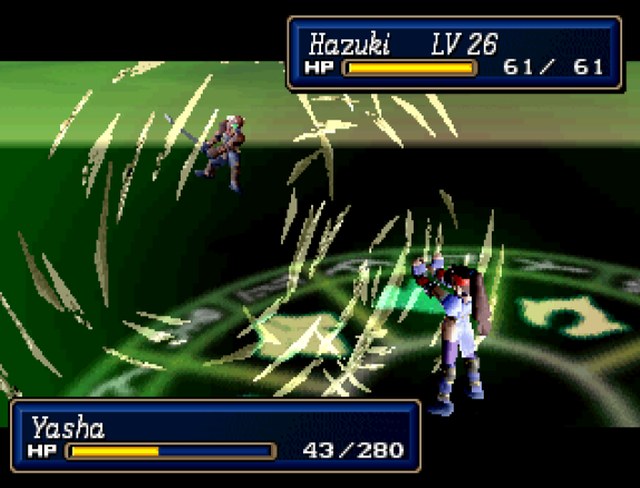 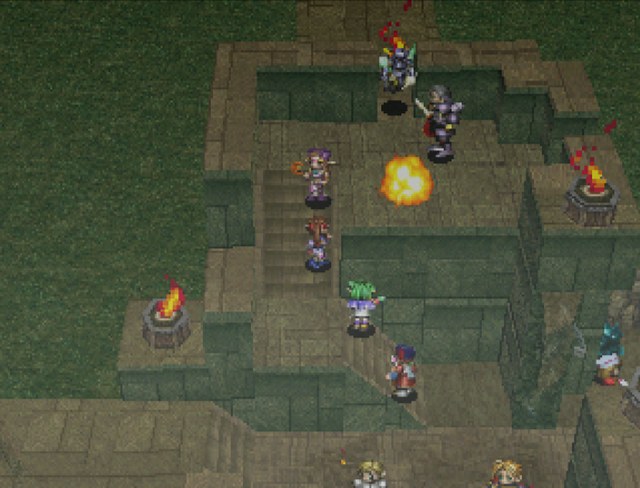 Hazuki doesn't get anything special for killing Yasha, but I thought it was appropriate. 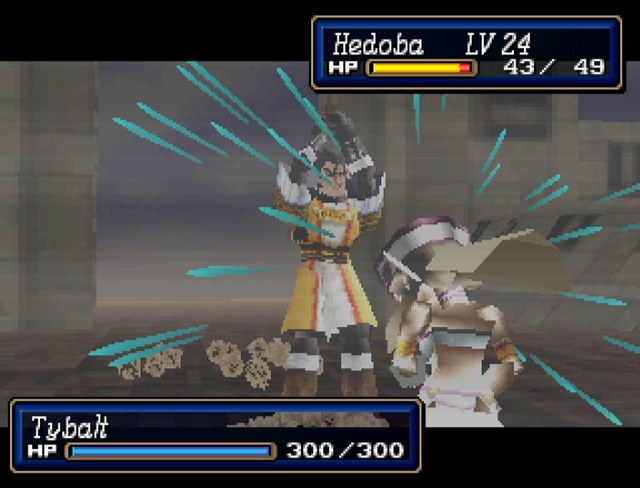 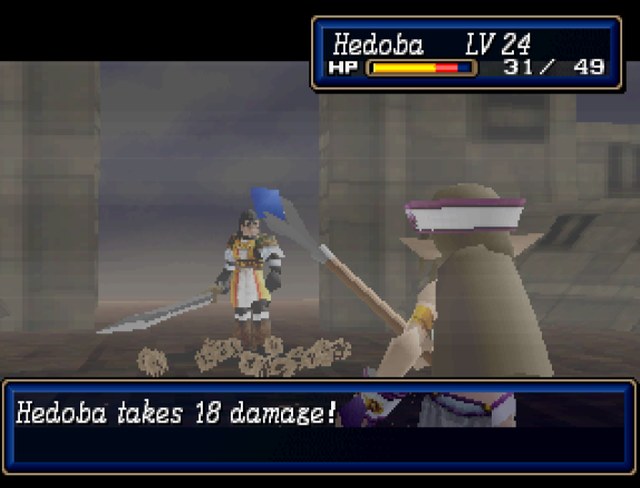 Tybalt has a critical tied to his weapon, but I can't remember what it's called and Hedoba is so roided up on defense that it doesn't matter. 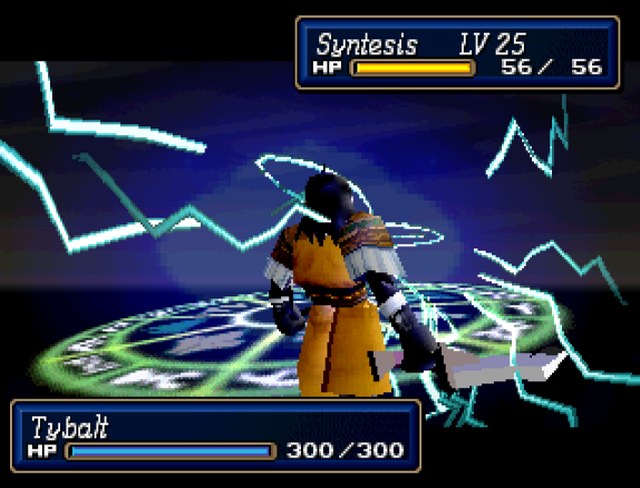 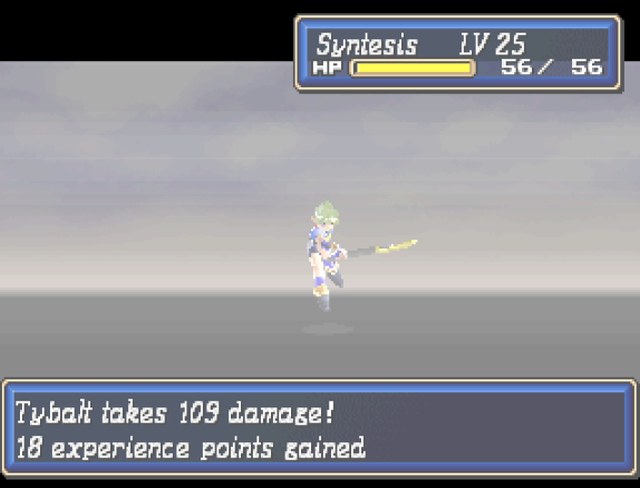 Proof that I'm vastly overleveled: There is no way in hell I am supposed to have Spark 4 in scenario 2. 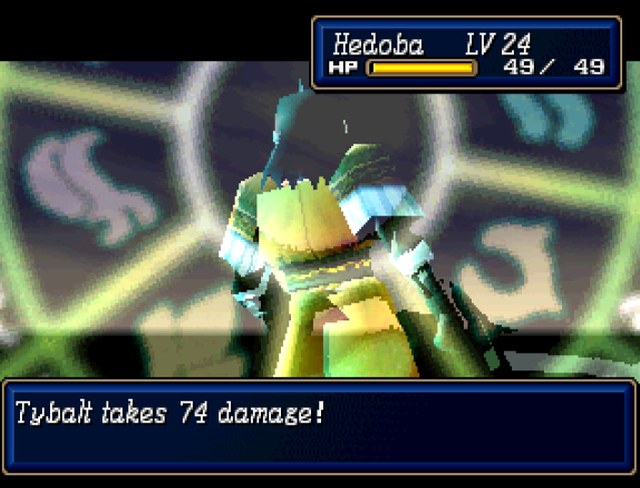  Three whacks, and we've knocked Tybalt down to about 50 HP.  I did it in scenario 1, so why not finish scenario 2 the same way? 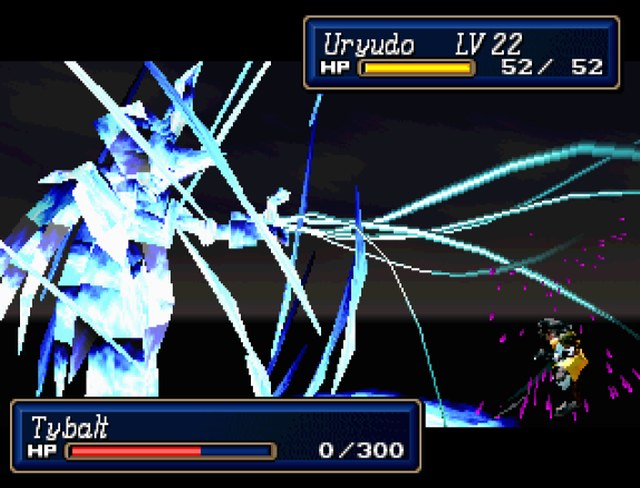 And that's all she wrote. 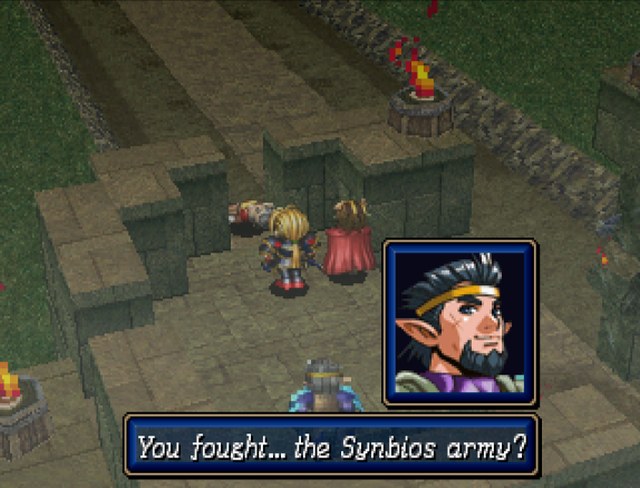 Campbell, I was worried. I've been unconscious since Garvin fired that giant cannon... If only the Medion army hadn't arrived. The tank's attack would have succeeded, and Aspia would be mine. So you were going to aid Garvin in his quest... What about the Republican values that you believe in? Equality... will never happen in my lifetime. It's not possible. King Benetram still believes it's possible. Why not work with him to make it happen? Don't leave the entire responsibility of the Republic on his shoulders... The people don't support it... They don't like the poor harvests... This country's values have become a burden. False ideas such as this caused Garvin to become a corrupt leader after forming Saraband. Don't suffer the same fate. Tybalt... Yasha is a spy for the emperor. Do you follow his words blindly? Yasha is not a spy for the emperor, you foolish peasant. He was the right hand of Prince Arrawnt. Even in death, you follow the words of Yasha, the shadow of the emperor. He's the reason you believed in Garvin. Does Yasha upset you, Grantack? I assigned him to follow that fool Garvin and his tank. Campbell, I was worried. I've been unconscious since Garvin fired that giant cannon... If only the Medion army hadn't arrived. The tank's attack would have succeeded, and Aspia would be mine. So you were going to aid Garvin in his quest... What about the Republican values that you believe in? Equality... will never happen in my lifetime. It's not possible. King Benetram still believes it's possible. Why not work with him to make it happen? Don't leave the entire responsibility of the Republic on his shoulders... The people don't support it... They don't like the poor harvests... This country's values have become a burden. False ideas such as this caused Garvin to become a corrupt leader after forming Saraband. Don't suffer the same fate. Tybalt... Yasha is a spy for the emperor. Do you follow his words blindly? Yasha is not a spy for the emperor, you foolish peasant. He was the right hand of Prince Arrawnt. Even in death, you follow the words of Yasha, the shadow of the emperor. He's the reason you believed in Garvin. Does Yasha upset you, Grantack? I assigned him to follow that fool Garvin and his tank.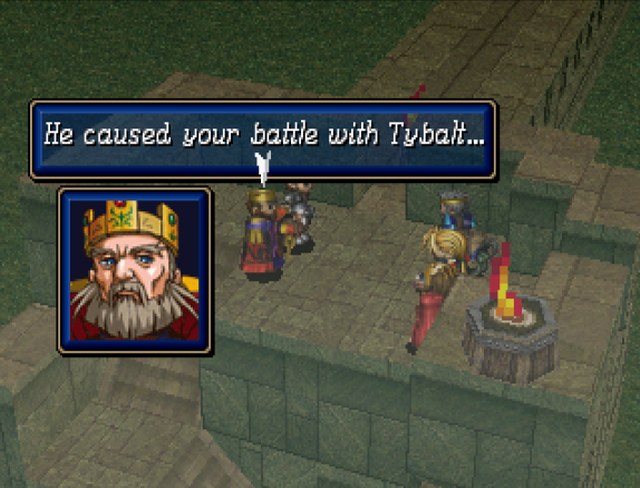 You fought brilliantly my son. You fought brilliantly my son.There, Medion. That's the validation you've been fighting for all game. Can you please stab your dad now?  Although we defeated the guards at the wall, we must deal with the Synbios army. They will want to avenge their fallen comrades. Father, what is truly going on here? Who does Yasha work for? Yasha knew of Tybalt and Garvin's arrangement. I'm glad to have such a powerful ninja working for me. Yasha may be too good of a ninja... Do you think it's safe to enter the capital? Campbell, we'll be alright entering Aspia. I'm sure Emperor Domaric will call Yasha if trouble arises. He will appear if needed. Come Medion. It's time to reclaim what is ours my son. Although we defeated the guards at the wall, we must deal with the Synbios army. They will want to avenge their fallen comrades. Father, what is truly going on here? Who does Yasha work for? Yasha knew of Tybalt and Garvin's arrangement. I'm glad to have such a powerful ninja working for me. Yasha may be too good of a ninja... Do you think it's safe to enter the capital? Campbell, we'll be alright entering Aspia. I'm sure Emperor Domaric will call Yasha if trouble arises. He will appear if needed. Come Medion. It's time to reclaim what is ours my son.NEXT TIME: We're finally loving done with the bad scenario! inthesto fucked around with this message at 22:47 on Dec 14, 2014 |
|
#
?
Dec 14, 2014 22:43
|
|
|
Oh lord, this is just painful all around, and I really hope Scenario 3 makes up for this trash. I'm so used to fans of the series treating Shining Force 3 like the holy grail of Shining Force games, but Scenario 2 here has just been brutal. It's like that sixteen year old GM at a tabletop game who refuses to let the game go anywhere but on HIS rails, common sense or logic be damned.inthesto posted:
Domaric literally pulls a "you mad, bro?" and nobody calls him on it.
|
|
#
?
Dec 15, 2014 00:09
|
|
|
KataraniSword posted:Oh lord, this is just painful all around, and I really hope Scenario 3 makes up for this trash. I'm so used to fans of the series treating Shining Force 3 like the holy grail of Shining Force games, but Scenario 2 here has just been brutal. It's like that sixteen year old GM at a tabletop game who refuses to let the game go anywhere but on HIS rails, common sense or logic be damned. I won't spoil anything, but Scenario 3 is so much better than 2 that it's difficult to put it into words.
|
|
#
?
Dec 15, 2014 02:40
|
|
|
It's like they knew Medion had to turn up at the end in Scenario 1 and wrote Scenario 2 to get him there but had no idea how. What meaningful decisions did we actually make in this scenario?
|
|
#
?
Dec 15, 2014 02:44
|
|
|
Lotish posted:What meaningful decisions did we actually make in this scenario? How badly I wanted to overkill the bosses with Syntesis, Hazuki, and Hedoba.
|
|
#
?
Dec 15, 2014 02:59
|
|
|
Lotish posted:What meaningful decisions did we actually make in this scenario? We let an old, grouchy centaur out of prison and he did his best to screw up a no deaths run EVERY BATTLE HE WAS IN. Scenario 2 has a few good bits in it though. The bits where Galm shrugs off Desherren's strongest ice attack and the introduction of the Rainbloods were both pretty fun. That said, the latter one would have been more fun the last time I played if the aforementioned centaur had decided to go over the drat ice into the basement.
|
|
#
?
Dec 16, 2014 09:53
|
|
|
Part 71: Just throw the rest of the gently caress yous into that pile over there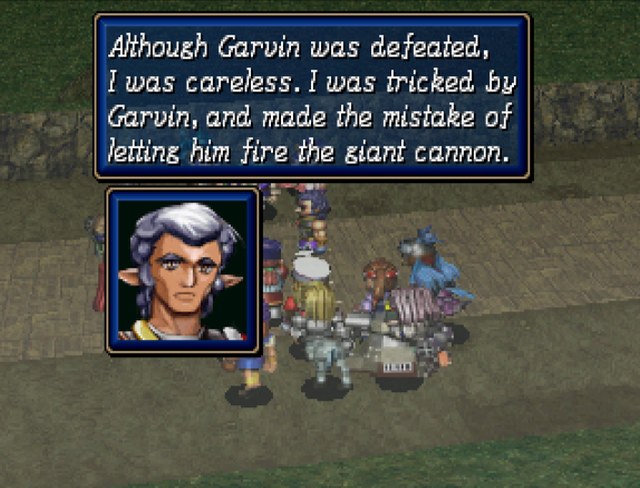 It's my fault the prince was put in danger. Please forgive me. What's done is done, David. The prince won't mind as long as everyone's safe. Right, Prince Medion? It's my fault the prince was put in danger. Please forgive me. What's done is done, David. The prince won't mind as long as everyone's safe. Right, Prince Medion?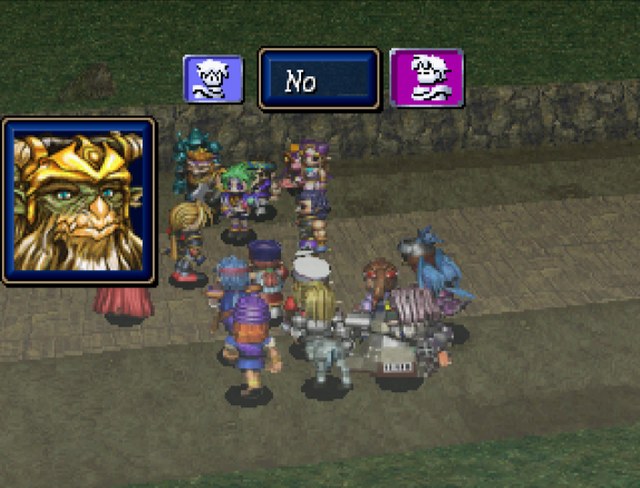 Oh hell no. David, you get just as many free passes as rear end in a top hat Dad. That is to say, none at all. You say you're upset, but I see you smiling. You must be happy now that everyone's safe.Oh gently caress you, game. Thank you for saying as much. However, had Yasha not interfered, the giant cannon would've never been fired. Did you say Yasha, David? Speaking of that, when we were saving our comrades from the tank, Garvin's corpse disappeared. I wonder where it could have gone... Yes, it was the infamous Yasha. It's hard to believe he made it out unscathed. Yasha was in the tank? Then how did he go over that castle wall when he was with General Tybalt? What are you talking about, Grantack? Yasha appeared with Tybalt? Are you saying he teleported or something? I heard a rumour in Storich... Yasha tried to kill Algernon who was being held hostage. Yes, I heard that rumour too... Yasha was with Emperor Domaric, yet he was in Aspia simultaneously... That can't be. After we passed through the volcanic cave, it seemed Yasha came to investigate so he could report back to Prince Arrawnt. It seems everyone is safe. I'm very happy everyone was rescued, Medion.  The emperor is truly delighted, prince. He's happy you defeated the Synbios force despite being on better terms with them than with the Imperial army. Do you really think the prince wanted to battle the Synbios army? He was forced into battle with them because of you! Sir, you don't seem to realize who you are dealing with. "An imprudent word invites disaster@ is a saying that comes to mind. The fact remains that we defeated the Synbios army. No matter what we may say or do now, friendly terms can't be reestablished. It's all over... Let's return... to Destonia. Return to Destonia? I can't have you do that, Medion... You have one more task. Prince Medion's duty was to defeat Garvin. What else is there? What we feared most... The occupation of Apinia's capital, Aspia? You have fulfilled your duty as an Imperial general marvelously by defeating the Synbios force. However, you must also complete one final task. That wasn't our promise, Emperor Domaric. Our purpose was to defeat Garvin to avenge Prince Arrawnt! Avenge him? Think about it Campbell. The one who actually defeated Arrawnt still lives! But Emperor Domaric, Prince Arrawnt was defeated as an invader of Aspia. Didn't you say the Republic couldn't be held accountable? That's a different matter, Grantack. The emperor ordered you to defeat Garvin, but he did not say you should forgive the Republic. So that was your plan, Emperor Domaric... The reason you had us battle Garvin was to provoke him to use the giant cannon! -chuckles- The castle wall of Aspia, which was once thought to be invincible was no match for the ancient tank's giant cannon. The way to Aspia has been opened. What!? We have been fighting this dangerous battle just because you wanted to destroy the Aspia wall? The emperor is truly delighted, prince. He's happy you defeated the Synbios force despite being on better terms with them than with the Imperial army. Do you really think the prince wanted to battle the Synbios army? He was forced into battle with them because of you! Sir, you don't seem to realize who you are dealing with. "An imprudent word invites disaster@ is a saying that comes to mind. The fact remains that we defeated the Synbios army. No matter what we may say or do now, friendly terms can't be reestablished. It's all over... Let's return... to Destonia. Return to Destonia? I can't have you do that, Medion... You have one more task. Prince Medion's duty was to defeat Garvin. What else is there? What we feared most... The occupation of Apinia's capital, Aspia? You have fulfilled your duty as an Imperial general marvelously by defeating the Synbios force. However, you must also complete one final task. That wasn't our promise, Emperor Domaric. Our purpose was to defeat Garvin to avenge Prince Arrawnt! Avenge him? Think about it Campbell. The one who actually defeated Arrawnt still lives! But Emperor Domaric, Prince Arrawnt was defeated as an invader of Aspia. Didn't you say the Republic couldn't be held accountable? That's a different matter, Grantack. The emperor ordered you to defeat Garvin, but he did not say you should forgive the Republic. So that was your plan, Emperor Domaric... The reason you had us battle Garvin was to provoke him to use the giant cannon! -chuckles- The castle wall of Aspia, which was once thought to be invincible was no match for the ancient tank's giant cannon. The way to Aspia has been opened. What!? We have been fighting this dangerous battle just because you wanted to destroy the Aspia wall? Just to recap: Domaric is so obsessed with retaking Aspia that he's willing to constantly throw his sons into danger over it. Even when it's all but handed to him, he's going to demand that his one of his two remaining sons put his life on the line again. You should all be aware by now that the only proper answer is The prince is a good man and won't take part in your invasion. Emperor Domaric... Why are you so calm? You must have some trump card to force us to obey you. I'm not going to force Medion to do anything. But what of Mageron? I can't say Arrawnt and Mageron got along very well, but they are of the same mother. Prince Mageron must be saddened. I'm sure he hopes to see vengeance dealt. Prince Mageron's force is headed here...? Keeping his eye on our backs, was he? -chuckles- They will be here soon, along with Melinda. Did you say Madam Melinda? I see... You're planning to blackmail the Medion army by using Prince Medion's mother as a hostage! Hostage? Watch your mouth, Grantack. The emperor wanted Madam Melinda to see Medion's bravery, so he sent for her. That's it! The letter Honesty delivered... Those orders were in that letter! Think of it as insurance. I had my doubts about Medion, so I sent the letter to Mageron. As long as the Medion army respects the emperor's will, and pledges its allegiance to the Empire, no harm will come to Madam Melinda. It is your choice, Medion, but what would Mageron think? After all, he is of the same mother as the fallen Arrawnt. Taking back Aspinia, which was originally part of the Empire, is the emperor's earnest wish. I'd like you to carry out that mission. If Prince Medion and Lord Synbios remain comrades, Prince Mageron won't accept it. Should Prince Medion betray him? Melinda's life is at stake. That's a possibility. However, I don't believe the prince will betray the Empire.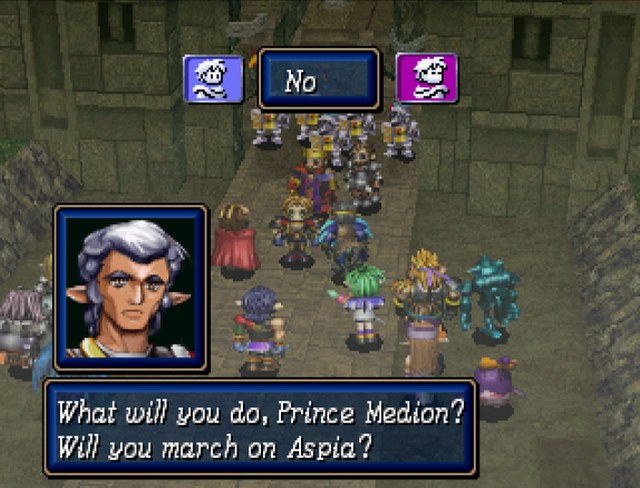 And to recap again: Domaric has now kidnapped his own wife, using his other son to hold her hostage. George Bluth only wishes he could have thought of this poo poo. Anyways, David gets even less of a say than Domaric, so you all know the drill: Stop talking nonsense, Prince Medion. Would you really abandon your mother? We can't let you do that. Have you decided? I'm heading to Aspia Castle either way. Follow me if that is your choice. Prince Mageron cares deeply for the emperor. If the emperor should happen to fall by a Republican hand, Mageron's anger will be doubled. What should we do? What do you mean? She's the prince's mother. We can't just let her die! If the prince has no choice but to follow the emperor, then the Medion army must join him. Our only option is to conquer Aspia. The members of the Medion force have joined under various circumstances. I can't force you to fight with the prince, but I beg you to cooperate if possible. Are you referring to me? Do you think I would abandon the prince?Well, you could show a shred of decency and say �No, I'm not committing a war crime to save the life of a single person that isn't really in jeopardy anyway�, but that would mean somebody says something sensible in scenario 2, and we can't have that. Then, David... you... Of course... I feel for the Republic, but to save the prince's mother, we must occupy Aspia, right? What are you talking about, Prince Medion? We won't allow Madam Melinda to be sacrificed. We're up against Prince Mageron... He will surely have no compassion for Madam Melinda! What are you talking about, Prince Medion? We won't allow Madam Melinda to be sacrificed. We're up against Prince Mageron... He will surely have no compassion for Madam Melinda!Actually, it's been stated plenty of times before that Mageron doesn't like violence, nor does he like Arrawnt. There's really no reason for him to follow through on Domaric's orders. We are one in body and spirit. Your sorrow is our sorrow.Then shut the gently caress up and let me move on to scenario 3 already. It's alright with me if we are hated by the Republic in the future. I'll gladly accept their hostility!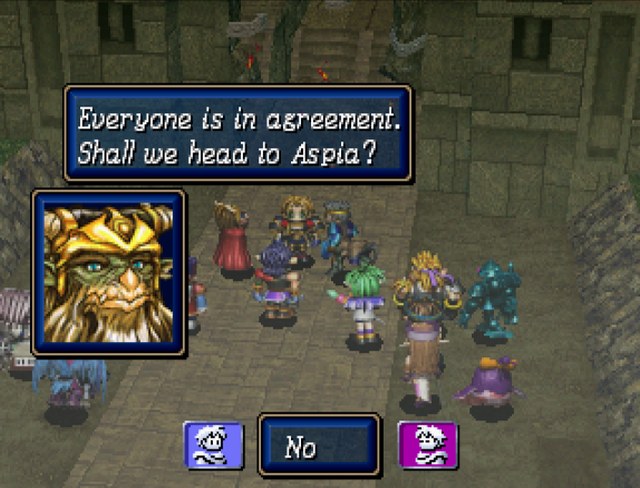 Continuing with will just get us stuck in the previous conversation loop. 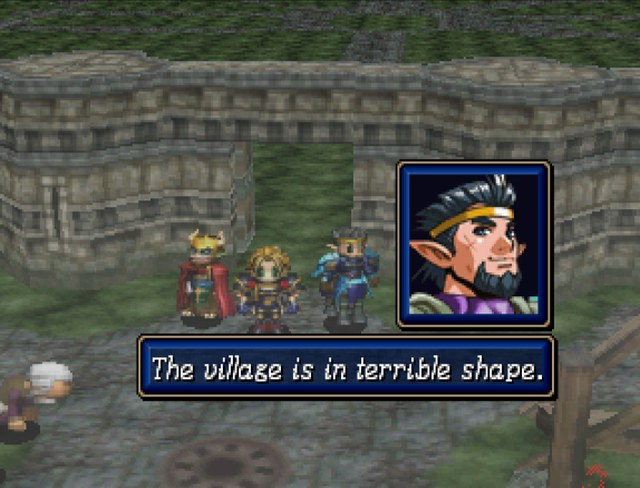 The destruction is greater than I had imagined. The destruction is greater than I had imagined.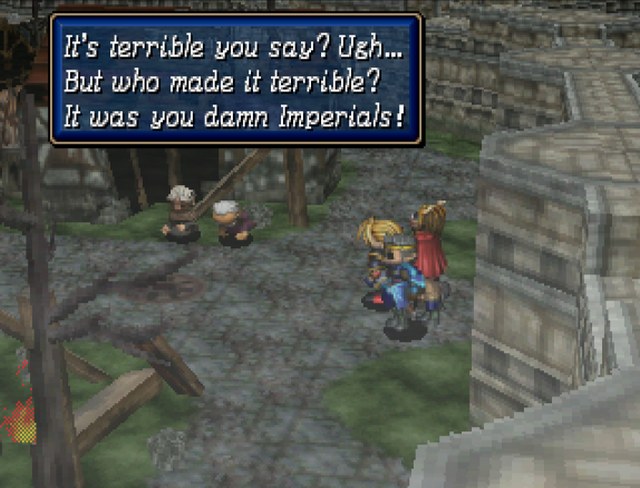 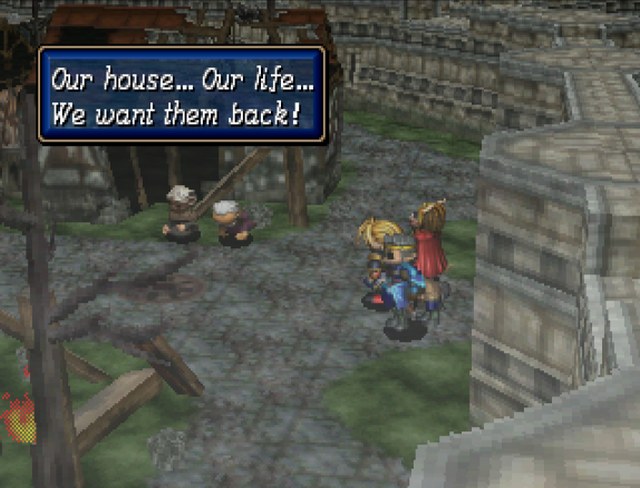 Prince, the emperor is ahead. Let's hurry and catch up with him. Prince, the emperor is ahead. Let's hurry and catch up with him.See, right here the game is going to play the �look at what you did, you monster� card. 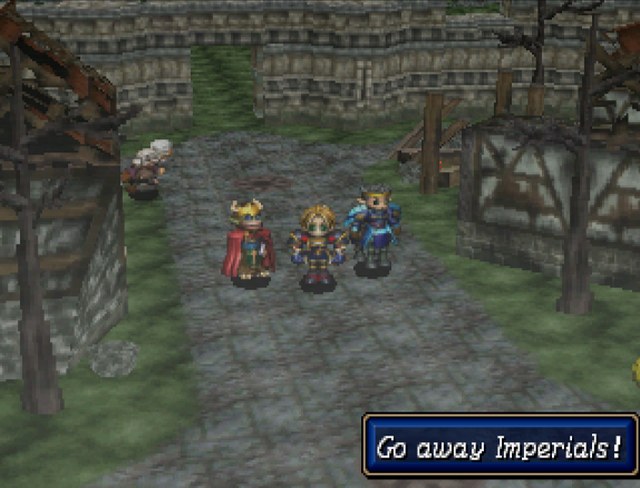 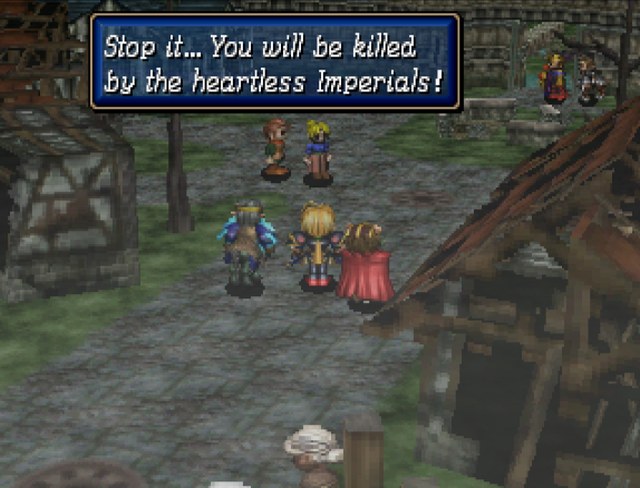  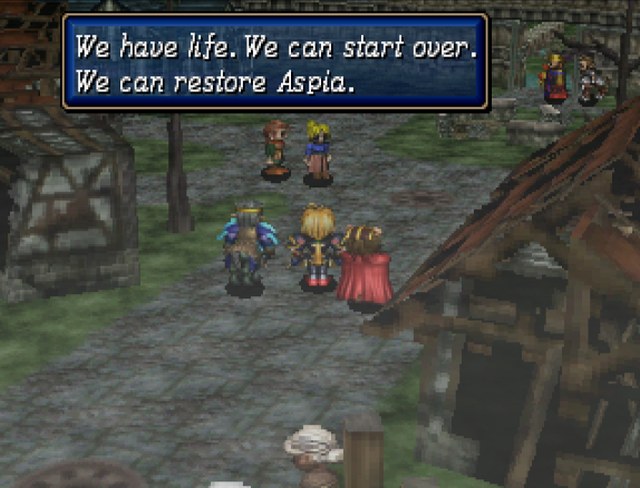 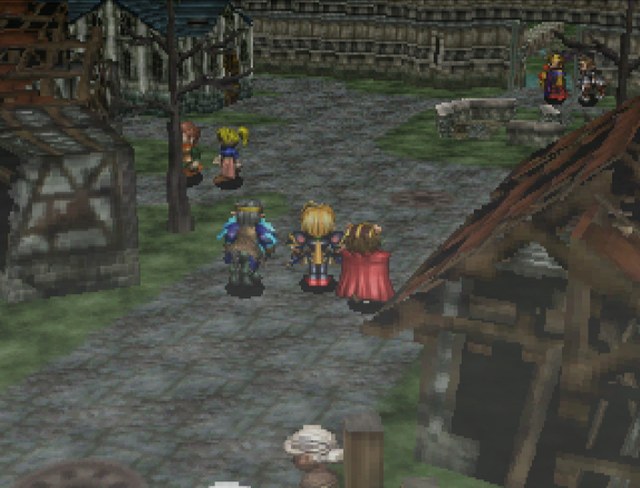 Except it doesn't work one drat bit because any sensible player would have resisted the second half of the plot the entire way and found themselves railroaded.   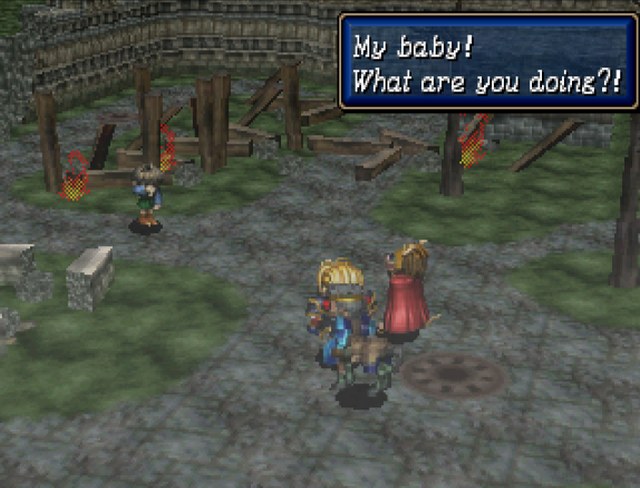 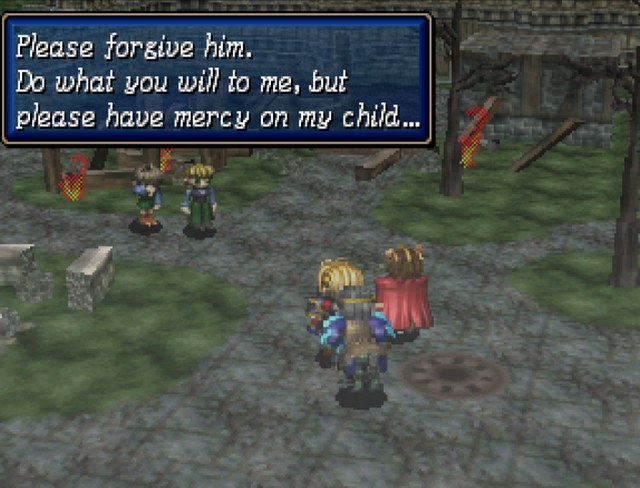  Prince Medion, this is war. Remember this. Understanding the citizens' sadness will serve you well in the future. Prince Medion, this is war. Remember this. Understanding the citizens' sadness will serve you well in the future.There is no emotional weight to this because we didn't choose to do a drat thing here. At least choosing to save Garosh or not was a semi-conscious choice we had. 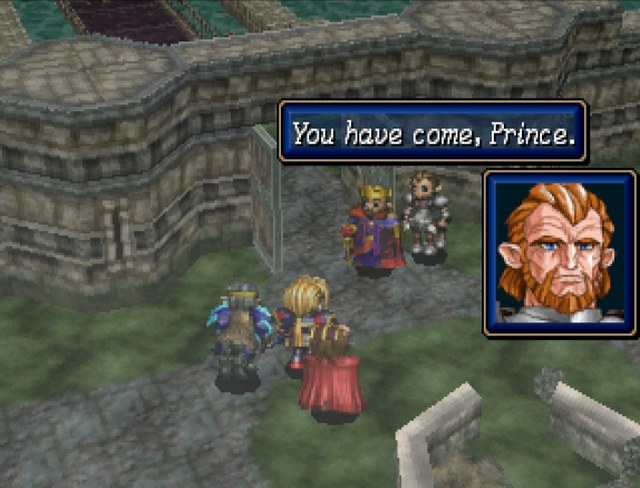 Ahead is what will surely be the final battleground with the Republic. Lead the way, Medion. This is the final conflict with Synbios! Ahead is what will surely be the final battleground with the Republic. Lead the way, Medion. This is the final conflict with Synbios!No, even Final Conflict was better than this scenario, and holy poo poo did Final Conflict have a lot of problems.  It's the Medion army! It's the Medion army! Don't think it's just us two. Our country's hero, Synbios and his force will be here to defeat you. Don't think it's just us two. Our country's hero, Synbios and his force will be here to defeat you.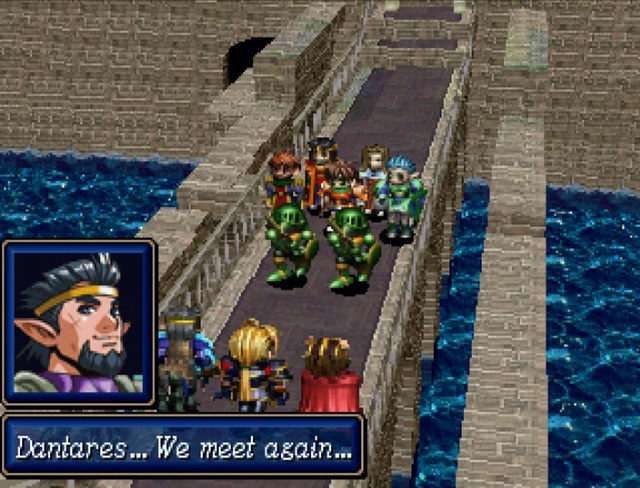  I can't believe this. I never would have thought the invasion would be led by you, Prince Medion. I can't believe this. I never would have thought the invasion would be led by you, Prince Medion.Just a note, I'm going to put in the translation's lines here rather than the ones I wrote for Synbios back in scenario 1. Medion's lines remain unchanged, though. It saddens me to meet you again under these circumstances, Lord Synbios. However, fate has brought us together. Fate?! Do you take us for fools?! You have invaded Aspia! We won't let you get away with this! Huhu... wahahah HAHA! Finally, my dearest wish of 20 years has been fulfilled. I have reclaimed the territory which was stolen by Conrad. Fate?! Do you take us for fools?! You have invaded Aspia! We won't let you get away with this! Huhu... wahahah HAHA! Finally, my dearest wish of 20 years has been fulfilled. I have reclaimed the territory which was stolen by Conrad.Reminder: Domaric is cackling about the prospect of murdering his wife and mother of his children just so he can get a lump of territory that isn't even economically useful back.  Emperor Domaric? This can't be. You were abducted... Emperor Domaric? This can't be. You were abducted... I should have known there was a master plan behind this abduction farce that put our two nations on the path to war. Isn't that right, Emperor Domaric? -smirk- Benetram, have you come to welcome me in the annexing of Aspia? Is that it, Prince Medion? You played along with the abduction of the emperor and invaded Aspia with him while we were dealing with the turmoil? Lord Synbios, that's not true. This is absolutely unavoidable. You... I saw you in Saraband. Yes, you must be Synbios. Synbios, son of Conrad, eh? The one who defeated Arrawnt... There are many things I must repay you for. -smirk- You'll have to go through me first! Dantares, is that a challenge? I'm ready anytime. Our reckoning is long overdue! Calm down, Campbell... Don't hasten the fight. Save the battle for the battlefield. Now is not the time or place! What are you saying, Prince Medion? You say now is not the time for battle. If not now, then when? Will you betray the Empire, Prince Medion? You have promised to avenge Prince Arrawnt's death. If that promise isn't kept... Please let me fight, Prince Medion. Even if I will be labeled as an invader for the rest of my life, as long as I can save her life... Her life? Then... the prince is being forced into this to protect someone's life... Is this true, Prince Medion? It's too late, Lord Synbios. We wouldn't be in this situation if my brother Arrawnt hadn't fallen to you in battle. AHAHAHAH! I should have known there was a master plan behind this abduction farce that put our two nations on the path to war. Isn't that right, Emperor Domaric? -smirk- Benetram, have you come to welcome me in the annexing of Aspia? Is that it, Prince Medion? You played along with the abduction of the emperor and invaded Aspia with him while we were dealing with the turmoil? Lord Synbios, that's not true. This is absolutely unavoidable. You... I saw you in Saraband. Yes, you must be Synbios. Synbios, son of Conrad, eh? The one who defeated Arrawnt... There are many things I must repay you for. -smirk- You'll have to go through me first! Dantares, is that a challenge? I'm ready anytime. Our reckoning is long overdue! Calm down, Campbell... Don't hasten the fight. Save the battle for the battlefield. Now is not the time or place! What are you saying, Prince Medion? You say now is not the time for battle. If not now, then when? Will you betray the Empire, Prince Medion? You have promised to avenge Prince Arrawnt's death. If that promise isn't kept... Please let me fight, Prince Medion. Even if I will be labeled as an invader for the rest of my life, as long as I can save her life... Her life? Then... the prince is being forced into this to protect someone's life... Is this true, Prince Medion? It's too late, Lord Synbios. We wouldn't be in this situation if my brother Arrawnt hadn't fallen to you in battle. AHAHAHAH!Now he's just plain laughing that his son is dead. This is all your doing, Emperor Domaric. You are as terrifying as ever. Benetram, your knowledge and intelligence can't help you now. Medion, you have earned my trust. Put Conrad's son to death, and deliver Aspia to me! Dantares... Draw... 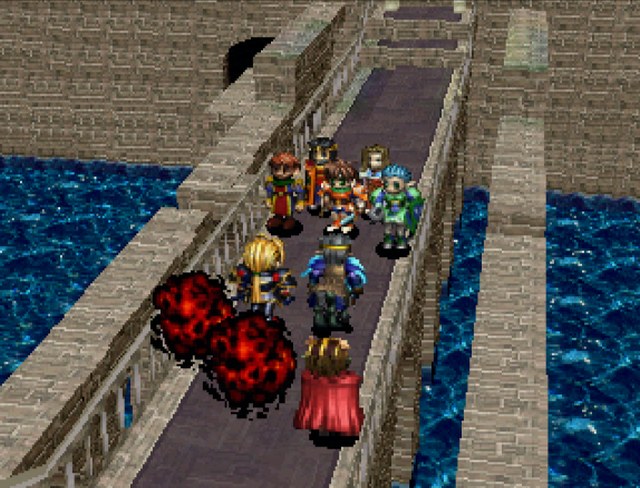 Be careful, Lord Synbios! They are the ones who defeated our other battalion. I will fight too, Synbios! No, Tristus. Why Benetram? Won't you allow me to join the battle? I can still fight! It's been a while since you've been on the front. I don't want those four to fight either... I think it's best you stay out of the battle. Do it, Medion! You can do it! For the Empire, defeat Conrad's son! Even if you suppress Aspinia by force, and annex it for the Empire, the people will rise again. Are you prepared to deal with that, Emperor Domaric? Aspinia will not rise up again... I'll make sure it doesn't have the strength. I will make sure the people are grateful just to be alive. Even as you hear Emperor Domaric's words, you still intend to conquer Aspia for him? Are you such a centaur, Campbell? Be careful, Lord Synbios! They are the ones who defeated our other battalion. I will fight too, Synbios! No, Tristus. Why Benetram? Won't you allow me to join the battle? I can still fight! It's been a while since you've been on the front. I don't want those four to fight either... I think it's best you stay out of the battle. Do it, Medion! You can do it! For the Empire, defeat Conrad's son! Even if you suppress Aspinia by force, and annex it for the Empire, the people will rise again. Are you prepared to deal with that, Emperor Domaric? Aspinia will not rise up again... I'll make sure it doesn't have the strength. I will make sure the people are grateful just to be alive. Even as you hear Emperor Domaric's words, you still intend to conquer Aspia for him? Are you such a centaur, Campbell?Well, he's not named Dauntless, Justice, Chivalry, Honesty, or Arthur. He must not have any virtues. You should not judge, Dantares. You do not know how the prince and I feel. In our situation, I am willing to close my eyes and ears and fight. Prince Medion... I thought you were different. No... I still believe you are. If you love the people and fight for their freedom, it's not too late. Prince, please sheathe your sword. What are you waiting for? Do it, Medion! If you don't... Melinda will...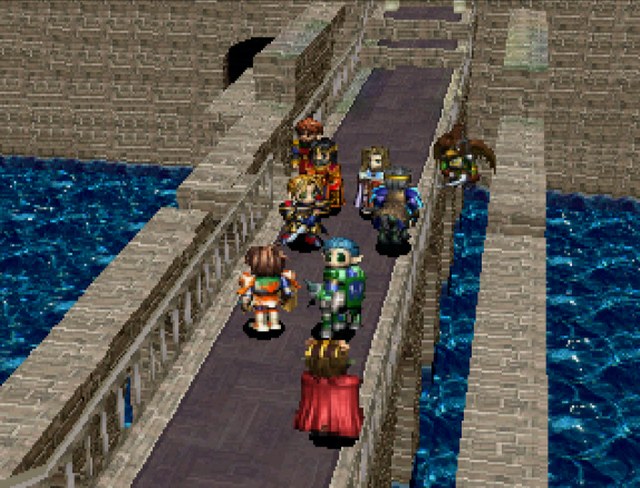 And they charge at each other and switch sides. It really would have been the best chance for Synbios and Dantares to assassinate Domaric right there, but this game isn't that cool.  Honesty!!! Honesty!!! Honesty, why are you here? You are Rogan's soldier. Have you delivered the letter to Mageron? Honesty, why are you here? You are Rogan's soldier. Have you delivered the letter to Mageron? I delivered the letter to Prince Mageron, but that letter... But... What about it...? I delivered the letter to Prince Mageron, but that letter... But... What about it...? So it's you, Yasha... I thought you were to greet Prince Mageron? � Yasha... You weren't summoned. Is there something wrong? Prince Mageron is... Julian... Ugh! So it's you, Yasha... I thought you were to greet Prince Mageron? � Yasha... You weren't summoned. Is there something wrong? Prince Mageron is... Julian... Ugh!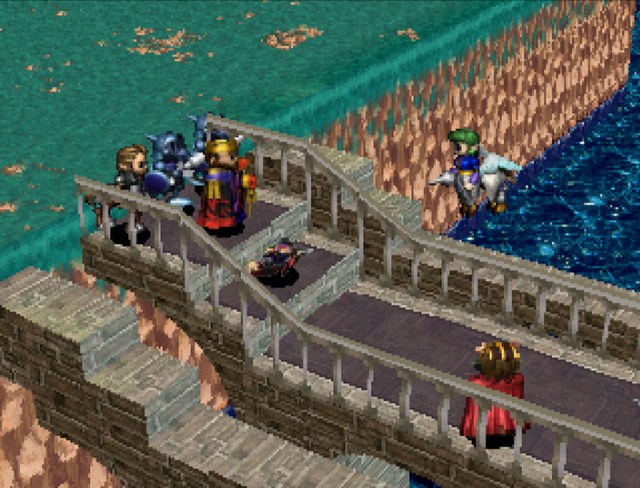 Yasha, what about Prince Mageron, and who's Julian?! Yasha, what about Prince Mageron, and who's Julian?!Seriously, how many times do we have to kill this motherfucker? Strangely, there's no fade to black or text blurb before the credits roll this time. However, we do get another scene after the credits.  Captain, there's a light up ahead! Captain, there's a light up ahead! What's that? A light... What's that? A light...:thedon A light? 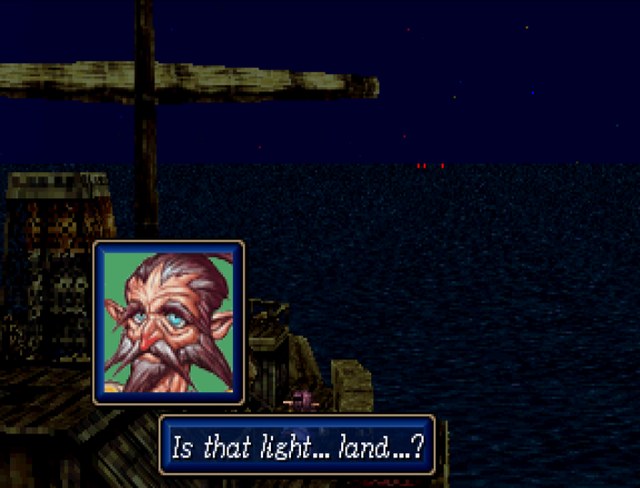  Everyone, a light! You can see the shore up ahead! Everyone, a light! You can see the shore up ahead!  It's Destonia, Gracia. It's Destonia, Gracia. So that's where we'll be fighting the Vandal's ancient weapon? Yes, the capital city of Destonia. A city overflowing with greed and corruption. What a truly despicable place. Donhort! No matter how much you despise Destonia, it's the capital of our empire. I am aware, Bresby. So that's where we'll be fighting the Vandal's ancient weapon? Yes, the capital city of Destonia. A city overflowing with greed and corruption. What a truly despicable place. Donhort! No matter how much you despise Destonia, it's the capital of our empire. I am aware, Bresby.You know what? You're okay, Donhort.  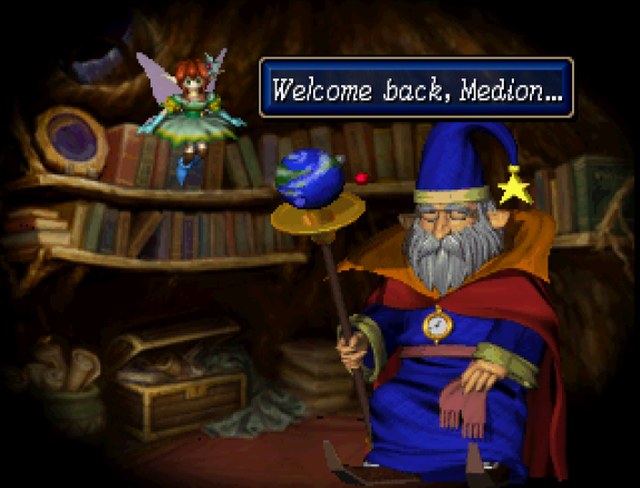  Phew. Medion and Synbios were within an inch of killing each other. If I hadn't stopped time... Phew. Medion and Synbios were within an inch of killing each other. If I hadn't stopped time... Master Gabriel? The one who stopped those two from fighting to the death was Julian, wasn't it? Heh heh. Julian, eh? However, the suspension of their battle is only temporary. We can't forsee what will come to pass. Somehow, the fate of the world has become entirely dependent on Julian. It looks like we will need to turn back time one more for you to live the fate of Julian. Whaaaat? Again? The preparations are really difficult, you know. But, I guess there's no way around it, right? What of the preparations, Fey? Compared to actually turning back time, I'm sure they're much, much easier. Two fates revealed... The final fate remains. Just once more, we must have your help. Once we've finished the preparations for reversing time, you absolutely must lend us your strength again! Master Gabriel? The one who stopped those two from fighting to the death was Julian, wasn't it? Heh heh. Julian, eh? However, the suspension of their battle is only temporary. We can't forsee what will come to pass. Somehow, the fate of the world has become entirely dependent on Julian. It looks like we will need to turn back time one more for you to live the fate of Julian. Whaaaat? Again? The preparations are really difficult, you know. But, I guess there's no way around it, right? What of the preparations, Fey? Compared to actually turning back time, I'm sure they're much, much easier. Two fates revealed... The final fate remains. Just once more, we must have your help. Once we've finished the preparations for reversing time, you absolutely must lend us your strength again! NEXT TIME: YESSSSSS A MUCH BETTER DISC
|
|
#
?
Dec 16, 2014 14:49
|
|
|
Premium Disc B So now that we've cleaned up another scenario, it's time to pop that premium disc back in and check out the relevant art! 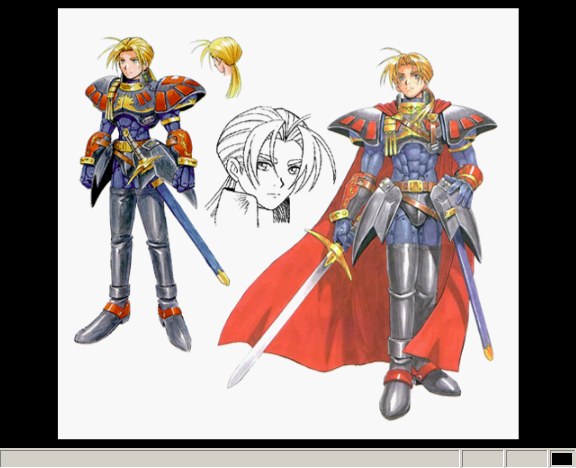  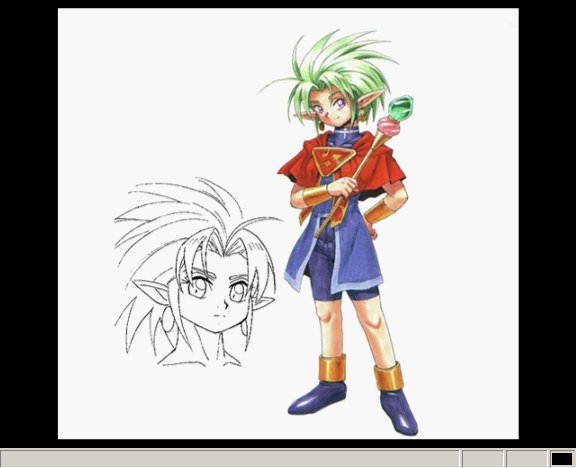 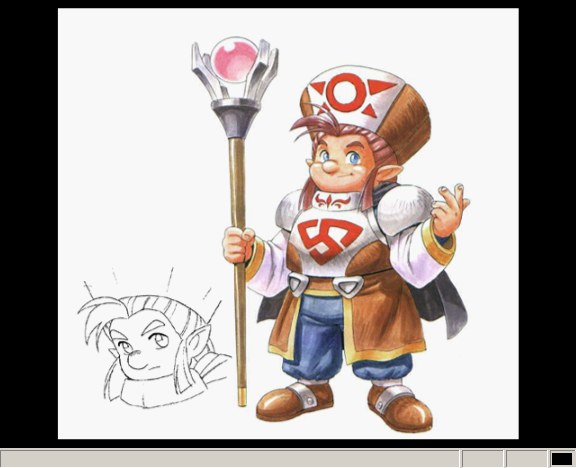      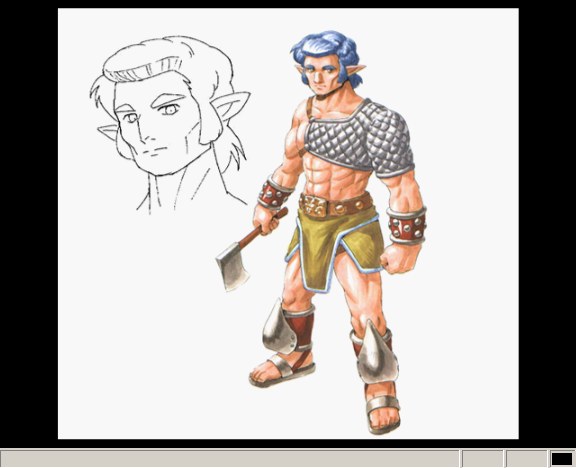  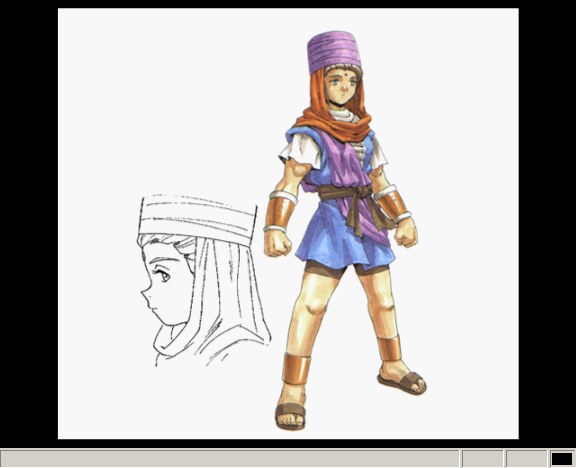 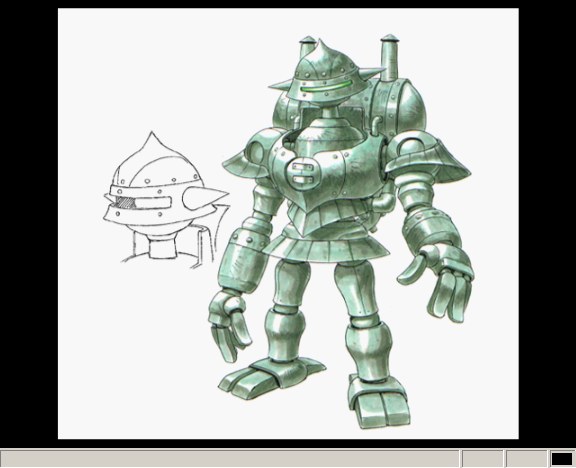 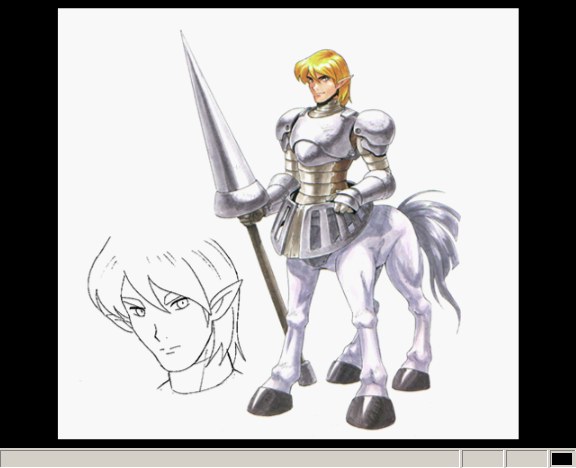     As you can see, there was no post-promotion art. On the plus side, the character designs as a whole are pretty sensible, with exceptions to David and Hedoba. But since they come from another society entirely, it's justifiable. 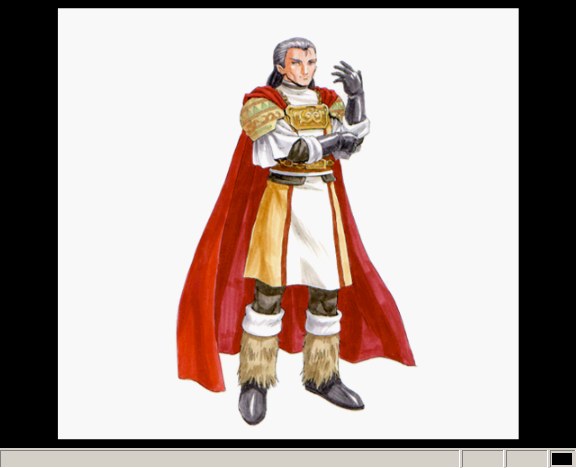 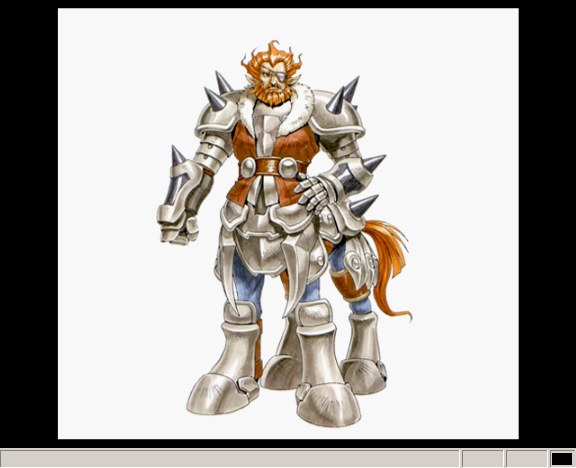 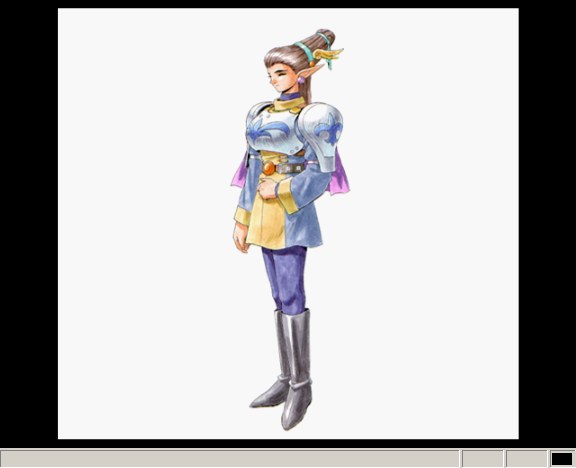    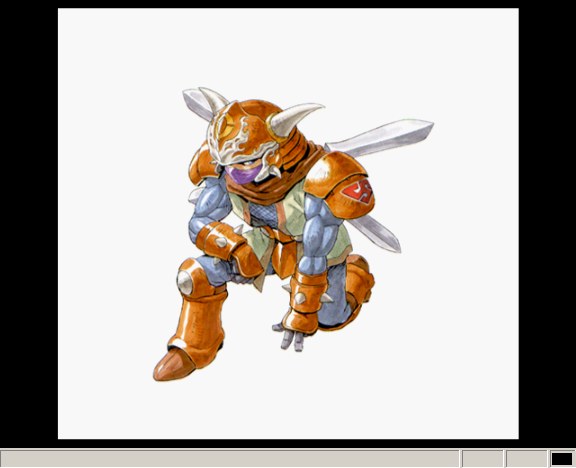 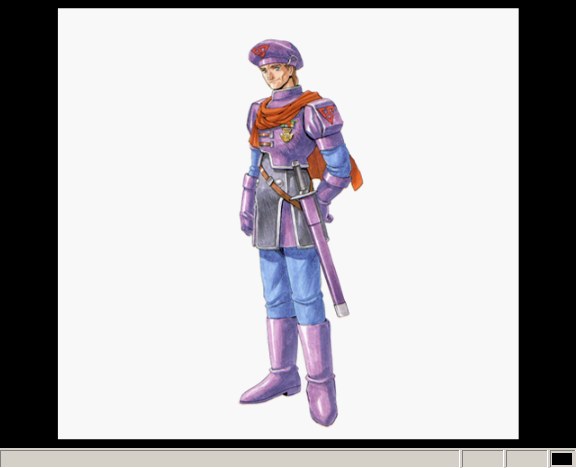 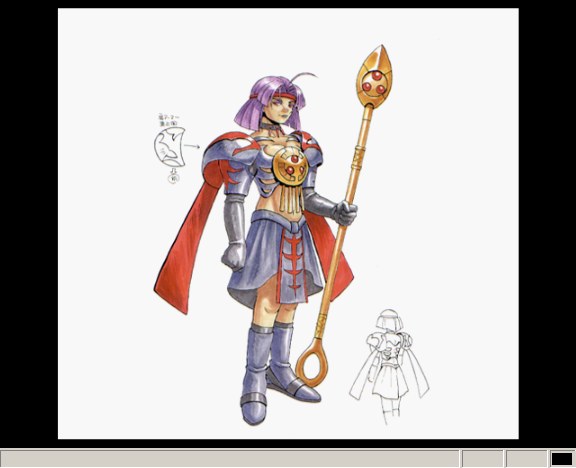 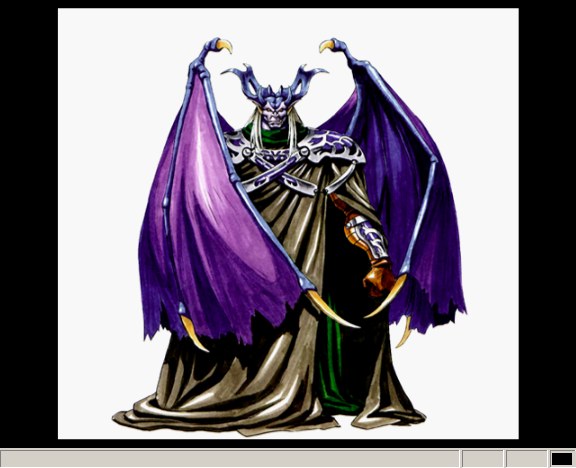 A bunch of the significant NPCs in scenario 2. Rogan's design is cool enough that I almost wish we got him as a full-time character. Dessheren looks like a total mess, though. Also worth noting are that Tybalt and Varlant's Japanese names were Tyranny and Valiant, respectively. One of these names would have been a bit of a dead giveaway. You can guess which one.   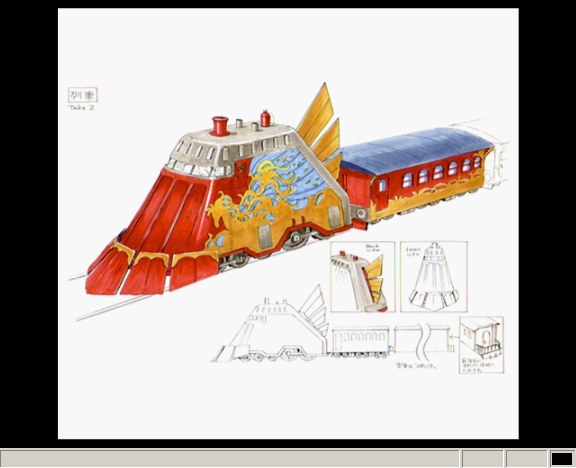  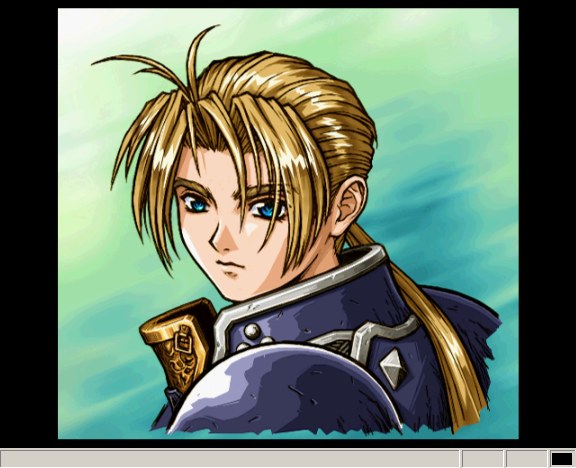 The cover and some more concept art. Gracia is loving pint-sized. It's also hilarious how the sub-title of the scenario (Target: Child of God) refers directly to him, and he's in the game for maybe a chapter and a half, tops.
|
|
#
?
Dec 16, 2014 15:02
|
|
|
Freedom! Glorious, awful freedom!
|
|
#
?
Dec 16, 2014 16:43
|
|
|
"You have to pick yes" > no "You have to pick yes" > no "You have to pick yes" >no "You have to pick yes" > yes"You picked yes! Now you must feel bad!" I have literally seen less railroading on Thomas the Tank Engine.
|
|
#
?
Dec 16, 2014 17:38
|
|
|
What's infuriating is there was good plot potential that gets thrown away and requires you to be a stupid tit to progress
|
|
#
?
Dec 16, 2014 18:48
|
|

|
See, the way I remember this game is that Melinda got kidnapped about about one town after Emperor Dad forced his way into the party and the entire escorting him across the country thing happened with her at swordpoint. But I guess that was just my imagination trying to write a much better game.
|
|
#
?
Dec 16, 2014 19:52
|
|
|
Don't saddle us with a "But Thou Must" and then bitch us out for acquiescing. The only way the King could be more obviously evil at this point was if he was wearing all black and followed by a marching band playing the imperial march in minor key.
|
|
#
?
Dec 16, 2014 22:55
|
|
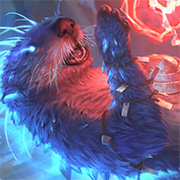
|

|
| # ? Jun 11, 2024 12:43 |
|
|
That's one of my biggest pet peeves in a game - being given NO choice but to do something colossally evil or stupid and getting bitched out for it.
|
|
#
?
Dec 16, 2014 23:02
|
|