

|
Toyotasomi no Miko posted:Alice, Akatsuki, and Fang. Bind the Kraken's legs forever. This is a plan without a flaw nor any possibility of error! ahahah wow shows me for leaving this tab open for so long without refreshing I think that for destruction Ice is also great, and would suffice. vdate fucked around with this message at 17:10 on Apr 26, 2017 |
 #
?
Apr 26, 2017 17:02
#
?
Apr 26, 2017 17:02
|
|


|

|
| # ? May 30, 2024 14:18 |
|
|
Prepare to suffer: Volt
|
|
#
?
Apr 26, 2017 18:22
|
|

|
VOTING IS CLOSED! Ice: 10 Volt: 5 Fire: 3 My Choice: 1 Looks like the order will be Ice, Volt, and Fire. Efe posted:In any EO game where I made it far enough to fight the dragons, it was the Volt one who game me the most trouble. I hate to disappoint you, but this isn't possible. Due to how the fight works, there's not really a way to do that other than using Warrior Might. It's one of the few fights in the entire game to punish you for using too many buffs. And considering how they're far more integral to the game compared to the previous EO games, it's a painful fight. You pretty much have no room to use anything other than putting Prevent Order on everyone.
|
|
#
?
Apr 26, 2017 19:44
|
|

|
Has the volt dragon's gimmick ever been different? Wasn't it always purge the buffs with judgement bolt?
|
|
#
?
Apr 27, 2017 07:39
|
|

|
Blademaster_Aio posted:Has the volt dragon's gimmick ever been different? It does, but EO2U changed it so he casts it at (relatively) set points instead of casting it when he decides you broke a rule. Granted in EO1, it was very likely to cast Corrupt if your party even had a single buff on anyone. But that was honestly preferable to him using the rest of his skillset since all Corrupt did was just purge buffs... and nothing else, forcing him to completely waste turns. There's a reason why it instantly kills/curses your party members in later games on top of doing that. EO1's AI scripts have a lot of ways to be exploited if you know about them.
|
|
#
?
Apr 27, 2017 07:54
|
|
|
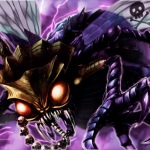
Update 88: Kraken I�ve clearly been studying the wrong field before! This is producing much better results! I�ve clearly been studying the wrong field before! This is producing much better results!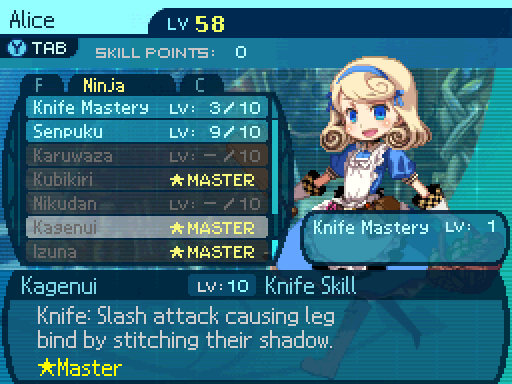 Right, so since Alice somehow got in a party meant for a boss again, I had to rearrange her skill points to make sure she can at least contribute to the upcoming fight. Pfffft, yeah that�s a good one. 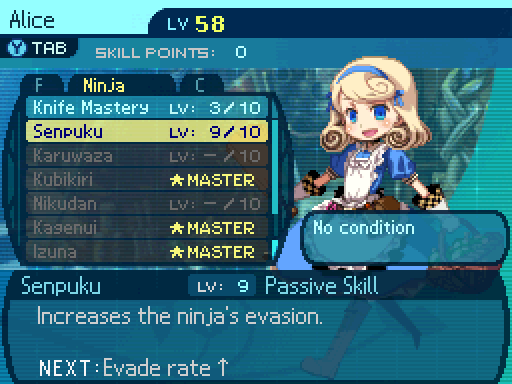 Alice now has +32 evasion. Because she wasn�t enough of a dodge-master before. Not that this will matter in the upcoming fight. 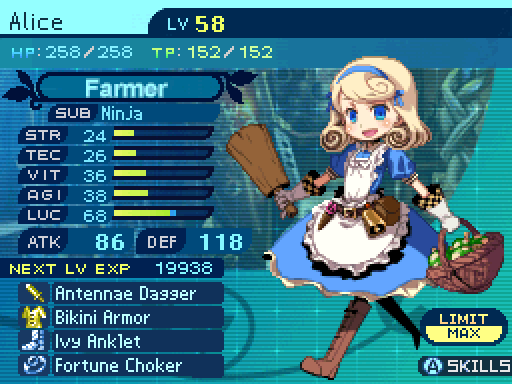  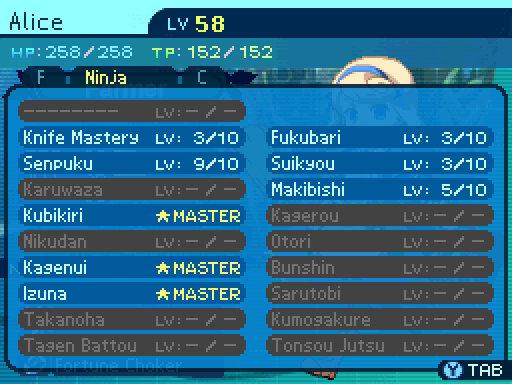 Alice�s new skillset. Now while Alice has high LUC, her low TEC drags down her infliction rate well below Kraken�s TEC and LUC. And trying to increase her LUC will actually lower Kagenui�s success rate due to the ailment infliction bug. So it�s in my best interest not to mess with it. 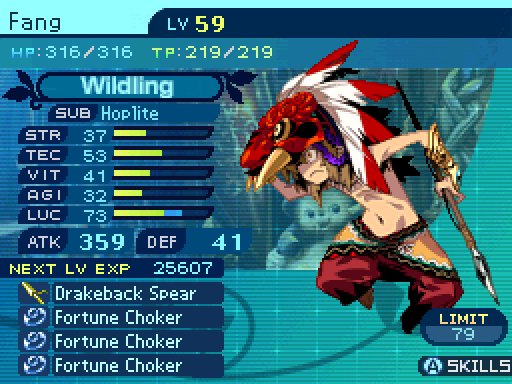 Now in Fang�s case, his LUC and TEC stats can go above Kraken�s, so I try to raise his LUC as high as possible. To the point where I even reforged his weapon to have all LUC forges.  Also as an extra precaution, I reskill Asteria so she can make better use of Meteor. 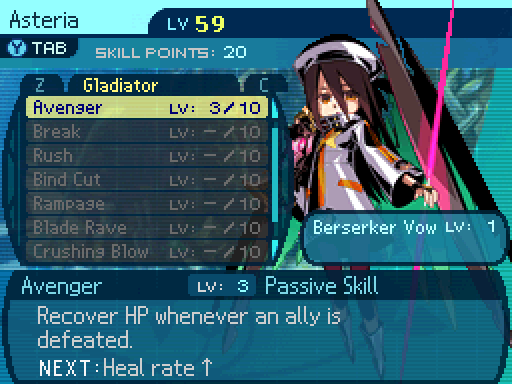 Well, um. I guess this could come in handy. Well, um. I guess this could come in handy.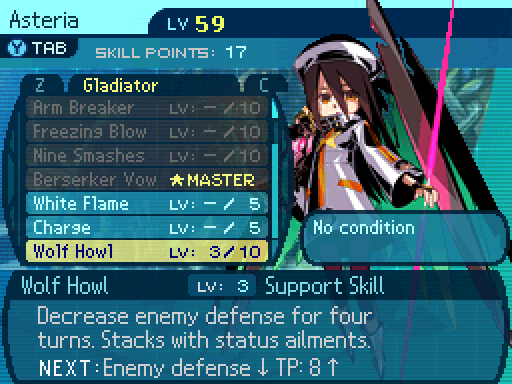 I don�t even know what to say to this. I don�t even know what to say to this. Now this is just silly. Now this is just silly.Charge works with Meteor, so I spent a lot of her skill points just to get this for her. 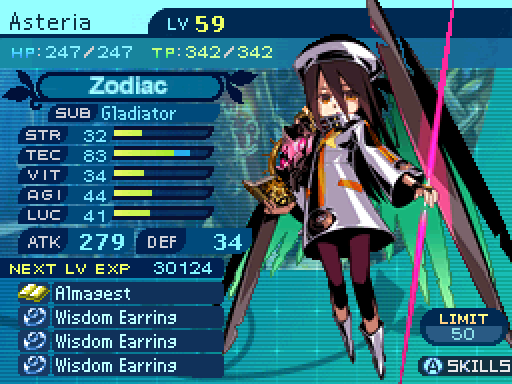   Asteria�s new skill build. I also outfit her with equipment with as many TEC forges as possible to increase her damage output. 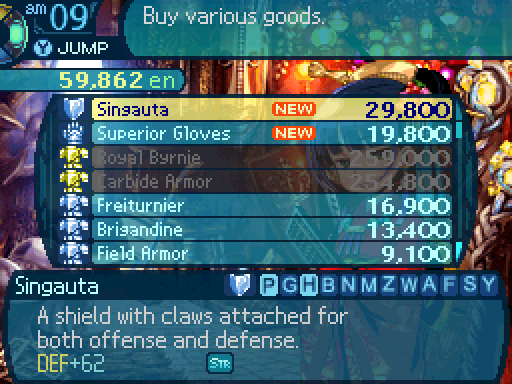 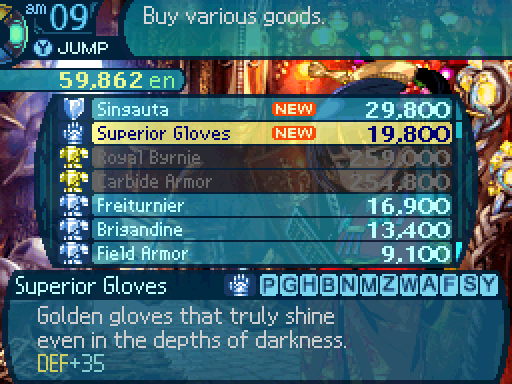 While I was preparing for the Kraken fight, I went gathering in the 6th Stratum to build up some funds, and unlocked some items in the process. 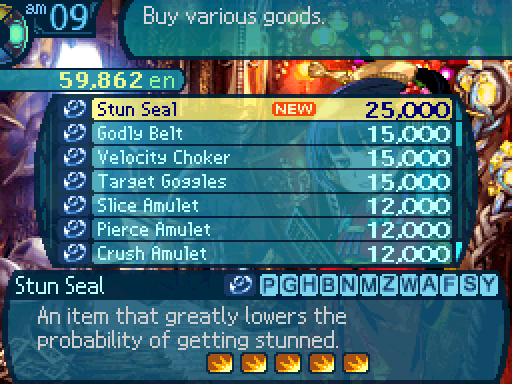 The Stun Seal provides a 50% resistance to Stun. Which only really matters for slow characters. Stuns can be avoided entirely by just being faster than the enemy, so I don�t find this useful. Not many things even inflict it in the first place. 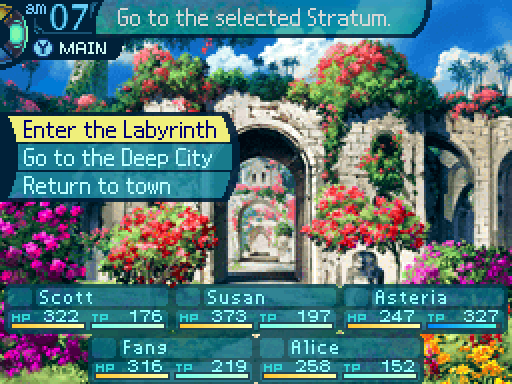 This is the party that was voted in to deal with Kraken. There�s a reason I was taking those precautions, as this isn�t really an excellent party to bring along. I mean for one thing, Alice could be replaced with a real party member, but whatever. 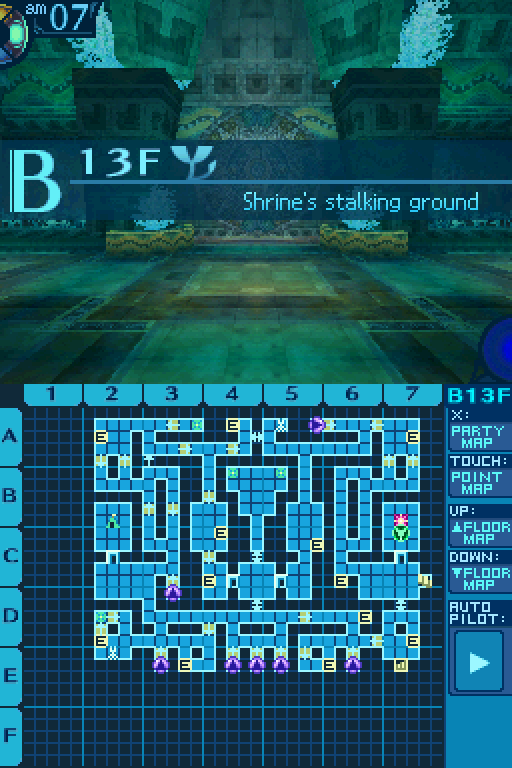  Uhhh, where�s the Kraken? I don�t see it anywhere on this map. Uhhh, where�s the Kraken? I don�t see it anywhere on this map. Maybe that guy was lying? Maybe that guy was lying? I don�t know. Would someone really spend all that ental just to play a jape on us? Hmm... Missy did say that they managed to trap it. Maybe it didn�t get out yet. I don�t know. Would someone really spend all that ental just to play a jape on us? Hmm... Missy did say that they managed to trap it. Maybe it didn�t get out yet. Oh, so all we have to do is turn it off and... Hmm, how are we going to do that? It doesn�t look like there�s any way around it. We�ll have to look for a way to turn it off. Oh, so all we have to do is turn it off and... Hmm, how are we going to do that? It doesn�t look like there�s any way around it. We�ll have to look for a way to turn it off.Kraken is a little difficult to find. In order to actually fight it, you have to let the Kraken out of the trap first. 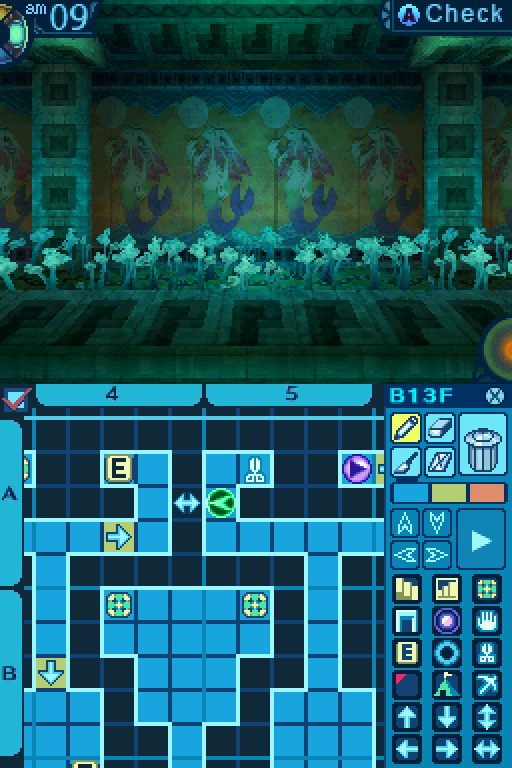 To do so, you have to have this shortcut unlocked.  So you can activate this switch.   Doing so opens up this cage, so you can fight the FOE there. 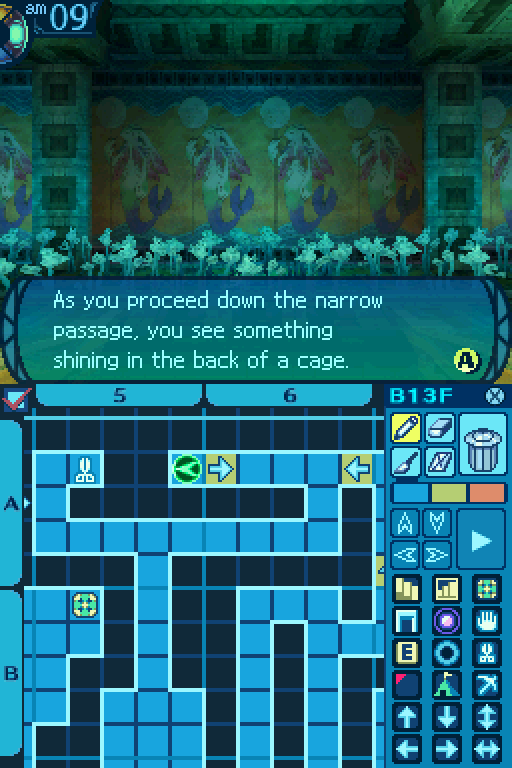 You normally would not have have noticed this... It�s a hidden switch! You can flip this switch, or be cautious and leave it alone. 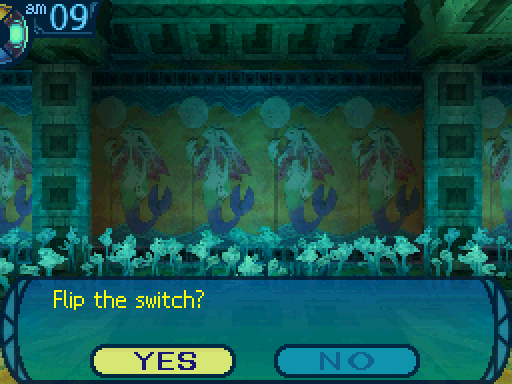 Because this cage contains the switch needed to release the Kraken. Yeah, this quest is partly a tile hunt in which you are given no hints on where to look. It sucks! In fact, unlike with most other quest triggers, there�s nothing on this tile beforehand to let you know that there�s a quest trigger for later. Wow, that�s a sneaky place to hide it! Probably to stop some idiot from accidentally letting it out. Okay, let�s just flip that...You reach out with great resolve and move the switch to its opposite position! The sound of a gate opening is heard. ...Suddenly, a heavy, metallic sound echoes from around the center of this floor! You may go see what happened if you wish, or you can avoid the area if you fear danger. 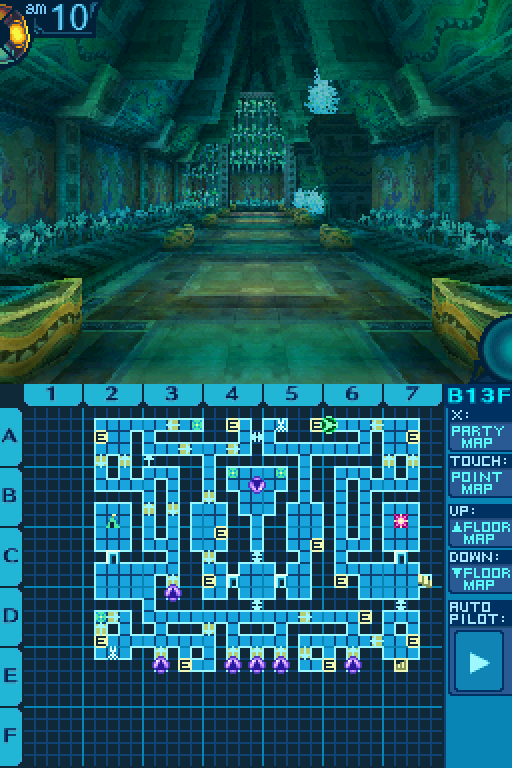 And as you can see, the Kraken popped up in the middle of the map. 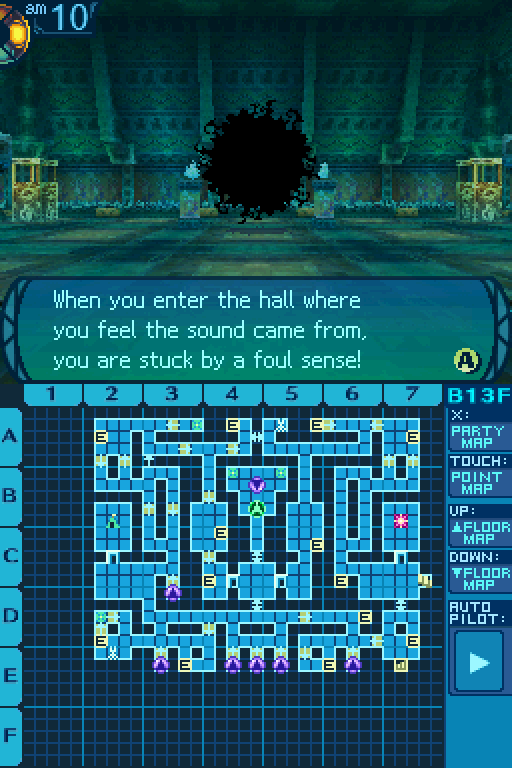 Ugh! Is that smell coming from that!? I can�t- urk, imagine what else it could possibly be. Ugh! Is that smell coming from that!? I can�t- urk, imagine what else it could possibly be.A dreadful monster writhes its countless suckered tentacles in anticipation of your arrival! Judging by the pieces of metal scattered about, that switch released the cage sealing it! This monster must be the Kraken that the client and his friend could not defeat in the past! The time is now. Draw your weapons and challenge it to fulfill a man�s dying wish! That must�ve been one sturdy trap if it couldn�t break out before we got here.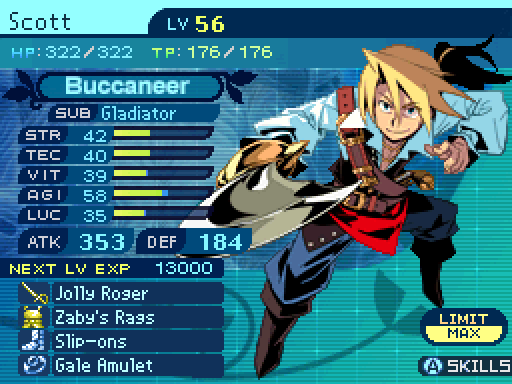 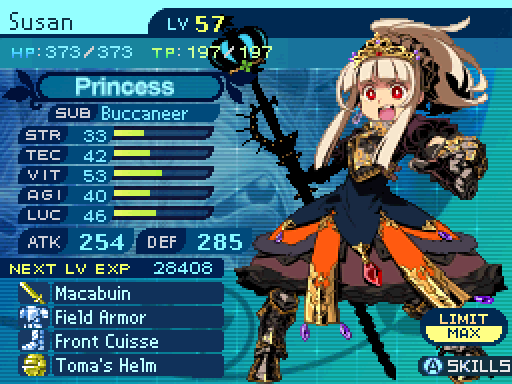  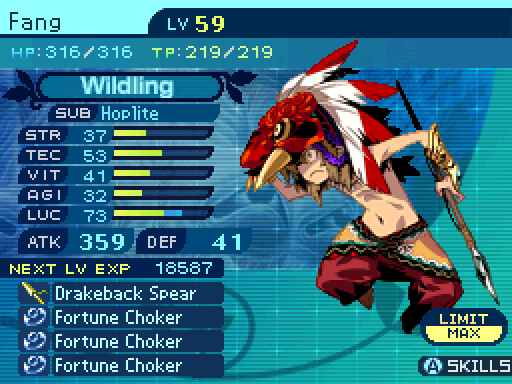 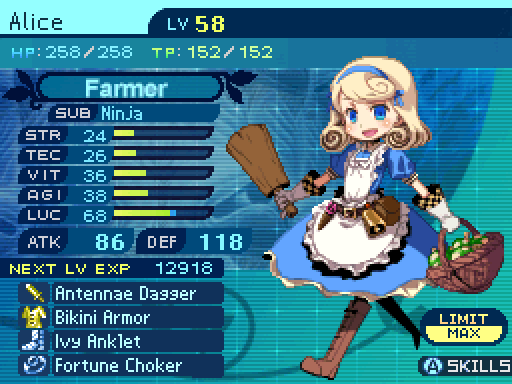 Here�s my party setup for this fight. Yes, I do have Asteria in the front row. There�s a reason for that. 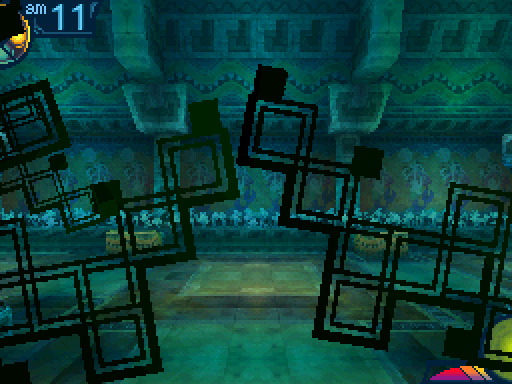 Time to crack down on this problem! Time to crack down on this problem! Video: Kraken Video: Kraken Here�s one of the post-game bosses, so let�s take a look at it.  Kraken Level: 69 HP: 30000 STR: 80 VIT: 75 AGI: 24 LUC: 56 TEC: 80 Attack Type: Pierce Exp: 180000 Item Drops: -Gold: Offset Funnel - 100% Drop Rate. Unlocks the Yatagarasu (Ultimate Gun. Must be restocked.) --Emits jets of fluid that allow for faster movement. -Normal: Prisoner�s Arm - Kill while legs are bound. 100% Drop Rate. Prevents normal drops. Unlocks the Rhongomyniad (Spear. Must be restocked.) --Gouges the insides of its prey as it twists painfully. Description: A sea monster sealed by a nameless explorer decades ago. It whips its tentacles to attack. Damage Resistances: Slash: 125% Strike: 125% Pierce: 125% Fire: 125% Ice: 125% Volt: 125% Ailment Resistances: Sleep: 0% Confusion: 0% Plague: 0% Poison: 0% Blind: 0% Curse: 0% Paralysis: 0% Bind Resistances: Head: 30% Arm: 30% Leg: 120% Other Resistances: Death: LR � 6% Petrification: LR � 6% Stun: 0% Skills: Death Tentacle: Uses the Legs. Randomly hits the party 10 times, dealing 95% STR-based Pierce damage per hit. Has an action speed of -20. Has an accuracy of 180. Squid Press: Uses the Legs. Deals 150% STR-based Strike damage to the entire party. Has an action speed of -20. Has an accuracy of 150. Tidal Wave: Uses the Legs. Deals 85% TEC-based Ice damage to the entire party. Has an action speed of -10. Has an accuracy of 200. Restoration: Uses the Legs. Heals Kraken for 15000 HP. Has an action speed of -20. Kraken is immune to every single disable that isn�t a bind. However, leg binding it will make it completely helpless. There isn�t much to it other than dealing so much damage to your party. Death Tentacle is probably Kraken�s most deadly skill, as it deals a total of 950% damage across your entire party. Also, Kraken has the 3rd highest STR and TEC stats out of all the enemies in the game. So while those damage modifiers are low, the skills still deal a ton of damage due to those high stats. With that said, Kraken is slow, so your party members are pretty much guaranteed to move before it does. Also since this is the post-game, I�ll be showing the bosses� AI scripts as well, since they can be a little tough to deal with if you don�t have a great party. Kraken�s AI Script posted:If HP% is below 26%, cast Restoration. (Targets self.) Cannot be used again until Death Tentacle is cast. A rather simplistic AI script, but when all Kraken needs to do is cast a skill to kill everyone, it doesn�t really need much in that department. 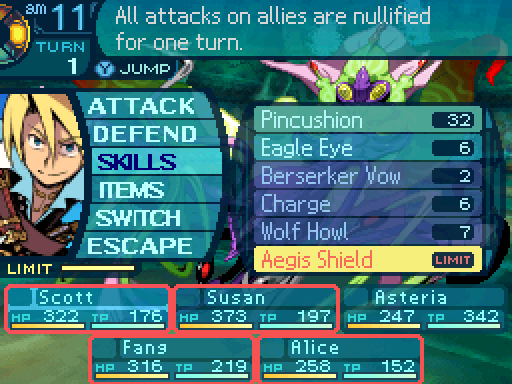 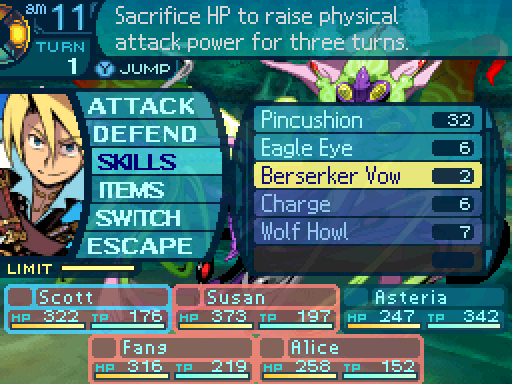 First, I�ll have Scott cast Aegis Shield, just in case the leg binds don�t land on the first turn. Also so he and Asteria can cast Berserker Vow safely. Though really at this point, Kraken can kill them both, even if they have full health.  And here�s the reason I have Asteria in the front row. Namely so Susan can buff both her and Scott with one cast of Attack Order, instead of having to spend 2 turns buffing them both.   Both Fang and Alice are gonna try for a leg bind. If it doesn�t land this turn, well there�s always next turn. 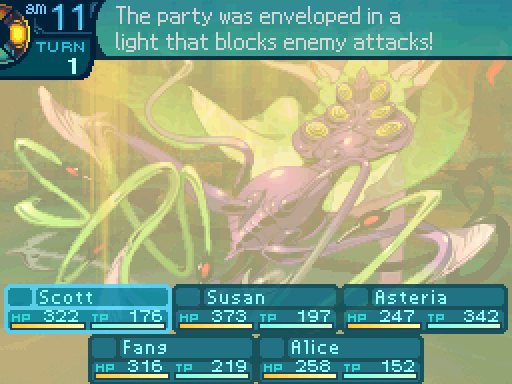 Just try to sink this ship! Just try to sink this ship!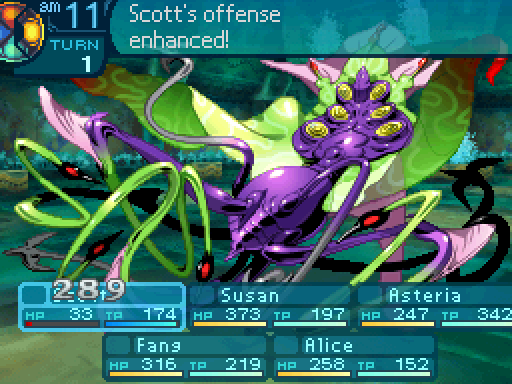 Oh dear, do I really have to do that? I�d say you can ignore the pain once you get better at doing it. But-OW, no. It gets worse. So much worse. Oh dear, do I really have to do that? I�d say you can ignore the pain once you get better at doing it. But-OW, no. It gets worse. So much worse.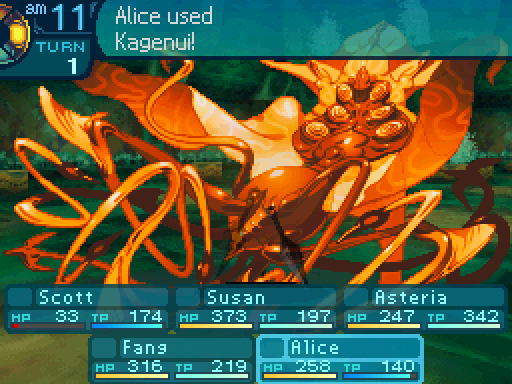 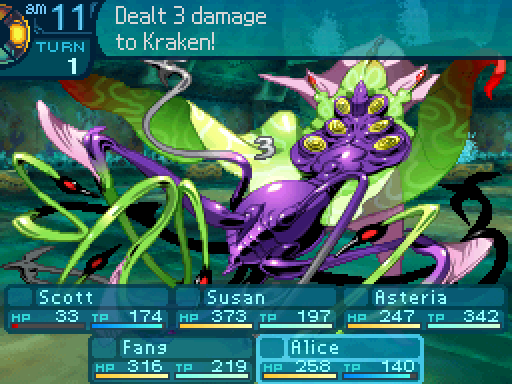 Aw, I thought I had that. Aw, I thought I had that.And Alice failed to land the bind despite having a 72% to 82% chance to do so. 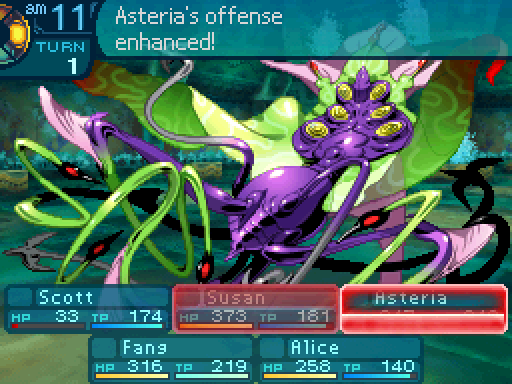 Ohoho, this battle is in the bag! Ohoho, this battle is in the bag!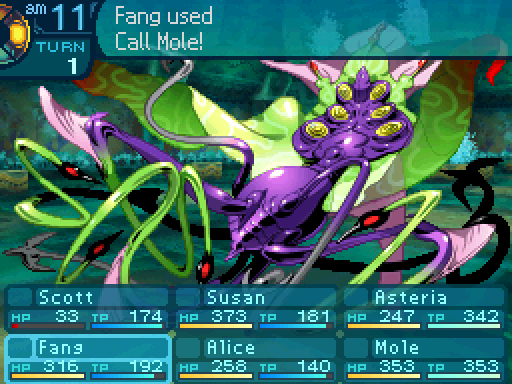 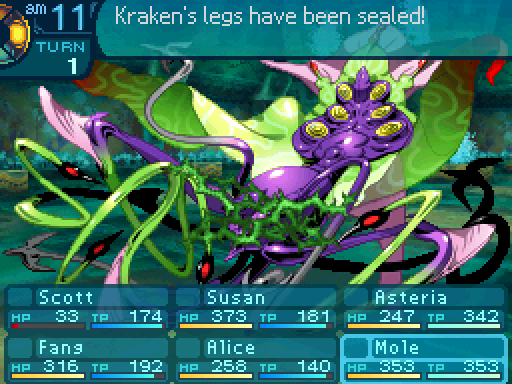 Can you stop moving around so much? I�m getting a headache. Can you stop moving around so much? I�m getting a headache.Kraken should be helpless for a while. 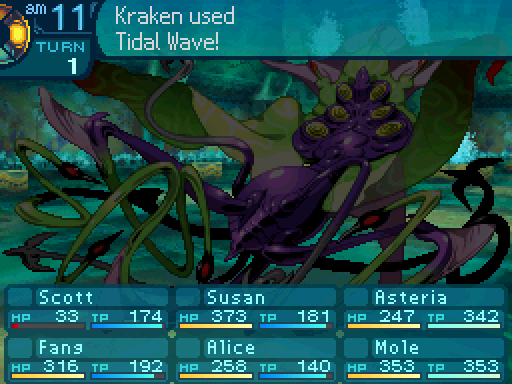  If all goes as planned, Kraken won�t be able to do a single thing in this entire fight. Wait, that�s odd. Asteria should have cast Berserker Vow by now. 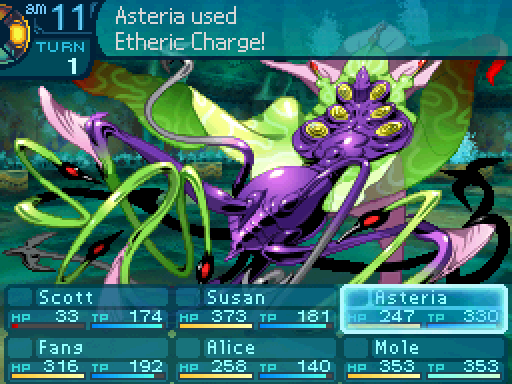 Wait, that�s not right. Wait, that�s not right.UGH! I just realized I accidentally had Asteria cast Etheric Charge instead of Berserker Vow. Good going, Fetus. 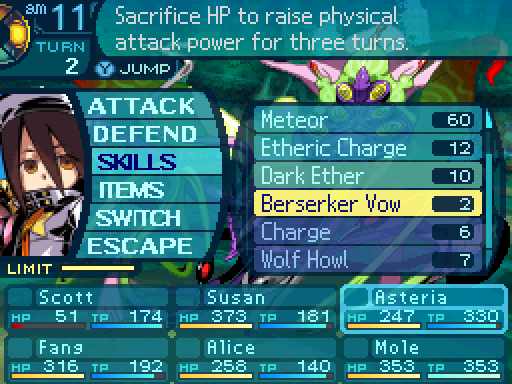 Let me just rectify that. 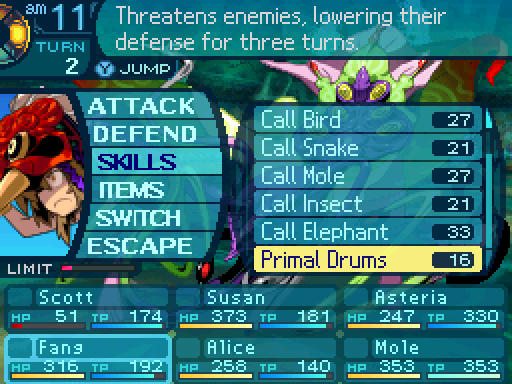 Now that Fang�s job is done, I�ll have him spam Primal Drums to amplify Scott and Asteria�s damage outputs. 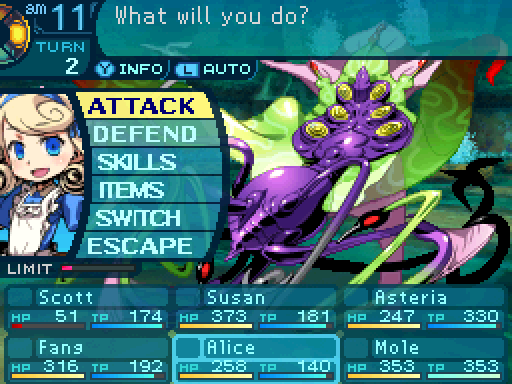 And Alice will... just be Alice, I guess. 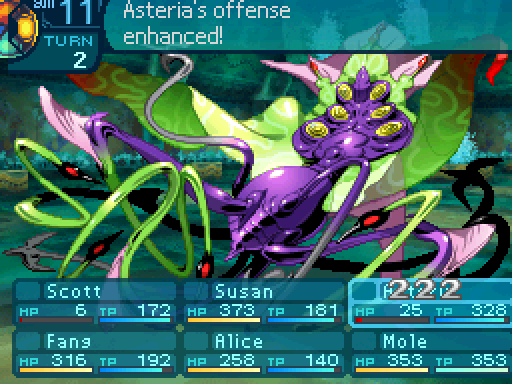 OH GOODNESS, I CAN�T FEEL MY TIBIAS! OH GOODNESS, I CAN�T FEEL MY TIBIAS!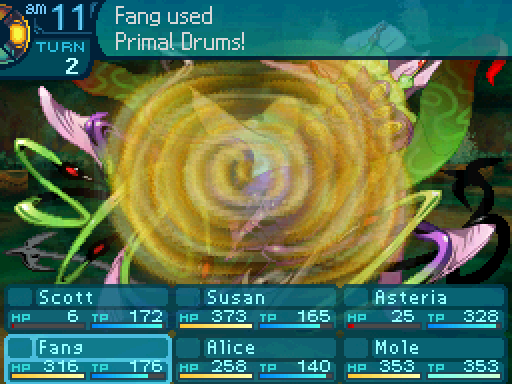 Ooga booga! Ooga booga! Kraken continues to be helpless. 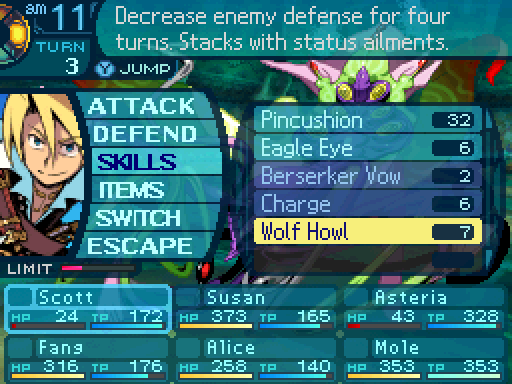 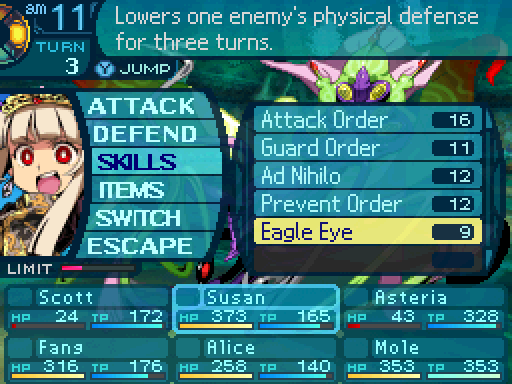 Gonna have Scott and Susan lower Kraken�s defenses even further.  Roar. Eh, good enough. Roar. Eh, good enough. Don�t think you can hide your weaknesses from me, puny Kraken! Um, but it�s bigger than you. Fang, I was just trying to intimidate the beast! Honestly, if the Kraken had to be scared of anyone, I�d say it�d be more afraid of that mole than you. Don�t think you can hide your weaknesses from me, puny Kraken! Um, but it�s bigger than you. Fang, I was just trying to intimidate the beast! Honestly, if the Kraken had to be scared of anyone, I�d say it�d be more afraid of that mole than you.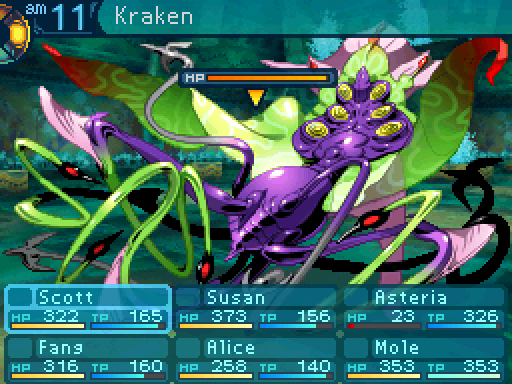 Oh, Kraken�s leg bind came off. But I can reapply it easily. 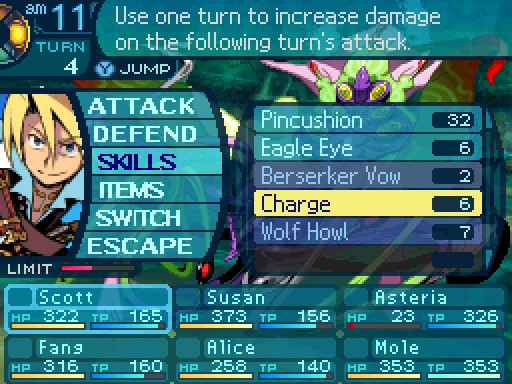  In the meantime, I�ll just have Scott and Asteria Charge up for their attacks. 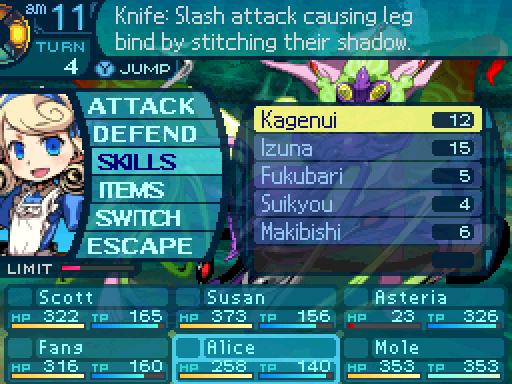 Maybe Alice will redeem herself? 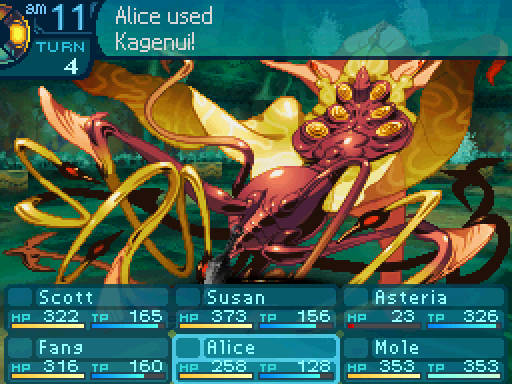 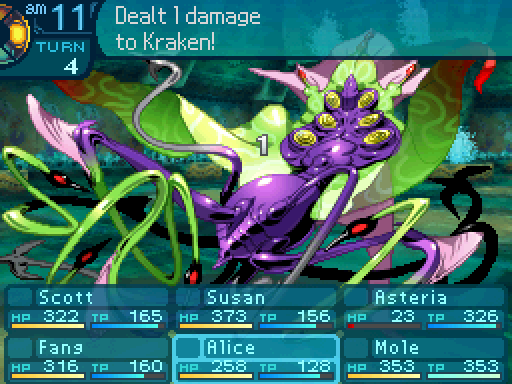 ...Maybe I should just stick to the exploration teams. ...Maybe I should just stick to the exploration teams.If you were honestly expecting her to be useful, I don�t know what to tell you. It�s Alice, she can�t do a thing in boss fights. But if you were deliberately voting for what amounted to an empty party slot, uh good job on that, I guess. 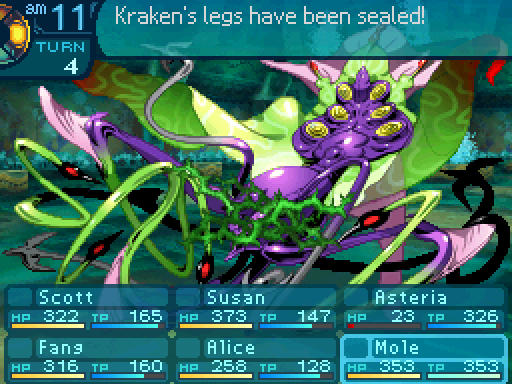 At least I have Fang as backup. 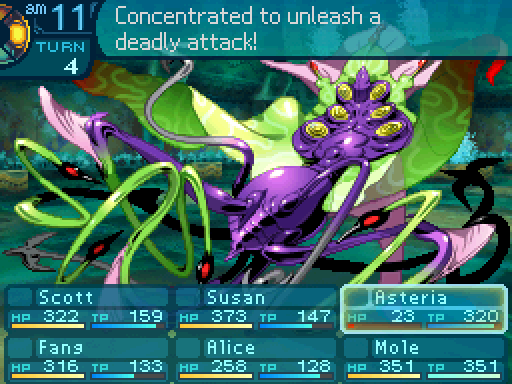 HRRRNNNNNGGHHH! Tch, I can�t believe I�m engaging in this barbaric behaviour. HRRRNNNNNGGHHH! Tch, I can�t believe I�m engaging in this barbaric behaviour. 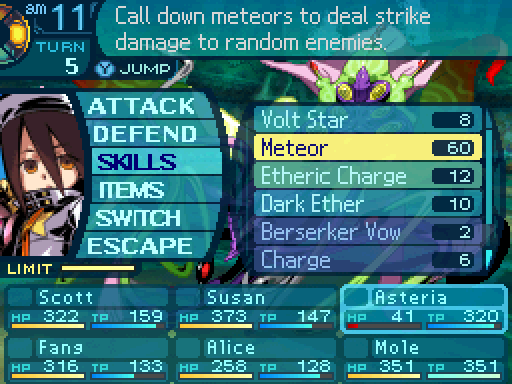 And time to let loose. 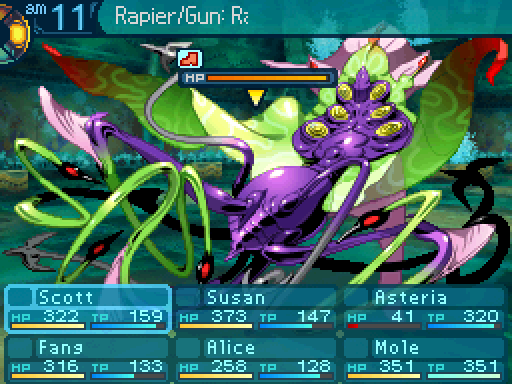 By the way, this is how much HP Kraken has now.  I�m over here! No wait, over here! Ha ha! I�m over here! No wait, over here! Ha ha!Scott rolled all 3 hits, and dealt a respectable 8082 points of damage there. You�re looking a little dirty there. You should go take a shower. A meteor shower! Aha! Aha! Ahahahahaha! Geez, are you trying to fill this place with craters or something!? A meteor shower! Aha! Aha! Ahahahahaha! Geez, are you trying to fill this place with craters or something!?Though Asteria topped that by dealing a whopping 17023 points of damage! That�s over half of Kraken�s HP in one attack! 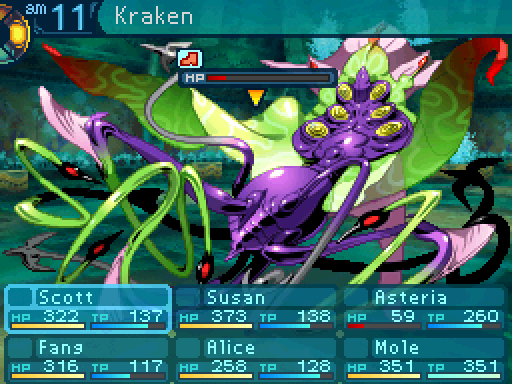 And that�s how much HP got chopped off after 1 turn. This fight is pretty much over. 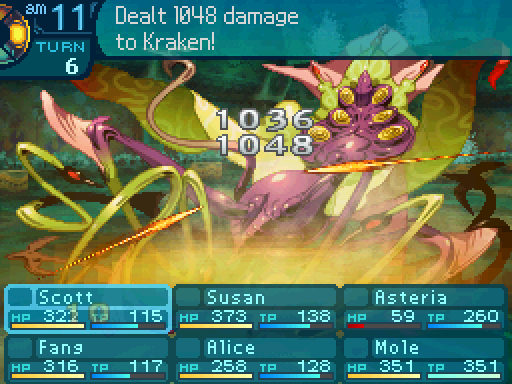 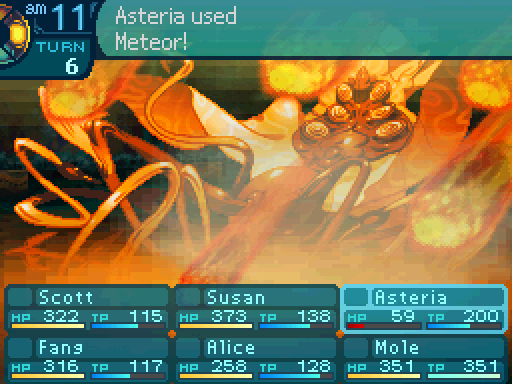  Hey Kraken, what�s crackin�? Oh, you are! Ahahaha! Hey Kraken, what�s crackin�? Oh, you are! Ahahaha!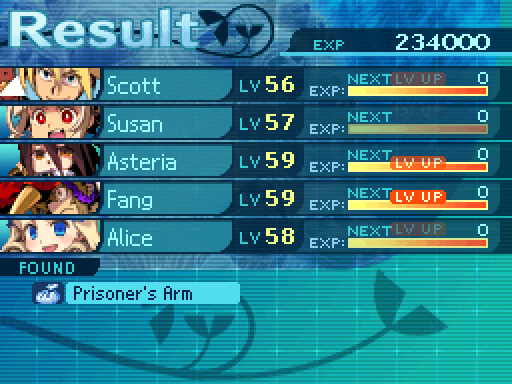 And, that�s it for Kraken. Yeah, you can see why it�s considered to be the easiest of the post-game quest bosses. 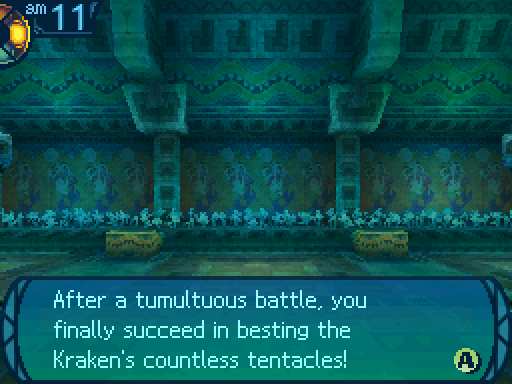 The Kraken writhes madly, spattering foul ichor all over, then finally lies still. After confirming its death, you proudly leave to report your victory to the client. That Elval should be very happy to hear about this! Let us deliver the good news!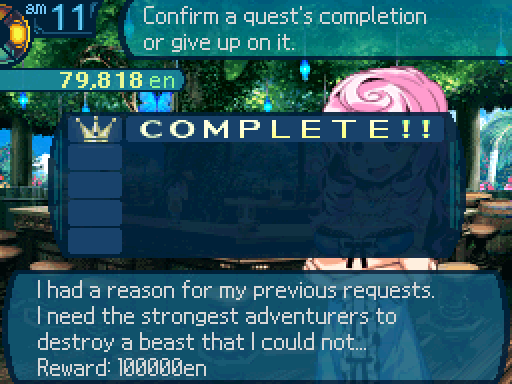 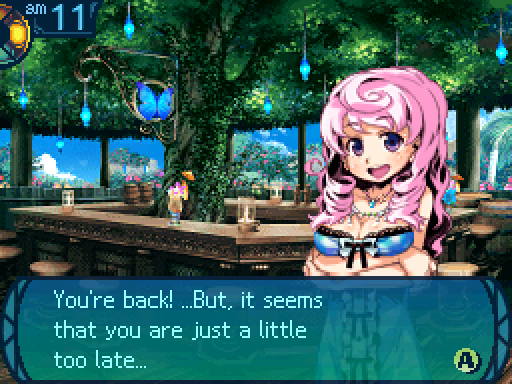 Wh-what do you mean? Wh-what do you mean? Elval, the client... I received word just now that he passed away. ...Oh. He seemed to be worried about you all until the moment of his death. Then he looked peaceful. You were able to defeat the Kraken, right? Yeah, we managed to get that done at least. Maybe that�s why he was peaceful at the end. He must have felt that you beat the Kraken. Yup, that�s what happened. No doubt! I�m glad his wish came true in the end! I even bet Elval�s glad about it, too! Elval entrusted me with this reward. Take it. Well... Until next time, right? Oh, and you guys...? ...Thank you for believing in Elval. Elval, the client... I received word just now that he passed away. ...Oh. He seemed to be worried about you all until the moment of his death. Then he looked peaceful. You were able to defeat the Kraken, right? Yeah, we managed to get that done at least. Maybe that�s why he was peaceful at the end. He must have felt that you beat the Kraken. Yup, that�s what happened. No doubt! I�m glad his wish came true in the end! I even bet Elval�s glad about it, too! Elval entrusted me with this reward. Take it. Well... Until next time, right? Oh, and you guys...? ...Thank you for believing in Elval. We get a ton of money for getting that quest done. 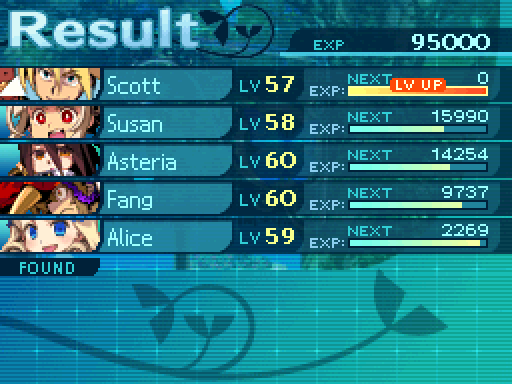 And a nice amount of exp. Though less than what the Kraken gave us. And it�s time to spend all those skill points we got. Though at this point, level ups are starting to get a bit uninteresting, so I�ll just cover the interesting ones from now on. 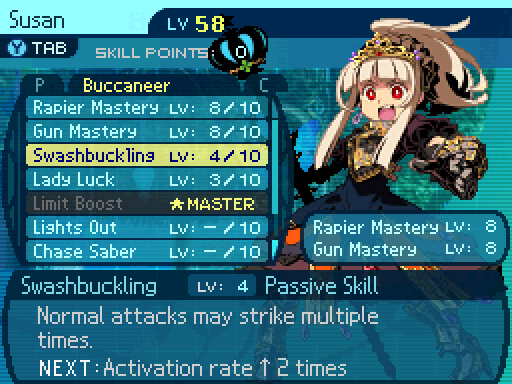 Susan now has a 19% chance to strike 2 times.  Call Snake is 3 skill points away from being maxed out. At this rate, I should be able to max out all the binding animals well before they�re really needed.  Senpuku now provides +35 evasion. So if her stats are high enough, she should be able to dodge most attacks 65% of the time. Oh, but we�re not done yet. We still need to grab Kraken�s actual conditional drop. Oh, yes. I�m going for it. Now I could just use the same strategy as before, and just wait for the leg bind to wear off before killing Kraken. But that wouldn�t be any fun, would it? No, instead. I�m gonna do the fight the hard way this time. 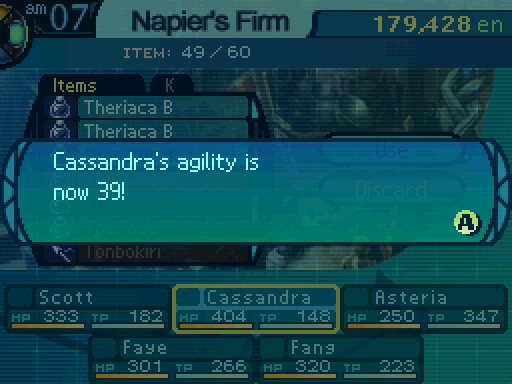 I want Cassandra to have as much agility as possible for later. 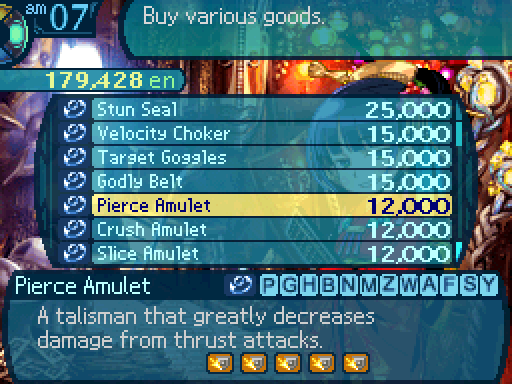 I buy 2 Pierce Amulets and 1 Crush Amulet for everyone on the team. 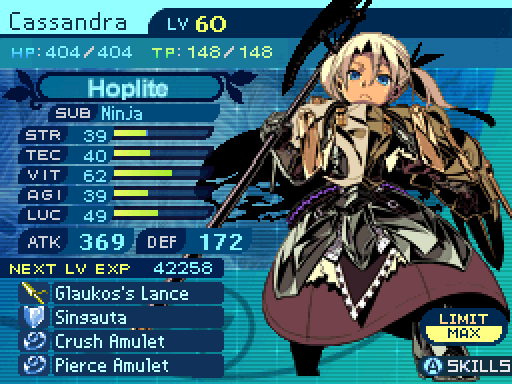 Aside from Cassandra, who I only stick 1 Pierce Amulet on. This is because she needs a shield to be able to use her skills, and I really need her to be able to do that. And no, defensive equipment cannot be placed in her weapon slot. 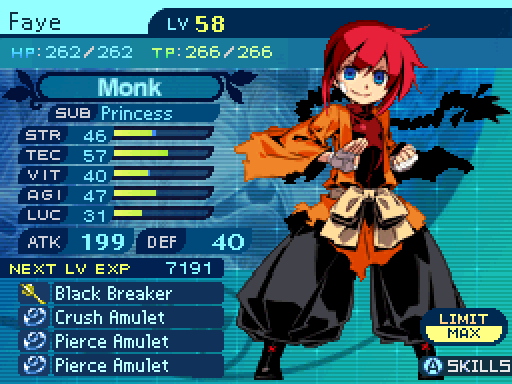  Feels like I�m wearing nothing at all! Feels like I�m wearing nothing at all!EO3postgame.png.  Okay, so here�s the party I�m taking along for this fight. 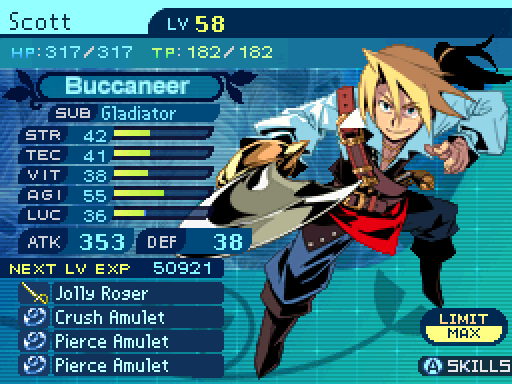  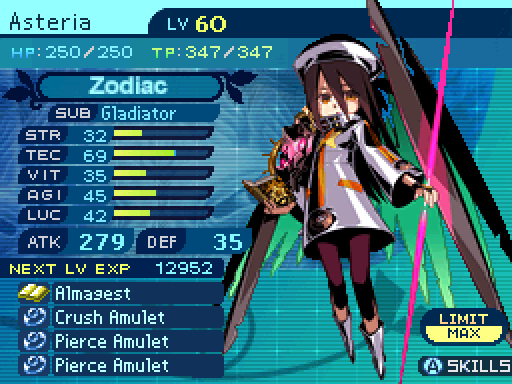  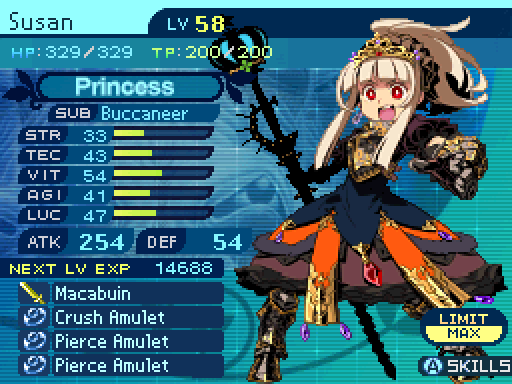 And here�s the party�s equipment setup. The Pierce Amulets are for Death Tentacle, which is Kraken�s most deadly attack. One Crush Amulet makes Squid Press manageable to deal with, and Cassandra can just use Anticold to deal with Tidal Wave. Granted this is a bit cheesy, but I really don�t have a choice here. Even against a high level party, Kraken�s attacks deal so much damage, and there�s no way this party can survive its attacks at this point without the accessories. Really, the other option would just be to grind more, but that�s not really an interesting way to handle things. 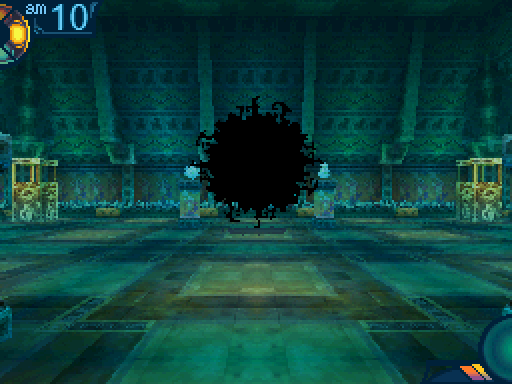 Oh come on, that thing also came back!? Eh, don�t worry. It�s just a ghost. Let�s just take it down again! Oh come on, that thing also came back!? Eh, don�t worry. It�s just a ghost. Let�s just take it down again! Video: Kraken Video: Kraken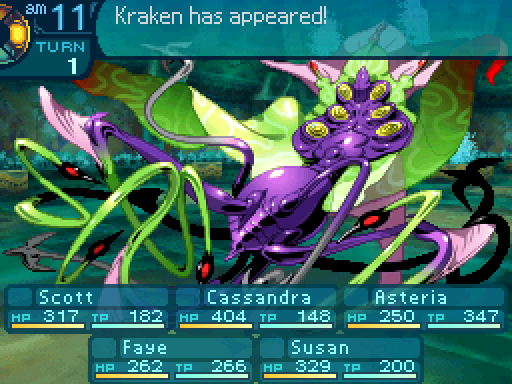 This time, let�s kill Kraken without making it completely helpless. 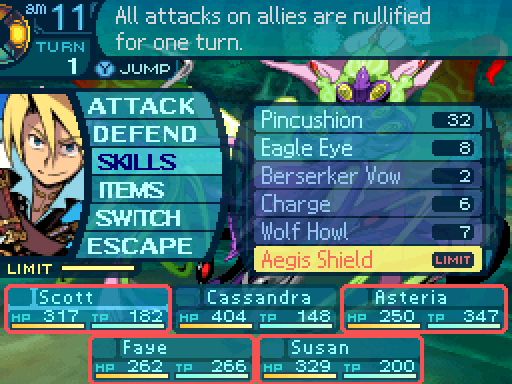  First, I�m gonna use Aegis Shield to ensure that both Scott and Asteria can cast Berserker Vow safely. 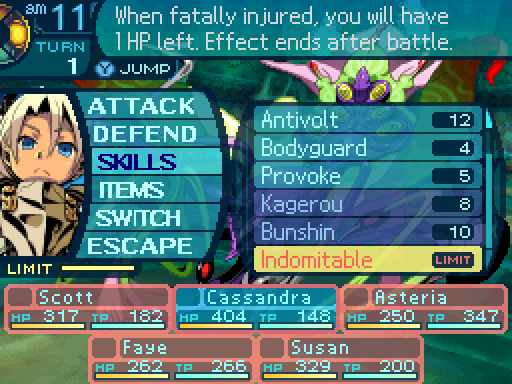 Cassandra will cast Indomitable just in case. I�m not bothering with Bunshin. It won�t help that much, and Aegis Shield won�t protect it since it gets summoned after the skill gets cast. Yeah, it�s kinda dumb! 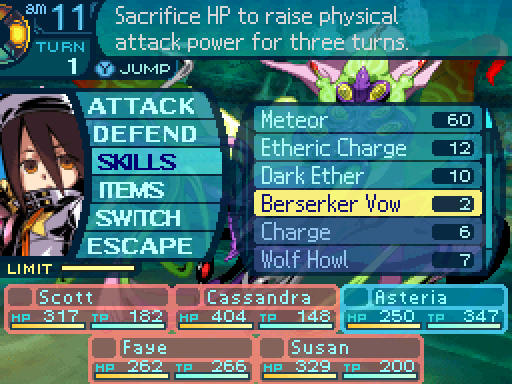 This time I make sure that Asteria casts the right skill on the first turn. Unlike before, I don�t have that much room to mess up. 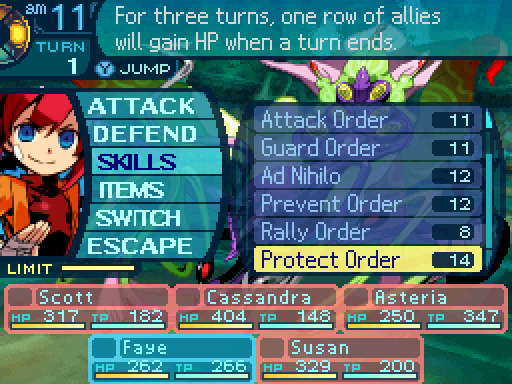  And the supports will do their thing. 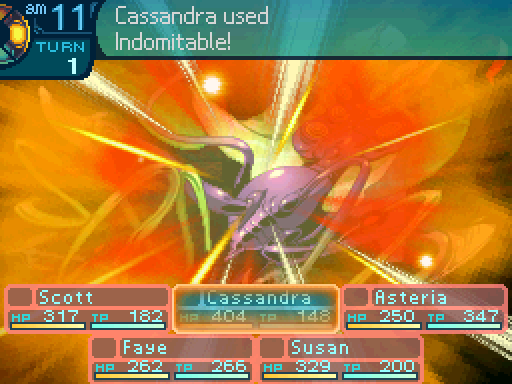  You can never be too careful. You can never be too careful.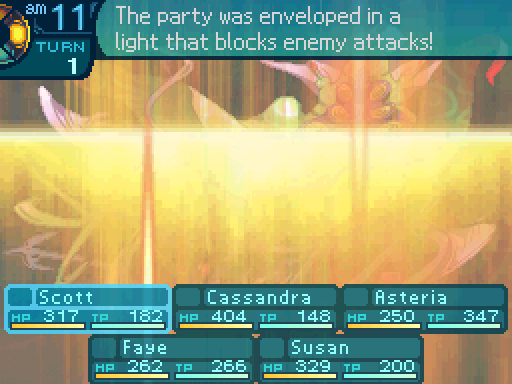 This ship is still unsinkable! This ship is still unsinkable!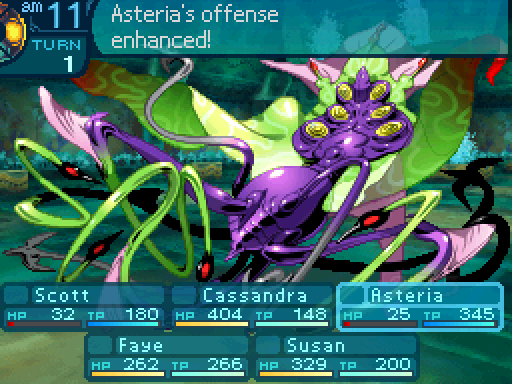 How do you- OW! Do this all the time!? Very painfully. How do you- OW! Do this all the time!? Very painfully.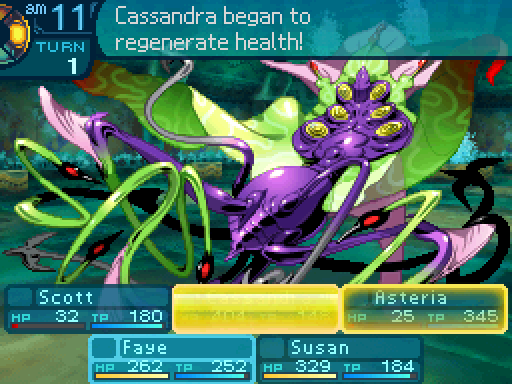 Spreading the love! Spreading the love!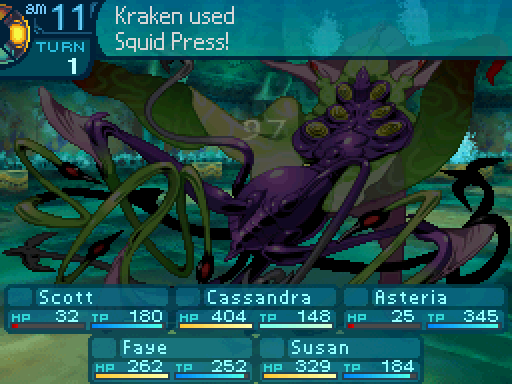 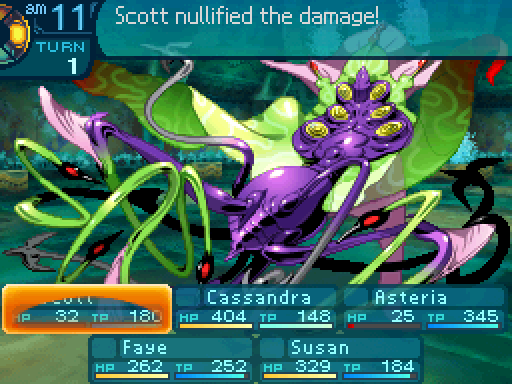 Ha ha ha, no! Ha ha ha, no! And now with Protect Order in play, the party is effectively invincible. 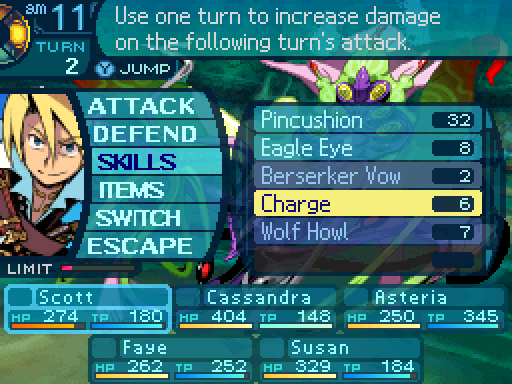 I�m not bothering with a 2nd Berserker Vow cast. Doing so means that I think that either Death Tentacle or Tidal Wave would come out. I can deal with those 2 moves, but not Squid Press. And it has a 60% chance of being used right now, so that�s a really risky move to take. Instead I�m just gonna have both Scott and Asteria use Charge. 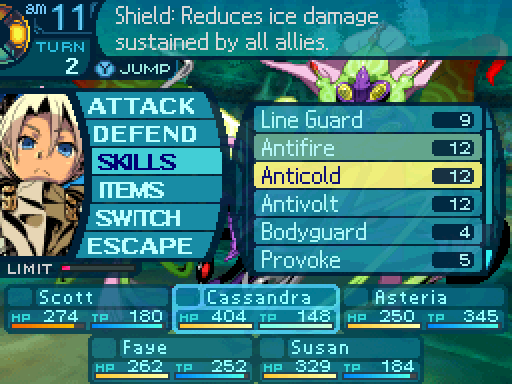 Cassandra is just going to be spamming Anticold since Tidal Wave is the only other threatening move Kraken has. Death Tentacle can�t touch me, and Line Guard isn�t needed to survive Squid Press since I have the Crush Amulets on everyone. 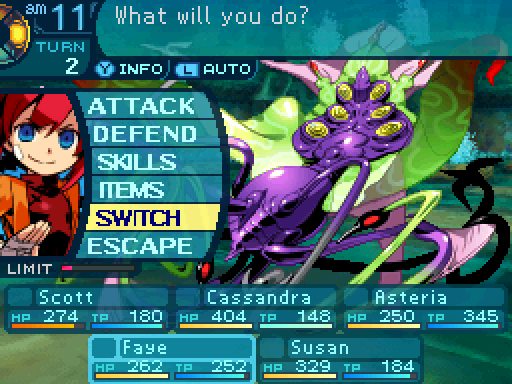 Well, Asteria can survive Squid Press... in the back row. Even with a Crush Amulet, it still one shots her from full HP on the front row. So I�m gonna have Faye switch places with her since Faye can actually survive being hit by it. 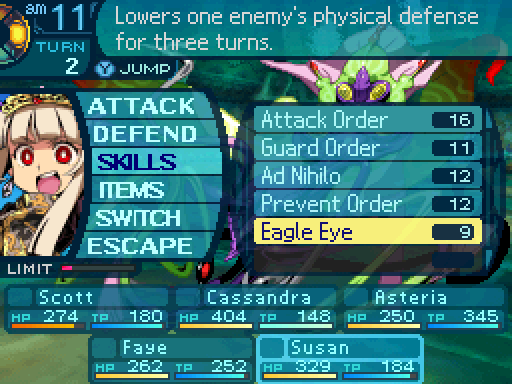 And I�ll have MEGAQUEEN debuff Kraken. 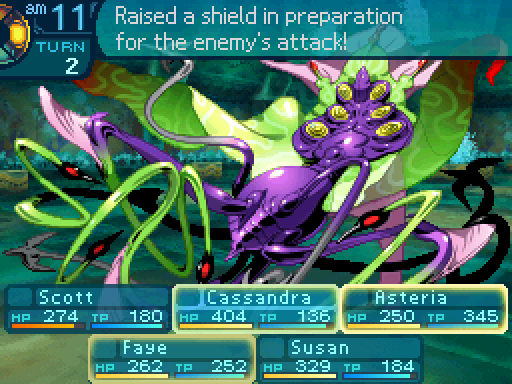 Are you sure this will work? Look, just trust me on this. Are you sure this will work? Look, just trust me on this.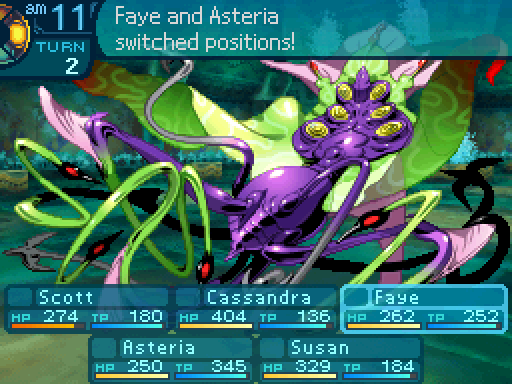 Mind if I move over here? Thanks. Mind if I move over here? Thanks.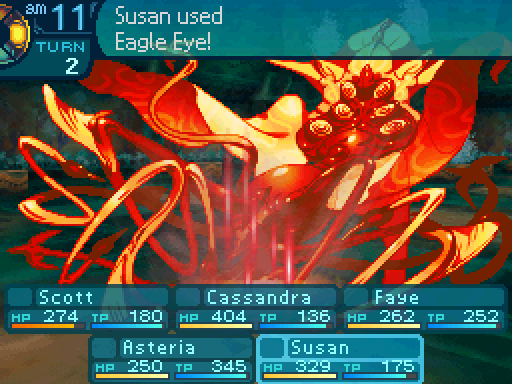 Strike down that spot! Strike down that spot!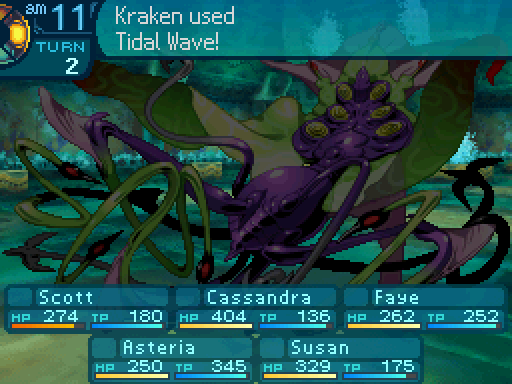 Oh dear. Behind me, now! Oh dear. Behind me, now!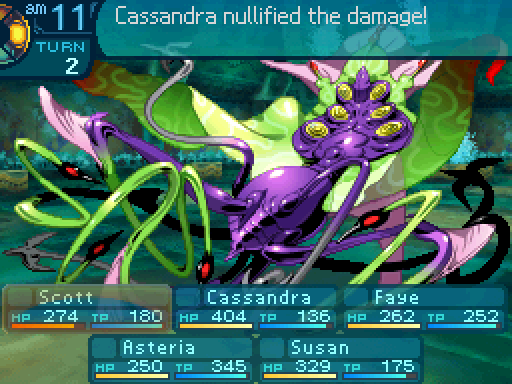 Told ya. Told ya. Faye, how am I supposed to use that technique of yours!? Wha- Oh, uhh... that�s not supposed to happen! Faye, how am I supposed to use that technique of yours!? Wha- Oh, uhh... that�s not supposed to happen!And here�s a pretty significant glitch involved with Protect Order. As you can see, Scott and Cassandra are being healed for much less than before. That�s because Protect Order tracks the caster�s initial slot instead of the caster themselves. So it�s using Asteria�s TEC stat to calculate the amount of healing done to those two. And while Asteria has a higher TEC stat, she doesn�t have Form Qi, so Protect Order doesn�t heal as much. Yeah, that skill makes a pretty big difference. Speaking of glitches involved with Protect Order, do not use Regroup Tactic or Switch Stab after using it. Regroup Tactic�s healing overwrites Protect Order�s healing instead of being added onto it. And if your Protect Order user knows Switch Stab, having them cast Switch Stab just causes it to stop healing altogether until you recast Protect Order. 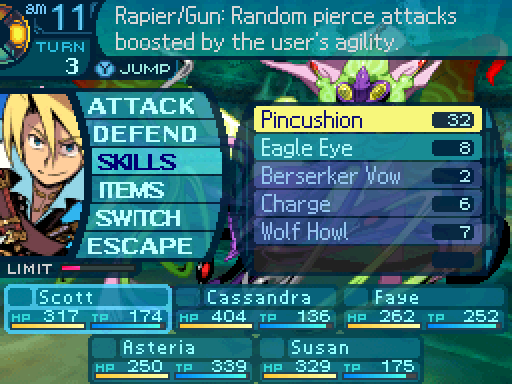 Now I�ll just have Scott and Asteria cast Charge then their attack. Mainly because I don�t really have an opportunity to cast Berserker Vow until Aegis Shield can be cast again. 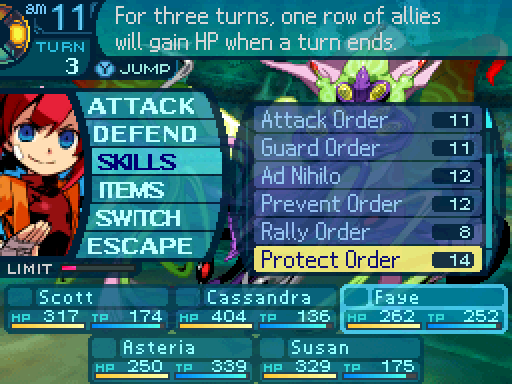 And let me just have Faye fix up that the effects of that glitch. 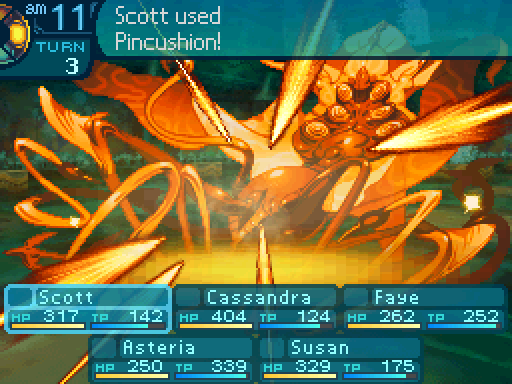 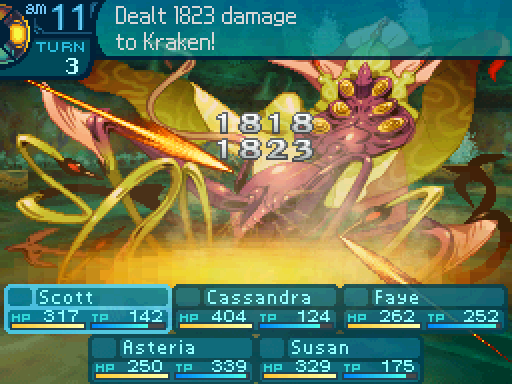 Stabby stabby! Stabby stabby!I don�t have access to Primal Drums, so Pincushion isn�t dealing as much damage as before. 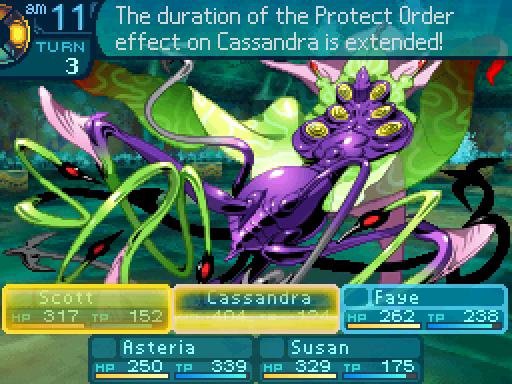 Eh heh heh, sorry about that. Lemme just fix that up... Eh heh heh, sorry about that. Lemme just fix that up...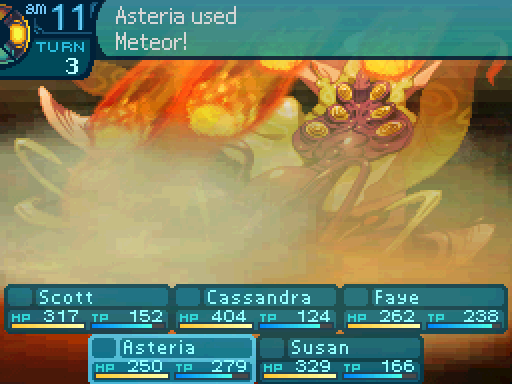 Behold the meatballs! Behold the meatballs!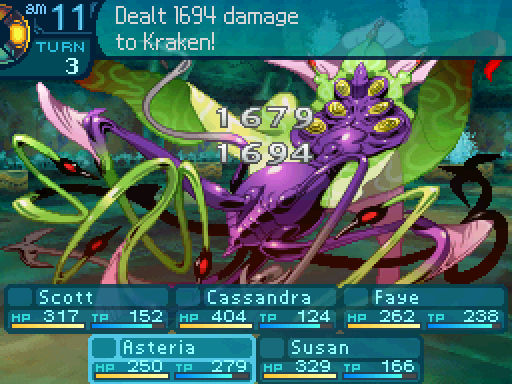 Asteria�s TEC stat is a lot lower since she�s wearing the resistance accessories instead of the Wisdom Earrings. So she only dealt a total of 8424 damage compared to the 17023 points of damage she did before. 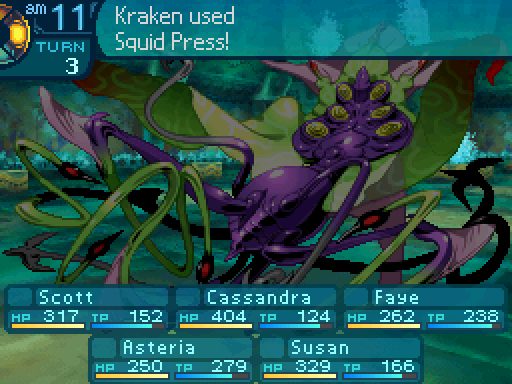 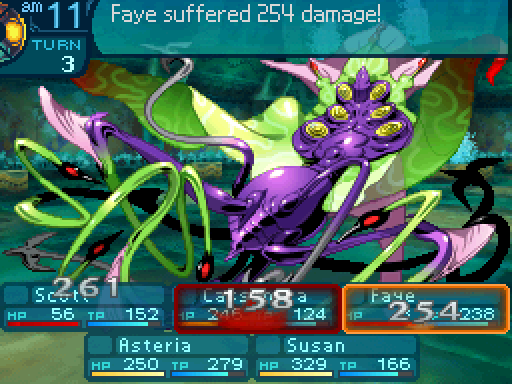 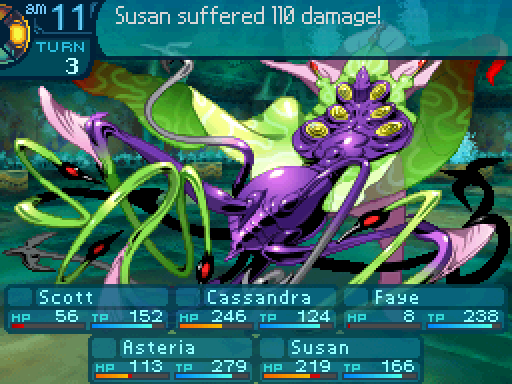 Yeah, if it wasn�t for those Crush Amulets, then entire party would be dead right now. 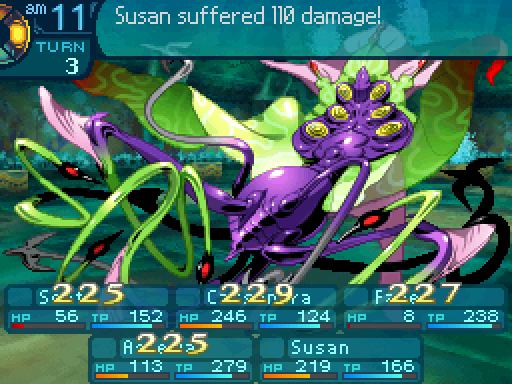 Protect Order undid most of that damage at least. 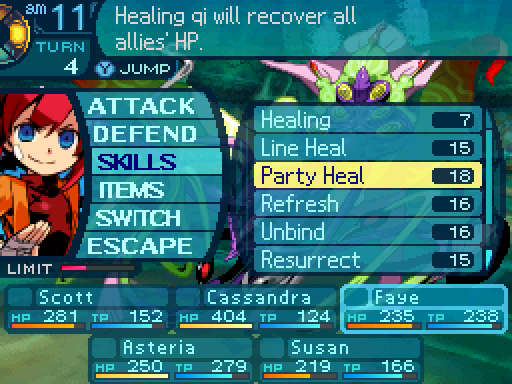 Unfortunately, most is not enough in Faye�s case, since her HP got into the single digits. So I�ll just have her cast Party Heal to top off everyone. 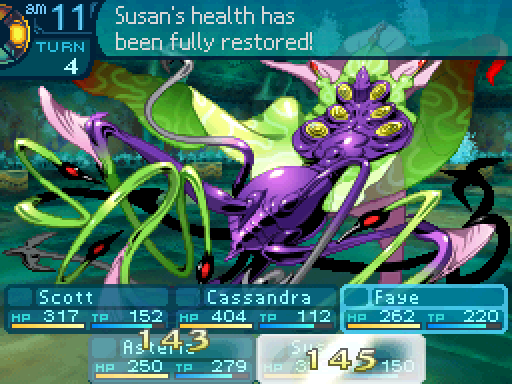 Patchy patchy! Patchy patchy!Party Heal doesn�t heal as much as Protect Order, but it�s good for emergencies. And believe me, there are gonna be a lot more emergencies in the post-game.   That�s how much damage Charged Pincushions and Meteors do without Berserker Vow. Pretty big difference as you can see.  Unfortunately, that�s not going to be enough to lop off the rest of Kraken�s HP. And it�s going to cast Restoration this turn, so I�m gonna be set back by a lot. 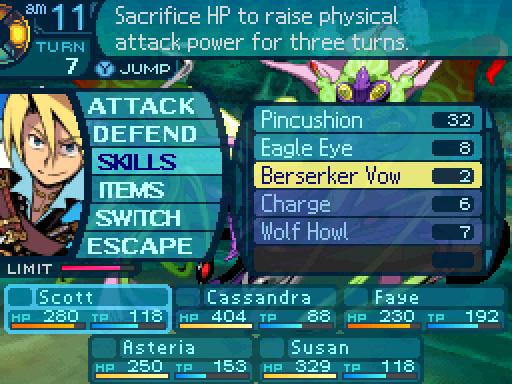 ...Then I realized it was going to cast Restoration this turn, which means a free opportunity to use Berserker Vow. You�ll see why that�s important in a bit. 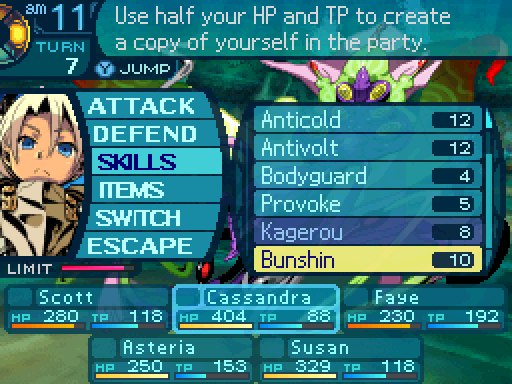 I also realized that this meant I could cast Bunshin without being punished. 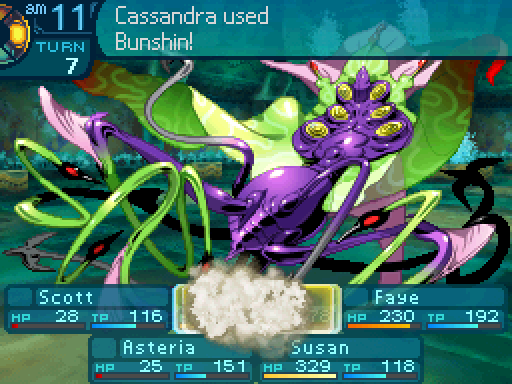 Some assistance, please! Some assistance, please!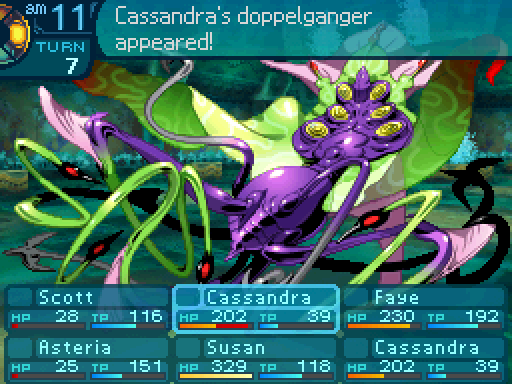 What took you so long? My apologies, I was too busy dealing with tidal waves. What took you so long? My apologies, I was too busy dealing with tidal waves.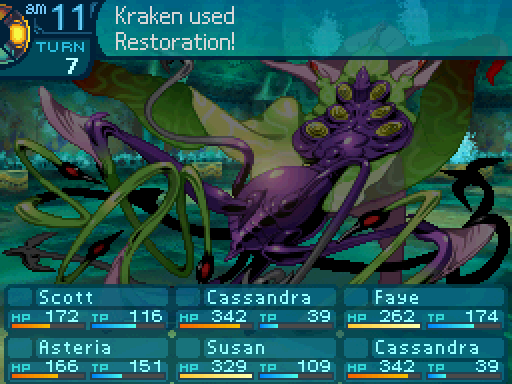 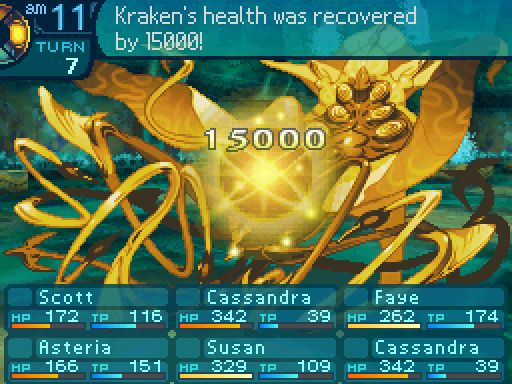 Oh, really!? All our hard work, undone! Oh, really!? All our hard work, undone!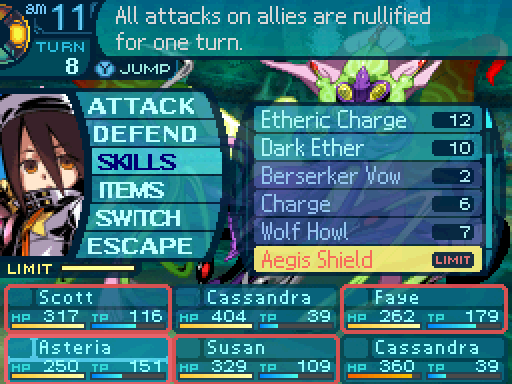 Ha ha, I don�t know if I would say that�s the case... Ha ha, I don�t know if I would say that�s the case...The reason that Berserker Vow cast was important? Aegis Shield is back up, meaning that I can use it for 2 turns in a row. Which means 6 straight turns where I can just go Charge > Attack. That finally gives my party enough offensive power to kill Kraken.  And using Bunshin meant that I could have the front Cassandra use Line Guard to deal with Squid Press, so that Protect Order can completely undo the damage it does. 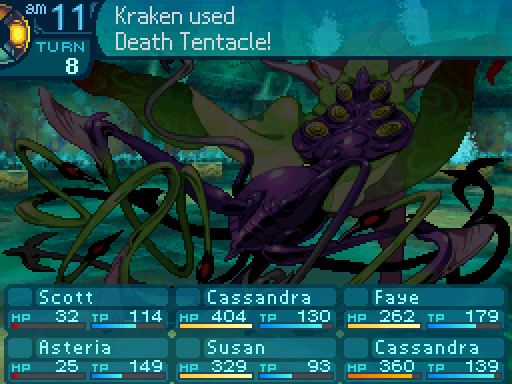 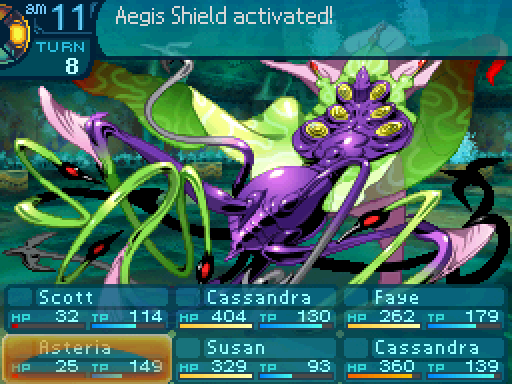 No. No.  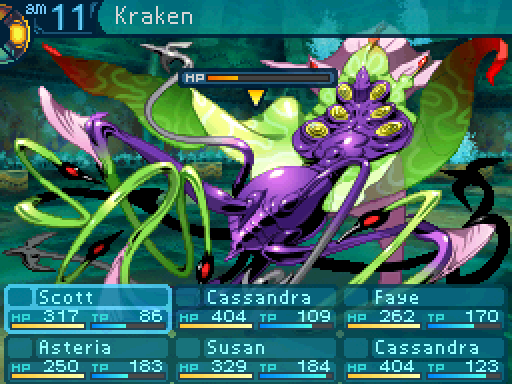 Well, goodbye Kraken. It was nice knowing you.  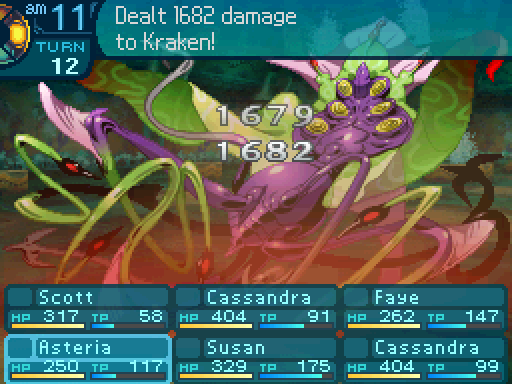 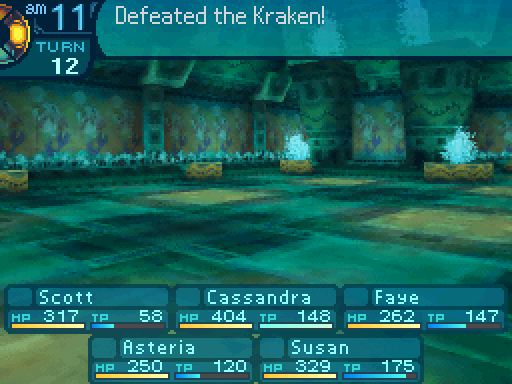 I wonder how these monsters keep coming back like that. You got any ideas, Asteria? Sorry, that�s not something I can really comet on. I wonder how these monsters keep coming back like that. You got any ideas, Asteria? Sorry, that�s not something I can really comet on.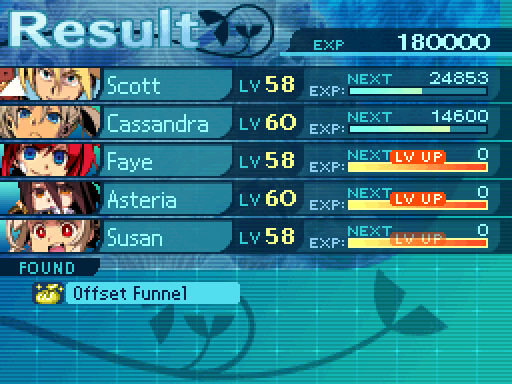 And that�s Kraken�s real conditional drop taken care of. You don�t have to fight it the hard way to get it. If you�re making use of leg binds, you can just wait for those to wear off once Kraken�s HP gets really low, then finish it off. And yes, I realize I could have thrown down a Bash Mist to deal with Squid Press. But there are 2 problems with that. 1) Asteria�s Meteor deals Strike damage, so that would have severely cut down her offenses since Kraken�s Strike resistance would go from 125% to 75%. Yes I still could have killed it, but the fight would have taken a lot longer. 2) That kind of cheese strategy is boring to use. 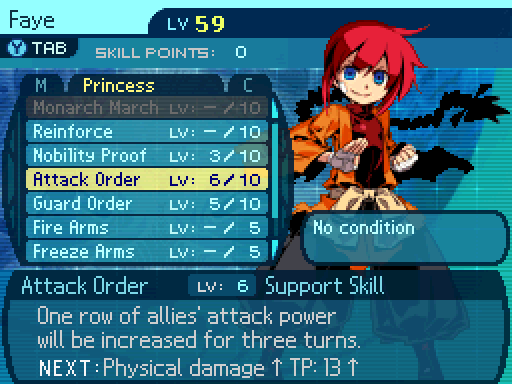 Attack Order is pretty close to being maxed out. 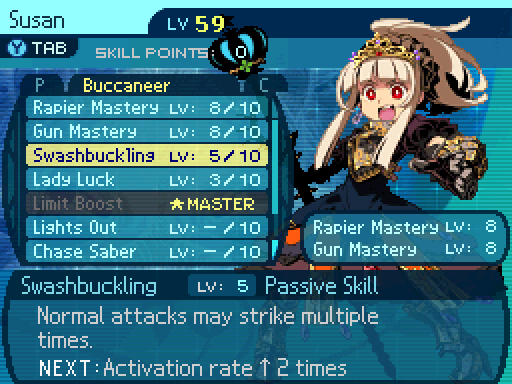 Susan now has a 21% chance to attack 2 times when using regular attacks. Now let�s go cash in our prizes.  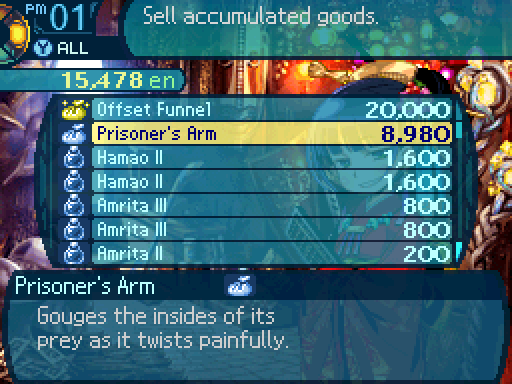 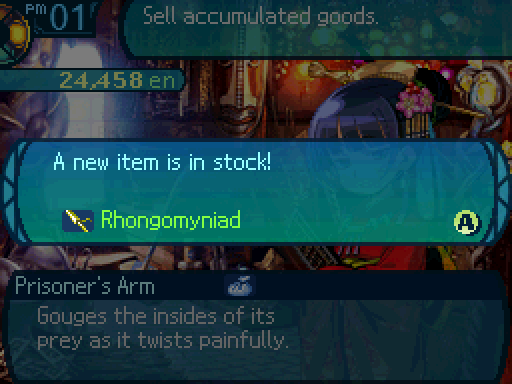 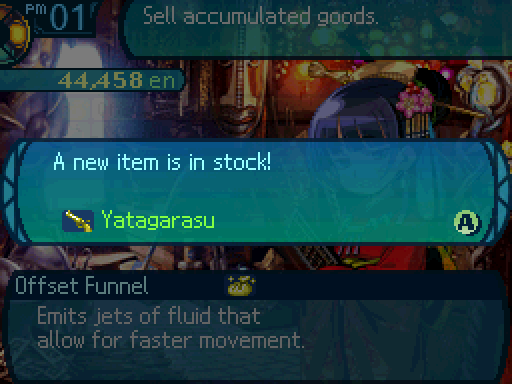 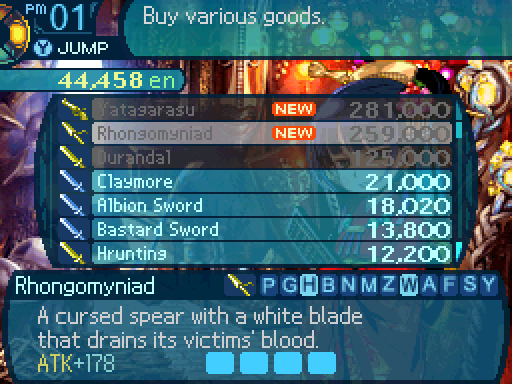 The Prisoner�s Arm unlocks the Rhongomyniad. It�s the penultimate Spear, rather than the ultimate Spear. 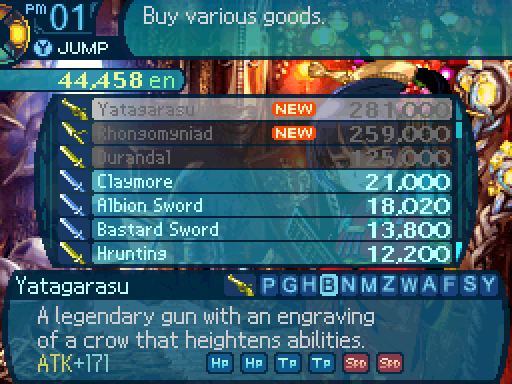 Eh, I prefer stabbing over shooting. Eh, I prefer stabbing over shooting.The Offset Funnel unlocks the Yatagarasu, which is the ultimate Gun. It provides a 10% boost to both HP and TP, and increases the user's speed by 4. I don�t get this for Scott, because I want him to have the ultimate Rapier instead. 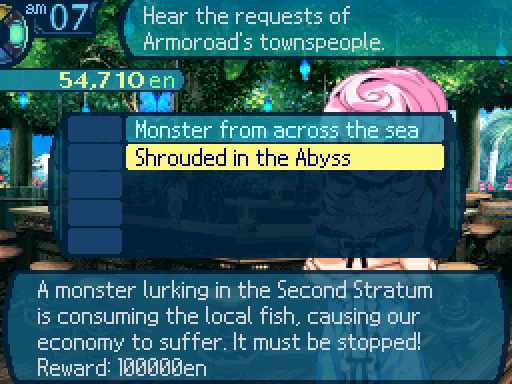 Now let�s take on another post-game quest. There are a lot of bosses to tackle here compared to most other Etrian Odyssey games, so the post-game is gonna be packed with boss fight updates. This sounds pretty serious. When they say �skilled adventurers,� they have to be referring to you! This request is from the Armoroad fishing committee. They haven�t been catching fish! Supposedly there�s a giant sea anemone lurking on the 2nd Stratum eating all the fish. Tons of fishermen live in Armoroad, and they depend on the sea for their livings! If they go out of business, so will my bistro, and all of Armoroad, too! Ahahaha! ...... Wait... That�s not funny! Look, just hurry up and beat the tar out of that monster! Well then, I�m counting on you! Set out, adventurers!Let�s take a look our guild and the upcoming boss. Boss HP: 17000 AT: 61 DF: 68 Weakness: Elemental Resistance: Physical The boss in question has pretty low offenses, but very high resistance to physical attacks.    Faye is probably the most important support to bring to this fight. The boss makes use of both ailments and binds, and it�s important to get rid of those as soon as possible in the fight, as there will be nasty consequences if you don�t. She also has access to Prevent Order to prevent ailments from landing in the first place. 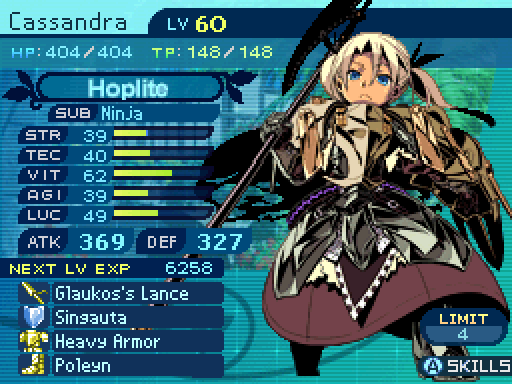 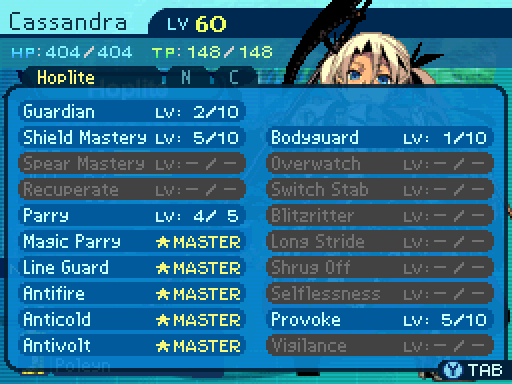 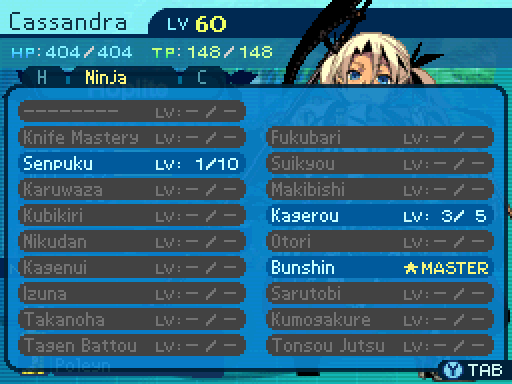 Cassandra is a nice defensive support to have. If the party can stay on top of things and dispel binds as quickly as possible, she probably won�t be needed, as the boss doesn�t have great offenses in normal conditions. But if they can�t (which will likely be the case) then having her around will provide the party with a huge safety net.    MEGAQUEEN is also a nice support to have, but for different reasons than Faye. Namely, Limit Boost lets her cast Regroup Tactic fairly often, which can be nice. Unfortunately, Regroup Tactic does nothing against binds. Though due to the boss� physical resistances, not too many party members can benefit from her damage boosting skills. She does have access to Prevent Order, so there�s that.  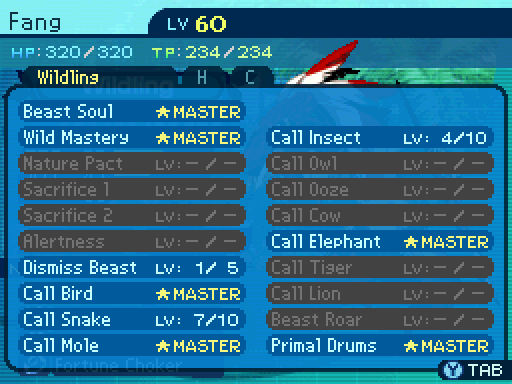 The only thing that Fang can possibly accomplish is leg binding the boss. While admittedly, that will shut most of its skillset down, that can only be pulled off once.    See Fang�s section. 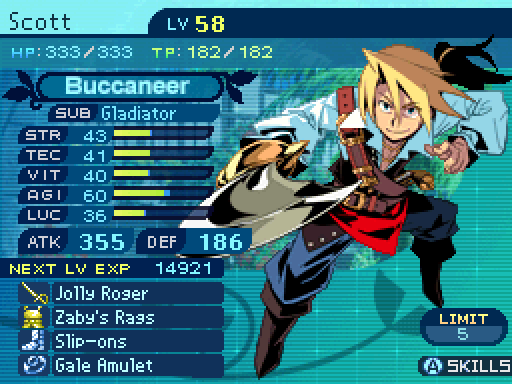   Unfortunately, Scott is not a great choice to bring to the fight. The boss in question heavily resists physical attacks to the point where even Pincushion will barely do anything. You might as well be voting for an empty slot in this case.    See Scott�s section.    See Scott�s section. 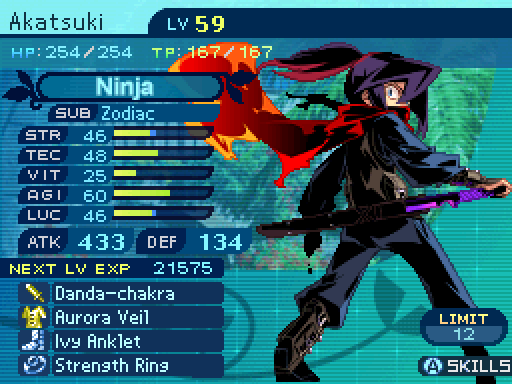   See Fang�s and Scott�s sections.    See Scott�s secti- actually no. Sidney is a decent, well, one of the two viable physical attackers to bring to the fight. Namely because he has access to the Barrages, which gets around the boss� heavy physical resistances. His real problem is the lack of defensive capabilities that Smith has. Though at least he doesn�t have to be placed in the front row since he won�t be able to make good use of Front Mortar, so he's not nearly as much of a glass cannon as in many other situations. 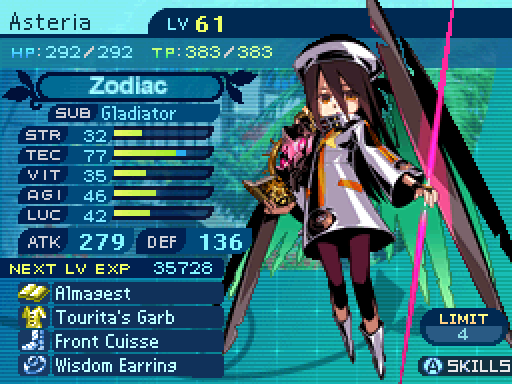   Asteria can gleefully exploit the boss� weakness to elemental attacks. She�s also one of the few viable choices for an offensive party member for this fight.  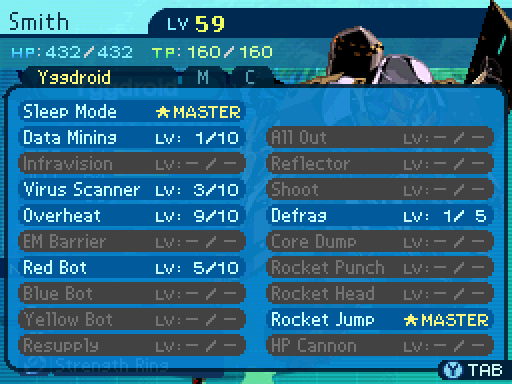 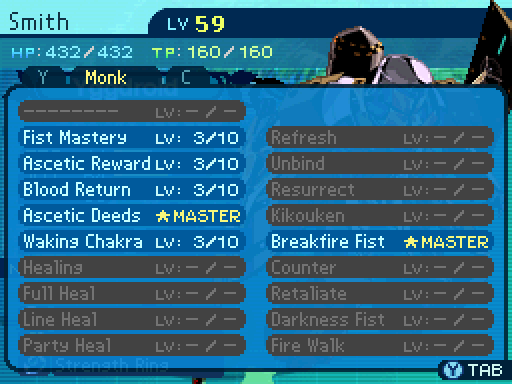 Smith is an excellent choice for an offensive party member to to the fight. Breakfire Fist is a composite damage attack, so it�ll benefit from the boss� weakness to elemental attacks. He also has some very good defensive capabilities as well. He�s naturally immune to binds, and Virus Scanner gives him a huge resistance to ailments. Yeah you might have noticed that there are only 6 real viable choices for a party in there. Welcome to the post-game! It isn't until EO4 that the games get better about restrictive party compositions. But until then, enjoy sticking to a rigid meta! So uh, vote for up to 3 characters to partake in this fight. Votes must be in bold. Araxxor fucked around with this message at 10:15 on Apr 27, 2017 |
|
#
?
Apr 27, 2017 08:55
|
|
|
I vote Smith and Rose for variety's sake, but also Faye to make up for one poor choice. Also amusing typo with the sentence: 'Asteria�s TEC stat is a lot lower since she�s wearing the resistance accessories instead of the Wisdom Earrings. So she only dealt a total of 84424 damage compared to the 17023 points of damage she did before.' We wish she could do over 80000 damage, right?
|
|
#
?
Apr 27, 2017 09:23
|
|

|
Honestly, it's shocking how not very ice this series is outside the main game to fun and varied party combustions. You might want to try something more interesting but it just comet be done.  So, Cassie, Asteria and Faye.
|
|
#
?
Apr 27, 2017 09:40
|
|

|
Smith, Sidney,
|
|
#
?
Apr 27, 2017 09:50
|
|
|
Ah, restrictive post-game bosses. My least favorite part of any Etrian Odyssey game... So they should get the attention they deserve - in this case with Asteria, Smith, Faye Two things I noticed in this update: Cassandra posted:My apologies, I too busy dealing with tidal waves. Dr. Fetus posted:It provides a 10% boost to both HP and TP, and increases the minimum and maximum amount of Limit gained per turn to 3 and 17. I don�t get this for Scott, because I want him to have the ultimate Rapier instead. But the screenshot says the ultimate gun has SPD forges!?
|
|
#
?
Apr 27, 2017 10:08
|
|
|
Smith, Asteria and Faye.
|
|
#
?
Apr 27, 2017 12:59
|
|
|
Smith, Sidney, Faye
|
|
#
?
Apr 27, 2017 13:26
|
|


|
Scott, Smith, Faye Gotta let our metal man shine when he gets the chance, and I don't think we've seen the Barrages much before?
|
|
#
?
Apr 27, 2017 13:41
|
|

|
Smith, Asteria and Sydney.
|
|
#
?
Apr 27, 2017 15:16
|
|
|
cdyoung posted:Smith, Asteria and Sydney. I'm just going to vote this.
|
|
#
?
Apr 27, 2017 15:41
|
|


|
Smith, Asteria, Faye
|
|
#
?
Apr 27, 2017 16:48
|
|

|
That is not what I was expecting when you said "Kraken".AweStriker posted:Smith, Asteria, Faye
|
|
#
?
Apr 27, 2017 17:40
|
|

|
Dr. Fetus posted:

|
|
#
?
Apr 27, 2017 18:03
|
|

|
Smith, Asteria, Faye
|
|
#
?
Apr 27, 2017 18:23
|
|
|
Votes so far: Smith: 11 Faye: 10 Asteria: 8 Sidney: 4 Scott: 1 Rose: 1 Cassandra: 1 Susan: 0 Alice: 0 Fang: 0 Akatsuki: 0 Charlotte: 0 freshlybaked posted:Also amusing typo with the sentence: 'Asteria’s TEC stat is a lot lower since she’s wearing the resistance accessories instead of the Wisdom Earrings. So she only dealt a total of 84424 damage compared to the 17023 points of damage she did before.' werbear posted:Two things I noticed in this update: Oh, whoops. Fixed those, thanks. Dragonatrix posted:Honestly, it's shocking how not very ice this series is outside the main game to fun and varied party combustions. You might want to try something more interesting but it just comet be done. The 3DS games got better about those (aside from the, have the elemental wall skills or die to the dragons problem that plagues every EO game. Though EO4 didn't have that aspect of the dragons, at least. EO5 just flat out kicked them out of the game, and boy is its post-game much better off without them) You can run pretty much almost any non-gimmick party and get through the post-game. The DS games unfortunately, were pretty restrictive on what flew and what didn't. Behold my punzardry.
|
|
#
?
Apr 27, 2017 20:16
|
|
|
Let's go with...Smith, Asteria and Faye. Faye can finally get to see those punching techniques in action!
|
|
#
?
Apr 27, 2017 21:12
|
|

|
Let's throw in a vote for Cassandra, Sidney, and Smith
|
|
#
?
Apr 27, 2017 21:27
|
|

|
YES, YES, LET YOUR HATRED OF PUNS FESTER AND GROW!!!!! 
|
|
#
?
Apr 28, 2017 03:11
|
|
|
Smith x 3
|
|
#
?
Apr 28, 2017 03:16
|
|

|
Smith, Faye x2
|
|
#
?
Apr 28, 2017 05:29
|
|

|
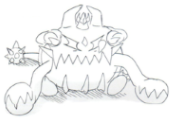
I can't be the only person who can't parse Kraken's appearance at all right? I get that its a squid but I have no idea what the bottom half is trying to do.
|
|
#
?
Apr 28, 2017 06:16
|
|


|
WarpedLichen posted:I can't be the only person who can't parse Kraken's appearance at all right? I get that its a squid but I have no idea what the bottom half is trying to do. It just looks like a giant horrid mass of tentacles, without any other really discernible parts, to me.
|
|
#
?
Apr 28, 2017 06:21
|
|
|
WarpedLichen posted:I can't be the only person who can't parse Kraken's appearance at all right? I get that its a squid but I have no idea what the bottom half is trying to do. I feel this way about a lot of EO designs. Lots of them are just a total mess of body parts and colors. On one hand, that might be the point. On the other hand its hard to be in awe of otherworldly creatures when you can't even make out enough detail to be horrified or weirded out or w/e.
|
|
#
?
Apr 28, 2017 06:45
|
|
|
VOTING IS CLOSED! Final Results: Smith: 17 Faye: 13 Asteria: 9 Sidney: 5 Cassandra: 2 Scott: 1 Rose: 1 Susan: 0 Alice: 0 Fang: 0 Akatsuki: 0 Charlotte: 0 Looks like the party is gonna be Smith, Cassandra, Faye, Sidney, and Asteria! Might go back into the 6th Stratum after the next update. I was originally planning on covering one more boss, but looking at its stats and moveset made me uncertain that the guild could even take it on at this point. Everything else is just way too strong, no question.
|
|
#
?
Apr 28, 2017 14:54
|
|
|
Rose could have respecced to Freeze Blow for the thing, I'd think.
|
|
#
?
Apr 28, 2017 21:13
|
|
|
I was expecting kraken to be a giant red squid thing. It was... something.
|
|
#
?
Apr 30, 2017 10:32
|
|
|
Update 89: Anemone What�s everyone so annoyed about? That thing wasn�t too bad to take down. What�s everyone so annoyed about? That thing wasn�t too bad to take down. Uh huh. Of course you would say that, Mr. I Can�t Be Hogtied. Uh huh. Of course you would say that, Mr. I Can�t Be Hogtied. This was the party that was voted in for this fight. 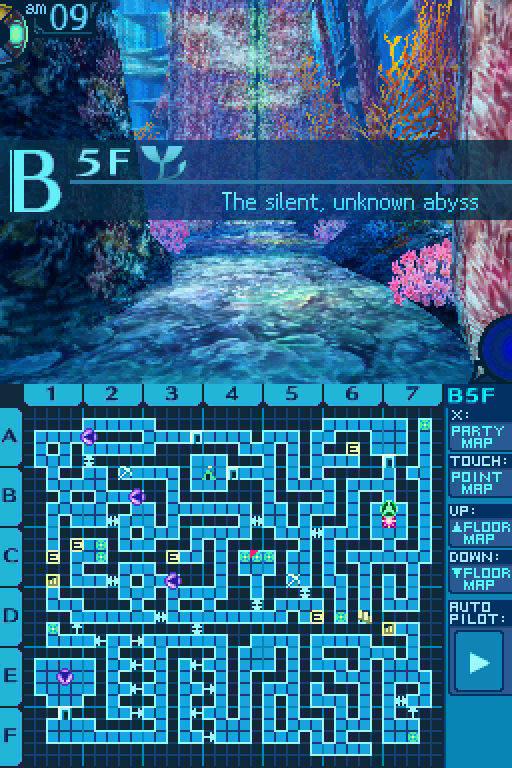 Unlike Kraken, Anemone is a lot easier to get to. No searching for a specific tile you were given no hints about. All you need to do is reach its room, which is in the bottom-left corner. Of course, you need that shortcut to the secret area unlocked first to get to it easily. 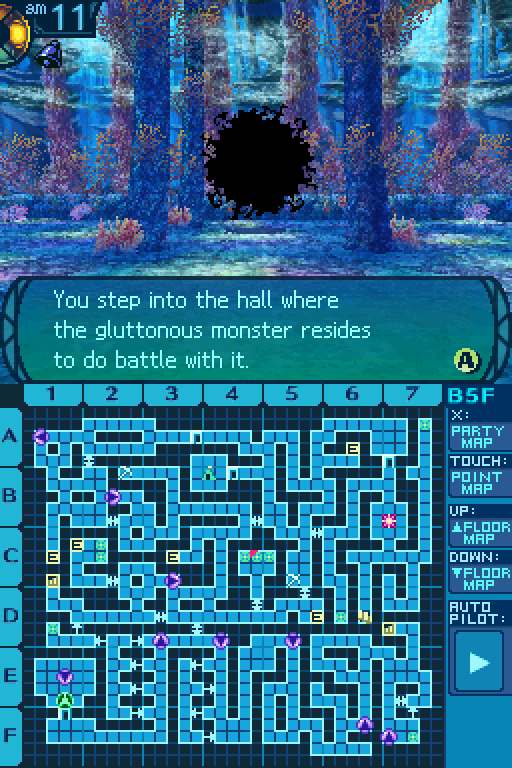 An unimaginably gigantic sea anemone is writhing grotesquely in a sickening manner! Its mouth is large enough to swallow a ship whole... It must be devouring the fish! Hoo wee! Look at the maw on that thing! I�ve never seen something like that before! I wonder if there�s something in the water to cause such a mutation... I�ve never seen something like that before! I wonder if there�s something in the water to cause such a mutation... Yeah, we�ll restore balace, alright. 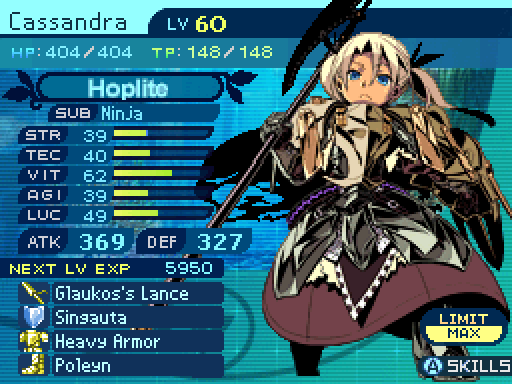 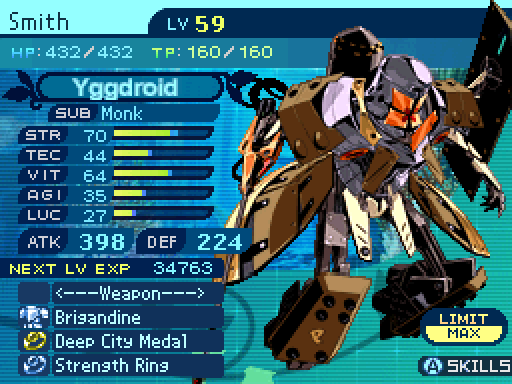   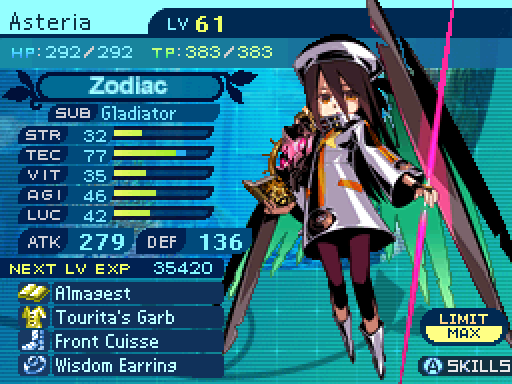 Here�s my equipment setup. The only one who I really want to make note of is Faye. I changed around her equipment so that she would be faster than the boss, as it like to make use of disables, and I want Faye to dispel them as soon as possible. I also put a Head Guard on her, since the boss can also bind heads, and Faye needs to make use of hers to be able to use her skillset. 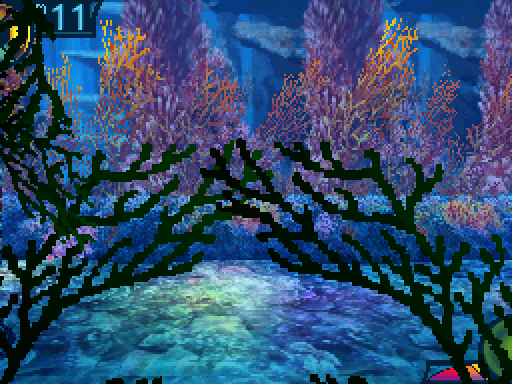 Dinnertime�s over, you weird... underwater... flower... what are you, anyway?Video: Anemone Dinnertime�s over, you weird... underwater... flower... what are you, anyway?Video: Anemone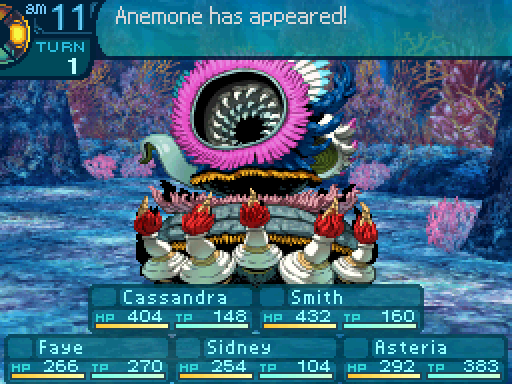  Anemone Level: 69 HP: 17000 STR: 61 VIT: 68 AGI: 52 LUC: 49 TEC: 62 Attack Type: Pierce Exp: 160000 Item Drops: -Normal: Dimension Disc - 100% Drop Rate. Unlocks the Joukahainen Bow (Crossbow. Must be restocked.) --Oral ring of an increasingly vicious, enlarged anemone. -Gold: Blue Bone - Don�t kill with elemental damage. 100% Drop Rate. Prevents normal drops. Unlocks the Knight Armor (Hoplite�s ultimate Heavy Armor. Must be restocked.) --Unbelievably sturdy and flexible metallic bone. Description: A sea monster with an enormous appetite that causes trouble for the fishermen near Armoroad. Damage Resistances: Slash: 25% Strike: 25% Pierce: 25% Fire: 150% Ice: 150% Volt: 150% Ailment Resistances: Sleep: 10% Confusion: 10% Plague: 10% Poison: 10% Blind: 10% Curse: 10% Paralysis: 10% Bind Resistances: Head: 30% Arm: 30% Leg: 30% Other Resistances: Death: LR � 6% Petrification: LR � 6% Stun: 10% Skills: Tentacle Grab: Uses the Legs. Attempts to inflict head, arm, and leg binds on all party members, and has a 30% chance of succeeding. Has an action speed of +/-0. Cnidocyte Rush: Uses the Arms. Randomly hits the party 4 to 6 times, dealing 110% STR-based Pierce damage per hit. Attempts to inflict Poison and Paralysis, with a 40% success rate. Has an accuracy of 150. Has an action speed of +/-0. Tentacle Reap: Uses the Legs. Deals 10% STR-based Slash damage to the entire party. Has a 1% chance to instantly kill the targets. Instant death success rate becomes 50% if the targets are either Poisoned or Paralyzed. Has an accuracy of 90. Has an action speed of +/-0. Tentacle Suck: Uses the Legs. Deals 150% STR-based Strike damage to the entire party. Anemone is then healed for twice the damage dealt. Deals more damage the more binds the targets have. Damage is equal to [Skill Power * 2 ^ Number of Binds on the Target]. Has an accuracy of 99. Has an action speed of +/-0. Oh look, 25% resistance to all physical damage types! On top of its ability to heal itself! I sure hope you have some form of elemental damage, or you�re going to be here for a long time. Anemone�s AI Script posted:If HP is below 31%, Cnidocyte Rush cannot be cast again until Tentacle Grab is cast. If you know what you�re doing, Anemone isn�t really a difficult fight. It�s just really really annoying. It�s yet another fight based around the concept of �dispel these disables as soon as possible, or suffer the consequences.� Sheesh, how many times did they use that as a template for a boss fight? I get it, disables are bad. No need to hammer in that concept so many times.  Anemone only has access to physical attacks, so I�m casting Aegis Defense on the first turn so I can set up safely.  Smith making use of his self-binding skills is a bad idea here, since that will pretty much cause Anemone to go crazy with Tentacle Suck. So instead, I�ll make use of his red bot. 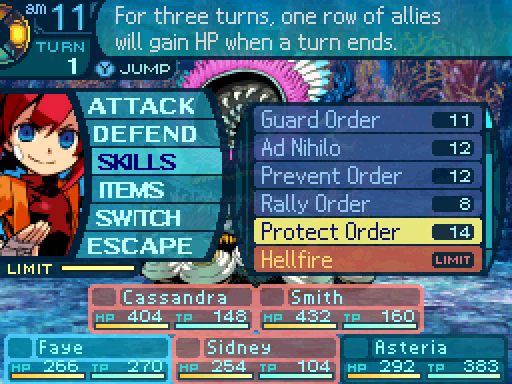 Faye will set up Protect Order. 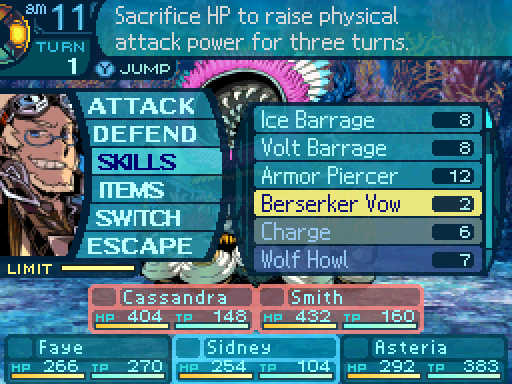 And Sidney will set up Berserker Vow. 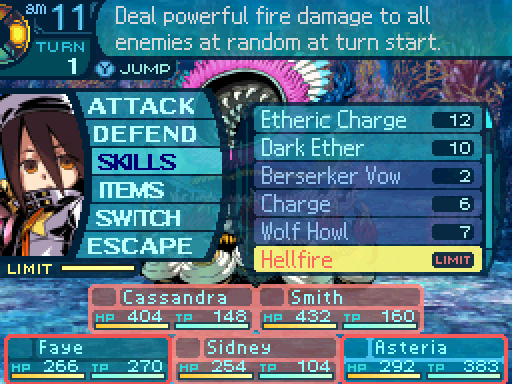 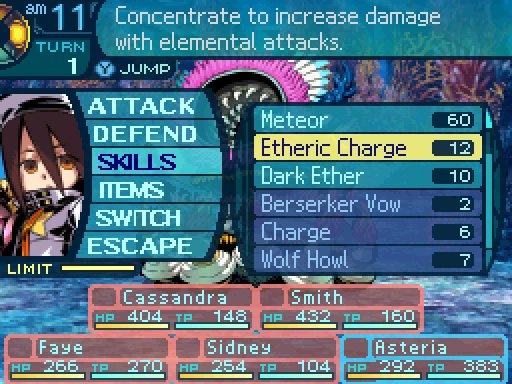 And I�ll start off the fight with an Etheric Charged Hellfire to take off a chunk of its HP. 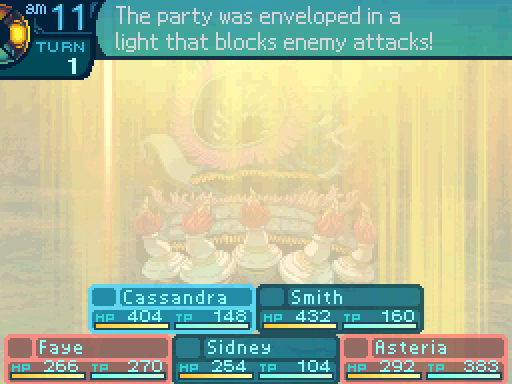  Whatever you�re planning to try, don�t bother. Whatever you�re planning to try, don�t bother.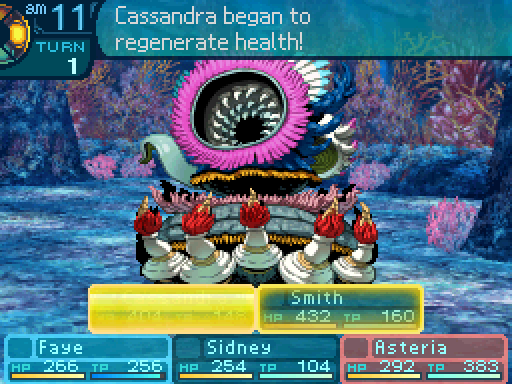 I�ll cover you! I�ll cover you!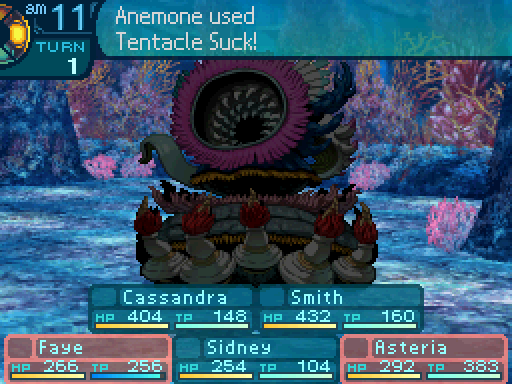 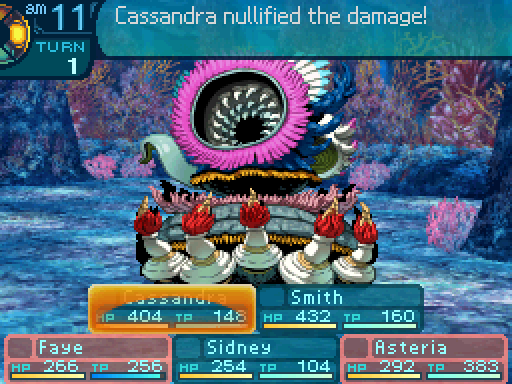 Why do they never listen? Why do they never listen?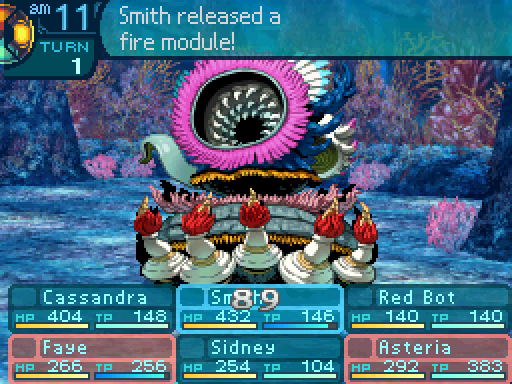 What up, little guy? I�ll call you, Reddy. What up, little guy? I�ll call you, Reddy.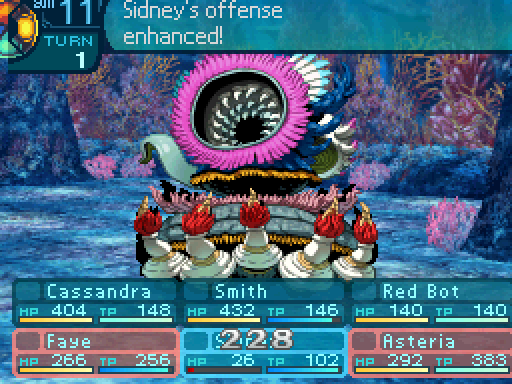  Hee hee hee... Hee hee hee... Ready when you are, Faye. Ready when you are, Faye.  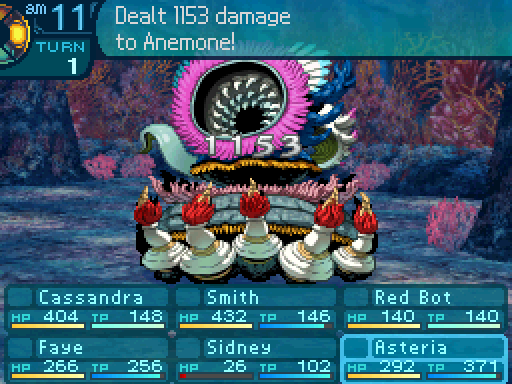 Ehh, that could have gone better. Mmm, not our best work. Ehh, that could have gone better. Mmm, not our best work.Bah, only 3 hits got rolled for there. 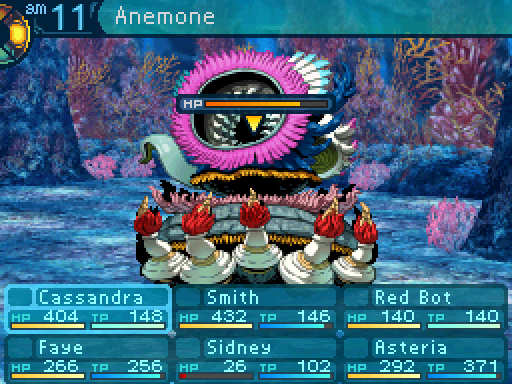 Yeah, that kind of didn�t do all that much. Asteria struggles to stay relevant if she can�t make use of Meteor. 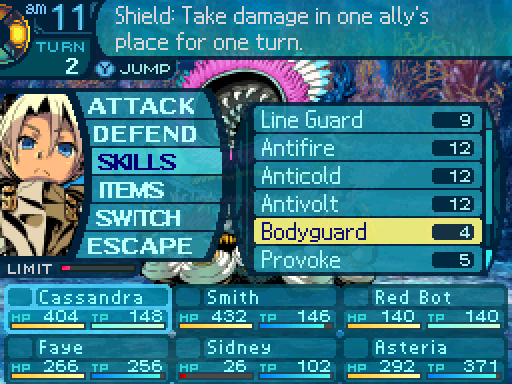 Just in case Anemone attacks, I�ll have Cassandra Bodyguard Sidney. 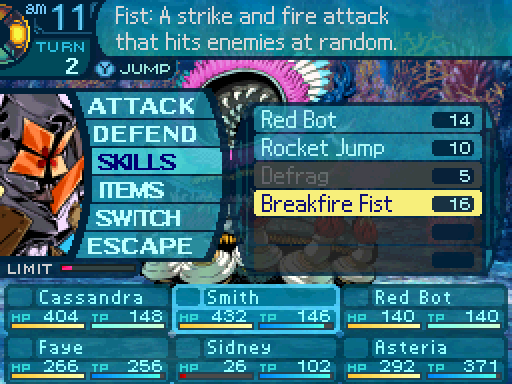 Now Smith will spam Breakfire Fist.  And Asteria will pretty much go Etheric Charge > Fire Star for the rest of the battle. 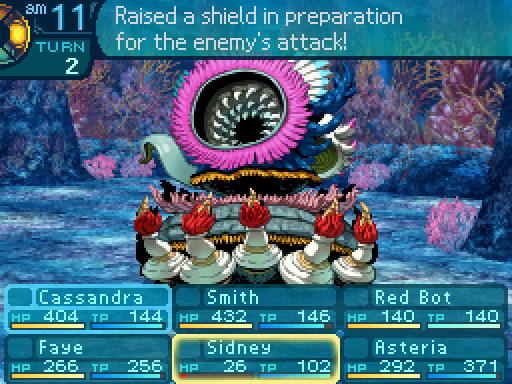 Stay behind me, Sid. Stay behind me, Sid.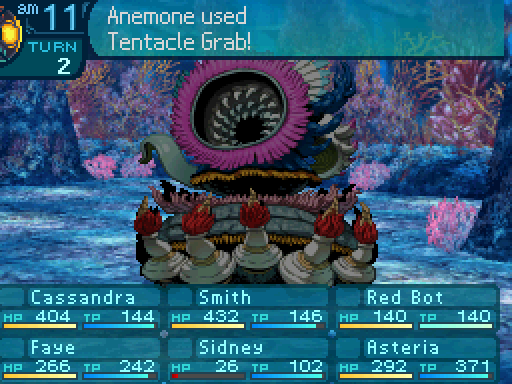 I should have saw that coming, given that I read its AI file before even attempting this fight. 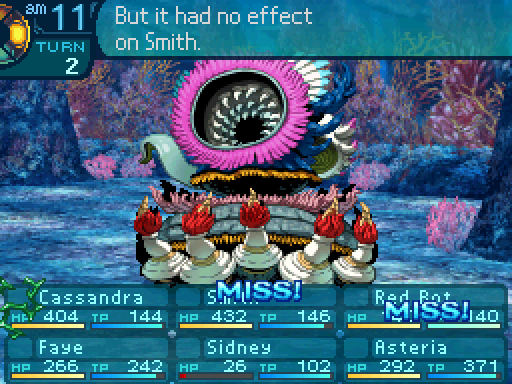 Ahahaha, nice try, bucko! But you can�t tie me down! Ahahaha, nice try, bucko! But you can�t tie me down! MMMMMPH! MMM MMM MMMMMMMRRRGGPPHHH! Sorry Sidney, but there�s only so much I can do against attacks like that. MMMMMPH! MMM MMM MMMMMMMRRRGGPPHHH! Sorry Sidney, but there�s only so much I can do against attacks like that.The unfortunate part of Bodyguard is that it can only protect someone if enemies try to damage them. 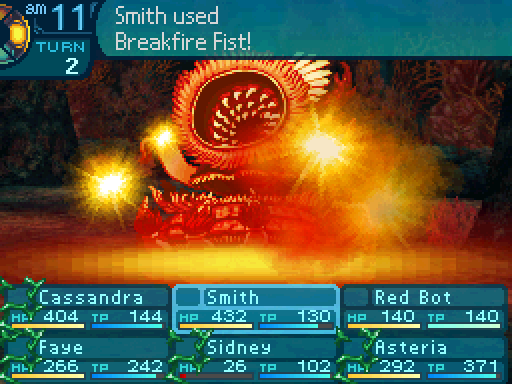  Punchy punchy? Uhh, nice punching, but you really need to work on your aim. Blame my defective optical parts. I can barely see outta these things! Ah screw it. Just fry it, Reddy. Punchy punchy? Uhh, nice punching, but you really need to work on your aim. Blame my defective optical parts. I can barely see outta these things! Ah screw it. Just fry it, Reddy.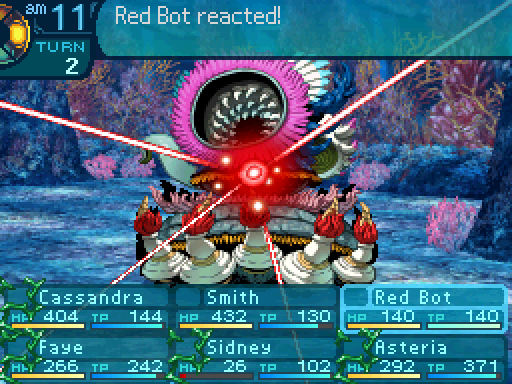 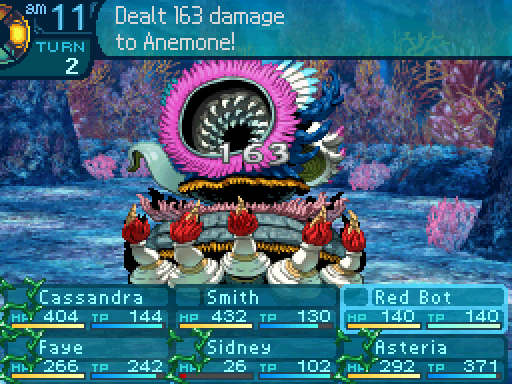 ...That�ll do, I guess. ...That�ll do, I guess.Well, every bit of damage helps. 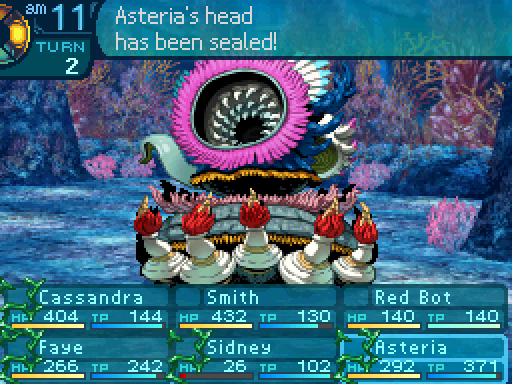 Mrgh. Mrgh.Tentacle Grab is why the fight is so annoying. It basically forces your party to do nothing if they get any important body parts bound. 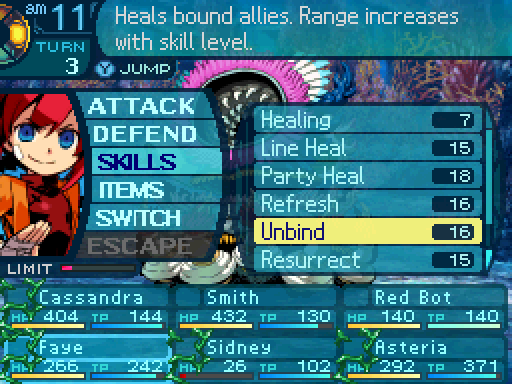 However, that�s exactly why I made sure to outfit Faye appropriately, so she can dispel the binds as soon as possible. Tentacle Suck is very likely to come out, and its damage scales exponentially with the number of binds on the victims. So it�s important to get rid of the binds.  Unfortunately, Sidney not being able to Berserker Vow twice pretty much killed his damage output, so I�m just gonna have him cast Fire Barrage to make the most of what�s left of that buff.  Also, if your characters can�t do anything meaningful, have them defend. This will reduce the damage that Tentacle Suck does, and won�t cause Anemone to heal itself for as much. 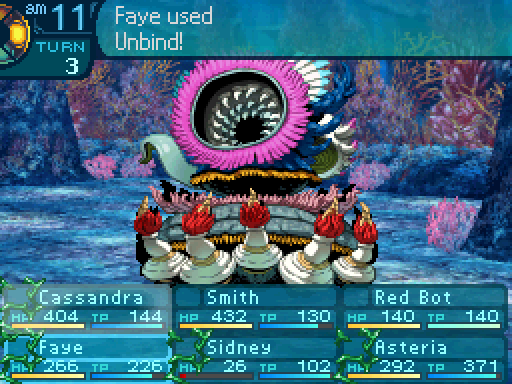 Okay, let�s get those off! Ech. Thanks for that. Gonna be tasting weird underwater tentacles for weeks! Blech! Okay, let�s get those off! Ech. Thanks for that. Gonna be tasting weird underwater tentacles for weeks! Blech!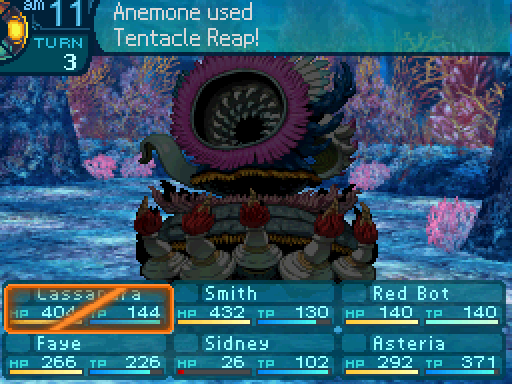 Oh, never mind. It opted to go for Tentacle Reap instead.  ...Are you even trying? ...Are you even trying?Tentacle Reap is Anemone�s weakest move. It barely does any damage, and has an extremely low chance to instantly kill the party. Unfortunately, due to the RNG present in the ailment infliction formula, that extremely low chance can jump up to fairly low. And one wrong application of instant death can completely screw over my party. Especially if Faye happens to be a victim.  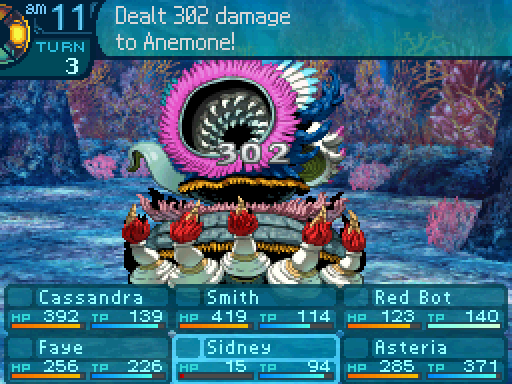 Rrrgh, lousy stupid tentacles! Rrrgh, lousy stupid tentacles!Even if Sidney had time to make use of Charge, Smith still outdamages him. In fact, Smith is pretty much my best option for damage in this fight, aside from Asteria�s charged elemental limits. What is this bizarre world where Yggdroids are legitimately good? Can this happen more often, please? 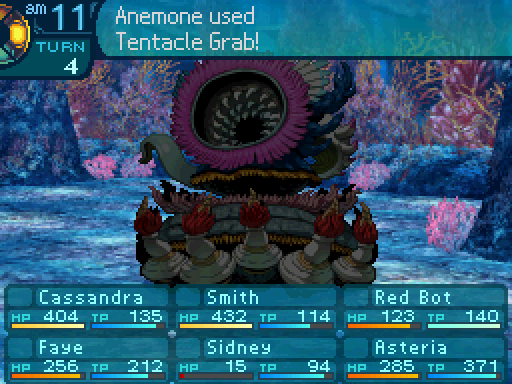 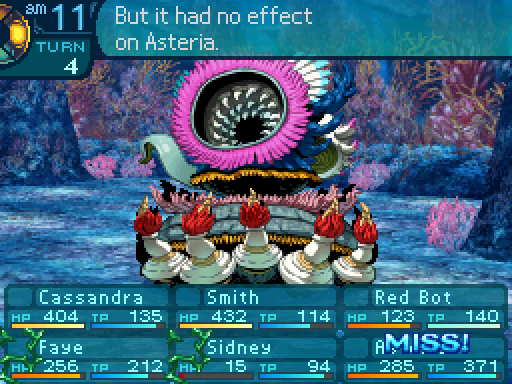 Oh we won�t be having that again. Oh we won�t be having that again.One thing to keep in mind is that accumulative resistance also affects your party as well. So while Tentacle Grab is annoying at first, it�ll get much less effective as the fight goes on. In fact, that�s part of my strategy. Try to survive the beginning part of the fight so my party can build up enough resistance, then go to town once Anemone�s disables become ineffective. 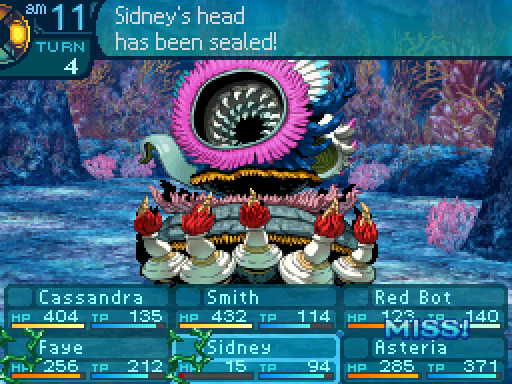 MRRRRRRGGGGGHHHHHH! MRRRRRRGGGGGHHHHHH!Unfortunately, Sidney got his head bound again.  Don�t worry Sidney, I�ll make sure to pick up the slack for you. Don�t worry Sidney, I�ll make sure to pick up the slack for you.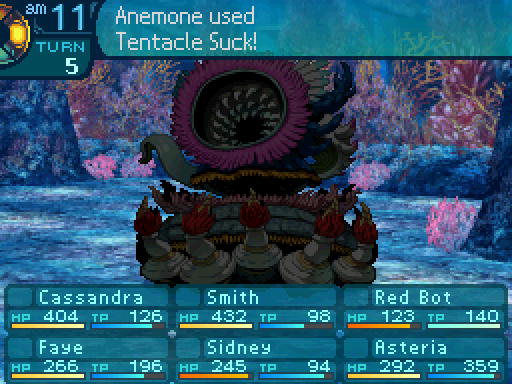 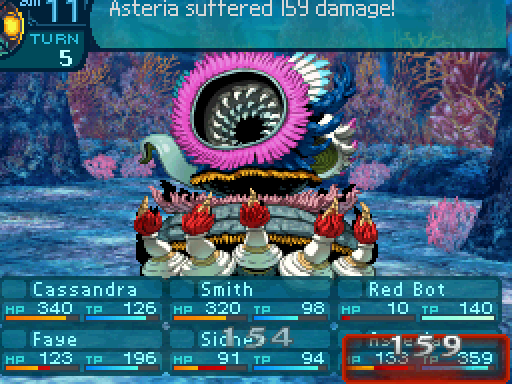 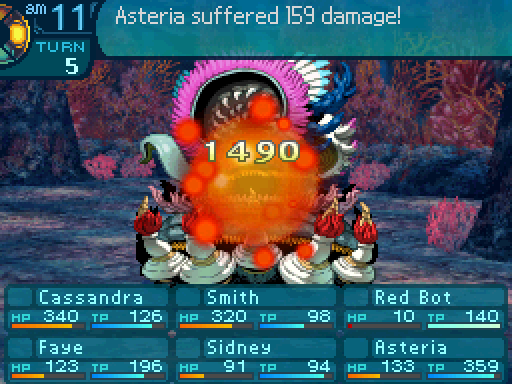 And that�s why you want to make sure your party is unbound. That�s how much damage it deals normally. If it deals anymore than that, you can lose a lot of progress in the fight since Anemone will be healed for so much. 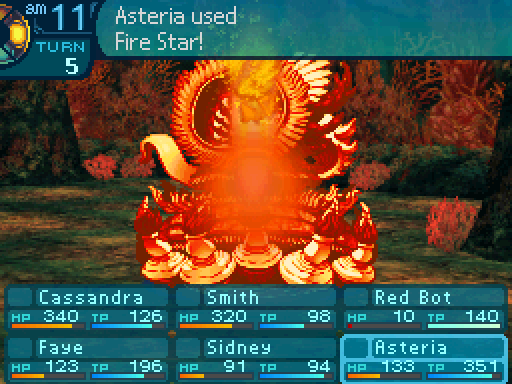 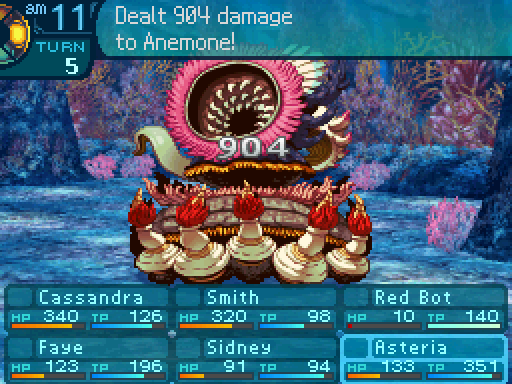 I can tell that this is going to take a while. I can tell that this is going to take a while.Yes that�s right, Smith outdamages Asteria in this fight. A truly bizarre world we�re in, I must say.  Reddy, NOOOooehhh, I can always deploy another one. Reddy, NOOOooehhh, I can always deploy another one.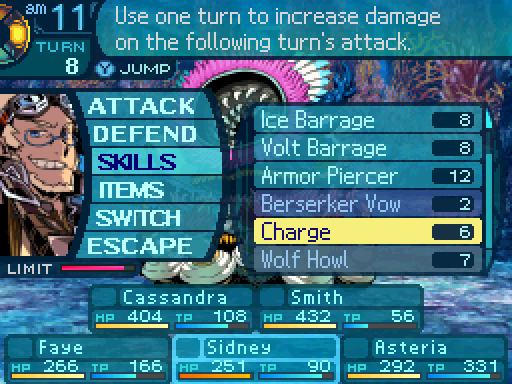 Sidney finally gets an opportunity to make use of Charge. Assuming he doesn�t get his arms bound again.  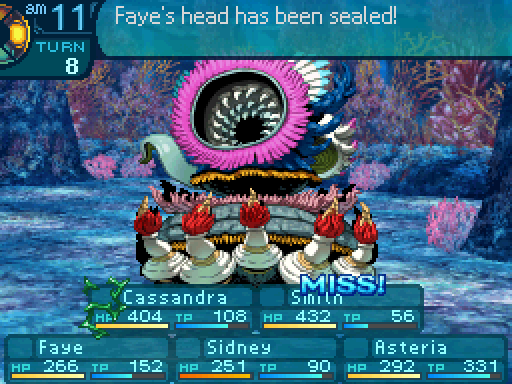 Muh moh. Muh moh.Oh, this is not good.  Will you stop that!? Will you stop that!?Oh, insult to injury! 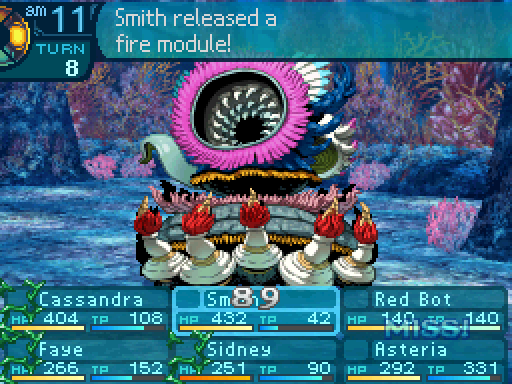 I�ll call you, Reddy II! I�ll call you, Reddy II!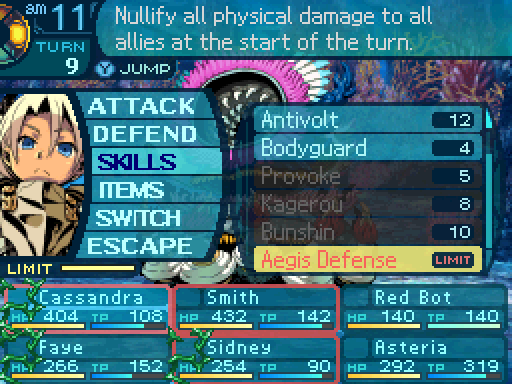 Fortunately, I can use Aegis Defense to avoid any Tentacle Sucks that come this way. 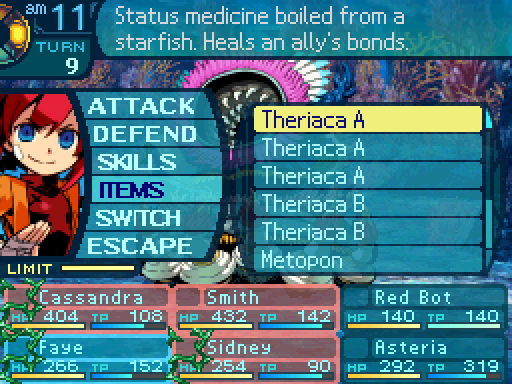 And I did have backup plans in case something like that happened. 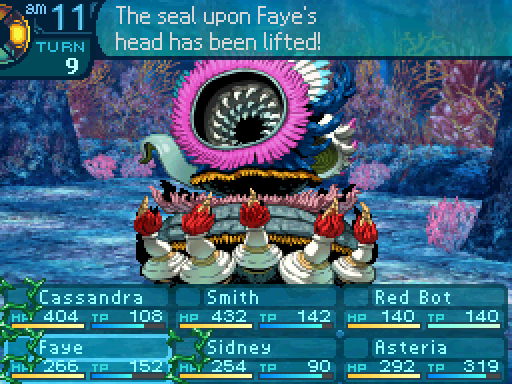 Can�t keep a good girl quiet! Can�t keep a good girl quiet! By the way, we�re only 10 turns in and that�s how much HP we�ve taken off. I could have done more if the party didn�t keep getting their momentum shut down by Tentacle Grab! This is what I meant by the fight being more annoying than actually difficult. 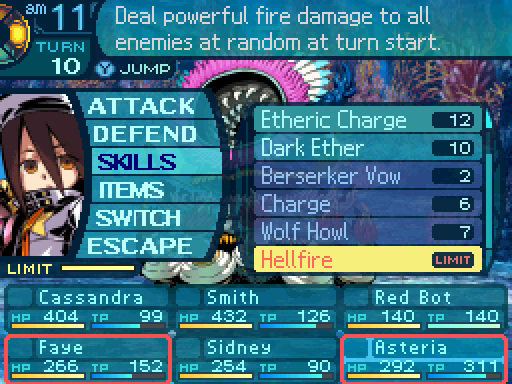 Asteria has another Hellfire ready to go, so this should put another dent in its HP. 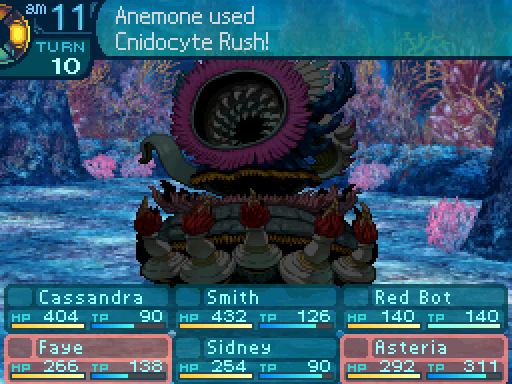 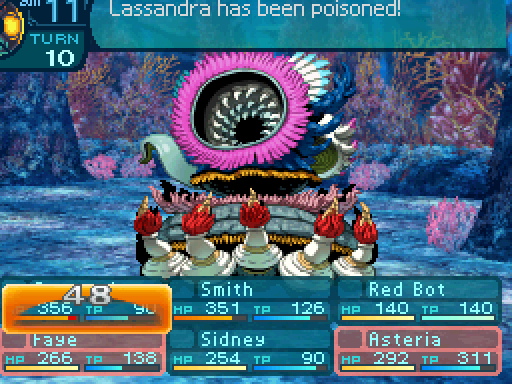 Uh oh. Cnidocyte Rush by itself isn�t that deadly, but the ailments it inflicts massively increases the success rate of Tentacle Reap�s instant death component. 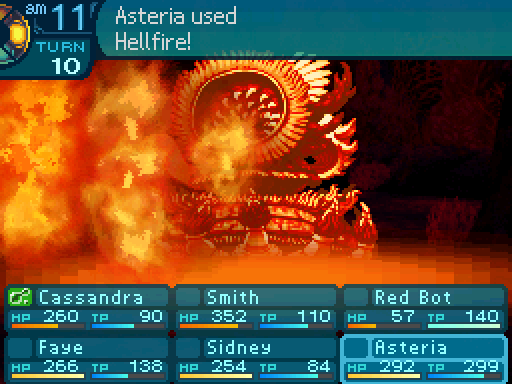  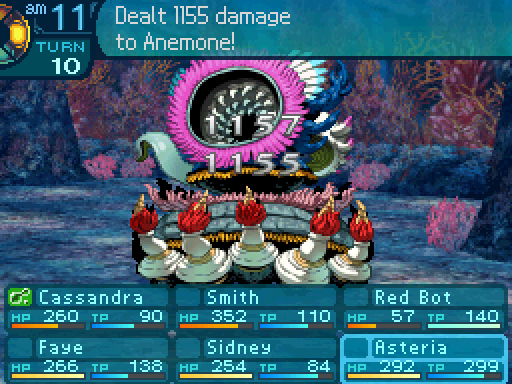 Rolled 4 hits there instead of 3, so that should have made a bigger dent. 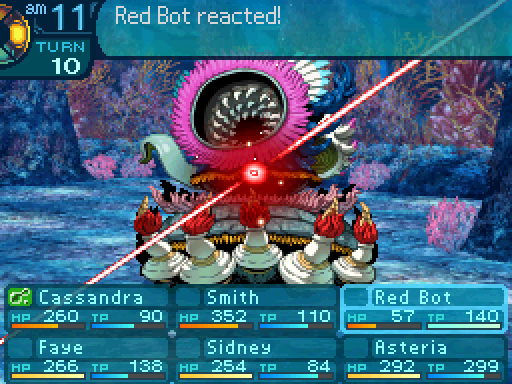 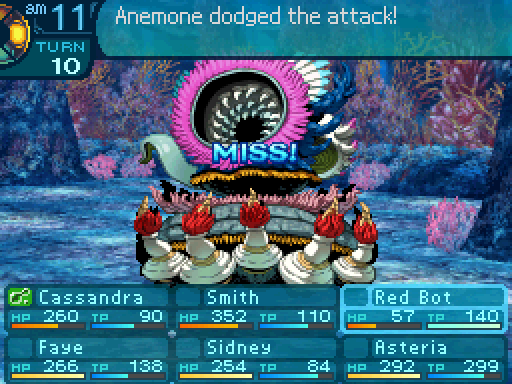 ...Really? 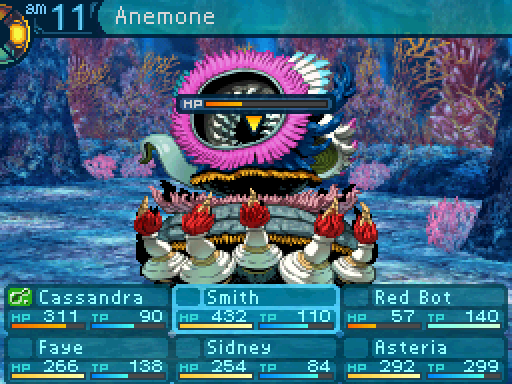 Okay, hopefully we can finish it off soon.  I don�t want Cassandra to get instantly killed, so I�ll have Faye cure the Poison.  Oof, Cassie, you�re not looking too hot. Lemme take a look at that. Oof, Cassie, you�re not looking too hot. Lemme take a look at that. 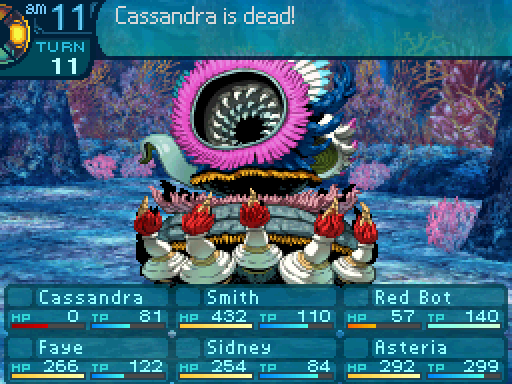 This is unfortunate... This is unfortunate...WHAT. 1% chance. 1% CHANCE! The other bad thing about this? Dying resets accumulative resistance, so if you�re banking on that as a strategy, Tentacle Reap can completely screw with it. 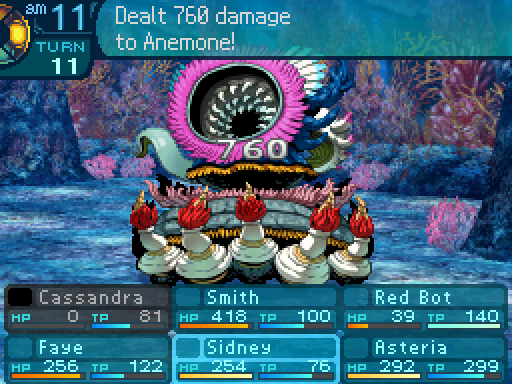 Eventually... 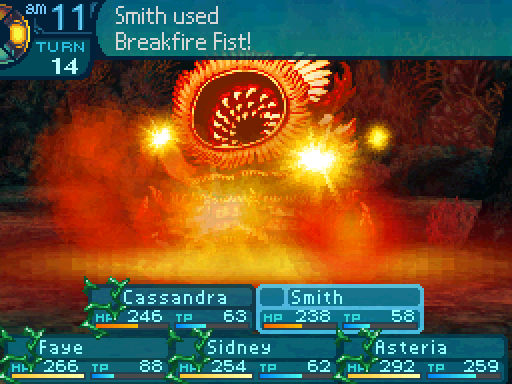 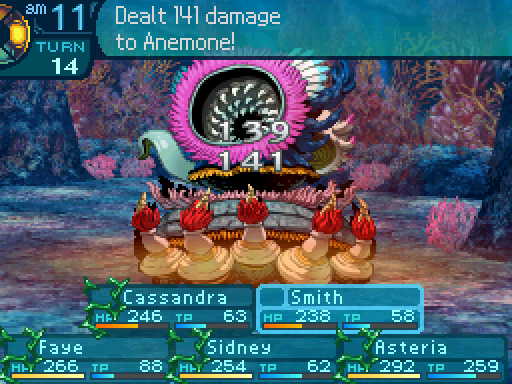 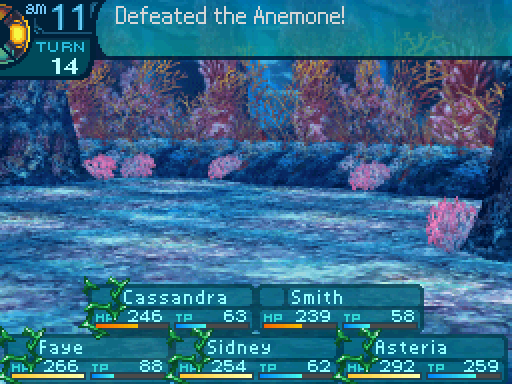 Did you see that!? Tell you saw that! Heh, I knew my punching techniques weren�t worthless! Go out there, Smithy and fulfill my dreams. Be what I could never become. Oh, don�t be so melodramatic. Did you see that!? Tell you saw that! Heh, I knew my punching techniques weren�t worthless! Go out there, Smithy and fulfill my dreams. Be what I could never become. Oh, don�t be so melodramatic.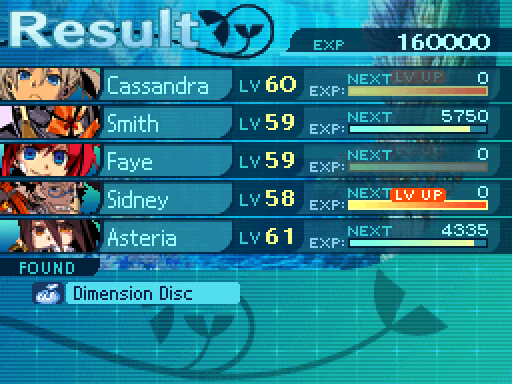 And uh, that�s Anemone. Honestly? There�s not much to the fight other than dispelling any disables as soon as possible. And hoping you don�t get screwed over by bad RNG. Granted if you don�t know that you�re supposed to dispel any disables as soon as possible (the game honestly does not really communicate it all that well), the fight can be hair pulling since party members will be dying left and right. But if you know exactly what to do? It�s one of the more boring post-game fights.  As its massive form goes limp, you take a deep breath in celebration! The request is now complete! Hurry back to the bar to report your victory! 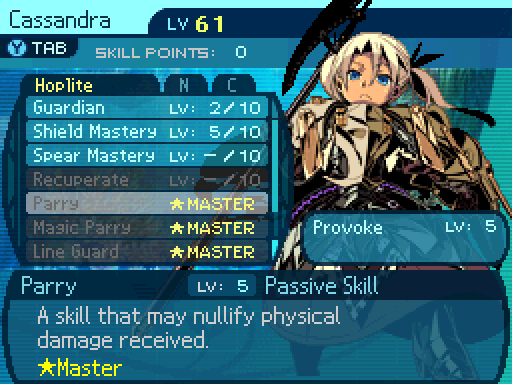 Parry is now maxed out, so it has an 18% chance to nullify physical attacks. 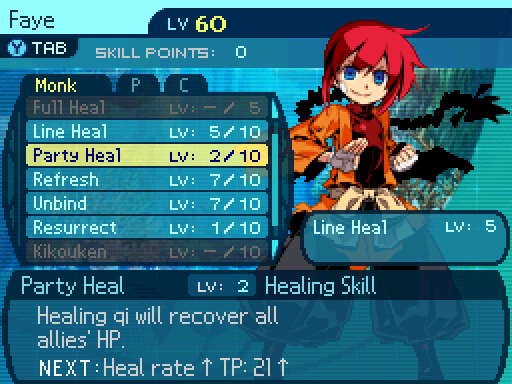 I start investing in Party Heal, as I�m expecting to use it more often. It has a healing power of 55%. 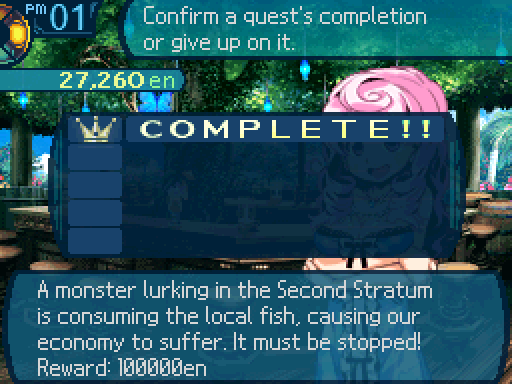   It looks like the anemone has been defeated! The fishermen have set sail again already! That�s good... The fish from around here are so delicious! It would be a shame if we couldn�t eat them anymore. But no worries now, right? Hey, why not order something to eat while you�re here? Oh! Before I forget, here is your reward! It looks like the anemone has been defeated! The fishermen have set sail again already! That�s good... The fish from around here are so delicious! It would be a shame if we couldn�t eat them anymore. But no worries now, right? Hey, why not order something to eat while you�re here? Oh! Before I forget, here is your reward!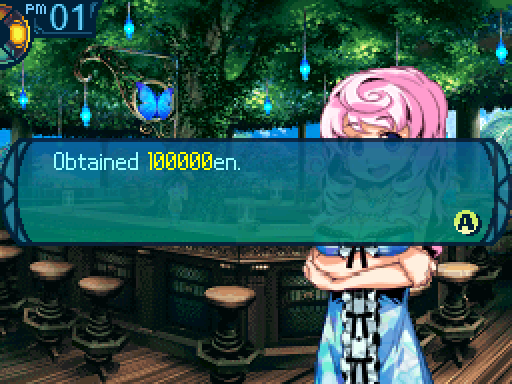 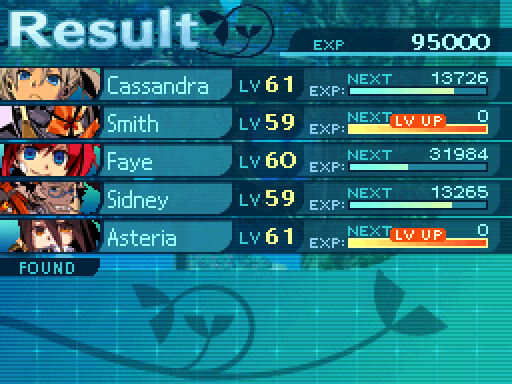 Well that sure was a quest and a boss fight. 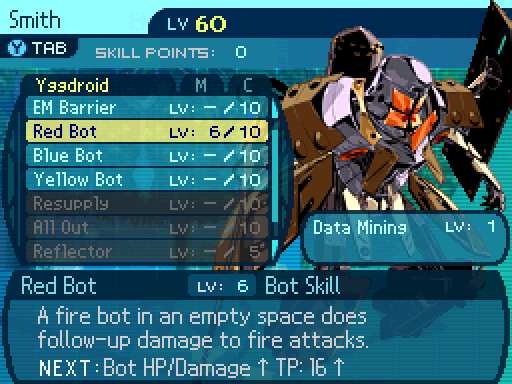 The red bot now deals 130% damage per chase, has 175 HP and TP, and the chance to chase is only reduced by 25% per chase. 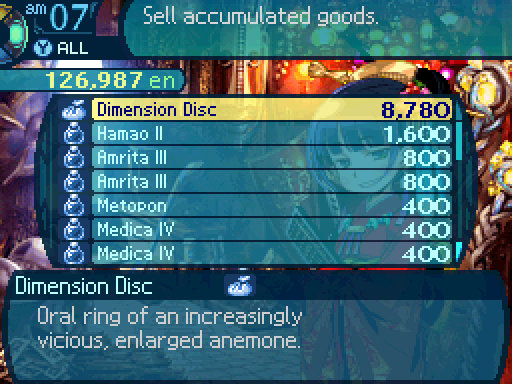 Let�s see what Anemone�s drop unlocks. I won�t bother with the conditional drop yet, because bad RNG really got in the way of that run. (Tentacle Reap somehow managed to score 4 kills despite only having a 1% base chance.)  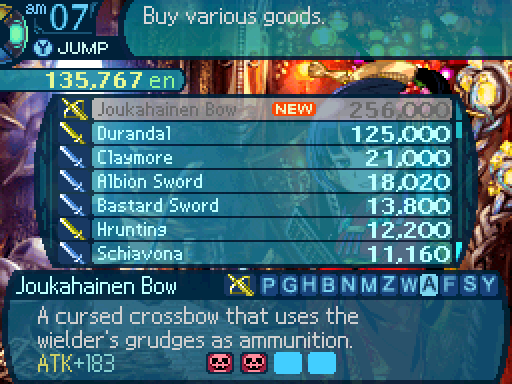 It unlocks a Crossbow, but not the ultimate Crossbow. We already unlocked that with Shin�s conditional drop. Though if you didn�t do the Deep City path and don�t want to bother with it, this is a nice alternative. But now, I think it�s time we take on the last available Sea Quest boss. Uh, the last regular quest boss? Yeah no, we�re still not ready for that thing yet. 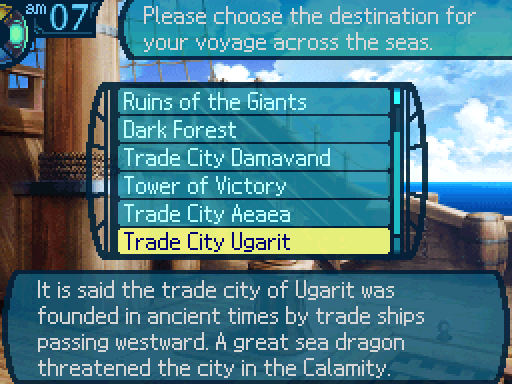 We�ve seen the boss of this set of Sea Quests briefly, Leviathan, when I did the RNG exploit to get Lucky Hammer early. Here�s some info on it. Leviathan HP: 17440 AT: 65 DF: 61 Weakness: Slash, Ice Resistance: Strike, Pierce, Fire, Volt It�s got quite the set of resistances, but it does have some exploitable weaknesses as well.  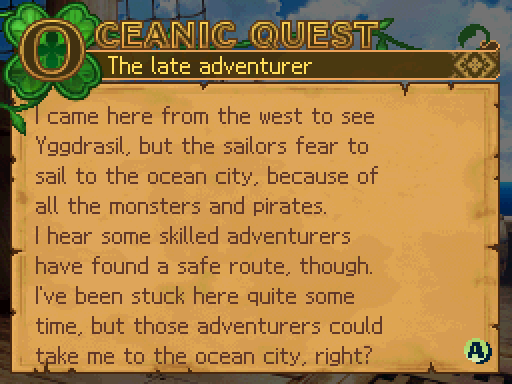 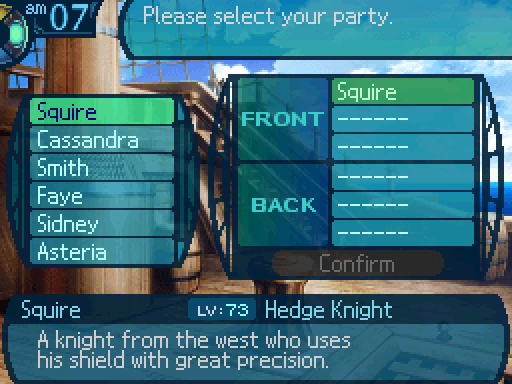 Squire Class: Hoplite Stats:
Squire�s AI Script posted:If at least 1 party member is below 31% HP and Leviathan uses an Ice attack, 69% chance to cast Antice. (Targets the front row.) Squire�s skillset may look impressive, but in all honesty, he�s not a reliable ally as you can see from the probabilities. Leviathan�s most threatening attacks are its elementals, and you really want some way to block them. If Squire does something nice for your party, great. But you�re better off not planning around what he does. Bring whoever you want for this Sea Quest, but I highly suggest bringing your own Hoplite since Squire doesn�t do that good of a job at being one. 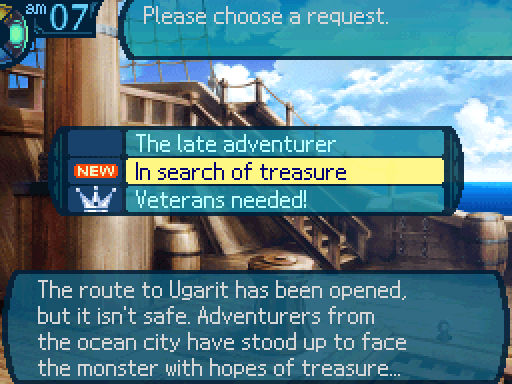 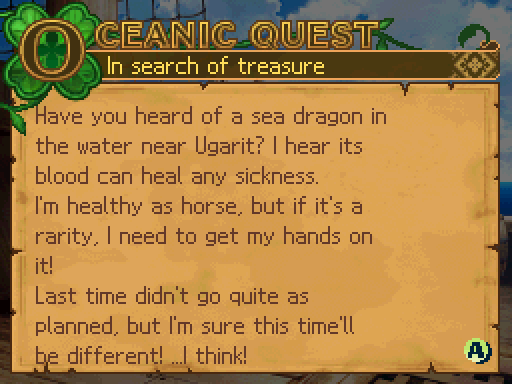 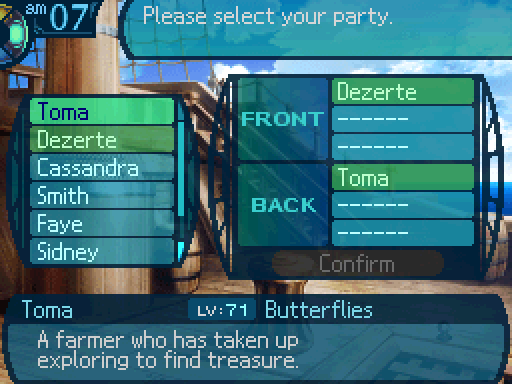 Toma Class: Farmer Stats:
Toma�s AI Script posted:When healing, prioritize party members with the lowest HP. 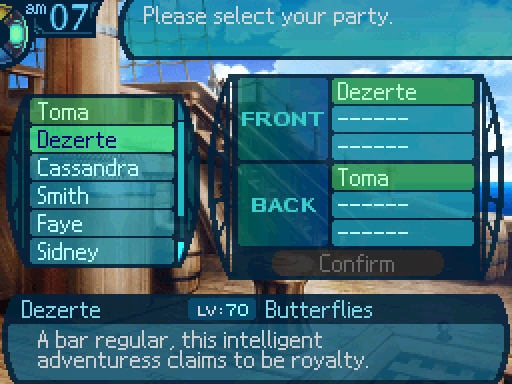 Dezerte Class: Princess Stats:
Dezerte�s AI Script posted:If Leviathan has a buff, cast Ad Nihilo. (Targets enemies with buffs.) 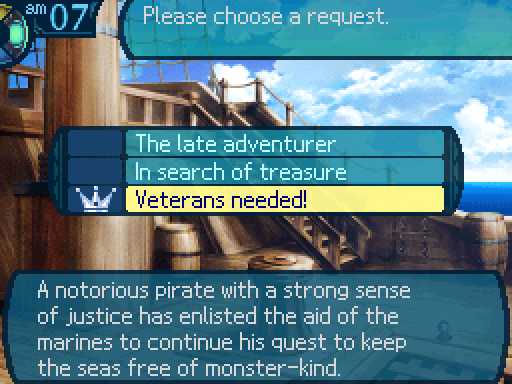 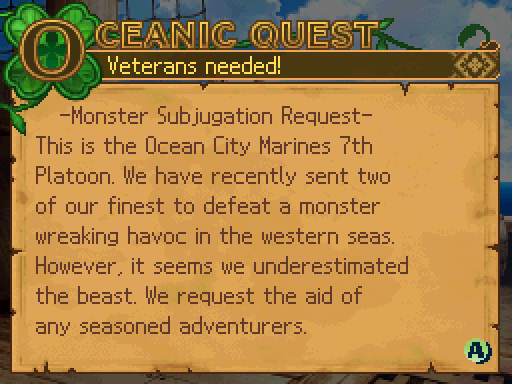 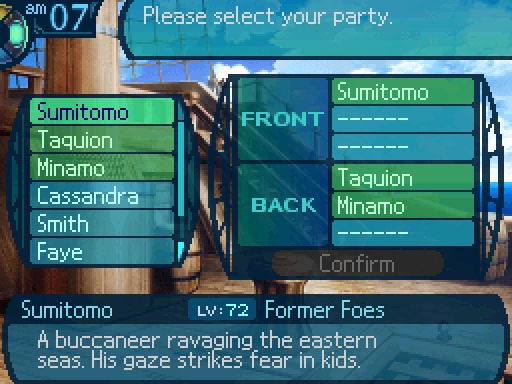 Sumitomo Class: Buccaneer Stats:
Sumitomo�s AI Script posted:If Leviathan has a buff, cast Eagle Eye (Targets enemies with buffs.) 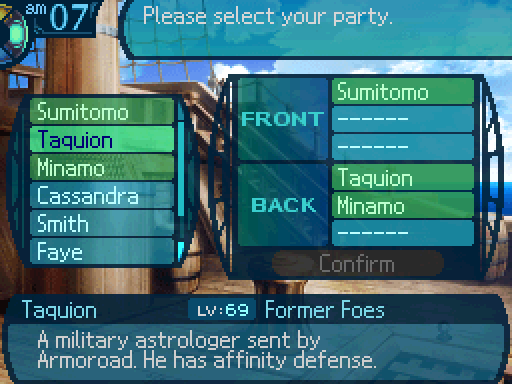 Taquion Class: Zodiac Stats:
Taquion�s AI Script posted:If at least 1 party member is below 11% HP and Leviathan uses an Ice attack, 79% chance to cast Ice Prophecy. (Standard targeting.) 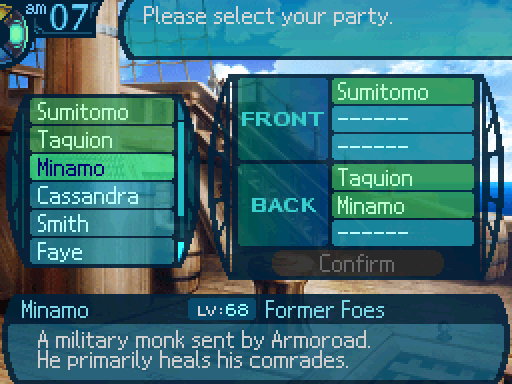 Minamo Class: Monk Stats:
Minamo�s AI Script posted:If at least 1 party member in each row are below 71% HP, cast Party Heal. (Targets the party.) Not one of the easier Sea Quests, though the NPCs are fairly competent, at least. You�ll probably want to bring 2 damage dealers, or a damage dealer and a support.    Faye is a great support to have, since she can heal, dispel any buffs on Leviathan, and dispel any status effects and binds on the party. Only problem with her? She only really shines in the first Sea Quest. She�s kind of redundant in the other 2 Sea Quests, since there are already healer NPCs there.    Cassandra is an excellent support to have. She can block Leviathan�s elemental attacks, which are its most deadly attacks in its entire skillset. Unlike Faye, she�s not really a redundant party member, since the NPCs that are supposed to block Leviathan�s elemental attacks aren�t really good at that job unless someone is dying. 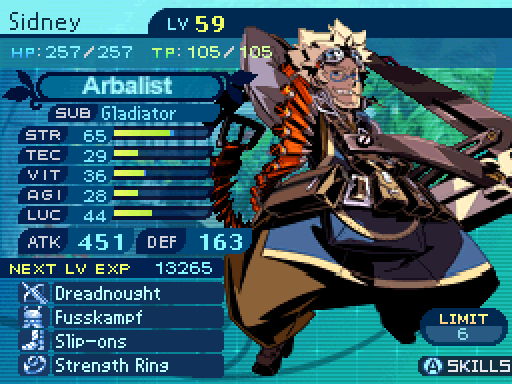   Sidney is also a good support to bring along. Yes, support. You see, he�s the only member of the guild that can prevent or dispel accuracy debuffs, which Leviathan has access to, thanks to Pop Flares. As a damage dealer, he�s not really that great thanks to Leviathan having some resistance to Pierce attacks. He does have access to Ice Barrage, at least. Of course at this point in the game, you can buy Unihorns, which pretty much cover what Sidney can do. Though if Rose comes along, she would certainly appreciate the Pop Flares buff.  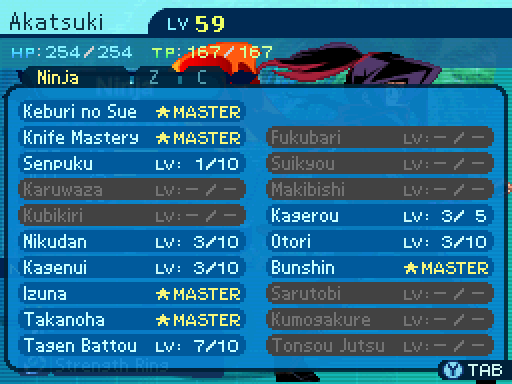  Akatsuki can make for a nice damage dealer thanks to Tagen Battou. He does have access to Dark Ether, but at this point in the game, it�s really not necessary anymore.    Unfortunately, Leviathan is resistant to Strike attacks, so that means that Asteria can�t really make good use of Meteor. Though she can take off a good chunk of Leviathan�s health with Etheric Charged Absolute Zeros. 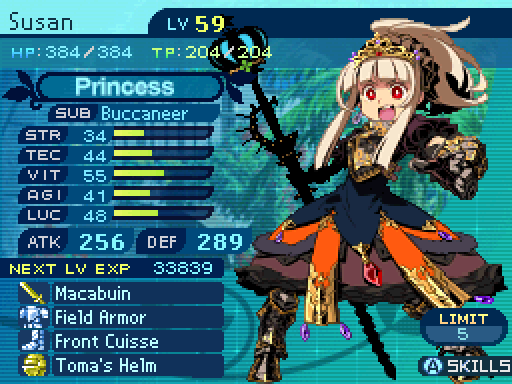 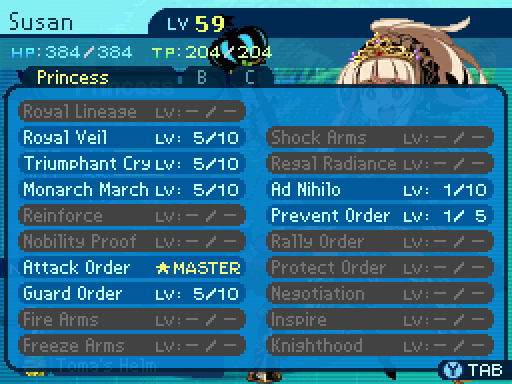 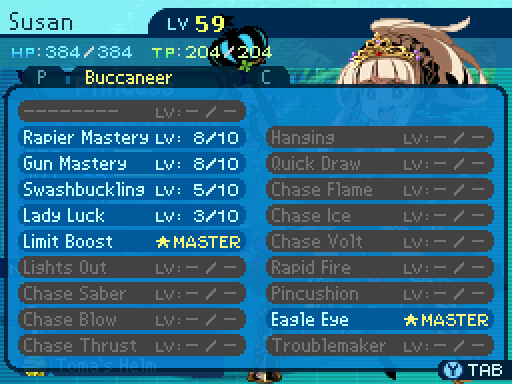 MEGAQUEEN here is a nice support to bring along. She can buff the party�s physical damage output, and Ad Nihilo is useful due to the fact that Leviathan likes to put a defensive buff on itself every so often. 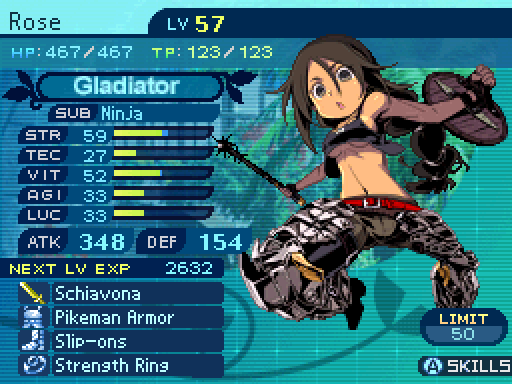   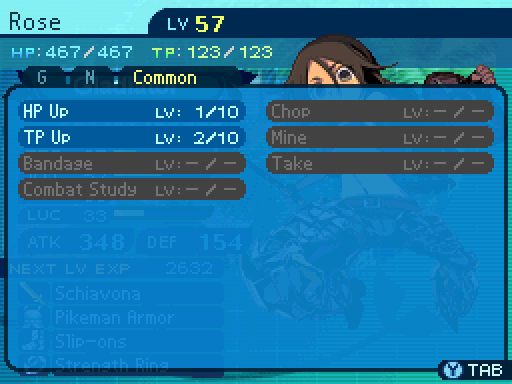 Rose excels as a damage dealer thanks to the fact that Leviathan is weak to Slash attacks. The downside with her is that her TEC stat is so low, that Leviathan�s elementals can one-shot her if they aren�t properly defended against. Oh, and if she gets hit by Leviathan�s accuracy debuff, she is pretty much going to whiff all her attacks if it isn�t dispelled.    Scott is not that great of a choice thanks to Leviathan�s Pierce resistance. He does have Eagle Eye, which can dispel Leviathan�s defense buff, but that�s about all he can do. 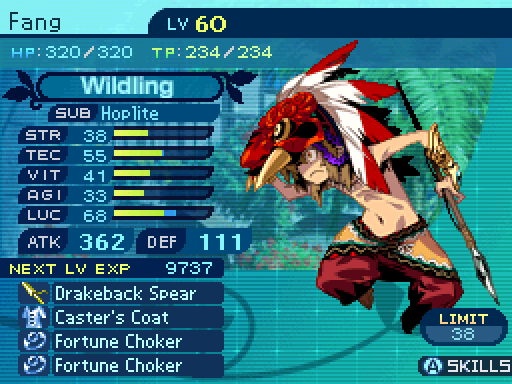  It�s the post-game. Fang is dead weight. All he can really do is dispel Leviathan�s defense buff with Primal Drums. 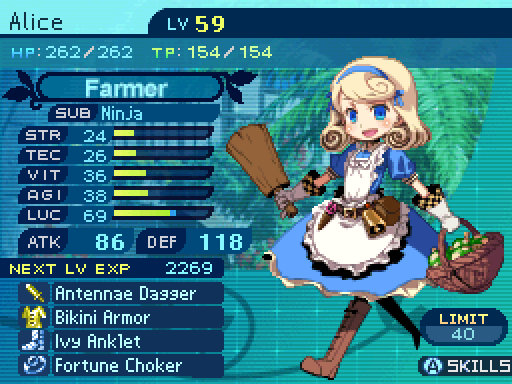  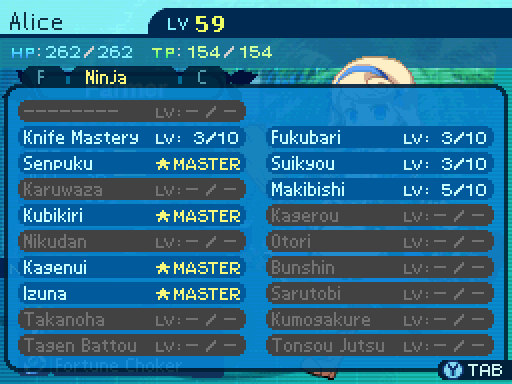 Alice has always been dead weight whenever it comes to the big fights. 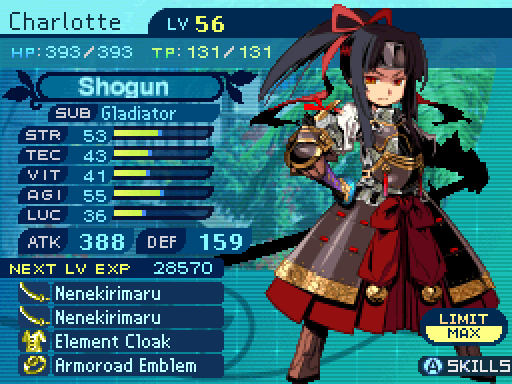   Charlotte is another excellent choice for a damage dealer since she primarily makes use of Slash attacks. And her higher TEC stat lets her take elemental hits far better than Rose can. 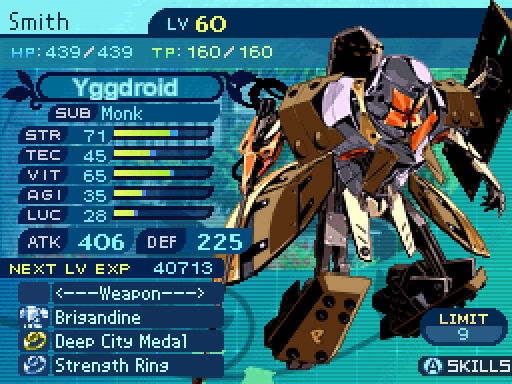 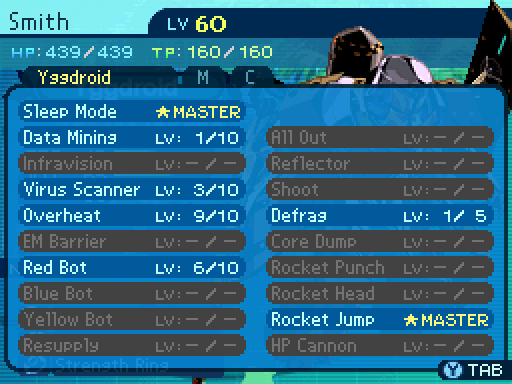  Smith can�t really do much to Leviathan since it resists both Fire and Strike attacks, meaning that he can�t make use of Breakfire Fist all that well. Vote for up to 3 characters to partake in the Sea Quests. Votes must be in bold. Araxxor fucked around with this message at 01:53 on Jun 5, 2017 |
|
#
?
May 4, 2017 18:59
|
|
|
Also, major thanks to Can of Worms for making the NPC AI scripts significantly easier to read. I was about to leave those out of the update until they helped me out.
|
|
#
?
May 4, 2017 19:00
|
|
|
Rose, Cassie, Sidney
|
|
#
?
May 4, 2017 19:46
|
|

|
Cassandra, Charlotte, Sidney.
|
|
#
?
May 4, 2017 20:00
|
|


|
Rose, Cassandra, Charlotte
|
|
#
?
May 4, 2017 20:35
|
|
|
Charlotte, Cassie, MEGAQUEEN.
|
|
#
?
May 4, 2017 21:18
|
|

|
Rose, Charlotte, Sidney
|
|
#
?
May 4, 2017 21:50
|
|
|
Why the heck are so many of the quest NPCs naked, anyway? Cassandra, MEGAQUEEN, Alice
|
|
#
?
May 5, 2017 00:36
|
|
|

|
| # ? May 30, 2024 14:18 |
|
|
Rose, MEGAQUEEN, Sidney Hope this goes well.
|
|
#
?
May 5, 2017 02:10
|
|