


|
Cythereal posted:I've only beaten Wiz8 once, and for some reason I remember really liking the Scandinavian farmgirl voice so that's what I suggested for Aurora here. Agreed. I almost always use that one. It's a hammy, over-acted voice, but so are most of the others and it's hilarious to think of some random Scandinavian milkmaid out there beating up robots, mafiosos, giants, undead, and other assorted badasses.
|
 #
?
Jul 30, 2020 19:41
#
?
Jul 30, 2020 19:41
|
|


|

|
| # ? May 24, 2024 22:06 |
|
|
Zurai posted:Agreed. I almost always use that one. It's a hammy, over-acted voice, but so are most of the others and it's hilarious to think of some random Scandinavian milkmaid out there beating up robots, mafiosos, giants, undead, and other assorted badasses. IIRC, in that one game I beat, my party consisted of the Scandinavian farmgirl, the Southern belle, an extremely proper and snobby British lass, the guy writing a book, the Russian dude out to prove himself, and the French huntsman. Wizardry 8 definitely inherited the zany, over the top personality of the previous games. "And so began the sequel!" - Book dude upon getting resurrected.
|
|
#
?
Jul 30, 2020 20:04
|
|

|
PurpleXVI posted:I remember from old experiences with the Cosmic Forge editor that editing areas/items you've already encountered would tend to lead to a hard crash. Is it the same for the view distance? I have no idea! Never tried it myself, I just remember I saw some screenshots from someone who was playing with triple draw distance or whatever (also the widescreen mod that messes up the UI) so I googled a bit to find out what they did. It's probably the map edit that's least likely to crash the game since it just changes a single pre-existing value and so might not cause explosive mismatches on load, but depending on how they implemented things that might still mean 100% likely to crash.
|
|
#
?
Jul 30, 2020 20:15
|
|

|
Libluini posted:By the way, is the Steam-version running Wizfast, or do I still need that? It seems like the game runs faster (including the battles) than I remember, but that could just be the influence of having a non-ancient computer. Looking at the Steam forums, it seems that people are still using it since it's not part of the base game. Googling also shows a variety of other ways to speed up the game, but it largely seems to be cutting out animation frames from all the monsters.
|
|
#
?
Jul 31, 2020 02:50
|
|


|
Part 004.5: Earth and Air Earth and Air are more interesting than Water and Fire, having more utility spells than just straight up damage, including the excellent Missile Shield among others. Though this brings me to a game issue with the out-of-combat buffs like Missile Shield, X-Ray, Enchanted Blade and Armorplate... they don't involve making any choices. An in-combat buff involves judging whether you need offense or defense more, do I need Saxx to bring up Soul Shield or do I need him to wail on the Piercing Pipes to do some conical damage to enemies? The out-of-combat buffs don't cost enough magic points to require considering a resource trade-off(and even at this early stage I can pump them up enough to cast them, rest up my MP, and still have them last for a decent while) and they don't require considering an action trade-off either. It's only just occurred to me this game that it's an issue. Earth Itching Skin (Level 1, Alchemy, Cone AoE) It, uh, exists. I never bother applying Irritation outside of the very early game when it may on occasion be the only Earth spell some party members can cast. It would help if I knew how big a malus it applies, but I think it's very low since I've never really been inconvenienced by it, and unlike others(like Nausea and Fear), it never causes lost turns. Razor Cloak (Level 2, Alchemy, Single Ally Buff) Anyone hitting the target in melee gets a mild amount of damage returned. It can be strong on enemies since you may often only have a single target to pick from, but enemies will almost always have multiple of your guys they can target, making it somewhat underwhelming in actual play. Web (Level 2, Wizardry, Divinity, Cone AoE) One of the KINGS of early-game spells. Your first multiple-enemy-lockdown spell that isn't Sleep in most cases. It seems to generally have some trouble sticking compared to, say, Paralyze, so later on you'll be less likely to use it except if faced with, say, enemies that resist Water but not Earth, but when you first get it, it'll be constantly getting spammed in combat. The only problem is that the cone AoE means that for many battles it's only useful in the first steps before all the enemy melee goons surge forward and get out of range. Armorplate (Level 3, Divinity, All Ally Buff) One of those party-wide buff spells mentioned earlier. At best it adds a +4(when cast at max level) to your armor class, but considering that even now, no one in the party has an AC above 10, even just a boost of 1 or 2 is percentage-wise really huge. Always cast it, plus with it being an out-of-combat cast, it also presents a way to grind up your spell skills. Chameleon (Level 3, Alchemy, Psionics, All Ally Buff) Makes you vaguely harder for enemies to detect. I confess I've never felt it to have a HUGE effect, but it's a cheap out-of-combat spell so you may as well cast it. Any little advantage in juking around nasty formations and sneaking up on vulnerable ones is to be taken. Knock-Knock (Level 3, Wizardry, Alchemy, Misc. Spell) It attempts to paralyze a number of tumblers on the targeted chest up to the spell level, which means a most of 7, so for the nastier locks your thief almost always still has some work to do. Still in my experience it's absolutely vital for not going completely insane trying to pick some of the game's tougher locks. You can also pick up one-use "Knock Picks" but they only cast the spell at an effect level of 3, so they eventually stop being useful unless you really spend time grinding up your rogues(their skill increase is on raising a tumbler, not picking a lock, so technically any one lock can, with sufficient patience, cap out their skill). Whipping Rocks (Level 3, Wizardry, Alchemy, Cone AoE) The first damaging Earth spell you get access to. I've had mediocre success with it, but I always dread seeing enemies cast it since the ones with access to it are modestly early-game enemies and can often full-party-wipe you with a couple of casts. Armormelt (Level 4, Wizardry, Psionics, Cone AoE) Lowers enemy armor class. For some enemies, this one is more or less vital if you want to have any hope of your melee fighters doing any damage to it. I also don't ever think I've seen it be resisted, so it's more or less always a "safe" cast to throw out. Crush (Level 4, Wizardry, Alchemy, Single Target) Insane single-target damage, though it feels more common you'll want to use group damage spells. Absolutely great spell animation, though, I'll show it off if we get access to this one. Element Shield (Level 4, Wizardry, Alchemy, All Ally Buff) In-combat buff only, but like Soul Shield after a certain point it'll be on your list of first actions in every fight, as it raises the four elemental resistances. Occasionally you might ignore it if you know the enemy is all physical attackers, but the farther you get into the game, the more mixed groups of physical/mage enemies(or sometimes pure mage squads) become the norm. Body of Stone (Level 5, Alchemist, Single Ally Buff) Very effective but suffers from the same issue as Razor Cloak which is that it's very rare the enemy only has a single target to pick from and you're casting it at one of your guys at a time. If you were using all the "exterior" quadrants, it might be more useful, since many melee enemies would only have between 2 and 3 targets at once, rather than 6, but even so I could almost always think of other spells I'd rather cast. Quicksand (Level 6, Alchemist, Radial AoE) Attempts to instakill all targets in range. I only ever bust out the instakill spells in absolutely HUGE battles since they feel like they have very low odds of sticking, so without sufficient targets they'll usually bounce with no real effect. Earthquake (Level 7, Alchemist, All Enemies) Just does damage to all enemies, as in literally ALL enemies. Considering that you can rarely jam high-level spells up to the same effect ratings as low-level spells, however, and that they cost more magic points per effect, you'd need a really big battlefield for this to be superior to just casting out a radial-AoE Fireball or Iceball instead. Falling Stars (Level 7, Divinity, All Enemies) Slightly less damage than Earthquake, but also slightly cheaper. Otherwise a literal spell reskin with the same commentary. Air Sleep (Level 1, Wizardry, Divinity, Psionic, Group AoE) Another early-game mainstay. Being able to lock down and disrupt entire groups and give yourself the occasional 2x damage hit can matter a lot in the early game, specially against big fellas like Gregor(if you can get it to stick on them). One of those low-level spells you might actually well be busting out in the mid-game and occasionally nearing the endgame as well. Missile Shield (Level 2, Wizardry, All Ally Buff) While the percentage of ignored missiles is vague, I'd estimate it to be around 66% or 75%. Definitely big enough to be noticed. Once you learn this, it should be up at all times and justifies having a Wizardry caster all by itself. Shrill Sound (Level 2, Wizardry, Psionics, Cone AoE) Does low damage to a cone of enemies. I almost never cast it outside of the early game, where cramped corridors funnelling enemies and low enemy HP makes it a viable spell. Sonic Boom (Level 2, Wizardry, Alchemy, Radial AoE) Does no damage but has a chance of causing Fear or KO effects. It may just be my own bias, but I never felt like this spell had very good chances of sticking its effects. I should honestly probably be using it more since radial AoE beats group AoE and KO beats Sleep(since KO'd enemies don't wake up when wailed on with swords and axes). Cure Poison (Level 3, Divinity, Alchemy, Single Ally) It... cures poison. It can be useful, I suppose, for high-level poison on fragile allies, but generally Wizardry 8 poison does relatively low amounts of damage, so if someone's in danger from poison, you're probably better off just healing up whatever HP they're missing and then dealing with the poison after the battle. Noxious Fumes (Level 3, Wizardry, Alchemy, Radial AoE) It does mild damage and inflicts Nausea, which is another one of those "maybe good sometimes rarely randomly"-status ailments like Afraid. It debuffs enemies in a vague way and very occasionally causes them to lose turns. I wouldn't waste a mage's turns casting this, but Gadgeteers get a gadget which can replicate it, which is a decent way to use their turns more effectively. Shadow Hound (Level 3, Wizardry, Alchemy, All Ally Buff) Pretty niche, it makes all party members wake up if you're attacked while asleep, but generally it's not difficult to find a door to sleep behind, or a nook or cranny to pry the party into before resting, since monsters don't just spawn ex nihilo but have to actually exist in the world for a while and then bump into the party while on a patrol route. No harm to casting it before resting, but I can count the number of interrupted rests in a full run on one hand. Silence (Level 3, Divinity, Psionic, Group AoE) Silenced targets can't cast spells, so if you stick this on a group of enemy spellcasters, you're golden. On the other hand, you could also just stick them with Web or Paralysis, which also prevents them from casting spells AND prevents them from moving AND prevents them from attacking AND makes them take double damage from melee attacks. What I'm saying is that I've literally never cast this spell. I suppose it might be your spell of choice if they're spellcasters resistant to both Water and Earth magic, but not Air. Whirlwind (Level 4, Divinity, Cone AoE) A basic damage-dealing spell, but I always feel like I catch more targets with the radial blast spells than the cone blast spells. Purify Air (Level 5, Divinity, Alchemy, All Allies) Removes "cloud" effects from the party. Clouds are thing-over-time effects, including nasty clouds that drain magic points, subject everyone to instant death saves, do damage, nauseate, etc. generally getting rid of these effects is a high priority, so knowing Purify Air can be a literal lifesaver. Clouds don't occur often, but the couple of battles I remember where you're guaranteed some cloud spells, you likely won't survive without Purify Air. Return to Portal/Set Portal (Level 5, Divinity, Alchemy, Psionics, Wizardry, All Allies) It's like Lloyd's Beacon from Might & Magic. Set a waypoint, warp to waypoint. It's glooooooooooooooooooooorious, especially once we get buddy-buddy with the T'rang for reasons we'll get around to in several updates. It also helps you get idiots into areas that should terrify them because they don't know where the beacon goes before you recall to it. Suckers. If you learn one when levelling up, you get the other for free, but when they spawn as books you can get them separately, so never learn the one until you have both books together. Toxic Cloud (Level 5, Alchemy, Radial AoE) Inflicts a "cloud" effect on an area. All enemies in it are dealt minor damage every turn, but ALSO risk getting nauseated, poisoned or getting straight up KO'd. Getting a check at all these conditions every turn, for all enemies affected, for multiple turns, is mucho bueno. Definitely a pro cast as spells go. Pandemonium (Level 6, Psionics, All Enemies) Attempts to inflict Fear and Insanity on all enemies. Pandemonium is one of my favourite later-game spells since turning a chunk of a big enemy crowd Insane and getting them to lay into their own buddies instead of me, or otherwise getting them to waste turns, is great, absolutely great. Asphyxiation (Level 7, Wizardry, All Enemies) Attempts to straight up kill all visible enemies. I can think of one or two late-game battles where I might try to cast this, but generally I'd pass it up in favour of duller, but more guaranteed effects. Death Cloud (Level 7, Alchemy, Radial AoE) Like Toxic Cloud, but with a save-or-die check every turn instead of just poison. The extra density of checks increases the odds of someone flubbing their save and getting chunked out of the battle, so this is the one instant-death spell I might actually use casually.
|
|
#
?
Jul 31, 2020 07:14
|
|


|
Man, I love this game! That said, I cannot go a playthrough without having at least one Scottish Dragon-dude fighter 
|
|
#
?
Jul 31, 2020 08:44
|
|

|
There's also a gadget for Shadow Hound, so I always have it running. Also, Chameleon is incredibly good at making enemies not notice your until you're right on top of them. Once you have Chameleon and X-Ray (which shows the position of all enemies on the map), you can usually avoid 100% of combats outside of dungeons.
|
|
#
?
Jul 31, 2020 14:49
|
|
|
Part 005: Trynton(and side quests)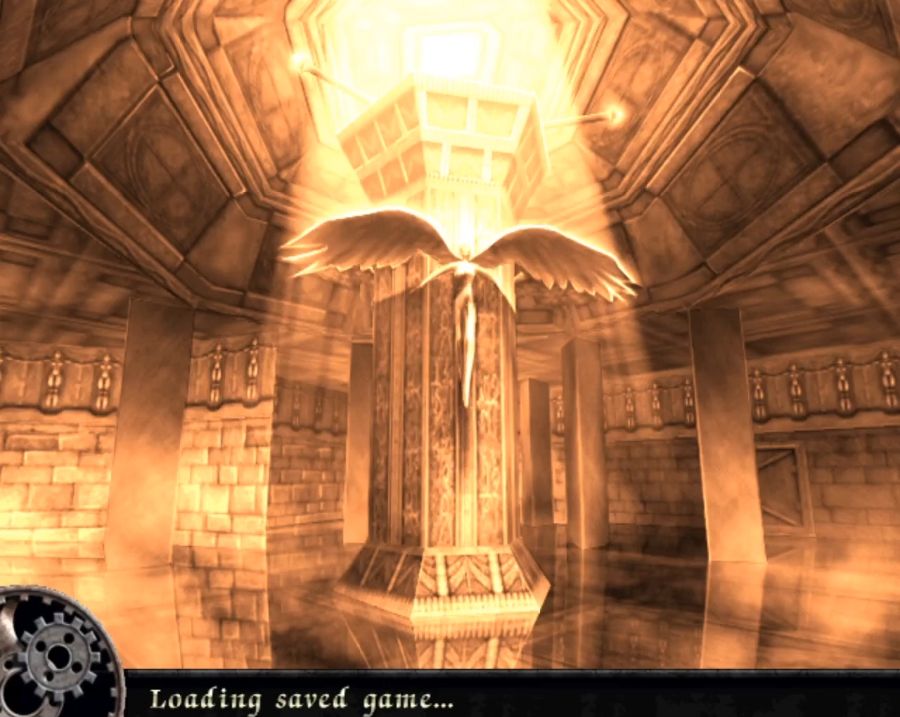 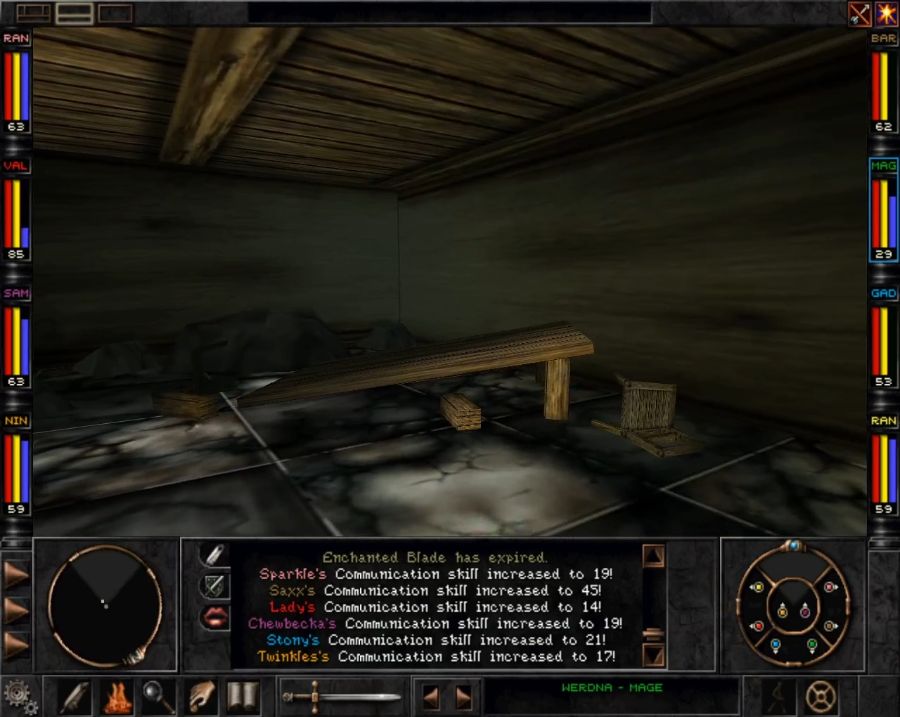 So I load up the game and get a brief shock as Vitalia is just gone. What happens is that every time you area transition, rest or reload a game, any RPC's not in your party(bar one specific one) are reset to their "starting" positions. There used to be a bug, in early versions of the game, where Vitalia's "starting position" was inside the game geometry, and also I believe Tantris' starting position had the same issue but I only ever recruited him once, so if you ever dismissed them, they would be un-recoverable. 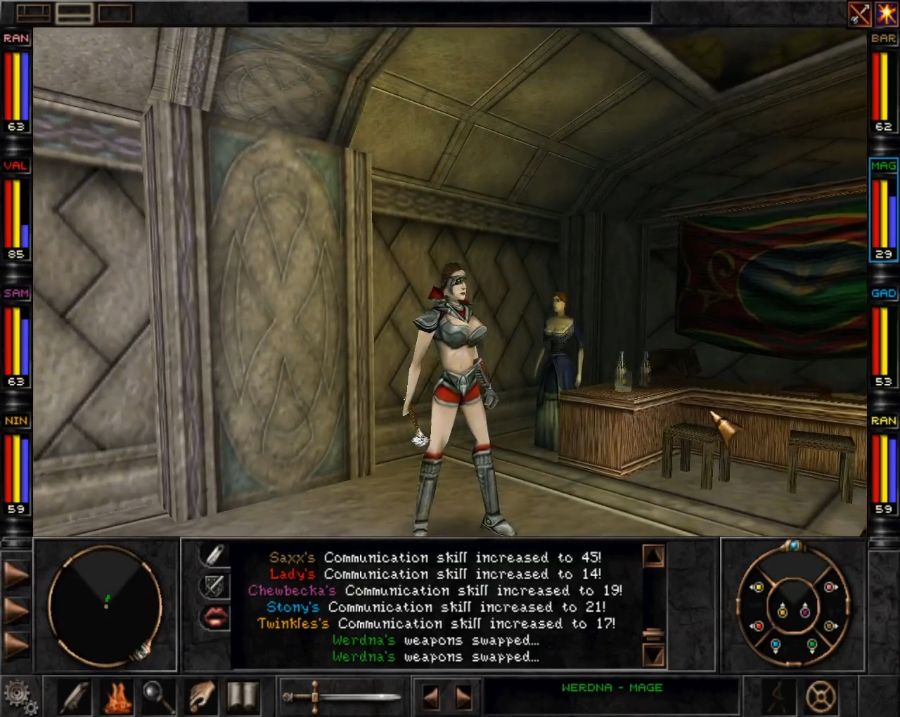 Thankfully now she's just chilling at the bar. 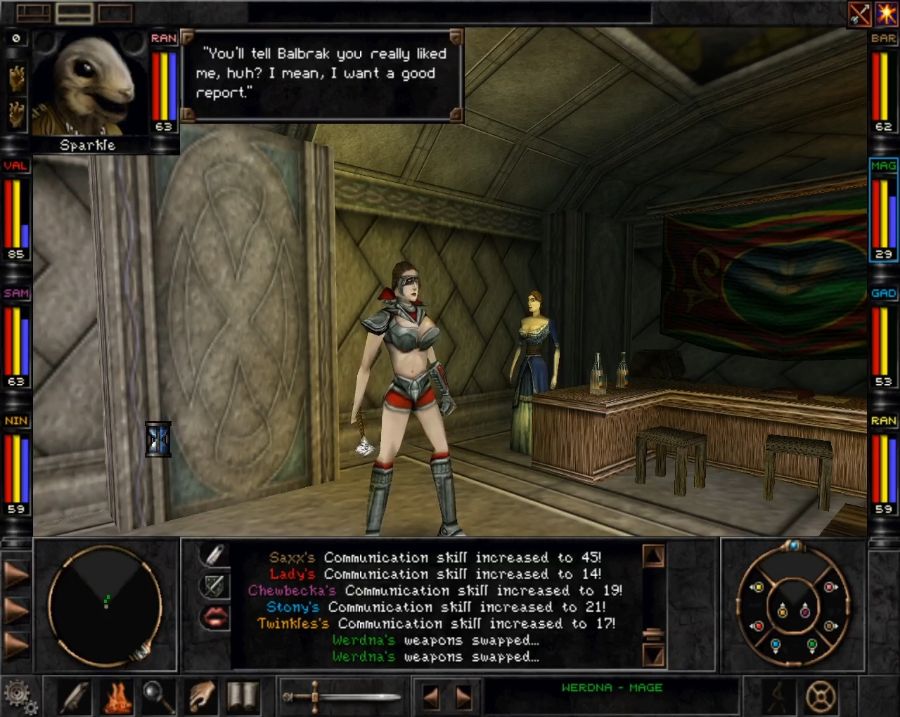 Goodbye, Sparkle, you were briefly useful. 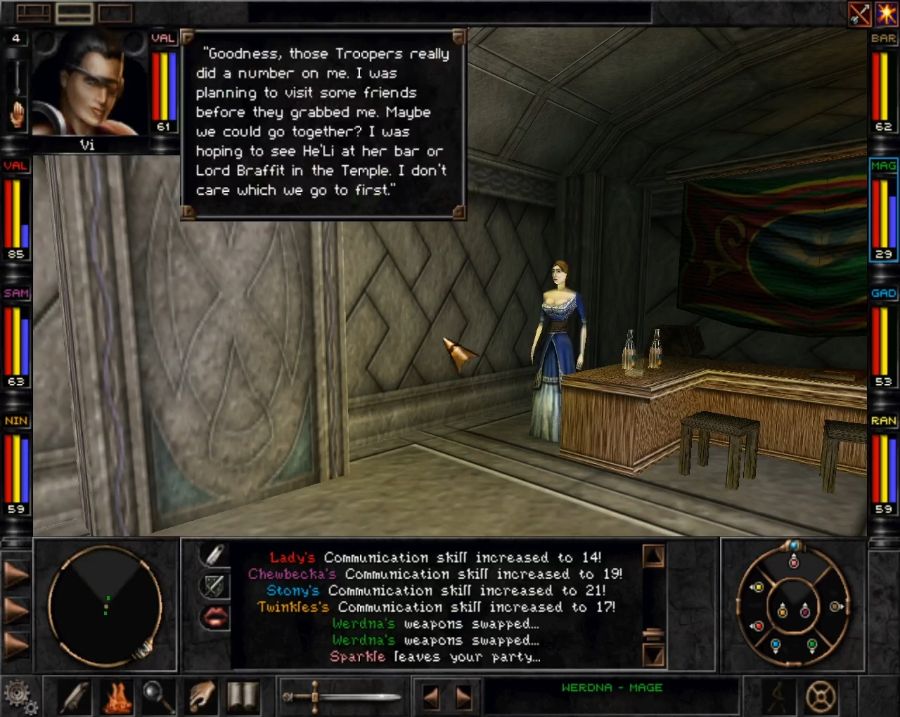 As soon as you recruit Vi, she encourages you to visit He'li and Braffit. Not a bad idea for a new player, especially one who hasn't played Wizardry 7, as it'll cause Vitalia and He'li/Braffit to barf up a lot of fresh exposition on the first time they meet. https://www.youtube.com/watch?v=Y-OnTi1EjU0 https://www.youtube.com/watch?v=sl7gEvIG0CU For anyone who doesn't care to watch the videos, she primarily just catches you up on why the Dark Savant kidnapped her and why she's not good friends with him. After that, we have one more very important job to do in Arnika for the time being... heading down to use Anna and Antone's keycards in the bank vault. Anna's isn't super-important but Antone's? Oh man. If you have any melee combatant that uses swords, you will want this. 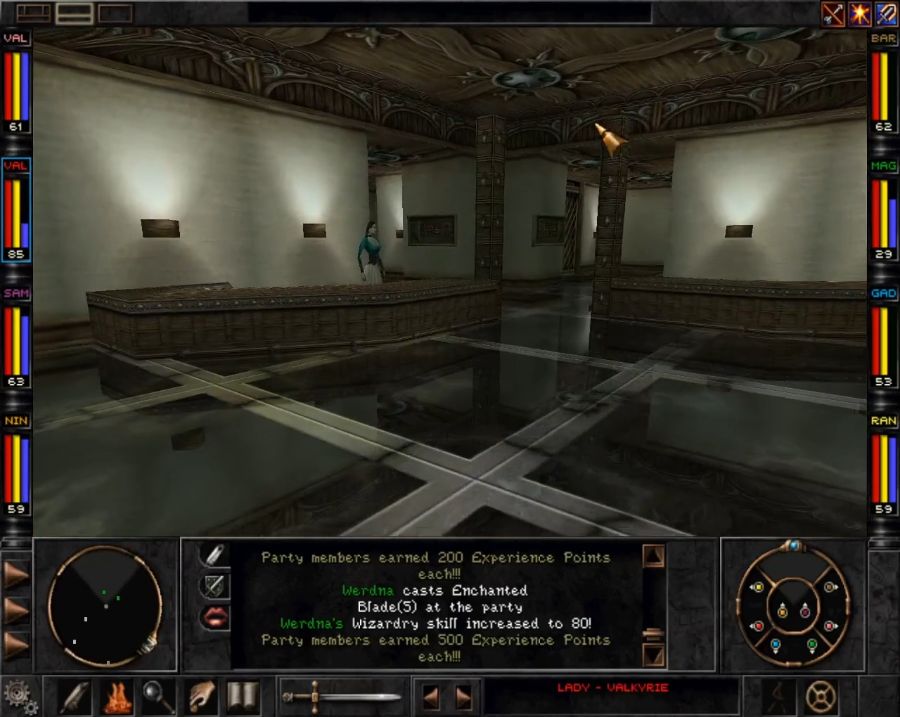 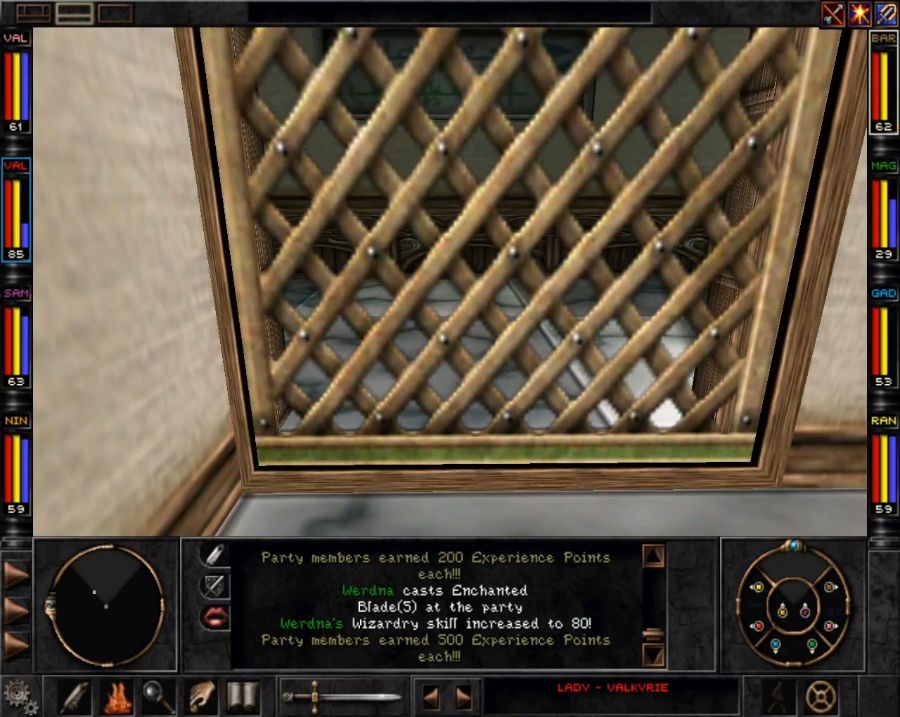 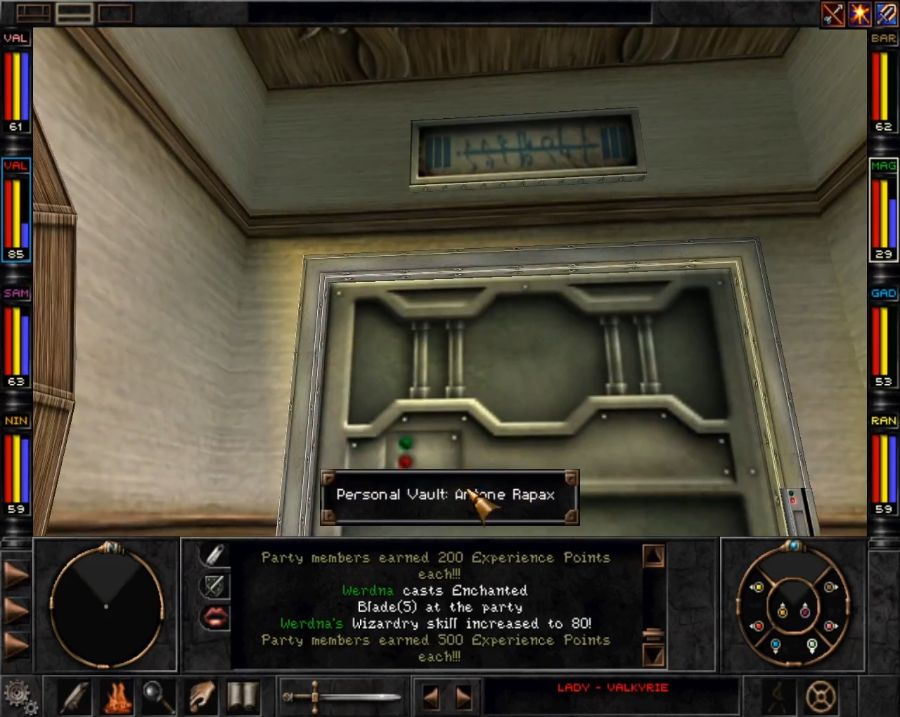  Antone's vault contains just one thing, a non-randomized longsword item. 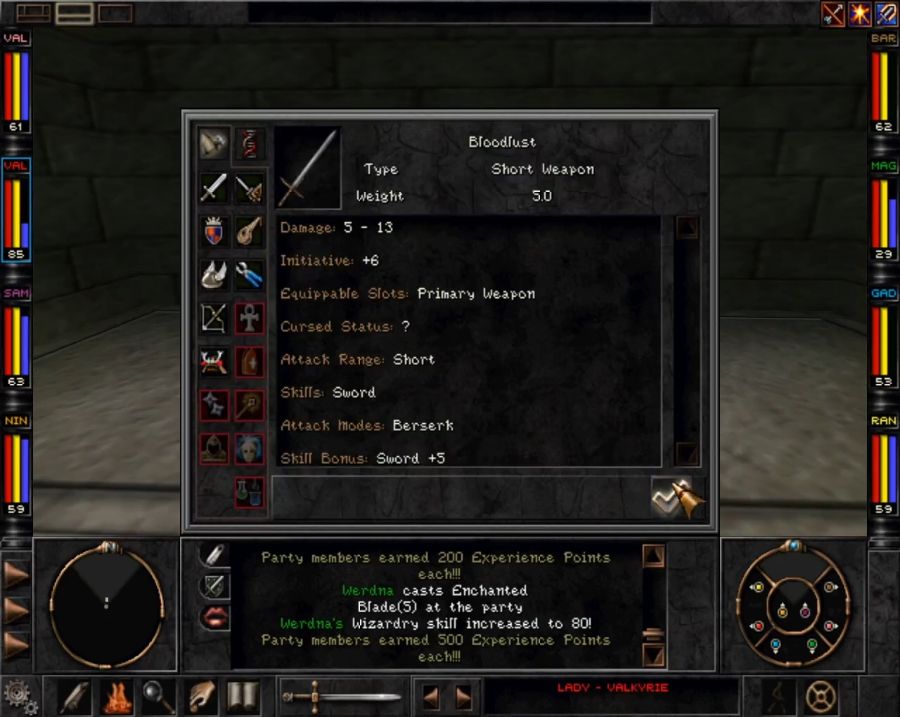 So important thing to note about the Bloodlust blade. 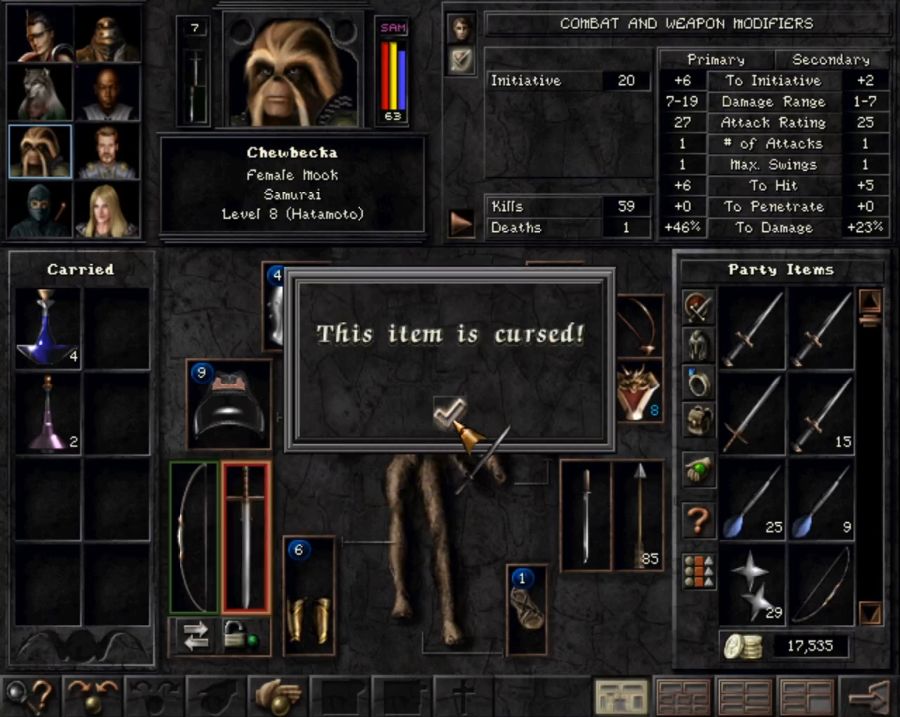 It's cursed! Now, this curse is different from every other curse in the game which tends to carry stat penalties and/or permanent HP/Stamina/Mana drain effects. All this one does is prevent you from unequipping it or swapping weapons, so Chewbecka will have to rely on magic for long-range damage rather than her bow, from now on. It also has only one "attack mode," which is BERSERK. Attack modes are a thing I never "got" about Wizardry 8. Most weapons have Stab, Thrust, Swing or some combination of the three, and you don't choose which one gets used. What they actually do... maybe they influence the area you hit and enemies have bodypart-specific AC values like PC's do? gently caress knows. The point is that Berserk is better than all of them. To explain why, I'm gonna fastforward to the return to the Monastery to break open that vault. 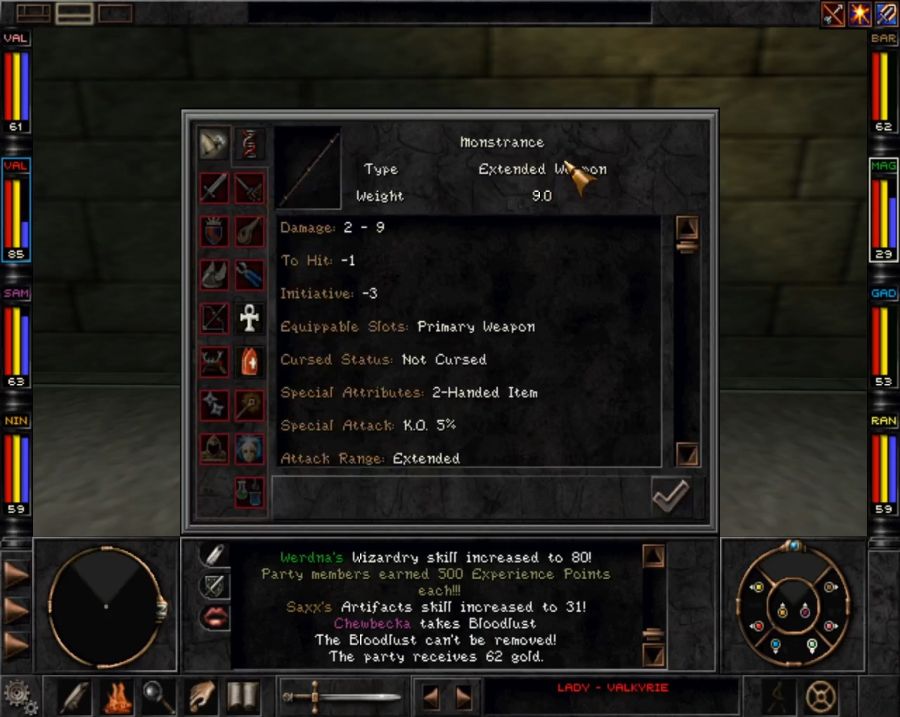 (the only thing of interest in Anna's vault was the MONSTRANCE, a holy-fella-only staff which is more interesting for it's name, try googling what a Monstrance is in the real world, than for anything it can do) 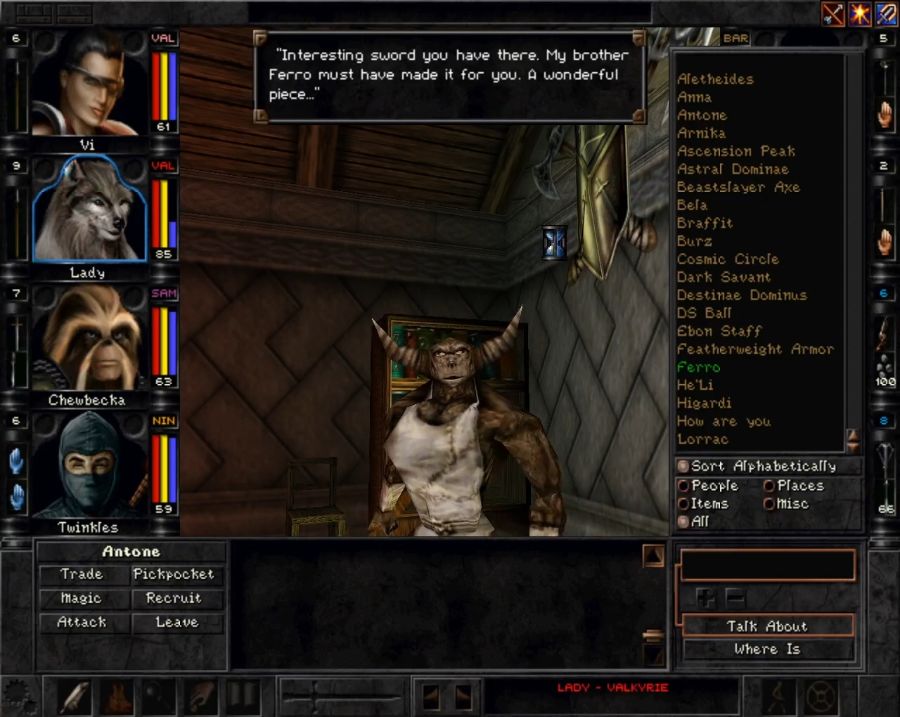 Oh and Antone is the only NPC in the game canny enough to realize when he's been robbed, but also smart enough not to piss off eight heavily armed maniacs to make an issue of it. 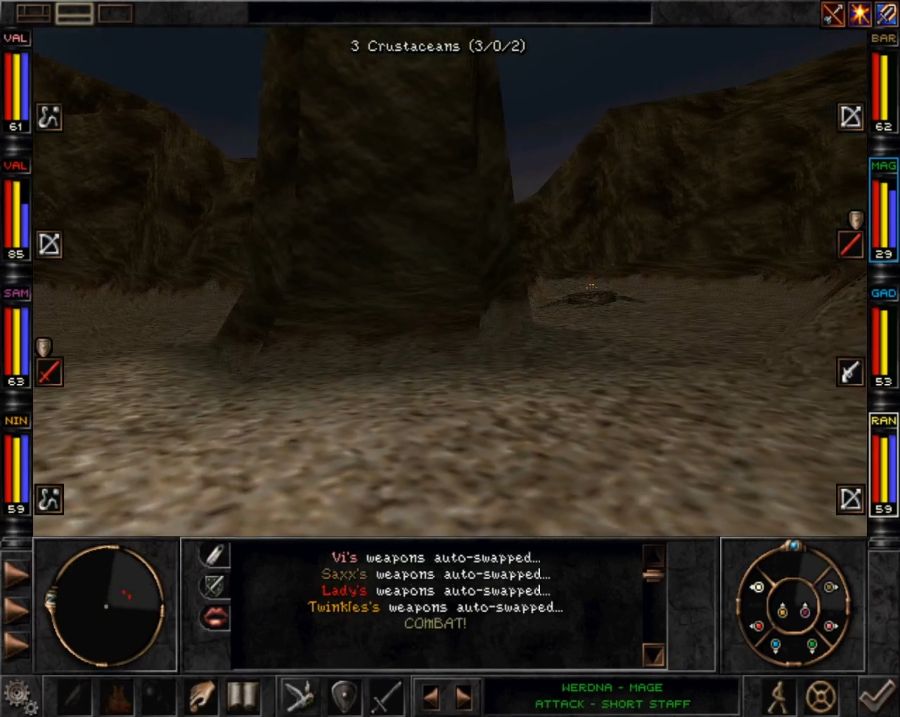 The way back mostly consists of mashing some generic wilderness monsters until I bump into these fellas. CRUSHER CRABS 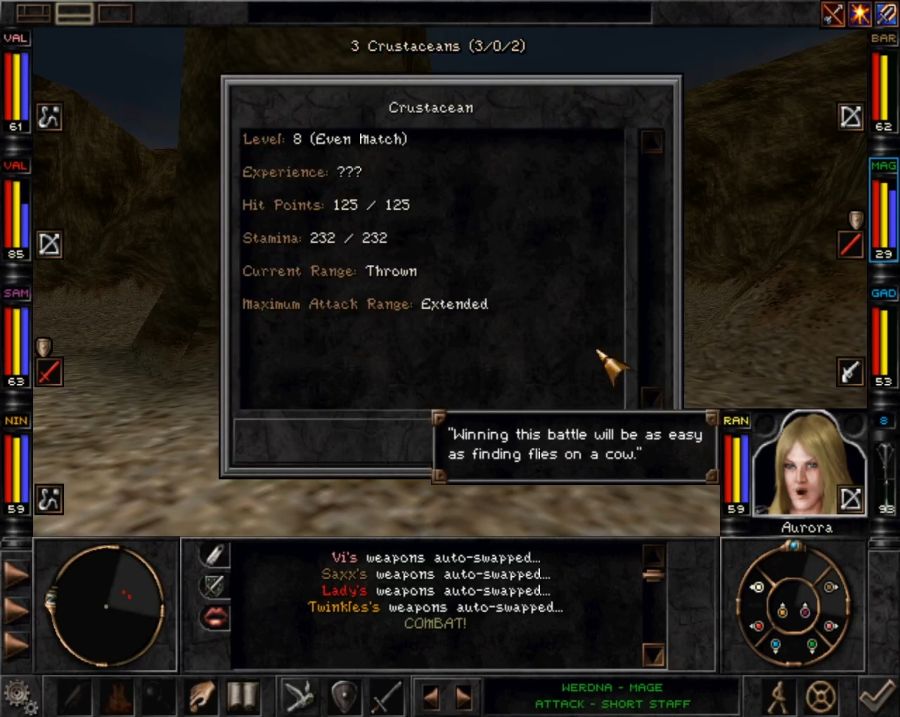 Their main thing is being real beefy, and their pinchy claws have an Extended range which actually means they can reach past my front line to hit the mages in the back when the mood takes them. If I had a traditional fill-the-edges formation, I could have shifted Werdna and Stony into the back row to leave another rank of distance, but c'est la vie. Let's get to the main show. 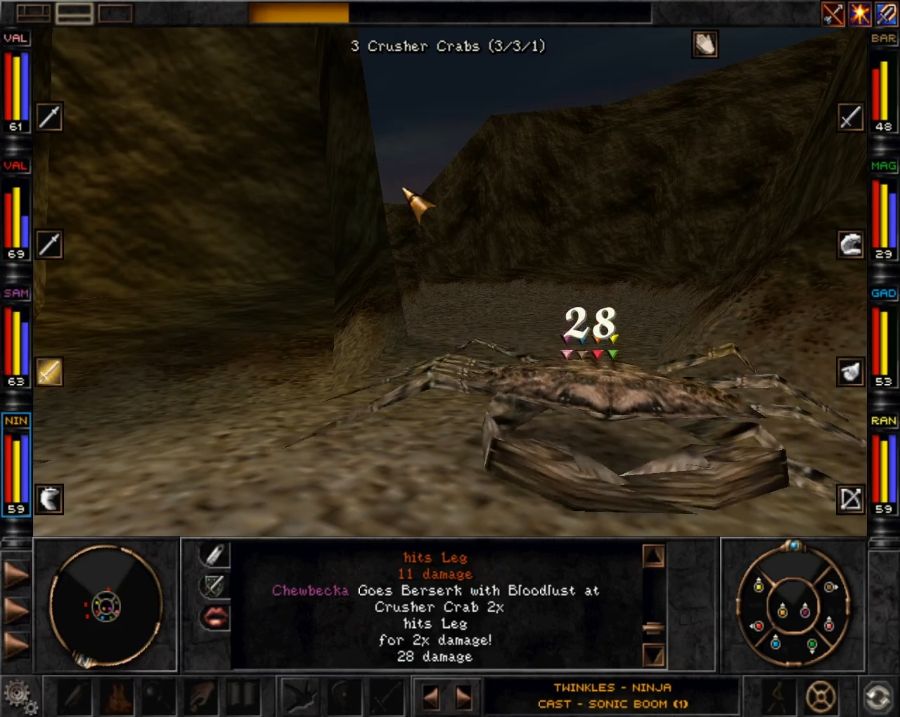 So the big thing to notice about the BERSERK attack mode(which Fighters natively have access to with all melee weapons) is that it does inherent 2x damage, so the Bloodlust Blade actually does twice as much damage as the numbers claim. But Purple, you might ask, what if it hits someone who's paralyzed, blinded or webbed? Then it deals 3x damage. It should be obvious what a titanic asskicking potential this is. Oh and she's also fast enough with it to attack twice per round. So in a single equipment upgrade Chewbecka has escalated to doing, at base, four times the damage she was doing before. Completely mental. Using the Berserk attack mode also offers some vaguely-specified defensive penalty, but Chewbecka's a big girl, I'm sure she can survive a few daggers through the head. It also seems to up the incidence of her 5x LIGHTNING SPEED attacks a lot, since I saw maybe one per recording session otherwise and now I was getting three or four of them. According to internet people, initiative bonuses/low carry weight impacts how regularly they happen, so I figure that the +6 init might be what makes the difference. It would also track with how they became less common over the course of the recording session, as I also became more encumbered with dead enemies' gear and living civilians' stuff that they didn't bother to lock away somewhere sufficiently impregnable. 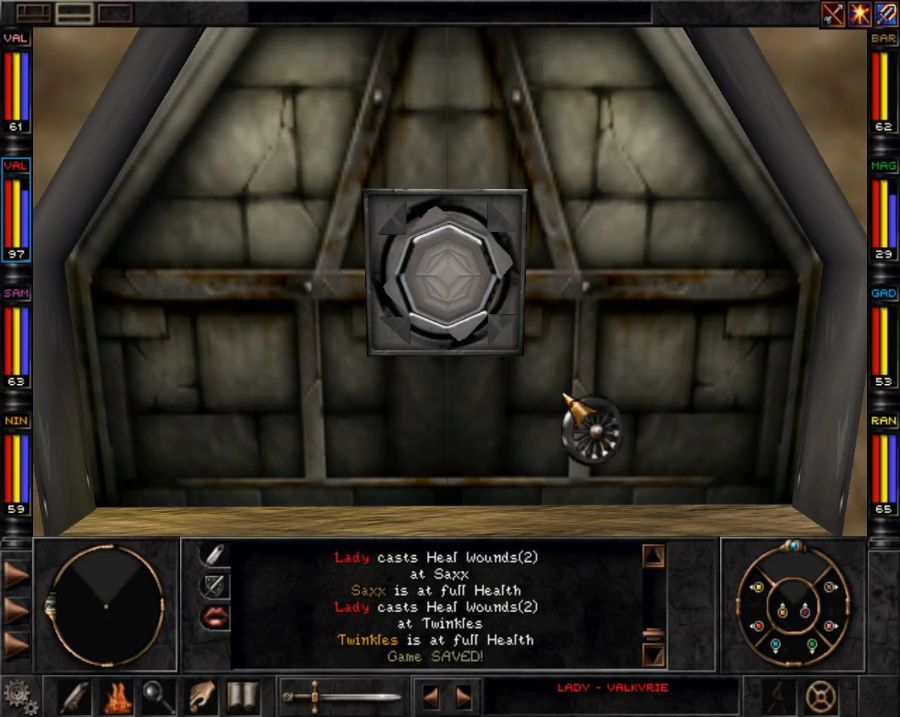 In any case, the return to the vault is without incident, let's crack this baby open. 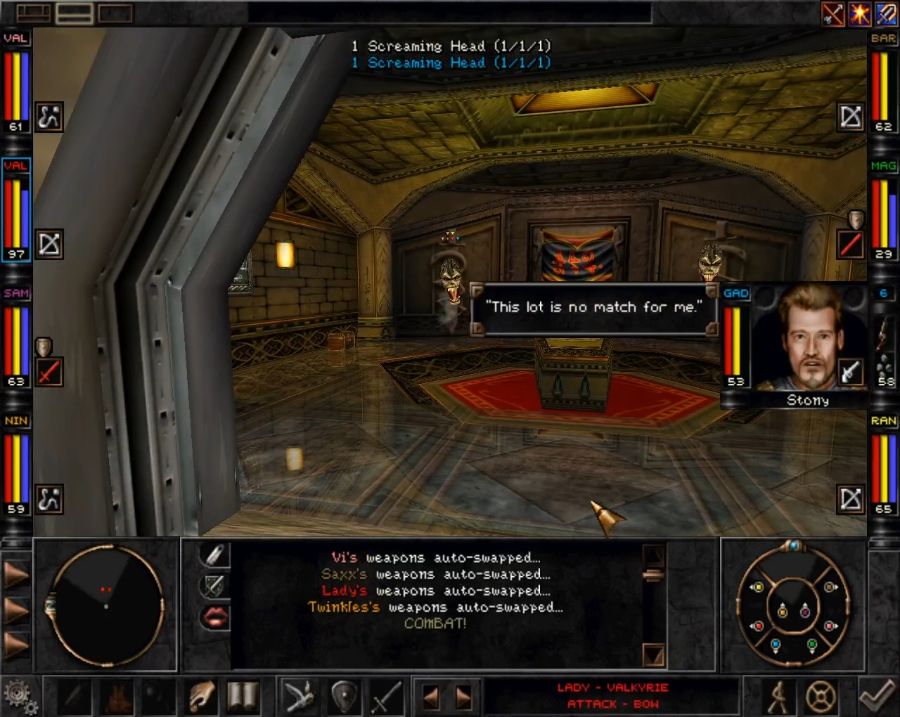 And have a fight that could have gone extremely poorly if these two fuckers had any sort of backup. See, we fought a Screaming Head before, and all it did was scare some party members a bit, because it was alone and low-level. Let's see how this fight looks about a round in. 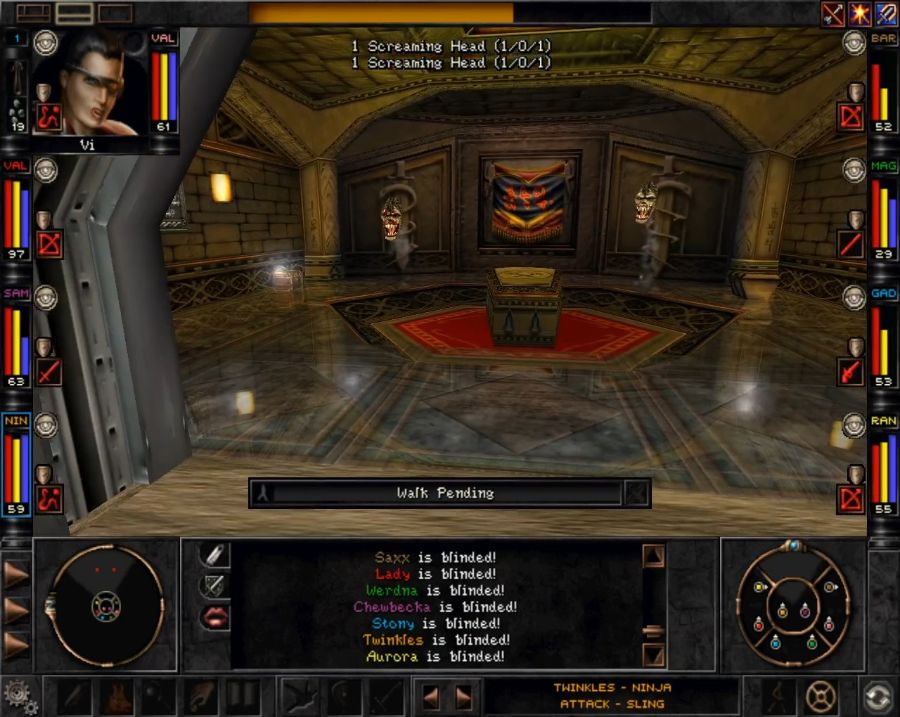 Everyone's a combination of Blinded and Silenced. 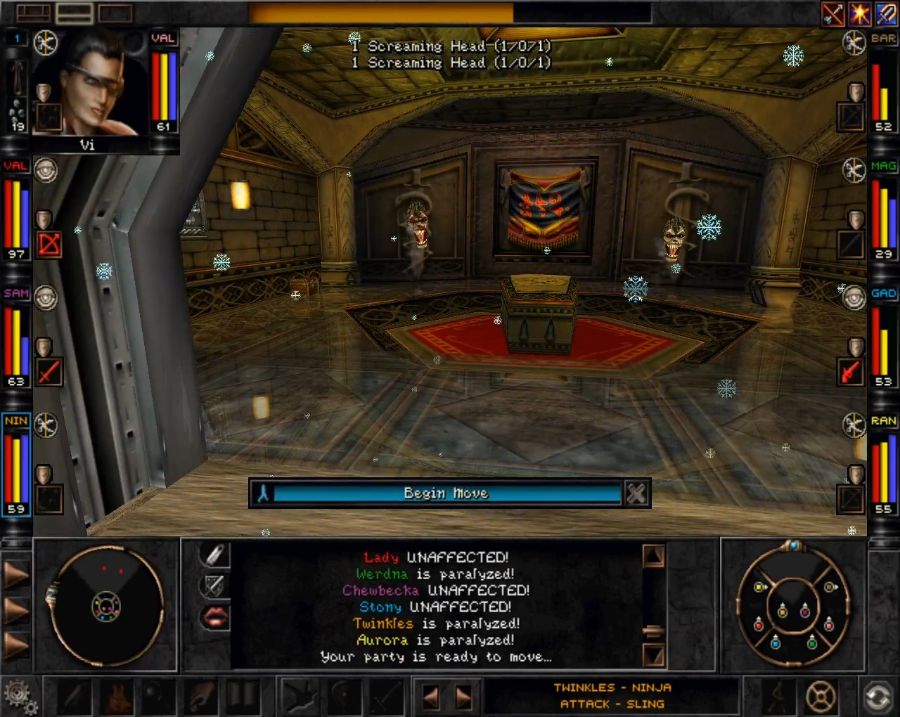 And paralyzed. 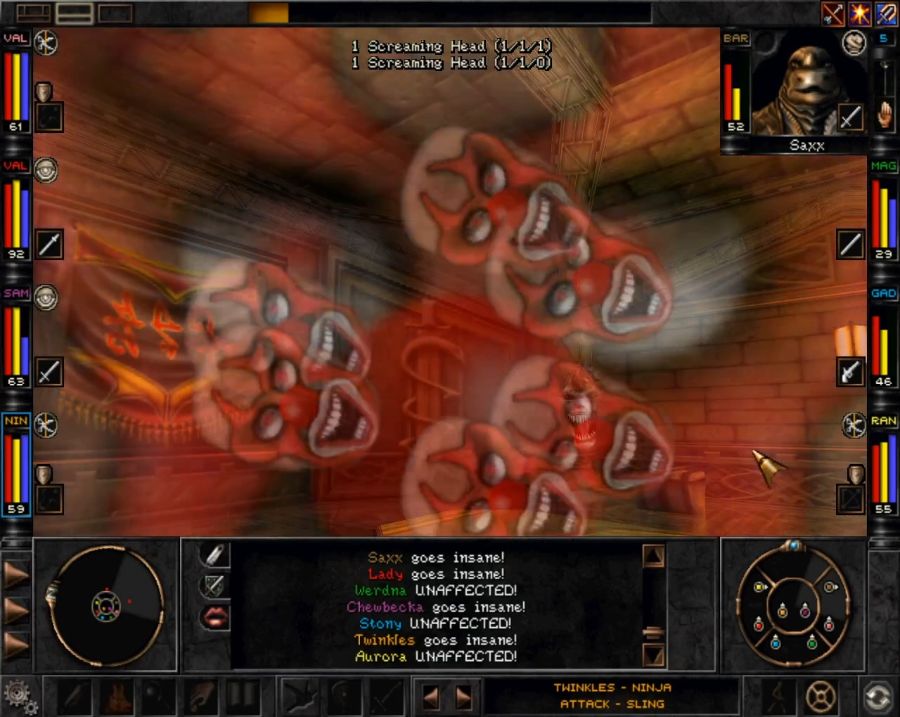 And insane. The last one is the worst part, because the Screaming Heads do relatively low damage themselves, but if, say, Chewbecka went Insane and the RNG said she was going to chop the rest of the party into little chunks she'd be able to annihilate a party member per round, more or less. 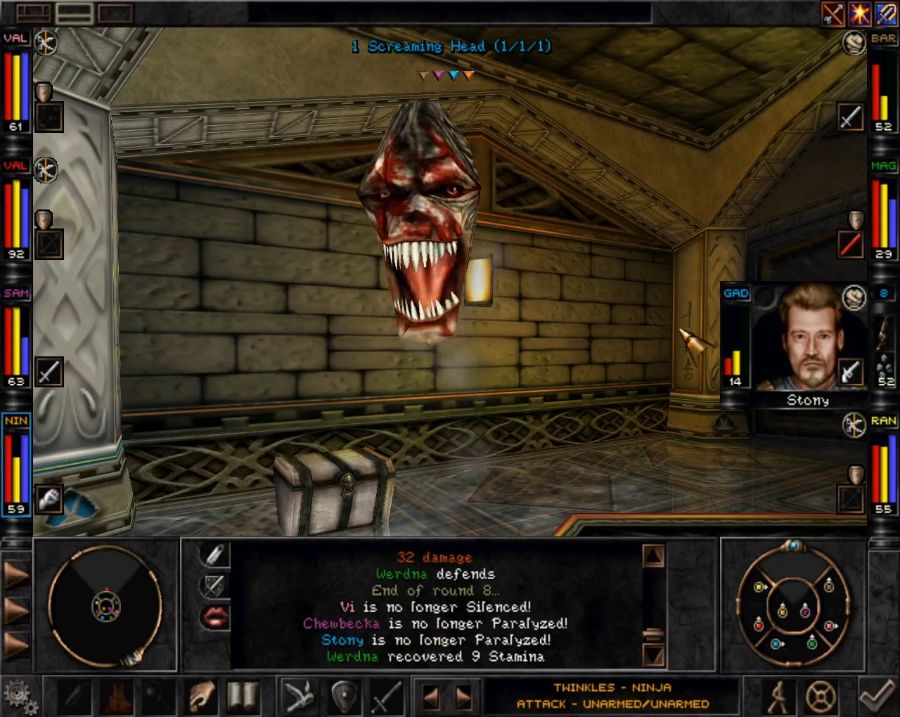 At no point did I have more than two or three party members reliably doing what they were told. Just the presence of a small group of spiders or bugs to actually do damage for the Screaming Heads could have wiped the party out, especially since Saxx bungled casting Soul Shield on the first round of combat just because he was blind. Do you even need to be able to see to play the goddamn saxophone? Thankfully he redeems himself well and truly before this update is over. 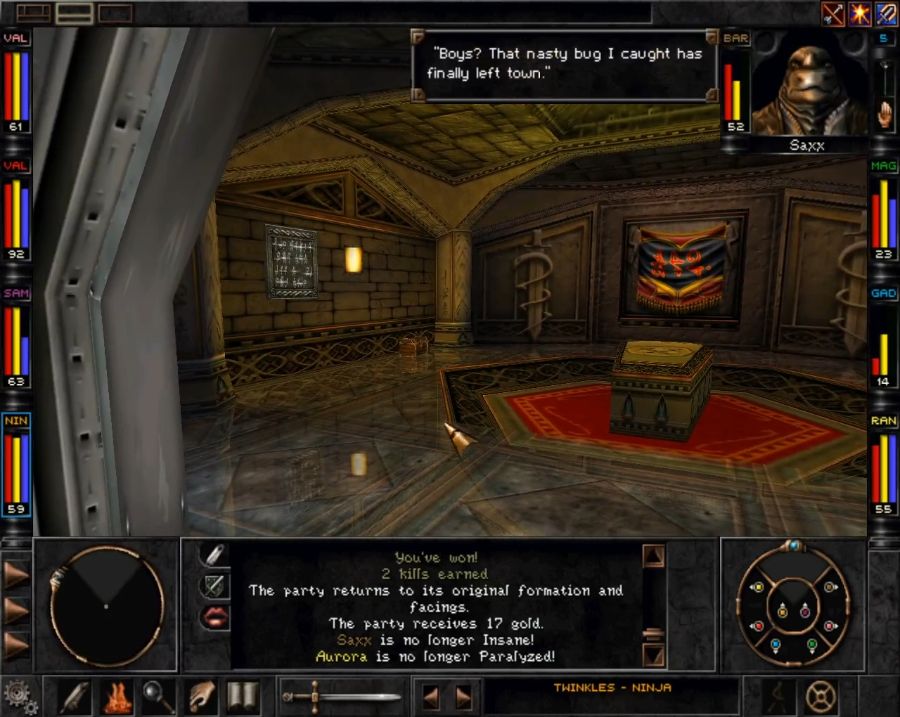 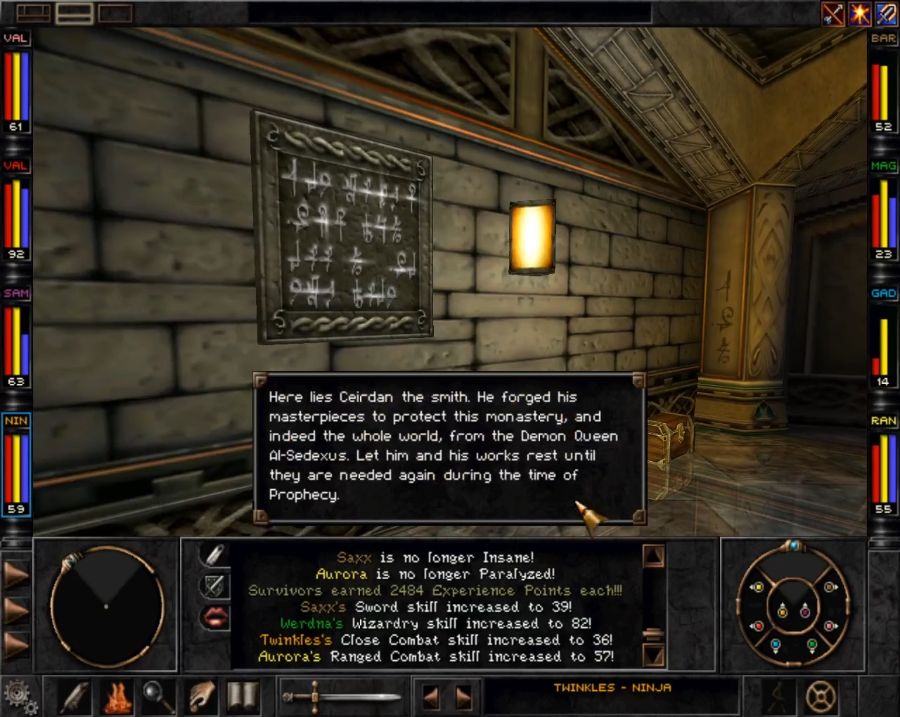 Once the fight is over, though, we can start desecrating the dead. We've got two chests of randomized loot that yield nothing of any real interest and a big sarcophagus in the middle that's more worthwhile to bust open. 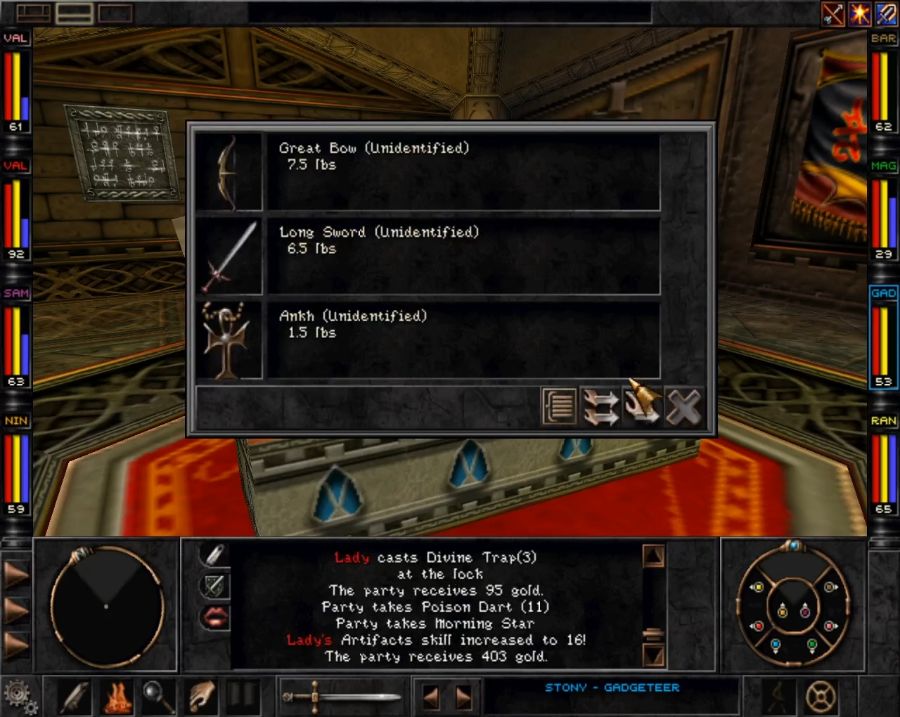 The bow is essentially a longbow that deals +10% damage to demons. Spoiler, we will be meeting demons before the game is over. The sword is more of the same. We don't really have a good candidate for the sword at the moment, since our two Valkyries are using polearms and Chewbecka has fused with the Bloodlust Sword to become Stabbotron 4000. In hindsight I should maybe have considered giving it to Saxx, but for now I stuff both of them on Aurora for safekeeping. The bow and sword are named Demonsting and Demonsbane respectively. Anyone familiar with Wizardry games or Wizards & Warriors may recognize Ankhs as sweet misc. magic items. 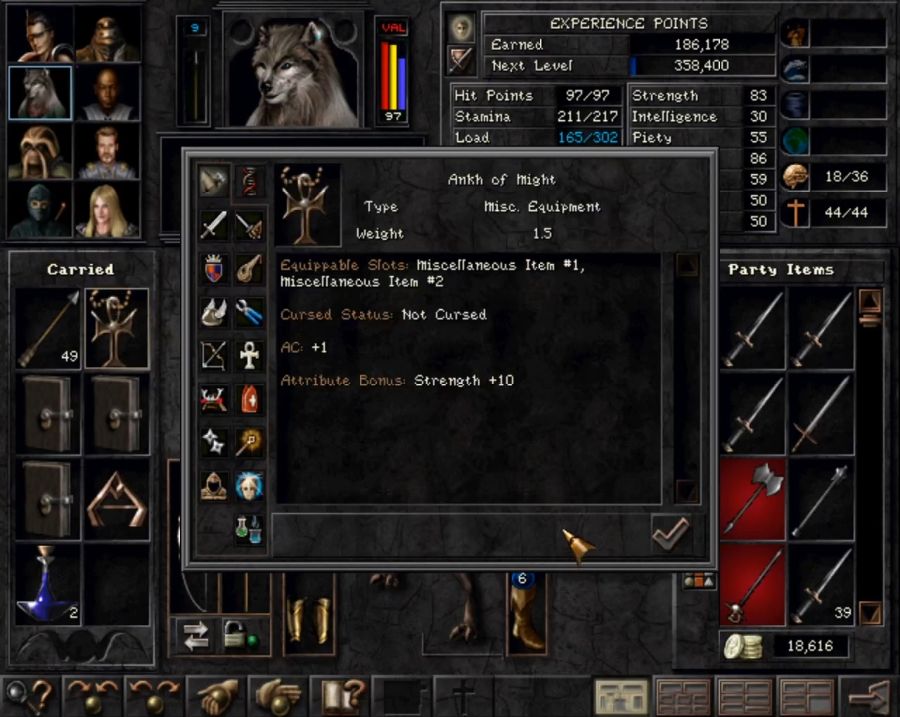 They more or less consistently offer a low protection boost and a big stat boost. It goes on Chewbecka so she can kill things even more efficiently, she is the party's major source of damage output and I am extremely proud of her for kicking so much rear end. On the way back to Arnika from the Monastery to head south to Trynton I also gently caress up by resting along the road in an unsafe location, I wake up to this: 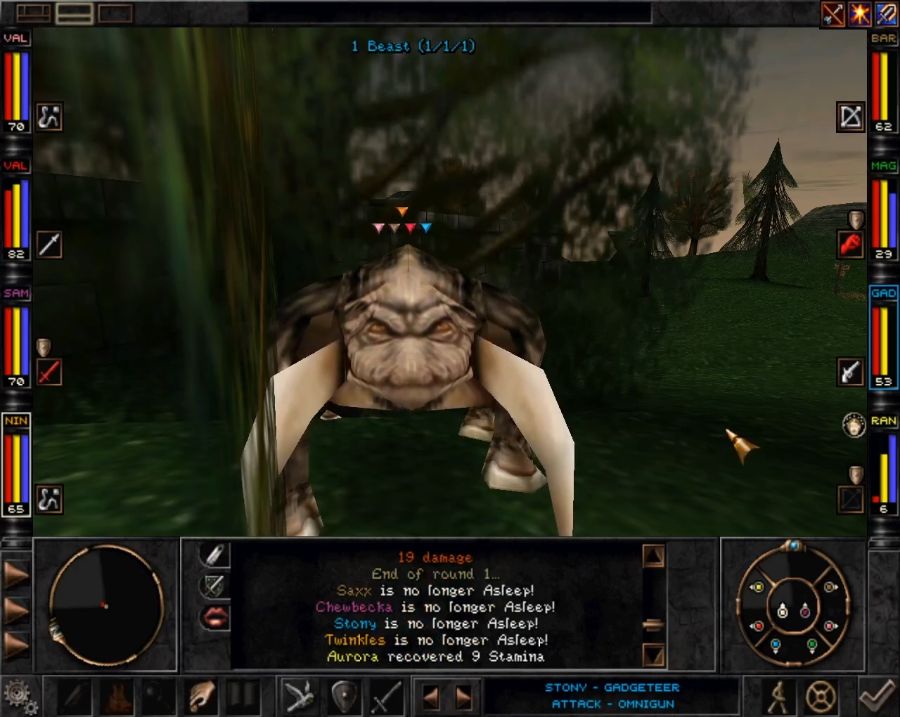 In one free round of combat this Hogar dumpsters Aurora(she's definitely going to be the most-resurrected by the time this game is over unless something changes a lot) before Chewbecka can fillet it. Still, it's fine, resurrections are mostly a drain on your limited rez consumables, there aren't any stat losses or XP losses, though if possible you want the dead character back to life before the fight is over so they don't miss out on post-fight XP. Once he's sorted, i.e. dead, I briefly stop by Arnika to stock up on resurrection dust before continuing on to the next treasureful sidequest. 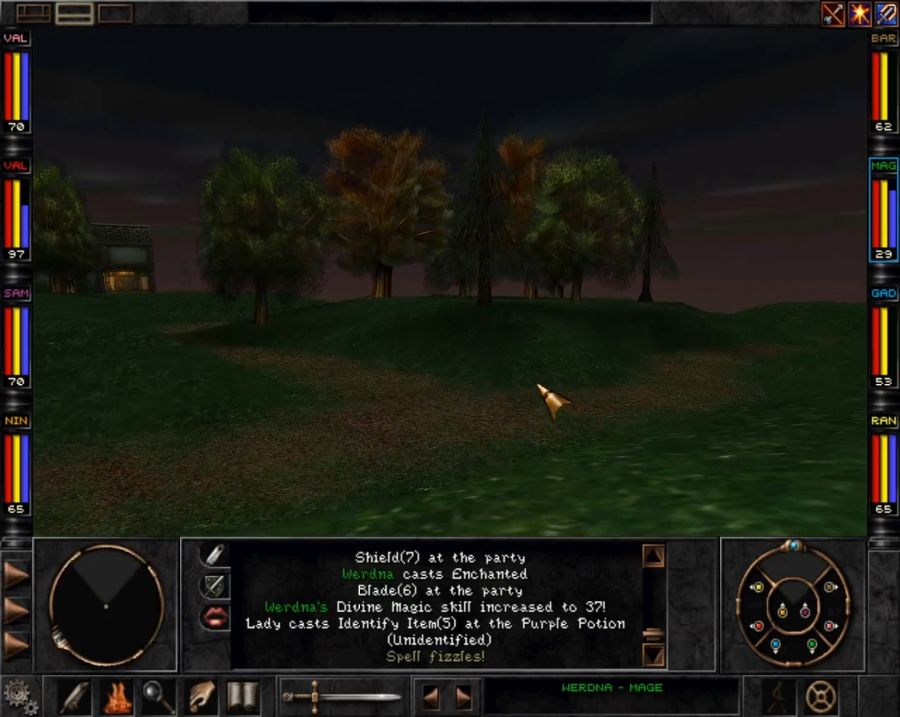 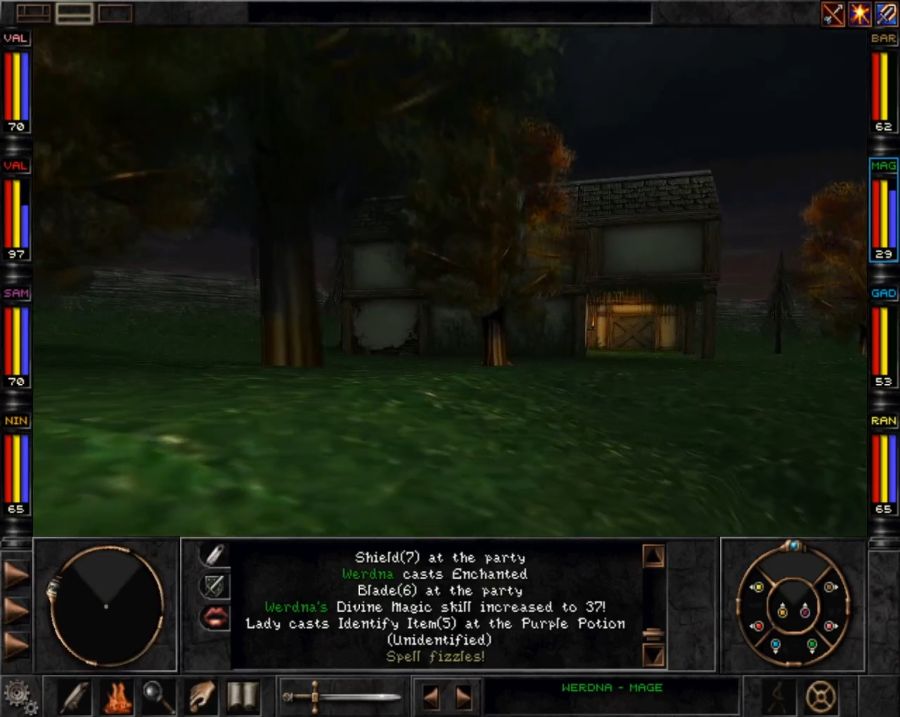 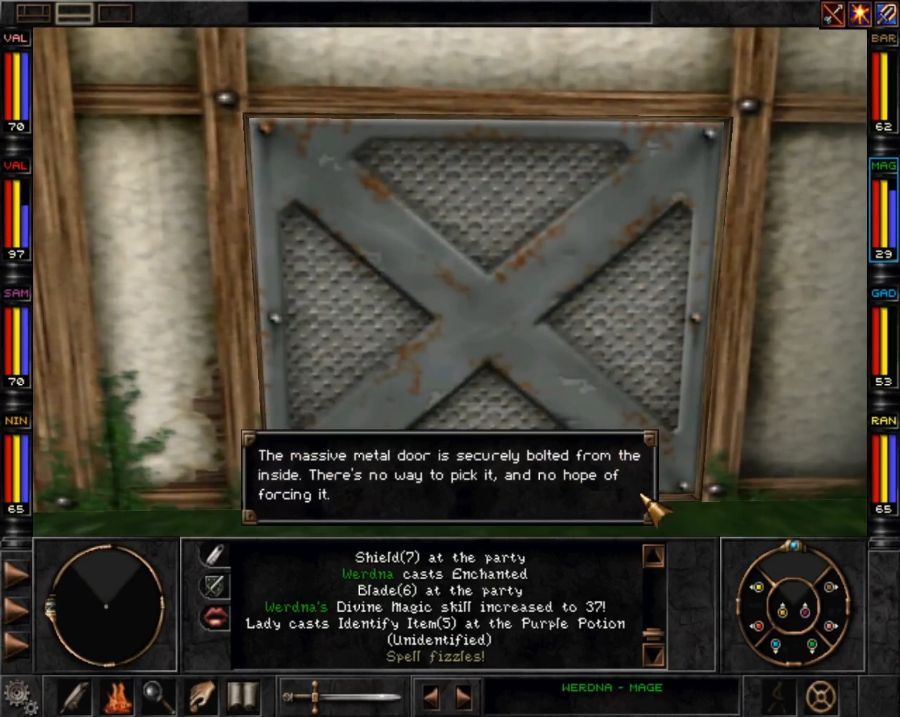 Along the way is another Mystery House with an eerie hum emanating from within. Similarly to the first it will become relevant later. It's also somewhere along this part of the recording where I realize I've had a Short Staff all along, because the only way to be guaranteed one is to have a pure Mage who's not a Fairy in your party(Fairy gear overrides class gear since they can't equip 99% of it), so Werdna's been lugging one around since the very first post. 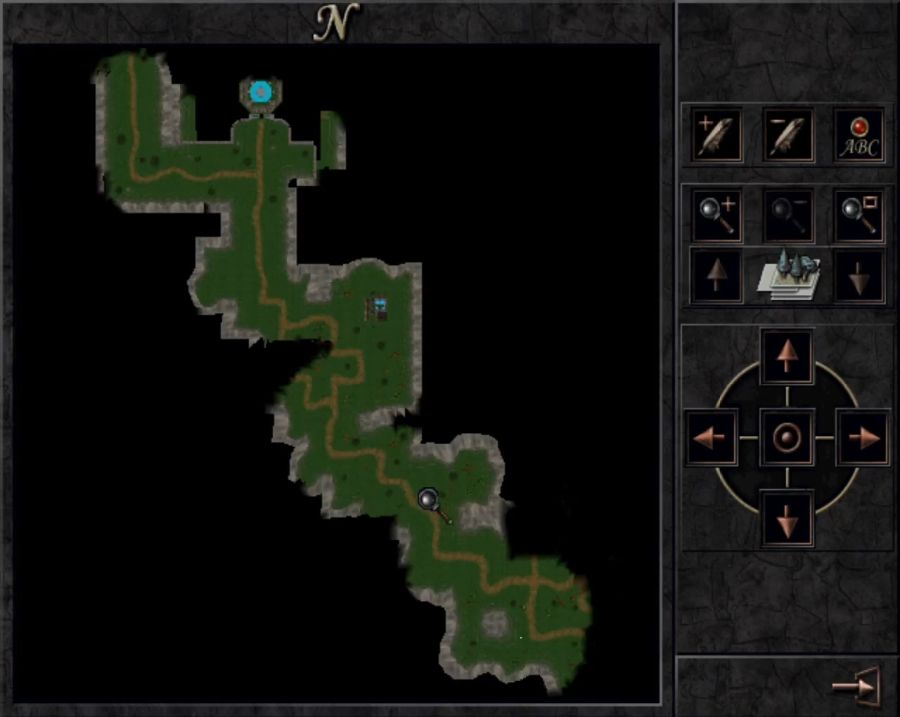 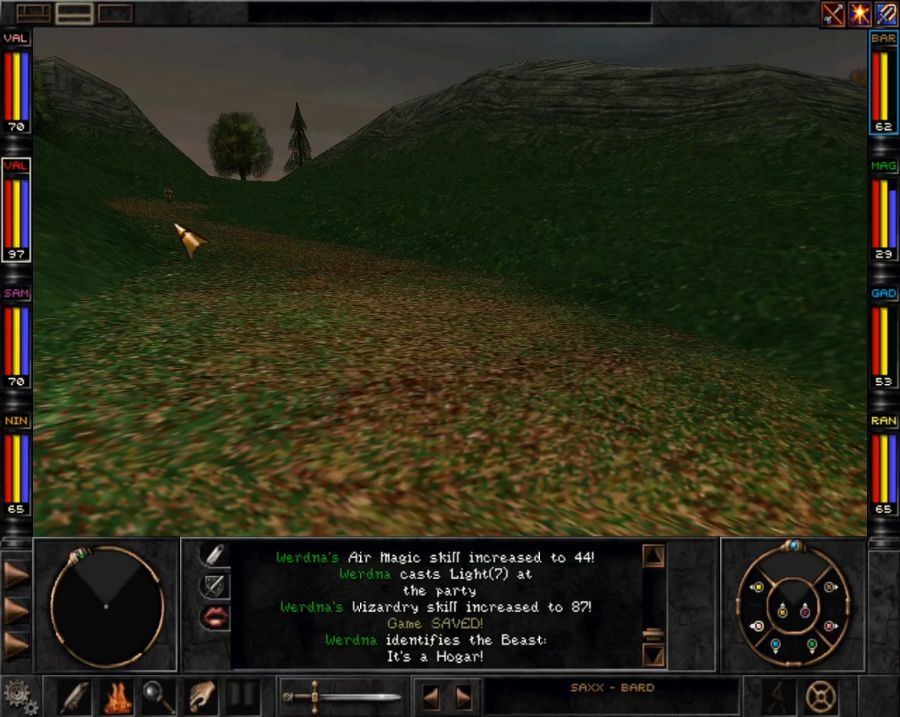 I squish some plants, rogues and Piercer Modais on the way onwards when I run into a friendly, or at least not immediately hostile, NPC on the road. Who's this fella? 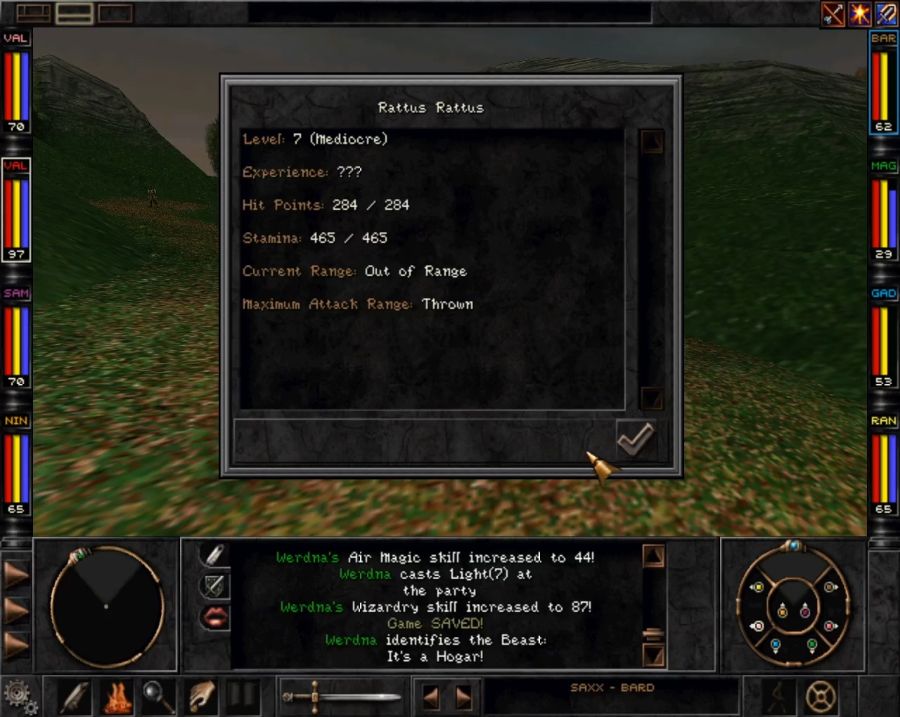 Looks beefy. I bet he has something important to chat about. https://www.youtube.com/watch?v=RK0C8xe1eVg Let's, uh, let's have a look at what he gave us. 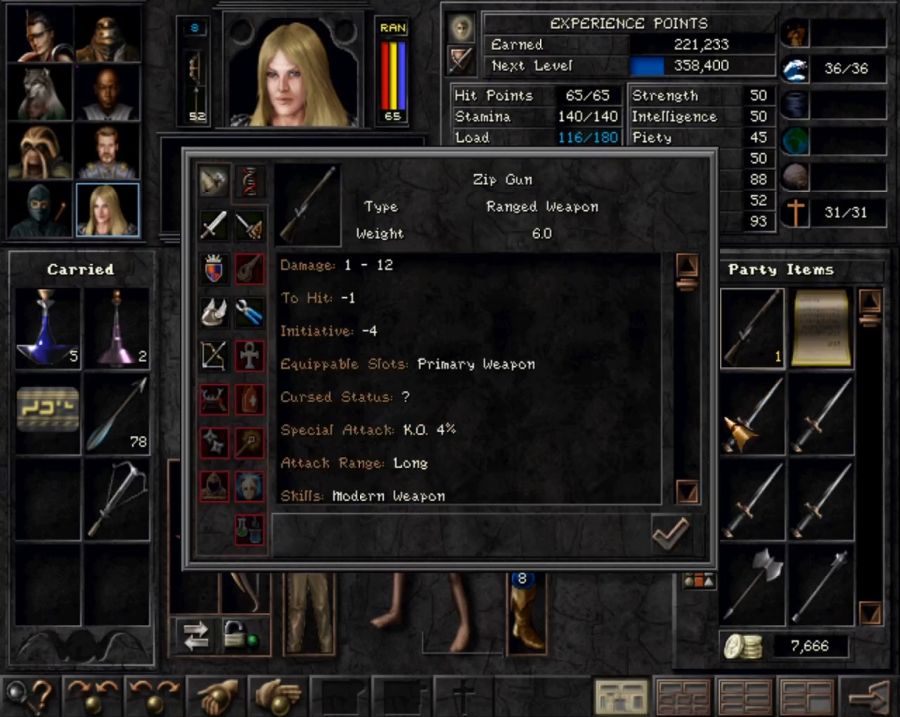 A simple rifle. I give this one to Vi so I won't have another character hogging all the specialist bow ammo, it's bad enough that Saxx and Aurora have to share. 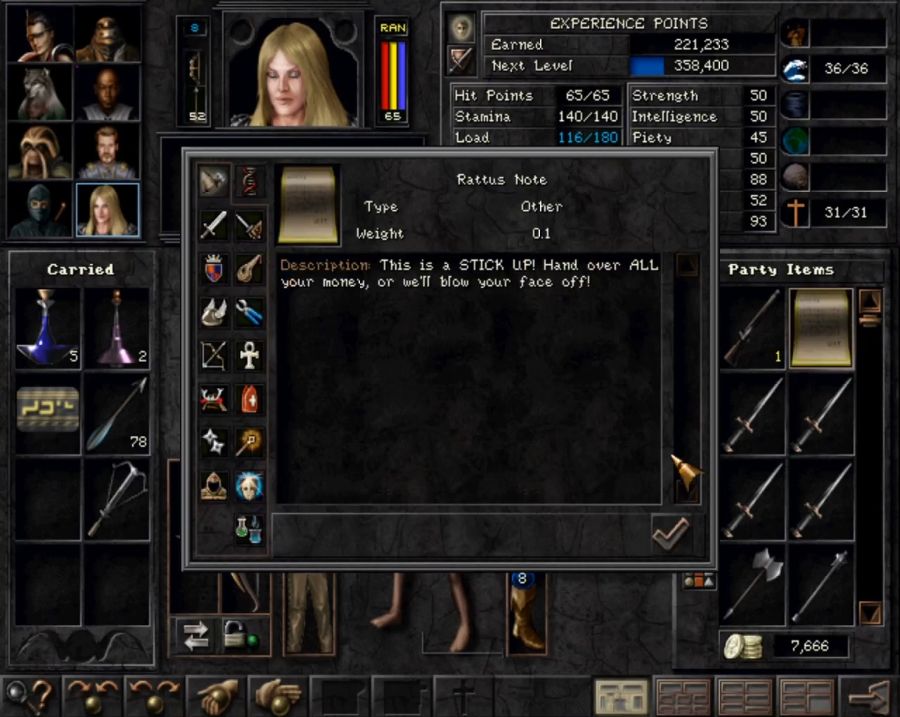 HMMMMMMMMMMMMMMMMMMMMMMMM. I WONDER WHAT WOULD HAPPEN IF WE ACTUALLY GAVE THIS TO THE TELLER. It will, of course, be up to a vote whether we should do that the next time we're in Arnika.  A few steps onwards and the road splits, I, of course, pick the one that doesn't lead to progress as there's a small, spooky side area down here. A graveyard! Normally it's one of the places that can challenge you considerably if you make a straight run to Arnika from the Monastery and then head to Trynton, as the game seems to heavily imply that you should.  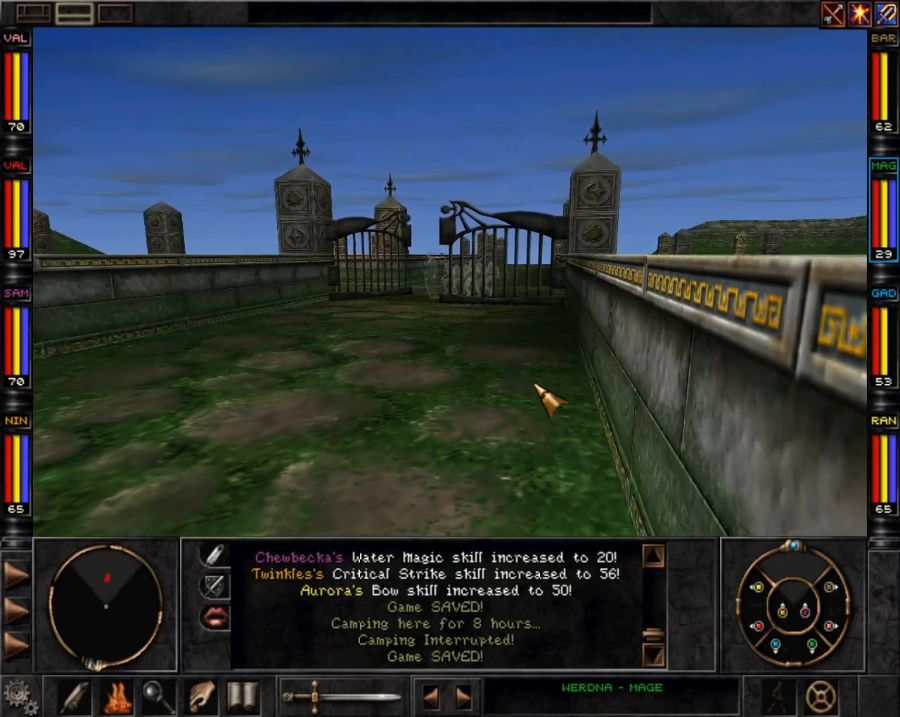 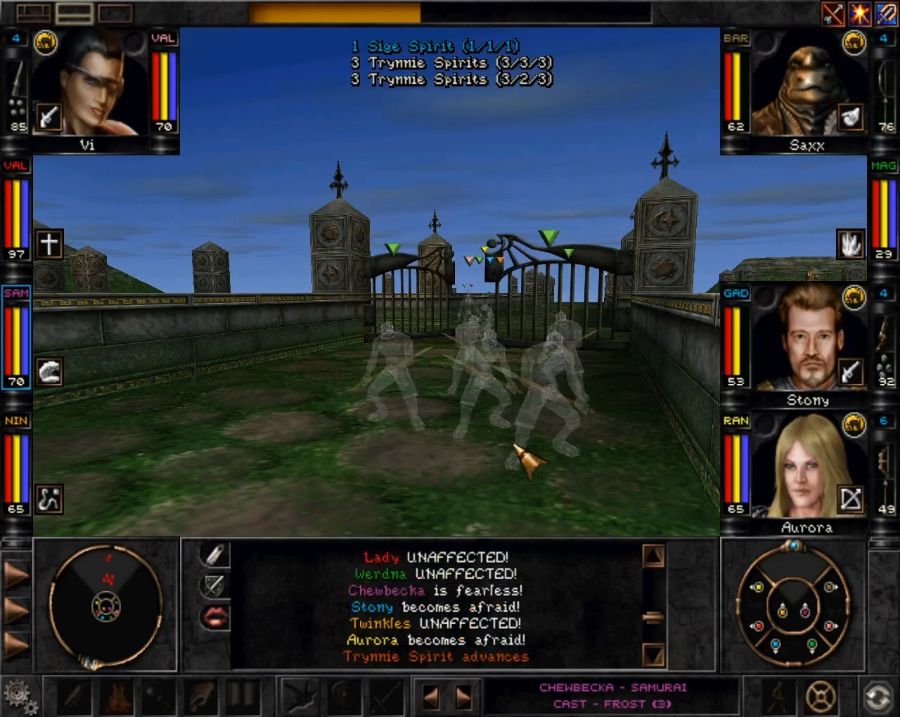 The gate guards are a bunch of Trynnie ghosts with condition-inflicting spears, backed up by a ghost sorceress that can throw nasty conditions on you. Of course, having arrived somewhat late, I simply apply Fireballs until the problem is resolved and wade inside. 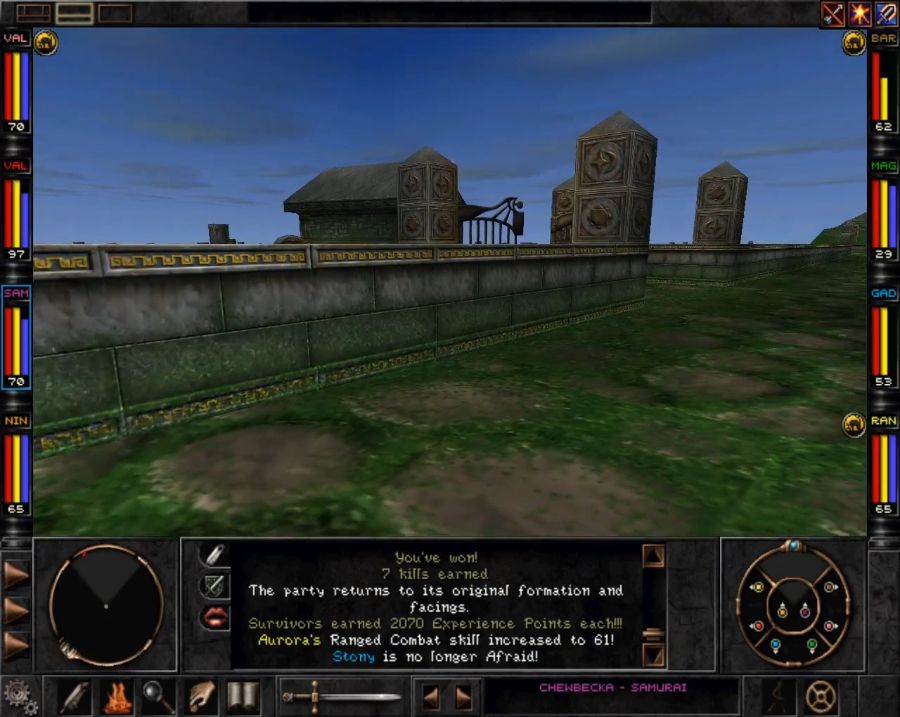 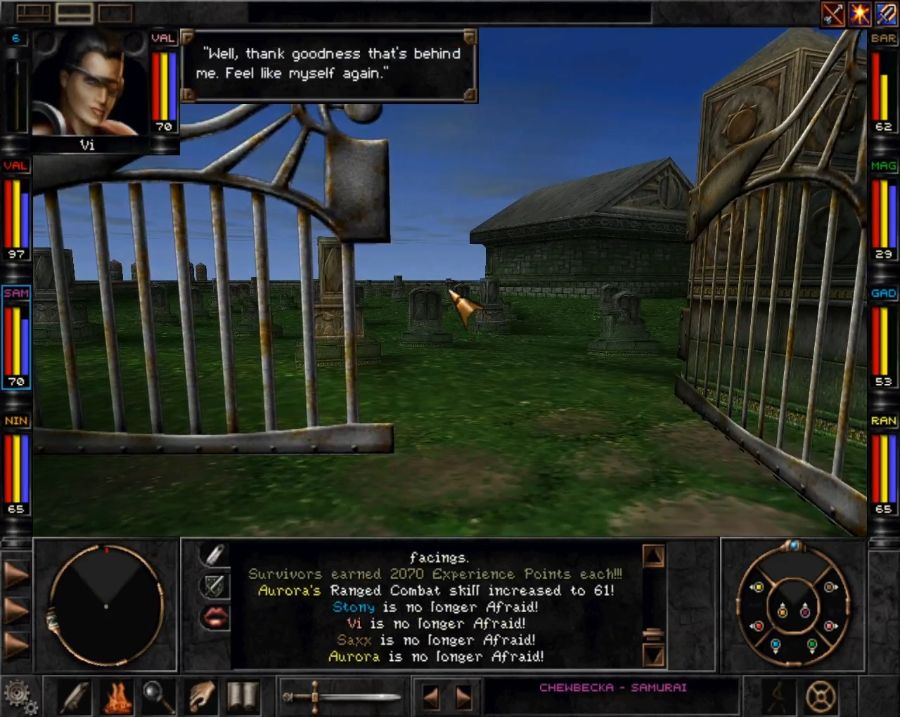 Inside there's a graveyard and a mausoleum, patrolled by a mummy. 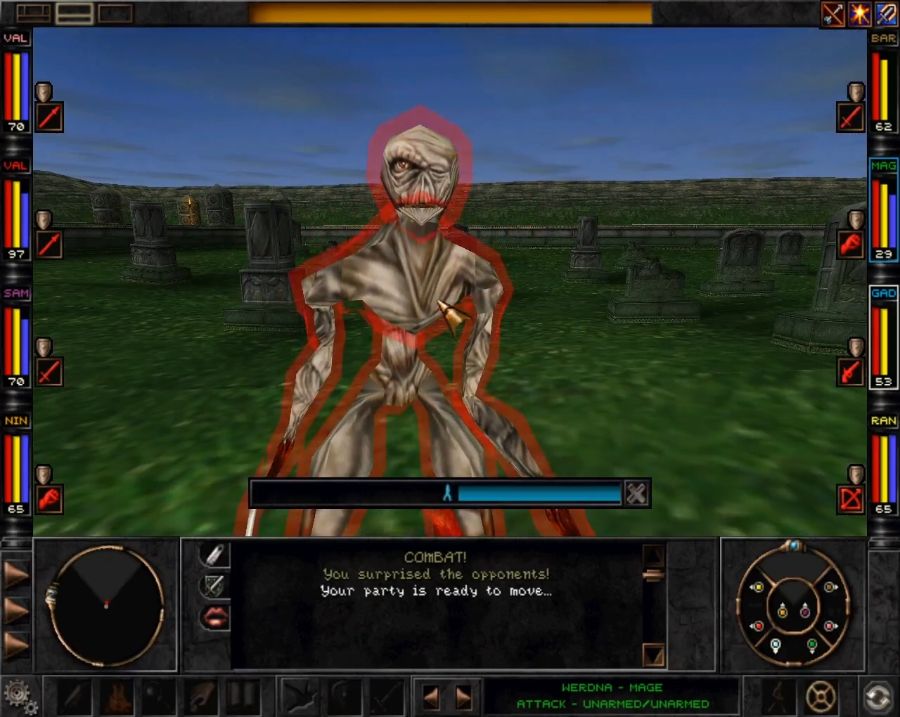 Another potential roadblock for low-level parties considering that he's very beefy and can inflict paralysis with his melee attacks. If you got unlucky he could lock down a large part of your party without giving you a chance to wear him down. Of course, in this case I just need Chewbecka to win initiative and she splatters him across the gravestones in short order. I splatter him into mummy dust(which I collect) and turn around to see... 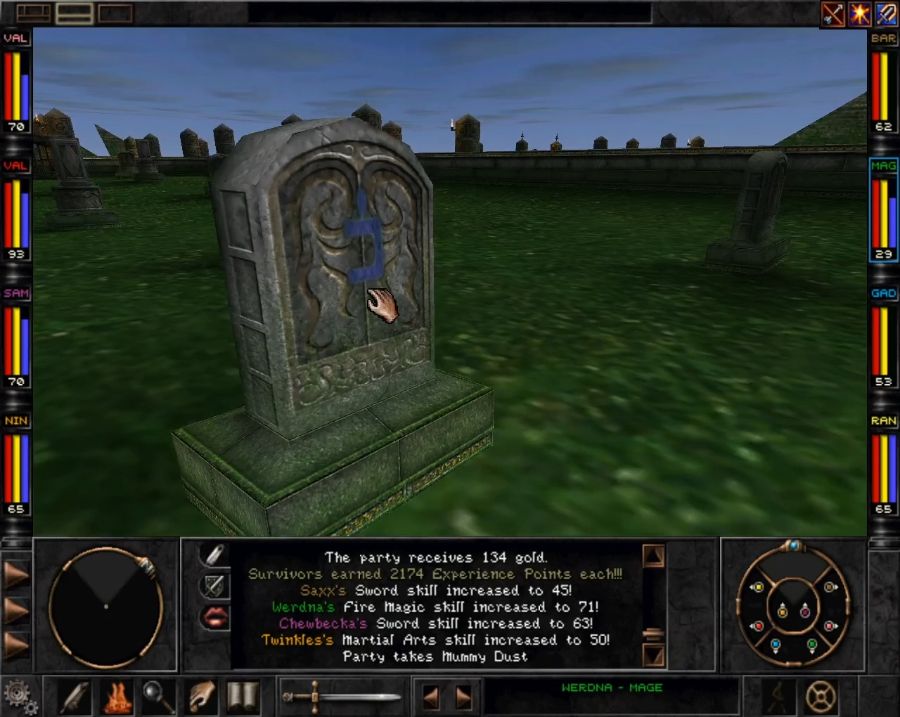 a mystical rune There are six gravestones with runes on them that you can interact with to activate, in no particular order, you just need to turn on all six. In an extremely cruel trick, five of them are on the east sides of gravestones, and the last is on the west side, which drove me insane for a bit. Of course, activating all six outwardsly does nothing. I poke the couple I can easily spot and head for the mausoleum. 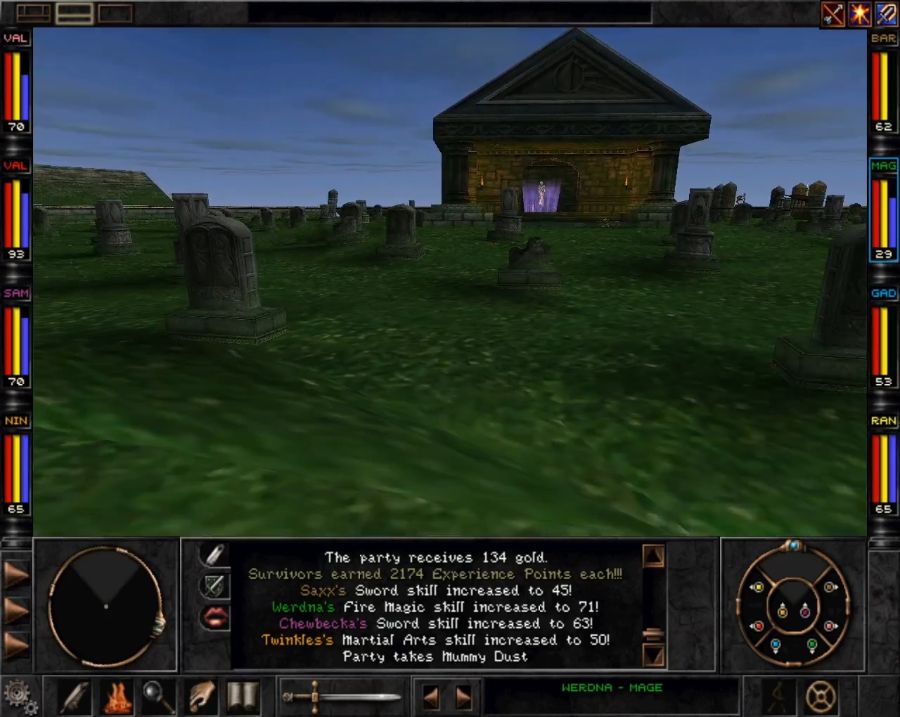 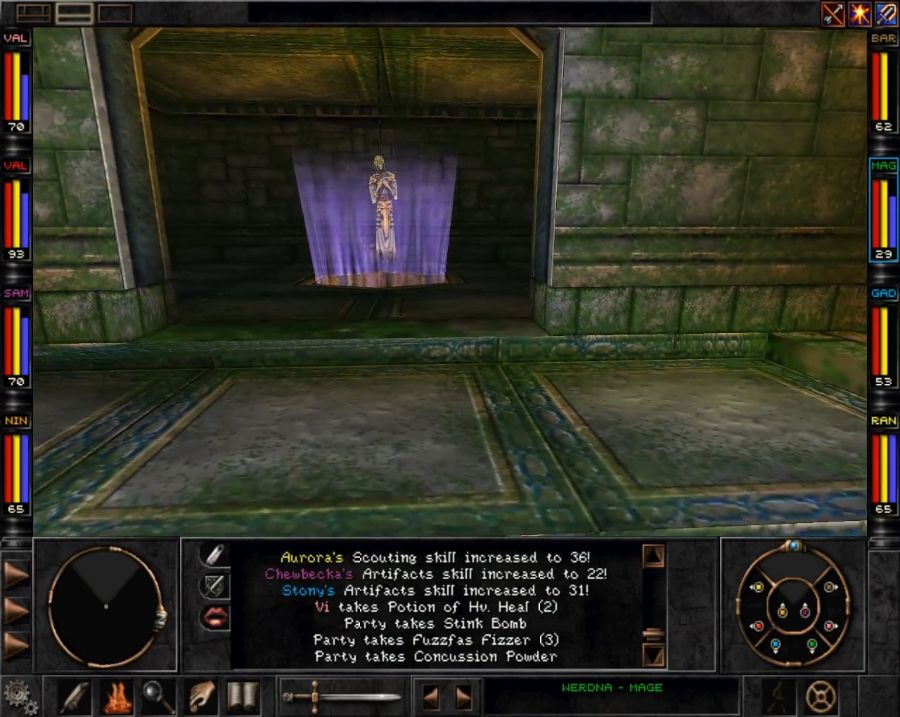 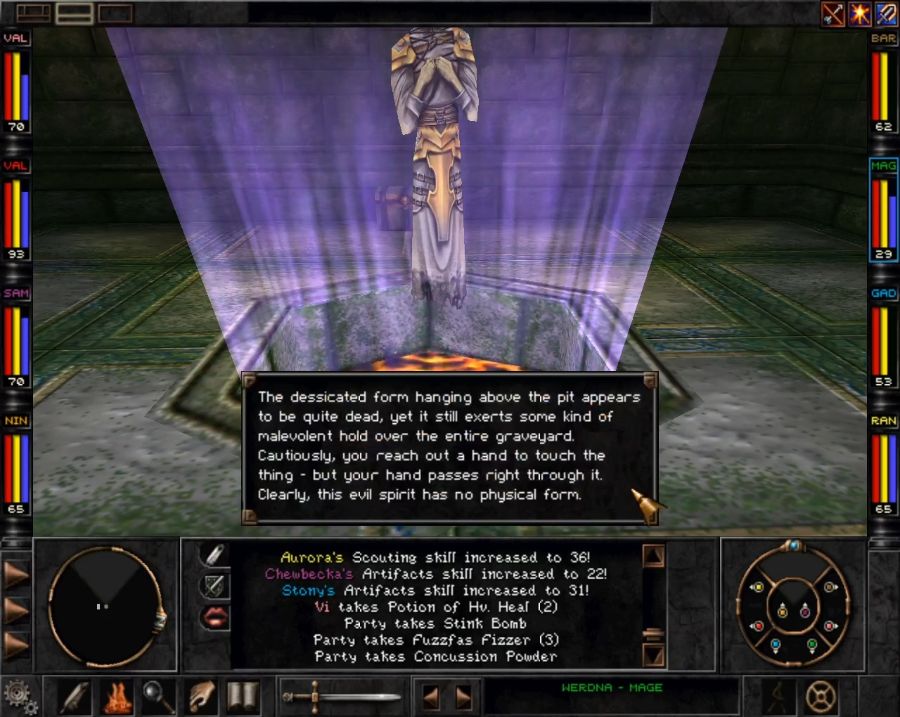 We can't do anything here quite yet. Mind you, I don't know if busting this particular ghost actually does anything besides give you some bonus XP, like disabling enemy spawns for the graveyard or something. 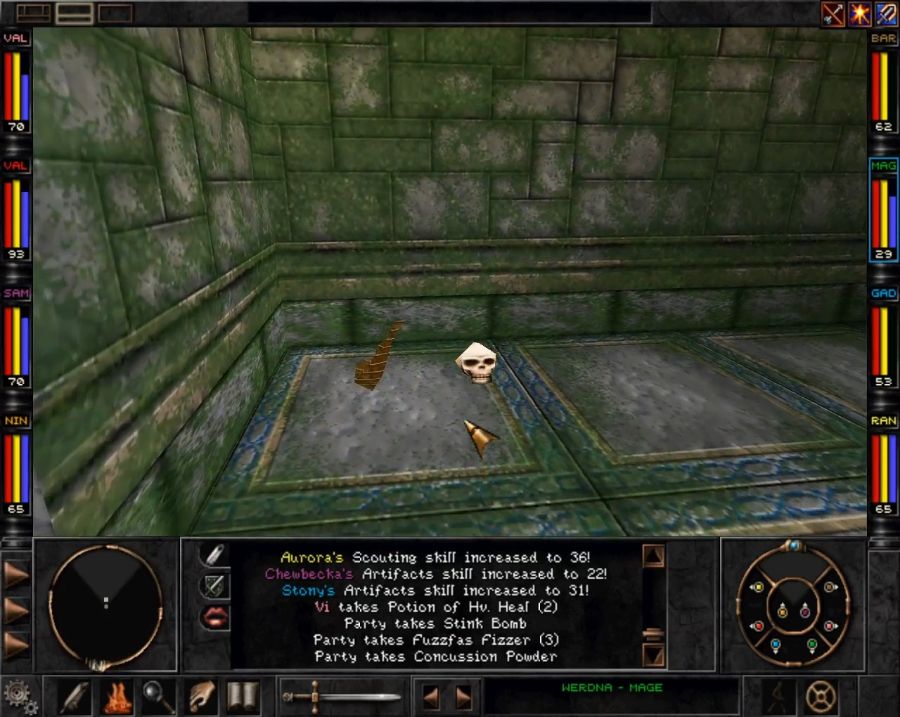 More importantly, though, there's a new instrument in the corner. 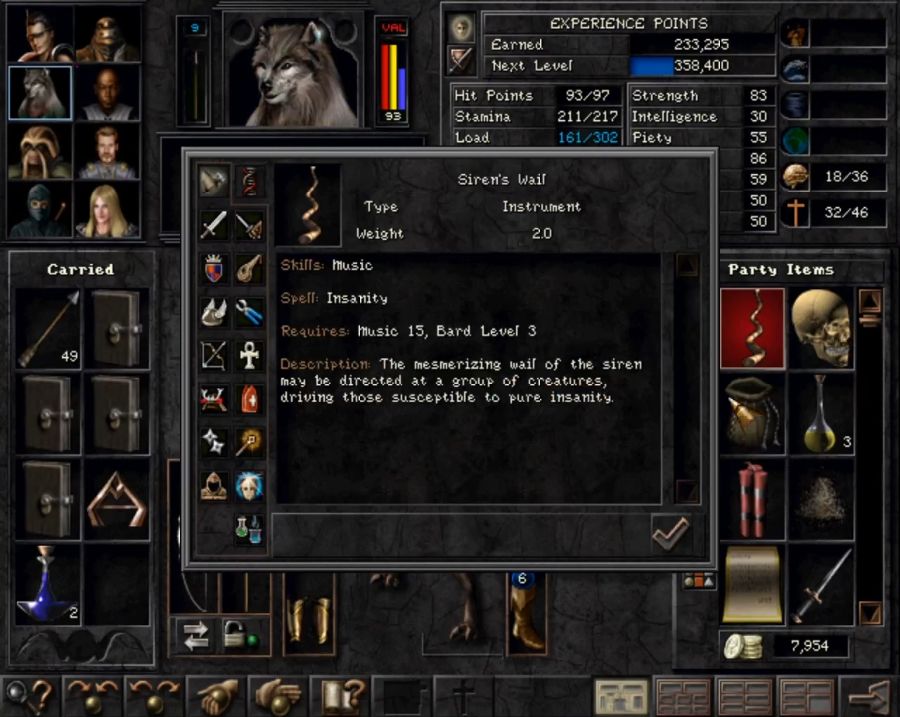 Which is the aforementioned redemption for Saxx. Being able to drop Insanity on an entire group of enemies is wonderful, since it's roughly an even chance of them doing nothing, attacking one of their allies or actually doing what they meant to do. So once you've prodded all the gravestones, what do you do next? 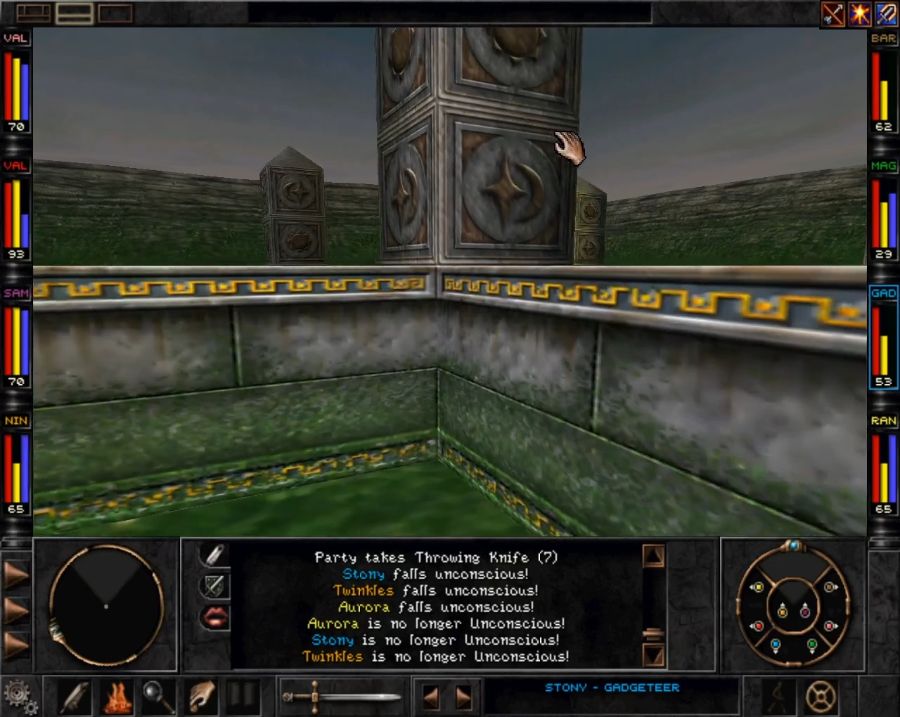 You interact with this one pillar in the corner of the graveyard, which you only know is interactible because it changes the cursor when you wave it over it at close range. If you attempt to interact with it without having activated all gravestones? Nothing happens. If you attempt to interact with it without a plain Dagger in your inventory? Nothing happens. But what if you fulfill both those requirements? 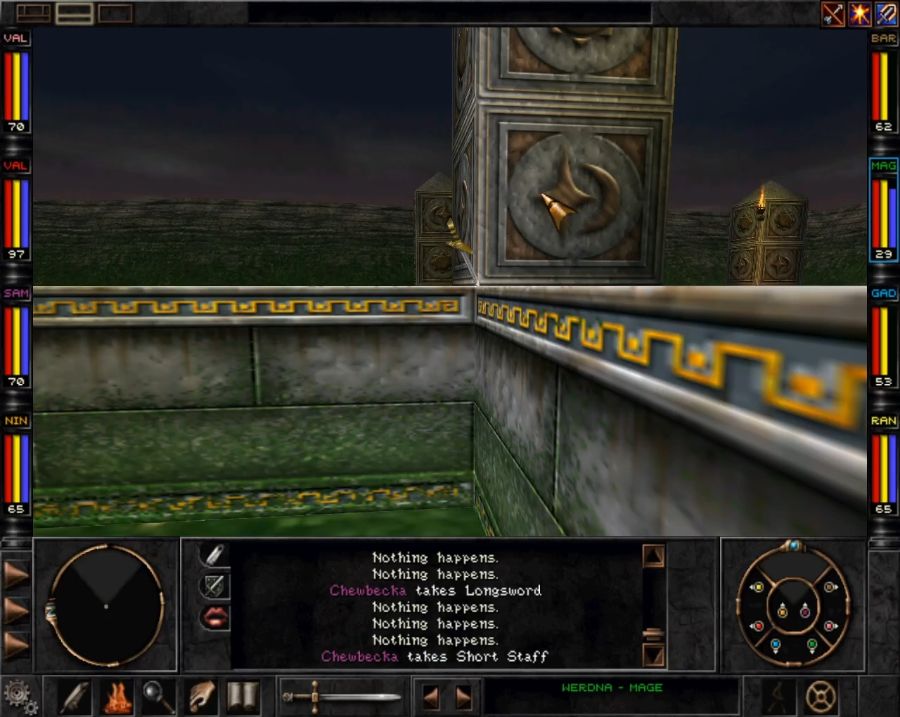 You jam a dagger dramatically into it and... apparently nothing happens. What you need to do next is you need to leave the graveyard entirely and follow the wall all the way around... 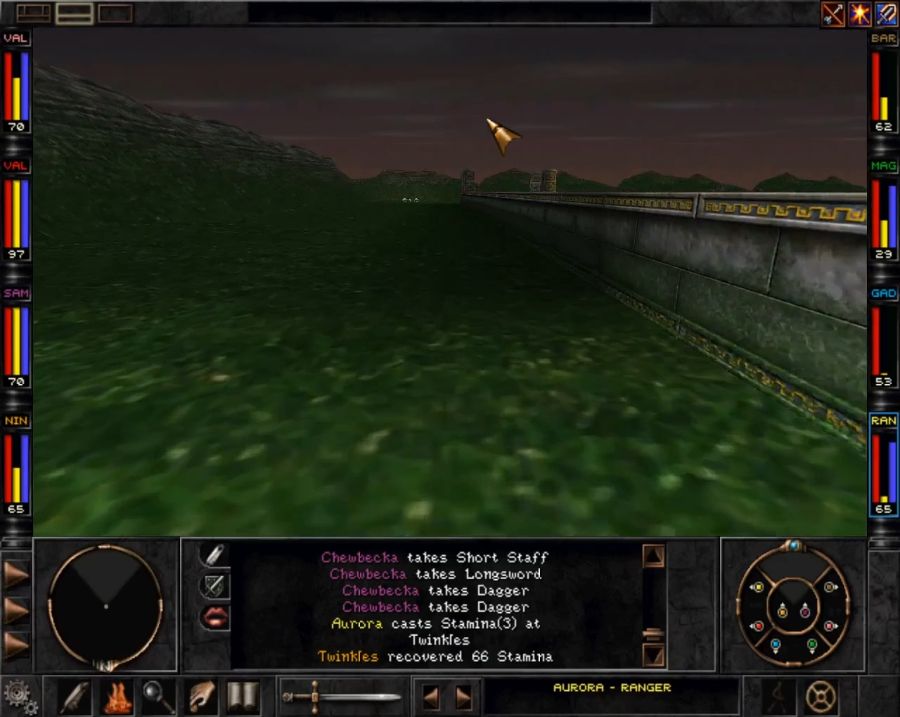 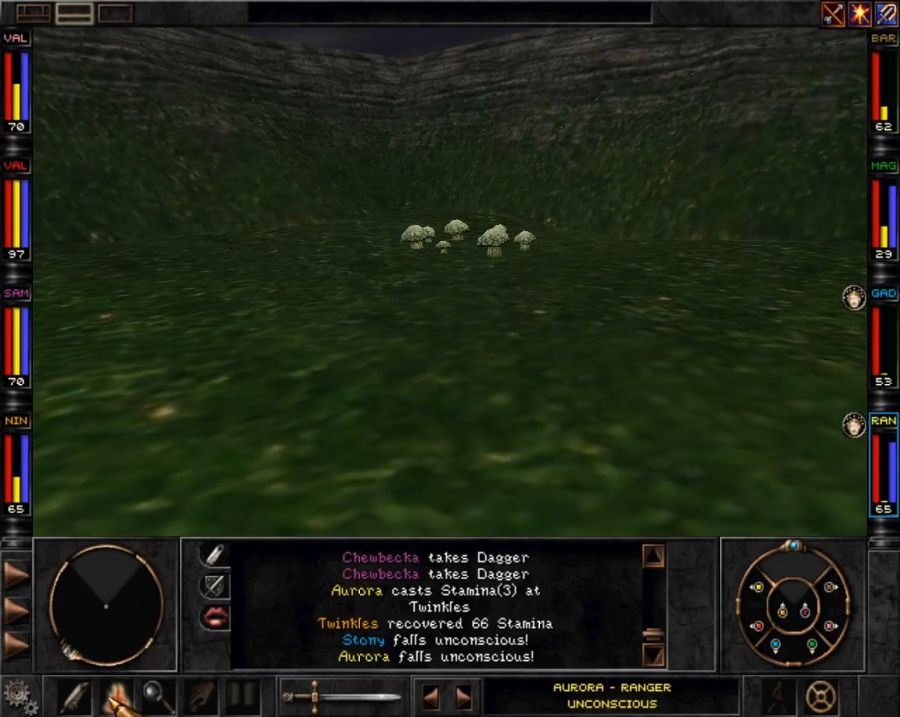 To find this mushroom ring that's an entrance to a bonus dungeon. Supposedly none of these secret dungeons were discovered until a developer hinted at them on a fan forum way back, and I can believe that. The remaining two secret dungeons are in the Mountain and Northern wildernesses, where we've been already, we'll be sure to visit them as well since high-level visits provide a chance of items and monsters encountered nowhere else.  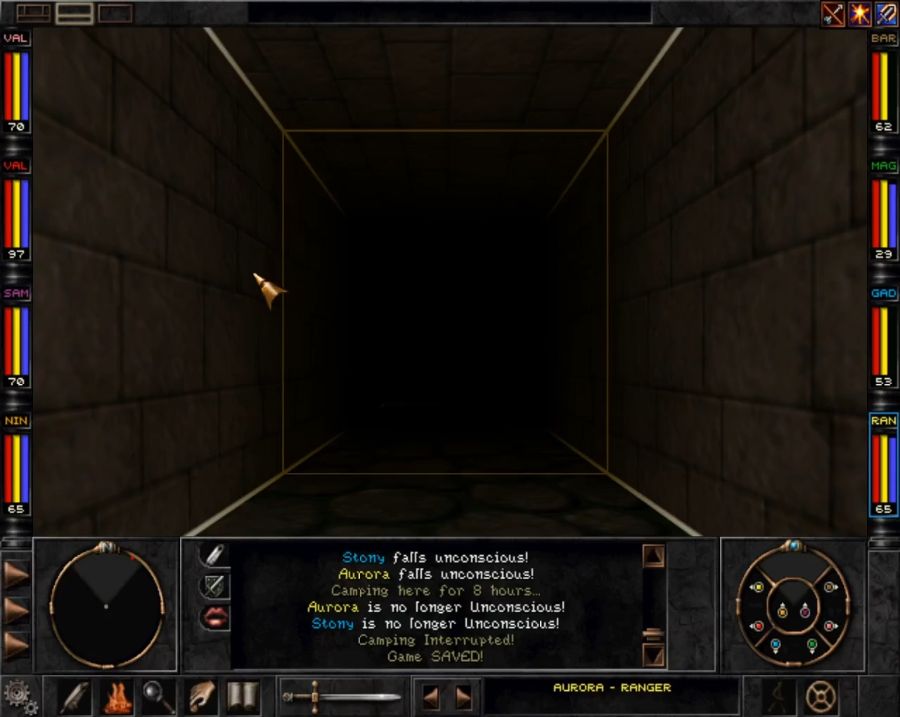 The bonus dungeons are sadly somewhat unexciting. They're intentionally grid-based retro. Dark, curving corridors full of doors, chests and random encounters, as well as the occasional spike trap that has zero warning and will gently caress you up for entering the wrong dead end.   The map is also useless because A) there are teleporters that warp you around. B) at unclear points to north, east, west and south the map loops in on itself. And C) there are three bonus dungeons and they all in the same "space" just layered on top of each other. 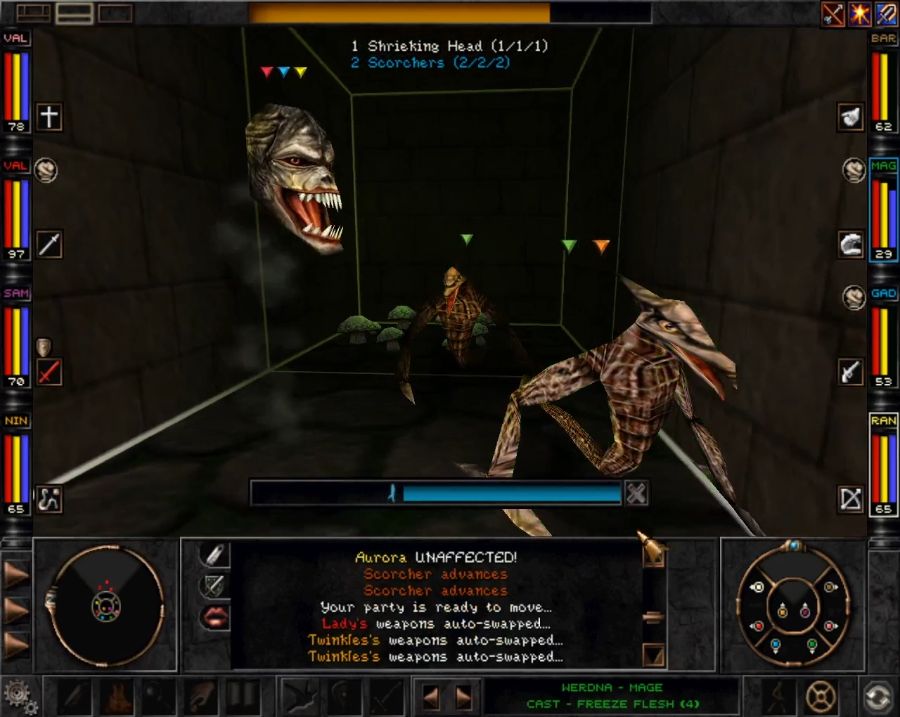 Some enemies are stuff we can meet on the outside, too. These Scorchers, notably, kicked my rear end. They've got a "built-in" conic fire attack that hits everyone. It's currently the nastiest thing anything can do to us, AoE attacks, since it fucks up Werdna and Stony real hard. 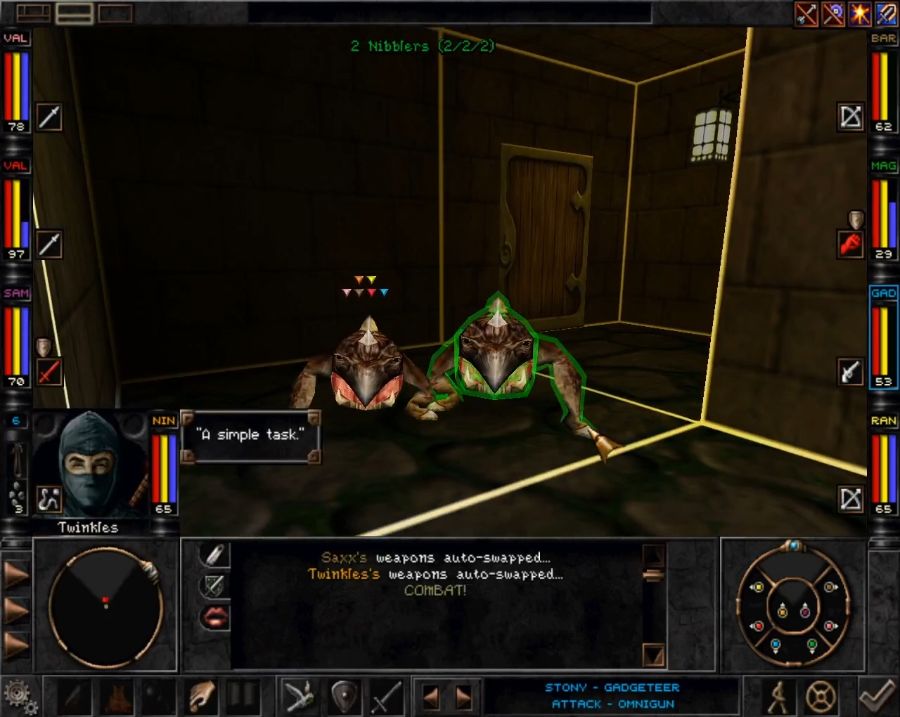 Nibblers are inoffensive miniature versions of Swallowers and, I believe, only occur in these dungeons. Unlike Swallowers who can, as the name implies, swallow a PC to remove them from the battle until the Swallower is killed, Nibblers just, well, nibble at you and do plain damage. 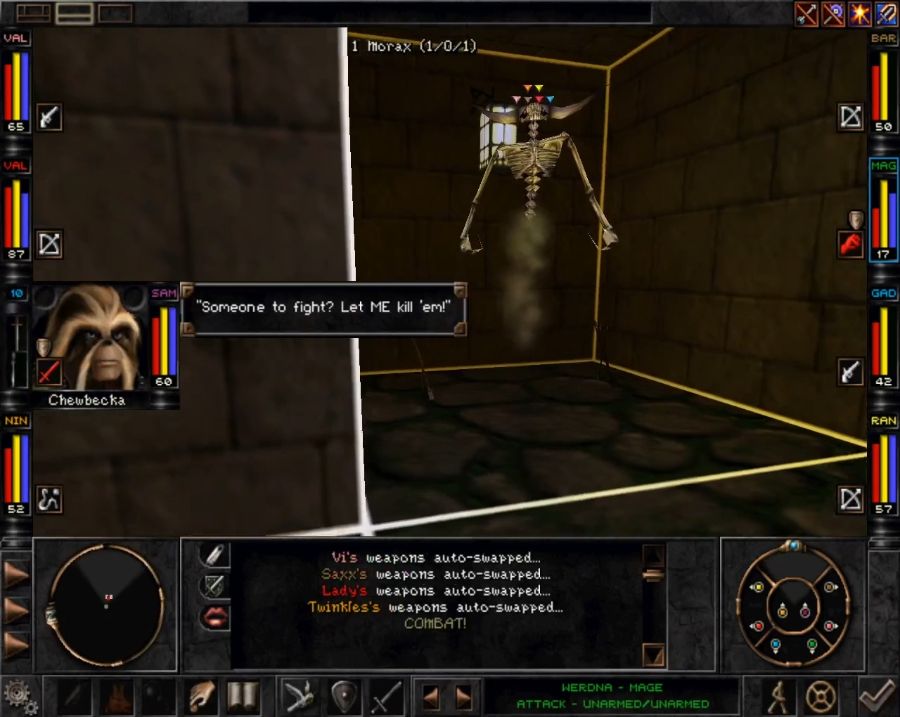 Moraxes are the upgraded version of Screaming Heads, adding a bunch of actual damaging spells to go with their condition-inflicters and also looking a heck of a lot cooler. 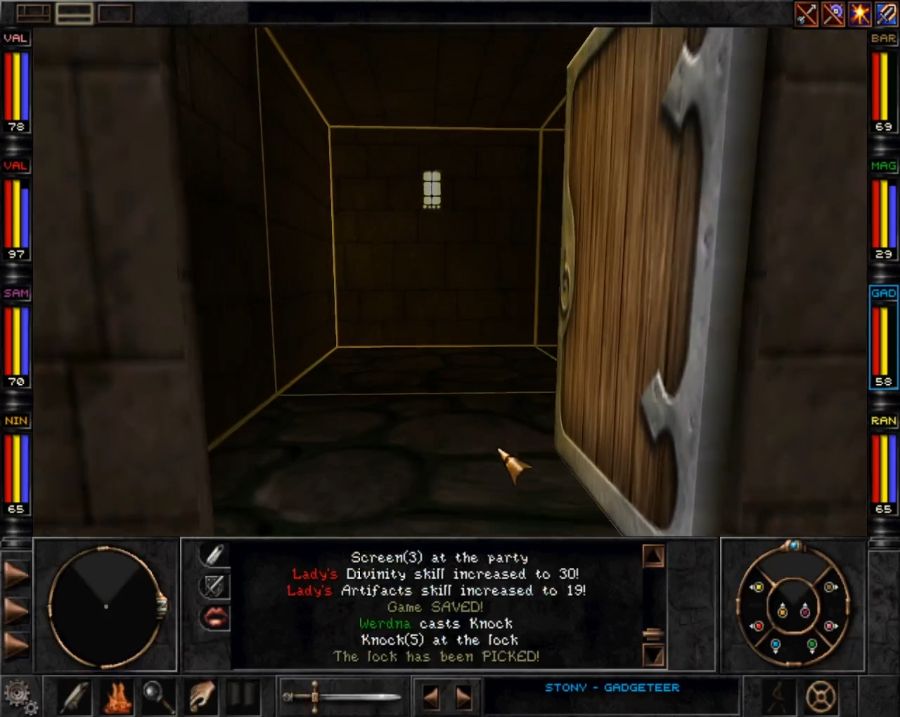 There's also no clear way out. You can't just leave whenever you want, whenever you've had your fun, you need to find the boss monster, kick his rear end and use the (indistinguishable from all the rest) mushroom ring in his boss room to escape. The unique boss monster of the Dagger Dungeon is... 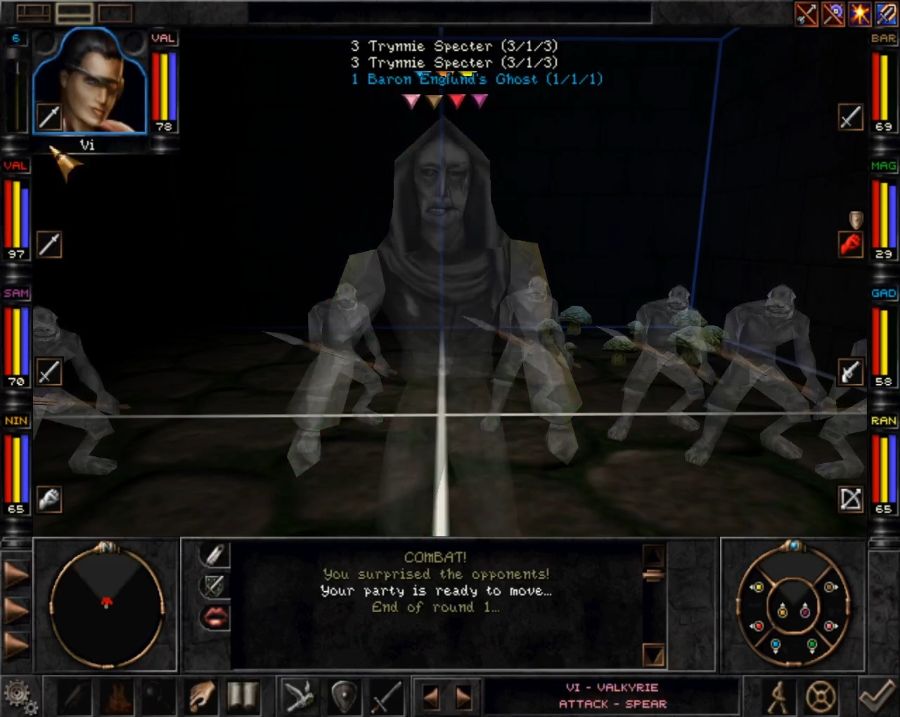 Baron Englund's Ghost. I'm earnestly not sure if I should be recognizing the name, I feel like I should. Bloodthirst loses me the first engagement, as I rush in and get surrounded and poked by Trynnie Ghosts. On the second try I smartly use the open door and the wall to protect my right flank and rear and just bombard Englund and his ghosts from range. 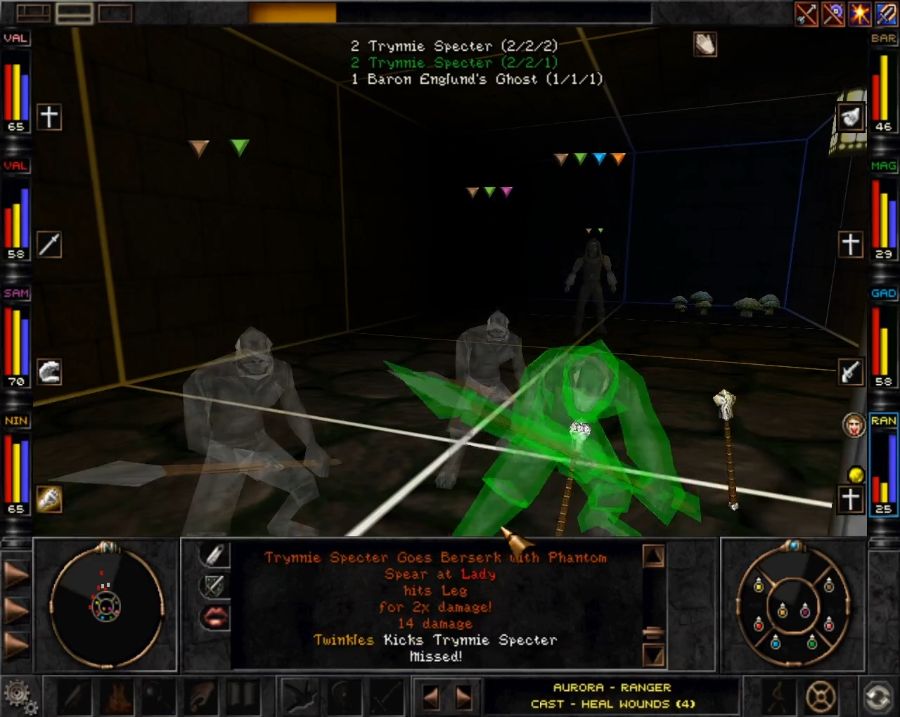 Worth noting during this fight is that some enemies can also Berserk, which ups their damage ability considerably compared to what they'd normally do. When I'm not being a moron, the fight is pretty trivial and Englund goes down like a chump. Doesn't even drop anything unique or interesting. Time to go back to the real world. 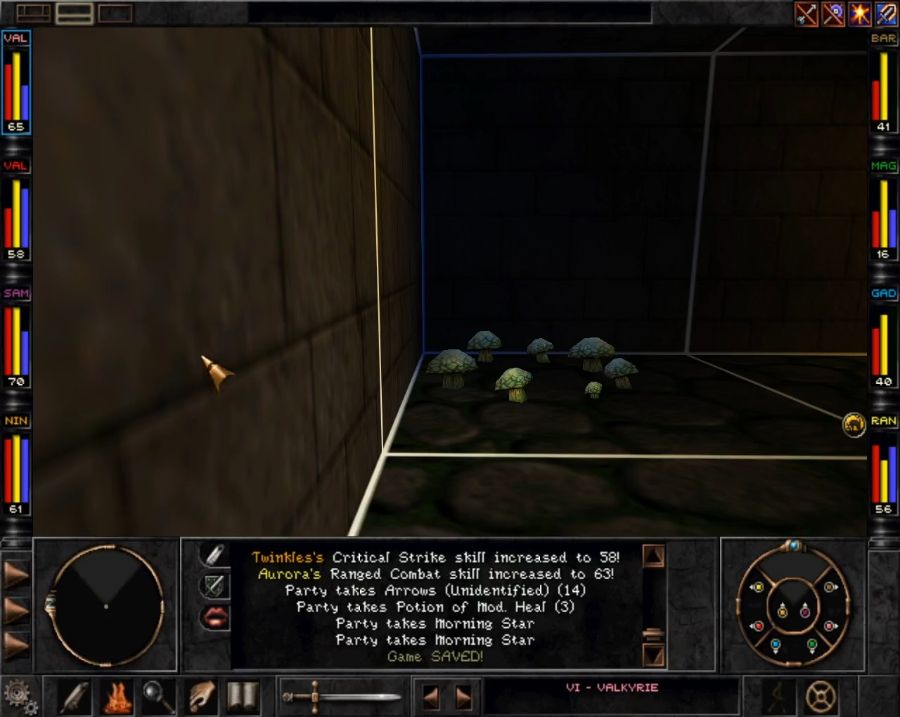 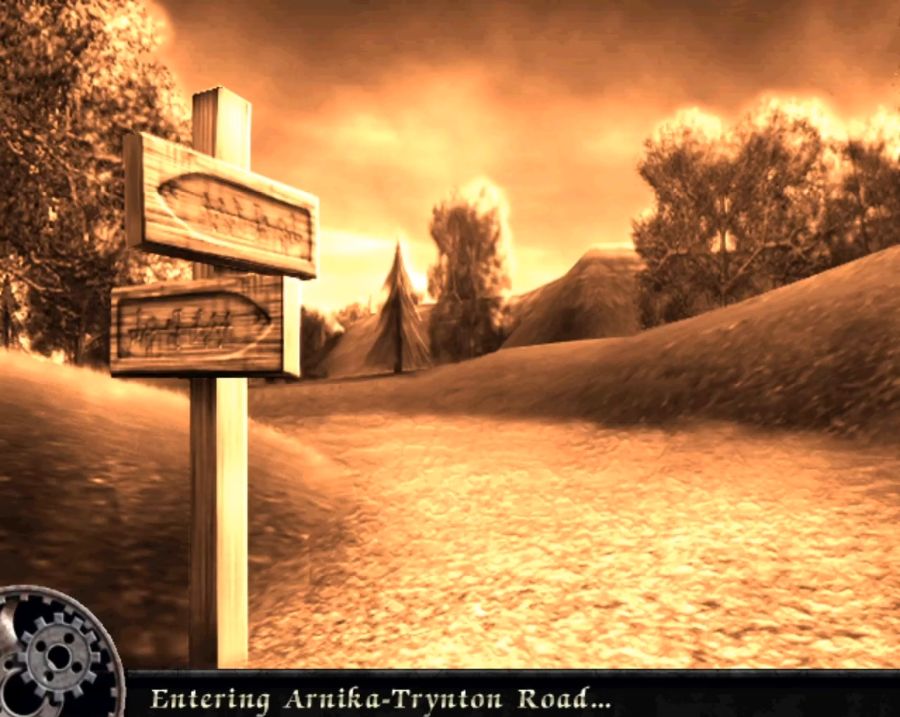 I only barely step outside of the graveyard when... 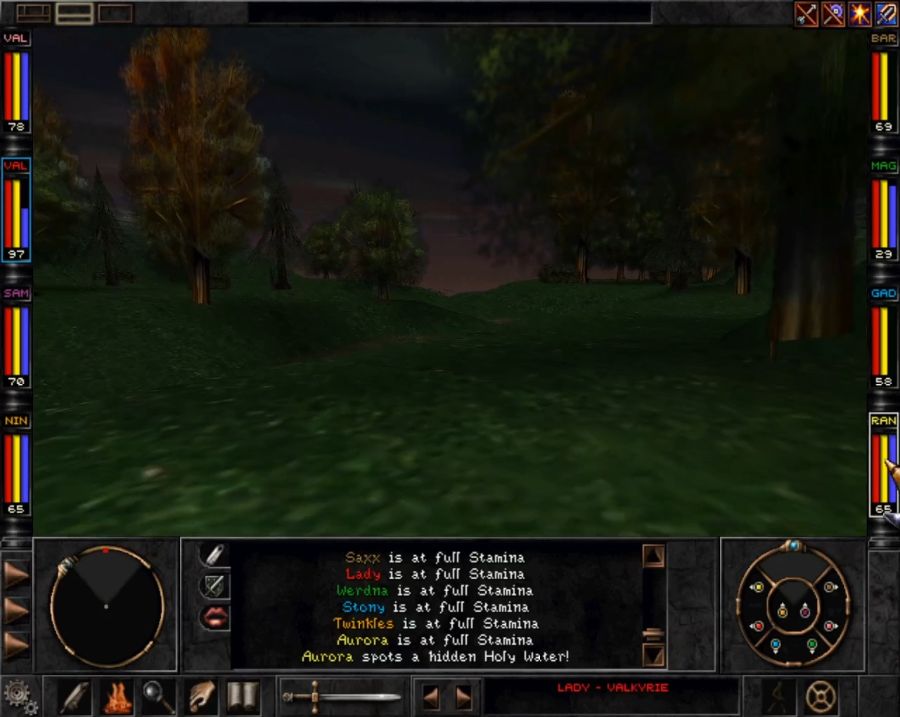 Thank you, Aurora. Holy Water can be thrown at enemies to cast the spell of the same name, but it can also be used to banish the ghost in the graveyard. https://www.youtube.com/watch?v=-FXfaoHW60c The reward is trivial, but sometimes it's about doing good things, not about being rewarded for them. 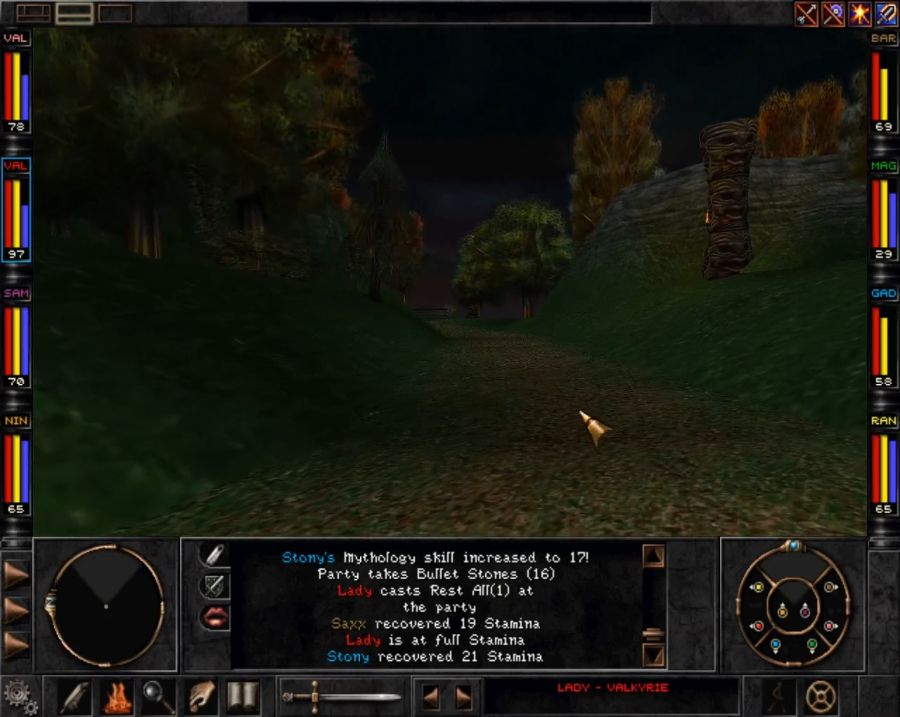 Once the graveyard is done with, Trynton is literally just around the corner. 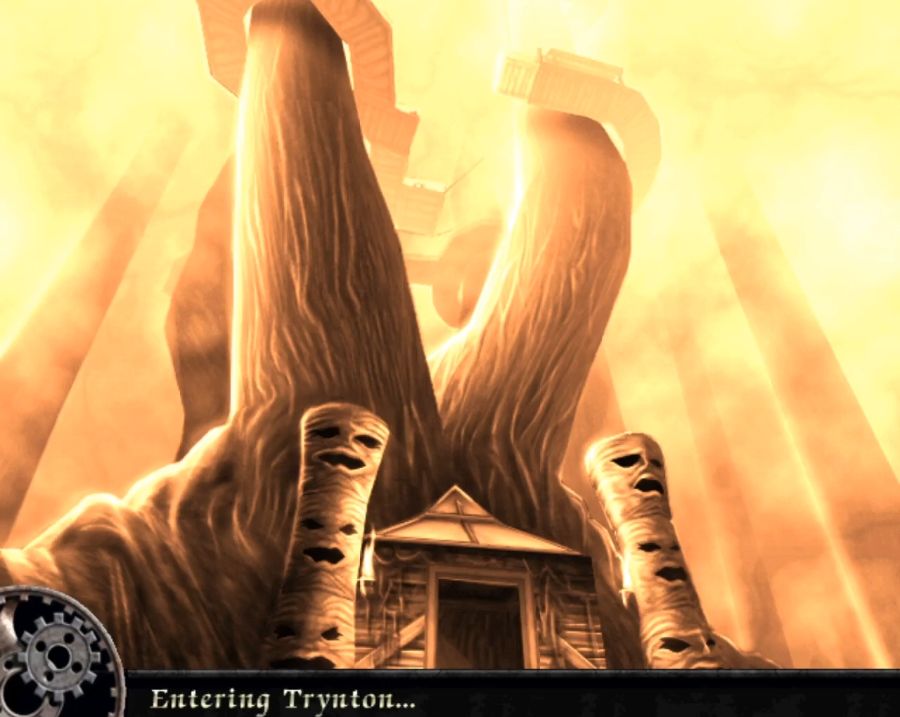 Whoever they got to do these little art pieces for the loading screens deserves a medal, I'll note. Even the less cool ones are all really good. 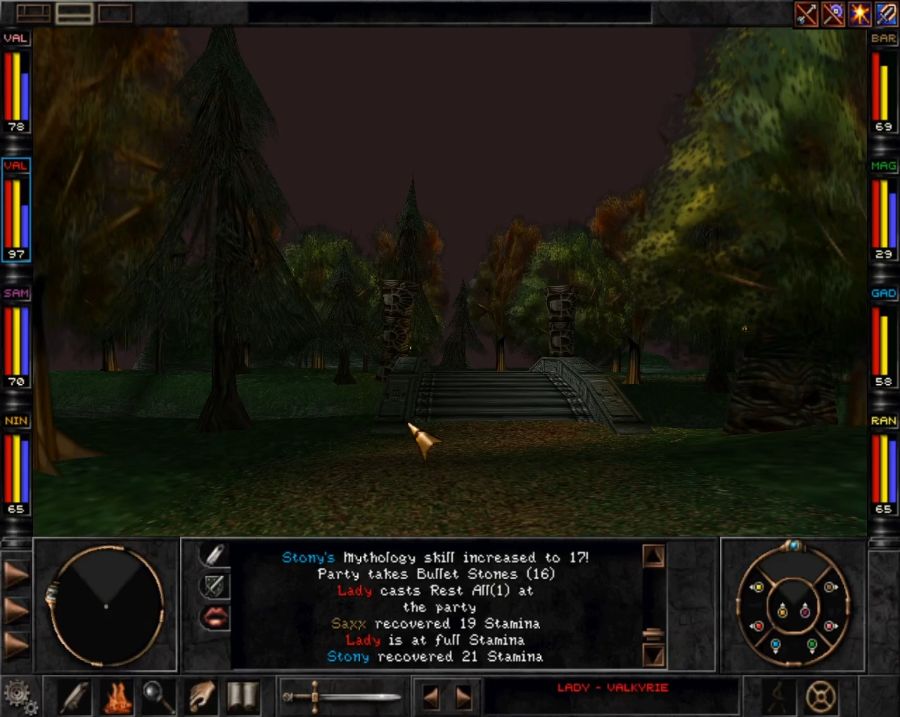 https://www.youtube.com/watch?v=odwzDtF0vhQ Trynton is slightly darker than all areas so far, with the skybox tending to be obscured by mist and fog. Straight ahead and right are forest, to the left is... 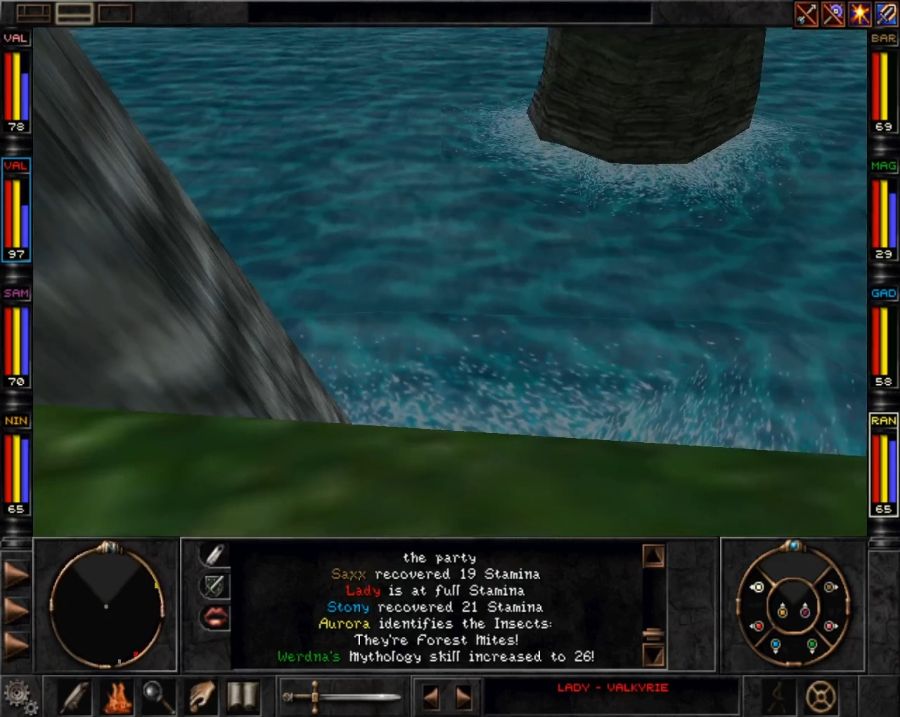 The sea. Wizardry 8 has an odd approach to being able to fall. We can't drop into the ocean if we slam our faces into the cliff's edge, but if we drop down... 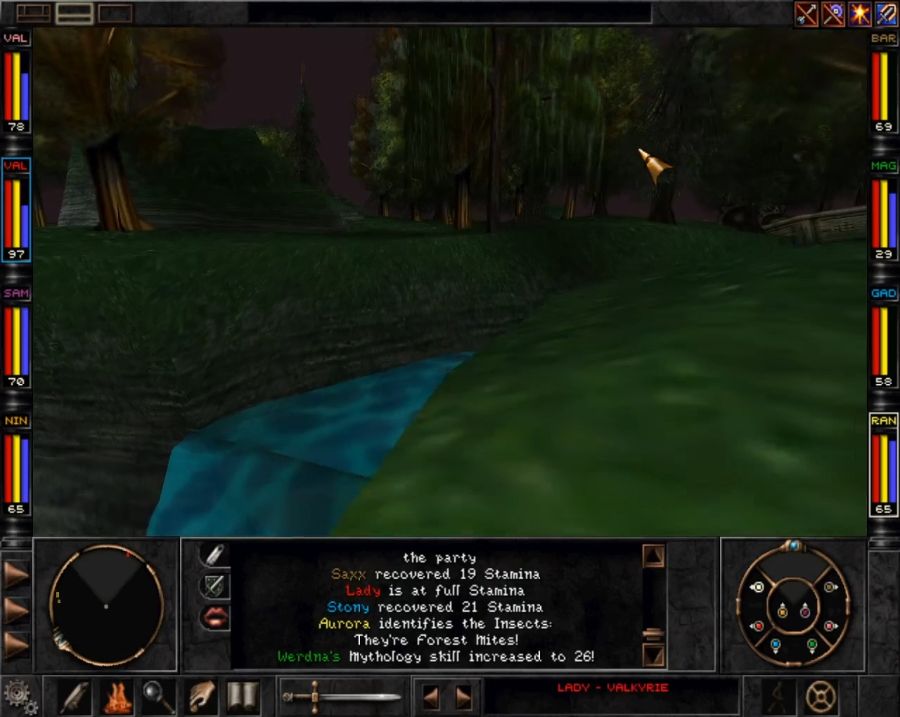 Into this little creek... 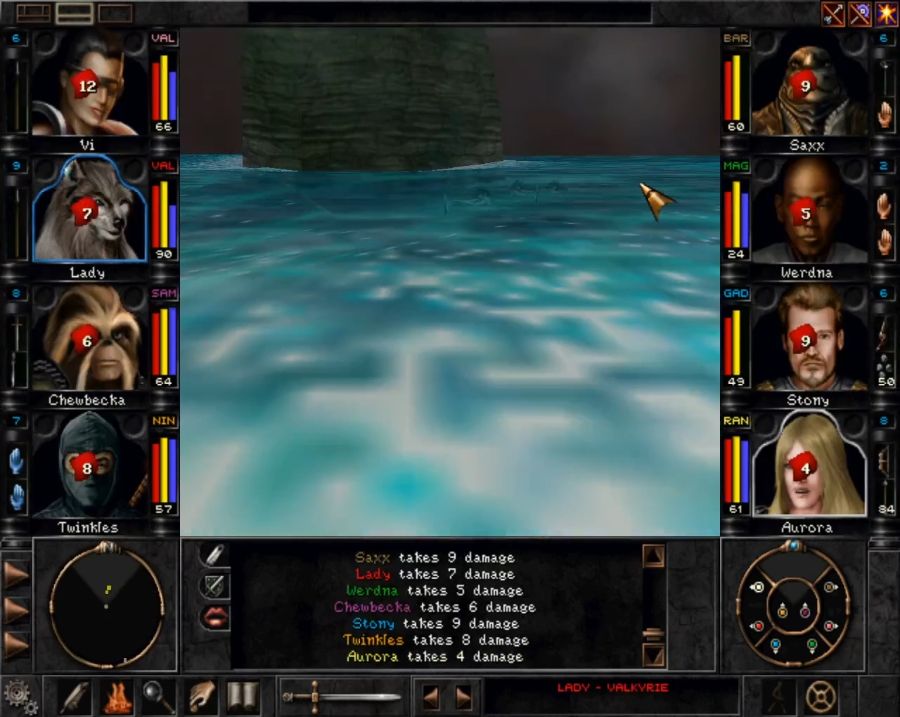 We can drop into the ankle-deep sea for decent amounts of falling damage. It occasionally feels like the game is "faking" being 3D, especially as there are relatively few room-over-room areas. But more likely it's just a result of the game's odd "physics" engine when it comes to slopes(you often need a run-up to climb them, so if you start sliding down, you'll keep sliding down) and wanting to make it not too easy for people to kill themselves slipping off ledges. 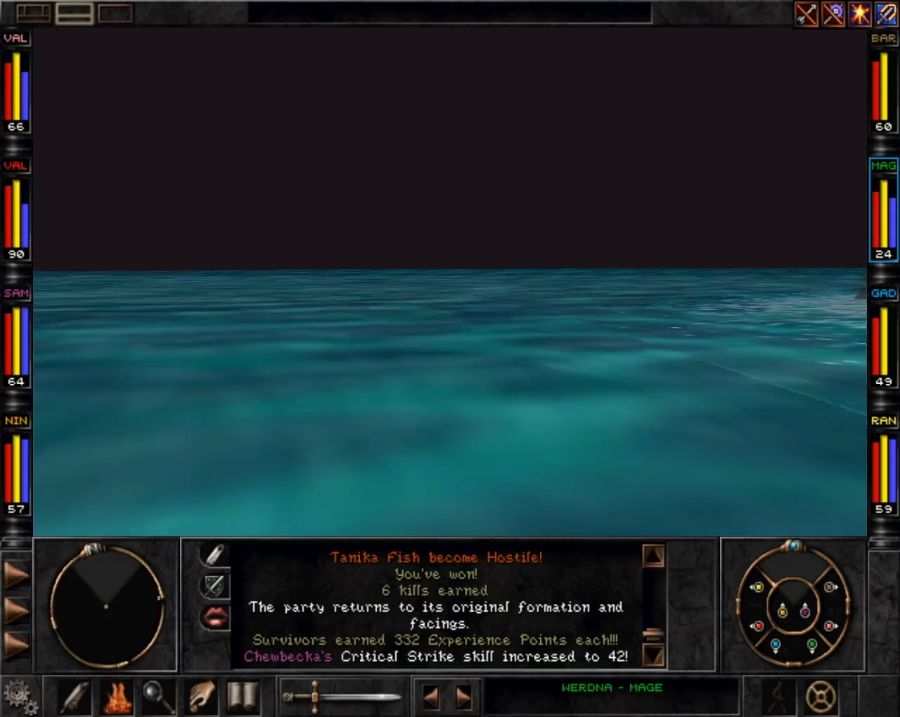 This part of the ocean is boring, just a few fish to gib and nothing else. I feel like I remember there being a cave or something to explore down along the cliff's edge, but I couldn't find a drat thing. 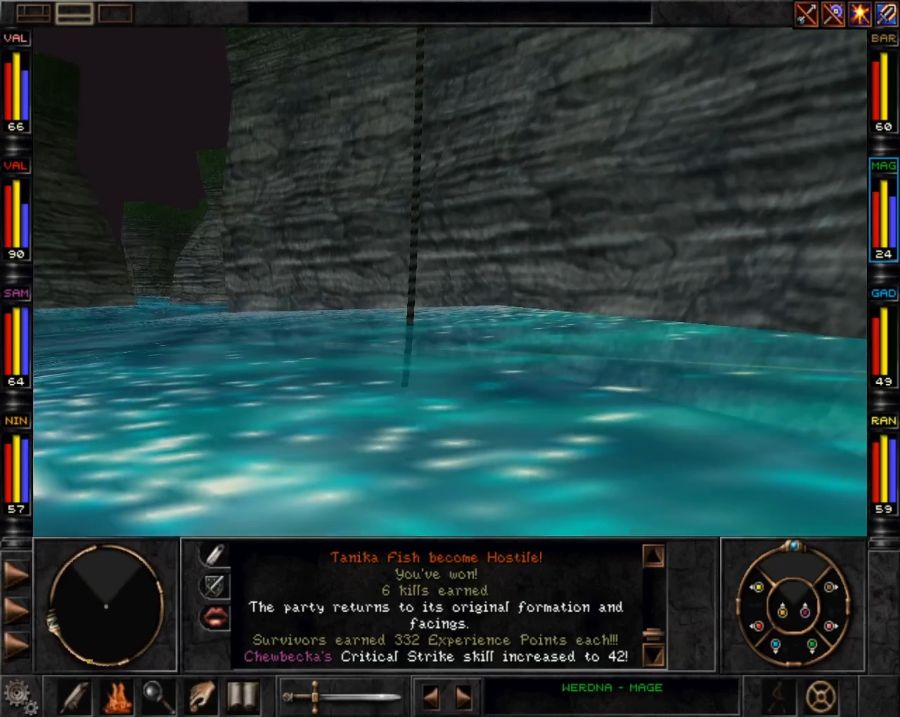 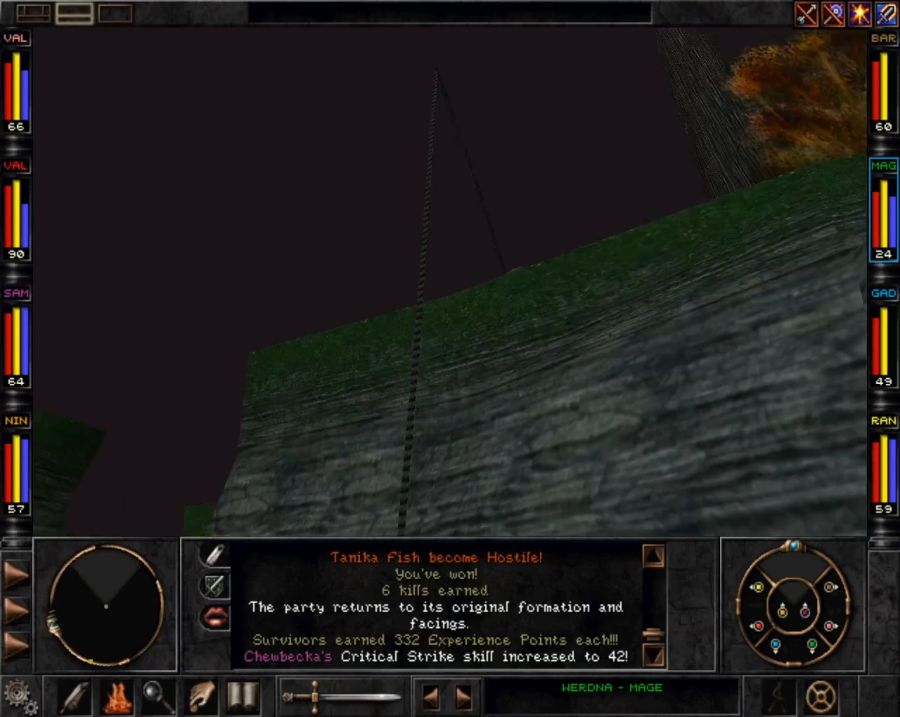 So we're just going to climb this fishing line up. Perfectly safe. Climbing ladders and ropes in Wizardry 8 functions by interacting with them, at which point the game more or less moves the party along a rail until they come to the end point to simulate climbing. This climbing is inexorable, which means that if you approach it from an unexpected angle sometimes you an phys-gib yourself against a railing or the game will drop you early because of unexpected resistance and you'll die from falling damage. Up top, we meet some new friends. 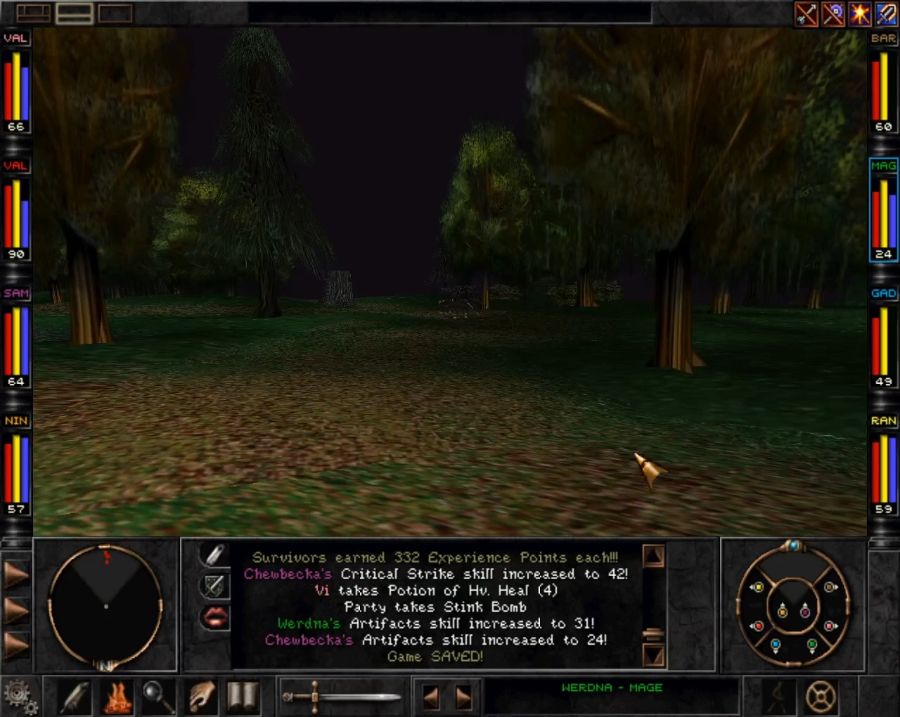 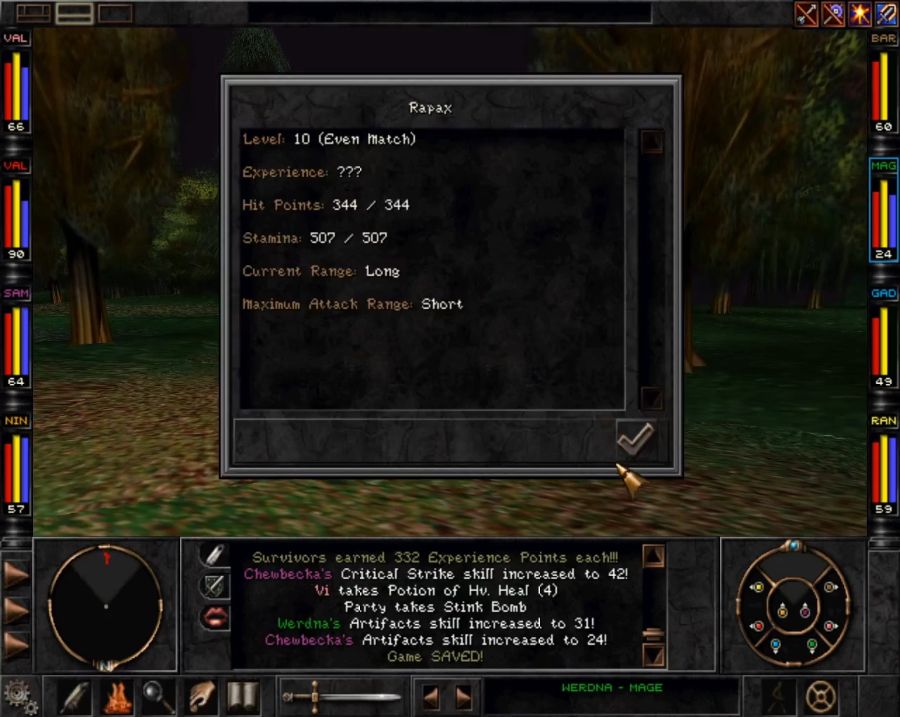 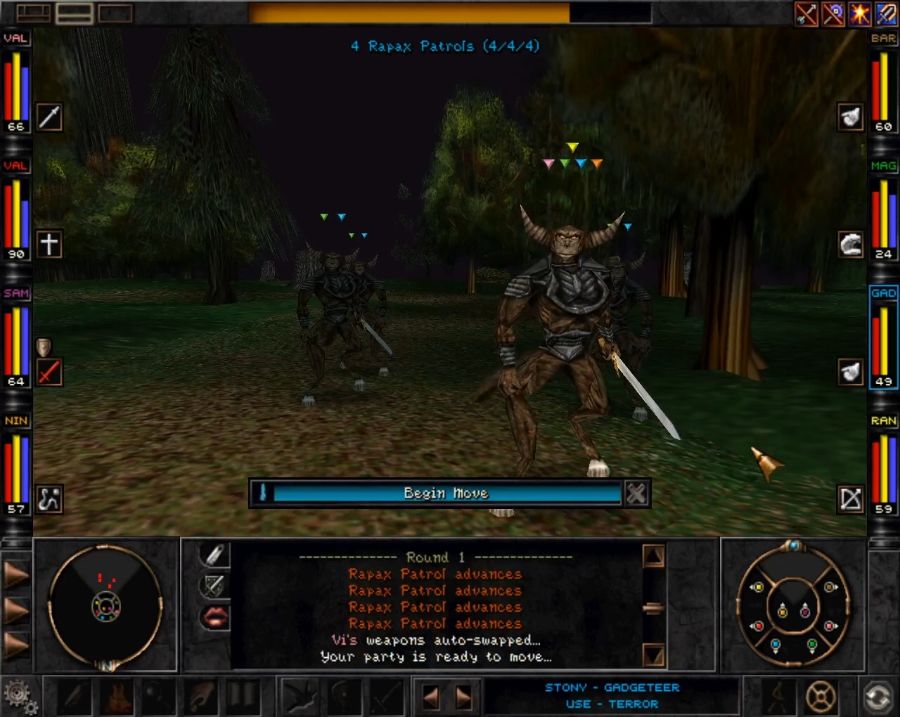 Rapax will become increasingly common towards the endgame. They're tough sons of bitches whose warriors often Berserk with their weapons for extra damage, and later encounters will also include Rapax warlocks and priests that can gently caress us up with wizzardry. 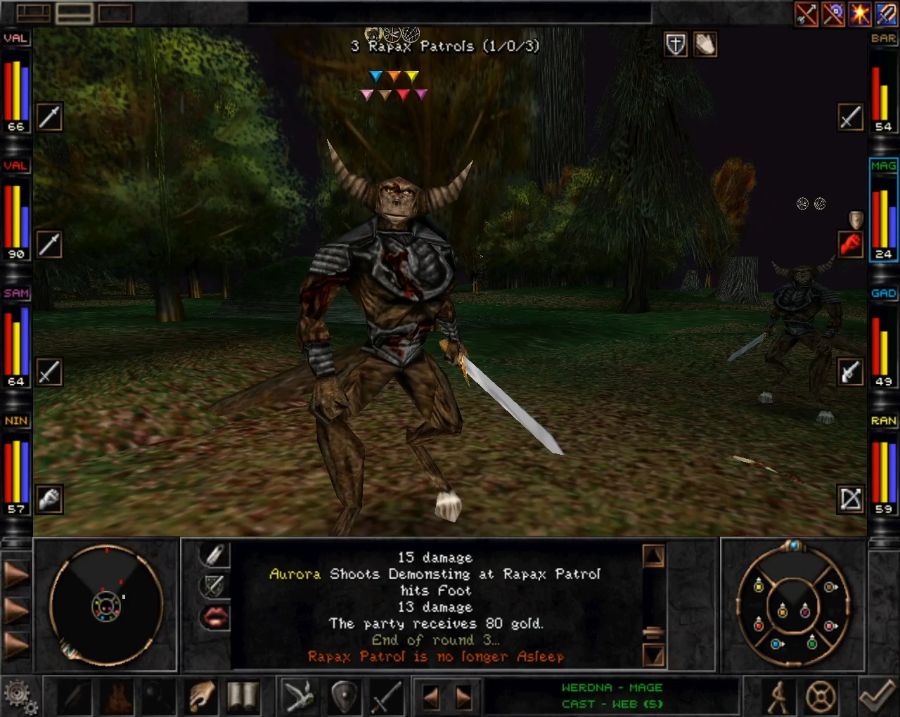 Not too scary when reduced to target practice, though. 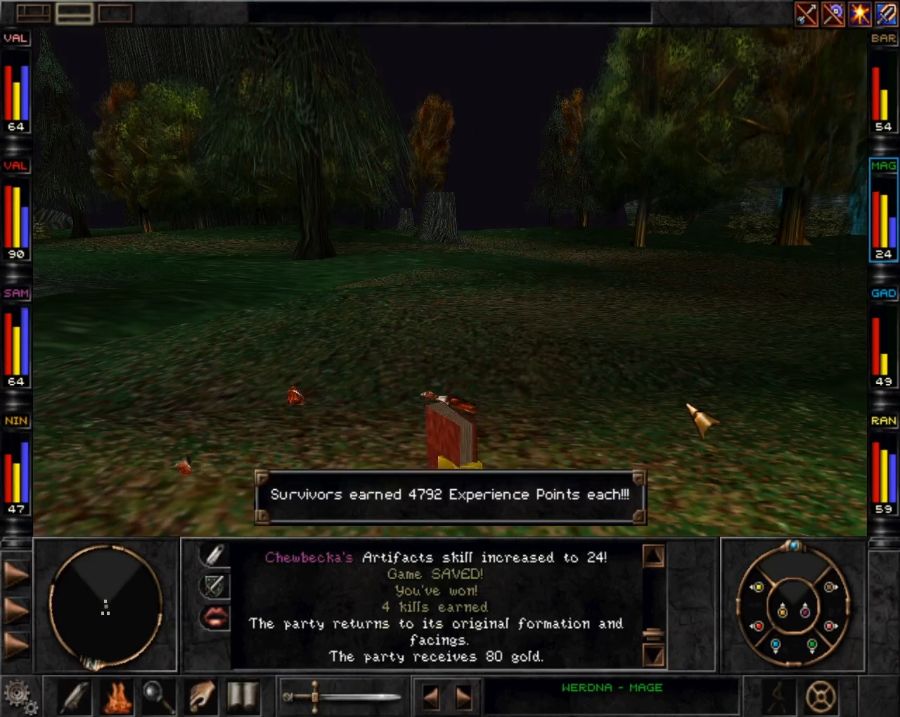 And they've got random low-level spellbooks in their drop tables, which is also an awesome reason to chunk as many of them as possible. They help fill out holes in the party's low-level spell selection.  They also drop the occasional low-grade elemental resistance item. 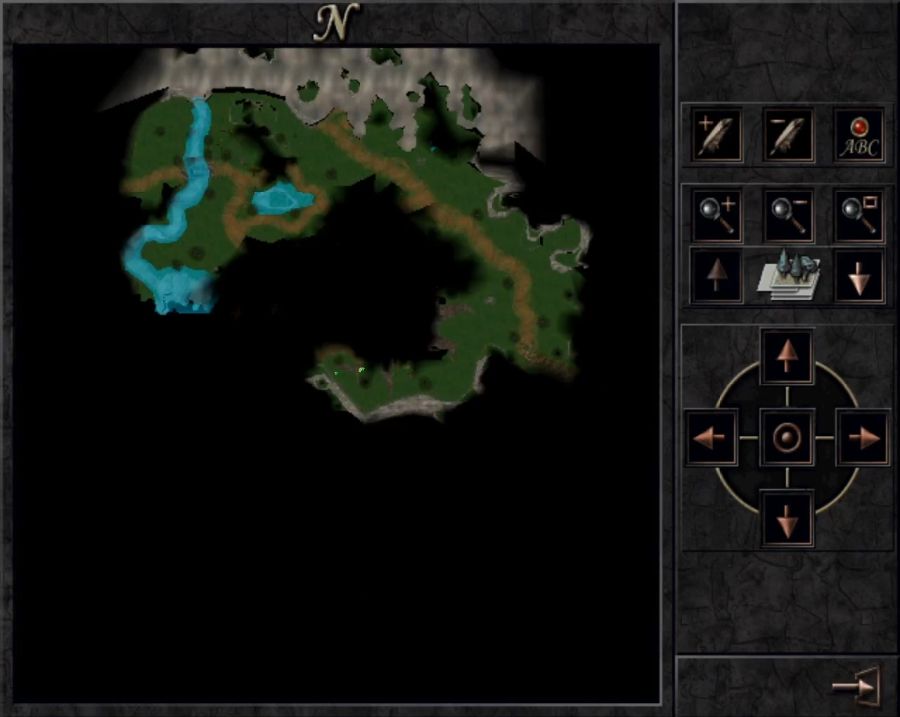 It's a smaller area than it seems, when you get right down to it. It's really just a path leading west to east and, in the big black blob in the center, one of the central boughs of Trynton hosting the way up. 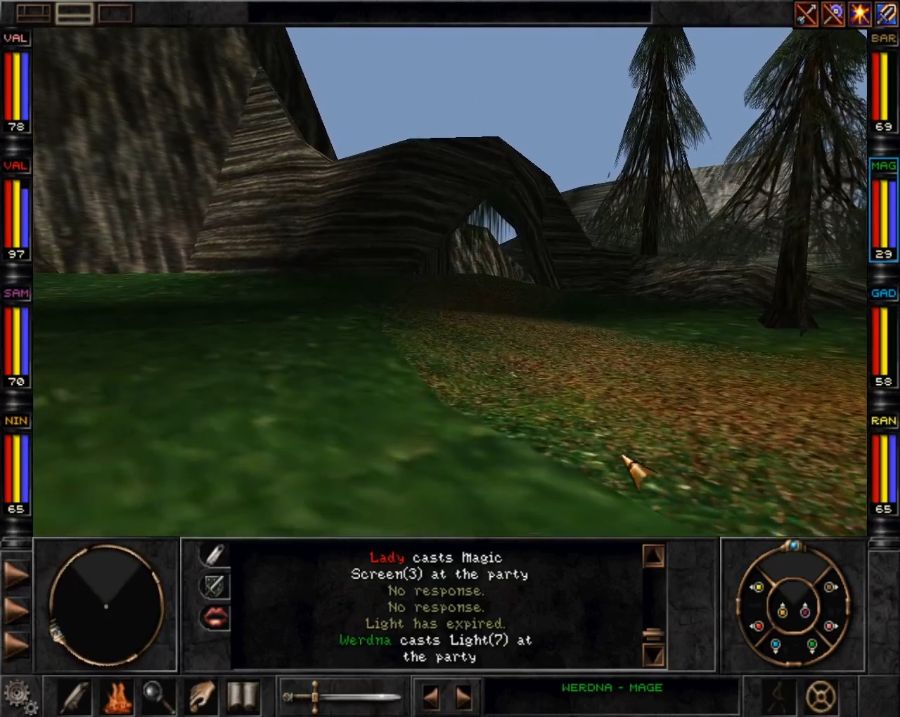 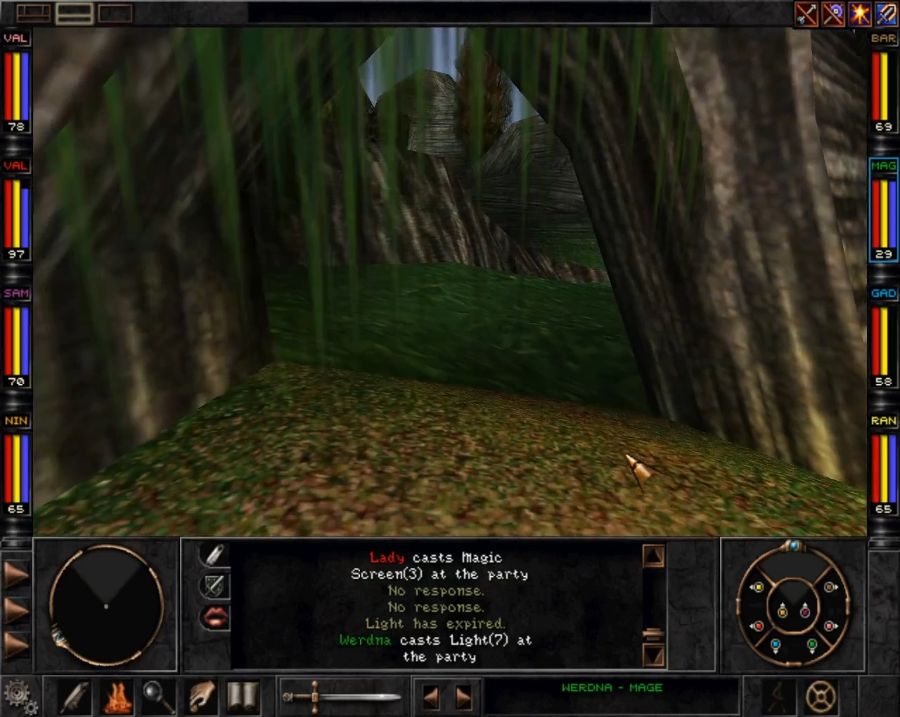 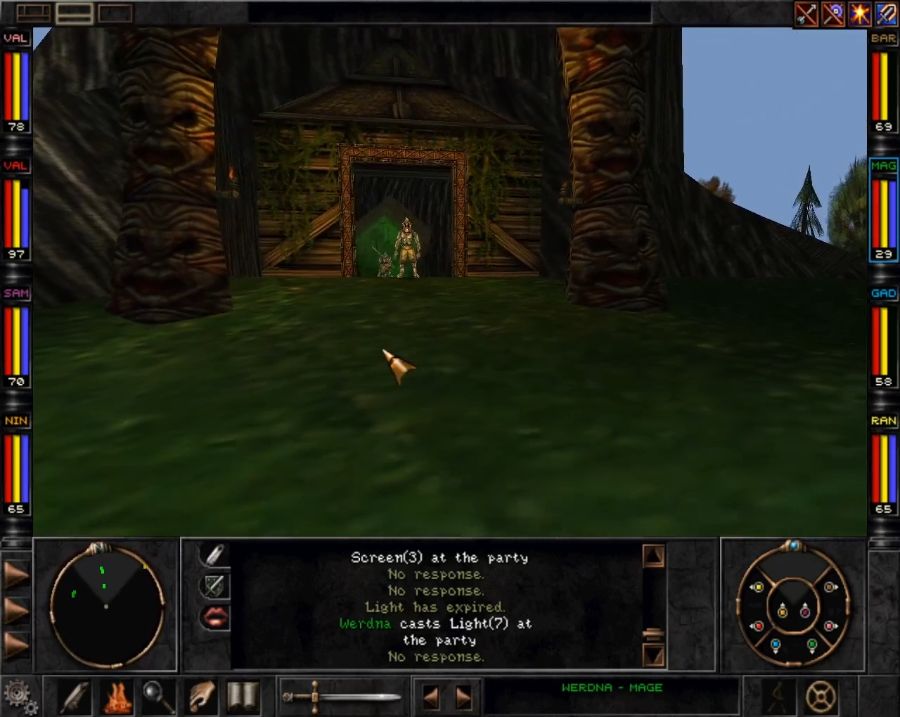 https://www.youtube.com/watch?v=BigiOkqHtNI Chief Gary gives us an excuse to walk into his town, steal everything not nailed down and kill everything that looks at us funny. Seems like a good deal to me. 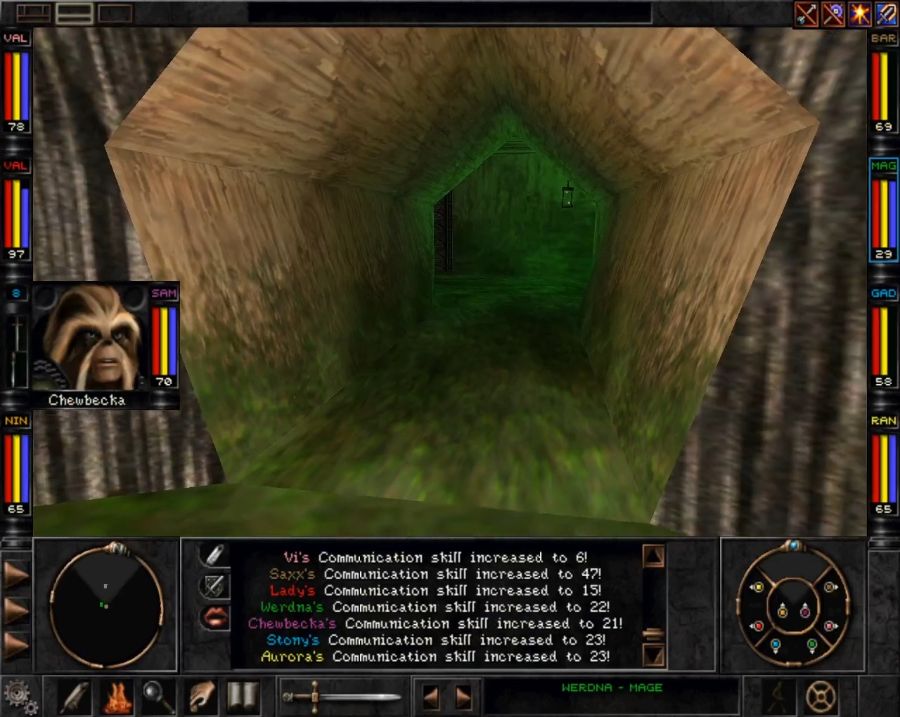 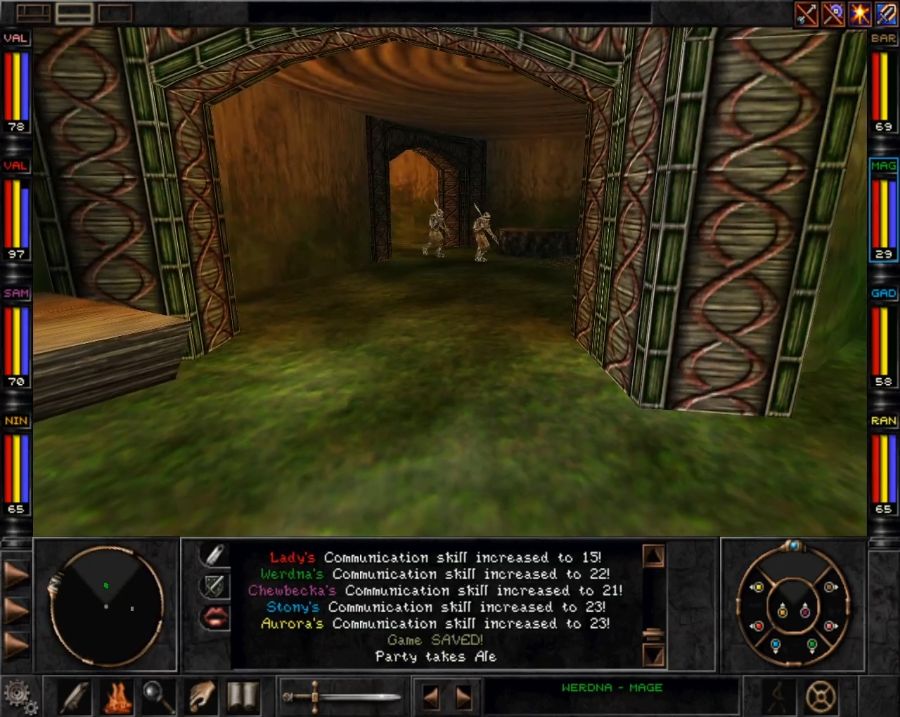  Trynton proper is a mixture of inside-trees and inside-buildings cramped areas, and open outdoors areas along walkways. Said outdoors areas are less open than they seem, of course, because you can't really walk off the walkways(or rather, you can, but it's a pretty bad idea, though possible to survive if you have one or more Valkyries in the party). It's also absolutely INFESTED with vermin of various types, so it took me like a solid 30 minutes of mulching man-eating plants and giant roaches just to get off the Trynnies' front porch and climb up the inside of one of their big trees.    This is Trynton, and also what most of the rest of the update is going to look like.  Little platform on the left hosts a fountain that restores MP. 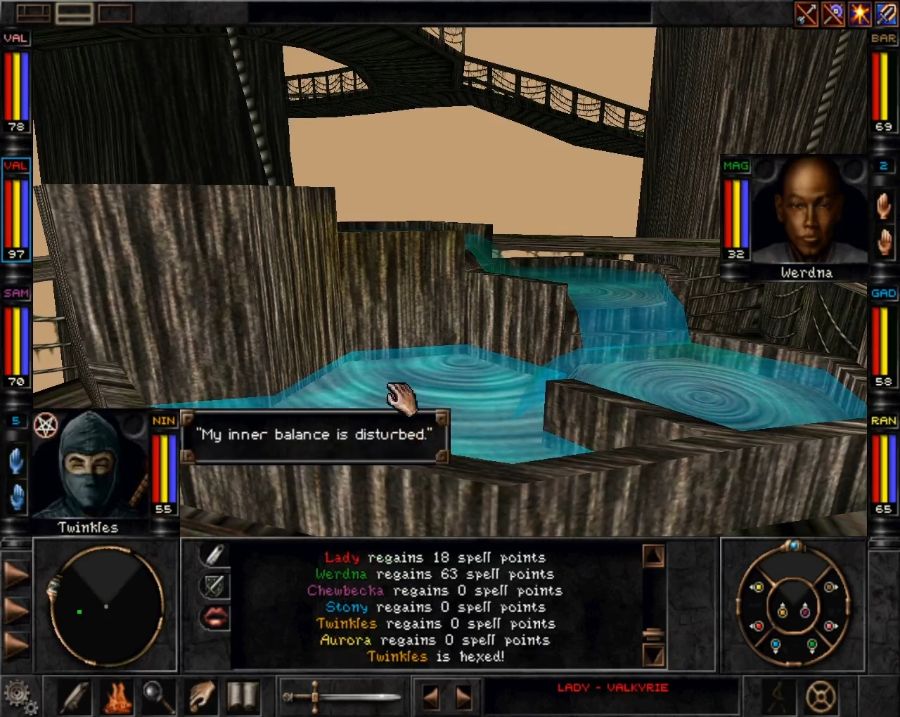 Oh and sometimes it curses you.  Being cursed is pretty bad. Does no damage but does mean you can't really do anything. Good thing curses can be slept/walked off just like being insane, tied up, knocked out, blinded or poisoned. Not being sick, though. Being sick is different.  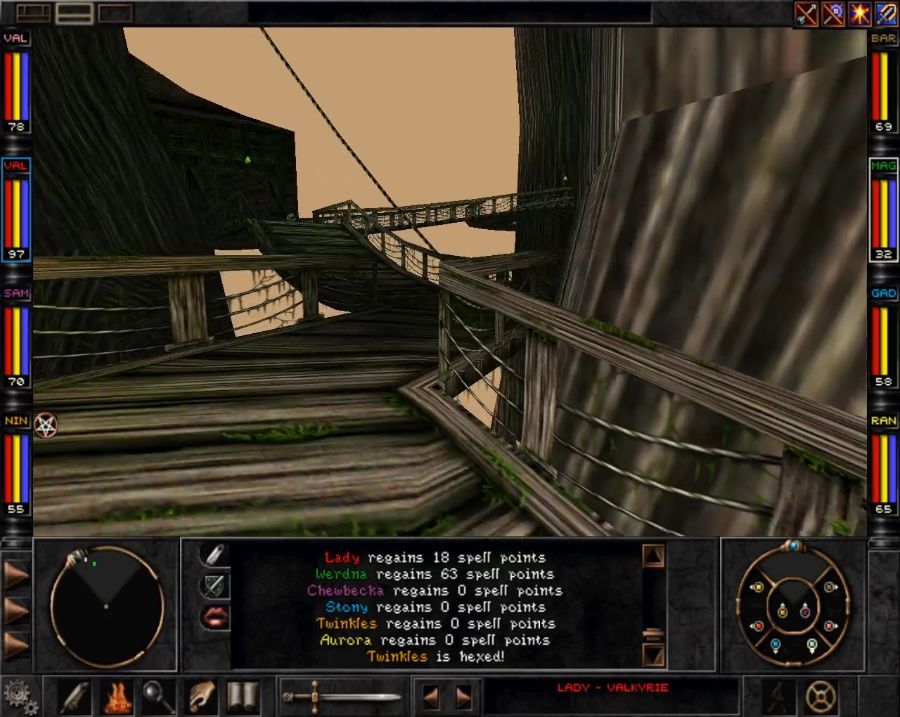 The other way winds around the tree. 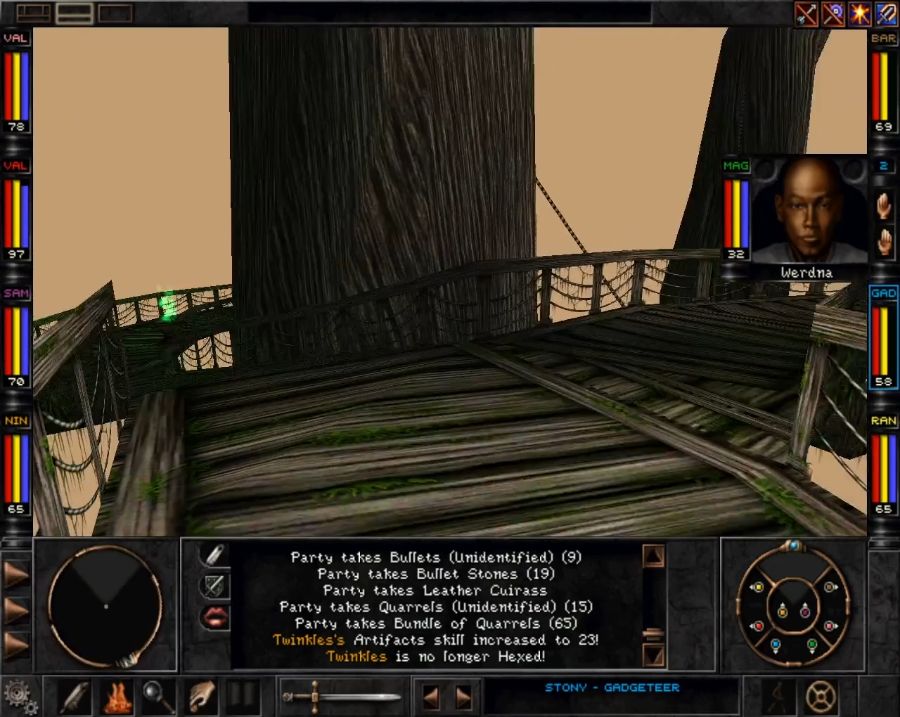 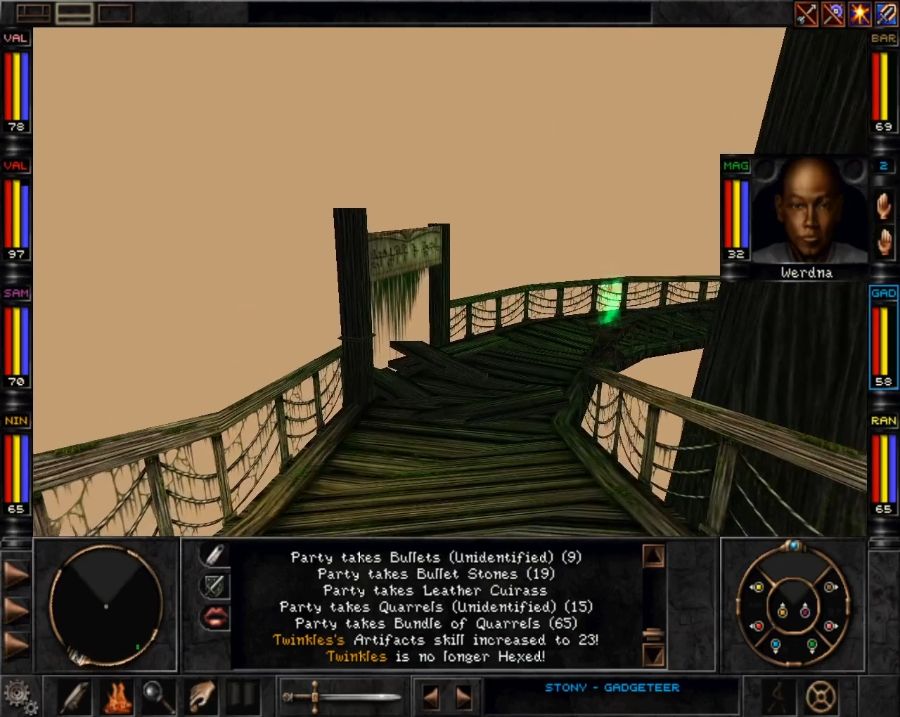 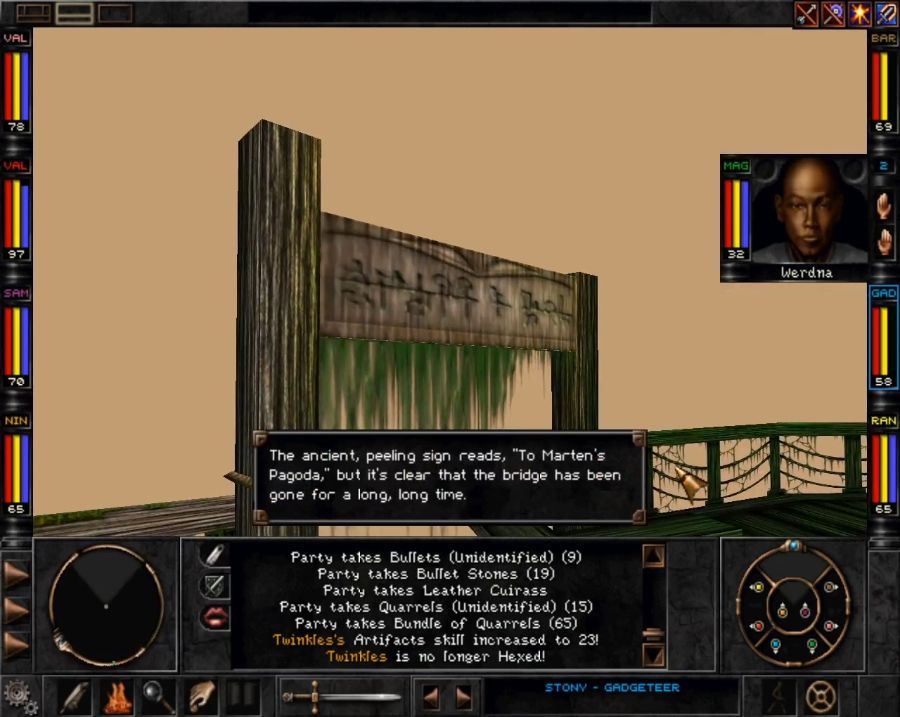 I guess they did say Marten hid out among the Trynnies and was their friend. Nice to see some actual signs(literally) of it rather than it just being mentioned by NPC's, though. 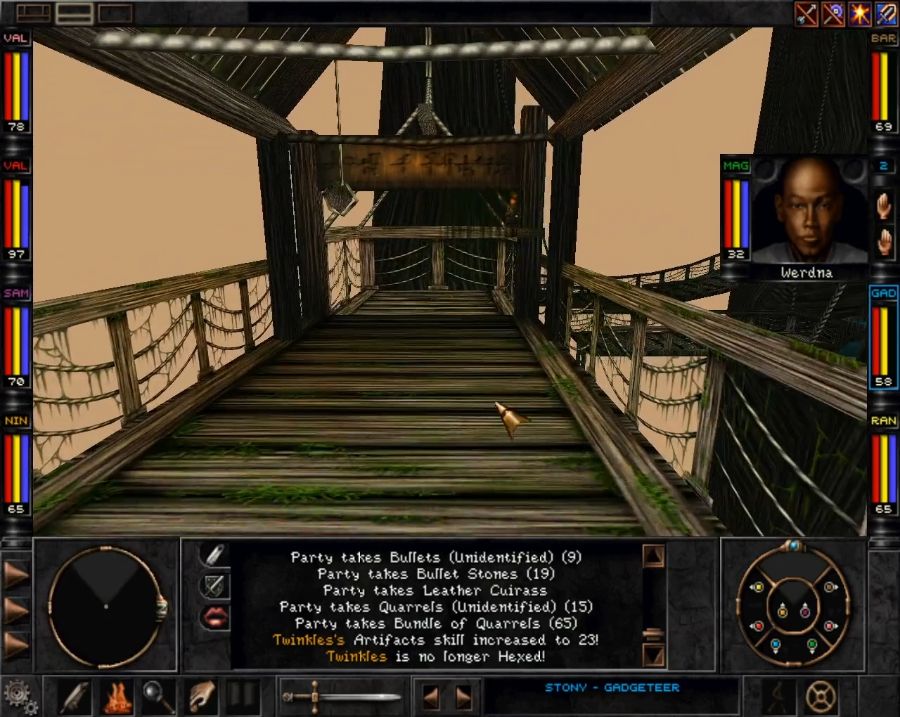 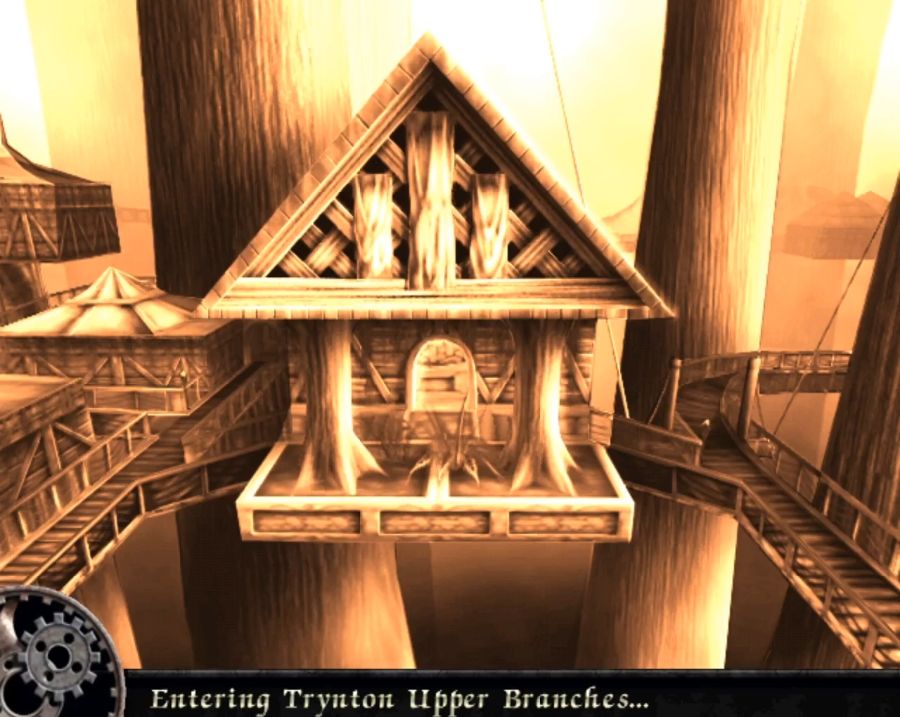 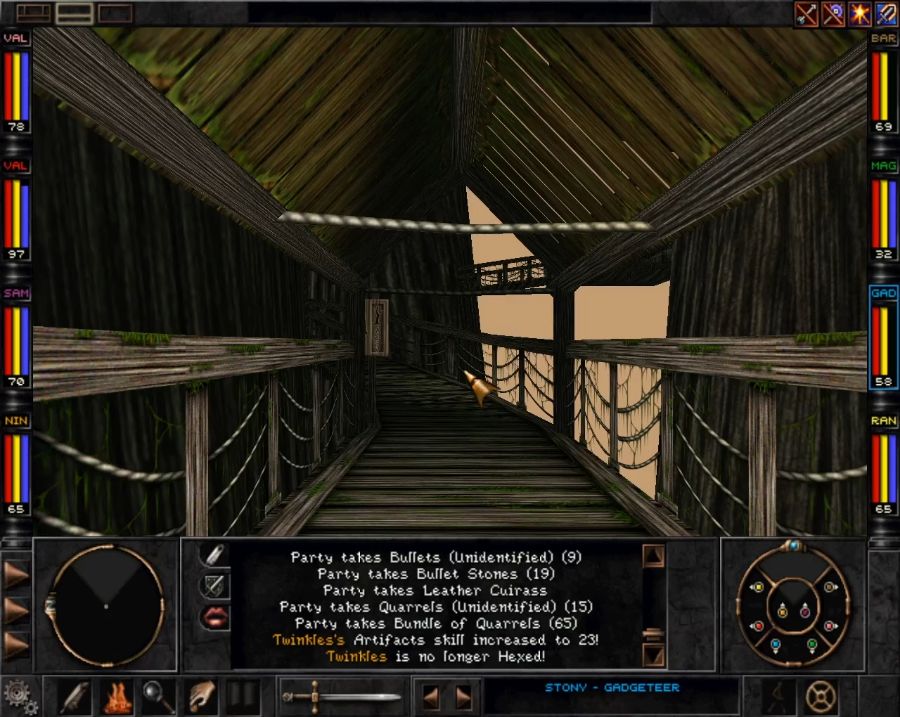 A simple elevator takes us a level up into the second part of Trynton. 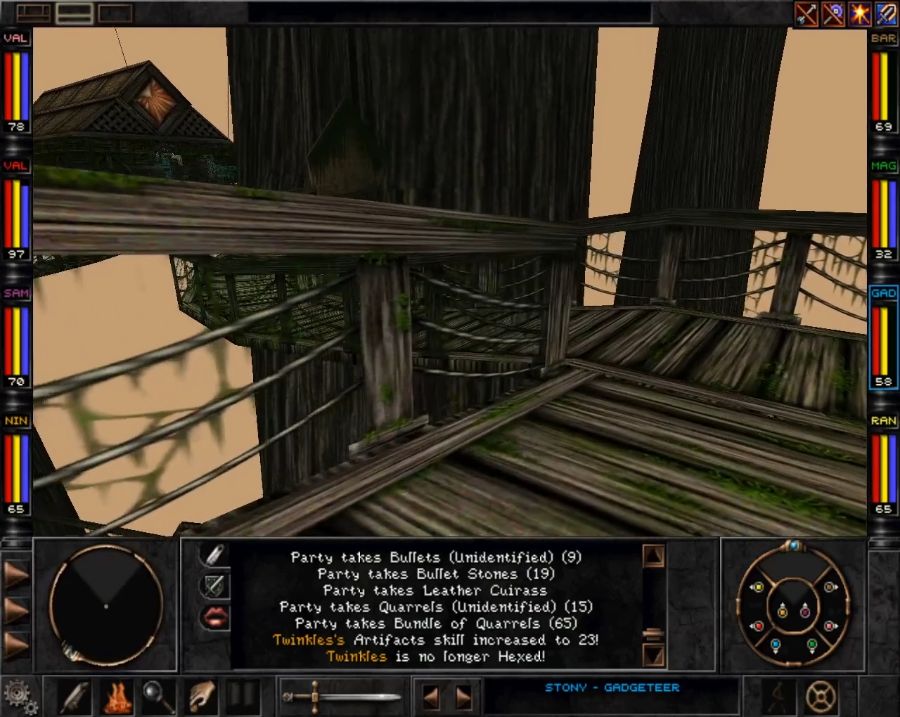 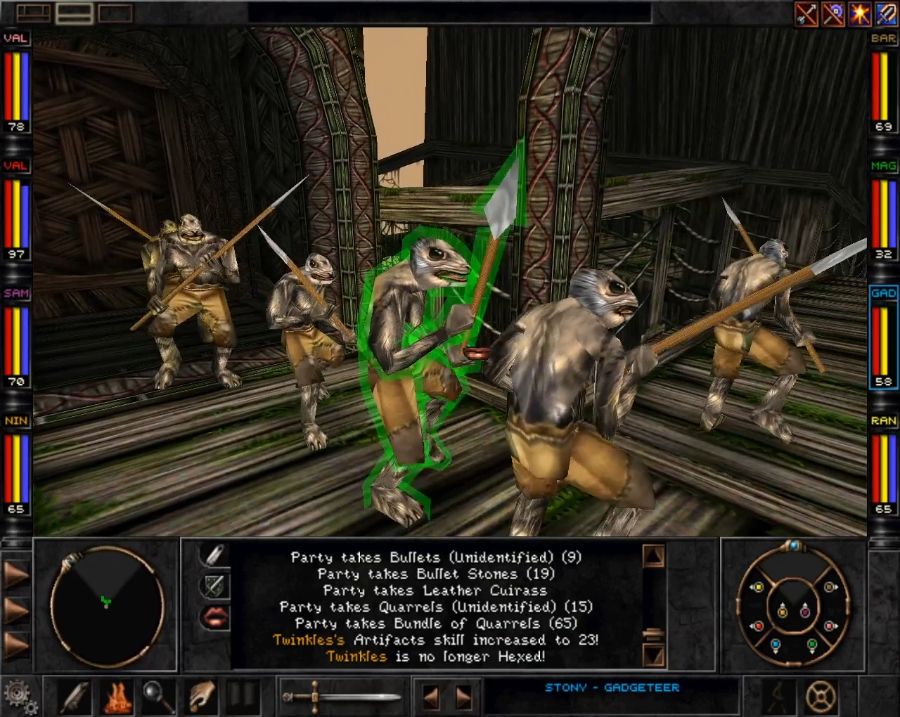 And brings us face to face with the greatest danger in Trynton... the goddamn guards. Not because they'll attack you but because on the narrow walkways a patrol of them will often block your way, even worse so if two of them are moving along in opposite directions. I'll also note that multiple encounters with giant wasps, spiders, plants and bats have been cut out during these screenshots, because the fights mostly involves Werdna shredding them with fireballs while Chewbecka bathes in their blood/sap/ichor. 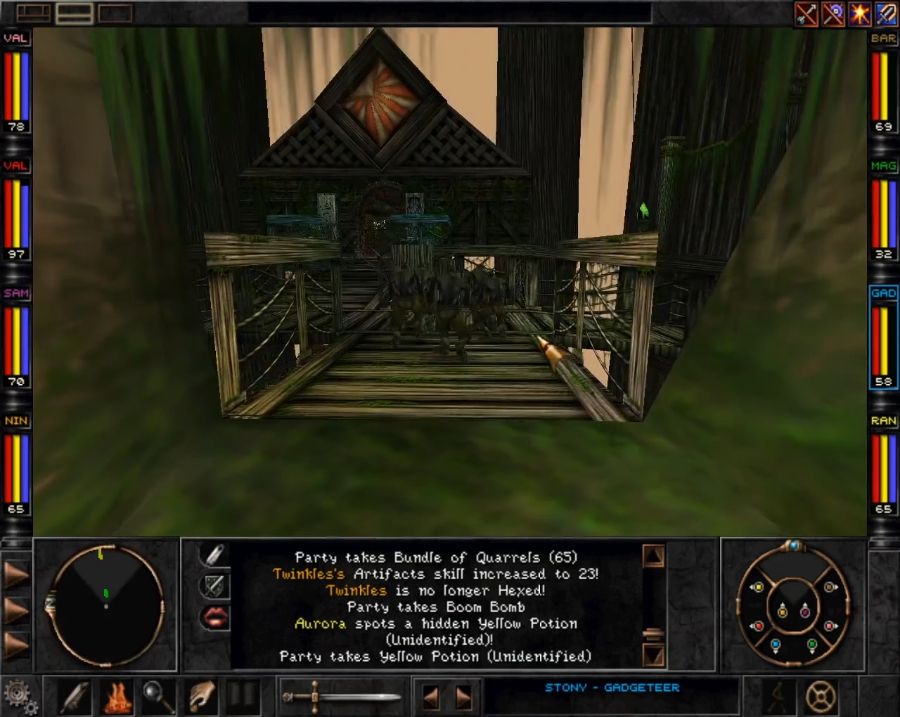 But there ARE encounters here that make me nervous. See that glitter on the left side of the screen? 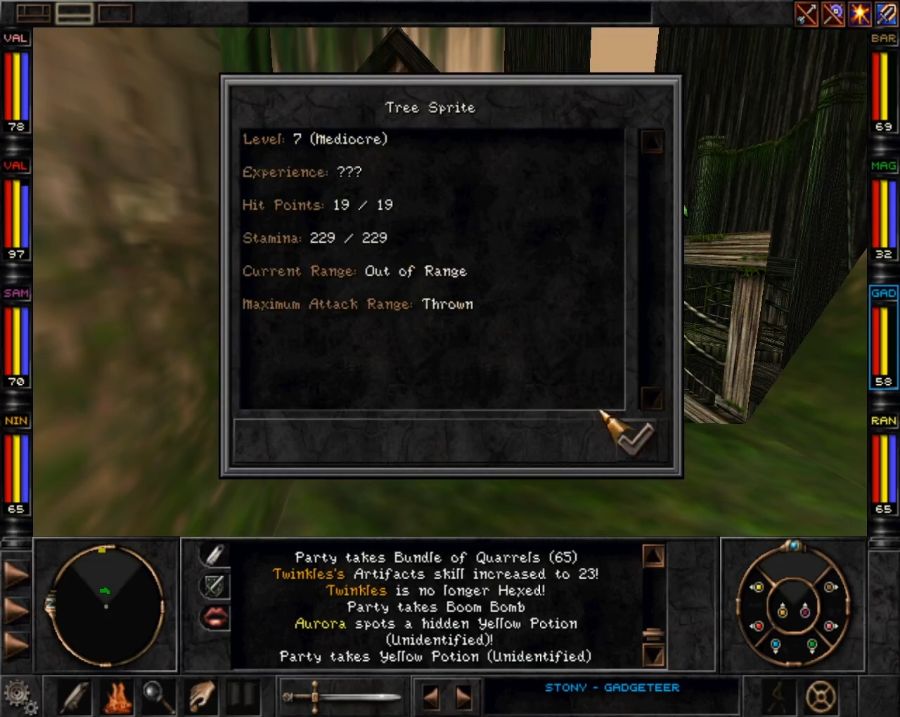 Sprites are glass cannons. All of them are spellcasters and very fragile, so if you get the drop on them, they're mincemeat, but the other way around they can screw you up, too, as they usually come in swarms of 5 to 14 or some such and all of them are spellcasters, capable of both blasting you and buffing each other, something we've not seen much of yet. In particular I've been wrecked multiple times in the past by their casting Eye For An Eye(hits attackers for as much damage as they do) a step faster than my own squishy casters manage to cast their offensive spells. None of that this time around. 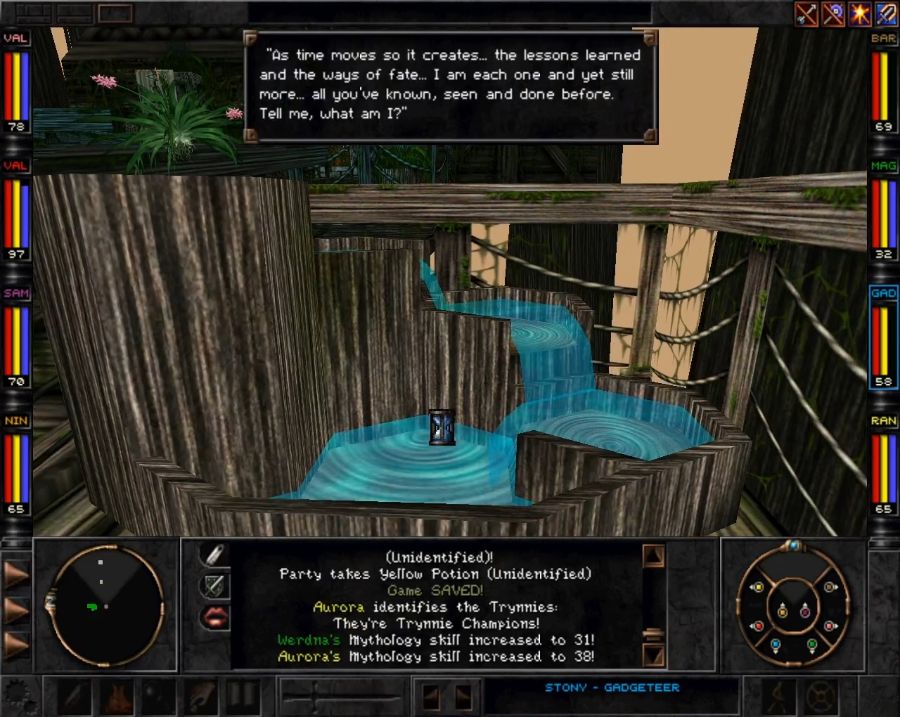 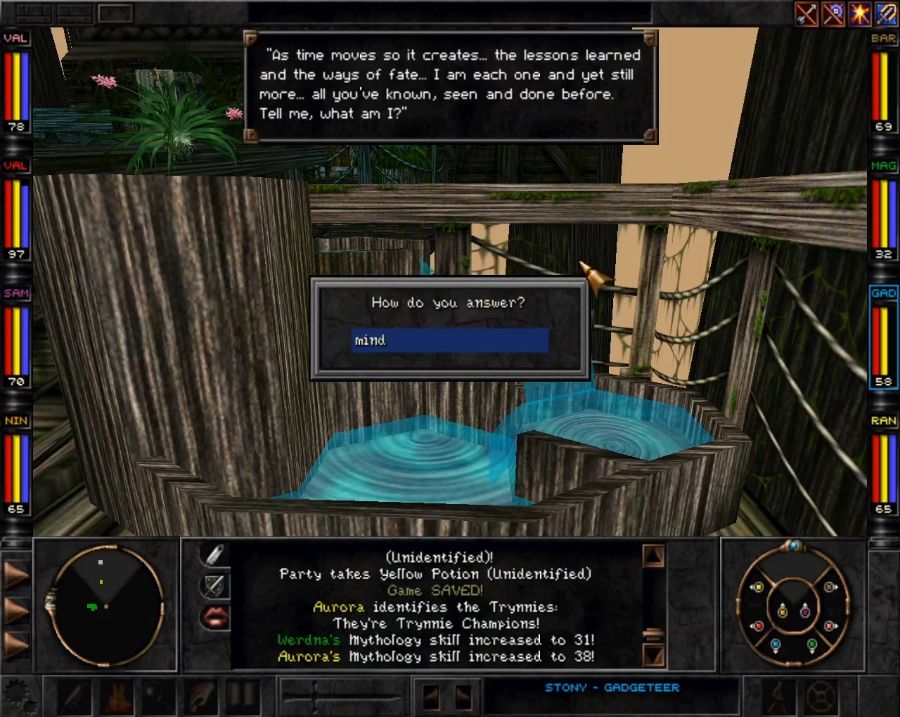 I think this fountain next to the entrance accepts multiple answers, but I know it accepts Mind, and the reward is a permanent +5 Intelligence across the entire party. Not bad at all. This also breaks Werdna into the Power Cast skill which has unspecified spell-boosting effects and a vague ability to blow through enemies' elemental resistances. I tried to find out whether anyone had anything interesting to say about how effective it was and started drowning in a morass of pretentious maths and inscrutable shorthand on various forums. Mostly what I learned was that apparently certain status ailments are tied to certain elements, so if you have something that paralyzes(eg. a weapon with that effect) without being the Water-realm Paralyze spell or similar, it still checks Water resistance for whether it sticks. Also apparently the game runs on some kind of pseudo D20-system as there's always a 1-in-20 chance(5%) for resistances to fail. Anyway, I initiate combat out of sight of the fairies multiple times to move from cover to cover until I'm in striking range. 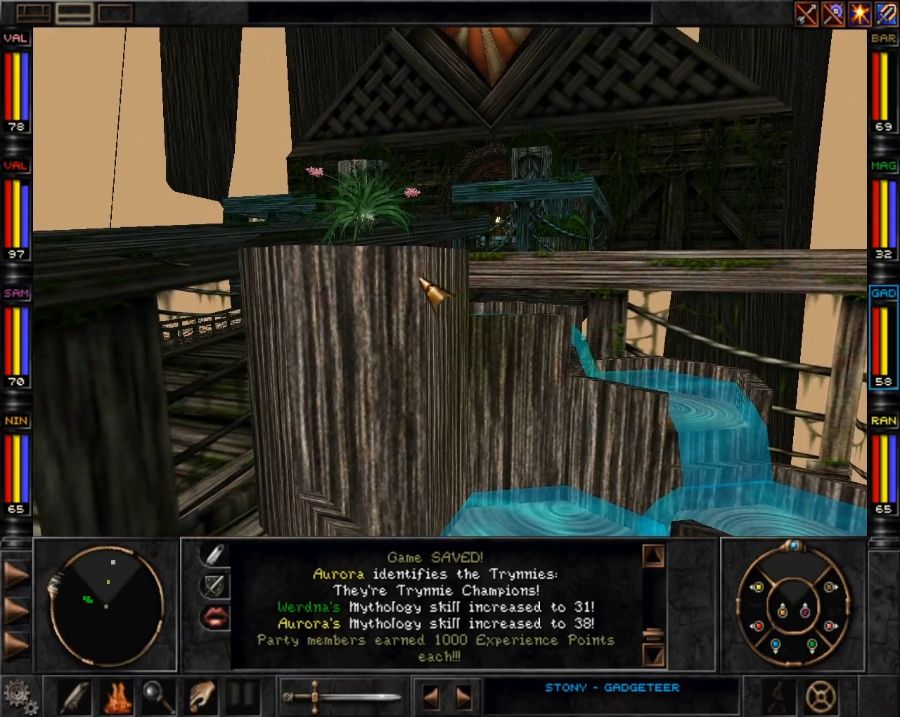  The fairies are, of course, buck naked and while it's very pixelly I think it may count as NSFW.  I luck out on initiative and blast most of them with a fireball from Werdna, while the archers snipe sufficient amounts of the rest that the worst they manage to do is put a few party members to sleep. 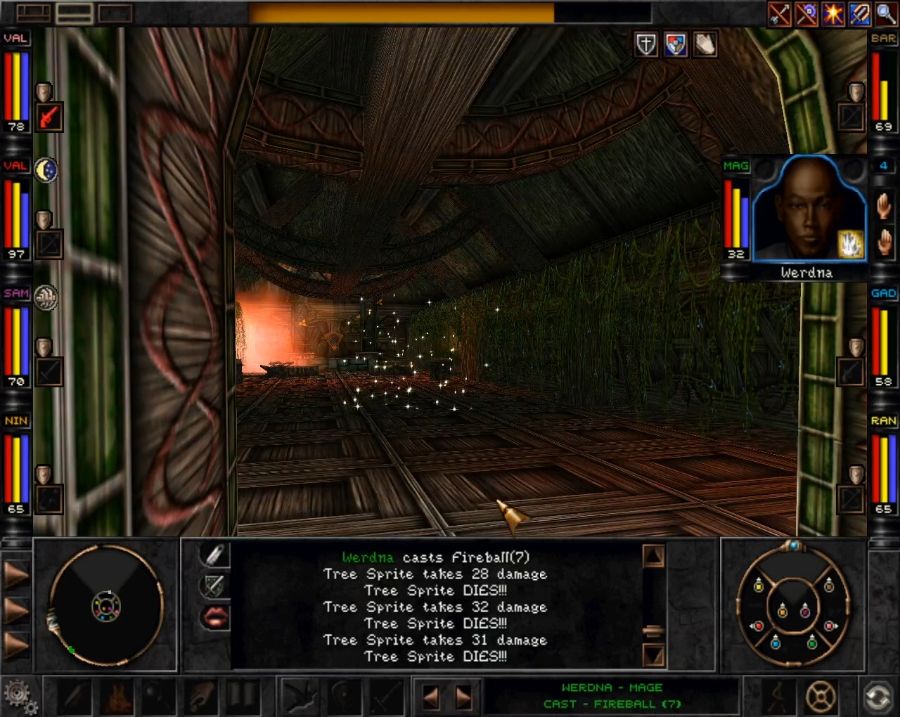 If you don't know Trynton ahead of time, it's entirely possible you'll spend a lot of time trekking back and forth pointlessly. I have excised the bit where I hosed up something extremely simple and had to spend an hour shoving my way past idiot Trynnie patrols and angry wildlife to get back and fix it. But I'll point it out when it happens, so you can laugh at me. 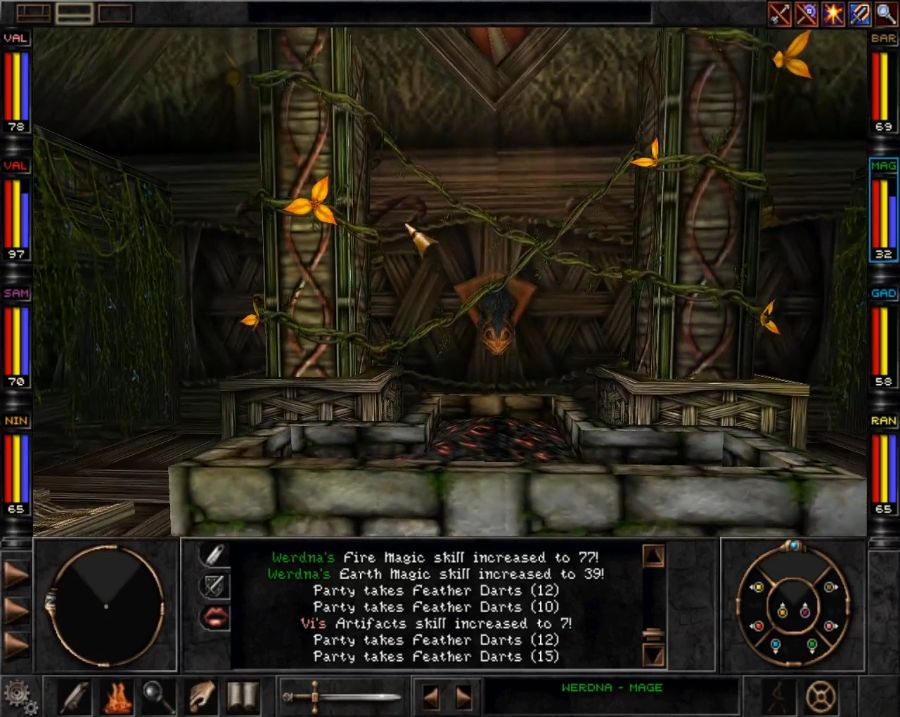 You don't want these big obvious flower petals. No, what you want is to yank down the vines hanging in between them(and also to loot the stuffed dragon head on the far side, someone's shoved a bunch of potions in it). Why? Because you can then braid those vines into a rope so you can access the last part of Trynton, you fool. Thus we acquire one of the many incidental items that will let us "complete" Trynton. 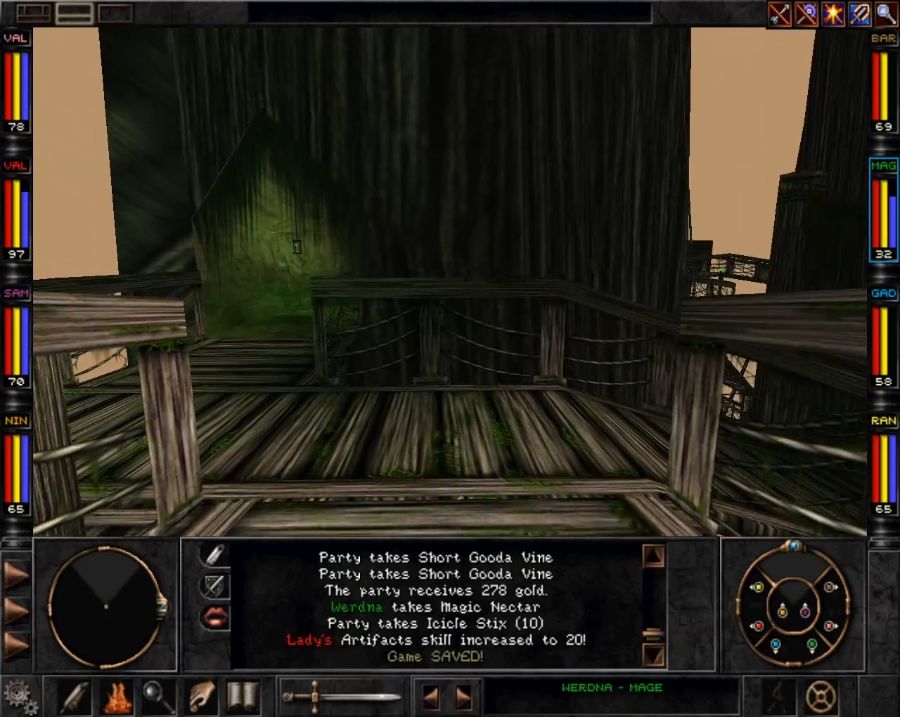 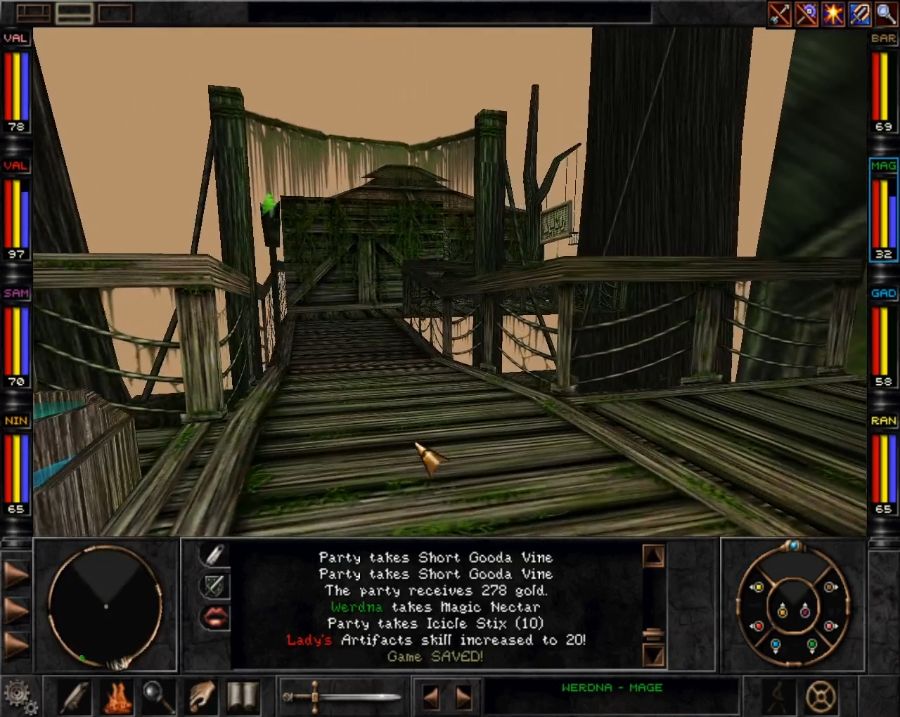 We're about to buy another couple of them from an NPC. 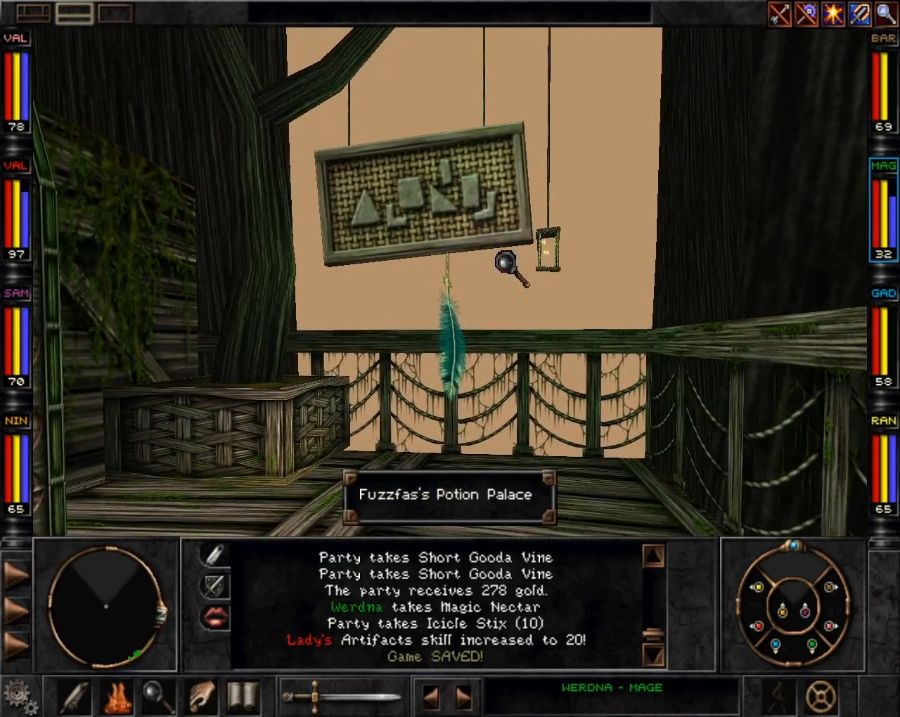 https://www.youtube.com/watch?v=w4W93AurxYo Fuzzfas here doesn't sell a lot of important things, but he does sell the goddamn Mystery Potion which he even mentions in the dialogue above and which I completely miss when I'm scrounging through his inventory for anything useful like dangerous ammo for my archers(there are very few upgrades to actual bows and crossbows, so most of your ranged attack bonuses will come in the form of even more war crime-y ammunition) and incense. It's funny that I remember the incense, because every time I play my brain is like "NO, GET THE INCENSE, IT'S IMPORTANT" when it is in fact pretty irrelevant to grab. 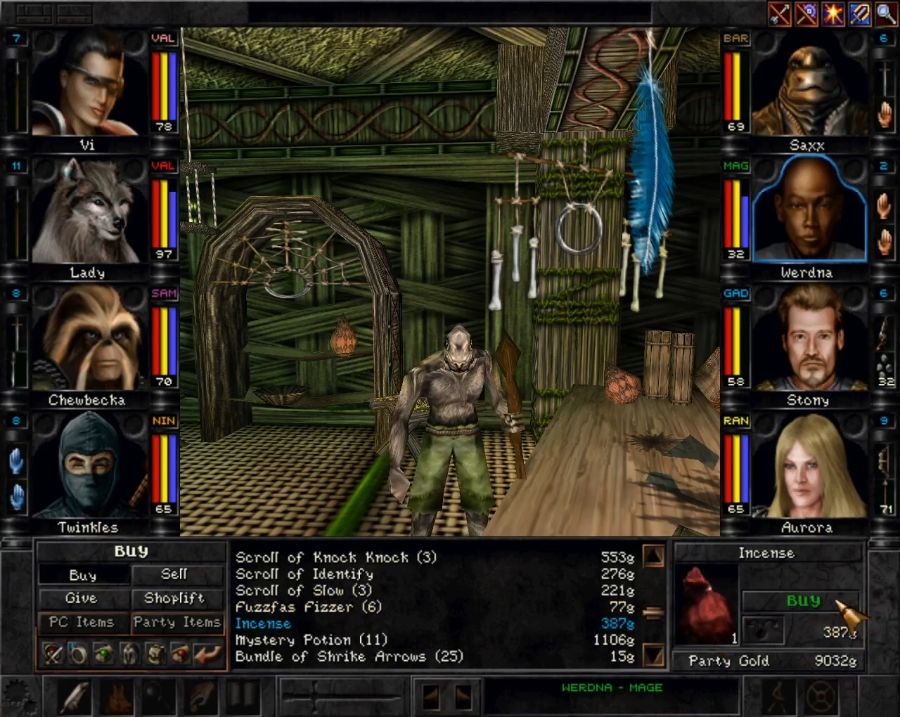 It's even right next to the incense in his shop inventory!  Most of the homes in Trynton are relatively empty and not worth raiding, but I do so anyway because adventurers use every part of the loot. It's part of their culture.  The paths crossing over each other is also a nice touch, it helps make Trynton feel bigger than it actually is. In terms of actual traversible area, I'm sure it's smaller than Arnika. 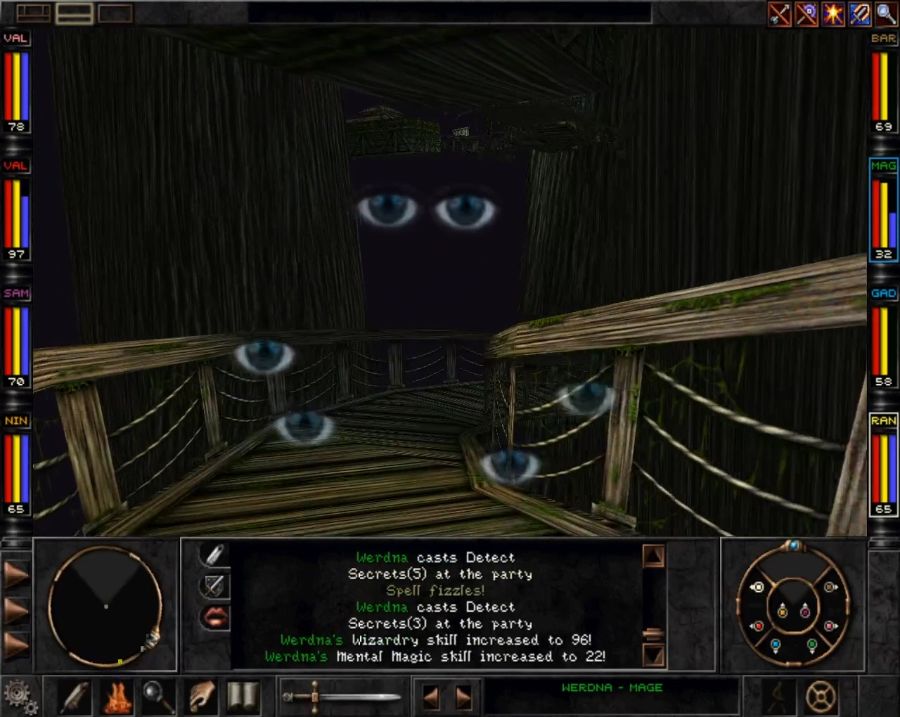 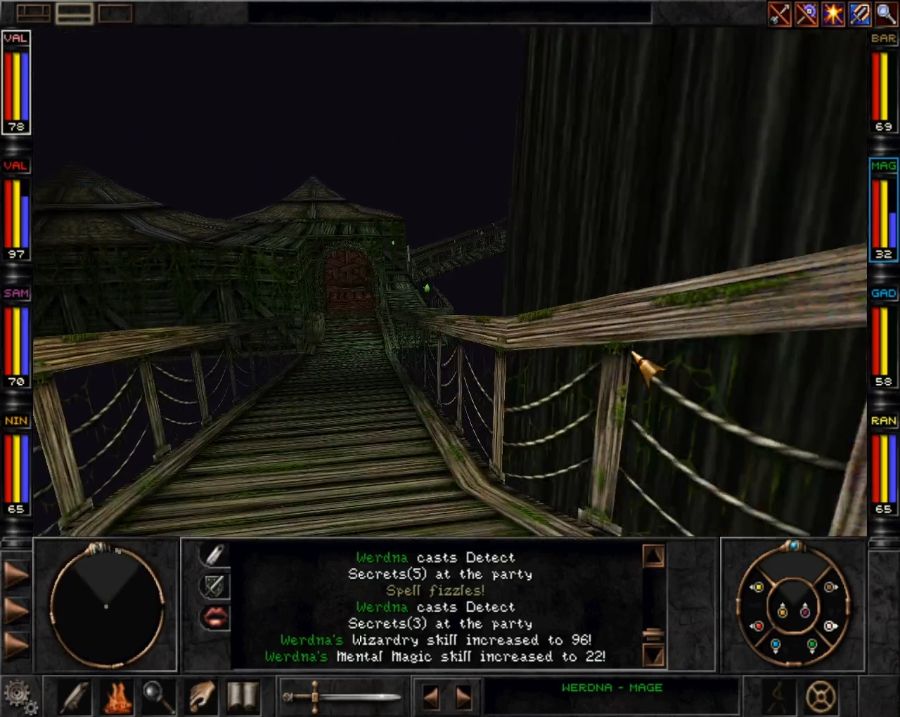 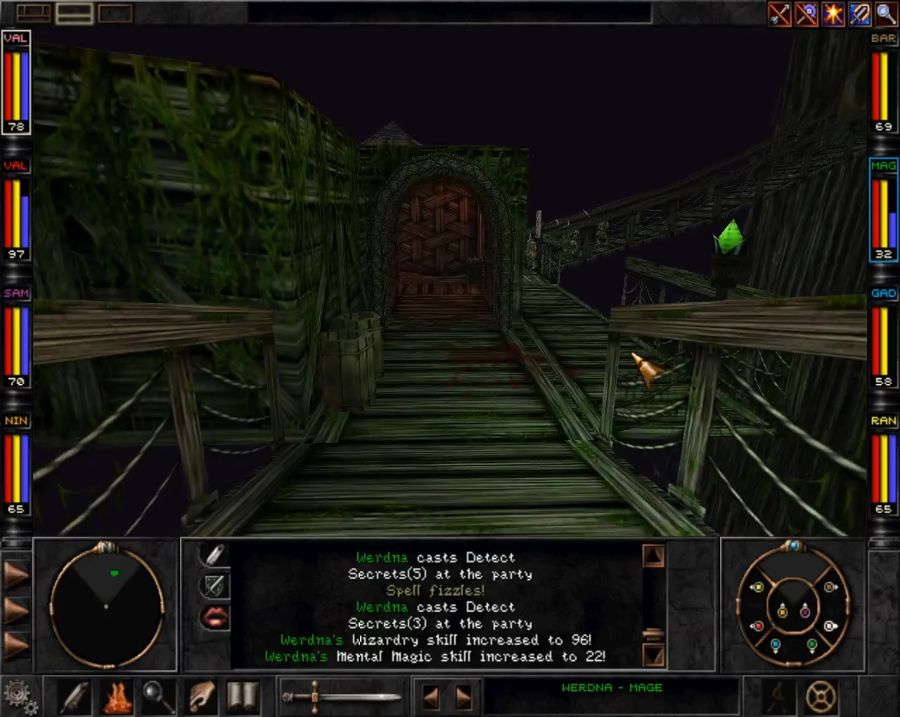 Usually if there's a pre-placed Bad poo poo encounter, the game is kind enough to hint at it with, say, giant blood splotches or something similar. 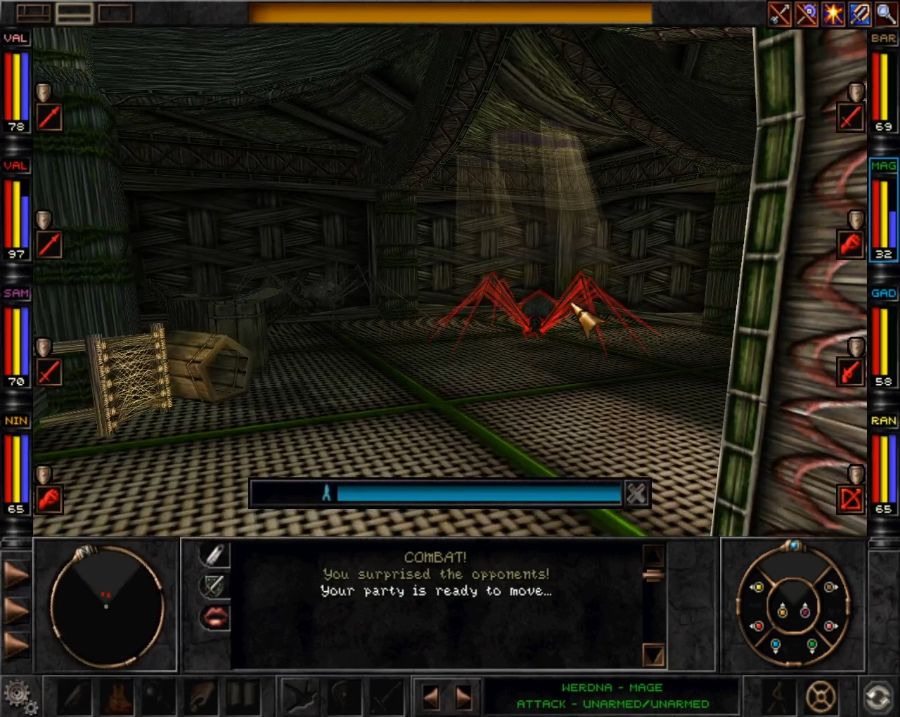 It looks like fat giant spiders ate the family inside this home. The broken ceiling is a nice touch, implying that's how the spiders got in. Oddly enough the room with the spiders in it has no loot, though the spiders themselves drop spider silk which either Antone or his brother will want, I forget which. 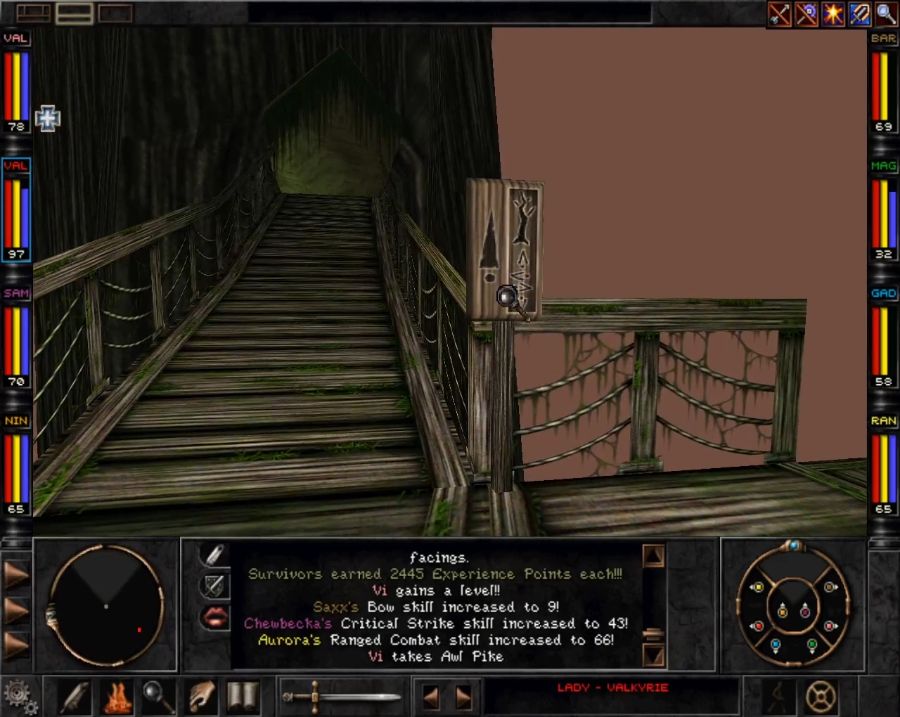 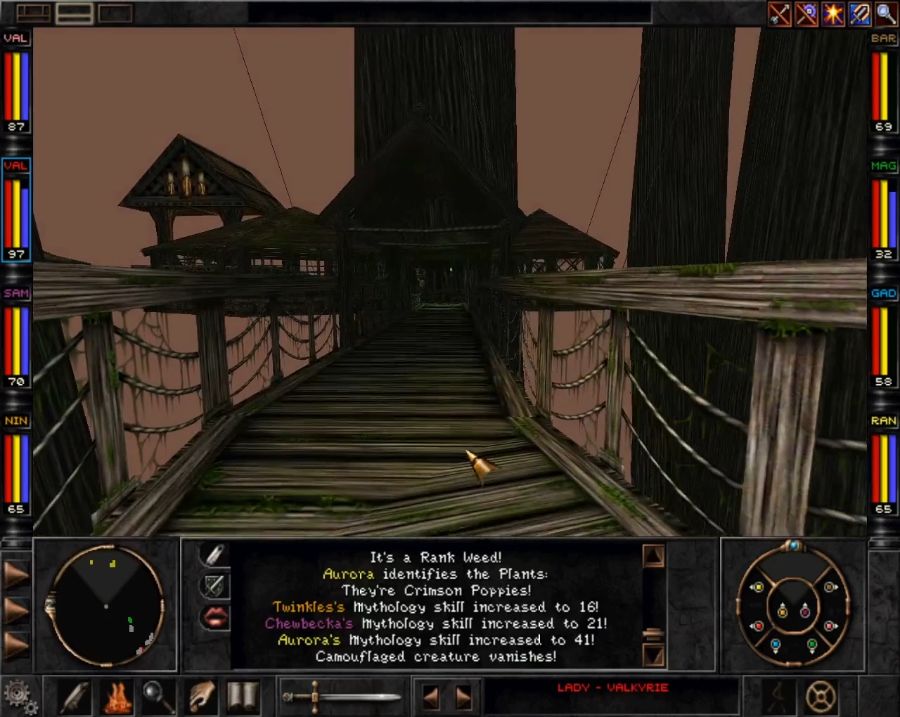 Trynton also has a zoo! With a whole three exhibits! 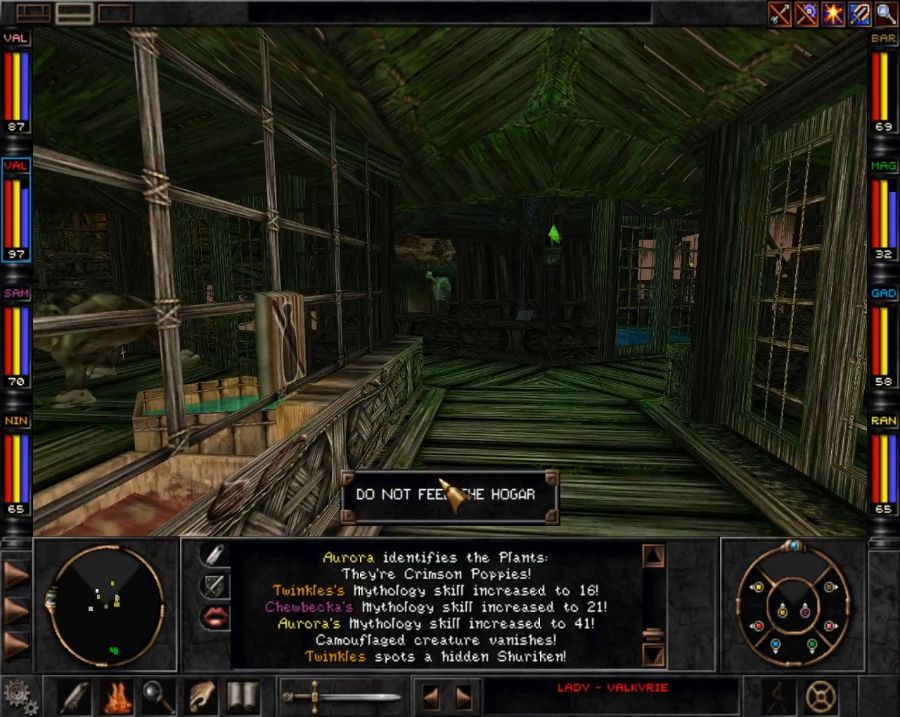 There's a loving Hogar, how did theses little assholes get it up here?! Also a cage full of crocodiles. SAME QUESTION. And they also locked a bunch of sprites, which are POTENTIALLY sapient beings in a cage to watch them flutter around for fun. Man, the Trynnie are kind of dark. Anyway, we want to kill the sprites. 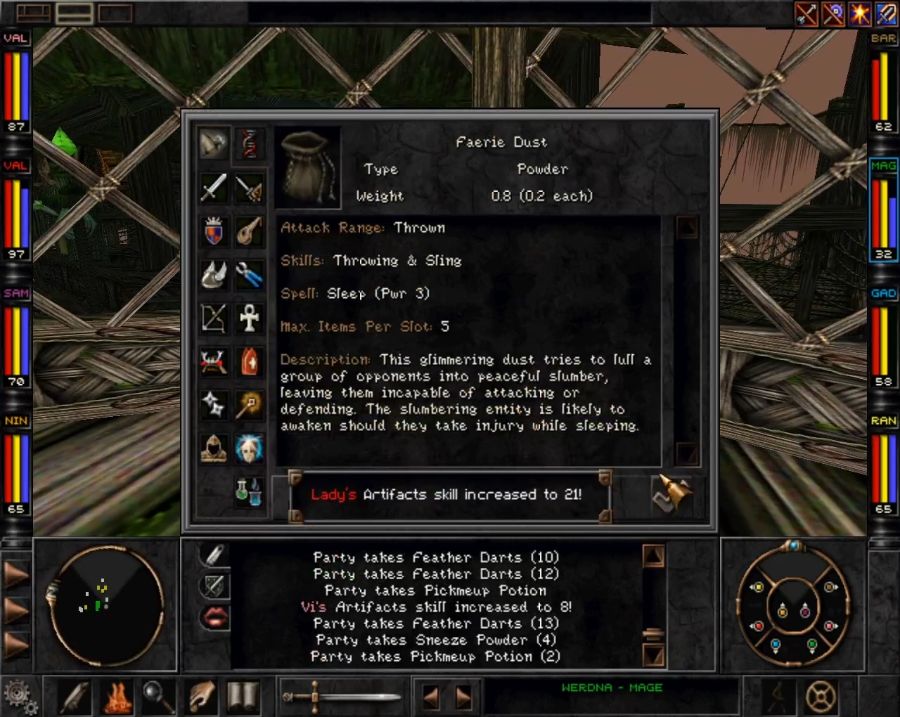 Because their cage has fairy dust. 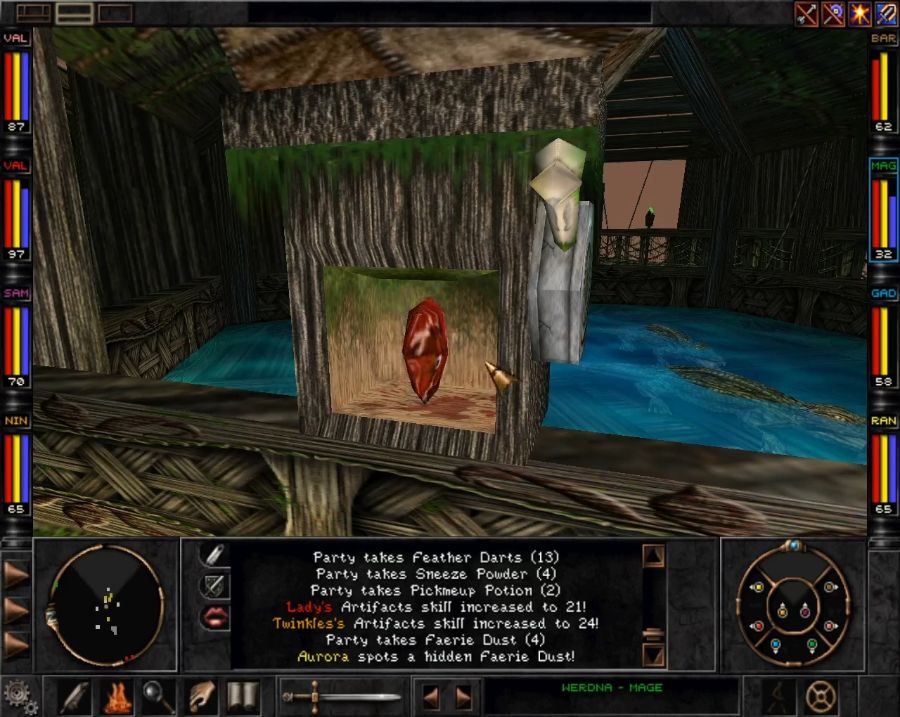 Which we mix with the rotten meat from the rotten meat vending machine(???????), to produce drugged meat, which we drop in the Hogar's feeding trough. 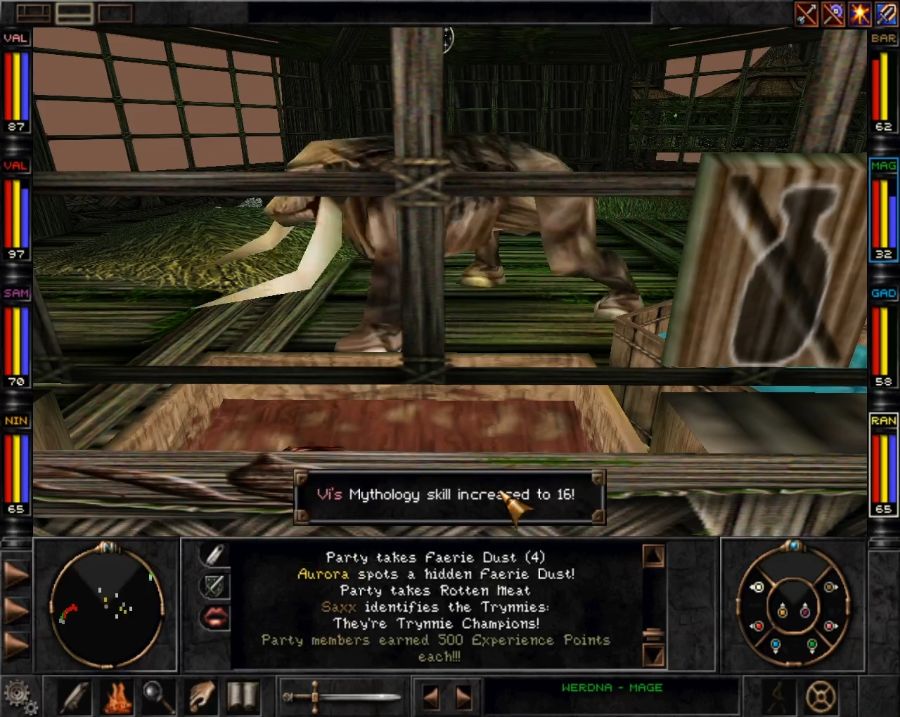 It's hard to see but this puts the Hogar to sleep. UNFORTUNATELY a bunch of wandering assholes attacked at this very moment, burning off a lot of duration on the Hogar naptime. 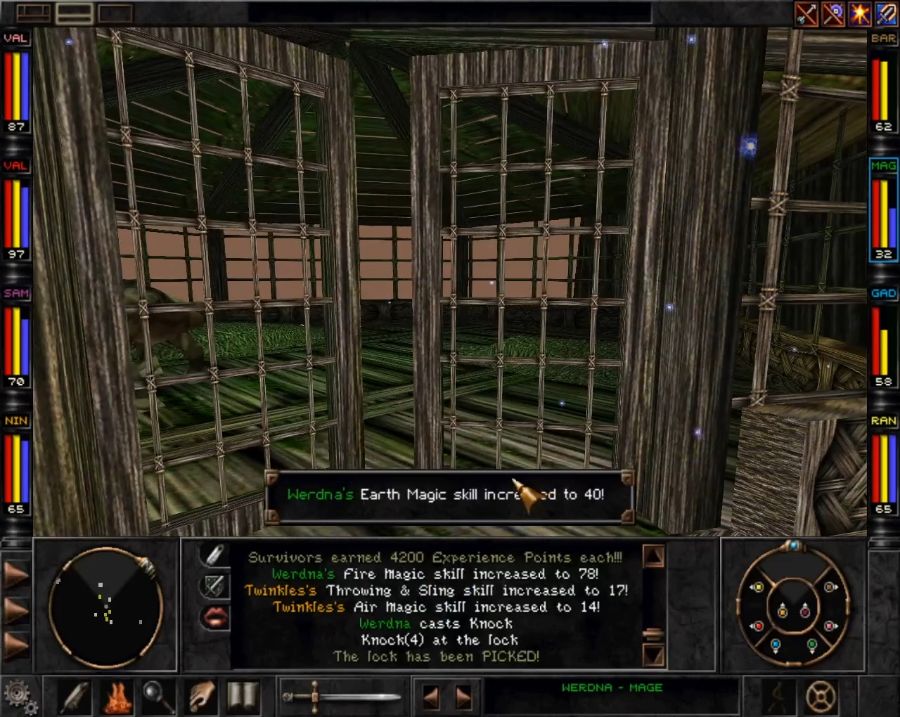 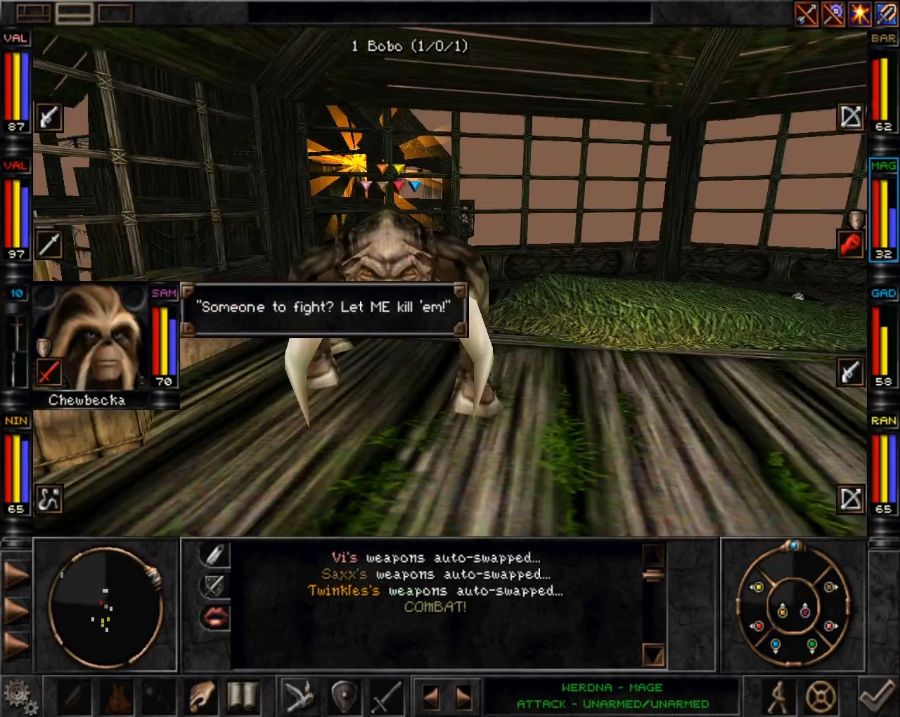 So as soon as I open the cage, the sleep wears off and Bobo attacks me. Hmmm. Bobo? I'm sure we've heard that name before. 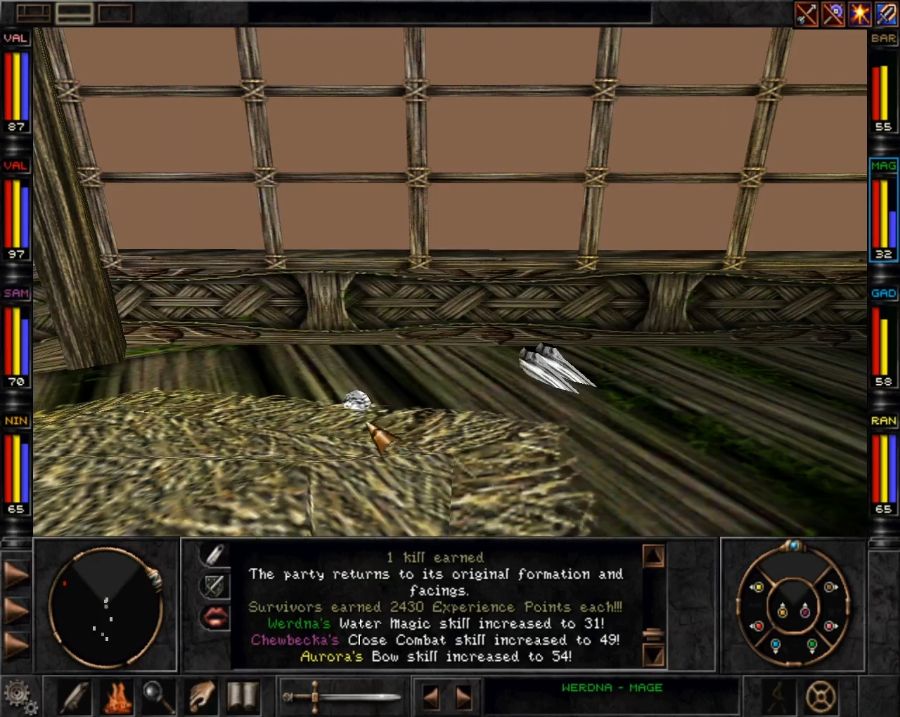 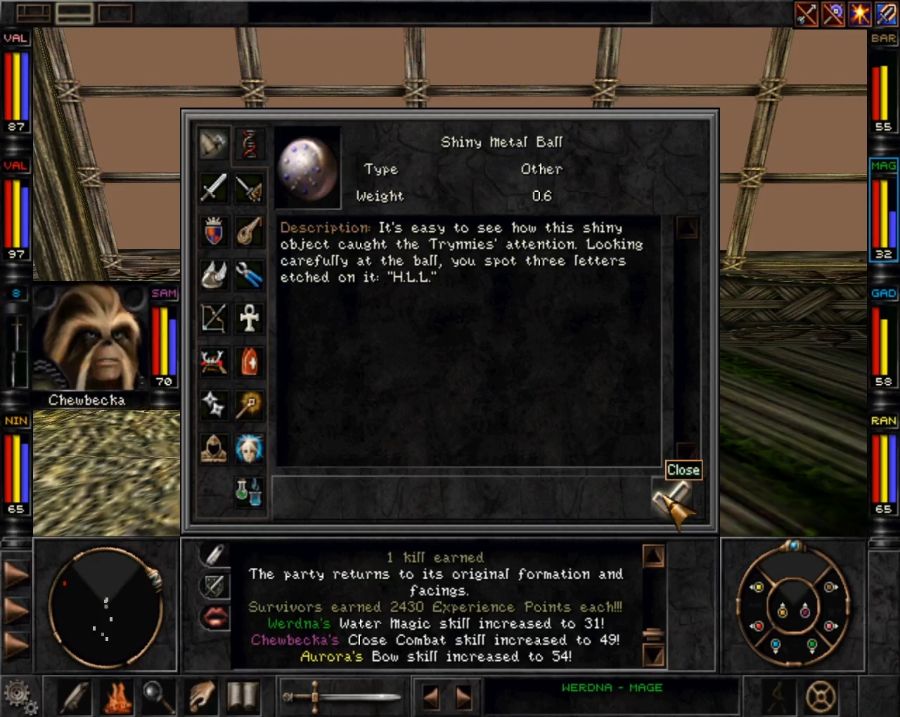 Turns out it was the goddamn Trynnnie who stole the component from the Arnika spaceport necessary for their astrogation systems to work. 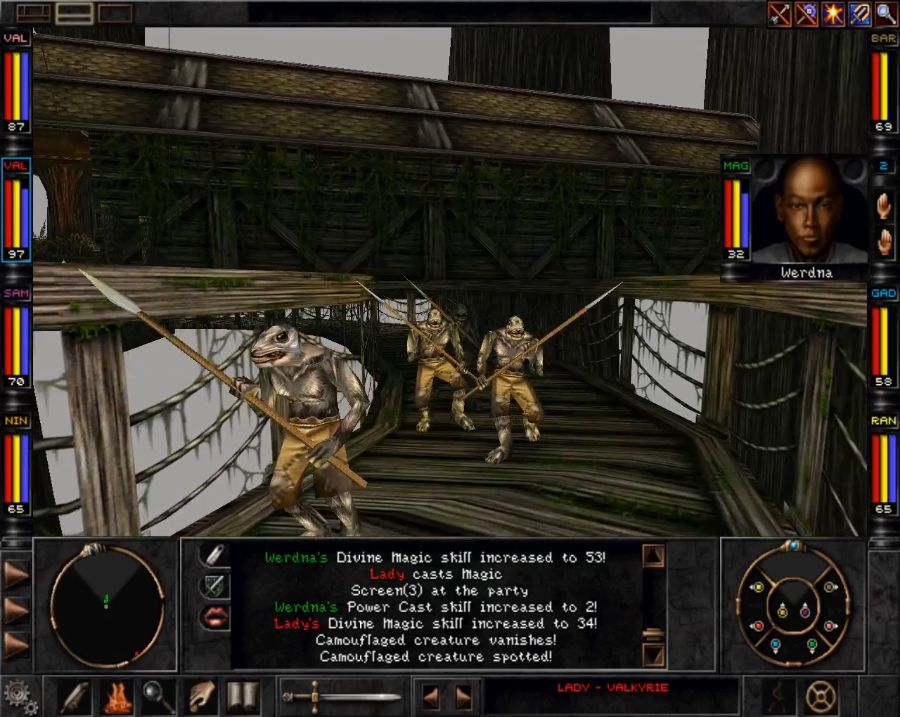 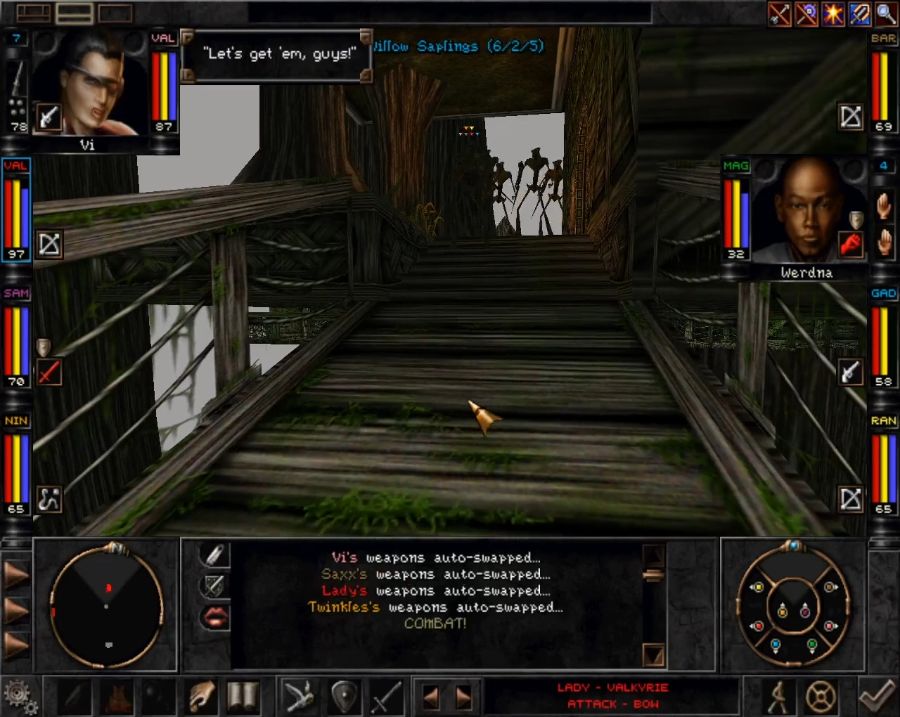 If they weren't pre-placed, these willows would be real dangerous. As we experienced from trying to ice Burz, they can blow up the entire party with Whipping Rocks or single members with Crush once they have sufficient levels. Thankfully their comparatively low level means they get fireballed like so many others. Considering how many problems I solve with fireball, I'm starting to think Werdna should've been named Black Mage instead. 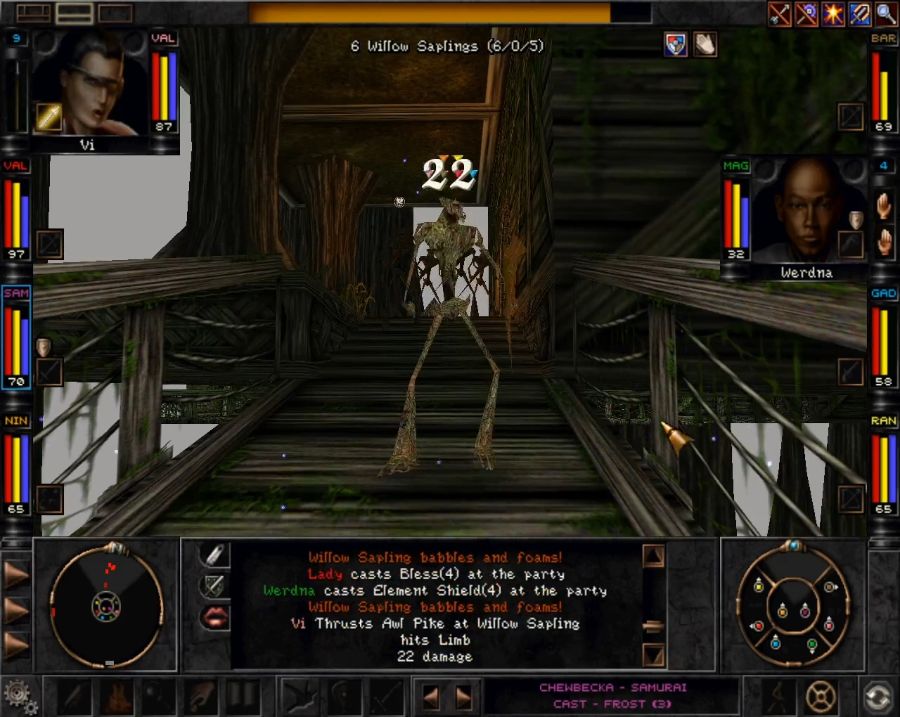 'course it helps that Saxx hits them all with Insanity and they spend half their turns babbling and foaming or whacking each other with sticks rather than blasting me with spells. 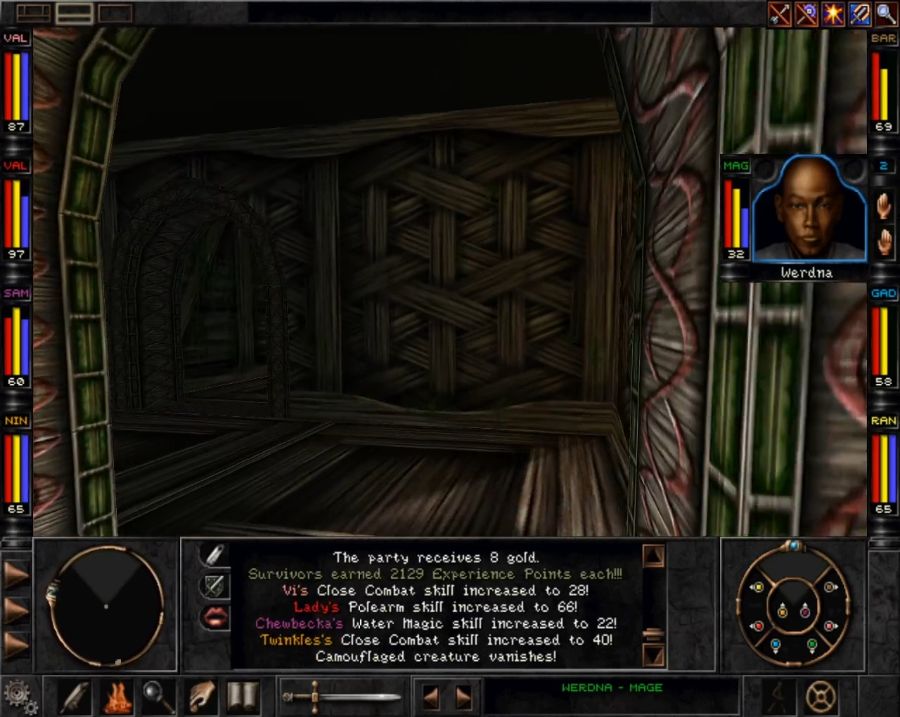 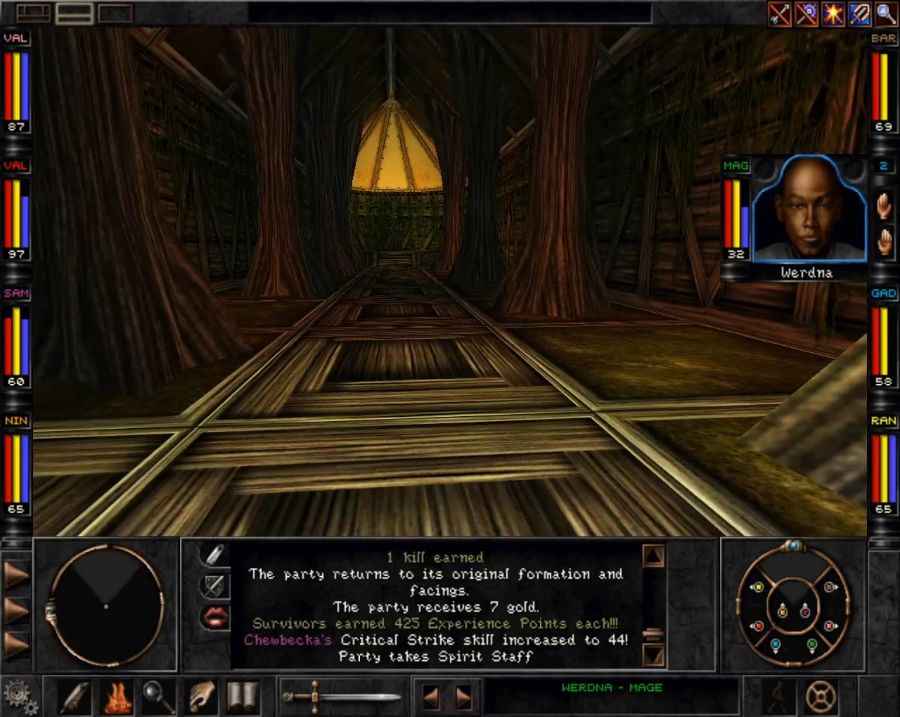 Once they're done, we get to poke our heads into the temple. Again, a building for just one quest item, though this time instead of vines we've got us some flower petals that are gonna get us high as kites. 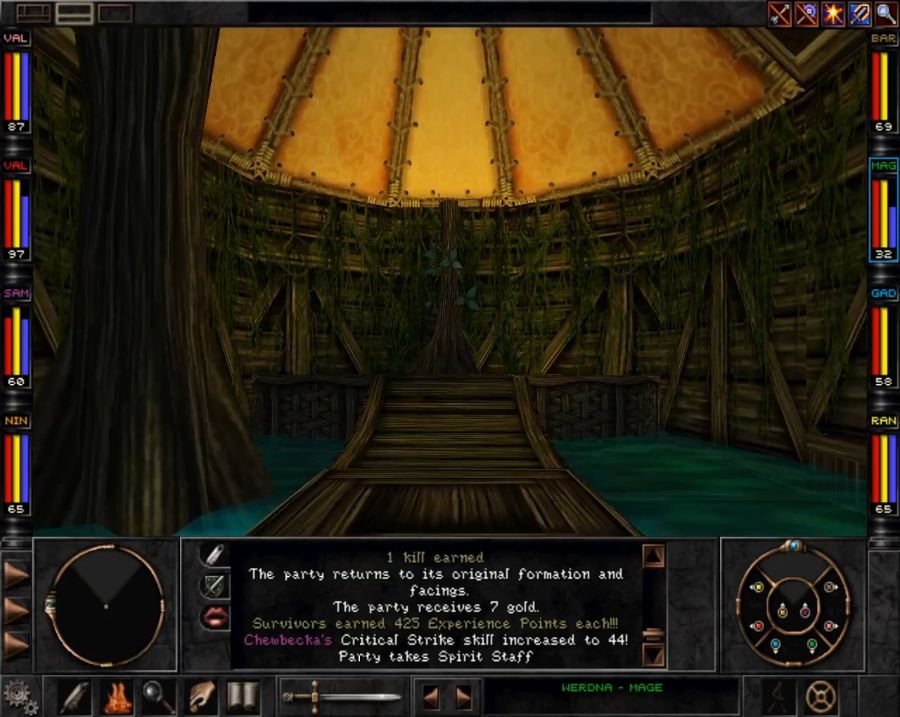 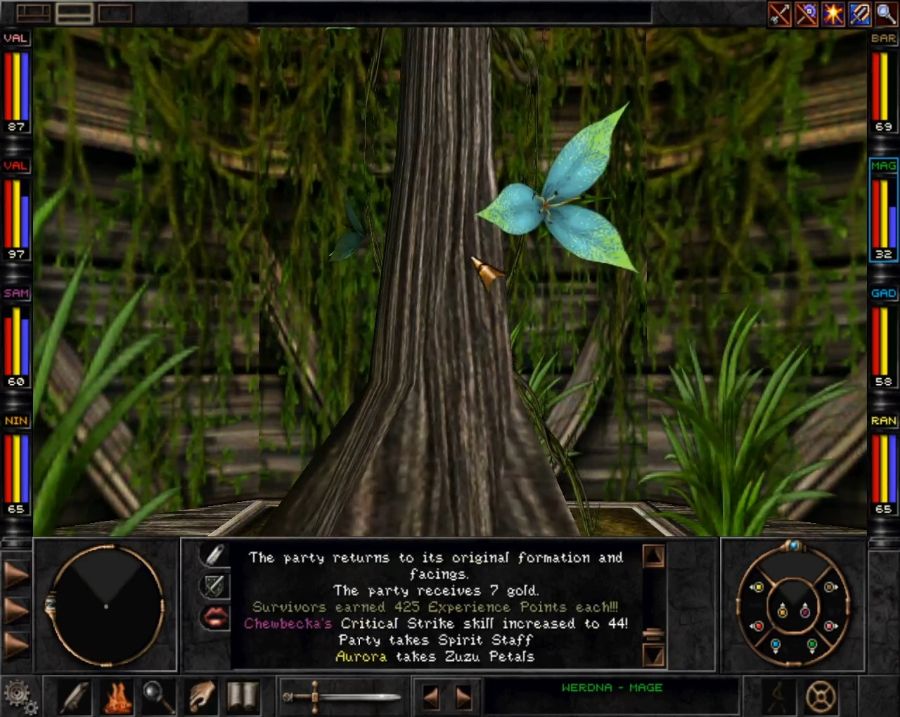 Back outside to raid an otherwise normal-looking house for another quest item. 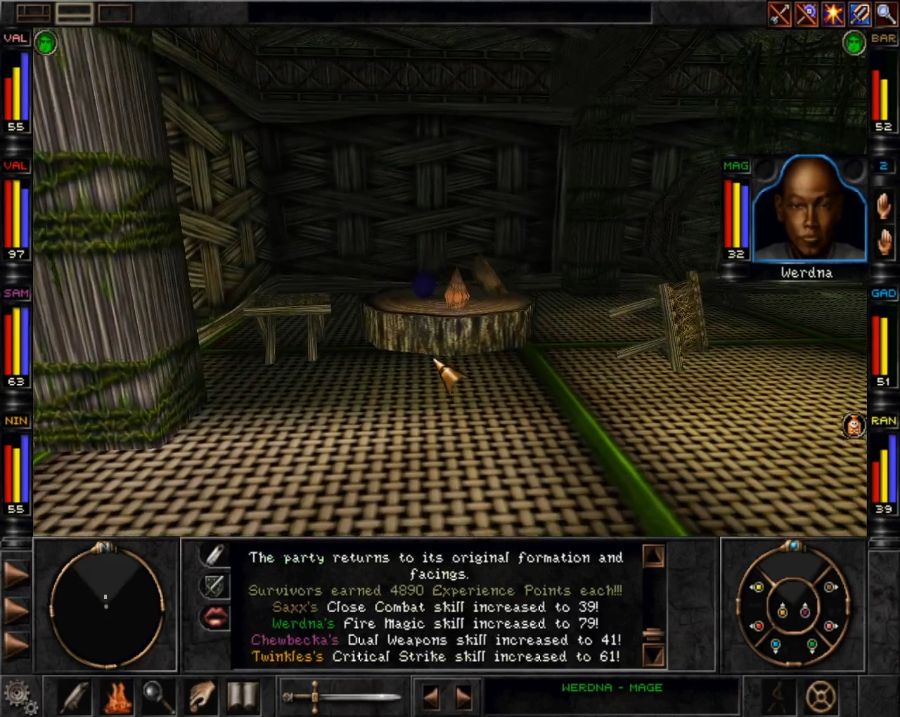 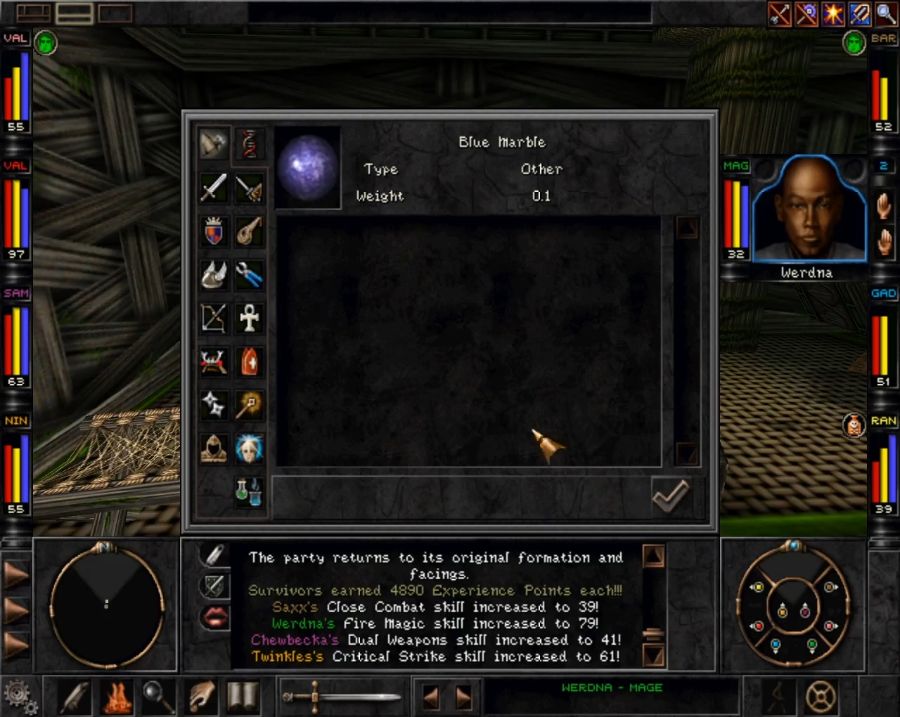 A magic marble for us to put our faith in. 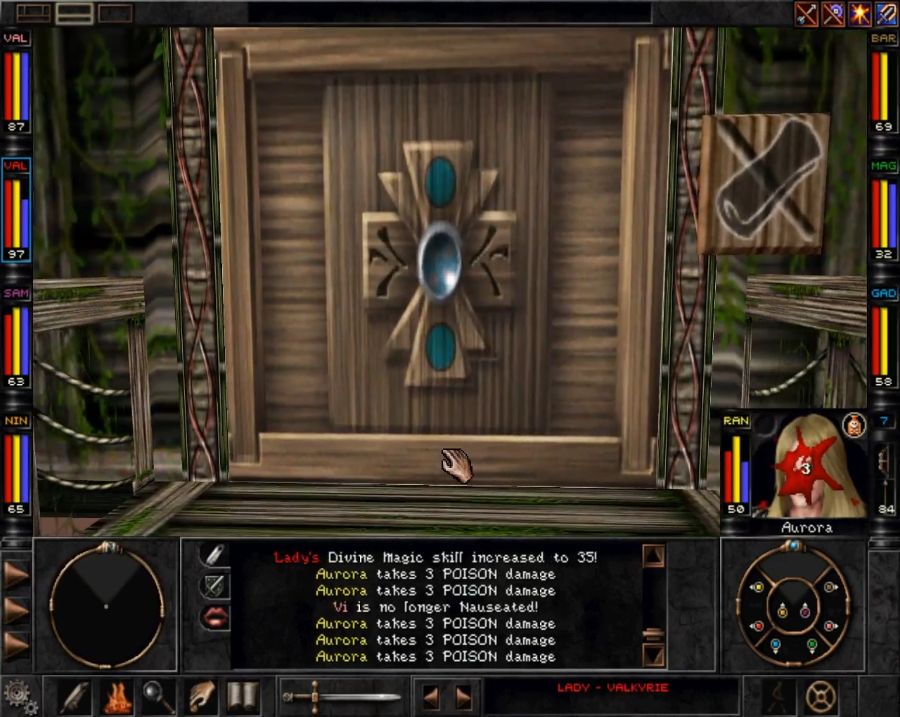 Also it opens this door. 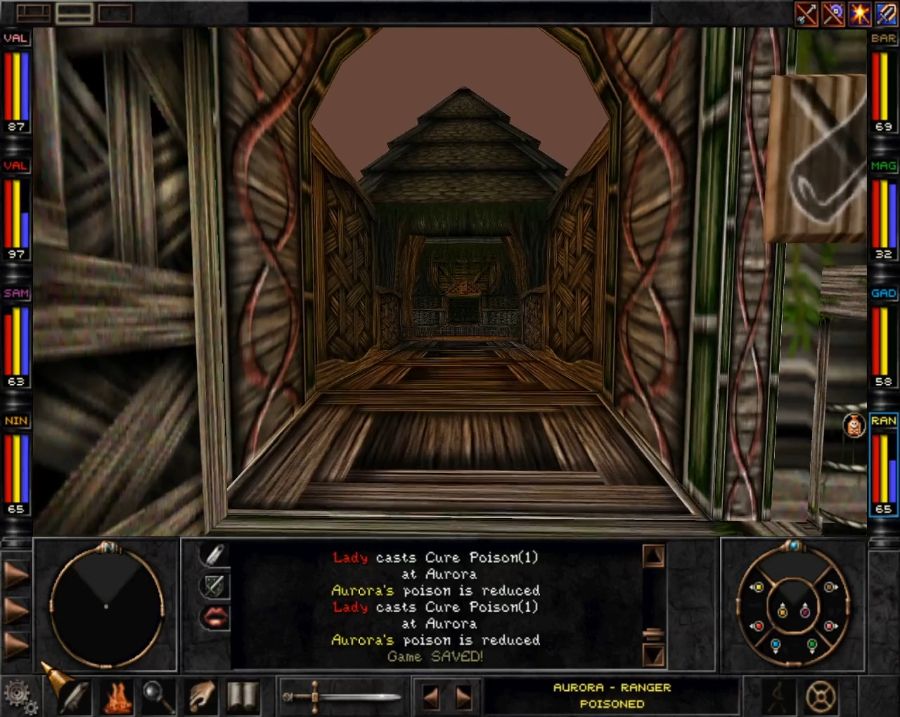 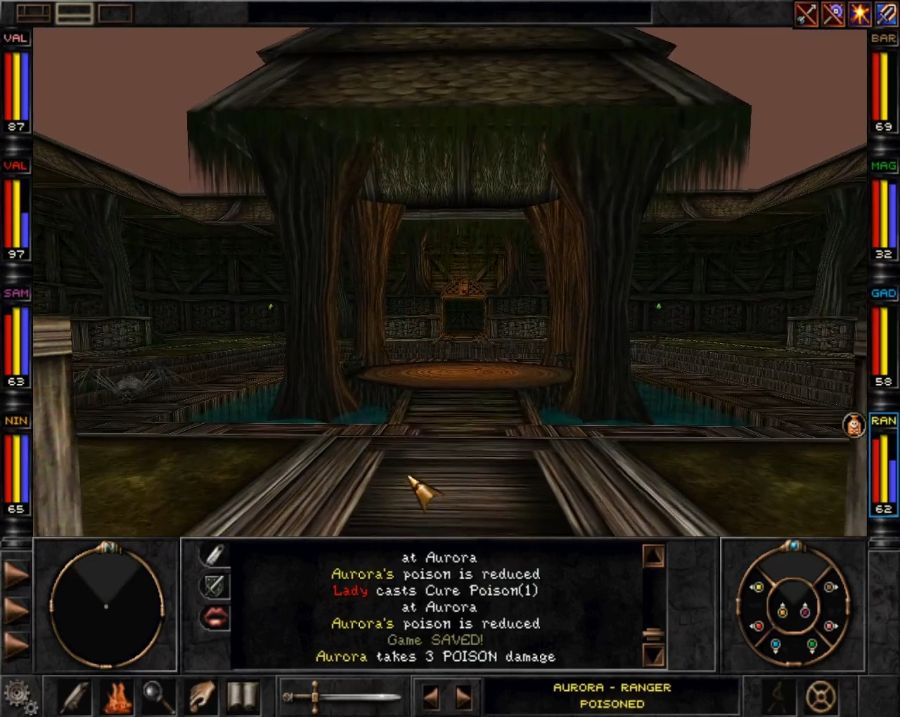 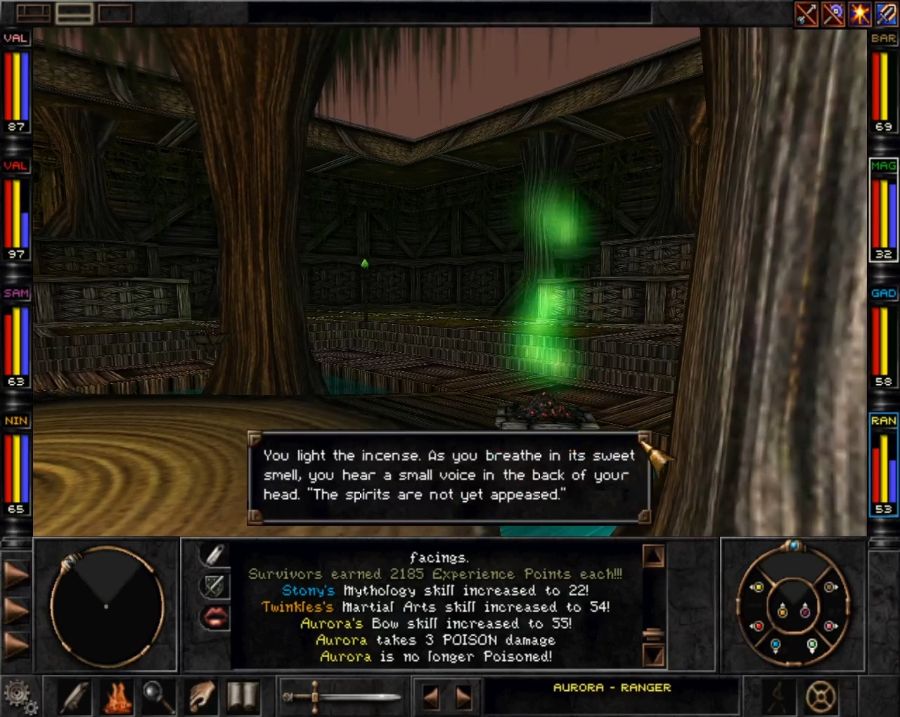 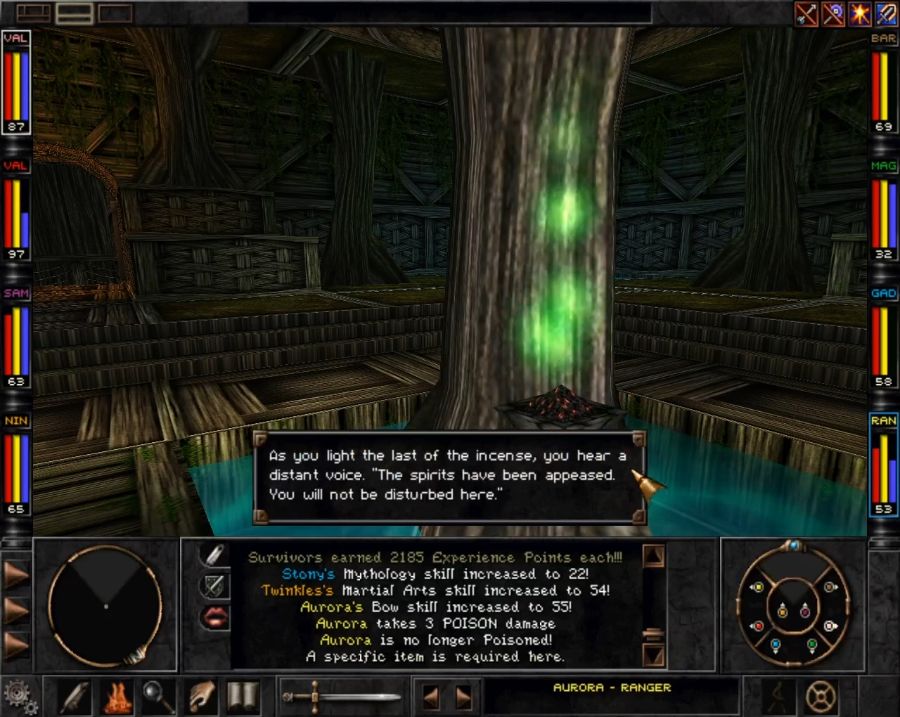 Supposedly this square is now a safe place to rest, which I imagine means that resting there cranks monster spawns down to 0 for the rest period. The party takes a nap and I explore the three rooms branching off from the central square. 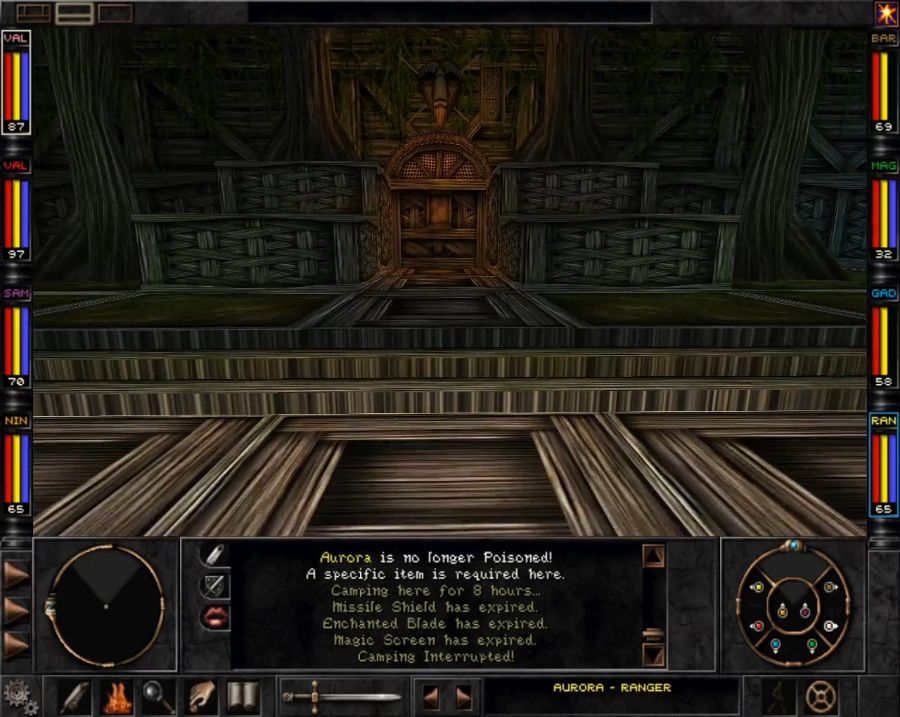  First branch, these three assholes. With some parties I've bounced off them multiple times like a chump, but these raw badasses just freeze them in place while Chewbecka practices her lumberjackery. Then we loot what looks like a Trynnie forge/armory. It's got a total of four chests.  Two of them locked inside this neat safe. But all we get aside from sellable junk is a spear upgrade for Lady. Which is still nice! I'm not complaining.  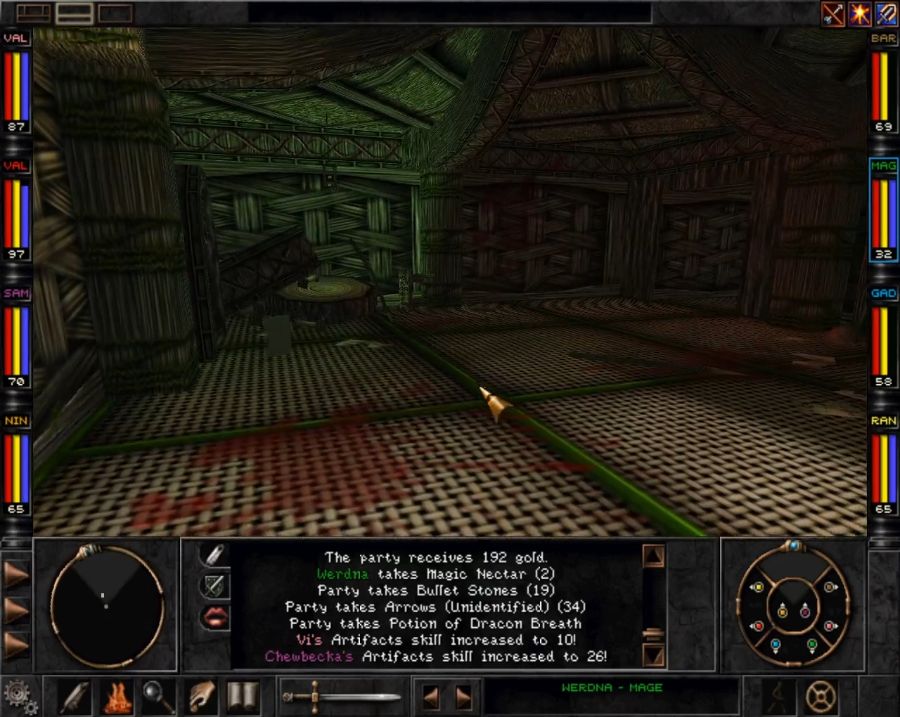 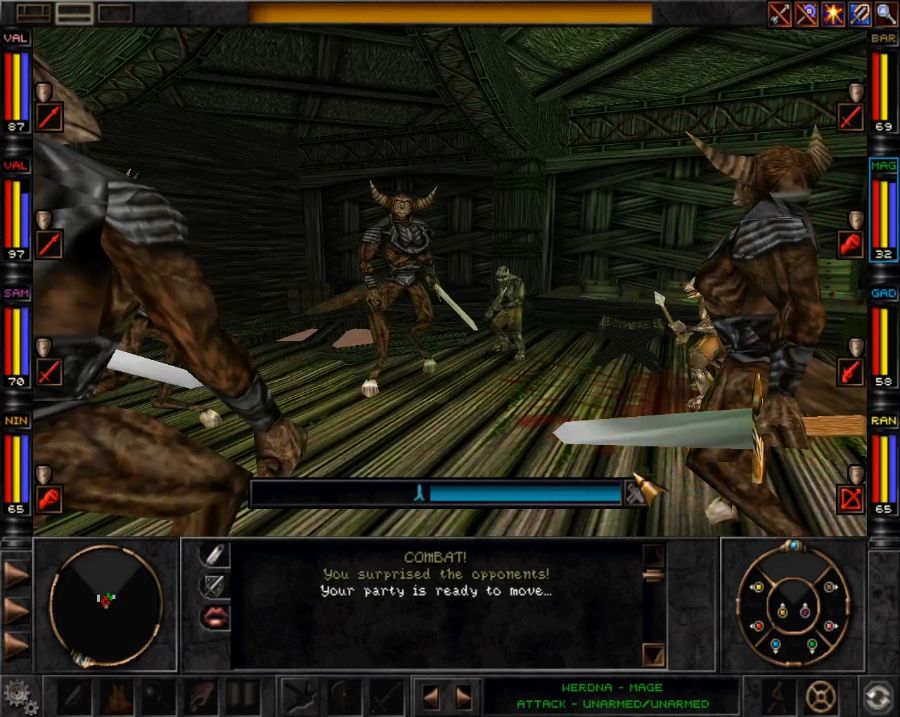 Second branch leads to a small structure where a pair of Trynnie scouts are holding off some Rapax who got up here somehow. There's a hole in the floor, so did they CLIMB up? Feisty fuckers. 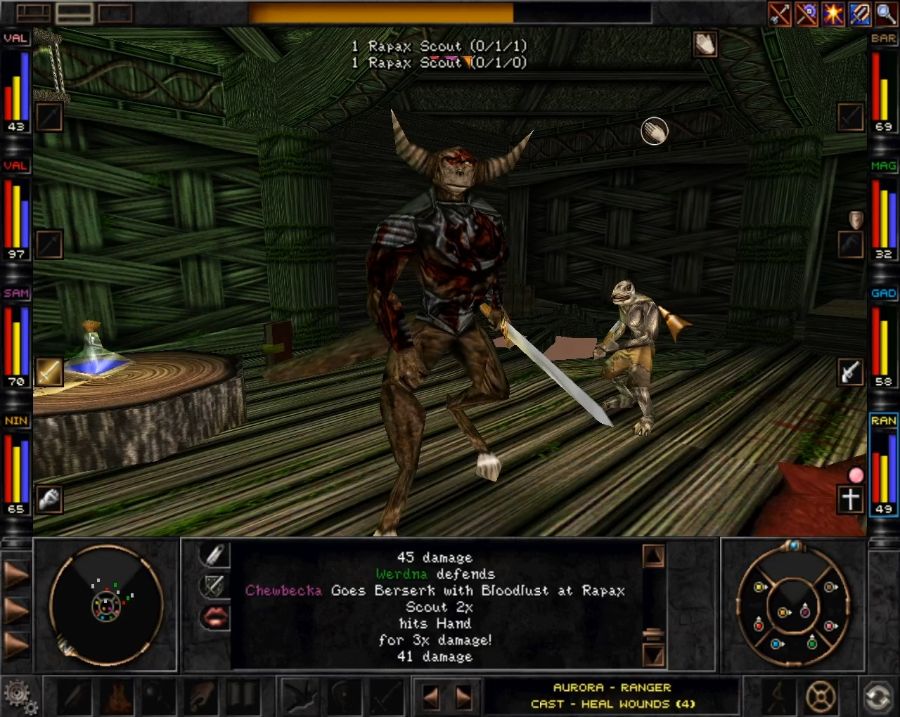 They're only half the level of the Rapax I already iced on the ground and so they go down easy peasy. I decide to check how the Trynnie scouts are dealing with it. 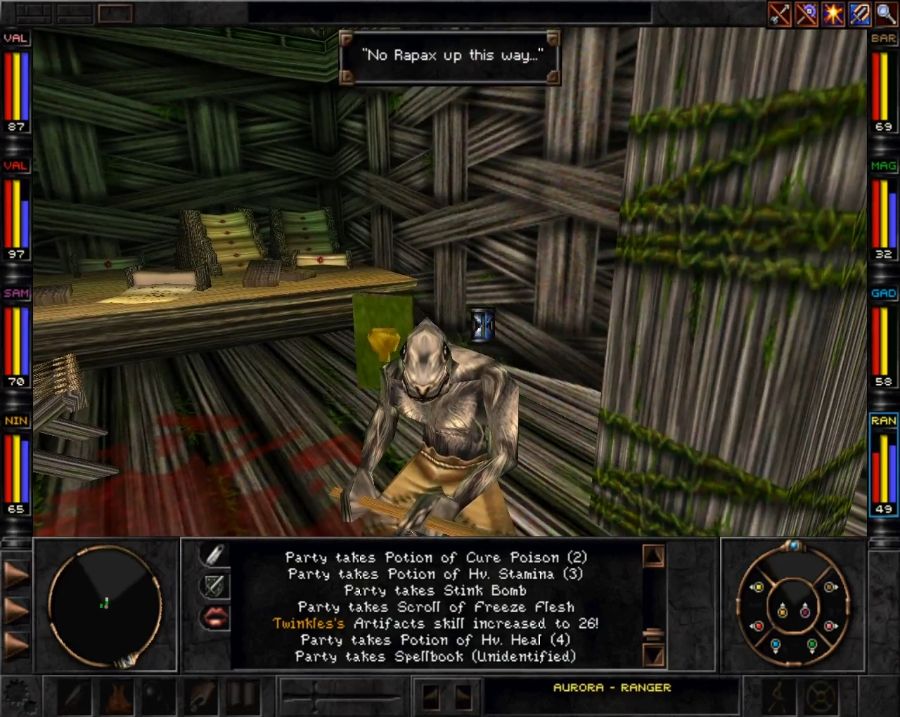 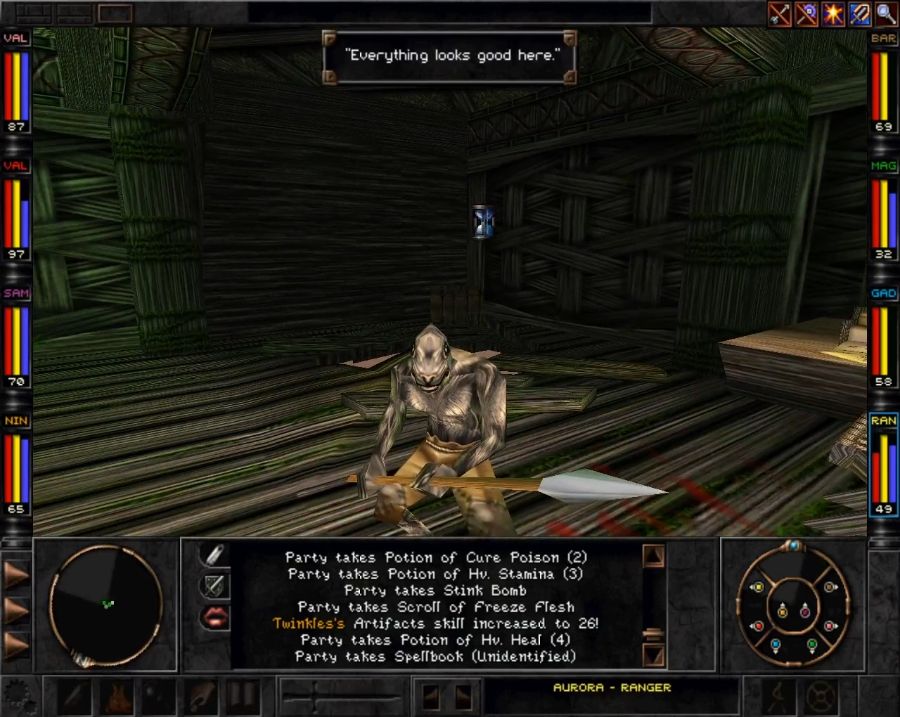 Looks like they're good! Then I lean over them and yoink their holy book. 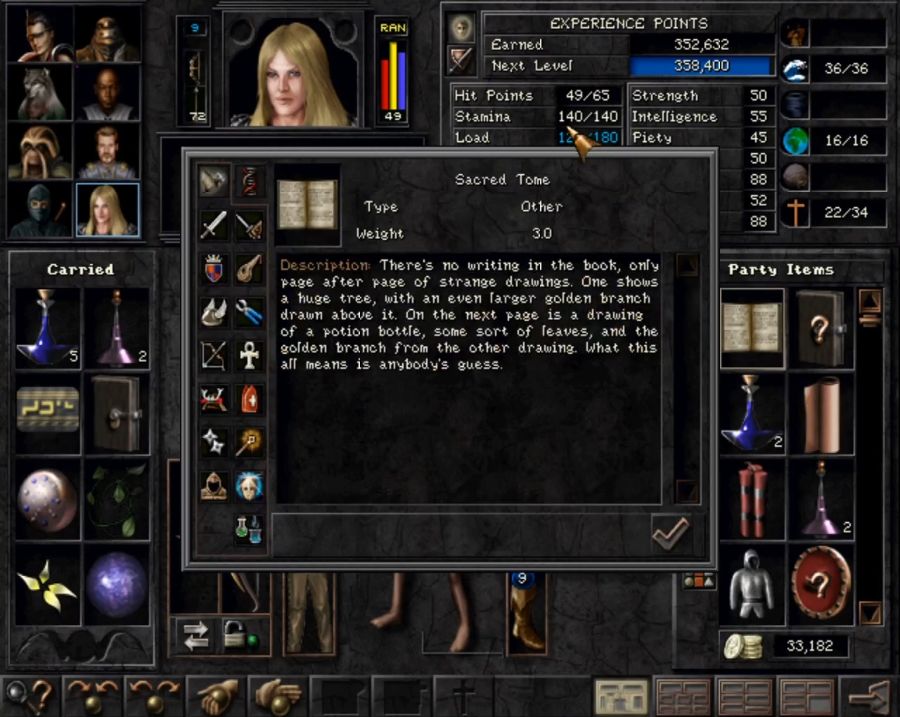 Hmmmm, yes, could mean anything. 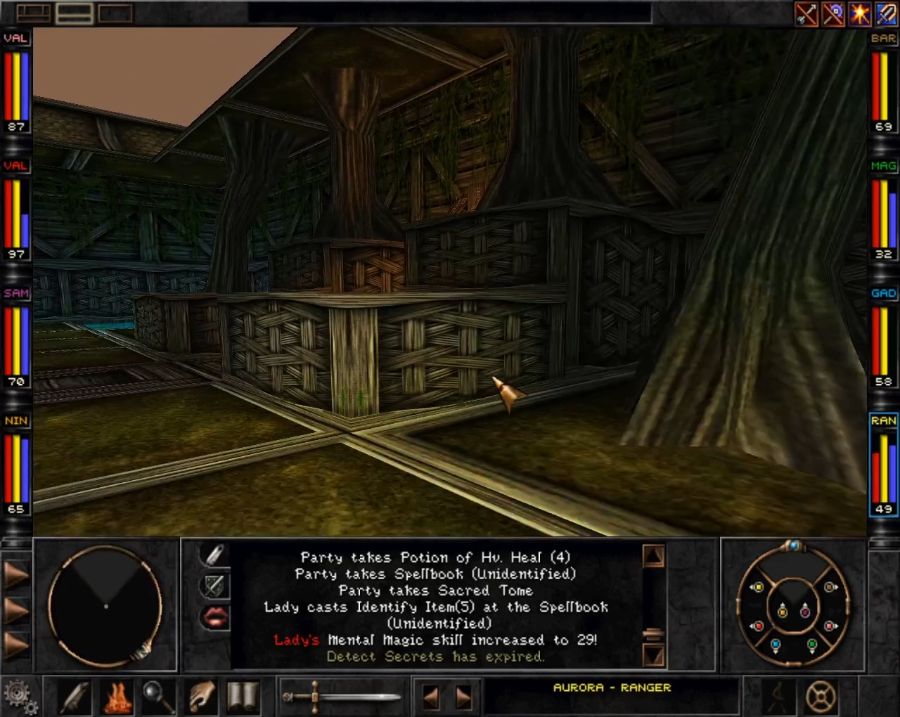 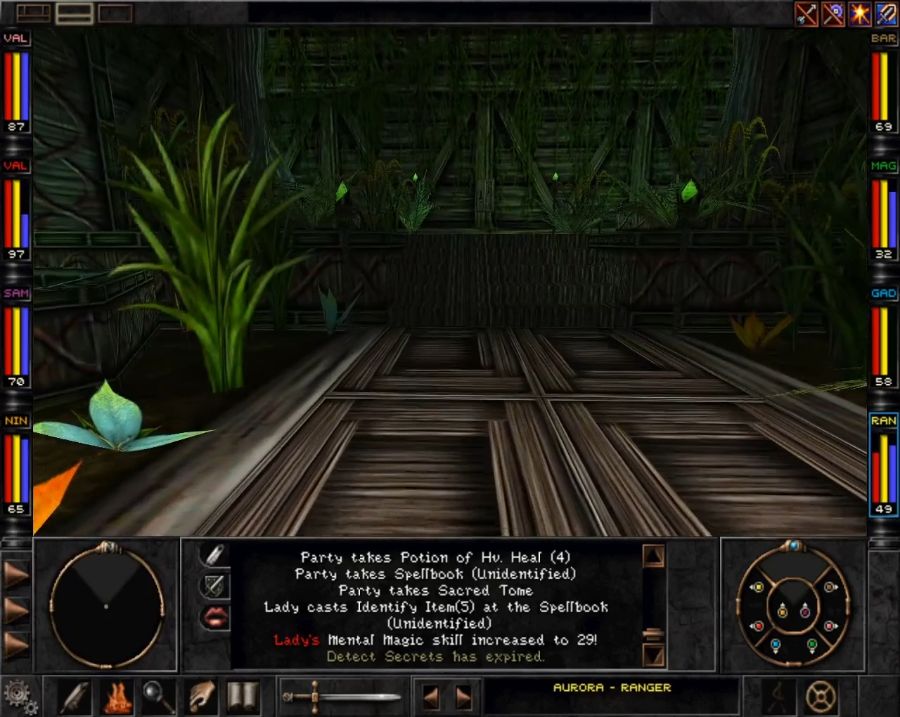 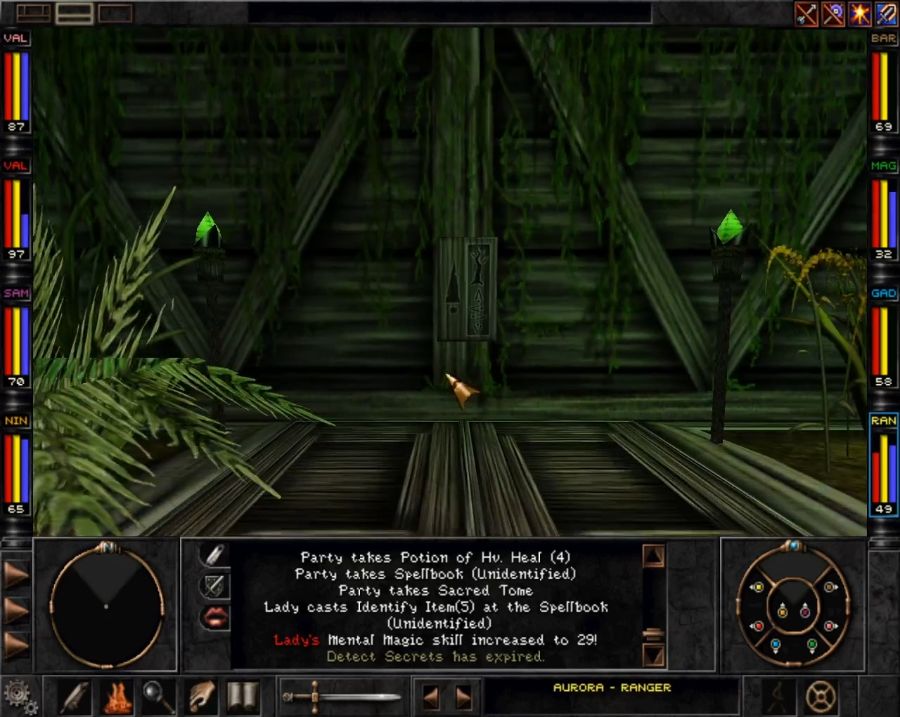 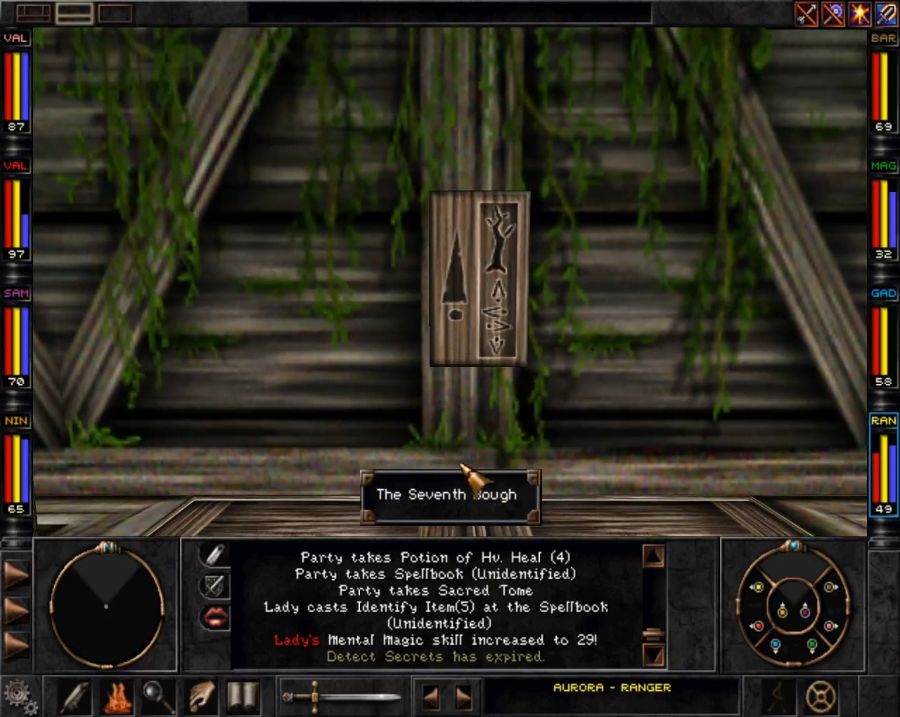 Third branching contains The Seventh Bough. I prepare for a vision quest and then realize I forgot to buy the Mystery Potion from Fuzzfas. I haul my way back to his store cursing all the way and then back here again. 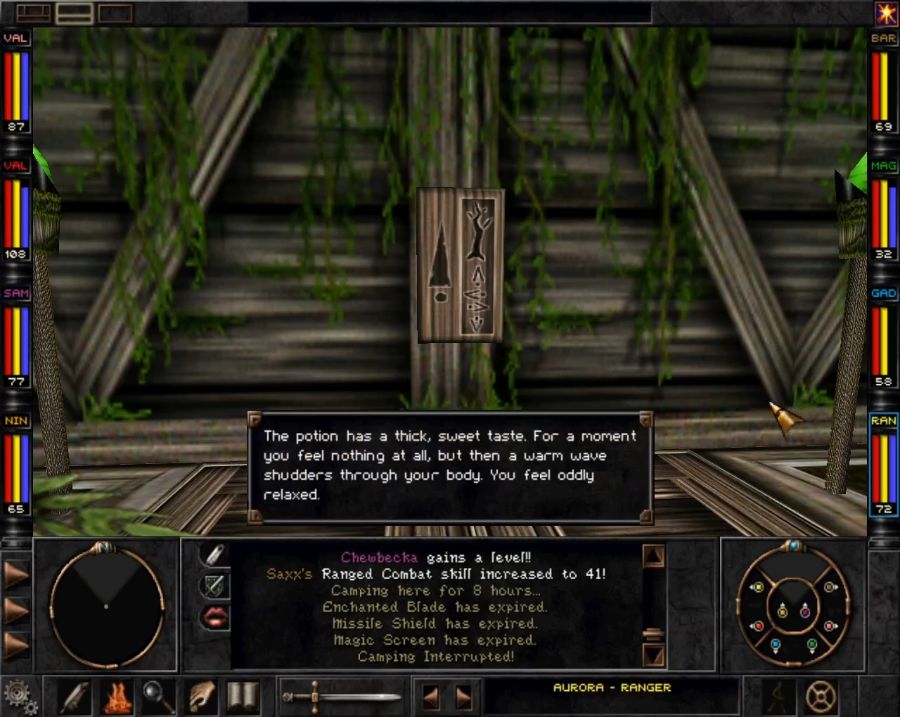  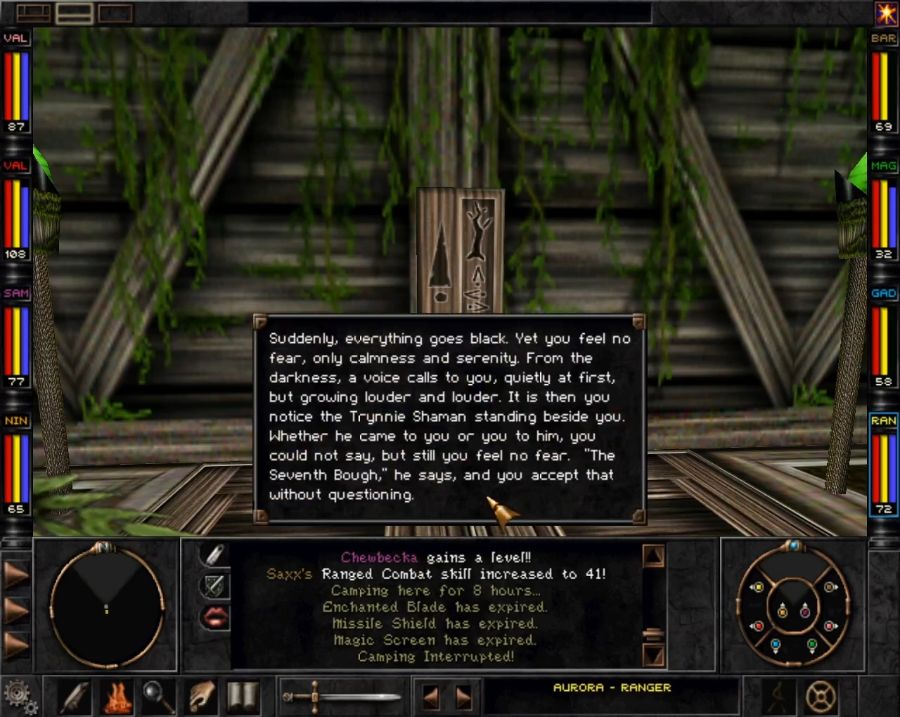 https://www.youtube.com/watch?v=4rWbaBvMspQ Showing that he really is wise, the Shaman tells us to do what we were going to do anyway: go new places, see new things, pack them up and bring them with us(possibly after killing the owners if they object). With that done, there are only two paths left in main Trynton to explore. 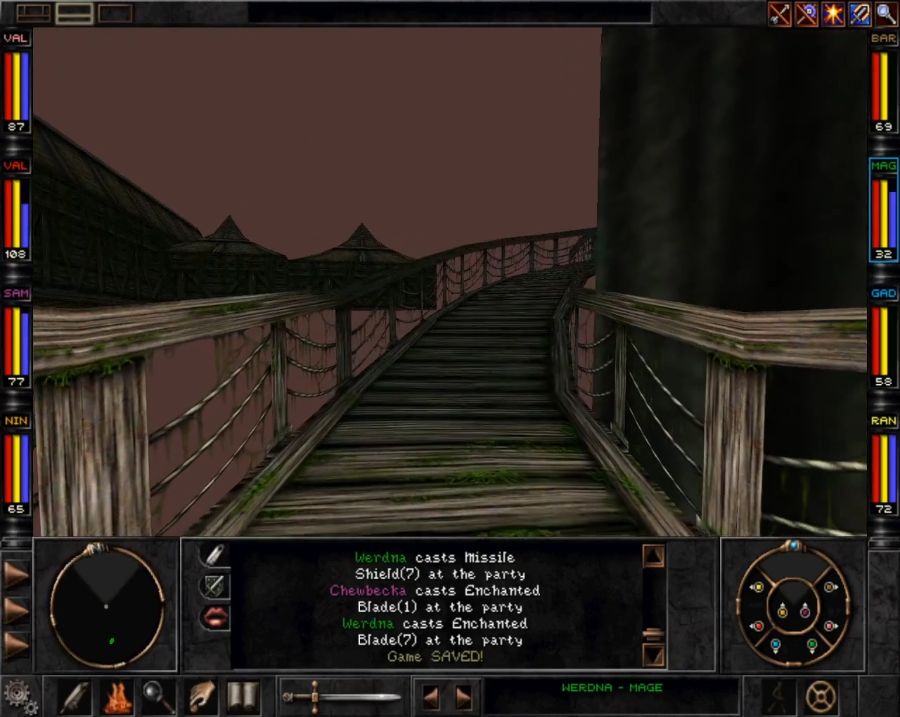  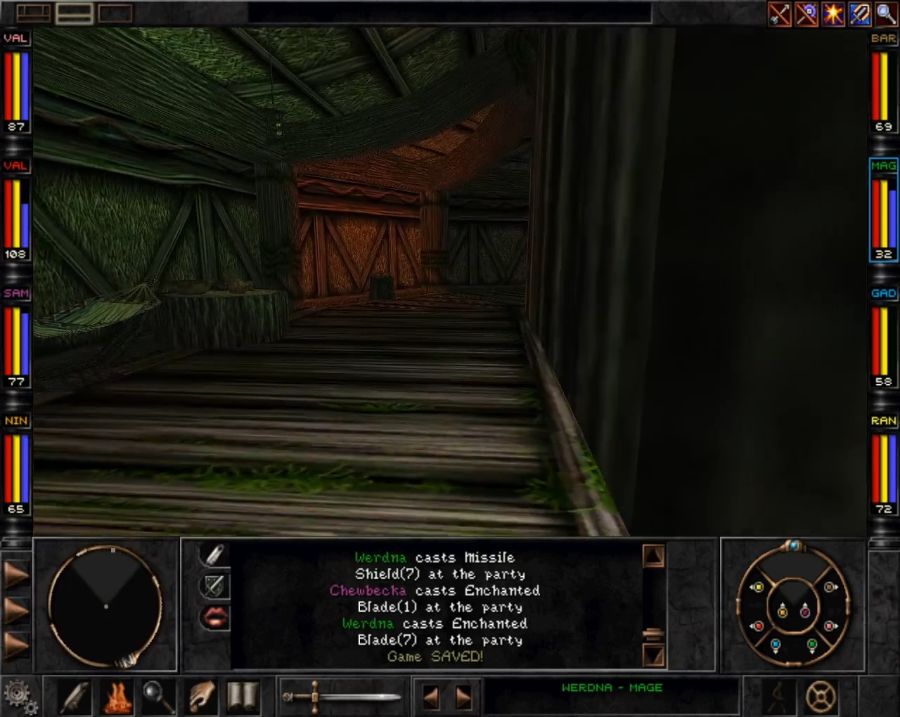 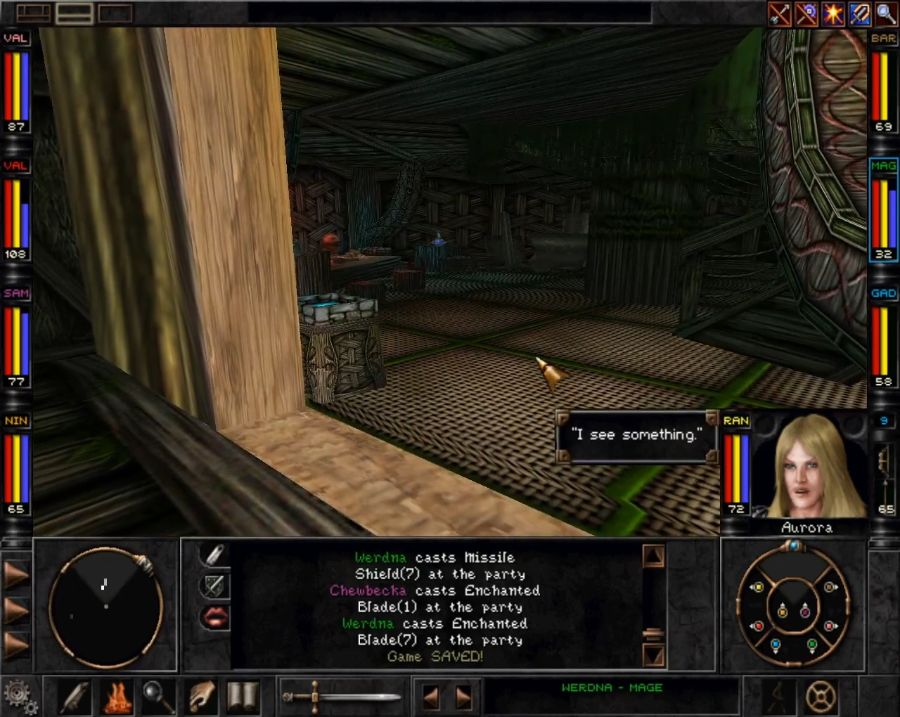 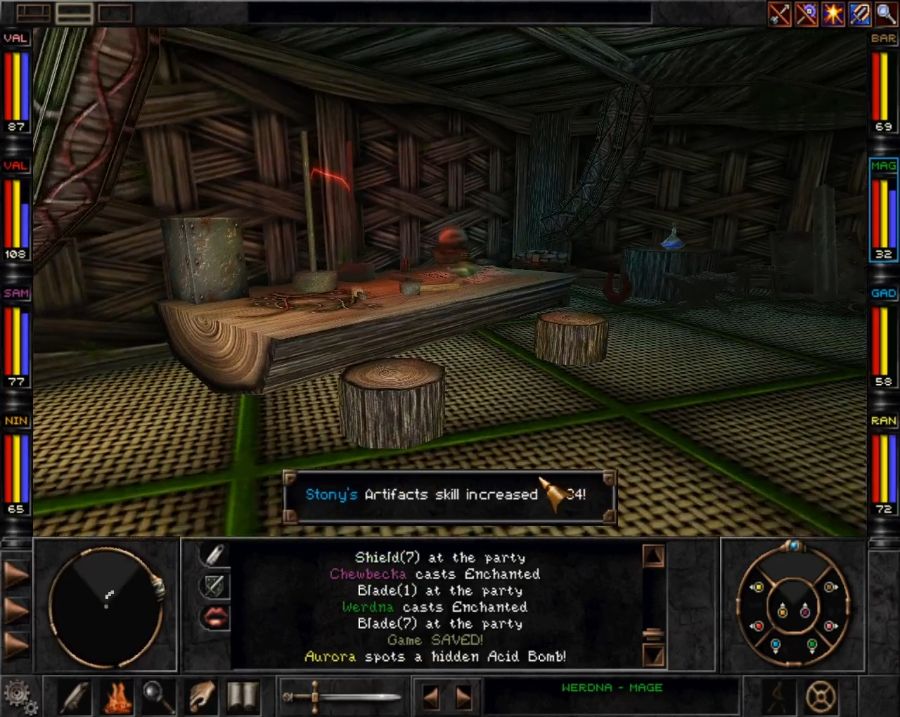 Up one path we find... a lab? Huh. It gets looted, of course, everything in here will be part of some exciting new doomsday device for Stony in an area or two. We're just about done collecting HALF of gadgets and getting to where we can start turning them into complete gadgets.     https://www.youtube.com/watch?v=zt93cXKX_gg So Madras... exists. He refuses to enter the two last areas of the game, but is otherwise surprisingly fearless for a Trynnie, and he's a Gadgeteer. One of his downsides, though, is that after you've dismissed him, if you want him back, you have to haul your rear end all the way up to the top of Trynton to do so, unless you waste a Portal location on it. Still, if you advance in the normal way and bring Vi but not Myles, he wouldn't necessarily be a bad recruit. Plus I enjoy his ideas for a Rapavac. 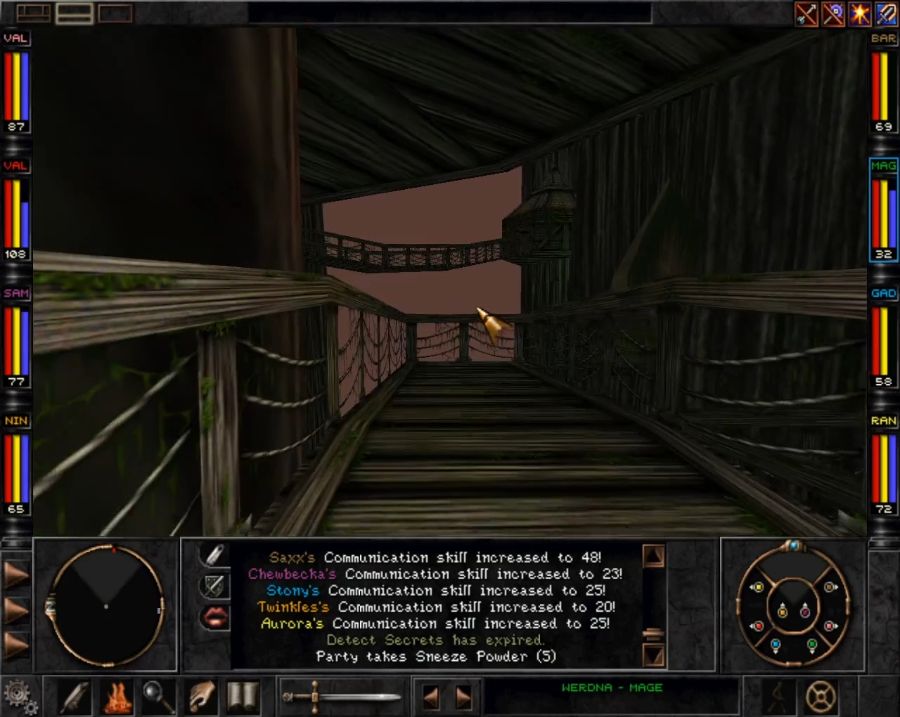 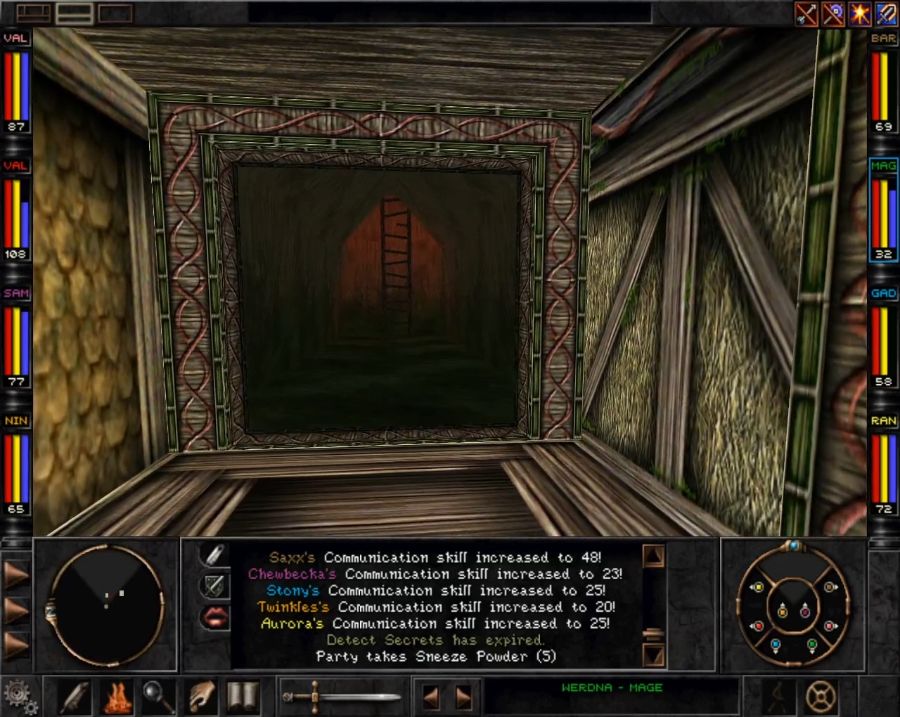 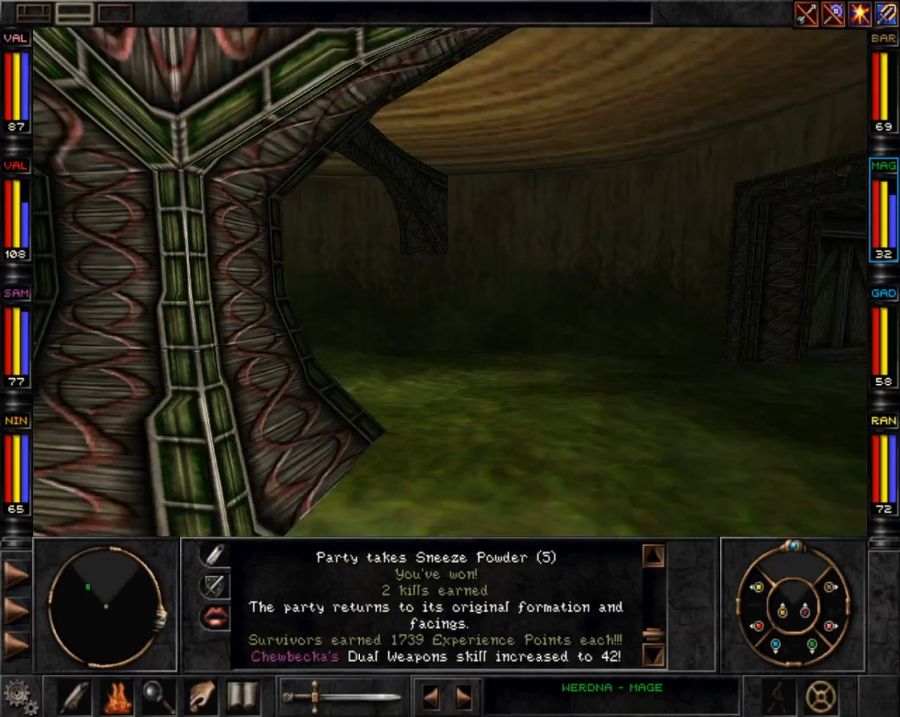 The last path is, of course, progress. Up the path, up the ladder, out the- 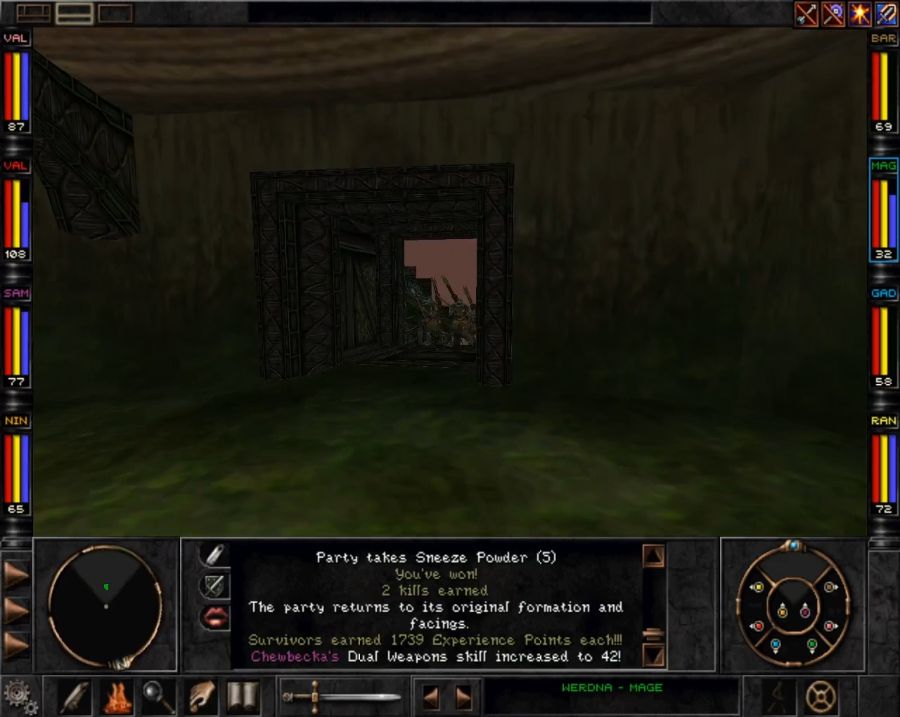  I end up needing to rest twice for this traffic clusterfuck to disperse enough for me to get through. 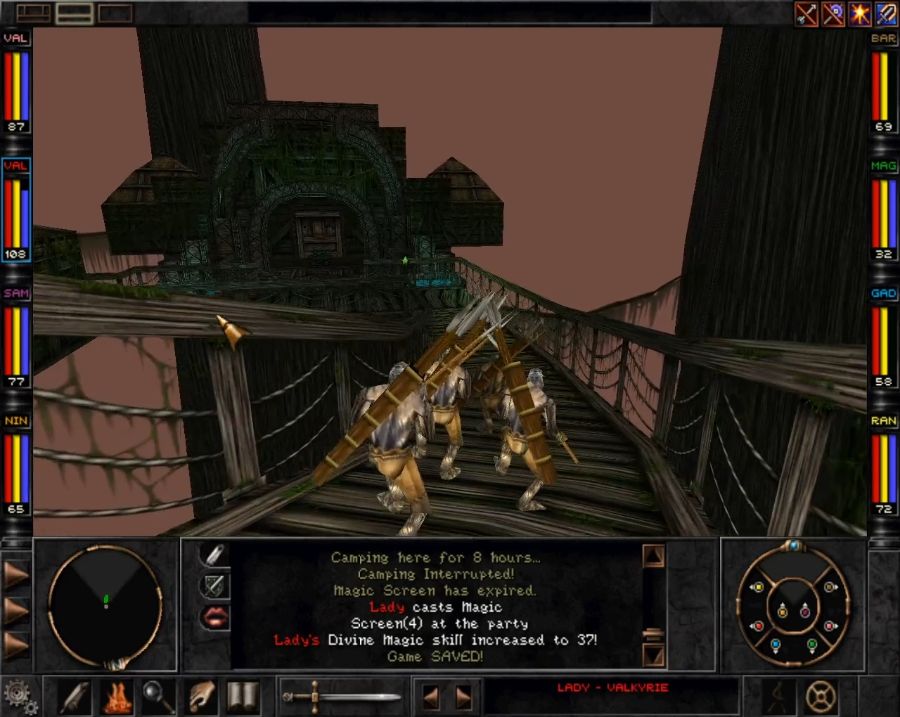 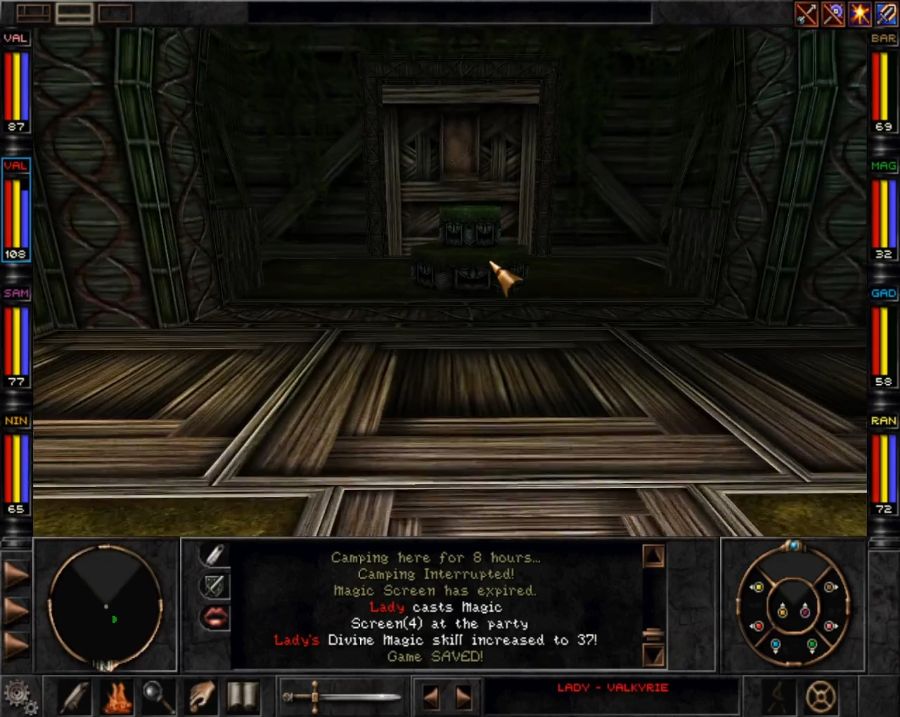 We can't do anything here yet, but it's where we'll need to go once we've gotten Marten's Idol, something which is a legitimate, unskippable main questy thing. 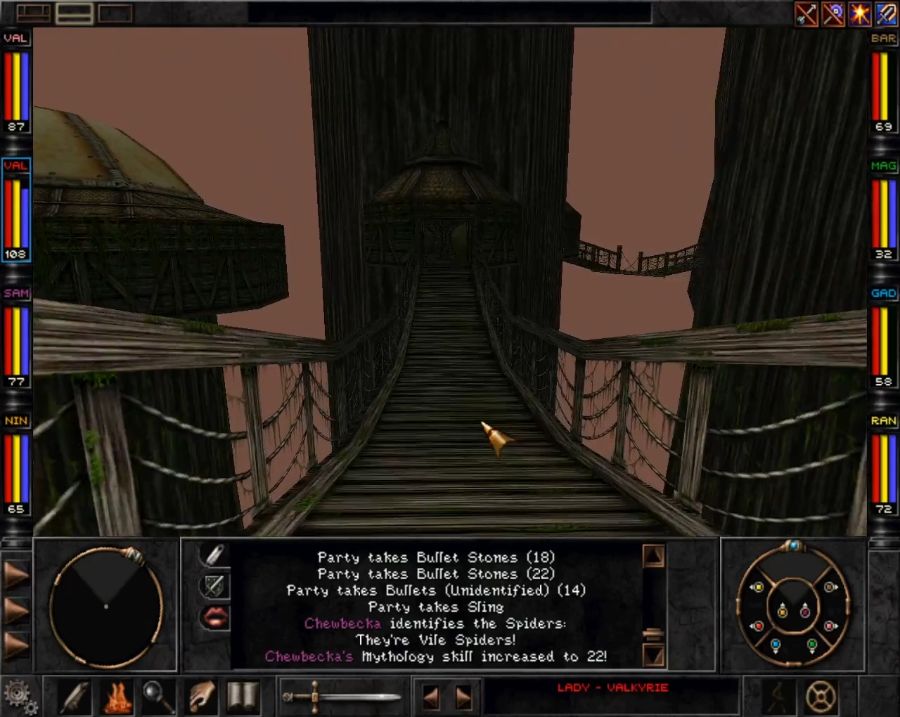 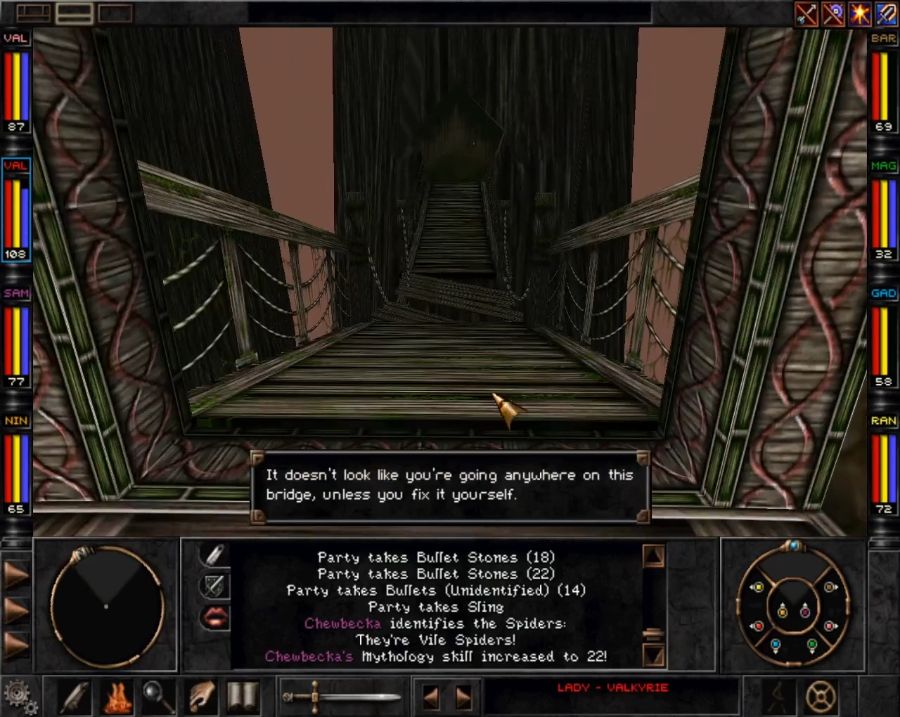 The other way... 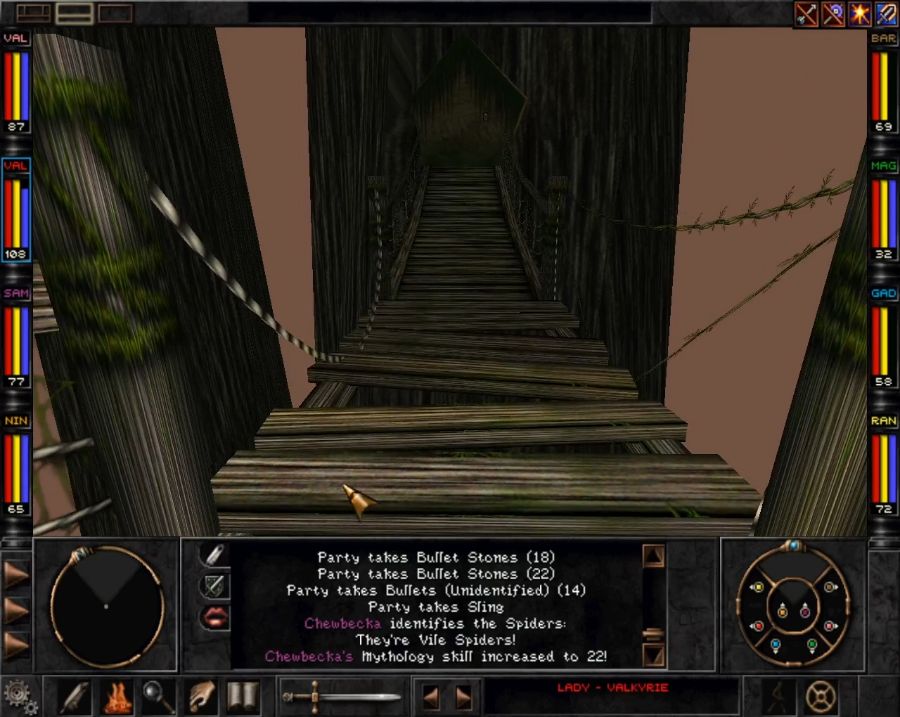 Using the Gooda Vine Rope on it fixes it so you can cross it. It doesn't require a lot of intellect, but there also aren't a lot of quest item uses for the "combine item" command, it's mostly only used for gadgeteer item construction, so I could see how it would be possible to miss that it's an option at all. 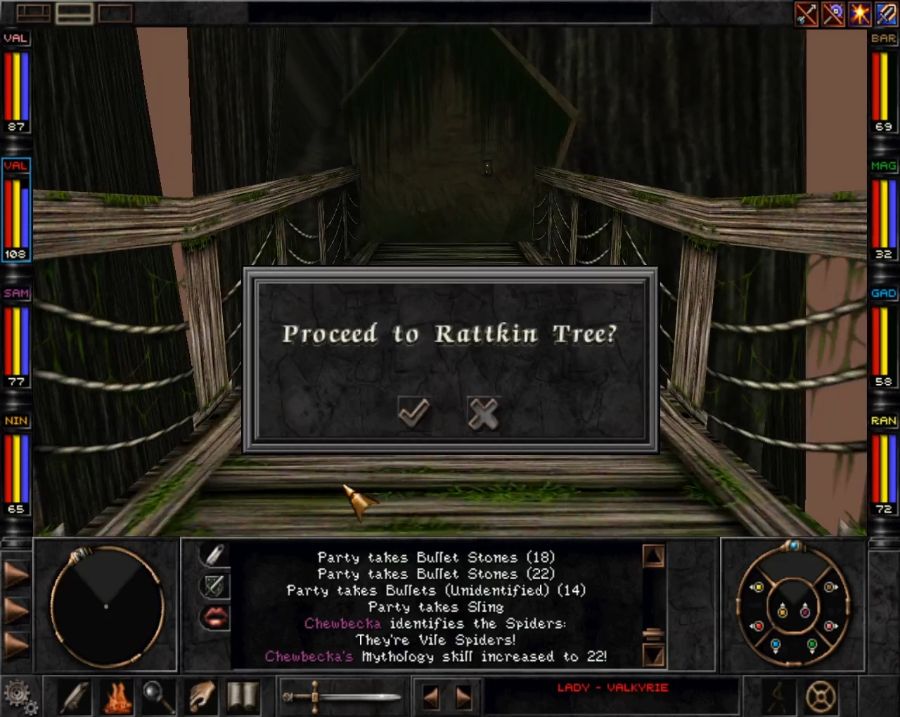  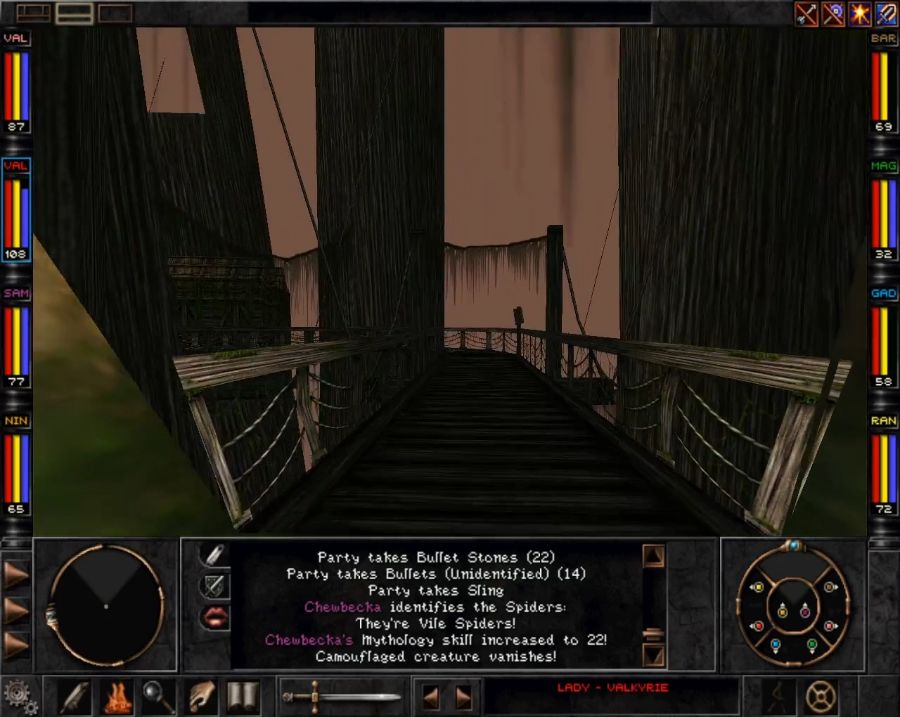 And here's the last third of Trynton. We've got a couple of important things to do here. First, check out the local decor. 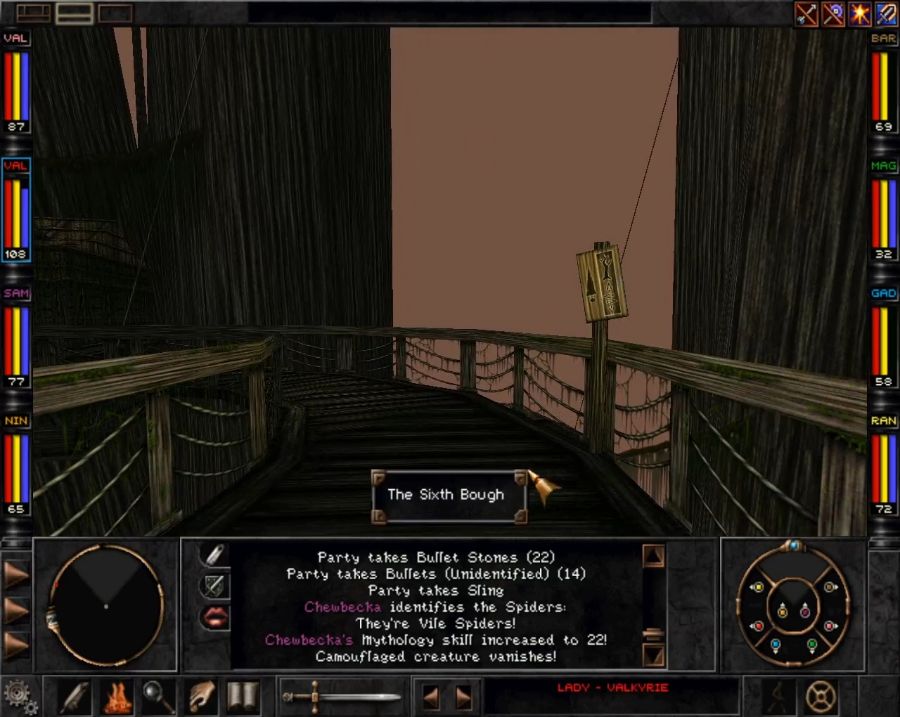 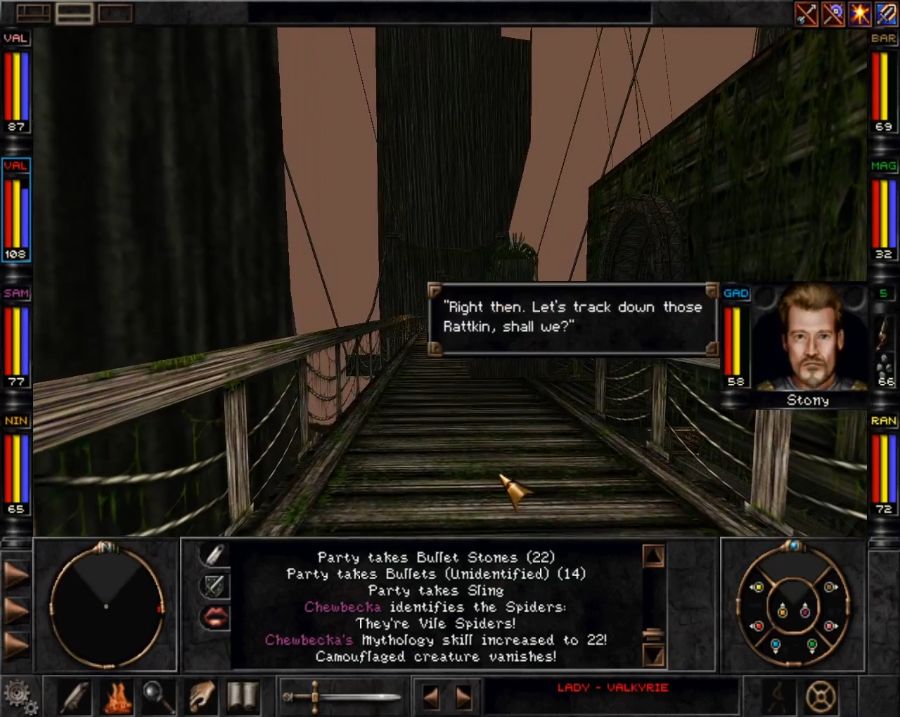  It's minor, but just adding some red and green splashes to the generic Trynnie home textures helps make the whole area feel a lot more run-down, abandoned and decayed than the rest of Trynton. 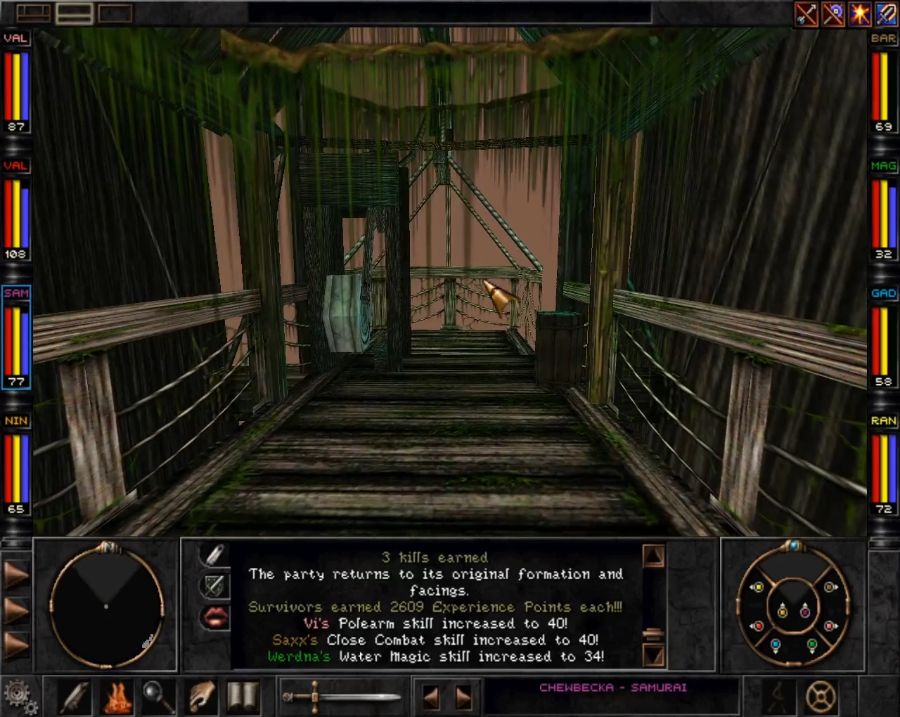 We'll also want to activate this shortcut to ground-level Trynton. 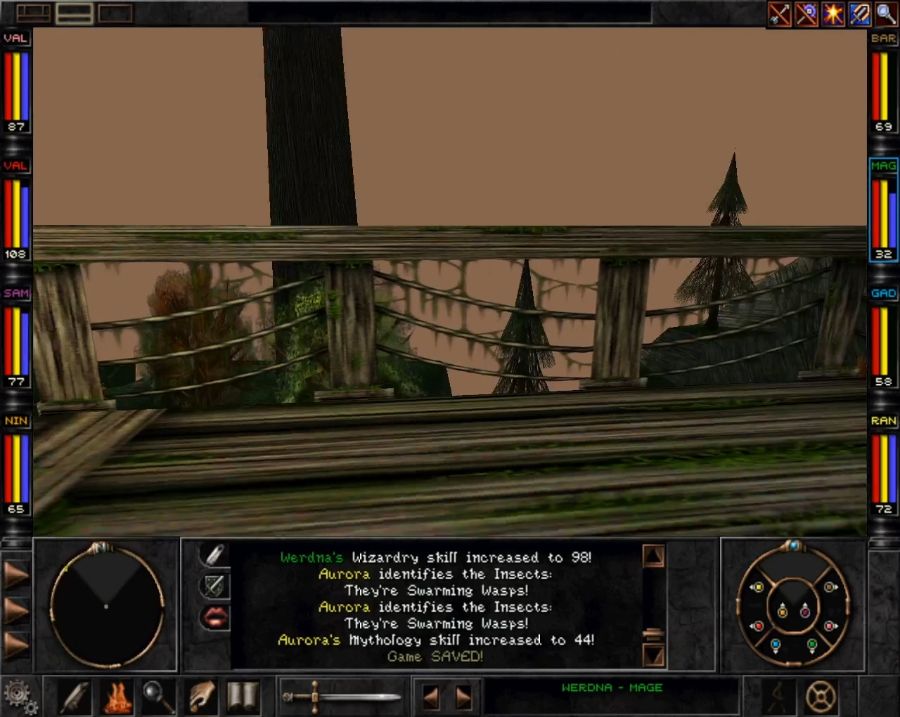 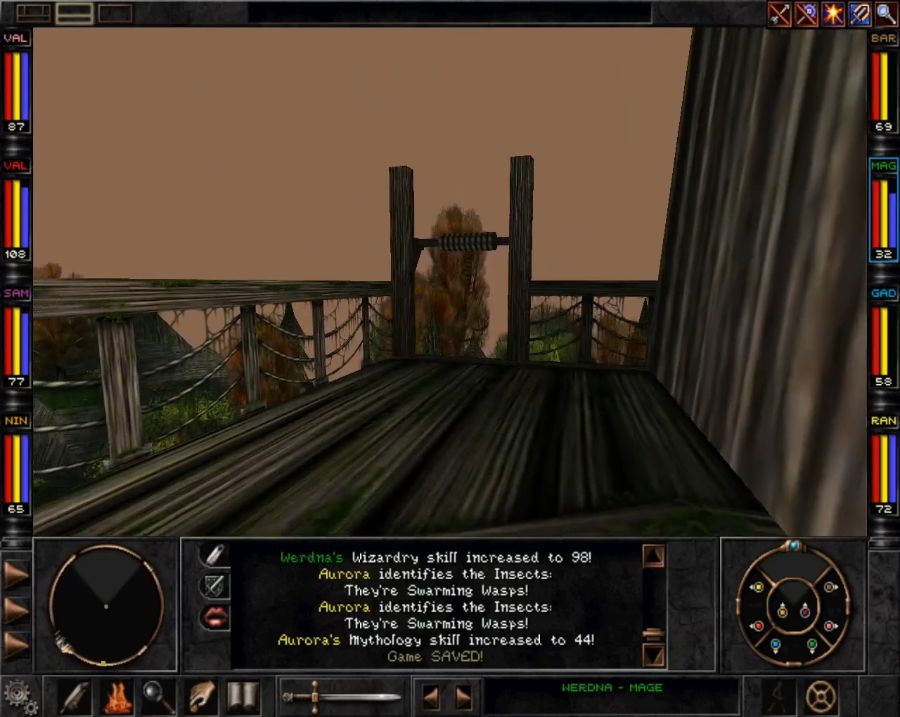 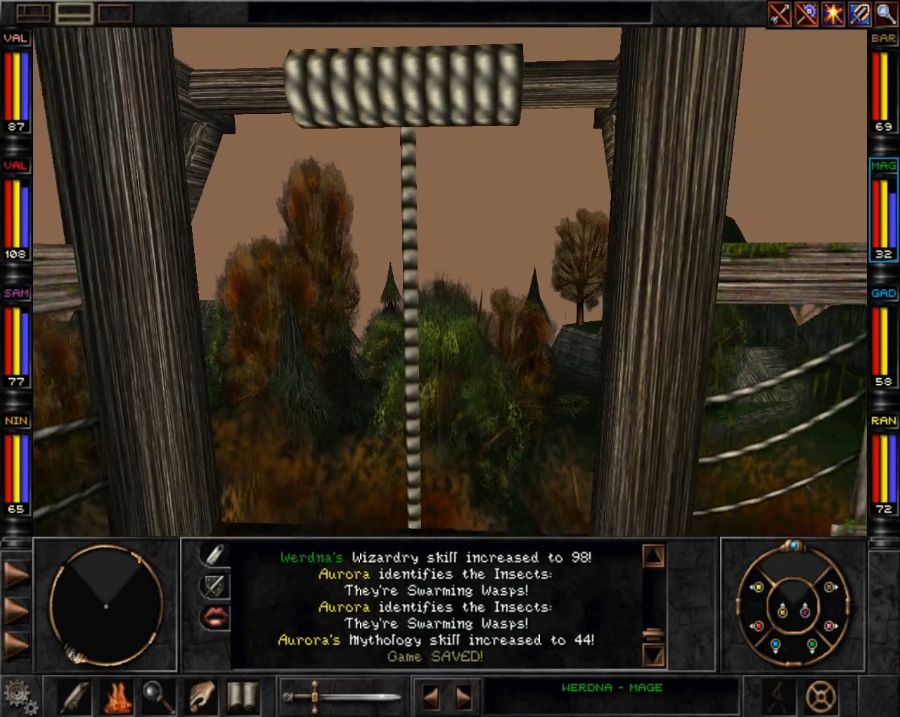 You can actually see this platform from ground level, but not activate the rope. This'll save us a hell of a lot of walking later. 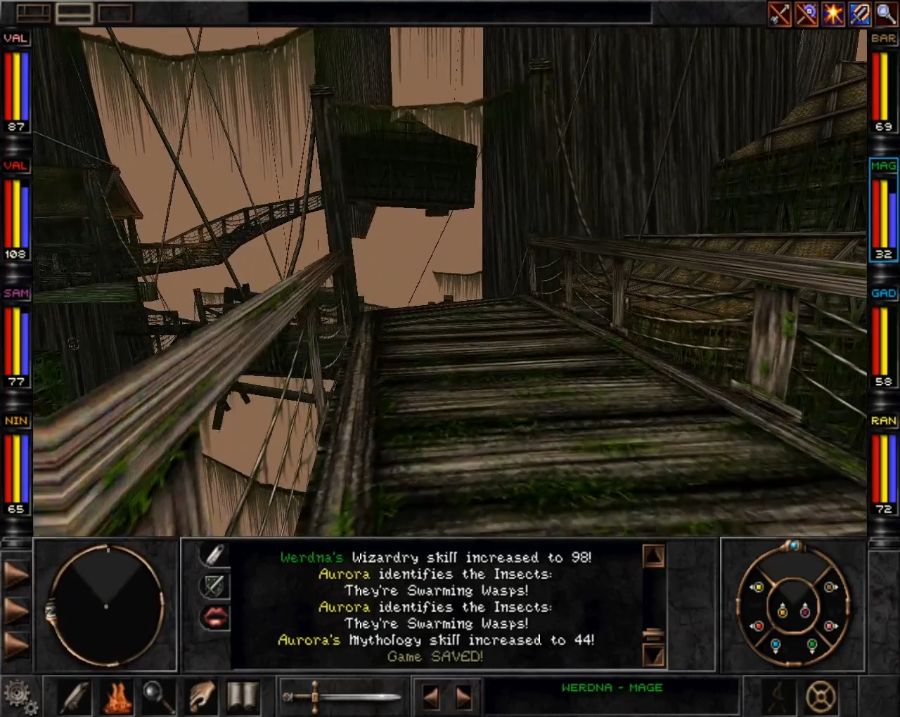 Heading back up and time to be blind as a bat. 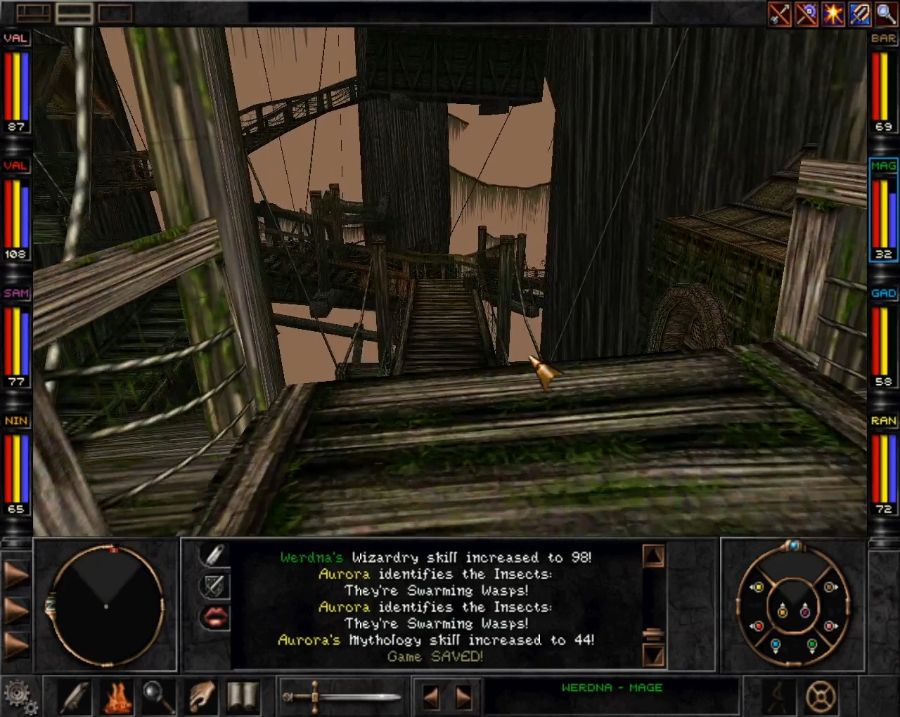 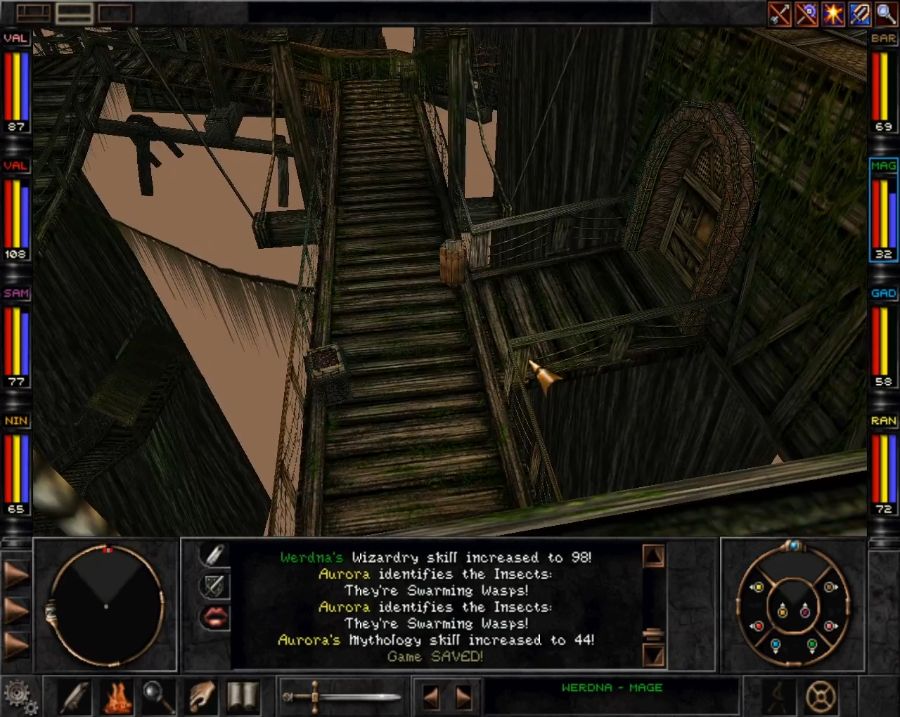 Hmmmmm, how do I get down from here without damage? Oh well guess I gotta just eat that falling damage! Pay no attention to the rope at the edge of my vision! 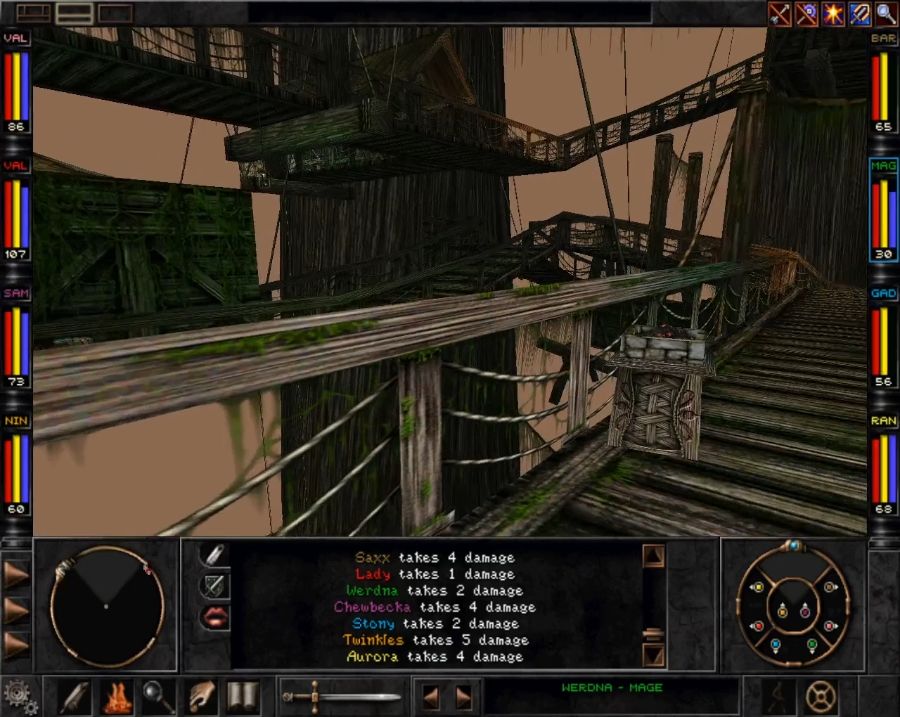 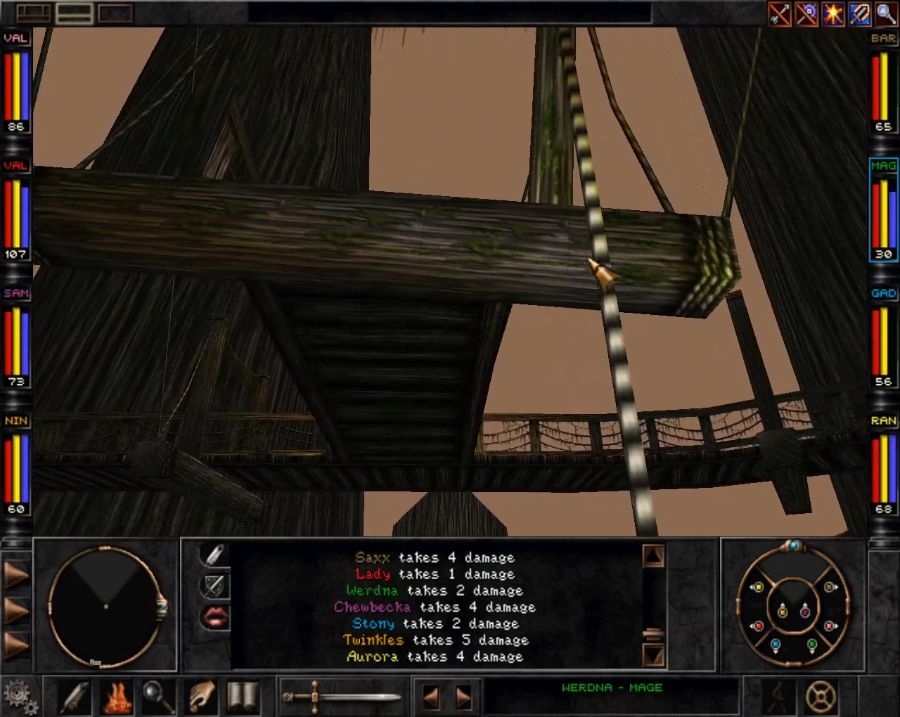 Of course the moment I'm down and nursing several snapped ankles, I instantly notice the rope.  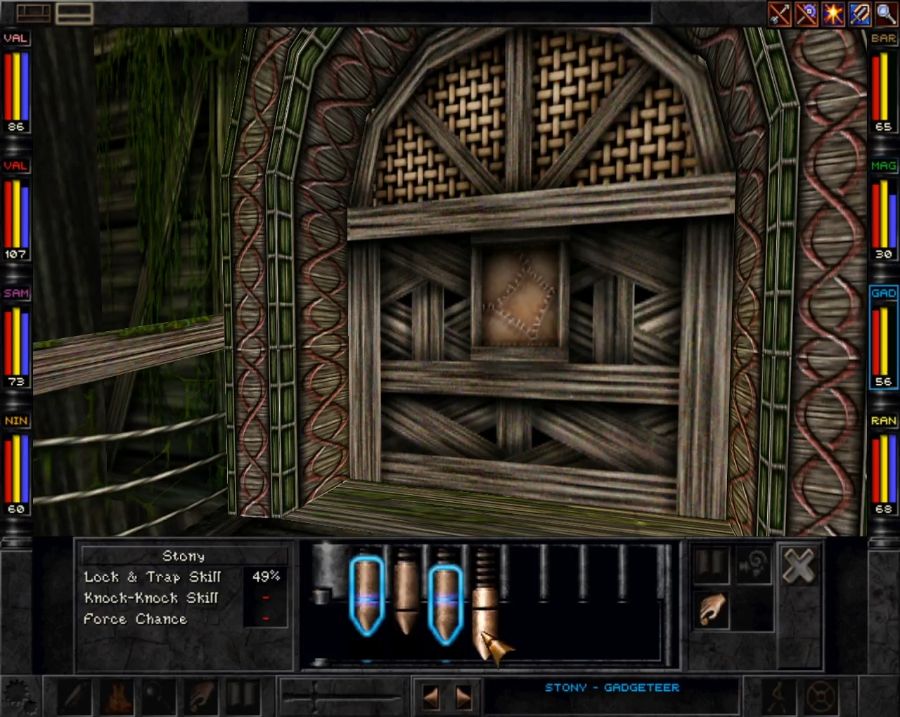 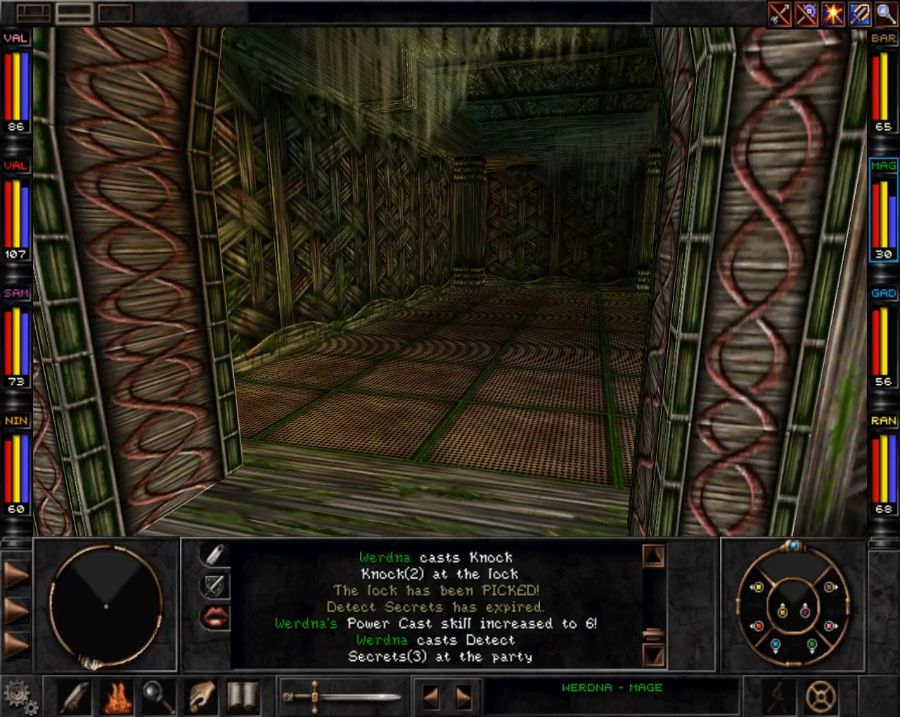 As soon as you get down there's a small locked building on your right. Don't forget this place exists! 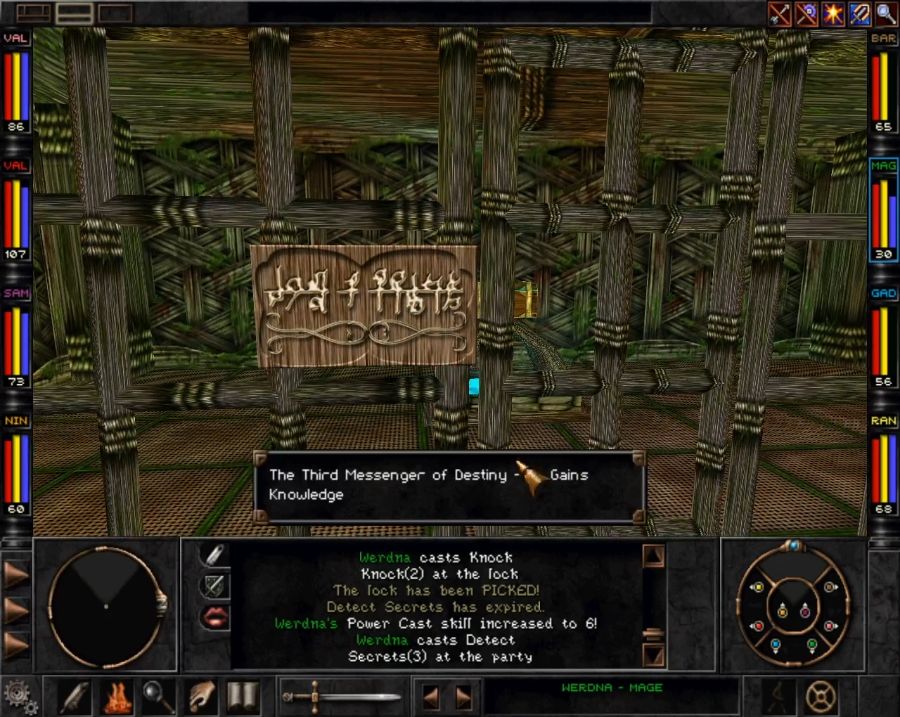 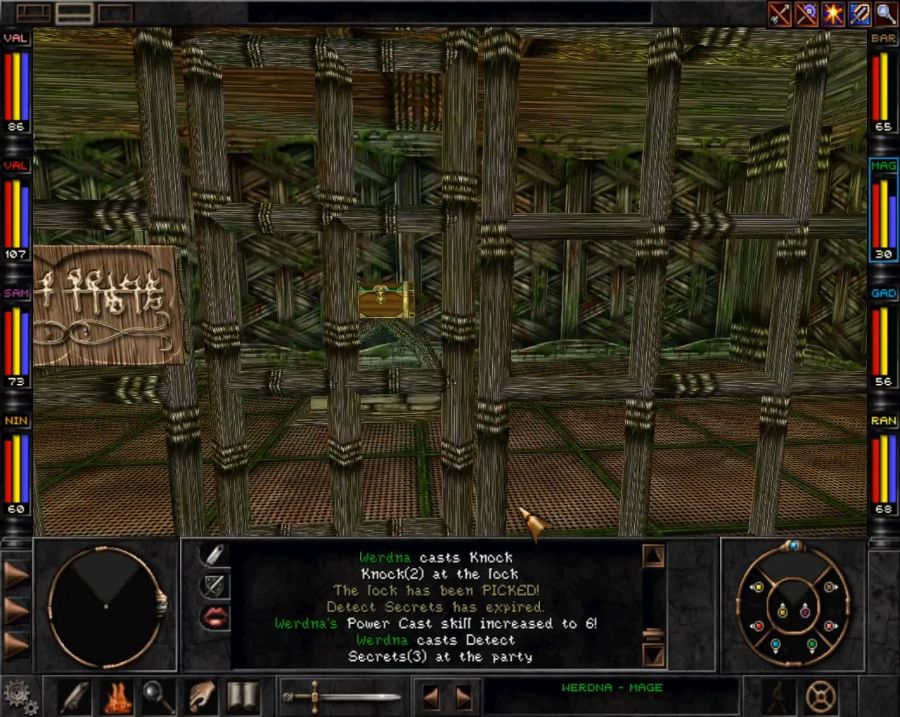 The party is, sadly, too attached to each other to just make Twinkles pop through the bars and grab that chest on the far side. As we will eventually learn: this is actually a good thing. 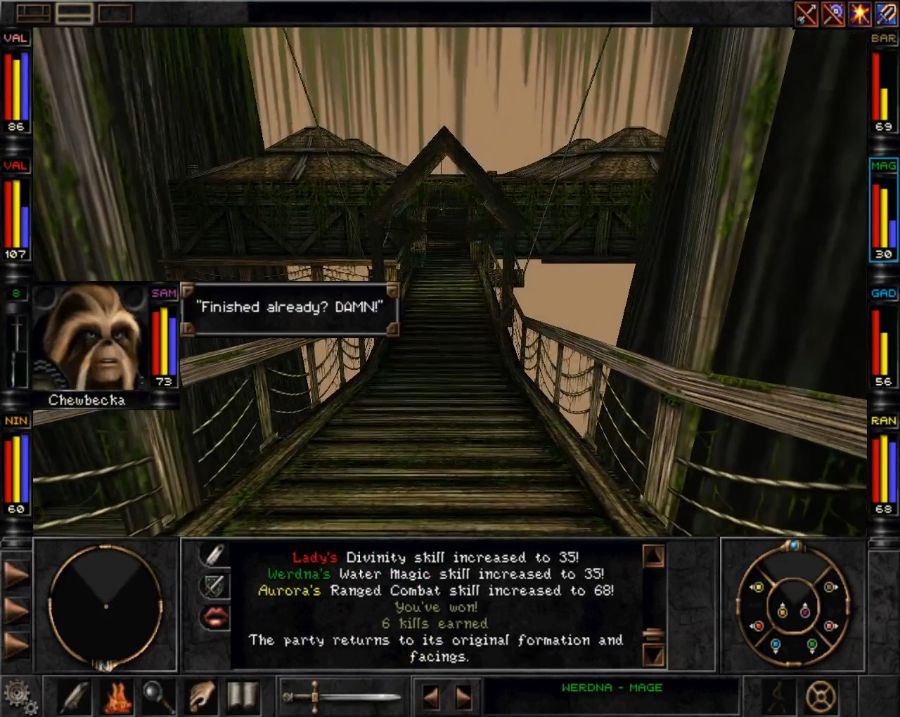 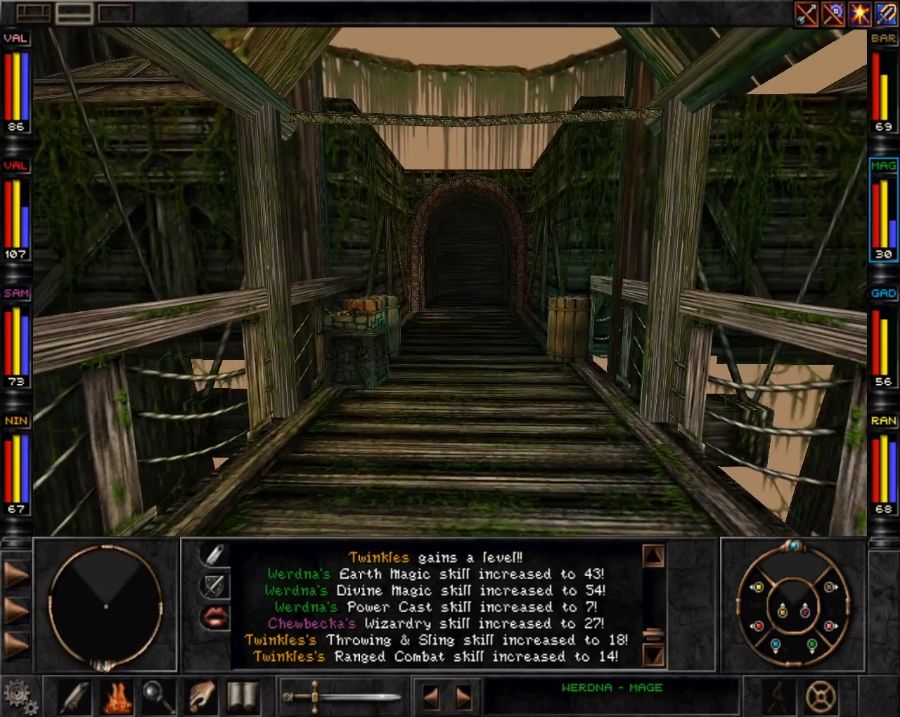 I leave off a bit of exploring because what I do with that exploring is dependent on choices made shortly, and we'll need to see the inside of this house to make those choices. 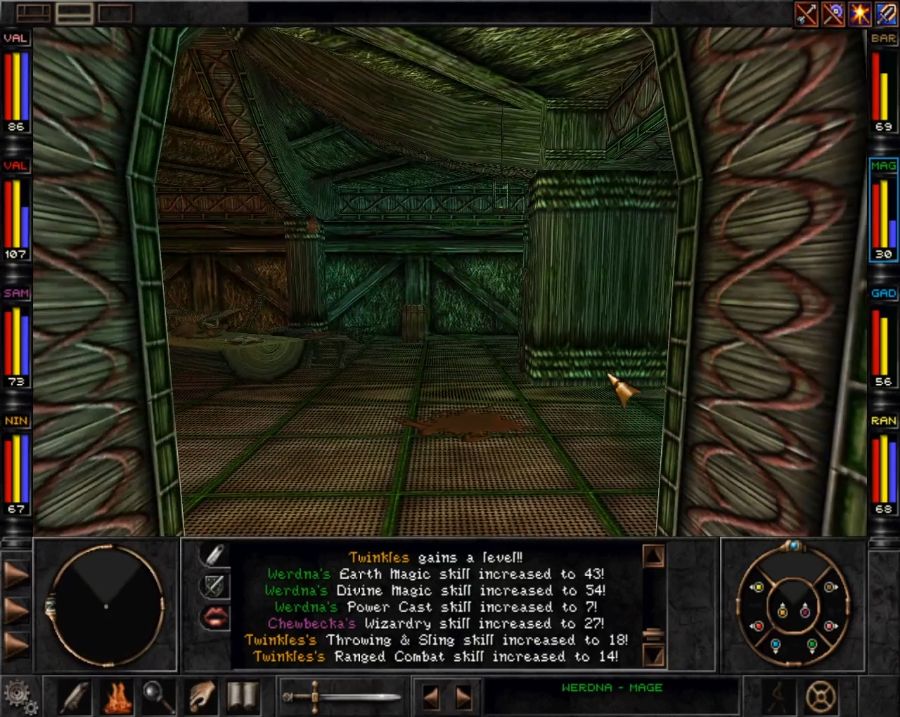 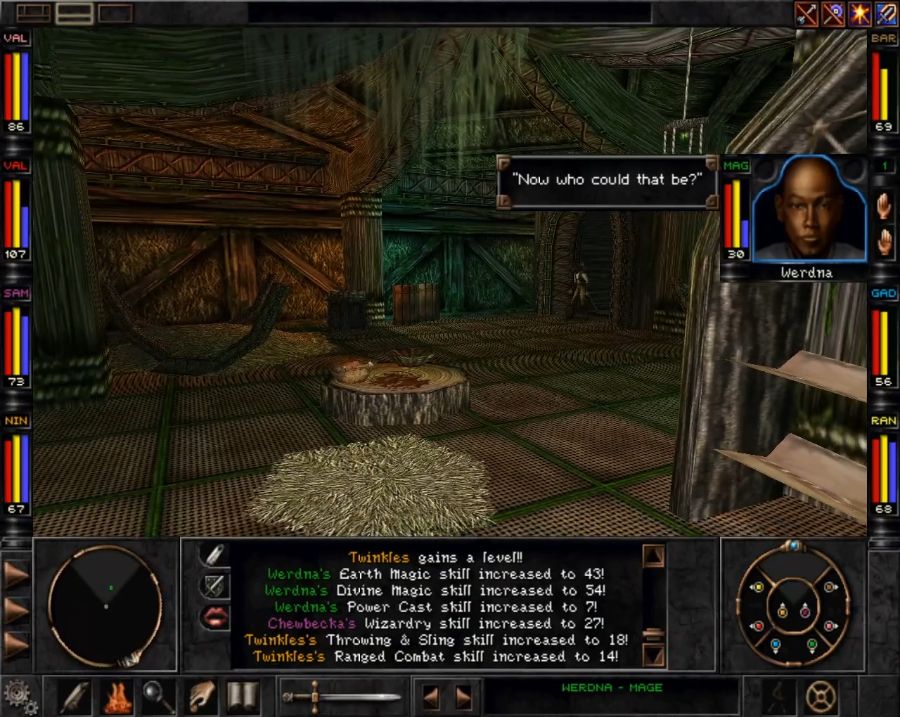 https://www.youtube.com/watch?v=yYt8rsrUw04 Milo is not an effective door guard. 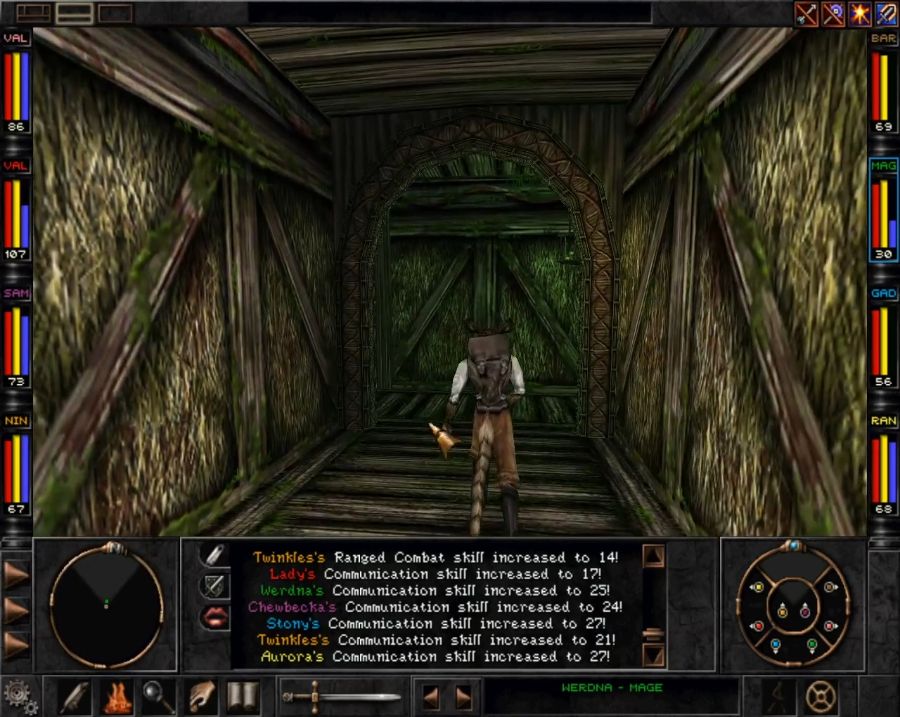 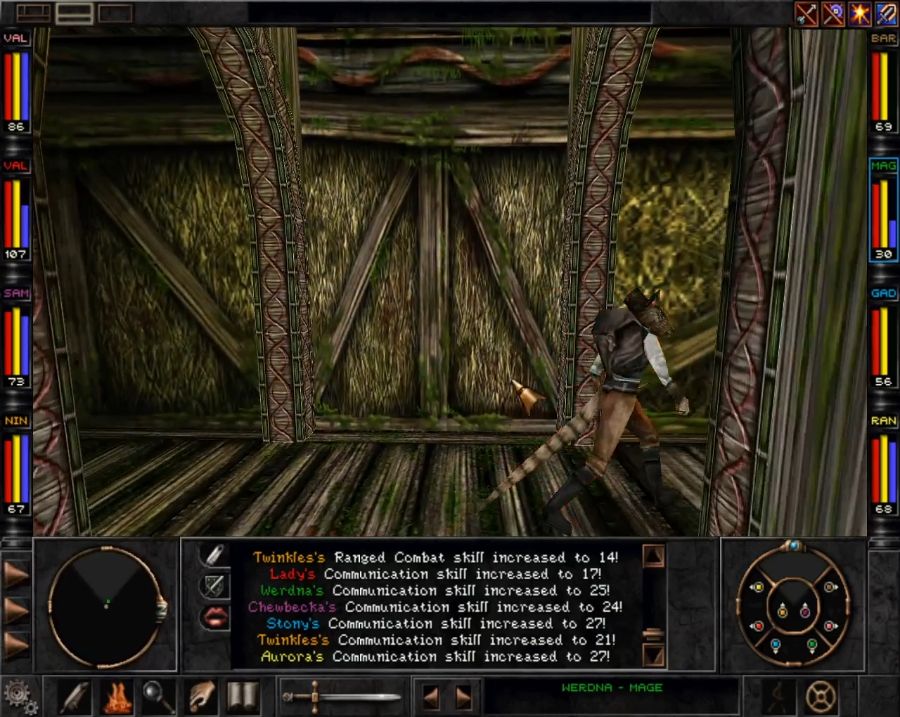 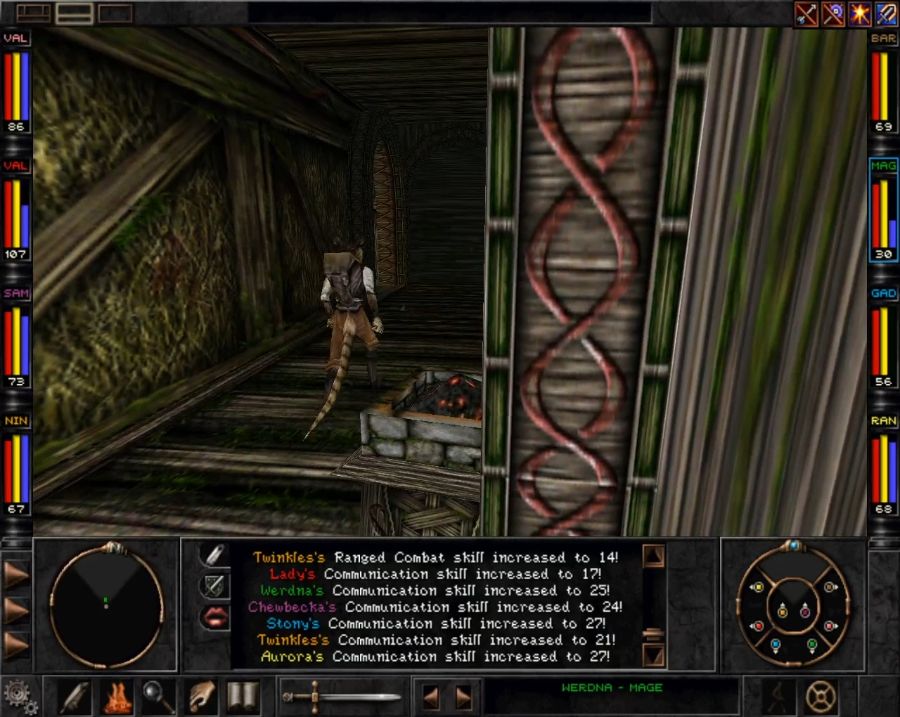 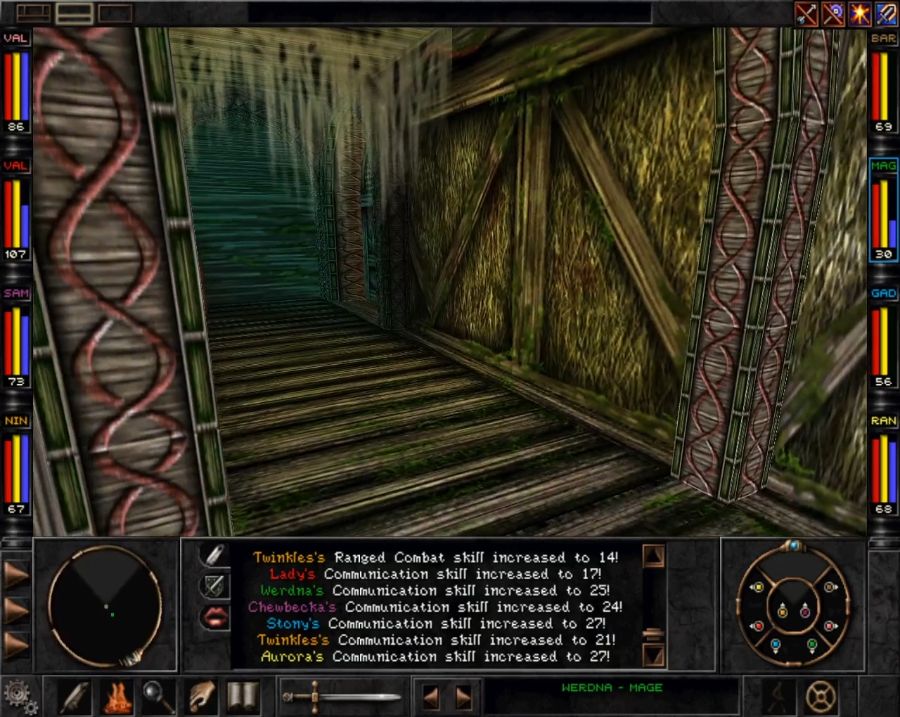 He also doesn't care if you don't follow him and instead go rifle through the Rattkin treasury instead. 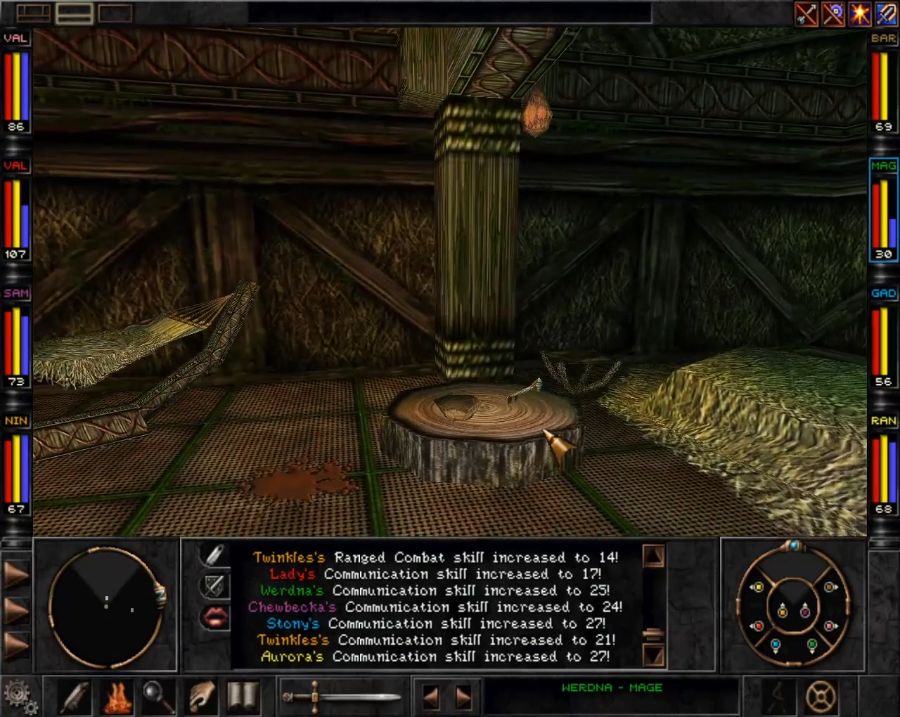 It contains a key and a few minor gear upgrades, mostly a new cloak and some new rings for boosting the characters that still have empty misc. slots. Then we turn around and actually follow Milo. 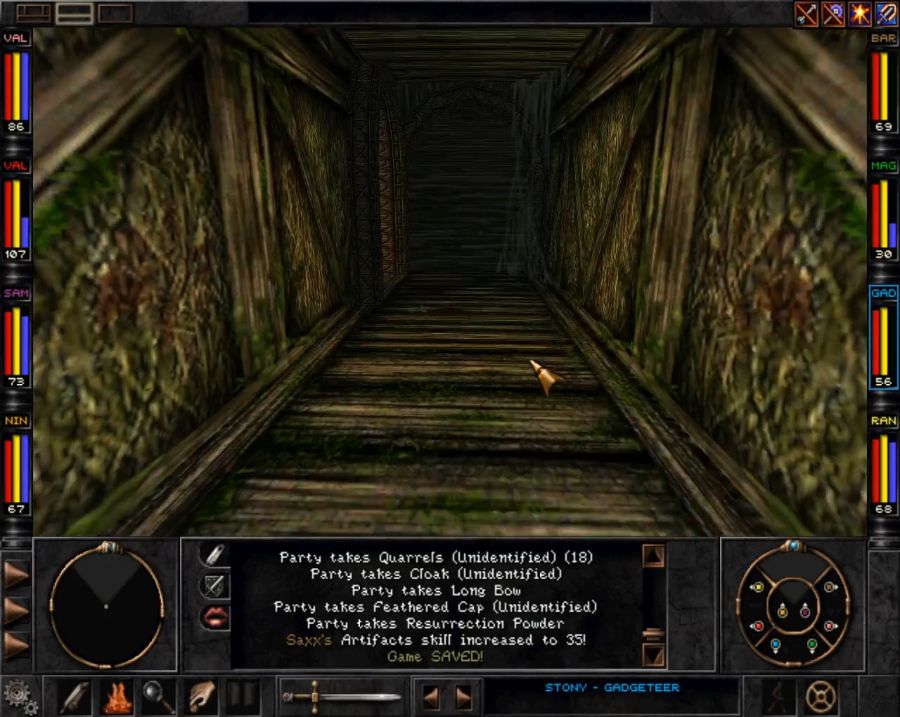 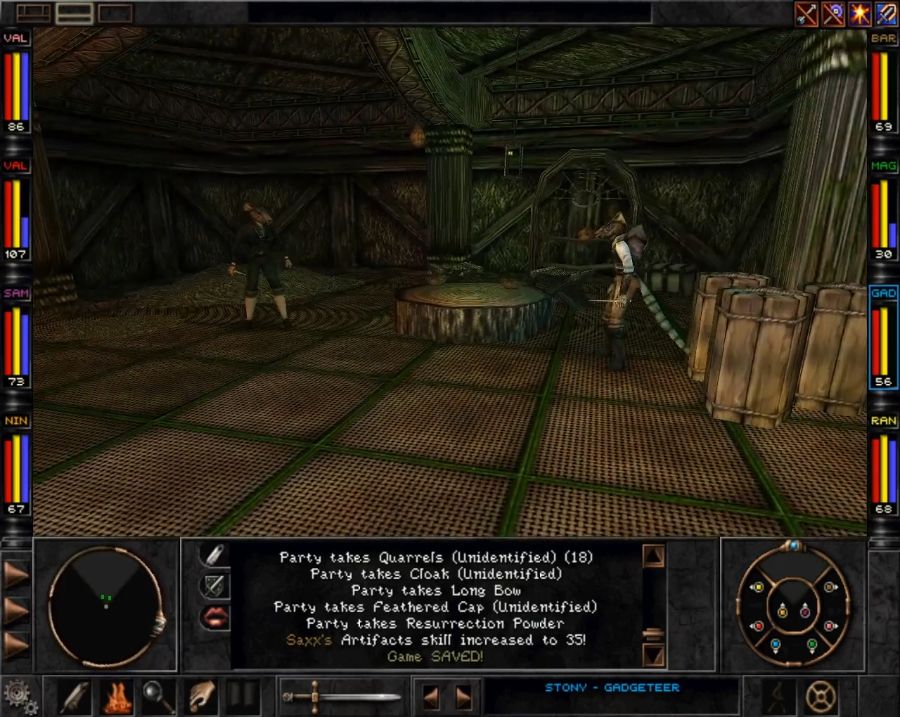 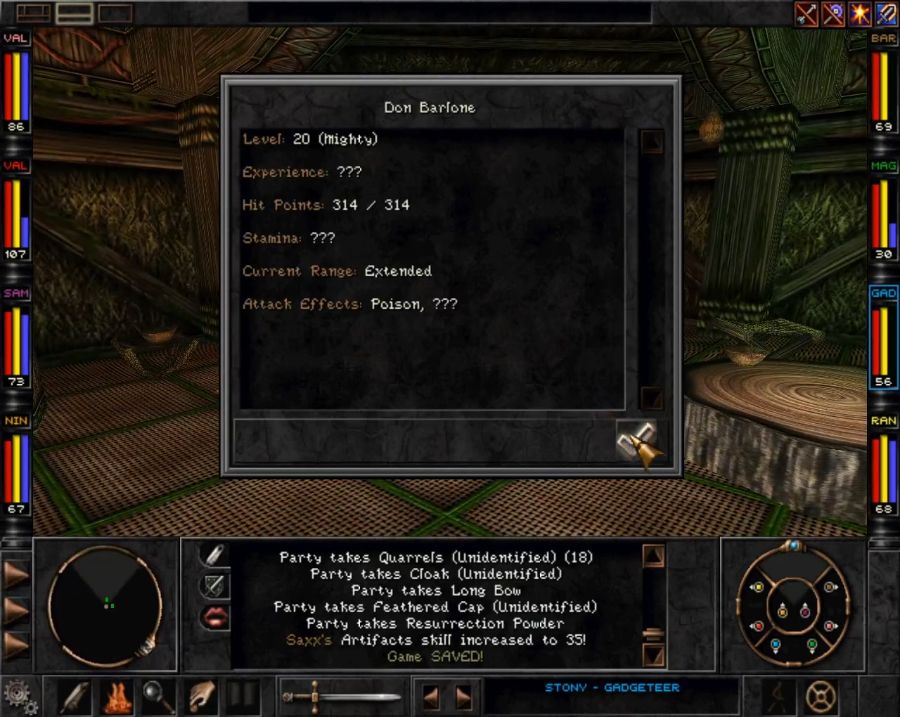 Probably we should listen to what this guy has to say. https://www.youtube.com/watch?v=wOQwPLb71sQ So it turns out the Dark Savant screwed over the mafia. I wonder who'll win in a fight of Darth Vader vs a bunch of literal criminal vermin. 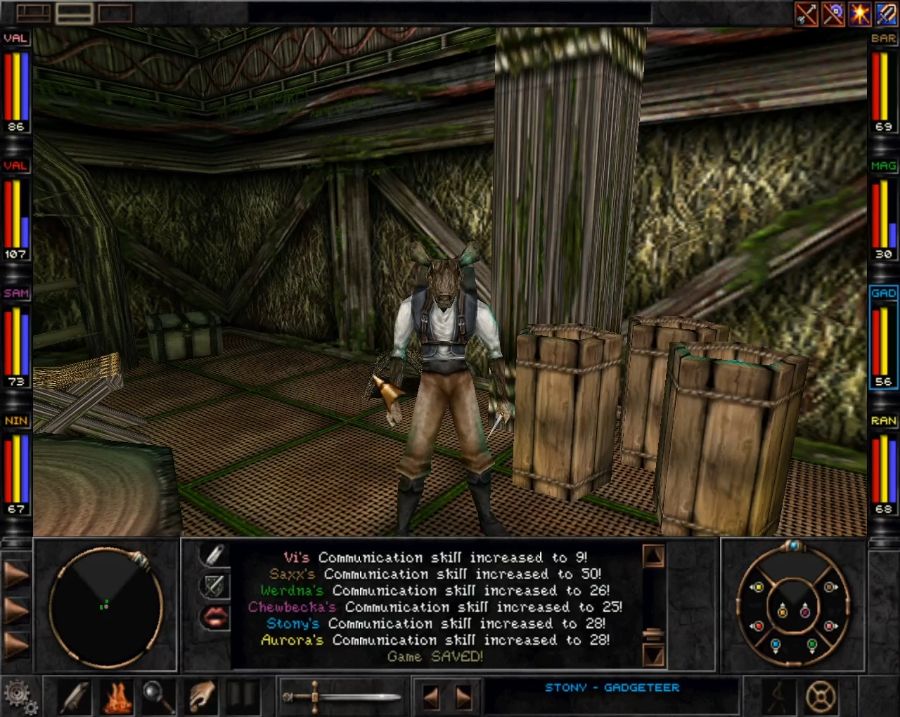 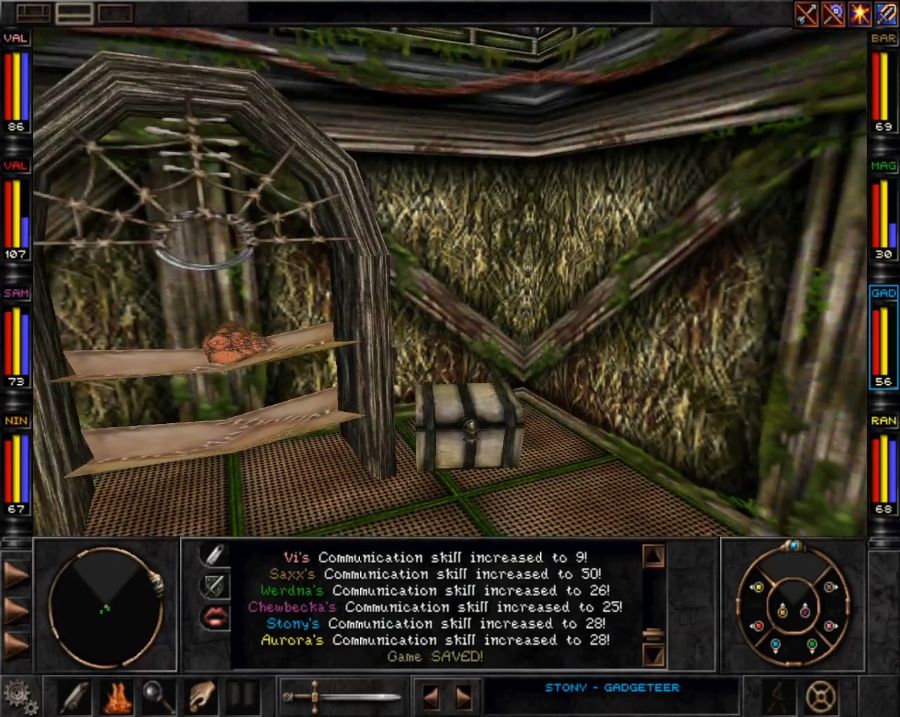 While I ponder this, I try to break open the chest in the corner behind Milo and roll some of the worst traps possible, including...  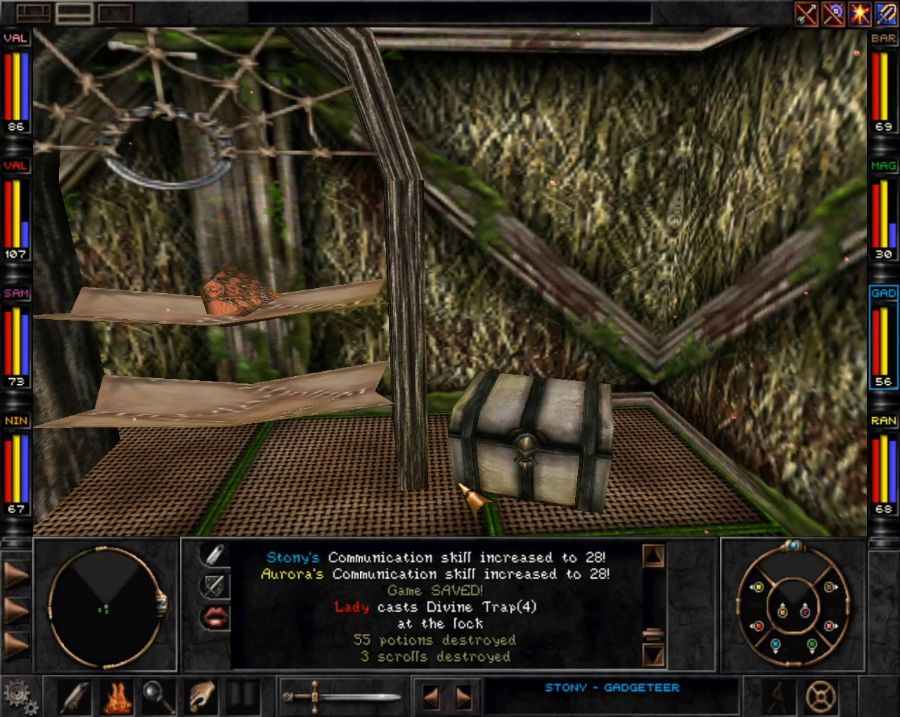 It actually deletes poo poo out of your inventory! Now that's a scary trap. And then to make matters worse the contents are garbage. 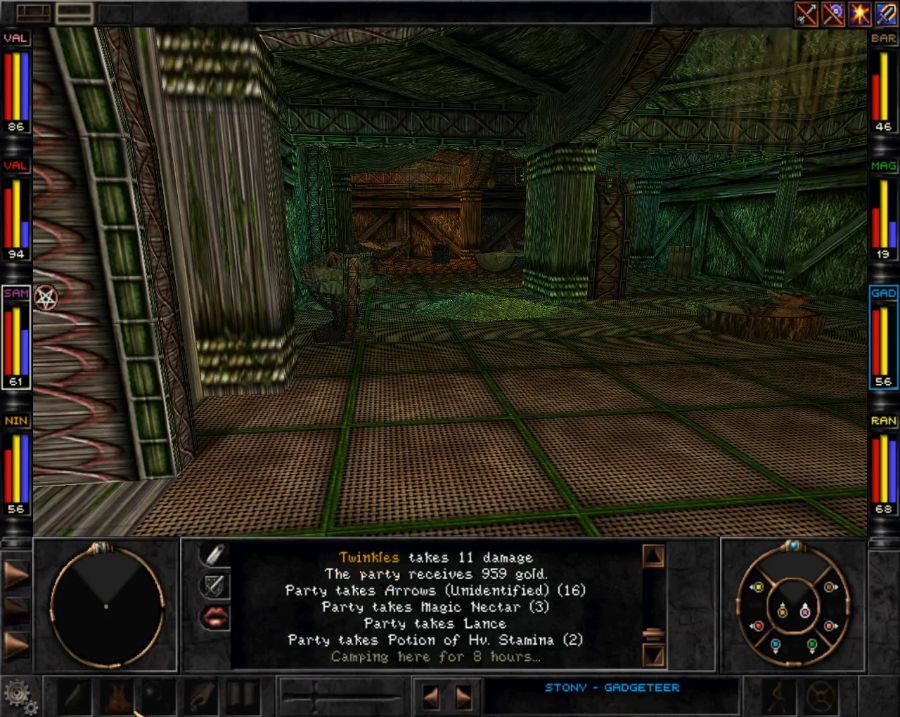 CHOICES Rattus Rattus Do we do the job he so politely requested next time we're in Arnika? The Rattkin Do we destroy them like Madras and Chief Gari requested? Do we hold off and destroy them later when they've gotten the Astral Dominae for us? Or do we choose to spare them and instead let them take over Trynton as their new home? Keep in mind, Don Barleone is the only, and 100% guaranteed, drop of the special weapon only usable by Faerie Ninjas, the CANE OF CORPUS. Next Update Either way, the next update will take us into the swamps and T'rang territory. 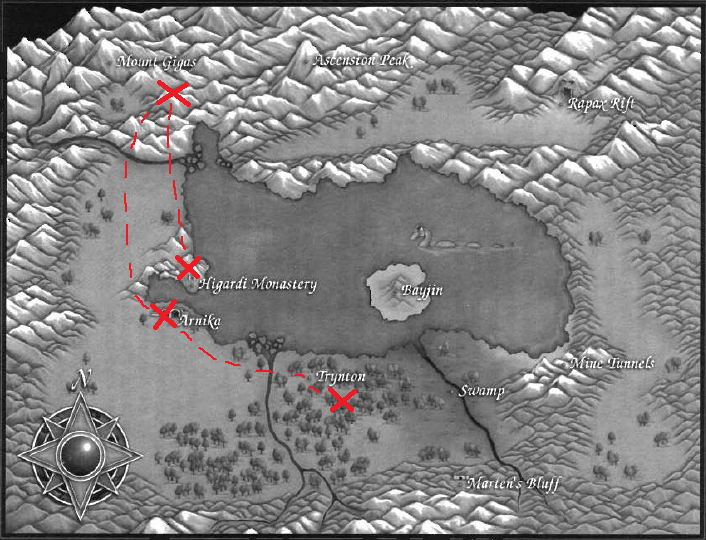 From the Swamp we can go north to Bayjin, which we know nothing about. Northeast to the Mine Tunnels, which we also know nothing about. Or east to Marten's Bluff, where we know the T'rang have set up shop.
|
|
#
?
Aug 12, 2020 23:57
|
|
|
Holy poo poo that was an update. Quick notes: Berserk also costs more stamina than regular attacks. It's really noticeable with Lightning Strikes because you'll lose like a third of your stamina per. Demonsting deals double damage to demons, not +10%. Banishing the graveyard ghost does turn off the spawn point in the graveyard. Baron Englund is a reference to Lord British aka Richard Garriott, the guy who made Ultima. The Rattkin Mob (ie the Don) isn't the same faction as the Common Rattkin (ie the Rattkin Breeders), so you can't gently caress yourself out of them stealing the Astral Dominae for you.
|
|
#
?
Aug 13, 2020 00:46
|
|
|
I say go ahead and try to kill Don Barlone now if you can. Note that it is impossible to gently caress up the Astral Dominae quest, so no worries there.
|
|
#
?
Aug 13, 2020 01:29
|
|

|
Hold off and Mine Tunnels.
|
|
#
?
Aug 13, 2020 01:32
|
|
|
Death to Rattkin they were assholes on Guardia and there's no reason to think they'll be any different here.
|
|
#
?
Aug 13, 2020 03:14
|
|


|
Cythereal posted:Hold off and Mine Tunnels. All of the above. I tried fighting the Don when I got here, and bloody hell, it was bloody hell even with Bloodlust. Turns out there's a reason the Dark Savant hasn't come to get his shiny back from the Rat Mafia, and his name is Don Barlone.
|
|
#
?
Aug 13, 2020 03:43
|
|
|
Zurai posted:Baron Englund is a reference to Lord British aka Richard Garriott, the guy who made Ultima. gently caress me that's a bad one. Hold Off and Go North. I know nothing about the game so I'm interested in what a "Bayjin" is.
|
|
#
?
Aug 13, 2020 05:40
|
|


|
Zurai posted:Demonsting deals double damage to demons, not +10%. Whoops, my bad, got it mixed up with the generic +10% damage that longbows get. Zurai posted:Baron Englund is a reference to Lord British aka Richard Garriott, the guy who made Ultima. loving gets everywhere, doesn't he? Zurai posted:The Rattkin Mob (ie the Don) isn't the same faction as the Common Rattkin (ie the Rattkin Breeders), so you can't gently caress yourself out of them stealing the Astral Dominae for you. Also if you can believe it, I always missed this because I never let any of the Rattkin live since my usual playthrough strat is: "even if it sequence breaks, complete any given area so much when I first arrive, that I will have no reason to return."
|
|
#
?
Aug 13, 2020 08:37
|
|
|
CHOICES Rattus Rattus: Don't do the job The Rattkin: Destroy breeders now if you want, don't kill Don until after he gets us the Astral Dominae Next Update: Go east to Marten's Bluff
|
|
#
?
Aug 13, 2020 08:43
|
|
|
Do not rob the bank overtly when you have already gotten away with doing so secretly four times. DO acquire the Cane of Corpus right this second. The Astral Dominae quest will pan out however, but going much of the game without the only reason to have a Fairy Ninja in the party is something to be avoided. Go to Marten's Bluff and work on resolving the T'rang-Umpani war peacefully.
|
|
#
?
Aug 13, 2020 10:39
|
|

|
Aw, I really want to support the rat mafia, tying it to what is apparently a near-essential weapon drop is mean. I'd still vote for the rats since I like rats more than fairies, even ninja fairies, but clearly the vote is against me here. Don't rob the bank in the main run but clearly we need a bonus video showing how it goes down if you do. I don't really have an opinion about where we go next, I don't know enough about this game.
|
|
#
?
Aug 13, 2020 11:43
|
|


|
I normally never have an issue with killing the Rattkin but Milo's response to being asked about himself made me lol so now I feel slightly bad, even if he is a knee-breaking mafia hitman. Still, the vote seems to be going in favour of vermicide.
|
|
#
?
Aug 13, 2020 11:53
|
|
|
Do the patrols get involved in the fights? Can you use enemies to get rid of guard patrols?
|
|
#
?
Aug 13, 2020 20:14
|
|


|
Xander77 posted:Do the patrols get involved in the fights? Can you use enemies to get rid of guard patrols? Oh God I'm afraid they do any time the fights are outside. The patrols are actually pretty useful and powerful, they just tend to get in the goddamn way all the time. So the beasties usually can't even take out the patrols most of the time.
|
|
#
?
Aug 13, 2020 20:16
|
|
|
Xander77 posted:Do the patrols get involved in the fights? Can you use enemies to get rid of guard patrols? Yes to both, although it makes the fights take a lot longer and generally speaking the patrols are buff enough to handle any enemies they encounter at this level. If you come back to Trynton at a higher level, there may be nastier critters around who can wipe out the patrols. NPCs won't fight enemies unless you're present, though, and enemies usually focus on the player party if they can. EDIT: Oh, a really cool flavor touch in Trynton. If you pay attention to the area outside the bounds of where you can walk, you will sometimes see GIGANTIC bats flying around (like, King Kong-sized bats). They will never aggro on you because there are invisible walls preventing them from reaching you, and either of you from attacking the other, so they exist purely so you can see one and go "Oh poo poo I hope I never have to fight that!" Zurai fucked around with this message at 20:21 on Aug 13, 2020 |
|
#
?
Aug 13, 2020 20:17
|
|
|
Zurai posted:EDIT: Oh, a really cool flavor touch in Trynton. If you pay attention to the area outside the bounds of where you can walk, you will sometimes see GIGANTIC bats flying around (like, King Kong-sized bats). They will never aggro on you because there are invisible walls preventing them from reaching you, and either of you from attacking the other, so they exist purely so you can see one and go "Oh poo poo I hope I never have to fight that!" Ah, see, funny thing about that. You can ABSOLUTELY fight them. Usually it doesn't happen on your first visit, but on your second visit one of them will almost always approach close enough to get into a fight with you, and you actually want that, since they drop a crafting bit that Antone's brother will later want.
|
|
#
?
Aug 13, 2020 20:29
|
|
|
PurpleXVI posted:Ah, see, funny thing about that. You can ABSOLUTELY fight them. Wait what? I have never, ever seen one of those close enough to even make out more than their silhouette through the fog. And they're certainly not the intended source of vampire bat wings; you can get all the vampire bats you want to fight inside Mt. Gigas.
|
|
#
?
Aug 13, 2020 20:32
|
|
|
There's apparently a single spot where you can aggro it along the rope bridges near where you're meant to bring Marten's Idol, according to the internet, which would track with me always fighting them on the second visit as I head over there with the idol.
|
|
#
?
Aug 13, 2020 20:43
|
|
|
PurpleXVI posted:Oh God I'm afraid they do any time the fights are outside. The patrols are actually pretty useful and powerful, they just tend to get in the goddamn way all the time. So the beasties usually can't even take out the patrols most of the time. Also, there are a couple spots where they are absolutely capable of shoving you over the side of the walkways to your death on the forest floor below.
|
|
#
?
Aug 13, 2020 20:52
|
|
|
Those fairies got me multiple TPKs the first time I visited Trynton. I would just start preparing multiple damage spells to delete them, then every single one used that Eye for an Eye nonsense, followed by multiple Crush-spells to take out the 1-3 survivors. Or they'd just pelt us with multiple AOE-spells, blinding us and then wiping us out. The funniest fight was against a group of 6 which managed to not only blind all of us in the first turn, my Alchemist fumbled her spell and backfired it across the group, killing two of us outright. Then the next two turns those little monsters would just use Crush over and over, killing everyone faster than I could revive them. Later when I reached that silent area where you can get to the 7th Bough, the game was nice enough to spawn 18 sprites inside. I laughed like a maniac and ran inside, to beat them all up with weapons. They still did a lot of damage just with their tiny kicks and punches, but eventually I massacred them all. (Later I remembered to use the same area against some of the other annoying spellcaster-enemies in Trynton.) Fun fact: Thanks to being goddamn dumb, I managed to drink three of the mystery potions until I finally understood how this was supposed to work. Then I had to march all the way back down to buy another one, since I had used up all of my spares.
|
|
#
?
Aug 15, 2020 19:34
|
|

|
This is about as far as I got before bouncing off wizardry 8
|
|
|
#
?
Aug 18, 2020 19:52
|
|


|
Trynton and (lategame area) the Rapax Rift/Castle are the two most likely places for people to bounce once they get past the initial hurdles. They're both long, long sections.
|
|
#
?
Aug 18, 2020 19:55
|
|
|
And filled with bullshit. You can easily get to Trynton very early in the game because that's where the plot seems to point, and those pixies will wreck your poo poo.
|
|
#
?
Aug 18, 2020 20:05
|
|
|
Trynton's got some obtuse puzzles including a bit of pixel hunting, murderous spellcasters, obnoxious friendlies in your way, hostile geometry, and it's a looooong trip that you can't easily back out of to go do something else (unless you have a valkyrie and a lot of resurrection powders.) It didn't make me give up on the game the first time I got there, but it did get me to restart with a better party to go do something else.
|
|
#
?
Aug 18, 2020 20:16
|
|
|
Ah yes, the Bloodlust Sword. Probably the only cursed item I've seriously ever consider using since I don't like cursed items in general, what with the whole unable to be unequipped thing and all. But Bloodlust is definitely worth the drawback. It's s a great early game option for Samurai since they're better off using their Mage spells for ranged combat anyway. It's also an amazing weapon for a Rogue since the auto-berserk stacks with the Rogue's backstab ability, and pairs nicely with some of cursed daggers such as the Poison dagger or the Theif's Dagger.
|
|
#
?
Aug 18, 2020 20:45
|
|

|
Part 006: The T'rang(and other new friends)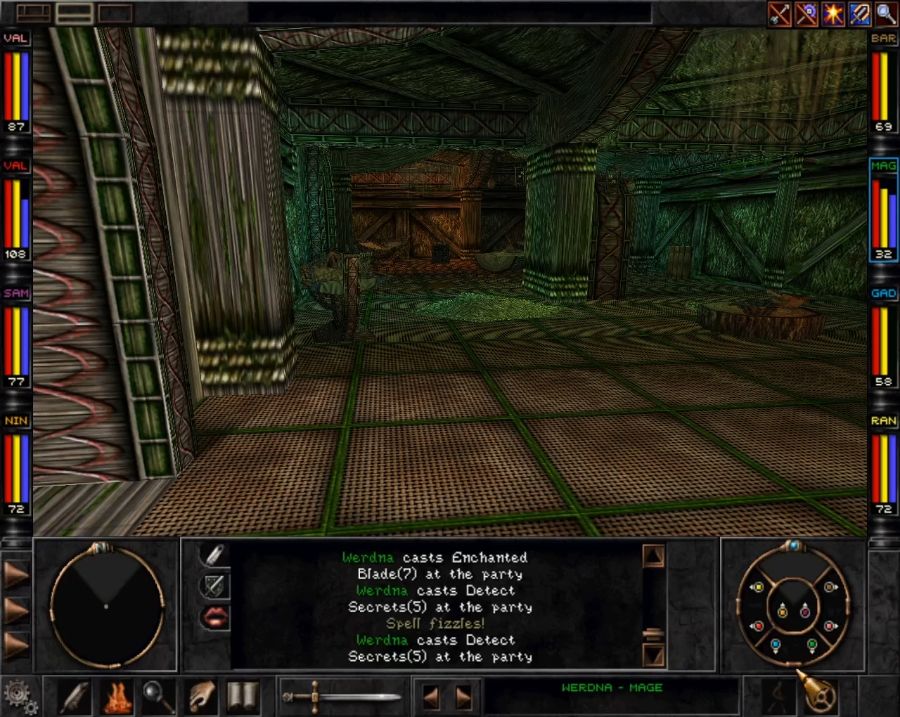 We resume outside the Don's office. The general vote seems to be to at least let the Rattkin live for now, so we can get the final chunk of their dialogue, and then beat them up on the return visit when they (hopefully) furnish us with the Astral Dominae just to spite the Dark Savant. However, some nice folks did remind me that we can go chunk their Rattkin Breeders without pissing off the Don, so let's get that sorted. 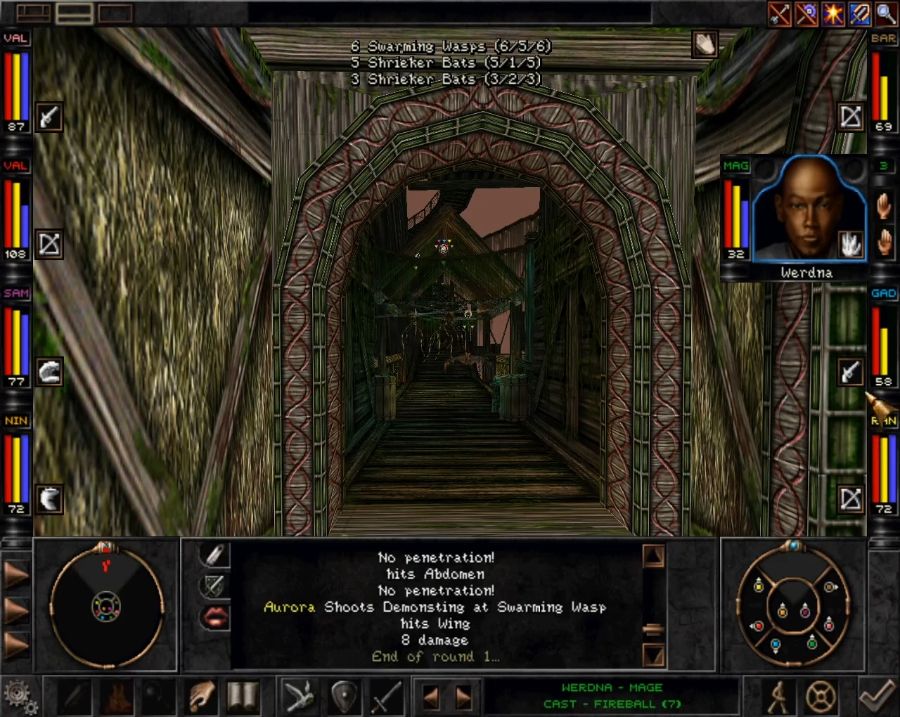 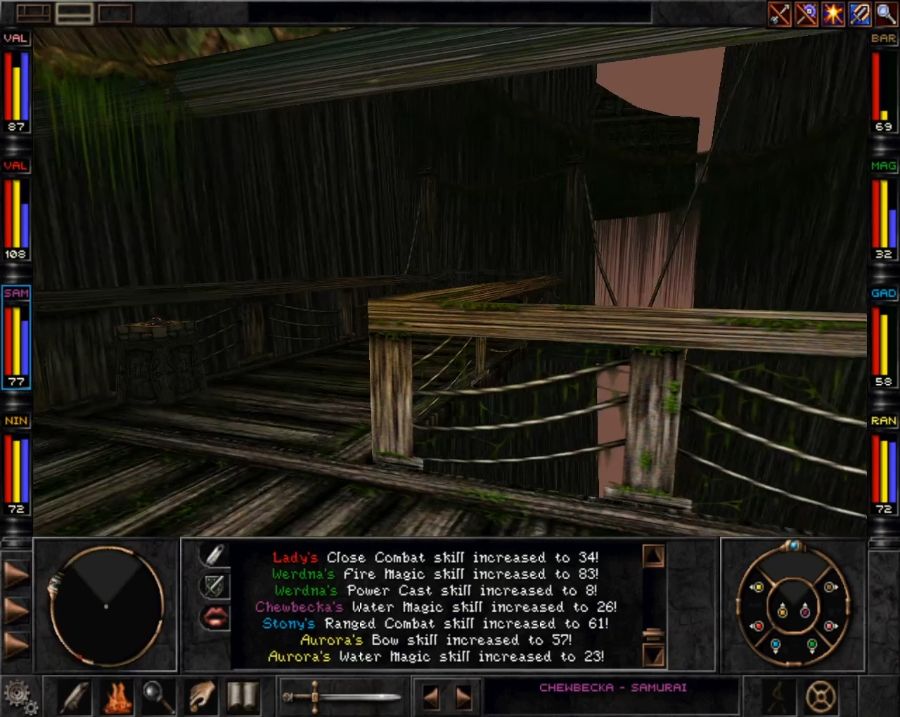 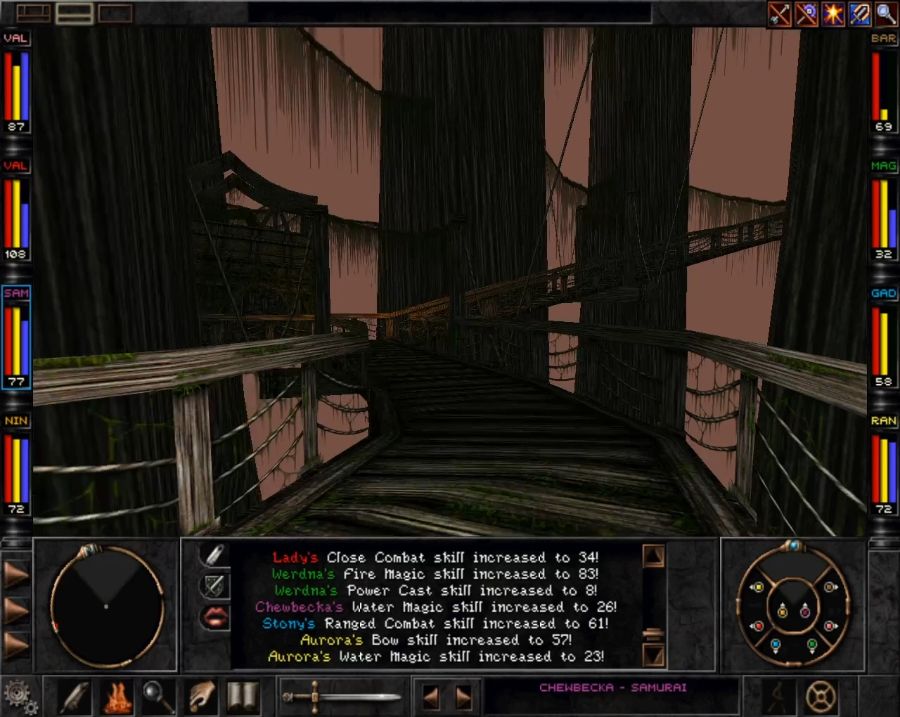 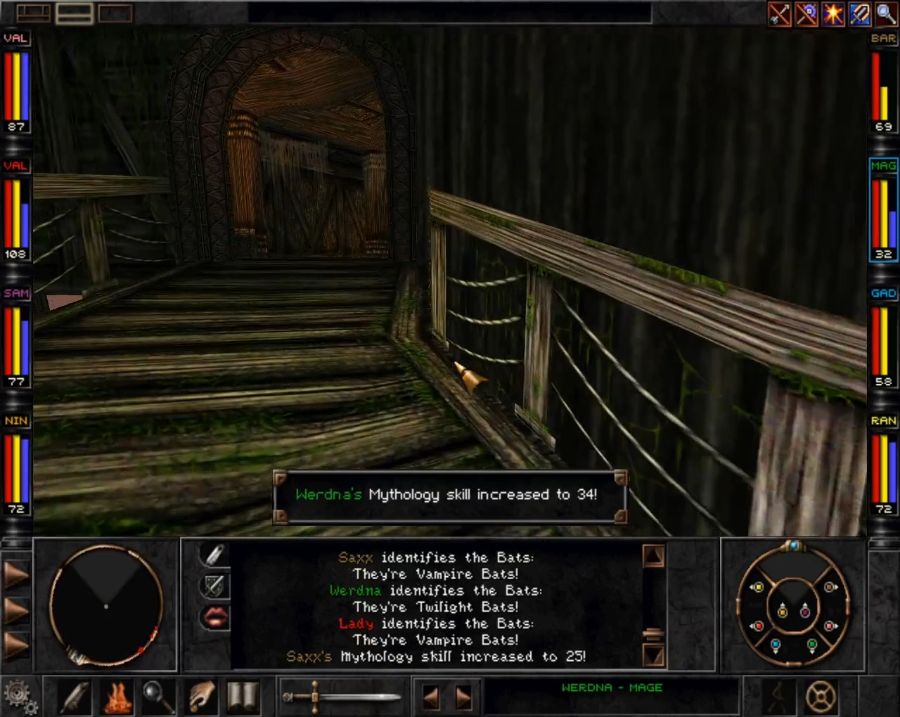 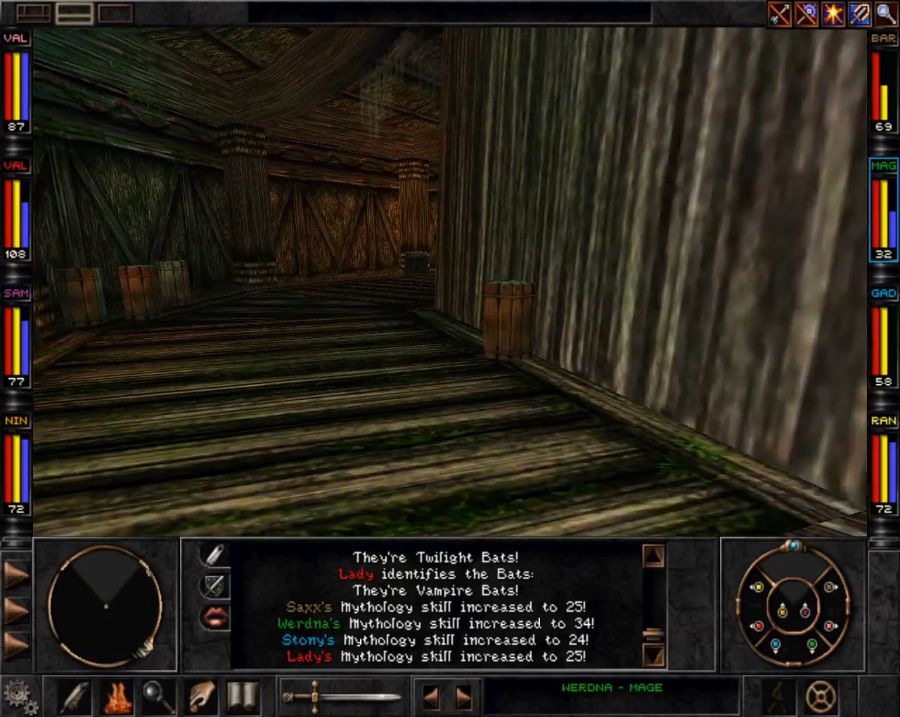 Not picture: Me having to fend off like 500 giant bats and wasps because something is up with the spawn rates in the Rattkin Tree, and even resting inside a building they tend to come for your rear end. It feels like they've got the same spawn numbers as all of Trynton compressed into an area that's a quarter of the size so you can't take a leak without tripping over a plant that wants to eat your brain. On the bright side, the narrow environs meant that most of them were resolved with mass applications of Fireball and Saxx's Siren Wail making them all go insane and start stinging each other. 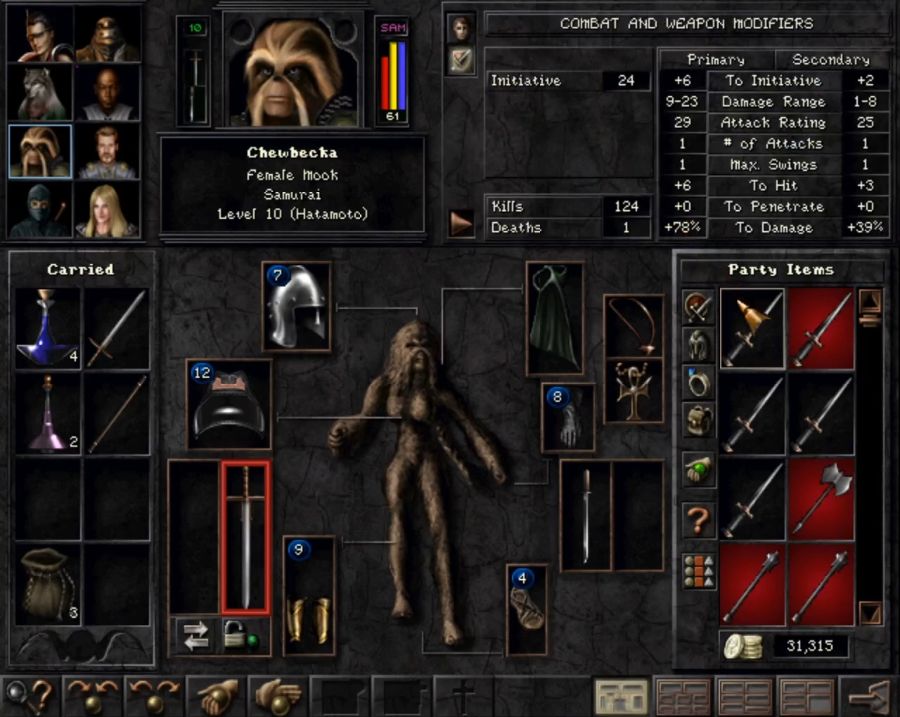 Around this point I also get the smart idea of upgrading Chewbecka's Wakizashi to the Poison Dagger I stole from the Rattkin. 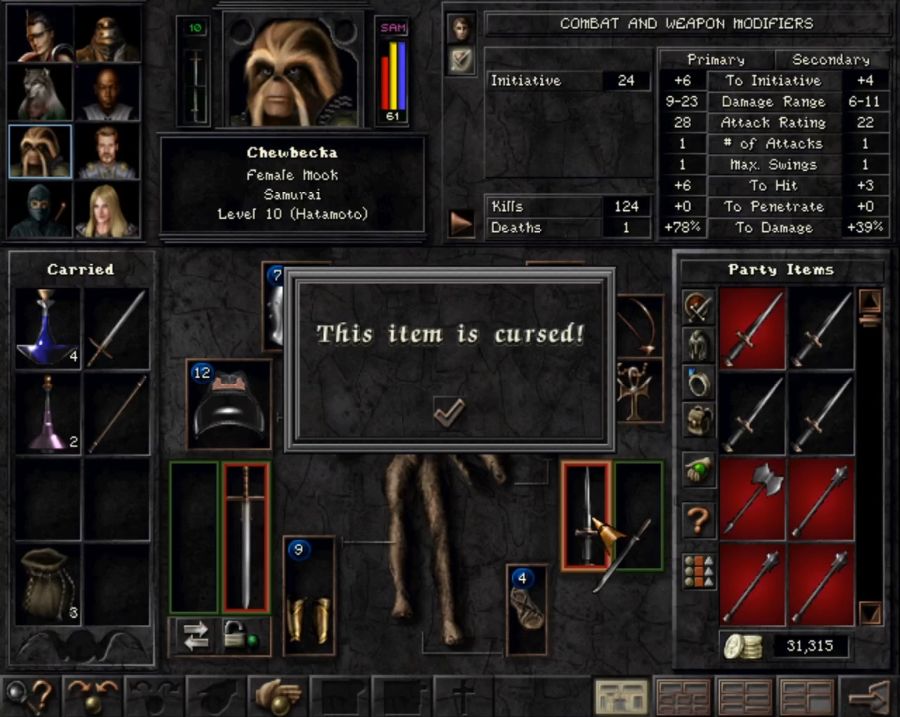 It is an upgrade(check the stat change in the upper right between the screenshots), but now she's got a cursed weapon in each hand. Better hope I learn Remove Curse before I find an upgrade for her, though I suspect it likely that I will never upgrade her away from the Bloodlust Sword, at least not for several more updates. 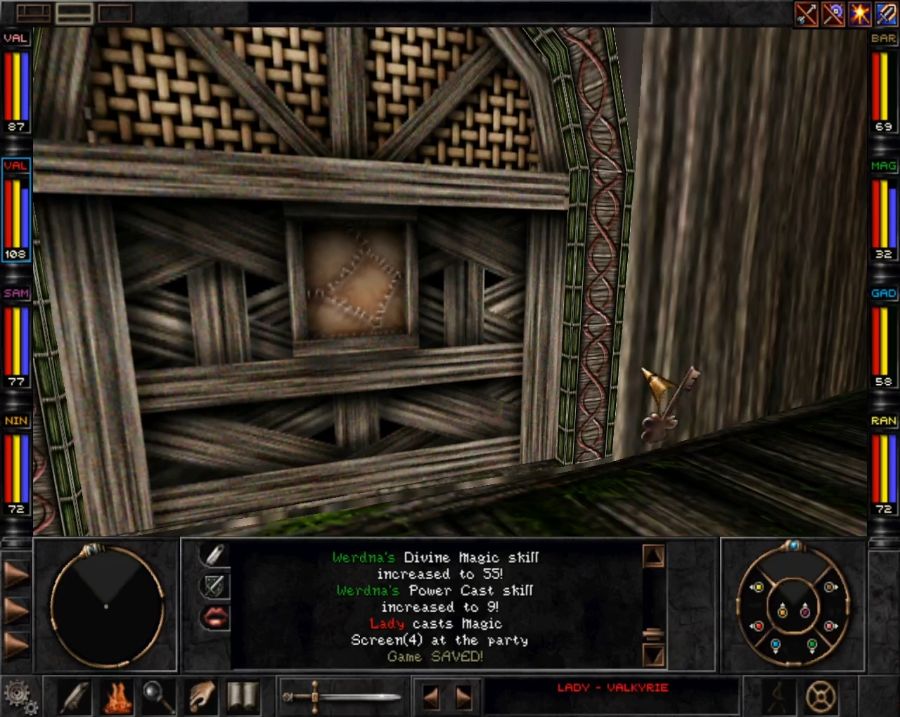 [about five random battles later] Let's open this door and see what these Rattkin Breeders are all about. 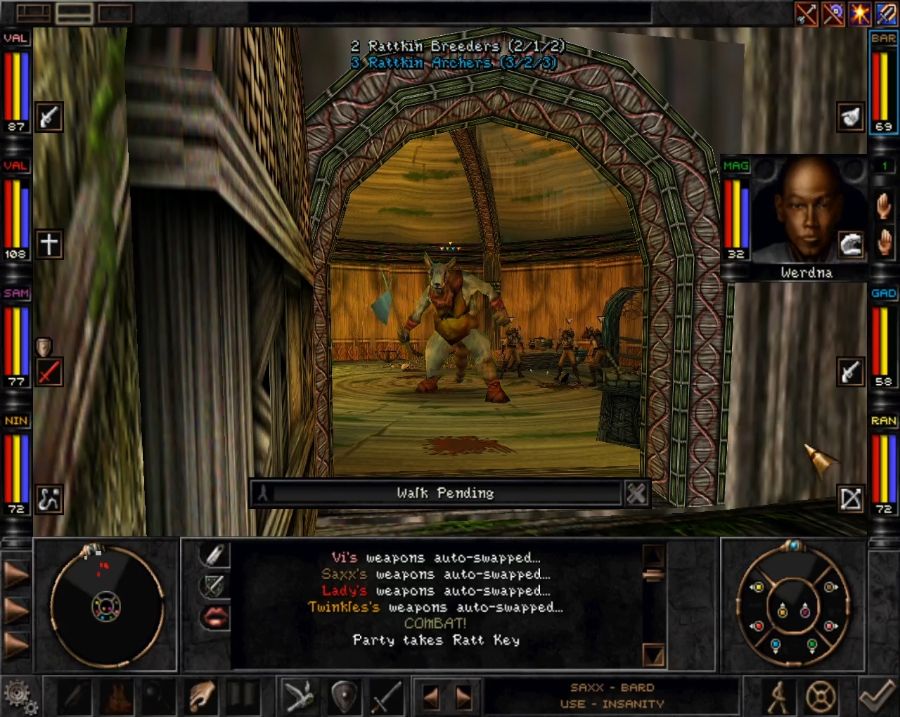 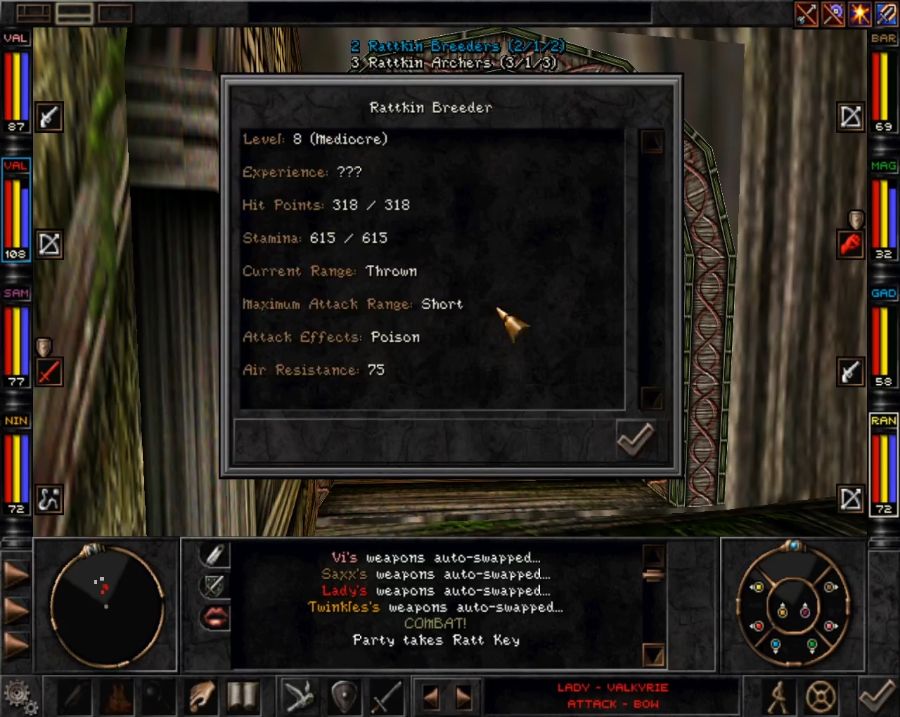 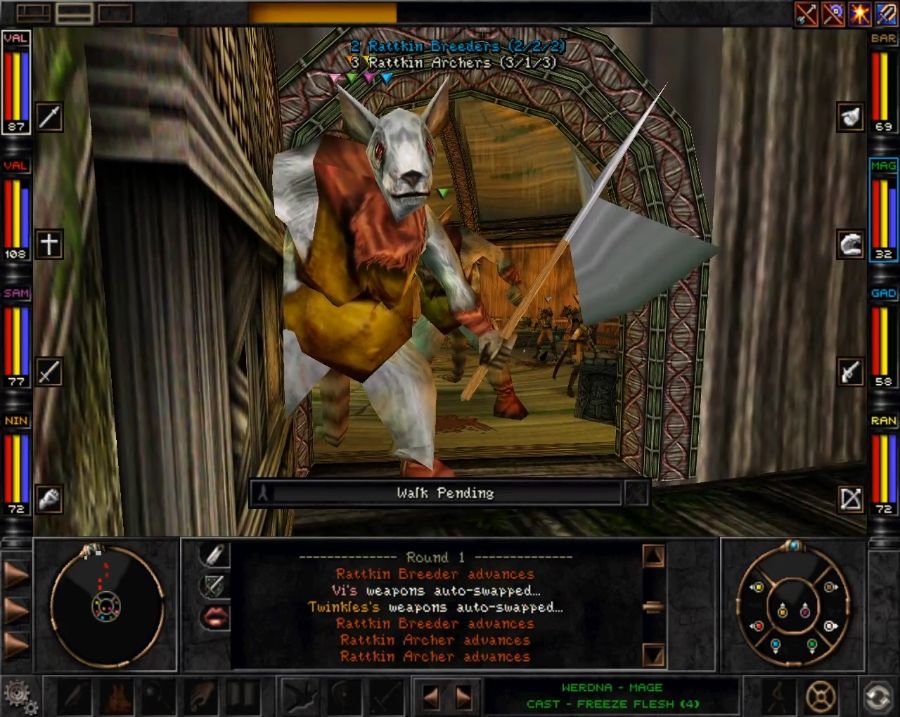 Hm. Well that could be trouble. Oddly enough, there are less archers present than usual. I could swear every other time I've done this encounter, there have been two squads of them in there. 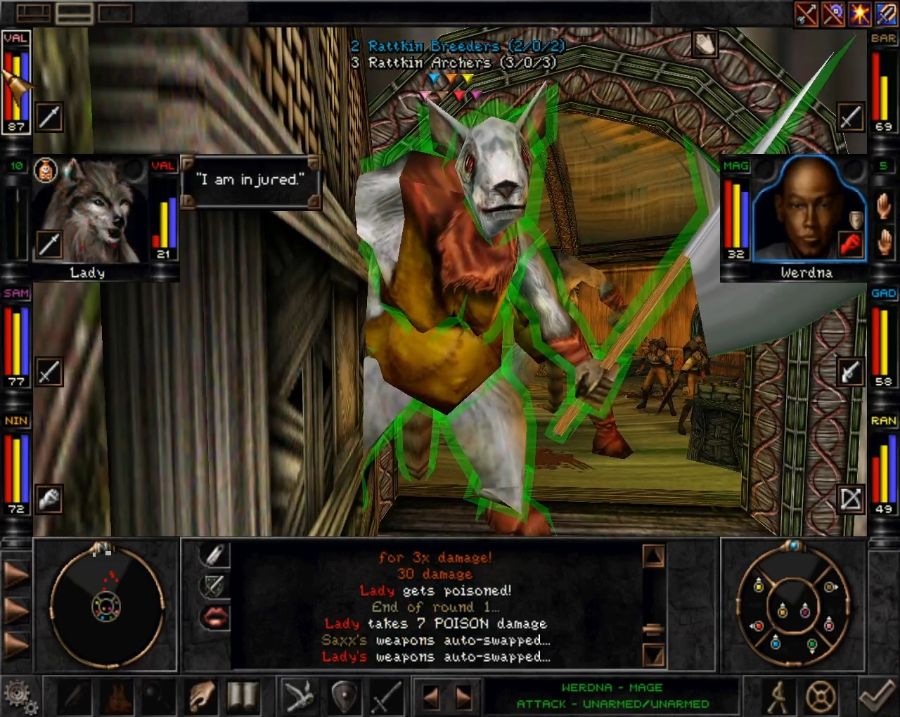 Bad news: they shrug off all my save-or-suck spells and almost-kill a PC and a half in one round. I can heal them back to functionality, but the breeders get at least one attack before Aurora or Lady can get in a heal, so it's very much down to whether they choose to focus on the same character or not. Thankfully, while enemies will often focus on the same character in a given round, they'll usually forget who they were focusing on between rounds. Usually. 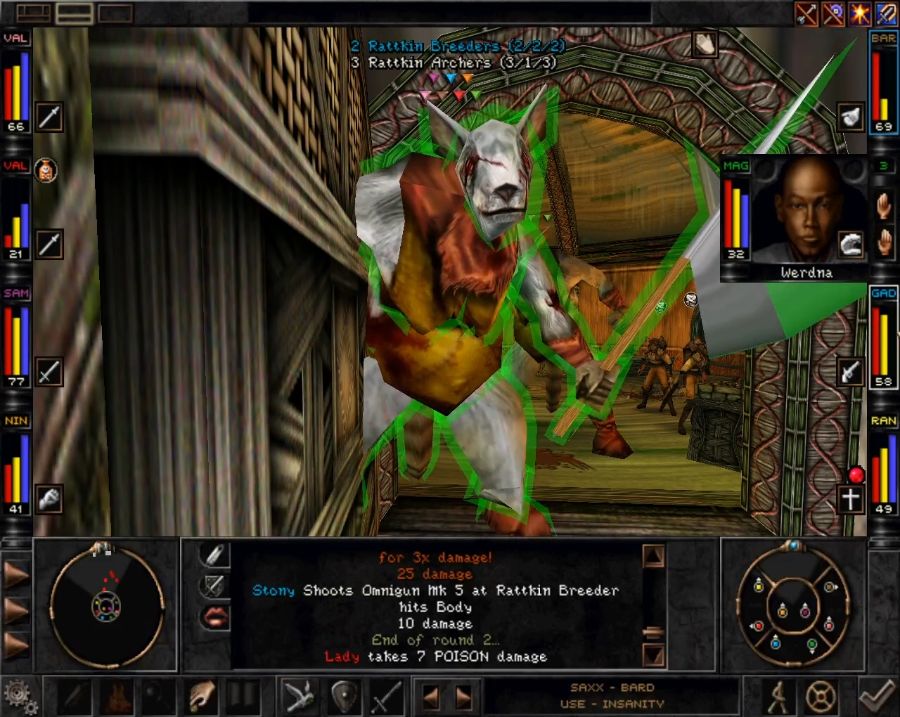 I manage to heal Lady up... just in time for her to eat the almost exact same amount of damage again. 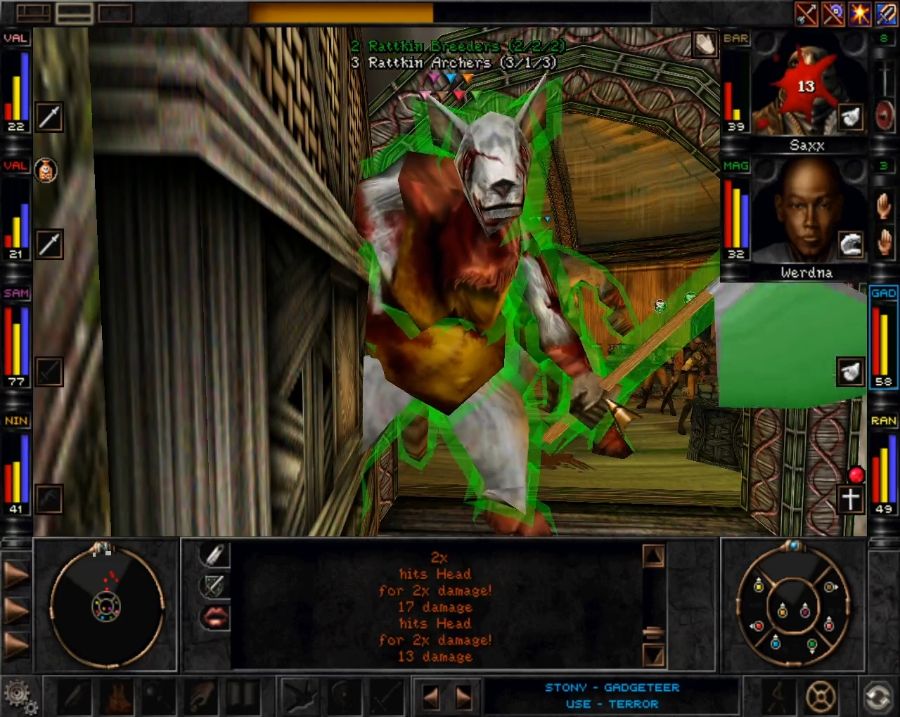 They spread the damage around, but I'm slowly wearing down the first breeder and it's thankfully large enough to block the doorway so the second breeder and the archers can't join in. 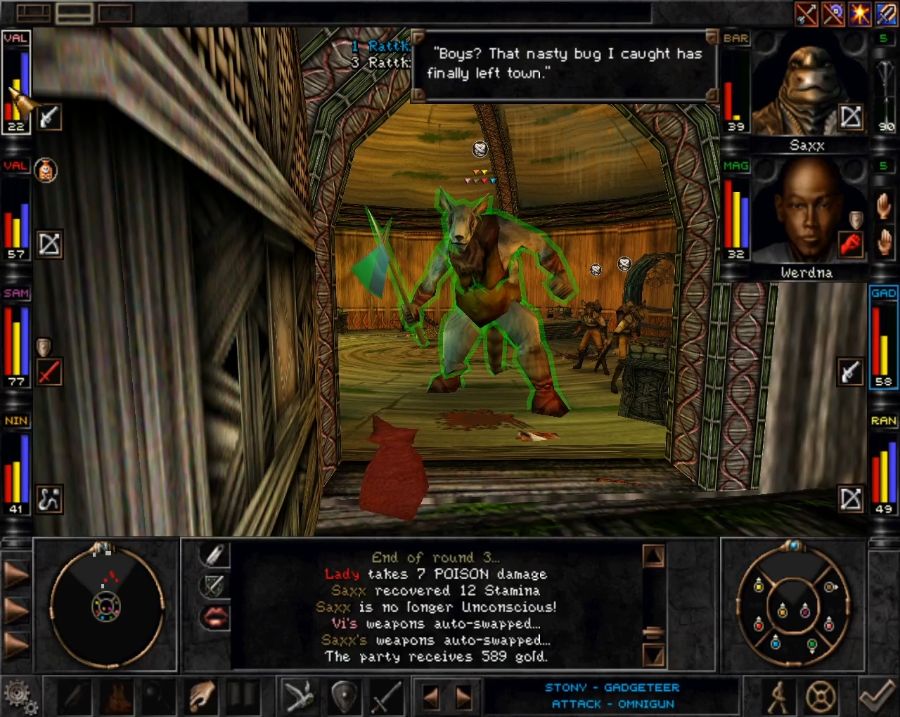 Just as the first Breeder goes down, Saxx also gets lucky and manages to turn both the Breeder AND all the archers insane. 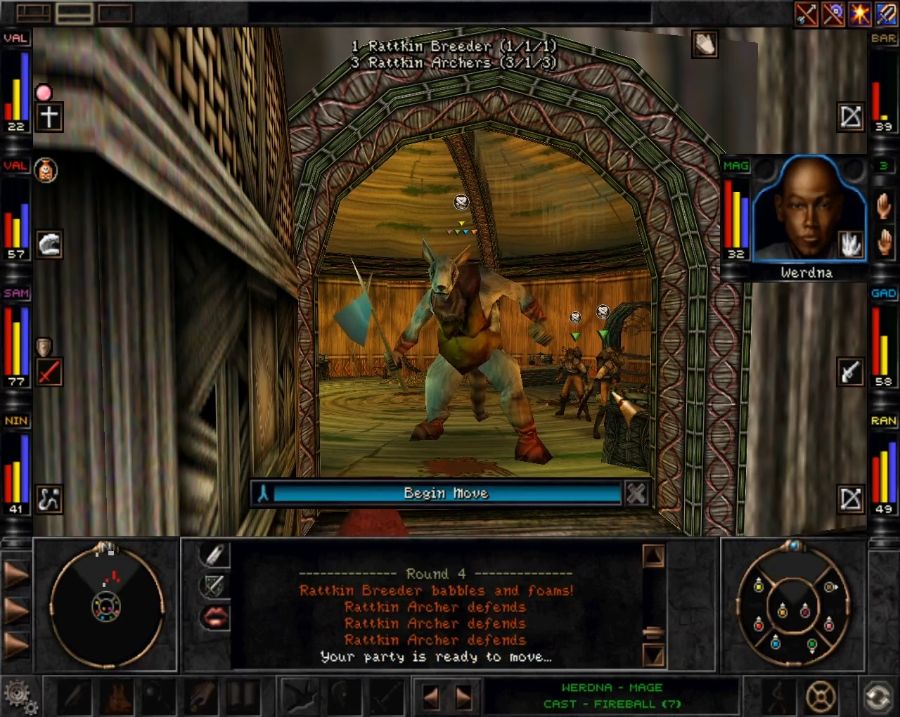 And the RNG is merciful. The remaining rounds, the Breeder "babbles and foams" rather than attacking anyone, and all the archers just infight. 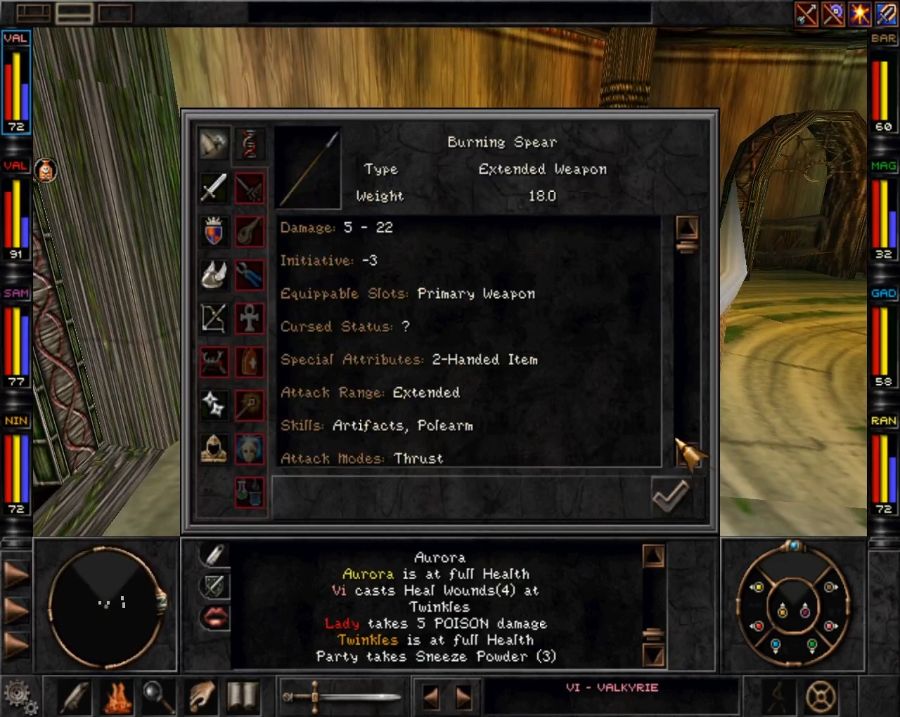 Once the fight is over, the main reward, aside from the XP and skill-ups, is that the Breeders drop spear upgrades for both Vi and Lady. The Burning Spears are a modest upgrade in terms of power/hitting ability, but come with a respectable +15 Polearm skill which helps them punch above their weight and would also make them good weapons for helping someone transition into the polearm skill, perhaps after a Valkyrie class change or something similar. Anyway, time to get the hell out of this bug-covered hellhole. Once again I'm cutting out like three or four fights on the 20-meter walk to the elevator down. 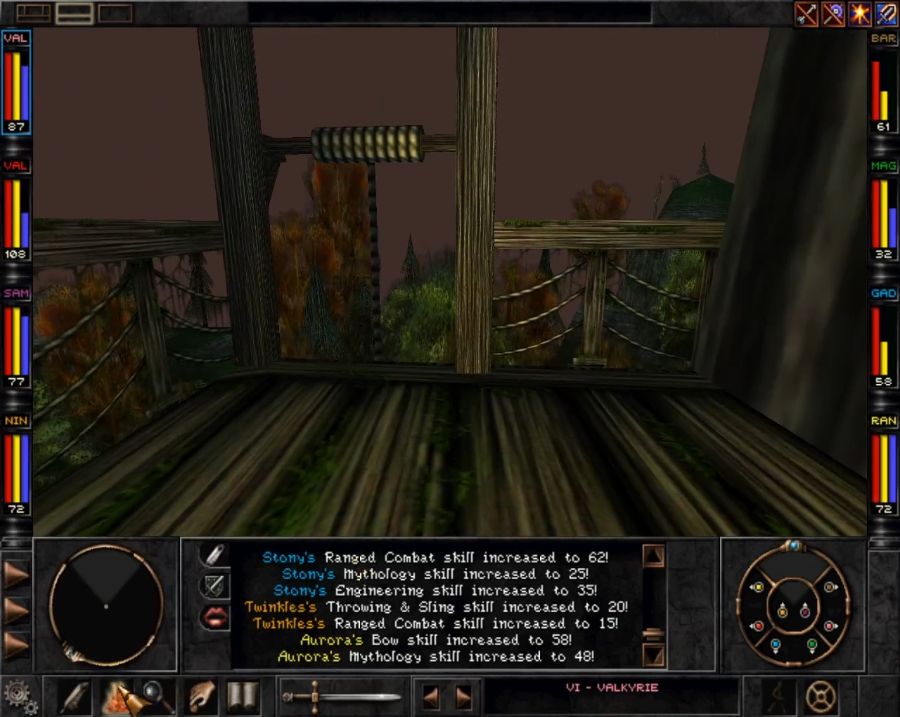 At least I don't have to go all the way back through Trynton for this. Wizardry 8 is generally good about leaving long, linear areas with "shortcuts" at the end to help you transition back out. 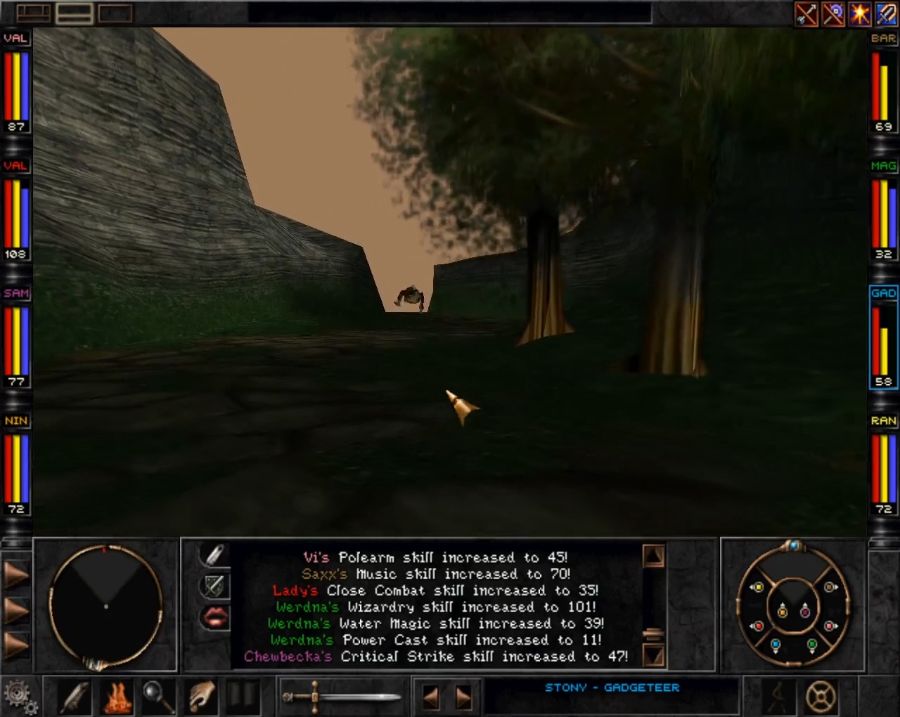 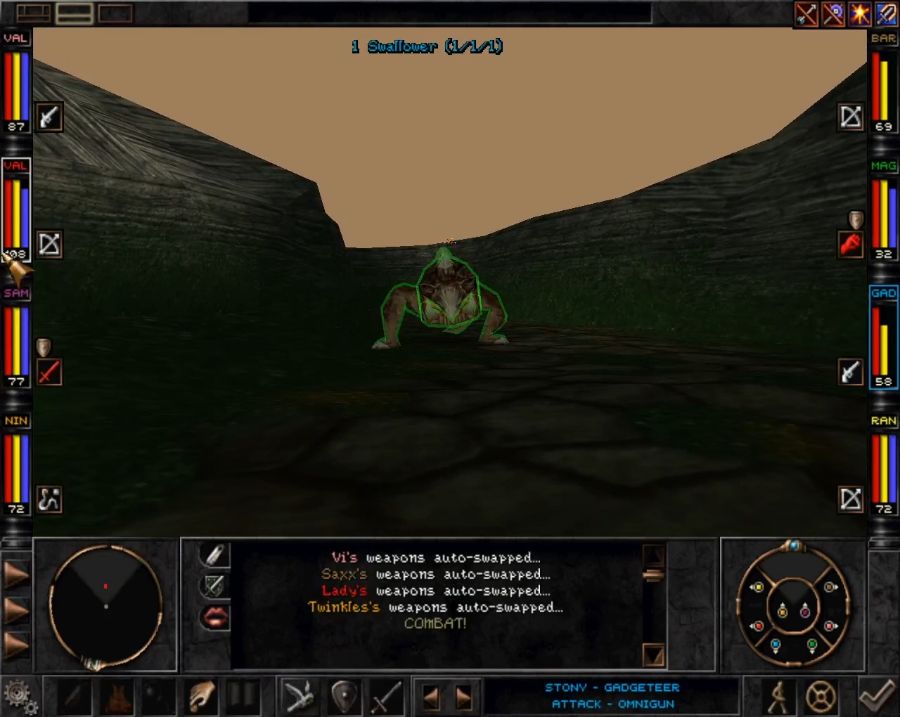 A pre-placed Swallower guards the transition between Trynton and the Swamp. It's a trivial challenge at this point, I had kind of hoped it would manage to Swallow someone so I could show it off, but it doesn't even manage that before getting reduced to chunky salsa.  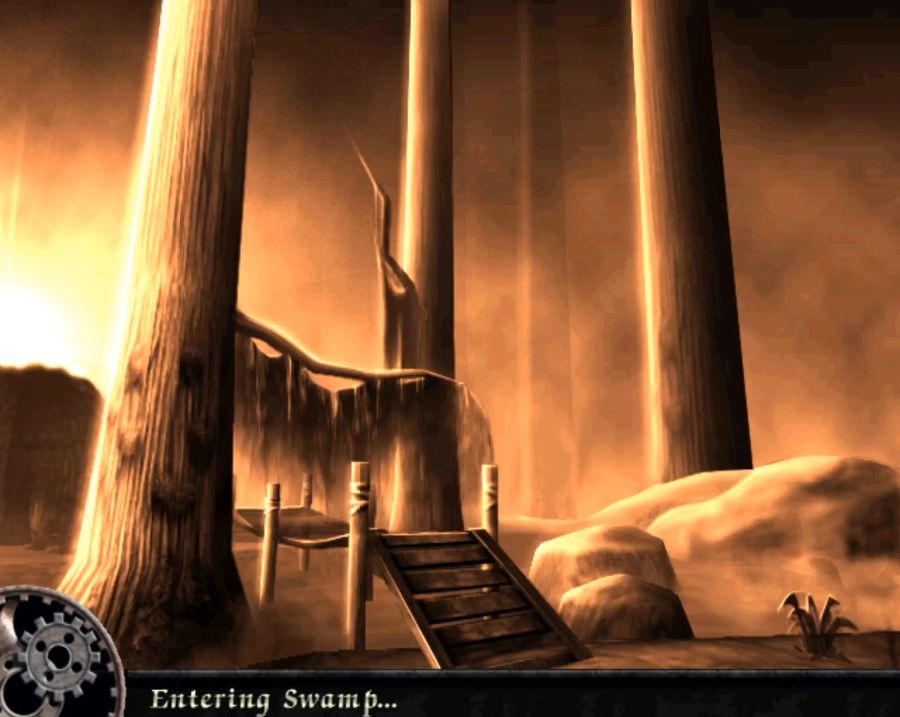 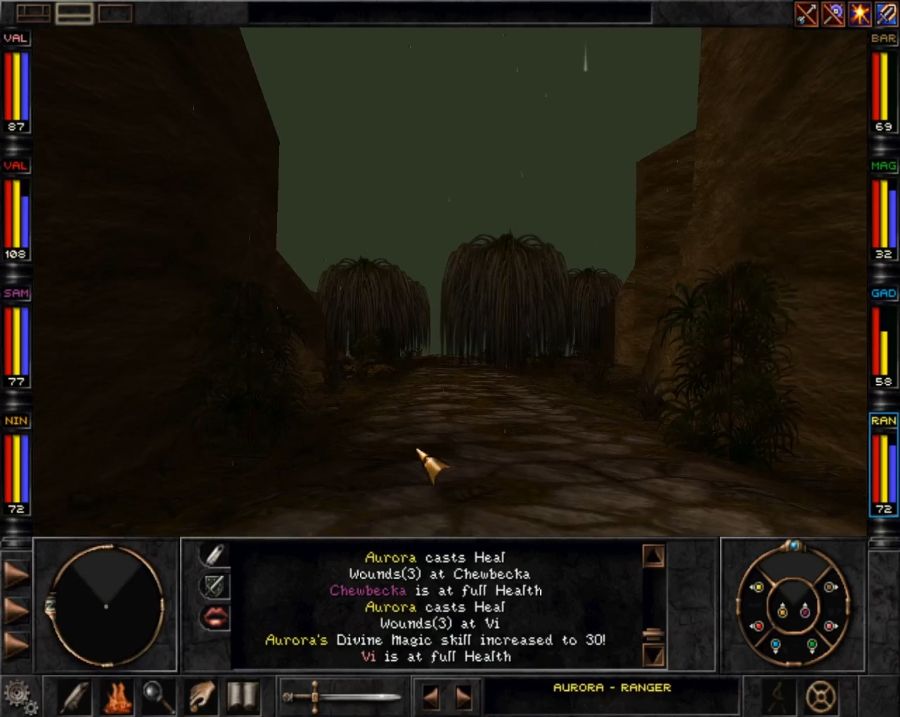 Welcome to the Swamp. It's brown, perpetually rainy, sightlines are blocked by trees and it's full of swarms of wandering beasties. There are also cracks in the ground, even on the paths, you need to dodge, because if you step on them they release Swamp Gas which nauseates/KO's in addition to doing minor damage. The paths are intentionally winding and any time I follow them I always end up going in circles, so generally what you want to do is pop up the map and travel purely via your compass or simply hug the edges of the map. This may make the Swamp sound miserable, but honestly it's not really. It just means it's an area that demands your attention when traversing it. 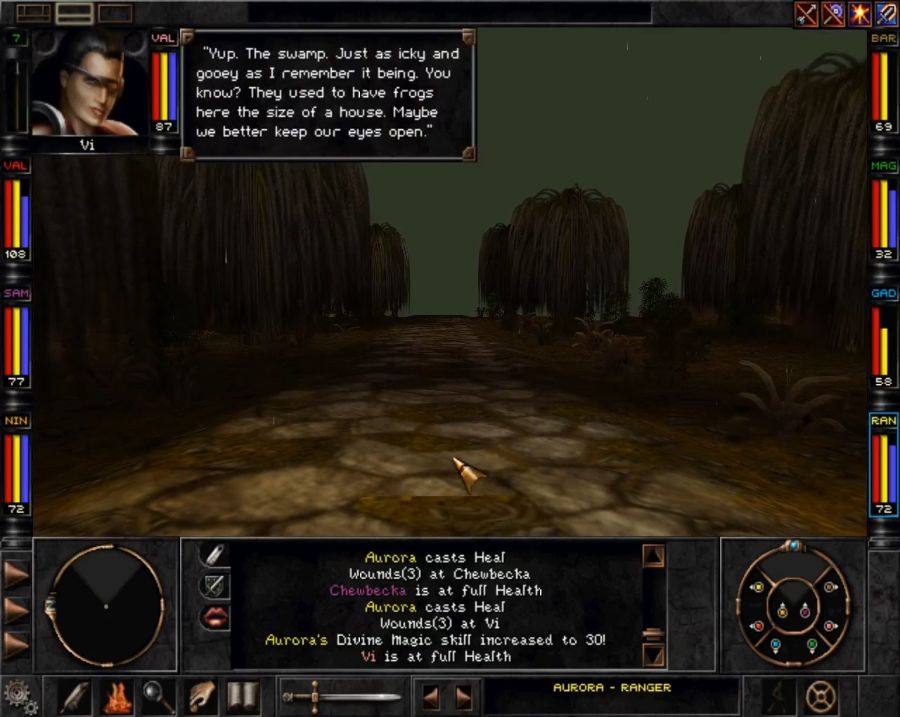 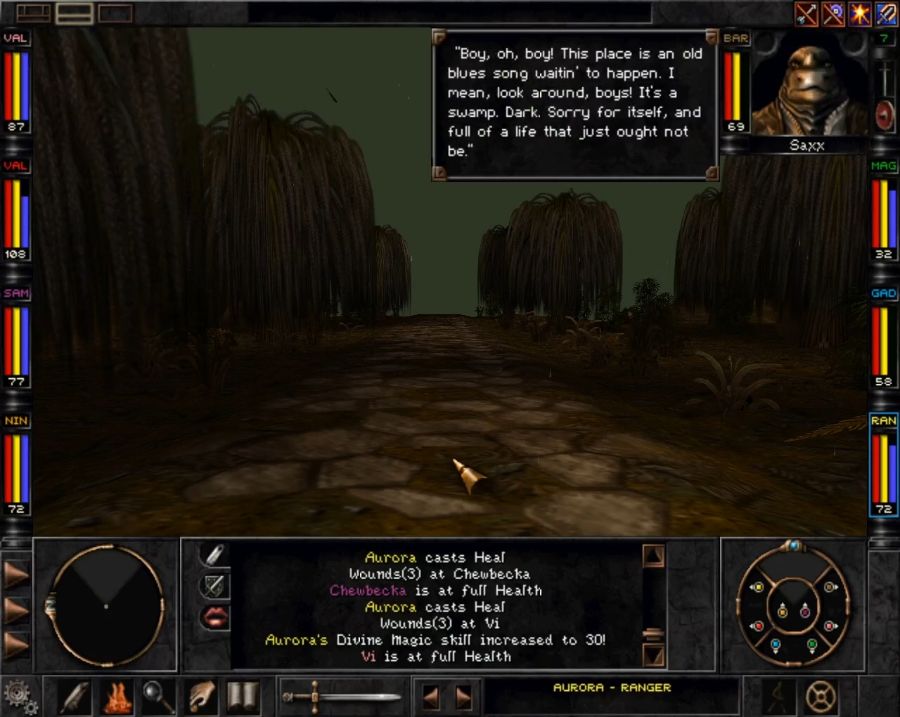 As usual, the supporting cast has some commentary on the state of things. 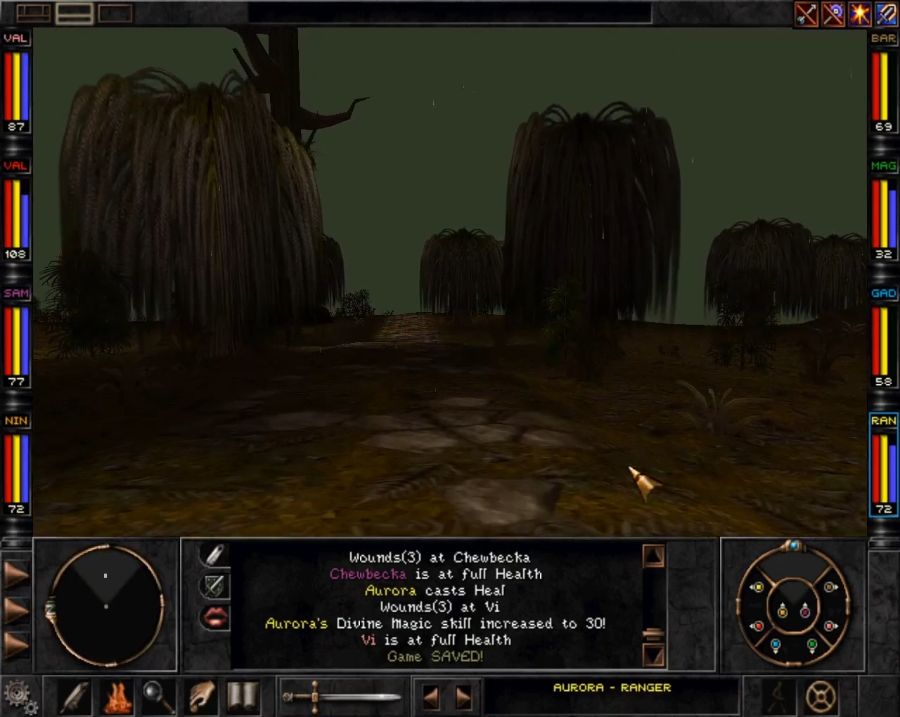 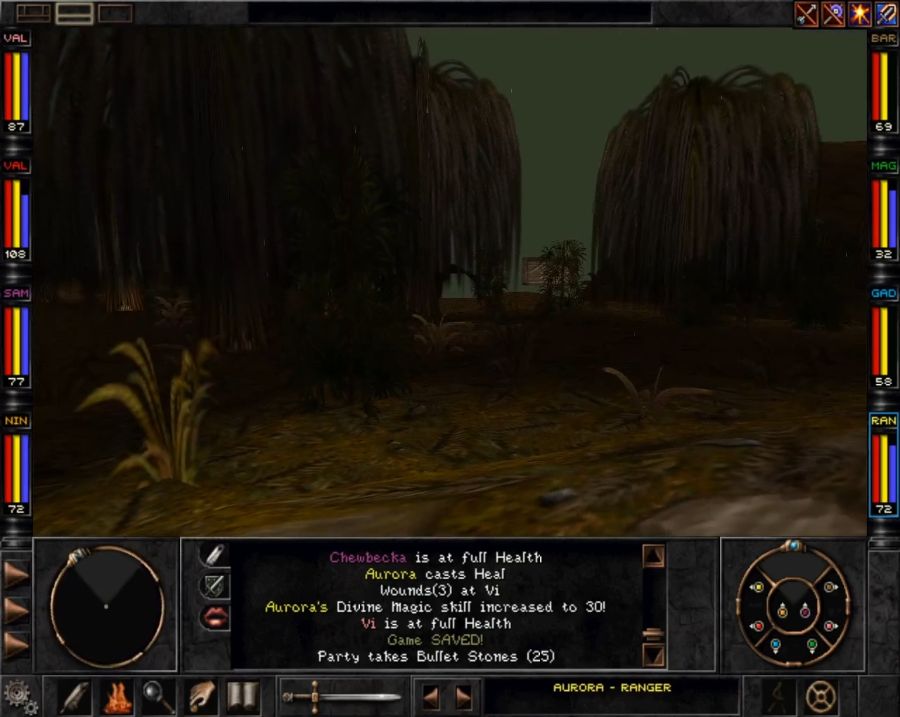 Just heading down the road when I spot a sign in the bushes. Lemme just walk over and have a look at that. 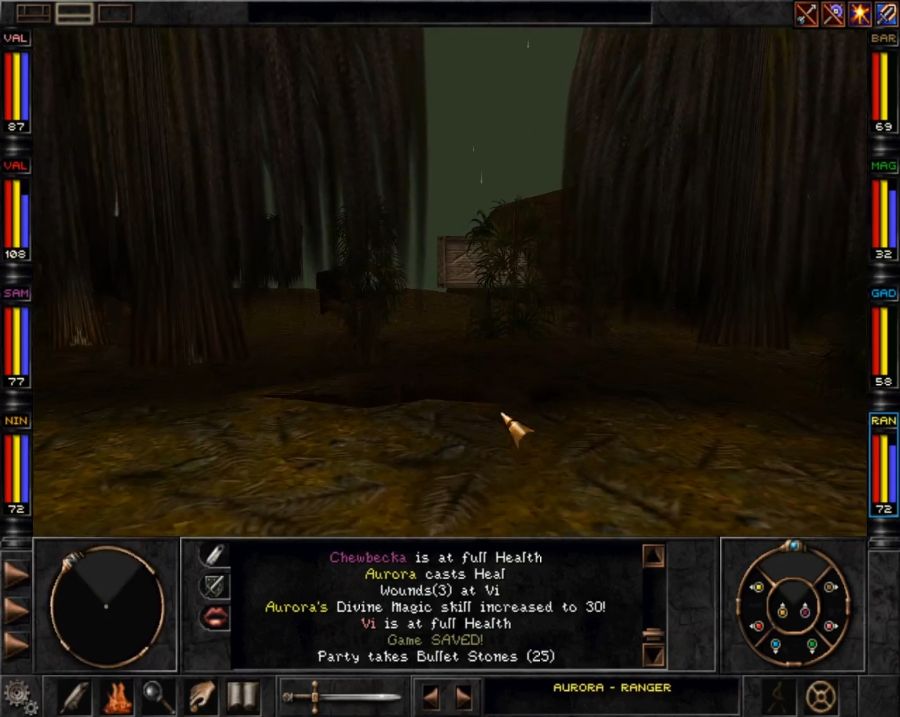 What it says is gently caress you. See, right there in front of it? That's one of the aforementioned swamp gas cracks, so you WILL be focused on the sign and walk right over it to read it. What does the sign say? "Beware of swamp gas." It's not like an instakill trap or something, but if you're entering the swamp from the most likely direction this WILL get you. It definitely got me. But as we approach... https://www.youtube.com/watch?v=UtmVYjGDVbs THE DARK SAVANT Who teleports in just to yell at us and throw a fake copy of the Astral Dominae at our feet in petulant anger before vanishing again. We yoink that thing off the ground because I have plans for it. Or rather, a plan for it. Chewbecka is not impressed by him. She seems to be stealing a lot of the randomized voice lines. Mind you, I've been looking for a text dump so I can share some of the alternate lines for these things... but with no luck so far. If anyone wants to help out with that, it would be appreciated. Alternately, if someone's familiar enough with the Cosmic Forge to use it to pry the lines out, I would appreciate help with that, too. Because there's a lot in here, even the RPC's tend to have their own comments for all these things if they're areas they're supposed to be able to enter(if not, and the game randomly rolls them as the one to comment, they just bring out their general "I wish I was at home"-bark. I had this happen once on beating the game, where instead of a triumphant comment from one of my PC's, a complaining RPC literally mumbled about wishing he'd stayed home as the party ascended to godlike power). 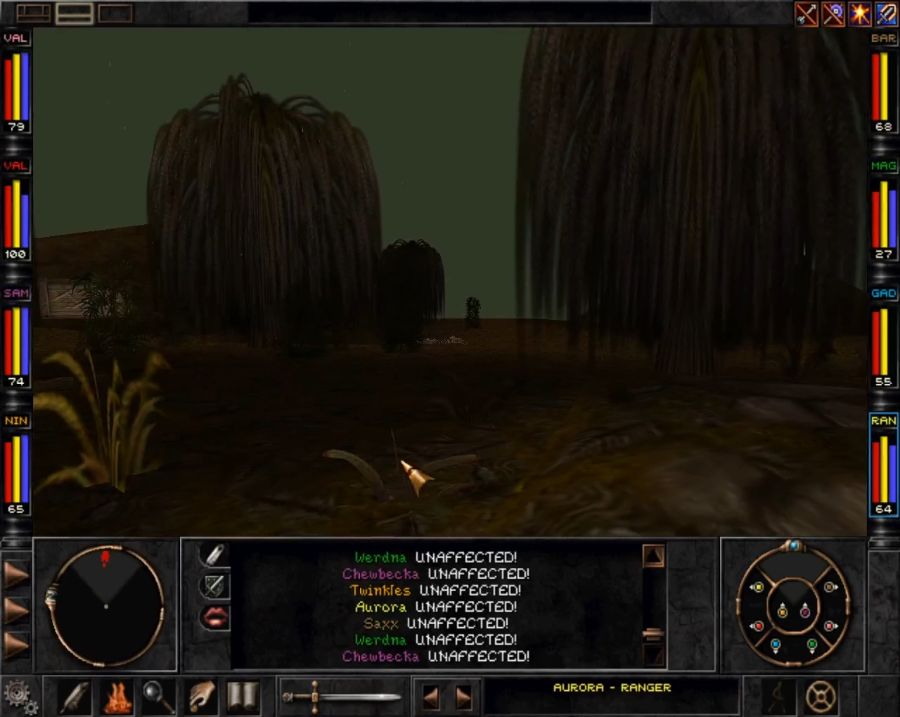 As soon as the Dark Savant's gone and we've grabbed his dropped marble, a bunch of ants march up on me from the right. 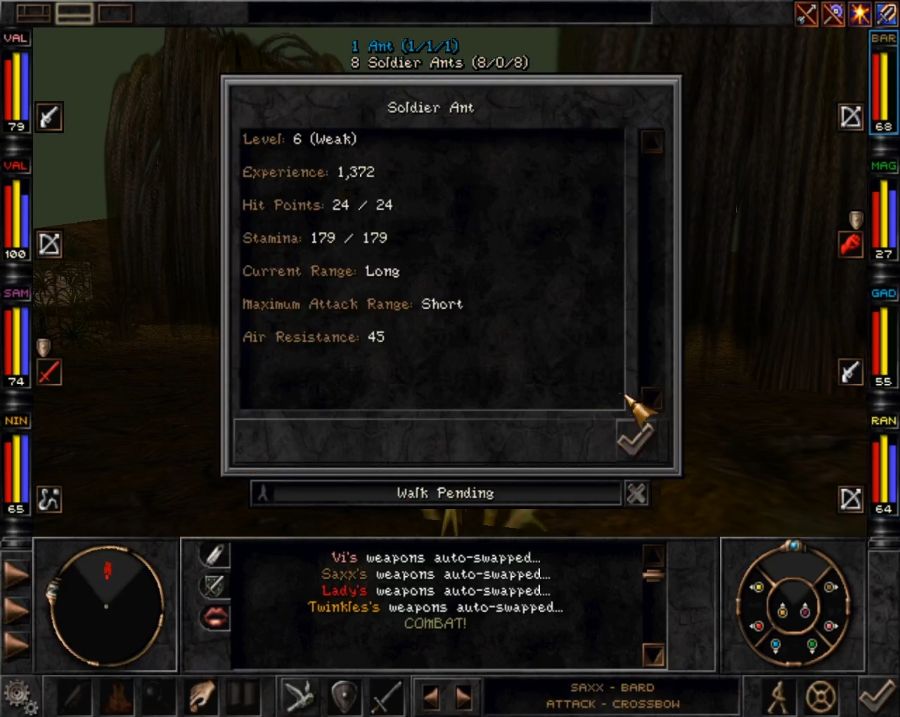 They look weak so I laugh, pull up my sleeves and get ready for a fight. 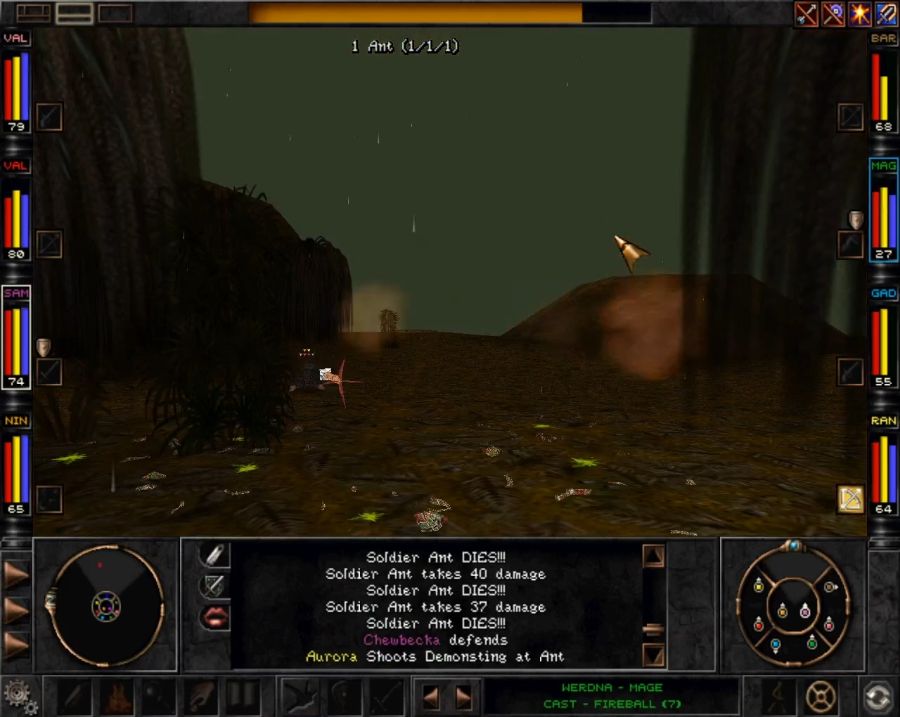 And after one fireball the battlefield is pretty much cleared except for the big dark Ant Queen at the back. Expecting that she'll be a pushover like the rest I wade into melee so Chewbecka et al can really lay down the hurting. 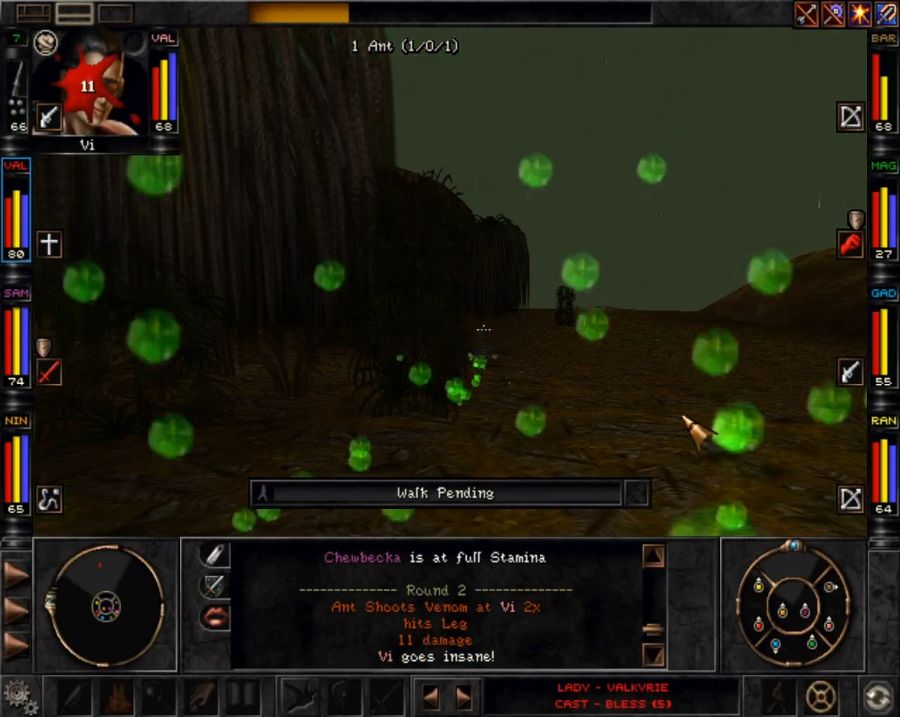 The first hint that I may be underestimating the queen is when her spit attack has an insanity-causing effect that nails Vi. 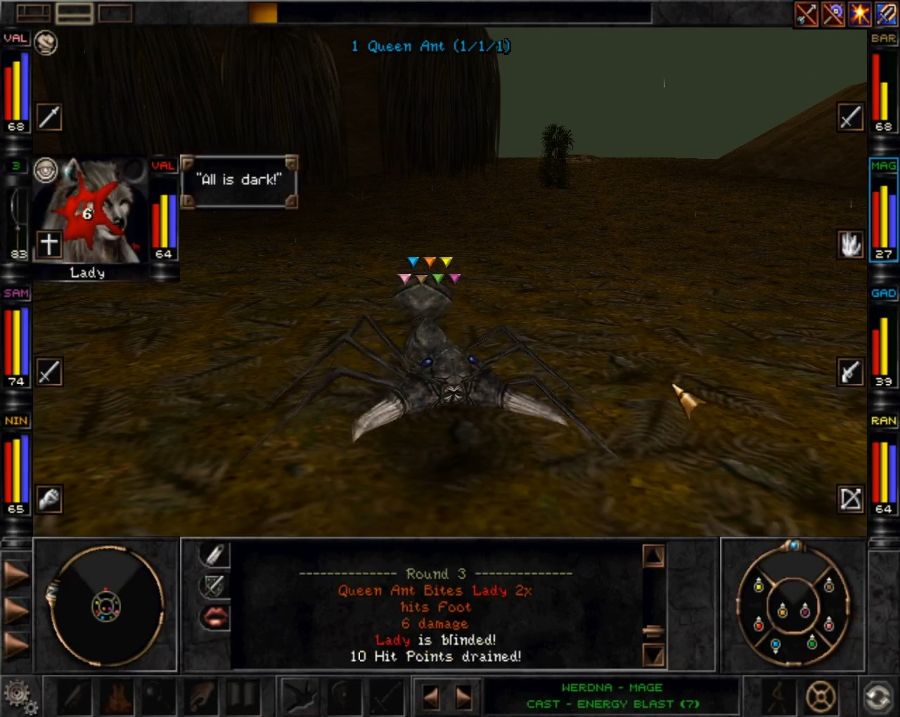 Of course that's still preferable to her melee bullshit because it drains. Now let me tell you about the "gently caress you" called Draining. It's probably the rarest status effect, generally only some variants of giant mosquito and vampire bat will bring it, oh and this arthropod rear end in a top hat, too, apparently. What it does is that it drains HP, but not in the sense that it does damage and then heals the drainer. No, it drains HP by literally permanently lowering your max HP. And there's no cure spell for it. Resting doesn't remove it. The only thing that'll deal with it are rare, costly potions called Renewal potions. In this fight, Lady and Aurora lose about 10% and 20% of their max HP, respectively. Thankfully I have two Renewal potions lying around, but holy poo poo I suddenly have a lot more respect for Ant Queens and will not be attempting to melee one in the future. 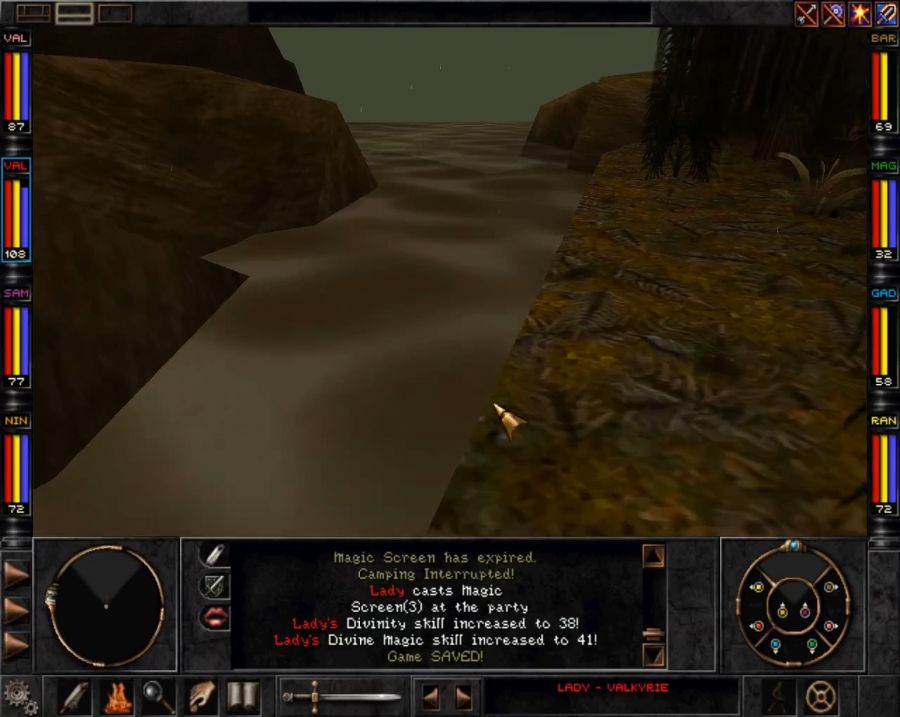 After that fight the party needs a rest thanks to the ant queen, so I head north. Generally resting on the paths or anywhere near the middle of the map is ill-advised and difficult to do since you'll be napping in the middle of patrol routes and, without anything to put your back against, will almost certainly wake up surrounded and with your casters already half dead. The northern third or quarter or so of the map is separated from the rest by an east/west river with a single crossing point. I want to cross that river, but not right away since there are some real nasty things over there closer to the Bayjin transition point. 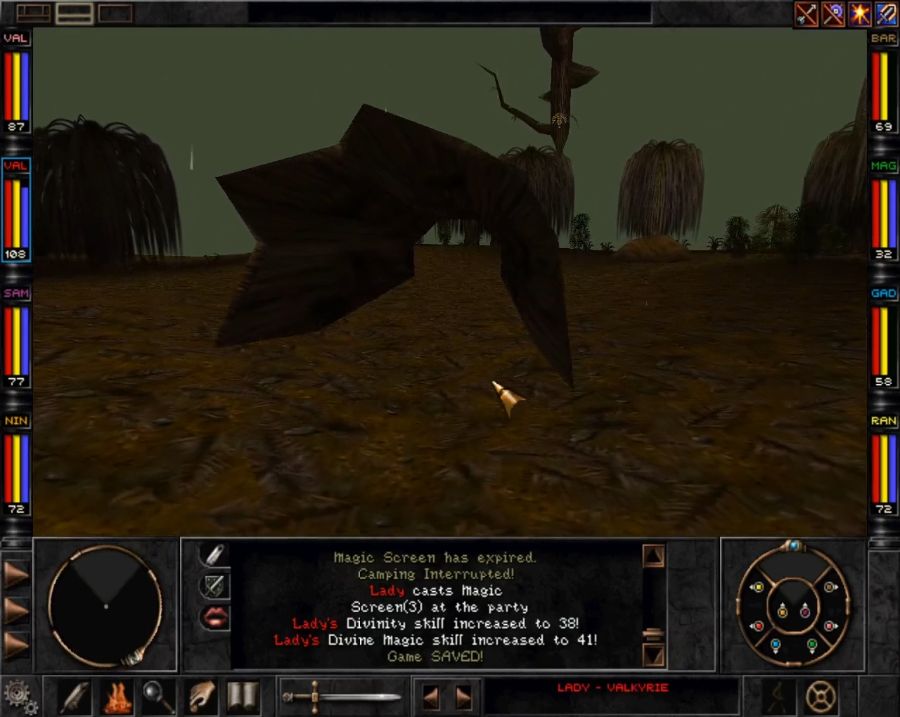 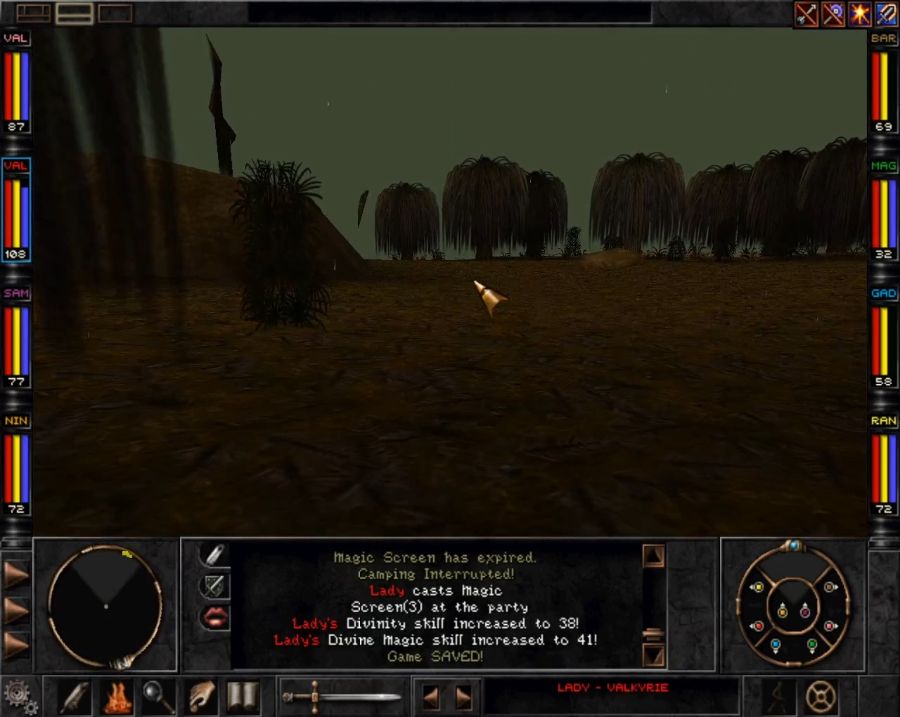 For now, though, I just follow the river east since it more-or-less leads where I want to go. 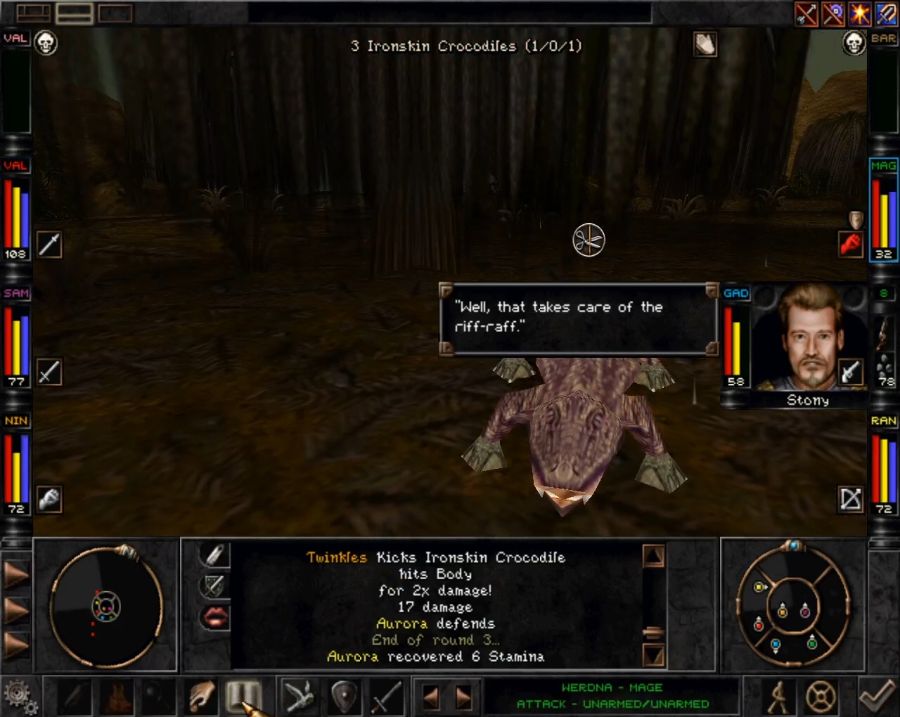 Along the way I underestimate some crocs who eat Vi and Saxx. Normally I'd reload, but in the interest of not presenting a super-perfect playthrough I've decided to actively suck up more tough wins and just rez whoever goes down. The only reloads are if the party actually gets completely mulched. 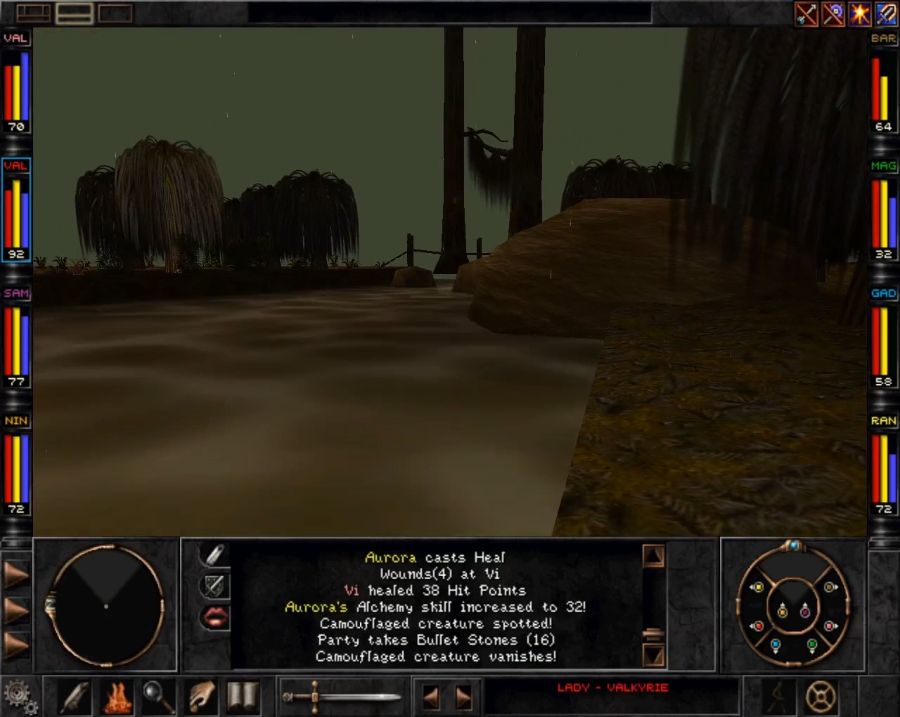 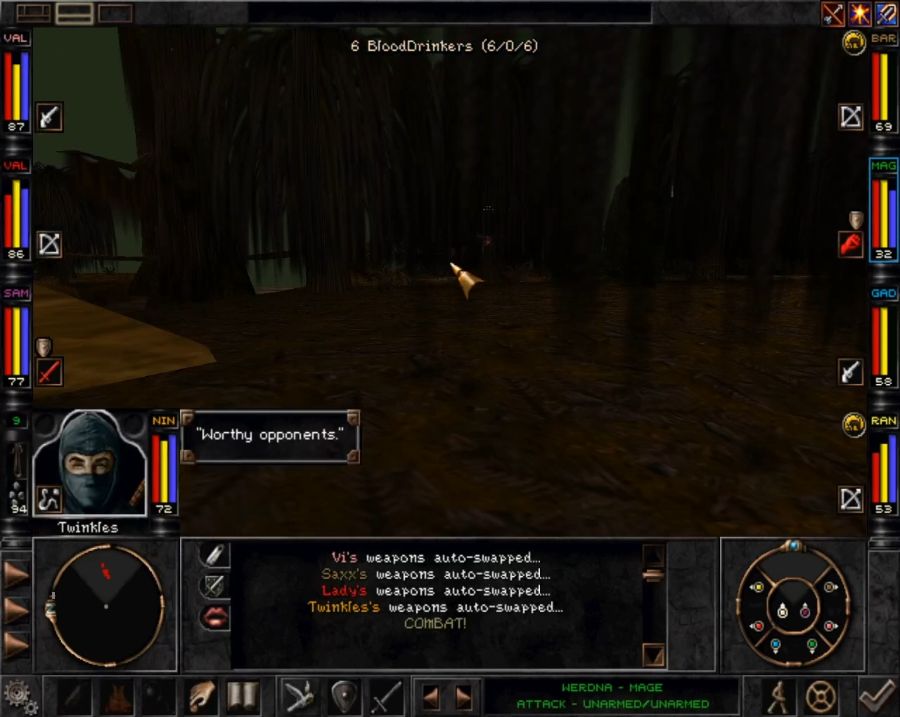 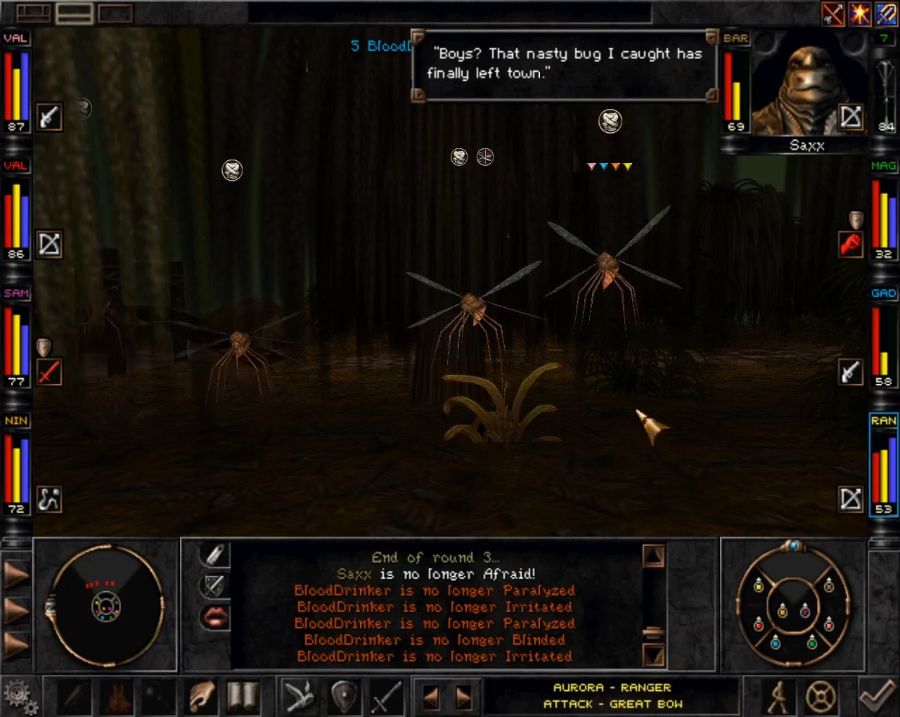 Along the way are more giant bugs and a glimpse of the bridge leading north, as well as a level-up for Stony that upgrades his Omnigun to its Mk. 6 variant which adds KO chances to the already-respectable blinding chance. 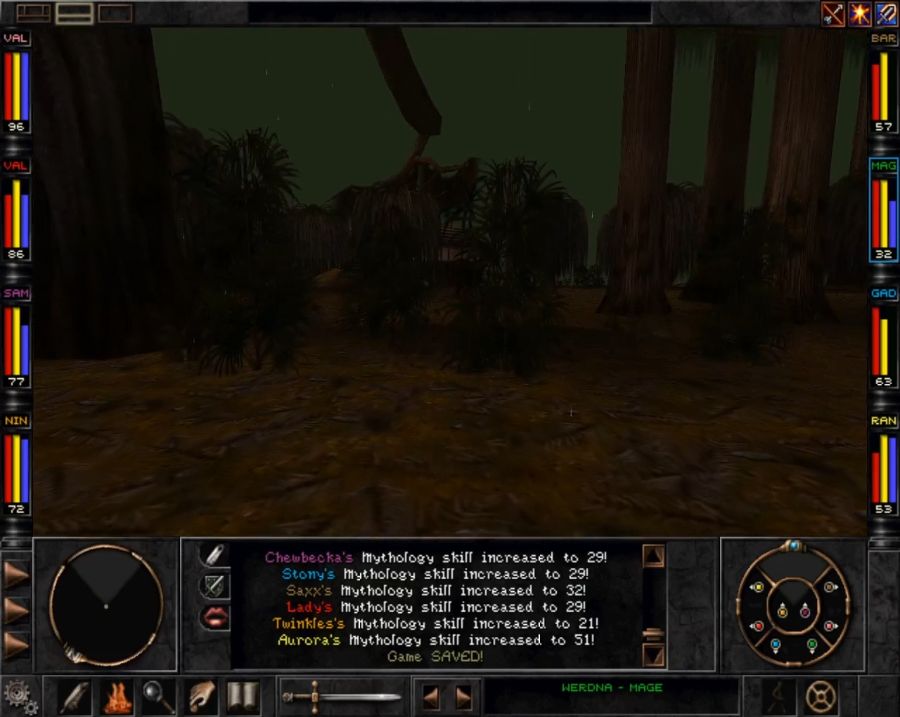 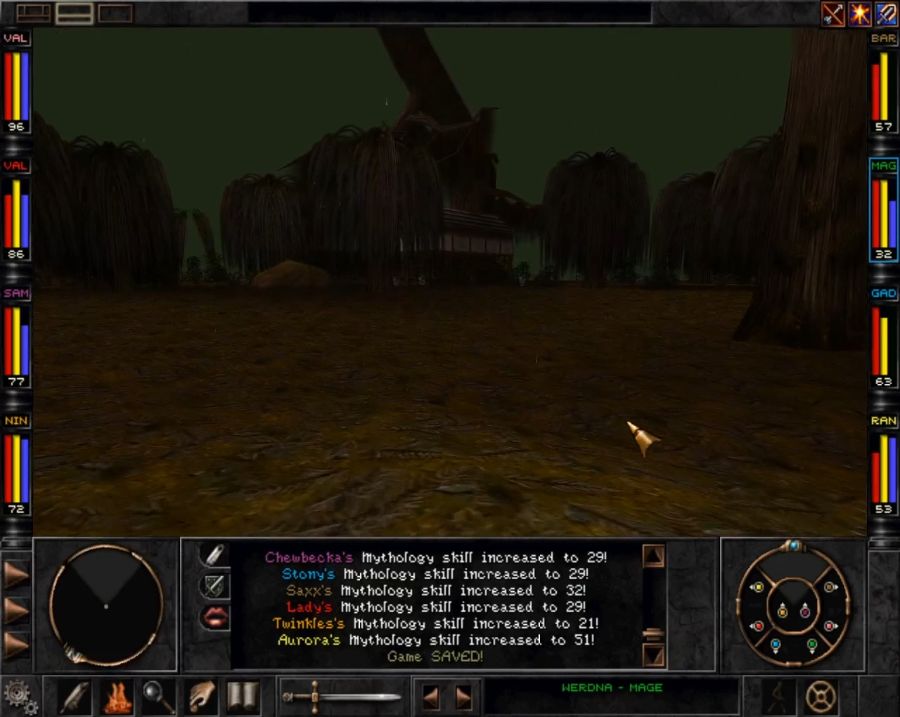 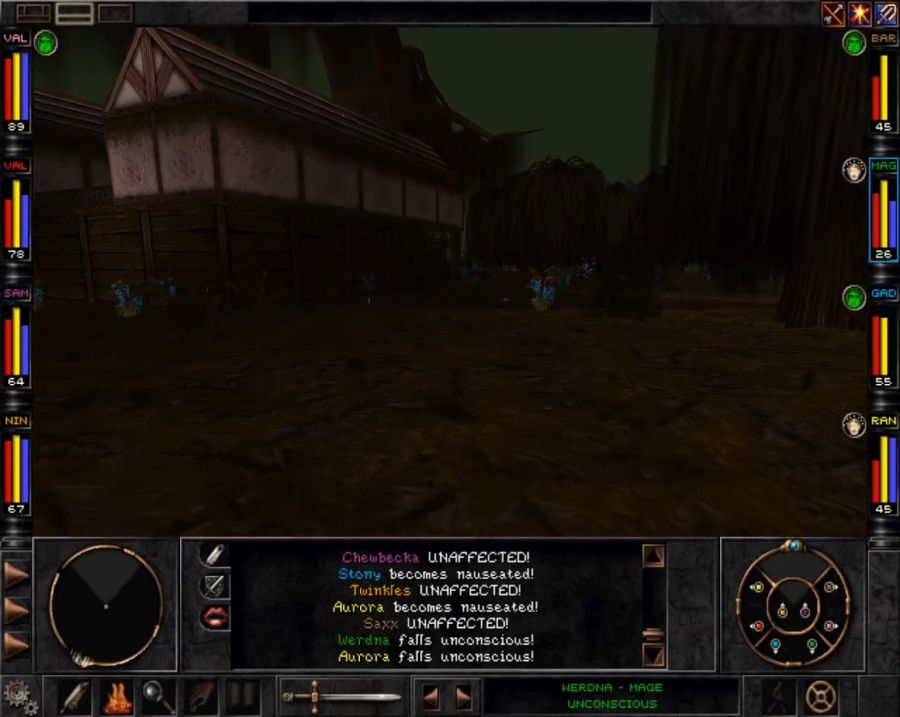 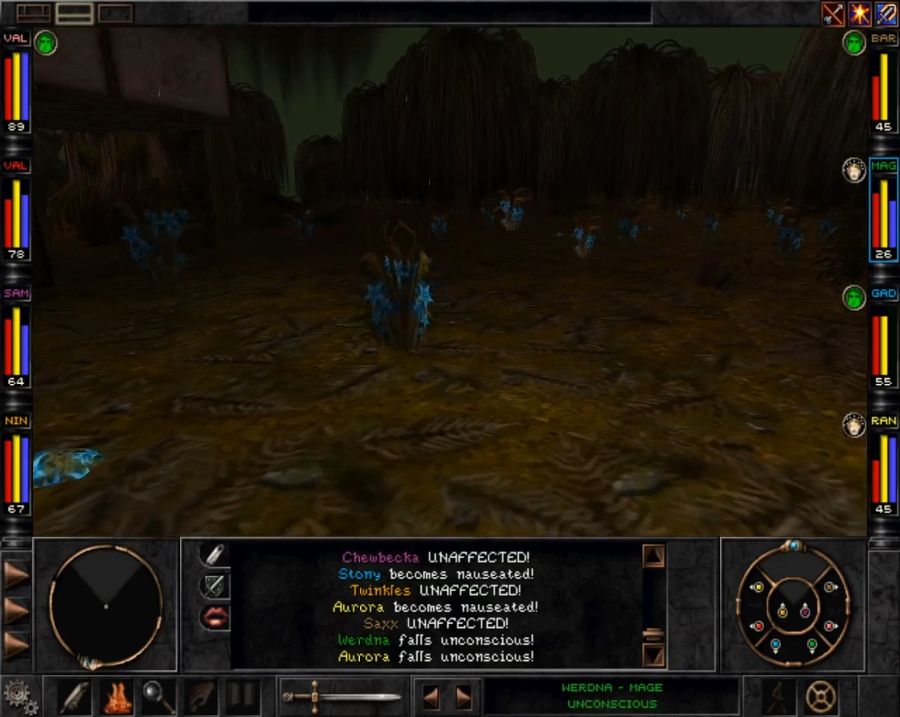 Eventually, though, I find the one friendly, or, well "friendly" resident of the swamp. Living in a worn-down house surrounded by blue flowers. 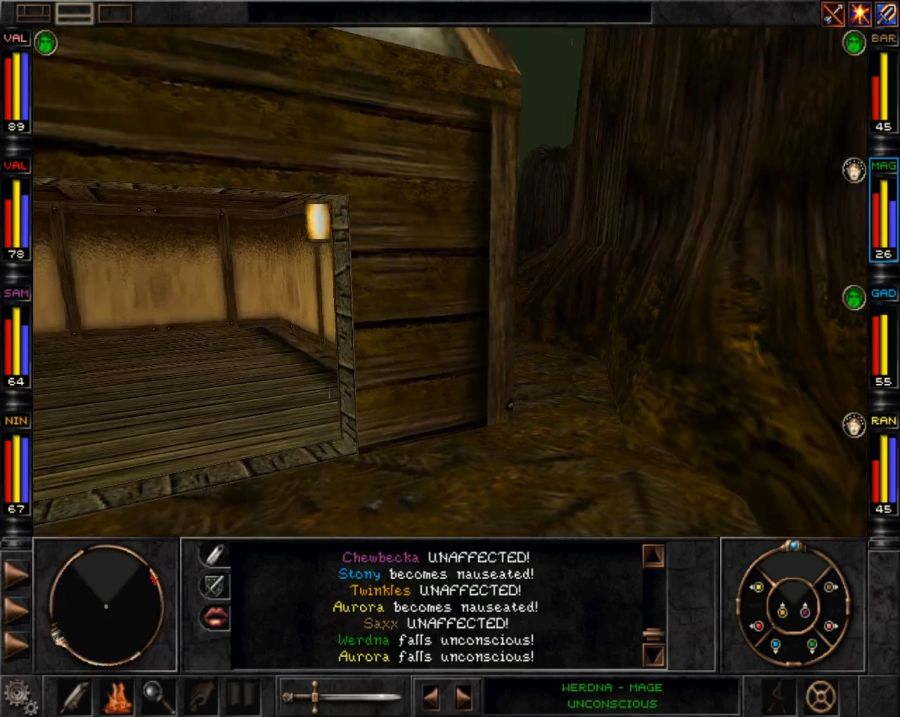 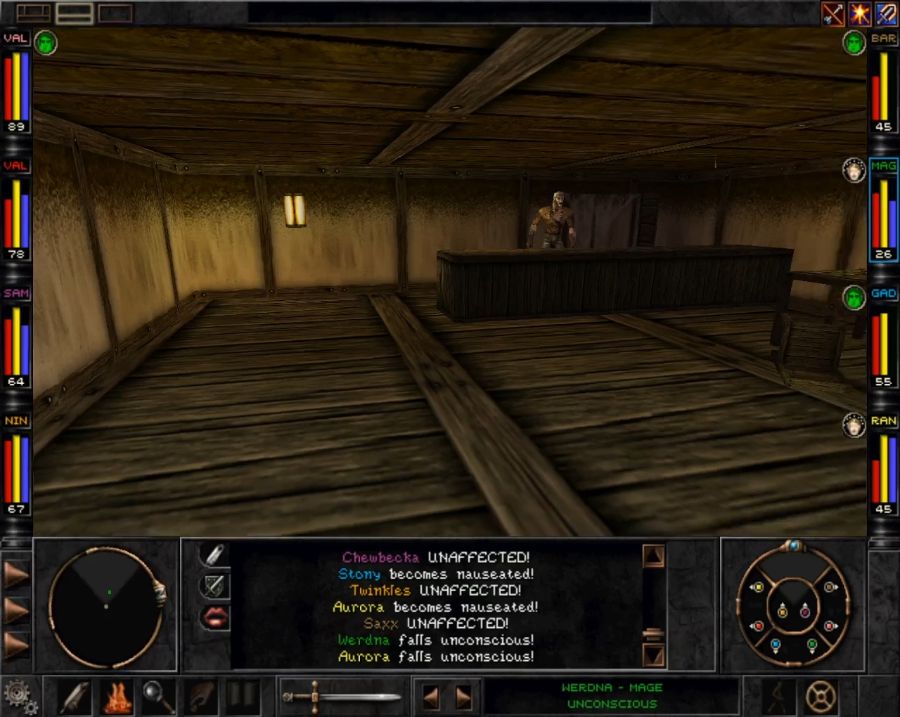 https://www.youtube.com/watch?v=mUIbuPbROps What a nice old man, by which I mean holy poo poo he's like what, over a hundred-something years old by his own admission and living in a swamp full of giant monster bugs. Lots of exposition from him, and he's a worthwhile merchant to visit, too. He shops a nice couple of gear upgrades for bards, and besides that some gadgeteer-related stuff and we definitely want to pick up his Perfume. If a merchant has a unique item, you want to grab that poo poo right away. 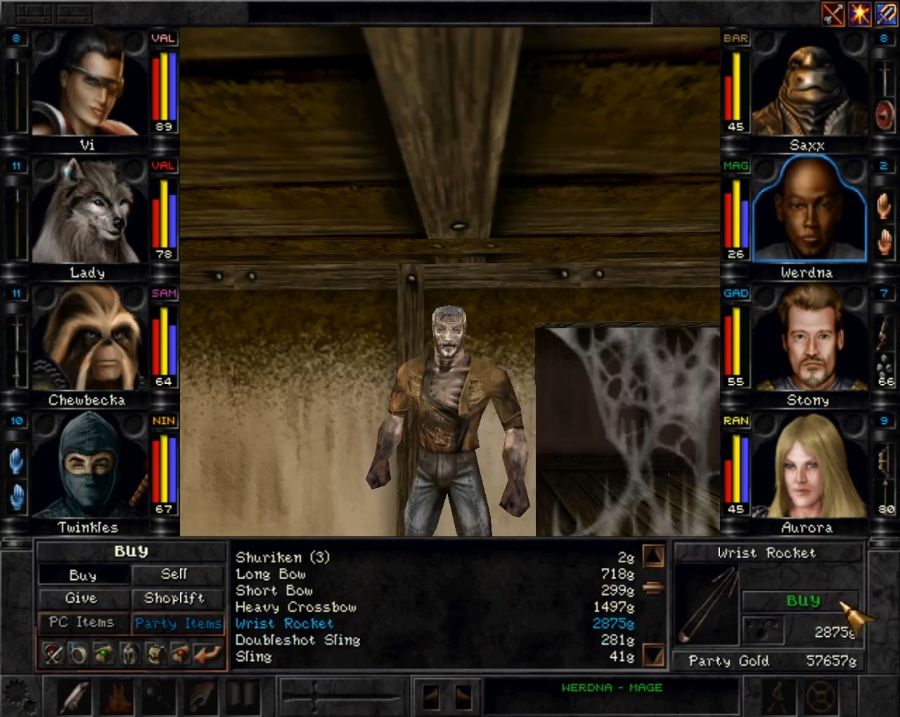 He's also got a sling upgrade for Twinkles and a bow upgrade for Aurora(though Demonsting will certainly be brought back out again when we meet some demons).  Actual armor (ninja gear) for Twinkles, too, which helps his armor class considerably.  I also buy the perfume, of course, and a voltage amplifier and a large prism for Stony to play with. The voltage amplifier sees immediate use, being combined with the giant magnet from Madras' lab in Trynton. 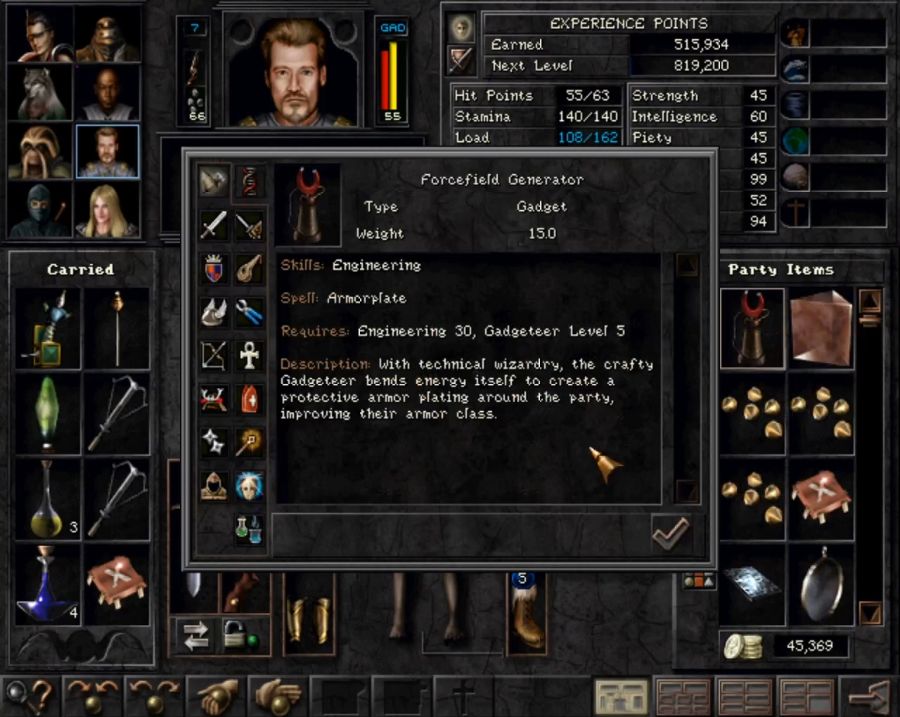 Aside from Armorplate being a decent enough buff that it's certainly worth Stony erecting at all times, it also means he's got an out-of-combat buff to help train his Engineering up. 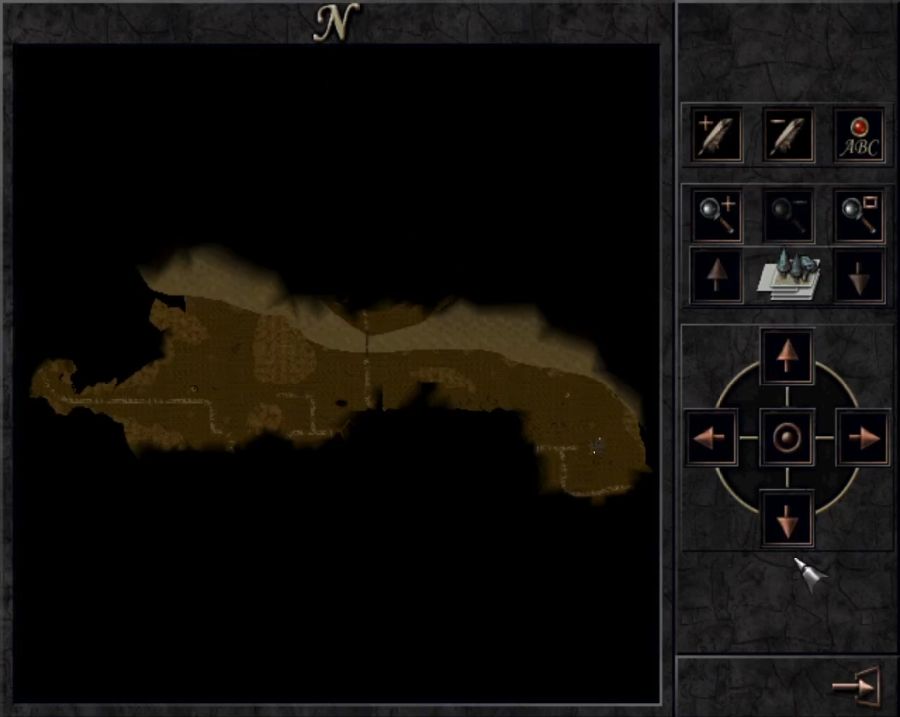 Also a shot of the map for context. The draining, fatalities and general terror have happened in just making a straight run across about 2/3rds of the map's width. There's plenty of terror yet to come as I set off to deal with the northern half of the Swamp, and by "deal with" I mean "poke around a bit and get killed by the locals and then reload and pretend it didn't happen." 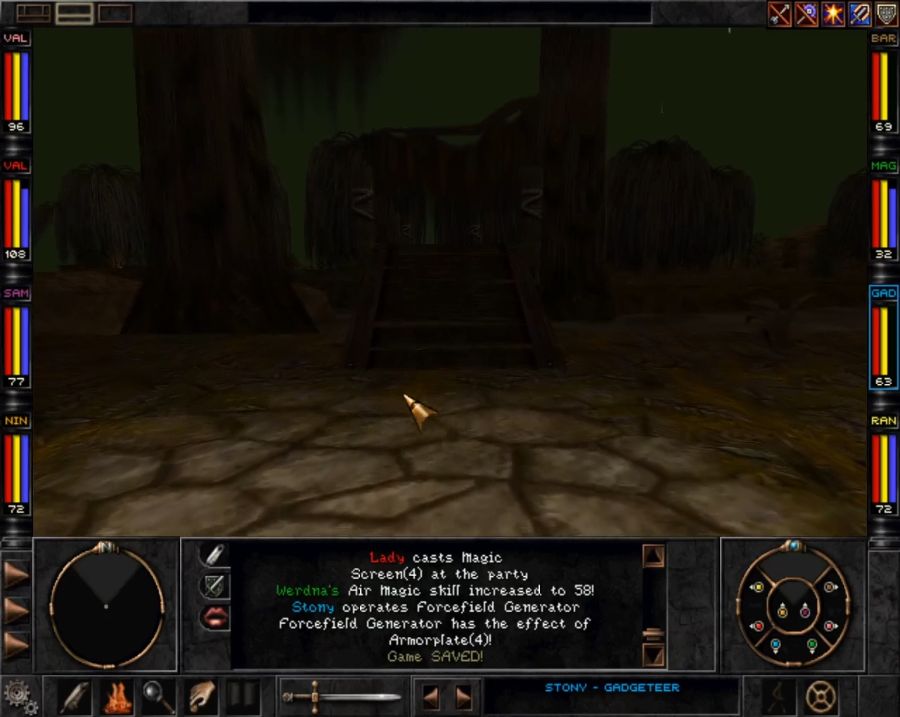 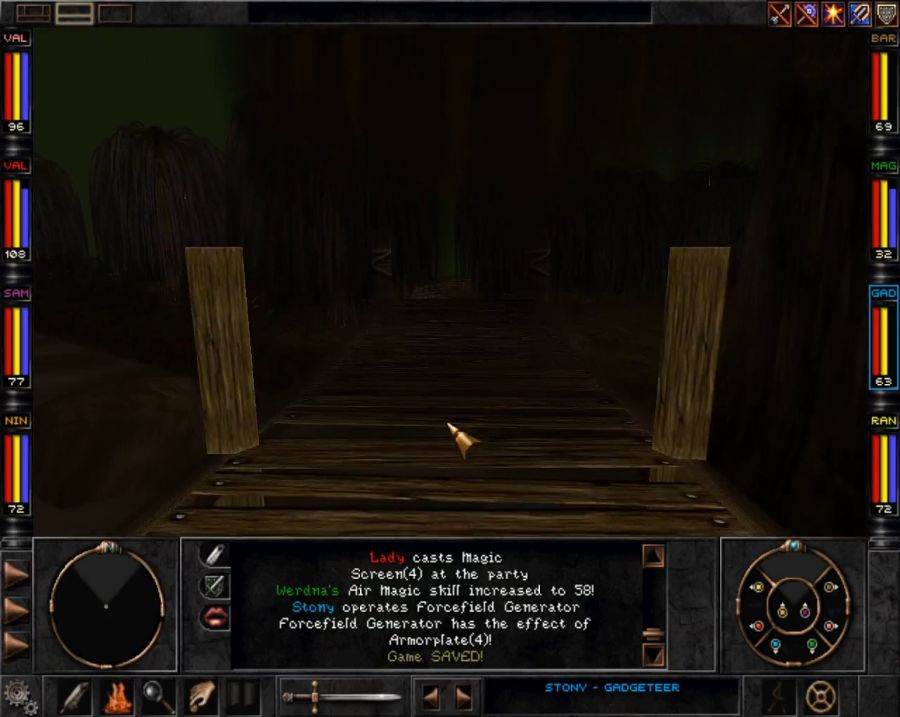 Crossing the bridge presents you with the option of going east, which will gently caress you by leading to stuff you're not prepared for, and going west which can, if you're careful, be lucrative.  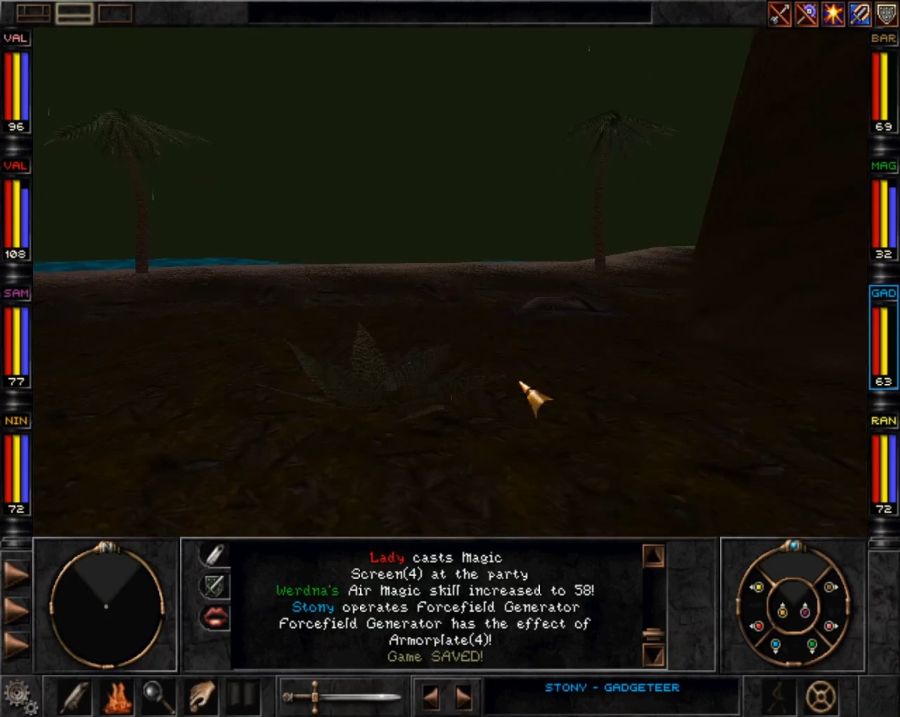 Going west eventually leads you to this depressing shoreline. 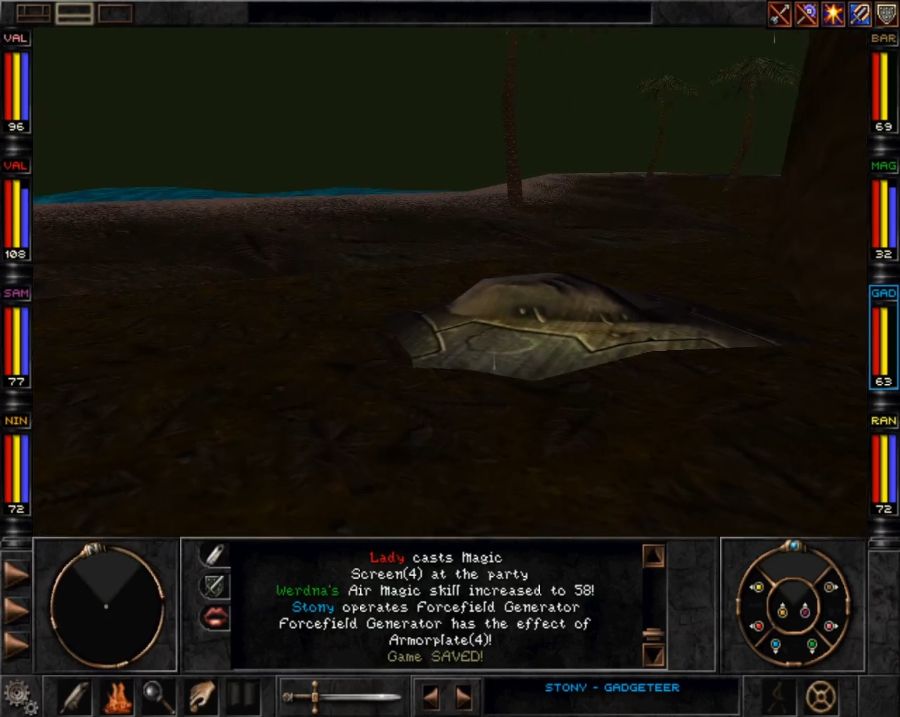 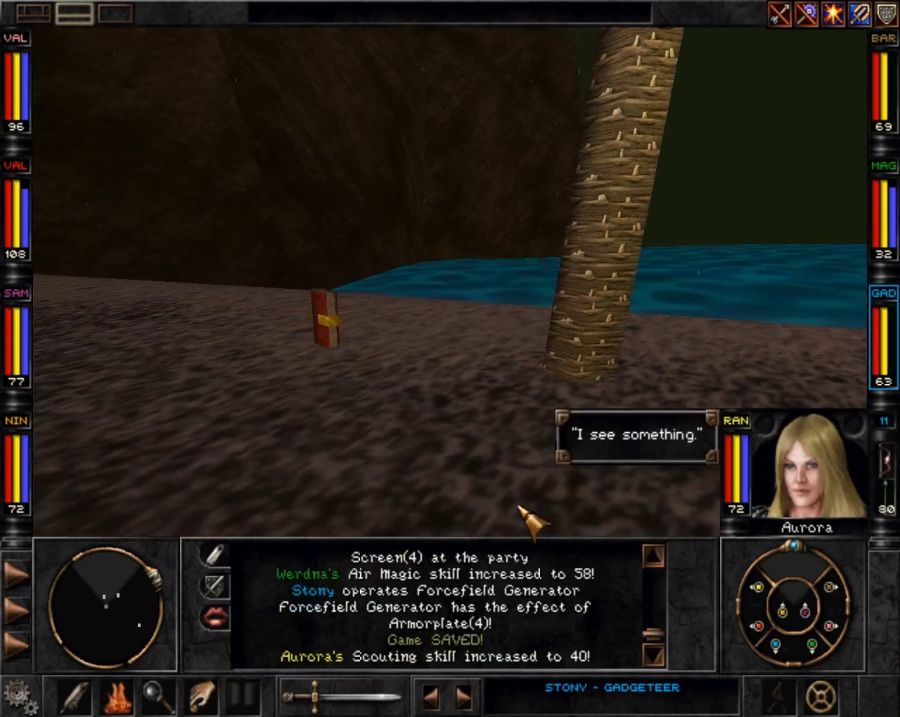 It looks like something crashed and washed ashore, which means there's a decent bit of loot washed up in the sand. Among them a spellbook, yet another magic ankh and... 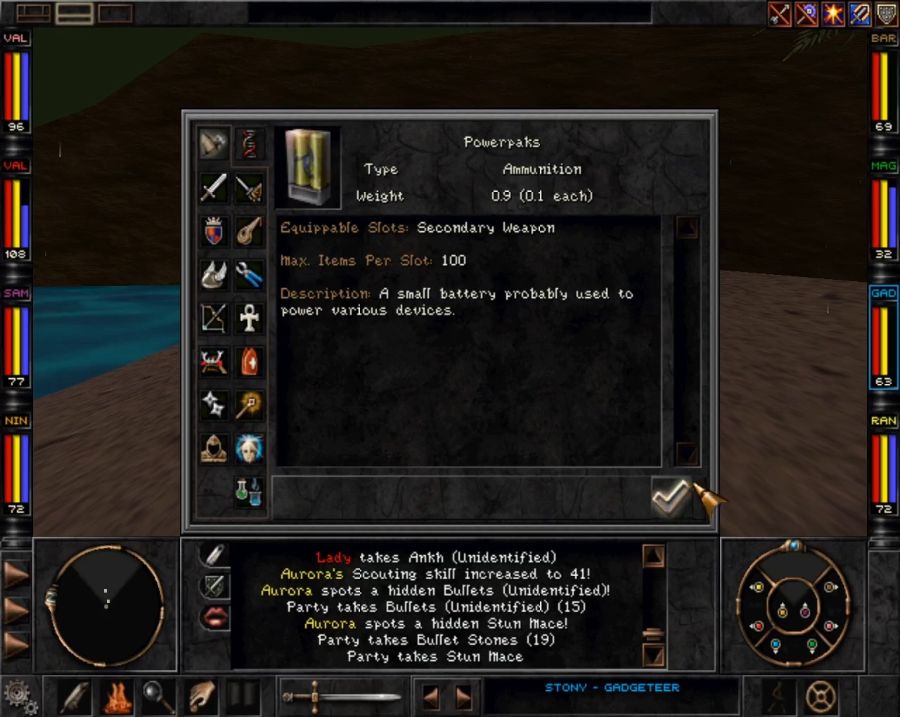 Ammo for RAYGUNS. Sadly I think the only accessible powerpak weapons in the game have to be imported from Wizardry 7. So having reached the eastern end of the beach, I turn around and travel back south.   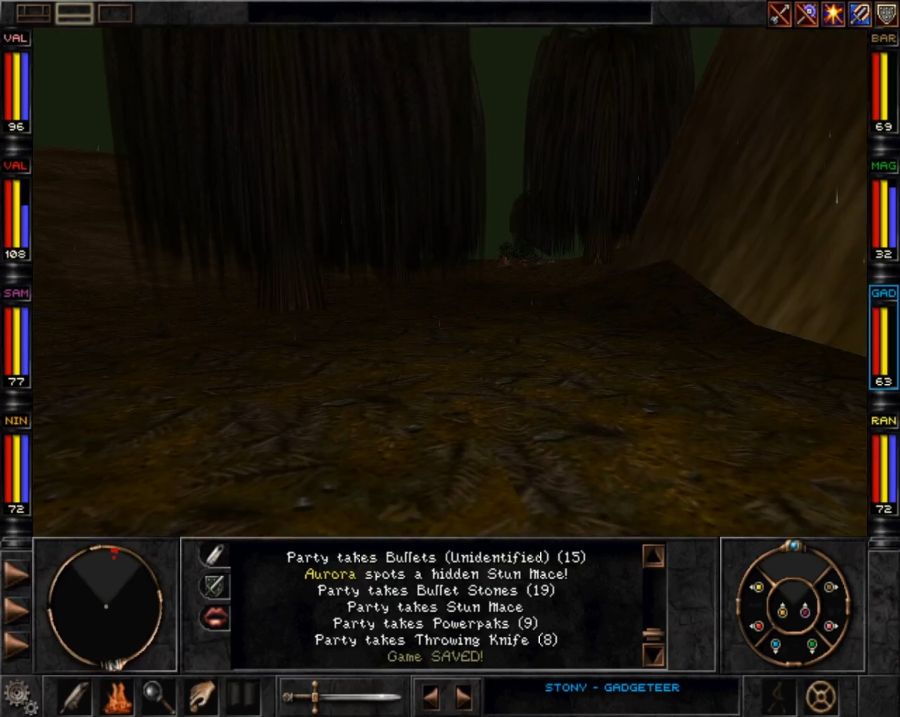 I hug the cliffs and eventually run into some ants. Shouldn't be too bad, I think, just gotta not melee their queen like a moron this time. Then about 30 seconds into round one... 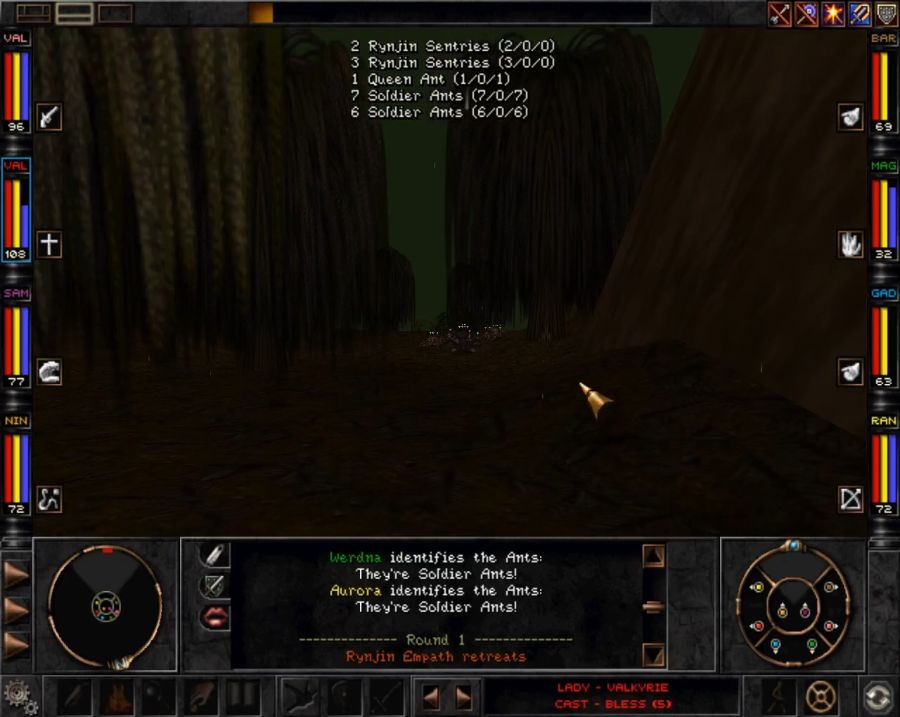 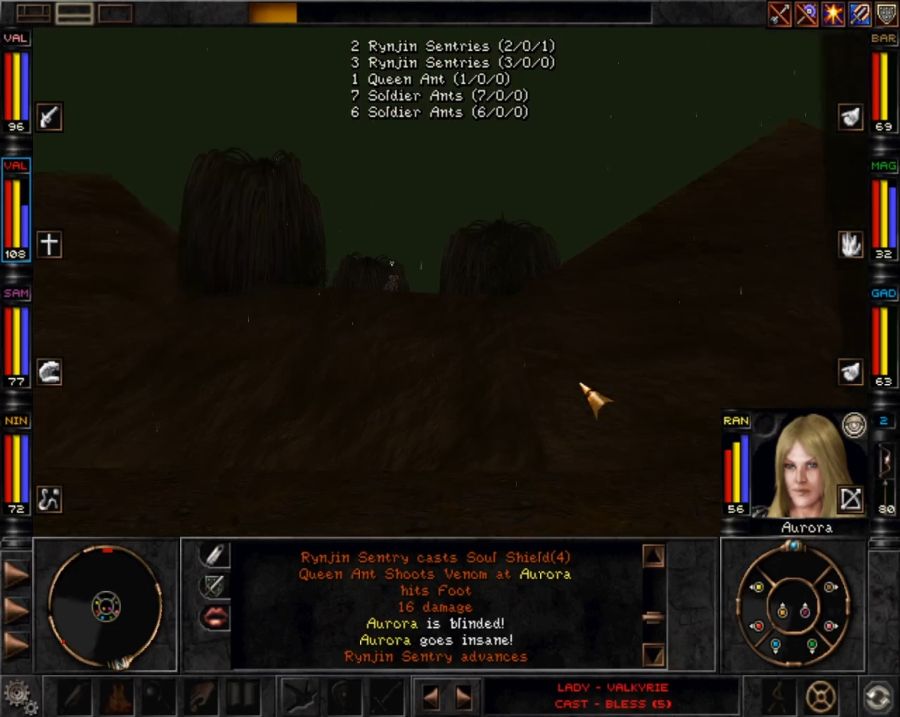 There's a Rynjin outpost up there and they spotted me. Now let me show you what Rynjin do. 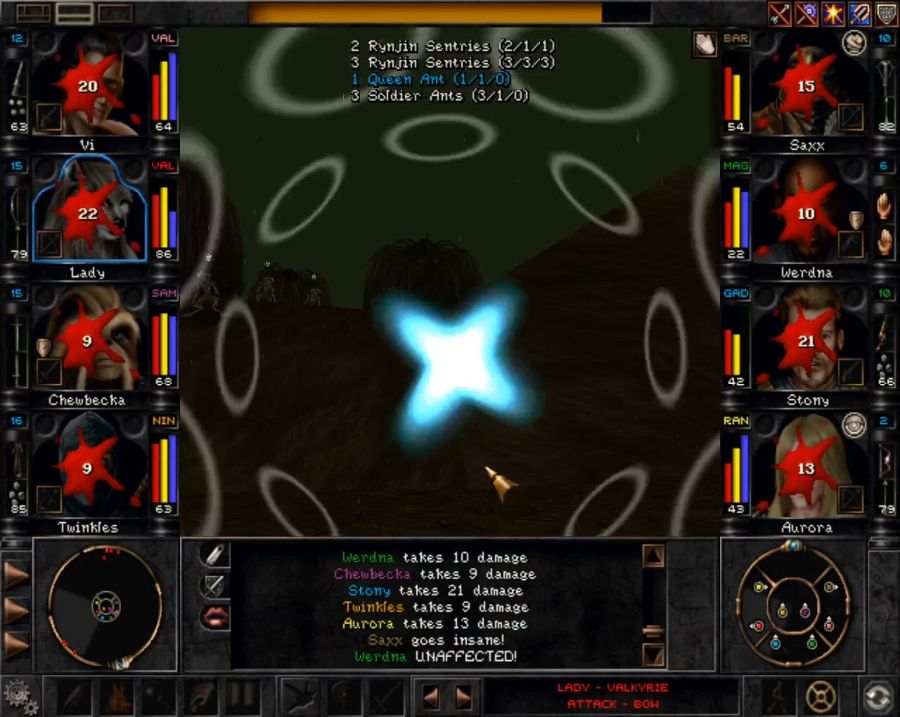 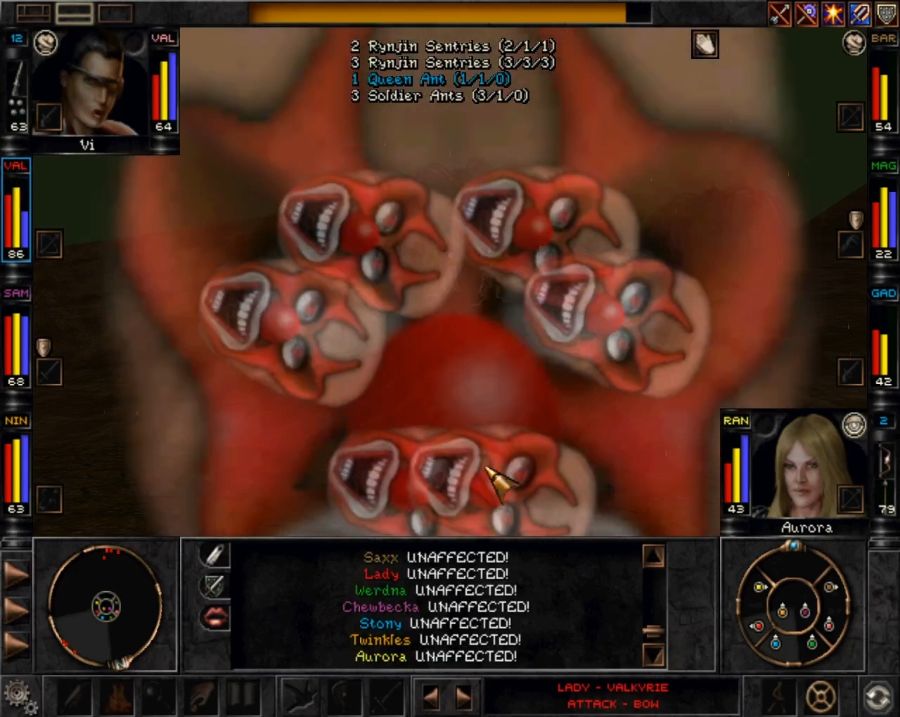 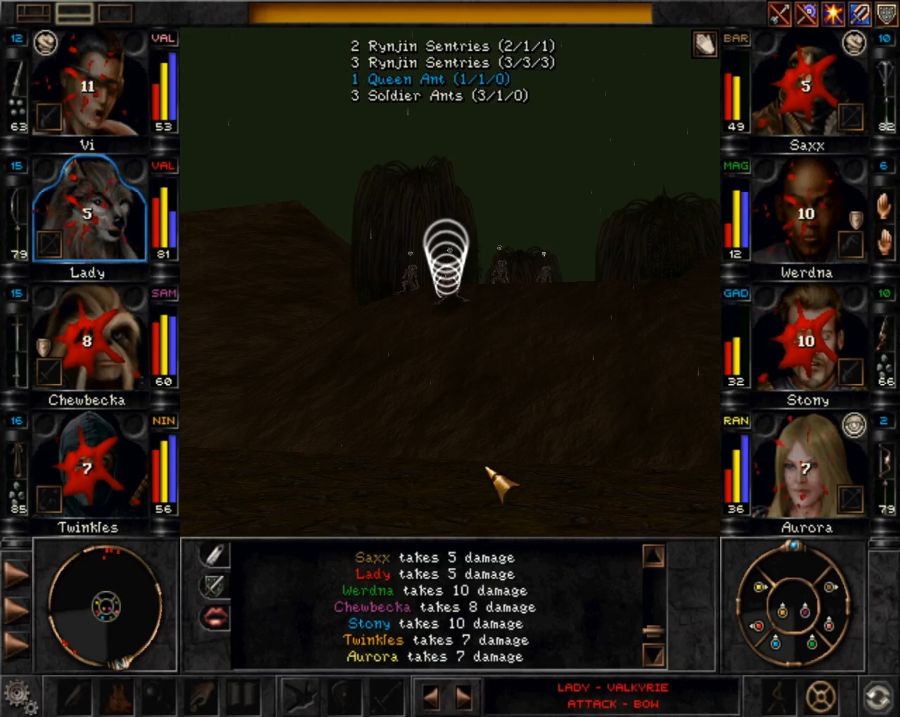 Every single Rynjin is comparable to a Monk. I.e. they're competent unarmed melee fighters who also have a byline in psionic magic which they will use to tear your brain a new rear end in a top hat. This was just round one. 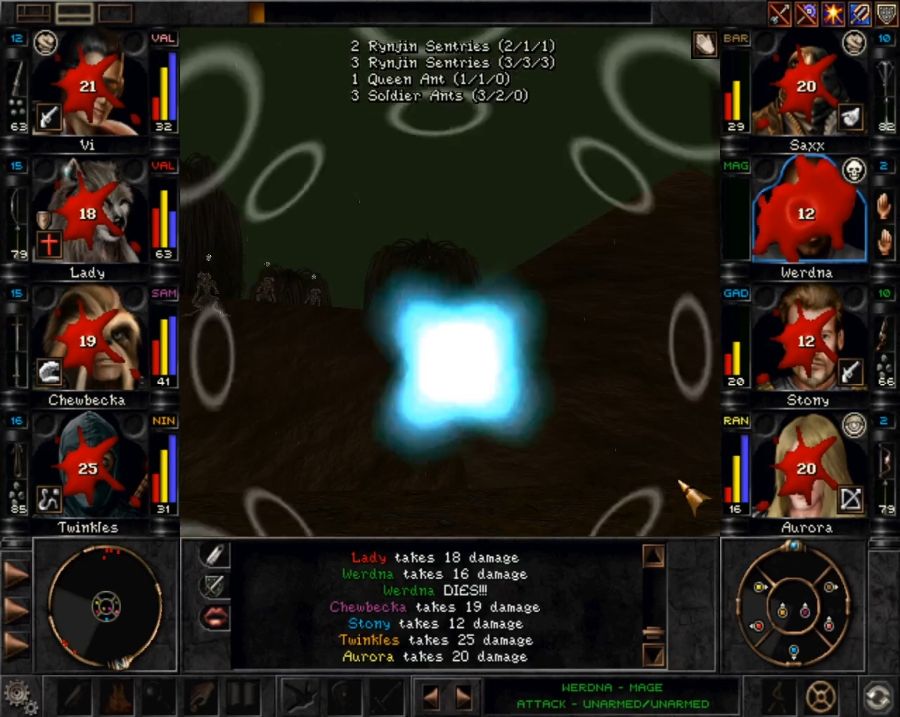 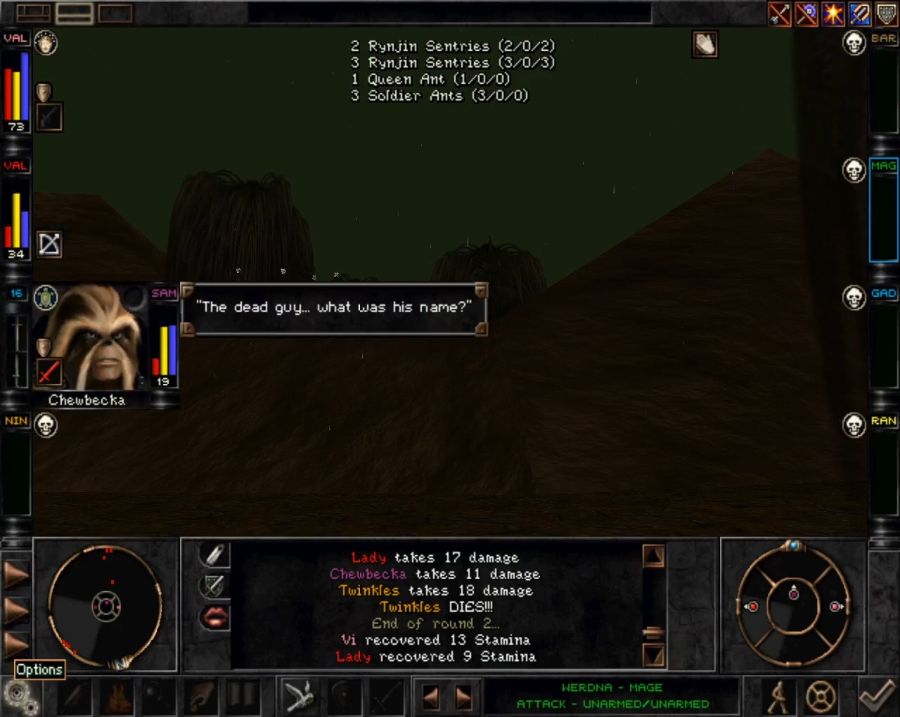    Yeah, uh, that's about when I reload and decide to move back a bit farther west before heading south again, just so I don't attract those fuckers a second time. Goddamn. 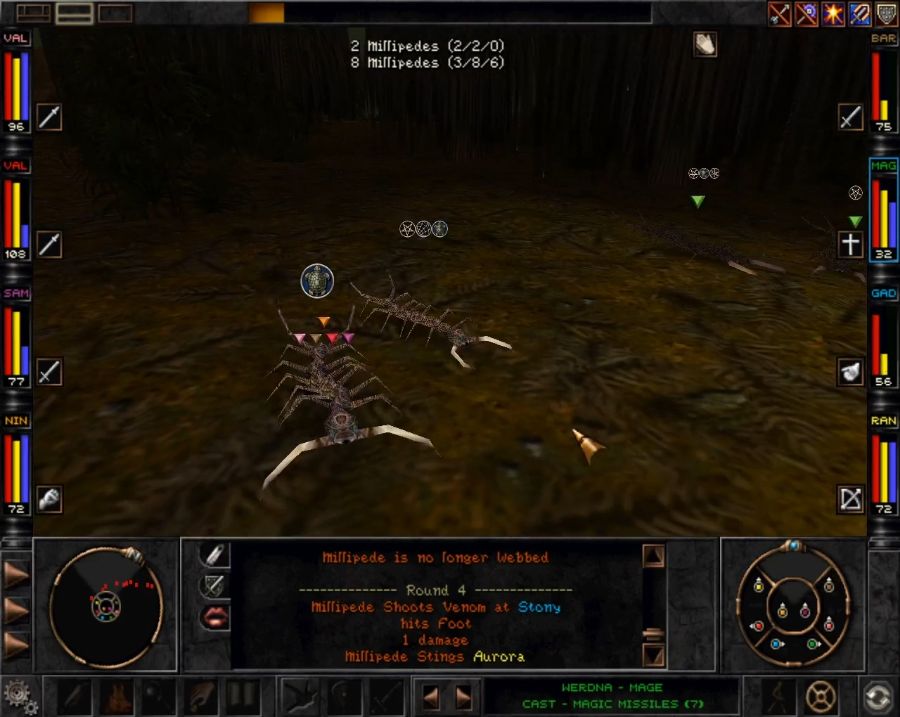 The second attempt at getting back on track goes better, albeit with some big bugs that need a squishing. 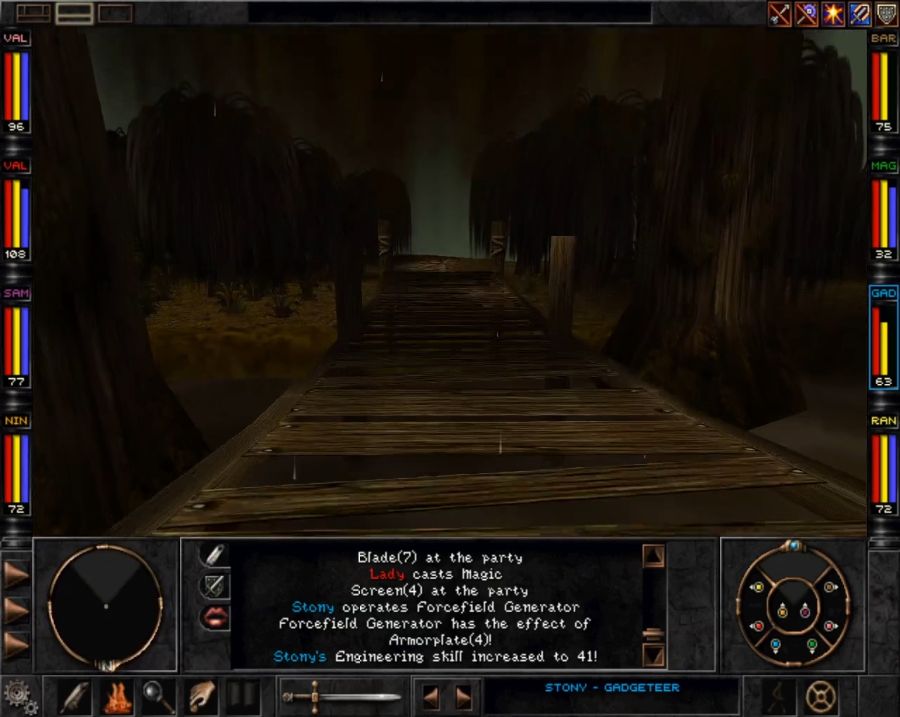 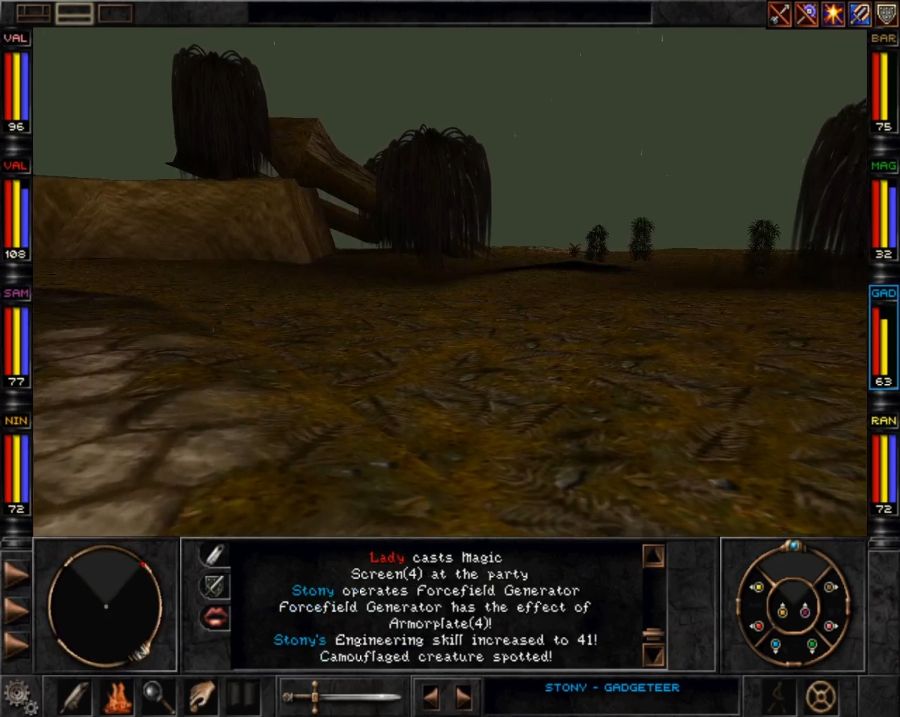 The "crack in the ground you won't see until you step on it"-swamp gas sources mostly occur on the actual paths, oddly enough. Off the paths, the swamp gas is marked by big blackened spots that are much easier to see and avoid. 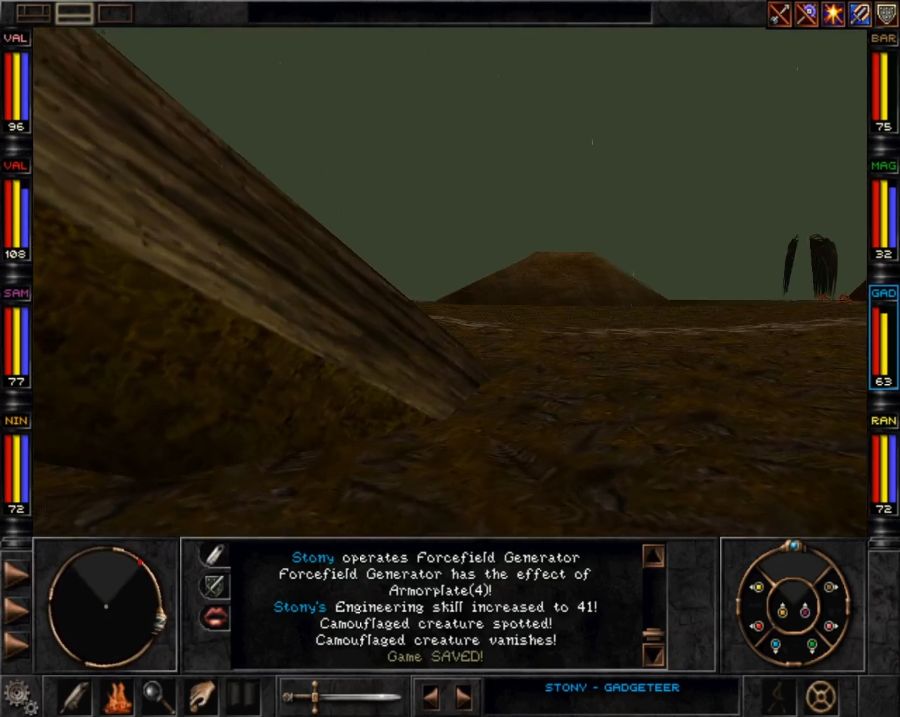 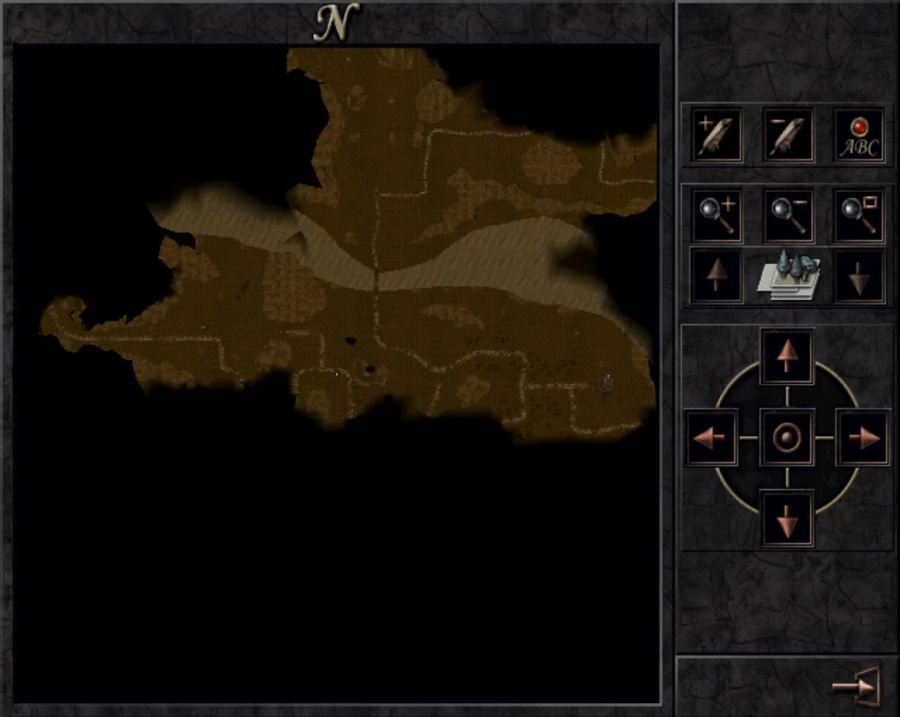 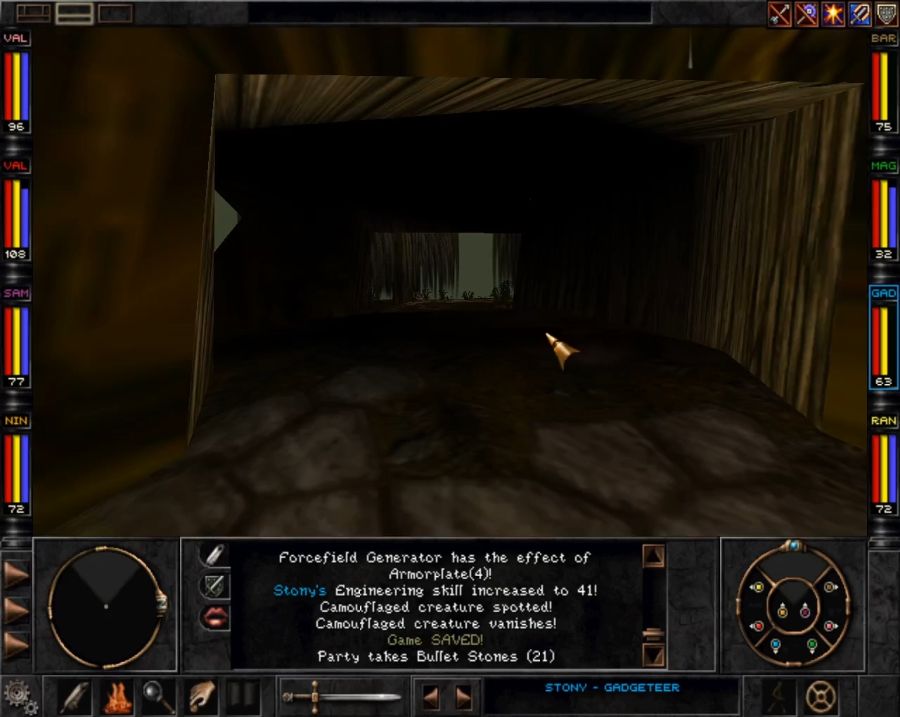 Most everything interesting in the area, though, is out at the edges, unless you really like large, rotting trees. 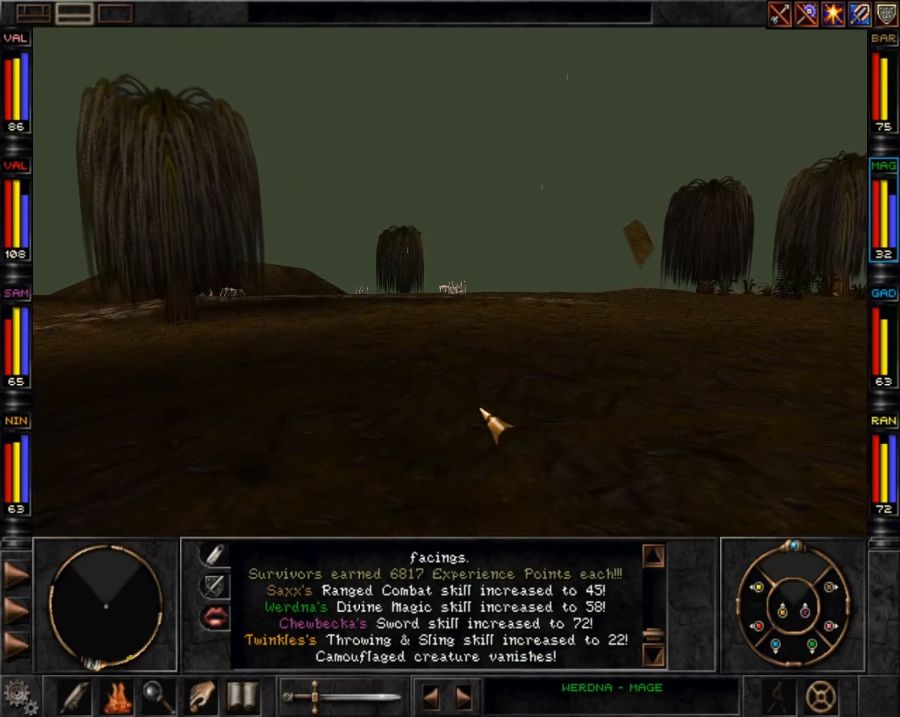 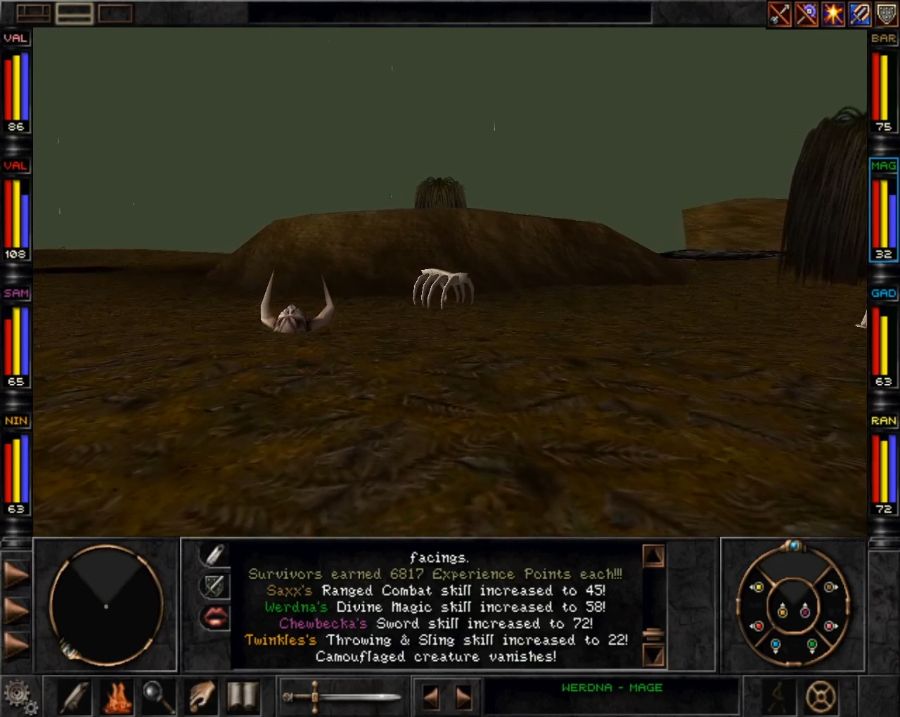 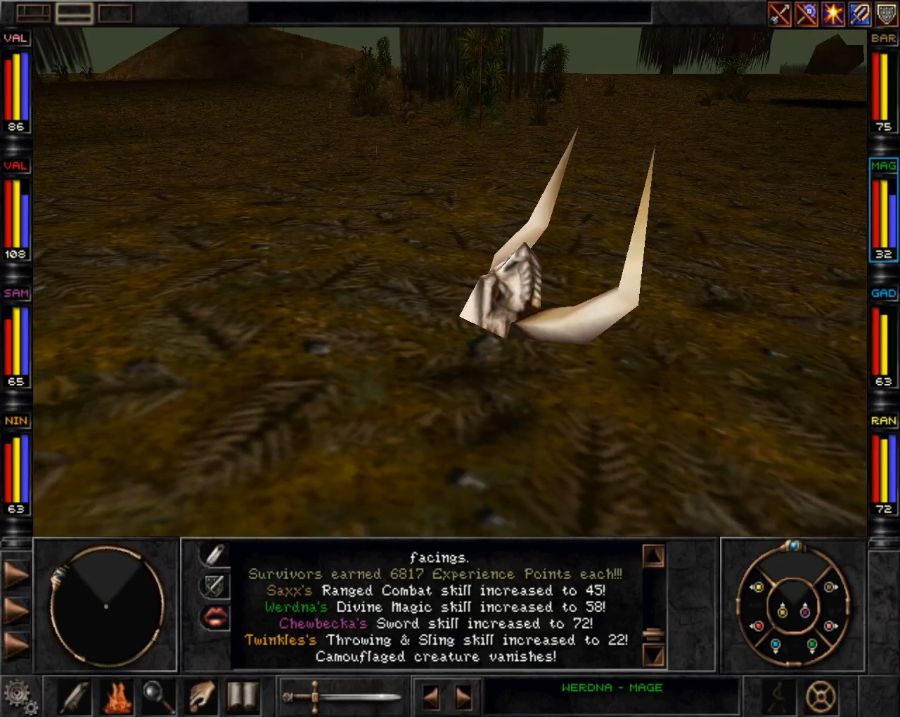 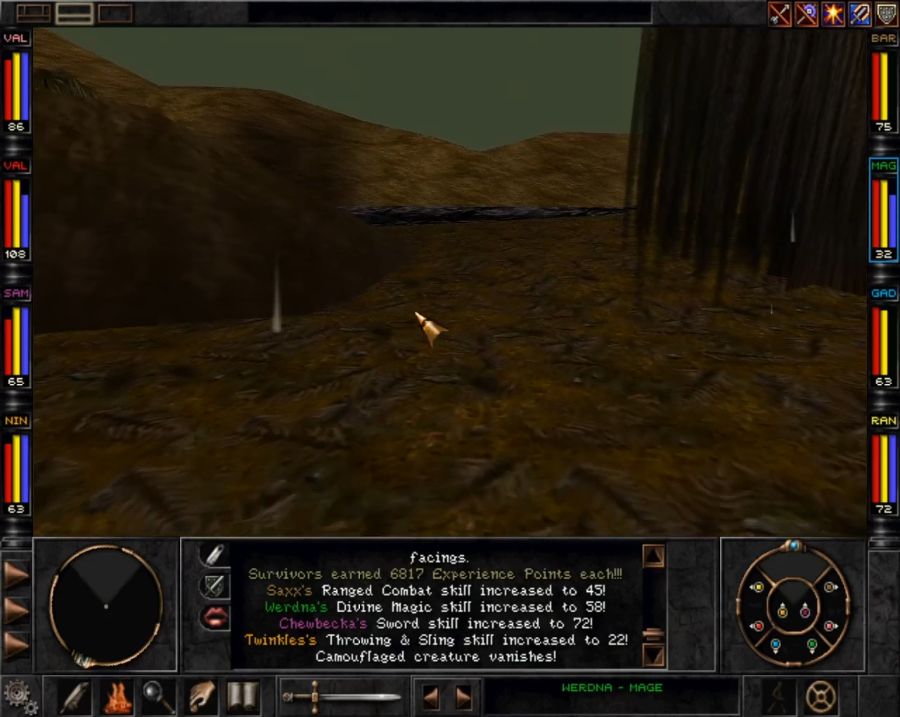 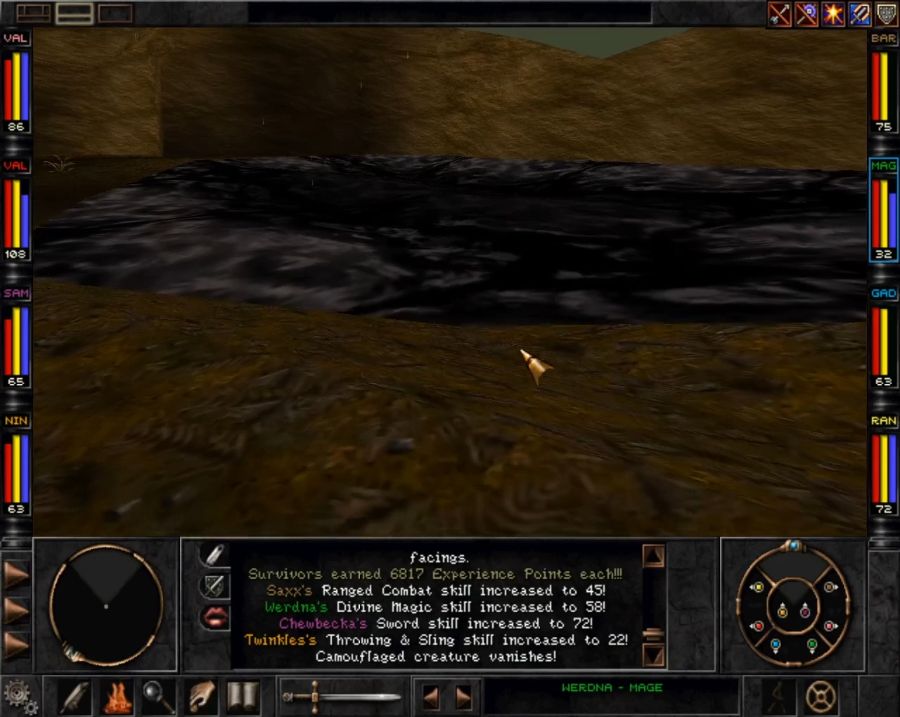 Down south is this hogar graveyard next to a big, bubbling tar pit. If you've got any spare empty bottles, which are occasionally left lying around the place, you can dip them in the tar pit to turn them into Cherry Bombs, a consumable item that stopped being useful roughly about when you left the Monastery. Still, it's a nice idea. 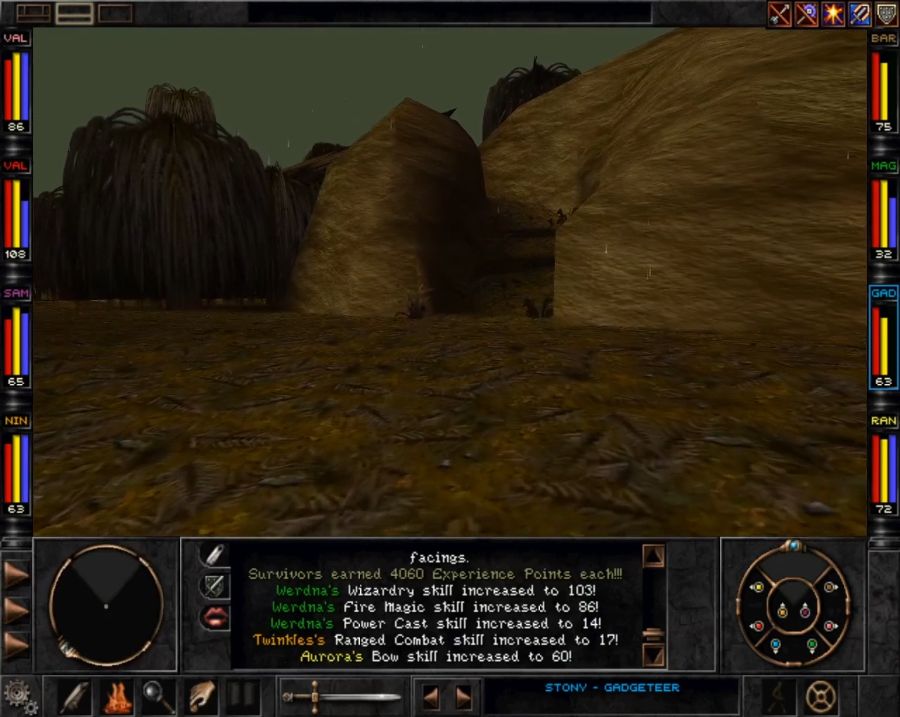 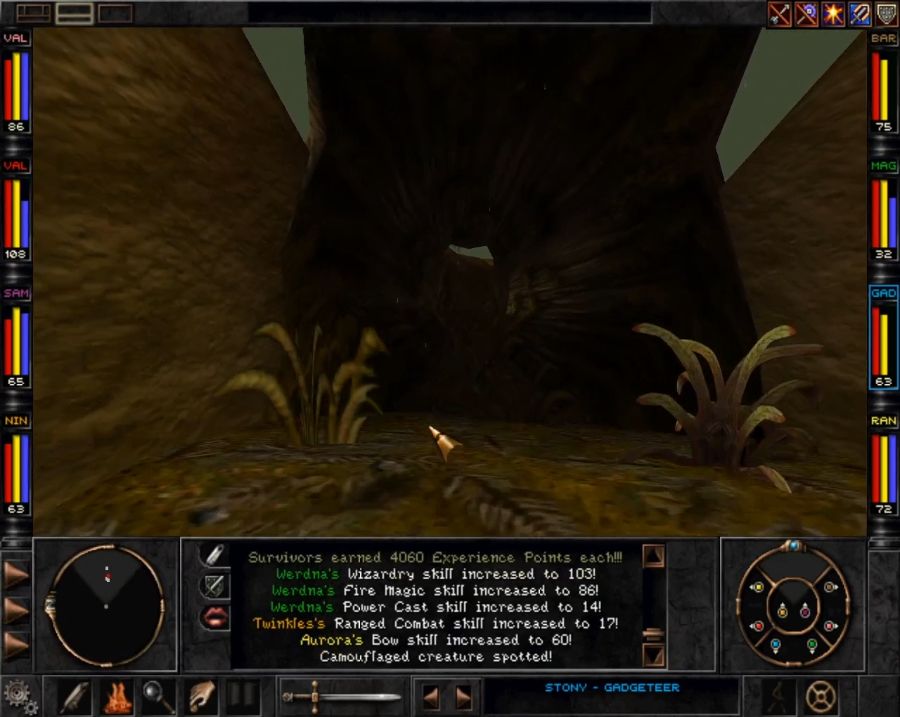 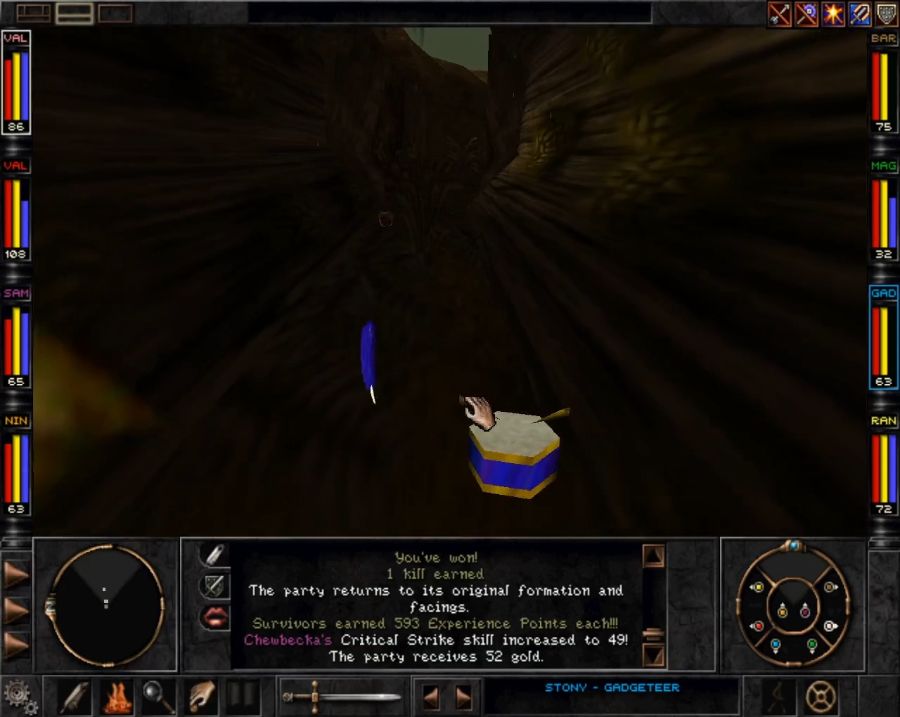 This little hidden-ish path leads up to a hollow log above the path leading to Marten's Bluff, it contains a fixed(and thus ez pz) encounter with a slime, a blue feather and a drum that casts Haste. It's not as insane as D&D Haste where it doubles all your actions, but considering that it's a simple-to-cast, all-party-buff, it's a solid piece of gear for a bard to have to consistently use on round one of a fight. I trek back and forth a bit, murdering wildlife and unloading some gear on Crock, before heading south to Marten's Bluff. Predictably, Saxx protests. 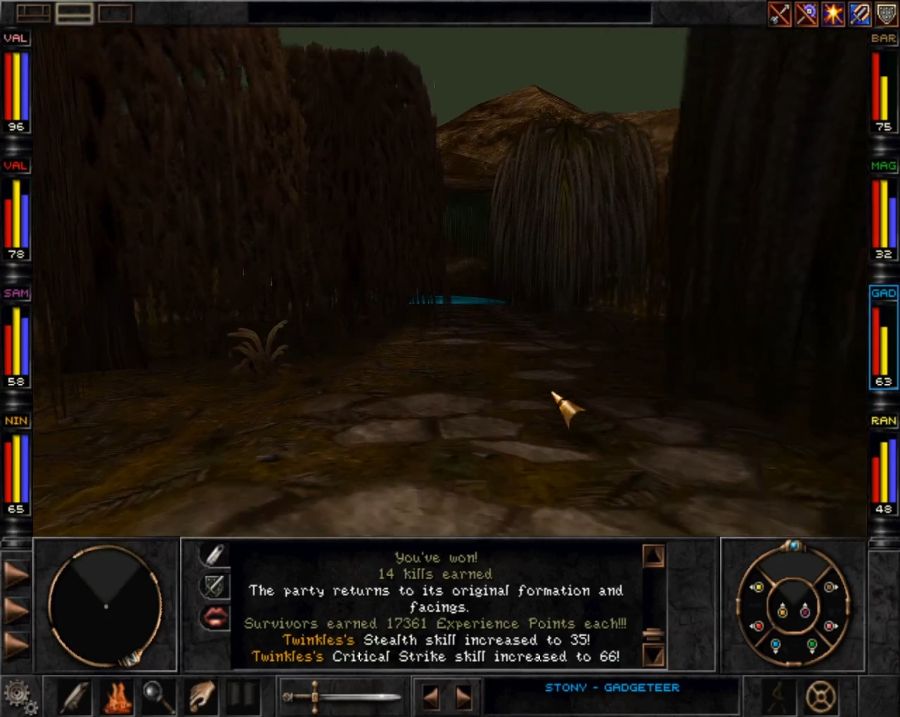 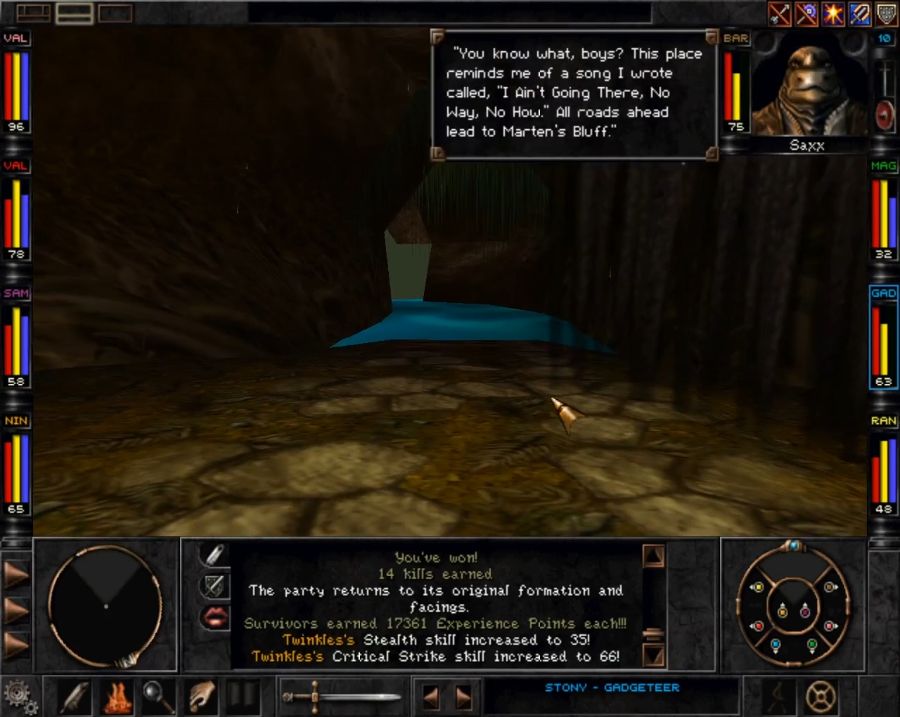 I'm extremely sad to be divested of Saxx for this next part, but I honestly wasn't sure if his presence would piss off the T'rang, so I let him go. Later on I'll have to slog back to Mt. Gigas and pick him up again. 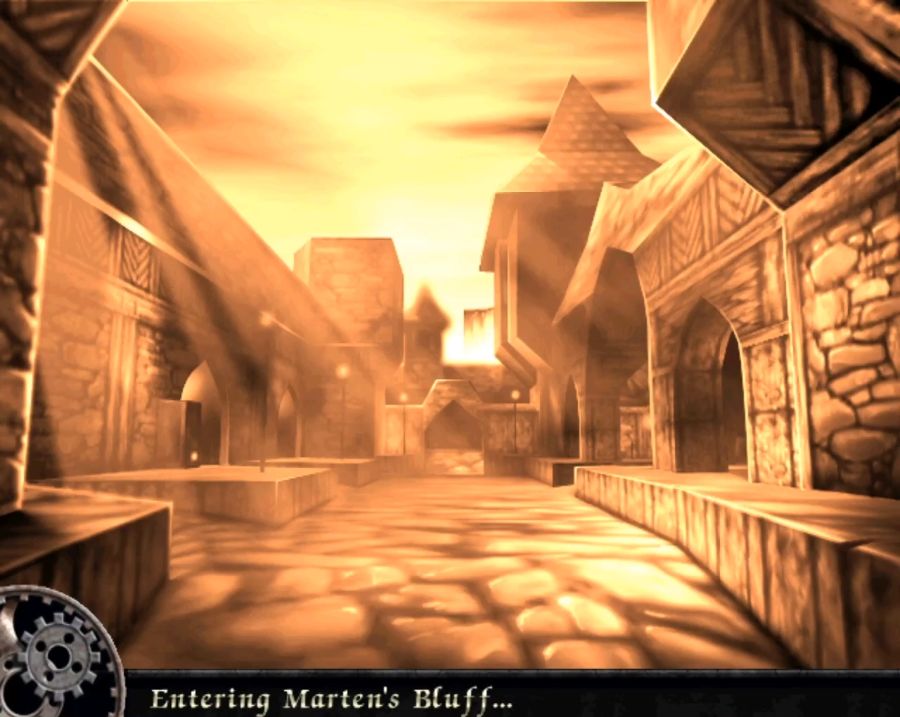 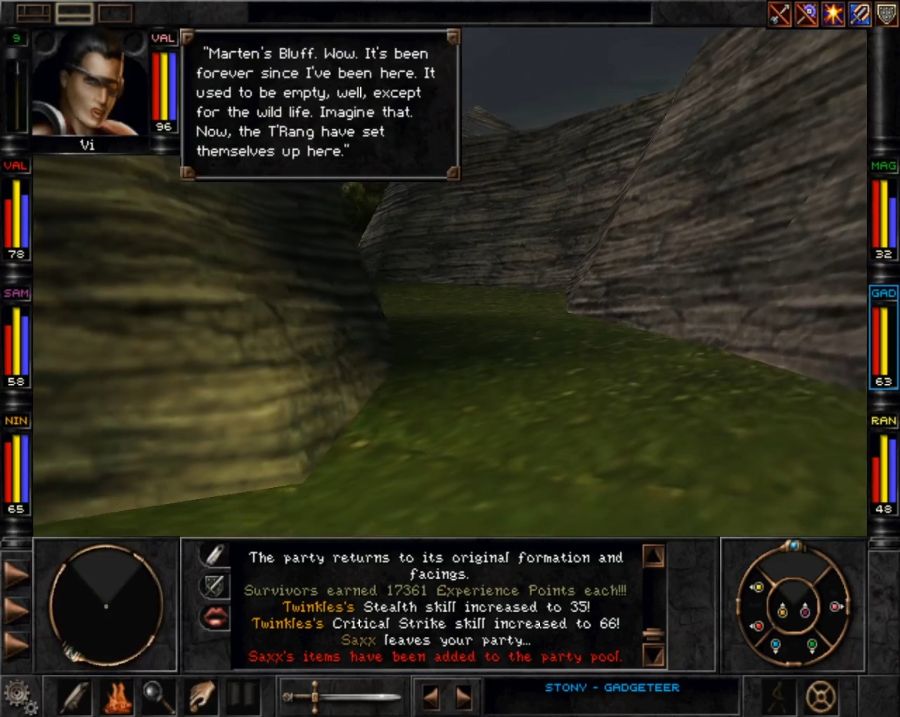 https://www.youtube.com/watch?v=XRQR-nfUUnk Welcome to scenic Marten's Bluff.   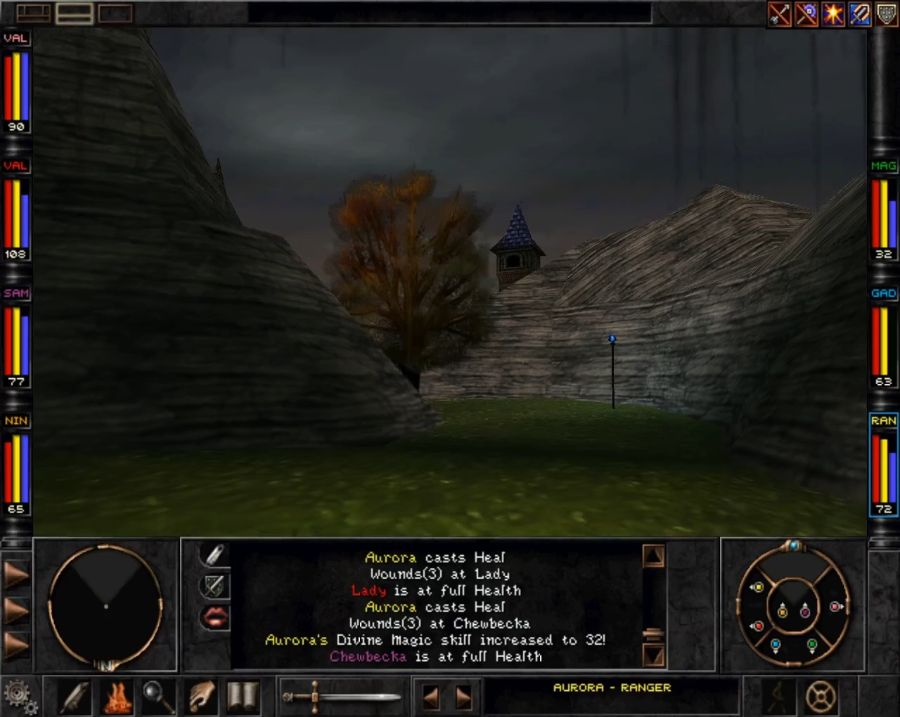 I rather liked the framing on this, one of the tower's of the Bluff being visible above the cliffs briefly before turning the corner and seeing the full thing, also the blue light sticks left around the place indicative of T'rang occupation. 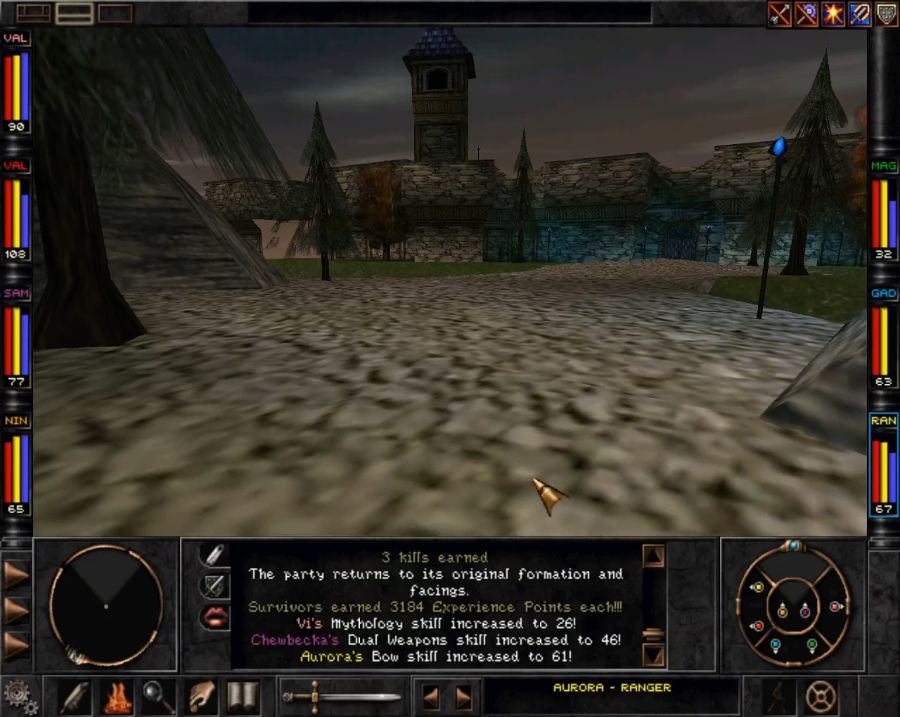 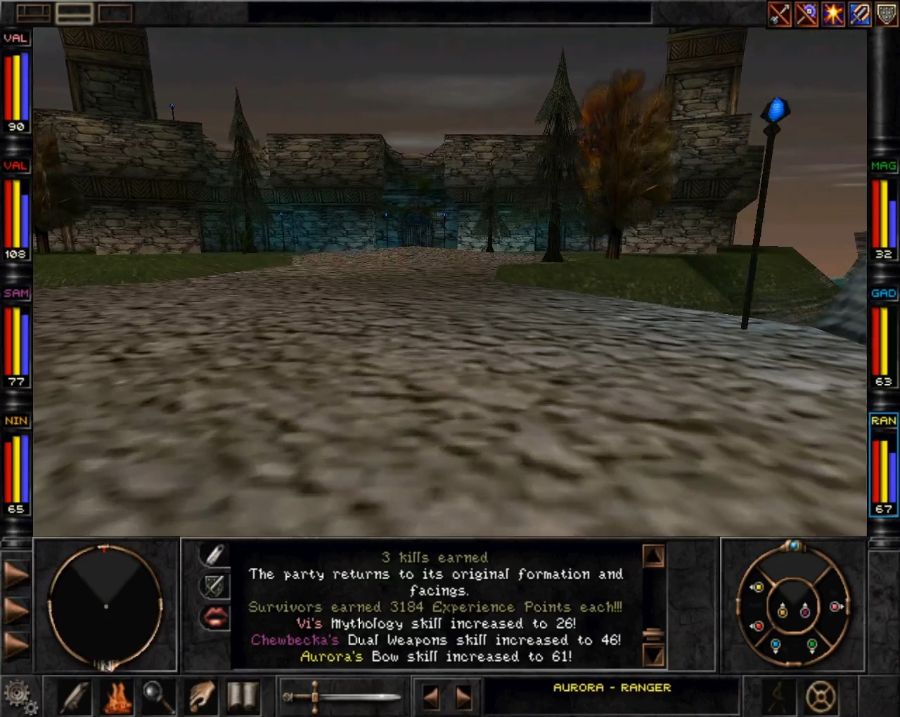 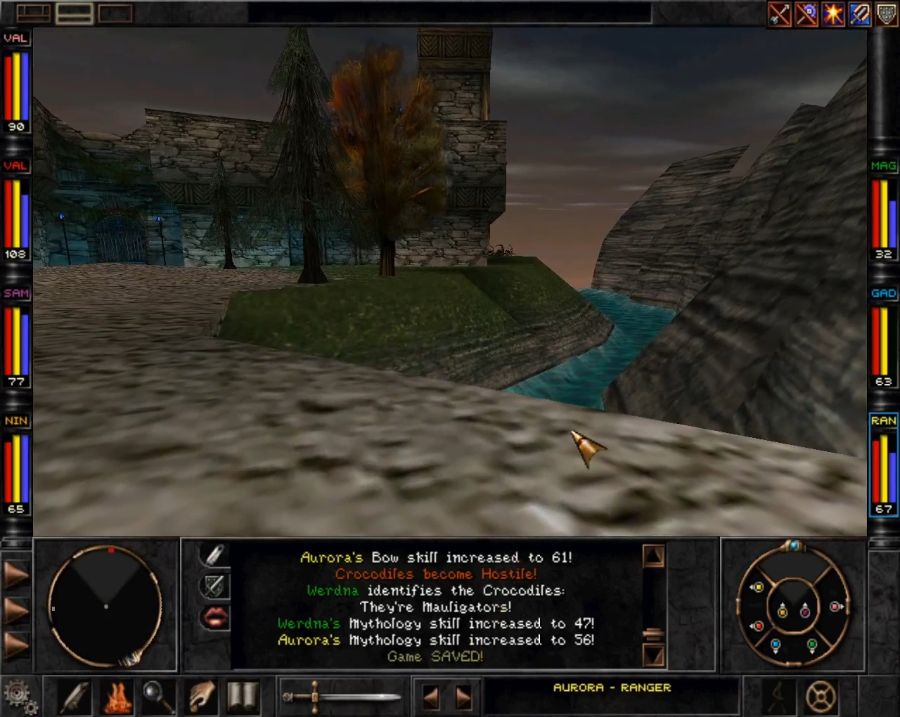 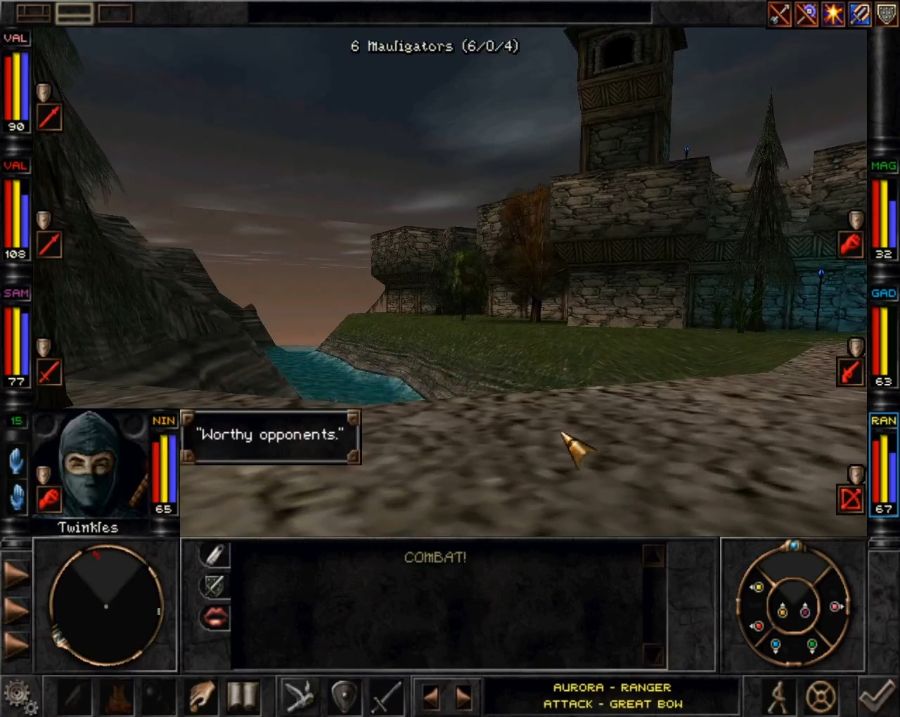 I'm just crossing the small bridge over the moat to reach the front gate when suddenly I'm attacked by invisible alligators or, rather, MAULIGATORS, which is a rad as hell name. I hold for a walk to give them a chance to show up rather than exposing my back, queueing up all the buffs I can think of as I do so. 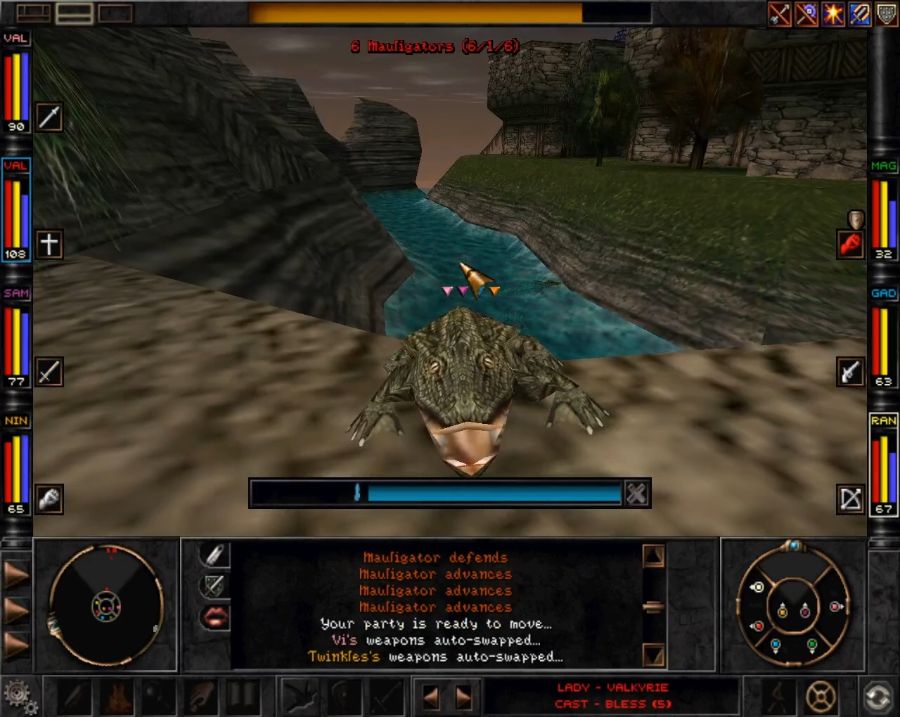 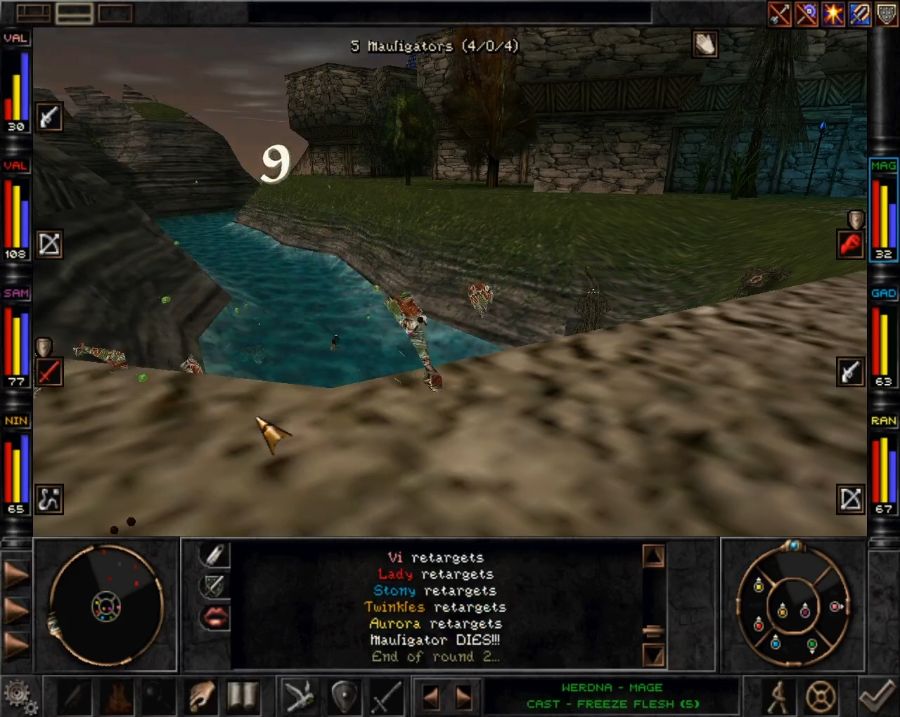 Taking out just one of them almost chewed up Vi after their shrugging off all the stuns I could think to throw at them. If they had come at me front on rather than needing to clamber out of the moat first, this encounter would have been a lot rougher. 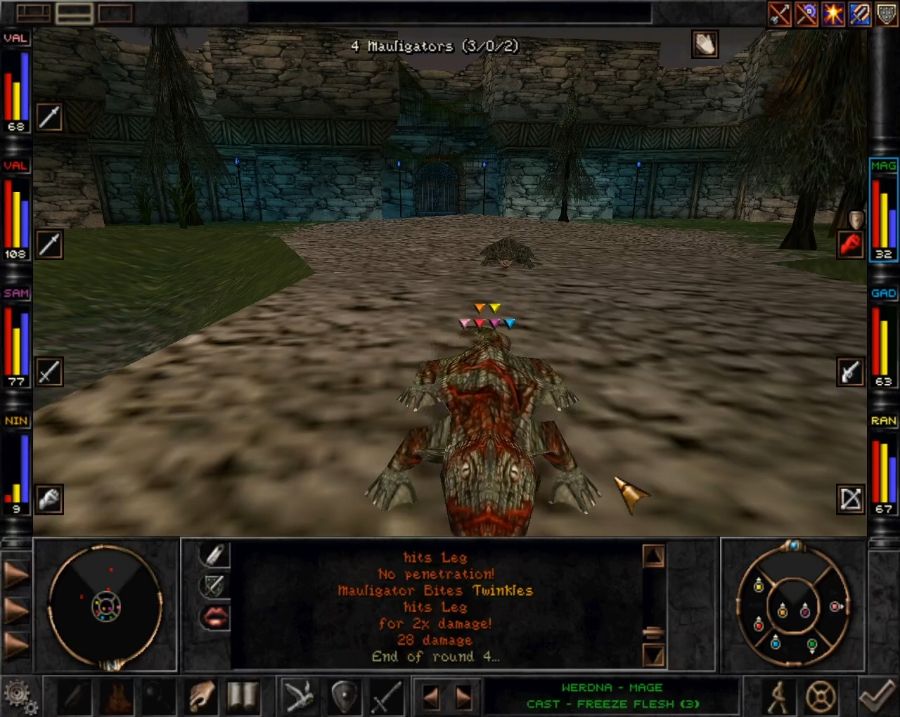 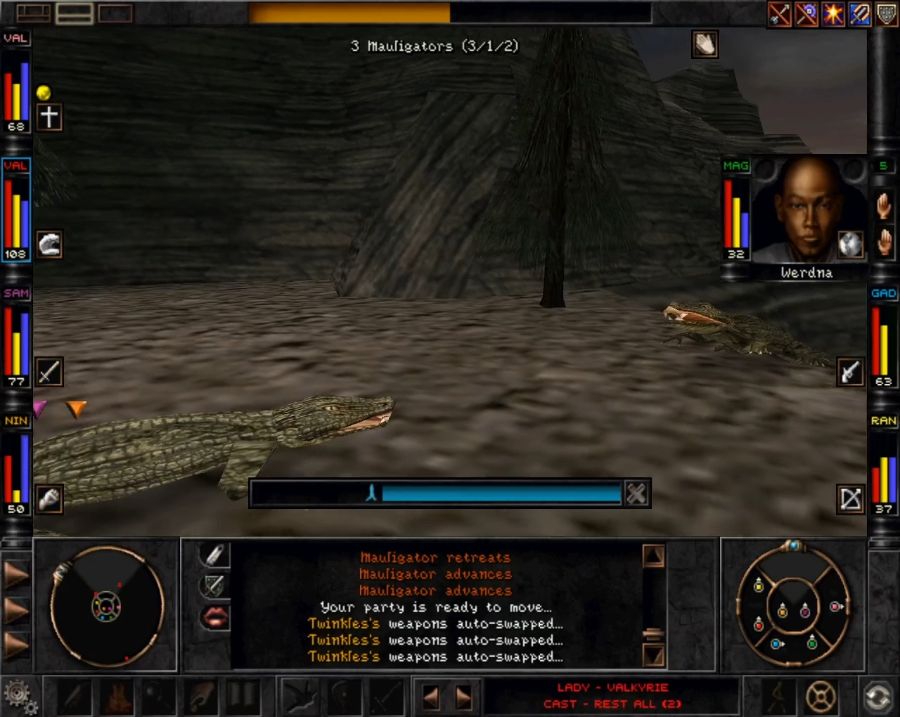 As it is, things get spicy when the gators pincer-formation me, and I need to queue up some movement to get out of there. This, of course, also means they get first strike for the round which could VERY easily have reduced some party members to dogfood, or gatorfood, rather.  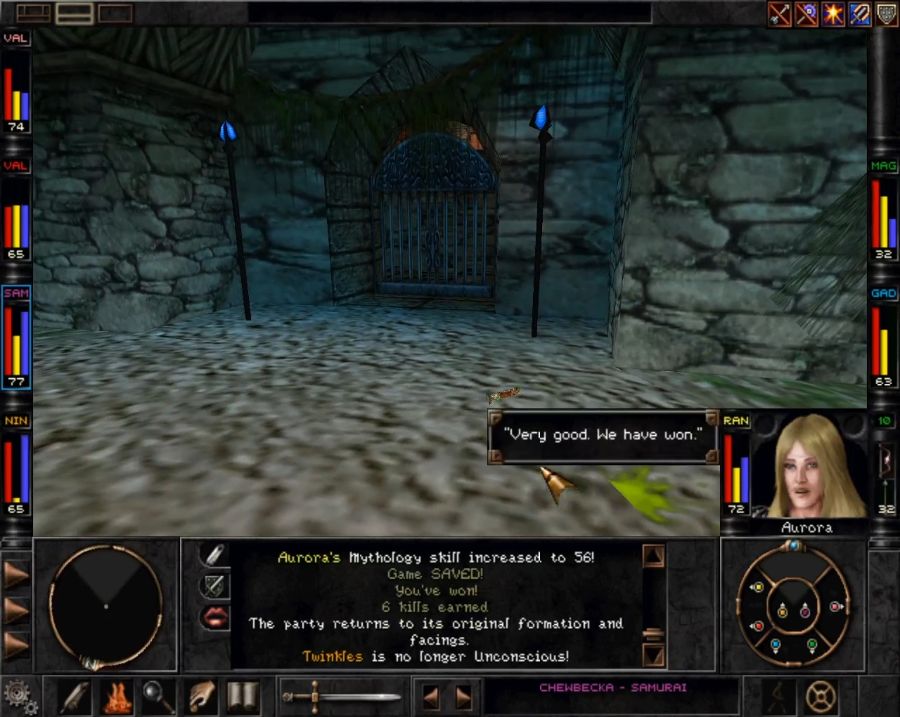 Once again, Stony's Omnigun comes to the rescue by whacking one of the gators first with a blind and then a KO, keeping it out of the fight during the pinchiest parts. 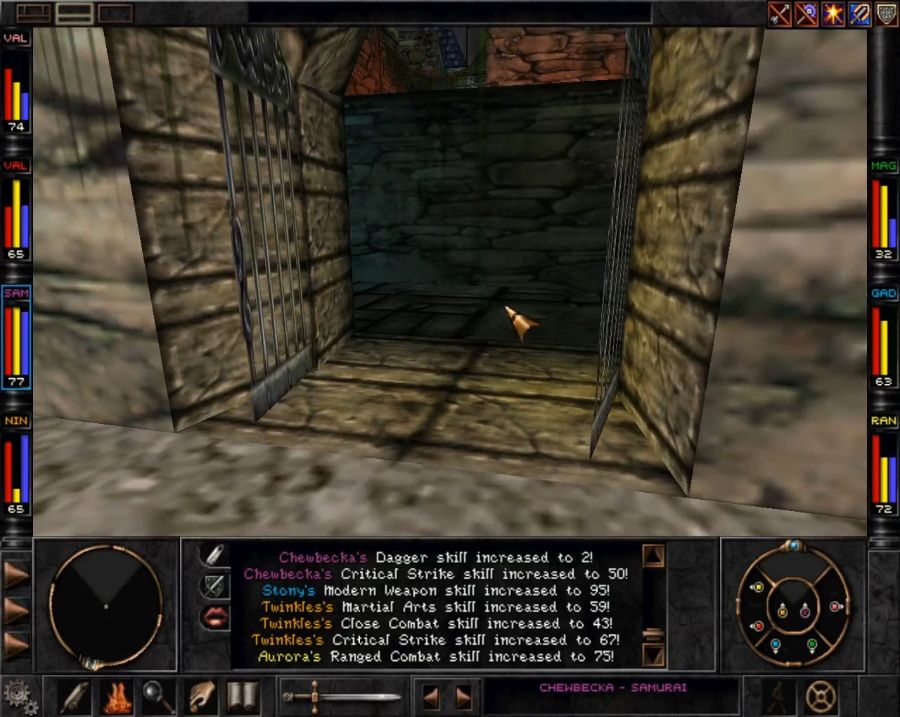 Now, you can attempt to go in through the front door, but there's no point. Just around the corner there's a barrier that can't be bypassed from this side. So let's take a walk around the fort and see what we can find. What's cut here is me running into a pack of Deathsting Apuses and needing to reload because, as their name implies, they have a chance to instakill party members on hit. loving bugs. 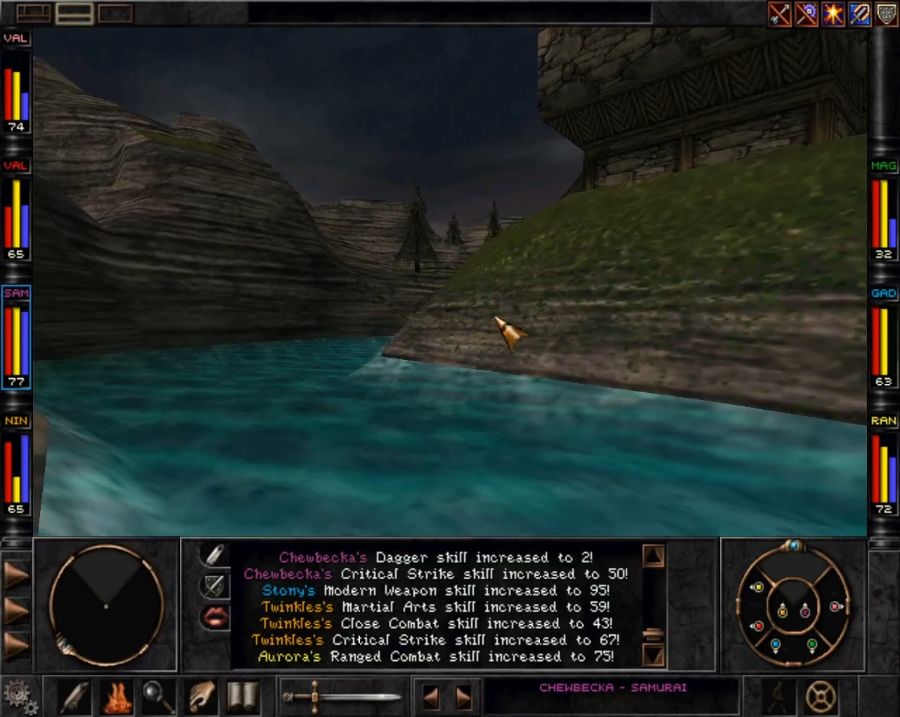 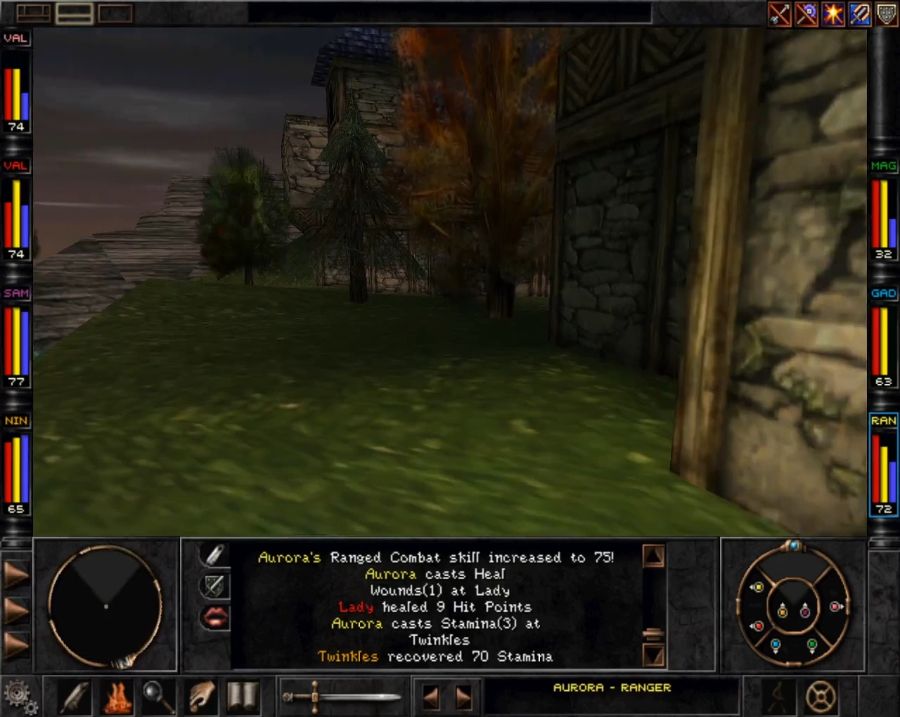 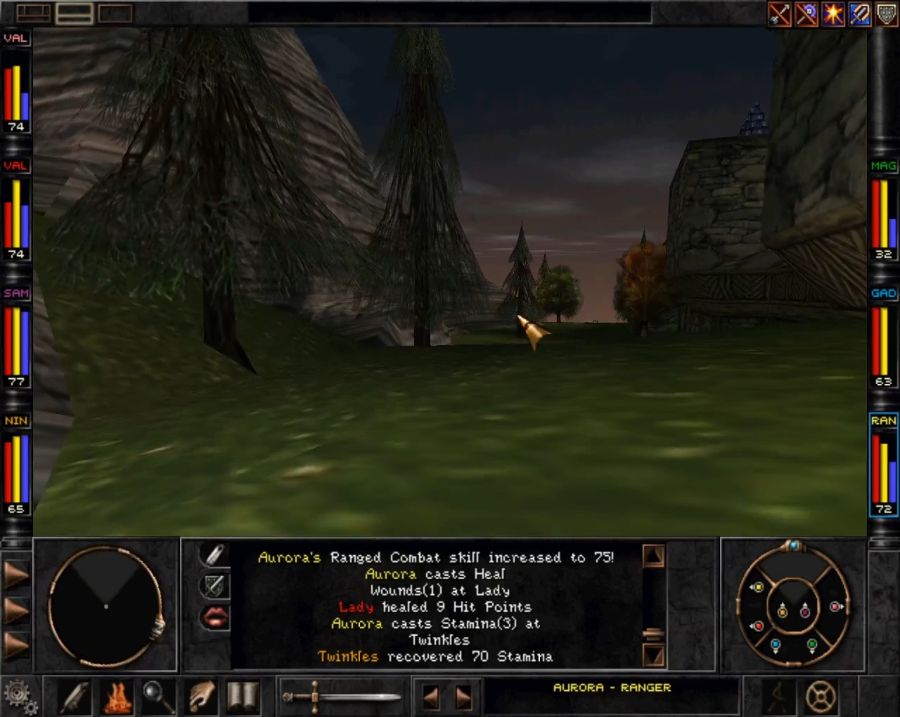 I take the "long" way around the bluff, because I could swear I remembered something being this way that could be missed, but it turns out I'm mistaken. There's just yet another entrance that cannot be accessed from the outside. 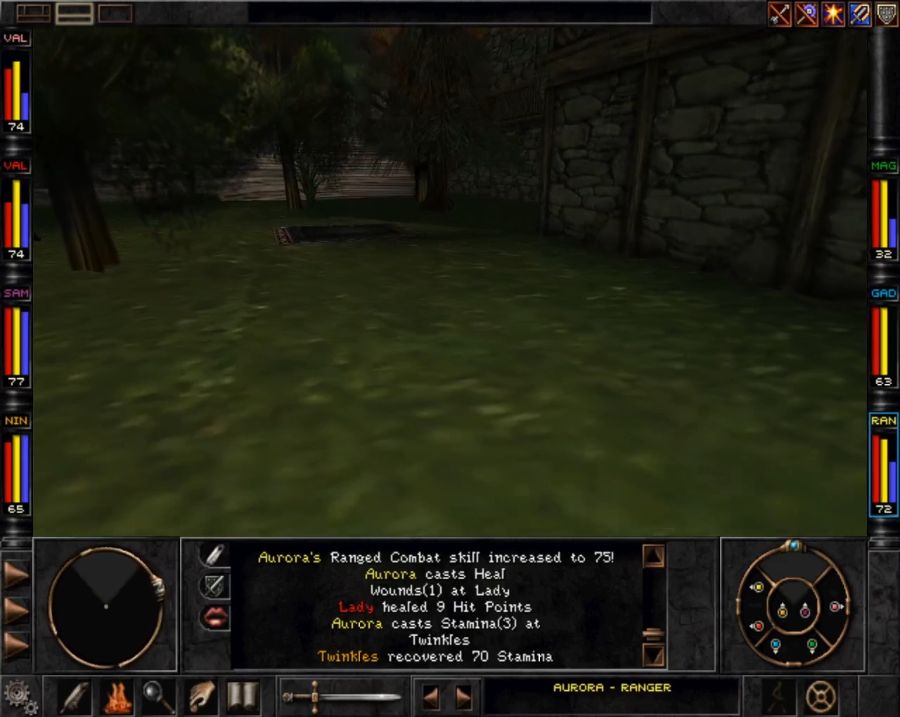 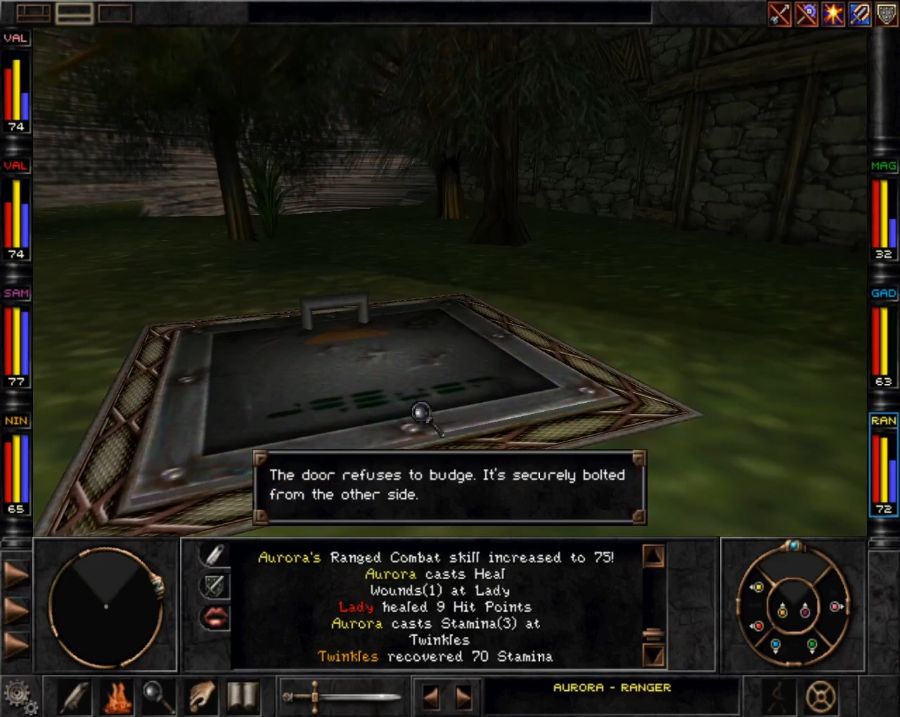 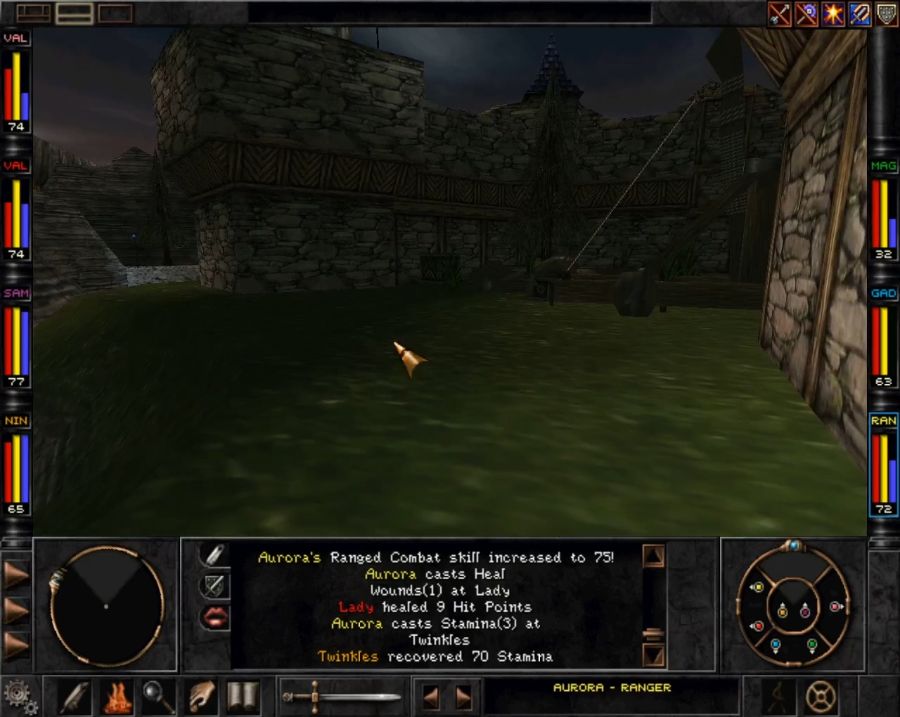 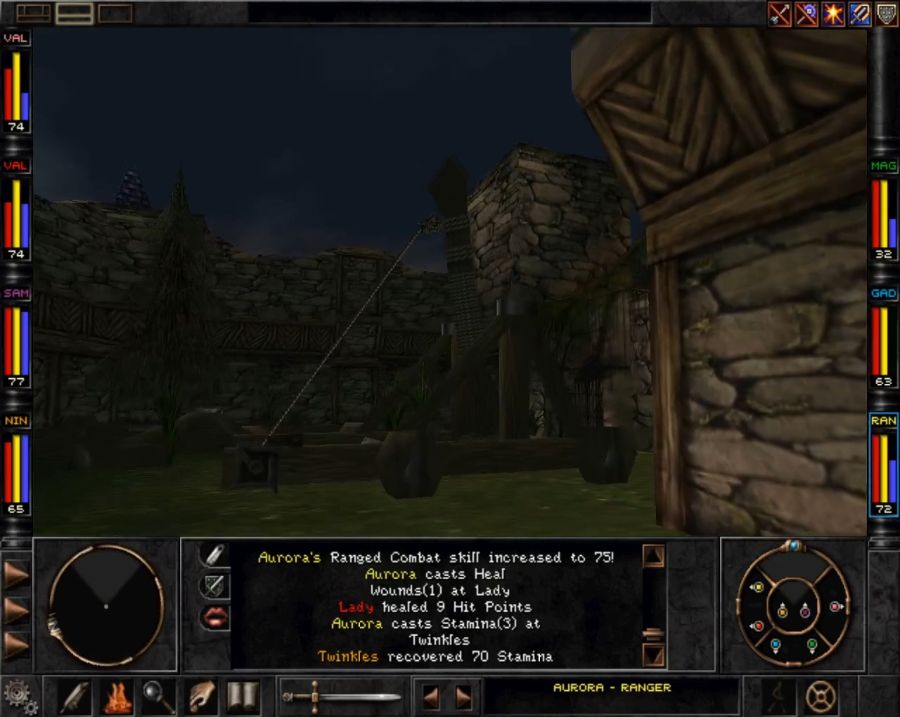 So I loop aaaaaaaaaaall the way around to almost the entrance where I find what I assume to be the remnants of the HLL's attempts to break in. 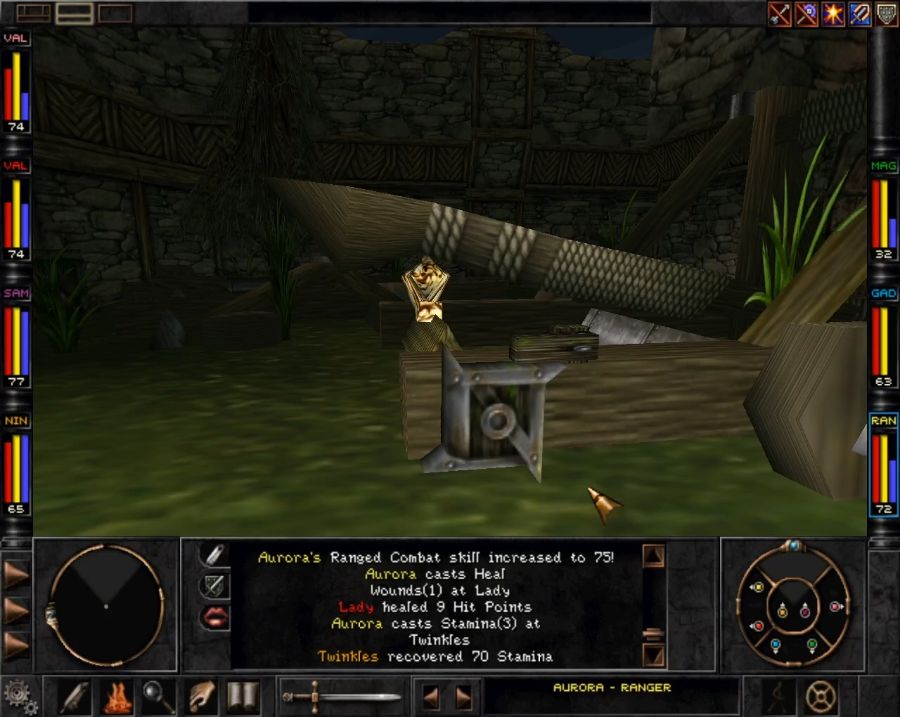 You can interact with the gear to "load" the catapult. 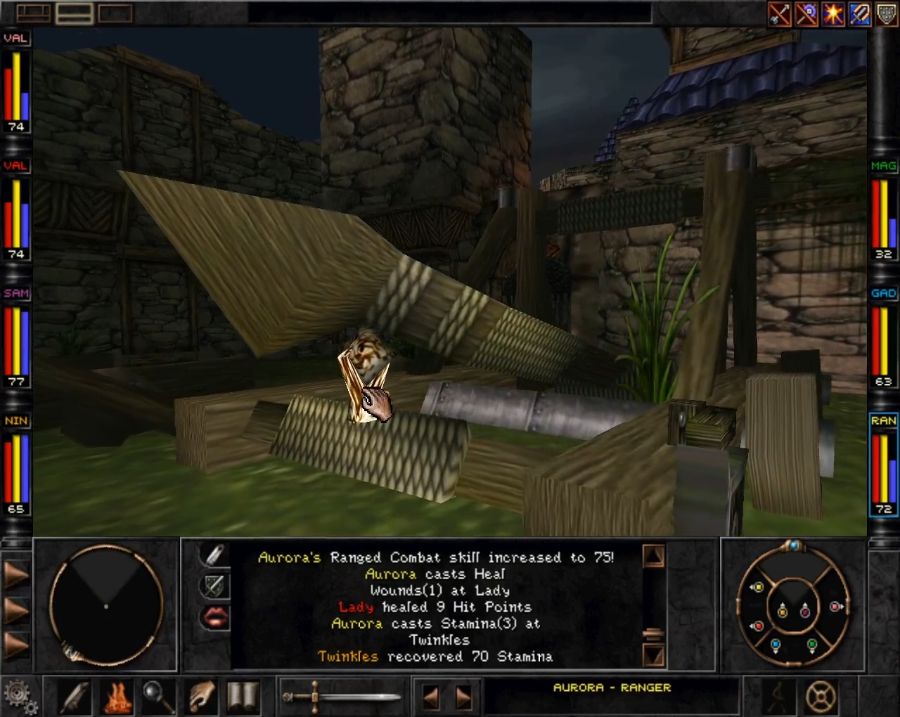 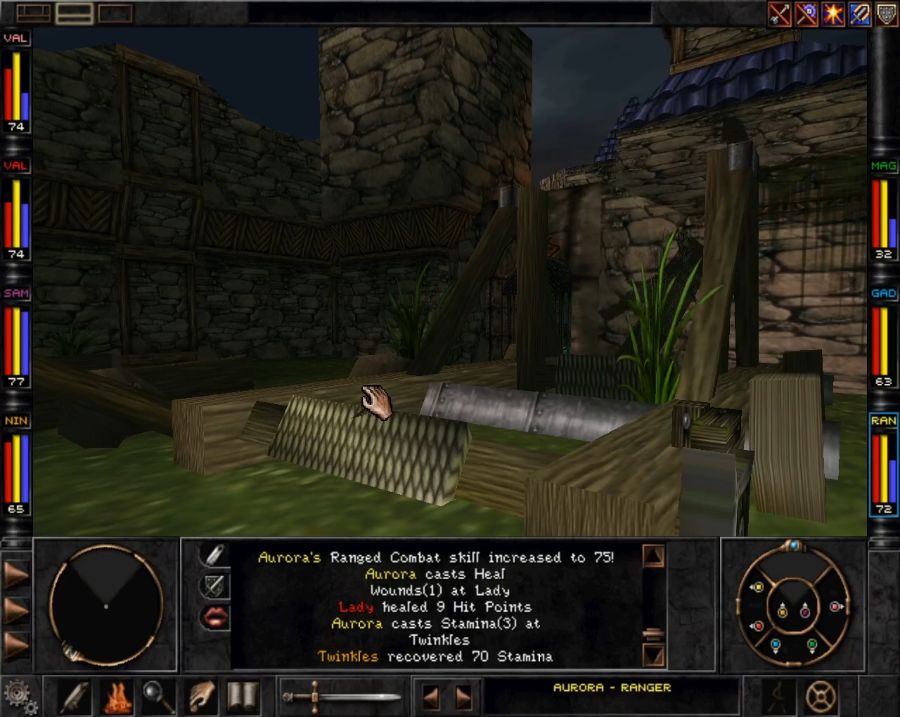 Then undo the latch holding the arm in place, so it slams forward, through its rotted-through crossbar and slams unto the battlements. Why would you want to do this, though? 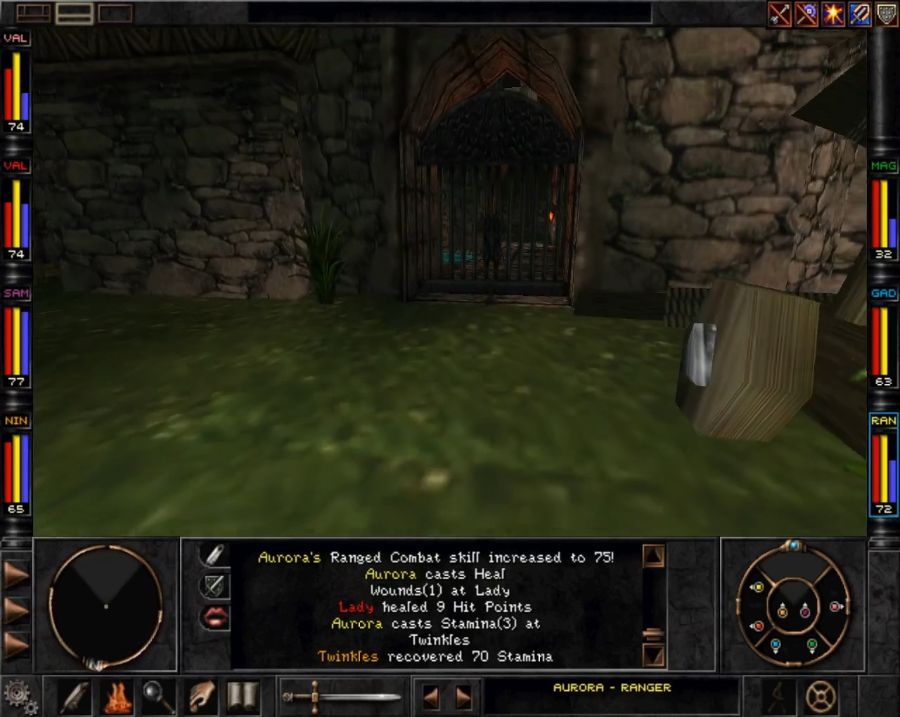 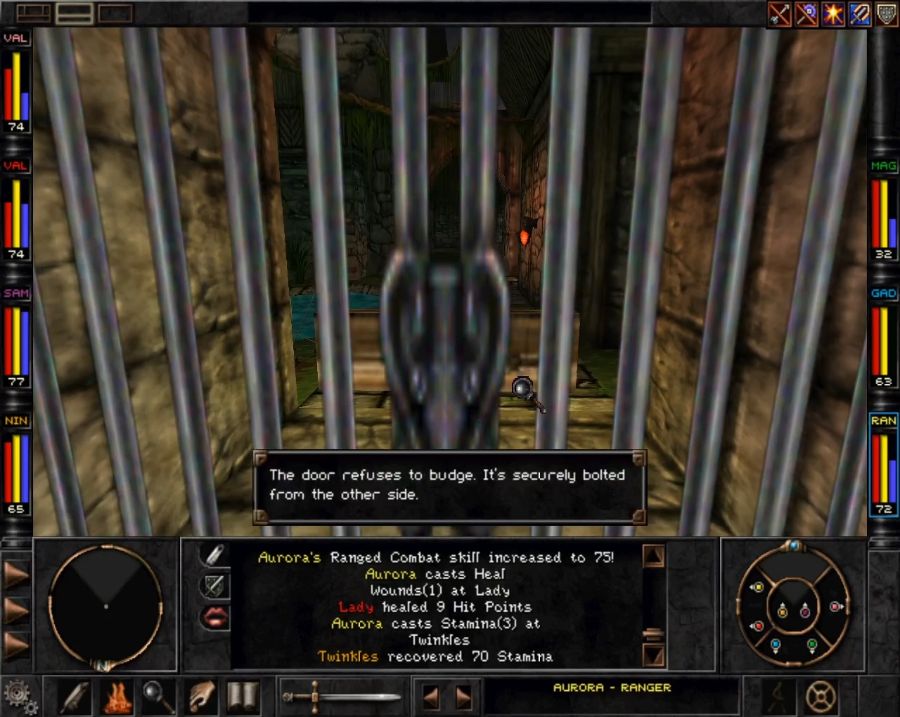 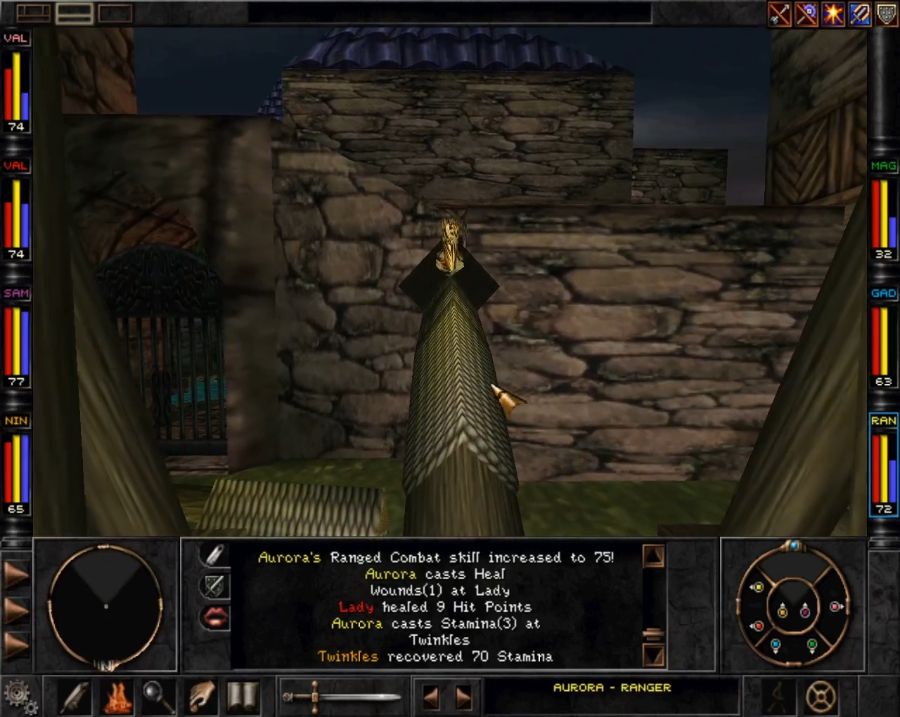 Because that's the only way in (for now), the gate is locked so you need to use the catapult's arm as a sort of ladder/bridge up on to the walls and boom, you're in. Time to nose around. 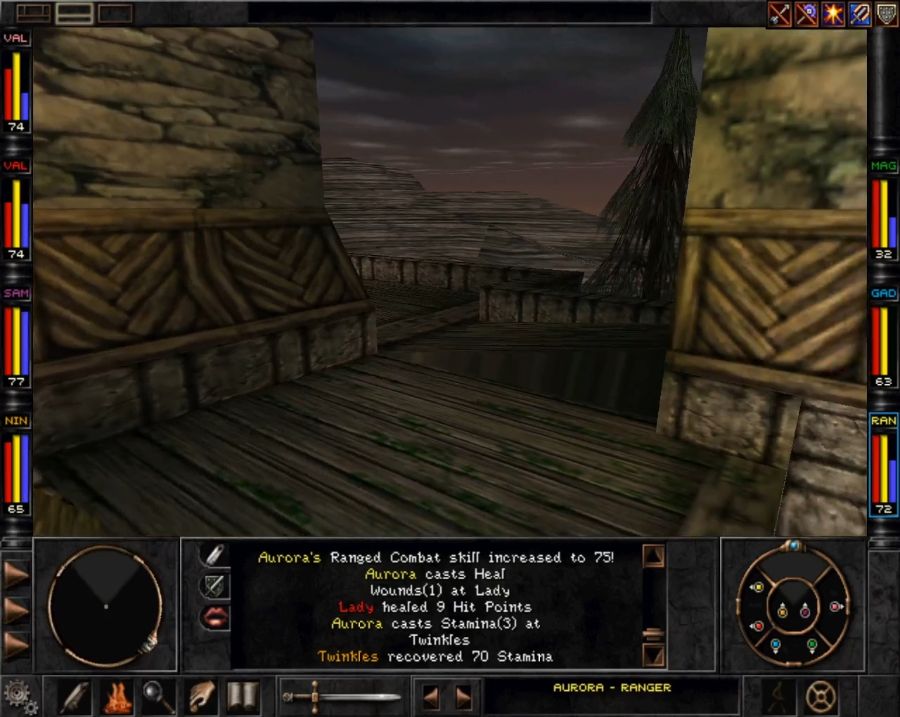 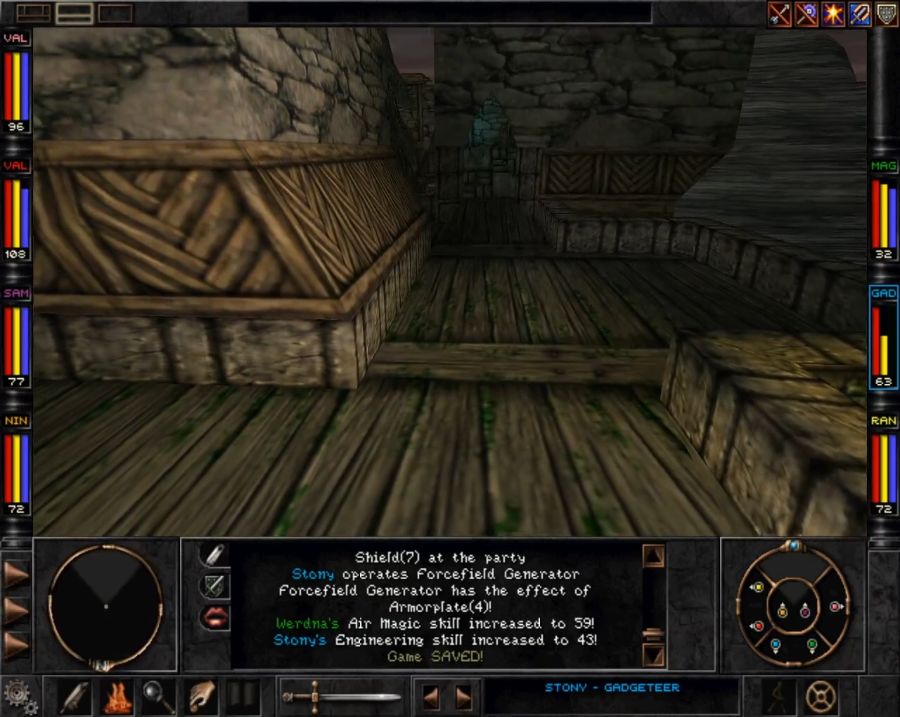  The battlements don't really hold anything except two empty towers. The only purpose they serve is that they are, I suppose, safe places to rest. Resting outside the Bluff tends to get you ambushed by various enemies, not that I'd have learned this by getting ambushed five times in a row or anything. Oh no certainly not me a certified PRO GAMER. 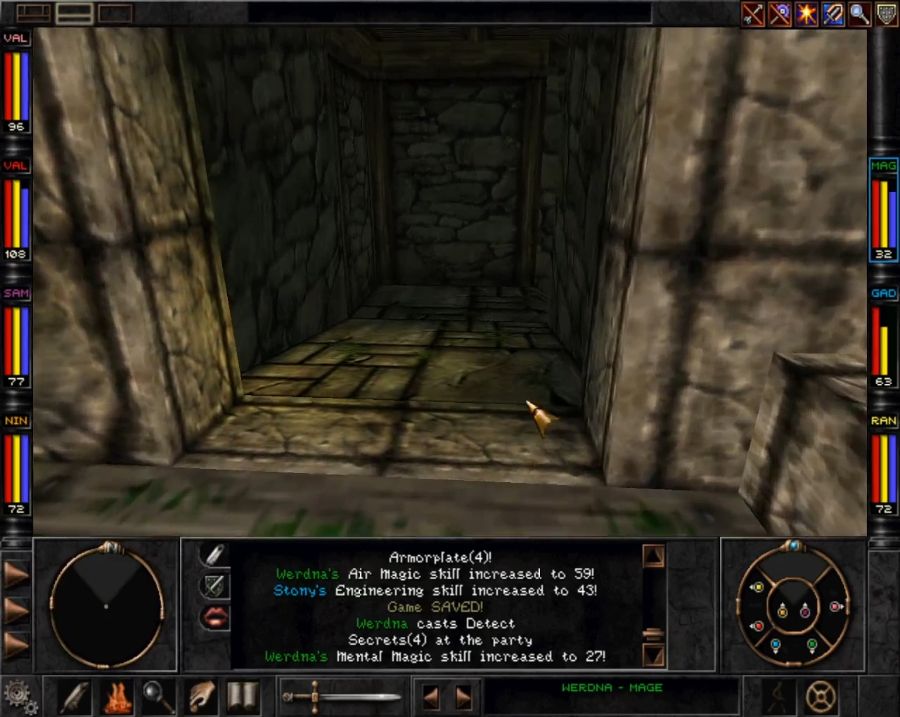 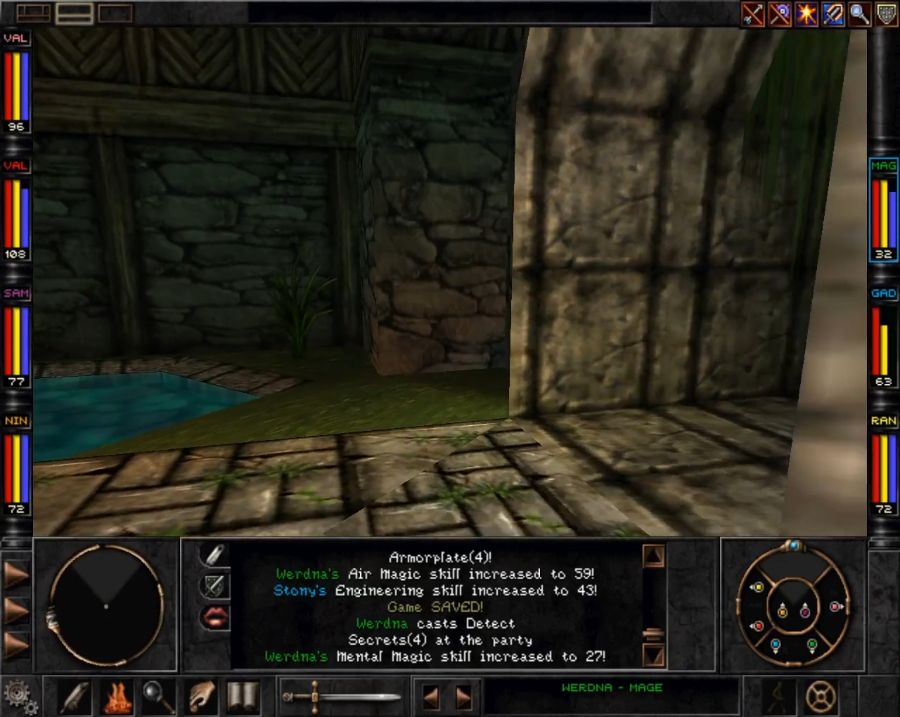 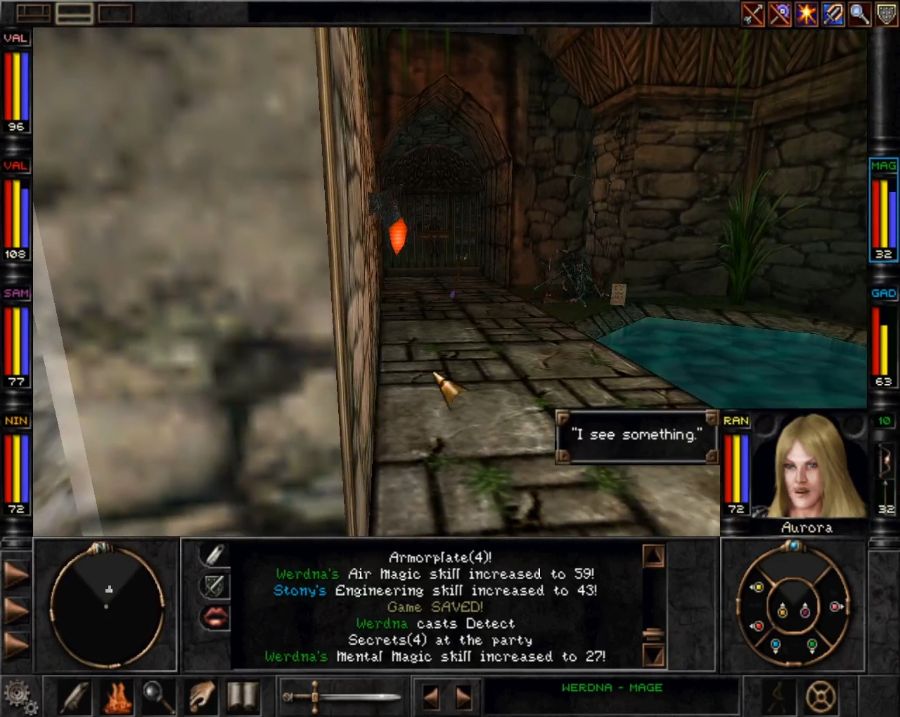 Just inside the gate we used the catapult to bypass is a dead T'rang, poked to death by an arrow trap immediately opposite. I walked through it like three times and took no hits since, interestingly enough, the Missile Shield spell apparently also deflects out-of-combat projectiles. 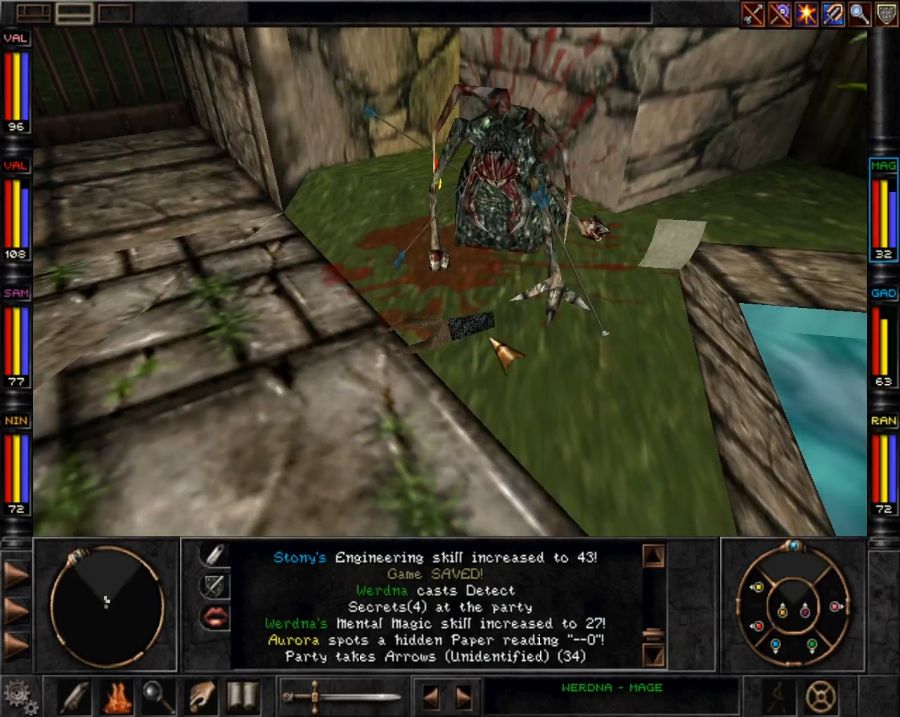 At the corpse we can loot: 1 T'rang Arm, this is both the evidence that the Umpani want of T'rang presence as well as a very important tool for Marten's Bluff. A piece of paper with --O on it and a pair of wires that will be EXTREMELY important in an update or two depending on how things go, and obviously we can unbar that gate from the inside making entry through the side entrance slightly easier. 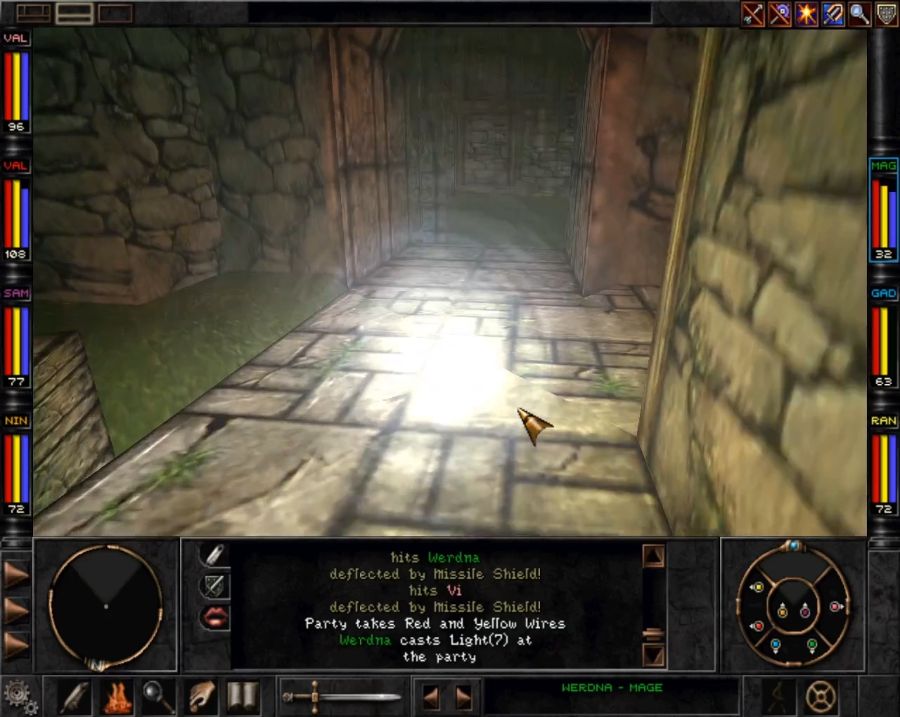 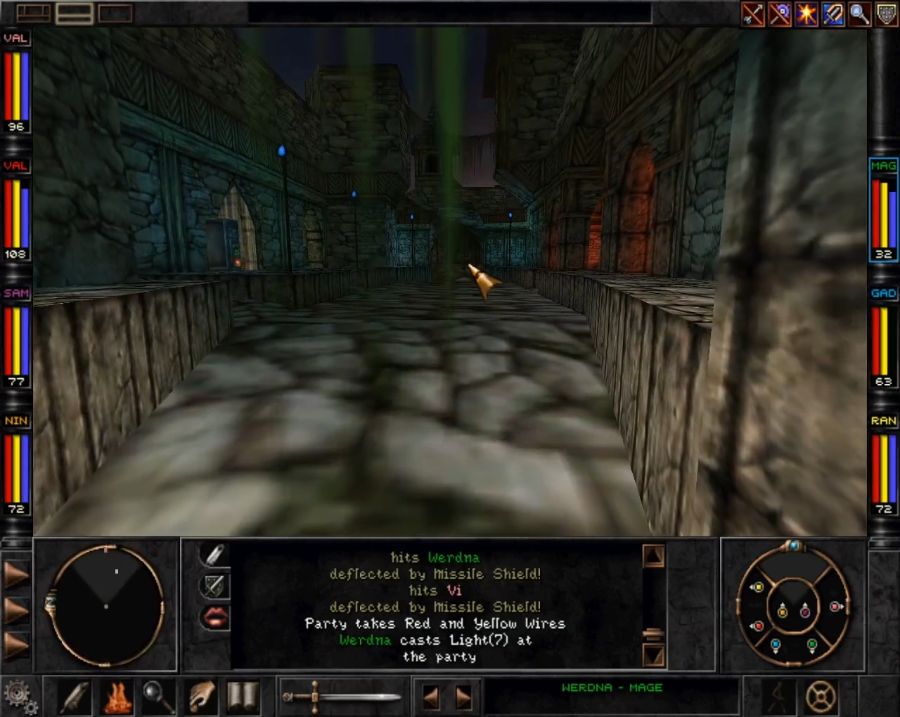 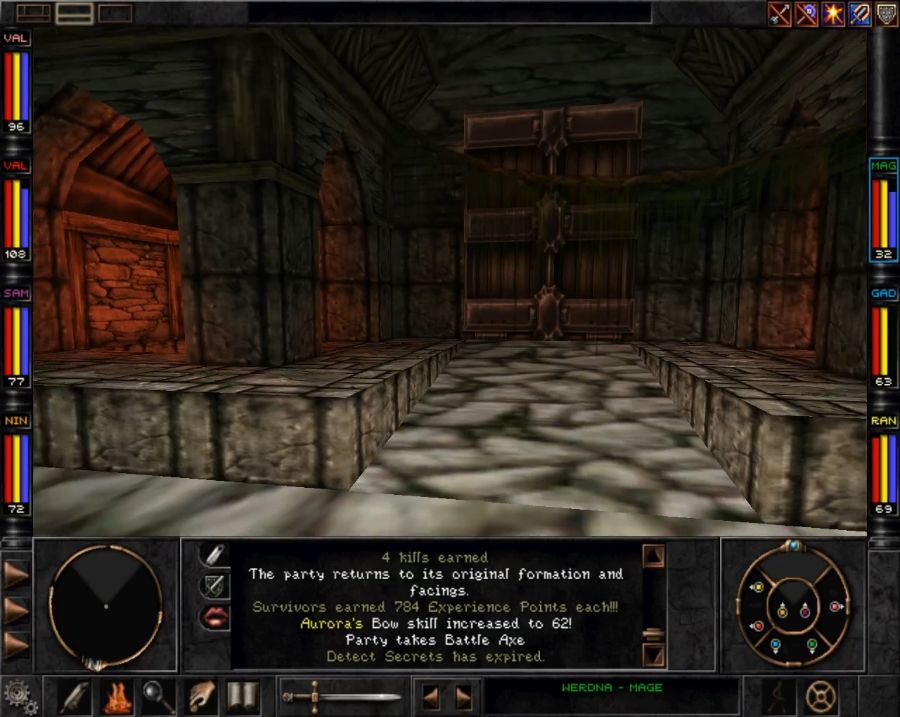 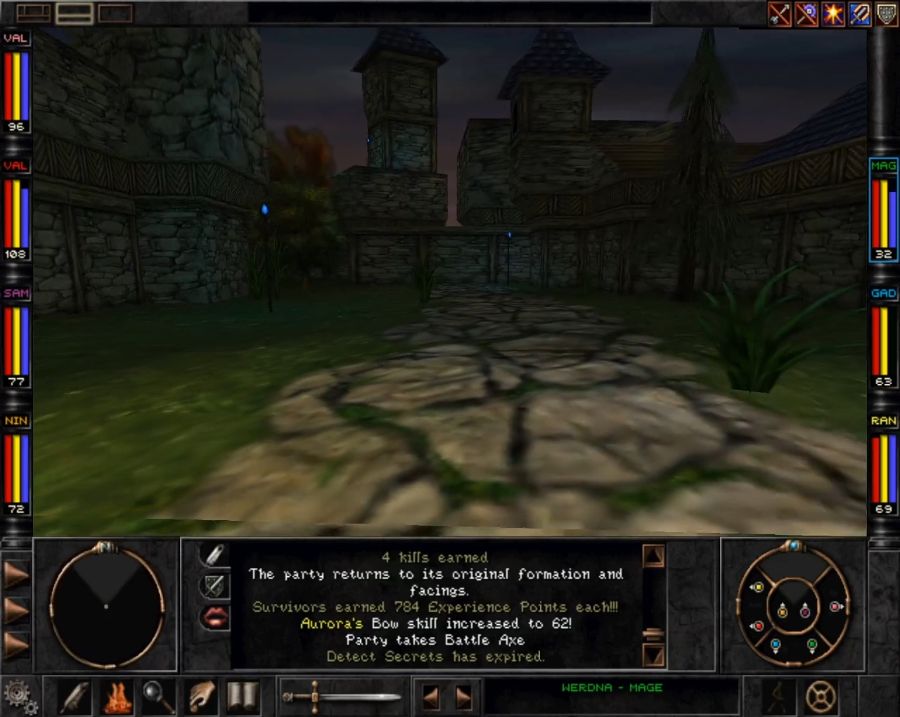 There's this big door we can't interact with (yet) and a courtyard on the opposite side of where we arrived that has basically nothing in it except the occasional monster spawn. However, in the middle, just behind the main gate... 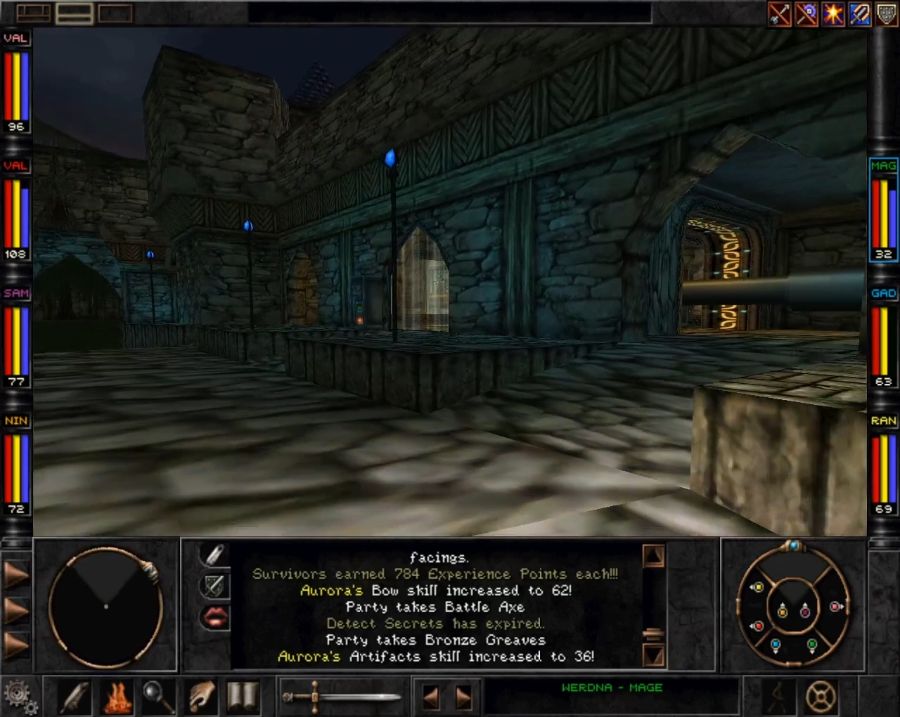 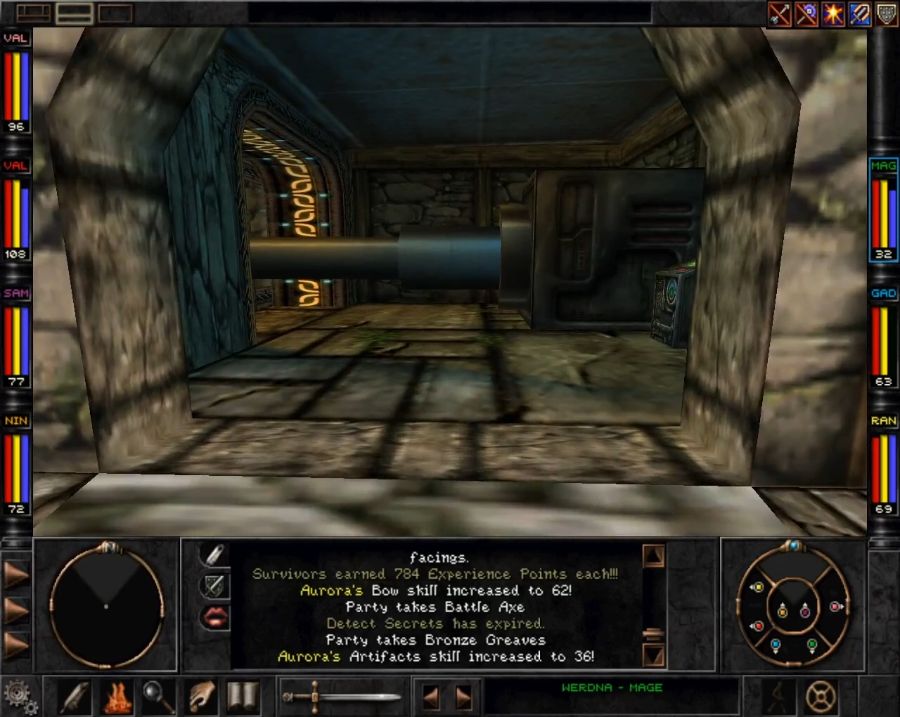 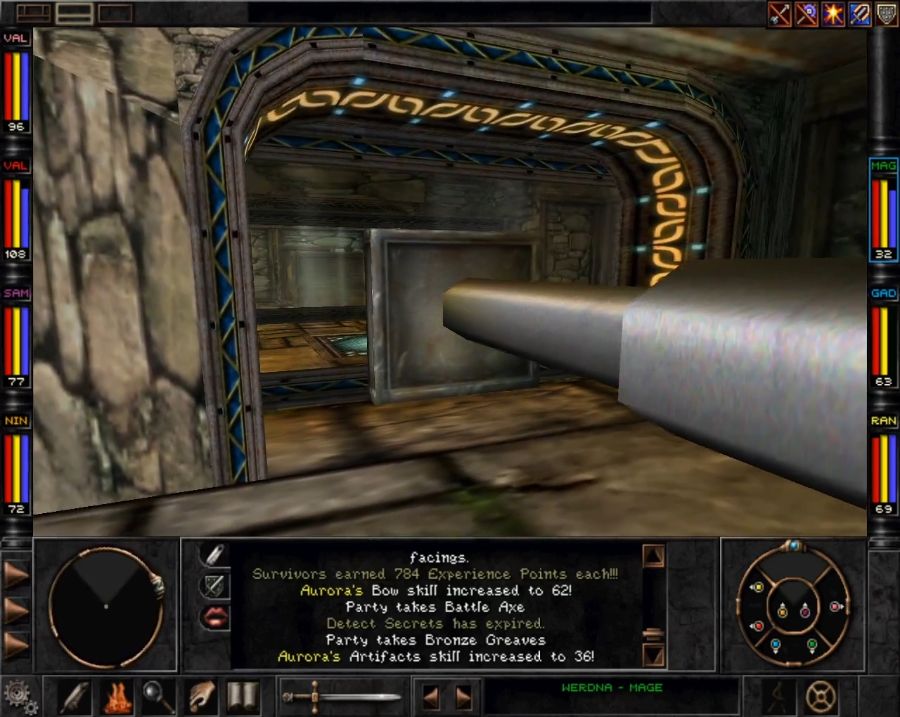 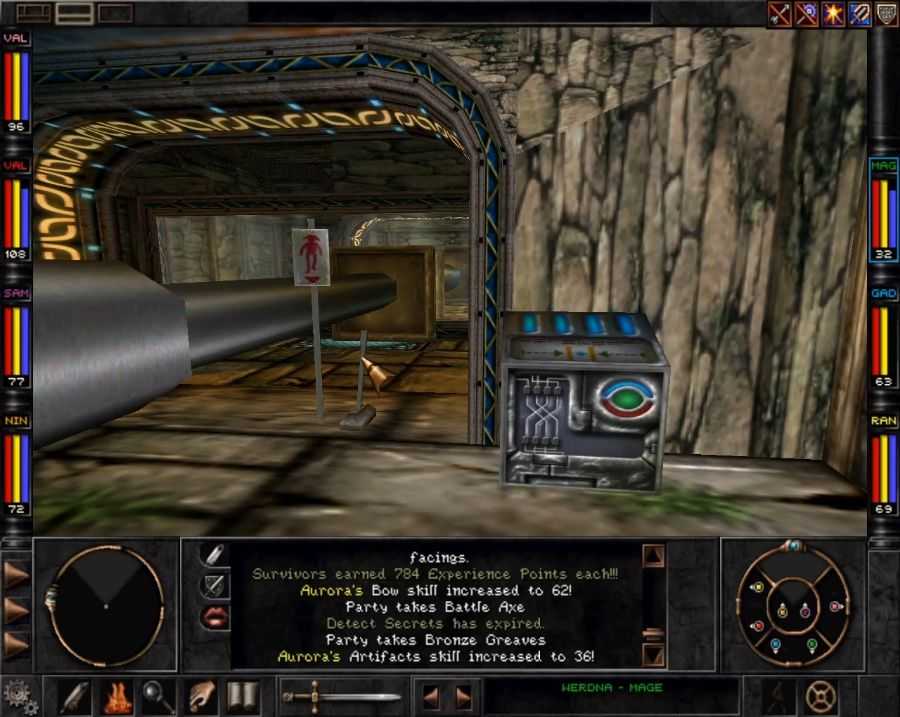 So we got us five buttons in total. One to enable/disable an elevator in the central room. One to lock the doors in and out. One to forcibly open one of the doors even if locked. One to operate the giant pistons and one to... 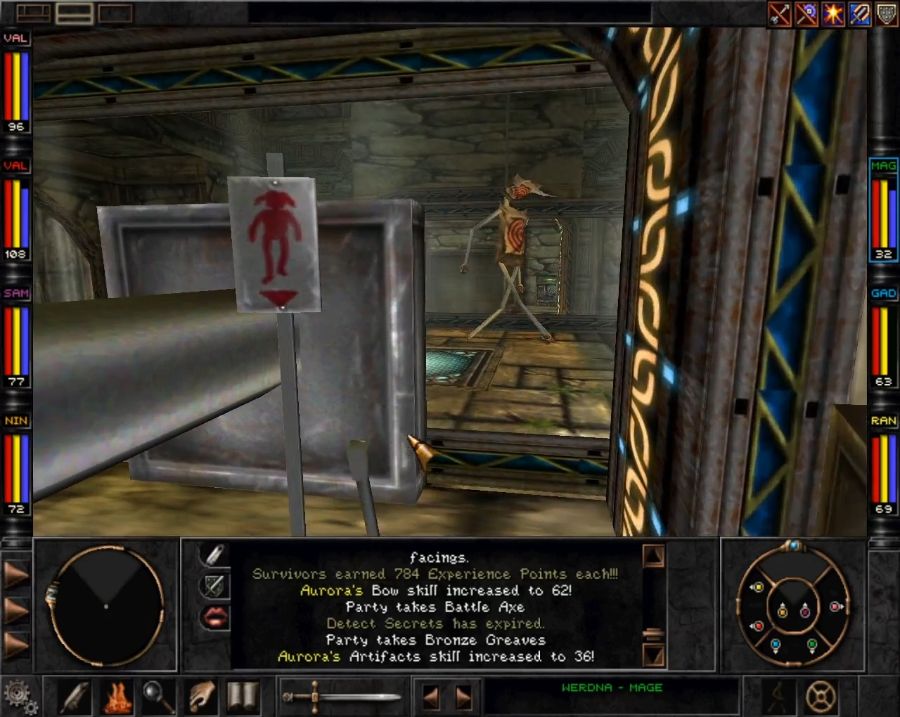 ...drop a training dummy into the middle of the room? Hm. 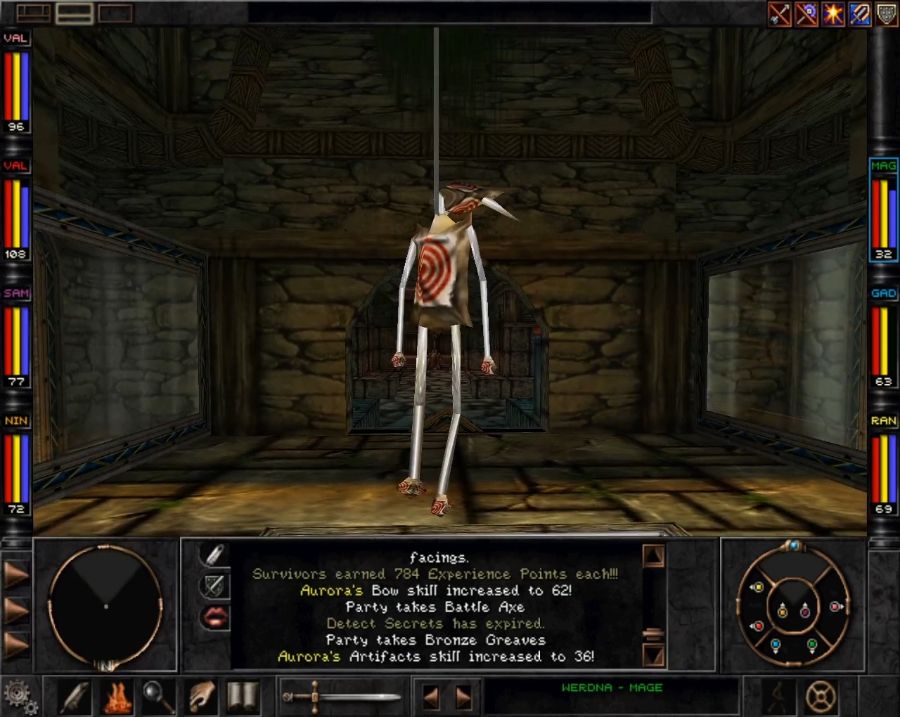 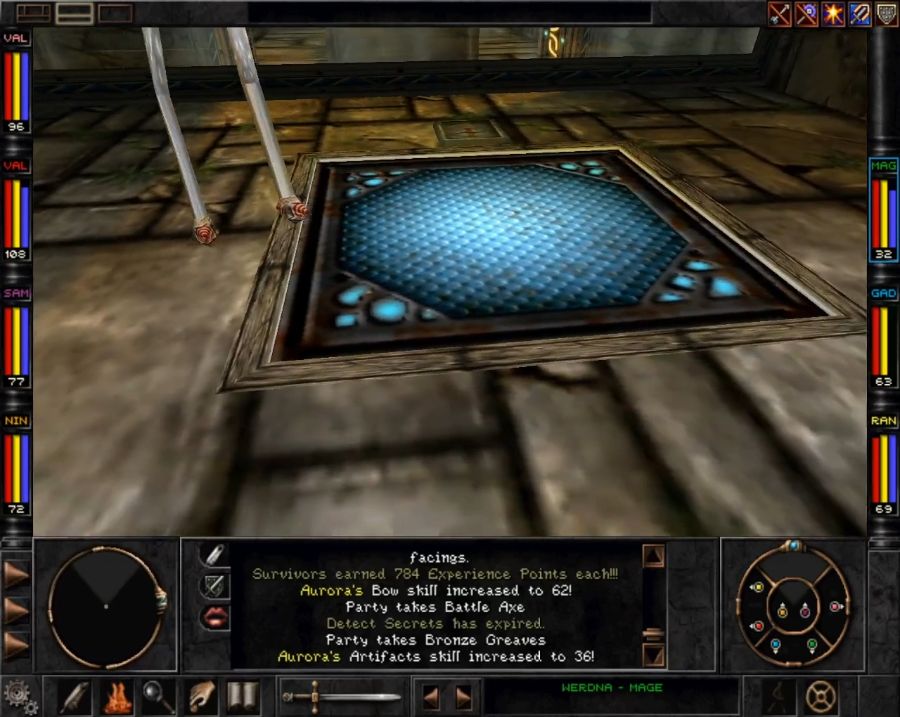 Whatever, let's head down and see what sort of sinister villainous hive the T'rang have built beneath our very feet. 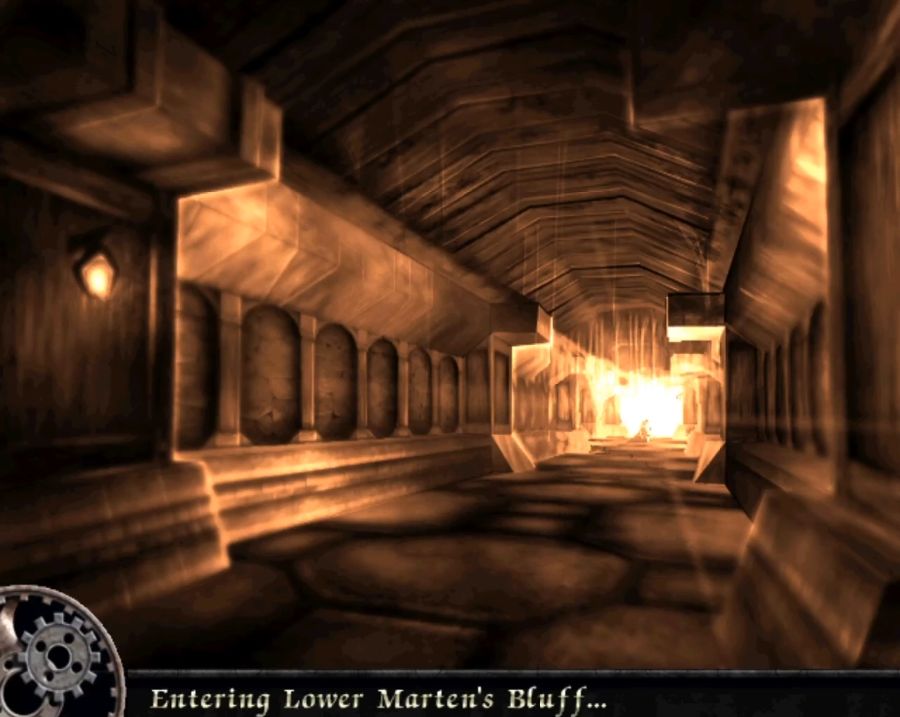 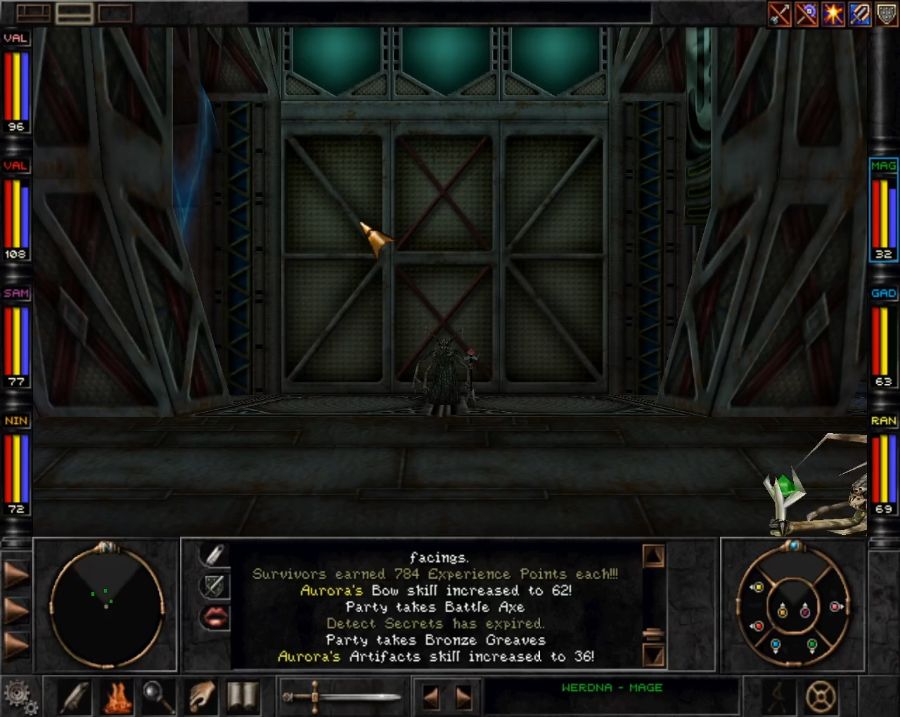  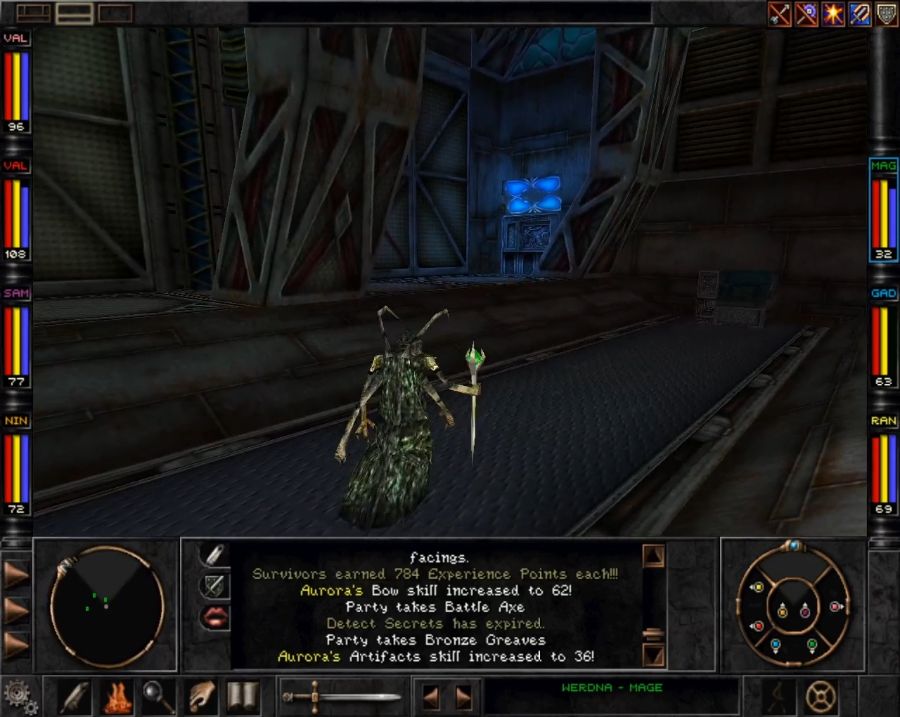 'sup, uh, my good spider slug fellas? 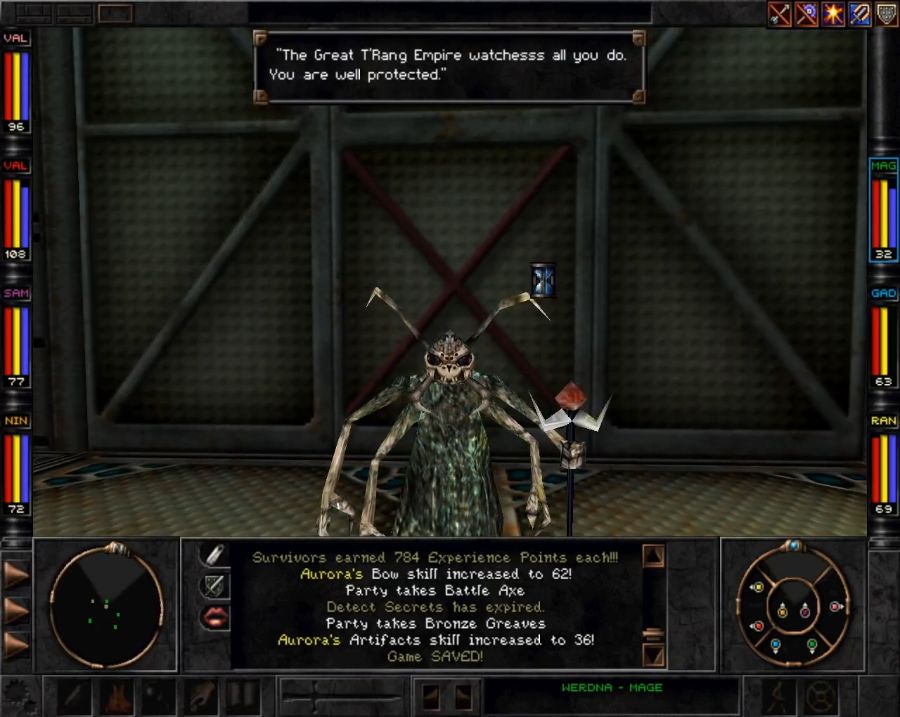 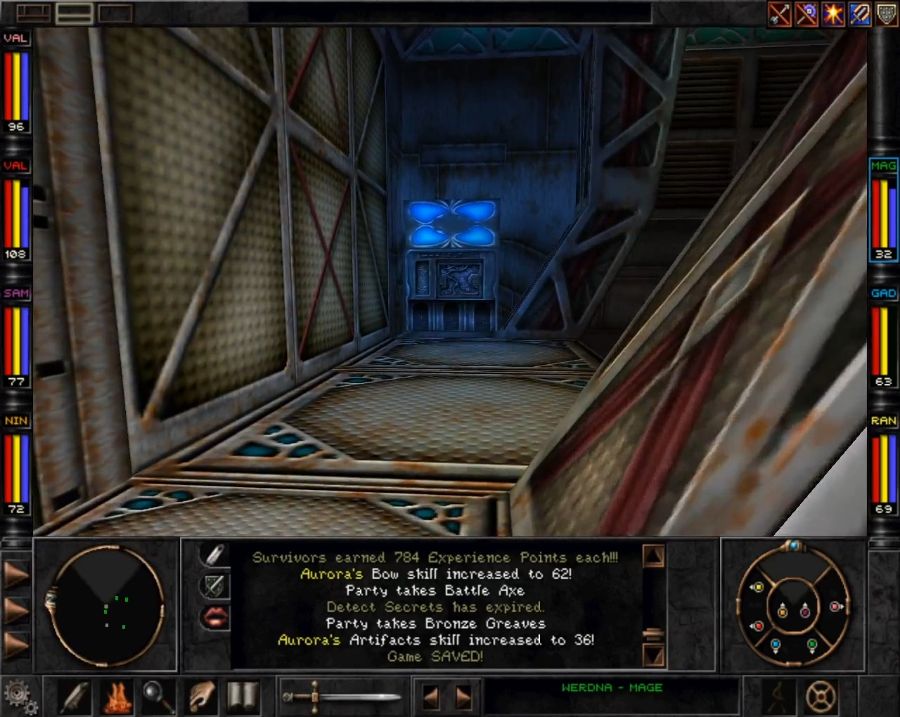 https://www.youtube.com/watch?v=s4FTABt3WuQ So, maybe it's just me, but I like the T'rang more than the Umpani. The Umpani generally feel a bit aloof and patronizing, while the T'rang immediately invite you into the family and are overjoyed that you're joining them. Now let's celebrate this by rooting around their fortress and stealing anything they weren't smart enough to nail down. 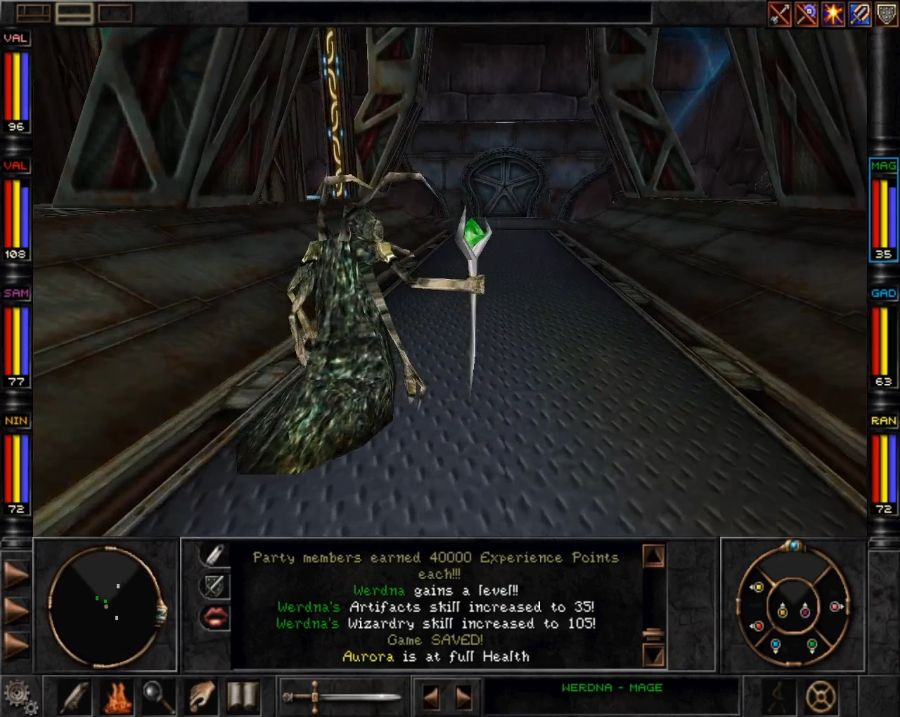 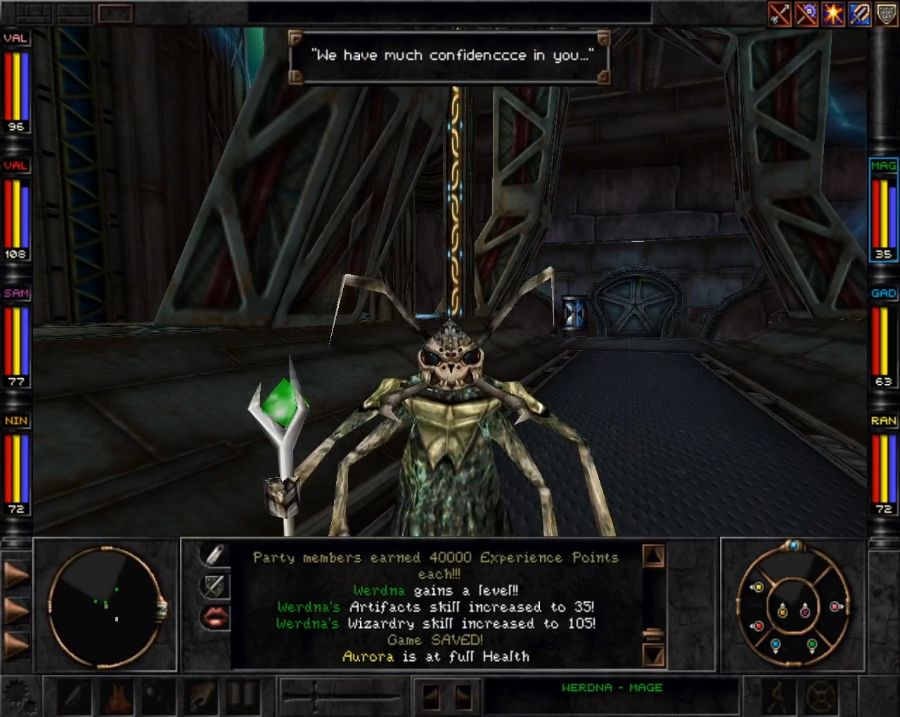 The level-up from Z'ant's reward also gets Werdna two boosts. Firstly he levels up enough to make use of the Portal and Return spellbooks I found, which gives us a Lloyd's Beacon-esque functionality, and secondly he gets Freeze All as a level-up spell, allowing him to attempt to paralyze every enemy on the battlefield at once.  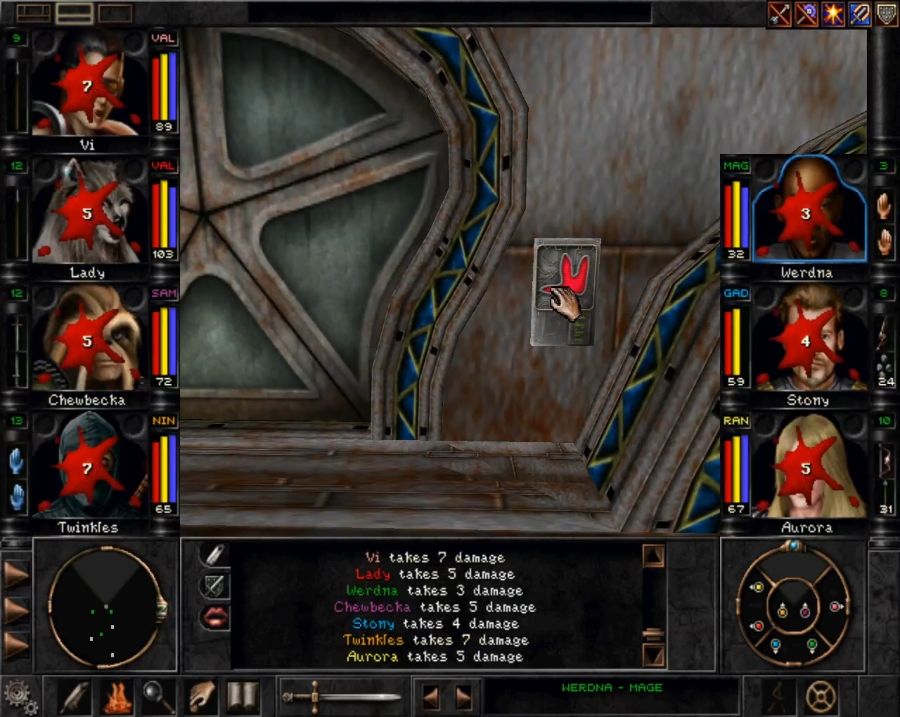 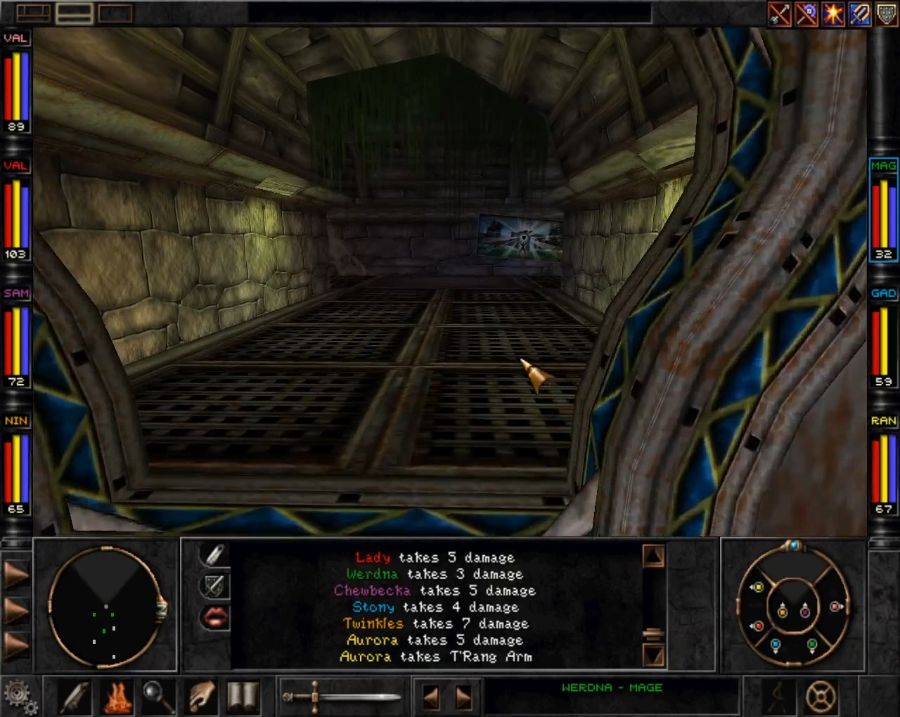 So any of these doors requiring a T'rang handprint can only be opened with our looted, severed T'rang arm. Anything else just electrocutes the party! 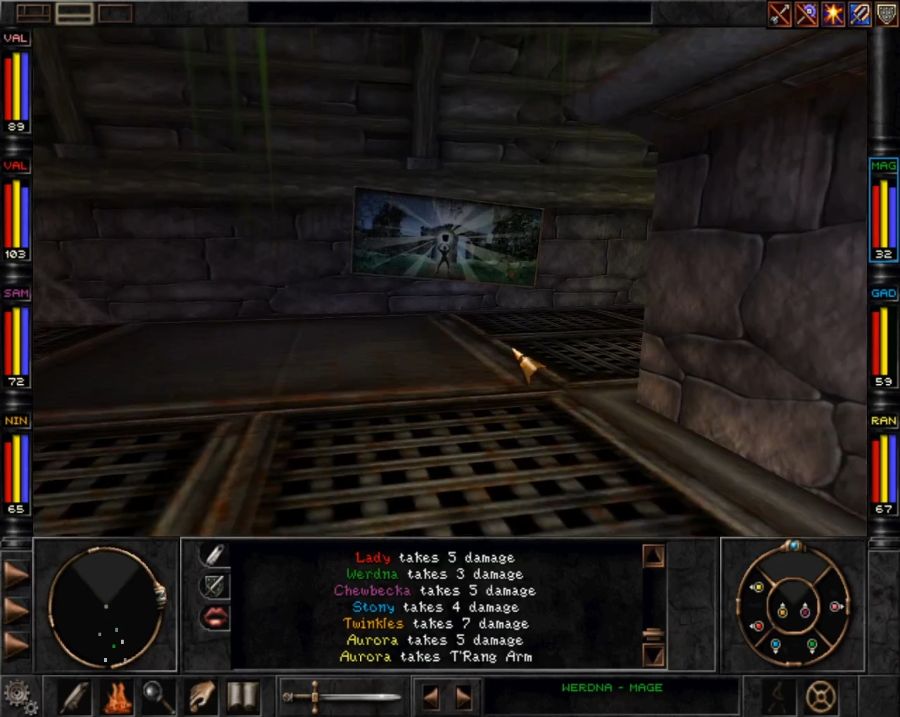 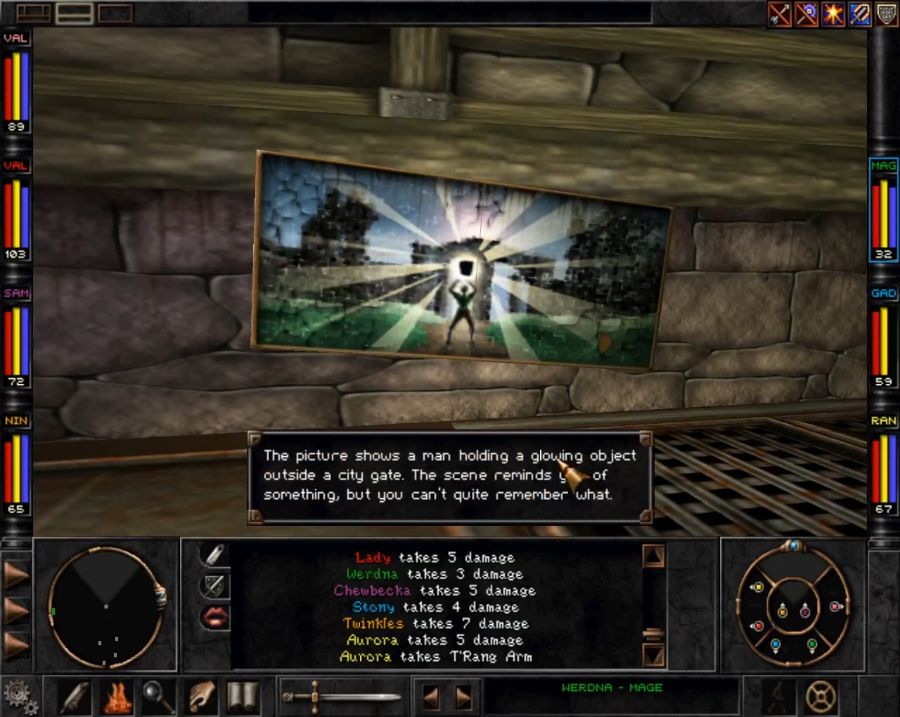 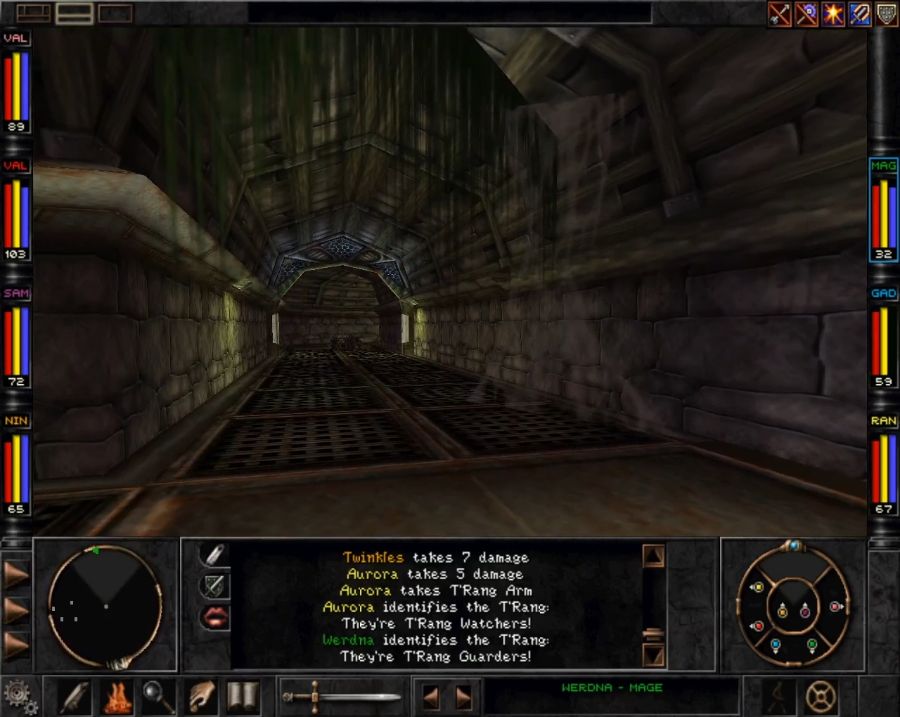 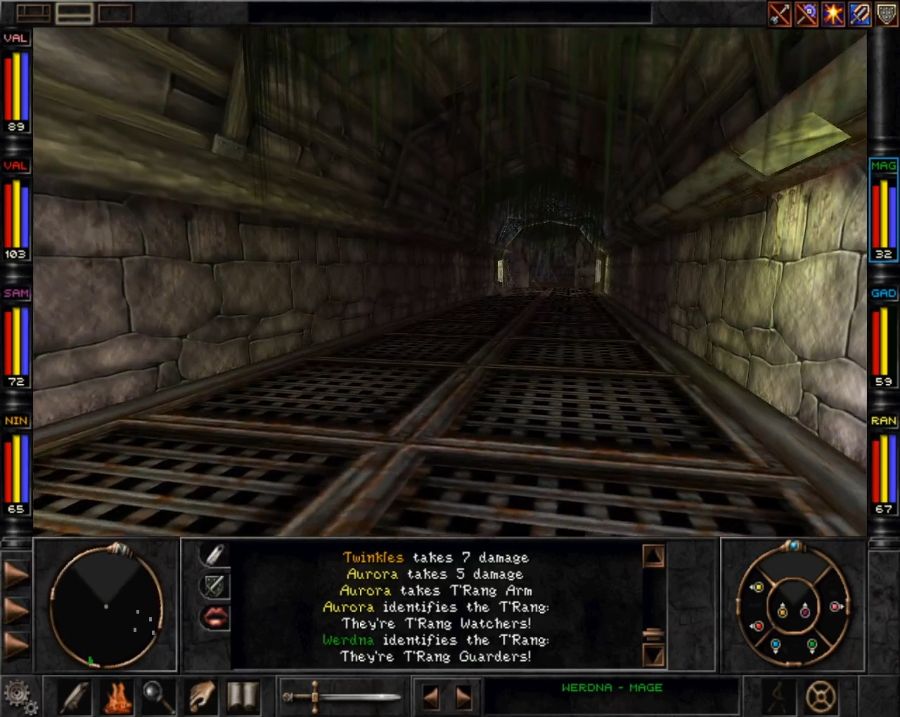 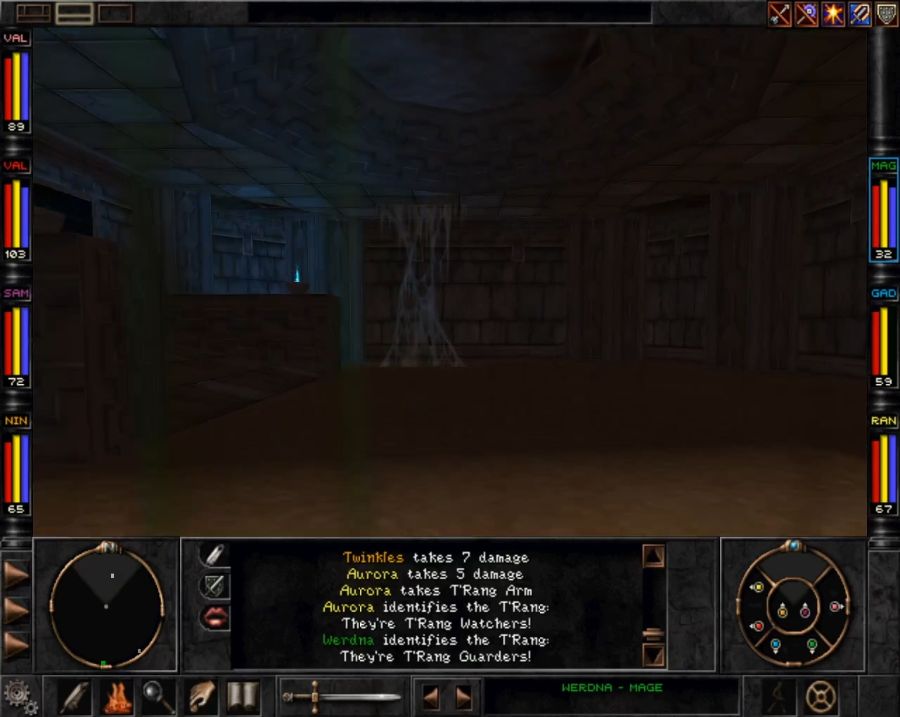 The tunnels are occasionally patrolled by T'rang Watchers and their higher-ranking cousins, but generally the place is calm and safe, though the T'rang haven't done anything about removing Marten's old traps and puzzles when they aren't immediately in their way. 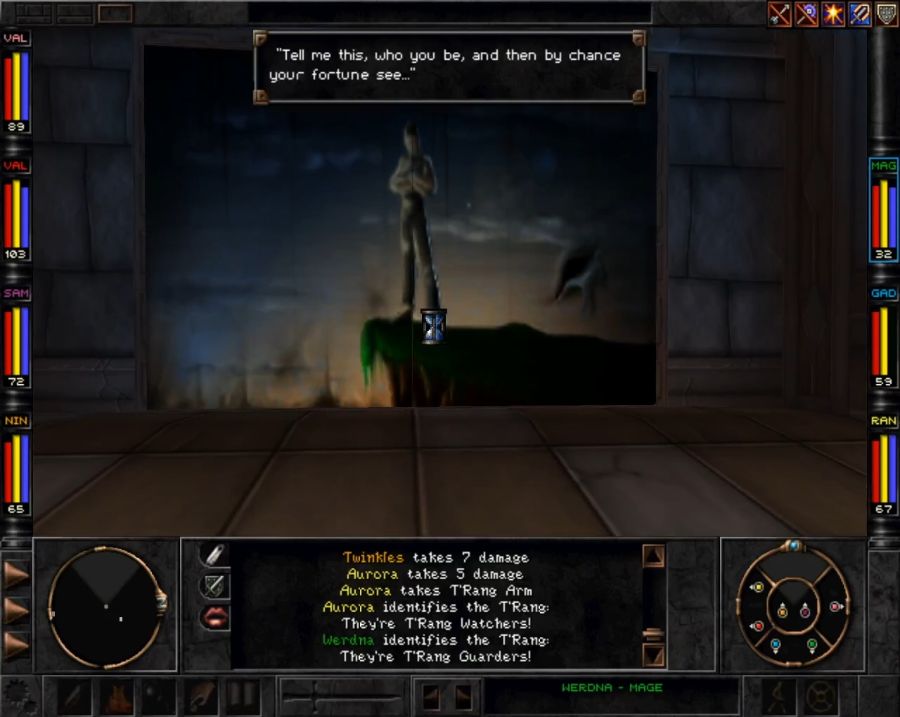 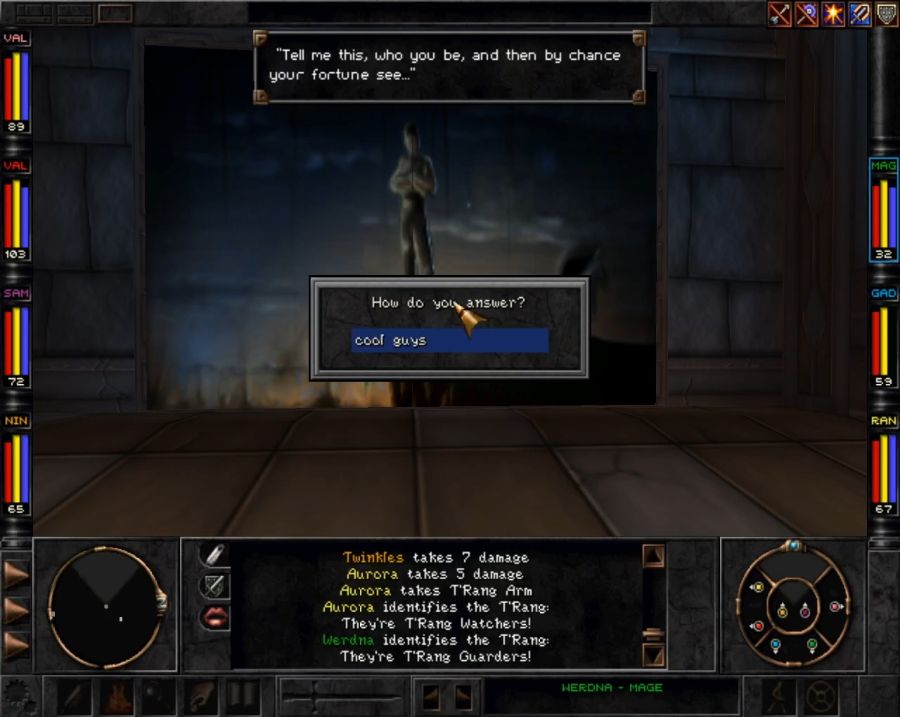 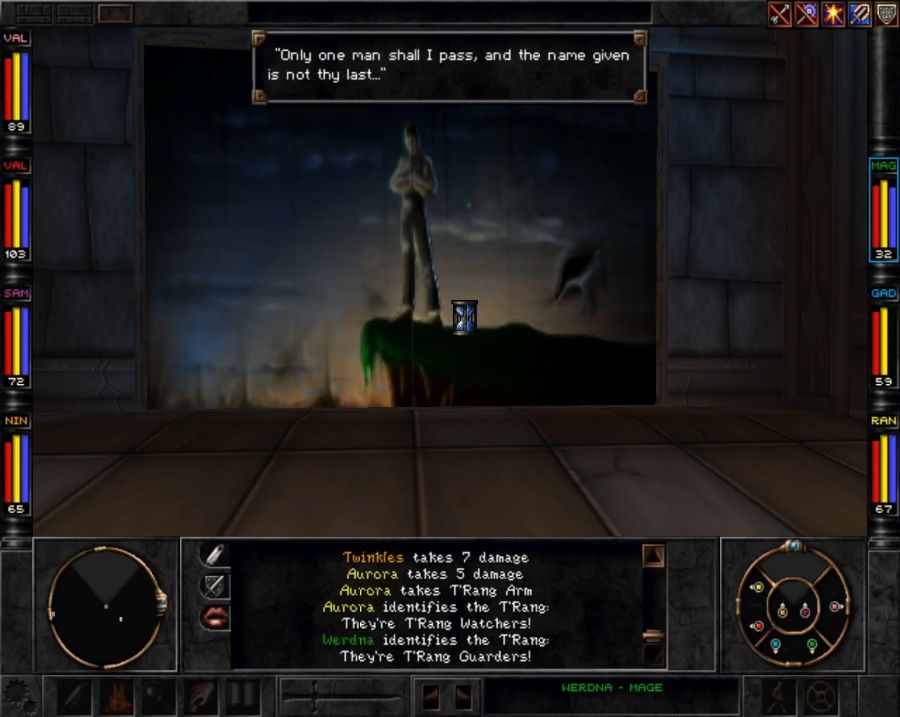 Okay so the answer is obviously Marten, but I wanted to go check out another NPC and a storage room first. 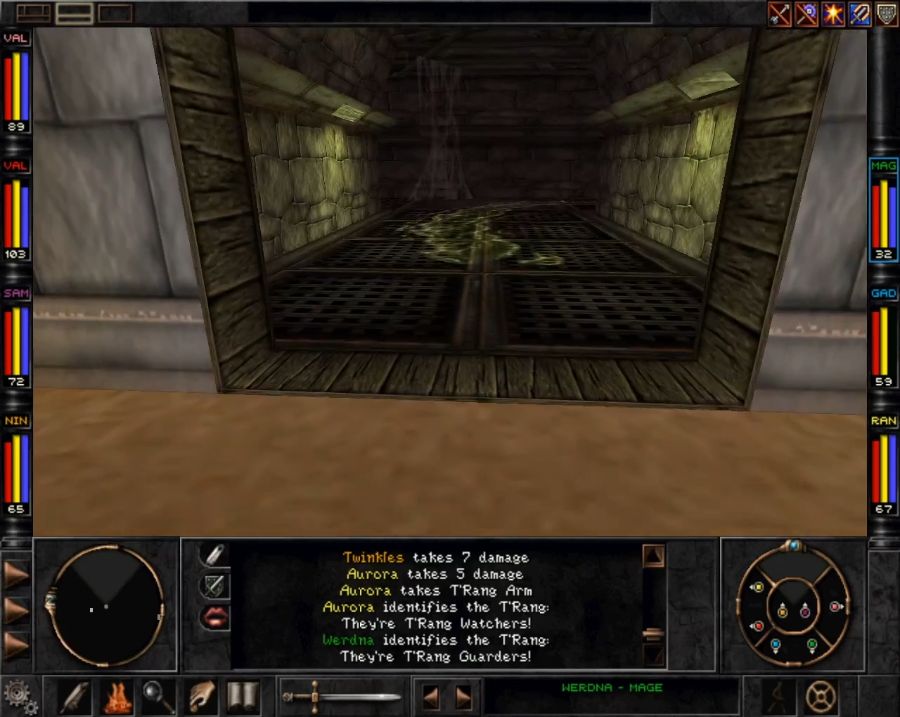  The T'rang slime trails are safe to touch, but do have slight ice physics to them, so there may be a location or two where you want to watch out. 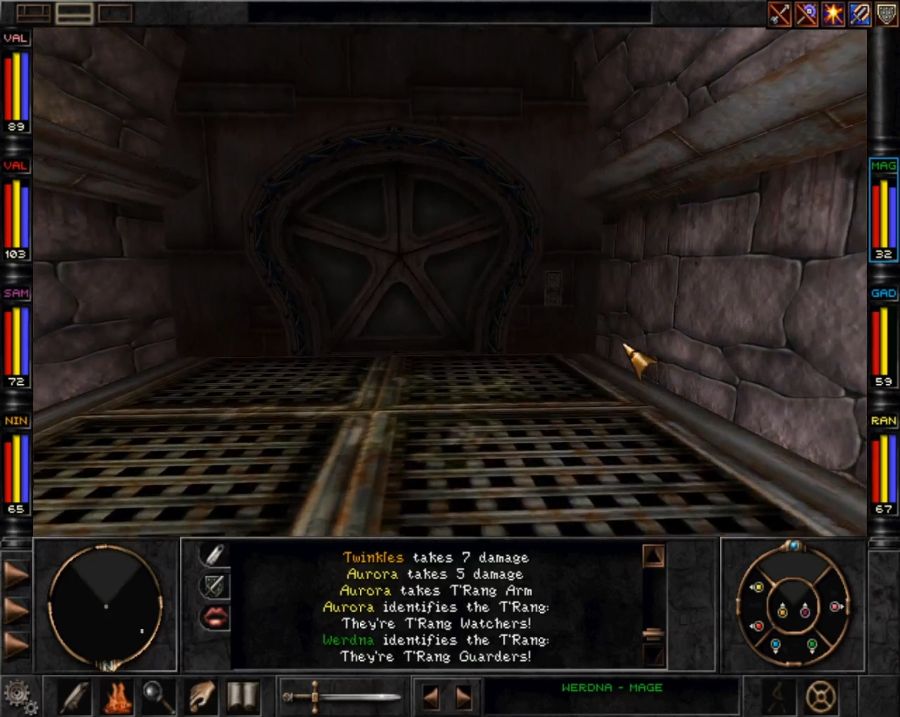 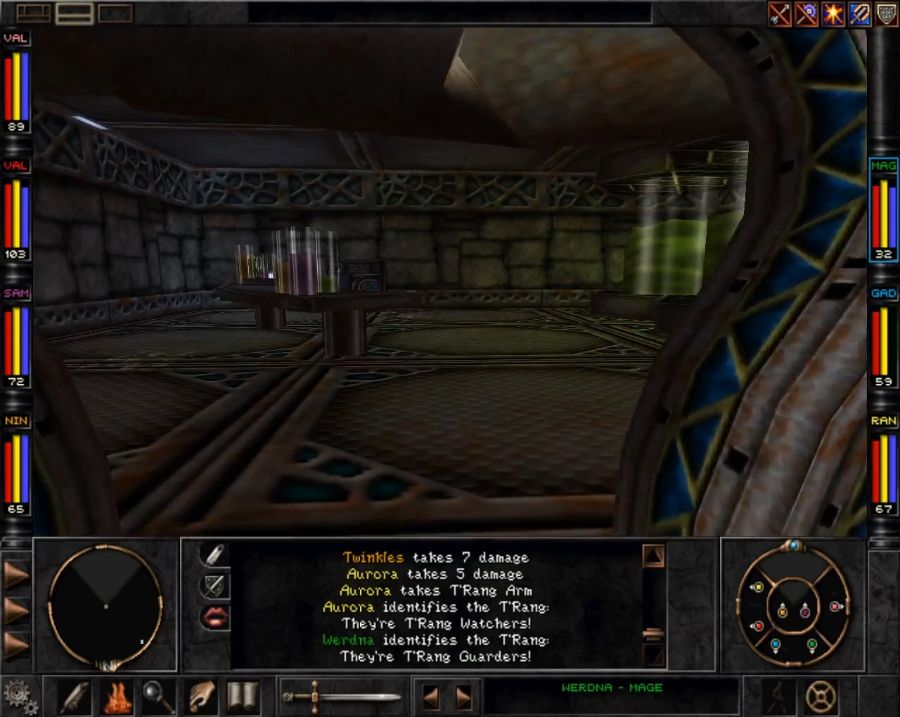 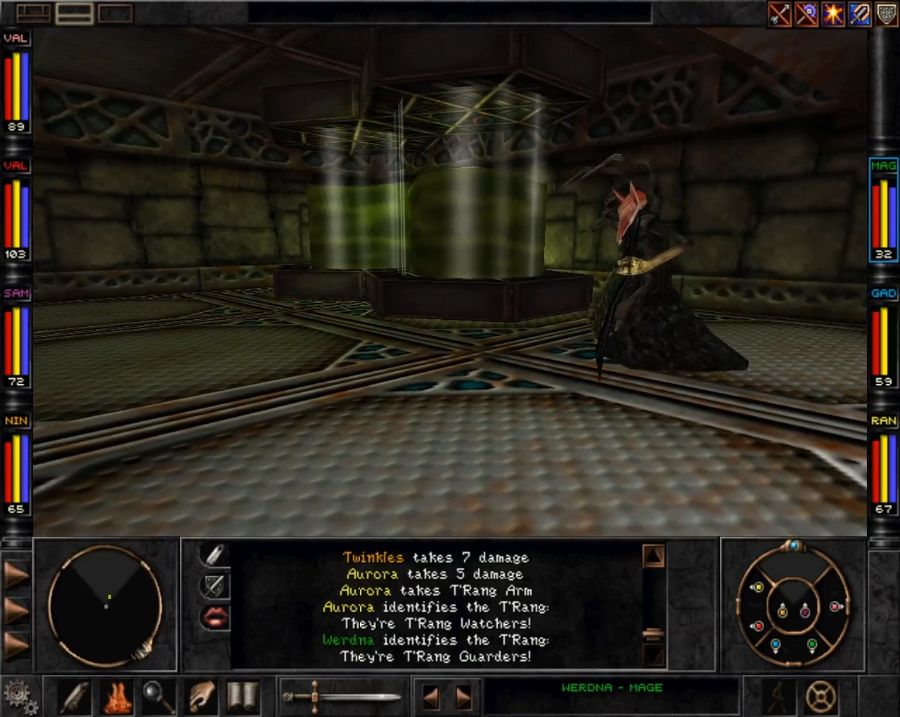 https://www.youtube.com/watch?v=86VWzBZ30VQ Sadok is a bit icier than Z'ant, but he's still a friend, and also a merchant. He sells nothing unique, but he does sell spellbooks and in a corner of his lab is another Gadgeteer item. 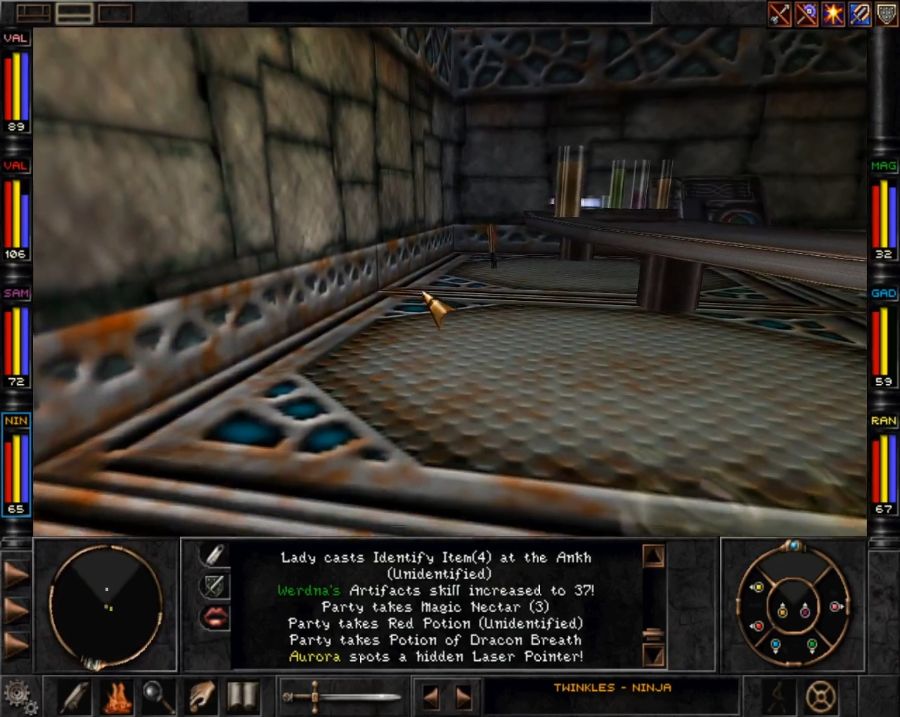 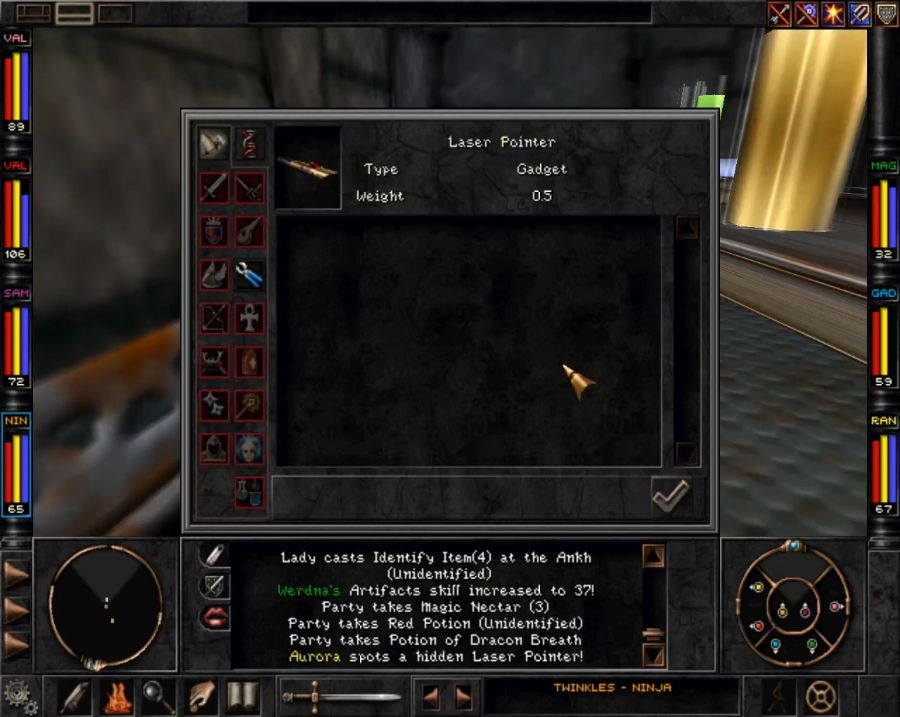  Guardian Angel is a great spell, since it basically gives a character an ablative pool of HP that needs wearing away before they can get hurt. So for enemies that can hit sufficiently hard that even being fully healed won't do the job, it can give a character an extra lease on life, and it's also a good way to protect fragile caster characters if the enemy has ranged weapons, long pokey spears or hits-everyone attacks/spells. 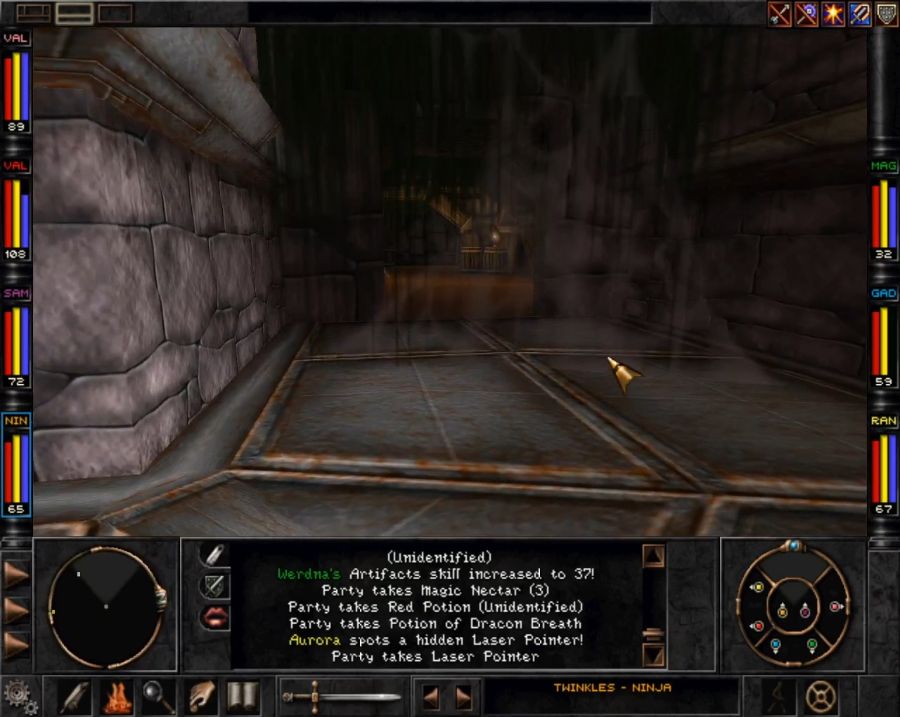 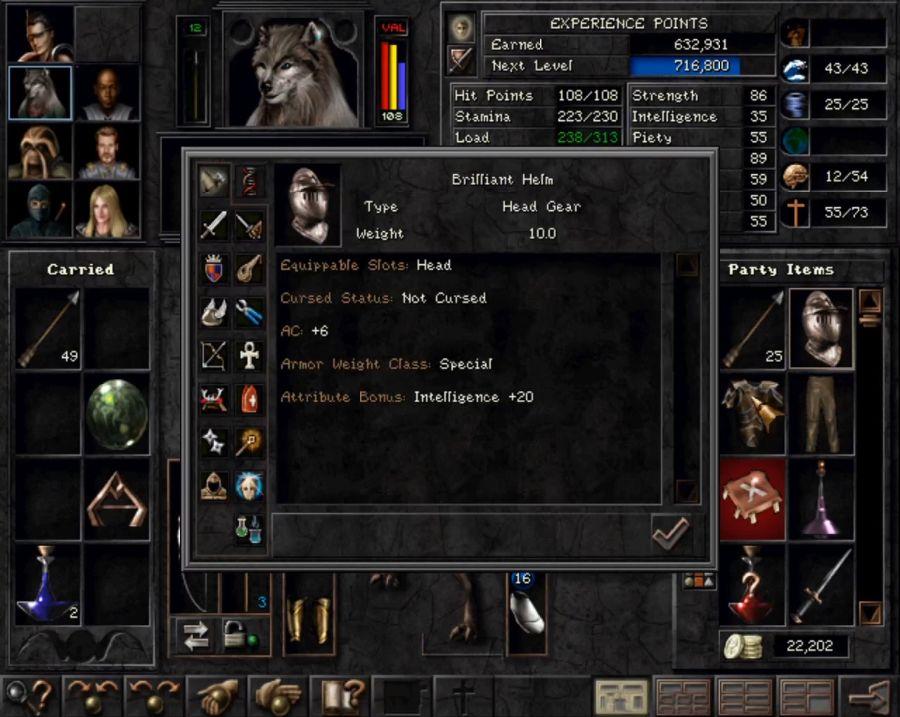 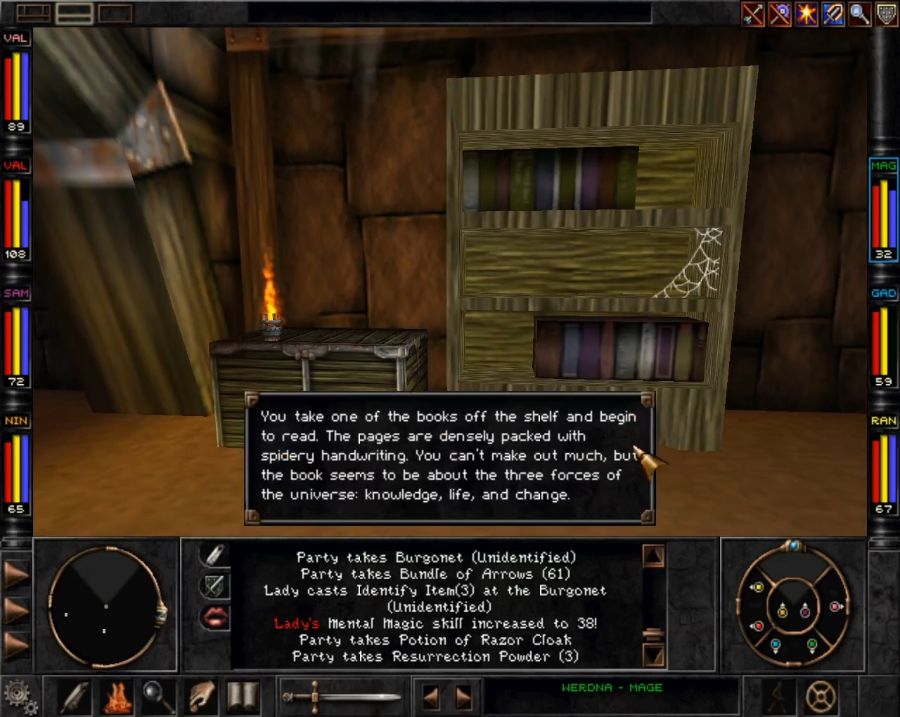 Opposite Sadok's lab is a storage room containing some forgettable loot and this, which really is brilliant. It's a helm that ANYONE can equip, including mages and fairies, and which gives +20 Intelligence, and is thus excellent for equipping on mages and/or fairies. It goes on Werdna's head and it's unlikely he'll be unequipping it at any point for the rest of the game. 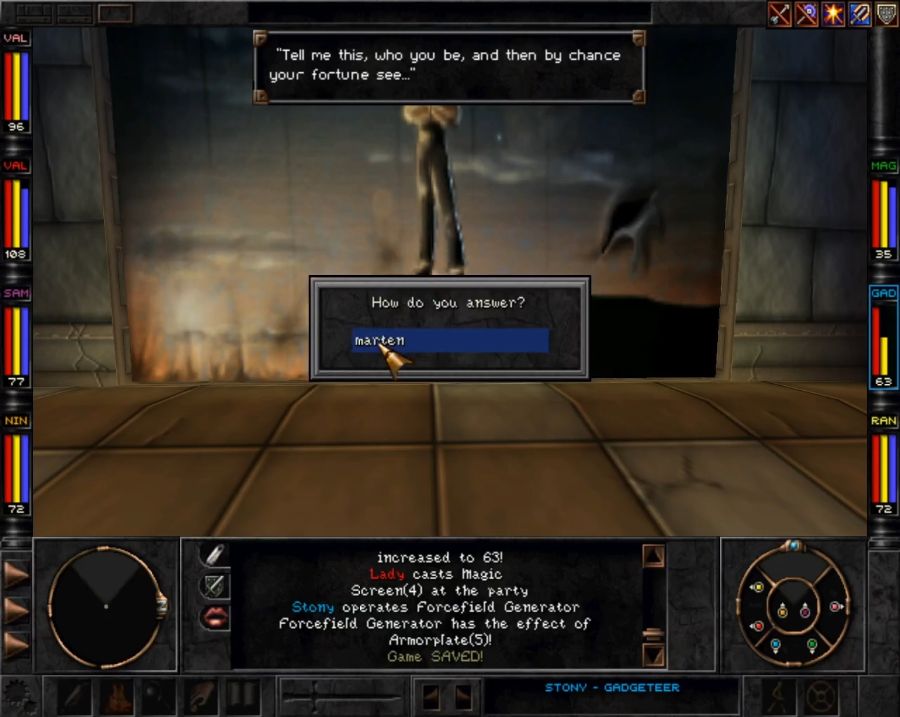 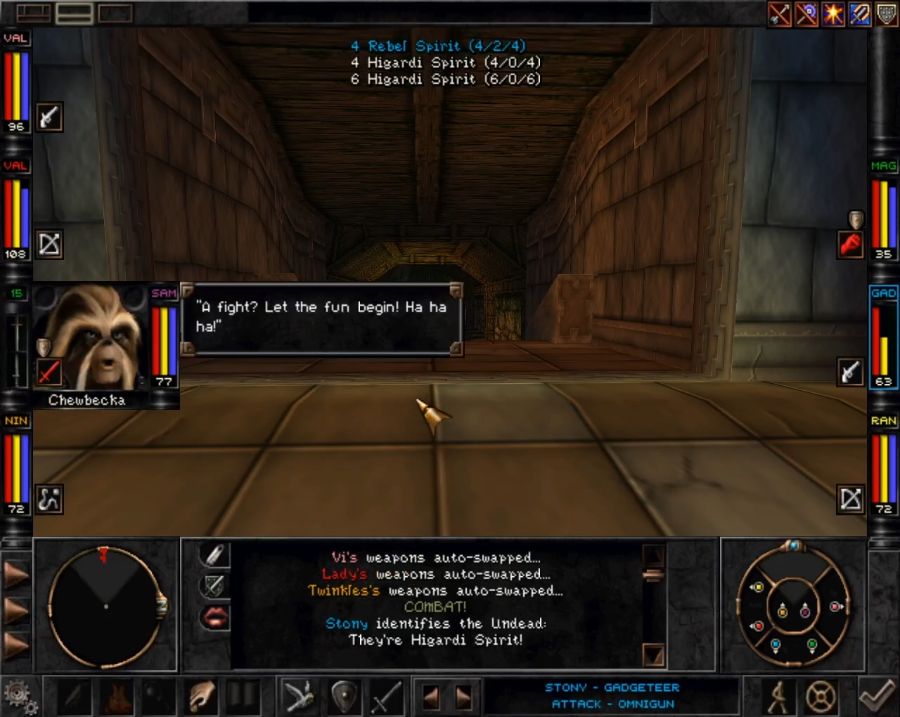 So, 14 ghosts that would be severely challenging to anyone beelining for the Trynton/Marten's Bluff questline connection. What happens if you mix those with a pair of maxed-out Fireballs from Werdna?  You get a nice clean corridor, is what. 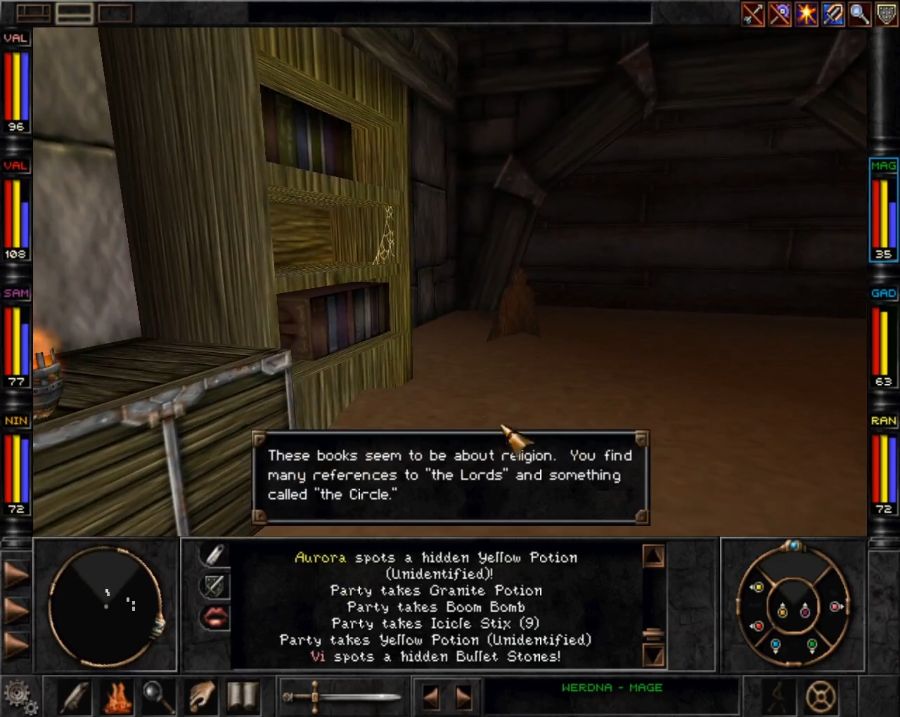 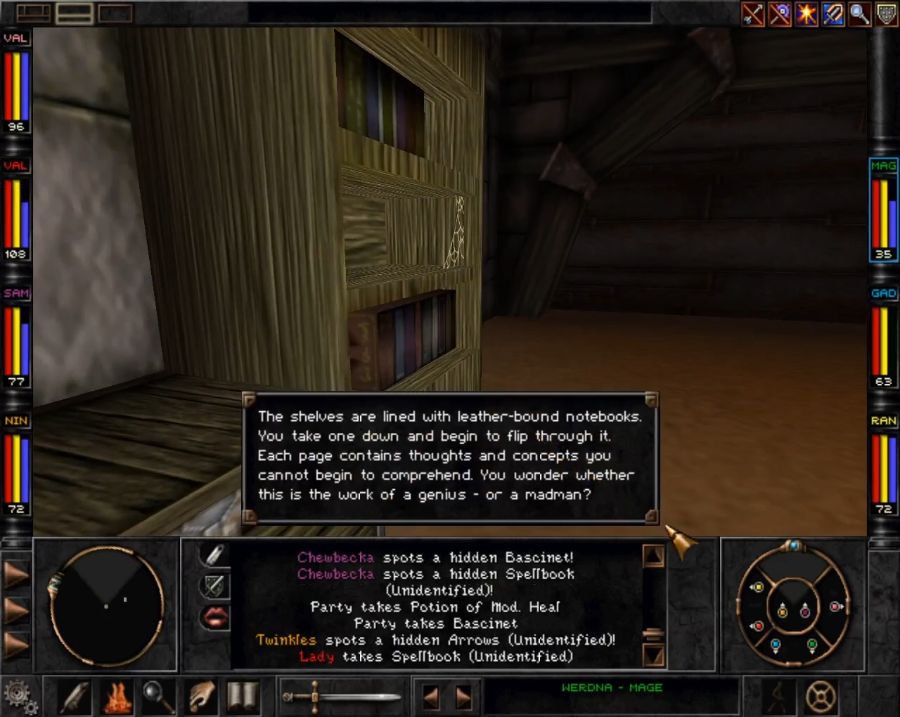 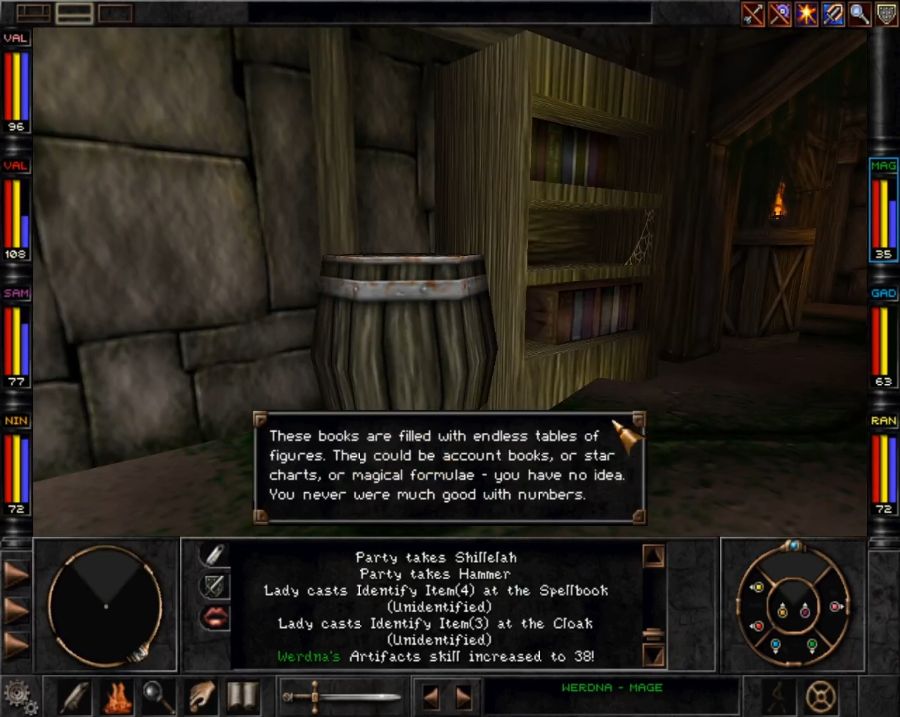 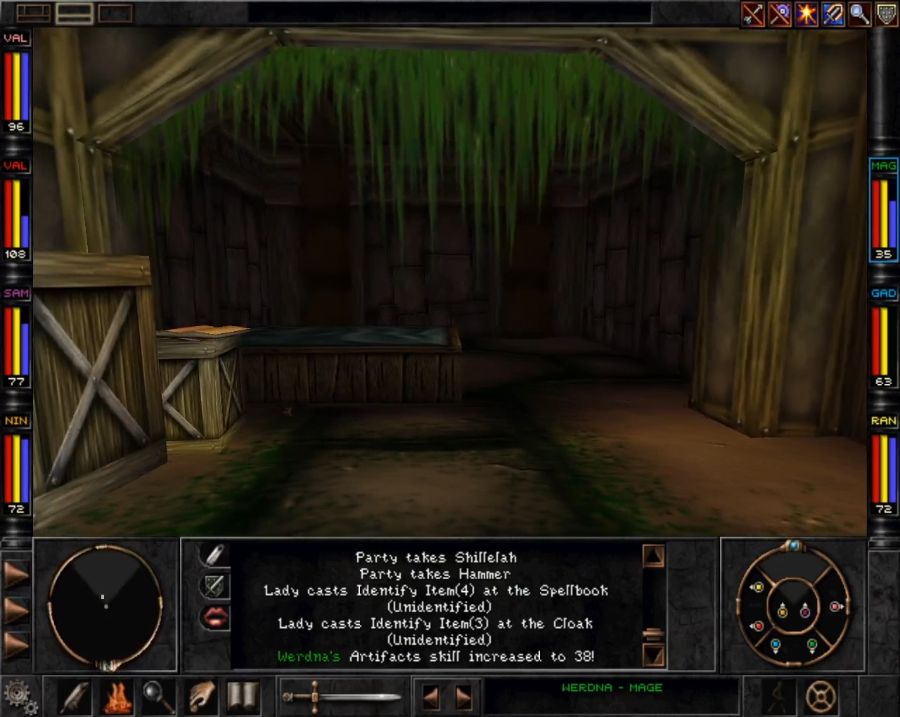 There's a bit of, again, non-notable loot, some bookcases with a bit of fluff, and at the end of it, Marten's spartan bedroom. On the floor nearby is a single Ebon Gem for Antone, and then there's a diary. 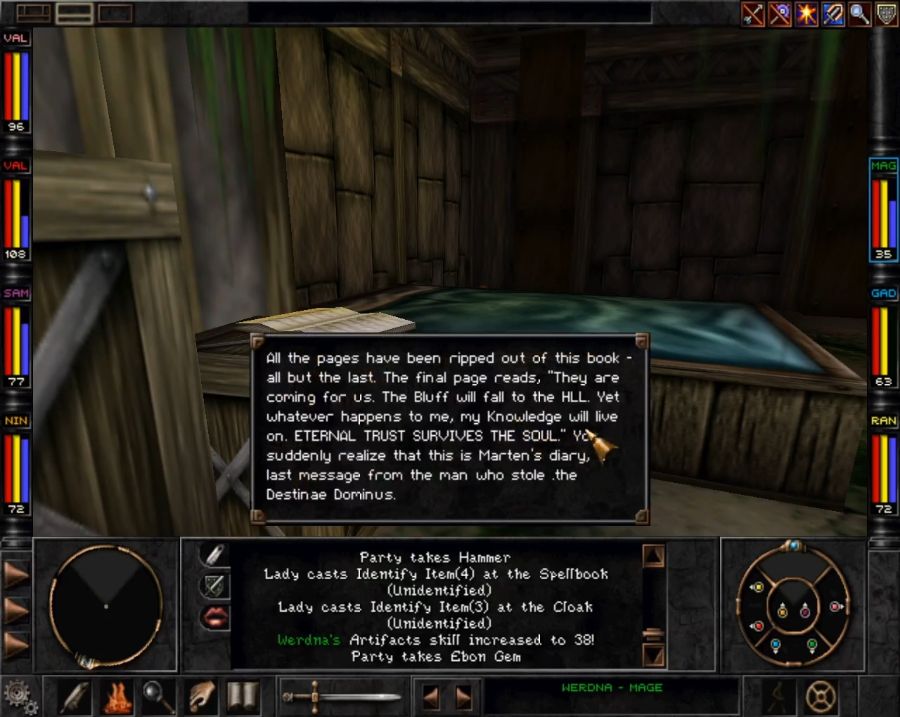 ETERNAL TRUST SURVIVES THE SOUL is obviously a password we'll need to remember. If we don't, it can leave us with a decent bit of backtracking to do to learn it again at some point. 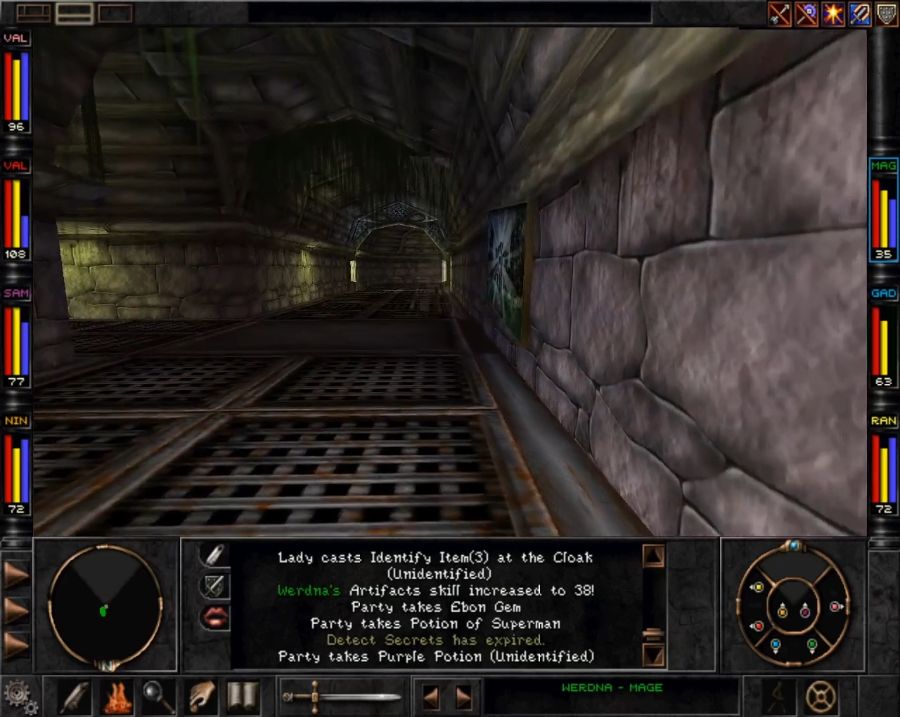  Opposite the branch of the T'rang base that has Sadok is this flow of harmless sludge. 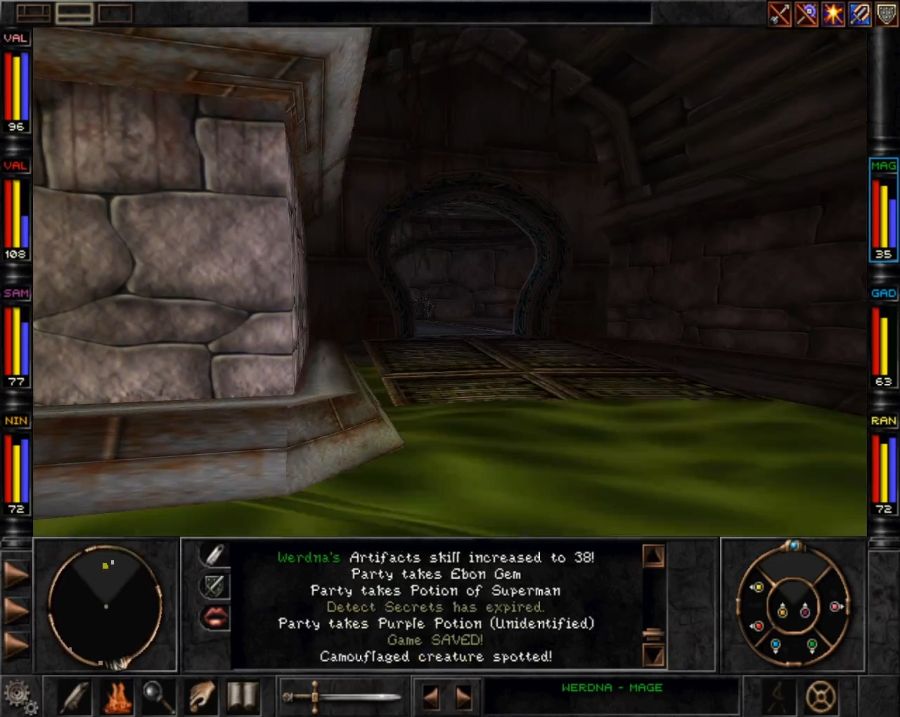  It leads to a part of the base the T'rang do not want you poking around. I forget if they later give you better access, but I think they don't. Eventually all of Mt. Gigas becomes accessible to you as an Umpani soldier, but the T'rang keep a few places permanently off-limits, though I've read that there's dummied-out stuff giving you access to part of it so you can acquire a powerful, unique weapon in there for the end-game T'rang quests. 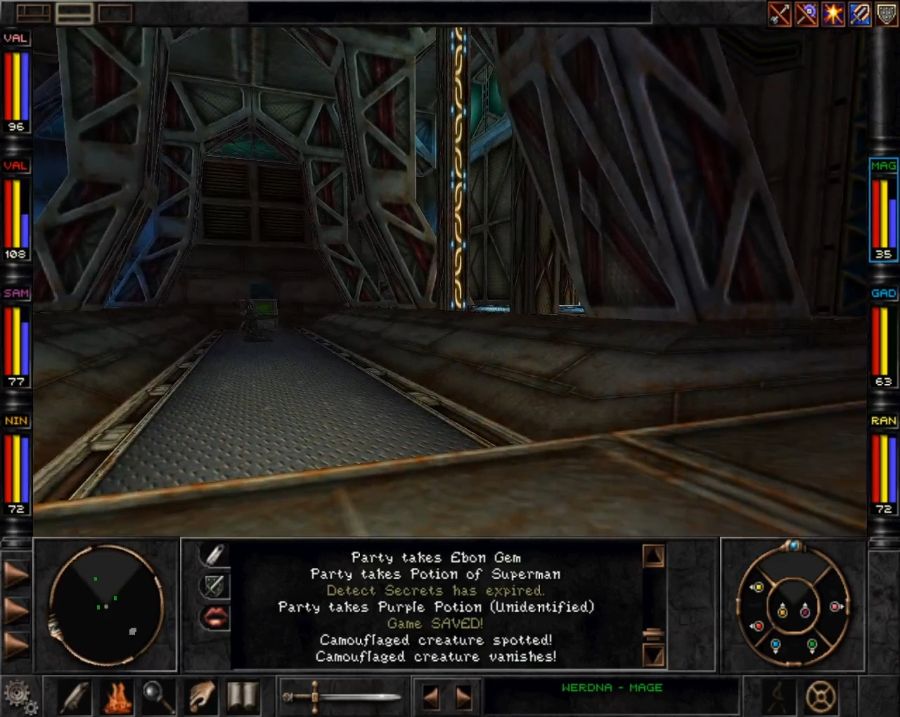 Anyway, time to head back up and deal with the dastardly Raven Rapax. I'm sure some of you may already see what's coming. 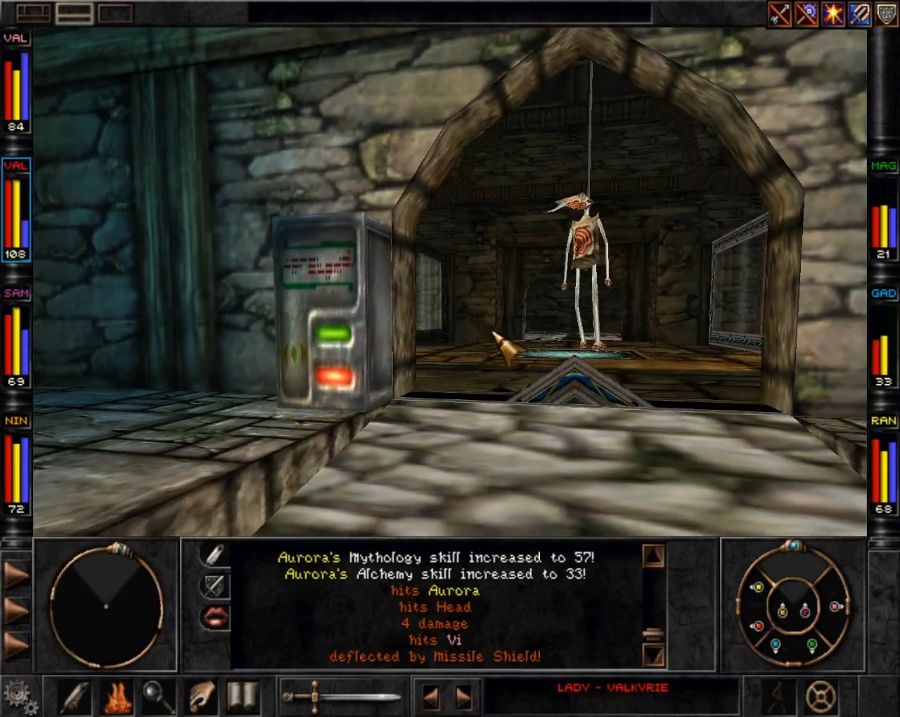 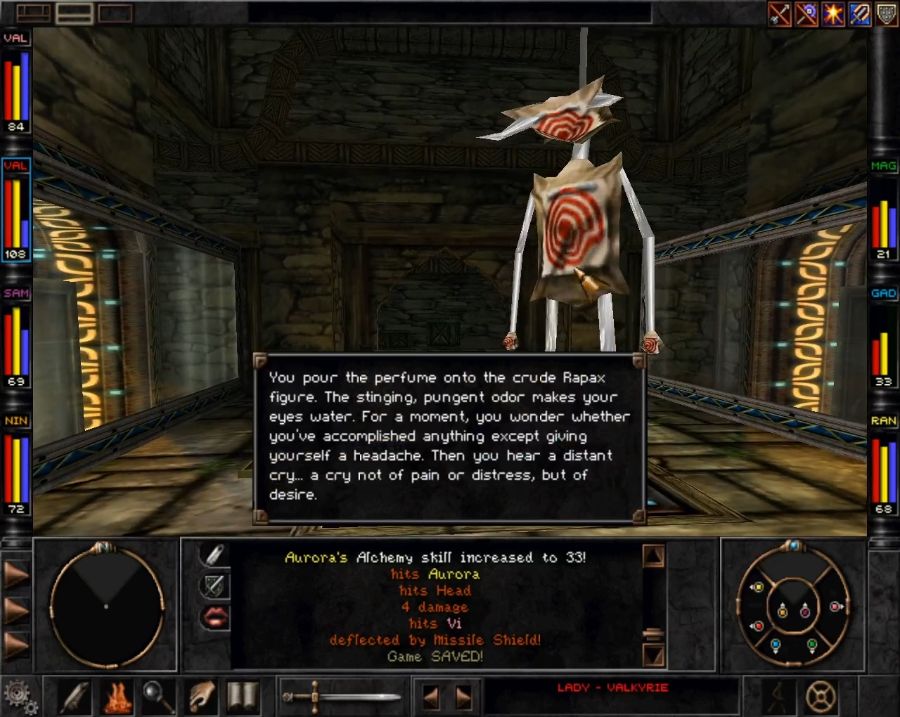 Splashing the perfume on the "Rapax doll" makes Raven spawn in somewhere around the same place we entered the map. Now we could just hike over there and beat him until candy comes out, but I have a funnier idea. First, we take a smoke break until he gets over here. 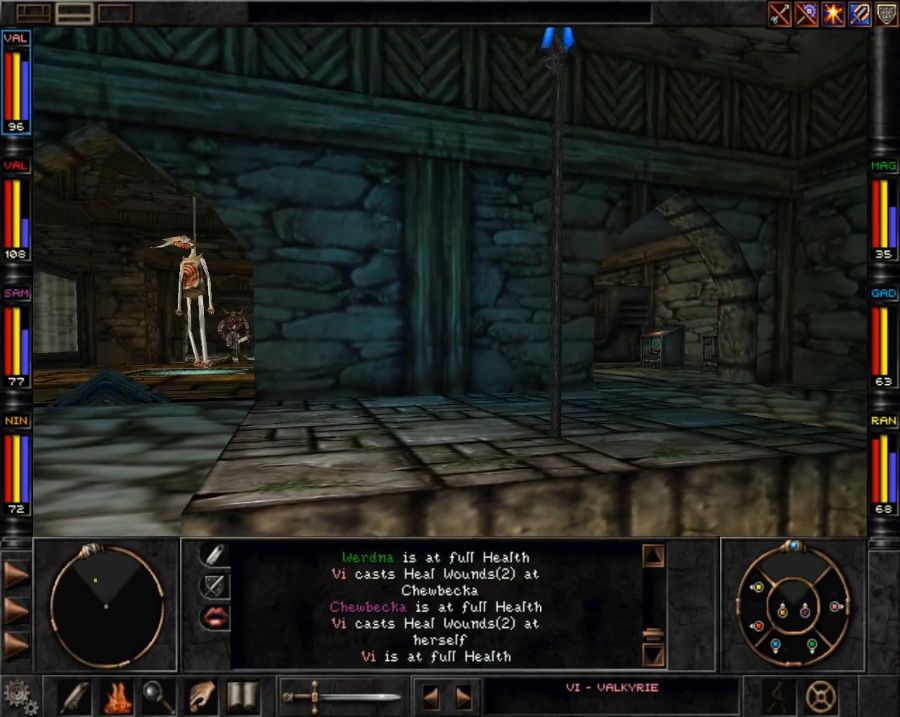 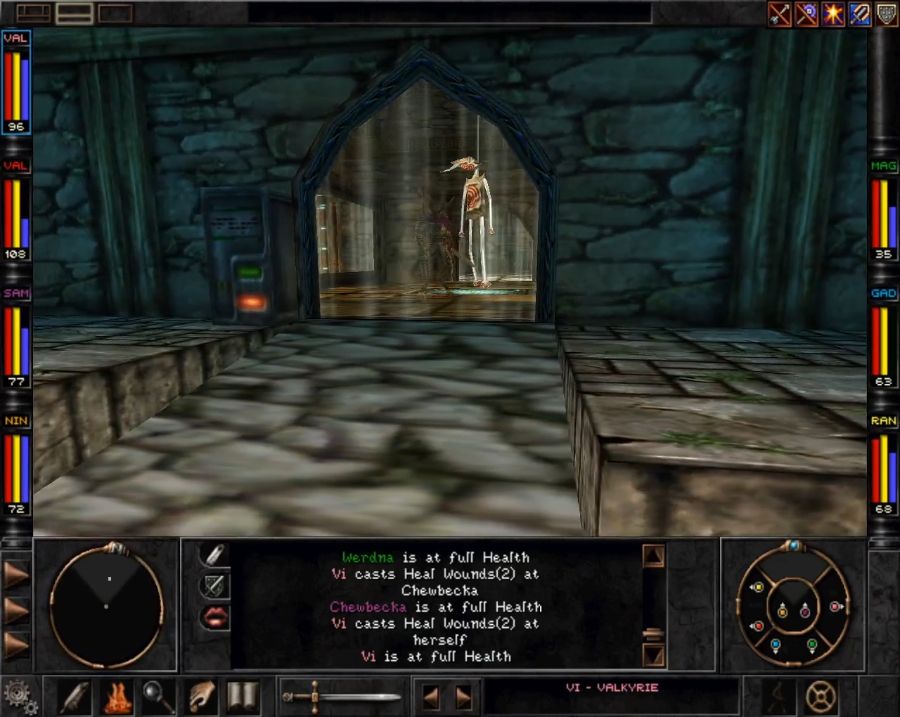 Then we slam the doors shut and make fun of him while he can't do anything about it. 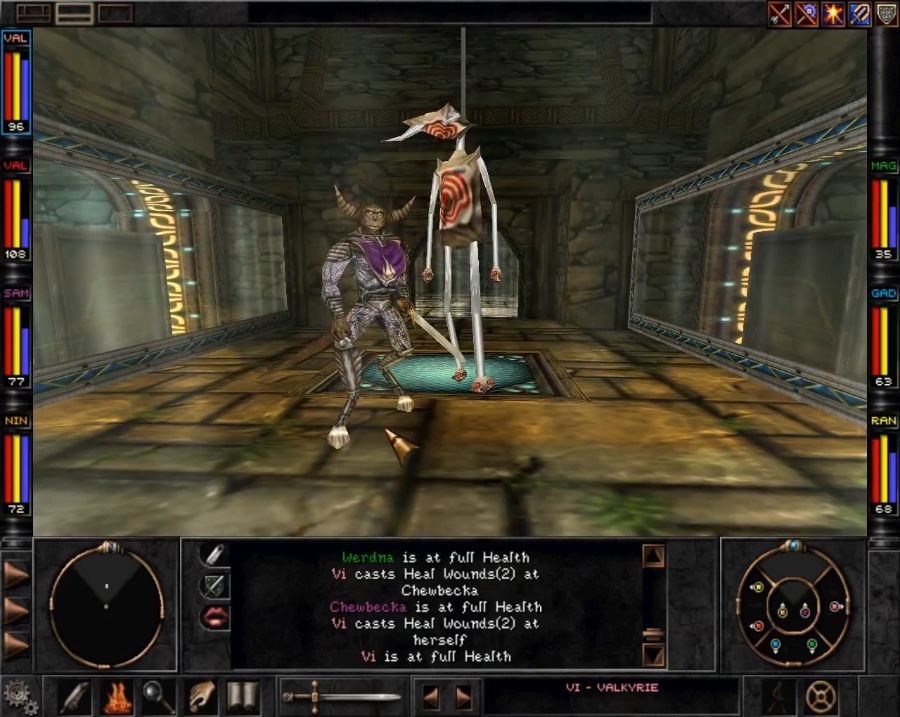 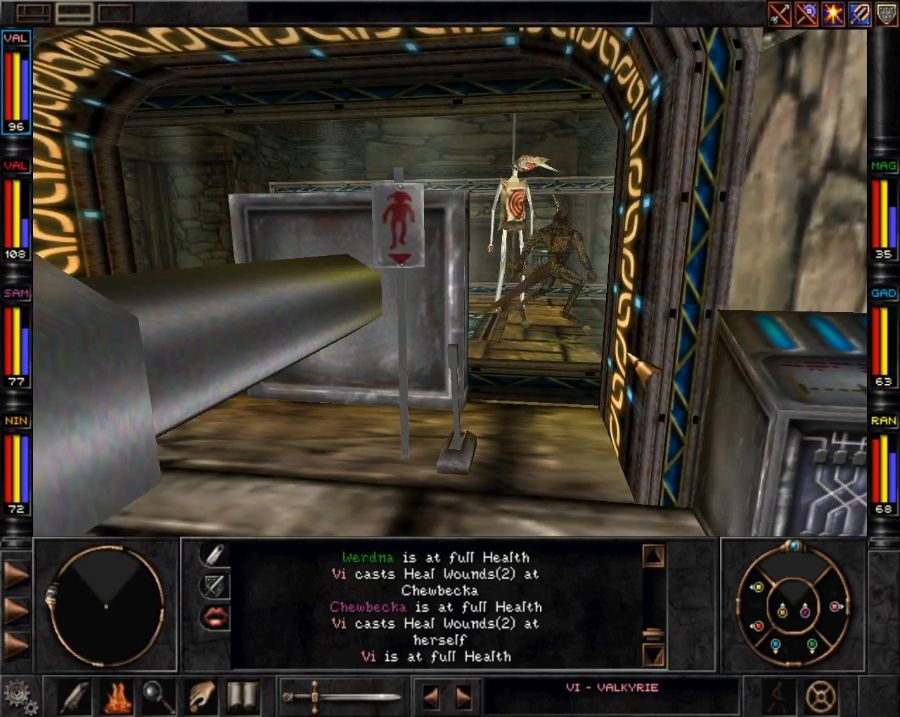 But how to kill him. HMMMMM. HMMMMMMMMMMMMMMMMM.  https://www.youtube.com/watch?v=dmVK9t4JdWI  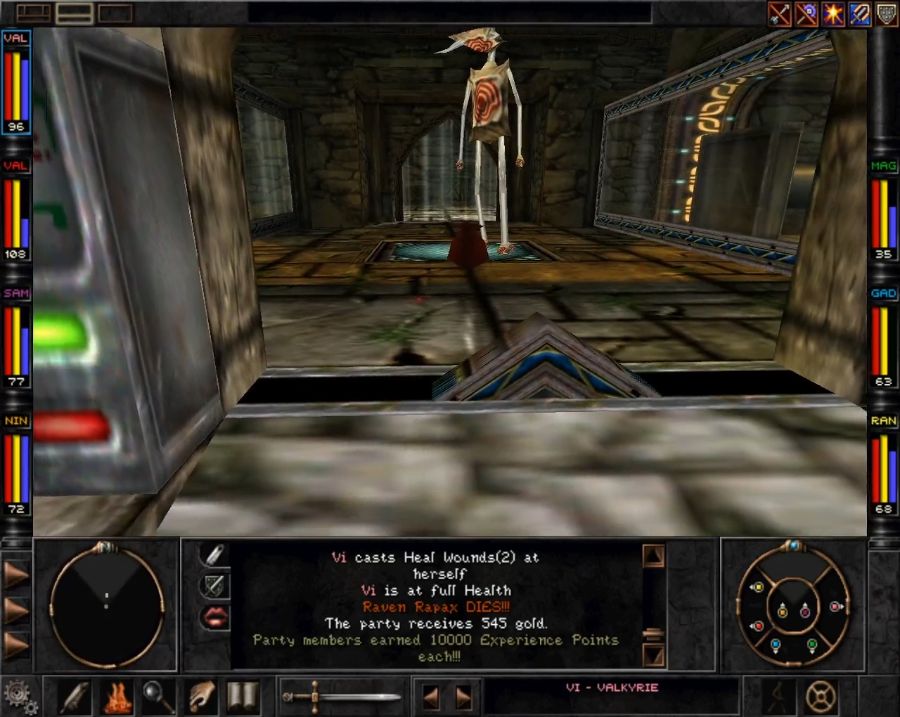 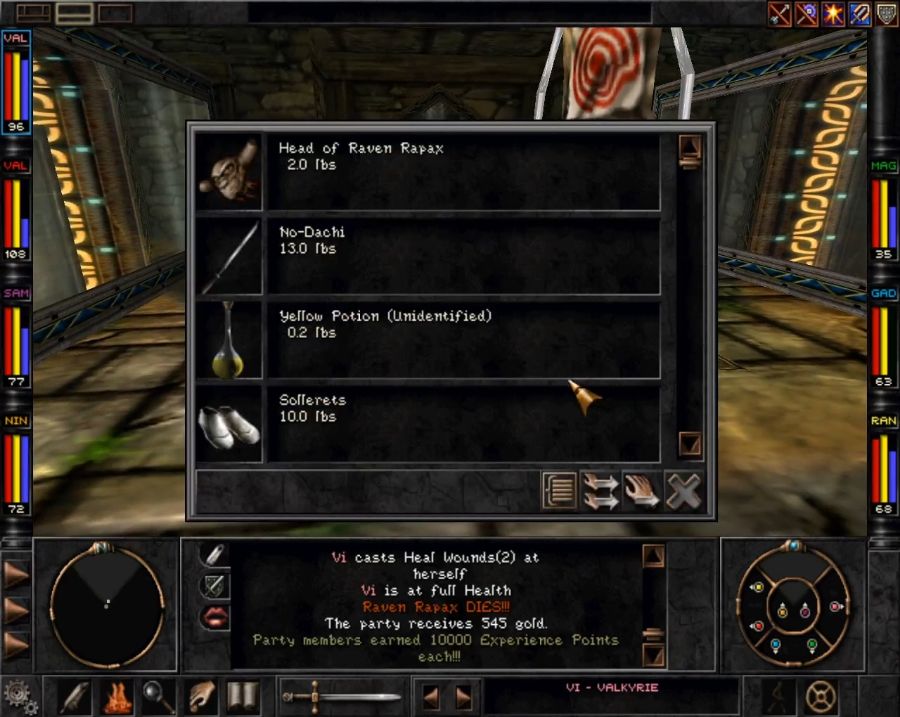 Somehow his head survives that experience un-smushed. Let's go back down and impress Z'ant. https://www.youtube.com/watch?v=nLccPObvq-0 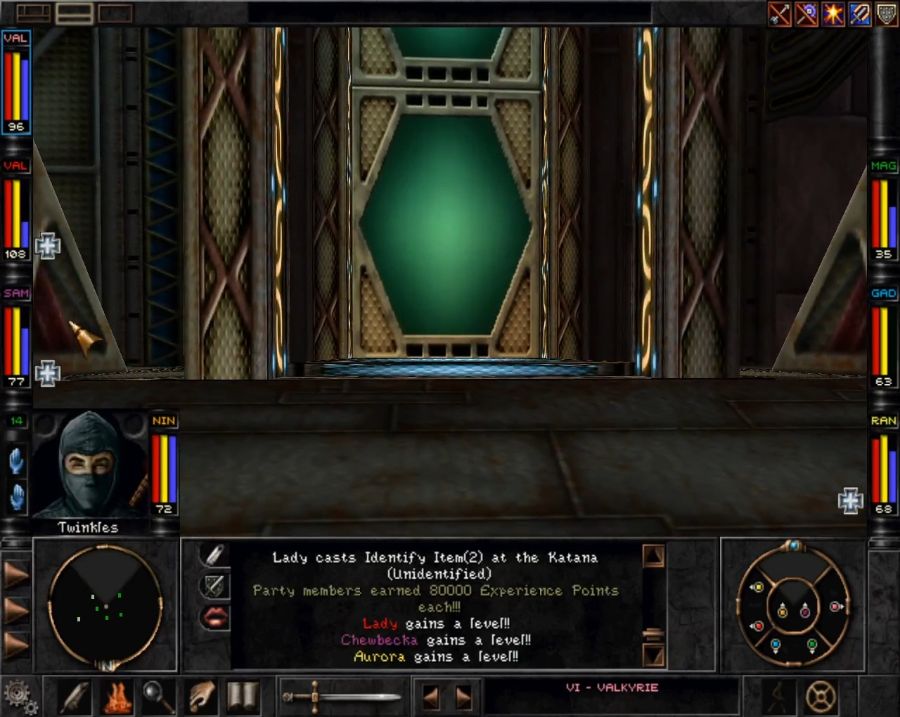 Z'ant's reward gives us several level-ups and then he gives us our simplest quest yet: delivering a letter and robbing an embassy. Easy peasy work. Our next step will be to go back to the swamp and head into the Mine Tunnels. There are a couple of important things there I'd like to pick up. Once that's done, however, we have another choice: Destination Do we head back to Arnika via Trynton, chatting up the Rattkin about the Astral Dominae(shortly before staving in the Don's head, of course) and resolving anything else there that we get access to? OR Do we head back to Arnika the long way around, through the South East Wilderness(accessible from the Swamp) and the Mountain Wilderness, effectively finishing our loop around the world map?
|
|
#
?
Aug 19, 2020 23:20
|
|
|
Croc's "Crawled outta the swamp, didja?" greeting is stuck in my brain. If you have a source of Chameleon (even via a scroll), I'd suggest going the Southeast Wilderness route. That gives you access to one of the Gadgeteer's most useful gadgets, but without Chameleon up you'll get into a fight that I doubt you can win at this point. On the other hand, you'll probably want to come back later to actually beat that fight since it has some good loot.
|
|
#
?
Aug 20, 2020 01:09
|
|
|
Zurai posted:Croc's "Crawled outta the swamp, didja?" greeting is stuck in my brain. I know what fight you mean and I take that as a challenge. ")
|
|
#
?
Aug 20, 2020 01:18
|
|
|
If you can beat that fight at this point, I'd love to see it. I usually have to come back closer to level 20, and even then it takes a couple reloads. It's generally considered the hardest fight in the game.
|
|
#
?
Aug 20, 2020 01:30
|
|
|
Take the long way.
|
|
#
?
Aug 20, 2020 01:30
|
|
|
I vote you take the other short way via the T'rang high security room--the guards will not aggro if you enter combat mode and use combat run to cut through to the opposite hallway
|
|
#
?
Aug 20, 2020 01:47
|
|
|
Straight White Shark posted:I vote you take the other short way via the T'rang high security room--the guards will not aggro if you enter combat mode and use combat run to cut through to the opposite hallway I mean I could also take that way via the Mine Tunnels, but I want to explore a few more areas if given the option, or get my drat cane of corpus.
|
|
#
?
Aug 20, 2020 01:50
|
|
|

|
| # ? May 24, 2024 22:06 |
|
|
But you can speedrun back to Mt Gygas for that sweet sweet quest XP (and that sweet sweet smooth jazz)!
|
|
#
?
Aug 20, 2020 01:53
|
|