


|
Here are some projects I've built recently -- mainly because I can't justify the prices that some of the contemporary furniture outlets ask for what is just basic boxes with some black paint on them :P In chronological order: Side table, idea stolen from west elm.  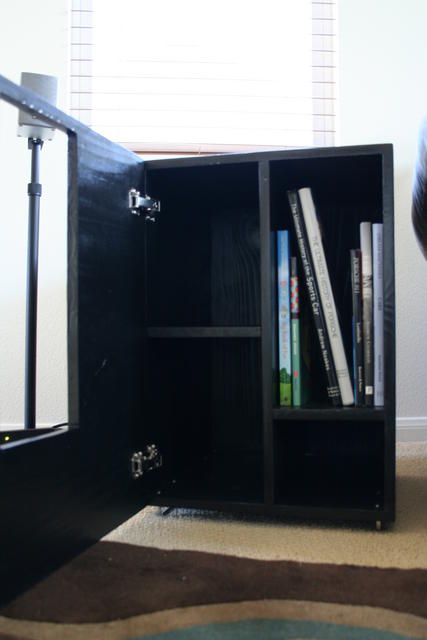 Very basic. Just some 3/4" pine project boards. I actually built two of these. For the first one, I used a biscuit joiner and glued all the pieces together. This took /a very long time/. For the second one, I mirrored the interior / door, then glued and screwed all the pieces together. This one only took about 8 full hours. They turned out OK, but the door doesn't fit as well as I'd like and the pine is /really/ soft. My cats have gouged the crap out of it. If I had to do it over again, I'd use poplar or maple or something with a bit more strength. AV rack 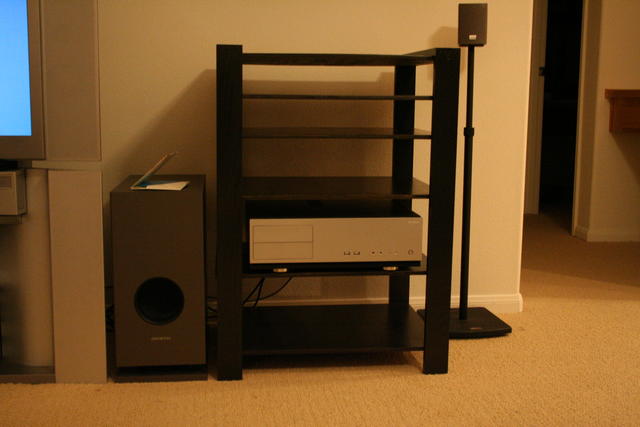 Also very basic. The shelves are 1/2" birch ply (iirc), and the 'frame' is 1" oak. I planned on using tempered and tinted glass for the shelves, until I found out that that would be insanely expensive. All the shelves are adjustable with little metal supports drilled every 1.5". There is an Ikea X-brace across the back to give it some lateral rigidity. I will never use oak again. What a pain in the rear end. Platform bed frame / headboard 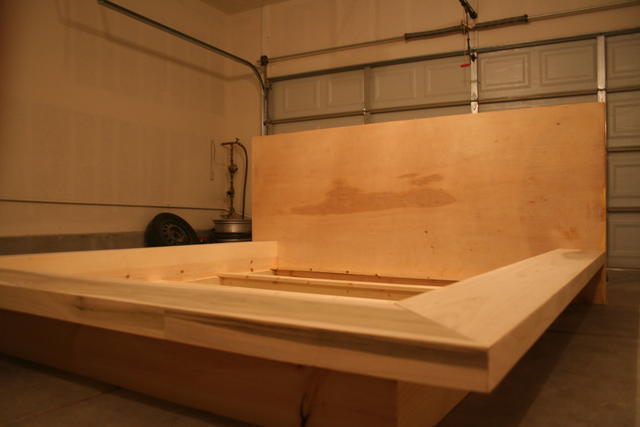 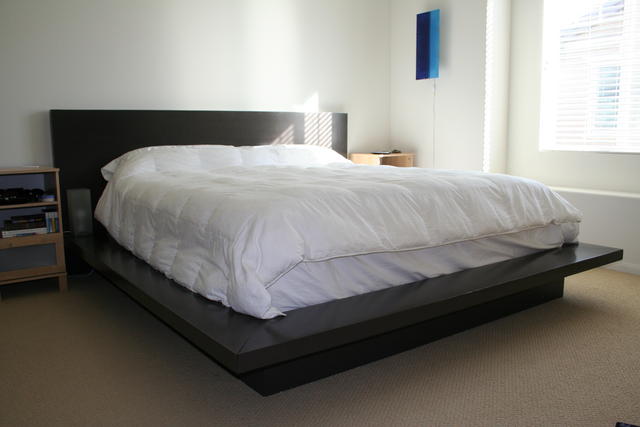 This was quite a bit of work, but very fun. Quite a learning experience for me. All the joints are mitred at 45deg angles to give the illusion that the platforms are 3" solid pieces of wood. The platform parts are all poplar. The headboard is a 3/4" sheet of 'cabinet-grade hardwood ply'. The bed box and risers are pine. I was able to use my (tiny) table saw to mitre the poplar platform parts, but had to use a handheld skil saw for the angle connecting the sides to the front. This did not turn out well. It didn't help that the 1' pine planks used on the rise were bowed to hell. That literally took a day or two of measuring, sanding, trimming and playing with those cuts to get them so they only had about 1/16" gap. I had to make it so that it could be torn down and moved easily. If I had a chance to do it over, I have a laundry list of stuff I'd change: use 1/2" ply for the headboard. Lugging a 3/4" hardwood ply headboard almost 4x8' upstairs and around corners is painful. use a harder wood for the box. pine is pathetic. forget about joining the front to the sides with a 45. I'd just butt them together and it'd look just as good. Edit: fixed images optikalus fucked around with this message at 02:27 on Jul 8, 2008 |
 #
¿
Jul 8, 2008 02:23
#
¿
Jul 8, 2008 02:23
|
|

|

|
| # ¿ Apr 29, 2024 06:22 |
|
|
Reggie Died posted:Love this. I was actually just at Ikea looking for a bedframe, then figured I could probably make my own for less money. This is actually a combination of a few beds that I saw, so no plans. The headboard is ripped off of a design I saw on in Ethan Allen (for like $2k), and the platforms are from some really high-end furniture site catalog (I don't remember the link, though). This thing is actually pretty ghetto, but it works surprisingly well. You can't even tell that it is ghetto until you disassemble it. The box is just screwed into the headboard at a few points, and I used heavy-duty metal L brackets to hold the box together, and eye hooks and turnbuckles to keep the edges of the platform tight. If I weren't worried about moving it, I could have built it much more solidly, but the thing is /huge/, so it has to be broken down in multiple pieces to make it through the door.
|
|
#
¿
Jul 31, 2008 01:17
|
|
|
ChaoticSeven posted:Another, bigger cutting board and a sewing machine table. That is an amazing board. What woods are you using? Also, I'm a pretty novice woodsmith, but learning quickly. What is the purpose for the zero-clearance insert?
|
|
#
¿
Oct 18, 2008 00:39
|
|

|
Ah, thanks for the info! I've had that happen to me as well, but never even considered just closing the gap. My table saw is just a /cheap/ 10" Ryobi whose table is pathetically small, and doesn't have any means for me to block off the gap without replacing the whole table (which I'm not against as I'd actually be able to cut stock wider/longer than 2')
|
|
#
¿
Oct 18, 2008 01:04
|
|
|
GEMorris posted:it is $500 now, or your insurance deductible later, your call I have a $100 table saw, and have never had any scary moments with it. Treat your tools with respect and use them as they're intended. You don't need a $500+ table saw to rip wood.
|
|
#
¿
Mar 27, 2009 20:22
|
|
|
JEEVES420 posted:I have a $200 one and have had no issues with it. I think for the weekend warrior a cheaper model will do just fine. Would I like a better one, sure. Do I think I need a better one, not really. Exactly. I'd love to have a table saw that could rip a 3" strip off a 4x8 sheet of ply, but unless you're going to do that every day, its easier to rig up a guide with some clamps and use a circular saw. ripping consistently sized pieces off a smaller board though is no problems for the small / portable table saws.
|
|
#
¿
Mar 27, 2009 22:59
|
|
|
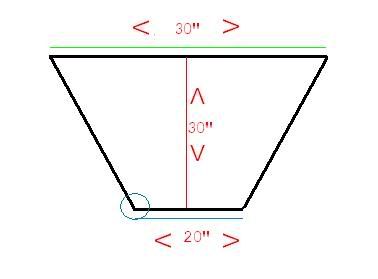
Bantaras posted:It's been too long since I've had geometry, or maybe I've stayed up to late, but I need a bit of internet help figuring this one out: 99.46 degrees?
|
|
#
¿
Mar 28, 2009 06:18
|
|
|
more falafel please posted:I guess this is the best thread for it. I need to get some plywood cut -- I could cut it myself, but I'm sure Home Depot will do a better job. The thing is, the dimensions I need don't really leave any slack room in the 8'x4' sheet. About how much would I lose from Home Depot's cuts on the panel saw? I figure I can lose up to about 1/8" before it will start to matter. Home Depot won't ever do 'precise' cuts. You're going to lose 1/8" no matter what, as that's the width of the blade itself. If you have a circular saw, it's easy to make precise cuts. You just need a backing board clamped to the board you want to cut. This will keep the blade straight for you. I also usually replace the blade in the saw with one with a higher tooth count. This will reduce the board's want to splinter.
|
|
#
¿
Apr 26, 2009 17:50
|
|
|
Built a stand for my (new to me) 90 gallon acrylic aquarium. The front/back and top skirt thing are all maple, and the sides/bottom are birch hardwood ply. Since the tank should weigh about 900lbs when full of water, I braced everything with a 1.5" strip of maple as well. All the joints are glued and screwed, and the face/back are joined with biscuits. I'm just now debating how to finish it. Maple doesn't take stain very well, but I have some mahogany gel stain and all the prep stuff. Most of the furniture in my place is painted black or very, very dark brown, so a very light wood like maple won't go well with anything (even if it is very pretty). Comments welcome ")  Click here for the full 1280x853 image. 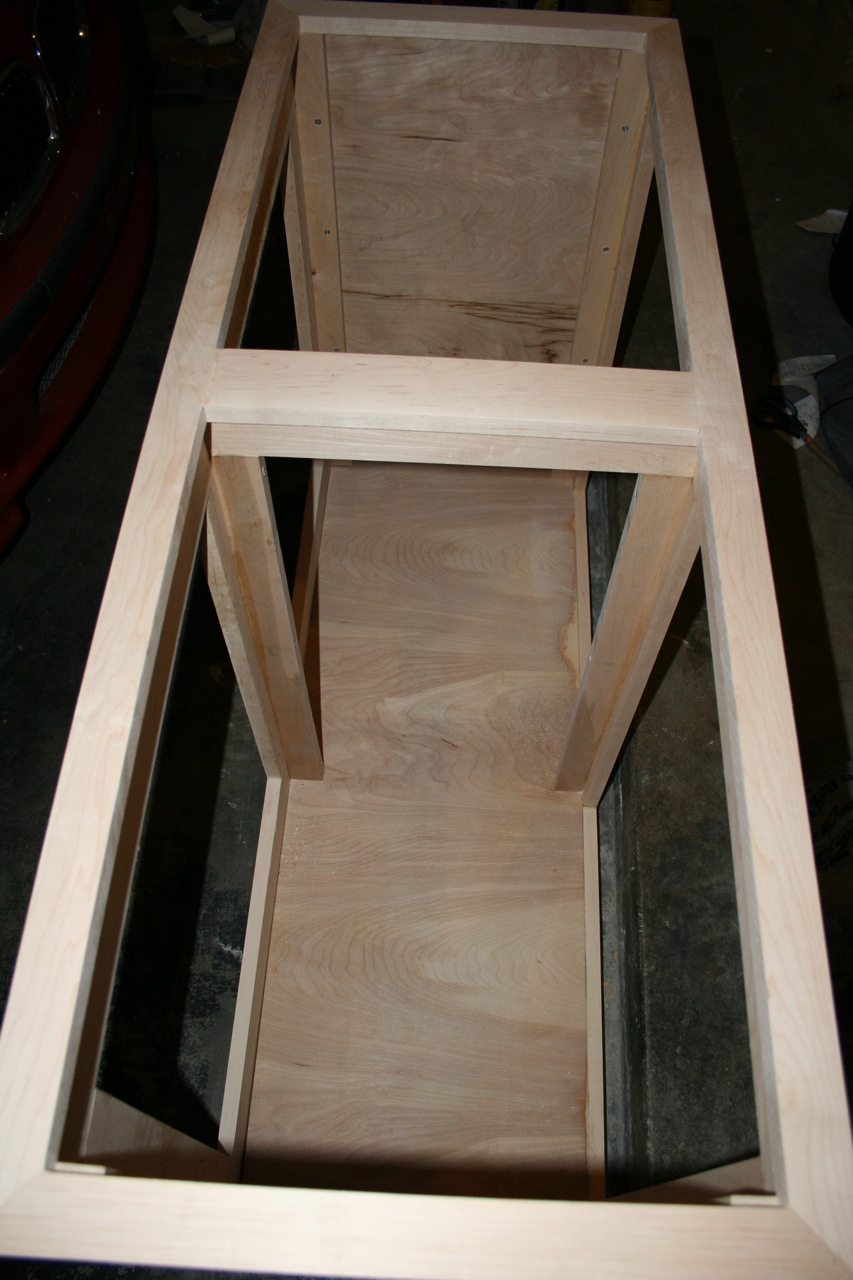 Click here for the full 853x1280 image. 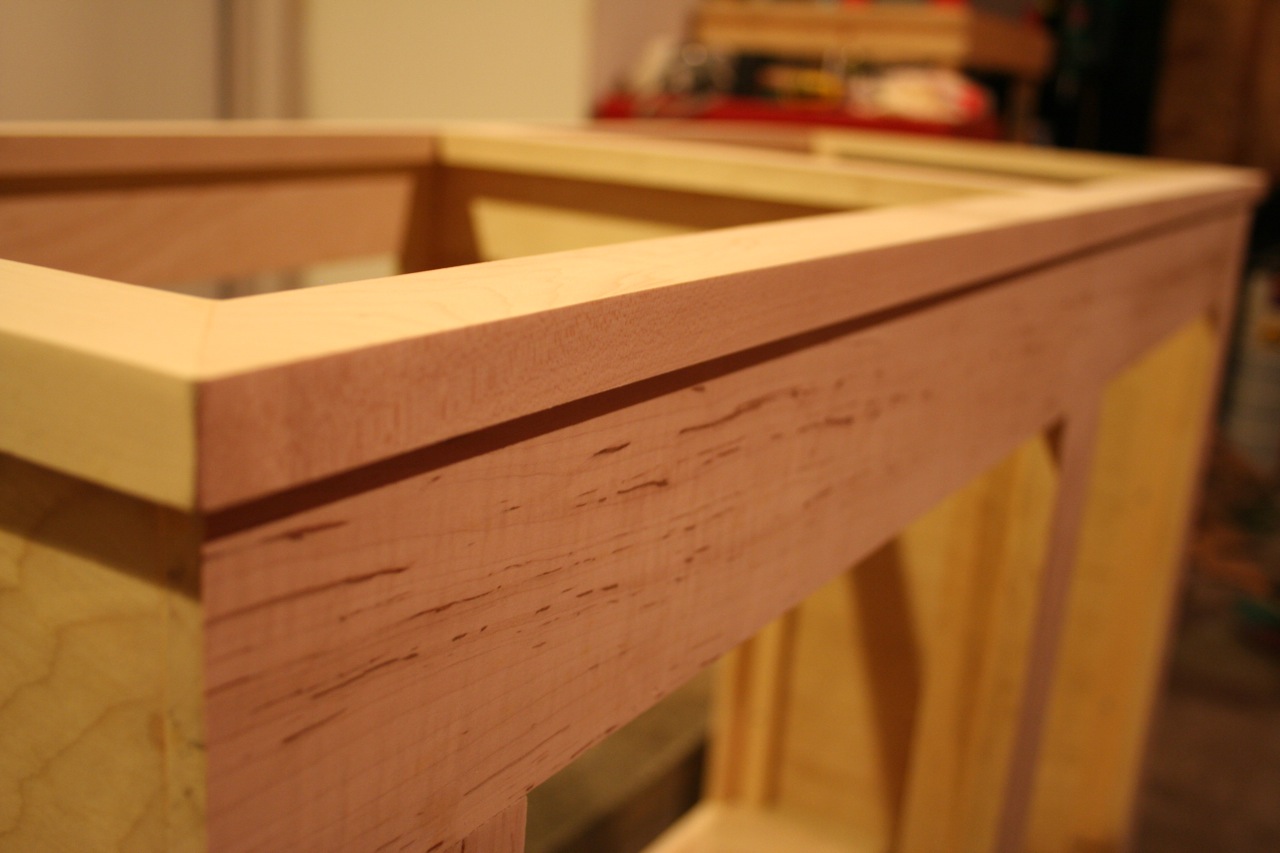 Click here for the full 1280x853 image. 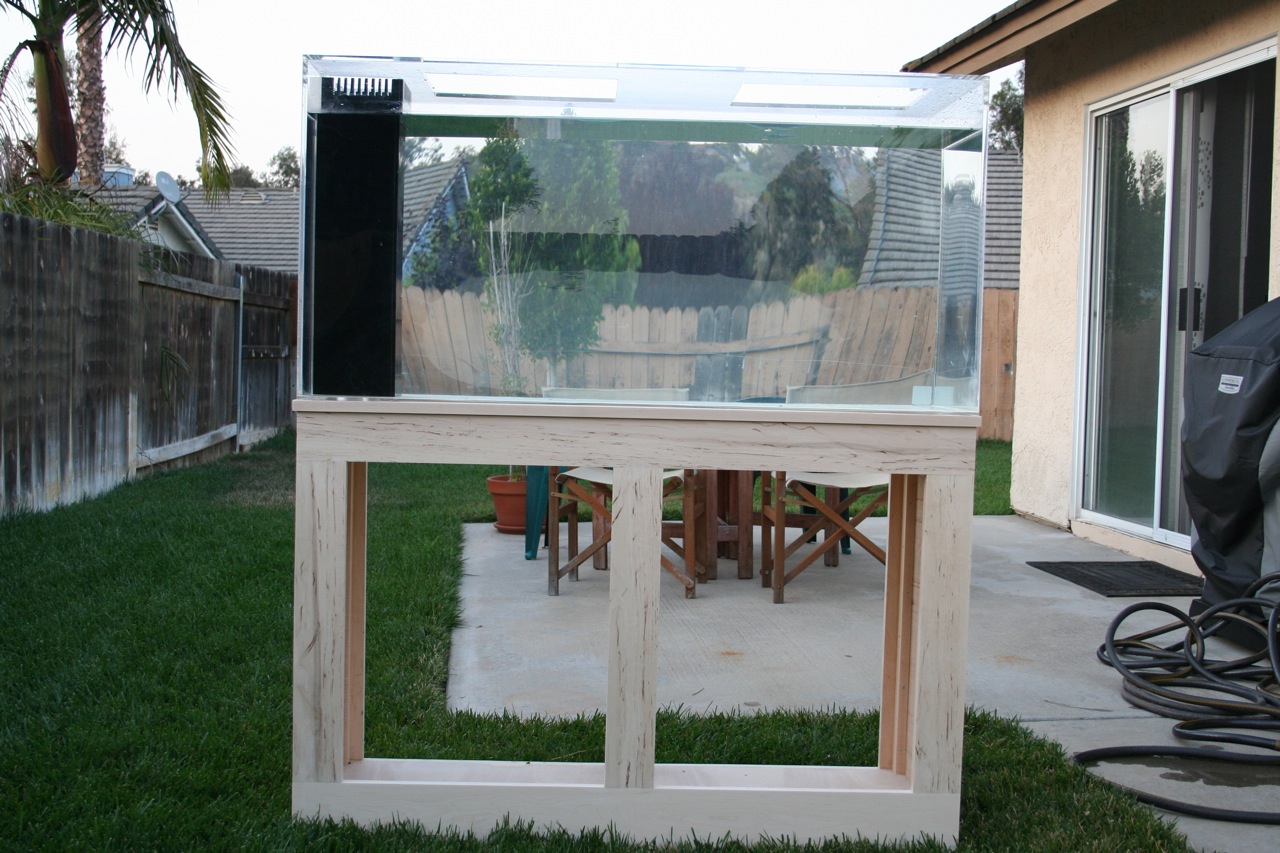 Click here for the full 1280x853 image.
|
|
#
¿
Jun 18, 2009 23:31
|
|
|
wormil posted:The gel should work. Next time try a dye. I prefer them to stains but they are especially good for woods that don't stain well. The gel worked pretty well, except for a few places, but I actually like that imperfect appearance anyways. I tried to apply a 2nd coat of stain and it dried way faster than the 1st coat and destroyed my arms trying to rub it off. 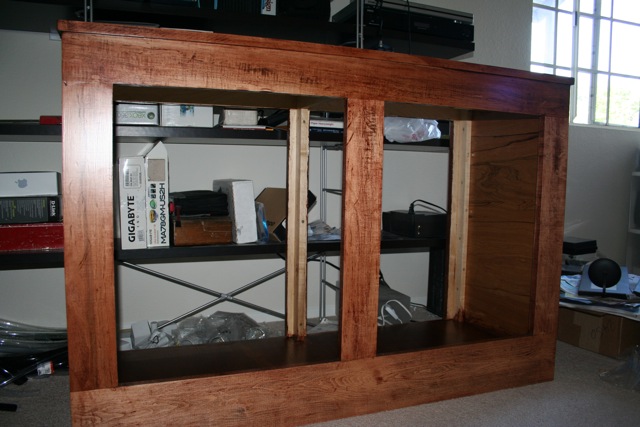 It is covered with helmsman spar urethane (satin), two coats on all surfaces (water protection). Sanded between the coats with 300, then finished the last coat with 0000 steel wool. It has been airing out for the last week, but I'll get it in place eventually.
|
|
#
¿
Jun 25, 2009 22:30
|
|
|
TehSaurus posted:Hey folks, I started reading the thread on Monday and managed to finish the whole thing just now. Do you have a home depot or lowes nearby? They usually rent a truck / van for $20/hr, and it doesn't even matter if you're buying the stuff there or not. In fact, the Lowes near my place stopped renting trucks so when I went to buy some lumber, I asked them about it and they referred me to home depot. You could just as easily rent the truck from your home depot / lowes, then go pick up your lumber from a specialty yard.
|
|
#
¿
Sep 24, 2009 23:57
|
|
|
I went back and forth between various jigs for a while, and determined that I really didn't need to do custom-width dovetails and that being fixed doesn't affect me at all. I got some $30 or $40 harbor freight jig thing instead, and it created perfect joints the first time I used it. Pretty complex set up, though
|
|
#
¿
Oct 20, 2009 05:33
|
|
|
If I were trying to mate two pieces of wood length wise, I'd use a finger joint: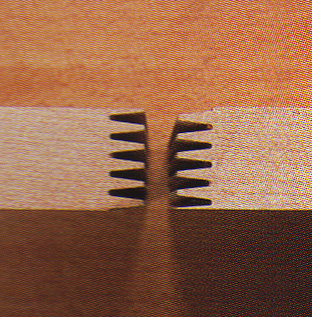 Bits aren't too expensive either.
|
|
#
¿
Jan 13, 2010 01:36
|
|
|
Once you get used to how 'off' they are, they're pretty handy. But yes, really only good for 'rough' work. The laser guide on my Ryobi miter saw is off by about 3/32". I just position the laser line just to the side of my pencil mark and it comes out nearly perfect every time.
|
|
#
¿
Feb 20, 2010 05:16
|
|
|
WildFoxMedia posted:Here are the plans in question: I wish I took more pics of the stand I built, but I looked at the same plans and decided to roll my own instead.  The sides and bottom are 3/4" hardwood ply. The front and rear face frame are maple and just biscuit jointed together. They're rabbeted on the sides so that the plywood sits flush. There is a bunch of cheap 1x2 maple supports tying everything together and adding strength. Everything is glued and screwed together from multiple angles, then stained with a medium dark stain. I finished it (interior and exterior, adding excess to the crevices) with a spar urethane for water protection. The only thing I wish I did differently would be to build a flat top out of the remaining ply, then just build a maple trim around that. What I did was build something like a picture frame and set that on top. It doesn't support the tank as well as I would like. I added a 1/2" insulation board under the tank itself to eliminate stress points from the wood not being perfectly flat. Let me know if you want more information. Total build cost was ~300 but mainly because I used maple instead of oak or some other cheaper wood. I wouldn't recommend pine, though.
|
|
#
¿
Feb 24, 2010 22:33
|
|
|
wormil posted:Speaking of cabinet projects, I made a goof yesterday and I'm not sure how to fix it. We assembled a cabinet, realized we made a mistake, took it apart, put it back together and in our haste glued and screwed one of the shelves so it is sticking out about 1/4". It was face down and by the time we realized, it was too late to fix it. I dread trying to handplane 3/4" birch plywood and I can't think of a way to get a saw on it, except maybe a reciprocating saw but that wouldn't leave a nice edge. If I had a power hand plane, that might work but of course I don't have one. Any ideas? Can you get it close enough with a belt sander and 80 grit, then plane it?
|
|
#
¿
May 25, 2010 17:05
|
|
|
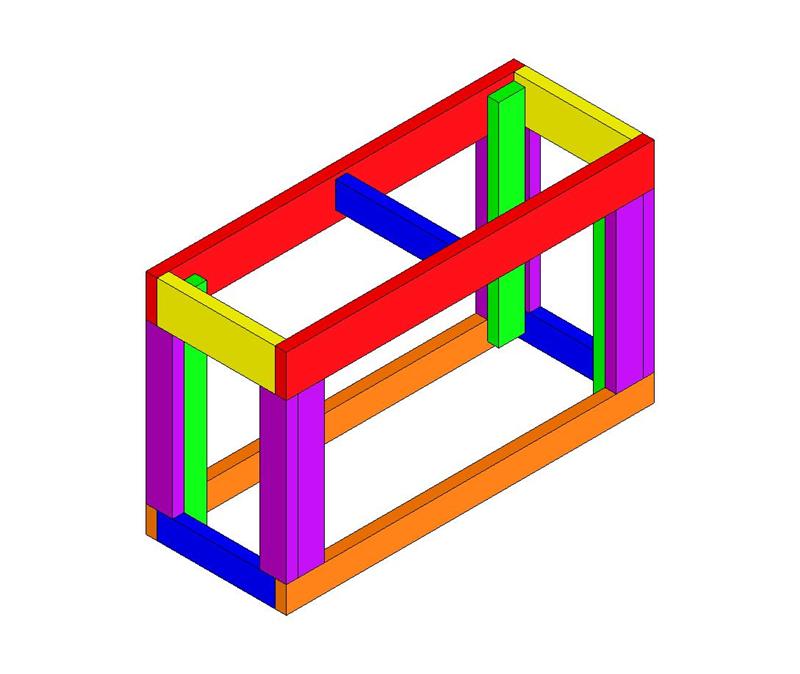
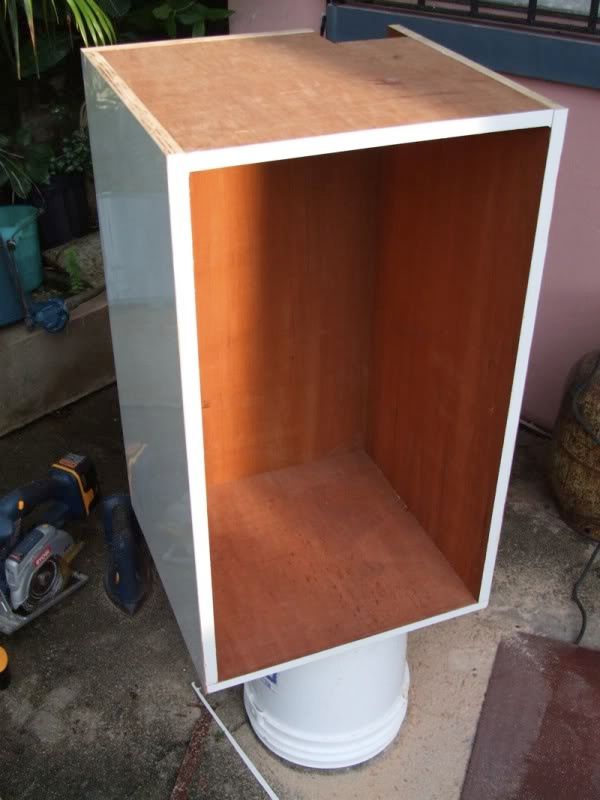
TheUnforgiven posted:Maybe someone can give me a hand here since I cant get any answers from another aquarium forums. Well, an 18x18x18 aquarium is 25.2 gallons, and that would weigh ~210lbs in just water weight. Add another 20-40lbs of sand and another 50-100lbs of live rock, subtract a few gallons (8.35lbs/gal) for volume taken up by other stuff.. I'm sure that box will hold it all, but it seems like it'd be awfully flimsy. Make it so that the top covers all the edges and give it a face frame (mainly to square it all up) and it should be fine. Here's the stand I built for my 90G (48x18x24):  It used 3/4" hardwood ply on the sides and maple for everything else. Everything is screwed/glued and tied together with those 1" risers in the corners / middle just to make sure it doesn't ever want to move side to side. The face frame is actually integral and attached at all sides and the middle. Since I live in California, I didn't want this thing buckling or moving at all in an earthquake and we've had a few since I've built it. I've seen the water splash out of the tank, but not even a moan from the stand.
|
|
#
¿
Sep 25, 2010 16:28
|
|
|
TheUnforgiven posted:The more I thought about it. The more I'm just going to say screw it and do a 2x4 frame and skin it up. Do I have to lay the 2x4s for the top and lower box frame "vertically?"? I dont know if that makes sense. But I'd like to lay the wood so the wider part is were the aquarium will rest on. You can, but unless you can guarantee that your 2x4s have no bow in them, you'll want to rest a piece of 1/2" builder's foam insulation between the bottom of the tank and the wood. This will smooth out any unevenness and eliminate pressure points that could crack the tank, or cause the seams to separate and leak.
|
|
#
¿
Sep 25, 2010 18:24
|
|
|
MMD3 posted:I'm also trying to find a suitable coating for the interior of this aquarium stand which is all bare mdf. I'm not expecting it to be 100% waterproof but since I'll have the canister filter and other aquarium supplies inside of the stand I'd like it to be at least fairly water repellent in case of spills. It doesn't have to be pretty as it's the interior and back of the stand. I was thinking about using some kind of basement/cement floor coat but I don't know how well those would work with something as porous as mdf. Can anyone recommend how best to coat this mdf? I used spar urethane when I built my aquarium stand. Just painted it liberally in the bottom letting it soak into all the joints, then applied quite a few more coats to make it waterproof. I used 3/4" hardwood ply, though. When I broke everything down and sold it, I just hosed it out. Water was still beading on it.
|
|
#
¿
Aug 26, 2011 22:50
|
|
|
wormil posted:Are you sure the wood grain isn't just painted on? It looks like there is a light source within the wood blobs.. look at the lines on the floor under them. nth-ing suggestion to use acrylic in the sandwich.
|
|
#
¿
Dec 7, 2011 00:56
|
|
|

|
| # ¿ Apr 29, 2024 06:22 |
|
|
Oh I see what you're getting at. That'd be a clever solution to that problem.
|
|
#
¿
Dec 7, 2011 01:12
|
|