

|
 Final Fantasy VI was released in Japan for the Super Famicom in April of 1994. Toward the end of that year, it was released in the West as Final Fantasy III, due to three games in the series not having made it overseas. A massive success at the time, it went on to win multiple awards for its gameplay, presentation, and story. Today, it is still considered one of the titans of the genre, and many fans consider it the greatest role-playing game ever made. But is it really? I enjoy the game. I owned it as a kid, and after my copy was lost I saved my money to buy a new one. I've played it several times since then, and I know it pretty well. But as I've grown up and played it so much, I've also come to recognize its flaws. I'm not talking about the bugs (I actually think those are a bit overblown), but rather the actual storytelling and graphical presentation. I know there are plenty of people who are going to disagree with, and even take exception to, that stance, but that's why I've made this thread. This Let's Play is my argument. This will be a purely screenshot-based Let's Play, since I lack the technical expertise for videos and, frankly, the game doesn't really need them. I intend to be informative enough for those unfamiliar with the game to follow along, while still giving veterans something to enjoy. I'll also offer commentary on the game's design, particularly where I think it falls short. I'll aim for an weekly updates, but depending on how busy life gets I may have to cut down on that. Also, since I'm playing the SNES version, I'll be referring to it by its original English number (3). Spoilers? This is a massively popular twenty-four-year-old game. While I don't doubt that there are those who haven't played it, I think we're past the statute of limitations in that regard. Spoil away. Updates Chapter 1 Chapter 2 Bonus: NPC Equipment Chapter 3 Chapter 4 Chapter 5 Chapter 6 Chapter 7 Chapter 8 5-Headed Snake God fucked around with this message at 10:42 on Sep 17, 2018 |
 #
¿
Aug 2, 2018 00:13
#
¿
Aug 2, 2018 00:13
|
|


|

|
| # ¿ May 12, 2024 03:37 |
|
|
(Reserved just in case.)
|
|
#
¿
Aug 2, 2018 00:13
|
|
|
Chapter 1 After the title screen, you're normally treated to a screen that lets you pick a save file to load up, but since I'm playing this fresh, it jumps right to the intro. 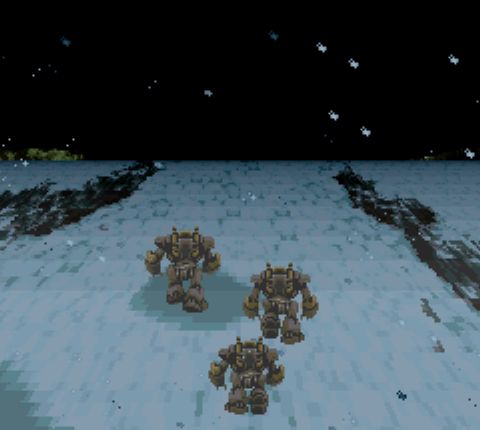 There are outside materials that talk about the game's backstory: the War of the Magi that took place 1,000 years prior, as well as a short conversation held by a pair of soldiers and their mute companion, whom we'll meet in a moment. Curiously, the game itself contains no such lore, which is the first of many things about the game that I find disappointing. The game actually begins with a credit roll and a shot of these mechs (which we later learn are Magitek Armor) trudging through the snow, followed by in-game shots of their arrival in town. 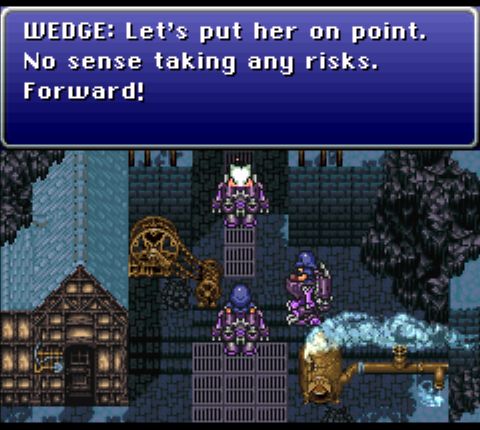 The two soldiers, Vicks and Wedge, decide to put their mystery companion, a girl, on point. She bears a striking resemblance to the moogles from previous games in the series, but this is likely a throwback, as moogles got a complete redesign for FF3. 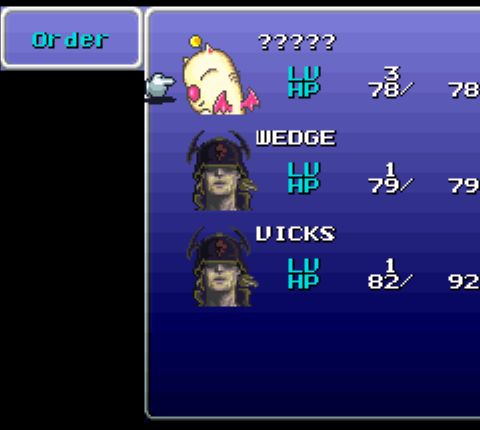 Here's out intrepid party (you can see what I mean about the girl). Putting characters in the back row halves the physical attack damage that they both deal and receive, but since no one will be attacking during this early segment, everyone may as well sit back. While I'm on the menu, I also turn down the battle speed (it makes screenshotting easier), and change the background. 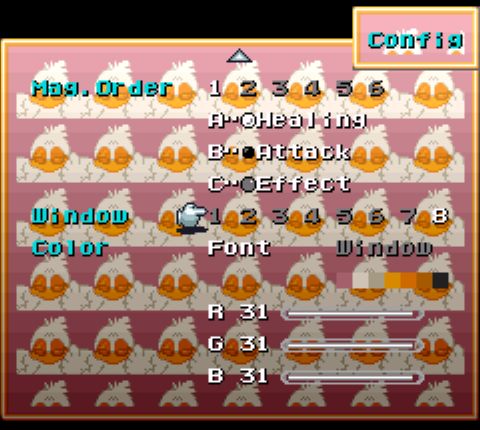 Hm. Maybe not. 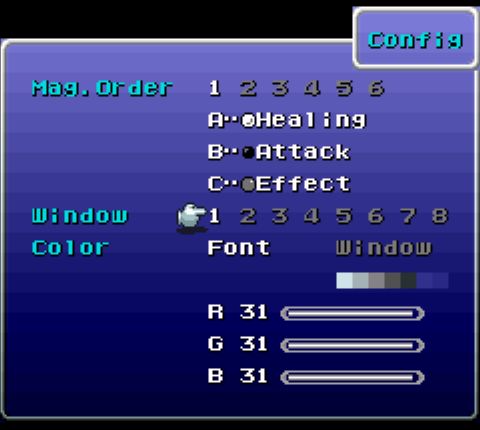 Yeah, this is probably better. 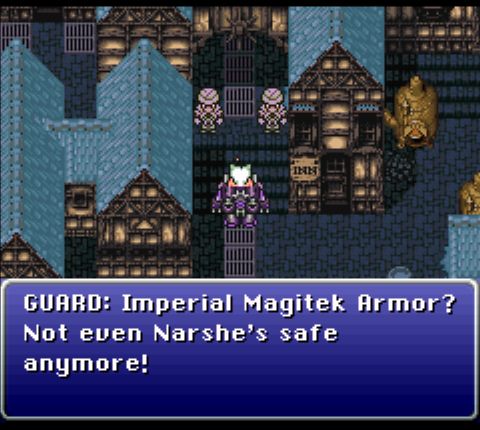 Anyway, we walk into town and are immediately accosted by the local militia, who don't care for having heavily-armed mechs in their town. Fair enough. 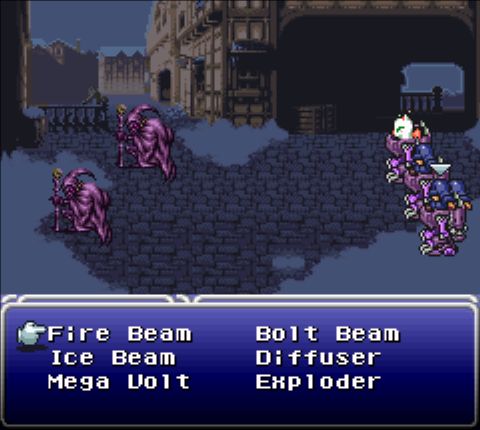 And here we are in our first battle. The guards look pretty weird, more like evil wizards than human soldiers. This is probably because of Yoshitaka Amano's surreal art style. Our party doesn't have access to its normal battle commands, and is instead limited to the special "Magitek" command. When selected, it brings up a menu of subabilities.  Exploder is literal suicide, Mega Volt is weak at our current levels, and the three elemental beams can only hit one target at a time. There's literally no reason to use anything except Diffuser. 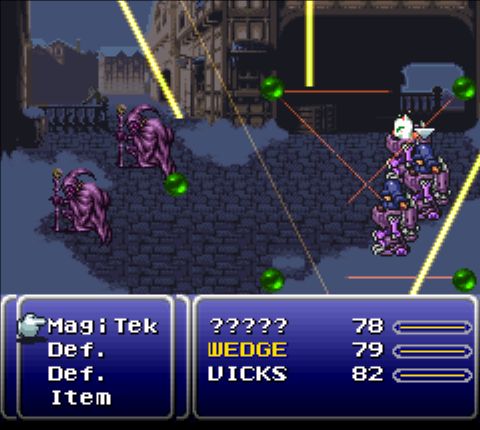 It's quite visually impressive, with lots of lasers and flashing lights. It's also stupidly powerful, enough so to wipe out the entire enemy group. But this is the intro sequence, so it's supposed to be easy. After the battle, our party receives experience and GP (money), as they do from most fights in games like this. We also get this: 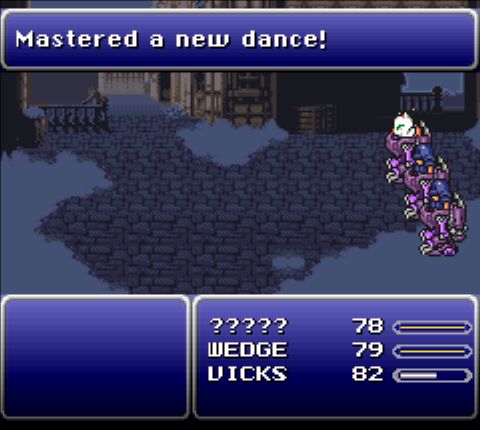 Dances are used by another character that we'll get later on, and I'll explain what they do when we get access to it. For now, just know that each one is tied to a particular kind of terrain. You'd think we'd have to actually have that character in the party to learn the dance, but no: anyone can learn them. By the time we get our dancer we'll have most of the dances learned already, just from the breadth of our travels. It seems like a bit of a waste to me. In any case, we move further and are accosted by two more guards, this time with dogs to assist them. 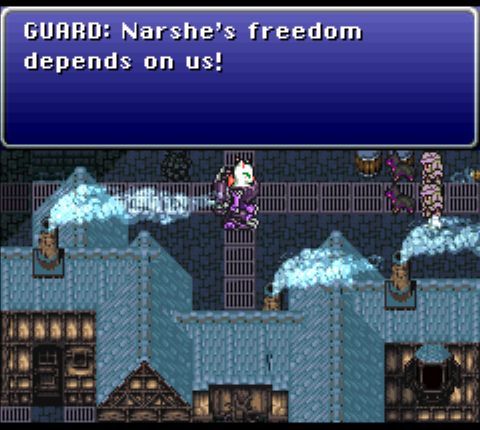 At least, they look like dogs. Once we get into battle... 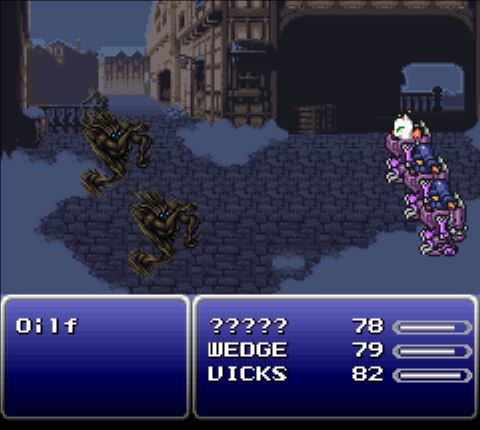 ...we can see that they look more like ghosts or shadows or something. They might be undead, but there's no way to test that at this point, and Diffuser kills them the same as everything else. Once the "dogs" are dead, the guards themselves attack, with predictable results. Moving on, we meet another set of guards and their dogs. 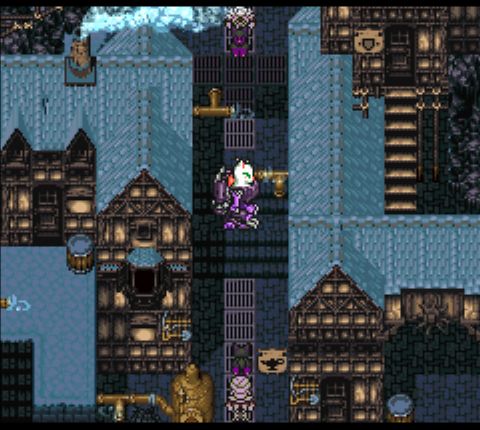 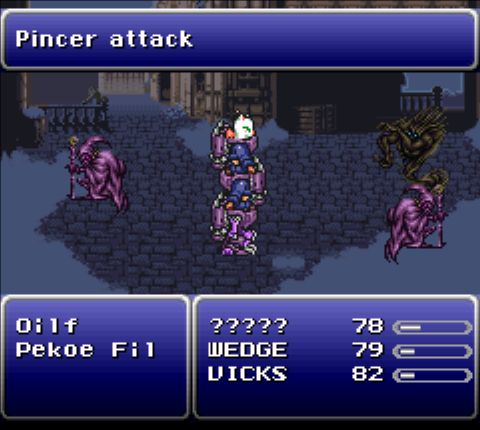 Here we get introduced to the concept of Pincer Attacks, and having enemies on both sides. This battle can't be fled, and Diffuser can only target the enemies on one side, so I'm forced to take two actions to win the battle. While I'm at it, check out the enemy names. Most of the enemies have nonsense names like these, probably due to translation problems. The 90s weren't a great time for translations. 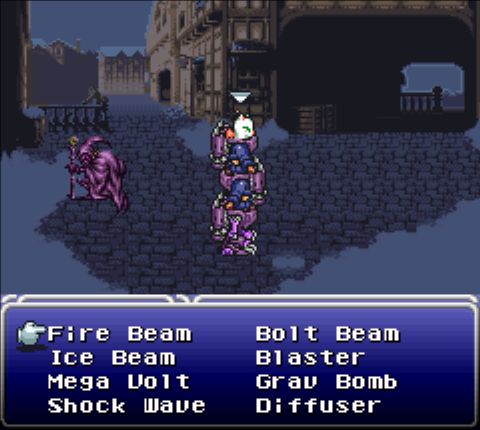 Also, for demonstration purposes, here's ?????'s list of Magitek commands. Notice that she has Shockwave and Grav Bomb, which are exclusive options for her. They're not as good as Diffuser, though, so there's no reason to touch them. Moving on still further, we come across another group of guards, who've brought something new to fight us. 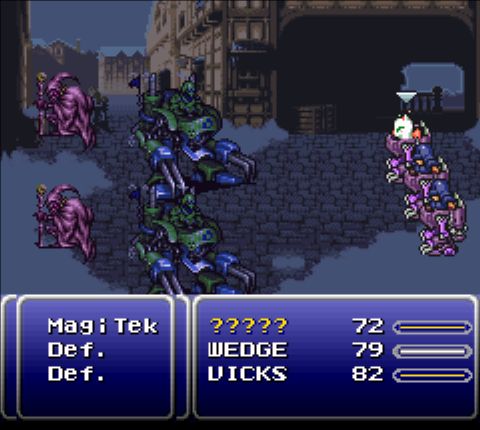 Turns out the locals have their own Magitek armor. They're pretty tough, and might be a threat if they were as strong as our party. But they don't, and Diffuser remains the miracle cure for every problem. Finally, after moving on, we come to the mine itself. 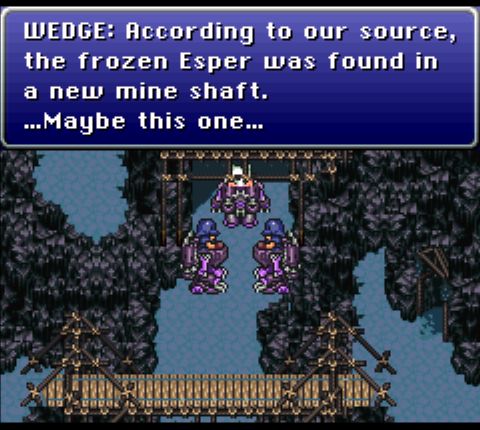 Espers are creatures of magic, and one was supposedly found in this town's mines (which is why our soldiers are here). 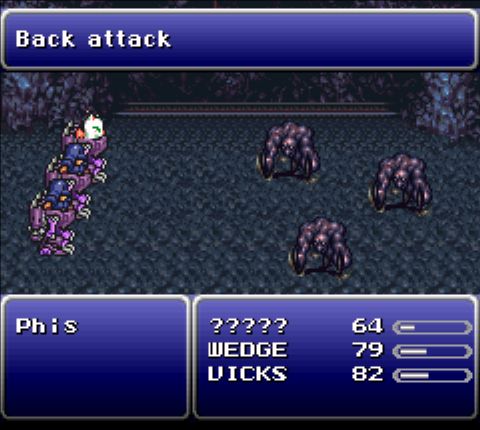 Once inside, we're subject to random encounters, and some of the monsters here caught my party from behind. A back attack lets your enemies attack first and switches your battle rows. It can be a serious problem, but this early it's barely worth mentioning. 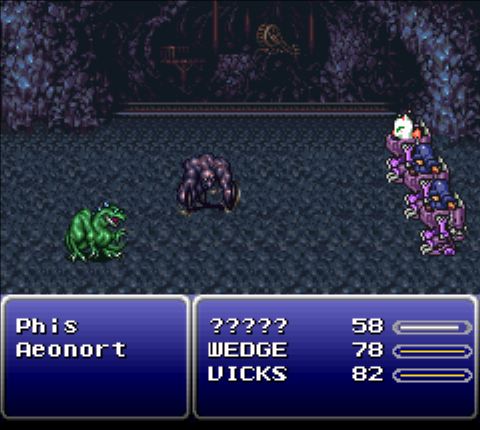 These green dragon enemies (Aeonorts) are notable because they absorb lightning attacks, like Diffuser, meaning I need to use one of my other attacks to kill them. Fire Beam is powerful enough to one-shot them, so they're no actual threat. 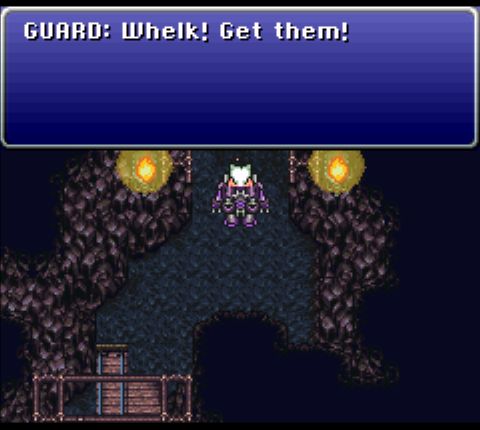 Finally, at the end of the mines, we break through a gate and encounter one last guard. Rather than fight us himself, however, he runs away and sics his pet on us. 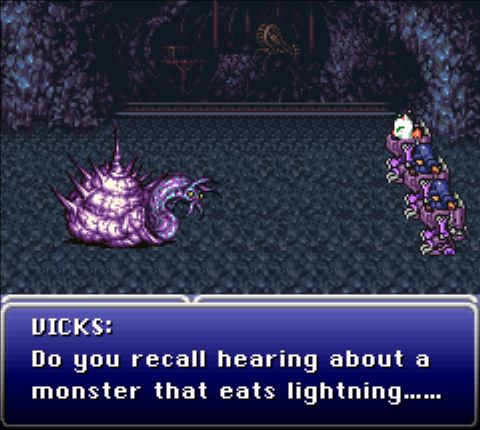 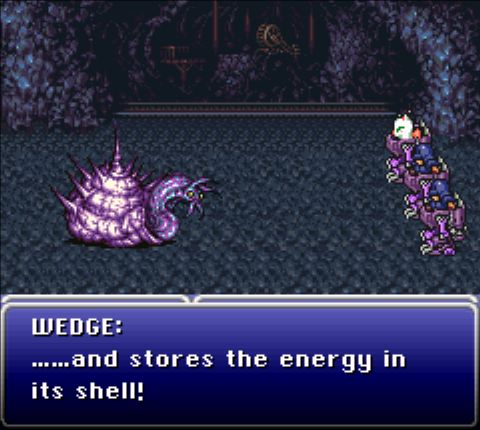 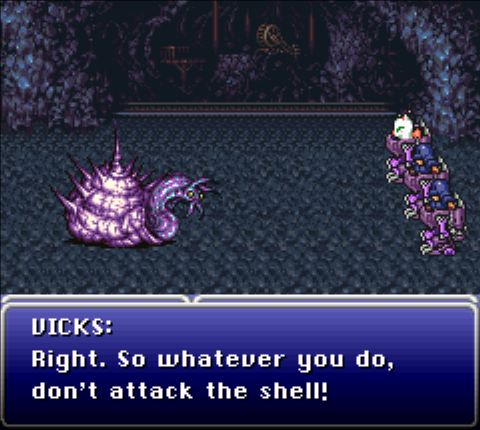 This is a gimmick boss designed to teach players about the real-time battle system. Whelk has two targets, and hurting its shell causes it to counterattack. It also withdraws its head on occasion (which I completely forgot to screenshot), during which time my only real option is to wait. 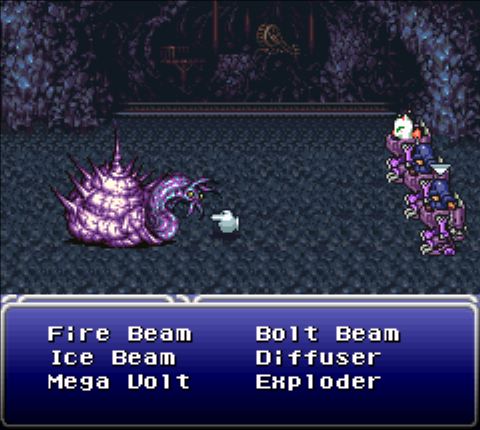 Just targeting the head, and only the head, when it's out is the key to winning the fight. (And even targeting the shell with Diffuser isn't actually that bad, since it absorbs lightning damage and thus doesn't trigger the counter.) 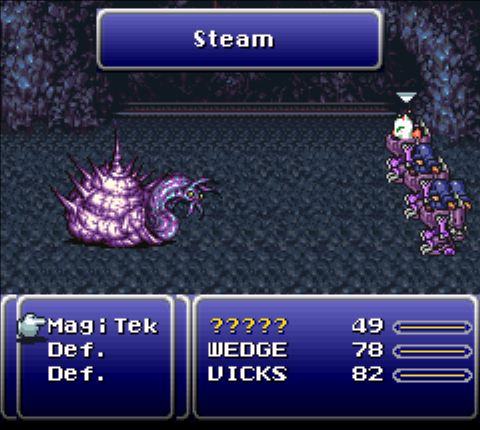 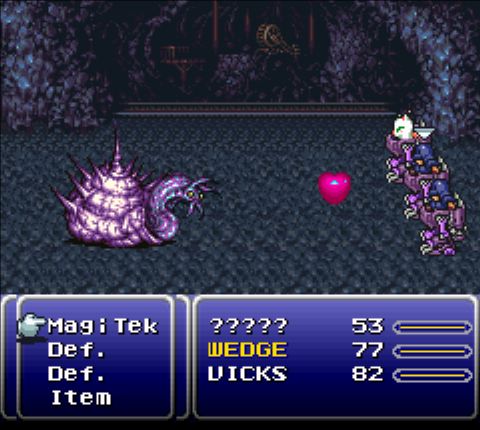 Whelk also has a special attack, Steam, which shoots a heart at someone, inflicting Slow status. Does any of that make sense to anyone? I don't get it. In any event, it's annoying, but not very threatening. 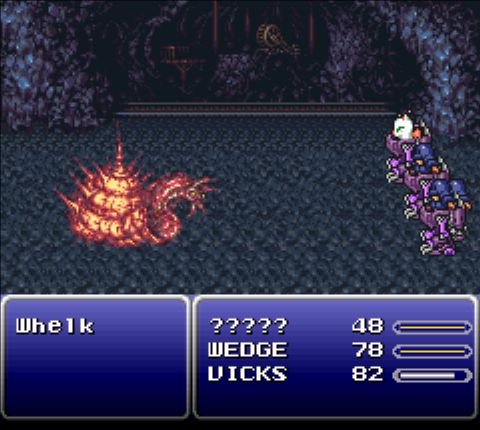 After taking enough damage, the head dies, and takes the shell with it. All in all, nothing terrible. 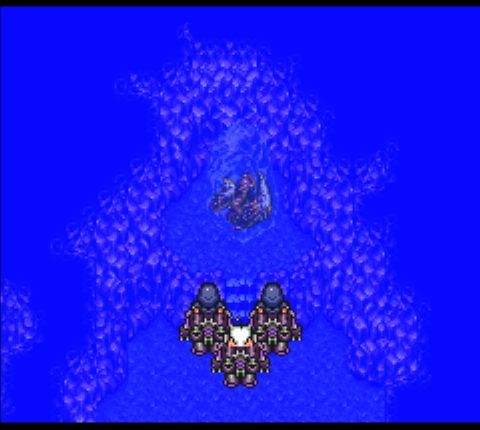  Finally, we reach the Esper, everything starts glowing blue, and we get treated to a cut scene with the color-changing Esper. (Maybe it's a bug? Who knows?) 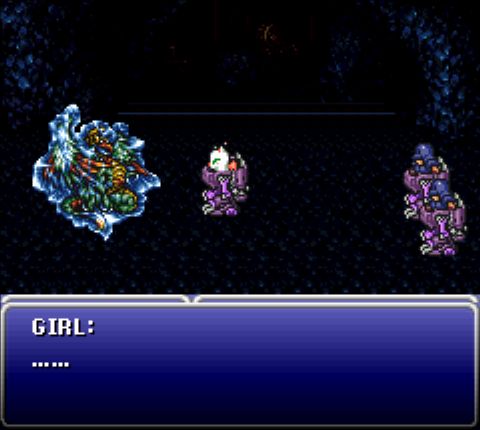 ????? walks up to it, apparently entranced. 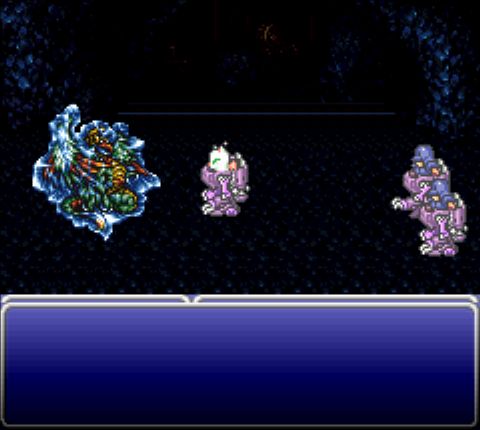 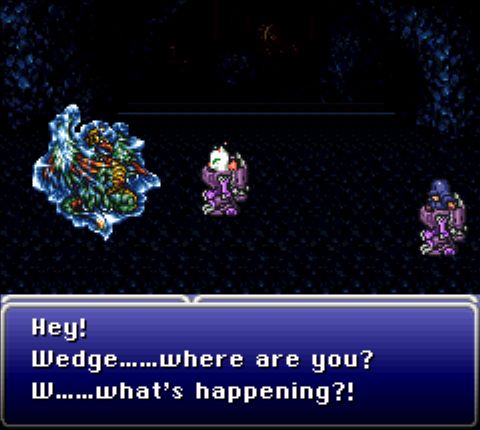 There are some flashes of light, and Wedge disappears, followed shortly by Vicks. 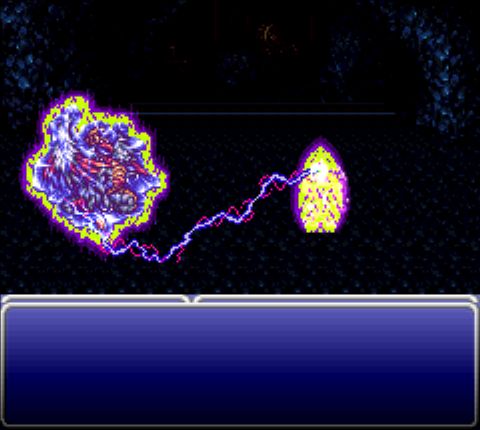 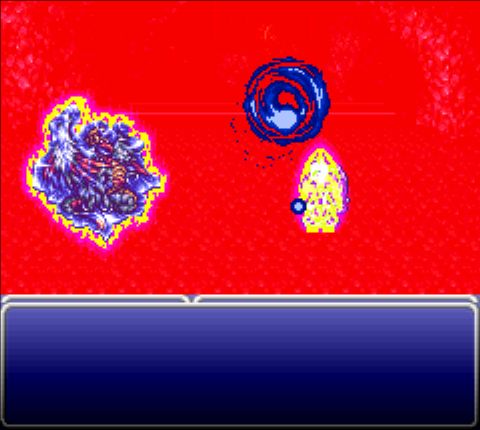 Then the Esper shoots purple lightning at the mystery girl, everything begins exploding before fading to red, and...  We're in a house. Okay, sure.
|
|
#
¿
Aug 2, 2018 00:14
|
|
|
ultrafilter posted:This seems different somehow. I guess it's been a while since I played. People misremember a lot of stuff from the games they played when they were younger. Yeowch!!! My Balls!!! posted:probably just about as mechanically sound as the original release tbh Not sure what you mean; this is the original. I know the Advance release made some pretty big changes, but this isn't it.
|
|
#
¿
Aug 2, 2018 00:50
|
|
|
theshim posted:Chalk me up as another person who finds this game horribly overrated. Still, it made some super interesting and aggressive changes for the era, like having a moogle main character. She's really not, though. She looks like an FFV moogle, but the moogles in this game were... Well, let's just say that I'm not fond of the redesign.
|
|
#
¿
Aug 4, 2018 18:16
|
|
|
BenRGamer posted:Mm, this is mighty different than I remember. Original SNES.
|
|
#
¿
Aug 4, 2018 20:56
|
|
|
Chapter 2 When we left our mystery heroine, she had exploded so hard she woke up in a house. She climbs out of bed and, lacking better options, speaks to her host. 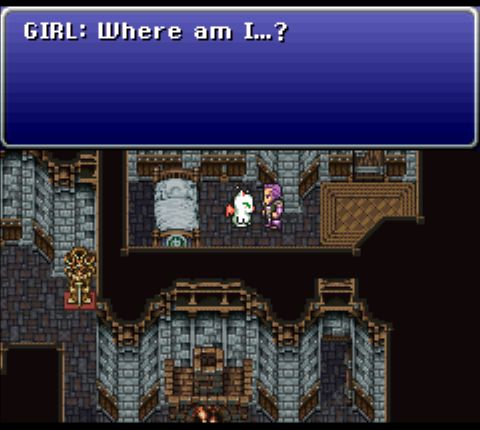 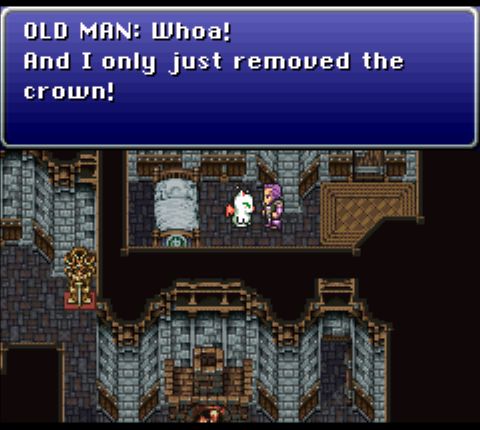  Well, this explains her pliancy is cooperating with the soldiers.  Unfortunately, it's left her with an extremely cliche case of amnesia. 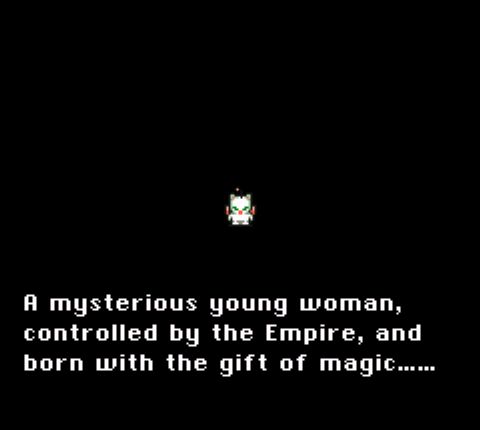 And here, finally, we are promted to give her a better name than "?????". Every character in Final Fantasy 3 has a default name, which can be changed by the player. I know that in most Let's Plays it's normal to give the audience a chance to participate in naming the characters, but for the type of LP I'm doing, I want the authenticity of the original monikers. So let's meet our first hero. 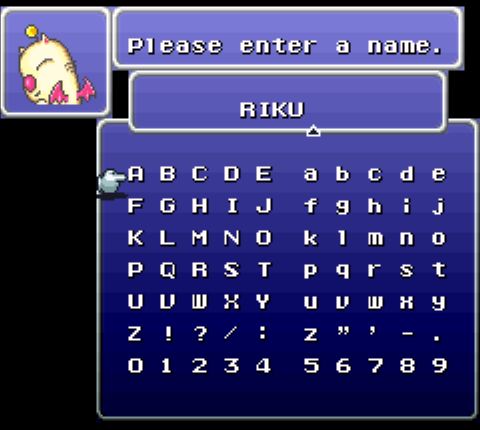 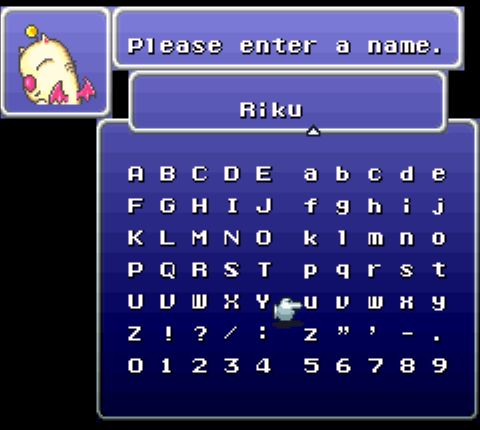 (I'm still giving the names proper capitalization, because I'm a rational human being.) While many of the protagonists in FF3 are named for real people or characters from Japanese pop culture, Riku's is, as far as I can tell, wholly original. That said, it was itself eventually referenced in both FFX (with a slightly different spelling) and Kingdom Hearts. 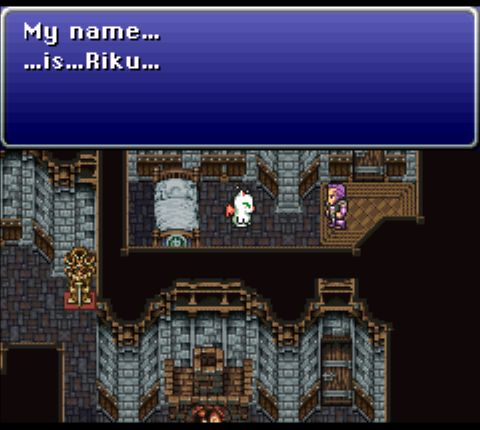 Our heroine remembers her own name, at least, but unfortunately she doesn't have time to remember anything else. 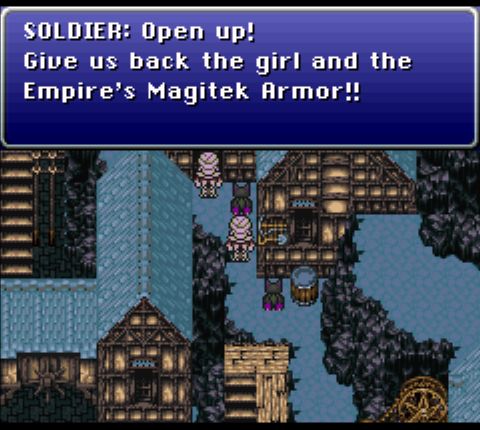  The guards are still a bit peeved about all those guys were murdered on our way in. Luckily, the host has our girl's back, and prompts her to follow him to the rear exit of his house. She doesn't immediately follow, however.  Do I smell treasure? 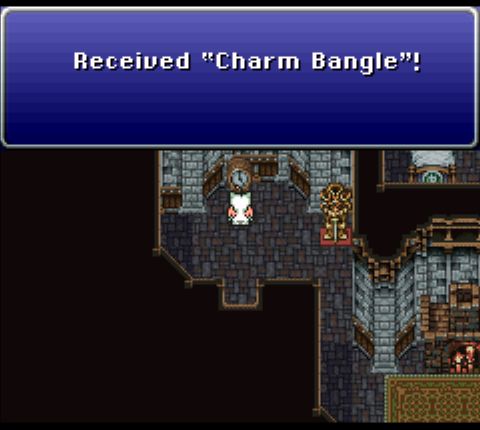 Why yes, yes I do. This cleverly hidden item is a Relic, a type of miscellaneous equipment of which all characters can equip two. The Charm Bangle reduces the rate of random encounters by half. I don't need it now (the game is still in its easy stages and I could use the money from random battles), but it's very nice to have later on. Anyway, we move on with the escape. 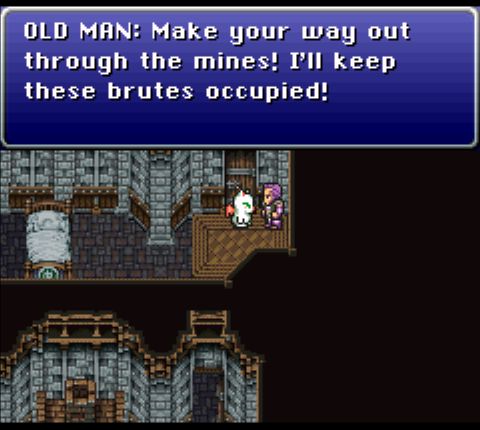 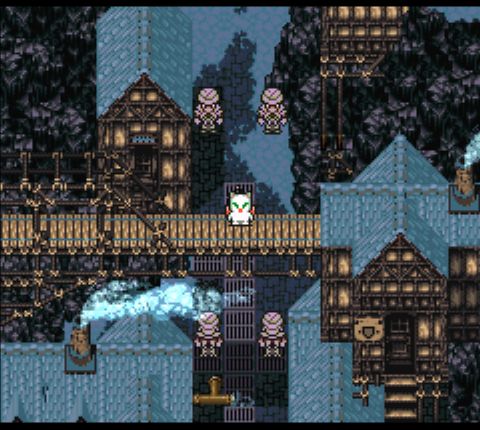 Unfortunately, going out the back door doesn't seem to have accomplished much, as the guards immediately spot Riku crossing the bridge. No choice but to keep running. She finishes crossing and enters another branch of the mines. 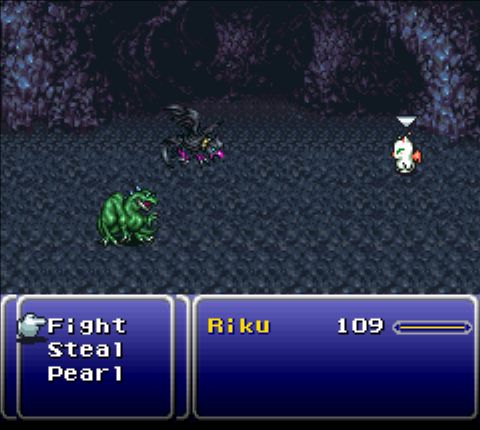 Here we see out heroine's battle menu. Every character has a different set of commands (apart from Fight, which almost every character has). Riku's second command is Steal, a straightforward action that attempts to relieve an enemy of whatever loot it's carrying. Depending on the enemy, this can range from incredibly useful to totally useless. 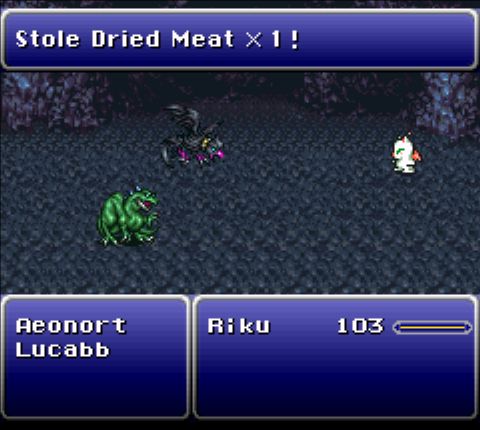 Her third command, however...  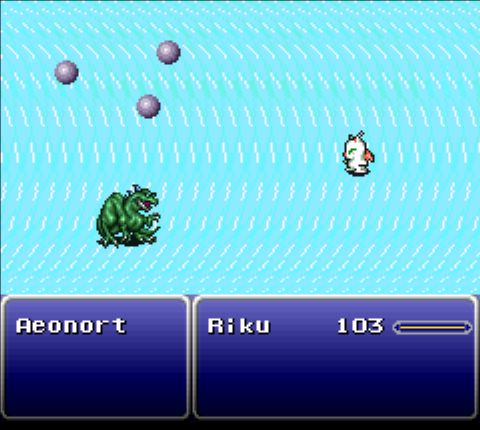 Pearl (called Holy in other games in the series) is a high-end spell that deals large amounts of damage to one enemy. This command allows Riku to cast it at no cost. Though I didn't manage to capture its damage output, it's easily enough to kill anything in the mines multiple times over. Small wonder the Empire wanted control of her. Riku's fourth command is blanked out for now, but will be revealed later once the mechanic comes into play. 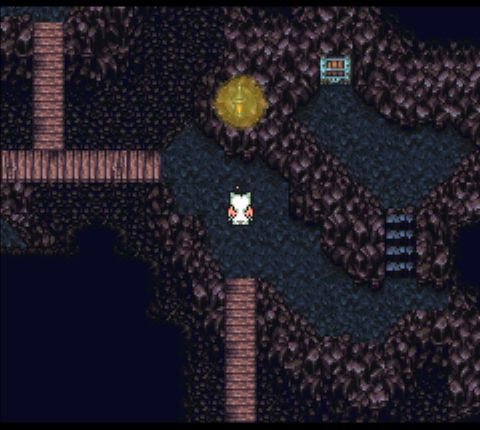 It should also be noted that the mines have a few treasure chests scattered about. Normally you'd want to open these, but a few dungeons, such as this one, have chests whose contents become more valuable if you wait until later. 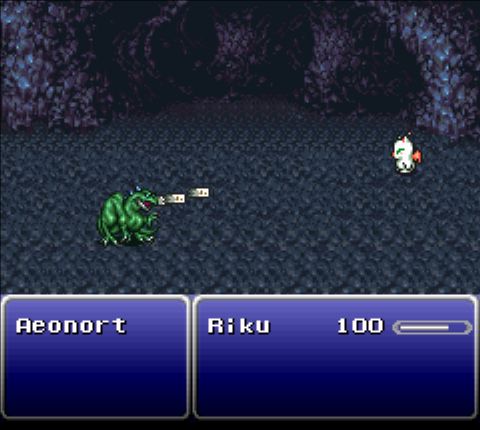 I captured this shot mostly because the lizard enemy attacks by throwing cards. I'm sure this makes sense to someone. 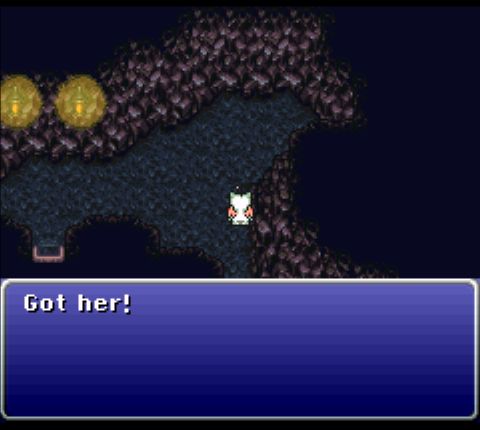 Eventually, we reach this bend in the path, and the guards catch up with Riku. 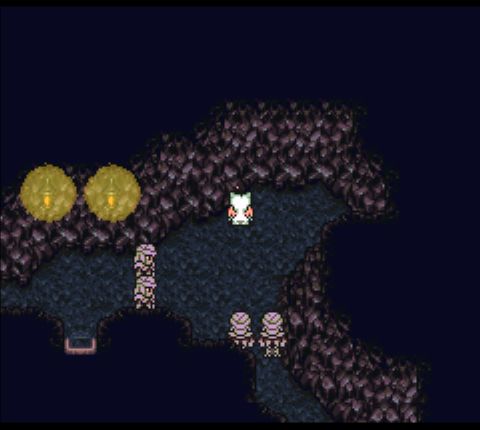 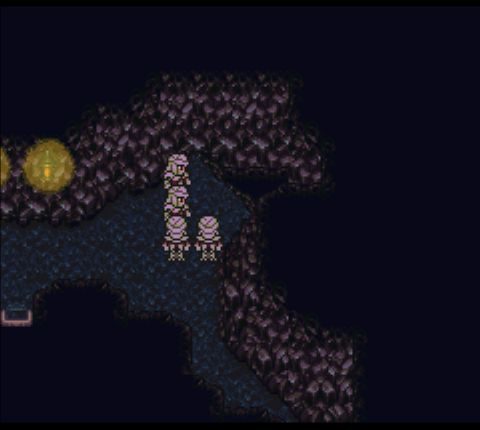 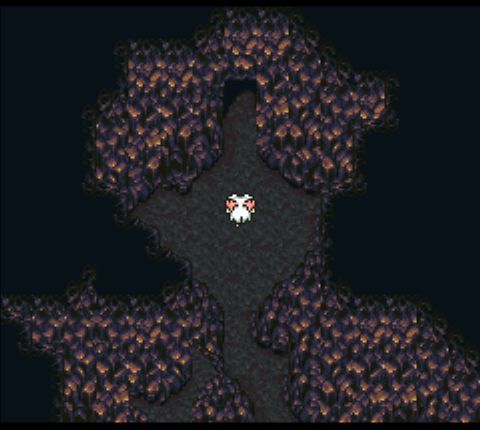  She's backed into a corner, where the floor collapses under her. The landing causes her to pass out, which makes it a convenient time for a flashback. 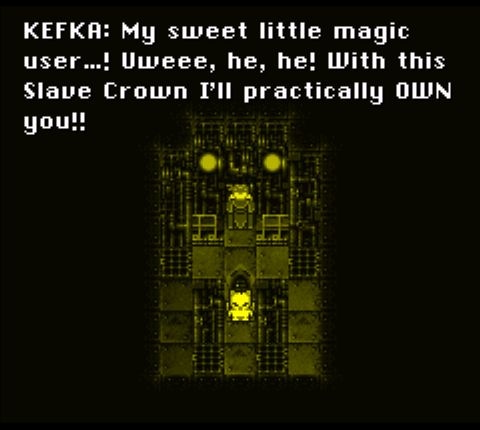 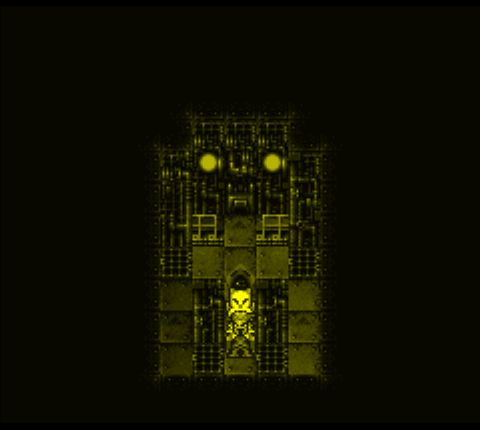 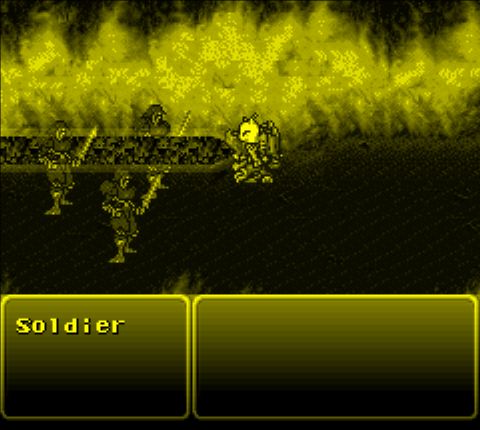 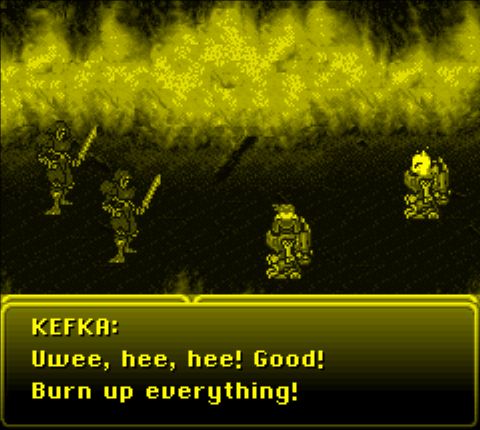  So now we know where the slave crown came from. Something tells me that this Kefka fellow might not be terribly stable. 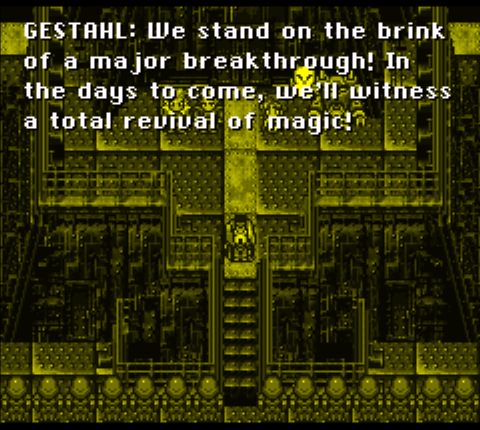 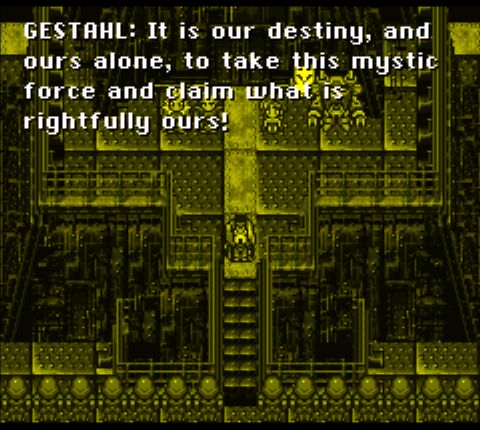 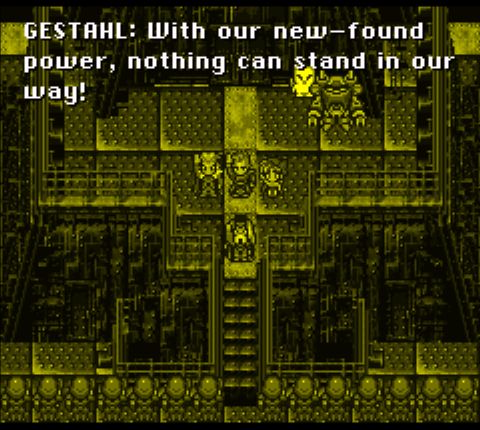 We also get a shot of the emperor, giving an impassioned speech and eliciting gestures that are definitely not Nazi salutes. As this scene fades out, we're taken back to the old man's house in Narshe, where a new faces comes in the back door. There's only one route that goes that way; how did he miss the guards attacking Riku?   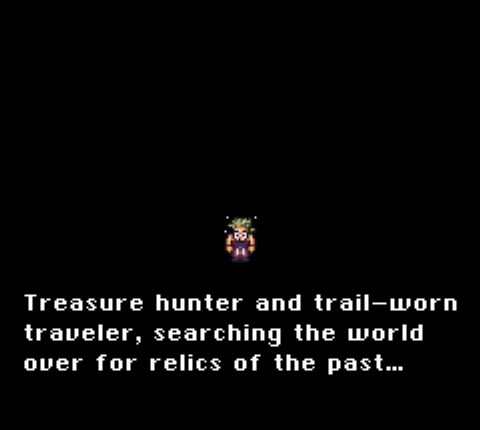 And here's our second proper party member. The old man's lines make it seem like he's a thief or something (and the game is keen to reinforce this), but his skills don't really support the role.  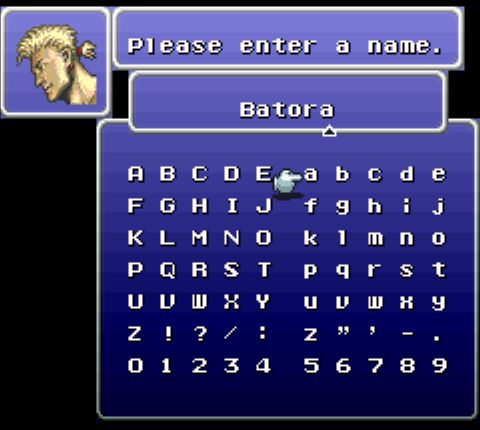 Meet Batora. 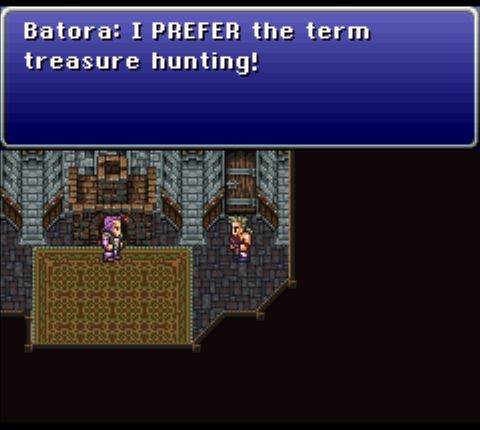 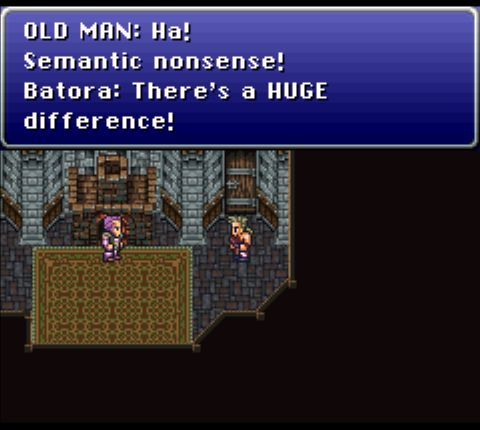  Batora is keen to remind everyone that he's not, in fact, a thief, and this seems to be more or less accurate. 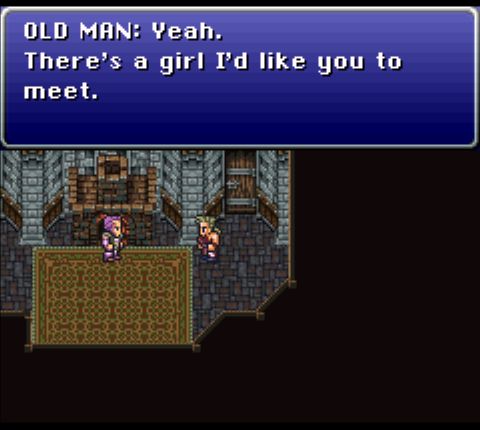 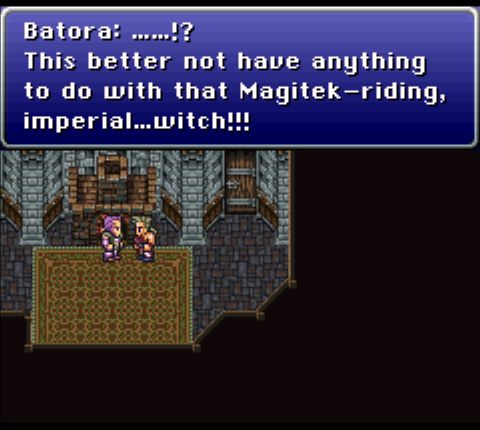 He's not keen on Riku at the moment, but the old man points out that the Empire is likely to come to Narshe again. 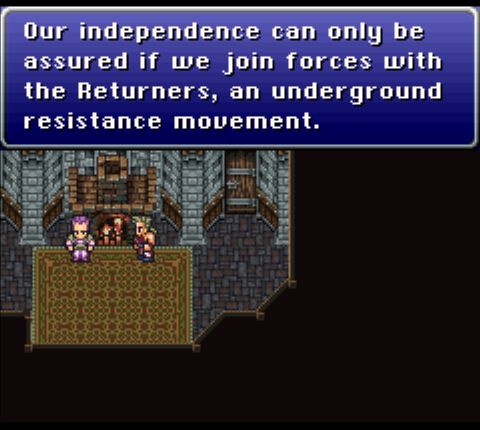 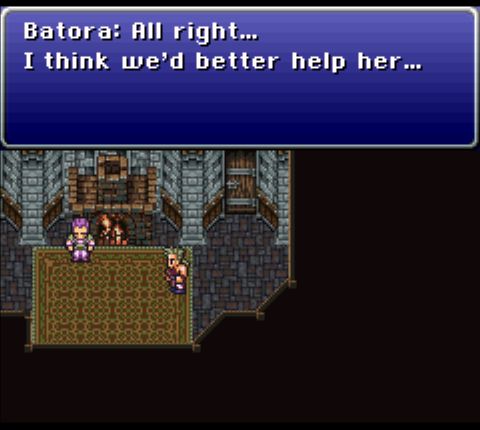 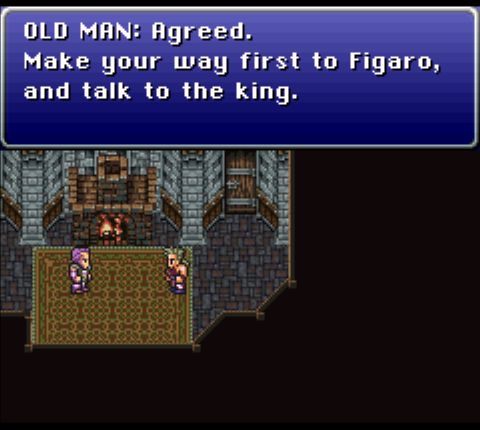 In a few more lines, we're given our next major goal, but first there's the matter of an unconscious amnesiac in the mines. Batora rushes in and finds her pretty quickly, but imperial troops show up almost immediately after.  Things seem bad, but...  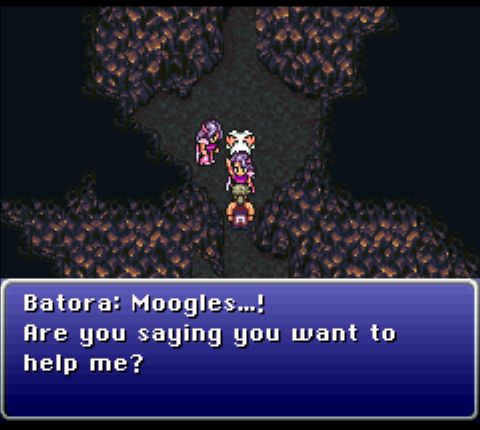 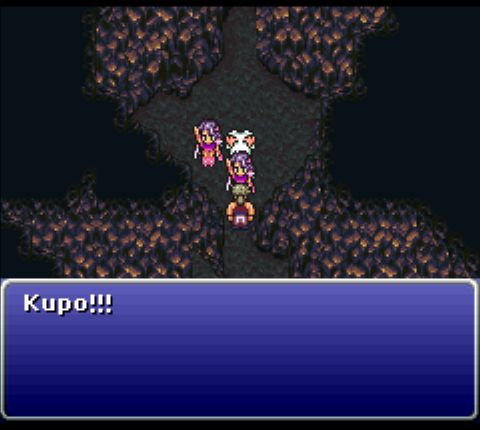 ...luckily, help shows up just in time, in the form of some moogles. Where Riku's design is clearly based on the moogles from Final Fantasy V, the redesigned moogles in this game look like young women. Because Japan has to make everything weird. The next battle gives you three parties (Batora and three moogles, plus two groups of four moogles each), and tasks you with keeping the enemy troops from reaching Riku. You get to switch between the parties at your leisure and move them around. This seems like a cool idea, but there's a problem: only one of the three is actually worth using. 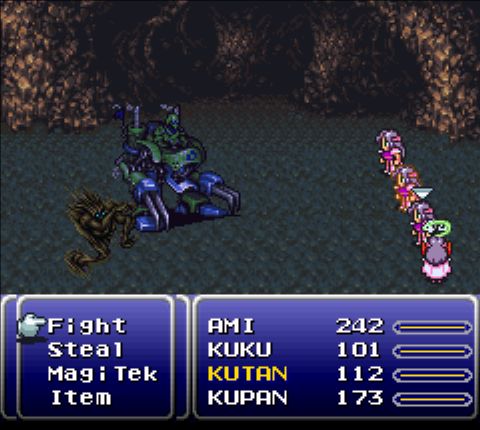 One of the moogles in the first all-moogle group is equipped with a Cursed Shield, afflicting it with nearly every status ailment in the game. You could win with this group, but it would be unnecessarily difficult. So you'd think that maybe Batora's group would be best. 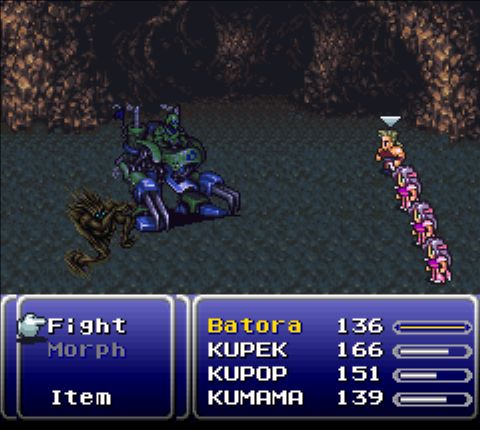 Here we can see Batora's battle commands. His second, command, Morph, turns him into a monster form to increase his damage output for a limited time. We don't have access to it right now because it needs to "charge up" by winning battles. His third command, like Riku's fourth, will crop up later, and his fourth command lets him use an item, a staple mechanic of JRPGs. In any case, this looks better. One of the moogles even has Riku's Pearl command, which you'd assume would make short work of this fight. 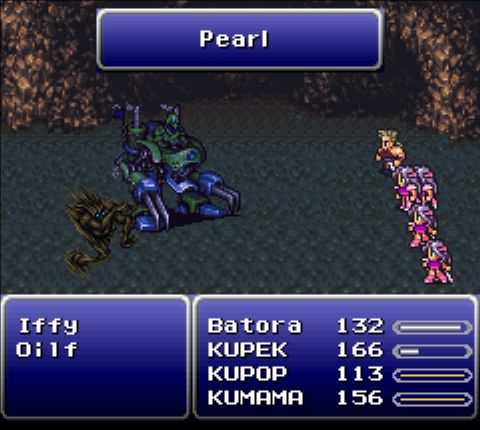 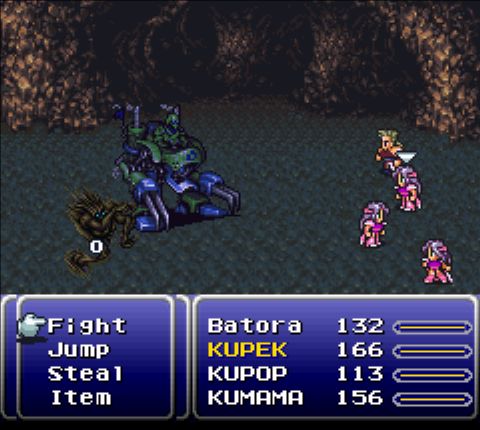 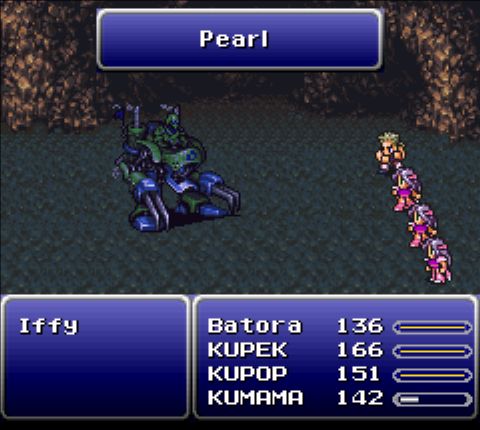 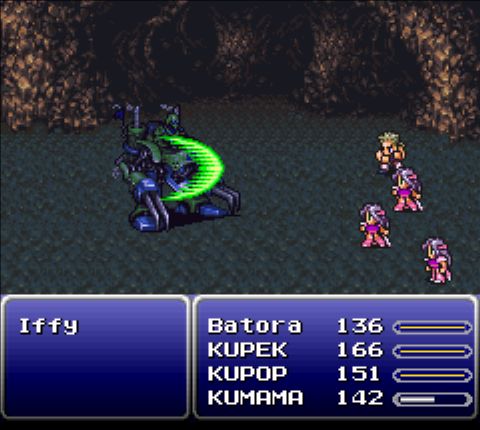 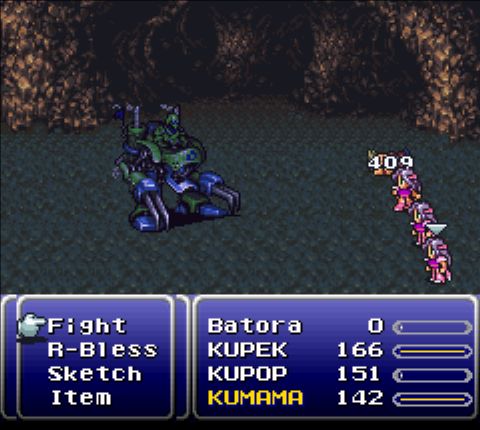 And you'd be wrong. The Oilfs are outright immune to pearl-elemental damage, and the Iffys have an innate reflect, which bounces the spell back at a party member. This group could win the day, but lacks a good source of damage output. The real trick is to use group three. 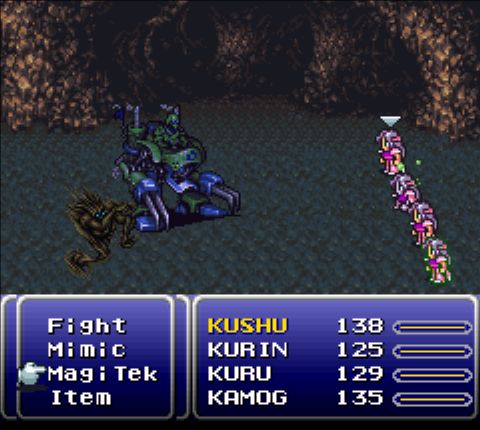 The first moogle in this group, Kushu, can use Magitek powers, including Diffuser. This makes pretty short work of both the regular enemies and the boss (who's so unremarkable I didn't bother getting a shot of him.)  Batora thanks the moogles, grabs Riku, and runs for the exit. 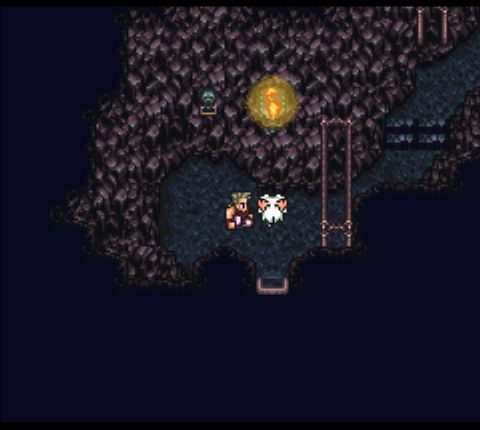 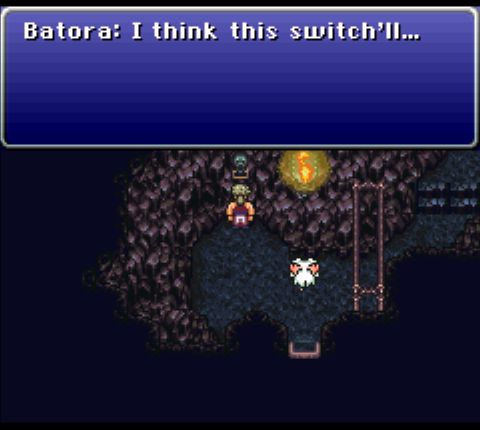 He hits a wall switch, opening a secret door that leads out of the mines. 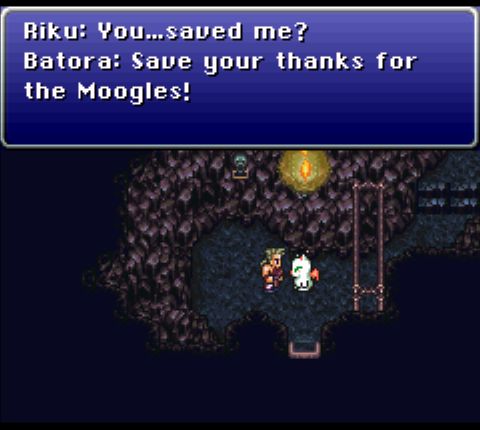 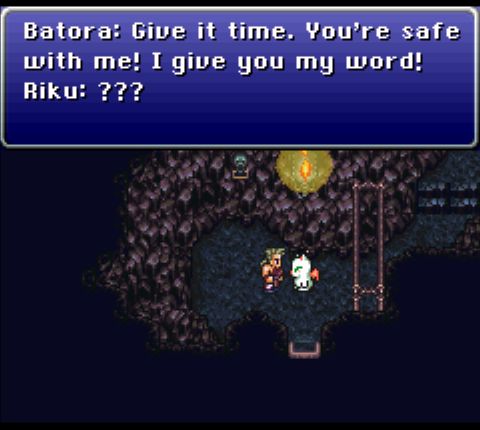 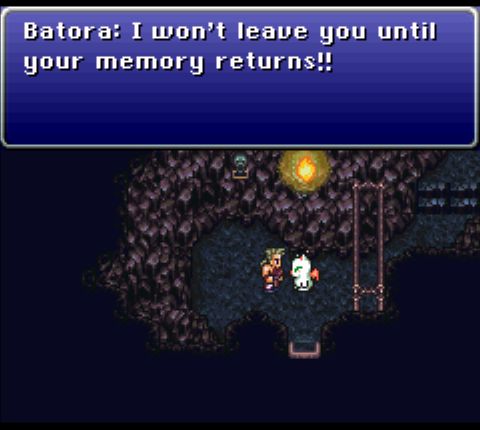 Riku still seems unsure of her situation, but Batora promises to protect her until her memory comes back. We'll see later that he has a serious white knight complex.  Definitely not obvious foreshadowing. 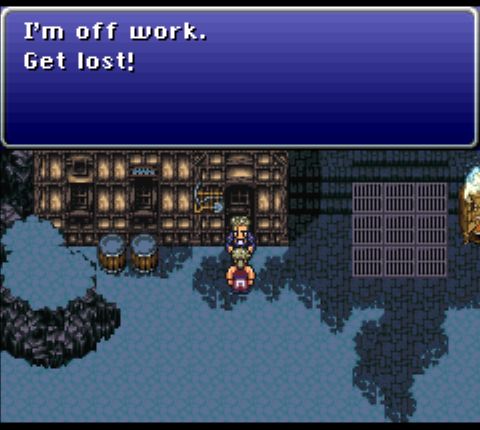 At the entrance to the city, we meet this polite gentleman. There are rumors that the building behind him was supposed to be one last tutorial area, but it's not accessible. Most likely it wasn't implemented due to time constraints on the development or something similar. 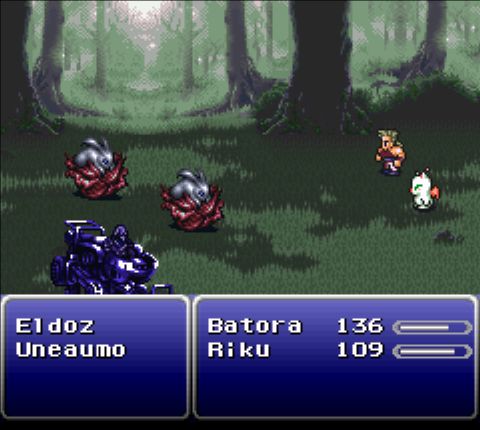 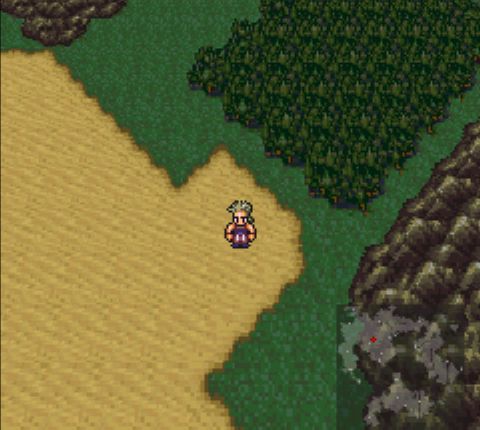 Outside of Narshe, we head south, facing a few random battles along the way. It looks like the empire is still on Riku's tail, sending more armor after her, but it's all dispatched without effort. 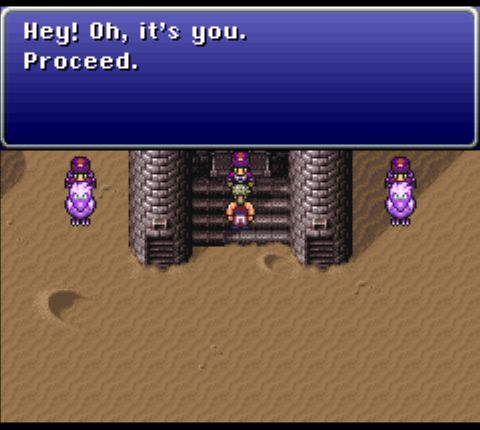 The pair arrives at Figaro Castle, where they're accosted by the door guard, but after a moment he recognizes Batora and lets them through. Moving straight ahead into the castle brings us to the throne room, wherein we meet a man with poor fashion sense. 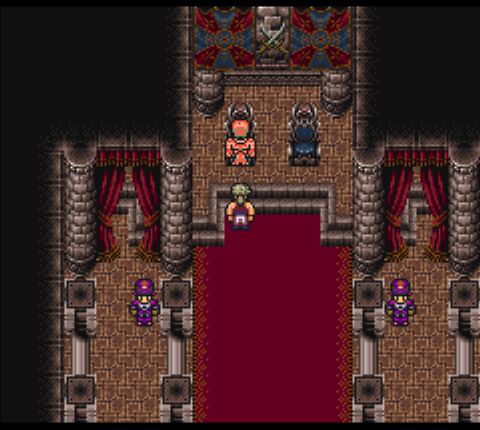 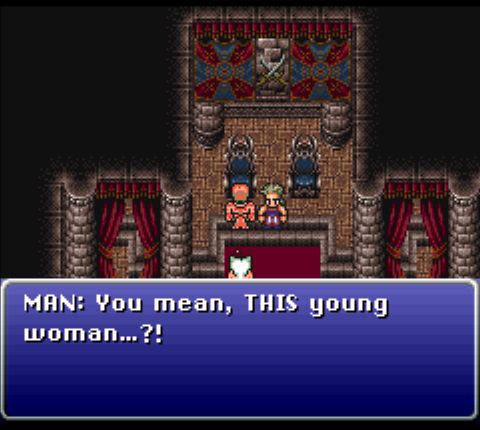 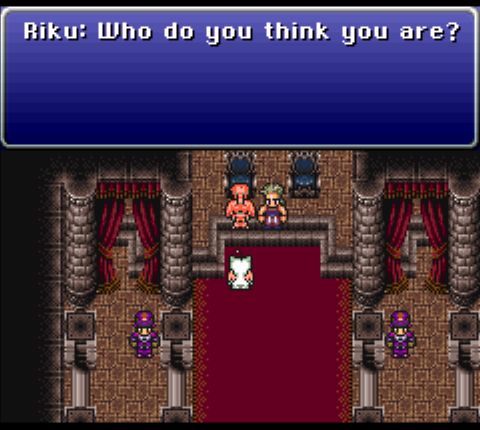 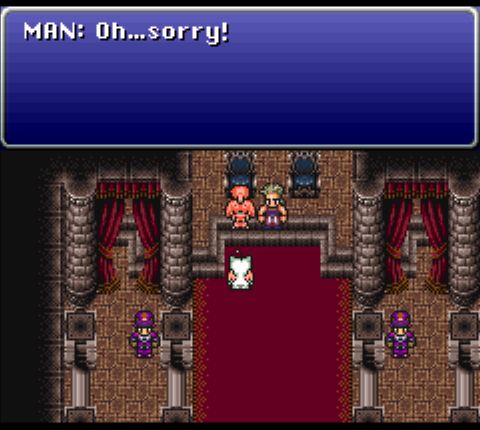 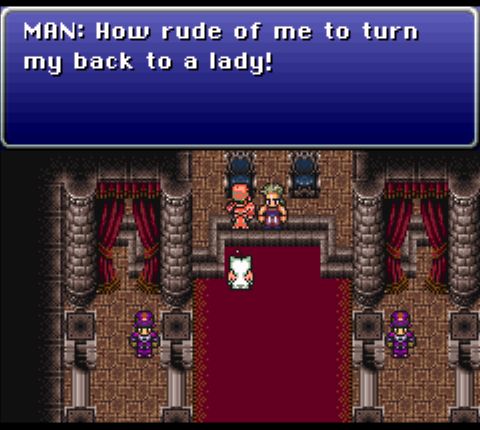 Turns out he's the king, and he starts talking with Batora about Riku as though she's not in the room. She takes offense. 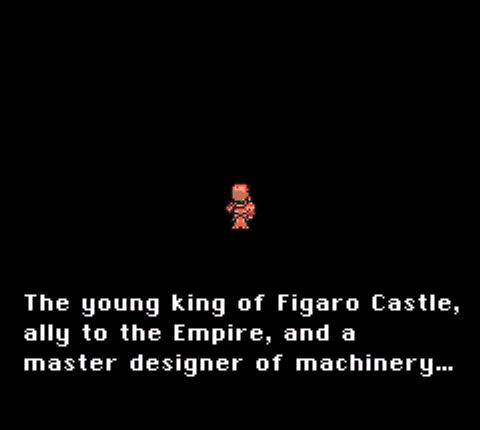 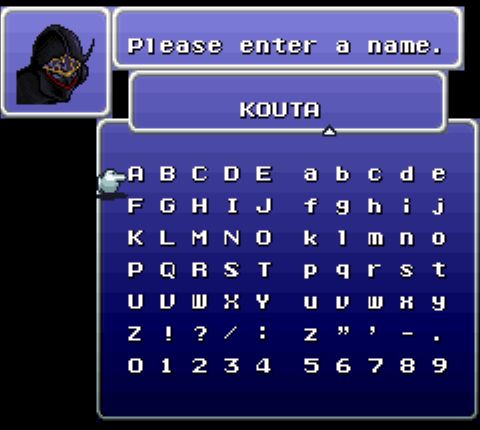  Kouta is the king of Figaro, and his getup is apparently supposed to be a ninja's, a reference to Edge from FFII/IV. Kouta himself would later be referenced in Japanese pop culture by another orange-clad ninja.  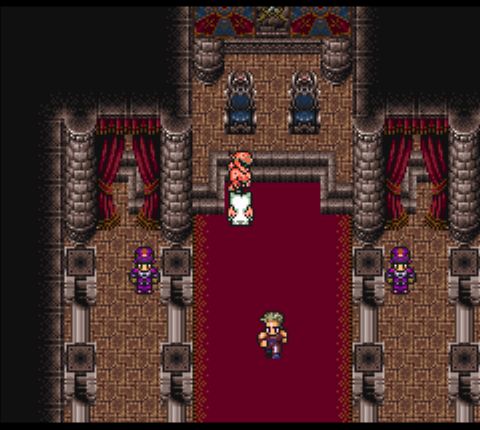 After exchanging a few more words, Batora departs, leaving Riku and Kouta alone in the same room. (No, the guards don't count.)  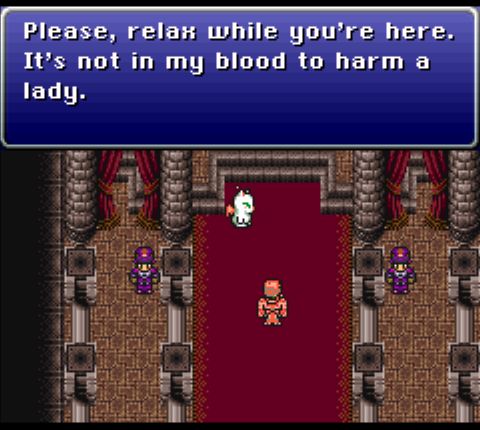 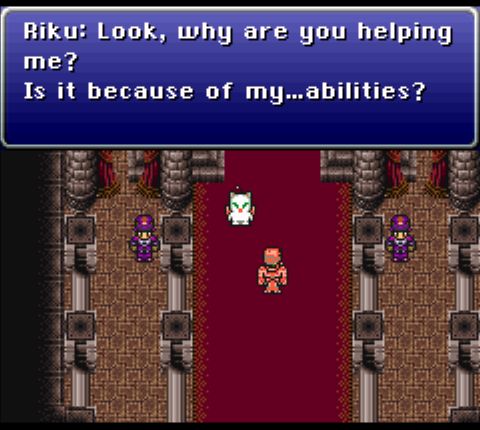 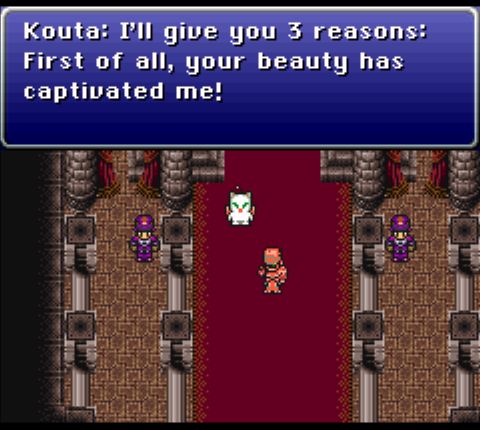 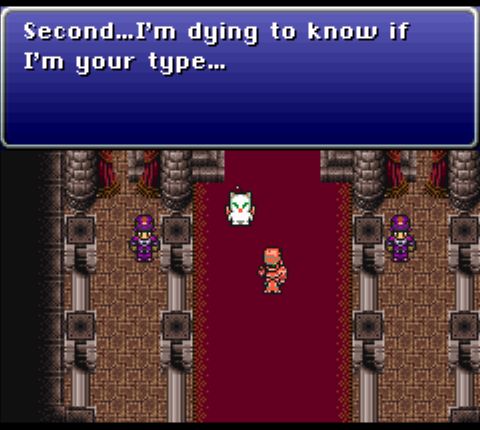 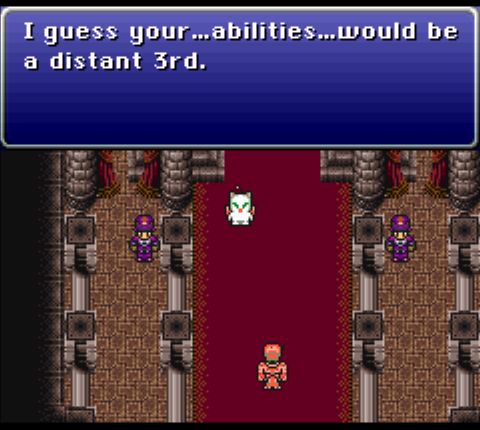 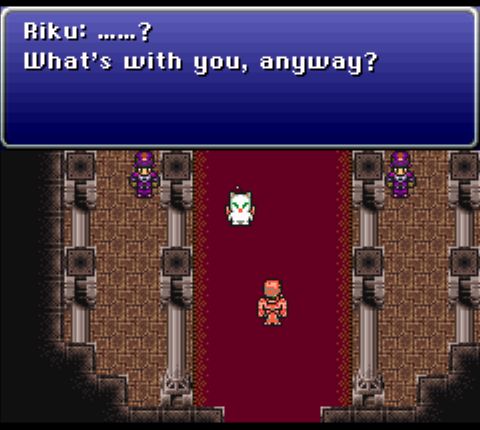 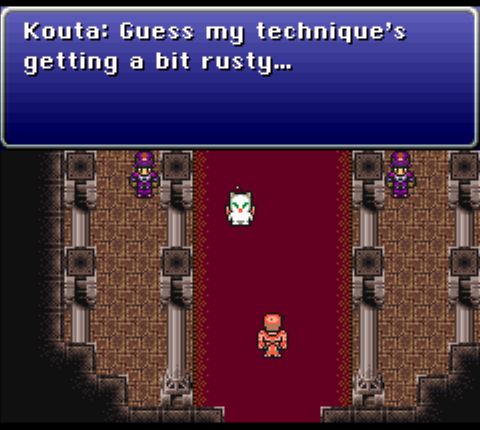 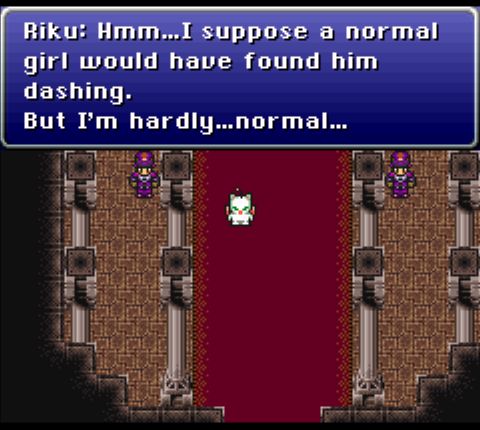 Kouta does his best to hit on Riku, but the girl is having none of it. Kouta then walks out, which gives us free reign to explore the place. Out in the main hall, there are two doors leading to small rooms with shops. 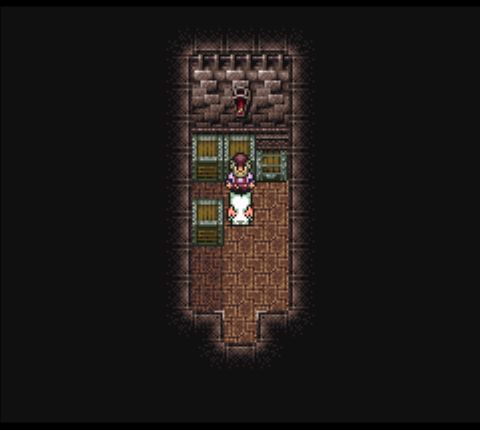 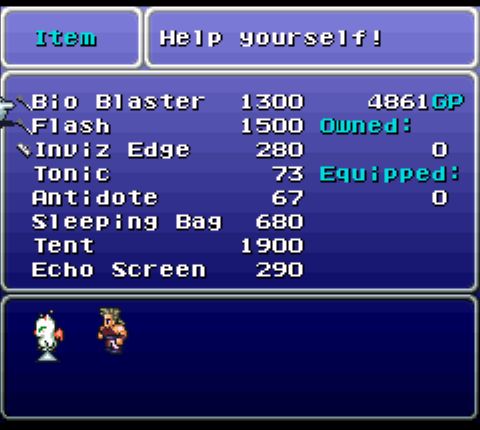  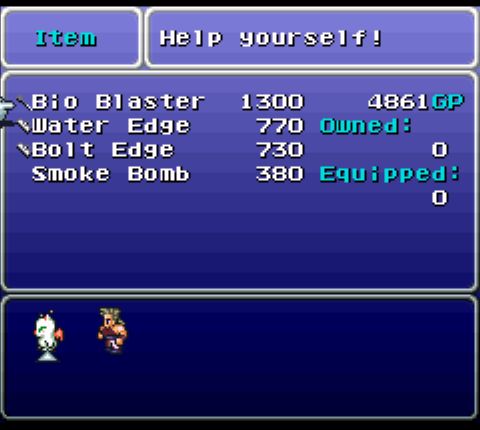 The Bio Blaster and Flash are expensive consumable items. The former infects an enemy with paralytic venom, causing Stop status, while the latter dazes enemies long enough to run from battle, duplicating the Warp spell. The Edge items are used by a character we'll get down the line, but they aren't useful now. As for the treasure chests, all three contain low-grade consumables. 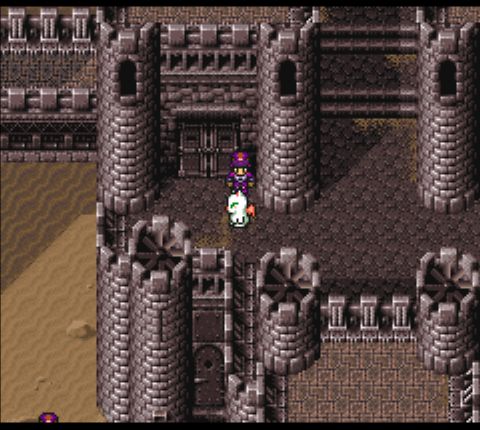 Heading for the west wing of the castle, we find and talk to an old woman, who gives us information on a character who definitely won't be at all important. 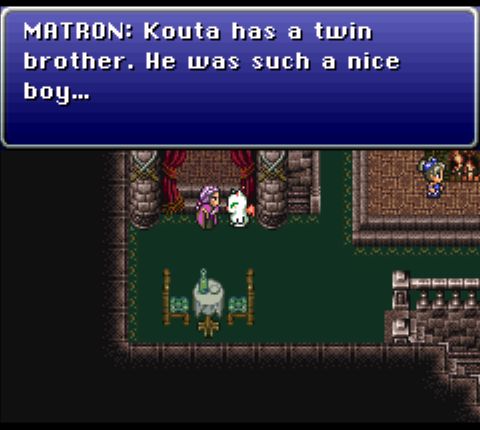  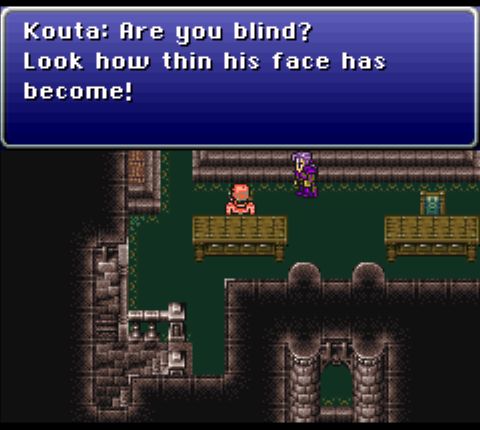 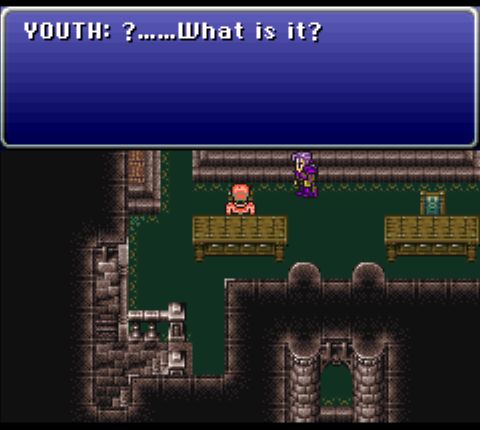  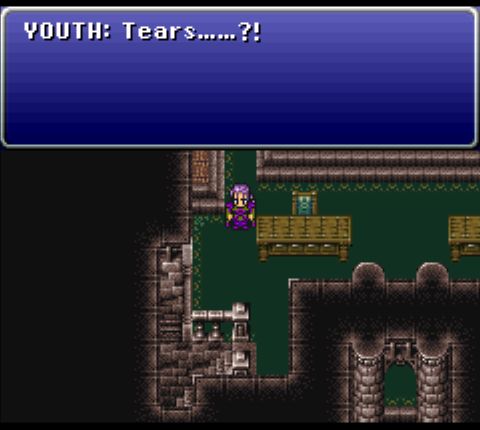 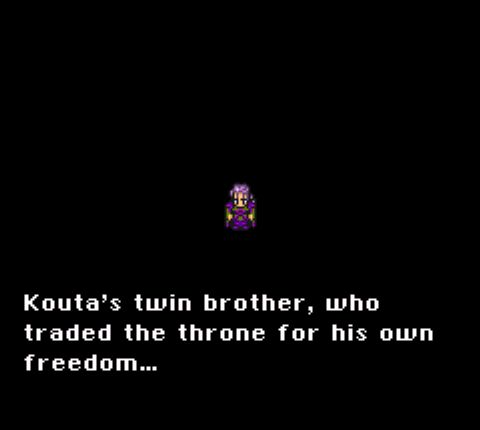 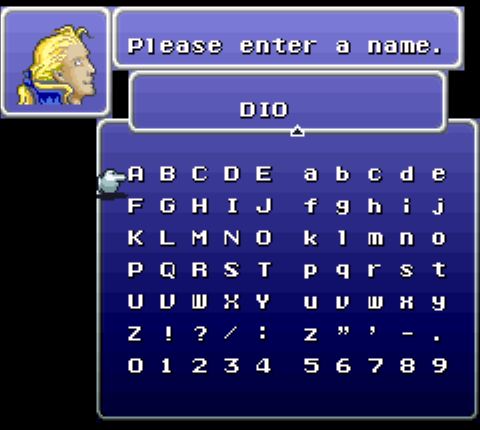 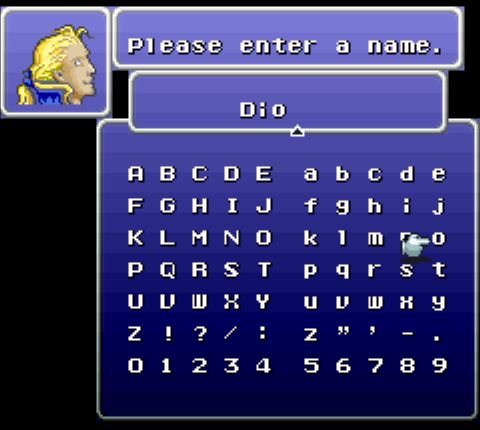 Dio is, of course, a reference to metal singer Ronnie James Dio who, despite being most famous in the U.S., is popular all over the world. 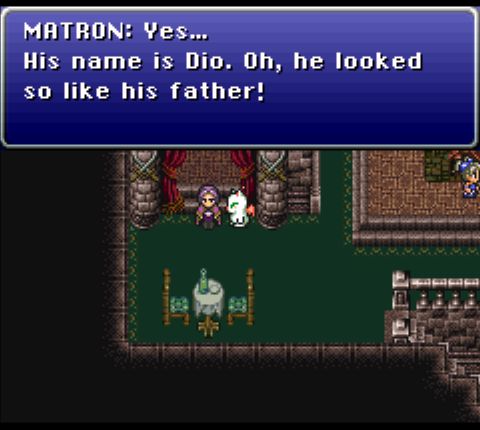 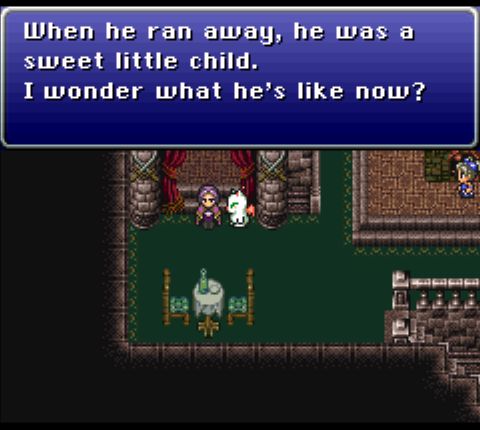 Yeah, definitely not foreshadowing. 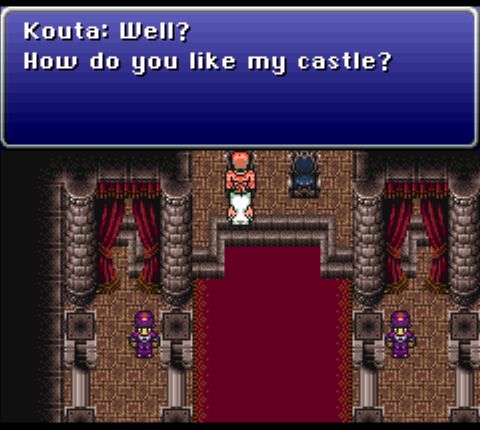 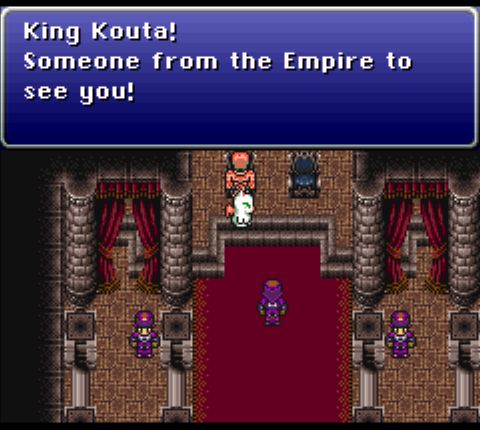 With that done, we head back to the throne room. Kouta's waiting for us, but it looks like he has an imperial guest.
|
|
#
¿
Aug 6, 2018 10:13
|
|
|
FeyerbrandX posted:Also Maleketh, can you show the moogles and soldiers equipment? I don't see why not. It's pretty weirdly diverse, probably because the developers never expected anyone to actually check it. 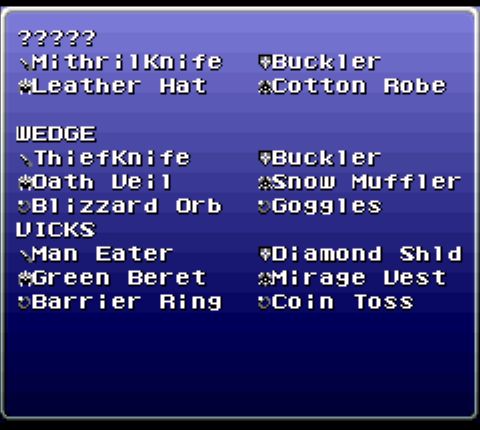 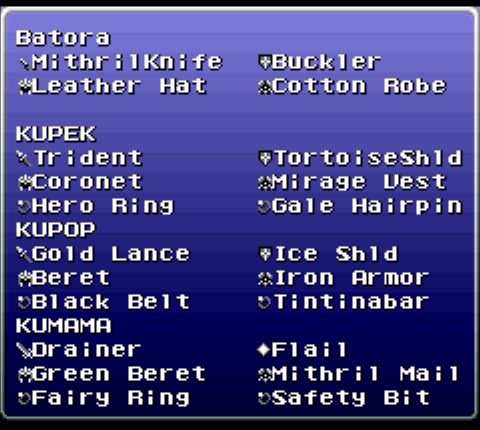 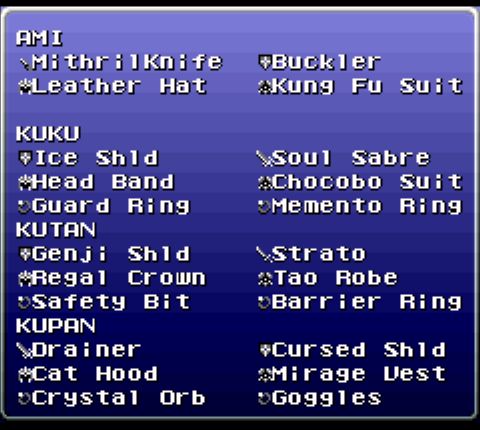 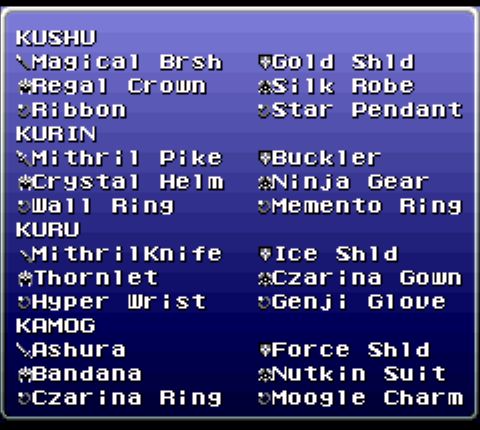
|
|
#
¿
Aug 7, 2018 10:42
|
|
|
Chapter 3 When we last left off, the king of Figaro had just had imperial visitor announced. Hopefully he'll be pleasant and not an insane clown. 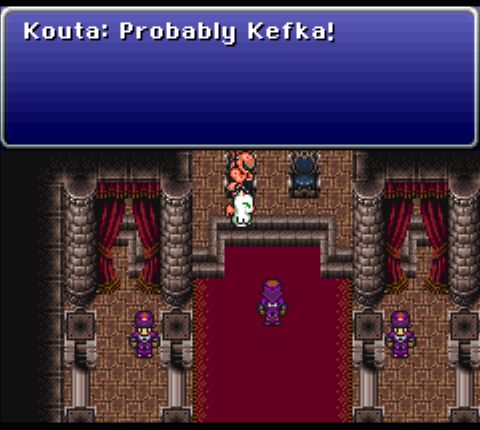  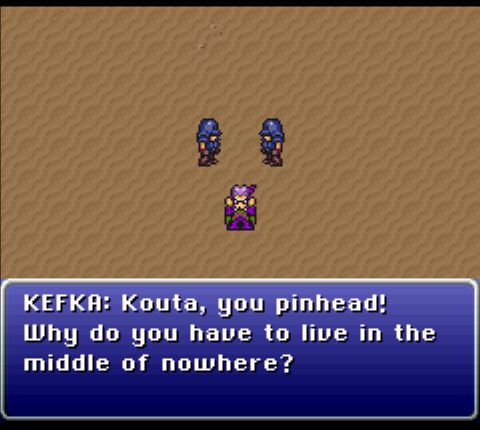 Now that we have color, we can see that Kefka dresses like a Vampire LARPer, which frankly is just further evidence of his madness.  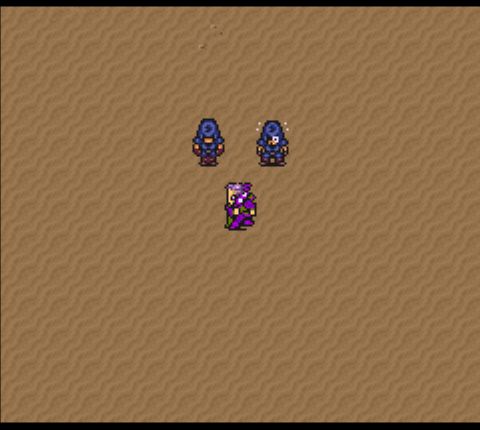 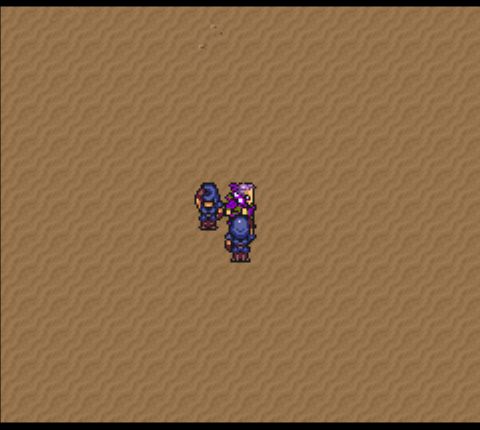 He's also either a diva or someone who enjoys throwing around his authority. Possibly both. 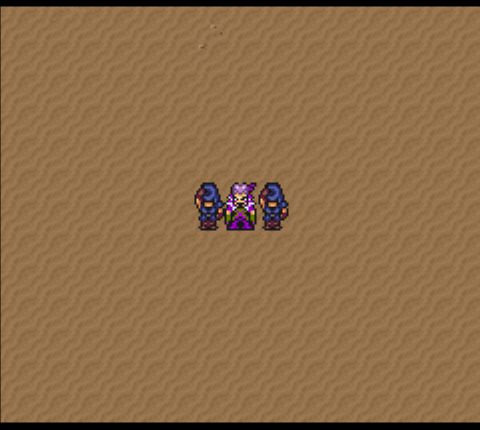 Kefka's laugh is honestly great and one of the things the game really got right. 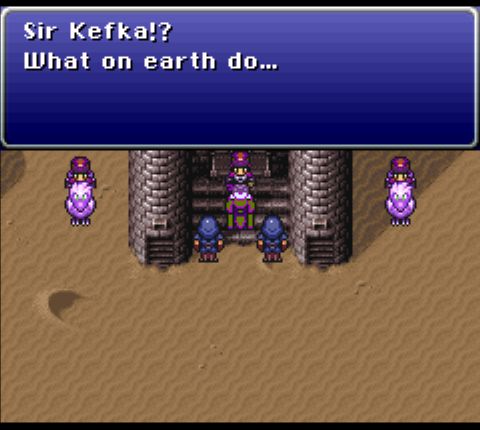 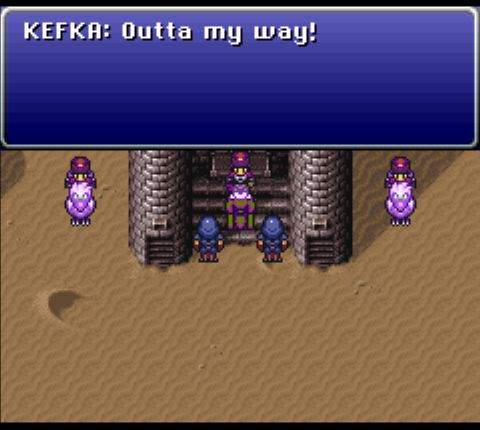 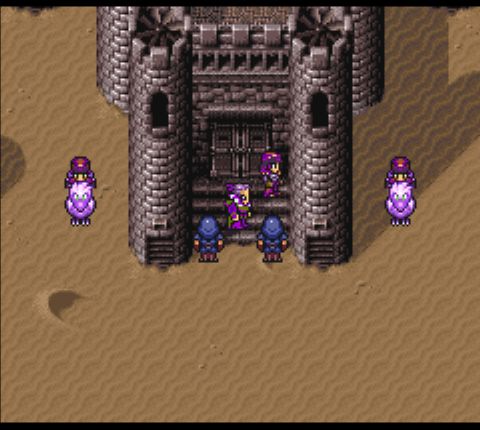 In case you hadn't figured it out, he's kind of a dick. 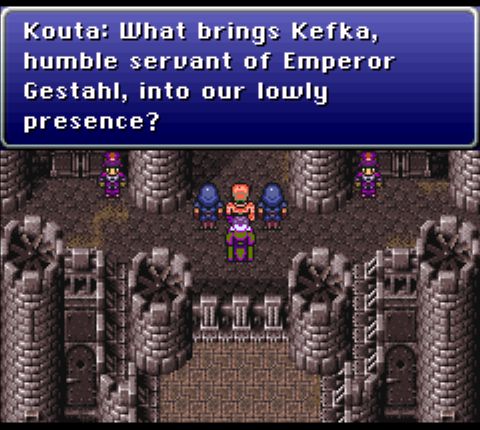 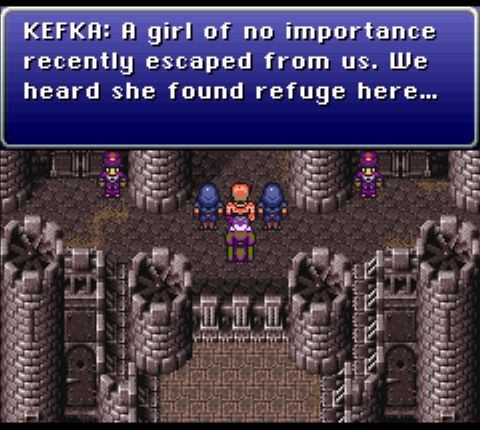 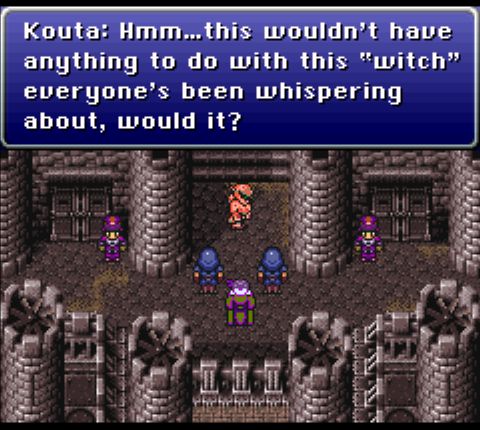 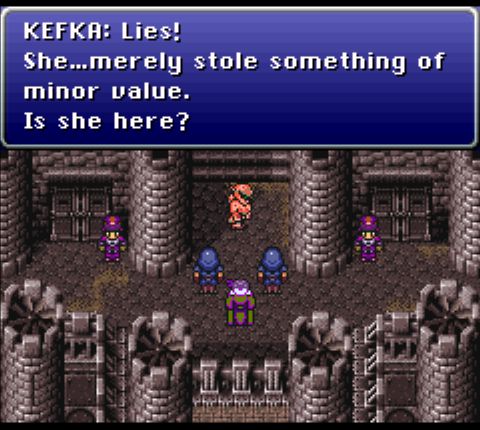 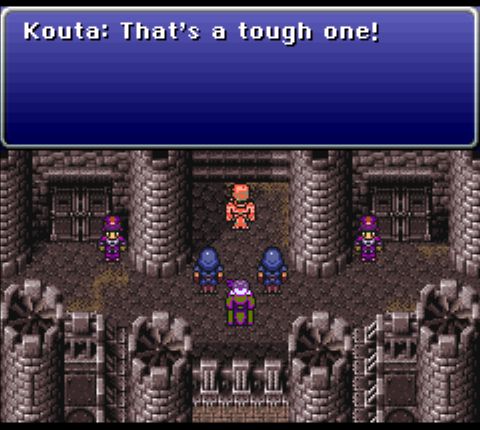 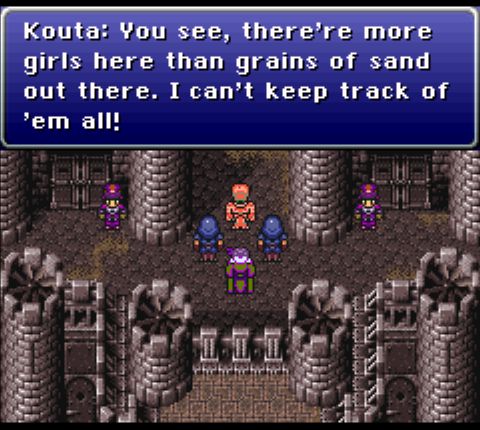 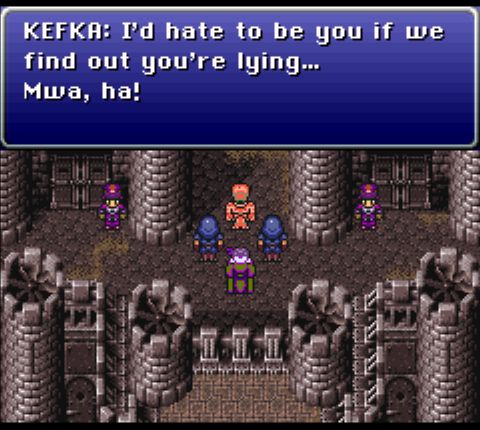 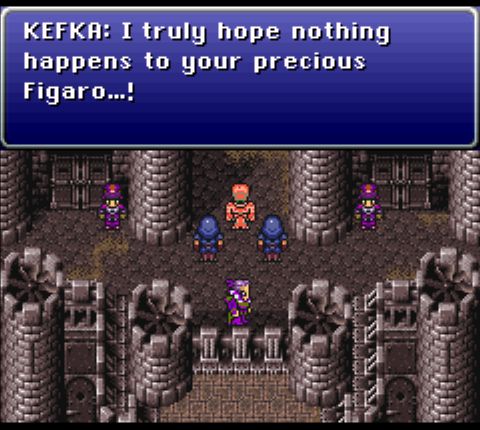 Kouta keeps Riku hidden, but Kefka is not fooled, or doesn't care and is looking for an excuse to do something evil. Probably the latter, honestly. 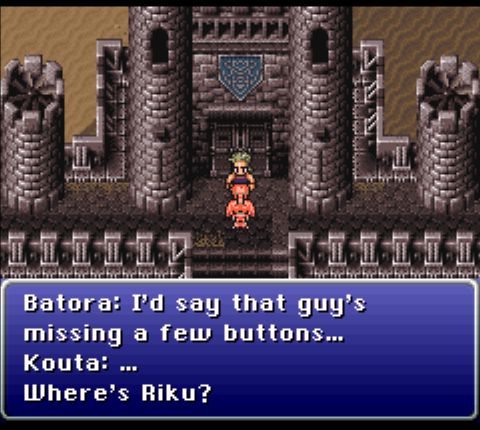 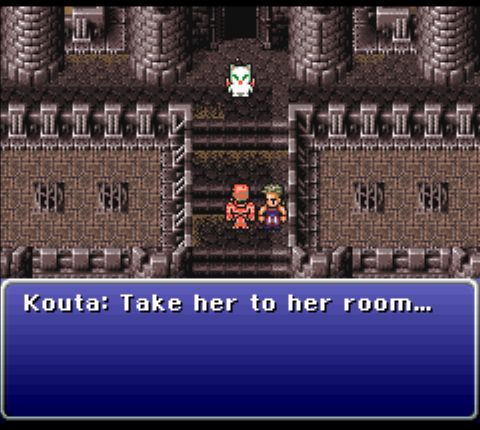 After a brief exchange, Kouta takes off and tells Batora to take Riku to her room in the castle. 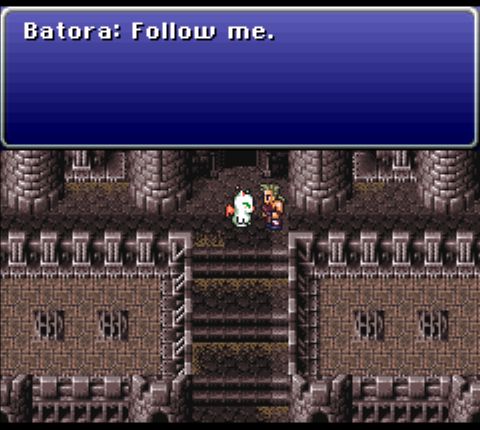 How about no? 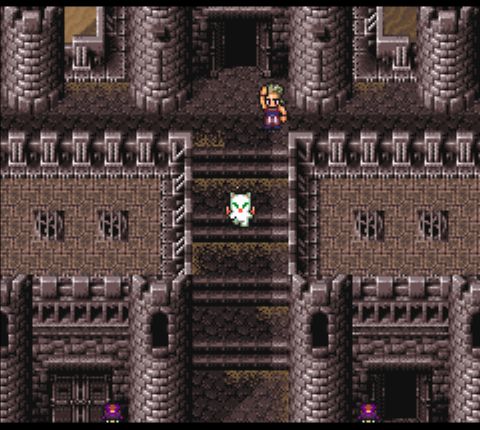 Outside of specific scenes, the player's walking speed in this game is pretty fast, and there's no reason to follow Batora if you know where to go. Outpacing him is trivial... 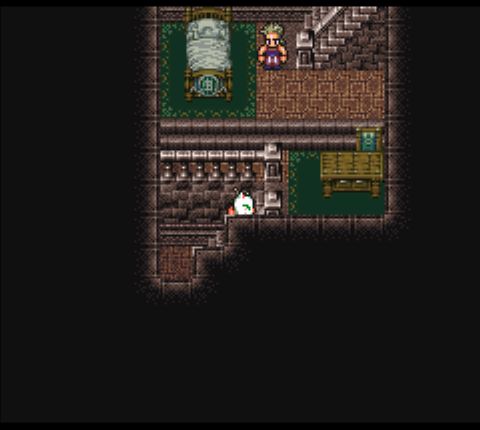 ...at least until you get to the room and he's somehow already made it there.  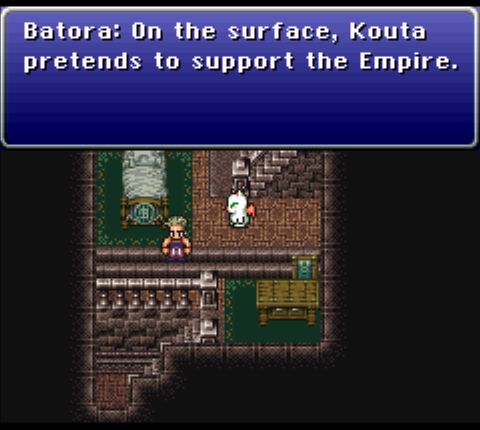 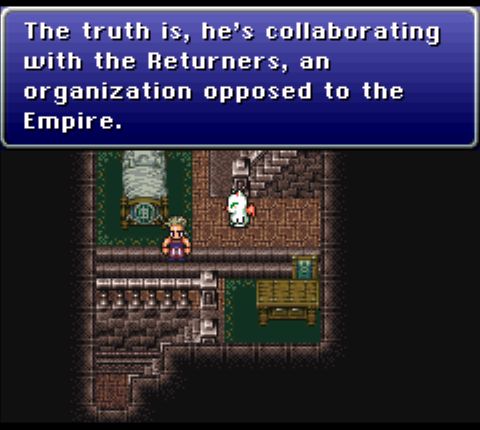 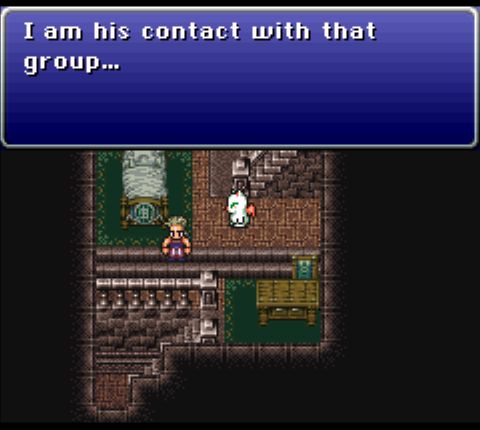  Batora stops just short of telling Riku he'll protect her (again). When she expresses doubts about her role in things, he drops some exposition about Kouta, himself, and the plot in general. 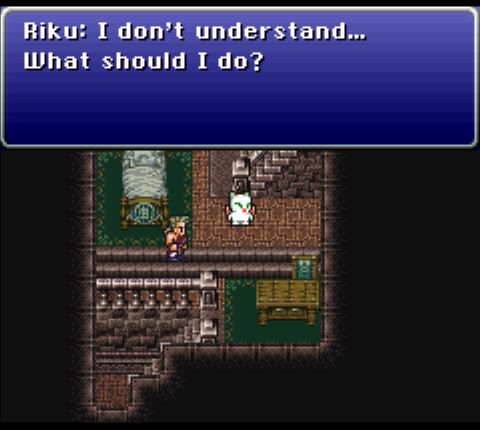 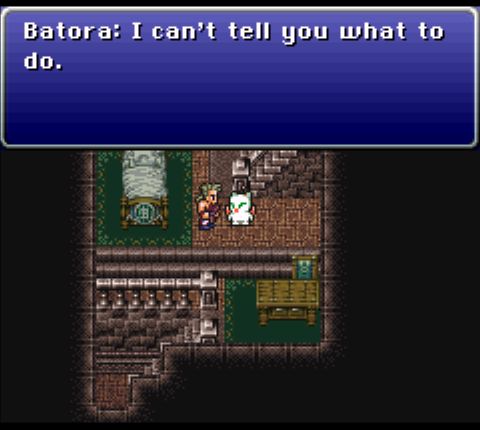 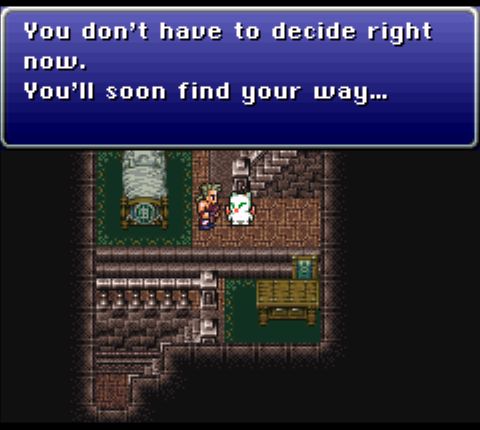 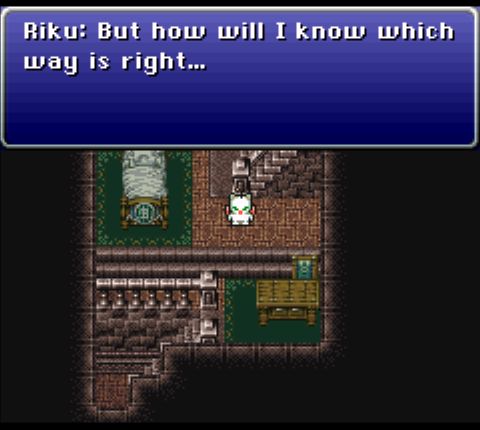 Batora seems confident that Riku will find the right path, but she has doubts. Afterward, the screen fades to black, then fades back in on Kouta. 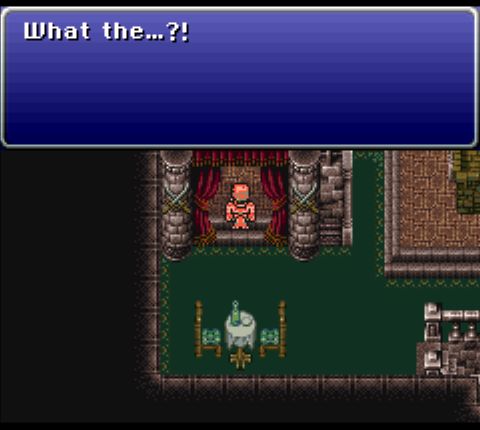 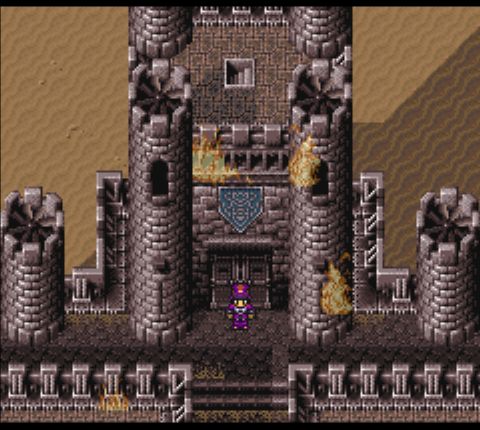 Somehow the castle, made primarily of brick and metal, is on fire. But who could have done such a thing? 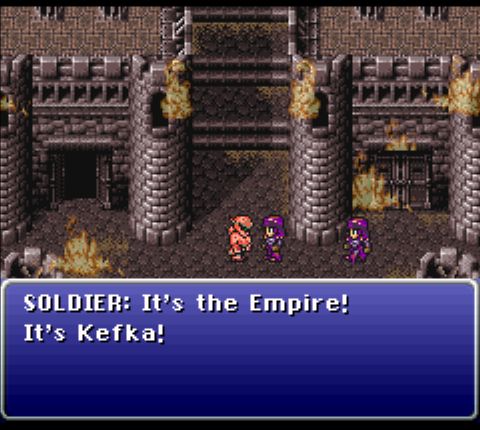 Obviously. 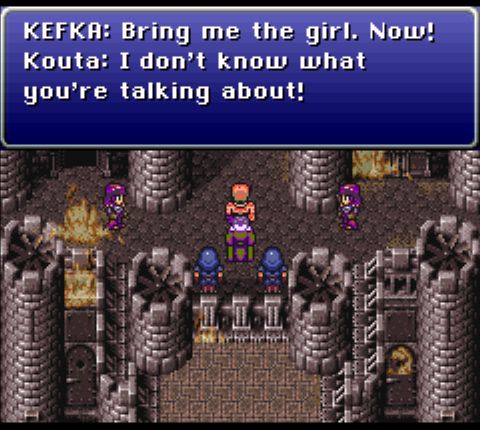  Kefka just loves being a prick. 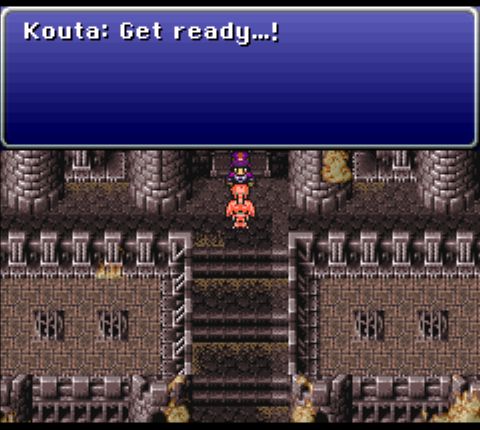 Kouta has a plan, though. 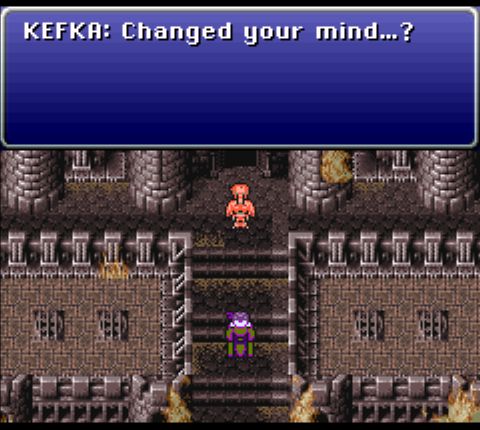 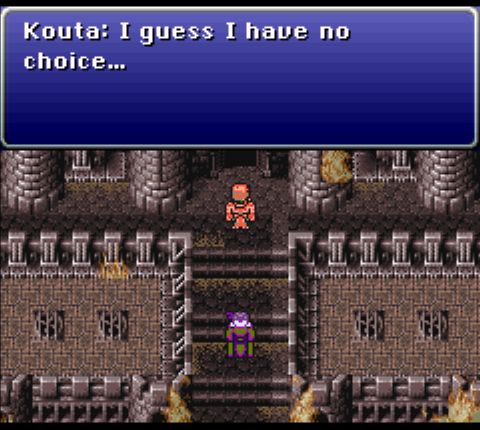 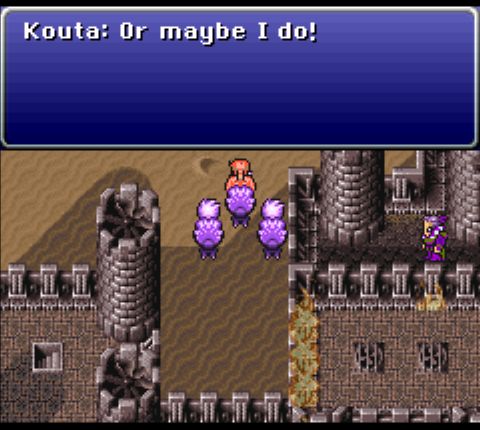 Kouta runs to the castle wall, whistles, and summons a trio of chocobos. 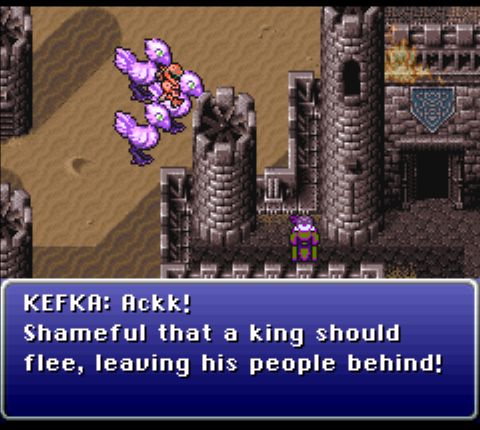 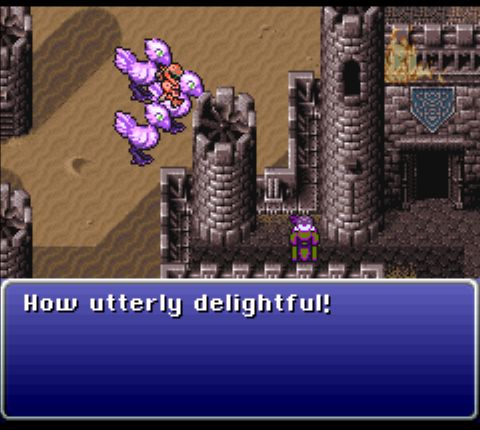 I know I'm here as a critic, but sometimes the writing is really spot-on. Mostly when it involves Kefka. 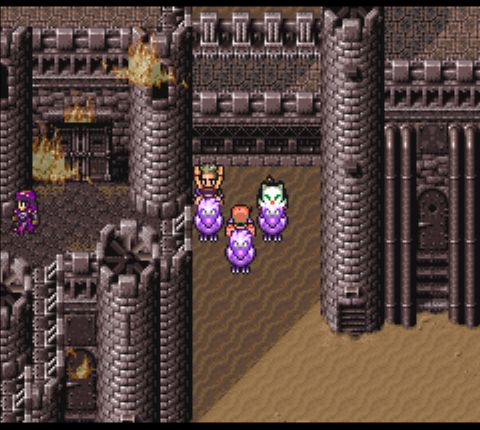 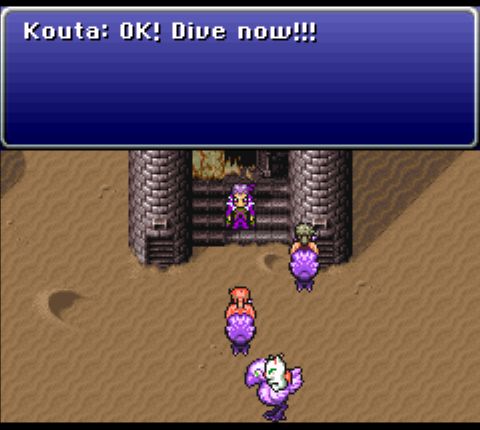 Riku and Batora make dramatic leaps onto their own mounts, then Kouta reveals his plan. 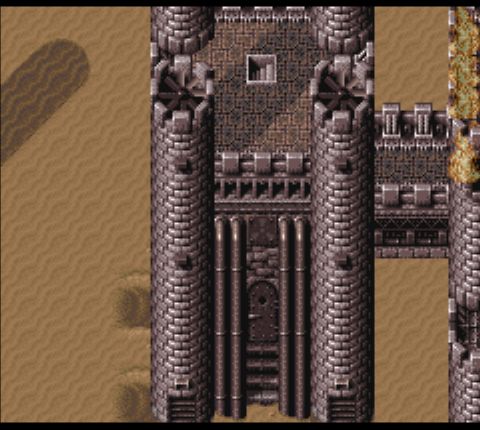 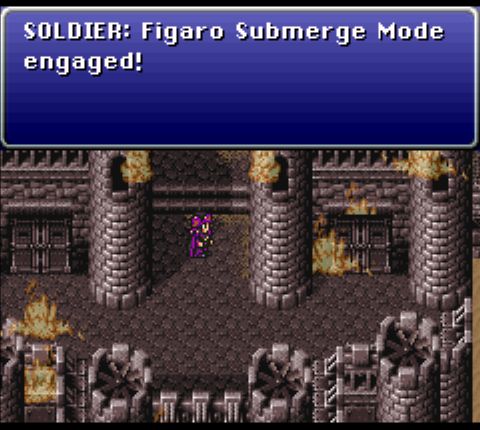 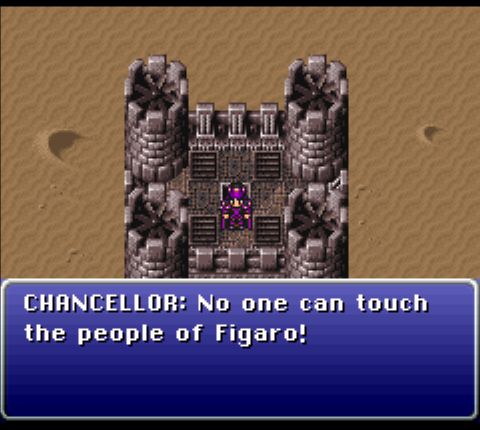 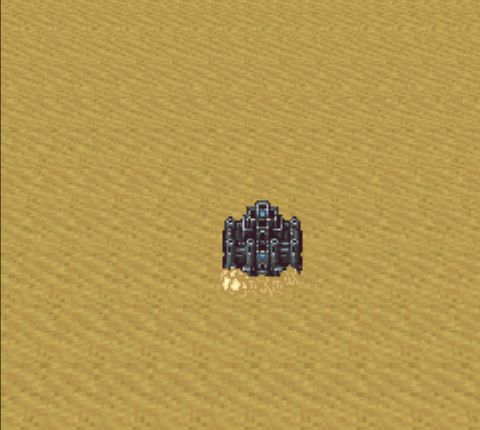 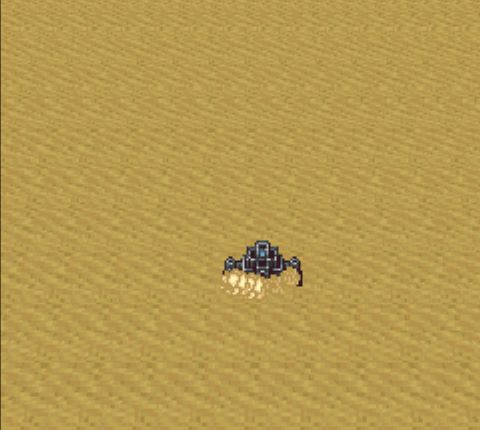 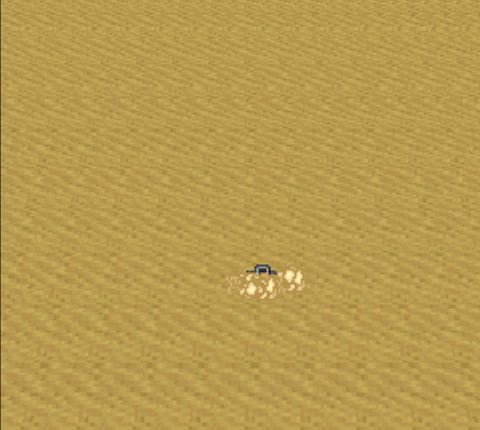 Yes, it turns out that the castle is also a desert submersible. No, it doesn't make sense. 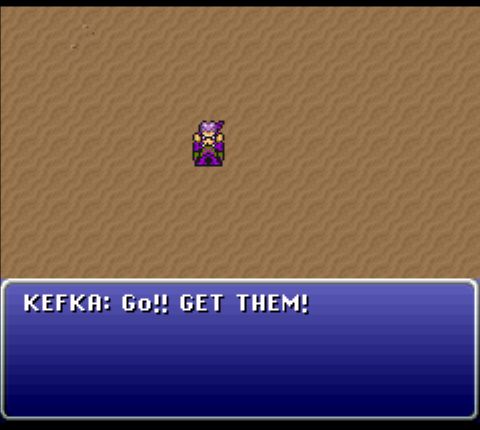 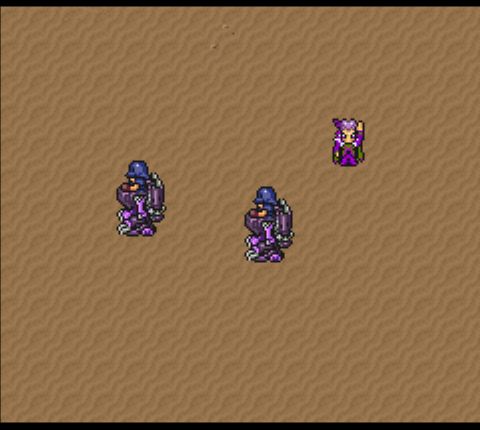 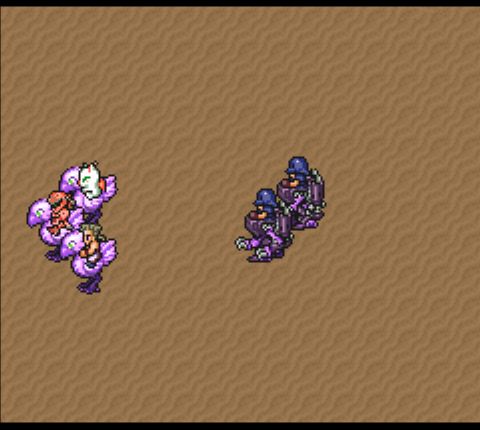 Kekfa, of course, doesn't give up so easily, and sends two magitek armors after the heroes. 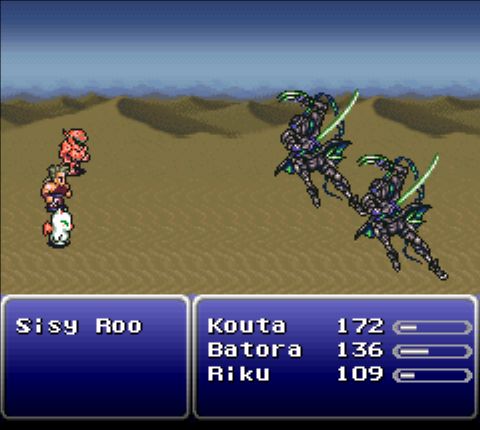 Or, you know. Ninjas. Whatever. 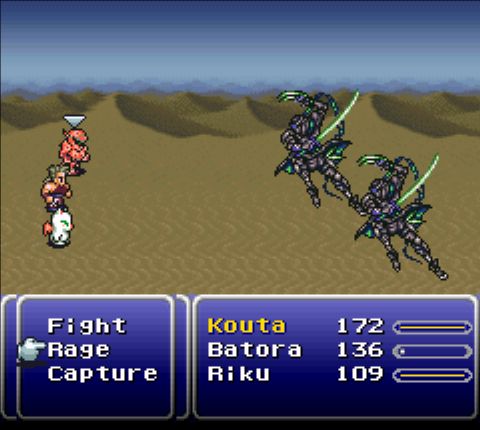 And here we have Kouta's battle commands. Capture is functionally an enhanced form of Riku's Steal; it has the same effect, but also includes an attack, which fits the whole ninja theme. Rage, on the other hand... 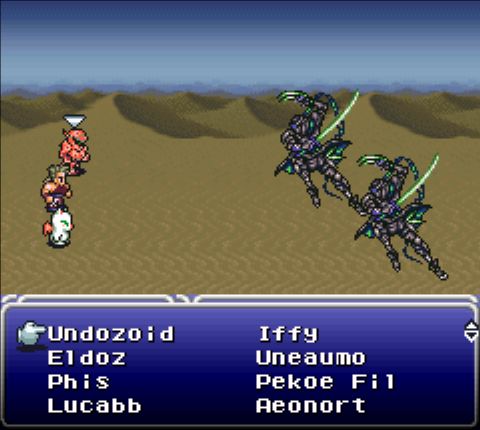 Gives you a list of every non-boss monster you've defeated and allows him to mimic one of them (in a limited capacity). He becomes uncontrollable while this is active, but some of the effects can be quite powerful.  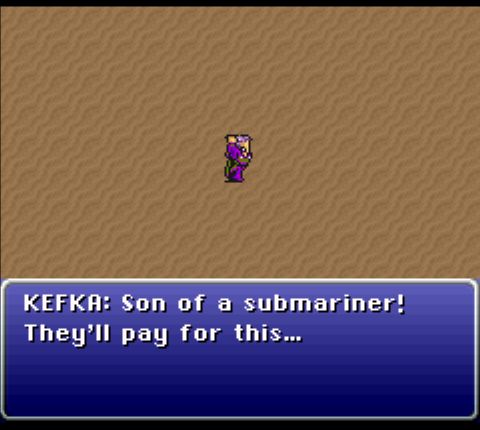 In any event, the Sisy Roos are defeated, and the trio escapes into the desert. 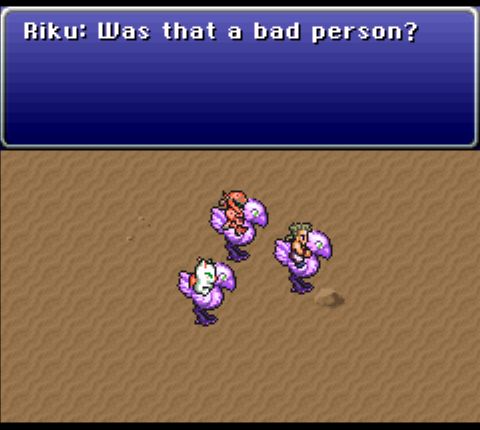 Our heroine might be an idiot. 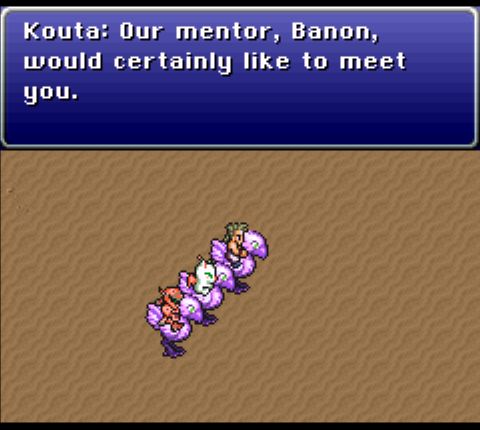 And in one sentence, we set up the next major goal: getting Riku to Banon, leader of the Returners.  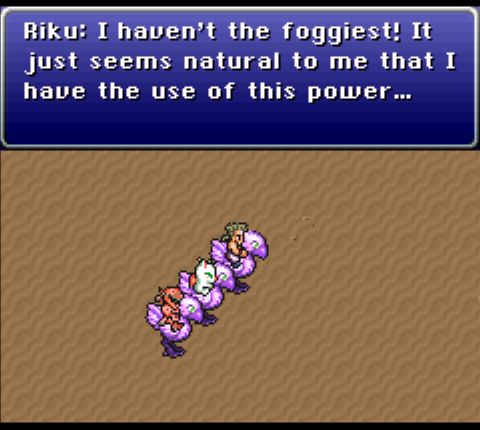 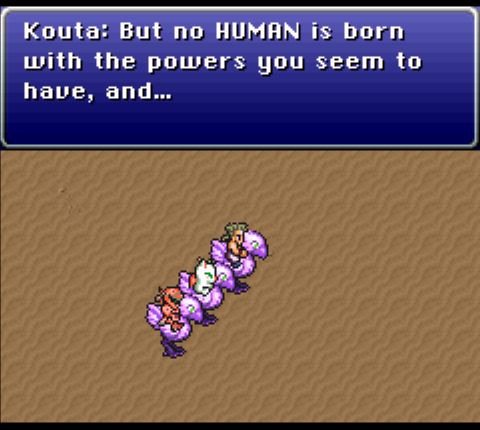 Have you seen her, man? She's clearly not human. The following scene has Riku acting all angsty over her identity, which I'm skipping over because it happens like half a dozen times over the course of the game. 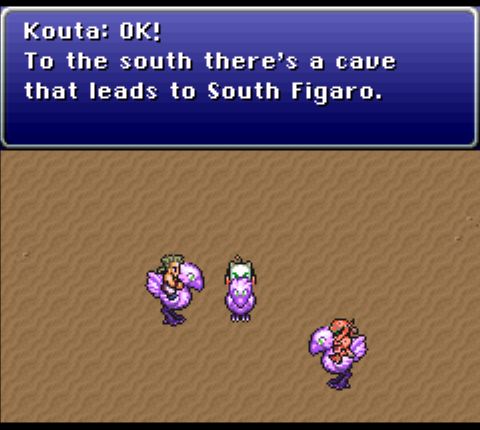 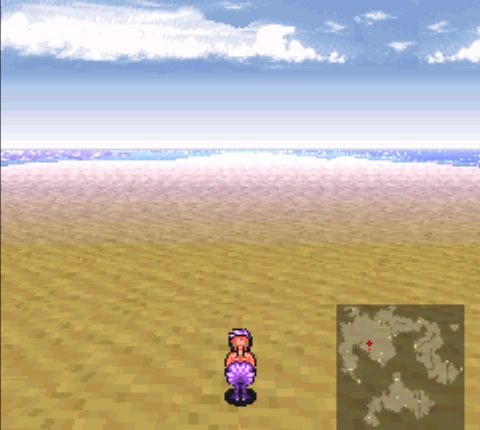 We're given directions for the present and given our first chance to control a chocobo, complete with revolutionary-for-the-time Mode 7 graphics. 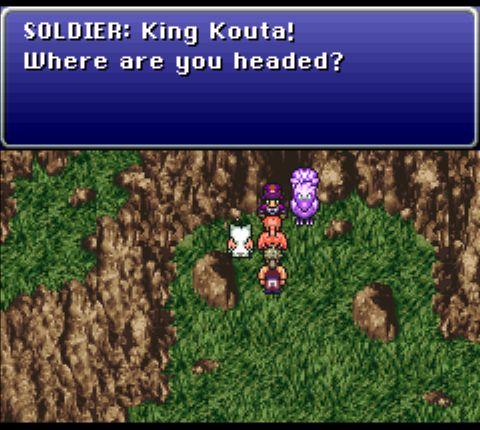 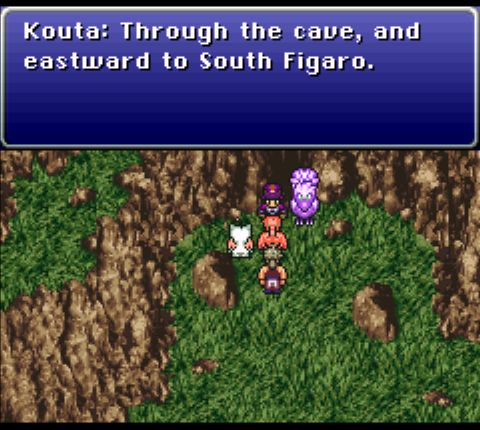 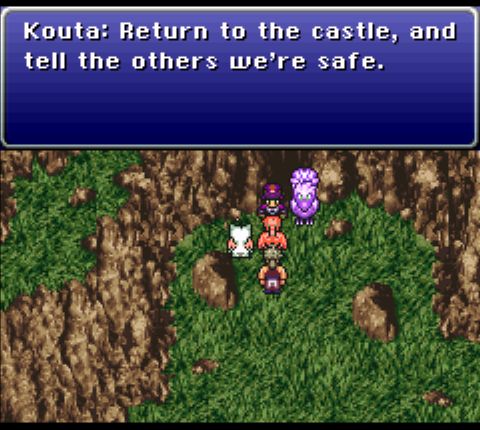 Kouta clears out the guard (who's here to prevent you from entering the cave before the events at the castle). 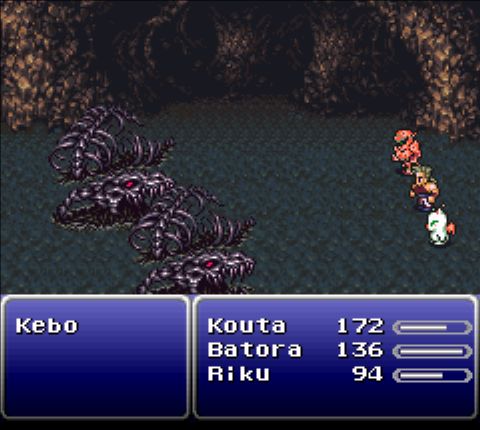 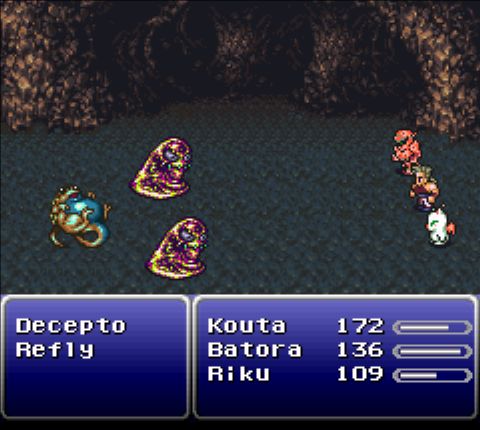 The cave is filled with metal-as-gently caress bone monsters, plus some slimes and frogs. I forgot to take shots of the cave, but... it's a cave. It has some chests, but we're leaving them behind, like the ones in the Narshe mines. All in all, it's fairly nondescript.  One of Kouta's rages triggers this, L.3 Muddle. As the name implies, it inflicts confusion on any enemy whose level is a multiple of 3. This is most notable because, as a result of this, our party learns the spell as a "Lore." Like Dance, this is an ability that only applies to one character, but anyone can improve on it. Still weird. 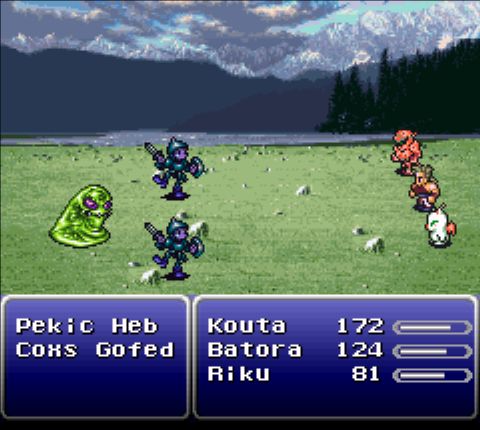 The fields outside the cave have slime recolors (already, which is a little sad) and some tiny men. The slimes are a real pain since they're immune to Riku's Pearl attack. 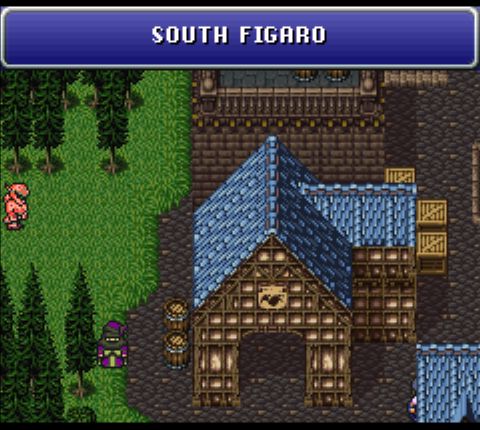 We enter South Figaro and immediately catch sight of an unusual-looking... person. 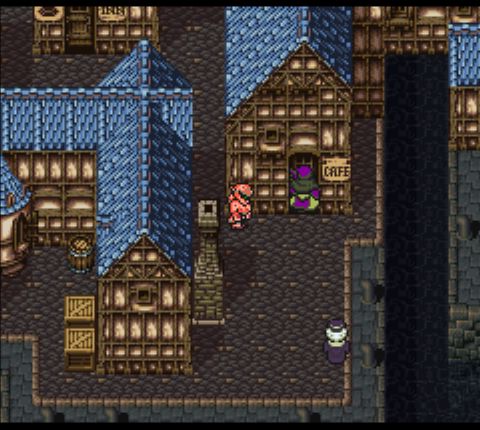 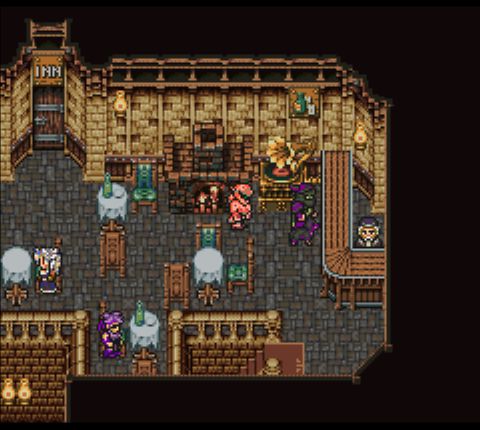 Naturally, we're going to follow. 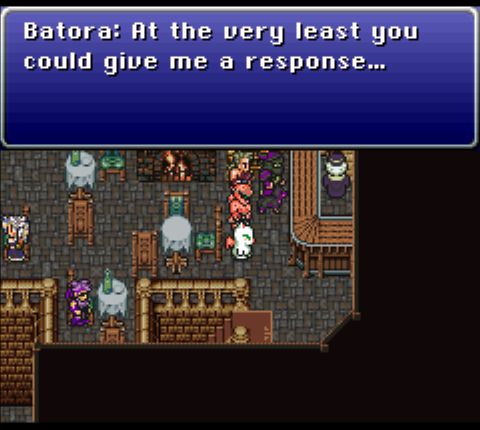 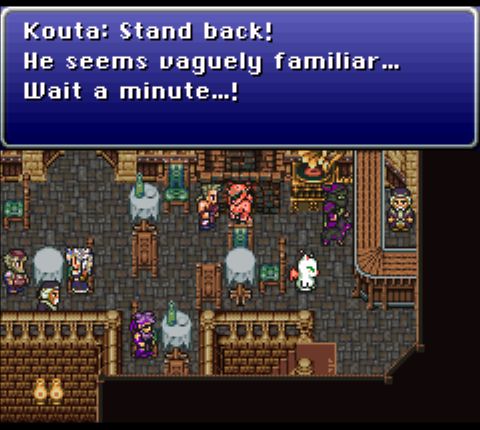 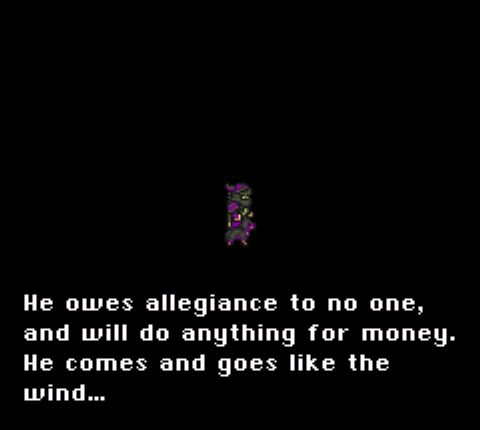 He doesn't seem willing to talk, but the fade-out means that this is obviously going to be a party member at some point. 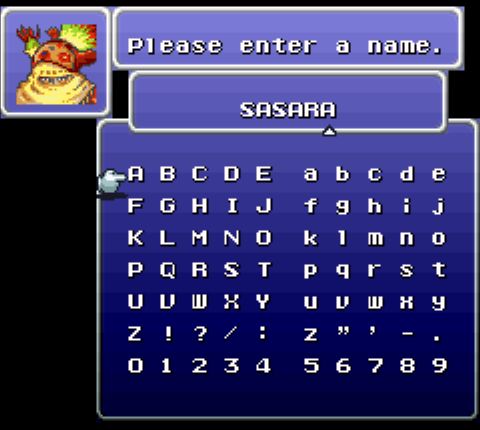 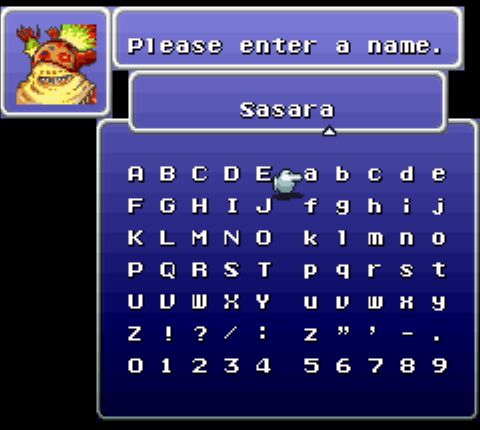 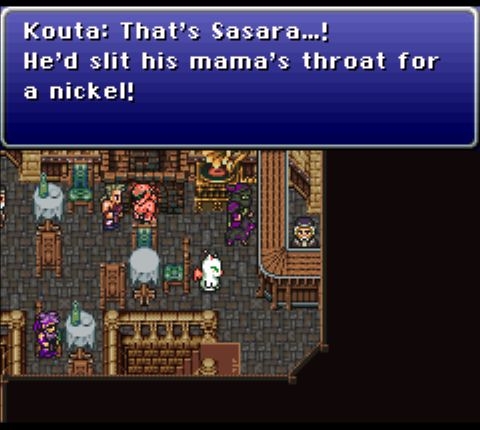  Some kind of assassin, then. Truly the kind of hero we need. 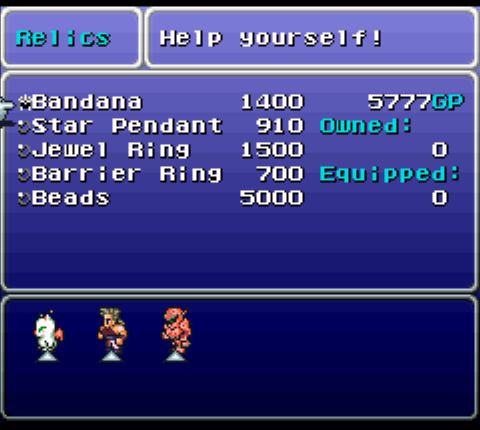 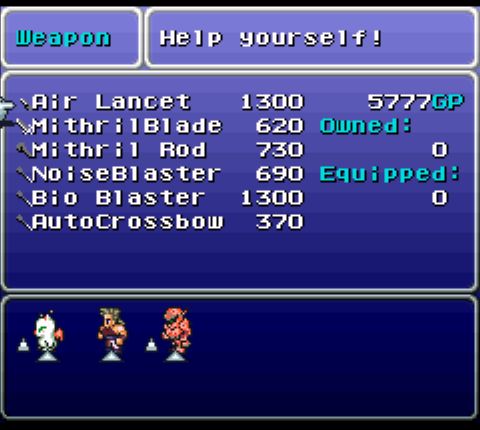 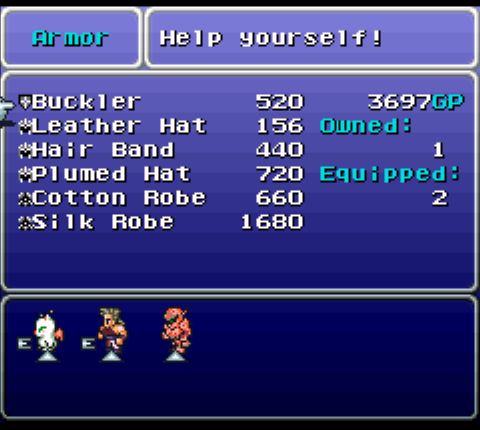 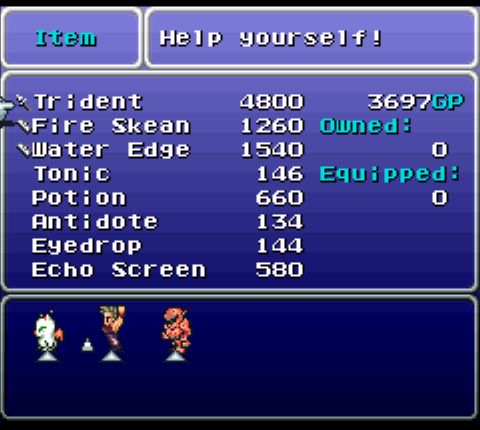 The shops in town have a bit of new stuff. I grab some armor for the party and a weapon for Batora, since he needs some kind of offense to be relevant. Once that's done, we head out of town and go due north. This is technically optional, but it has some plot relevance and helps steer the player to the next area. 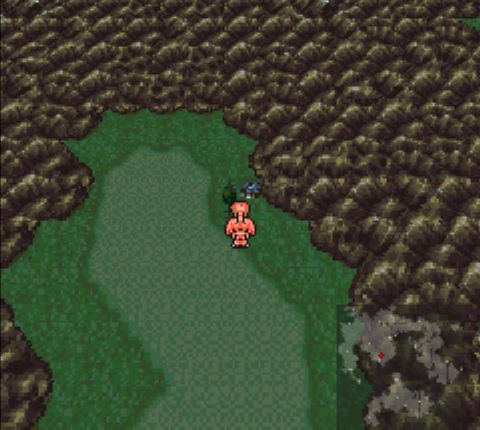 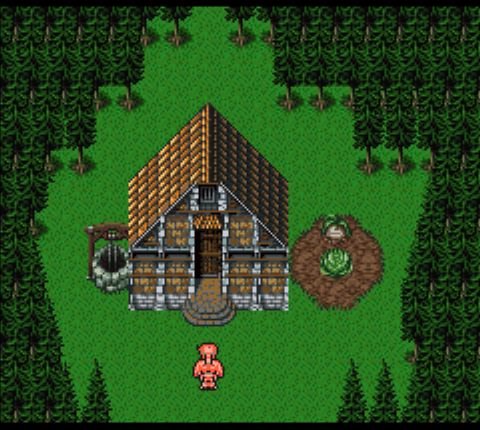 It's an unassuming little cabin. 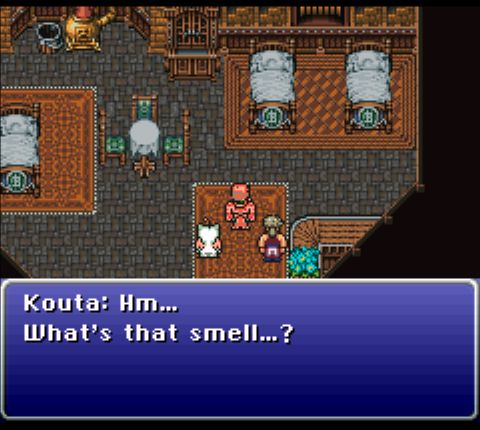   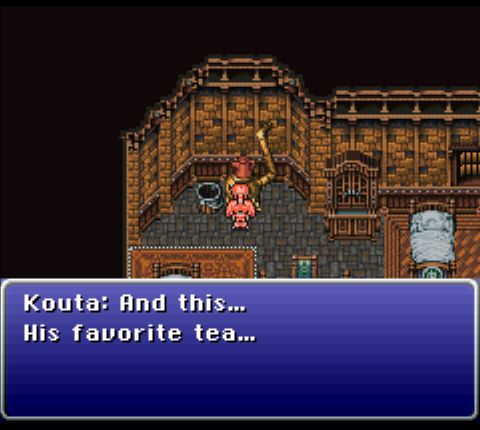 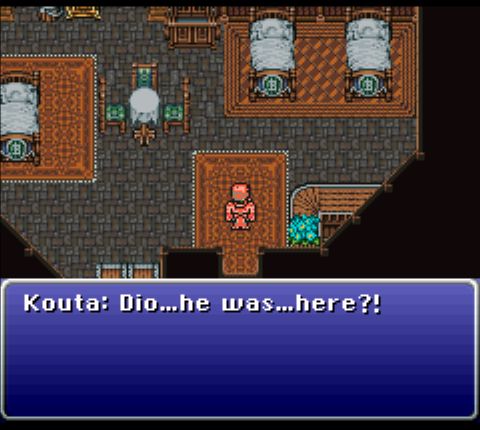 Not real surprising, but it's good to know he's nearby. 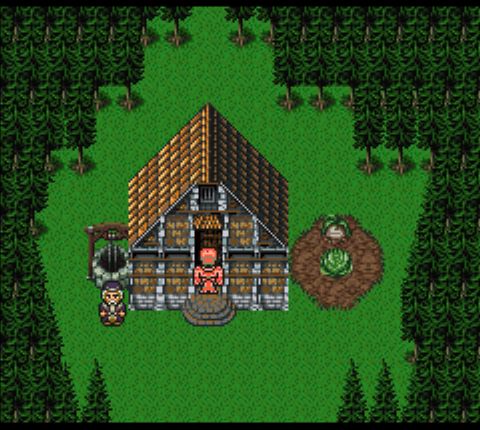 This guy was not here when I arrived. 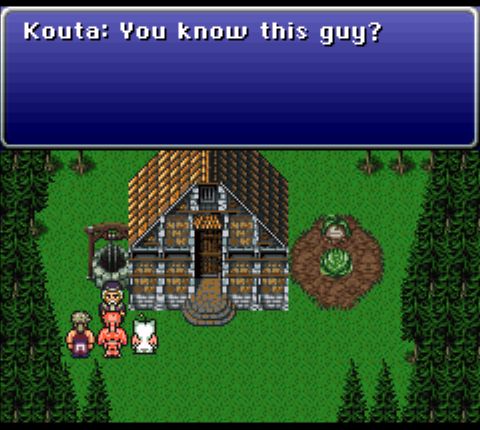 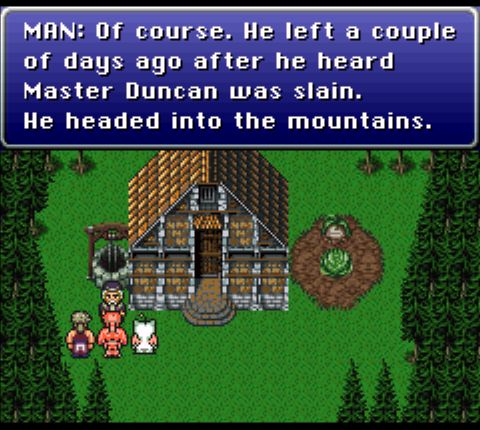 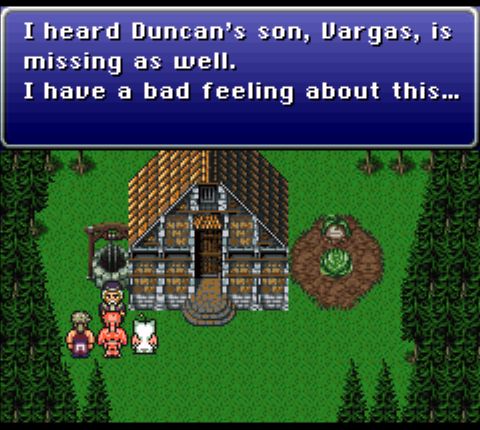 Surely this will not end badly. Not in a JRPG.  Also, you can sleep in the beds here for free healing. Handy if you feel the need to grind. After a good night's rest, we head east and arrive at the next dungeon. 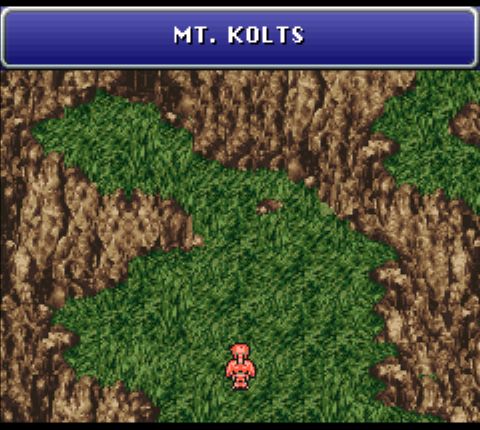 It's a mountain. It's pretty standard, as befits an early-game dungeon with no surprises or 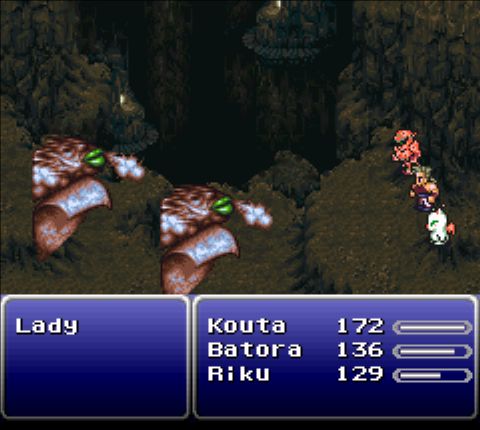 WHAT THE gently caress ARE THOSE? (Seriously, what are these? Their design makes zero sense.) 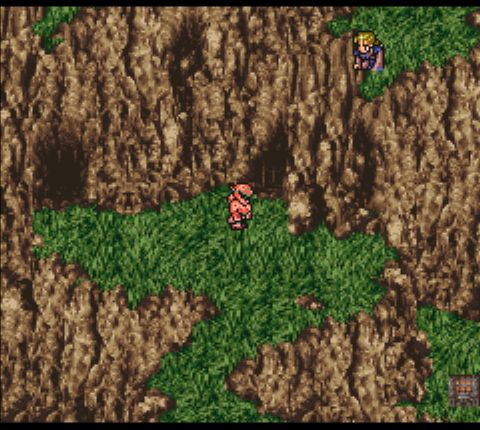 Looks like someone's watching us. There are several glimpses of him around the mountain.  In one of the treasure chests here, we find this. It's a ludicrously good piece of armor for this early in the game. The name implies that only Riku could use it, but that isn't the case.  Batora probably needs it the most, so he gets to be a pretty pretty princess. 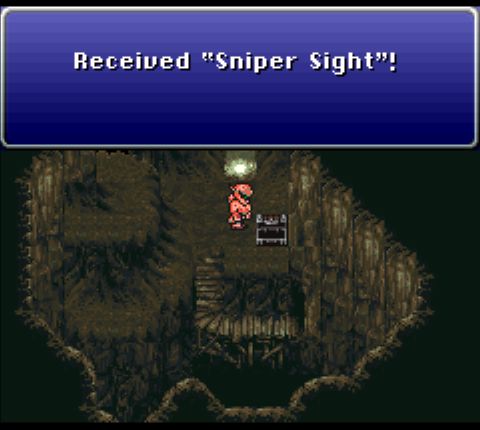  Another chest has this, which allows you to always hit when using the Fight command - handy if you're blinded or the enemy has high evasion. There are rumors that persist even today which claim that evasion (and by extension blindness) does nothing in this game. These rumors are false; evasion 100% works as intended. 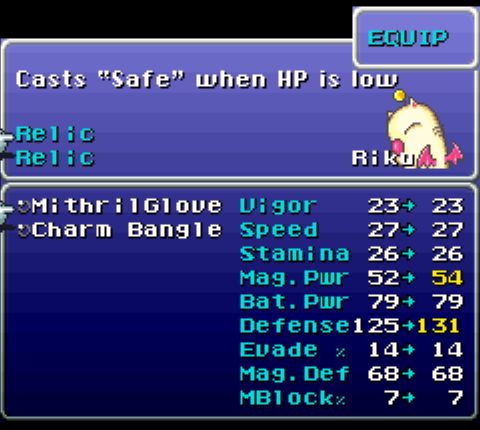 Oh, and I also found this earlier but forgot to equip it. Seems like a good fit for Riku. 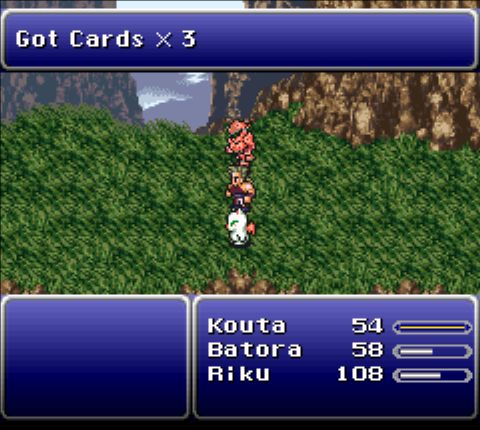 One of the common enemies on the mountain has close to a 100% drop rate on Cards. These are a weapon for a character who won't be available for a while yet, but the frequency means that I'll have a lot to sell later on.  Finally, we run into... who the gently caress is this? 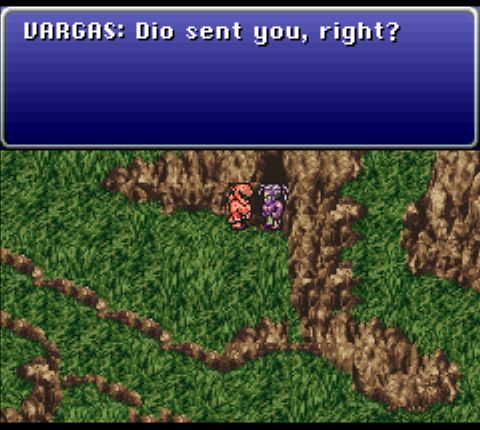 Oh, okay. 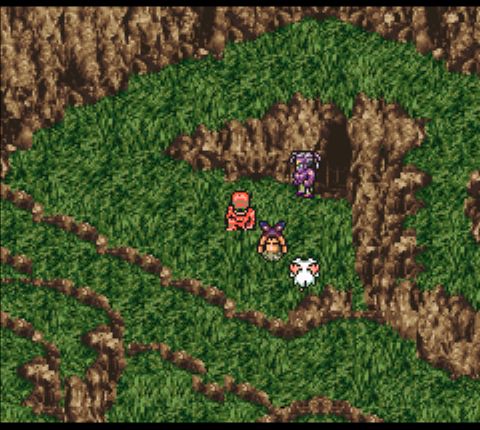 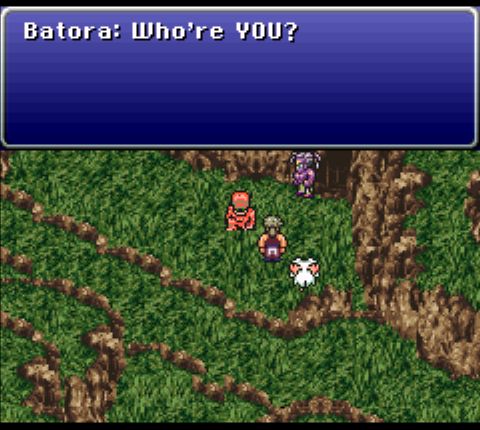 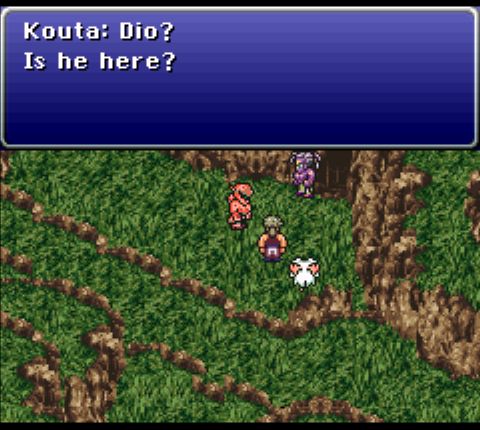 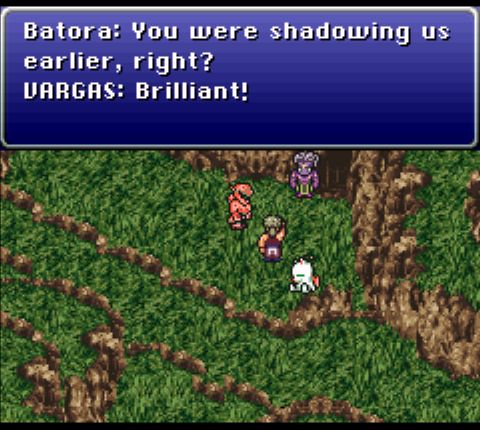 No, he definitely wasn't. He looks nothing like the other guy.  And of course he wants to fight. He even brought a pair of bears. Sure. Anyway, hoo boy. This battle. When I talk about this game's wonky design, this is a perfect encapsulation of what I mean. Just look at this: 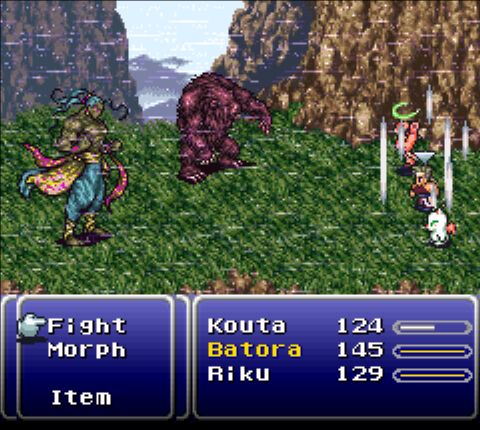 Vargas can't be targeted while his bears are alive, but he'll attack you with physical attacks and a special move, Gale Cut, which his for over 100 damage on everyone. You can also see that Kouta is confused - the bears do that. If they hit him or Batora, it's manageable, but on Riku it can quickly turn into a death spiral as she Pearls the party to death. And this isn't even the worst of it. 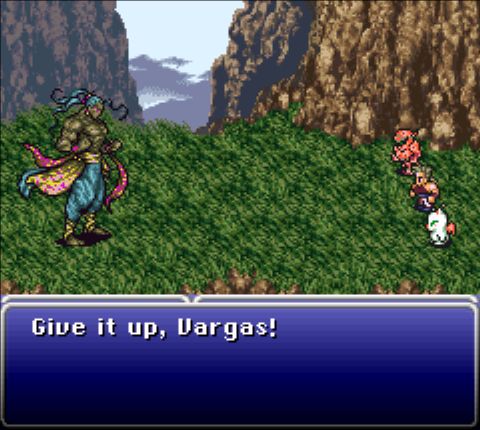 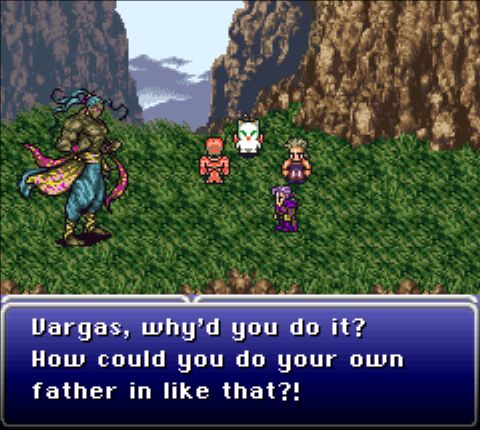 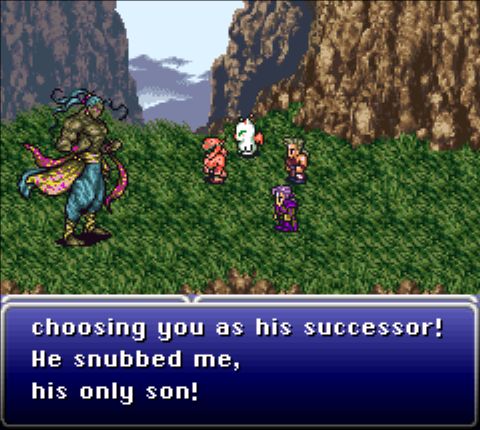 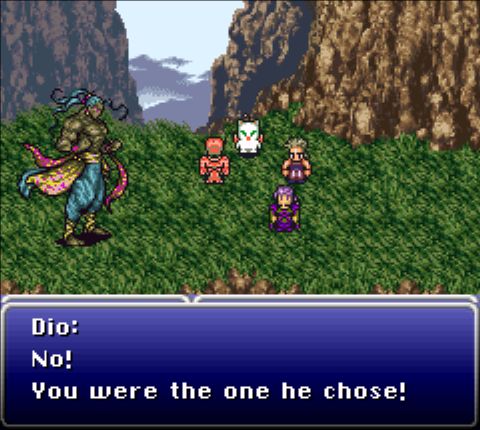 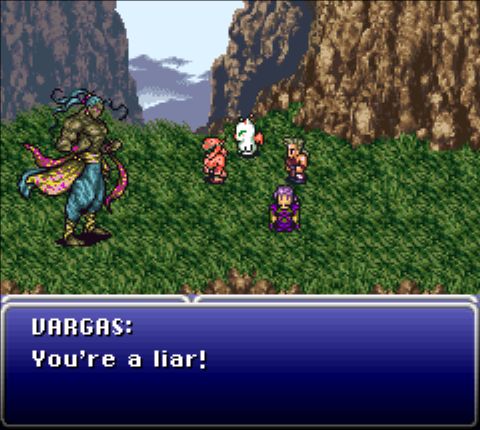 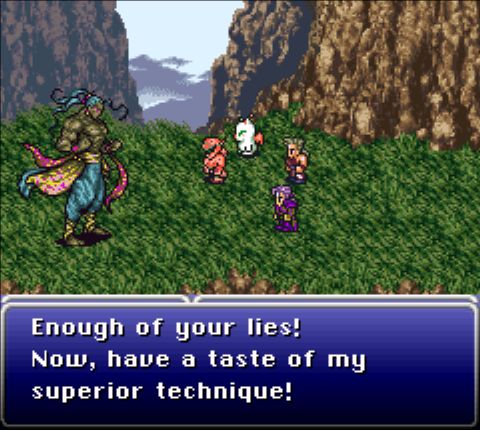 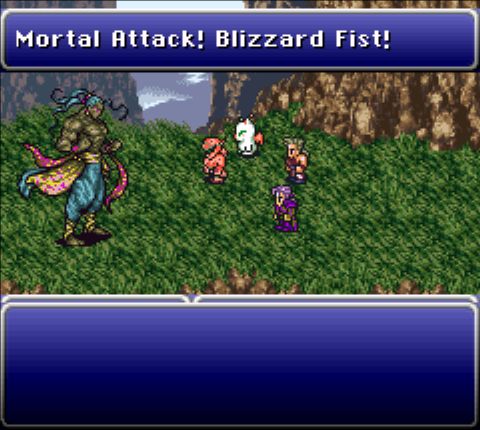 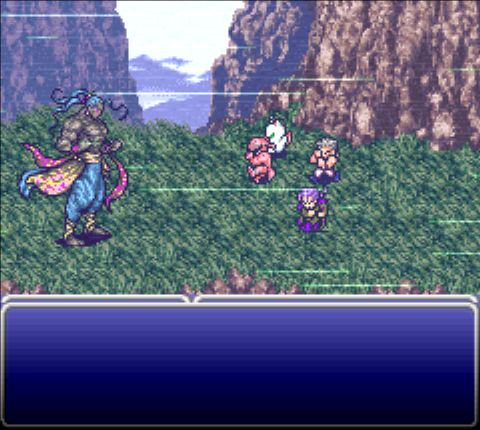 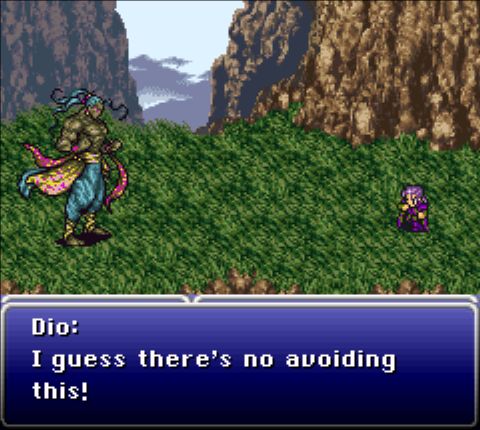 Dio shows up and argues with Vargas, who blows away the rest of the group, turning it into a one-on-one match. And this is where things get truly awful, because Vargas always opens the duel by doing this: 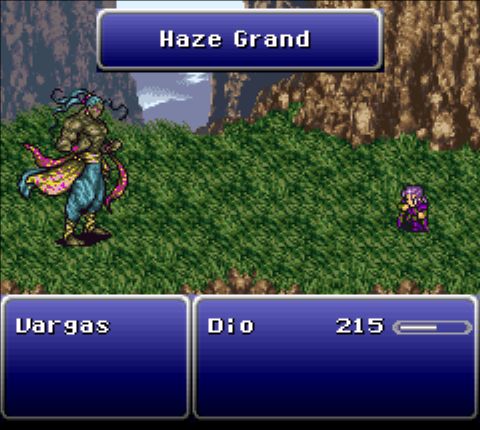 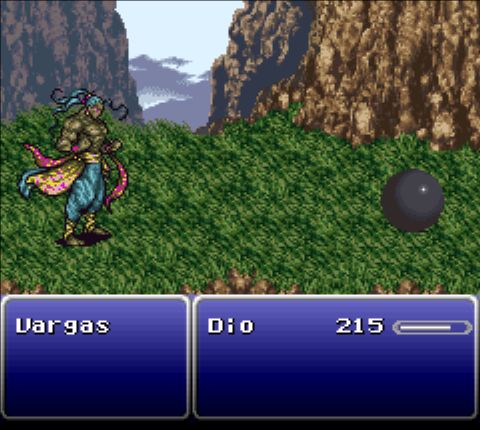 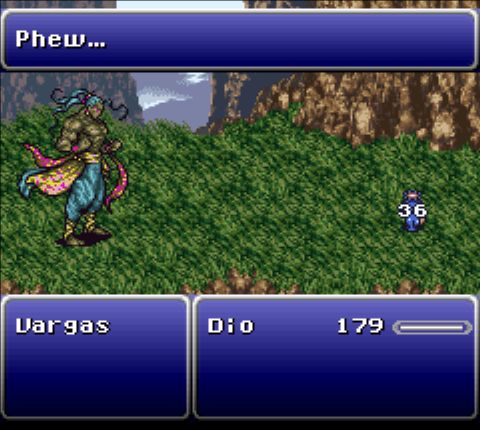 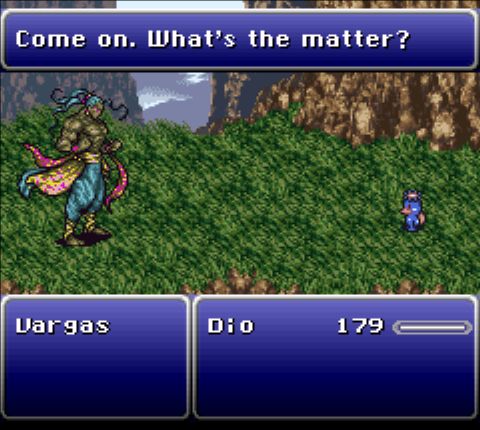 Haze Grand deals a small amount of damage, but it turns Dio into an imp, lowering his physical stats and locking out his special commands. Imp can be healed by the Imp spell (which isn't available yet) or a Green Cherry item. If you somehow know this is coming, you can prepare for it by buying a green cherry... except that no store up to this point sells one. At this point, Vargas goes all-out, hitting you with physical attacks (often two at a time) and Gale Cut. Dio can outspeed him, but not enough to win in a straight-up fight. There are really only three options for winning. First, you can get super-lucky and block Haze Grand (I'm not sure it's actually possible, but maybe?). Second, you grind like a madman before the fight so that Dio comes in sufficiently leveled to beat Vargas fairly. (Hell, no.) Third, you can do what I did, and rely on desperation. 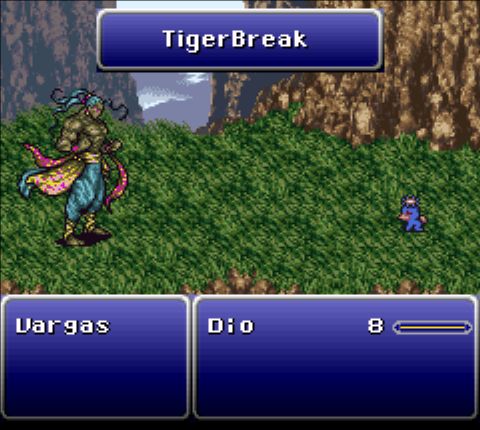 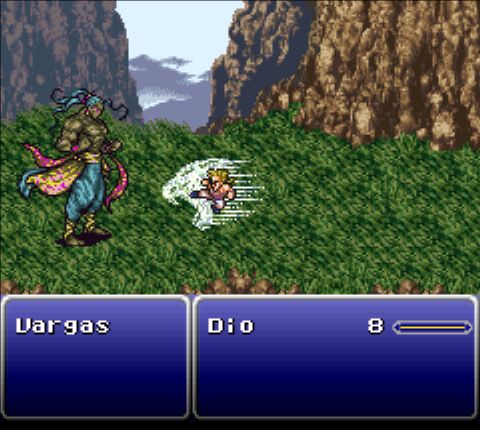 When a character is sufficiently low on HP, any regular attack has a 1/16 chance of becoming a desperation attack, a unique, powerful move that can swing the tide of battle. The concept was revisited in FFVII in the form of Limit Breaks, but in this game, you can go through the whole thing and never see one. Dio's Tiger Break deals over 1,000 damage and is easily enough to take out Vargas. The hard part is getting Dio to low enough health and having it go off, all without Vargas landing a killing blow. It's a massive pain in the rear end, and I don't doubt that this fight ended a lot of runs back in the day. 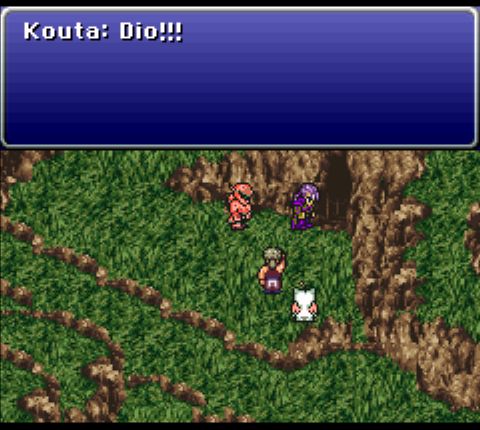 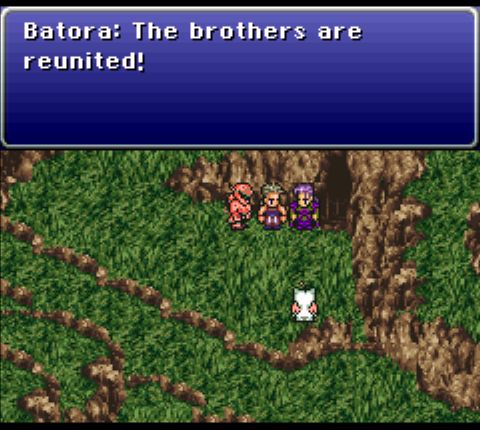 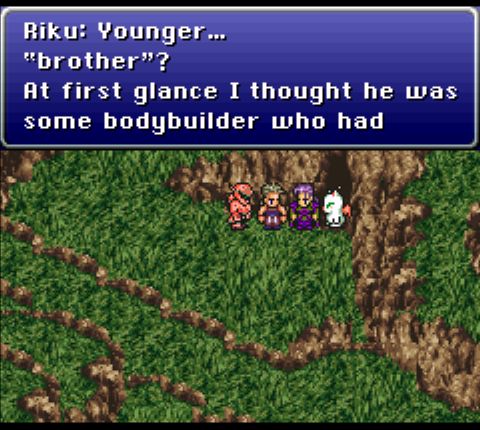 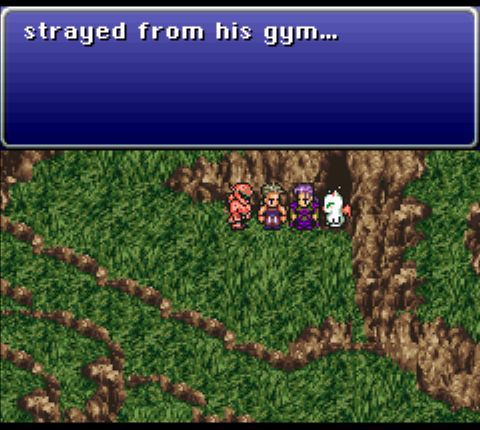 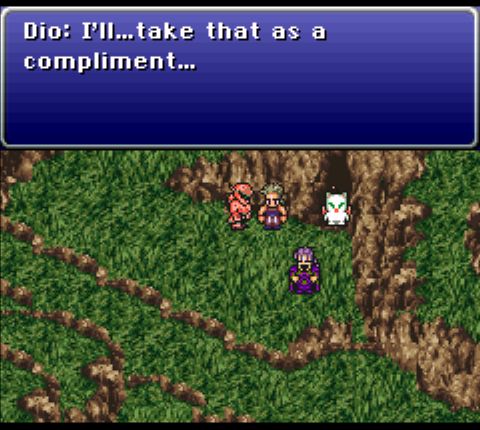 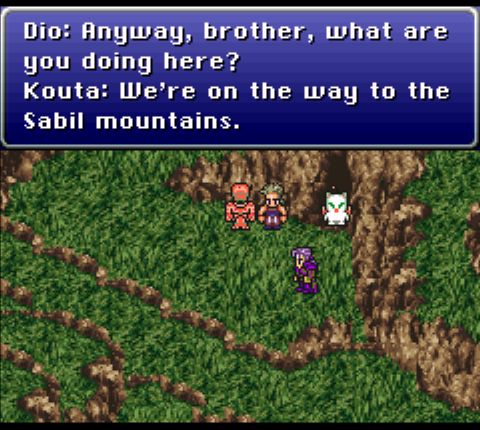 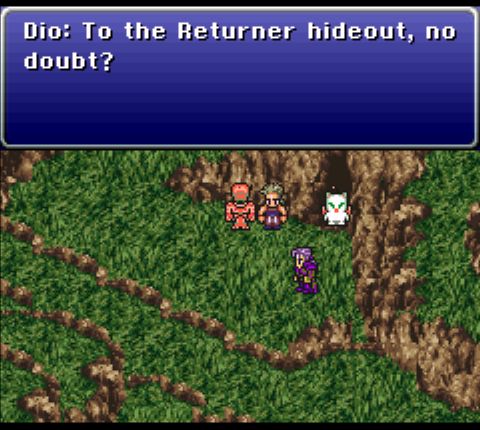  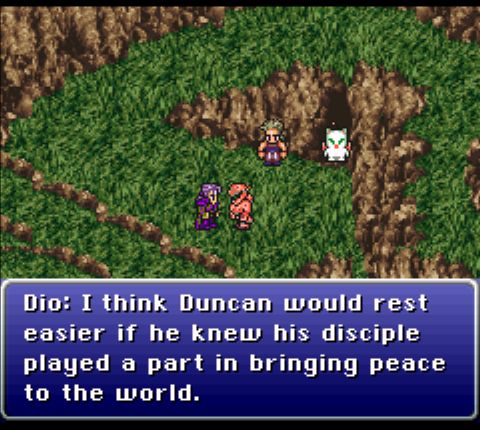 After a heartfelt reunion between the two brothers (and a strangely anachronistic line from Riku), Dio joins the party. I'll be showing him off later.  You know, once I can get him de-imped.
|
|
#
¿
Aug 13, 2018 10:36
|
|
|
Culka posted:I don't see whats so weird about those monsters, even the game clearly states they are ladies. This is another one of those things I'm chalking up to translation wonkiness.
|
|
#
¿
Aug 14, 2018 19:15
|
|
|
Chapter 4 Now that Vargas is dead and gone, we have to go through the last bits of Mt. Koltz. While I'm here, how about we take a look at one of Kouta's new Rages? 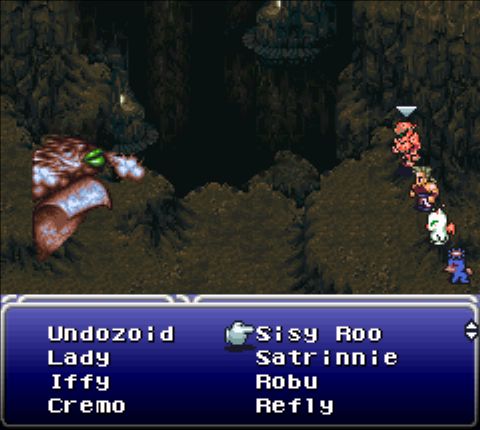 These are the things we fought while escaping Figaro Castle. 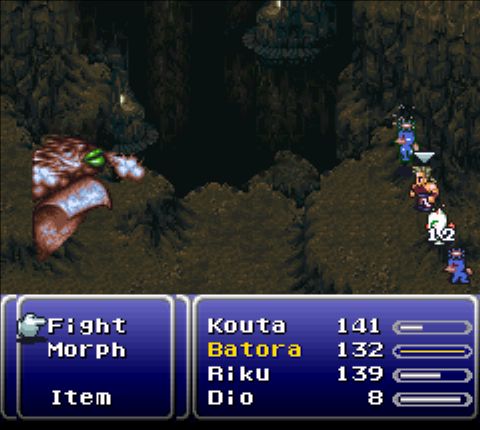 Innate Imp and Reflect. Welp. The exit isn't far, luckily, and from the outside it's a pretty straight shot to the Returners' Hideout. Fortunately, it's here, short on healing and low on HP, that I remember that those horrors from the mountain caves have a pretty good Rage. 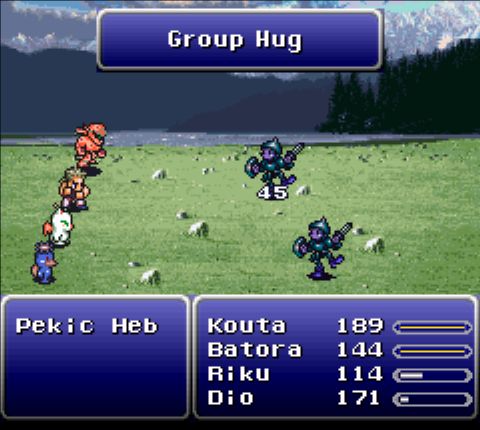 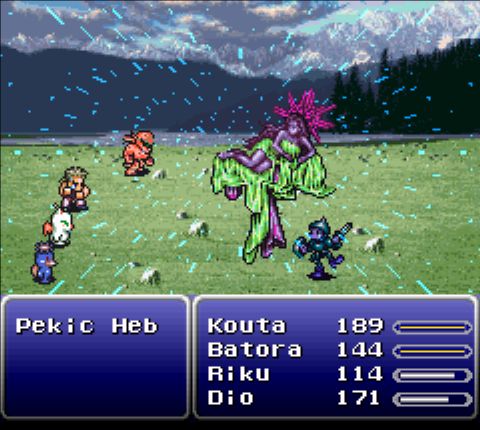 Group Hug summons a zombified woman to heal the entire party. This is useful for a very large part of the game. 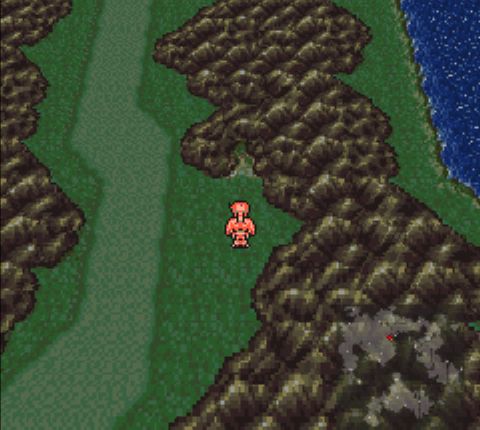 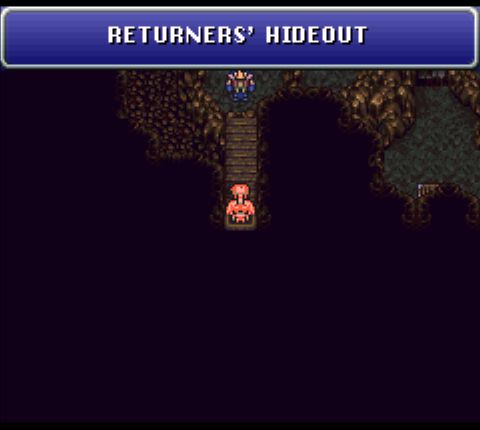 At long last, we're here. 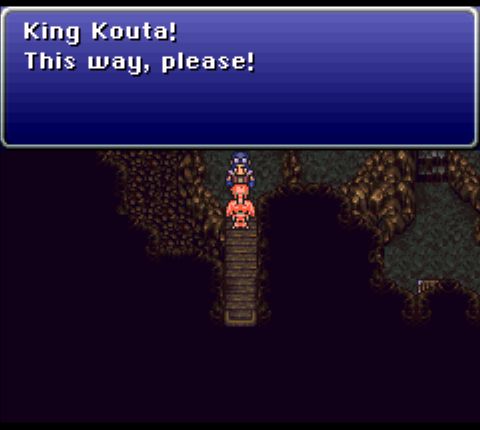 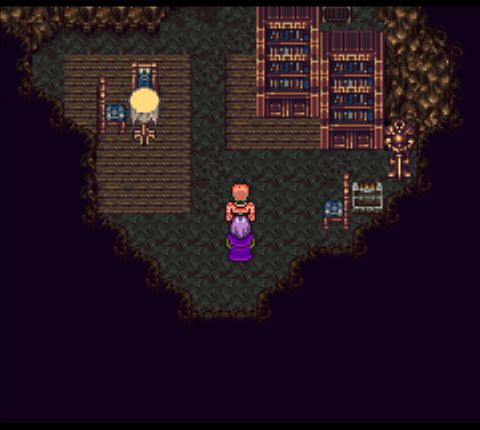 A soldier leads us to Banon himself. His outfit leaves something to be desired.  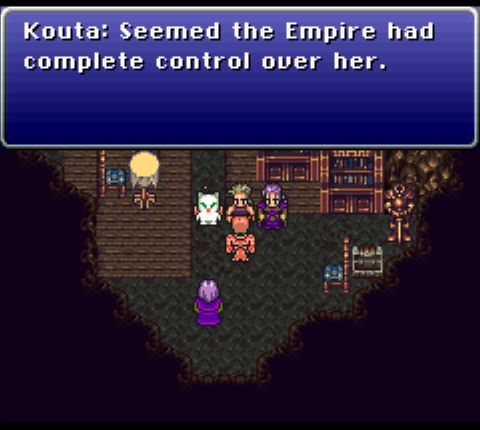 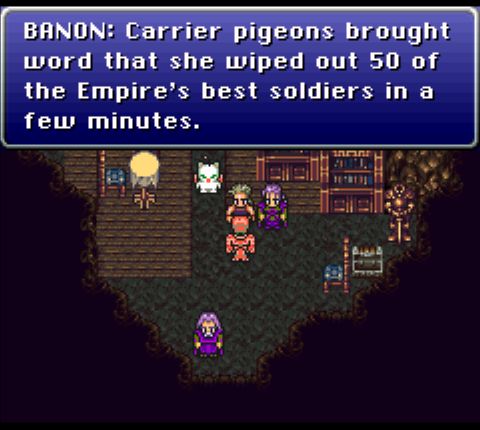 Well, drat. The news causes Riku to freak out a bit. 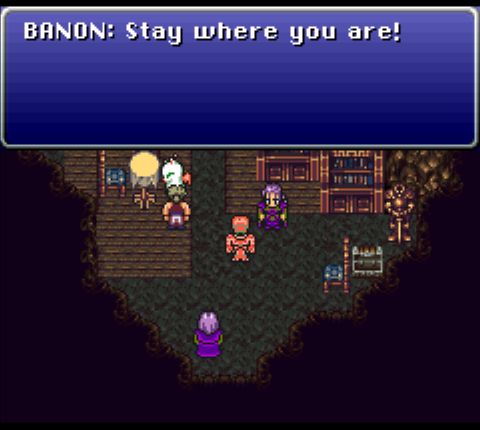 Yes, this is what one typically says to a traumatized girl. 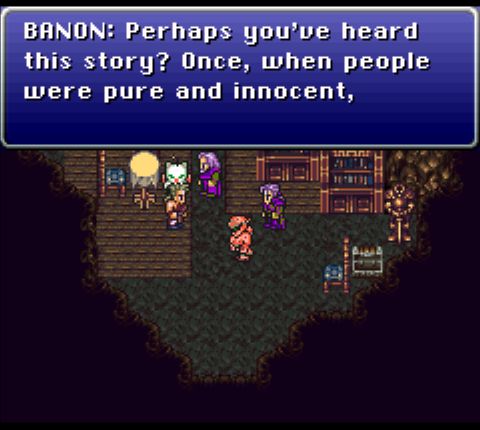 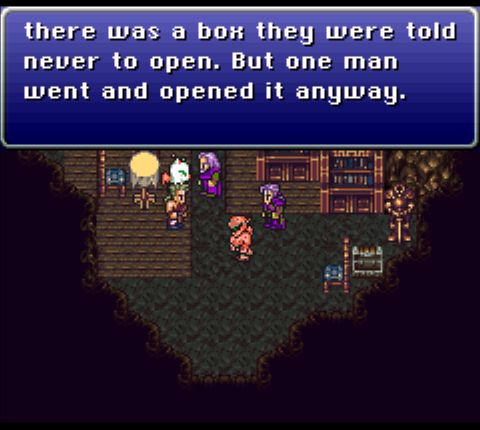 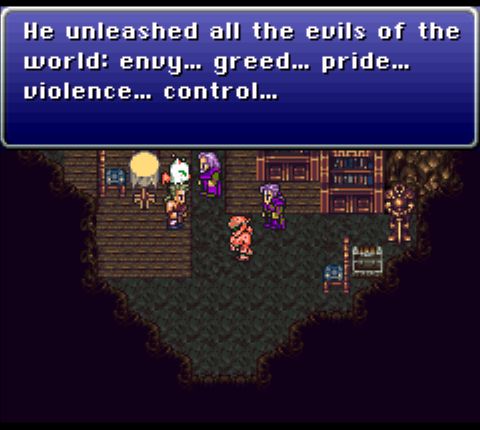 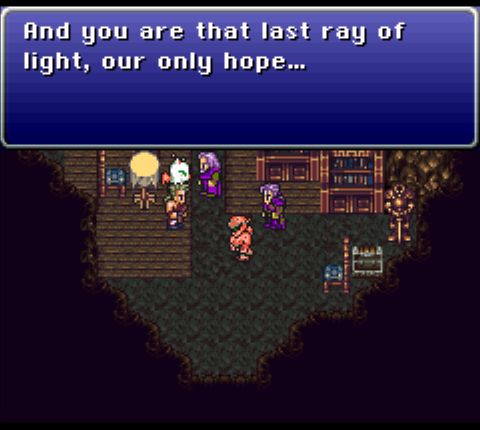 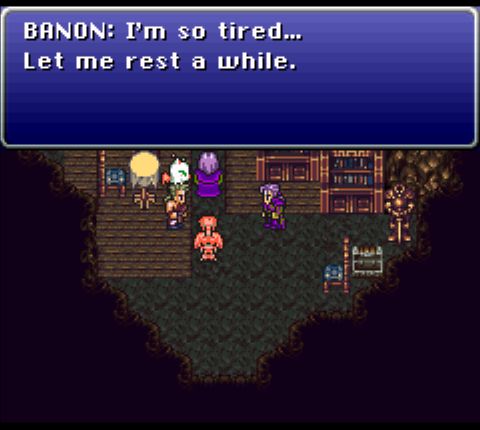 Banon tells use the story of Pandora's Box, but all the talking exhausts the old man, and he heads to bed. I have to say, I'm not really impressed by the Returners' "mentor." 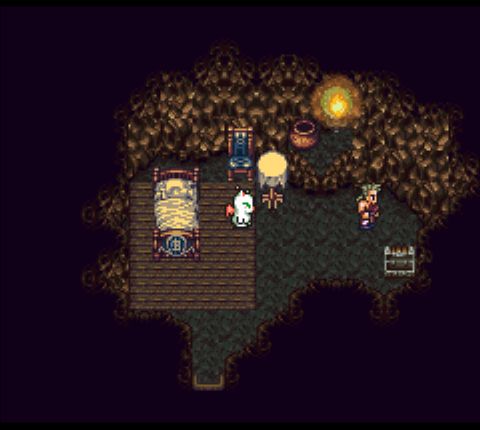 After a transition, we're given control of Riku as she climbs out of bed. The game doesn't say it, but we need to talk to our party members. 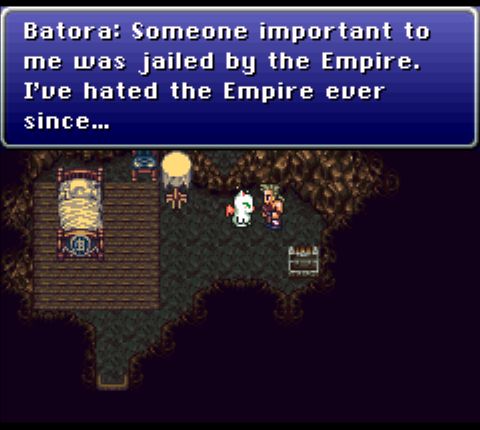 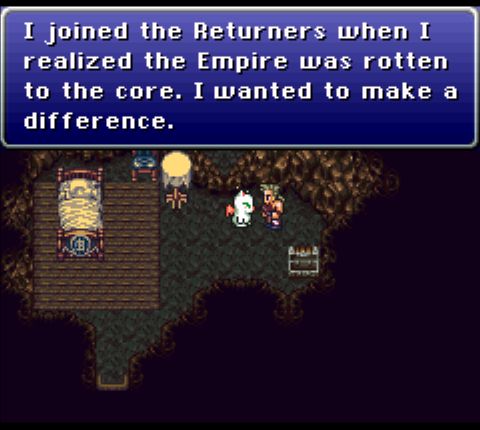 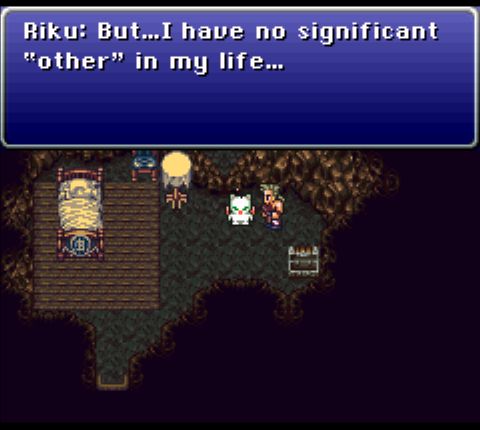  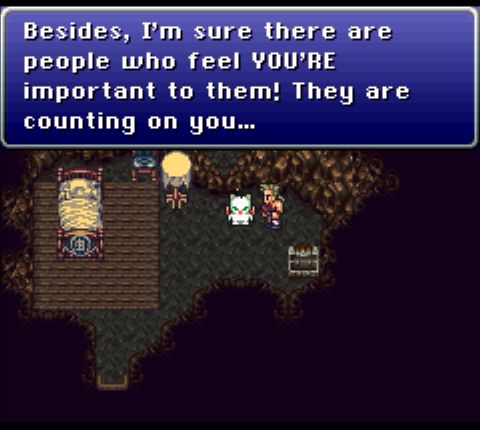 Batora relates his sob story, which doesn't exactly line up with what we learn about him later. 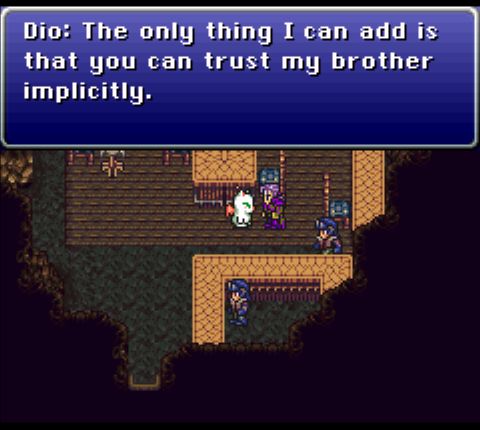 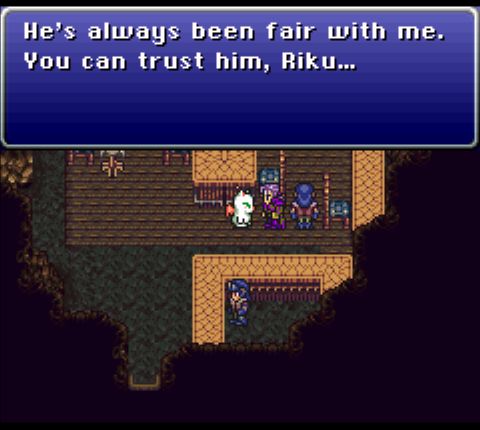 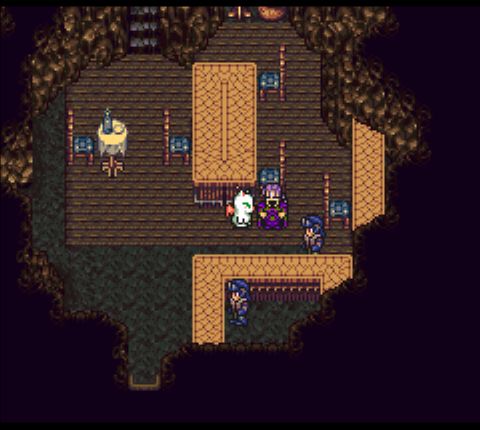 Dio tells us that his brother is a decent guy, then laughs about it, probably because he, like us, knows better. Dude's a pervert. 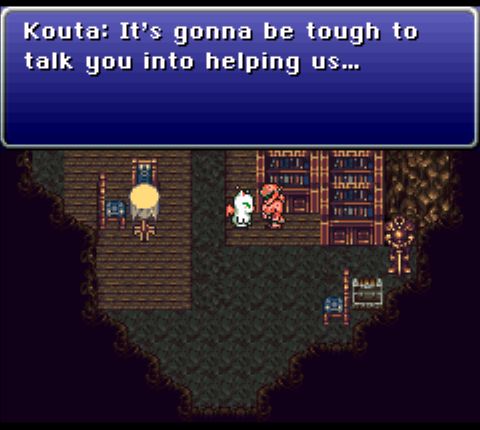 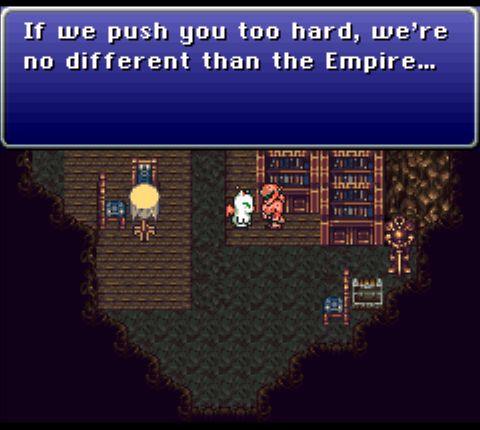 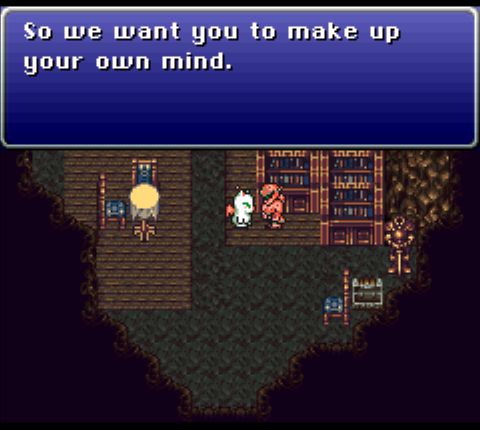 Kouta informs us that this is ultimately Riku's decision. I'll take that to heart. 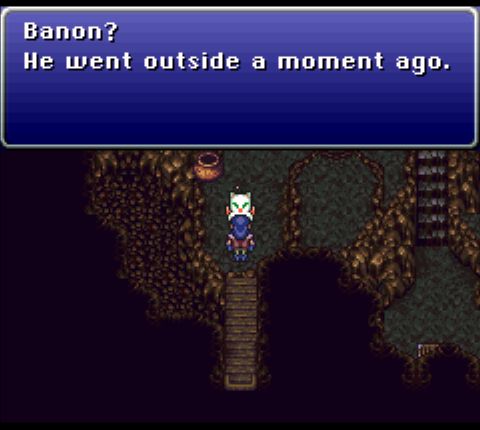 Now that we've spoken to everyone important, the door guard lets us out to talk to Banon.  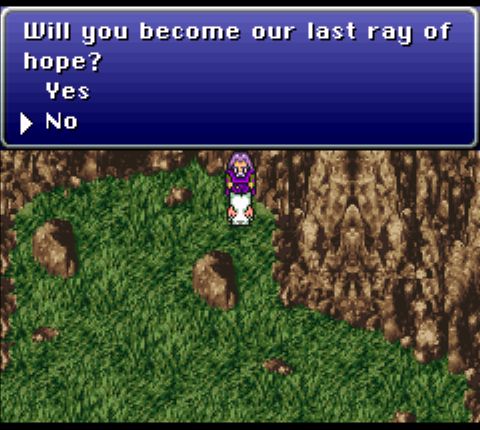 No. No. NO. 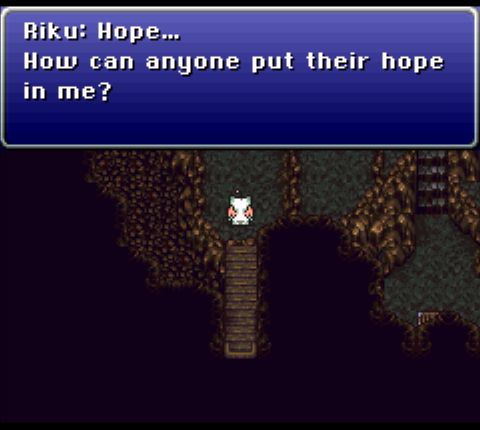 Riku rationalizes it, but I'm actually just doing it because being unhelpful results in better prizes.  Riku makes way as Banon barges in. 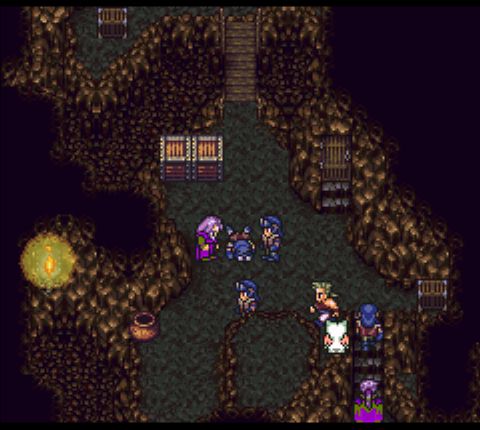 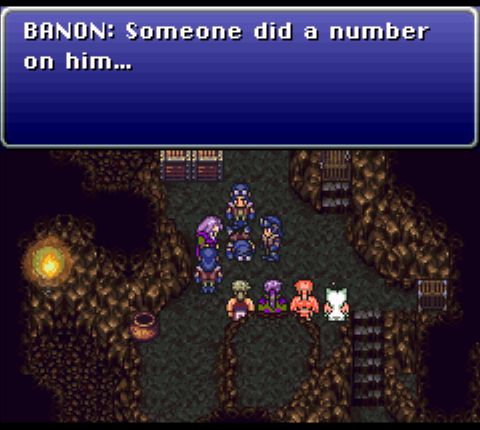 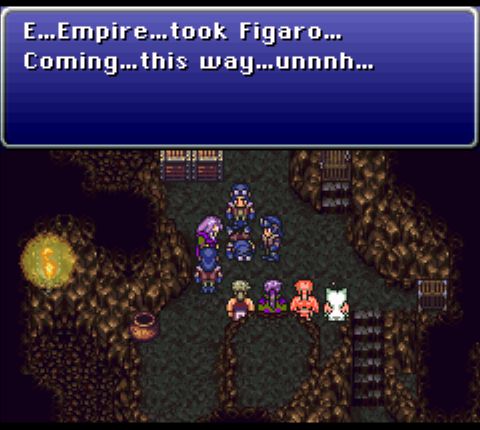 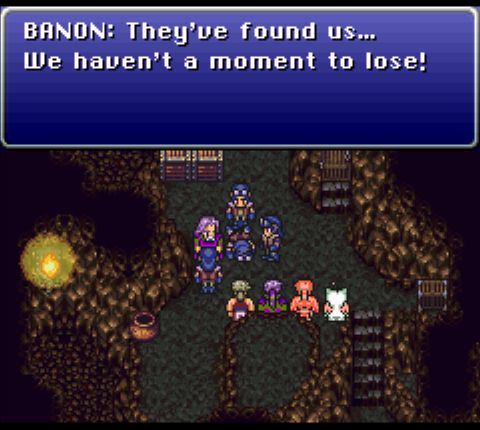 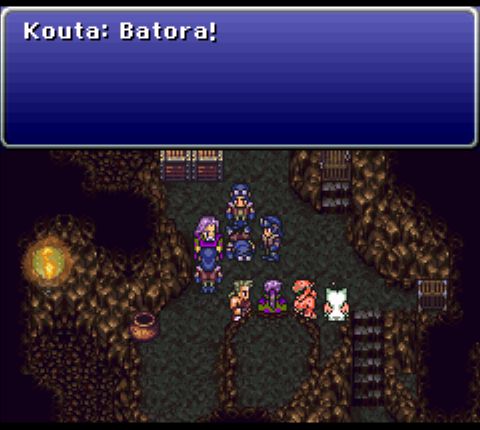 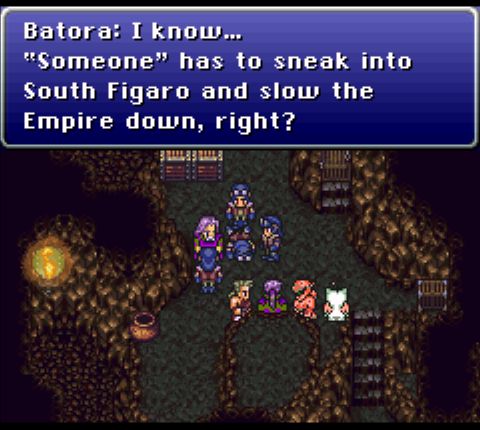  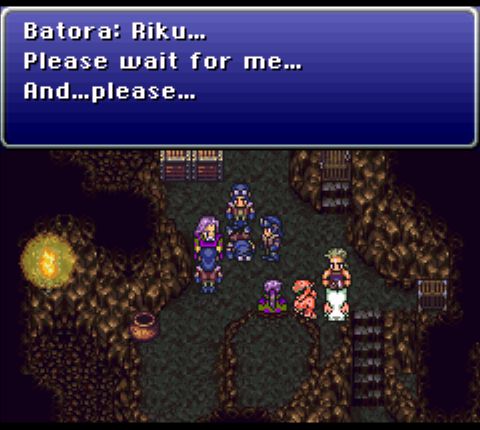 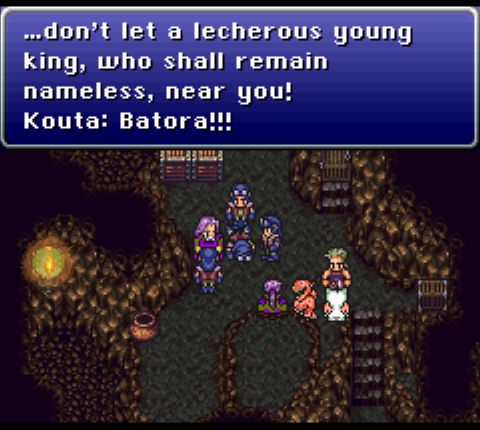 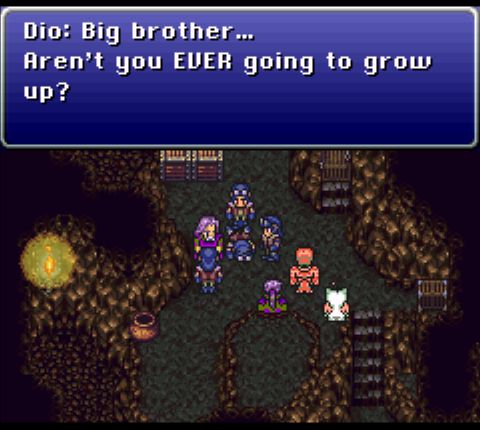 Batora leaves the party to undertake a solo mission. 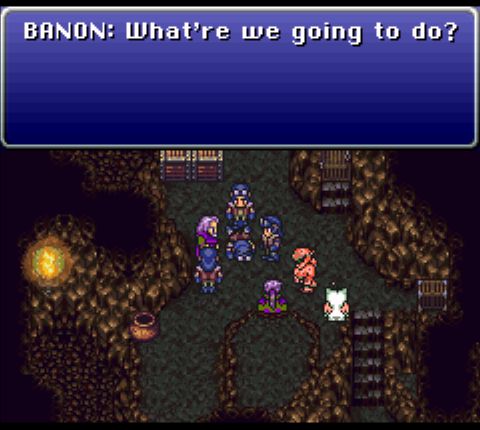 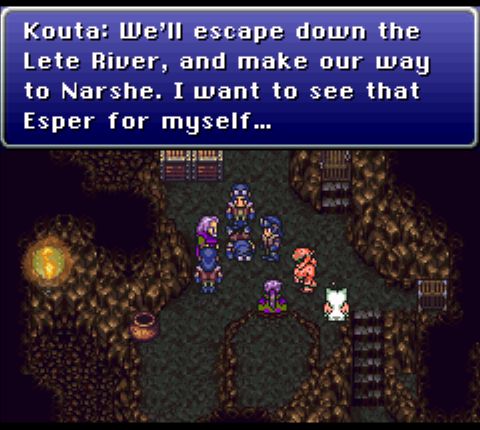 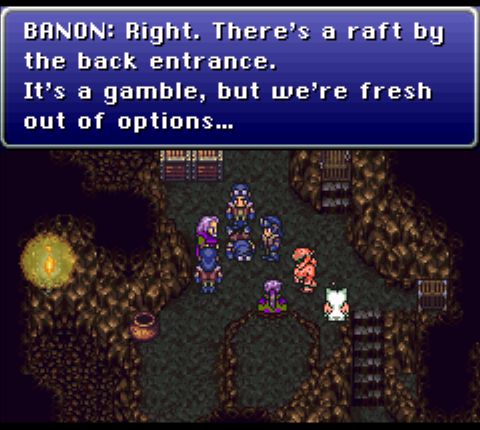 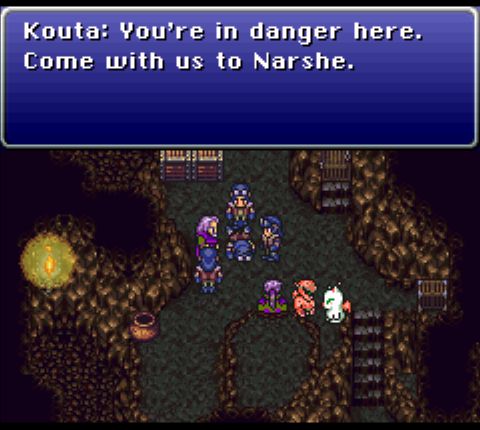 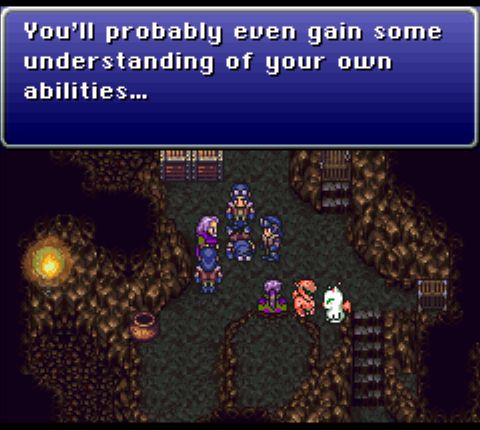 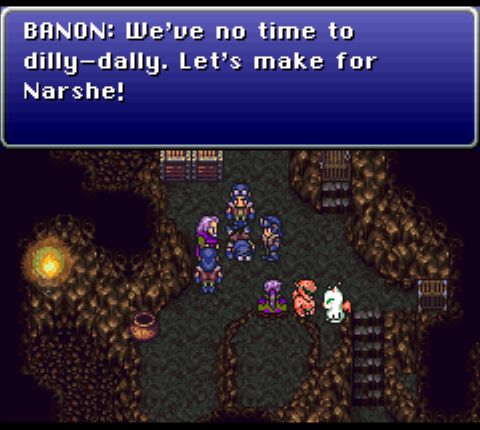 So here's the next leg of the game: travel down the river. 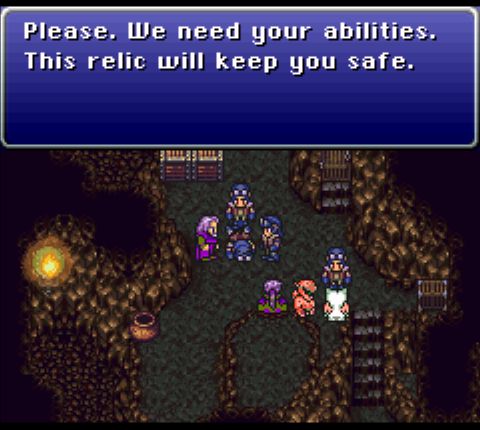  For being a dick to Banon, a soldier gives us this relic. Despite what he says, it doesn't "keep us safe" at all - it gives the user dual-wielding skills. Riku doesn't remotely need it, but down the line it might be handy. 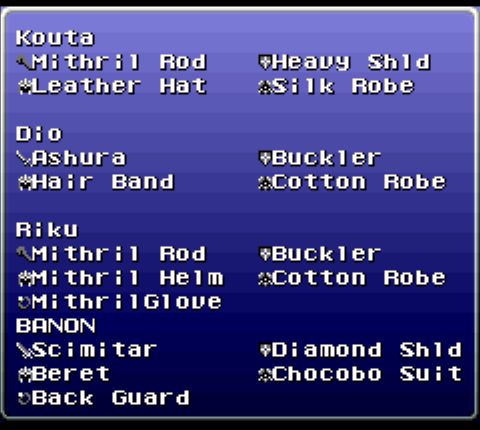 Since someone will want to know: Banon's got some impressive gear. His weapon in particular is good, but he'll never actually use it. 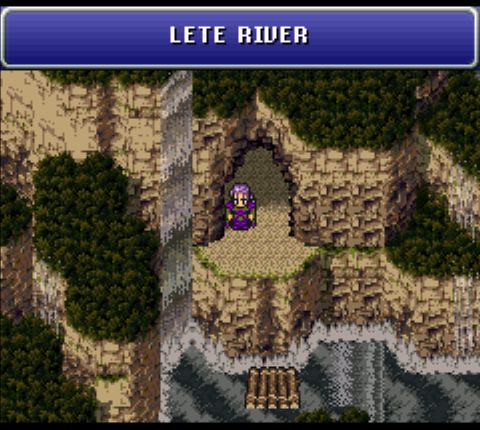 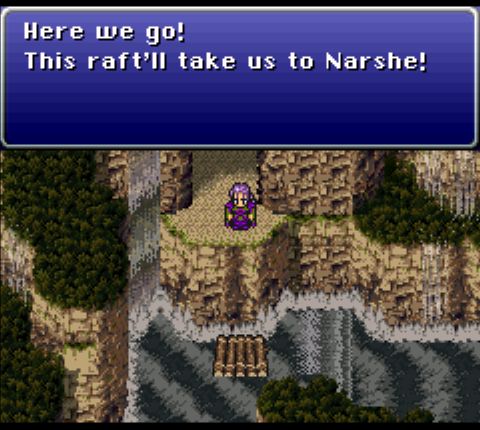 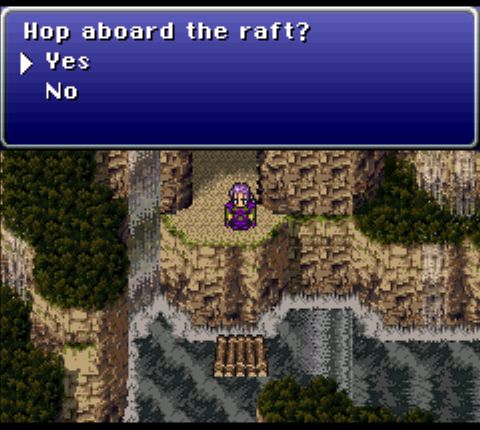 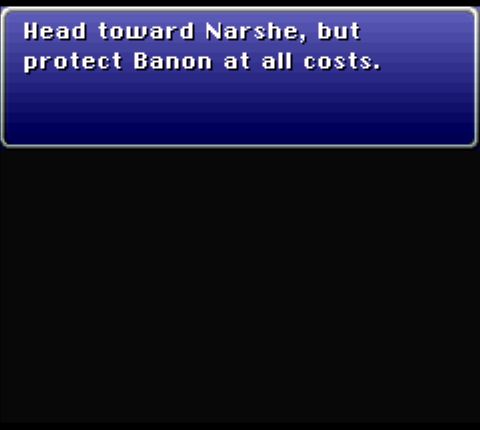 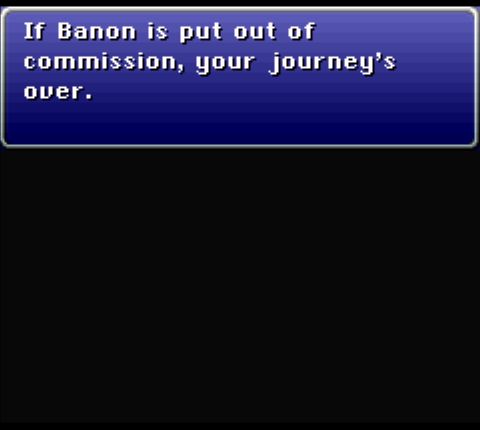 Oh, yeah, there's a gimmick at play here too: if Banon goes down, it's an instant game over. 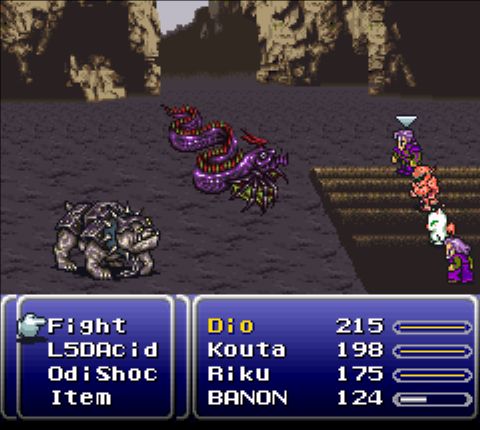 Water-walking dogs. Sure. Anyway, here we have Dio's powers. He's kind of a gimmick himself, as both his special commands perform two actions in one. 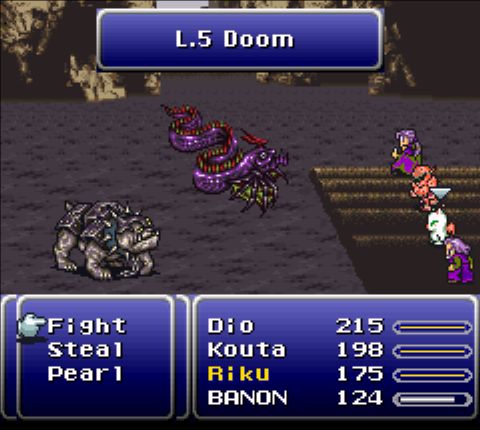 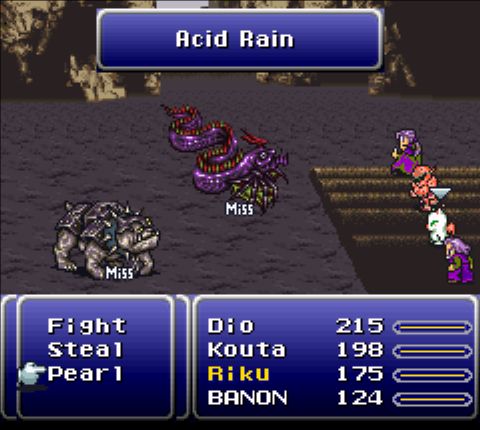 L5DAcid performs L.5 Doom (kills enemies with a levels that are multiples of 5), followed by Acid Rain (damage and seizure - continual HP loss) on all enemies. Decent when L.5 Doom works, but otherwise unimpressive. His second power is generally much better. 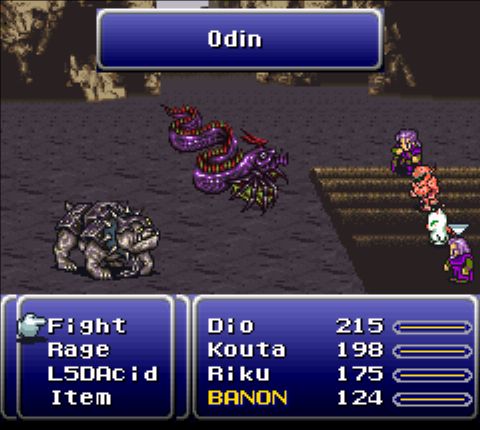  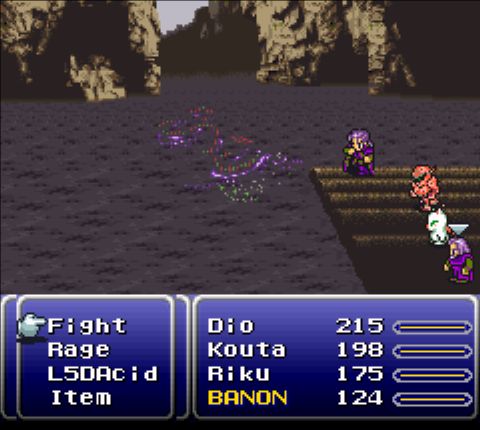 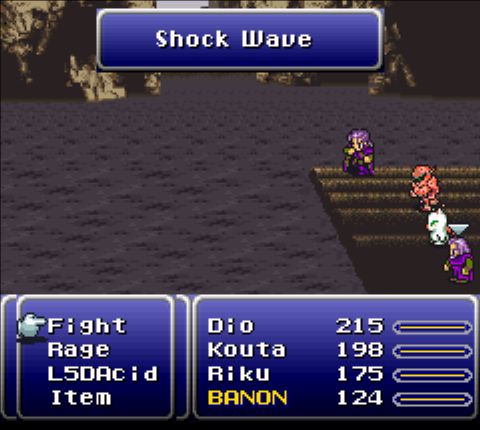 OdiShoc summons the Norse god Odin, who simply kills everything facing you. Anything that survives (whether through luck or immunity) is then subjected to Shock Wave, a moderately powerful attack. This power makes Dio the best character, bar none, for fighting random battles.  <--Banon's commands <--Banon's commandsAs for Banon, he clearly trained the Brothers Figaro, as he possesses Kouta's Rage command and Dio's L5DAcid command. The Lady Rage is his go-to ability when I play, as it helps keep him alive despite his fragility.  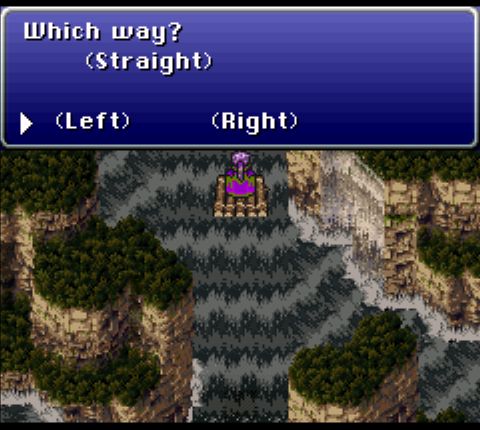 The river's other gimmick is that you move automatically until you reach a fork, where you can direct your raft. There are two branches, and left is the way to go both times. Another enemy type found here is the Inbuc, a kind of wyvern. I tried killing them off with Riku's Pearl, but I completely forgot: 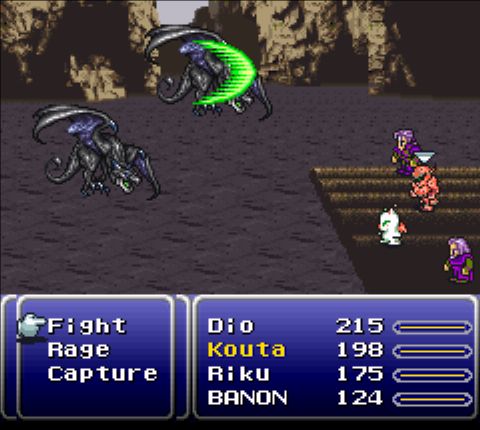 They have innate Reflect. 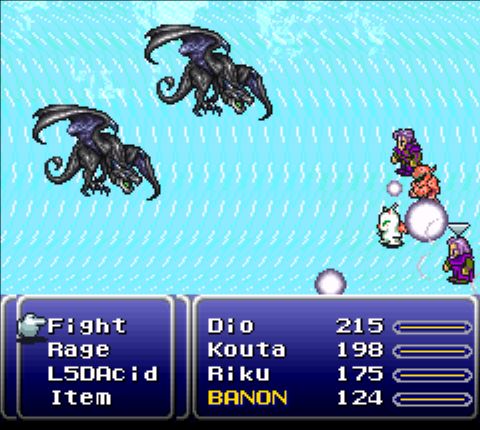 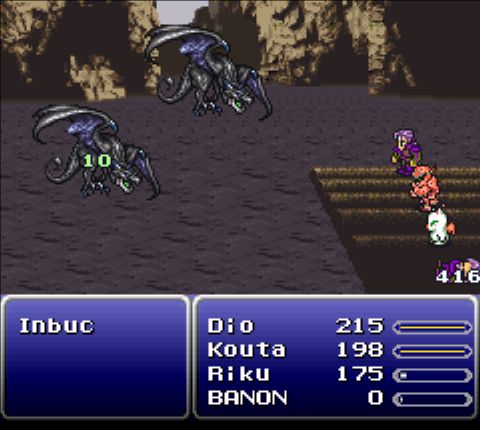 Well, gently caress. Sorry, Banon. 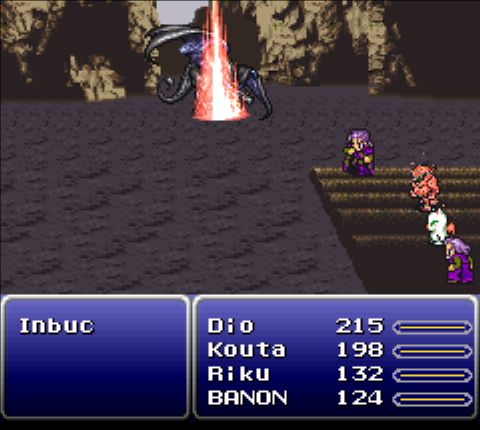 Here's a shot of the Shock Wave part of Dio's OsiShoc attack. It's here only for sample purposes, however. 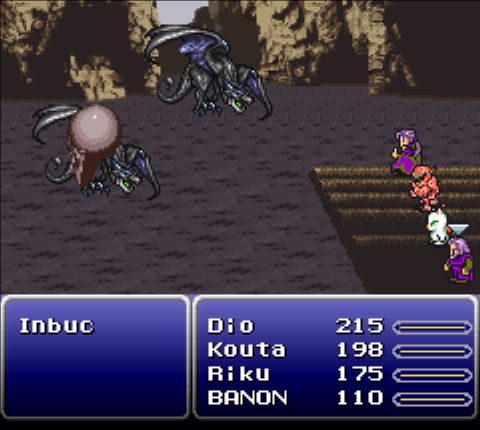 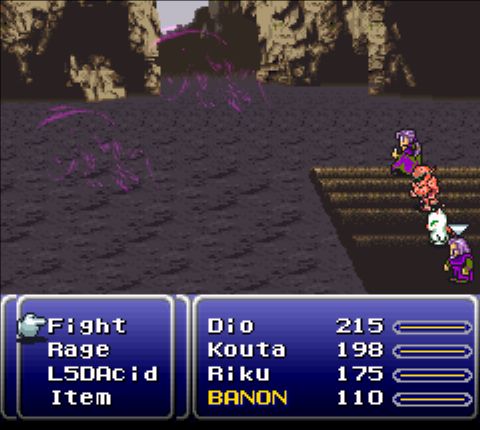 Because the Inbucs are susceptible to L.5 Doom. 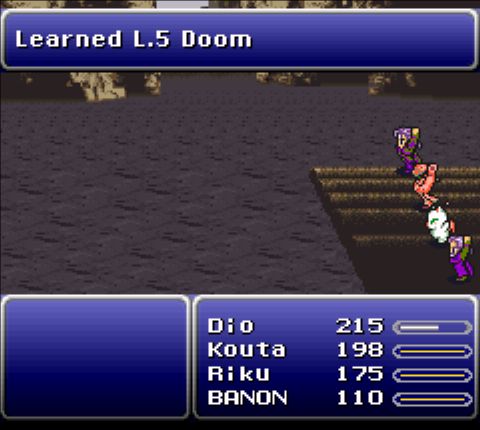 And yes, this is another free Lore. We also got a new Dance from the river, which we still cannot use. 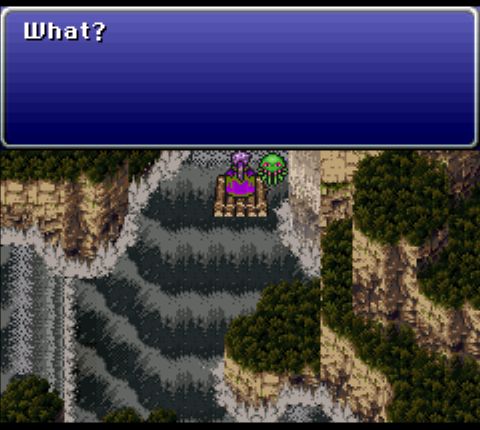 Finally, near the end, we run across a green octopus. 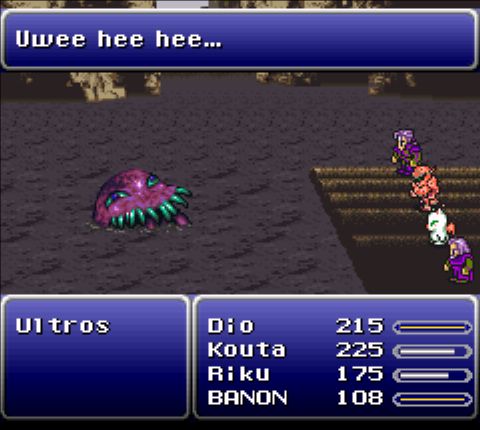  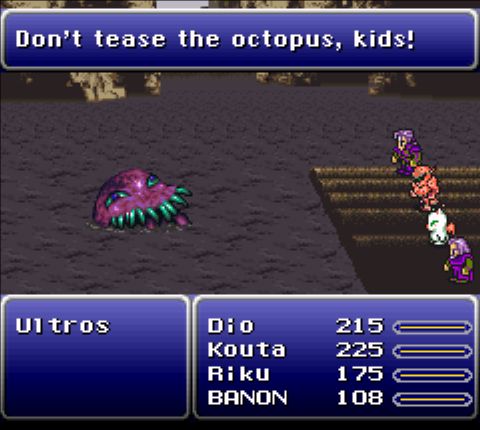 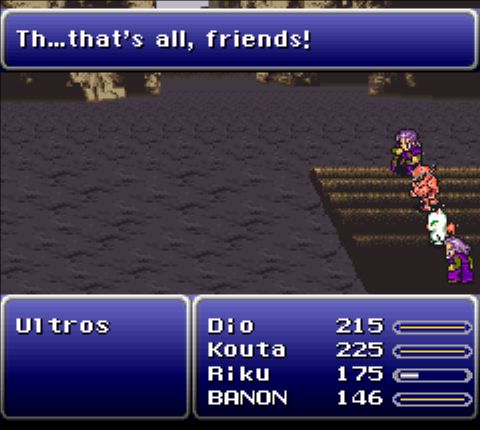 Oh, my bad. I meant a purple octopus who likes to quip. Apart from his one-liners, the fight against him is entirely unremarkable. Between Dio's OdiShoc and Riku's Pearl, he goes down pretty quickly. 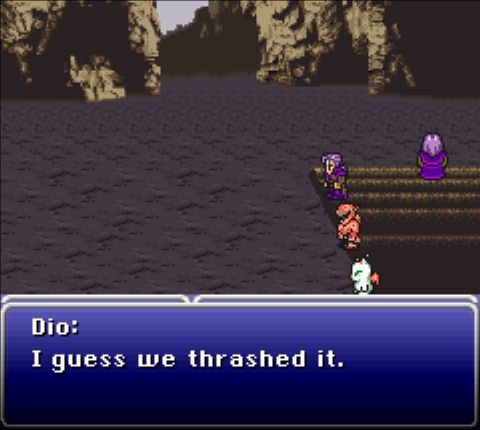 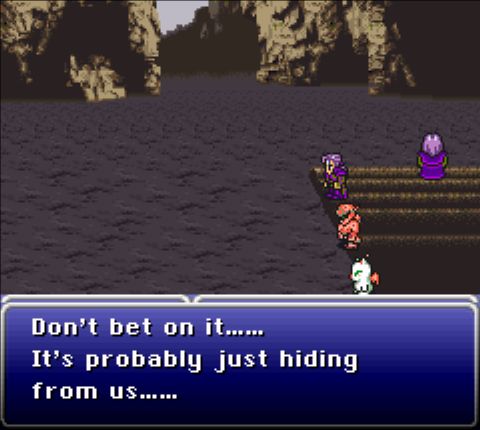 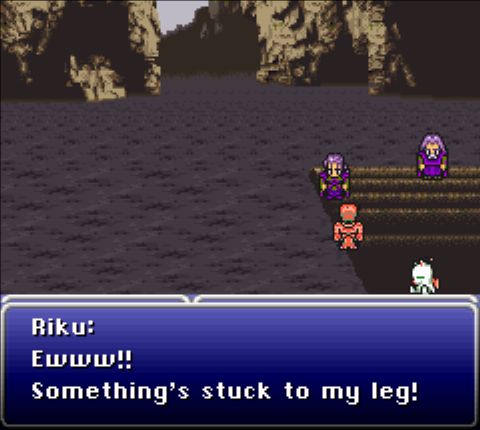 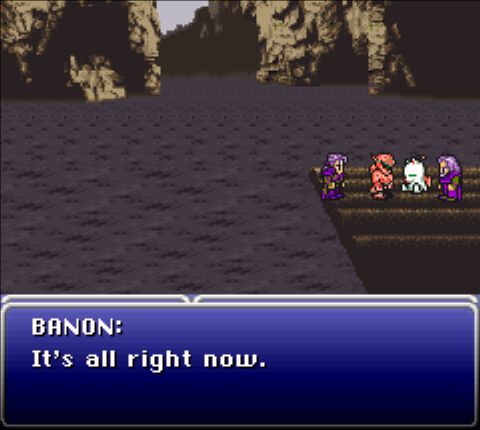 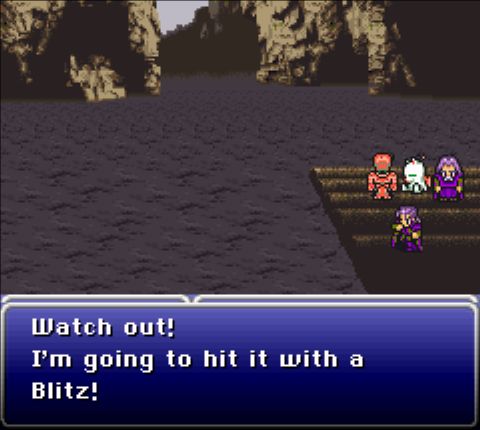 A what now? This line is probably in reference to his special commands, but no actual "Blitz" command exists in-game. 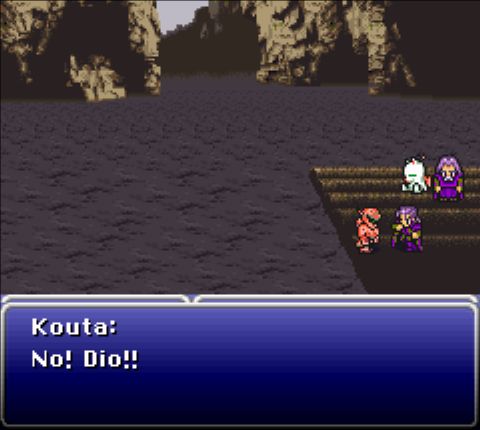 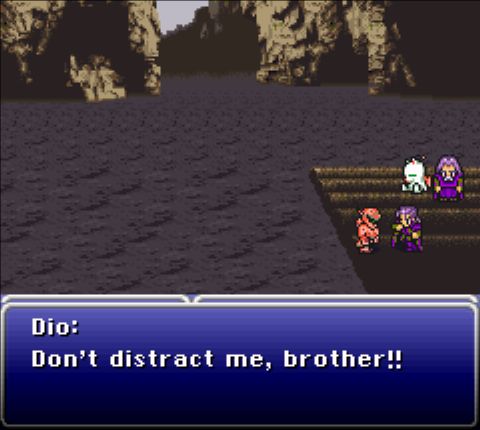 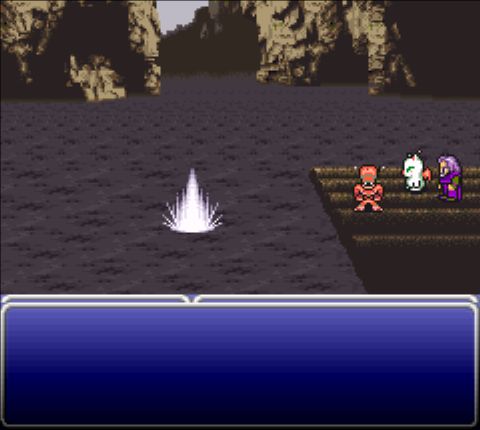 Dio jumps into the water for no apparent reason. 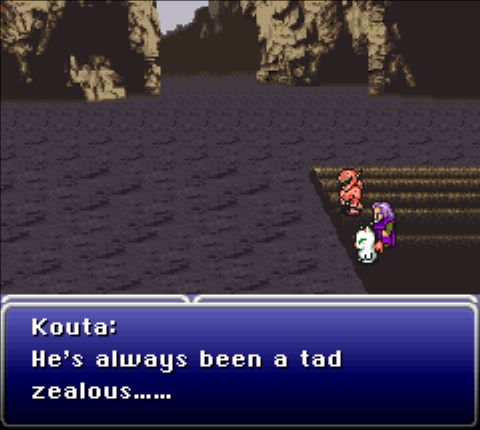 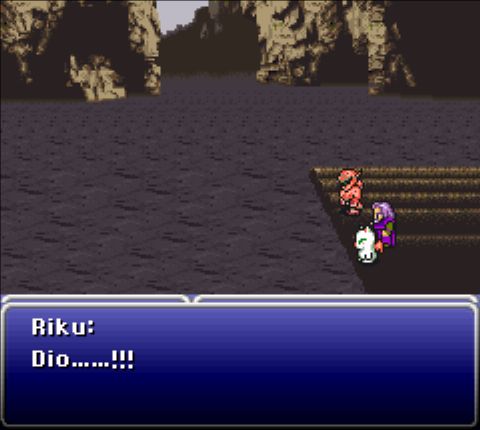   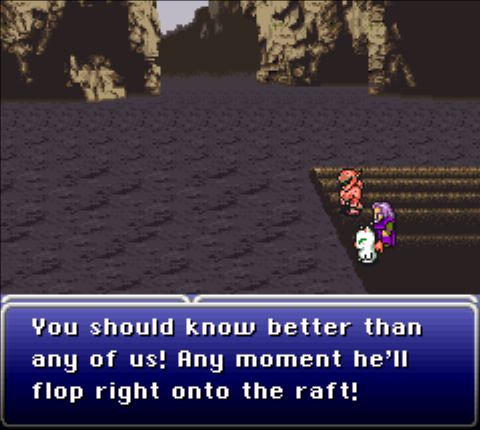 Nope. Instead he flies out of the water and into the sky.  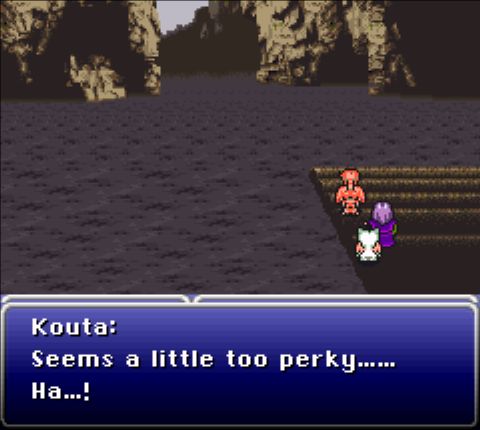 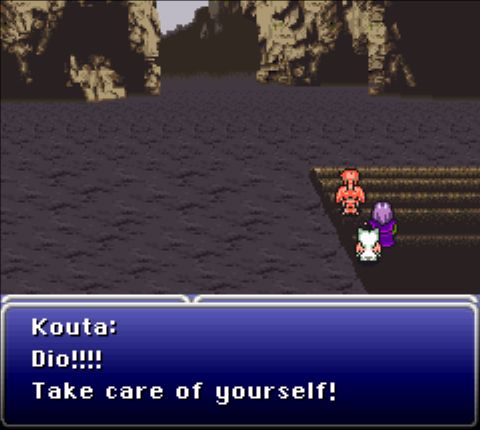 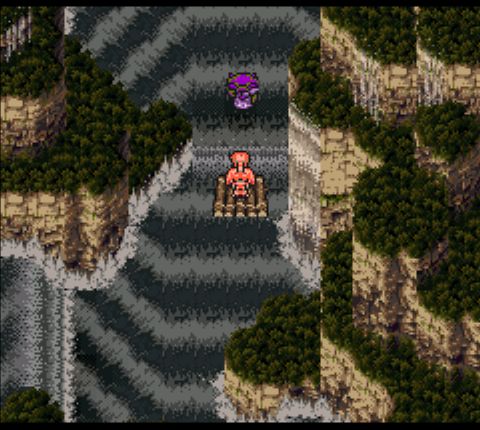 Dio floats off to the left, while the raft goes to the right. 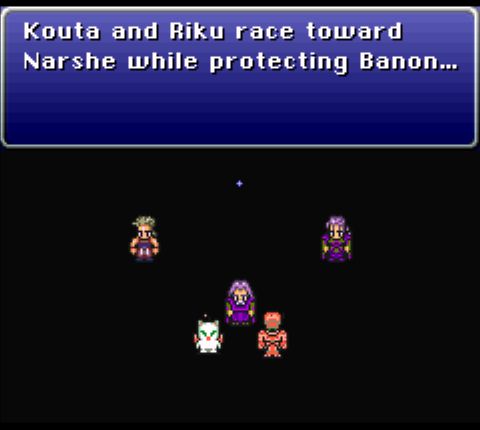 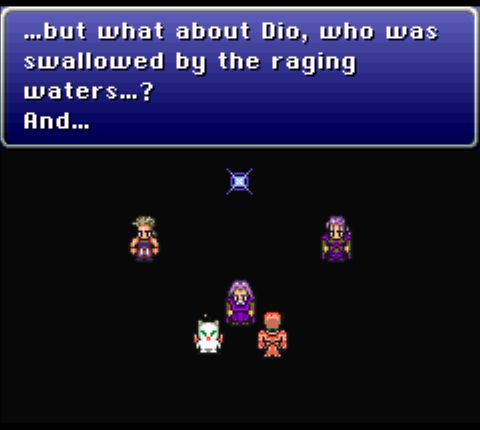 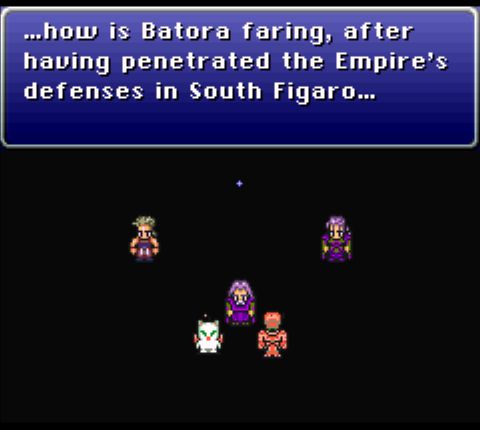 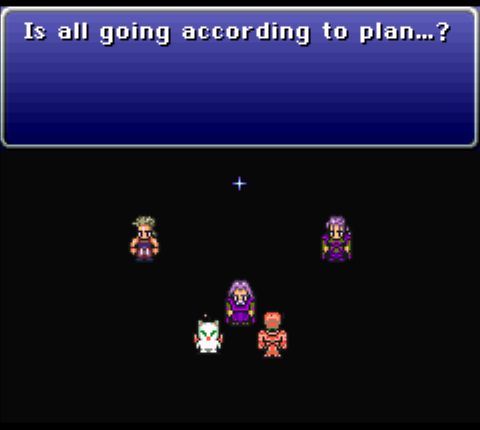 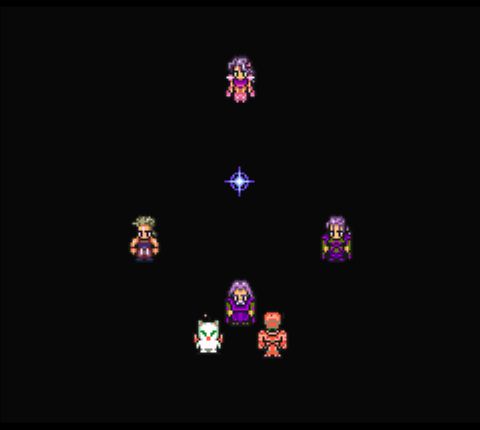 And here we are. Since I'm not allowing reader participation in naming characters, I'll throw you folks a bone here: Which scenario should I tackle first? Or, as the game puts it: 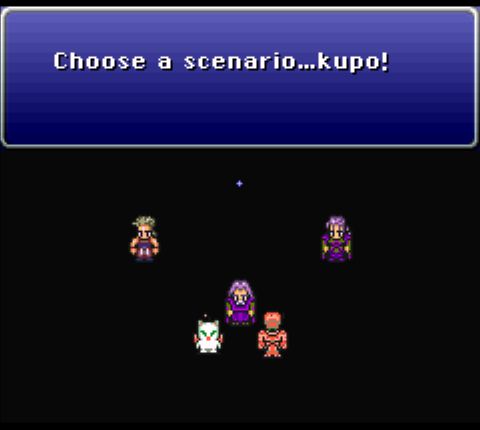 (No this doesn't make a lick of difference in the long run, but it's something.) I'll take votes until Friday or so.
|
|
#
¿
Aug 20, 2018 10:44
|
|
|
Well. We have two votes each for Dio, Batora, and Not Riku. Not Riku is a given, so I guess I'll have to let randomness break the tie. Batora it is! And then Dio, I suppose. limeicebreakers posted:Reading this LP is, um. An experience? I'm enjoying it a lot. Glad to hear it! ")
5-Headed Snake God fucked around with this message at 21:40 on Aug 25, 2018 |
|
#
¿
Aug 25, 2018 01:05
|
|
|
Chapter 5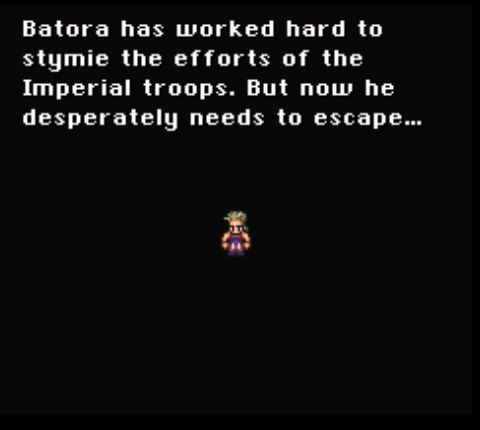 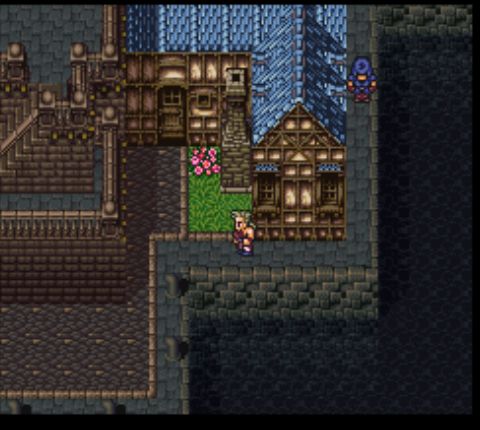 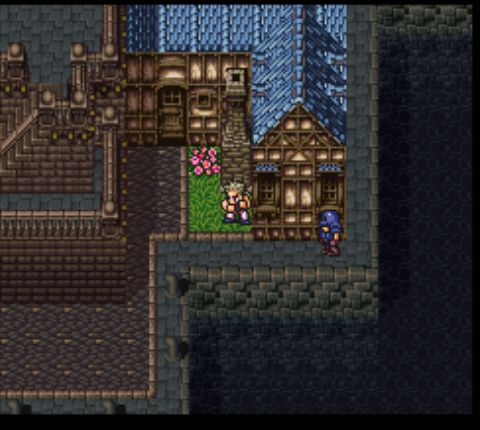  We open with Batora having hosed up his mission and being chased by an imperial soldier. Fortunately, the soldier in question is pretty bad at his job, and gives up about a second after losing sight of his quarry. 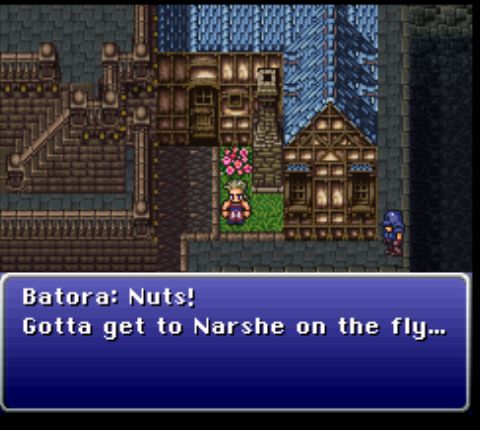 The treasure hunter is looking to escape the town, but that with all the troops about that's liable to be easier said than done. 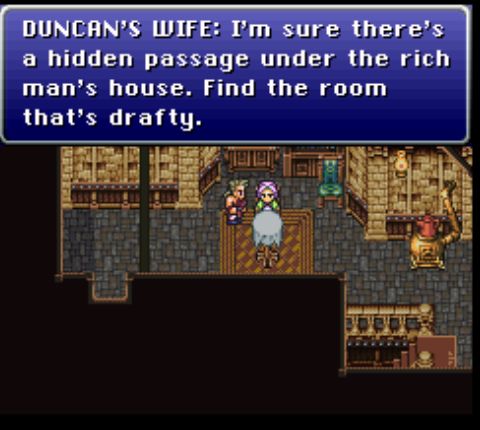 The building where Batora was hiding belonged to Duncan, Dio's master. The man is dead, of course, but his wife is still here, and she gives the player a clue that's helpful down the line. 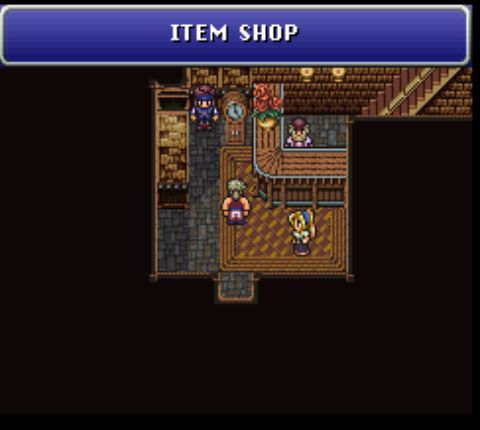 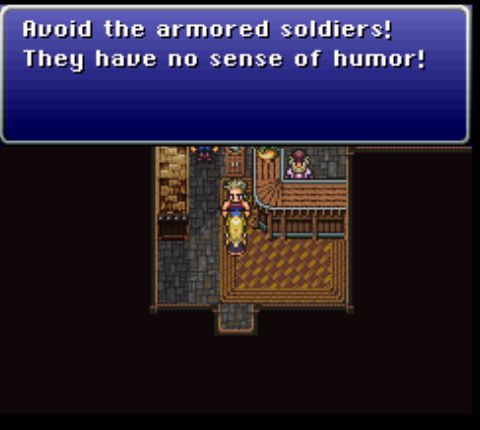 In the item shop, a random woman gives us advice about the soldiers in town. Lack of a sense of humor doesn't sound so bad, honestly. Banon doesn't seem to have one either. 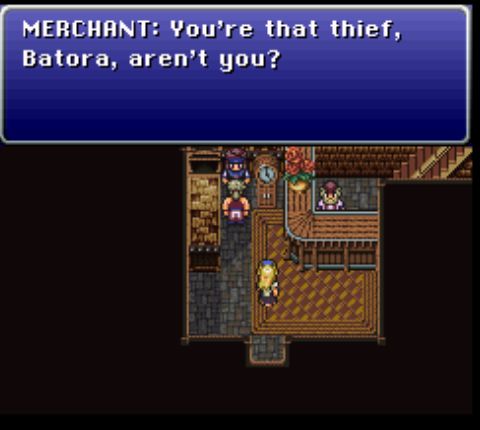 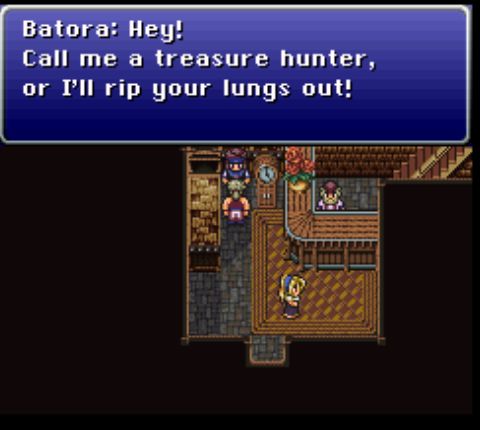 There's also a merchant here, and we get a subtle reminder that Batora really doesn't like being called a thief. Things go so badly that a fight breaks out. 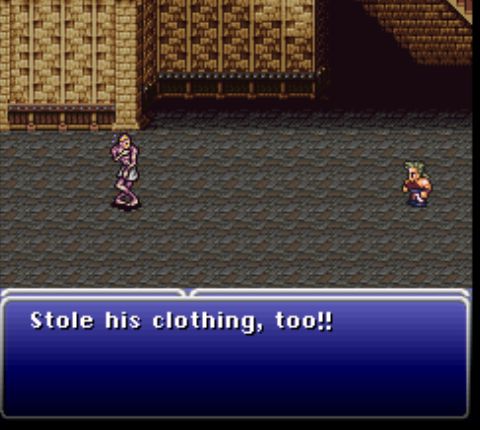 Beating the merchant results in Batora, who is definitely not a thief, stealing his antagonist's clothing. 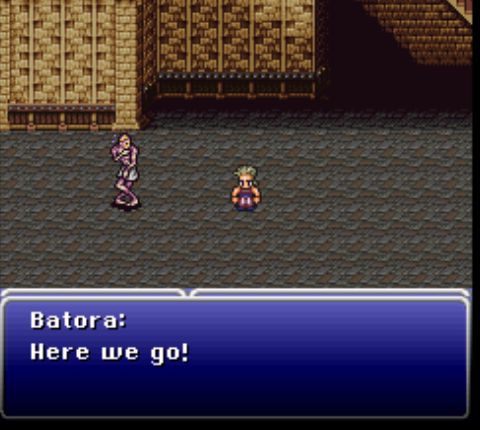 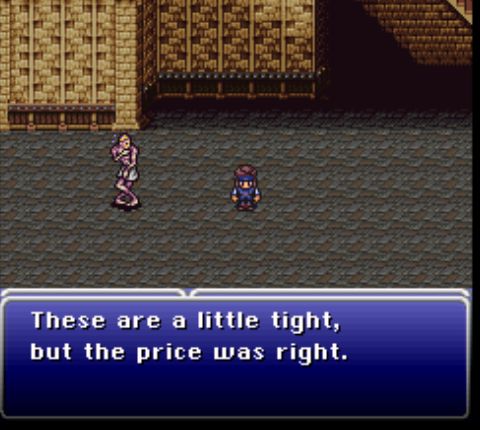 Oh, and he wears them too, just to embarrass the poor bastard further. 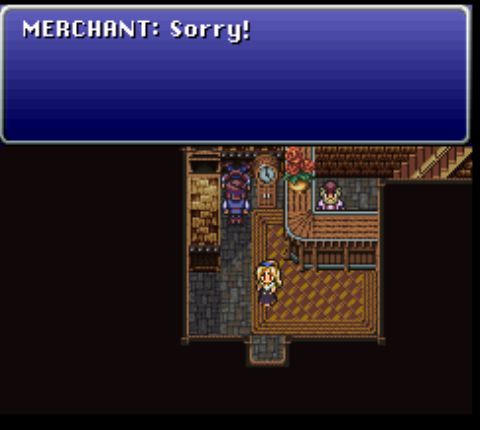 At least our hero gets an apology. 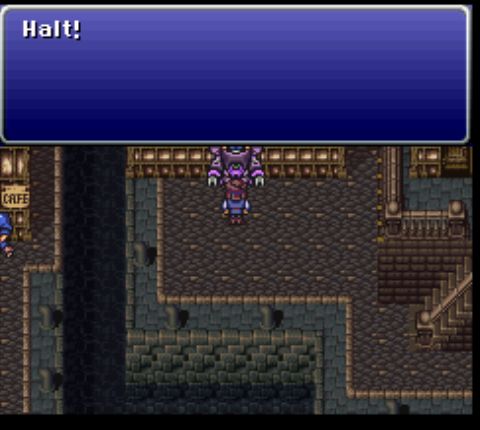 Oh, this must be one of those armored soldiers. Seems the townswoman was right about them being stiffs, but I might be able to fight my way past him. 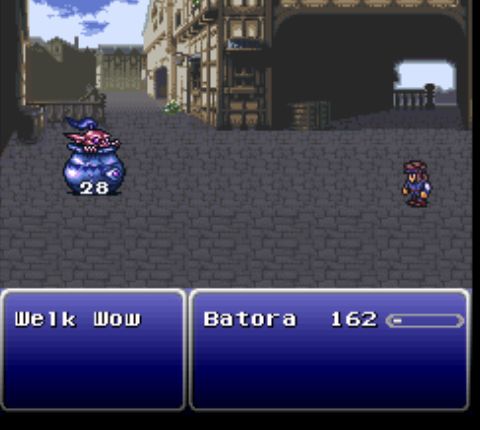 Not a lot of damage, but his output is about the same. 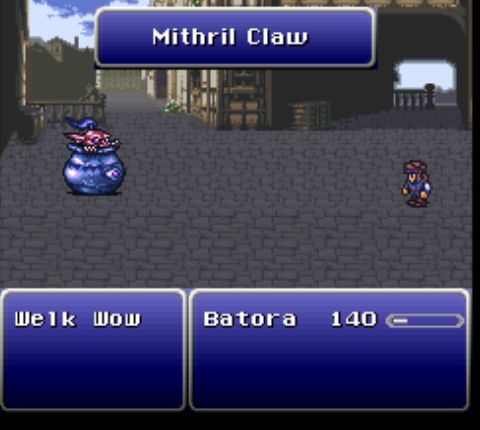   At least until he does this. These guys can't really be fought with any chance of success, so you need an alternate way around. Luckily, just such a path is available via a nearby house. 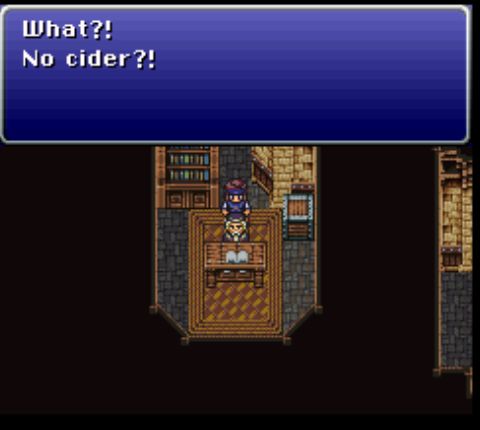 The old guy inside really wants cider, which you can bet was alcohol in the original script. 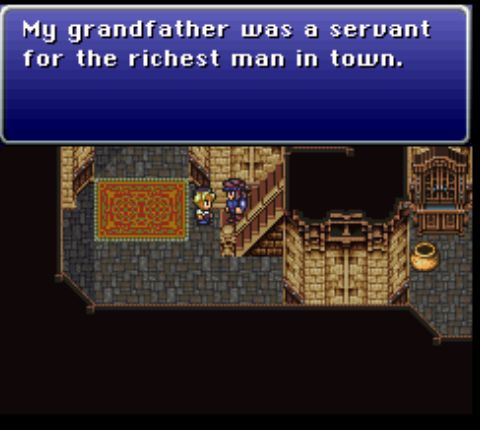 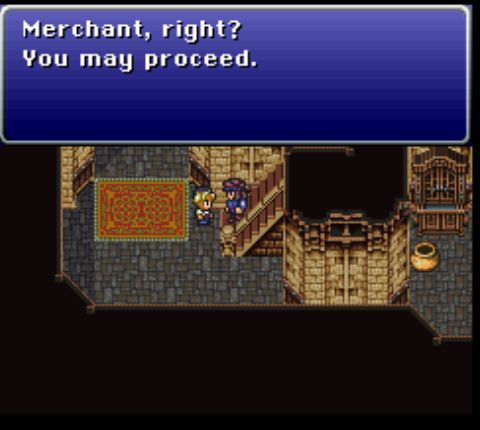 In the basement, we meet his grandson, who lets us pass because we stole the clothes from that guy who insulted us.  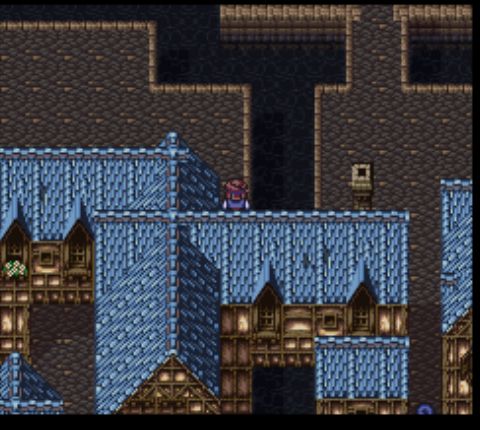 Fun fact: there's a hidden bridge that lets you skip the next part of the chapter. But it kind of feels like cheating, so I'll play it fair.  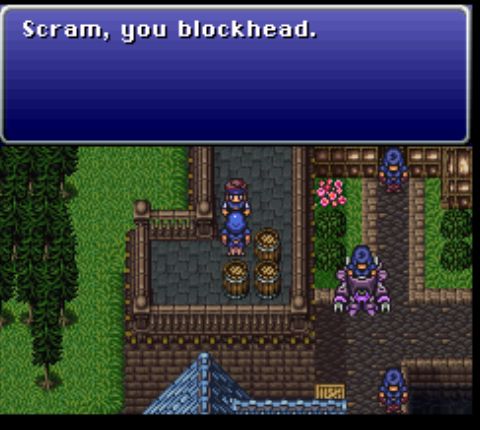 In the northwest portion of town is another guard with no sense of humor. And yes, he starts a fight with Batora too. You can probably guess how the next bit plays out. 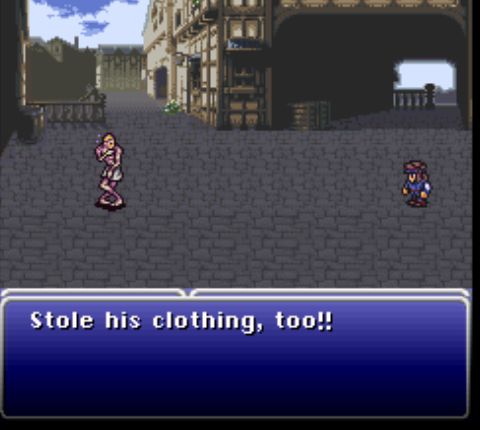 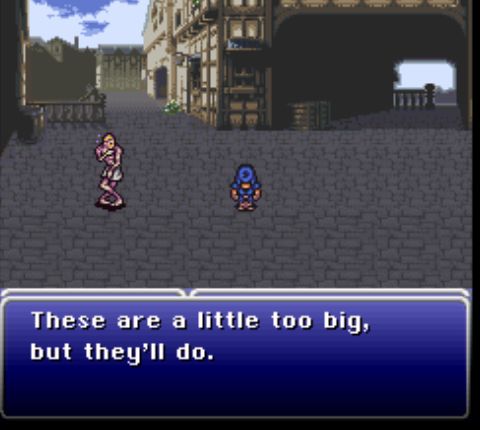 Yep, we beat him up and take his clothes. Now there are two nude men running around South Figaro. 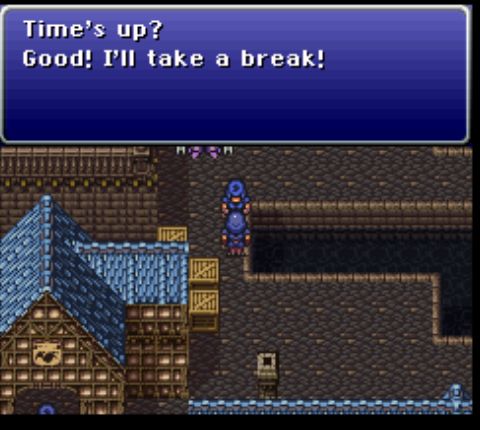 Now that Batora is dressed as a soldier, this guy, who was guarding the path to the southwest part of town, is prompted to move and let him by. Our next destination is a set of stairs leading into the basement of the cafe. 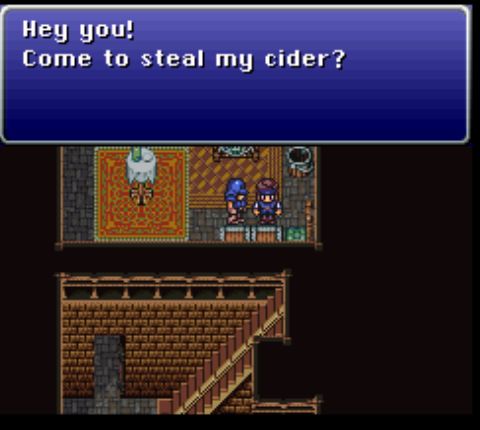 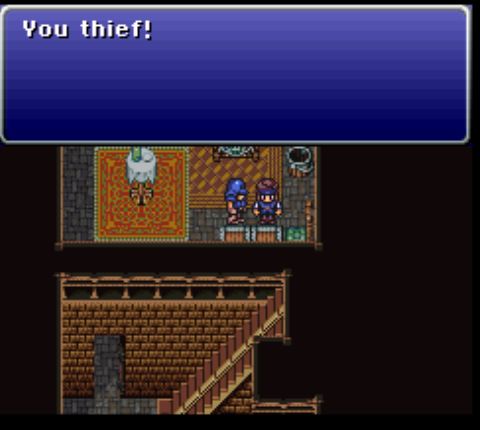 Inside is a small room with this guy, who has some cider. He accuses this random imperial soldier of coming to steal it and picks a fight, which is probably a poor decision regardless. 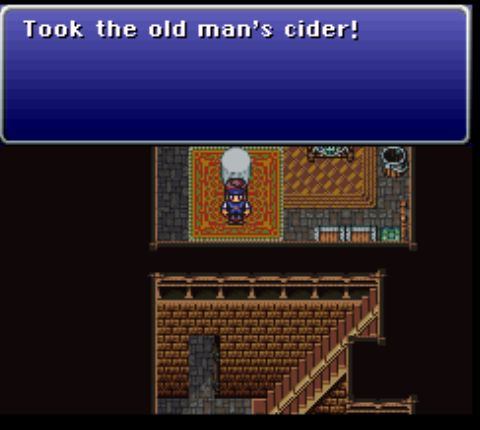 Of course, Batora does, in fact, take the guy's cider (along with his clothes again). Amusingly, he does this even if you never talked to the old man. Maybe people have a point when they call him a thief. In any case, the next move is, obviously, to take it back to the old man. 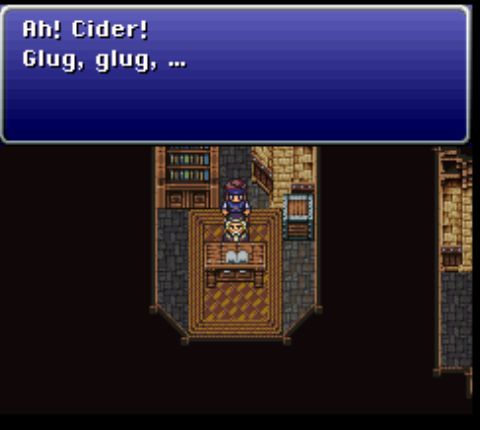 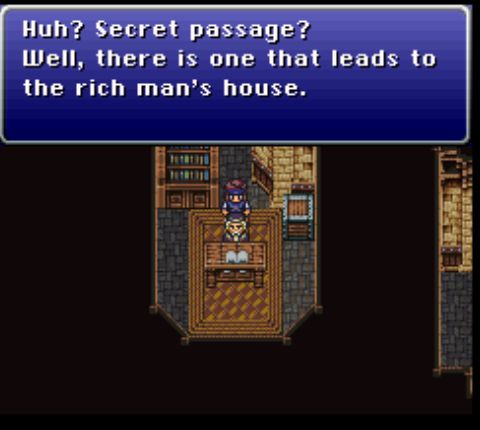  Useless old bastard. 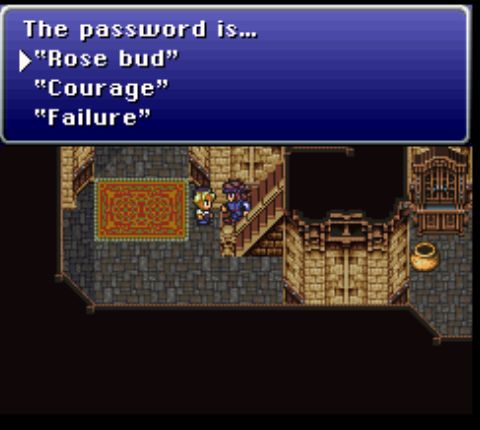 Maybe the first one? 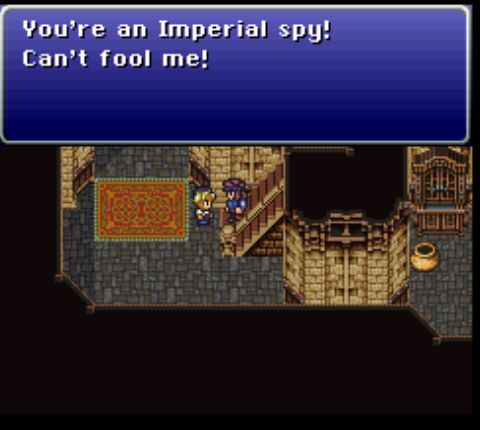 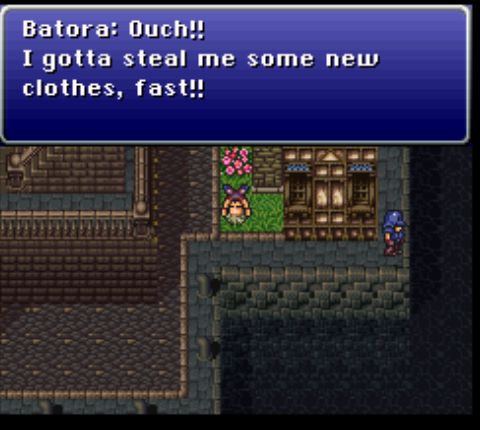 Nope. Better grab some more clothes (Nude guys in South Figaro: 4).  This is the correct password, though I'm not sure how you're supposed to figure this out apart from trial and error. 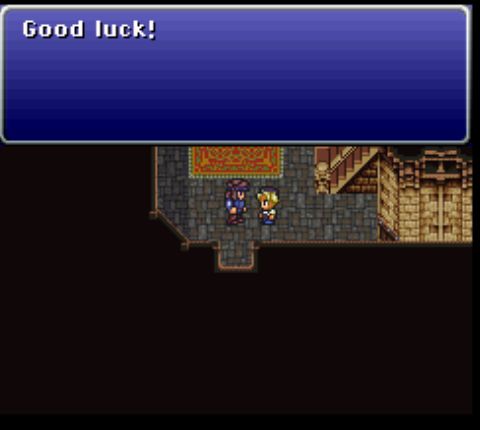 Thanks kid. At least someone in this town's not a complete dick. 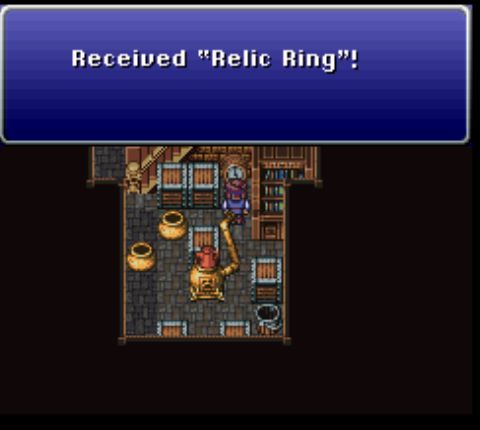 Inside the passage is a small room. Much like that of the old man in Narshe, the clock here is powered by a unique relic. 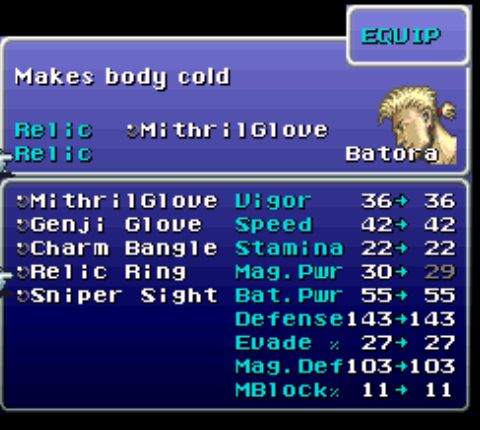 The description is a not very helpful hint. Essentially, it makes the wearer undead (and cold as a corpse). Death magic will heal them, but standard healing will only cause damage. It has some niche uses, but for now I'll be packing it away. Once the ring is looted, we can enter the actual passage, which leads to the big house in the northwest part of the town. 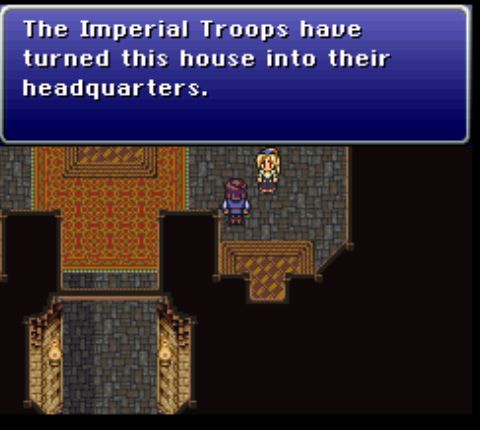 The place is crawling with soldiers, but at least a merchant can walk around without getting attacked. 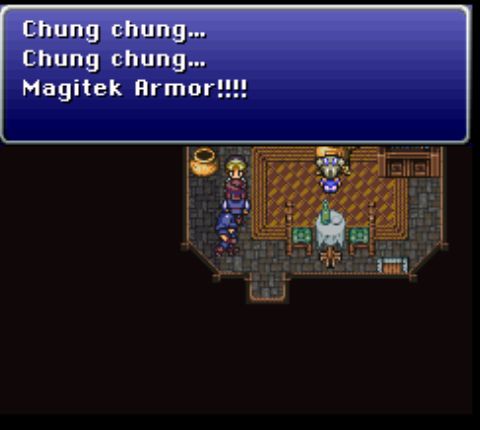 Upstairs is a room where some unfortunate soldier is babysitting two kids. I took this picture solely because I like this kid.  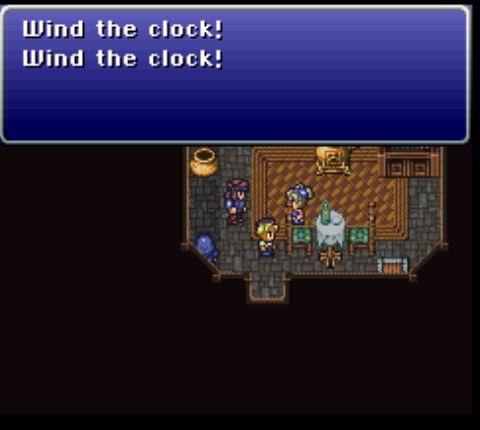 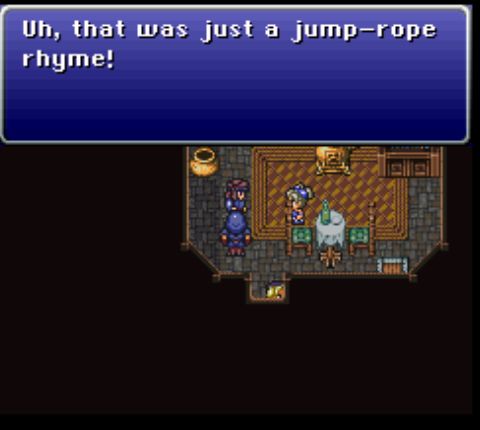 The girl's dialogue is definitely just what she says and not at all a clue for the future. 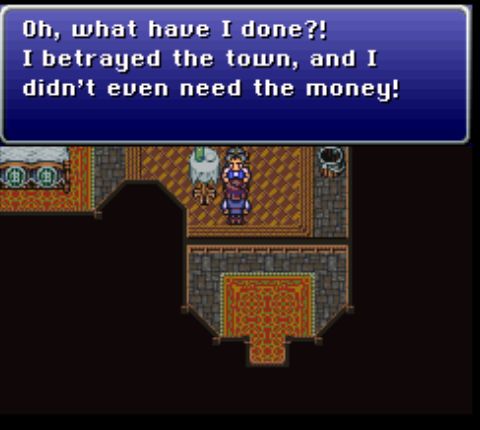 In the other room is the rich man who sold out the city. Greed begets greed, I suppose. The more important aspect of this room is that the music cuts out, and if you listen closely you can hear the sound of wind blowing. Duncan's wife mentioned this. 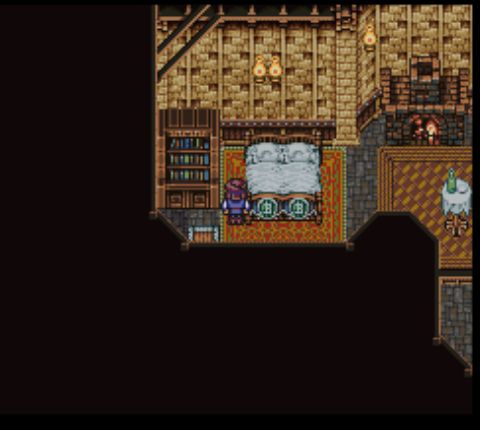 Behind the bookcase is a secret passage. 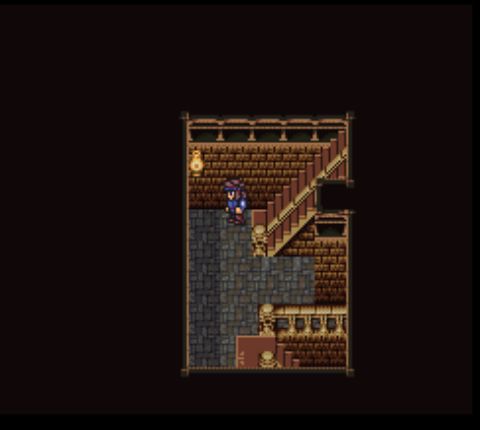 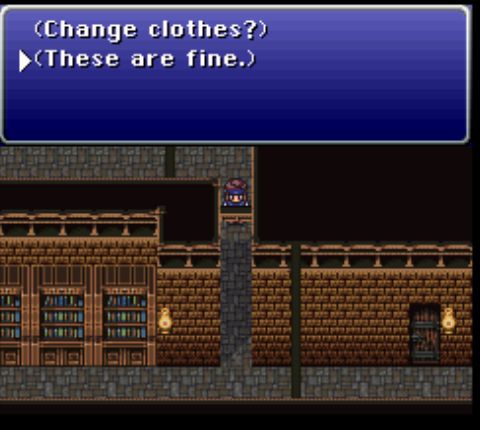 The game gives us the option of changing out of the merchant clothes, but there's no real need to do so. 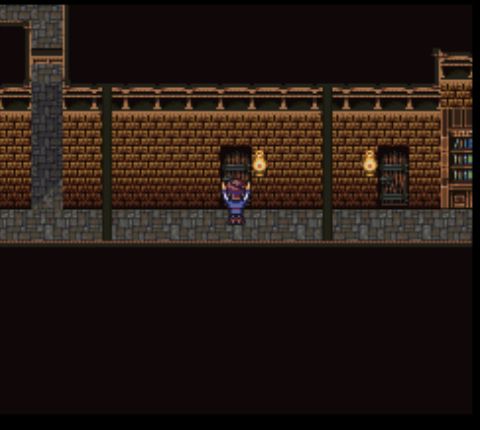 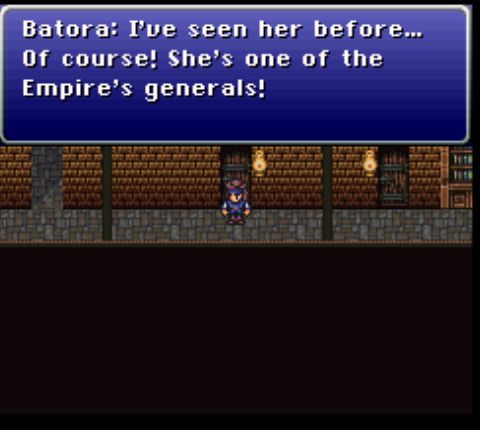 As we pass by this door, Batora automatically walks up and peeks inside. Apparently he recognizes someone. 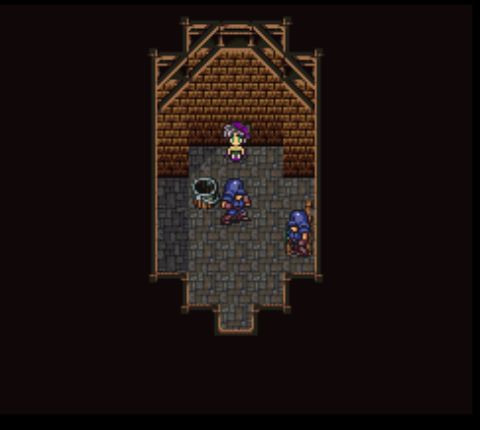 This is one of the empire's generals? A little girl? It's never discussed, but more likely it's one of those "older than she looks" things. Goddammit, Japan. 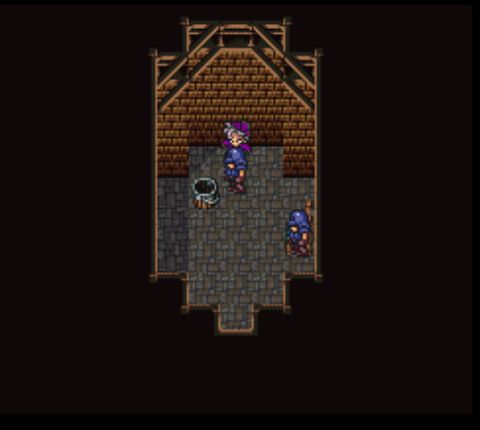 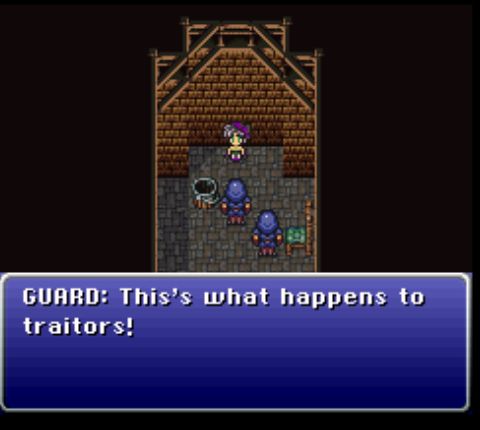 Oh yeah, and this guy is beating the poo poo out of her. This is not okay. 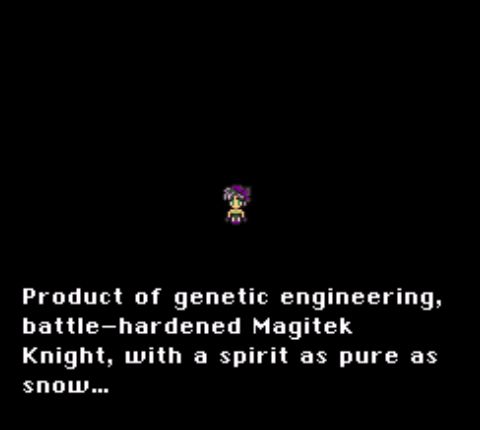 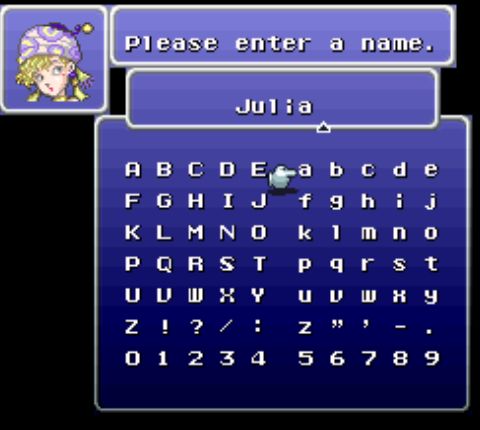 And her name is Julia. How mundane. 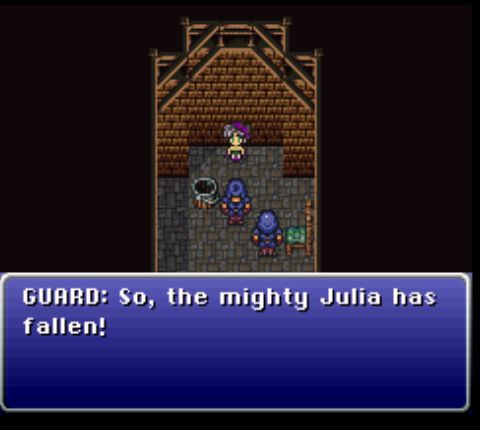 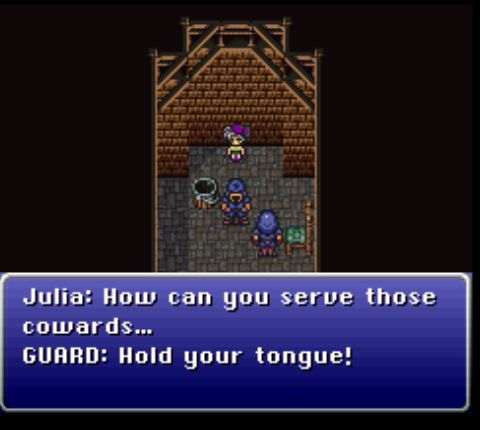 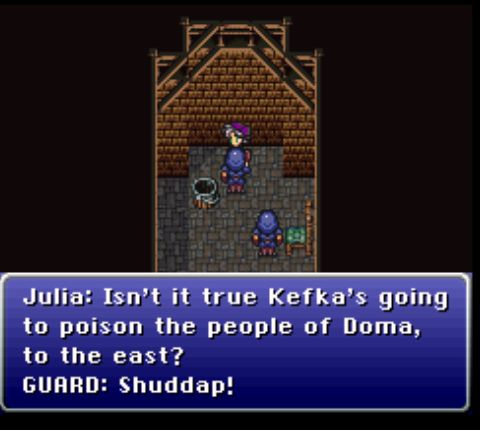 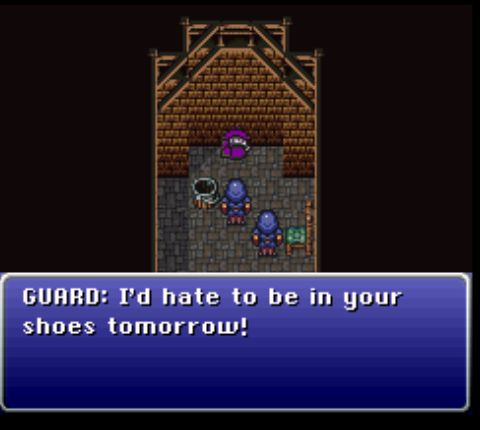 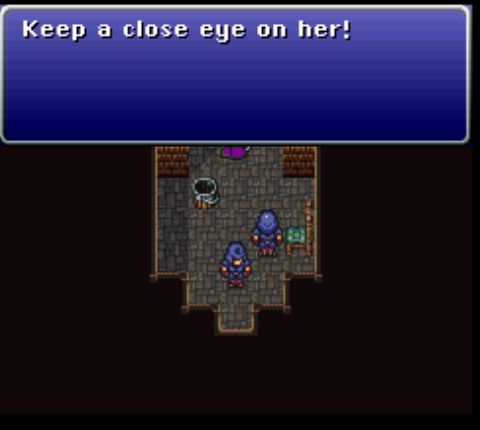 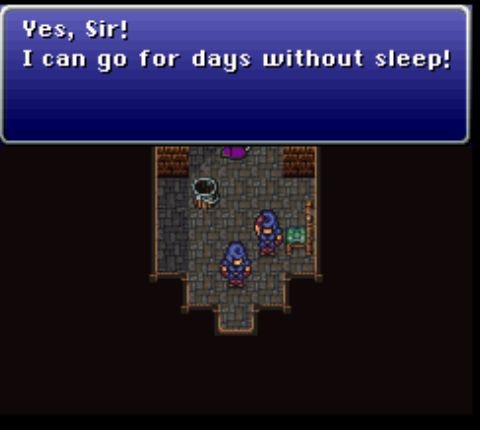 In case you needed to be told, the empire is kind of evil. 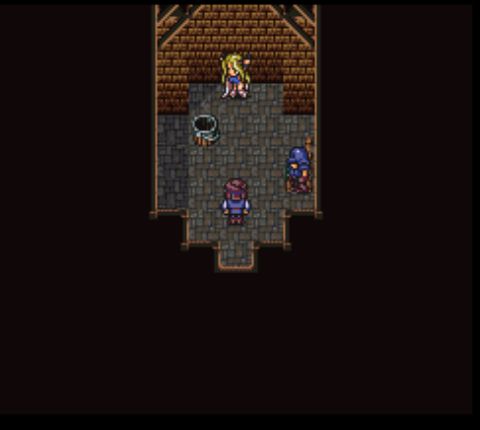 Batora enters the room. The girl is chained to the wall, though her sprite looks a bit off. Most likely they didn't work on it much since it only gets used here. 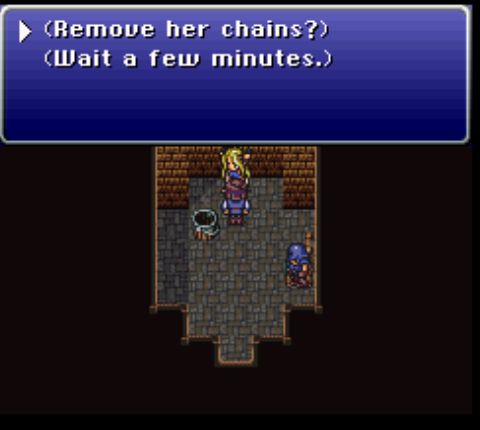 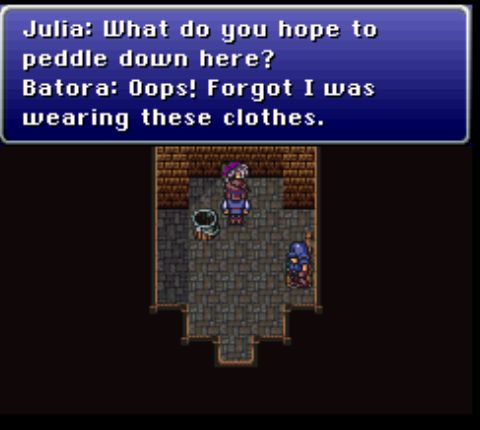 The reward for keeping the merchant clothes is a couple extra lines of dialogue, which I find amusing. 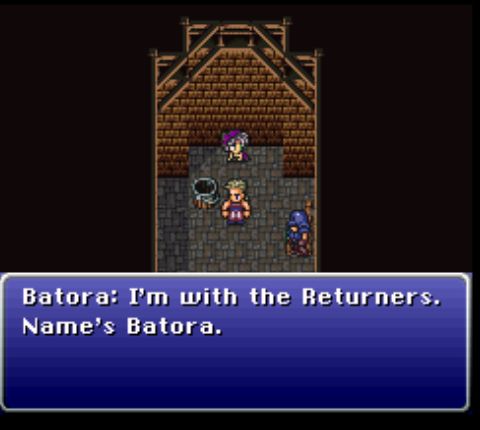 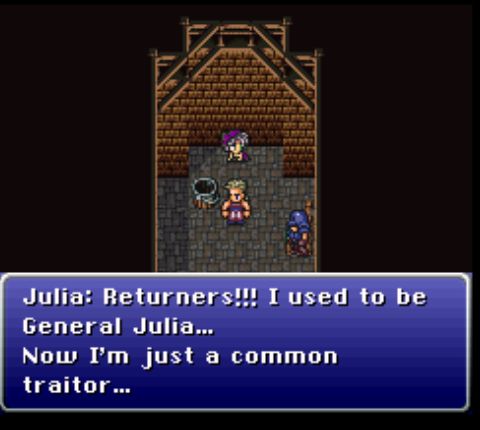  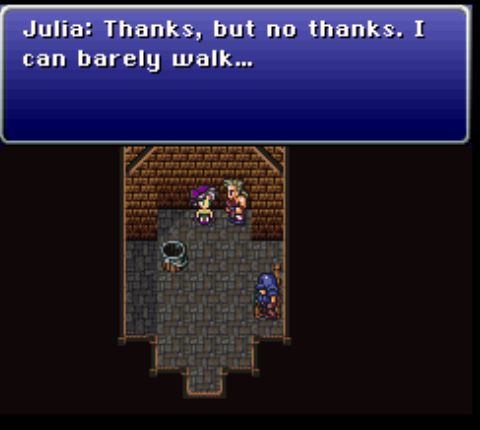 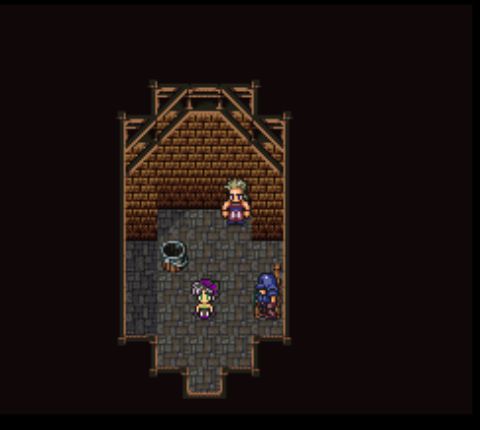 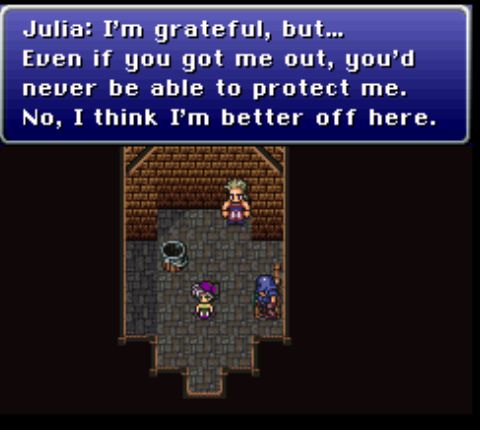 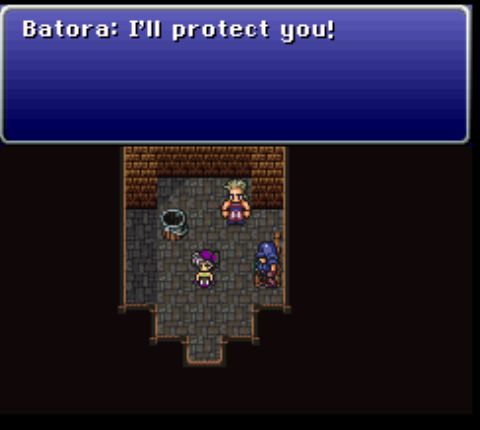 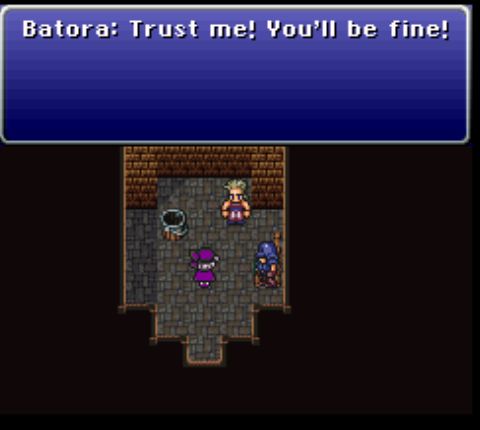 More white knighting from Batora. 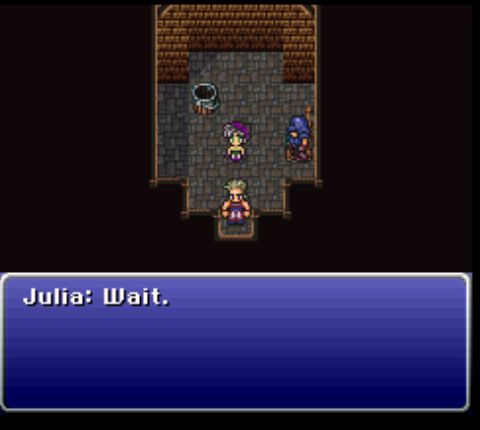  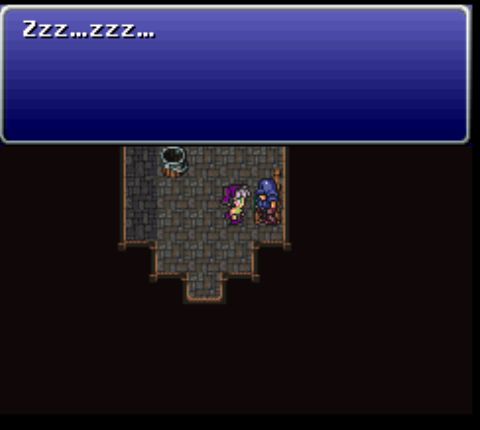 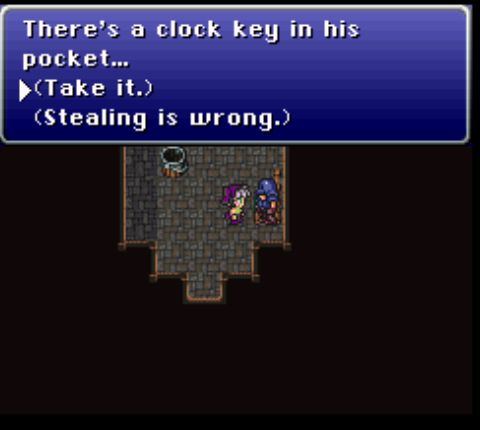 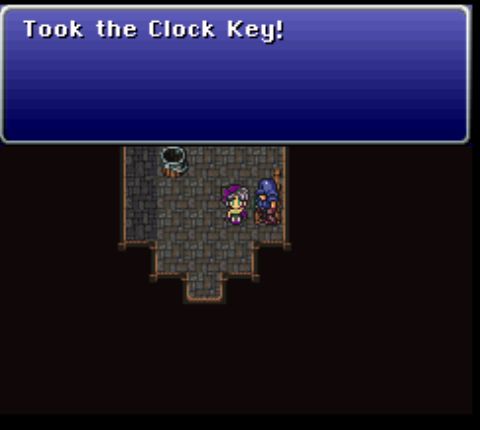 He's carrying a key for some reason. 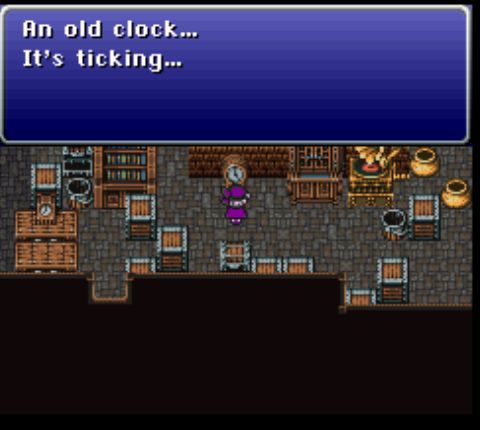 The next room over is kind of a cluttered mess. There are some chests with minor treasures, as well as this clock. Despite what the little girl said in the house above, we can't wind it. 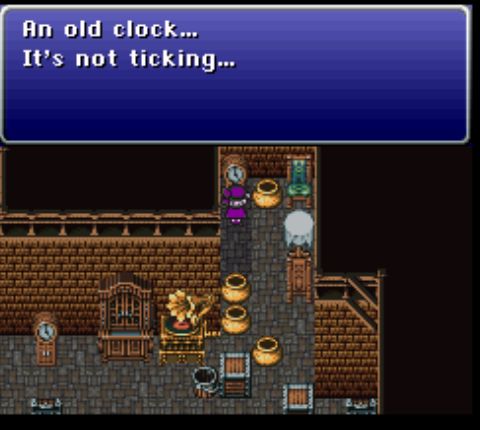 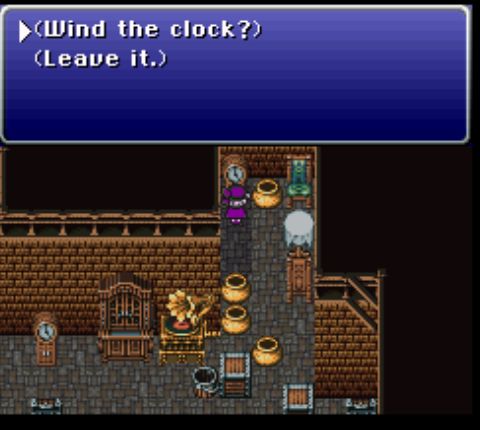 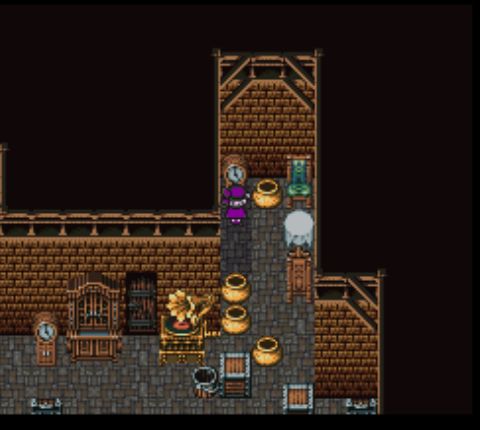 This other clock can be wound, though, and it opens up a secret door in the wall. On the other side is a maze of passages both visible and hidden, full of enemies. 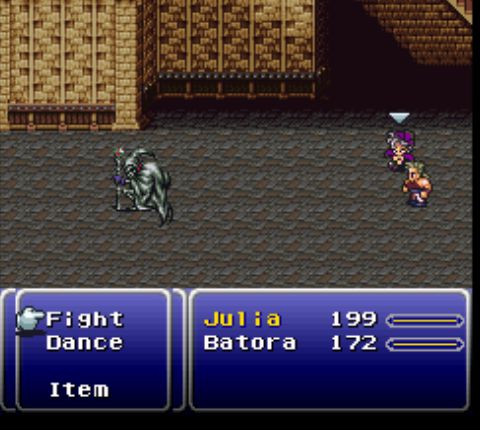 And here are Julia's battle commands. We've finally recruited the person for whom we were learning all those dances.  Julia's Dance command is tied broadly to the eight different types of terrain in the game: plains, forest, desert, urban, mountain, water, cave, and a terrain type we haven't seen yet. Since this is a town, let's show off its native dance, Love Sonata. 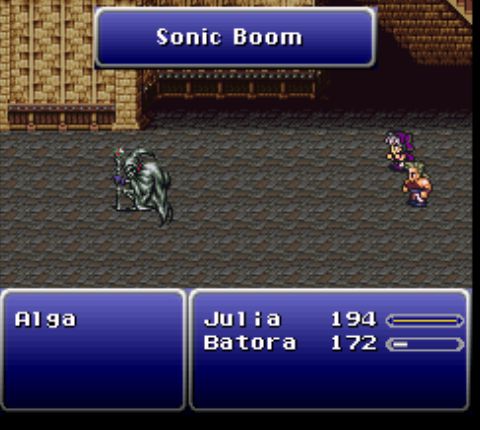 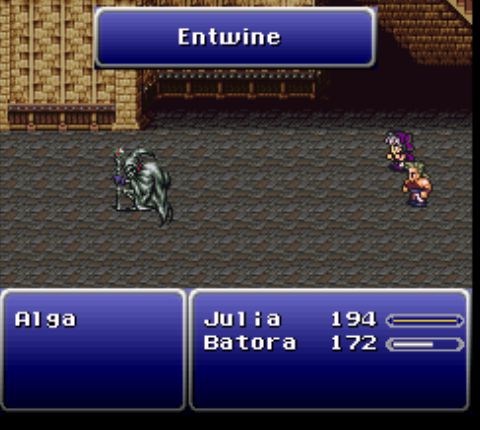 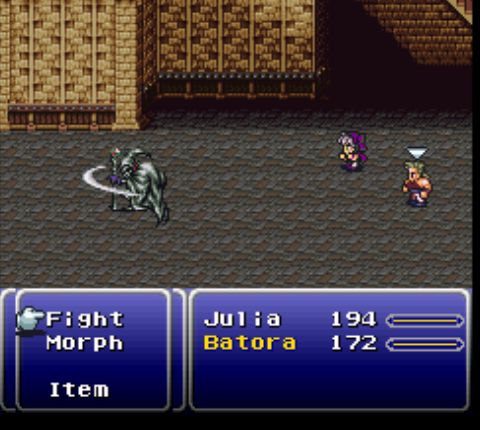  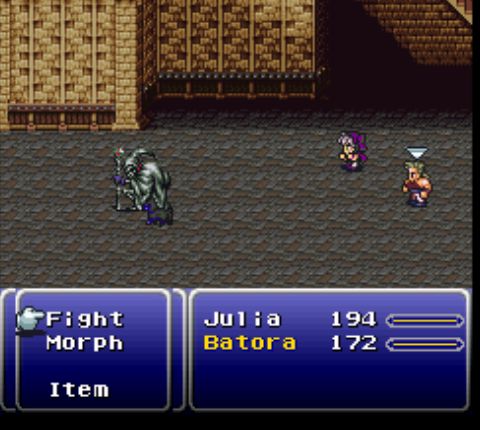 Dance's gimmick is that it makes the Julia uncontrollable. Instead of her normal actions, she'll perform one of four actions, depending on the dance. The action is random, but some actions are more likely than others. Sonic Boom tosses out a blade-like projectile that deals damage based on the target's current HP. Entwine inflicts slow on all enemies. And Wild Fang summons a cute little dog which can deal some pretty impressive damage. 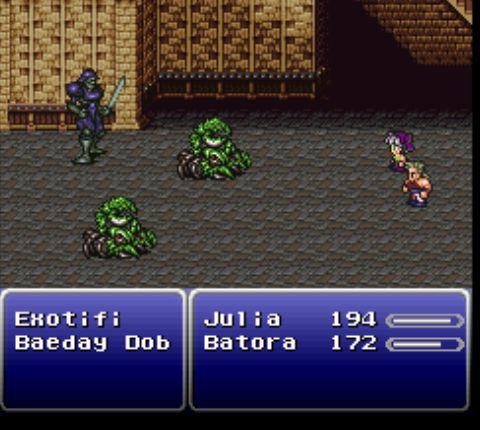 How about I give Wind Song a try? 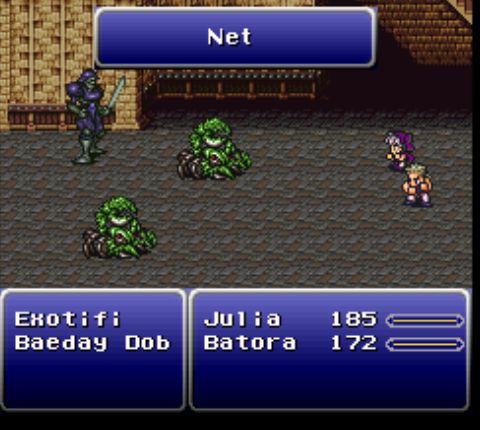 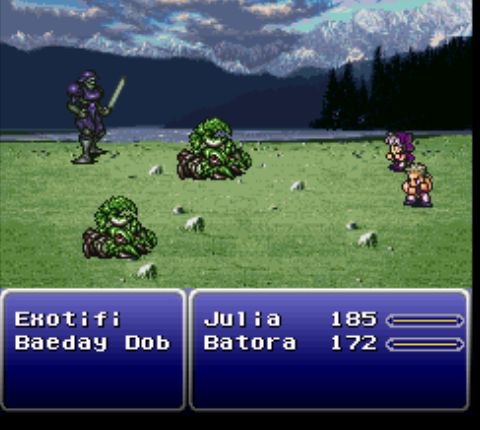 Using a dance not native to your current terrain actually changes the background, which is a little surreal at times. 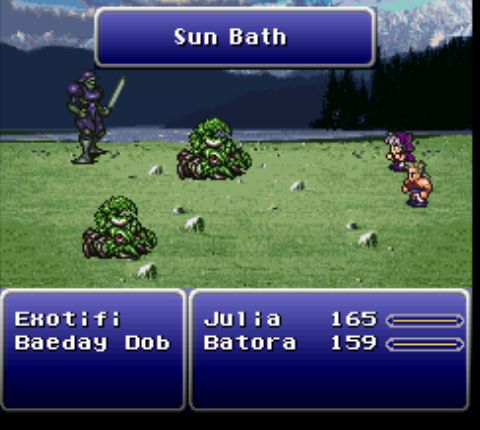 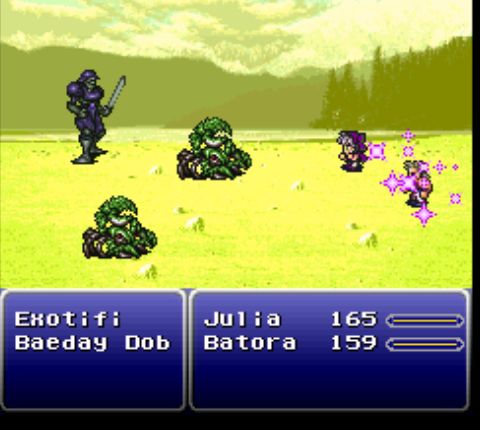 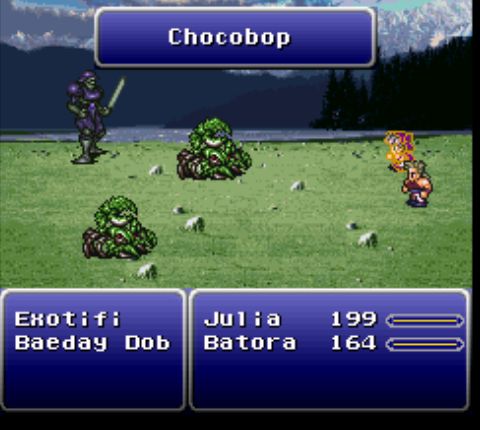  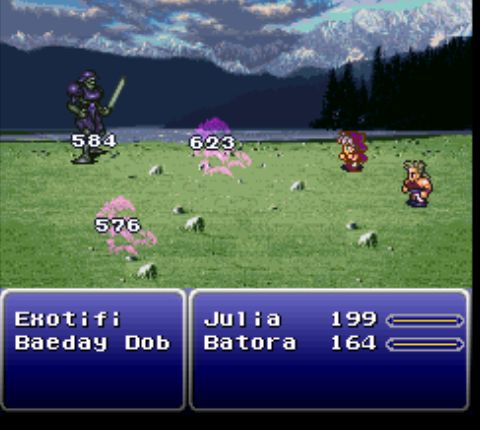 Net inflicts stop on a single enemy, and always works as long as the target isn't immune. Sun Bath heals the party and is fairly common, making Wind Song a passable choice for long battles where other sources of healing aren't available. Chocobop summons a stampede of chocobos to trample enemies, which turns out to be just what I needed to win this fight. 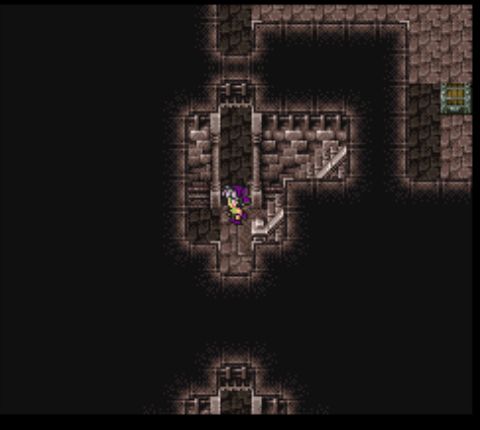 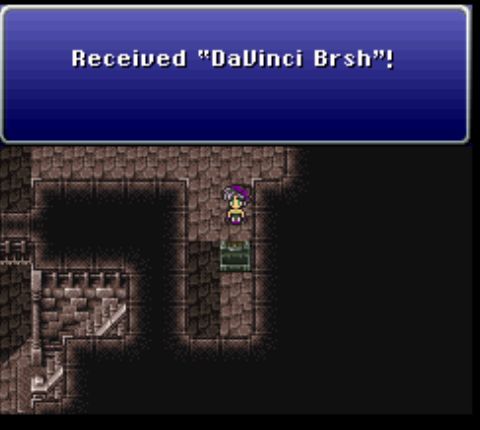 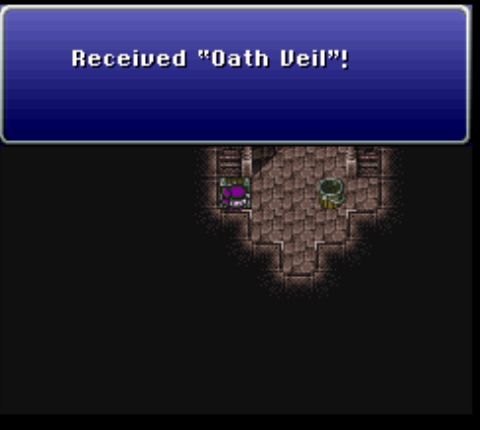 One of the hidden passages in the maze leads to this creepy subbasement, which contains two valuable treasures. The DaVinci Brush is a solid weapon for Riku, who's clearly a closet artist (though the game never actually calls this out). The Oath Veil, meanwhile, is some strong armor for this stage of the game. 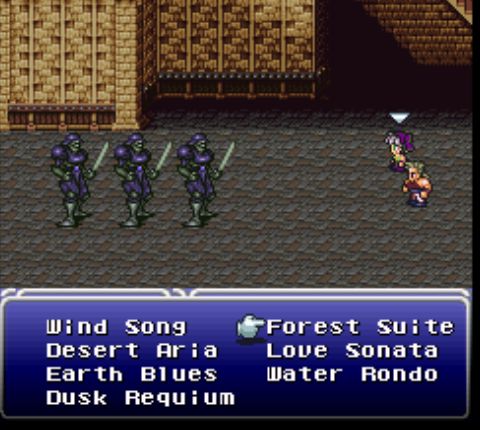 Time to show off- 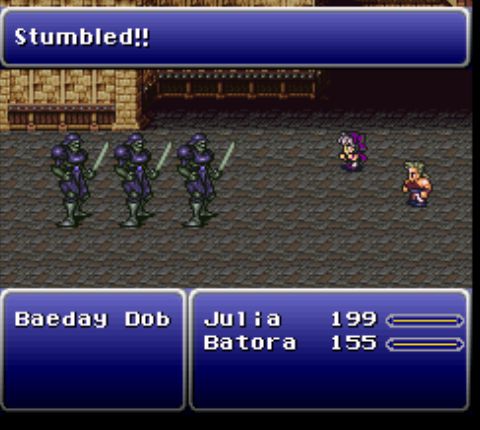 Or not. Trying to use a dance not native to the current terrain has a strong chance to fail, though once it succeeds there's no risk of stumbling on future actions. 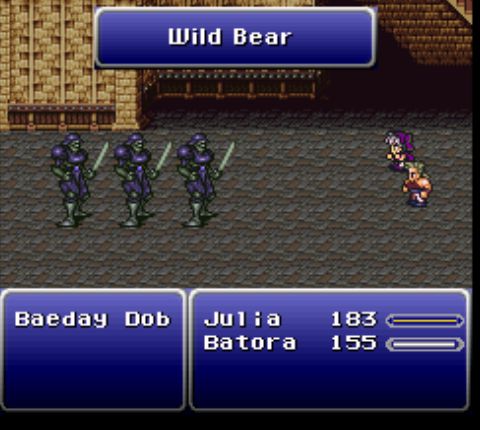 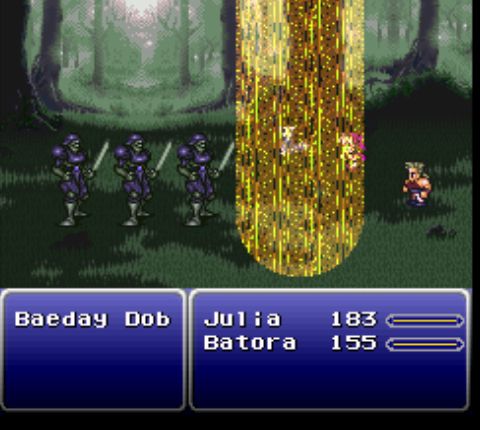 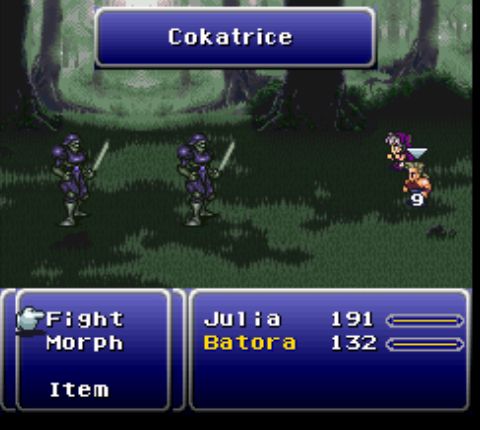 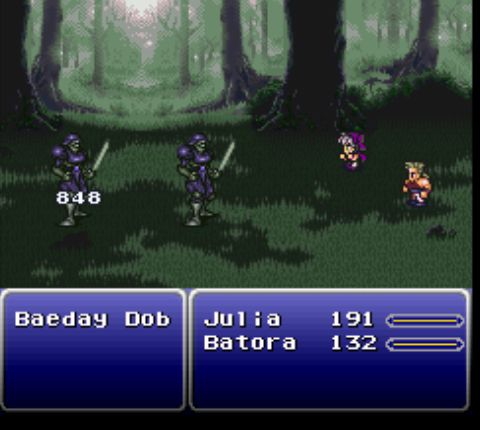 Anyway, Forest Suite. Wild Bear heals the party, similar to Sun Bath (though it's much rarer). Cokatrice [sic] summons what is presumable a cockatrice, which damages en enemy and has a chance to petrify it. Despite the fact that it flies, it's an earth-based attack, so birds and other flying foes are immune to it. 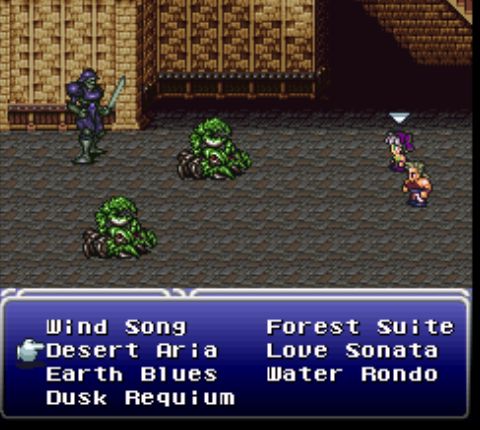 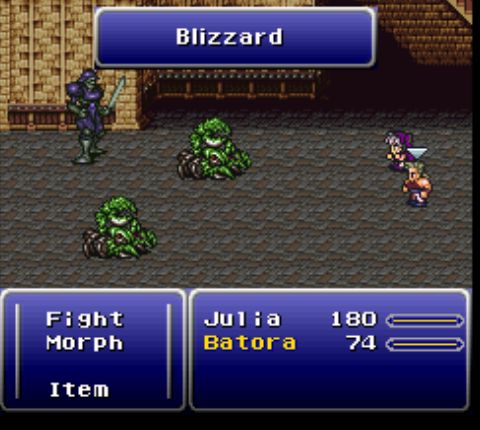 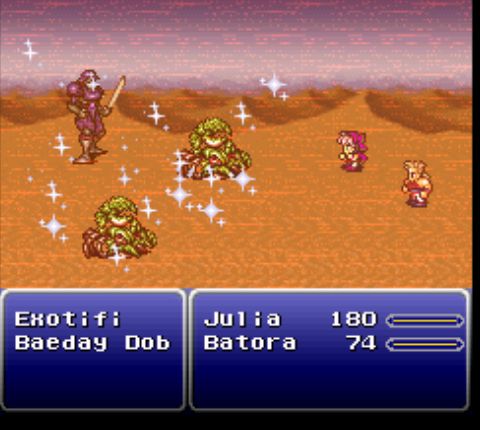 Desert Aria's most common attack is, bizarrely, Blizzard. It deals lackluster ice damage to all enemies. It was also all Julia wanted to use. 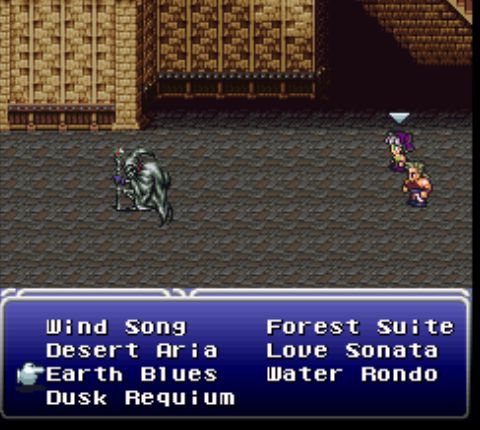 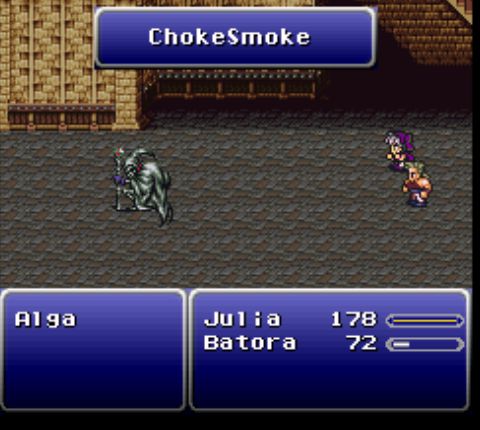 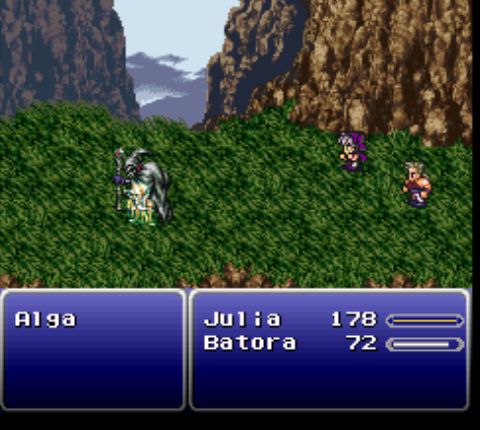   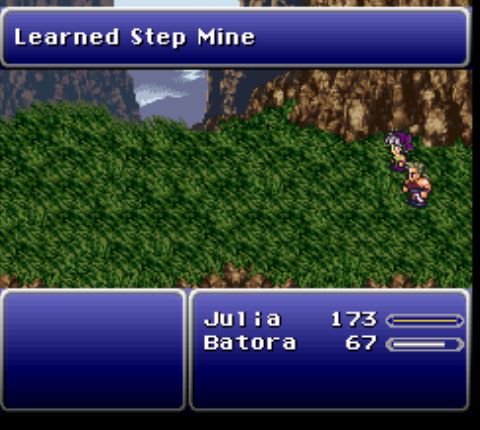 ChokeSmoke inflicts Zombie status on an enemy, which doesn't work on this Narshe guard palette swap. Step Mine, however, does some pretty impressive damage. It's also a Lore, and using it via Earth Blues is enough to learn it. 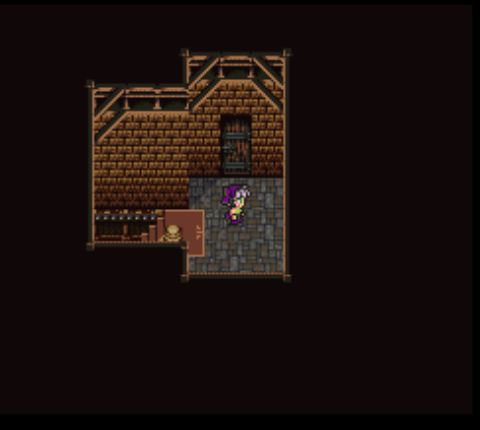 Finally, the exit. 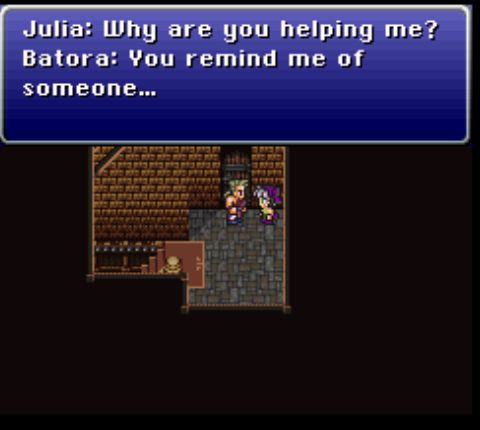 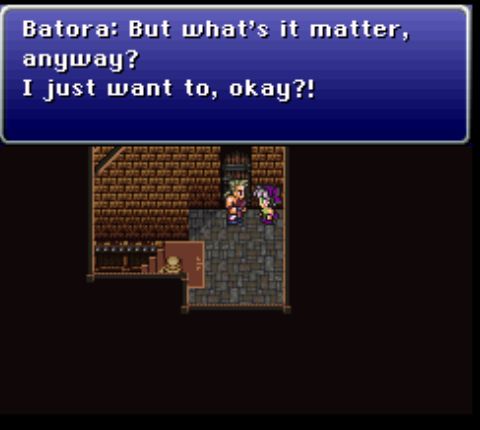 Um. Okay. Even if Julia's older than she looks, this still seems creepy to me. 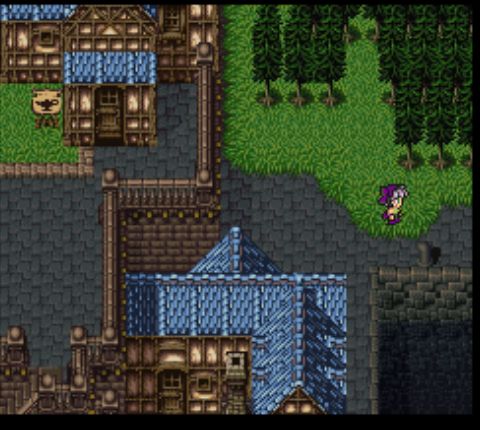 Anyway, let's get the hell out of this town. 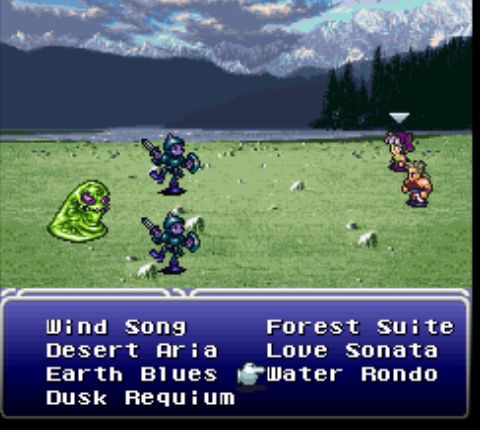 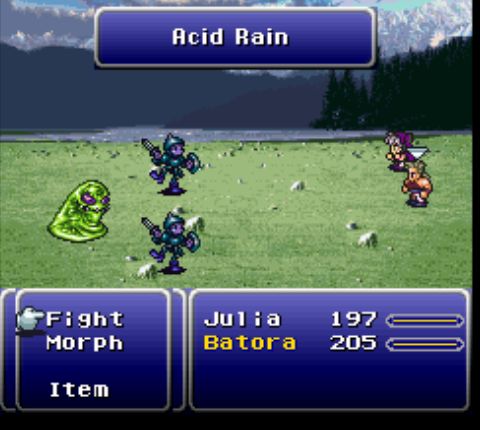 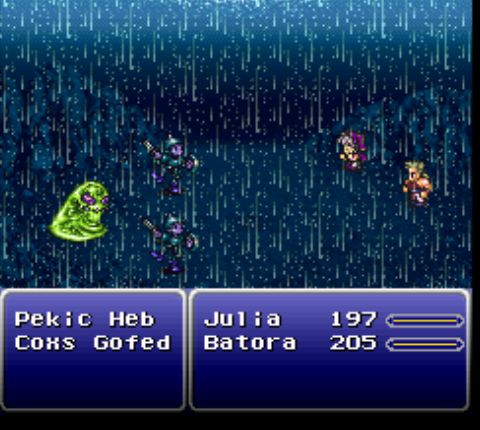 Acid Rain is identical to the second half of Dio's L5DAcid ability. 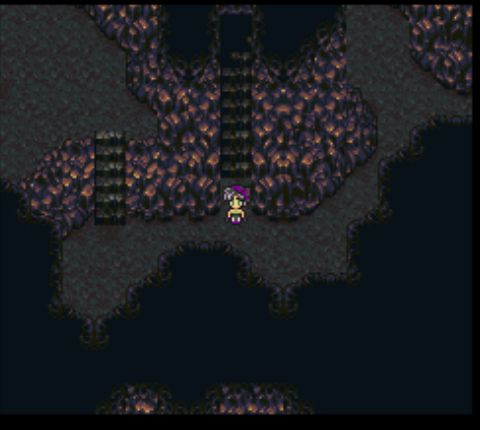 After resting up at Dio's cabin, we head into the South Figaro cave. The place occasionally shakes and makes earthquake noises.  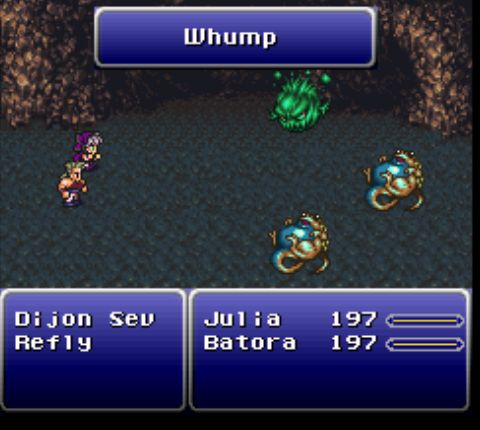 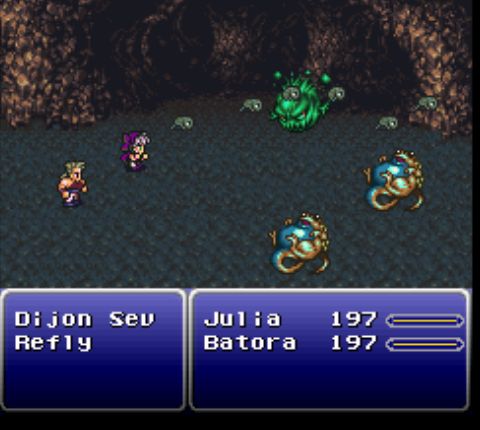 Whump deals solid earth-based damage to a random enemy. 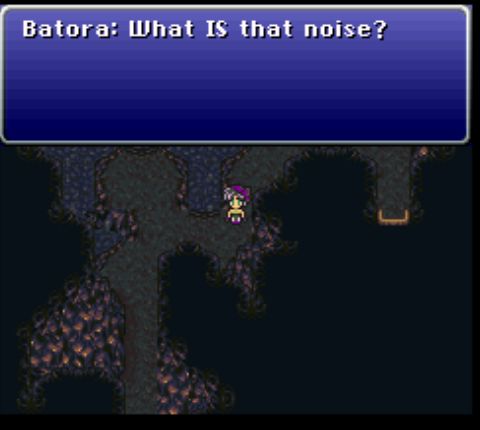 Seriously.  Guess we're about to find out. 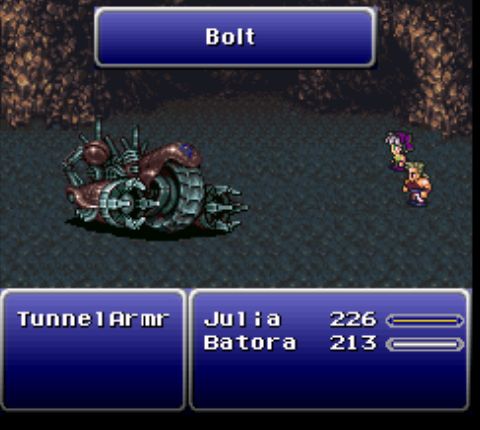 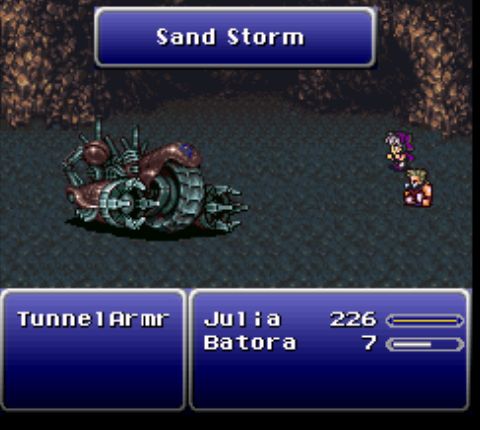 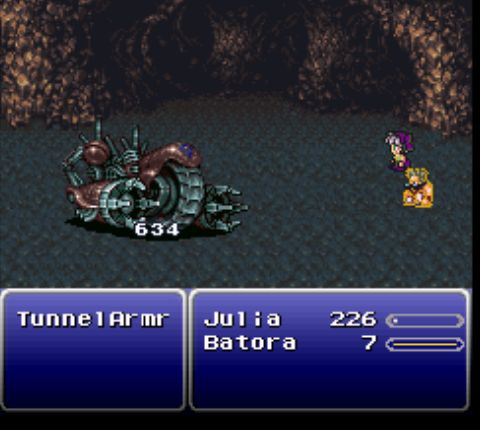 TunnelArmr is a mechanical boss that attacks with fairly powerful black magic and mediocre physical attacks. The boss is weak to wind damage, so the best strategy to fight it is to use Dusk Requiem, which has a decent chance to attack with Sand Storm. That's not, however, what actually killed the boss in this run. What actually did the job was something I entirely failed to screenshot: Batora's desperation attack, Mirager.  It took me completely by surprise. It took me completely by surprise.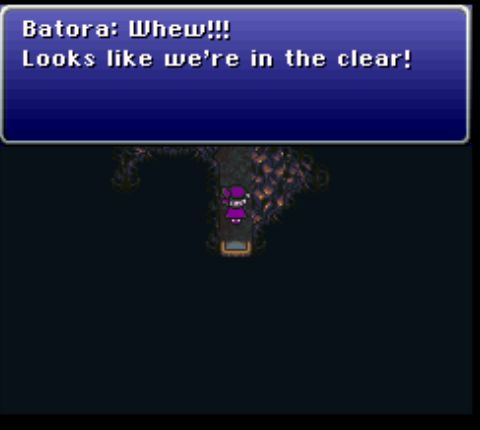 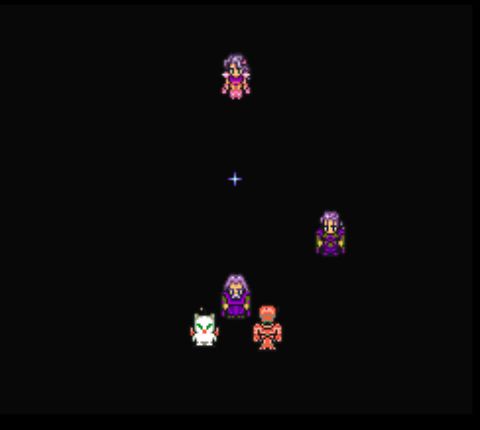 With that done, we can finally get out of here, ending Batora's chapter. Due to the way the votes went last since the last update, we'll be going through Dio's chapter next.
|
|
#
¿
Aug 27, 2018 20:00
|
|
|
Chapter 6 Warning: Lots of in-game text in this update. 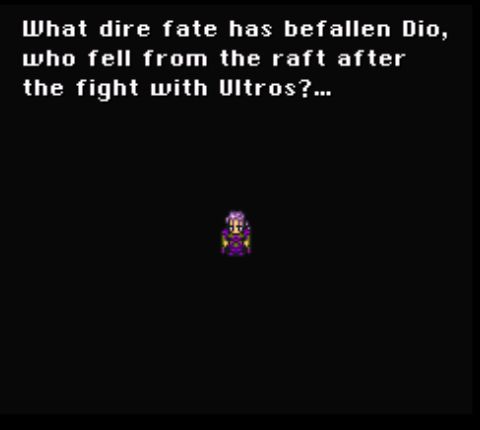 Since everyone wants to see Riku's group last, we open this week with the spotlight on Dio. 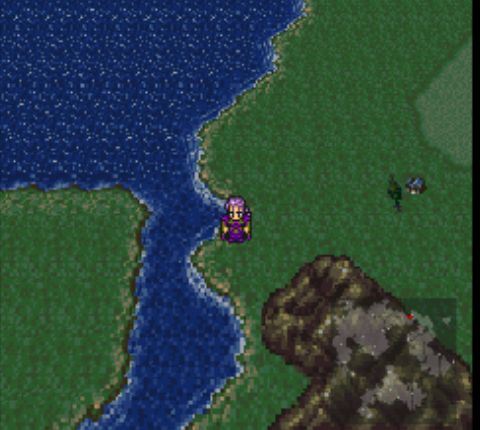 He arrives on the edge of a river, which checks out. May as well go see what that house is about. 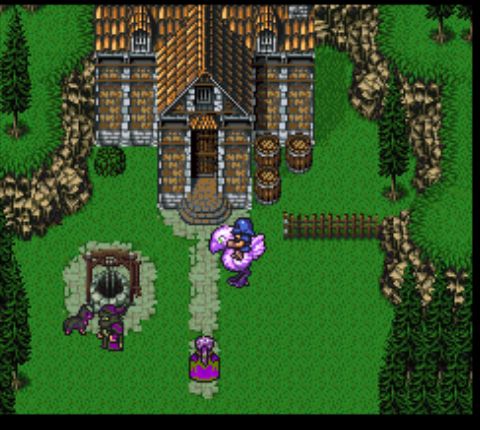 When we enter the place, twangy Western music starts playing - the theme song of that assassin we met back in South Figaro. 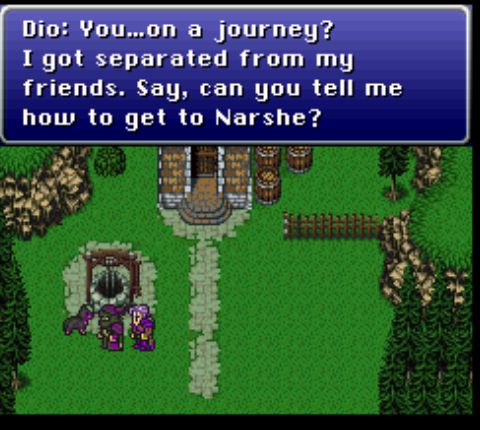  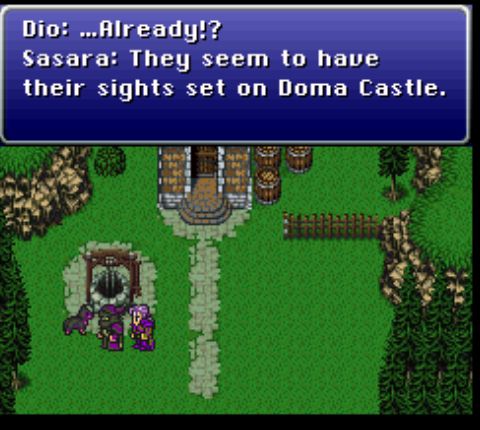 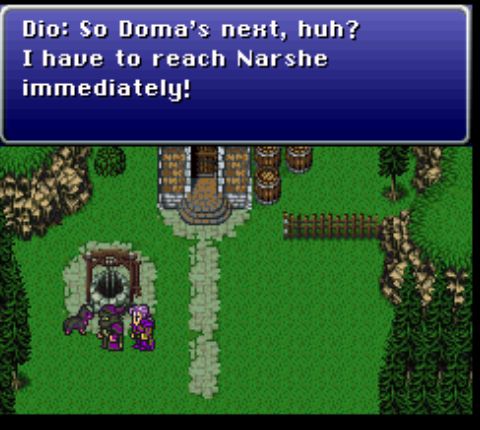 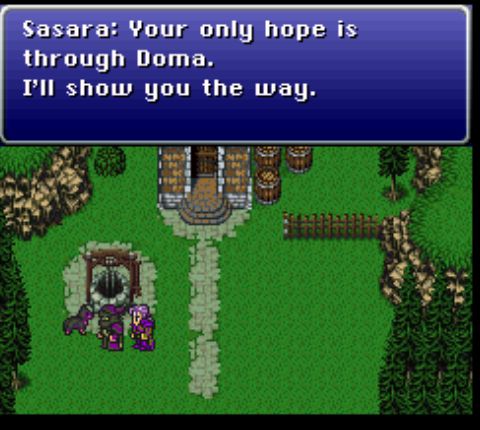 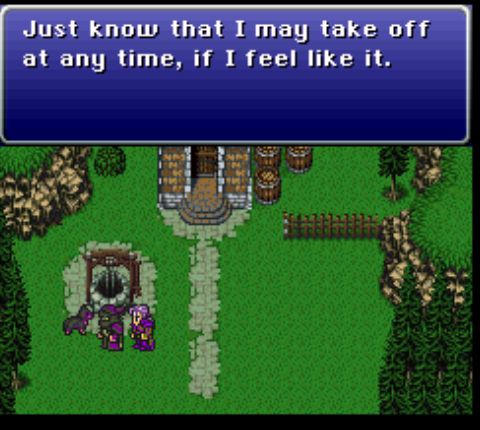 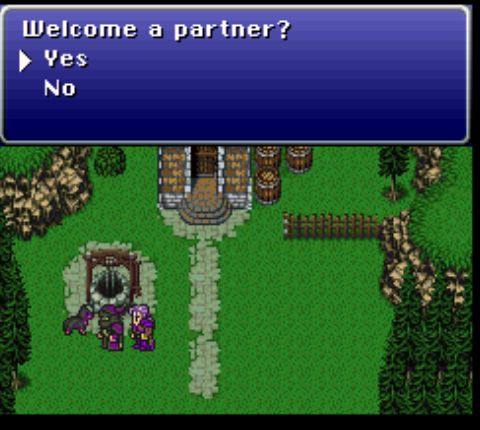 No reason to say no. Also, the guy on the chocobo left while I was talking. 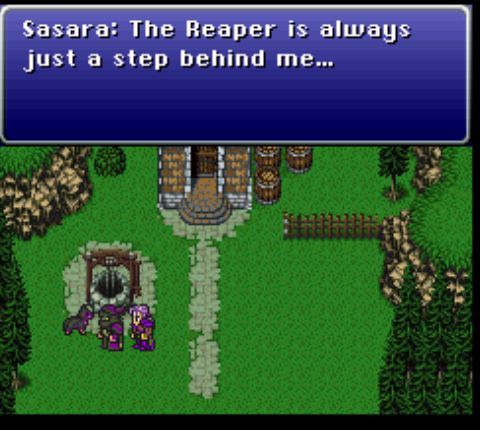 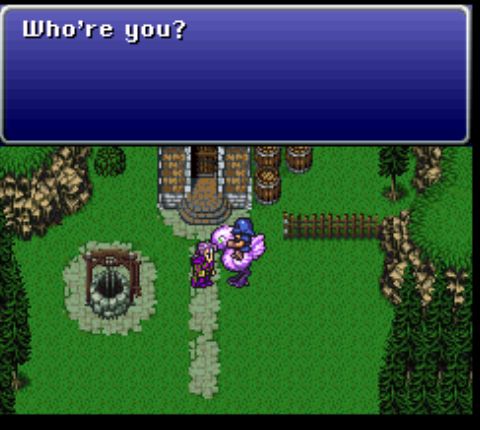 After leaving and reentering to respawn the chocobo rider, the place takes on a much goofier musical theme. 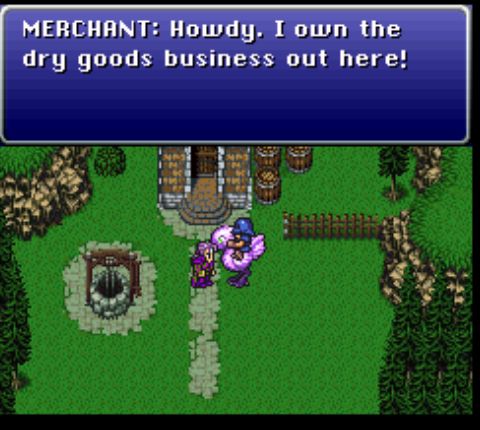 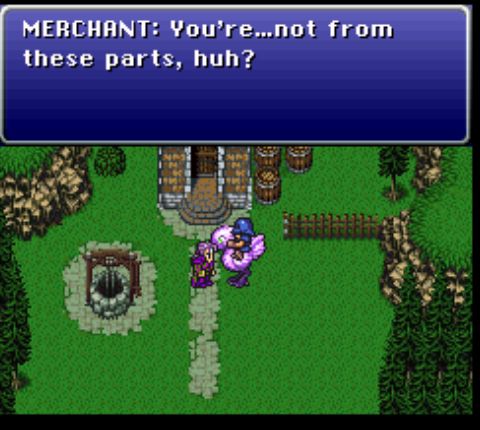 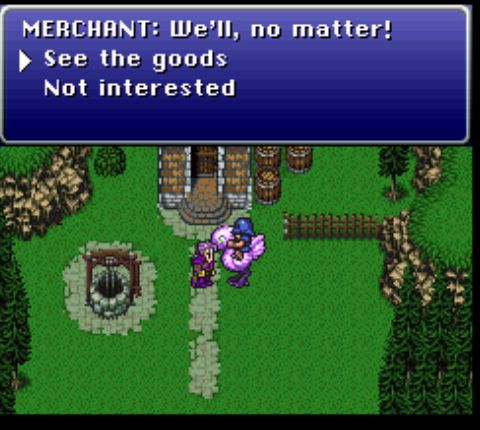 The most notable thing about the merchant is that he sells a relic called Sprint Shoes:  Despite the description, they don't actually do anything related to walking speed - characters already move pretty quickly outside of specific, scripted scenes. They actually have another, hidden use, which I'll get to in the future. 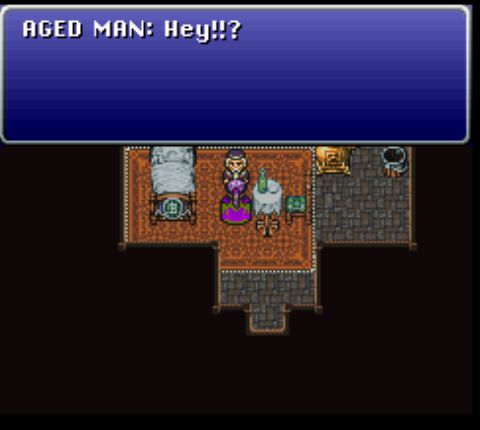 Inside the house is this old man who wants us to fix his clock. Although you can't see it in these screenshots, he doesn't actually have one. 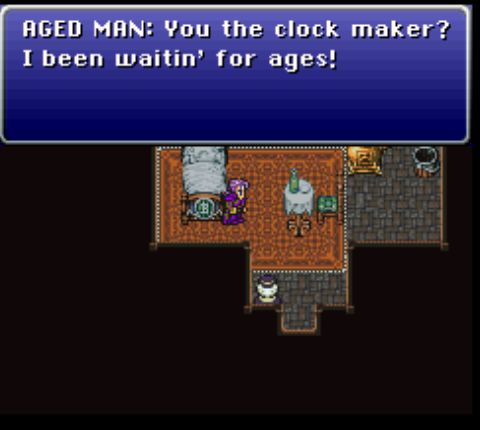 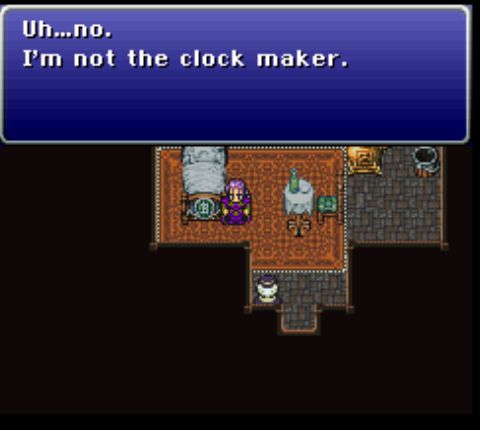 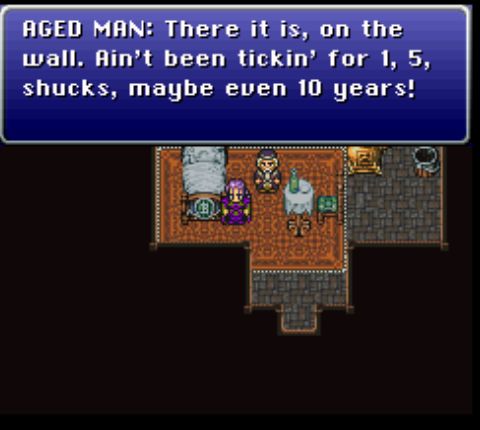 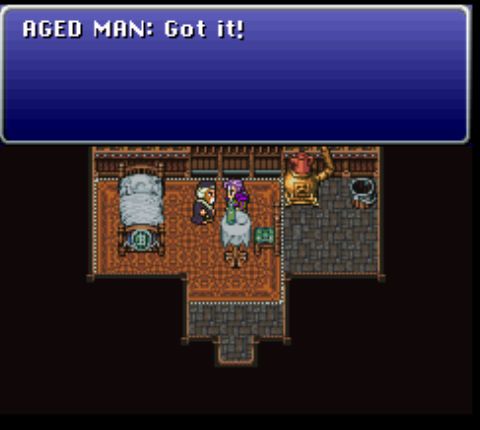  He also doesn't have a visible lawnmower, and even if he does, the back of his house is against a sheer rock face. 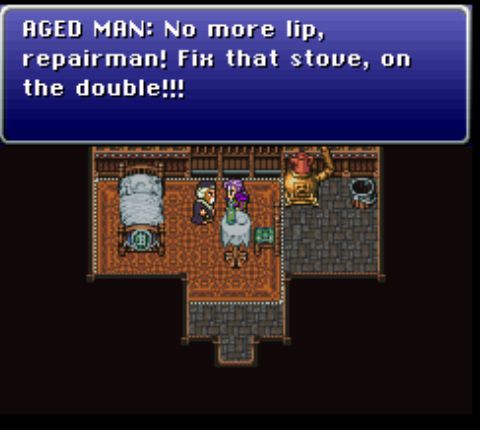 He does, at least have a stove, and if you examine it it's implied that doing so nearly incinerates the party. 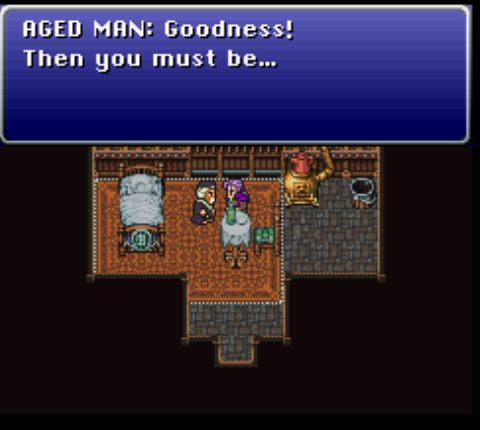 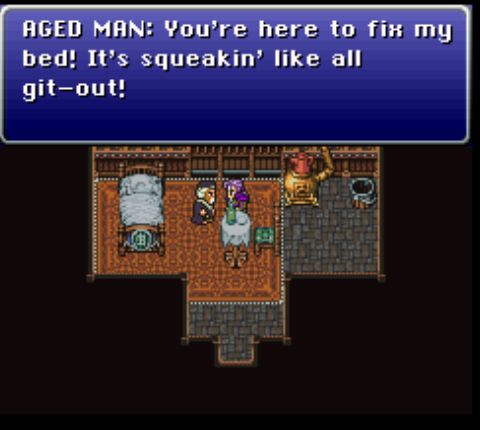 ...I'm leaving. 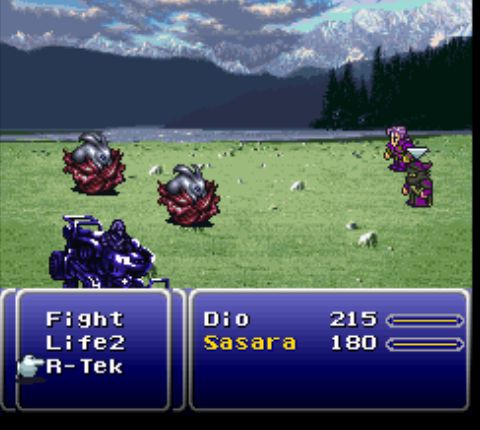 And here we can see the assassin Sasara's battle commands. Life2 is an unusual choice for someone who kills for money, as it duplicates a magic spell, returning someone to life with full HP. 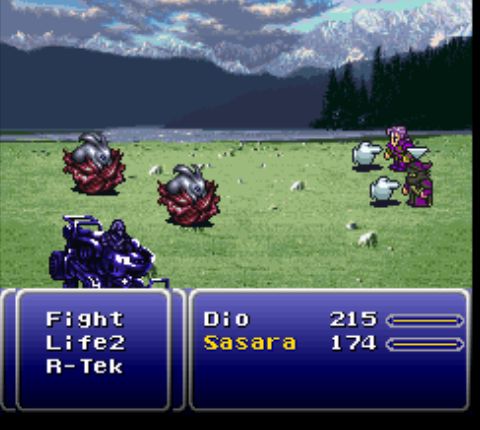 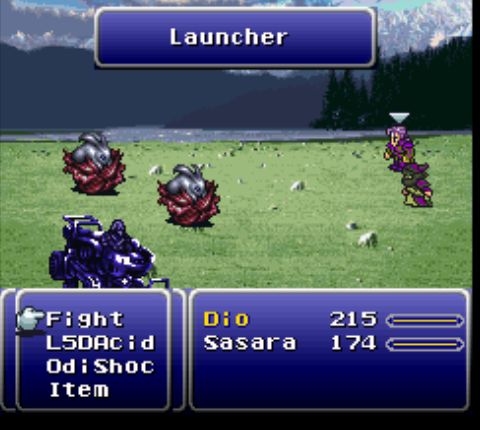 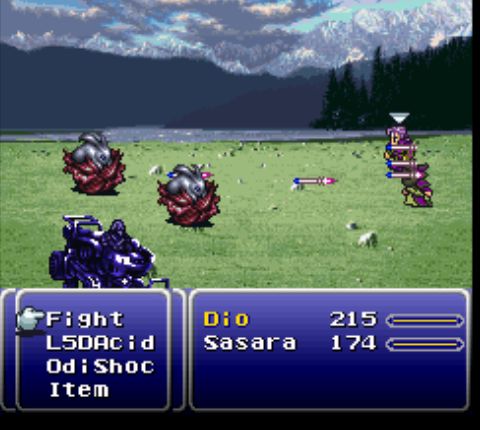 R-Tek, meanwhile, produces on of several, randomly-chosen powers, all based on technology. In this case, he fires a bunch of missiles at enemies. Nowhere is it explained how he came by either of these powers. 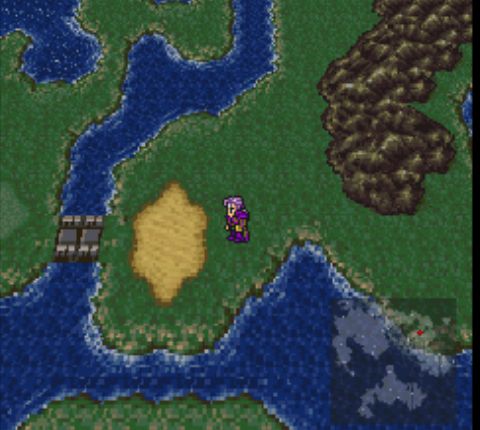 South of the old man's house is this unassuming patch of sand next to a bridge. 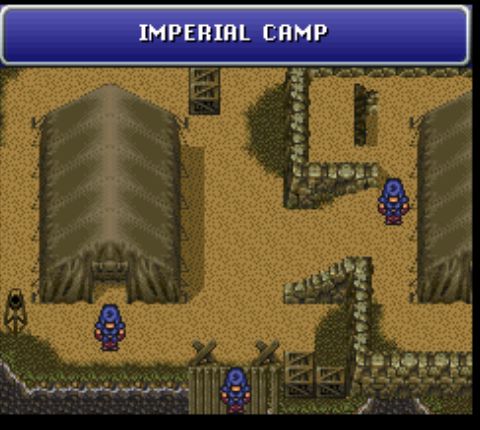 It's actually an imperial military base. 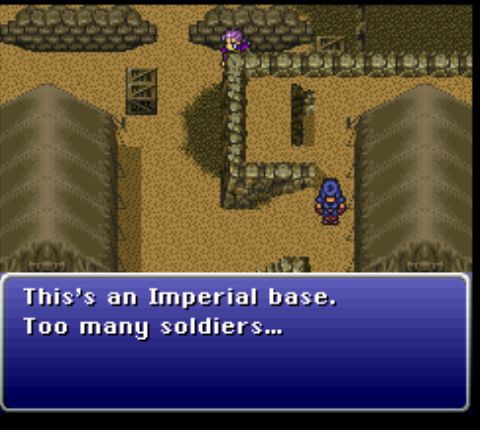 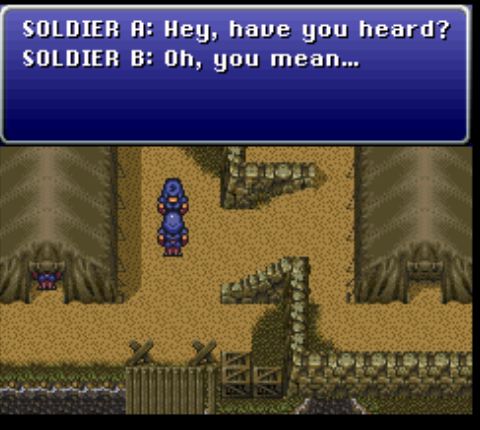 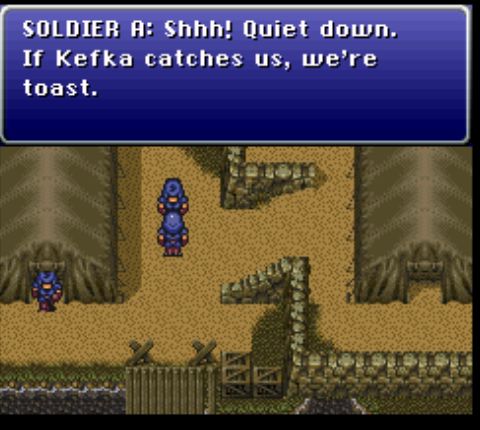 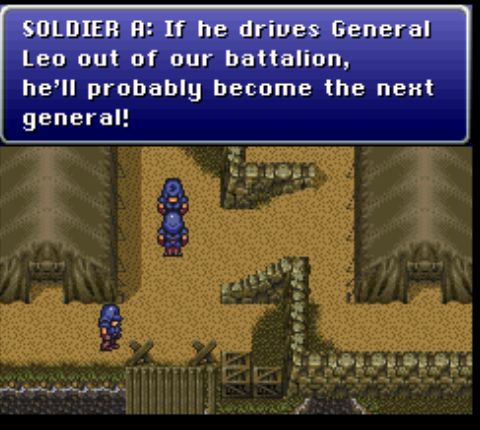 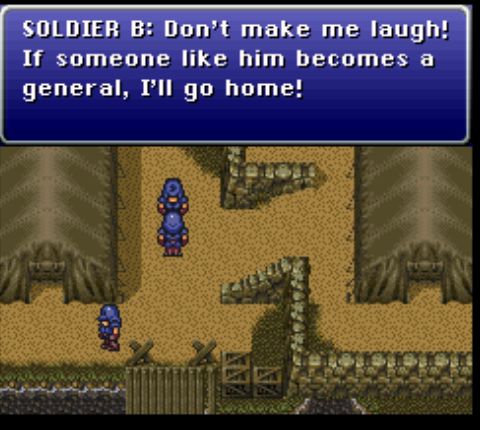 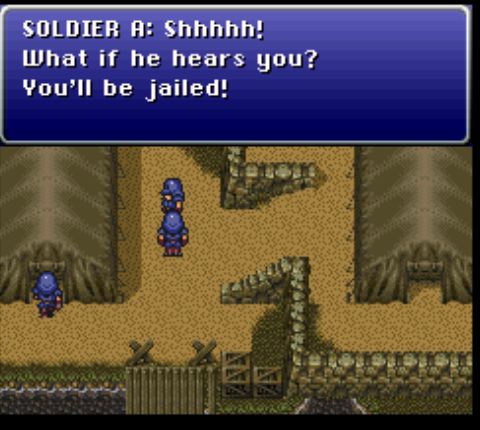 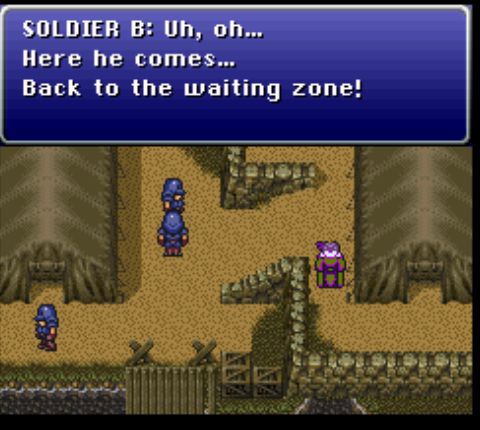 Oh it's the pyromaniac again.  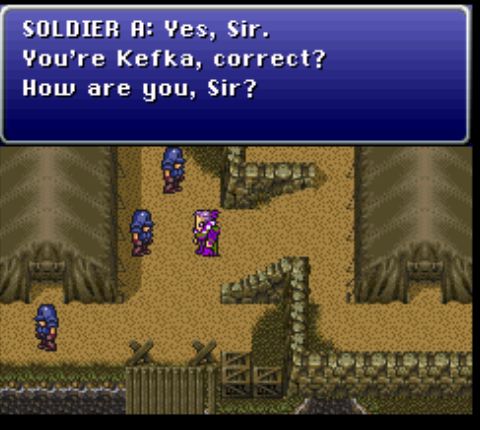 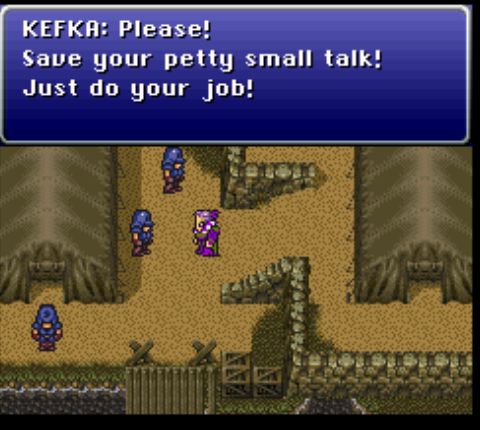 Still a dick. 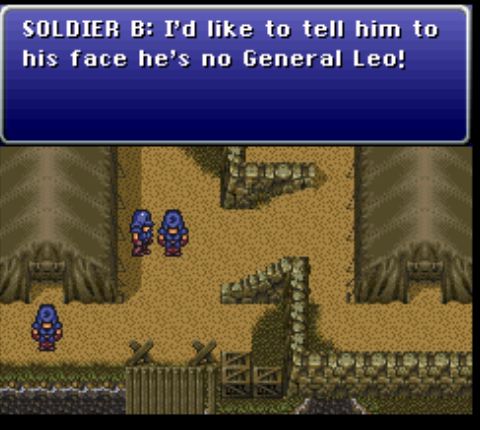 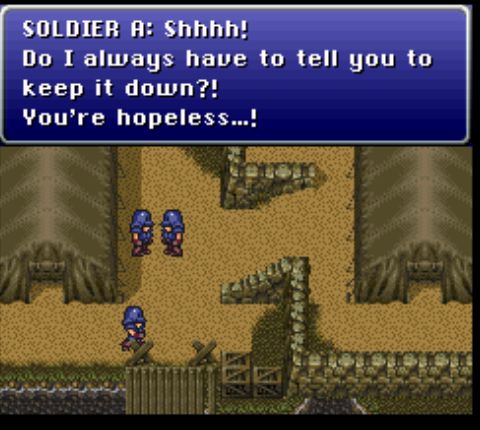 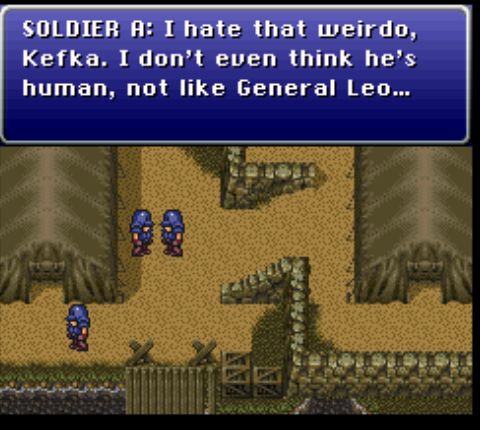 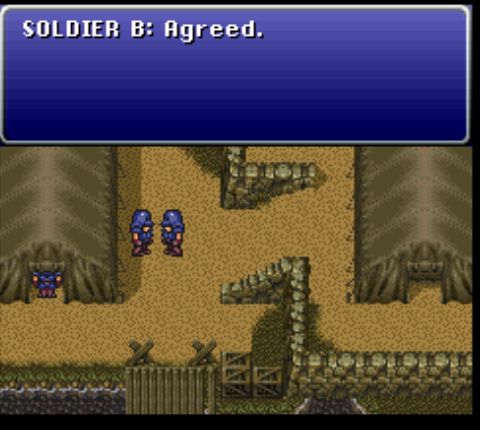 They keep mentioning General Leo. It's almost as though he's an important character and they want to drill that fact into you. 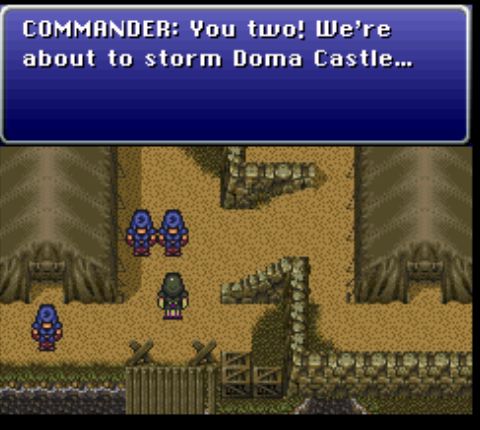 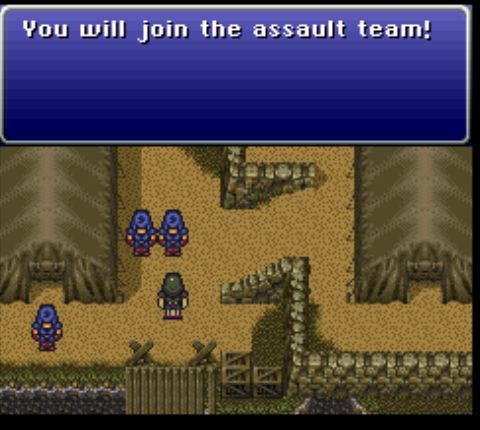 After this, the screen fades out and we're taken to watch the assault. 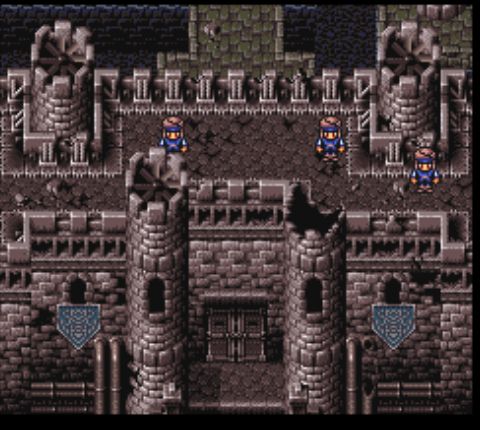 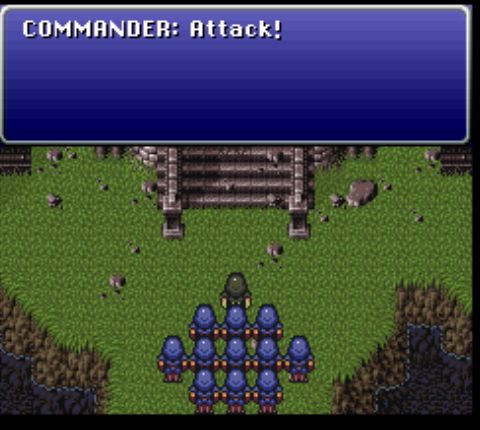  This is seriously the worst siege army ever. There's no way they could pose a threat to this castle. 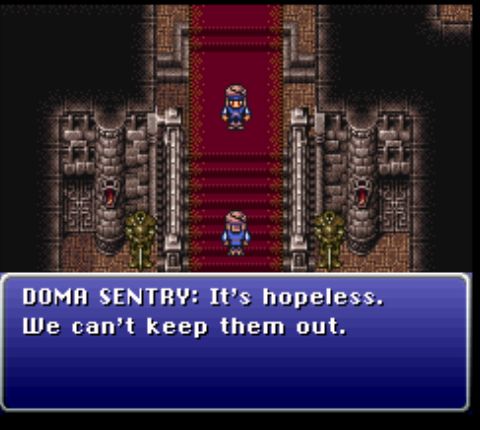 Unless the inhabitants are an even bigger group of morons. 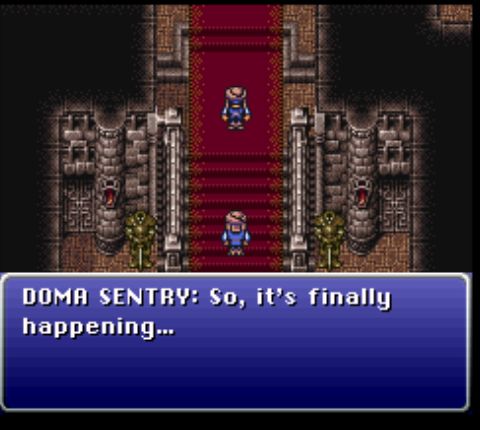  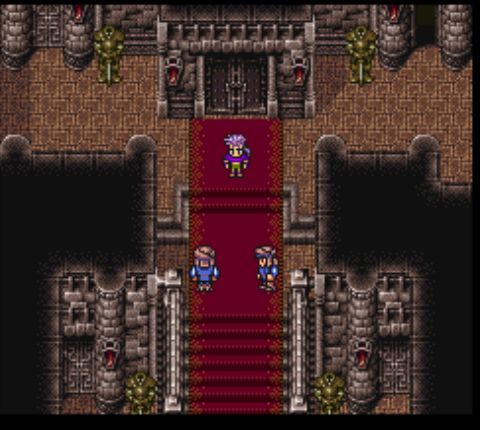 A man emerges from a nearby hallway. He looks kind of barbaric, but the idiots here respect him anyway. 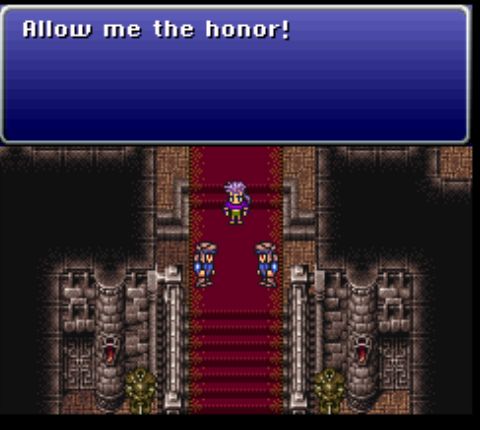 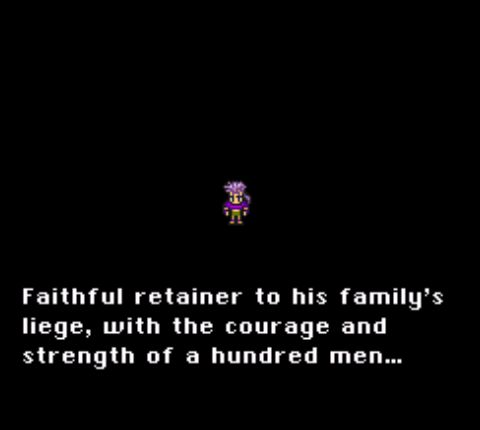 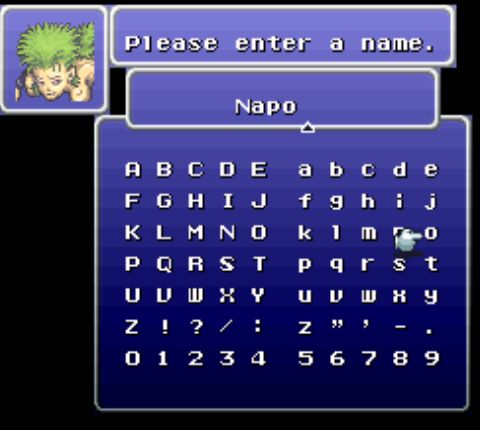 Meet Napo, proud knight(?) of this castle. 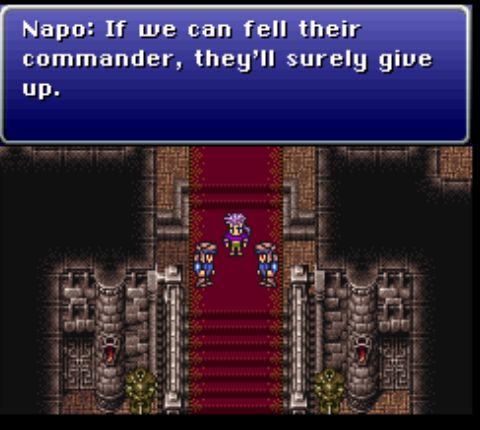 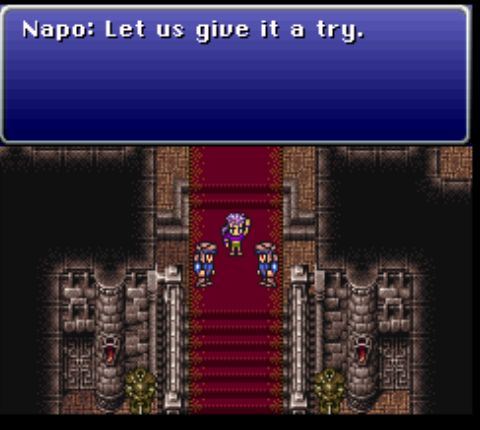 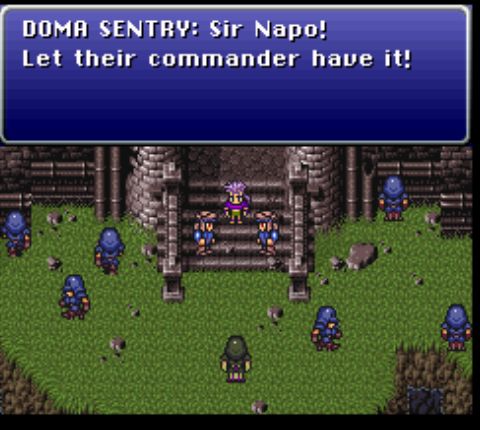 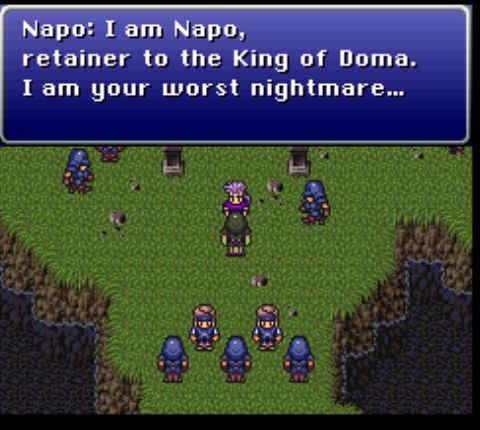 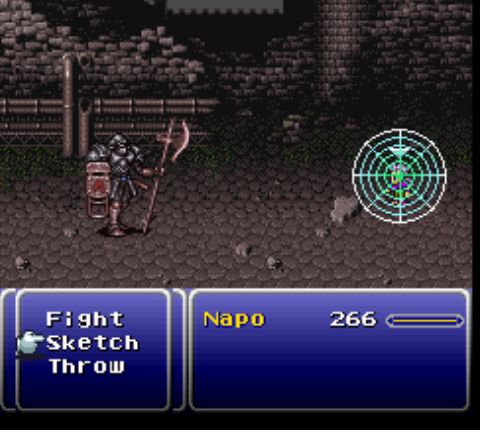 And so we're thrown into battle against the Leader, seen here using his special attack, Venom Bone, which deals damage but does not, in fact, inflict poison. He's not hard to beat if you remember to give Napo some new gear before the battle, but this is as good a time as any to show off his special commands. Sketch creates an imitation of an enemy and unleashes one of its attacks. (I had thought I got a shot of it, but apparently not, so I'll get one for the next update.) Fans of the game are probably aware that this command is incredibly buggy, capable to doing things like giving you tons of items or erasing your saves. So I don't expect to use it much. 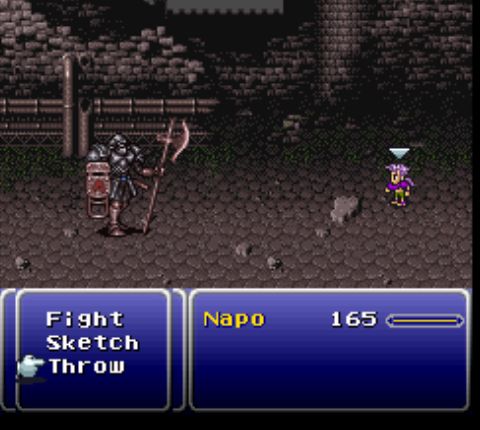  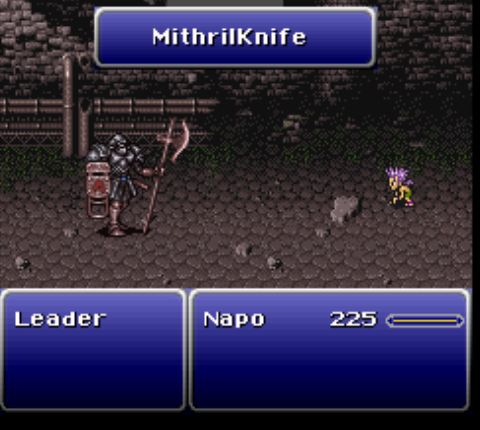 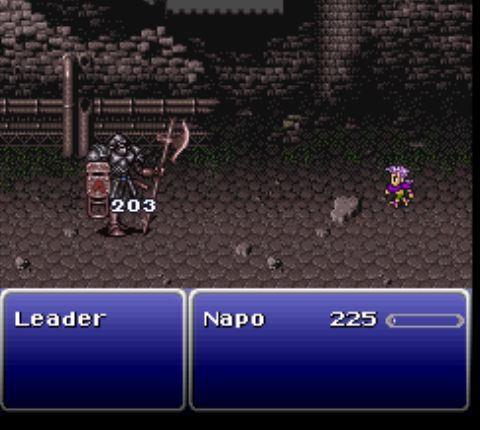 Throw allows you to choose one weapon in your inventory and chuck it at an enemy; there are also some items that can only be used by Throwing them. In this case, I can hurl knives at the leader for a few hundred points of damage. 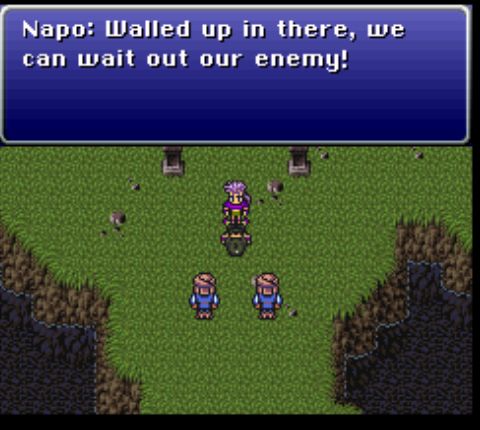 Once he goes down, the rest of the attack force retreats, thus ending the lamest siege in military history. 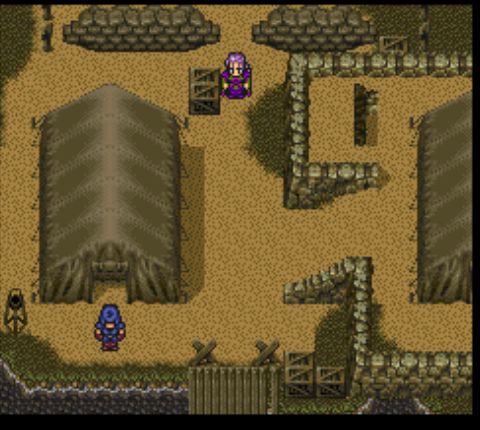 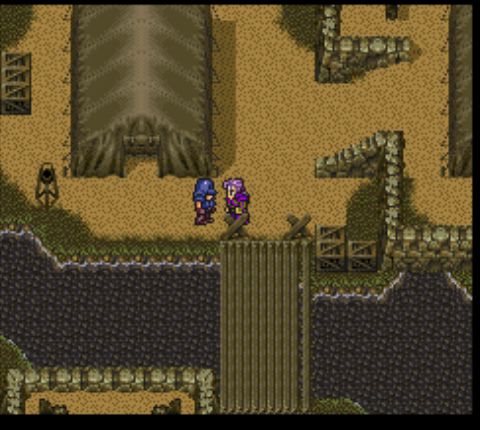 And we're back at the base with Dio and Sasara. There are soldiers patrolling here, but unless you actually talk to them, you can walk right up to them without them attacking.  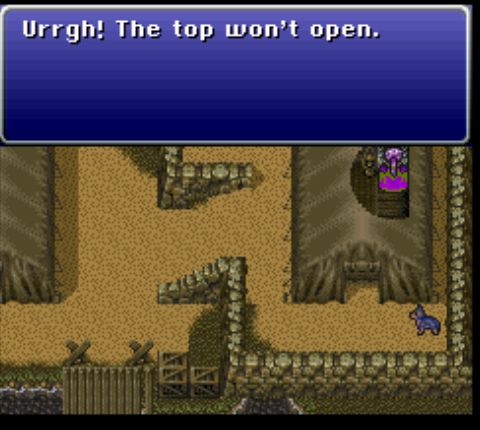 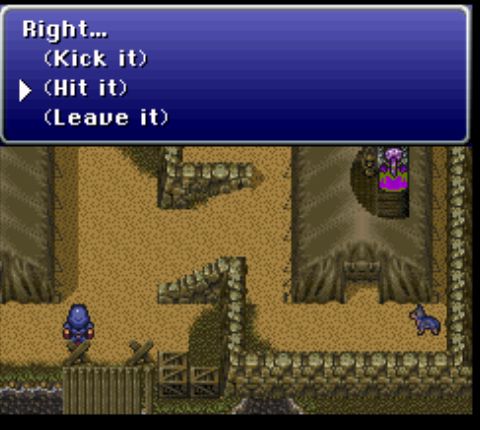 In the right-hand tent is a treasure chest, which is stuck. Kicking it causes the dog outside to rush in and attack, so let's hit it instead. 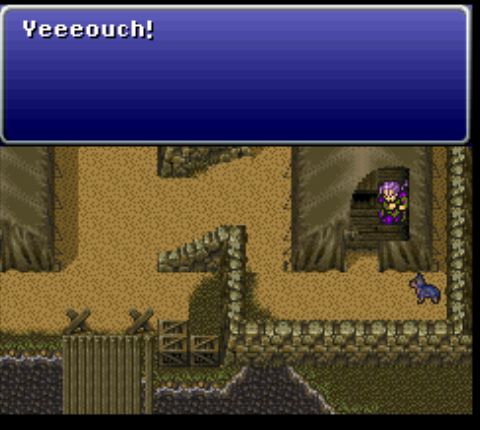 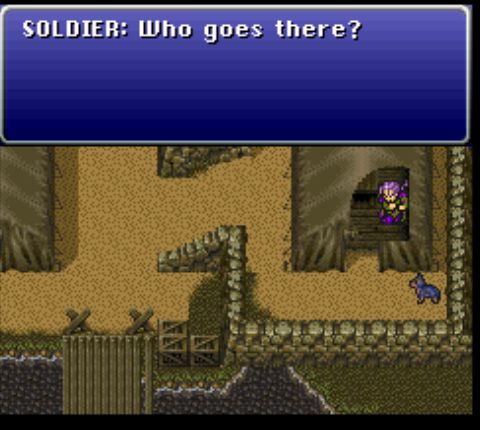 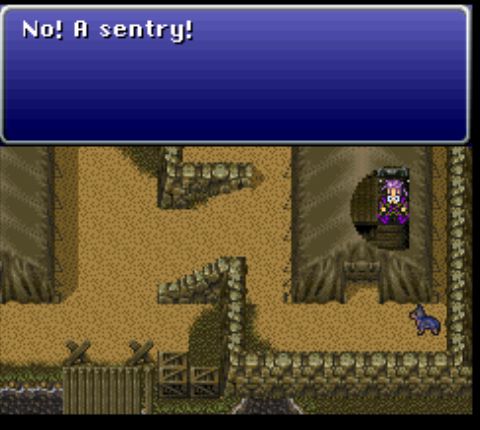 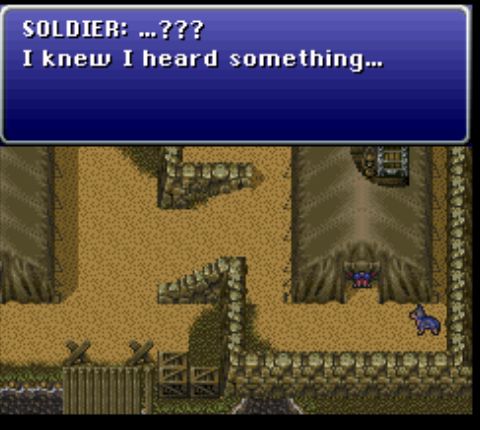 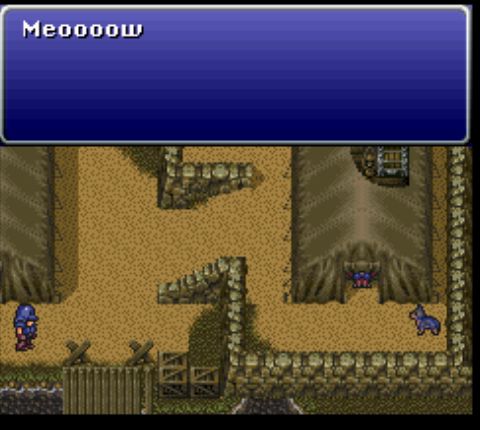 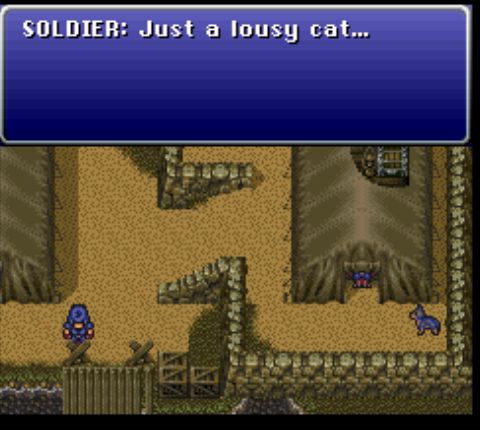 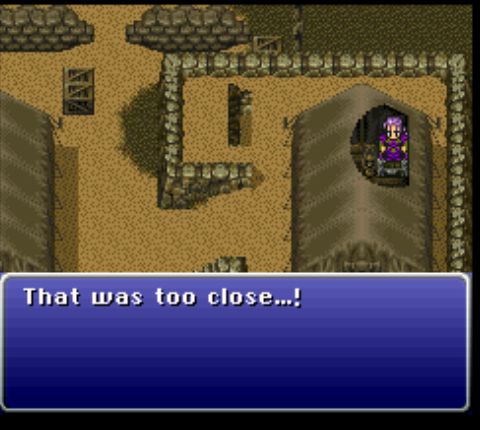  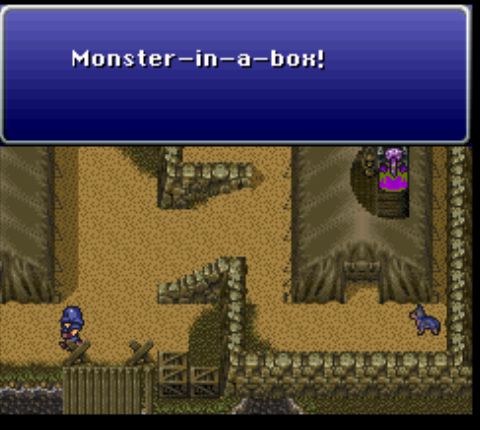 As an extra gently caress you from the game, it's trapped. 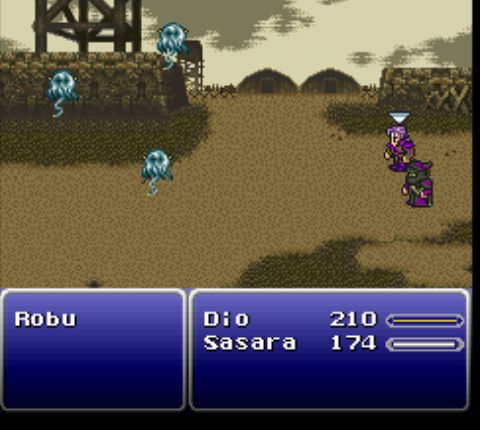 These little fuckers are from Mt. Koltz, though, and they wouldn't last long even if I didn't have Dio's Odishoc command. Heading south to the next screen, we're forced to hide - again - and listen to another conversation.  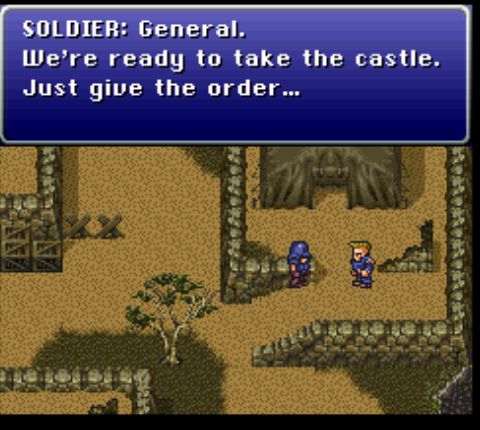 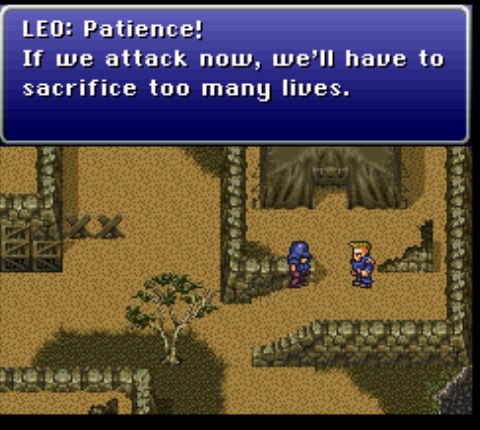 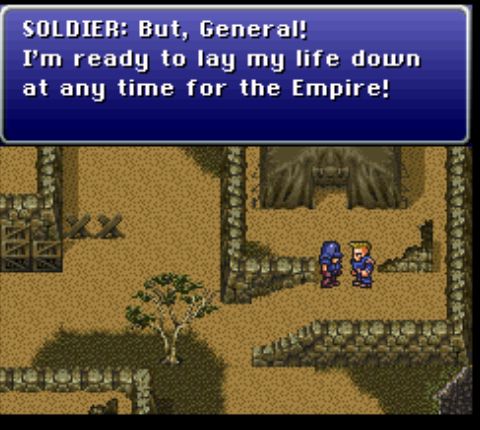  This random soldier is actually worth remembering. 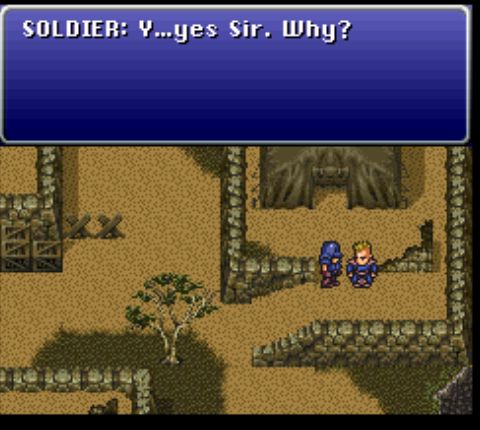 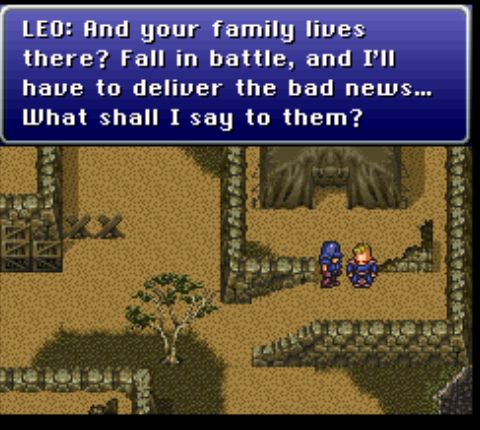 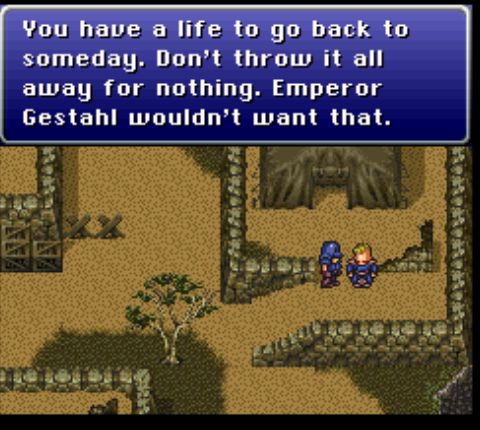   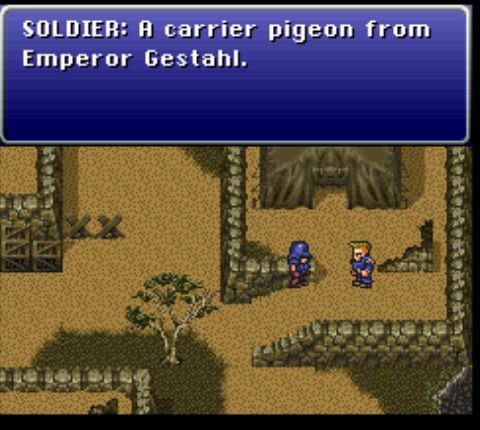  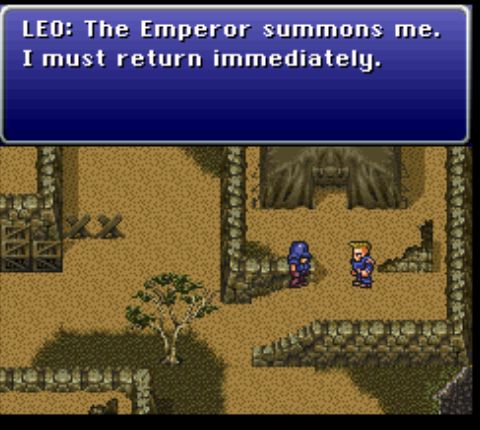 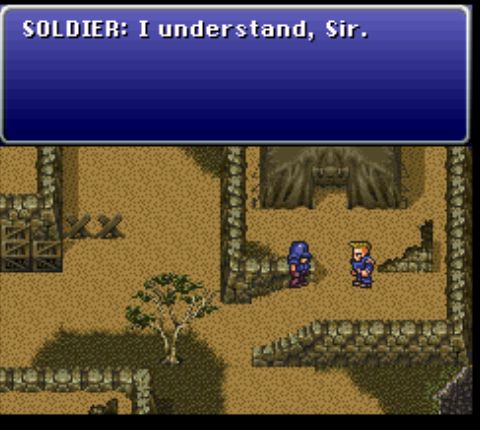 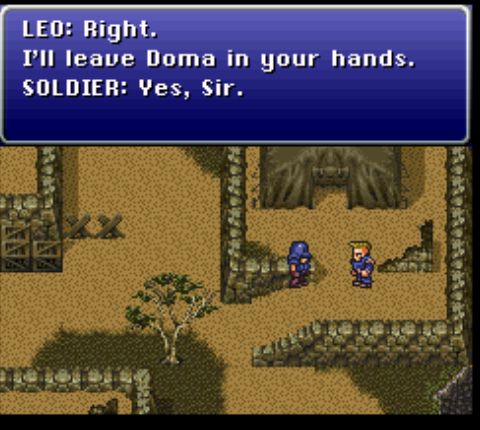 Yes, leave the army in the hands of this no-name soldier. This seems like terribly irresponsible behavior from a guy everyone's been talking up as a great man. 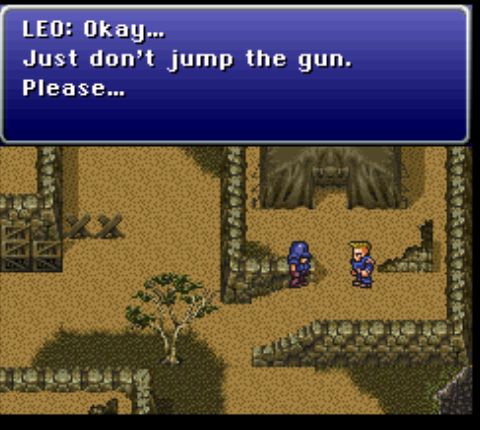 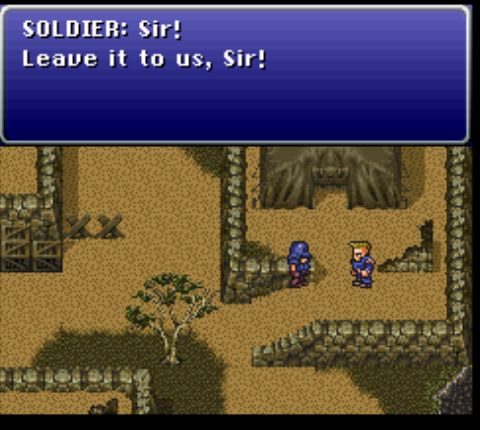 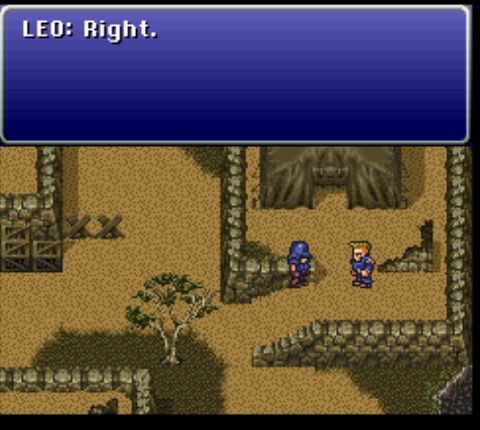 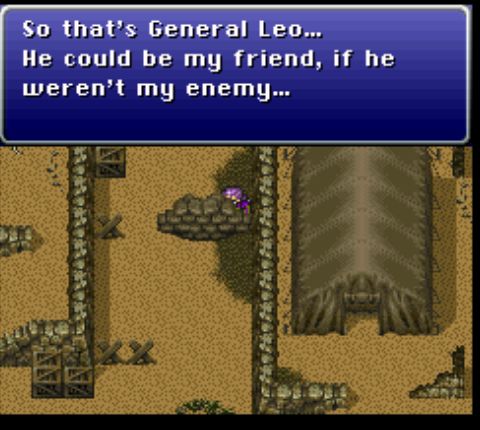 Truly, Dio is a font of wisdom. 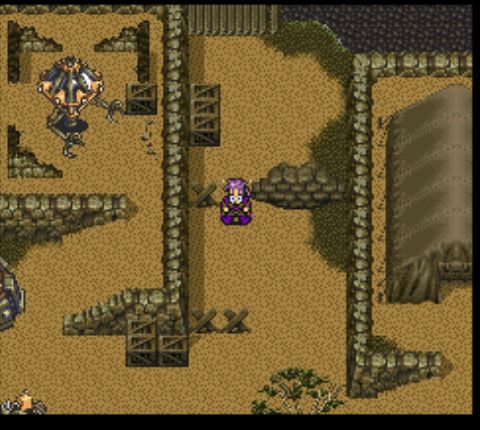 Just when you think you get to do stuff agin, you have to hide for the third drat time. 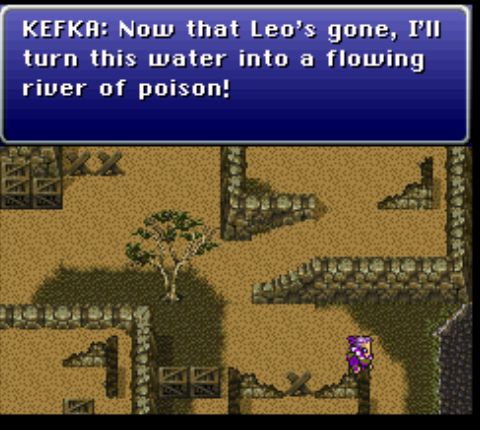 That sounds vaguely like a war crime. 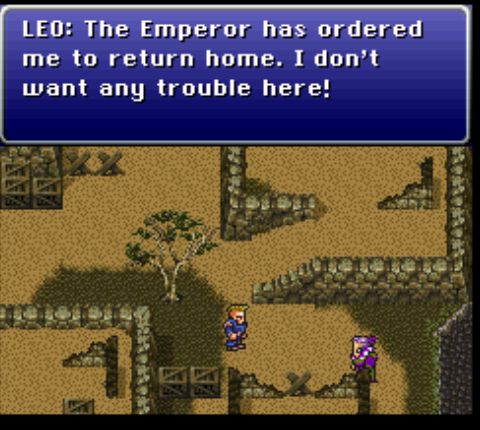 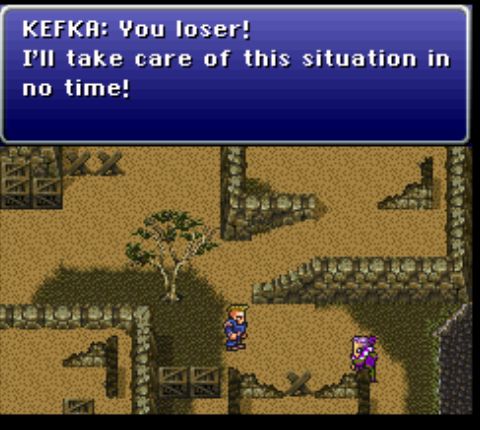 Kefka still has the best dialogue though. 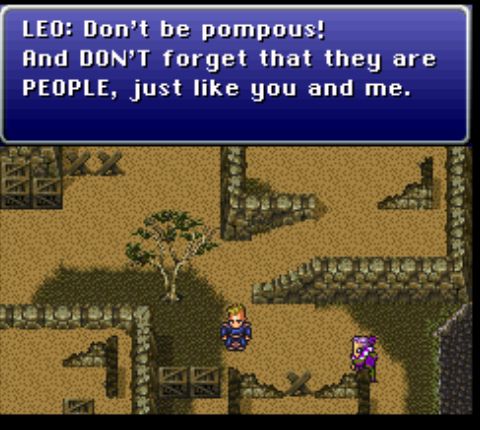 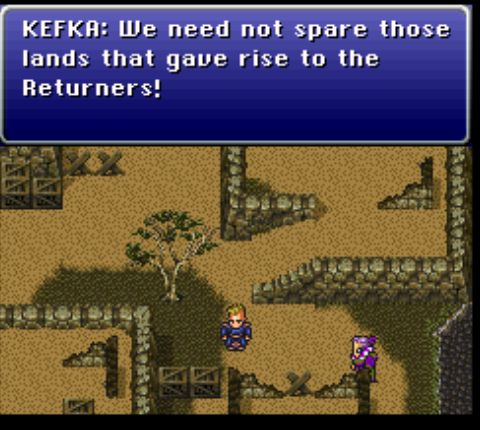 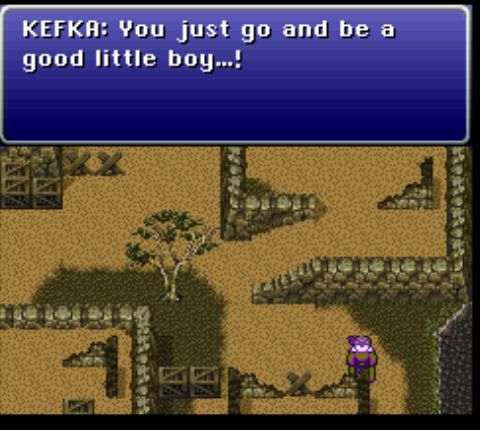 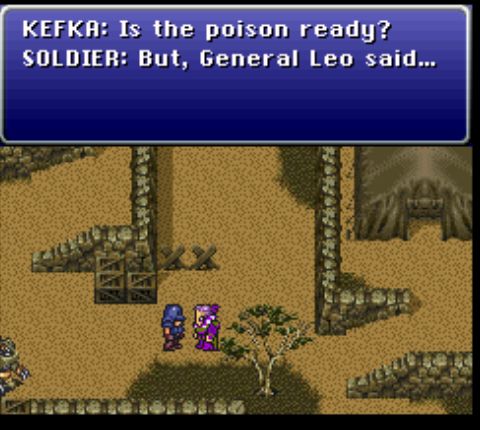 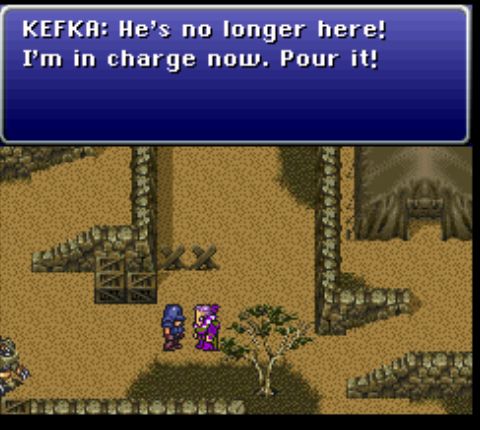 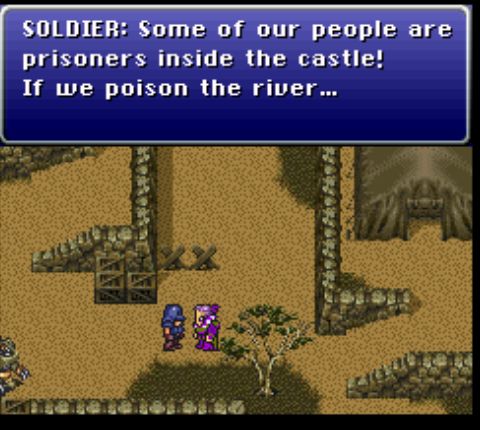 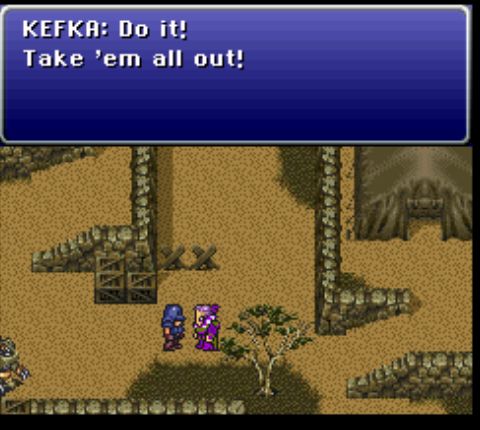 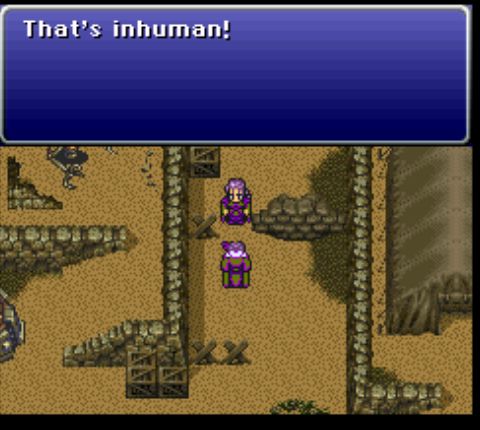 Dio, being a decent human being, has had enough. 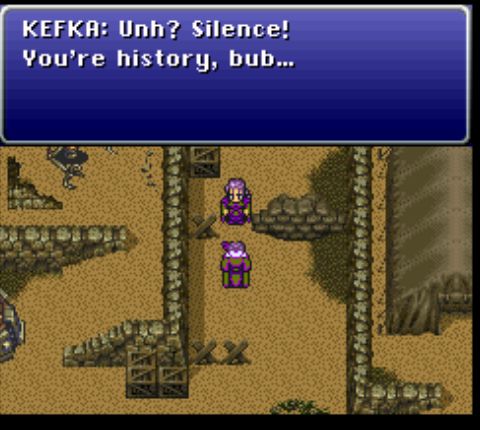 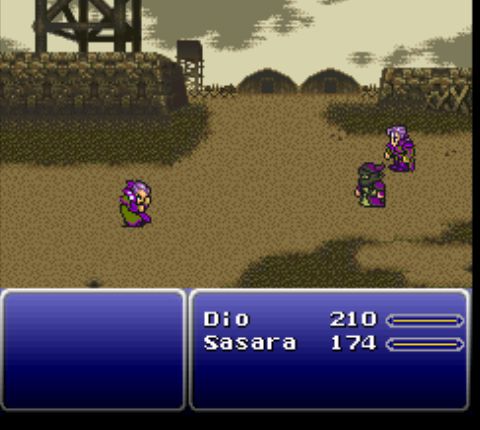 Fun trivia: Kefka actually counts as a party member during this battle, which enabled the programmers to give him an animated sprite. (The battle engine only supports static sprites for enemies.) A single strike ends it. 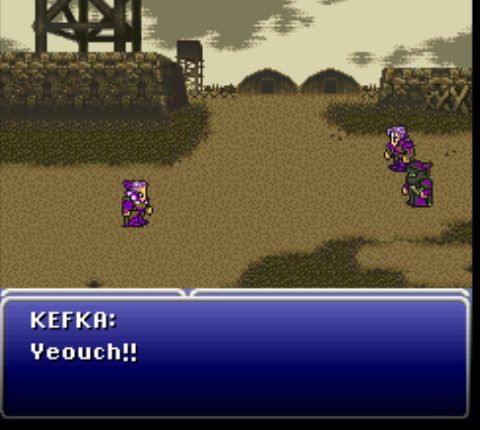 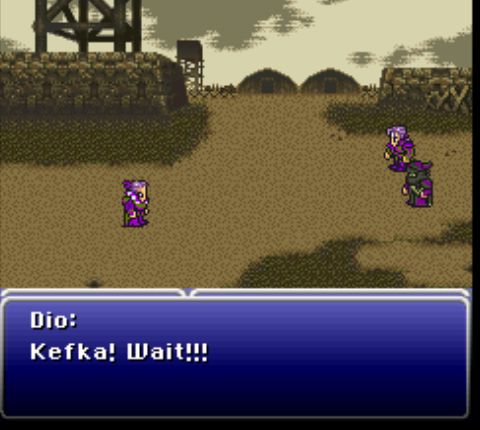 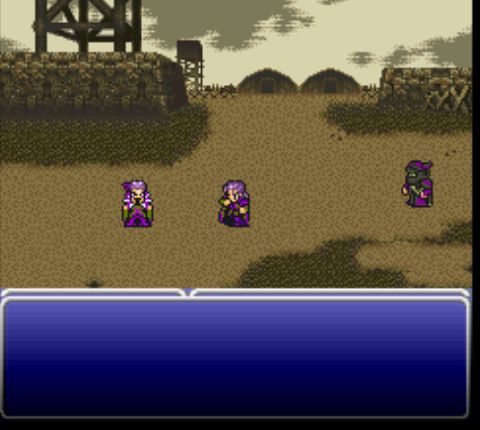 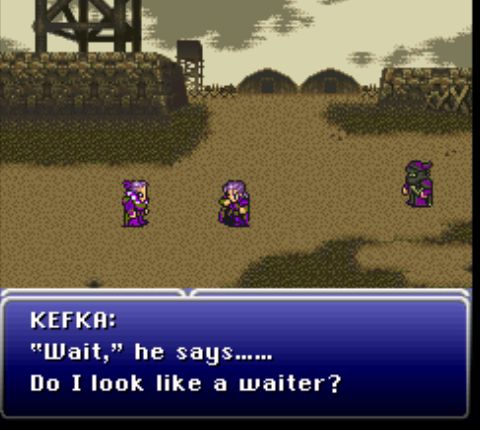 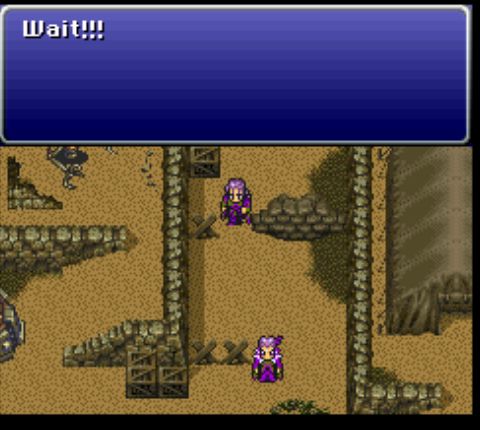 Being more of a clown than a warrior, Kefka runs away at the first sign of trouble. 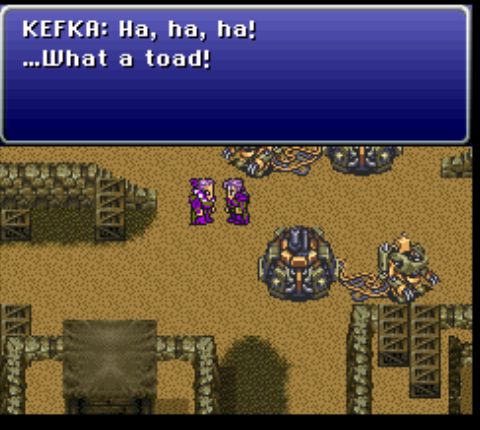 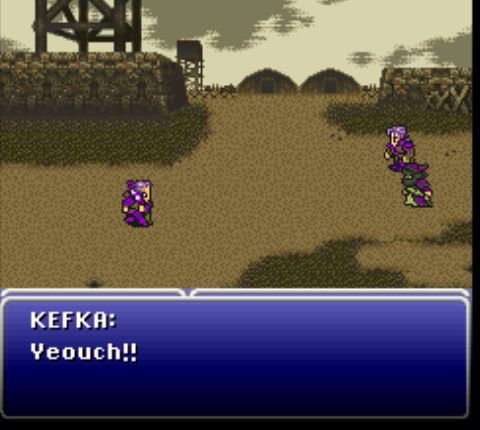 This happens again. 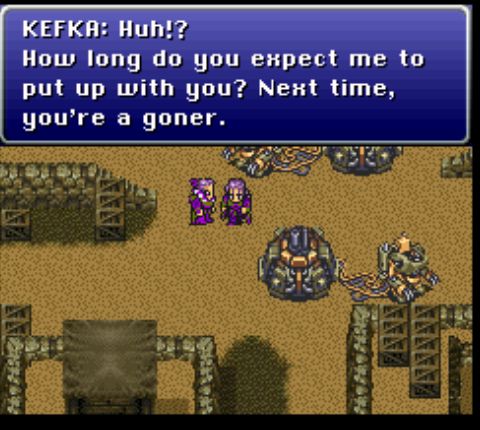 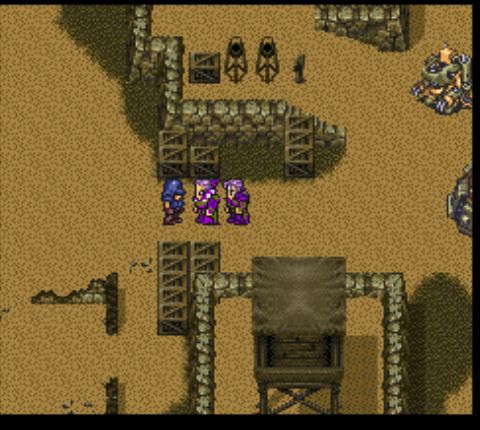 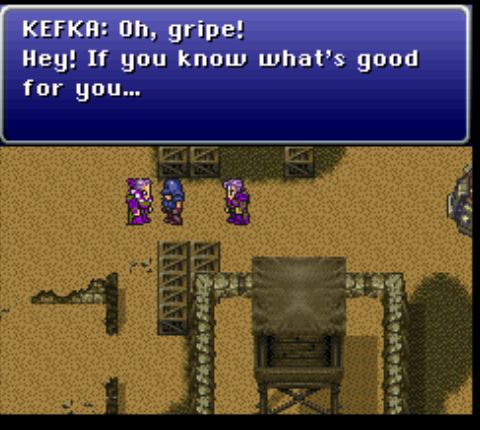 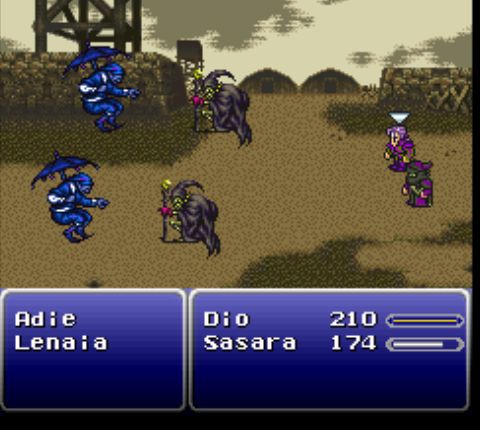 Aaaand he finally manages to escape by sticking us in an actual fight. Once it ends, however, we're treated to another cutscene. 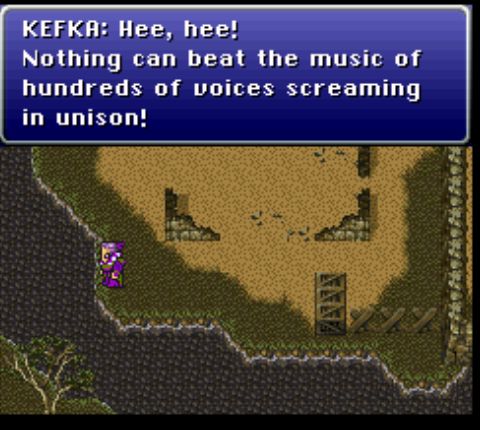 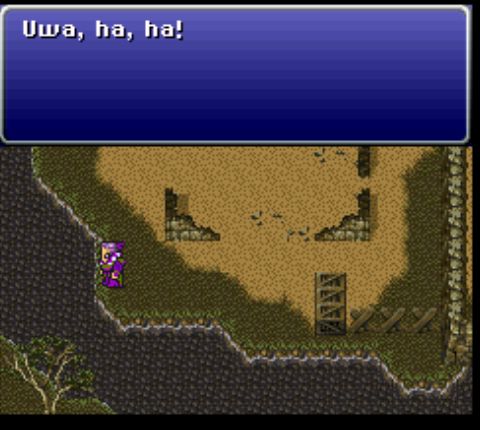 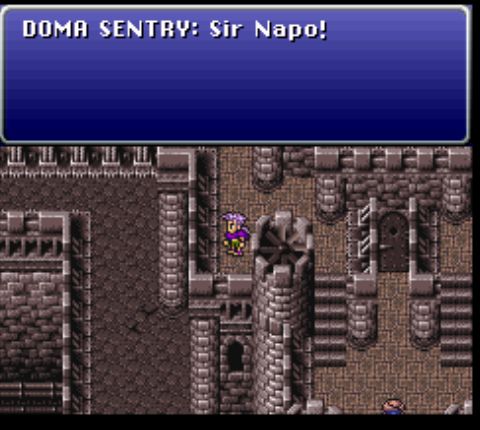 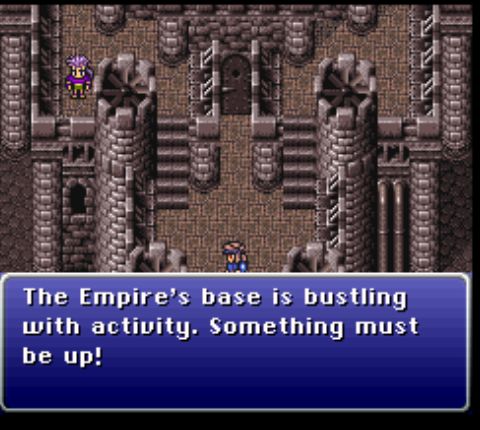  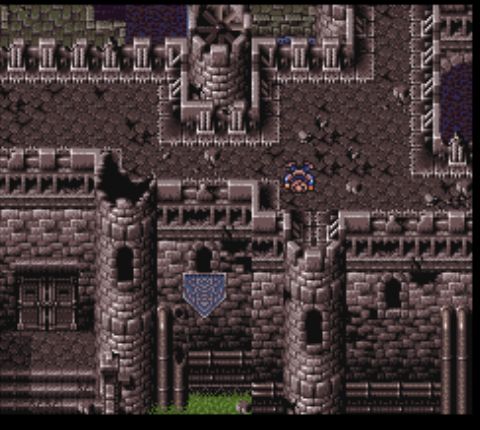   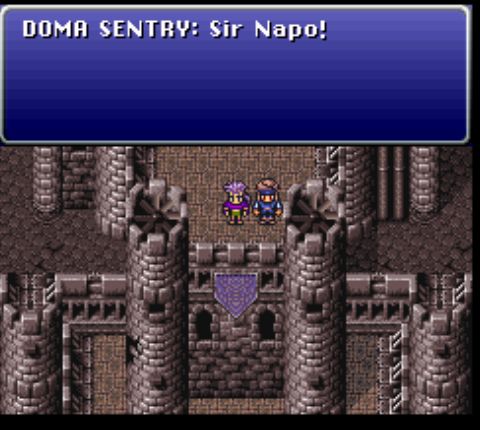 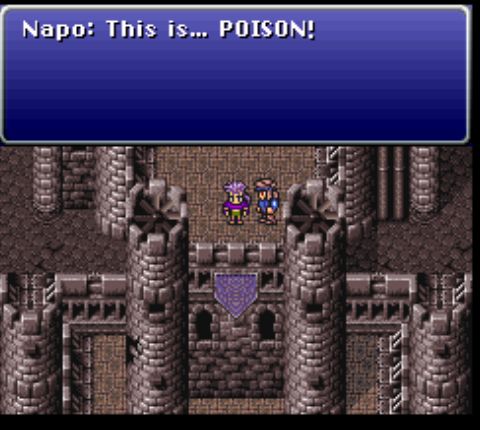 I have to say, just the fact that he has enough poison to not only foul the water but actually change its color? That's damned impressive. The amount of poison he'd need for that would be enormous.  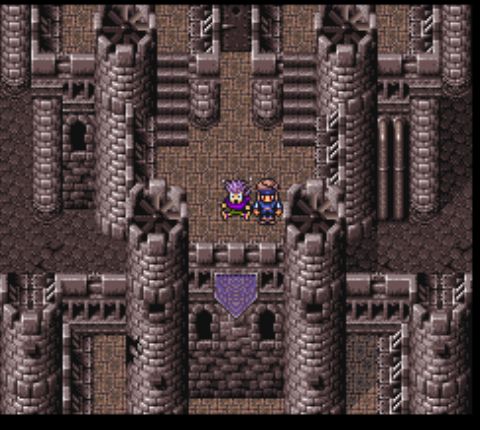 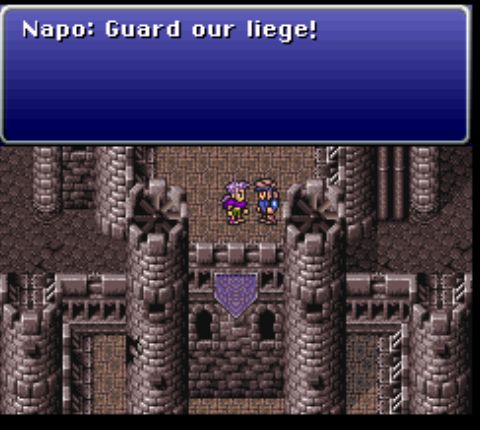 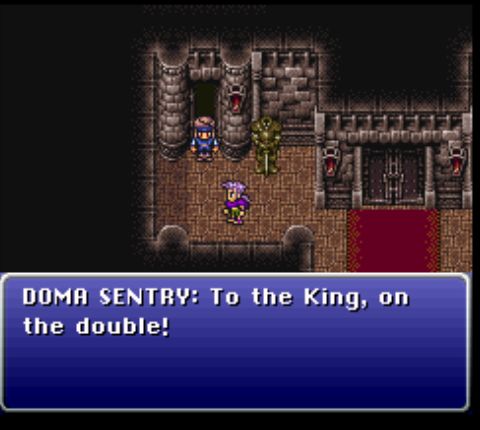 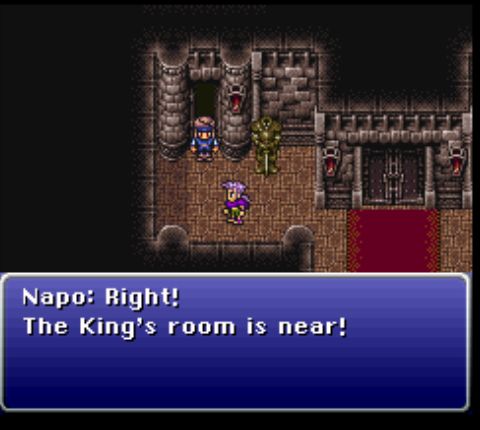 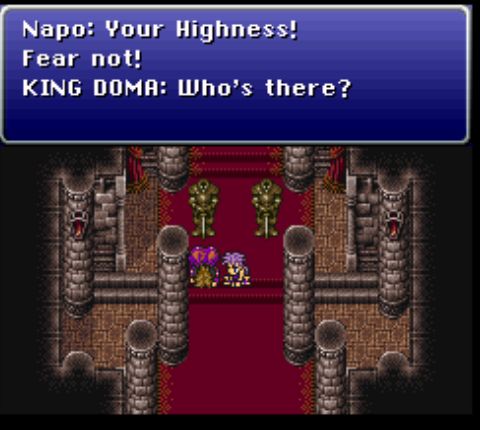 This probably isn't a good sign. 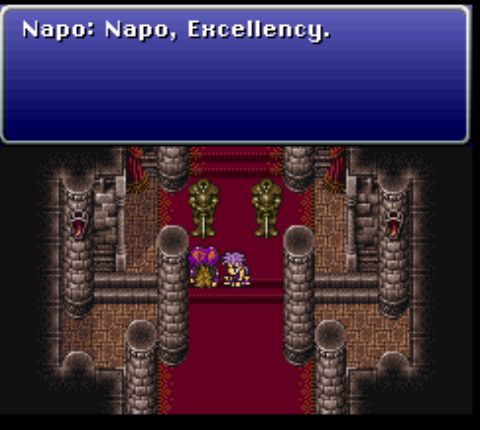 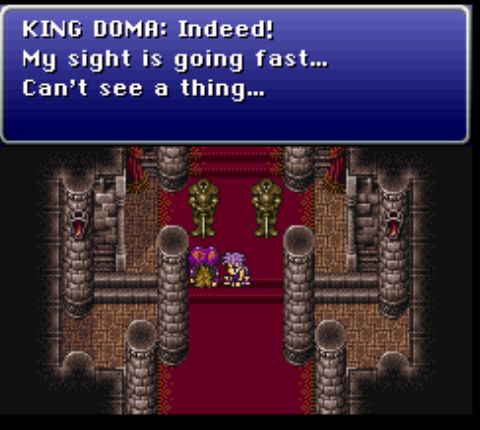  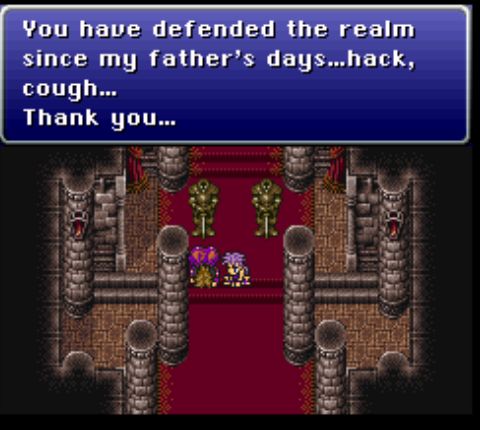 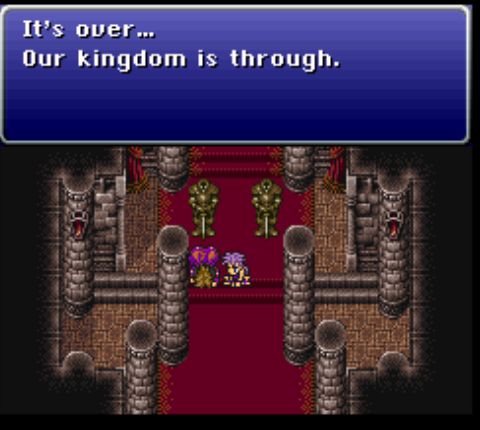 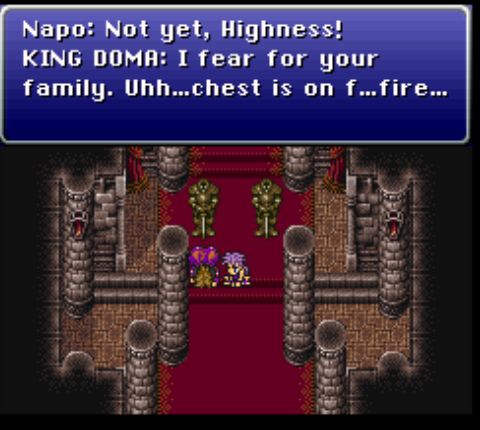 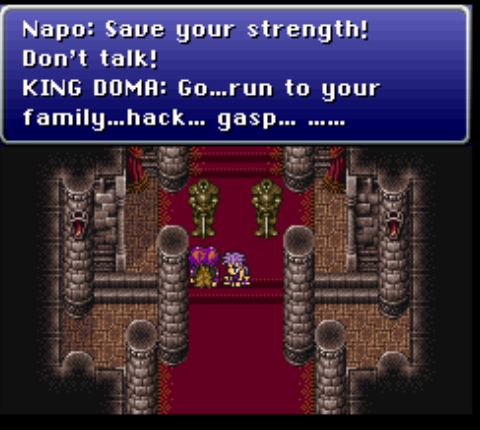 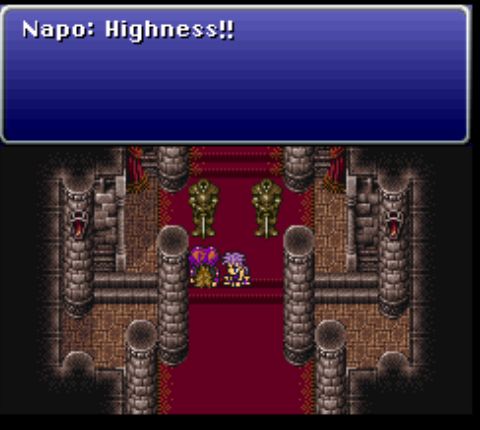 RIP King Doma. You were so inconsequential I'm pretty sure they just reused Banon's sprite for you. 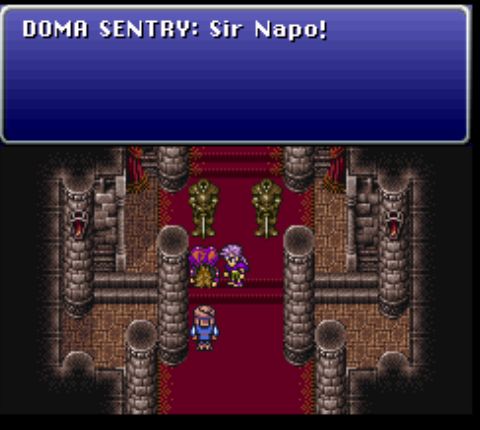 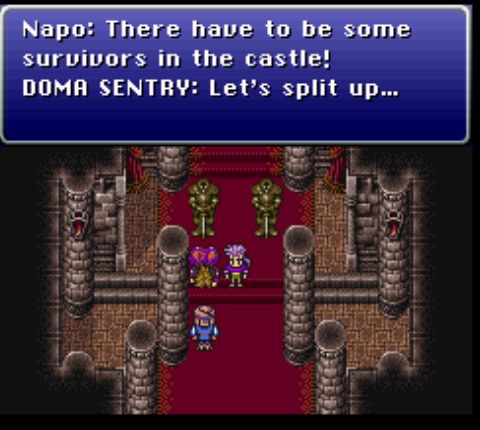 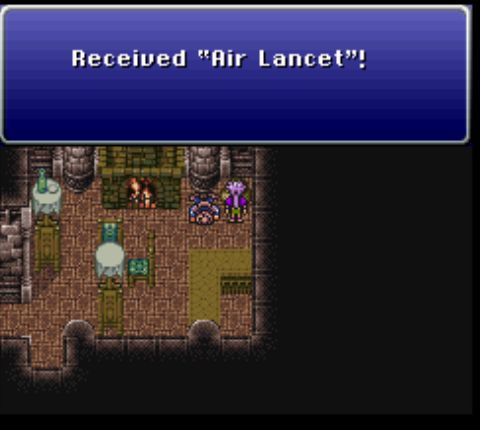 You can look around the castle, but most of the doors are blocked. A random pot contains this dagger, which is a decent find, but otherwise there's nothing of note to see until you find Napo's quarters. 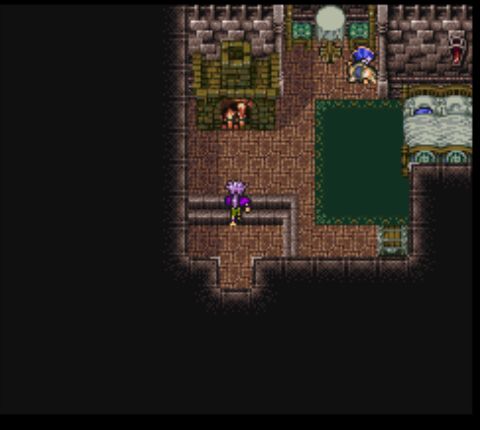 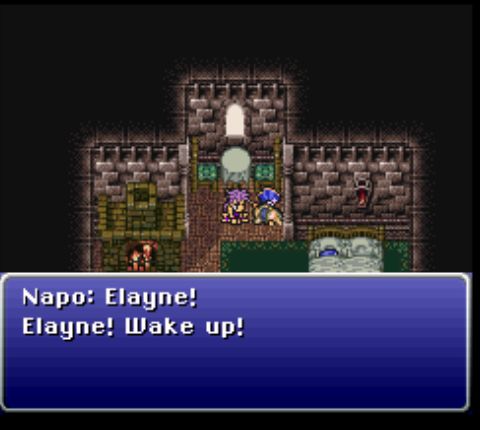 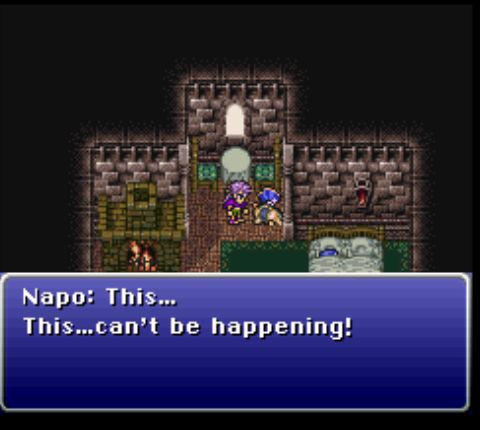 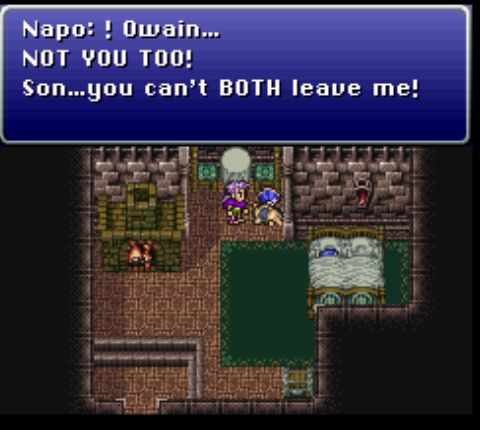 Okay, so this... is a pretty hard-hitting scene, for which I have to give the game credit. Given Nintendo's censorship policies at the time, getting mass murder into a game, including the deaths of a main characters wife and child, was damned impressive. 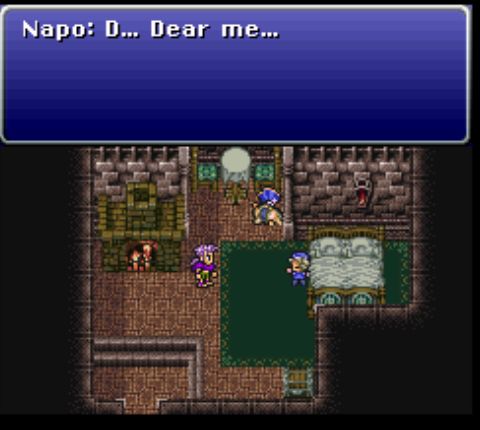 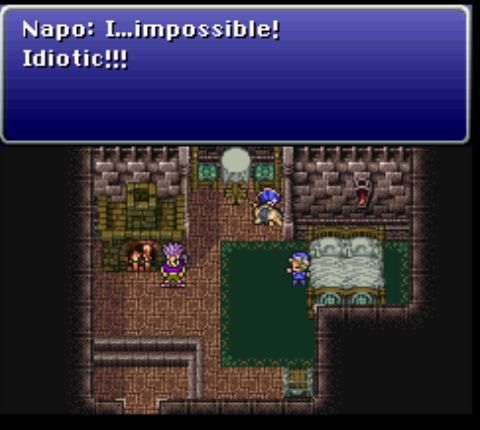 That said, this dialogue that comes after seems really artificial. 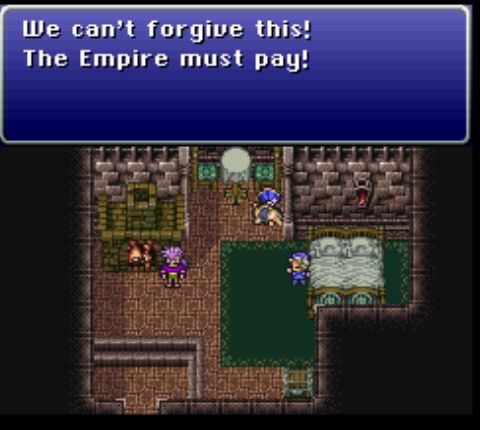 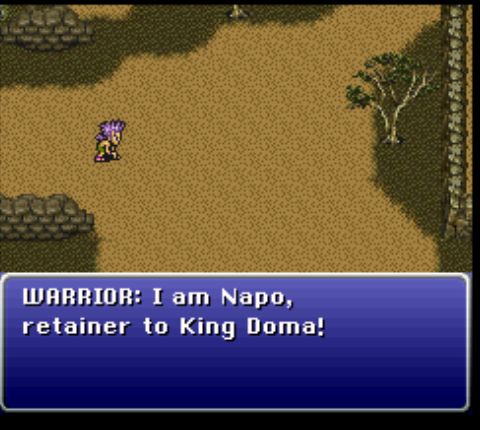 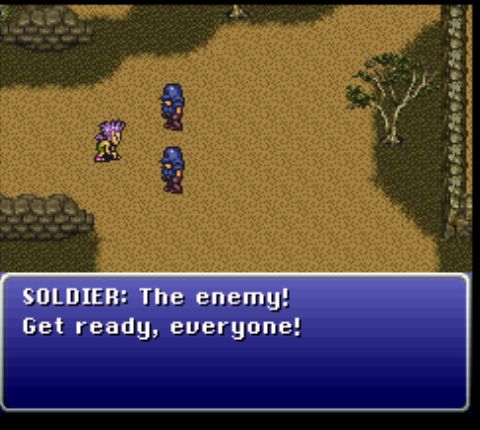 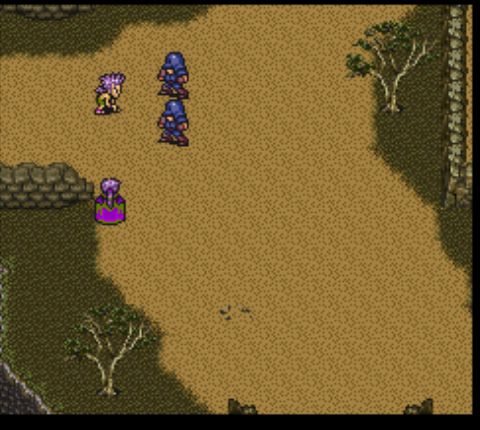 Napo rushes off to the imperial camp and begins fighting the soldiers. 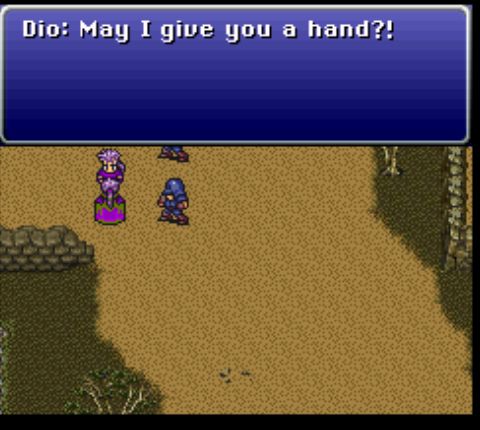 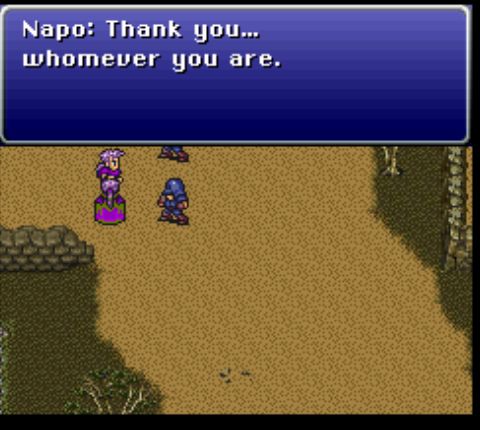 This is not the dialogue of a man driven to aggrieved rage by the death of his family.  The fight is nothing special apart from Napo being AI-controlled. And also Sasara having somehow been shuffled into the leader position in my party. 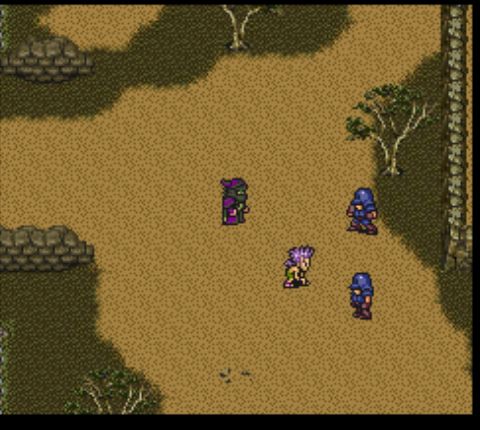 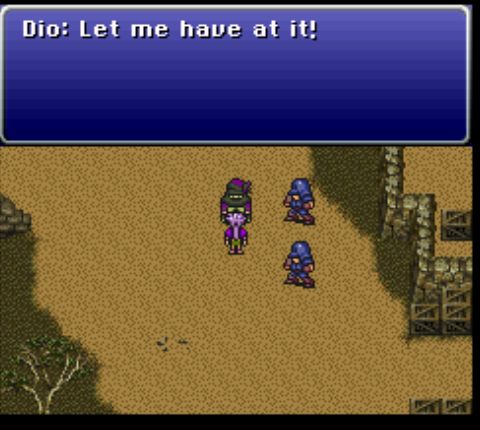  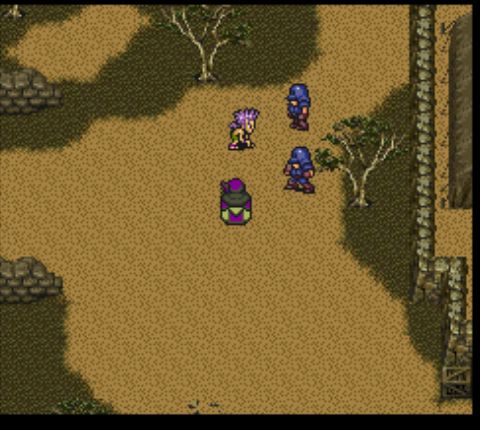 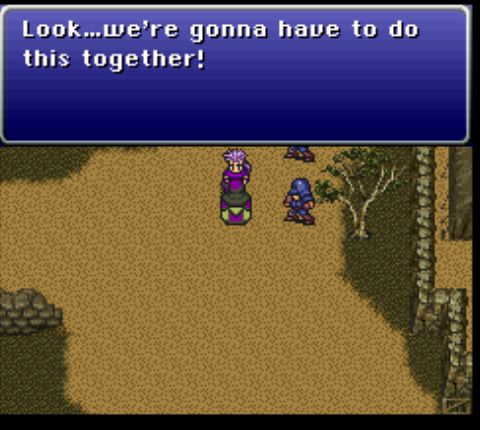 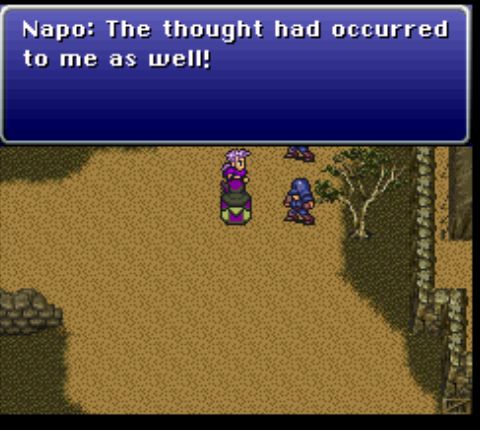 This goes on for a while. 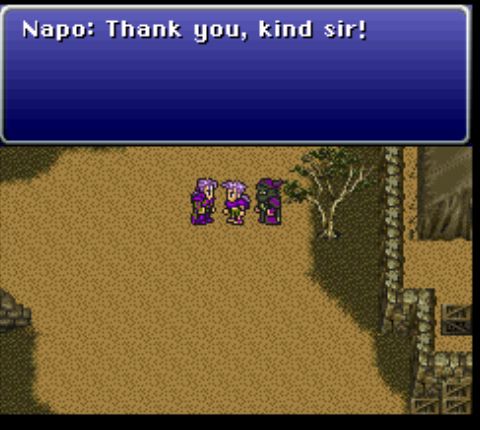 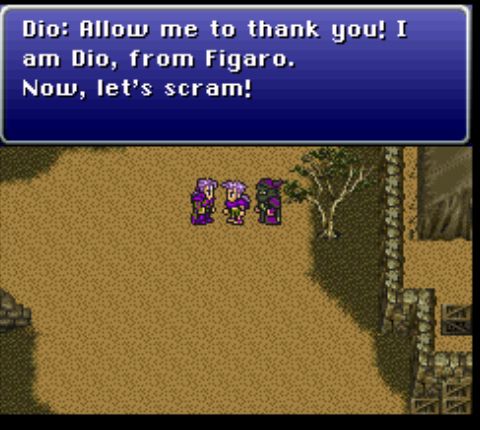  I'm pretty sure you're here because everyone you knew and loved is dead. 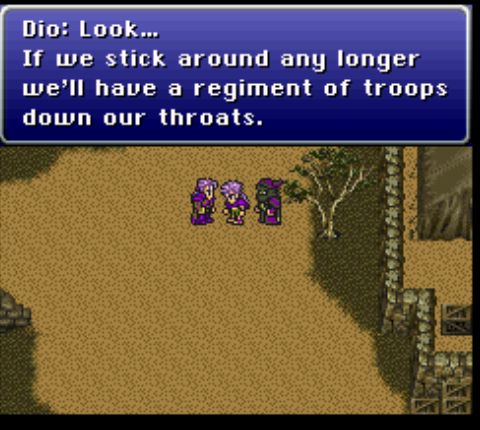 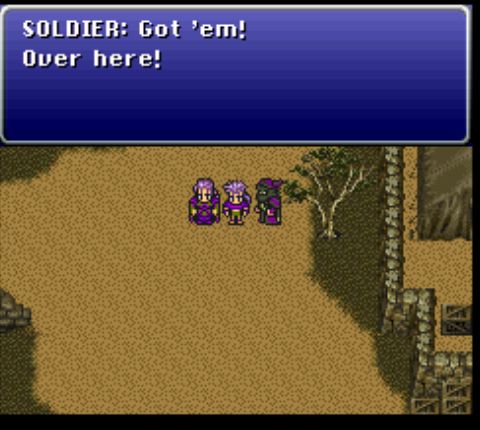 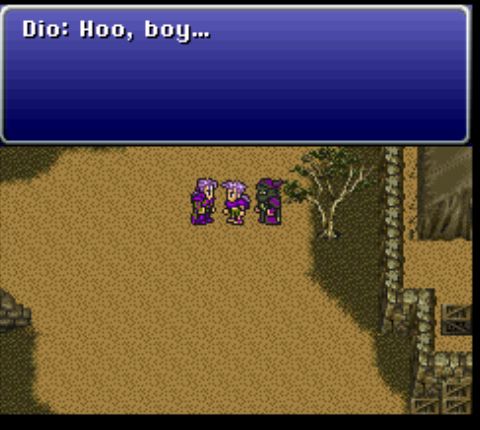 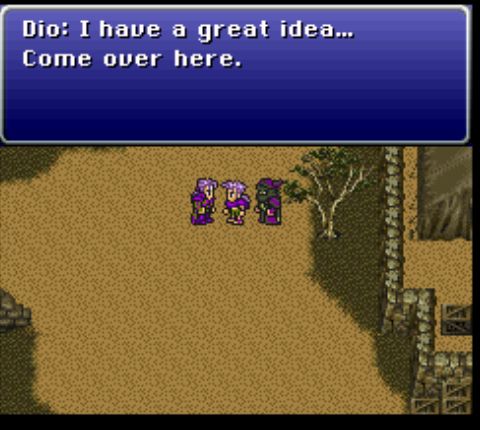 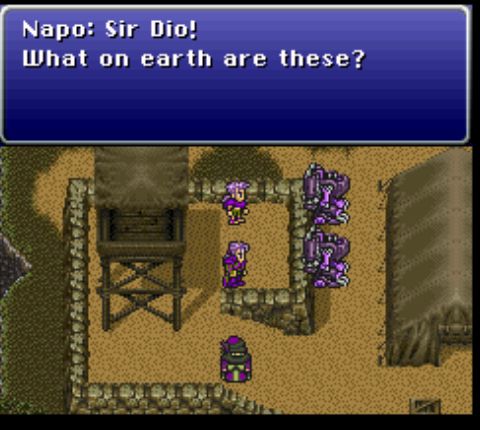 At the bottom of the screen, you can see Sasara loving off. 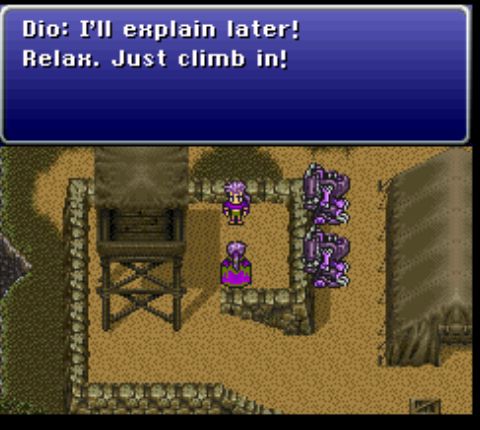 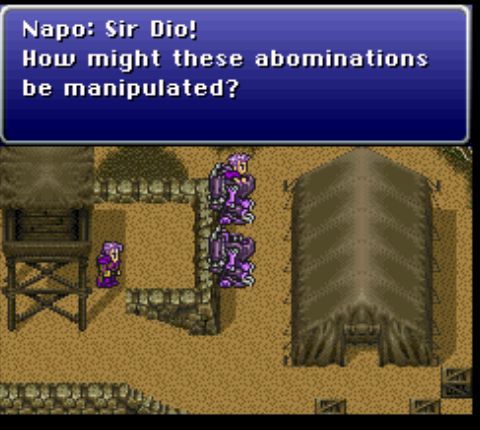 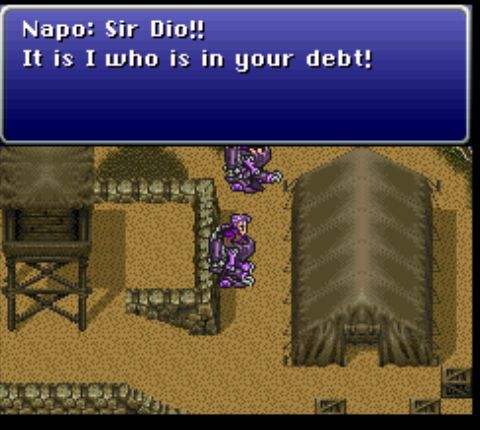 Napo starts running in circles, but at least he managed to start the thing. 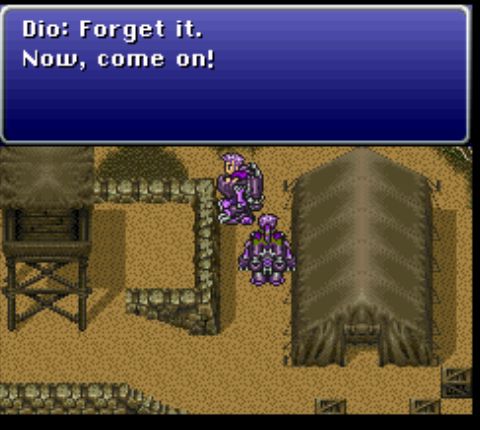 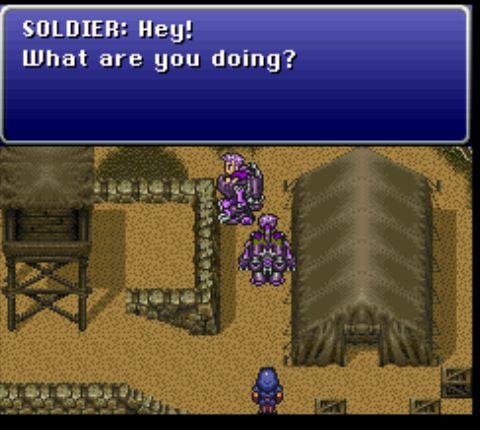 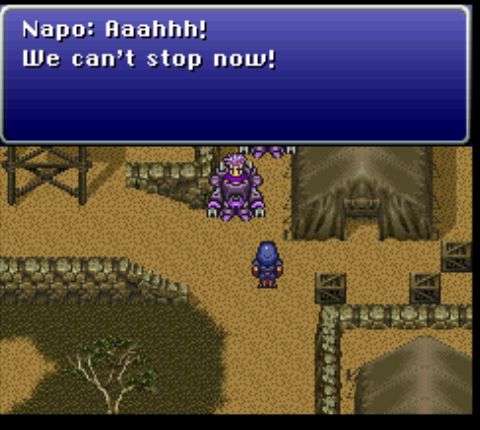 Unable to find the brakes, Napo barrels through an imperial soldier, likely trampling him to death. 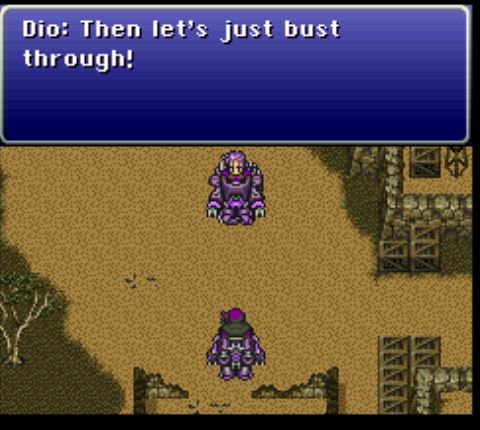 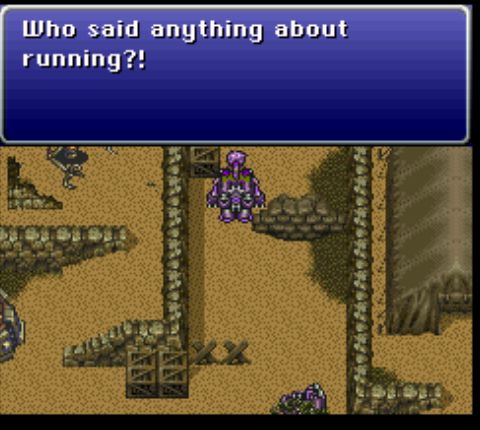 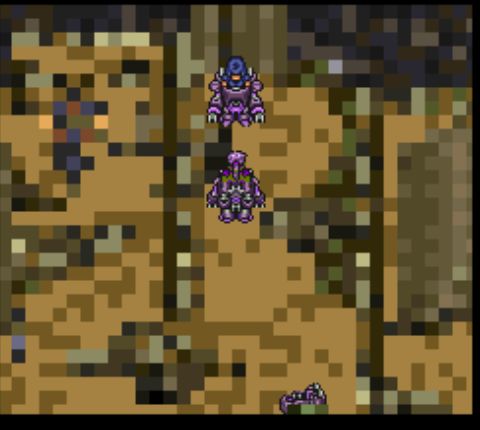 At a few points we're foced into fights against 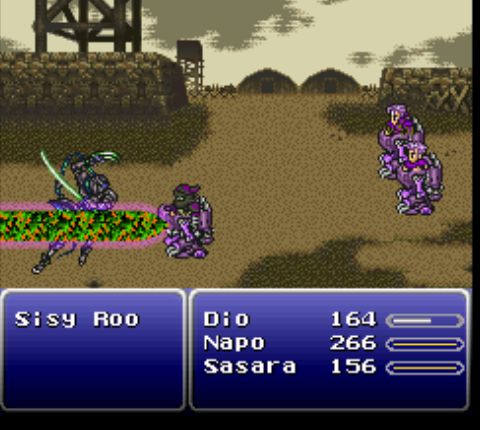 It turns out that sisy roos are resistant to lightning damage, so Diffuser, which worked so well in Narshe, is a suboptimal choice here. Fire Beam works much better. 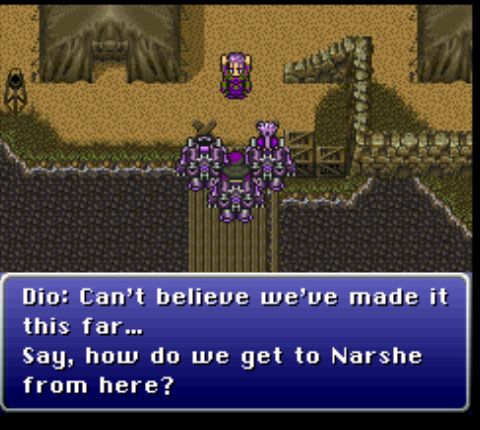 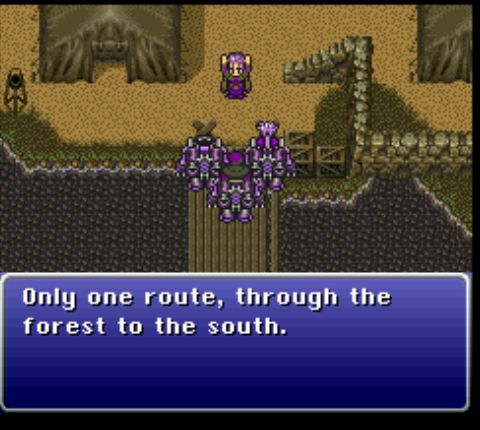 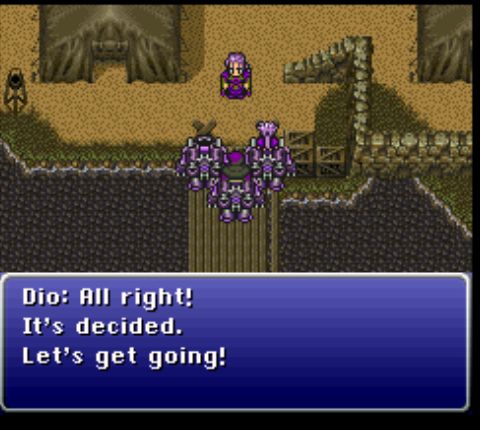 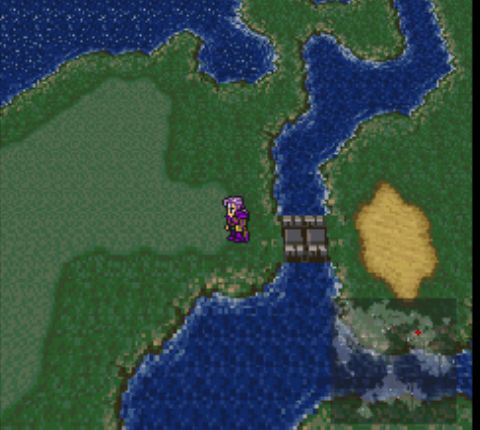 And with that, we've escaped the camp, but Dio's story is hardly finished. It's significantly longer than the other two and will probably take a few more chapters.
|
|
#
¿
Sep 3, 2018 10:32
|
|
|
FeyerbrandX posted:What? If you're asking for the song, you're out of luck. I don't know the name, and searching for "that one goofy song from ffvi" doesn't turn it up.
|
|
#
¿
Sep 8, 2018 22:21
|
|
|
Chapter 7 With the imperial camp behind us, we're free to move on. Our path is limited, however, and soon we come to a forest. 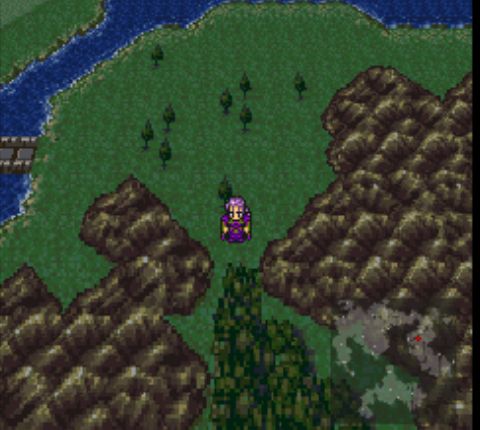  Sounds pleasant. 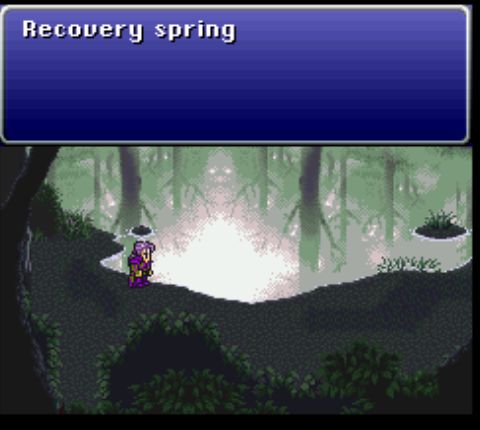 Not far into the forest is a recovery spring, which is a handy free heal after the imperial camp - and before the next leg of the game. 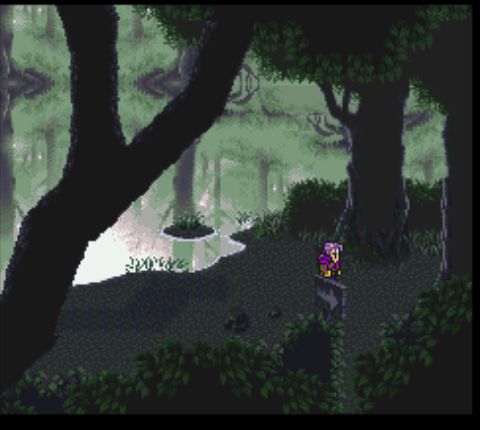 Despite having such an ominous name, the place is filled with helpful signs telling you where to go.  The background does a nice job of foreshadowing what's coming up. 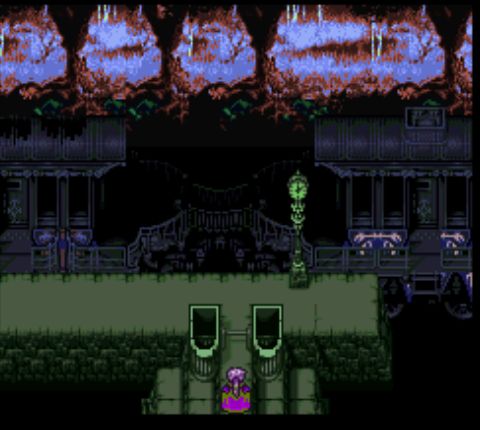 It's a train.  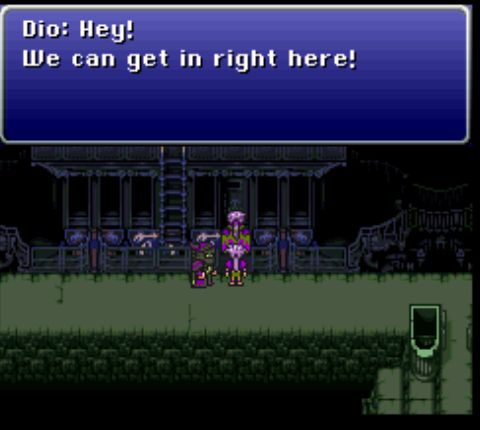 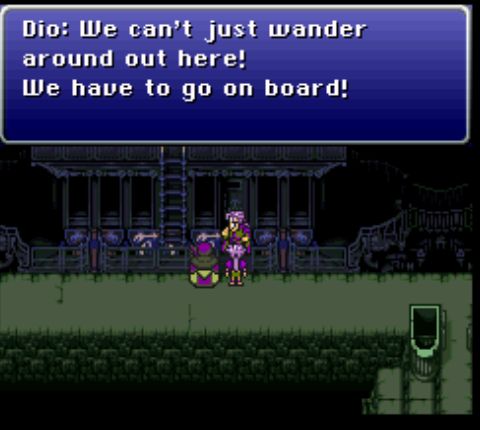 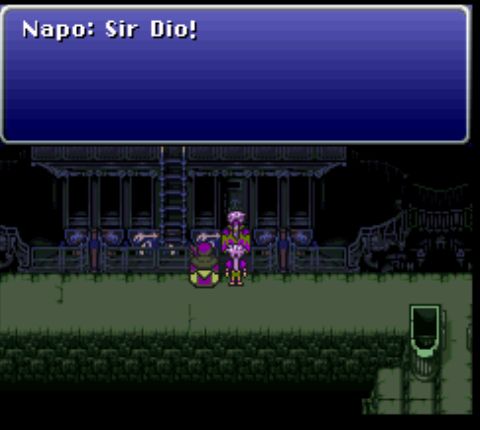 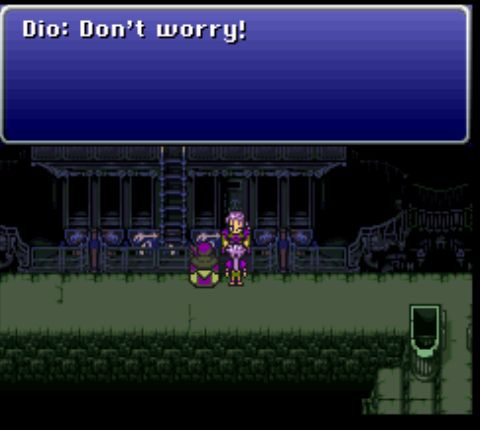 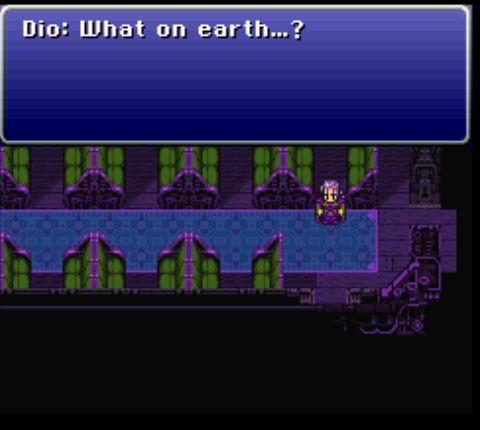 This place has some really tacky decor. The game in general uses a lot of the purple and green color scheme, and it wears itself out right around here. 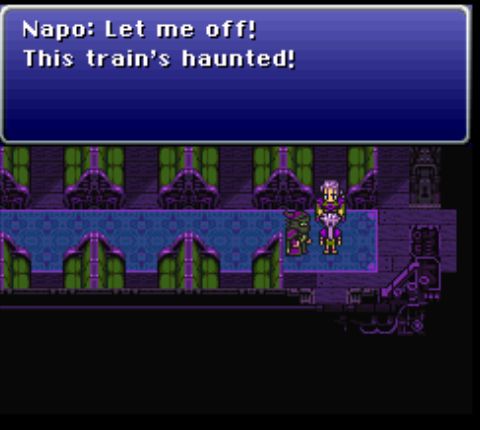 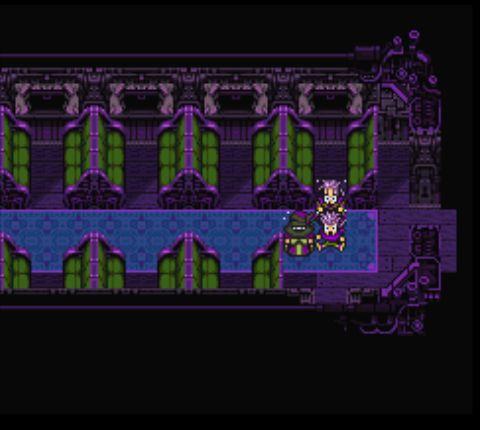 Everyone freaks out as the train's whistle blows. 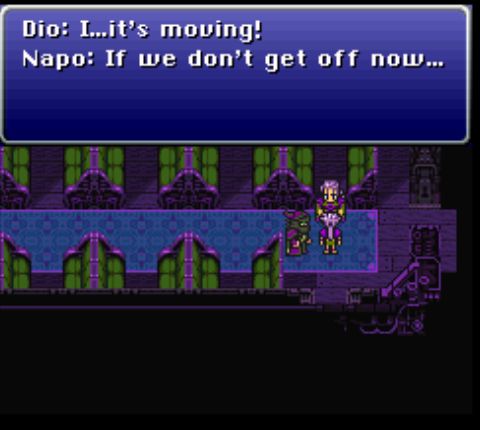 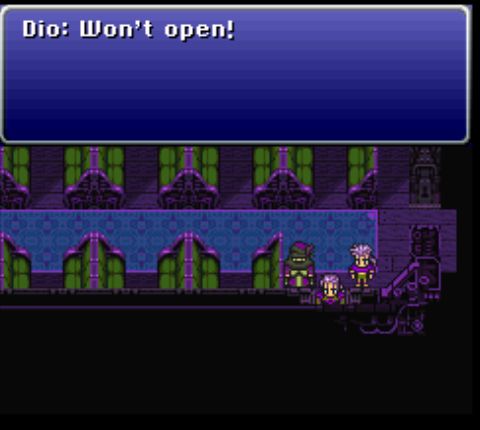 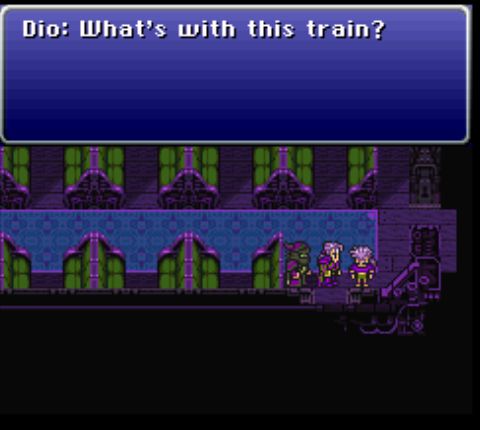 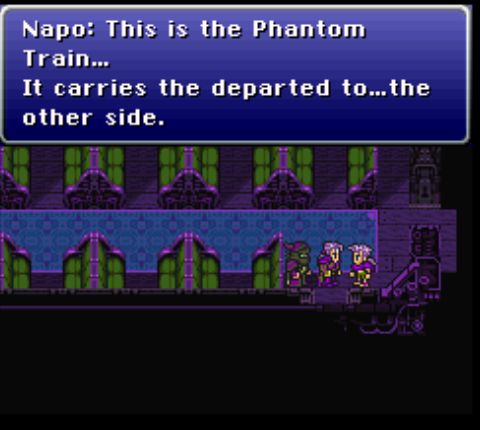 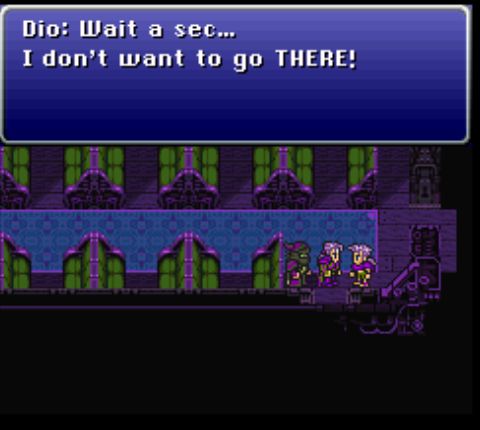 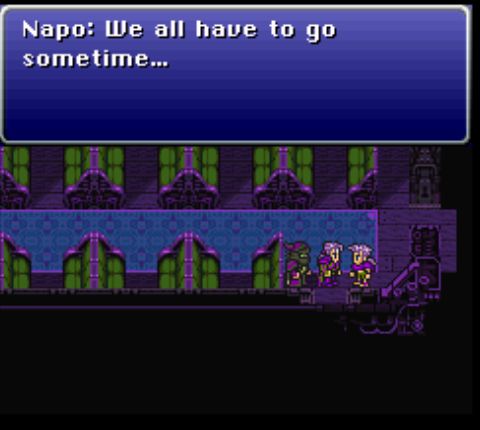  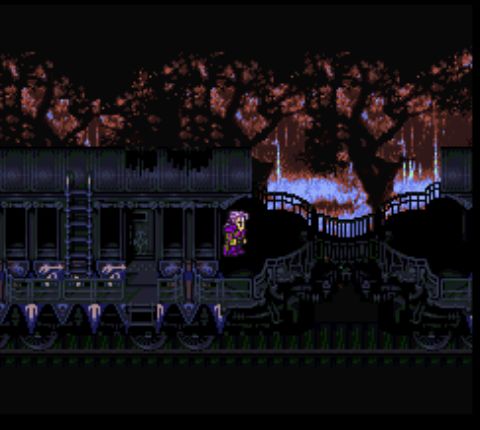 gently caress that, I'm heading for the caboose. 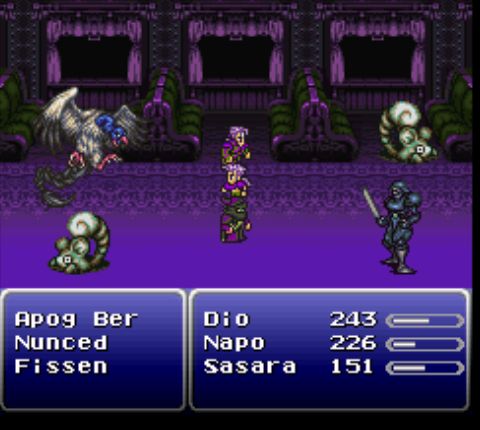 But first, I have to deal with the infestation of birds, lemur... things, and normal men. 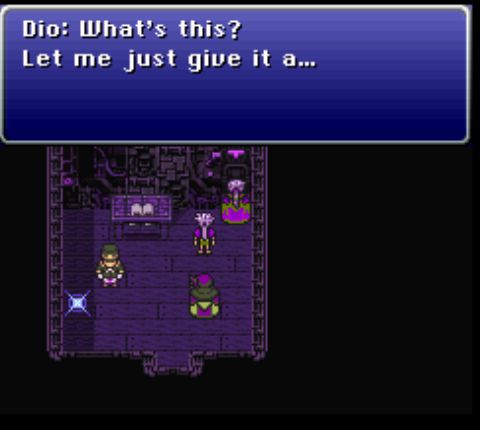 In the caboose, we find a save point and a literal event trigger. 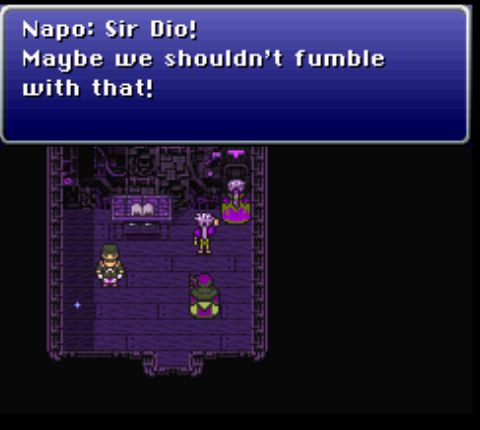 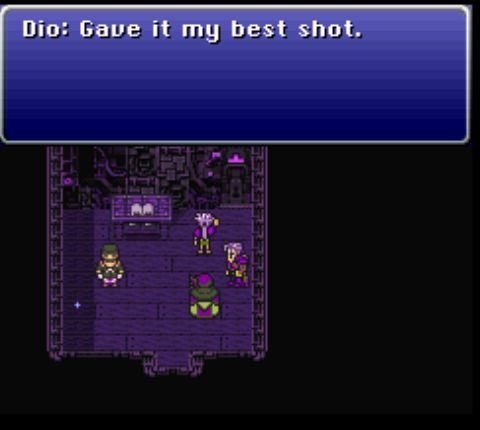 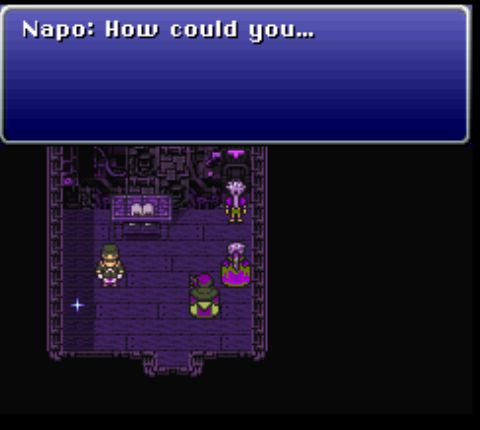 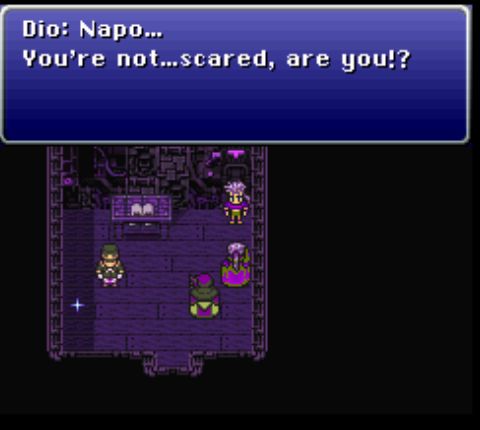 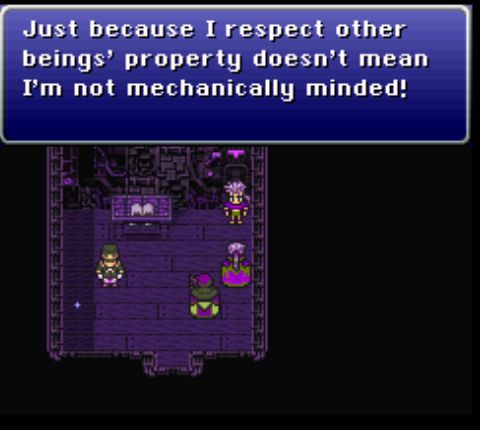  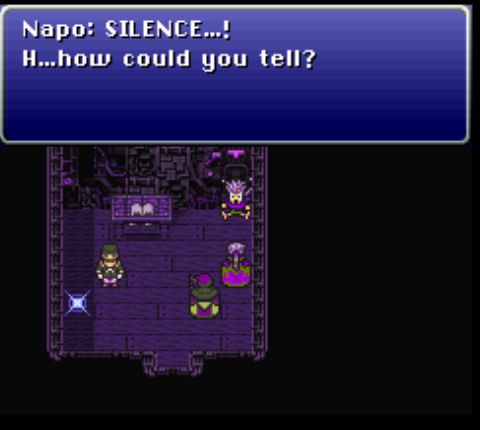 It doesn't affect anything, but it's a cute look into Napo's character. 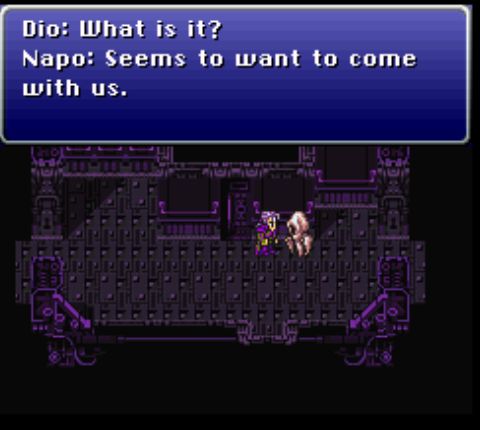 There are quite a few ghosts wandering the train, and there are a few different possible results from talking to them. The lone ghost in the caboose will offer to join the party, and it's really the only one we need.  A glance at its gear shows that it has some decent kit. The DragoonBoots don't actually do anything for it, but having two weapons is nice. I won't be using them, however.  And this is why. As if Dio having OdiShoc wasn't broken enough, now we have a ghost that can do the same. It also has Napo's Throw command, though there's no reason to use it. 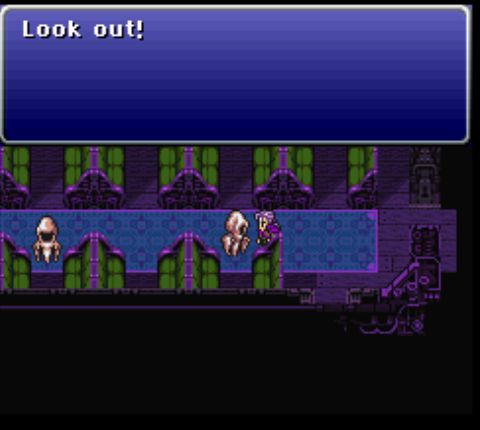 Other ghosts are dicks and will start a battle when spoken to. 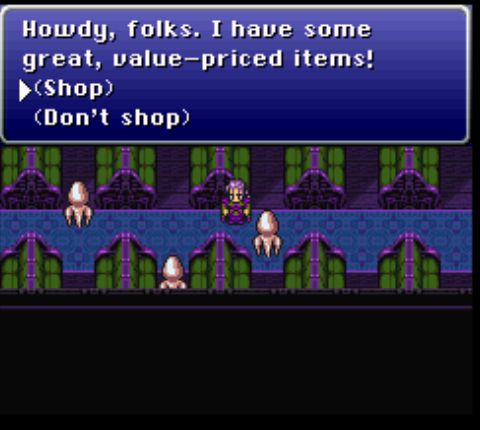 Still others offer to sell you a few things. There's nothing overly vital for sale, but I picked up a few things since the prices are pretty fair. 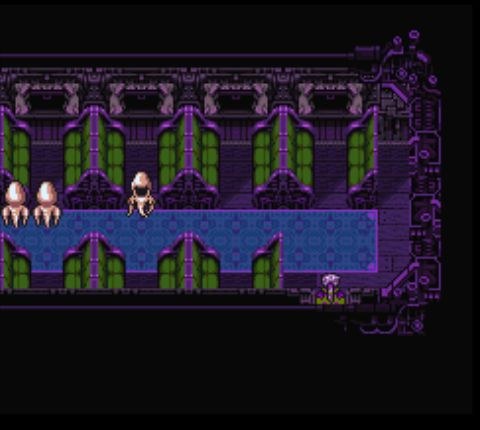 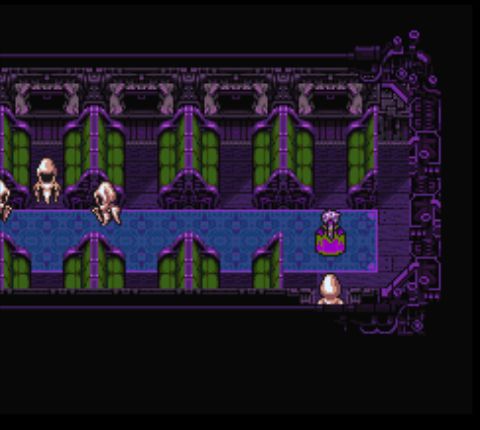 After walking into this next car (which has no other exit), a ghost walks in and blocks the door. 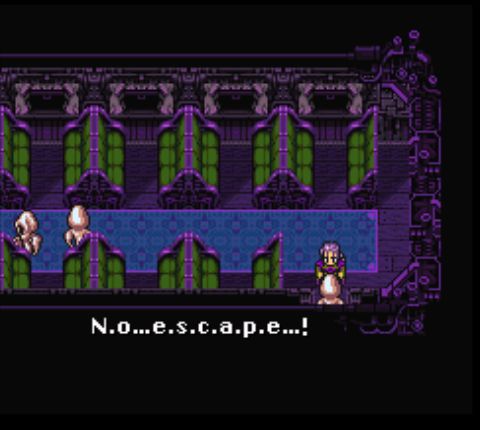 After being deliberately creepy, the ghost triggers a short fight and we can step outside. 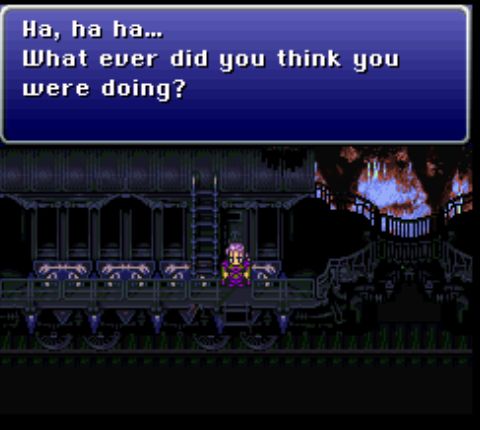 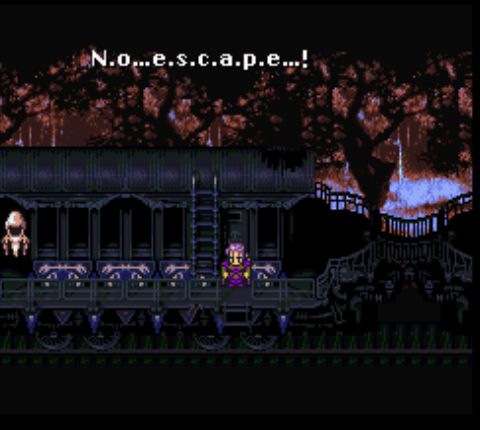 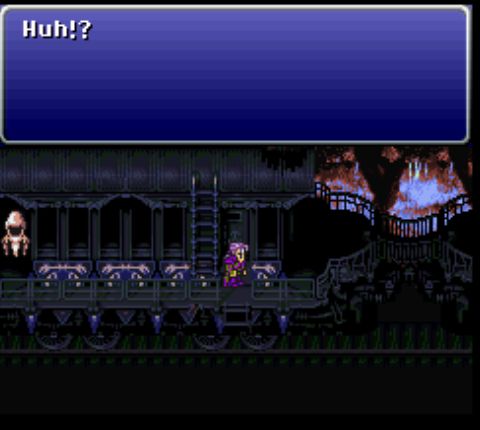 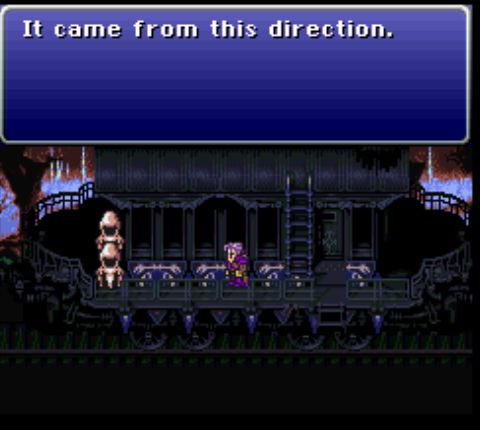 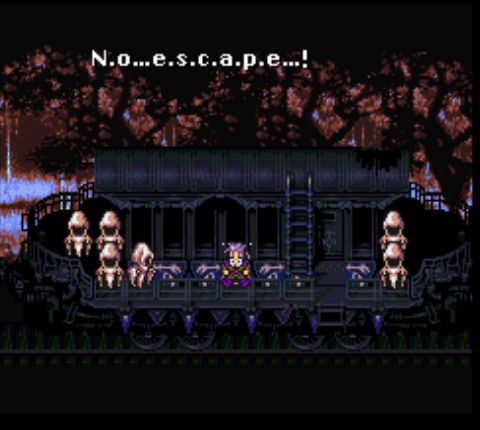 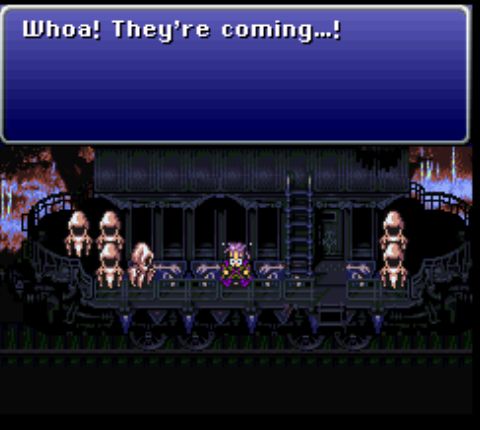 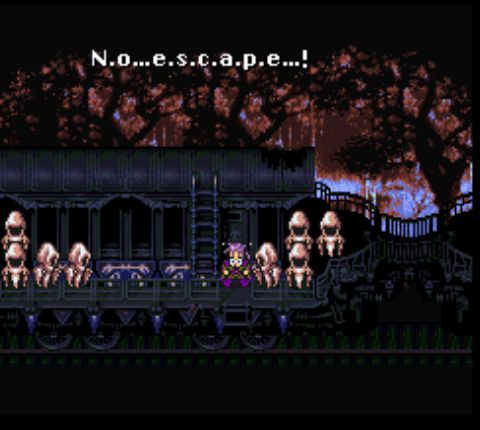 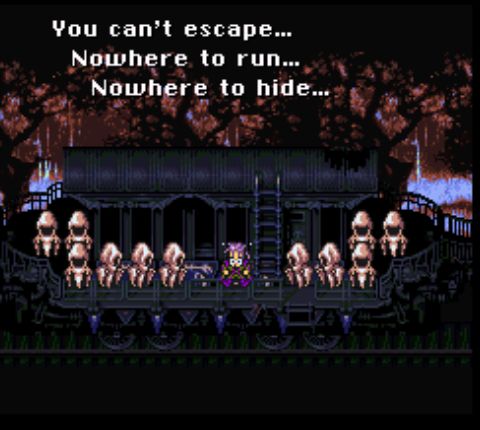 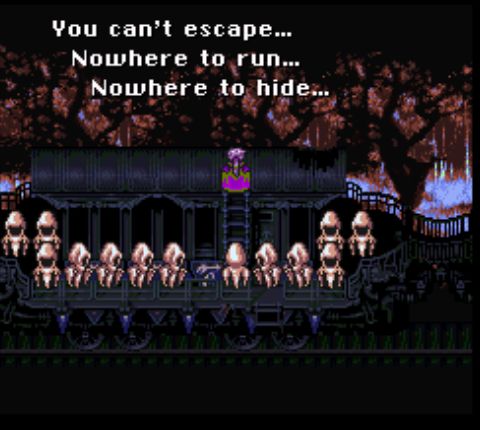 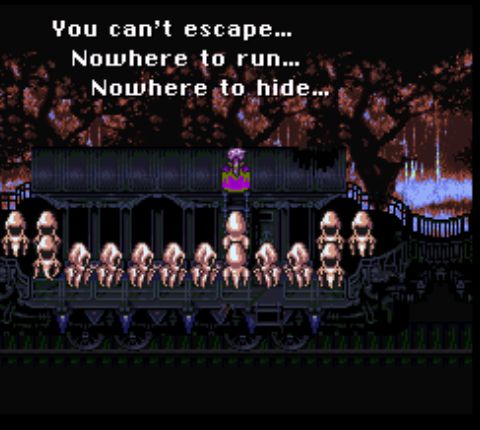 As you can see, this goes on for some time. 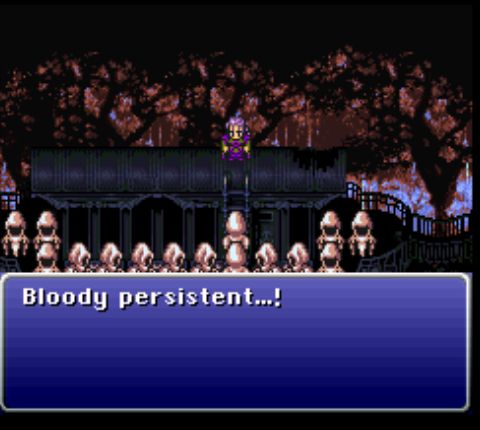 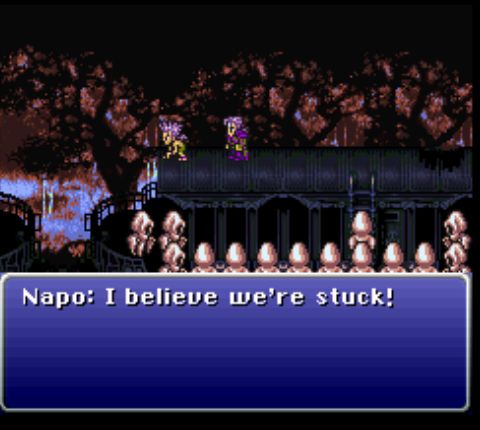 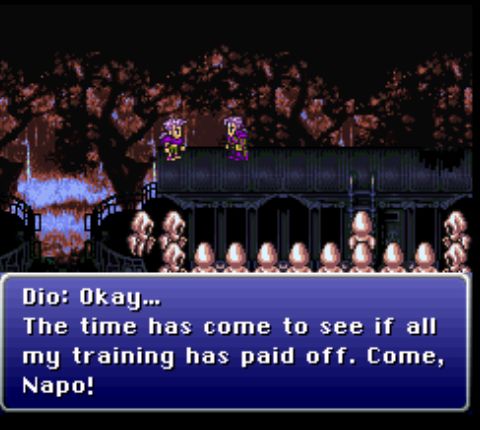 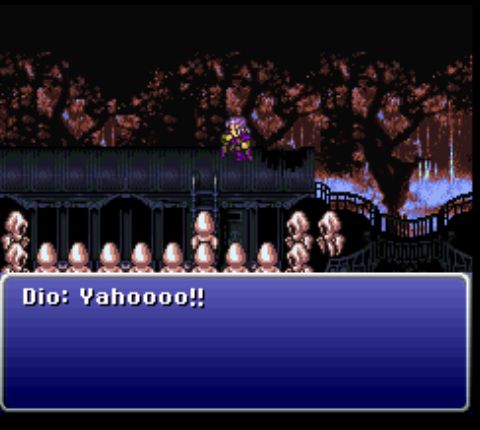 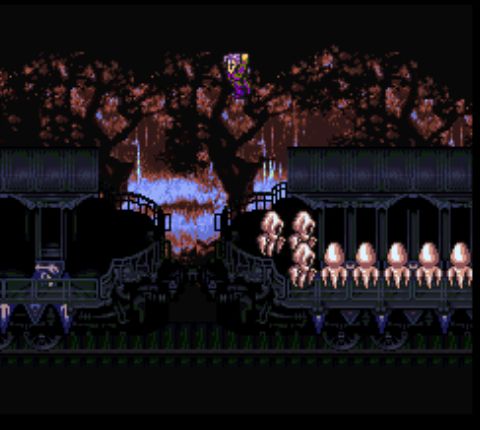 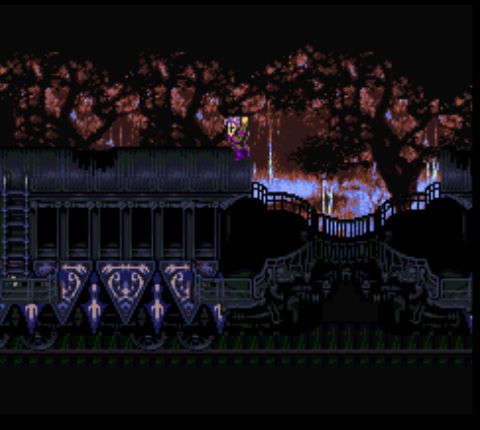 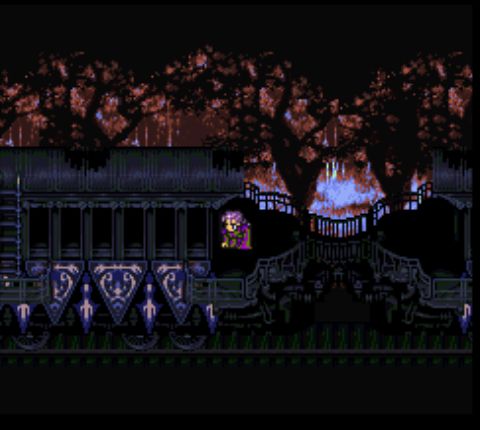 Dio's physical training actually comes in handy and allows the party to escape. I guess he's carrying them or something? 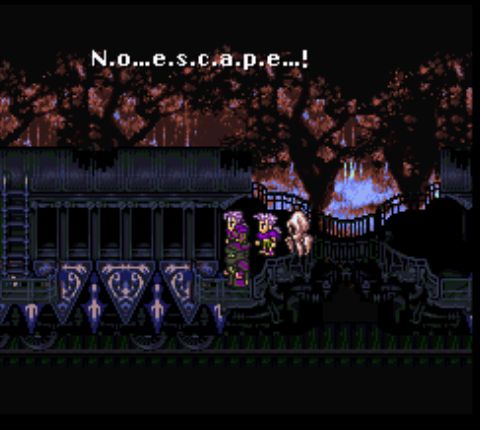 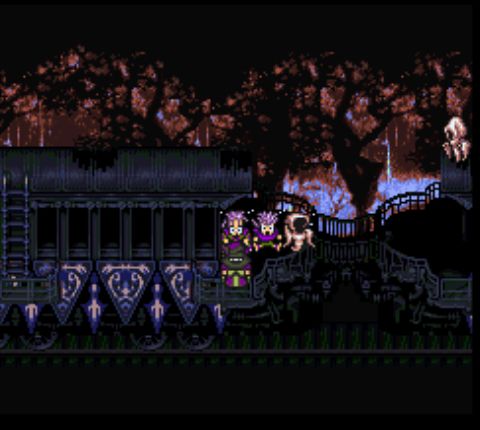 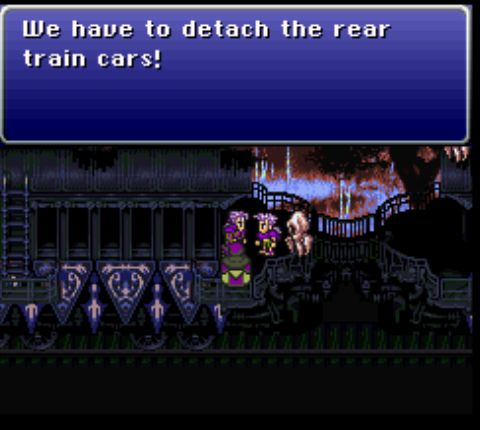 Okay, not exactly escape, but it gives us enough time to enter the car and, well... 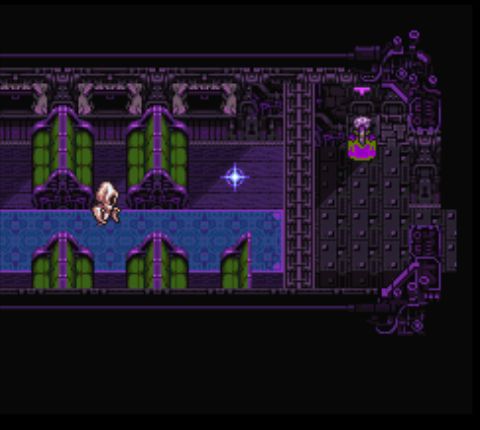 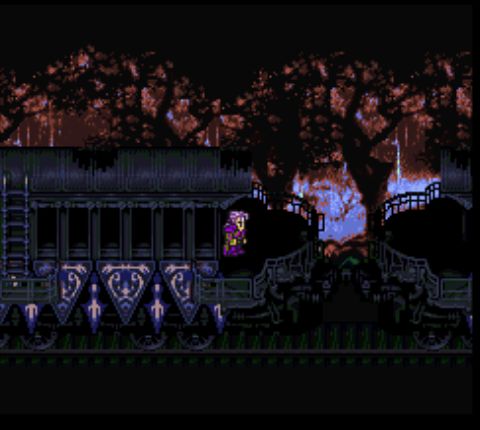 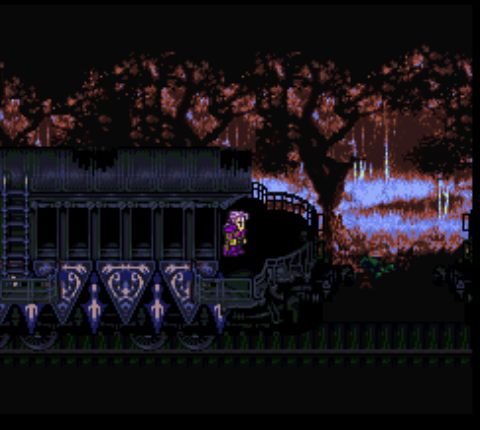 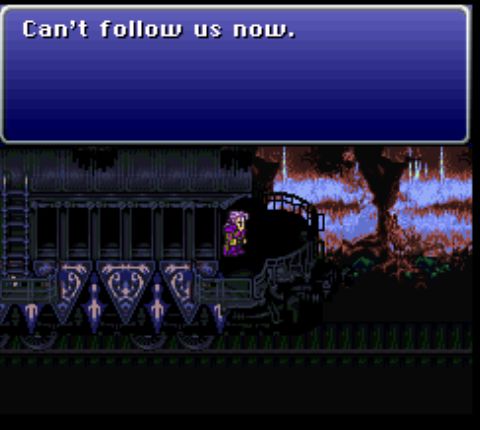 Given that it's a supernatural train that carries angry spirits, I wouldn't be entirely sure about this statement, but for now, crisis averted.  Reentering the car and hitting the switch again causes the wall to open and let us proceed. 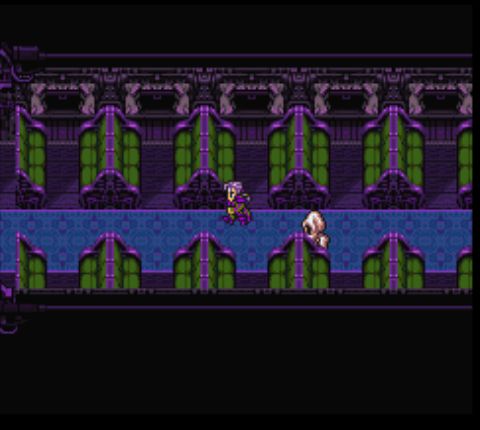 There are five or six cars that are just passenger coaches. It's not very exciting dungeon design. 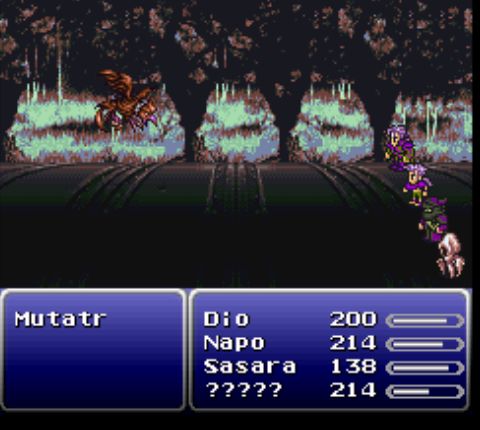 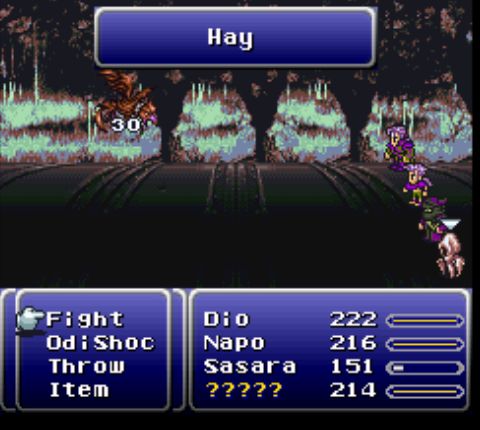 It just wanted to show off this because it's an enemy with a badly misspelled name and a special ability that has nothing to do with the name of either the monster or the ability itself. (It rolls a wheel over one character and inflicts berserk.) 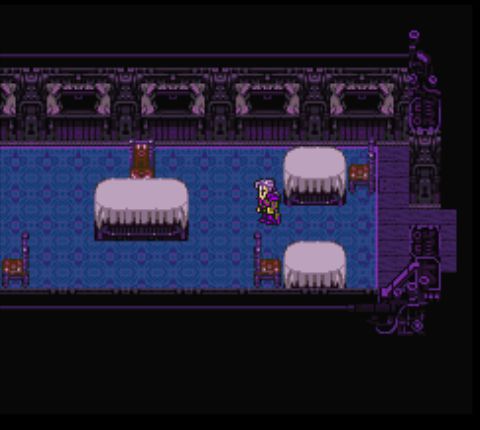 Finally, we get a change of scenery with the dining car.  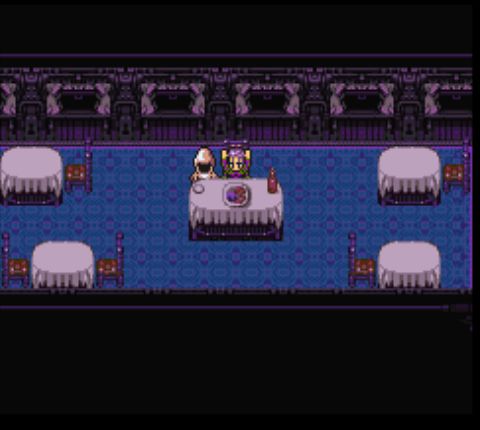 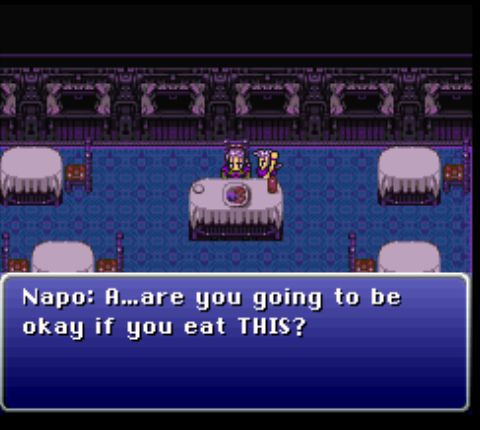  Napo raises an extremely legitimate point, but Dio is not a cautious man.  Apparently the cuisine of the dead is especially good for the living.   We can't leave out of the left side of the car, though. We have to leave and go around to get the chest. It's not even anything very exciting. 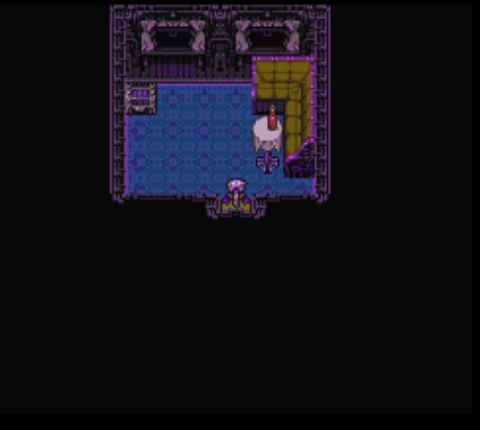 Moving on, we come to this treasure chest. I'll let the following scene speak for itself. 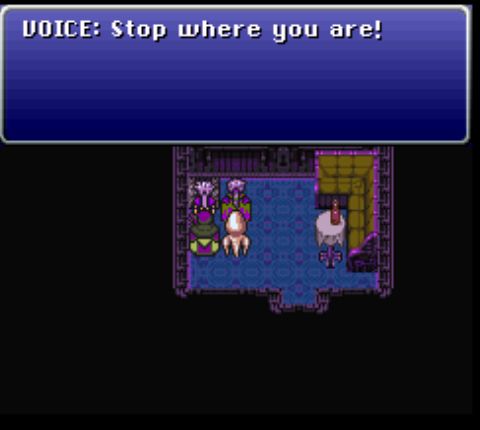 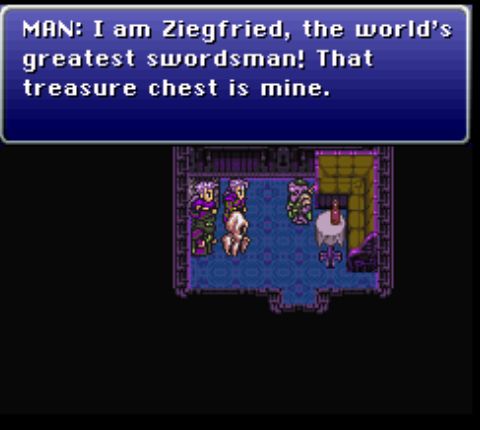 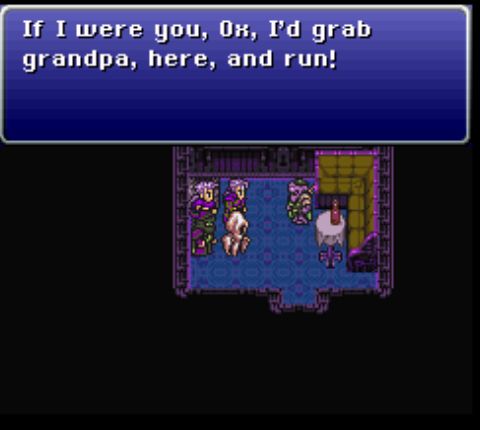 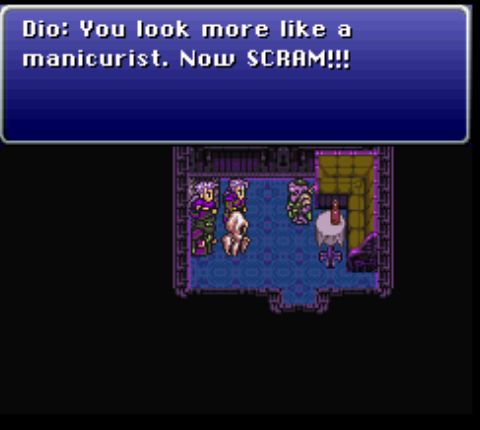 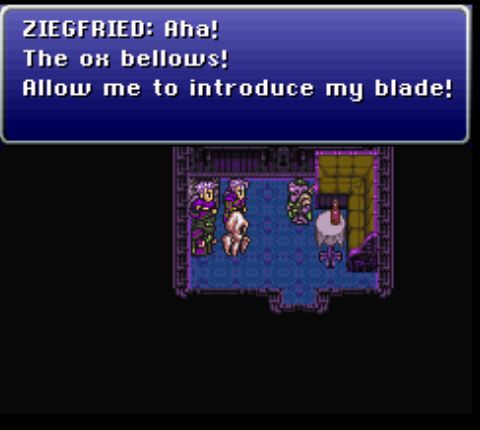  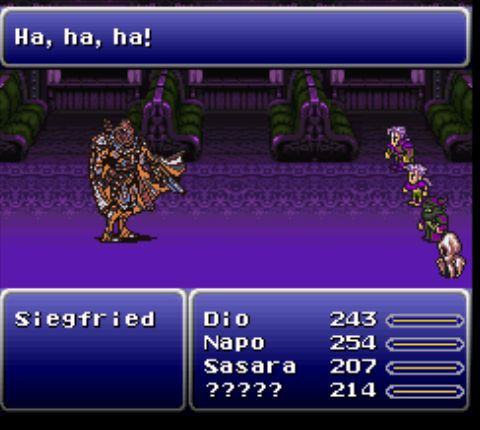 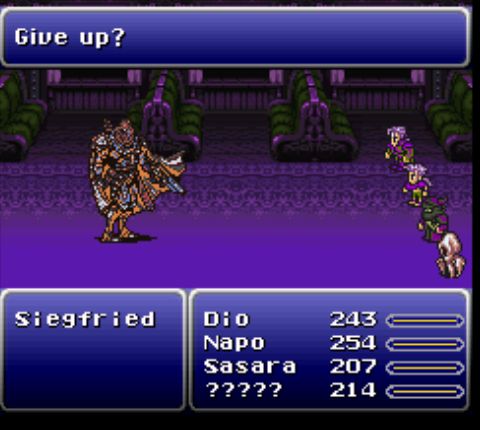 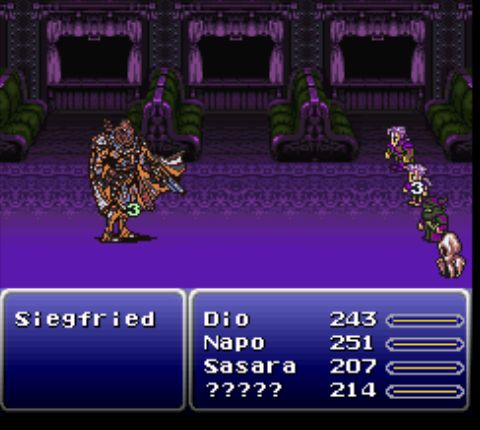 Mostly because I have no idea what I can possibly say to add to this. Who is this man? How did he get onto this train? Why does his dialogue go from flowery to stilted in just a few seconds? Why does the spelling of his name change? If he was good enough to get here, why does he hit for so little damage? None of these questions are ever answered.  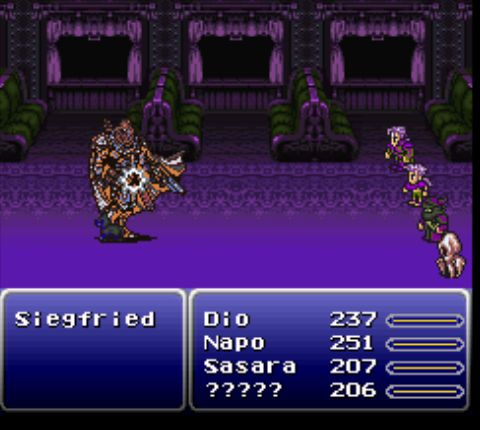 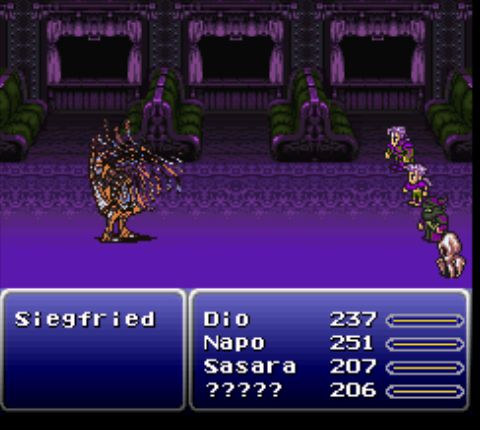 His attacks do trigger Sasara's unique trait: his dog, Interceptor. True to his name, he'll occasionally block physical attacks directed at his master and launch a counterattack. The damage here is pretty impressive, but any attack on ZSiegfried results in him fading away. 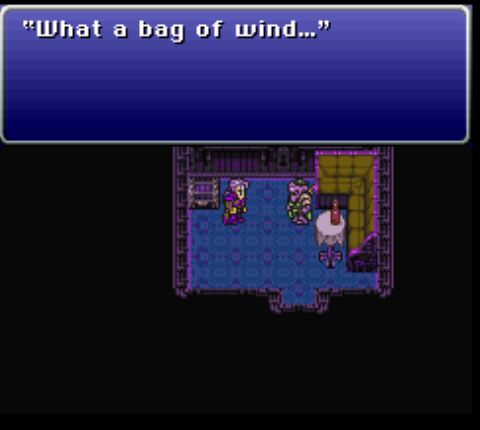 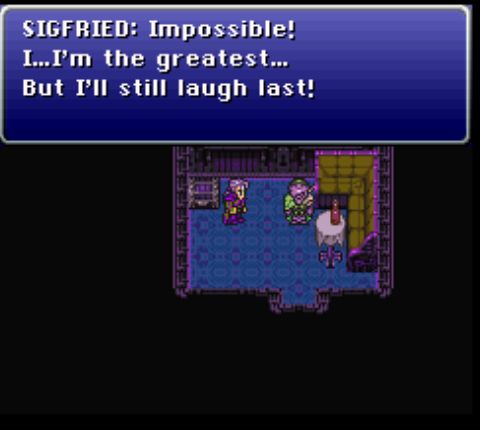 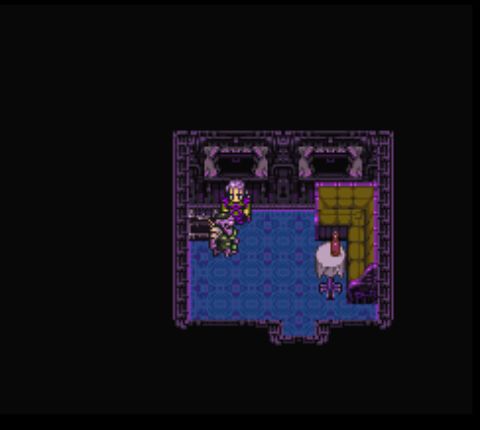  Oh and he's a huge rear end in a top hat. It's 100% impossible to claim whatever was in that chest. 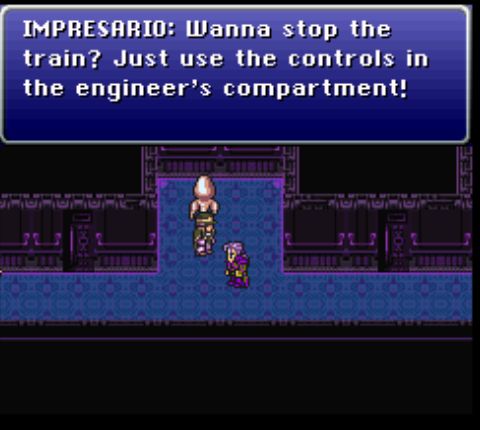 Oh, thanks, random apparently-living human. 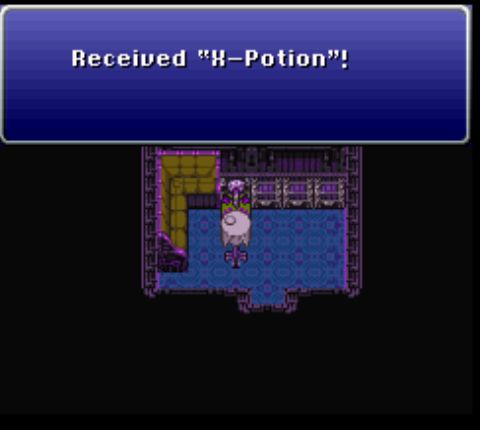 Another room of the train contains a set of chests, including this beauty. It's single-use, but a full HP restore is potentially valuable down the line. 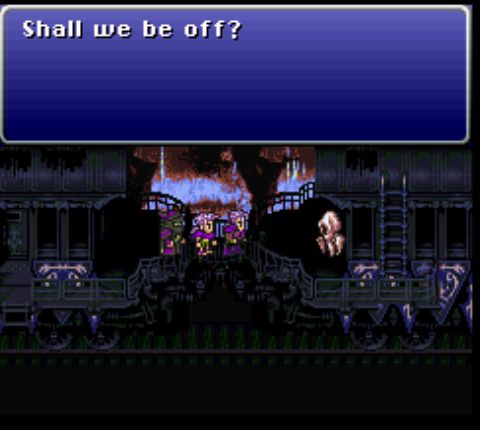 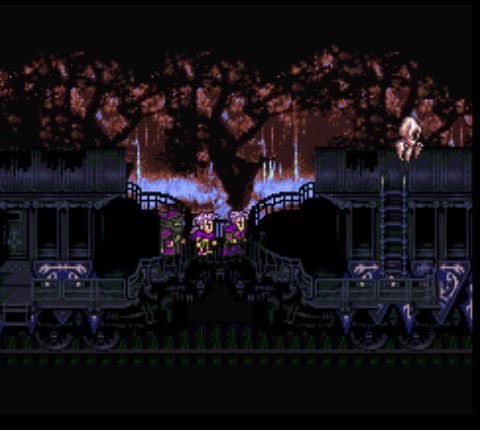 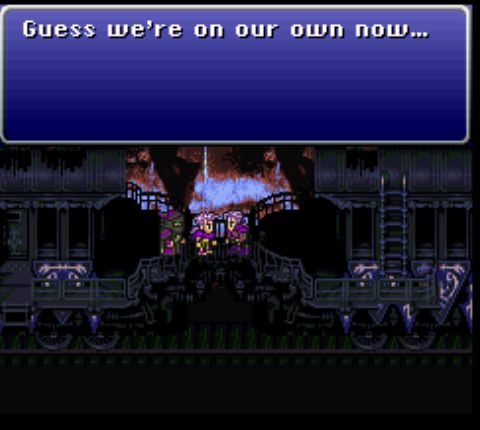 Upon reaching the next car, our ghost buddy decides he's had enough and leaves. This is unfortunate, because he'd be useful for what's ahead. 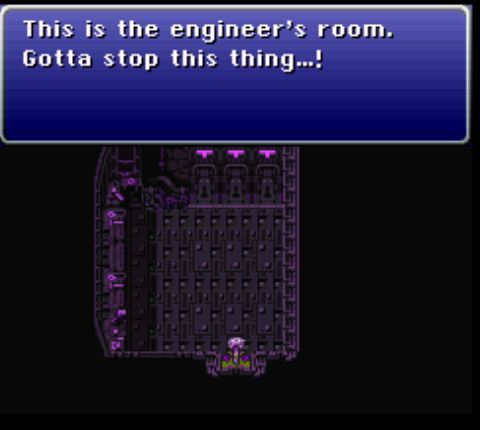 Upon reaching the front of the train, we find a wall with three switches. Stopping the train first requires hitting the right combination of switches. It's entirely trial-and-error unless you know the right combination already. 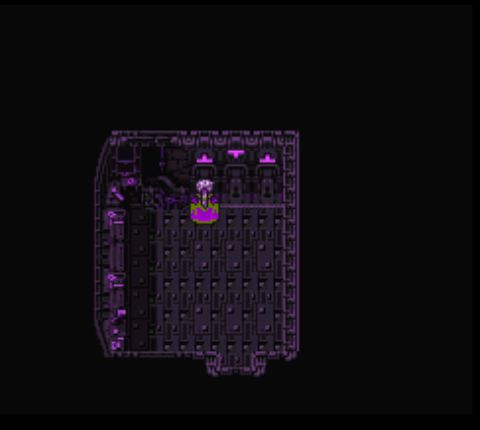 Which I do. 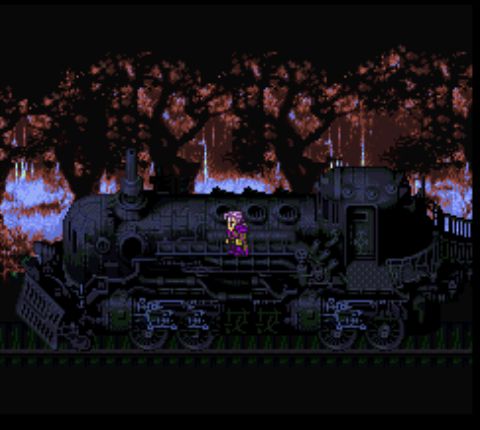 Then just walk up here and... 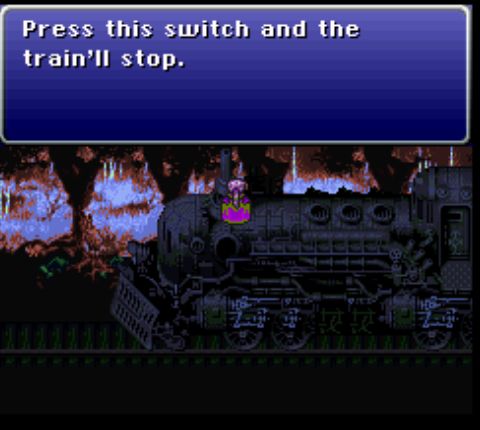 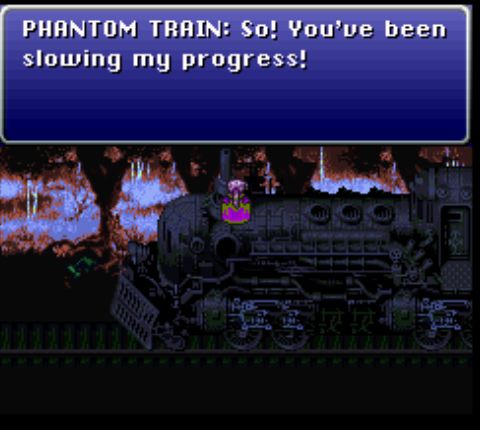 Right, it talks and also fights. 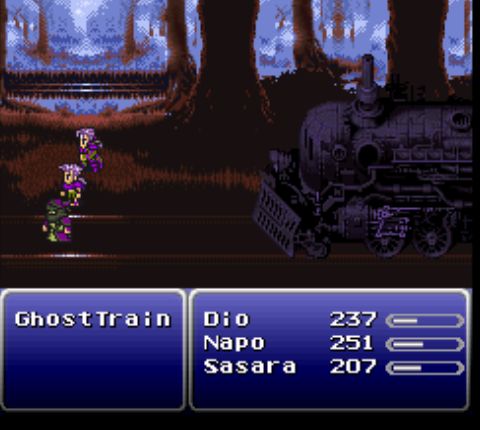 This arguably the most famous fight in the entire game, for one simple reason, a tradition that appears in pretty much every LP of this game: 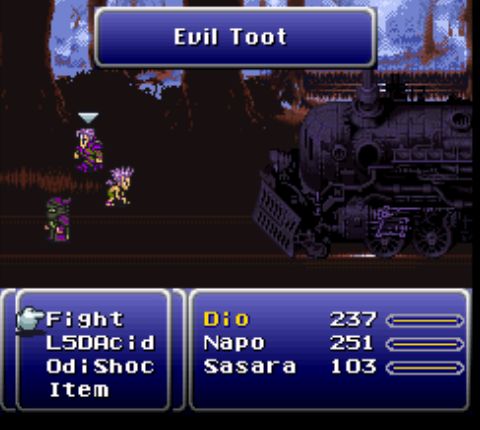 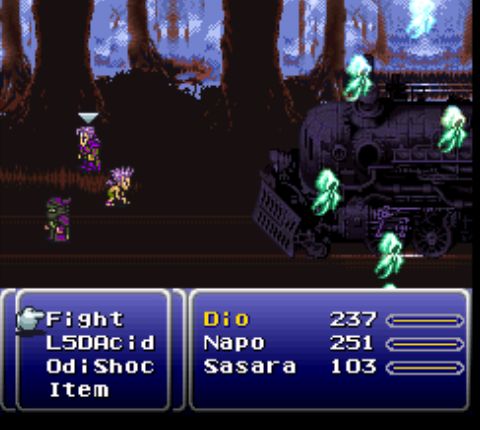 Sketching the train. It's kind of pointless since Evil Toot does nothing to the boss, but tradition is tradition. All fun aside, the Phantom Train/GhostTrain is an incredibly nasty fight, not much easier than Vargas was. Evil Toot can inflict numerous status ailments, Scar Beam hits the whole party for basically-lethal damage, and it likes to counter attacks with its special attack, Rave Tears. 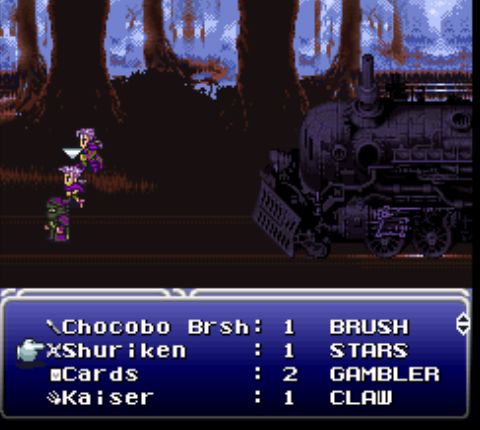 This party actually has few real damage options against the boss, as Shockwave's damage is minimal, Acid Rain heals it, and Sasara's R-Tek doesn't have much that can deal heavy damage. Napo's throw is the key to victory, and I'm not shy about tossing some good stuff, like this shuriken, to get the win. The fight's hard enough without trying to hold onto stuff. 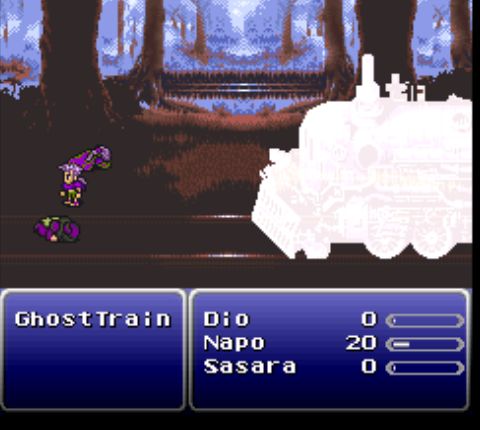 Like I said, this fight is tough enough, and I'm not up for another round of praying for a desperation attack. 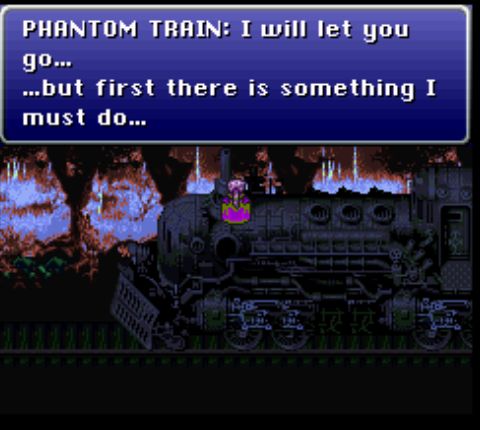 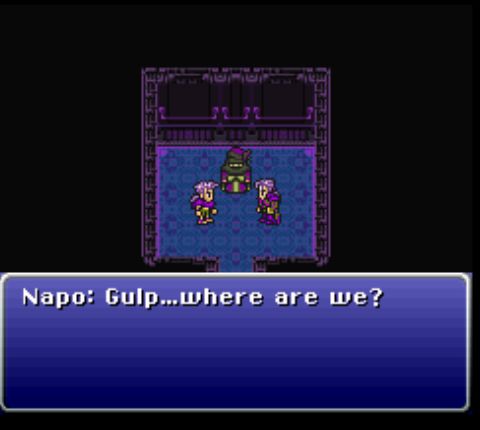 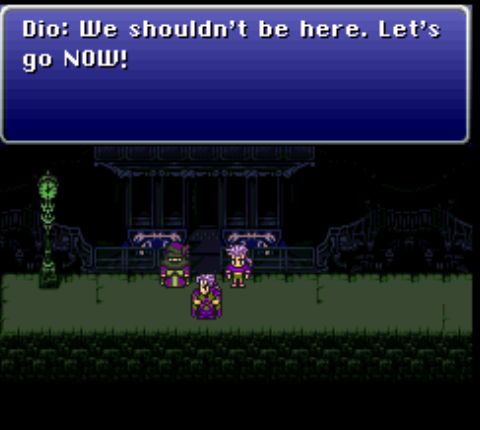 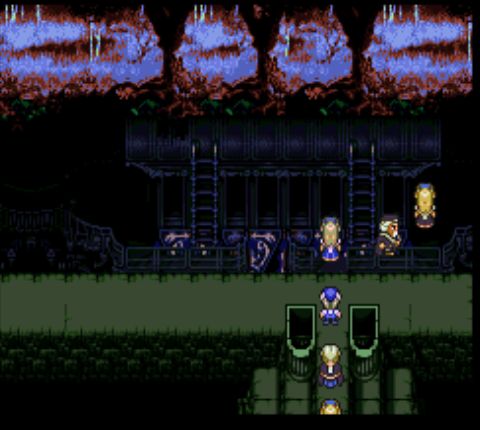 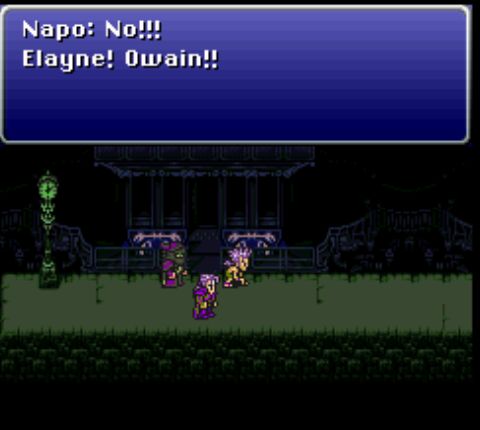 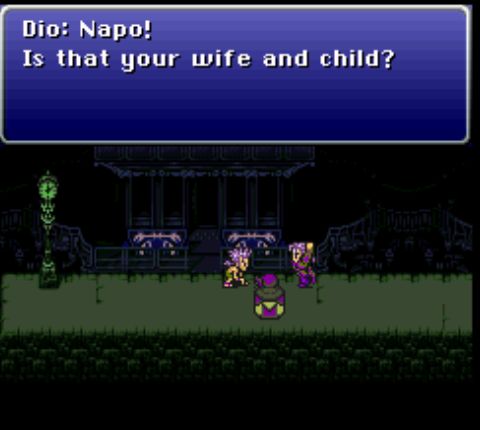 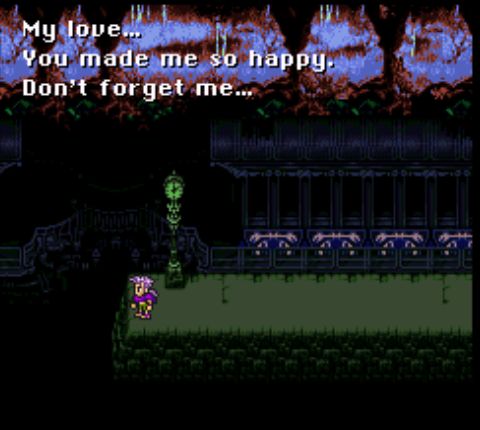 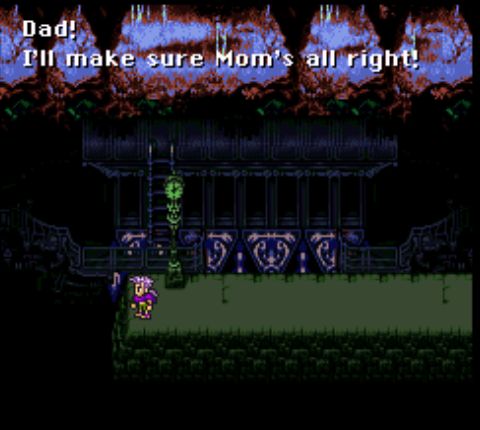 With the train defeated, we can get off, and round out Napo's story arc for this chapter.    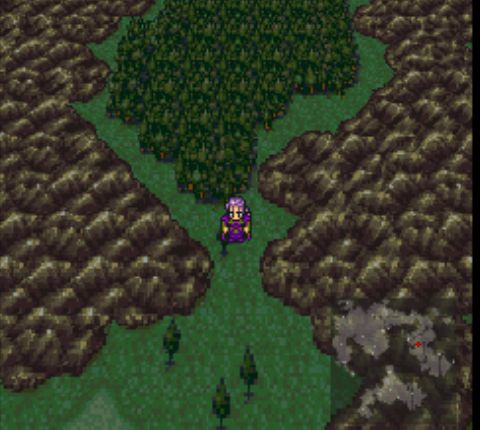 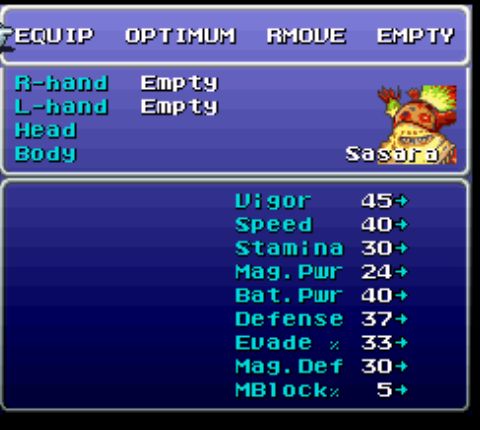 Now that we're out of the forest, we can use a tent (we still just have Napo at 20 HP, and we'll need some healing before the next bit) and strip Sasara of all his gear. 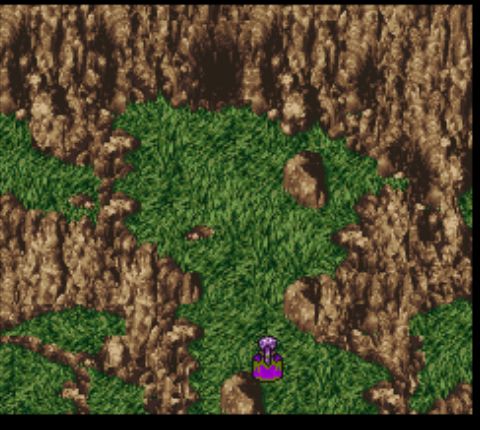 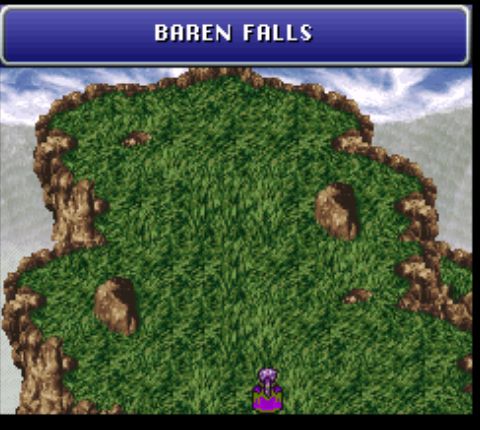 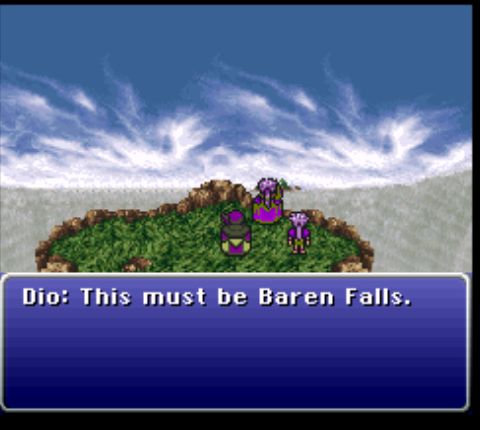 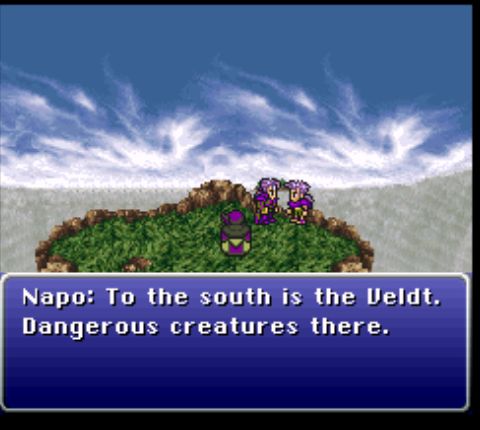 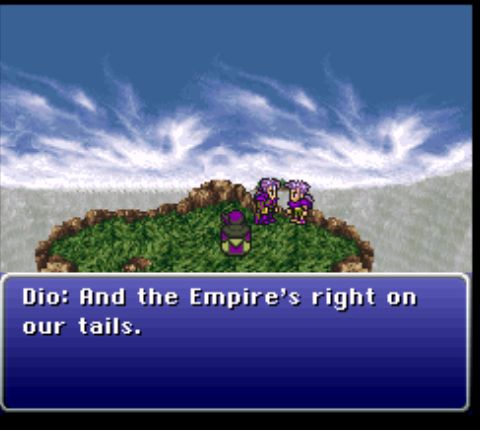 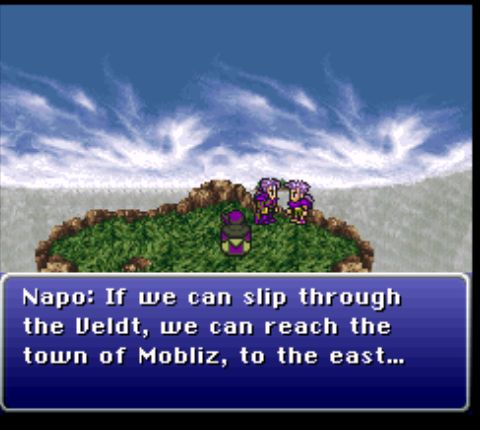  We've reached Baren Falls, the transitional area to the next part of Dio's story. Sasara decides that imperials and ghosts are more than he signed up for and leaves the party. He actually has a low chance to leave the party after every fight, though he won't do so on the Phantom Train (since there's n.o...e.s.c.a.p.e...! even for him). 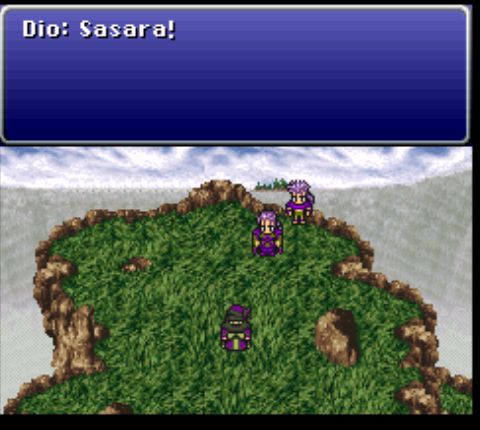 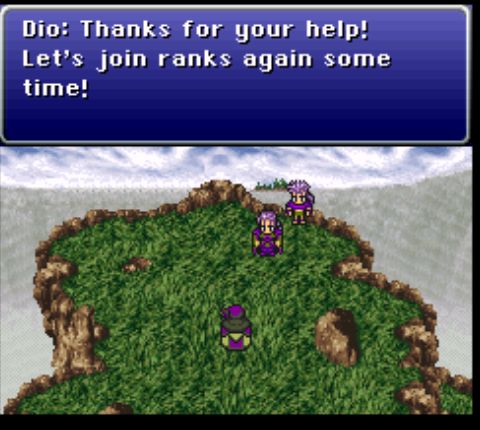  Sasara's body language says, "Not in this lifetime."  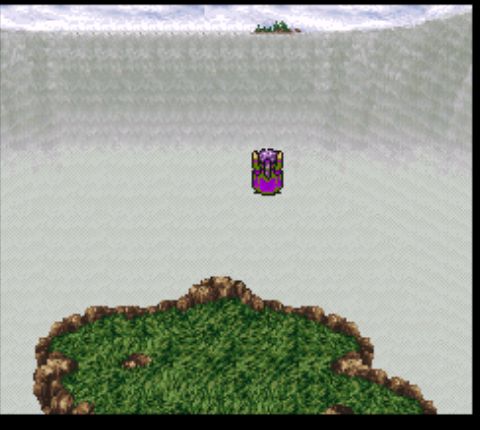 To be fair, this isn't even the craziest thing Dio has done in this update. 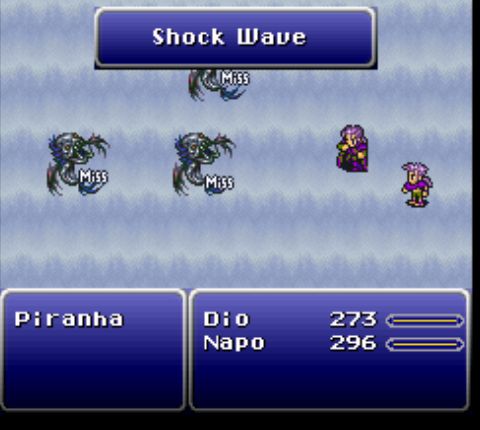 The fall down the waterfall contains an ongoing fight against repeatedly-spawning groups of two and three piranha. As you can see, Dio's OdiShoc doesn't do much to them, as these mostly-ordinary fish are somehow immune to instant death. 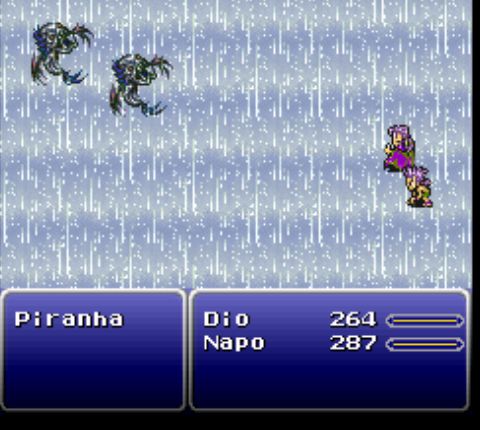 His L5DAcid command is quite effective, however, as the Acid Rain kills the fish in a single blow. I didn't get a shot of it, but there's also a marginally-tougher palette-swap, Rizopaz, at the end. It takes two Acid Rains to kill but is otherwise no more remarkable than its brethren. 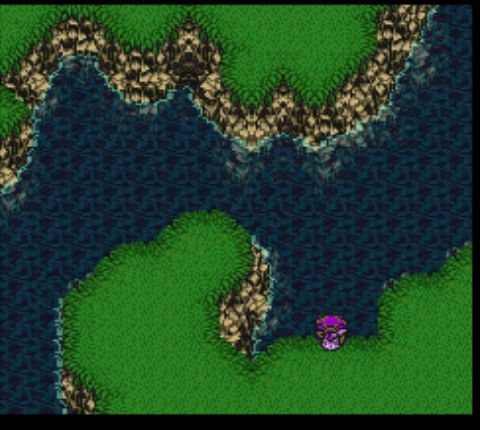 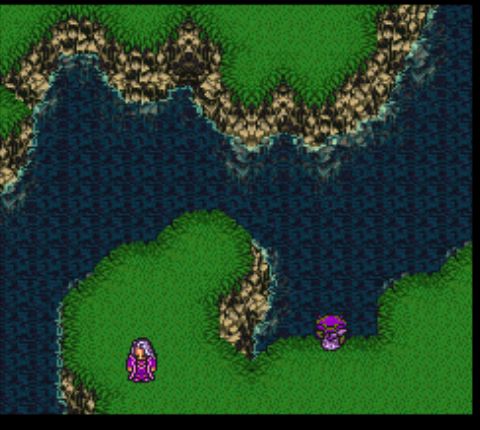 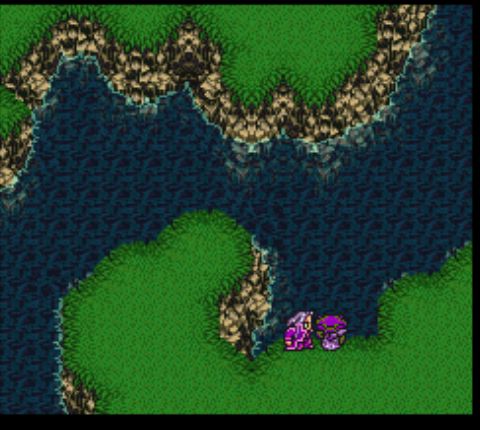 We wash up on shore at the waterfall's base and are found by an albino dressed in pink. 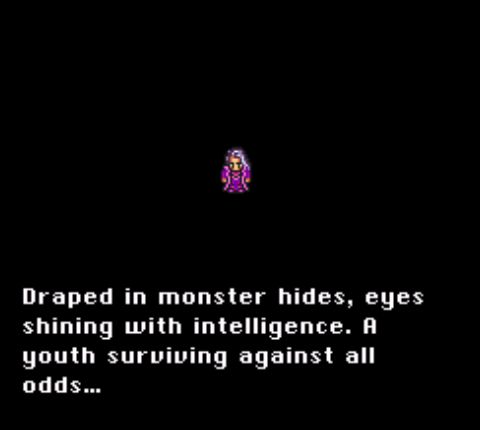 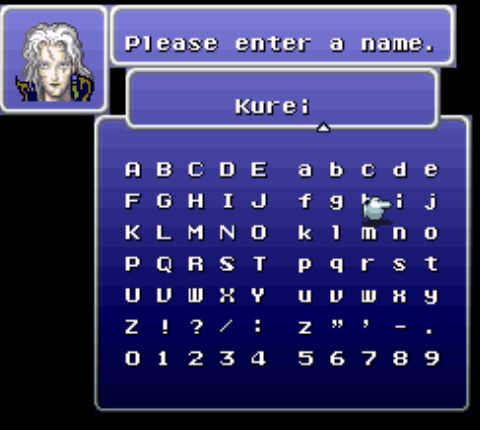 Of course he's a party member. 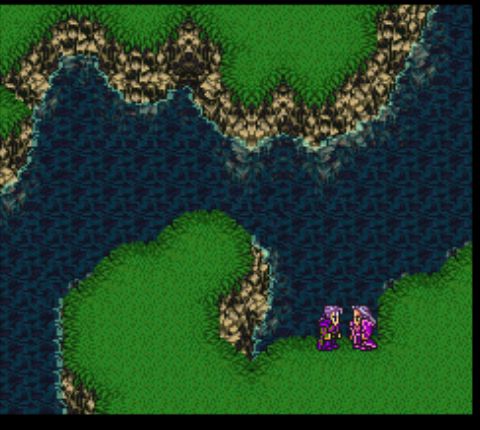 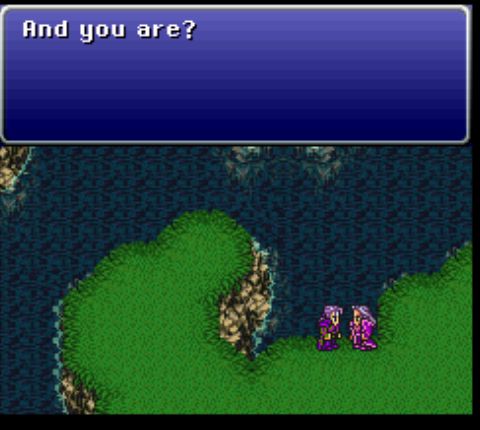 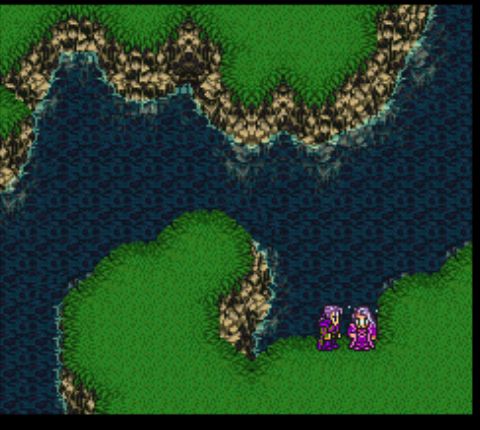 At the end of the cut scene, Kurei freaks out and runs away. You might expect this to lead to another quest in which you have to recruit him.  You'd be wrong; he joins the party automatically, with no fanfare. Nice writing, Square. 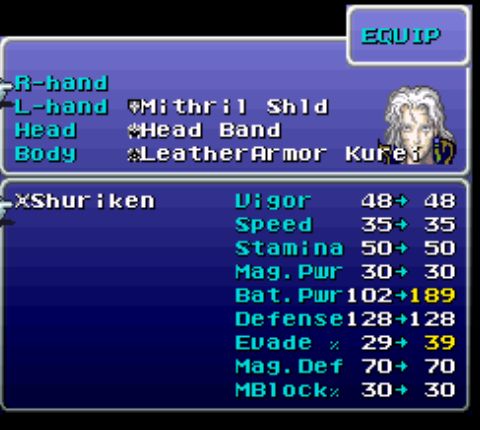 He comes equipped with a shuriken, the only weapon he can use for the moment. If I'd saved the one I threw against the Phantom Train, I could give him the Genji Glove and have him absolutely wreck everything, but as it is I have to settle for him just mostly wrecking everything. 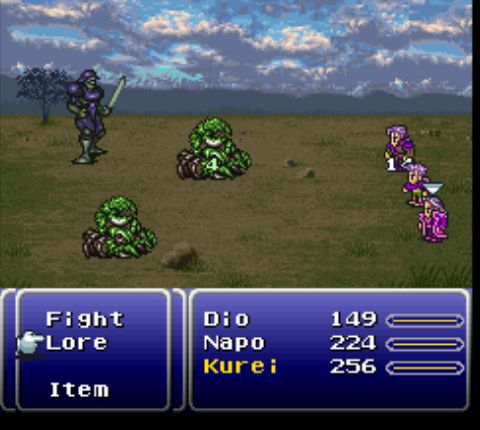 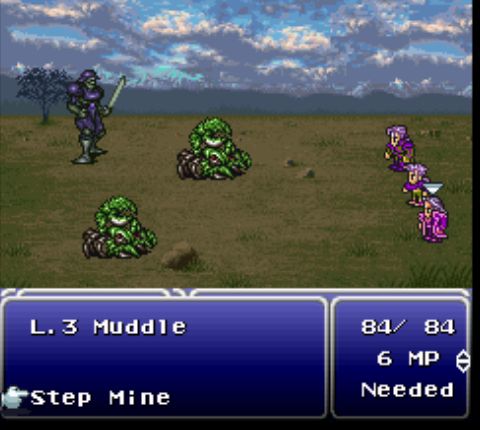 Oh, and the game's implication that he has an affinity for monsters is accurate: those exotic spells I've been collecting are for him. He mostly learns them when enemies use them, making him the game's blue mage. 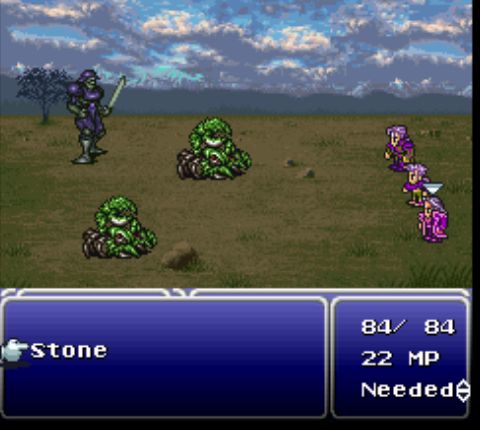 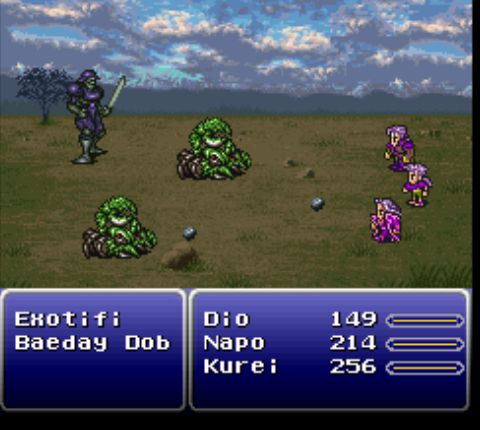 He also gets one free Lore, which lets him throw rocks at enemies. Feels appropriate. In the eastern part of the Veldt is a town, Mobliz. 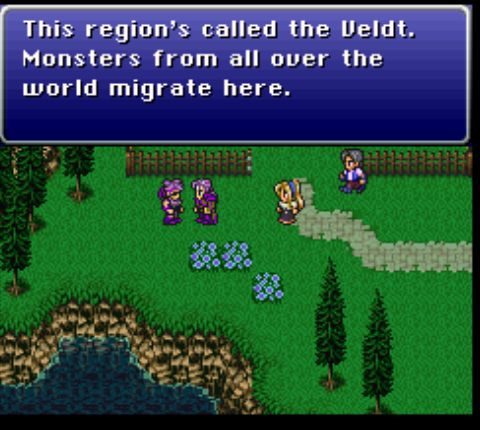 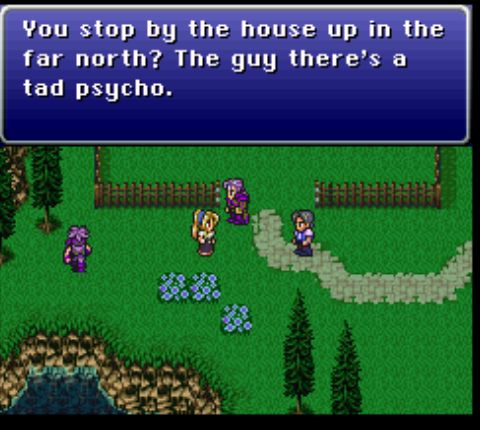 Yeah, no poo poo. 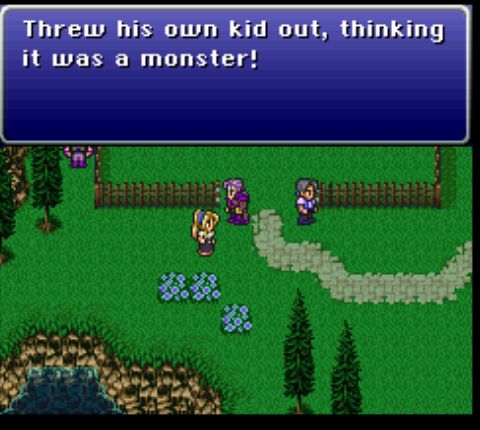 No way could this be Kurei.  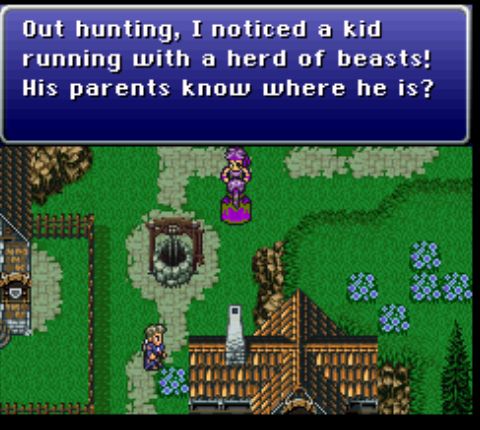 Standing right in front of you, actually. 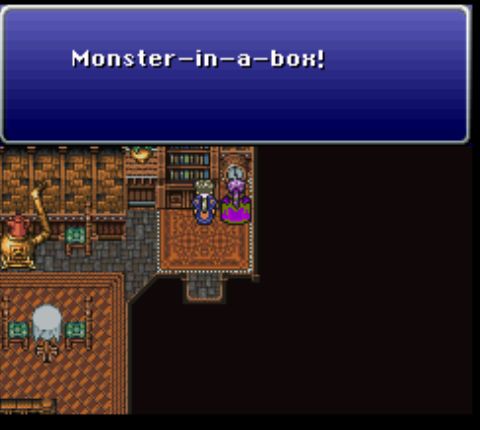 True to form, the clock in this town can be searched, but unlike the others this one doesn't hold a rare item. 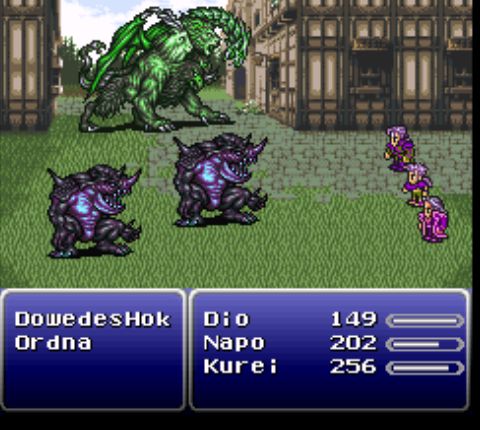  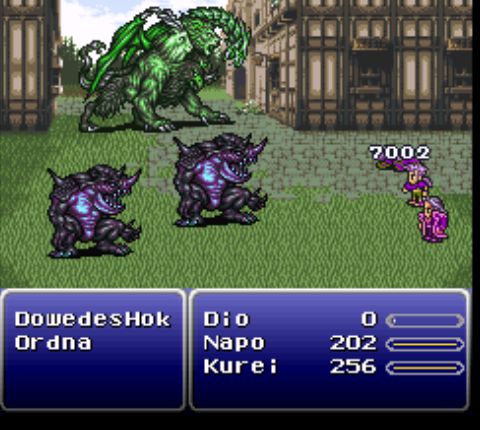   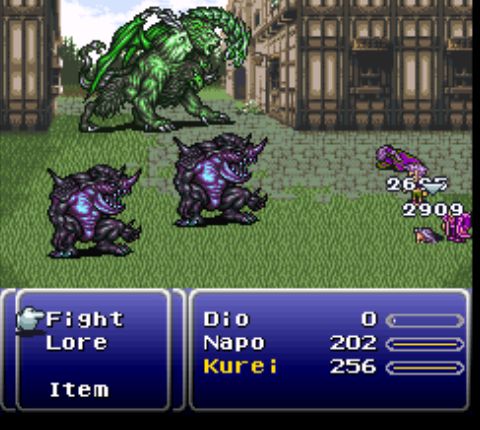  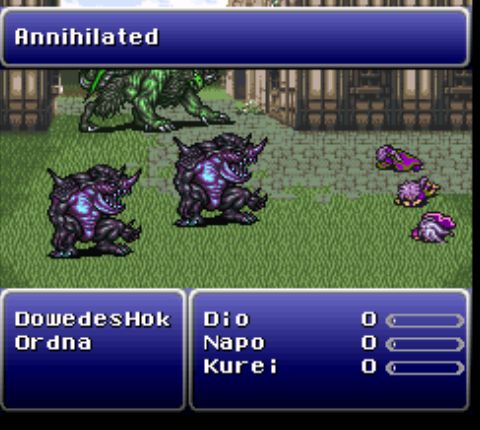 Yeah, this encounter does not mess around, and there's no realistic way to win it, now or later. It's just here as a "gently caress you" from the devs. 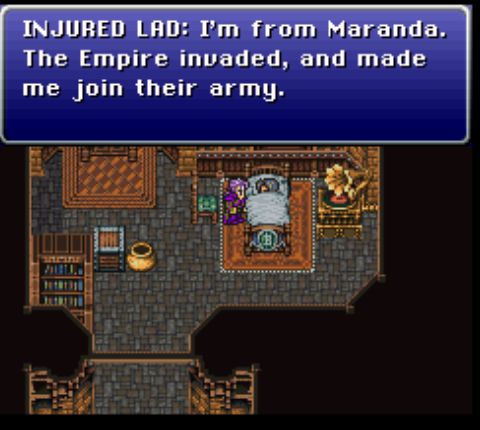 Remember that random soldier in the imperial camp, the one I said was worth remembering? The one who said he'd lay down his life for the empire? 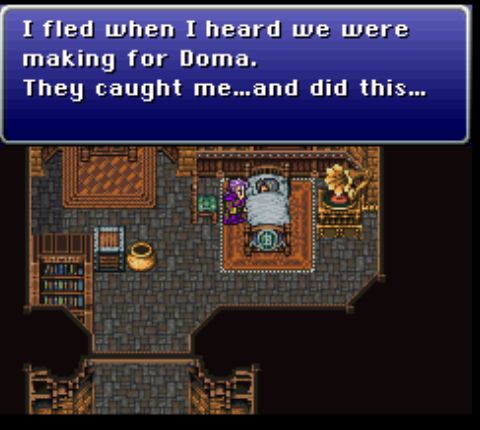 Yeah, he tried to run. 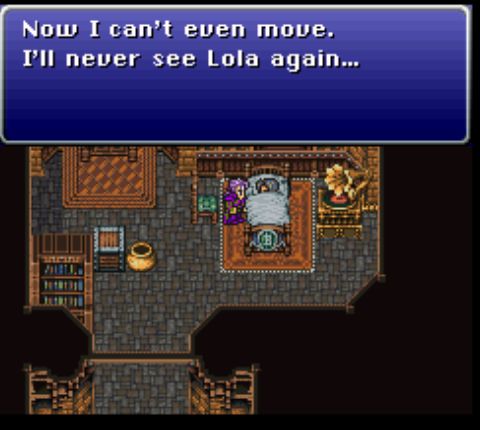 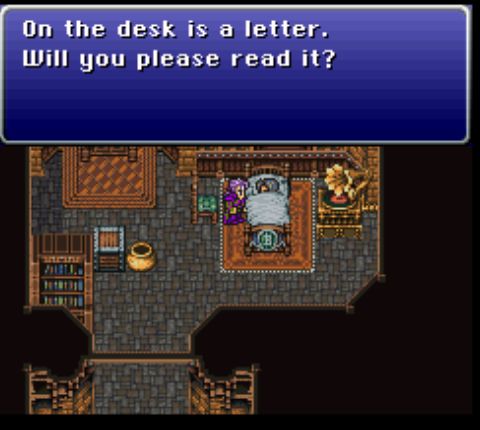 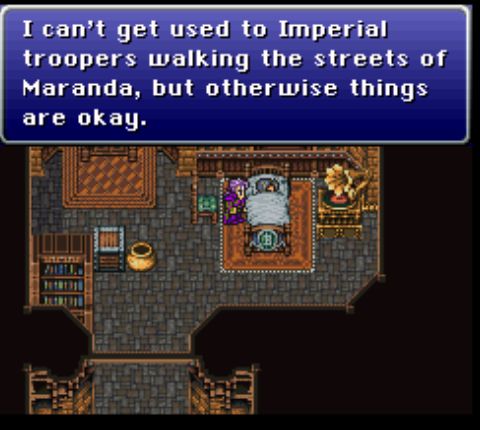 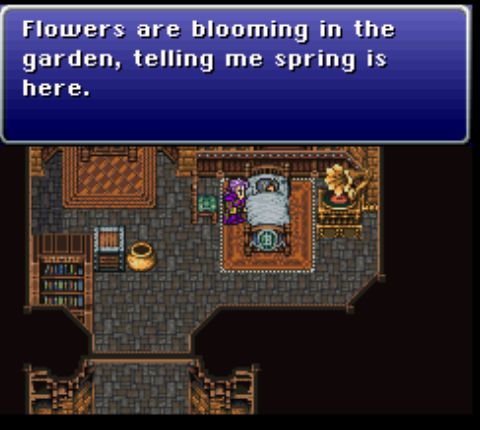 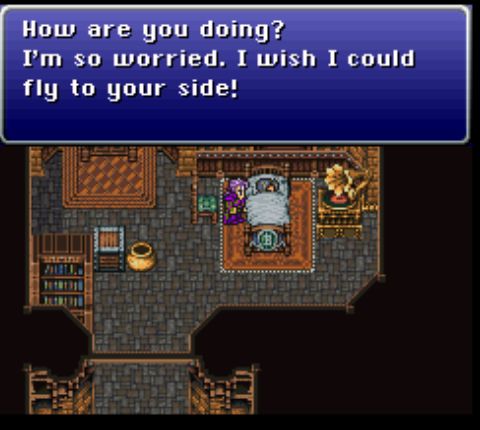 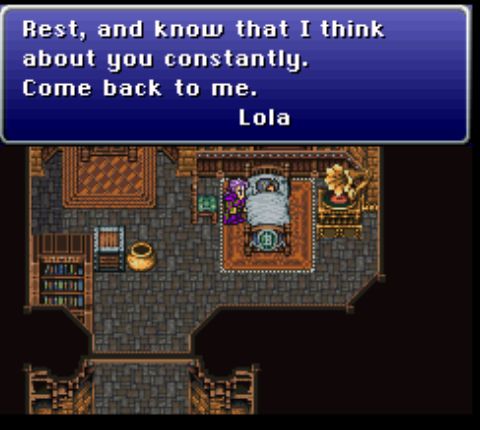 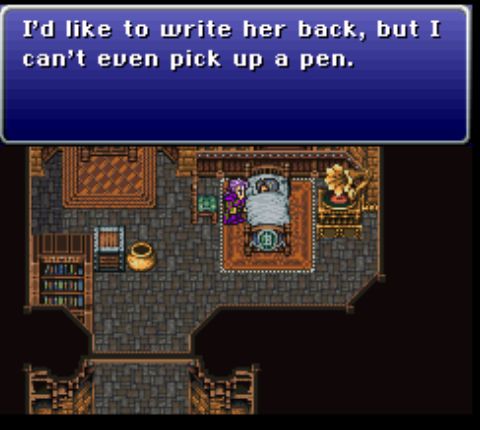 He's really a sad case. Still worth remembering too. 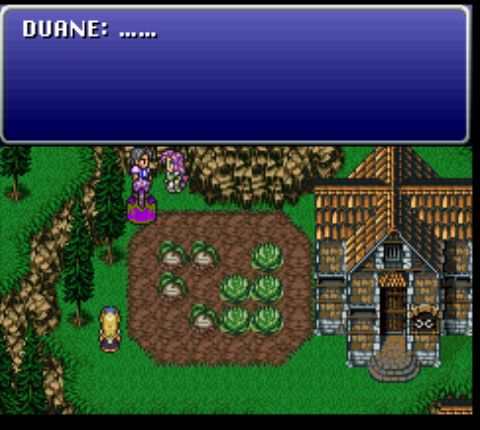   I'm not even going to touch this one. 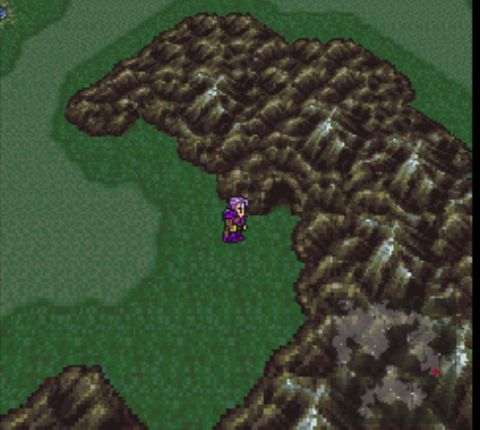 South of Mobliz is this cave. The game doesn't tell you to go here, but it's the only other destination on the Veldt. 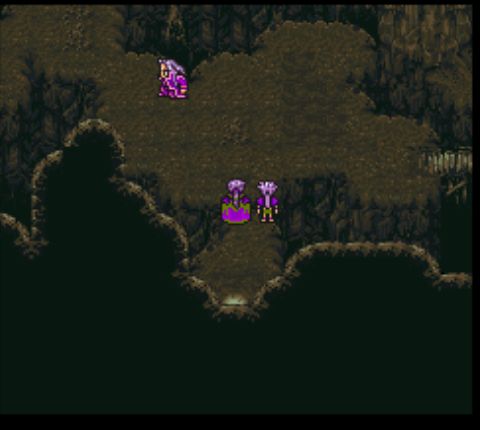 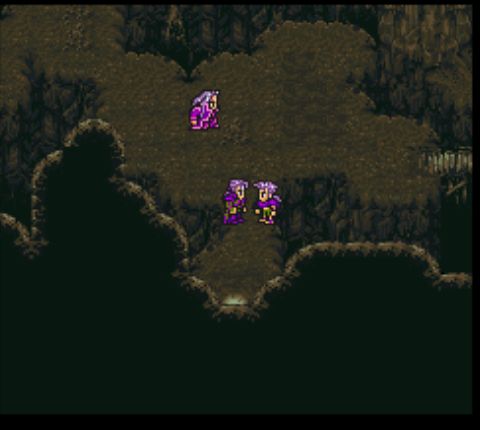 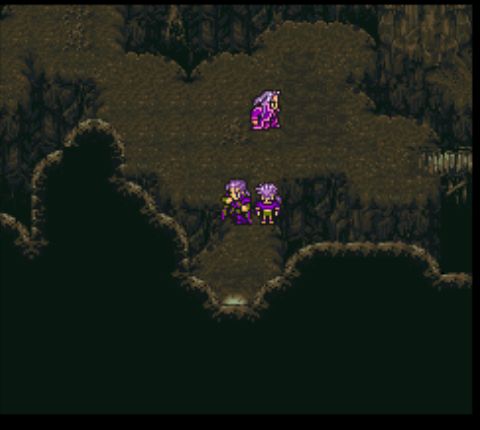 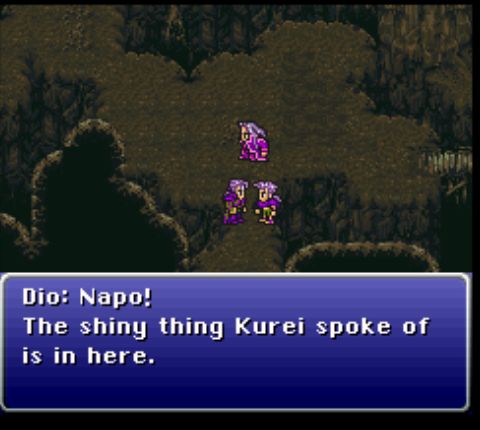 I feel like something got excised from the game, because this is the first time this gets mentioned. 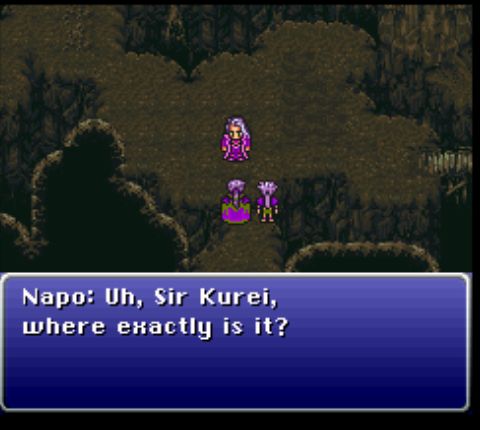 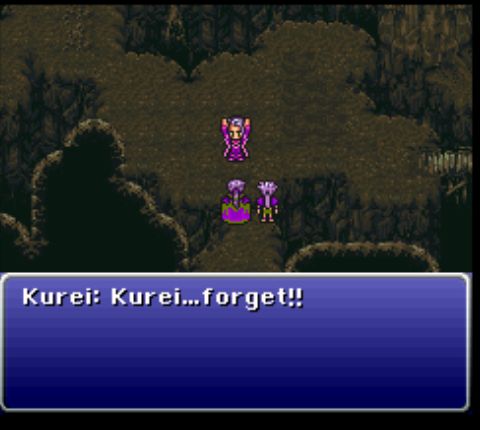 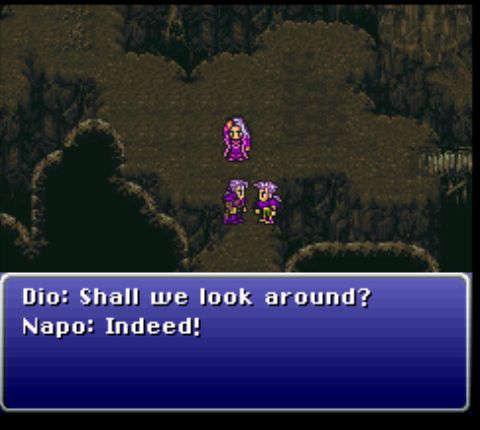 Apart from a few side tracks where Kurei takes your money, there's only one way to go here. 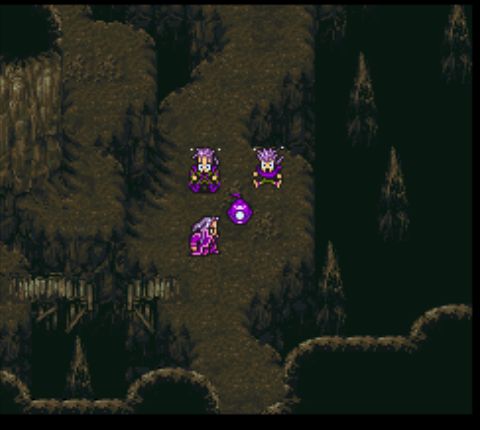 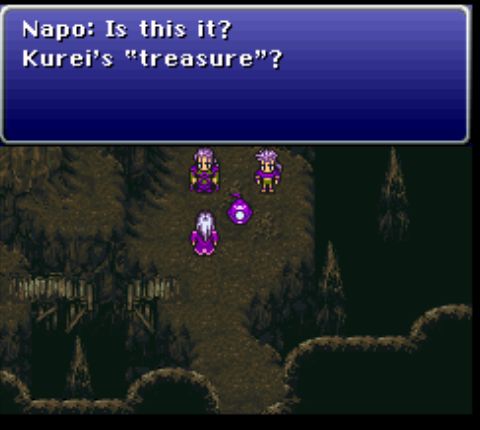 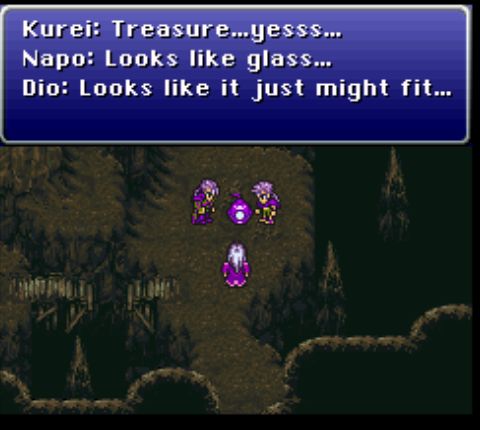  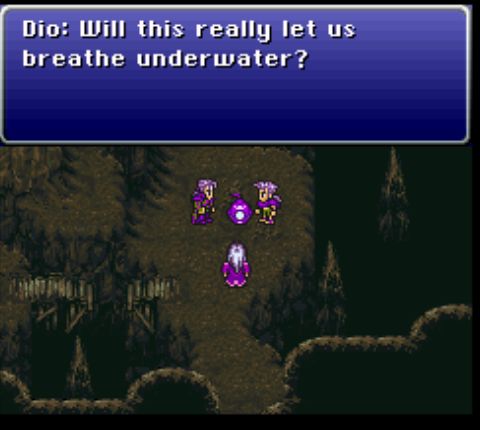   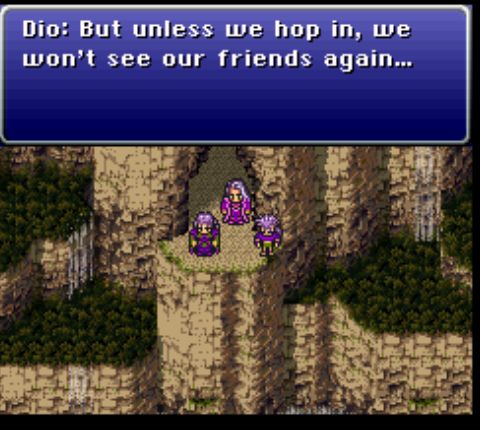  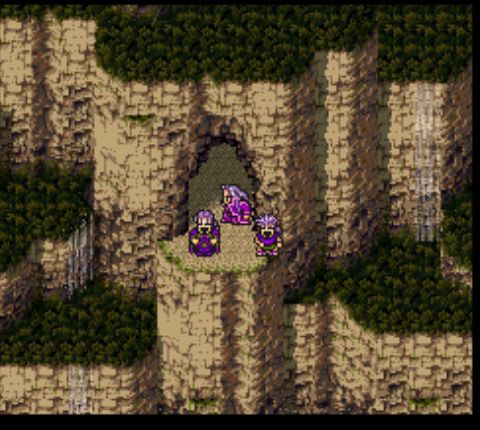  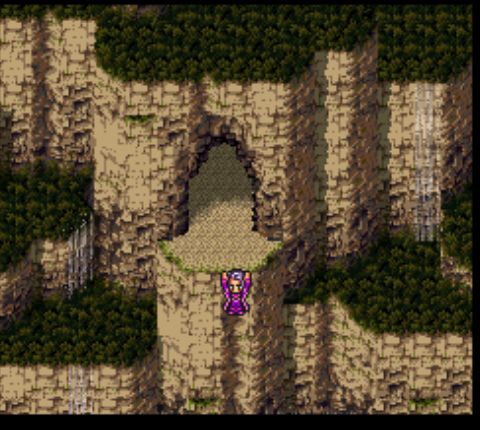 Somehow this diving helmet allows everyone to breathe under water. Physics doesn't work that way, but okay. 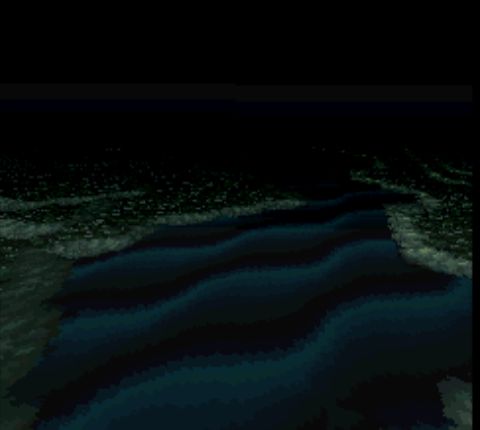  The Serpent Trench uses the SNES's Mode-7 system to send you on a roughly first-person journey through the water, fighting tiny men on the ocean floor. 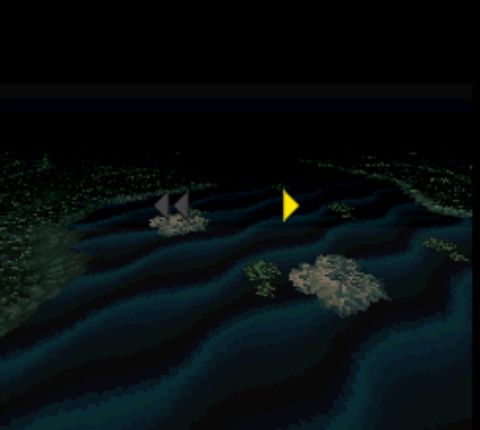 At two points, you can direct yourself left or right. In both cases, right leads to treasure. 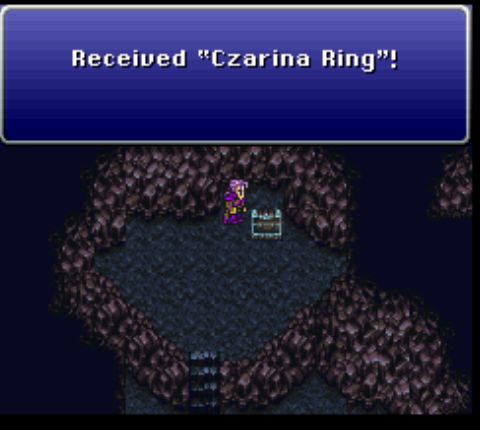 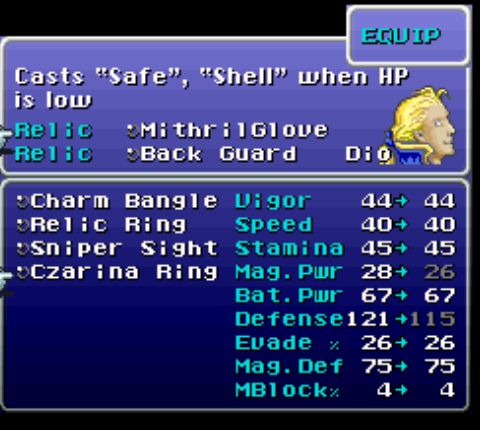 This is a pretty decent relic. I give it to Dio so the prince can live his dream of being a queen.   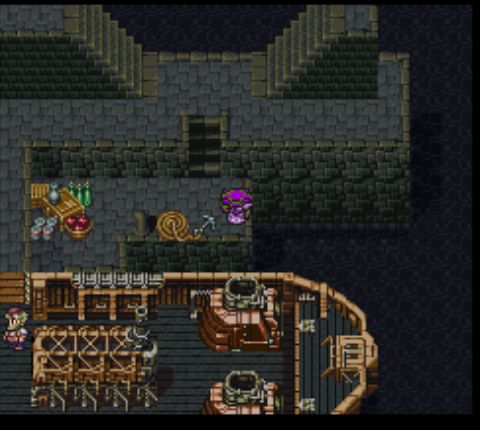 Finally, we reach the end of the Trench, and Dio washes up on the water's edge for the third time in the chapter. 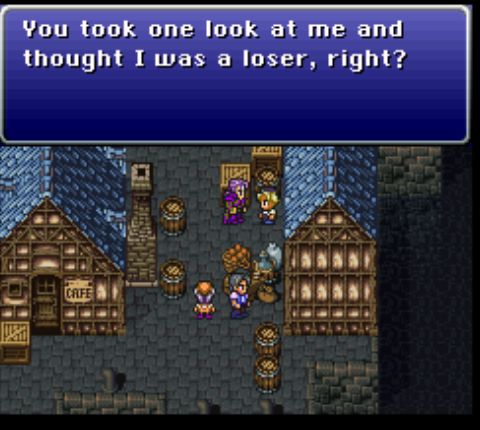 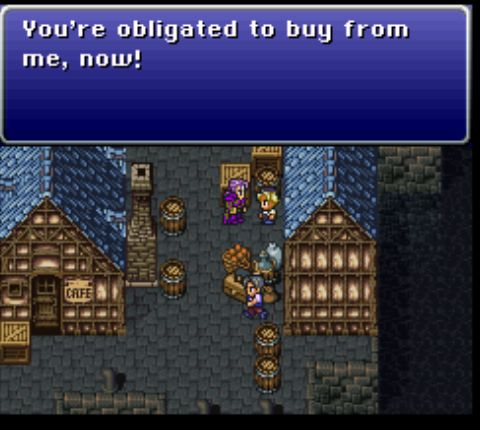 The town has shops, but none of them have anything especially useful. Joke's on you, kid; you are a loser and I'm not buying anything.  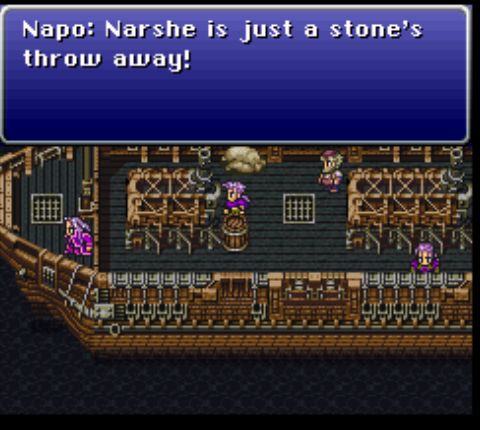  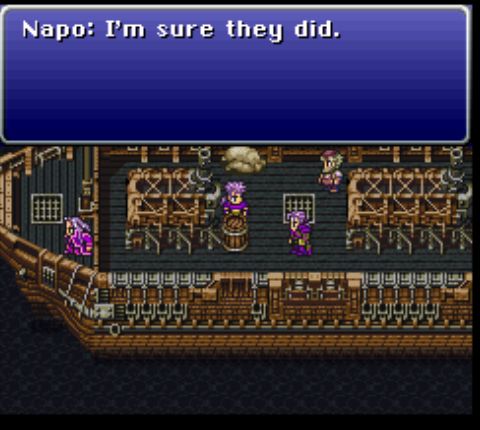  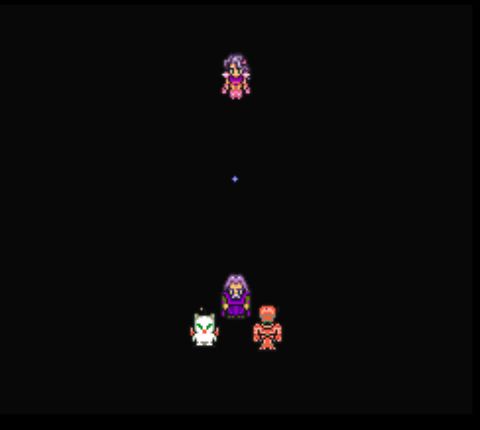 And with that, Dio's chapter is over. Next time: we finish things up with Riku, Kouta, and Banon. 5-Headed Snake God fucked around with this message at 15:50 on Sep 10, 2018 |
|
#
¿
Sep 10, 2018 09:07
|
|
|
Takuan posted:Look, if I had a kid who was as in to Visual Kei as Kurei is I'd throw him out of the house too. I had to look this up, and by God is it spot on.
|
|
#
¿
Sep 11, 2018 14:55
|
|
|
Chapter 8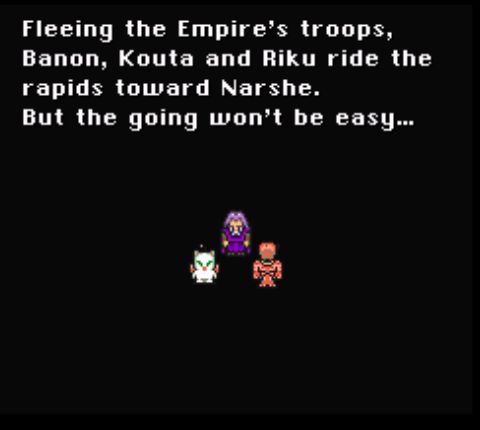 With Dio and Batora having finished their stories, we're just left with Riku (along with Kouta and Banon), who are continuing the original plan to head toward Narshe. 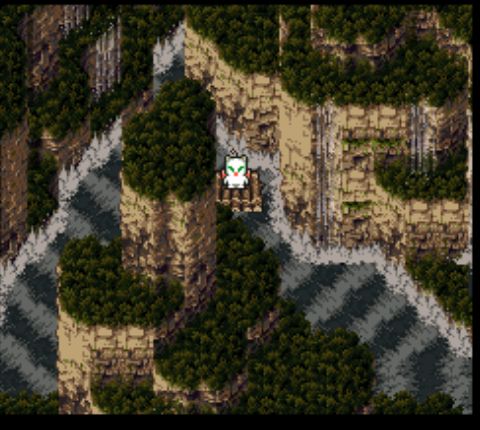 Of course, we need to get to the end of the river first. The enemies here are the same as before, though the going is harder since we're missing Dio. 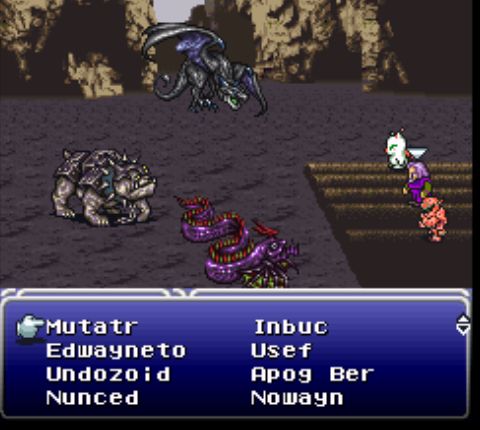 We do have a host of new rages for Kouta and Banon. Unfortunately, most of them are pretty useless, and sticking with the Lady rage (for its Group Hug heal) is generally the best bet. 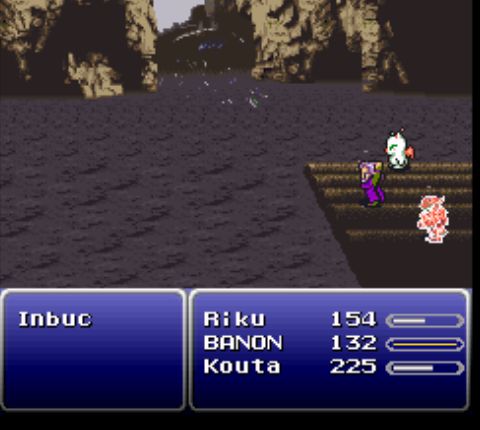 As a bonus, due to his equipped weapon, Banon has a chance to instantly kill anything he hits with Rend Rave, the rage's physical attack. 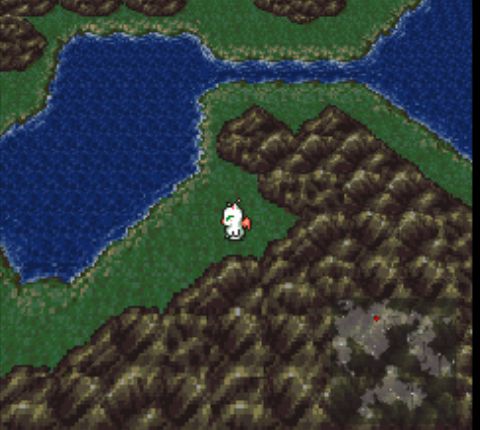 After a half-dozen fights or so, the river reaches its end, and we reappear on the world map. At least Riku has better luck with this than Dio. 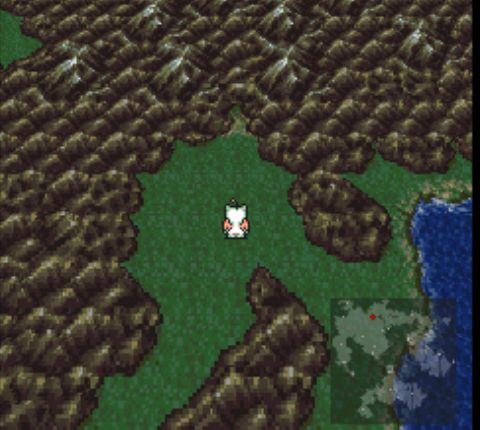 From there it's just a short walk to Narshe. 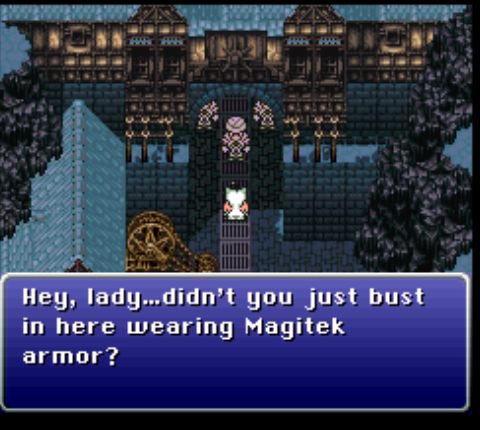 Unfortunately, we can't get in via the front door. 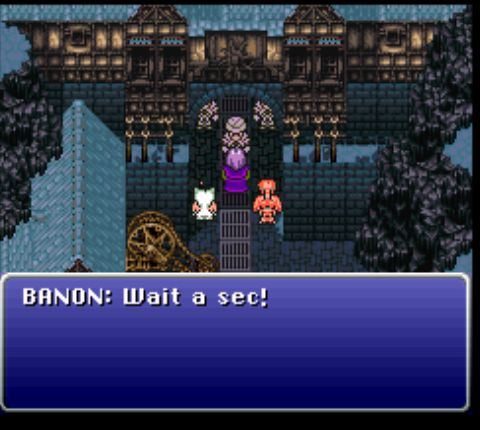 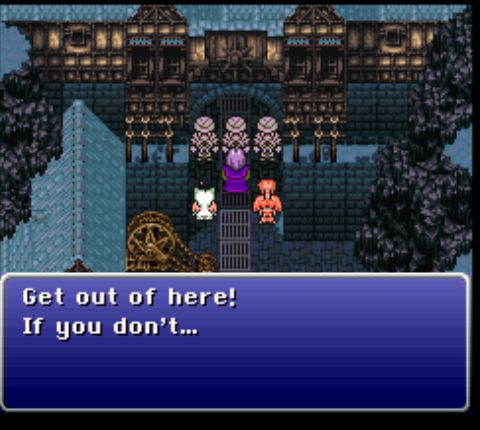 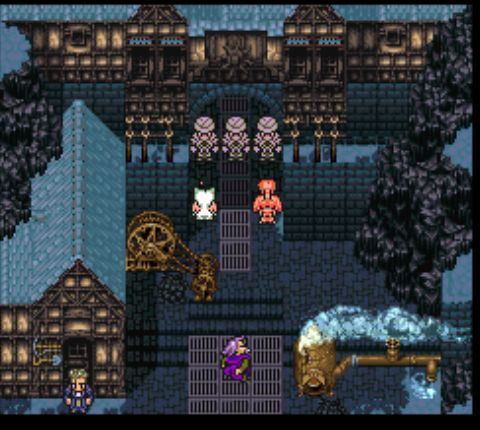 These guards have no compunctions about beating an old man. 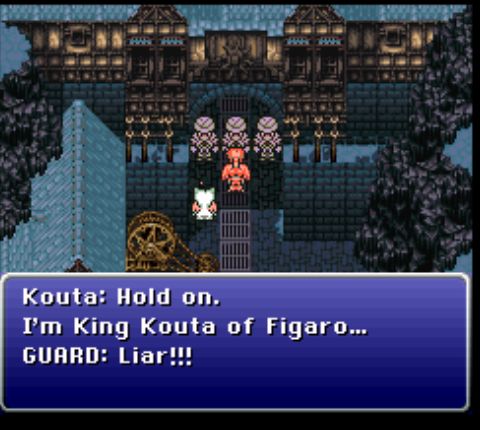 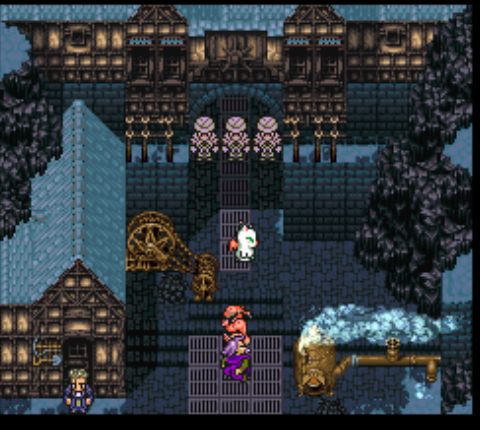 Or men who claim to be kings. Though to be fair, that bright orange suit isn't terribly regal. 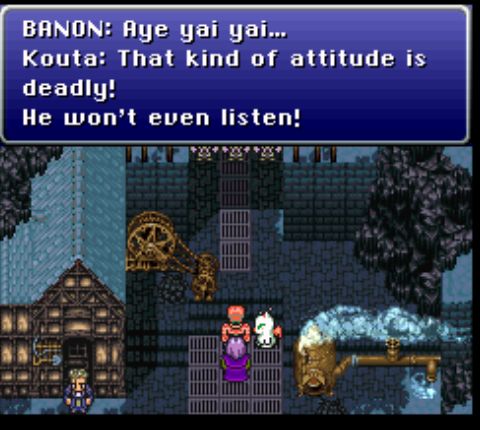 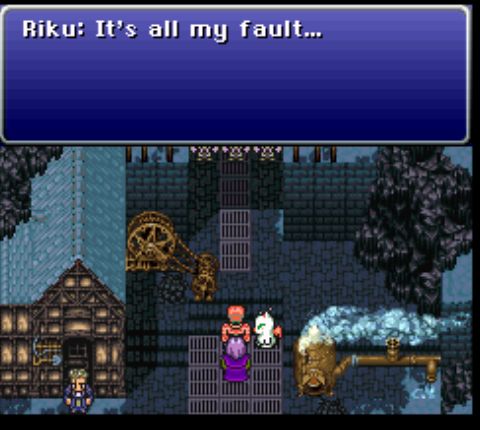 Pretty much, yeah. 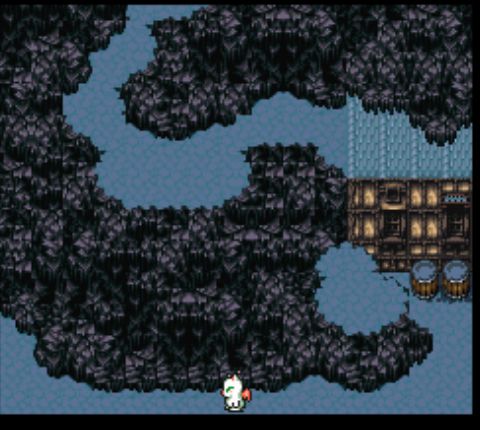 With the front entrance barred, we'll have to use the side entrance. 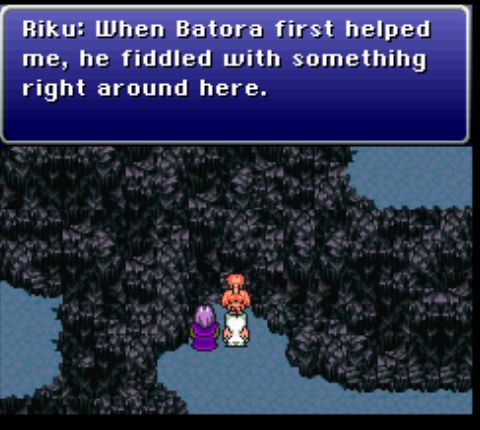 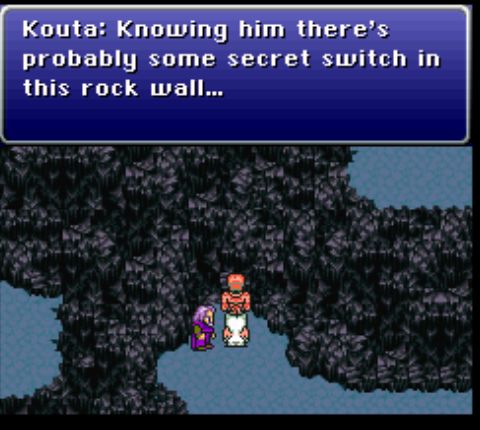 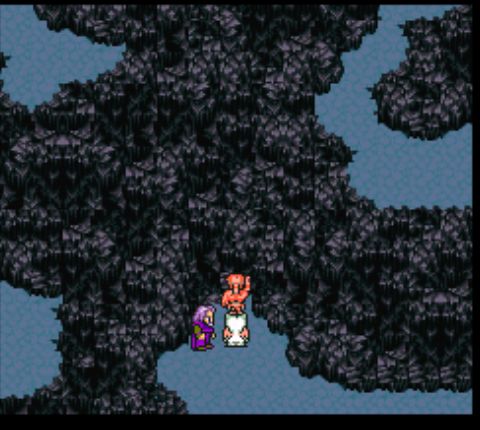 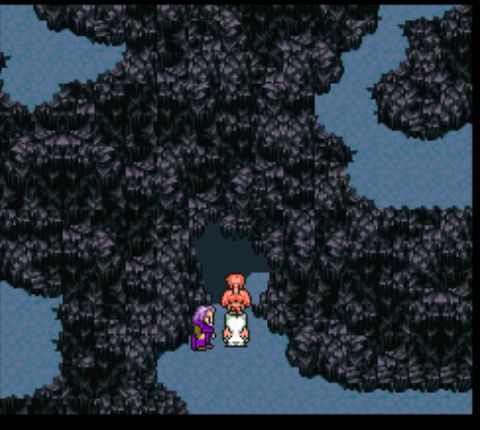 You may remember that Batora told Riku to keep this secret entrance in mind. 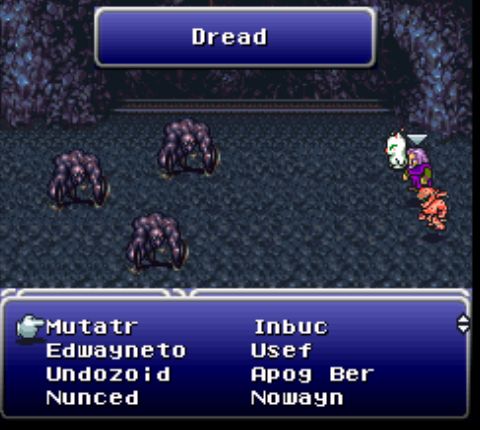 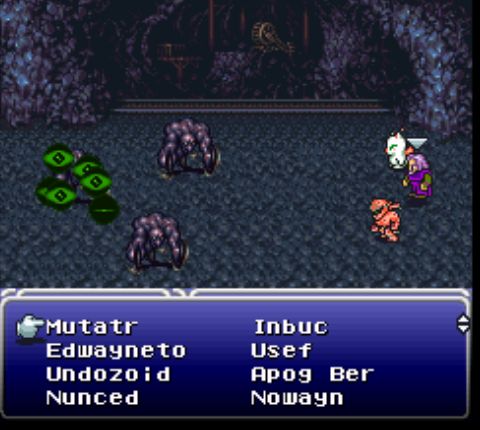 Okay, there is one new rage with something worthwhile to offer: the Apog Ber rage comes with the Dread attack, which inflicts instant death and is incredibly creepy visually. 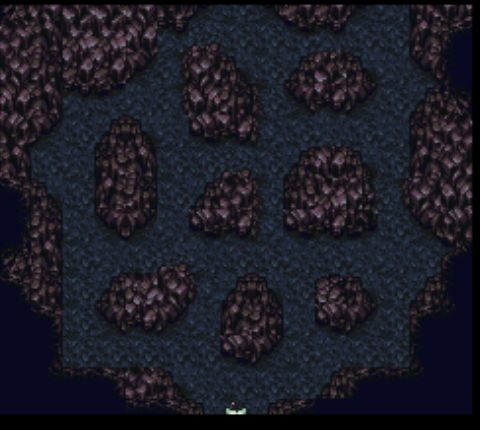 You might remember this room as the one in which Batora and the moogles fought to save Riku. 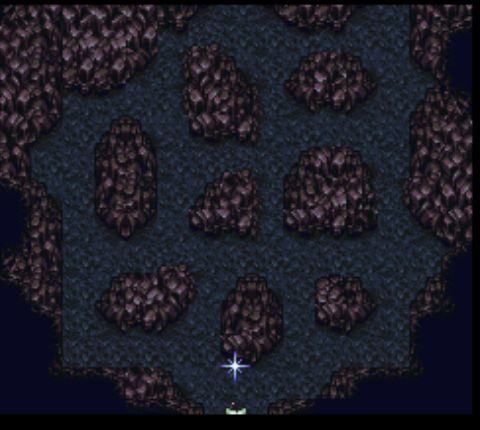 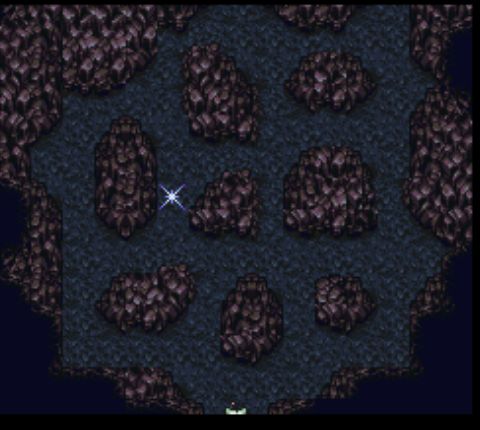 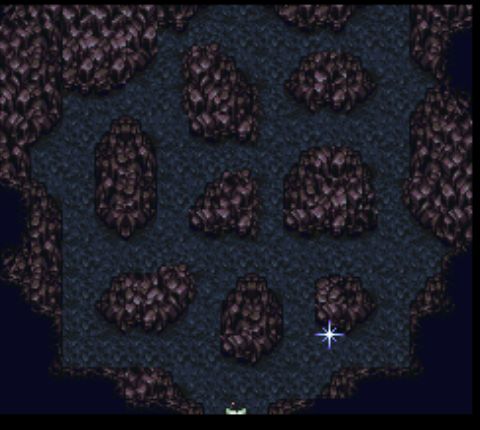 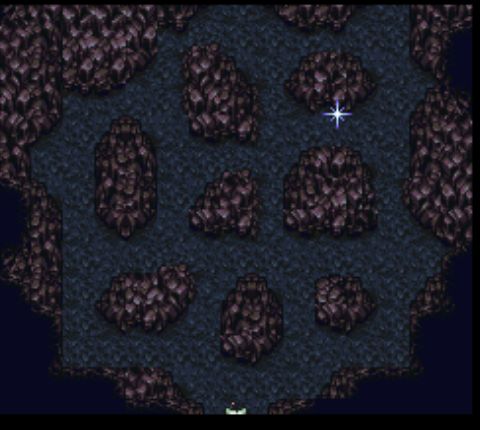 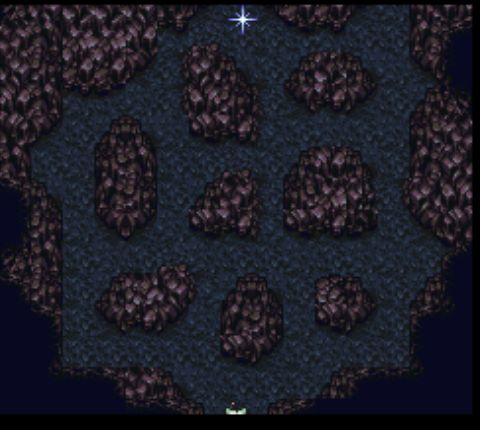 A glowing light traces a path through the room. 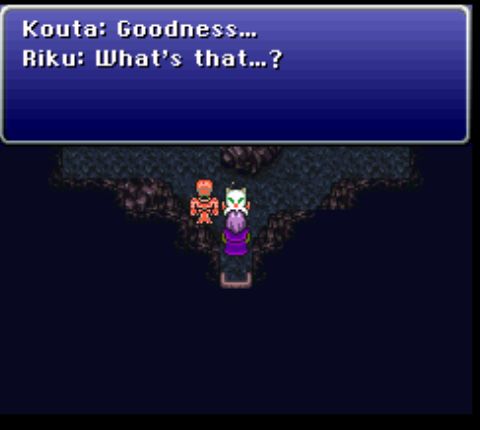 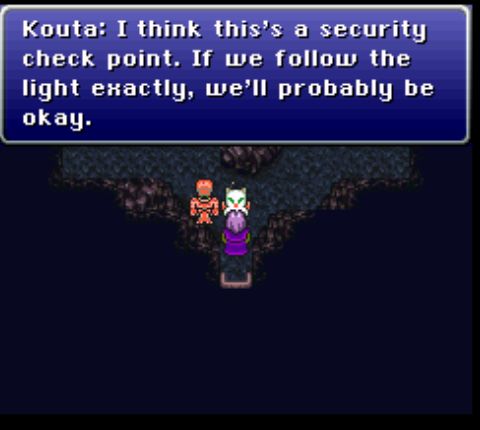 The game pretty much gives away the gimmick, albeit after you've lost your chance to watch the light. If you fail, you're subjected to a random battle and then returned to the entrance of the room to try again. 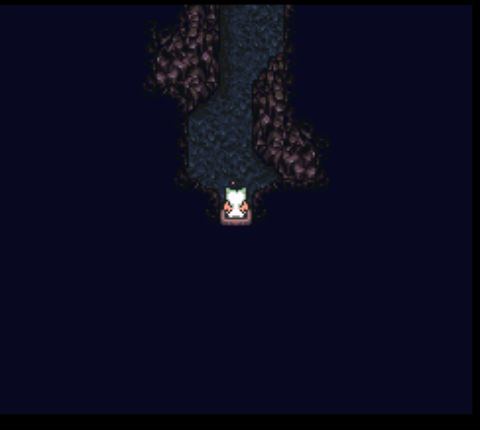 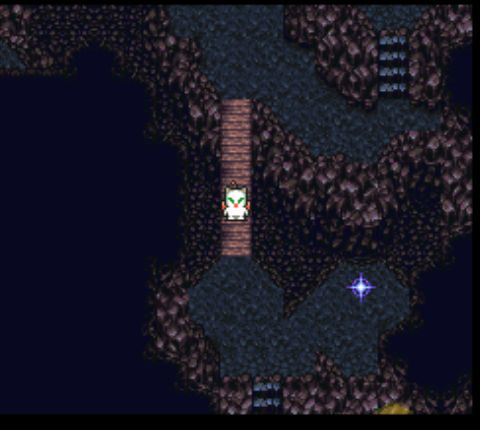 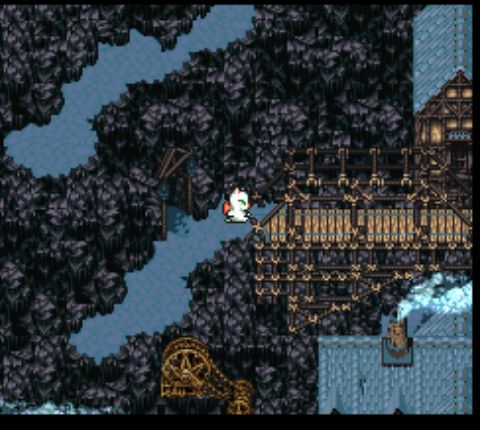 This should all look pretty familiar. 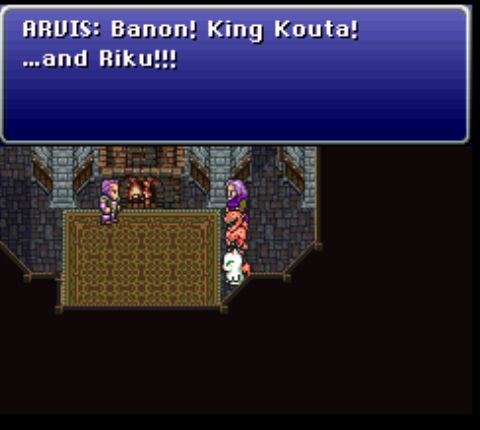 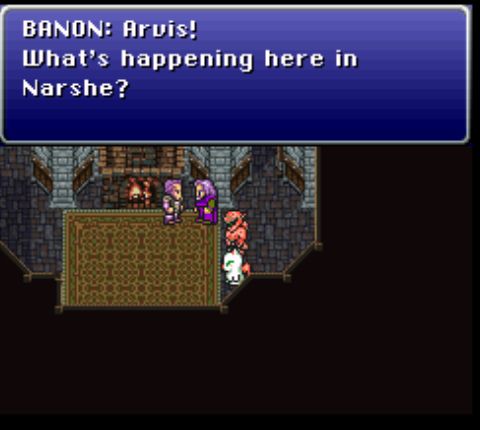 By the way, the old man has a name. 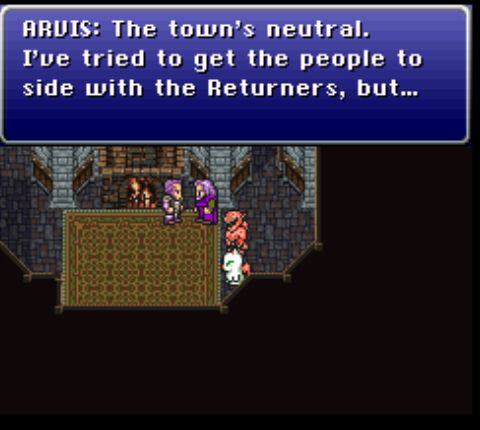 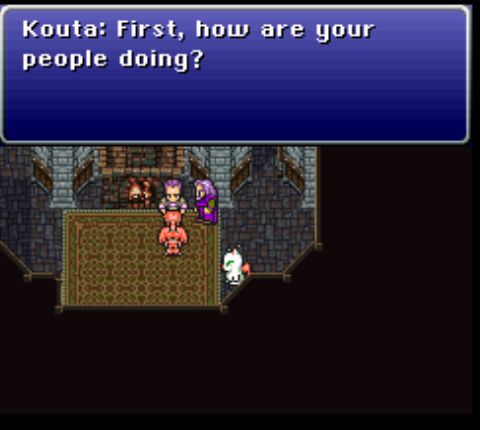 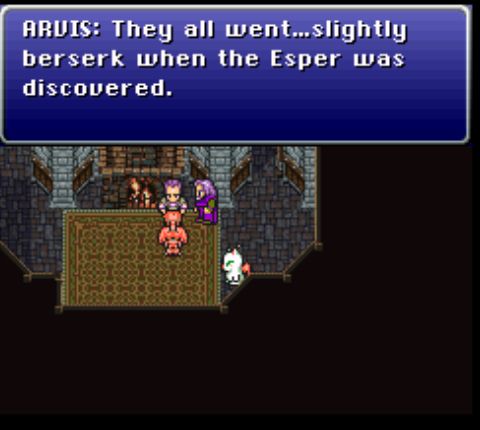 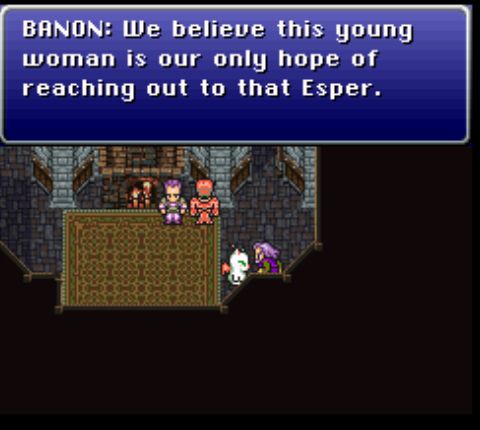 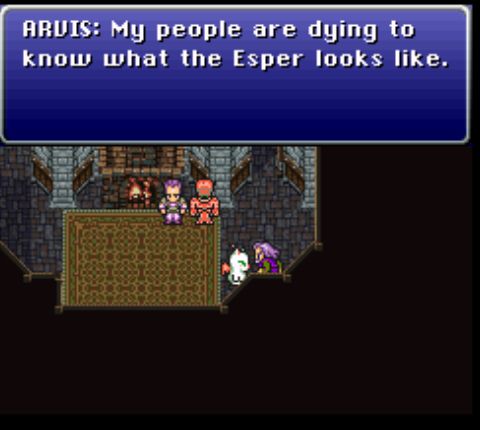 That doesn't really seem relevant right now.  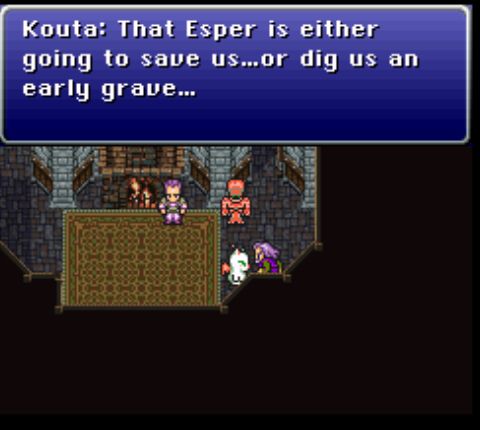 And so ends Riku's chapter. It's even shorter than Batora's and mostly seems to be here to show that she makes it back to Narshe in one piece. 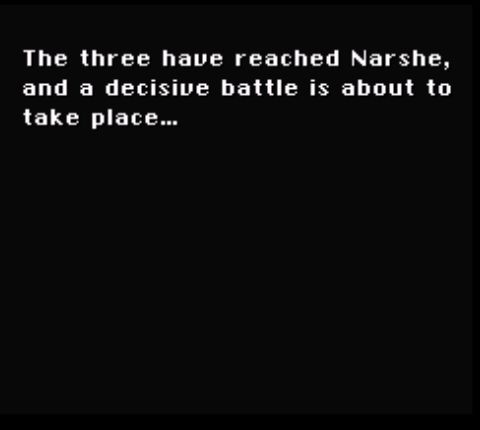 And the payoff for all those chapter is... more talking! 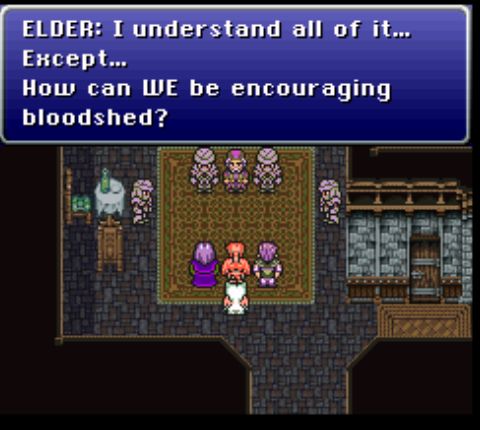 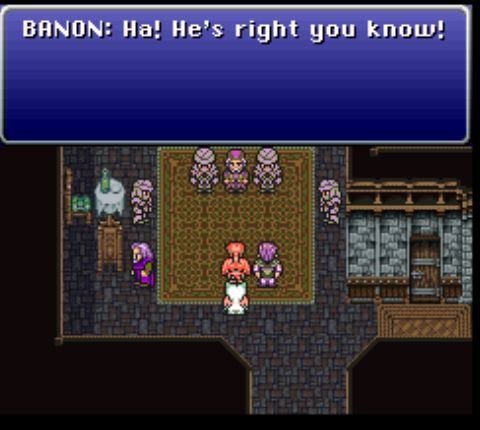 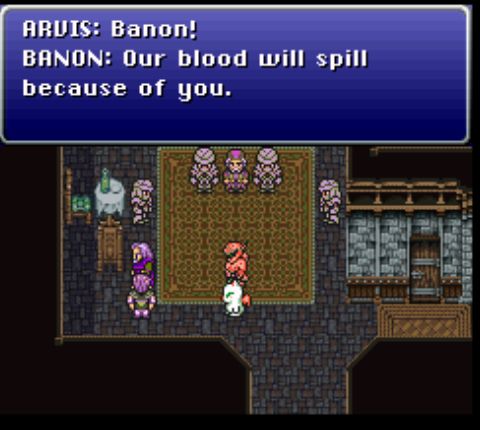 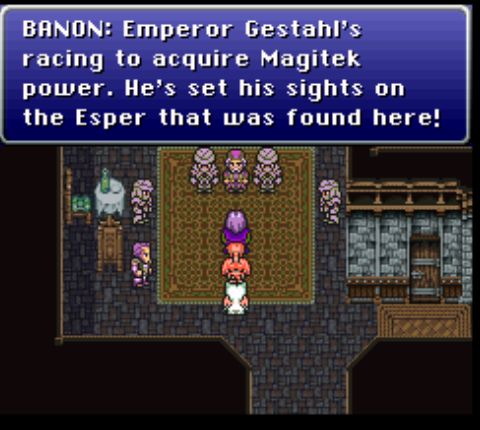 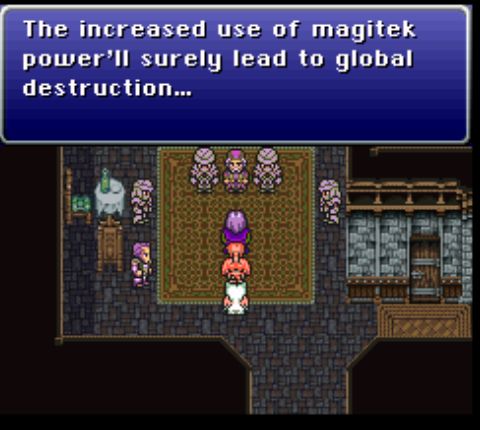 The game has a subtle warning about the nature of technology and how it affects the world. See if you can spot it. 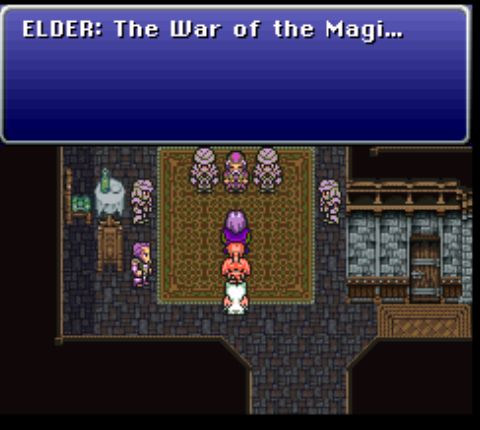 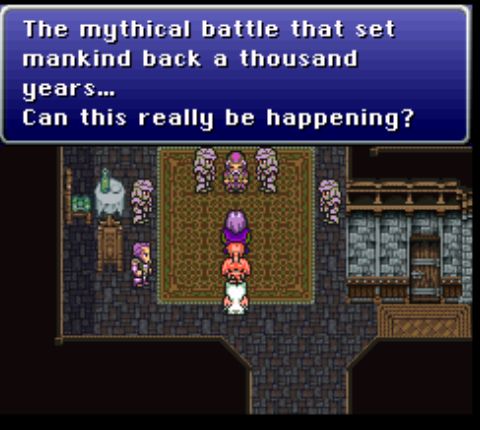 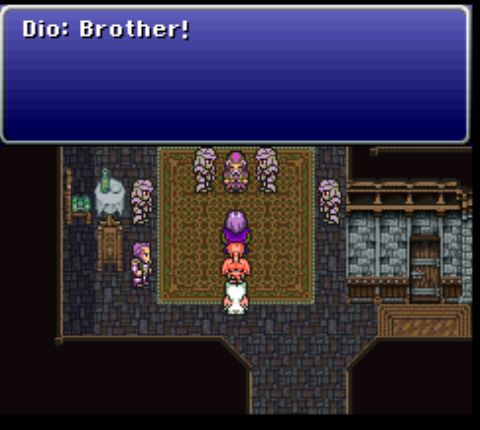 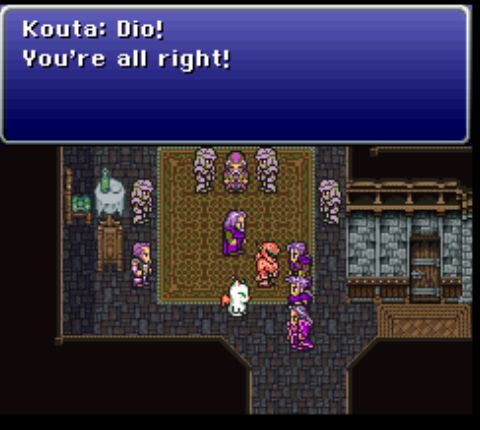 Dio, Napo, and Kurei show up. 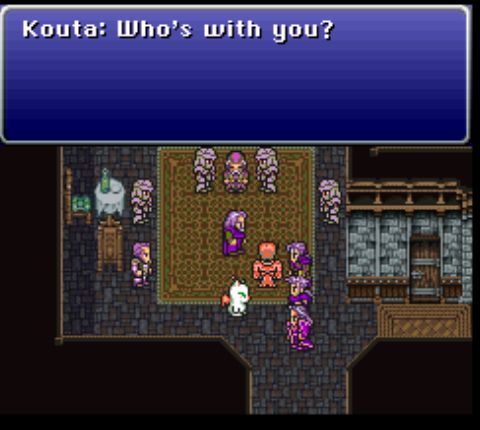 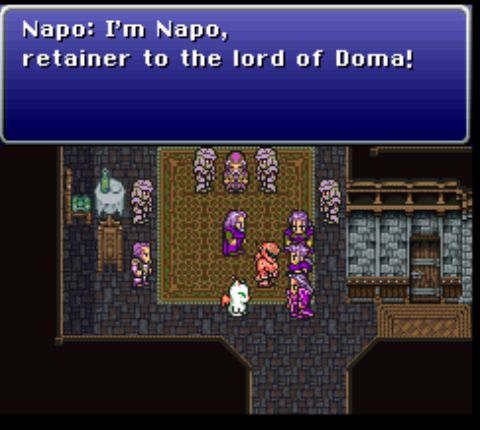 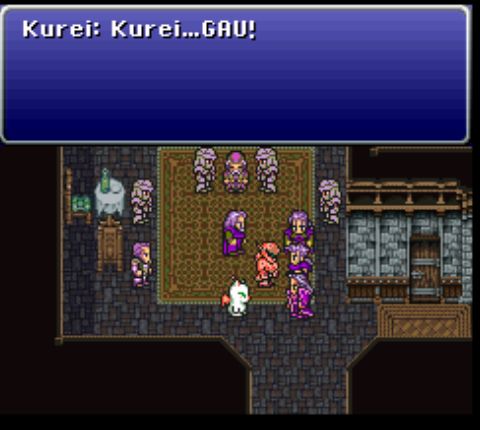 This line is weird and out of place. My guess is that Kurei's name was changed during development and this particular use of the name slipped through the cracks, since it's presented in all caps. 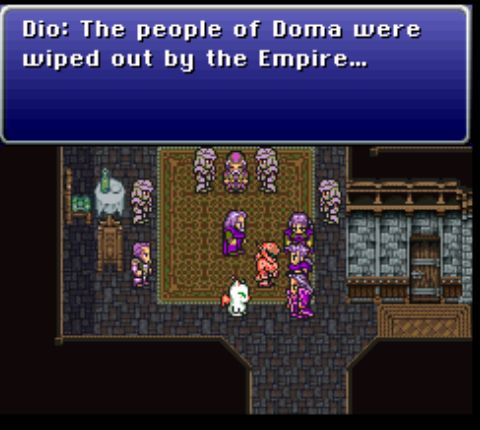 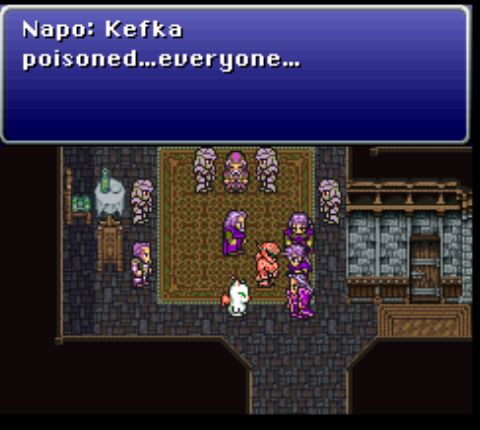 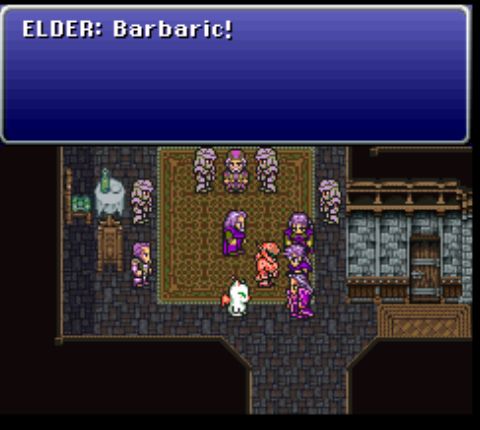  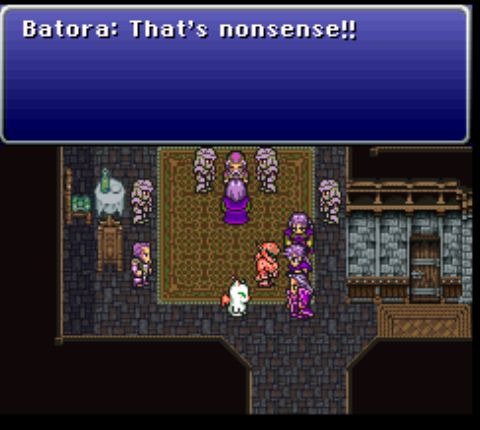 And the last arrival is here. 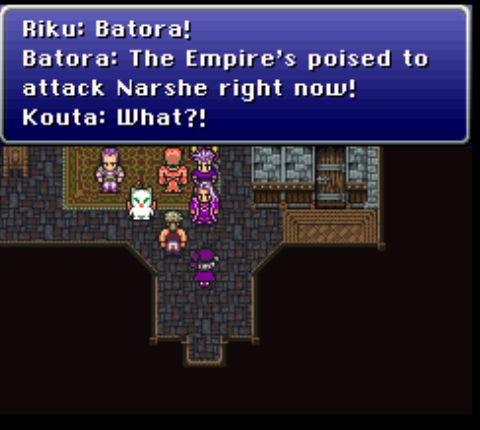  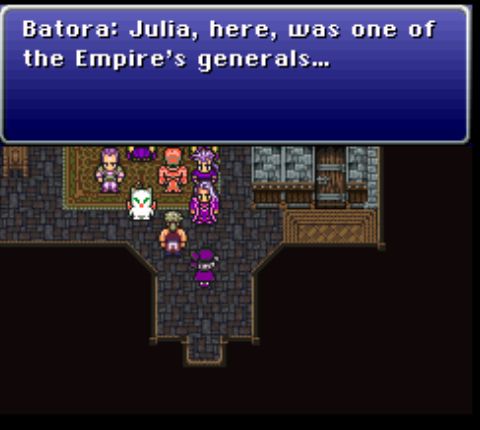 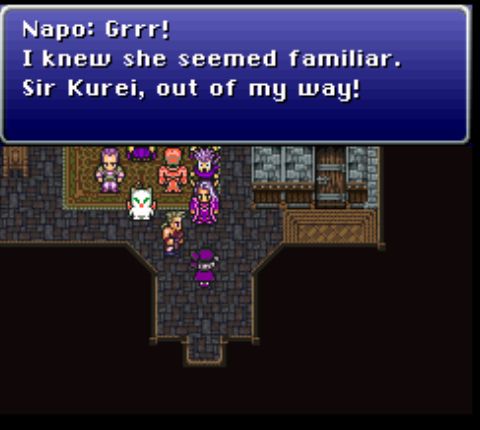 Yeah, I can see why Napo might have a problem with this. 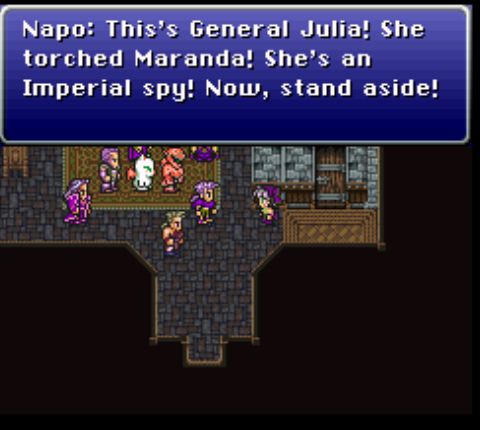 We'll see Maranda later. For a town that's been "torched," it's in suspiciously good shape. 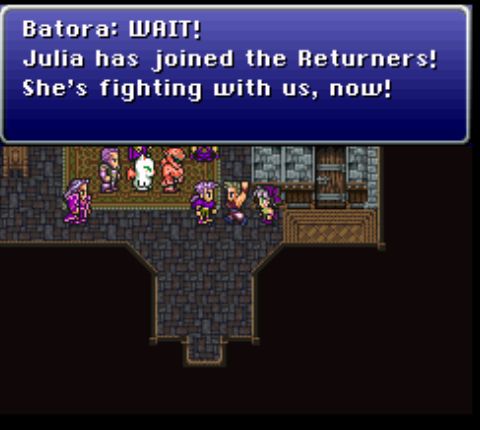 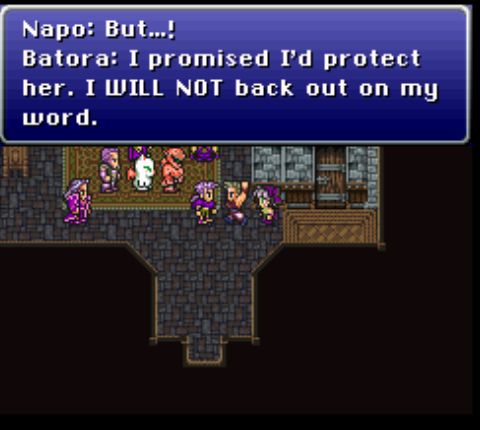 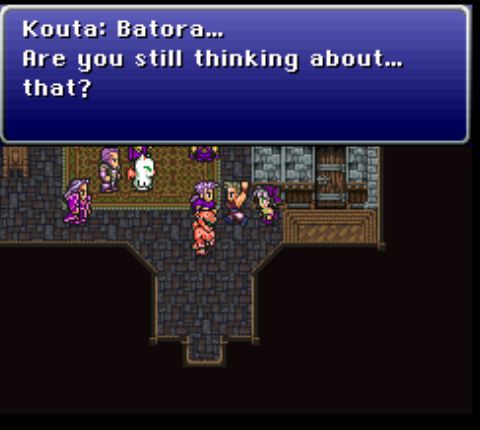 Ah, "that." One of the most popular words for lazy foreshadowing. 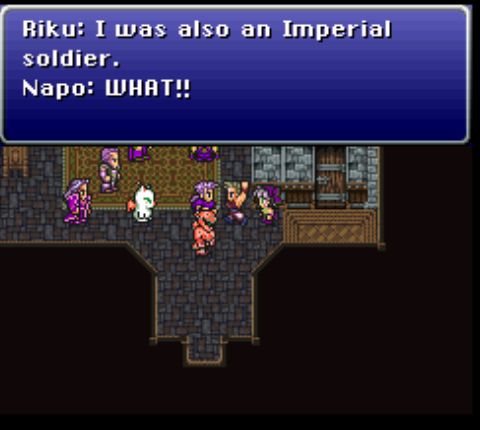 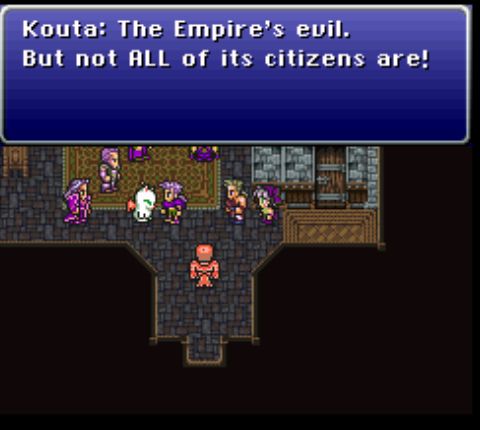 It's probably a safe bet that most imperial citizens are just normal people trying to get by, but this line is still a relevant reminder that the empire is more than just its military. 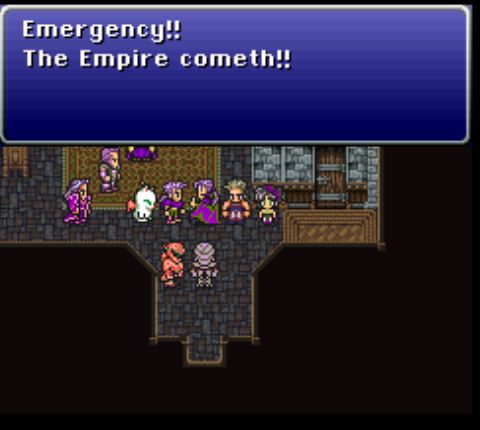 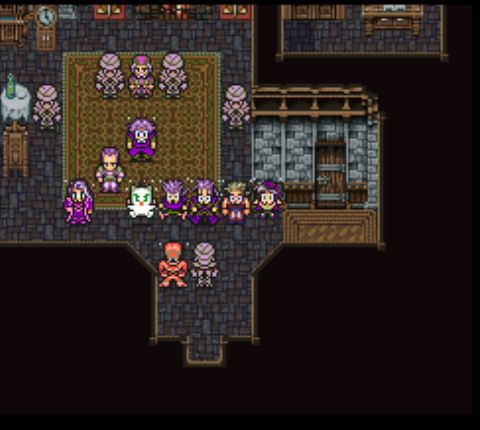 I think this might be the only time we get to see Banon's shocked face. Also, just look at the amount of purple and green in the room. I guess the developers were going for some kind of theme, but at times, like here, it's just glaring. 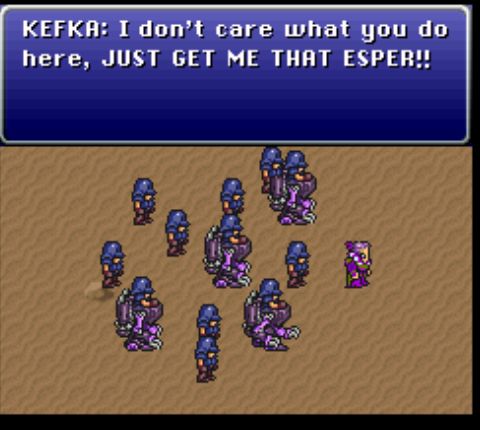 It's true: the Empire's on its way, and they're brought a more sizable force than they used for Doma. Clearly a mining town warrants more force than a heavily-fortified castle. 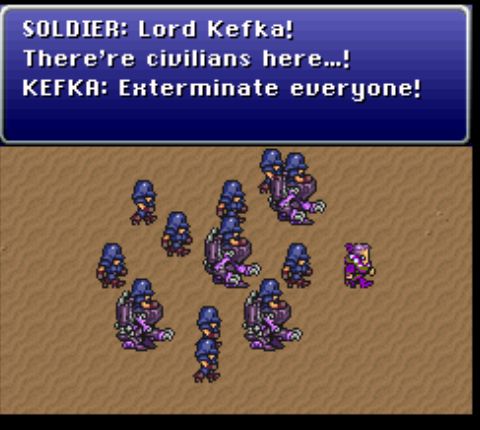 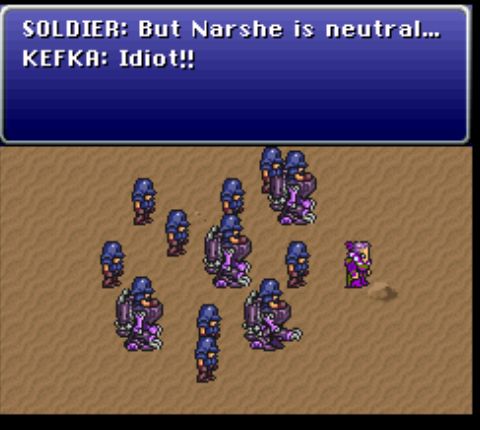 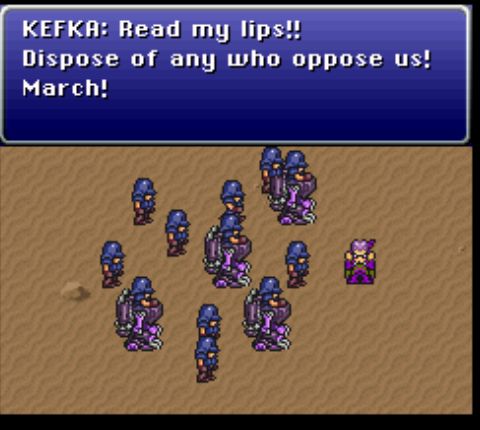 By the end of this Kefka is literally hopping mad. 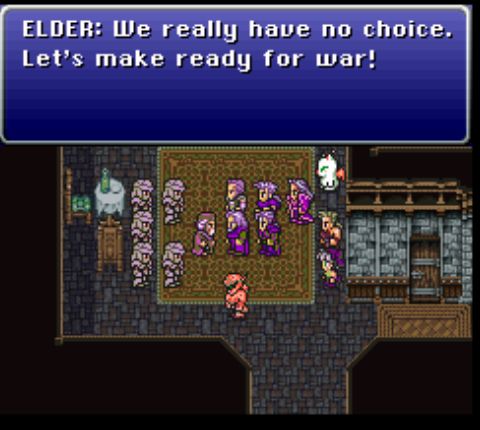 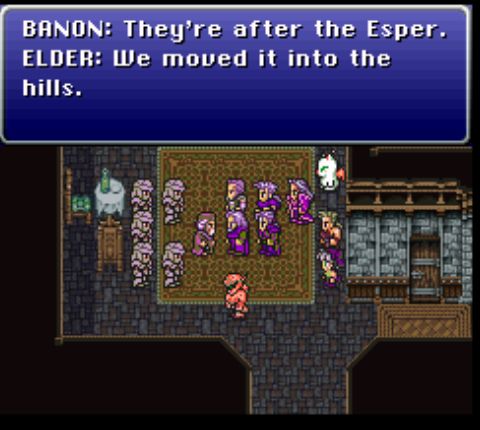 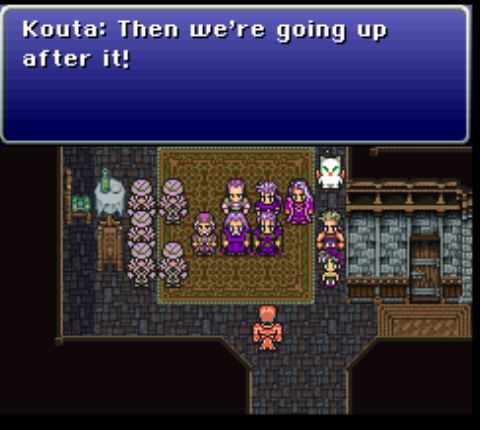 Everyone sets out for the hills, forming a nice, orderly line (since the stairs are only one tile wide). 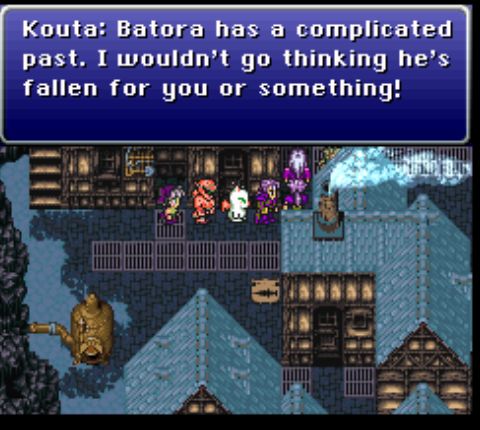 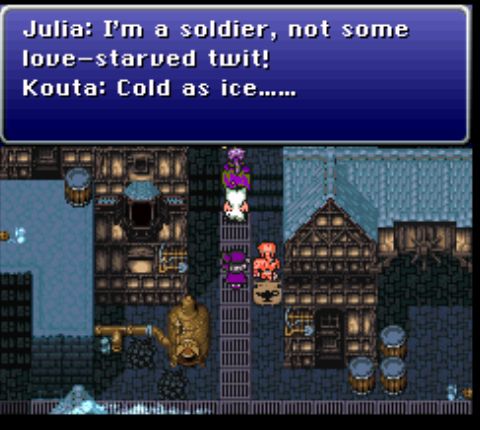 Kouta takes the opportunity to have a conversation with Julia. At least he's not hitting on her. 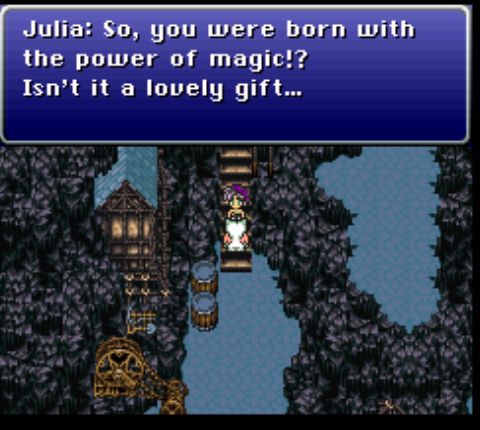 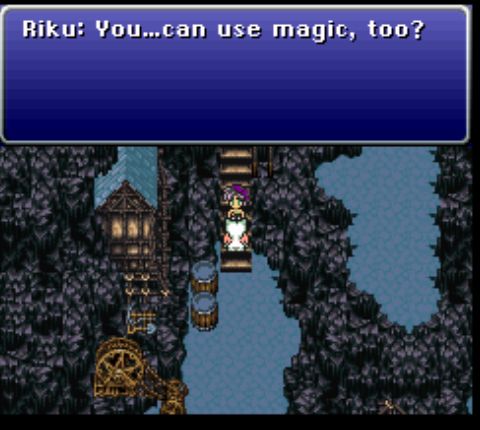 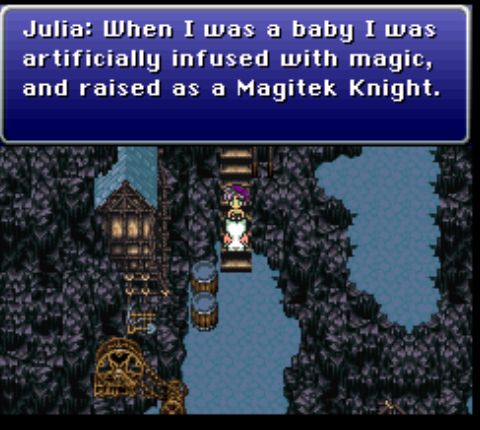 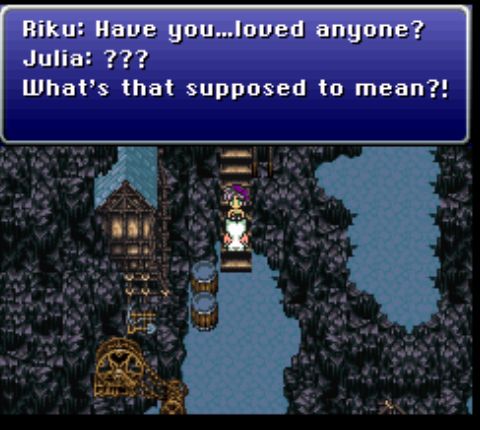 By this point Julia probably thinks her new teammates are a bunch of freaks. And to be fair, she's probably not entirely wrong.  Also, Napo feels that this is a good time reiterate his opinion of the girl. I kind of love her response of not giving a poo poo. 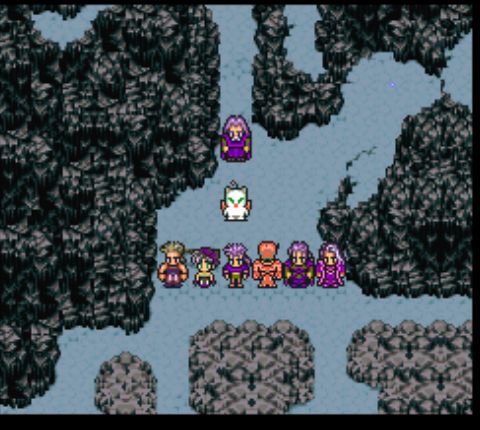 And here we are in the Narshe snowfields. This is an opportunity to swap out characters' gear, which is important for the next scene. 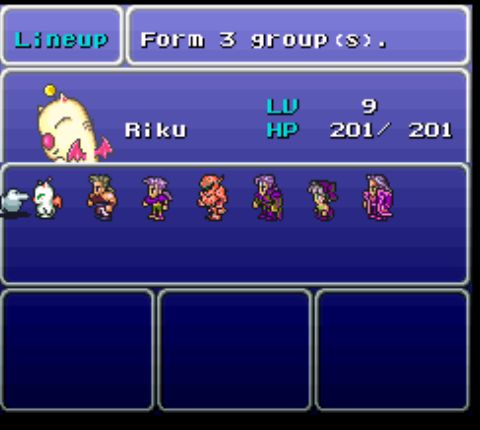 We have another large battle with three teams coming up, but this time the teams are ours to choose. Which makes it a fine time for more audience participation! I'm going with my usual strategy for this sequence: one main party of four, supported by two small parties providing emergency protection for Banon (since the battle is lost if the enemy reaches him). I'll leave it to you all to decide who goes in my main party; you may cast votes for up to four characters each; whichever four characters have the most votes will go in the party. As usual, voting ends Friday.
|
|
#
¿
Sep 17, 2018 10:42
|
|
|

|
| # ¿ May 12, 2024 03:37 |
|
|
Maleketh posted:I'll leave it to you all to decide who goes in my main party; you may cast votes for up to four characters each; whichever four characters have the most votes will go in the party. Well. Message received, I suppose.
|
|
#
¿
Sep 21, 2018 12:59
|
|