


|
Some good shop time today. I started by trimming the legs to level the cabinet. This technique came from Anarchist's Design book. First make your bench level with the ground by shimming its legs. Then put whatever you're leveling onto the bench, and make its top level, too. 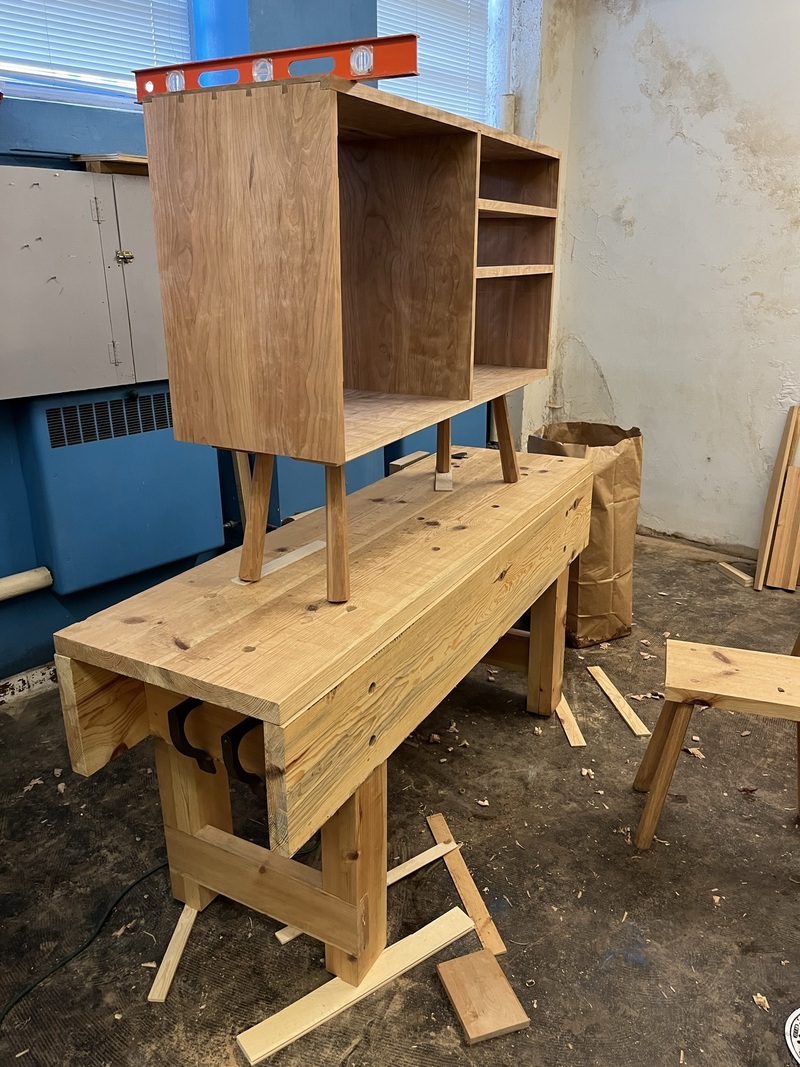 Our goal is to "slice" the legs along a plane parallel to the top of the cabinet. Since the benchtop and the cabinet top are parallel with each other, we can reference a pencil off of the benchtop to mark where to cut the legs. If you have a specific height in mind, you can measure from the top of the cabinet to the pencil. 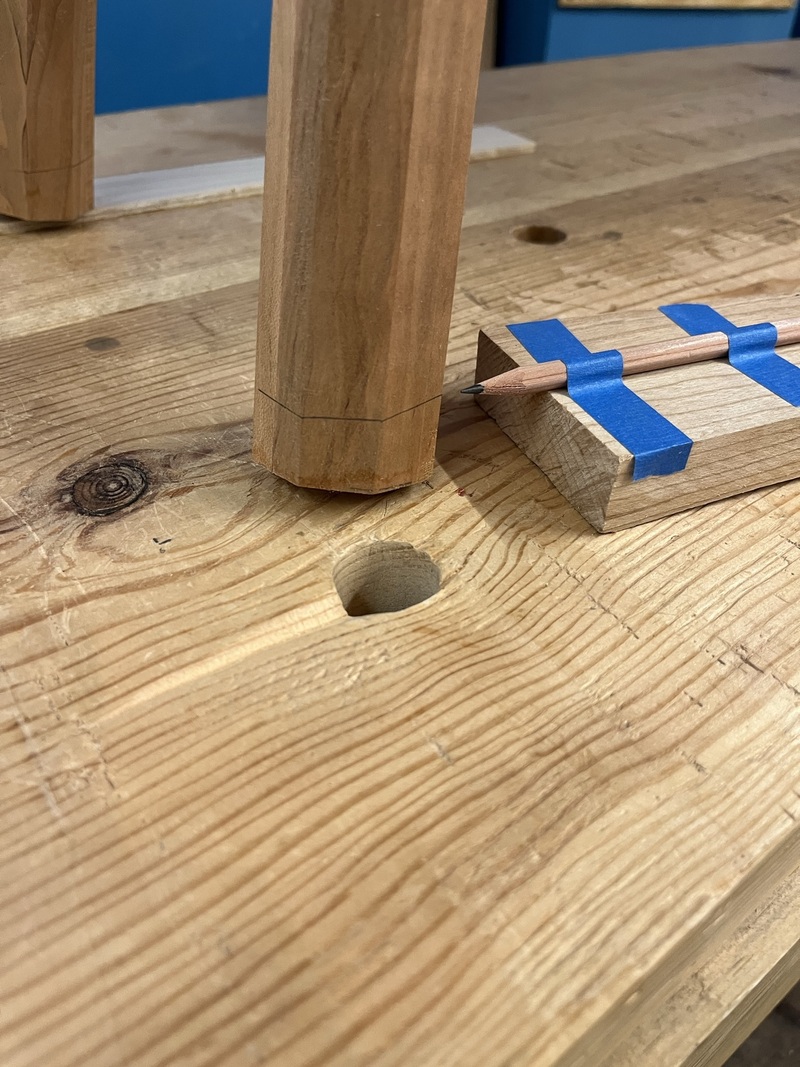 Then lay the thing down and break out a joinery saw. 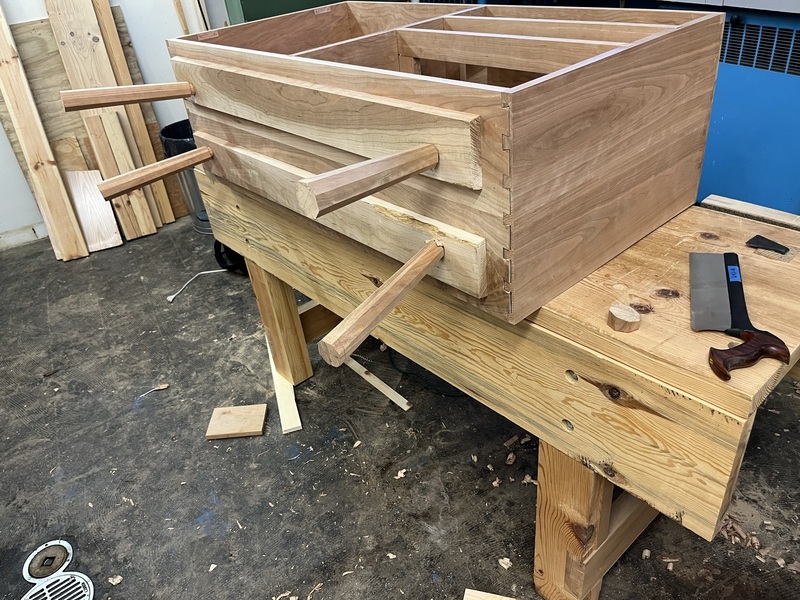 I've made mistakes trimming legs on other pieces, since it's very easy to get distracted and cut perpendicular to one of the leg faces or facets or the bottom, which is not what you want. The technique I've figured out is to cut a shallow kerf along two or three of the marked lines. Then set your saw so it glides in all of the kerfs you just made. Then just keep cutting straight, ignoring everything except the kerf you've already made. It will magically follow the lines across all eight faces, even though it looks to your eye like it's going to go at some crazy angle when it reaches the next facet. Trust the sawplate. 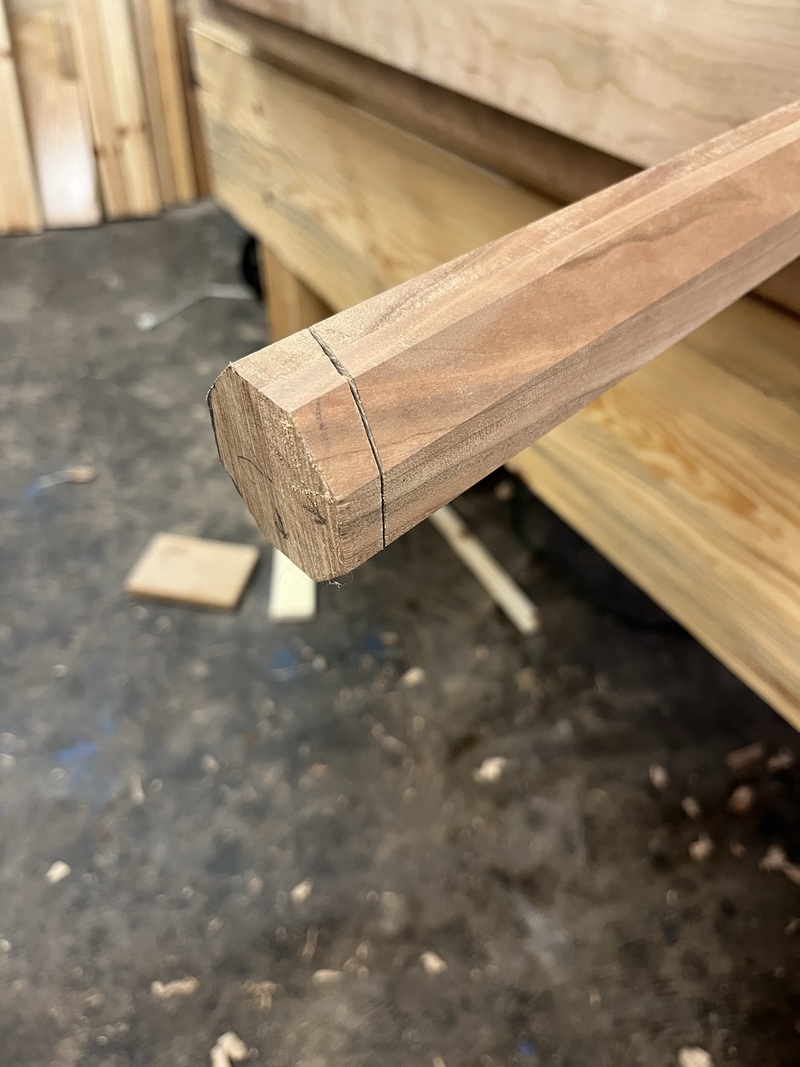 Then soften the edges with a block plane while you're there and bingo, leveled legs. 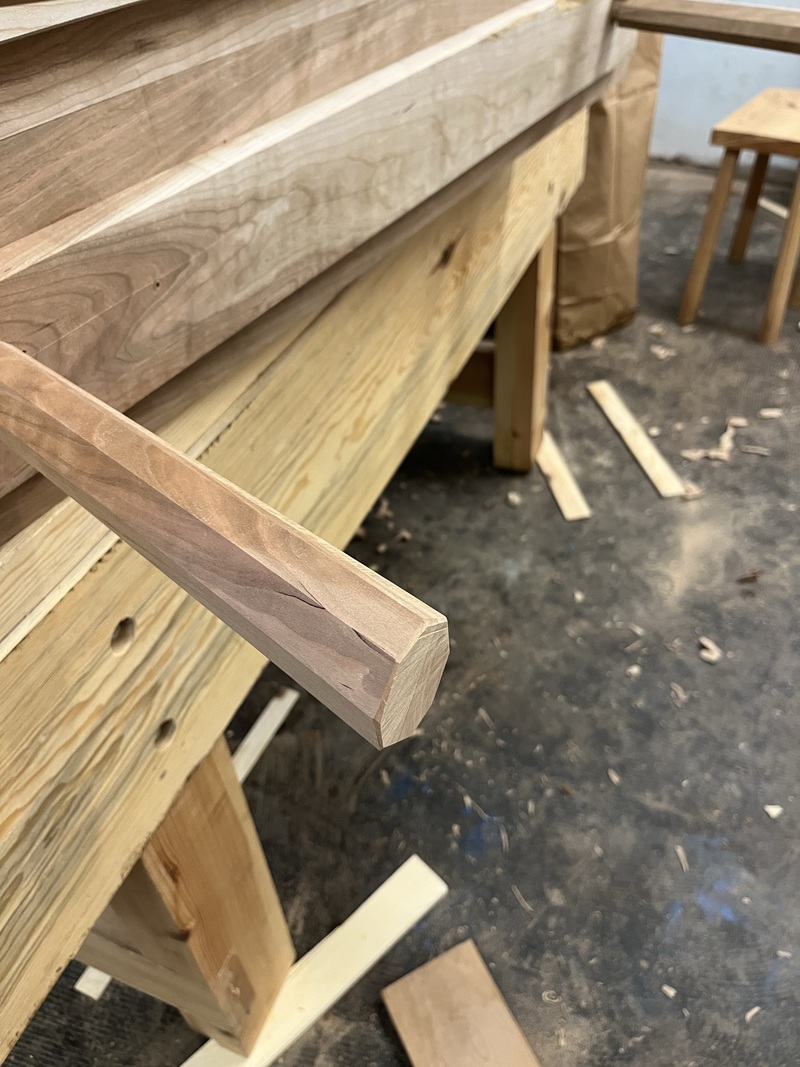 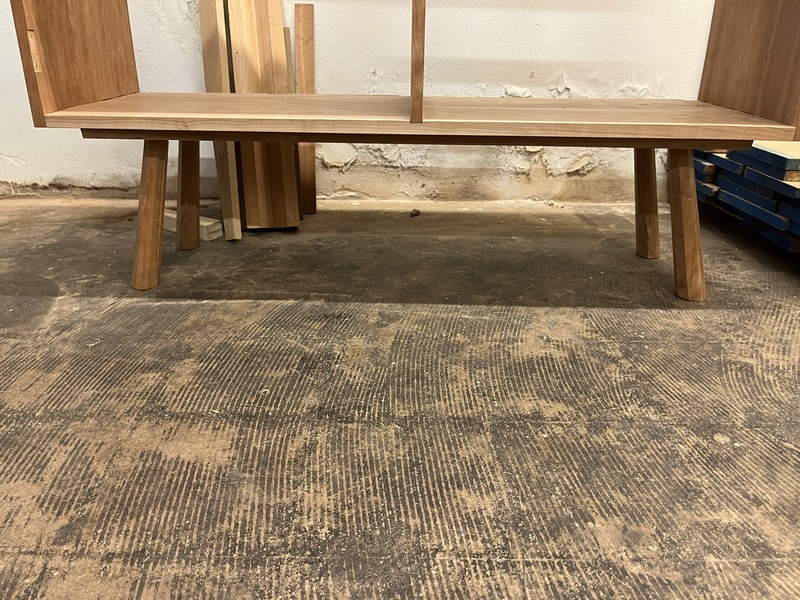 Rewinding a little, to show breaking all the edges on the face of the cabinet while I had it laying down. I used the #4 for the long exterior edges, the block plane for shorter interior edges.  Unfortunately I don't have any kind of plane that can reach deep into corners. I think maybe a chisel plane might be the right tool for this job? I do have sharp chisels and a steady hand though, so I used that, bevel down to keep it from digging in. I also hit some of the rough patches and hand-touch surfaces with some sandpaper backed with a wooden block. I like the look of the sharp facets that planing gives you, but at the same time you want it to be nice to touch, and sandpaper knocks the sharpness of the facets down just a little. 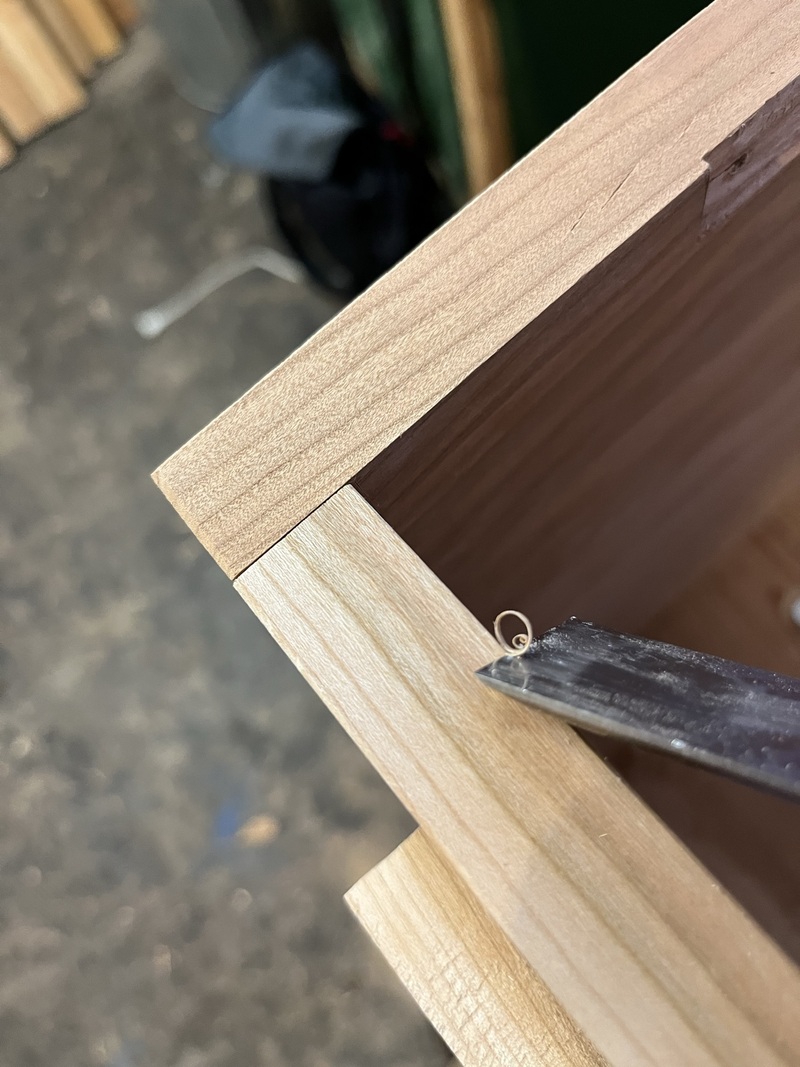 And hit the bottom edge of the side faces while I had easy access to them. 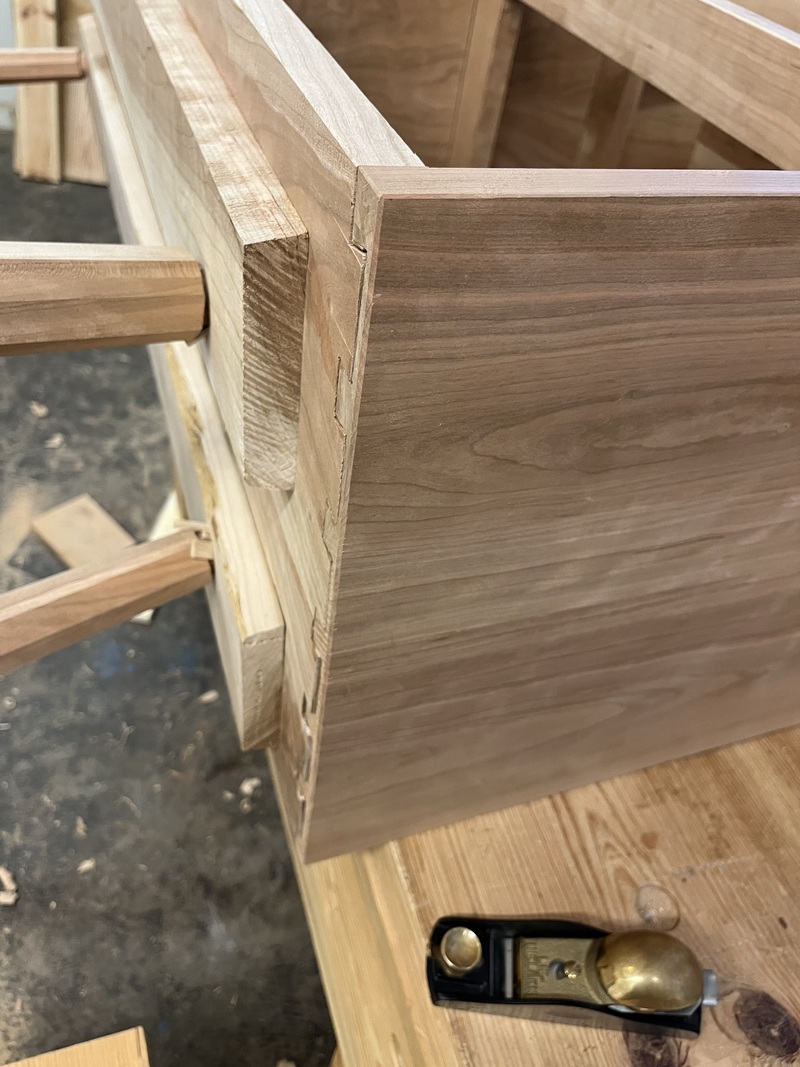 Ran out of time for today, but I think all that's left is to break edges on the door, drawers, and top of the cabinet itself, and then it's ready to come home for finishing! 
ColdPie fucked around with this message at 23:09 on May 14, 2022 |
 #
?
May 14, 2022 23:01
#
?
May 14, 2022 23:01
|
|


|

|
| # ? May 5, 2024 13:25 |
|
|
Went in today to wrap up the last of the shop work. Started by smooth planing the top. There were some plane blade tearouts that I apparently missed when I was prepping the boards for assembling the cabinet. Then moved on to breaking the remaining edges on the carcase.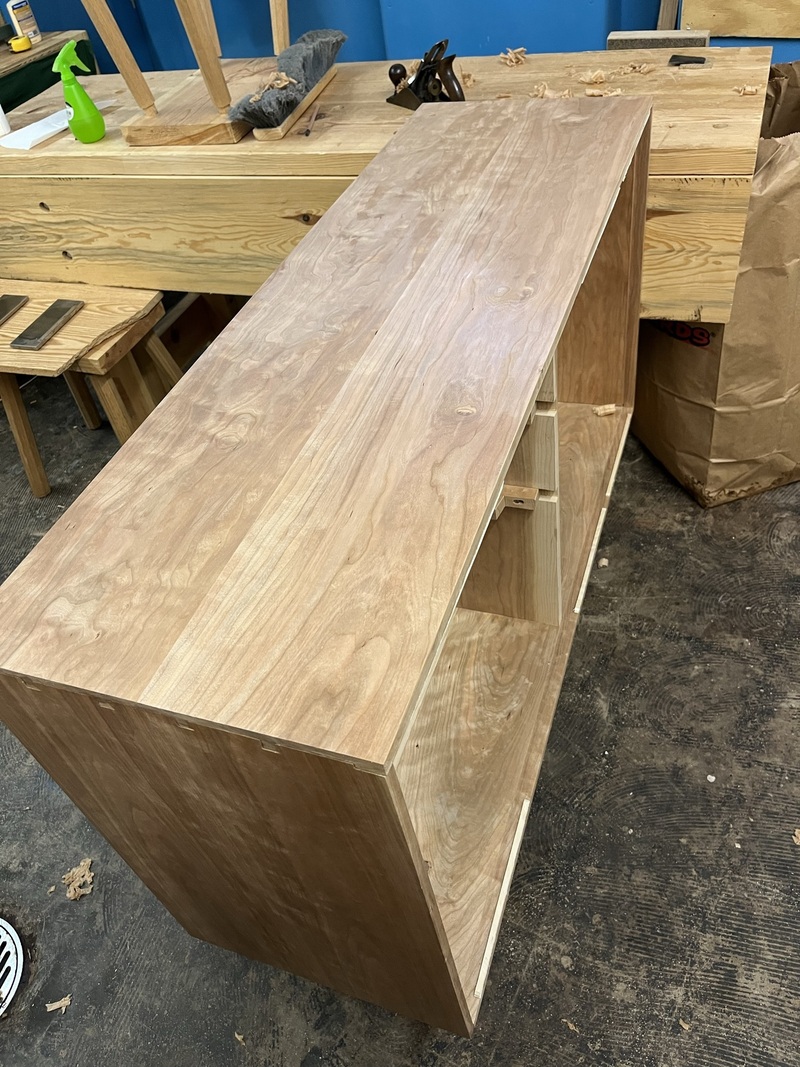 Mostly my goal when doing final smooth planing is to do as little work as possible. Everything is already sized to fit, and every time you touch the board with a tool there's a chance to screw up, add new plane tracks or tearout, or a ding from using the tool wrong or something. Time to sharpen and really concentrate. Here's a ding one of the drawer fronts picked up some time after it was assembled, that I had to smooth plane out. 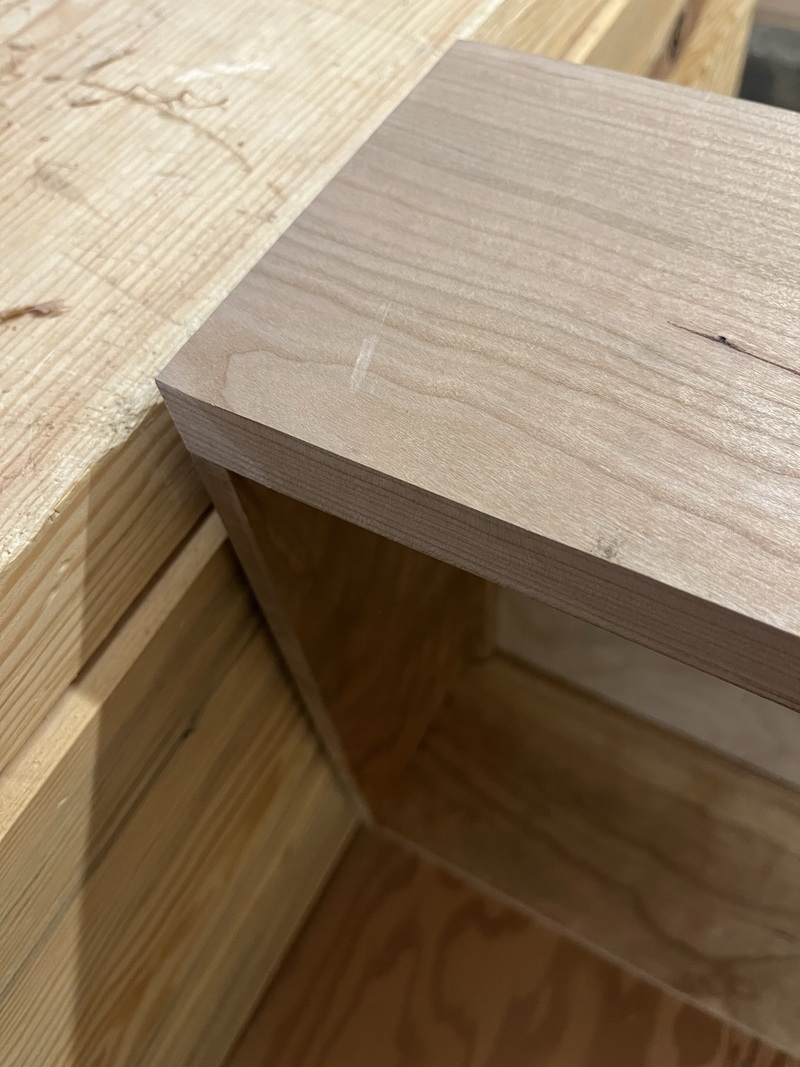 Working on large pieces like this requires some creative workholding. Mostly pinning the work up against the bench with my body while planing. I mostly didn't bother to smooth the sides of the drawers, just cleaned up a couple bits of really noticeable plane tracks. They're already fit into the case, and they're secondary surfaces anyway. 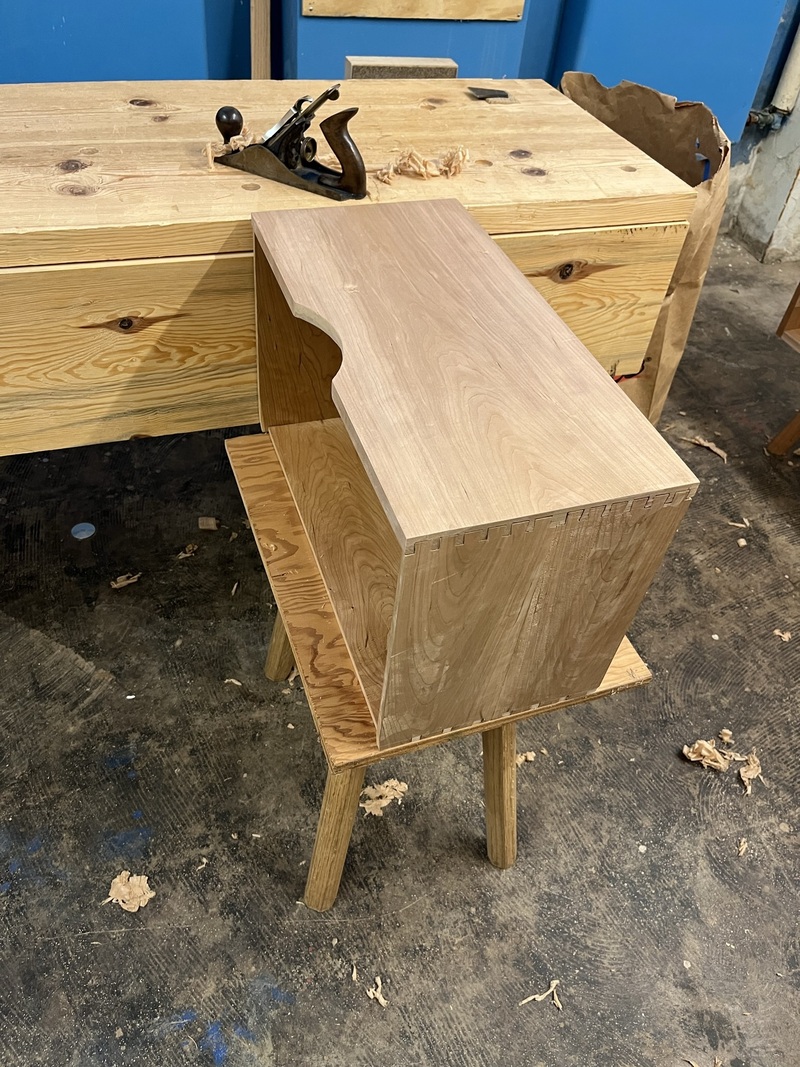 Then on to breaking all the edges on each drawer. 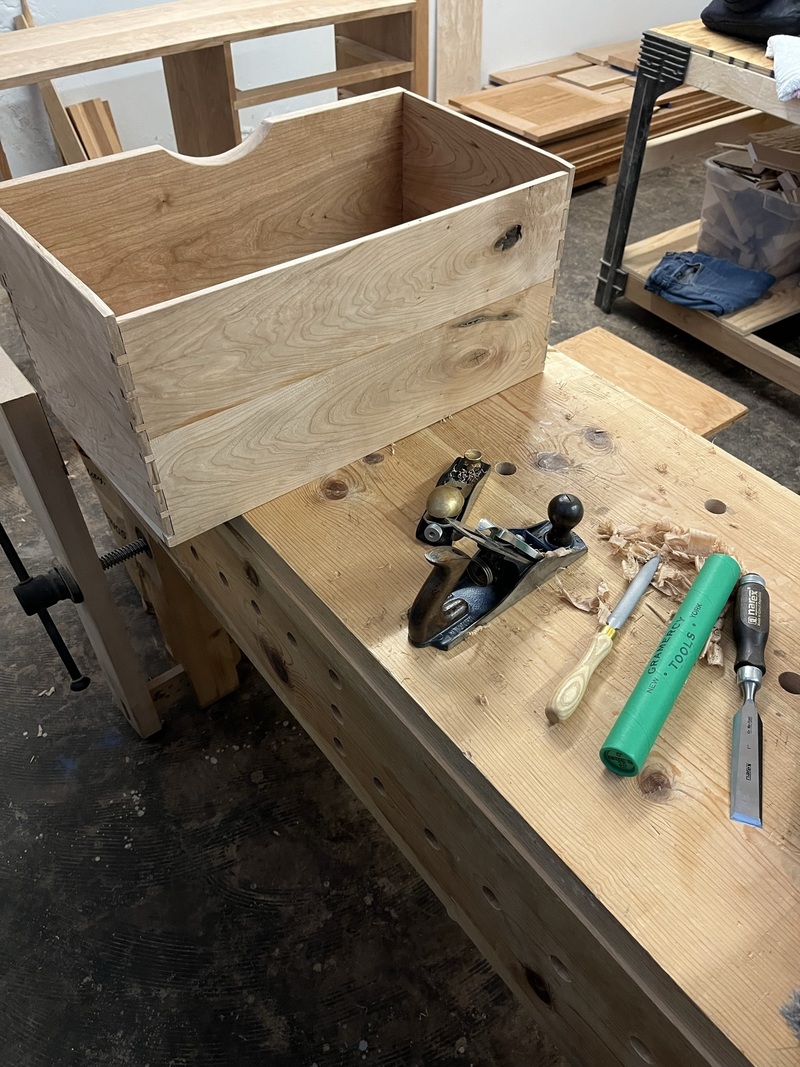 Last drawer...  Then onto the door. It's a bit annoying working the edges on this part, because of the different grain directions. Have to work the end grain of the stiles separately from the long grain on the rails, which takes some finesse so you don't blow out the grain on either component. 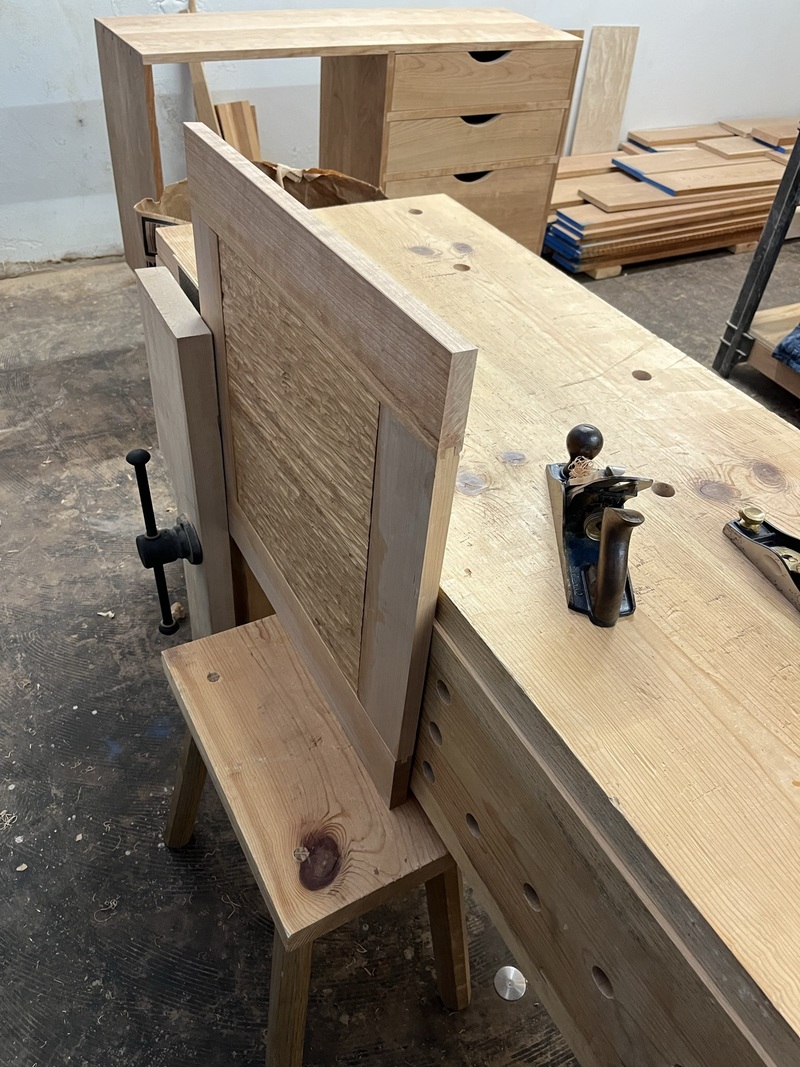 And that's it. Everything I can do before finishing is done. Tomorrow morning my wife will help me bring it home and I'll apply a few coats of shellac, then wax and let that dry overnight before bringing it inside to its final location. It's so close!
|
|
#
?
May 29, 2022 02:08
|
|
|
Yesterday We got everything home from the shop in the morning. Everything fit in our Mazda3 hatchback, but I forgot to take a picture. Then I spent most of the day out in the garage applying finish. This always takes way longer than I expect. It's also hard to photograph finishing, so I did the best I could. First, I glued some plywood scraps into the cabinet to act as drawer stops against the back of the drawers. The book I was working from for how to build drawers suggests putting them up at the front of the drawer webbing, so the back face of the front of the drawer would hit them. However, my drawers have a lip along the back where their drawers didn't, so I don't think the drawer back would have cleared drawer stops up at the front. So I put them at the back instead, which maybe won't work so well as the cabinet expands front-to-back, but I guess we'll find out. 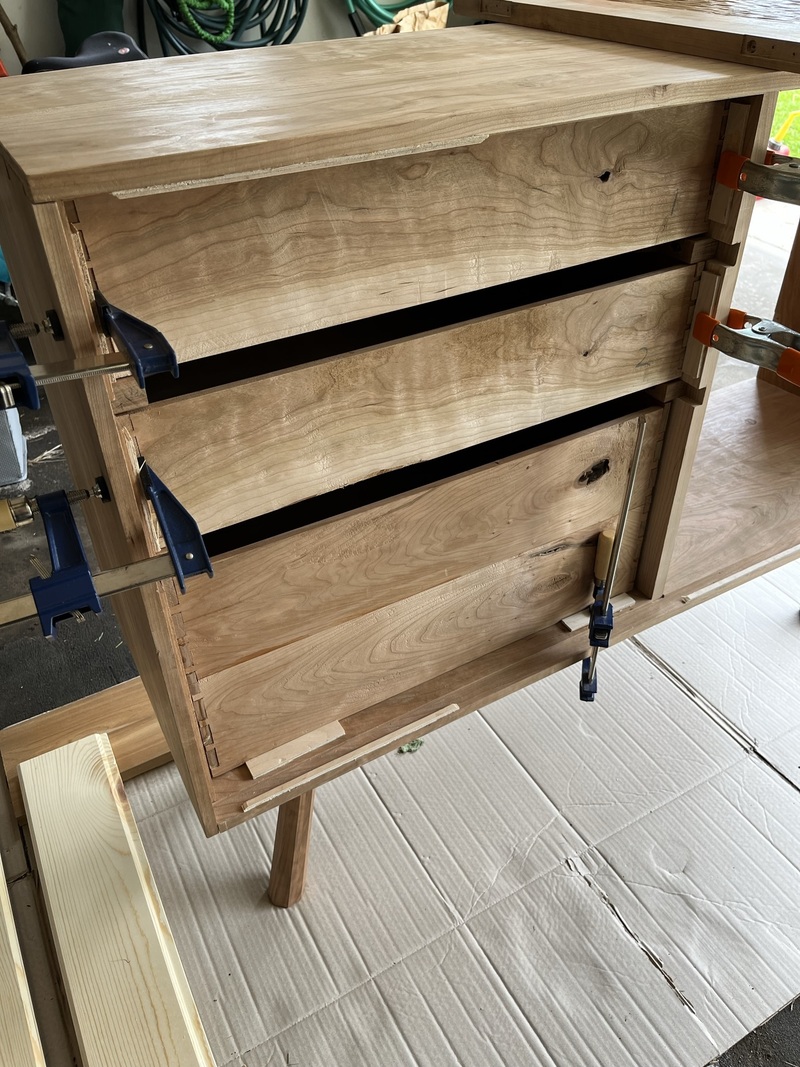 Here's a couple "before" photos. 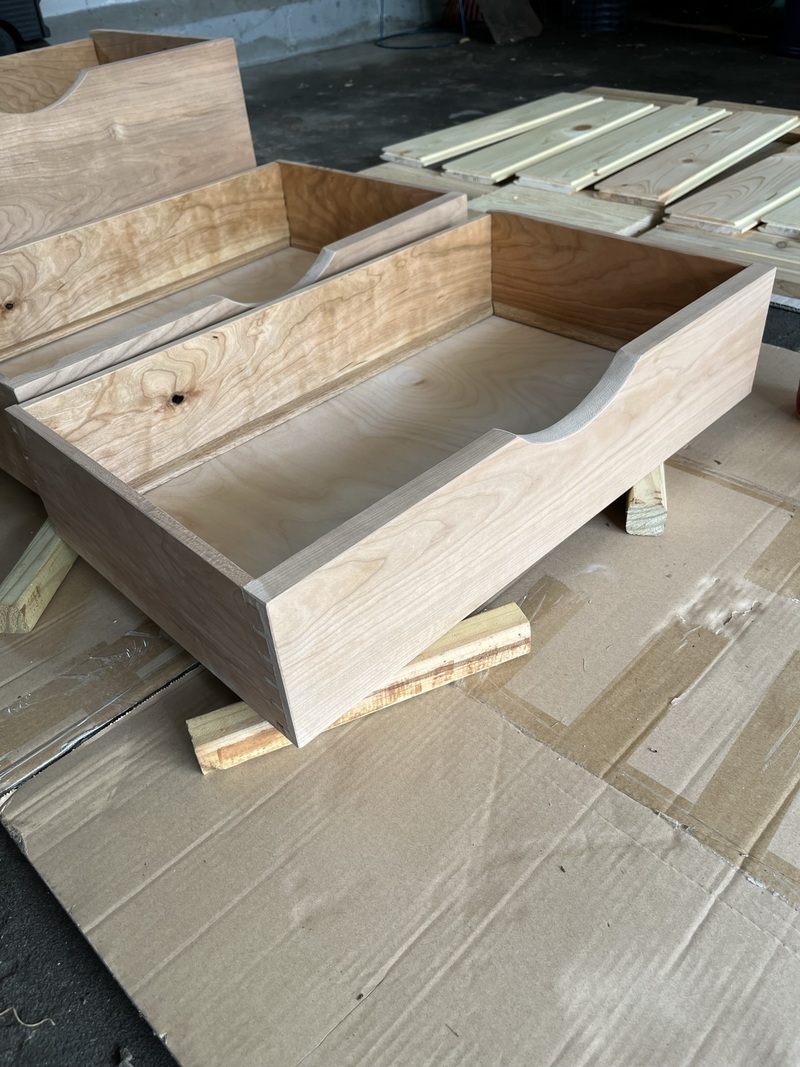 I put one coat of shellac on all of the back panels, two coats on all secondary surfaces, and three coats on all primary surfaces. Between coats I very lightly sand with some 320 sandpaper, which gives a really nice, smooth final surface. 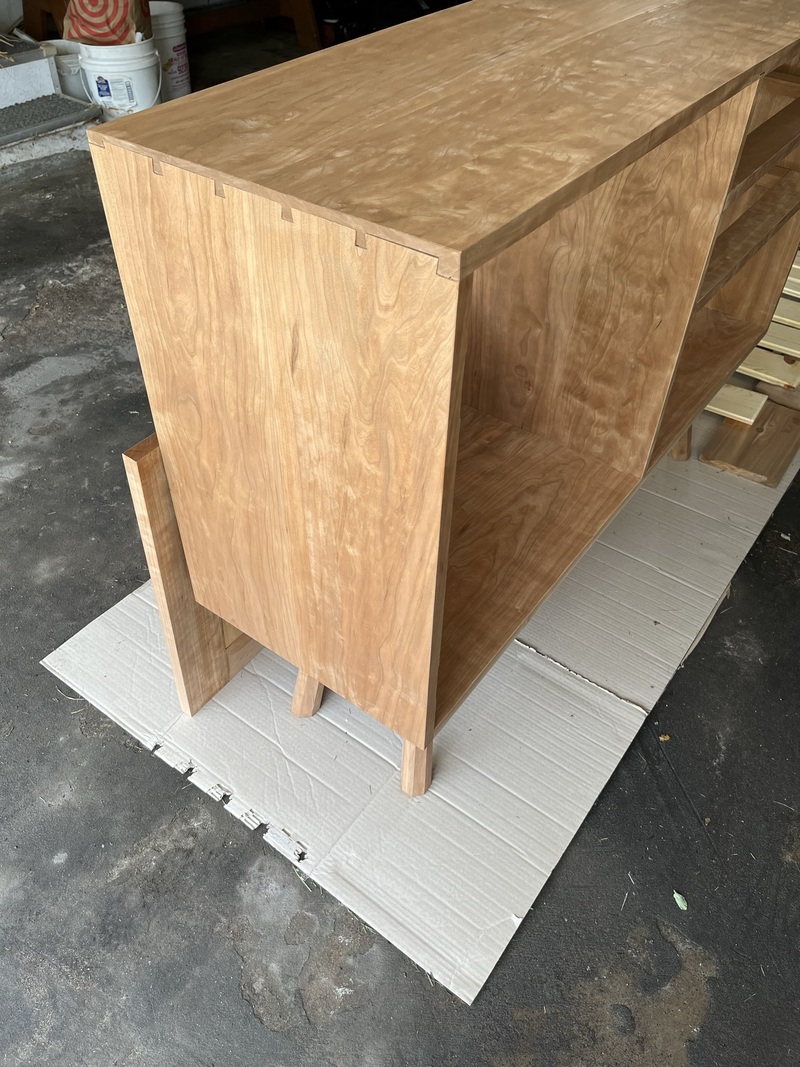 One thing I really like about shellac is it's forgiving. In this picture you can see a bit of a blotch along the upper edge of the door, where some excess shellac had dripped over the edge and dried. It's a bit tough to see in this photo, but was easily noticeable in person. 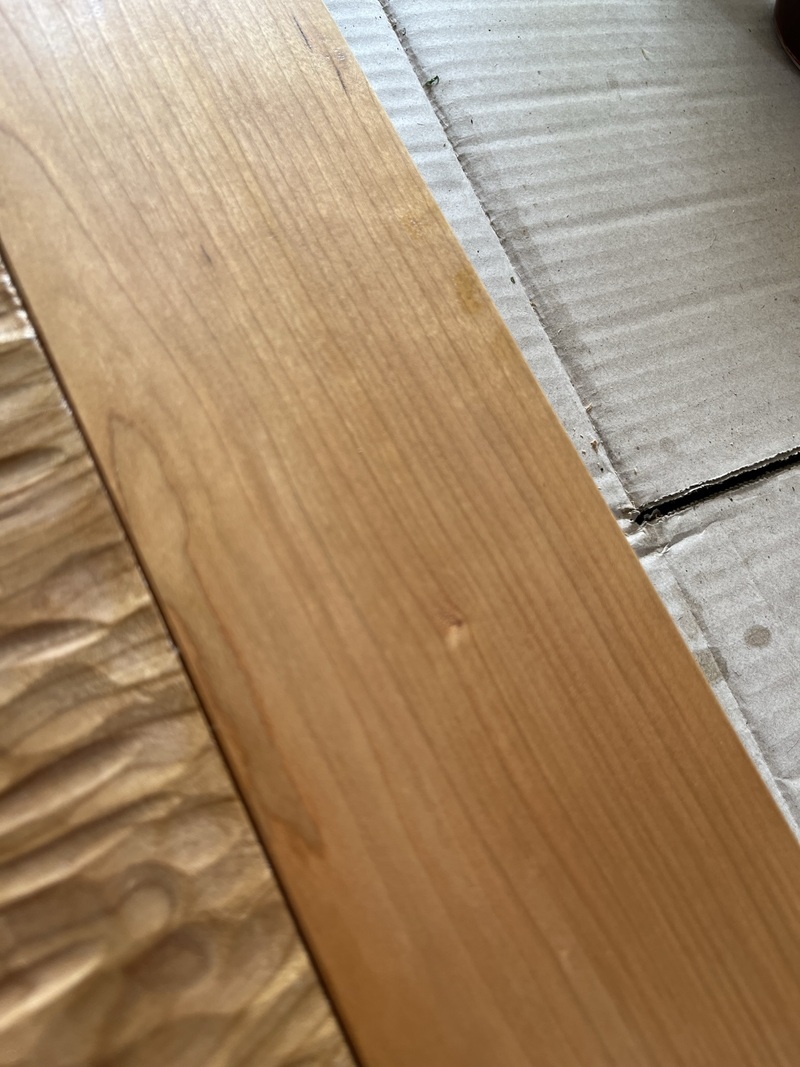 You can just hit it with the same sandpaper until the extra shellac is sanded away, then put on one more coat, and it's gone. 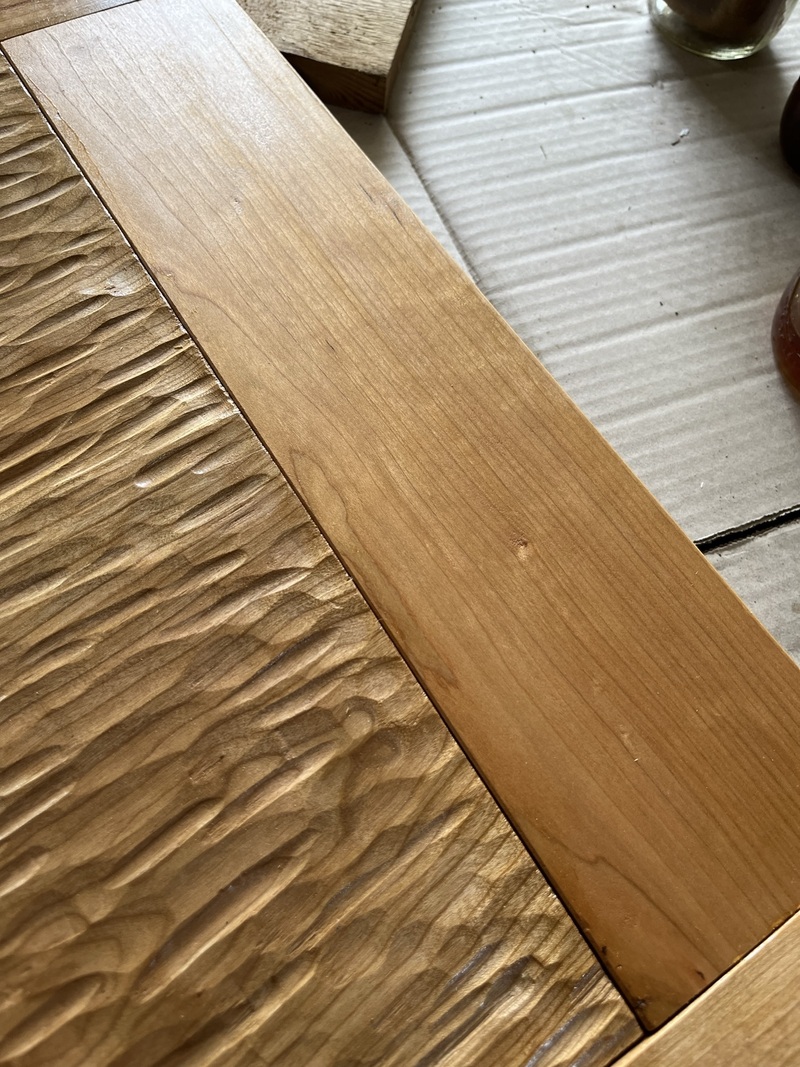 Shellacking in-progress photo. Lots of crouching on the ground, a worktable would've been nice for this. 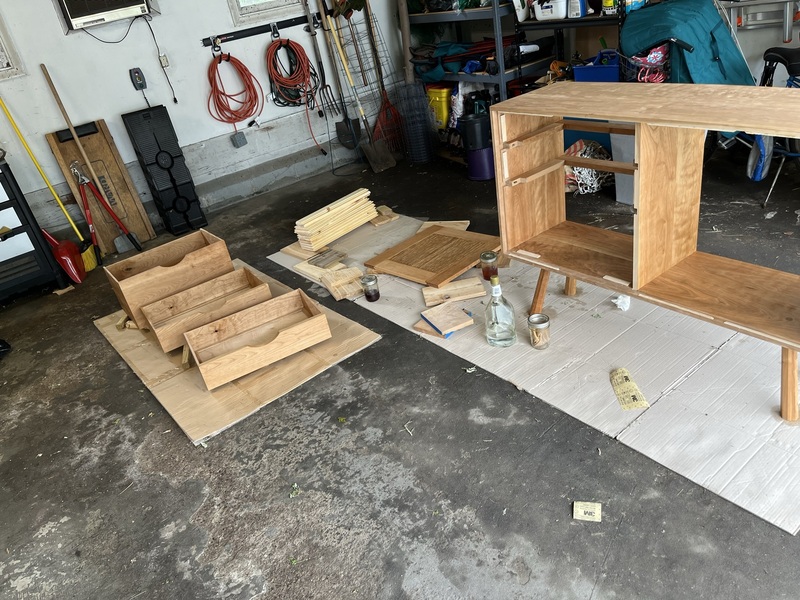 And an "after" photo, with shellac applied. In all I used about three mason jars of diluted shellac, which came from about two thirds of a jar of concentrate. 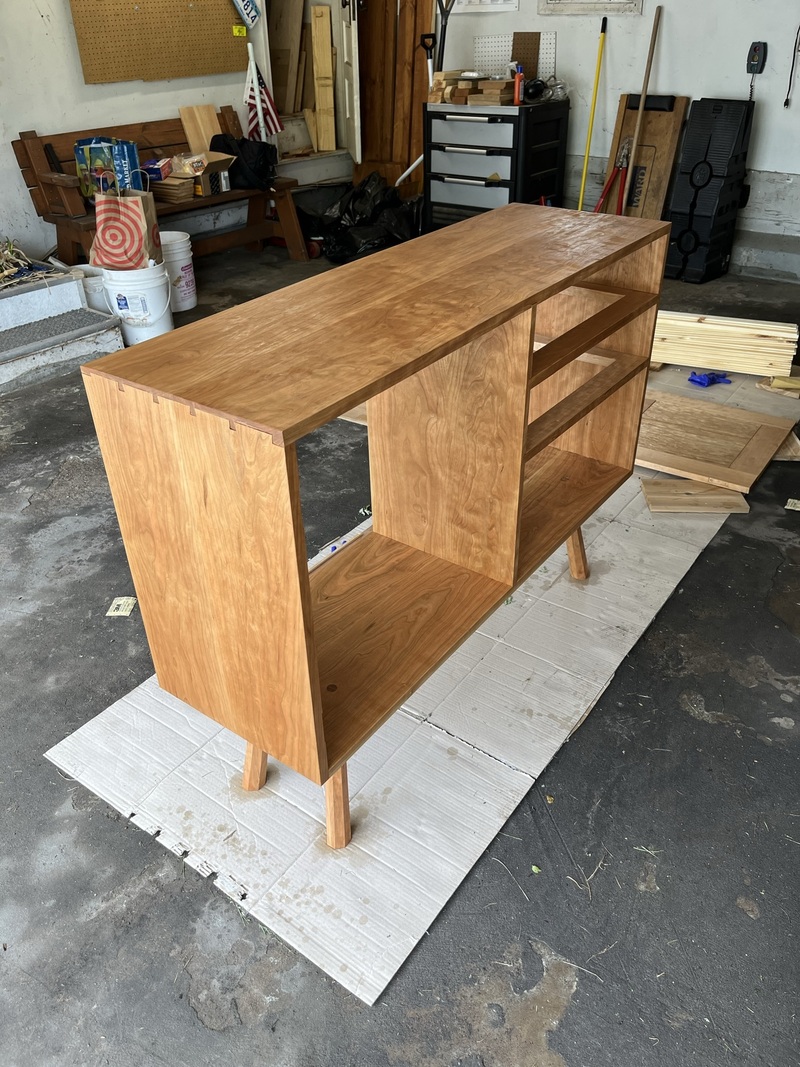 After that, I applied the wax. Didn't really get any good pictures of this, I was getting real tired. Here's how everything was after applying wax, before buffing it off. 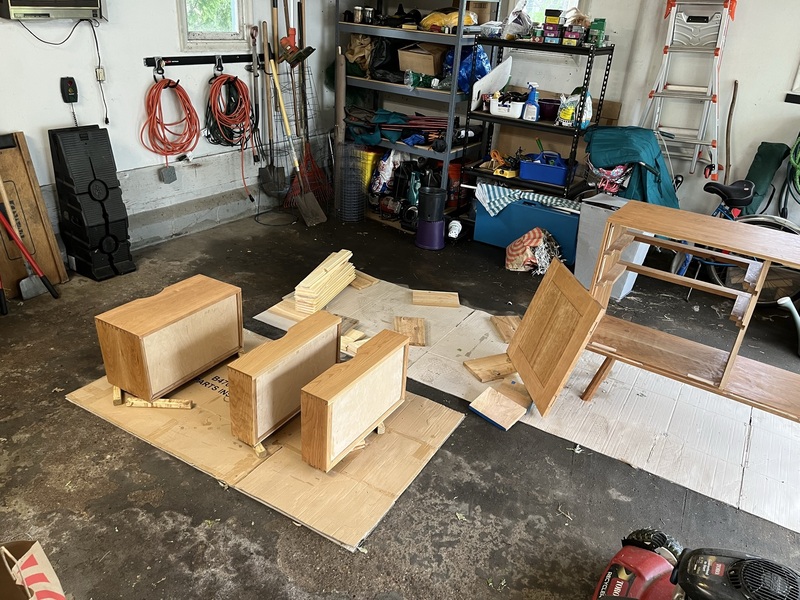 This morning, here's what the cabinet looked like in the garage sitting under the east-facing window on a cloudy morning. I really like the way this finish looks. Gives the wood a great color, and the wax gives a really nice shine. 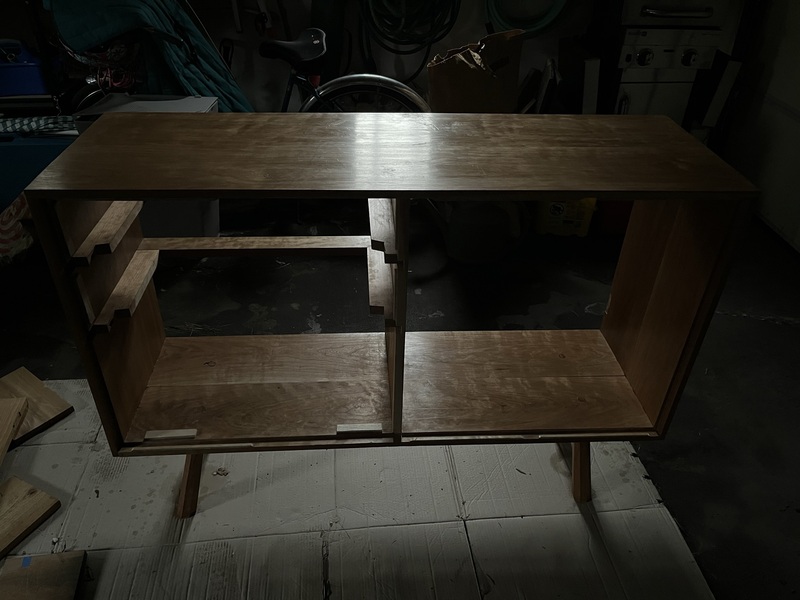
|
|
#
?
May 30, 2022 21:55
|
|
|
Today Annoyingly, the door pull's screw was just a little too short given the thickness of the door wood. No big deal, just drilled a big hole for the head to fit into, but would've been nice if it had just fit. Then I fit the back panels in, and happily my plan for them worked great. I did have to take off a bit of the plywood strips I had glued in, to get a little more room to shove the last panel into place. 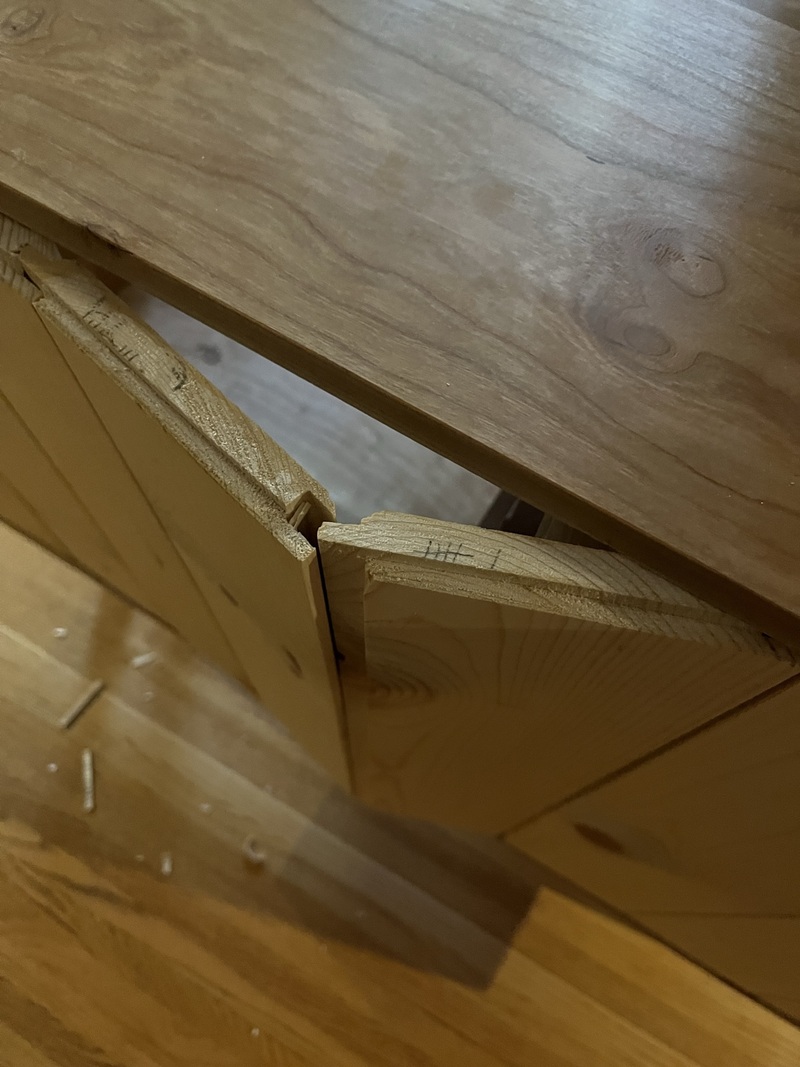 I put in some cheapo door catch hardware, and finally my wife help me hang the door, and we slid the drawers into place. All done! Now on to the glamor shots...  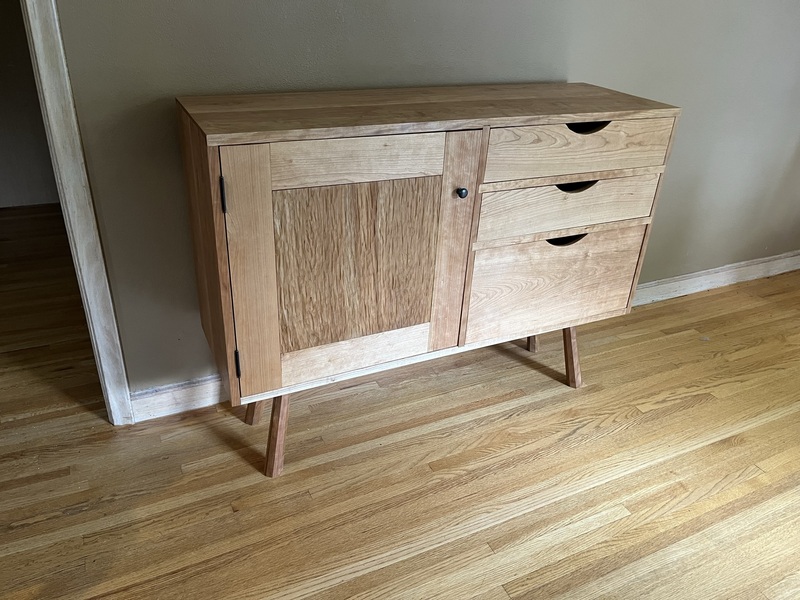 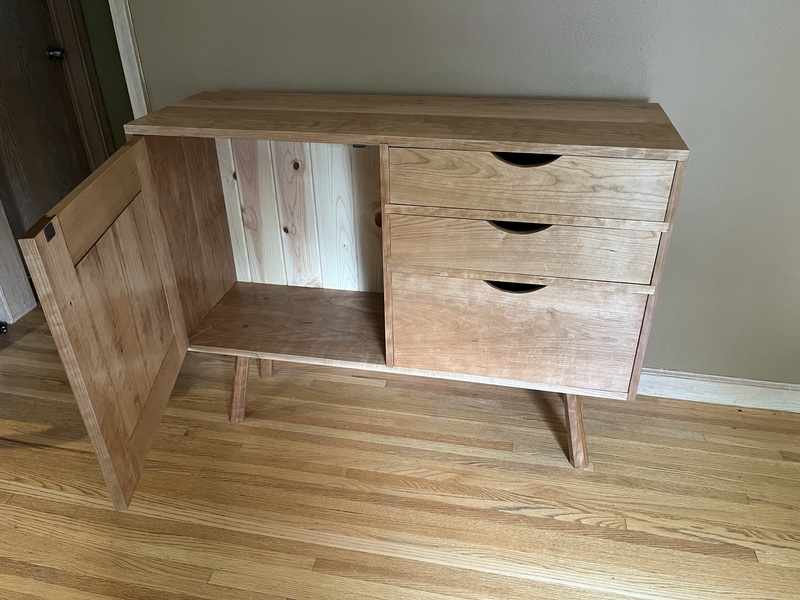 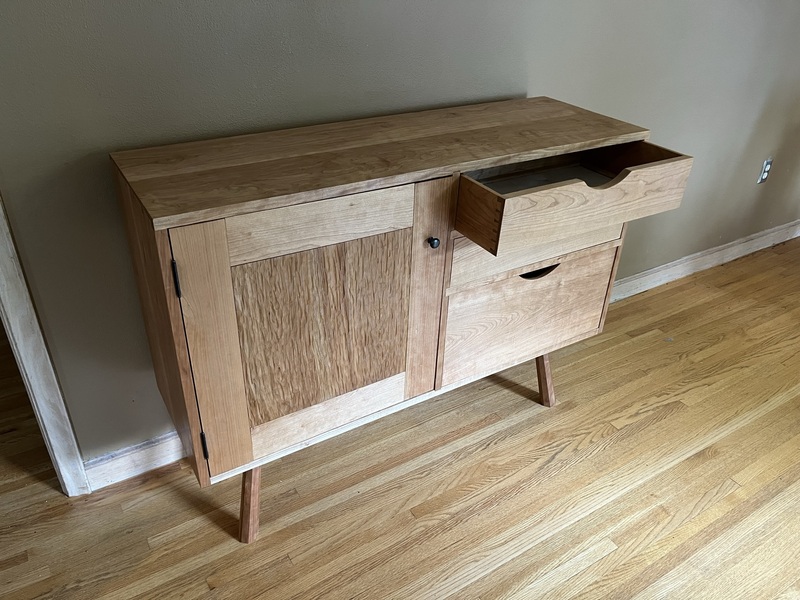 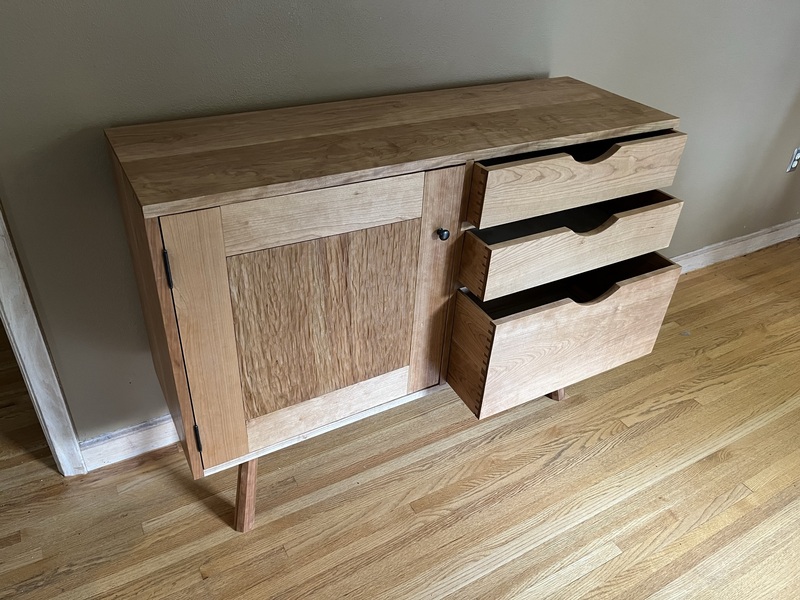 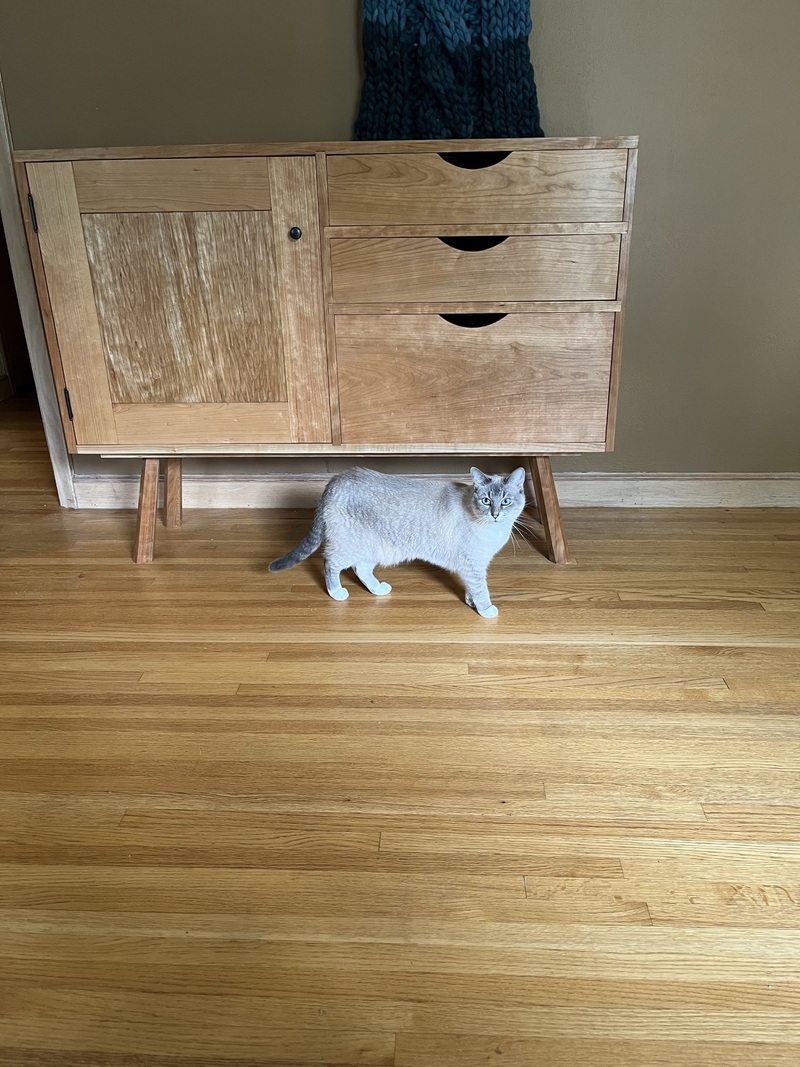 We loaded in our stuff and, somewhat surprisingly to me, everything fit. Pile of board games behind the door and some of the drawers, and some of my guitar stuff found a home in the top drawer. My wife has been into making terrariums lately, those fit in great on top of the cabinet. 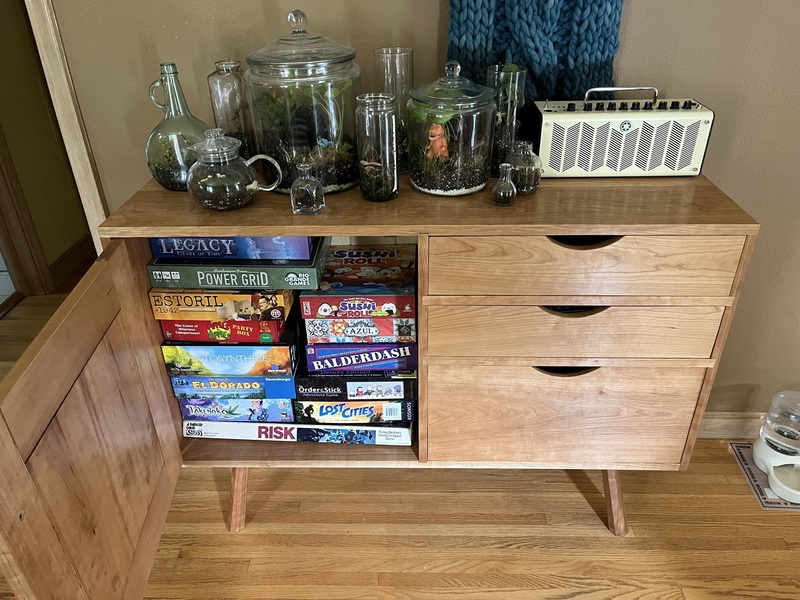 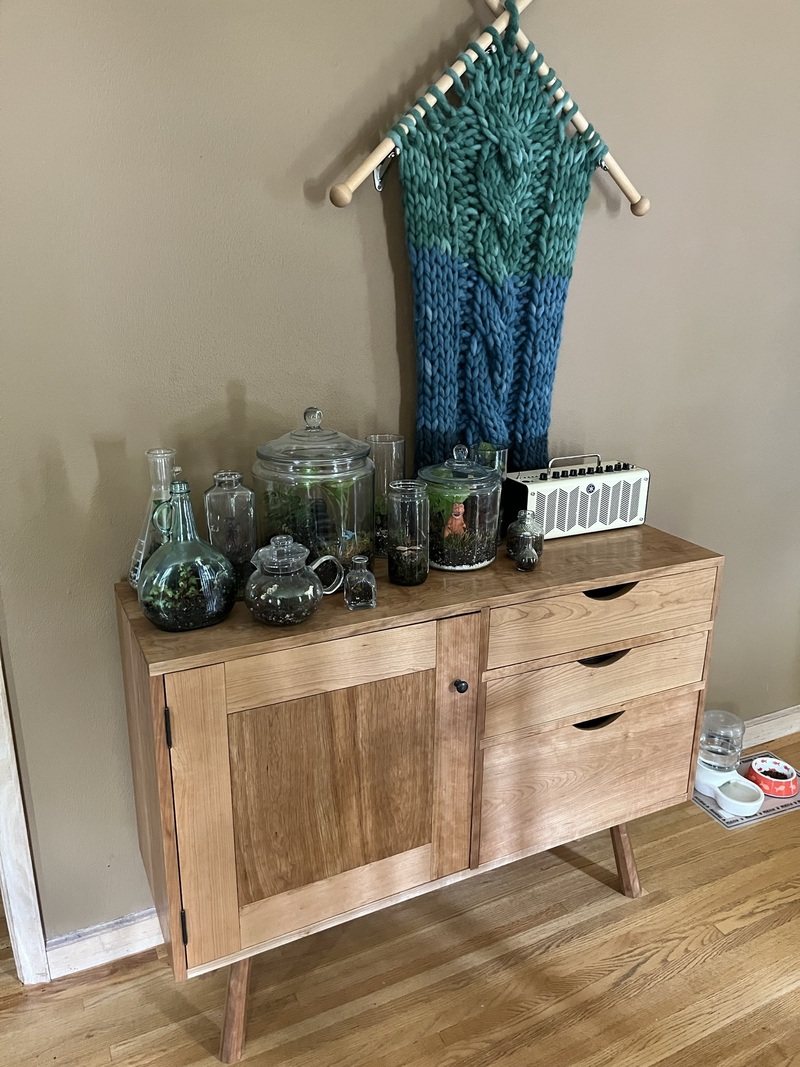 And that's a wrap on the project.
|
|
#
?
May 30, 2022 22:12
|
|
|
Great work on completing the project. That's a lovely cabinet, really looks like it belongs there.
|
|
#
?
May 30, 2022 22:28
|
|

|
Excellent work, and thank you for sharing the journey.
|
|
#
?
May 30, 2022 22:48
|
|

|
That really looks great and at home. Thanks so much for posting about it-I've learned a ton about the realities of a hand toll only shop and it's pretty neat! You did a great job with lumber selection-the color is really consistent across everything.
|
|
#
?
May 30, 2022 23:34
|
|

|
|
| # ? May 5, 2024 13:25 |
|
|
Looks really really good. I can't get enough of staked legs on a cabinet. This has been a lovely thread to follow.
|
|
#
?
May 30, 2022 23:56
|
|


