


|
When I was cooking all the various recipes late-game, I'd often sell the resulting foods to Pinky because I hardly needed any of them what with the signature dishes being so good. This let me make a profit while also working on completion, which felt like a nice little bonus that made the tedium of looking up all the recipes less annoying. I never did any respeccing, but it's interesting to see how it exactly works here, and the flavor text for the items - definitely never saw that before. I don't regret my TP-heavy choices, and all the hardest bosses were beatable with that build, so yeah. Also, I forgot about a lot of that late-game lore with the Mother Crystal and such. I don't think it's ever brought up outside of the books, which would contribute, I suppose. I like the thought put into the worldbuilding for sure, I haven't really seen a lot of people tear apart the story and world of this game too much so I think their work was worthwhile! EDIT: Update on last page, y'all!
|
 #
?
May 17, 2022 06:38
#
?
May 17, 2022 06:38
|
|


|

|
| # ? May 16, 2024 05:41 |
|
|
Alxprit posted:When I was cooking all the various recipes late-game, I'd often sell the resulting foods to Pinky because I hardly needed any of them what with the signature dishes being so good. This let me make a profit while also working on completion, which felt like a nice little bonus that made the tedium of looking up all the recipes less annoying. This is a good way to do it! I usually just make everything I can as I go along (and try to make myself use what I make, for the sake of variety), but that's tedious in its own way too. We'll be looking at another approach to recipe completion shortly, in fact (probably next update, I think? I'm still working out the order of a few things). Alxprit posted:I never did any respeccing, but it's interesting to see how it exactly works here, and the flavor text for the items - definitely never saw that before. I don't regret my TP-heavy choices, and all the hardest bosses were beatable with that build, so yeah. The funny thing is, my reaction to the respec system when I first found it was along the lines of "Cool, this exists, so I can't permanently screw myself. Therefore I will pretend it doesn't exist and force myself to stick with the decisions I've made to see what consequences they'll have, because if they do become insurmountable I can fix them." Removing the anxiety of decisions being permanent, ironically, made me more comfortable with making permanent decisions. I think there might be a lesson there, and I find myself thinking about this a lot in game design. Alxprit posted:Also, I forgot about a lot of that late-game lore with the Mother Crystal and such. I don't think it's ever brought up outside of the books, which would contribute, I suppose. I like the thought put into the worldbuilding for sure, I haven't really seen a lot of people tear apart the story and world of this game too much so I think their work was worthwhile! I appreciate how understated it is, and that they don't let it take over the plot. By confining some of these details to the lore books and flavour text, and letting them be superfluous, it ends up making the world feel broader. Speaking of Lore Books, I realised I've made a mistake. We should have had one more than we did; I apparently literally walked past it and forgot to pick it up. So, next update we'll have to rectify that...
|
|
#
?
May 18, 2022 20:54
|
|

|
So, uh, this isn't an update. I'm running behind schedule; I was hoping to get the next one out sometime this week but I am absolutely not on track to make that happen. With the upcoming long weekend in the States I should have some more time to work on the LP soon, hopefully, so it shouldn't be too much longer. I do have some other Bug Fables news, however. I have just been made aware (thanks to the Bug Fables discord) that Moonsprout Games are partnering with a company called Makeship to make Team Snakemouth plushies. There's no information on pricing there yet; from what I can gather ordering will open June 3 (Friday week) and stay open for 21 days (and it's a sort of crowdfunding thing where they'll only get made if enough people are interested, I don't know the threshold). To be honest, I'm not a fan of this kind of FOMO-based sales model, but it's often the only way indie companies can afford to have their products manufactured, so it is what it is. I have a feeling I'm going to end up buying these. (I already have the Collector's Edition, which came with a Vi plushie, but this is the first time they've done ones for Kabbu and Leif, and this Vi looks like it's going to be a different design.) Just thought that might be worth a heads-up, if anyone else might be keen on these.
|
|
#
?
May 25, 2022 23:15
|
|
|
Oh god, now I have to muster all the willpower to resist buying a Kabbu plushie.
|
|
#
?
May 28, 2022 12:50
|
|

|
I'm already planning to buy a Vi plushie for a friend.
|
|
#
?
May 29, 2022 10:10
|
|

|
Update coming shortly, I have just a few finishing touches to put on and it'll definitely be up tonight. This one was a struggle to write, honestly; I hope I didn't completely botch this.Torrannor posted:Oh god, now I have to muster all the willpower to resist buying a Kabbu plushie. Hah! But there's only 10, you know! And once you have it, you're obligated to try to give it to everyone and shove it everywhere it might fit just to see if anything happens! Sorry, I don't make the rules. Lynneth posted:I'm already planning to buy a Vi plushie for a friend. Lucky friend!
|
|
#
?
May 30, 2022 01:42
|
|
|
Damnit yall are going to make me buy a Vi plushie for my toddler aren't you? 
|
|
#
?
May 30, 2022 02:05
|
|


|
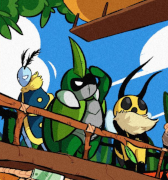
63: Subbing Out (Part 1) Content warning: This update covers a minigame which is an homage to another indie game with a sordid and unpleasant history, and I feel obligated to discuss that context. I'll give a more specific warning as we get closer and clearly mark the boundaries of that discussion, so you can avoid it if you need to. (The discussion in question is in Part 2.)  63 - Forsaken Lands 63 - Forsaken Lands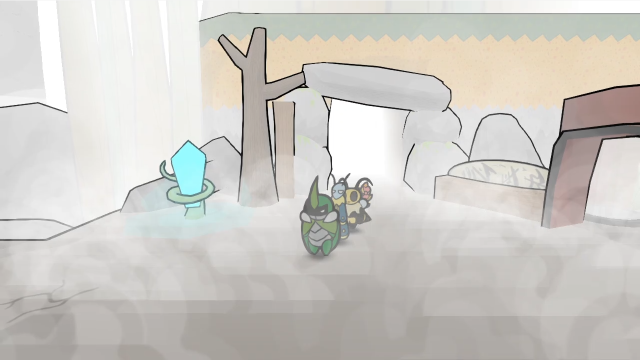 We left off here last time, after investigating Patton's respec options (though I've made no changes to our stats). We're still here, because I need to pick up something I forgot about; there's a collectible near here that I literally walked right past without noticing. (I knew it had to happen at least once during this LP, I'm only surprised it took this long!) 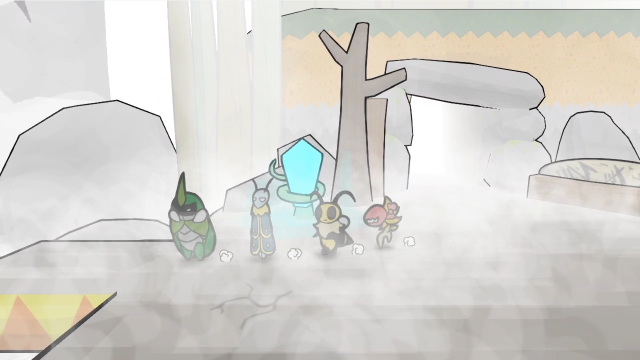  Specifically, it's in this area, just west of Patton's. 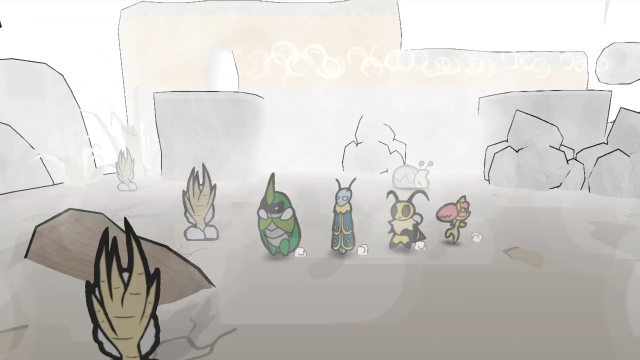 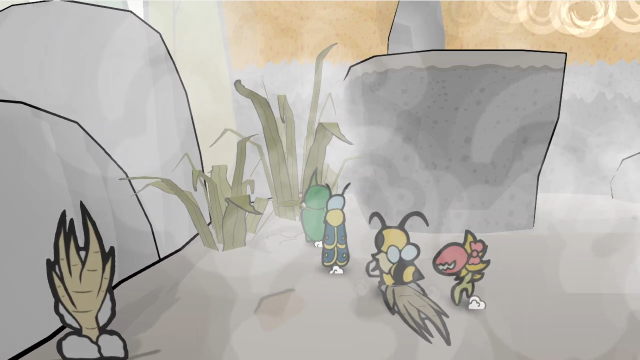 Do you see anything? 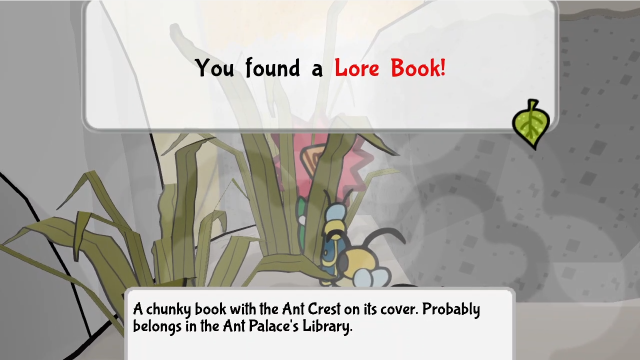 There it is! There's a Lore Book here, hidden among the grass; it can be pretty hard to spot (though the Detector medal will at least tell you it's here, if you're using that). I could have grabbed this one several updates ago, when we first came to this area. Regardless, we have it now. Now let's head back to the Termite Kingdom. 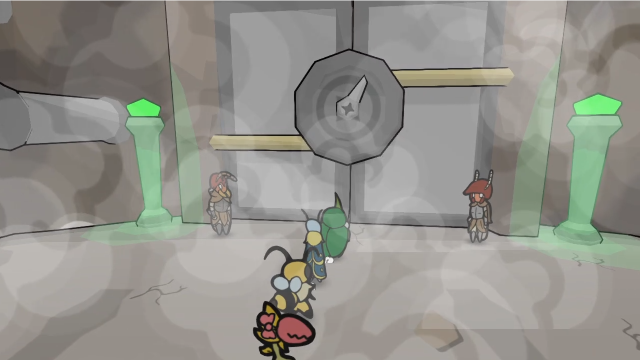 I'll cut out the journey. It's not terribly long now, thanks to our myriad shortcuts. 64 - Termite Capitol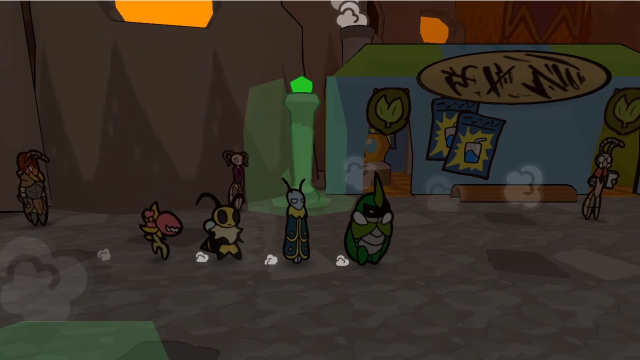 Let's head to the docks and check out this submarine. 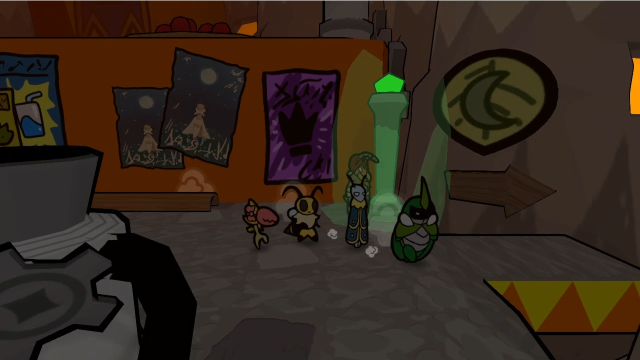 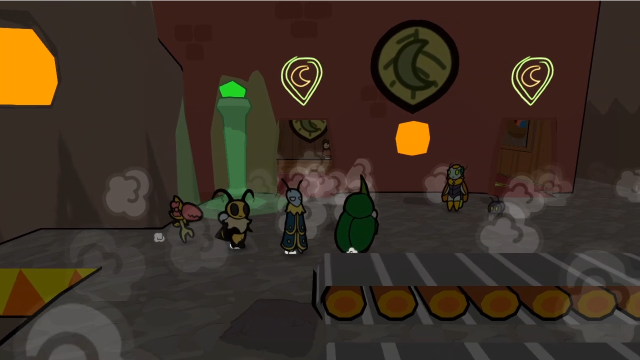  The conveyor belts do help make this journey a bit quicker. 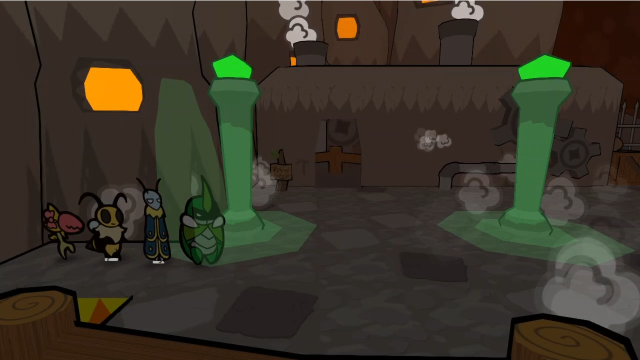 And here we are. 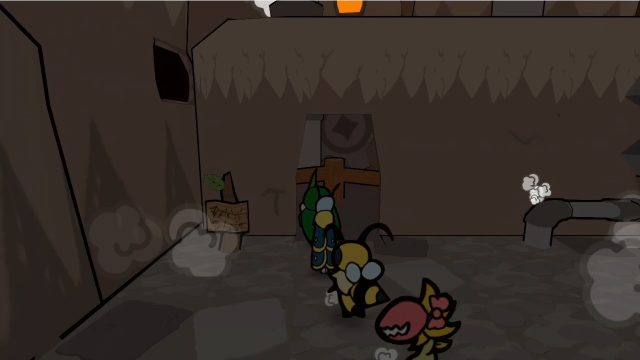  This isn't particularly noteworthy, but if we check inside here, all the workers are no longer here. 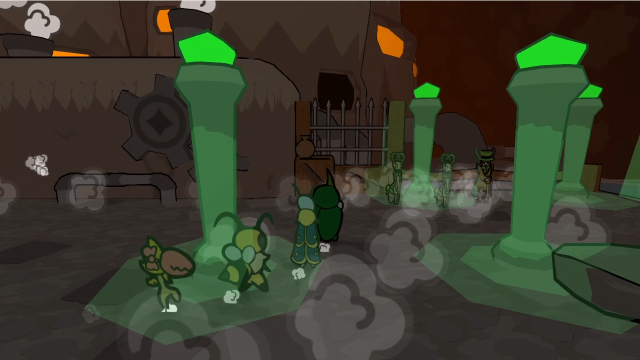 Also, these people weren't here before, and seem to be waiting for us. 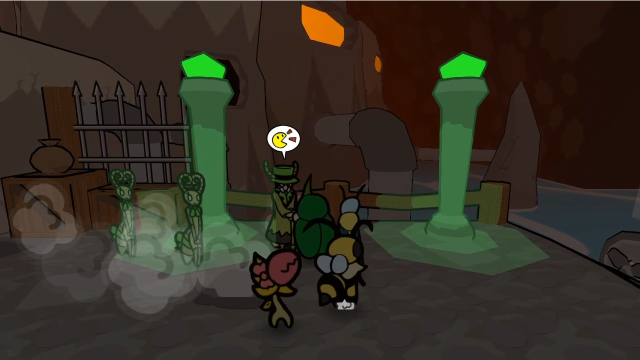 Let's talk to them. 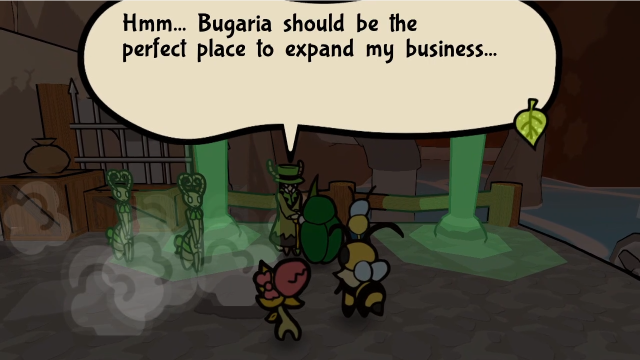  Oh, you're the winners of the Colosseum, right? So you will take us to Bugaria, yes? Let's get going, time is money! Oh, you're the winners of the Colosseum, right? So you will take us to Bugaria, yes? Let's get going, time is money!This dapper fellow seems like some kind of tycoon? The Termite Queen did say they'd be sending some people over to start businesses...  What fancy clothing. What fancy clothing. This Termite seems to be rich... I wonder what he deals with. This Termite seems to be rich... I wonder what he deals with.I guess we might find out soon! 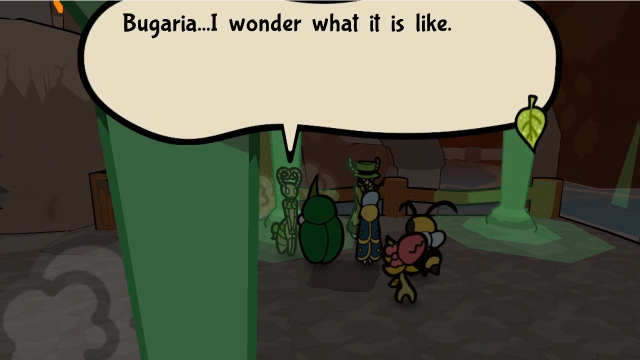 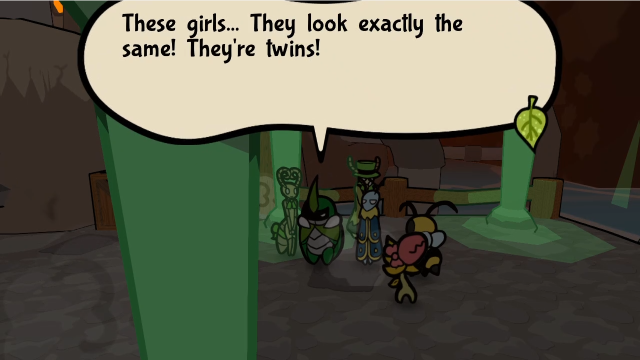 These two with him don't have a whole lot to say, though the banter about them is slightly more interesting: These girls... They look exactly the same! They're twins! The Termite Gen and Eri! One of them's missing a blue ribbon, eh... The Termite Gen and Eri! One of them's missing a blue ribbon, eh...This is amusing, although I do find it strange for them to find identical twins so remarkable. We've already seen lots of identical workers and soldiers from the various races. 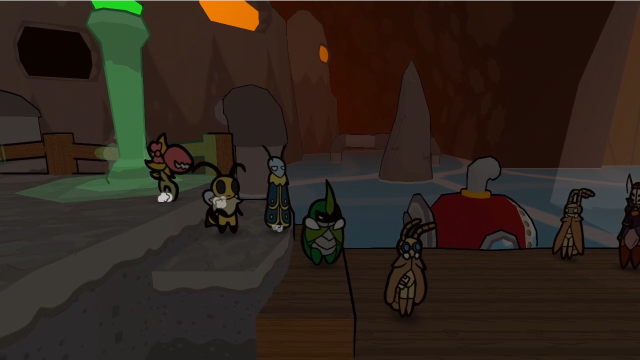 At the actual pier, we can see the submarine, and Elizant is waiting for us with the termite technicians. Let's talk to everyone. 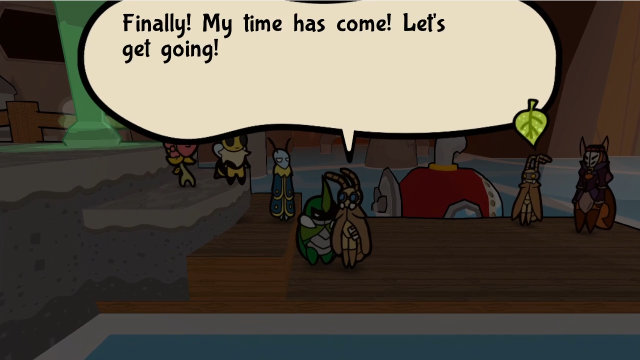 Wedge only has this to say. Oh, I'm so excited! To ride the sub? N-No. That's terrifying, actually... ... Scientists are coming with us! There will be a technological exchange! Oh, right. That's pretty exciting, actually. It is?The banter is a bit more interesting. 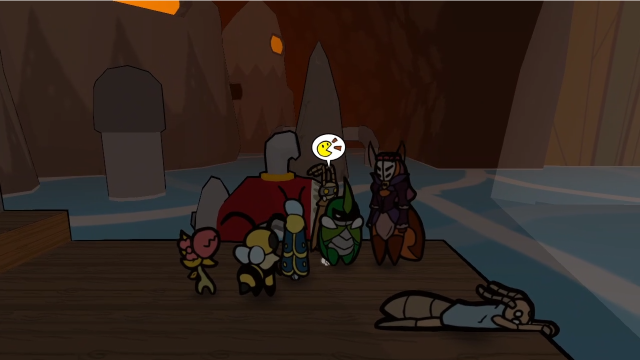 Elizant is over here with Biggs. Let's talk to them. 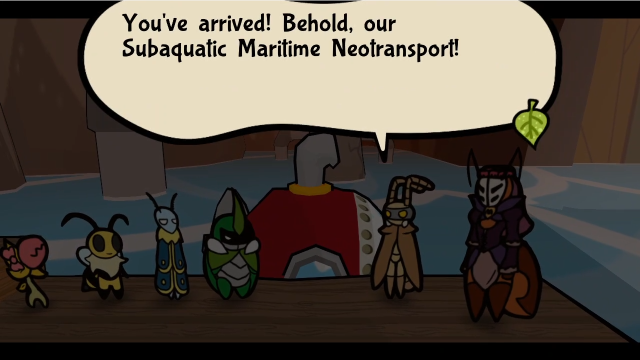  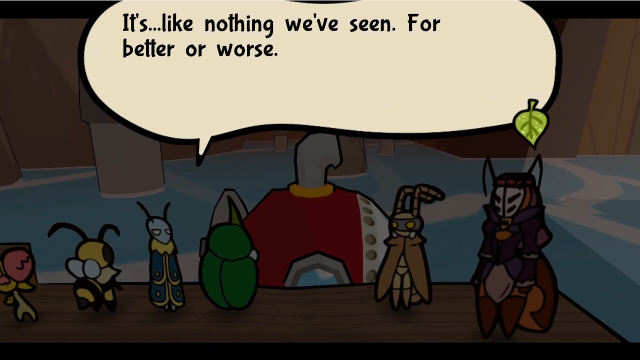 It can truly travel under the tides? It can truly travel under the tides? Give it a whirl. You'll have the time of your life. Bugs have never been able to travel this way! Wew... okay. I'm gonna trust it. We can finally go get the Everlasting Sapling! And beat up the King, too! This long journey's nearing its end. But we must not rest until we're victorious! Give it a whirl. You'll have the time of your life. Bugs have never been able to travel this way! Wew... okay. I'm gonna trust it. We can finally go get the Everlasting Sapling! And beat up the King, too! This long journey's nearing its end. But we must not rest until we're victorious! It's a bit too early to rally. Let's head to the Outskirts Pier. We must pick up our reinforcements. It's a bit too early to rally. Let's head to the Outskirts Pier. We must pick up our reinforcements.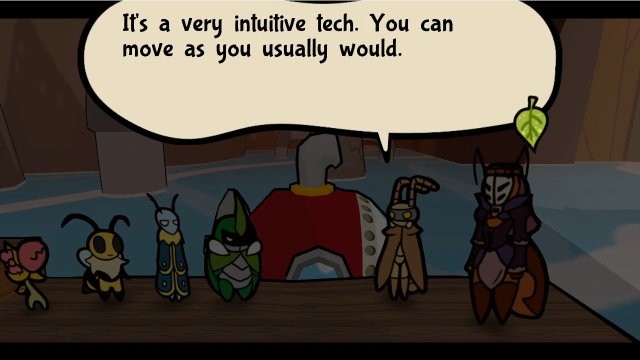 Just dive with (B) when there's danger. Just in case! Let's 'give it a whirl', then. Time's running out. Just dive with (B) when there's danger. Just in case! Let's 'give it a whirl', then. Time's running out. Okay then! We can now interact with the submarine. There are a few more lines of dialogue we can see before getting in, though nothing too noteworthy: 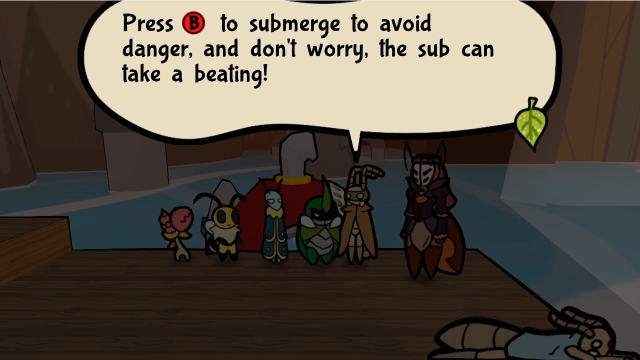 Biggs reminds us how to control the sub. 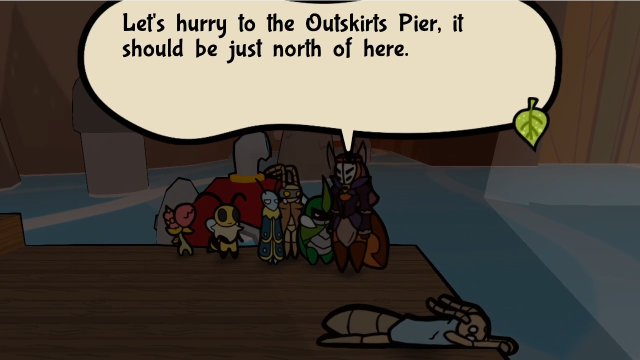 And Elizant reminds us where to go. 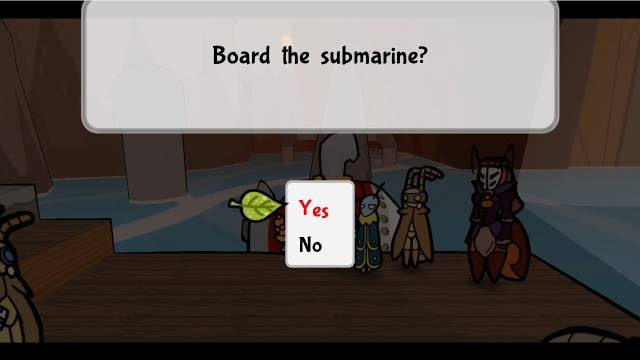 Let's get in! 67 - Snug as a Bug in a Sub And we're in control of the sub! Every RPG has to give you a ship at some point, right? This doesn't open up the world as much as you might expect, because it's confined to Metal Lake, but Metal Lake itself is a new area to explore and there are several locations we can reach now by sea (some places we've been before, and some completely new places). For now, though, we're just doing a test voyage and need to go to Outskirts Pier; we can fully explore the sea later. 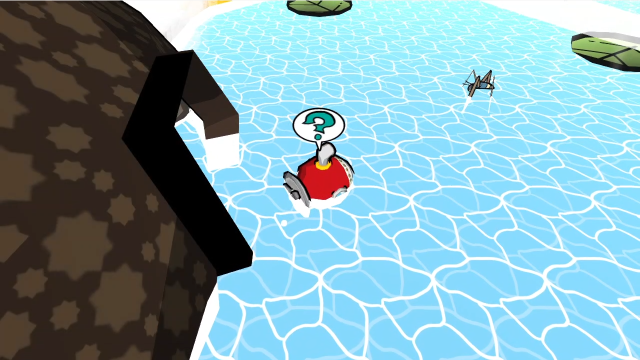 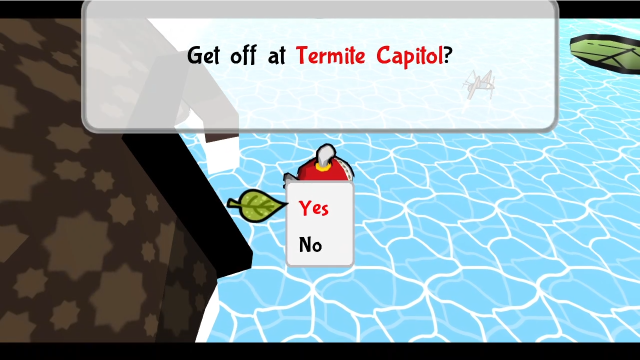 Interacting with our starting location would let us disembark and go back to the Termites' pier, but let's not do that. (It's kind of interesting that their dome extends out over part of the sea...)  W-We're really underwater... Y-Yep... At least we're, um, safe as long as we are in the submarine. Let's keep going. W-We're really underwater... Y-Yep... At least we're, um, safe as long as we are in the submarine. Let's keep going.We can also check for a banter here, though it's hard to tell who's speaking since we can't see inside the sub. I could make guesses (e.g. I'm pretty sure the first two lines are Kabbu and Vi), but nothing concrete enough to attach portraits to it. 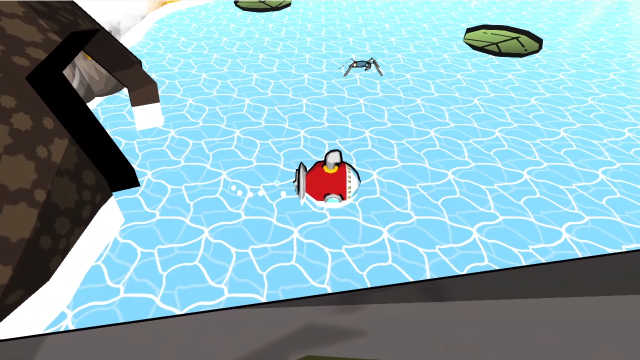 All right. Let's get a feel for this area. We can move the sub around just like normal movement, and if we press (B)... 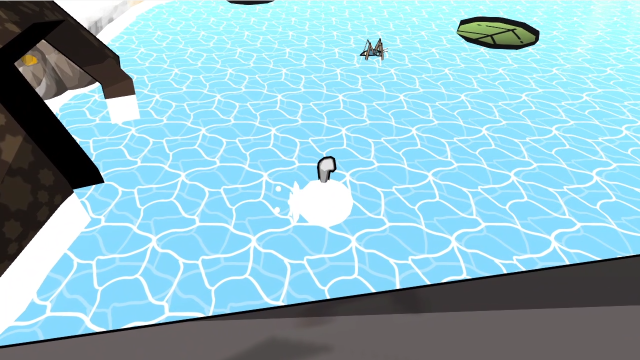 We can submerge. This is more of a novelty than anything else: while submerged, the enemies around won't notice or react to us, but touching them will still start battles as usual. All of the things we can interact with here behave the same whether or not we're submerged. 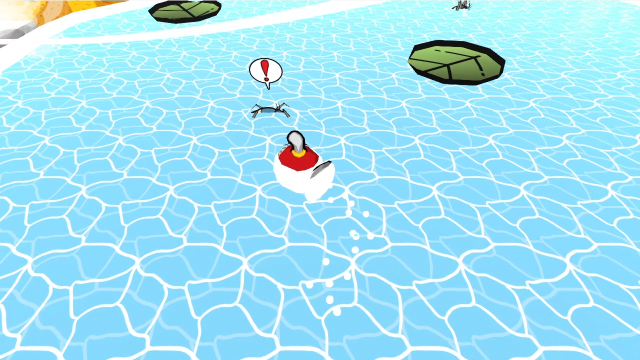 Speaking of battles, there are enemies here, so let's fight some. We need to kill some water striders to complete Alex's quest. 55 - Team, It's Getting Serious! There's a new leaf animation with lily pads for battles at sea, which is pretty cute.  And when we get into battle, we'll see that we got out of the sub and are doing battle on top of the lily pads. Otherwise, battles here are no different than battles on land. The only difference is that, in the sub, we don't have any way to initiate first strikes (I thought at first that maybe being submerged would let you surprise enemies, but it doesn't). There are a lot of Water Striders and Diving Spiders around here, which we haven't seen since Stream Mountain. They're much easier to deal with now, between our ability to boost Vi's attack, or Leif's Ice Rain giving us the ability to do massive damage to everything at once, so I'm going to skip past the combat. 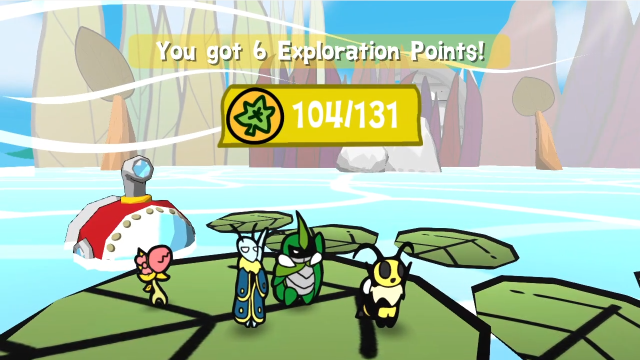 At our current level, the spiders still give us a bit of EXP, but the striders aren't worth any. 67 - Snug as a Bug in a Sub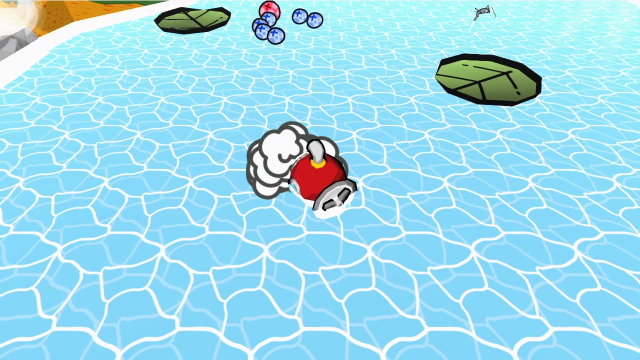 Defeating enemies at sea still yields berry drops, they'll just float on the water's surface and we can collect them by touching them with the sub. Don't ask me how that works. 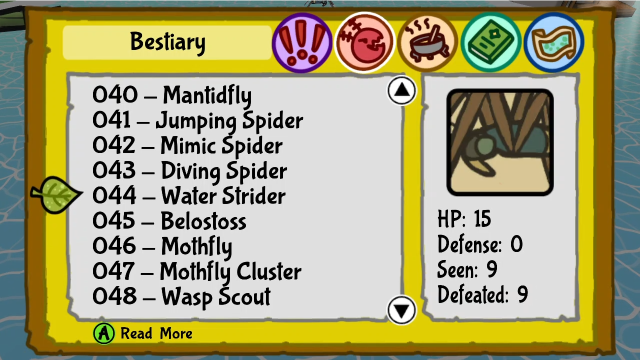 After that battle, I decided to check the bestiary to see how many more kills we needed, and we're a lot closer than I expected. Usually I don't have this many kills when I get here, I must have done some extra fighting offscreen back in Stream Mountain. We're close enough that I definitely want to finish this up now. 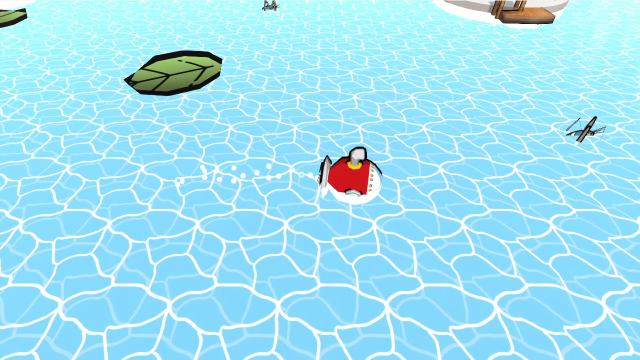 So let's look around a bit more. What's that off in the distance? 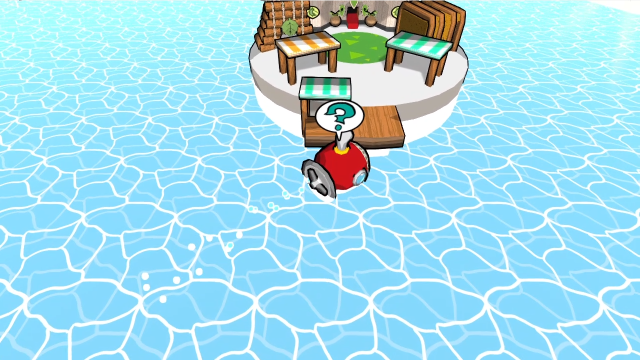 That looks like Metal Island! 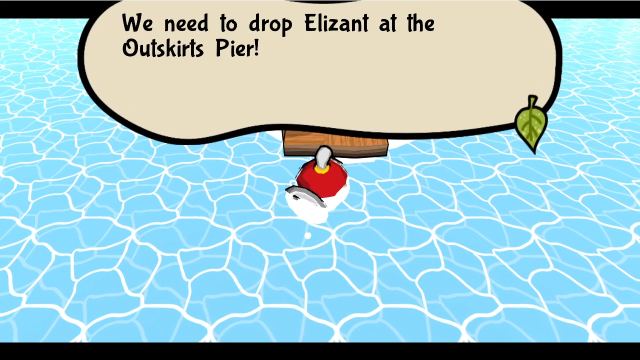 If we try to get off here (or any other location), though, the game won't let us. We need to finish the test voyage before we can really explore. 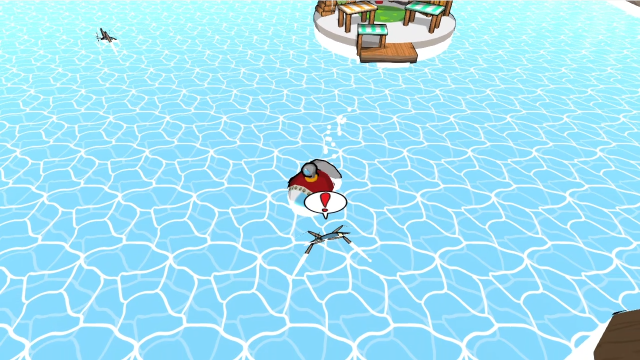 Just to the south is another strider, though, so let's fight that while we're here. 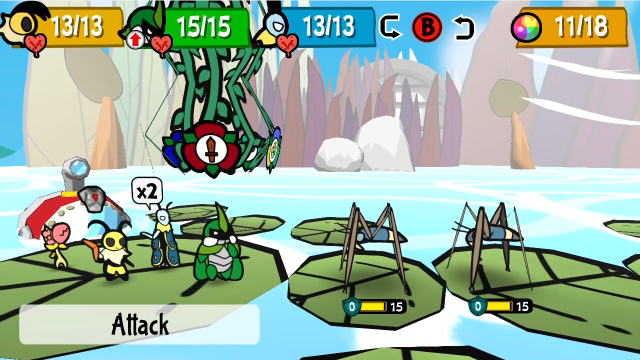 There we go! This is easy enough, and will get us over the threshold for the quest. 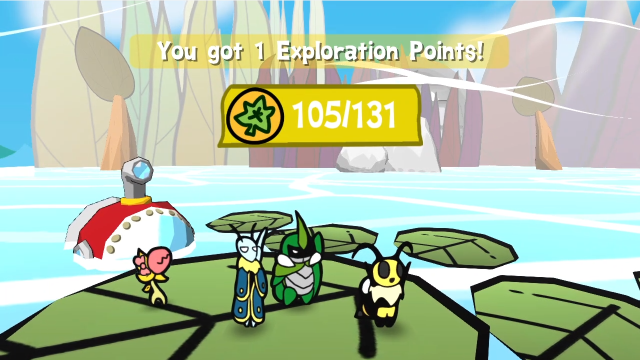 Striders aren't worth any EXP to us now, as I said. 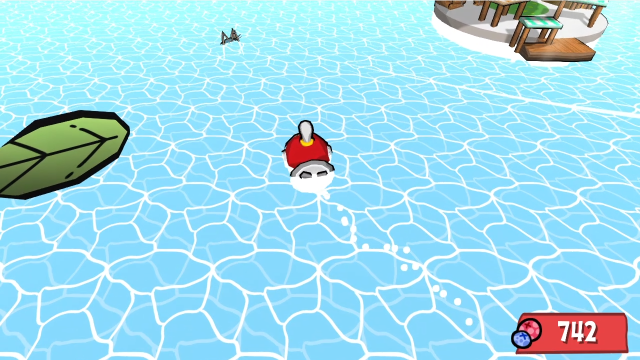 While we're at it, may as well fight this one too?  This one's mostly Diving Spiders. If you haven't been to Stream Mountain yet and are trying to get 10 strider kills just here, you'll probably need to make multiple visits so the encounters respawn. There are fewer of them than you'd imagine given they're the main overworld sprite you see. 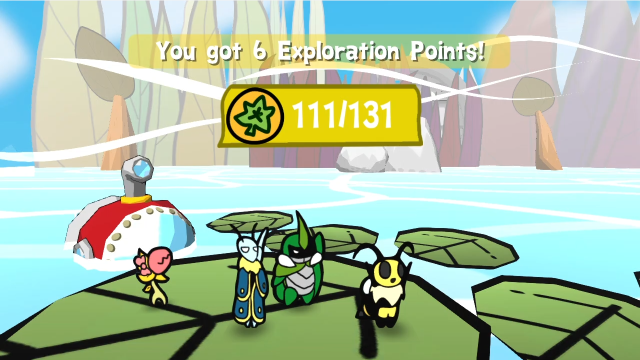 Let's just move along. 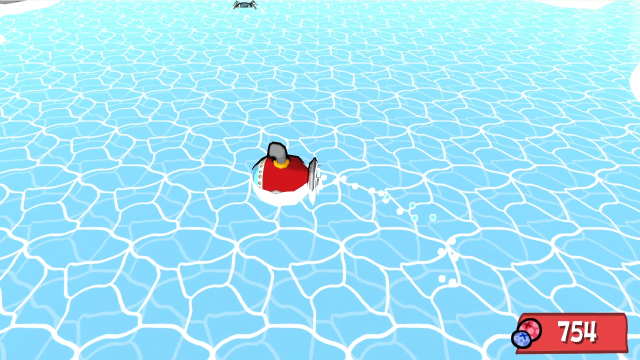 There's another strider to the north... 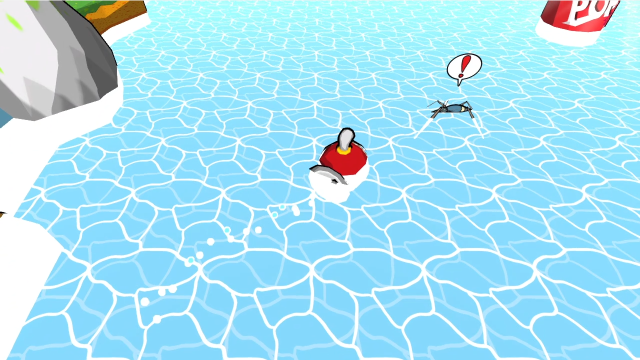 We can see landfall just to the west, but we may as well fight the strider first. 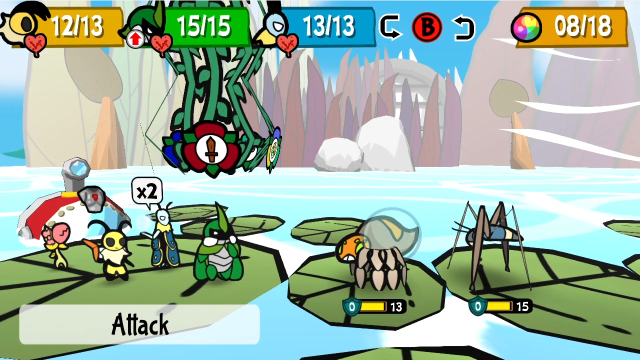 More spiders. 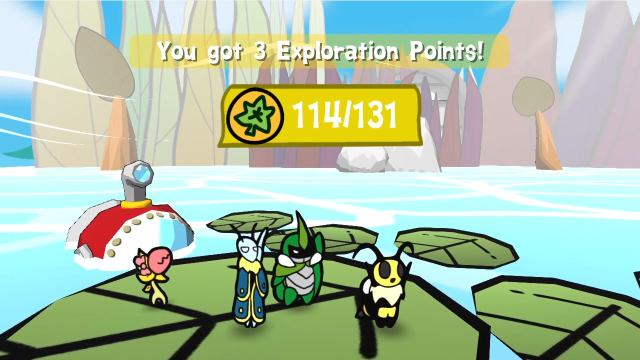 Easy enough. 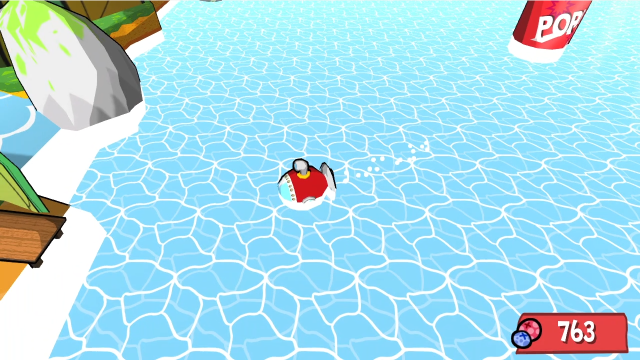 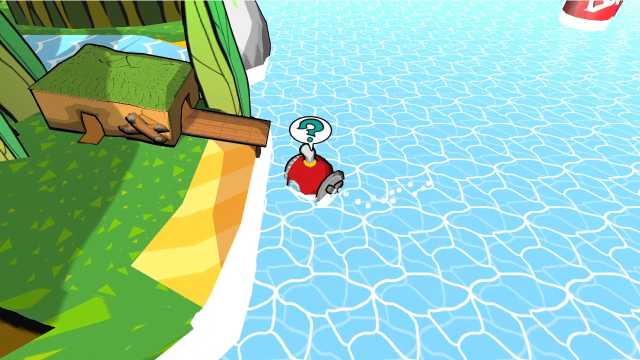 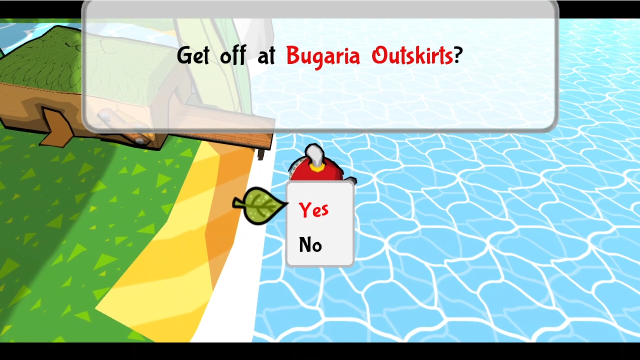 There's Bugaria Pier! We could explore Metal Lake a bit more, but we wouldn't be able to accomplish very much, so let's disembark for now and return here later. 23 - The Sailors' Pier  Indeed. That was an experience like no other... I-I'm glad we've all made it. S-Same... It was surprisingly sturdy. Indeed. That was an experience like no other... I-I'm glad we've all made it. S-Same... It was surprisingly sturdy. So this is Bugaria. It's greener than I'd heard of. So this is Bugaria. It's greener than I'd heard of.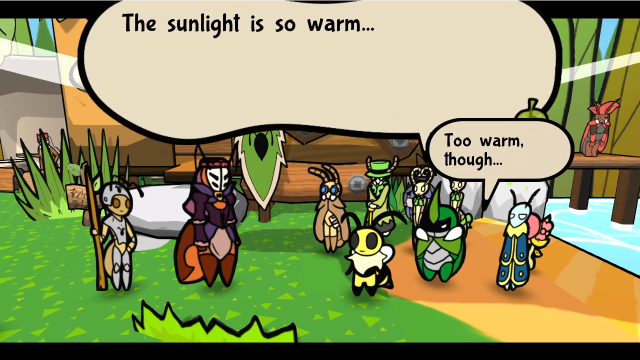 And the breeze so heavenly! It is my pleasure to welcome you to our land. What's our next step, then? I will escort our allies to the city, as part of our deal. Wedge, was it? Yes, Queen? I trust the royals have briefed you on your task. And the breeze so heavenly! It is my pleasure to welcome you to our land. What's our next step, then? I will escort our allies to the city, as part of our deal. Wedge, was it? Yes, Queen? I trust the royals have briefed you on your task.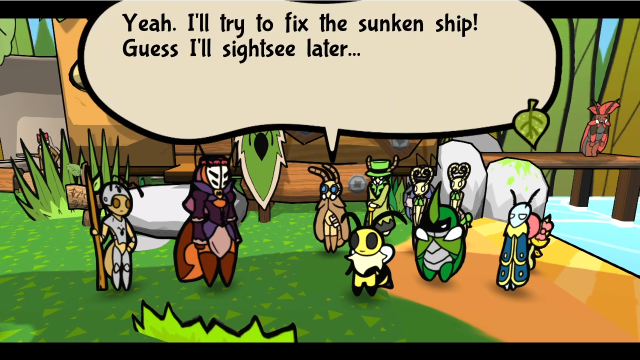 Team Snakemouth! Ready to go! You are to take the Subaquatic Maritime Neotransport, and head towards Rubber Prison immediately. By ourselves? When the ship is fixed, we'll send reinforcements. But we're at risk of being sunk again. We have no time, anyway. Please, wreak as much havoc as you can. Clear a path for us. Team Snakemouth! Ready to go! You are to take the Subaquatic Maritime Neotransport, and head towards Rubber Prison immediately. By ourselves? When the ship is fixed, we'll send reinforcements. But we're at risk of being sunk again. We have no time, anyway. Please, wreak as much havoc as you can. Clear a path for us.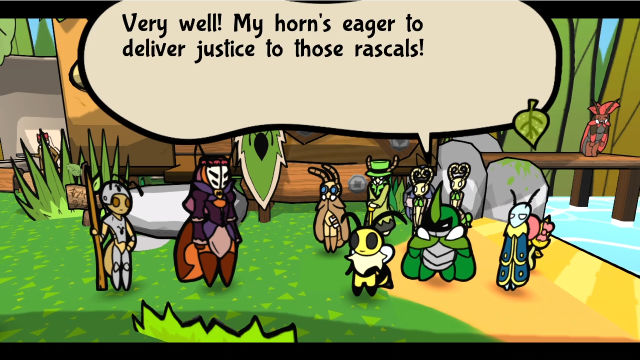 Err, yes. Deliver as much justice as possible. I have a small gift for you. Err, yes. Deliver as much justice as possible. I have a small gift for you.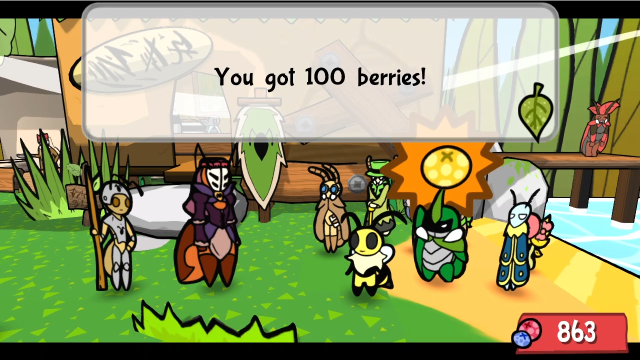 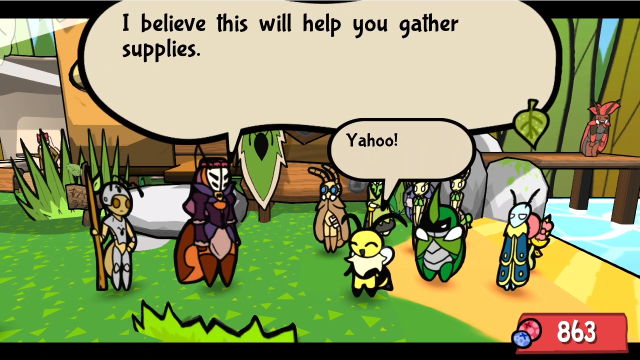 It's more than enough. Thanks. We're at the crux of this long chapter of history. Spare no dime in your preparations. Leave it to us! Together we'll triumph! I'm all fired up too! I'll start work right away! We're all counting on you. ...Good luck, my friends. It's more than enough. Thanks. We're at the crux of this long chapter of history. Spare no dime in your preparations. Leave it to us! Together we'll triumph! I'm all fired up too! I'll start work right away! We're all counting on you. ...Good luck, my friends.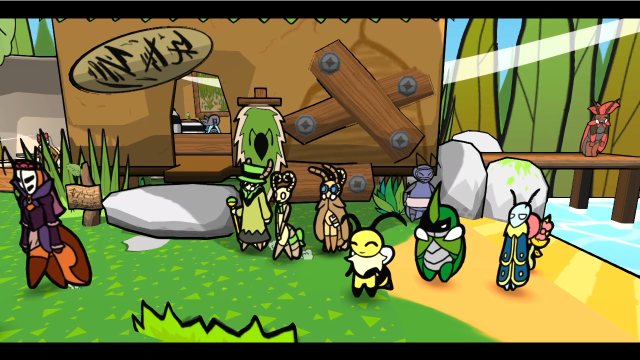 Elizant leaves, taking most of the Termites with her. 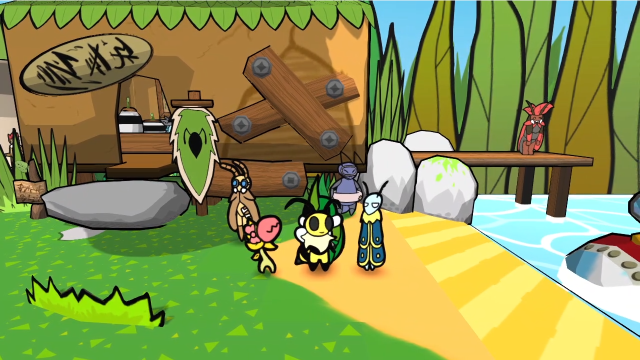 And with the cutscene over, we regain control. Let's have a look around the pier before anything else, there's some new dialogue here now.  Go on ahead, and soften them up before we get there! Go on ahead, and soften them up before we get there!First up is Wedge, who's going to be working on repairing the sunken ship. How fortunate that Wedge's so efficient! And enamored with Bugaria. And super fired up! Oh, he's blushing. He must have heard us...Heh, this is cute. (Though it does make me wonder if we're always having these conversations right in earshot...) 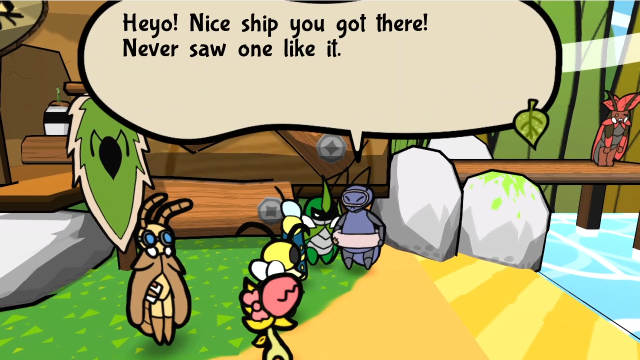  Guess this means you can get to Metal Island for free, eh? Guess this means you can get to Metal Island for free, eh?Remember this ant from way back when Eetl gave us a delivery for her? She has an interesting little tip here. If we never paid the fare to go there (either the initial 300 berries, or the cheaper 90 berries after beating the Card Masters) before the ship was destroyed, this would be the first time we could go to Metal Island. You can be stingy if you want to, but this is a huge delay (remember, we went there early in Chapter 4, and you could go as early as Chapter 2!). 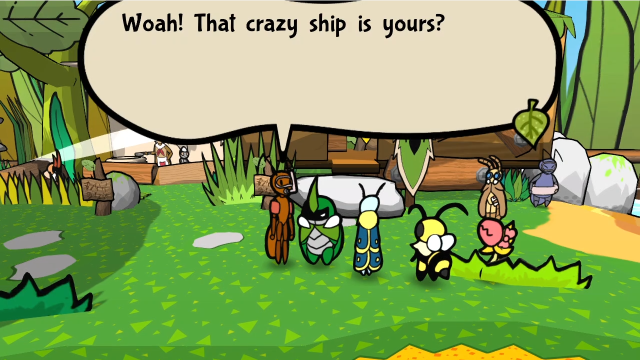  Looks a bit weird but pretty sturdy, it should be able to survive the Wasps! Looks a bit weird but pretty sturdy, it should be able to survive the Wasps!And this diver ant comments on our shiny new submarine. 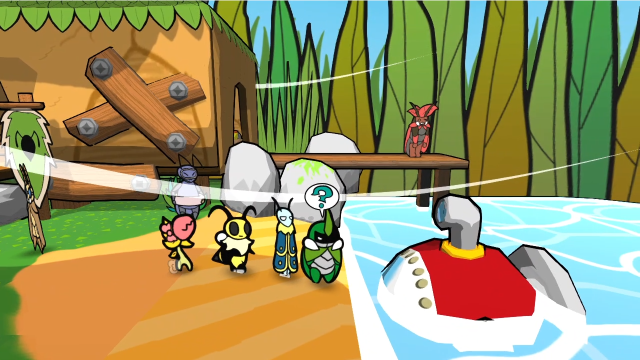  We could get right back in the sub and ship out again, but let's not just yet. 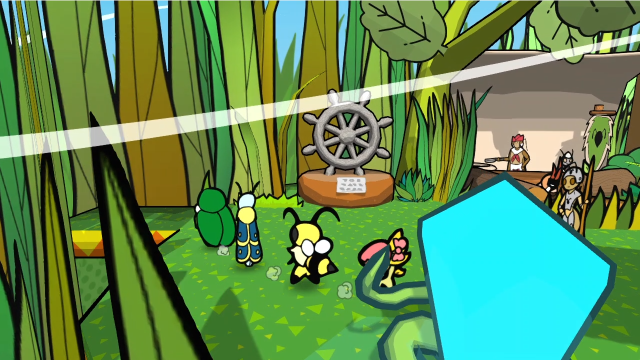 There's a bit of new dialogue and content we can see in the Ant Kingdom, and we have to go turn in Alex's quest, so let's take care of that first. 18 - In the Court of the Ant Queen First up, let's head to the throne room. Elizant's back, after all. 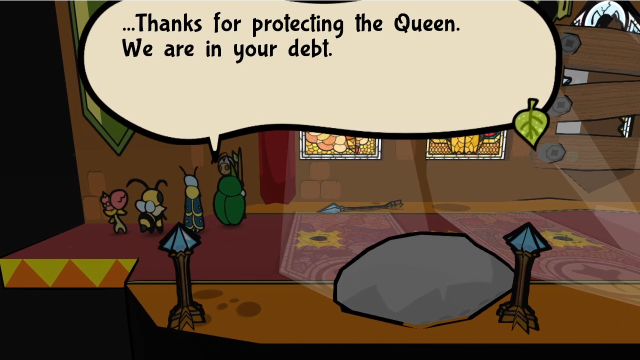 The guard at the entrance has this to say now. 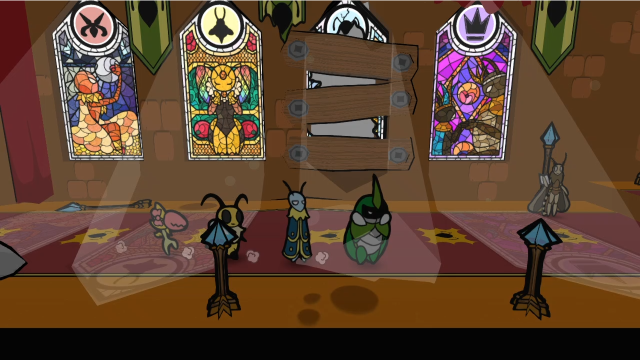 It looks like a lot of the rubble has been cleaned up, but they haven't gotten around to replacing the stained glass window yet, they just boarded it over for now.  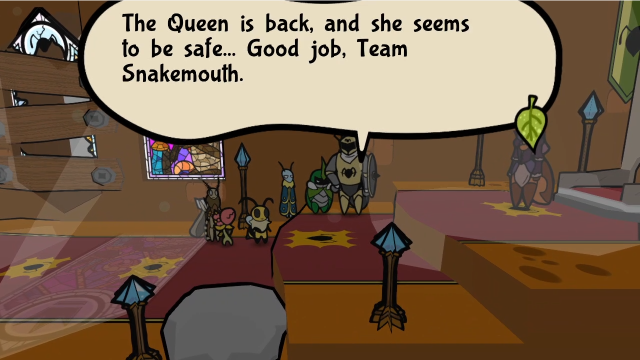 Zaryant has some new dialogue too.  As does Elizant II, but this is all she has to say now. Elizant II... Team, we've got to finish this!The banter for her has changed again, though there's not a whole lot to it. I do like how they show our team's changing attitude toward her in these. For now, there's not much else to see in the palace. Let's head out. 17 - Ant Kingdom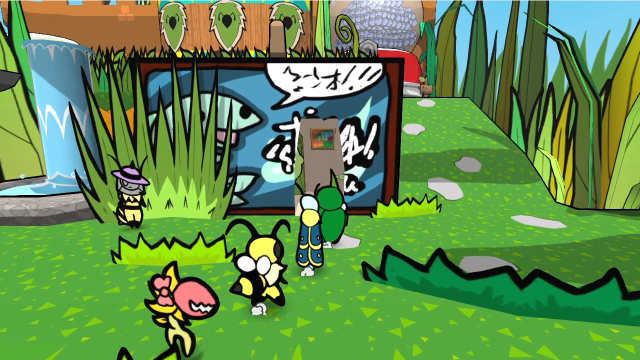 Let's go see Alex. 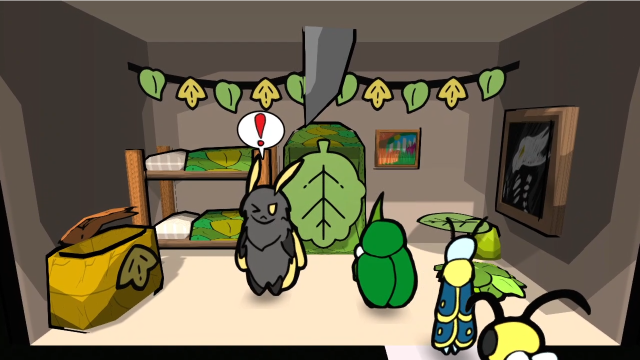 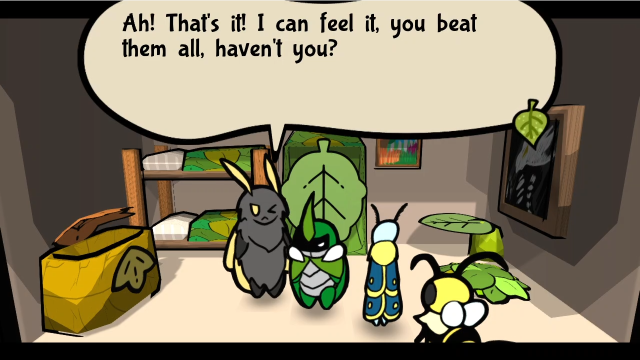 Yeah, now for the reward! Yeah, now for the reward! Sure, sure, here you go. Sure, sure, here you go.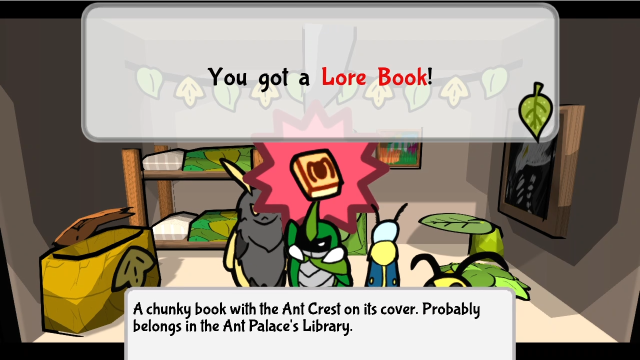 Phew, I already feel much better. Maybe I will sleep well tonight at last. Thank you. I won't forget what you did. Phew, I already feel much better. Maybe I will sleep well tonight at last. Thank you. I won't forget what you did.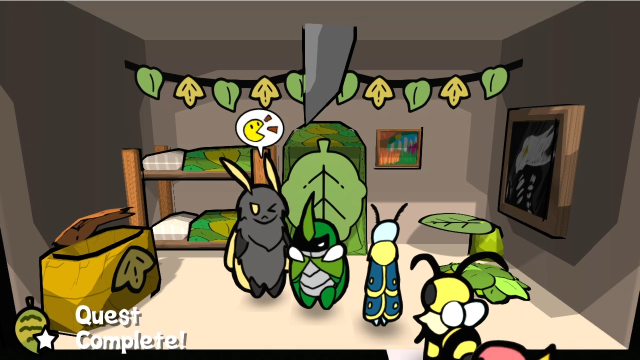 That was easy. And it's always nice to find more Lore Books; we'll turn those in soon.  Don't have much, but it's something. Don't have much, but it's something.If we talk to Alex again, he seems much more pleasant. I'm glad this seems to have helped him. 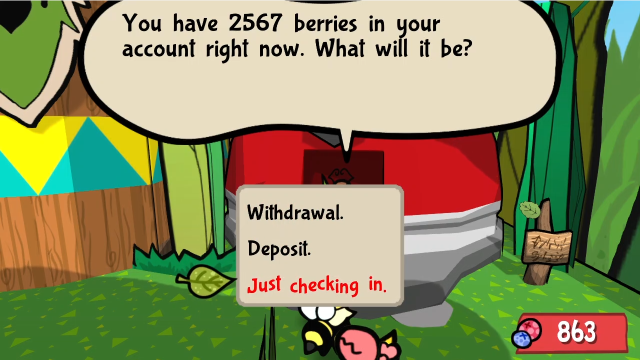 While we're here, let's just check our bank balance real quick... that's a lot of berries! Interest tends to get out of control pretty quickly once you establish a balance here (and it was even more absurd in prior versions, before the nerf). 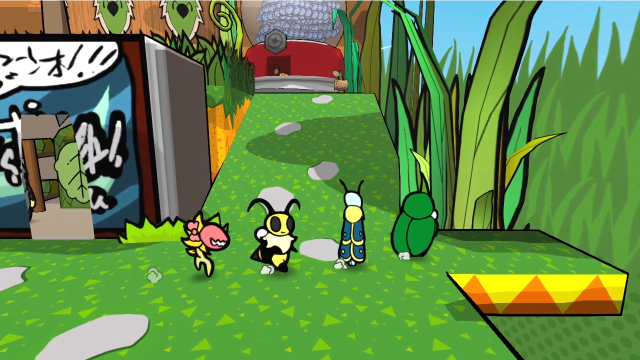 Anyway, we're done here. 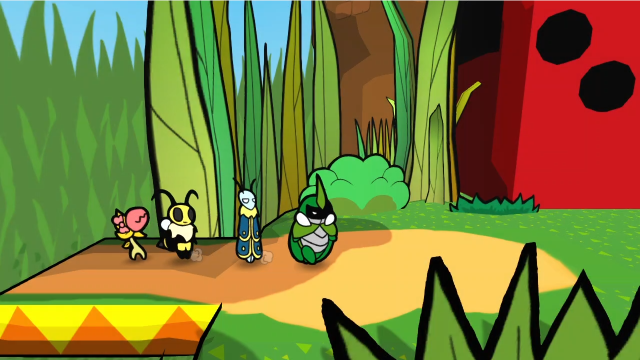 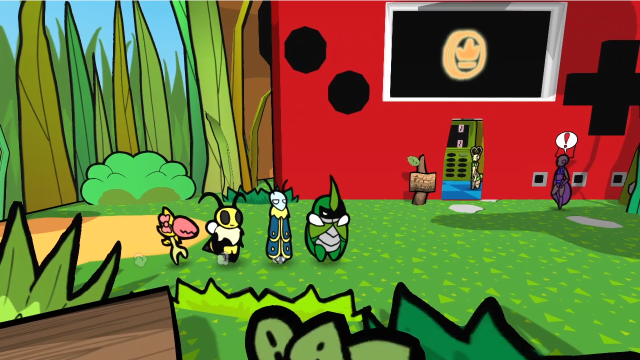 Uh? This building is new! What's going on here...? 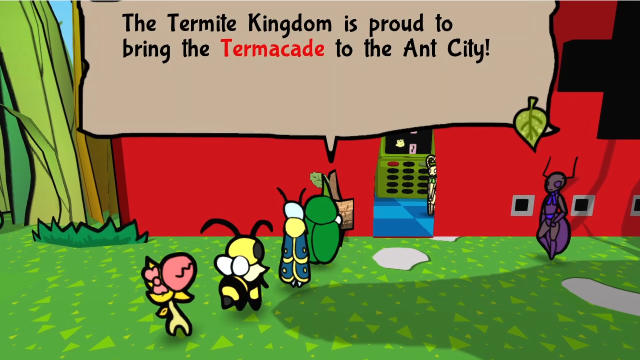 Come play fun games to earn tokens, which you can use to trade for unique prizes! Only here, at the Termacade! Come play fun games to earn tokens, which you can use to trade for unique prizes! Only here, at the Termacade!The Termites really work quickly, don't they? (This is the plot of land where the Ant workers were doing construction for most of the game; seems they finally finished this building and then sold it to the Termites.) We can also talk to the attendant waiting outside. 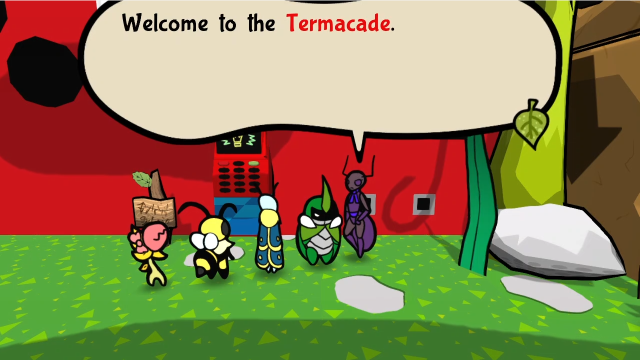  You are new players, aren't you? Since this is our grand opening, here is something to get you started. You are new players, aren't you? Since this is our grand opening, here is something to get you started.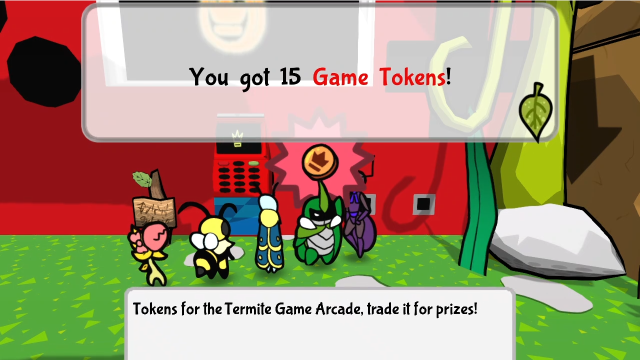 You can check how many tokens you have in the Key Items Menu. You can check how many tokens you have in the Key Items Menu.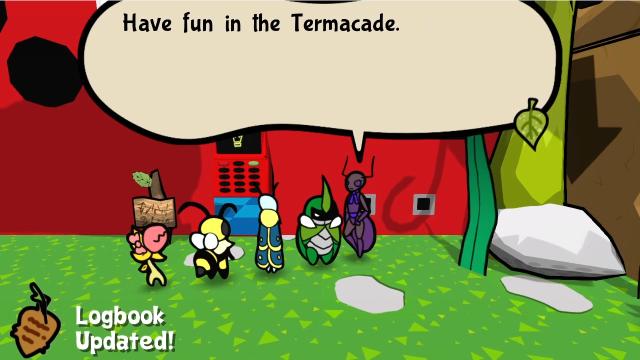 This also gets us a discovery! Let's check that out. 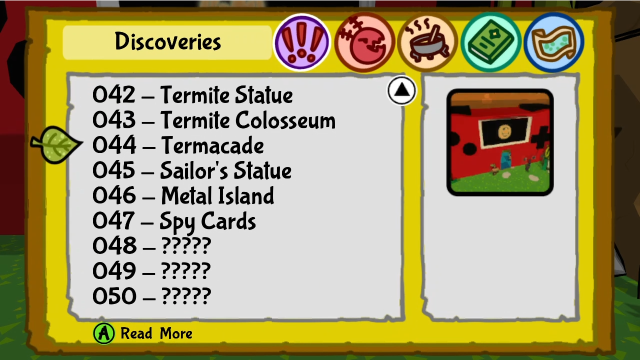 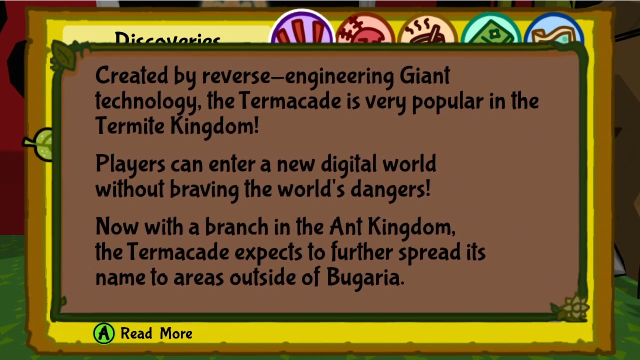 Well, this certainly seems interesting!  If we check the Key Items menu, like the attendant suggested, we can now see there's a counter for arcade tokens over in the top right corner. 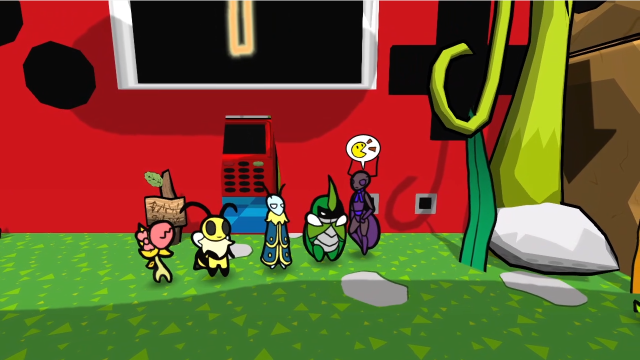 There's also a banter for the attendant: They sure hired the, uh, peppiest Ant for this job. You can't sell games with a frown! M-Maybe she's really happy! Just... on the inside?Heh. 65 - DineMite Beats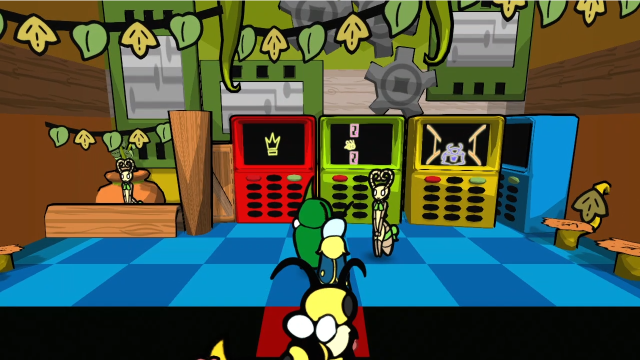 Let's head inside and have a look around. The Termacade uses the same music as the DineMite restaurant did earlier. 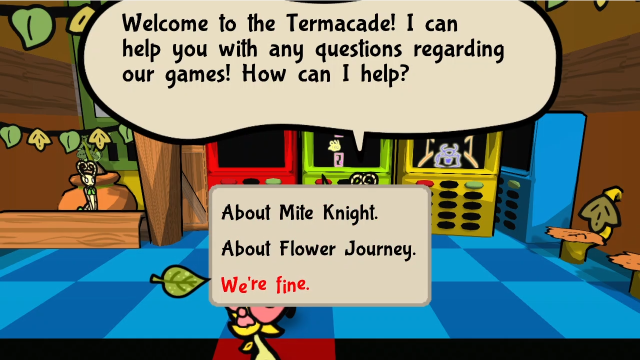  I hope you have a great time here at the Termacade! I hope you have a great time here at the Termacade!So this is where the "Termite Gen and Eri" ended up, they're the staff for the arcade. It looks like there are two different games we can play here; we'll ask for the details about them in a bit. The Termacade is incredible! This is the power of science! Eh, it's no Honey Factory. Does the Factory have GAMES, Vi? W-Well... Termacade wins. Time to go for a high score.If we check the banter here, we can see this place definitely brings out Leif's competitive side. 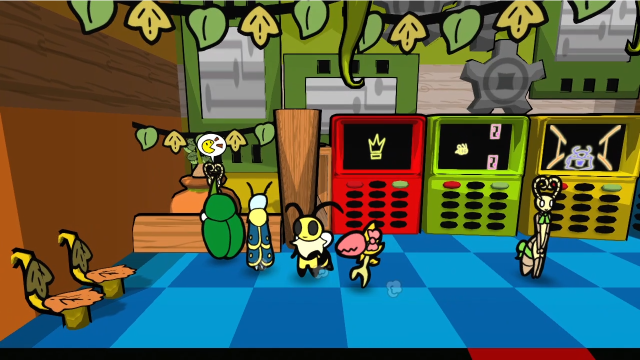 The other Termite twin is behind the counter here. Let's check this out. 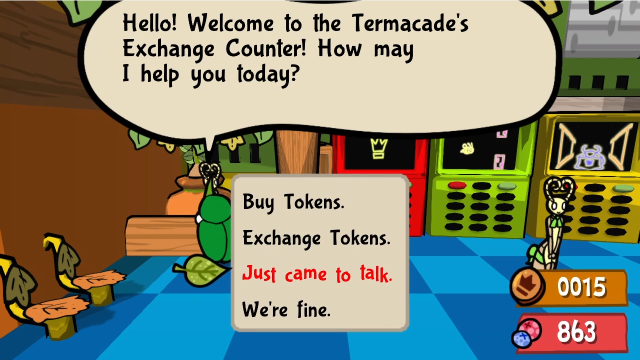 She has a bunch of options available, but let's just chat first. Ah! Sorry! I can't talk during work hours... Come back after getting a high score? I hope you have a great time here at the Termacade!Looks like we're going to need to impress her before we can learn much here... let's have a look at the other options. 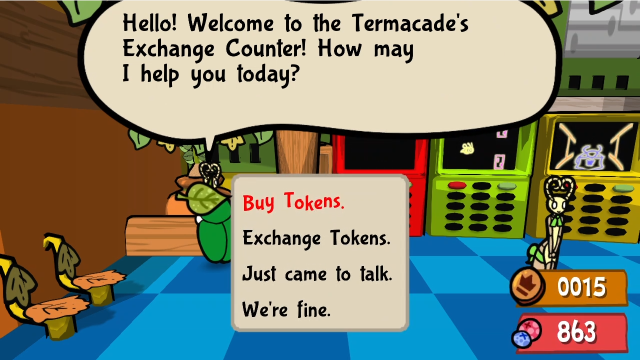 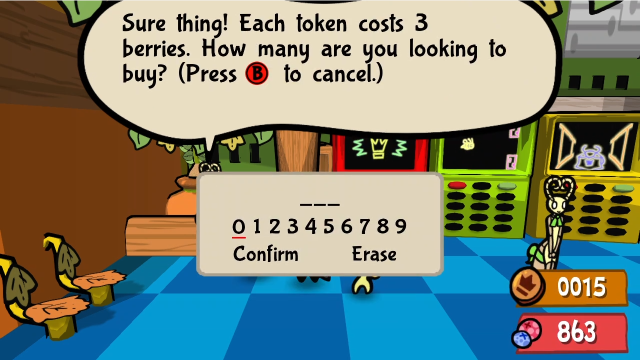 We can buy tokens for 3 berries each. Good to know, because the free sample of 15 tokens isn't going to go very far. 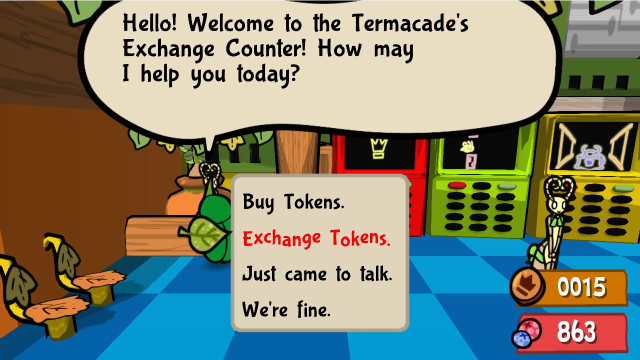 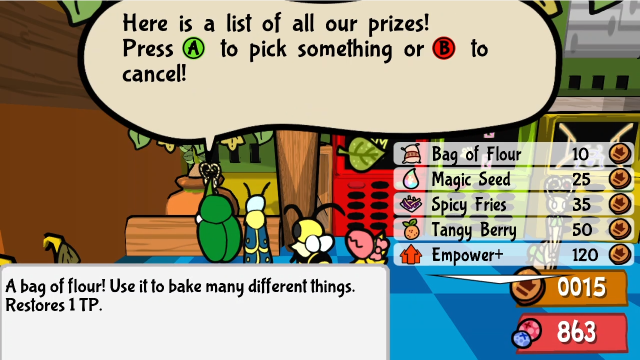 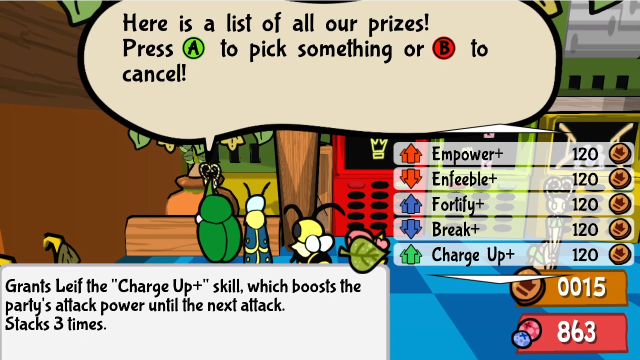  I hope you have a great time here at the Termacade! I hope you have a great time here at the Termacade!And the Exchange option lets us trade in tokens for prizes! There are some really intriguing things here... let's take a closer look.  Magic Seed (25 tokens) Magic Seed (25 tokens)First up, we have some consumables. Clearly, termites really like Spicy Fries. These are overpriced if you convert it to berries, but if you're winning the tokens from the games and have nothing else to spend them on, at least there's some decent stuff here. Also, this is the only place other than Skirby's that you can buy Tangy Berries. Five new medals! These are upgraded versions of all of Leif's status spells; instead of being single-target, these versions hit all allies or all enemies respectively, and last 3 turns instead of 2. Each is 3 MP to equip. Empower+ and Enfeeble+ cost 6 TP to cast; Fortify+, Break+ and Charge Up+ cost 5 TP to cast. This is the only place to get these, so we've certainly got some work cut out for us. And, lastly, we have three new ribbons for Chompy! We've had the Pretty Ribbon for a while, but here we finally get access to some alternatives. We'll definitely need to get these and see what they can do for us. 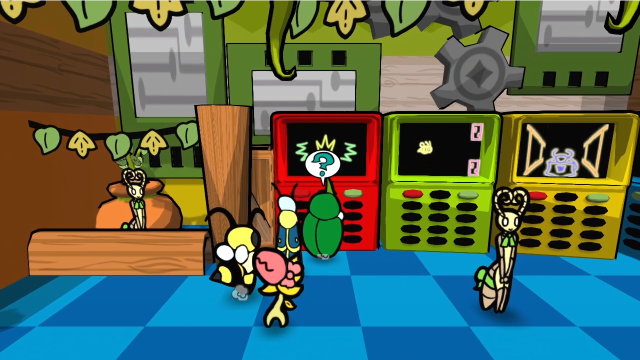 Let's have a look at these arcade machines. 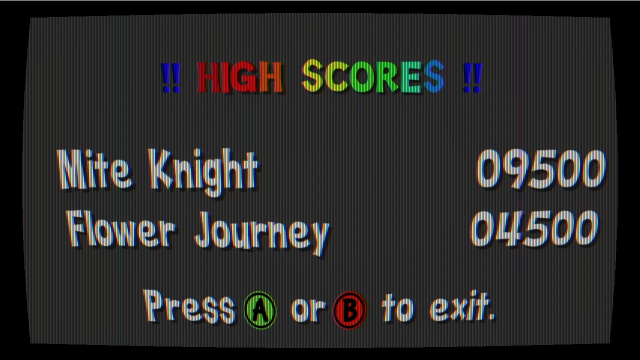 This first one is just the high score listing; the other two are the actual games. (Also, look at that CRT scanline effect on these monitors! It's a really cute touch.) We'll need to beat 9500 points in Mite Knight, and 4500 in Flower Journey. (In older versions of the game, the high score for Flower Journey was 5000; the devs lowered it a bit because too many players were struggling with it. I think they changed that in v1.0.5?) 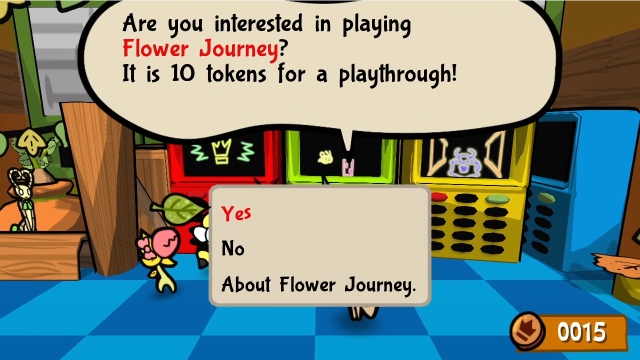  These other two machines let us play the games. Flower Journey costs 10 tokens per go (so you can try it right away with the sample), while Mite Knight is more expensive at 25. For now, we'll decline. That's alright! Please check out our other games!We'll be back here momentarily. Let's get a few last errands out of the way, then we can spend the rest of this update playing video games (inside a video game, as you do). 18 - In the Court of the Ant Queen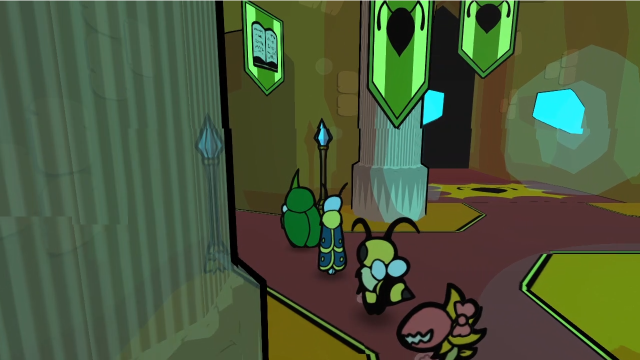 Let's go drop off our Lore Books at the library first. 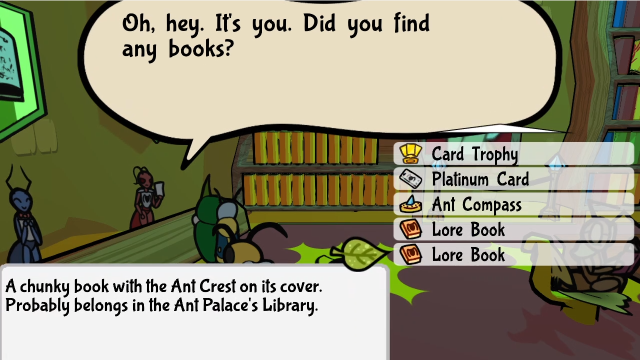 We've picked up two more since last time. 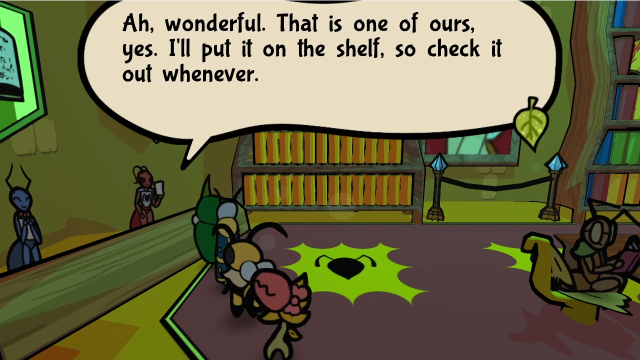   Woah. You've gone and returned all of them! We can read in peace now. That took way too long! Can't you give us something for it? ...Alright, alright. You did go through quite a bit. I've got this on me, I hope it helps you out. Woah. You've gone and returned all of them! We can read in peace now. That took way too long! Can't you give us something for it? ...Alright, alright. You did go through quite a bit. I've got this on me, I hope it helps you out.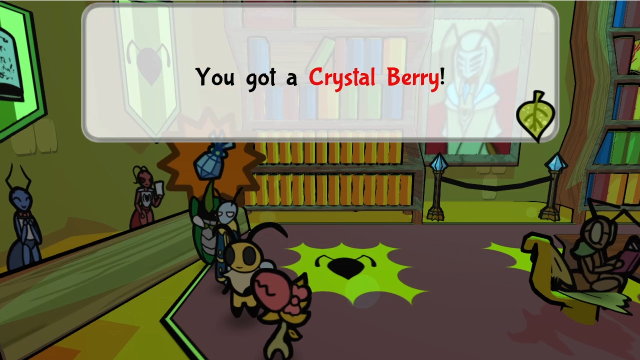 Eh, it'll do. Thank you for letting us still use the premises. Eh, it'll do. Thank you for letting us still use the premises.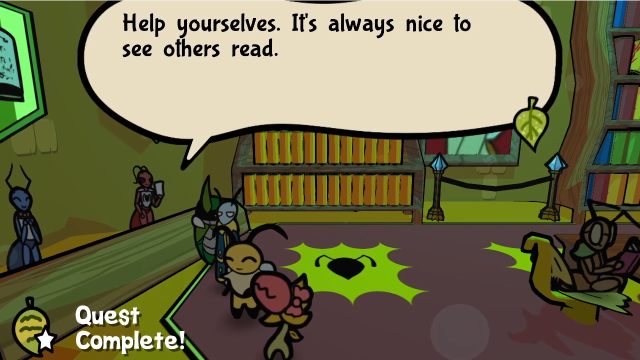 Looks like those were the last two! There are 26 Lore Books in total, and those two were the last ones we needed! We get a Crystal Berry for turning in the last one, and also sidequest completion credit, but of course the real reward is getting to read them. 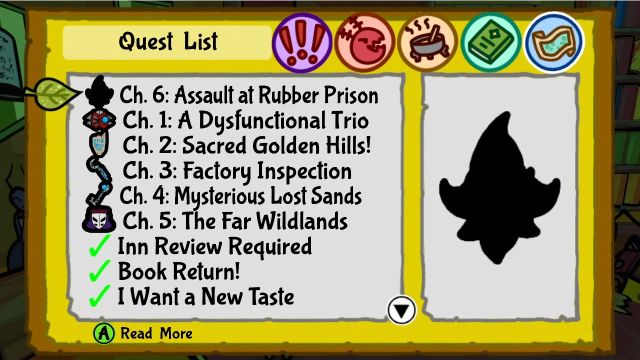 Incidentally, look at that! Our quest log shows no active sidequests, we've completed every last one we accepted! There's still one Bounty remaining, but otherwise we are rapidly running out of side content (until the postgame, anyway).  Let's read some books! The bugs don't seem to have much more than speculation to go on where humanity is concerned. Though if we judge by the Termacade, there are at least some functional artifacts around if the termites can reverse engineer things from them. This one is even more speculative, and reads more like the researcher's journal than an actual published text! I really do enjoy how these Lore Books flesh out the world, and give us hints about the backstory in an in-universe voice that allows some things to remain mysterious. (Sometimes it's better to avoid giving too much detail; that can make the constructedness of a game world feel a bit too palpable.)  For better or worse, we'll be done with the library for a while! (Though we still do have a few discoveries left to collect, at least.) Let's go play some games! (After a brief intermission, the character limit once again is forcing me to split the post.) Explopyro fucked around with this message at 02:35 on May 30, 2022 |
|
#
?
May 30, 2022 02:21
|
|
|
63: Subbing Out (Part 2) Content warning: This update covers a minigame which is an homage to another indie game with a sordid and unpleasant history, and I feel obligated to discuss that context. I'll give a more specific warning as we get closer and clearly mark the boundaries of that discussion, so you can avoid it if you need to. 65 - DineMite Beats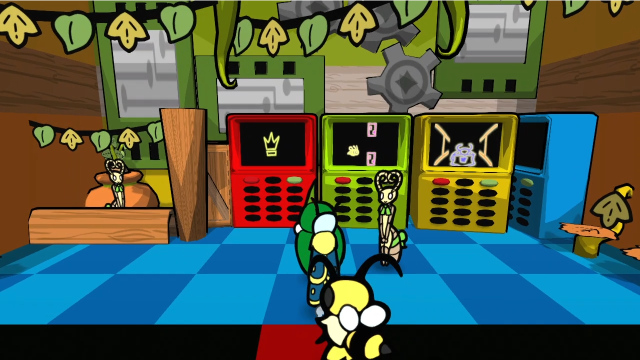 Welcome back to the Termacade. I can't put this off any further.  150 tokens will cost 450 berries. Shall we do the transaction? There you go! Your token total is now 165! I hope you have a great time here at the Termacade! 150 tokens will cost 450 berries. Shall we do the transaction? There you go! Your token total is now 165! I hope you have a great time here at the Termacade!I'll buy 150 tokens to start. I'm going to need loads of them in the end to buy all the prizes anyway, so may as well start off by giving myself a nice buffer. 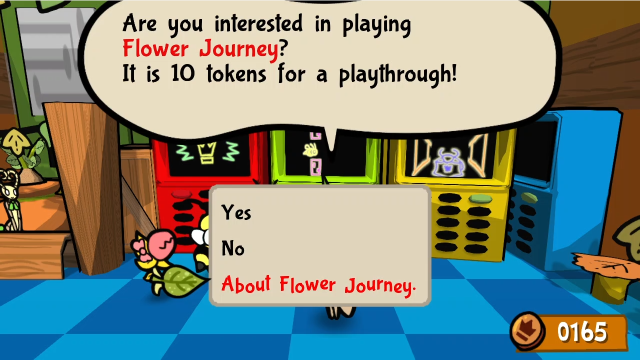 Let's start off with Flower Journey. Before we play, we should probably ask about the rules... In Flower Journey, you control a little Bee looking for pollen! You've gotta avoid Wasps and logs by flying with (A)! You'll slowly earn score as you play, or you can collect flowers! The more you get in a row, the better your score gets!This sounds pretty simple. 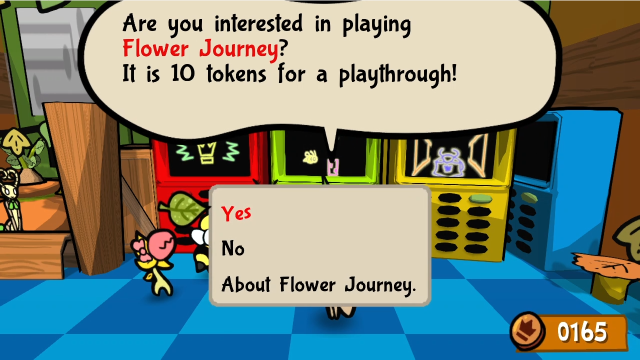 Let's play! Have fun! 68 - Flower Journey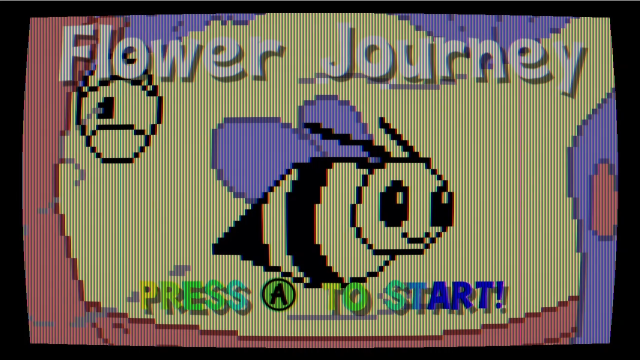 Here's the title screen. Once again, these games have a really cute old-school CRT styling to them, I think it's a nice touch. 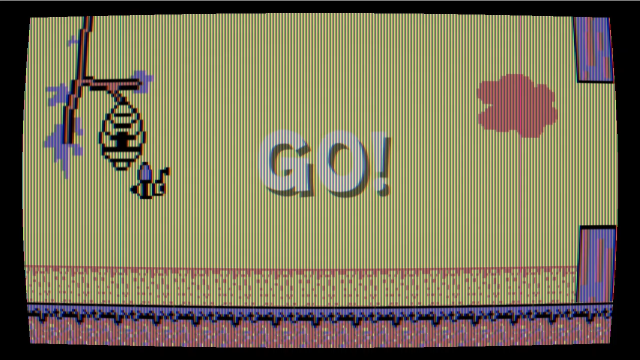 And here's the game itself! Flower Journey is basically Flappy Bird, though there are a few other things going on. 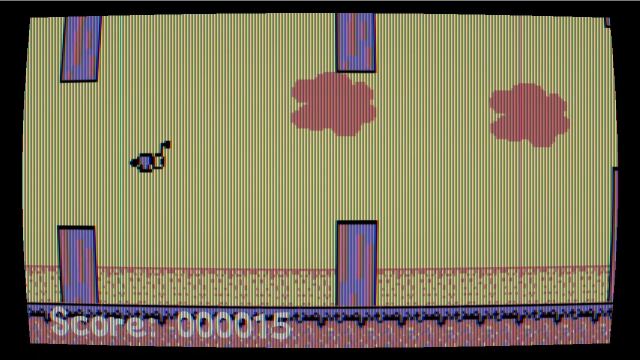 The game controls with a single button. You press (A) to flap and gain a bit of altitude, while you're constantly falling otherwise. Every gap you pass through earns 15 points; colliding with an obstacle is game over. 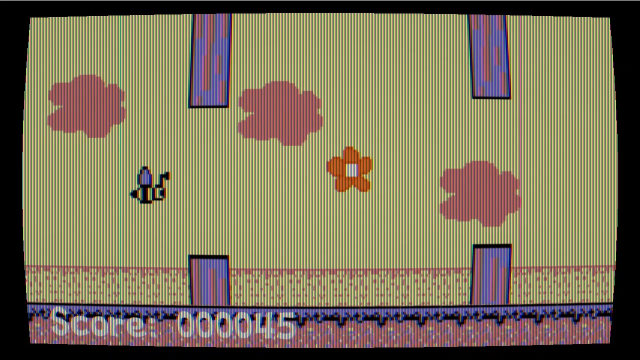 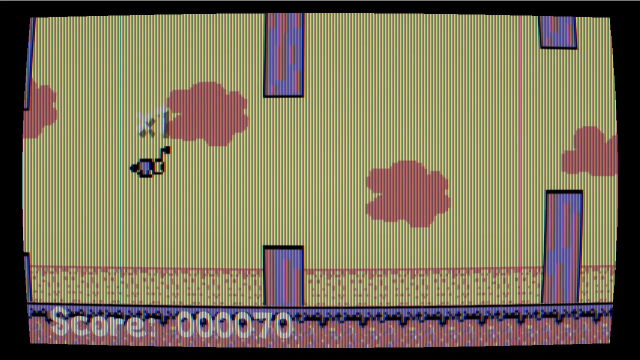 These orange flowers are a collectible. They're worth 10 points initially, but there's a chain multiplier, so these are where you can rack up the big points as long as you don't miss any of them. The second is worth 20, then 30, and so on until you break the chain by missing a flower and have to start over again. Losing your chain hurts, but sometimes you don't have a choice; it's better to break the chain than die and end the game. 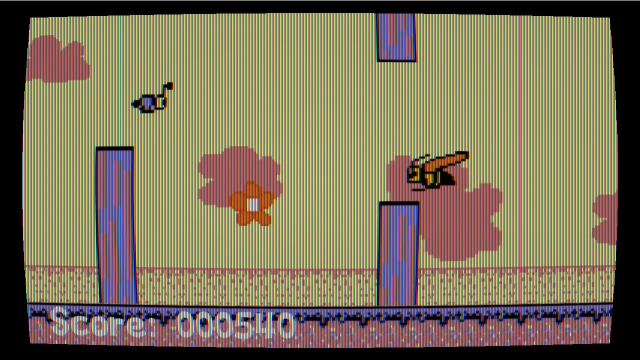 There are also wasps as a new kind of obstacle. They can spawn in all kinds of locations, move around a little (they don't move at the same speed as you or the posts), and will kill you if you hit them.  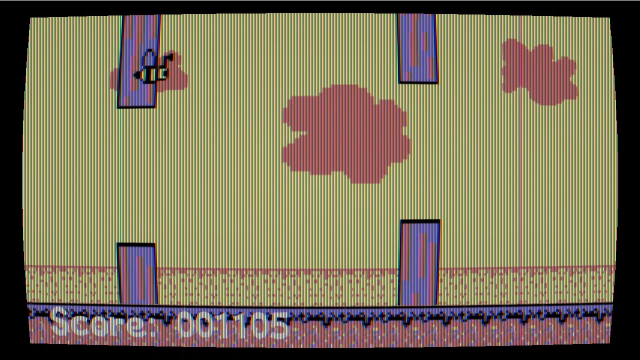 Lastly, these honeycombs are an invincibility power-up. After collecting one, you will flicker briefly, and can pass safely through posts and wasps that would otherwise be fatal.  Eventually, something will go wrong, and you'll collide with an obstacle and die. 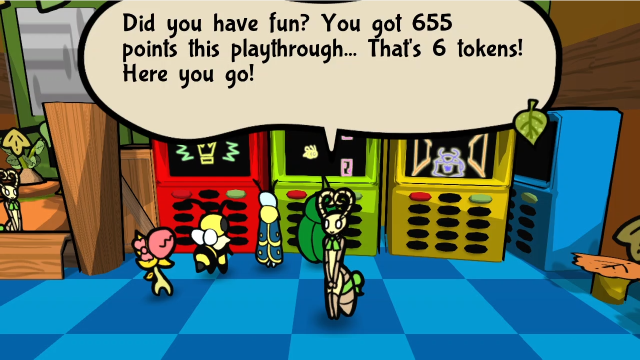 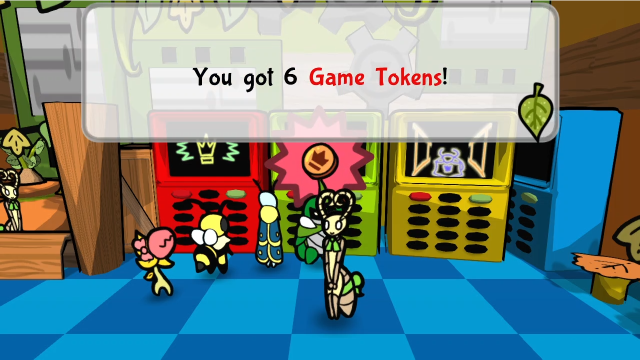 Upon which the attendant will tally up our score, and convert it into tokens. That first run wasn't very good... can we do better?  Click me for video! Click me for video!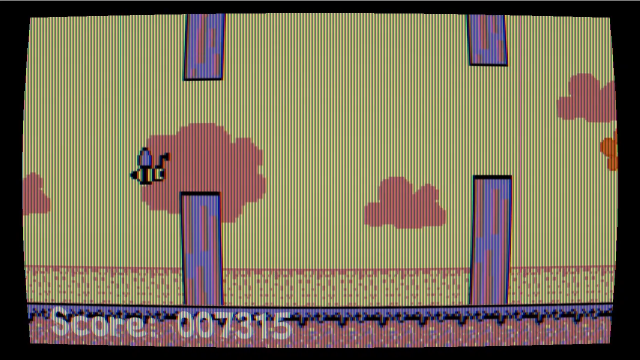   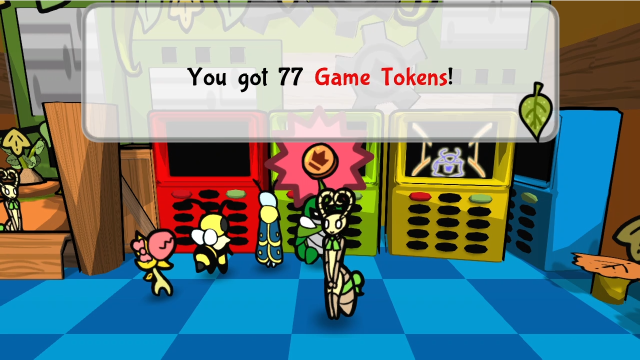 There we go! I think this might honestly be the best run I've ever had for Flower Journey. I expected it to take longer to get a good one, quite frankly, but I actually got it on my third try this time around! I don't know the exact formula for how many tokens you get; I had thought it was a straightforward 1% of your score, but as we can see here, it's not quite that. I've seen a lot of people get frustrated with this minigame. There is, unfortunately, a strong RNG element to it: placement of the flowers, wasps, and honeycombs is completely random, so if you get unlucky it can just ruin your run (a bad flower placement makes it impossible to keep up your streak, and a bad wasp placement can just end the game immediately). On the whole, though, I really enjoy it when I'm in the right kind of mood, there's a kind of zen feeling you can get from zoning out while playing it. Flappy Bird is one of those games that I always think is older than it actually is; it's such a simple game that I keep thinking it has to date to the Atari 2600 era or something like that, but it actually came out in 2013. (Also, no discussion of Flappy Bird would be complete without linking to SethBling using code injection and ACE to execute it inside Super Mario World.) 65 - DineMite Beats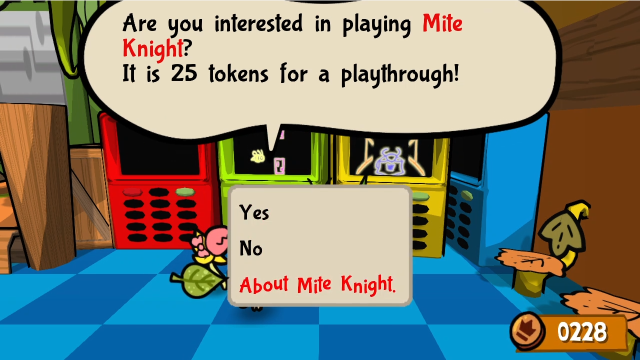 Let's move on to Mite Knight next. What's this one about? In Mite Knight, you'll help the Termite Knight reach the top of the tower! Use (Up), (Down), (Left), and (Right) to move around! If you hold down (A), you can raise your shield to block enemy attacks and move without turning! To attack enemies, just press (Up) when in front of them! You'll earn points for beating them! You can drink potions to heal up when it gets rough! But most importantly... Find the Gold Key in every floor to unlock the way upwards! If you get lost, just wait a bit. A compass will show up to help! Try to clear the game fast, and without taking damage. That's the recipe for a HIGH high score! I hope you have a great time here at the Termacade!Okay, this one definitely sounds a lot more complicated than a Flappy Bird variant! Let's have a look; I'll explain how this works as we go along. 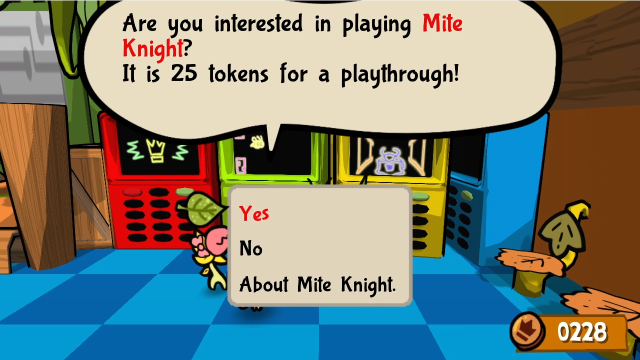 Have fun! 69 - Mite Knight Game Start Have fun! 69 - Mite Knight Game Start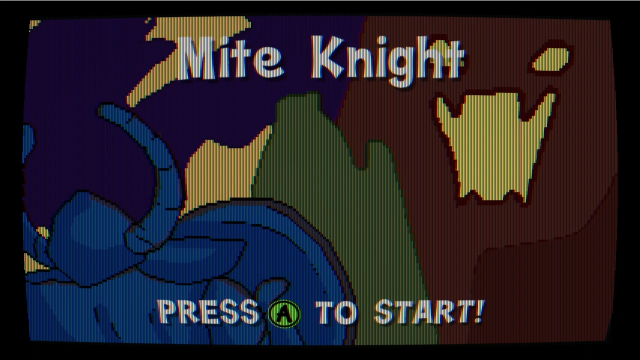 Once again, we get a cute title screen. 70 - Mite Knight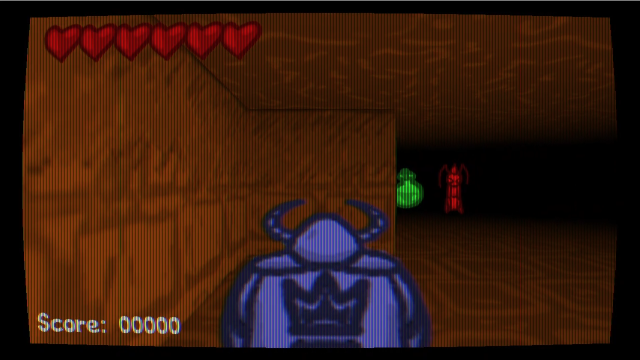 Mite Knight is a kind of 3D dungeon crawler. On starting the game, we'll find ourselves in control of the Termite Knight in a 3D maze. We have a health meter that goes up to 6 hearts, and we can already see some of the elements we'll be dealing with: lots of walls and narrow passages, green potions that are health pickups, and hostile red ants to fight. 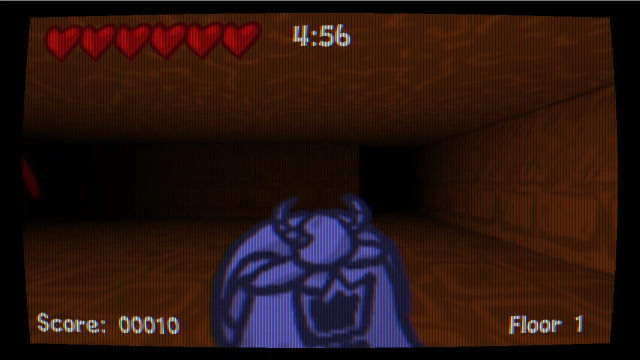 I'm not sure why the timer wasn't in that initial screenshot, but we can see it now! This game has a 5 minute timer, and we need to complete the dungeon crawl before it runs out. Holding (A) raises the knight's shield, as you can see here. With the shield up, you can strafe left and right instead of turning, so it's useful both for moving and protecting yourself. You can't be harmed from the front while the shield is raised, but you also can't harm enemies. 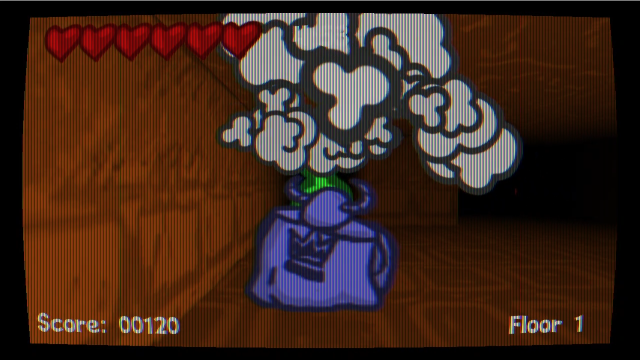 All enemies take two hits to kill. You damage enemies by bashing into them while moving forward, as long as your shield isn't up (though if you let them walk into you, they'll hit you instead). You get 10 points for the first hit, and 110 points for the second, so each enemy you kill is worth 120 points. 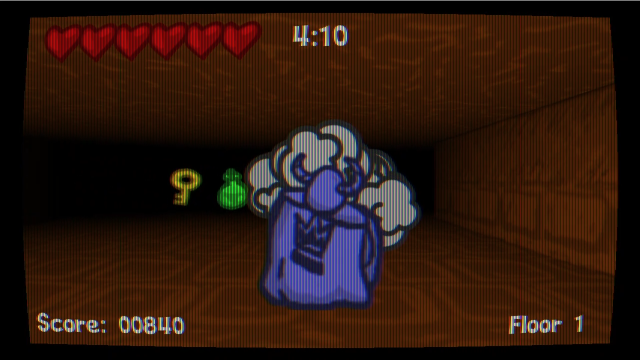 Each floor has a gold key hidden somewhere. Picking up the key earns you 500 points, and also lets you open the exit to the next floor. 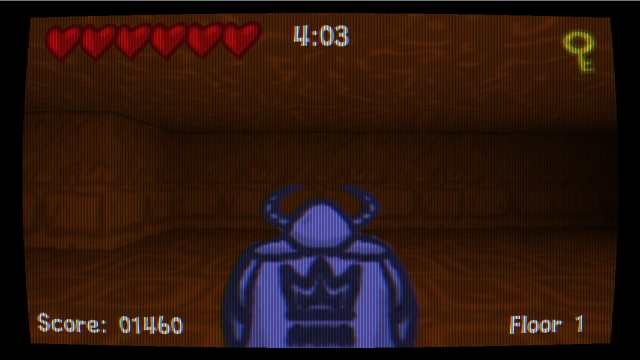 Here we can see there's an icon in the corner showing we've collected the key. 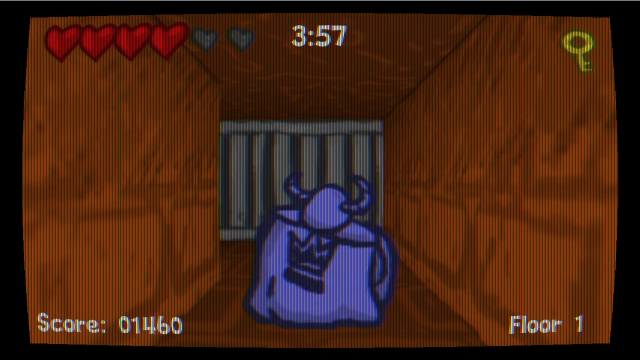 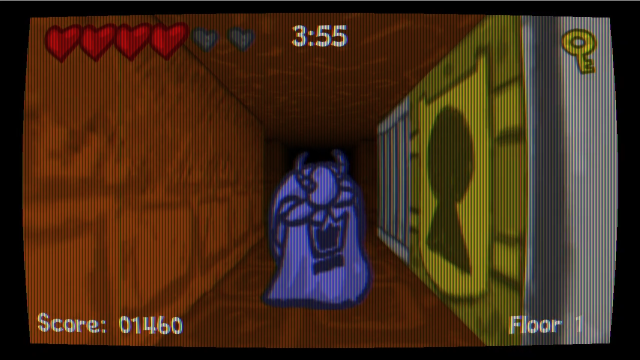 Somewhere on each floor is one of these caged enclosures. The goal is inside, and this lock is what the key is required to open. (Also, in this screenshot, you can see we've taken damage. Getting hit costs one heart, and collecting a green potion restores one. Collecting potions doesn't give you any points, and it won't let you pick them up if you aren't injured.) 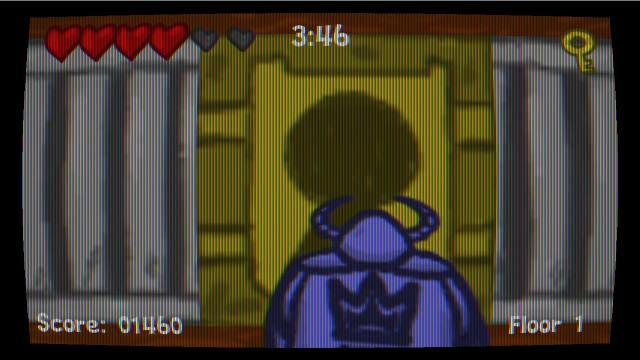 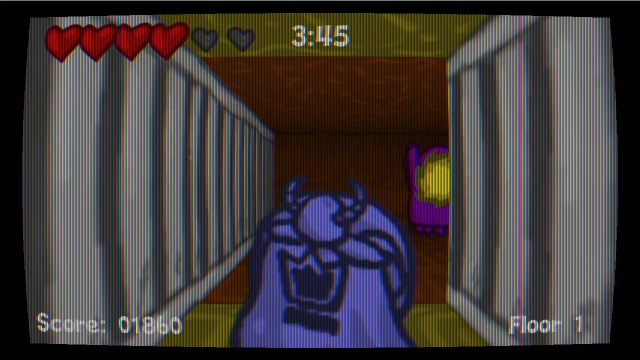 You get 400 points for opening the door, too. 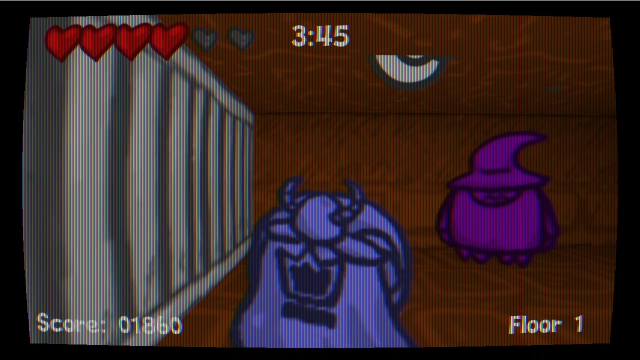 There's a new enemy type inside here. These wizard guys look like on our friend in the Far Grasslands; they have a projectile attack, but still take the same two hits to kill. 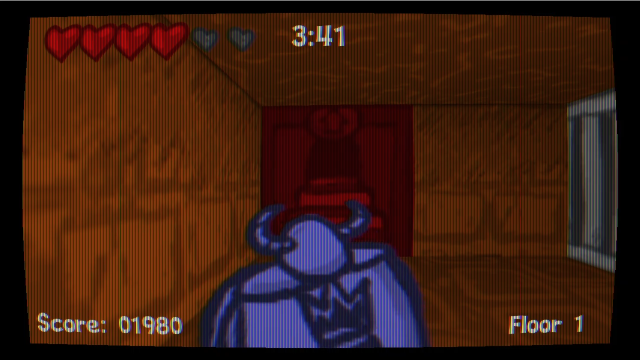 Once you beat all the enemies in the enclosure, you can take the stairs up to the next level. (You do have to kill them first, the stairs won't work if you try to sneak by.) 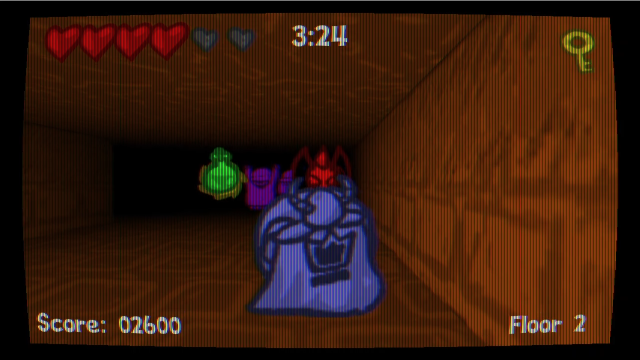 Starting from floor 2, the wizard guys can appear as regular enemies in addition to inside the enclosure.  And on floor 3, there are always two of them inside the enclosure. This can get tricky! 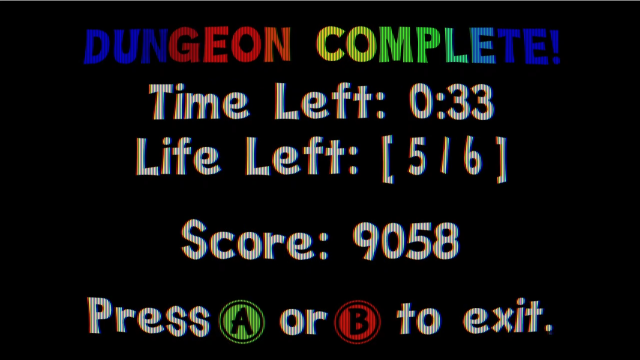 When you exit the third floor, the game is complete and it computes your final score. You get bonus points for all your remaining time and health. (I don't know the exact formula here, but health counts for a lot more than time.)   Once again, the formula for how many tokens you get isn't completely obvious to me, but it's roughly 2/3 of a percent of your score. If you die before finishing floor three, things are... a bit worse. 71 - Mite Knight Game Over Mite Knight has its own game over jingle, which is a nice detail. 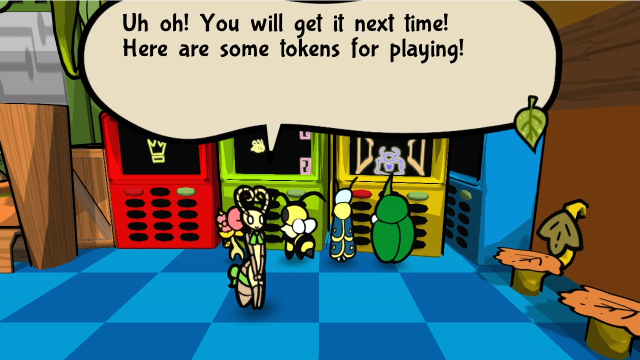 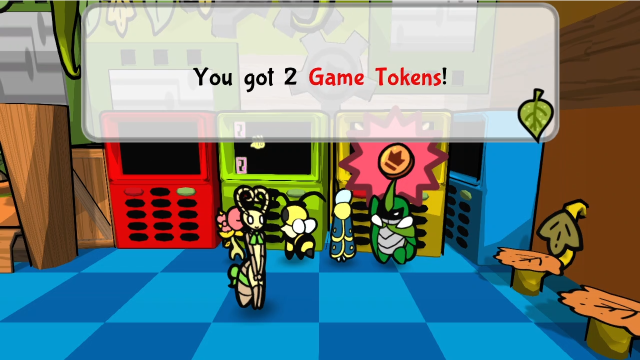 And our score doesn't count for anything! You just get a measly 2 tokens as a consolation prize and told to try again. If you aren't confident in your ability to finish the dungeon, it's a bit riskier trying to earn tokens here than in Flower Journey. So how do we do well at this and beat the high score? The advice the attendant gave is a bit misleading; it's technically correct, but thanks to misplaced emphasis, a lot of people get the wrong idea when playing this game. The vast majority of your score comes from killing enemies and finishing with full health. Finishing quickly is a nice bonus, but time remaining doesn't contribute as much to your score as it seems, and you will generally end up with a better score if you explore and kill all the enemies than if you rush straight to the exit after finding the key. (Also, you don't need to worry about getting hit, so long as you grab potions afterward to stay healthy.) Let's do this. Click me for video!(This game will probably make a lot more sense to you if you watch it in motion, I don't think screenshots are the best format to show it off.) 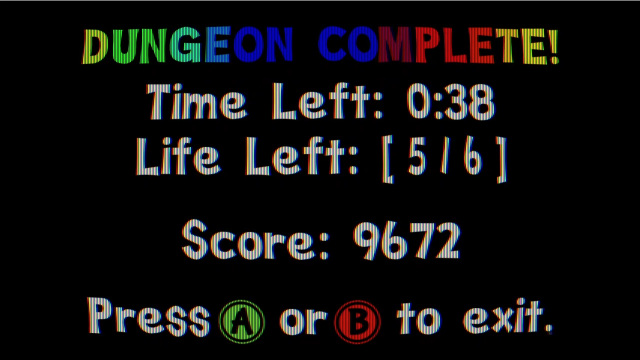  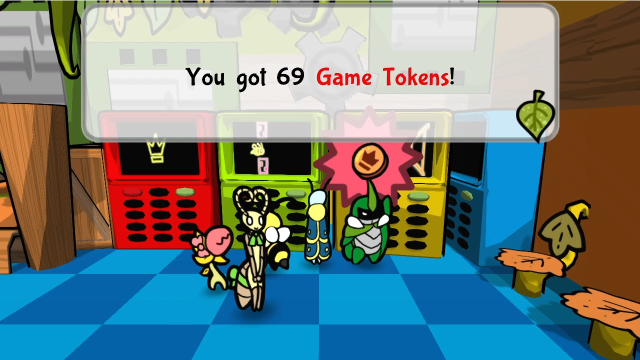 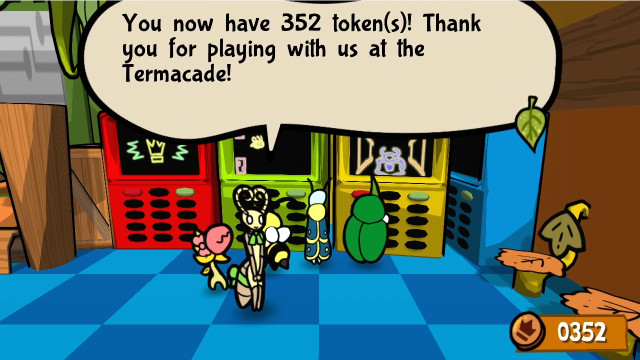 There we go. That took me a couple of tries; I actually was a bit surprised this run ended up being good enough, because I only had 5 health remaining and less than a minute on the clock, but I guess I got lucky with enemy spawns and there were enough to kill to make up for it. 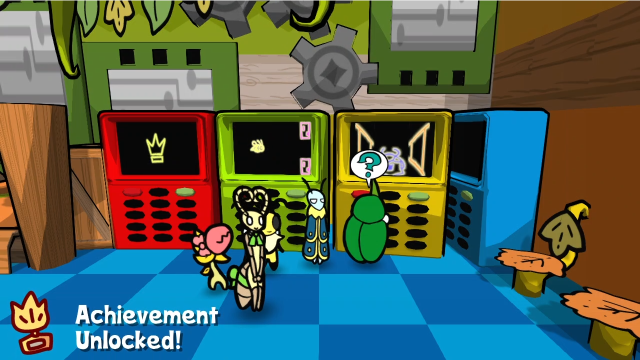 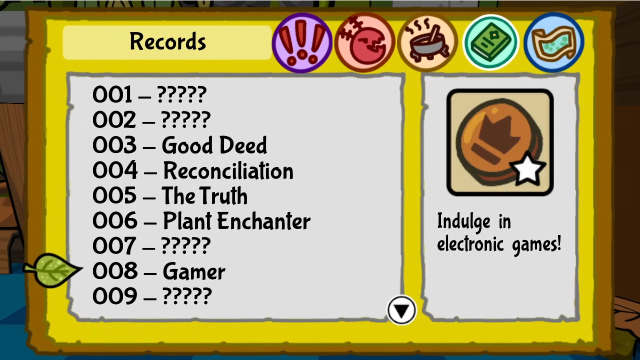 Beating both high scores gets us an achievement! 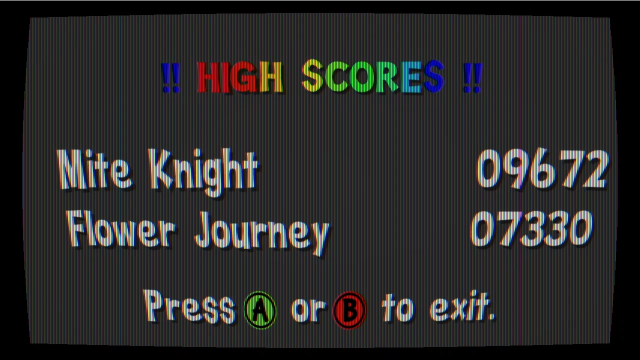 Here's the new high score table. 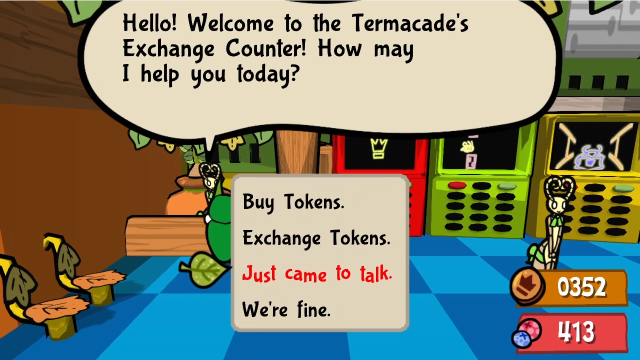 And once we've gotten that, if we come over to the counter and talk to the attendant... Woah! You've crushed all records! I crown you the ULTIMATE GAMER!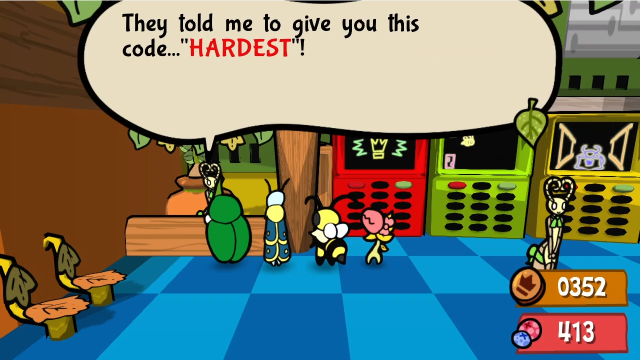 They said it was to input in a menu, or something... Anyways! I hope it was fun, it'd make our job really worth it! They said it was to input in a menu, or something... Anyways! I hope it was fun, it'd make our job really worth it!Beating the high scores in the Termacade gets us another Menu Code! HARDEST is pretty much exactly what it says on the tin, if you want to play through the game on a higher difficulty. The way it works is actually kind of interesting, in that it's a "we gave the enemies bigger numbers" type of mode, but applies them at interesting times. All enemies get 15% more HP and do 1 more damage (on top of their Hard Mode stats), right from the start. Then, after you defeat Venus' Guardian, all enemies' damage is increased by 1, and once you start Chapter 4, all enemies' defence is increased by 1; both of these bonuses are global, and apply to enemy types you'd have encountered previously (so, e.g., Seedlings' stats change over the course of the game as these bonuses get applied). I do quite like that the defence bonus comes along right as you start to get access to defence-piercing abilities; this mode does a better job of trying to keep up with the player's capabilities than baseline Hard does. If you look at enemies' stats in the Bestiary in this mode, it will show their stats as if you were to fight them now (including the bonuses if they're active), which has tripped me up when trying to look up the stats of early bosses, so that may be worth remembering. So what happens if you equip the Hard Mode medal while playing this mode? 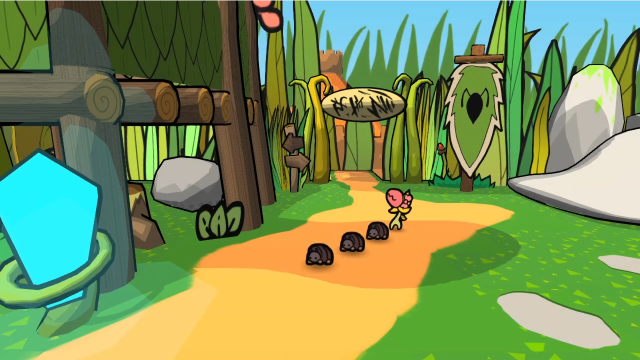 Team Snakemouth's sprites get replaced by Pibu. This is just a weird cosmetic thing and I'm not sure why they did it, but that's what happens. You can play through the whole game as pillbugs if you want, though the animations often look quite strange. (For purposes of getting reward medals from Artis, HARDEST considers Hard Mode to be active regardless of whether you equip the medal.) Another weird quirk to HARDEST mode is that Chompy gets +1 to her attack (so she'll do 3 damage normally, and 4 with the Pretty Ribbon). I'm not sure why (maybe she's treated internally as a monster?), but it goes a long way toward letting her still be useful in this mode, considering literally everything has defence for most of the game. With the unlock of HARDEST, we've covered most of the content here at the Termacade. We still need to buy and demonstrate all the prizes (either by winning tokens or just buying them), which I'll get to shortly, but there's something we need to talk about first. The inspiration behind Flower Journey was obvious, but was Mite Knight based on anything? A lot of it seems too detailed and specific to have been invented for a single minigame. And, as it turns out, there was indeed a specific source of inspiration. Mite Knight is a reference to "FIGHT KNIGHT", an indie game that was seen as something of a "sister project" to Bug Fables because they were successfully crowdfunded around the same time, and both contracted Dangen Entertainment as their publisher. It was supposed to be some kind of first person beat-em-up dungeon crawler with retro aesthetics, in which the eponymous knight fistfought enemies while climbing a tower. The Bug Fables team made this minigame as a reference to a fellow indie project. So far, so good. But. Fight Knight had a troubled development cycle, went dark for a long time, and many presumed it had been cancelled. I wish I could stop there and just say "this is a reference to a game that never existed", as I had been originally planning. Content warning for discussion of industry abuses, sexual abuse, rape, gaslighting, mental illness, among other things However, it resurfaced in late 2021 with a prospective release date. At around the same time, one of the writers on the game, who goes by "Wren" and "rivalerose", published this harrowing account of her abuse by the lead developer (including sexual abuse and rape, physical assault, unpaid labour and financial abuse, and gaslighting), abetted by the rest of the team. Many other unsavoury details shortly emerged. Two other members of the team came forward with corroborating accounts. In addition, I want to link to these two posts by someone who spoke out in support of her, then documented the coordinated abuse and harassment they received in response, and the sort of hate speech frequently used by supporters of this game. Many of the worst elements of the internet gleefully rallied to support Fight Knight in typical ignominious fashion, especially as the game neared release. Fight Knight did eventually release in late November 2021. I'm not going to mince words about this. I believe Wren, and therefore I feel an obligation to discourage people from purchasing and/or playing Fight Knight (as she has requested). If you support this game, you are supporting an abusive rapist and his enablers, and no video game can be worth that. We cannot ignore this sort of behaviour, or we allow misogyny and other forms of bigotry to fester in our communities, and the games industry to become even more of a foetid cesspit than it already is. The standard you walk past is the standard you accept. I am sorry to digress into such heavy and unpleasant topics from an otherwise positive LP of a game that has very little to do with this, but I thought it was important not to leave this unaddressed. The only reason I know about any of this is because seeing Mite Knight in Bug Fables piqued my curiosity about the inspiration behind it, and I suspect I'm not alone in that. I don't blame the Bug Fables team for what appears to be an innocent nod to a fellow indie project, but to fail to discuss this now would be to let that inclusion advertise it. (Even now I'm second-guessing myself, because part of me fears drawing more attention to a game that should rightly fade into obscurity.) Do with that knowledge what you will. Content warning ends here Right. Uh. Where were we? So as not to end this post on such an unpleasant note (hello mood whiplash, I'm sorry but there's no easy way to do this), let's buy some tokens and get all the prizes. 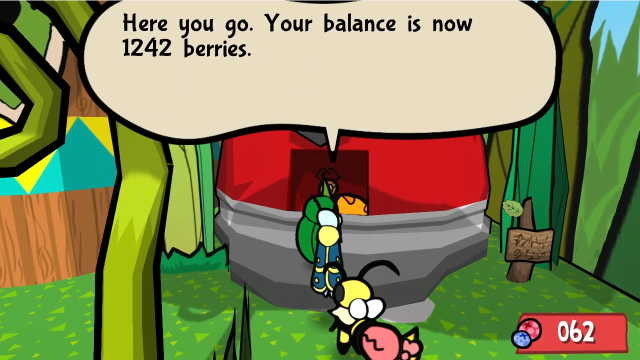 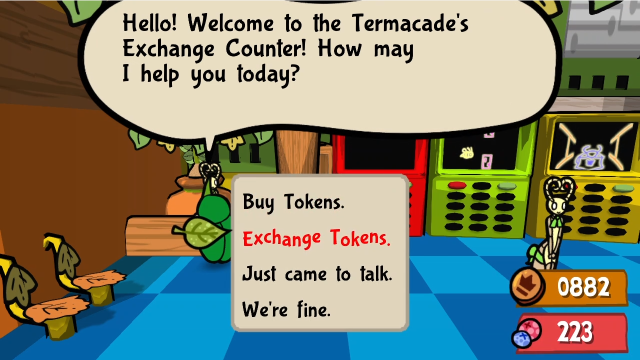 I just made a big withdrawal from the bank and bought the remaining tokens. (This took a couple trips, but the screenshot above shows the final balance after the last one.) If you want to earn them by playing the games instead, I prefer Flower Journey to Mite Knight: you're risking less up front, you're pretty much guaranteed profit after a bit of practice, and the game takes less time to play. But it can still take quite a while. 870 tokens is the amount we need to buy all of the things we care about. We have enough now, so let's start buying.  Alright! Here you go! Alright! Here you go!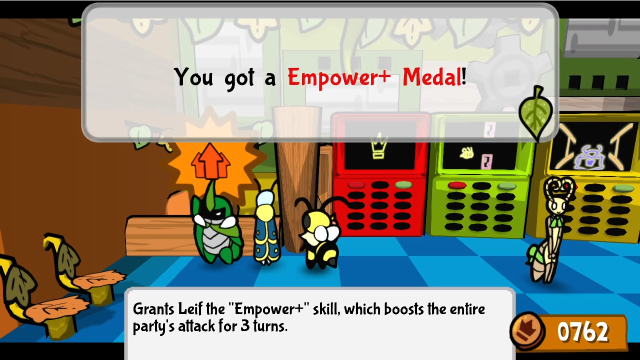 Let's just repeat this process and get everything else now. 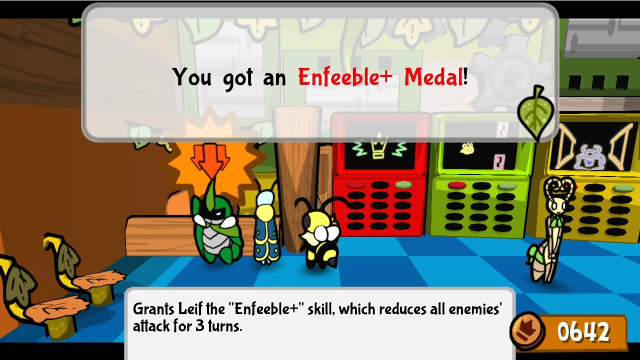 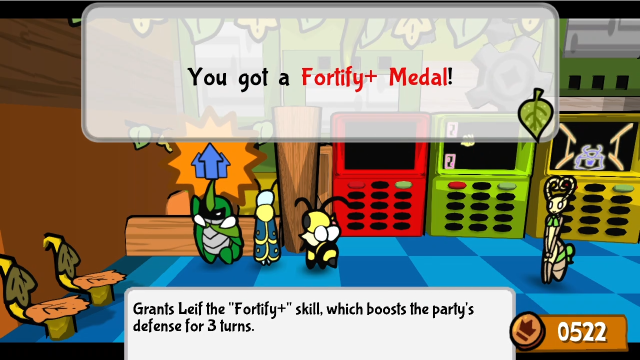 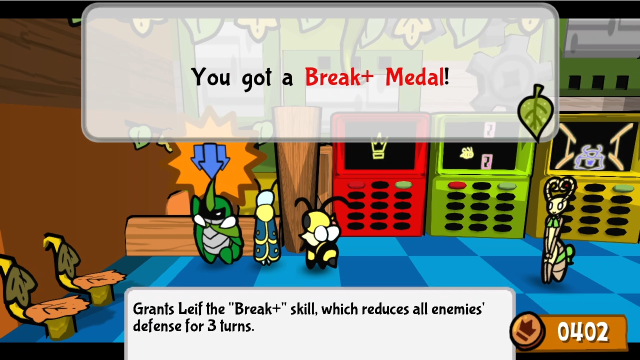 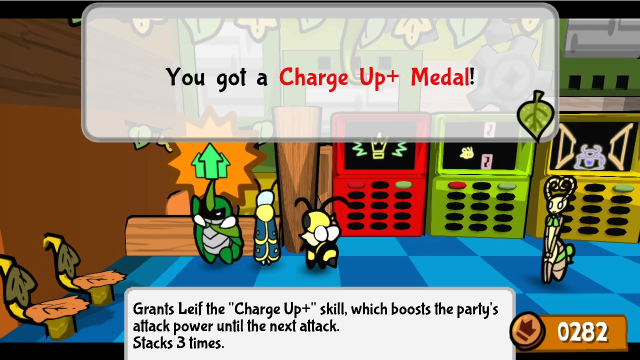 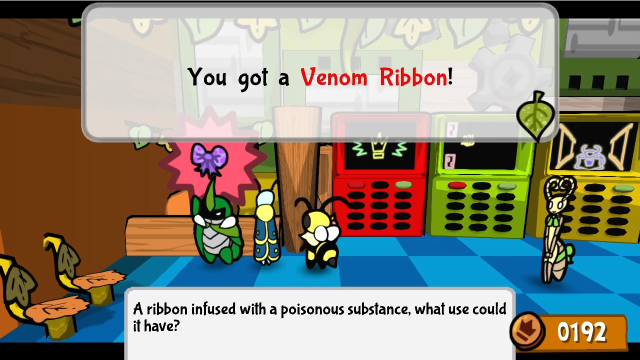 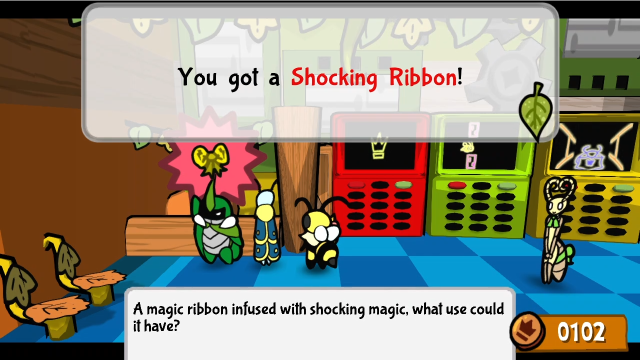 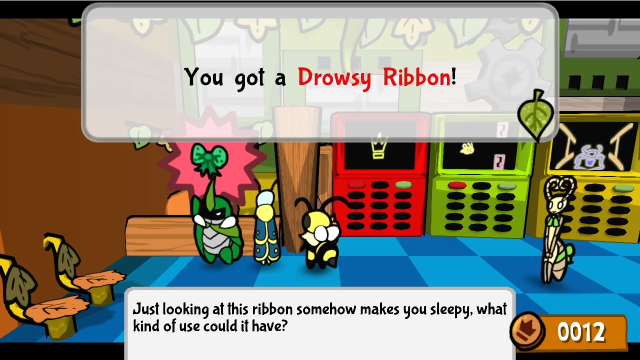 And there we go! That's everything. 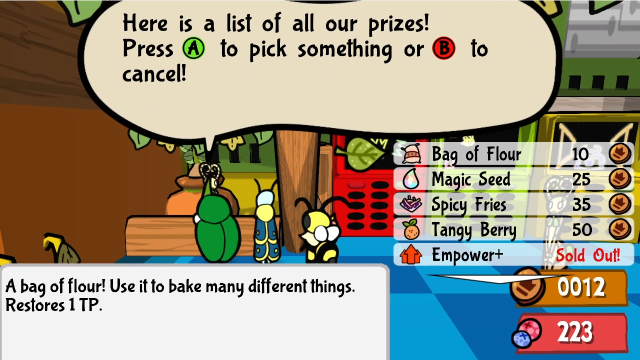 The medals and ribbons can each only be bought once, after which they'll be marked sold out; the consumables can be bought as many times as you want, so once you have all the medals etc, those are your only outlet for any further tokens. 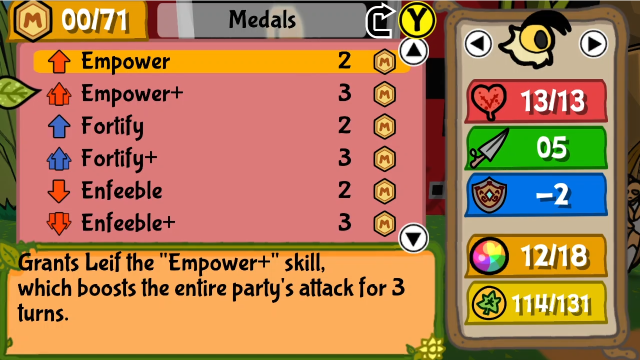 As I mentioned earlier, these medals all cost 3 MP, and give Leif access to these upgraded skills. Empower+ and Enfeeble+ cost 6 TP to cast, while the others cost 5 TP; the buffs also last for 3 turns instead of 2. These really make Royal Decree look like a bargain in retrospect, don't they? (Although Royal Decree does only last 2 turns.) If you're playing this more like a traditional RPG with a balanced party, and have a big TP pool to work with, these can be pretty useful. Although I will say, I personally often prefer the small versions, because they cost less TP and you often only really need to hit one target. Your mileage may vary with these, but it's always good to have options. You know exactly what you're getting with them, and you should know whether or not it will be good for your strategy. 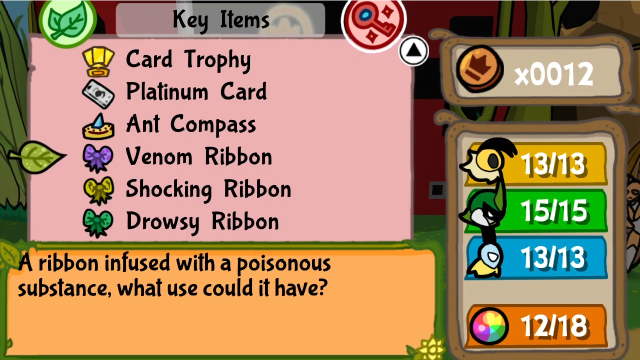 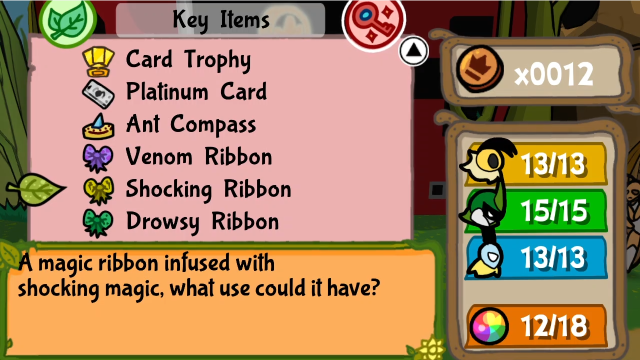 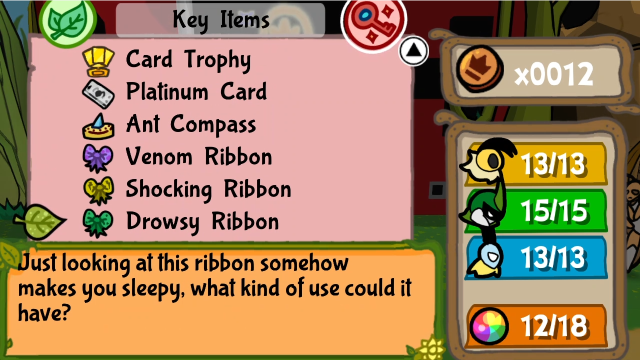 These, of course, are for Chompy. But what do they do? Let's go test them and find out! 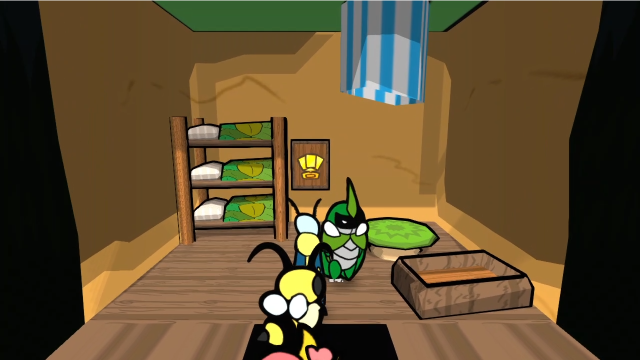 Let's go to our house. Remember the pet bed here? We can use this to change Chompy's ribbons. If we hadn't bought the house, we could also take her to Professor Honeycomb's lab in the Hive and use the jar there. 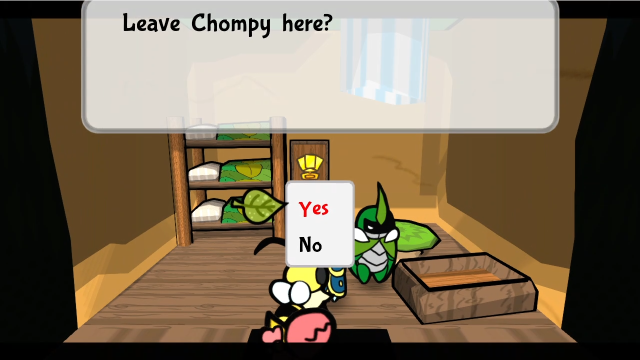 First, we leave Chompy in the bed. 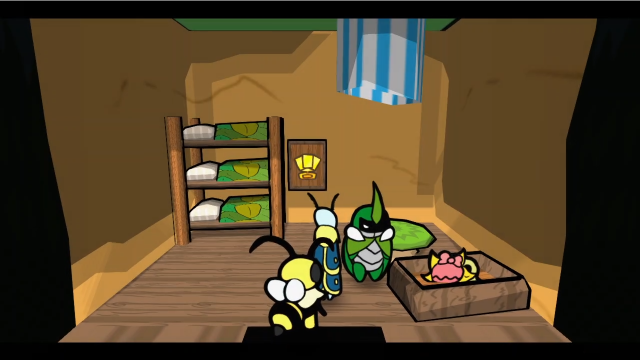  Now we can take off the ribbon she's currently wearing.  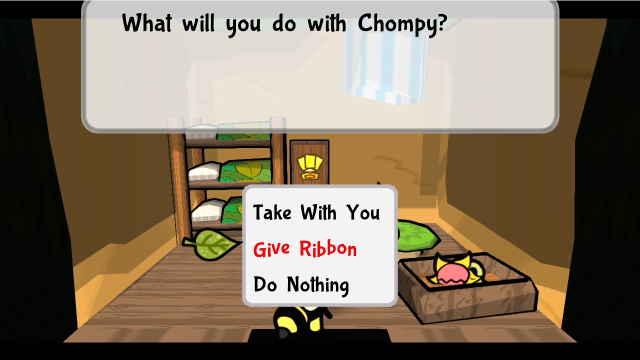 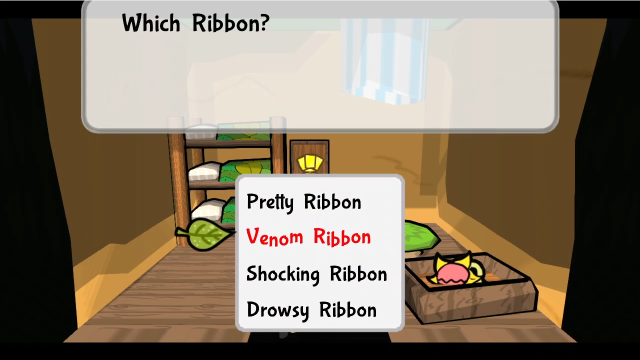 And once she's not wearing a ribbon, we can give her any of them.  Here's the Venom Ribbon.  The Shocking Ribbon. 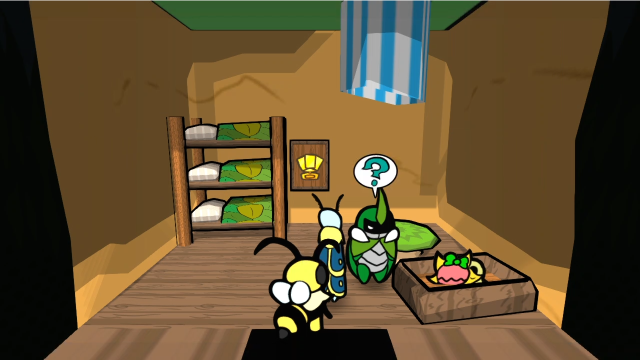 And the Drowsy Ribbon. 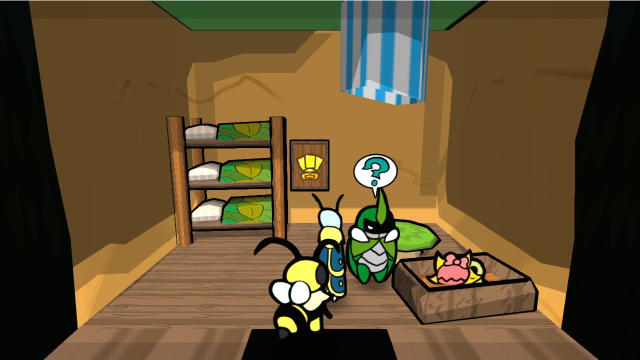 For now, we'll put the Pretty Ribbon back on, but we'll see what they all do shortly. 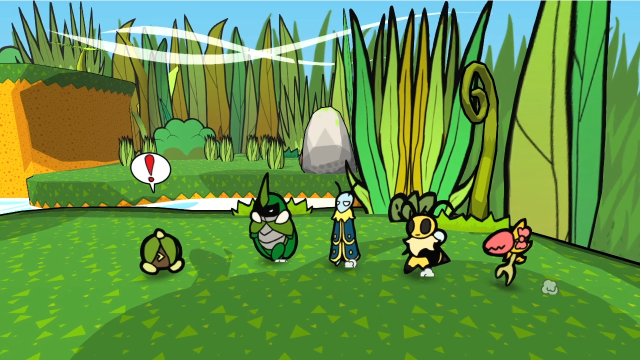 This Seedling must be getting really sick of me testing everything on it... 04 - FIGHT!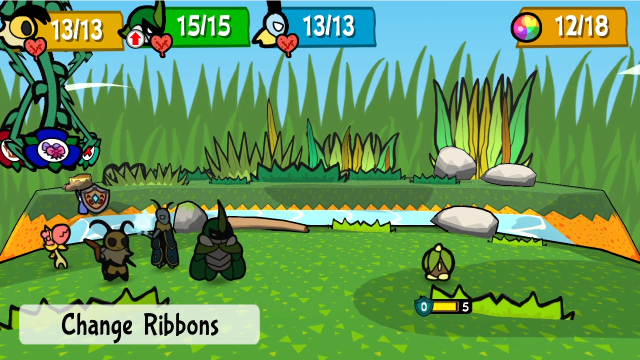 The first new thing we'll quickly see is that, once we have multiple ribbons, Chompy gets a new flower added to her menu! Change Ribbons is new. 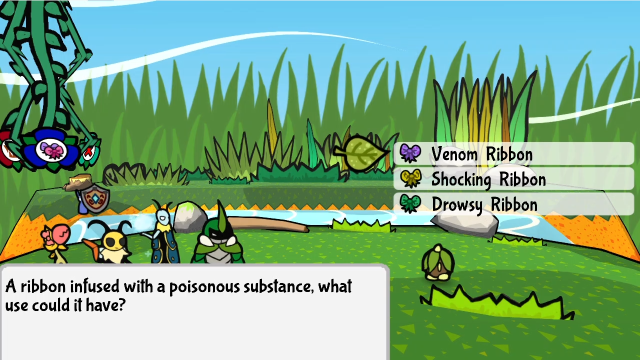  We can choose a ribbon and she'll switch to it. Do note that doing this takes Chompy's full turn, so if you want to take an action with a different ribbon you'll need to set it up the turn before using it.  With the Venom Ribbon equipped, she gets yet another action added to her menu! In addition to her usual attack (which would do 2 damage, without the Pretty Ribbon's boost), she can spend 2 TP to do Poison Bite. Let's try it out.  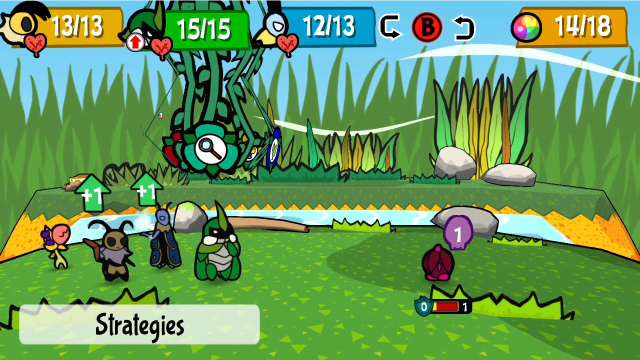 This does exactly what you'd probably expect. It's the same damage as her normal attack, but also tries to inflict poison (with a 2 turn duration, but it'll tick down immediately). 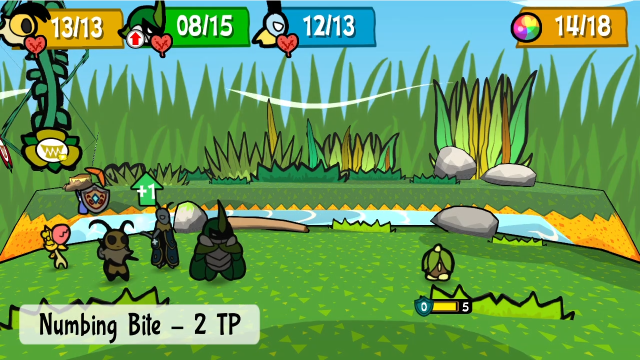 With the Shocking Ribbon, she gets Numbing Bite instead. This one also costs 2 TP.  As you might imagine, this is a bite that inflicts Numb. Though Numb duration is capped at 1 turn on enemies, so it will wear off immediately; effectively, this is just a bite that can make the enemy skip their turn. That's still pretty good! 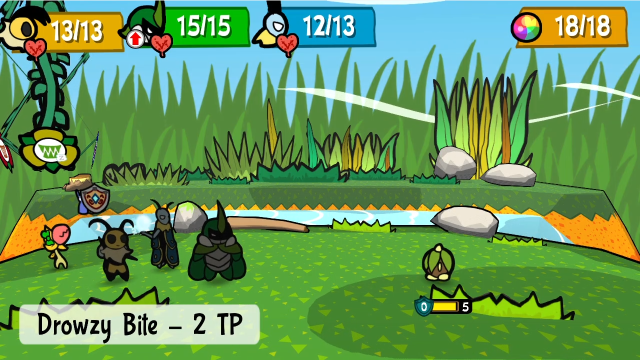 Last up, the Drowsy Ribbon gives us Drowzy Bite (sic). Once again, it's 2 TP.  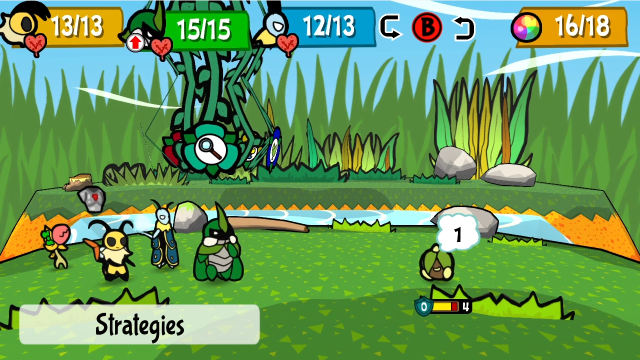 And, as you may expect, it sends the enemy to sleep for 2 turns. There is definitely some possible utility in these, though considering you need to either spend a turn setting up, or forego the Pretty Ribbon's damage bonus, they end up being pretty situational. I can definitely see being able to disable an enemy using Chompy's turn instead of one of Team Snakemouth's actions being quite useful, though! The ability to swap ribbons mid-battle was added in v1.1, and in prior versions you could only swap out ribbons at home or at the lab (in which case you really needed to be planning ahead). I think it's a bit unfortunate how much these end up paling in comparison to the Pretty Ribbon, especially given how much earlier we were able to get that; they end up feeling more like a novelty than a legitimate alternative, to me, but I also can't think of a way to rebalance them that would avoid that. Regardless, Chompy is certainly a lot more capable now than she used to be! That's great. Let's leave things here for now. Next time, we'll head out to sea for real. Explopyro fucked around with this message at 12:01 on May 30, 2022 |
|
#
?
May 30, 2022 02:22
|
|
|
Flappy bird is waaay older than flappy bird. I remember versions of it with a helicopter in flash and with a ribbon on some of the earliest cell phones.
|
|
#
?
May 30, 2022 05:30
|
|

|
I remember something like it on my TI-83
|
|
#
?
May 30, 2022 05:34
|
|
|
You made the right decision to discuss Fight Knight.
|
|
#
?
May 30, 2022 06:45
|
|
|
FoolyCharged posted:Flappy bird is waaay older than flappy bird. I remember versions of it with a helicopter in flash and with a ribbon on some of the earliest cell phones. This makes a lot of sense. I don't remember seeing it back then myself, but it's such a simple idea I find it hard to believe it hadn't been done. (I'll be honest, I got the 2013 release date from Wikipedia and that's clearly referring to the famous mobile app version.) Slaan posted:I remember something like it on my TI-83 This definitely wouldn't surprise me either. God, TI-83 games take me back, my friends and I thought those were so cool in middle school. We made some simple ones ourselves, and then there were others people downloaded and distributed (the things had link cables, so of course people would trade games), I remember having Breakout, some Space Invaders variants and even a Mega Man clone at one point (though it was a very barebones adaptation). I wonder if that's still a thing kids do, or if the ubiquity of smartphones has made them obsolete now. Discendo Vox posted:You made the right decision to discuss Fight Knight. I really appreciate the vote of confidence, thank you. It was difficult to write, and I will say it was not pleasant to immerse myself in all the details as research, even if I decided on balance I preferred not to get too specific in the post. I should also be clear: I don't know anybody involved or have any special knowledge of the circumstances, nor have I interviewed anyone; I've just read the articles I linked (and some conversations on twitter). I am also aware that the man in question has circulated a supposed "rebuttal" of the accusations: I do not find it convincing, by and large it reads like DARVO and blames everything on Wren's mental illness, and even if I believed his version he would still be a domestic abuser (just maybe not quite so heinous of one). Maybe I should have mentioned that in the post, but honestly I don't think I care.
|
|
#
?
May 31, 2022 22:38
|
|
|
Explopyro posted:
I had a TI-83 Plus as a kid, too. I had the USB link cable and downloaded games from ticalc.org. Anyway, I understand that while there is a community, there's a lot less of one. It doesn't help that TI has progressively locked down later models of their calculators to render them suitable to use for taking tests with (even going so far as to disable the running of assembly-language programs on the TI-83 Premium). Unsurprisingly, the community has found jailbreaks, but things are still generally more quiet than it was when I was a kid.
|
|
#
?
May 31, 2022 23:28
|
|


|
Quackles posted:I had a TI-83 Plus as a kid, too. I had the USB link cable and downloaded games from ticalc.org. The important thing is whether or not puzzle pack still exists. Gotta play some block dude when you get tired of tetris.
|
|
#
?
Jun 1, 2022 00:03
|
|
|
This discussion reminds me that https://store.steampowered.com/app/1539750/Realms_of_Antiquity_The_Shattered_Crown/ this game is a thing. Although it's for the Ti-99/4a and not the calculator.
|
|
#
?
Jun 1, 2022 00:42
|
|

|
I have the next update recorded, but it's probably going to take me another day or two to get it written up and ready to publish. In the meantime... Here's a thing the Bug Fables team posted to their official channel today. Apparently, a game called Abomi Nation is doing a crossover event with them, and they're adding a bunch of monsters based on Bug Fables enemies to the game. I don't know anything about the game in question, but the trailer's kind of neat, it shows a bunch of 3D-ish interpretations of Bug Fables sprites. (And I'm always pleased to see this game getting more attention.) Also, I caved and ordered all three plushies. What I'm wondering now is whether I'll be able to finish the LP before they get here. Race is on, I guess.
|
|
#
?
Jun 7, 2022 04:18
|
|
|
I only ordered Kabbu, I resisted the power of Vi.
|
|
#
?
Jun 7, 2022 06:04
|
|

|
64: Dancing With Danger (Part 1) 23 - The Sailors' Pier We're starting off today back at the docks. Last time, we took a brief voyage in our shiny new submarine, before being distracted by sidequests and video games. For real this time, let's head out to sea. (Before that, though, here are some fun articles that seemed apropos. A study was recently published showing termites have made oceanic voyages; I genuinely wonder if the Bug Fables team were knowingly referencing this. Oh, and the state of California now officially classifies bees as fish, apparently.) 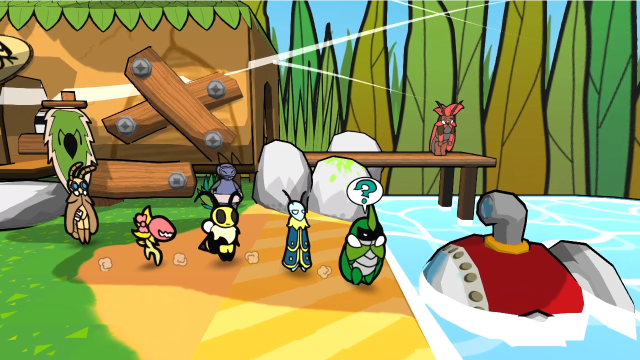 Let's ship out. 67 - Snug as a Bug in a Sub We have full freedom to explore Metal Lake now; the game will no longer prevent us from making landfall at any of the points of interest. 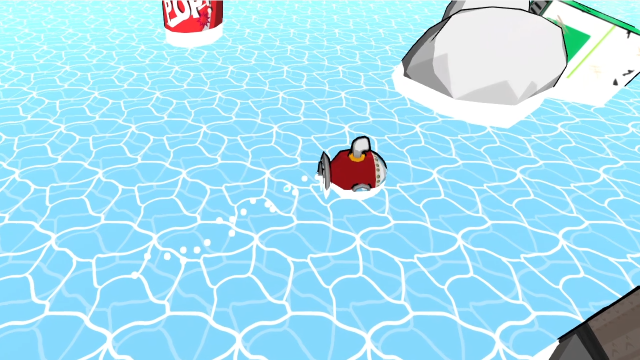 For better or worse, though, most of the landmarks around are literal floating rubbish. We can't interact with it in any meaningful way, it's just obstacles. 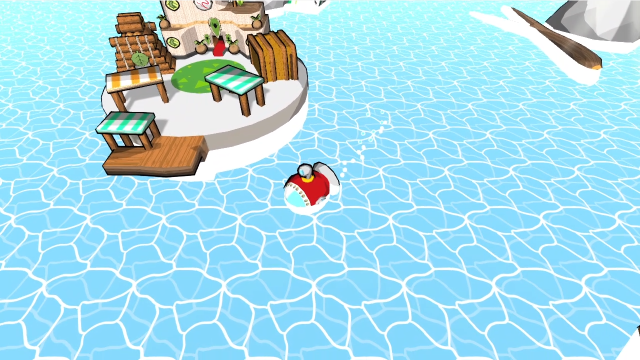 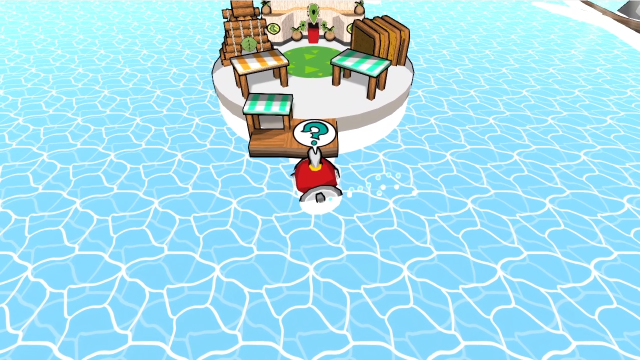 Here more or less in the middle, east of Bugaria Pier, is Metal Island. 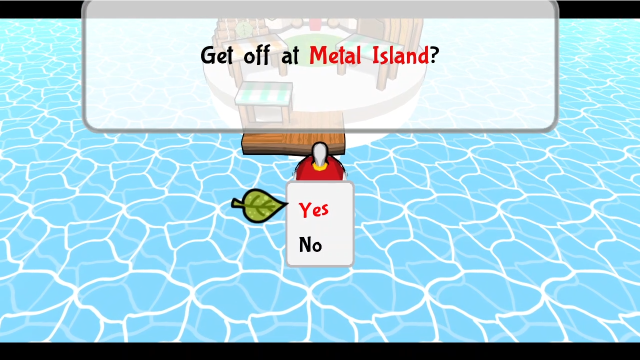 Let's get off here. 72 - Summer Holiday at the Metal Island (TM)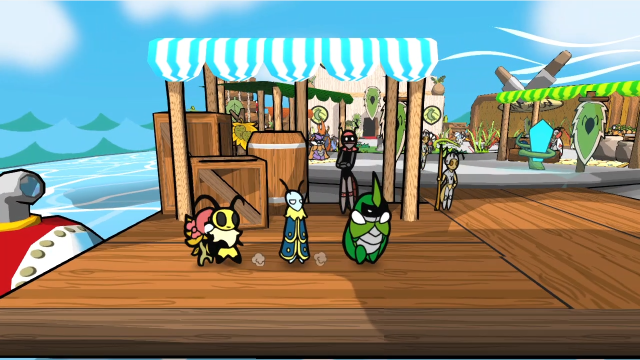 It's Metal Island! We've been here before, and seen almost everything. There is a bit of new content, but mostly, this is the same Metal Island we know. We can go play cards or buy tea and Tangy Berries, you know what's here. If you never pay the boat captain's fee (either before or after defeating the Card Masters), this would be the first time you see Metal Island at all; it would also have been completely inaccessible during the period between the ship being destroyed and us getting the sub. Let's go for a walk. 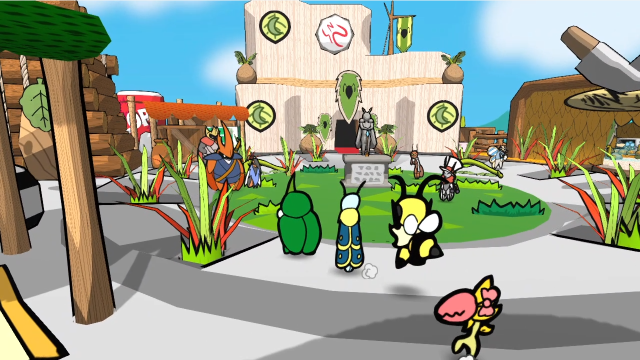 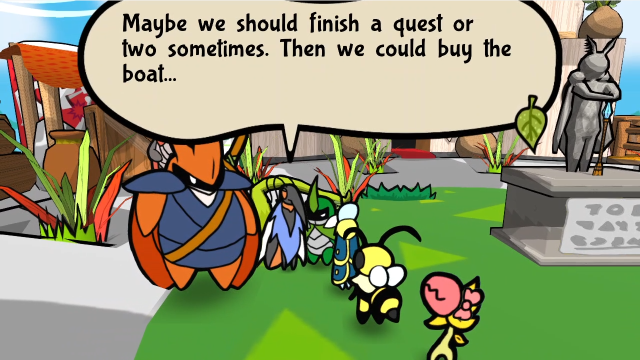 Oh, right, Stratos and Delilah are here! They were hinting there's a dangerous monster somewhere in Metal Lake that can't be reached without a boat... and we have a boat now. We've got to look into that. 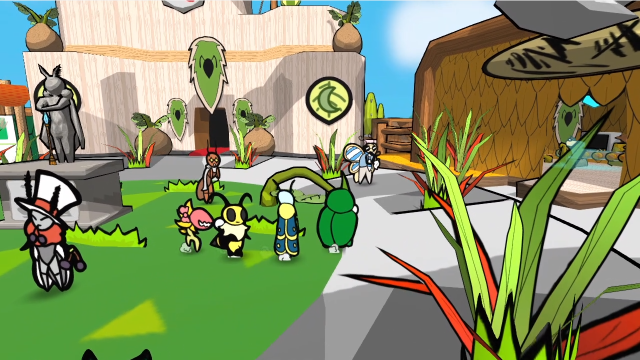 And this fellow looks unfamiliar! Who's he? 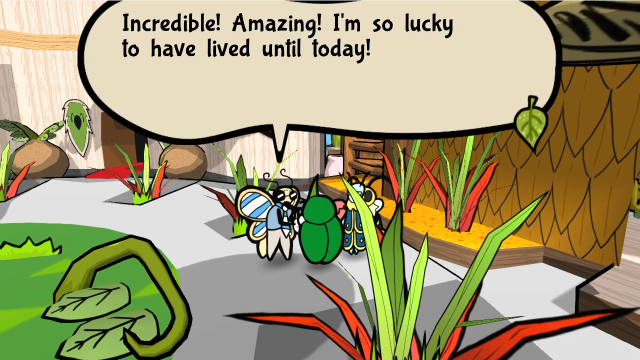 Someone's happy. Someone's happy. Who wouldn't be after eating Master Slice's food! It's pretty good! It's only natural, having taught 5-star chefs such as Kut... Now I can blog his recipes for the common folk! ...Err, won't he get upset? Who wouldn't be after eating Master Slice's food! It's pretty good! It's only natural, having taught 5-star chefs such as Kut... Now I can blog his recipes for the common folk! ...Err, won't he get upset?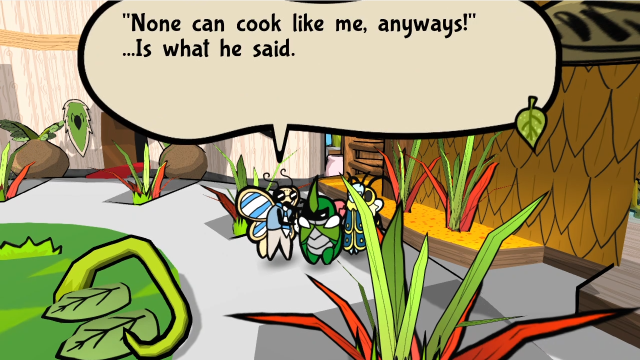 And he's probably not wrong. I've collected many recipes while blogging. If you want any, I can share them with you! ...For a price. And he's probably not wrong. I've collected many recipes while blogging. If you want any, I can share them with you! ...For a price. Heh. Let's check the banter too. Figures a food blogger would visit Metal Island. A food what? Yel's a critic who judges others' food, choosing to recommend or warn against establishments. WOAH! That sounds like Leif's dream job! We're probably too picky for that...(Whatever happened to Leif's insatiable appetite? Or was he just suffering through it the entire time, because the alternative of not eating is worse?) Anyway. This is Yel, the food critic (yes, he's named after Yelp.com). He's a new NPC who was added in version 1.1, so you may not recognise him if you played an earlier version. 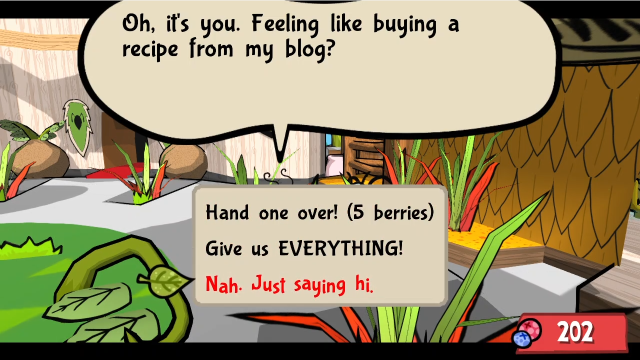 If we talk to him again after meeting him the first time, we'll get this menu. He's basically a quality-of-life feature, offering a shortcut to completing the recipe log without needing to experiment or look up the formulae. But let's see what he says if we decline first. Oh! Um... hi. Blogging seems really fun. It really is! You need a strong stomach, though...Heh. He seems a bit timid. 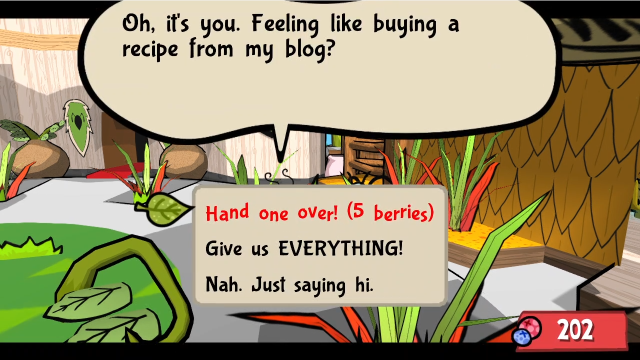 Let's try buying one.  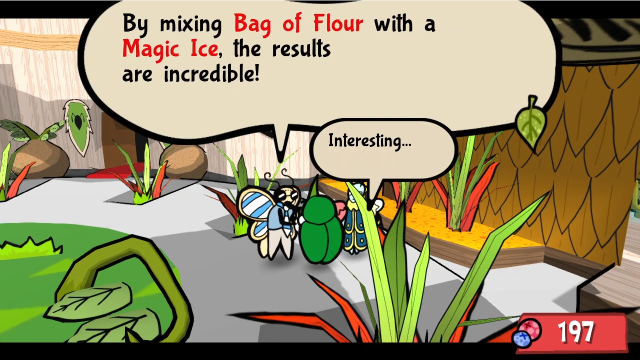 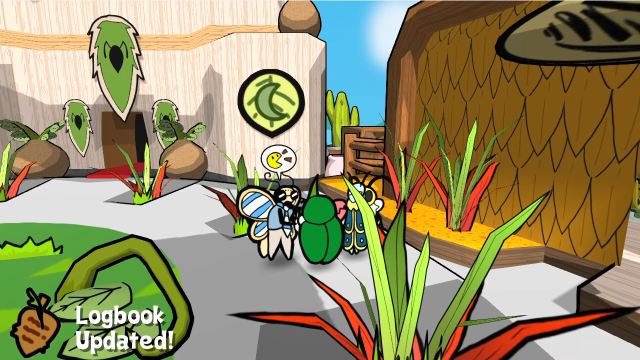 Simple as that, he'll tell us a random recipe we don't know yet, and it gets added to our log. 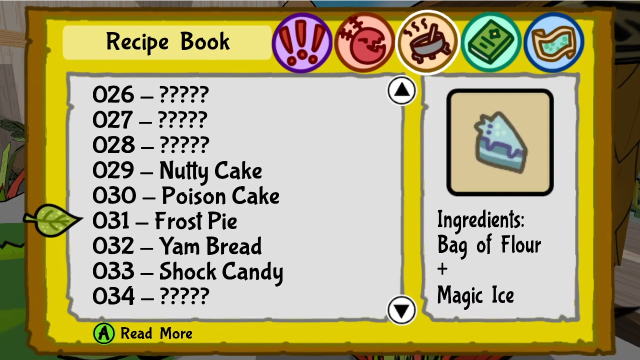 There it is. This is really cheap, at only 5 berries per recipe (usually cheaper than buying the ingredients and cooking the thing would be, even). I do think cooking them as I go along is fun, but if you don't happen to enjoy that, Yel's here for you. Let's buy another. That's what I like to hear! Today's recipe is... Sleep Bomb! By mixing Spicy Bomb with a Numbnail Dart, the results are incredible! Interesting...The dialogue seems to always be the same, no matter the recipe (but I had to find out for sure). Now that we know that... 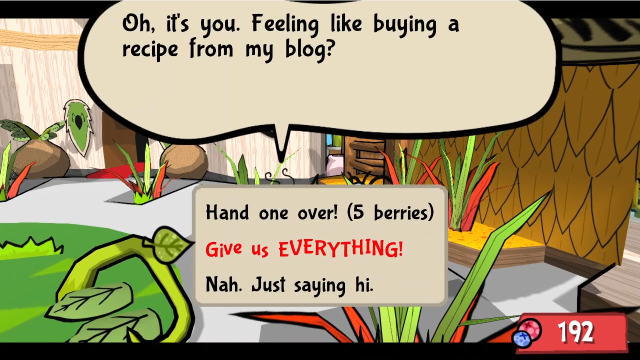 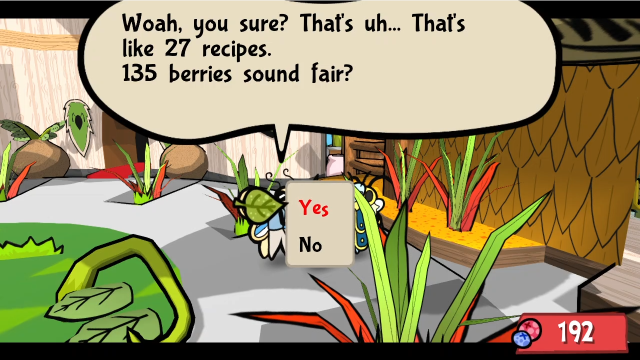 Let's just buy everything at once. I knew blogging would make me rich someday! Here we GO! 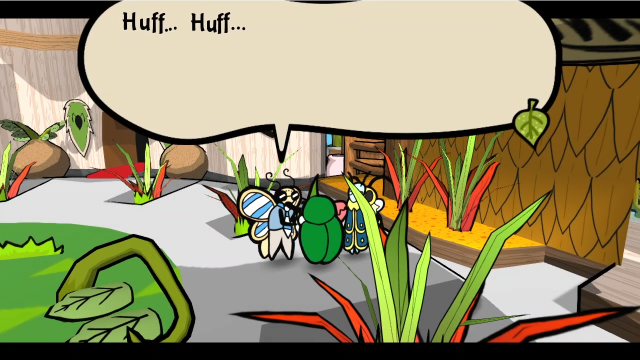 You, uh, didn't have to explain all of them in one go... Nonsense... How else would you cook them properly!? We'll make you proud! We'd better do. We're so hungry now... You, uh, didn't have to explain all of them in one go... Nonsense... How else would you cook them properly!? We'll make you proud! We'd better do. We're so hungry now...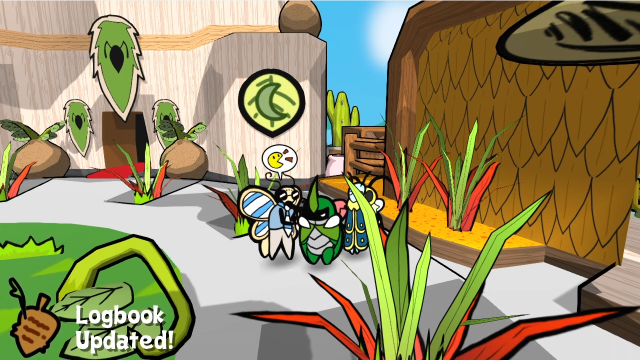 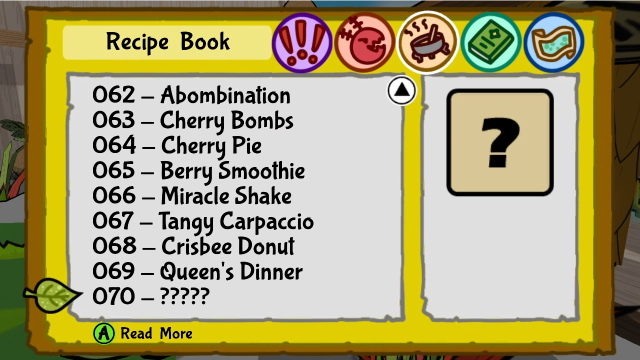 After that, checking our log shows us at... 69/70 recipes completed? What's up with that? Well, there are a small handful of recipes that Yel is unable to teach. Specifically, the three chefs' specialities (Crisbee Donut, Tangy Carpaccio, and Queen's Dinner), for obvious reasons since you unlock those via sidequests. And Mistake and Big Mistake, the latter of which happens to be the one we're missing here. We can remedy that lack easily enough next time we visit a chef (honestly, I was surprised I didn't have it already, but I did a lot of reloading saves during the first cooking update to show different versions of the cutscene). 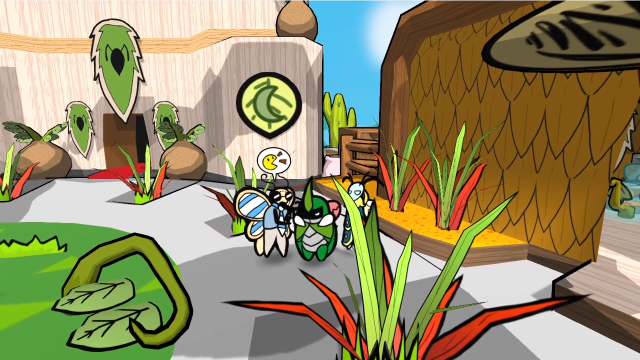 Once there are no new recipes he can teach us, Yel gets new dialogue: Oh, it's you. I don't really have anything to teach you anymore... W-We just wanted to say hi... Y-you... you did? *sniff* You were supposed to feel happy!That's cute. He seems so surprised to encounter basic courtesy... 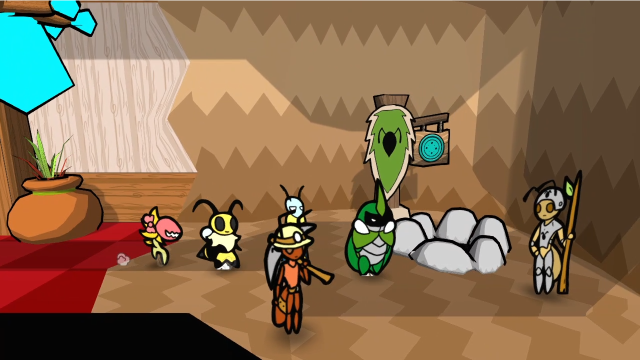 While we're here, let's talk about something. Remember this Ant Mines shortcut? It's still here, and we can still use it (and, conveniently, the game doesn't track the location of our sub, it'll always be waiting for us at whatever dock we go to so we can't misplace it). But... it isn't always here. 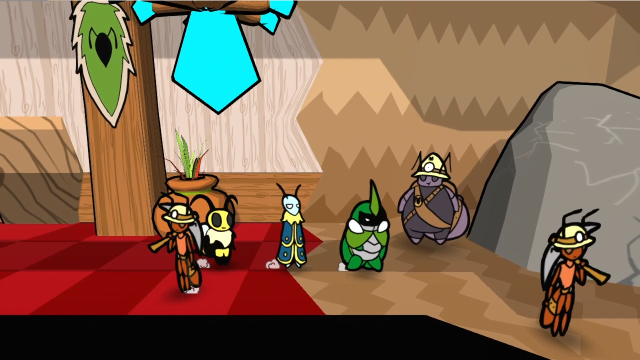 If this had been our first visit to Metal Island (via the submarine rather than buying passage earlier), we'd find the path not yet completed and Diana waiting for us instead. 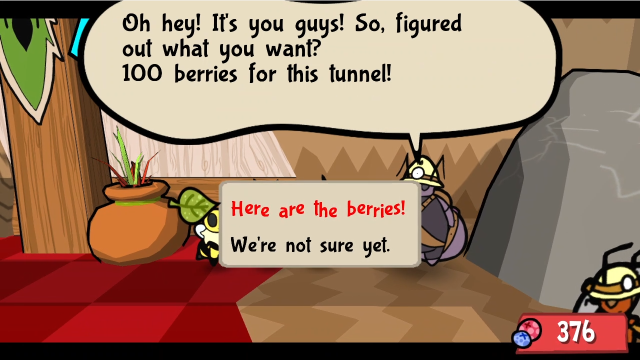 Ouch! It's expensive, too. You don't actually save berries by putting off the Metal Island visit (or, well, I guess you can just keep coming here via sub and never open the shortcut if you want?). The secret hidden bonus you get for coming via ship earlier is that this shortcut opens for free. We know Diana's deal by now, and her dialogue is always the same, but I like her animation so let's see it one last time. 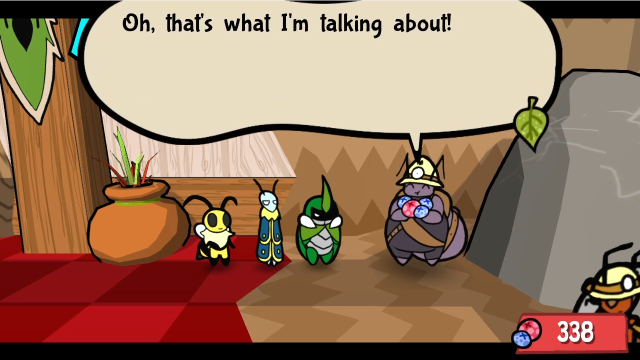 Those berries don't even taste good... We don't think her taste would be the only weird thing here... Those berries don't even taste good... We don't think her taste would be the only weird thing here... Oi, I'm doing you a favor, okay? Just sit and watch! Oi, I'm doing you a favor, okay? Just sit and watch! 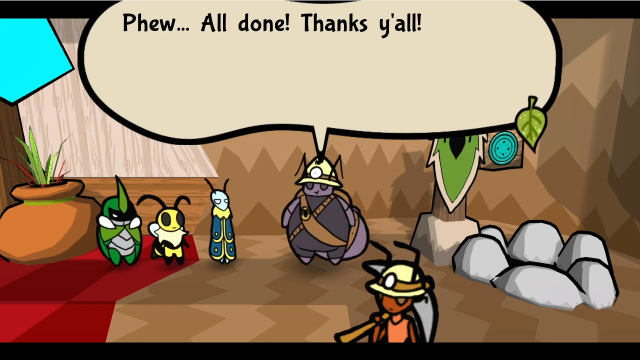 We're in your debt once again, Diana. Thank you. Well, I'm off! See you some other time, folks! We're in your debt once again, Diana. Thank you. Well, I'm off! See you some other time, folks!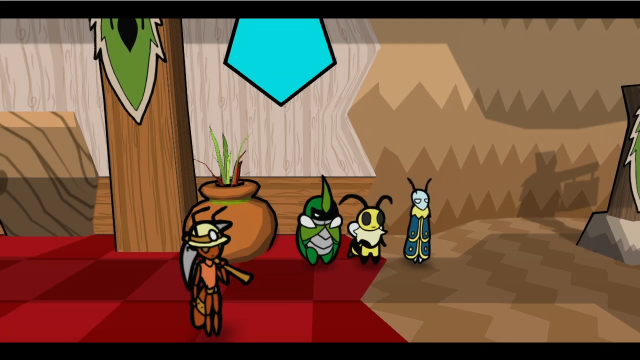 Once we pay Diana for it, the shortcut is there as usual and we can use it. I'm not sure if this one ever gets completed automatically if you don't pay her. Anyway, let's get back to the canon timeline. 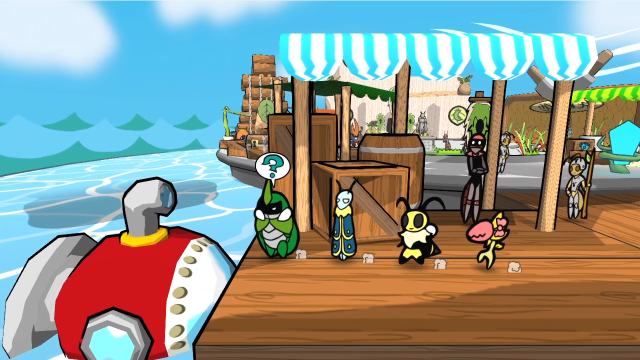 We're done on Metal Island, so let's head back out to sea. (Yes, Yel really is the only new content here in Chapter 6.) 67 - Snug as a Bug in a Sub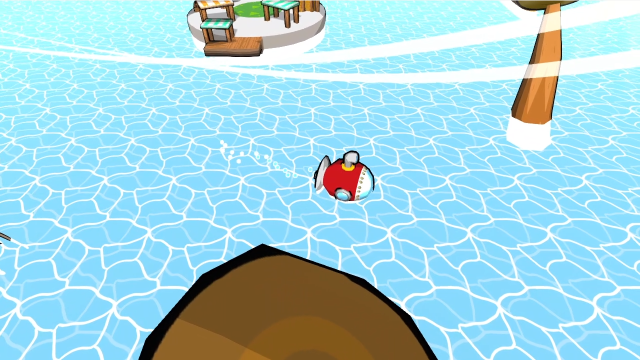 Let's head southeast now. 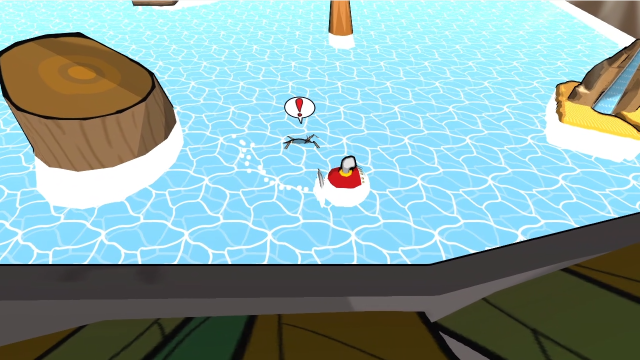 What's that island trying to hide in the corner? (Let's fight the strider first, though.) 55 - Team, It's Getting Serious!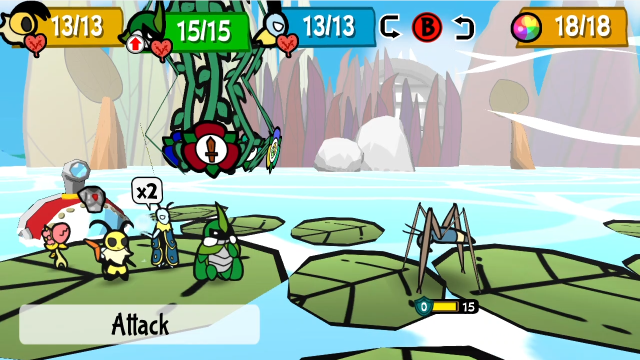 It's only a single strider, which is pretty trivial to deal with for us. 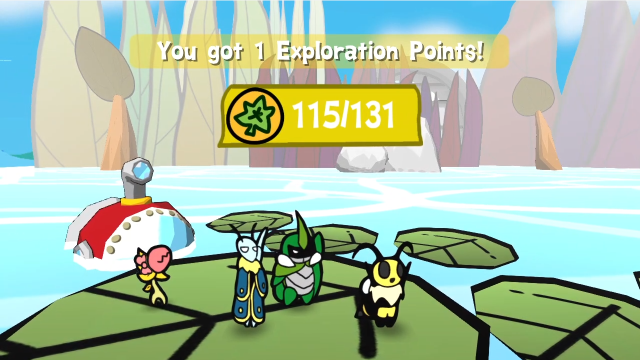 Let's move on. 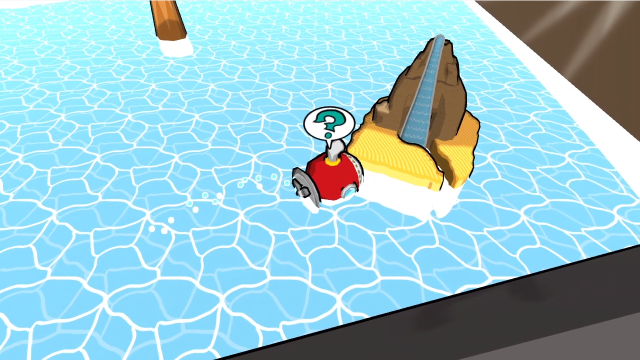 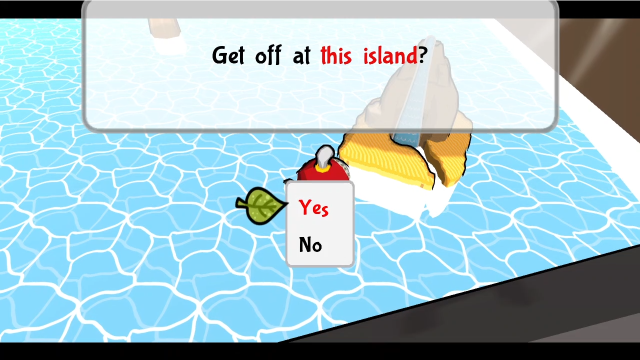 We can land at this island! What could be here? 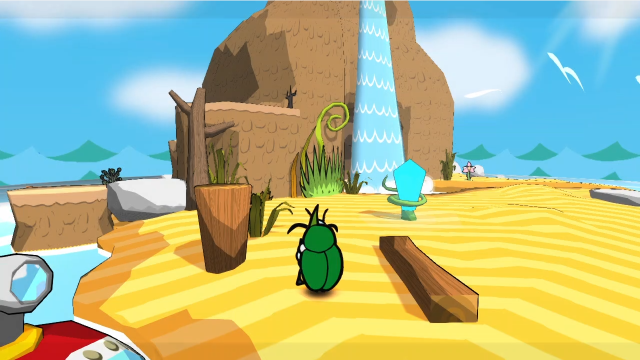 This place is a bit mysterious, isn't it? There's no music, only the sounds of rushing water. What's that? What's what? A... beat? Music? How alluring... Let's see if we can find its source. I really can't hear anything...Or at least no music we can hear! If we check the banter, it seems at least some of our team are hearing... something... (What's the bug equivalent of a siren, anyway? Is this a trap?) 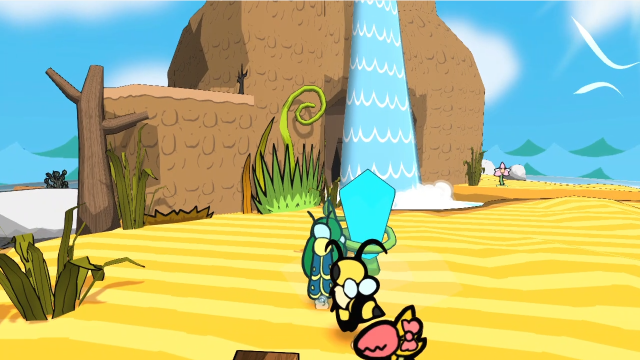 There's also a save crystal right here, and we can see Venus off in the distance. (If we do save here, our file will just list our location as "Metal Lake", no clues there!) 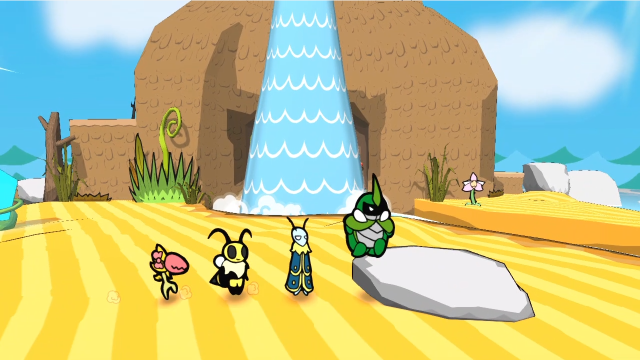 Let's explore. 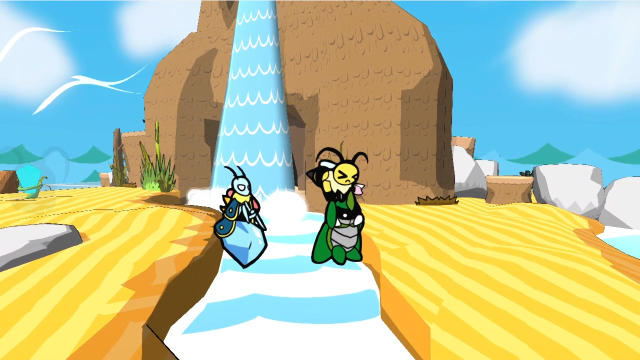 This river splits the entire island and the only way to cross over is by flying. 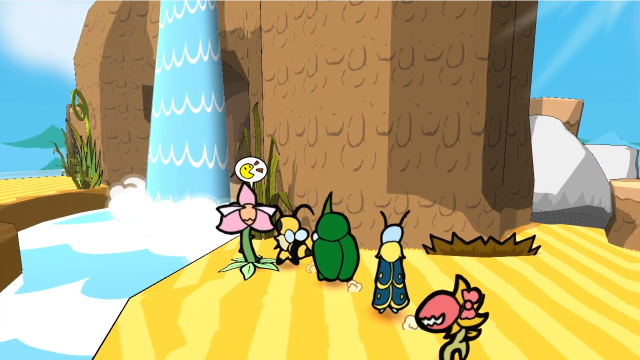 We don't need healing, but let's see if Venus has anything interesting to say? 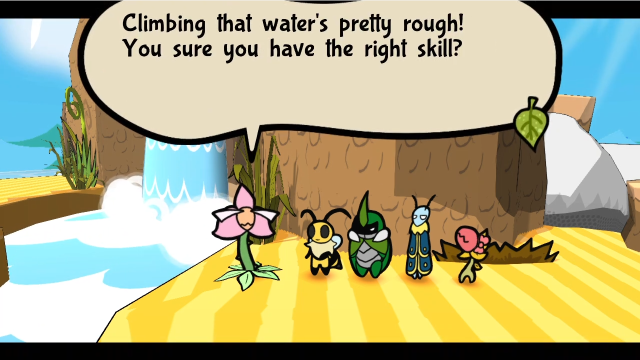 Climbing the water, you say? Interesting. That's definitely a hint. That's all Venus has to say, though.  There's clearly a back side to this island, too, but how do we get there? Those rocks seem to be blocking the path pretty thoroughly... well, that's a puzzle we can solve eventually. 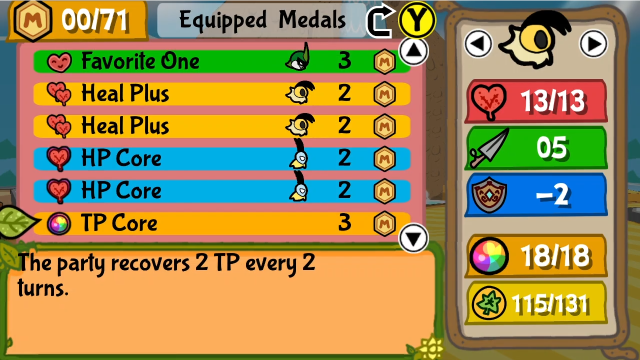 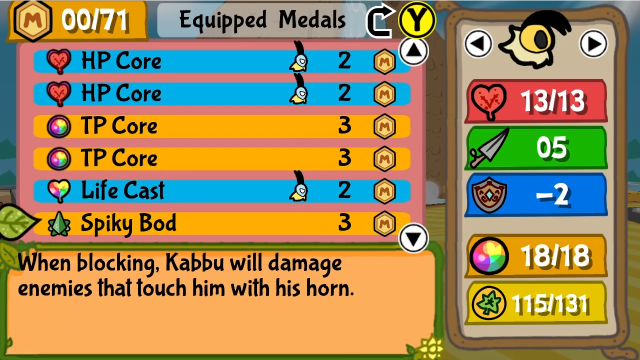 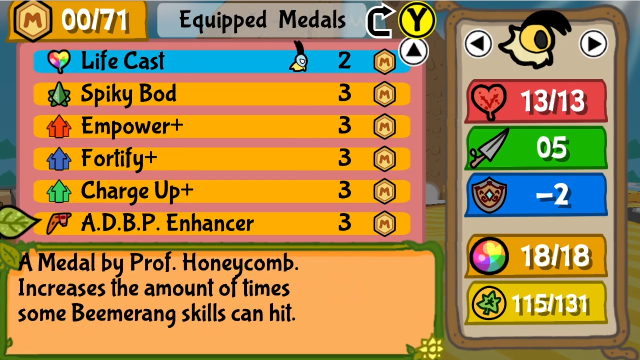 I want to try something different with our medals here. We just got the upgraded status spells last update, so why not try them out? They're expensive TP-wise, though, and we don't have a big enough pool to support using them long-term... so let's try Life Cast! It gives us a bit of a discount, and HP is easier to restore than TP, so that should let us spam them more easily. Leif's getting both HP Cores to help with that too. I had to take off Strong Start to fit in everything I wanted here; I usually don't like taking that off once I've gotten it, but it's not a huge loss here. We'll see how well this ends up working. 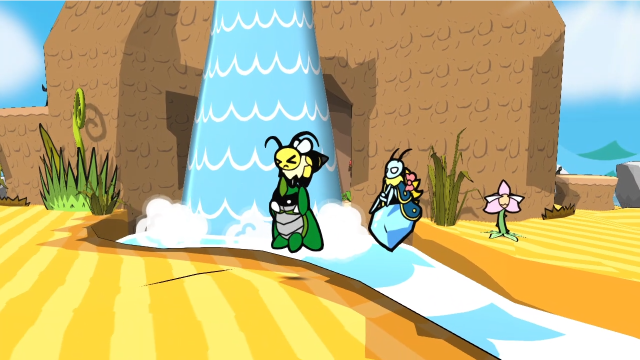 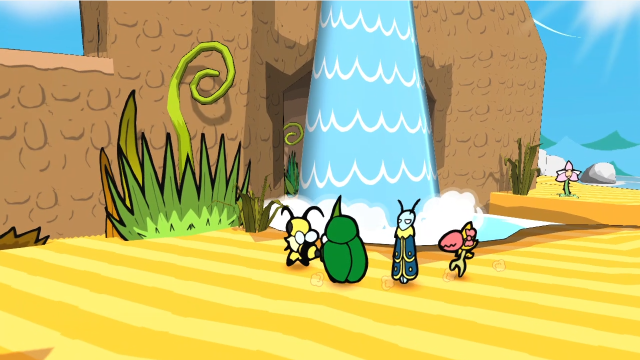 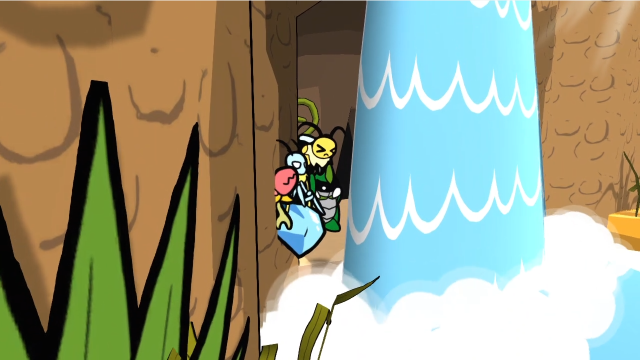 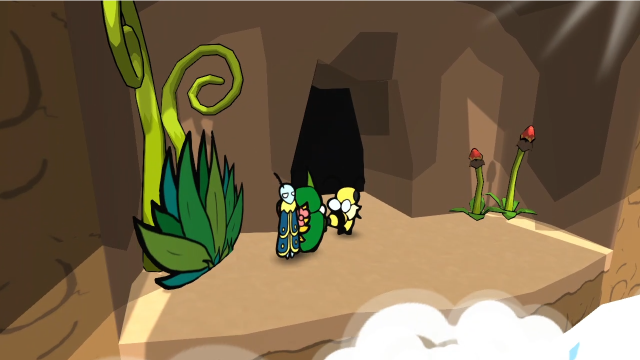 Despite Venus' hint, we don't actually need to climb the waterfall here. We just need to get behind it, where we can find this cave entrance. What could be inside here? 25 - Caves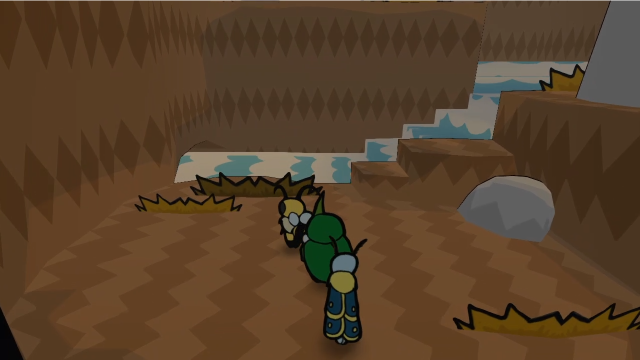 The beat comes from here! We must climb to the top! We might need a special ice move for this... (Bleh... Why can't I hear it!?) The beat comes from here! We must climb to the top! We might need a special ice move for this... (Bleh... Why can't I hear it!?)Apparently the waterfall we need to climb is in here! 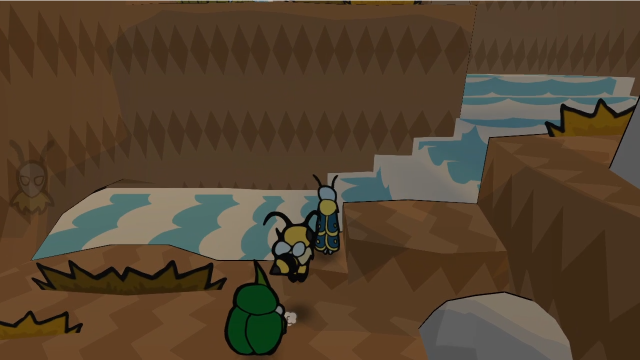 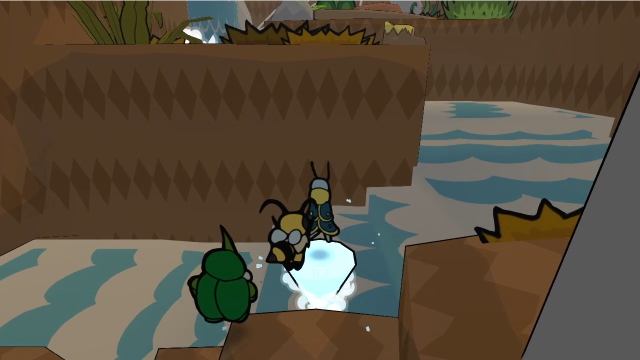 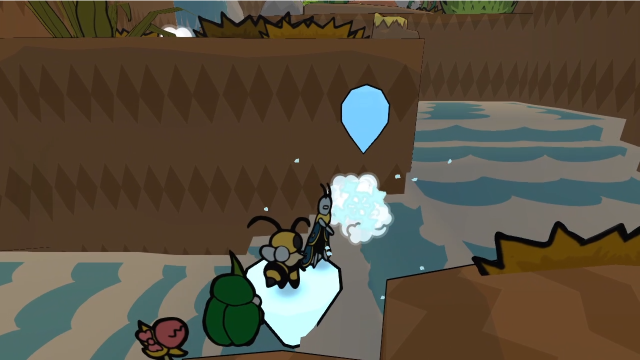 The "special ice move" we need is Leif's icicles. We've had it for so long now that it's easy to forget, but technically speaking this skill is optional, and we don't necessarily have to have it! (Remember, he learns this on entering Upper Snakemouth, where the Lab is. That entire area is part of Leif's Request, which is not mandatory content even if most people tend to have completed it by now. So the hinting is for those people who haven't to know they might not have what they need to progress here.) Without the ability to make icicle platforms, we would be unable to proceed here. Vi's flying can be a substitute in most other places it's needed, but not here.  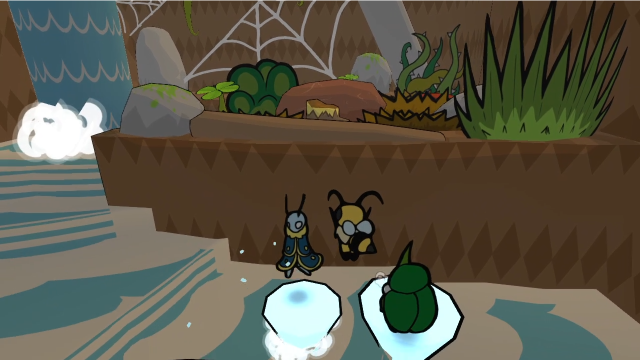 Making our way up the waterfall is painstaking and, frankly, tedious. We need to go one platform at a time, winding our way up the river, and falling in the water forces you to start over from the beginning. 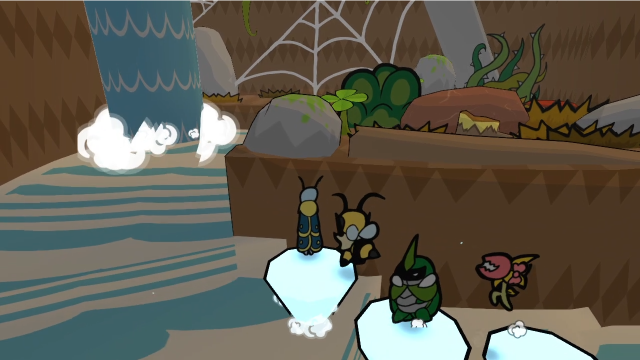 It's not exactly difficult, but it can be a bit tricky, especially when the water is something of a staircase: you can only jump onto an icicle one level up, not two, so you do need to pay some attention to where you're placing them or you might set yourself up badly. 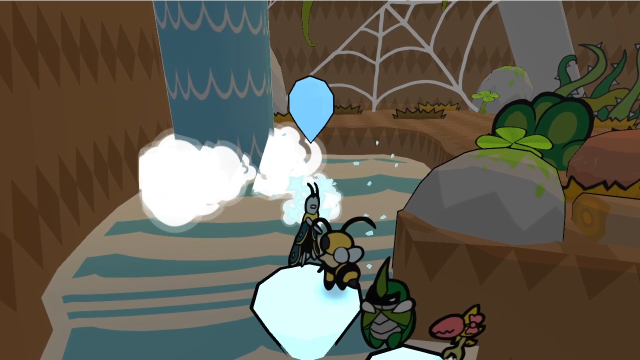 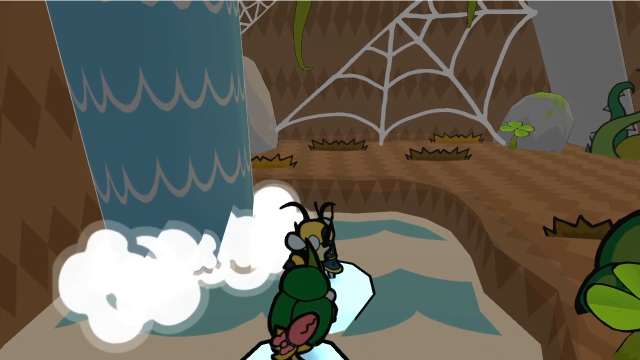 Eventually, we reach this top level, and can see an enormous spider web. Should we really be here? 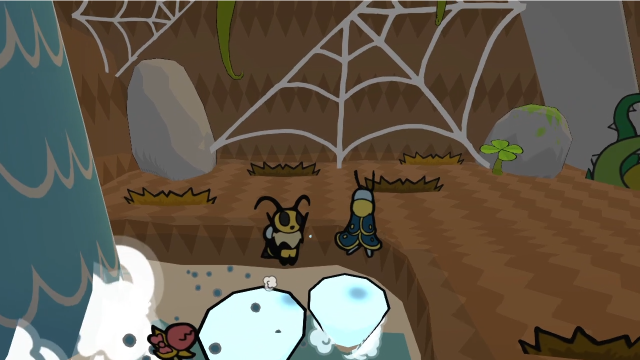 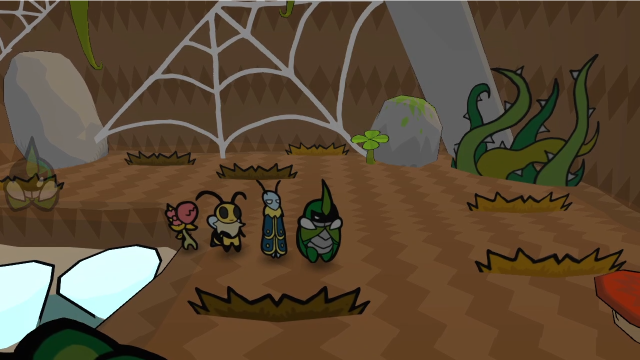 Well, whether we should be or not, we're here now. Nothing else for it. 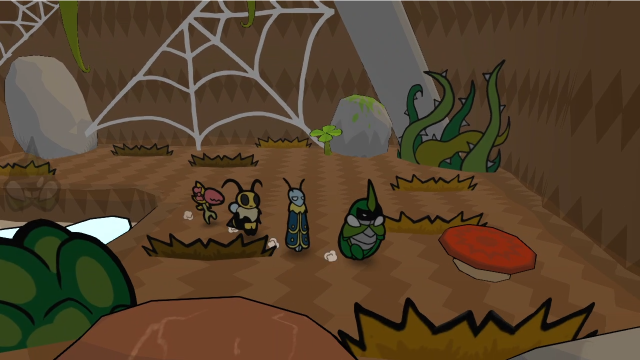 Do not touch this mushroom! It launches you right back to the entrance! That's a handy shortcut for when it comes time to leave, but right now having to climb that waterfall again would be incredibly frustrating (which absolutely did not happen to me on my first playthrough, why are you looking at me that way). 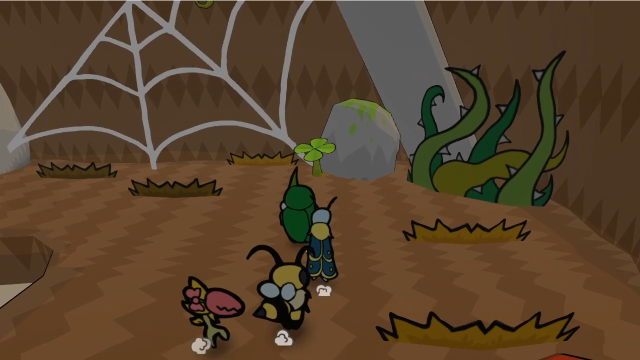 What's over here...? 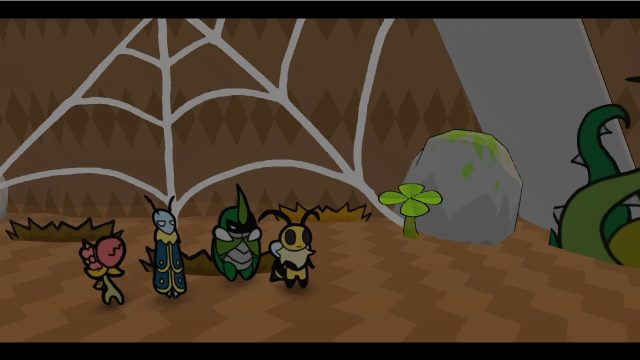   Click me for video! 35 - Reckless for Glory! (Bonus Boss) Click me for video! 35 - Reckless for Glory! (Bonus Boss)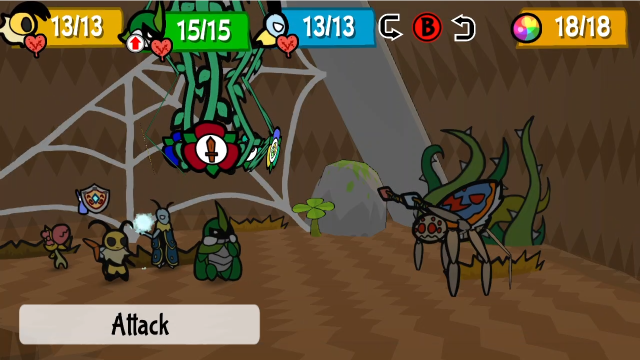 As you may have expected, this island is home to the fifth and final Bounty! Say hello to the Peacock Spider. What's this fight going to be about? 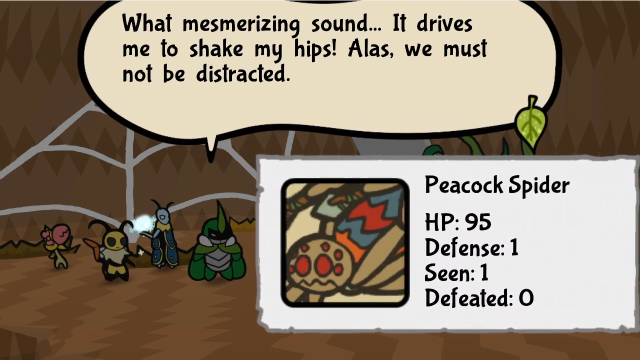 It has constant reinforcements that it powers up... Our priority should be this spider! It has constant reinforcements that it powers up... Our priority should be this spider! Peacock spiders are a real organism, and they really are very colourful (or at least the males are, in parallel to their namesake). They use vibrations and dances in mating rituals, though I don't know if this makes any audible sound. This is a neat little fight: the core gimmick, as Kabbu's tattle dialogue suggested, is that it primarily plays a support role to the minions that it summons. (And at 95 HP and 1 defence, it can stand up to a bit of punishment too, though we've fought more durable bosses.) 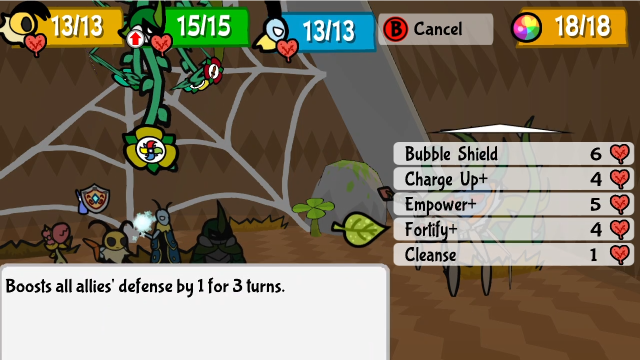 We can play support too. Let's boost our defences. (You can see the effects of Life Cast here, it discounts every skill's cost by 1 but makes them cost HP.) 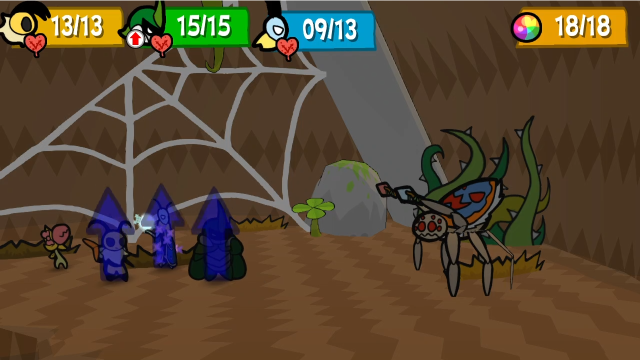 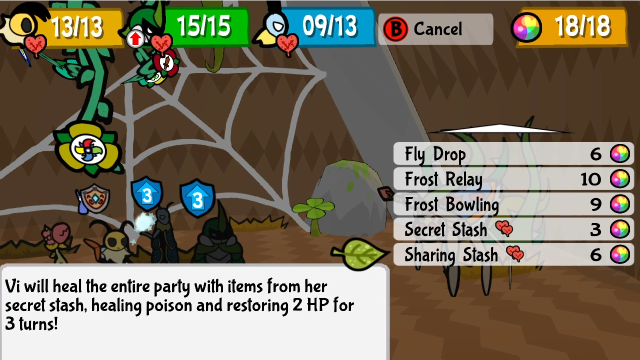 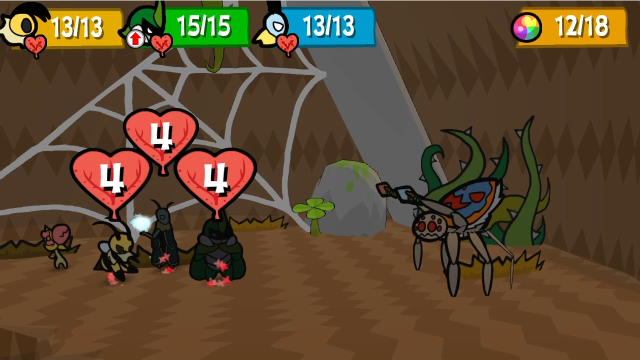 Vi will play support too for now, restoring Leif's lost HP and setting up regeneration for everyone. 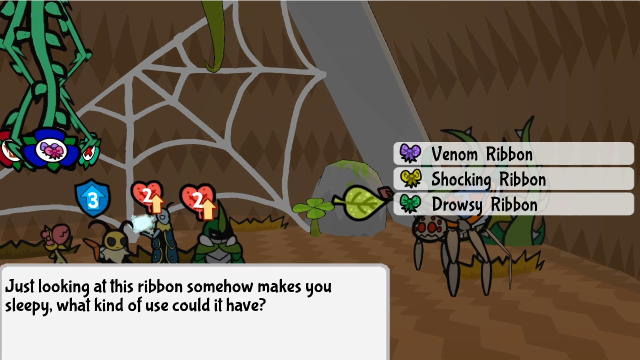 Also, Chompy's going to spend her first turn changing into the Drowsy Ribbon. A disabling ability seems like it could be useful here?  The first thing the Peacock Spider does is a dance that calls an ally. On Hard Mode, it's always a Diving Spider that shows up; on Normal, it could be a Jumping Spider instead (which is rather less dangerous).  Then it immediately pulls out this combo attack on Kabbu! This is pretty nasty: it has a base damage of 3, and hits the same bug three times in a row. (Of course, this does let you rack up a lot of counter damage with Spiky Bod if you're good at the timing; two out of three isn't bad, but I rarely find myself hitting all three, it's tricky.) This is actually the Peacock Spider's only damaging attack, and it prefers to spend its turns doing other things (as we'll soon see). But that doesn't mean it's weak.  The newly summoned spider gets to attack immediately too. Diving Spiders' spit attack, if you recall, hits 2-3 times across the party (Kabbu got unlucky this time!), so these can rack up a lot of damage quickly. 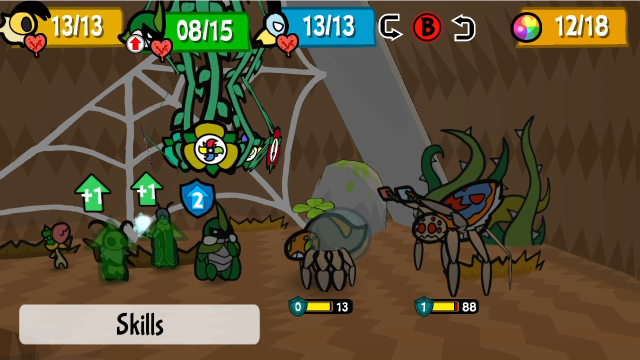 What shall we do now? 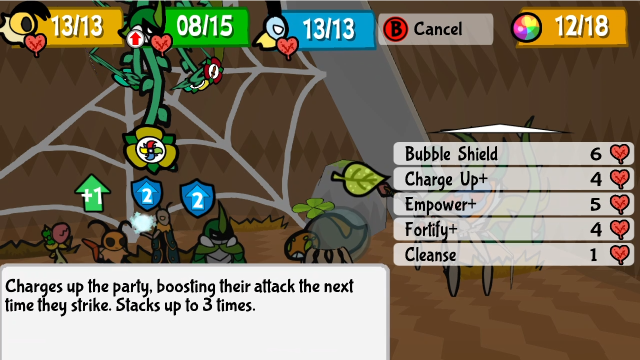 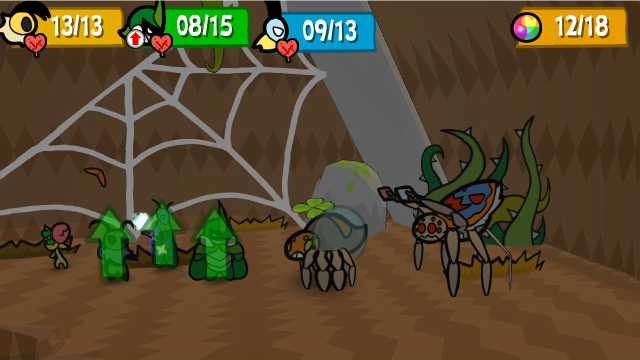 For now, I want to keep boosting. Charge Up+ synergises really well with Favorite One, actually, you can get to +2 or +3 across the party very quickly. 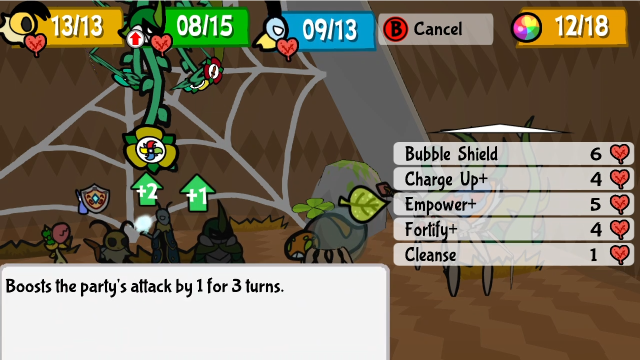 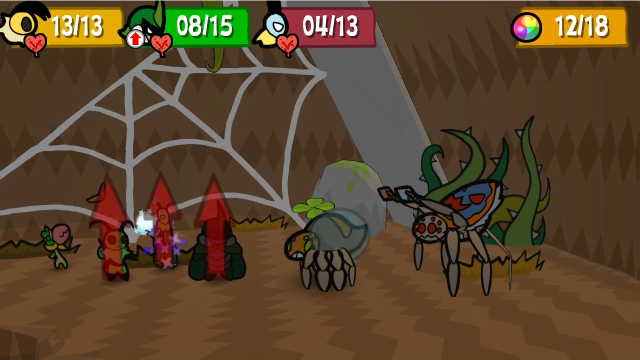 We'll cast Empower too. That's a lot of stacked attack power. 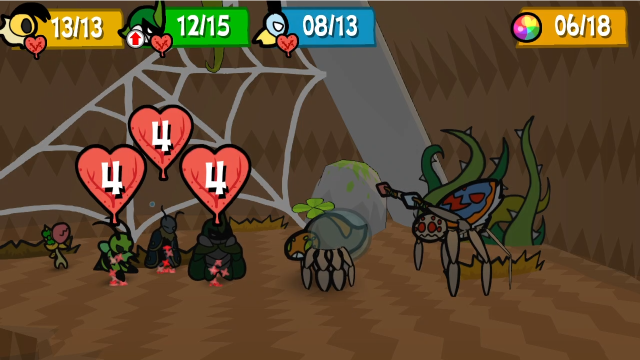 But let's not use it this turn, because our HP is starting to get low again; Vi's turn is better spent healing. 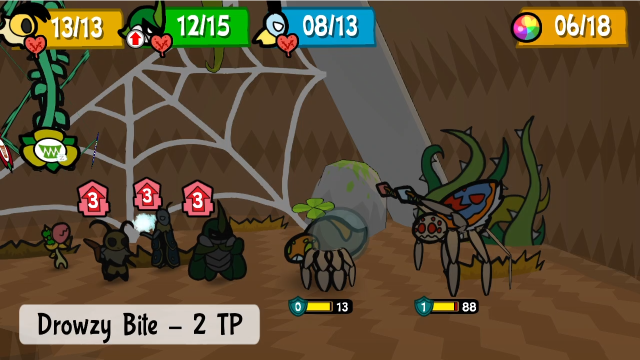 Can Chompy's Drowzy Bite keep this spider off us? 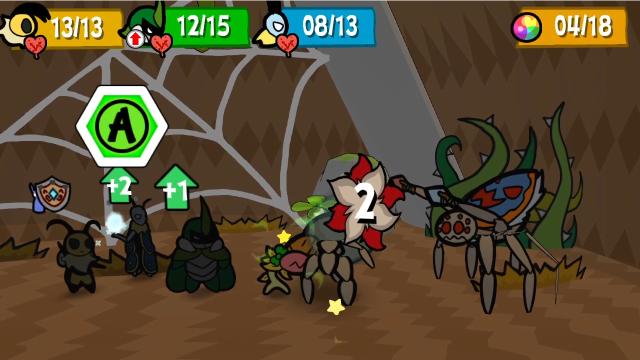 Well, not this turn, but we'll let her keep trying.  This is a much more common sight from the Peacock Spider than smacking us in the face. It has a variety of boosting dances which it can use to power up its friends, and a lot of these do scary things. This yellow one grants its ally a permanent +1 action for the rest of the battle. 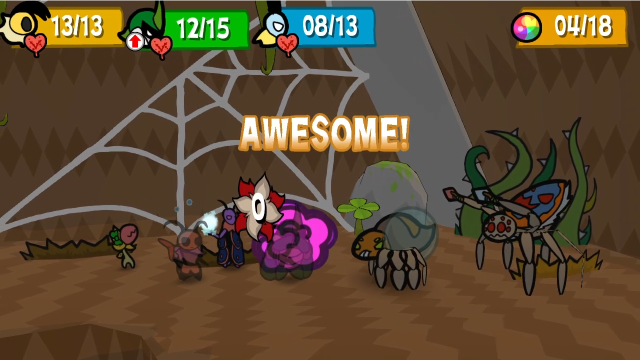 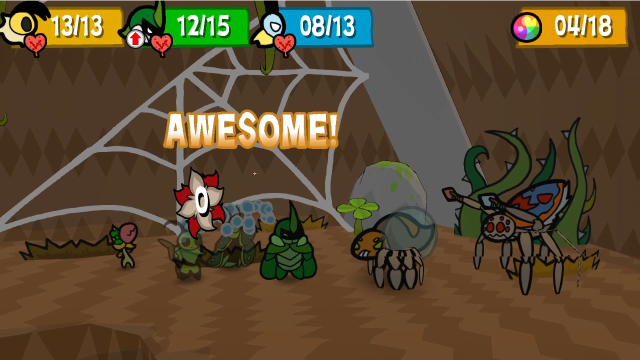 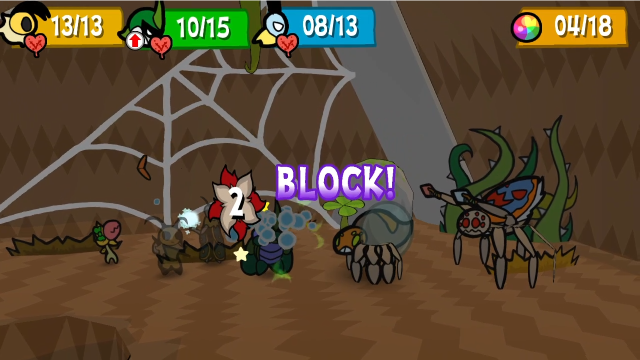 Though, thankfully, it doesn't take effect this turn, so we only take one combo attack.  Here we can see the x2 status icon on the spider. Also, thanks to Favorite One, Vi and Leif are at maximum charge! (And have Attack Up on top of it.) Let's take advantage of that. 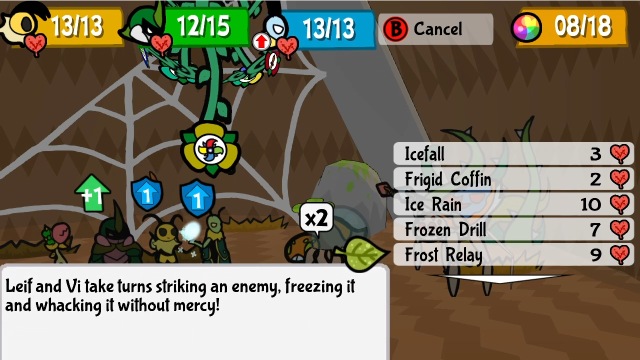 I thought about doing this, but 9 HP is a lot... that could be risky.  10 TP is a lot too, we don't quite have it.  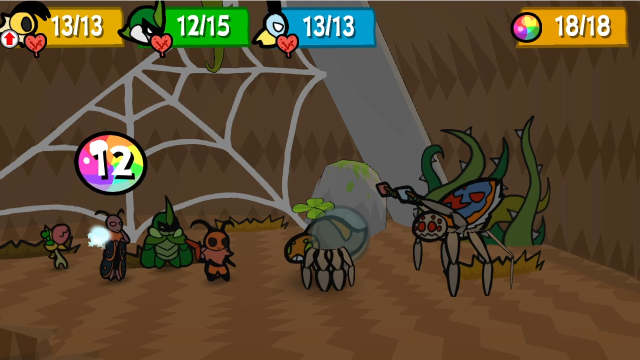 Doughnuts can fix that problem, at least. 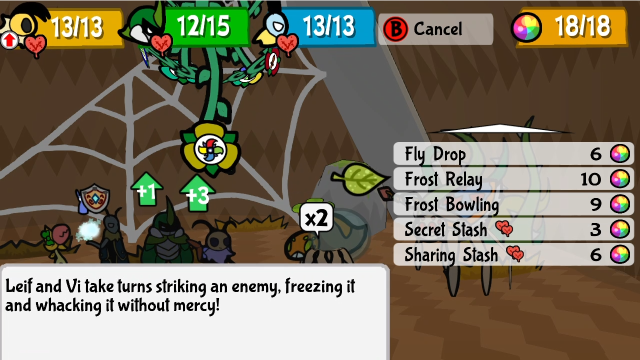 Now let's try a Frost Relay! How damaging will this be with Leif and Vi both at +4?  (Sorry about the GIF quality here, trying to fit this animation into 2MB was quite difficult.) 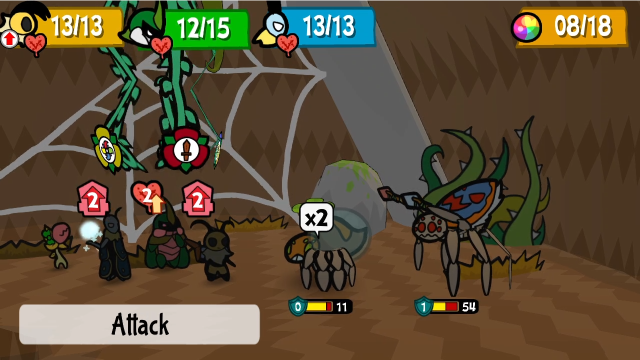 Well, it was a lot of damage, but honestly less than I expected. Before this, I hadn't realised that Frost Relay only incorporates charge-up boosts on each character's first hit (unlike other multi-hit attacks, like Hurricane Toss, Ice Rain, or even Frozen Drill). We could have done a lot more damage had I chosen a different skill. Still, that was fun. We'll have Kabbu relay to Leif to make up for the action deficit (he's one over since I had him use the doughnut first), and end our turn. 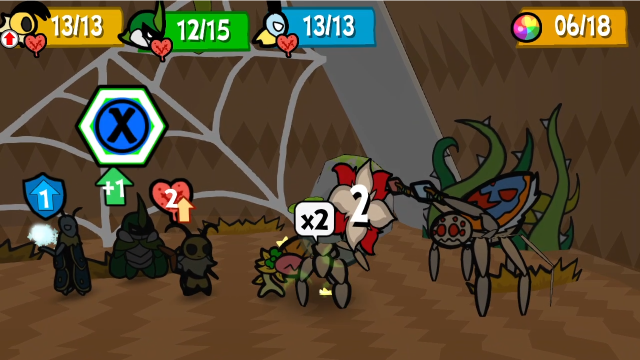 Chompy's still not having any luck with Drowzy Bite, sadly. 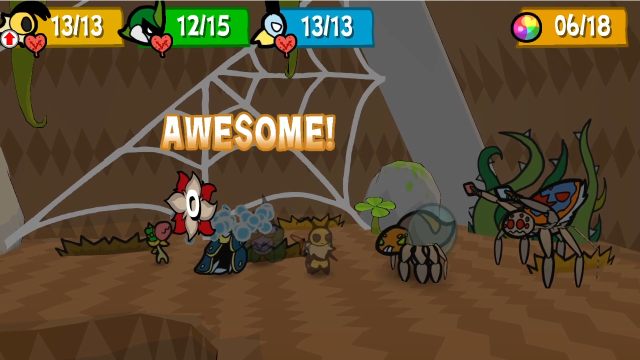 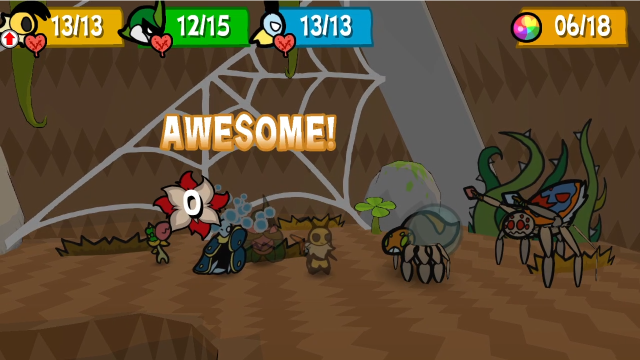 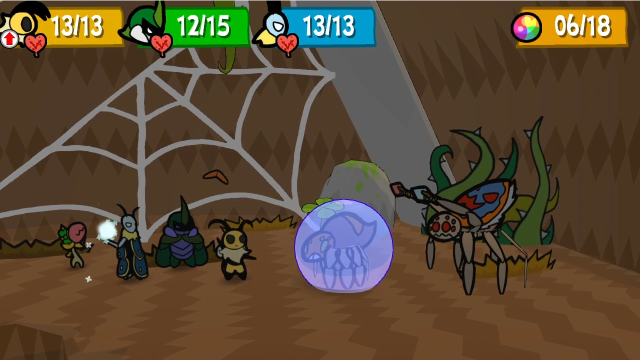 The Diving Spider goes first this time, using its first action to spit two bubbles and then shield itself. 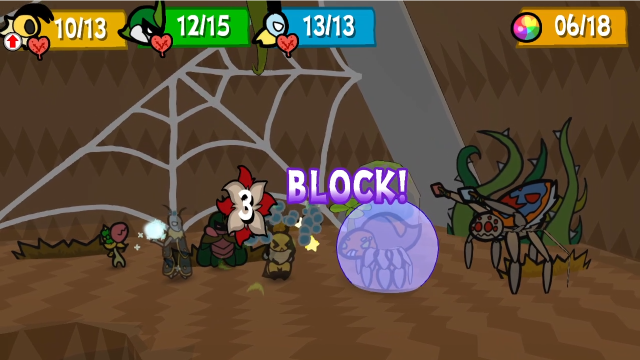 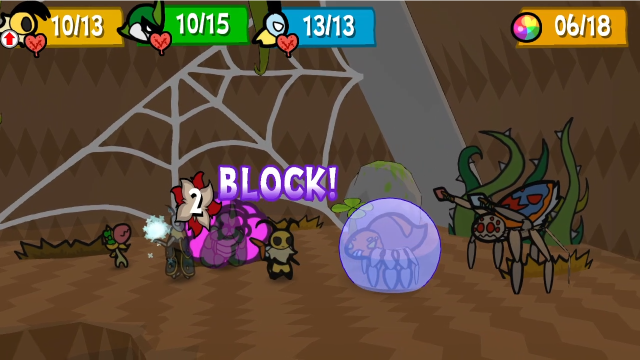 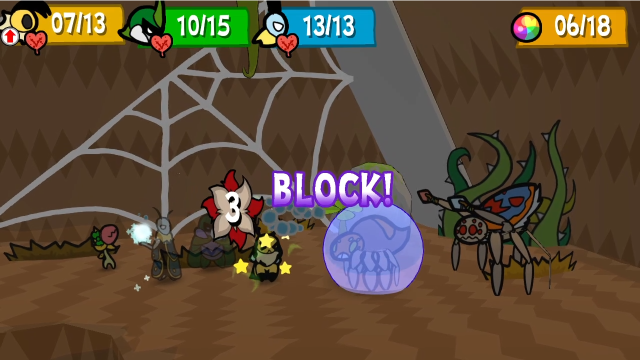 Then it immediately goes again, this time with a 3-hit combo; I don't do nearly as well blocking this time.  The Peacock Spider uses a different dance this turn. The red dance, naturally, boosts attack.  The attack boost is permanent, too. We can't use Leif's Cleanse skill to cheese this fight, since most of the boosts are things he can't remove. (He can remove the bubble shields, at least. If you're really desperate, you can at least remove the permanent boost by killing the spider.)  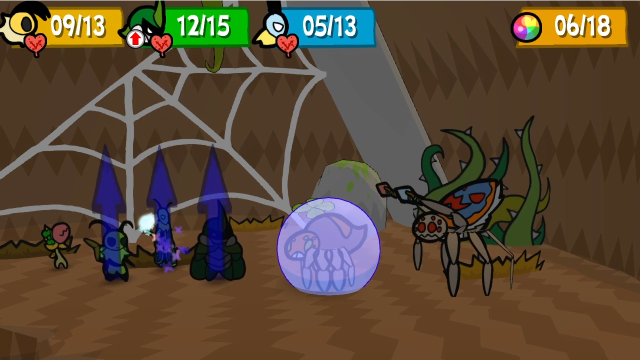 Let's boost ourselves up again. The whole party's back to +2 charge! 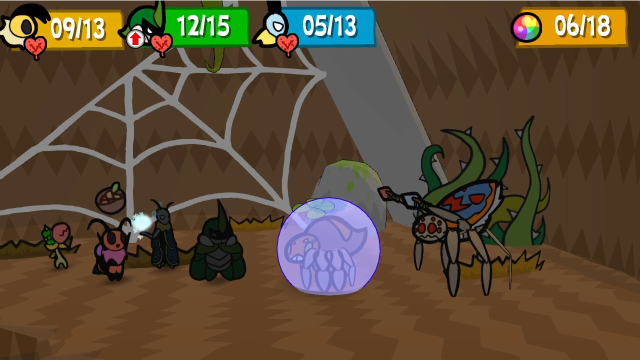 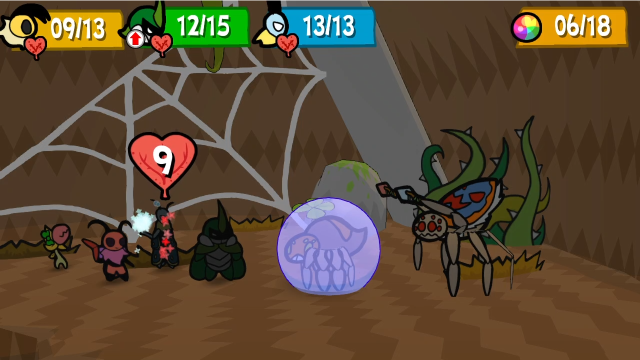 Also, this seems like a great time for a Jayde's Stew! We could use some more TP, and also get Leif out of danger (or set him up to spend more HP on buffs again, either way works). 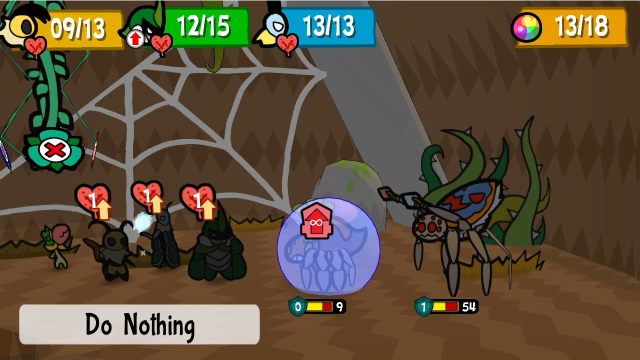 Chompy can't do anything this turn. Poor Chompy.  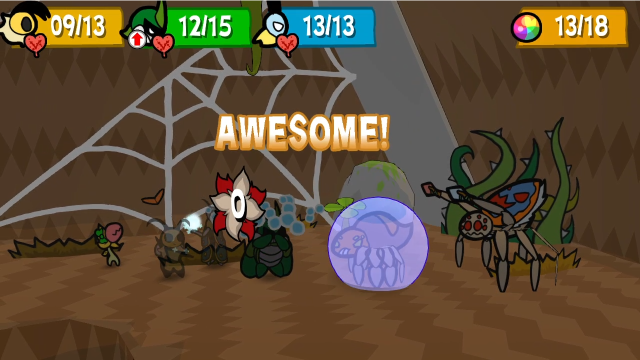 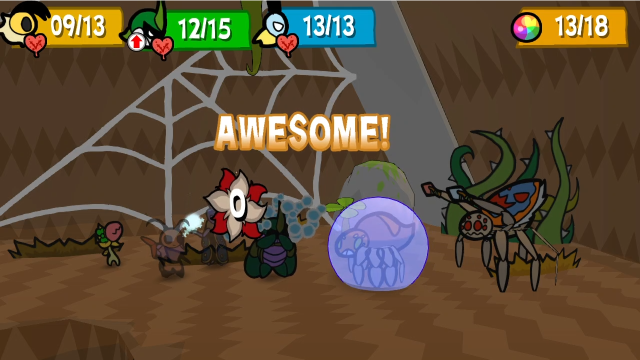 This first combo could have been much nastier if aimed at someone other than Kabbu; between his Super Block+ medals (and some good luck with timing on my part), and the buff from Fortify+, it takes a lot of the sting off. This spider is scarier than it looks, it's taking double turns with boosted attack. 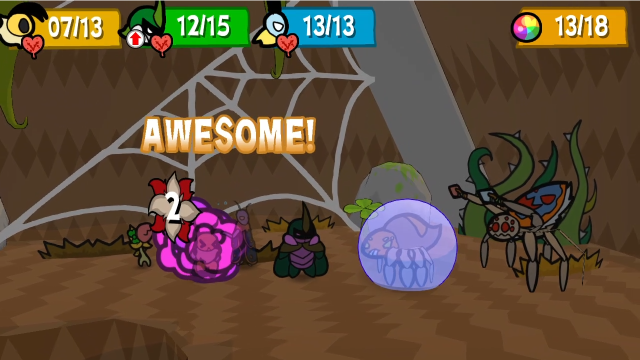 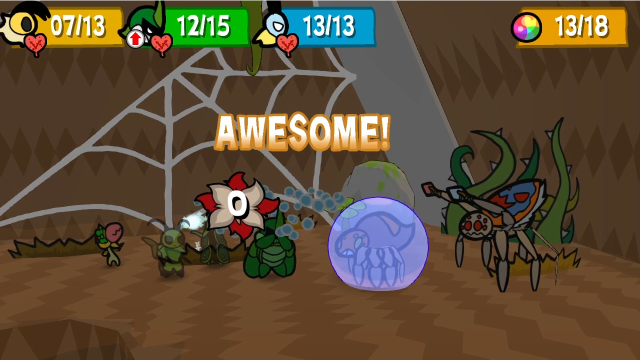 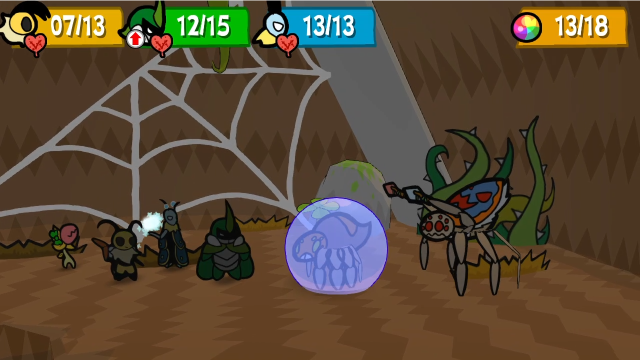 After the second combo, it bubbles itself up again. We won't be killing this spider any time soon, it seems...  Ouch! Apparently the Peacock Spider is getting sick of dancing and would rather beat us up. It doesn't usually use this attack so frequently. (I'll take whatever counter damage I can get, but it still hurts.) 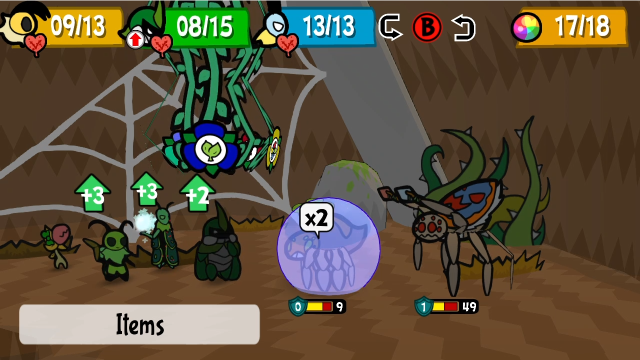 At least we have a full complement (or nearly) of charges here. How should we use these? 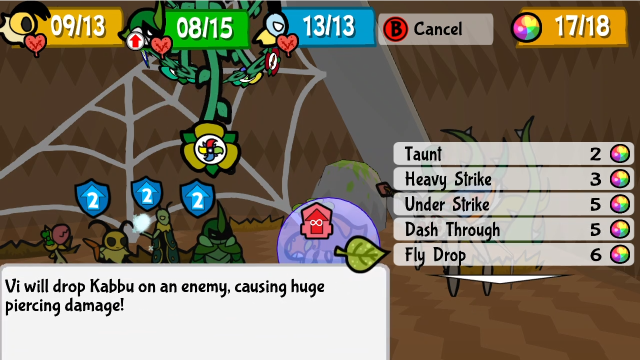 There are better ways to take advantage of them, but I remembered I still need to show off Fly Drop. We haven't seen this yet, so let's use it!  Fly Drop does one really big hit, piercing defence. It's not the best choice here, but sometimes you want one big hit and it can generate satisfyingly big numbers (well, for this game) if that's a thing you're into. The animation is also quite fun, there's nothing like dropping Kabbu horn-first on the enemy. 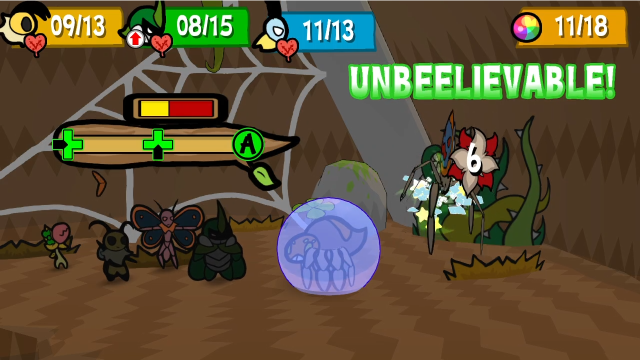 Leif, meanwhile, tries out Frigid Coffin; it does decent damage, but doesn't manage to freeze. (The odds weren't in our favour here, since we'd frozen it once already during the Frost Relay. It starts with 75% freeze resistance, so it's at 93% resistance here, or a 37% chance of success with Frigid Coffin.) 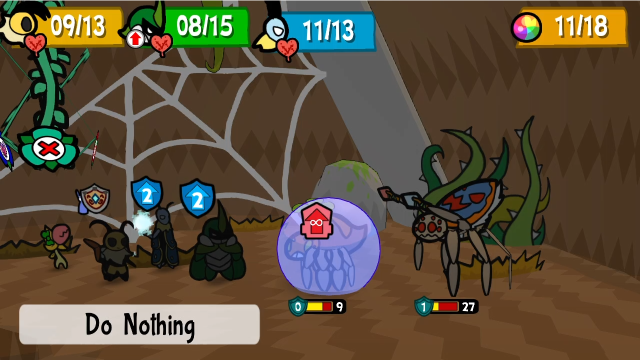 Chompy still can't do anything productive, sadly. 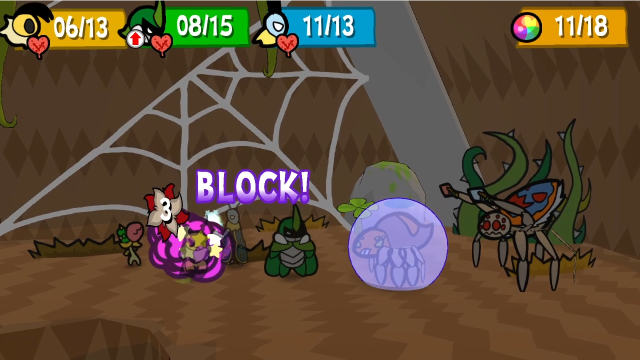 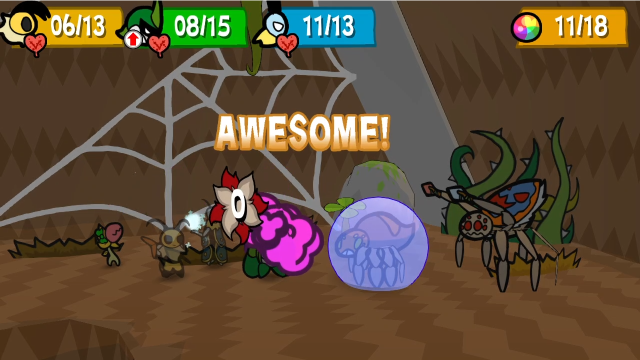 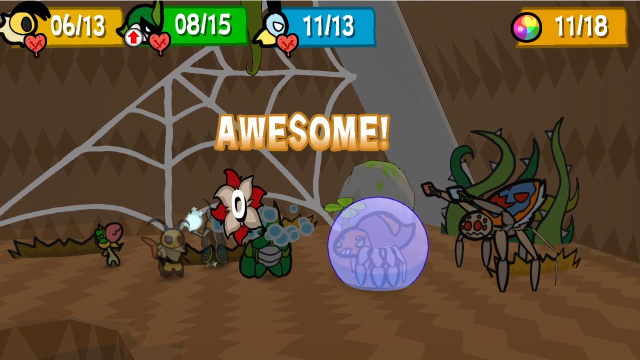  We got a bit lucky there: both combos went for only two hits.  Not there, though. There's no way Vi would be surviving that, even with perfect blocking. 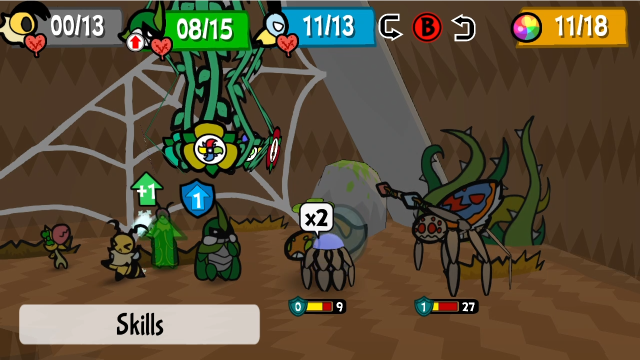 What to do?  Well, we have plenty of TP, so Kabbu's Pep Talk can get Vi right back into the action.  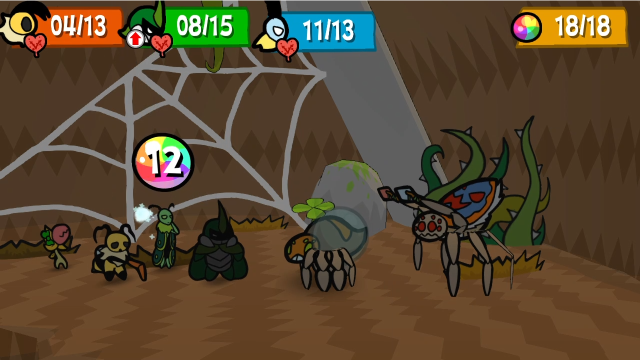 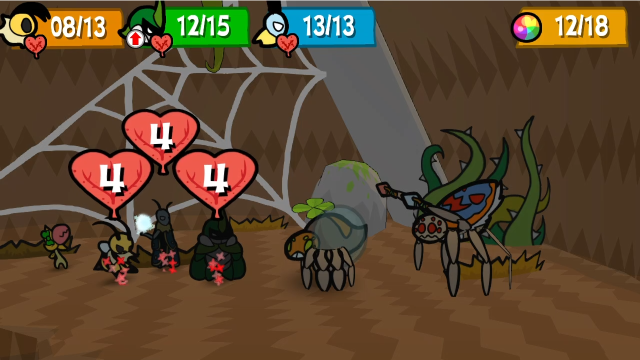 I think it's probably best to spend the rest of this turn regrouping rather than going on offense again, though. 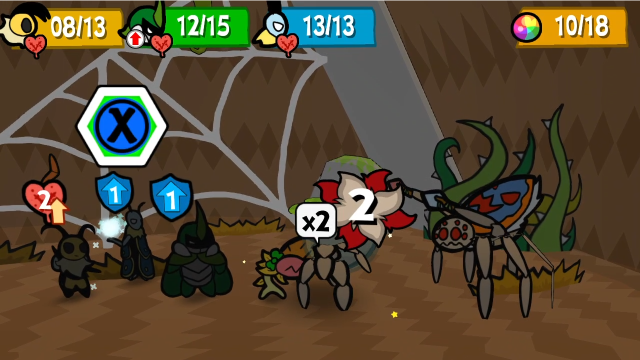 There we go! Finally, Drowzy Bite actually sends the spider to sleep. Have we earned a bit of respite?  What's this? Did the Peacock Spider just smack its ally?! I call this move the wake-up slap. It will always do this if its ally is suffering a disabling status effect (sleep, freeze, numb); it deals 1 damage, but cures the status so it can attack. This attack also can't kill, it would leave the spider on 1 HP instead.  Then goes right into its turn, which is another dance. This is the healing dance, a slightly different colour red than the Attack Up dance we saw before. (Honestly, it's underwhelming, 2 HP barely matters... this is the closest it can come to outright skipping its turn.) 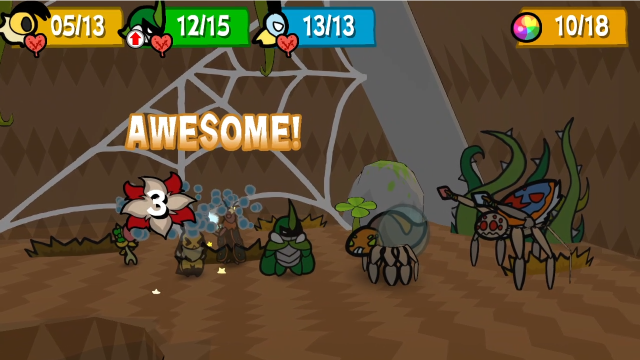 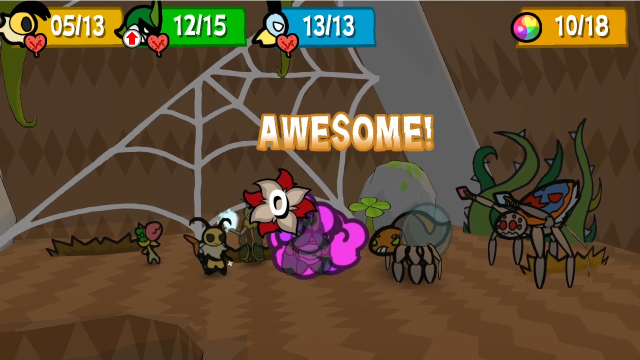 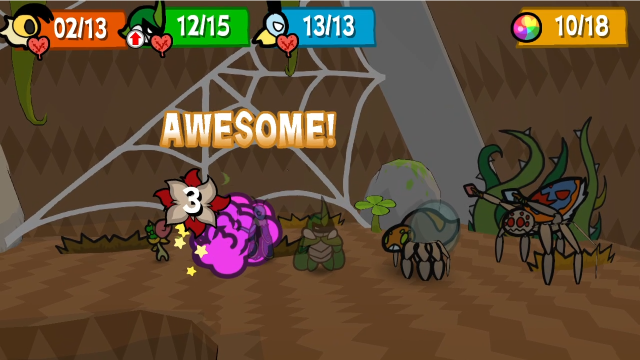 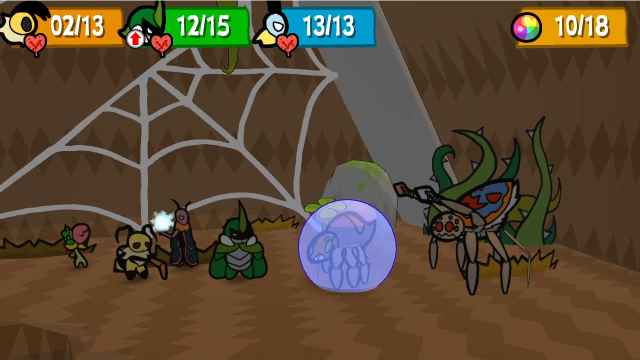 The Diving Spider goes immediately into its turn after that, hitting us with a combo and then shielding itself. It only took one turn, though (I'm not sure if it's intended behaviour that it didn't get its extra turn). 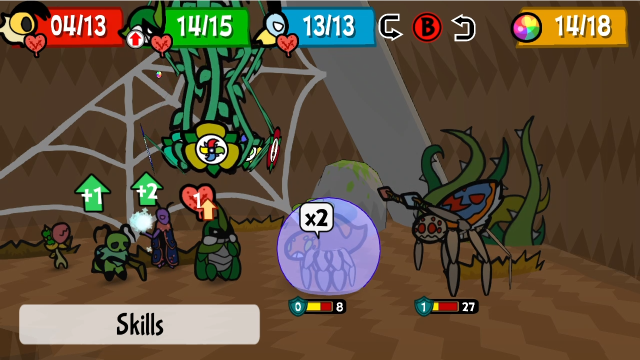 Well. Status effects definitely aren't the answer... 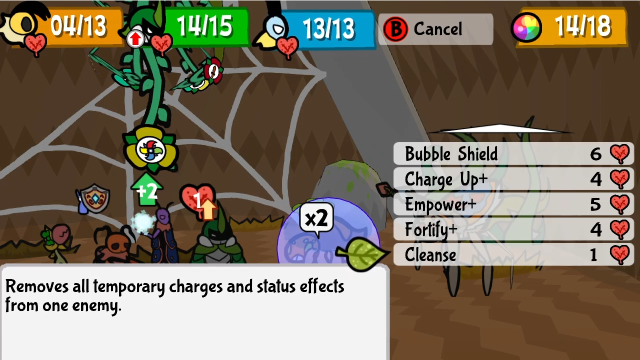 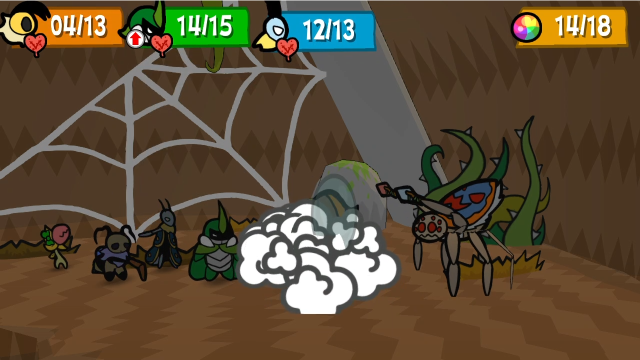 I've had enough of this spider. Let's just get the shield off and kill it? 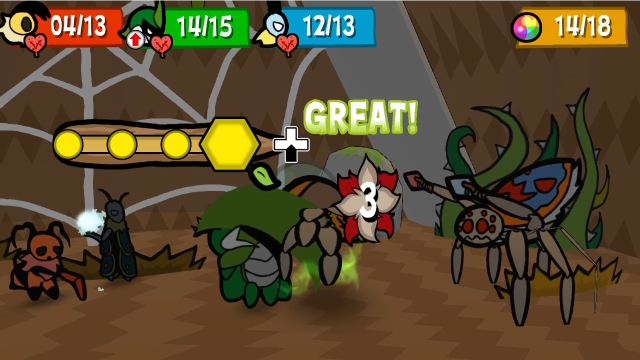 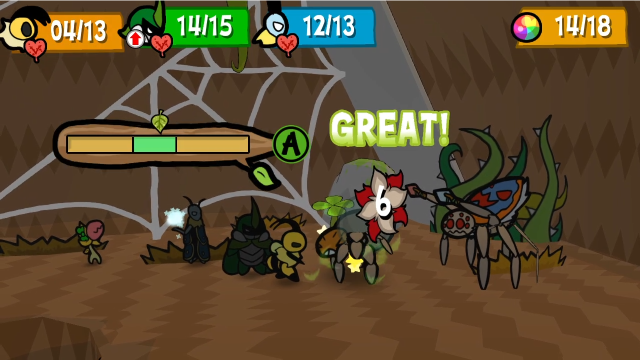 That spider is definitely dead. 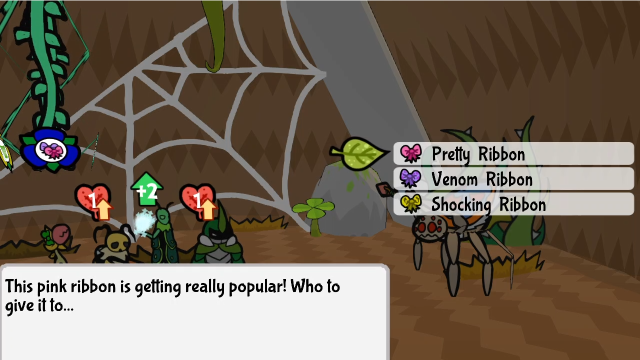 Let's have Chompy switch back to the Pretty Ribbon. Now that we've seen how status effects work (or don't) in this fight, it's silly to keep trying them.  Killing the spiders only goes so far, though! If it's ever alone, the Peacock Spider immediately calls for more. 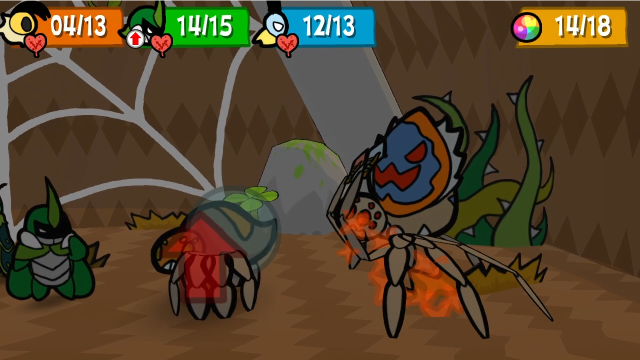 And immediately boosts it. 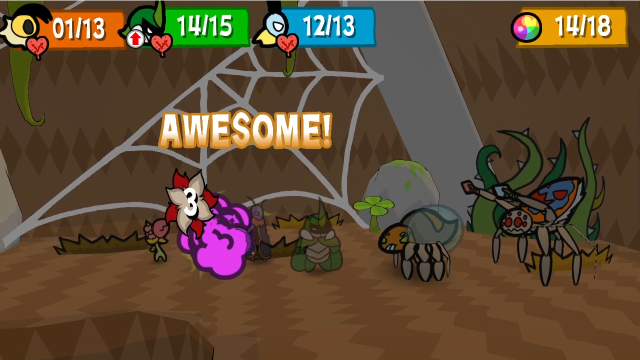 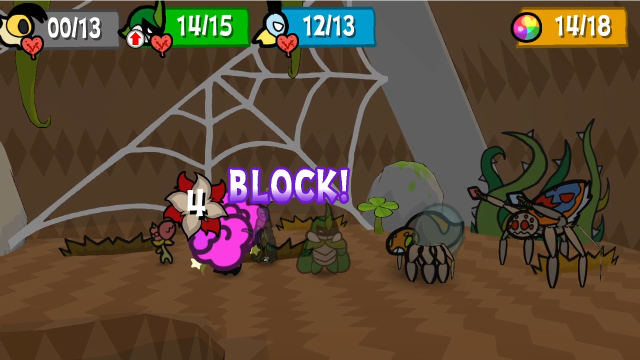 Then the spider immediately focuses down Vi. That could have gone better. 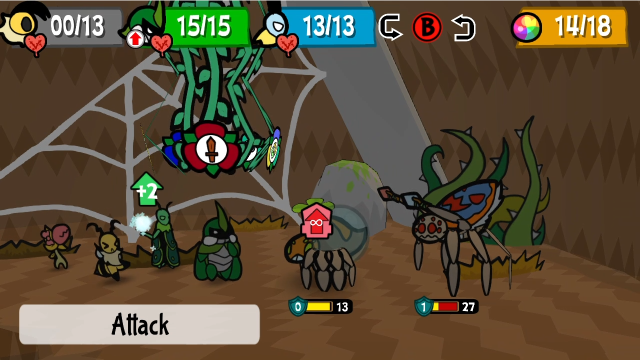 So, killing the spiders really isn't worth it most of the time either, since it basically just resets the buffs on it. That can be worth doing if it's accumulated enough of them, but it's not really a viable strategy in this fight, and most of the time you're far better off just focusing damage on the boss. 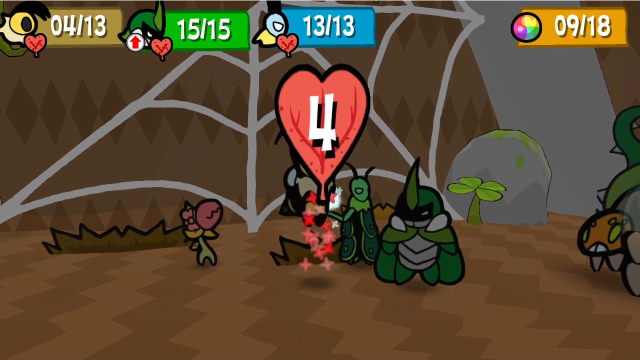 Let's get Vi up again, to start. 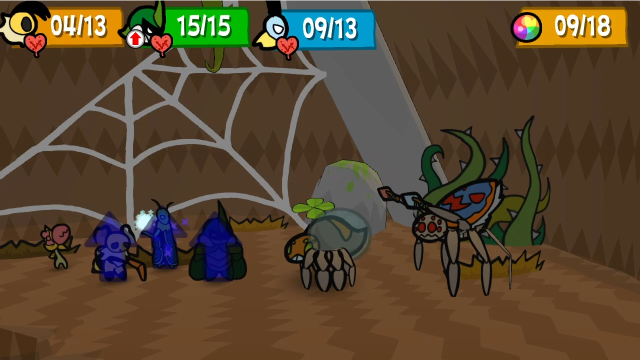  Defence and healing seems prudent. 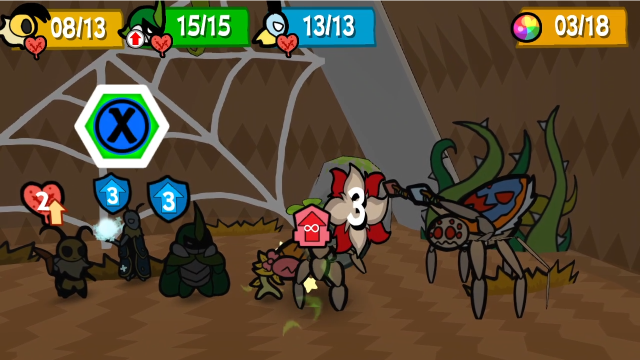 Chompy will do what she can, though unfortunately it only matters so much. The spiders almost always block her access to the boss. 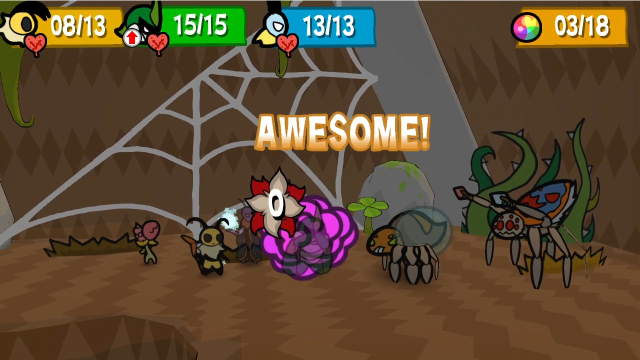 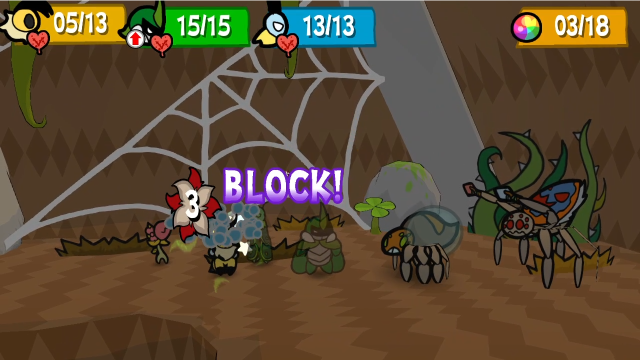 This is a lot less painful than taking two combos a turn, at least, so killing the spider did get us a minor benefit?  Here's another new dance! This is, as you may have guessed, a charge-up dance. 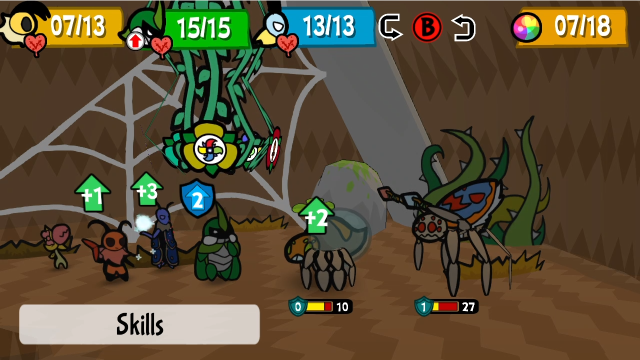 The charge-up dance gives +2 charge-up for the next attack. This is one of the more dangerous boosts, especially when it also has Attack Up; when the two of those combine, it's often a good idea to kill the spider before it attacks if you can. 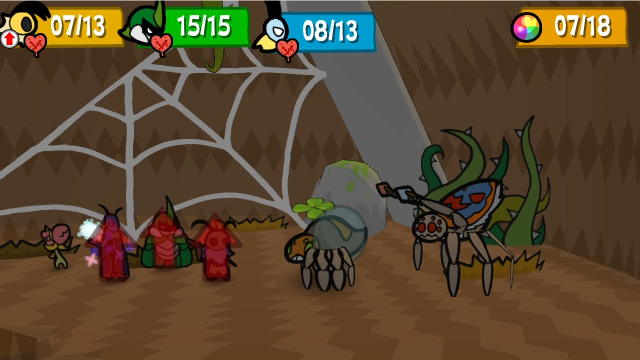 Here, though, I'd rather kill the boss instead; scary as it is, we're healthy enough to weather the hits. Leif will boost us first.  We've had our fun with the fancy team attacks, let's just use good old Hurricane Toss. 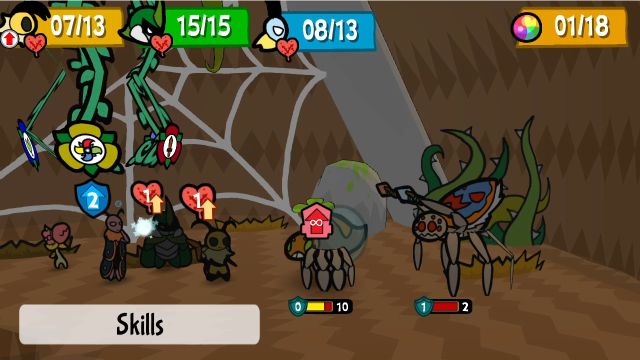 It's not quite enough for the kill by itself, but it definitely brought it within killing range. 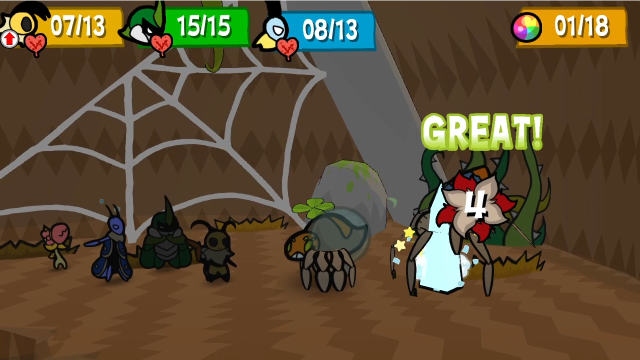 Leif, do the honours! 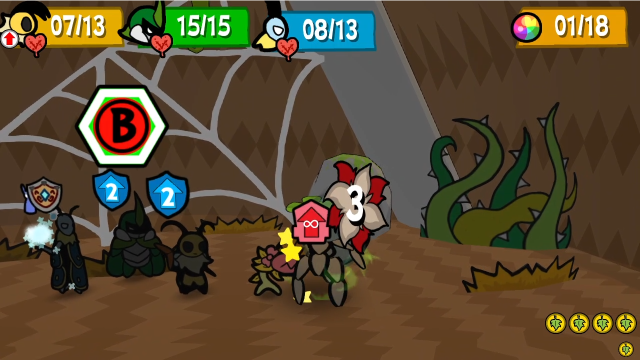 Chompy's doing her best to help. 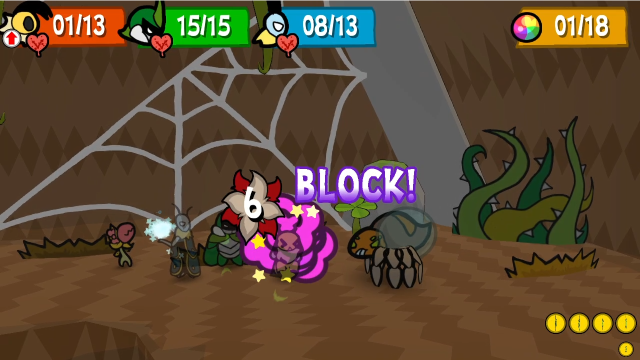 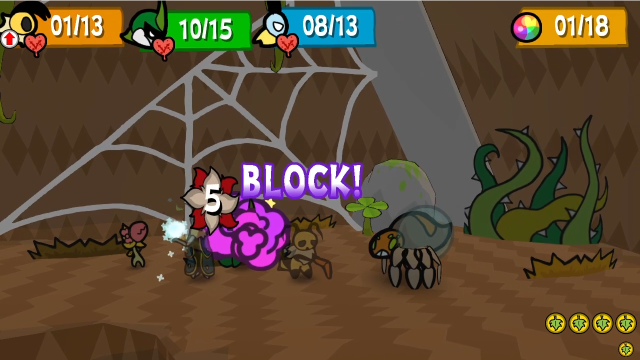 Ow.  That said, the fight is over. 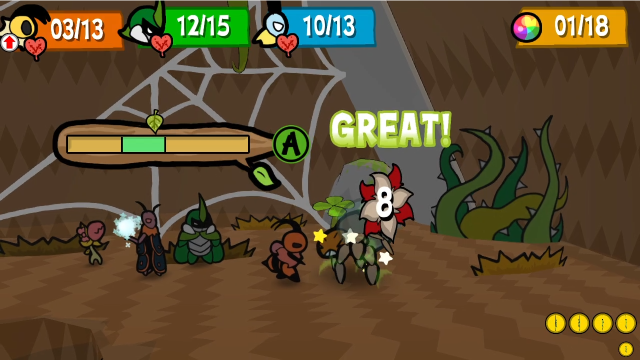 Get out of here. 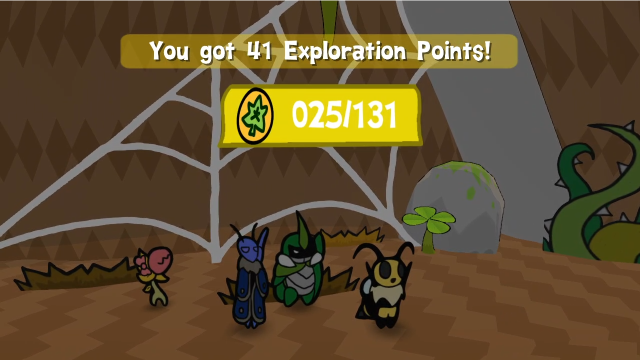 Peacock Spider is worth a lot of EXP, more than enough to get us another Rank Up! 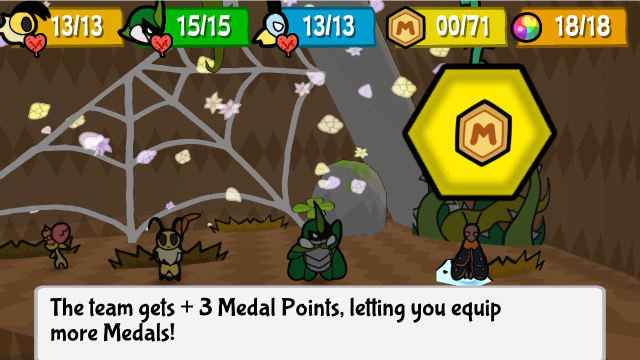 As usual, let's get ourselves more MP. 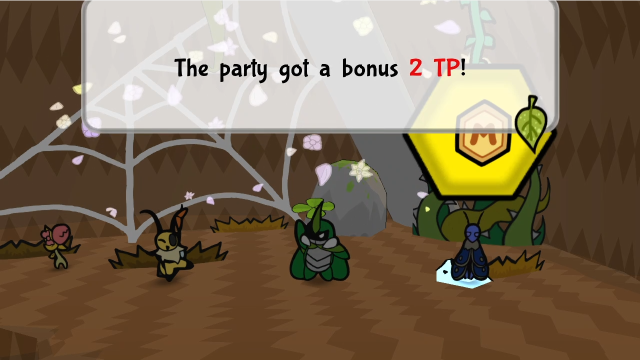 For reaching Rank 24, we get a free bonus of +2 maximum TP. That's pretty nice! You certainly won't catch me complaining about it. 25 - Caves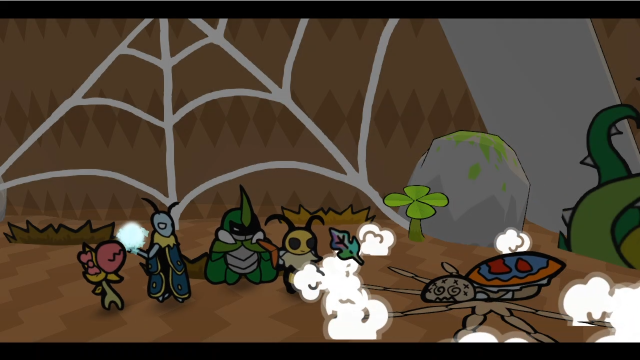 Like Spuder before it, the Peacock Spider looks very silly once it's been defeated. 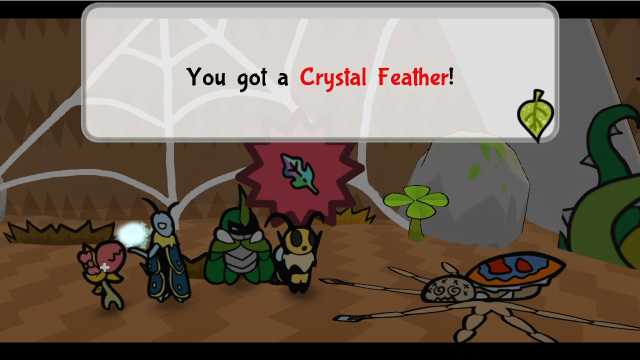 And, like the other Bounties, we get a trophy to take back as proof for Doppel. 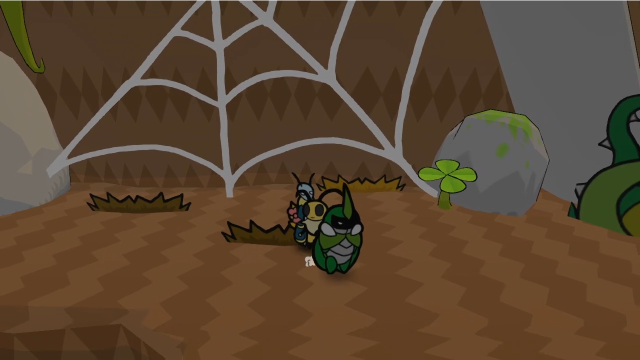 Now that the boss is dead, there's a new banter here: If...if we weren't explorers, we might have met our end to that spider. We were completely baited by it... Not me. I couldn't hear it at all! What matters is, no other unfortunate soul will meet its end here.The Peacock Spider is very clearly meant to be a take on the legends of sirens luring sailors to their death with irresistible music. As a boss, it's a bit gimmicky, but I quite like it overall. (We saw pretty much everything it can do; the only thing we didn't see is the Defence Up dance, which behaves just like the Attack Up one, but has blue sparks and boosts defence instead.) It's pretty rare to see a boss take a primarily support role like this (especially when it's supporting disposable minions, rather than another character). That said, it's a bit more interesting in theory than practice, because the fight is structured to make it almost entirely futile to do anything other than focus damage on the boss. It's still a good change of pace from the other bosses we've been fighting, and a way to remind us that normal enemies can still be intimidating with the right context. On some level, though, I wonder if the Hard Mode changes might be for the worse in this fight. On Normal, you have the additional consideration of "what type of spider do I prefer to be fighting", which might affect whether or not you want to kill the one in front of you and roll the dice on what will replace it. By making it only Diving Spiders, they've made the difficulty more consistent, but removed some of the variance that makes it interesting... 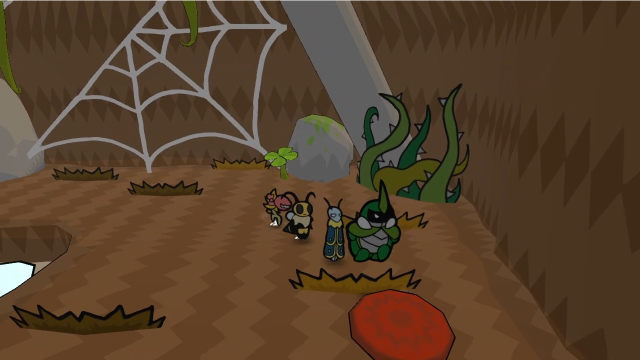 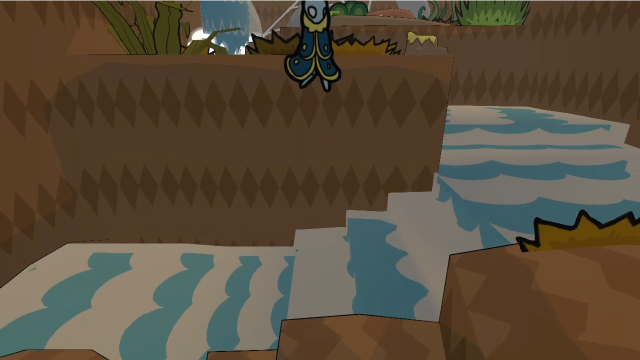 Now that the boss is dead, there's nothing else we can do in here, so we have no reason not to launch ourselves back out via this mushroom. 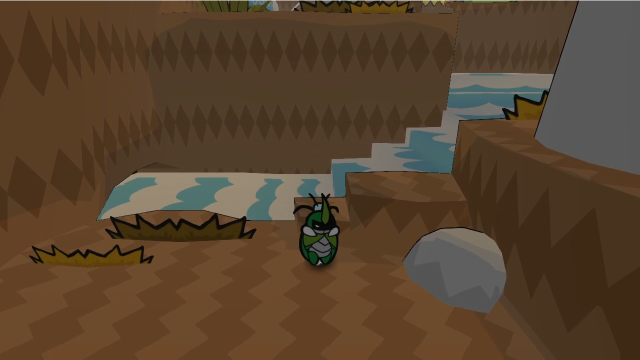 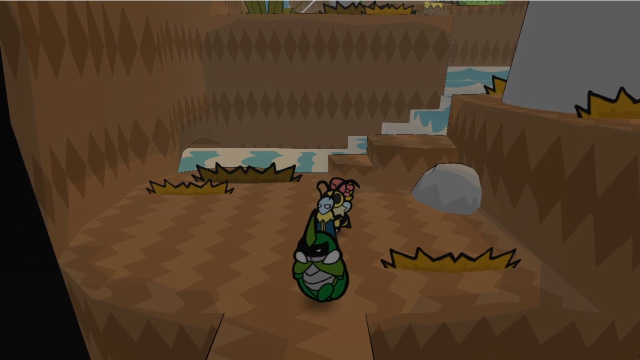 Let's get out of here. 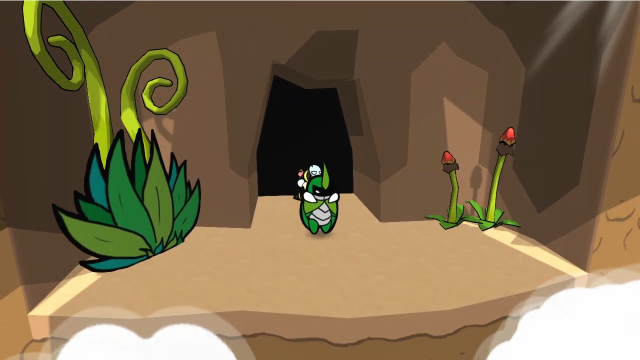  We need to fly back through the waterfall to get out of here.  Venus doesn't have anything new to say, but we still need to investigate the back half of the island. 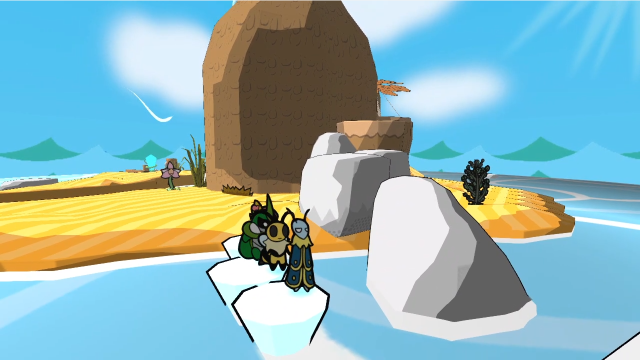 We can't get over the rocks, but if we build a path far enough out in the water, we can find there's a gap between them. 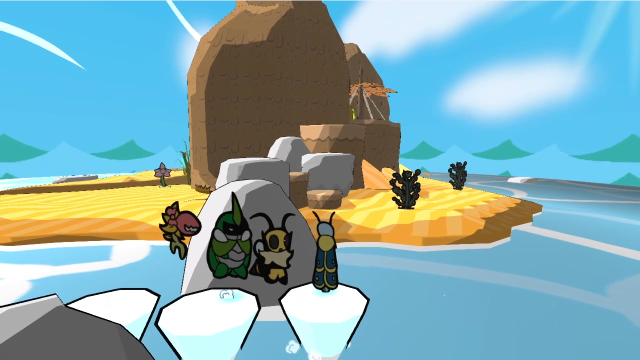 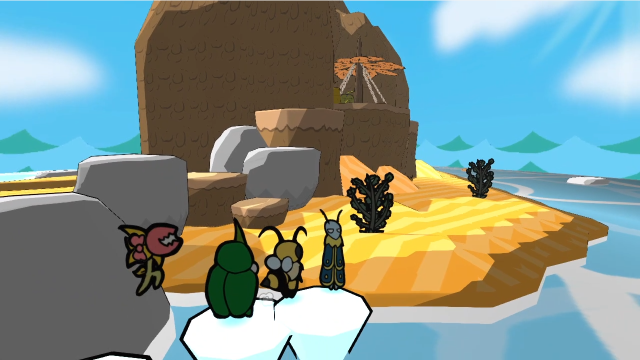 So all we have to do is make a path around, and we can reach the far side. 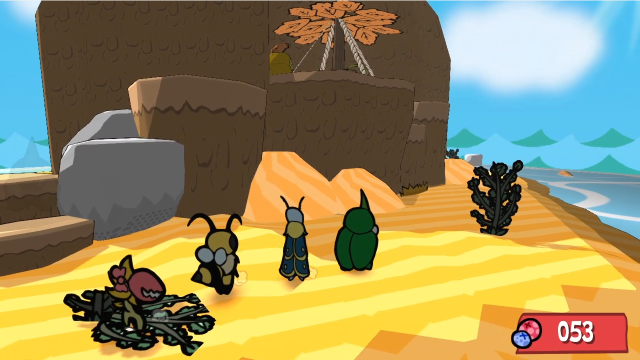 There isn't anything of note to be found in the weeds here.  It looks like there's some kind of campsite up on the cliff there, we'll definitely need to investigate that... 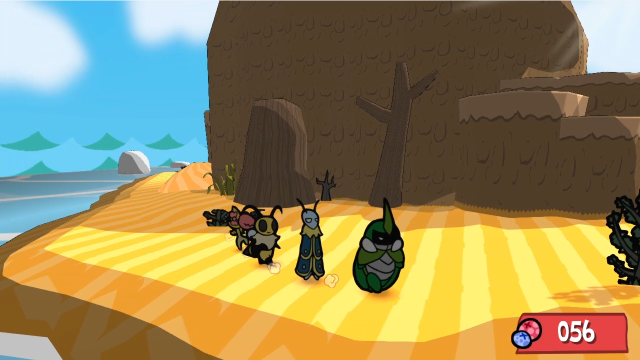 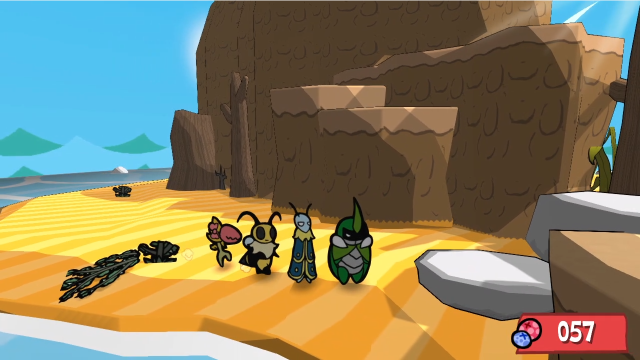 If we walk all the way around, we can eventually find some rocks we can climb up to get back to the front of the island. It's a bit quicker than building our way around with ice again, but we're not quite done here yet, so let's not. 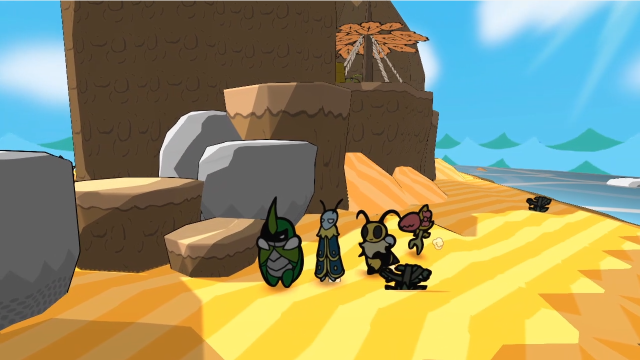 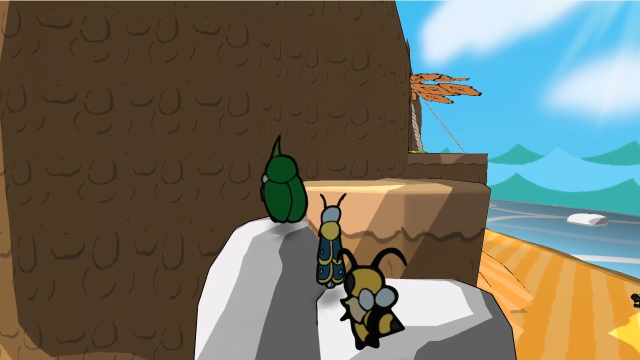 Let's climb up. 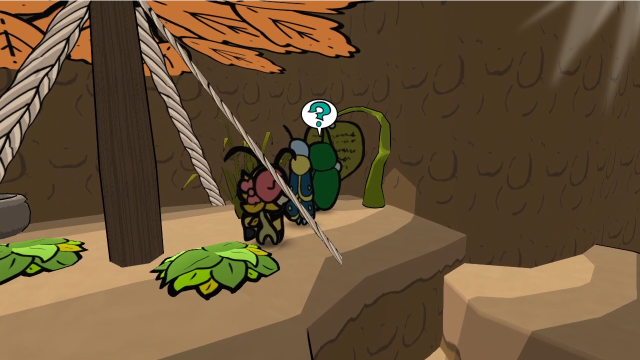 There's not a whole lot to see up here, except this message we can read. What is this? 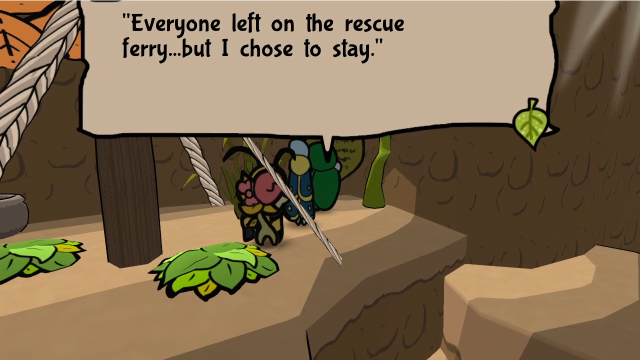 There's such a soothing beat... How could I leave this place behind? There's such a soothing beat... How could I leave this place behind?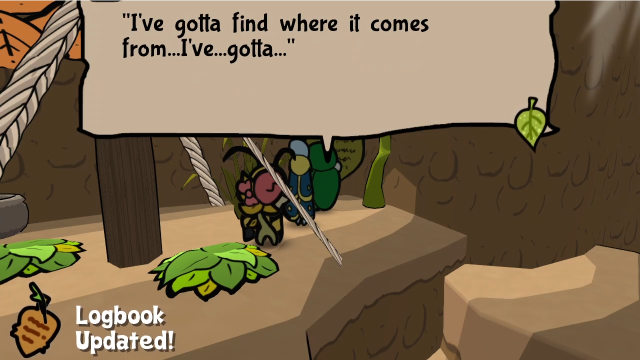 This person definitely didn't survive. We do get a discovery, though... 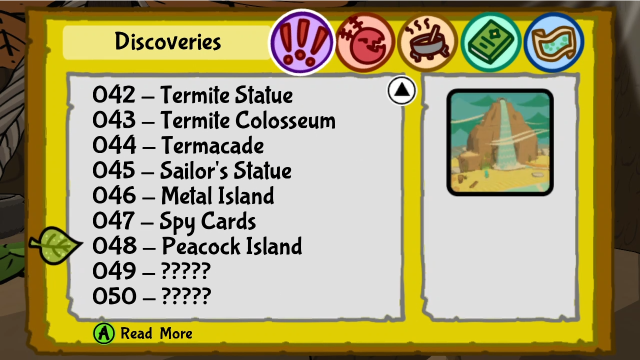 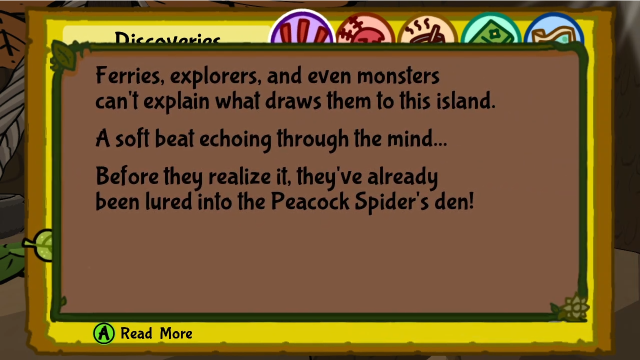 This doesn't tell us much of anything we didn't already know, but all right. (This island is, creatively, known as "Peacock Island".)  Let's not drop down just yet, we should check out the upper ledges here. 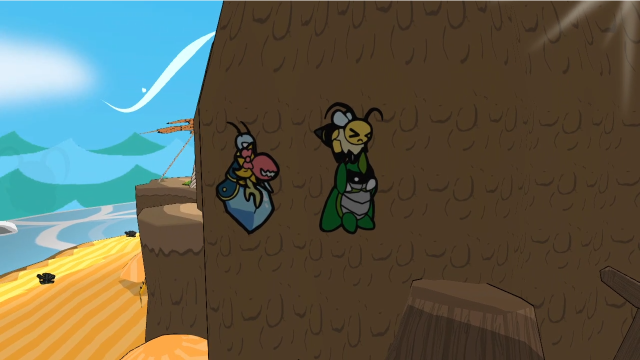 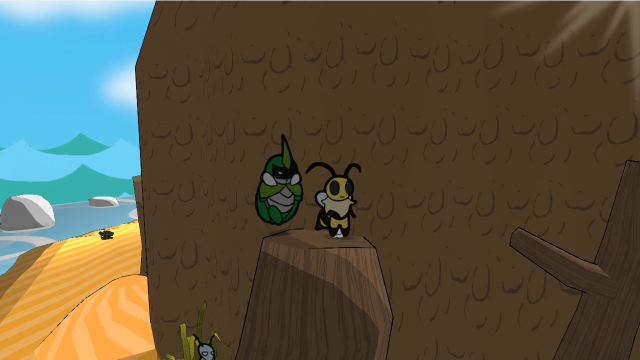 It might not be immediately obvious, but we can fly around here and find another ledge to land on. 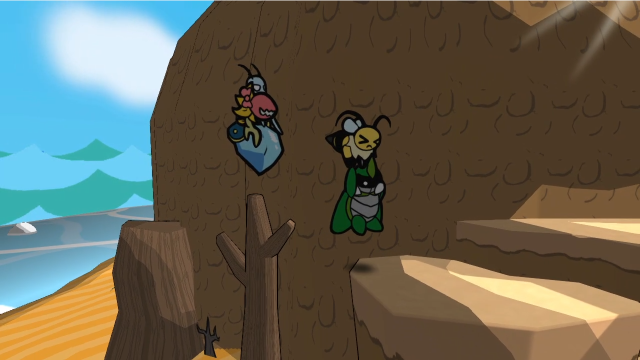 Then fly across again to reach this cliff.  There's not a lot here, but there is a diggable spot! 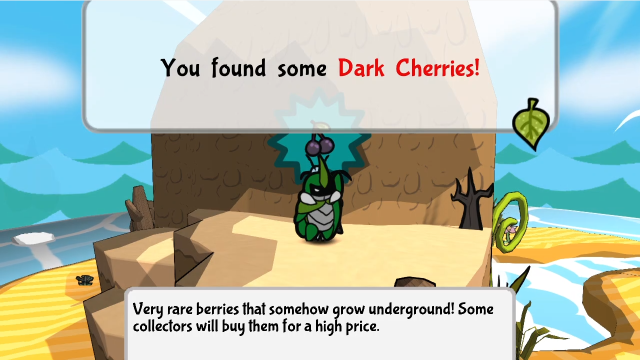 It has Dark Cherries inside. I certainly won't complain about these. 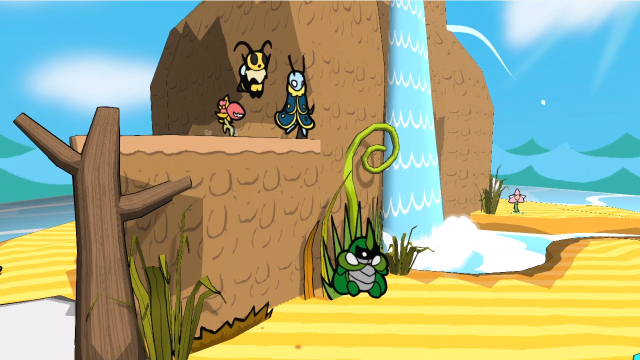 From there, we can just jump down. 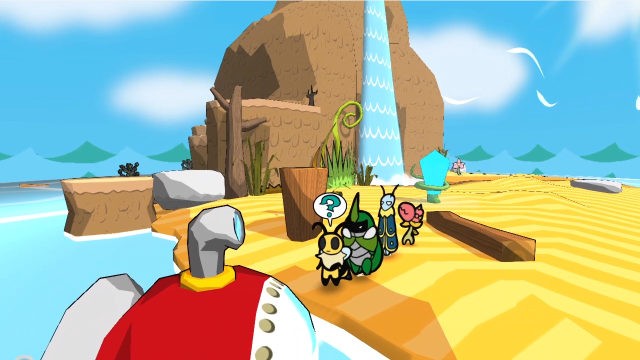 That's all there is to see here! That's Peacock Island. Let's head back to our sub. 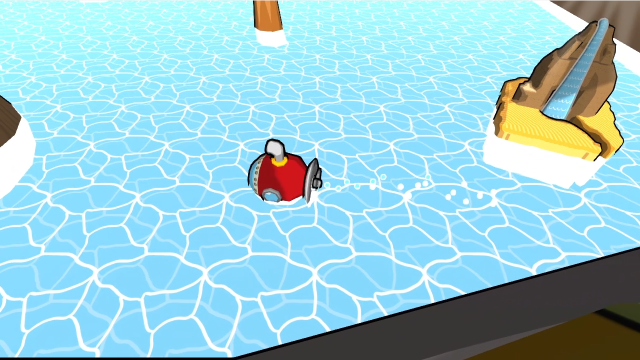 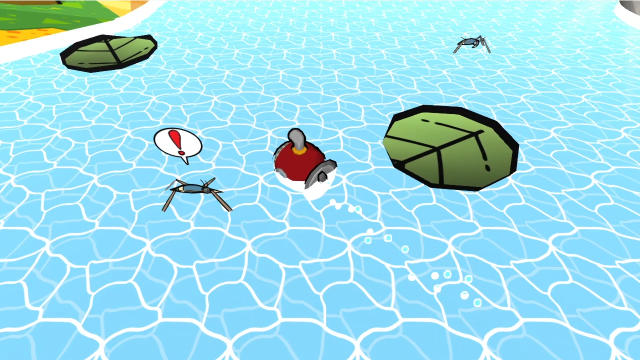 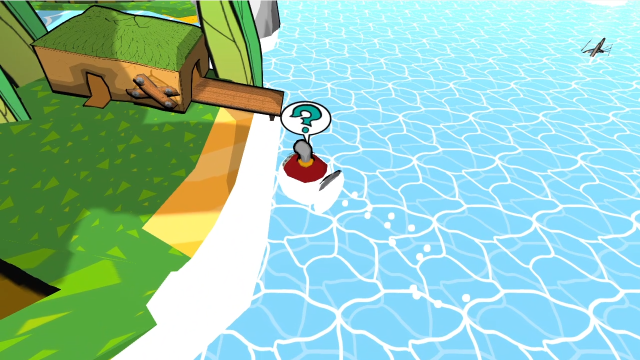 Let's head back to the Ant Kingdom; we should probably make a quick detour to turn in the bounty, while we're at it... 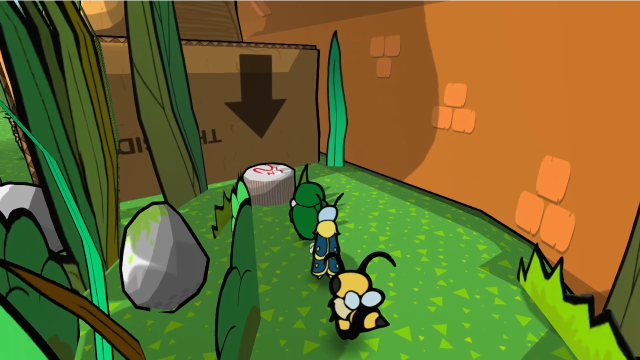 34 - Dodgy Business 34 - Dodgy Business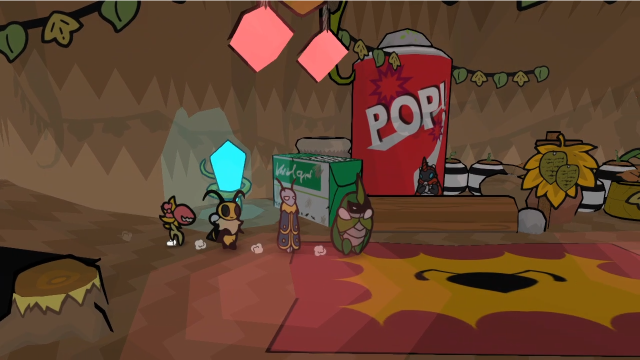 Let's talk to Doppel. 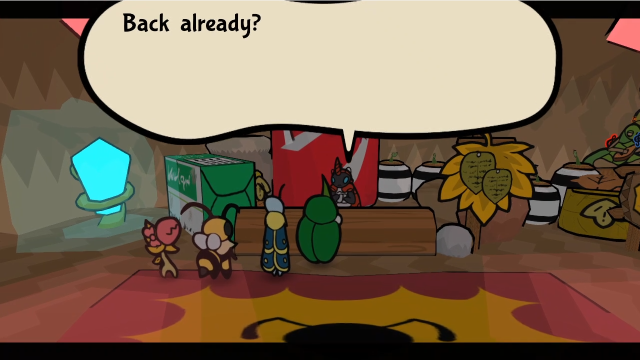   May I have that crystal it dropped? May I have that crystal it dropped?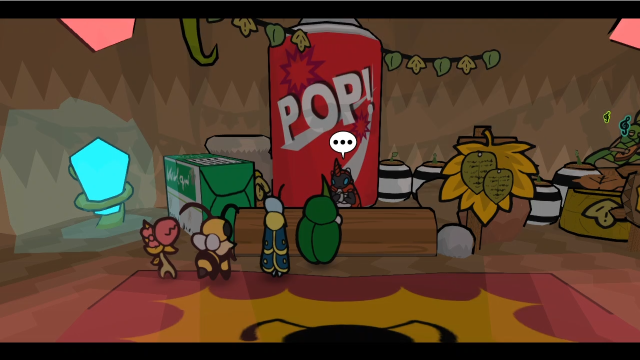 ...Yes, this is a genuine deal. Here is your reward. ...Yes, this is a genuine deal. Here is your reward.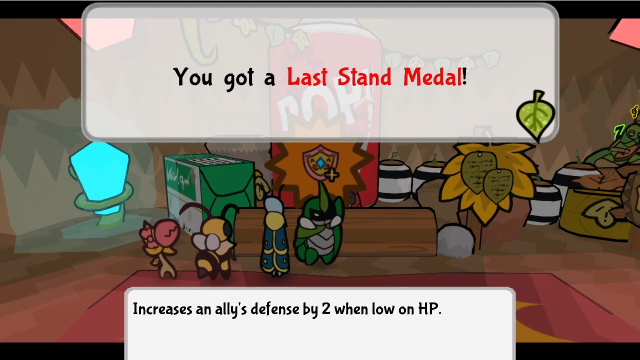 There's our second copy of Last Stand, to parallel the two copies of Last Attack we got earlier. This can be a bit tricky to use, but with two of these you can do some serious tanking. 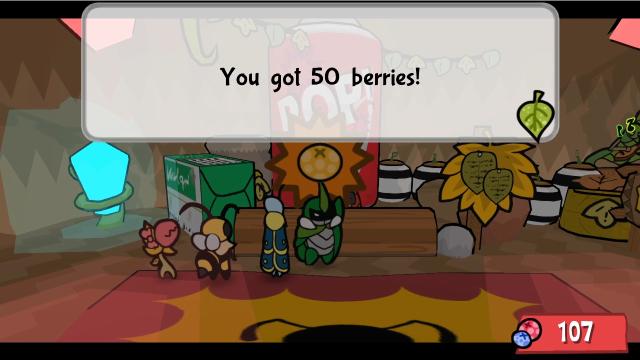 Well, would you look at that. You actually did it. Well, would you look at that. You actually did it.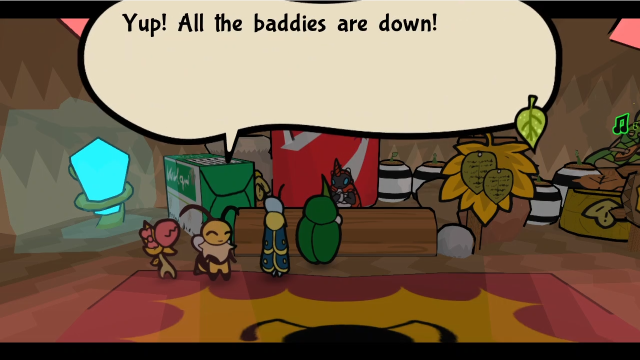 You weren't kidding, Doppel. They were quite troublesome to deal with. Knowing Bugaria is safe from those monsters is a great relief! ...Ain't that the truth. I'll give you something extra, for all the trouble you've gone through. You weren't kidding, Doppel. They were quite troublesome to deal with. Knowing Bugaria is safe from those monsters is a great relief! ...Ain't that the truth. I'll give you something extra, for all the trouble you've gone through.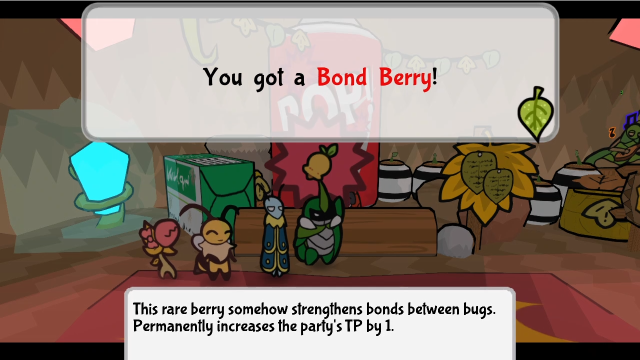 Neat! Thanks, Doppel! Take care, you brave bunch. Neat! Thanks, Doppel! Take care, you brave bunch.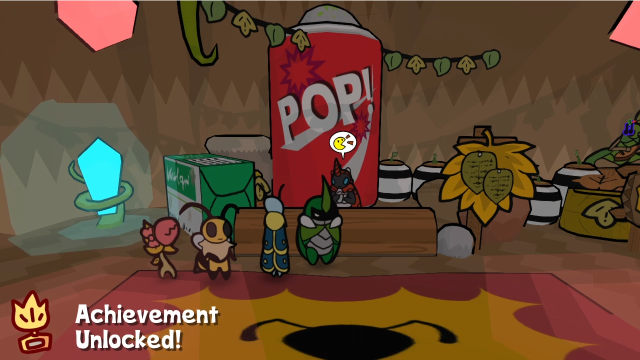 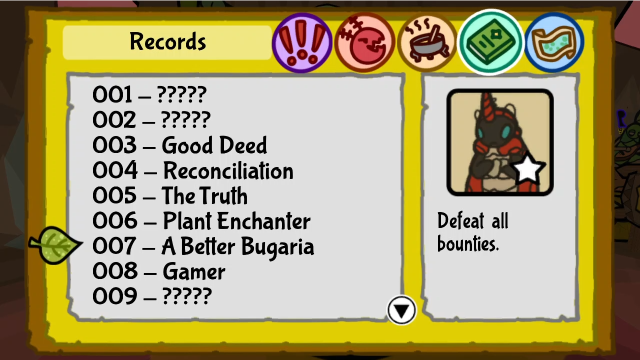 For defeating all five Bounties (and reporting them in), we get yet another achievement. And also a Bond Berry, which is a nice bonus as rewards go, especially since we've been getting plenty of useful medals along the way. 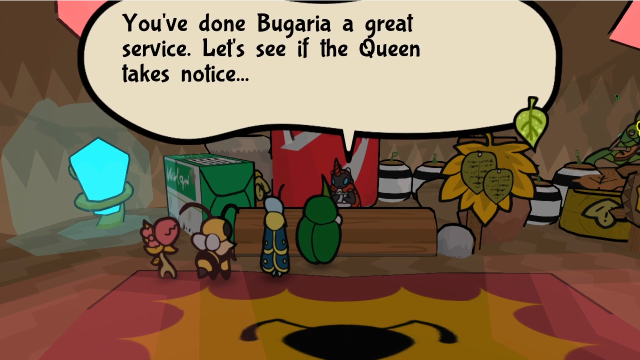 If we talk to Doppel again afterward, this is what he'll have to say. Did he actually have altruistic motives all along? We'll never know. 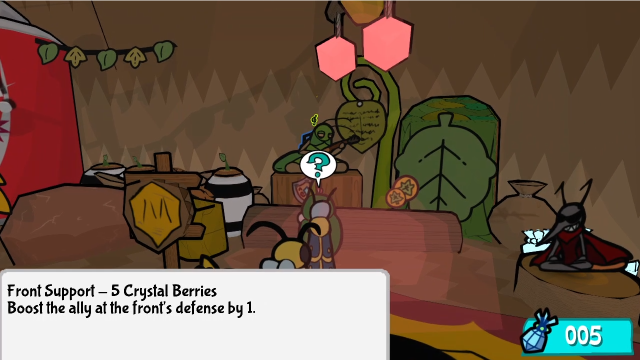 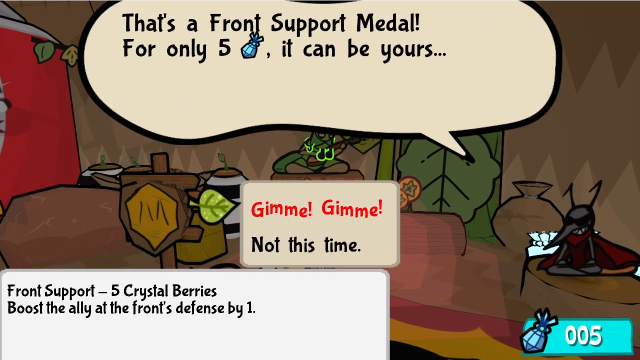 While we're here, let's buy this from Shades finally.  Kehehe! Here you go my lovelies... Kehehe! Here you go my lovelies...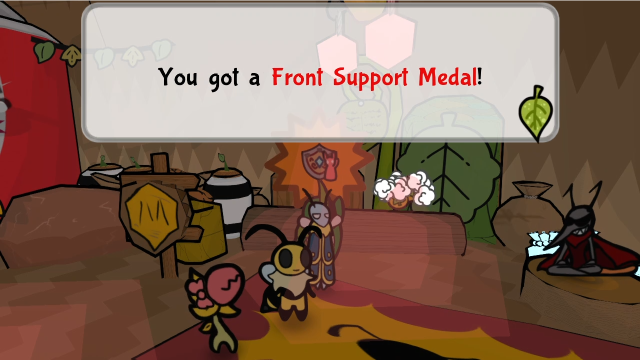 Come back if you still have any berries left to spend! Kehehe! Come back if you still have any berries left to spend! Kehehe!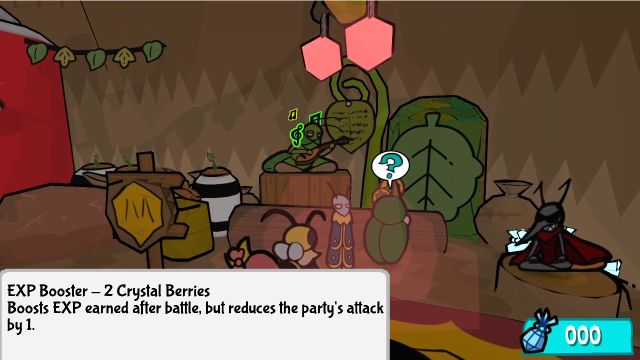 Well, we don't have any berries left to spend. But this is all he has left now, which means there are only two Crystal Berries left to find in the rest of the game. We're definitely in the home stretch here. 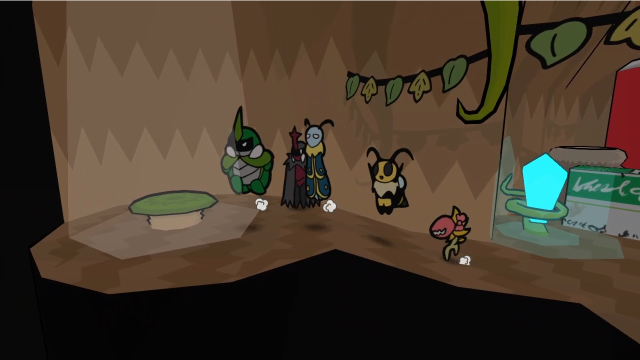 For now, let's head back outside. 17 - Ant Kingdom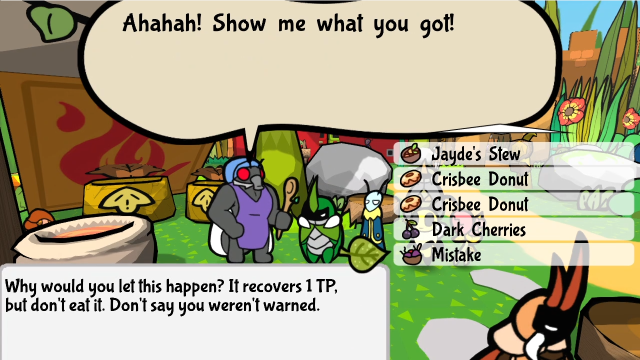 Fry's right here, so let's make that final recipe we're missing, shall we? 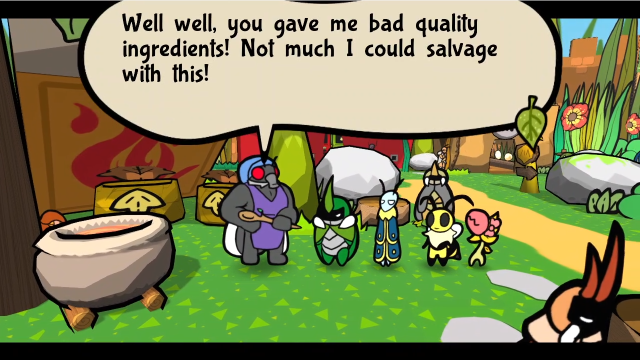 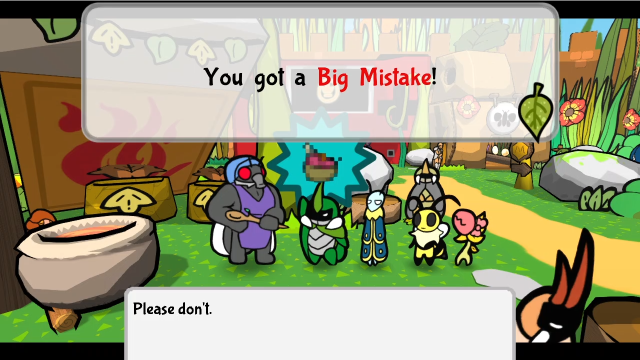 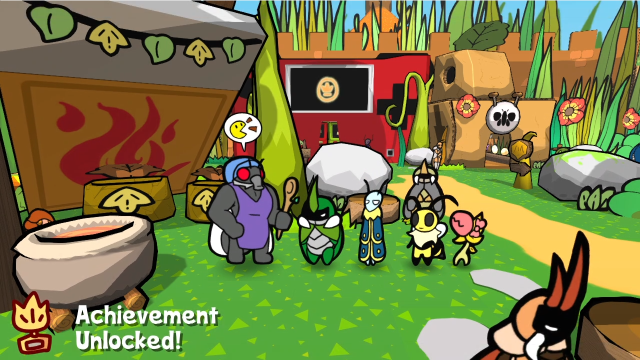 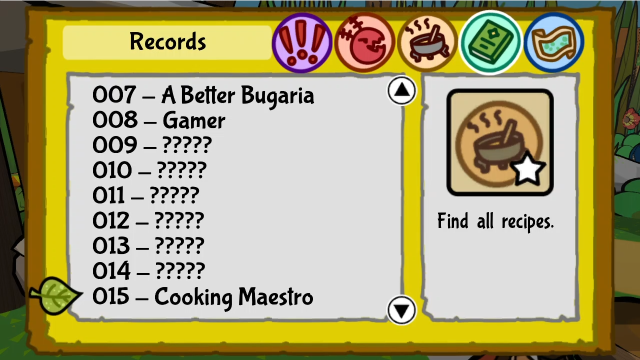 For completing the recipe log, there's another achievement. These are coming along rapidly now, aren't they? (Though, clearly, judging by that gap there are still quite a few left.) 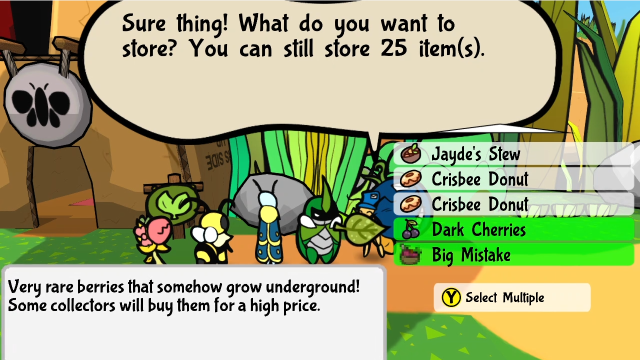 Amber can have those Dark Cherries for now (and the Big Mistake too, why not). 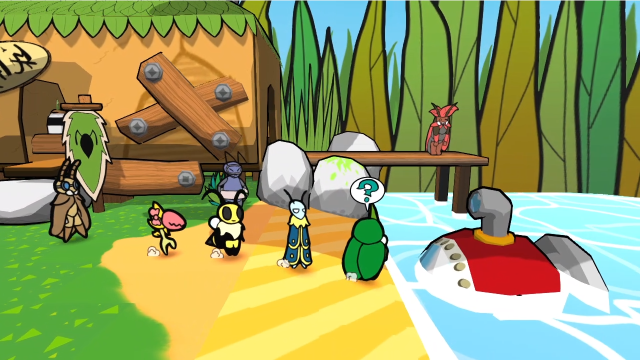 Let's head back out to sea again. (And split the post, sigh, the character limit is a thing. Back shortly.) Explopyro fucked around with this message at 21:53 on Jun 8, 2022 |
|
#
?
Jun 8, 2022 07:33
|
|
|
64: Dancing With Danger (Part 2) 67 - Snug as a Bug in a Sub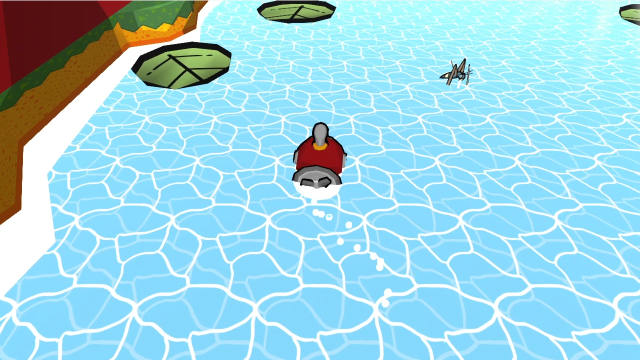 Let's head north this time. 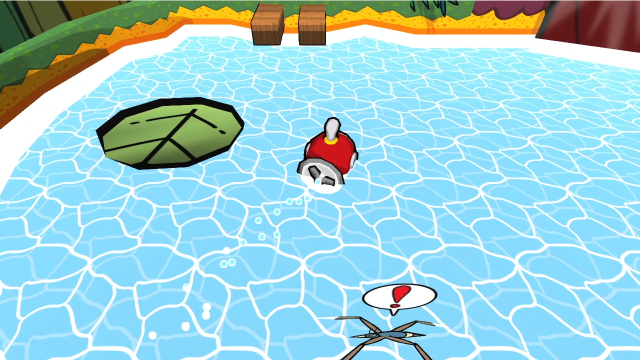 What are those docks? 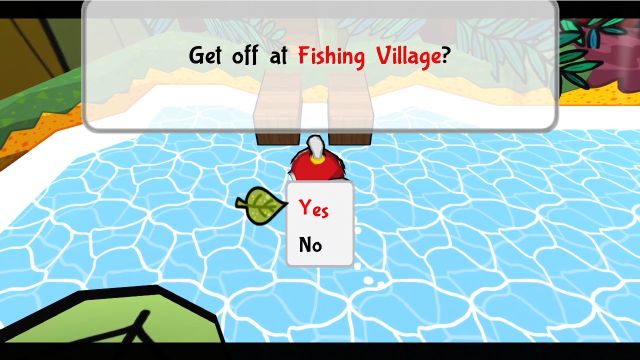 Oh? 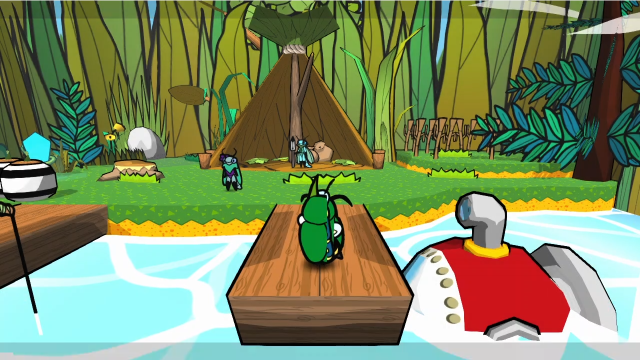 Yep, it's the Fishing Village. There's nothing new we can do here, but it's nice to see everyone again. But what if... 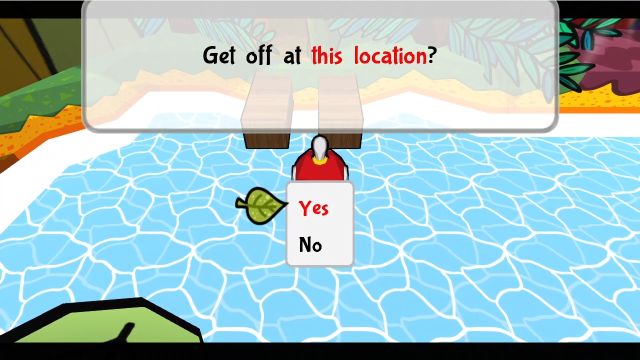 If we'd never visited the Fishing Village, we would see this message instead on trying to land there, and things would be a bit different. What happens if we discover the village from this side instead? 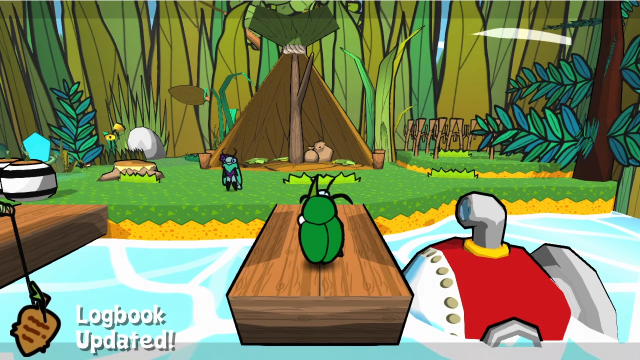 Well, we can land here, at least, and we still get the discovery... To think we missed this settlement during our mission! It's a nice place. That's why exploring's fun! There's secrets everywhere! They seem a bit wary... Have we intruded?The banter is a bit less cheerful, Leif at least notices something seems off. 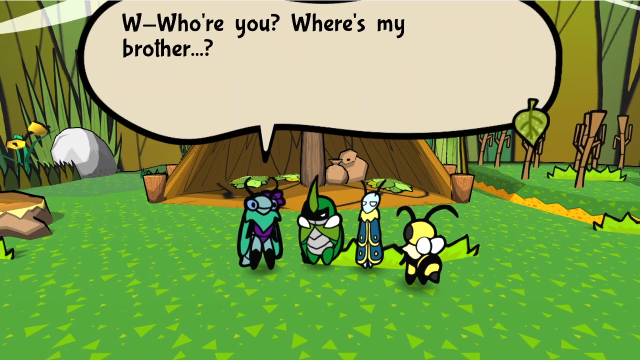 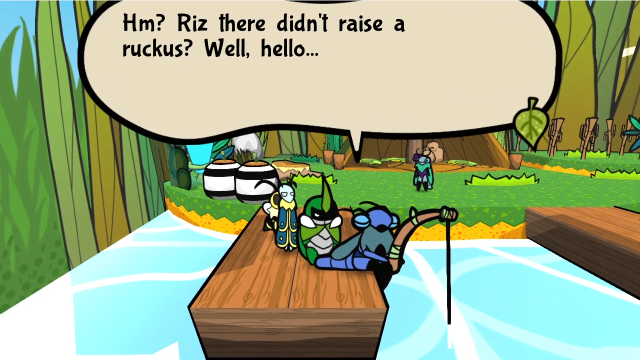 Talking to the inhabitants is also a bit odd, they mostly seem confused. It seems this is actually a small village! They seem a bit wary... Have we intruded?Checking the banter for either of them gets us this similar banter. They're not going to open up to us, are they. 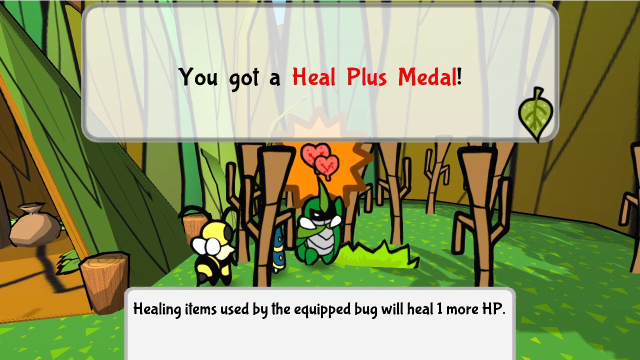 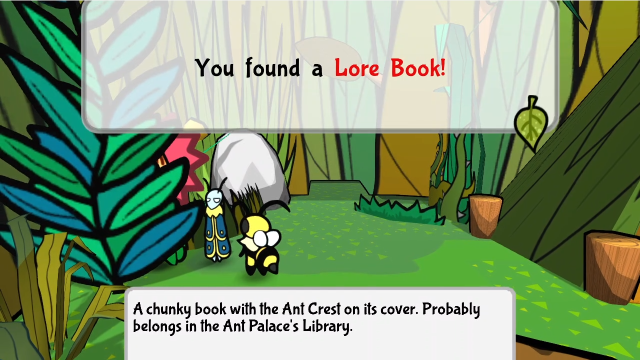 We can still grab the collectibles here easily enough. 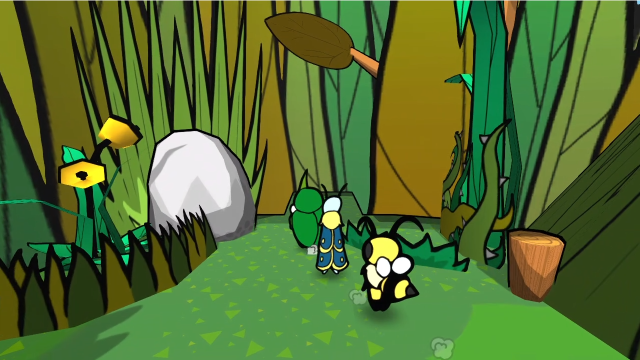 What if we leave this way? 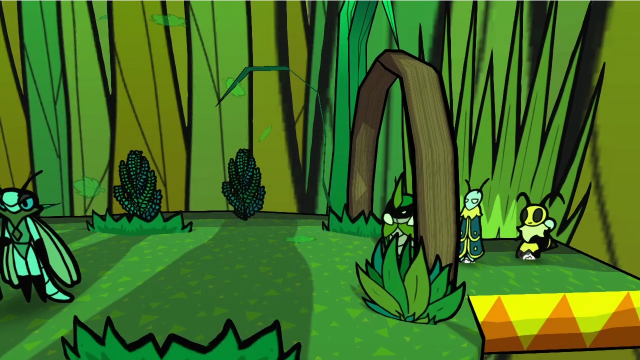 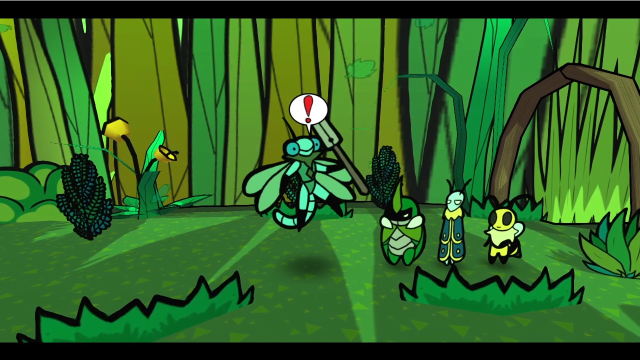 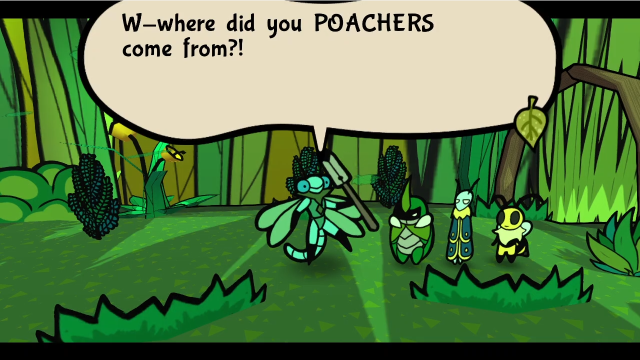  My village... What did you do to it?! We didn't do any- SILENCE! YOU WILL NEVER GET AWAY WITH THIS! My village... What did you do to it?! We didn't do any- SILENCE! YOU WILL NEVER GET AWAY WITH THIS! 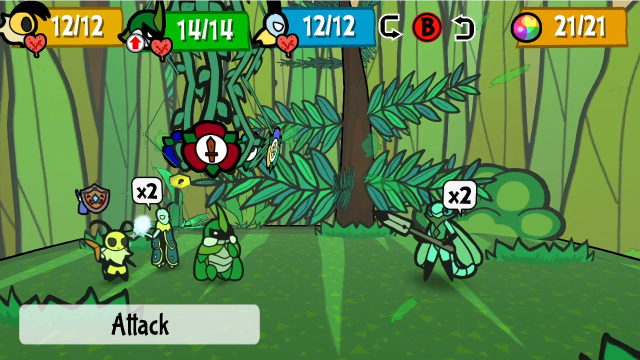 From there, it goes straight into the Riz fight. He has much better reason to be alarmed this time around, so it makes a bit more sense we're fighting him, but the fight is ultimately the same. 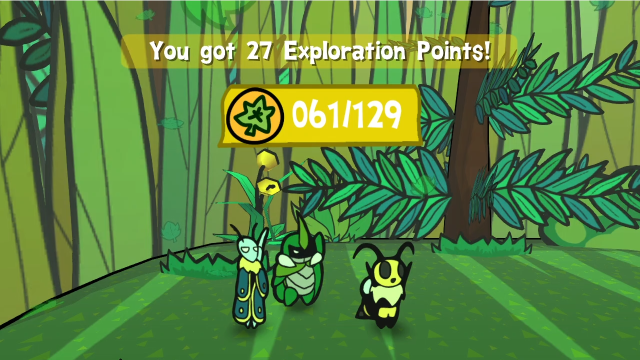 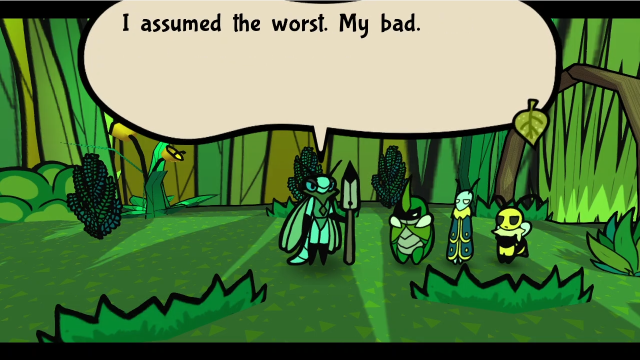 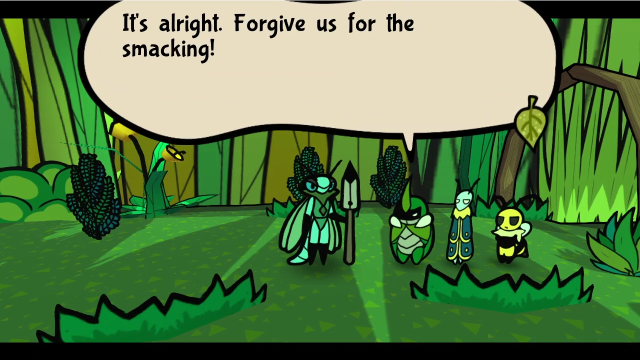 The conversation after beating him is the same regardless of how we got here, so I won't show it in full again.  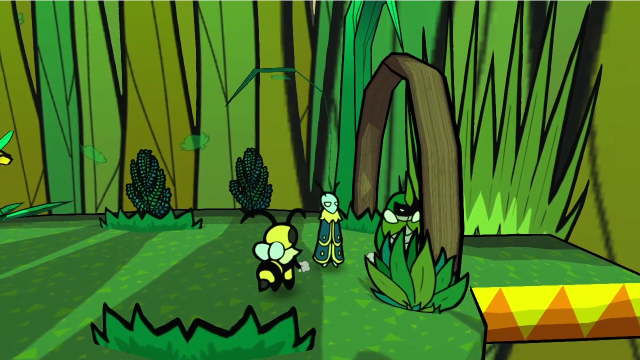 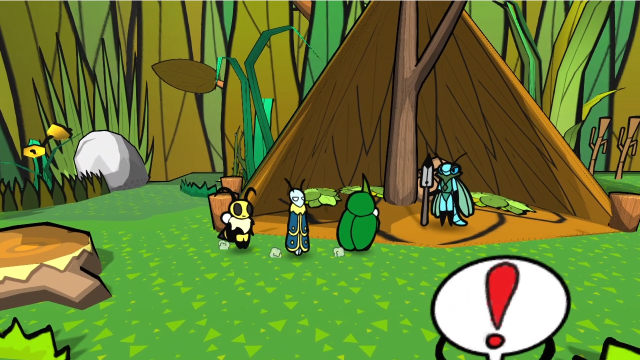 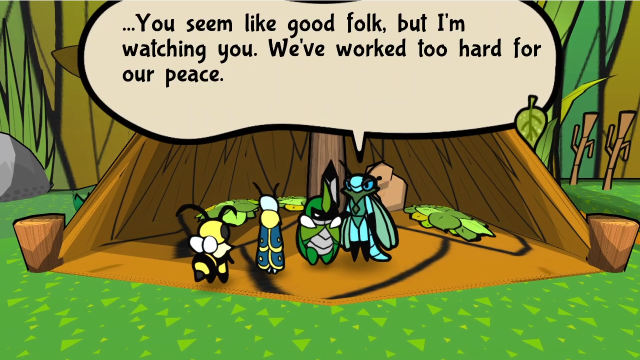 And once he heads back into the village, everything will be the same as last time we were here (and we can now get the quest to bring Rizza a Nutty Cake). 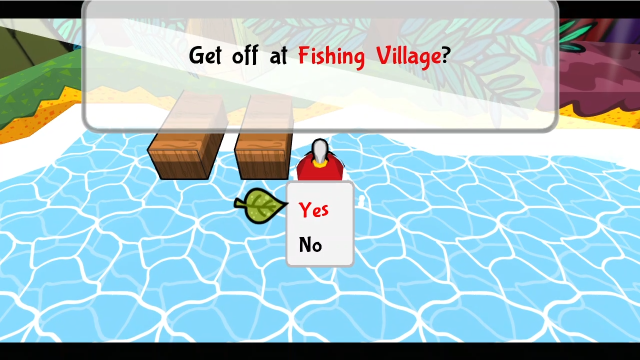 After that, the location name here will update to Fishing Village. Okay, let's get back to the main timeline again... 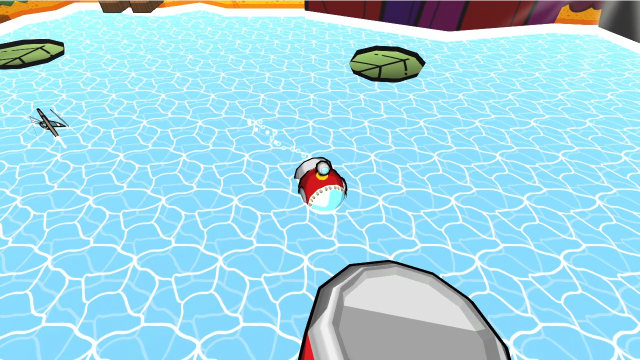 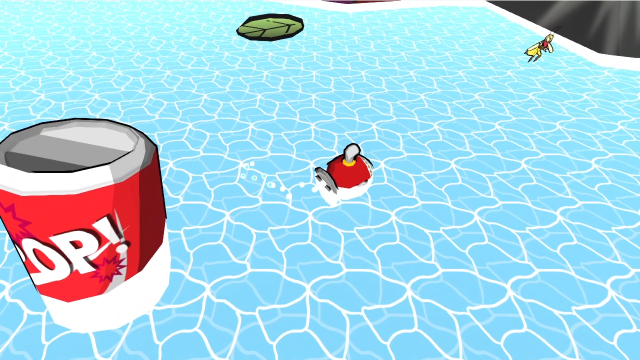 Southeast of the Fishing Village, we can start to encounter Wasp soldiers flying around here... 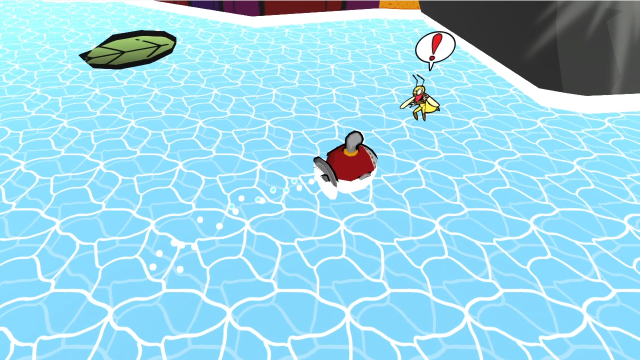  24 - Oh No! WASPS!! 24 - Oh No! WASPS!!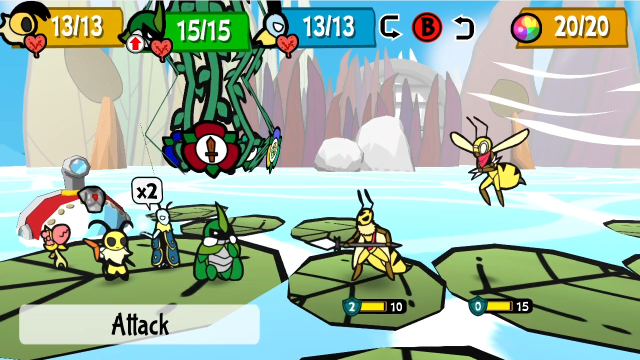 We can fight them, though they're no different to the last several times we've seen them. 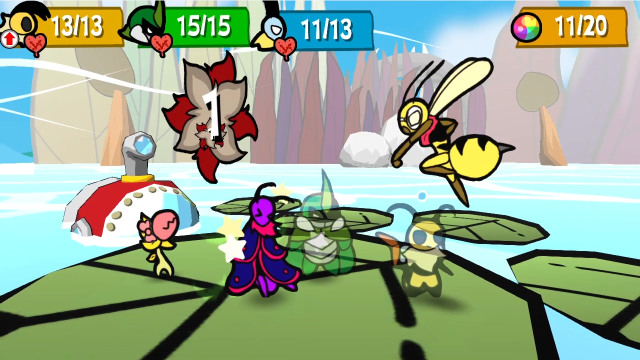 Though I'm not sure if I've shown this before - the Wasp Scouts' needle attacks can inflict poison. (We haven't seen very much of Leif's poisoned sprites either, I don't think.) 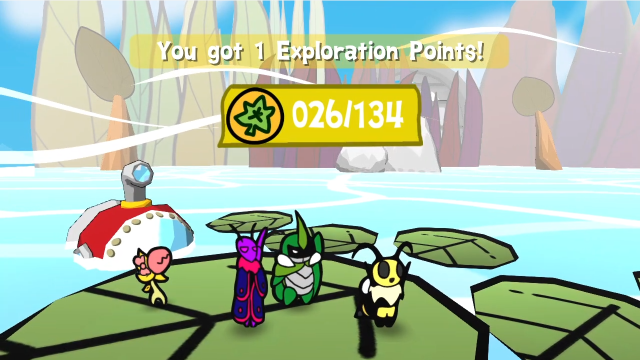 Anyway, let's move along. We're not getting any EXP from these. 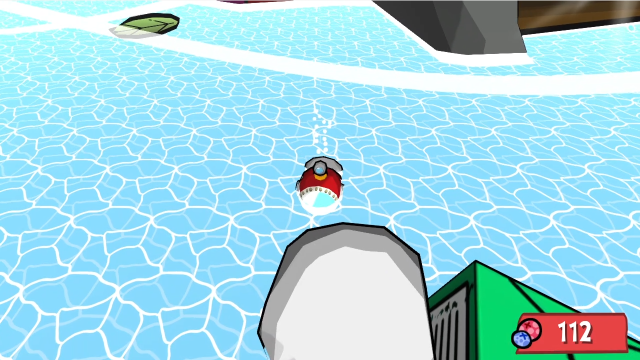 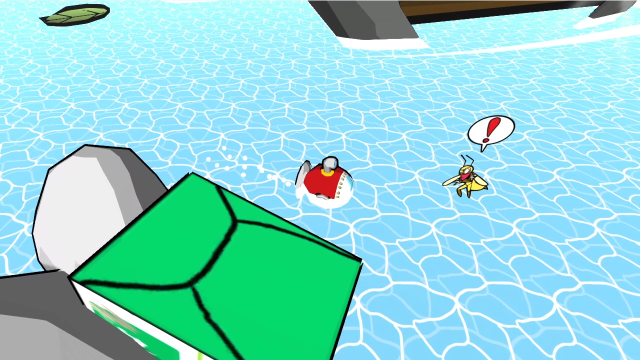 Hm, another one? 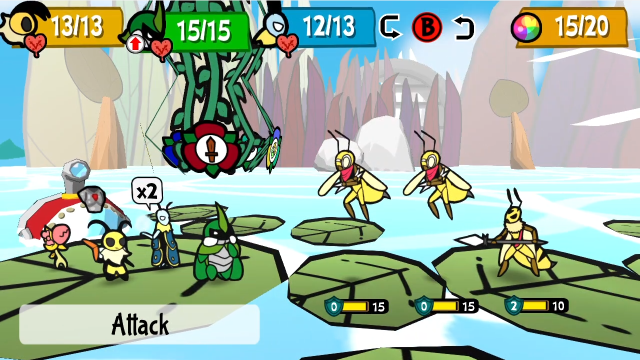 It's another one. 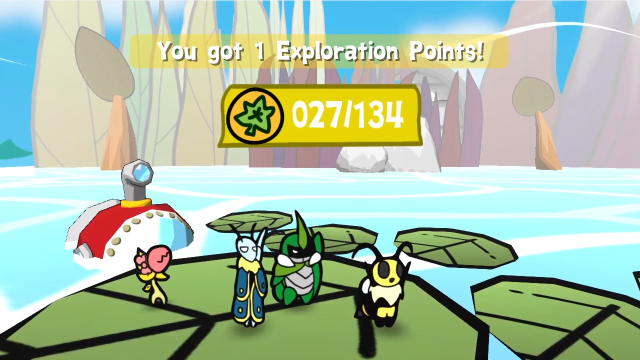 We know what these fights are like by now. 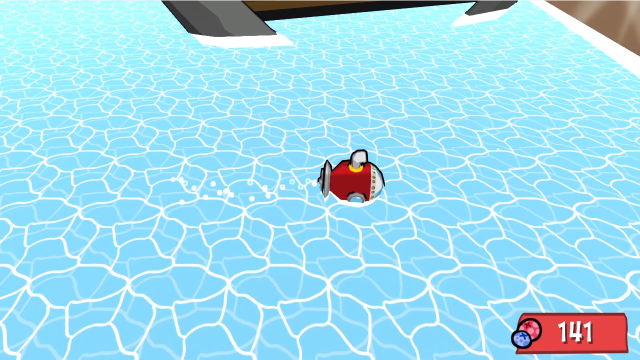 Are we close to our destination? 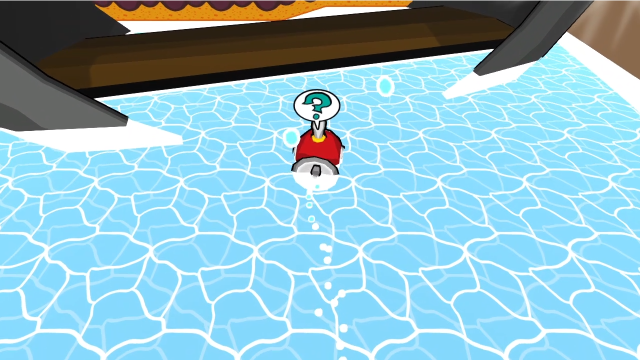 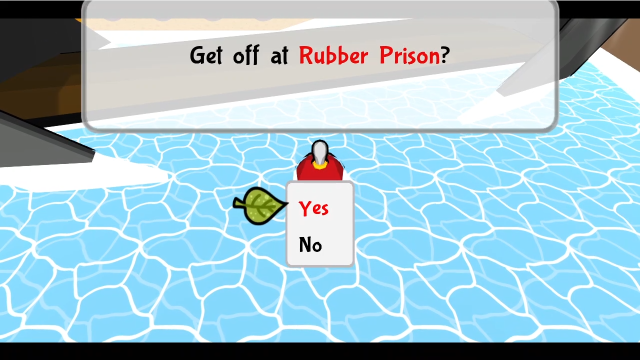 Yes, we have. We can get off here, at any rate... 75 - Rubber Prison 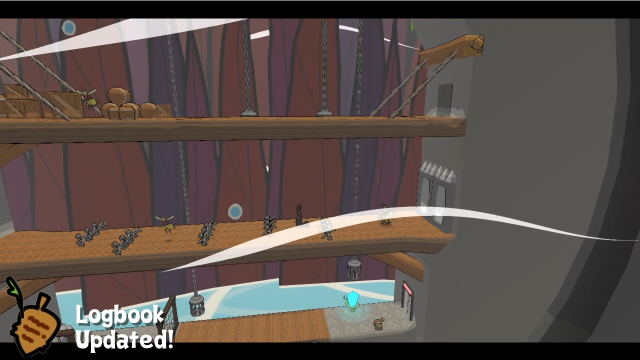 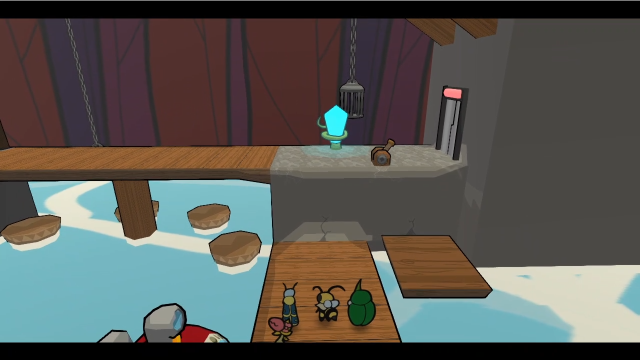 We get a new discovery as the camera pans down over Rubber Prison. It looks like there are several levels here; this place is big! (Also, the music here is new, and has a nicely ominous militaristic feel.) 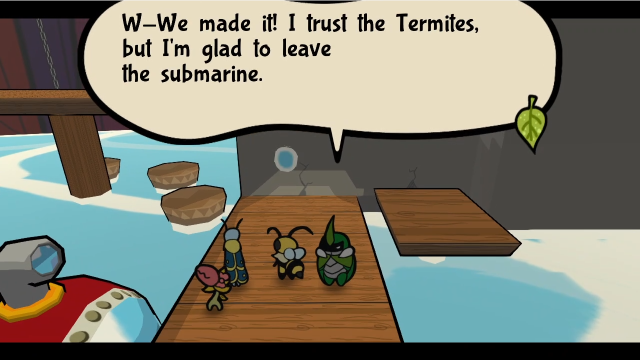 Your fears aside, could you tell us a bit more about Rubber Prison? It's new to us. Your fears aside, could you tell us a bit more about Rubber Prison? It's new to us.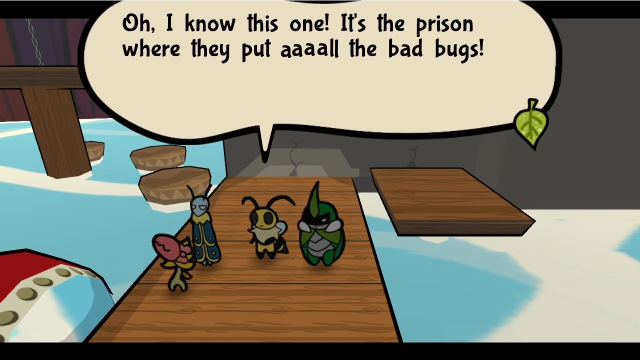 (Why was Vi raised knowing this, anyway? The way she phrases this, it sounds like something she was taught as a young child, but she's from the Bee Kingdom and Rubber Prison is the ants' facility... or was she such a miscreant as a child that Queen Bianca or whoever raised her felt the need to threaten her with it? This line's always seemed just a little weird to me, but there's some interesting potential depth in thinking about it.) Things got that bad after Elizant went to sleep? So it seems. It's quite the secure facility, yes? The Wasps taking over is quite troublesome. Meh. We'll just snoop around and beat 'em up. It's what we do! Heh, that's a good plan. Let's go, team! We must clear the way for the others!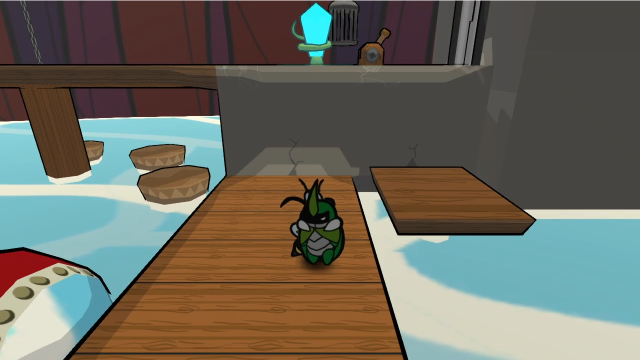 After that conversation, we regain control. Let's check out the discovery first. 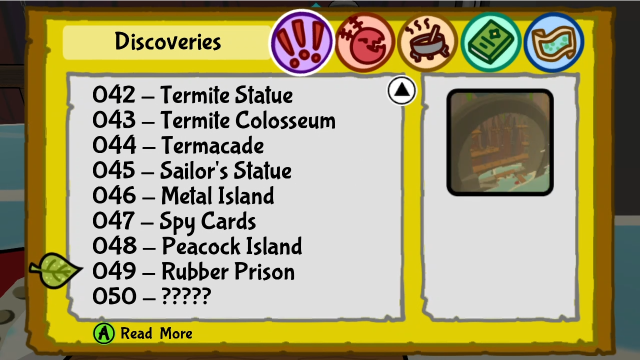 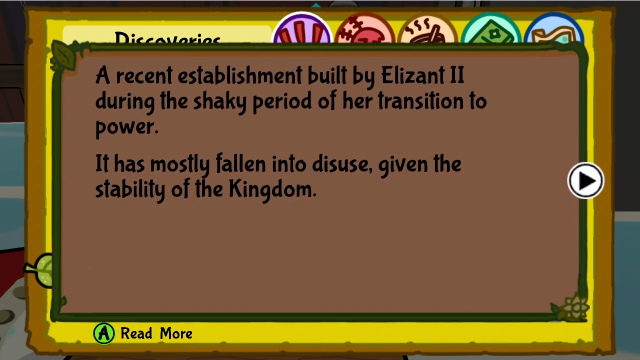 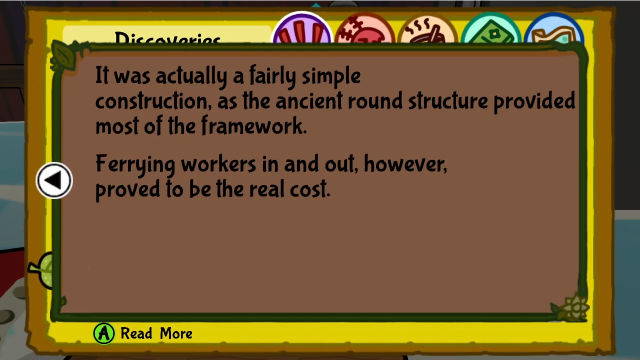 Well. This place should be interesting to explore. (Also, we have all but one of the Discoveries now!) There's also a banter, of course. So many bridges! This prison is huge! Are there truly so many wicked in Bugaria? Well... if they're all here, we wouldn't notice.Leif isn't exactly wrong... 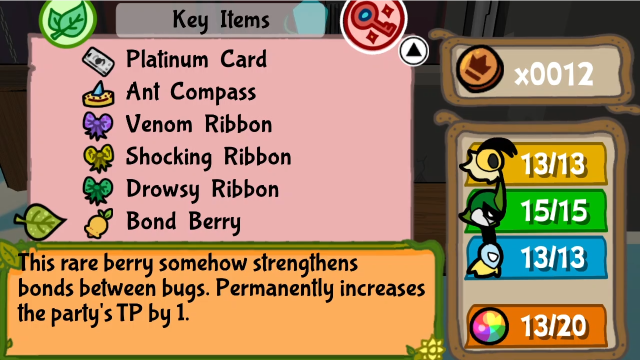 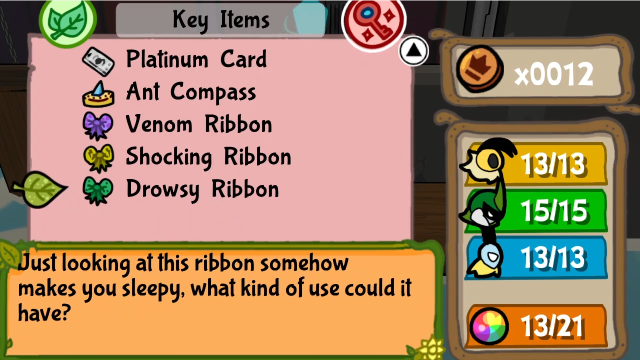 It took me until now to remember I hadn't actually used the Bond Berry we got from Doppel. Oops. Well, it brings us to 21 maximum TP now. (6 of that is from TP Plus medals, but still.)  The only path we can take right now is along these sunken pillars. They're not quite close enough together that we can jump easily between them, so we need to use either Leif's icicles or Vi's flying. 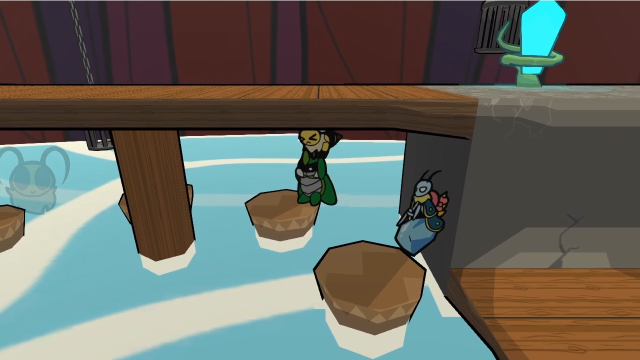 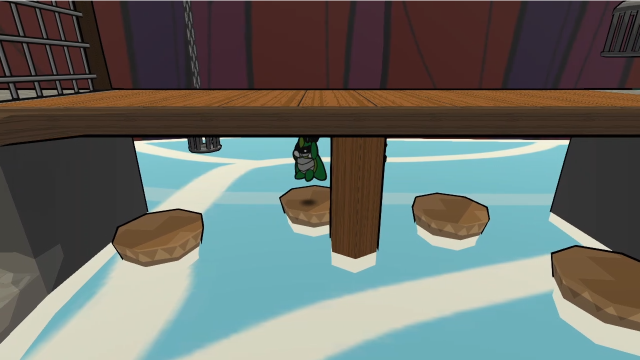 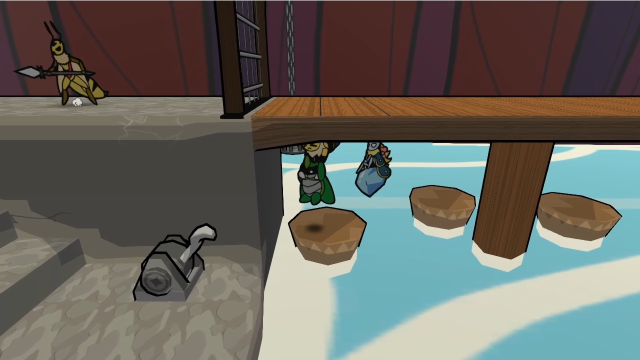 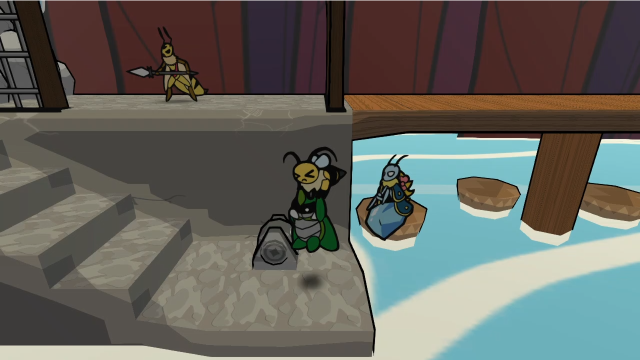 Flying is a bit less tedious, but either works just fine. 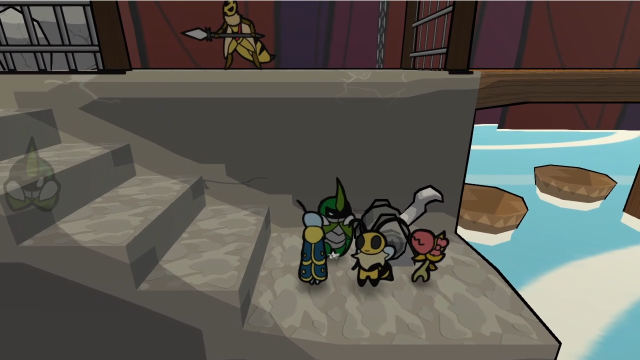 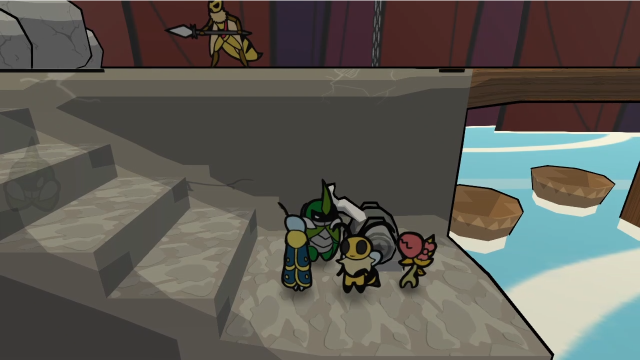 Over here, hitting this switch makes the fences recede. 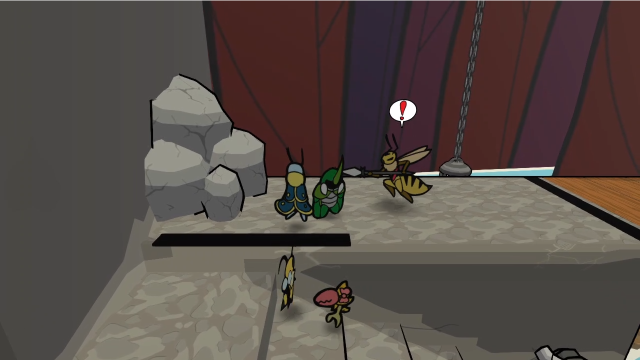 Which lets us get up to where this Wasp soldier is.  This is new! The leaves are grey here... 24 - Oh No! WASPS!!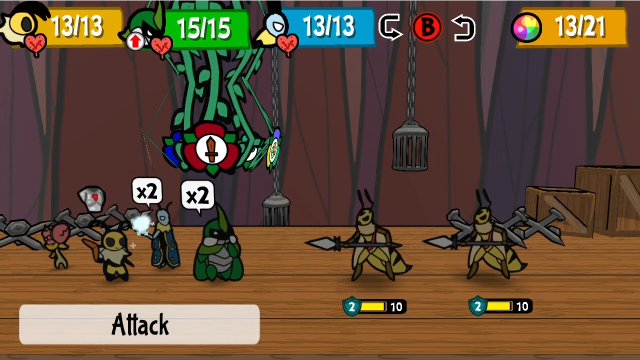 There's not a lot I can say about these battles to make them interesting right now. There will be other enemies around this area later. Wasp Troopers fold pretty quickly to Needle Pincer. (The battle background is intriguing, though - are those jacks being used as caltrops or barricades?)  That said, while the Wasp soldiers have the same stats as they did before, the ones here get boosted EXP yield again (as we've seen happen with them a few times before), unlike the ones we fought in Metal Lake. 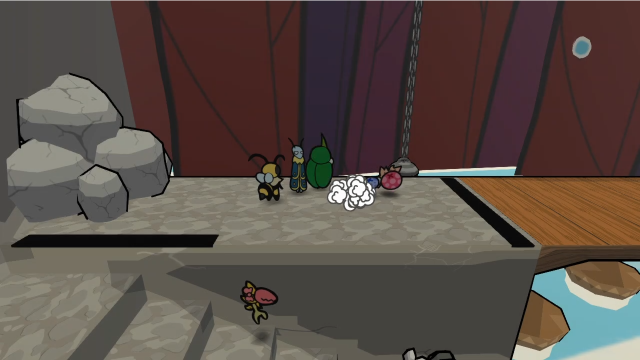 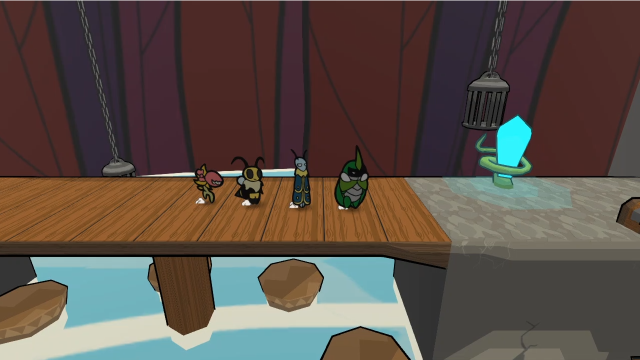 Across the bridge, we can reach the save crystal we saw earlier... 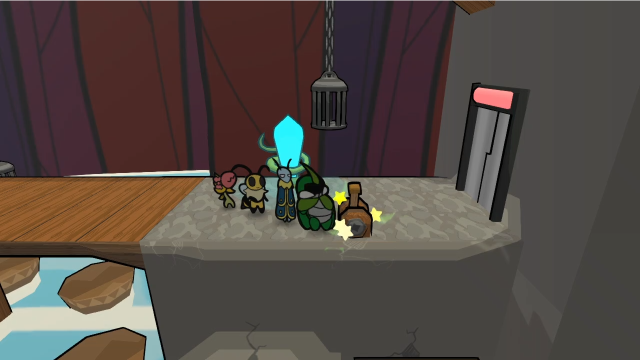 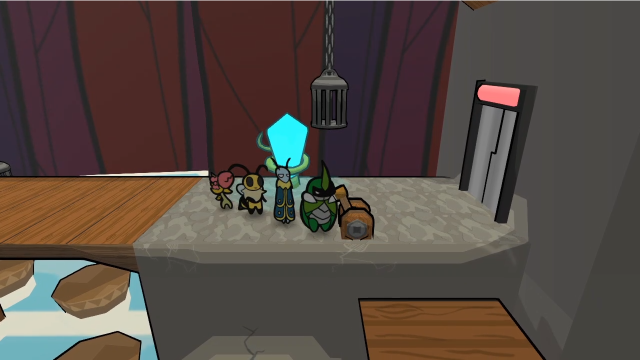 And also this switch, which turns on an elevator that makes a shortcut back to the entrance. 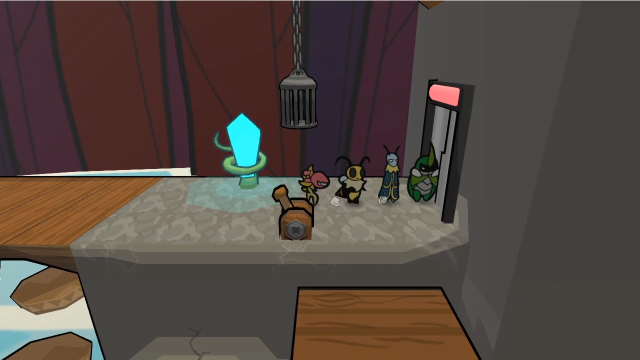 This door is locked, so this is functionally a dead end for now. 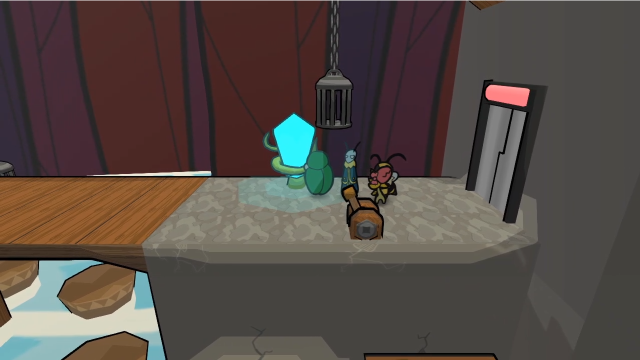 This seems like a good place to wrap up the update... 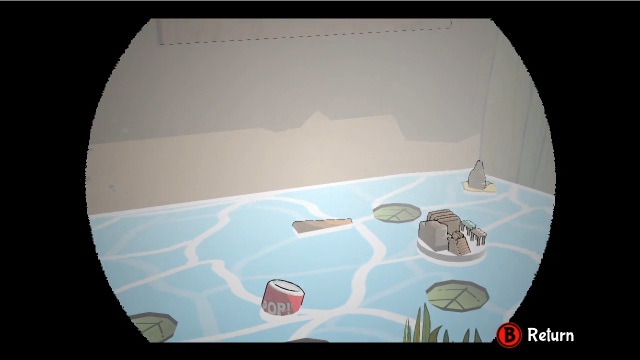 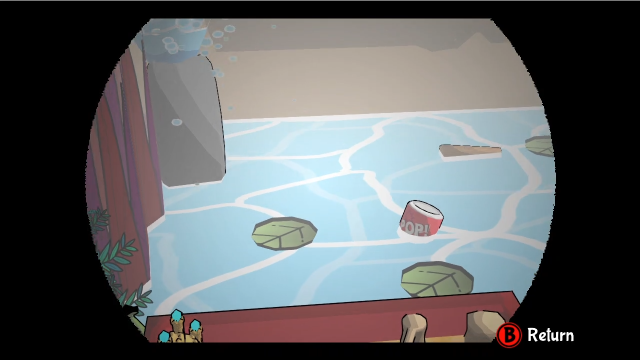 Before we go, though, I wanted to revisit the view from the Bee Kingdom's telescope. From this vantage, we can see the layout of Metal Lake (which isn't as big as it might have seemed at first; the only major points of interest are Peacock Island, Metal Island, and Rubber Prison), and also Rubber Prison itself, which is built into a tyre! (Hence why it's rubber.) Next time, we'll break into the prison and see what awaits us inside. It's looking like our dungeon for this chapter is a pretty enormous actual dungeon, so that should be interesting. I'll see you then! Explopyro fucked around with this message at 21:53 on Jun 8, 2022 |
|
#
?
Jun 8, 2022 07:34
|
|
|
Peacock spiders! 
|
|
#
?
Jun 8, 2022 10:39
|
|
|
The boss fight video showed as Private for me, but otherwise great updates Explopyro. Nice to see all the boss's stuff getting shown off. I can't remember how I fought it, but it was probably stacking attack on Vi and Hurricane Toss because I fell into that rut.
|
|
#
?
Jun 8, 2022 11:15
|
|
|
Tylana posted:The boss fight video showed as Private for me Um, oops. This would be because I forgot to publish it. (Thanks for the catch.) It should be public now.
|
|
#
?
Jun 8, 2022 12:46
|
|
|
65: Team Snakemouth Goes to Prison (Part 1) 75 - Rubber Prison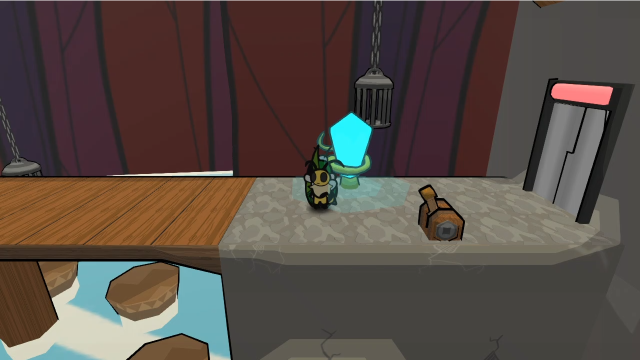 When we left off last time, we'd just arrived at Rubber Prison and explored a bit of the entry area. It's time we actually broke in. 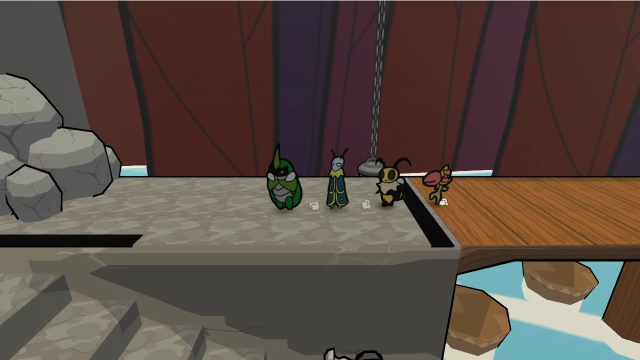 The door to the right is locked, but we passed by this boulder on the other side. 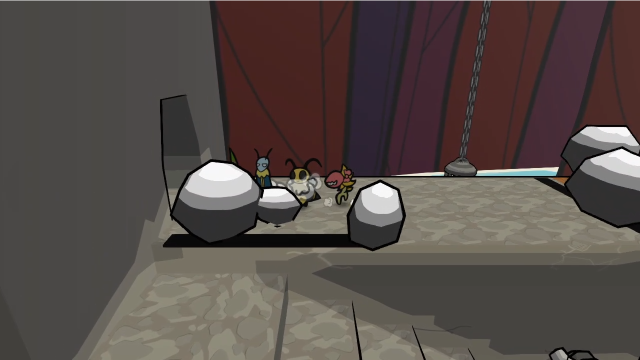 Smashing it reveals an entrance we can use. Let's head inside. 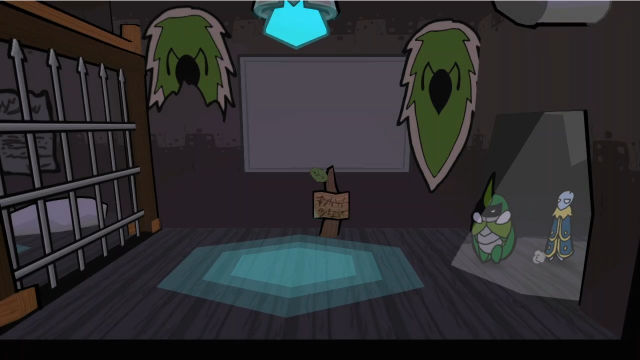 Well, this isn't promising. This could be a dead end, if we can't get past that portcullis somehow. What does the team think? Not one. Not two. THREE gates. It's a prison, what'd ya expect!? Being an upstanding citizen has its perks... I'd loathe to be imprisoned here.The banter points out the gate problem, but doesn't offer much of a hint as to what we can do about it. There is a sign, though. 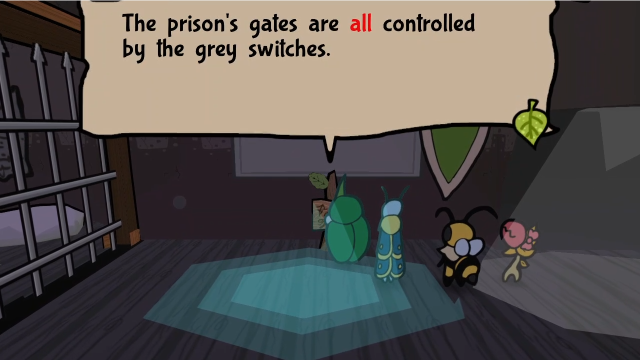 Please ask management for access to prevent getting trapped inside. Please ask management for access to prevent getting trapped inside.That sounds a bit ominous. We have to get in somehow, though. 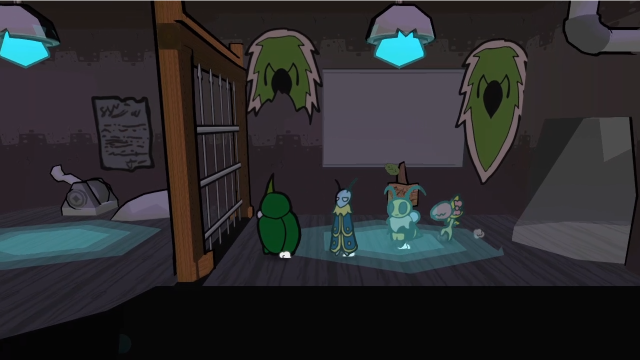 If we get closer to the gate, we can see a switch on the far side, but we don't have any way to hit it from here. (Also, this is not the sort of gate we can dig under. Trying that proves futile.) 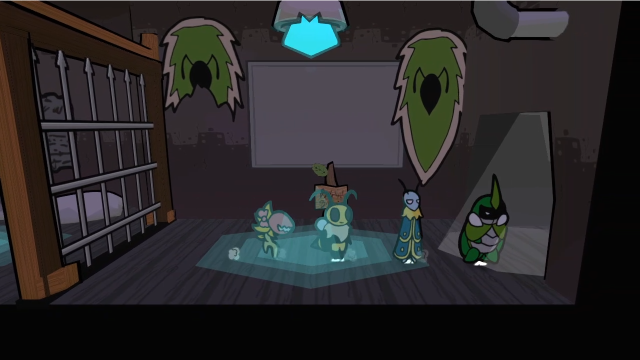 Maybe we should try going back outside? 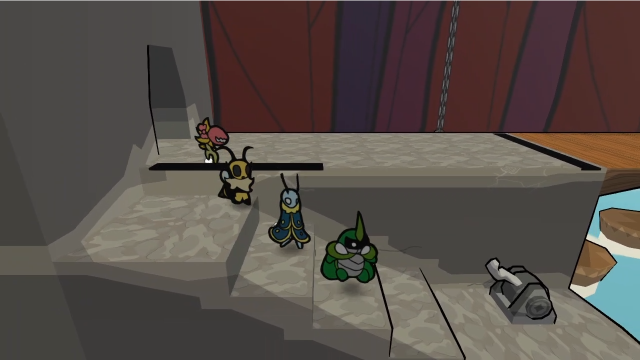 The sign told us all the grey switches are connected. We're going to have to use the one out here. It's a bit of a puzzle, though, because we can't just hit it or the gates here will come back up and stop us progressing. 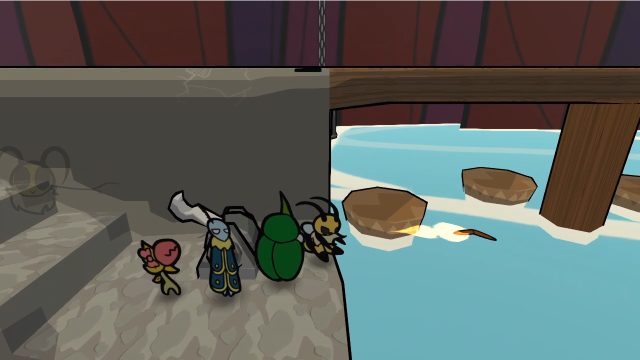 It's not a very hard puzzle, though, as long as you remember Vi's Beemerang Halt. (And don't get tripped up by the controls: this is the first time we're required to use Halt since getting Bee Fly, and that can be awkward because pressing and holding (B) now makes Vi fly instead. You need to press and release (B) to throw the Beemerang, then press it again and hold to make it halt. If you weren't in the habit of releasing the button before, this can be a confusing moment until you figure it out, but it's not a problem once you readjust.) Throw it here... 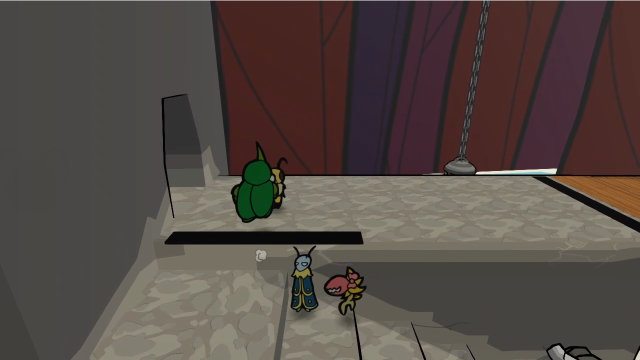 Hold it in place while we climb up... 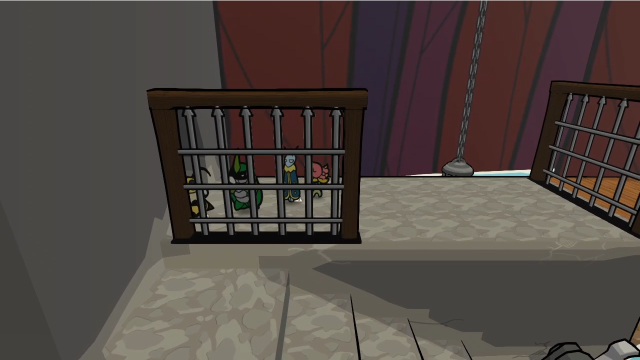 Then release to toggle the positions. 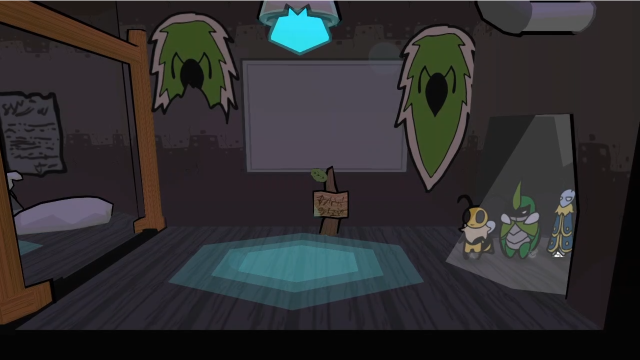 Now, when we go back inside, the gate is down and we can get further into this room. This is a good introduction to the kind of puzzles we're going to be seeing here: this is far from the last time we'll see this switch mechanic. 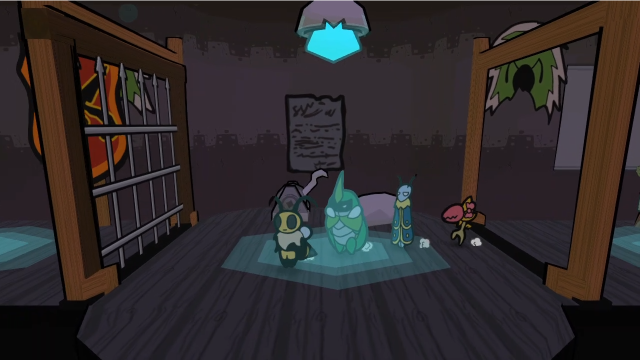 Past the gate is... another gate. Yay? 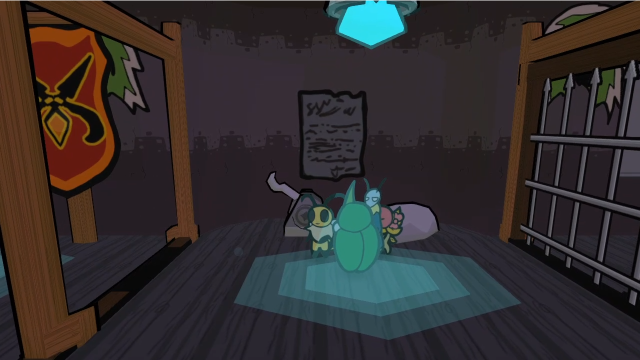 The switch to toggle it is right here, but it does cut off the way back. We don't have a choice, though. 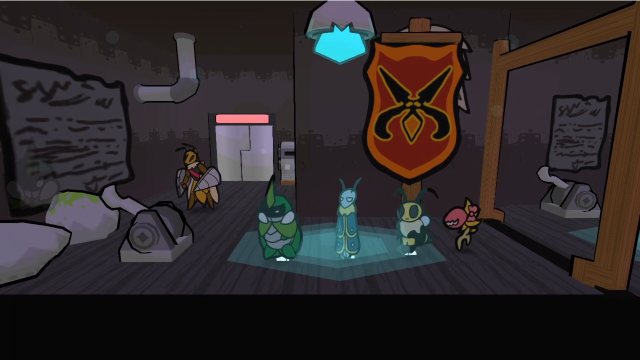 At least there don't seem to be any more gates here. And there's a switch on this side too, meaning we can't actually trap ourselves inside. (Does this actually work as a security system, or is it just so much theatre? I guess at bare minimum it does slow the rate anyone can get through this corridor...) 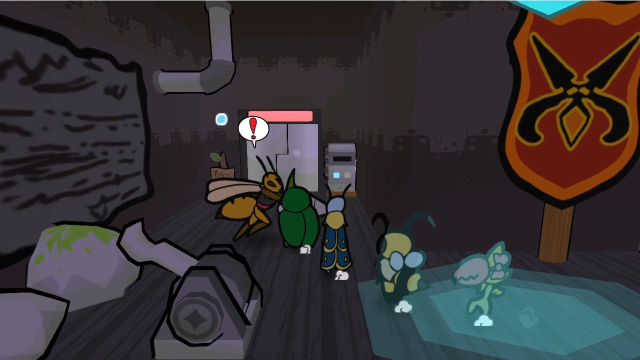 Of course, there's also a Wasp soldier over here. We're going to have to fight.  24 - Oh No! WASPS!! 24 - Oh No! WASPS!! Remember these guys? The Wasp Driller isn't technically a new enemy, but the only time we've seen one before this was in the miniboss fight with General Ultimax. They're in normal battles now; it looks like the Wasps' elite troops are here.  We'll start off by attacking with Vi. 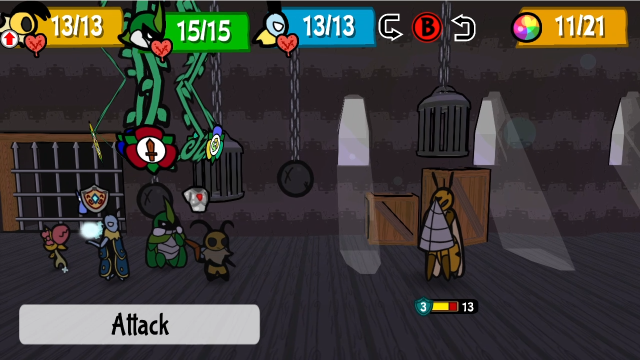 After being hit, they go into a guard stance, which increases their defence to 3. 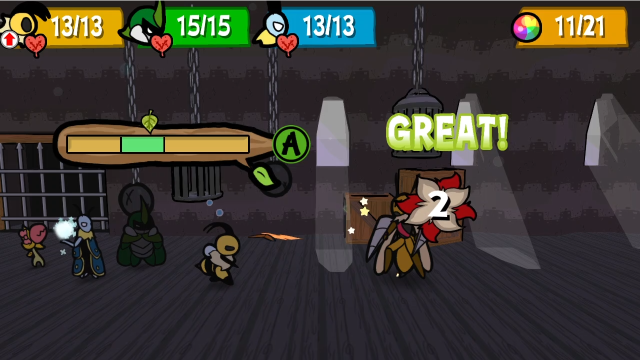 Vi's got enough attack now to just power through it, but that's less than ideal... 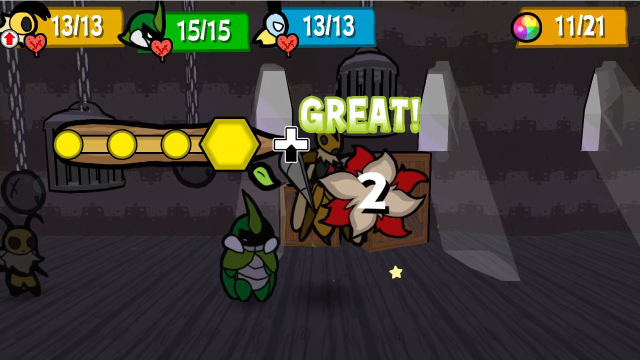 Kabbu's flipping attacks, on the other hand, can break their guard. (This was a bit sloppy of me, it would've been much better to attack with him first.) 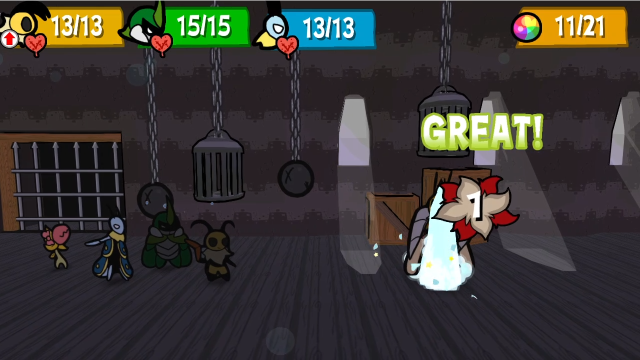 Leif's unboosted attacks have a hard time here. 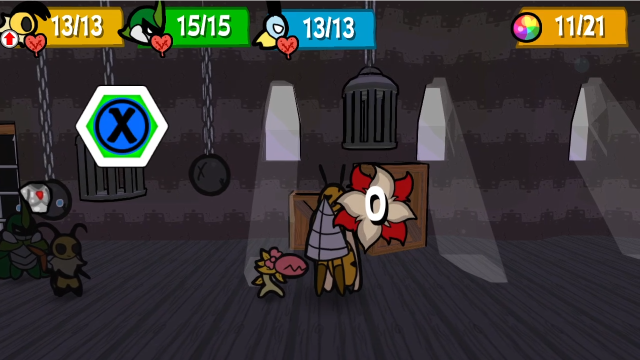 And Chompy can't get through at all when they're guarding.  On its turn, it burrows underground rather than attacking. 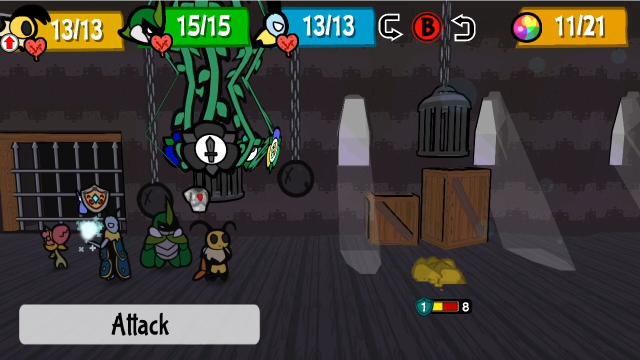 This is annoying, but not much of a problem. 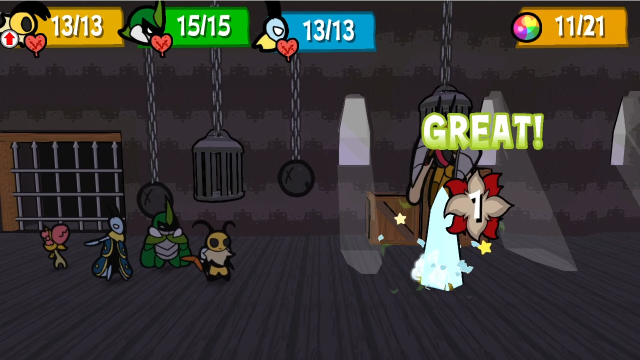 Leif's attacks can get it back aboveground. 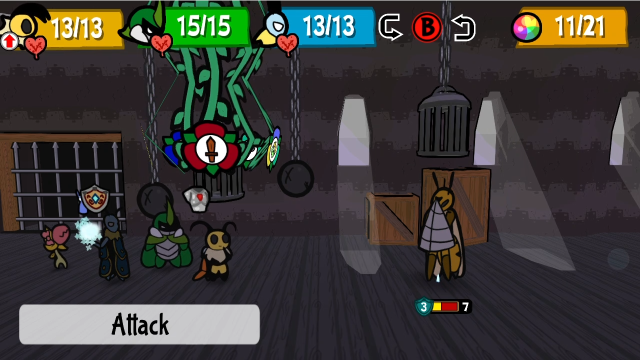 Of course, it then immediately goes into guard stance, which might be more of an issue. 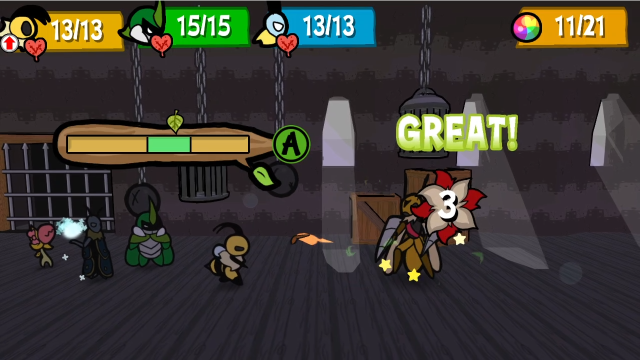 (Here I am again, forgetting to break the guard before having Vi attack. Oops.) 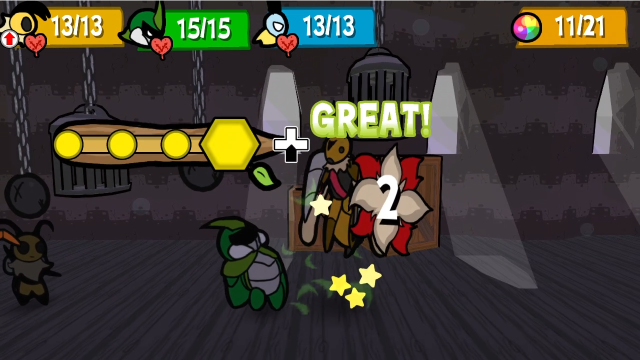  It doesn't matter, because Kabbu and Chompy together do exactly enough damage to finish things. One Wasp Driller by itself doesn't pose enough of a threat for these kind of sequencing mistakes to be a major problem, but when you're fighting multiples or they're with other enemies, it can be more important.  They're worth a lot of EXP to us right now! Somehow I don't think it's going to be long before we rank up again. 75 - Rubber Prison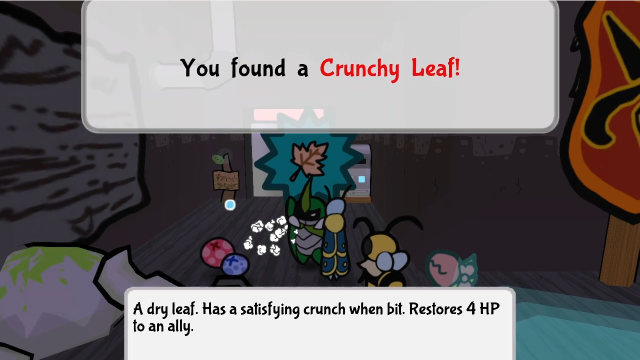 Let's move on. We'll take this Crunchy Leaf it dropped, I guess. 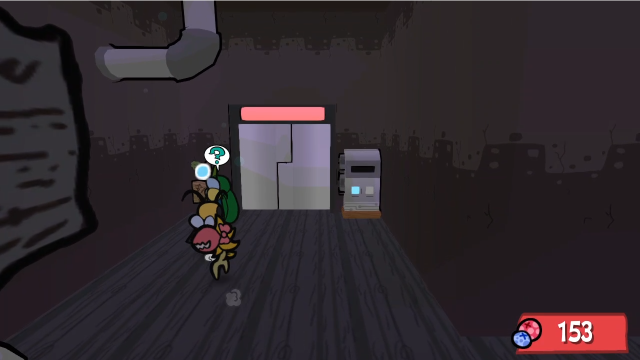 All that, to reach another dead end? Let's hope not... 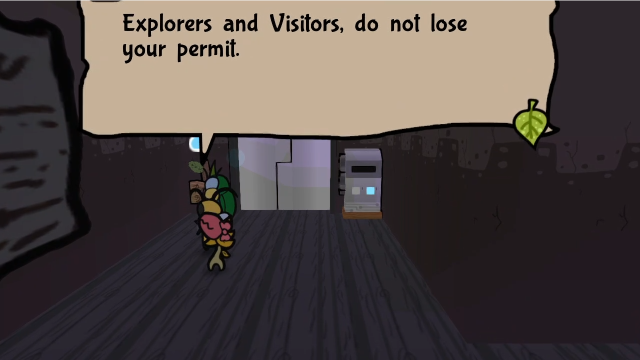 Otherwise, we must assume you are a prisoner. Have a good day. Otherwise, we must assume you are a prisoner. Have a good day.Well, here's the actual security. 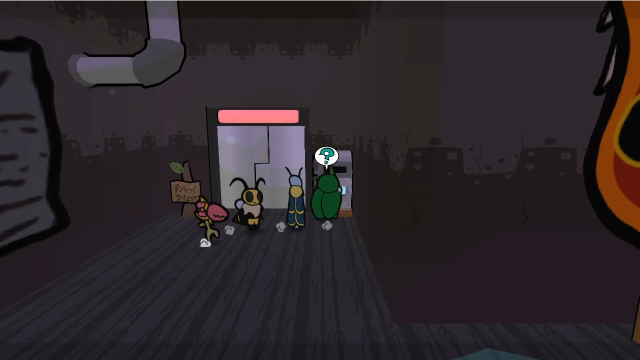 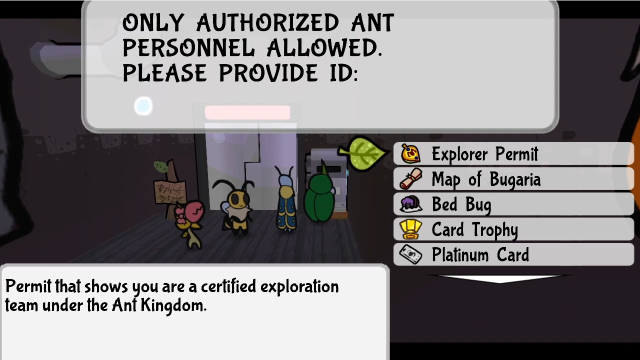 Interacting with this terminal gets us the prompt to show an item. If we do as the sign suggested, and show our Explorer Permit... 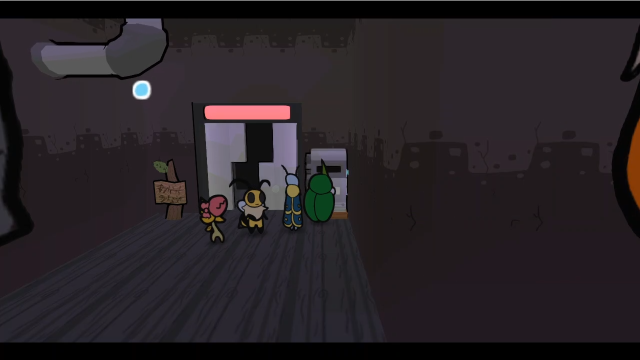 The door opens. (There aren't any interesting messages for trying other items, it will just say "AUTHORIZATION FAILED".) 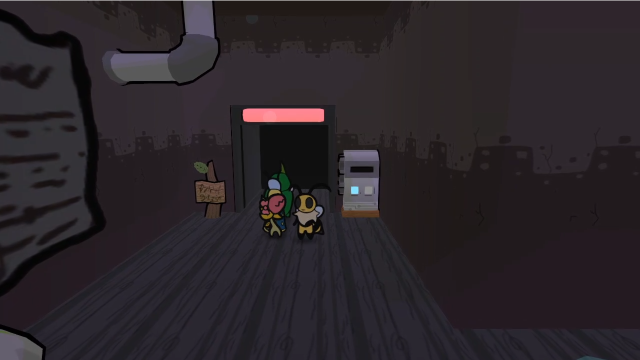 In we go!  Well, this room looks more complicated! H-Hovering cages!? Even for criminals, isn't that a bit excessive? We don't want to think about what one must do to earn such a cell. Good thing I can fly...While Vi reminding us she can fly is a good hint for what to do here, it does raise the question of how the ants usually traverse this room... although the wire bridge looks broken, maybe it normally extends all the way to the platform we're on. 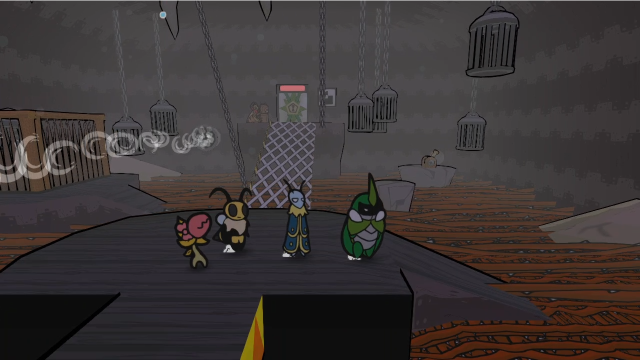 If you don't want to fly, there are ramps down into the thorns, so Leif's Bubble Shield is an option too. 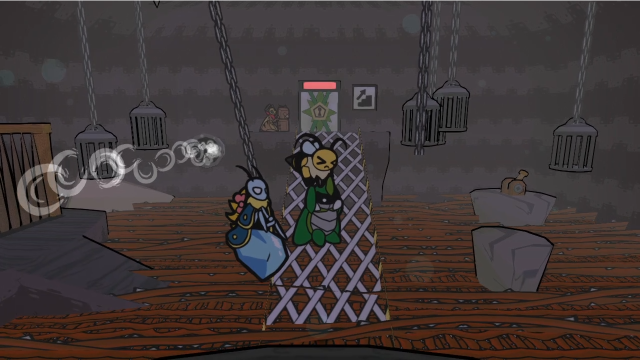 Flying is a much more efficient way to get around, though. 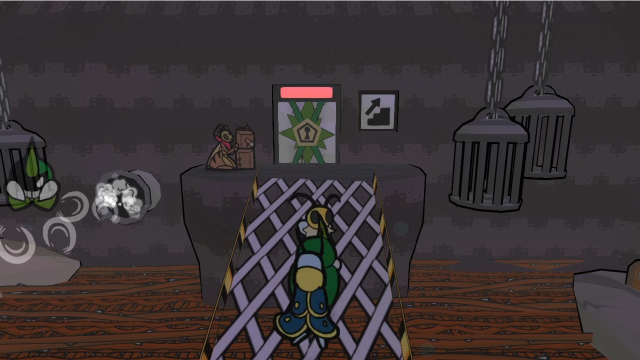 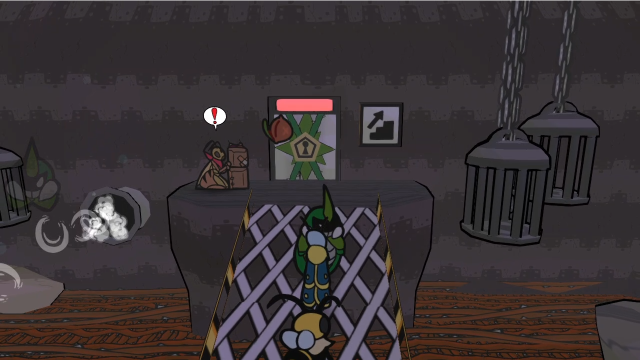 At the far side of this bridge, a Wasp Bomber is waiting! These guys react quickly, and start chucking Spicy Bombs from pretty far away; you do not want to get hit with these if you don't have Crazy Prepared equipped. 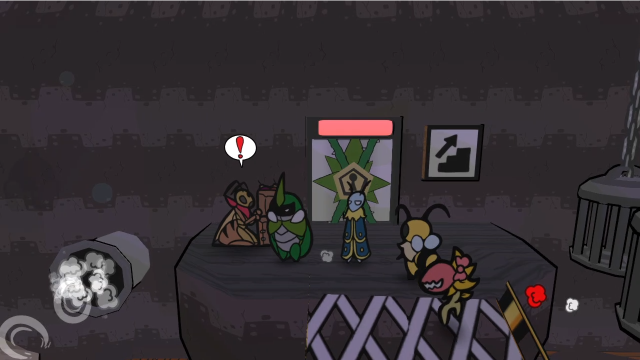 24 - Oh No! WASPS!! 24 - Oh No! WASPS!! Like the Driller before it, we fought a Wasp Bomber before alongside Ultimax, but they've become normal foes now. 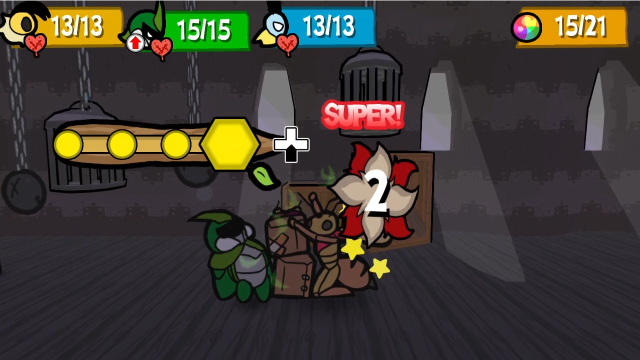 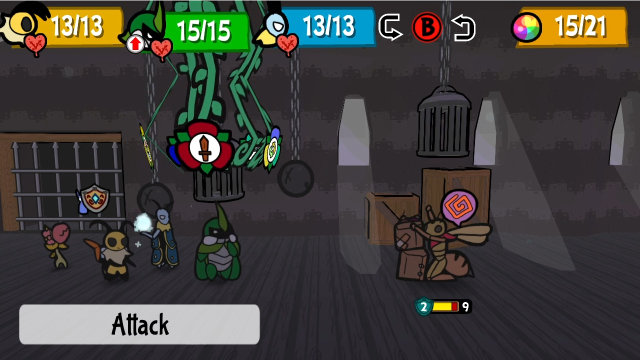 Wasp Bombers are one of the rare enemies in this game that require two hits to flip. 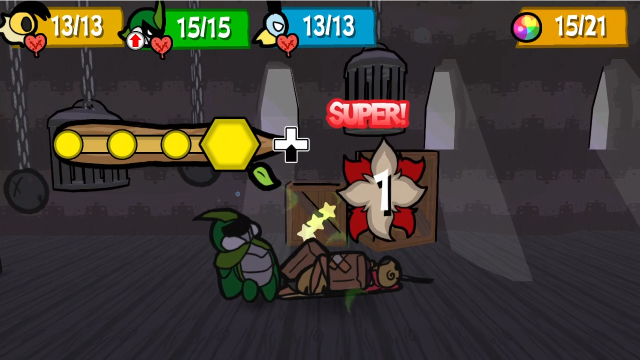 So we'll just relay to Kabbu and take care of that. 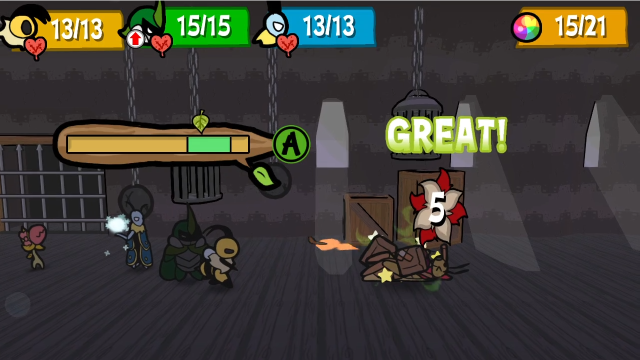 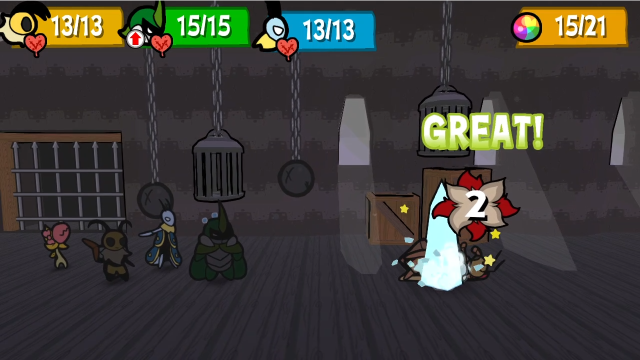 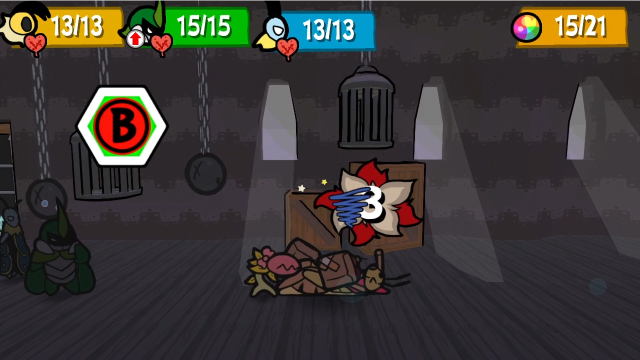 Once flipped, they go down pretty quickly. Especially when they're alone or in front, you can take the bombers down quickly (which is good, because they have access to all the bomb types and most of them aren't much fun to get hit with). Needle Pincer also makes quick work of them. 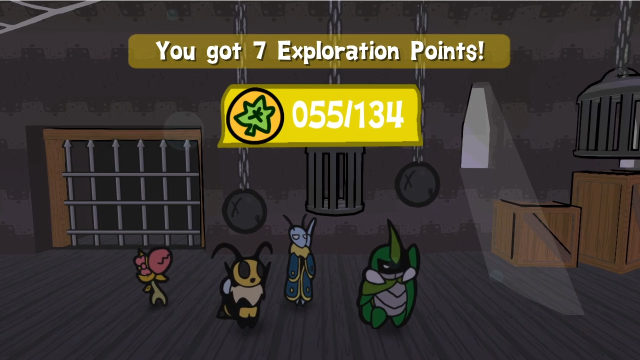 It's not quite as much EXP as the Drillers, but they're still giving us plenty. Not bad. 75 - Rubber Prison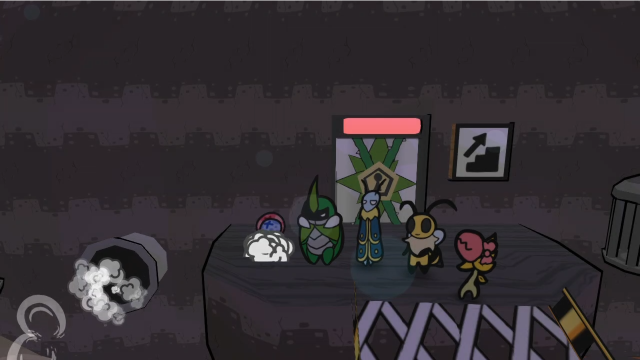 With the enemy out of the way, let's figure out this room. There's probably a key hidden somewhere, because the door north is locked. 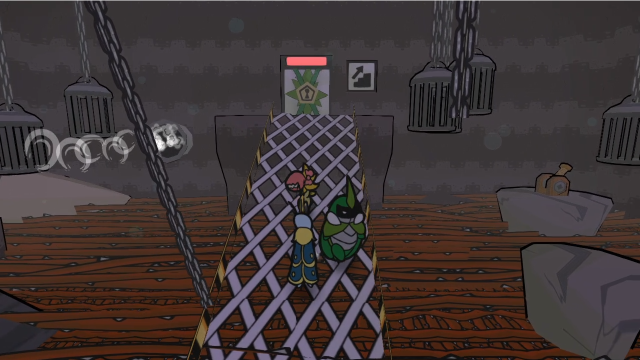 From the bridge, we can see some platforms among the spikes, and there's a switch on the far one. 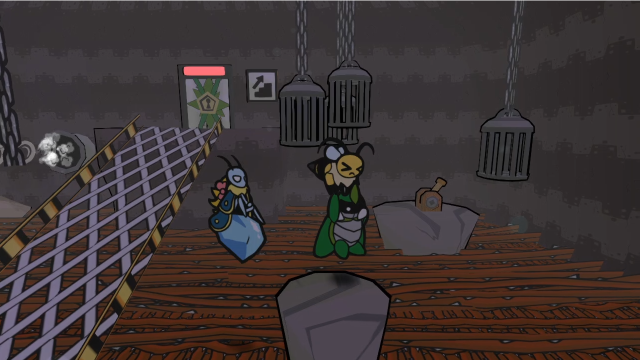 These platforms are only reachable by flying, you can't get onto them from the spikes if you try the Bubble Shield method. 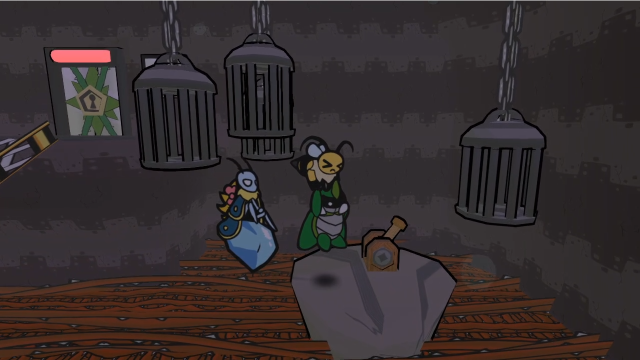 Now let's get to the switch. 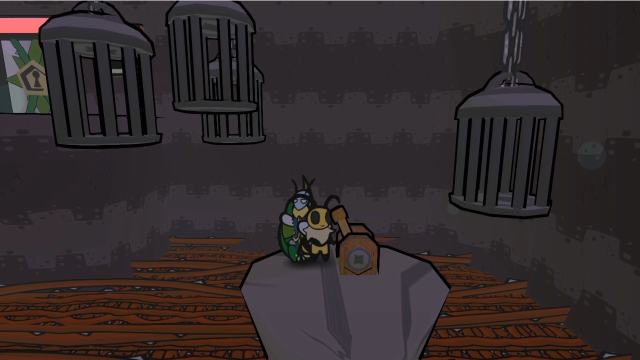 What did that do? There was a sound like something moved, but we can't see anything different from here... 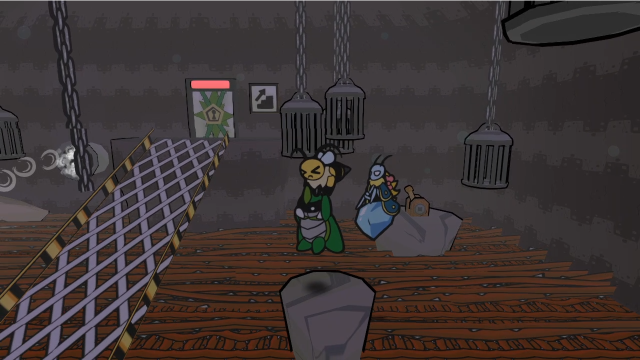 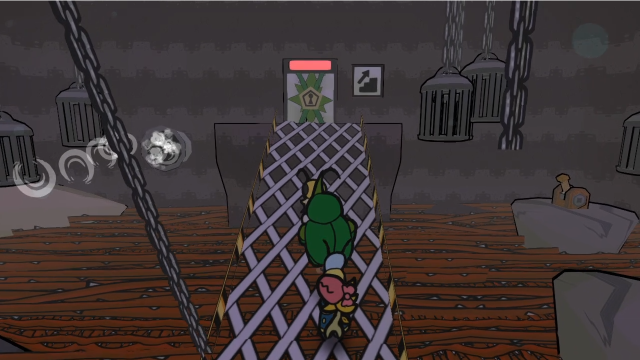 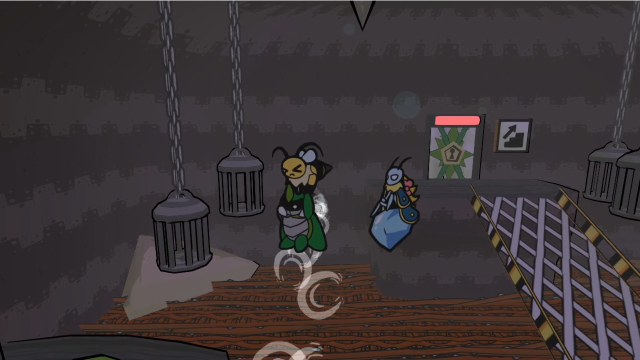 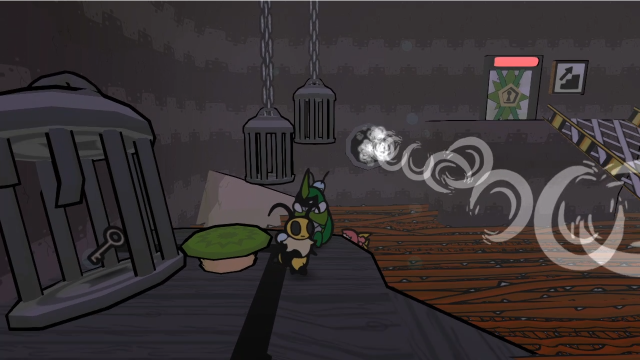 If we make our way over to the west side of the room, we can see the brown cage is gone now. The switch caused it to lift away, revealing this smaller cage with a key inside. 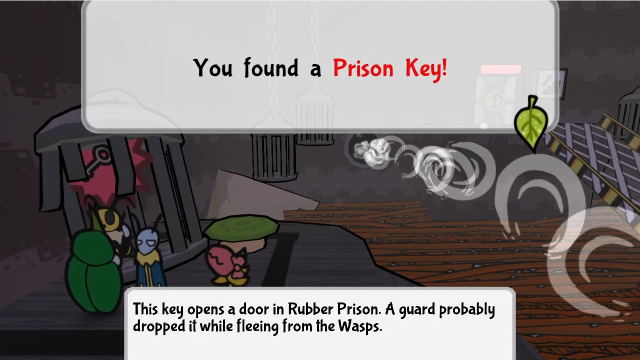 We'll just take that. 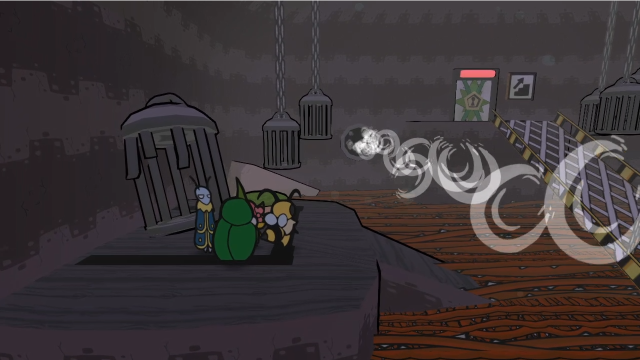 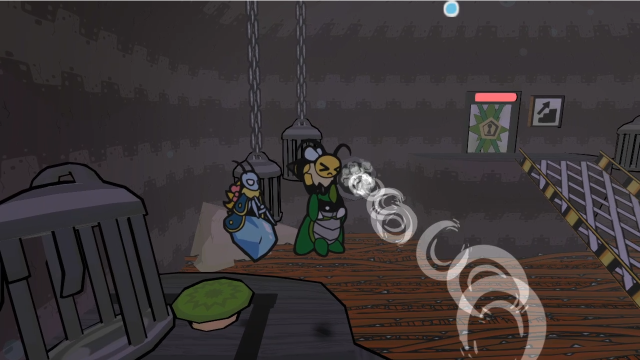 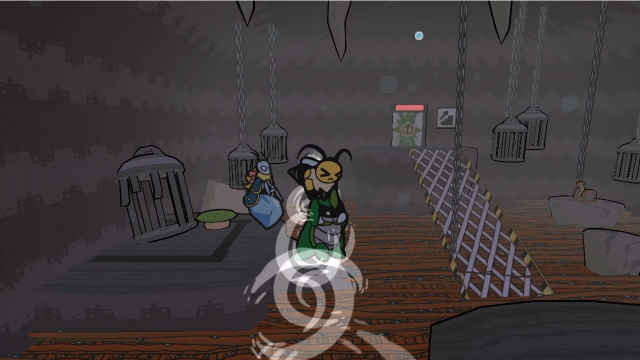 The mushroom here doesn't send us anywhere in particular, but we can use it to gain some altitude and fly into the air current. I'm not entirely sure what the intended way to get around this room is (or why the current is here, since you can get anywhere without it), but this works to get back. 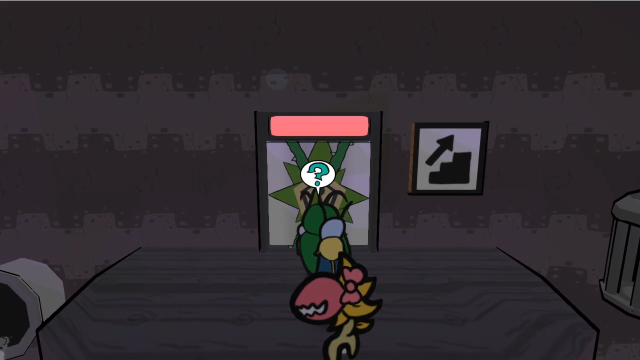 Now that we have a key, we should be able to open this door. 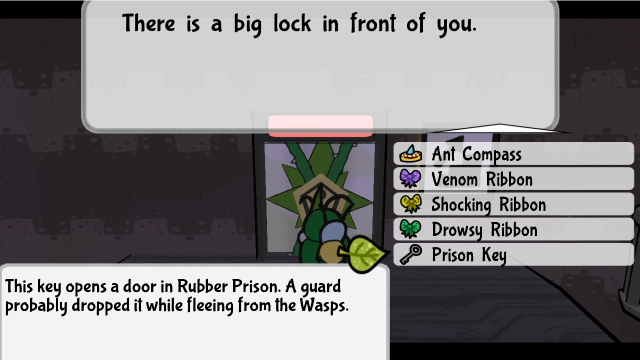 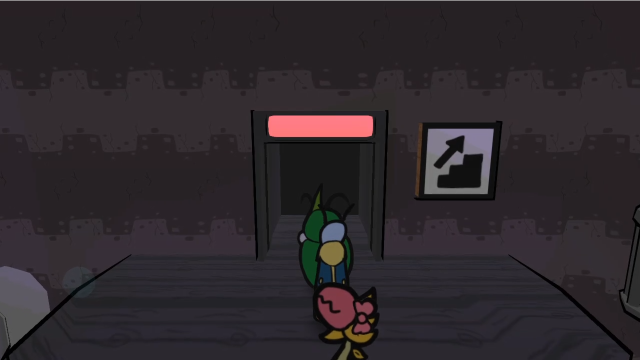 Let's move on. 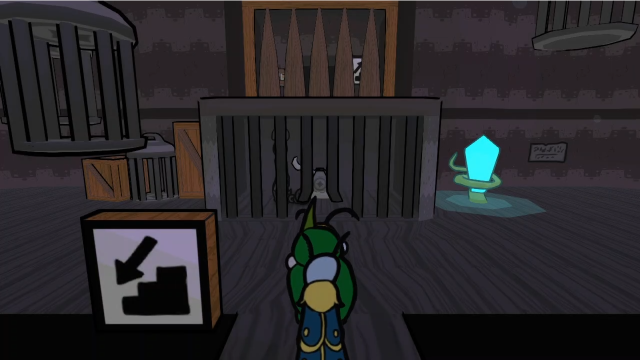 There's a lot going on in this room: we can already see there are multiple levels, and there's a save crystal here too. Let's check the banter before we start exploring. Being here makes me so uneasy... Why? It's not like someone like you would ever end up behind bars. Just from the idea of it...!That's not much help, though I do appreciate the character insights we get. (I'm not sure whether Kabbu is trying to say he's personally afraid of imprisonment or morally opposed to the concept for anyone; I could see it being either, really.) 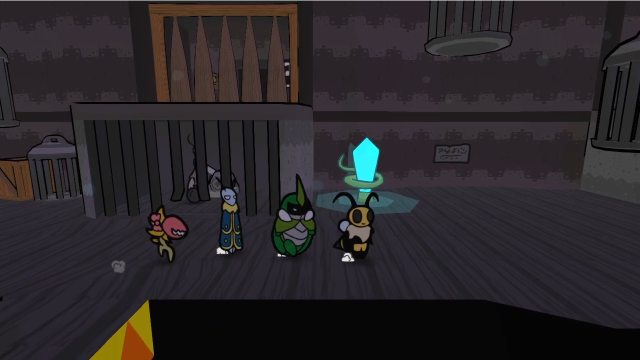 Let's have a look around. We'll start out with the east side. 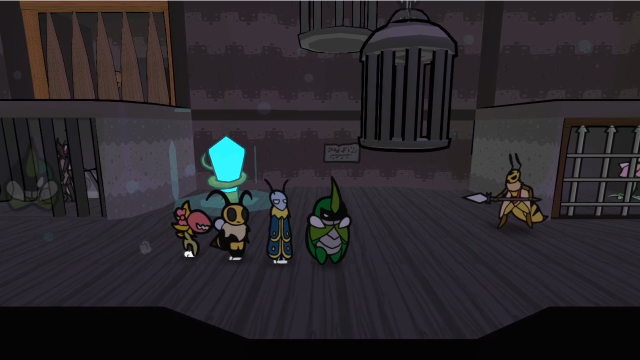 It's barely a few steps before we encounter an enemy. There are a lot of Wasp soldiers here! 24 - Oh No! WASPS!! This is different! There's a lot of enemy variety here, but it's not just the wasp soldiers, it seems like they've freed some bandits that were locked up here and teamed up with them! It's also a good way to get a sense of how much our team has grown, because the bandits' stats haven't changed since we last fought them.  That was an easy fight, we'll just keep moving. 75 - Rubber Prison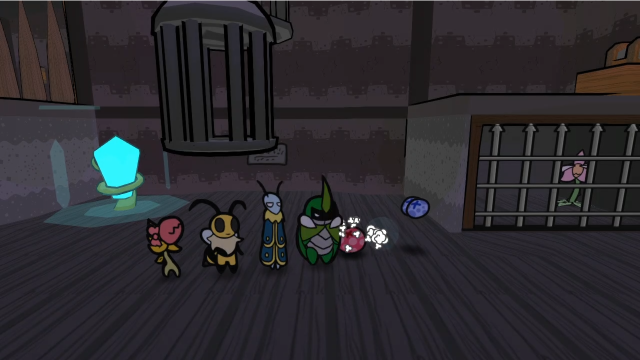 Is that Venus locked up in a cell? 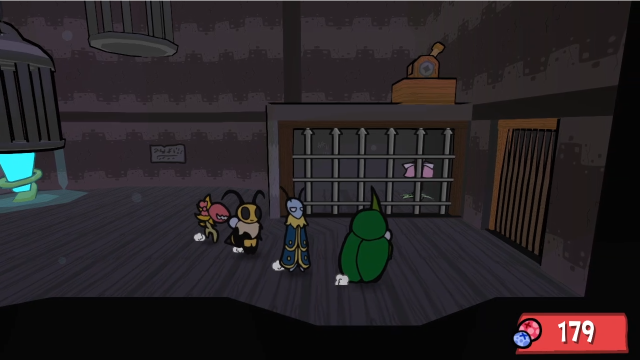 Well, we can't get inside yet, and we also can't go any further east, there's some kind of portcullis blocking the exit too. Also, look on top of the cage Venus is in: there's a lever up there, we'll have to get up somehow. Let's explore some more. 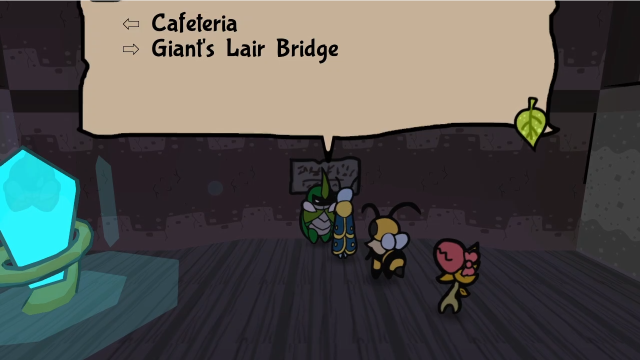 As we head back west, there's this sign on the wall that gives some direction (though it's not all that helpful yet). The Giant's Lair is our ultimate goal, but I doubt it'll be as simple as just crossing a bridge. 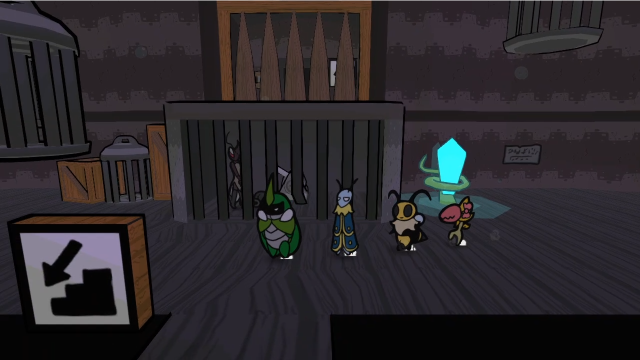 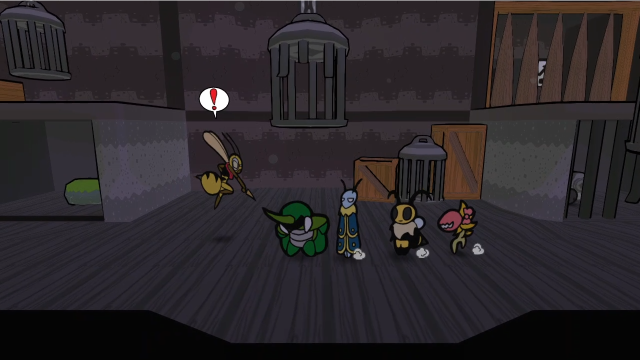 Further west, we find more wasps. 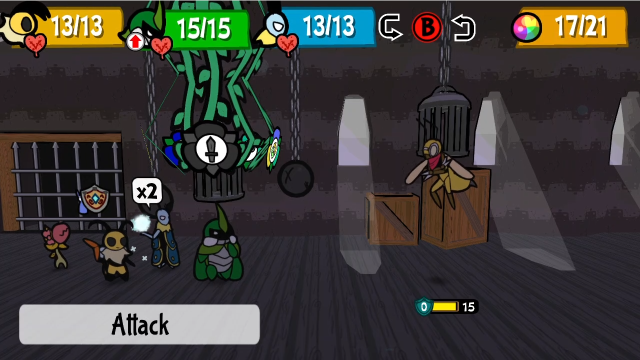 Wasp Scouts are here too. Alone, it's not much of a threat, but once we start seeing these mixed in with other enemy types, it's usually a good idea to prioritise them so they don't call reinforcements.  The Scouts have had their EXP yield adjusted too. 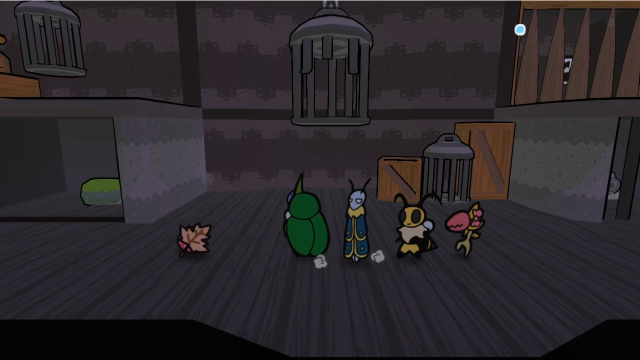 More Crunchy Leaves? All right then. 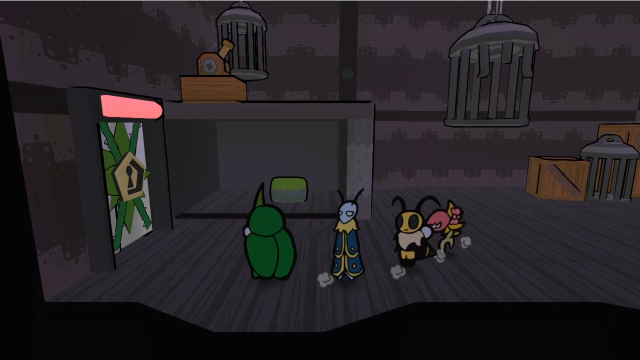 We can't progress to the west either, we'll need a key for that. (Also, once again, note the lever on the upper level.) 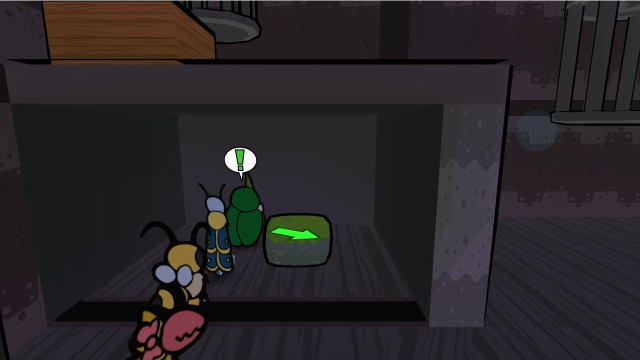 There's a moveable block in this cell, though. We must be able to do something with that...  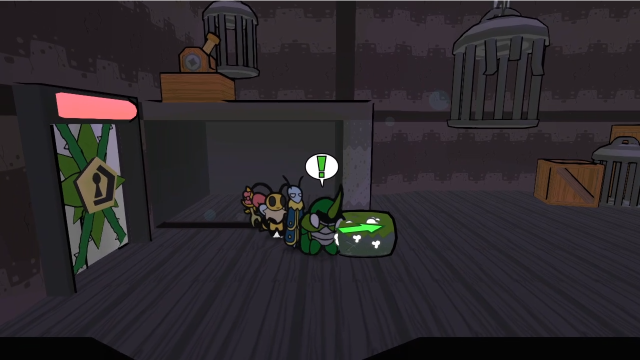 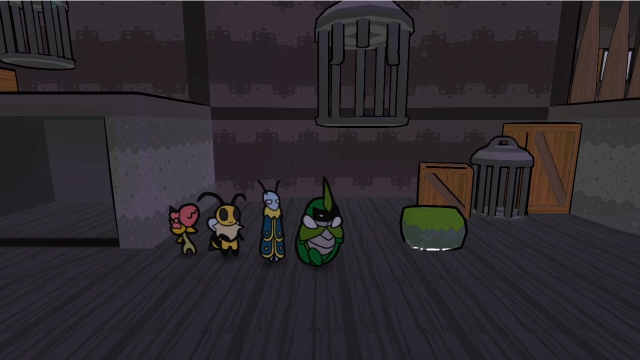 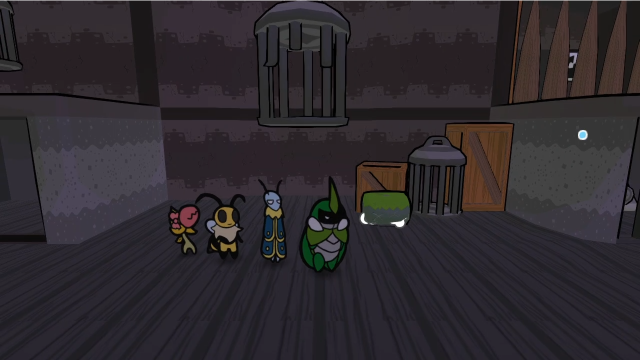 After a bit of manoeuvering, we can use it to complete a staircase with these boxes and cages along the wall. 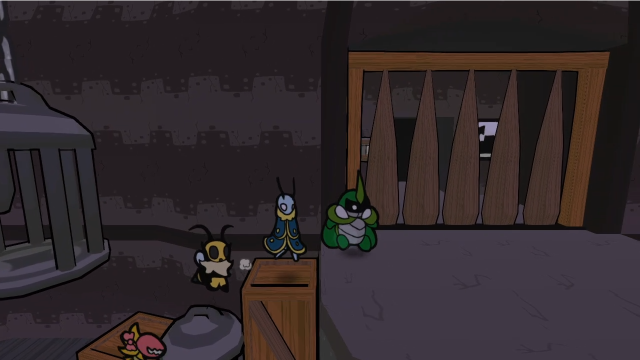 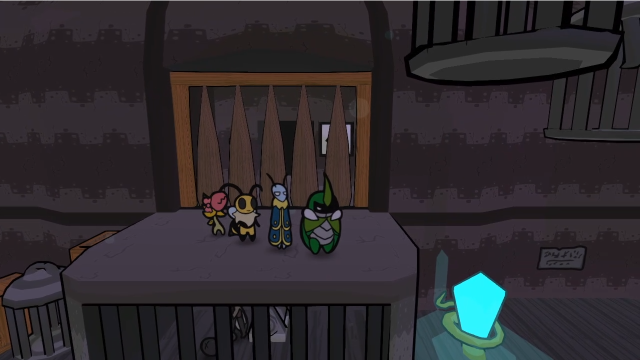 And that enables us to reach the upper level. What can we do here, though? There's an exit to the north, but this one's also blocked with impassable spikes, so we can't go that way for now. 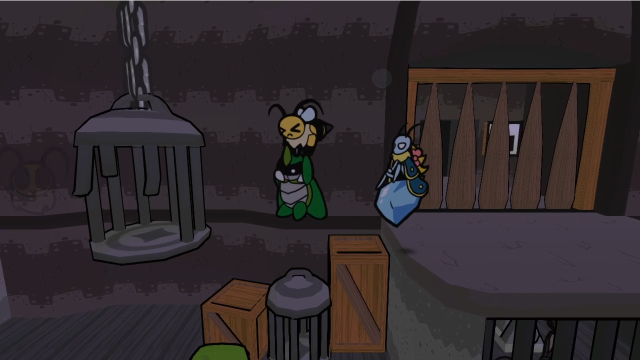 It might seem like the corner platforms are too far to reach with flying. That's the puzzle here... 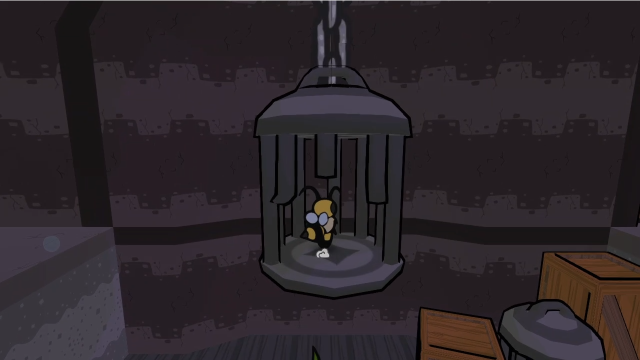 The trick is realising we can land inside this cage to rest. 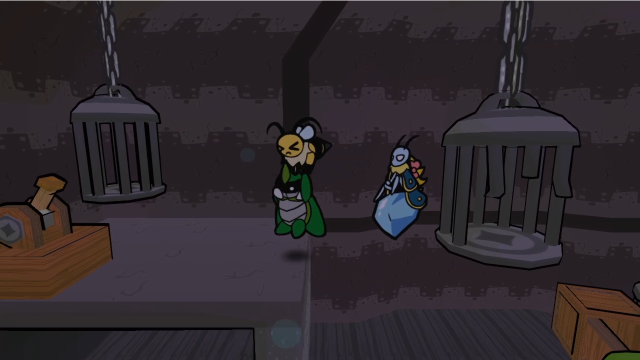 That gets us close enough to fly the rest of the way over. 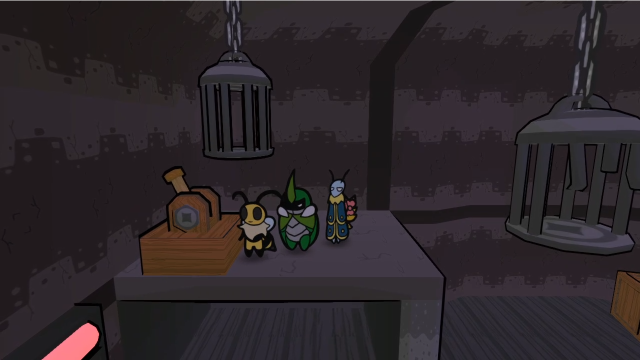 Now we can flip the lever here. What did that do, though? Nothing is immediately apparent...  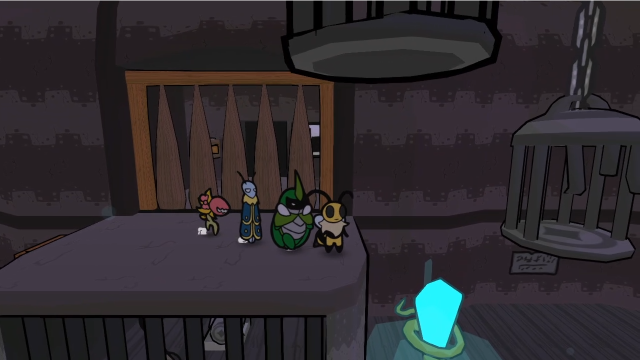 But if we check back east, it's caused a cage to descend on this side. Now we can reach the other lever! 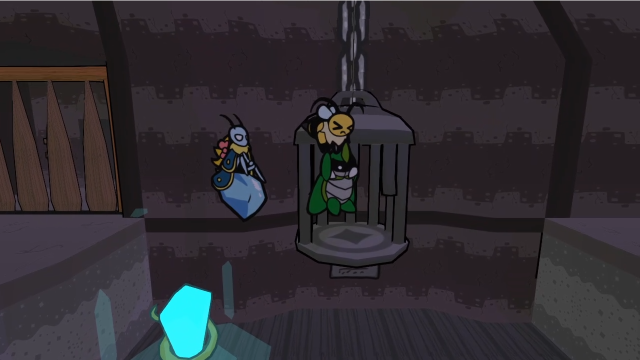 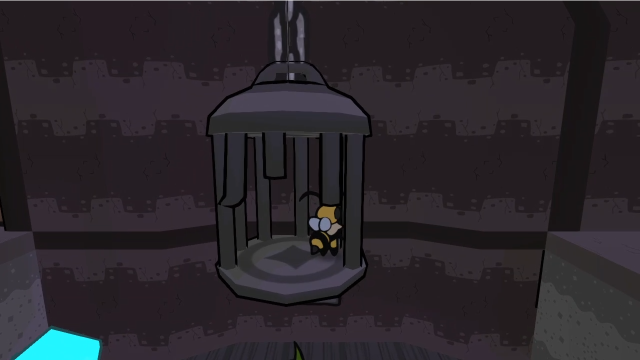 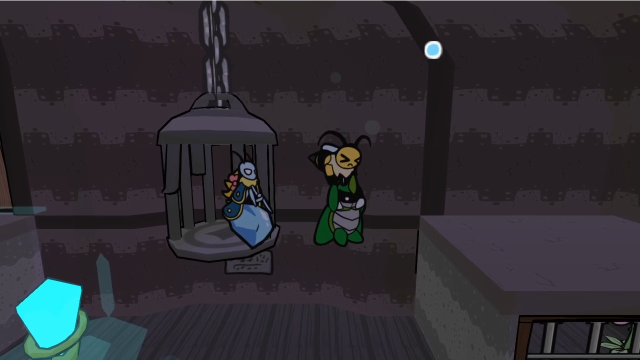 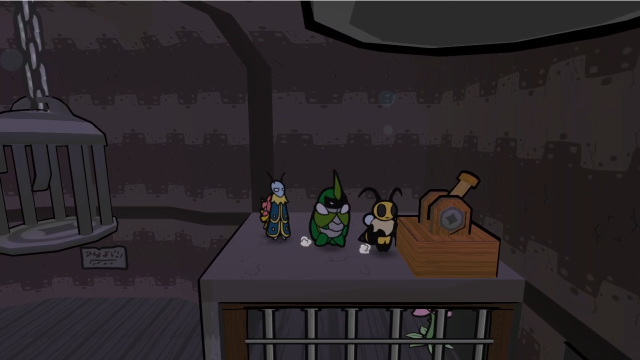 The same procedure lets us cross again. 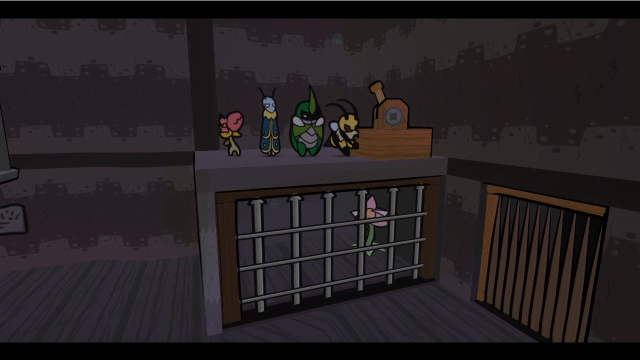 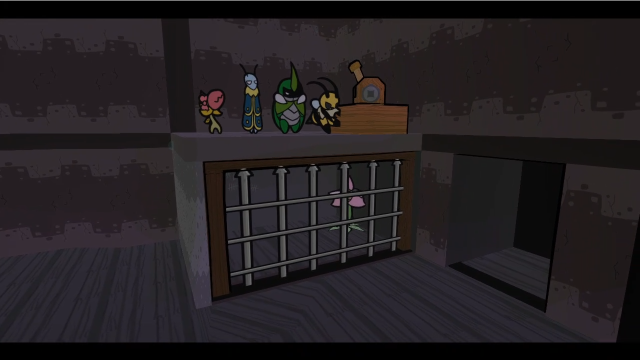 This time there's no mystery about what hitting the lever does, the game shows us immediately! The way east is open now. 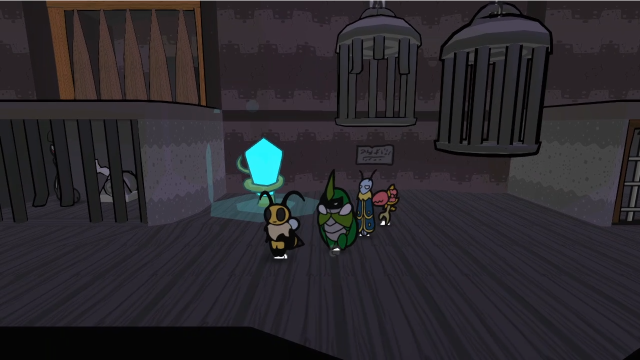 Before we leave, though, there's a bit more in this room. 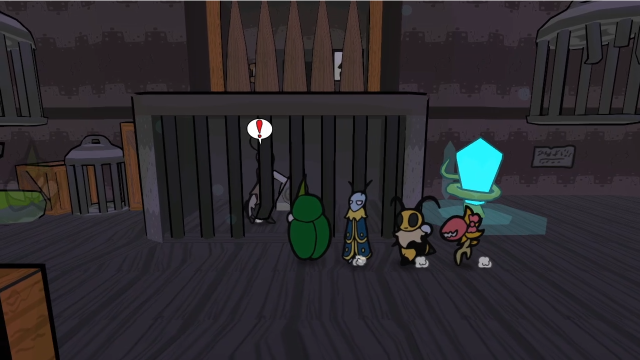 There's some kind of enemy in this cell (hard to see behind the bars), and one of the grey switches. Some of the bars are broken... 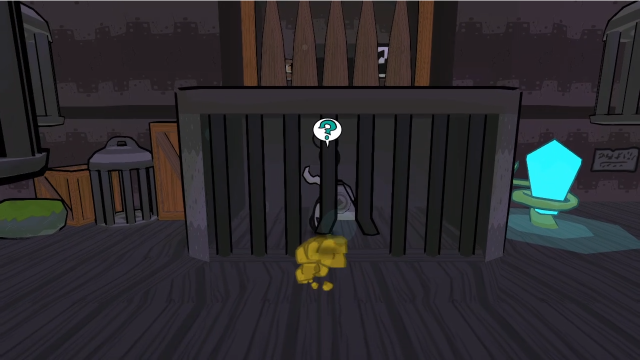 The gap is big enough that Kabbu's digging can get us through. 55 - Team, It's Getting Serious!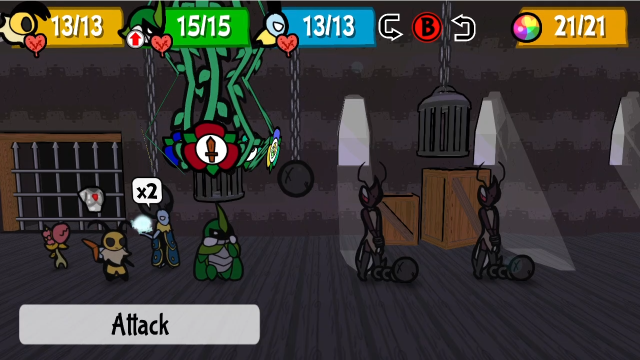 New enemies! (Also, there's a quirk here with the battle music. The wasps' battle theme takes precedence if any of their soldiers are in the fight, regardless of other enemies, but we can still hear the other theme here if none of them are present.) Let's see what we're dealing with here. 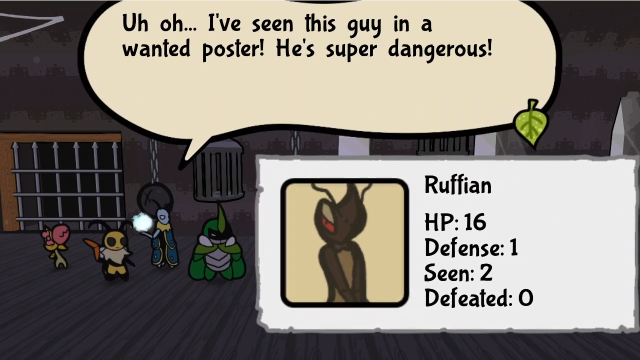 He's flailing that chain like it's a leaf! Watch out for those kicks! He's flailing that chain like it's a leaf! Watch out for those kicks!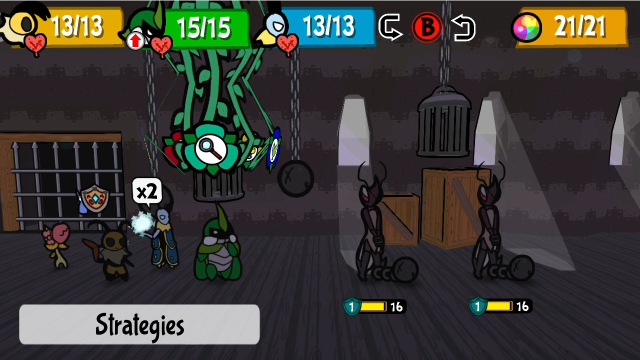 These are Ruffians, some of the more dangerous prisoners the Wasps seem to have released. (But they left the shackles on them?) They're actually the only completely new enemy type here, the rest is just different arrangements of Wasp soldiers. They have 16 HP and 1 defence; they're not quite as tough as the Wasp Drillers, but they're decently sturdy. 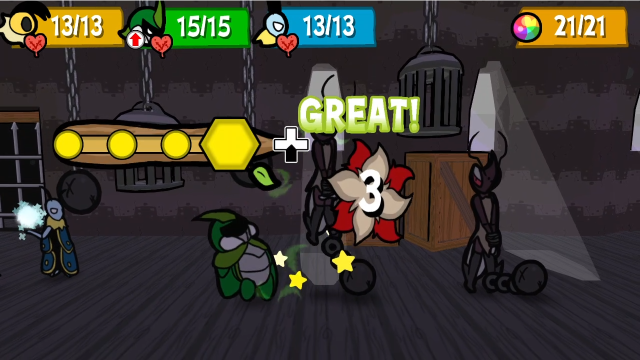  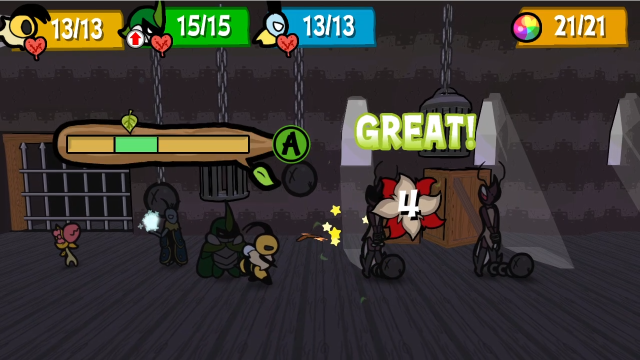 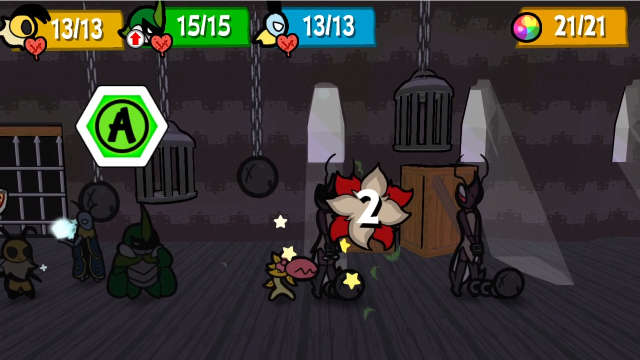 We'll start this off with just normal attacks, for now.  The first attack we see from them is this kick. It's a straightforward attack that deals 4 damage at base.  They also have this overhead smash, also 4 base damage. 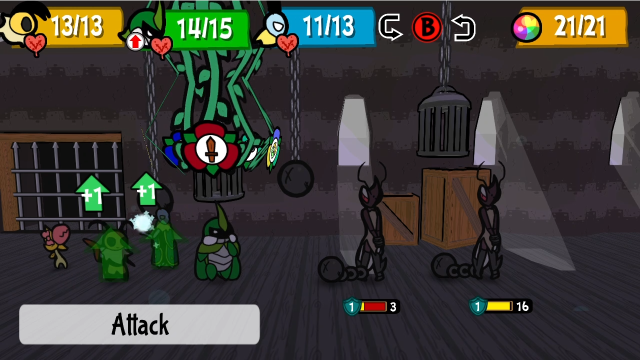 That wasn't so bad. Let's keep going. 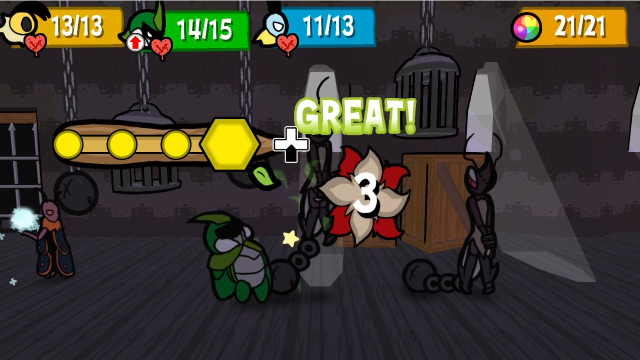 Kabbu finishes off the first one. 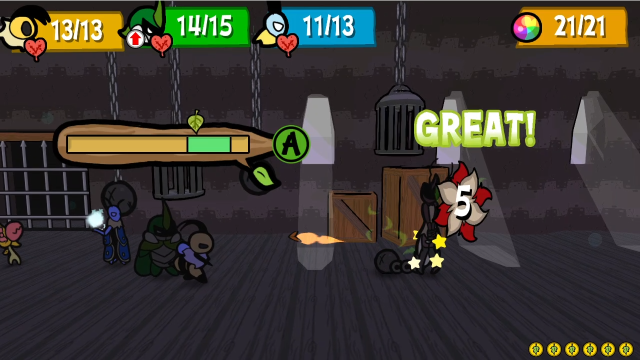 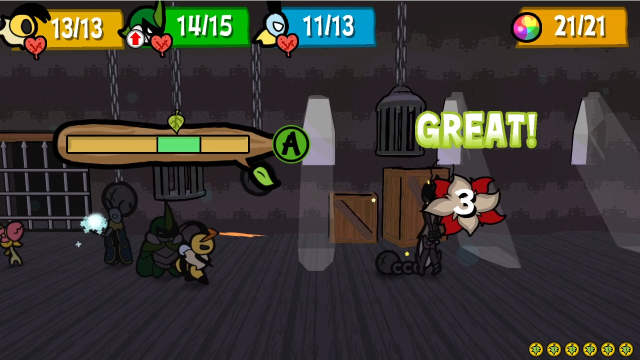 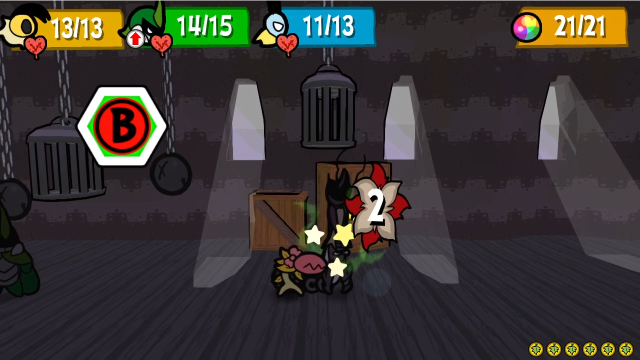 While Vi and Chompy get started on the second. 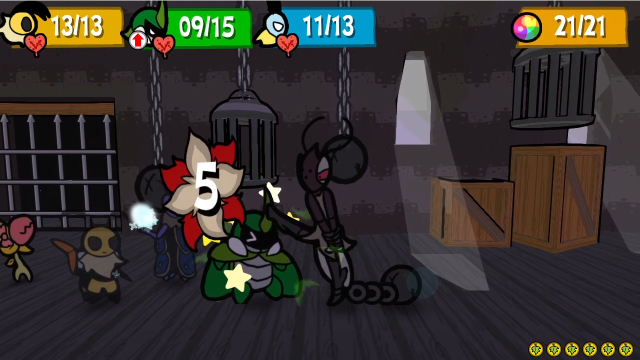 Kabbu gets kicked again, but he can handle it. 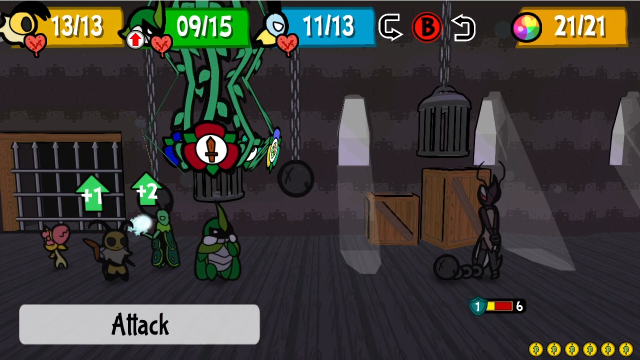 And from here, we can easily finish this. 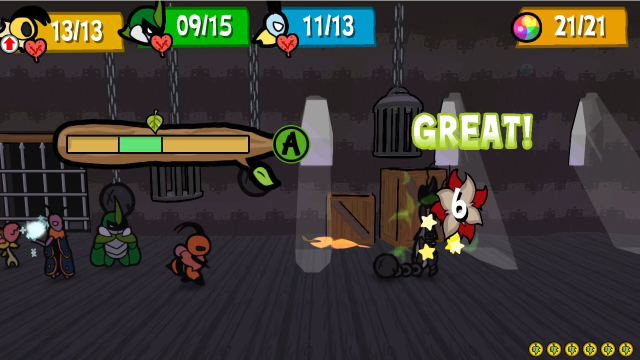 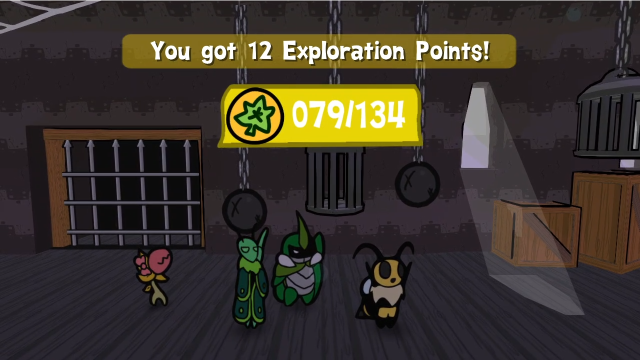 That wasn't too bad. I'm sure we'll be seeing more of them before long. 75 - Rubber Prison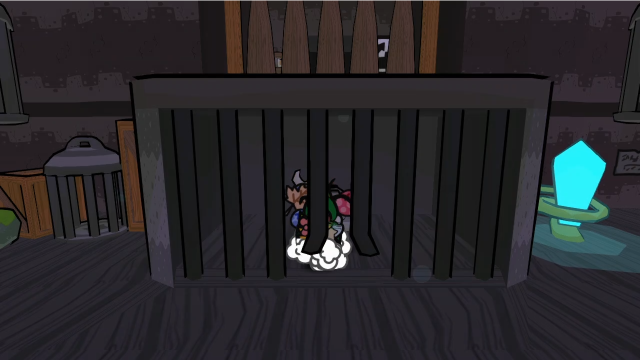 Now. There's a grey switch in here; let's flip that. 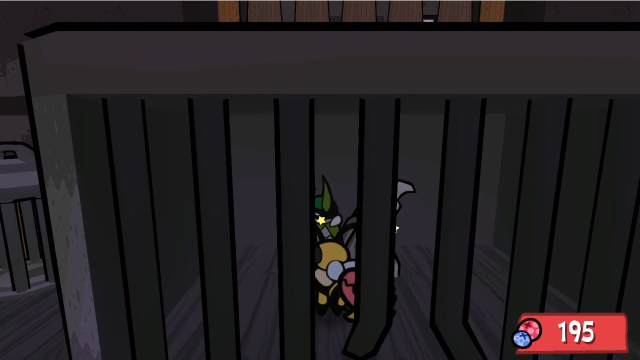 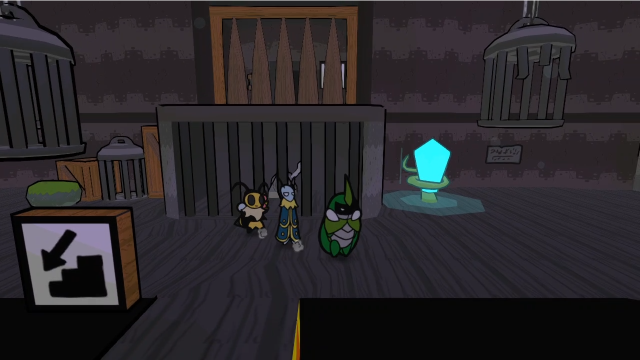 With the switch flipped, let's look around again. 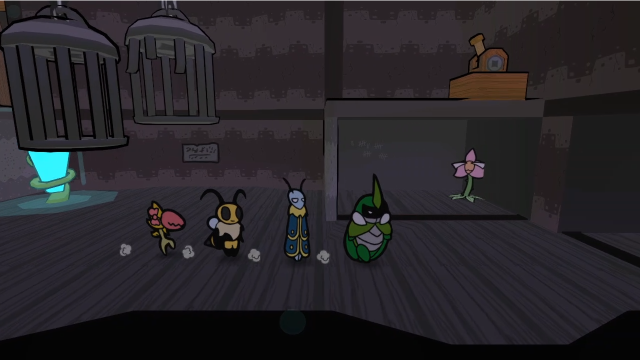 Toggling the gates lets us get in to see Venus!   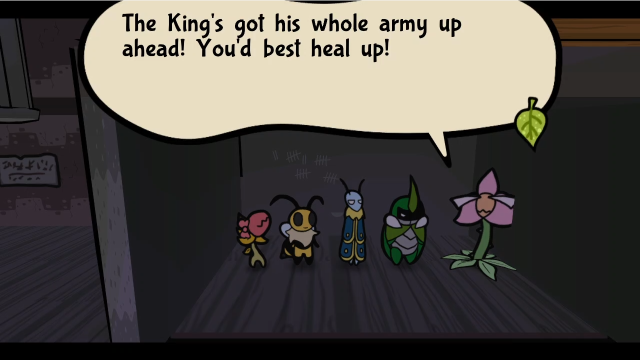 This is all she has to say, though. We're in decent shape so I'm not going to bother paying for healing, but it's definitely worth remembering she's here. 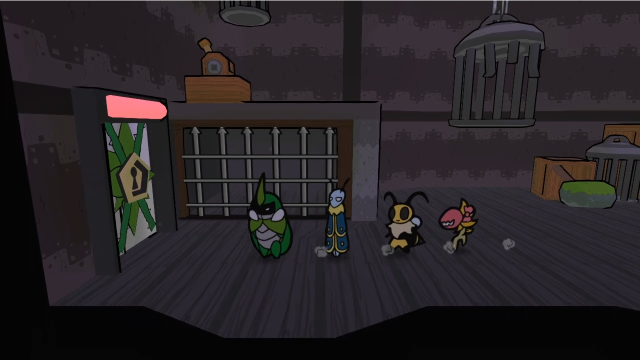 Also worth noting is that toggling the grey switch raises the gate on this side, which could have been a problem if we'd flipped it before getting the block out. 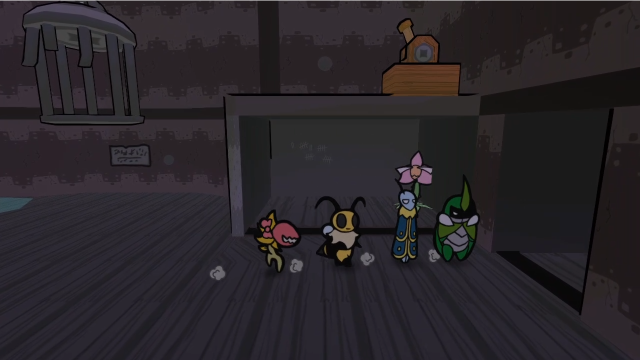 Now, let's head east.  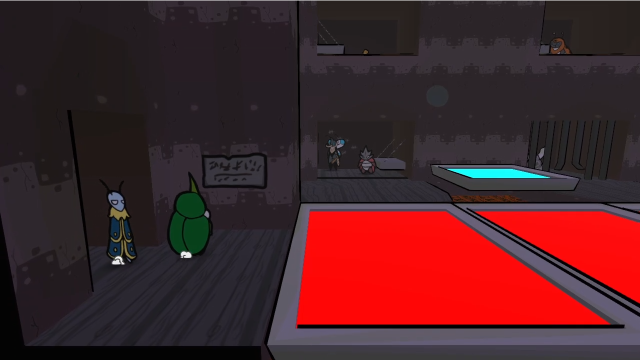 Interesting. Looks like someone's been taking inspiration from the Honey Factory... 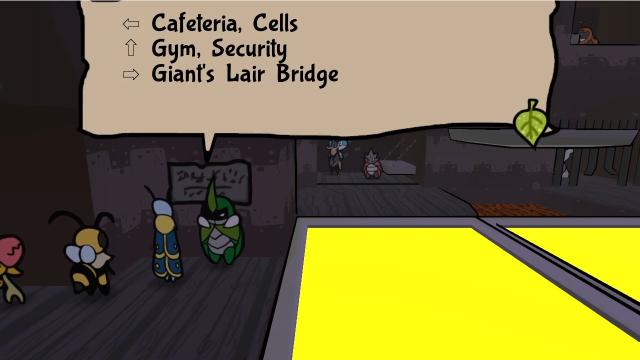 There's another sign with directions here. Some of these locations sound interesting, but how do we get to them? This security is impressive! Yet it couldn't stop the Wasps at all... Well, duh. They fly. We've got magic shields, too. S-So I am the only one stopped by it, huh...Heh. Poor Kabbu. (Of course, this conversation also serves as a reminder to the player of how to deal with these floors, it's been a while since we've seen them.) 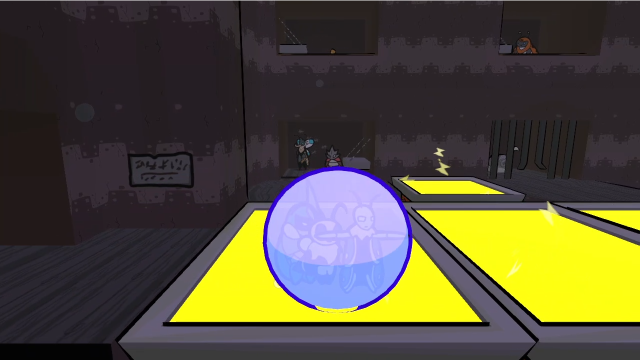 For now, let's head east and look around. 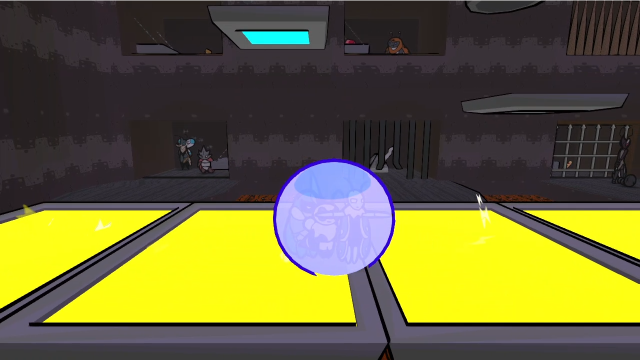 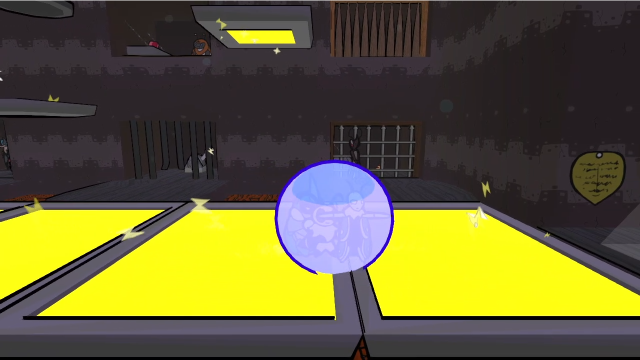 In addition to the stationary platforms we're crossing, there are two more electrified platforms acting as elevators on the north side. And there's a whole wall of cells: there's a lot going on in this room!  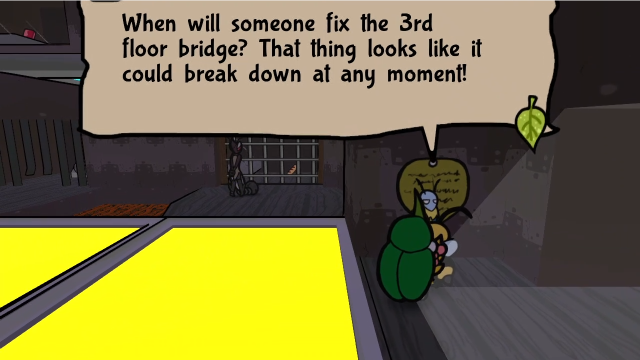 Hm. That's interesting, maybe we'll be able to exploit that somehow. 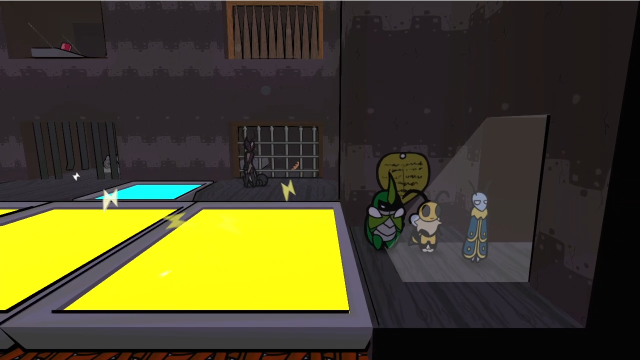 We'll be back to explore this room fully soon enough, but for now let's head outside. 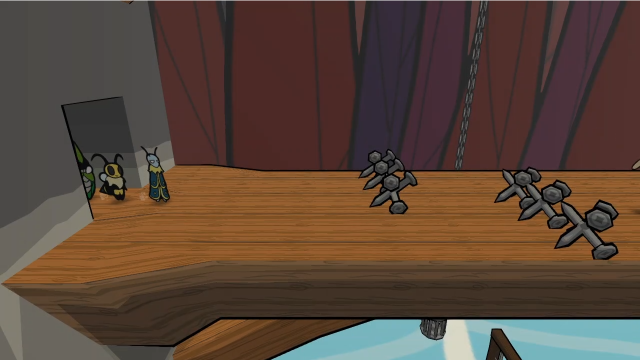 We're on the bridge one level up from the entrance. 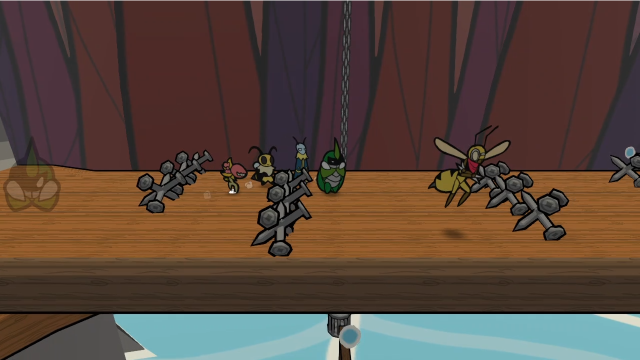 We can weave our way through the barriers made of jacks, and quickly find there are soldiers here too. 24 - Oh No! WASPS!!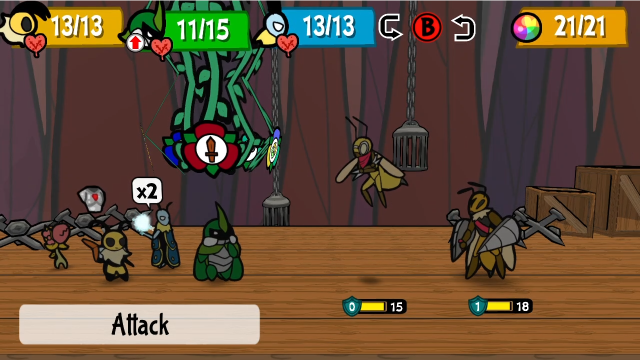 Here we have a Scout and a Driller. That could be annoying. We'll use our first turn to take out the Scout, to prevent it calling reinforcements. We can deal with the Driller after that...  Ow! This drill combo can be nasty (though that's exacerbated a bit here by Kabbu having Favorite One on, its base damage is 2 per hit). Also, it's not treated as a melee attack, so we can't get counter damage on it. 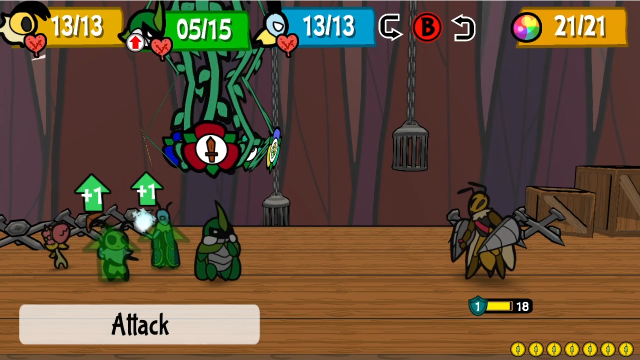 Now that we've reduced the fight to just one Driller, we can deal with it as usual. 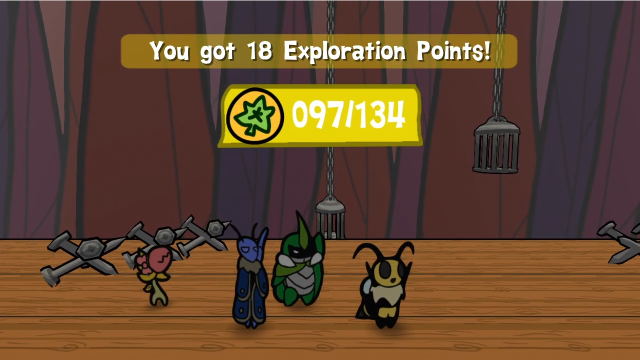 A bit of back and forth later, we finish the fight. That's a lot of EXP. 75 - Rubber Prison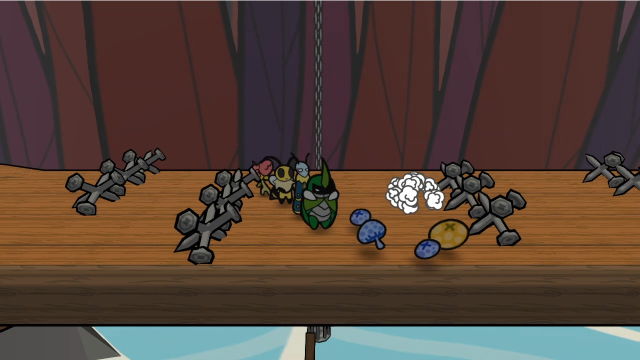 That's a lot of berries, too. And also a free Mushroom. Sure, why not.  55 - Team, It's Getting Serious! 55 - Team, It's Getting Serious!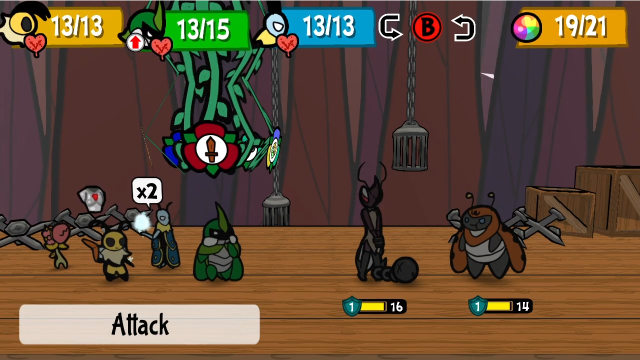 Further along, we quickly find another battle. Here we've got a Ruffian and a Burglar. 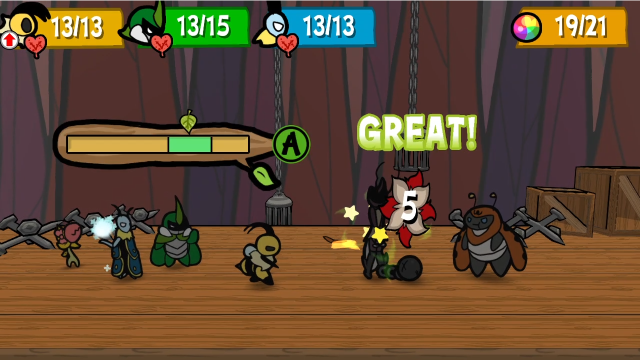 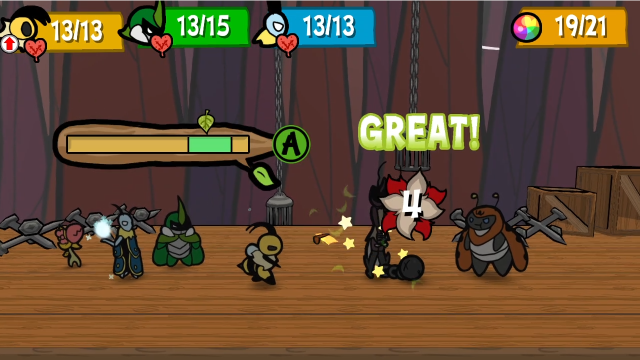 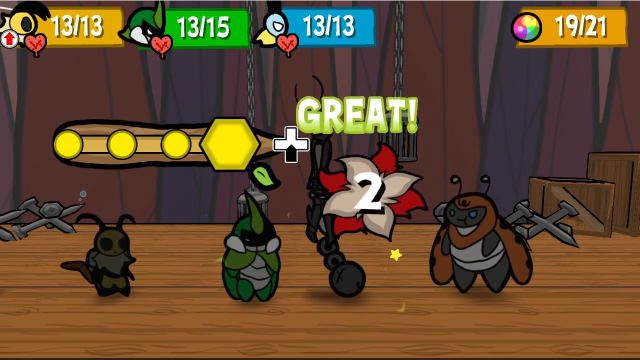 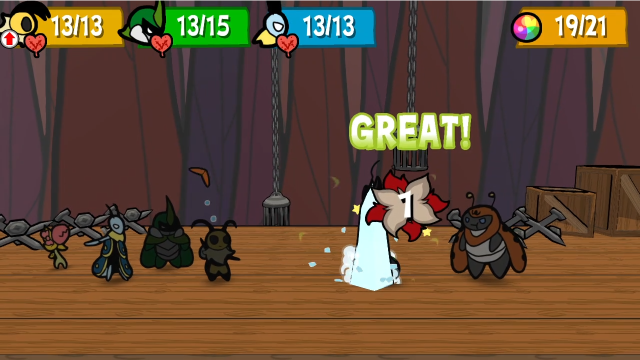 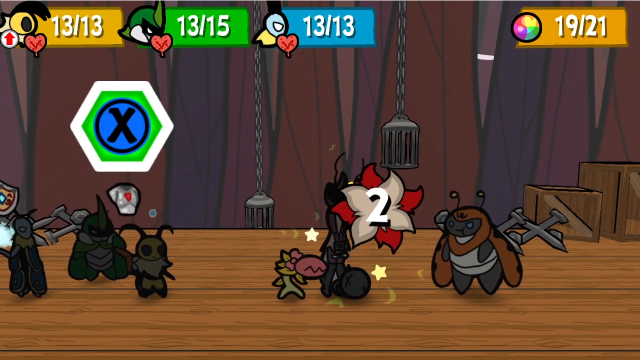 A full round of basic attacks isn't quite enough to take out the Ruffian, so we'll be taking attacks from both of them. 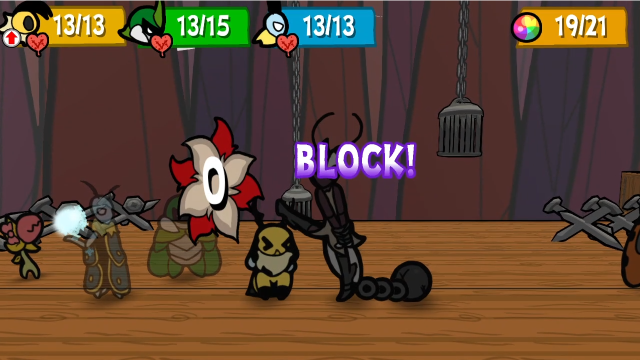 Vi's First Plating makes this kick harmless, though it wouldn't have been that bad anyway. 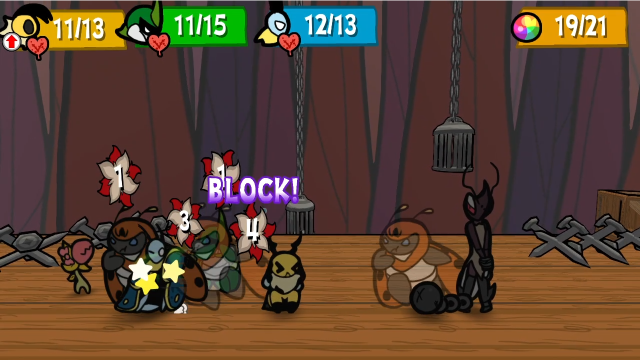 And the Burglar reminds us not to underestimate him: their full-party dash attack can still be pretty annoying. 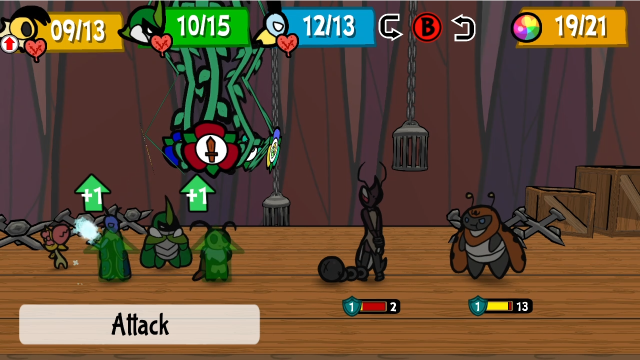 Now we can start to clean up. 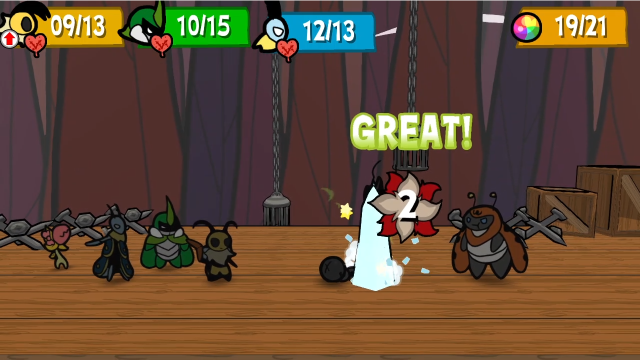 One attack from Leif does for the Ruffian. 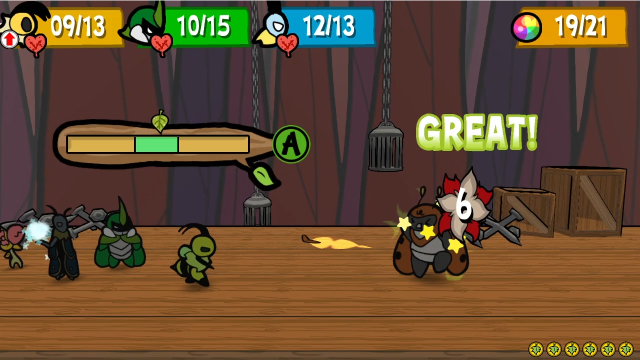 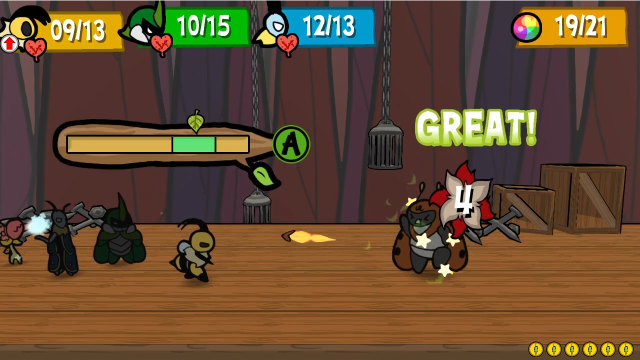 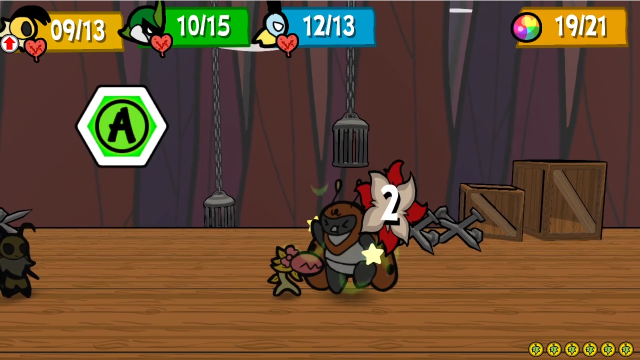 Here, I miscalculated slightly and ended up leaving the Burglar alive. It would probably have been better to just spend a few TP to get the kill now... 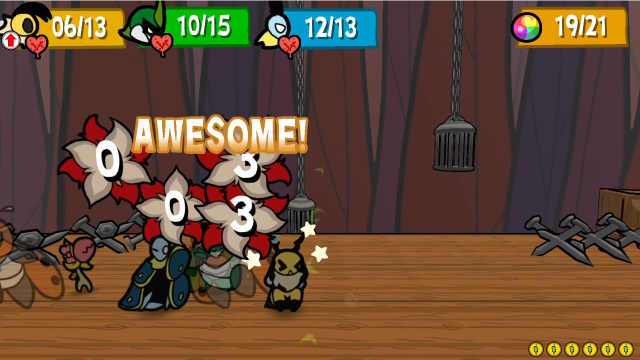 Because he decided to go for the dash attack again. I managed to Super Block this time, which made it much less painful, but it's still irritating. 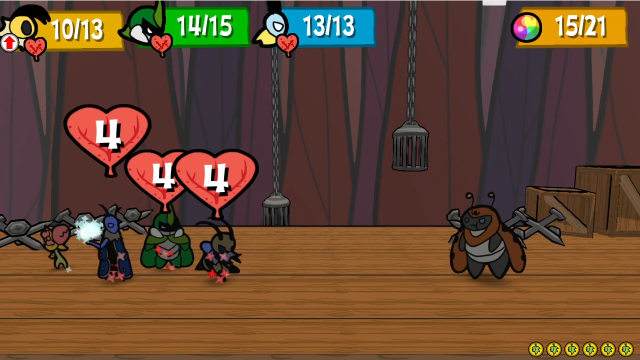 So let's just heal up a bit before we finish the fight. (This can be a good habit to get into, sometimes, especially if you're using Victory Buzz and/or TP Core medals. When your TP regenerates, it's wasteful to stay at maximum anyway. Of course, this kind of micromanagement is a bit pointless here when you can just buy healing from Venus, but I tend to forget to go to her...) 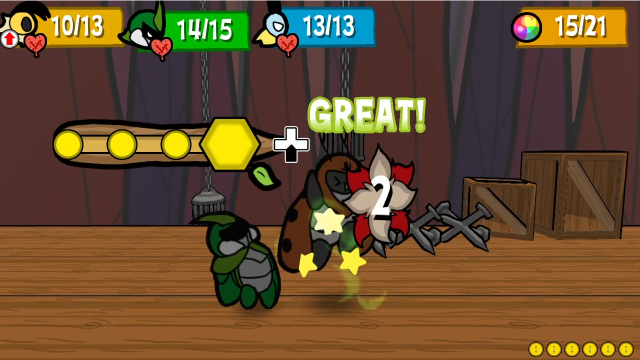 Now we finish things. 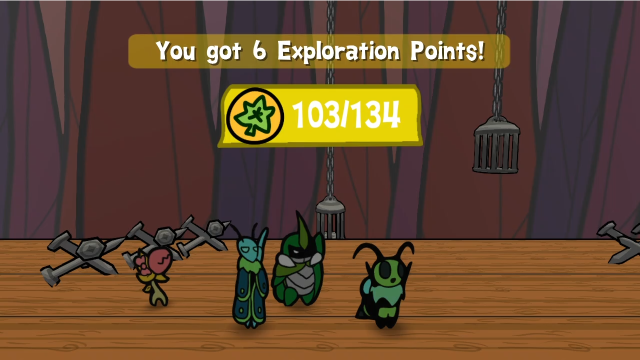 Note that we only get the boosted EXP yield from the wasp soldiers, the various bandits around here won't give us any. 75 - Rubber Prison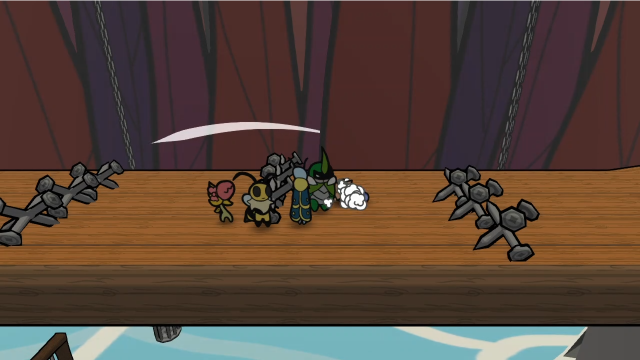 Let's keep moving. 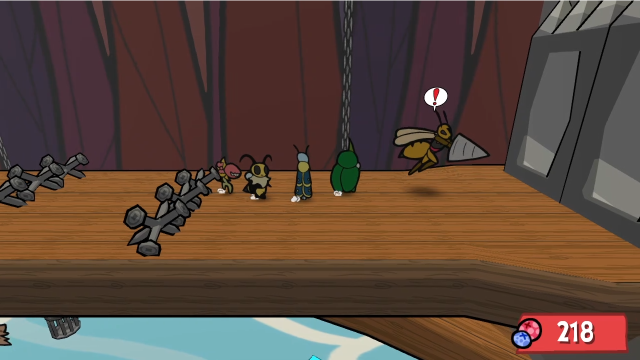 Is this just a dead end? Well, let's do the fight, at least. 24 - Oh No! WASPS!!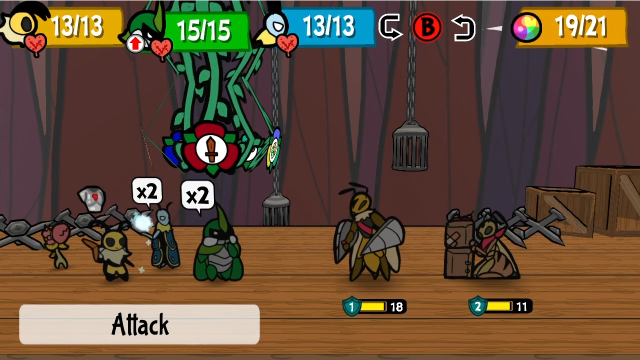 Here we have a Driller and a Bomber. At least they don't have Ultimax supporting them? I'd really rather not get hit with bombs... 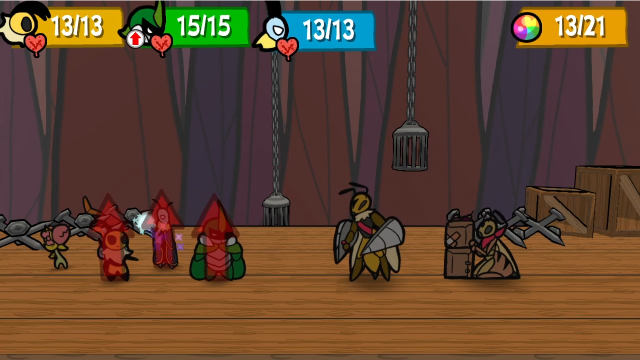 This is a bit unorthodox, but it should work. Leif starts out by boosting everyone with Empower+ (I left that on, though he's no longer using Life Cast).  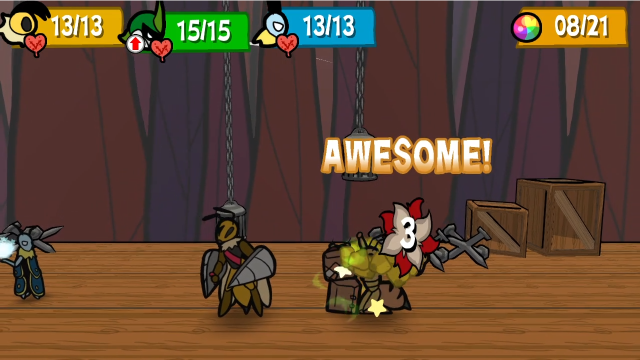 We haven't used Under Strike in a while, but it's a decent choice here! (Thinking about it, this might've been a good place to use Fly Drop, too.) 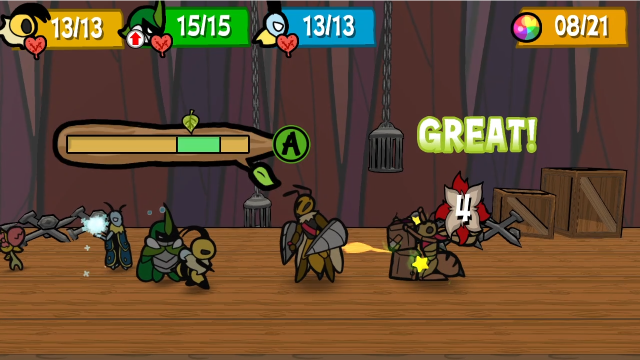 Regardless, that's brought it low enough for Vi to finish off. 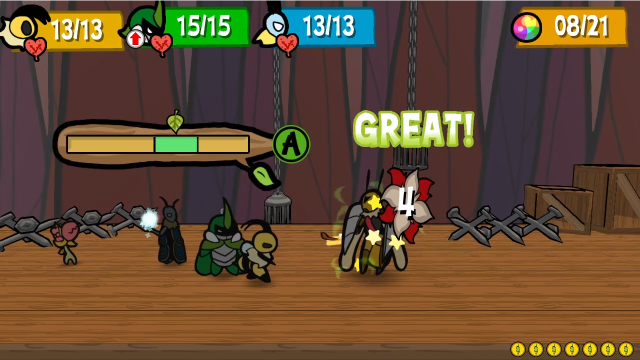 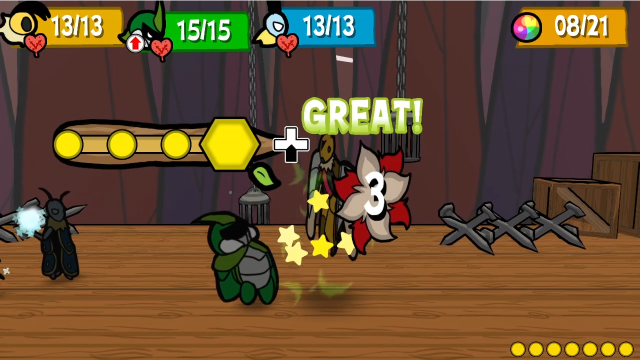 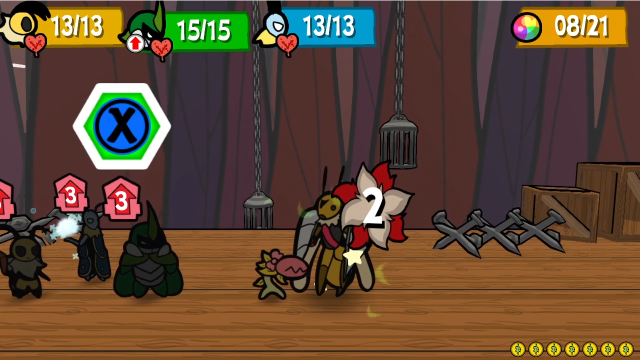 Now we can use our remaining actions to start hitting the Driller. 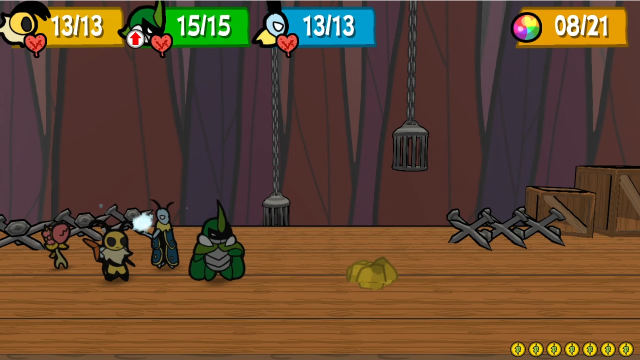 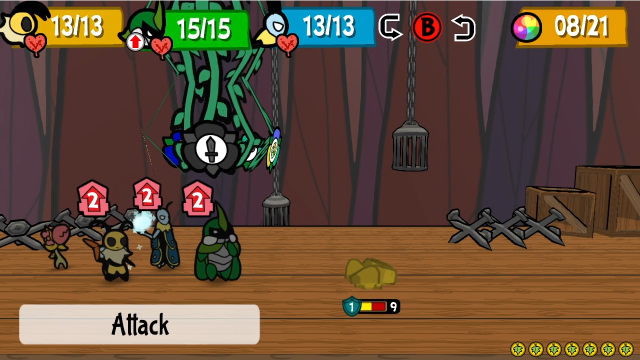 ...If he wants to skip his turn, I guess that's fine. It's easy cleanup from here, especially since we still have the attack boosts. 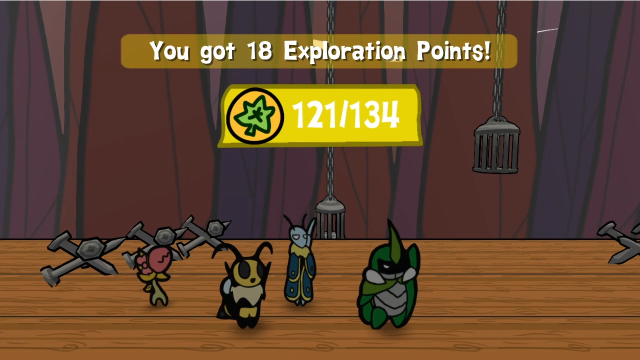 Wow, we're already quite close to ranking up. That's going quickly. 75 - Rubber Prison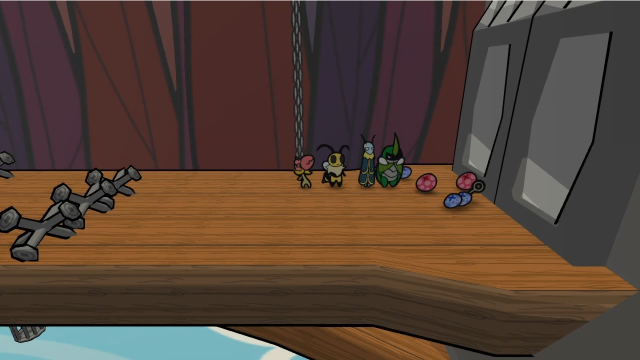 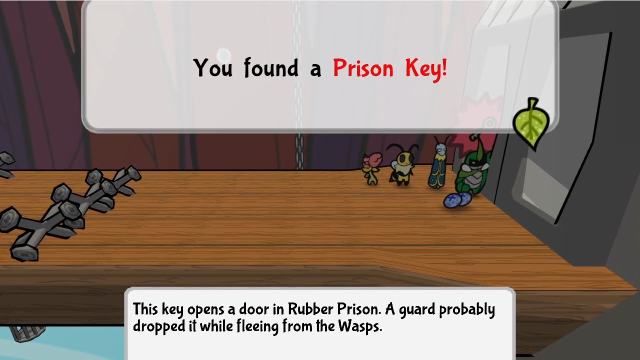 That particular battle drops a key. We'll just take that, thanks. (This can be easy to overlook, if you're not the sort of player to habitually fight every enemy. This bridge is otherwise a dead end, though, which should probably be a kind of hint...) 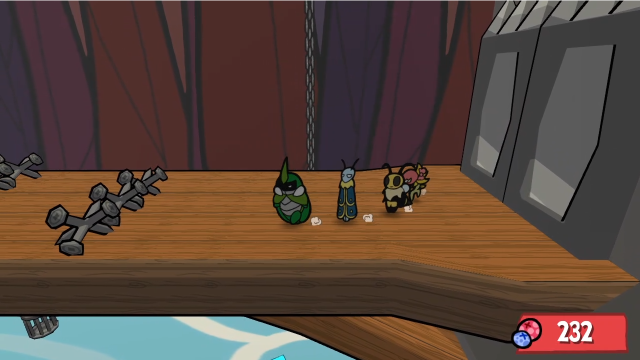 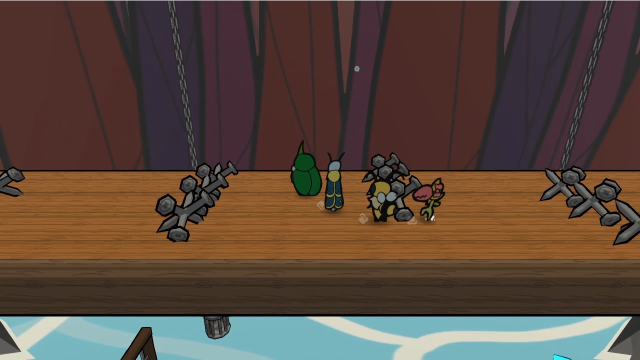 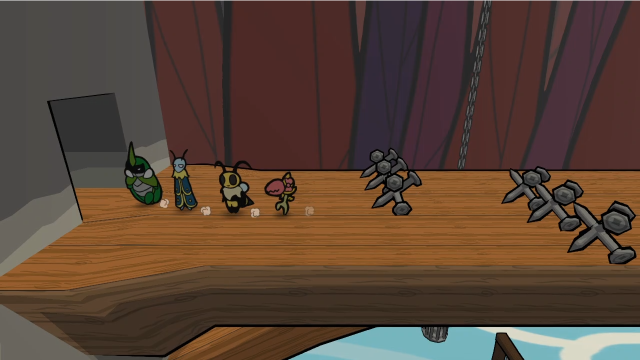 Once we have the key, though, there's nothing else to do here, so let's head back inside. 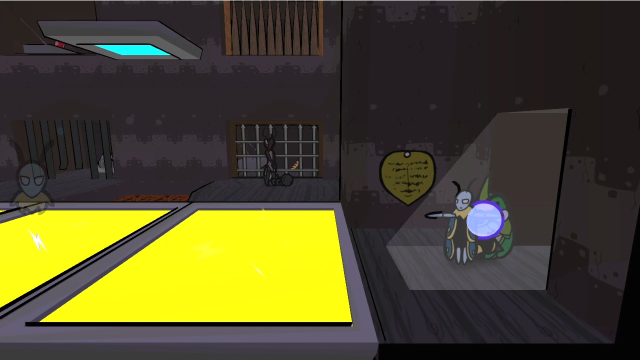 Now, let's explore this mess. 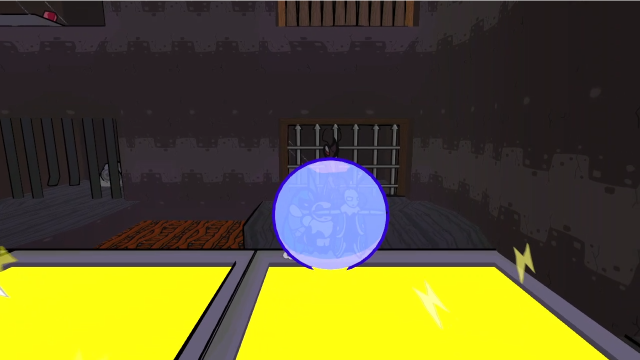 First up, there's a Ruffian loose over here. 55 - Team, It's Getting Serious!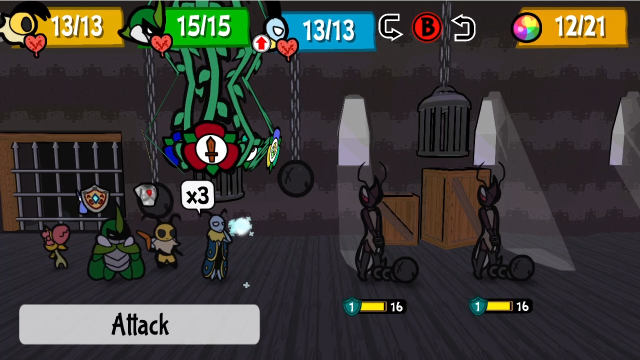 It's another pair of them. 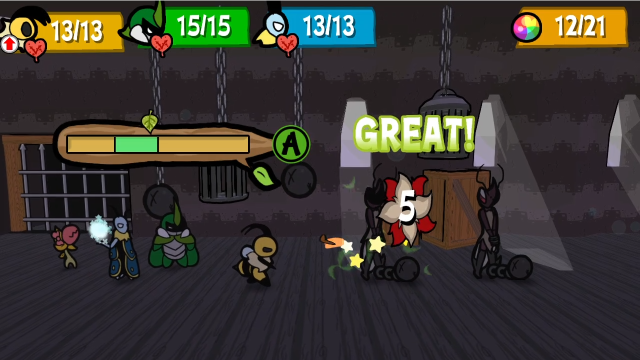 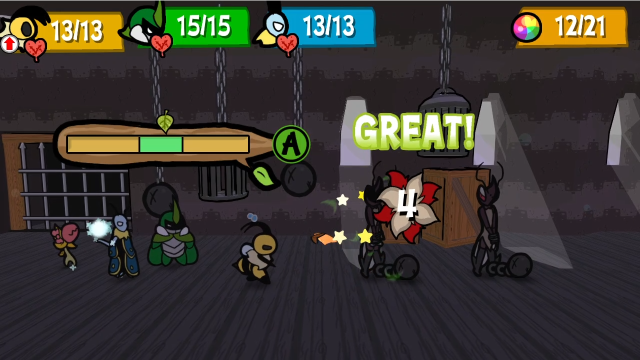 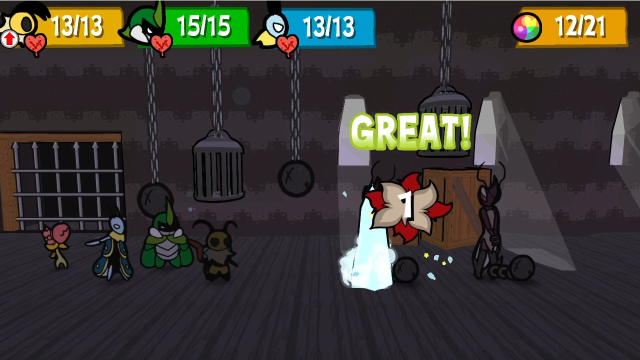 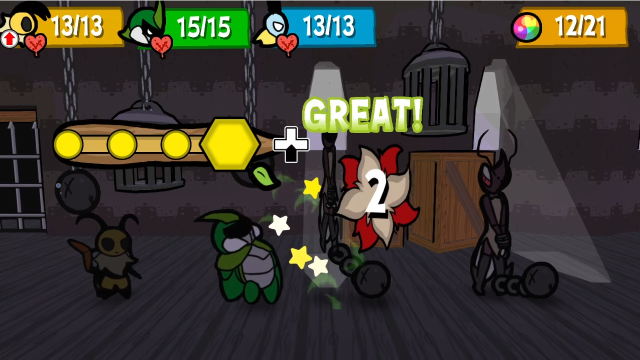 After a few hits, I realised basic attacks would come just slightly short of eliminating the first one. We can fix that, though. 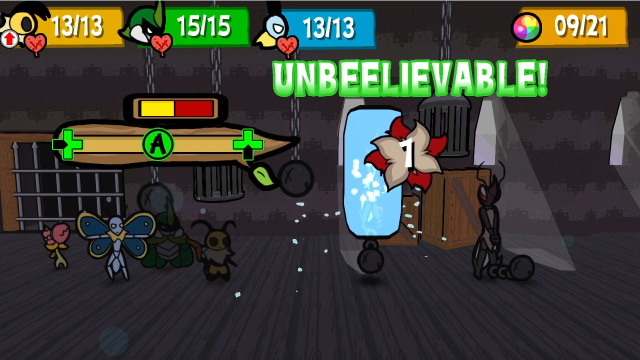 Even after the penalty from Strong Start, Leif can squeeze out a bit of damage with Frigid Coffin. 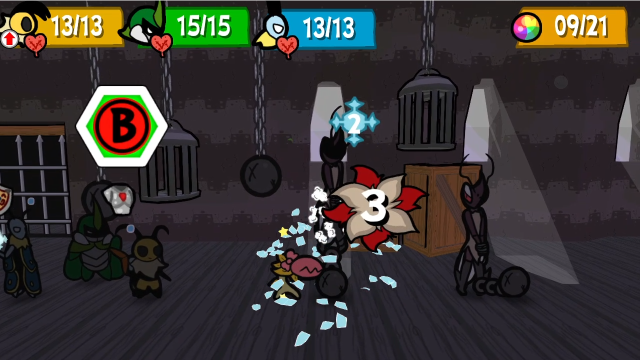 And the freeze boosts Chompy's damage just enough to finish it. 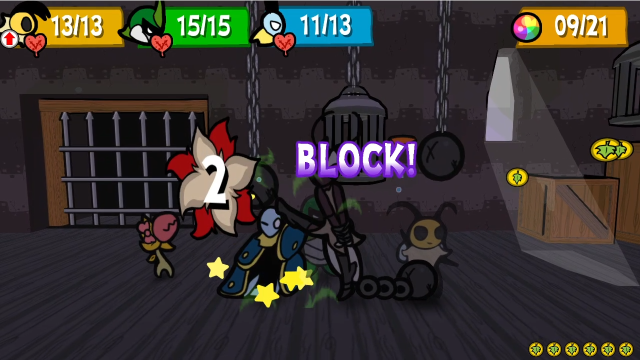 Leif gets kicked in the face, but otherwise things are looking pretty good. 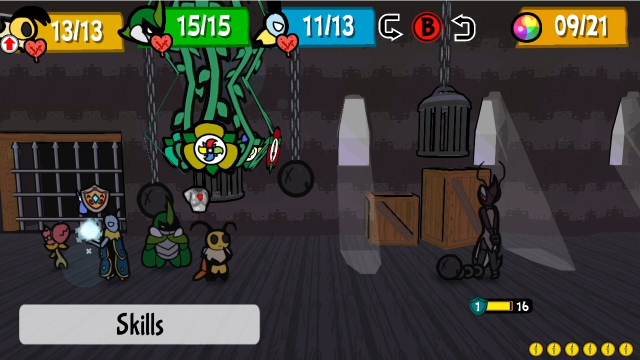 Let's just keep going. We've got this. 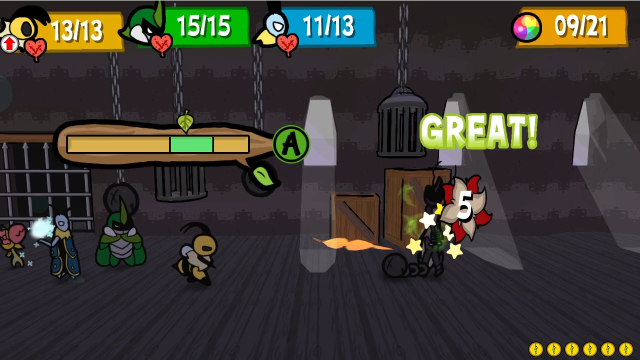 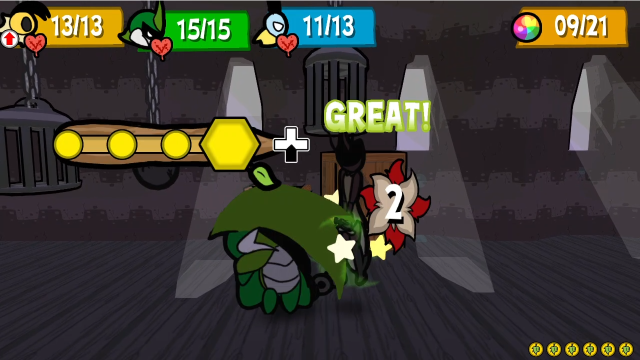 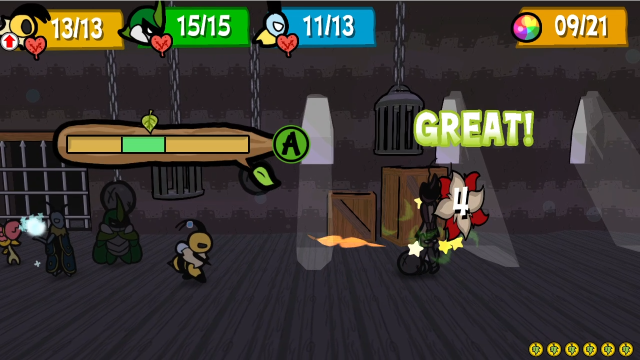 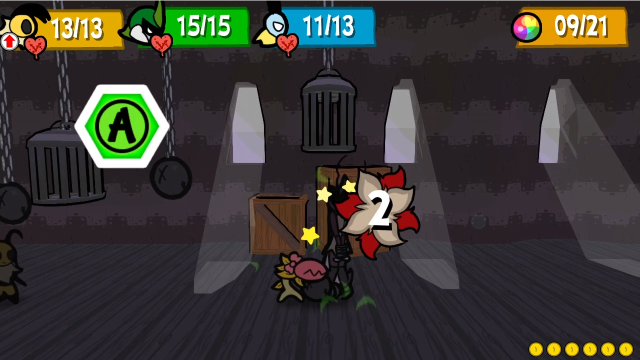 Basic attacks aren't quite enough to get the kill, but I don't want to spend any more TP this turn.  Here we go! This is more interesting. In addition to the kick and bash attacks, Ruffians have this attack with their ball and chain. Not only is this more threatening at 6 base damage, it also inflicts Defence Down for 2 turns. We've seen all of the Ruffians' attacks now. They're pretty straightforward as far as enemies go. 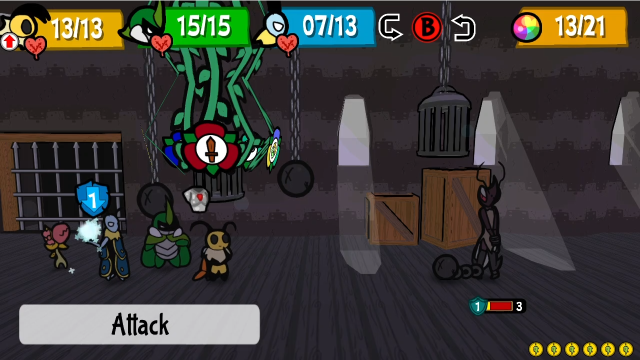 Let's just clean this up now.   That's a bit awkward, we're a single point short. Oh well. 75 - Rubber Prison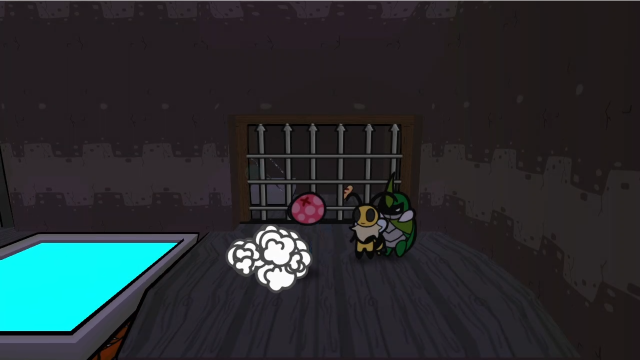 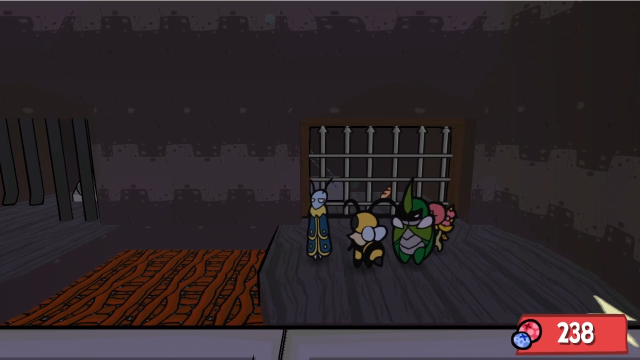 Well, let's keep looking around. There's something inside the cell there, but we have to get the gate open to reach it... 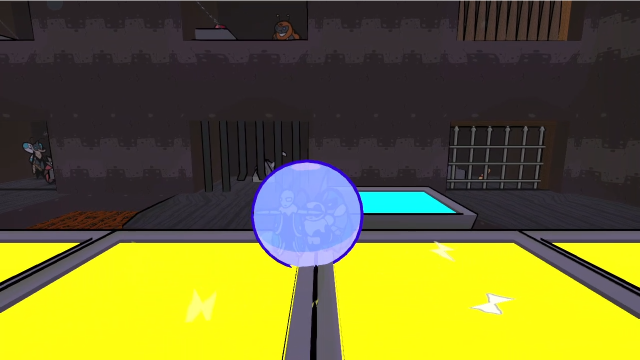 So let's check out the rest of the area. 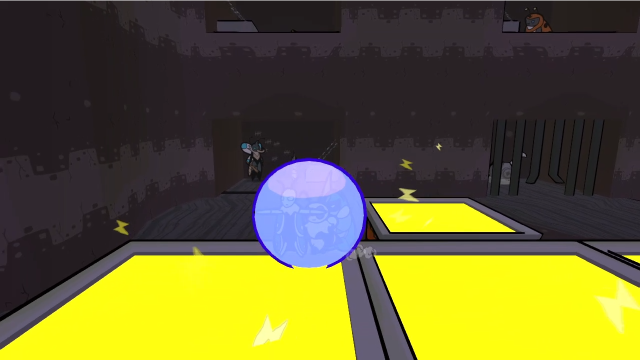  Let's start from this side. Those are some familiar faces! 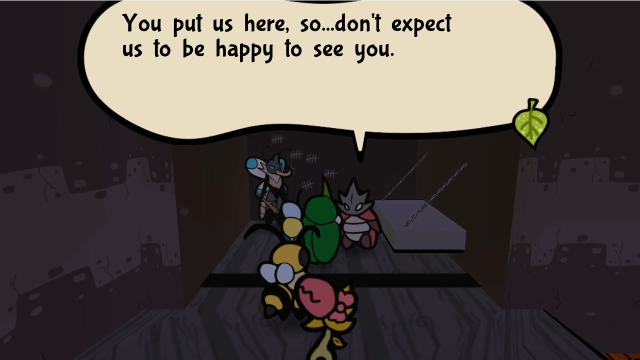 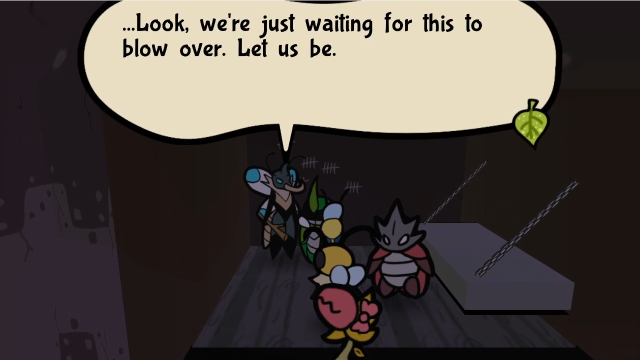 Apparently this is where Cenn and Pisci were taken after we helped get them arrested. We've got to respect these two for not taking the chance to run. Perhaps they've truly taken our words to heart! Wonder if Maki'll give 'em a second chance...Maybe these two will get the chance to turn over a new leaf. (Assuming they want to.) For now, though, we'd best leave them be. 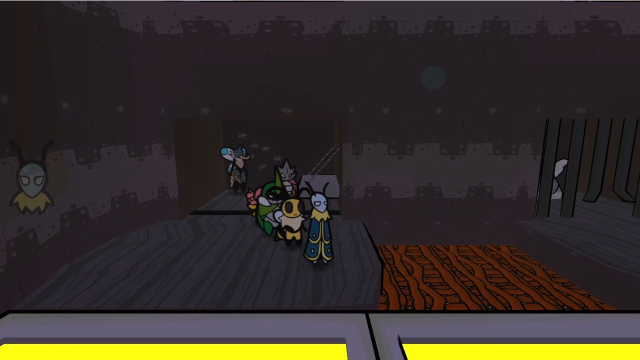 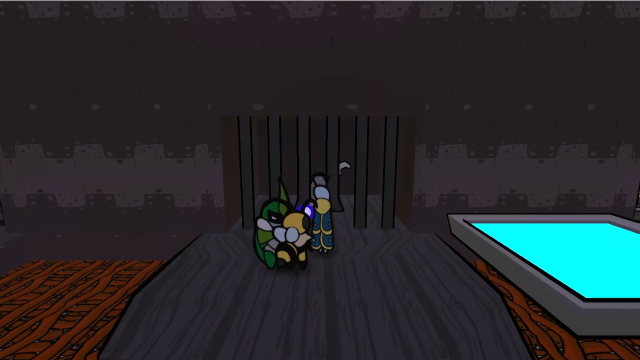 On the central platform, we have another grey switch inside a cell. 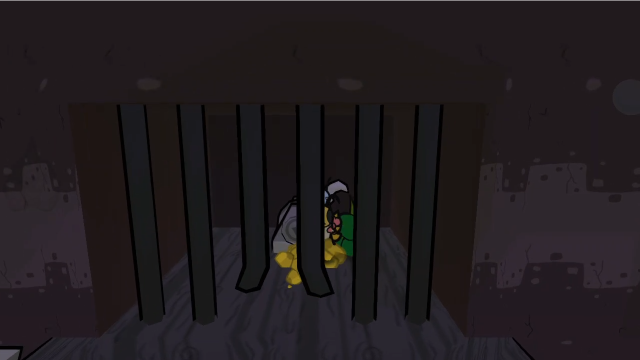 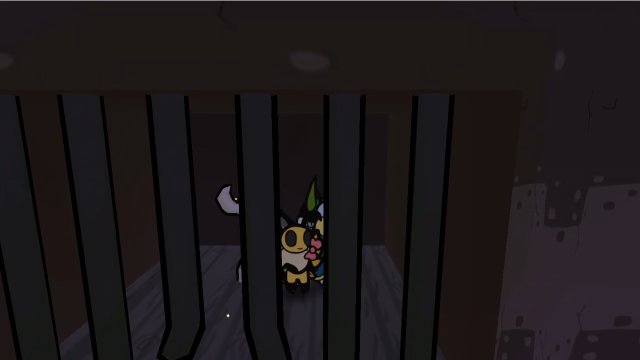 And like before, we can dig under to reach it and flip it. 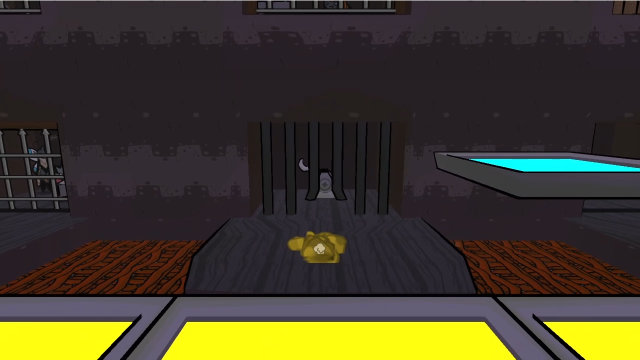 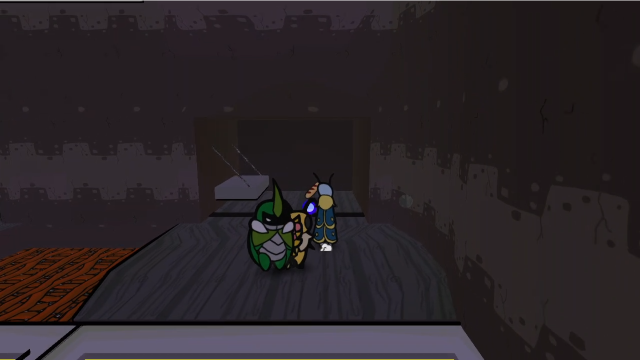 We can now investigate what was in the rightmost cell. 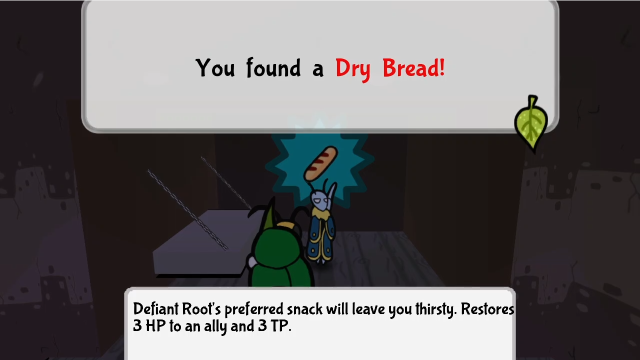 Well, that's not particularly exciting. This must be what the prisoners are typically fed here. 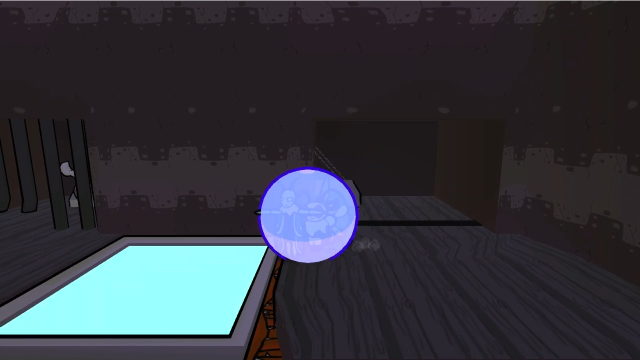 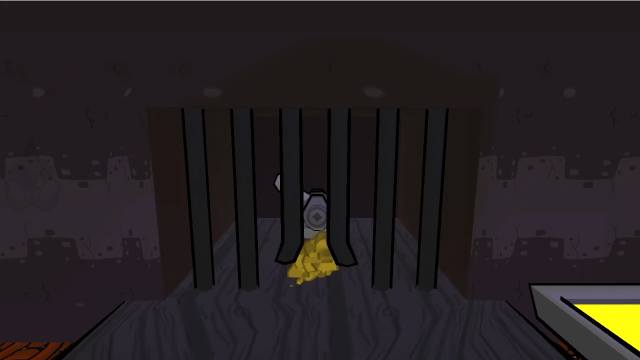 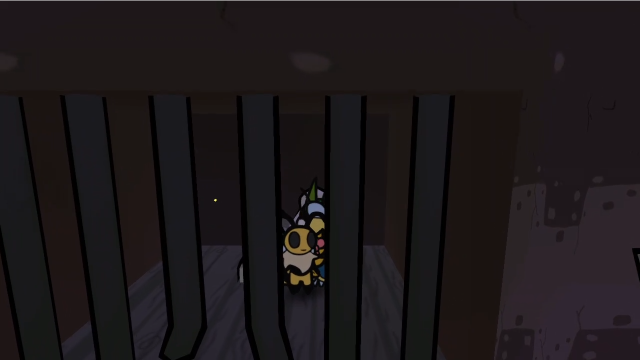 We'll head back and flip the switch again. 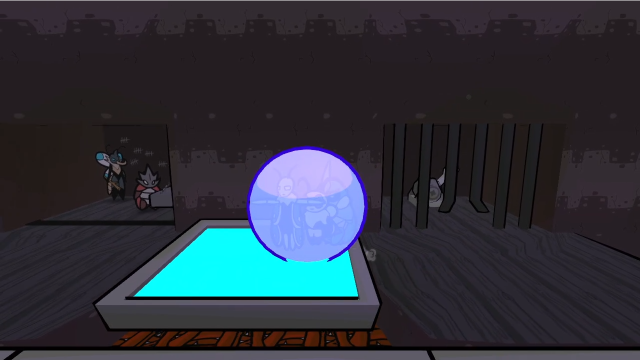 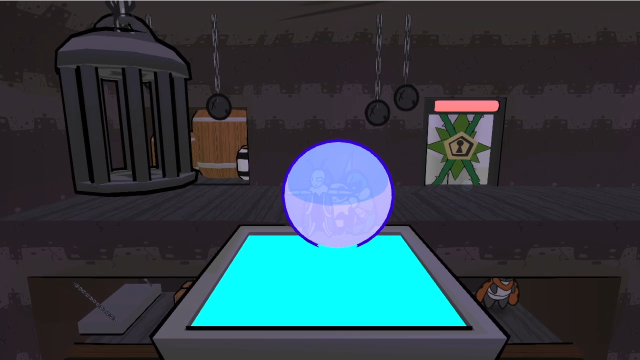 Then ride the platform up to the top level. Let's have a look around: we can immediately see there's a locked door here, for one thing. 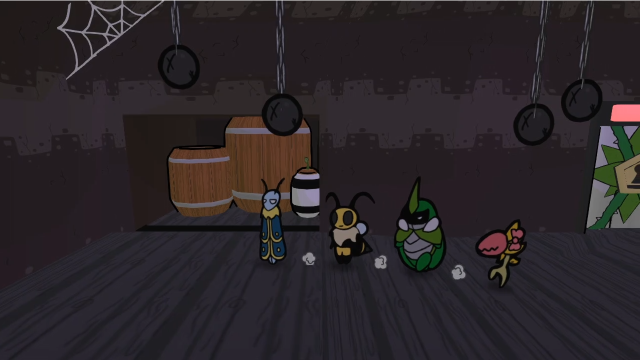 This cell on the left just has barrels inside. (This is another one controlled by the grey switches.) 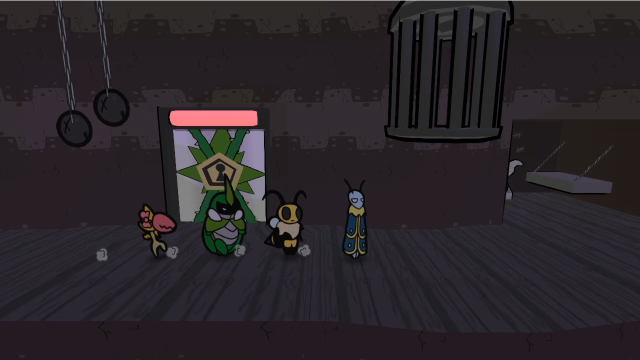 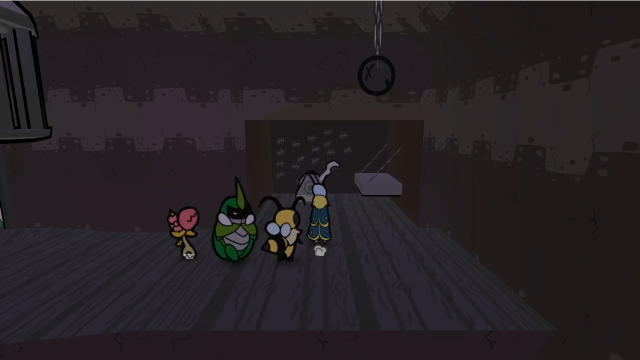 On the right side is another cell, which has a grey switch inside. The markings on the wall are a nice touch, but also raise some questions. Between the switch and the fact there aren't any bars here, this isn't a practical cell to imprison anyone in... maybe it used to be, and they converted it?  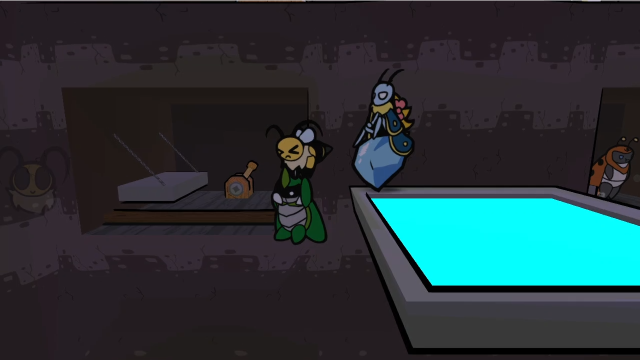 From the elevator platform, we can also fly to the mid-level cells, so let's check those out too. 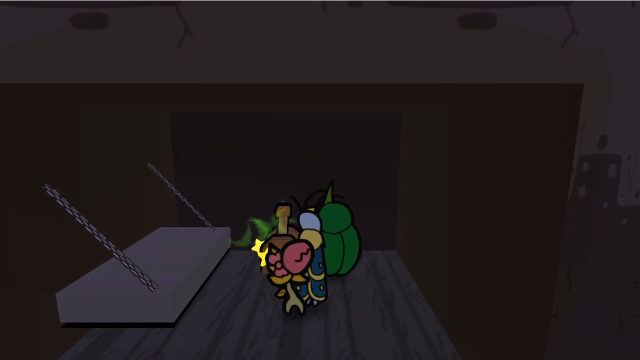 This one just has a switch inside. Let's hit it. 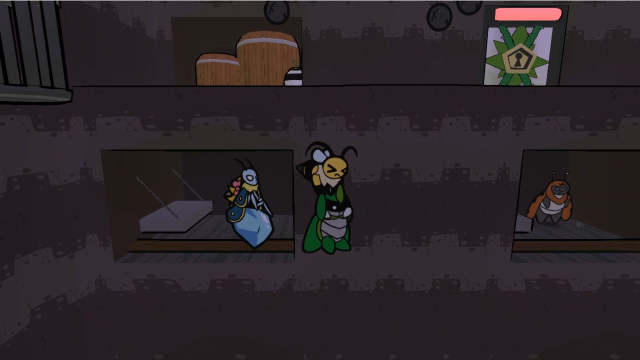 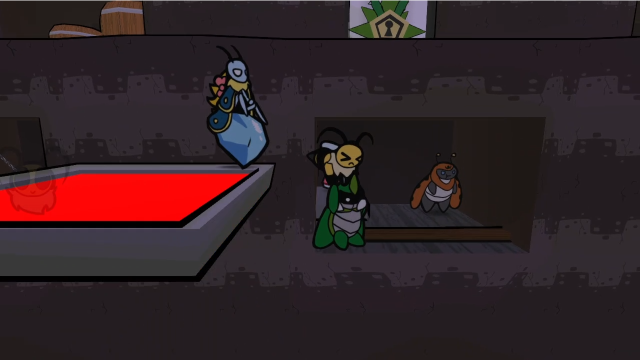  While in the centre, we can find a Burglar, and some kind of book? 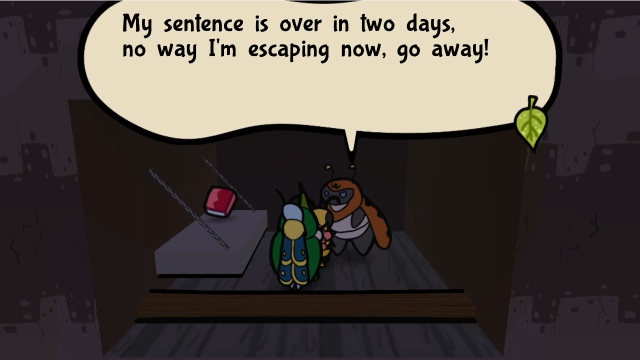 This Burglar isn't an enemy, and will talk to us instead of fighting. Some of the prisoners seem to have decided staying put is the better option. It's kinda weird to not have to fight. Some people do regret their actions. We must allow them to make amends. ...At least while their crimes are small enough to forgive.The banter highlights our party do have some disagreements on the subject of rehabilitation. 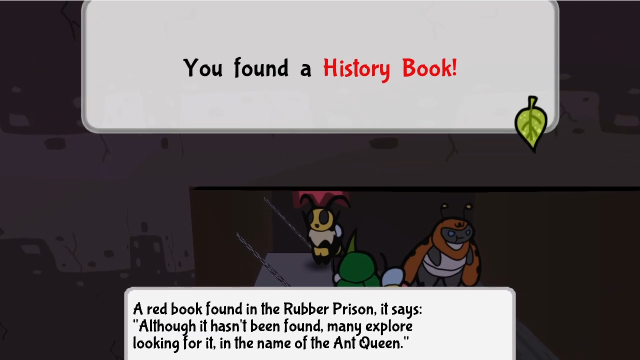 We can also pick up the book. What could this be for? (The item description contains part of the text from the game's opening narration...) 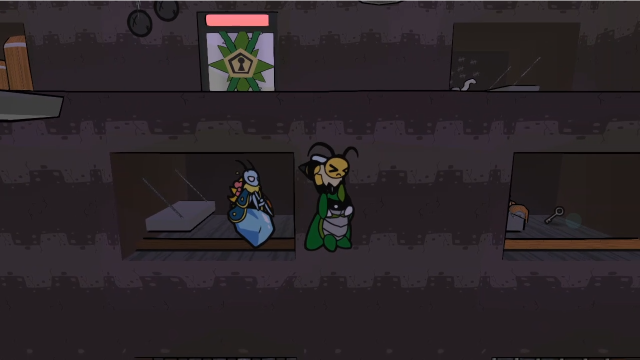 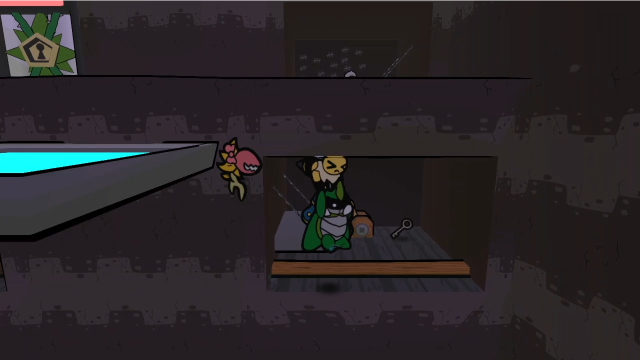 From there, we can fly to the third cell on this level. This one would have been blocked by a portcullis before we flipped the switch in the left cell. 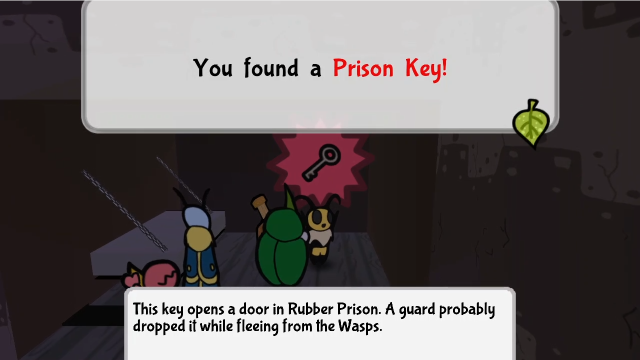 All that's in here is another one of these keys. 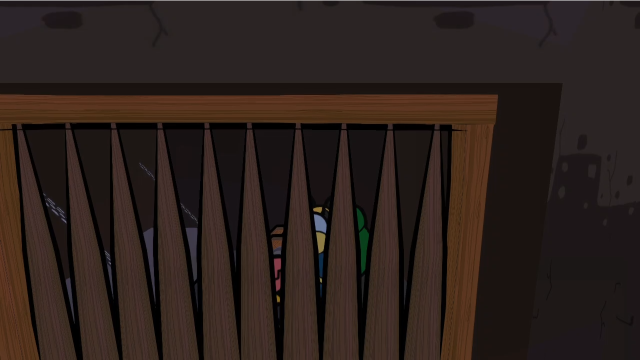 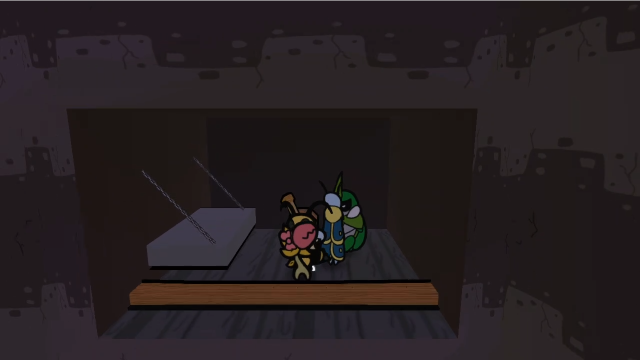 Proof of concept, the switch in here controls the gate also. Let's not lock ourselves in? (I have some questions about the design of this place...) 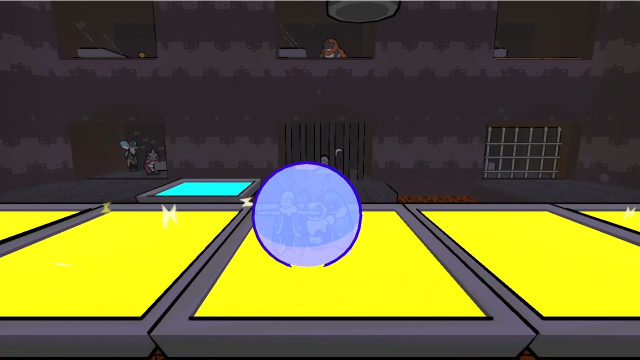 From there, we'll just drop down. 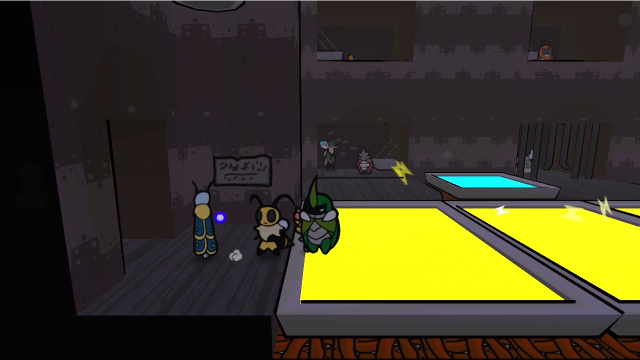 Before we open the door at the top, let's head back and check out the cafeteria. We do have two keys, after all. (Back momentarily, once again I'm forced to split the post thanks to the character limit.) Explopyro fucked around with this message at 03:57 on Jun 20, 2022 |
|
#
?
Jun 20, 2022 02:25
|
|
|
65: Team Snakemouth Goes to Prison (Part 2)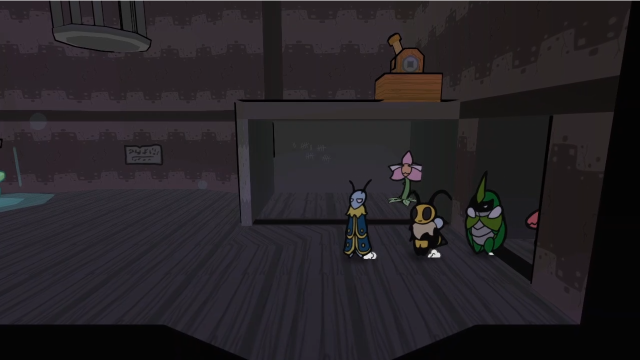 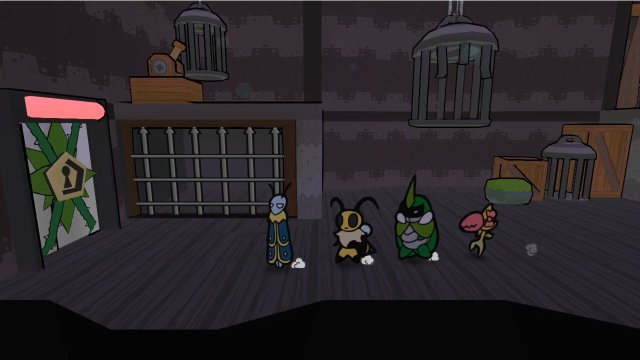 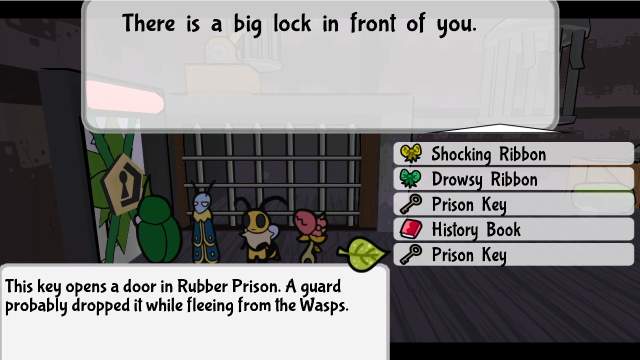 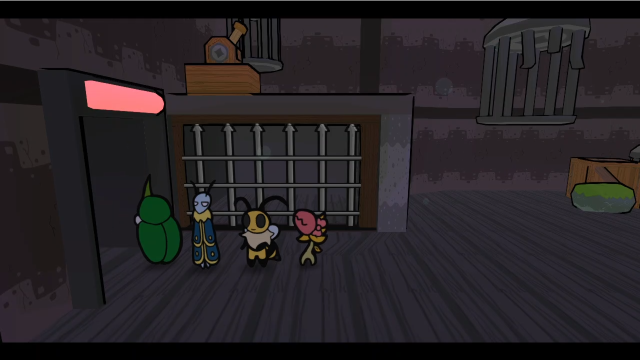 Those keys work here too. Let's head in. 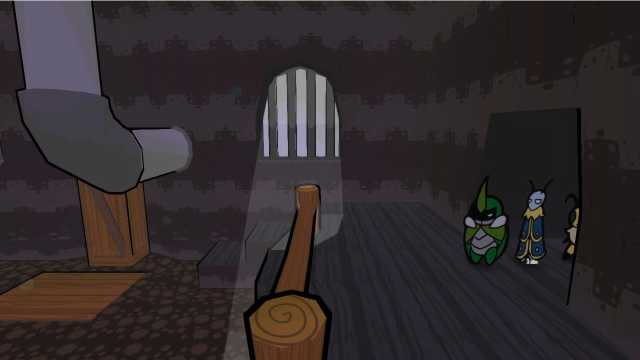 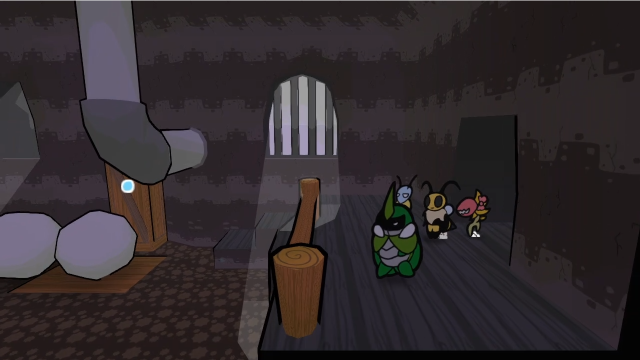 You don't have to wait long after entering before boulders start being launched across the lower level. What kind of cafeteria is this? This is the most hardcore cafeteria we've ever seen. The food fights in here have to be awesome! With those cannons, I don't think anyone would dare...Um. Yeah. 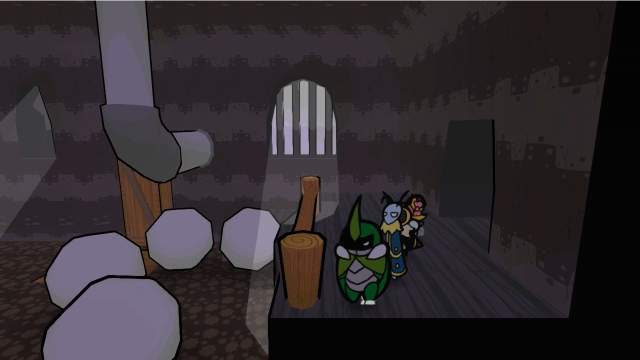 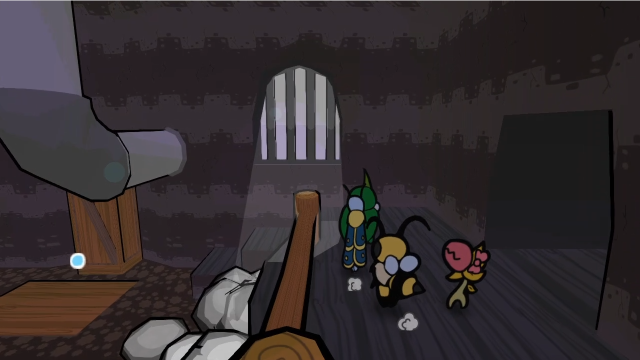 So, there are cannons all across the lower level, rapid-firing boulders across the room that then crash into the ledge we entered on. There isn't an obvious pattern to them, and they come very quickly. If we get hit, we'll be squashed and sent back to the beginning of the room, so there's very little margin for error.  That said, if you're careful (and get lucky with the pattern), you can absolutely make your way through to the bouncy mushroom. 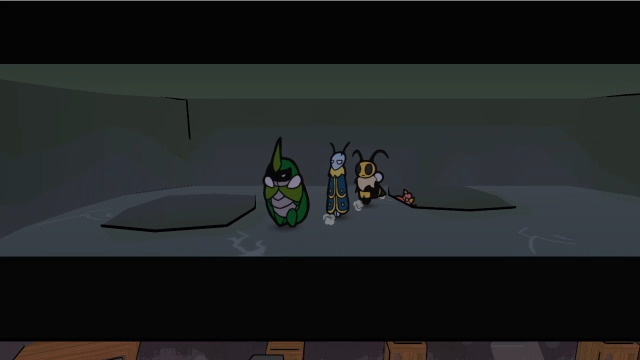 That mushroom launches us up to this crawlspace above the ceiling. 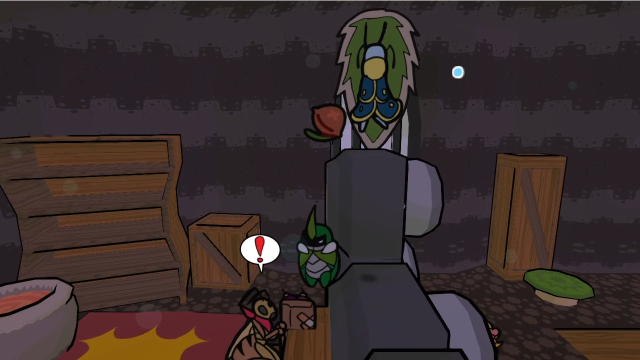 And from there, we can drop down to this ledge on the other side of the cannons. There's a Wasp Bomber waiting to ambush us, though. 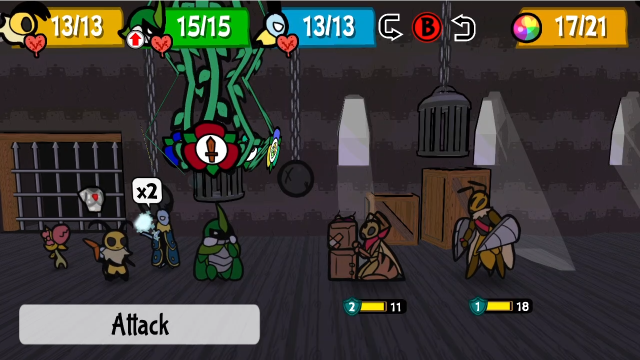 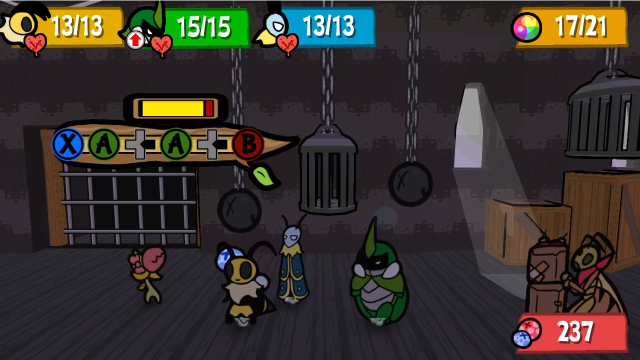 For now, though, let's just run from this fight. 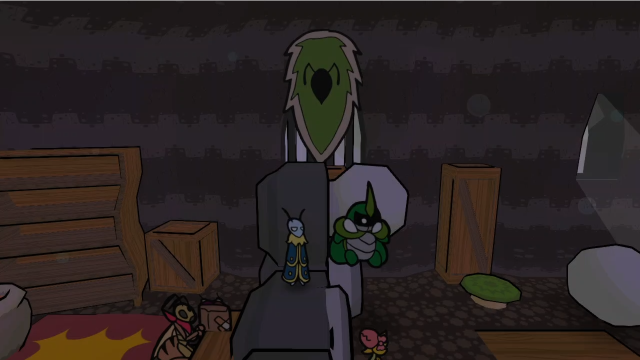 And head back... 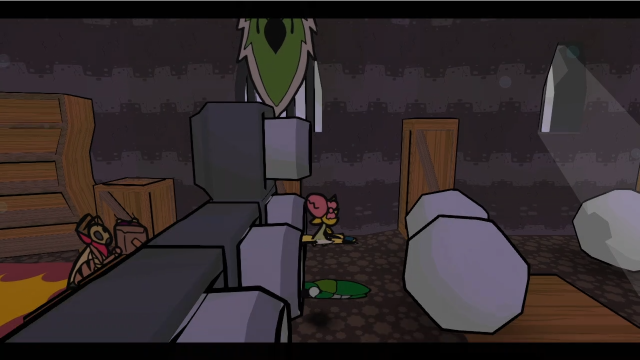 Oops. Squish. 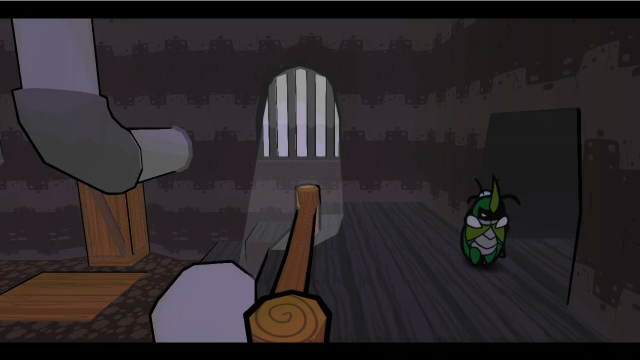 Right. So. What on earth am I doing? Short version is, getting through here right now is a mild sequence break. This room is part of a puzzle that's meant to be solved another way, so we should leave and return later (and that's why I'm not actually finishing the room). But if you are stubborn (or lucky) enough, you can just get through now by brute force. Also, the puzzle itself is just obscure enough that some people don't realise they can solve it, so a fair number of players just do end up breaking the sequence here. So I wanted to make sure we got to see both ways. 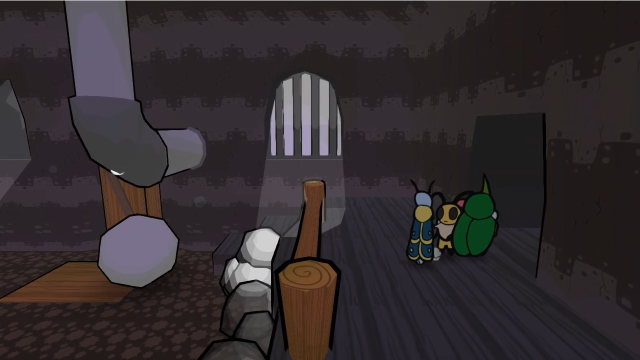 Right. Let's get back to the cellblock. 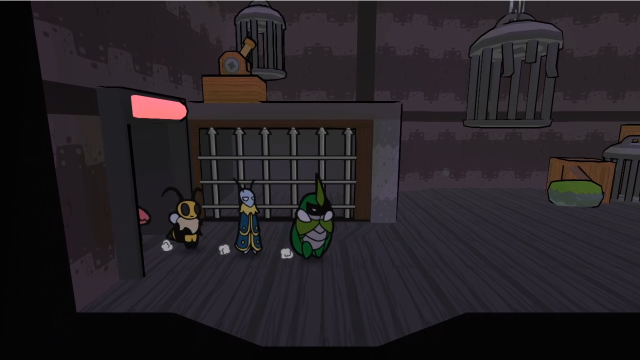 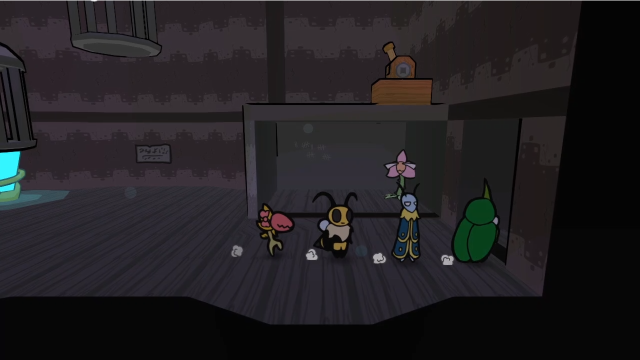 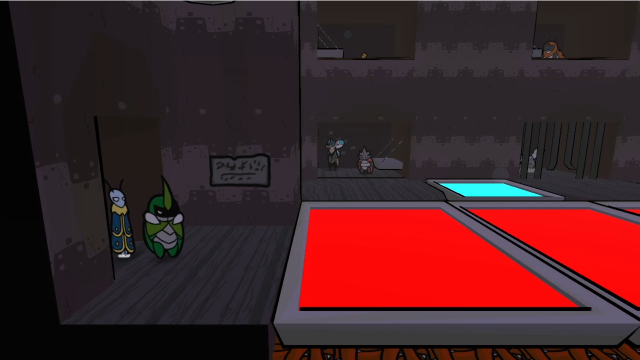 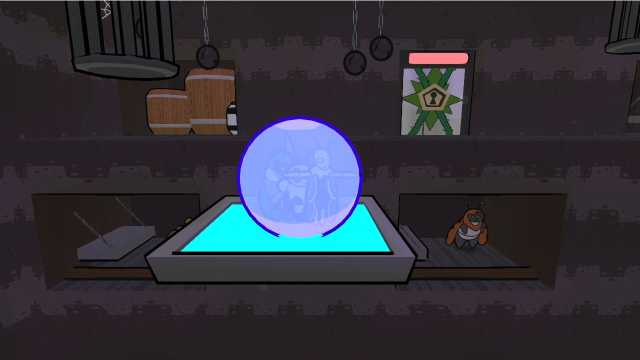 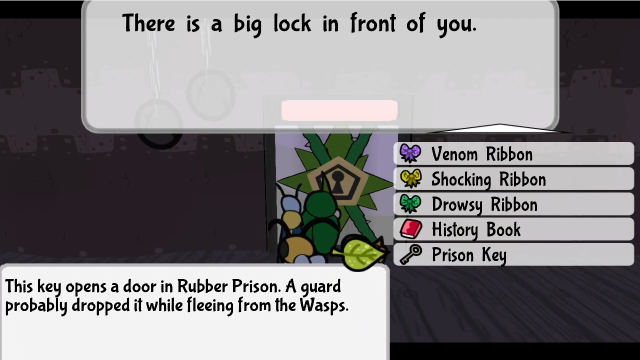 Let's use our other key here. 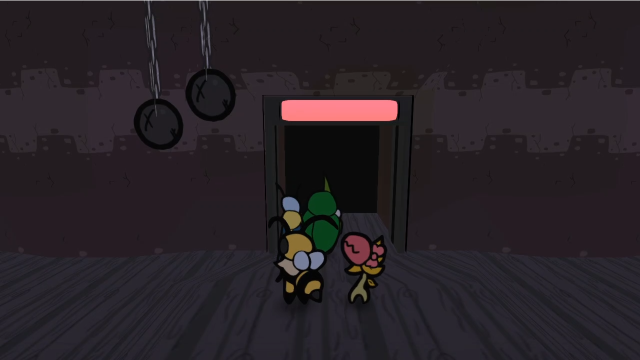 What's to the north, then? 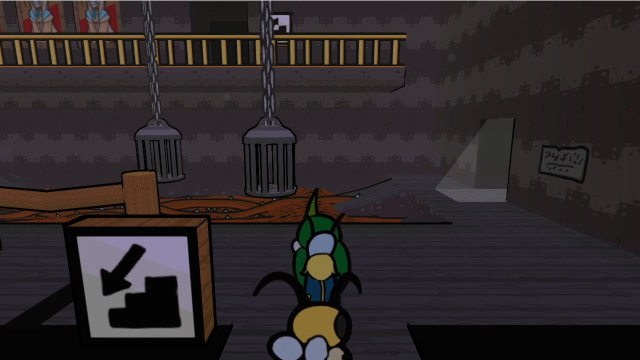 Another room with quite a few exits! This place can be convoluted to get around. Let's check the banter first? Working in a prison isn't glamorous at all. You think the Queen sends the lazy guards here? Maintaining this prison is not a game! She must send her best! (Why not both?)Heh. 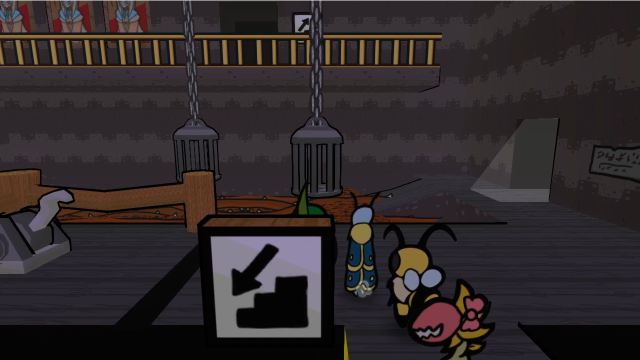 First off, we have a grey switch to our left. 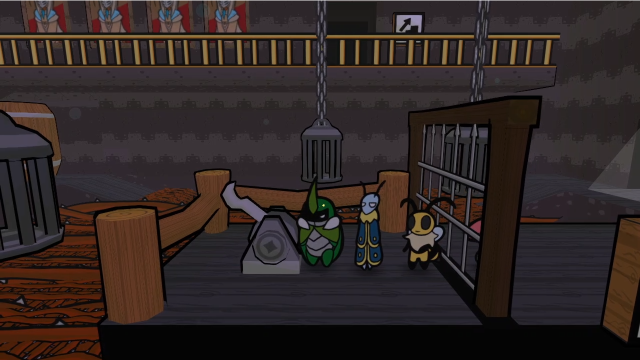 Although we can't flip this one from up close, or we'll get stuck in here! Let's just put that back.  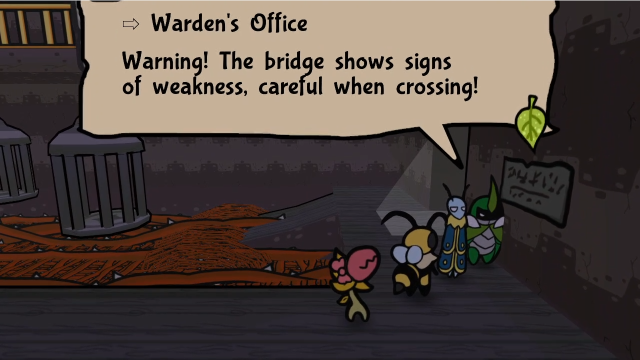 There's a sign on the wall here, drawing our attention to the weak bridge once again. There's no way that won't end up being important. 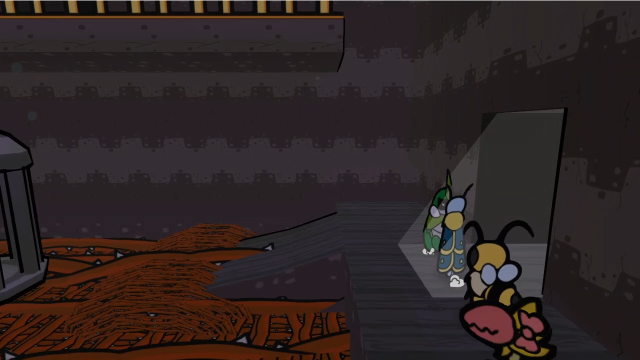 Let's head outside first. 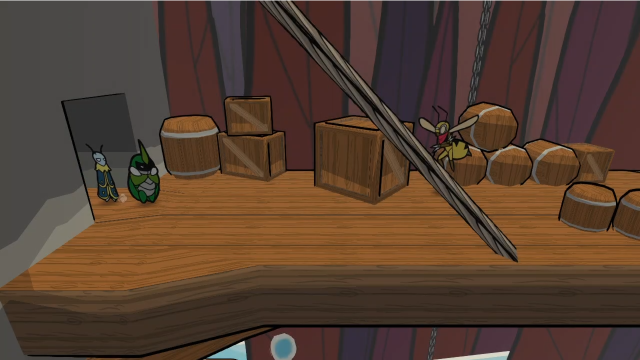 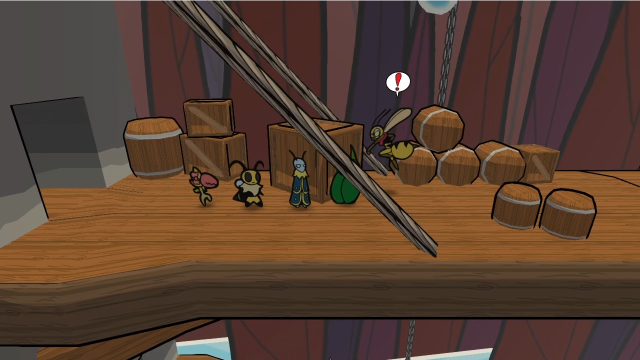 Before anything else, there's a Wasp Scout waiting here. 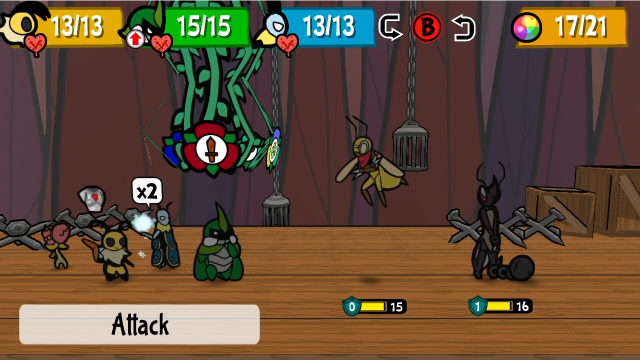 It has a Ruffian with it. Still, this fight is pretty straightforward, and there's nothing interesting to show.   It gets us enough EXP to rank up, though! 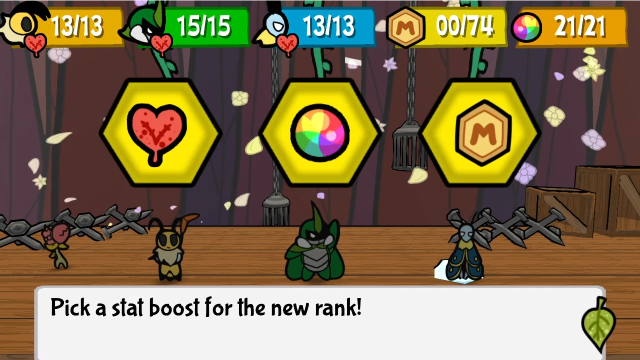 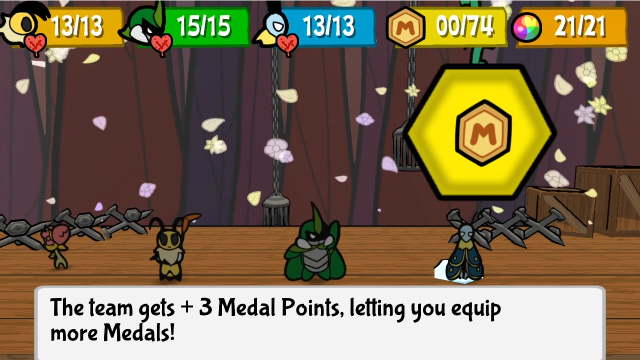 We'll continue getting more MP, of course. There's no special bonus this level. 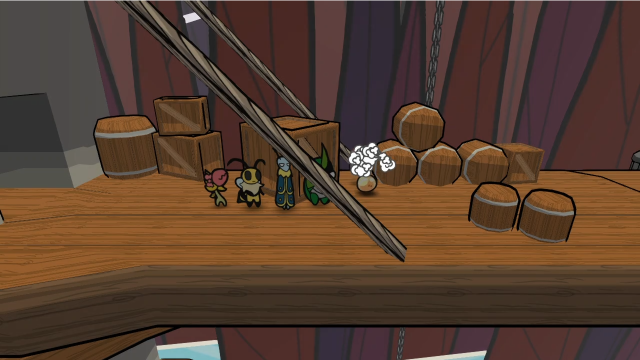 Hm, that's a Honey Drop. The enemies around here seem really fond of dropping basic items today. 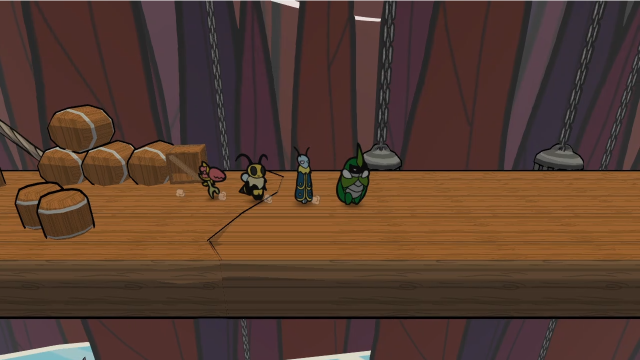 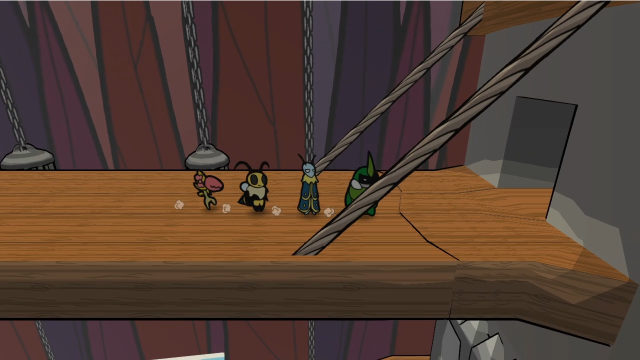 As we cross the bridge, we can see some pretty obvious cracks. That must be what the signs have been warning us about... 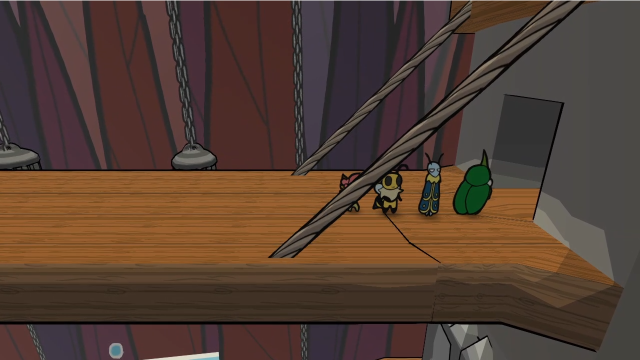 For now, let's see what's over on this side. 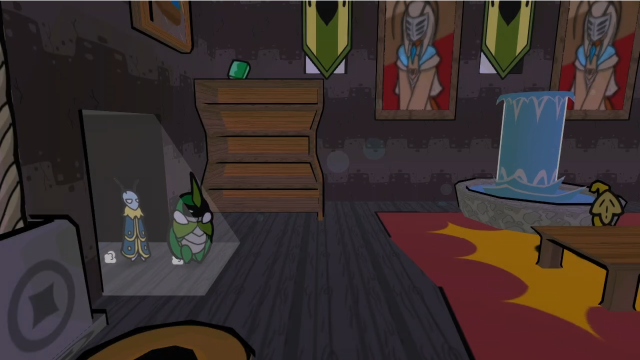 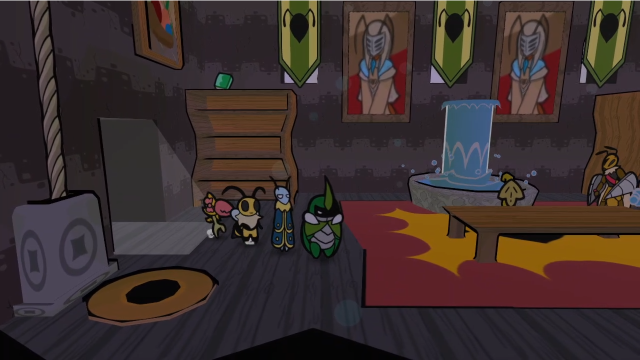 What do we have here? Sometimes, it's easy to forget even a prison needs a normal office. Bleh. Sitting here processing paperwork... this is just as much of a prison as the cells.Leif's comments can be really incisive, sometimes. 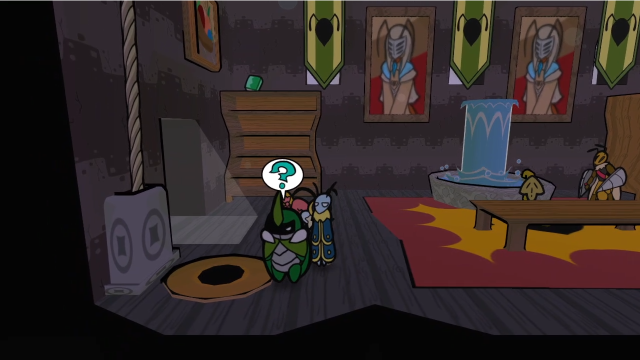 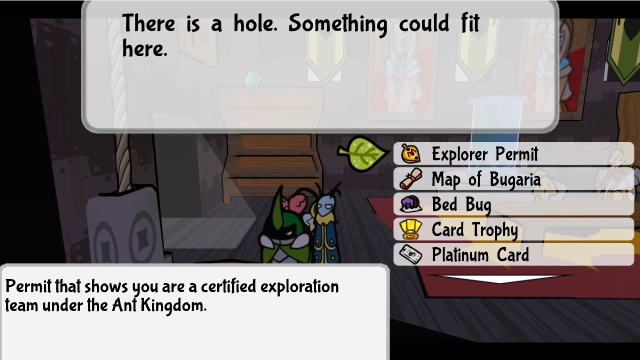 There's a hole which needs an item over here, but we don't have anything that fits. Looks like we're going to need to search for a crank again... 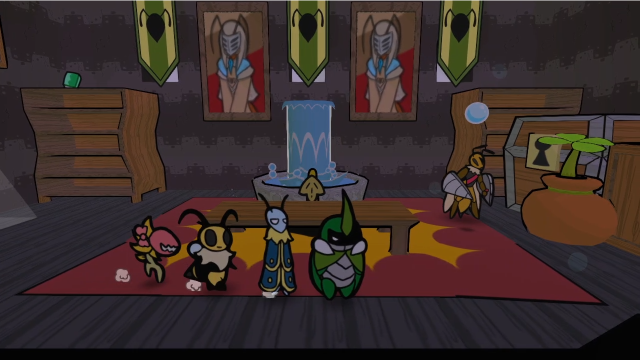 There are also some falling water droplets in here, and a fountain we can freeze. We'll no doubt need to make use of those.  But first, let's get this Driller out of the way. 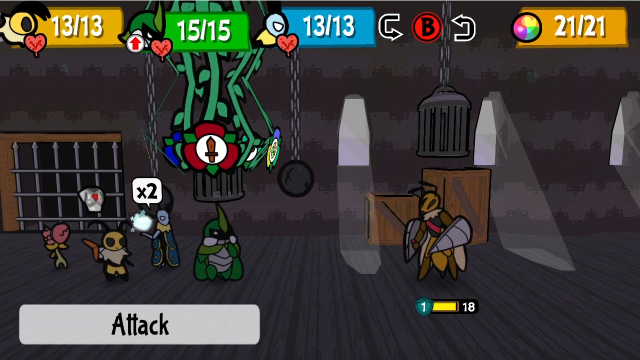 There's only the one, so this isn't anything special. 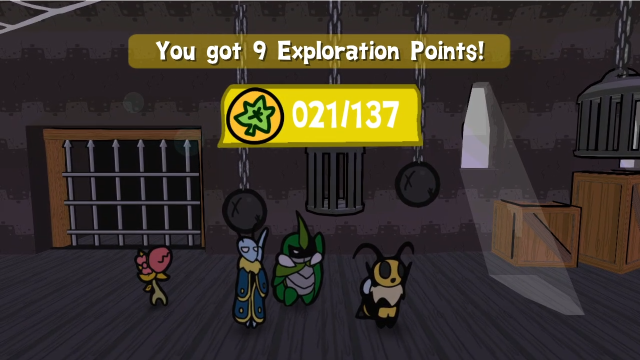 Let's just move along. (The EXP yield is still pretty good, though it's decreased a bit since we ranked up recently.) 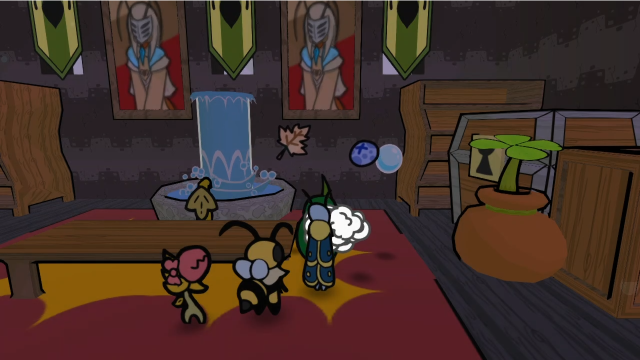 (Yet another Crunchy Leaf. I'm ecstatic here.) 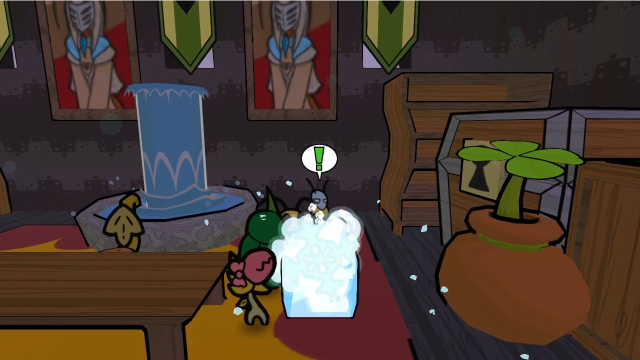 Let's solve the puzzle here. We can freeze this droplet, to start. 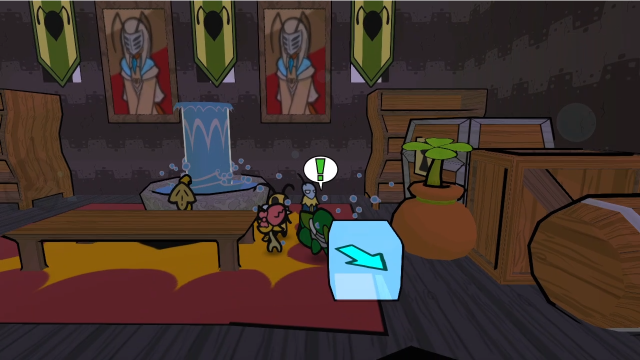  And use the ice block to complete the staircase along the right-hand wall. 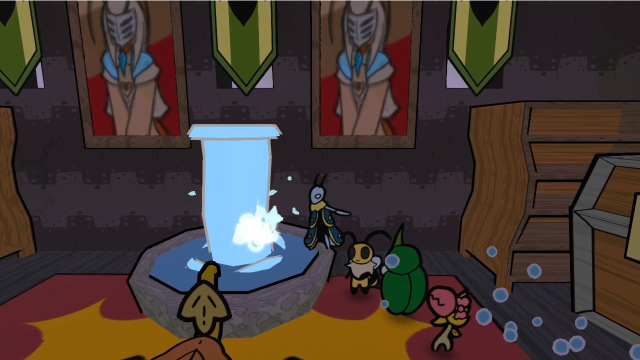 Before we climb up, though, we need to freeze the geyser. 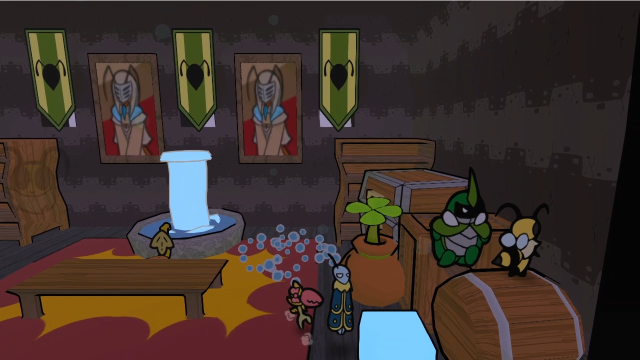 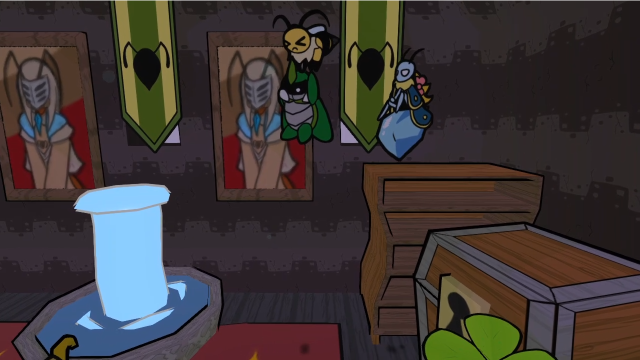 Now, we can climb up and fly across. 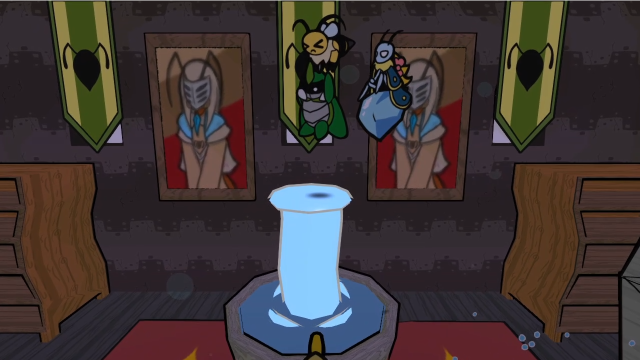 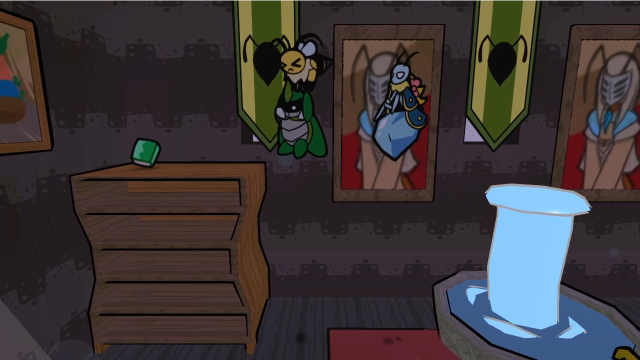 With the geyser frozen, we can land on it to recharge our flight distance, then make our way over to the bookshelf. 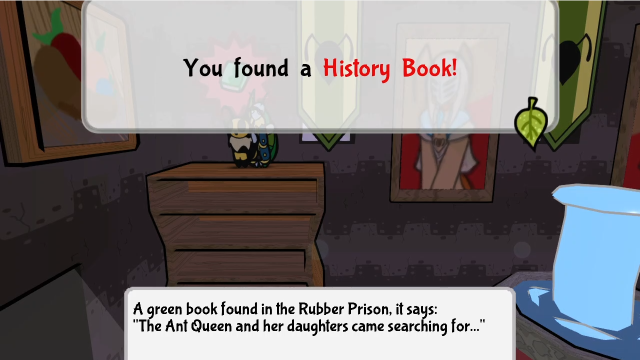 We get another book for our troubles (with another snippet of the introductory text). That's two of these now, but we still don't know what they're for. 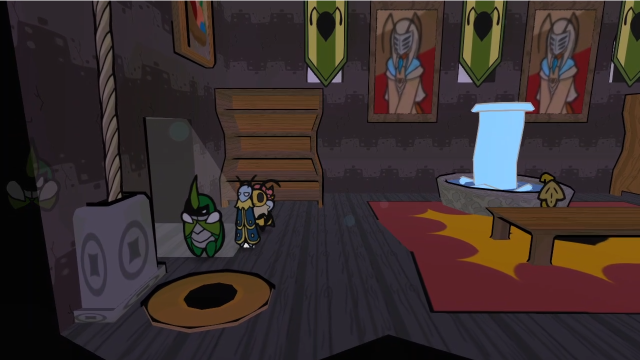 Regardless, collecting that book is all we can do here for now, so let's head back. 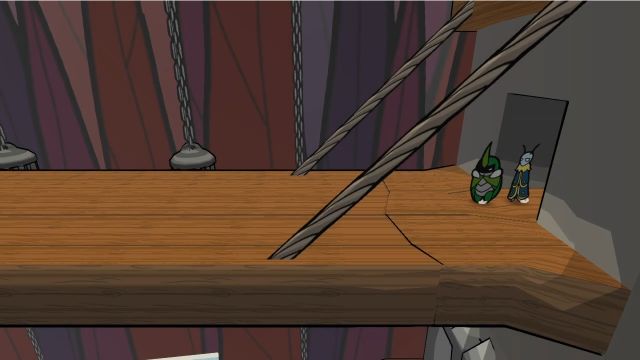  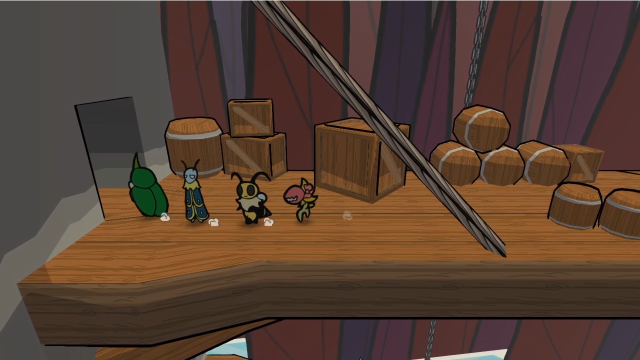 Back across the bridge. 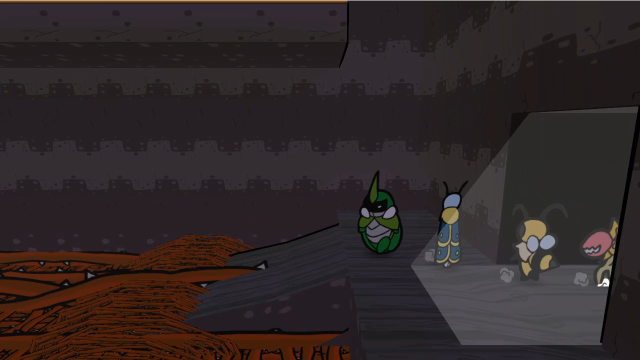 Now, to explore this room further. 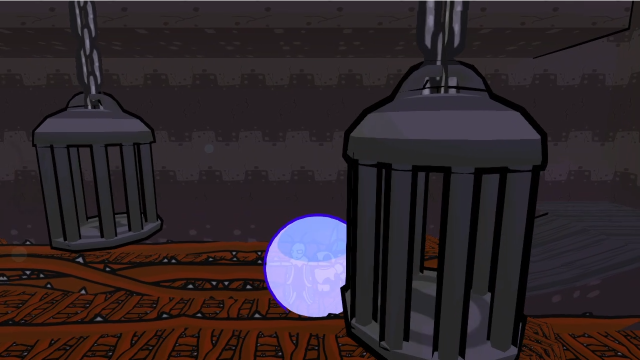 We need Leif's Bubble Shield to cross the thorns here. 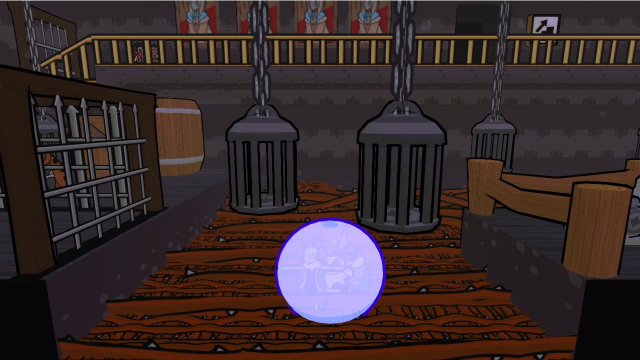 Hm. These gates being raised could be a problem... 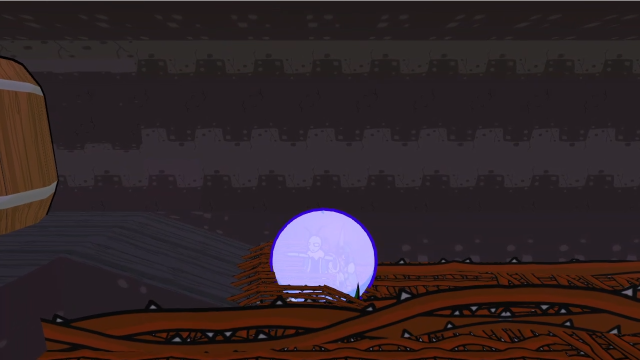 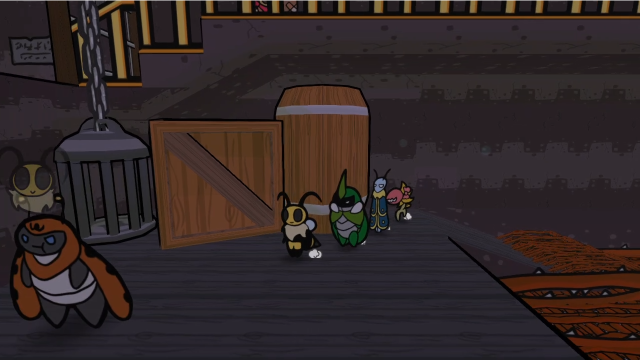 For now, though, we'll climb up here and see what's waiting. 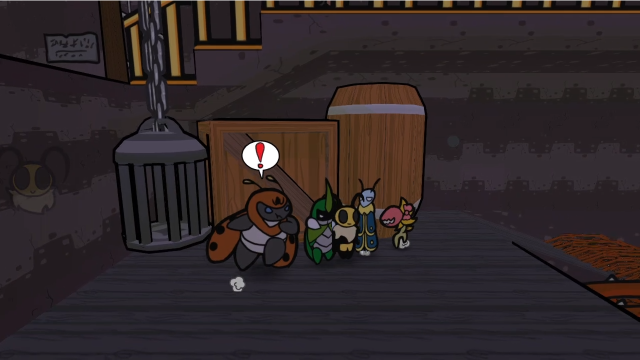 First off, this Burglar's right in our face. 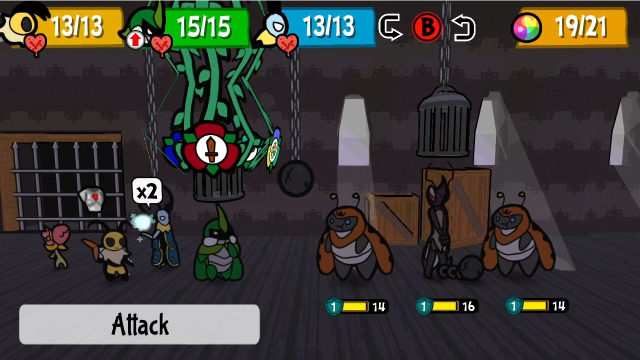 This fight's not entirely trivial! Two Burglars and a Ruffian could be a bit dicey. 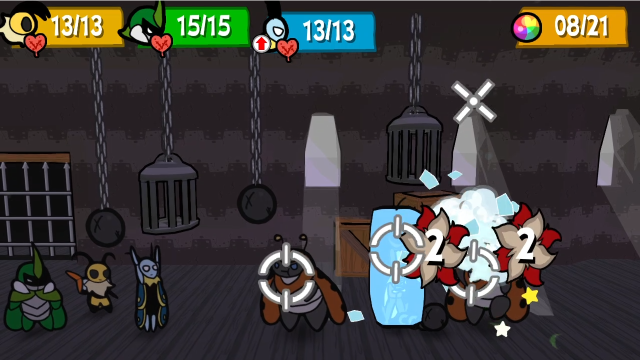 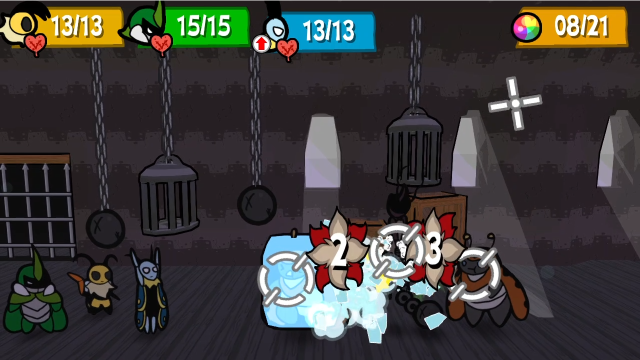 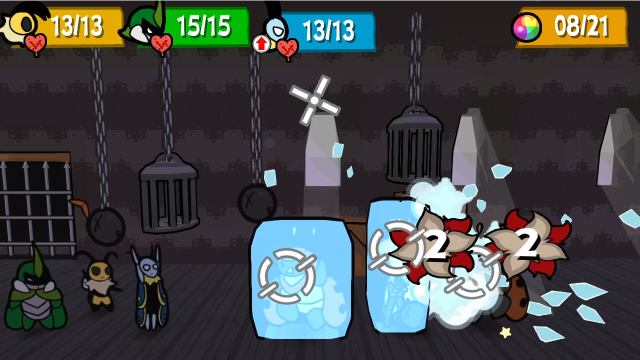  Even without any attack boosts, Leif's Ice Rain can be very potent! I like using it in situations like this, sometimes, to soften everything up and keep them off us for a turn. (Mostly, I'm not in the mood to deal with the Burglars' dash attacks.) 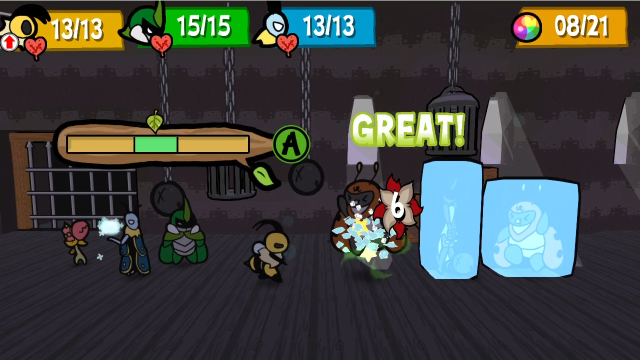 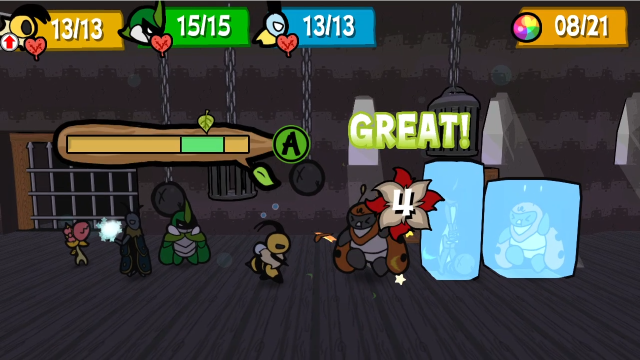  We'll finish off the first enemy. 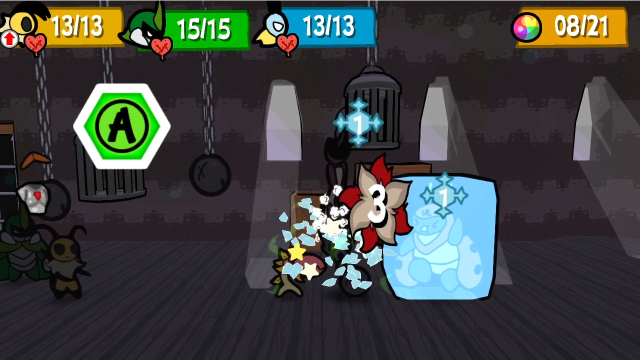 And, for that matter, let's have Chompy go ahead and bite the Ruffian. Their attacks aren't so deadly it's worth foregoing damage to avoid them. 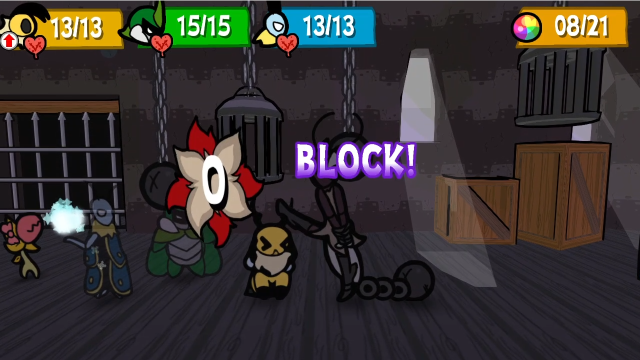 Well, especially if they go after Vi while she has First Plating on. That worked out nicely! 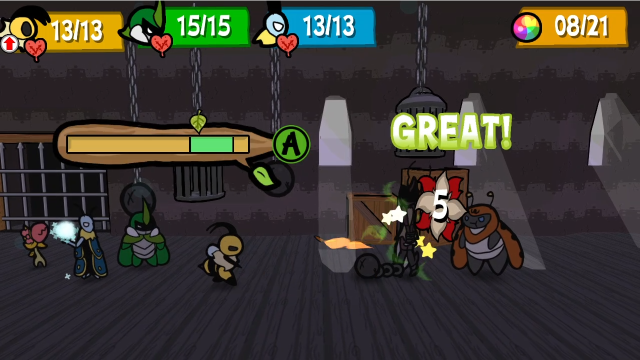  And there goes the Ruffian. Simple enough. 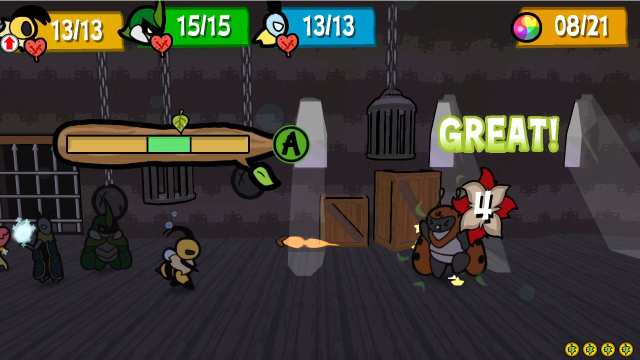 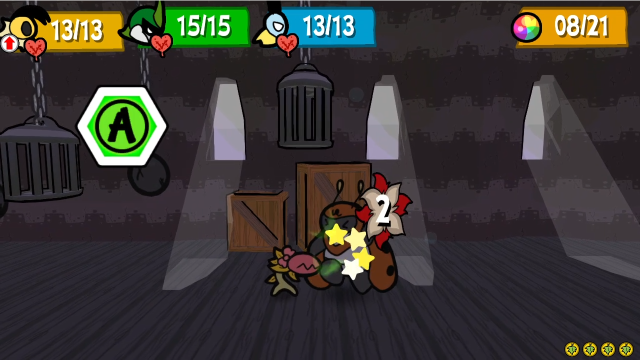 Unfortunately, normal attacks aren't quite enough to take out the Burglar, and I'd rather not spend more TP here. 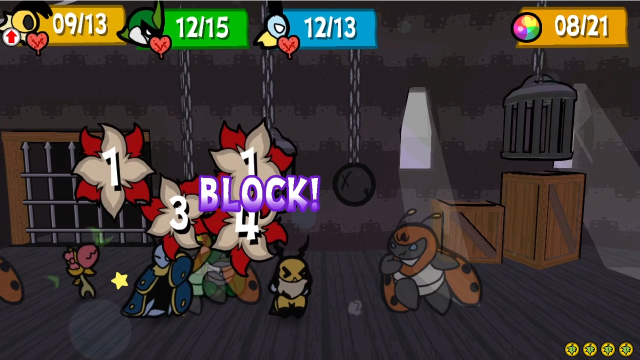 Figures, there's the dash attack again. (I've always liked the balance this game strikes with power growth, in that these returning earlier enemies are still capable of presenting some threat, but do feel significantly less intimidating than they used to be.) 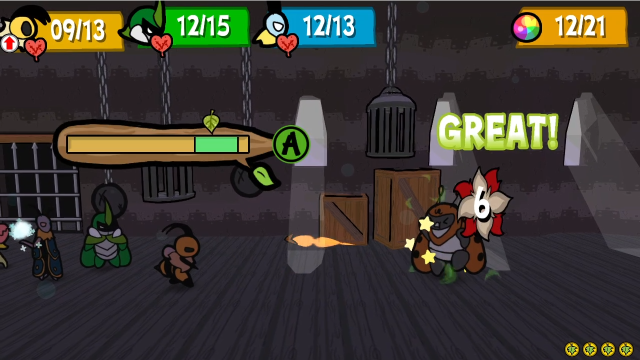 Now, let's finish things.  Moving on. 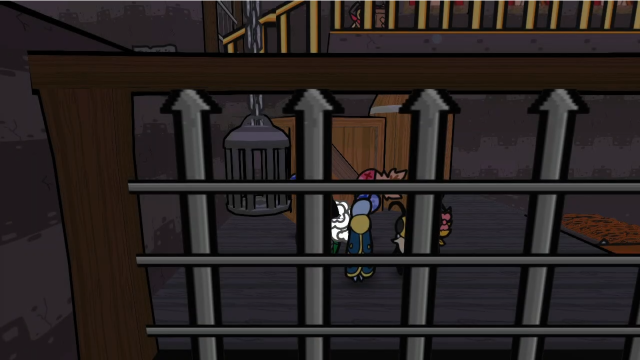 With the enemy out of the way, it becomes more apparent that we can't get any further here so long as these gates are raised... 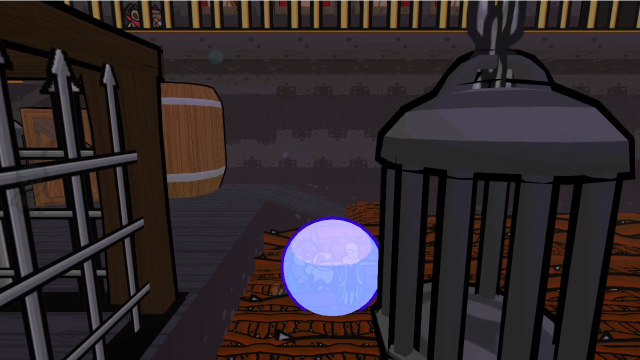 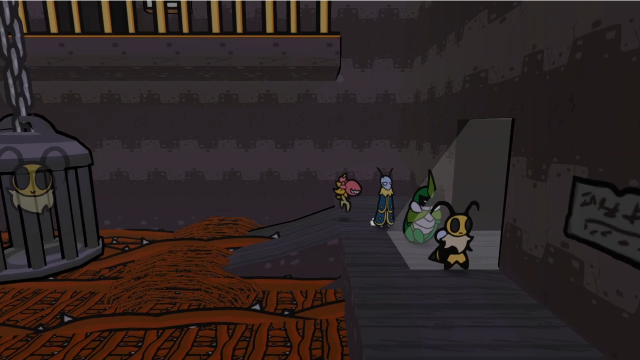  So we need to head back and flip a grey switch. It's easy enough to do, we just need to use the Beemerang to trip it so we don't get stuck on the wrong side of the gate here. 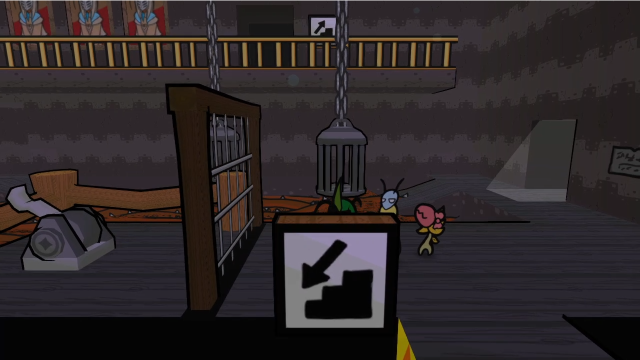 Now let's head back. 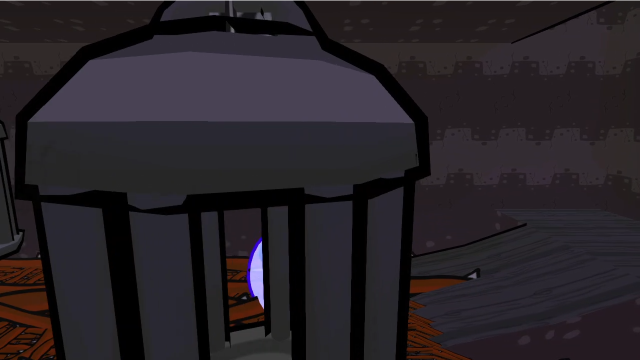 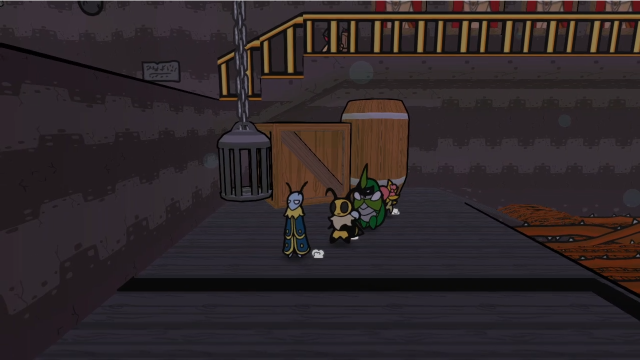 Now the gate here is down, and we can get further in. 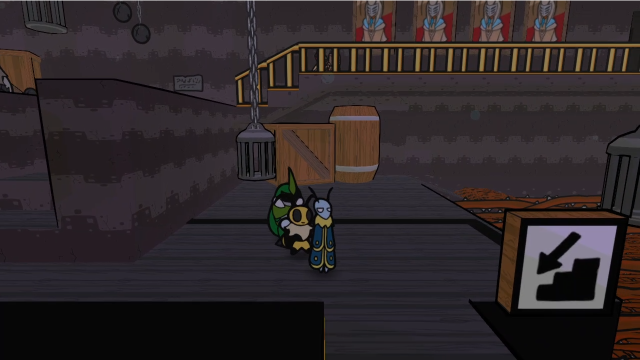 Let's head south first... 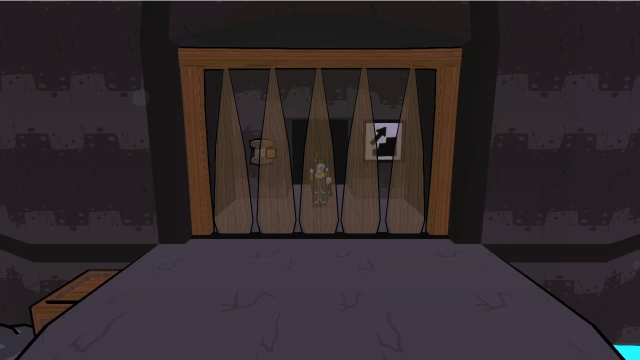 We come out down here! 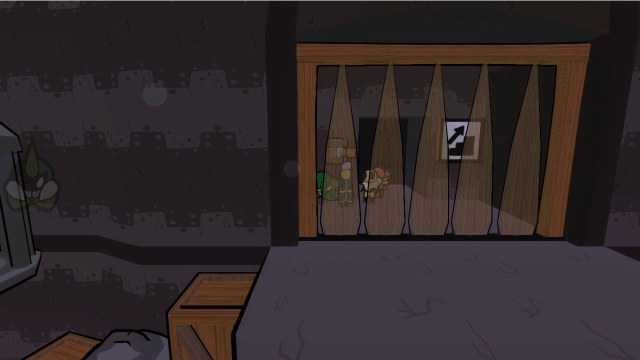  There's a lever we can flip on the wall here, which lowers the spikes. 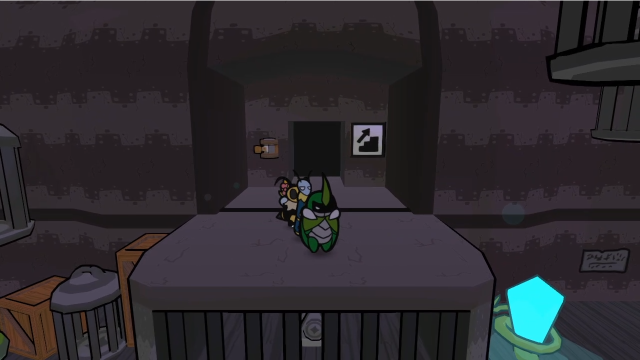 From here it's more obvious this is the central area from earlier and that we've opened up a shortcut. If we need it, we could say hello to Venus and get some healing, but I don't feel the need. 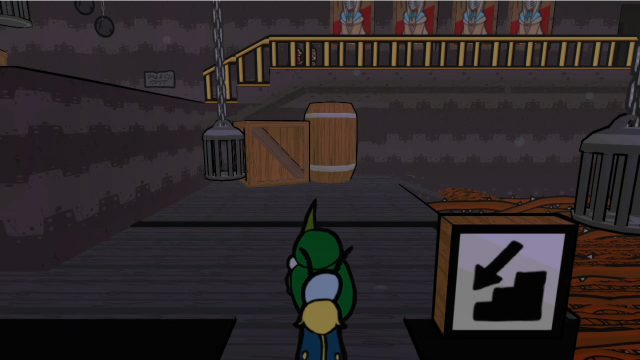 Let's get back to exploring. 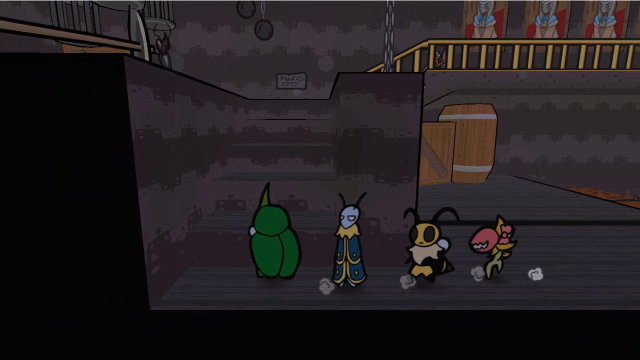 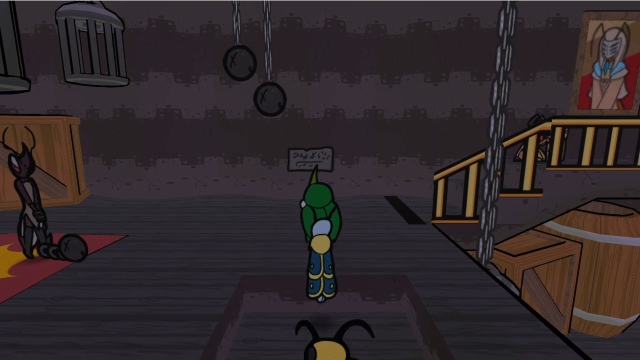 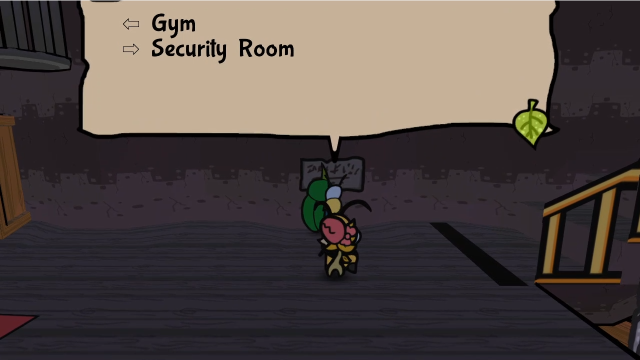 Here's another of those signs. We'll no doubt need to go to both of these places... 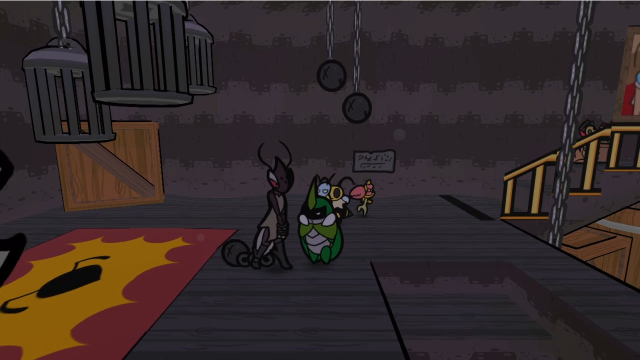 First up, though, more Ruffians! 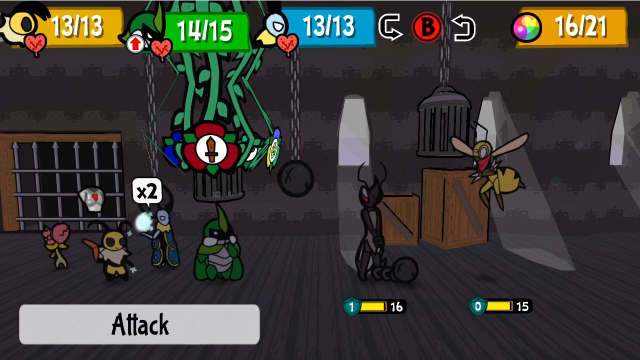 This one has a Wasp Scout with it. Once again, there's nothing particularly novel to show in this fight...  So let's just keep moving. 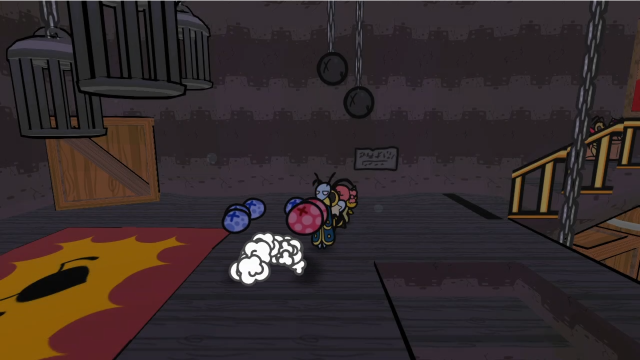 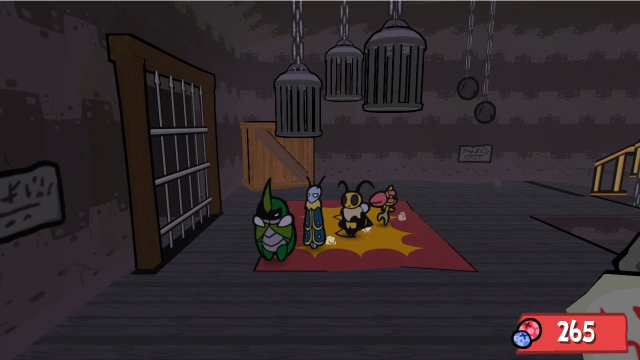 The way to the Gym is blocked by a gate, so we'll come back to that later. 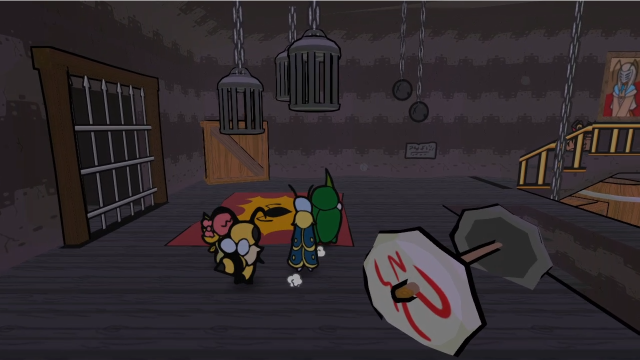 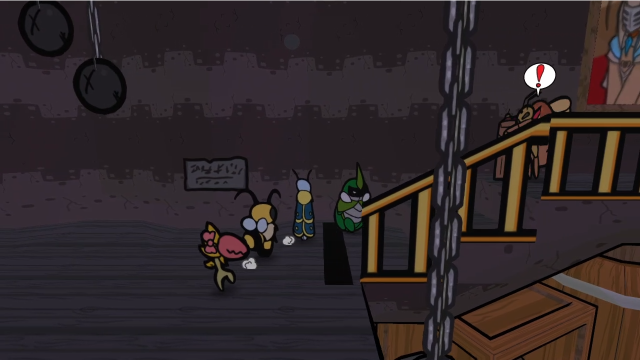 Since the gates that way are down, let's head toward the Security Room first. There's a Wasp Bomber at the top of these stairs, though... 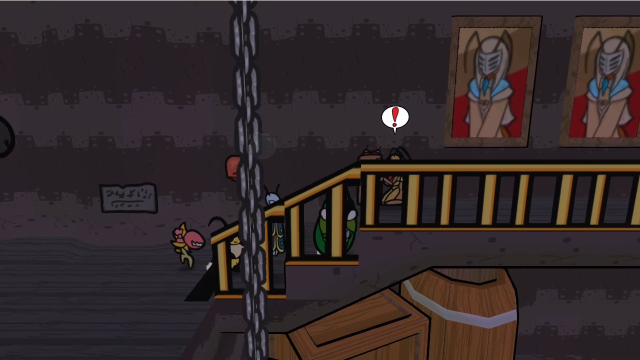 The bombs can be pretty tricky to dodge here. 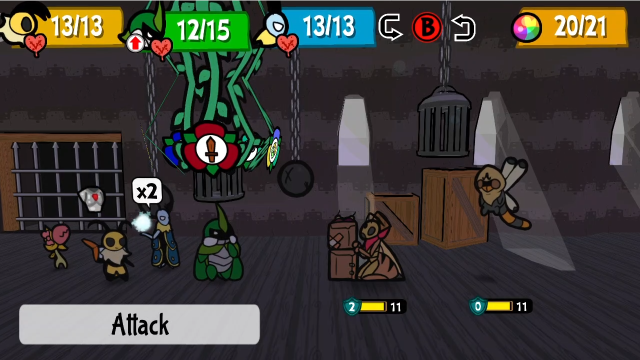 This Bomber comes with a Thief, which is a novel combination. Unfortunately for them, they're both a bit of a pushover: one Needle Pincer from Vi is enough to take out the Bomber, and still leave us with enough attacks remaining to take down the Thief before it can do anything.  So we'll keep moving. 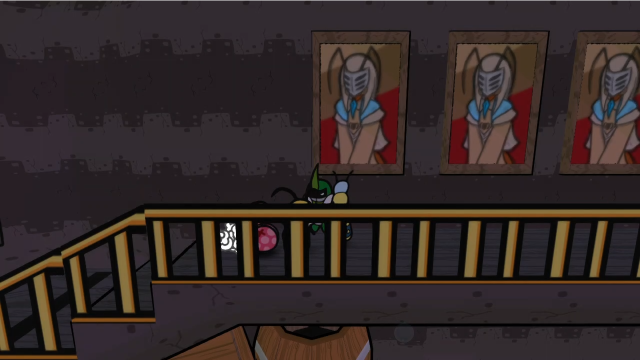 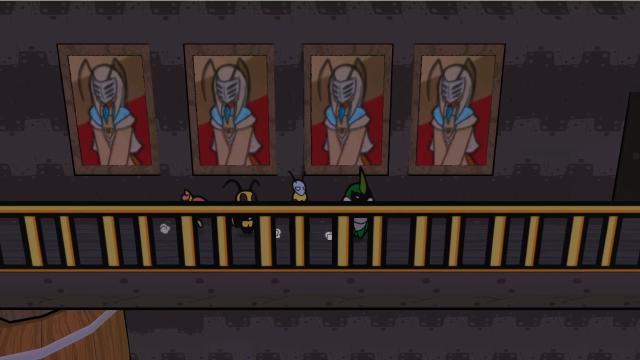 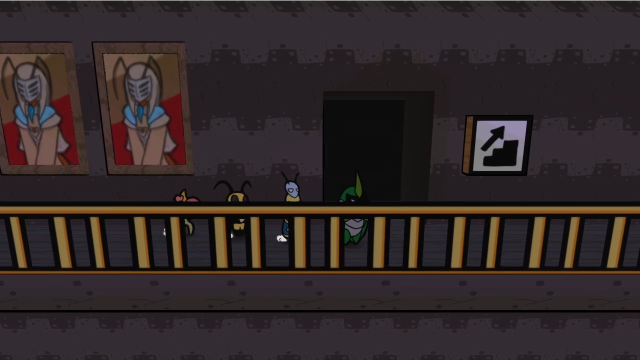 There are a lot of paintings of Elizant I along this wall... We know this place was built early in Elizant II's reign, but there aren't any images of her to be seen. Knowing what we do about her insecurities, it's not a huge surprise she might have tried to compensate. 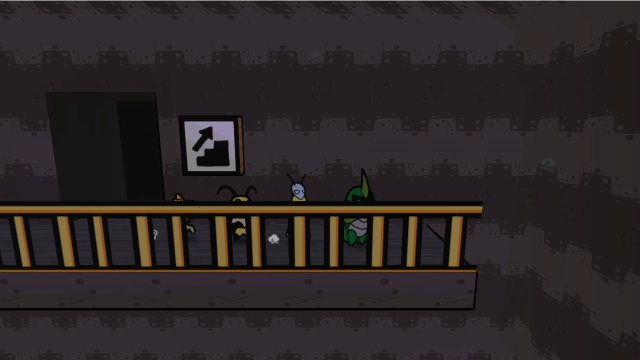 Conveniently, there's no railing on the far side here, and we could drop down if we wanted to. (I suspect this is mainly to prevent getting trapped up here if the gates are raised.) 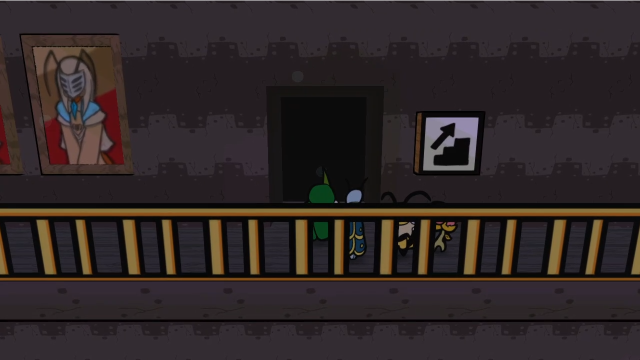 Let's go in here. 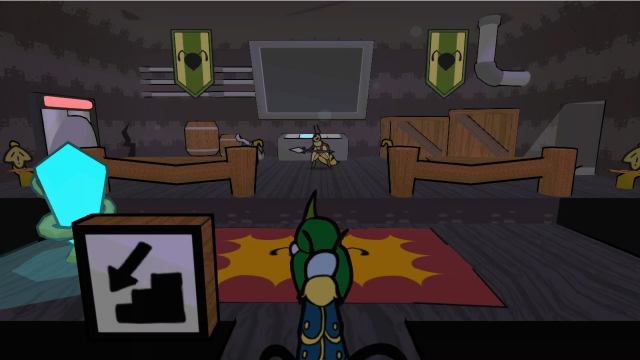 Why's this the security room? It doesn't seem special at all... There must be something hidden around here. Why's this the security room? It doesn't seem special at all... There must be something hidden around here.This room definitely warrants further investigation: there's a lot to look at. 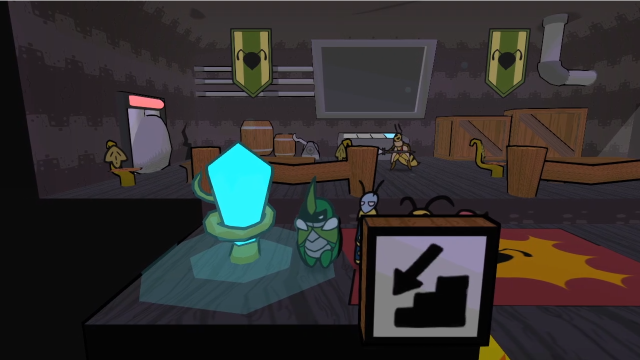 For now, though, there's a save crystal here, so let's use the opportunity to take a break and end the update. Next time, we'll pick up exploring Rubber Prison from here. I'll see you then!
|
|
#
?
Jun 20, 2022 02:26
|
|
|
Small typo in the first post of the update:quote:We don't want to think about hwat one must do to earn such a cell.
|
|
#
?
Jun 20, 2022 03:56
|
|
|
Discendo Vox posted:Small typo in the first post of the update: Thanks for the catch, it's fixed now. (What do you mean? I was totally trying to type hw�t, honest.)
|
|
#
?
Jun 20, 2022 03:59
|
|
|
The food in the prison cafeteria is to die for
|
|
#
?
Jun 20, 2022 14:36
|
|
|
I should just say, I hope I'm managing to keep this part of the game at least somewhat interesting; this update was a real struggle to write, when a lot of it is just very mechanical "we go here, we flip the switch, now we can go here, we fight a guy". It feels better to play through, I think, but even then, I can't exactly say this is a high point of the game. Rubber Prison is fun largely because the core mechanics of Bug Fables are fun, and ends up feeling like a speedbump more than anything else. I was discussing this with my partner and she called it "filler", which after some thought I have to reluctantly agree with. It wouldn't make a huge difference to the game's structure, either narratively or mechanically, if Rubber Prison weren't a thing and we just took the submarine to the Giant's Lair instead (and just have the final dungeon be in Chapter 6, instead of its own chapter). I'm not sure I'd want to cut it out (more gameplay is good!) but I do think this part of the game has some pacing issues. Though I never had any issue with the pacing before; I think it's the kind of thing that doing an LP exacerbates (as does, undoubtedly, my completionist approach). I don't know. I bring it up mainly because discussion's been flagging recently anyway, so maybe this will give us something to talk about? Slaan posted:The food in the prison cafeteria is to die for  I really wish I'd thought of this line. I really wish I'd thought of this line.
|
|
#
?
Jun 22, 2022 01:45
|
|
|
Least they're making sure the prisoners get all the minerals they need.
|
|
#
?
Jun 22, 2022 02:06
|
|
|
I'm enjoying it! It's interesting to see the places Bug Fables struggles, as well as the places it shines, and you've done a good job at keeping the narration and display of the dungeon brisk. There's just not a whole lot to say about it, 'cause it's filler. Interestingly designed filler, at least.
|
|
#
?
Jun 22, 2022 02:18
|
|

|
I think you're right that Rubber Prison doesn't really advance the plot and could probably be skipped to lead straight in to the next area. I didn't really think about it when I was playing, but you're right that with the slower LP pace it does stick out a little, which is amplified if you've been doing a bunch of side quests before since you have access to termite kingdom and the sub.
|
|
#
?
Jun 22, 2022 09:11
|
|

|
Eh, it's a fun dungeon to fight through and has kind of a neat look. It doesn't need justified any more than that. The big thing that makes it feel like a flaw here is that there's only so many ways to say that in text and it doesn't really have many gimmicks to it to highlight in the lp. It's still very fun to play through and I'm glad it's in the game even if it's not advancing the story.
|
|
#
?
Jun 22, 2022 14:44
|
|
|
I liked playing through the Rubber Prison. But it's very much more of the same and/or a chance to flex your rewards from side-quests. I think you did a good job of showing it off so far though, Explopyro!
|
|
#
?
Jun 22, 2022 14:58
|
|
|
There's a difference between content that's fun to play through and content that's interesting to LP. If Rubber Prison is the first but not the second, that's perfectly reasonable. If it's neither then it should have been cut.
|
|
#
?
Jun 22, 2022 20:46
|
|

|
I thought it was fun to play. I enjoy going through dungeons, finding treasure, solving puzzles, and so on in video games. And maybe it doesn't seem interesting in text but I quite liked the layout of it and enjoyed it as a more "normal" capstone to the events of the game before what follows it.
|
|
#
?
Jun 22, 2022 21:13
|
|
|
Right, exactly. It's not a badly designed dungeon, and it's perfectly enjoyable to play. I just find it a bit bland in comparison to the others, and therefore I'm having a harder time finding things to say about it. (On the other hand, one of the dungeons has to be the least interesting one, definitionally; pointing that out isn't saying much!) No-frills gameplay definitely has its place, and this conversation has been a good reminder that that's enjoyable on its own terms and valuable for that. I think this is probably a situation where some content just happens to be a bit less LP-friendly, and that's not exactly something to criticise it for (I certainly wouldn't want the designers to go back and compromise on gameplay just to make it easier to write up). Alxprit posted:as a more "normal" capstone to the events of the game before what follows it. Also, this is a good point I hadn't considered, but I'm going to stop there and say no more.
|
|
#
?
Jun 23, 2022 02:10
|
|
|
66: Security By the Books 75 - Rubber Prison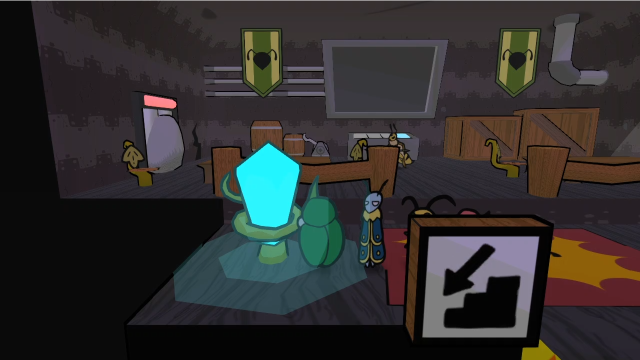 Right. Where did we leave off? We explored quite a bit of Rubber Prison last time, and eventually reached the Security Room. Let's see what we can do here. 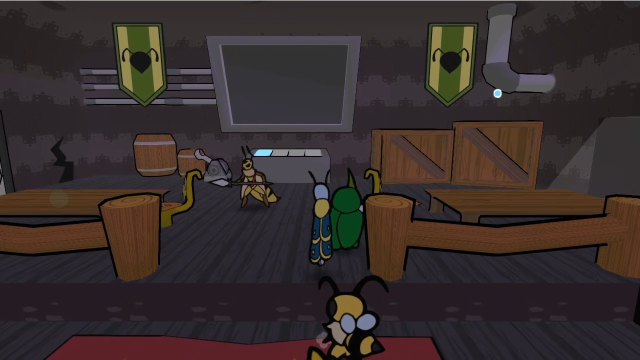 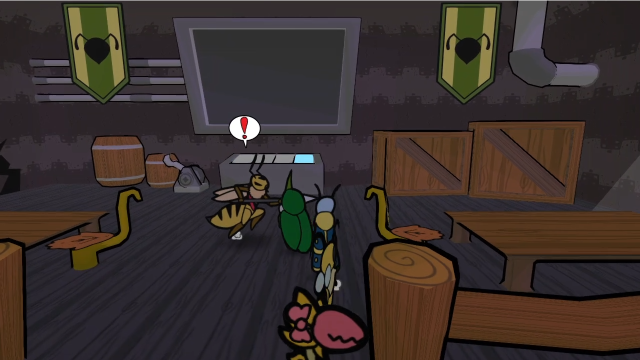 Before anything else, there's a Wasp Trooper here who wants to get in the way. 24 - Oh No! WASPS!! She's fighting alongside a Ruffian, but this still isn't a particularly difficult fight. (Mostly because Needle Pincer or Fly Drop make it trivial to take out the Trooper, after which this is just a straightforward fight with one Ruffian.)  Let's move along. 75 - Rubber Prison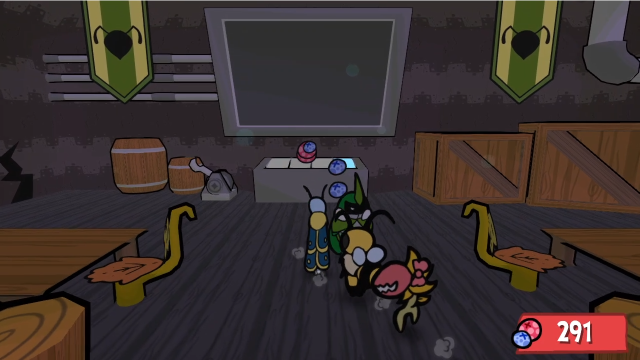 Right. Back to our exploration. 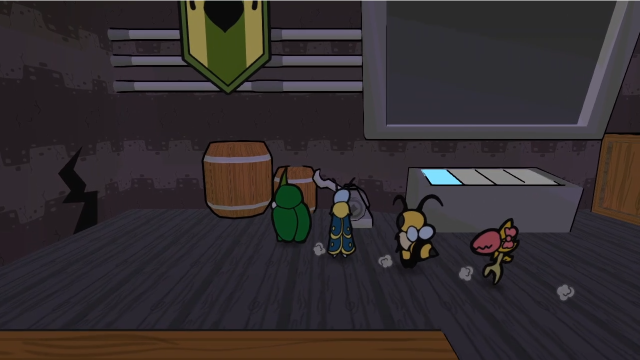 There's a switch here by the machinery. Let's flip it. 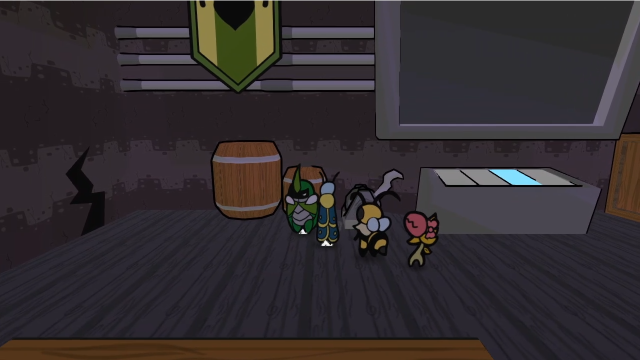 ...That didn't do anything? 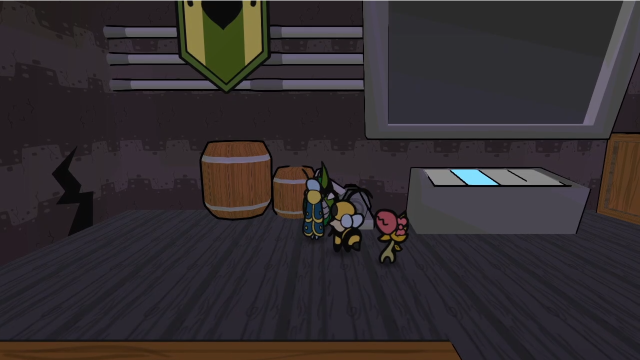 It doesn't matter which position we put it in, nothing changes. Clearly, we'll need to investigate further. 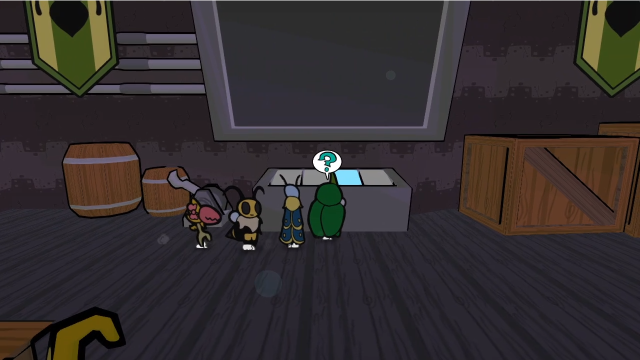 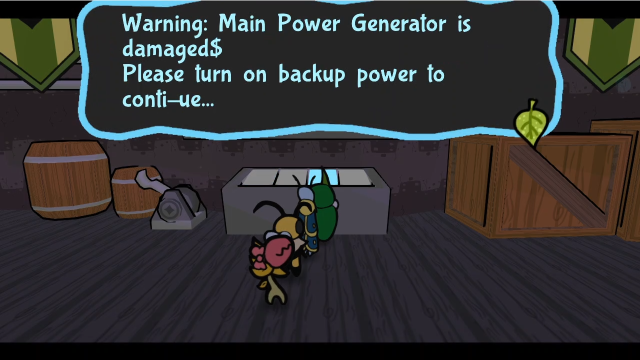 If we inspect the terminal here, it will tell us the power's offline and we need to enable the backup generator somehow. That's an explanation, at least. Guess we'll need to look around some more. 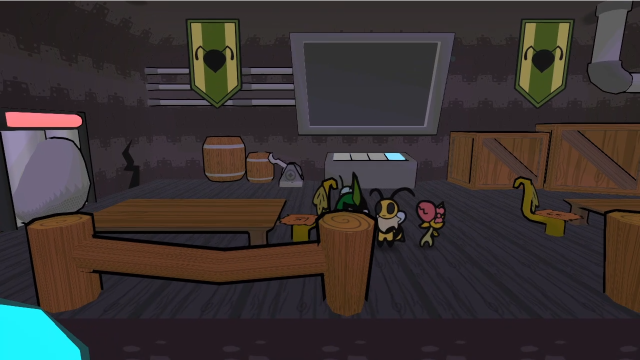 From here, we can see there's a door leading west, but it's blocked. There is a crack near it... 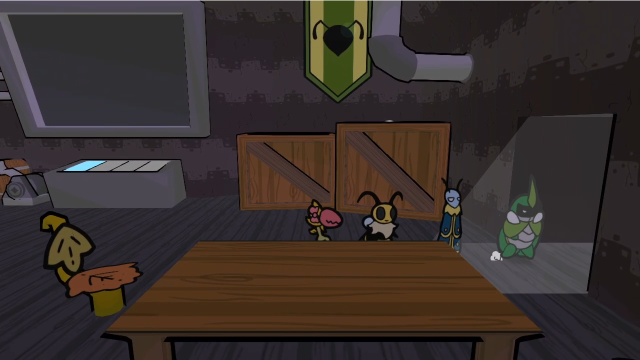 We'll come back to that momentarily, though, because there's an open path here on the east leading outside. Let's check that first. 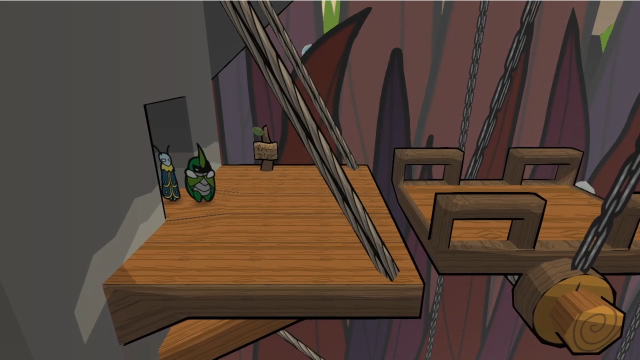 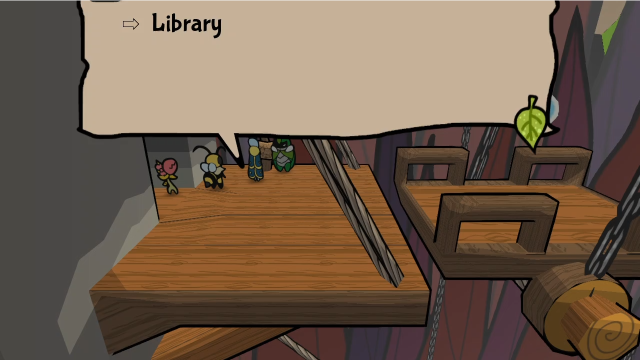 Apparently this path leads to the library. There's a library here? 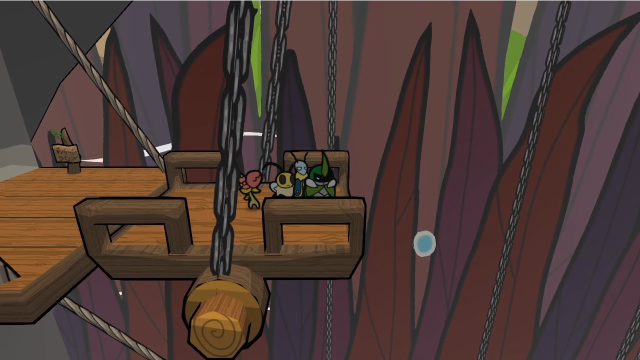 We can't actually get there, though. This platform, despite the obvious mechanisms suggesting it can move, is stuck firmly in place right now, and that gap is too wide to fly across. 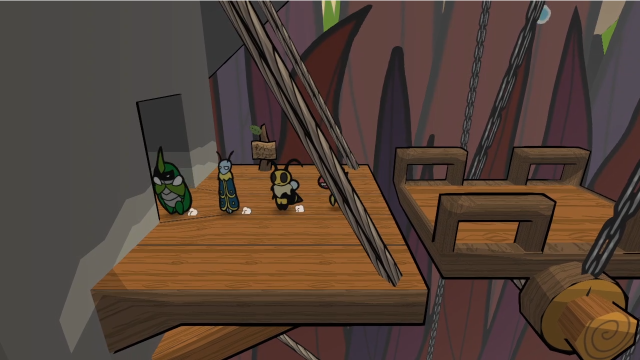 Back in we go. 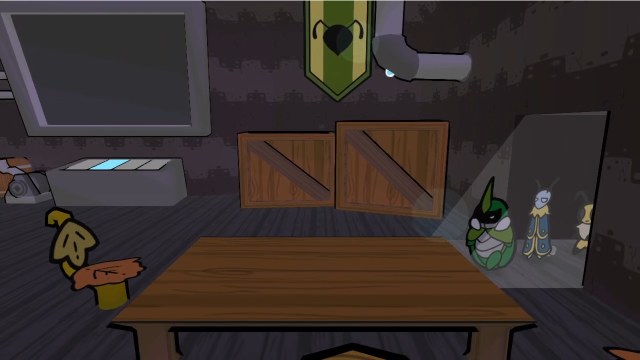 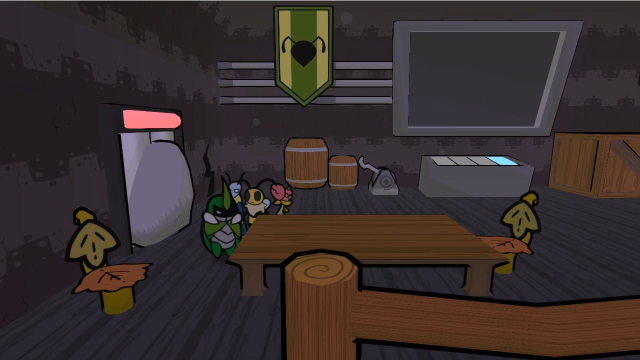 Right. That door is pretty thoroughly blocked, whether that's just a stone in the way or it's actually embedded in the doors. Either way, we're not moving it, and Kabbu isn't able to smash it. 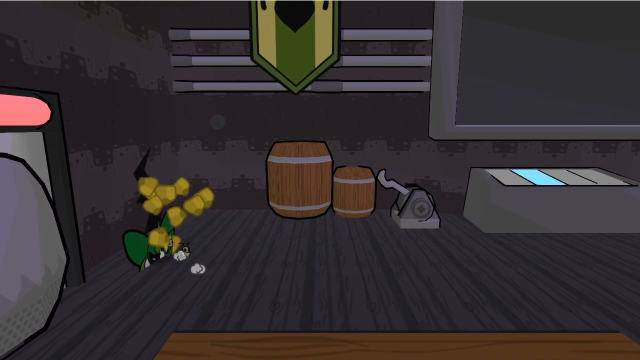 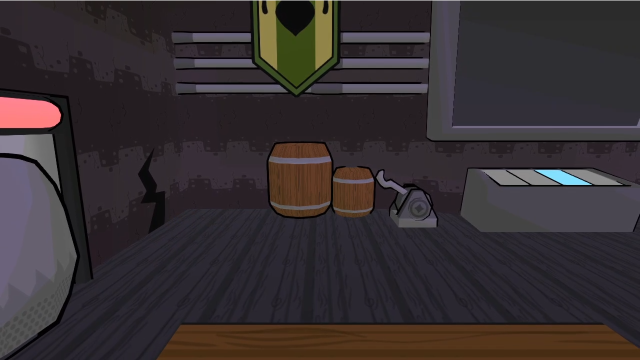 Of course, we can dig and get through the crack here, so let's do that. 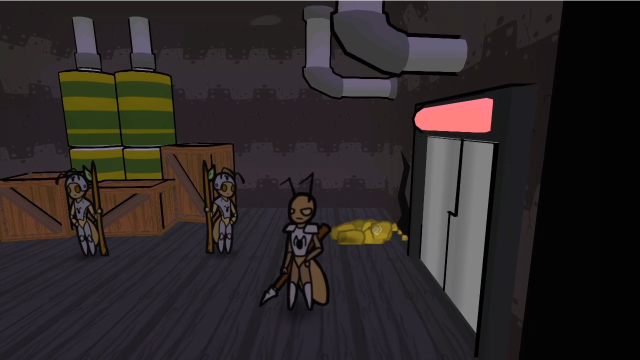 ...Oh dear. Are these ants trapped?  This room's pretty small, there's just a crank and the ant personnel. Oof. Must suck to work here and be trapped in a tiny room. Let's beat the Wasps so we can save these Ants!It doesn't look like we'll be able to get them out, at least not for now... let's see what they have to say. 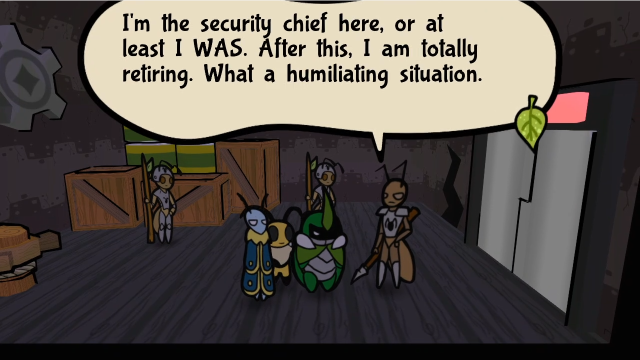 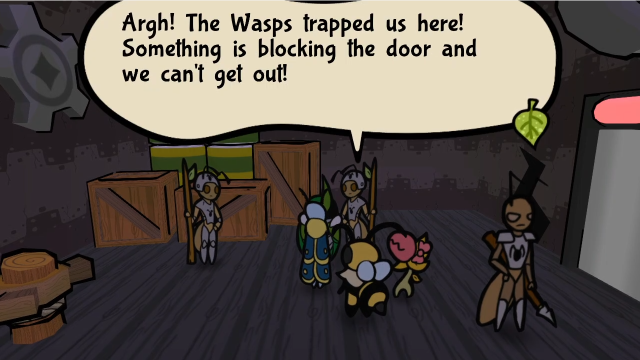 I am sensing a theme here. 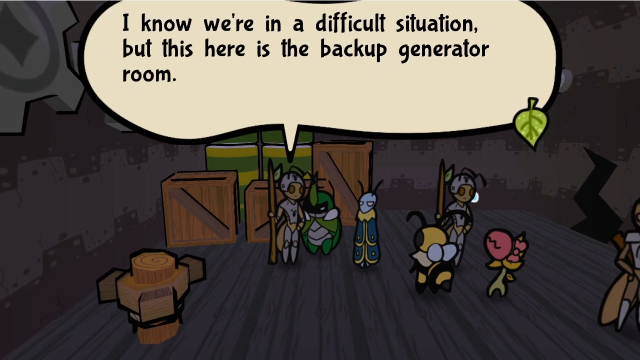  The Wasps damaged the computer, but the only way to turn the backup power on is to spin that crank. Do you have any way to do it? The Wasps damaged the computer, but the only way to turn the backup power on is to spin that crank. Do you have any way to do it?This guard, meanwhile, knows what we need to do. Let's not waste any time, then.  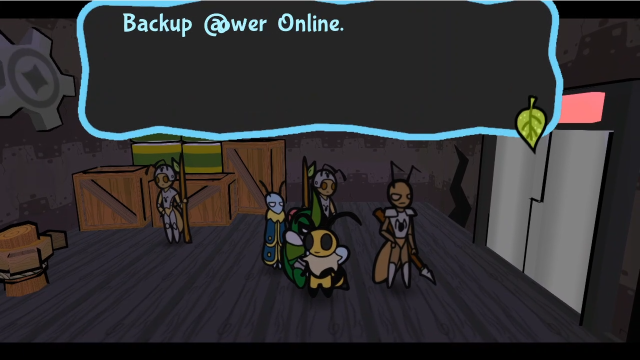 There we go.  Now that we've fixed the power, let's talk to the guards again? 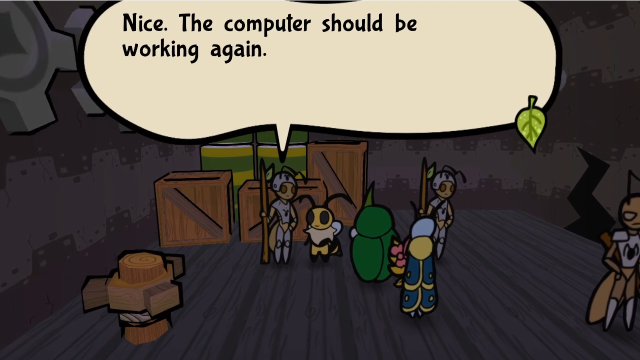 It's an old piece of junk, though. If it doesn't turn on even with the power, just smash it until it works. It's an old piece of junk, though. If it doesn't turn on even with the power, just smash it until it works.The other two don't have new dialogue, but this one does (and it's yet another hint). Good old percussive maintenance. 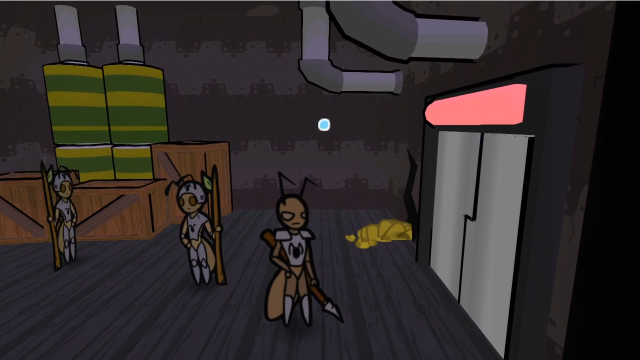 That's all we can do in here for now, so let's head back out. We need to leave via the crack again; even with the power fixed, that door won't be budging. 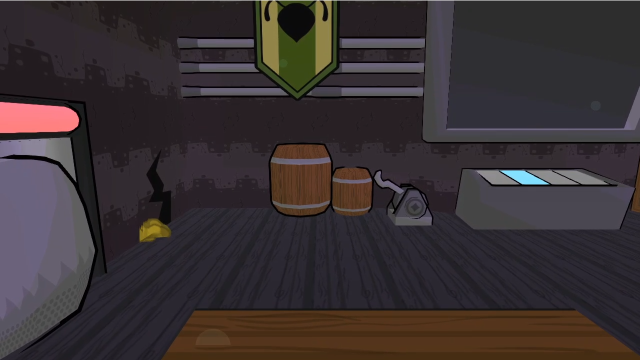 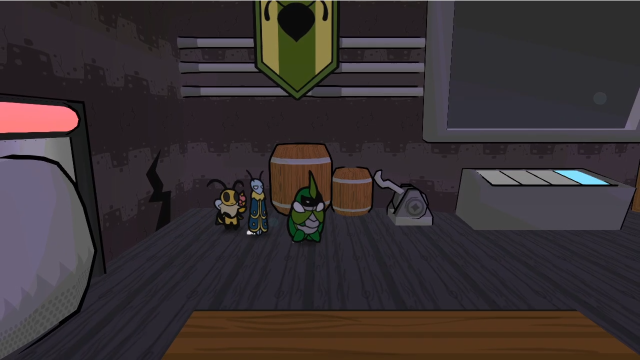 Right. The main computer. 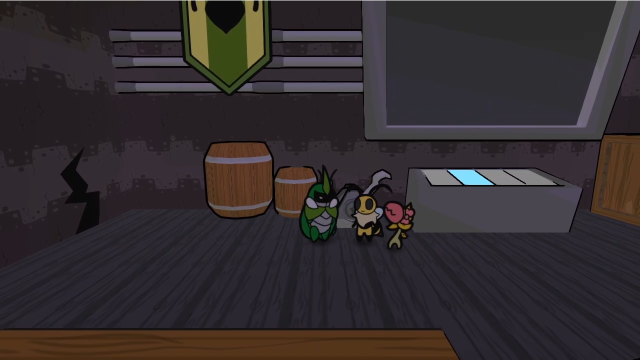 Does it do anything if we flip the switch now? 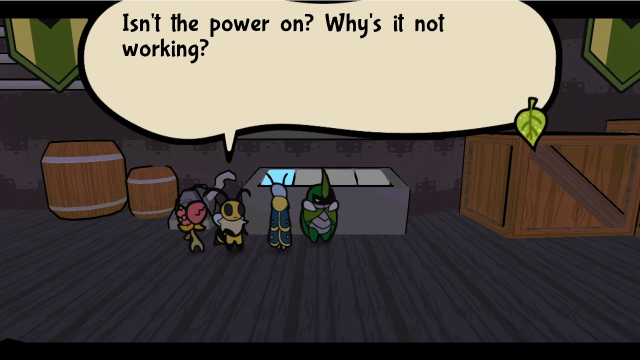 Eh. Just kick it. This is valuable government property! We can't just- ...Just kick it! Eh. Just kick it. This is valuable government property! We can't just- ...Just kick it!Welp. Well, the guard told us we should do this too...  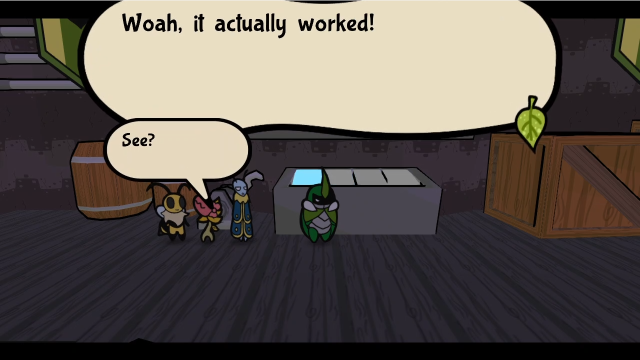 ...Whatever. Let us see what we can do with this terminal... ...Whatever. Let us see what we can do with this terminal...I've seen this trip quite a few people up, because the hitbox on it is a bit weird, so you can easily second-guess yourself even knowing what to do. Kabbu's horn strike isn't strong enough, we need to hit it with a dash (and get a decently long run-up). Once you manage to hit it hard enough, the screen comes on. 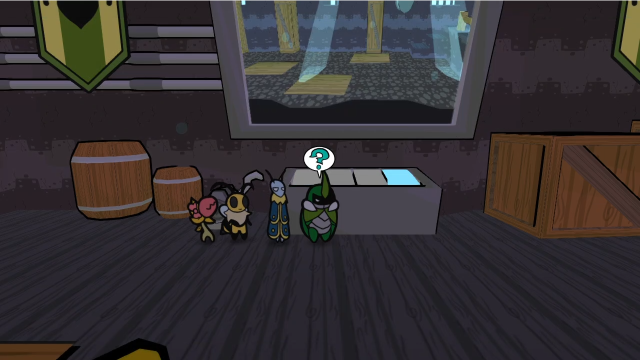 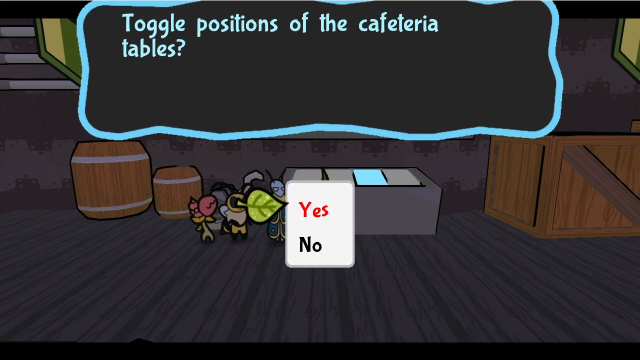 Well. That seems promising, if oddly specific. 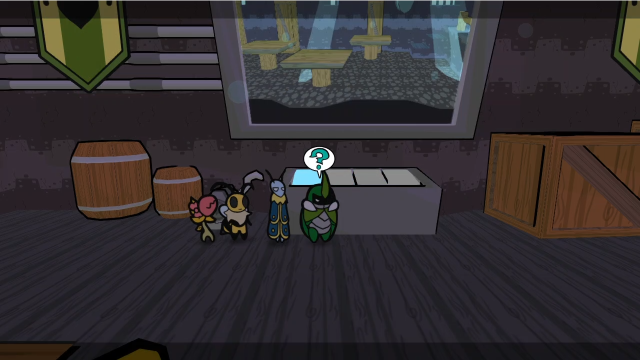 Apparently, the tables retract into the floor, and this lets us raise them up again. 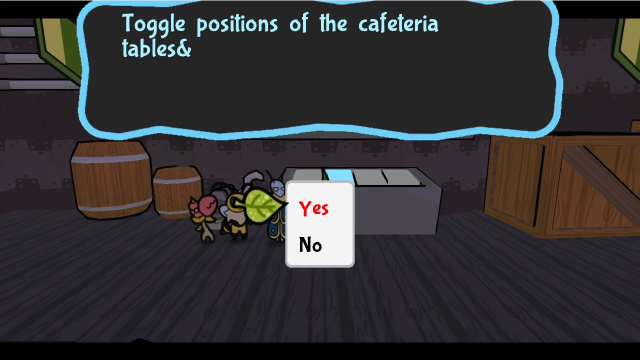 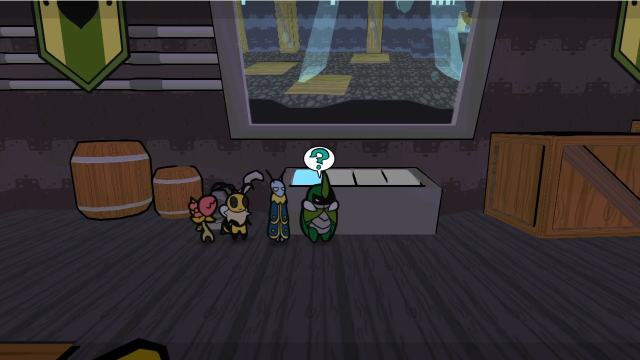 If we want to, we can always put them back, too. But we probably shouldn't. 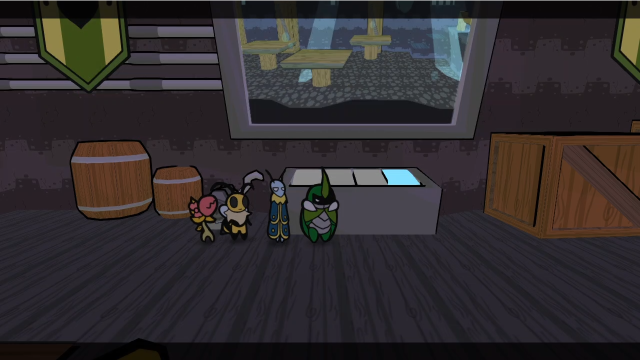 Right. The tables have been raised. Now, what to do... 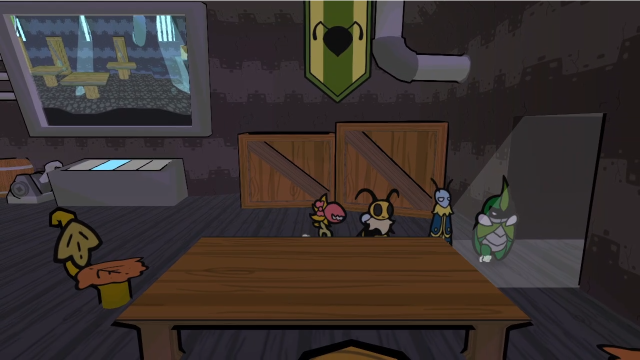 Before we head back to the cafeteria, let's head back outside. 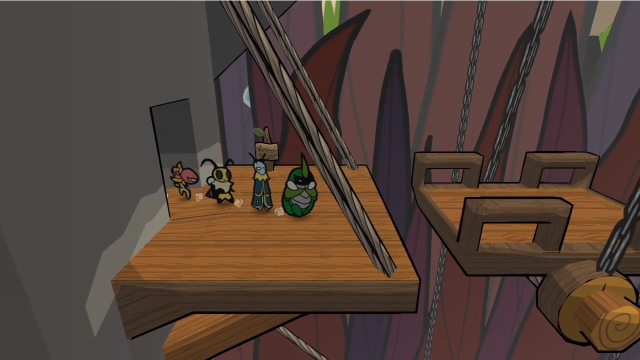 Restoring the power has also set these platforms moving, which means we should be able to get to the library now. Let's head over there. 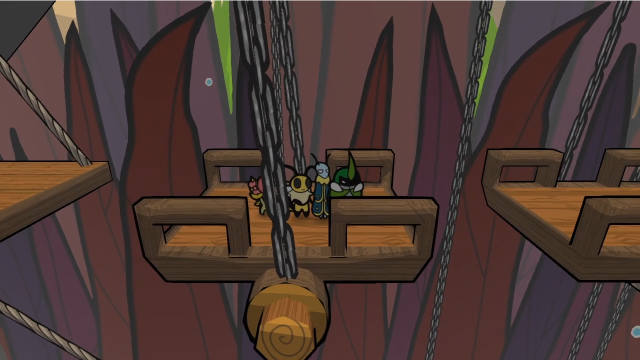 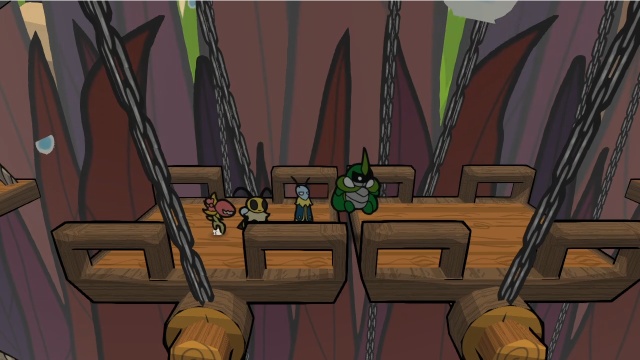 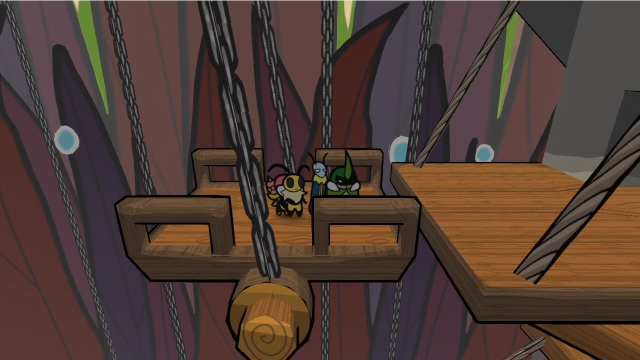 Now that the platforms are moving, it's a simple matter to get across. 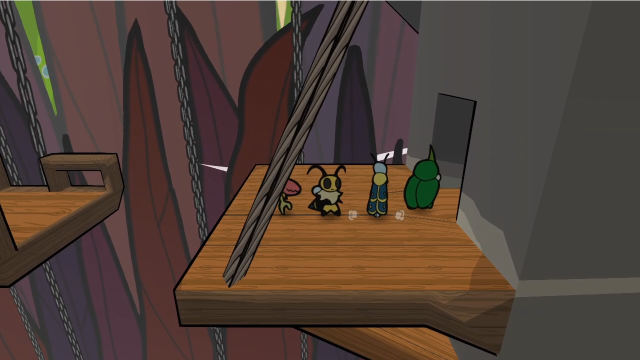 In we go. 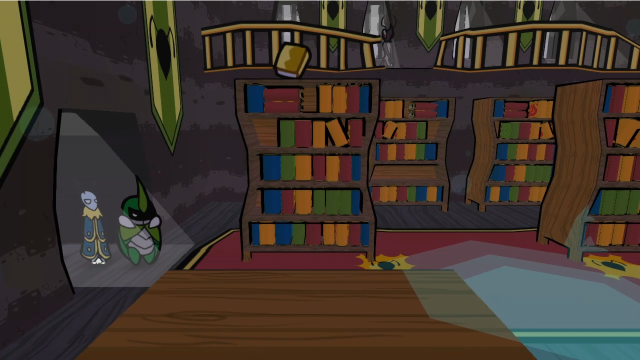 Well, this certainly is a library. This is quite the collection. It rivals the palace's. Having to read all of these is such a mean punishment! They're... most likely not meant to be a punishment...This always gets a chuckle out of me, I'll admit.  Before we can do much here, we should probably get rid of the enemies. 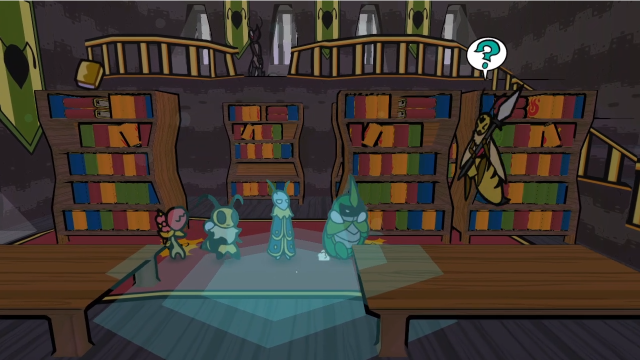 24 - Oh No! WASPS!! 24 - Oh No! WASPS!!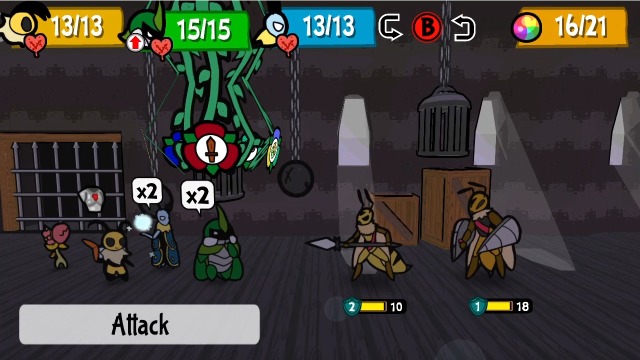 The Trooper has a Driller with it. They do a good job of mixing up the formations here, at least, we're still encountering new combinations. 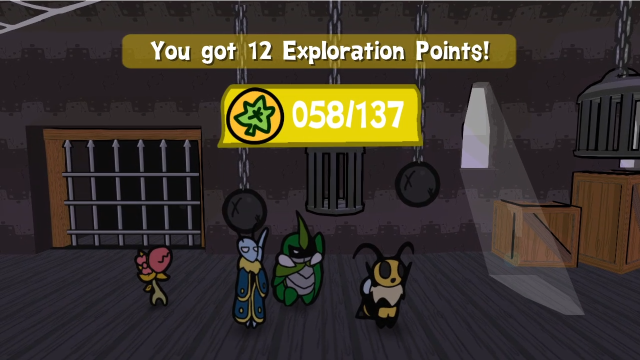 We'll defeat them and move along. 75 - Rubber Prison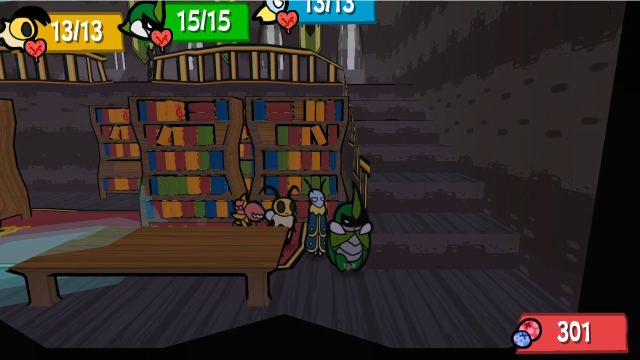 Past the wasp, there are steps along the eastern wall leading to the upper level. 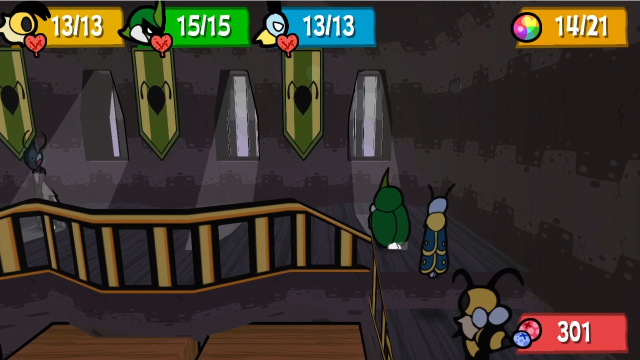  There's an enemy up here too. 24 - Oh No! WASPS!!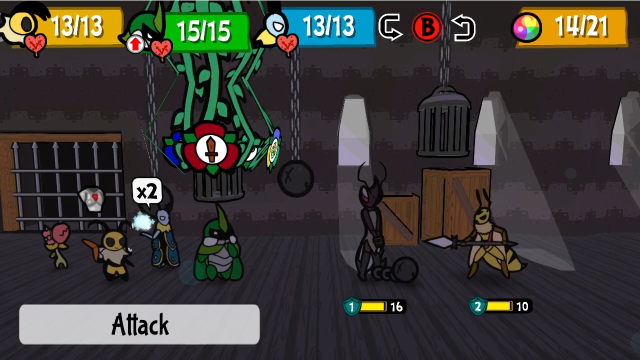 This Ruffian is accompanied by a Wasp Trooper. This is a bit more annoying than if they were in the other order, in that Vi can't delete the Trooper with Needle Pincer right away, but not very (among other things, Fly Drop can take out the Trooper in one hit still). 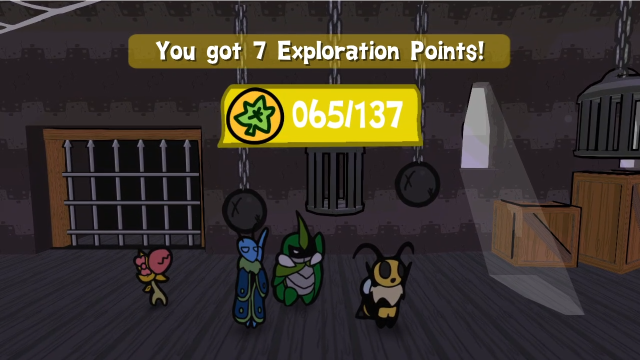 Ultimately, this is still a very straightforward fight. 75 - Rubber Prison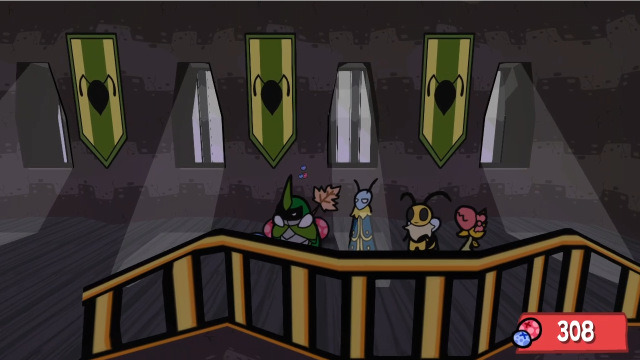 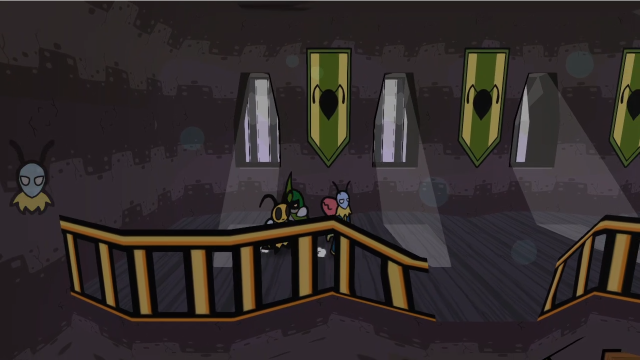 There's nothing else to see up here.  Except, of course, this obvious break in the railing. 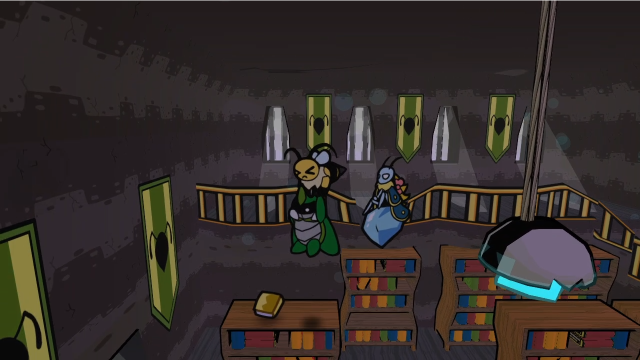 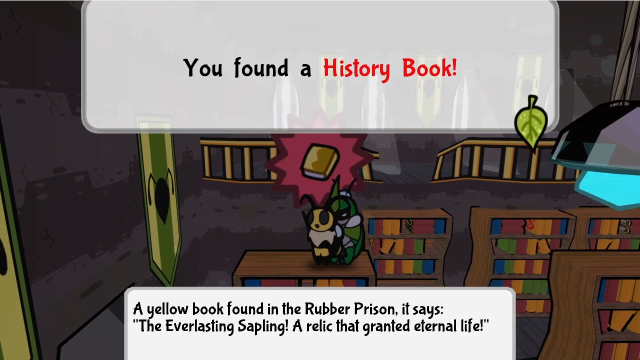 Which allows us to grab yet another History Book from on top of this bookshelf. We still don't know what these are for... 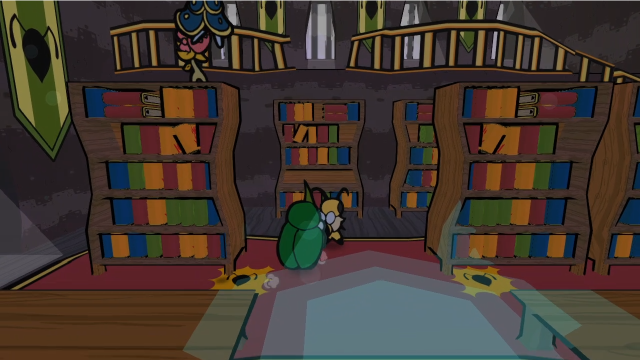 But this shelf is suspiciously empty, isn't it? 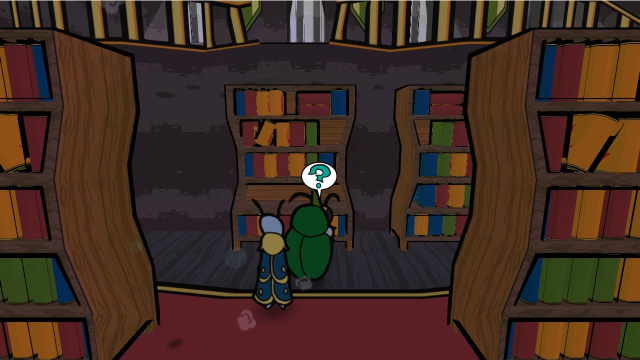 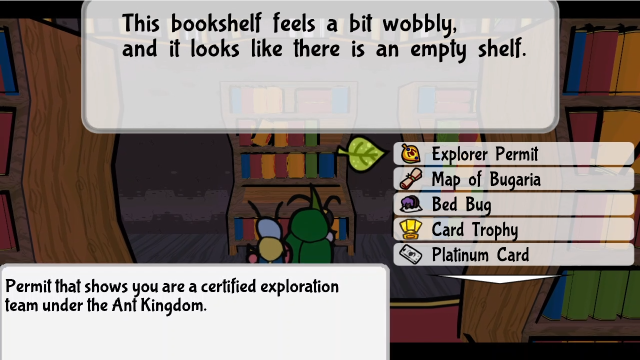 Well, it's asking us to put items in... 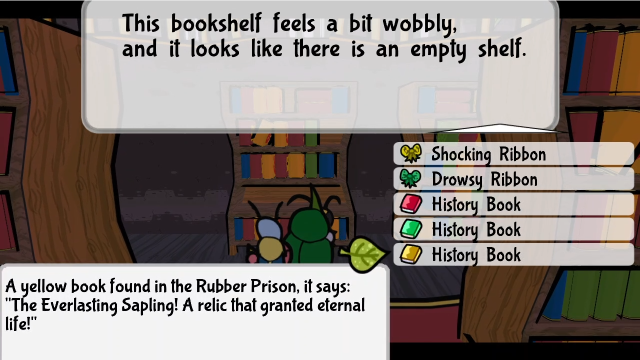 Let's try putting the books? 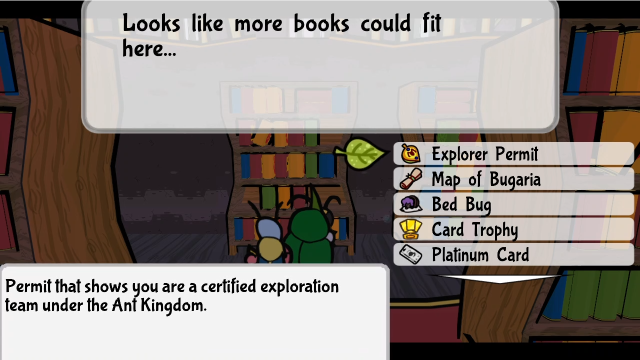 Even after those three, though, it's still apparently not enough. Let's try some random item for the last thing? 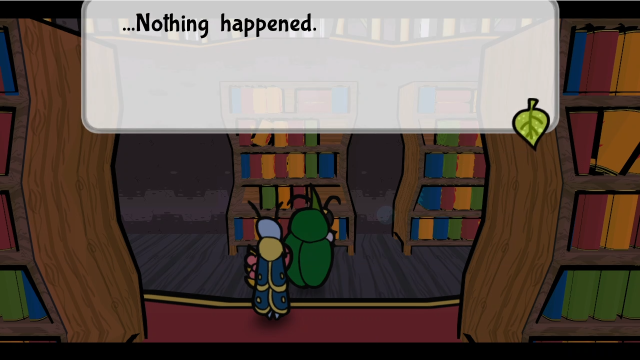 What should we have expected? 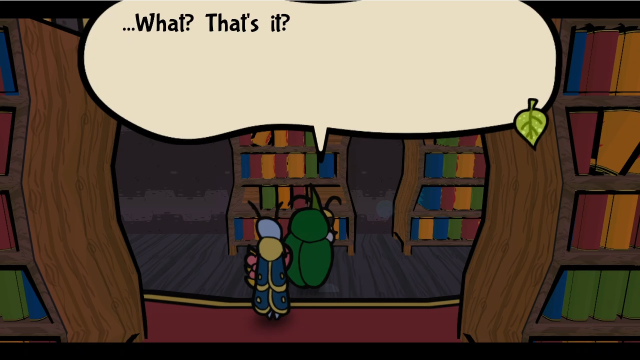 It was just a bunch of books, so... Nonsense! There must be some sort of order we're missing! Ugh. Are we gonna have to read them!? It was just a bunch of books, so... Nonsense! There must be some sort of order we're missing! Ugh. Are we gonna have to read them!?When we fail the puzzle, we also see this conversation. Clearly, there's more going on here, and we're going to have to put the books back in a certain order. Right now, though, we're a book short regardless. 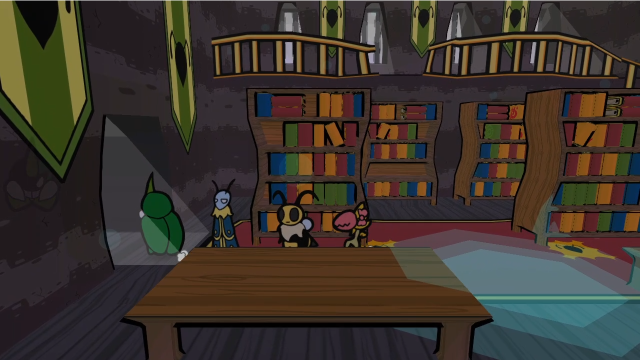 So we'll need to return later, once we've found more books. 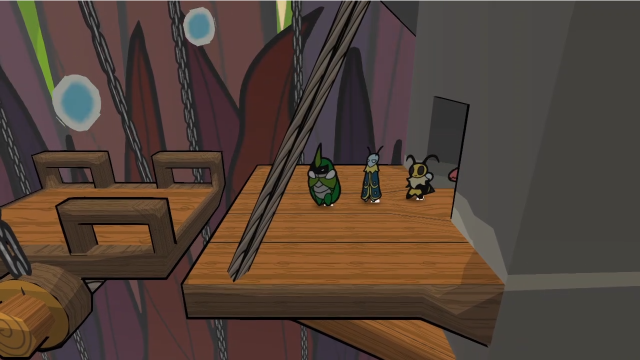 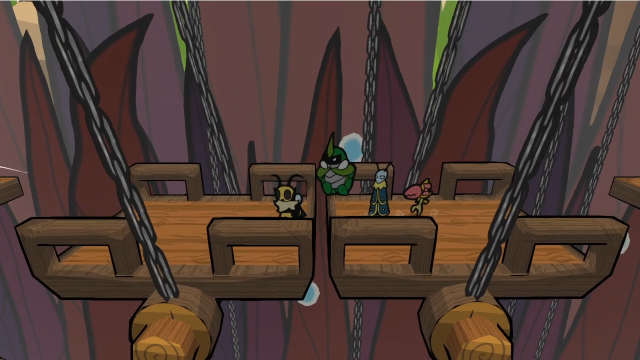 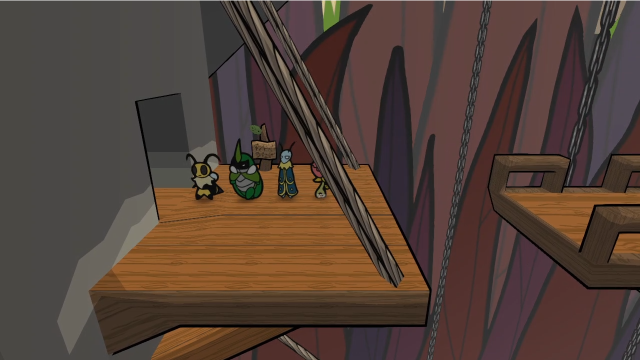 For now, we'll cross back over this bridge... 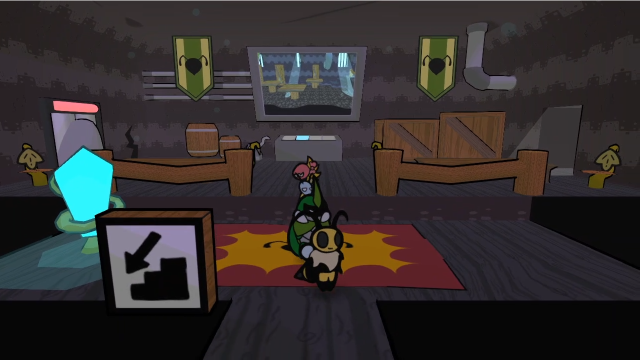 And head back into the prison proper. 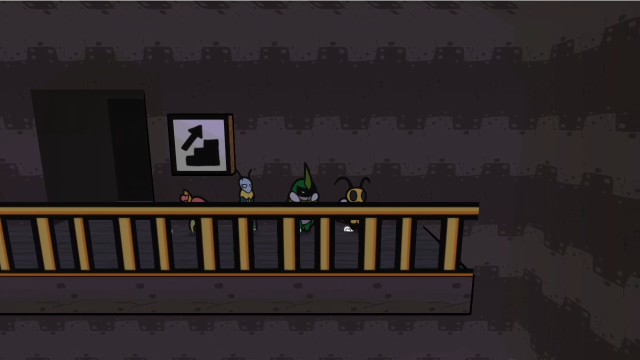 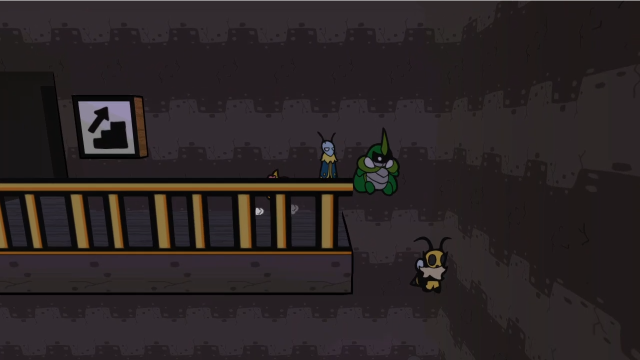 Let's drop down here as a shortcut. 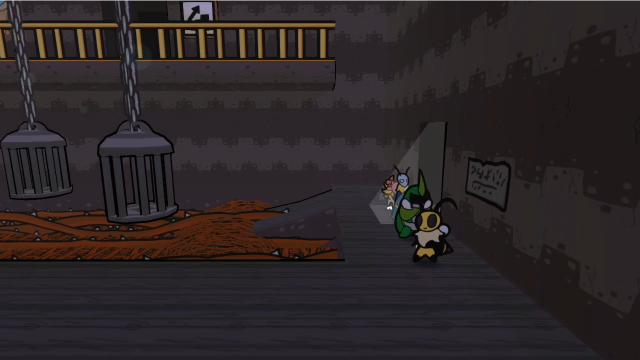 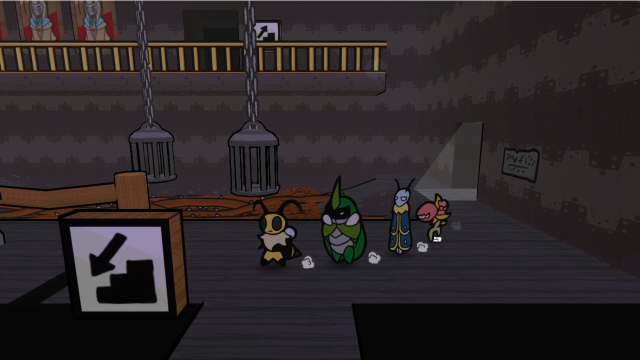 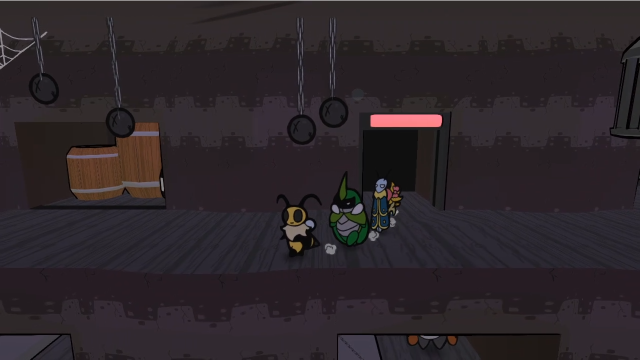 This is probably the quickest way back, though we're going to have to drop down through this cellblock area. 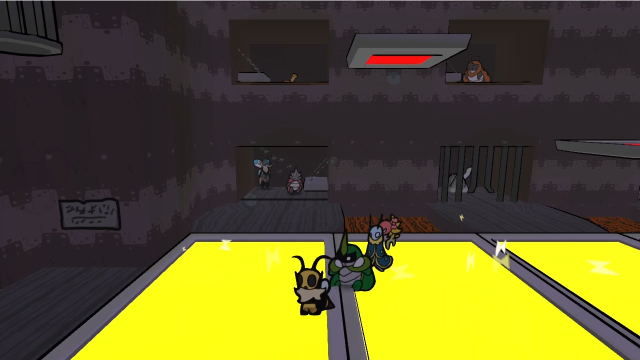 Which can go badly. It's not really possible to look before you leap (or fly), so there's a decent chance of landing on the platforms while they're electrified, getting zapped and having to try again.  It's much safer if you bubble up before falling. 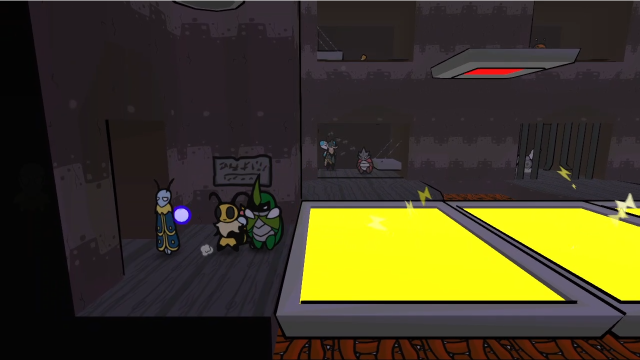 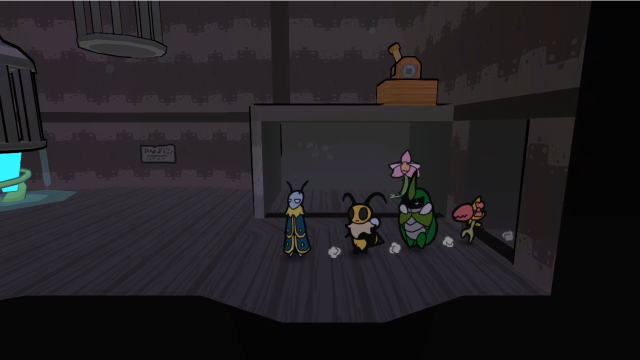 Right. We're back here. 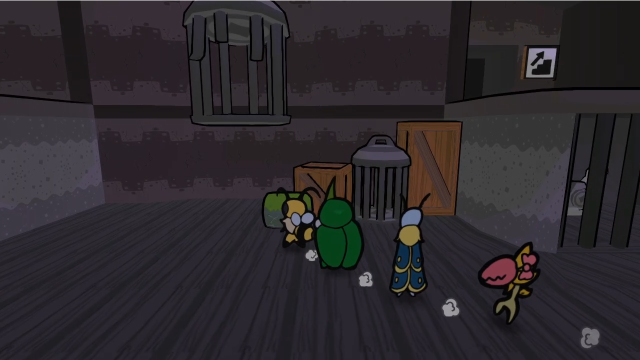 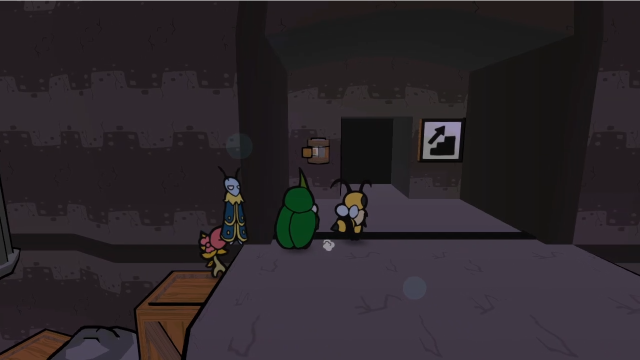 Let's head back up this way, we still need to check out the gym. 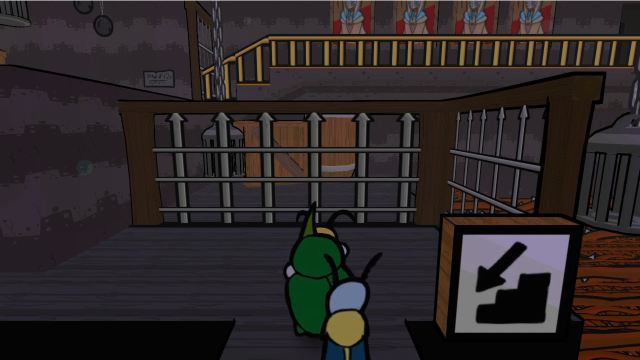 The gates are up now, because we flipped a grey switch earlier. (When I was hitting it, I think I thought it was the power switch for the computer? I'm literally only realising now when writing this up that that was a standard grey switch and had nothing to do with that puzzle. Um, oops?) 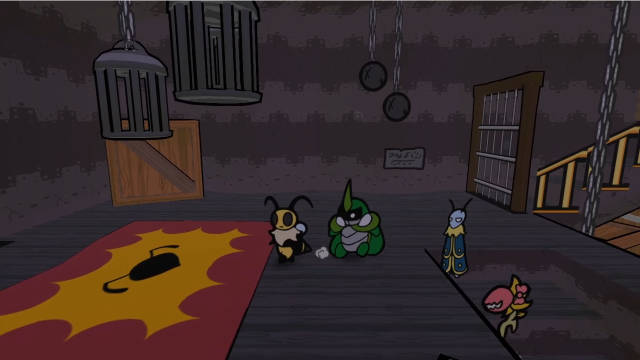 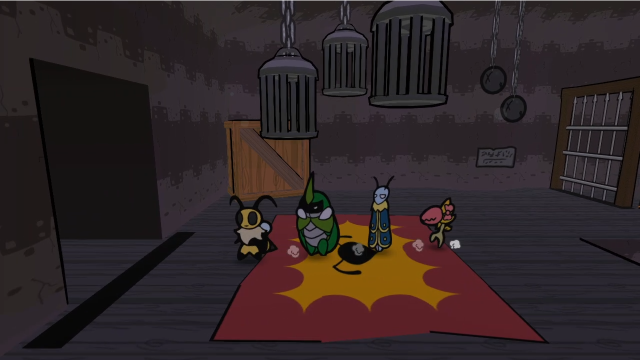 With the gates in this position, we can't get to the security room, but the gym is no longer blocked off, so let's head in there. 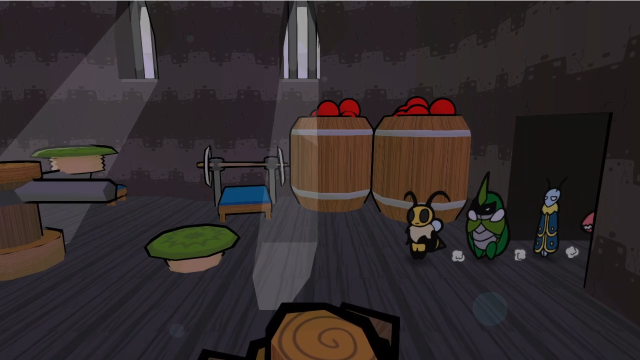 Let's see what this is about. A training facility? A gym, Kabbu. They allow prisoners to stay fit and healthy!? It's not like that'll help them break out...Sometimes Kabbu's moralism seems to wrap around to endorsing inhumane (or the bug equivalent) prison conditions. I don't know. Then again, for all we know, the gym could be for the guards to use... 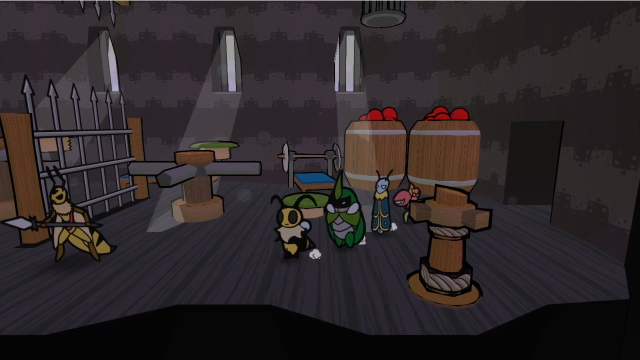 Anyway, let's have a look around. There's a lot to interact with, but we should probably get the wasp soldiers out of the way first. 24 - Oh No! WASPS!!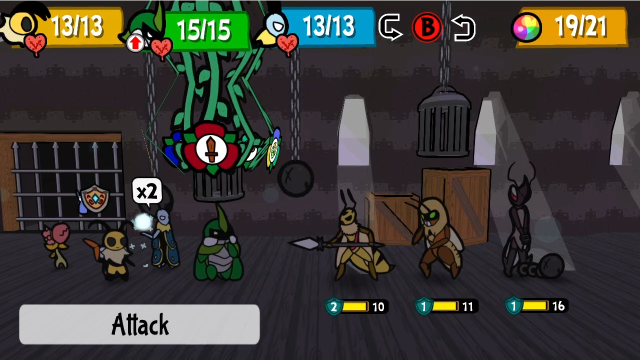 Here's yet another new combination of enemies that ultimately isn't very difficult to deal with. (Though the Bandit could get annoying if you don't take him out quickly, let's not forget they can steal our items.) 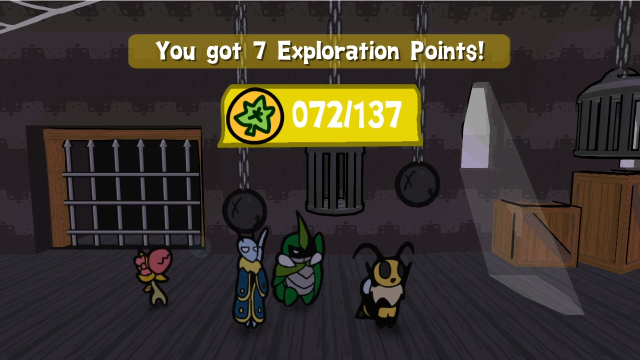 For better or worse, nothing worth showing happened in that battle, so we'll keep moving. 75 - Rubber Prison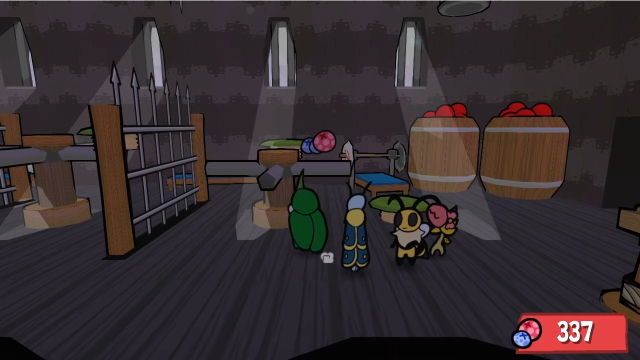 Are those bouncy mushrooms? On top of the mechanisms? 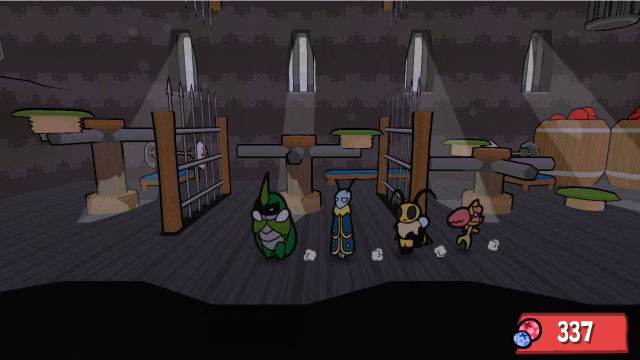 ...Yes, yes they are. 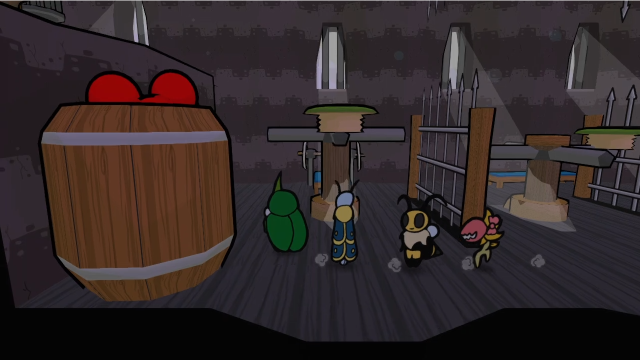 And at this side, there's a ledge up high that we can't reach via normal means. Right. So. We're going to need to use those implausibly-placed mushrooms somehow. With their positioning, though, we can't just platform across... 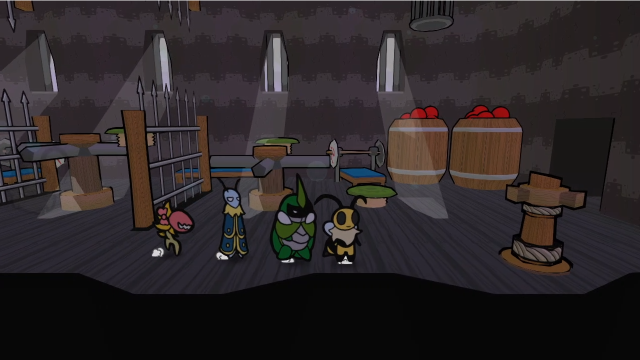 Which is where this crank comes in. What happens if we spin it? 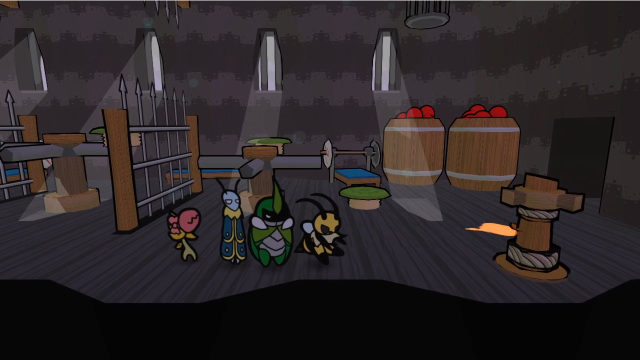  It starts all the cranks rotating! Yes, with the mushrooms on top. To get to the ledge at the upper left, we're going to need to get through some kind of bouncing platforming gauntlet. Click me for video because there's no way I can reasonably GIF this, and it's hard to convey it in still shots. 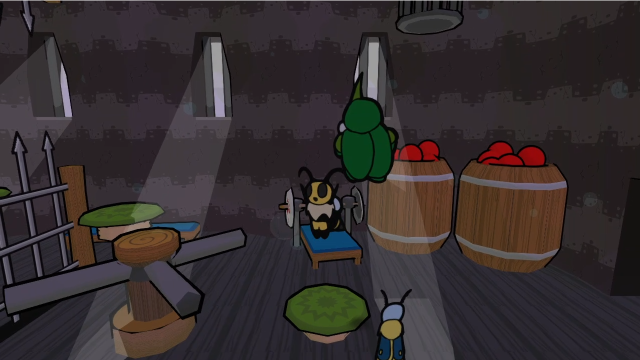 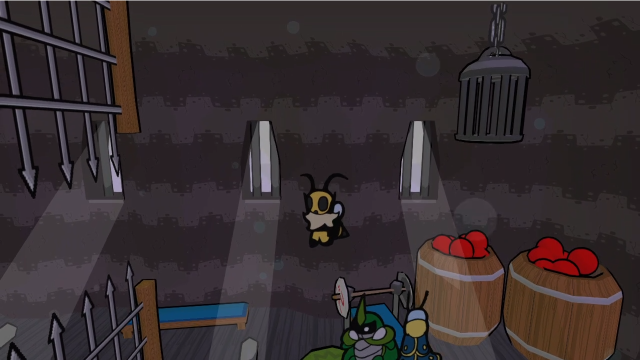 We use the grounded mushroom to get up to the first rotating one, then follow it around the circle. 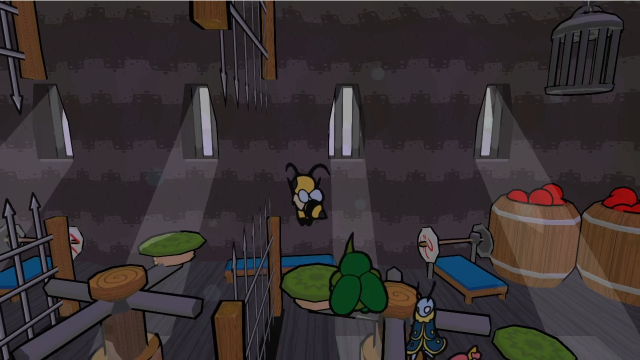 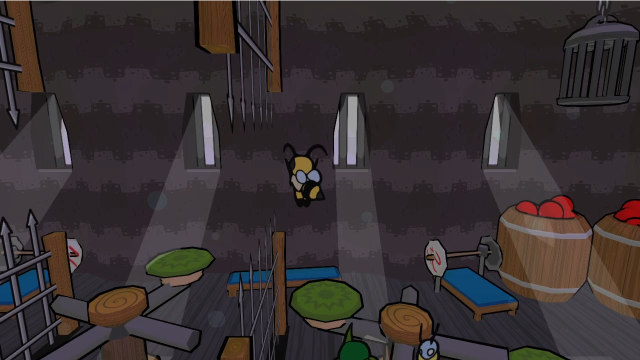 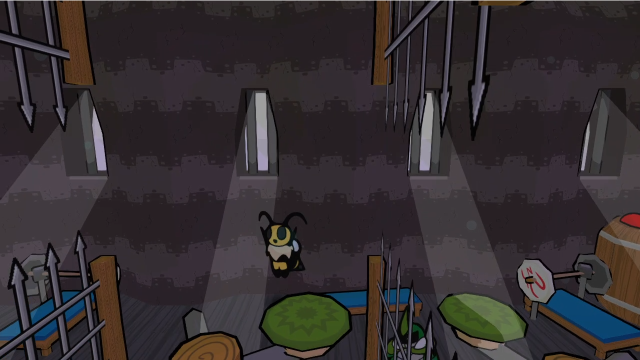 Bounce through the gap when they get close enough, timing it so we can land on the next mushroom... 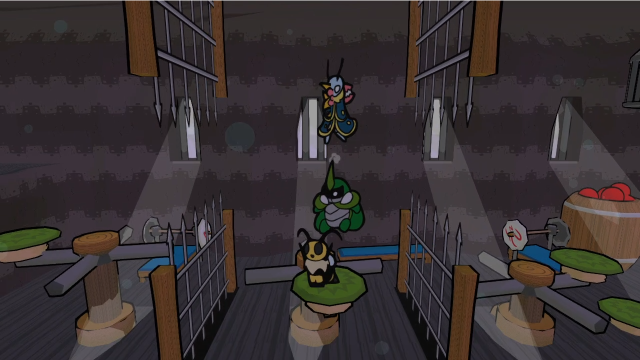 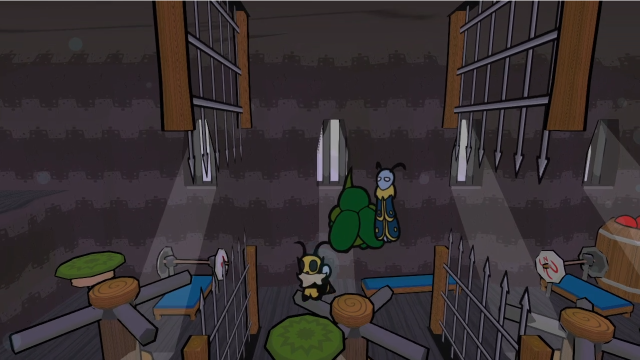  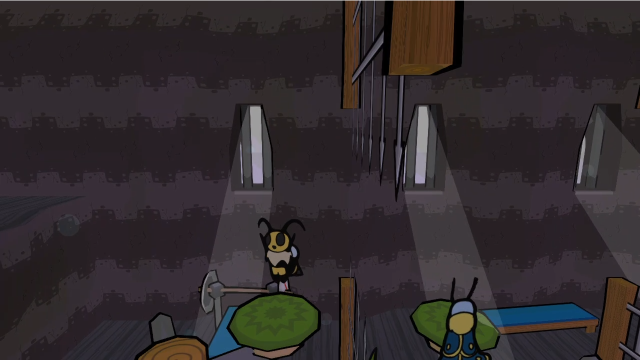 Repeat the process through the second gap... 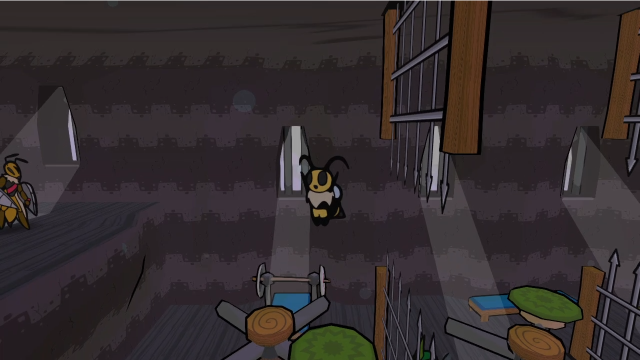 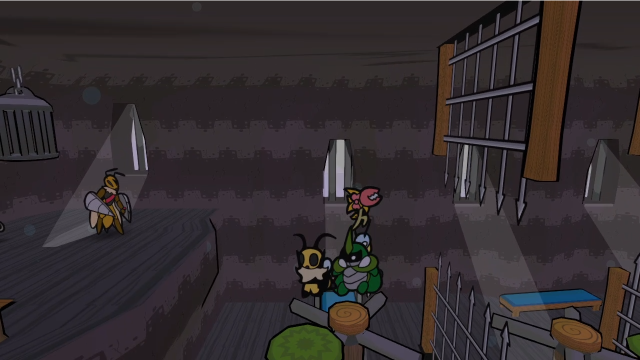 Then ride the final mushroom around until... 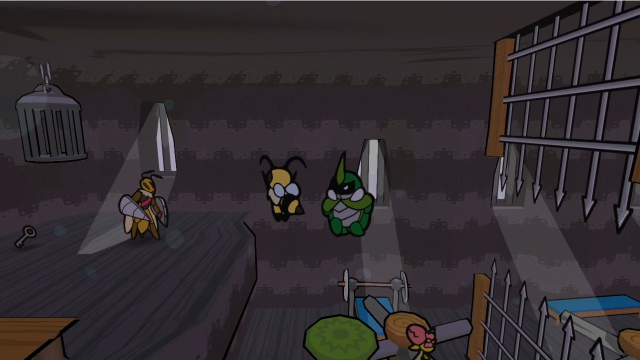 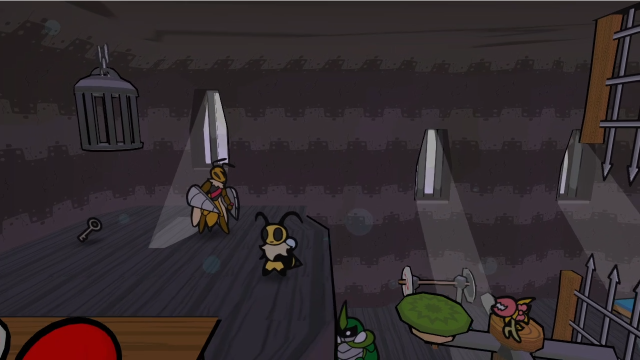 We're finally able to launch ourselves over to the ledge. I wouldn't say this is particularly difficult as platforming challenges go, but it's definitely trickier than Bug Fables typically asks. It's easy to mess up (or not quite figure out the process), you need to start over from the beginning if you fall, and you also need to be holding down the button to keep the Beemerang spinning while you're doing this. 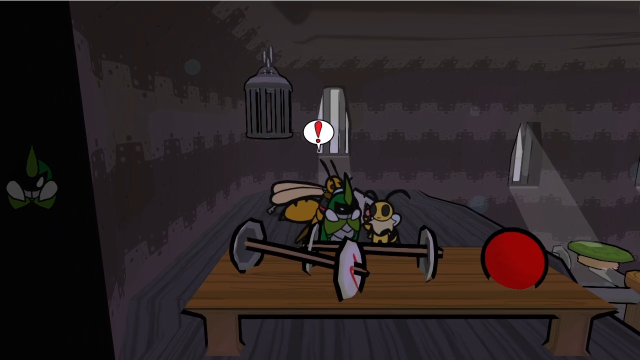 Of course, there's also an enemy waiting at the top. 24 - Oh No! WASPS!! Here we have a Wasp Driller accompanied by a Bandit. They continue giving us new formations even now!  Of course, this is still ultimately a speedbump more than anything else. 75 - Rubber Prison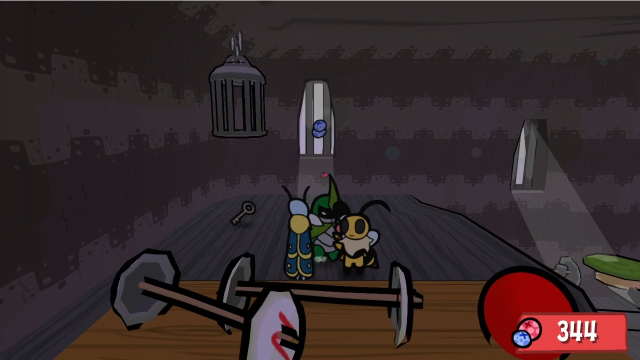 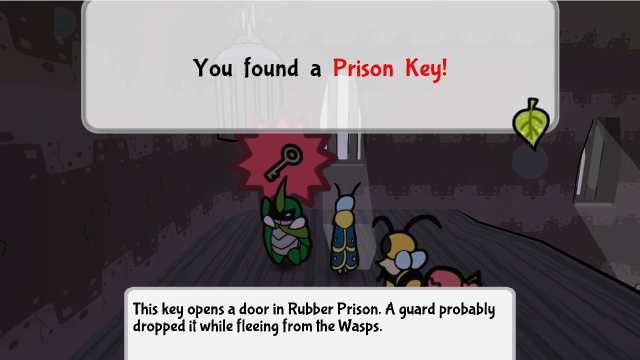 There's also a Prison Key up here. That will probably come in handy. 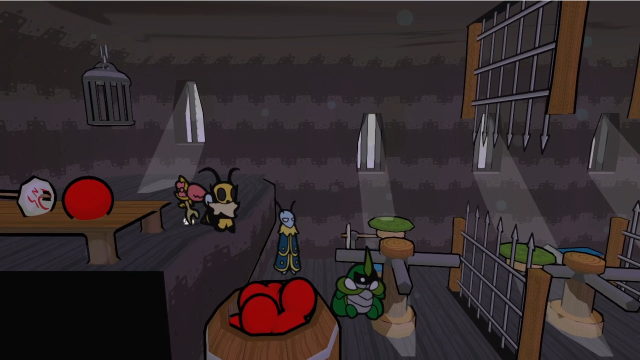 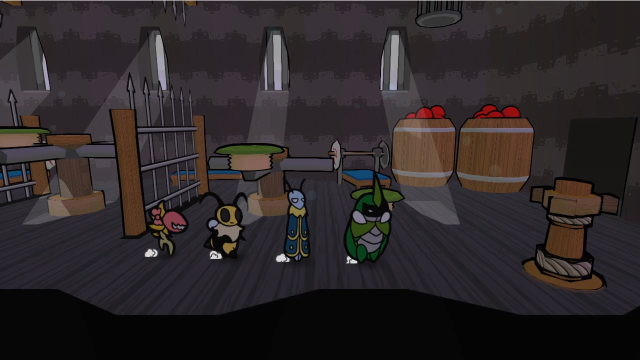 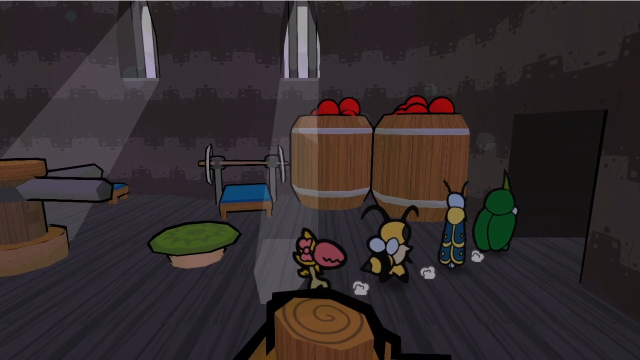 That key is the only thing we can find in here, though, so let's head back out. 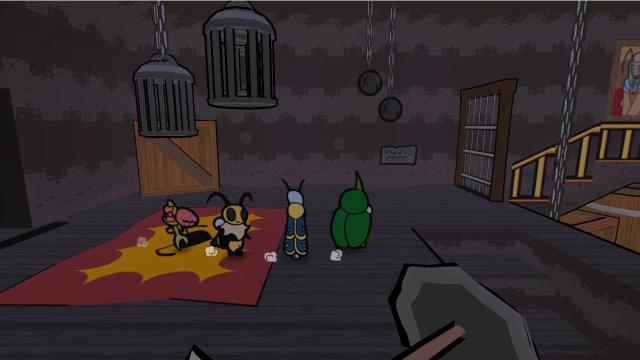 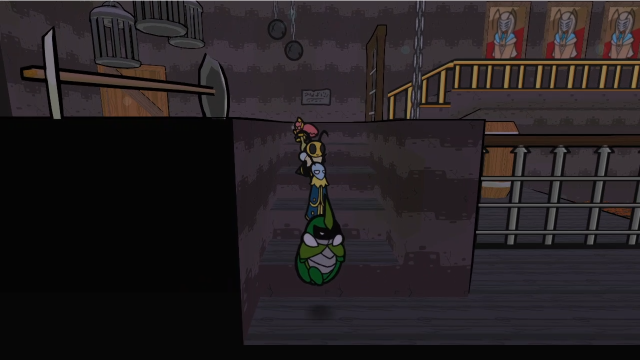 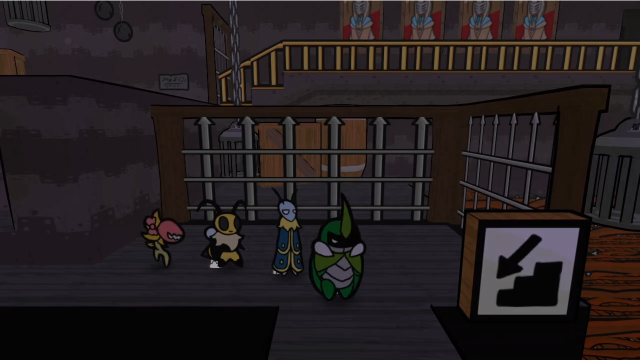 Right. We have one last lead to follow up on. 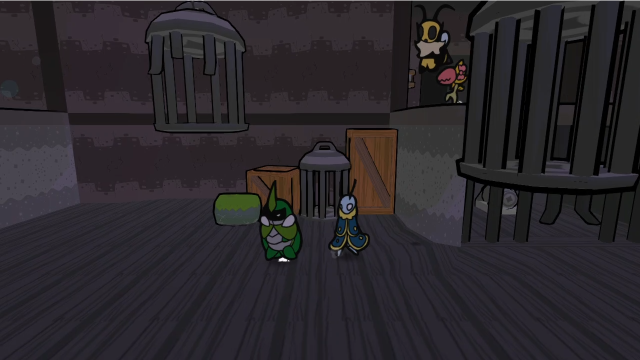 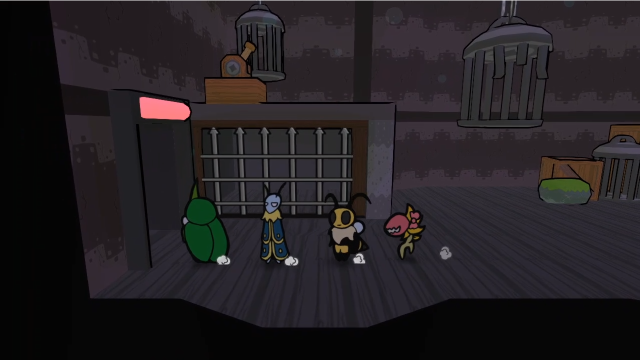 If you'll recall, the cafeteria was this way. 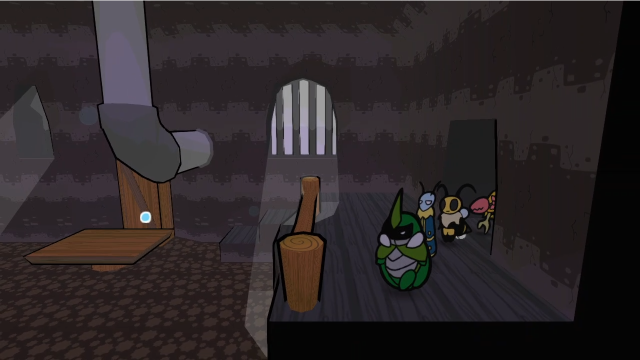 Just like we saw on the computer surveillance, the tables are raised now!  With the tables here, it's now much easier to avoid the cannonfire. We can get up on this one and then fly between them. 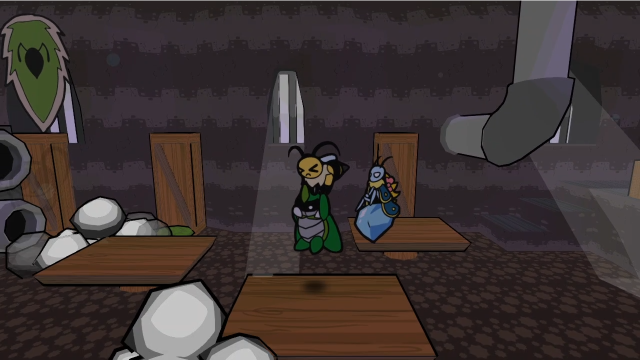 The tables are sturdy enough to stop the boulders, apparently. 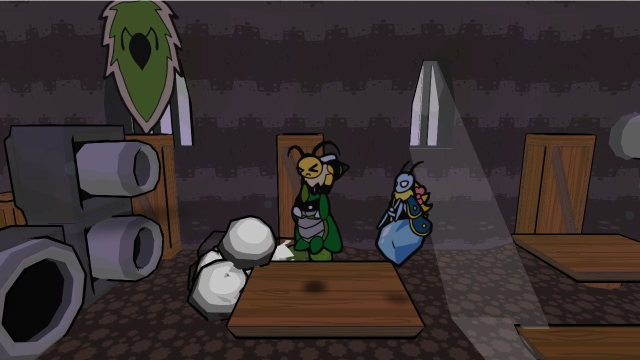 So we fly to this one, and we're right next to the mushroom. 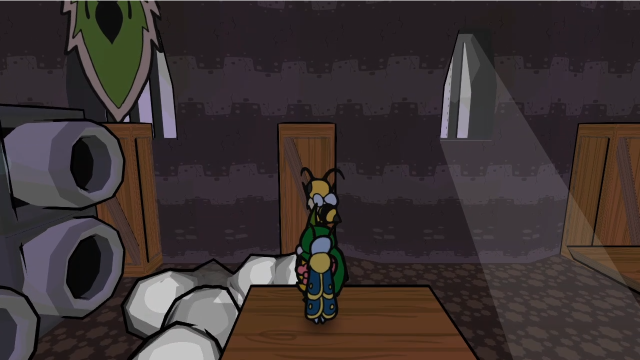  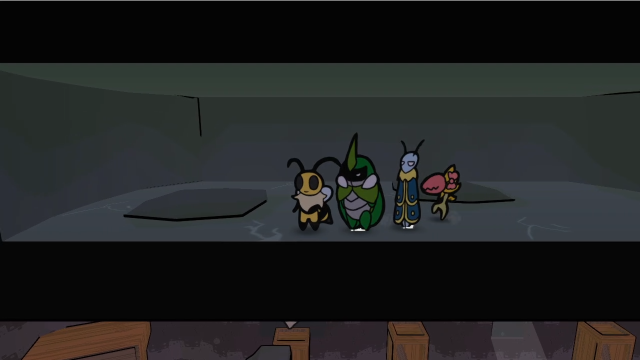 That was much easier than last time! 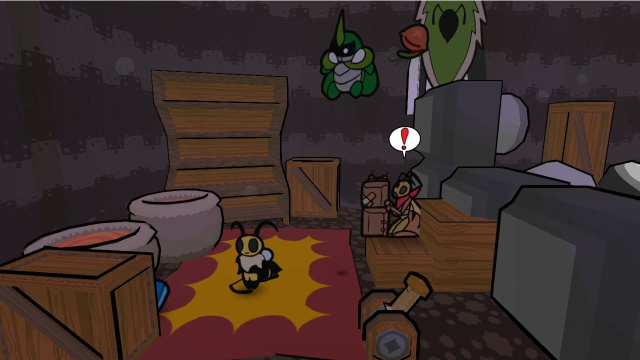 From there, we drop down and land behind the cannons. This is the intended way to get through the cafeteria. A lot of people end up doing this the hard way, though: either they get here first and just brute force it, or don't quite figure out how to turn on the computer (thanks to the finicky hitbox) and never find another solution. 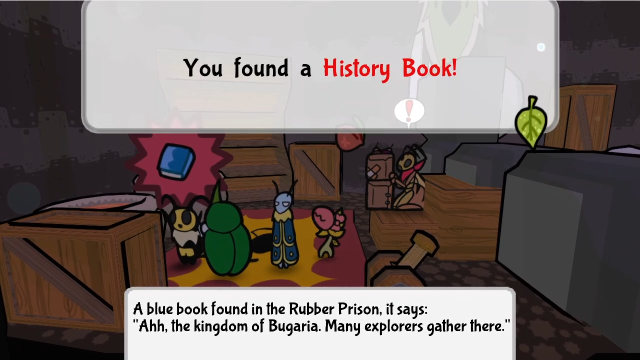 Regardless of how you get up here, you do have to, because this is where the fourth book is. 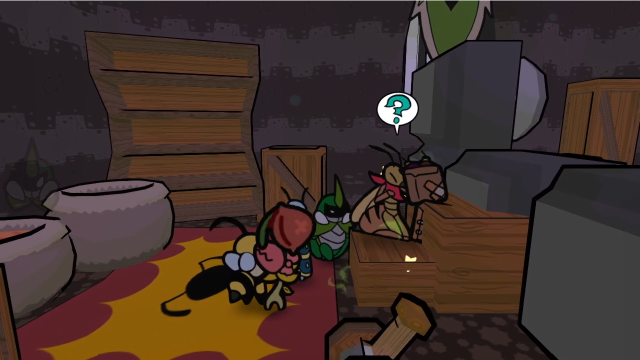 There's also a Wasp Bomber harassing us here, so let's put an end to that. 24 - Oh No! WASPS!!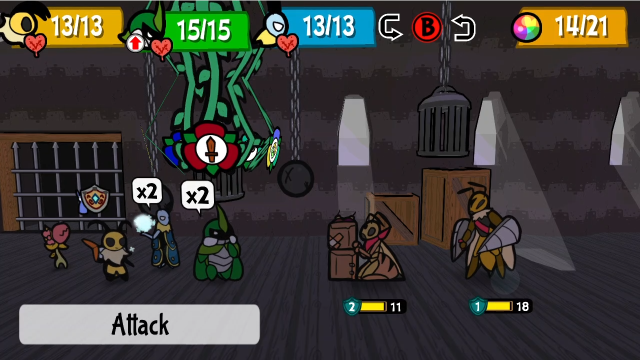 This isn't particularly difficult. (These fights are a lot easier when the Bombers are in front and easy to take out quickly.)  Let's move along. (These fights are great for EXP, too.) 75 - Rubber Prison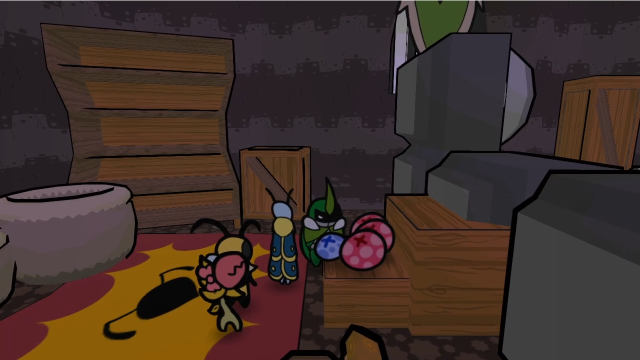 Before we climb up these stairs and jump back over, there's one more thing here. 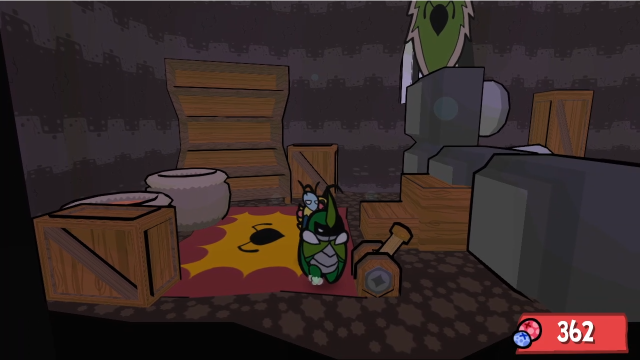 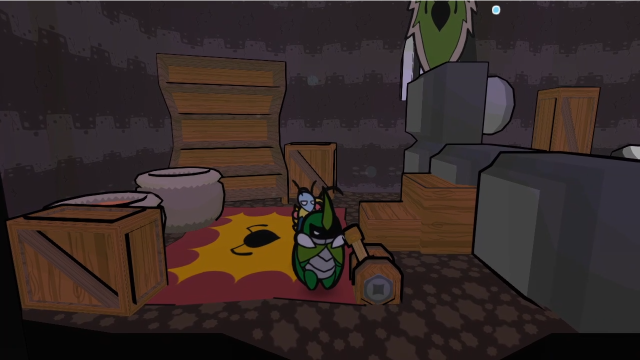 Flipping this switch turns the cannons off! That should make it much easier to get out of here safely. 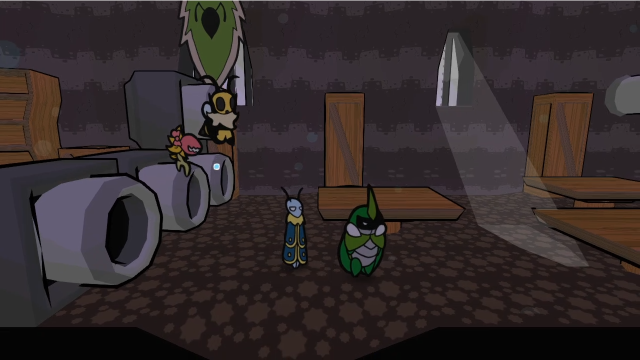 Much better. (It will never be explained why the cafeteria is full of cannons. "The food is to die for", I guess, as one commenter put it after last update.) 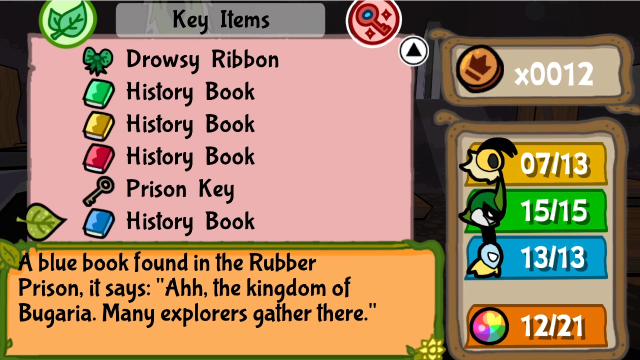 Before we leave the room, let's take a quick look at our spoils. (Also, uh, one moment...) 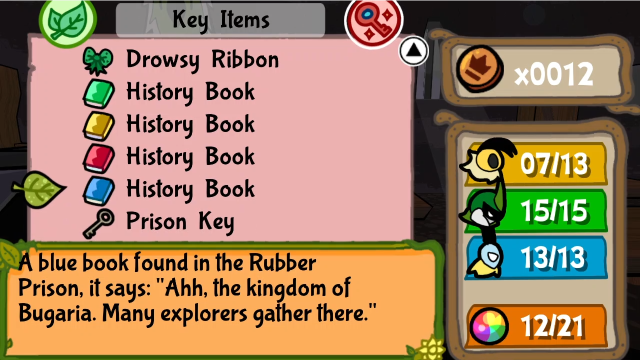 That's better, that was going to bother me. I don't remember if I've covered this feature before, but you can rearrange key items (and regular items): you hold (Y) and then the item you've selected will move along with the cursor. This feature was actually added in the 1.1 update (and was quite the relief to me). 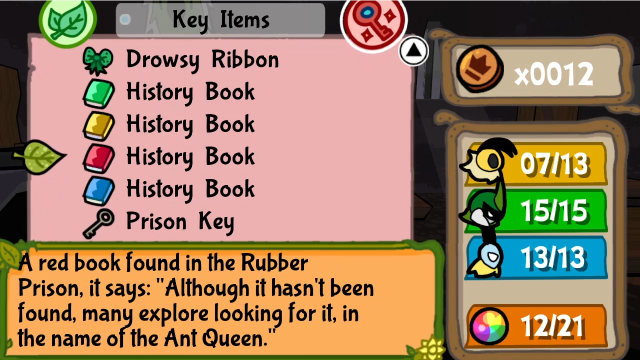 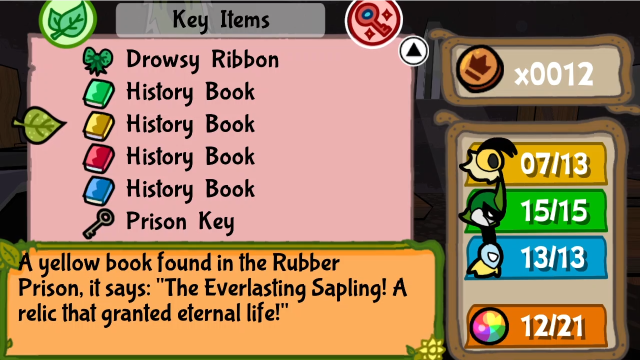 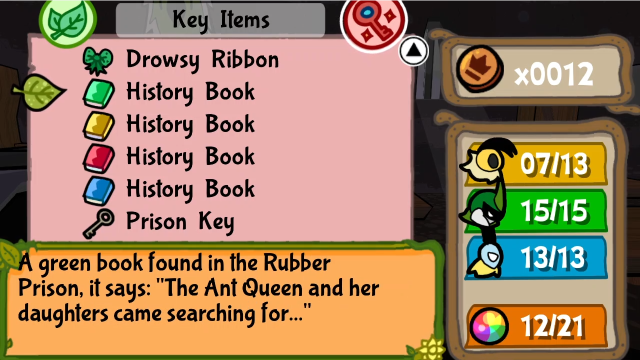 Here's a quick look at the descriptions for each of the other books, too. Make a note of this for later. 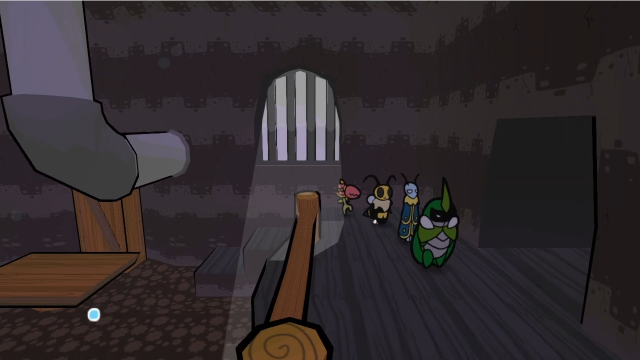 Let's head back to the library now. 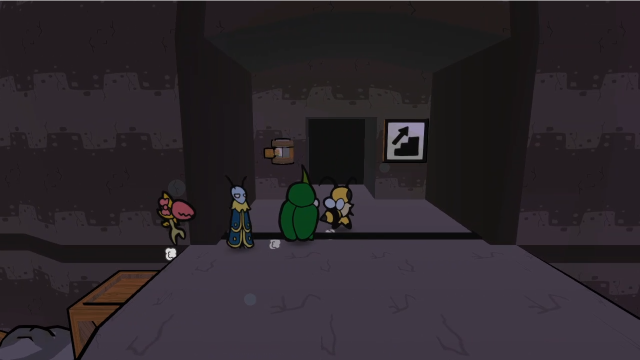 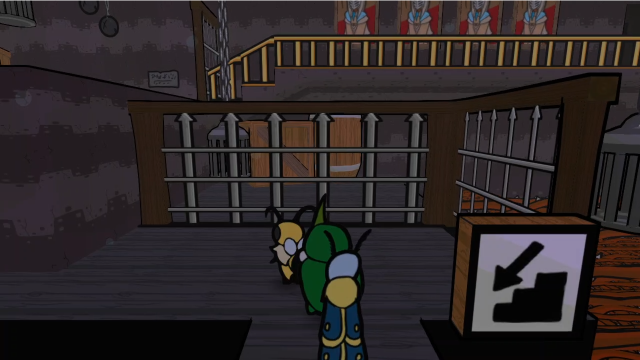 ...Oh, right. We need to lower these gates again. 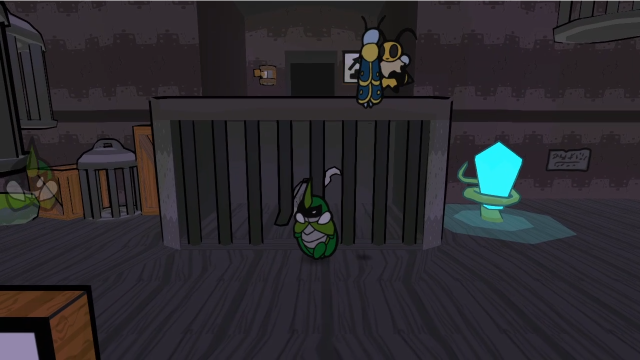 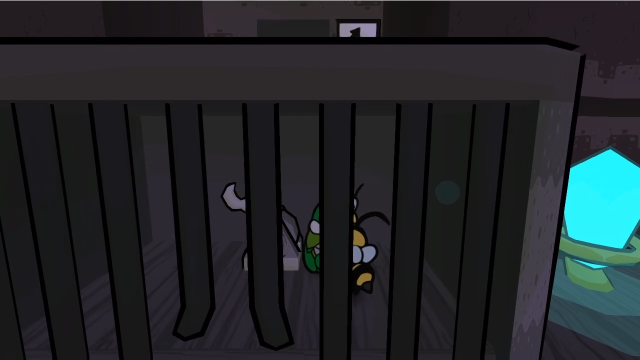 This is the most convenient switch we can get to. 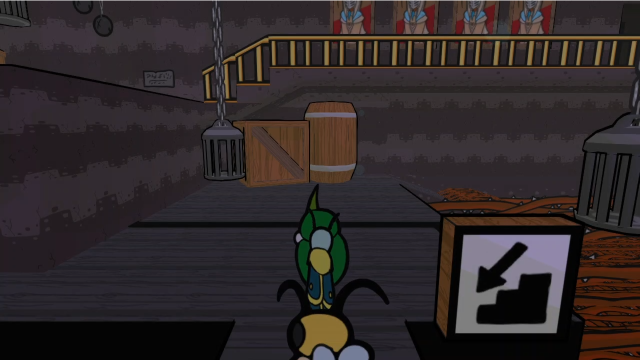 That's better. 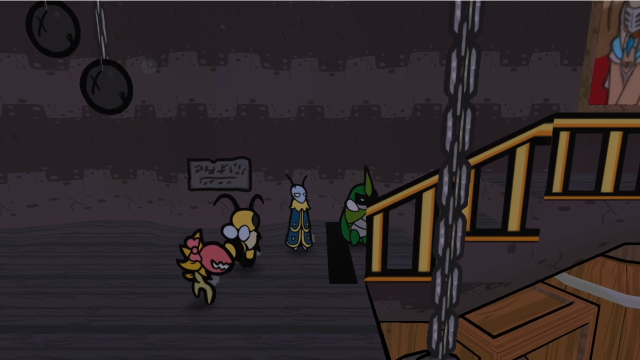 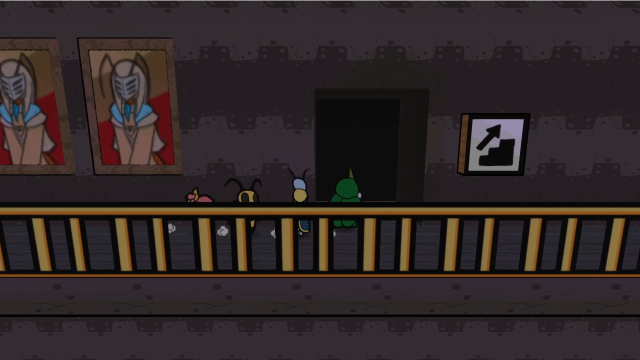 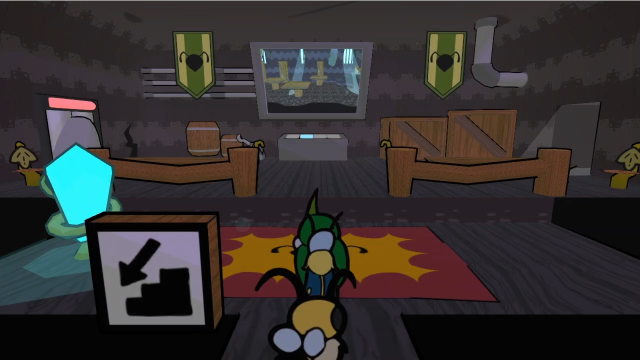 Right, almost there. 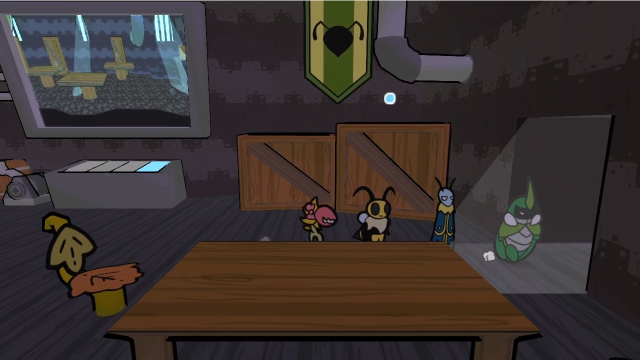 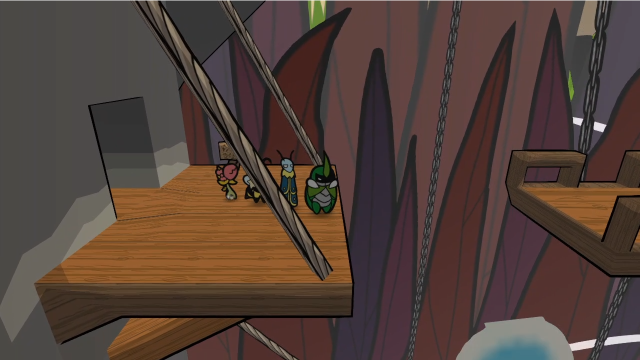 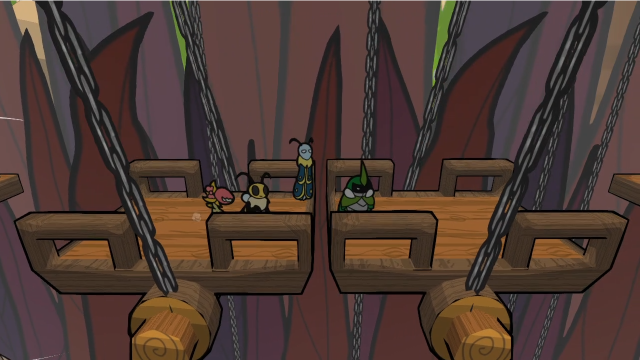 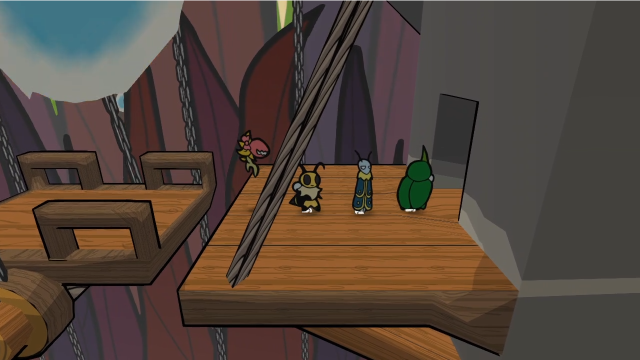 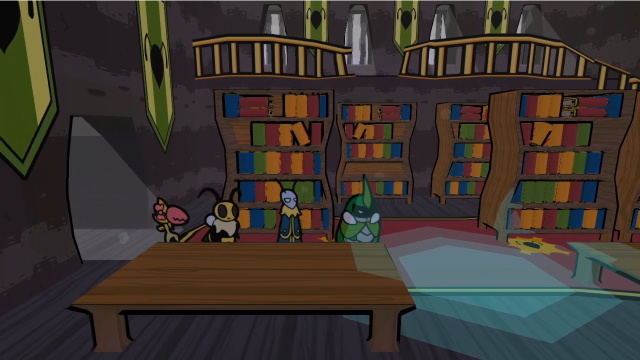 Okay, we're back. Now we should have everything we need to do this properly. 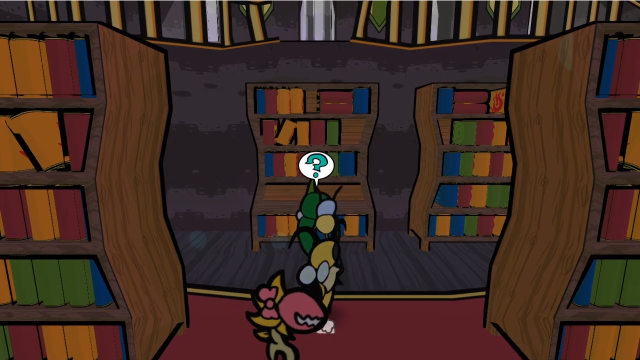 Right. 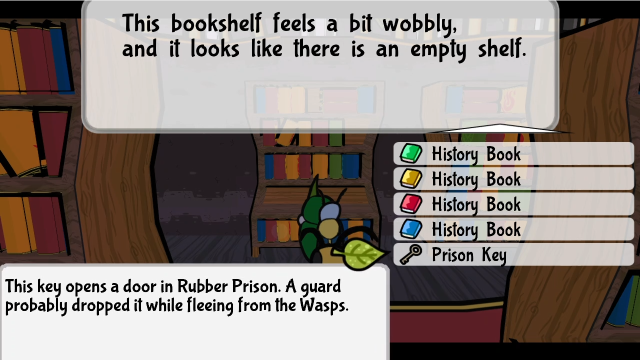 We have four books, but what's the order? Let's reexamine the text. The text is four sentences from an abridged version of the game's opening. The puzzle, such as it is, is to deduce that and put the books in an order that makes sense (which you don't need to have memorised the opening to do, just make the ideas follow each other). The order we want is Blue, Green, Yellow, Red: "Ahh, the kingdom of Bugaria. Many explorers gather there. The Ant Queen and her daughters came searching for... The Everlasting Sapling! A relic that granted eternal life! Although it hasn't been found, many explore looking for it, in the name of the Ant Queen." Let's put the books in in that order.  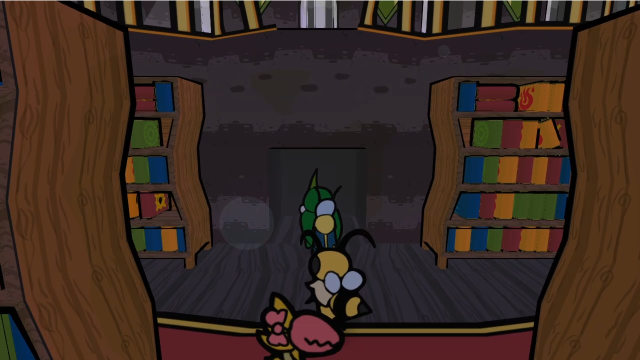 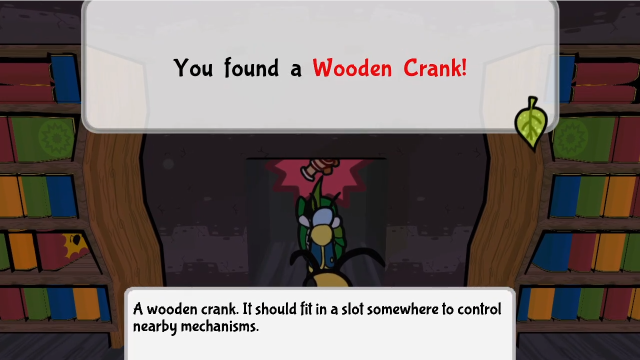 Ah. So that's where that was hiding! We suspected we'd be needing one of these... 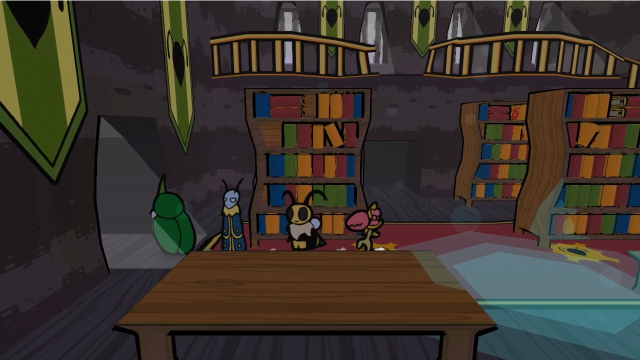 Now that we've exchanged four books for a crank (I suspect Vi at least thinks we made out well there), we're done here in the library. 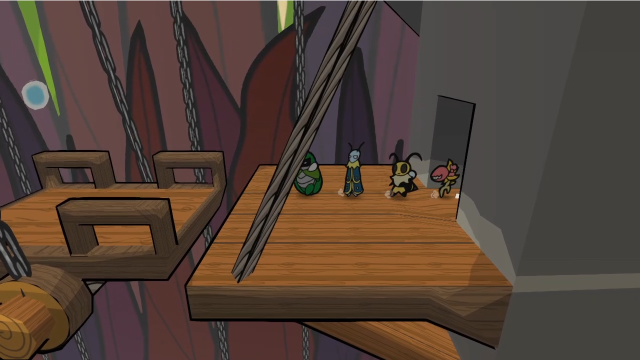 Where to now? 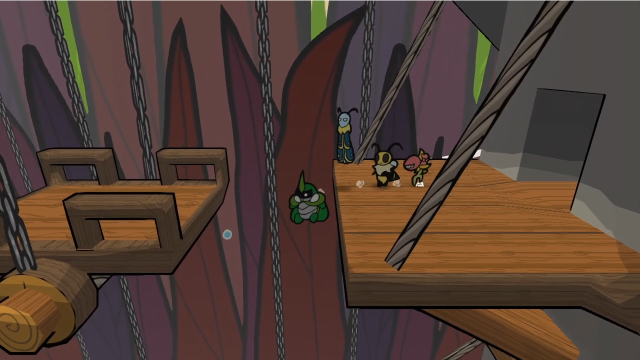 Well, let's jump down here! You don't have to do this, but it's a very convenient shortcut. 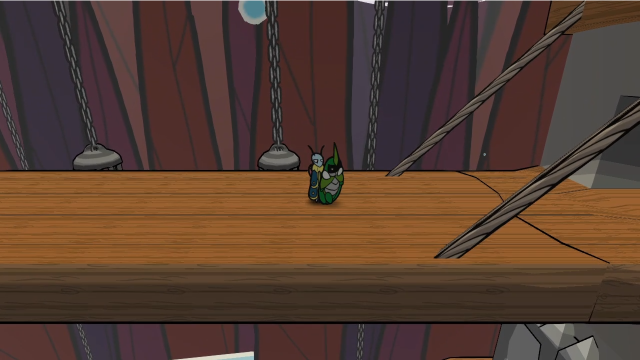 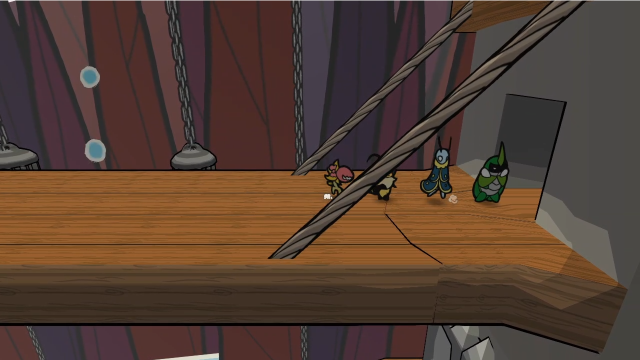 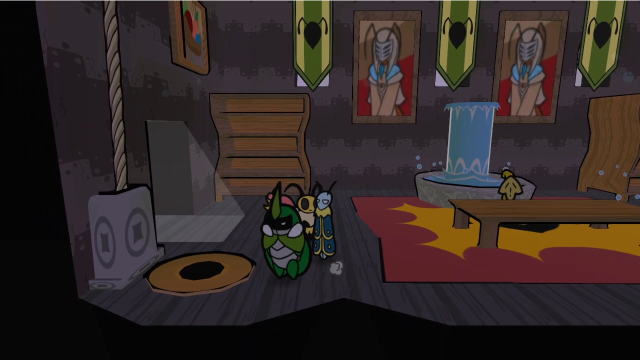 Because we were right above the room where the crank fits!  Let's put this in. 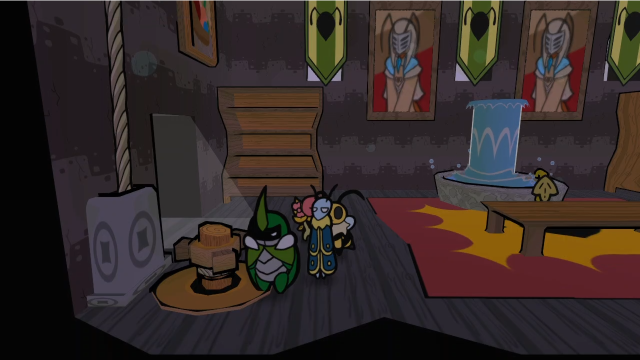 Now, what is this going to do? 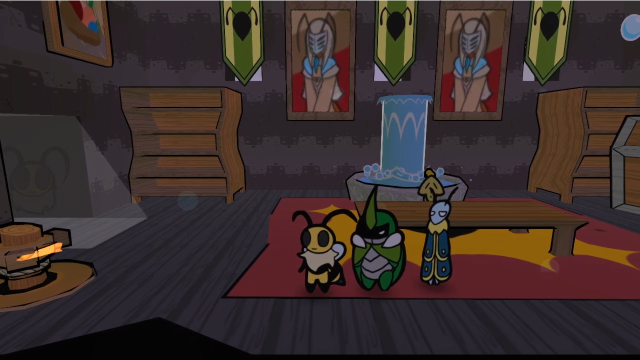 You know the drill. It's a crank, we turn it with the Beemerang.  Welp. I don't think that's how drawbridges are supposed to work, but it worked out for us! Pulling on the cracked bridge broke it, and the falling bridge smashed open the barricaded door below us. 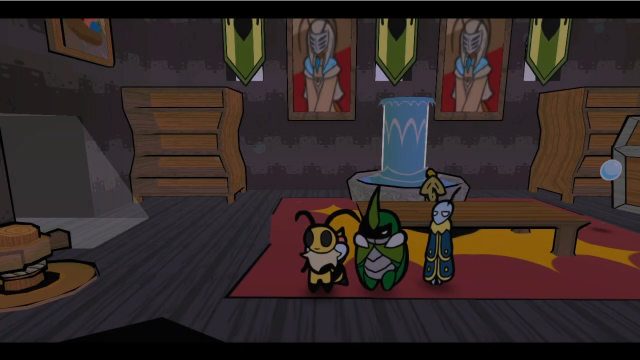 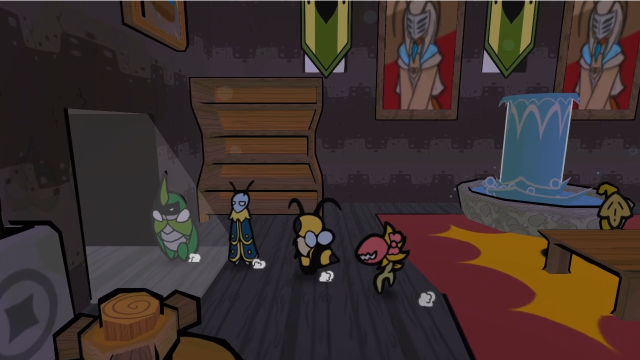 Well then. Let's go outside and assess the damage. 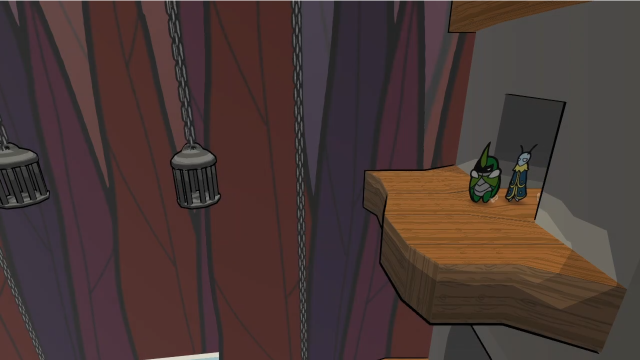 Good thing there's nothing else we need from that office, because it'd be tricky to get back to! (Though not impossible, I think? We might be able to get back with some creative flying from above, though I've never actually tried.) 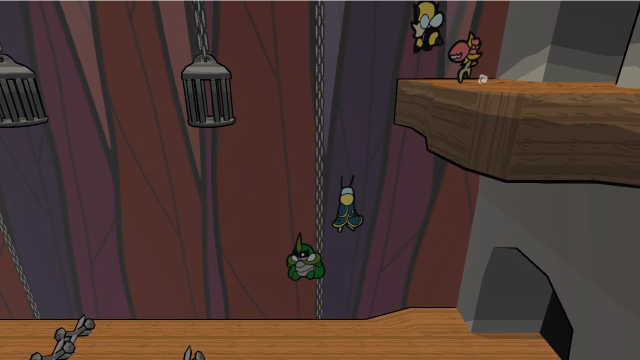 Whee! Once again, jumping down is the way forward. 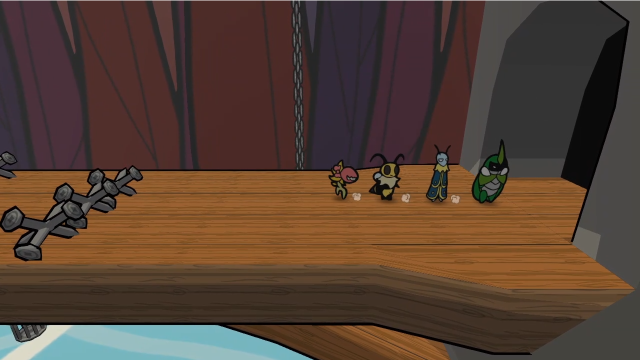 What's through the path we've opened? 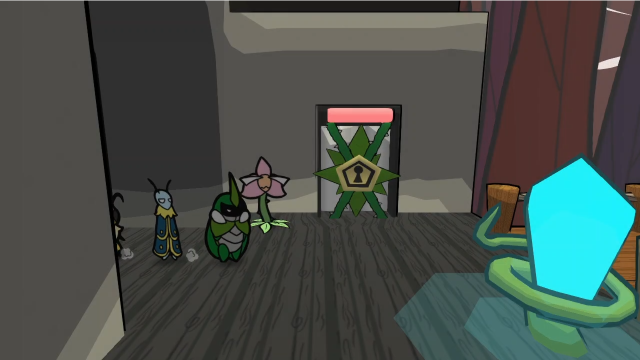 Okay then. Venus and a save crystal is probably a warning sign... 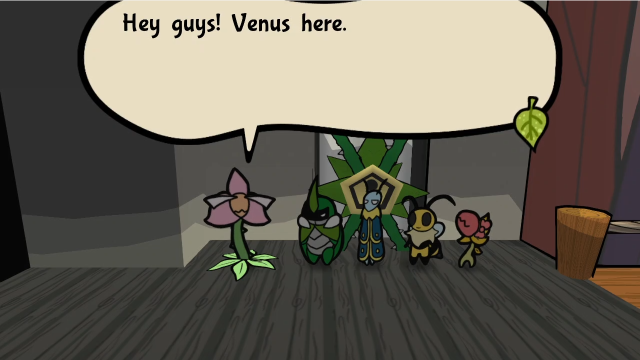 Venus has the same dialogue as the last time we saw her. 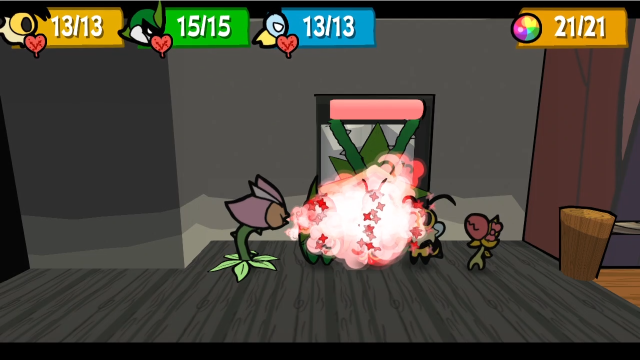 I think I'll take her up on that offer of healing. It seems prudent right now. 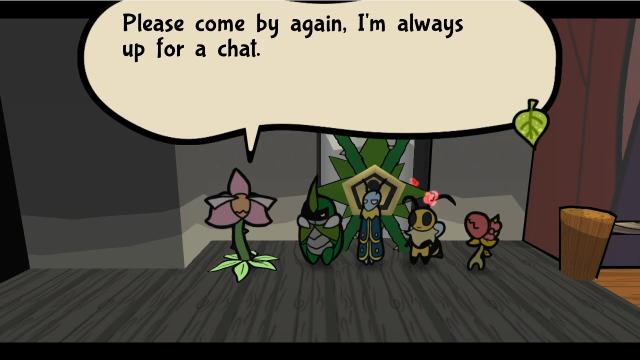 Right then. 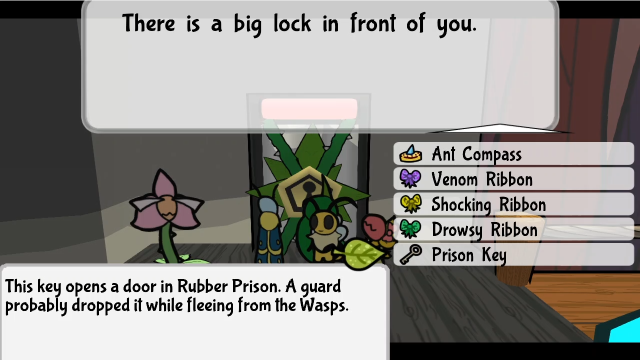 What's through this locked door? We have a key... 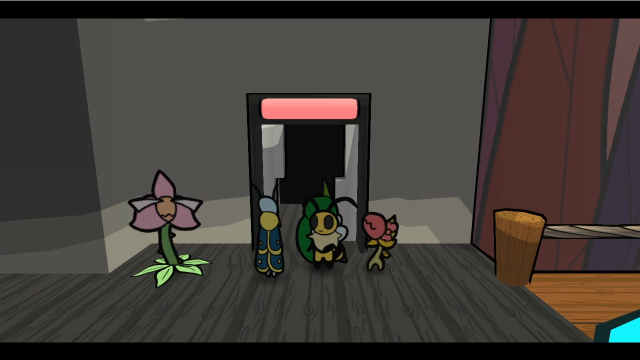 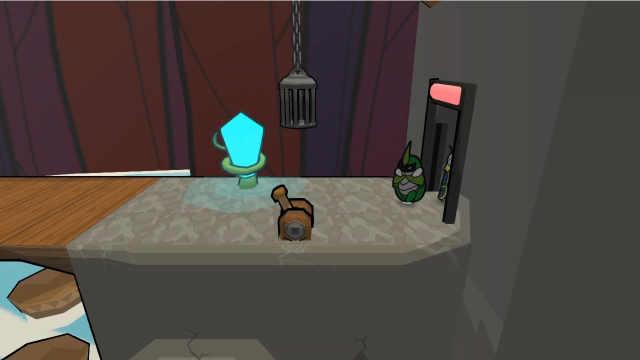 It's actually an elevator leading us back to the entrance! That's convenient. (Effectively, the third key in this dungeon is largely superfluous, since its only purpose is to open this shortcut. It's still worth doing, though, this shortcut will be worth having later, but if you really don't want to deal with the platforming in the gym you can technically skip it and be fine.) 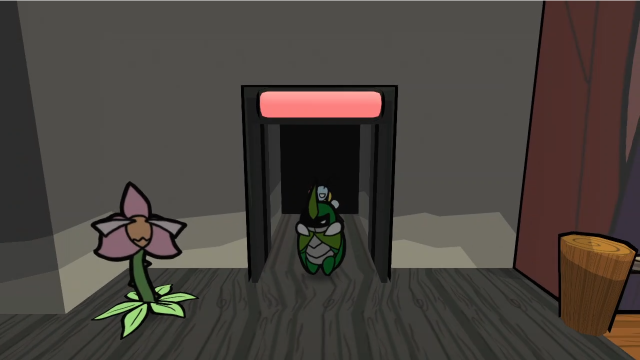 For now, we'll head back up. 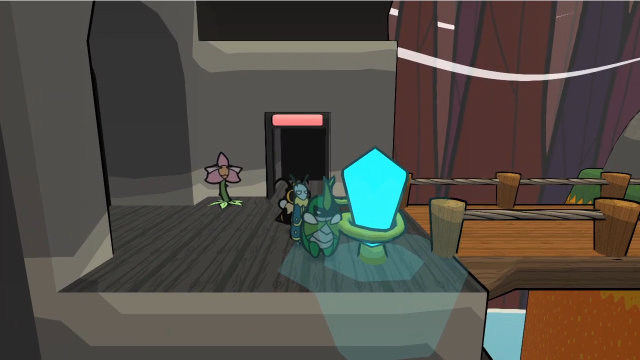 And make use of this save crystal. This has been a shorter update (I could probably have divided this dungeon more evenly), but this seems like a good place to end things; next time, we'll head east and almost certainly end up in a boss fight. Before we go, though, let's take a quick look at some of the enemy attacks we didn't end up seeing here. I know I've been breezing past the battles a bit; both the Wasp Drillers and Wasp Bombers have a few more attacks that didn't come up naturally. First up, the Drillers.  In addition to the multi-hit combo, they also have this piercing drill attack that does a single hit (5 damage at base).  They can drill the ground to launch a spray of pebbles, doing 2-4 hits that are base 3 damage each.  And if you let them attack while underground, they'll do this odd attack from below (base 4 damage). They don't emerge from the ground after attacking, you need to force them up with an appropriate attack. By contrast, the Bombers are very straightforward.    They have various status bombs, which are all base 3 damage across the party and inflict the appropriate status if you fail to block. (They can use Numb Bombs and Burly Bombs also, but I didn't manage to catch either of those on camera.)  More frequently, though, they'll use Spicy Bombs, which deal 5 damage across the party instead. These hurt! That's it. That's all they do. They have no other moves: they're bombers, and they bomb. These enemies can both do some pretty nasty things, but by this point in the game, we have so many powerful tools that it isn't very hard to deal with them. We'll pick up from here next time with the finale of Chapter 6. See you then! Explopyro fucked around with this message at 10:21 on Jul 1, 2022 |
|
#
?
Jul 1, 2022 03:03
|
|
|
One of the dialogue screenshots with the barricaded ants near the computer room uses part of the banter for them instead of their dialogue proper.
|
|
#
?
Jul 1, 2022 06:01
|
|
|

|
| # ? May 16, 2024 05:41 |
|
|
Alxprit posted:One of the dialogue screenshots with the barricaded ants near the computer room uses part of the banter for them instead of their dialogue proper. Argh. Thanks for the catch, I hate how often this ends up happening. It should be fixed now.
|
|
#
?
Jul 1, 2022 10:23
|
|