


|
Magical Girl Squad - (female) Mesmer, Witch, (female) Paladin
|
 #
?
Jun 12, 2022 17:28
#
?
Jun 12, 2022 17:28
|
|


|

|
| # ? May 6, 2024 10:43 |
|
|
Black Robe posted:Magical Girl Squad - (female) Mesmer, Witch, (female) Paladin That's two mages, though.
|
|
#
?
Jun 12, 2022 17:29
|
|


|
Warlock, Dark Knight and Engineer Might as well see what all the fuss is about with the love potion the game is damned determined to give you, and the Dark Knight seems suitably tanky and goes hand in hand with the warlock.
|
|
#
?
Jun 12, 2022 17:35
|
|


|
5-Headed Snake God posted:That's two mages, though. derp Actual Magical Girl Squad - (female) Harlequin, Witch, (female) Paladin
|
|
#
?
Jun 12, 2022 18:12
|
|
|
Female Paladin named Kali, Male Engineer named Cid, Female Witch named Hexia
|
|
#
?
Jun 12, 2022 18:58
|
|

|
Fine, fine, I suppose I'm just a victim of circumstance. Curly the male Harlequin, Moe the female Witch, and Shemp the male Ronin.
|
|
#
?
Jun 12, 2022 23:04
|
|

|
Black Robe posted:derp Show us the magical girls.
|
|
#
?
Jun 13, 2022 00:52
|
|


|
This chapter is our last chance to have an all-female party, and thus access some stuff later in the game, so I'd suggest we go all out on the girls night this time. I'm down with the Magical Girls party - (female) Harlequin, Witch, (female) Paladin May I suggest Harley for the Harlequin? Just to be cliche~ silversatyr fucked around with this message at 02:34 on Jun 13, 2022 |
|
#
?
Jun 13, 2022 02:32
|
|

|
silversatyr posted:This chapter is our last chance to have an all-female party, and thus access some stuff later in the game, so I'd suggest we go all out on the girls night this time. (Spoilered for late-game stuff) An all-female party isn't necessary, as long as all the men in the party are dead. An all-female group would certainly make it easier, though!
|
|
#
?
Jun 13, 2022 02:55
|
|
|
Our mage and warrior seem pretty much set at this point, but the rogue votes are almost evenly split between engineer and harlequin. I'll wrap it up tomorrow morning, so if you still want to vote, do it soon.
|
|
#
?
Jun 13, 2022 18:40
|
|
|
Voting is now over. Our mage in this run will be a Witch. All seven mage votes were for a Witch/Warlock! With five votes, our warrior will be a Paladin. And with four votes, Harlequin has narrowly edged out Engineer as our rogue. Thanks for voting!
|
|
#
?
Jun 14, 2022 15:05
|
|
|
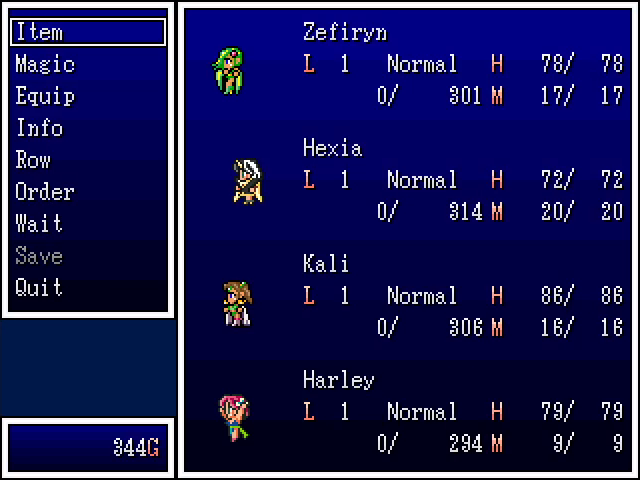 The goons have spoken, and Team Magical Girl is a go. This team is a little heavy on the healing, but should still be plenty effective. 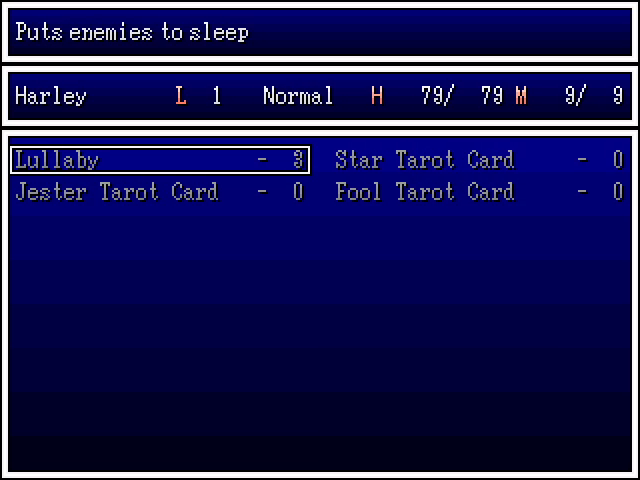 Harley the Harlequin starts with Lullaby, which puts all enemies to sleep (for a very short time), as well as three basic Tarot card abilities. Jester can either use another random card power or cause everyone to laugh uncontrollably, Star gives her one of four buffs, and Fool normally does nothing, but may give the party either a big buff or confusion. 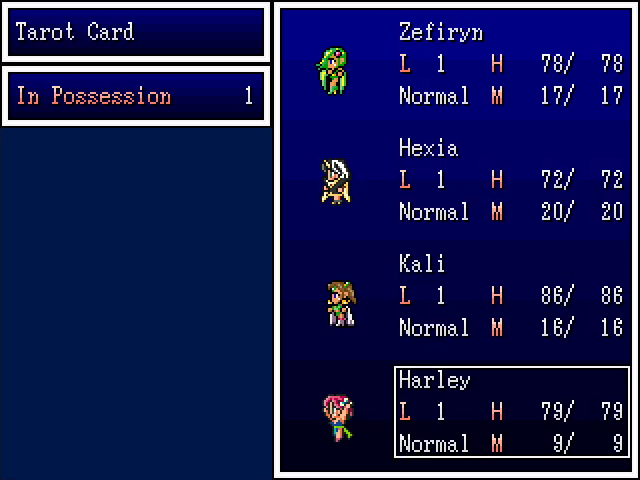 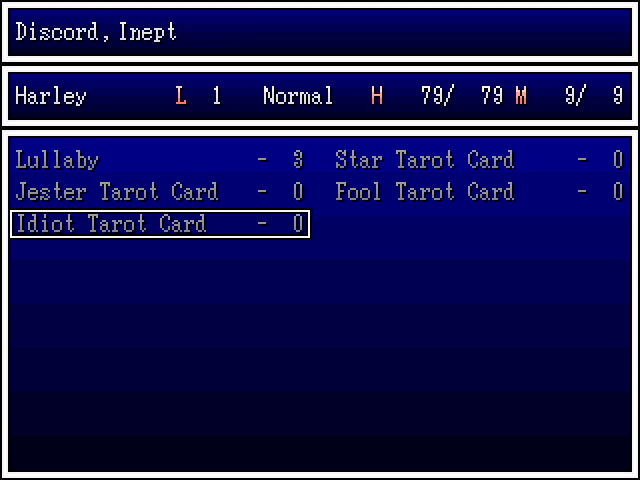 We have a Tarot card in our inventory, though, and it turns out to be the... Idiot. The description of its effects is vague, but odds are it can inflict either of its debuffs on either enemies or the party. 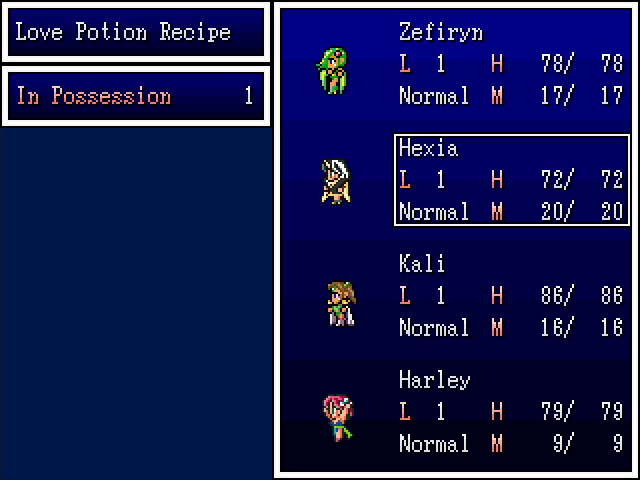  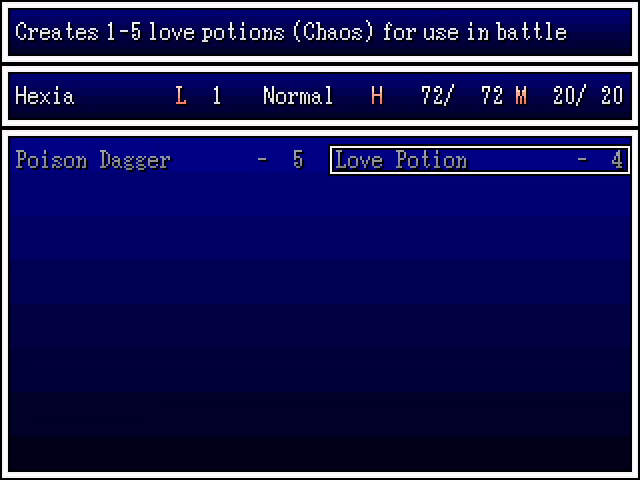 We also have the love potion recipe, which we give to Hexia. She can now make love potions in battle, supplementing her ability to create a poisoned dagger. No actual damage spells yet, but she'll get there. 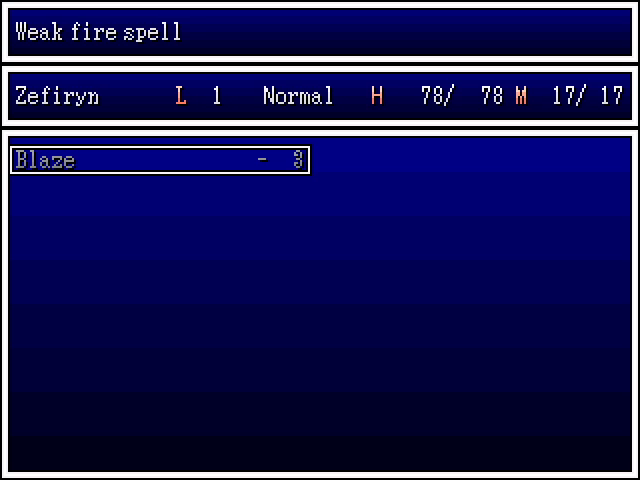 Zefiryn, meanwhile, starts only with Blaze, but that'll be vital for dealing with the mine. 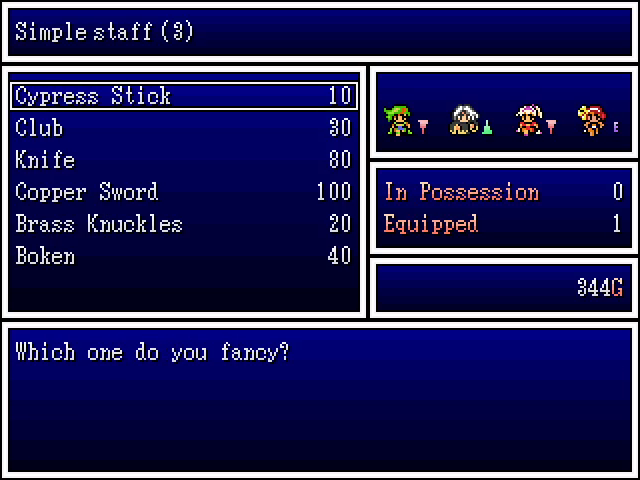 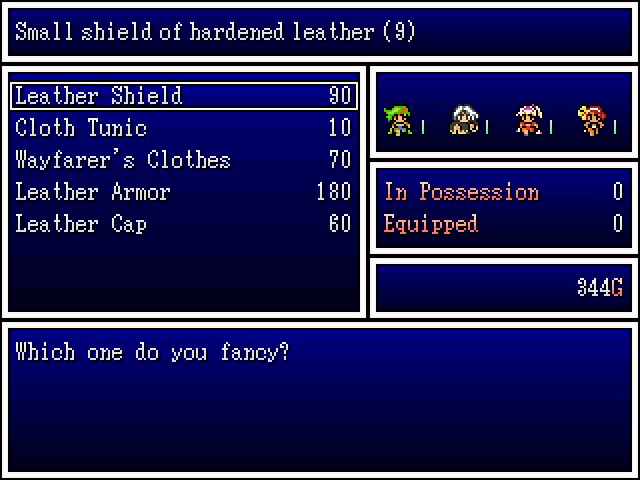 The weapon and armor shops in our starting city of Dracoma are the same as in Stromholm: the most basic equipment in the game. 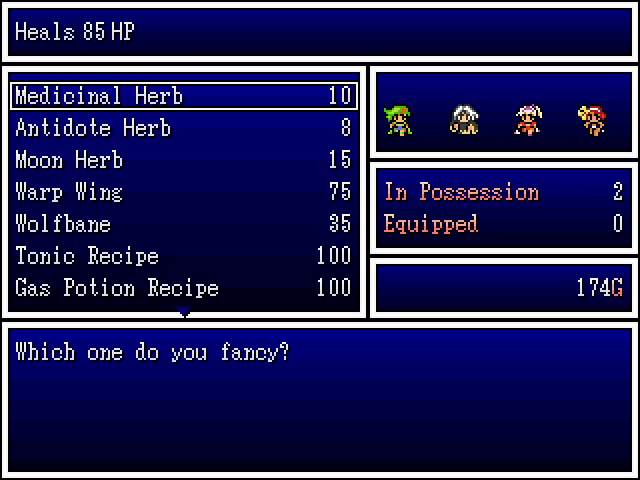  The item shop is the same. Tonic recipes, gas potion recipes, and bioblaster tools (not shown here) are also available in most starting towns. We get a tonic recipe for Hexia, because being able to make healing items is fantastic. They'd probably be our primary source of healing for a good while if Kali weren't in the party. And with that, we step outside to grind up to level 2. 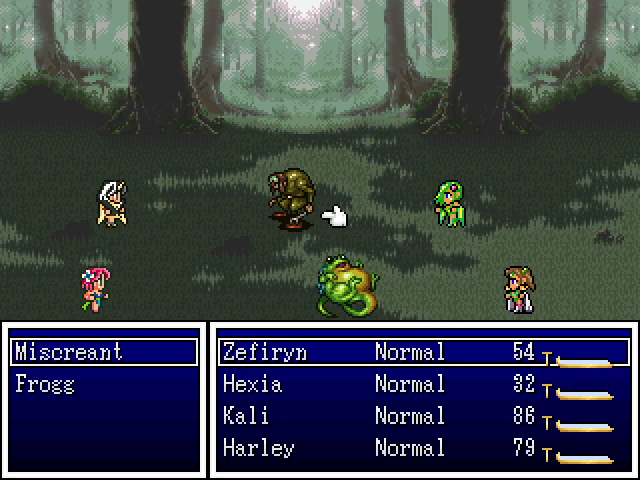 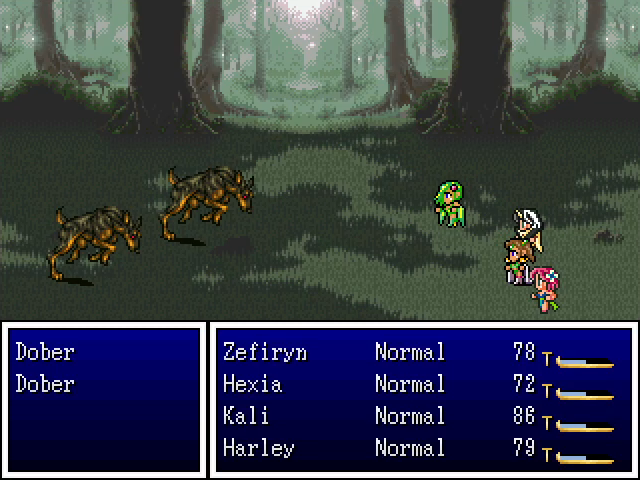 Froggs are the basic enemies around here, doing nothing but attacking. Miscreants occasionally switch it up by defending, but it doesn't make them terribly durable. Dobers are functionally the same as the Greywolves in Norsland; they're tougher than the Froggs but don't do anything except attack. 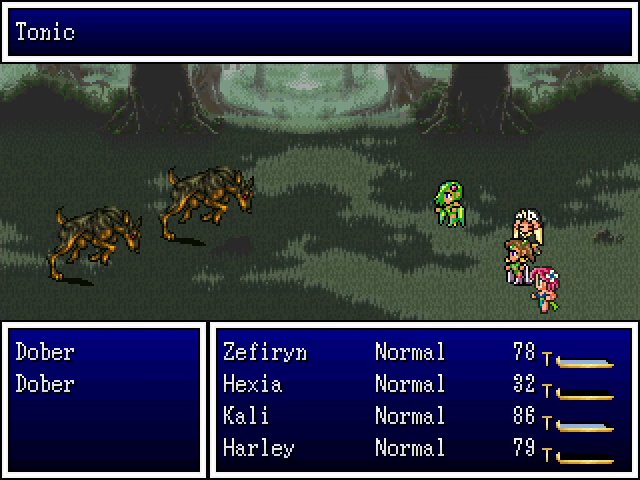 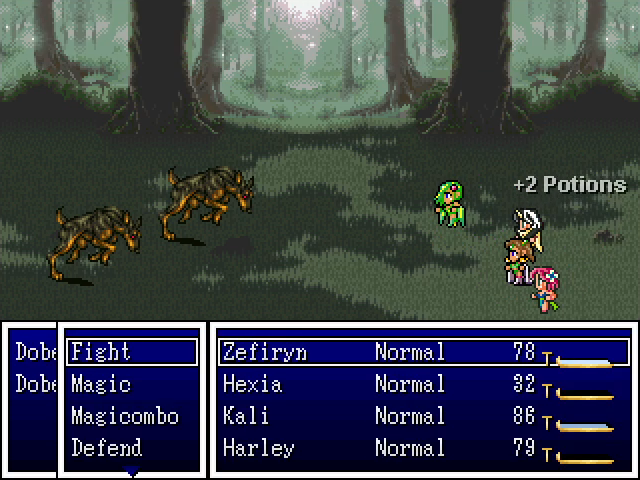 Hexia spends most of this time making potions rather than attacking. She's not strong, and building up a good supply is not a bad idea. 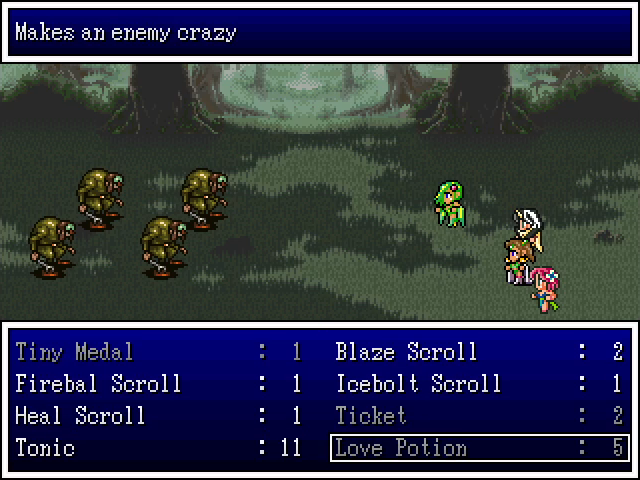 This is Zefiryn's turn. Note that while most potions are only usable by Hexia herself, tonics can be used by anyone. 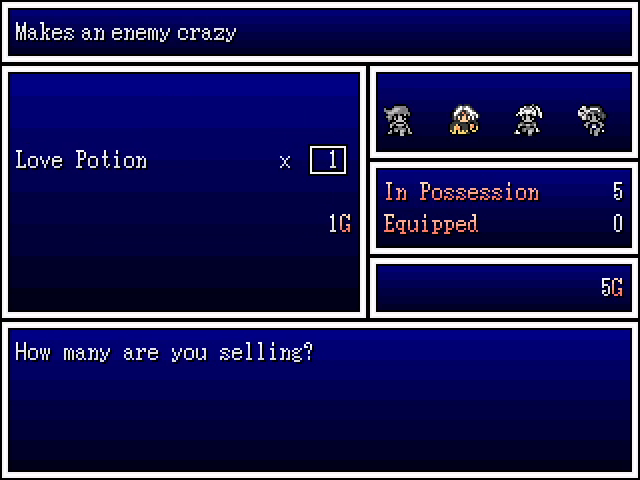 Also worth mentioning is that potions sell for 1 G each, so they're not worthwhile for making money. 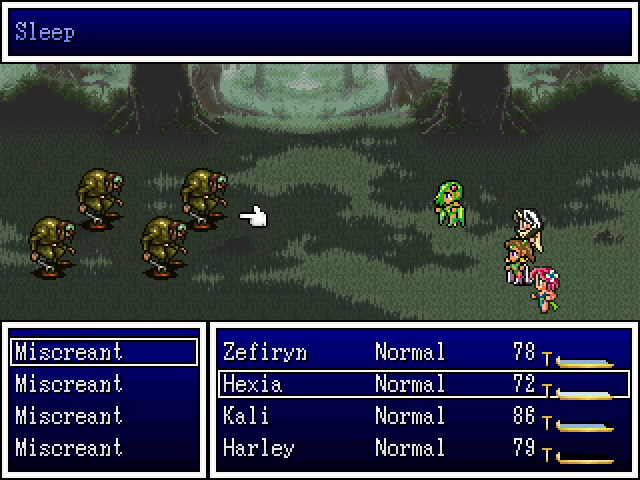 One nice feature in the game is that, when targeting enemies, the game will list what status conditions are affecting them. 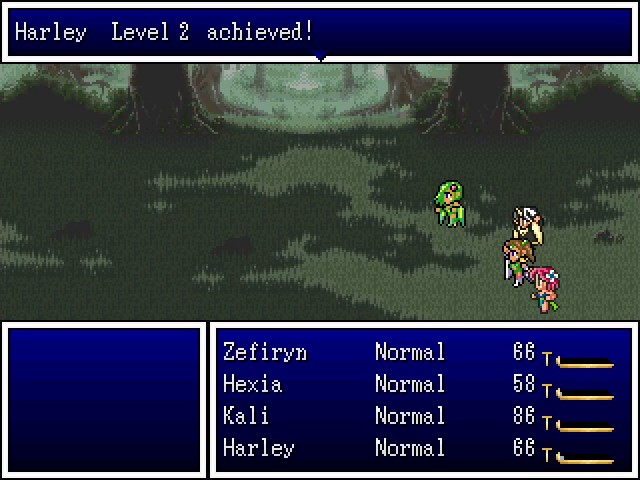  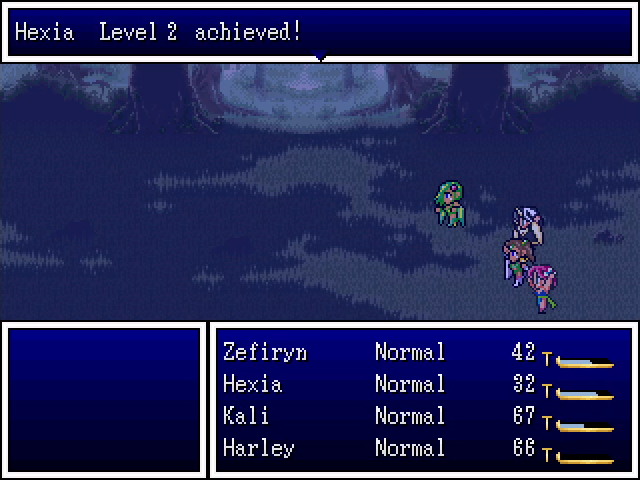 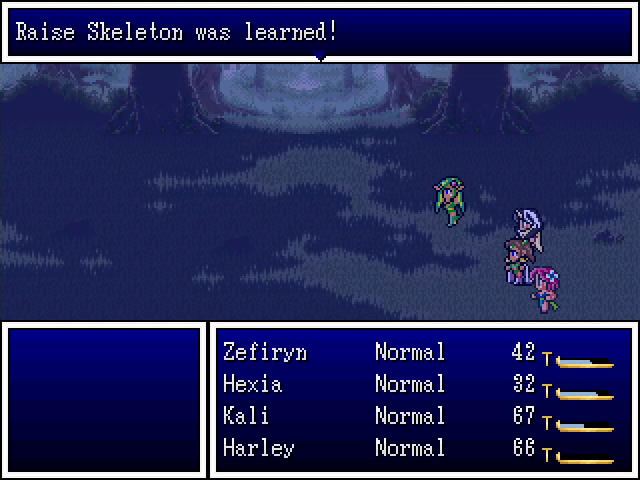 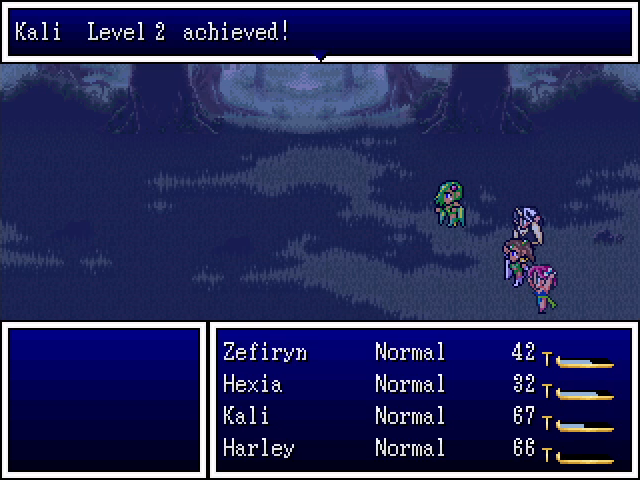 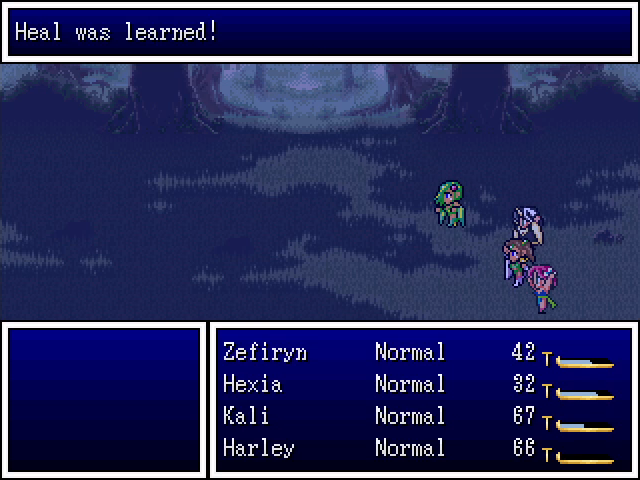 Soon enough, everyone reaches level 2. Kali learns Heal, while Hexia learns to raise an undead minion. 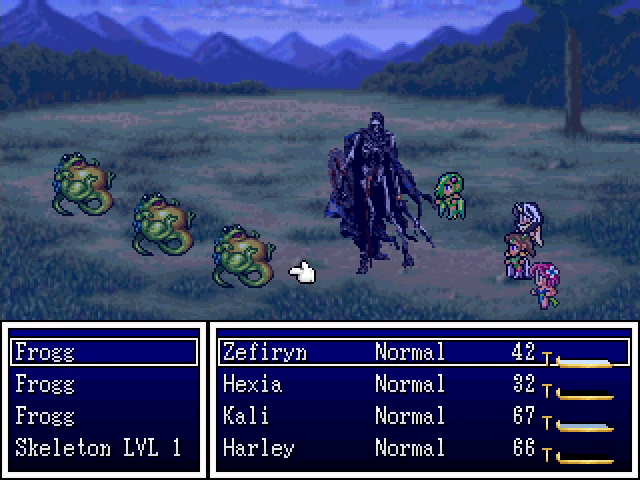 A summoned skeleton appears as an enemy and occasionally makes weak attacks against random foes, potentially including itself. Enemies won't target it, but the player can, which is good because fights won't end while it still stands. It's helpful for longer fights but pretty useless in most encounters. 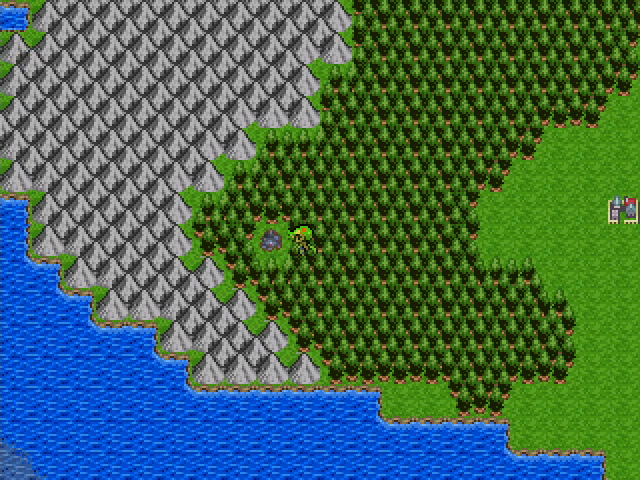 Once we rest up, we head west, to this patch of swamp. This is probably what the kid in town was talking about. 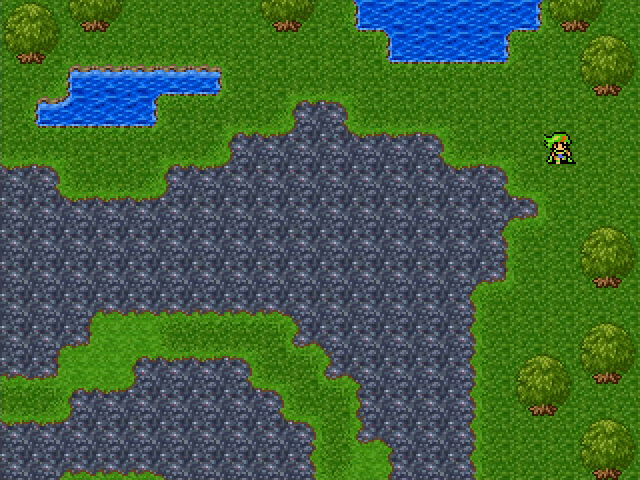  There's a grassy path that spirals into the center, but walking across the swampy parts is much faster. 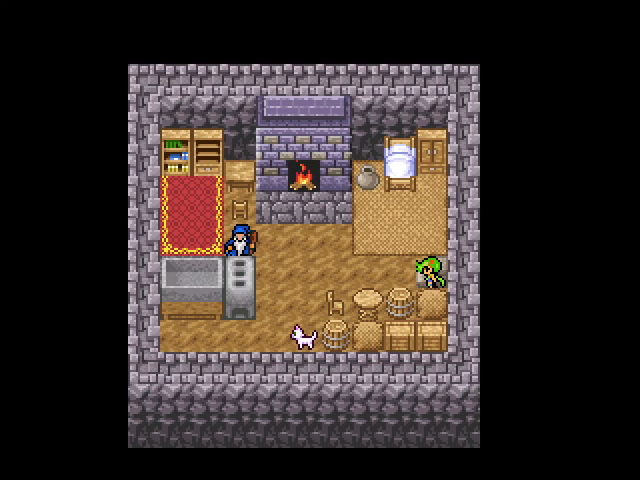 An old man lives here. I wonder if he's related to the guy in Helminsk's monster-infested well. 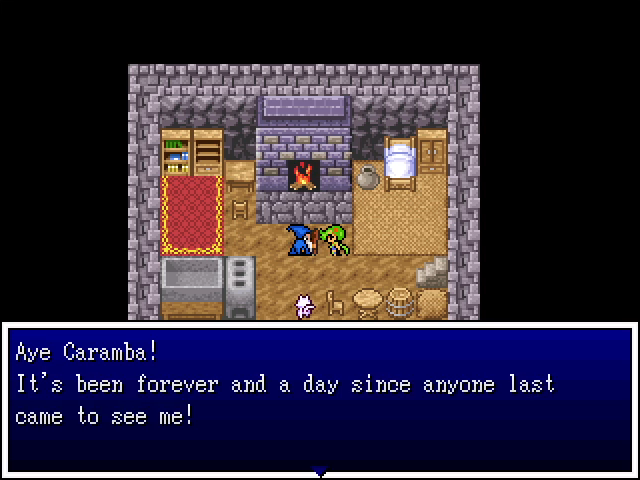 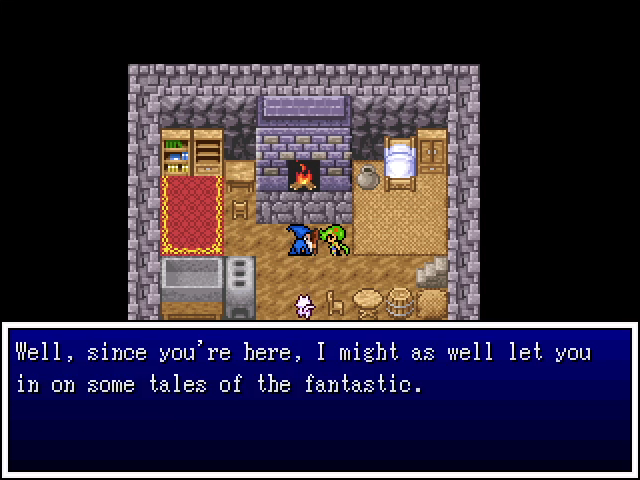 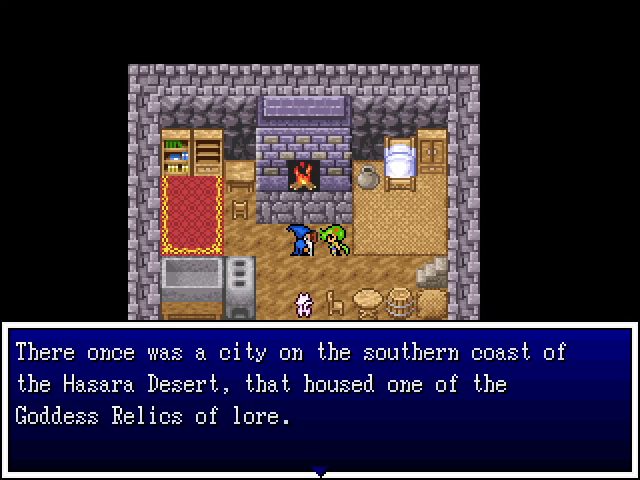  This is good to know but won't be relevant for some time. 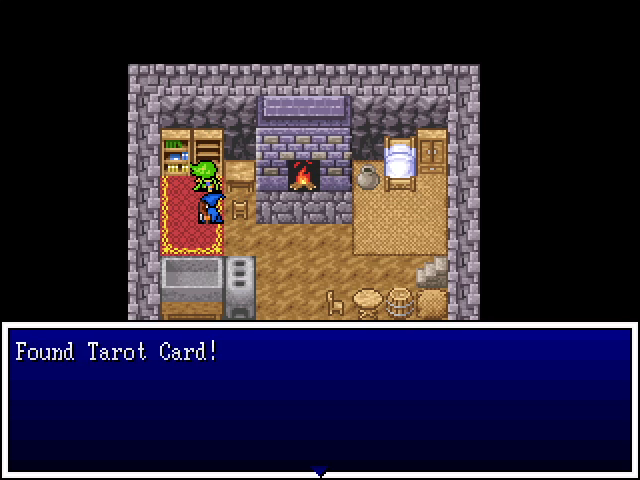 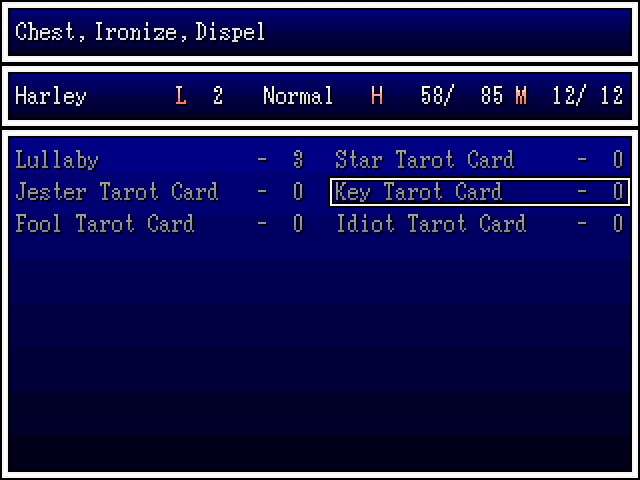 He has a tarot card, which is revealed as the Key. This is neat for its ability to create chests in battle, though the odds are a bit low. 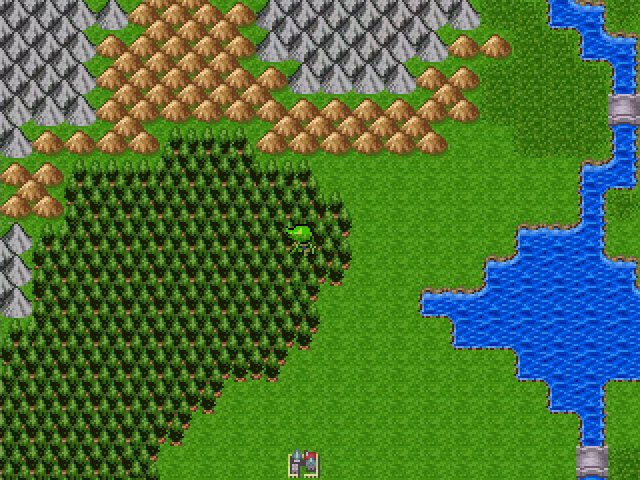 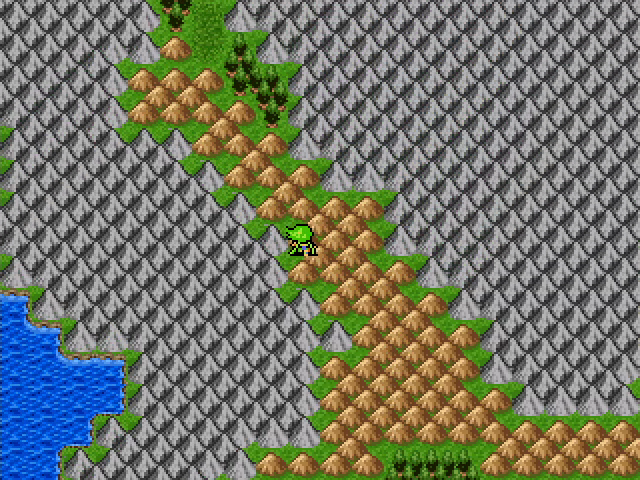 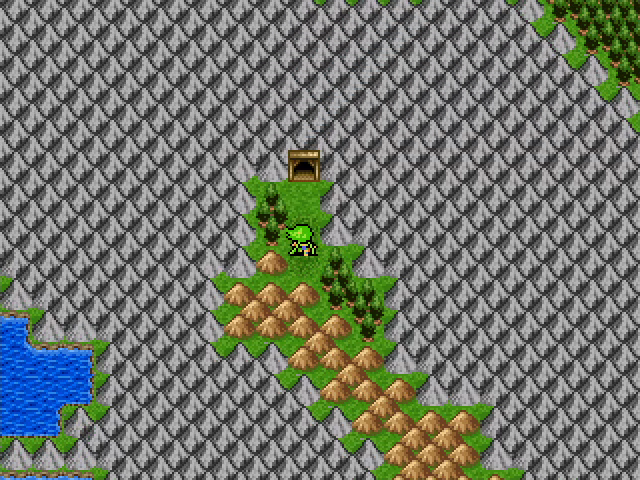 Well, that was fun. Let's head to the mines. 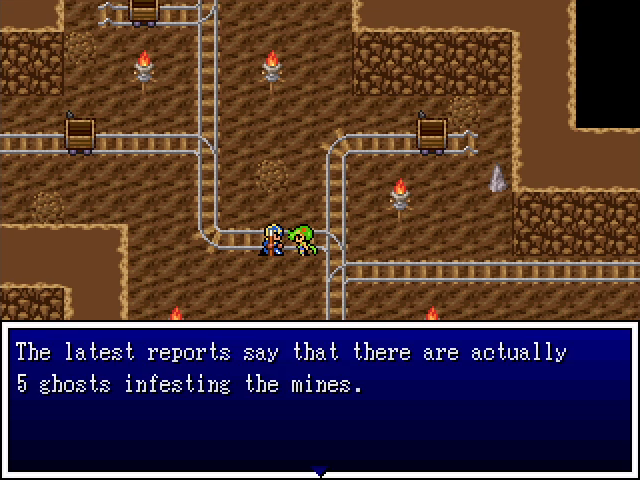 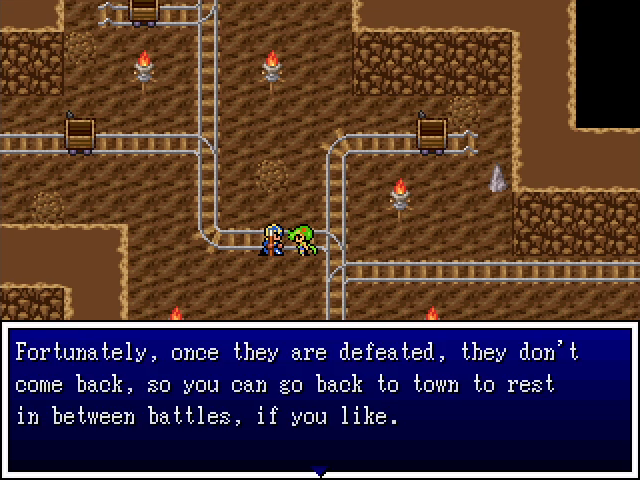 I have no idea how this guard knows this, considering that all five ghosts are still around, but it's helpful information for a new player. 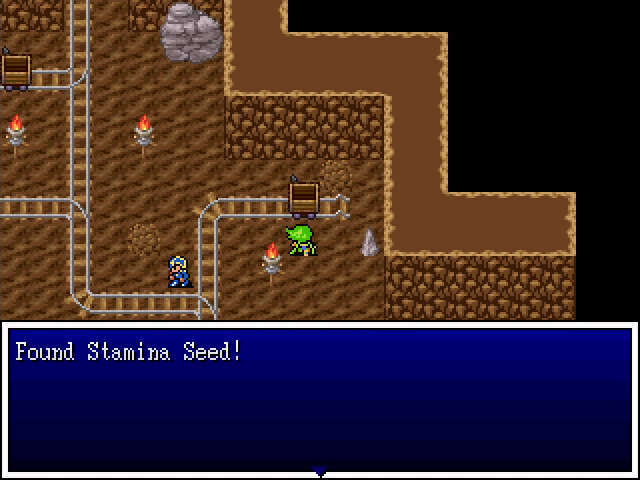 The minecarts here are searchable and occasionally have decent treasure. 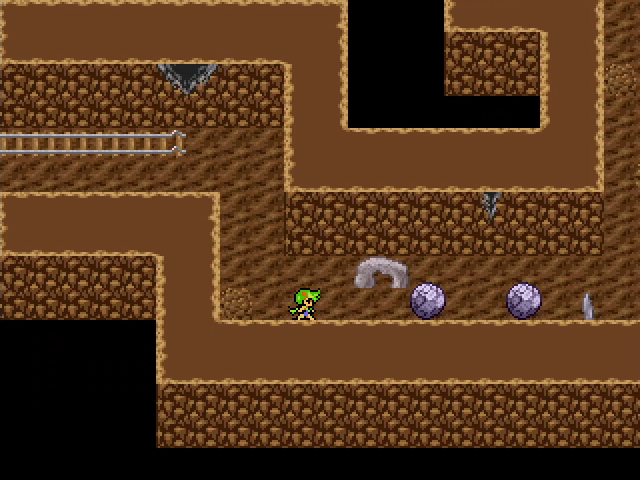 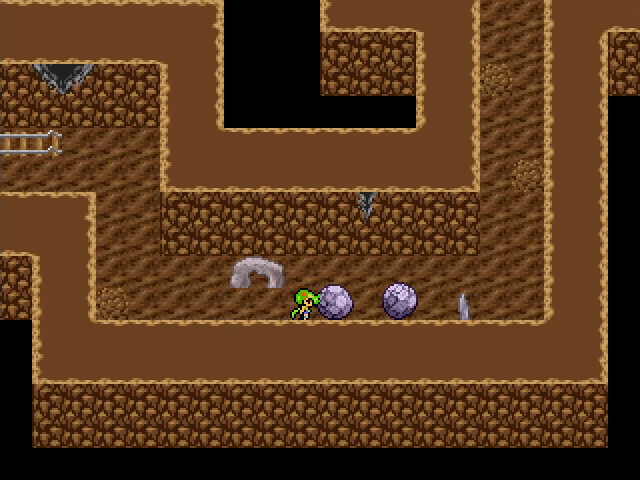 To the west, we encounter another rock-pushing area. This isn't really a puzzle, but it does signal that this mechanic is getting used in the dungeon. 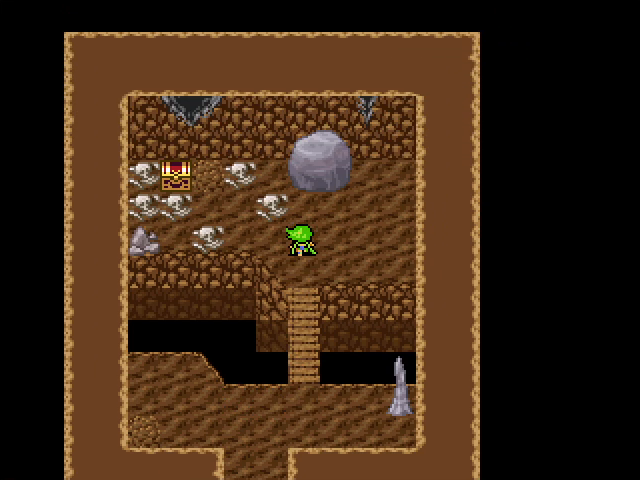 North of that is a treasure chest surrounded by corpses. We're trained, and we know what that means.  Yep. 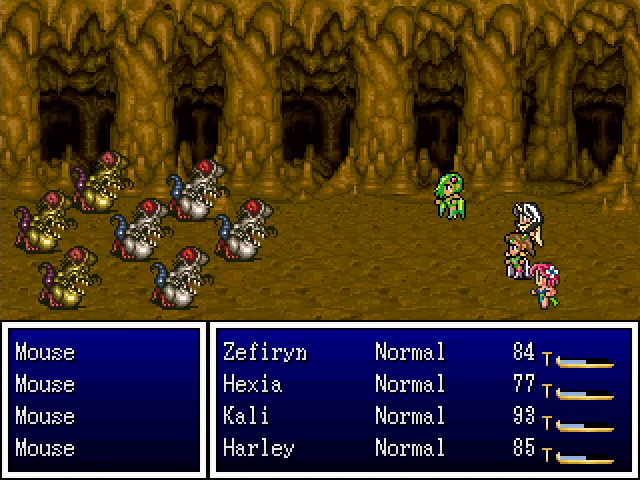 This fight is the same as the one in the Stromholm basement. We're level 2, though, so we have a better chance to handle it. 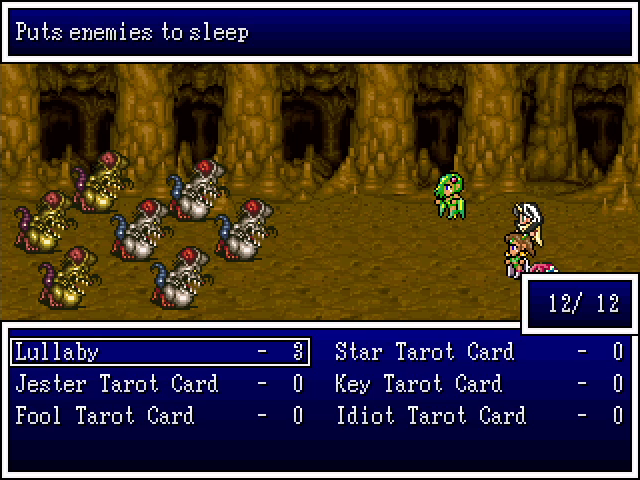 Also, we can have some minor crowd control here, which helps a lot. 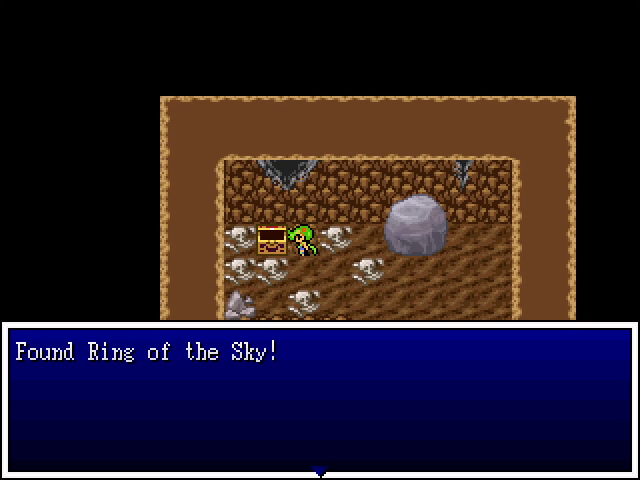 Our reward is a ring of the sky, which raises all stats by 3. Almost anyone in this part could benefit from such a spread, but Zefiryn takes it for now, since she's the protagonist and all. 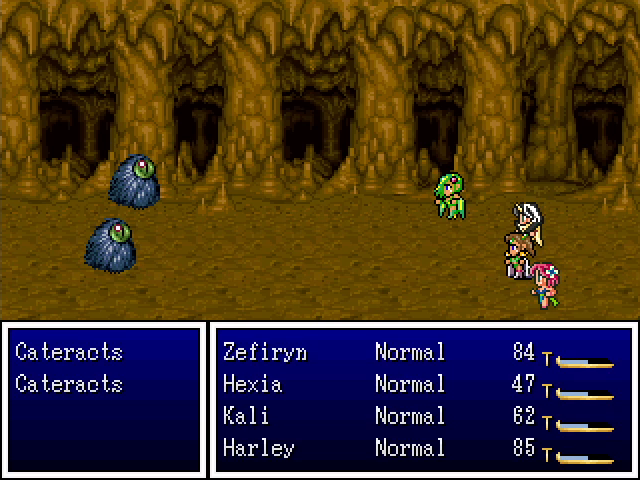 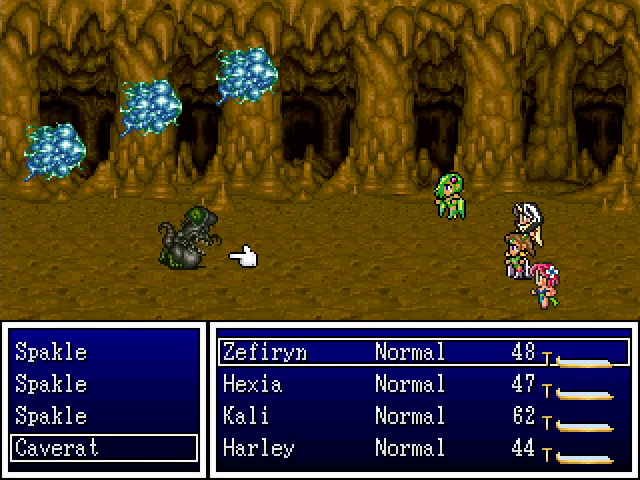 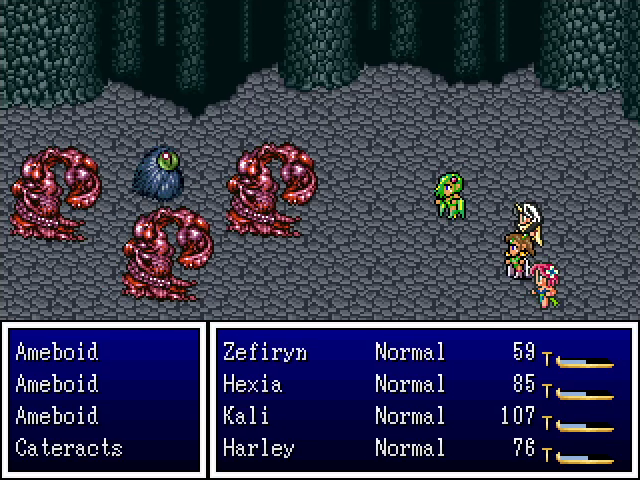 Cateracts are spellcasting critters. They use Heal, a single-target version of Balthalas' Evil Flame, and Surround. Spakles are encountered much earlier in this chapter, so their Shocker attack is actually quite dangerous, and I discovered that they can also put characters to sleep. Caverats are similar to standard rats, including their poisonous Plague Bite attack. Ameboids... I have no idea. They probably do something besides attack, but I only encountered them once and never saw anything else. 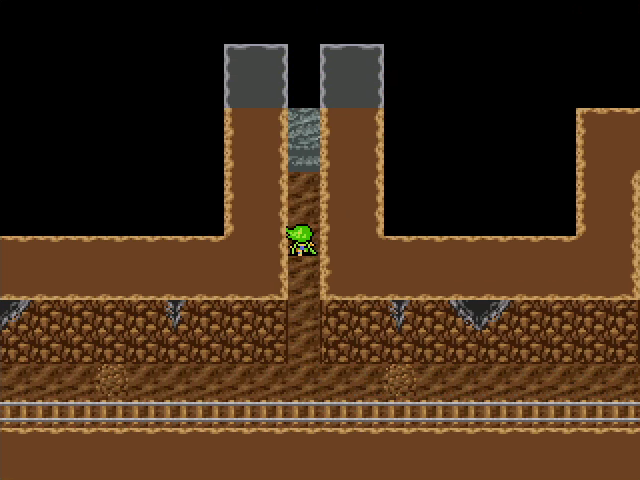 Heading east from the main room, we spy a side path that's conspicuously discolored. 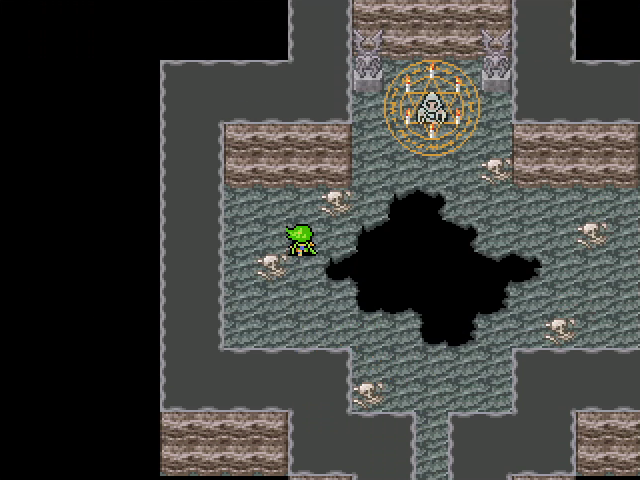 Yeah, that bears investigating. 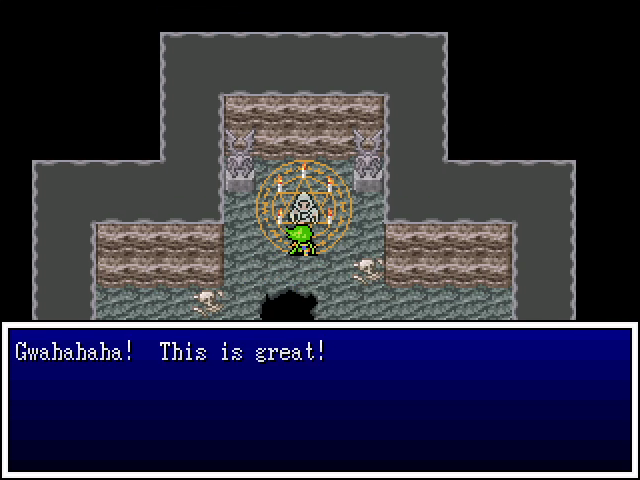 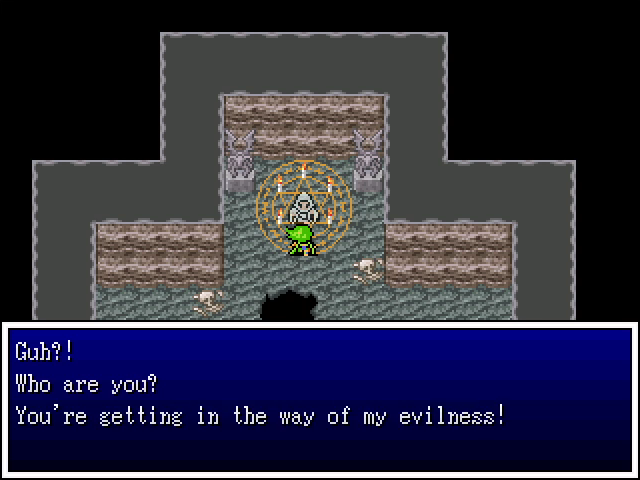 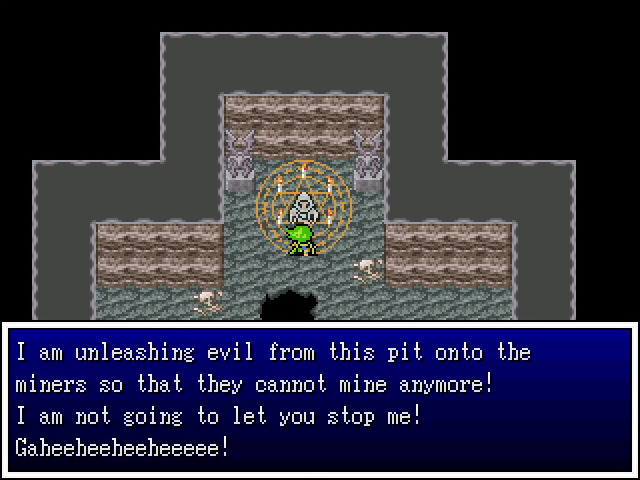 I'm not sure I really communicated how much I enjoyed the dialogue used by the imps in Merchant's Pass, but its bears saying because I enjoy the ghosts even more. This one actually seems pretty similar to the imps, but the others have their own personalities and I find them very charming for throwaway enemies. 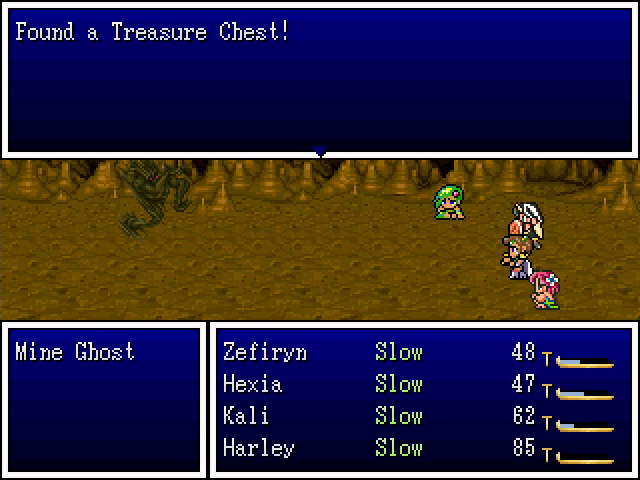 Showing off here that yes, the Key tarot does sometimes give chests. It's also the only shot I took of the forgettable fights against the ghosts. They attack and use Slowall, which is obnoxious but not really dangerous. Three Blaze spells and they're done. 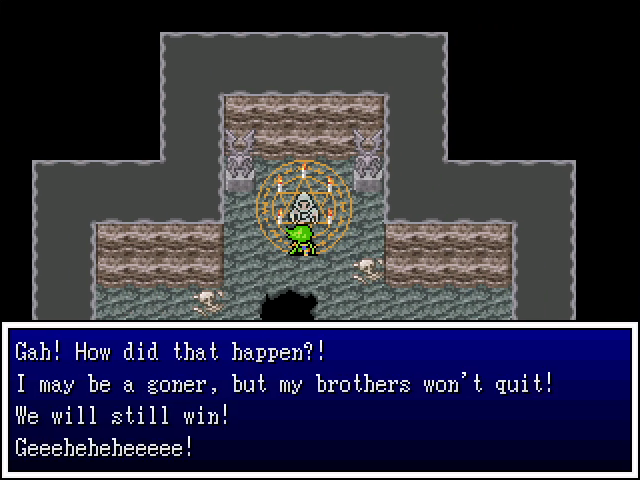 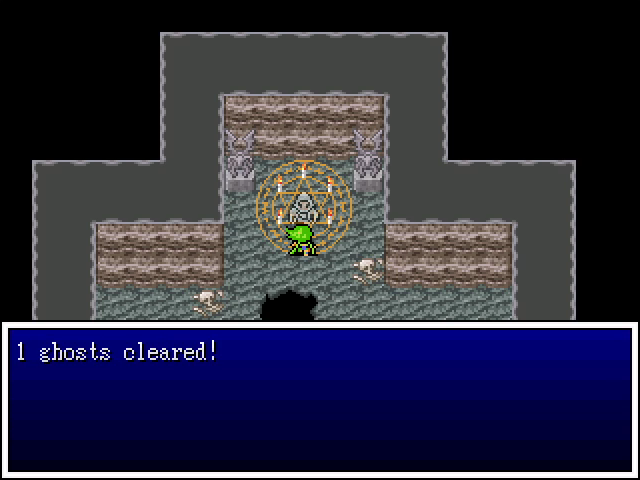 As with the imps, the ghosts let us know that we have more work to do, and this time the game also gives a running counter of our victories. Yes, this quest is very similar to that one, albeit more involved. 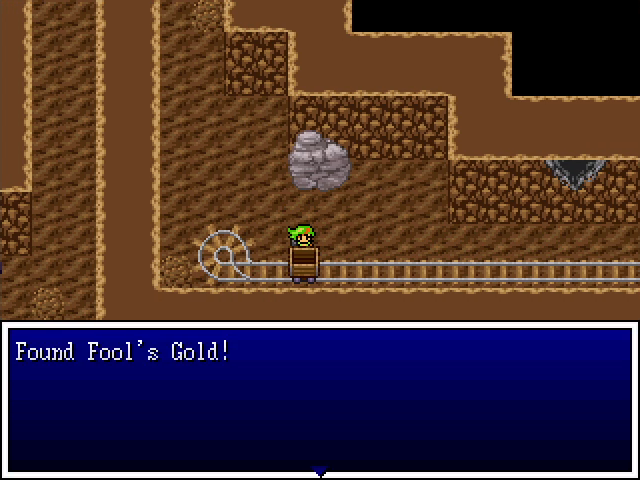 This thing sells for 1G and has no other value. I feel cheated.  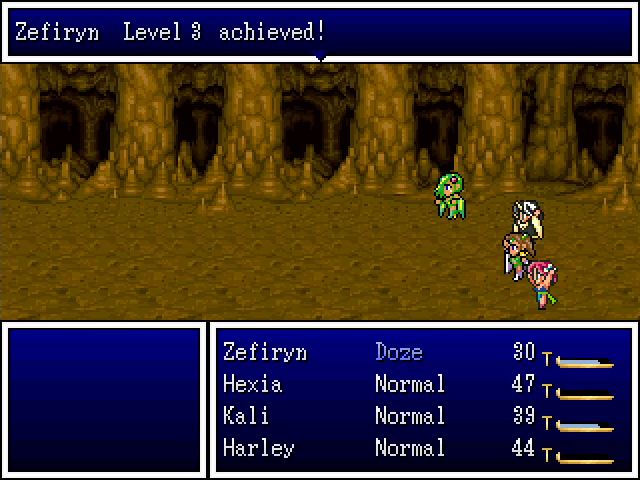 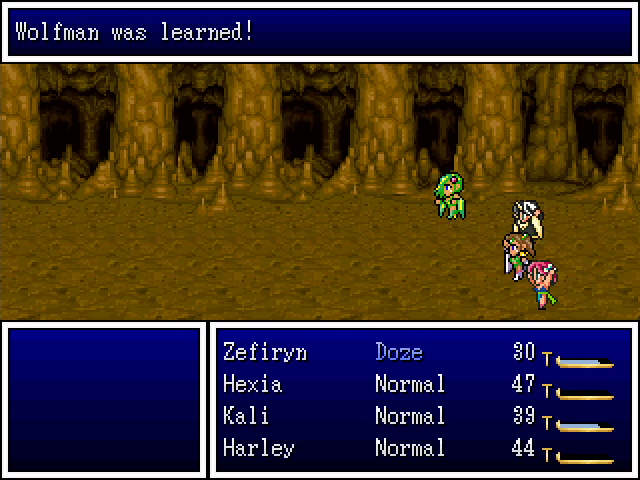  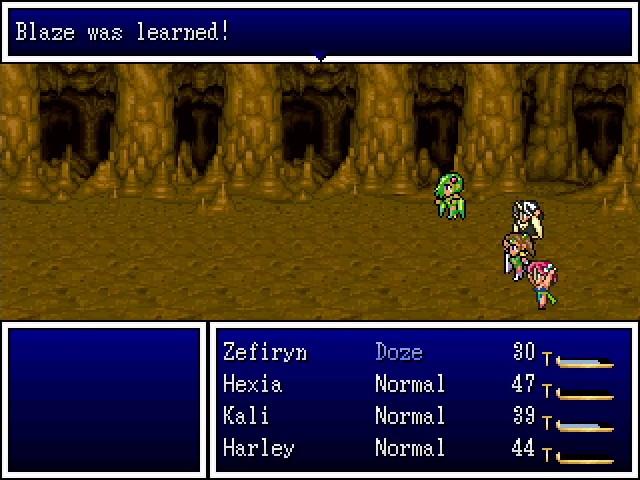 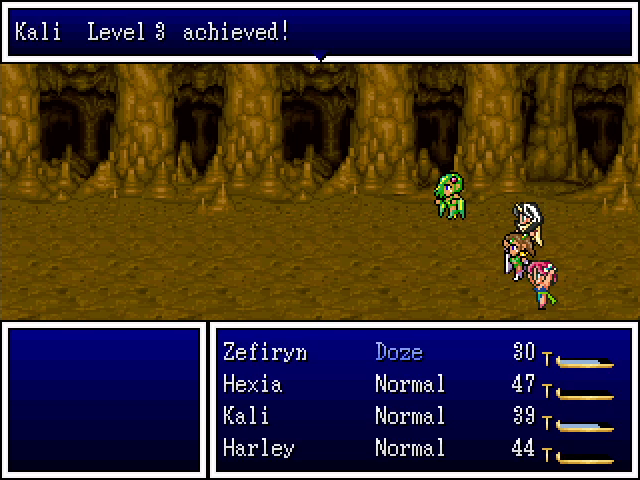 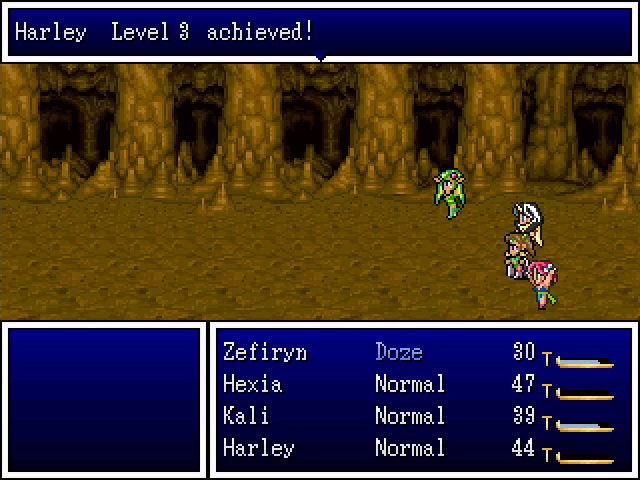 More leveling. Zefiryn learns Wolfman, the basic Shapeshifter spell, which can be handy against magic-resistant enemies. Hexia, meanwhile, learns Blaze, which means we have double the firepower (ha) against the ghosts. 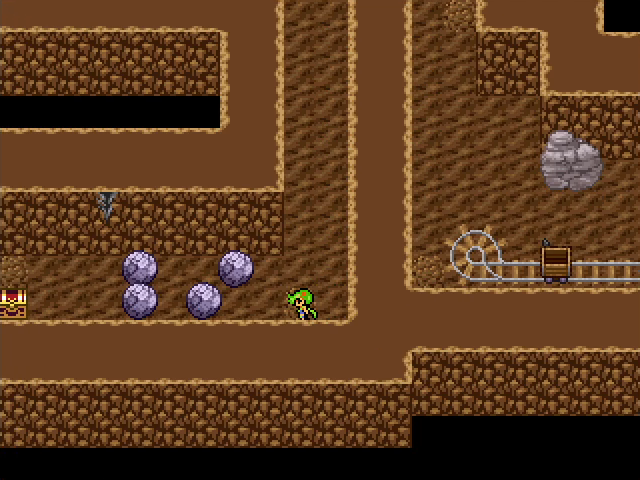 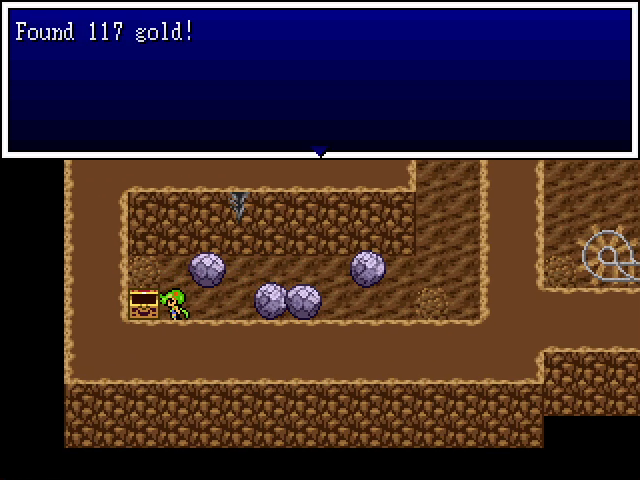 Further west is a simple rock-pushing puzzle with some gold as the reward. That's all there is to do in this tunnel, so we return to the main room, then head north and east. 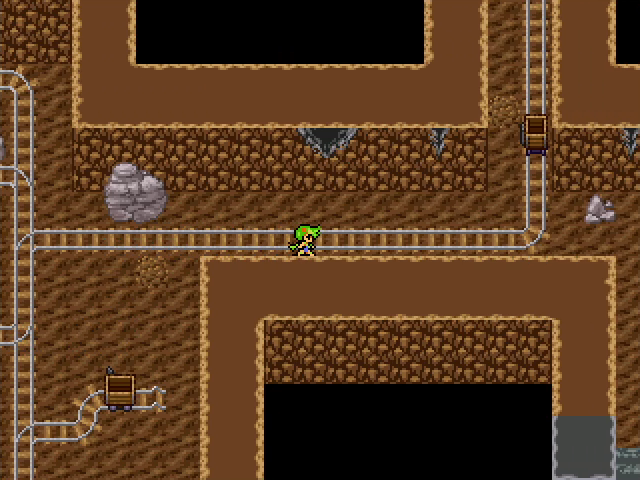 Looks like we've located another ghost. 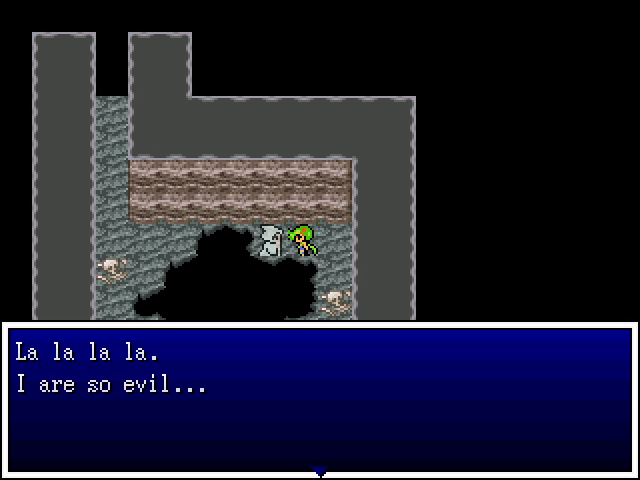 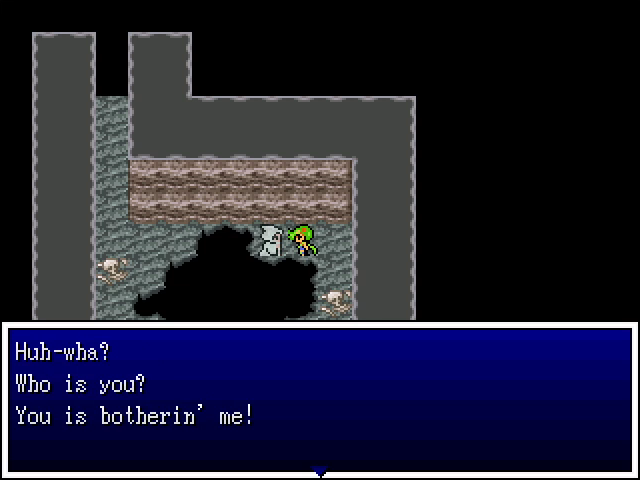 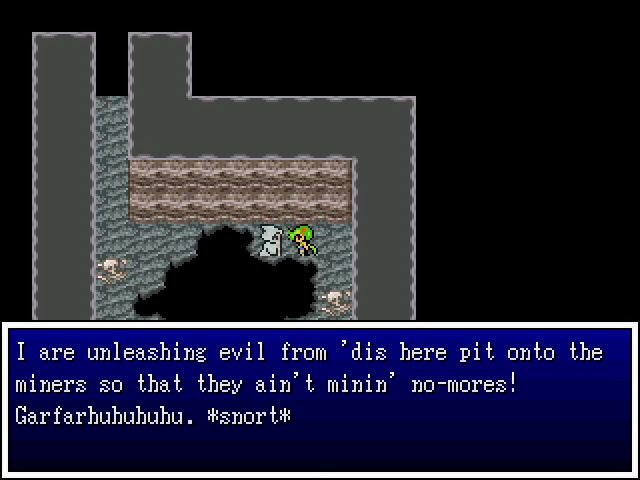 The first ghost seemed a bit dumb, but this one's on a whole other level. I love it.  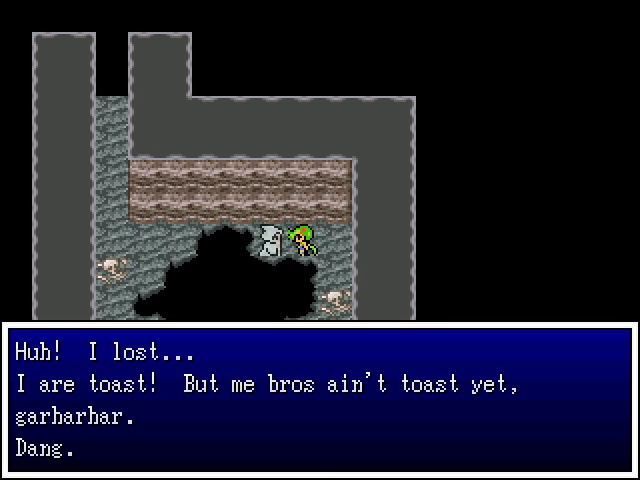 Dang. 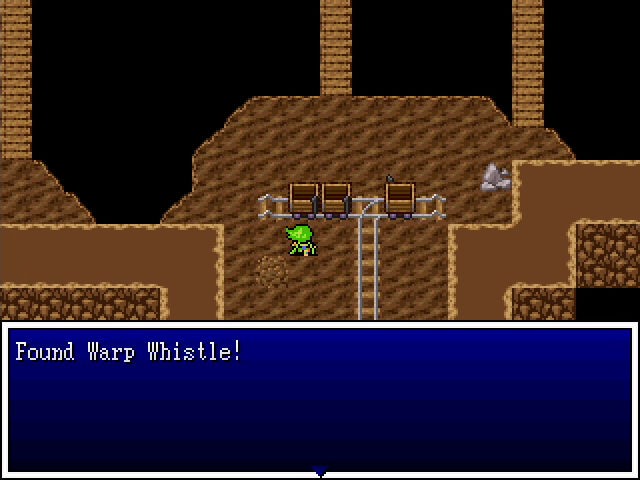 Heading north, we find a warp whistle in a mine cart. This is important. 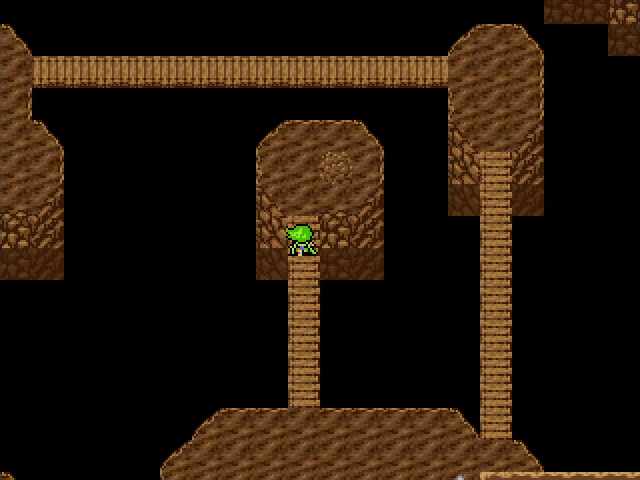 Oh, that looks suspect. 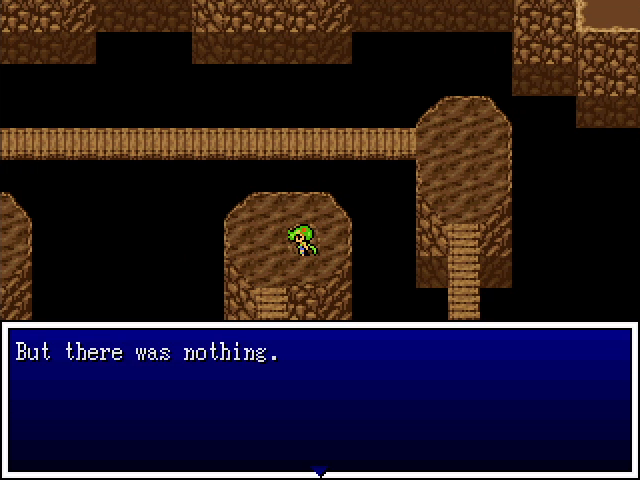 ...I feel cheated again. 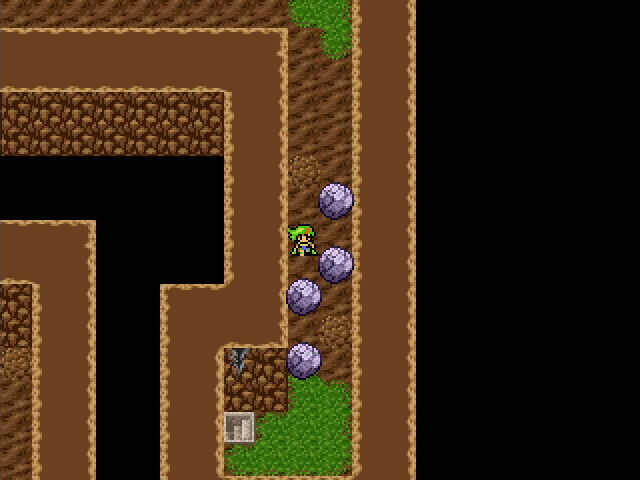 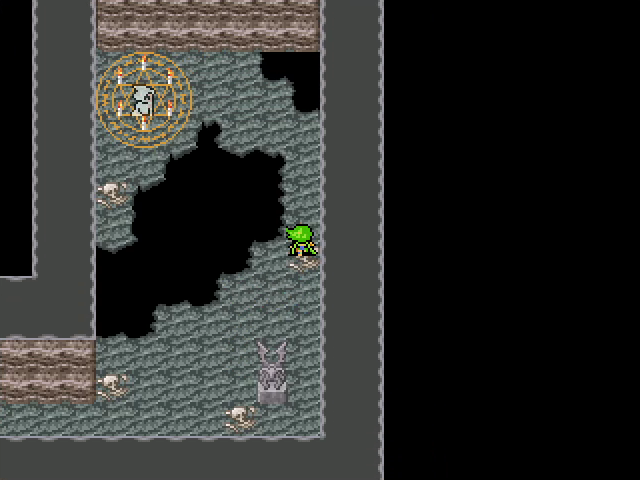 Crossing the bridge and heading north, we find another rock-pushing puzzle blocking off some stairs and another ghost room.   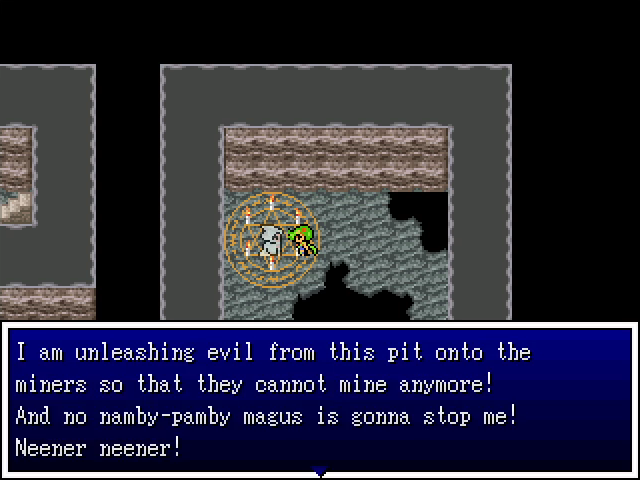 I seriously love this dialogue. 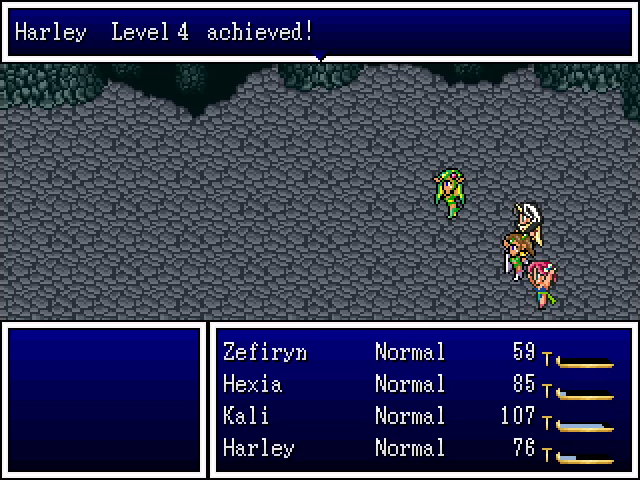 The ghost gives Harley her next level up. 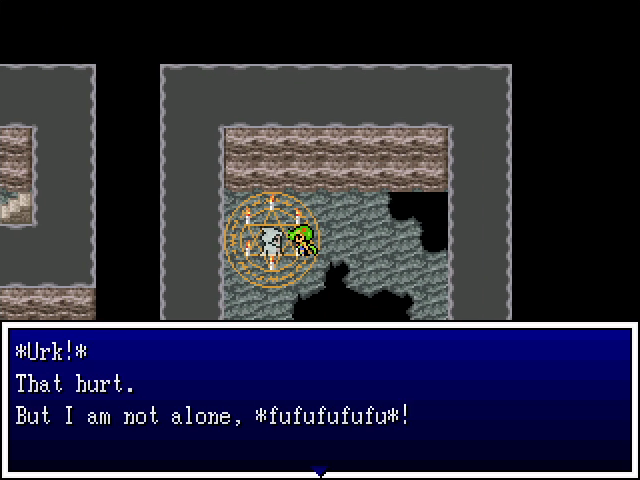 Three down, two to go. 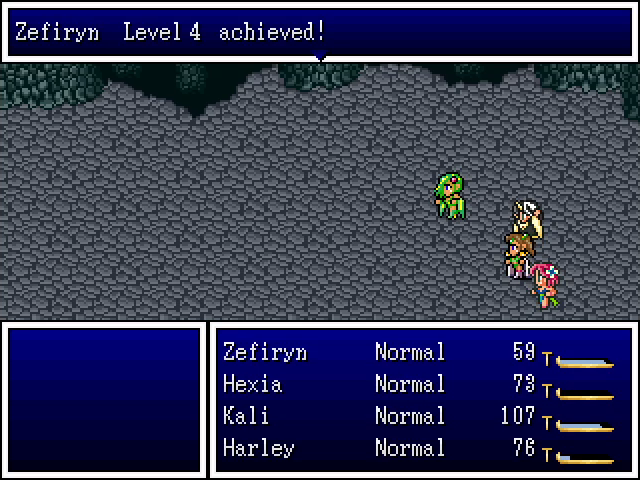 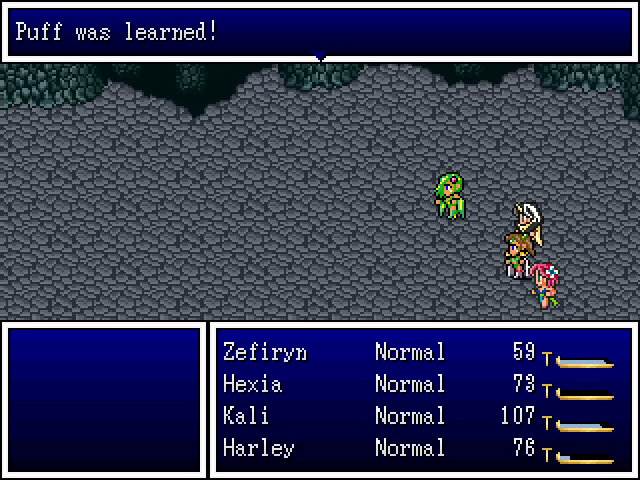 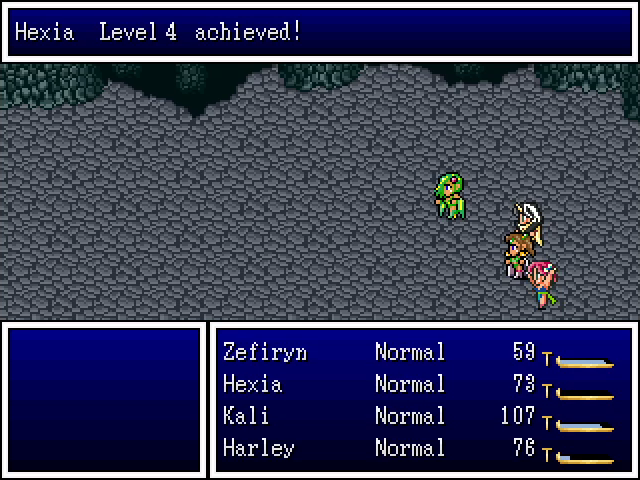 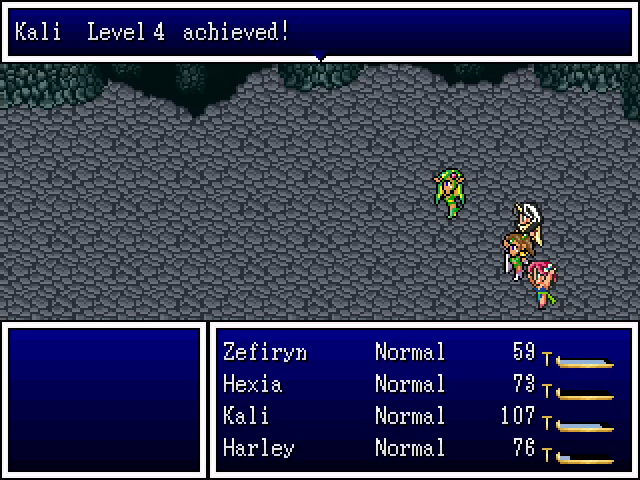 More levels. This place has been pretty manageable, and I should be good to- 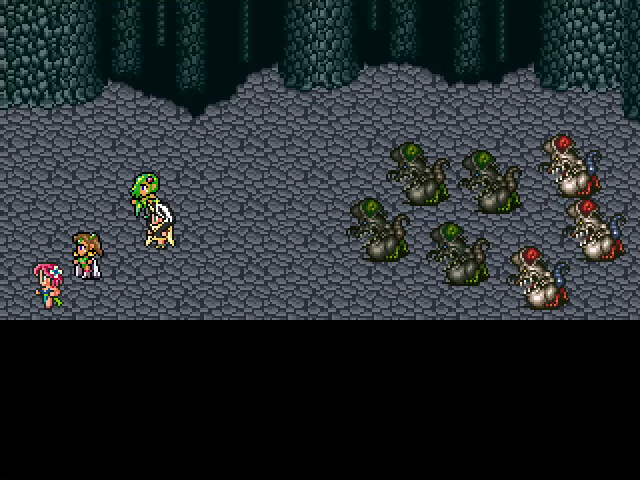 gently caress. 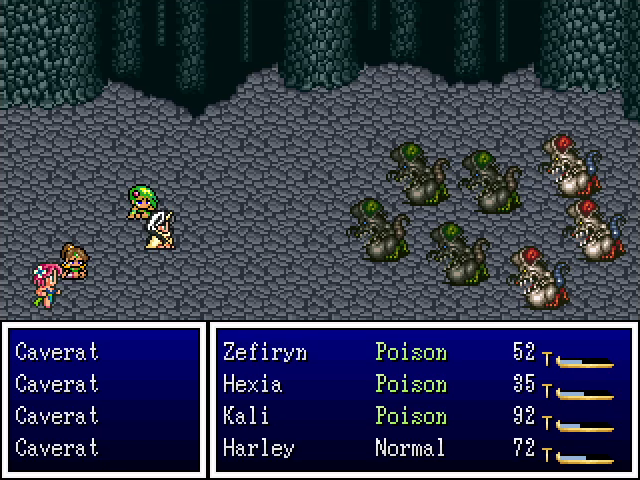 I... may have forgotten to bring antidote herbs. 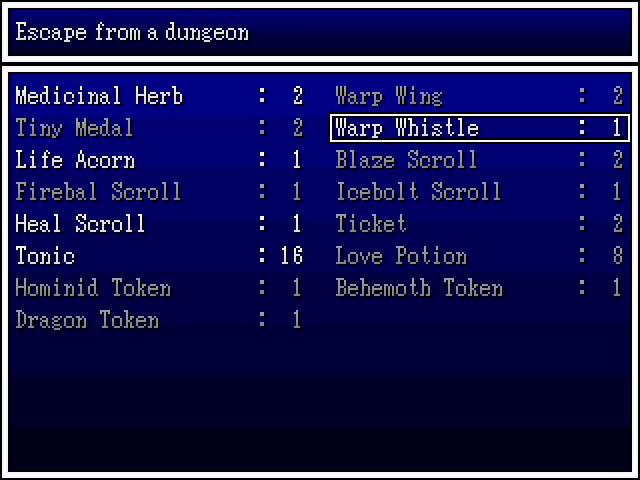 Good thing I found that whistle. I doubt I could have made it out with poison eating away at three of my characters. 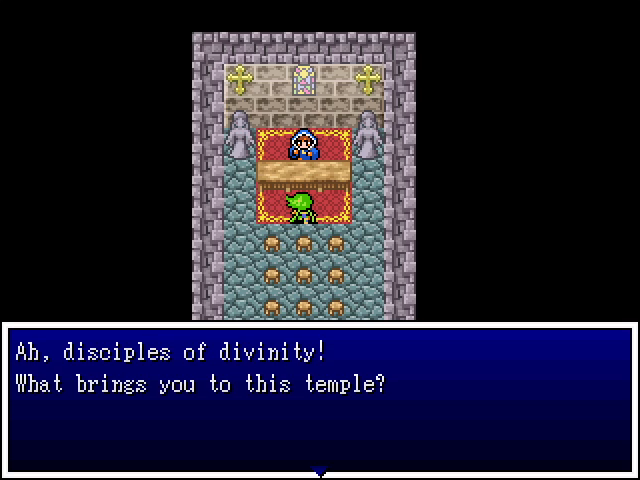 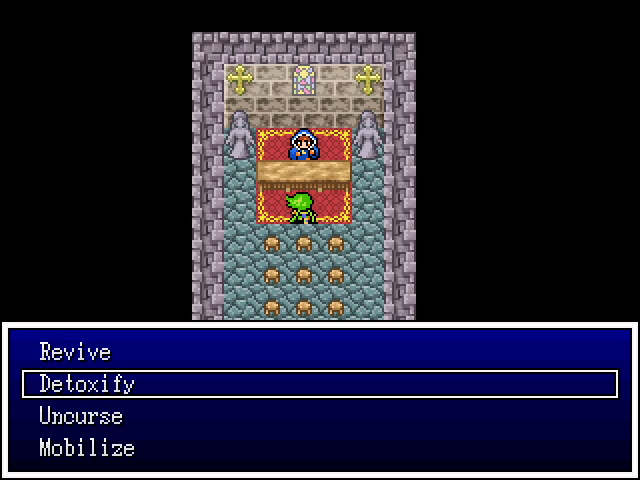 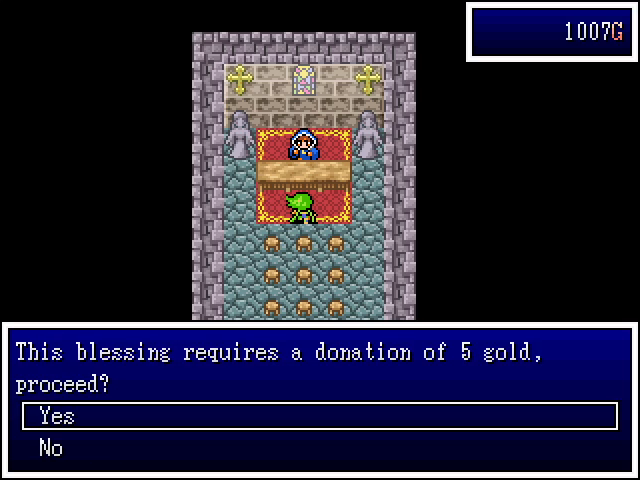 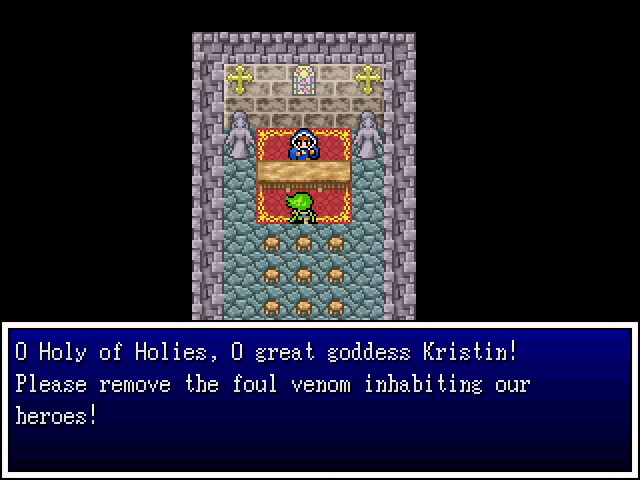 The town church offers the cleansing of poison for a very reasonable fee - 5G for the whole party. Antidote herbs, by comparison are 8G. Still, we do buy a few for the trip back. Don't want any more blunders like this one. 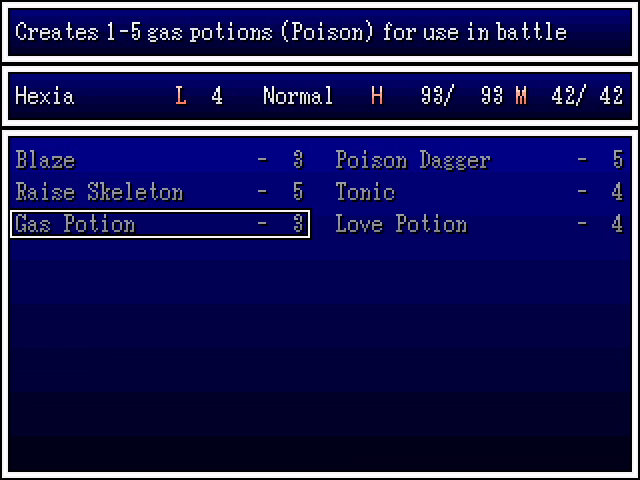 We also grab a gas potion recipe for Hexia, allowing her to make toxic grenades. 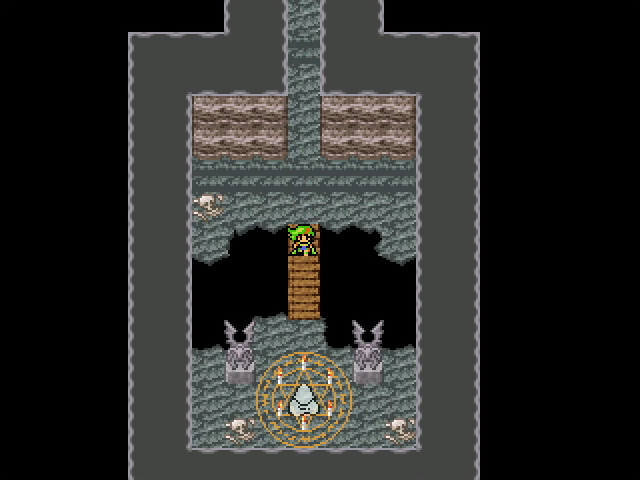 Returning to our place in the mines, we reach yet another ghost. 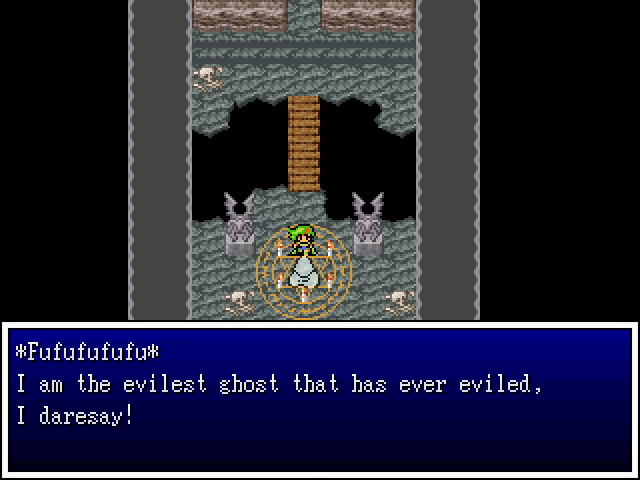 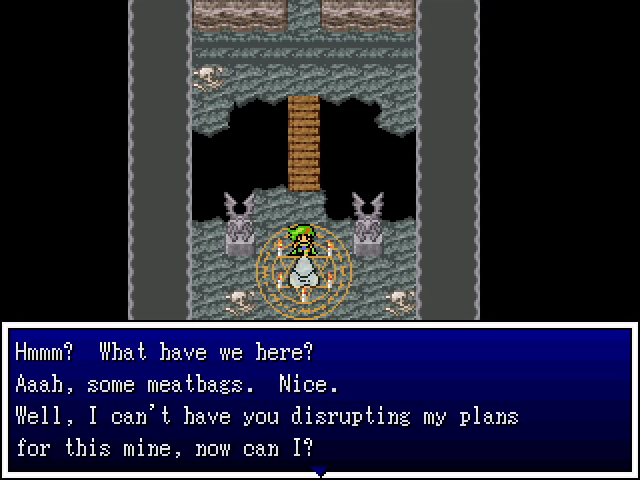 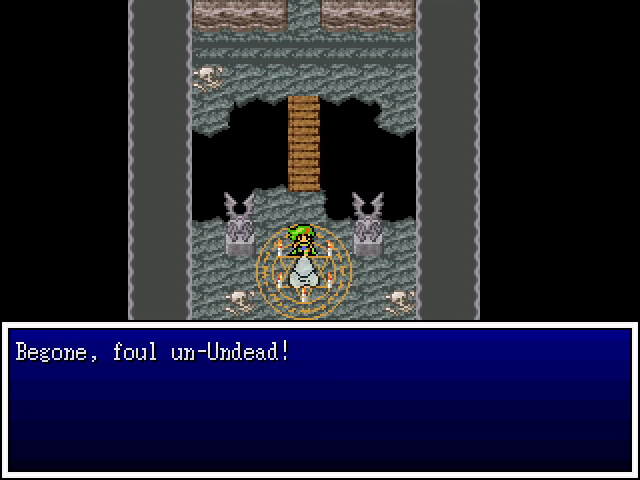 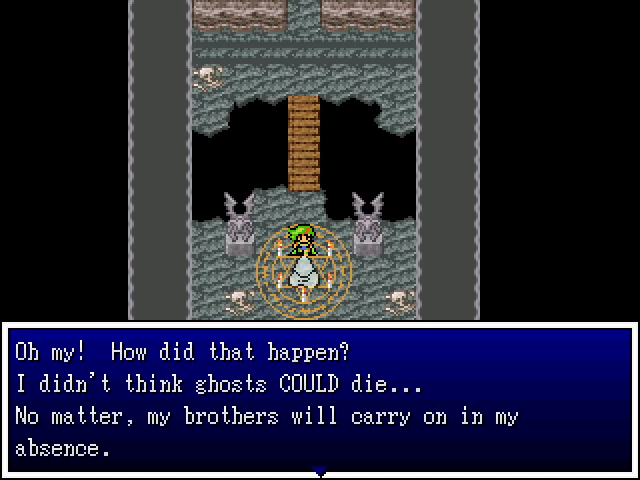 This one's really reminiscent of the imps, and it seems likely that they might have been summoned by the same person or group. But who summons a bunch of dumbass imps and ghosts? 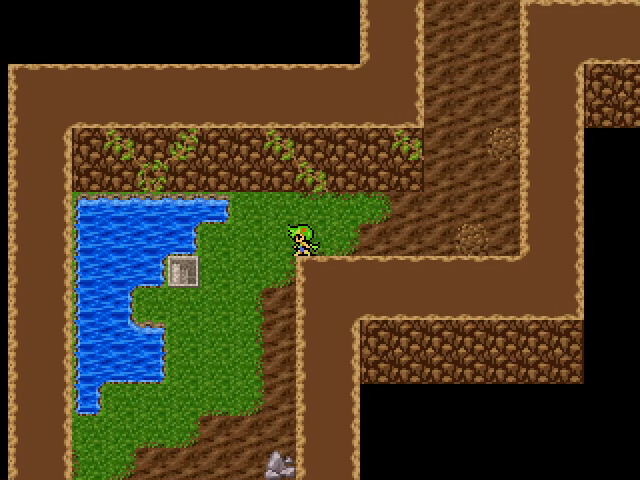 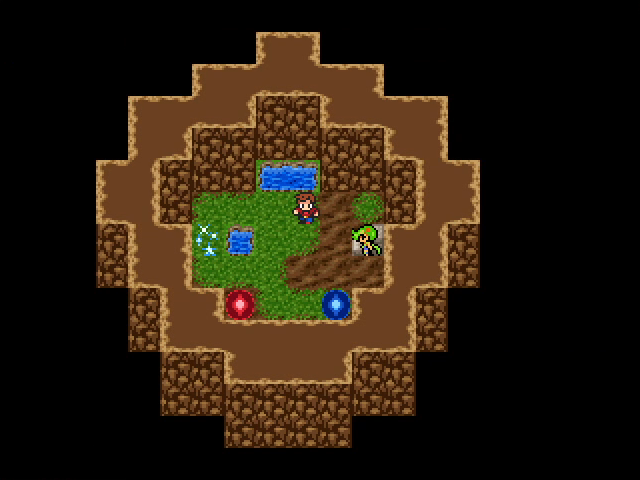 This actually looks inviting. 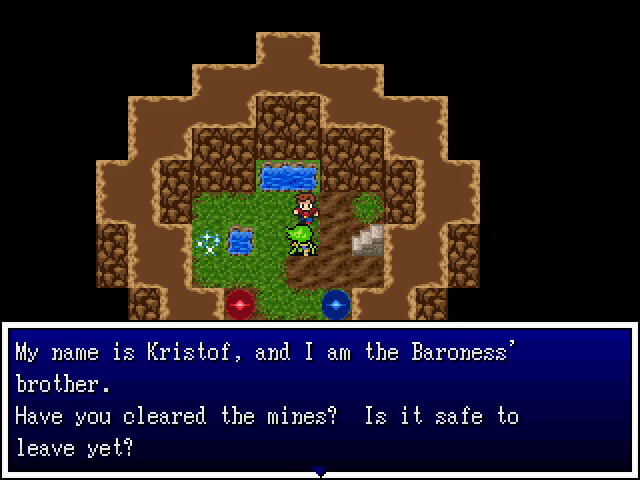 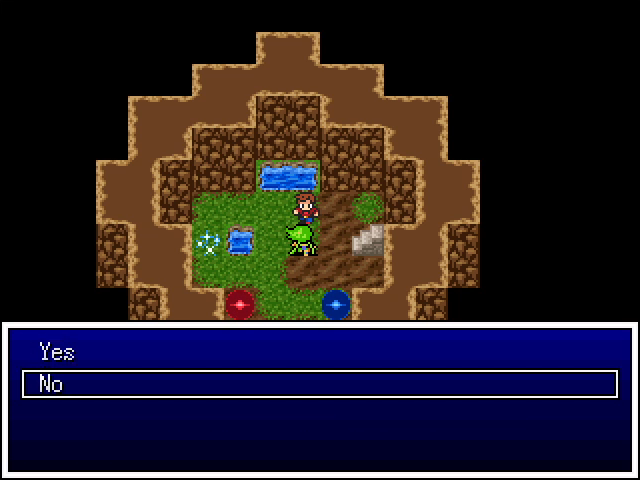 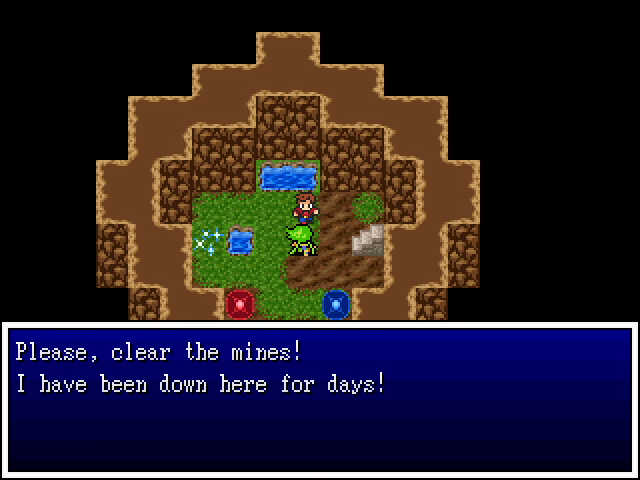 I'm not sure what happens if you say yes before killing all the ghosts, but I'm in no mood to test it. At least we can get some restoration here. 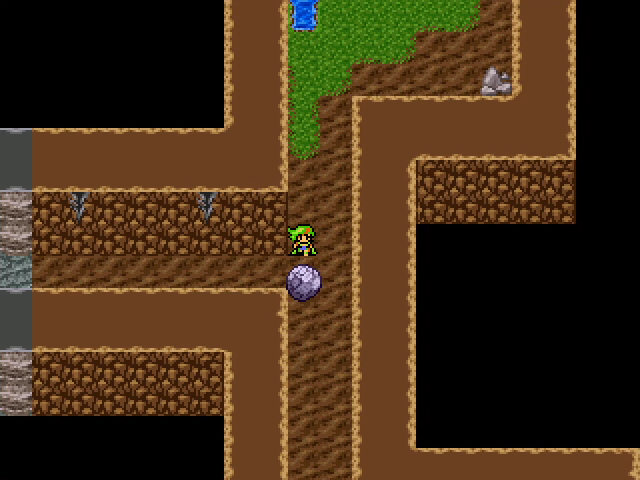 Fortunately, the last ghost is just south of Kristoff's hideaway. 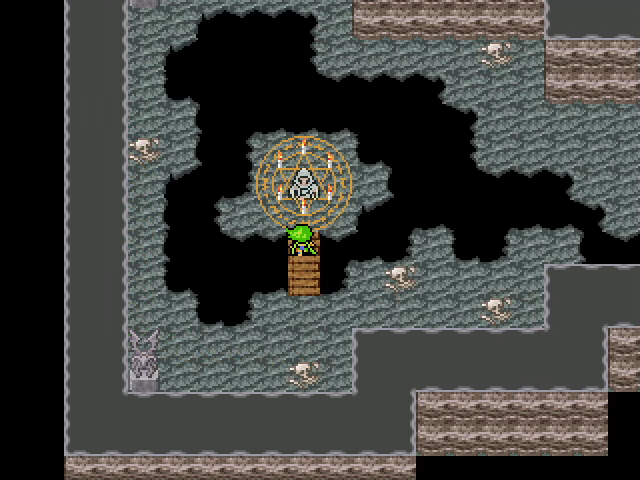  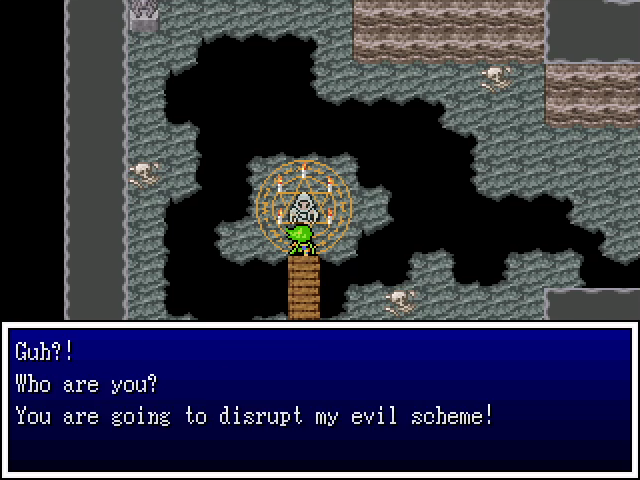 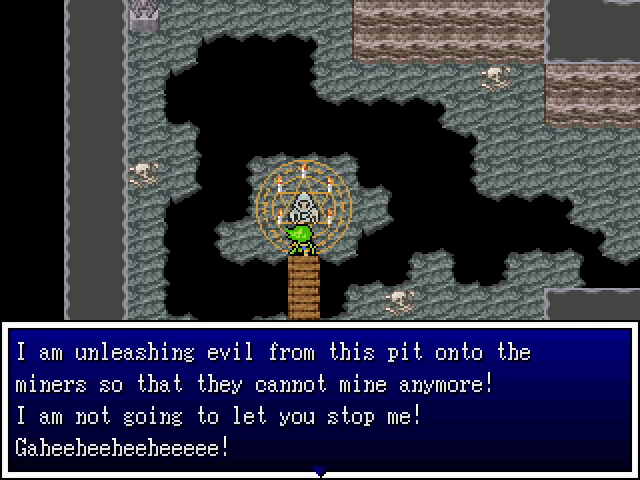 This is probably the most straightforward and therefore least entertaining of the ghosts. 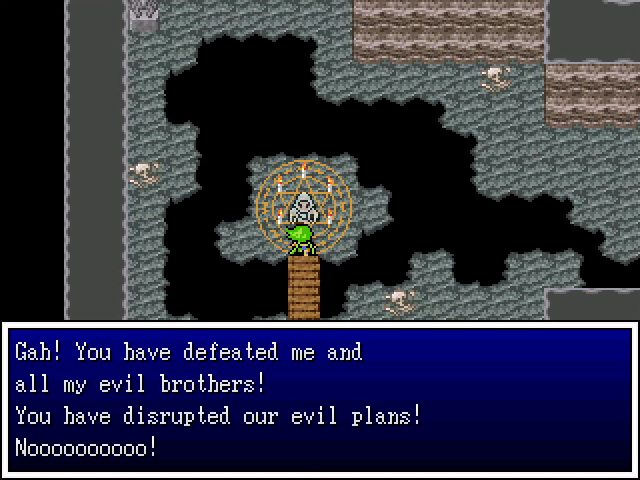  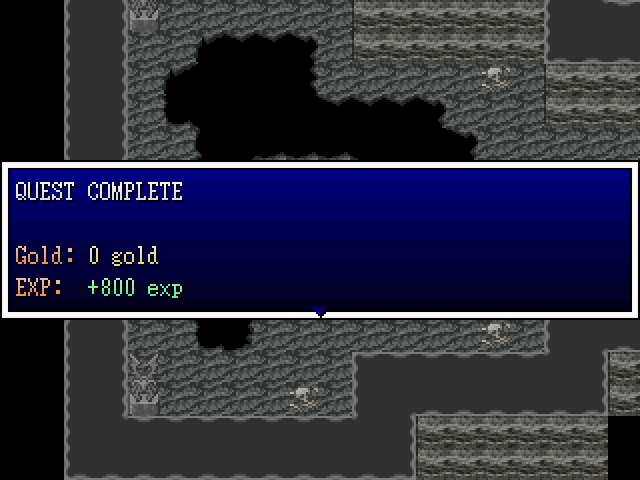 Victory is ours! 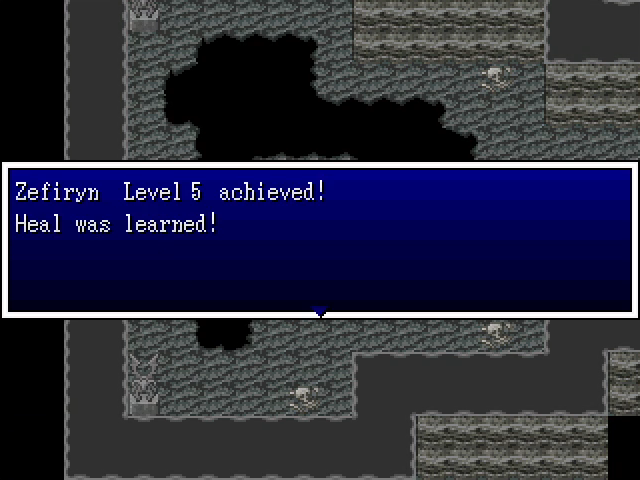  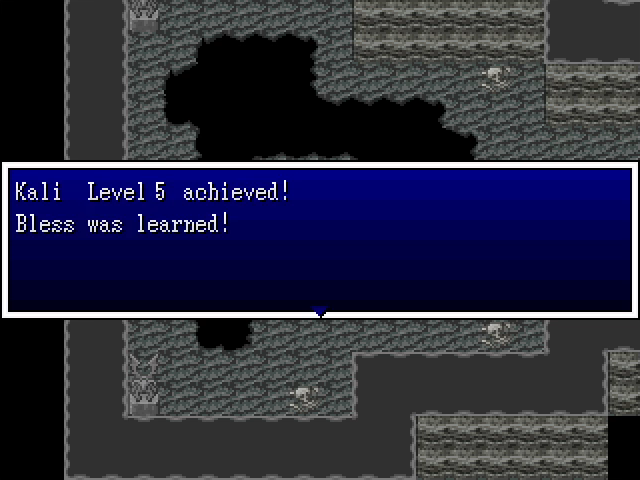 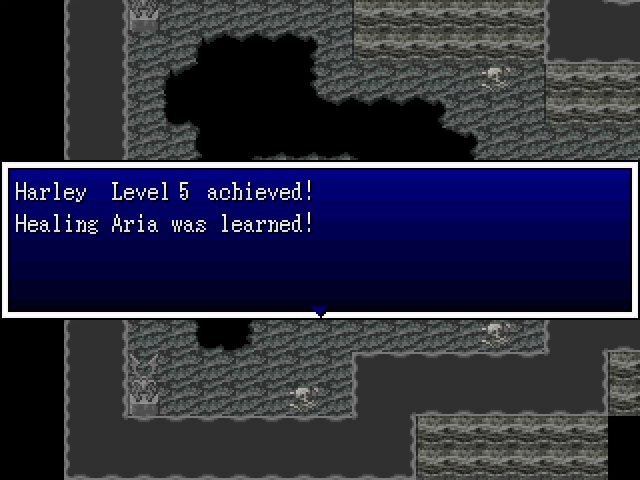 As are some great levels. Zefiryn can heal, Kali can deal with the undead (good timing), and Harley learns a healing skill. It's weak, but hits the whole party, so it's pretty useful. 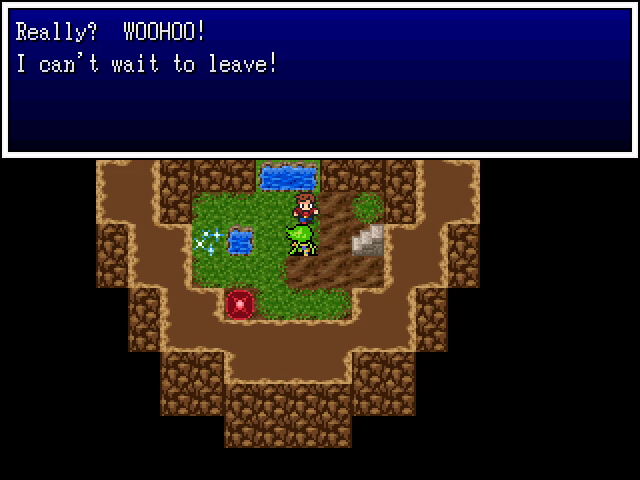 We head back and tell Kristoff that the way is clear. I guess he's not worried about the random battles, which are still present.  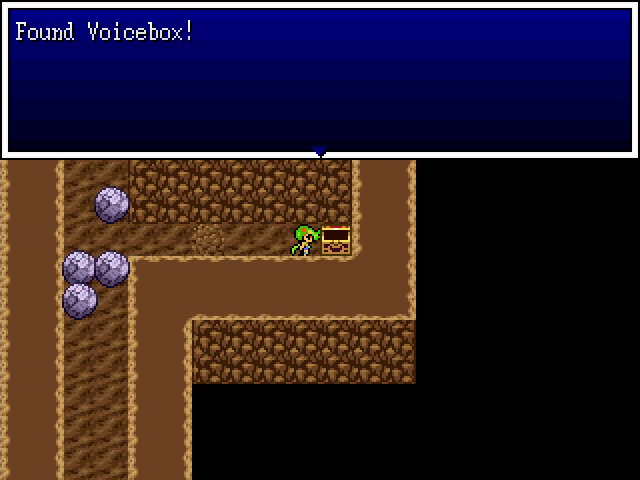 South of the last ghost room is an actual puzzle, if an easy one. The reward is a voicebox, which is fine. Hexia can equip it for now since she has nothing better. And with that, we can return triumphant to Dracoma. Let's go tell the baron and baroness the good news. 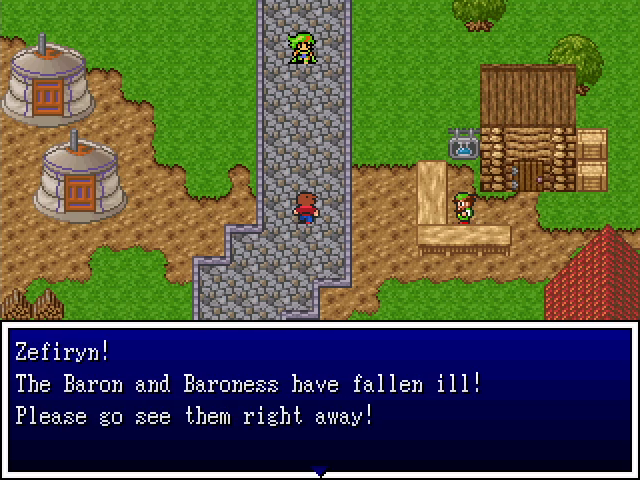 Well, poo poo. 5-Headed Snake God fucked around with this message at 04:24 on Jun 16, 2022 |
|
#
?
Jun 16, 2022 02:40
|
|
|
And here's where the dragon quest 4 influence starts to break away. I dunno if the ghosts in the mine are a reference to something different or their own thing though.
|
|
#
?
Jun 17, 2022 13:34
|
|

|
Welcome back! Last time, we cleared out the Dracoma Mines. What's next? Oh, right, that. Let's head for the Baron's home. 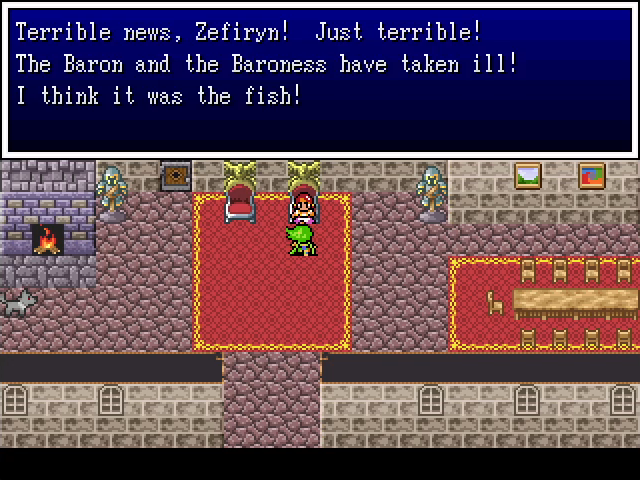  How unexpected! This was definitely not foreshadowed by any dialogue or the chapter title! 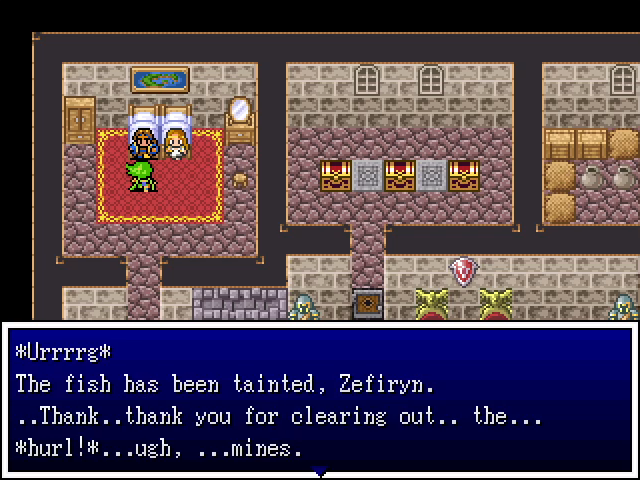 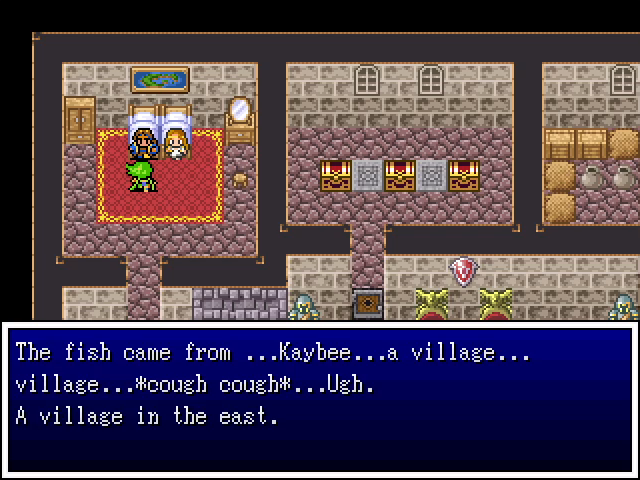 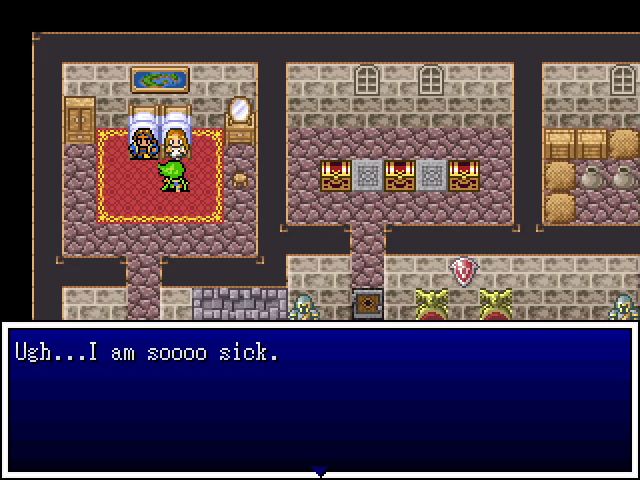 The Baron, at least, gives us a destination. The Baroness is less helpful. We head out to investigate Kaybee, but while in town, we spy something of interest. 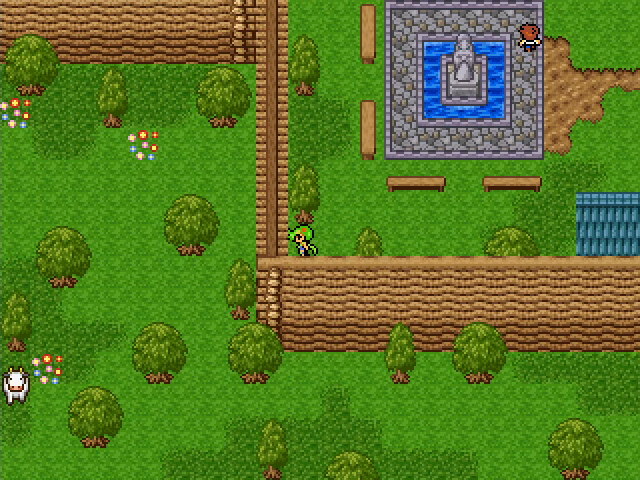 Is that..? Could it really be..?! 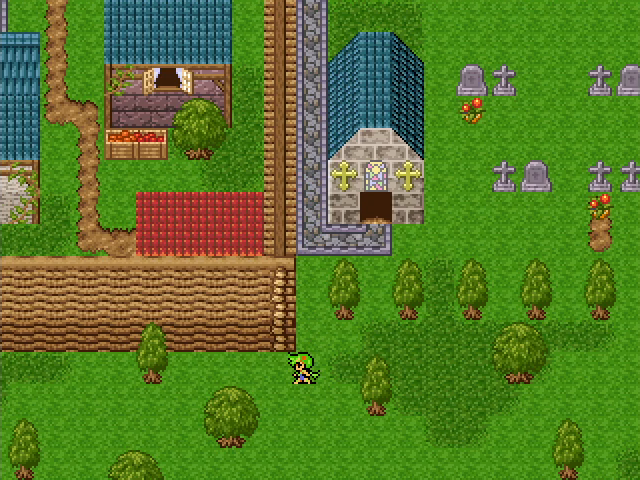 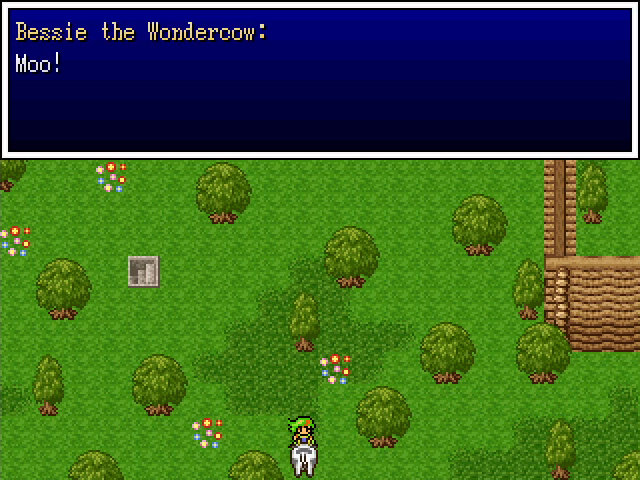  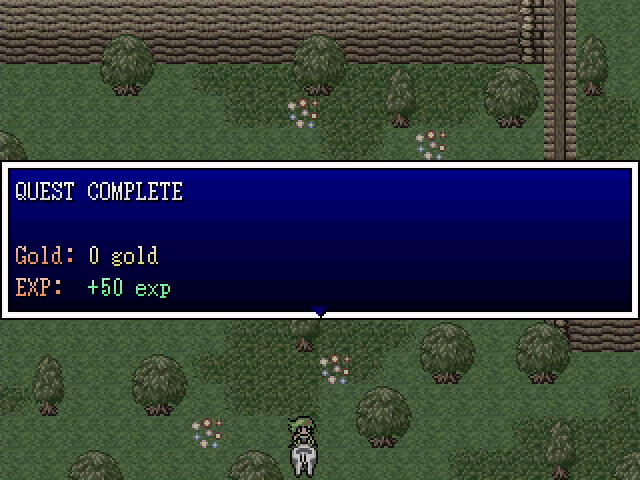 It is! It's Bessie the Wondercow!  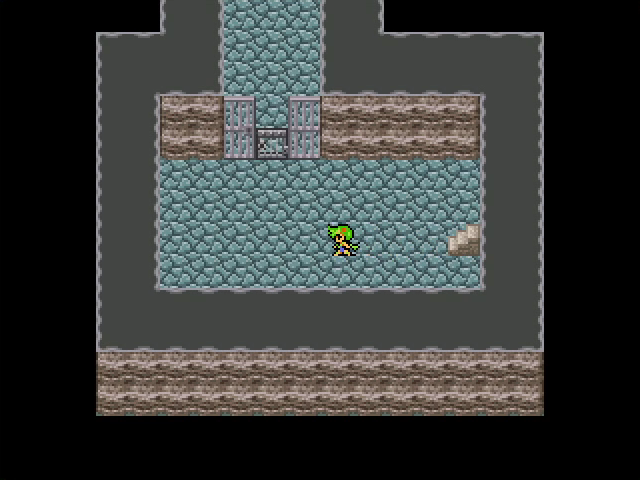 Oh, and there's also a stairway here, but all that's within is a locked door we can't open. But who cares, we found Bessie the Wondercow! 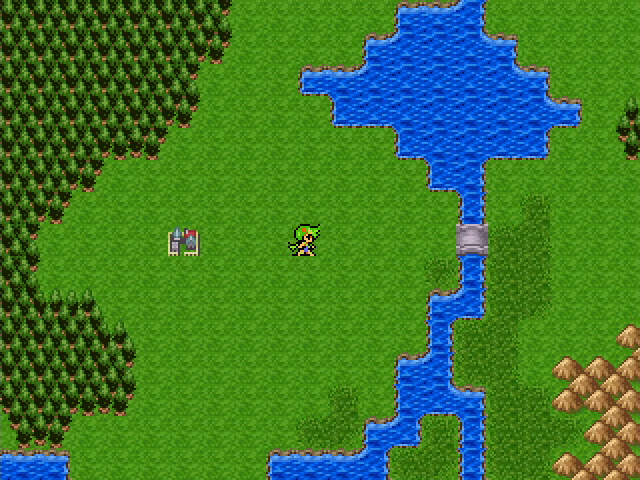 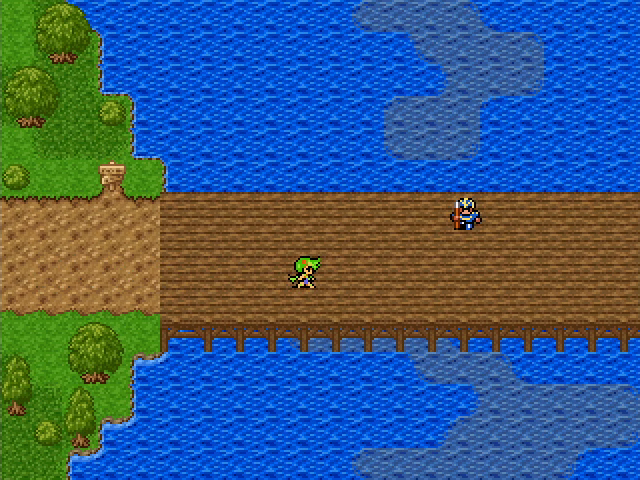 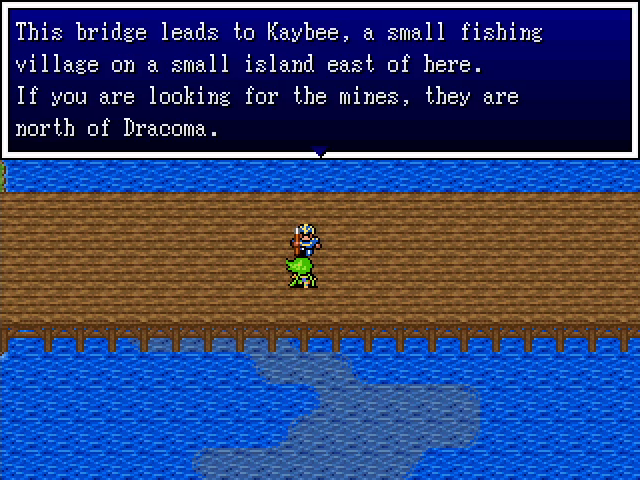 A bridge east of Dracoma leads to Kaybee. A guard here helpfully tells us where the mines are, in case we'd come here before clearing them out. 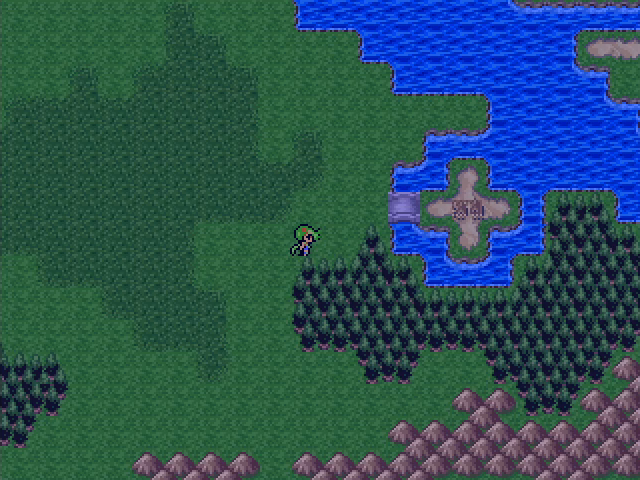 The town itself is just a bit further east, on a small island. 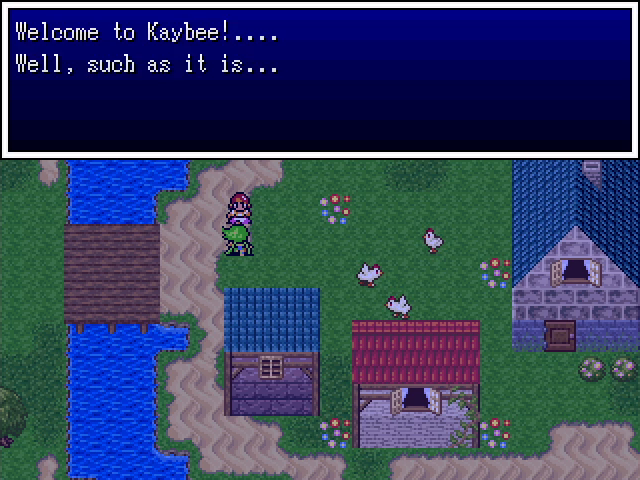 Given that the entire town probably subsists on fish, this place cannot be in good shape. 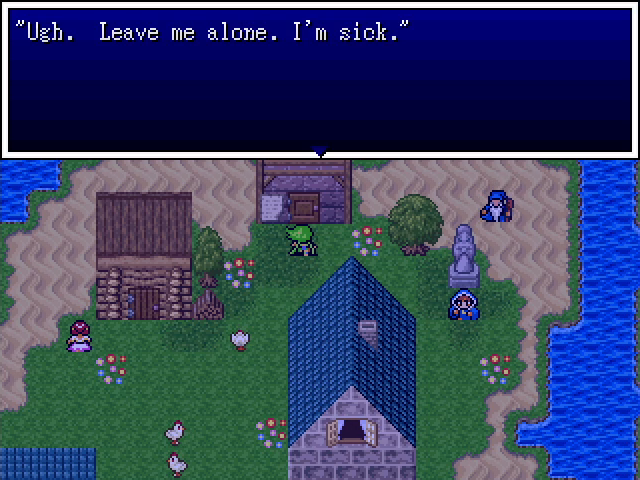 The sign on the door indicates that this house is quarantined. 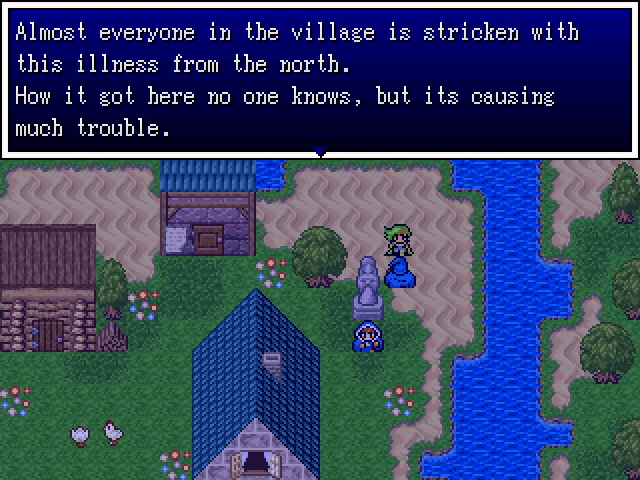 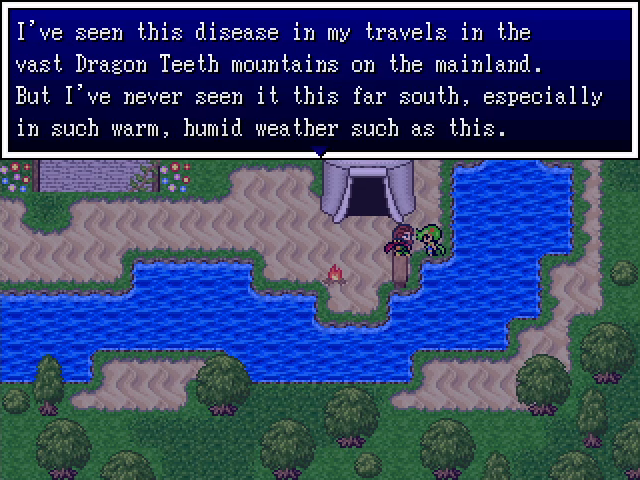 Talking to more people confirms that the whole place is stricken with illness. What's more, it's not an illness native to this region, which raises the obvious question of how it got here.  There is some good news though. 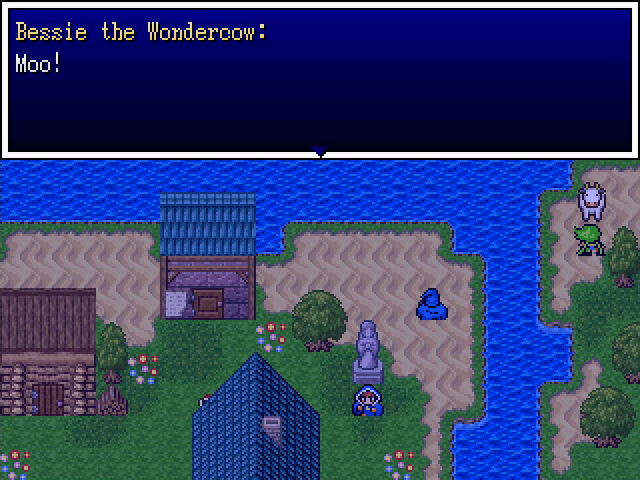 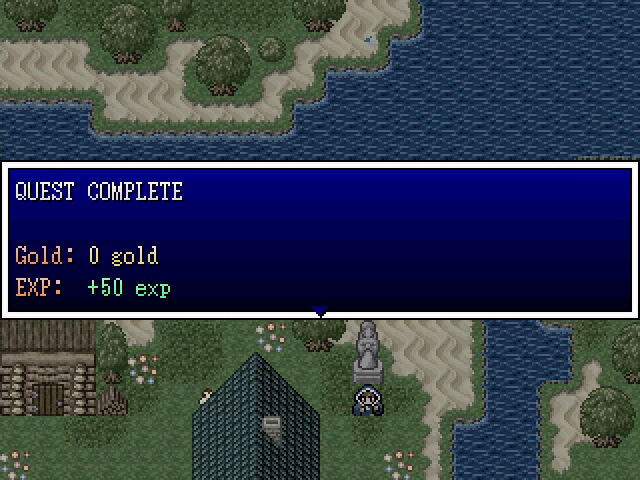 Bessie's here too!  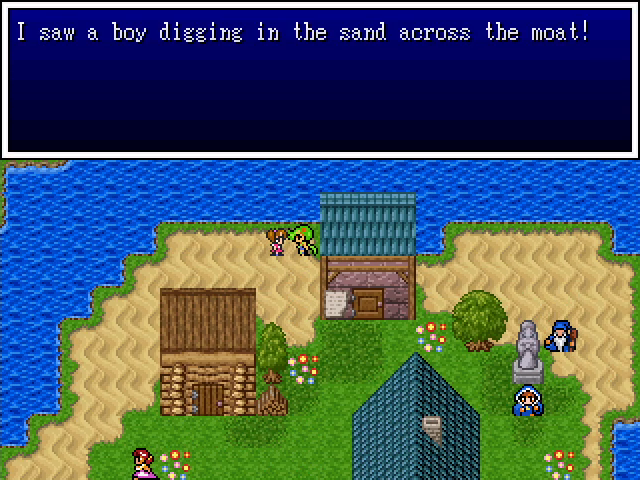 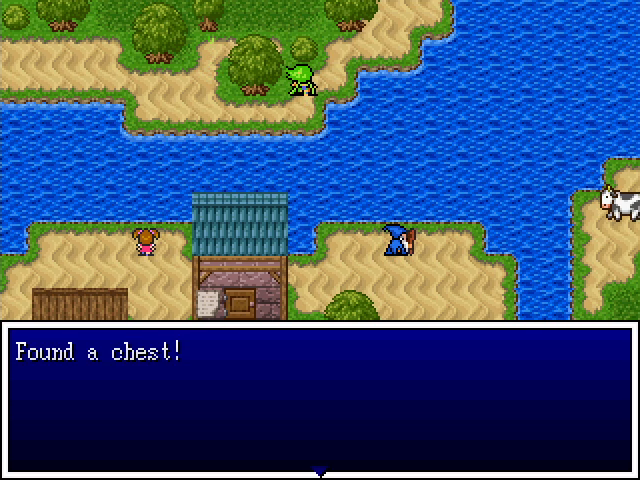 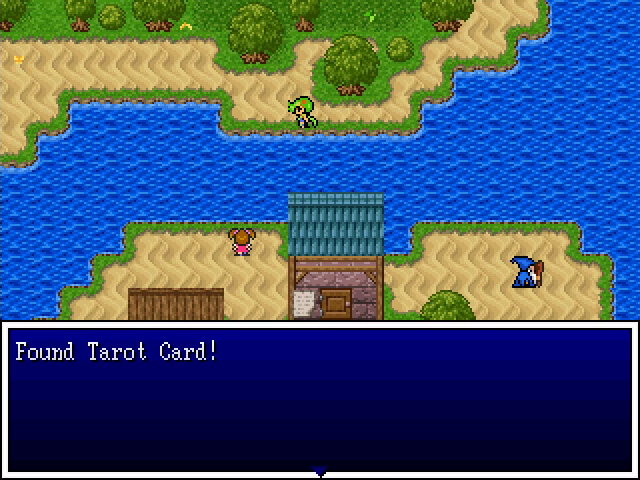 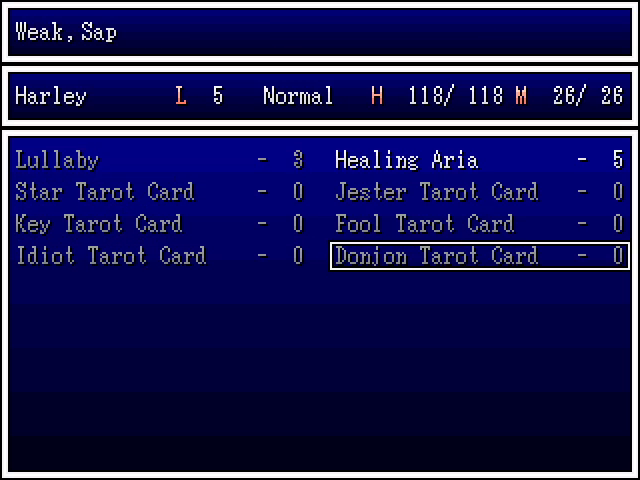 The town is a little more active by day, and there are a few people (mostly children) who are still healthy. This little girl gives us a clue to a small treasure, which ends up being a new tarot card for Harley: the Donjon, which debuffs a random group (enemies or allies). 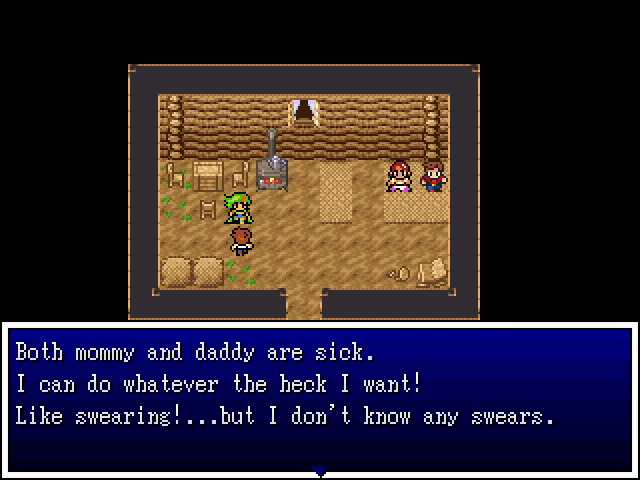 This random boy isn't relevant, but he is amusing. This feels like very on-point writing for a child. 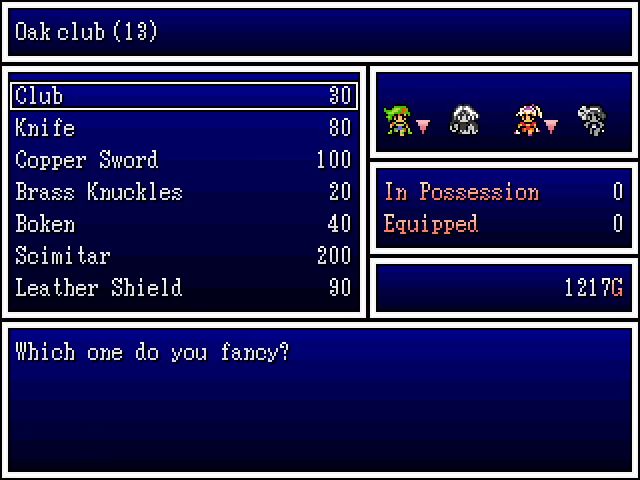 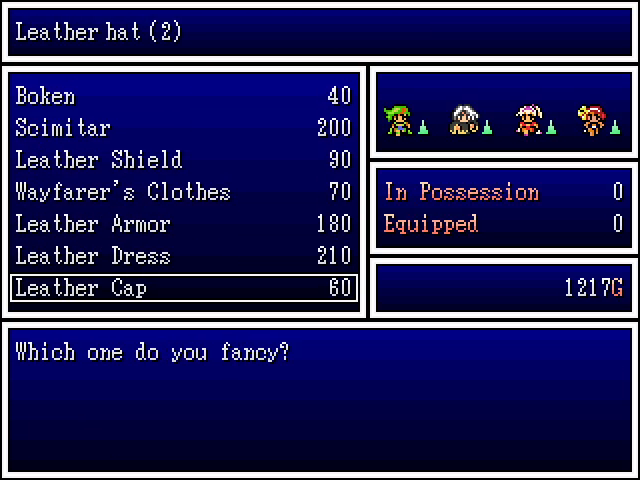 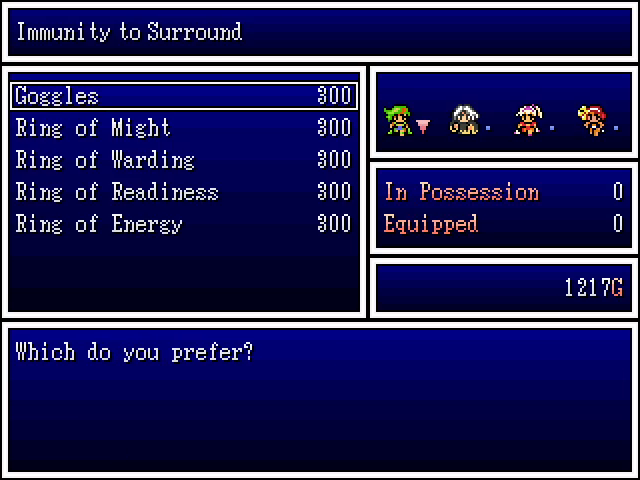 Kaybee's shops have a few new items for us to buy. The leather dresses are an excellent choice for everyone except Hexia (who can't wear one), and the scimitar is a considerable boost to Harley's attack power. The minor stat-boosting rings in the accessory shop are fine, but not really worth spending money on. 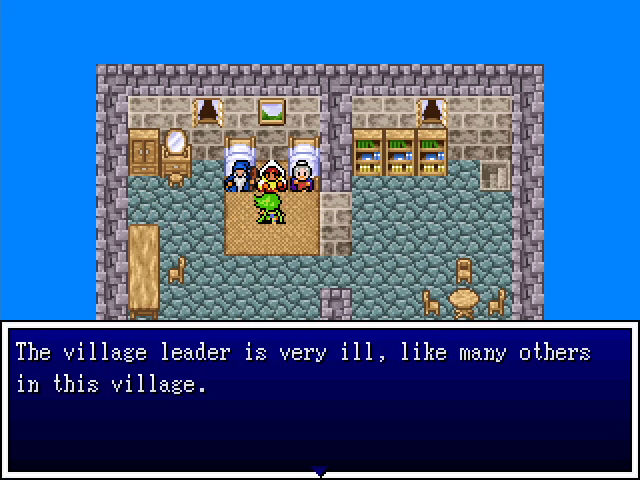 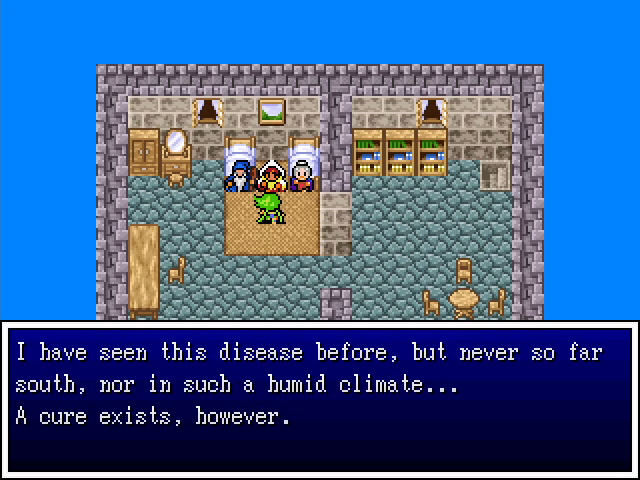  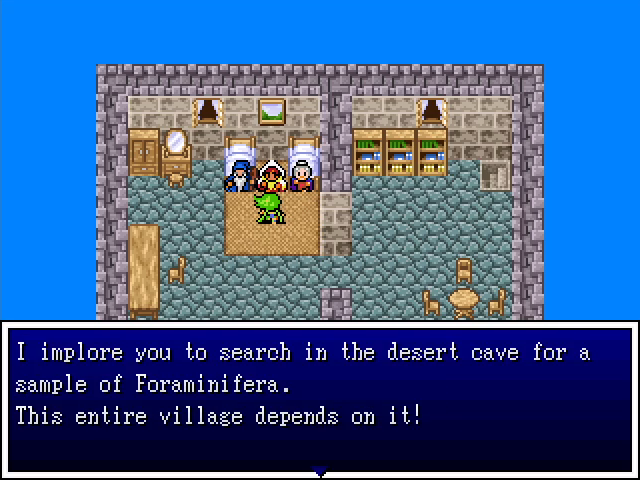 In the central building of the town, we find the headman and his wife, being attended to by a medic. She gives us a little more information on the disease and, more importantly, its cure. At this point the game has shifted from Dragon Quest IV to Final Fantasy IV. Fun fact: Foraminifera is a real word, though it's a type of single-celled organism and not the cure to a disease spread by tainted fish. 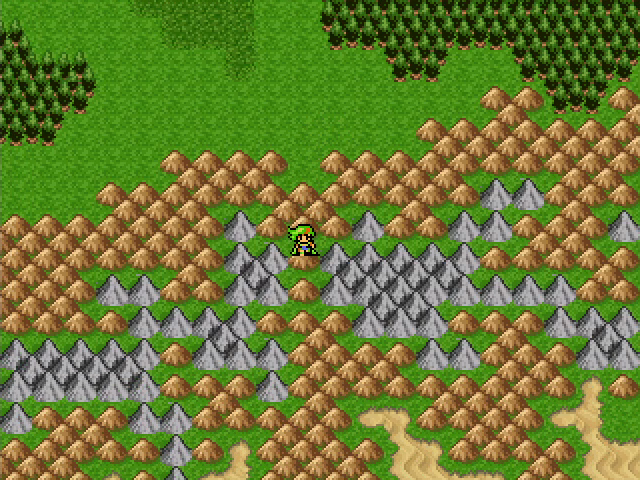 If we head south, there's a gap in the mountains we can cross to get to the desert. 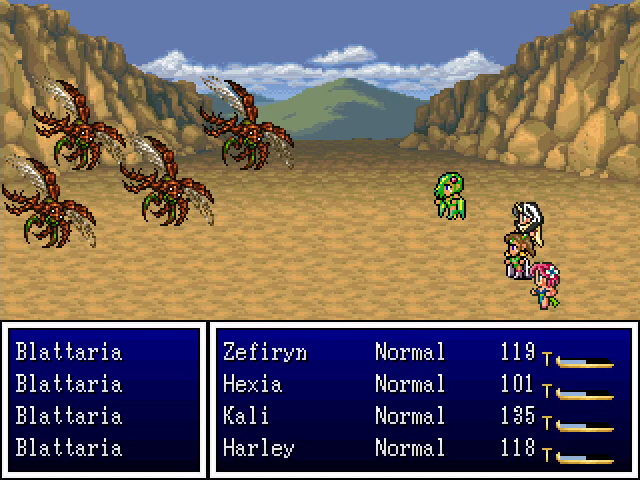 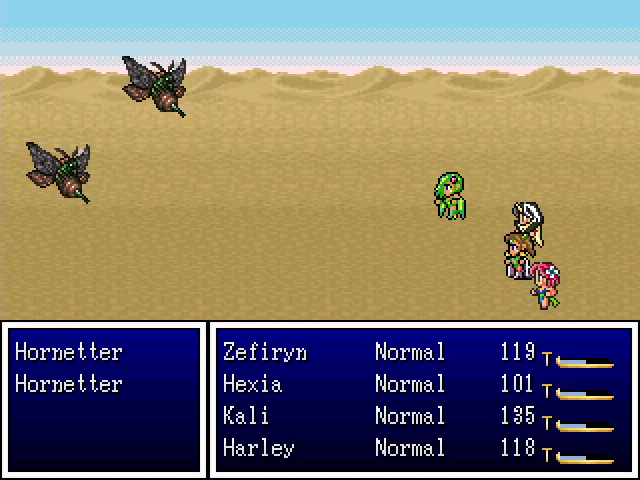 A couple new enemy types patrol this area. Hornetters are basic enemies; I didn't see them use any special attacks, but I wouldn't be surprised if they can inflict poison or sleep. Blattarias are much nastier; they have an attack called Numbing Thorns which inflicts Numb (paralysis). Numb does not wear off naturally, meaning we need to bring a supply of moon herbs with us to cure it (or hobble back to town and pay the church to do it). 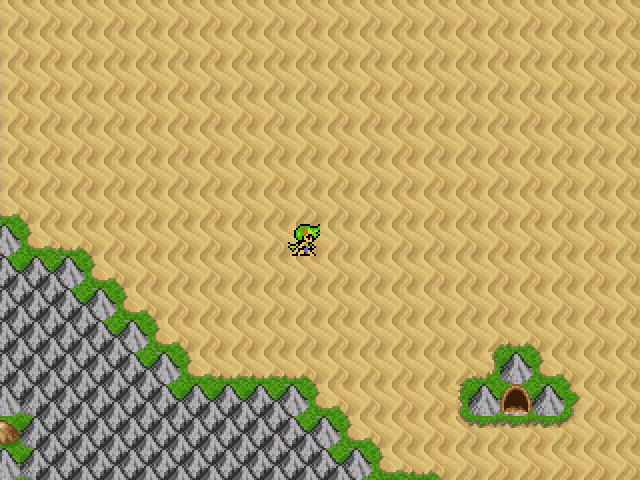 At the south end of the desert is the cave. 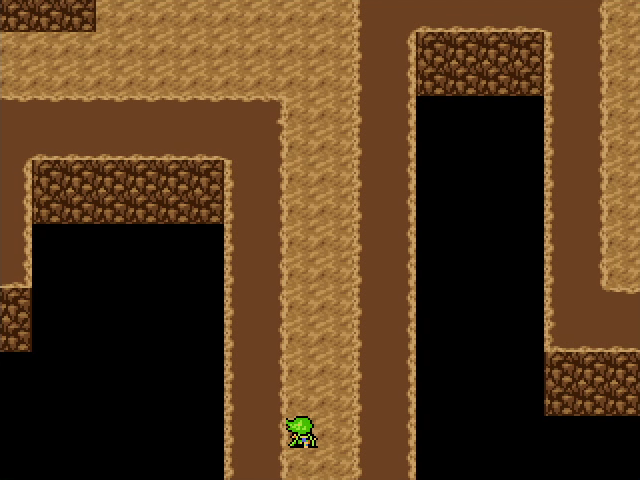 The Desert Cave is the toughest dungeon in the game up to this point, and by a pretty large margin. The monsters here can be rough, the layout is more confusing than previous dungeons, and it's quite long. It's not an unreasonable challenge, but it's a fair spike in difficulty.  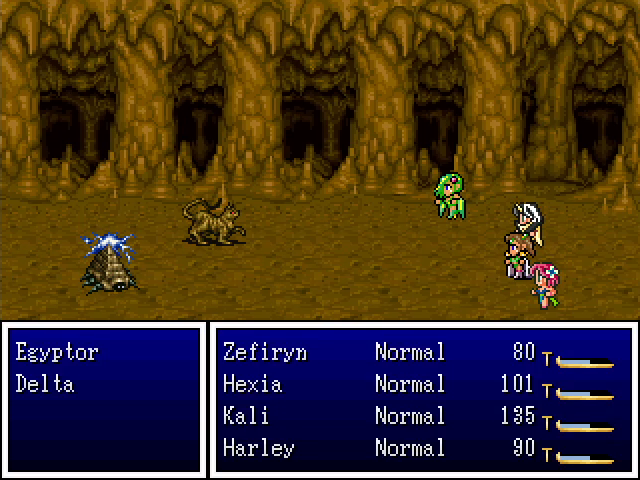 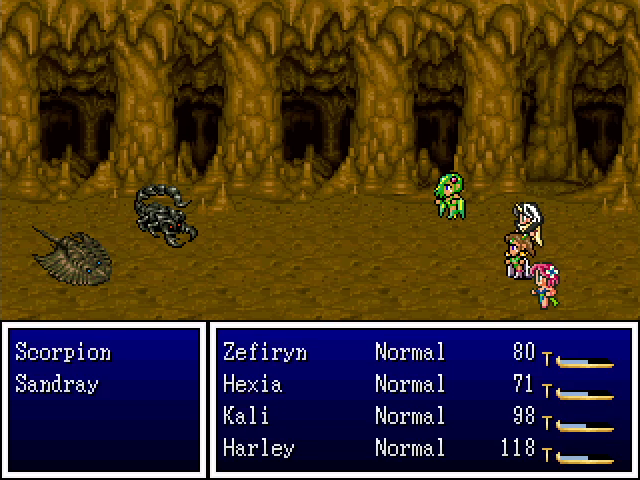  The cave is inhabited by several new kinds of monster. Poplia we've seen before, and we know how dangerous they are. Deltas follow their lead by using Shocker, which can ruin your day if you're unlucky. Egyptors focus on status ailments by casting both Stopspell and Sleepmore, the latter of which is especially annoying. Sandrays don't do much but are fairly tanky. And Skelecadavers are basically just weaker versions of the Karkasses from Balthalas' tower.  And finally, there are Gigases. These are by far the most dangerous things in the Desert Cave. They have enough HP that our party needs a full round of attacks to take one out, and they hit pretty hard in return. They also sometimes use an attack called Light Tremor, which deals roughly 60-120 damage to the whole party. It's extremely nasty and can lead to a game over if one of these beasts gets a surprise attack.     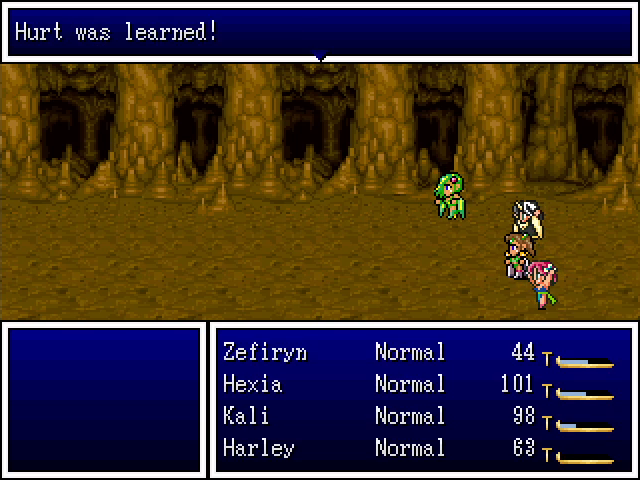 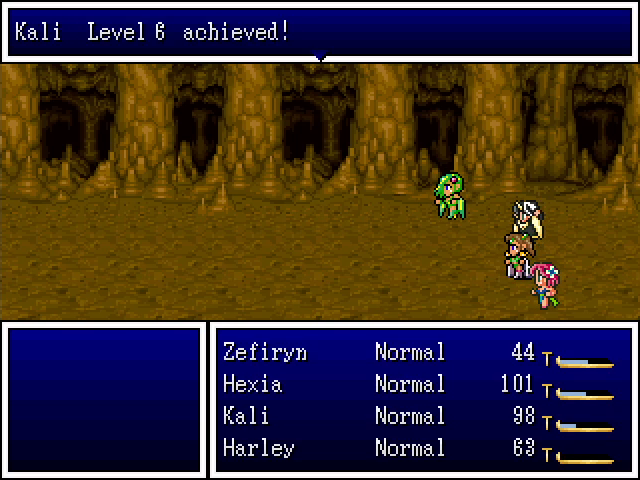 Luckily, the critters here are still good for money and experience, and we hit level 6, gaining a couple new spells. Harley's Faint Echo inflicts Weak on all enemies, which helps against monsters that primarily use physical attacks, while Hurt deals pretty good damage to a single target, though it doesn't work on the undead. 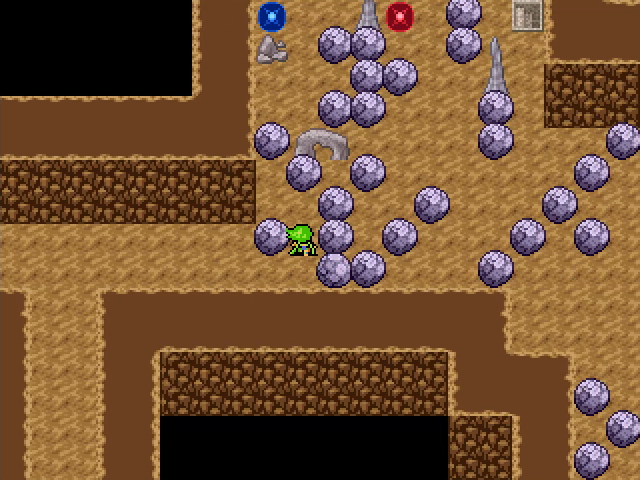 Deeper into the cave is this room with a ton of rocks. It may look intimidating at first glance, but there's plenty of room to push stuff around. Besides the free heals, there's a stairway leading to a small chamber with a save point. 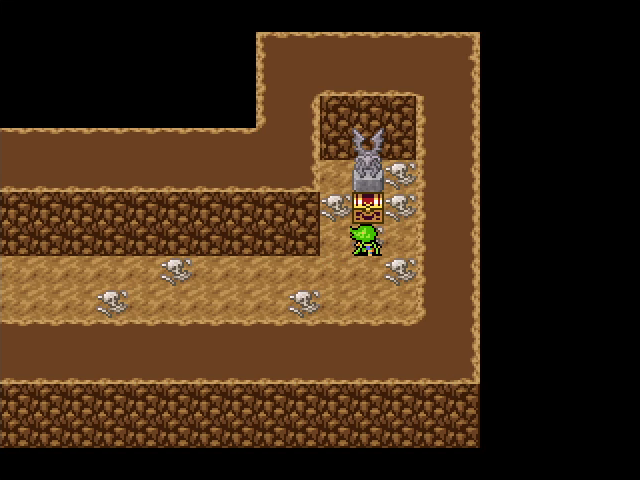 At the end of another hallway is the familiar sight of a treasure chest surrounded by corpses. It's exactly what you already know it to be. 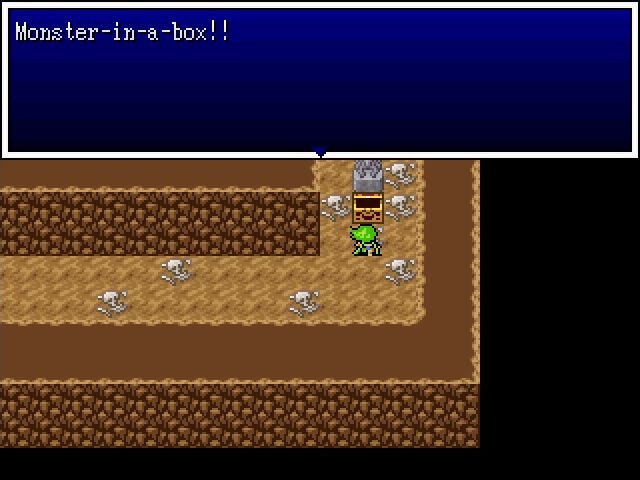 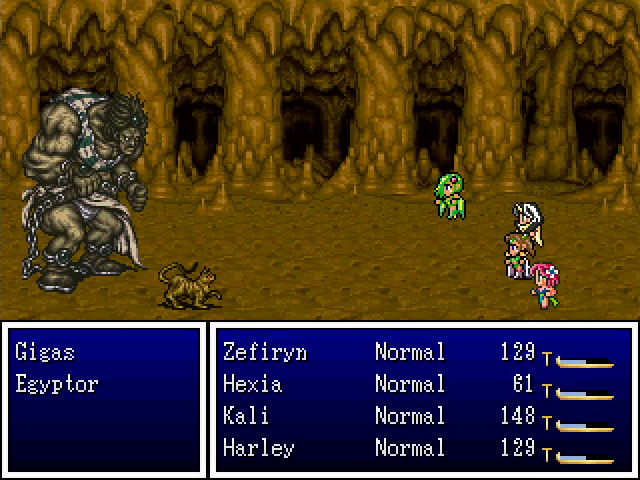 It's a Gigas and its pet cat, the only time a Gigas is accompanied by any other enemies. We're forced to choose between focusing on the Egyptor, which can disable us, or the Gigas, which has more HP but is also way more dangerous. I tend to go for the former, but forcing hard decisions like this is the mark of good battle design. 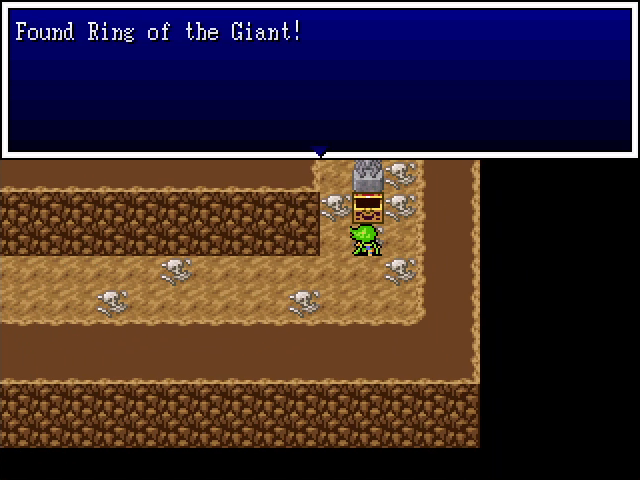 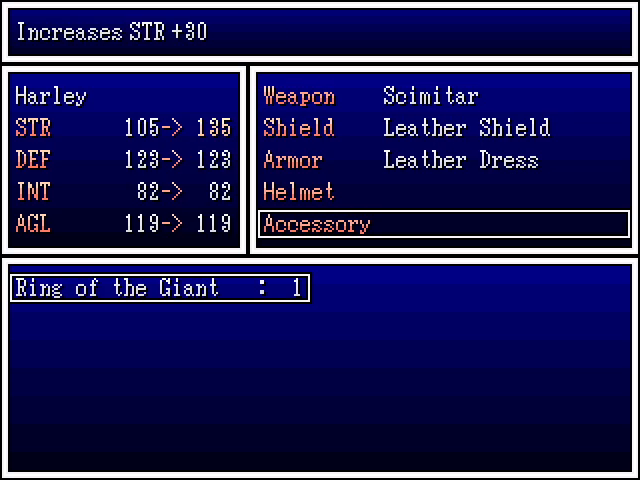 Our reward for victory is a Ring of the Giant, which boost Strength by a whopping 30 points! Harley is our fastest character and spends a lot of time attacking, so she's a good choice to wear it. 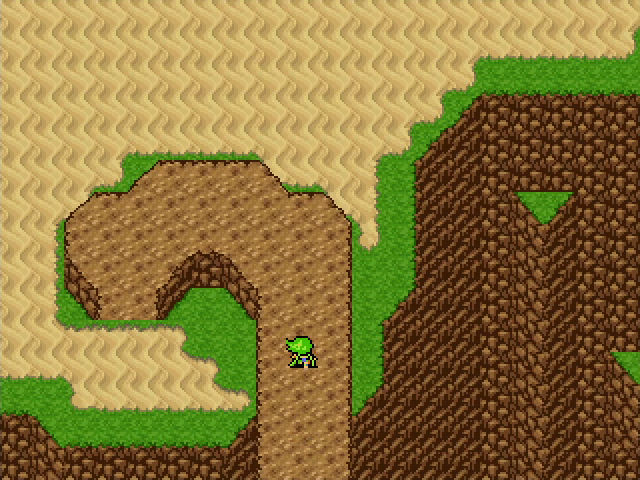 The cave eventually leads into an open desert plateau, which makes for a nice change in scenery. 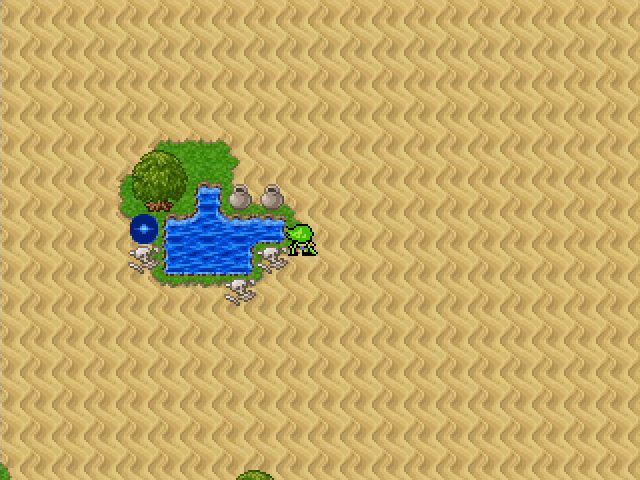 There's an oasis here with an MP refill and a couple pots. But why is it surrounded by corpses? 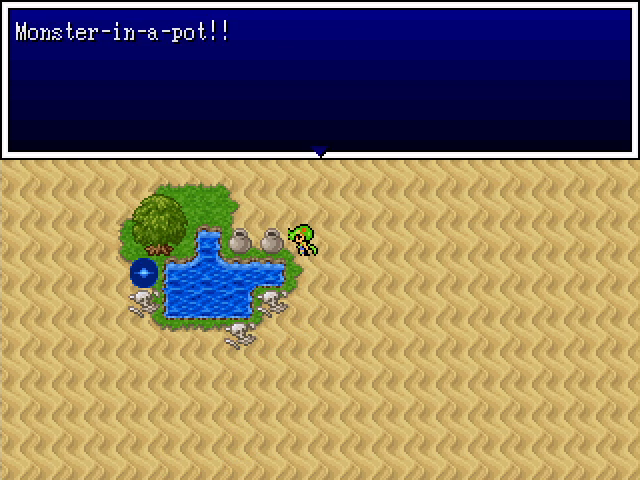 Oh, that's why. 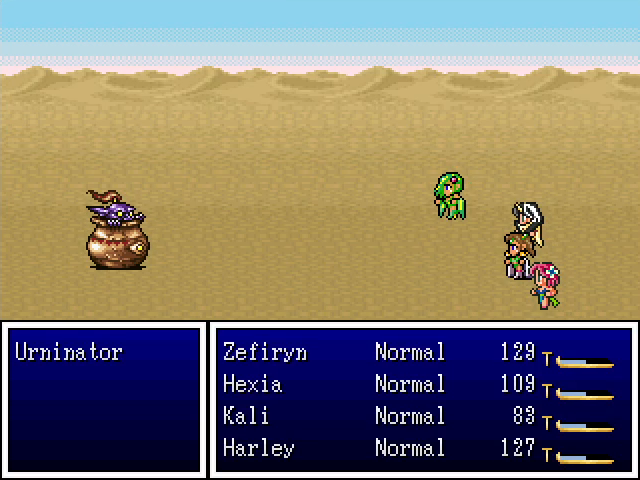 Urninators (please do not misread that name) aren't really too scary. They don't have much HP and I didn't see any of them do more than attack before they died. 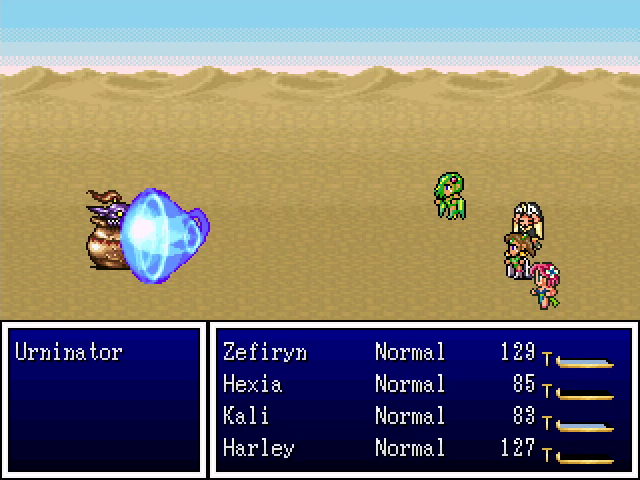 Hurt works well on them. Did I mention it's a Hadouken? It's a Hadouken. 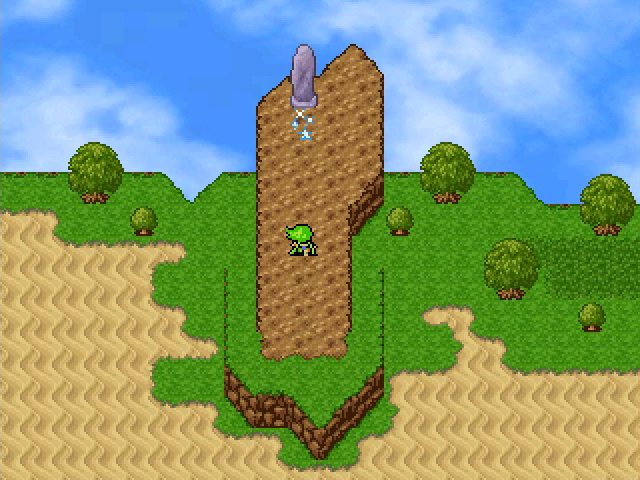 At the north part of the plateau is a second save point. 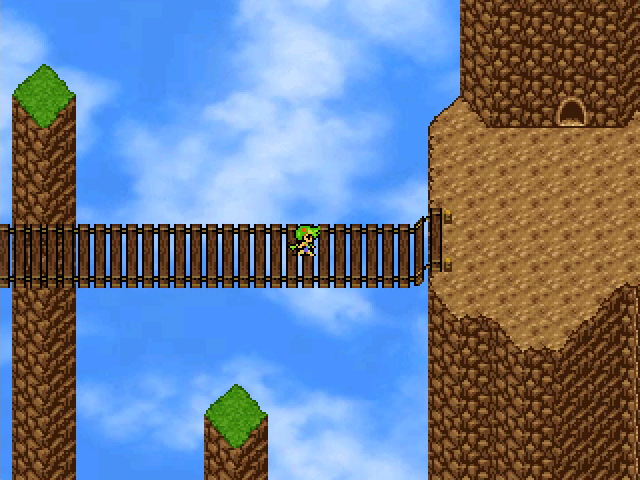 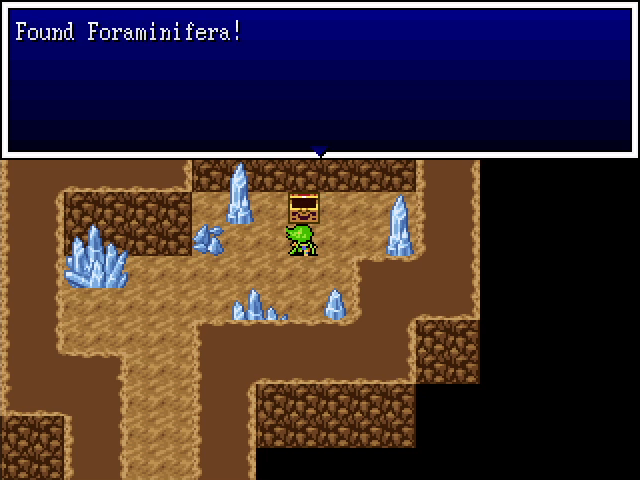 At the east end of the plateau is a bridge leading to another, smaller plateau with a cave. Inside is the object of our search, the Foraminifera. We found a warp whistle earlier and could use that to get out, but the party's in good shape, so I decide to save resources and walk. 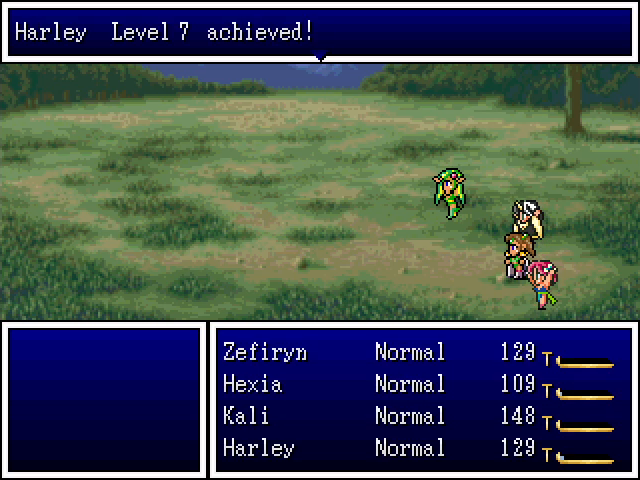   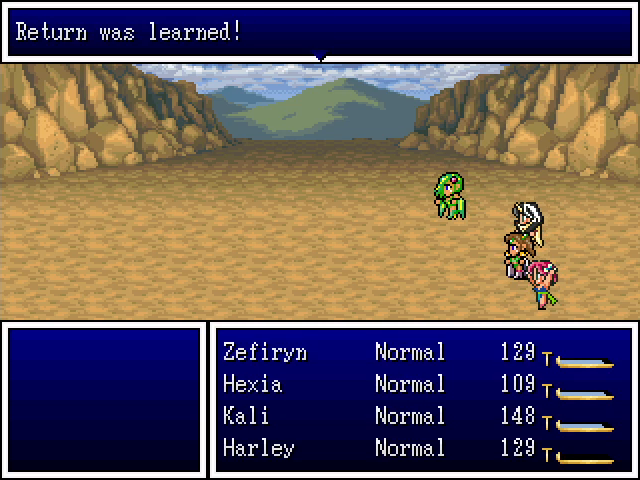 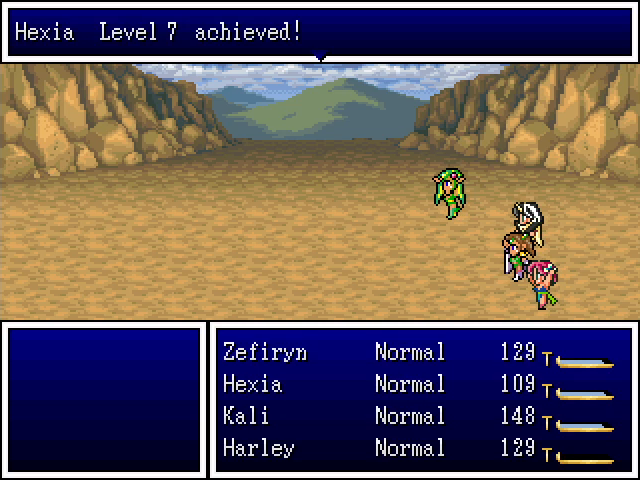 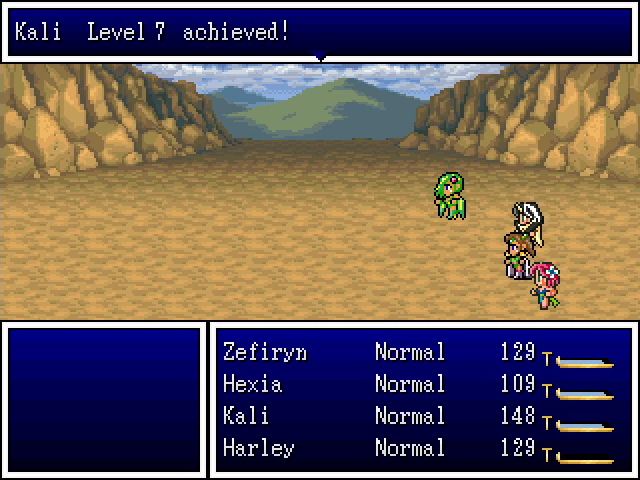 We got some more levels on the way out. Firebal will likely be a very useful spell in the events to come. 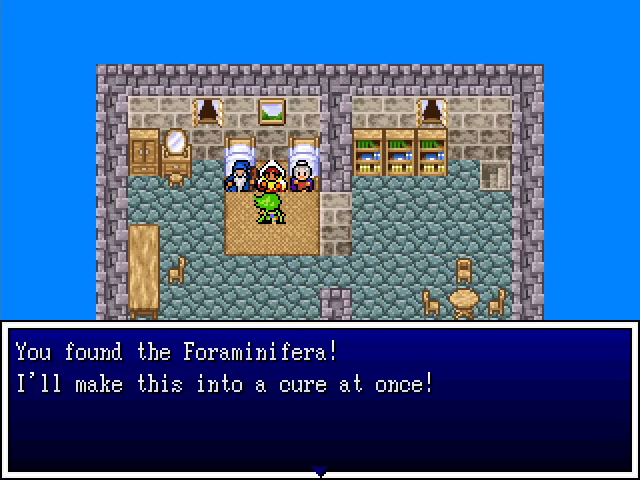 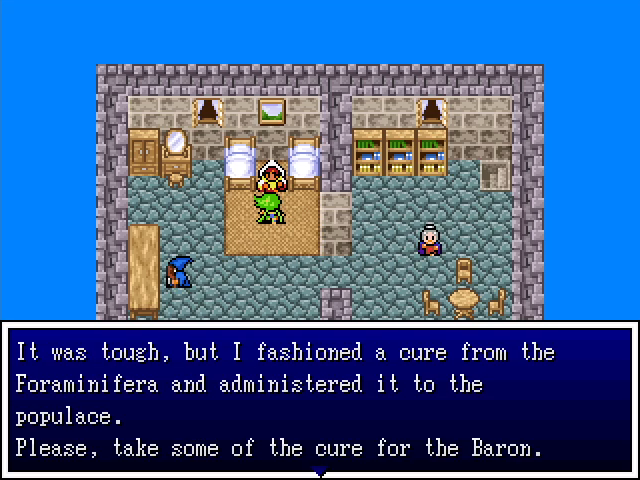 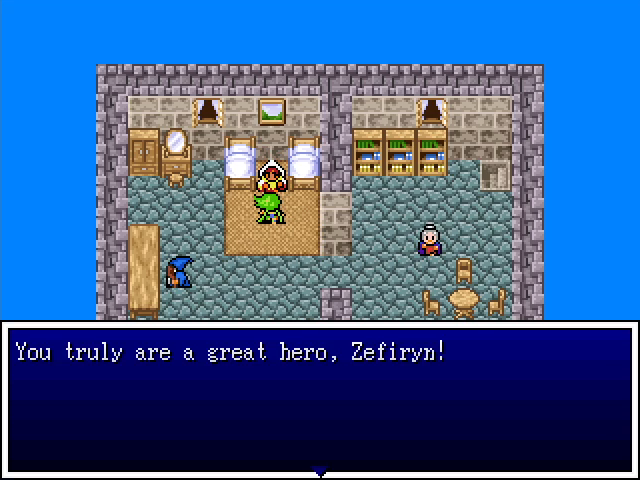 Back in Kaybee, we hand in the Foraminifera, and the medic makes a cure from it. Kaybee is now out of the woods, but we still need to go cure the Baron. 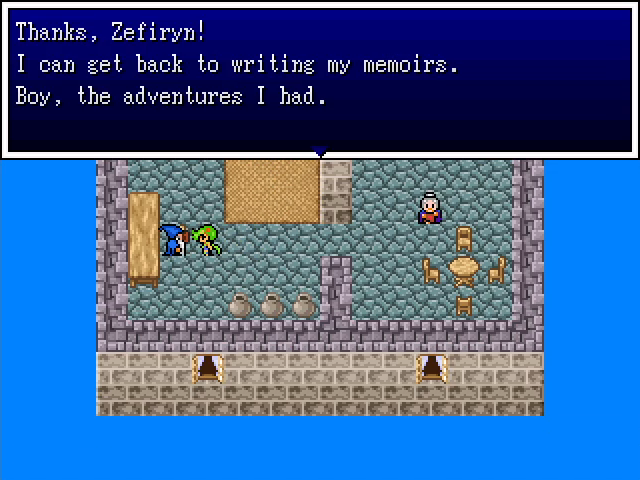 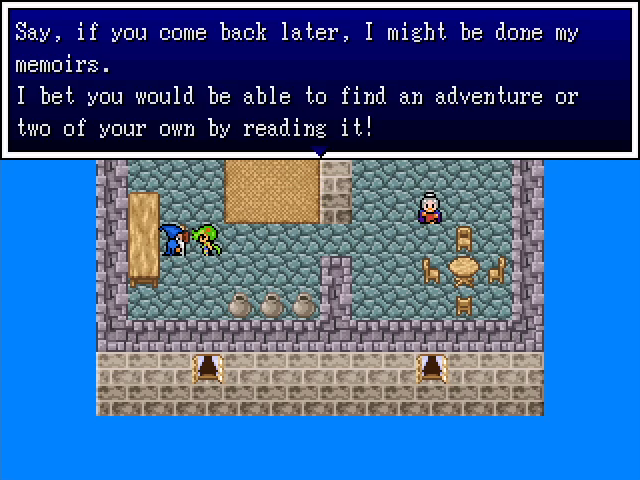 The village leader seems like a nice old guy. We'll get back to him eventually. 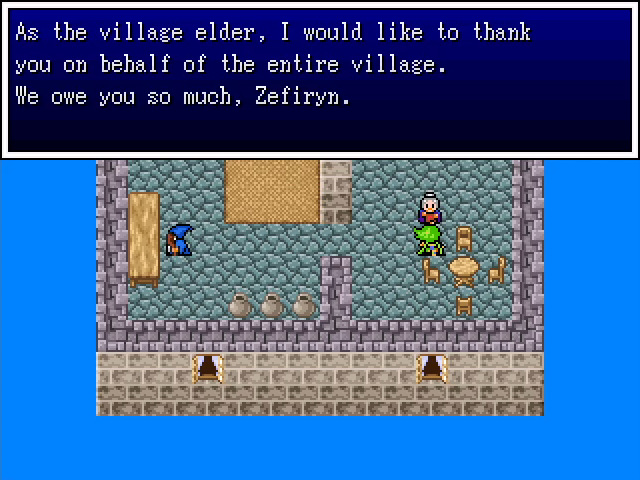  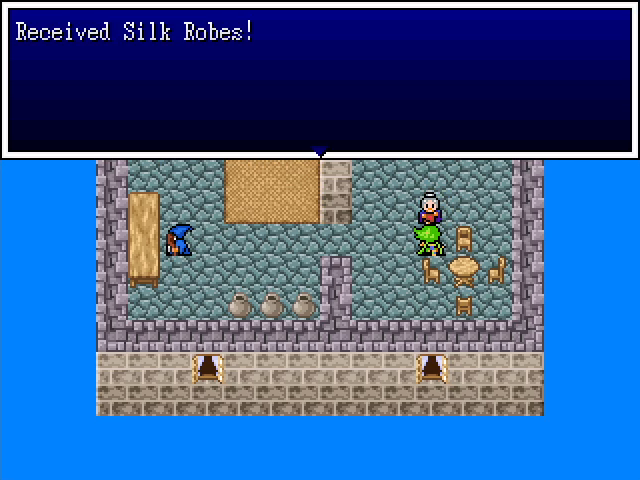 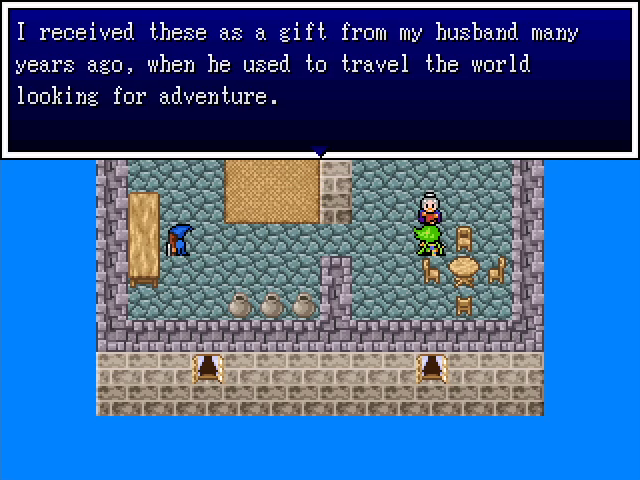 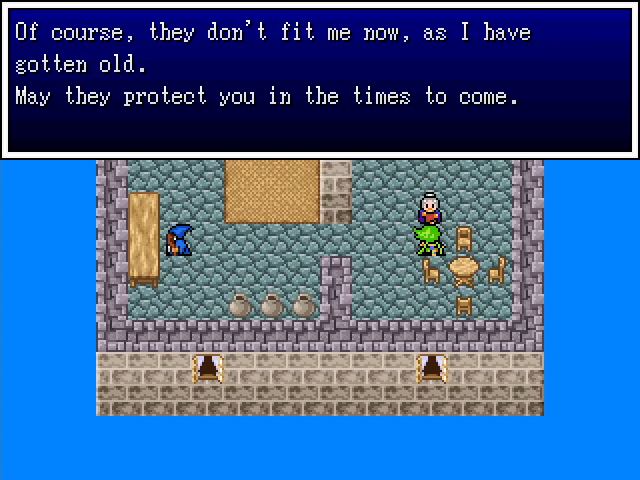 His wife is also quite nice, and even rewards us for our efforts. The silk robe is a great acquisition for Hexia, who badly needs some better armor. 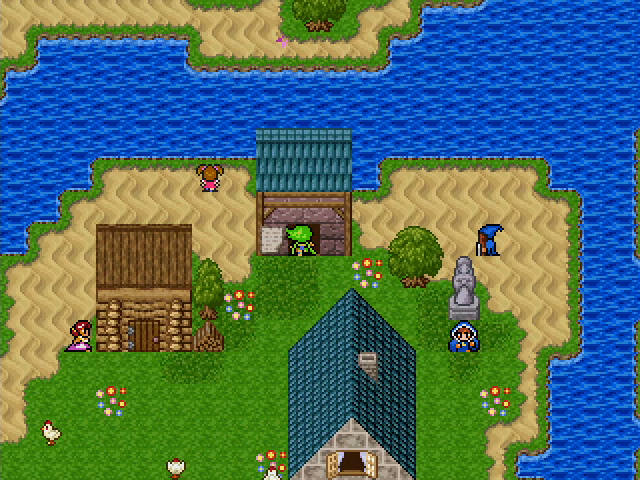 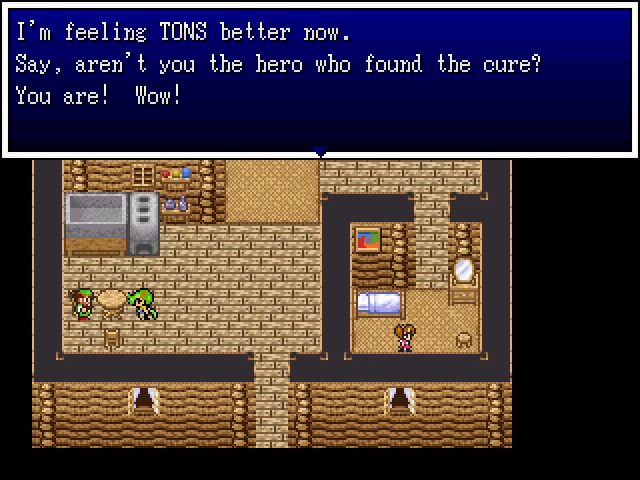 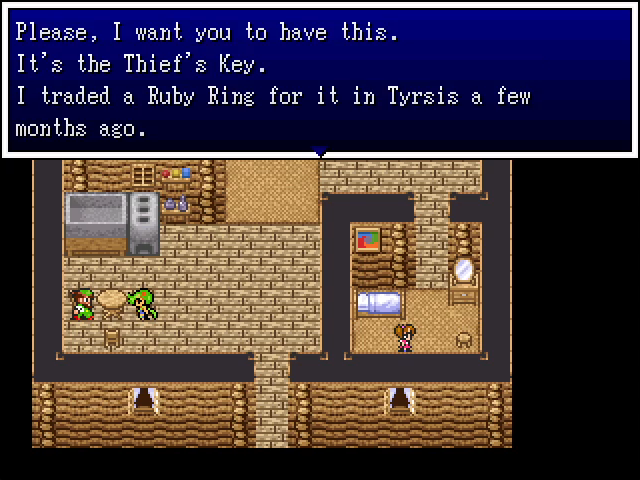 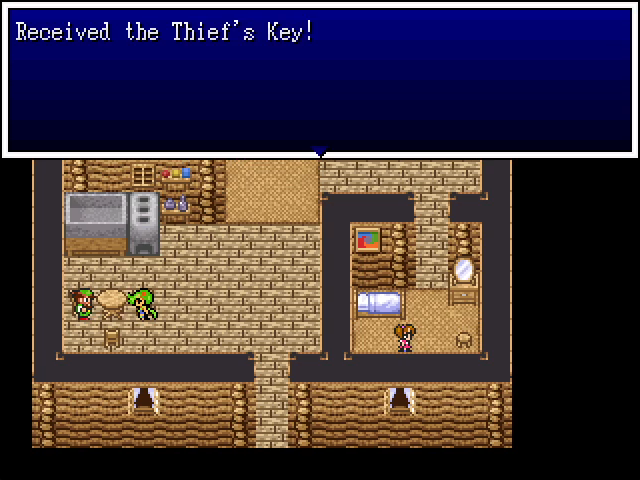  The quarantined house is open now, and the man inside gives us an excellent prize: the Thief's Key. This opens the brown doors we've seen in various areas, including the Baron's home. 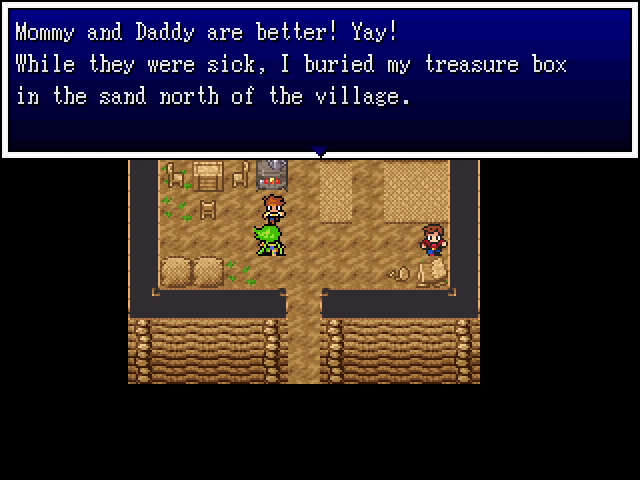 I know kid, I already found it. I'm a hero, after all.  Wait, who's that man in the suit and pork pie hat? 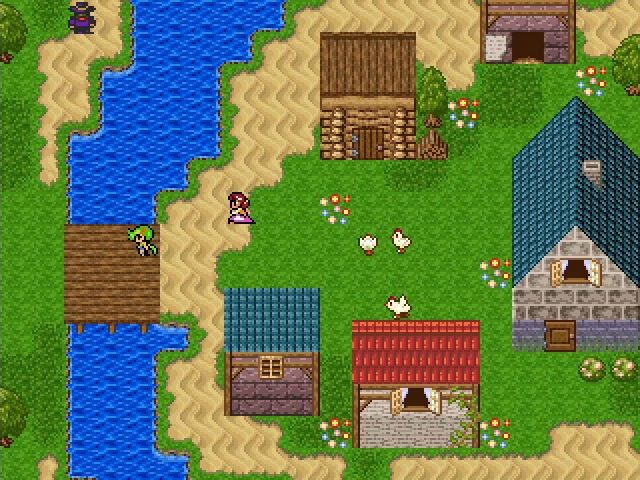 He jumps and runs off before we can talk to him. Oh well. 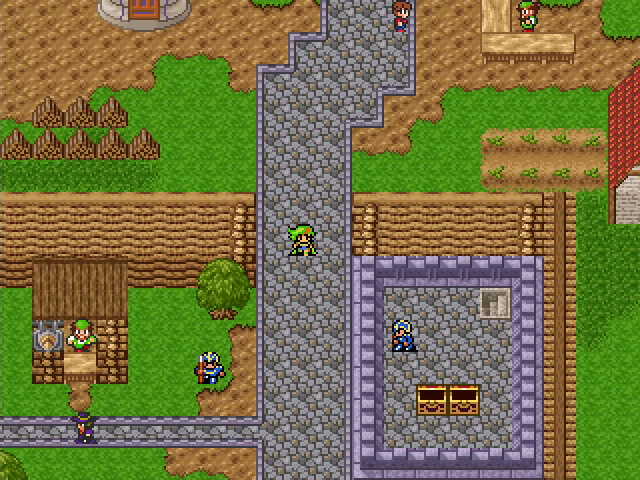 He's also in Dracoma. Who is this guy? 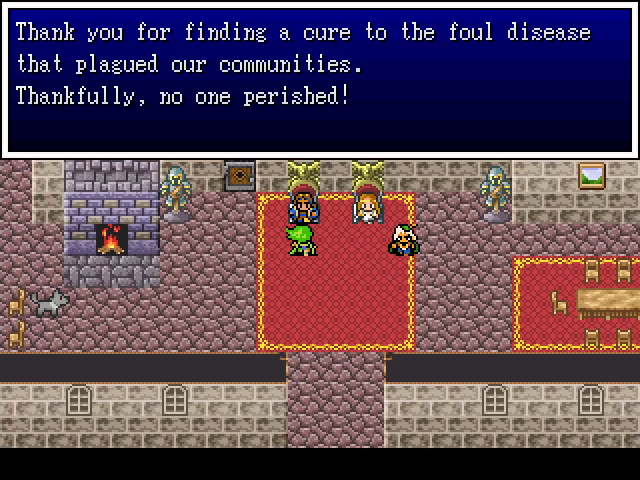 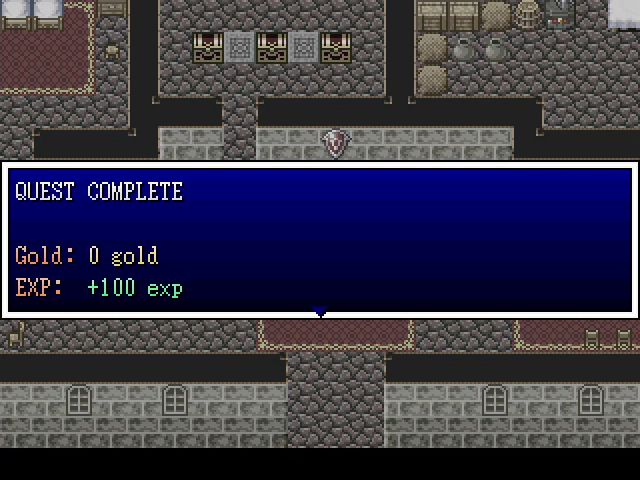 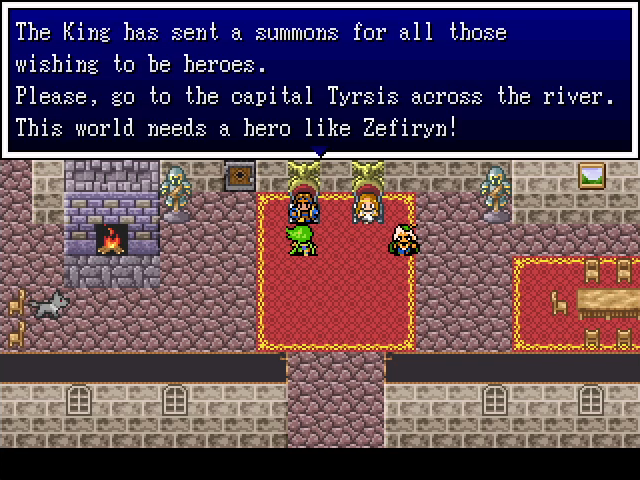 In any case, the Baron and Baroness are already back on their feet when we walk through the door, so I guess the cure somehow made it here before we did. As with Holdana before her, Zefiryn is asked to answer the Gurus' call. 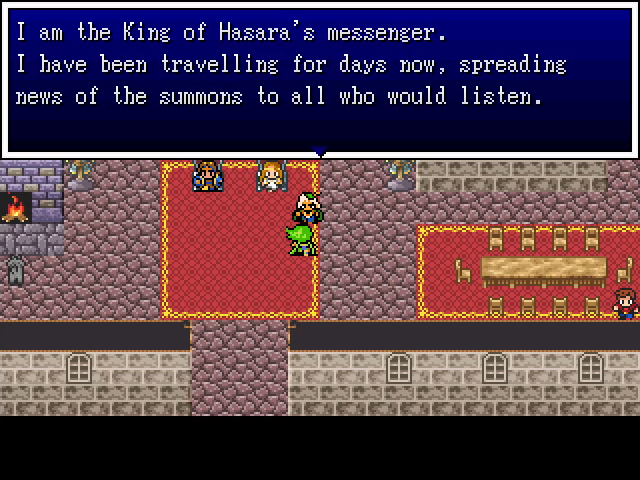 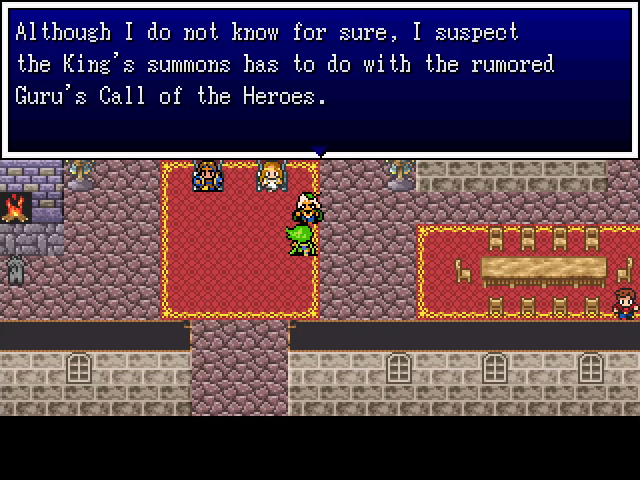 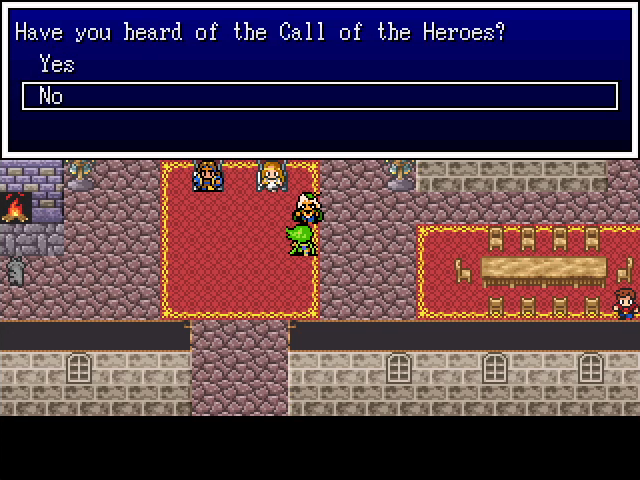 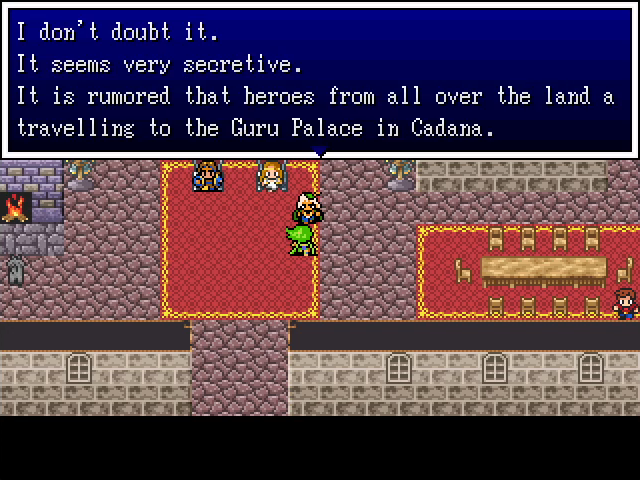 The messenger doesn't tell us anything we didn't know from Holdana's story, but now Zefiryn has a reason to know as well. 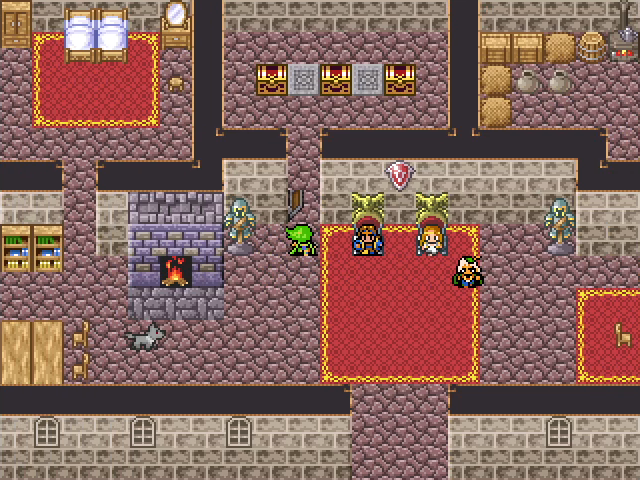 The Thief's Key opens the Baron's treasure room. Inside is some money, a seed, and a long sword, which we'll give to Kali. 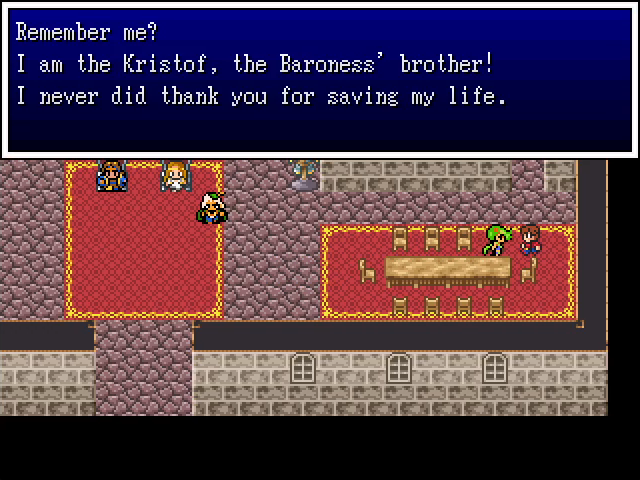 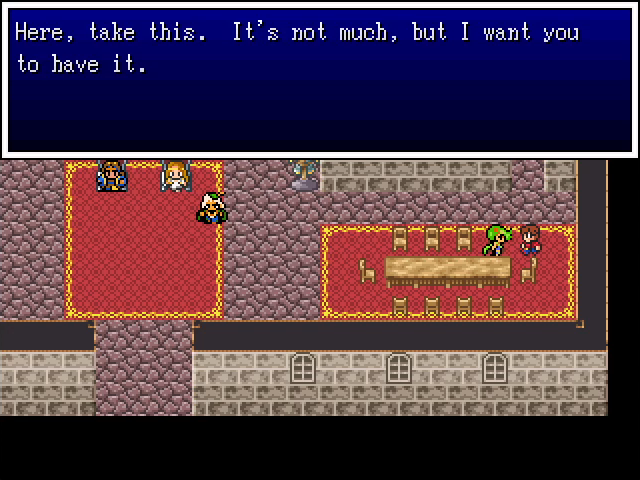 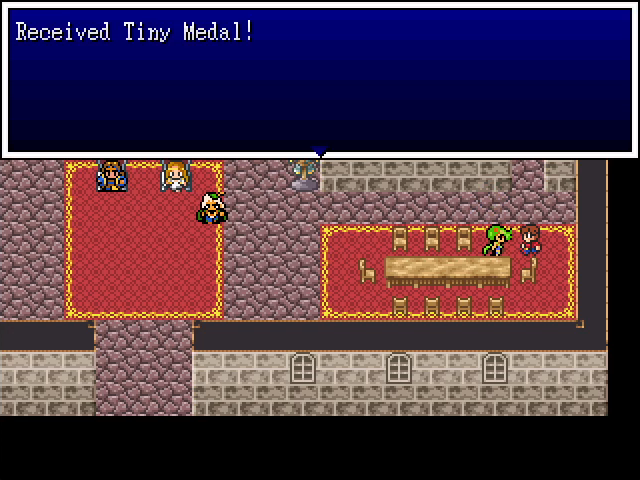  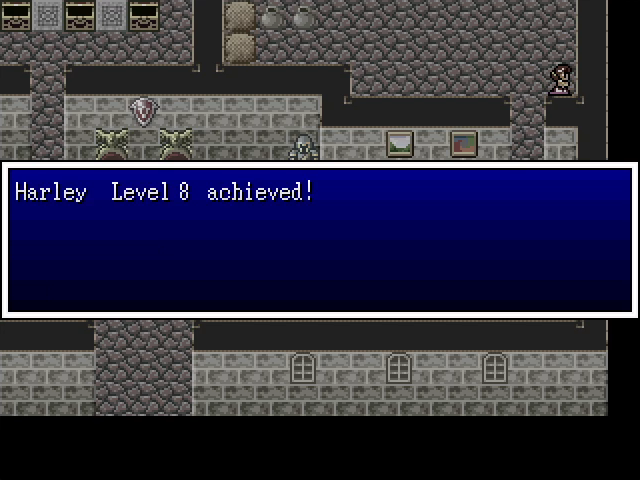 I'll be honest: I totally forgot about Kristoff before now. It's probably possible to get this when first returning to Dracoma. 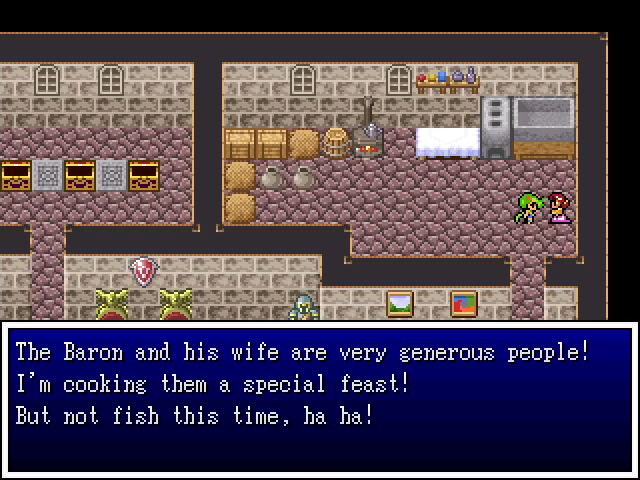 Haha, yes, the fact they they almost died makes for an excellent joke! 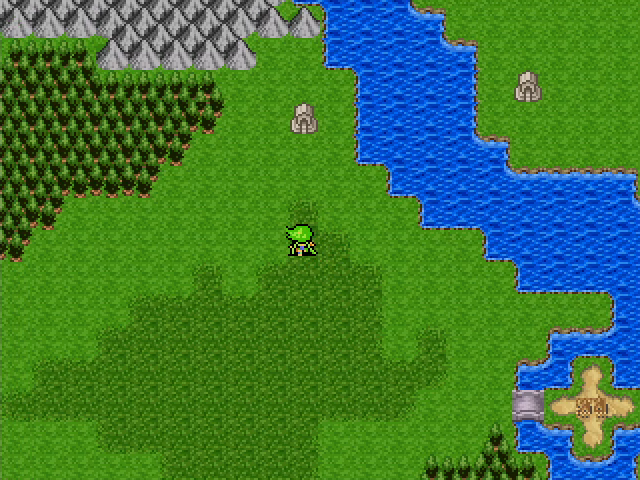 North of Kaybee is a pair of shrines on opposite sides of a channel. 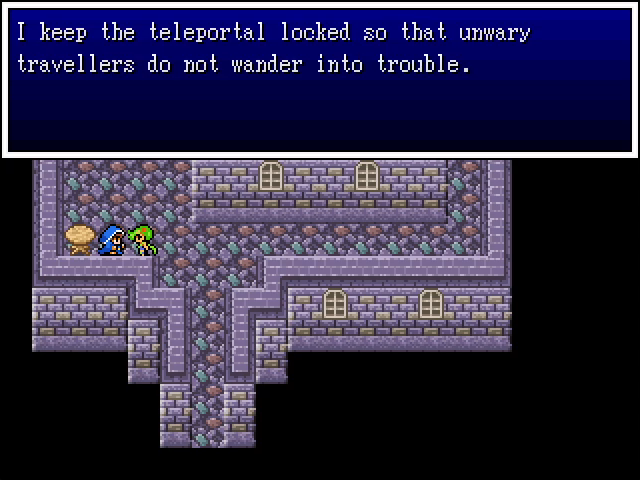 The priestess inside has locked away the teleportal, which ensures that the player doesn't leave the Thief's Key behind. Luckily, we have it already, so we can cross. 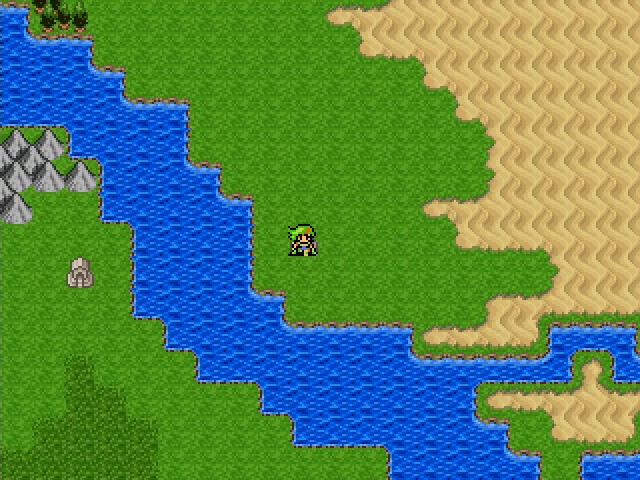  The lands here are covered in desert and swamp. 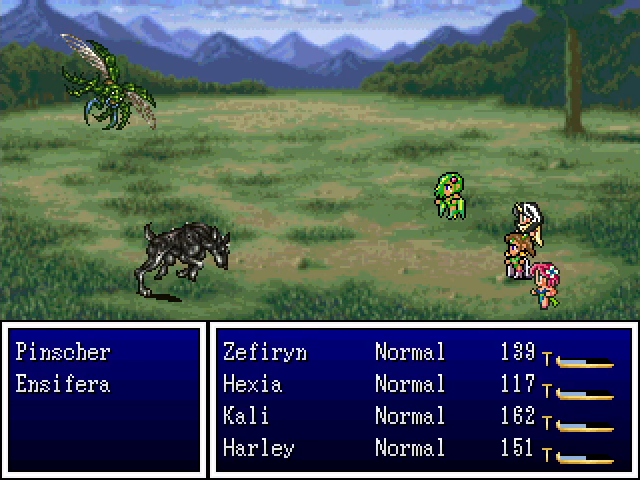 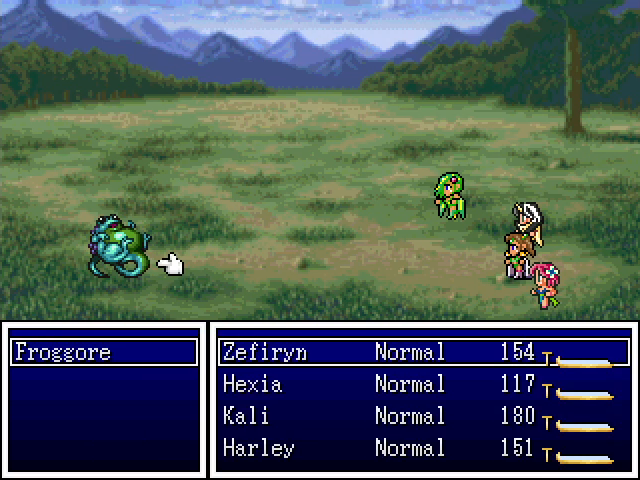 And also new monsters. Pinschers continue the canine tradition of not having any real tricks, while Ensiferas hit twice with Double Attack. They don't have much strength, though, so it's not especially dangerous. Froggores like to inflict Slow and sometimes show up in large numbers. 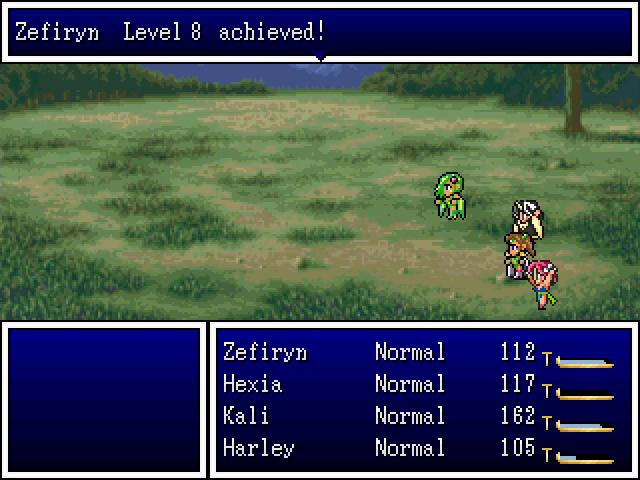 Another level. 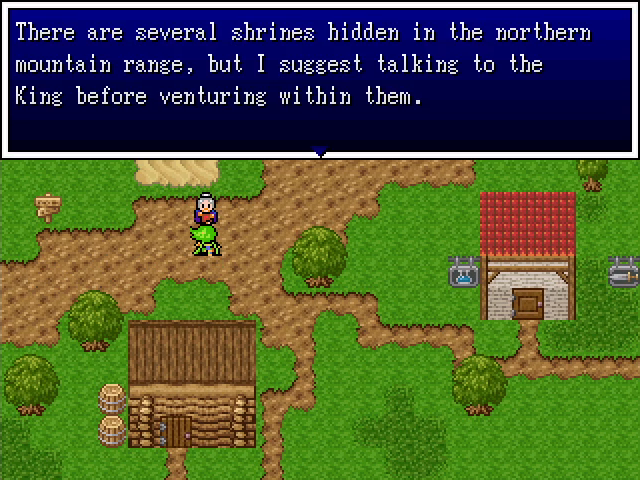 Eventually, we arrive at the village of Tohl. One of the residents informs us of some shrines to the north, but also says we should leave them for later. I'm fine with doing so. 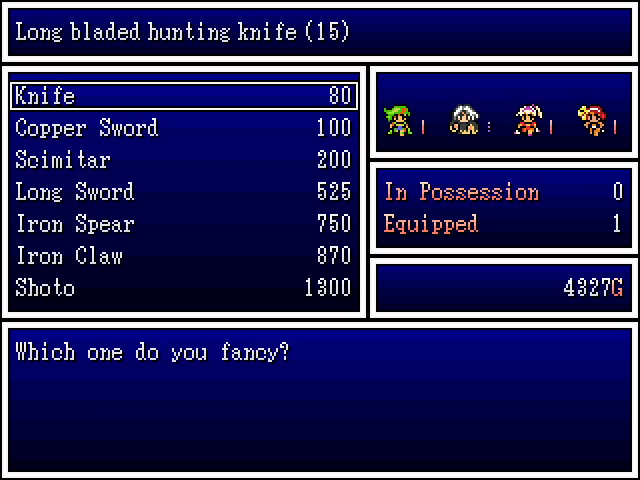 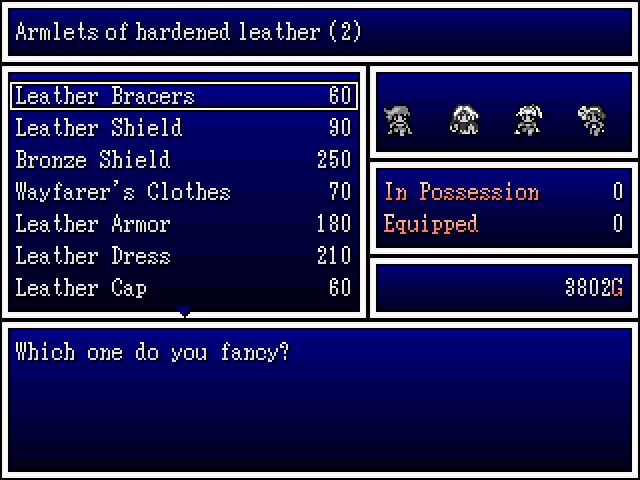 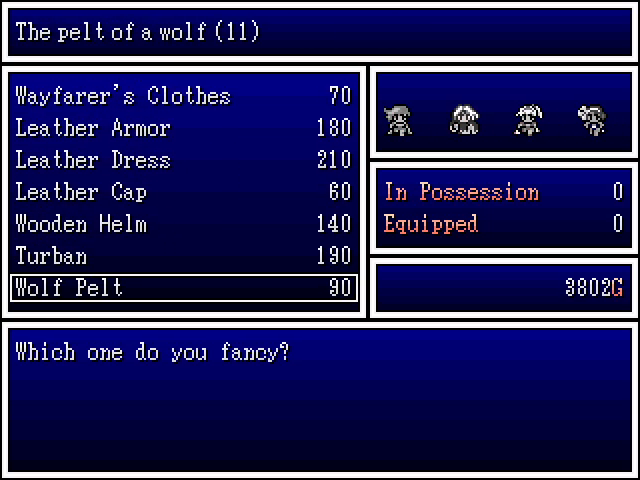 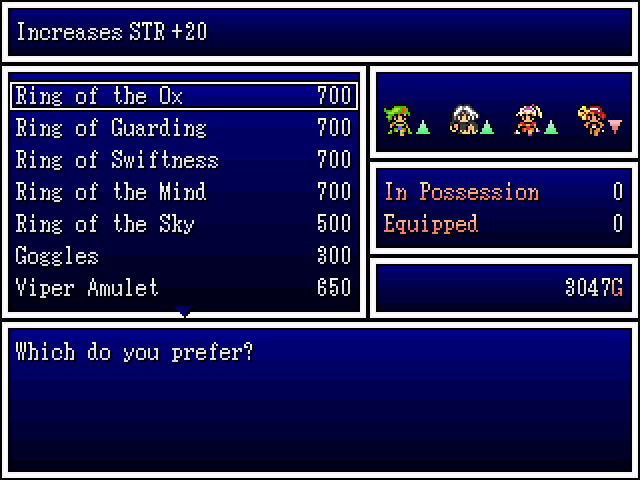 The shops here have a few new items of interest to our party. Zefiryn can get her own long sword, and the front-liners can upgrade their leather shields to bronze. The wooden helm is also a decent upgrade for Kali. There are also new stat-boosting rungs here, but again, I don't think they're really worth the money.  We also get a new tarot card in town, the Void. 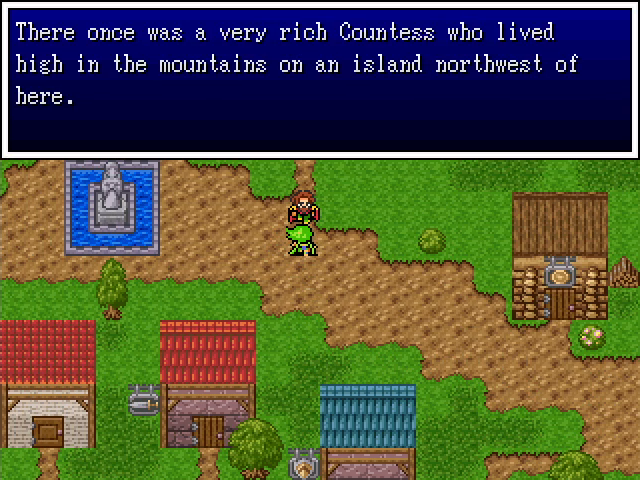 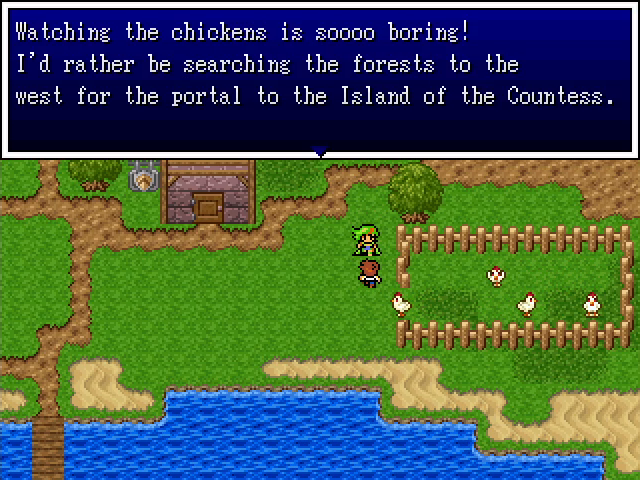 A couple people in town mention "the Countess", who was reclusive and wealthy. Maybe we should look into that. 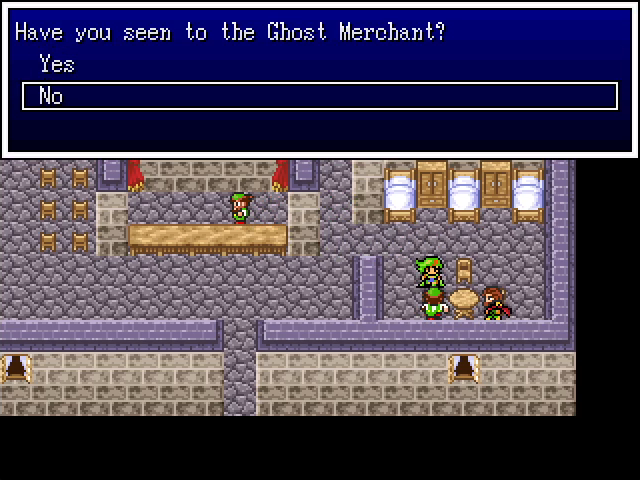 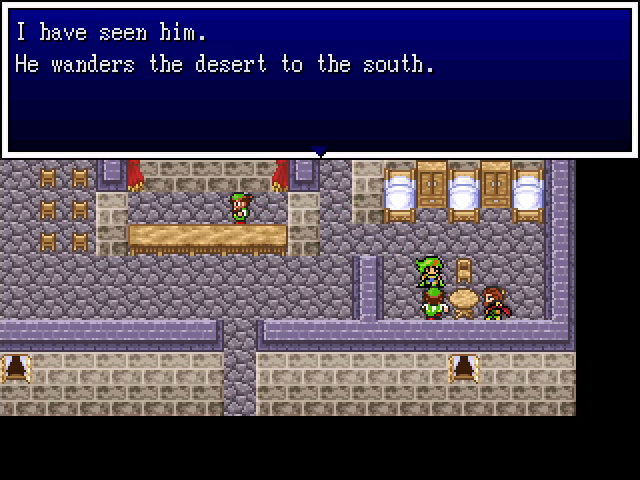 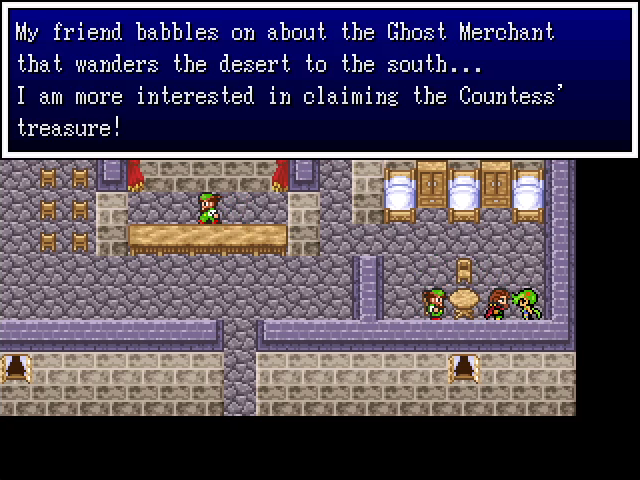 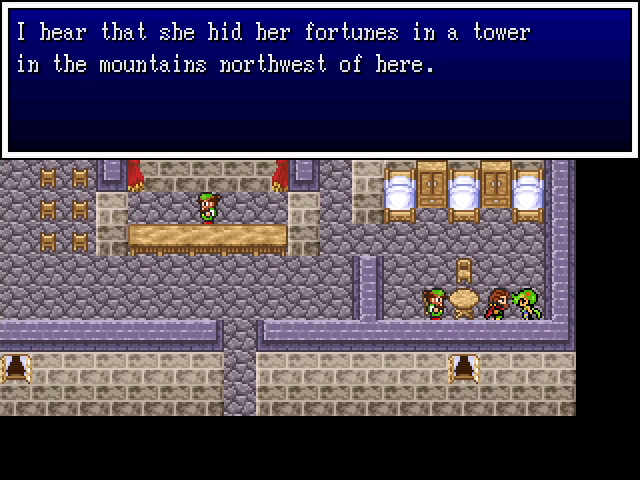 We also hear rumors of a ghostly merchant that haunts the desert south of Tohl (the one near the teleportal shrine). 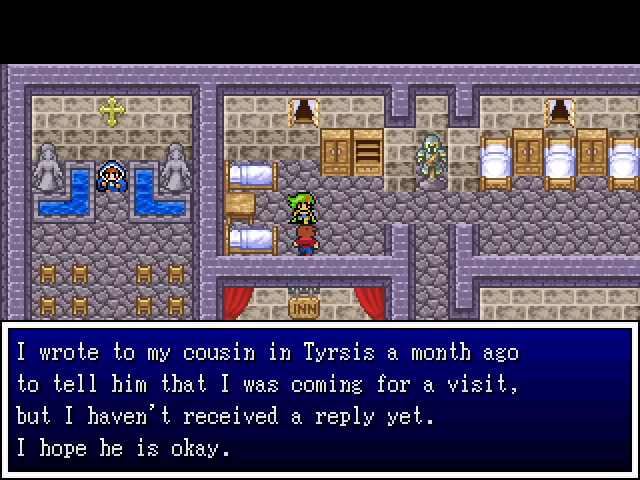 I'm sure he's okay. It's not as though there's been a recent rash of strange and unfortunate goings-on. 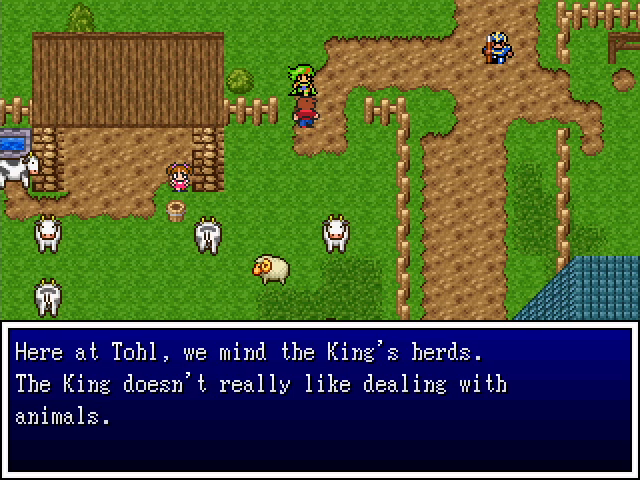 This is definitely being shown here for no reason, because it is not in any way relevant. Not at all. That said, there is something suspicious here... 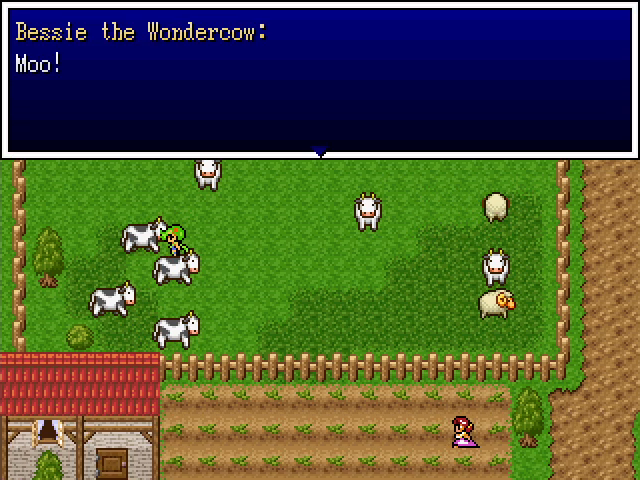 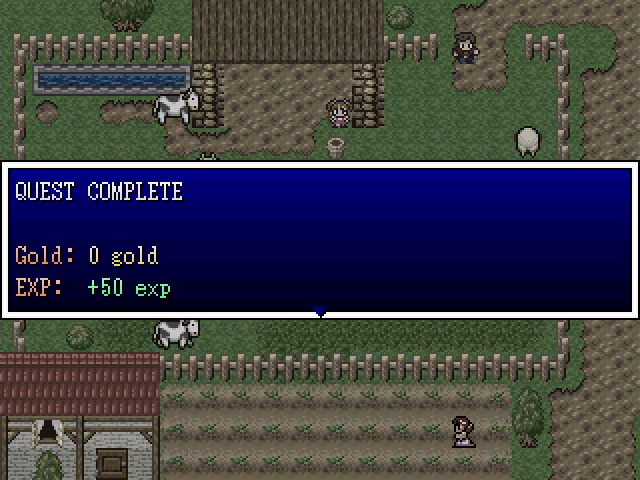 BESSIE! 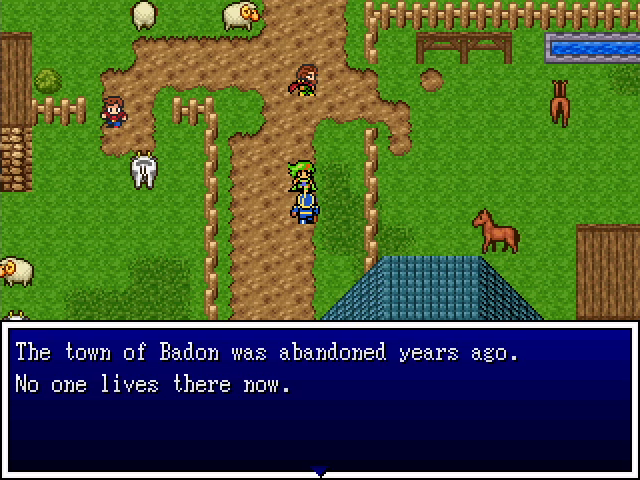 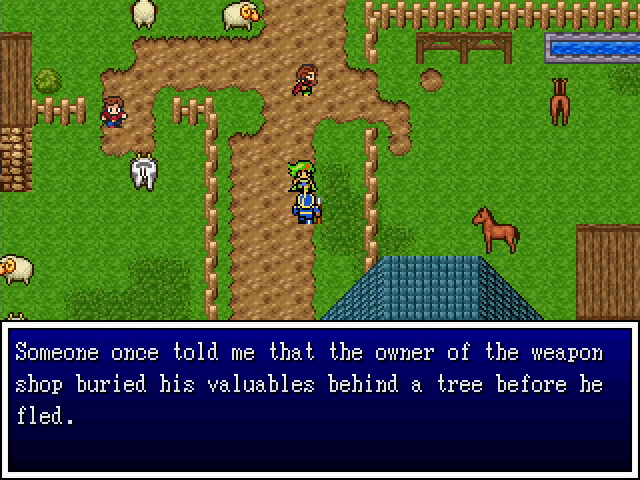 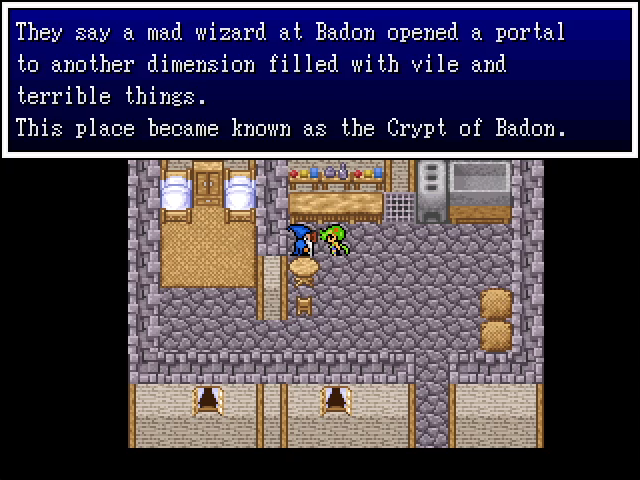  We'll file this away for later. 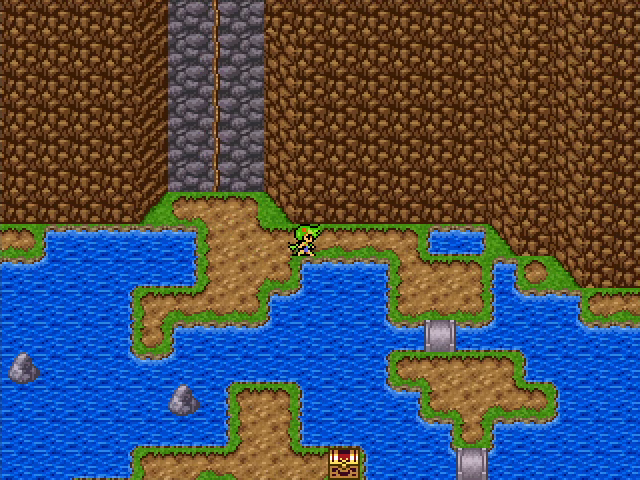 The well in Tohl is a one-room affair with a chest containing a piddly, if amusing, amount of gold (42). 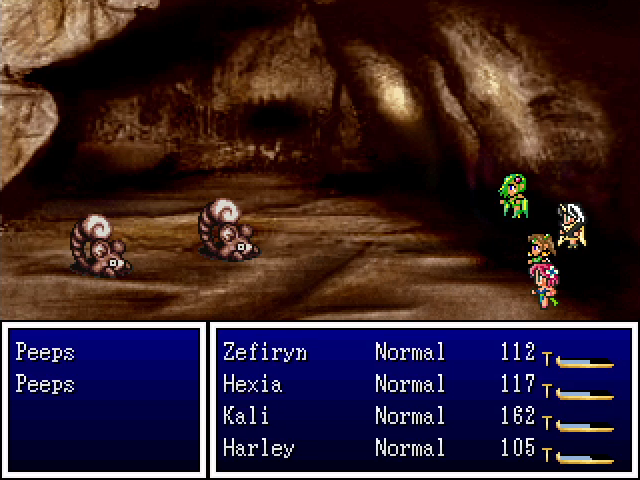 It also contains Peeps, the same worthless enemies that lived in Holdana's well.  But it also contains Metal Peeps, which are basically metal slimes: fast, hard to hurt, and prone to fleeing. We basically can't hurt them without scoring a lucky crit, so they're not worth the time, at least not right now. 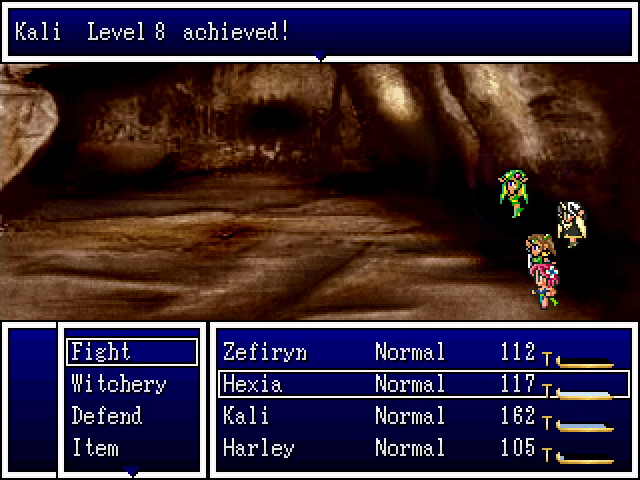  Kali does get a level from fighting Peeps, at least. Bonebane does a solid amount of damage to all undead enemies. So, we've heard a few rumors in town. Let's look into that ghost merchant. 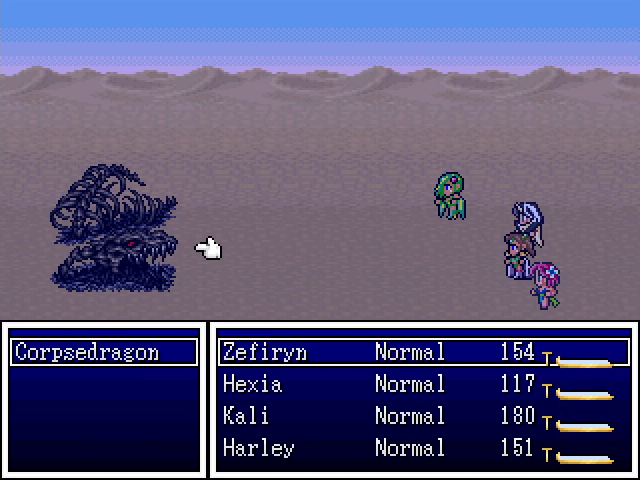 The desert south of Tohl is populated mostly by Corpsedragons, which inflict Demi. A character with Demi almost immediately loses about help their HP, then the condition ends. It's weird, and probably used as a workaround for the engine not allowing attacks to deal direct fractional damage or something. 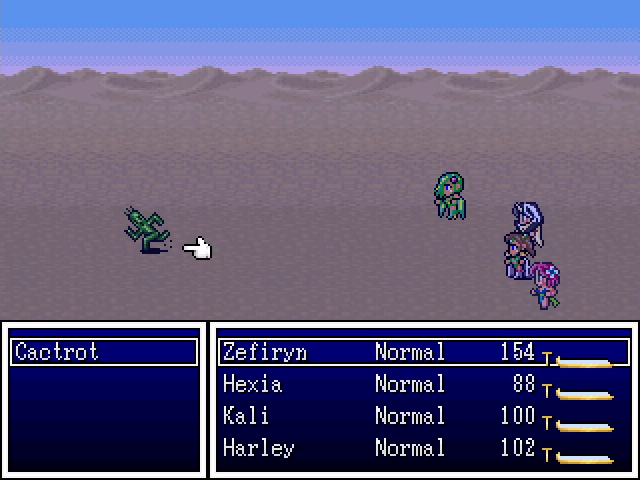 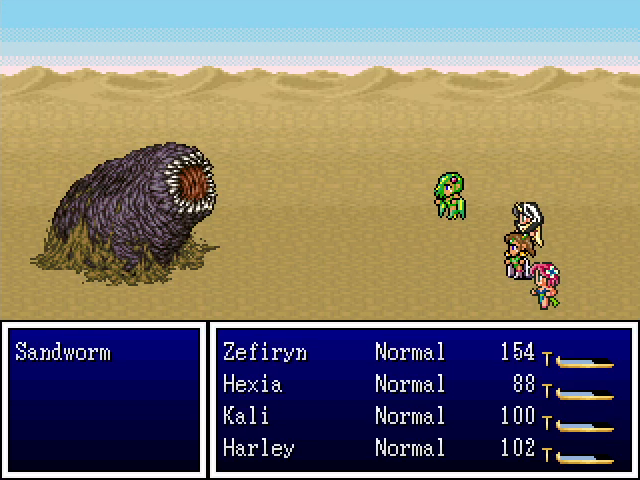 I recognize this reference.  Cactrots are really rare, and I don't know what they do because I only found the one and took it by surprise. They drop wizard potions when slain. Sandworms hit like trucks, and drop chests when killed. Cactrots are really rare, and I don't know what they do because I only found the one and took it by surprise. They drop wizard potions when slain. Sandworms hit like trucks, and drop chests when killed.But of course, none of these are why we're here. 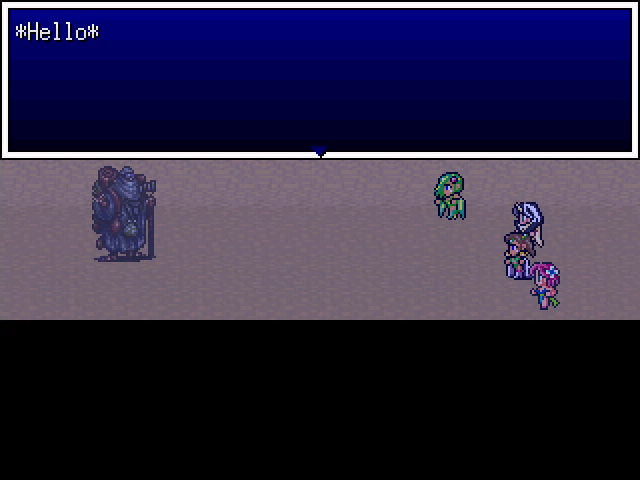 The merchant is actually another rare encounter here, though he doesn't fight. 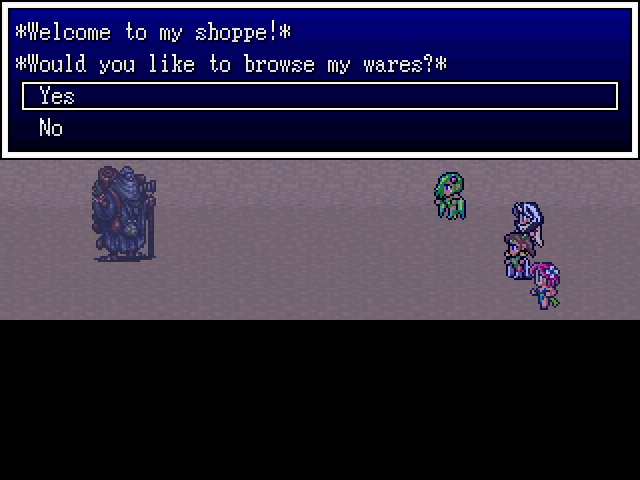 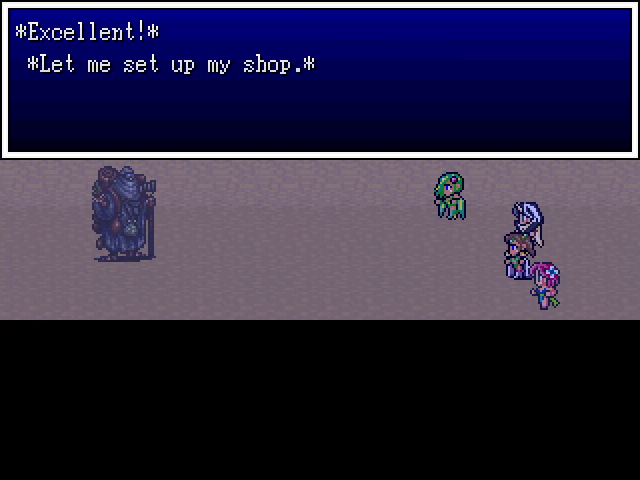 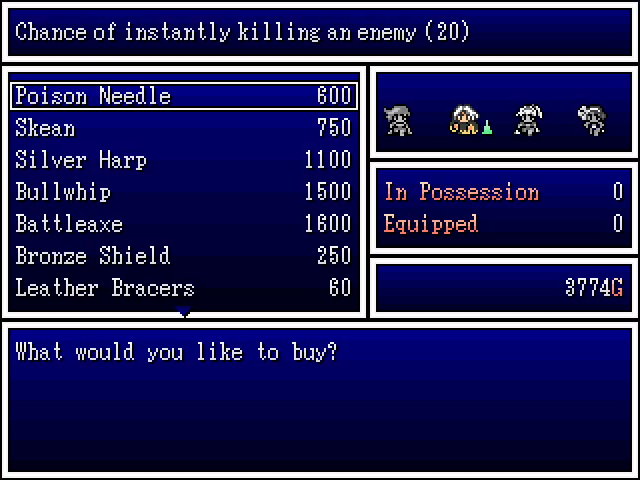 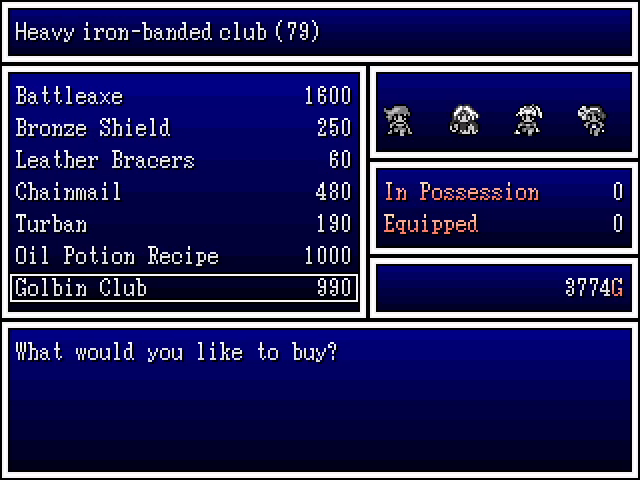 Instead, he sets up shop and lets us buy stuff. He has a lot of good items, and I grab a poison needle, a bullwhip, and three sets of chainmail. I'd love the Oil Potion recipe, but unfortunately, after buying everything else it's out of our price range. We'll have to find one elsewhere, since finding the merchant is a pain and I don't plan on doing it again. 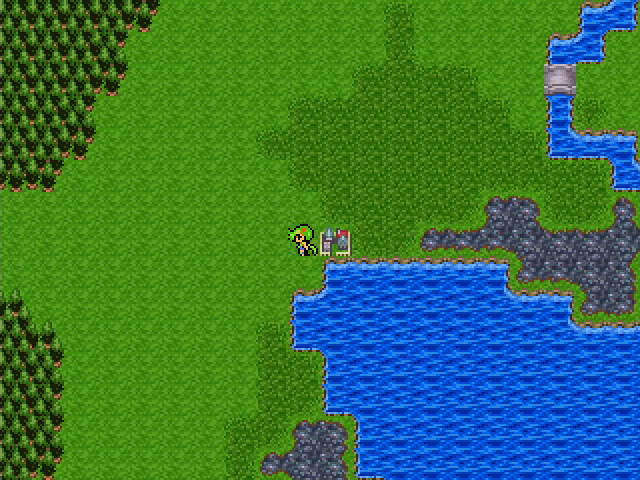 Next time: we go treasure hunting.
|
|
#
?
Jun 20, 2022 17:21
|
|
|
We've mostly finished our business in Hasara and we're on our way to the capital to see about answering the Call of Heroes. But let's forget about that for now and go do some treasure hunting!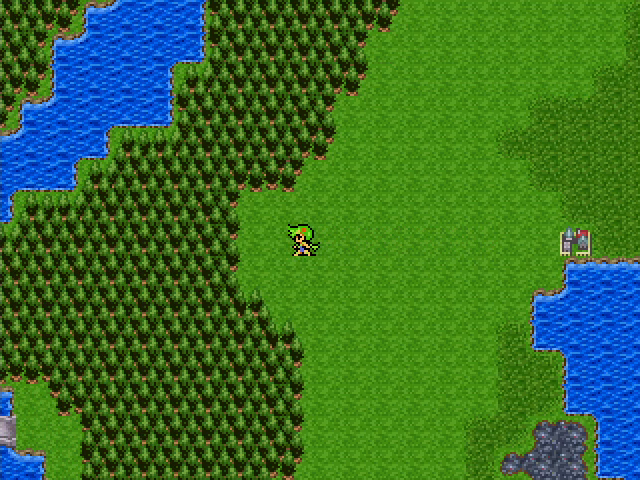 A few people have mentioned the tower of the Countess, which is somewhere to the west, so that's where we're headed.   There are a few critters in this area that we haven't seen yet. Persians are similar to Egyptors, using Evil Flame and a few condition-inflicting spells. Bullpups are much like the other dog enemies, with decent HP and power but not special tricks. Misappropos are the most annoying things here by far; they don't have a lot of HP, but they use an attack called Wrench which never misses and heals them for whatever damage it deals. 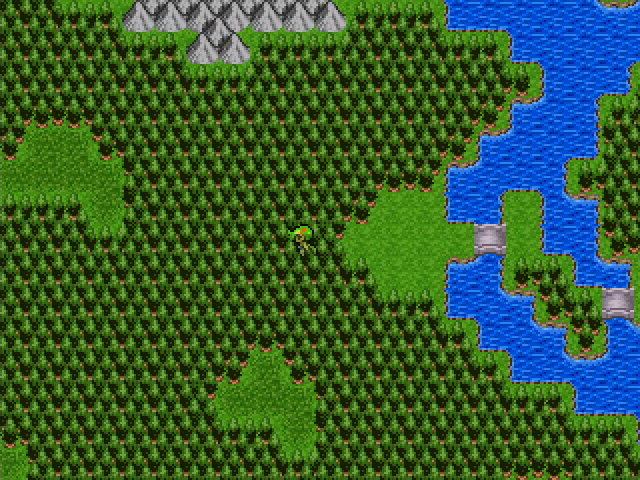 After crossing a couple of bridges, we wind up in a forested area dotted with clearings. If you're thinking that one of them holds a secret, your instincts are good. 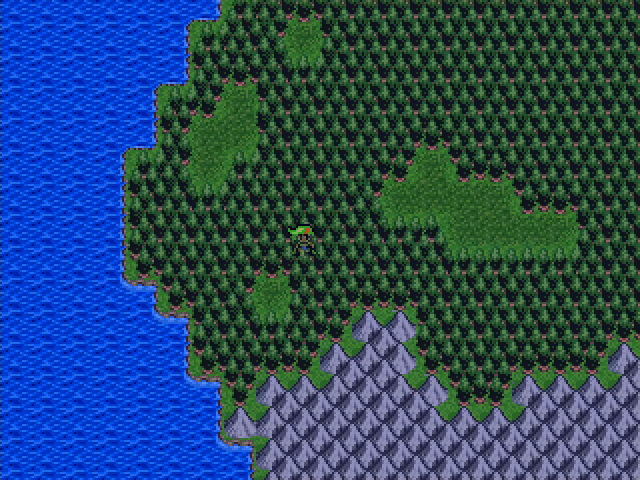 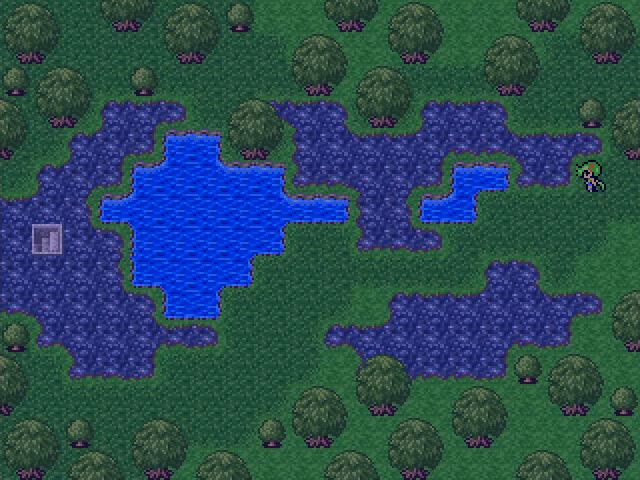 This patch of land in the southwest leads to an area with swampy terrain and, more importantly, a set of stairs. 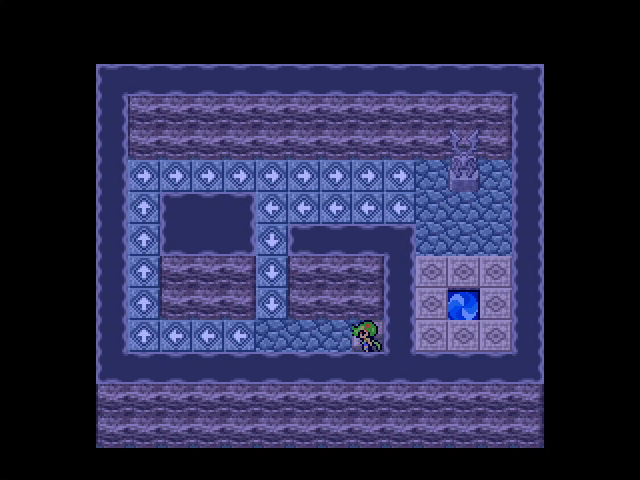 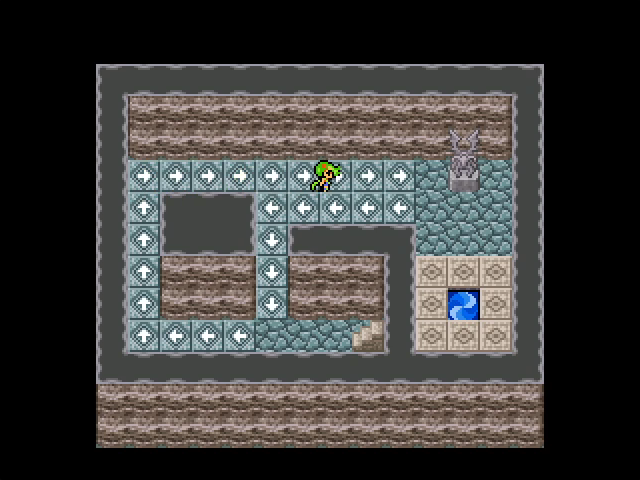 This small room serves as a tutorial for something we'll be seeing a lot of very soon. Stepping on an arrow tile automatically pushes us in the direction it's pointing. It's very basic in this room, but it's going to get much more involved. 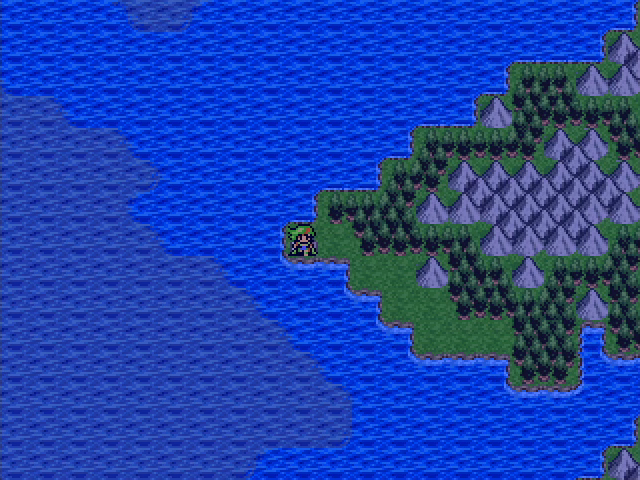 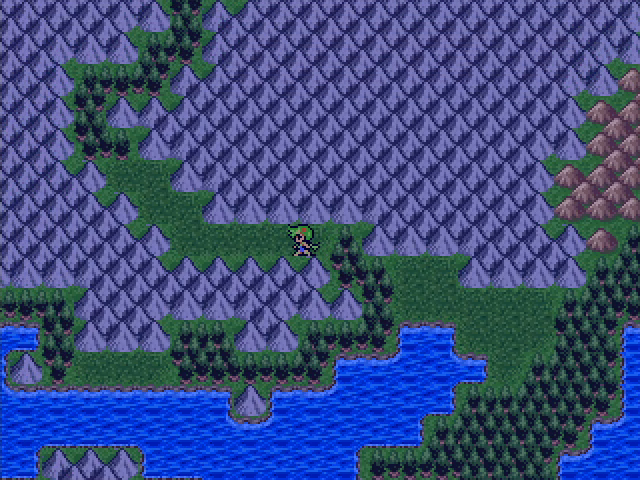 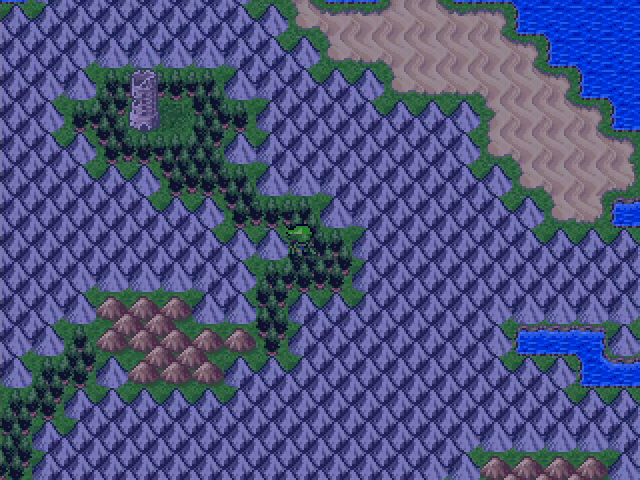 We wind up on a mountainous island. It's quite obnoxious to navigate, since forest and hill terrain have high encounter rates, and some of the monster groups can do serious damage if they take us by surprise. 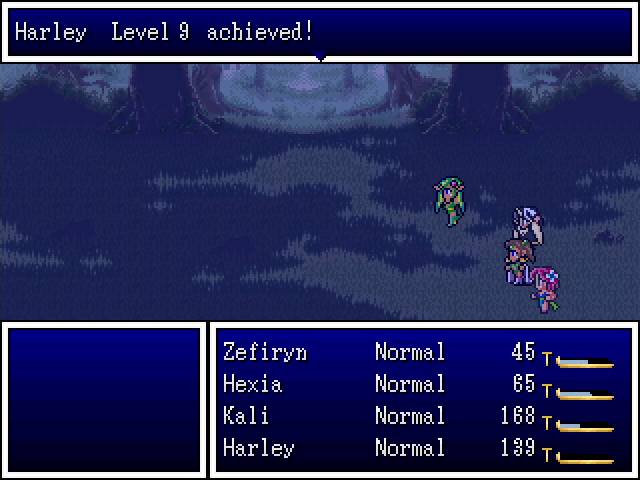 At least it gives Harley a chance to level up. 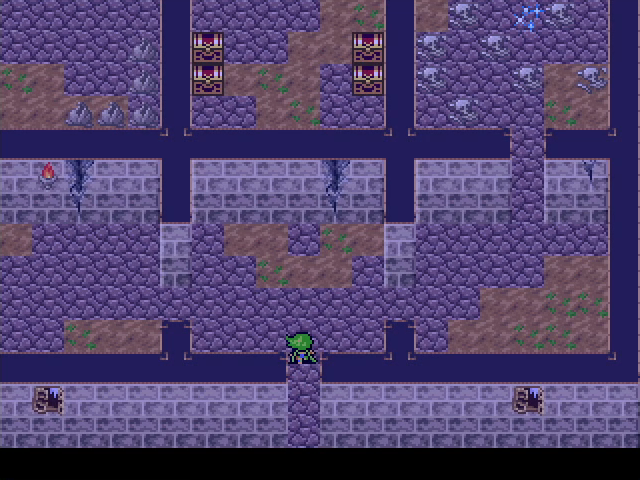 The entrance of the tower is a series of square rooms. There's a save point in the corpse-filled room on the left, but I'm not sure why since saving is as easy as just leaving the tower. 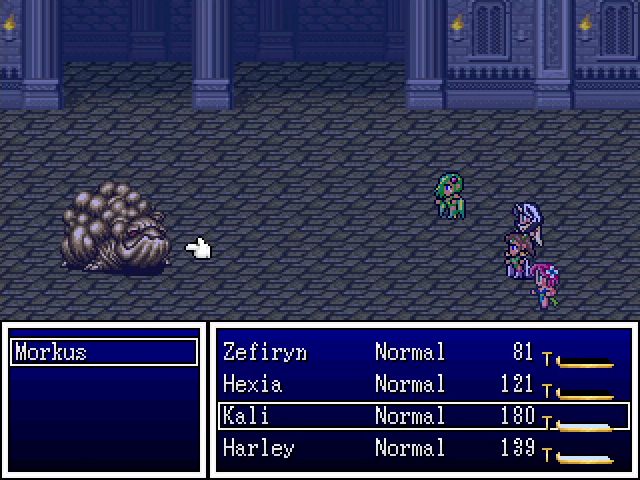 There's not much to say about the monsters in the tower. Morkuses make a return here, but everything else is stuff we've already seen in this chapter, and the overall encounter rate is pretty low. 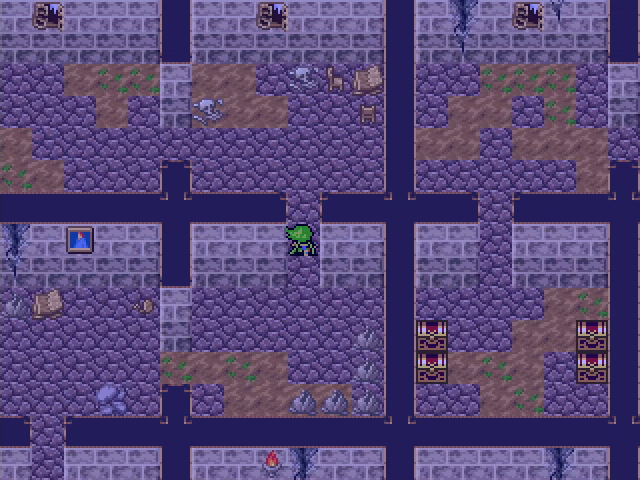 Heading west from the entrance lets us reach the stairs in the northwest room, but there's no apparent way to access the center, north, or northeast rooms. 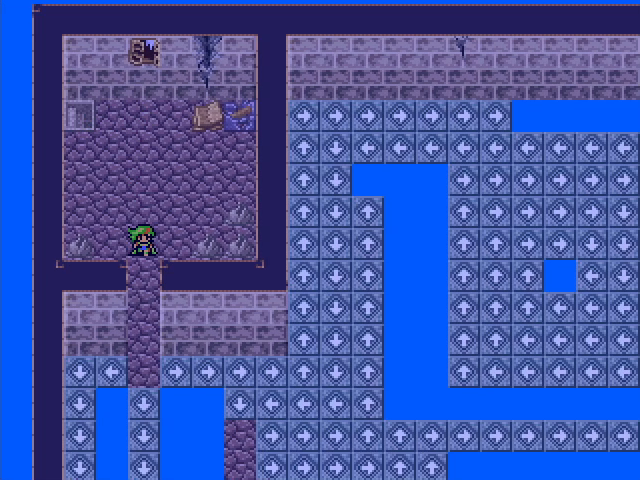 The second floor is where we start to see the tower's gimmick in action. These moving walkways are everywhere here and will frequently drop us into holes if we're not careful. 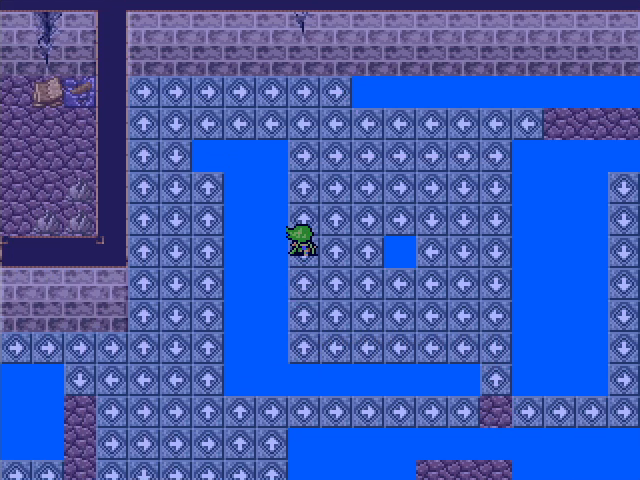 In some case, however, that's actually the goal. This spiral leads to a hole in the floor... 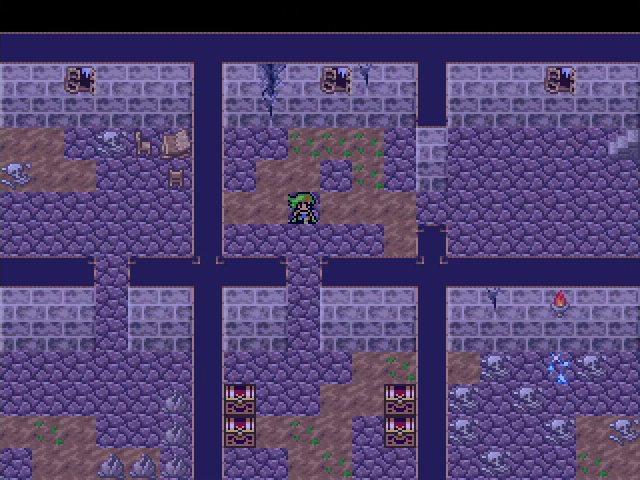 ...which drops us in the cordoned-off area on the ground floor. 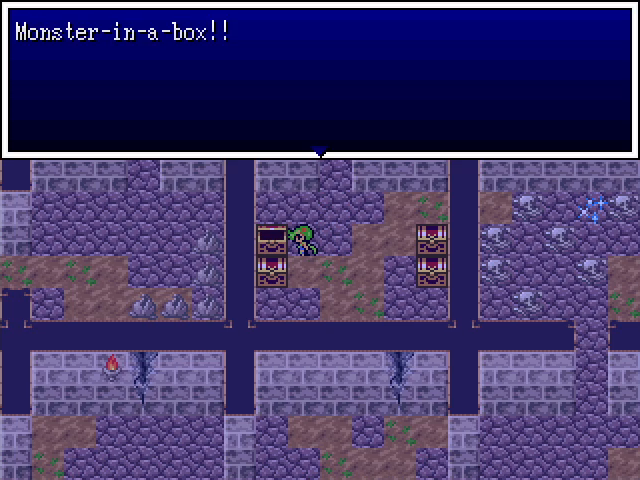 Of course. 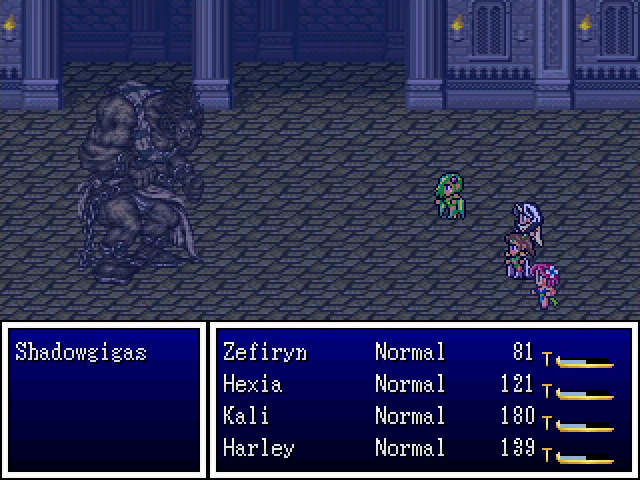 The Shadowgigas is a big, beefy enemy that is no threat to this party. Being incorporeal, it's immune to physical attacks, but between Zefiryn, Hexia, and Kali, we have enough magic to burn through its HP before it can do more than hit us with one Evil Flame.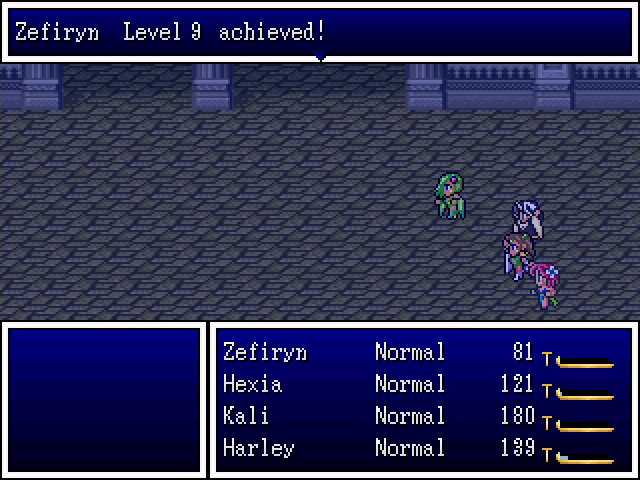 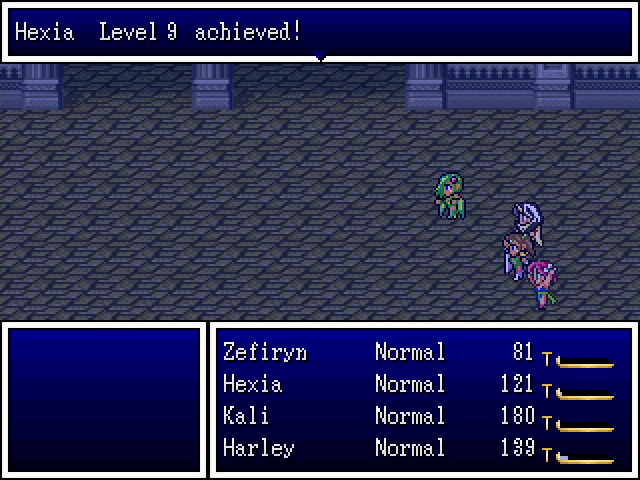 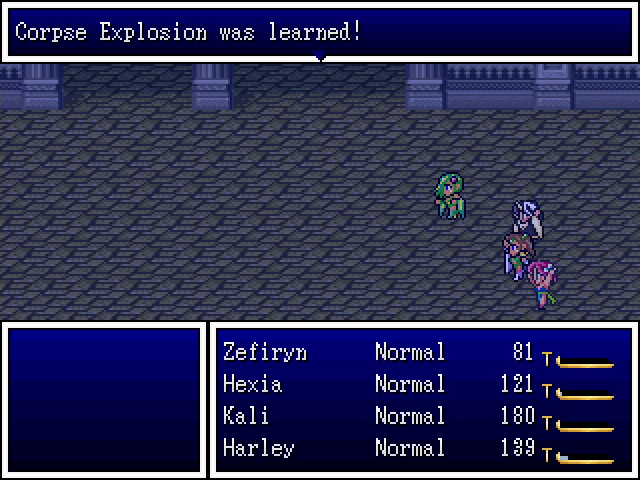 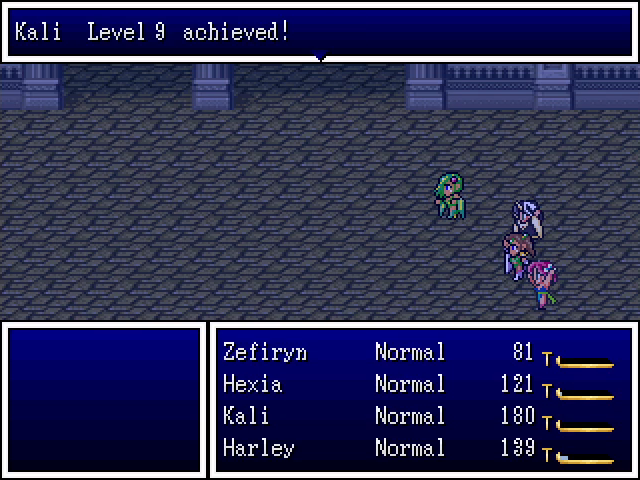  Besides its treasure (a helpful but not amazing set of silk robes), it also brings the rest of our party to level 9. Corpse Explosion damages all living enemies based on the maximum HP of Hexia's summoned skeleton. It can be helpful in some cases, but bosses seem to be immune to it and the setup time means that it's not especially useful in most random battles. 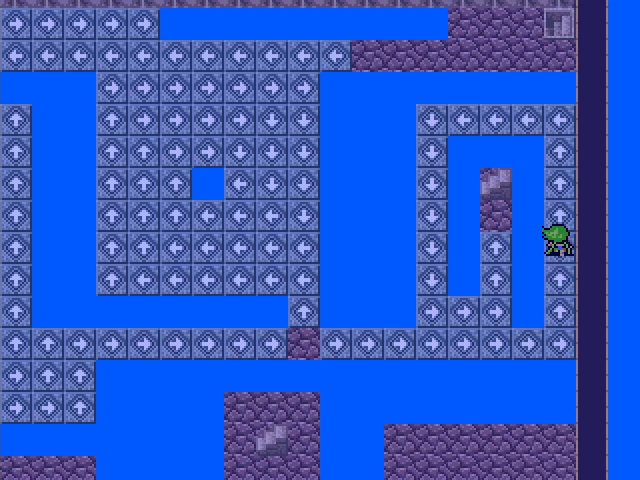 Back on floor 2, we head to the eastern staircase. 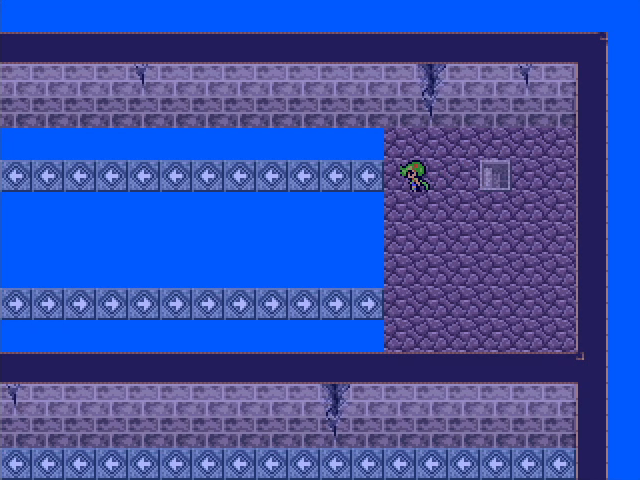  This puts us on a pretty direct path to the Countess' treasure room. Most of these chests contain gold, though there are a few other goodies (a mystic acorn, a turban, and a totally useless cypress stick).  Taking the southern staircase on floor 2 leads to an area with a choice of 2 walkways. 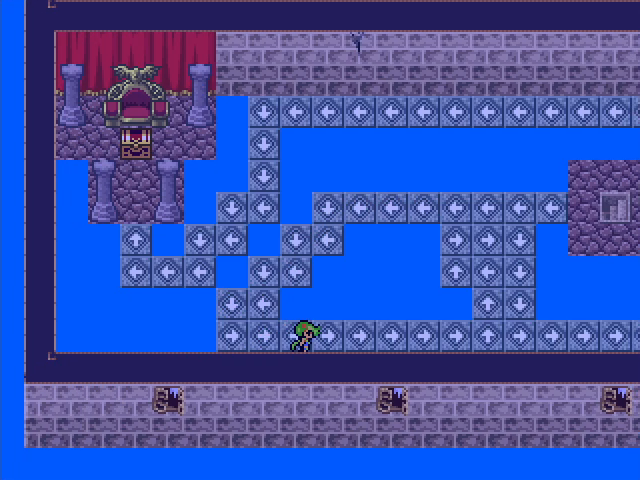 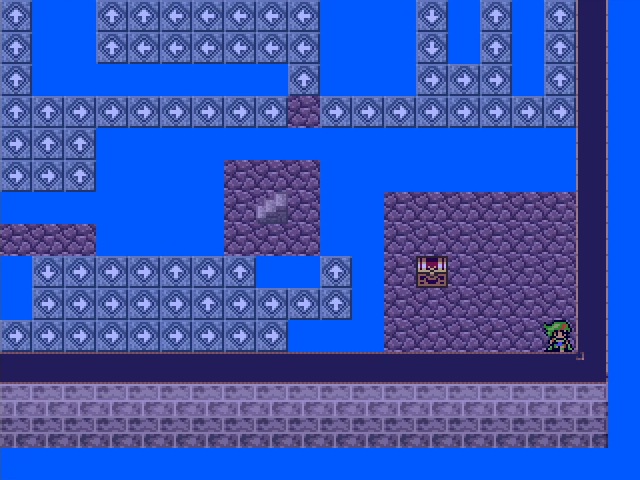 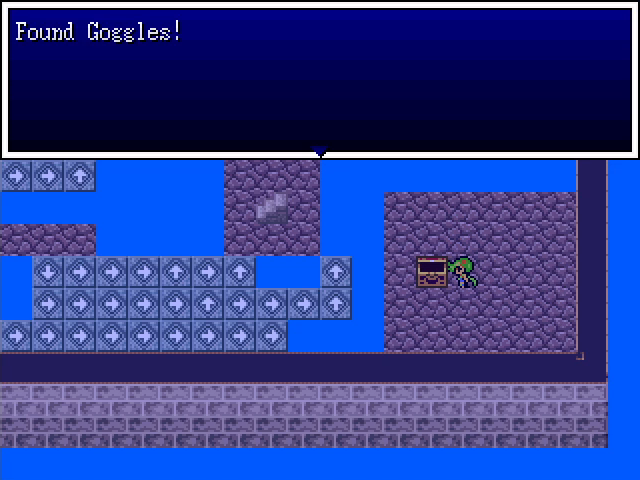 The one to the left dumps us on floor 2 next to a chest containing... some Goggles. Not useless, but not worth the time, really, especially since we now have to drop back to floor 1 and climb back up. 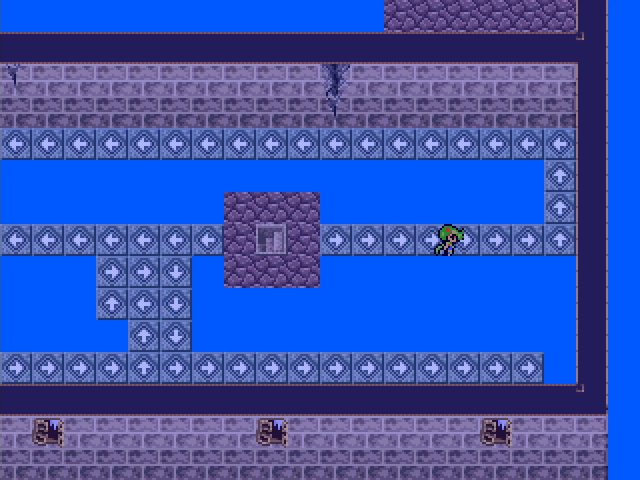 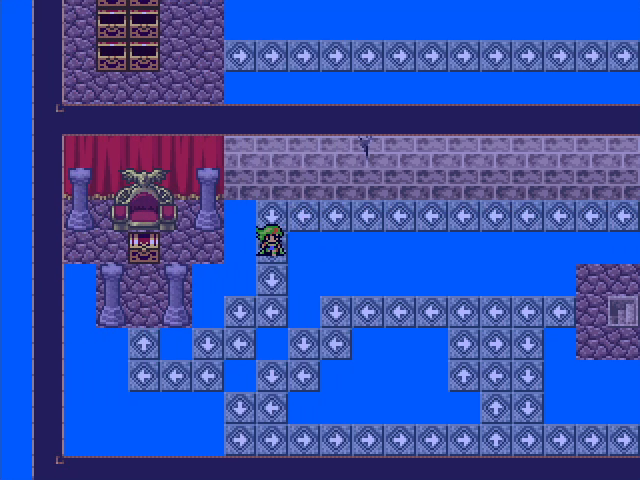 Taking the right-hand walkway leads us to a treasure chest in front of a throne. I WONDER WHAT THIS COULD BE.  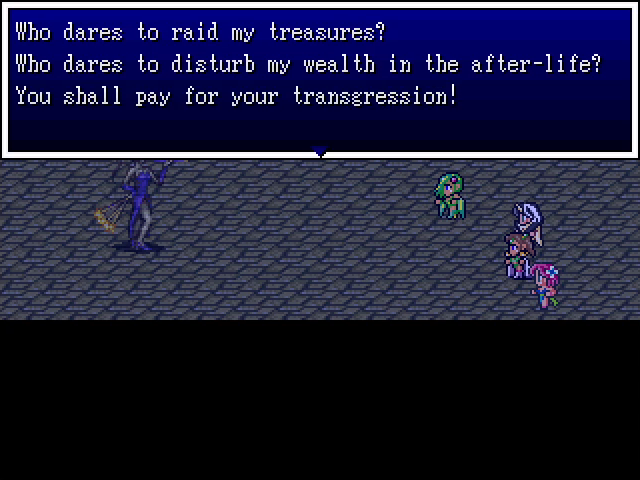 Yeah, no surprise here. The Countess (or at least her ghost) is really annoyed with all our looting. She's a reasonably tough opponent, since not only is she incorporeal, she also uses the group version of Evil Flame, and casts both Blaze and Mutespel (a full-party Stopspel). 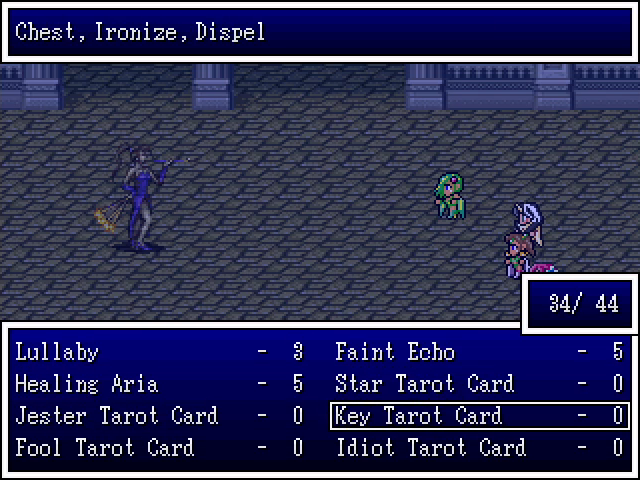 This fight was actually a learning opportunity for me. 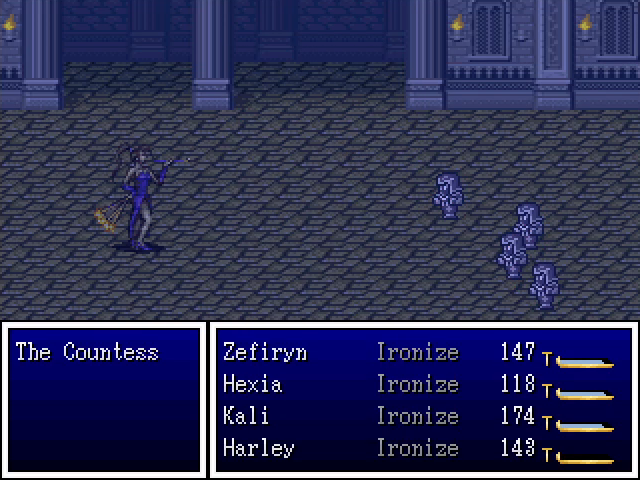 You see, I got the Ironize result from the Key tarot. Ironize makes our party invulnerable for several rounds, but prevents them from acting. But it turns out that's not all. 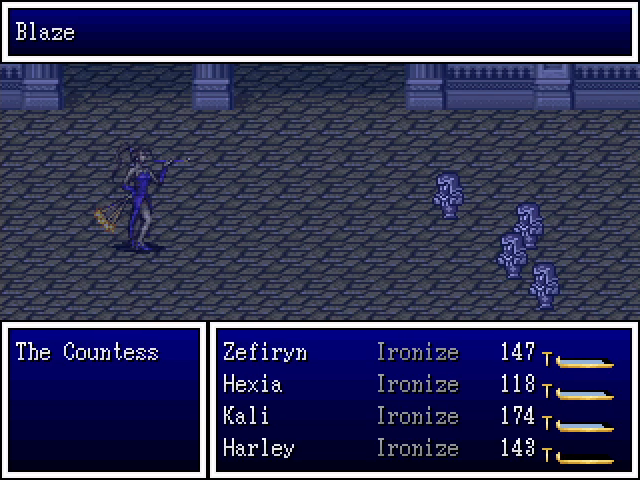 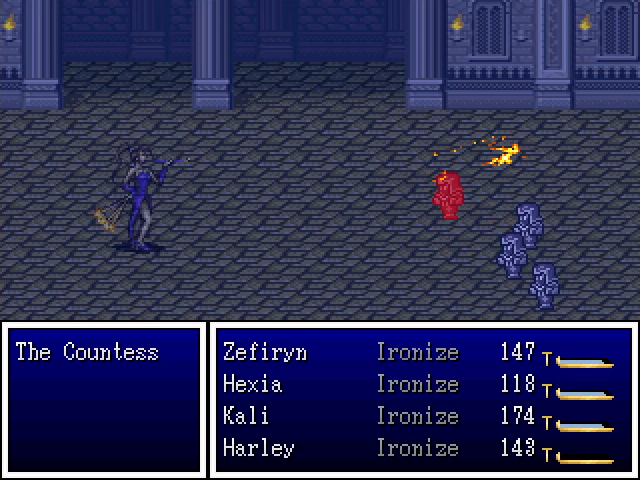 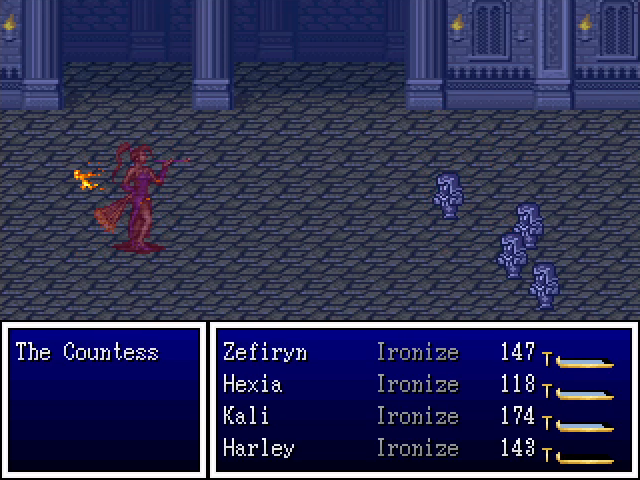 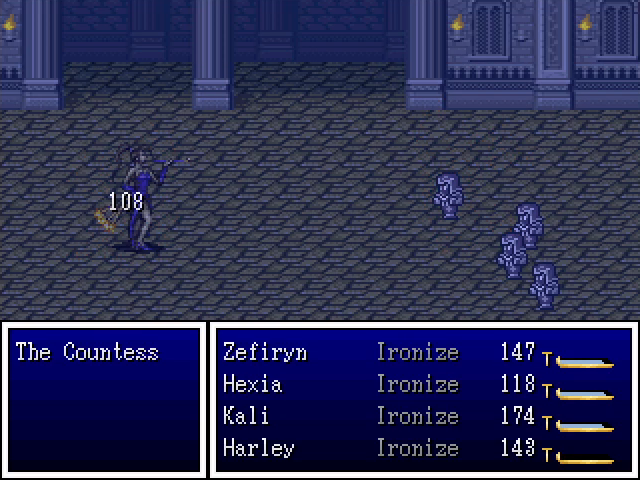 As it happens, Ironize also reflects any attacks sent the party's way. This makes the effect way more useful than simple invulnerability. And I managed to get it twice here!  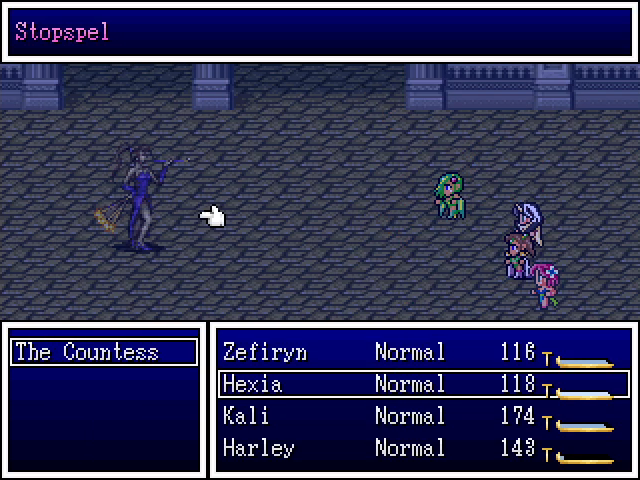 She even managed to mute herself for us, which was considerate.  Once the Countess goes down, we're given our prize, a silver harp. This is only usable by Harlequins, so we can actually take advantage of it! 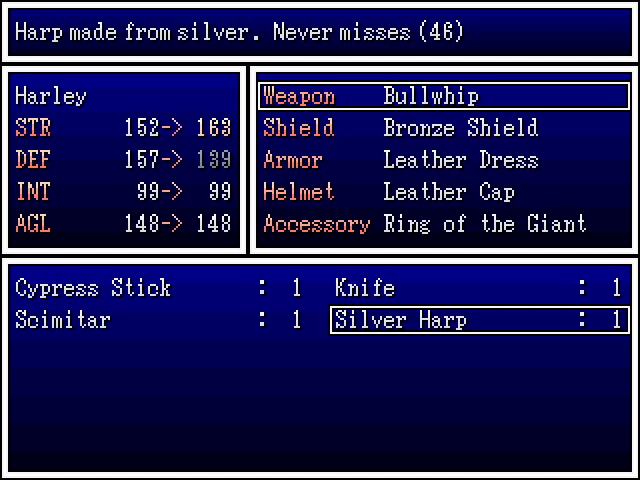 Harps are like bows in that they're two-handed and never miss (which also means they can be used from the back row with no penalty). However, the attack power isn't much higher than Harley's bullwhip, which also hits twice and allows the use of a shield, so ultimately we don't really have much use for it. Oh well. That's all the tower has to offer, so let's head back to Tohl for a rest before making our way to Tyrsis. 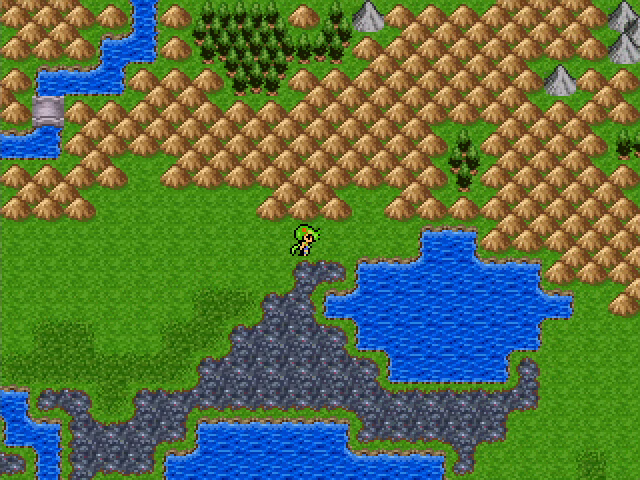 This little section is actually a bit of clever design. Both paths around the lake lead to the same place, but we have to pick between the high encounter rate of the hills and the step damage of the swamps. 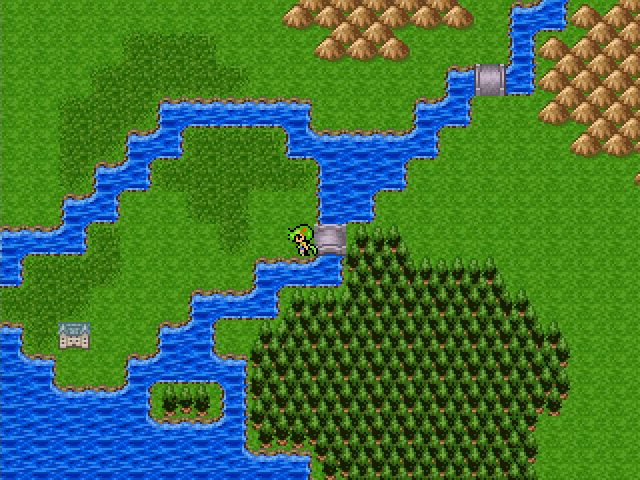 That doesn't look like Tyrsis. In fact, it looks like... 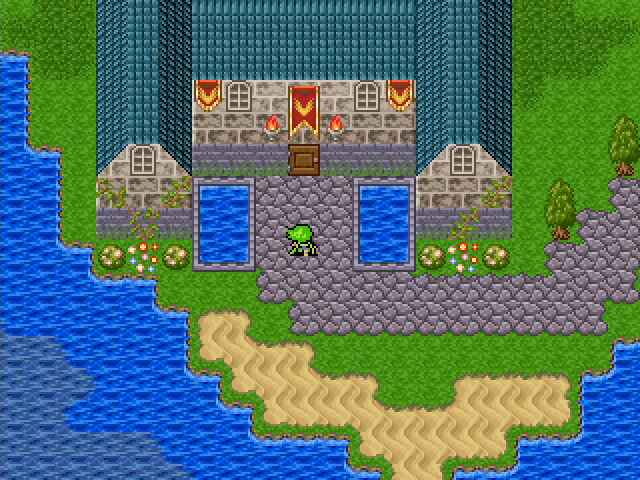 Yeah, it's Hasara's Amazing Funhouse. 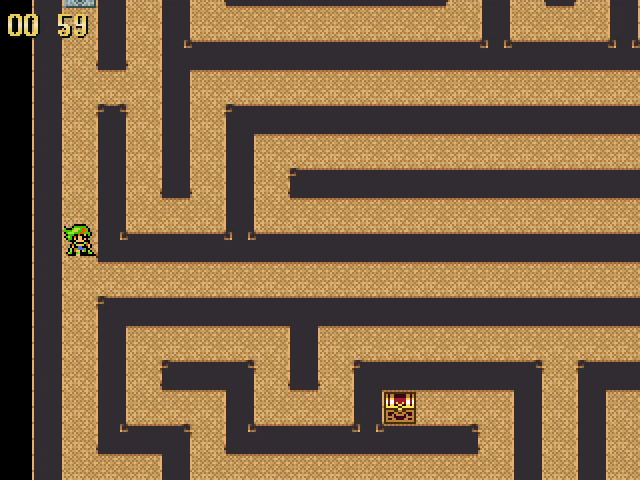 I'm not going to spend much time talking about it. This Funhouse's maze has a different layout and aesthetic, but otherwise it's essentially the same experience as the one in Norsland, down to the prizes. I did notice that the music in the main room is a midi cover of Stayin' Alive, which I found amusing. 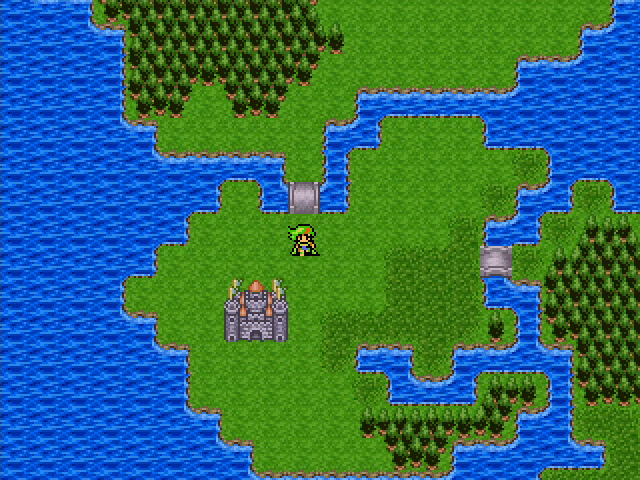 Anyway, with that done, we can finally head south and reach the capital. End of chapter, here we come. 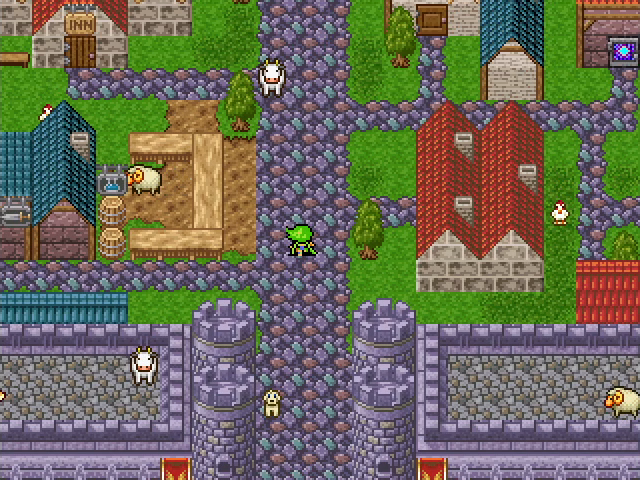 ...Oh, what the hell? 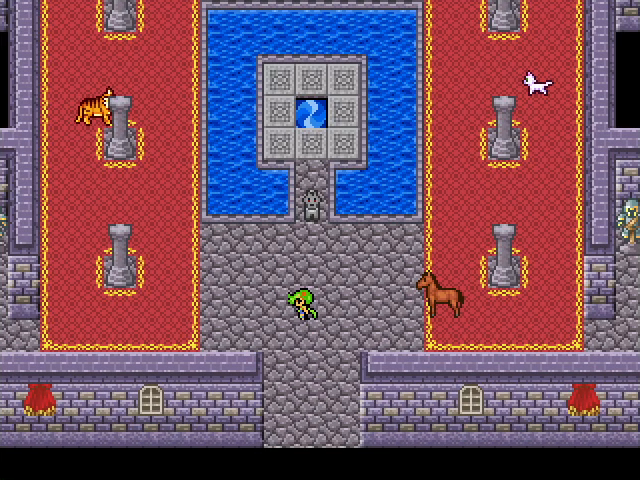 No humans in sight, just animals. 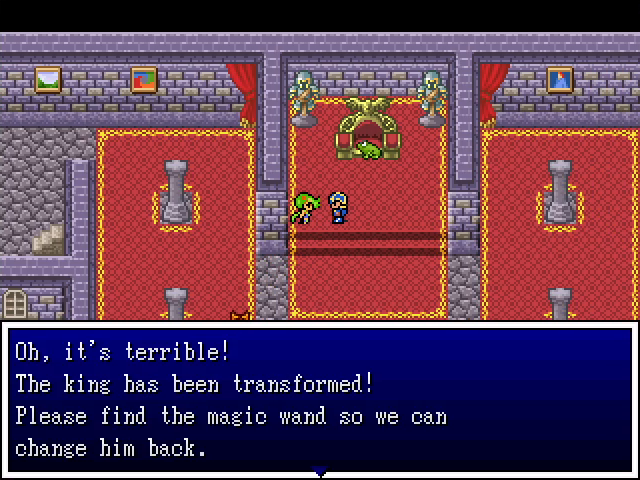  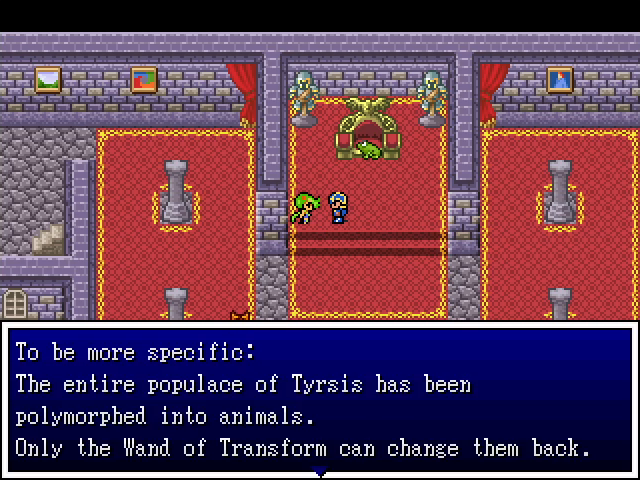 No, I don't know how this guard was spared. Maybe he was out of the city when it happened? 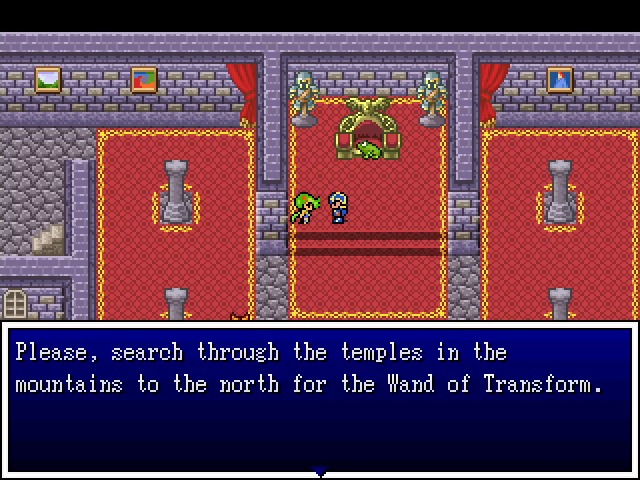 So we have another mission: finding the Wand of Transform to save the people of Tyrsis. Smart money says this was done by whoever summoned the mine ghosts and poisoned the Baron. In any case, we can take some time to check the castle and town for items. 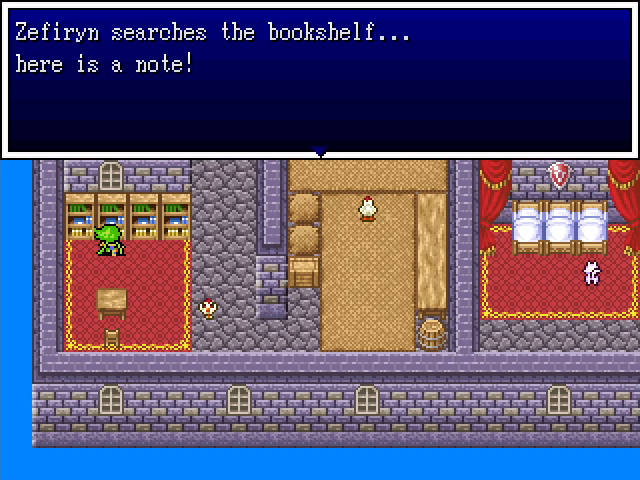 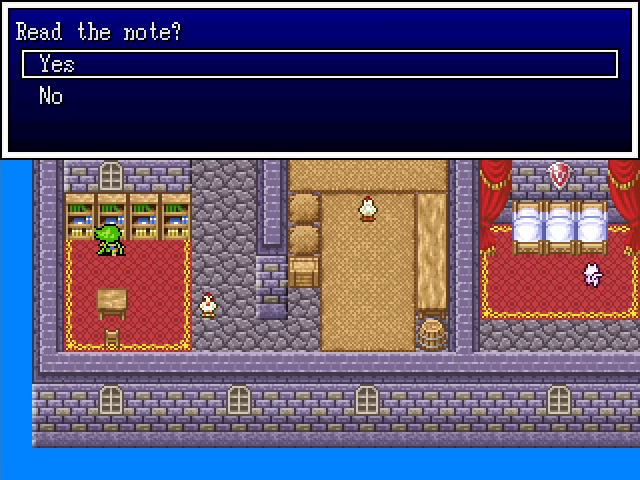 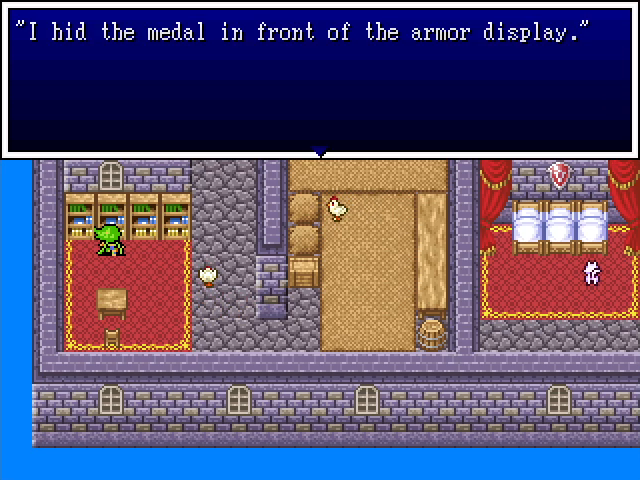 We come across this note, which is a pretty obvious clue. 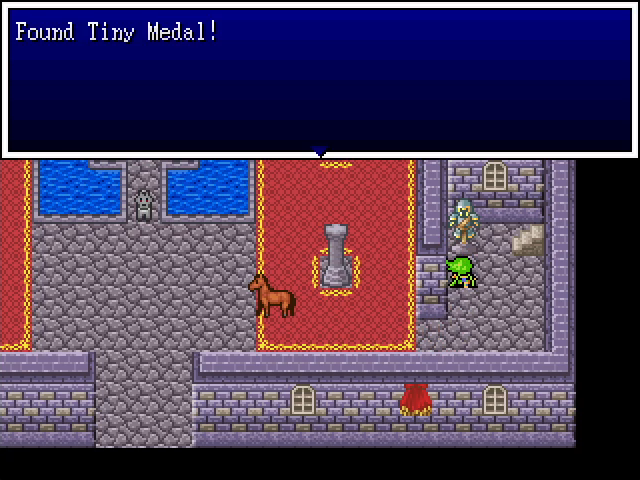 Yeah, there it is. 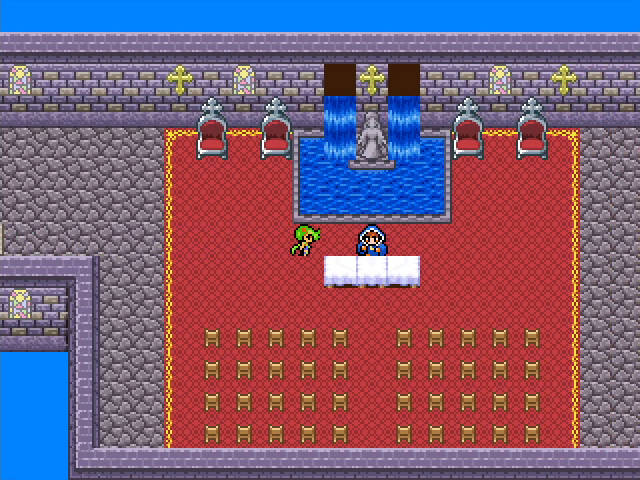 The castle's priestess also seems to have been spared from the curse, so we wouldn't be screwed if we'd gotten here with a weakened party. The city's innkeeper was transformed, but the inn is still usable too. 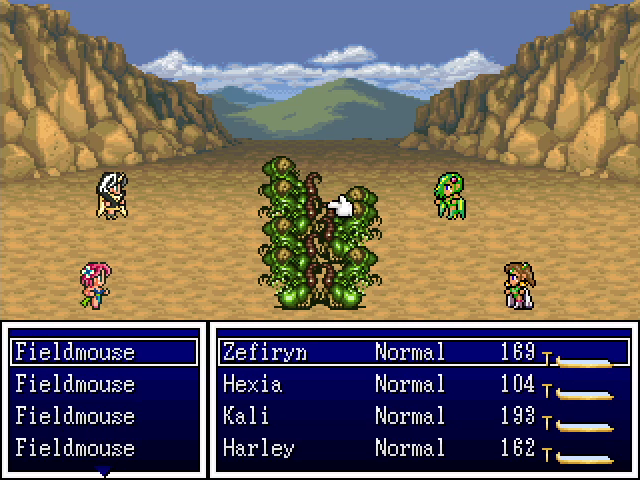 We run into one new enemy type populating the northern hills: Fieldmice. They're a lot like other rodent enemies, able to inflict poison. With a group of seven, that outcome is quite likely.   The first temple we're checking is essentially due north of Tyrsis. 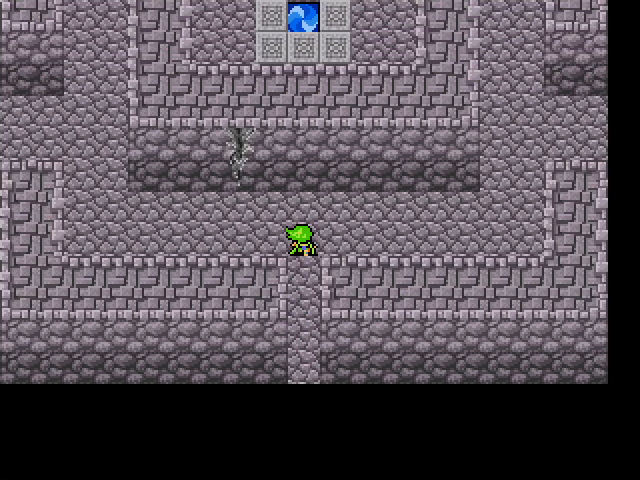 This is the smallest of the four temples, with six side rooms branching off the main one. 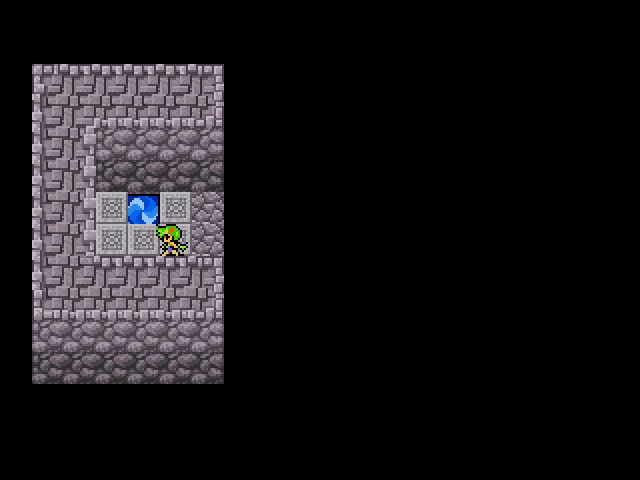 Each side room has a teleportal. Most of them take us to another room, but if we find the right one... 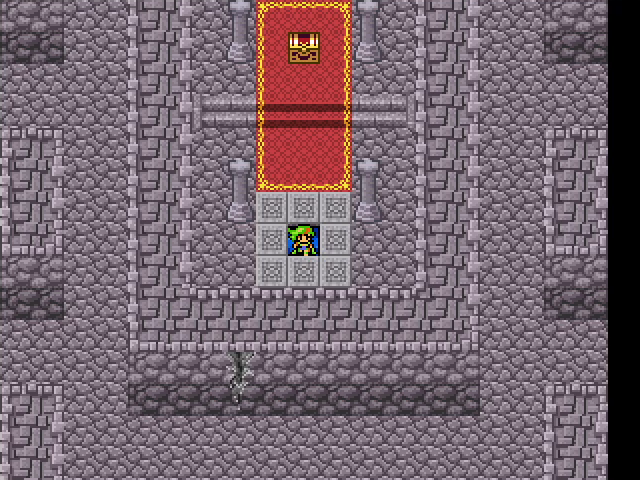 ...we end up in the middle instead. That chest looks pretty important - maybe it has what we're looking for?  Nope. Guess we'll have to look elsewhere. 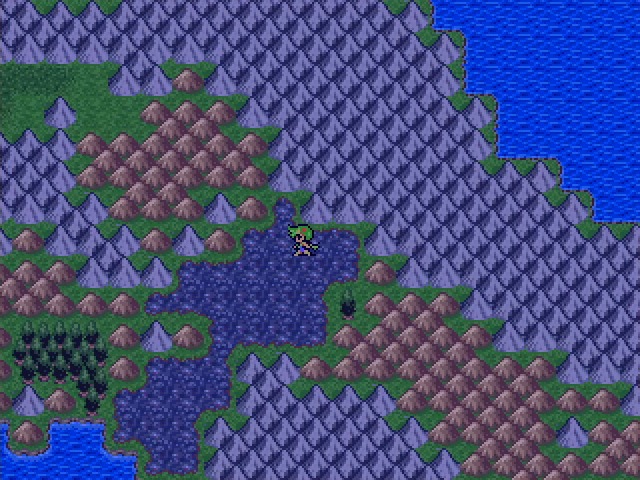 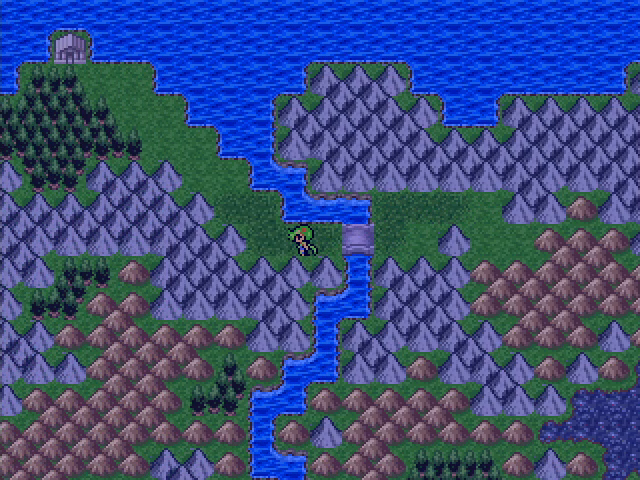 The next shrine is to the northwest, past a path of swamp. 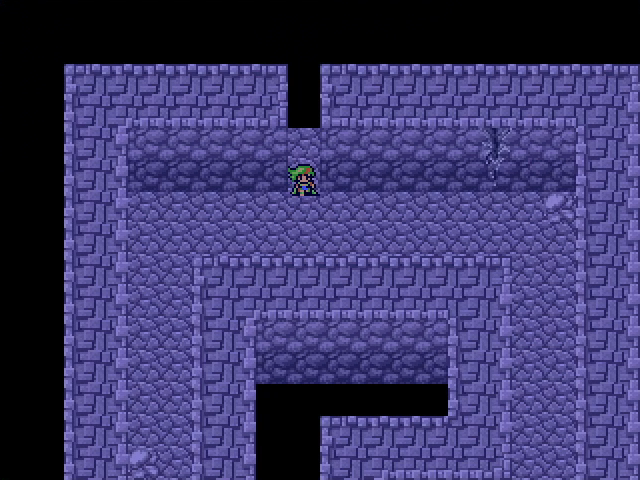 The remaining three shrines are much more traditional mazelike dungeons, albeit relatively short ones. 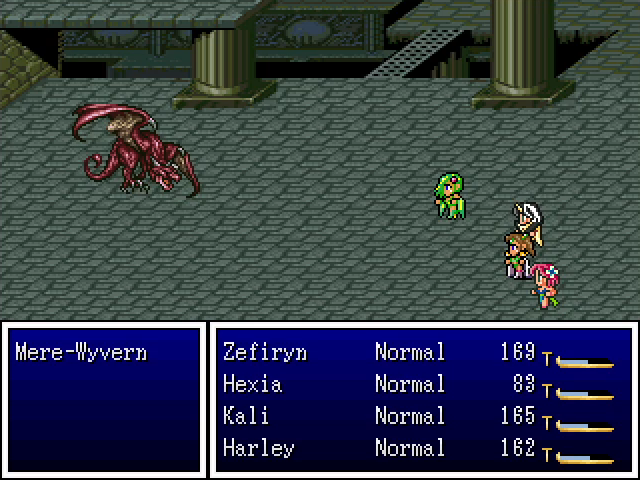 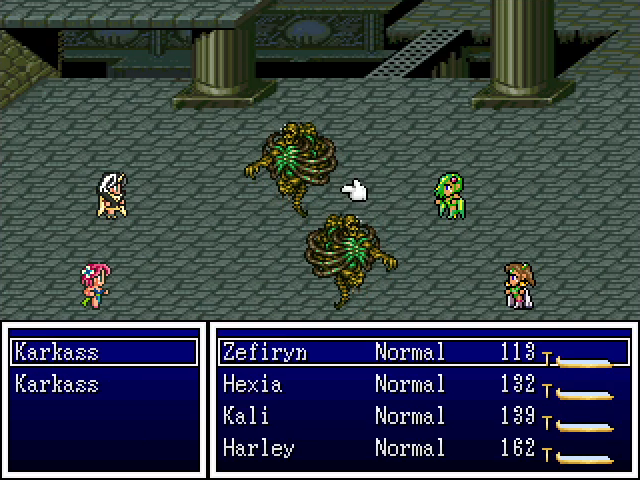 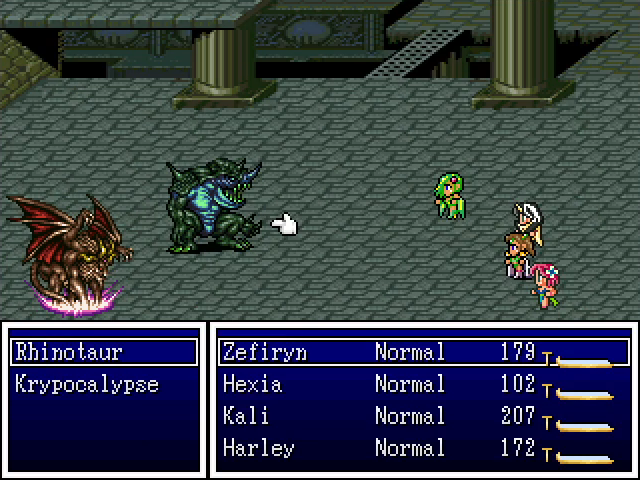 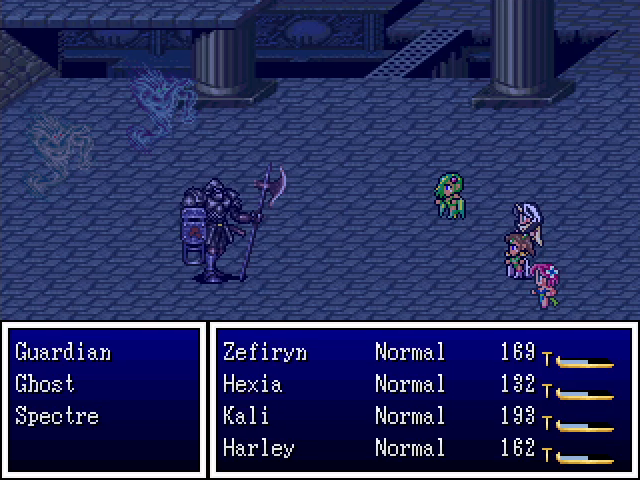 The monsters here are all things we've seen before. I did discover two new things about them though. First, Krypocalypses can use Numbing Thorns, which makes them even more obnoxious. 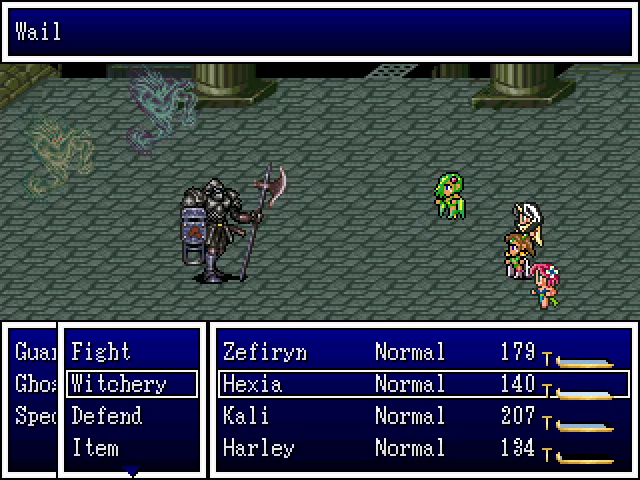 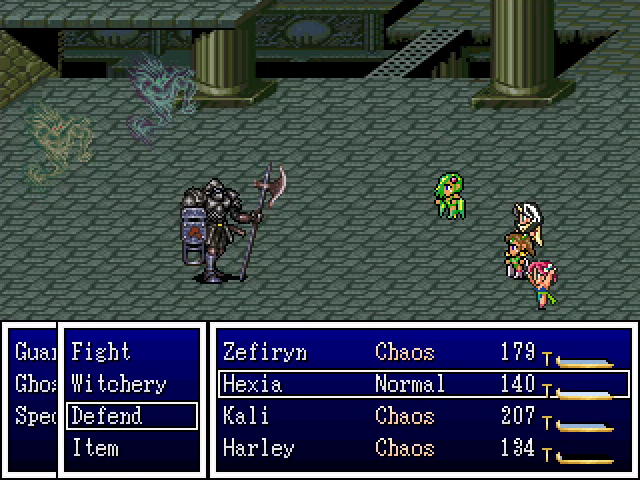 Second, Spectres can use Wail, which inflicts Chaos on the party. It doesn't have a 100% success rate, but still, this can be really bad!  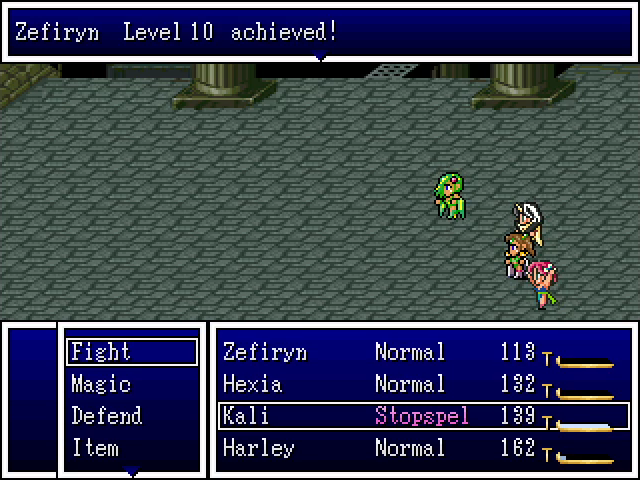 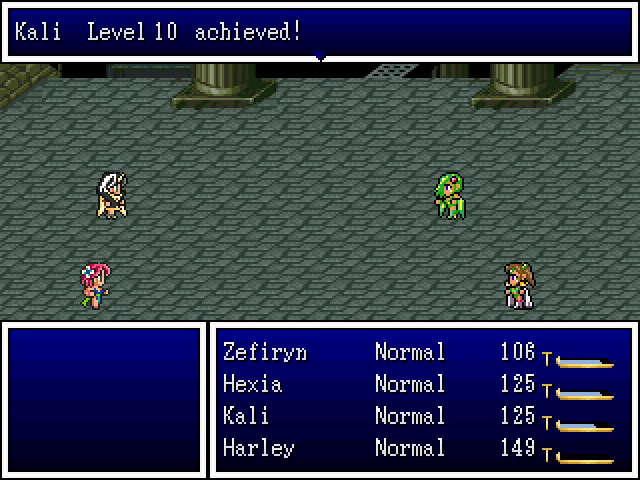 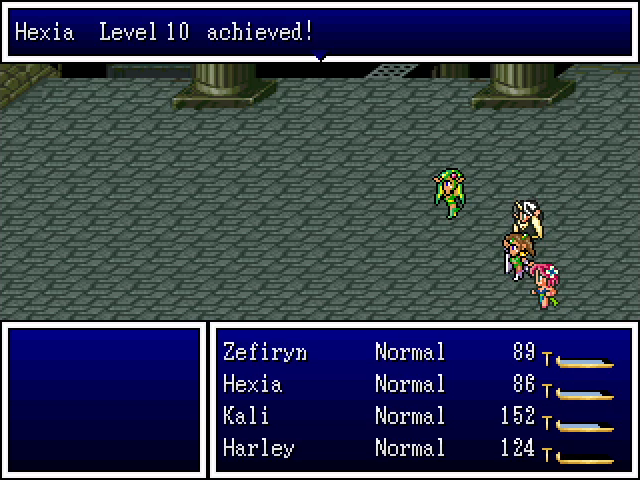 At least we managed to reach level 10 between all the battles. 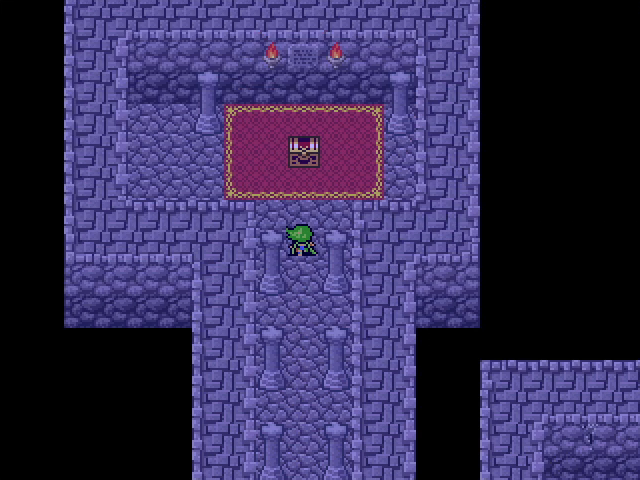 Anyway, there's not much to say about the second temple itself. There are a few treasures, an HP-restoring point, and of course, a conspicuous chest. 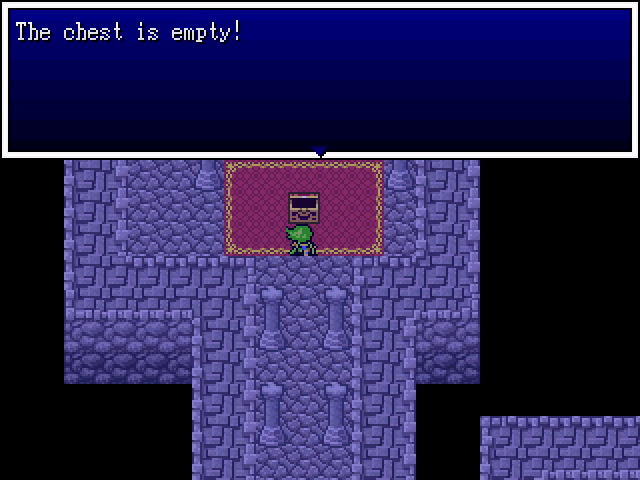 It's empty, though. 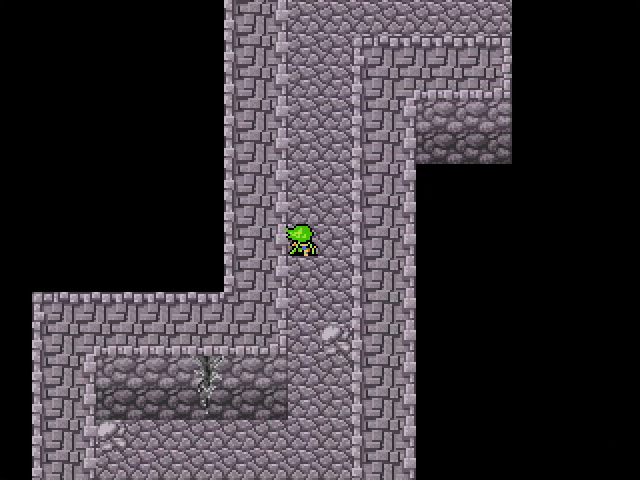 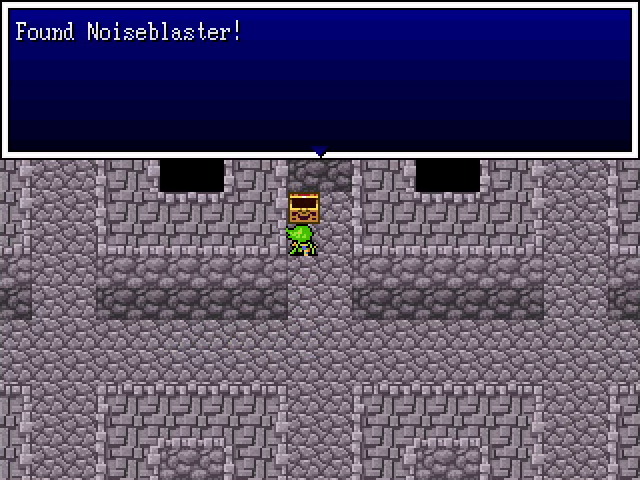 The next temple is north of Tohl, and it's another standard dungeon with not much worth mentioning. There are some decent treasures in these things, but nothing better than an iron claw and this noiseblaster that we can't use due to a lack of an Engineer. Even the main chest is empty. 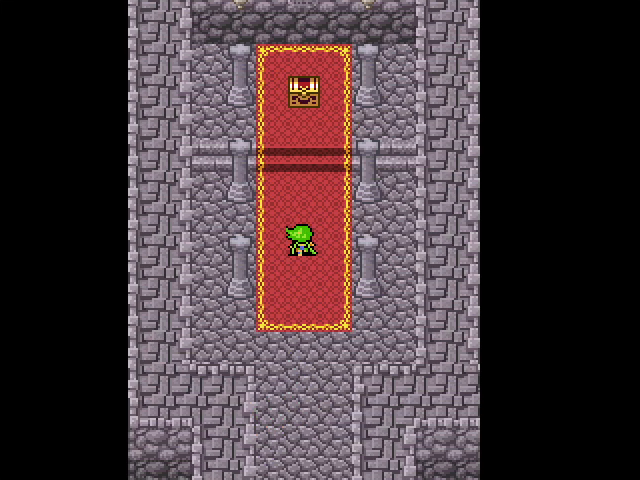 This is the last temple. The Wand had better be here. 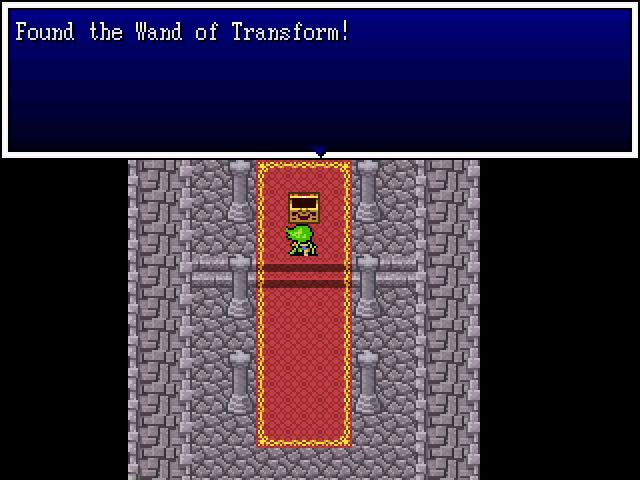 Why are these things always in the last place you look? (Answer: Because the game is programmed that way. All four temples are mandatory.) 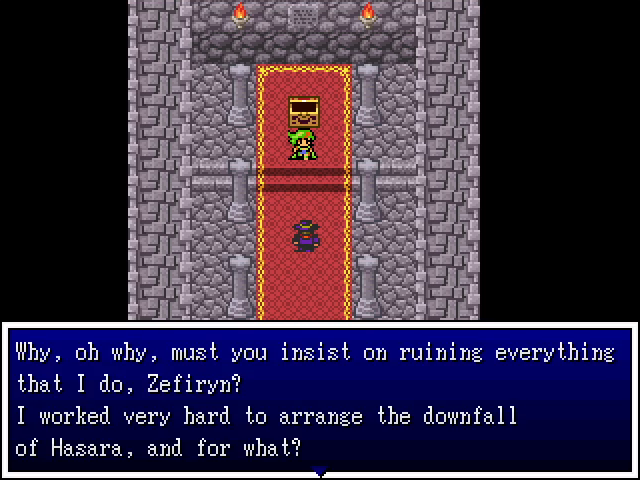 We can't leave yet, though. That weird guy we saw in Kaybee and Dracoma seems to have followed us here. 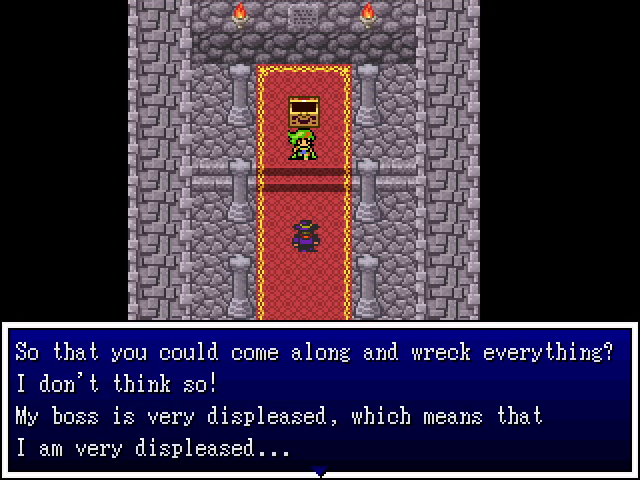 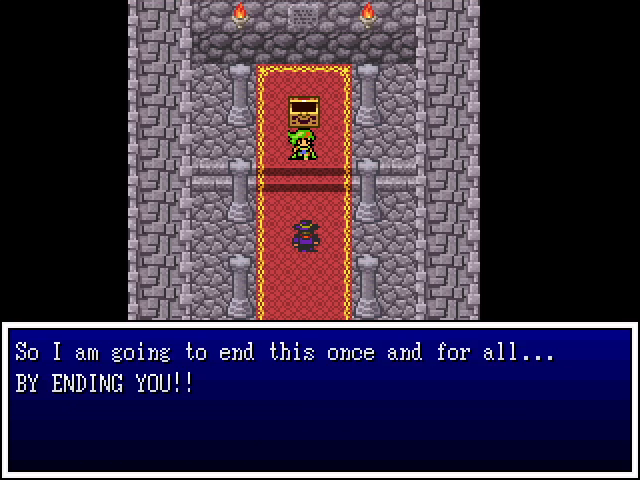 It's not clear who his boss is, but it's a safe bet that it's one of Mephistocles' generals.  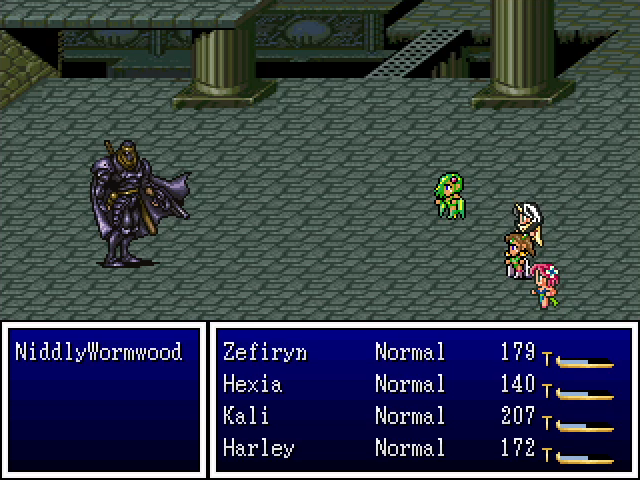 Meet Niddly Wormwood. My memory says his name is mentioned earlier in the chapter, but if so I completely missed it. Niddly is the one responsible for the dumbass mine ghosts, for the exotic fish-borne disease, and for the mass polymorph incident in Tyrsis. He's behind everything in this chapter, and beating the poo poo out of him is kind of cathartic. Niddly's fighting style is as annoying as you'd expect from someone who's done all this. Besides attacking, he can also use a Warlock's Love Potion and Sleep Potion to inflict Chaos and, well, Sleep, respectively. He also has one other trick. 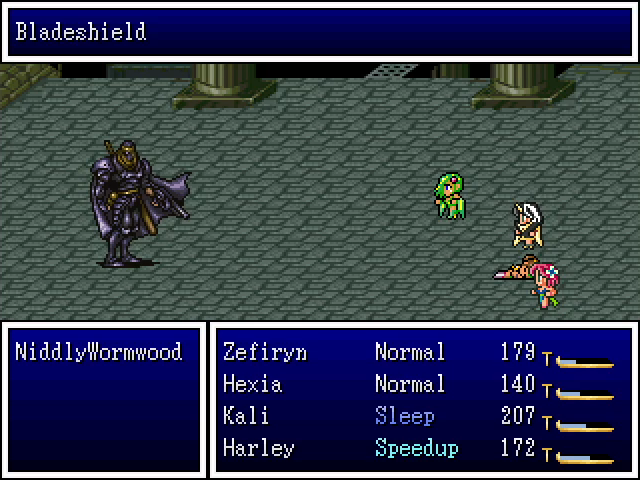  He has Bladeshield, the effect of which should be pretty clear based on his dialogue. 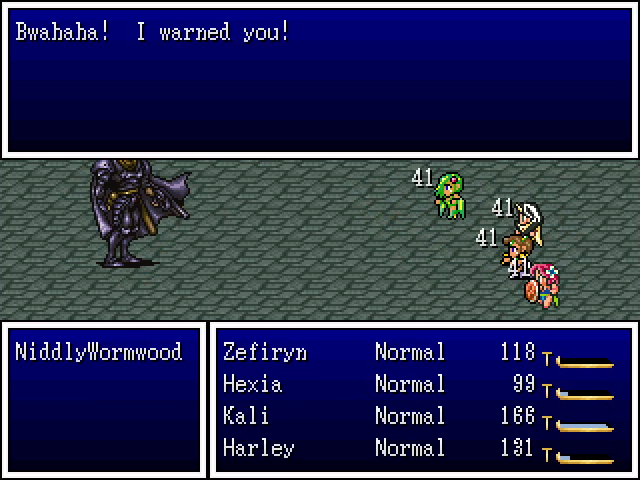 You hit him, he hits back. 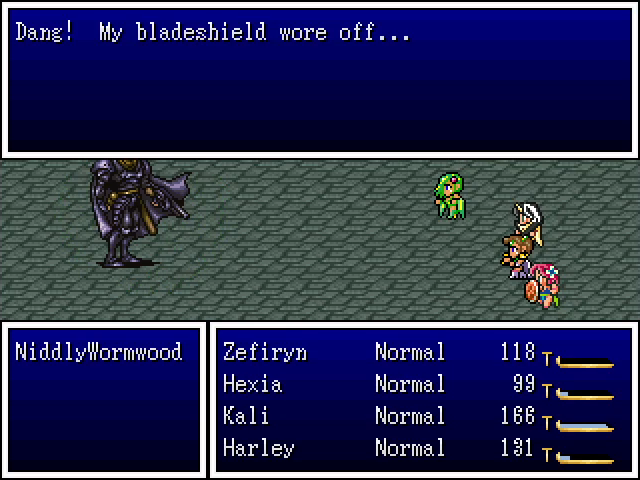 Luckily, he's pretty clear about letting us know when it wears off. This fight is a huge slog and not really well-designed. The big problem here is Bladeshield: Niddly can and will use it while it's already up, which refreshes its timer. This forces the player to sit for long stretches not doing anything, since eating the counters is an excellent way to lose the fight. 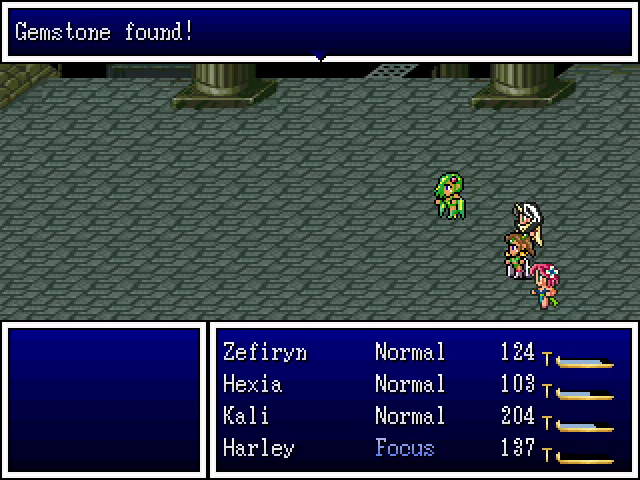 Still, we eventually come though, and we even get to claim a valuable gem from his corpse. Eat poo poo, Niddly! 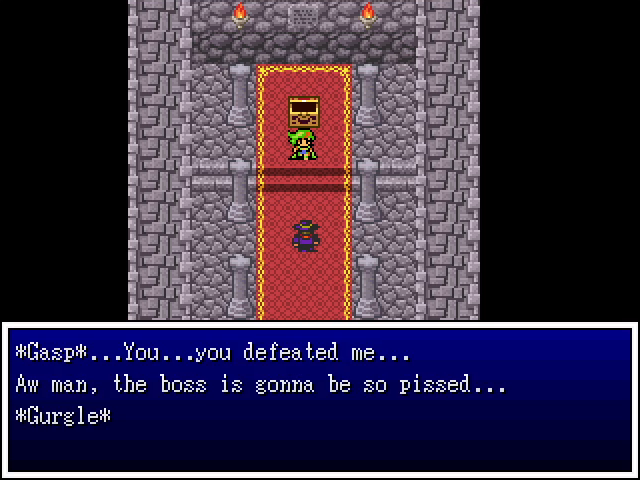  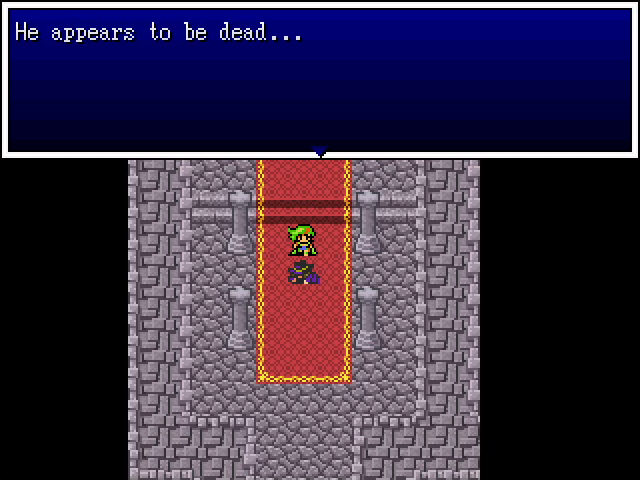 He's definitely dead, no ambiguity, no chance that we'll ever have to beat the poo poo out of him again. Let's go back to Tyrsis. 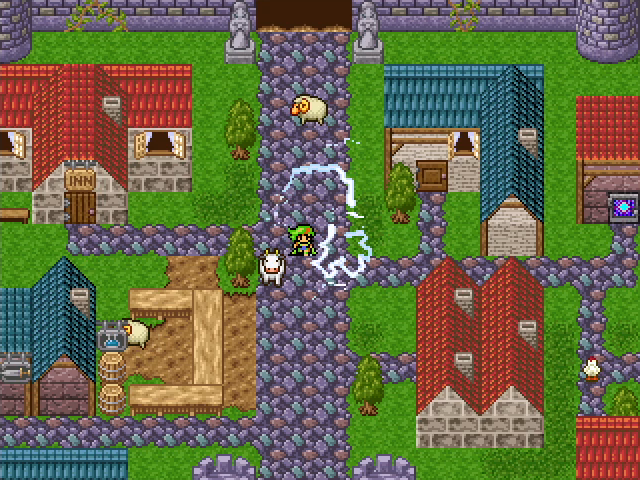 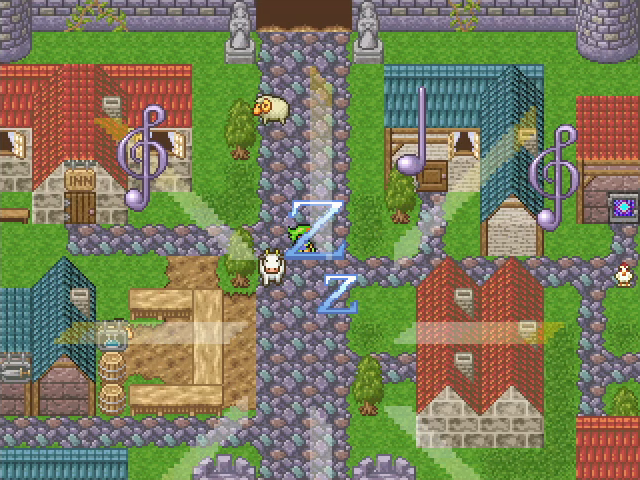 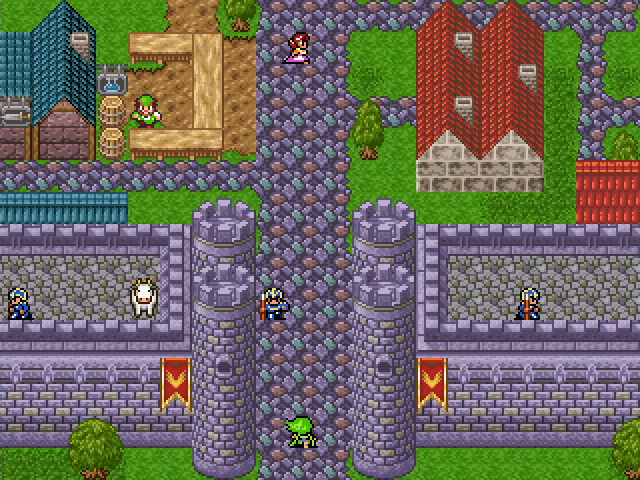 After some fancy visual effects, the city is restored. Well, mostly. There still seems to be a cow on the ramparts. Wait... 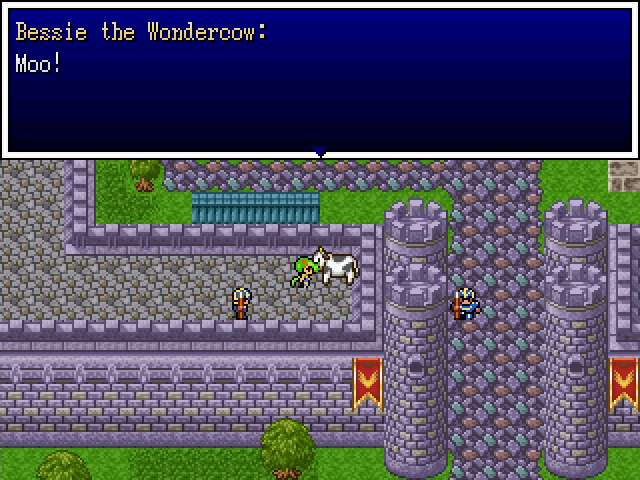  BESSIE! 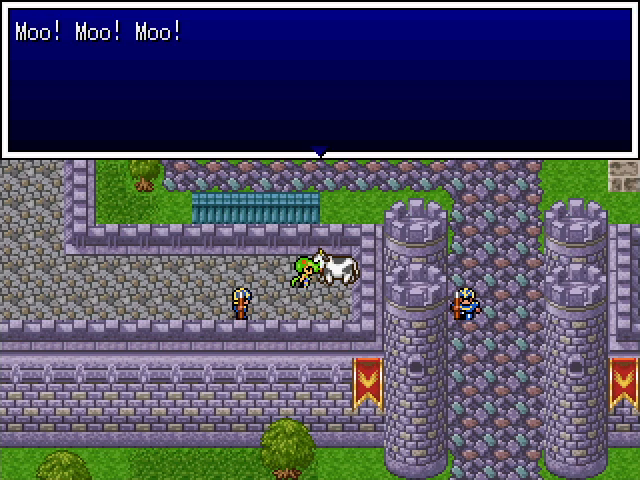 What's this? 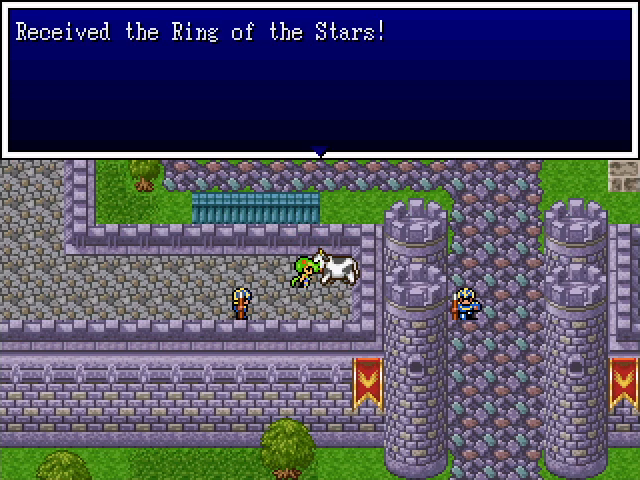  Thank you Bessie! Granted, it's past the point in the chapter where we need a boost, but +8 to all stats will be quite nice when we get back to Zefiryn. 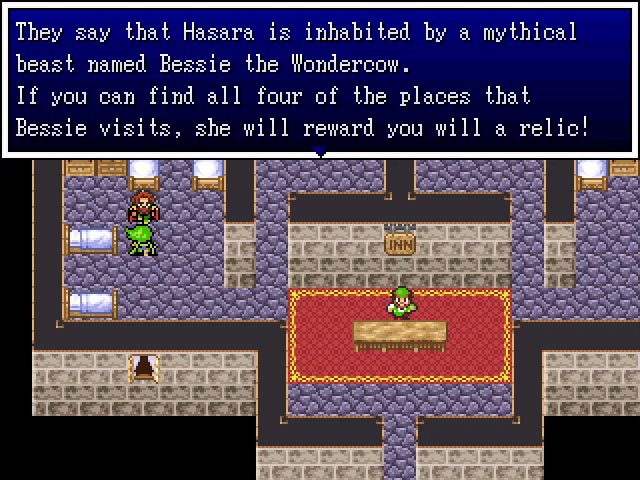 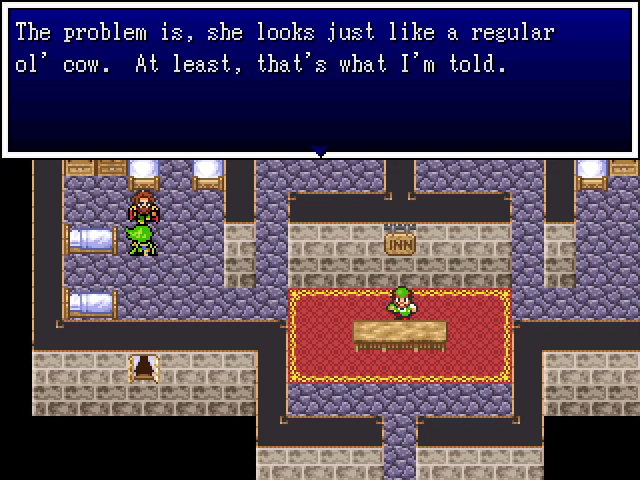 In case any of you were wondering, yes, there is an in-setting explanation for Bessie the Wondercow. It's pretty random, but I'm okay with it. It's a nice little sidequest. 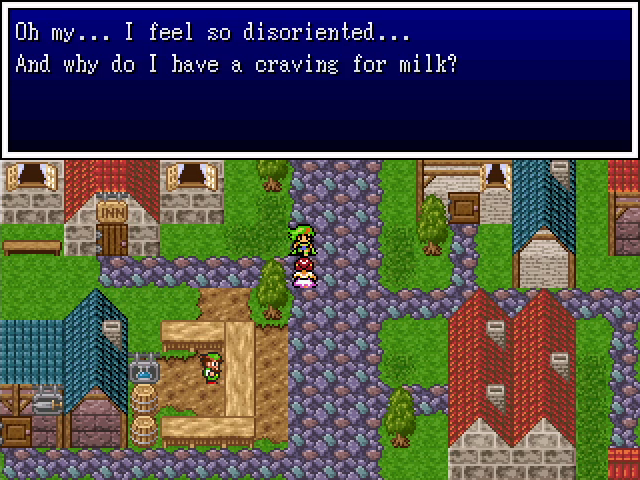  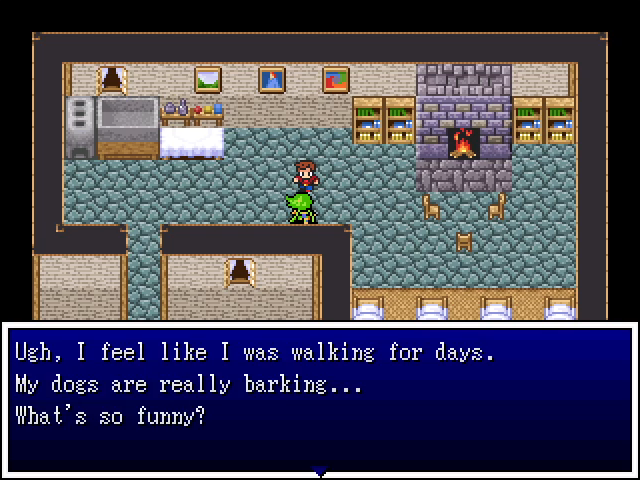 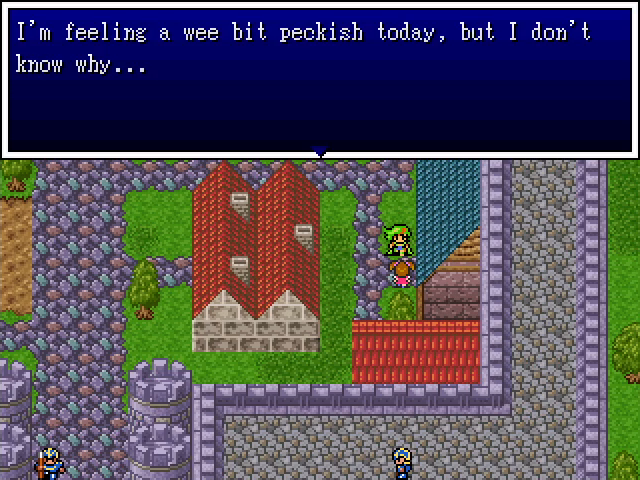 Almost all the people of Tyrsis have some reference to make about their ordeal. I'm not going to show off all the dialogue in town, but this should give you some idea. Hope you enjoy puns. 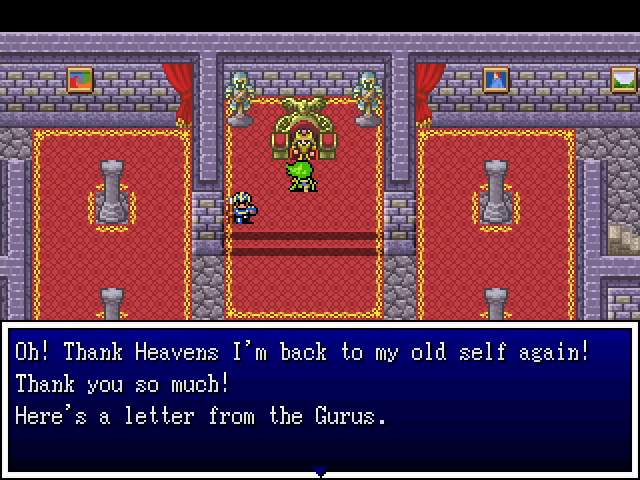 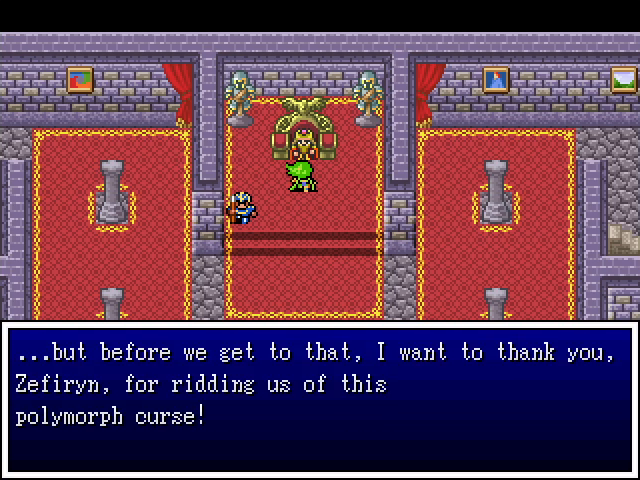 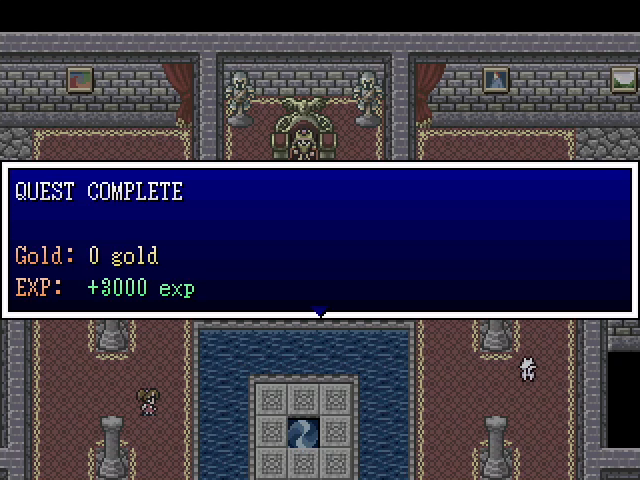 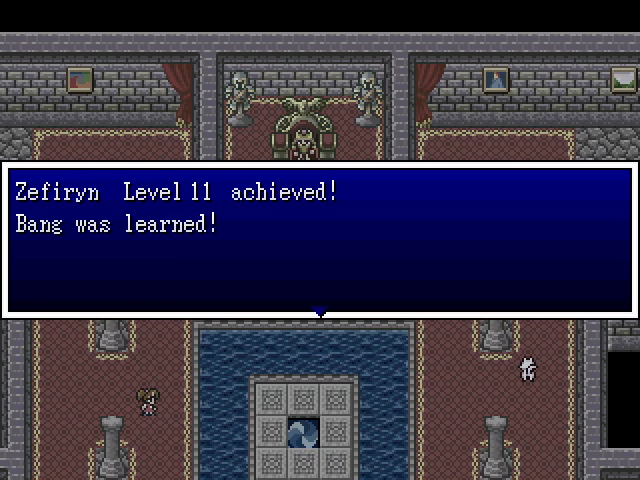 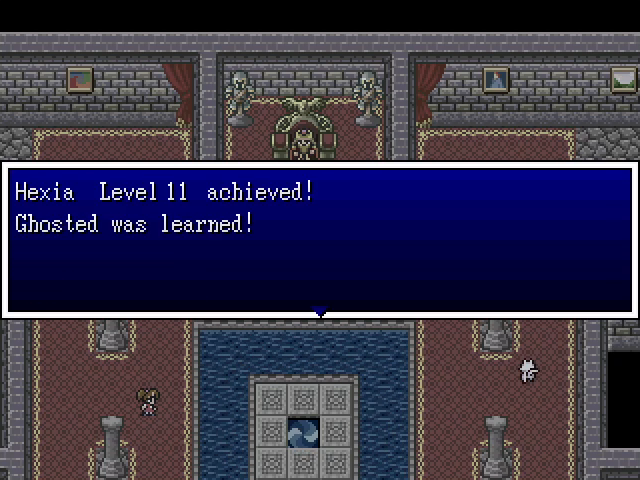  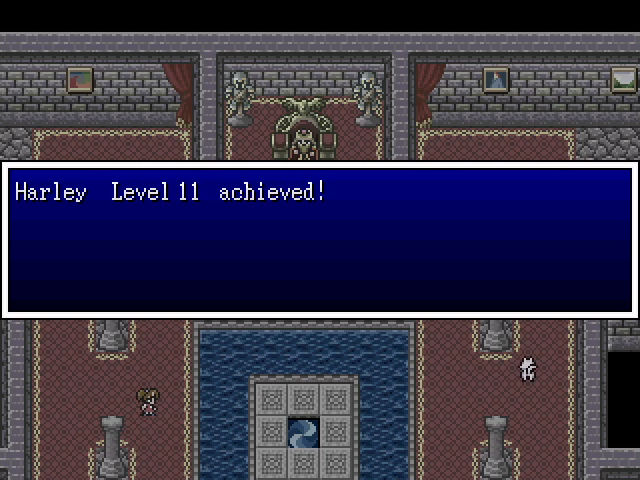 We hit level 11 at the chapter's end, with new spells for Zefiryn and Hexia. Ghosted... turns a character into a ghost. This is similar to a Shapeshifter's transformative effects, making the target berserk but allowing them to inflict much more damage, but it also makes the target immune to physical damage. This can be quite a powerful boost! 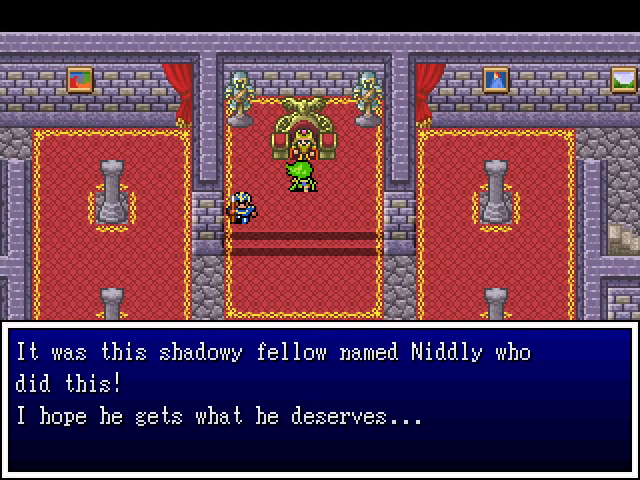 No worries, we killed him dead. 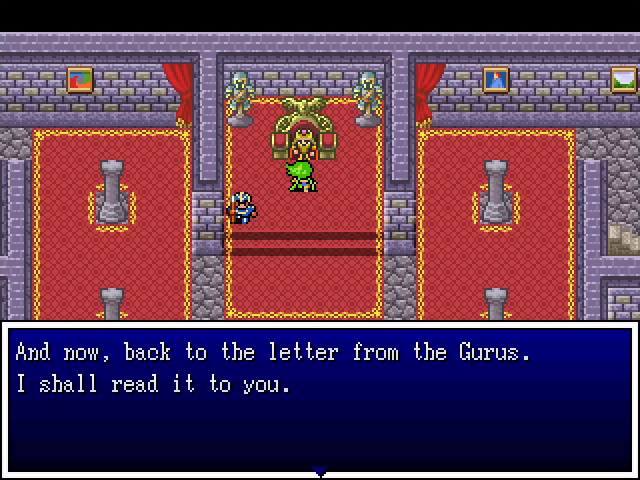 I'm skipping over the letter here since it's the exact same speech Holdana heard.  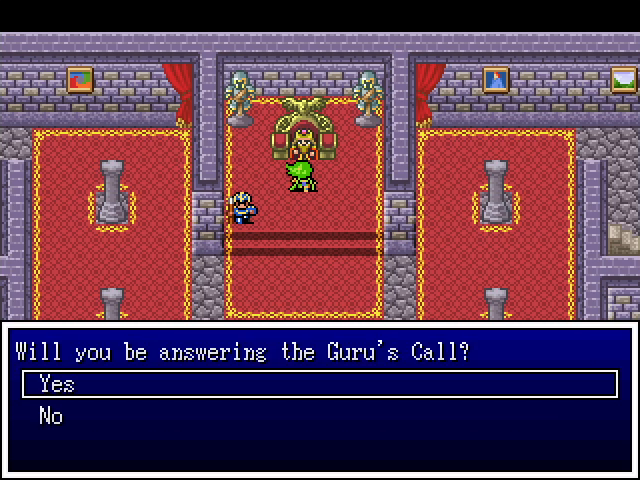 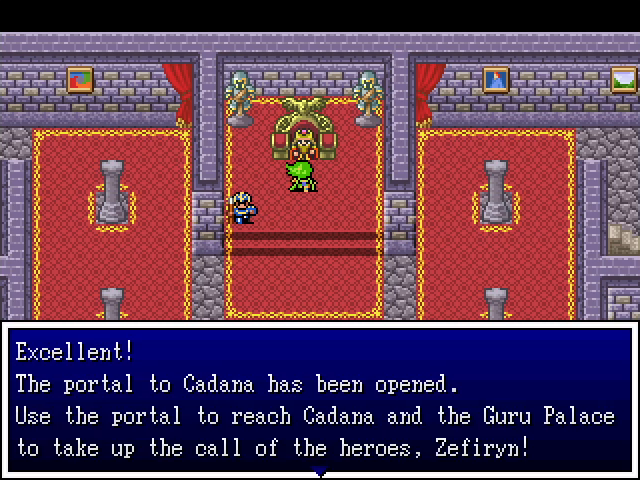 And with that, Zefiryn's work in Hasara is done! We head to the castle's main hall and jump in the teleportal.  So, where are we headed for Chapter 3, you ask? What hero will we have, and what dangers will they face? Find out next time, on 5-Headed Snake God fucked around with this message at 14:26 on Jun 27, 2022 |
|
#
?
Jun 27, 2022 14:24
|
|
|
Anything special if you refuse the Guru's call, or does it just loop "But Thou Must!" until you accept?
|
|
#
?
Jun 28, 2022 02:03
|
|
|
OneWingedDevil posted:Anything special if you refuse the Guru's call, or does it just loop "But Thou Must!" until you accept? You know, I didn't think to check, but I'd bet money that it's a But Thou Must.
|
|
#
?
Jun 28, 2022 02:22
|
|
|
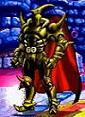
Last time, I ended with a joke about Dragon Ball Z. This is not as much of a joke as you might expect.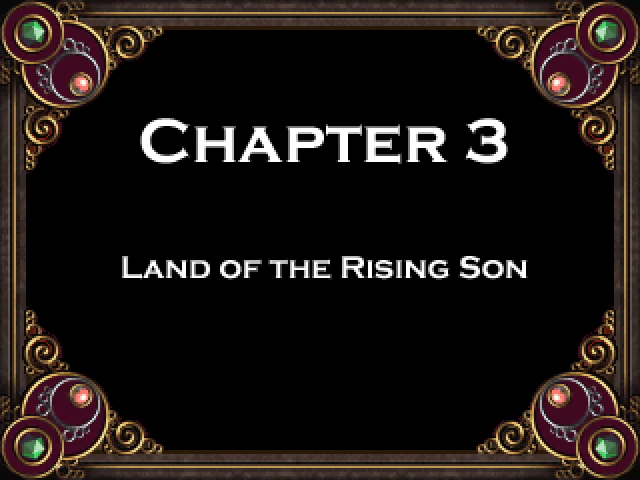 Seriously, I hope you like shonen anime, because that's basically what this chapter is. 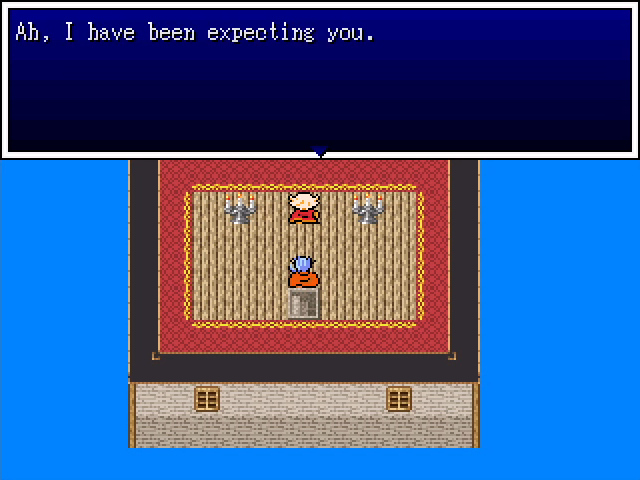 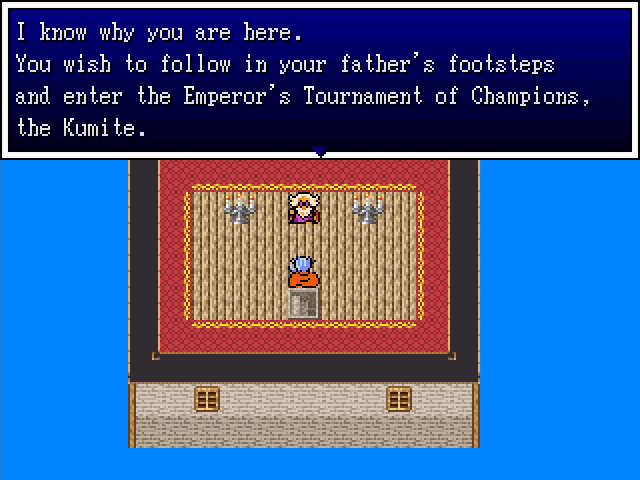 We have our setup right from the start. 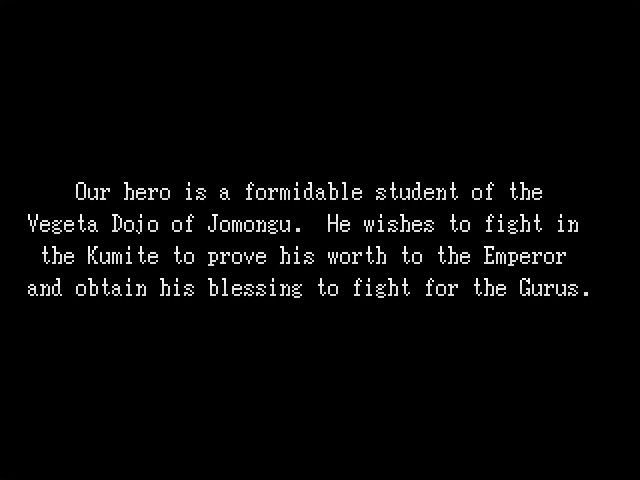 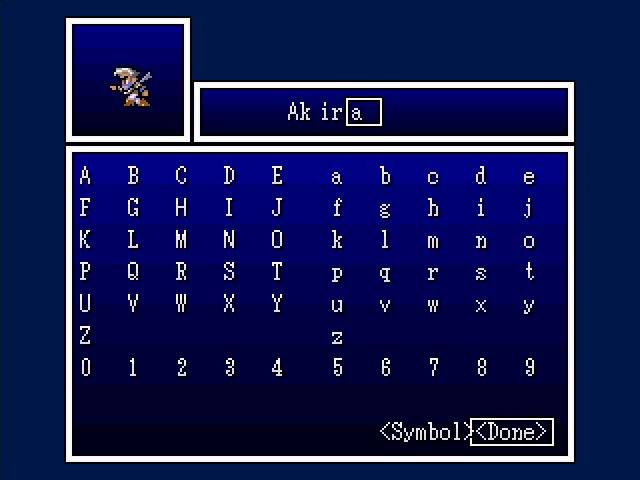 Akira is our first male protagonist. He is, as you'd probably guess, a ninja. 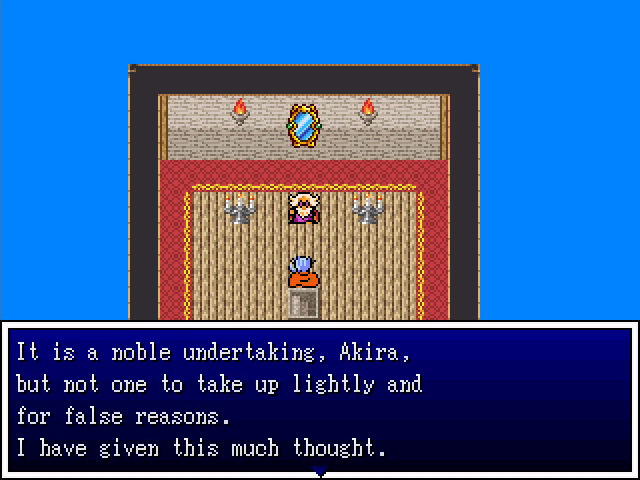 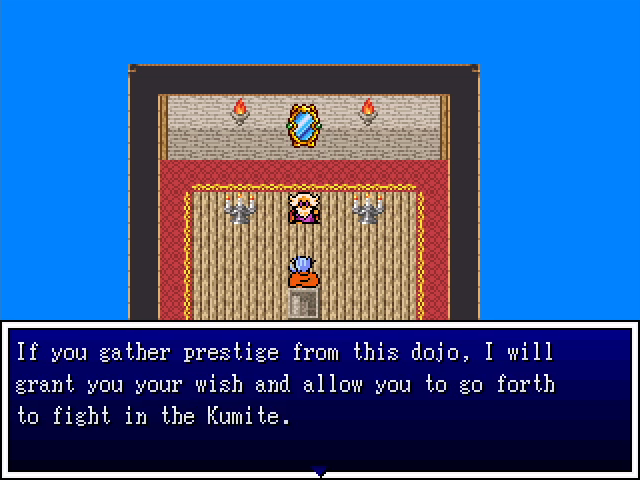 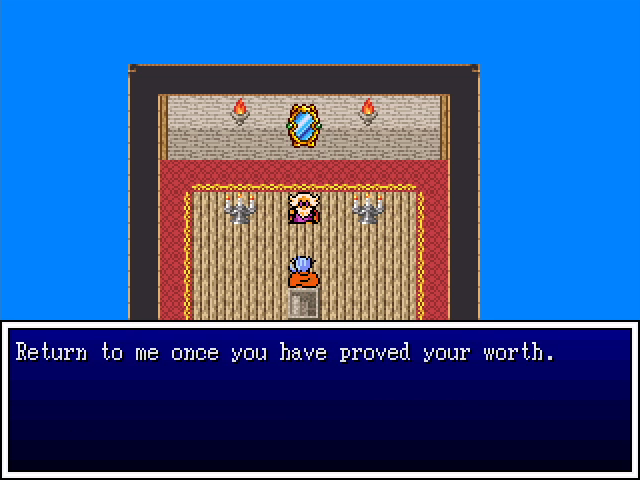 Unlike in the other chapters, here we have to do some work before we can recruit our party members. The requirements are a bit vague. 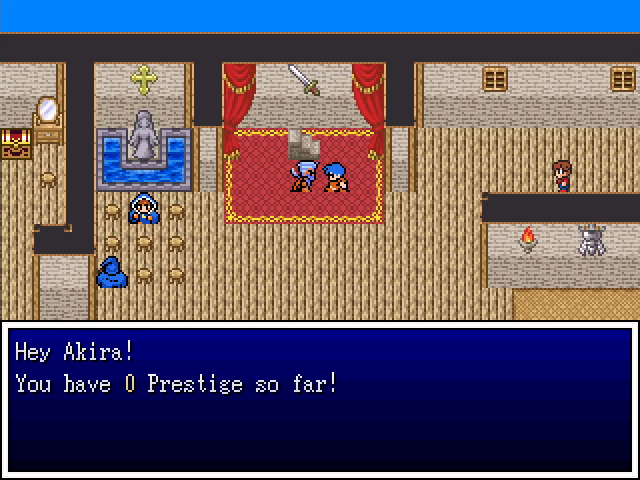 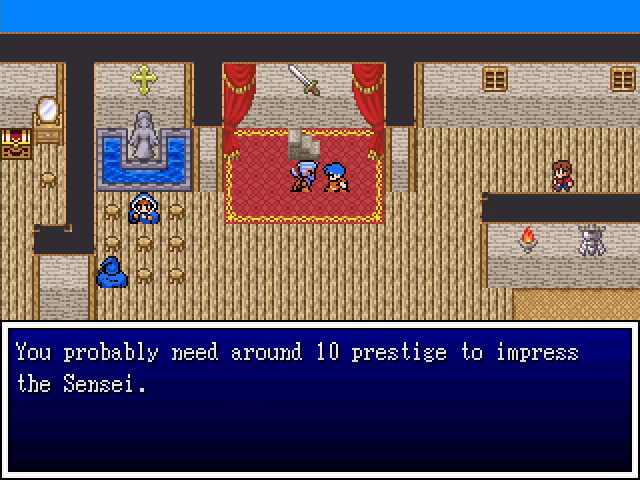 Luckily, this guy right outside the Sensei's room lays out the requirements pretty plainly. 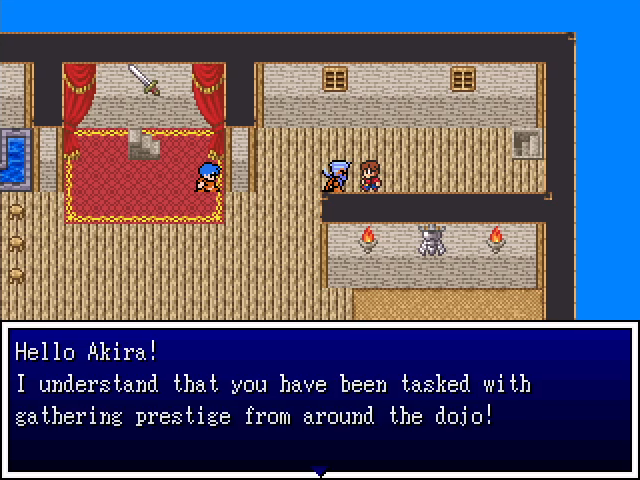 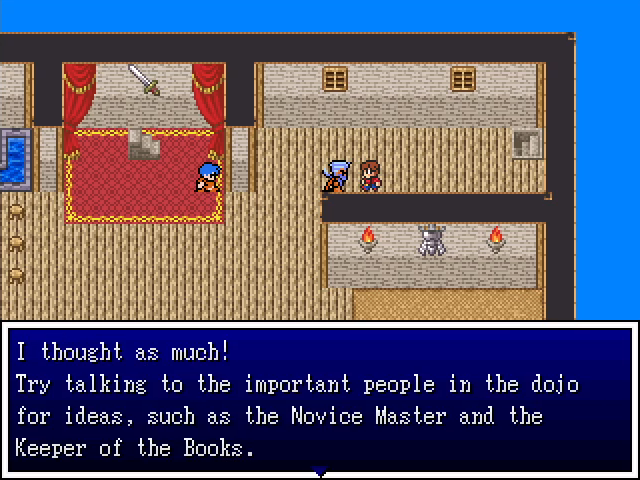 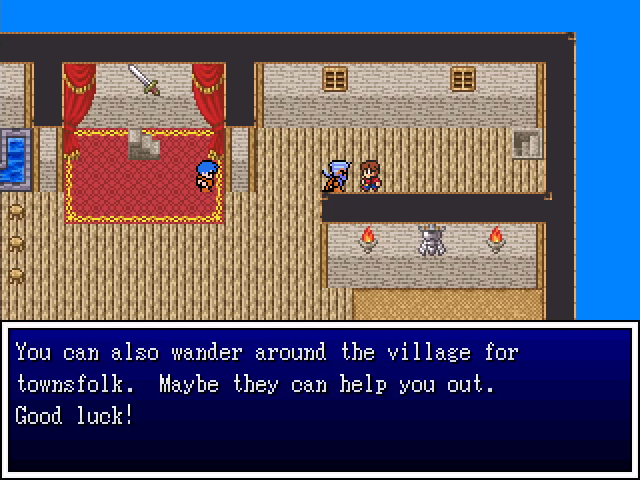 Another NPC close by offers additional advice. Basically: talk to everyone. 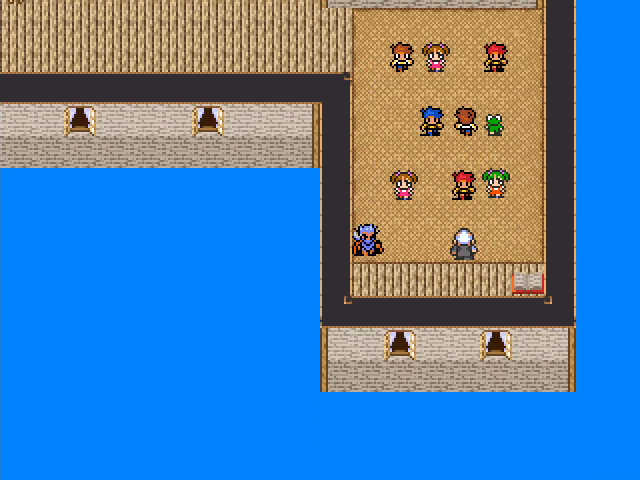 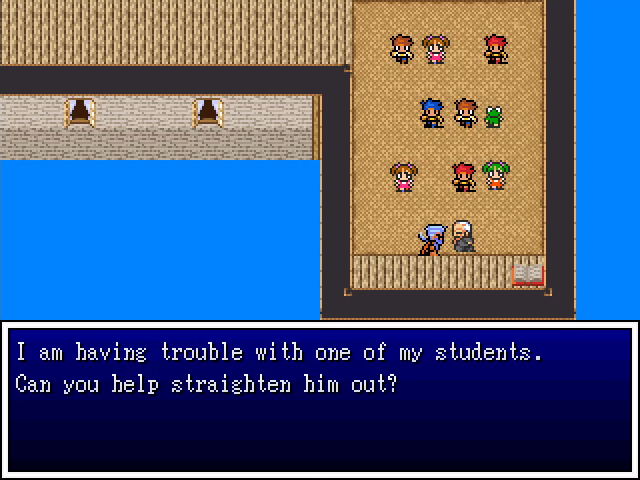 Our first target is the Novice Master, who trains new students. One of his students is a frog, but that's actually not that strange for this place. The real problem is that fidgety little brat next to the frog. 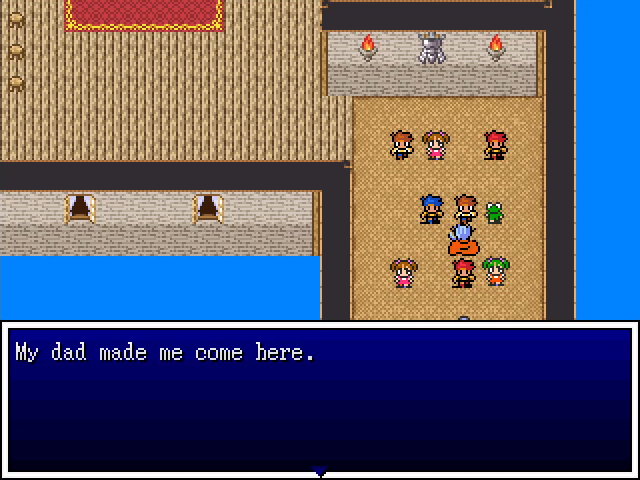 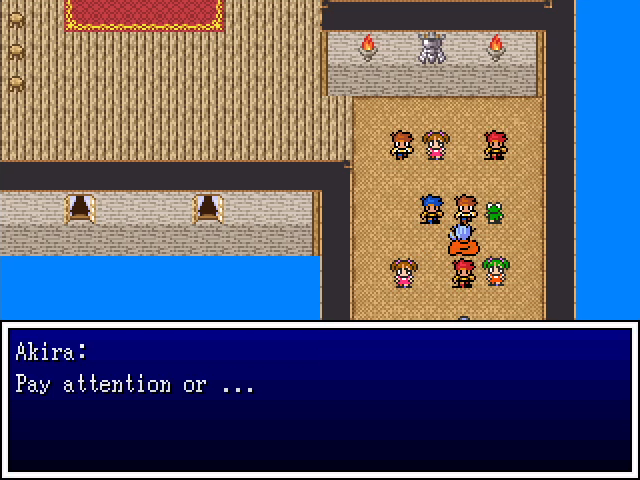 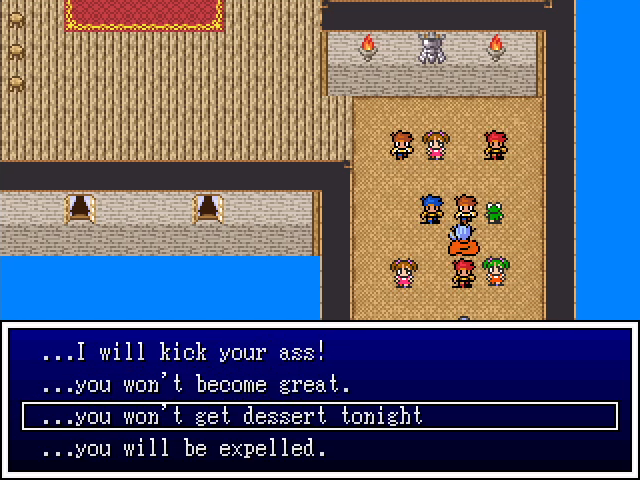 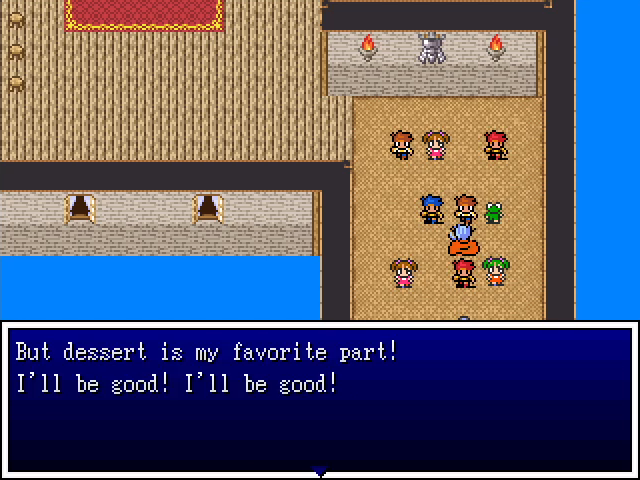 Disciplining him is as simple as preying on the fact that he is a child. 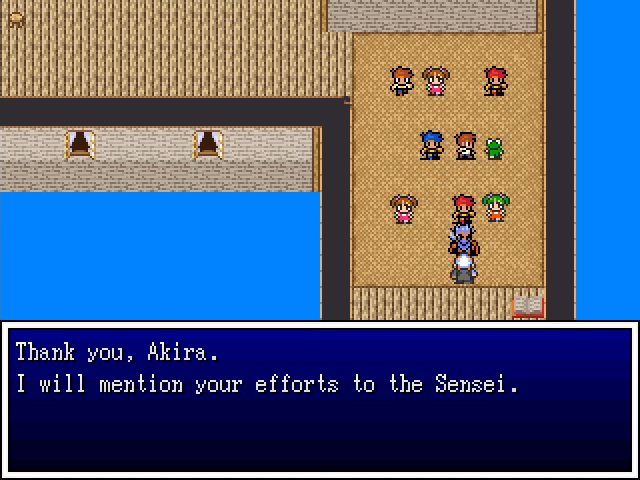  Our reward is 1 prestige and a token amount of XP. It's not much, but it represents my biggest problem with this chapter: Akira is going to be earning way more XP than his companions. 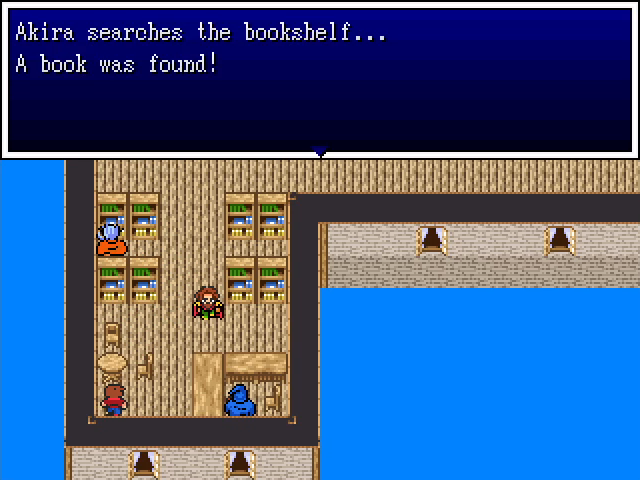 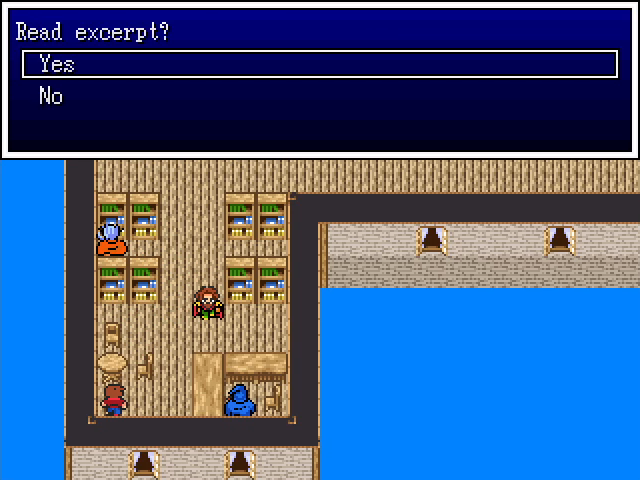 On the other side of the floor is a set of bookshelves, some of which contain some lore about the region and its history. 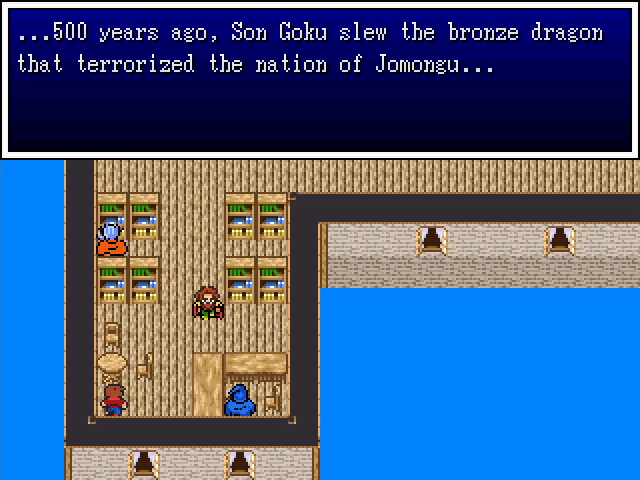 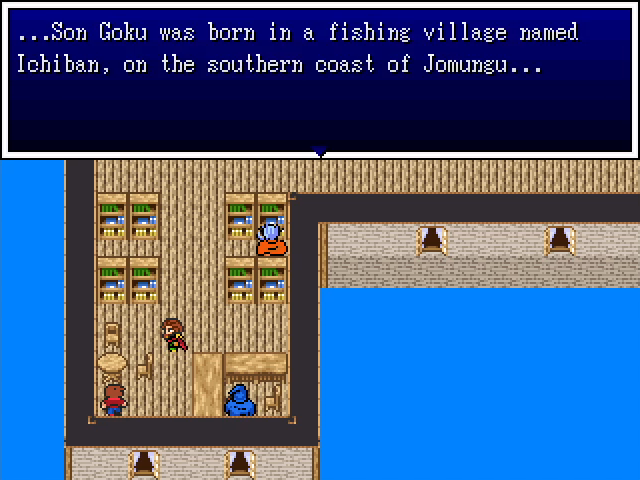 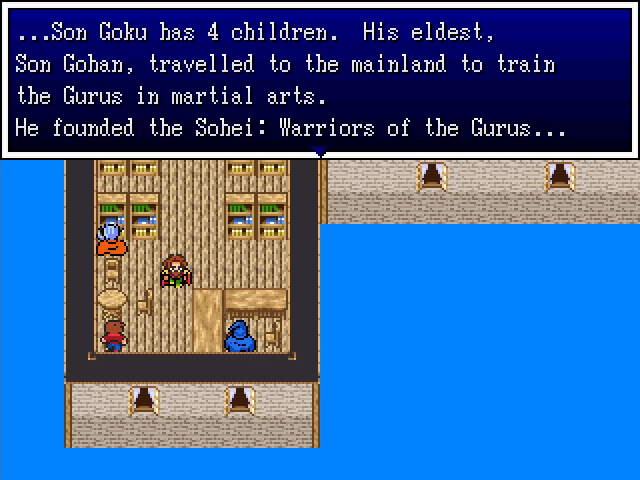 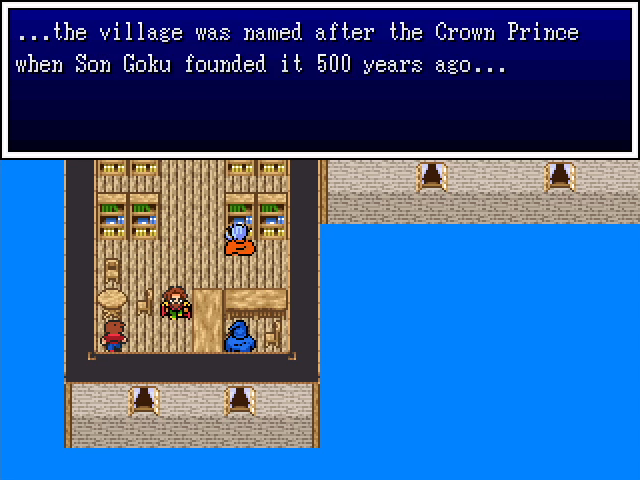 I really wasn't kidding about the Dragon Ball stuff. It's real dumb, but in an endearing "amateur RPG writer" way. 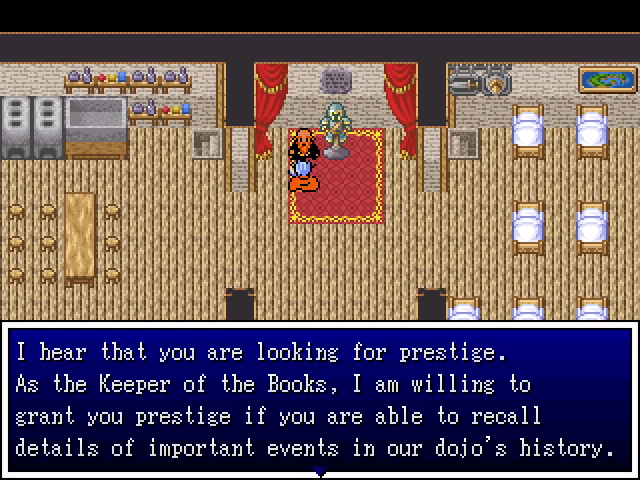 One floor down, the Keeper of Books has a quiz for us on what we just read. We only get once chance, so it's fortunate that I paid attention. 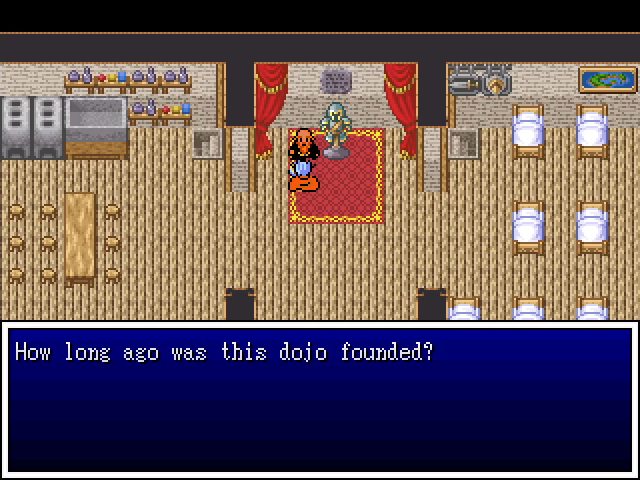 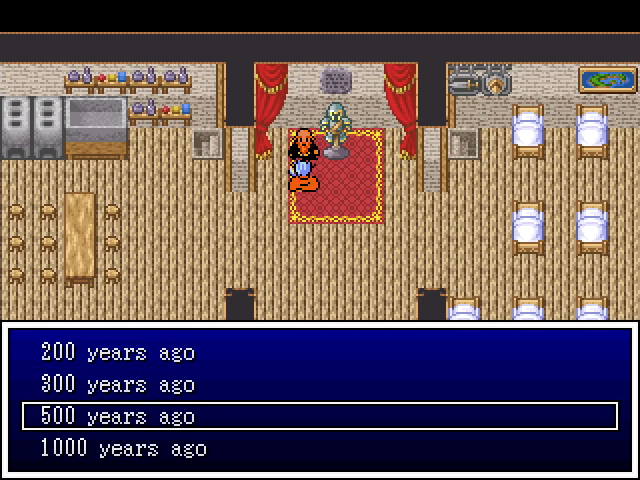 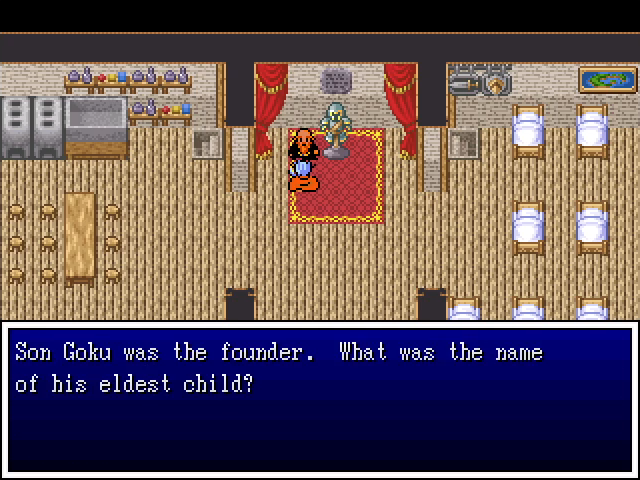 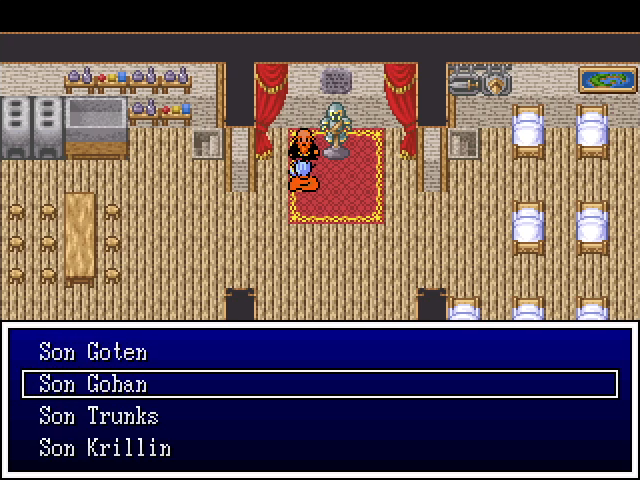 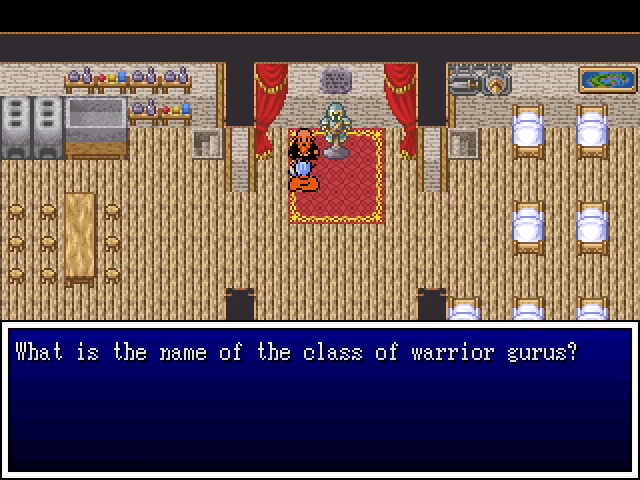   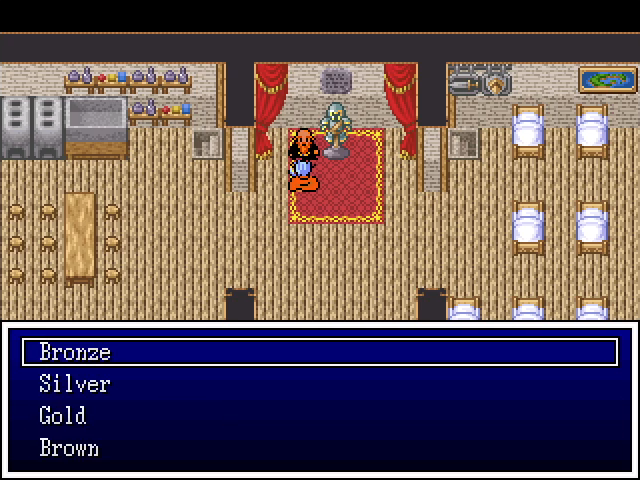 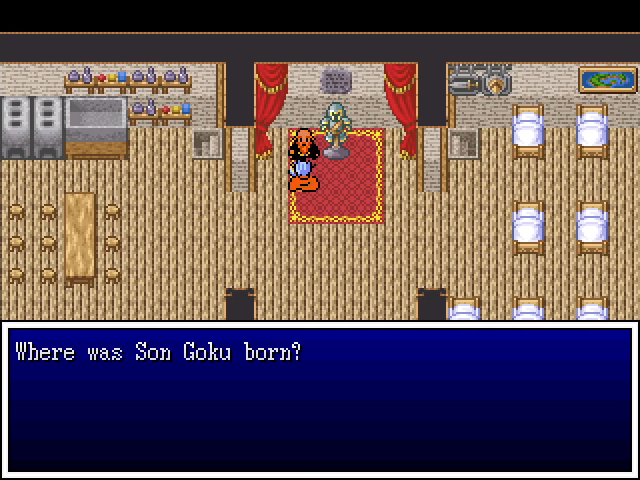 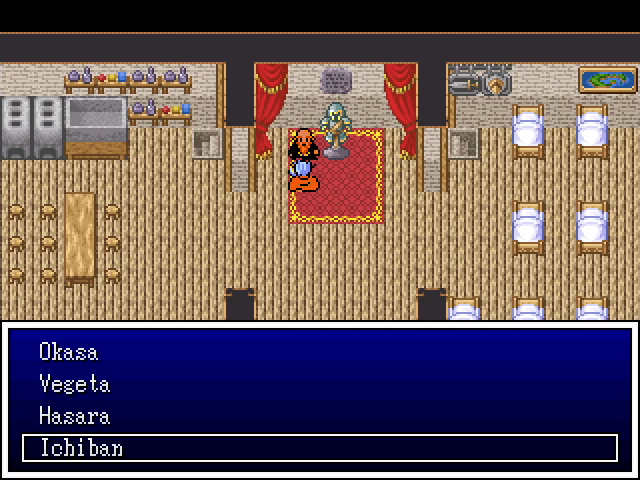  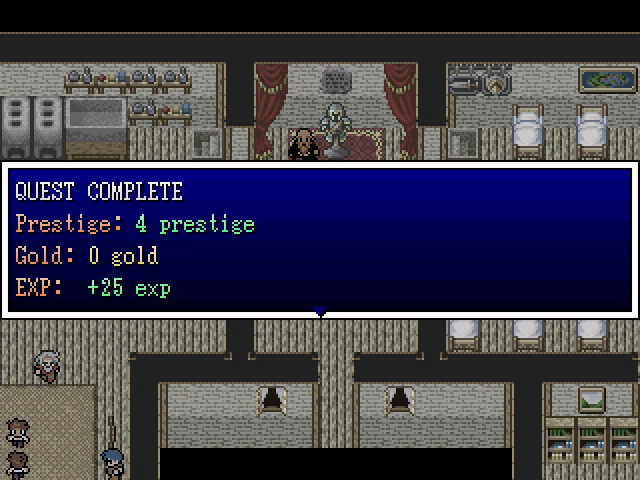 It's pretty basic, but a perfect score is worth 4 prestige, which brings us to half our goal. 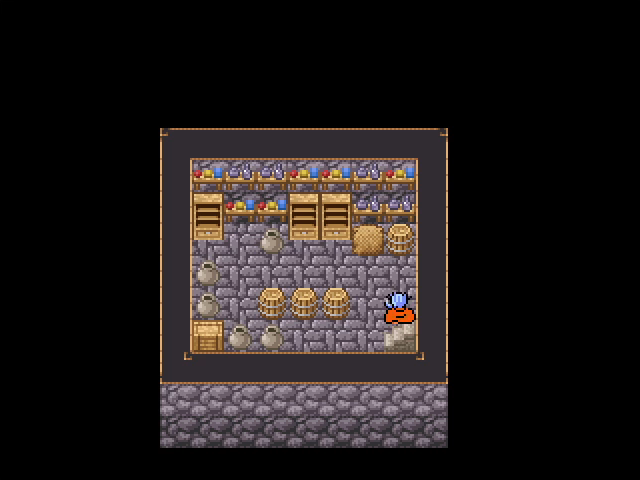 The basement of the dojo doesn't have anything plot-relevant, but it does have a number of shelves, pots, and barrels to search. 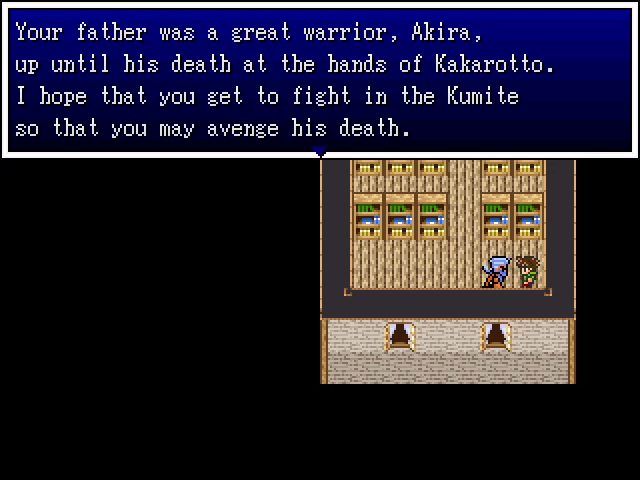 Another NPC is the dojo expands on what we already know by telling us that Akira has a second goal: avenging his father's death. This really is shonen as hell. 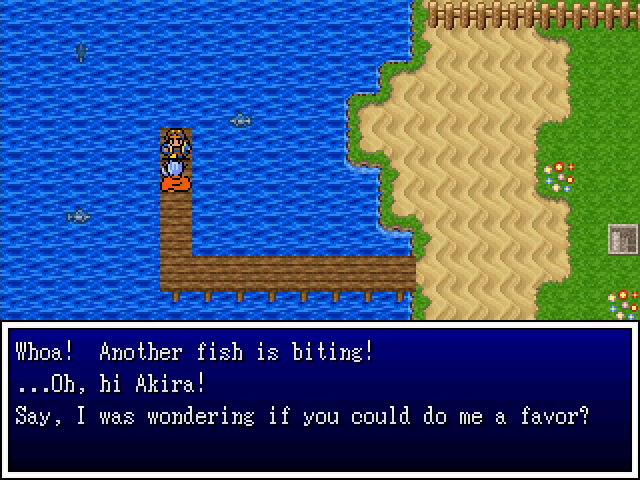 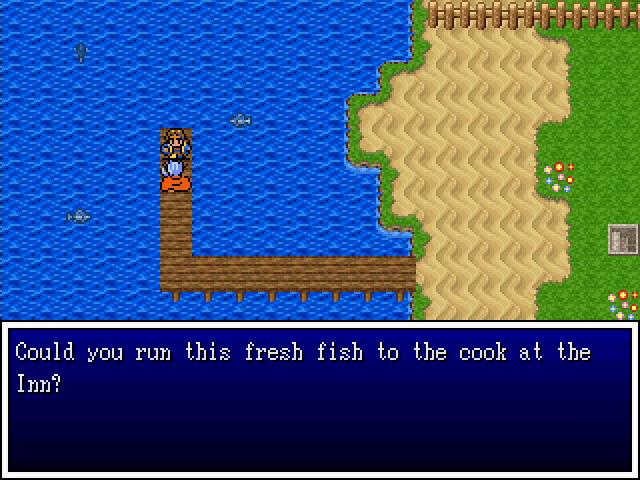 In the town outside the dojo, we're asked to deliver a fish to the inn. 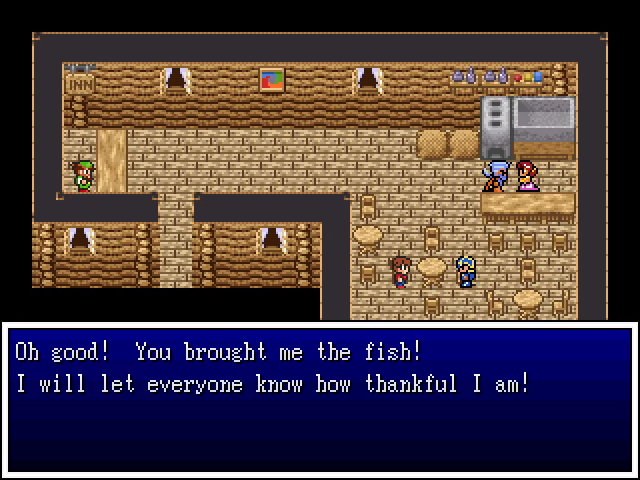 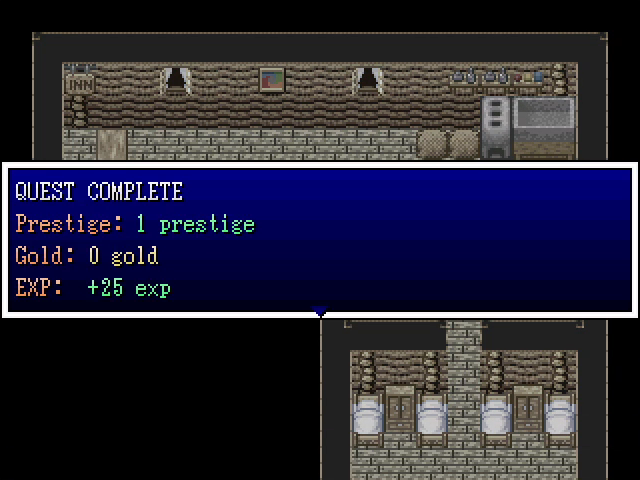 This exceedingly simple task is worth 1 prestige. 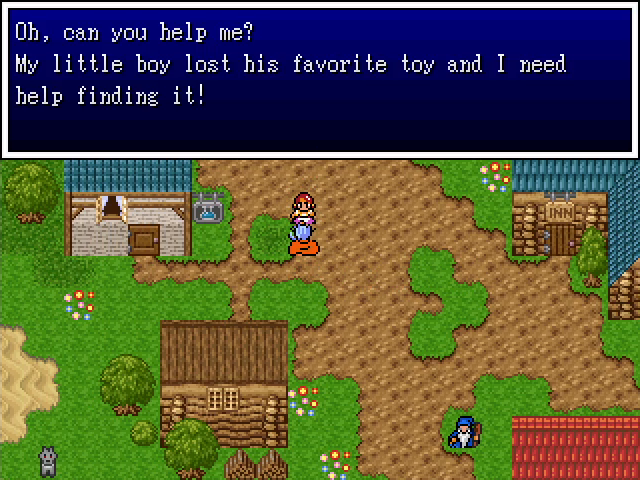 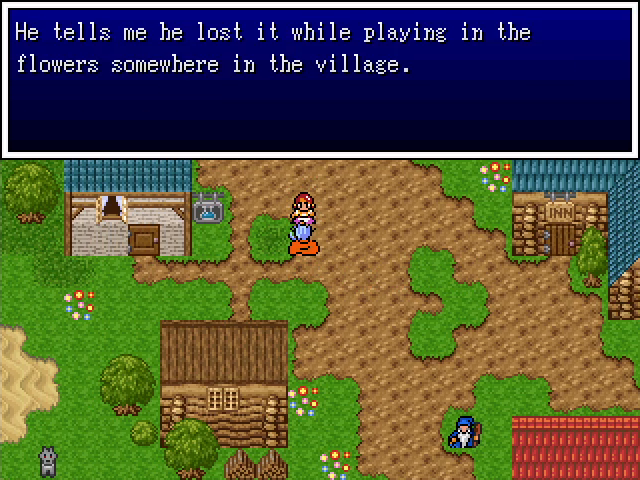 This task, on the other hand, is a pain in the rear end, because there are a ton of flowers in the village and the right one isn't indicated in any way.  Sadly, it's not the patch on the fresh grave. Though I guess that would be a bit morbid. 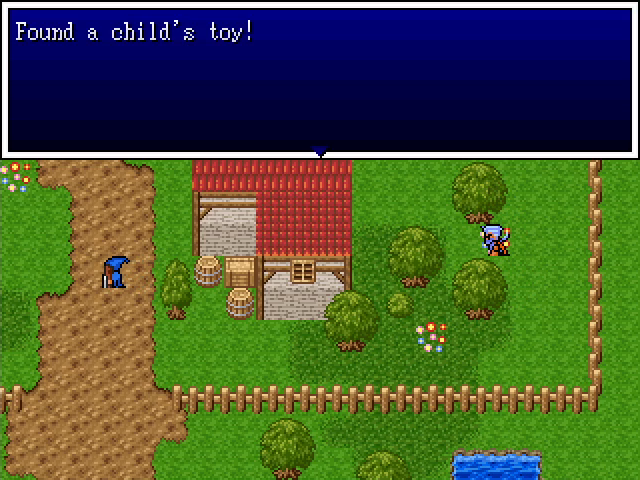 No, it's actually in this random patch in the corner of the town. Much as I like this game, I gotta admit: this is not good quest design. 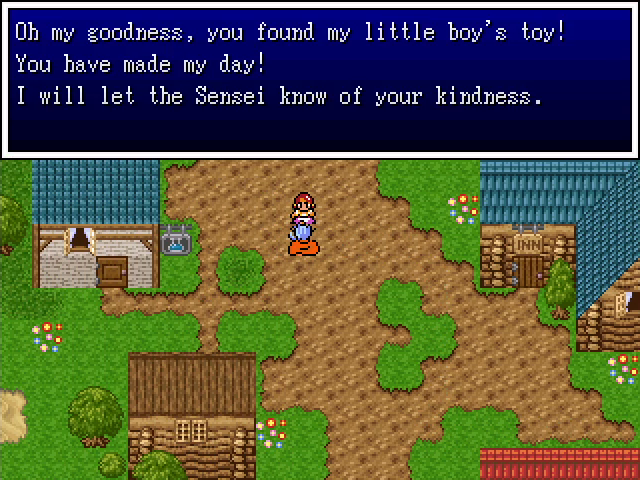 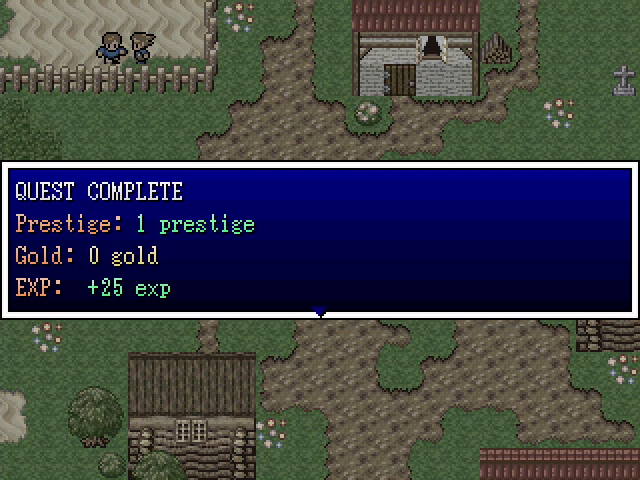 Still, prestige is prestige. 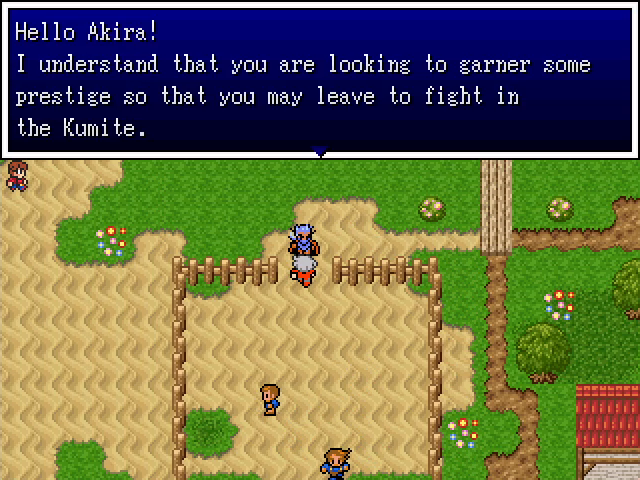 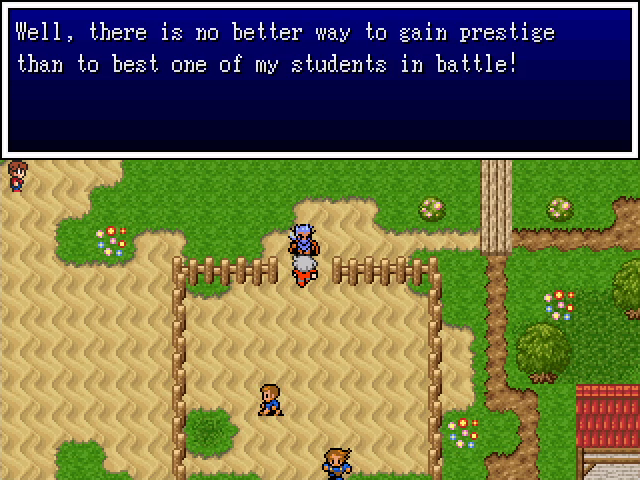  Why not?  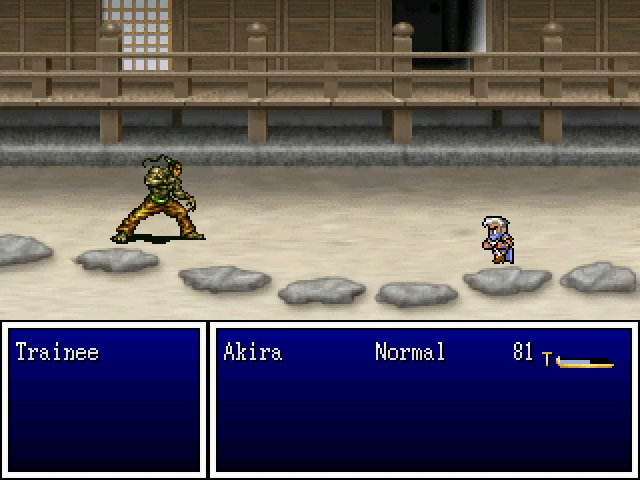 The Trainee uses basic attacks and occasionally defends. He takes a bit of time to beat, but even with our basic starting gear, he doesn't present any real challenge. 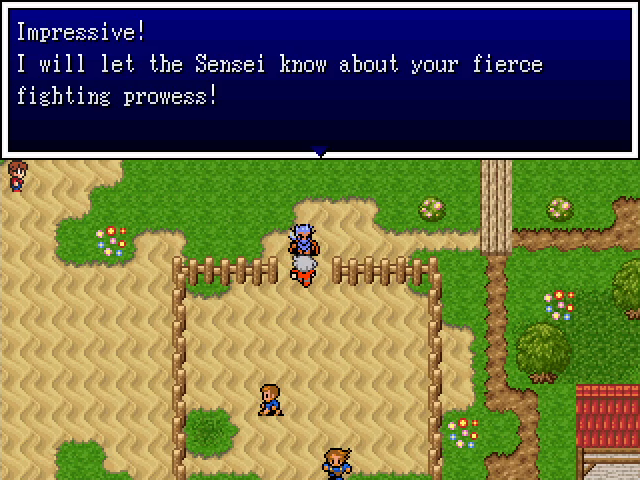 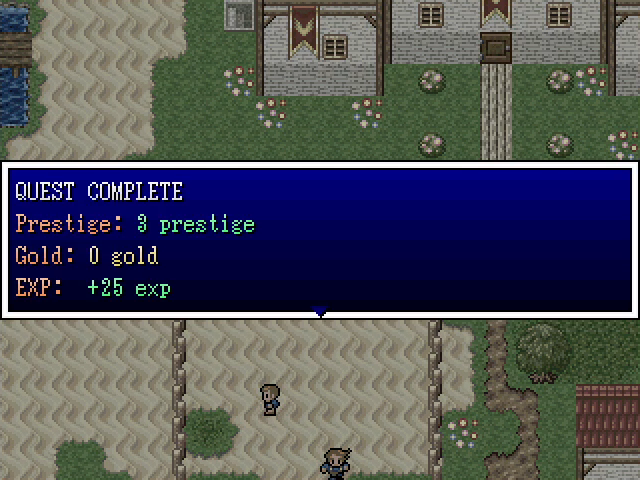 Defeating him earns us 3 prestige, which gets us to 10. Let's go see the Sensei. 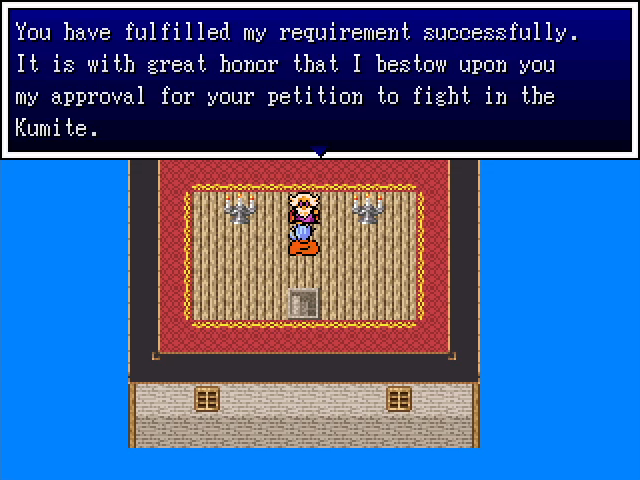 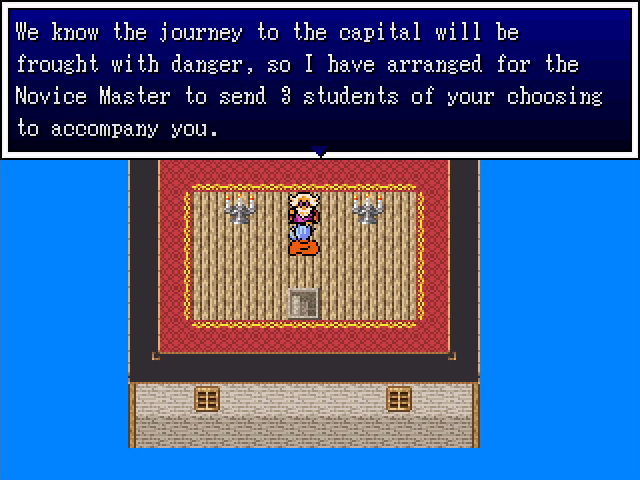 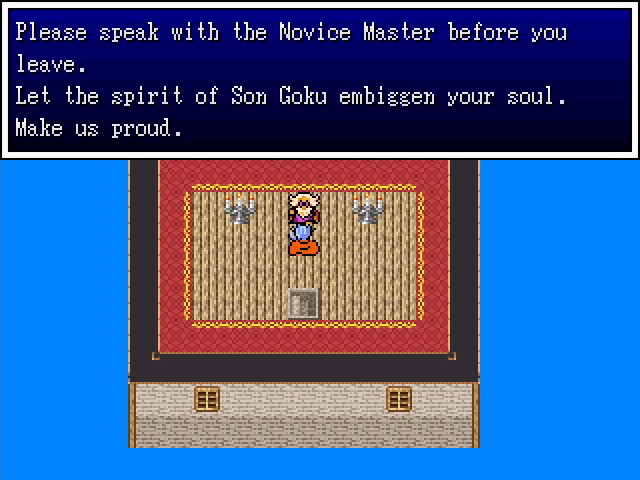 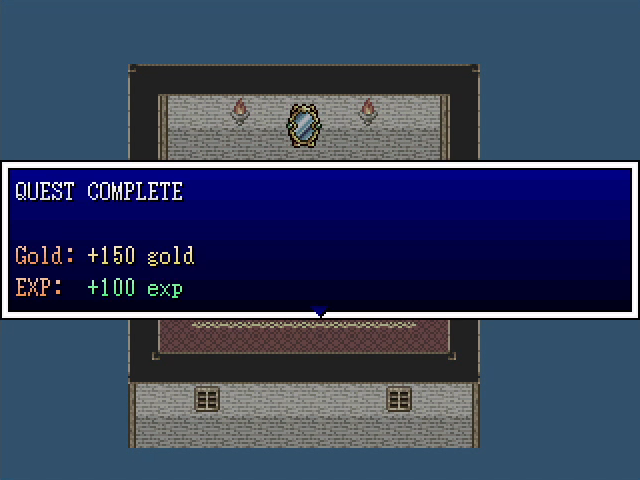 Even more XP for our hero and no one else. 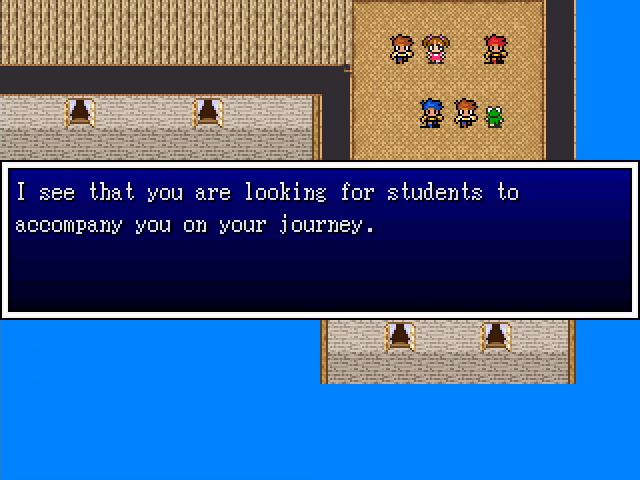 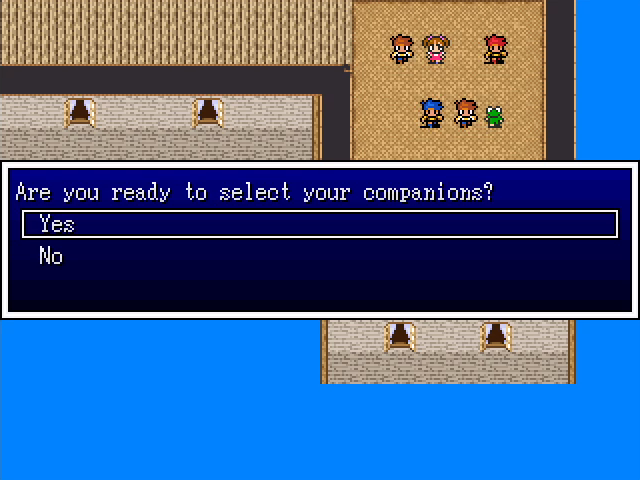 As before, I leave the selection of classes to you, fellow goons. The rules remain the same: vote for up to one class from each group (with gender and name optional), and previously-used classes are off limits. Also remember that the three classes remaining after this vote will end up as the companions of our fourth and final hero, though I'll still let you vote on names and genders.
|
|
#
?
Jul 1, 2022 02:55
|
|
|
Class Profile: Akira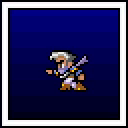 Akira's class is Ninja, which should come as a surprise to absolutely no one. It's a fast class with a strong mix of abilities. In addition to the basic offensive and healing spells available to all protagonists, it also have a variety of debuffs and self-buffs. The Ninja's equipment is also worth mentioning, as its weapon choices primarily revolve around exotic weapons normally reserved for the Ronin class (albeit without the ability to dual-wield). Finally, the Ninja has the ability to use ninja tools to learn new abilities, similar to an Engineer or Warlock/Witch. 5-Headed Snake God fucked around with this message at 04:30 on Jul 1, 2022 |
|
#
?
Jul 1, 2022 02:55
|
|
|
Well, let's keep the naming style up. Tetsuo the Male Ronin, Saya the Female Wizard and Akane the Female Bandit.
|
|
#
?
Jul 1, 2022 03:12
|
|
|
Mesmer, Black Knight and Engineer. Mostly because I think Ronin would be a bit redundant with Akira.
|
|
#
?
Jul 1, 2022 05:39
|
|
|
I'm beginning to suspect that I've lost the bulk of my audience.
|
|
#
?
Jul 3, 2022 02:42
|
|
|
Nonsense, we just don't have that much to say. IMO the problem here is that it's hard to make a thematic party to go along. Alas, there's no class that specializes in combat commentary, which would be a really funny buff caster concept, yell observations about the combatant's technique in a megaphone to help your buddies. Also, in the Dark Knight's class description: "Further Comments: A Black Knight is about the best tank available, with a ton of Defense and MP." Should probably be HP.
|
|
#
?
Jul 3, 2022 02:57
|
|
|
I'm here, just lurking! I vote for whatever the OP considers the most DBZ of party compositions is, aka as many angry punch people/ki blasts as possible.
|
|
#
?
Jul 3, 2022 03:23
|
|


|
5-Headed Snake God posted:I'm beginning to suspect that I've lost the bulk of my audience. Mathwyn posted:I'm here, just lurking!  I don't tend to post much for actually important stuff in threads. I much prefer throwing oddball questions, wondering out loud where the plot is going to go, pointing out spelling errors, reading in silence etc. etc. Making decisions with others sounds an awful lot like work, and I do enough of that. As far as the plot is concerned it's not doing anything super unusual worth commenting on from the peanut gallery, but that's what makes it fun to read along with. I don't have to treat this like Reborn, or one of the modded Baldur's Gate LPs, or one of the many other RPGs that doesn't understand verbosity is not inherently a good quality, or some of the old point-and-click adventure games that equated "zany" with "racist/incoherent/buggy, pick three". I need to approach those with pain relievers on standby. I mean, we're getting every shonen story ever now. It's perfect unwind material!
|
|
#
?
Jul 3, 2022 04:52
|
|
|
There's little to say at the minute, but that doesn't mean people aren't watching.
|
|
#
?
Jul 3, 2022 05:56
|
|
|
Arright, I may have jumped to an incorrect conclusion. I'll try to pull myself away from Three Hopes long enough for another update here soon.
|
|
#
?
Jul 5, 2022 23:42
|
|
|
I�ll say that one of the problems regarding responses is that the game is fairly inoffensive overall. It�s a cute and reasonably competent regular rear end story. It�s pleasant to look at, but doesn�t particularly light the fire to say something. Admittedly it means more of us should be putting effort into putting in responses because of that (myself included). It�s good to see the game, and I wouldn�t be surprised if the person used this as a stepping stone to make more and better poo poo later. But it�s also feels rudimentary because of that feeling.
|
|
#
?
Jul 6, 2022 01:22
|
|
|
To separate the speech and vote, let�s get a female Engineer for the amusement of someone looking like they�re fighting in their pajamas.
|
|
#
?
Jul 6, 2022 01:24
|
|
|
Mathwyn posted:I vote for whatever the OP considers the most DBZ of party compositions is, aka as many angry punch people/ki blasts as possible. With the class votes basically dead even (and because I kinda hate the female Engineer spite if I'm being honest), I'm going to go with this suggestion.
|
|
#
?
Jul 7, 2022 00:17
|
|
|
look my computer broke and i've been functionally unable to browse lp for two weeks it's not my fault i wasn't here to keep on making three stooges jokes
|
|
#
?
Jul 9, 2022 05:54
|
|
|
All right, I tried, but I was not able to make time for the LP between getting ready for an upcoming trip and life just generally being a bastard. I'll get back to work when I return from said trip, which will be in a couple weeks.
|
|
#
?
Jul 13, 2022 00:14
|
|
|
Have a nice trip and may life be less of a poo poo.
|
|
#
?
Jul 13, 2022 02:55
|
|
|
MagusofStars posted:It�s not like the dead guy needs it any longer. Well, for that matter, having a potion obviously did not help the dead guy.
|
|
#
?
Jul 13, 2022 12:38
|
|
|
Good news: I got back from my vacation on Saturday. Bad news: My cat died on Monday and I am very definitely not in the LP mood. I'll get it back on track when I can, but... not right now.
|
|
#
?
Jul 27, 2022 04:30
|
|
|

|
|
#
?
Jul 27, 2022 04:57
|
|


|
I'm sorry to hear that, I hope you feel better soon. It sucks losing a kitty.
|
|
#
?
Jul 27, 2022 11:58
|
|
|
I'm sorry to hear that about your cat.
|
|
#
?
Jul 27, 2022 12:46
|
|
|
Randalor posted:I'm sorry to hear that, I hope you feel better soon. It sucks losing a kitty.
|
|
#
?
Jul 27, 2022 13:04
|
|
|

|
| # ? May 6, 2024 10:43 |
|
|
I promise, I'm not dead! The last few weeks have been busy, but not entirely in a bad way. I'm finally getting back to work on the LP, so there should be a new update this weekend. Probably.
|
|
#
?
Aug 18, 2022 00:14
|
|