


|
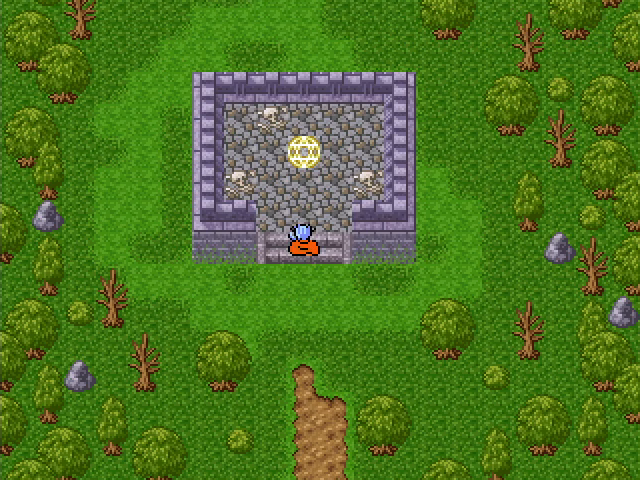
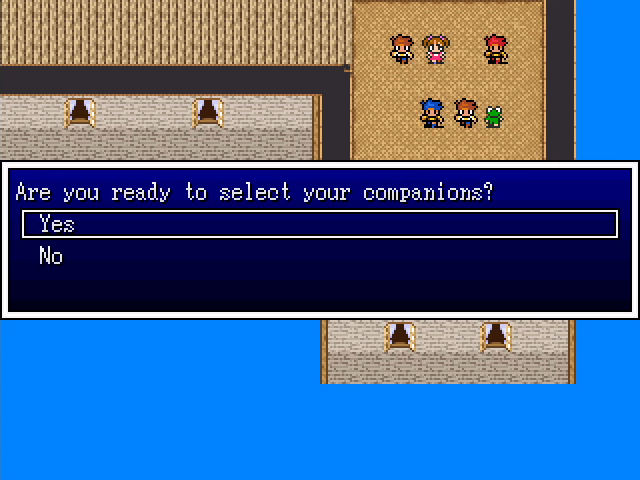 Oh yeah, I'm ready. As my readers suggested, I'm picking my own party here, one that fits the theme of a shonen series. 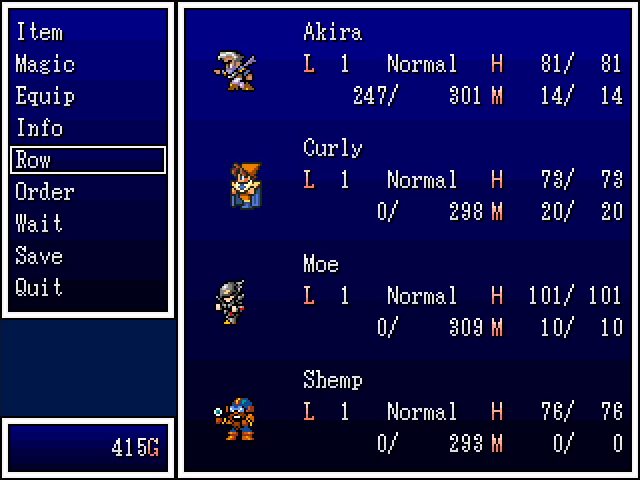 So this is what I went with. This is a shonen story, so obviously they're all male. We have the quirky Mesmer sidekick (Curly), the brooding Black Knight loner (Moe), and the wise Engineer mentor (Shemp). Plus, at least one person should appreciate the naming scheme. 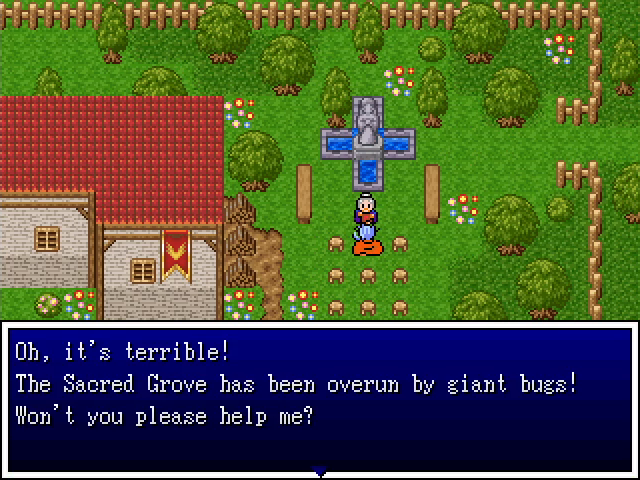 Before we leave, we'll take care of a brief side activity. 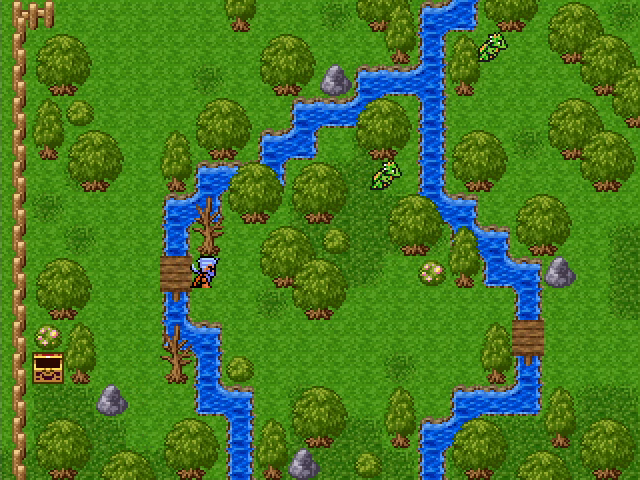 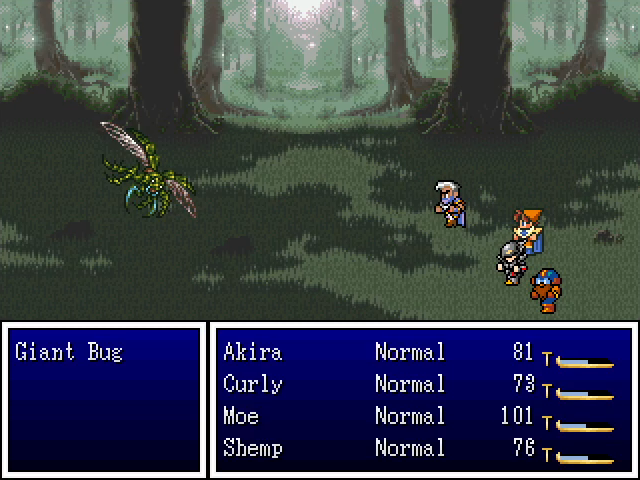 It's pretty straightforward: walk up to the bugs, win a simple fight, and leave. The giant bugs can inflict poison, but are otherwise quite weak, as they're intended as a way for Akira to gain some prestige. 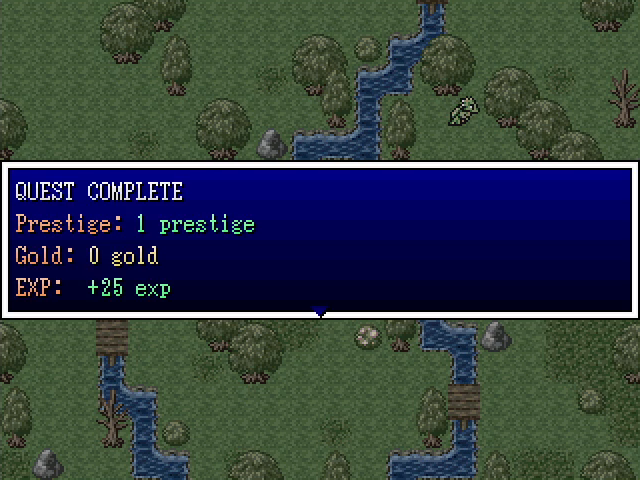 Defeating them yields 1 prestige (which we no longer need) and a token amount of XP. I avoided this area because I don't need Akira gaining even more XP that he doesn't share with his allies. 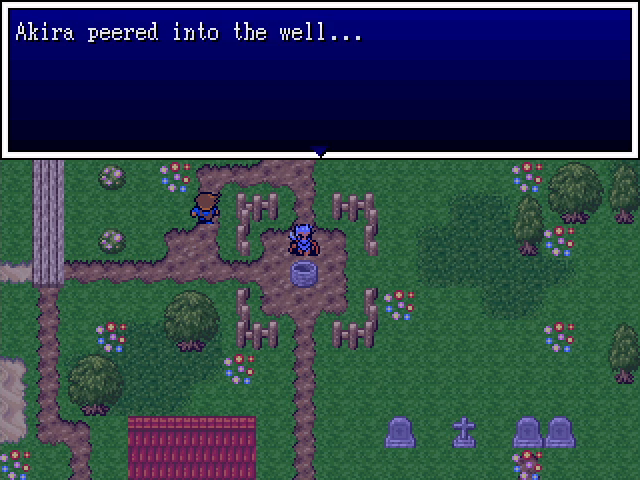 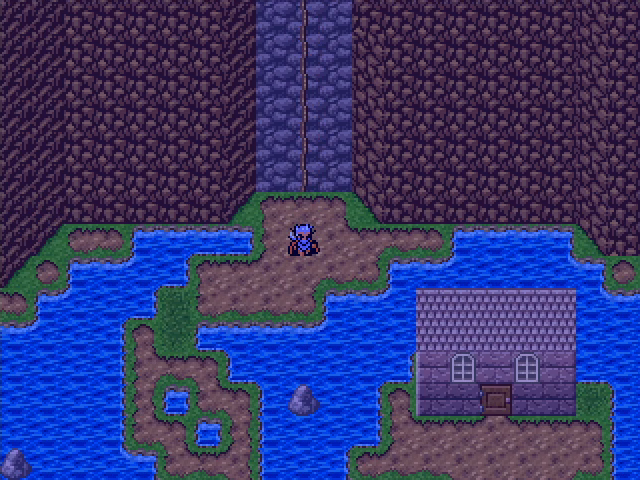 The Vegeta well has a tiny medal house, as you'd expect. 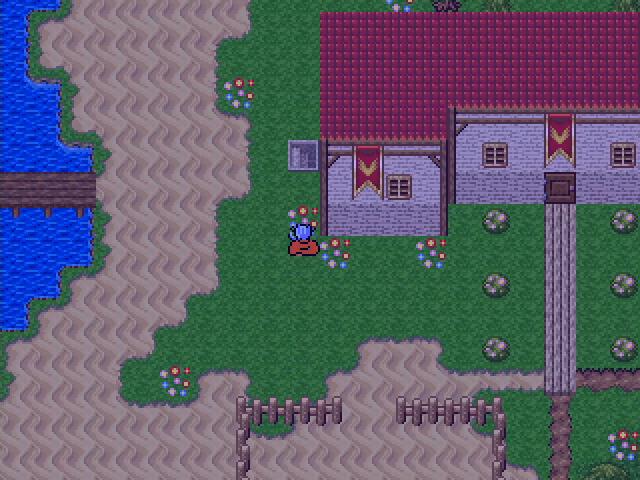 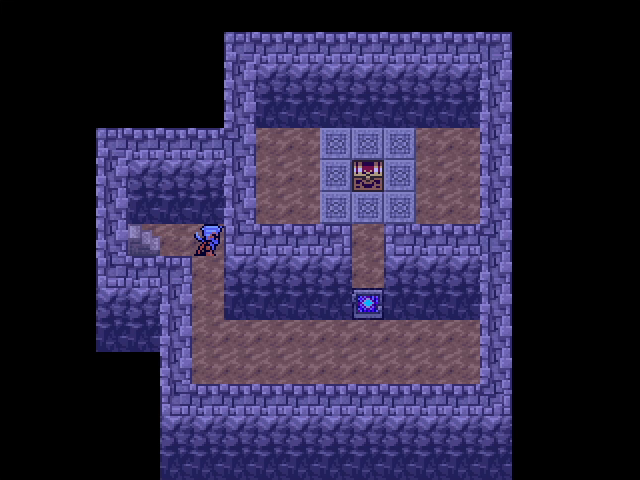 To the side of the dojo is a basement area containing a chest. We've seen this type of locked door before and still cannot open it. 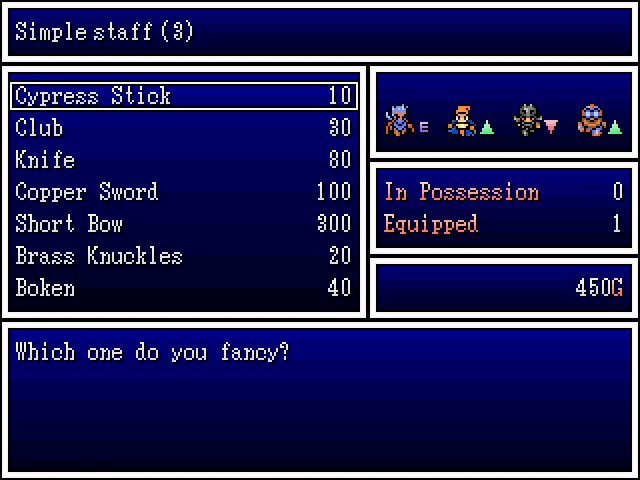 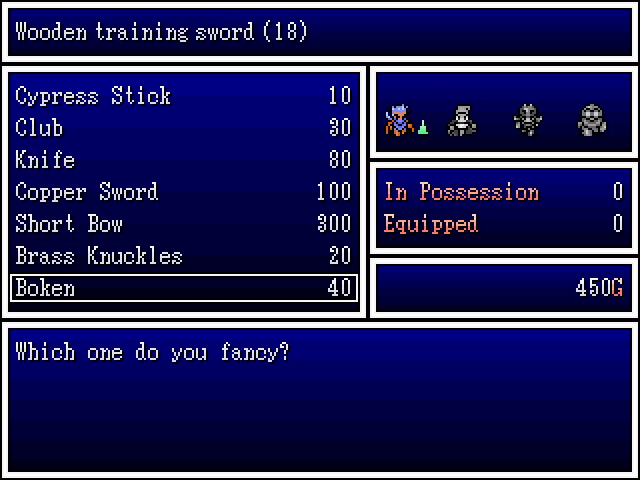 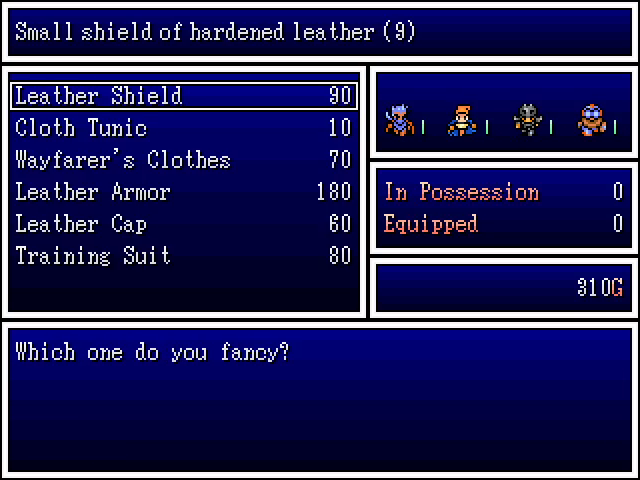 The town shops don't offer anything new, but with Akira in our party we can actually make use of the boken. It's a pretty powerful early-game weapon, especially for the price, and a no-brainer purchase for our current hero.  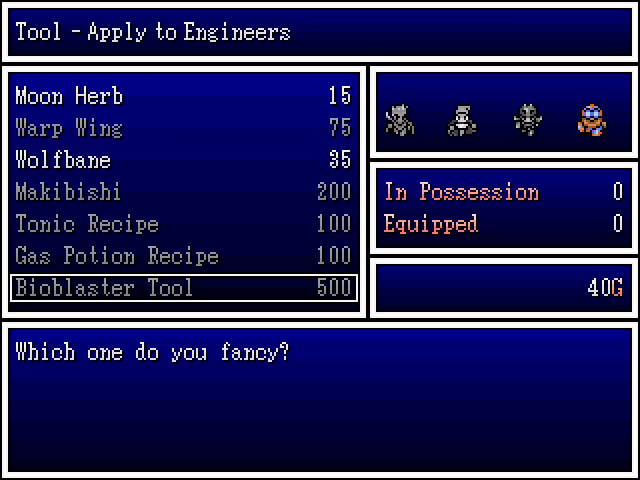 The item shop has a couple of usable items for your party. Like Hexia, both Akira and Shemp can use tiems to learn new combat abilities. The Makibishi in particular is really useful for the early game, though we can't afford it yet.  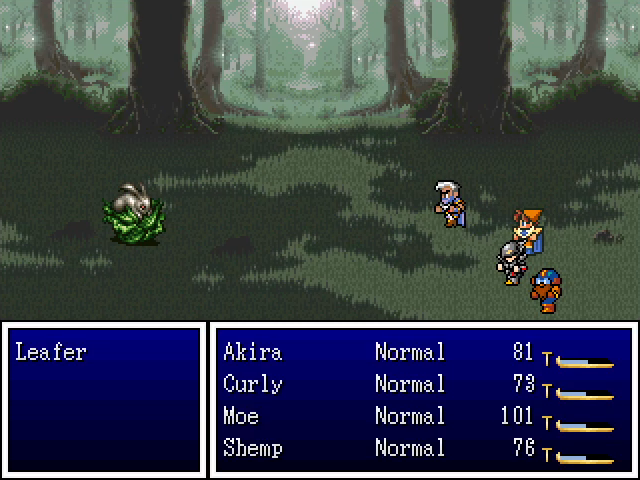 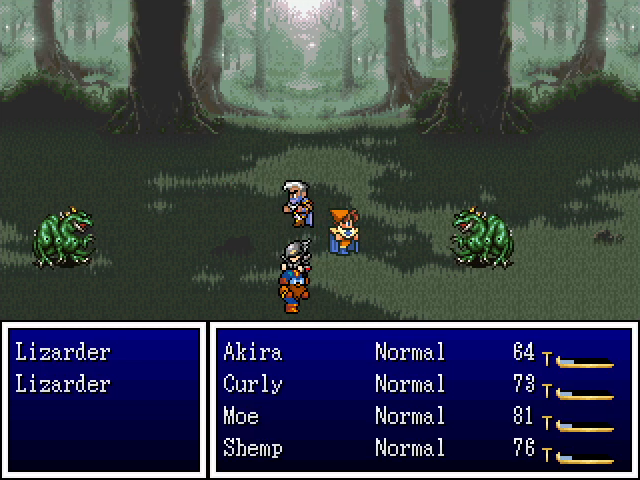 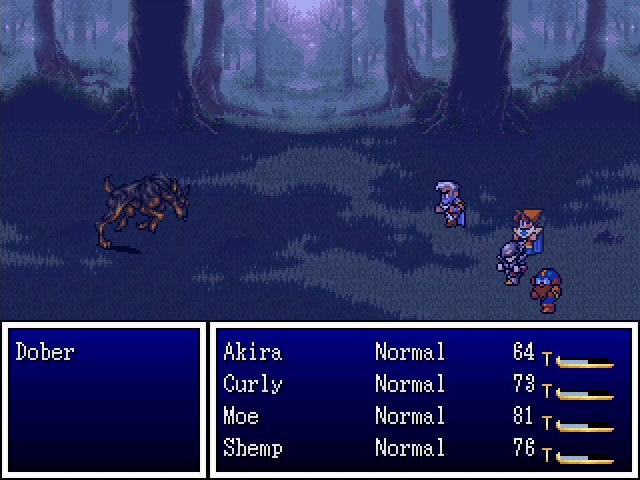 As usual, I leave town to do a little grinding before departure. The enemies here are all things we've seen before. 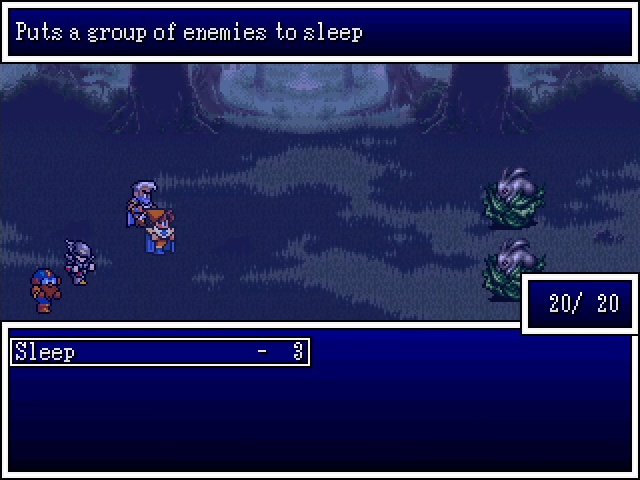 Curly's only spell for the moment is Sleep. It's not bad, but it'll be a bit before he starts getting good stuff. 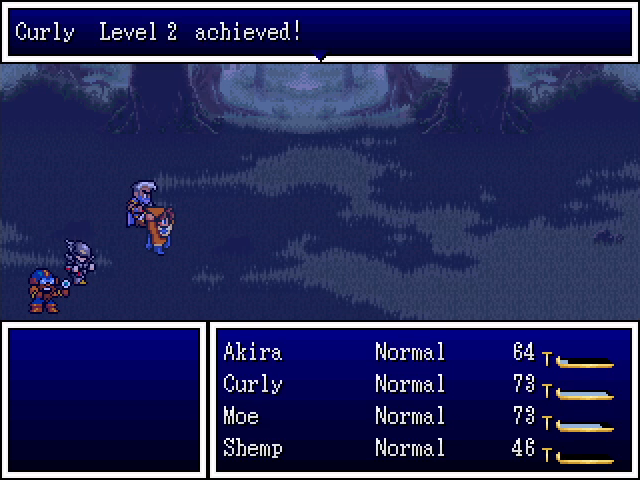  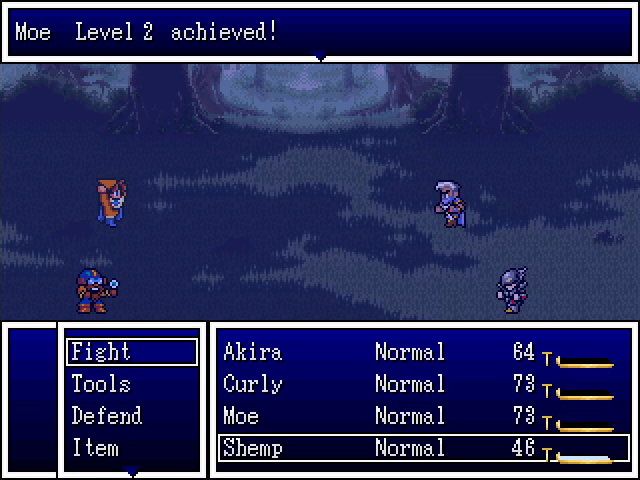 Grinding gets our heroes to level 2. 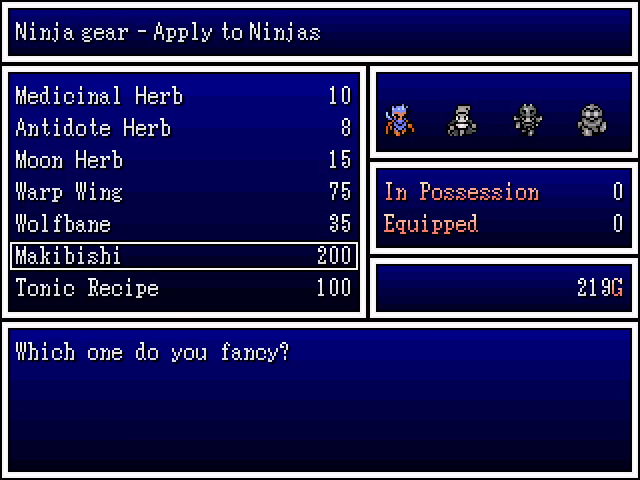 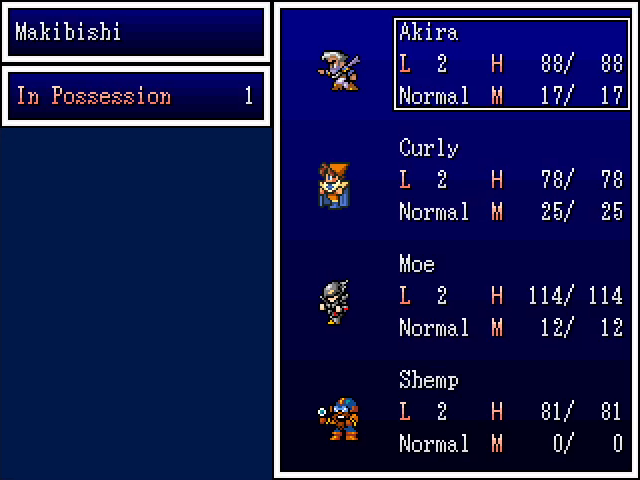 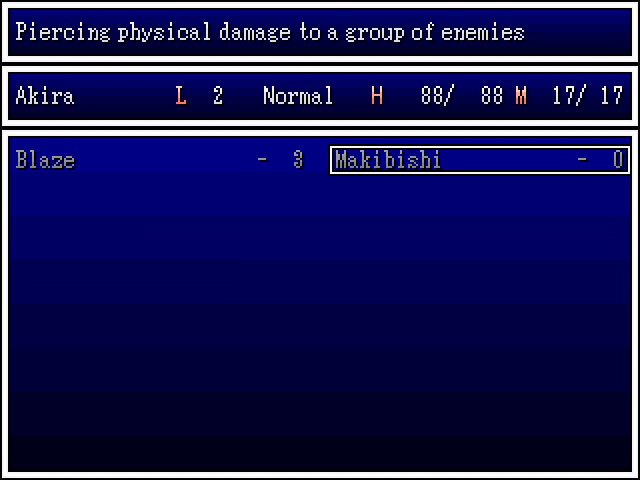 The money we got still isn't enough for the Makibishi, so we sell of a Blaze scroll to make up the difference. Being able to hit all enemies is a huge advantage at this stage of the game and will trivialize a lot of random battles. 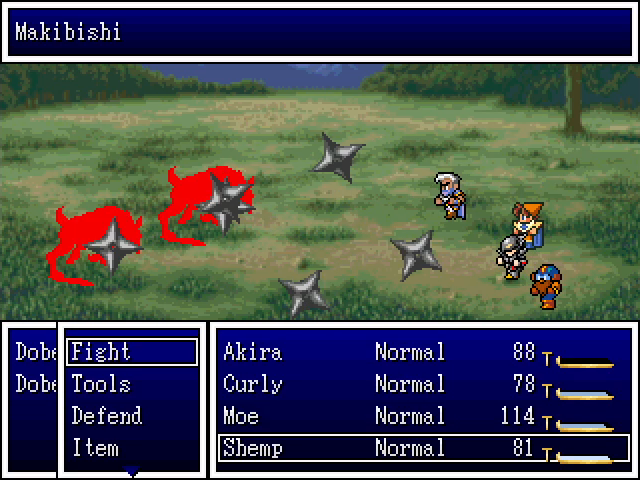 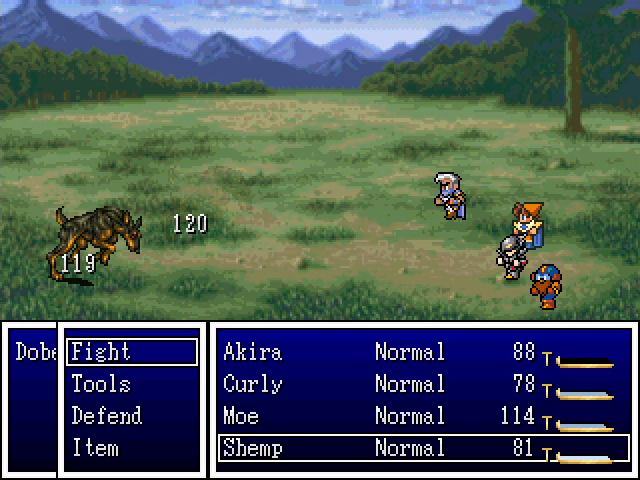 Like so. This is significantly more damage than Akira can deal with a standard attack.  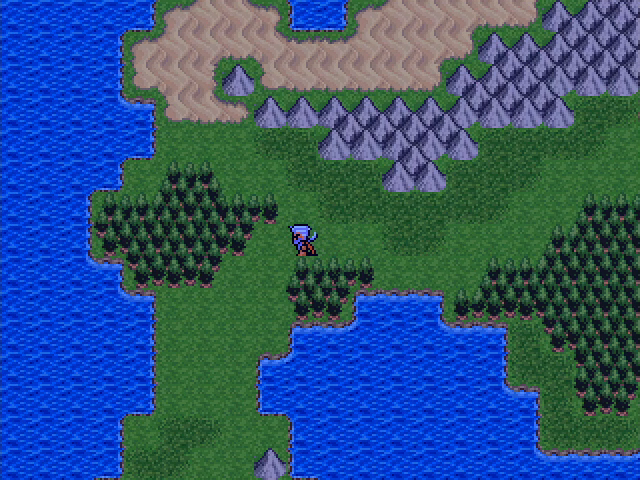 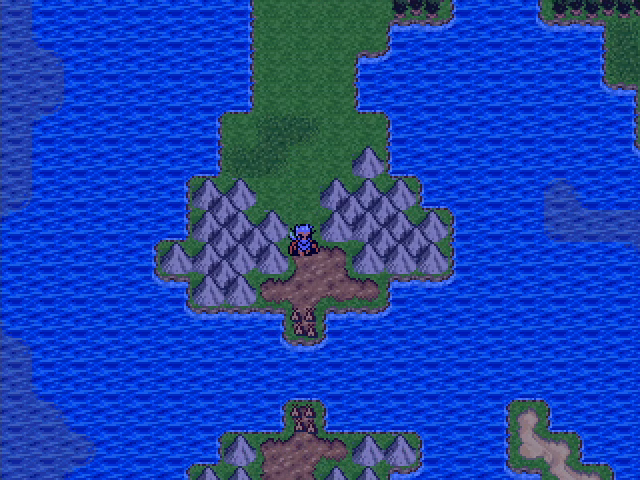 Leaving Vegeta, we make our way east into the hills, then south and back to the west, and south once more, bringing us to our next town. 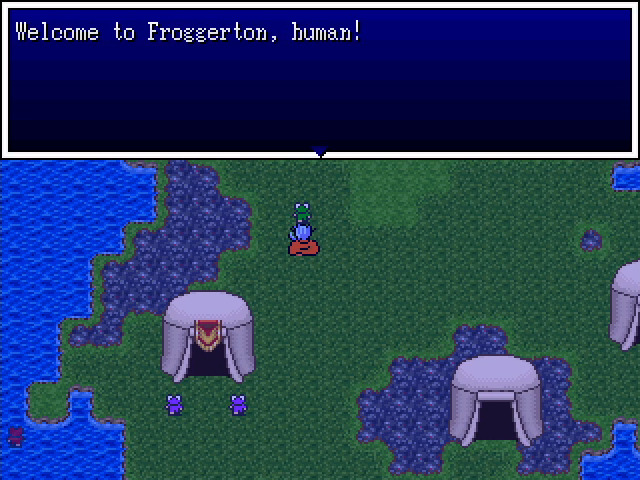 It's a town full of frogs. The frogites are fairly common in Jumongu, so this isn't too weird. They also love swampy terrain, which damages us when we step on it. This down sucks. 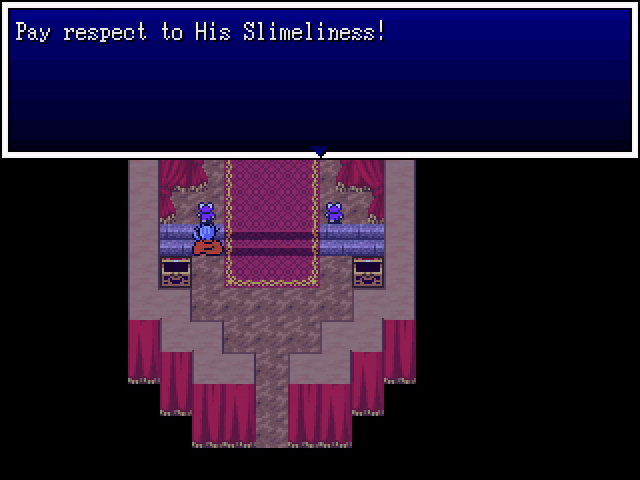 Inside the important-looking tent is the frogite chief. His subordinates are very serious about him. 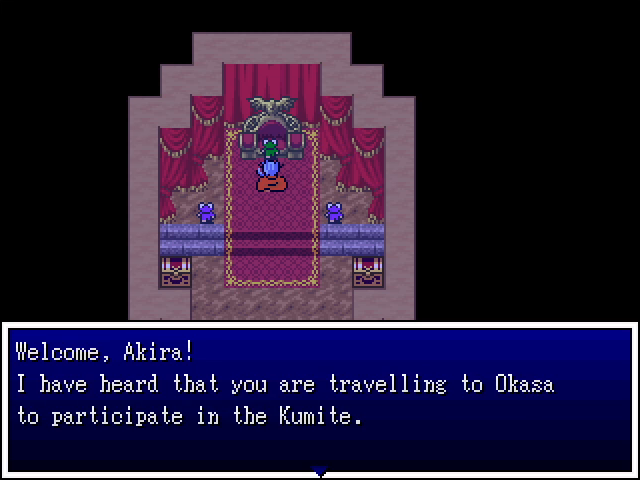 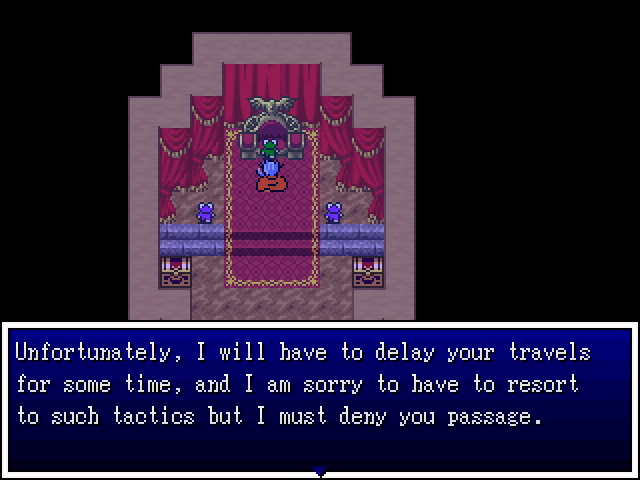 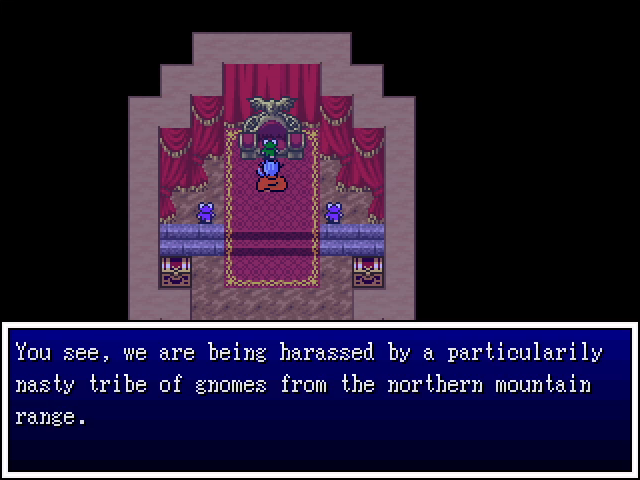 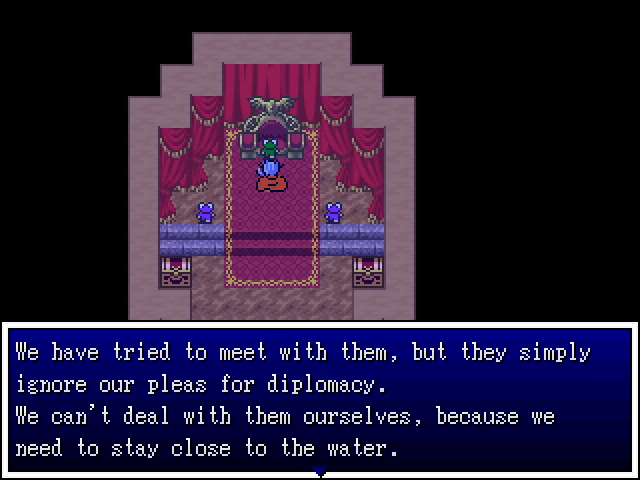 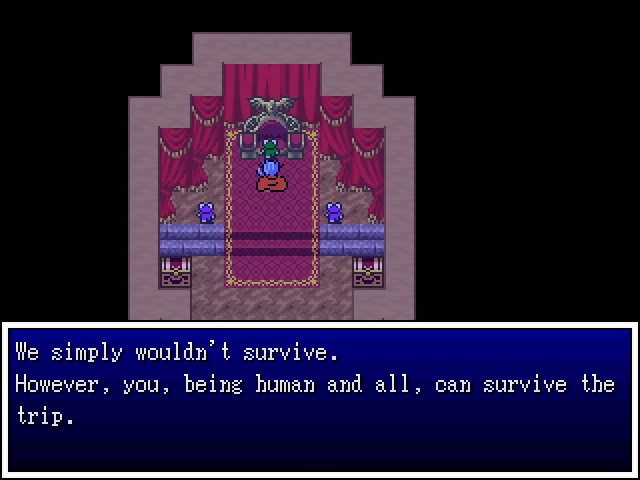 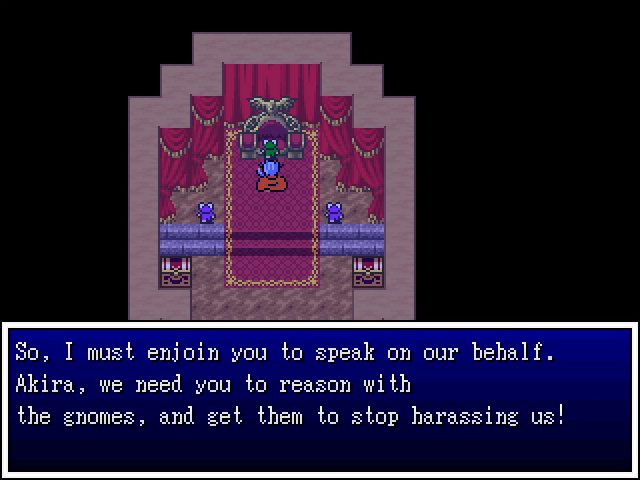 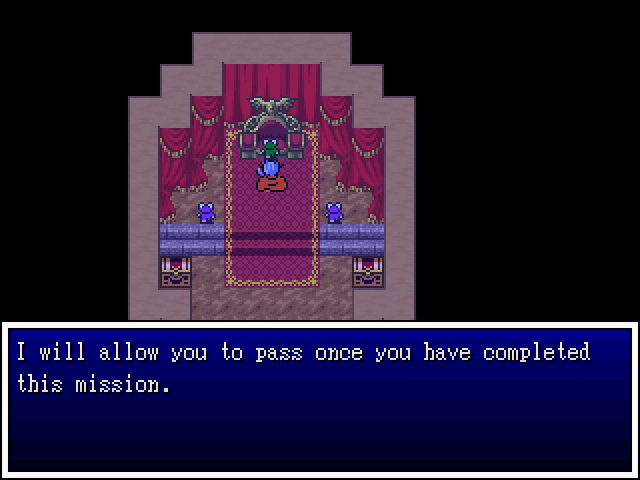 Of course it can't be a simple matter of walking directly to Okasa. 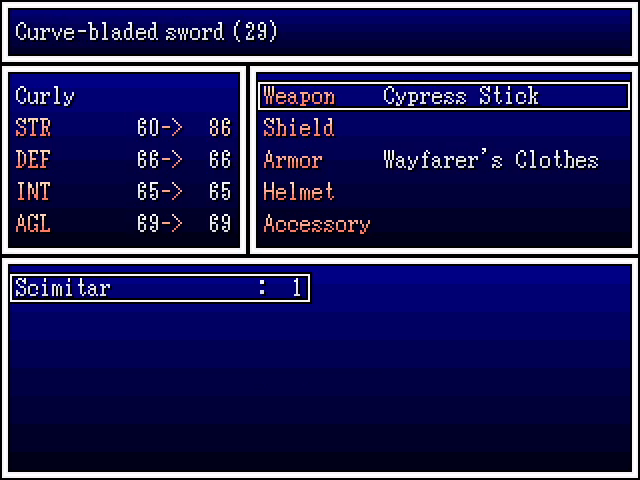 One of the chests in the chief's tent contains a scimitar. While this would be a mild upgrade for Akira, I opt to give it to Curly, for whom it is a significant improvement. Mesmers have somewhat lackluster magic, but make up for it with a surprisingly good set of equipment options. 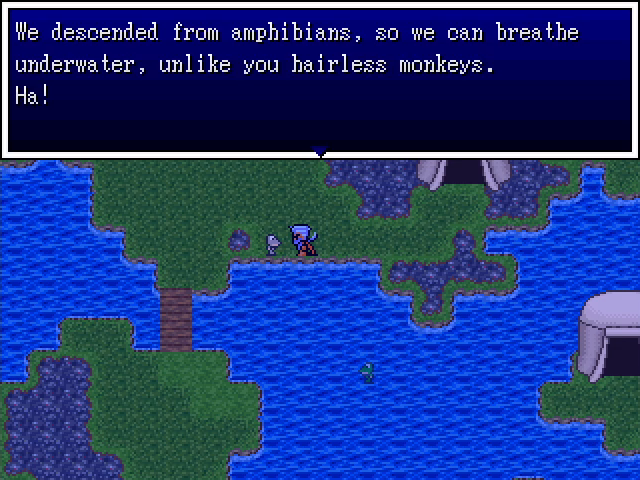 gently caress you, frog.  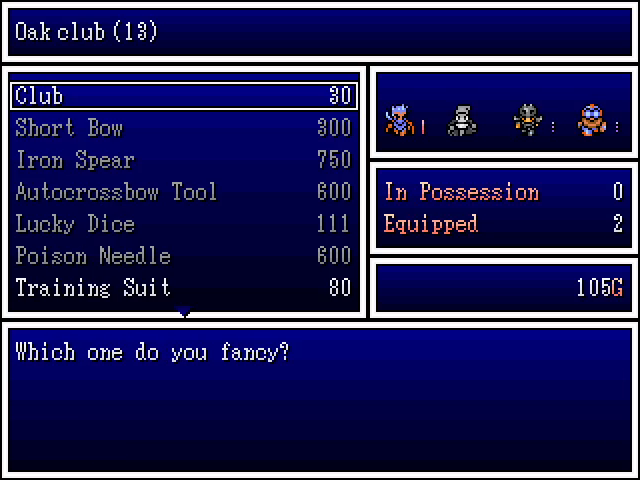 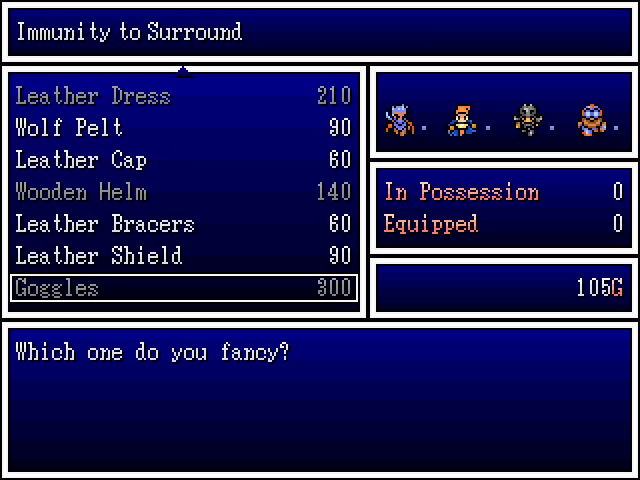 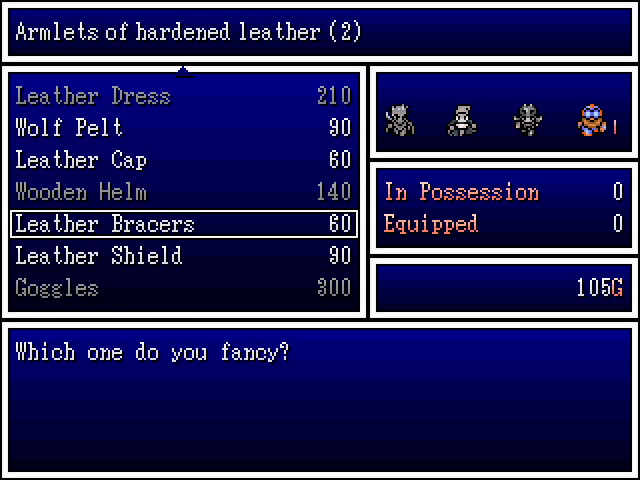 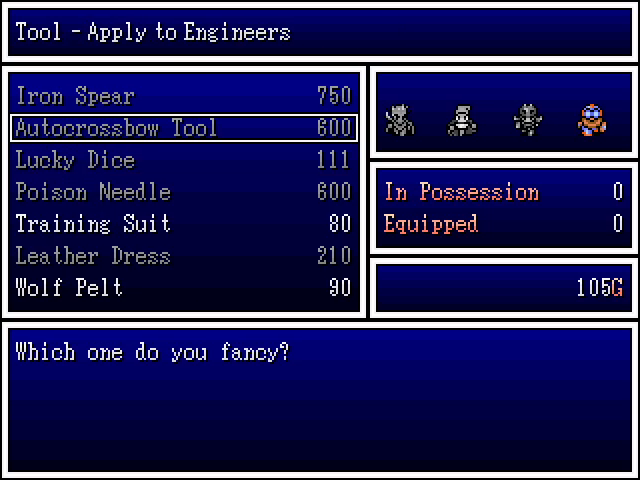 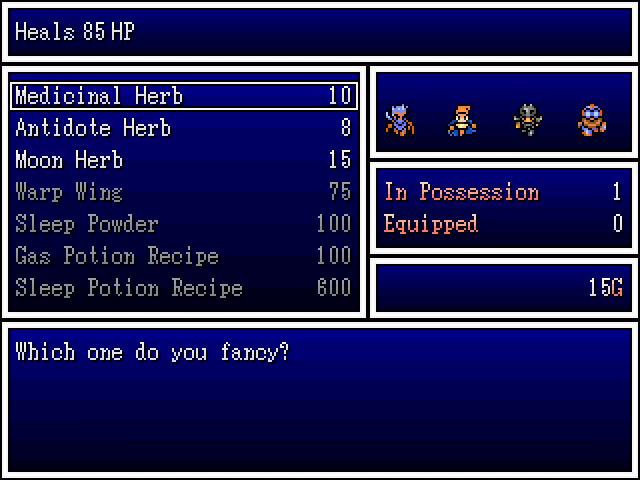  The items sold in Froggerton aren't a huge improvement, all things considered. The Autocrossbow tool is definitely appealing, but like the Bioblaster, we really can't afford it. 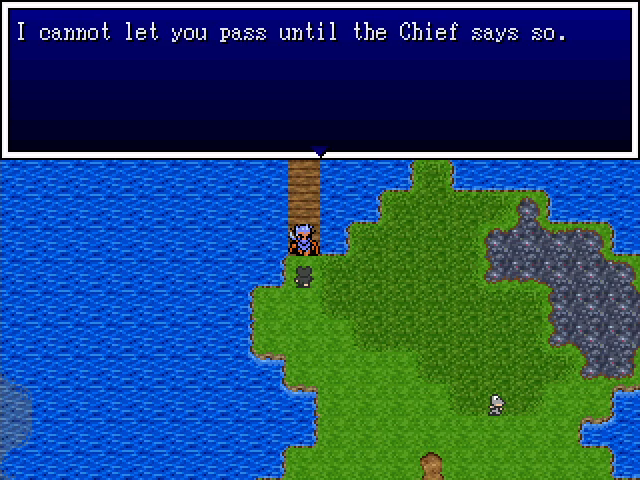 At the south edge of town is this frog. I do not know why we can't step on him and move on, but oh well. 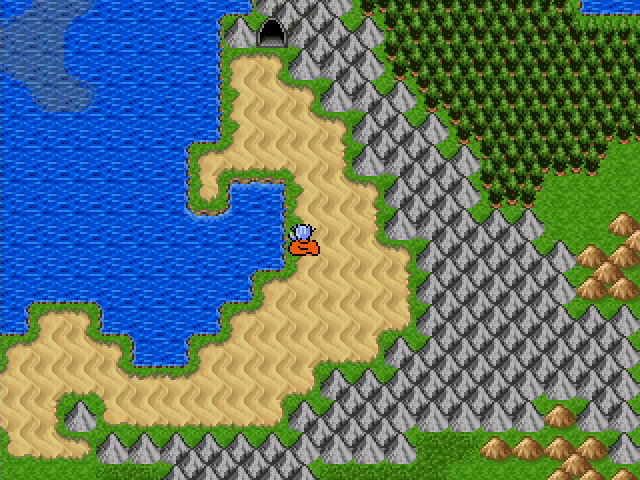 The Gnome Cave is north of Froggerton, though the desert. It's actually visible from Vegeta.  The cave itself is pretty complex, especially for the first dungeon of a chapter. It has two floors and multiple switchbacks, making it far more complex than Merchant's Pass or the Dracoma Mines. Getting to the gnomes is fairly easy if you know how, but it does mean missing most of the treasure. 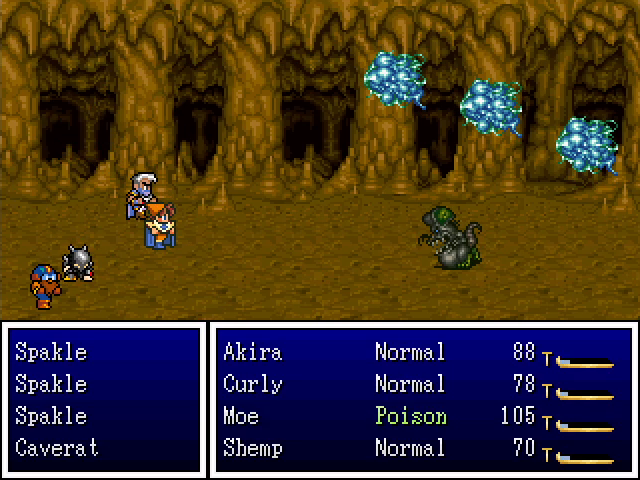 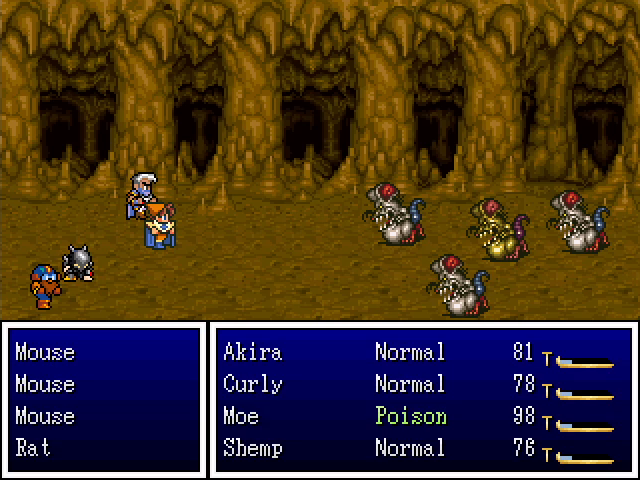 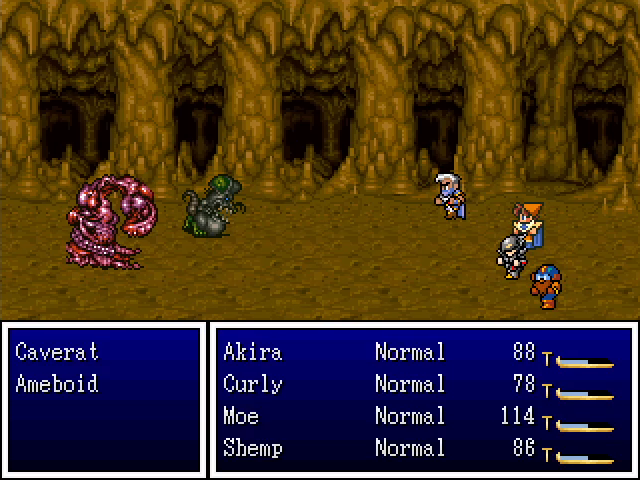 The enemies here include more familiar faces, which can be fairly dangerous due to poison and sheer damage. 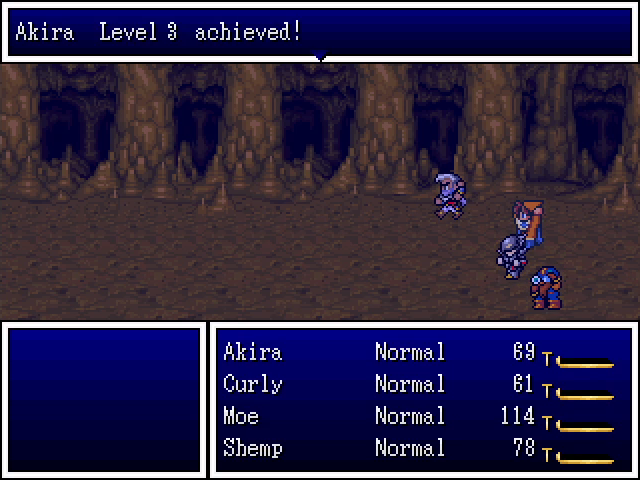 Akira hits level 3 fairly early. 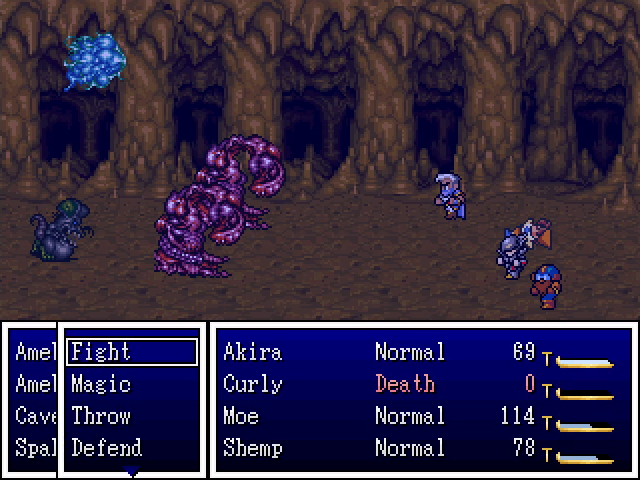 Unfortunately, Curly was dropped by an especially nasty random encounter, forcing us to head for the exit. 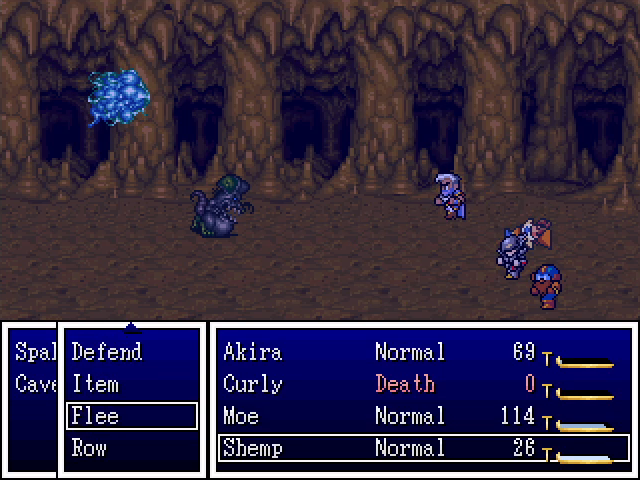 Luckily, Shemp's Escape command is replaced by Flee, which is a guaranteed success in escaping battle (unless such success is impossible). Combined with his speed, this makes getting back to Froggerton fairly painless. 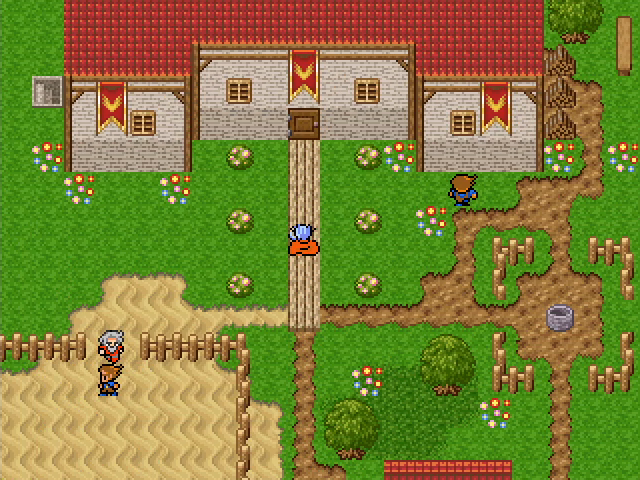 Unfortunately, Froggerton lacks a church. I had to use a warp wing to get back to Vegeta to get Curly raised. gently caress those frogs. 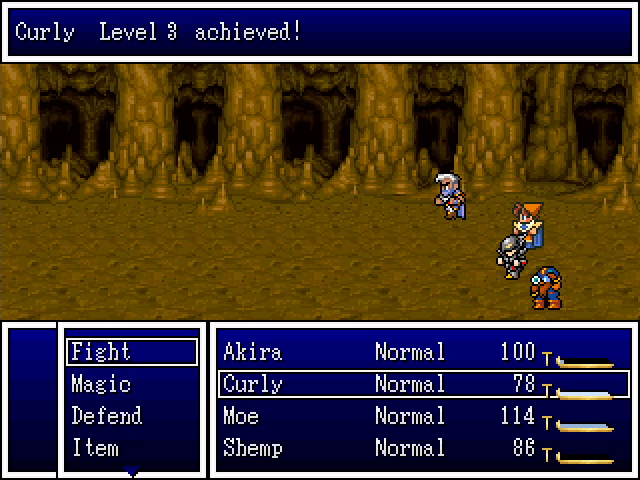  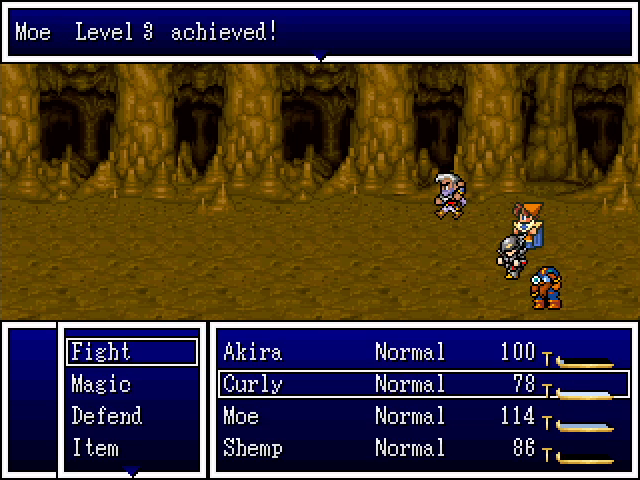  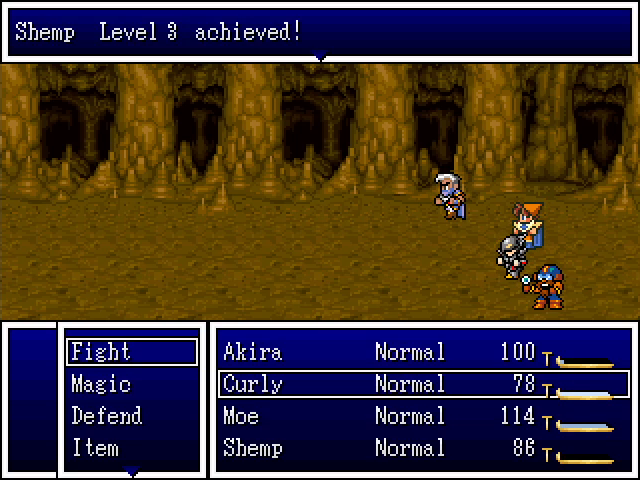 With that done, we head back to the caves to fight a few battles and get everyone else to level 3. More finally picks up an offensive spell, which is nice. 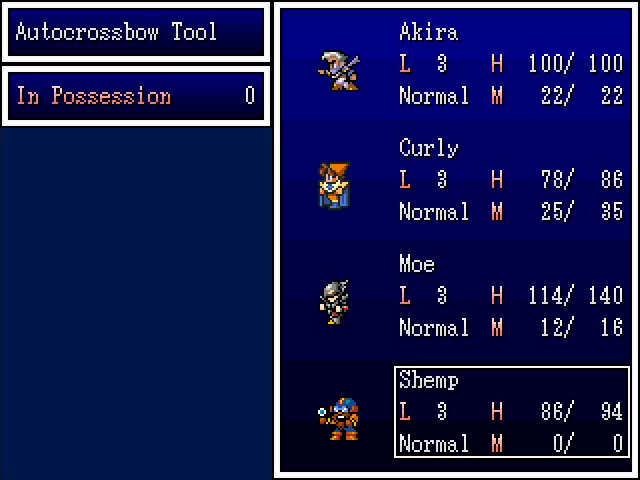 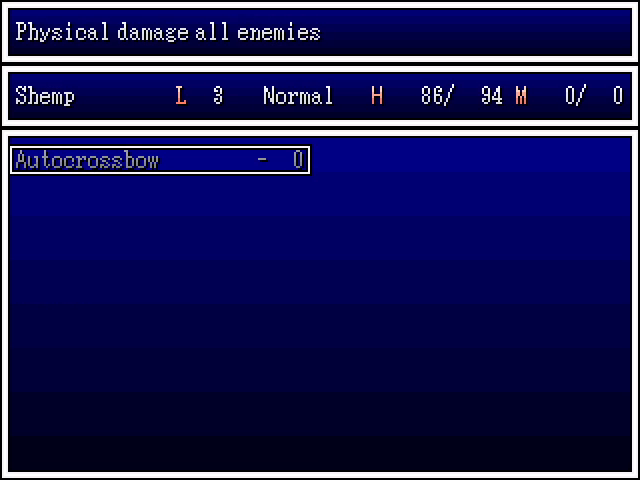 Afterward, we head back to Froggerton to rest up. Since we have a decent amount of money, we grab an Autocrossbow for Shemp. With this and Makibishi, most random encounters will be quite simple for a good while.  Deeper in the cave, we find the gnomes. 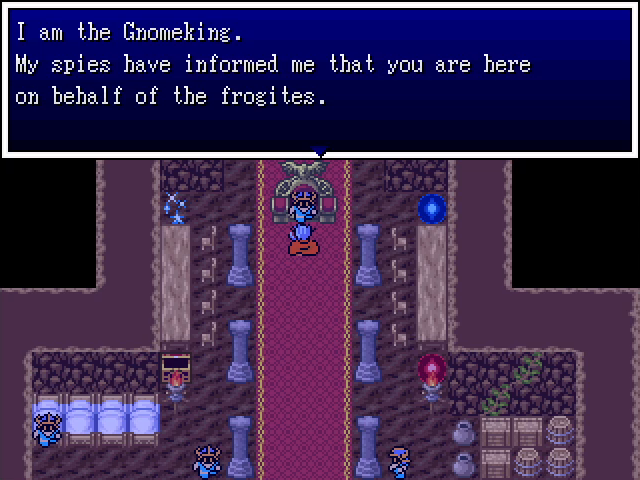 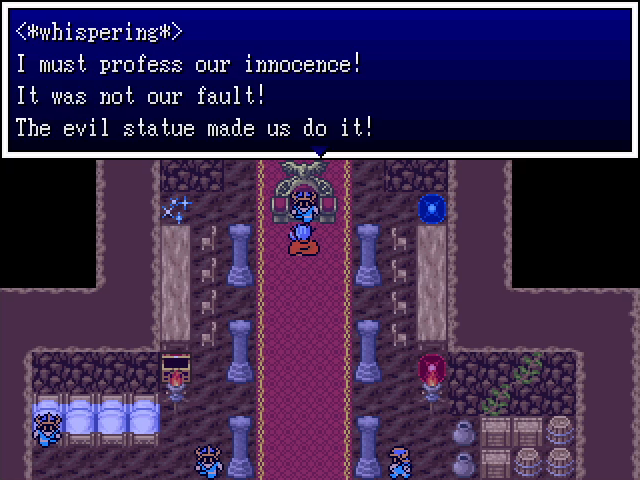 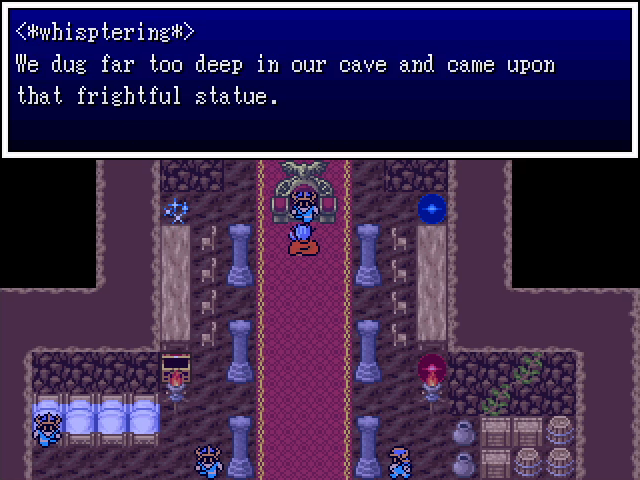 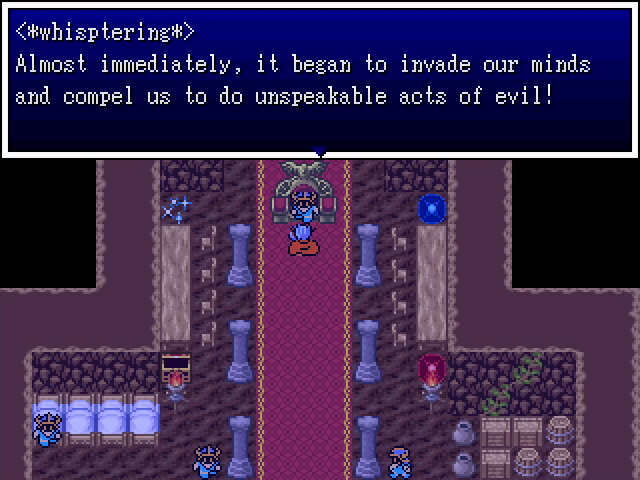  The Gnomeking tells us what's up. They delved too deeply and too greedily, and found a statue that controlled their minds. Obvious Lord of the Rings reference aside, this also gives me flashbacks to Earthbound. 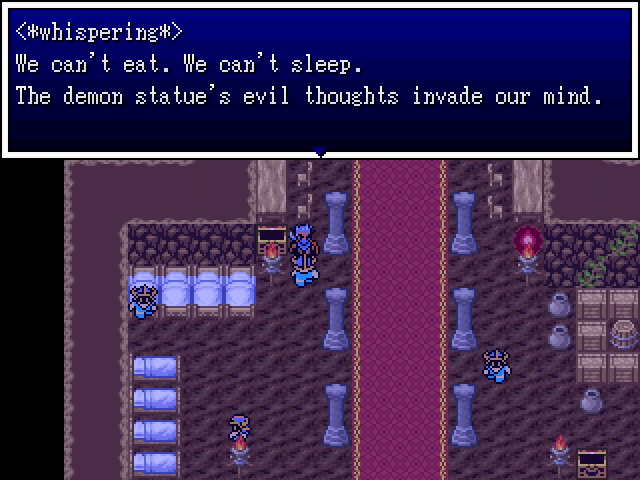 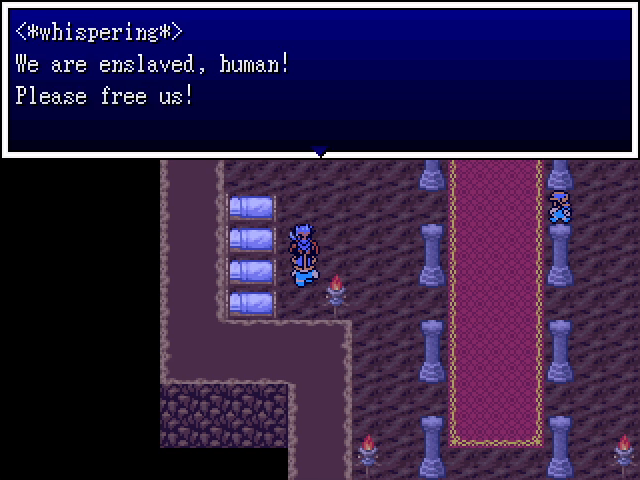 The other gnomes seem to be suffering even worse. 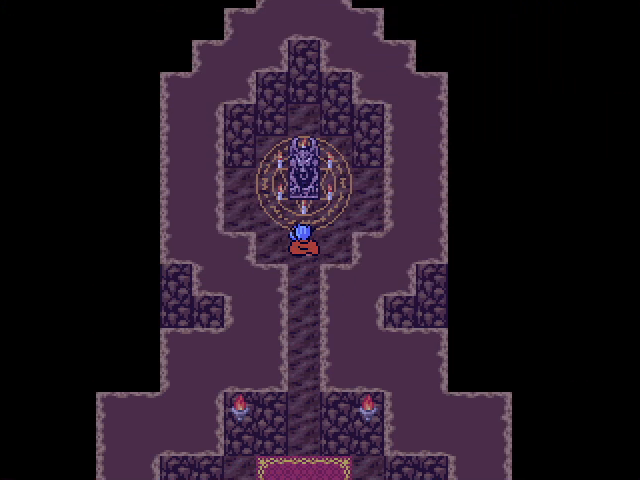 Well, let's go kill this statue. 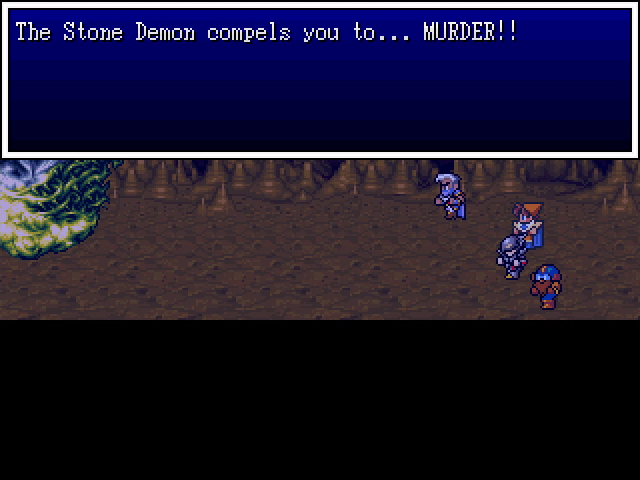 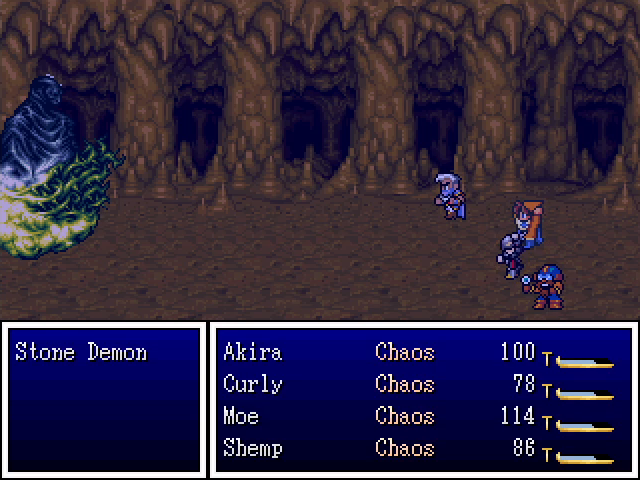 Right off the bat, this boss hits the entire party with Chaos, after which it spends a lot of its turns using Observe Battle, waiting for us to kill each other. Joke's on him; their attacks can't hurt each other. The boss does occasionally use a couple of attacks (Firebreath and Evilish Flame), but with a decent supply of medicinal herbs it's not too dangerous.  Its main gimmick, besides confusion, is turning incorporeal. We've seen this trick before, and we have two characters who can cast Blaze, and it doesn't seem to attack in this form, so it's not really a problem. Once the initial bout of Chaos subsides the rest of the fight is fairly simple. 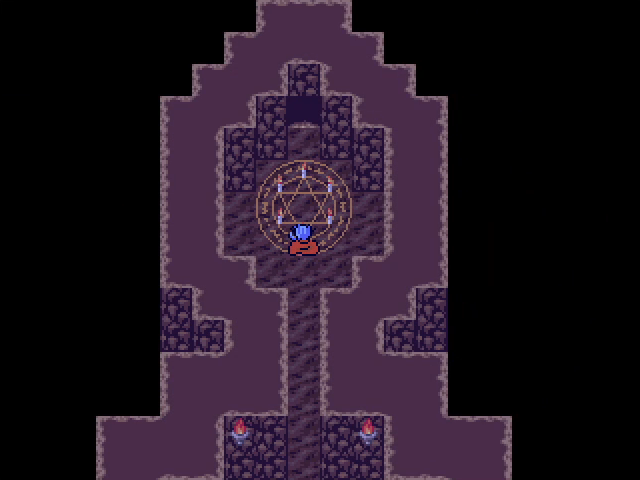 The Stone Demon vanishes in a flash of light, and a hole opens in the wall behind where it stood. 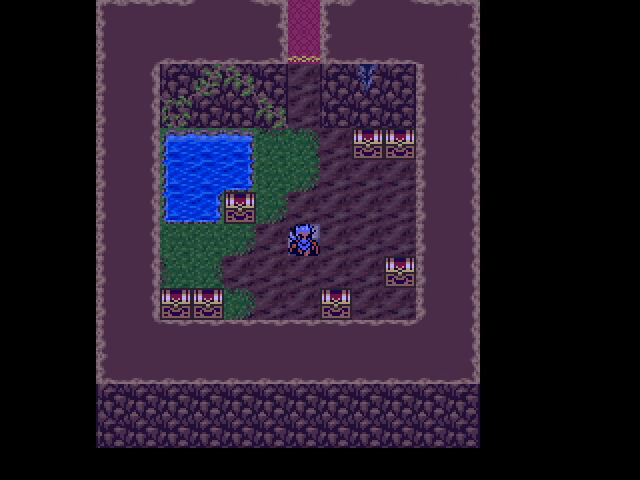 Inside is a treasure, room! It's mostly consumables, but there are a couple of pieces of decent armor in here too. 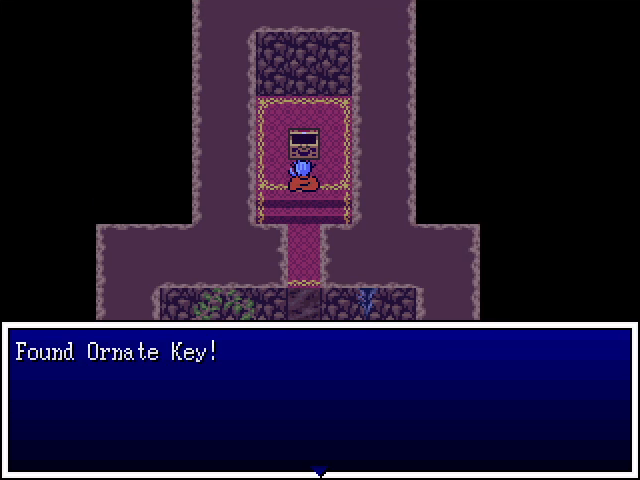 In the back is the real prize: the Ornate Key. You might be noticing a pattern with keys in the game. 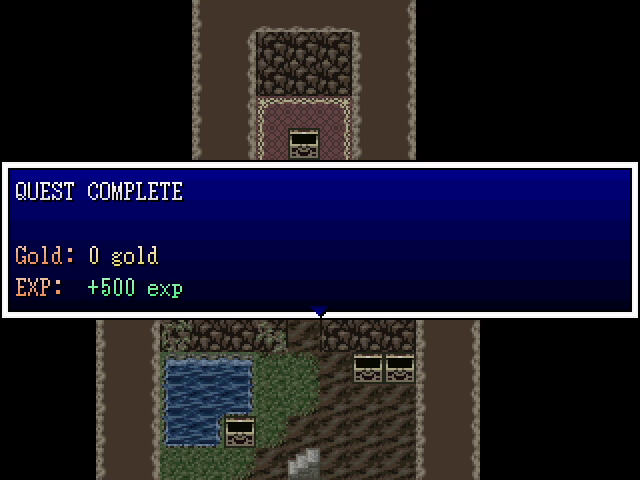 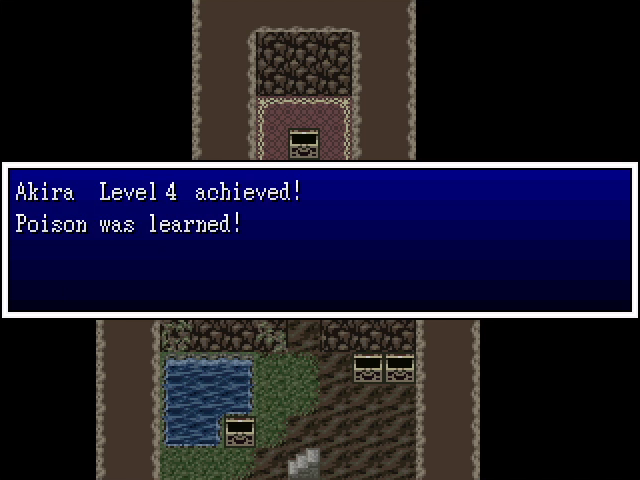 This is a sufficiently important find to be worth experience, which gives Akira a new level and the Poison spell. 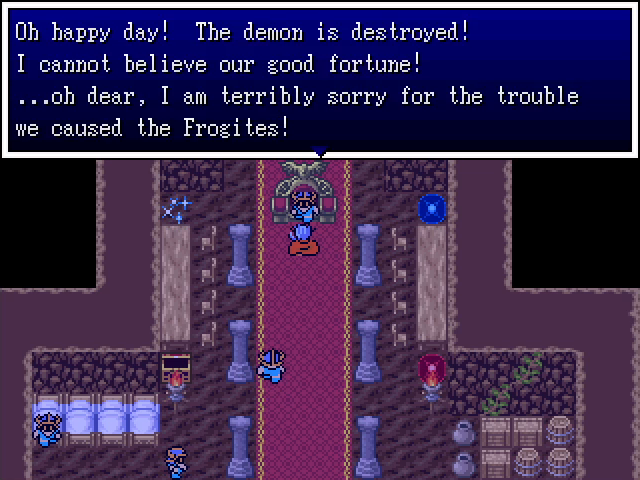 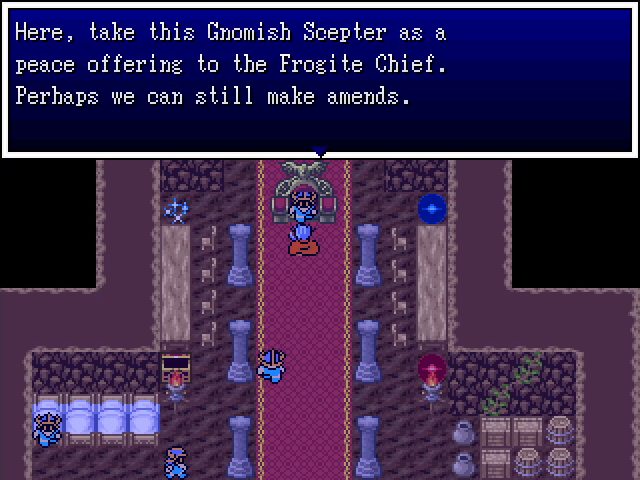 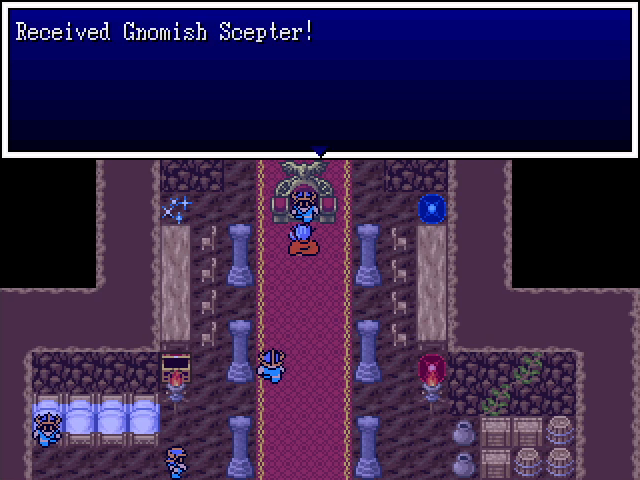 The Gnomeking is understandably thrilled to no longer be in the thrall of a demon statue, and gives us his scepter as a peace offering for the frogite chief. 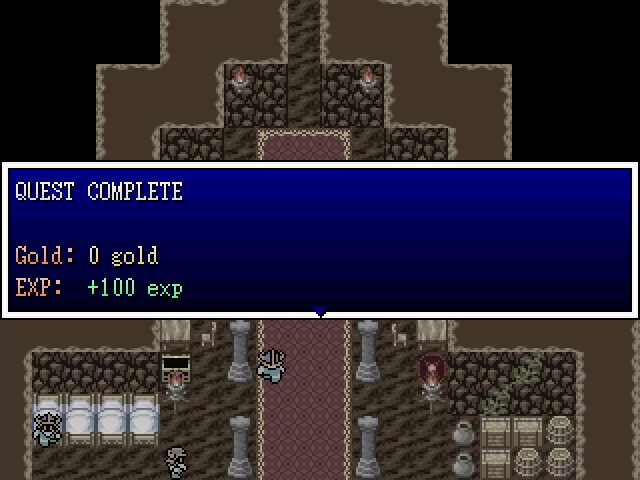 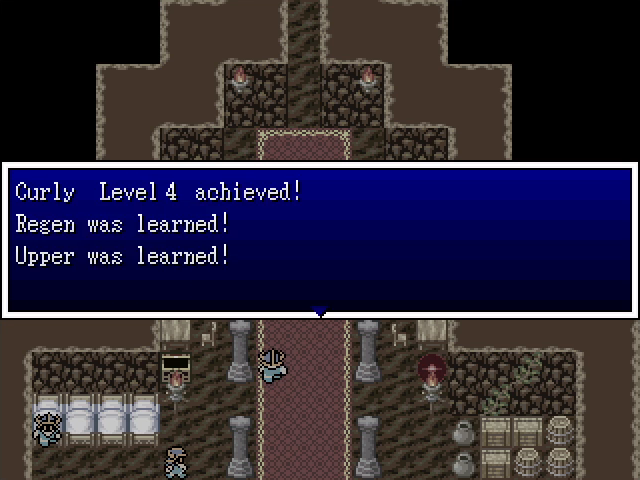   This is also worth some EXP, and it's just enough to push our remaining three party members to level 4. This is particularly beneficial for Curly, who learns both Regen (heal over time) and Upper (increased defense). He's starting to actually feel like a proper utility caster. 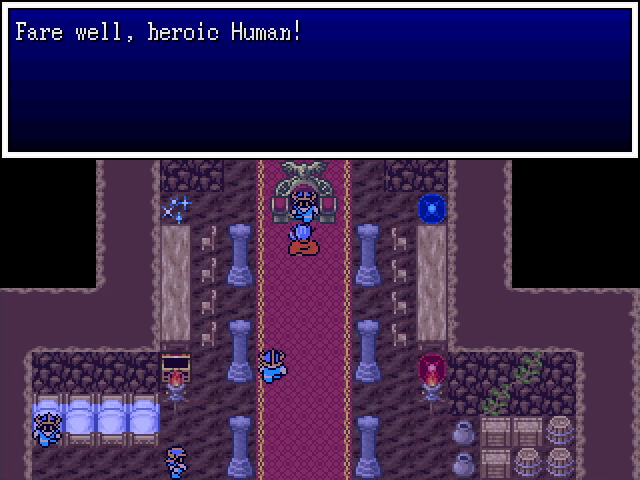 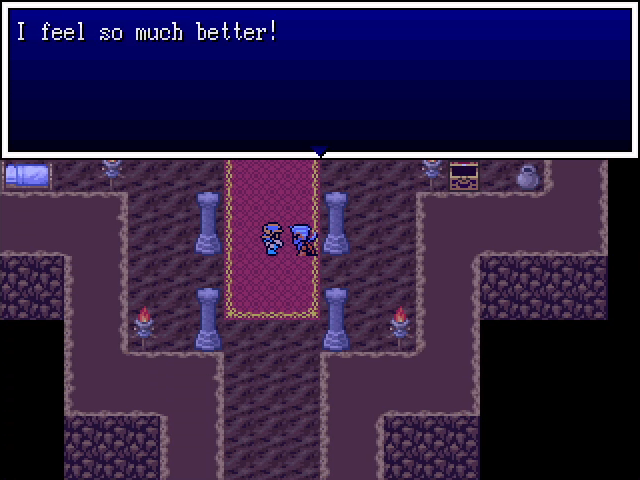 The rest of the gnomes are suitably glad to be free of the demon's influence. 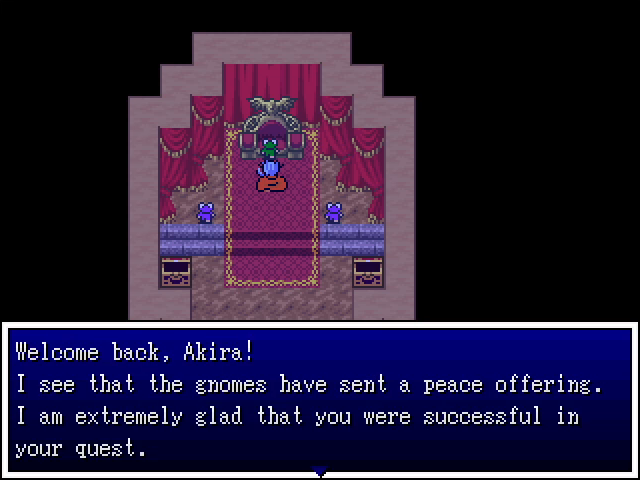   We exit the cave and make our way back to Froggerton, where we give the gnomish scepter to the chief, who in turn allows us to pass through the town. We don't get any EXP for this, but gold is always nice. 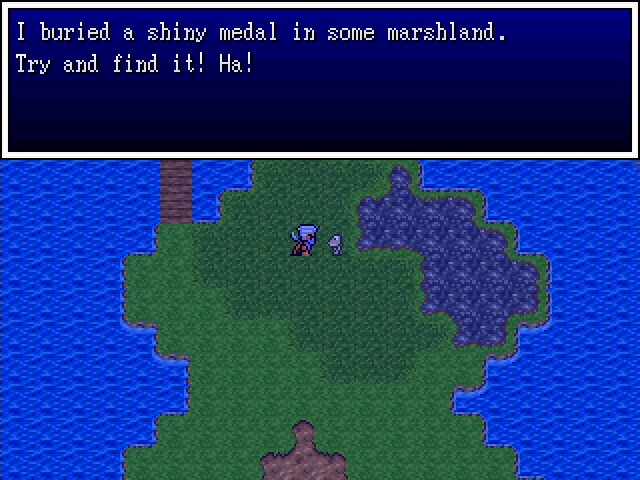 At the south end of town is this frog, who taunts us with a shiny medal buried somewhere in the town's damaging marsh tiles. No, he does not give any other hints. Once again: gently caress you, frog! 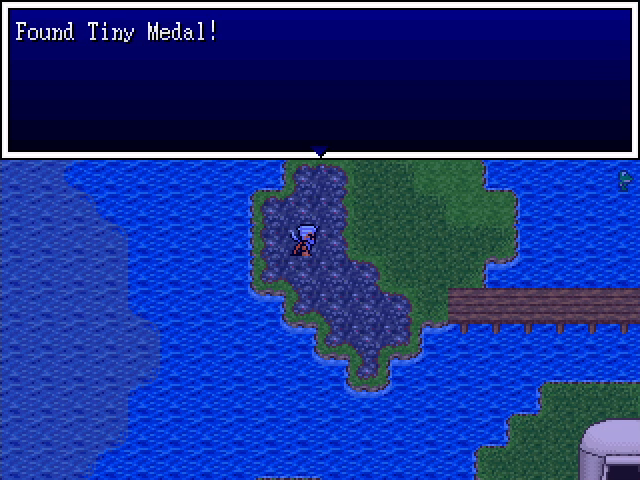 Yeah, it's just buried in this random spot. The town has an inn, so the damage really isn't a big deal, but it's just a pain to locate. Frogites are assholes. 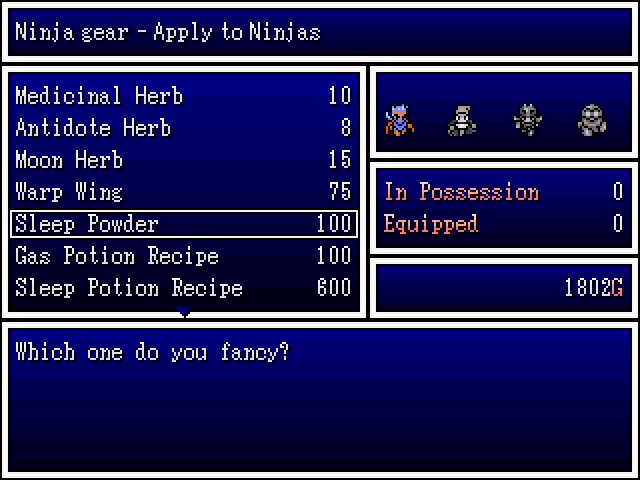 Before we head out, we buy some sleep powder for Akira. This gives him a new move that'll be very useful later, even with Curly knowing Sleep. 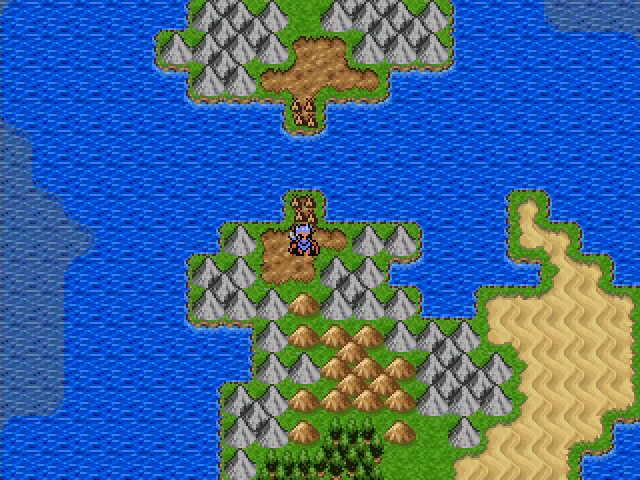 Leaving the frogs behind, we head south. 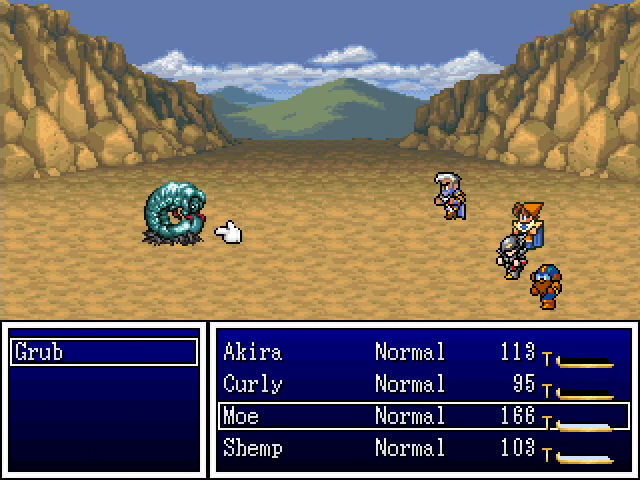 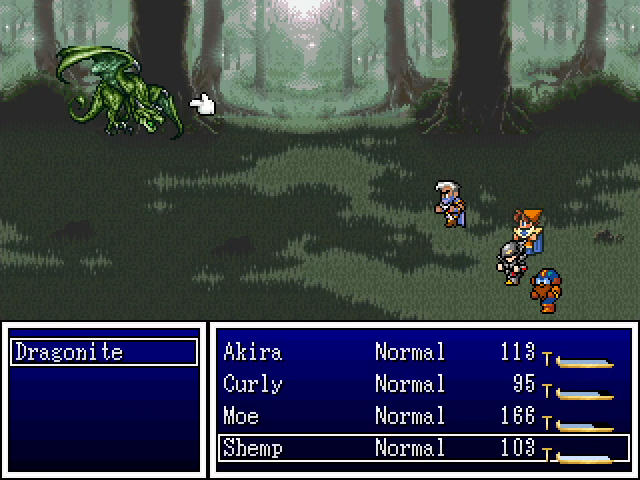 This area is home to a couple of new enemies. Grubs have an unusual gimmick of summoning other enemies for help, while dragonites use firebreath. 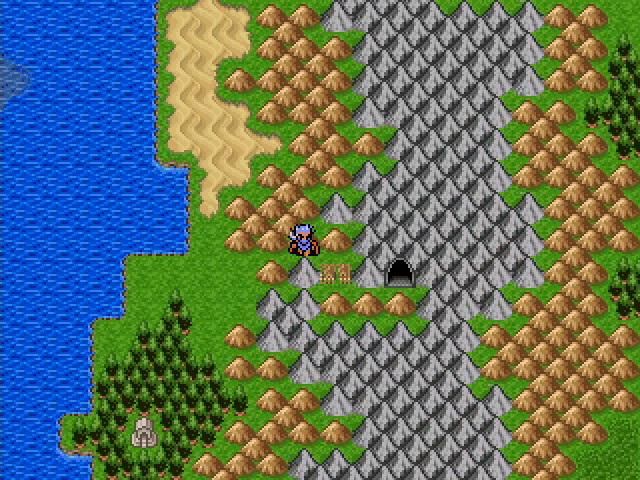 Further south, we find another town, a shrine, and a cave leading into the mountain.  The shrine is fairly uninteresting: there's a teleportal, but we can't access it yet. 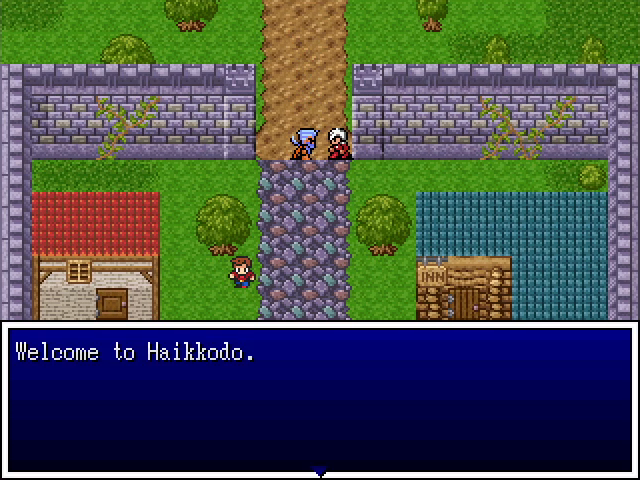 I'm definitely noticing a pattern with these town names. 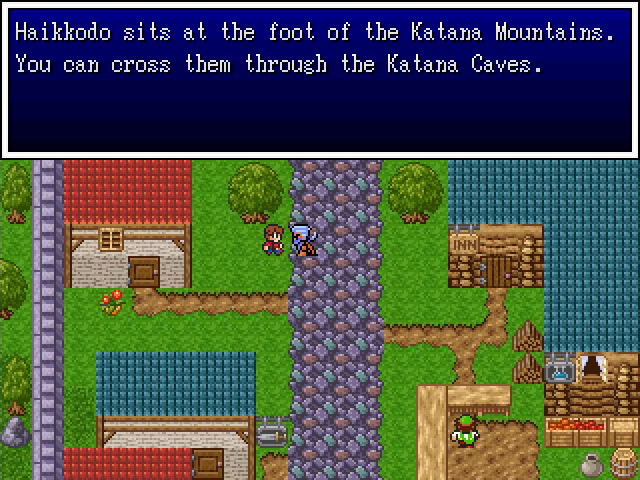 Makes sense. I'm not even going to comment on the name at this point. 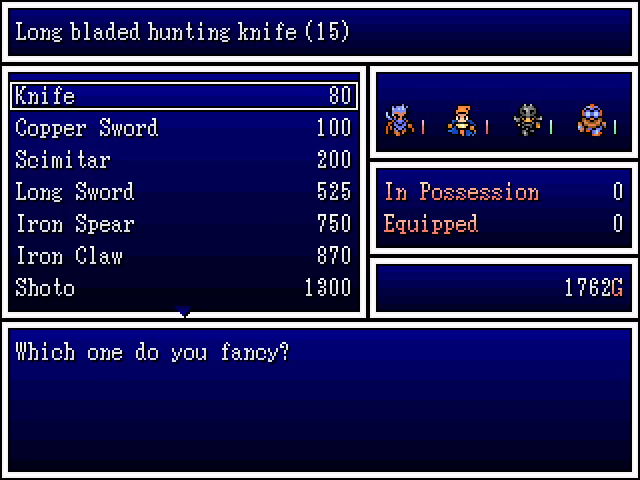 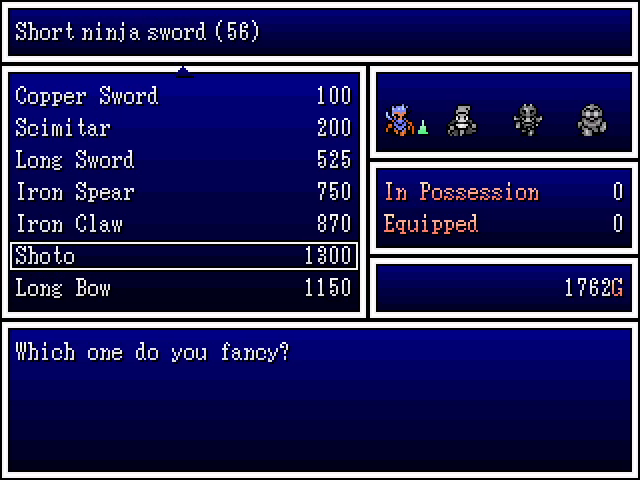  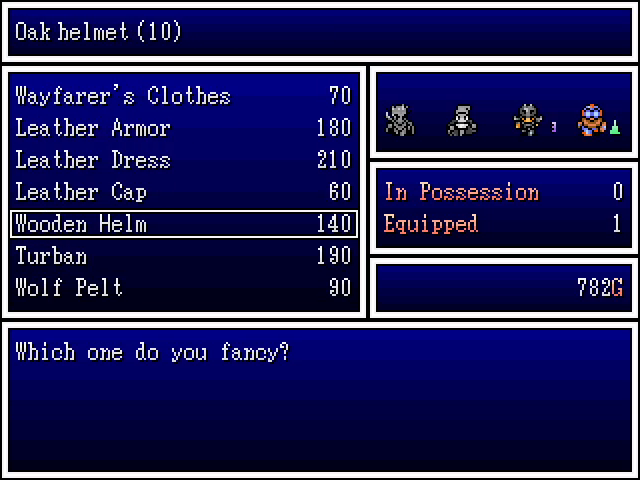 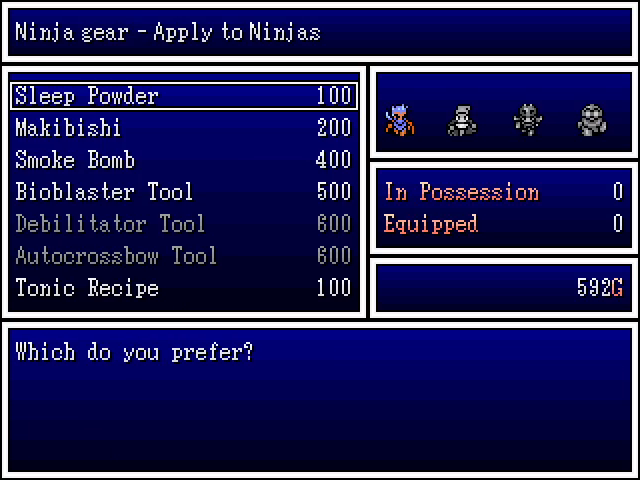 The town's stores have some nice upgrades. The shoto would be a great improvement for Akira, but it's too expensive to justify, especially since Moe and Shemp are still carrying clubs. On the armor side, leather bracers and turban are both engineer-only pieces. The bracers are hilariously awful (a strict downgrade from the leather shield he's already using), but the turban is a good value for the defense it offers. 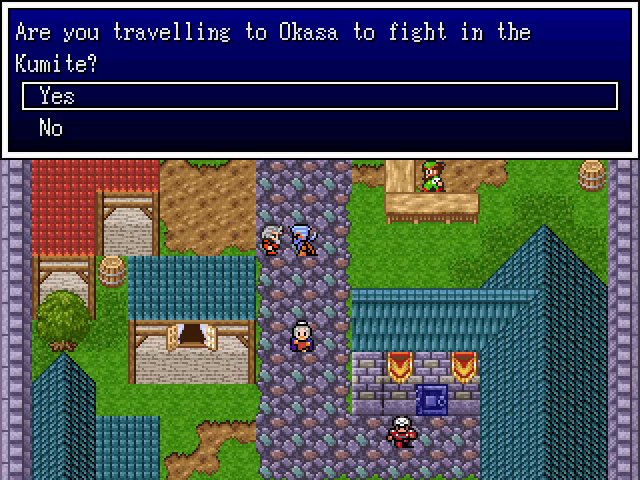 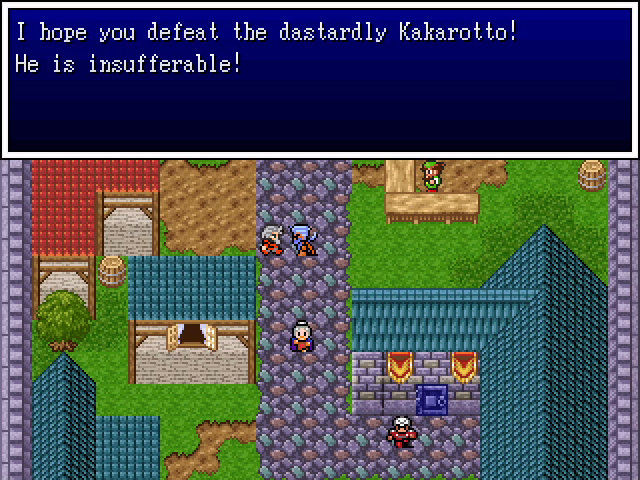 Absolutely nobody in this country likes Kakorotto. Seems like he's an even bigger rear end in a top hat than the frogites.  Speaking of assholes, it seems the local god is demanding human sacrifices. That's probably bad. 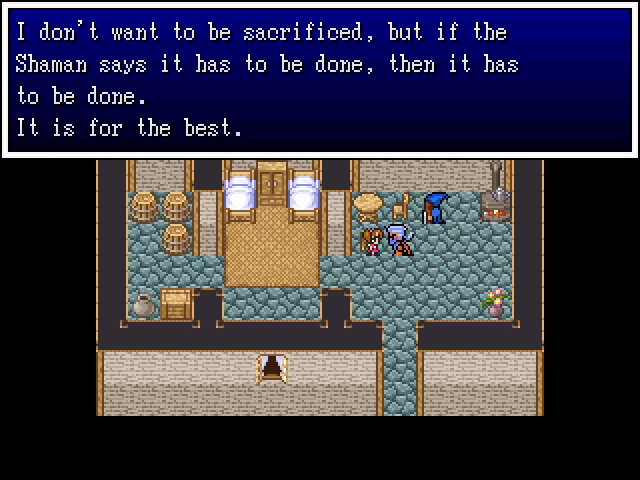 The sacrifice herself seems remarkably calm about this. 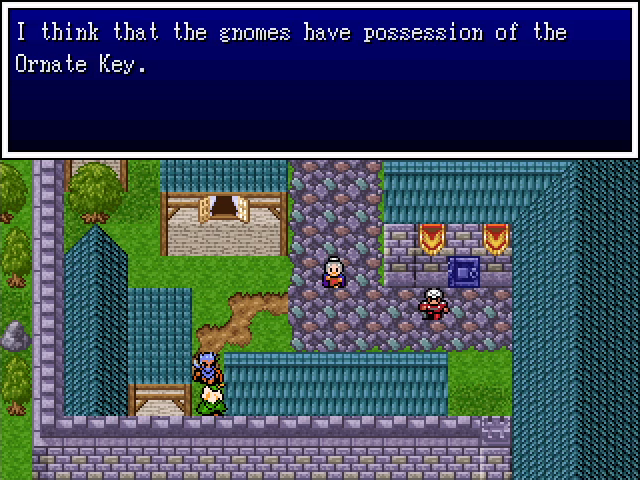 We already got that, but this is potentially critical information. That bluish door on the right is the type that requires the Ornate Key, and we have to open it to progress the story. 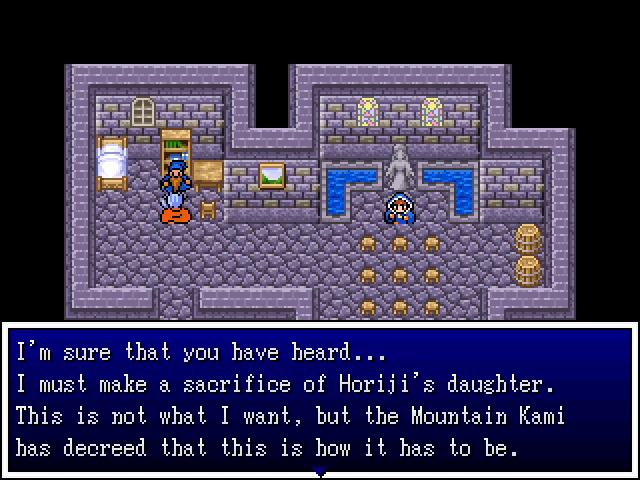 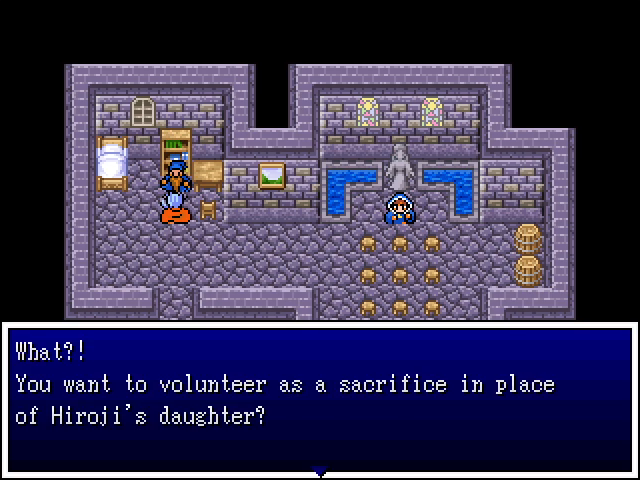 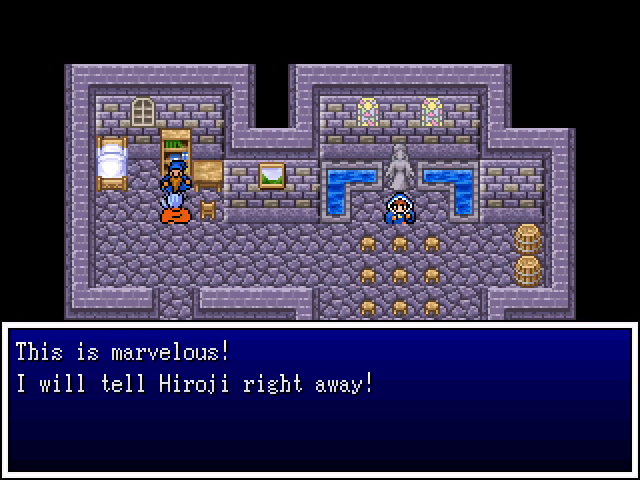 Inside the building is Haikkodo's shaman. He's clearly distressed about having to sacrifice a little girl, to the point that he even gets Hiroji's name wrong at one point. Being true shonen heroes, we're happy to help. 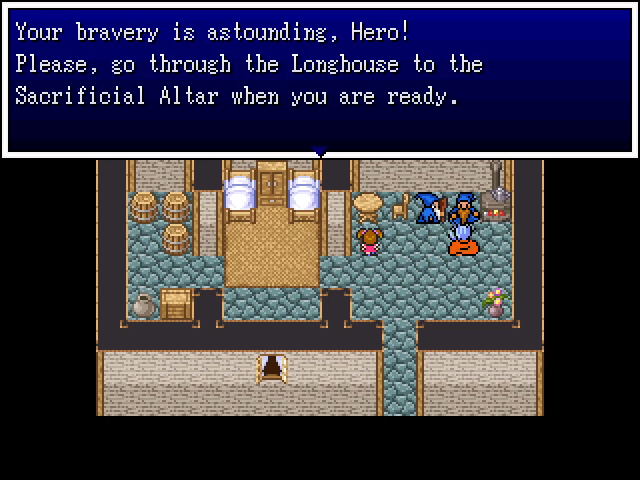 Look, we're JRPG heroes. The only astounding thing about us killing a god is that we're doing it before the end of the game. 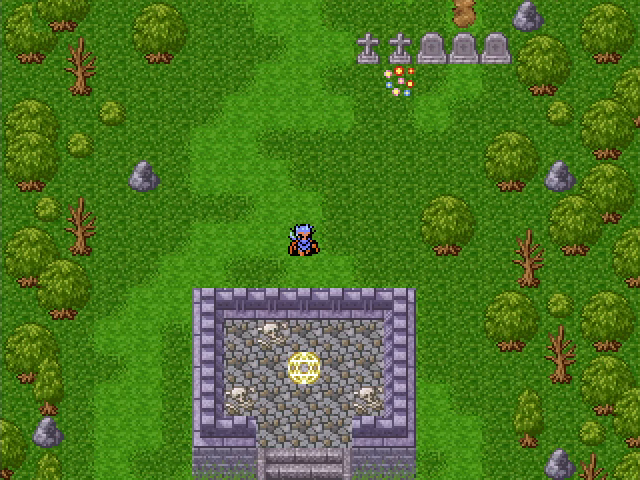 Here's the altar. Let's do this.
|
 #
?
Aug 19, 2022 13:01
#
?
Aug 19, 2022 13:01
|
|


|

|
| # ? May 6, 2024 10:49 |
|
|
Seriously, everyone, thank you for your patience in getting back to this. I hope you all continue to enjoy the LP. ")
|
|
#
?
Aug 19, 2022 13:05
|
|
|
Welcome back, also that is in fact pretty early to go around killing gods.
|
|
#
?
Aug 19, 2022 19:38
|
|


|
I mean, it is an area that's based on feudal? Japan, so maybe he's just killing a minor diety. Kicking the spirit of the local volcano in the balls rather than the God of Volcanos.
|
|
#
?
Aug 19, 2022 19:54
|
|


|
YES!!!!!!!!!!!!!!!!!!!
|
|
#
?
Aug 19, 2022 20:21
|
|

|
Randalor posted:I mean, it is an area that's based on feudal? Japan, so maybe he's just killing a minor diety. Kicking the spirit of the local volcano in the balls rather than the God of Volcanos. Oh, absolutely, but it's definitely not the traditional next step after killing the rats in the inn's basement, which is killing the goblins in the hill's basement.
|
|
#
?
Aug 19, 2022 21:12
|
|
|
SIGSEGV posted:Oh, absolutely, but it's definitely not the traditional next step after killing the rats in the inn's basement, which is killing the goblins in the hill's basement. What if it's the God of rats in the mountain's basement?
|
|
#
?
Aug 19, 2022 22:43
|
|
|
 Last time, we agreed to kill a god. 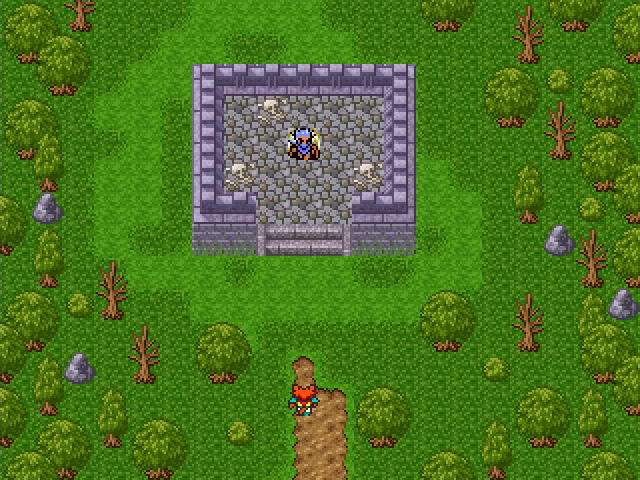 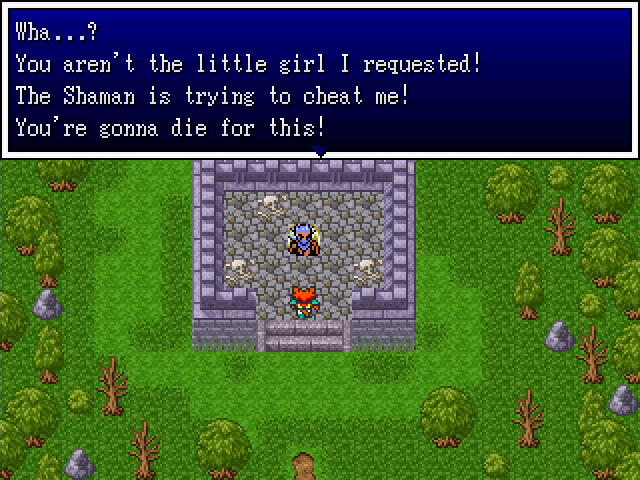 Stepping on the altar draws his attention, but he figures out the ruse pretty quickly. 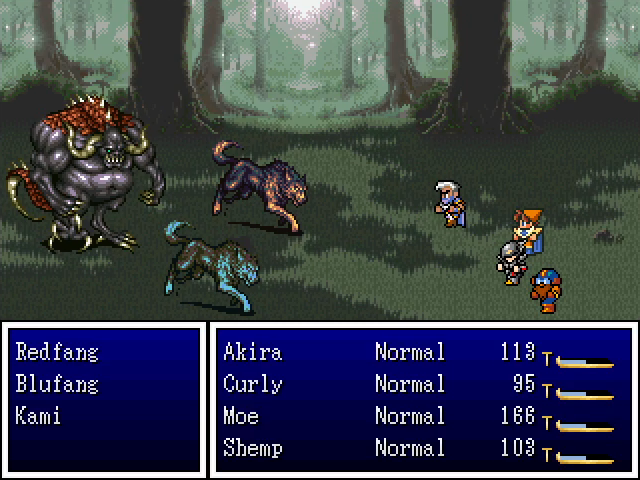 The Kami isn't an especially fierce opponent, relying mostly on standard physical attacks with occasional uses of Gouge, which hits the whole party. He also brings two wolves with him, and their coloration suggests some kind of elemental affinity. I never did find out, though, because... 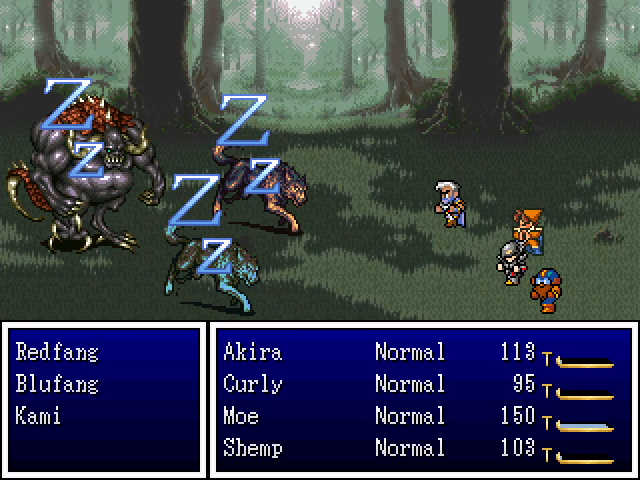 They can be put to sleep. 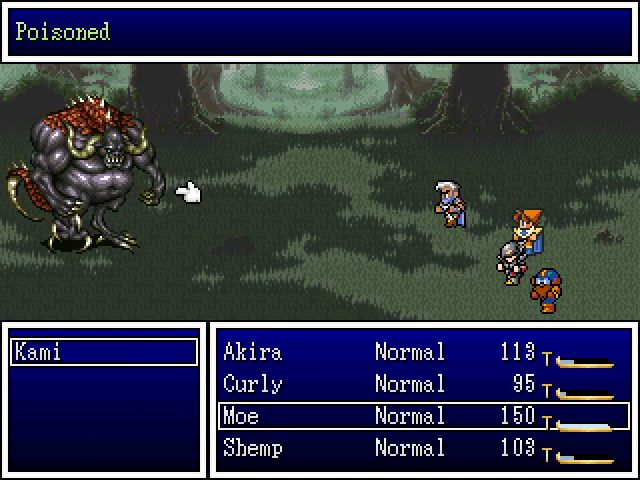 Curly also managed to poison the Kami itself, causing to to take around 100 extra damage per round. As the readers surmised, this isn't really a god in the "almighty" sense; it's a minor deity of some kind of local terrain feature (specifically the mountains). It goes down pretty quick. 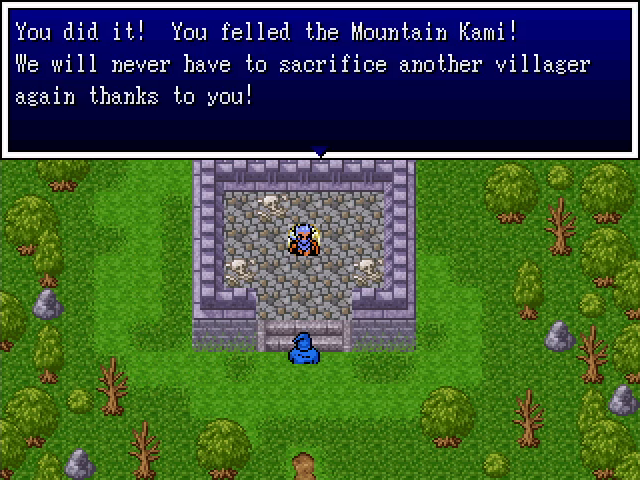 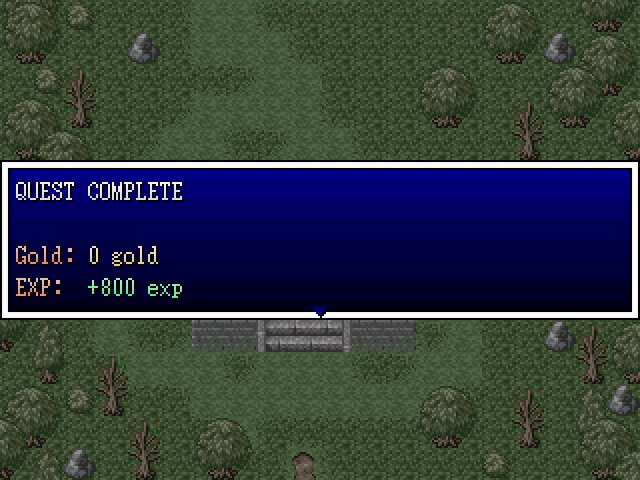 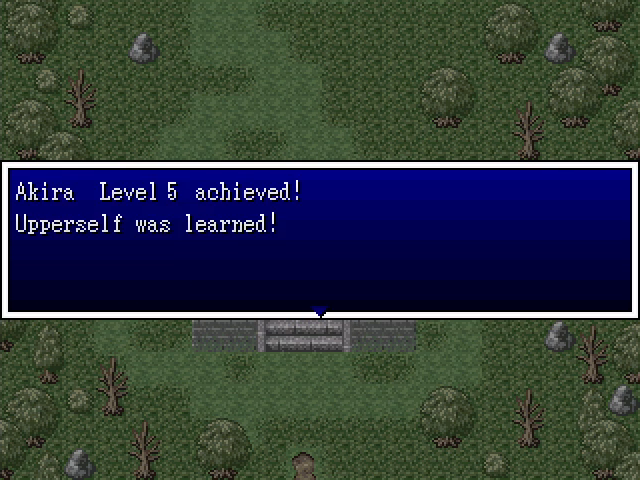 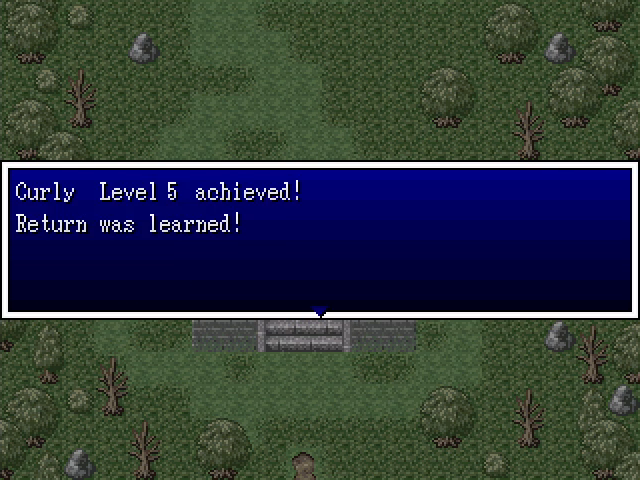   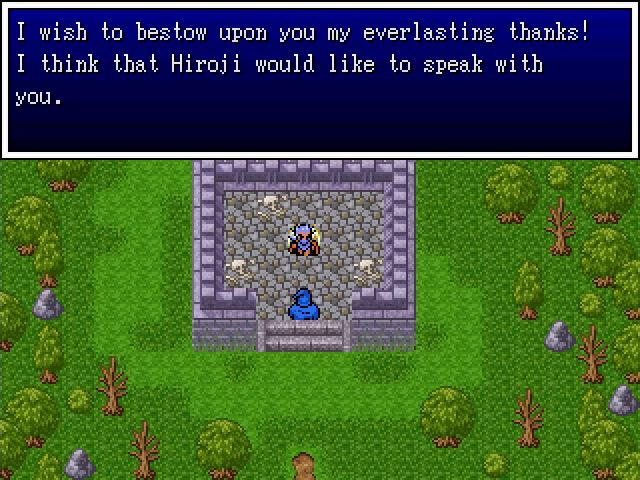 For our troubles, we receive the Shaman's thanks, as well as level-ups for our entire party. Akira learns Upperself, a spell for boosting his own defense, while Curly gets Return a couple levels before any of the heroes do.  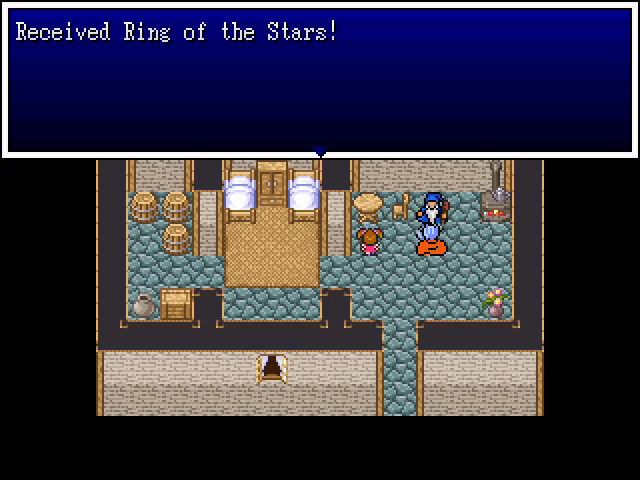  Hiroji gifts us with a ring that boosts all stats, which goes to Akira.  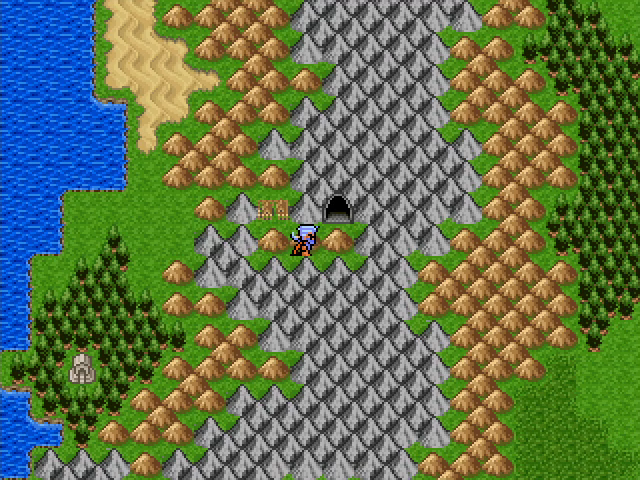 With the Kami slain and Haikkodo at peace, we can move on to the Katana Mountains beyond. 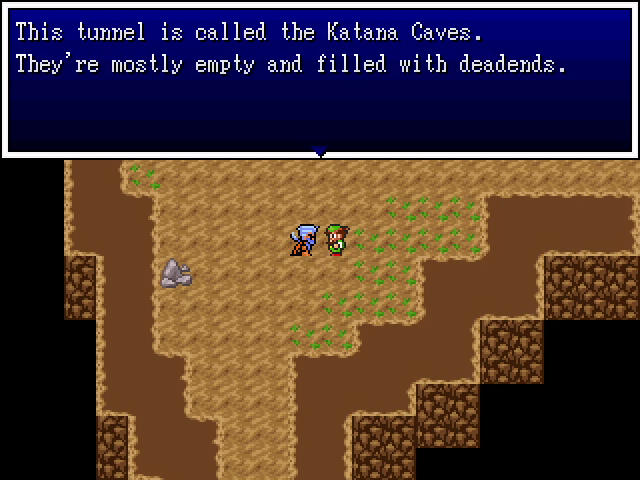 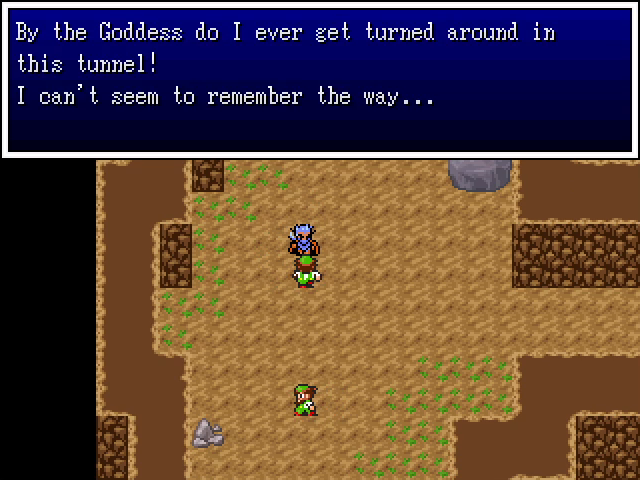 The two men at the entrance summarize the place fairly well. The Katana Caves have a bunch of branches and dead-ends. It's not quite as bad as they make it out to be, however, since many of the paths lead toward the main route, and the overall design makes it fairly easy to keep from getting lost. 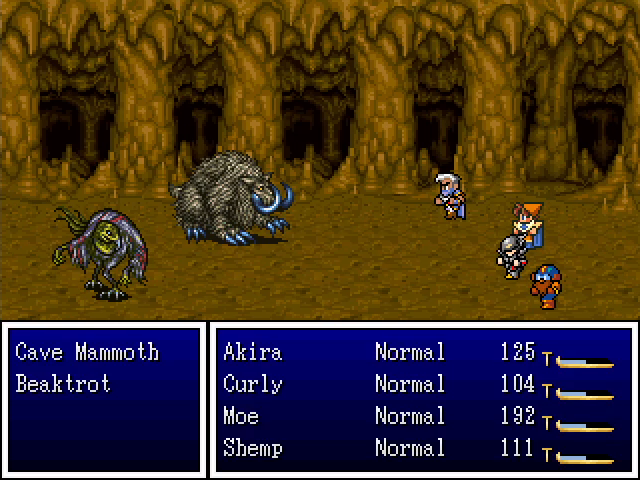 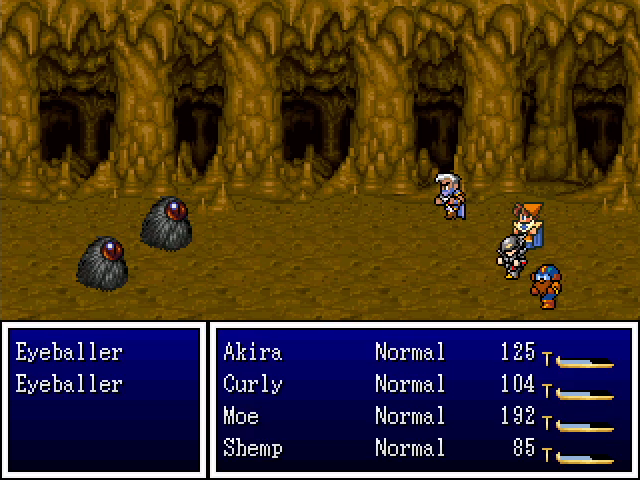  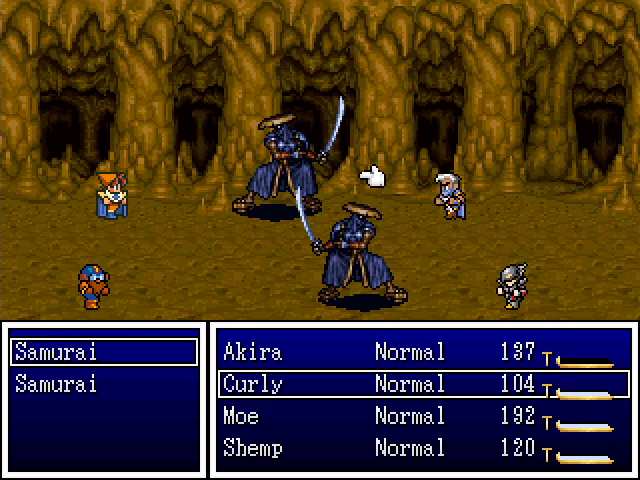 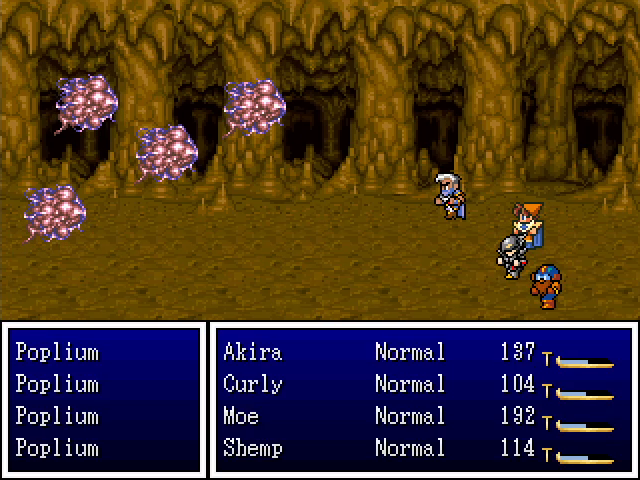 The monsters in the caves are mostly things we've already seen, though a few of them can be rather dangerous. Samurai are the one new arrival, but they're not too noteworthy. They have fairly high evasion, but only use weak physical attacks. 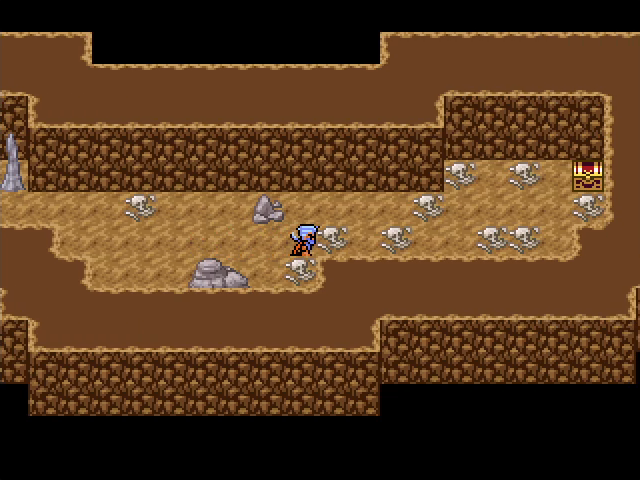 At the north end of the caves is a dead-end with a treasure chest and a bunch of corpses. You should know what's coming. 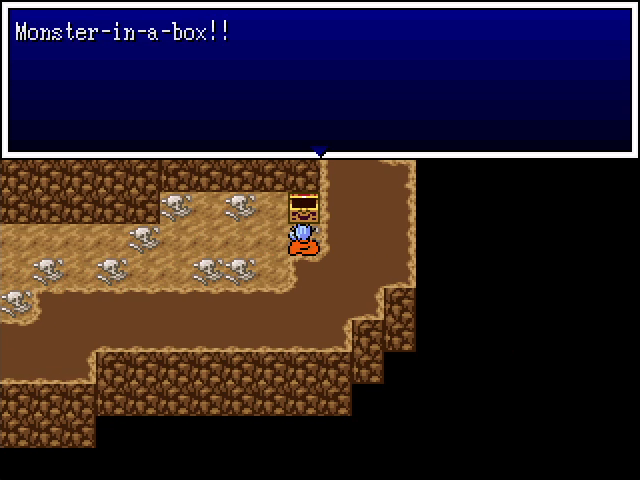 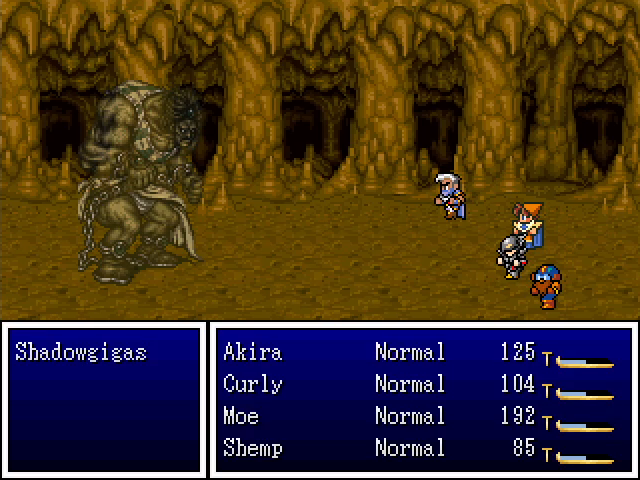 A Shadowgigas can be a somewhat dangerous opponent at this level, but we have two characters who can cast Blaze, so this goes pretty quickly.  The beast guards a bladerang, a duplicate of the prize for finding 10 Tiny Medals. 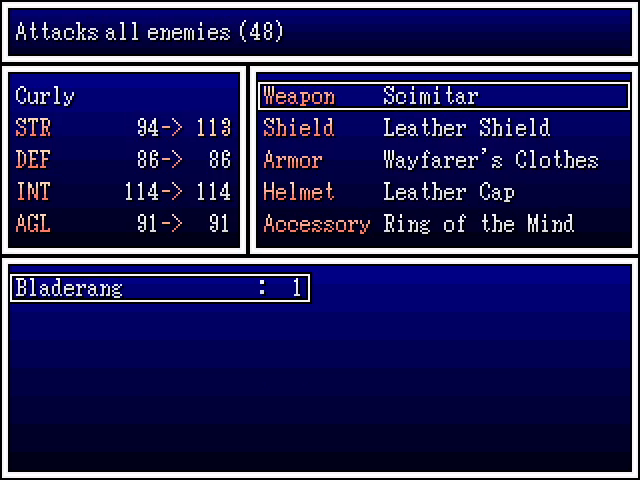 Although any of our party members can use it, I give it to Curly, providing him with a pretty decent physical attack. 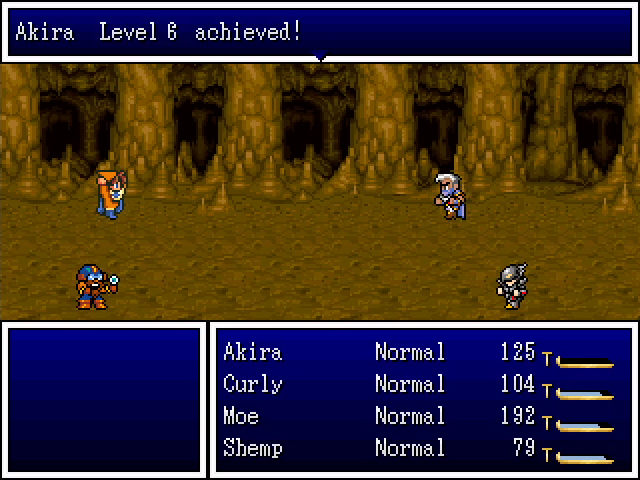 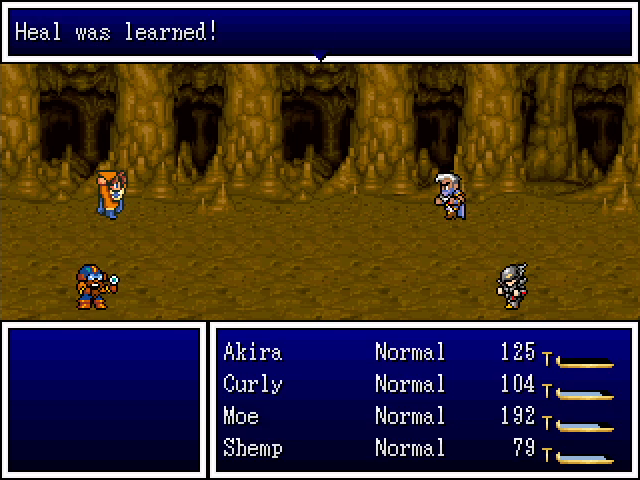 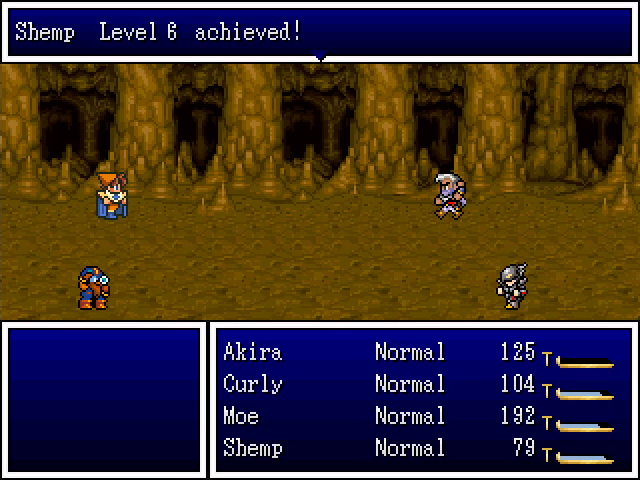 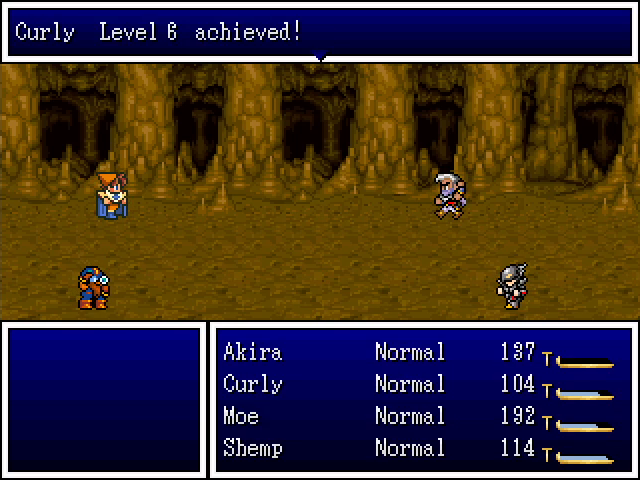 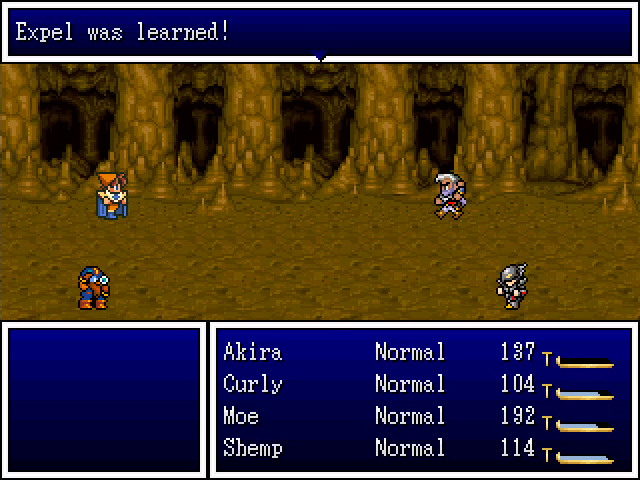 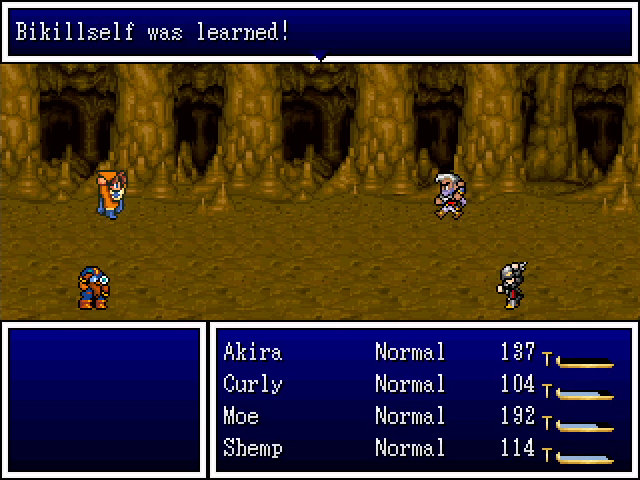  Fighting the monsters here gets everyone to level 6. This is a noteworthy level for both Akira and Curly: the former learns Heal, and the latter learns both Expel (which drains MP from enemies) and Bikillself, which... applies Bikill status to the caster. Bikill doubles a combatant's attack power and can potentially turn Curly into a devastating fighter. 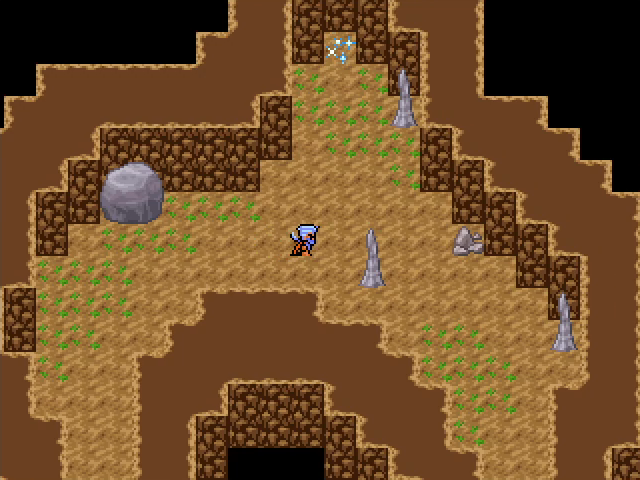 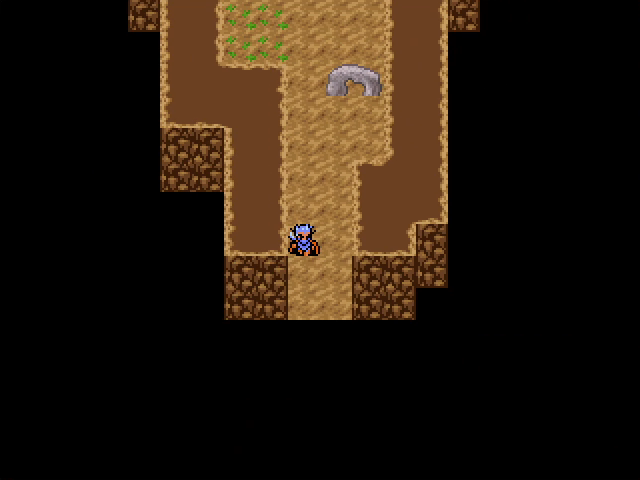 There's a save point about halfway through the caves, and from there it's a fairly straight shot to the exit. 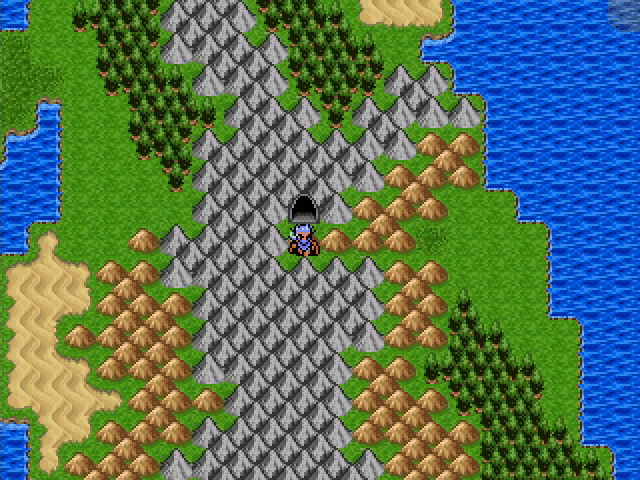 We emerge a fair distance south of Haikkodo and continue our trek to Okasa. 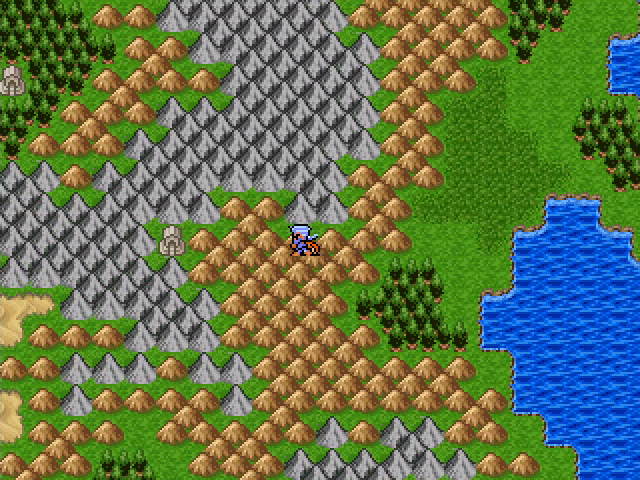 We spy a shrine en route and decide to take a look. 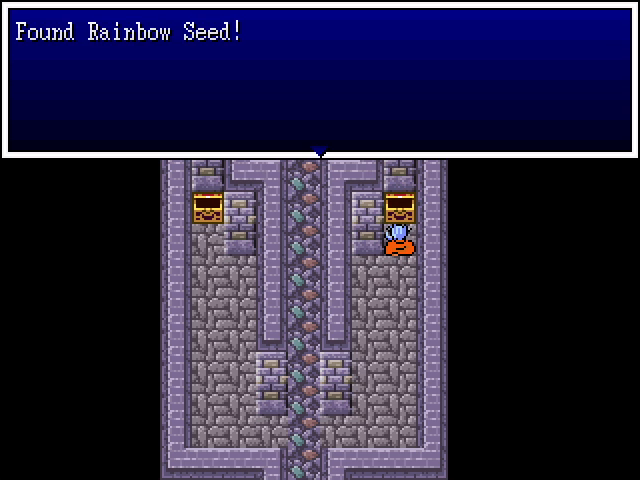 Besides a teleportal, the shrine contains two chests, one of which holds a rainbow seed. This raises all of a character's stats (including HP and MP) by 1, making it the most valuable type of seed.  The teleportal takes us to the shrine we saw earlier, and the button on the wall opens the door. We can now walk back to Haikkodo without going through the caves again, though Return makes that pretty unnecessary. 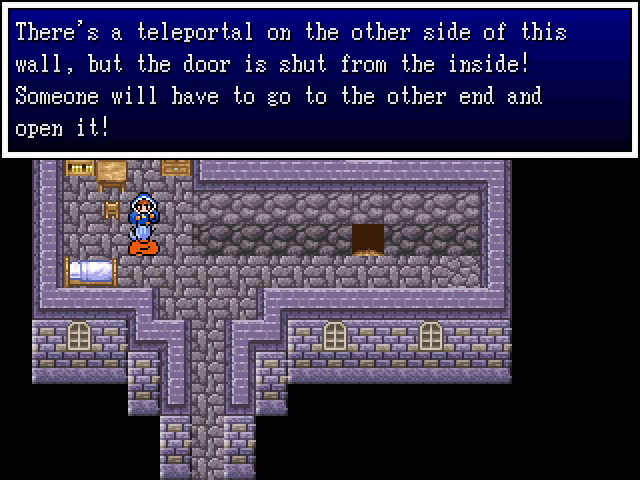 The priestess still talks about the door being closed, which is a bit of a disappointment. 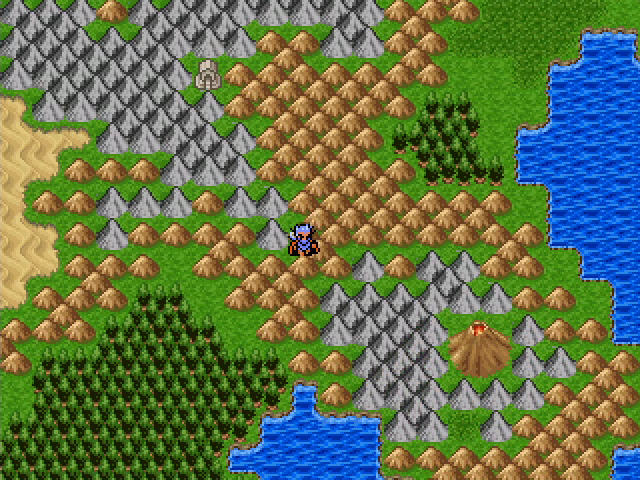 South of the shrine is a volcano, though there's no way to reach it. 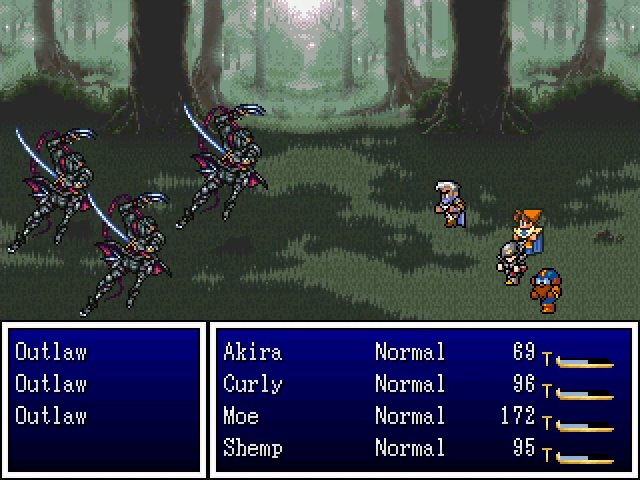 Outlaws make their first appearance here in southern Jumongu. They use an ability called Burgle to steal small amounts of gold, but it's not enough to be really annoying. 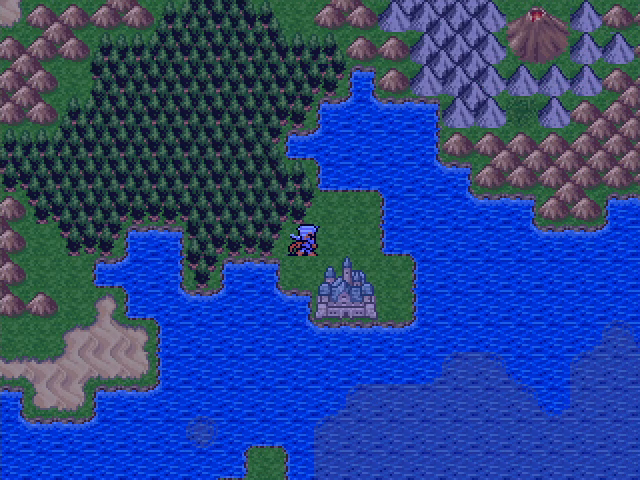 Finally, as night falls, we arrive at Okasa. But we wait for daylight to enter, better explore the city when it's more active. 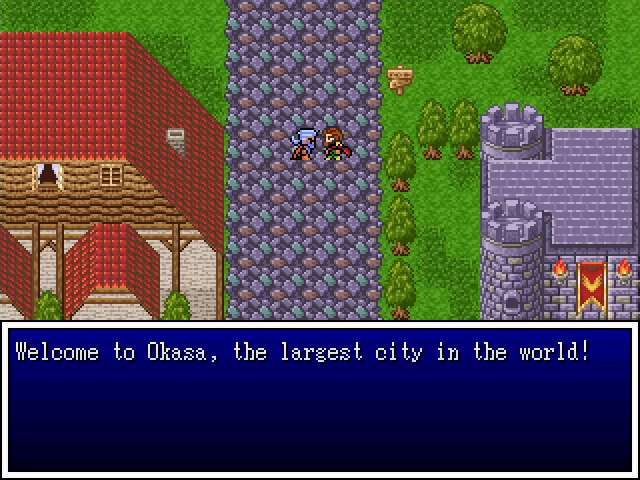 I think there are a couple of other cities that are close, but this statement is basically true. Okasa is huge, and some of the NPC dialogue hints that the creator was pretty proud of it. 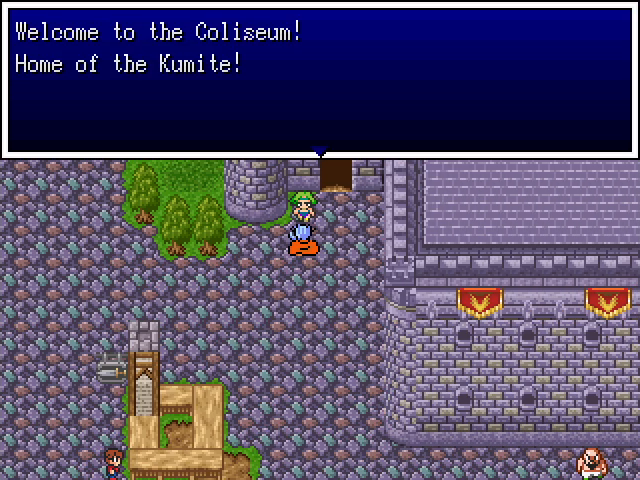 Our destination is very close to the city gates, but we're not headed there yet. There's a whole city to explore! As usual, I've left out the bulk of the searching and items, but there's some dialogue that's relevant. 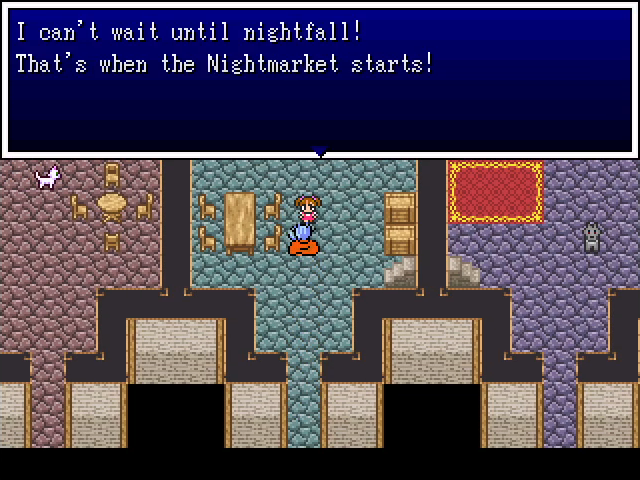 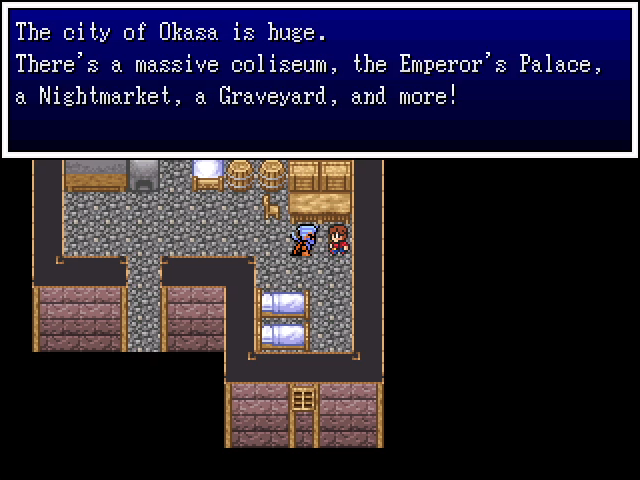 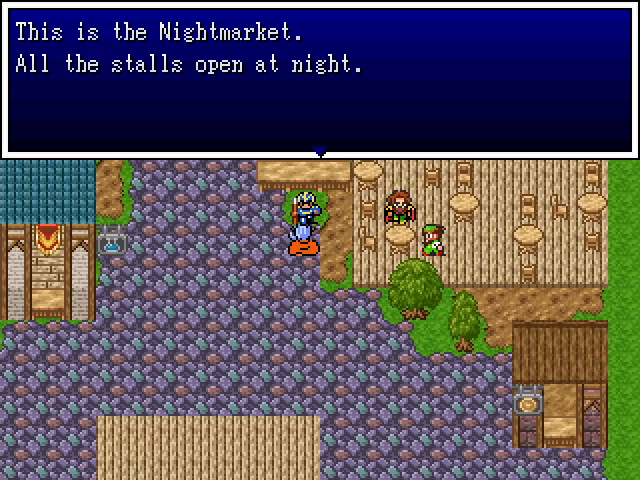 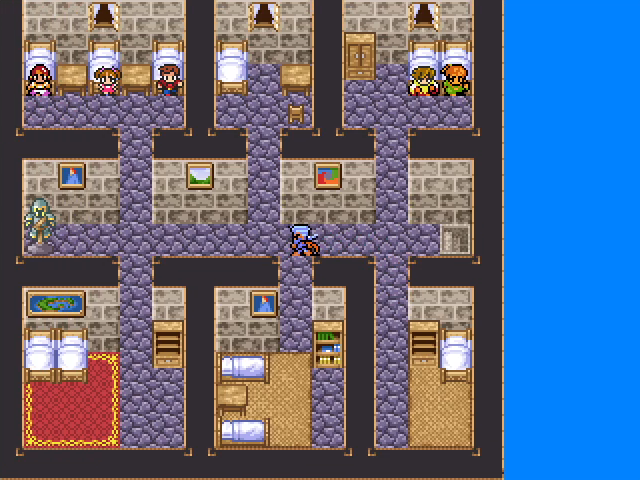 Several NPCs make reference to a market that only opens at night. We'll have to check it out later. The inn also hosts a group of NPCs who sleep during the day, which is a subtle way of reinforcing that the Nightmarket is worth checking out.  West of the entrance, a group of frogs has infested the city. They have shops, but none of their stuff is new or especially interesting. 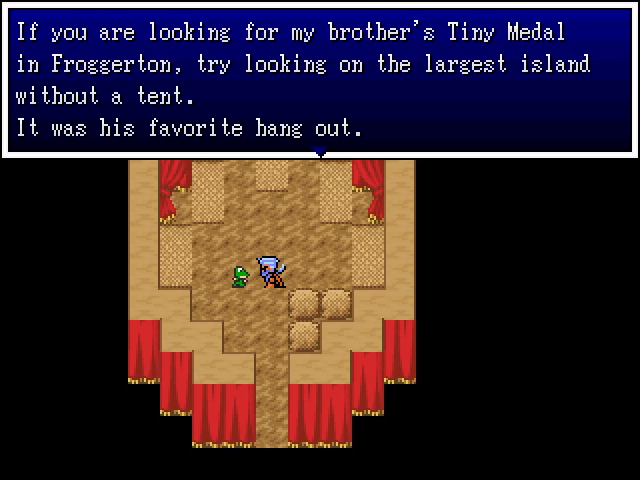 One of them does drop a hint about how to find the Tiny Medal in Froggerton, though, making it possibly the only non-rear end in a top hat frog in the game. 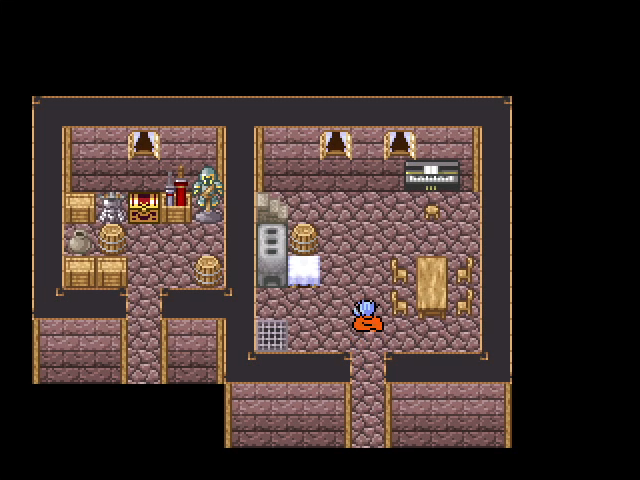 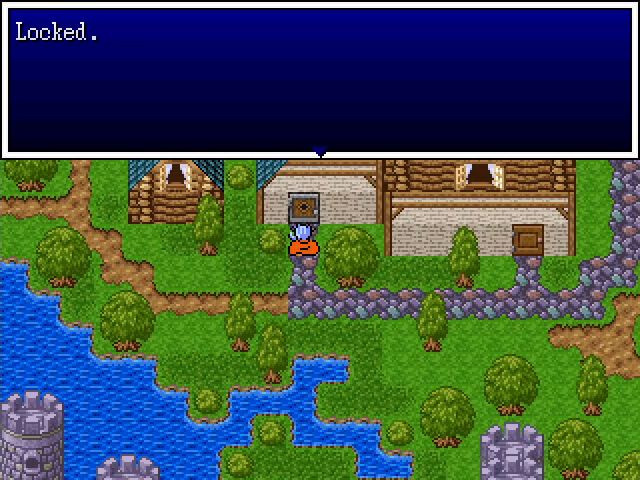 There's a tantalizing treasure chest visible from inside one of the buildings in town, but the door leading to it is locked. You might recognize it as the type of door that can be opened by the Thief's Key that Zefiryn found. Unfortunately, Akira doesn't have access to her stuff, so for now it remains sealed. 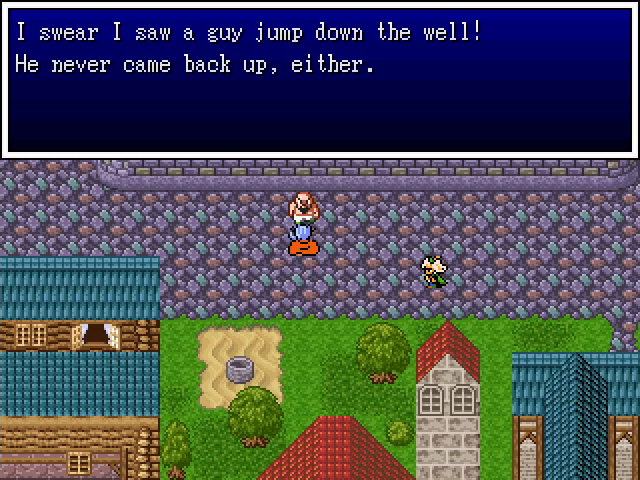 Sounds like we have another well dungeon. 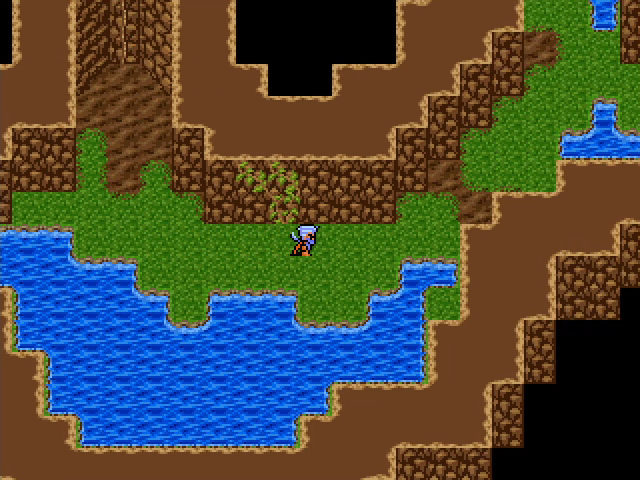 Except, not quite. While the area under the well is quite expansive, there are no monsters living here. 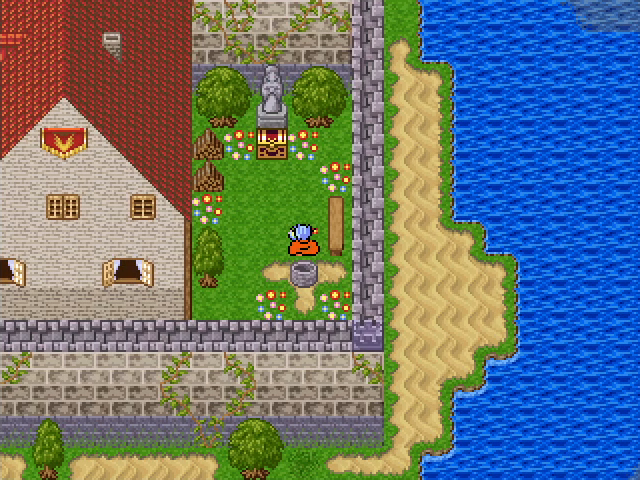  At the other end is a small courtyard containing a chest with a Cloak of Evasion inside. This would be a nice boost for Curly, but Akira is going to need it more. 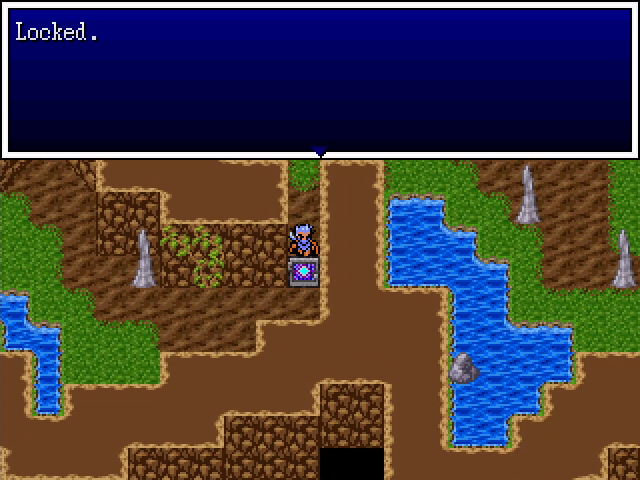 There's also another one of these weird locked doors down here. 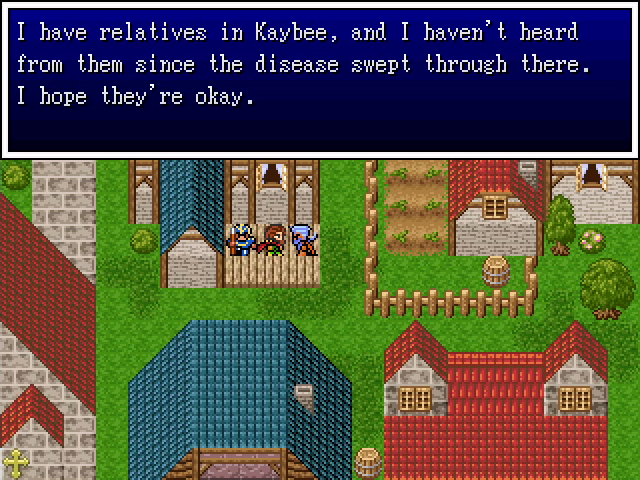 Another NPC references the events of the previous chapter, creating some continuity. As far as I know no one actually died in Kaybee, so the relatives he mentions should be fine. 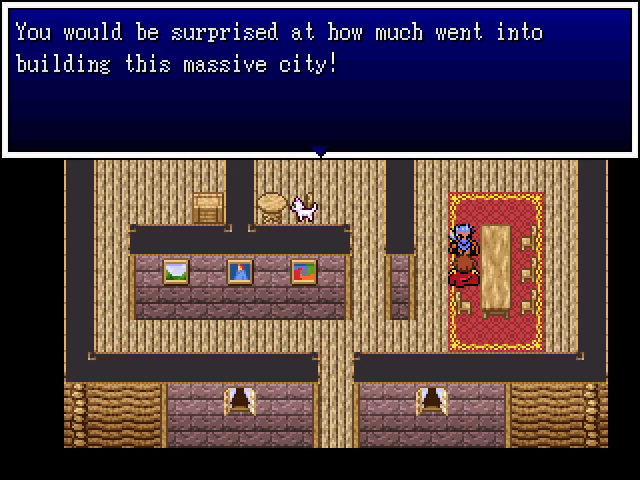 I feel like this is an especially egregious case of the author talking directly to the player. But I can't really complain; I'd probably have done it too. 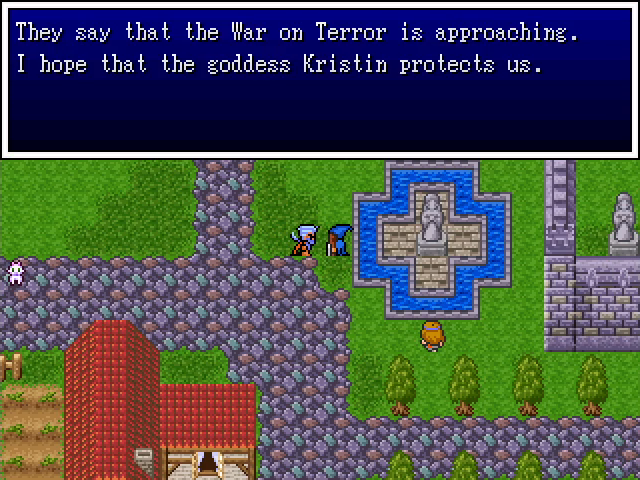 Someone finally refers to the War on Terror by name. The thread title actually makes sense now! 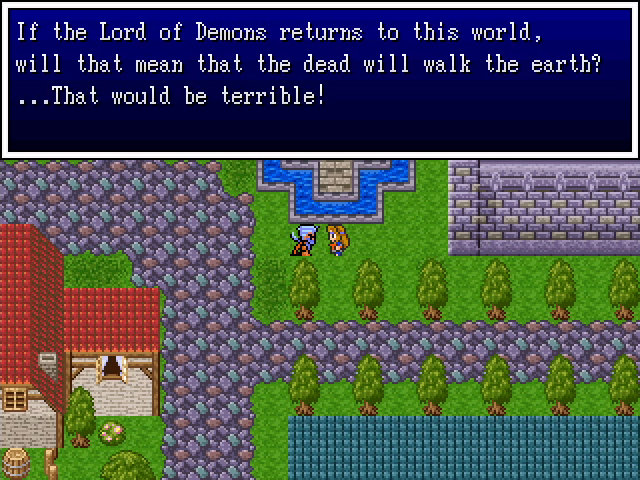 This feels like the purview of Balthalas specifically, and Holdana killed him, so it should be fine. 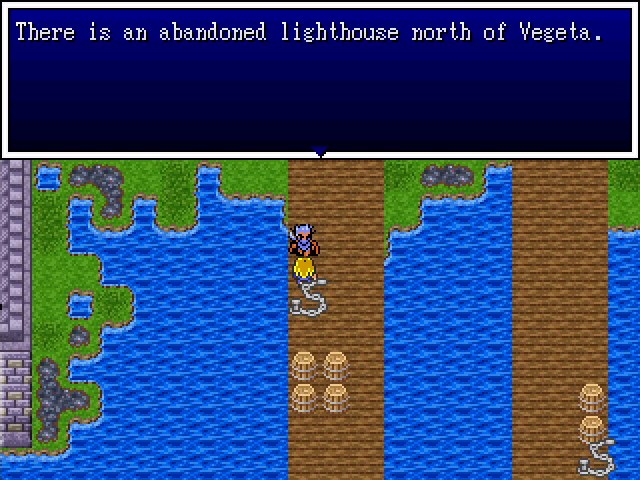 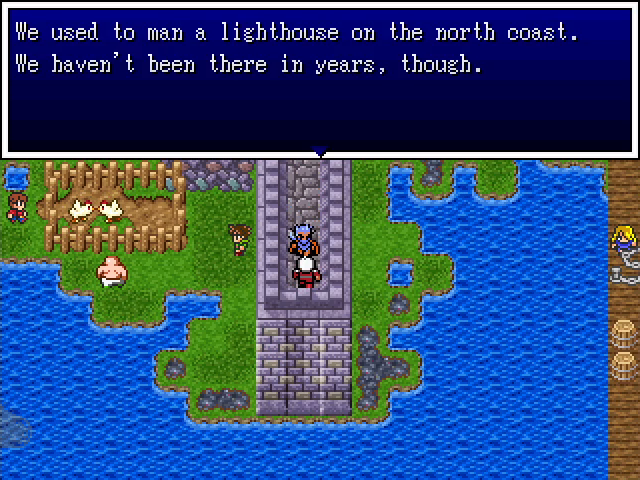 Now this is some interesting information. Vegeta is in Jumongu's north coast, so the lighthouse must actually be on an island. 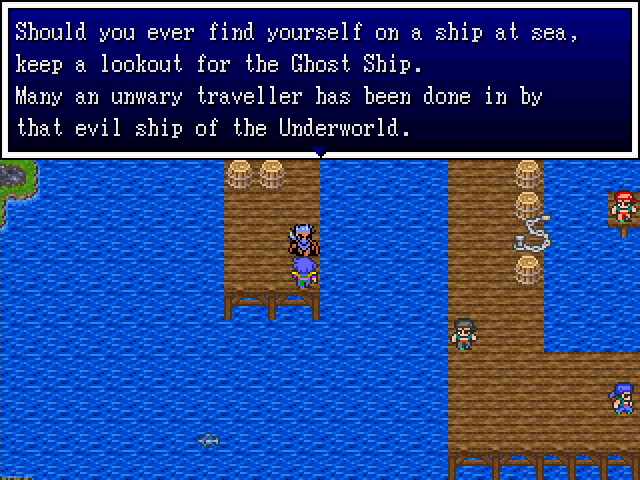 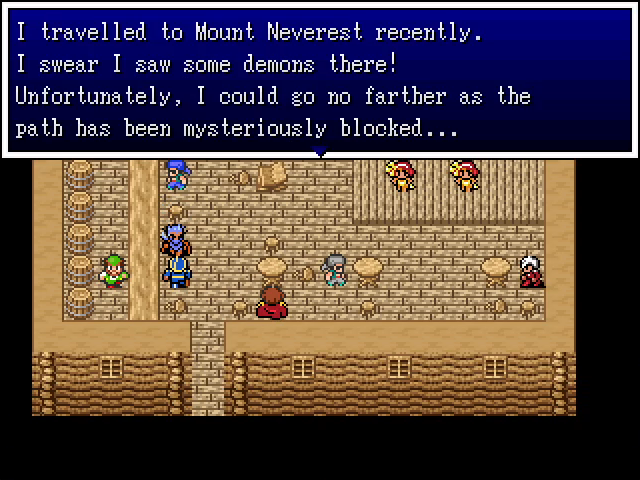 These sound like things that couldn't possibly be foreshadowing.  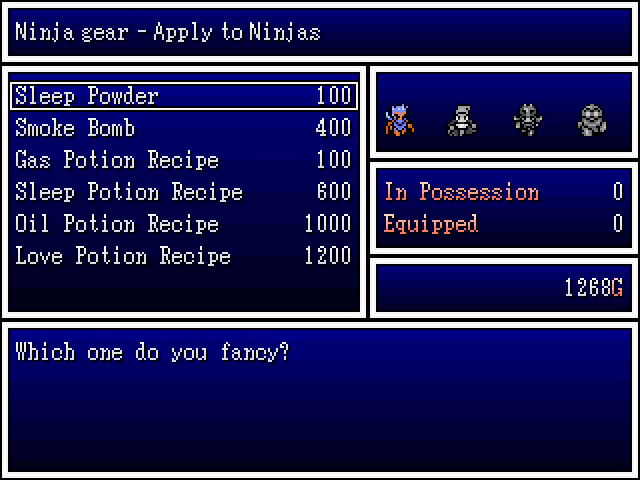 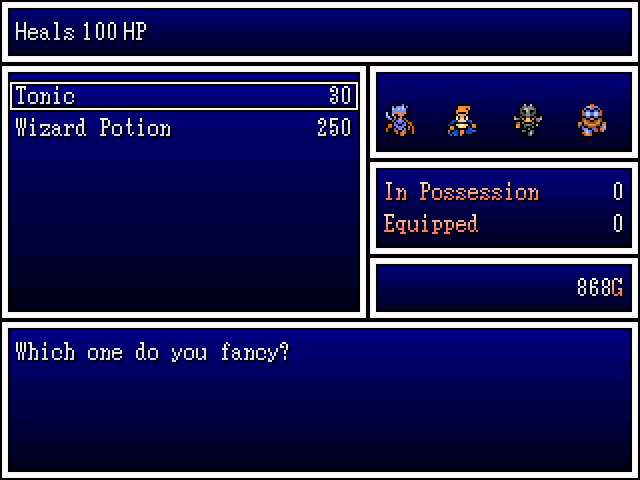 There are a couple of shops open in Okasa's slums during the day. One of them is notable for actually selling wizard potions. 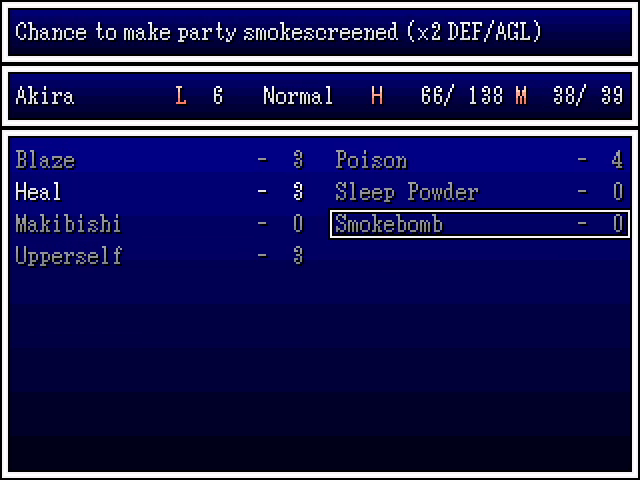 We buy the Smokebomb from the first shop for Akira. The ability isn't terribly reliable (less than a 50% success rate per character, I think), but Smokescreen is such a powerful buff that it's still worth having. 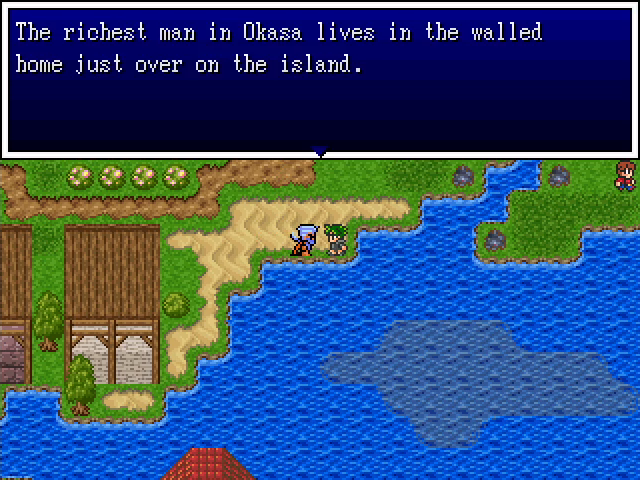 Sounds like someone I would love to 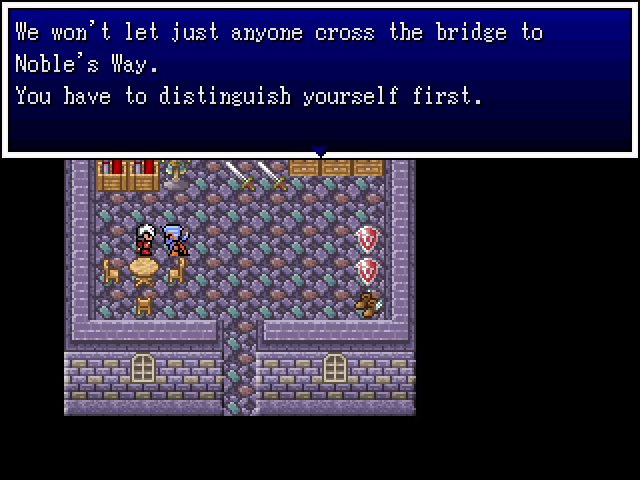 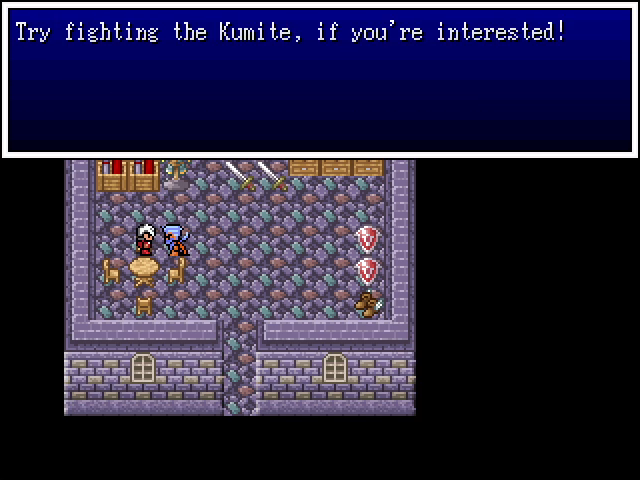 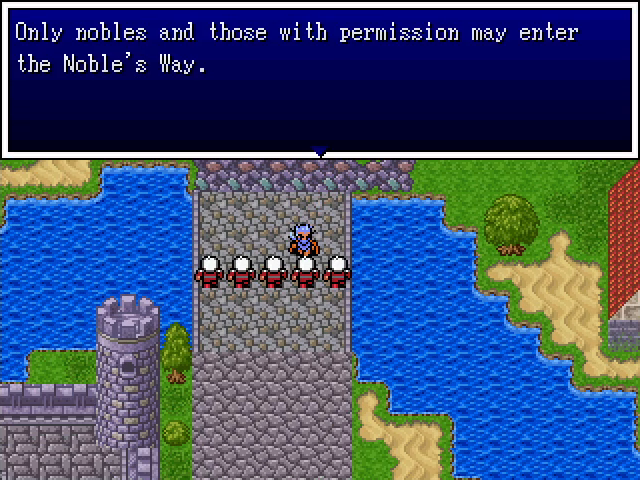 Unfortunately, we can't get in. Can't be letting just anyone into the rish neighborhood; one of the nobles might have to interact with a poor. 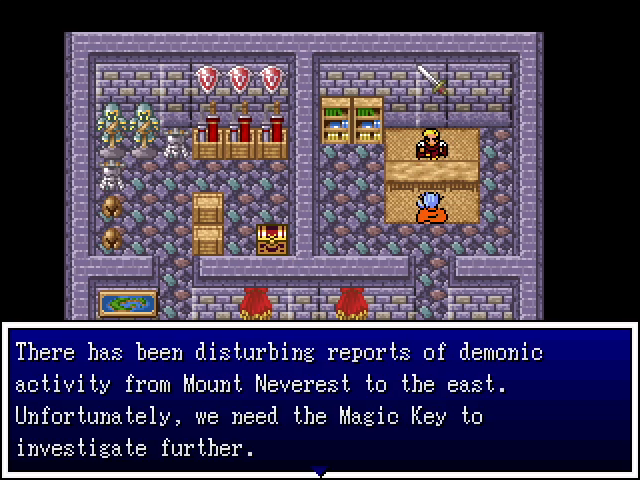 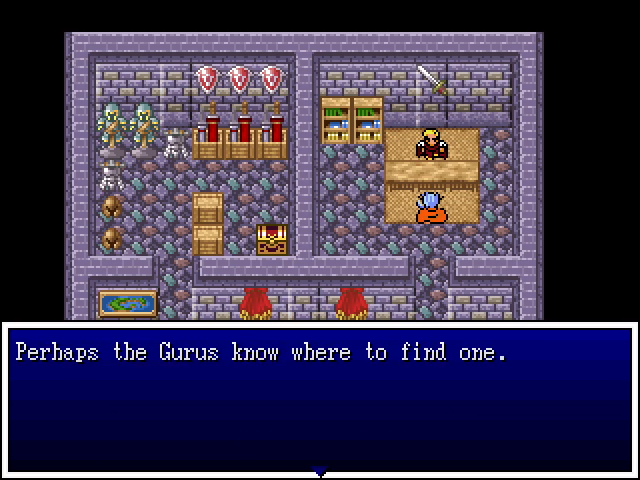 This is the second reference we've seen to Mount Neverest, but more importantly, it mentions the Magic Key. Perhaps that's what we need to open those weird doors? 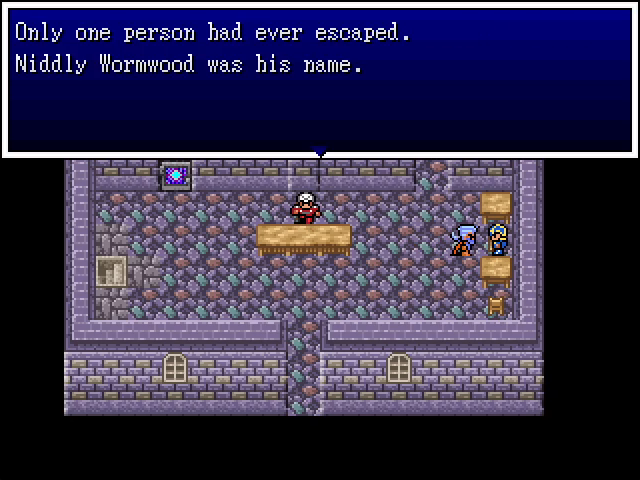 At the jail, we learn that only one person has ever escaped it, and it's Niddly loving Wormwood. Feels good to know his corpse is rotting in a monster-infested dungeon. 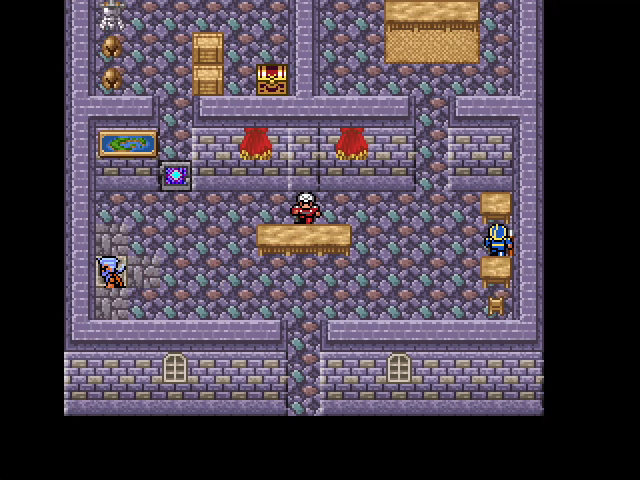 Curiously, the stairs that leads down to the dungeon can't be traversed. 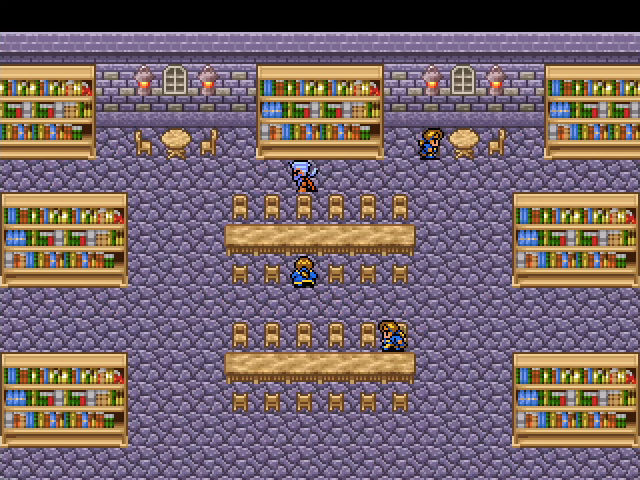 Okasa boasts a huge library, and each section of each shelf is a separate searchable object. There are a handful of scrolls here, but getting them is a chore. 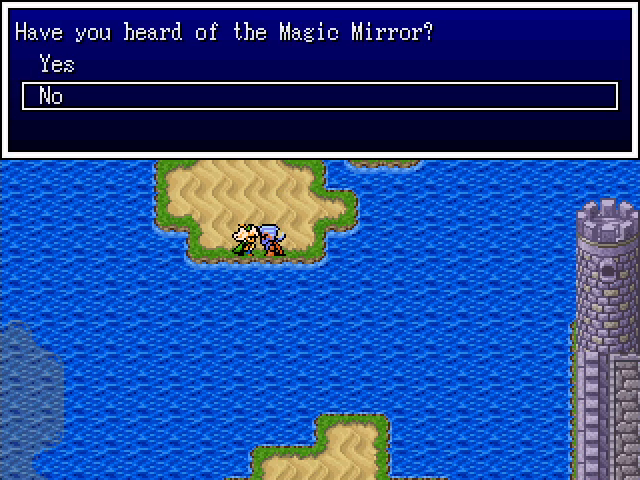 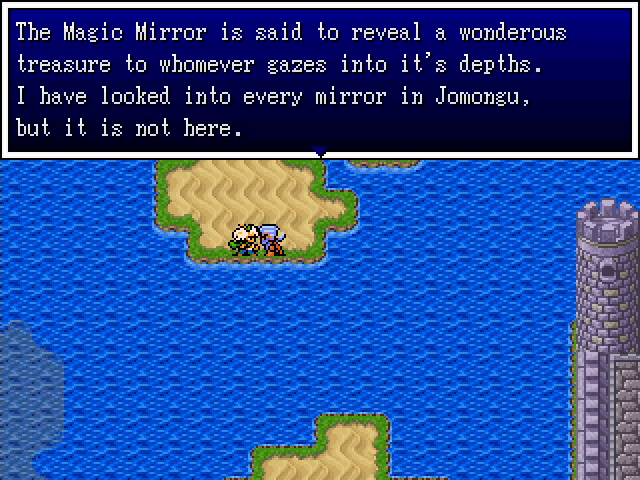  More world-building that is definitely not foreshadowing something we'll do later. 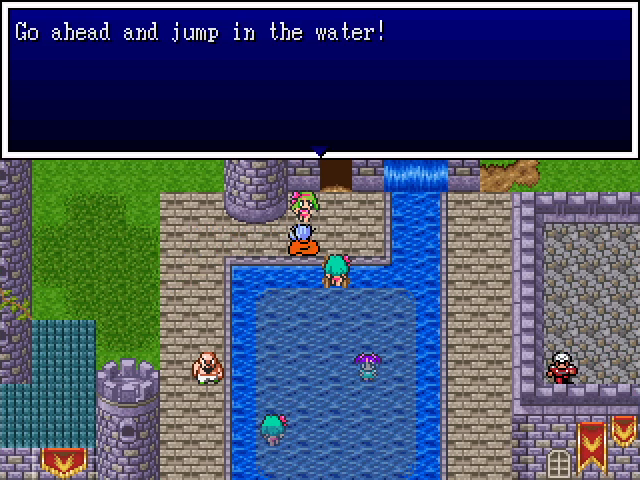 Okasa is so extravagant that it even has a public pool. This is a serious sign of wealth. 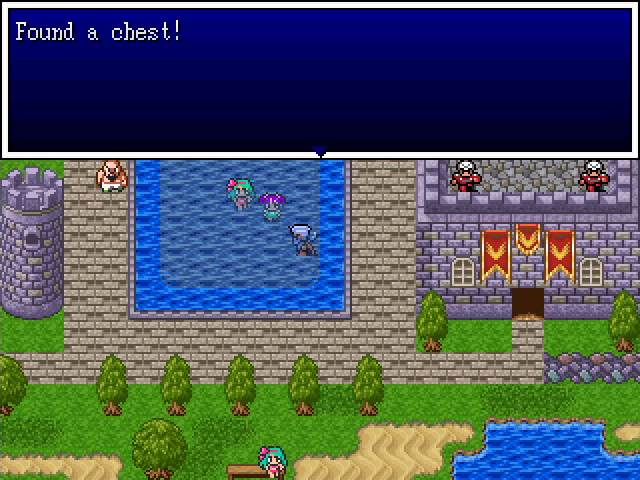  Someone even hid a treasure chest in it, and one with a fairly valuable item, at that. 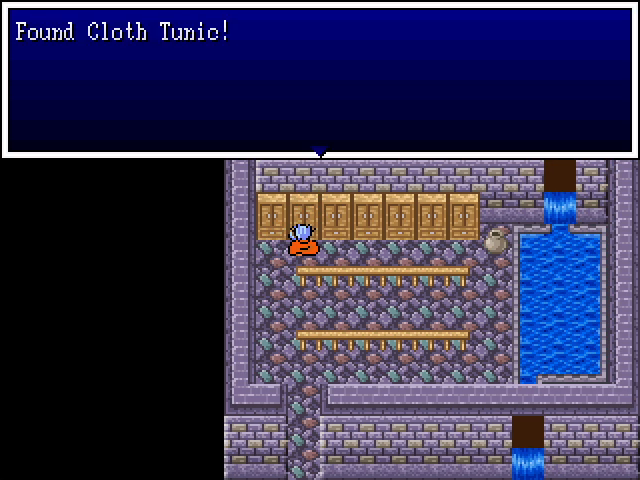 And of course, we're not above raiding the changing room and stealing people's clothes. Because, as has been stated, we're heroes. That's about all the city has to offer that's worth showing off, at least during the day. Let's come back after dark and see the Nightmarket. 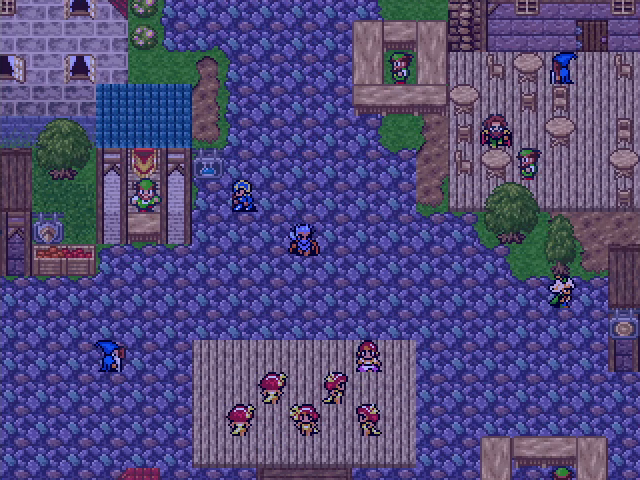 Like the public pool, the Nightmarket is an ostentatious show of wealth. The layout reminds me a lot of the Night Market in Trials of Mana, which is almost certainly not a coincidence. 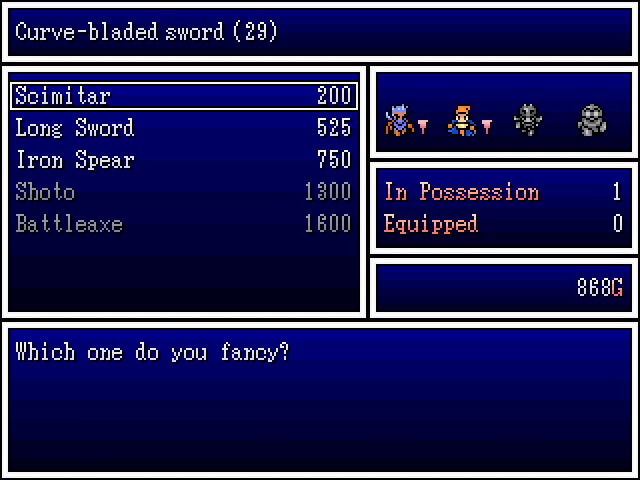 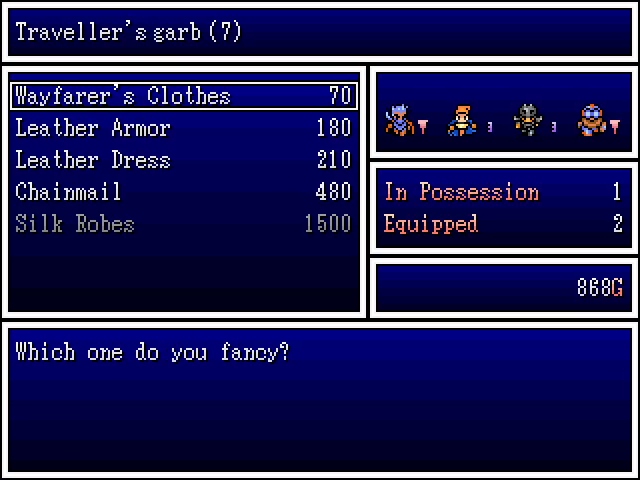 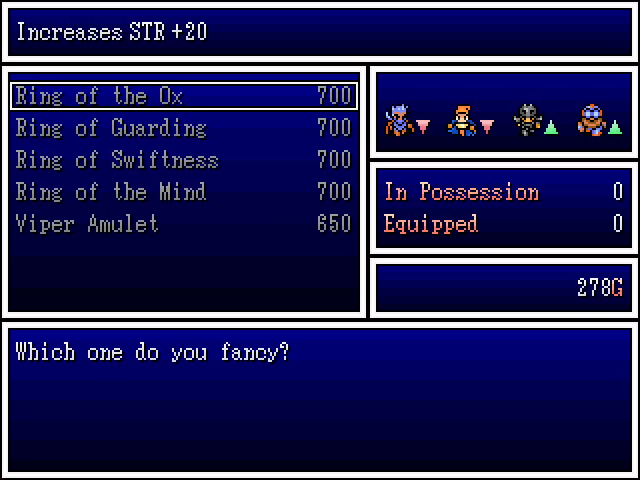 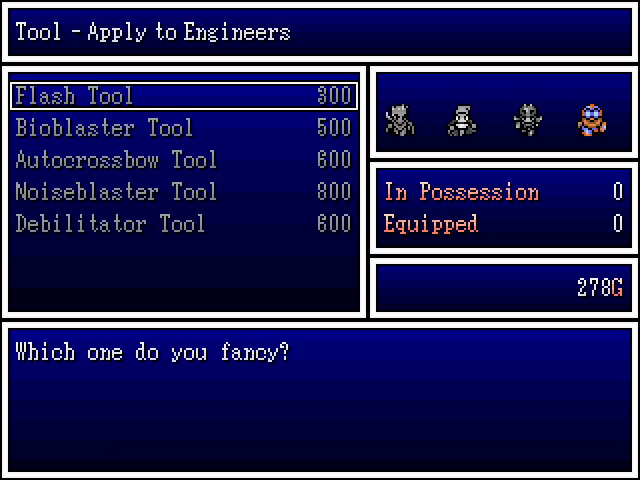 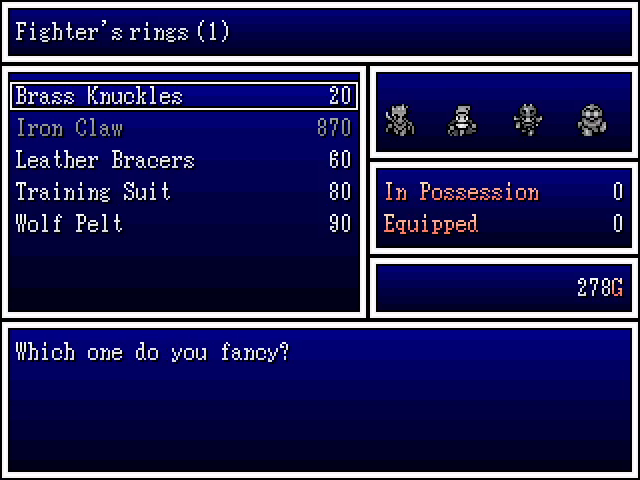 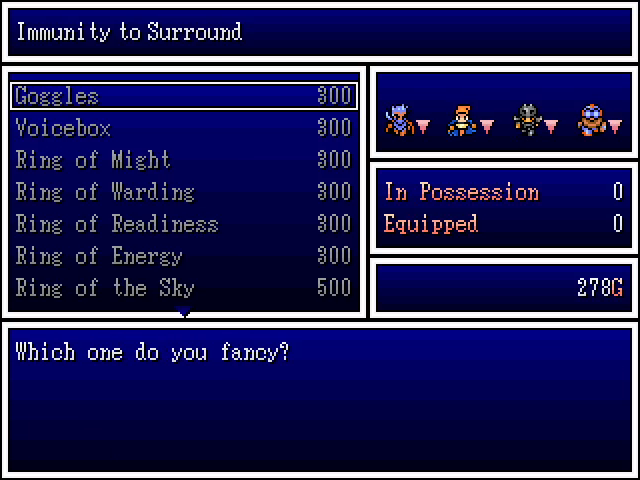 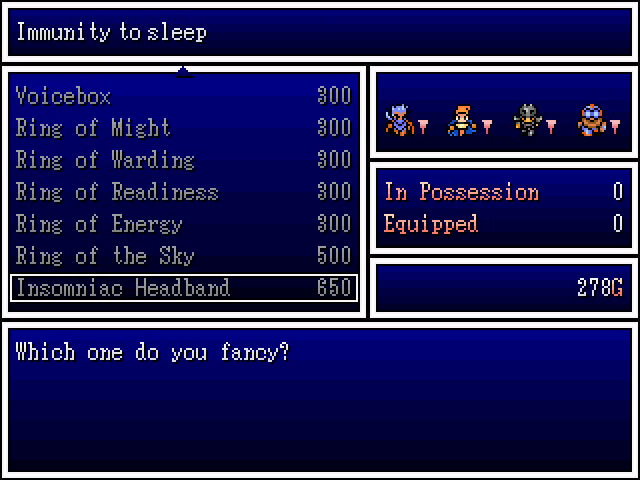 The Nightmarket has a significant number of shops, several of which sell the best gear for sale in the chapter. There's a lot here that I'd like, but finances are a severely limiting factor. We grab some chainmail for Moe and Shemp, and sell some scrolls to buy and Insomniac Headband. I'm not normally the type of player to buy equipment that resists specific status effects, but this will pay off. And that's all for the city itself. Let's go do what we really came for. 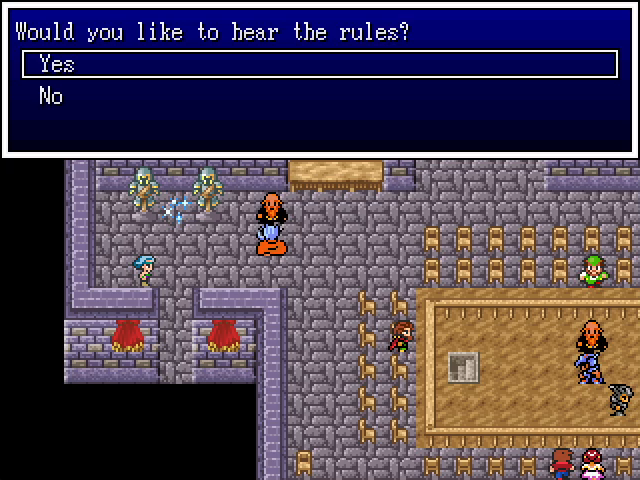 The interior of the coliseum is quite spacious, with room for the fights and an audience. There's also a save point for use between matches, which is exceedingly convenient. 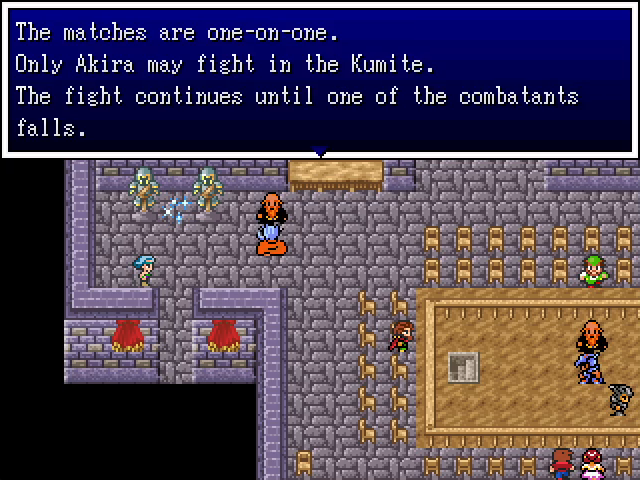 And this... is my biggest gripe with this chapter. I mentioned in the first update for this chapter that Akira would be earning way more EXP than his allies, and this is why. Akira has quite a few Kumite battles, and he alone gets experience for them. I'm the type of player who prefers keeping his characters' levels as close as possible, so this grates on me.  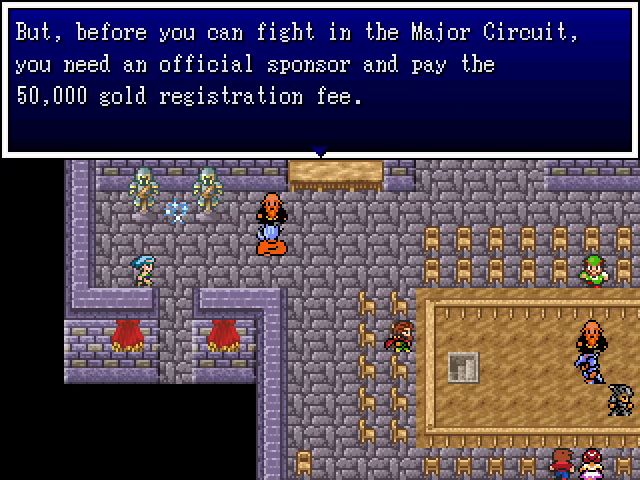 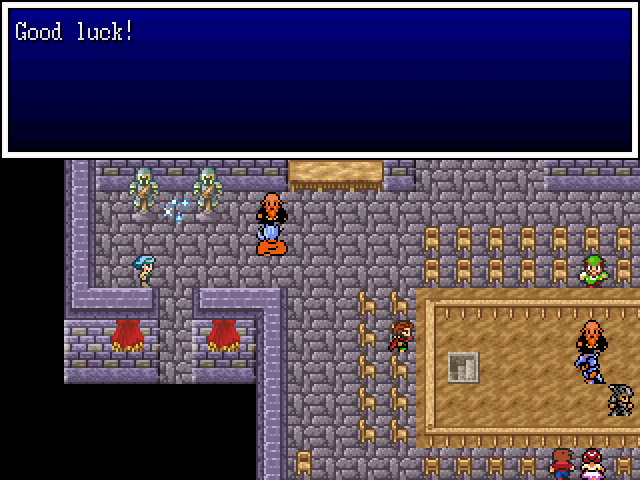 That registration fee miiiiiight be an issue, but we'll cross that bridge when we come to it. 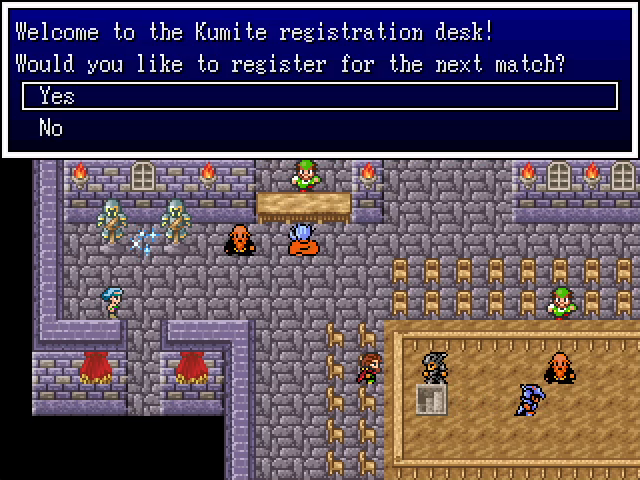 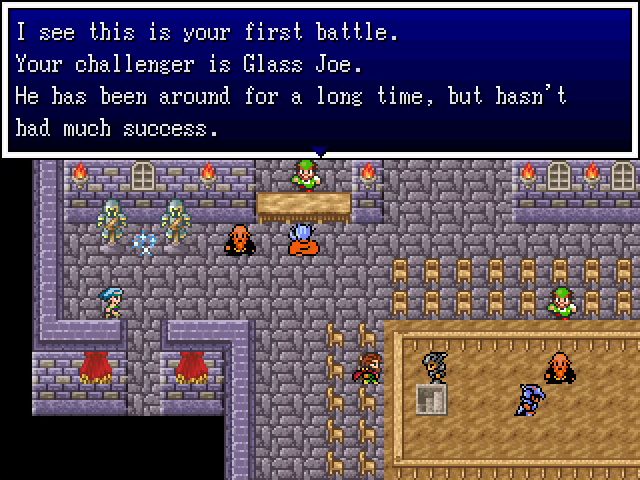   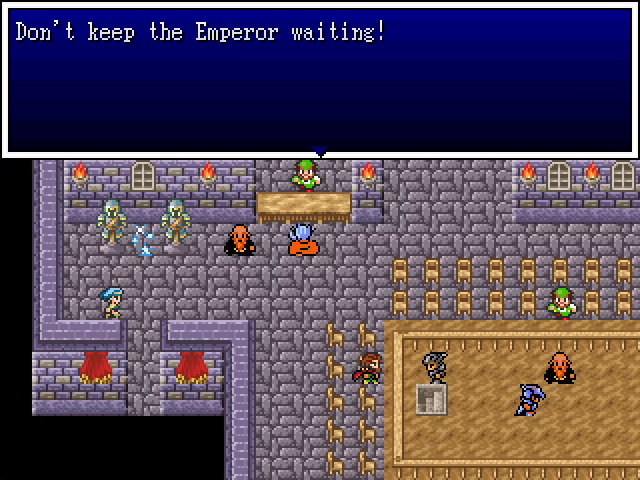 In case you're wondering: yes, pretty much all of the Kumite opponents are references. 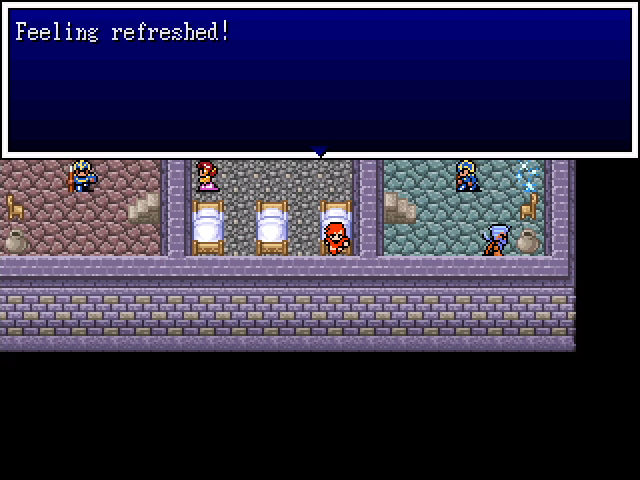 The waiting room has a pot that restores the party's HP and MP. Like the save point in the lobby, it's very convenient. 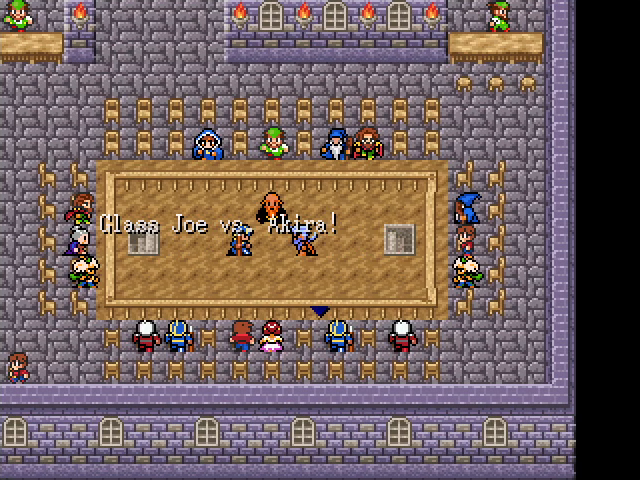 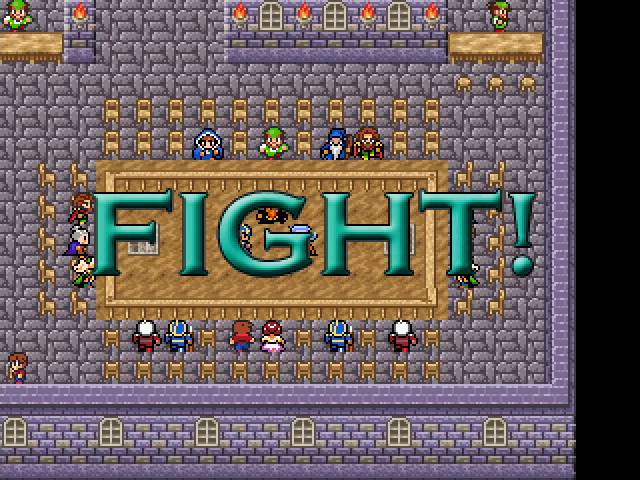 Every fight begins with a fancy opening screen that gives it a proper fighting game feel. 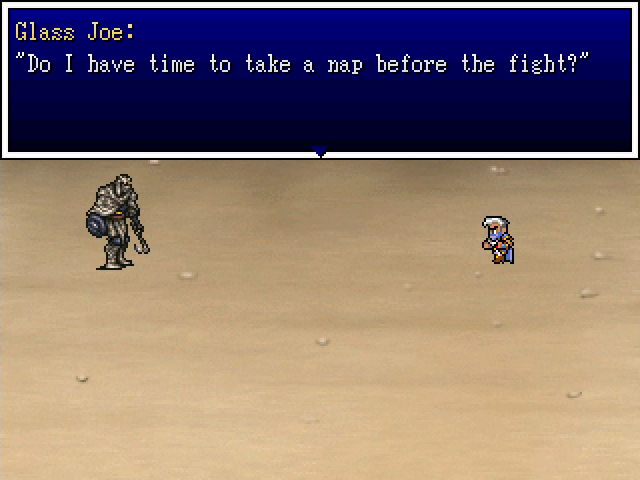 Glass Joe's introductory dialogue says pretty much everything you need to know about him. He does nothing but use weak attacks and is in no way a challenge. And yes, the battle music here is the fight music from Punch-Out!! 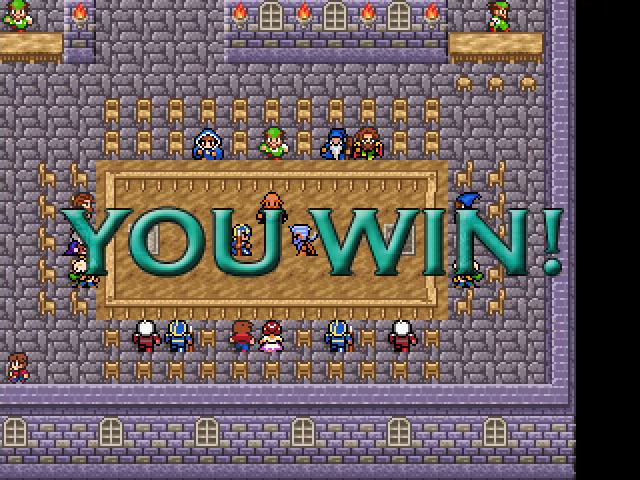 Victory was pretty much assured. 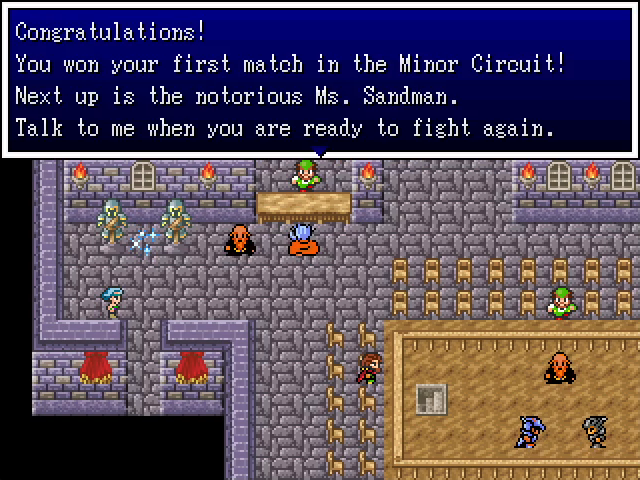 Between matches, we get a break to save and shop. 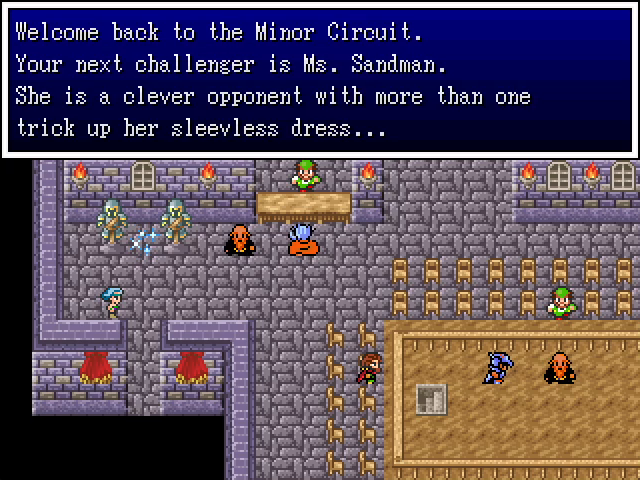 I'm... not sure that metaphor works. 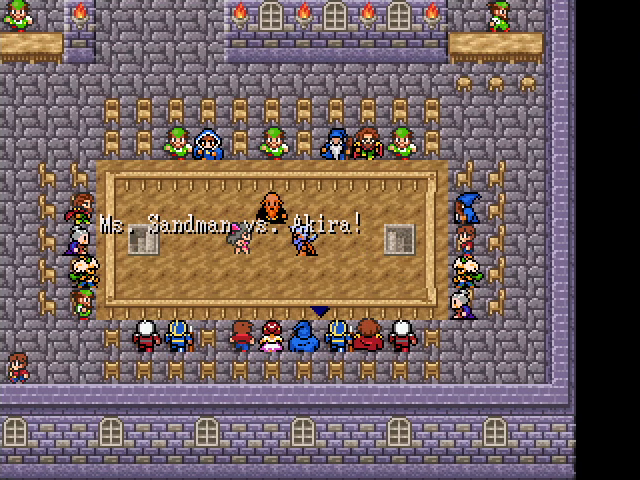 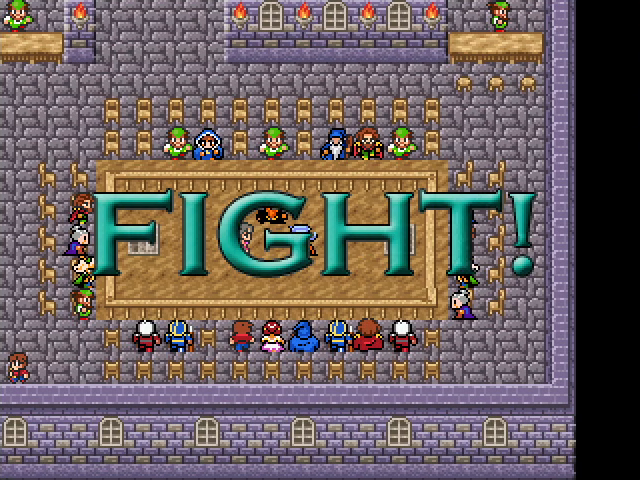 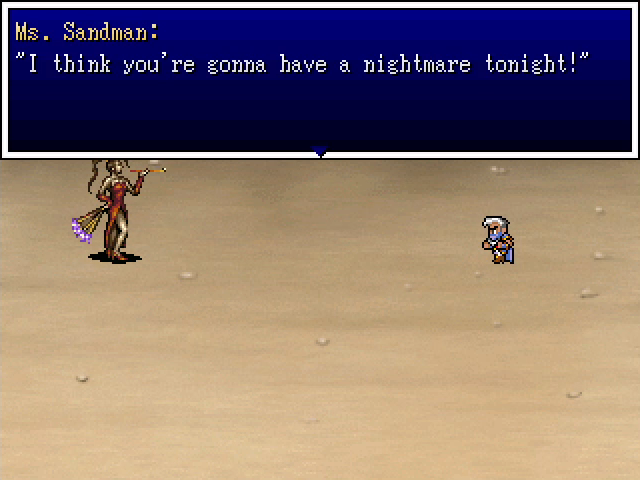 Ms. Sandman is much tougher than Glass Joe in that she actually has a chance to win. Her name is a pretty clear giveaway about how she likes to fight. 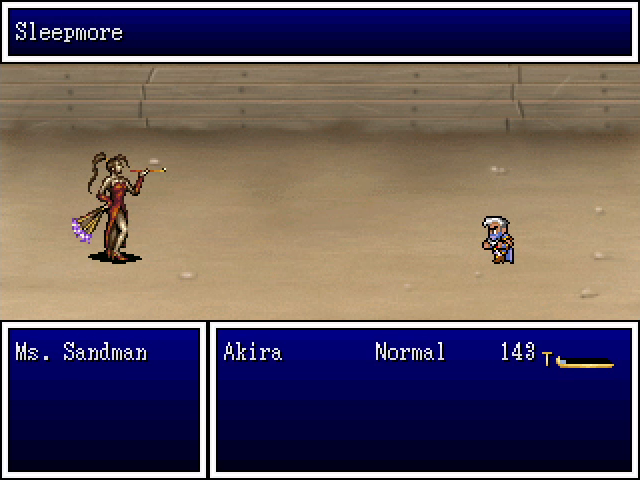 Naturally. 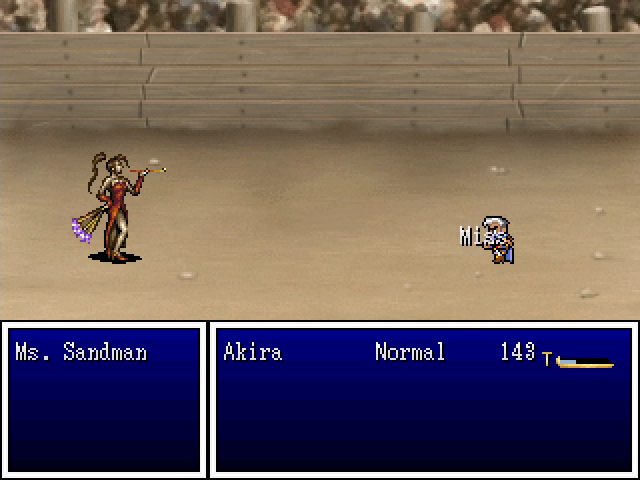 Of course, we have an Insomniac Headband, so this trick is worthless. She also uses Flamer to deal fire damage, but it's not much of a threat.  To her credit, she does have one other trick: using Surround to shut down our physical attacks. Unfortunately for her, Makibishi never misses, so this doesn't help her either. 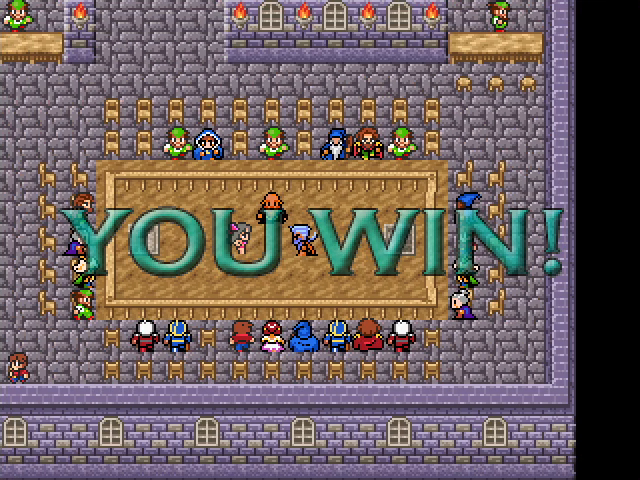 Easy peasy. 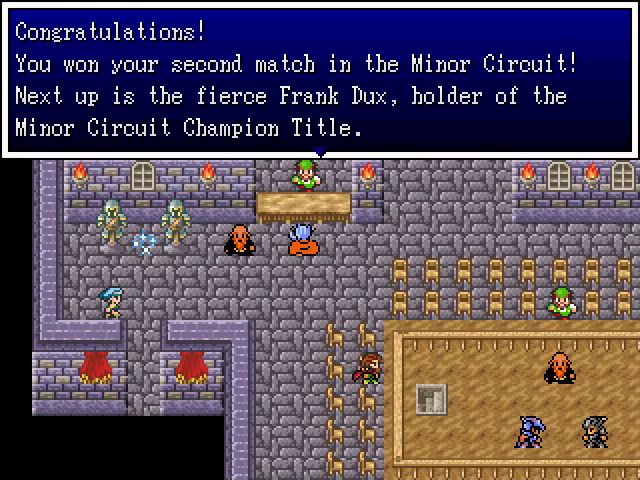 Frank Dux is a real-life martial artist and fight choreographer, according to Wikipedia. 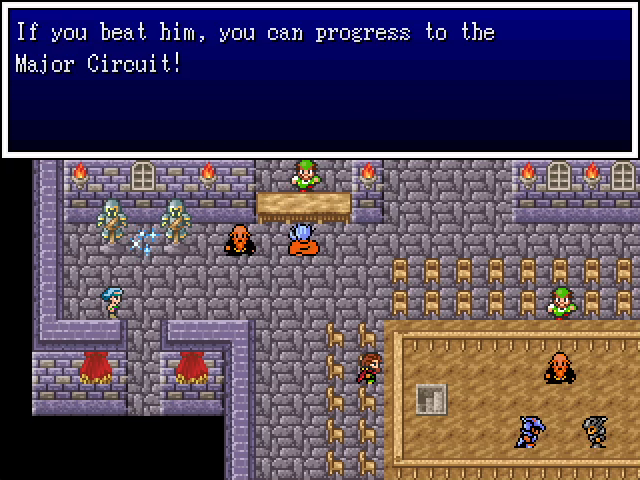 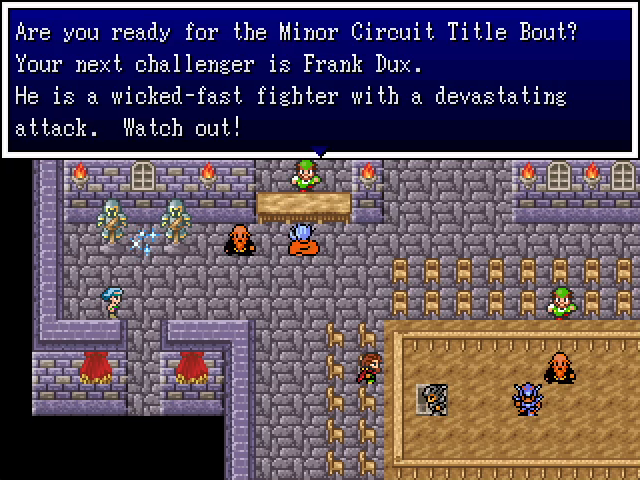 Just one more fight to go in the Minor Circuit, and it's actually a mild challenge. 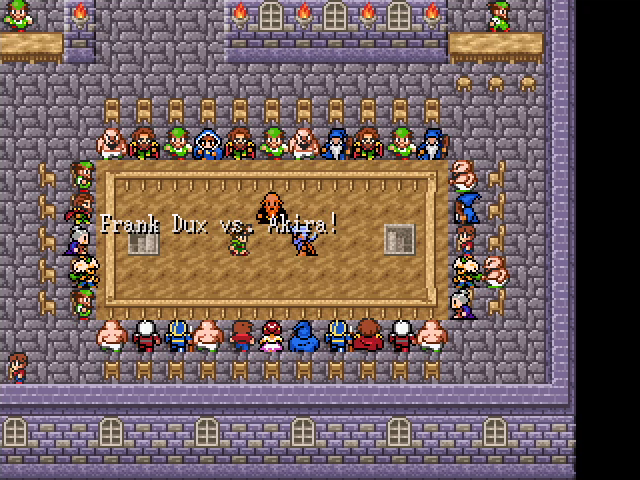 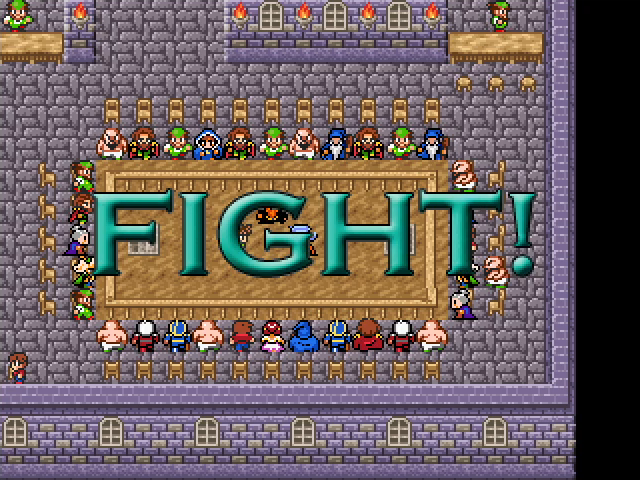 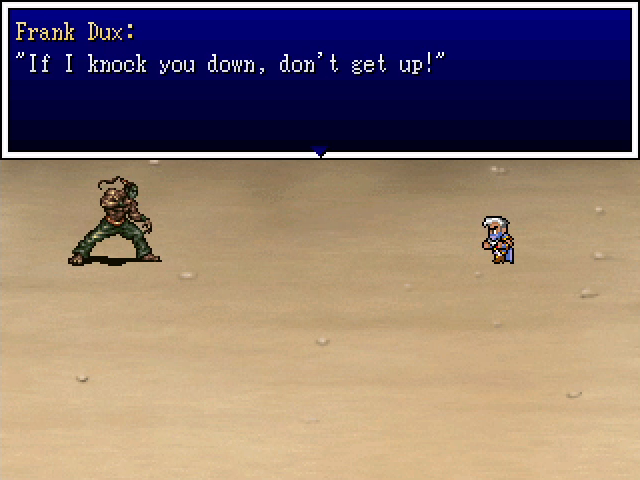 Frank mostly uses straightforward physical attacks, but will occasionally spend a turn using Charge Up. After that, he uses a regular physical attack, which makes the Charge Up seem pointless - but his next action will be Precision Strike, which deals a good chunk of damage. With Heal at our disposal, though, we can actually tank his best hits and still win. I did say this was a mild challenge. 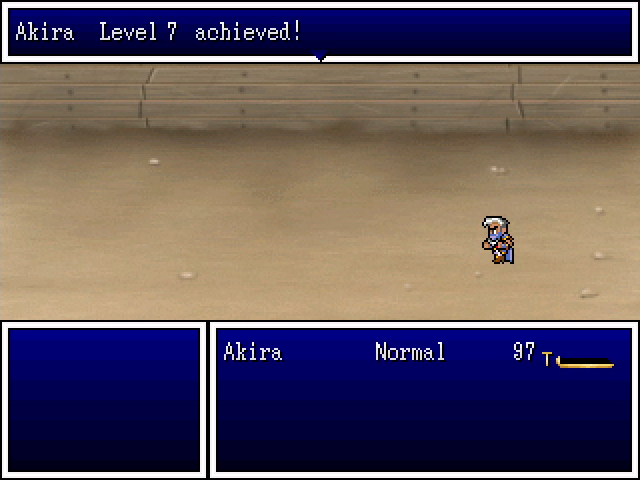 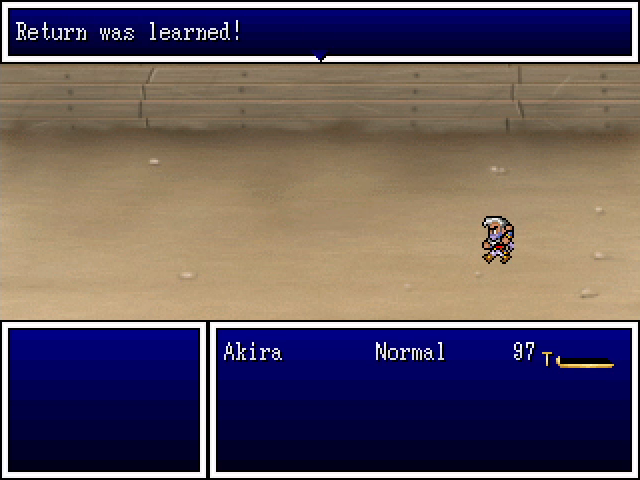 Akira continues to pull ahead of the rest of the team, hitting level 7 and learning Return.    I think that this EXP reward, at least, goes to the whole party. 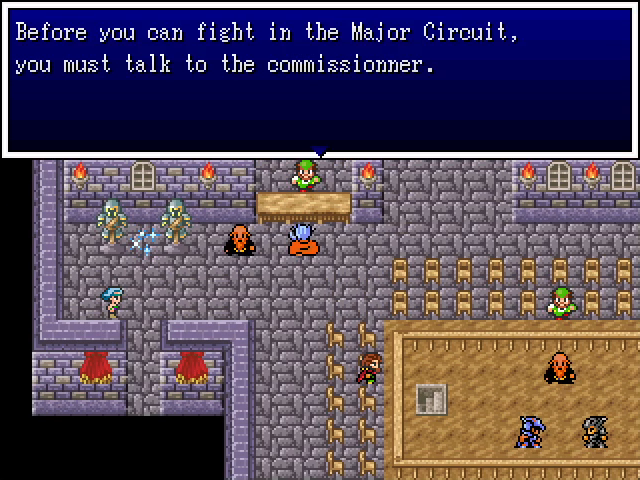 This isn't a request; we can't fight any more battles until we run some errands. 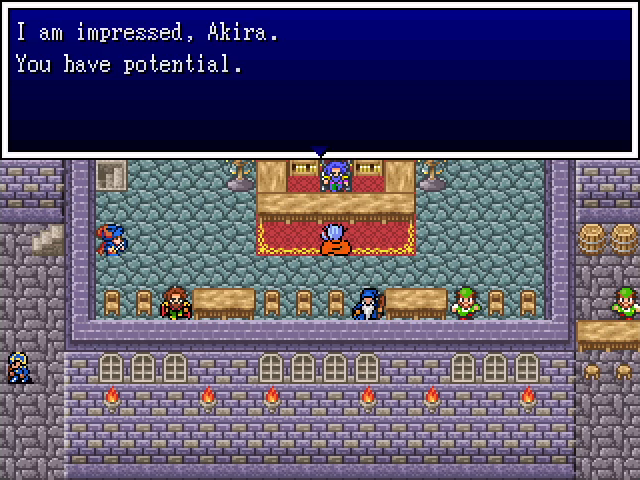 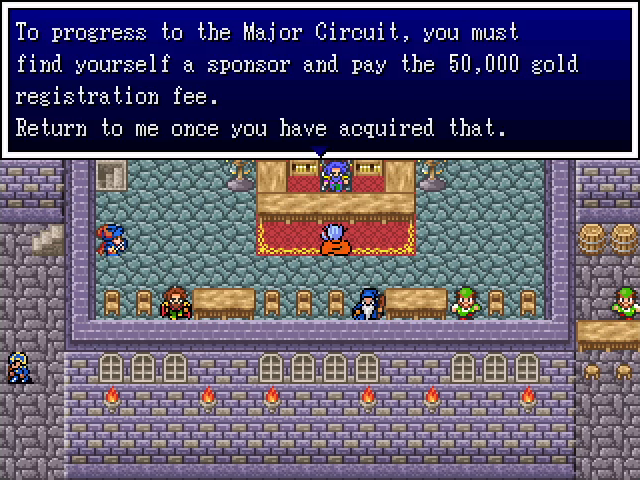 Yeah, this is kind of a big deal. Even if a player were insane enough to grind out 50,000 gold, the need for a sponsor forces the next leg of the story to be completed anyway. 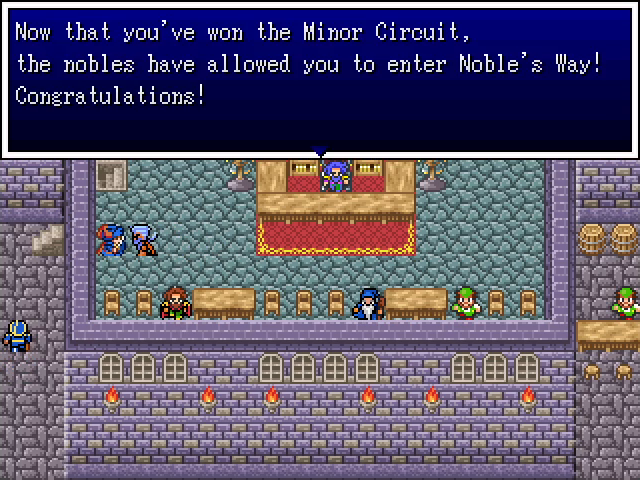 Luckily, as Minor Circuit champ, Akira is considered to have distinguished himself enough to enter Noble's Way. 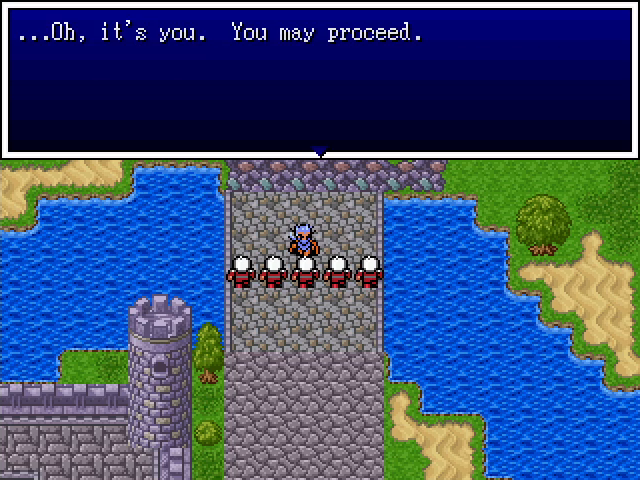 The guards on the bridge still give us the same spiel before letting us through. 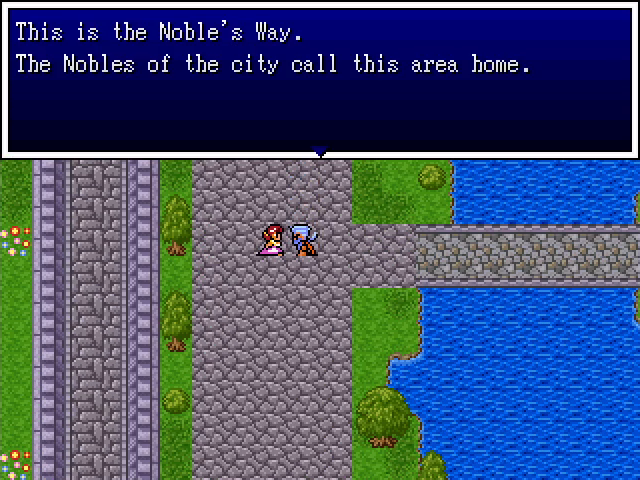 Makes sense. 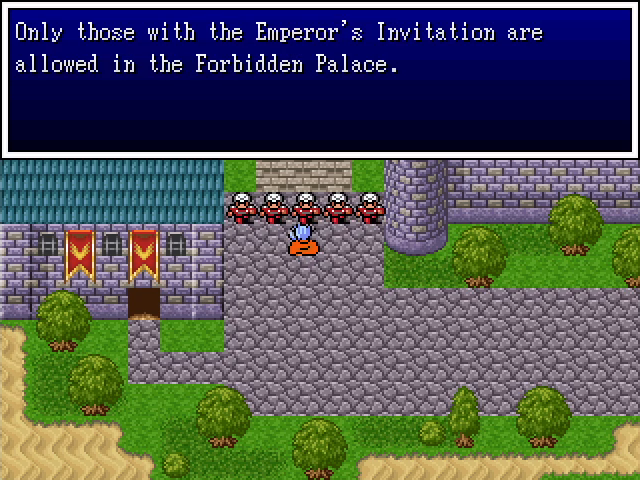  We're going to ignore the nobles for the time being, though, and check out the imperial palace. We can't get inside, but we can check out the barracks. 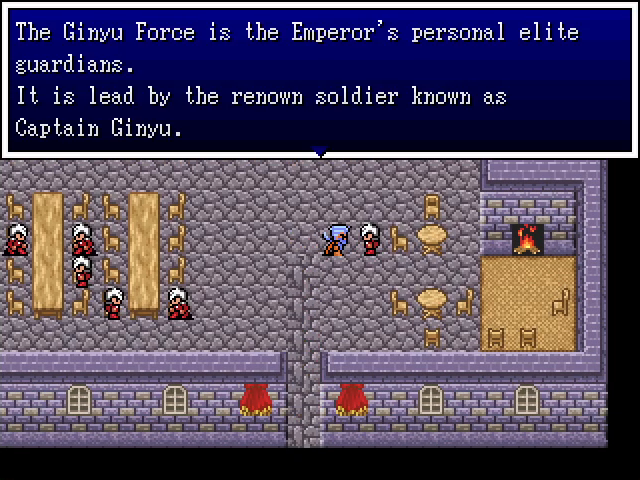 In case you forgot that this chapter is Dragon Ball Z, this chapter is Dragon Ball Z. 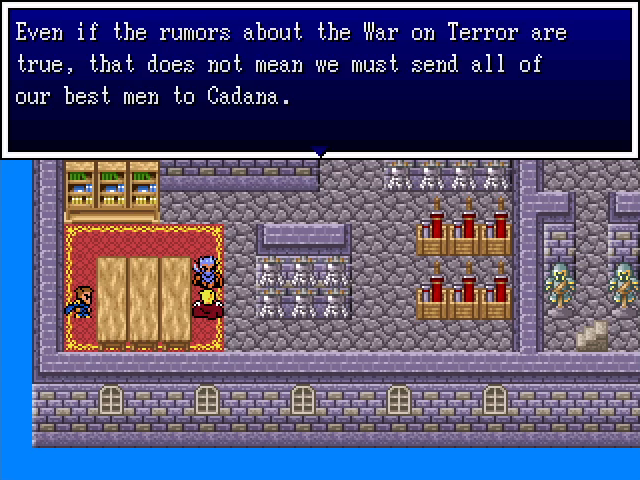 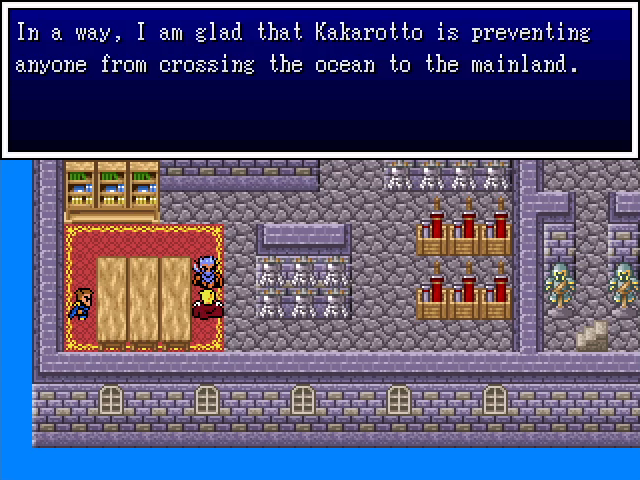 The captain is kind of a tool, honestly. 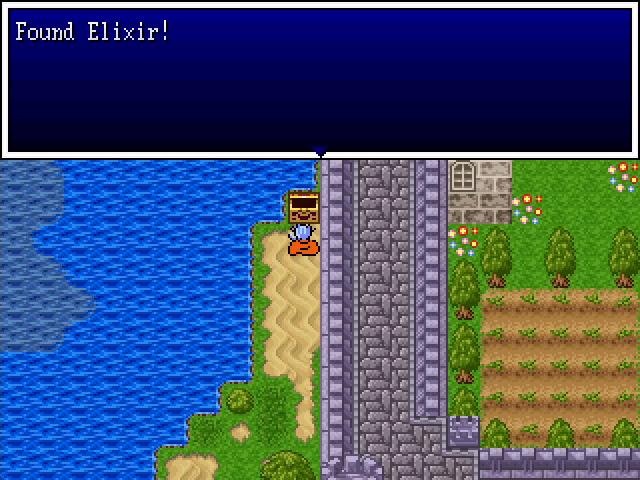 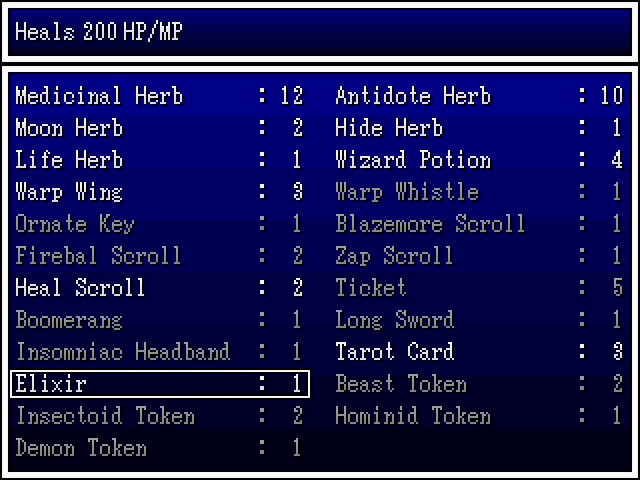 Outside the palace, we find a chest containing a new item, an elixir. 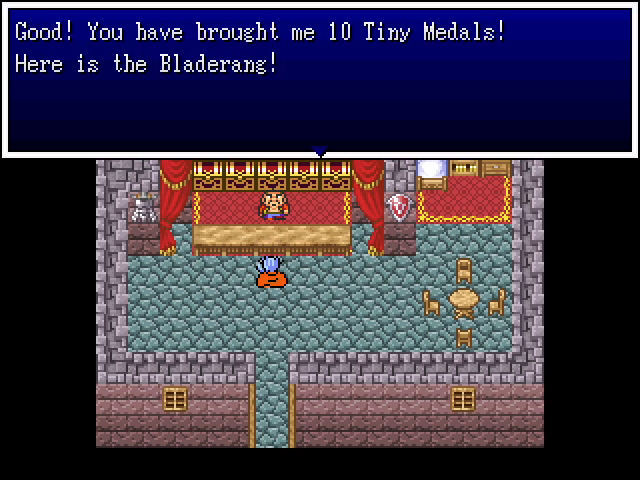 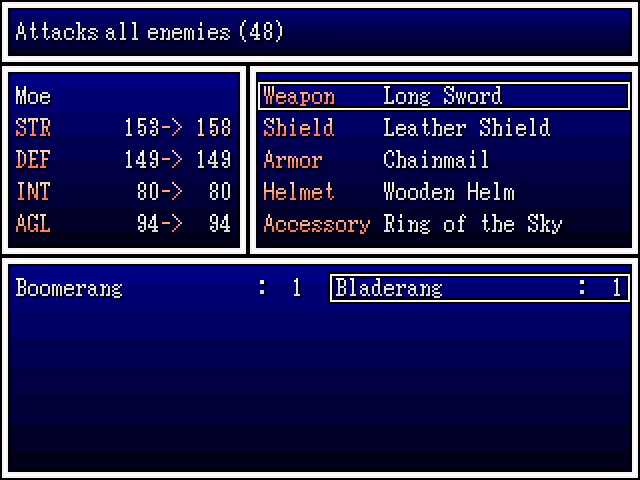 The barracks also contained out 10th Tiny Medal of the chapter, so we head back to Vegeta to trade them in for a Bladerang. I mention this entirely because, having equipped this on Moe, we now have an entire team with attacks that can hit every enemy, further trivializing most random battles.  After that, we return to Okasa. Noble's Way isn't actually very big (only three houses), but its size and splendor make it seem lived-in. 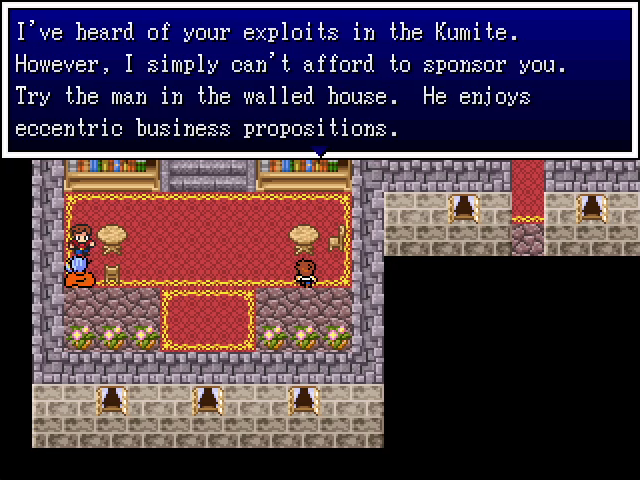 The first man we meet is polite and all, but won't sponsor us. 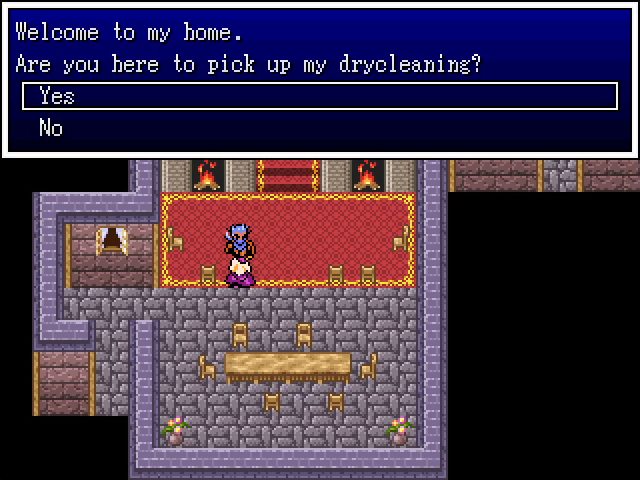 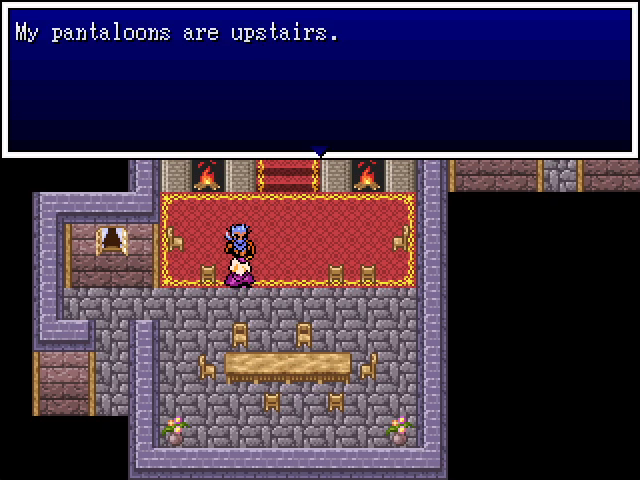 The next nobleman we meet immediately assumes we're the hired help. Wanting to avoid conflict, we don't deny his assumption. 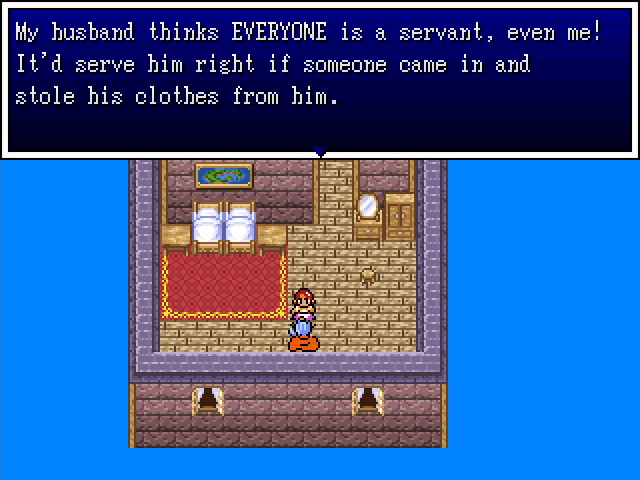 Upstairs, we meet his wife, who apparently gets the same treatment. 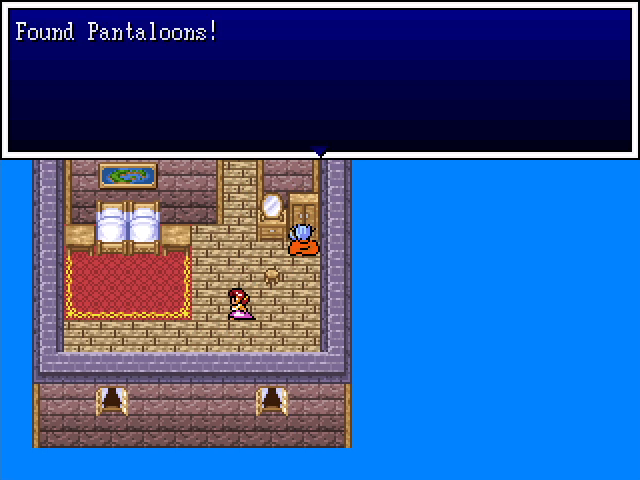 And so, being the heroes we are, we steal his pants. 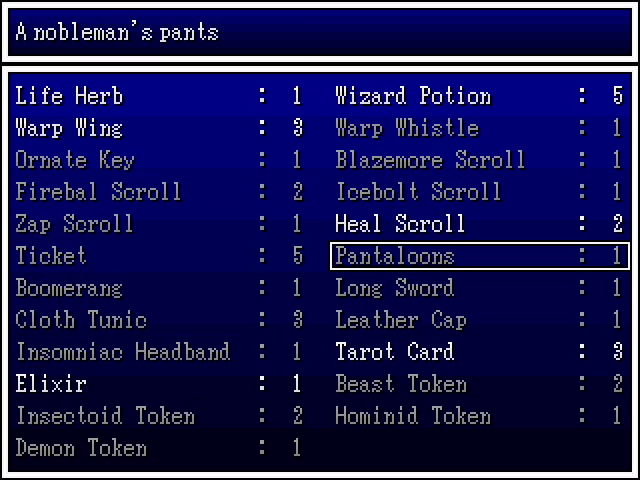 No, they don't do anything. They will merely serve as an eternal reminder that we stole some asshat's clothes. 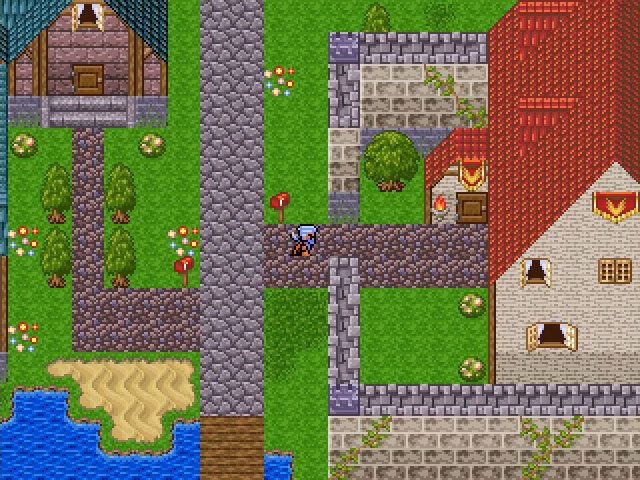 The last house in Noble's Way has a wall around the entrance, which a few people have directed us to check. 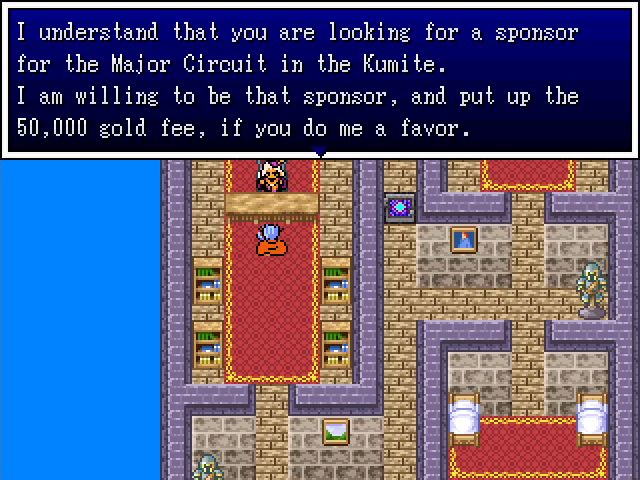 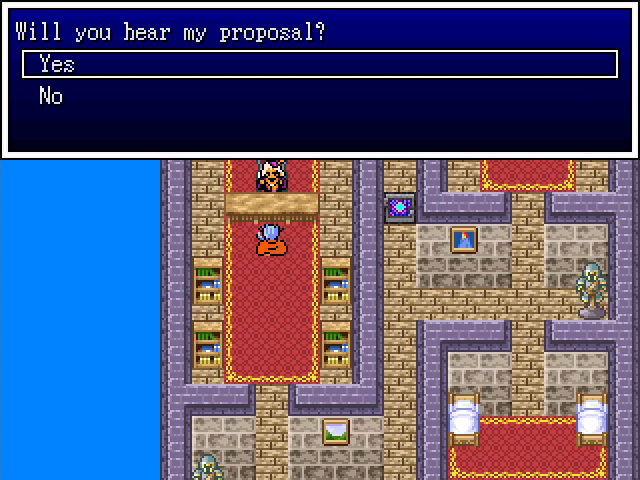 The master of the house is much more willing to help us, in exchange for a favor. No reason not to hear him out. 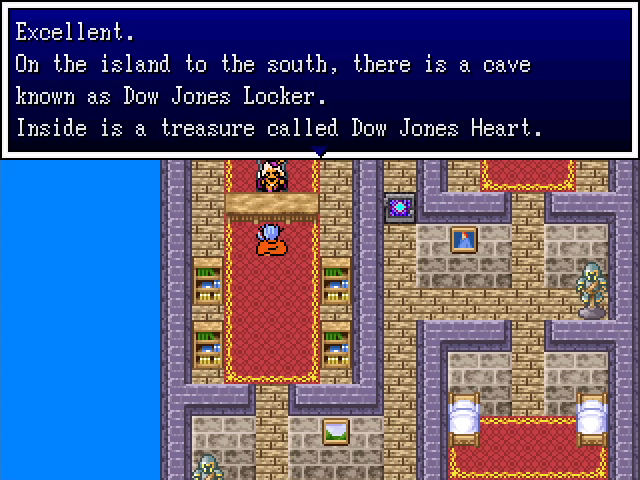 Dow Jones Locker is probably the worst pun in the entire game and I absolutely adore it. 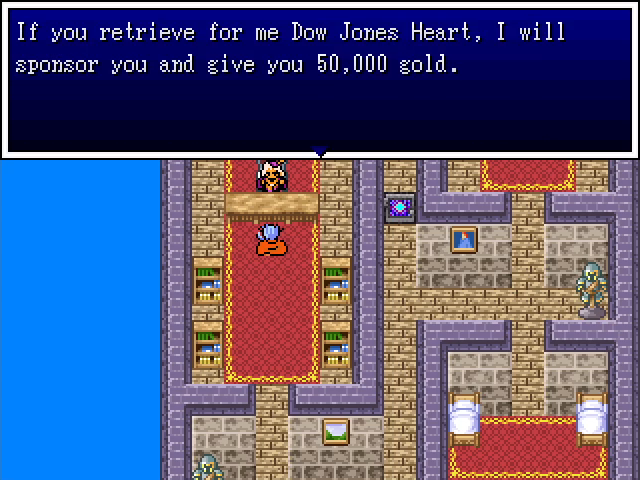 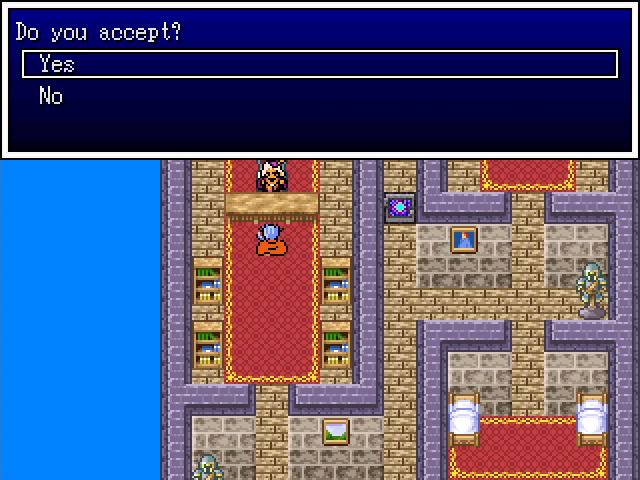 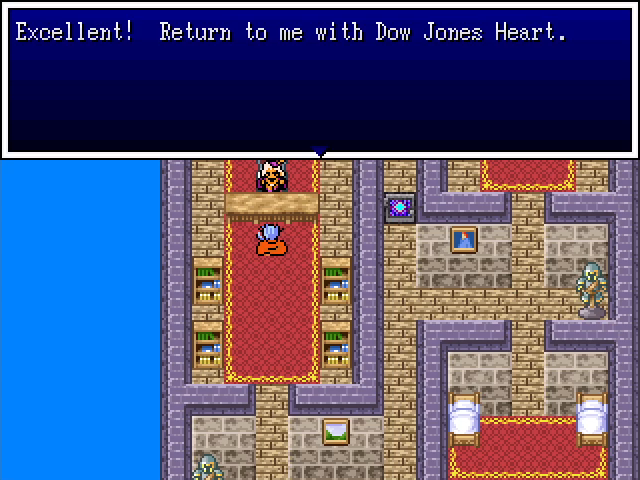 And so we're agreed. He gets the heart, we get our sponsor.  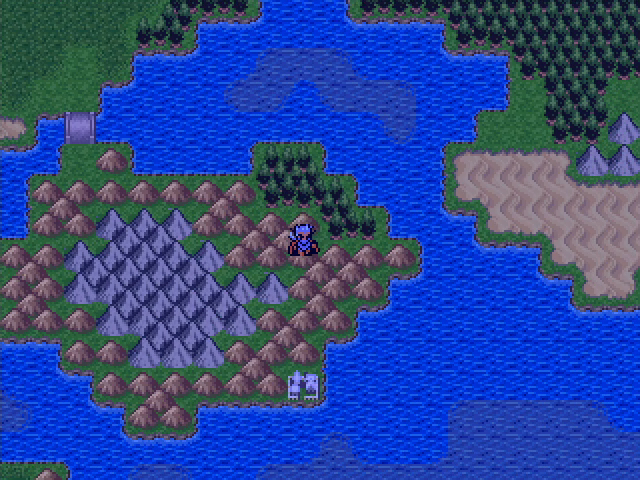 Having no clear leads, but also no other real direction to go, we head west then south over a bridge, where we find a small town. 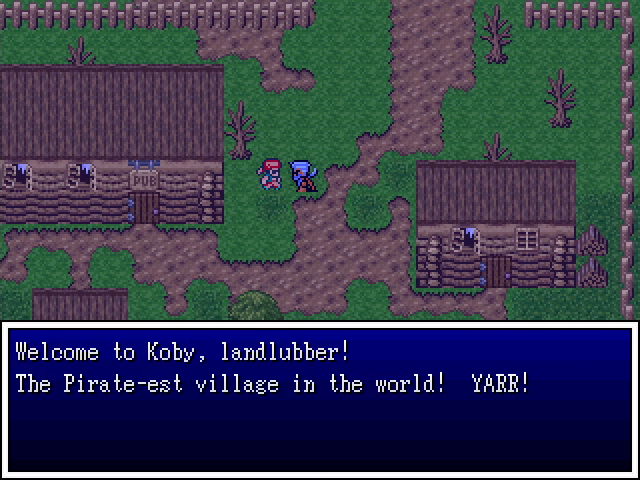 I like this place already. 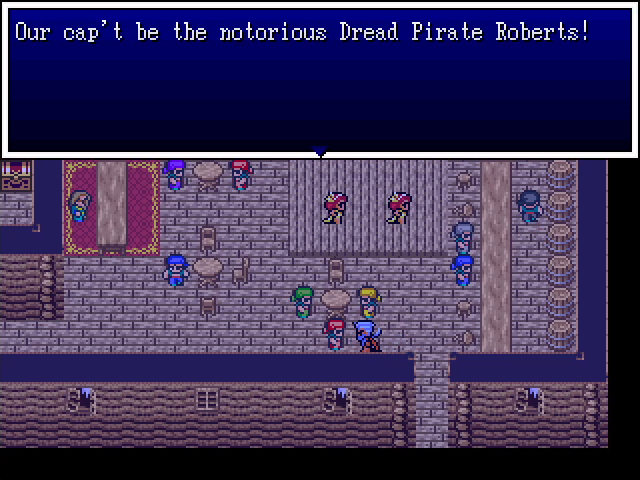 The Princess Bride is my favorite movie, so this reference could not possibly have been allowed to go unappreciated. 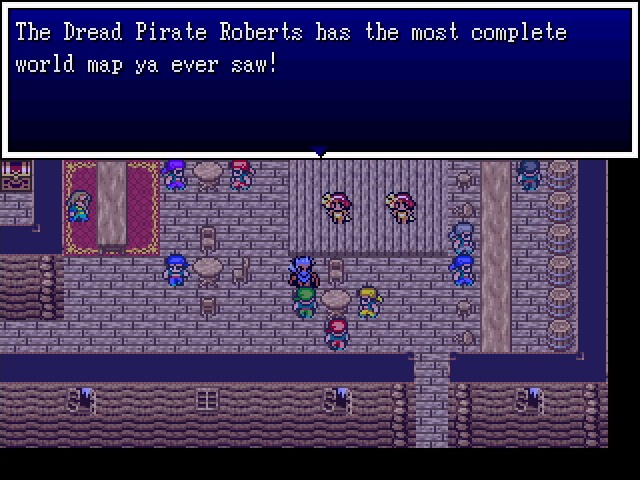 Ooh, that could be useful. Maybe he'll give it to us. 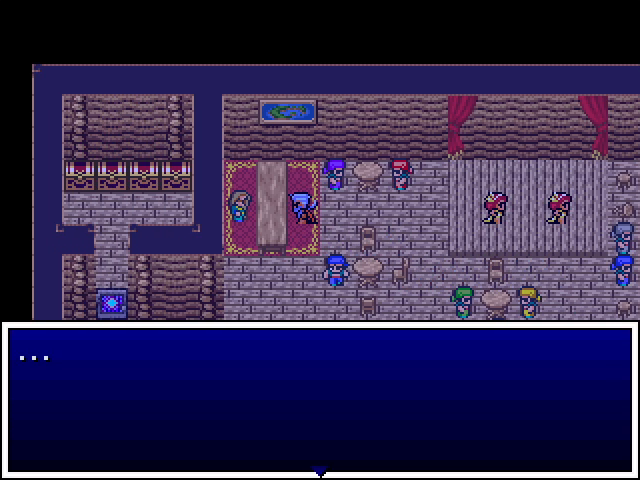 Or he might simply give us the silent treatment. 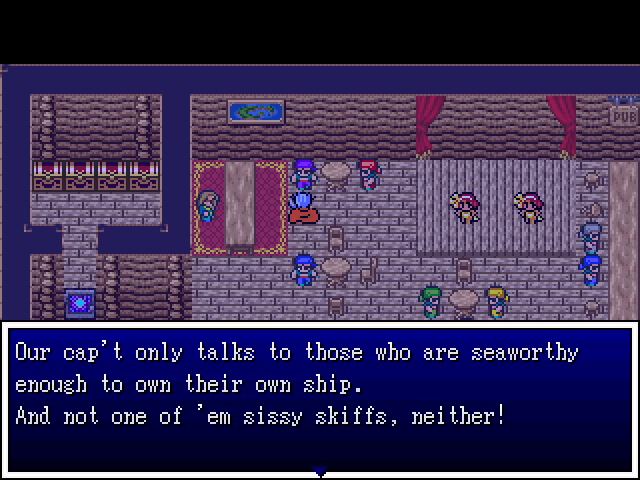 Well, that explains it. We'll have to return another time. 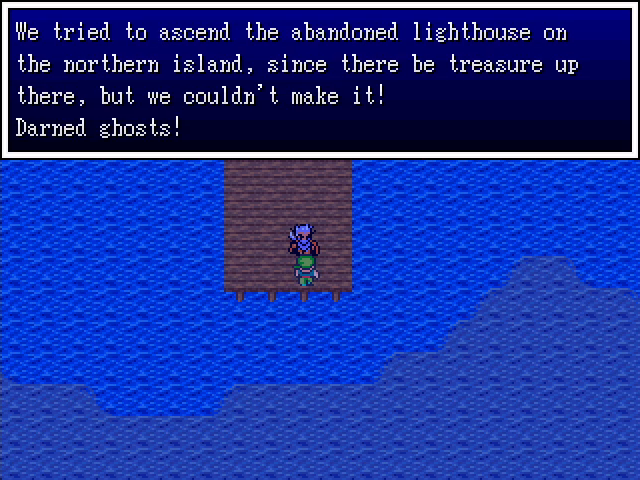 Outside, another pirate tells us about the abandoned lighthouse. The ghost infestation is news, but doesn't dissuade us from wanting to check it out. 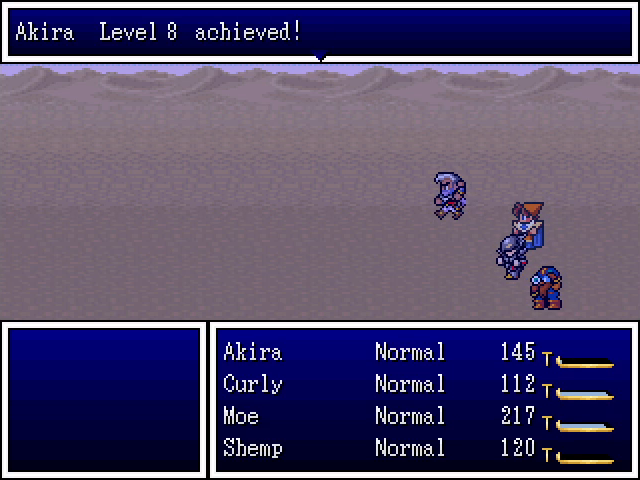 With nothing more to do in Koby, we head back across the bridge and to the west. Akira gains a level on the way. 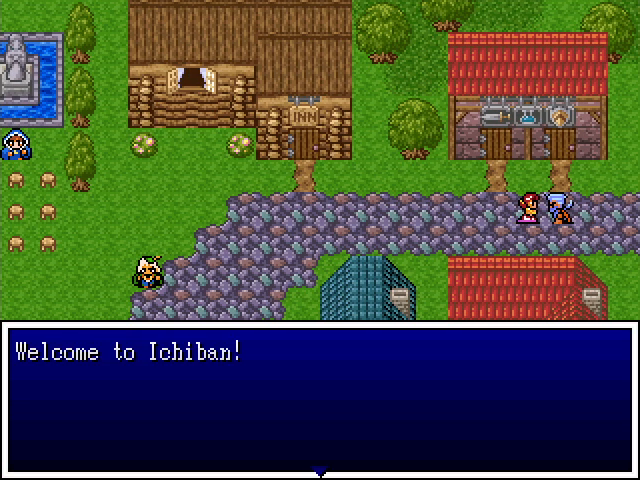 We eventually arrive in the town of Ichiban, which you might recall as being the hometown of national hero Son Goku. 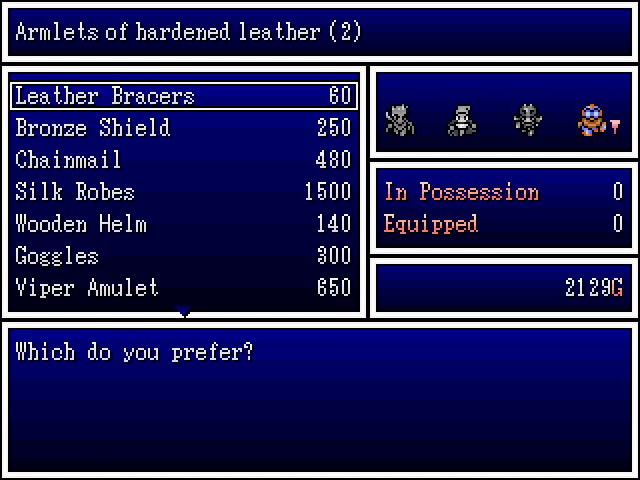   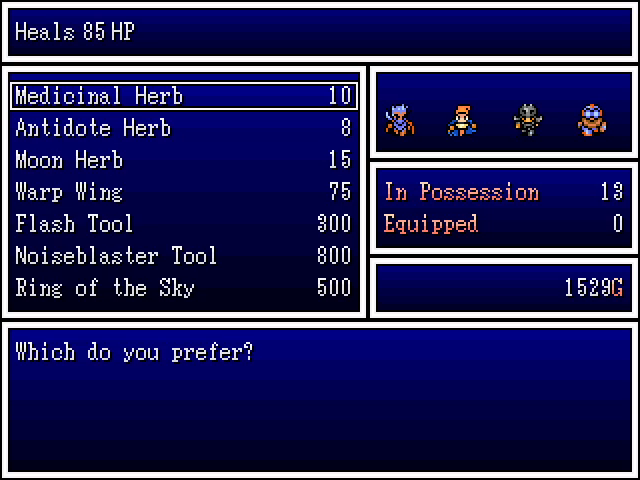 The shops here sell some pretty decent stuff. The iron apron in particular stands out as a solid engineer-only armor that's better than chainmail. Unfortunately, we can't actually afford any of it, as you'll see. 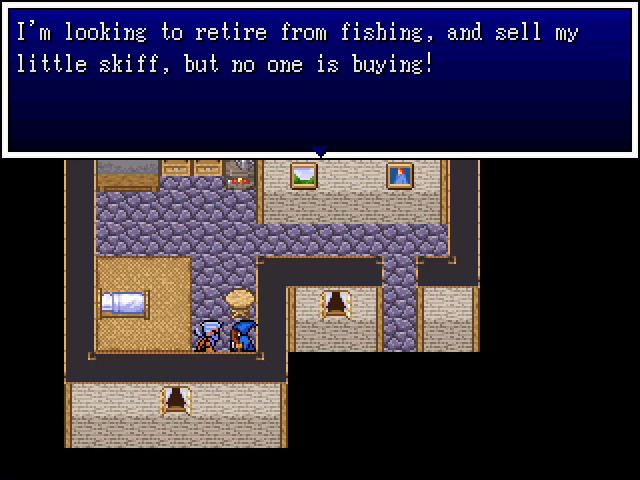 On the west side of town is a man looking to sell his fishing boat. 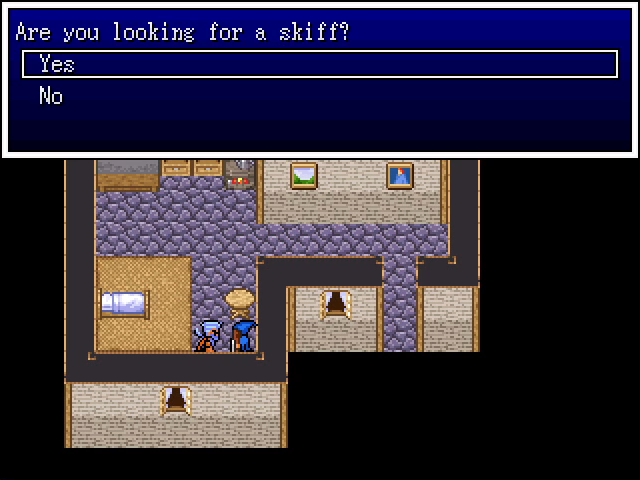 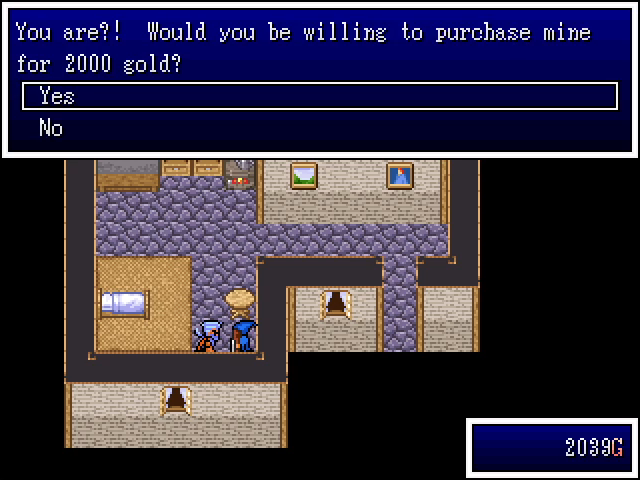 And this is why we couldn't buy anything. We barely have more than 2,000 GP.  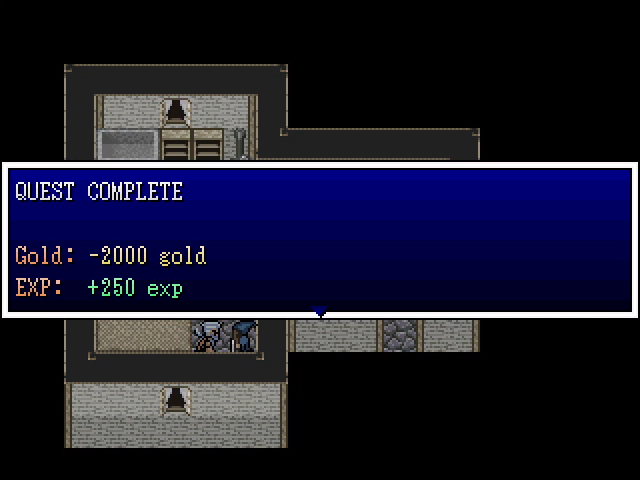  At least it's good for a level for Shemp. 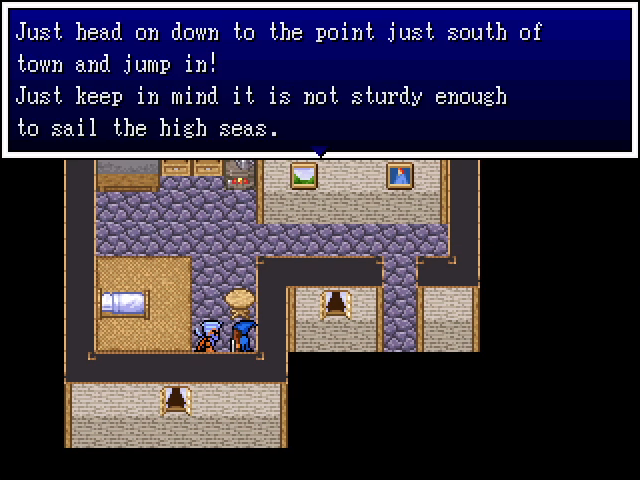 Basically, we're limited to the waters around Jumongu - no visiting the rest of the world quite yet. 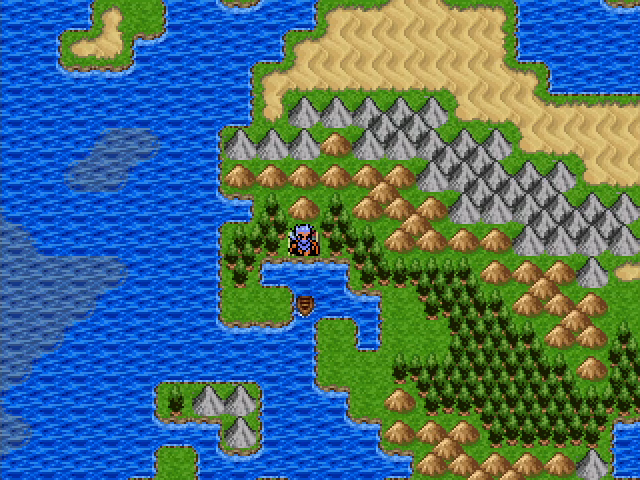 And there she is. She's not much, but she should get us where we need to go.
|
|
#
?
Aug 25, 2022 00:54
|
|
|
I thought that I made this post earlier, I wonder if the site ate it. I worded this a lot better before, but what I wanted to say was thank you for making this screenshot LP. This is one of my favorite games from my past, and I have a lot of love and affection for several completed, free RPGMaker2k and 2k3 titles. Do you have any plans to play more RPGMaker titles? Maybe something like Three The Hard Way, or Onyx, or After A.I.L.A. Genesis?
|
|
#
?
Aug 30, 2022 05:36
|
|
|
EchoBaz posted:I thought that I made this post earlier, I wonder if the site ate it. Can't say I do. Hero's Realm is a little gem that I feel is underappreciated, but that's about the limit of my experience with free RPG Maker games.
|
|
#
?
Aug 30, 2022 12:26
|
|
|
5-Headed Snake God posted:Can't say I do. Hero's Realm is a little gem that I feel is underappreciated, but that's about the limit of my experience with free RPG Maker games. Awww, shame. Well, glad that you're covering any of my fave rpgmaker titles. Any idea what game you'd like to play next, and what future games might be?
|
|
#
?
Aug 30, 2022 21:29
|
|
|
I'm really not planning on LPing anything else, though I thought the same thing during my first LP, so who knows? If anything, I'd probably pick the PS2 remake of Rmancing SaGa, since it's an underappreciated gem and, as a bonus, has a remaster due out later this year.
|
|
#
?
Aug 31, 2022 00:58
|
|
|
5-Headed Snake God posted:Good news: I got back from my vacation on Saturday. Finally got to this part of the topic. My condolences. My Kitty is 22, and she's like a daughter to me, trying to give her love and affection while I still can. I can tell you this, she's gonna get some extra special love for the next few days after reading this! edit: and I'm up to date on this topic, yay! EchoBaz fucked around with this message at 12:13 on Sep 2, 2022 |
|
#
?
Sep 2, 2022 11:35
|
|
|
Still working on the next update. Been busy again this past week (but with good things, for once), and the next update is a bit of a beast. It should be up in the next few days.
|
|
#
?
Sep 3, 2022 01:03
|
|
|
Looking forward to it. There's hasn't been an update in like half a month.
|
|
#
?
Sep 5, 2022 12:39
|
|
|
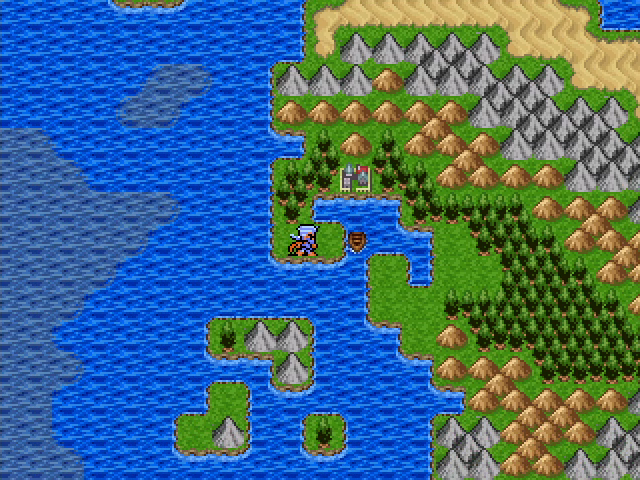 Last time, we got a boat!  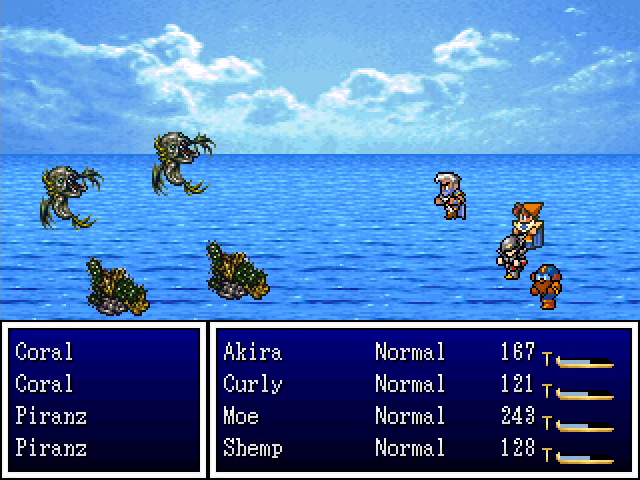 As you'd expect, the seas have their own set of monsters. Exoskels are tough critters with a solid amount of HP and high defense. Curly can't even scratch them with basic attacks. Piranz are fairly weak monsters that use Double Attack. And corals... drop like flies to Makibishi. 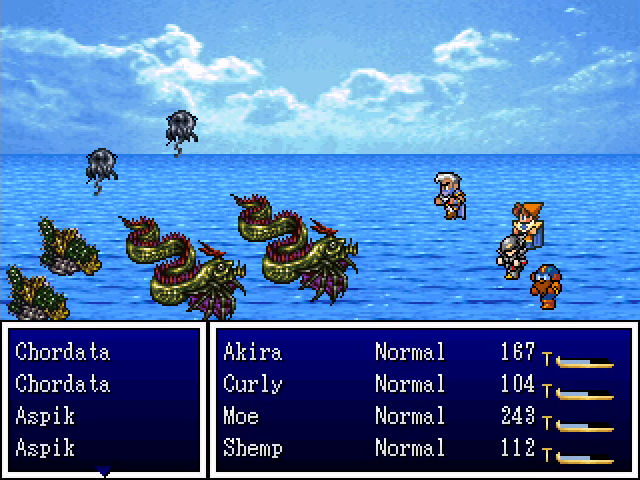 Chordatas are the most dangerous ocean-bound enemies by far. Their special attack, Agua, deals moderate damage to the whole party, and they're durable enough to survive a round of attacks from our group. Alone they're not too bad, but in pairs they can easily start dropping more fragile characters like Curly and Shemp. Aspiks use Charge Up, presumably in preparation for something big, but they have so little HP that a single Makibishi can bring them down. Sea battles are a bit odd, possibly due to how the skiff is coded. It's actually possible to finish a fight and immediately end up in another one.    Sailing the seas gives us enough EXP for some levels. Surround targets all enemies and inflicts Surround status, which we've seen some enemies use and is basically blindness. 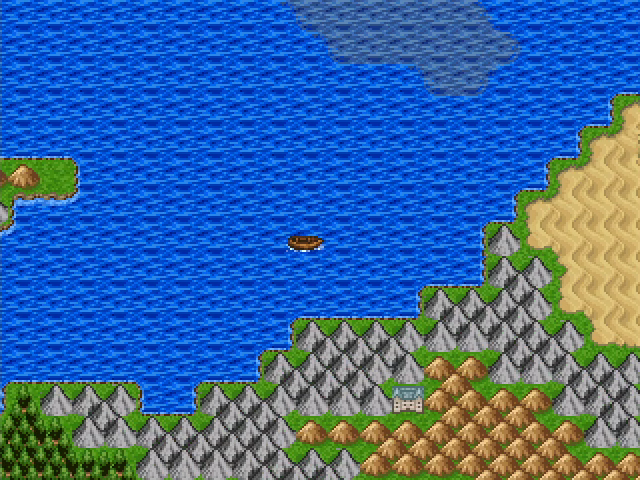 We head north from Ichiban, passing a lot of coastline we saw on our way to Okasa. We also spy a certain building we'll have to check out later. 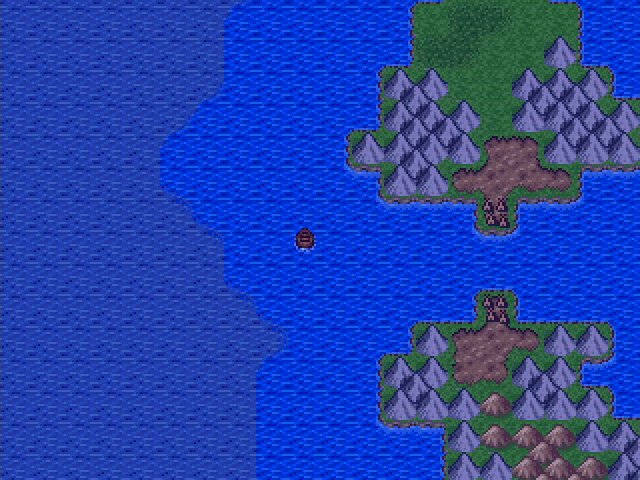 We casually flip the bird at Froggerton as we pass by. 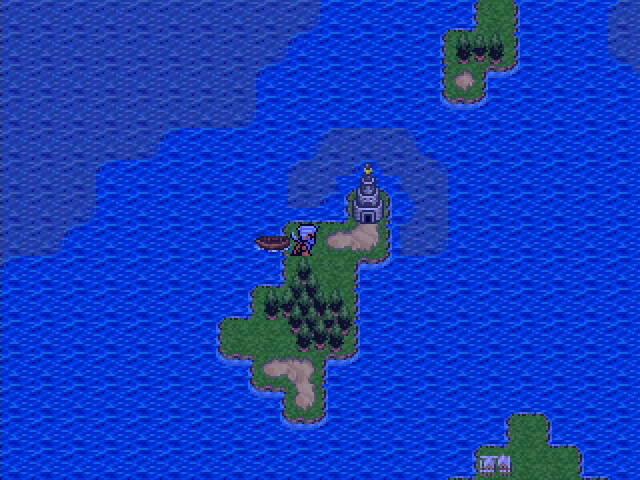 And here, about as far north as we can go, is the lighthouse that was mentioned in Okasa. Vegeta is visible to the southeast, at the edge of the screen. 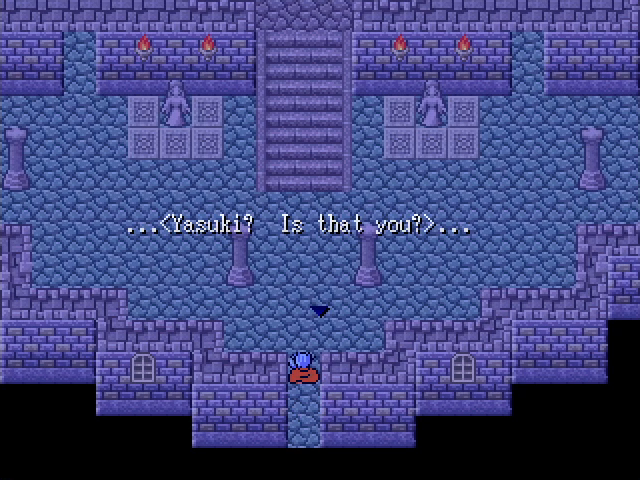 Immediately inside the lighthouse, we hear a mysterious voice asking if we're Yasuki. We are not.  The lighthouse is mostly populated by ghosts and spectres, with the occasional karkass. Nothing we haven't seen before. 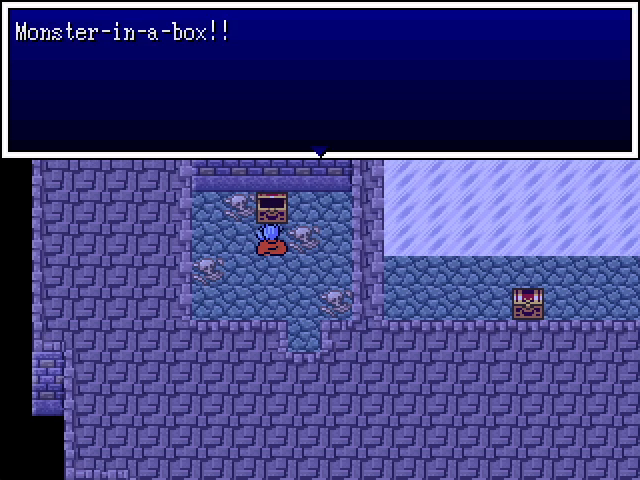 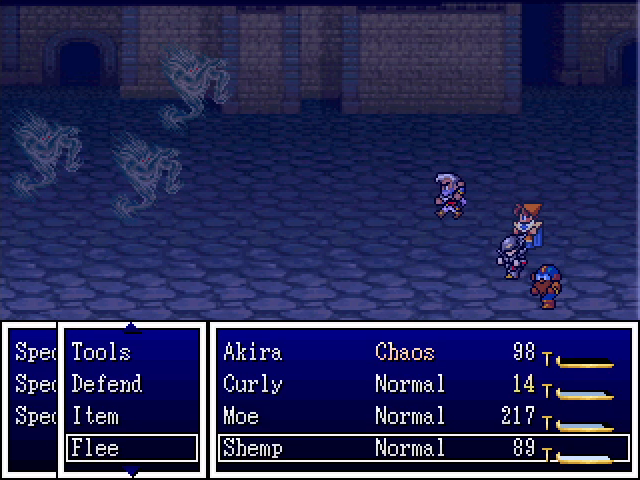 In the door on the west side of the stairs is another corpse-strewn room, with another monster-in-a-box. Spectres are incorporeal and can inflict Chaos on the entire party, but luckily Shemp can get us out of the fight without trouble. 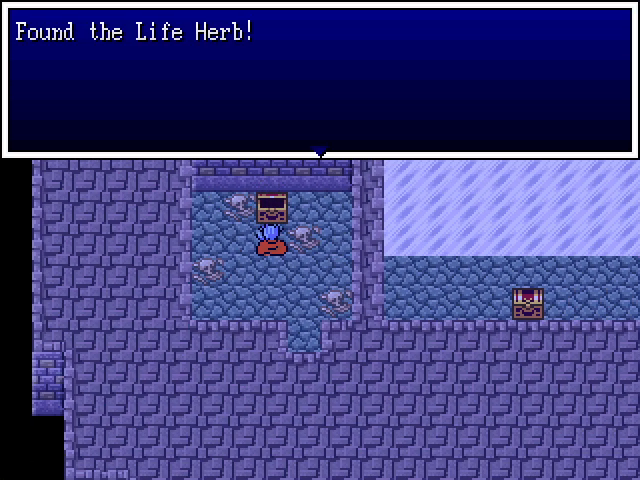 Even better, we still get the item for it. I feel like this is not an intended exploit. 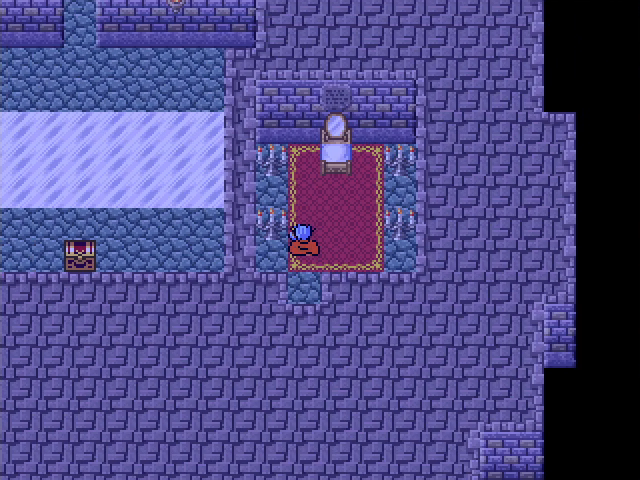 East of the stairs is what appears to be a bedroom. As far as I can tell, there's no way to interact with it. 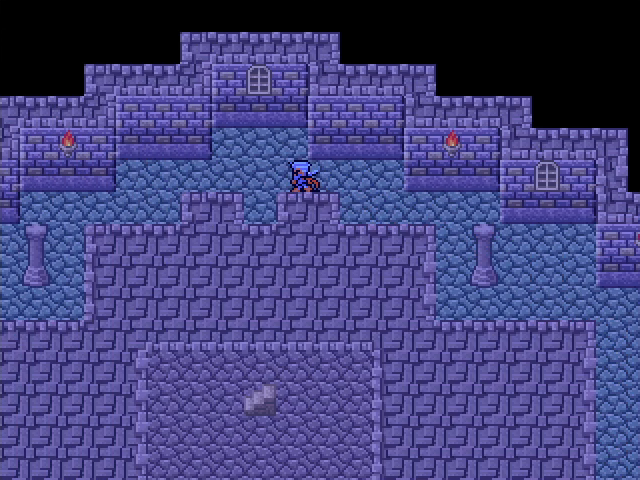 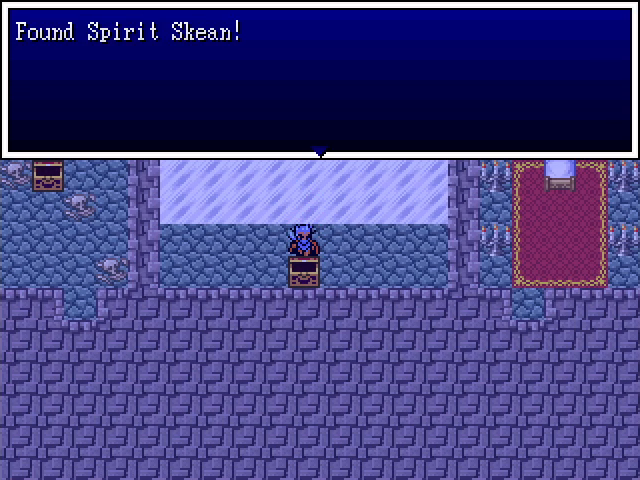 And of course, both rooms showed that there's more to find. Behind the stairs is this room, containing a Spirit Skean, which gives Akira a new Throw ability.  Spirit Skean only affects undead, but its damage is considerable, as you'll see. 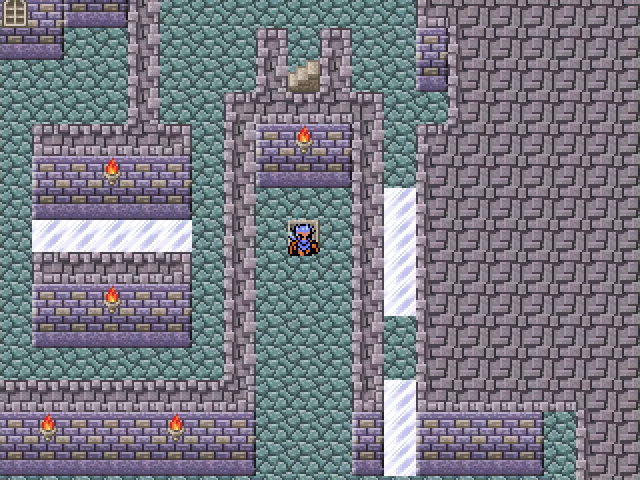 Floor 2 features branching paths to its exit, all but the longest of which contain damage floors. (If you're wondering why it seems lighter here, it's because we're closer to the light source and definitely not because I retreated to sleep at an inn and came back during the day.) 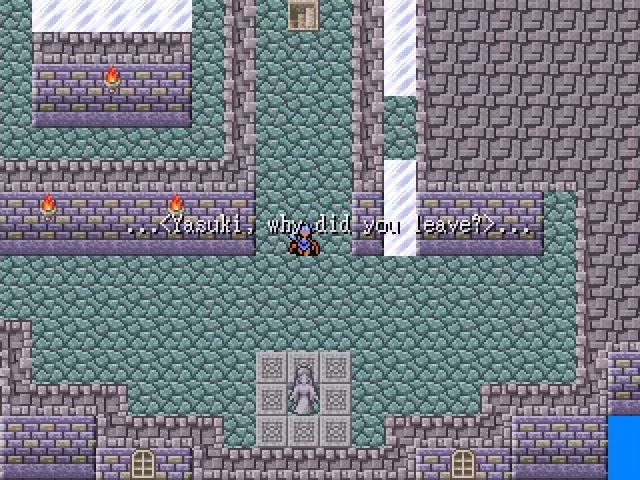 As we move to explore the floor, the voice calls out to us again. 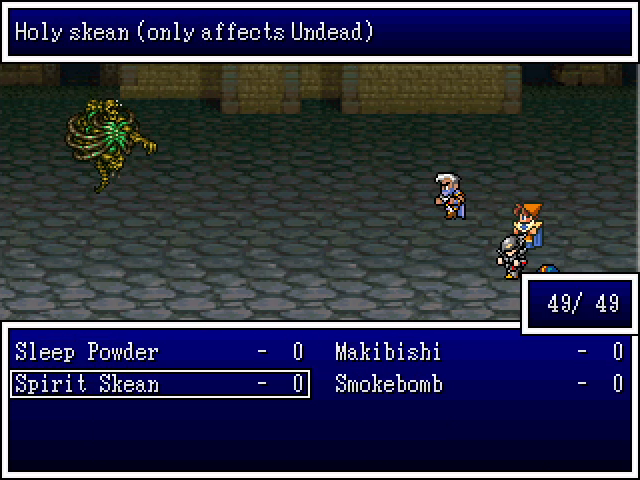 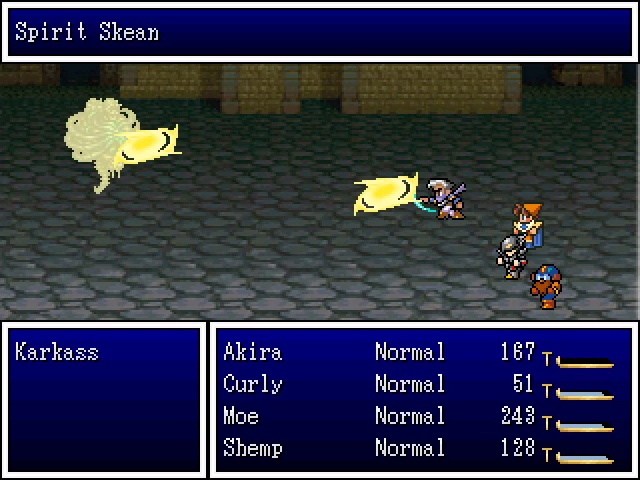 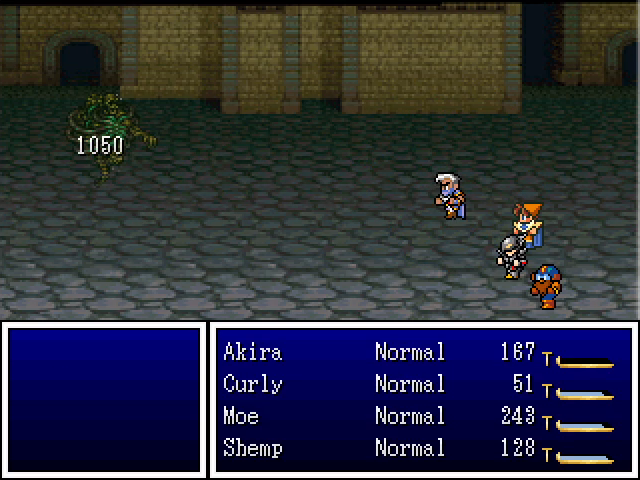 I was not kidding about Spirit Skean's power. Kali's Bonebane spell (from back in Chapter 2) cost a decent chunk of MP and didn't do this kind of damage. 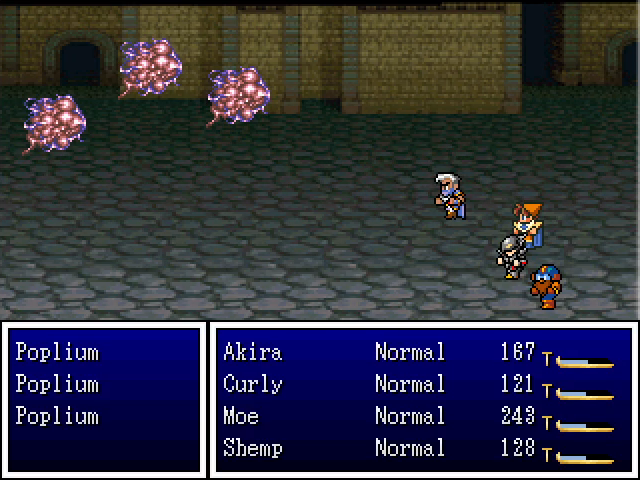 Poplia are here too, and this is where I learned that they're actually undead. 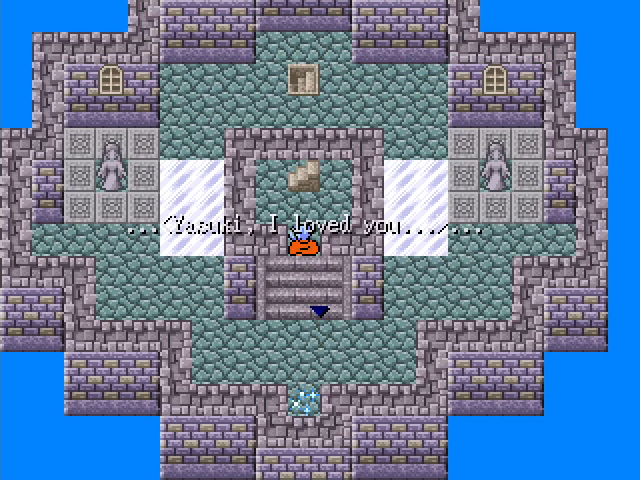 On floor 3 is a save point and another appearance by the mysterious voice. 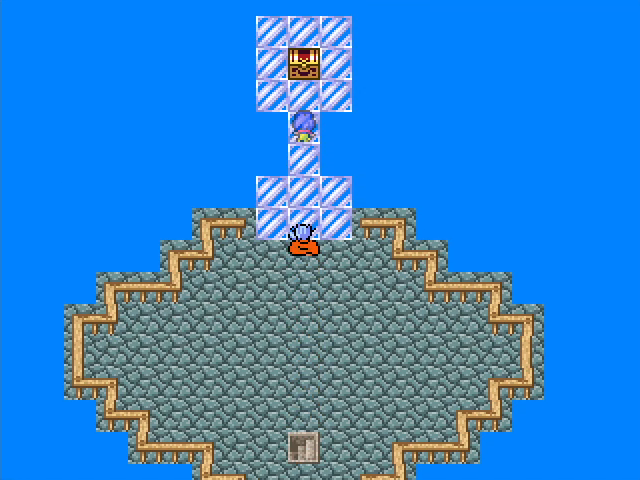 Finally, on the top floor, we find the source of the voice. (If you look closely, you can see that the woman's sprite is transparent.) 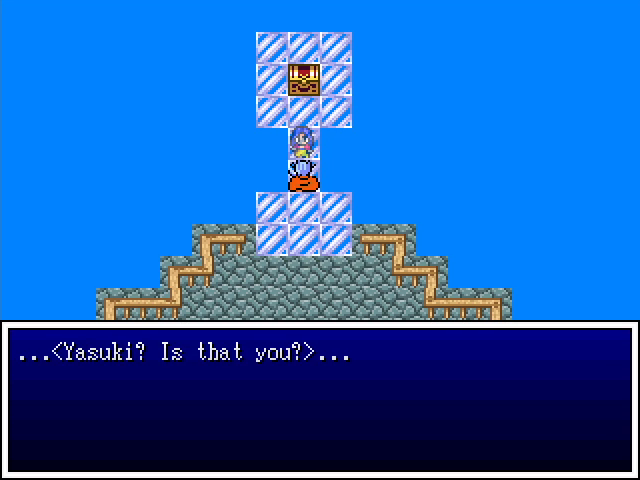  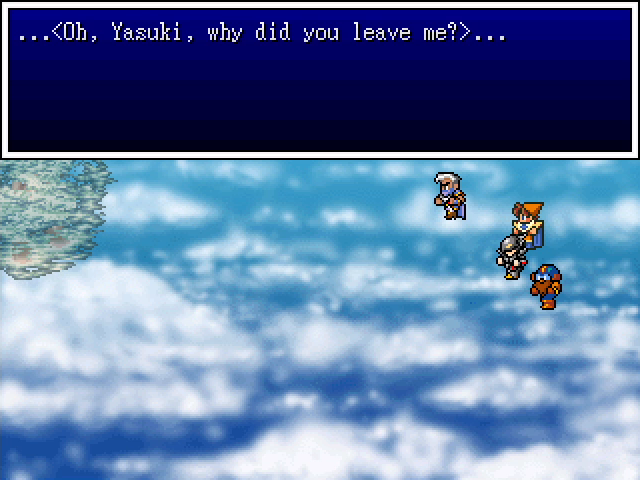 She berates us for not being Yasuki and attacks, still lamenting her loss. 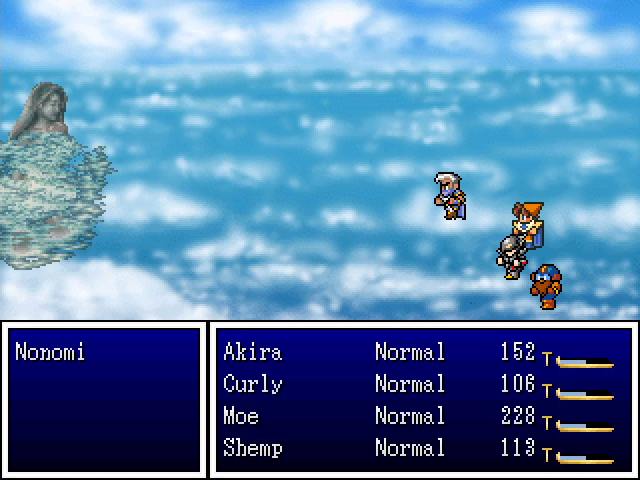 Nonomi is the lighthouse boss, and um... Okay, look, I hosed up my recording and this image is all I have. What I remember is that she went down in two rounds because Spirit Skean is exceptionally powerful against her. Once the ghost is laid to rest, we can loot the chest behind her, which contains a Fur Coat, which Curly will end up wearing for the rest of the chapter. 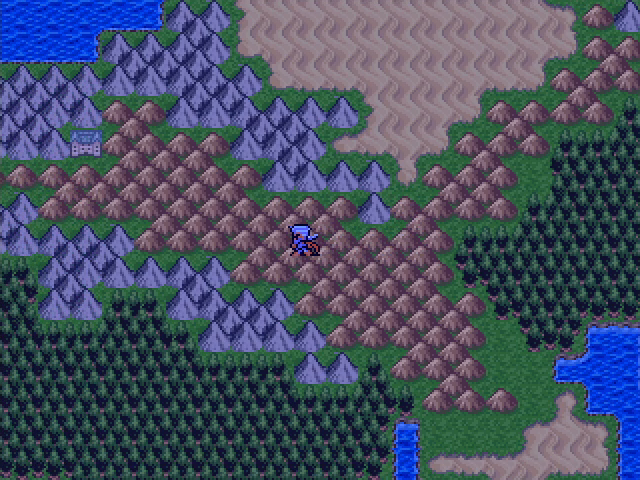 With the lighthouse completed, it's as good a time as any for this quick detour. 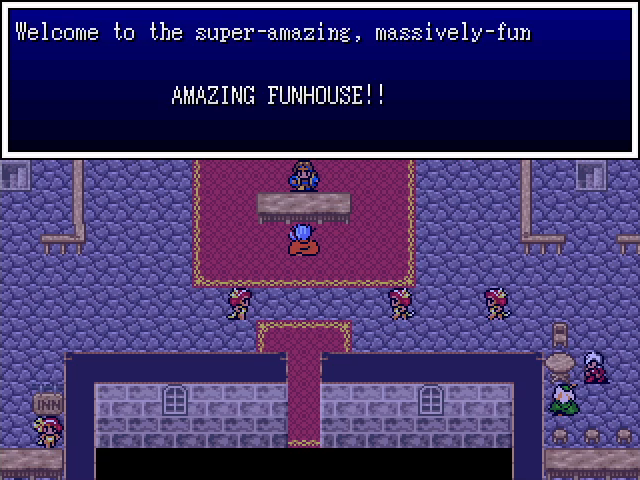 Yeah, it's the Jumongu Funhouse. 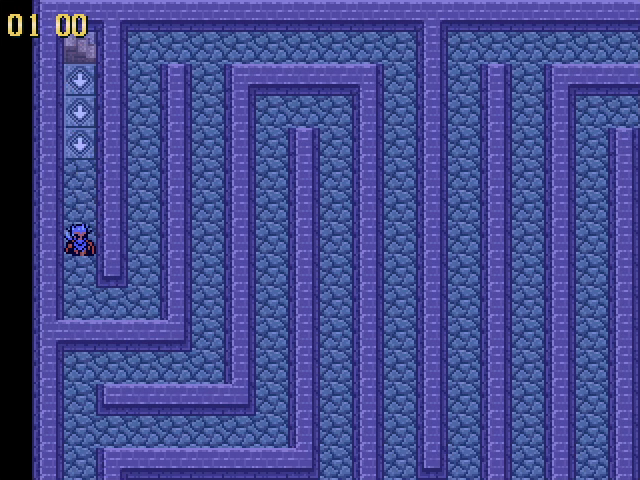 There's not really anything worthwhile to say about it at this point. It's a different maze, but otherwise identical to the other Funhouses. 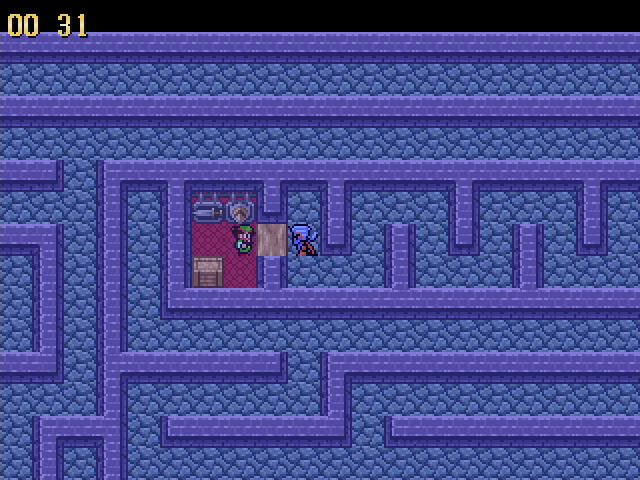 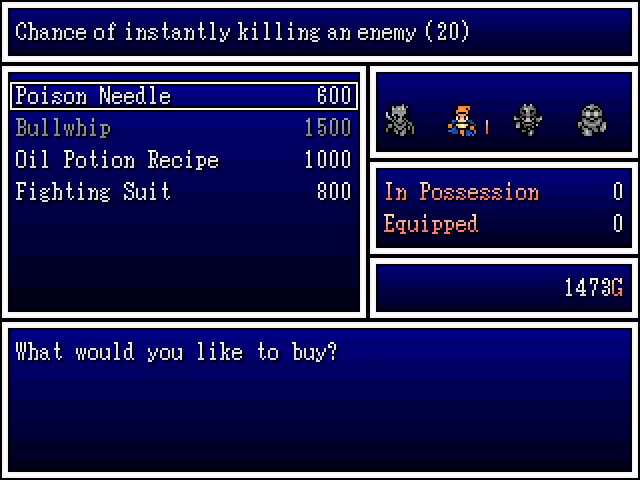 It has a shop, but none of the offerings are terribly interesting. 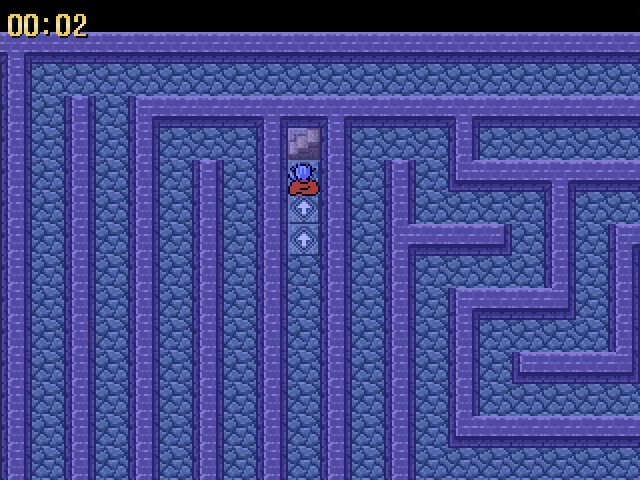 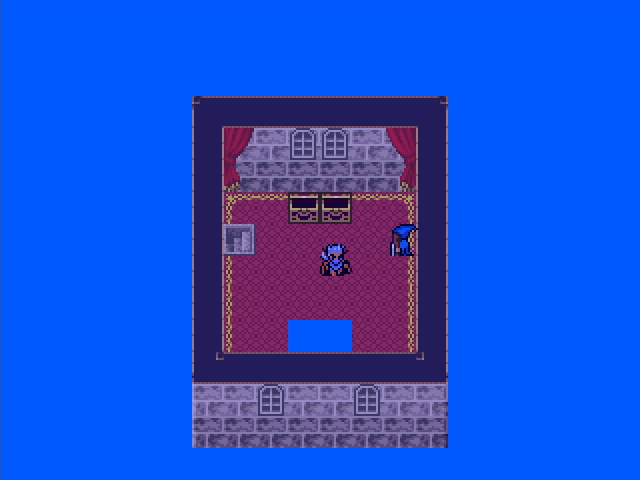 We reach the end, grab the prizes, and head out. 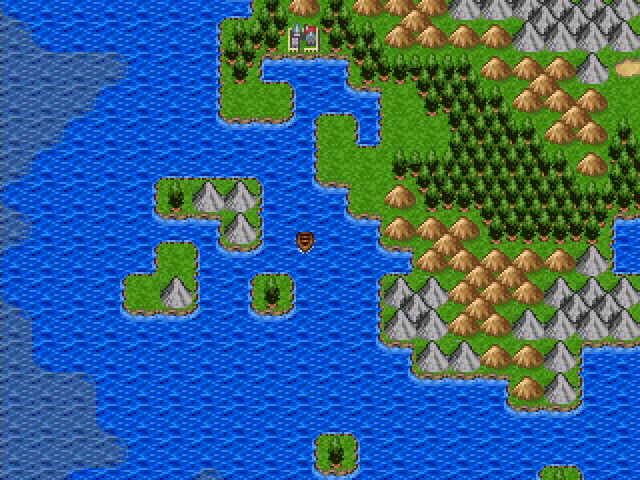 After a quick trip back to Ichiban to rest up, we head out to get on with the main plot. 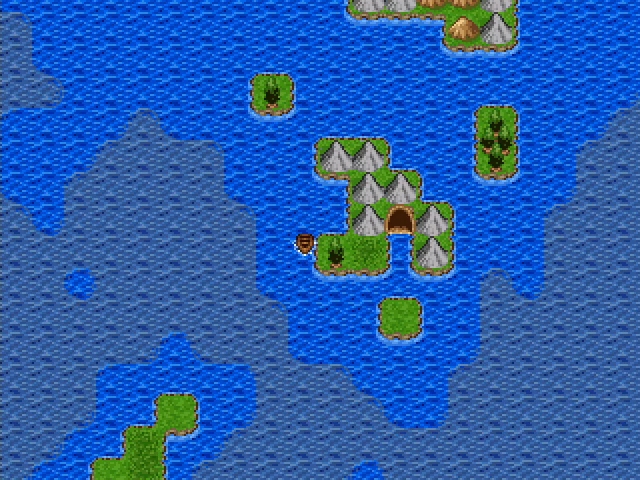 Dow Jones' Locker is a short way south of Ichiban. 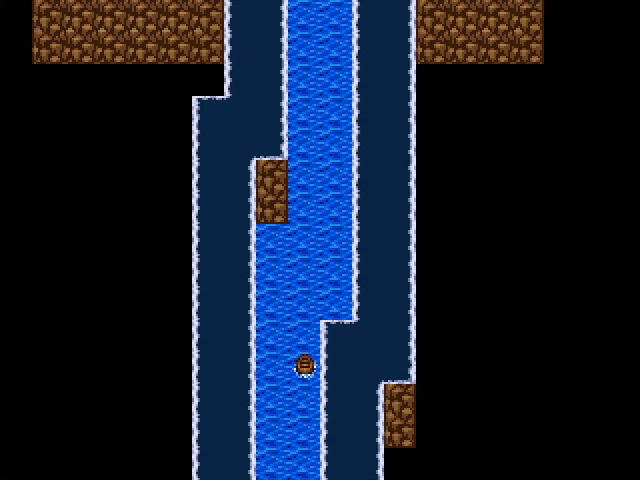 The Locker is an interesting dungeon in that it's navigated largely by boat. It's two floors, with the lower one flooded by seawater. There are a few islands here and there, but the skiff is our main method of getting around. 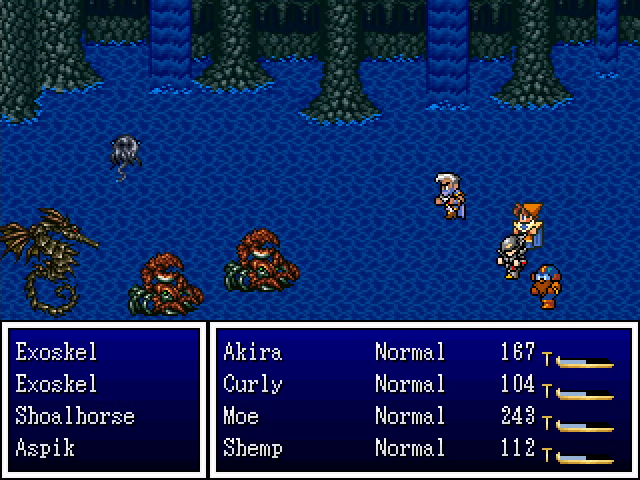 The enemies here are the same as those on the sea outside (even on land), though this is the first place we've seen shoalhorses. They use an attack, Bubble, that causes Slow, which makes them annoying if they survive for any length of time. 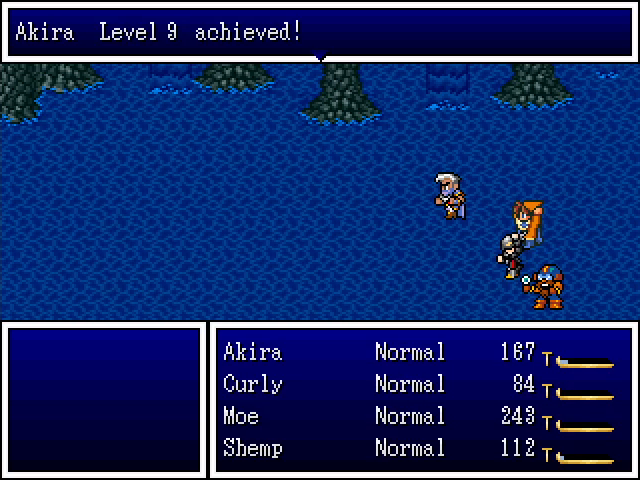  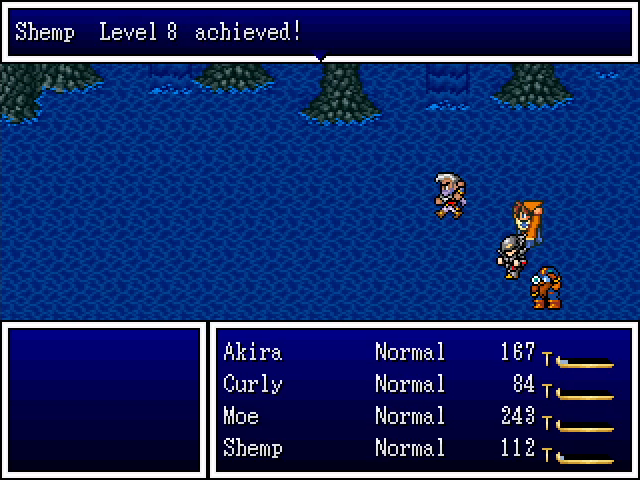  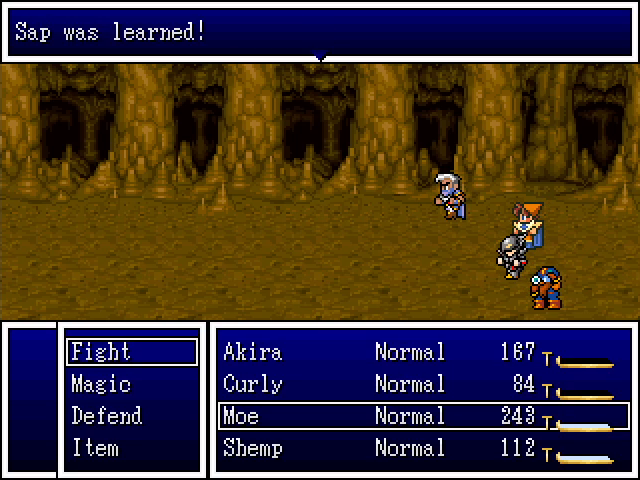  More levels for our crew. Surround is going to be an especially valuable spell for Akira. 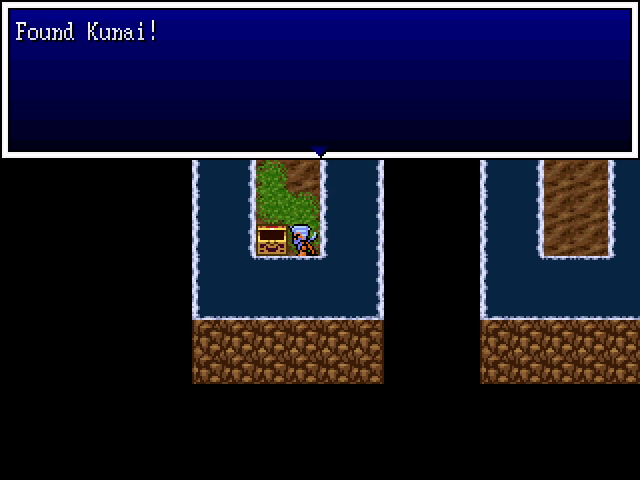 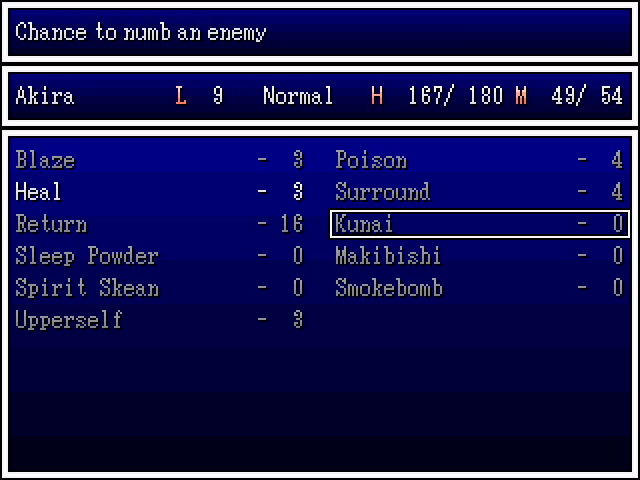 Not far from the entrance, we locate the Kunai, another throwing weapon for Akira. It inflicts Numb, which is theoretically quite powerful, but its accuracy is so low that it's mostly worthless. 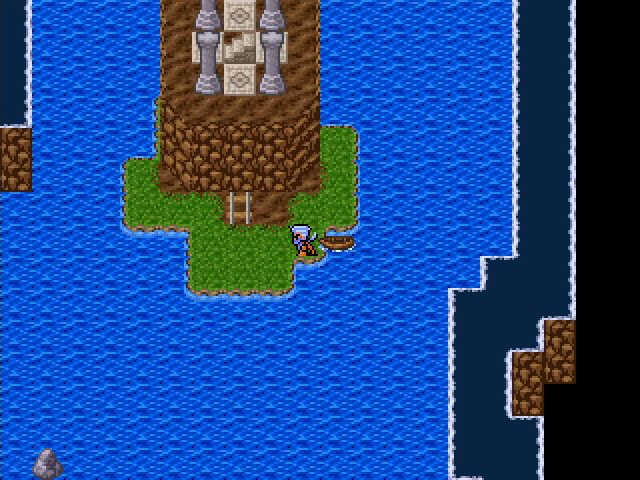 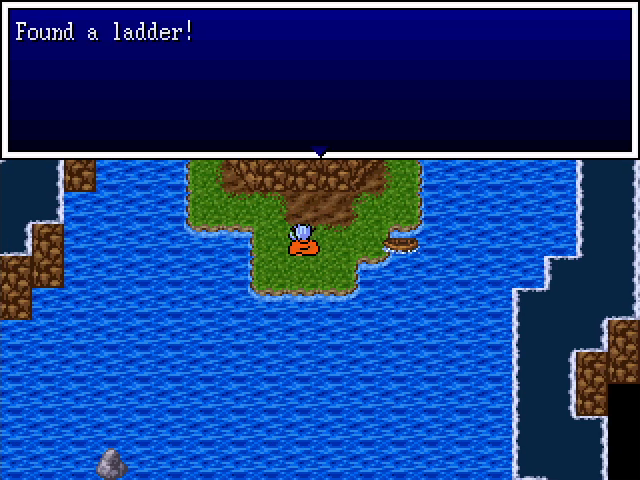 On the east side of the first floor is a small island containing a ladder, which is required to complete the dungeon. 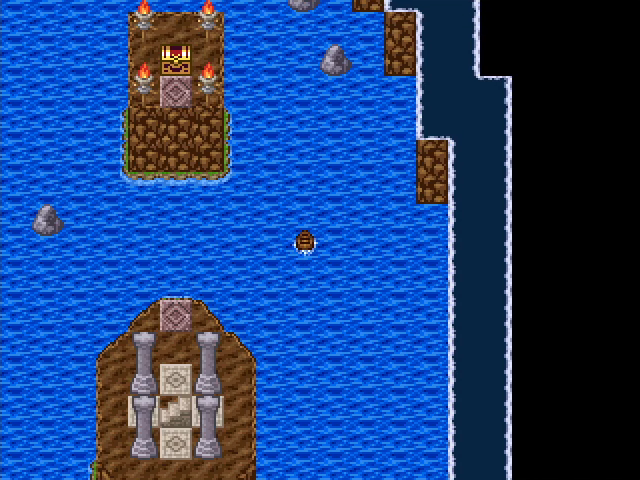 The spot where it needs to be used is right next to it, though currently out of our reach. It's convenient design, though, because if you were to reach that spot without it, you could at least see the ladder's location. 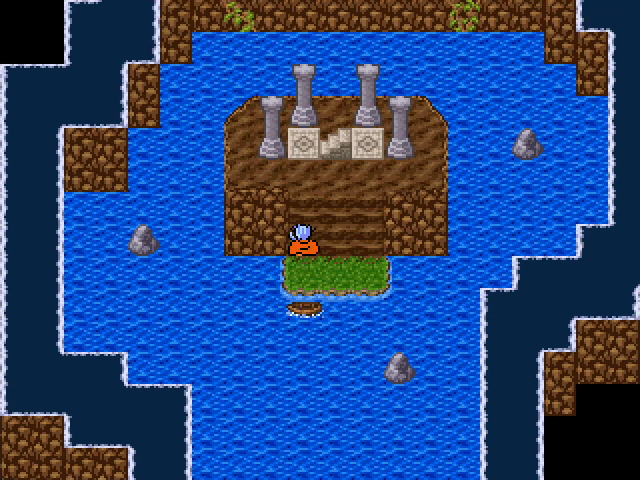 After more boating, we find the stairs up to floor 2. 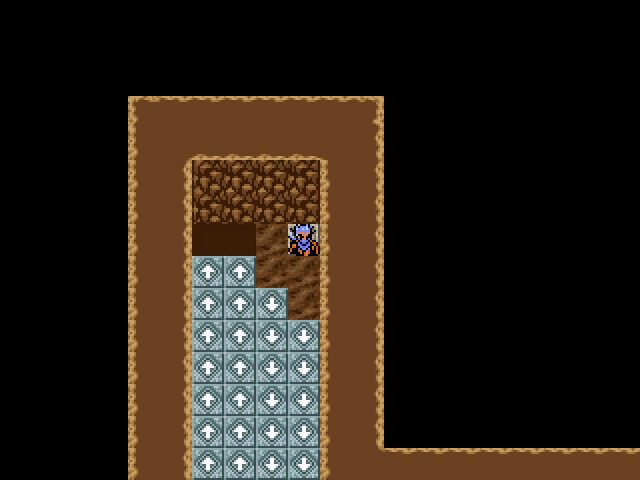 The second floor is a maze of arrow tiles, which will drop us back to the first floor if we're not careful. (Fortunately, the boat is always nearby, which sidesteps the possibility of getting stuck.) 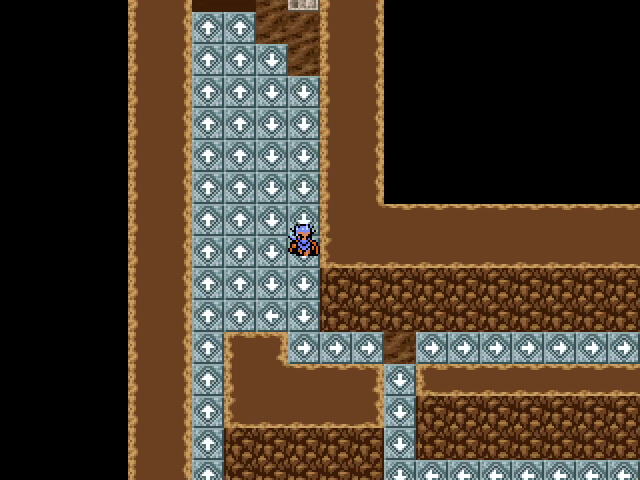 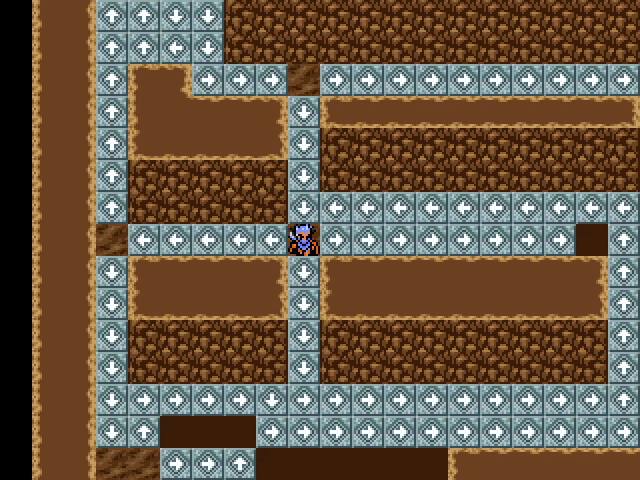 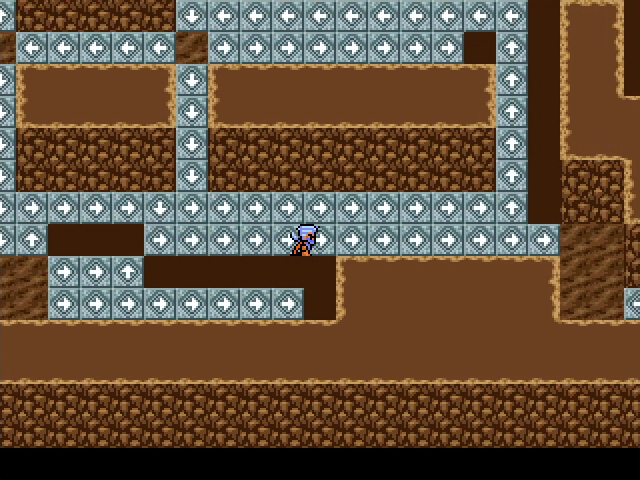 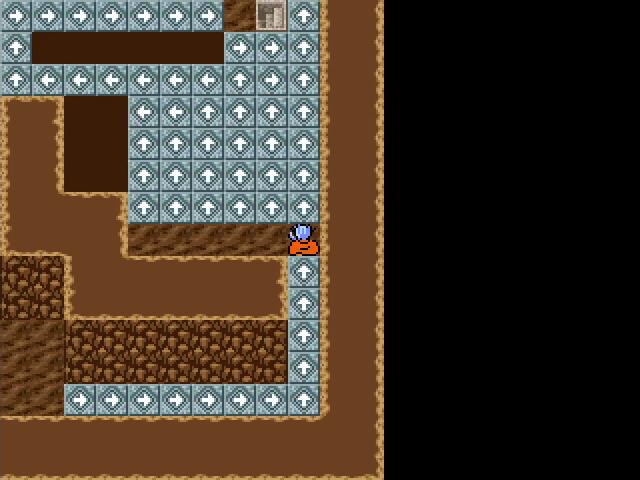 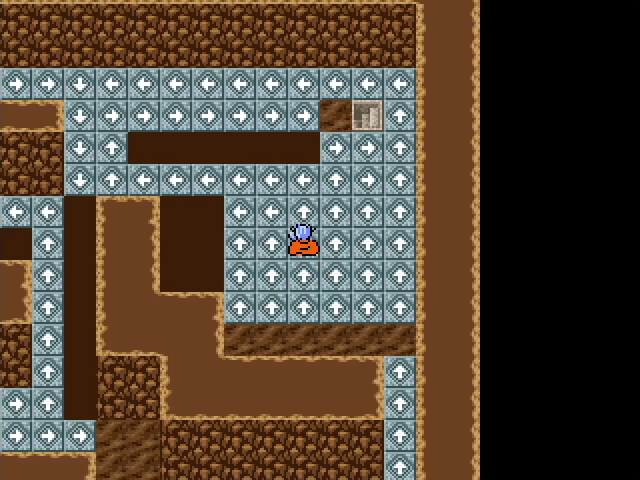 The maze isn't especially difficult, but it's more complex than what was in the Countess' tower in Chapter 2, and there are a couple of spots where you have to pick your path blindly and hope for the best. 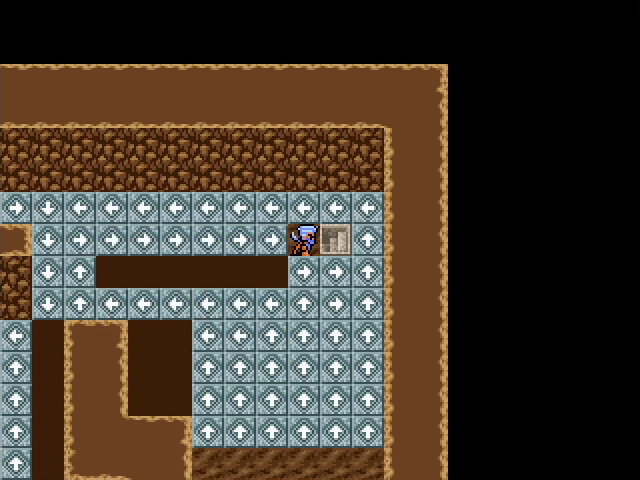 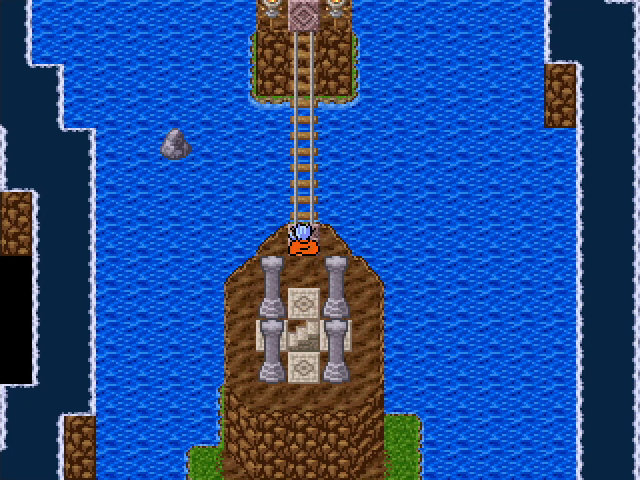 But eventually we find the stairs back down, winding up on the ledge overlooking the spot where we found the ladder. 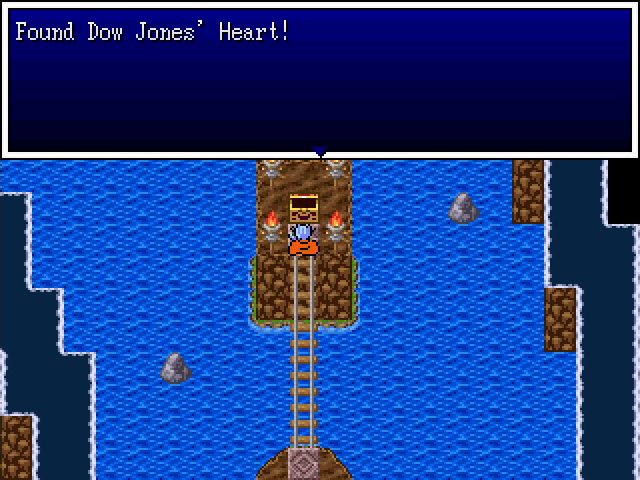 On the other side is the chest containing the Heart. And we didn't even have to fight a boss for it. 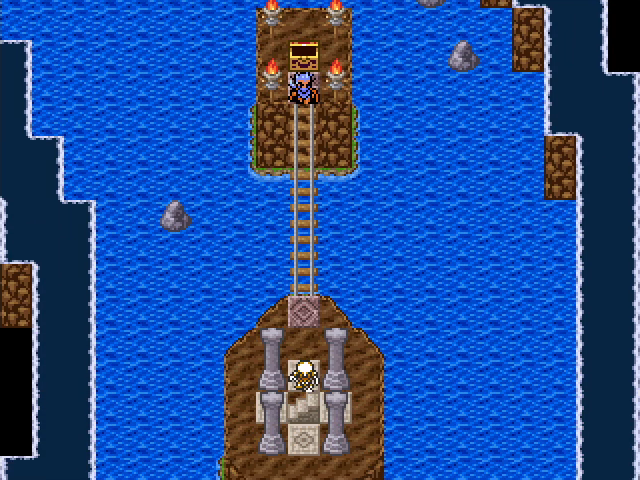 Oh.  Well. 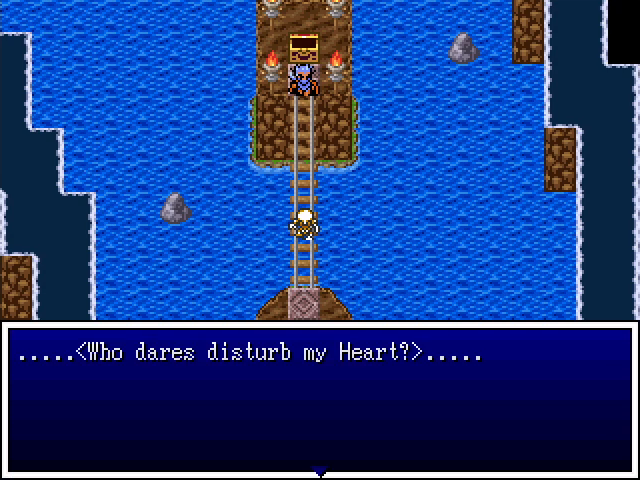 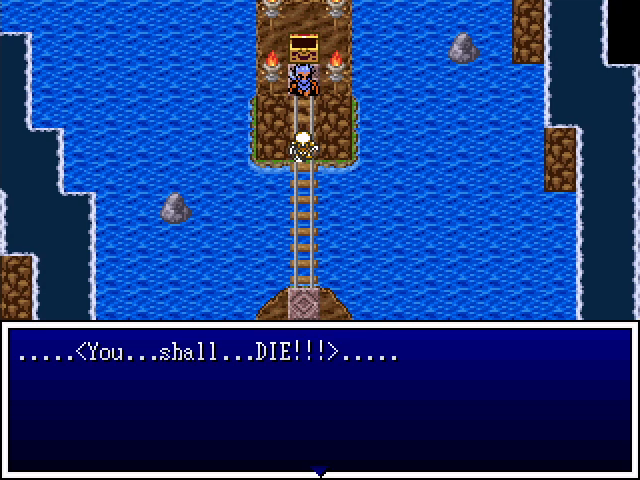 I guess I spoke too soon. 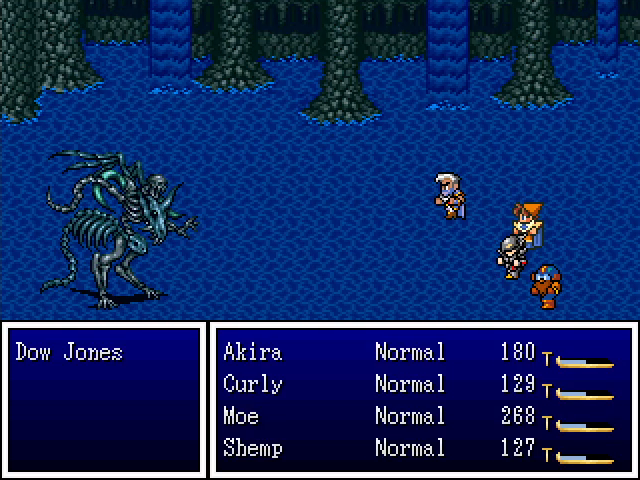 Dow Jones' locker is, not surprisingly, protected by Dow Jones. He's... a boss. He uses Evil Flame, and... 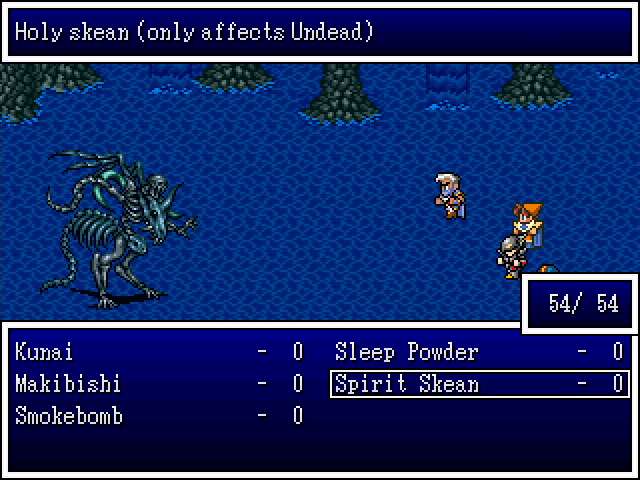 Well... 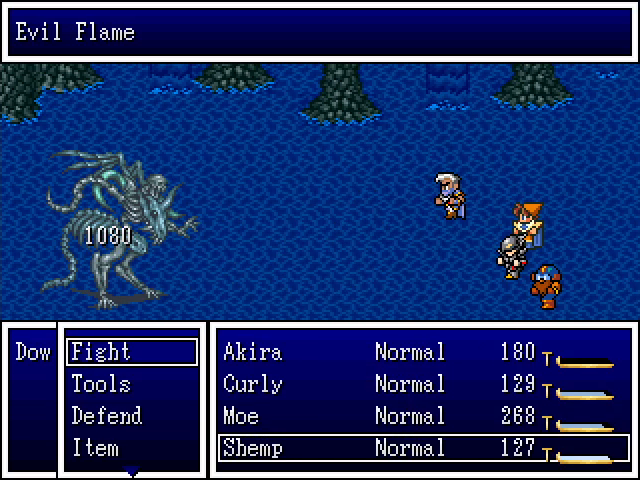 Being undead, he's weak to Holy Skean, and he went down in two shots, so that's all he got to do. 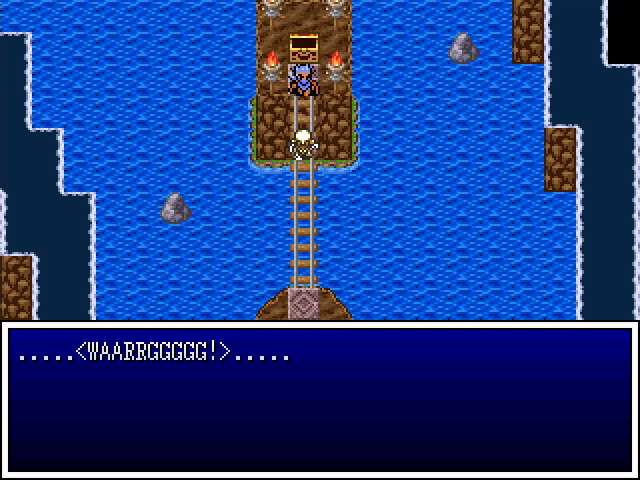 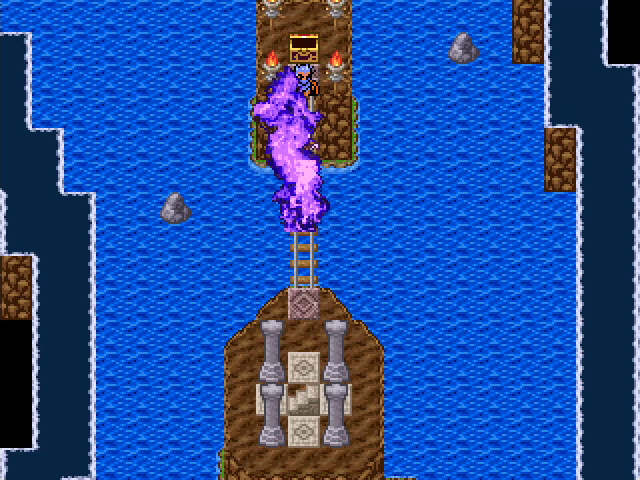 Dow Jones explodes in a burst of purple fire, and we head for the exit. 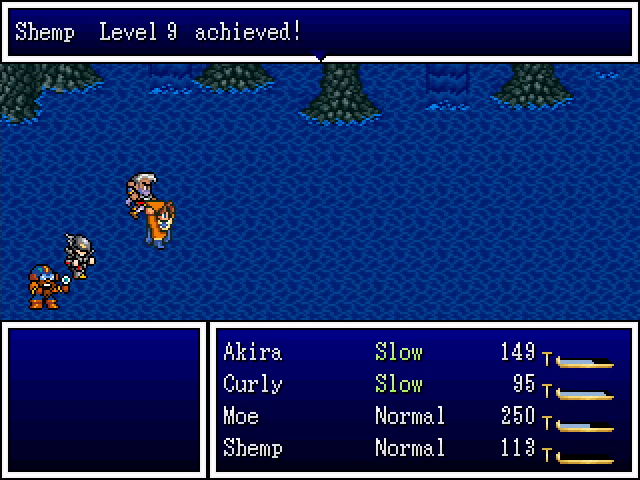 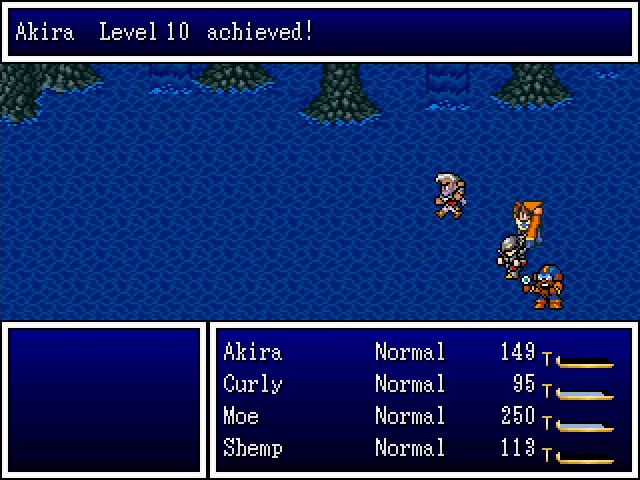  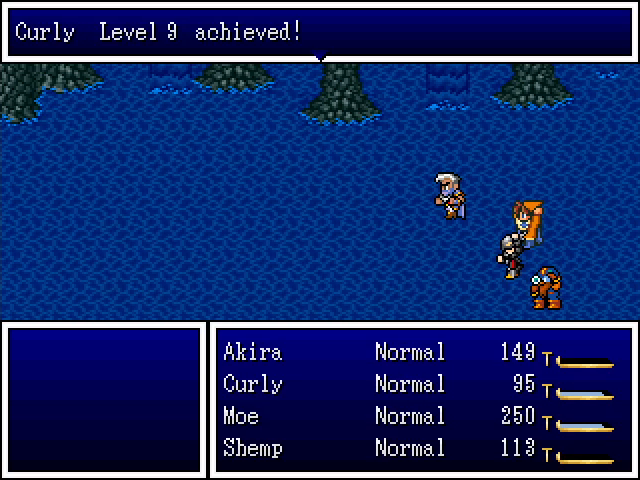     We get a whole suite of levels on the way out, and they are good ones. Akira gets Fireball, giving him a way to hit all enemies when Makibishi won't cut it, Moe gets a stronger offensive spell in Icebolt, and Curly learns both Outside and Increase. Outside takes us out of dungeons and is a huge convenience, while Increase grants Upper status to the whole party, which is great for boss fights. 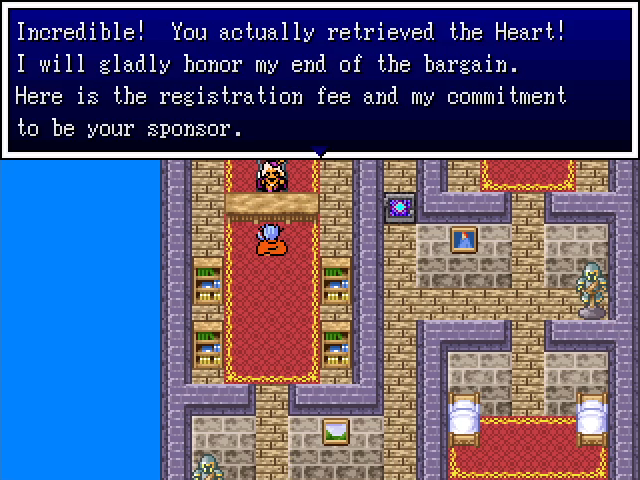 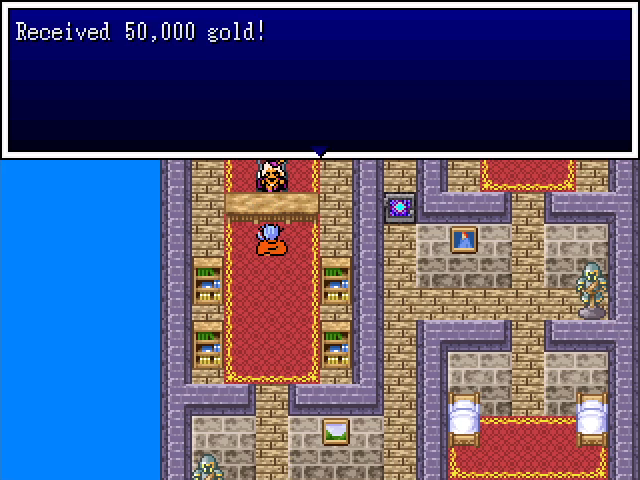 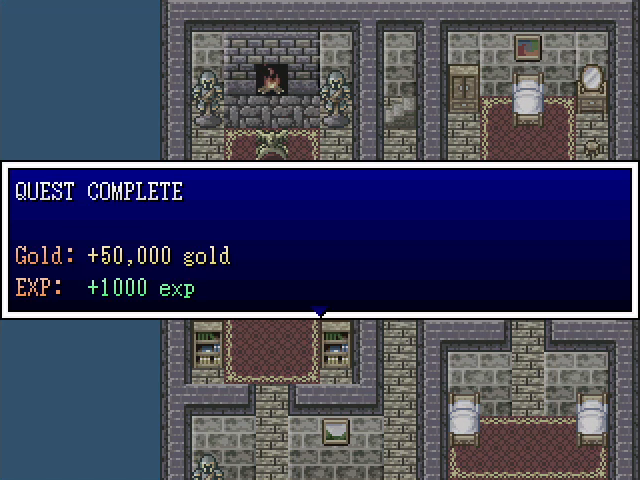  Back in Okasa, we turn in the heart, and out patron makes good on his promises before wishing us well in the upcoming fights. 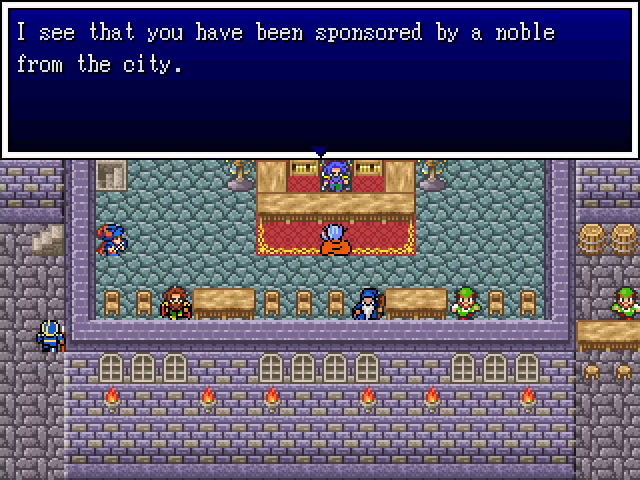 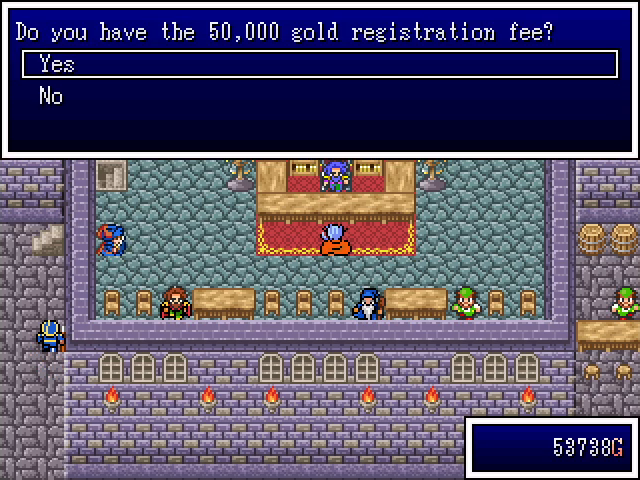 The 50,000 GP is real money, too - it can be spent just like any other cash, though it's obviously not wise to do so unless you feel up for a ton of grinding to replace it. 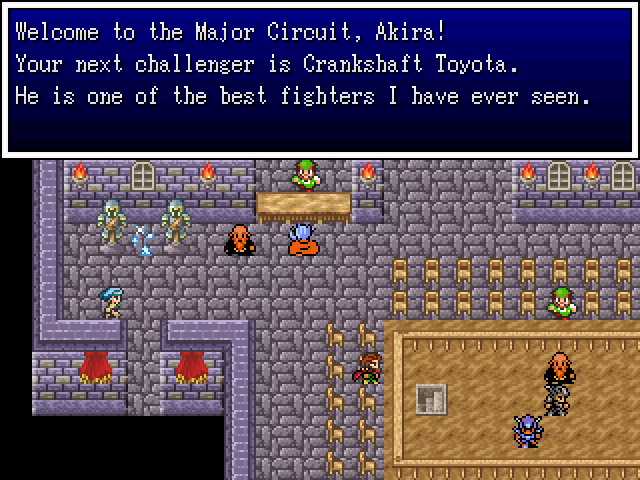 That is... certainly a name.   And here we are in the first battle of the Major Circuit. It was at about this point that I noticed that each successive Kumite match has a larger audience to reflect the increasingly impressive level of Akira's victories, which is a nice touch. 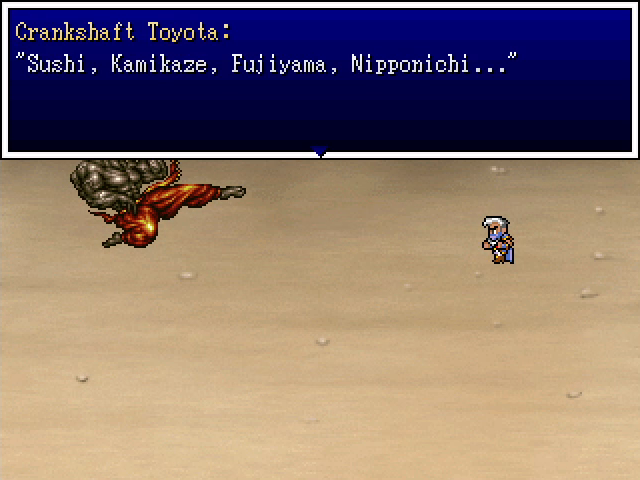 Crankshaft Toyota feels... a little racist. Crankshaft is pretty irritating to fight. He uses Akira's own Sleep Powder to put him to sleep, but luckily our Insomniac Headband prevents that. 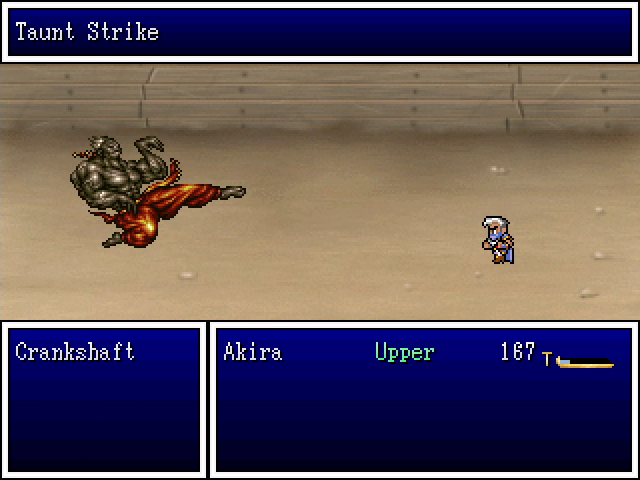 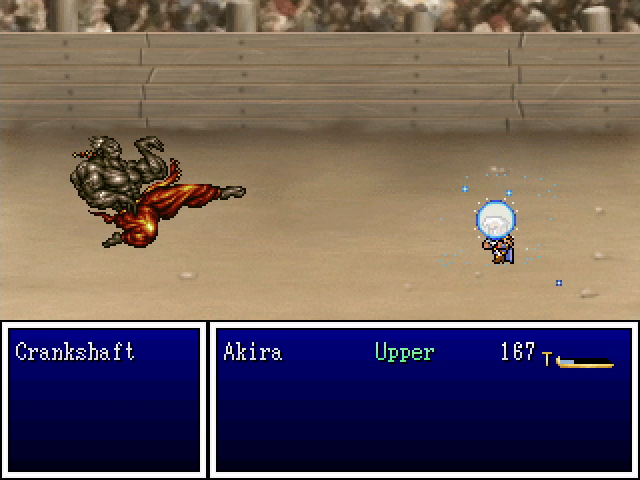  He also uses Taunt Strike, which inflicts berserk. Between this and Sleep Powder, he can shut you down for a large chunk of the fight. He also uses Caltrops (a Bandit ability that deals damage to all foes) and the Witch/Warlock's Tonics for healing.  Unfortunately for him, he can be poisoned, which makes him go down much faster. 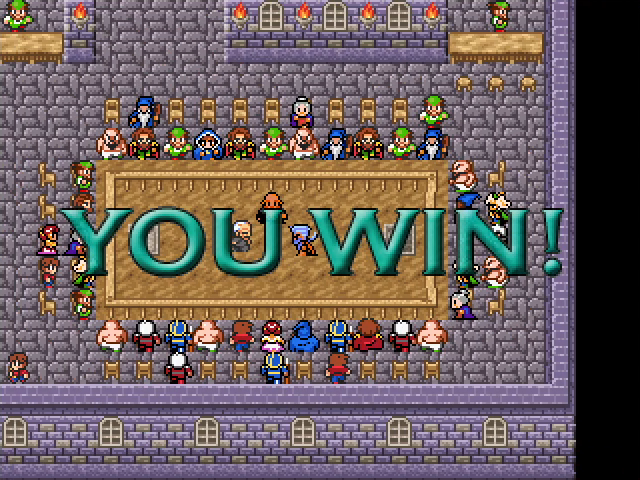 With the headband equipped, this is not an especially difficult match. 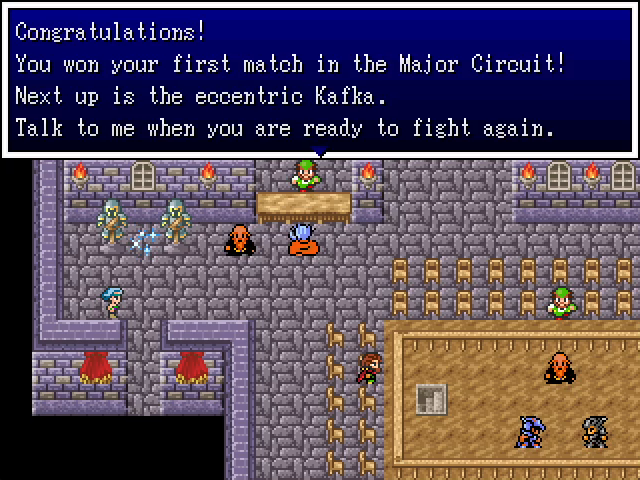 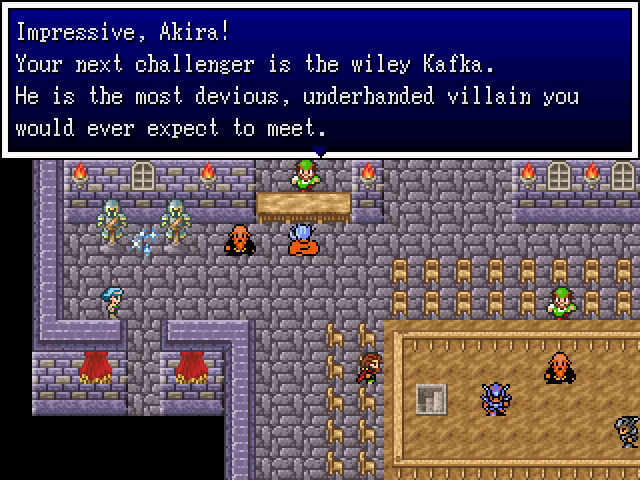 Our next opponent is Kafka, whose name you have have misread if you're a long-time JRPG player.  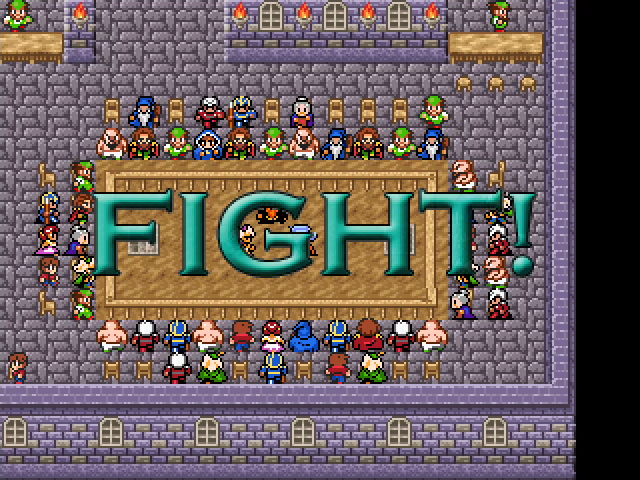 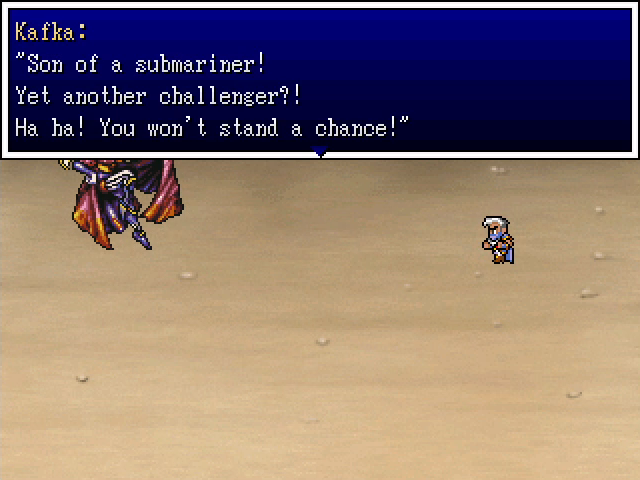 That's not a coincidence. Despite his appearance, Kafka doesn't fight like his namesake. He does have plenty of tricks up his sleeve, though, and he was easily my least favorite Kumite opponent.  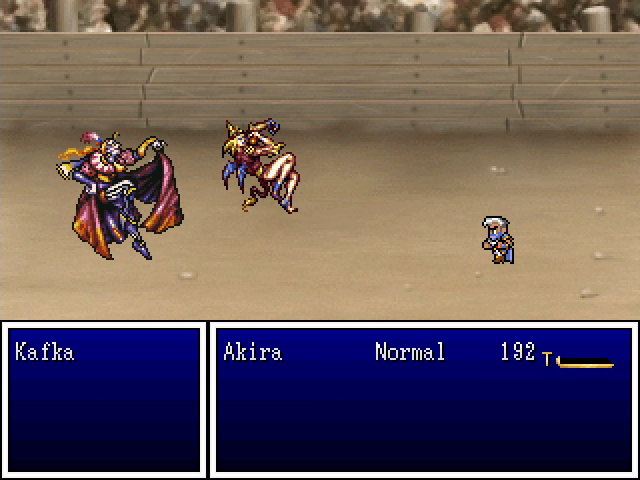 Kafka spends his first three turns calling for help, which causes one of his lady friends to join him in battle. 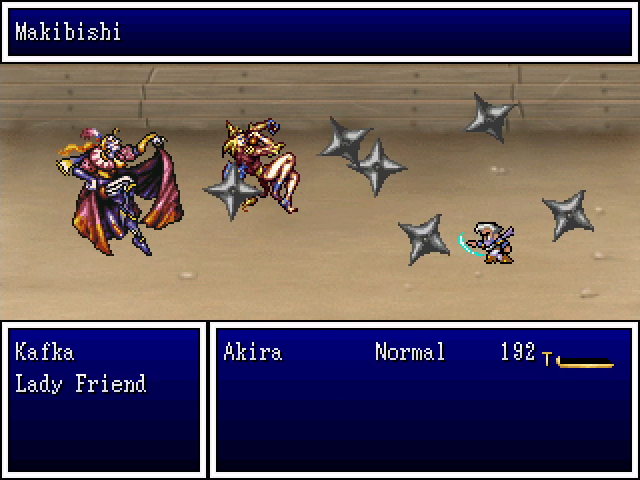 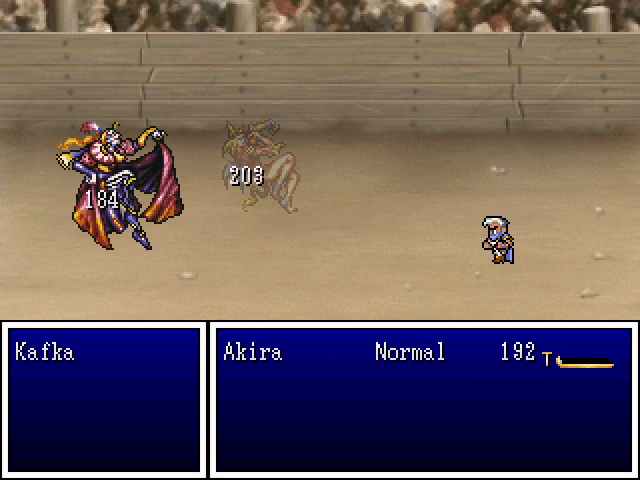 They don't get to do anything, though. 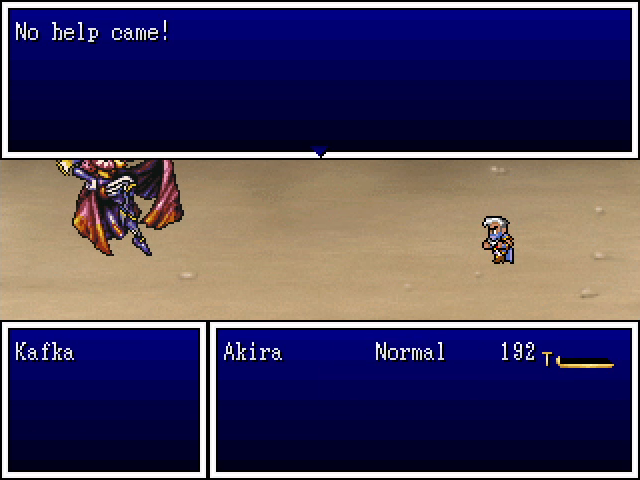 He also calls for help on his fourth turn, but at this point his fans have apparently decided that getting murdered with pointy objects isn't a desirable outcome. 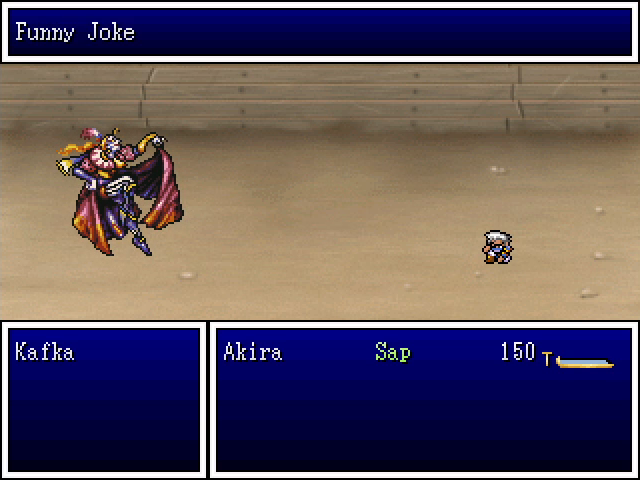 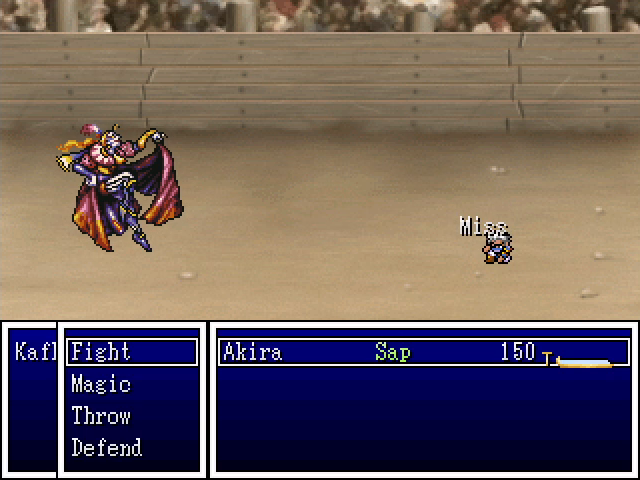 He resorts to telling jokes, but Akira is not amused. He also uses Burgle to steal our cash, because he is an rear end in a top hat.  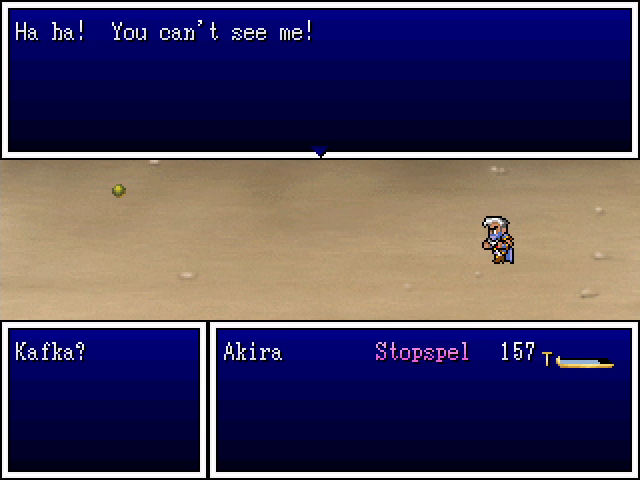 Unfortunately, he then does this, disappearing from the battle. At this point he cannot be injured in any way, and switches to casting spells at us - mostly direct damage, but he also throws in Mutespell just to be a dick. The only thing to do is heal when necessary while waiting for him to come back.  We eventually get the win, but there's no joy in it. The long waiting periods make Kafka more of a pain to fight than anything else. At least we're done with him. 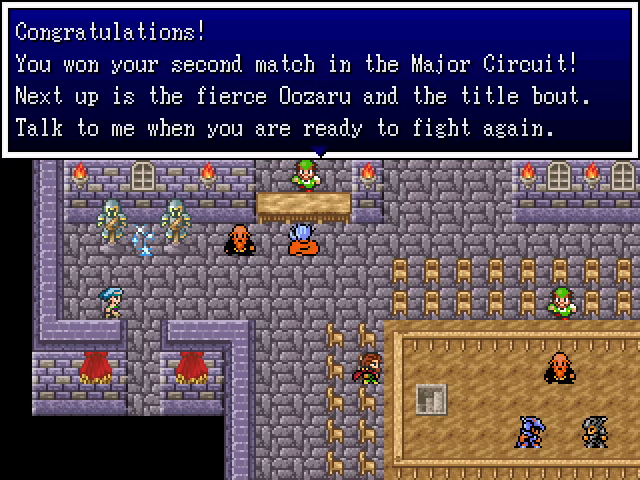 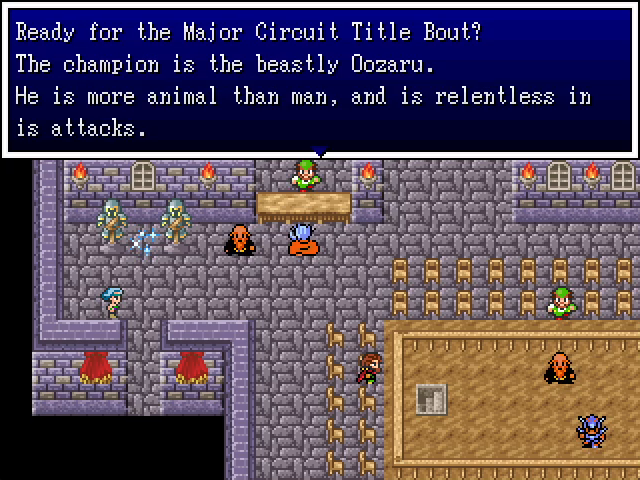 In a surprise twist, Dragon Ball Z Land's version of Oozaru isn't an alternate form of Kakarotto. 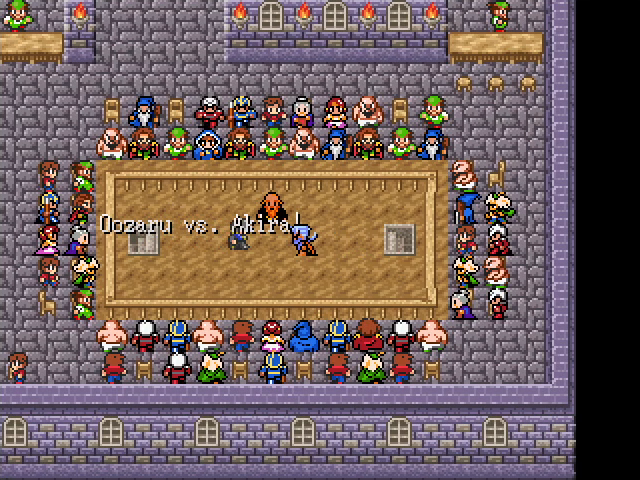  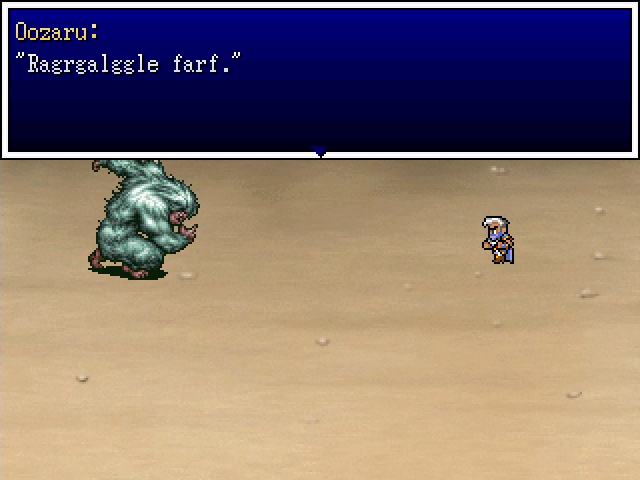 Oozaru's opening dialogue says everything you need to know, really. He's a high-strength warrior who made intelligence his dump stat. His attacks deal considerable damage, though, so he remains dangerous. 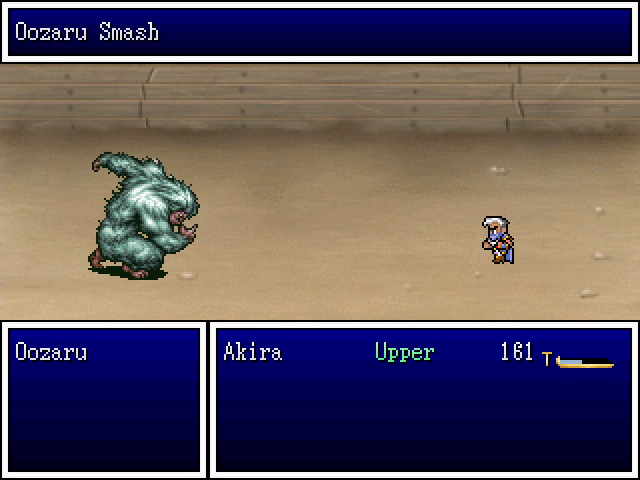 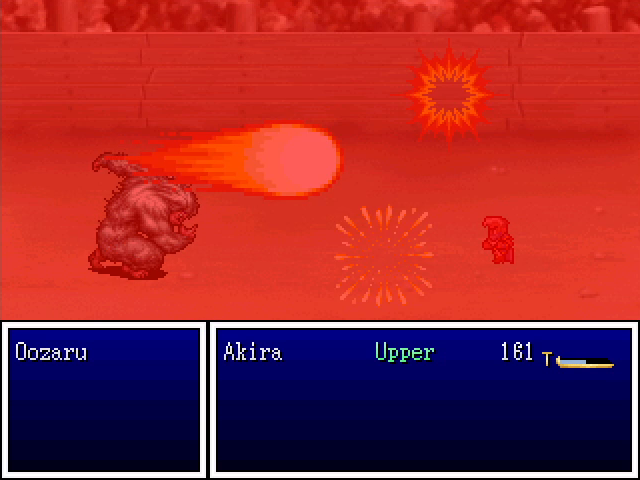 Oozaru Smash, in particular, does a ton of damage, and it's quite visually impressive. 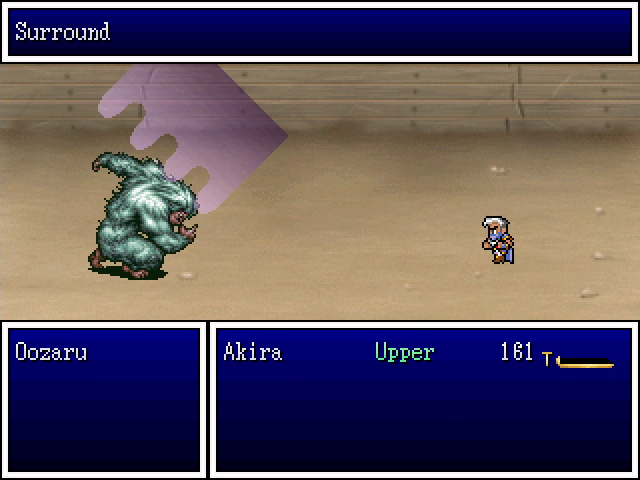 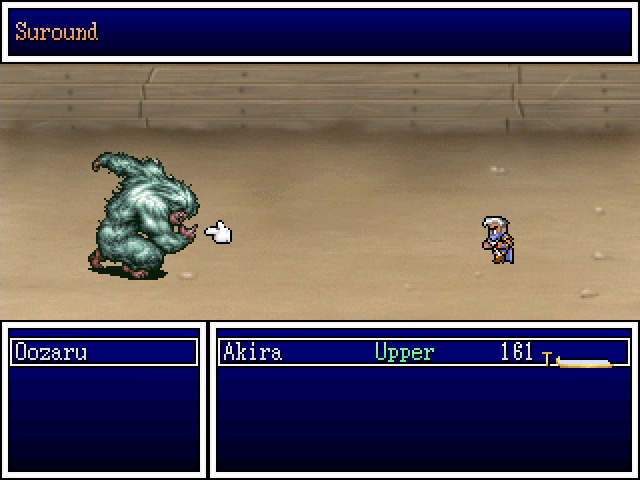 Unfortunately, since all he knows how to do is attack physically, Surround almost entirely neuters him. He might land a single lucky hit, or score one after the condition wears off, but if you play it right this fight is absolutely no problem. 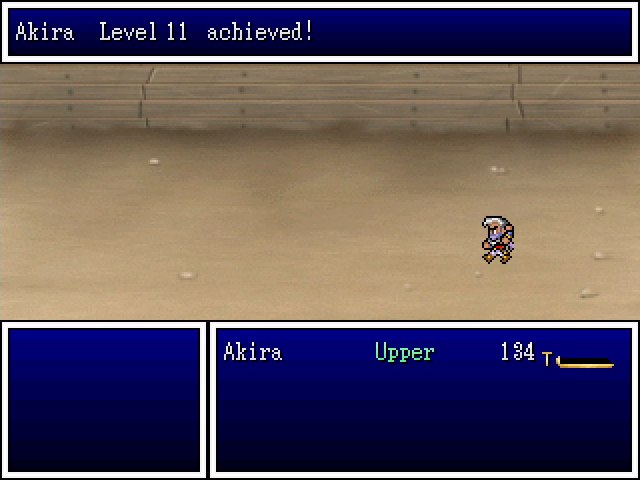 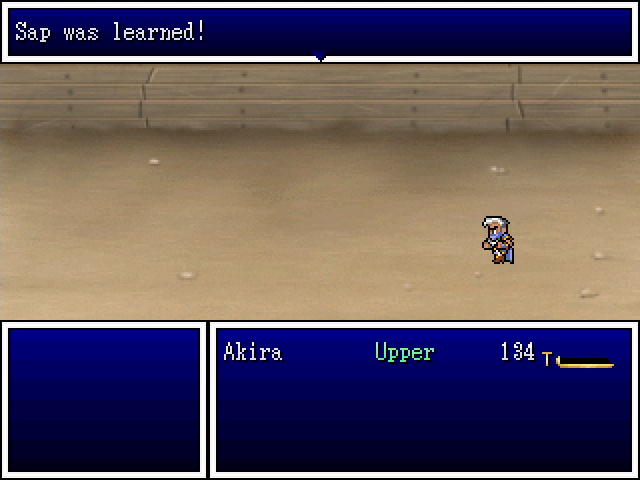 Our victory earns Akira another level as he continues to leave his comrades in the dust. 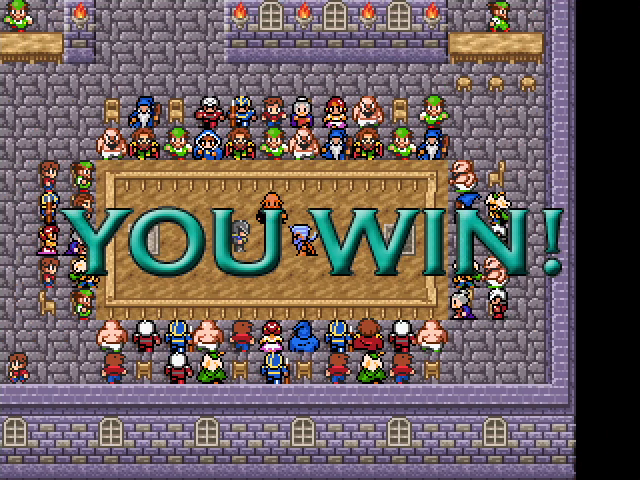  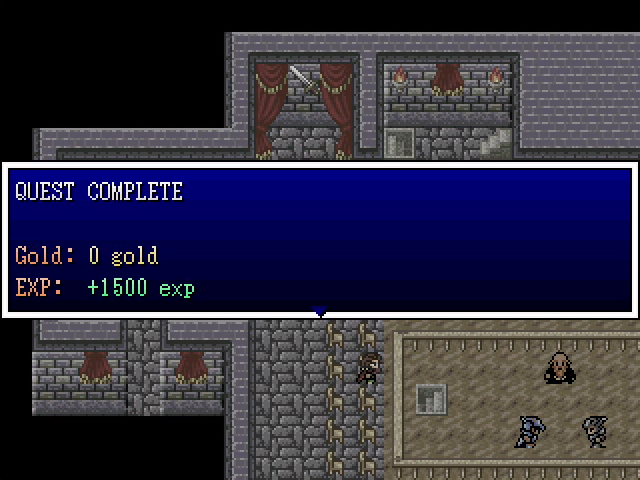 Having won the Major Circuit, we're told we can challenge Kakarotto, but we actually can't yet. 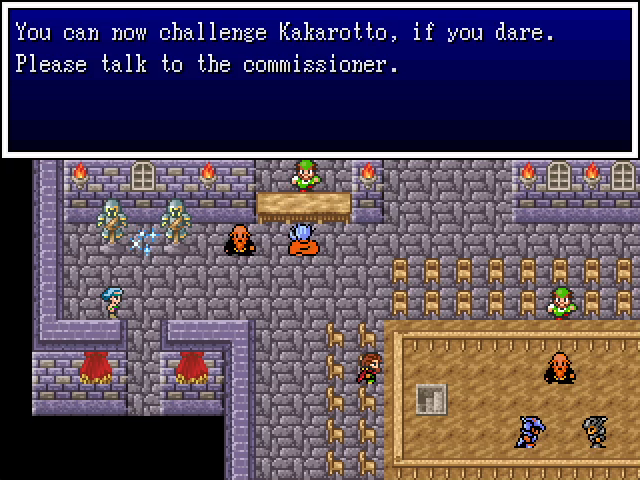 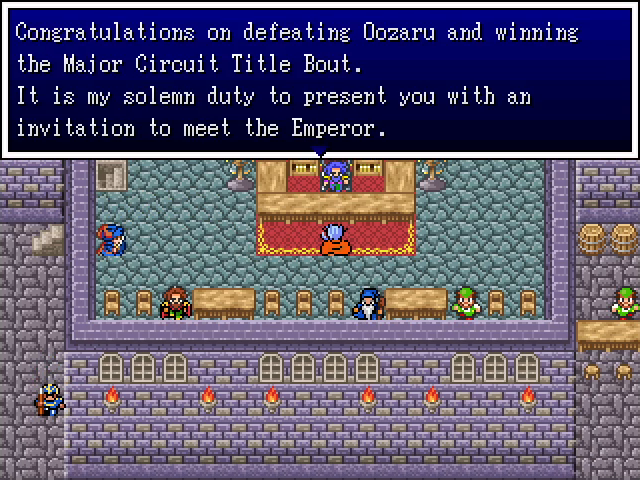 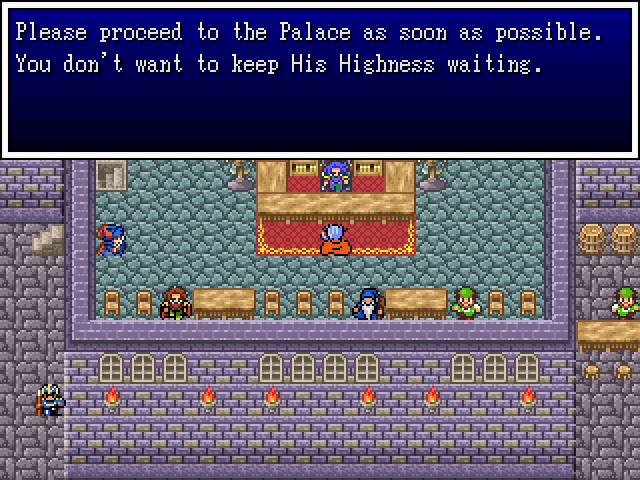 We first have to see the commissioner, who gives us an invitation from the emperor. And we can't exactly turn that down. 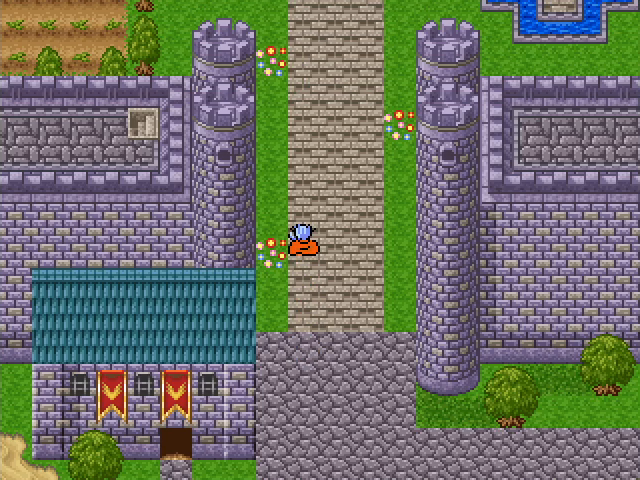 The guards are gone, allowing us to enter the palace. 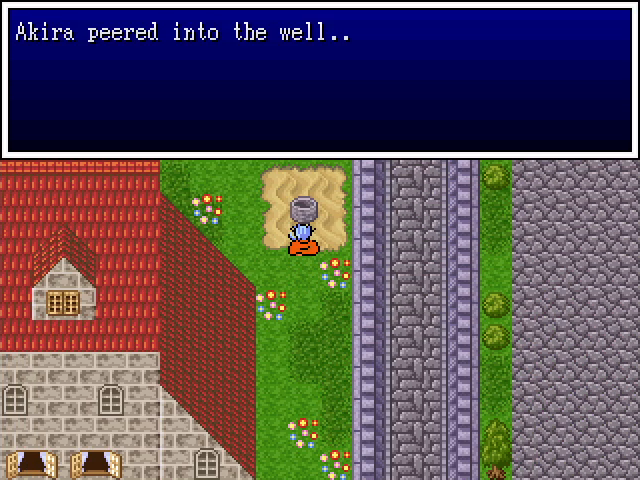 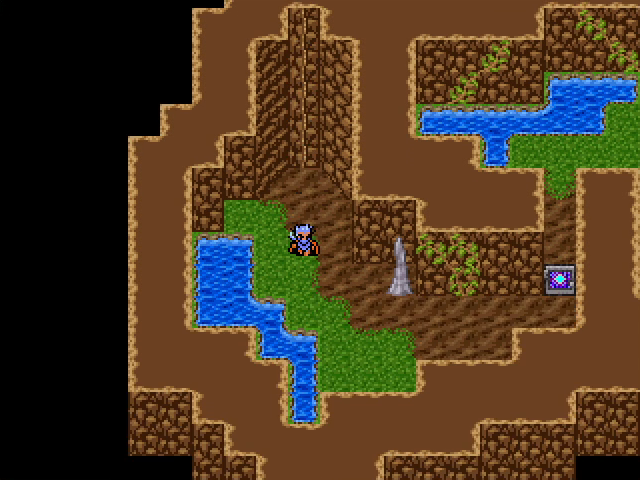 before entering the palace proper, we check out the well. This what that weird door is blocking: a back entrance to the palace. Maybe the prince like to sneak out and go slumming at night? 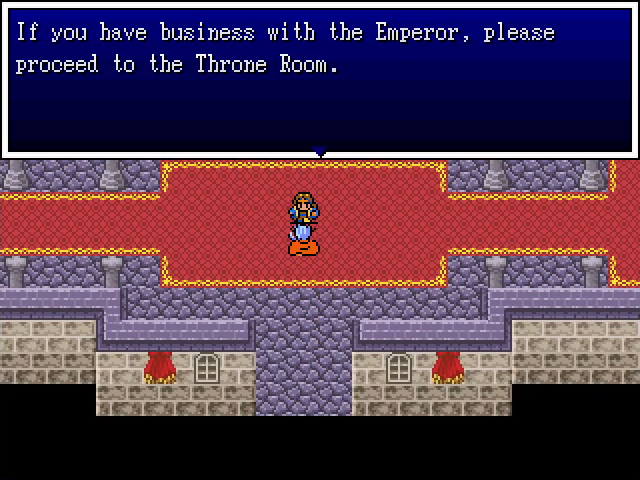 Yes, yes, but first I need to loot all the valuables I can get. 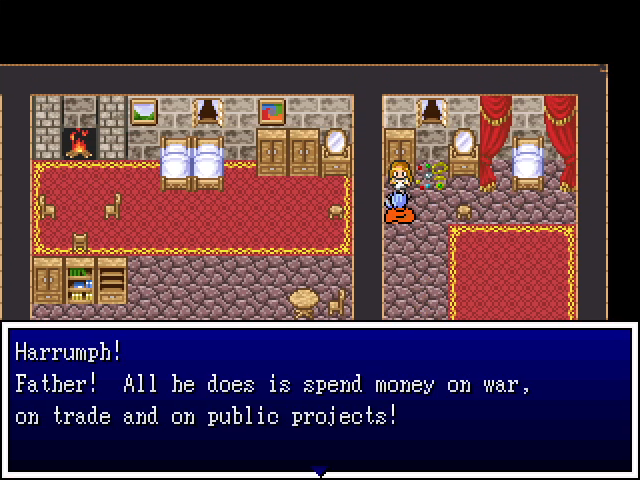 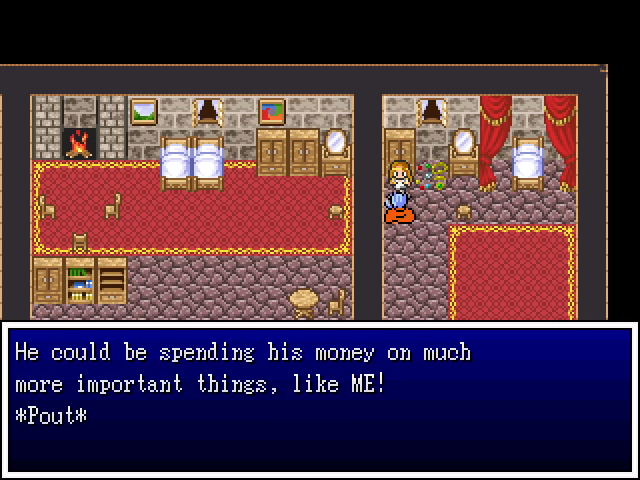 The emperor's daughter is upstairs and is the very picture of a spoiled brat. 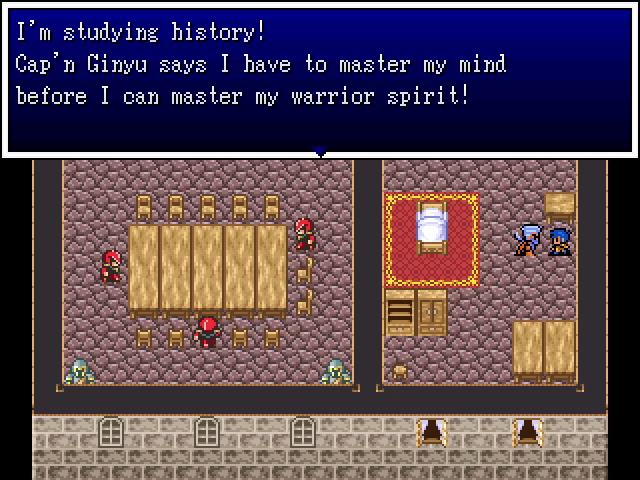 You know what? I respect that. It's not a very shonen ideology though. 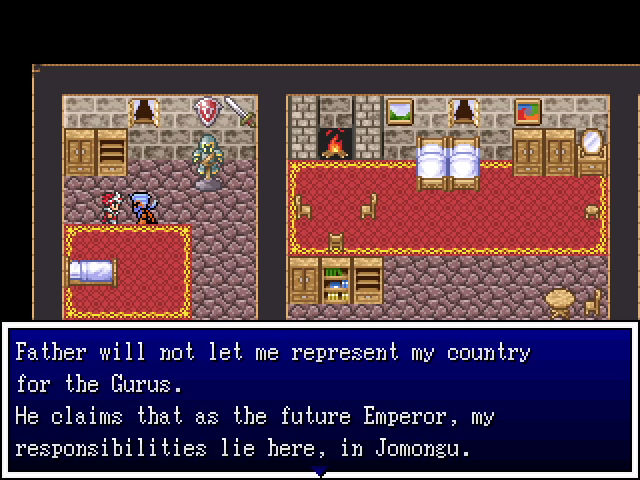 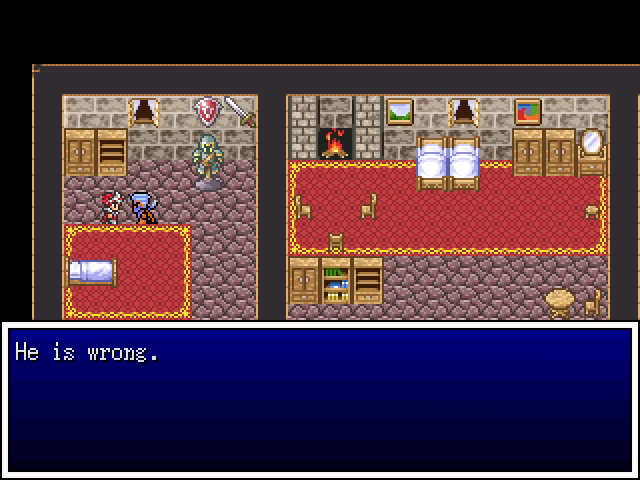 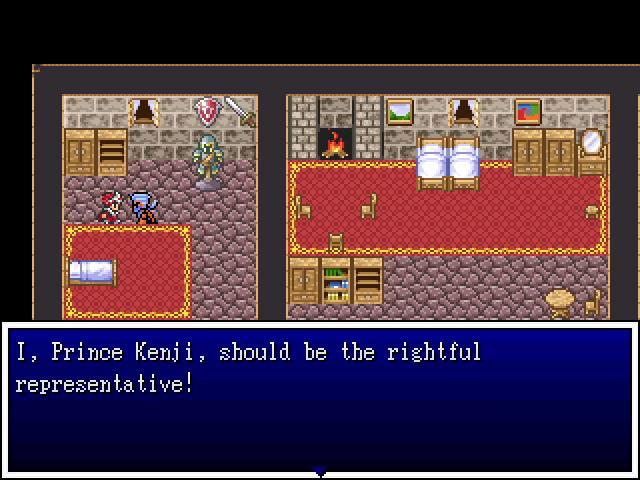 The prince is a much better example of the genre. 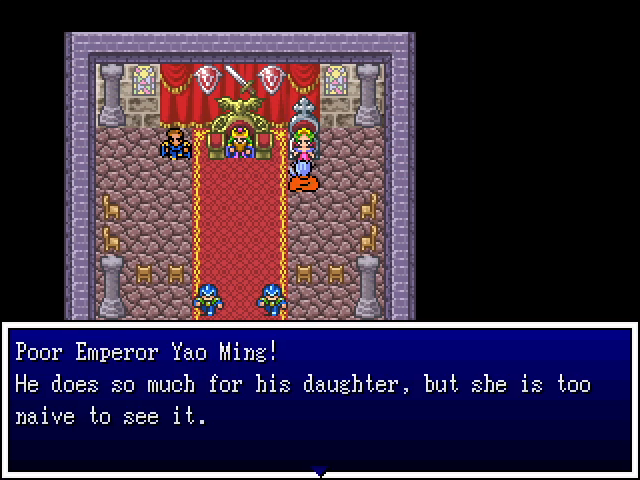 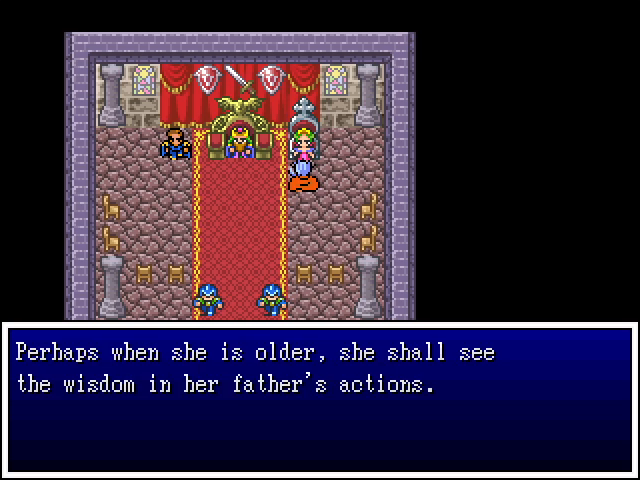 The empress is worried about the princess (her wording makes it ambiguous whether the girl is actually hers), but I'm more interested in learning how a basketball player became emperor of Dragon Ball Z Land. 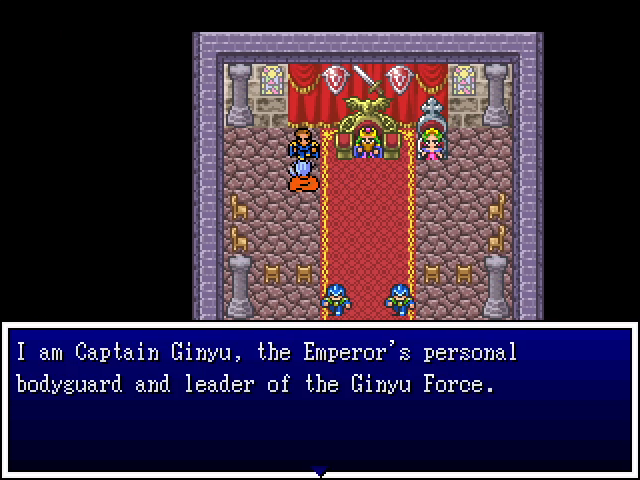 So it turns out that the soldier is the barracks wasn't Captain Ginyu; he was just some jackass. This is Captain Ginyu. 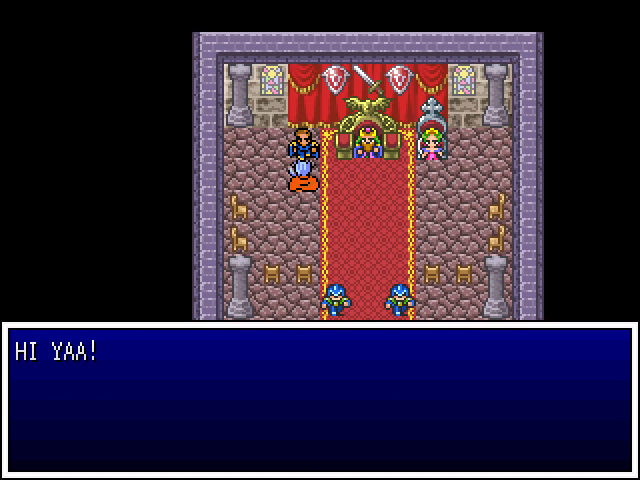 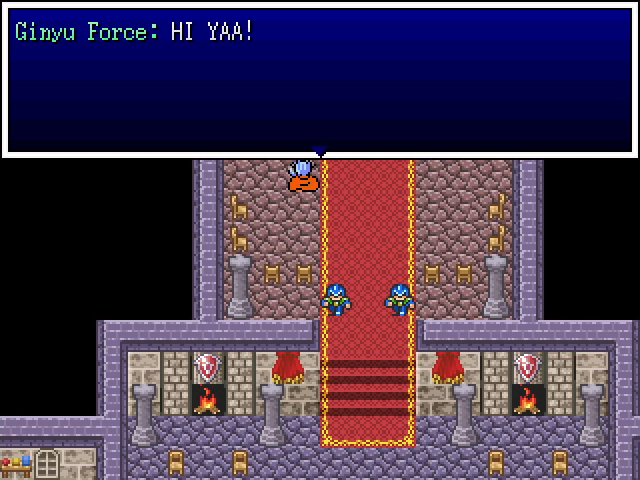 Okay, yes, I like him. All right, enough playing around. Let's do what we came here to do. 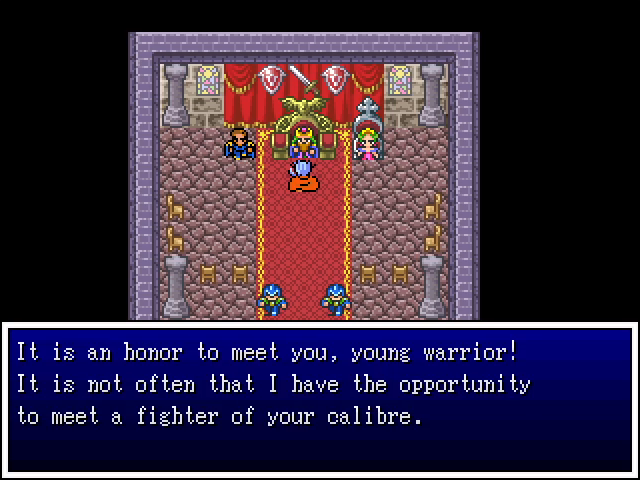 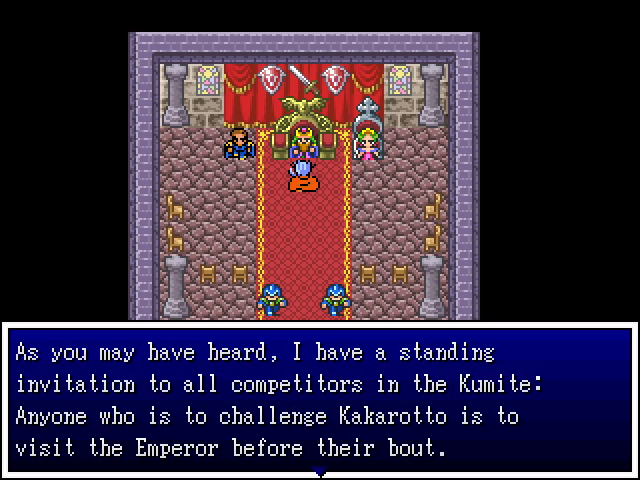 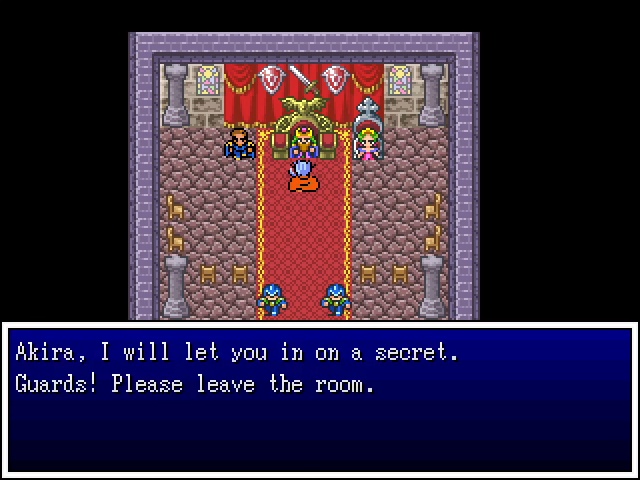 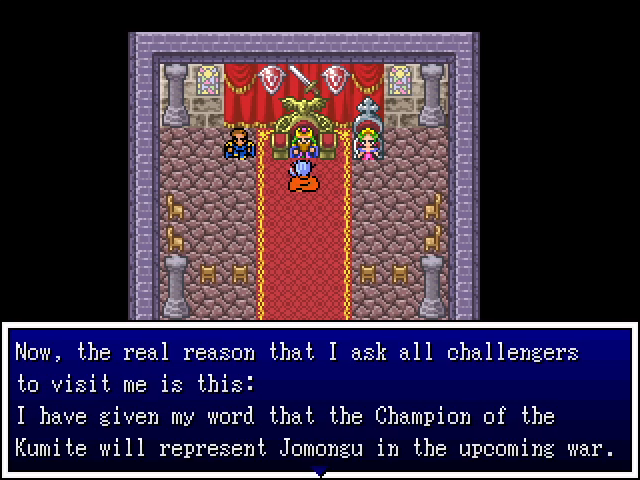 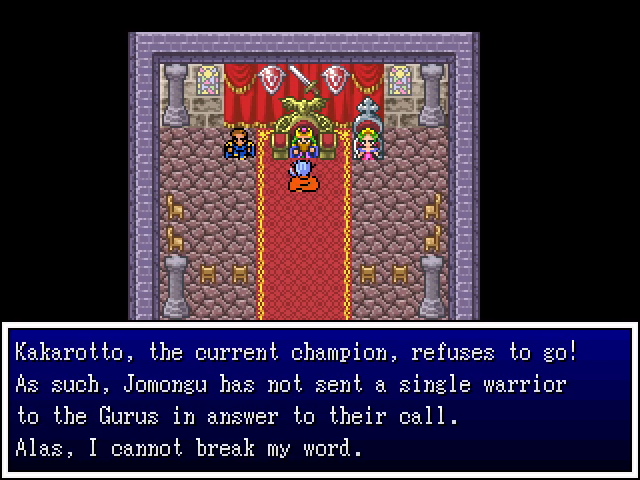 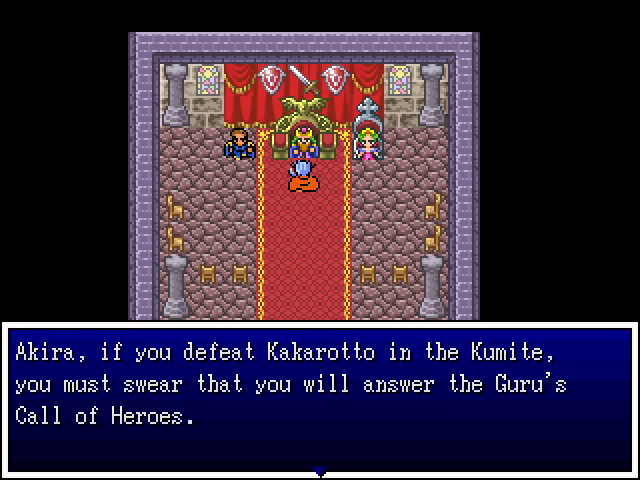 Surprising no one, Kakarotto is a huge rear end in a top hat to everyone, even his emperor. 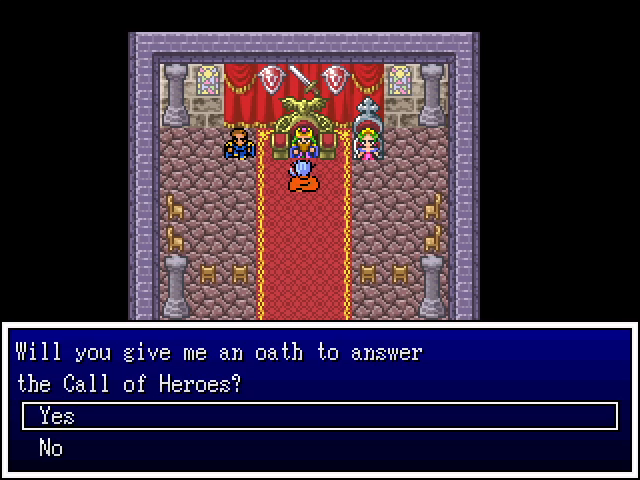 Obviously there's no way we can say no. 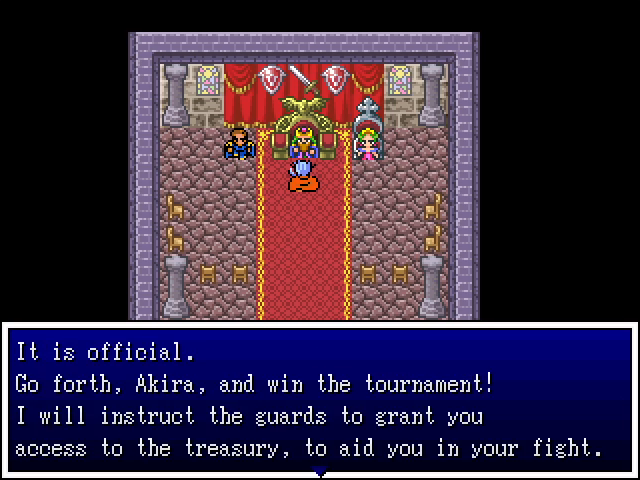 I always appreciate it when well-off NPCs actually help you do the thing they want you to do.   These are both solid prizes, especially the ring, which replaces the one Shemp is currently wearing. 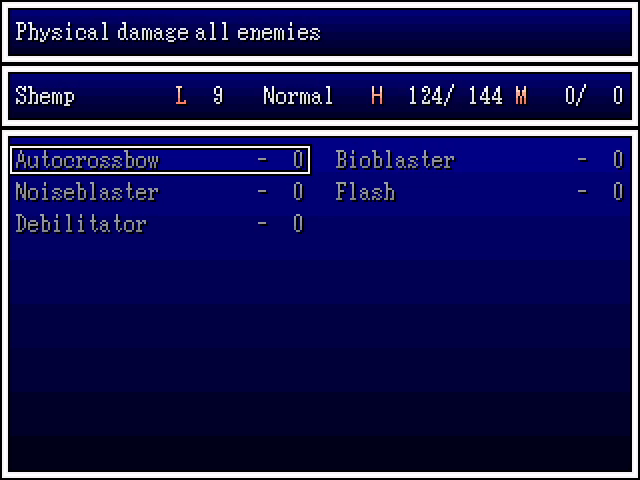 Before the finale, I use all the cash we've earned to fill out Shemp's list of tools. He won't get much use out of these in this chapter, but they should be useful in the future. 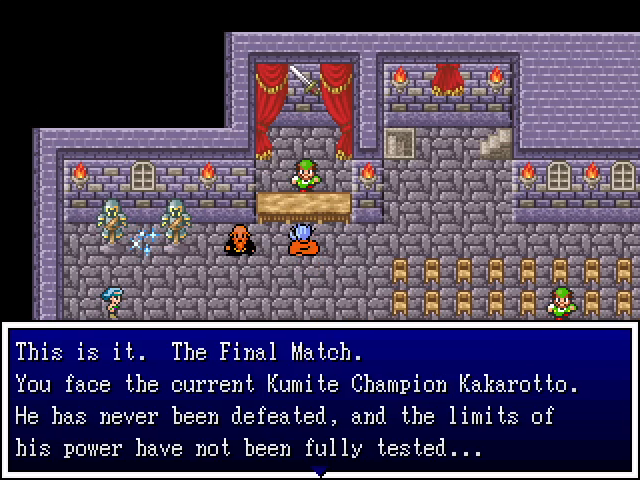 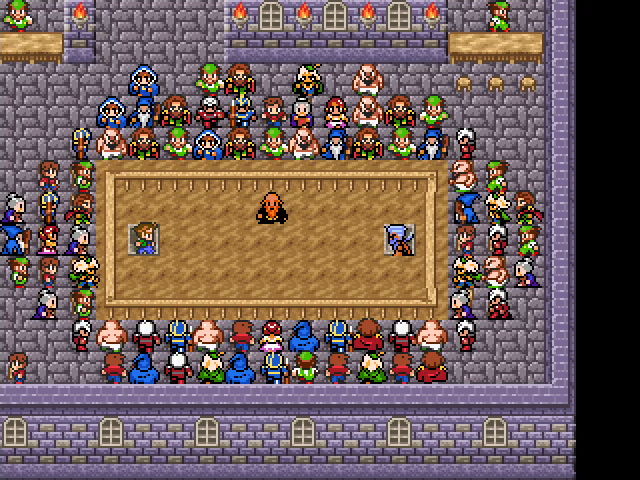 Well, this is it. Let's avenge our dad. 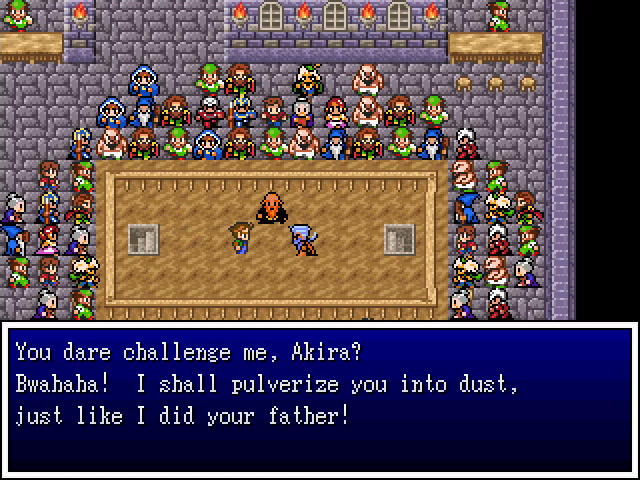 Oh, it is on.  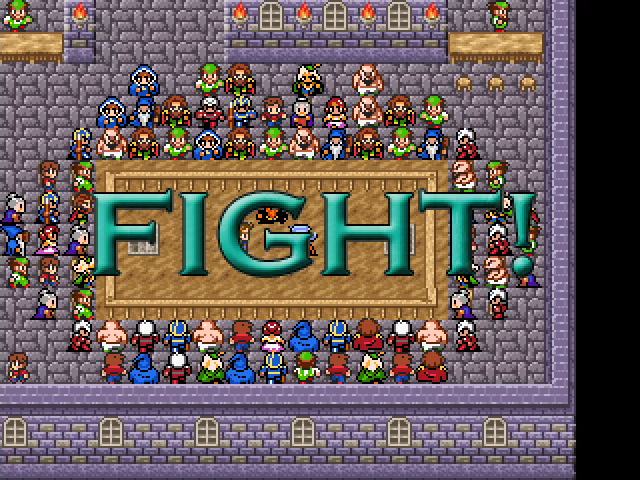 Let's do it. 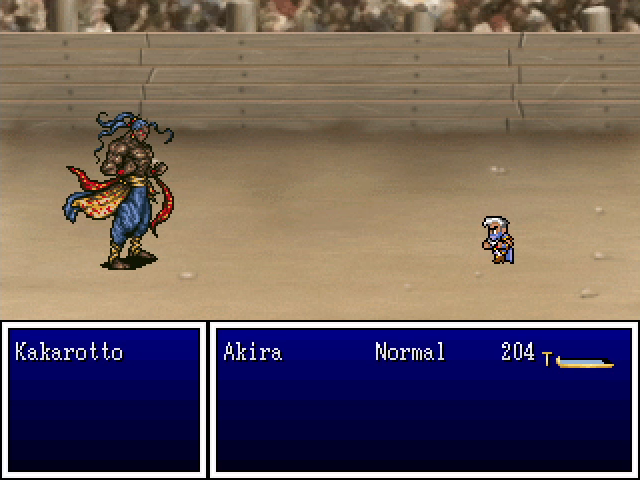 And here we are: the final fight of Chapter 3. Kakarotto is... remarkably easy. He does nothing except use weak physical attacks and Charge Up, the latter of which doesn't seem to be followed by anything except more attacks. 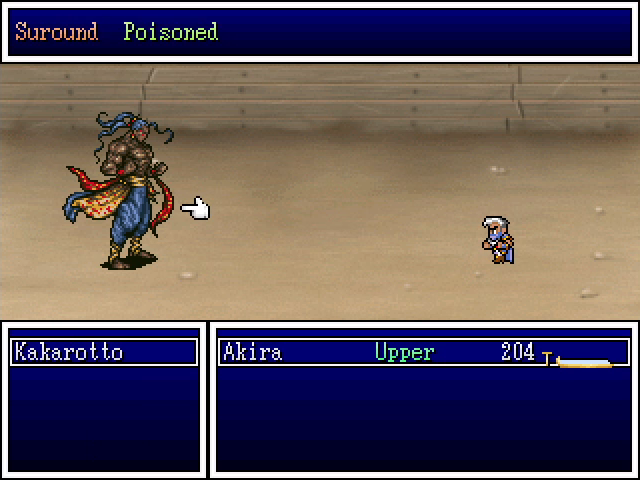 He's also susceptible to both Surround and Poison. It's embarrassing. I have no idea how he became the undefeated champion when he fights like this. 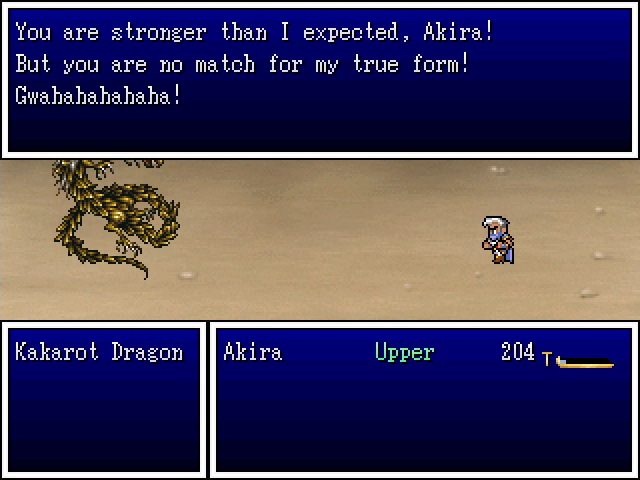 But of course, that's just the prelude. 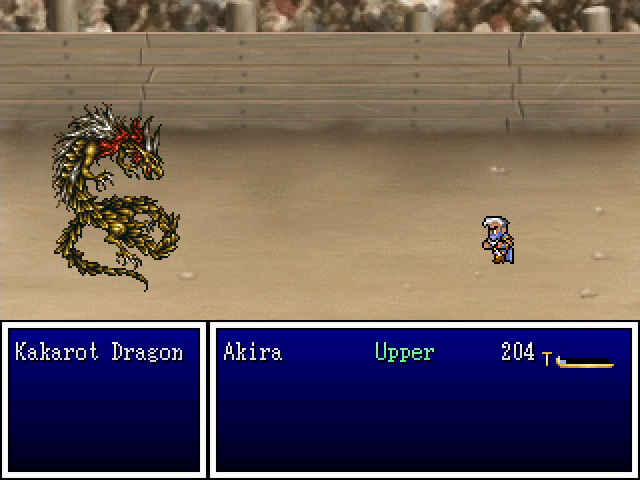 Kakarotto's true form is the Kakarot Dragon, which promises to be a much tougher fight. Is this the same dragon supposedly beaten by Son Goku 500 years prior, or another bronze dragon that showed up out of nowhere? It's not clear, and probably doesn't matter, but it bothers me that there's no stated connection. 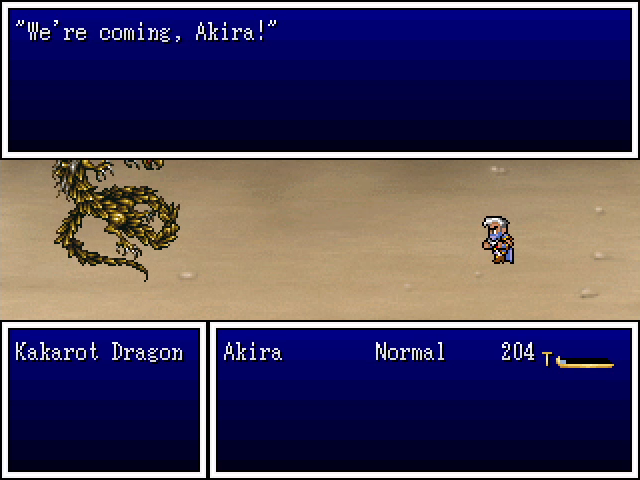 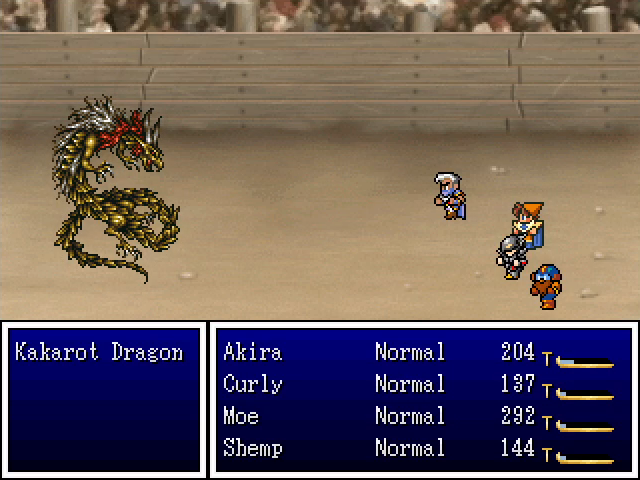 Luckily, we don't have to do this alone. Now that Kakarotto has shown himself to be a horrible monster, the rules go out the window and we can fight him together, with the power of FRIENDSHIP. We're going to need it too, because it's a pretty strong boss. 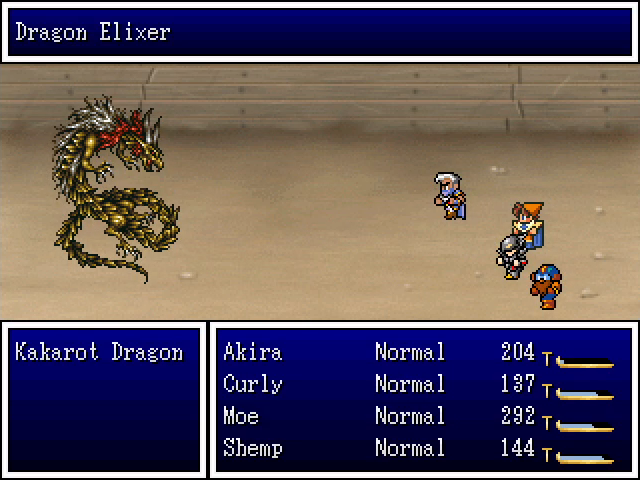 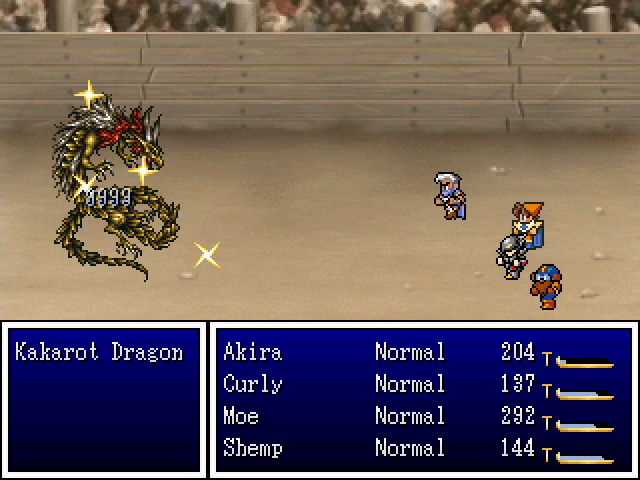 The Kakarot Dragon opens this phase of the fight by healing itself, presumably because it shares Kakarotto's HP pool. 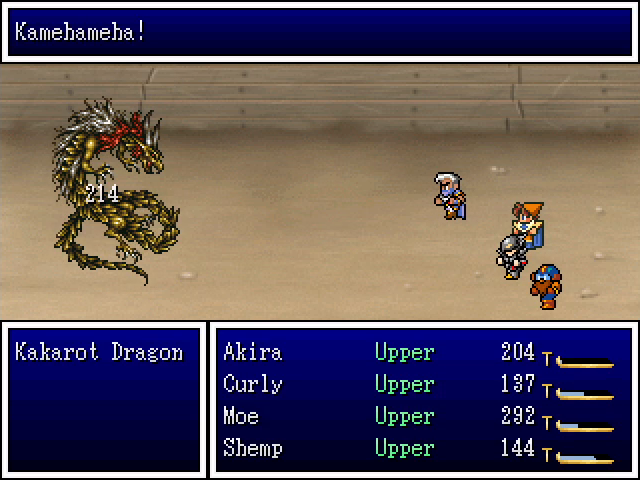 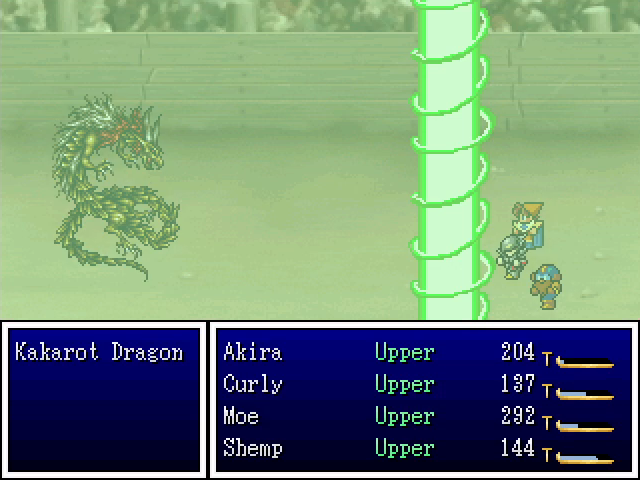 Obviously, we can't go through all of Dragon Ball Z Land without a Kamehameha somewhere. This hits a single character for around 100 damage, which is quite dangerous. 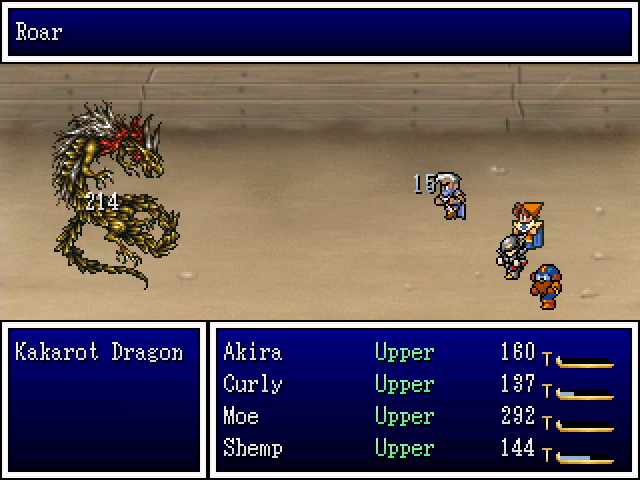 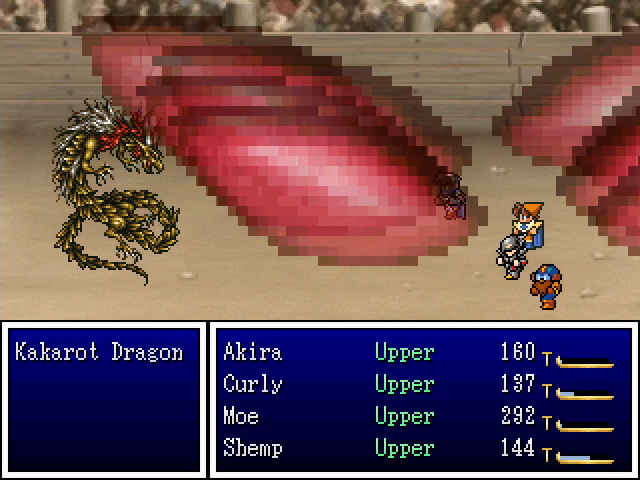 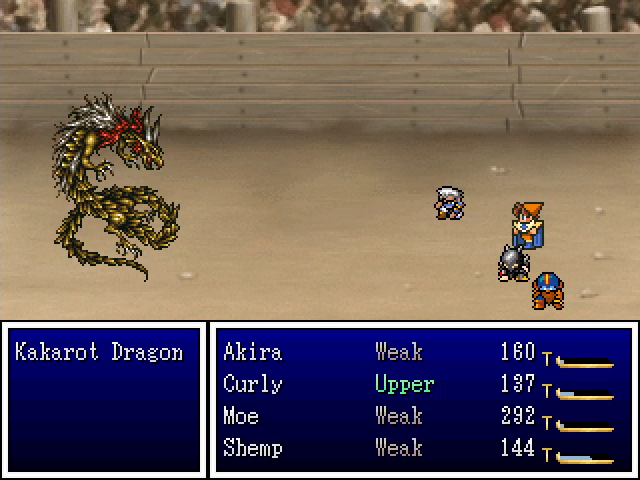 Its terrifying Roar renders our party Weak, reducing their ability to fight back. 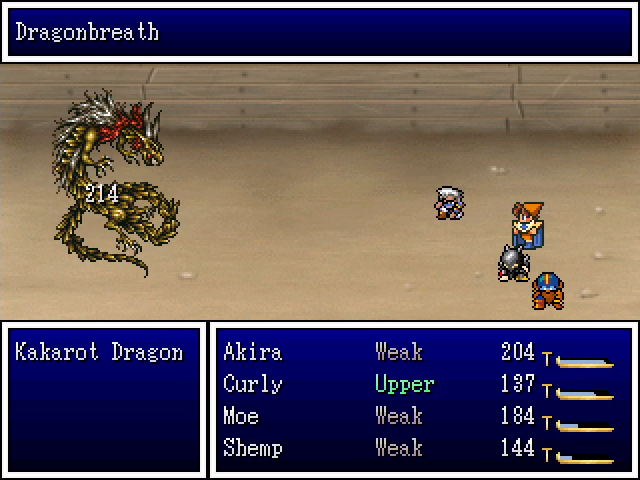 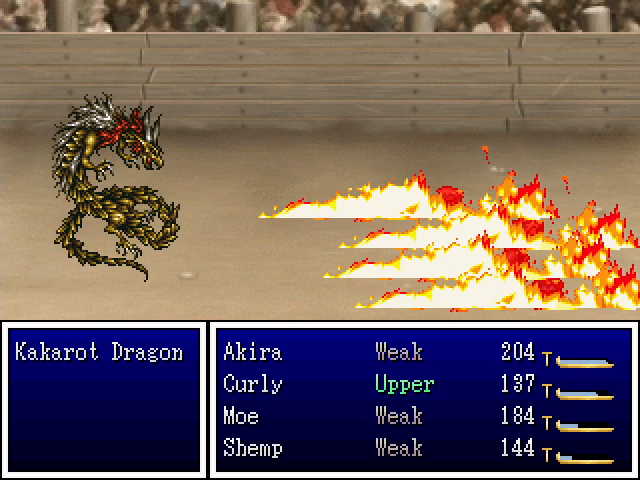 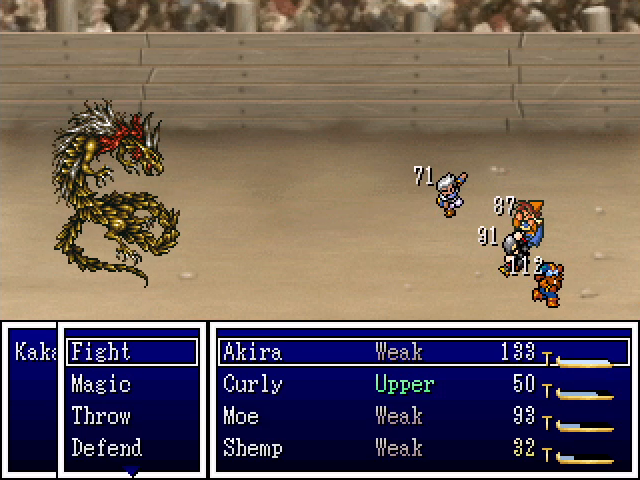 It can, of course, breathe fire, which does a pretty big chunk of damage to the party. 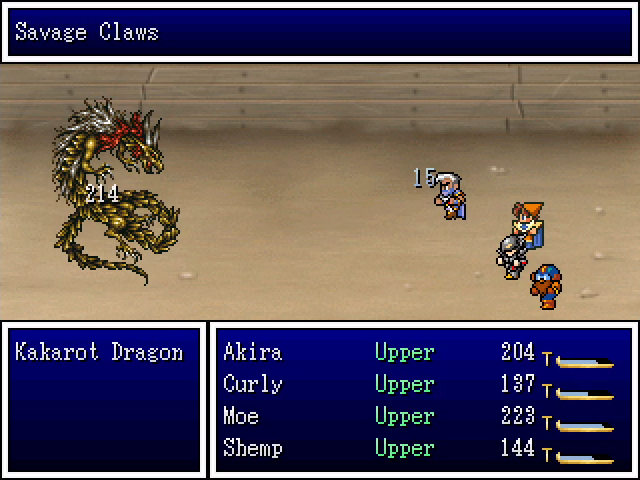 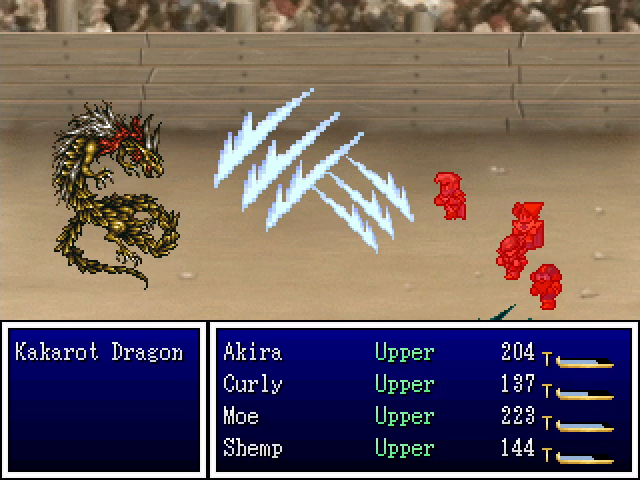 And finally, its Savage Claws attack also hits the whole party, but since it deals physical damage, the increased defense we get from Curly's Increase spell helps mitigate it. 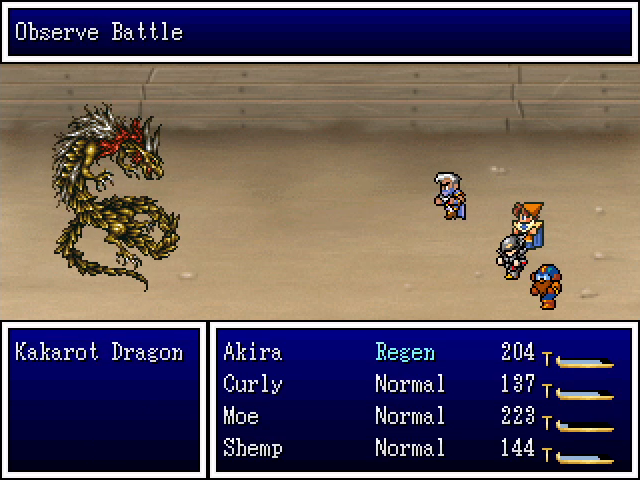 Oh and sometimes it just sits there.  After a while, the dragon "phases into another dimension," but unlike in DBZ this isn't a euphemism for death. It just becomes invulnerable, which is annoying, but since it doesn't do anything in this form, we can use it as a chance to heal up and wait for it to phase back in. 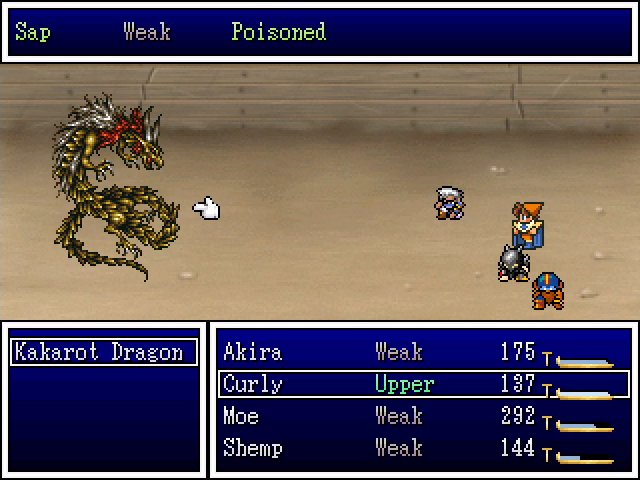 By the way, bosses aren't immune to status effects. Poison in particular does a good chunk of damage. 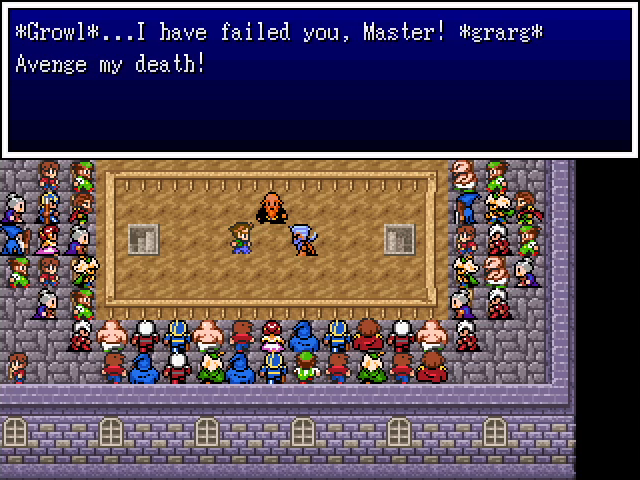 Eventually, we take the win, and Kakarotto reveals that he's been serving someone (probably Mephistocles or one of his generals) before exploding dramatically. 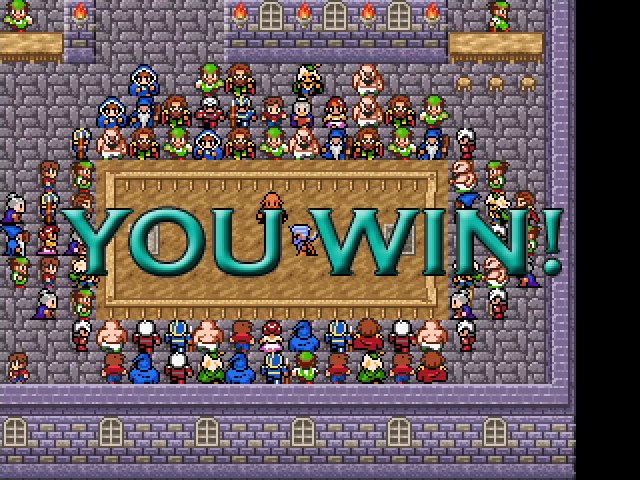 Hell yeah we do. 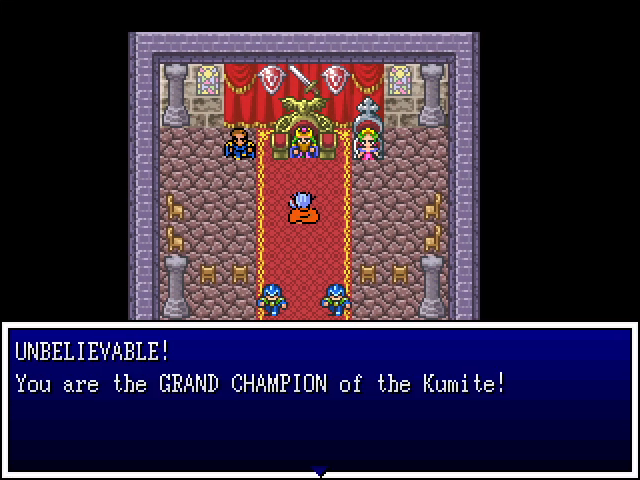 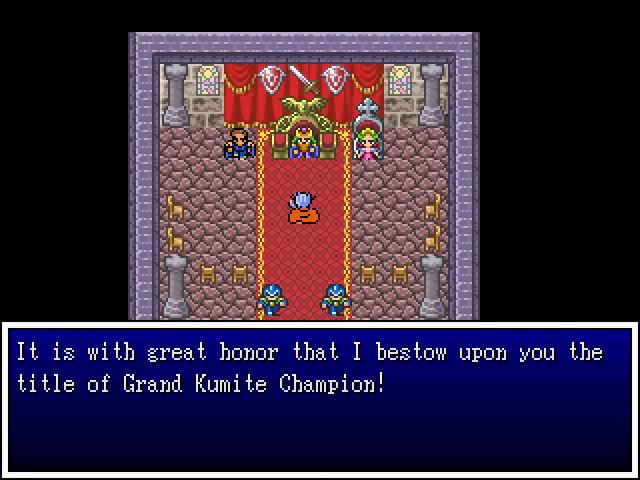  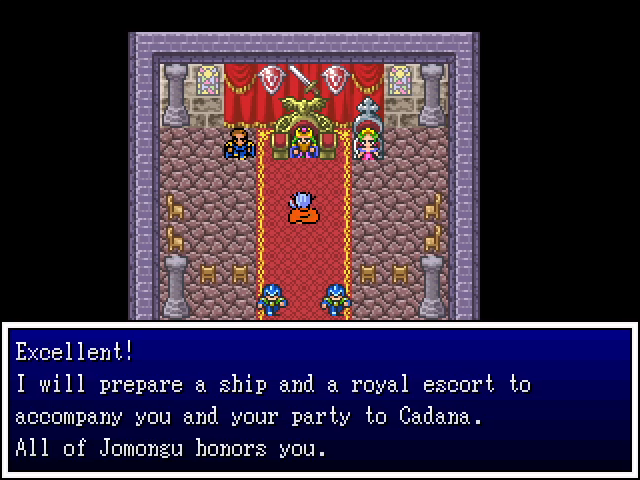 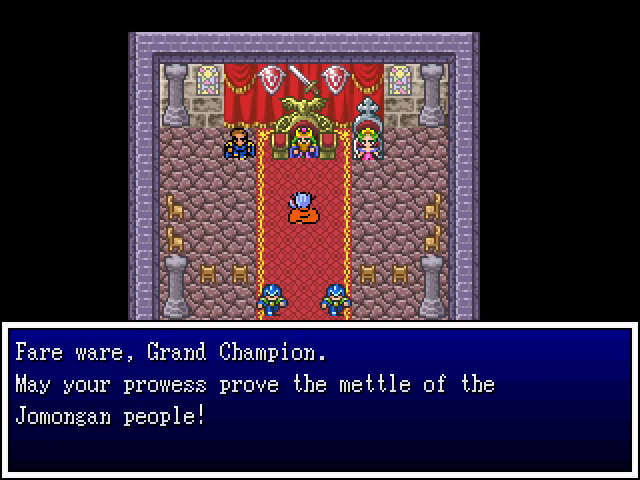 With Kararotto slain, the emperor congratulates us on our victory and holds us to our promise to go fight on behalf of the gurus. 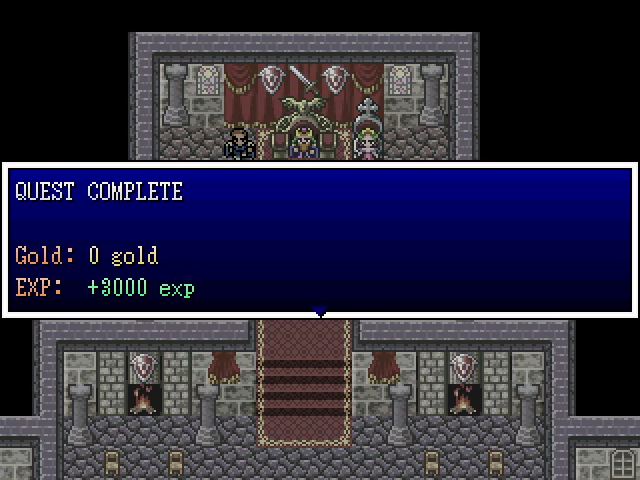     We also get a since chunk of EXP and a final round of levels for everyone. Sleepmore inflicts a version of Sleep that lasts more than one round, making it a much more useful tool.  And with that, we are done here. Let's go to Cadana.  Next time: A lovely morning.
|
|
#
?
Sep 5, 2022 17:15
|
|
|
honestly yeah the level thing would drive me insane too
|
|
#
?
Sep 5, 2022 19:15
|
|
|
If I could make a suggestion. Cut the average amount you put into an update in half, and aim for an update once a week instead of once every 2-3 weeks.
|
|
#
?
Sep 6, 2022 12:14
|
|
|
EchoBaz posted:If I could make a suggestion. I'll consider it. Actually, I may not have a choice once chapter 5 rolls around, but we'll see. For now, at least, I still want to wrap chapter 4 in four updates or so to keep it consistent with the first three chapters.
|
|
#
?
Sep 7, 2022 03:23
|
|
|
Dow Jones locker was indeed the best pun in the game.
|
|
#
?
Sep 8, 2022 00:08
|
|

|
 Trigger warning: Child death It's at the end of this update, so you can skip to the next one if this is a problem. 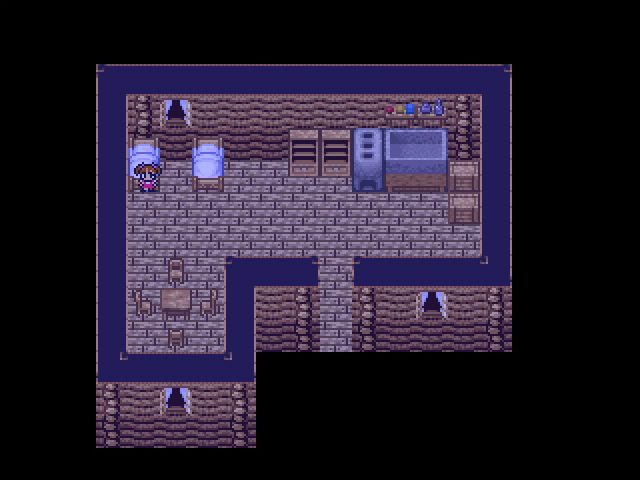 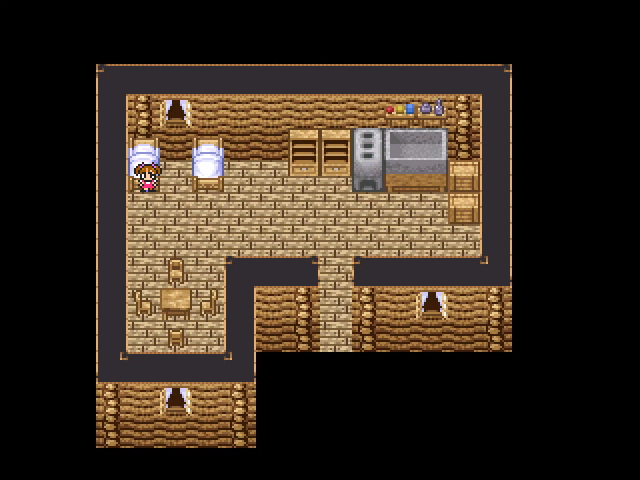   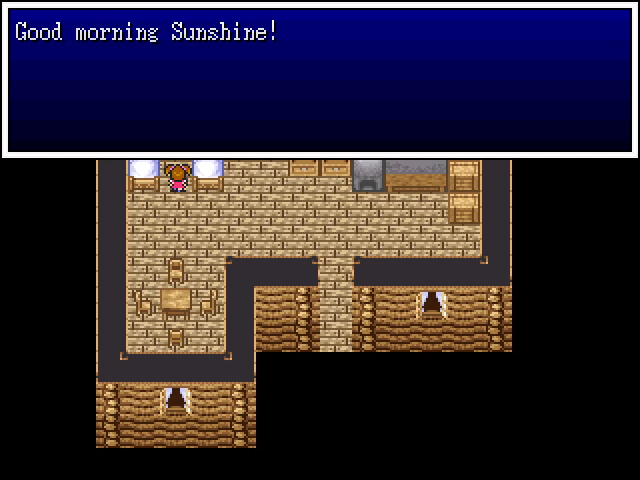  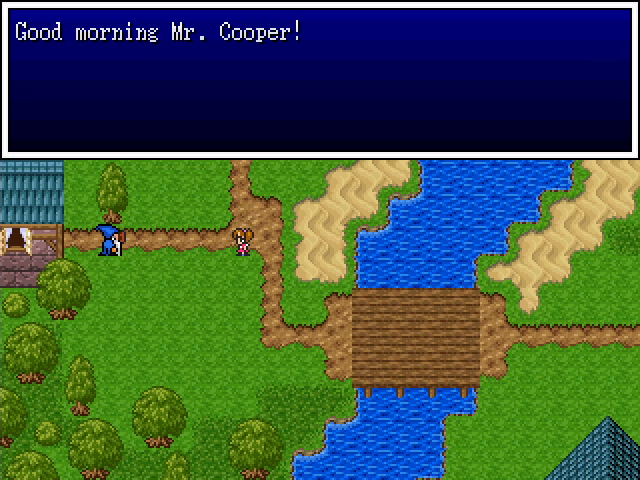  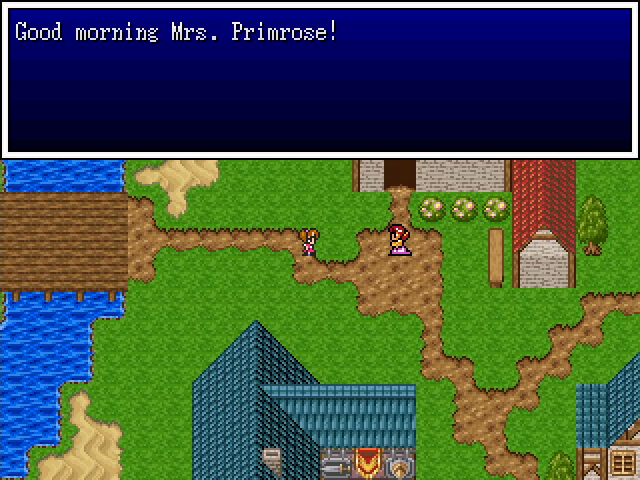 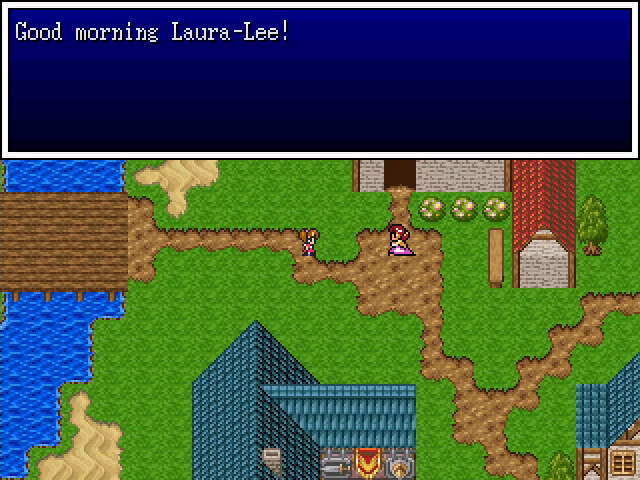 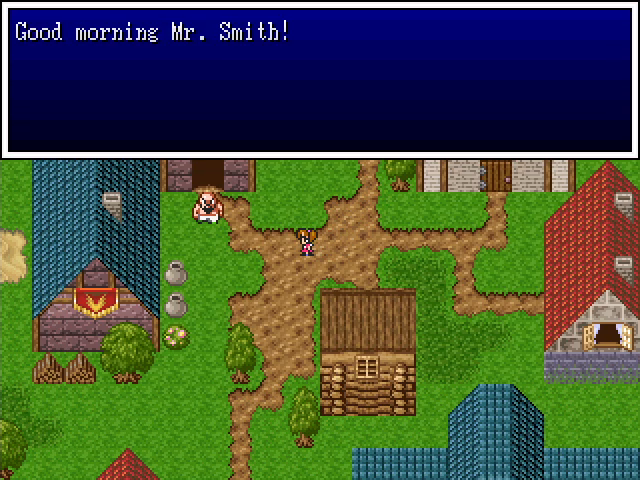 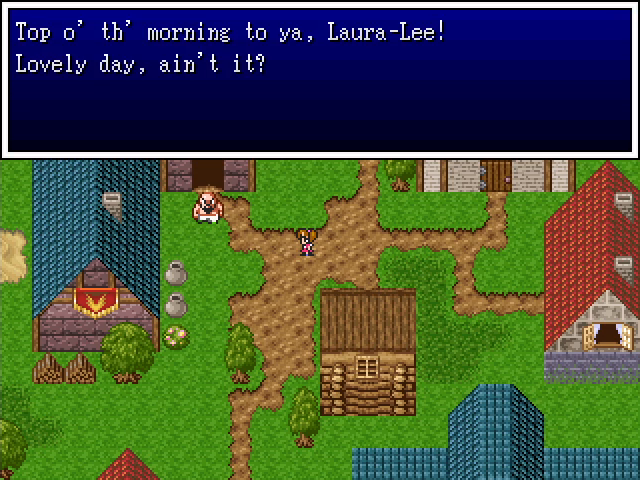    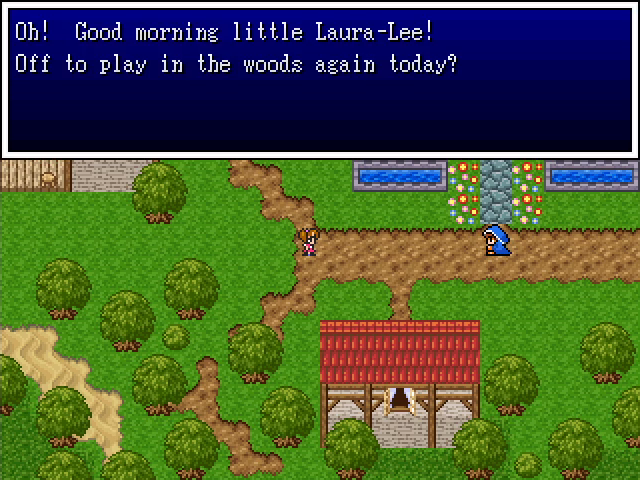 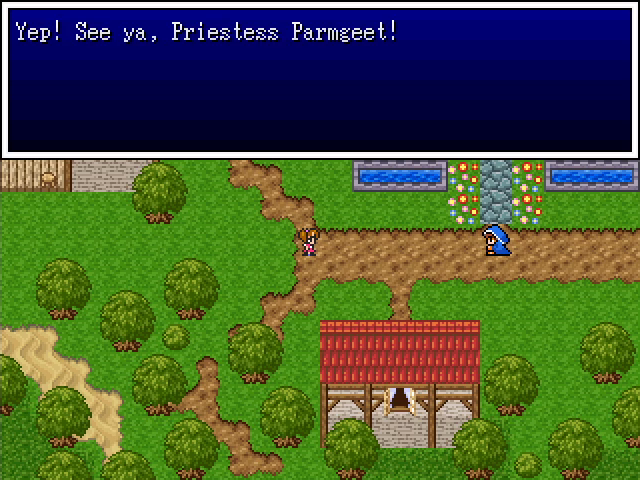  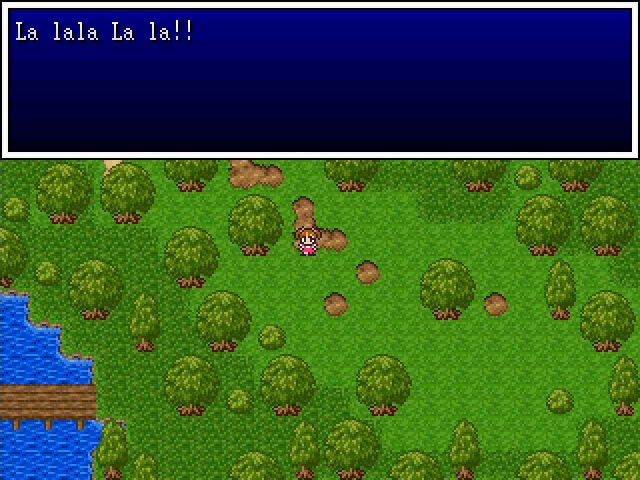  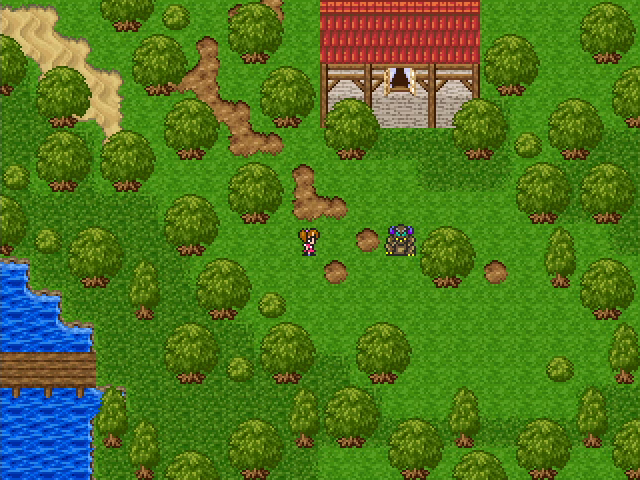 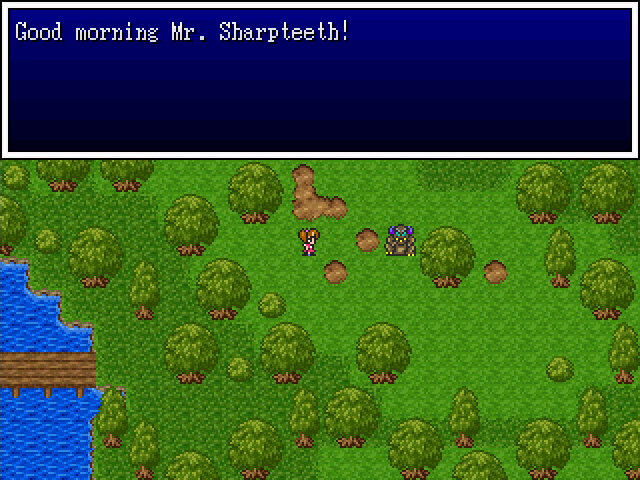  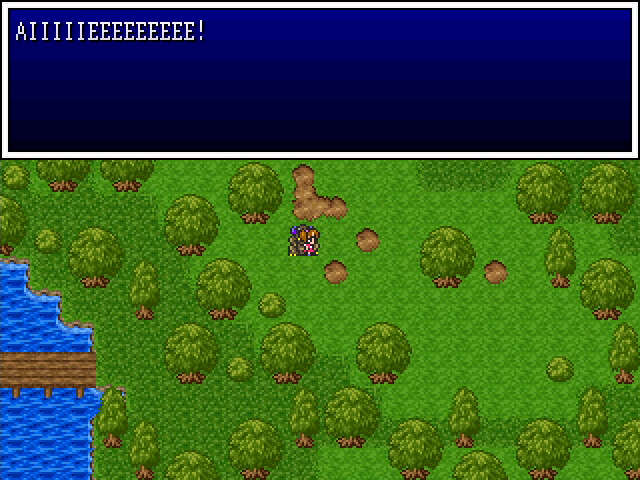 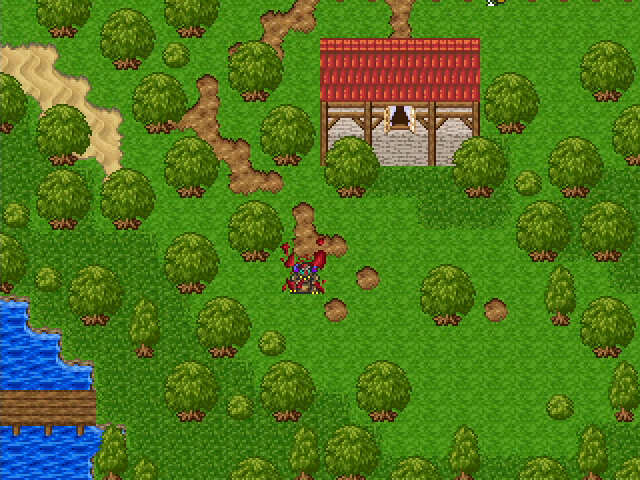 
|
|
#
?
Sep 8, 2022 00:26
|
|
|
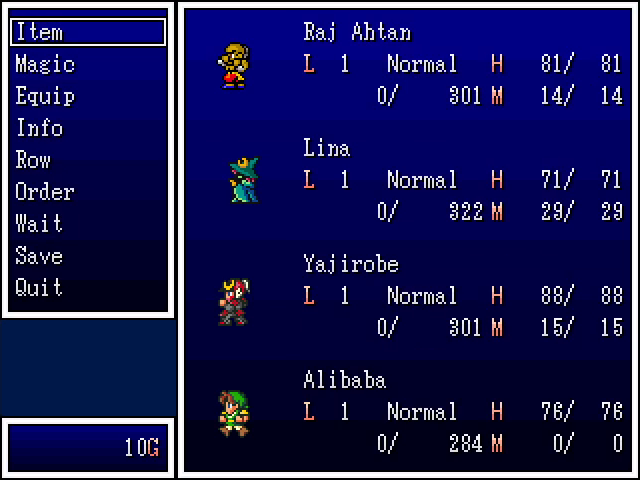
  Yeah, the opening for this chapter is a bit... intense. 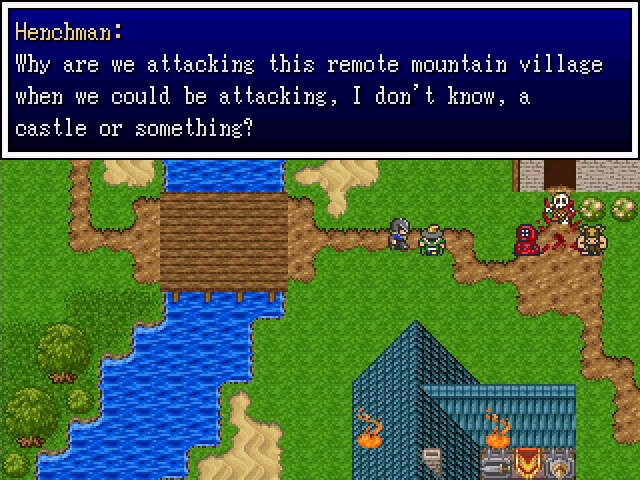  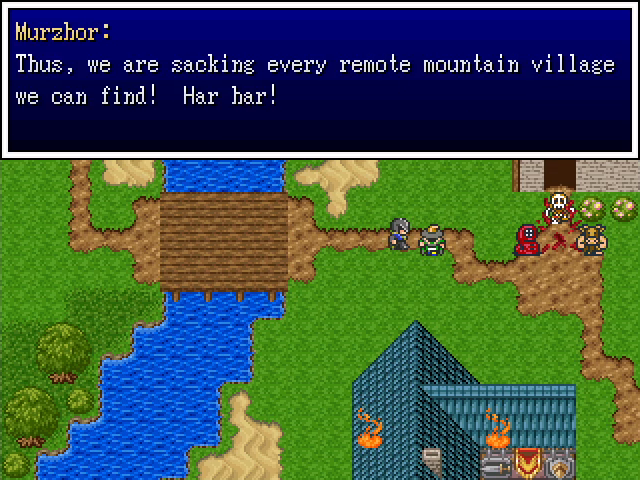 We know from previous chapters that Murzhor is one of Mephistocles' generals. Turns out he's not only quite evil, but also remarkably genre-savvy.  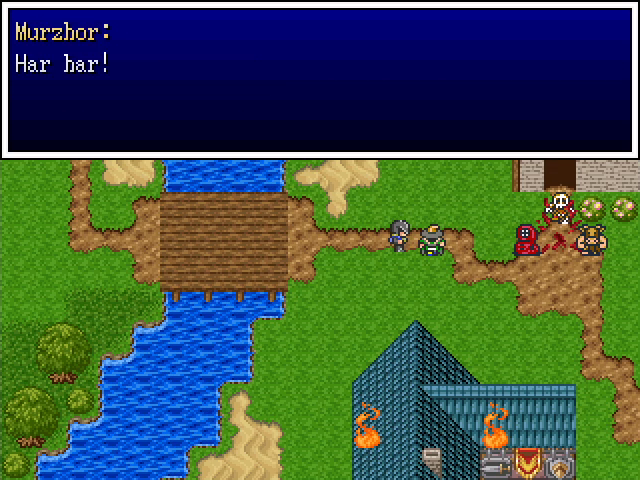 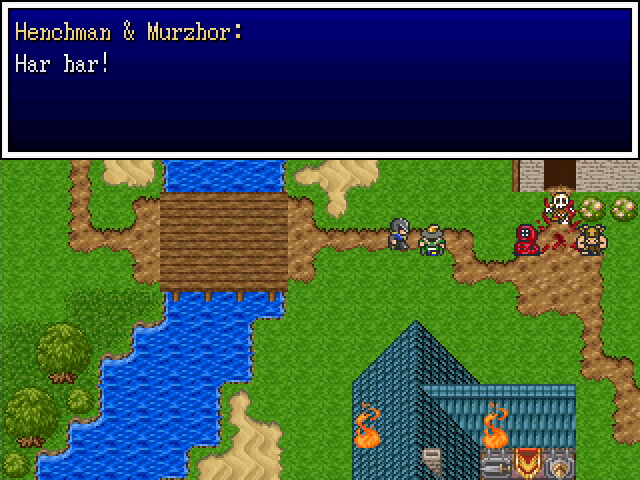 Seriously, though, they are cartoonishly evil. 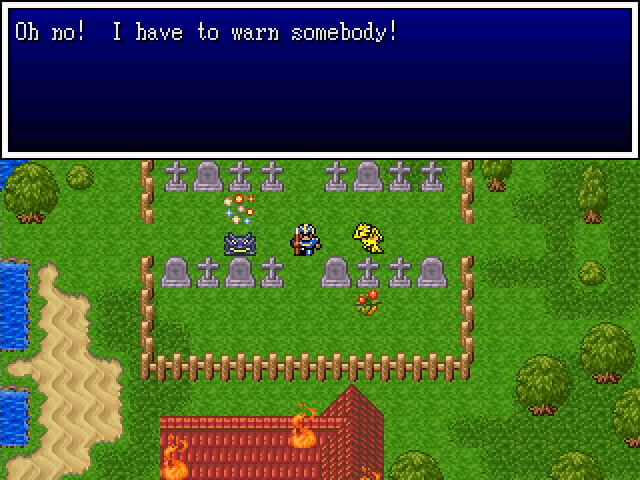 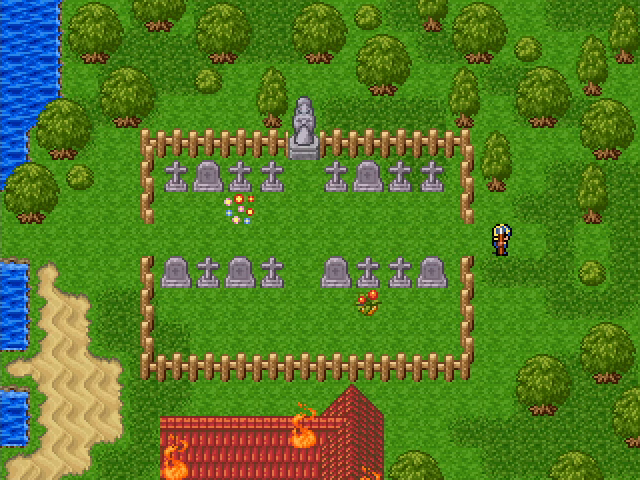 A lone soldier slays the monsters attacking him and flees the town. 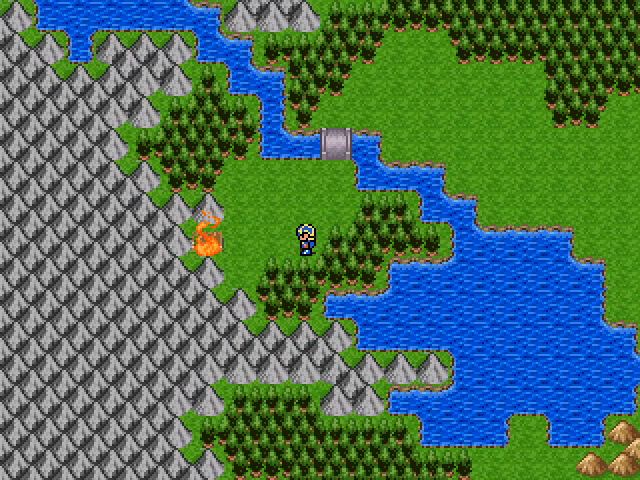 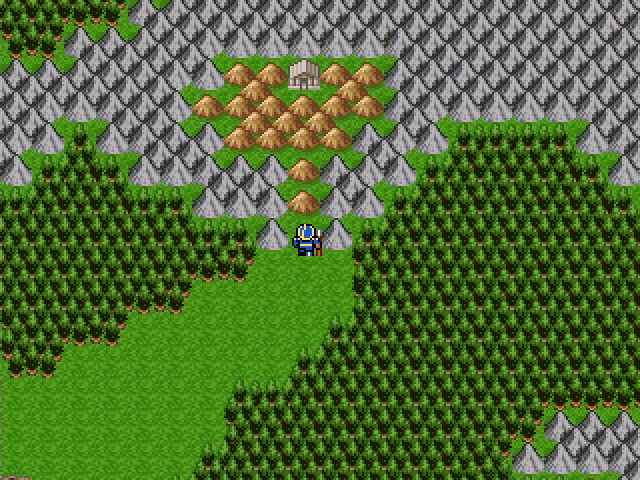 After sparing one last glance for his devastated home, the soldier heads north, to what appears to be a monastery. 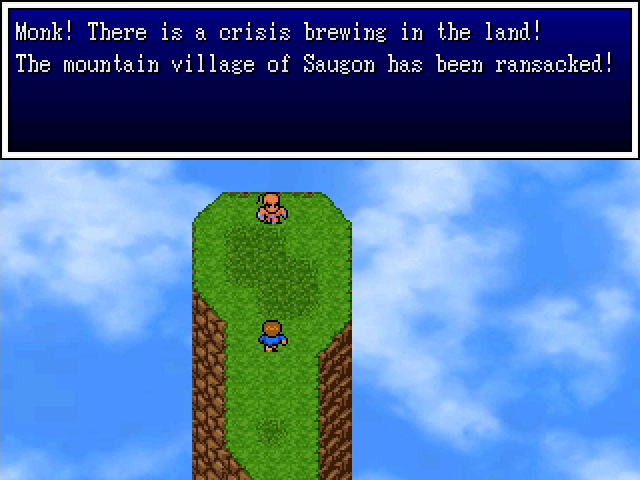 A short time later, a warrior-monk is called upon to address the situation.  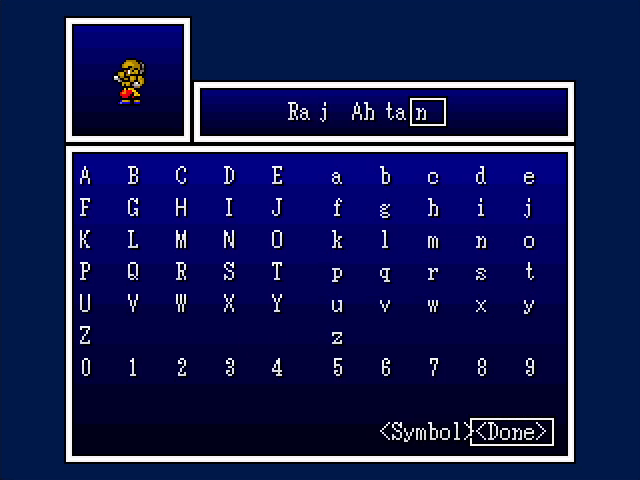 This is our fourth and final hero, Raj Ahtan. 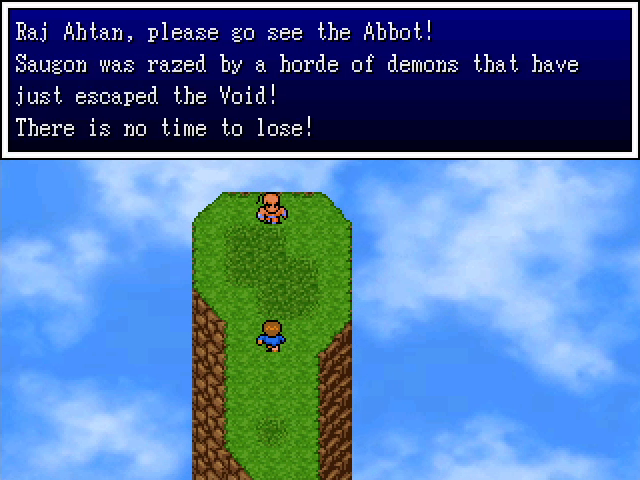 Our first task is to go see the abbot, but we're going to do a little exploring first. 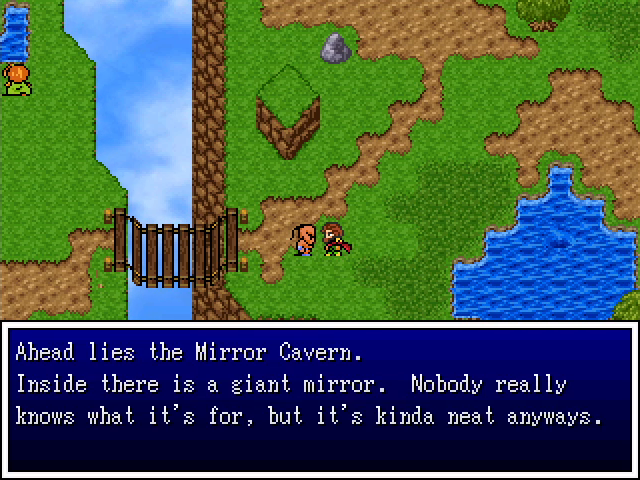 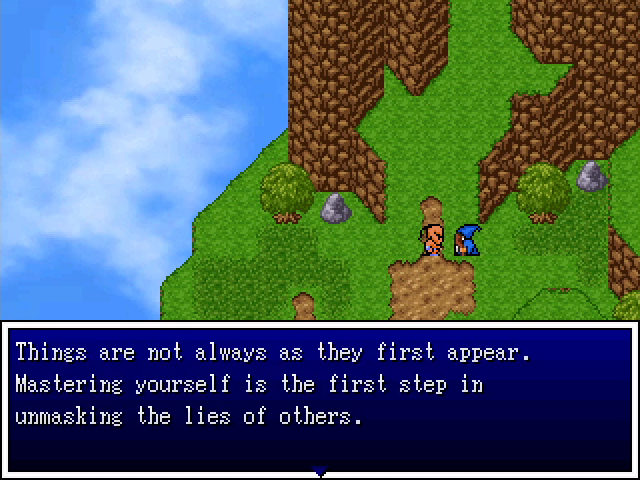 East of Raj Ahtan's starting location is the Mirror Cavern. 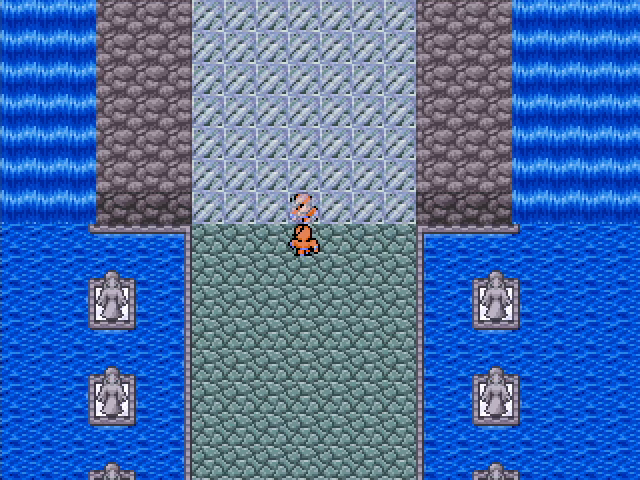 It's visually interesting but serves no obvious purpose. 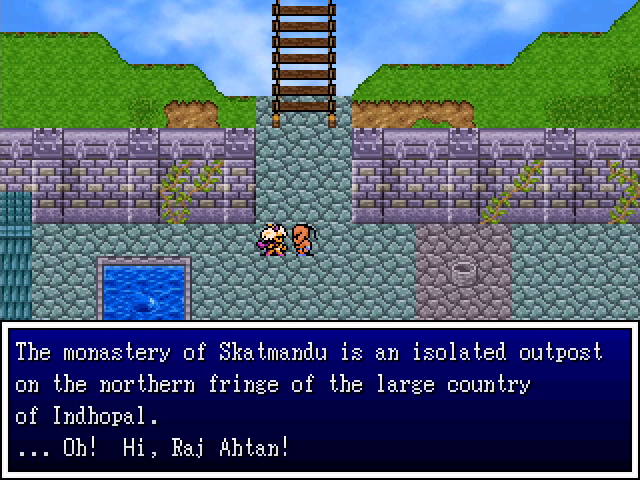 A local scholar gives us some information about where we are before realizing that our hero already knows it. 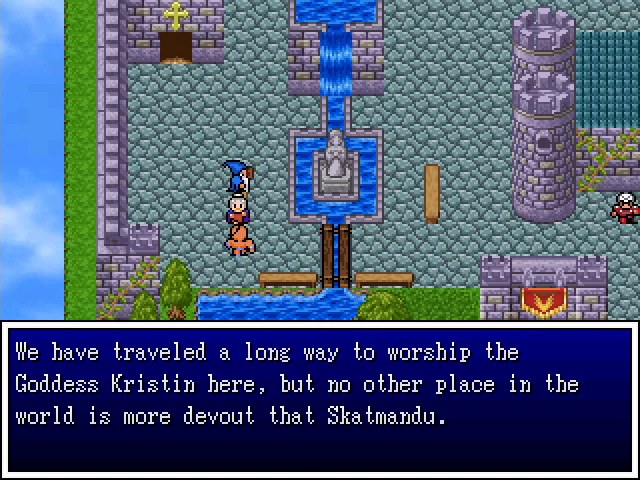 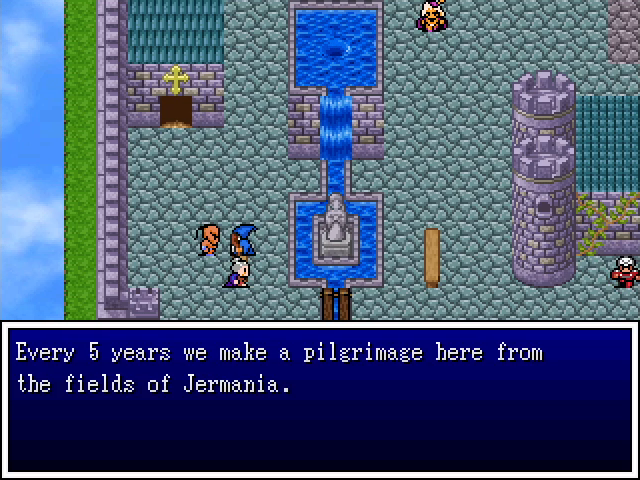 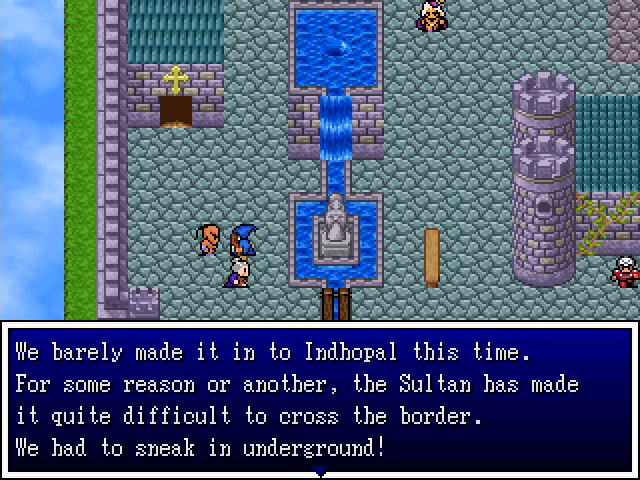 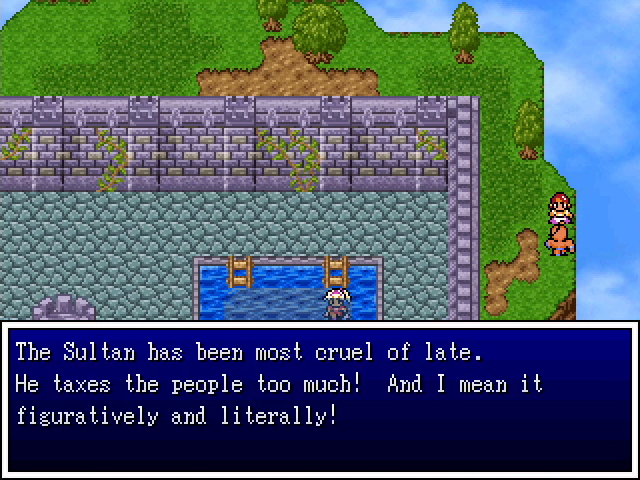 Taking to some of the people around here lets us know both that the monastery, Skatmandu, is an important holy site, and that there's trouble brewing in the nation of Indhopal. 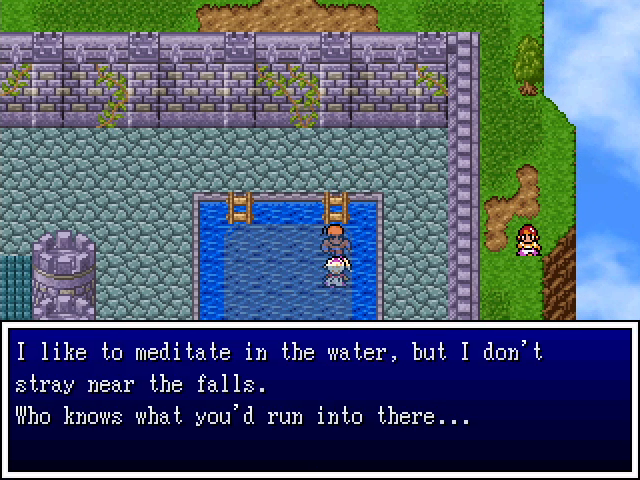 I'm not sure what this paladin is trying to say, since we can't get to the falls from here. 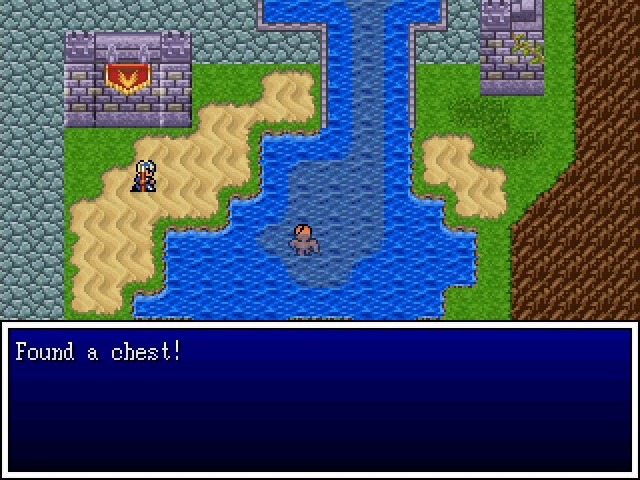  We can get near them, though, and find a hidden chest containing our first Tiny Medal of the chapter. 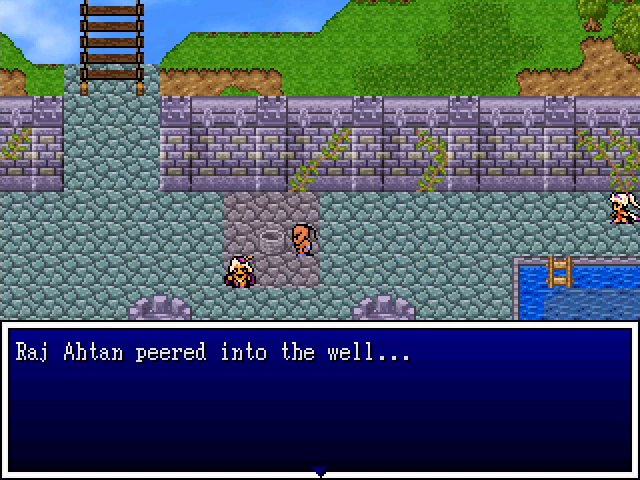 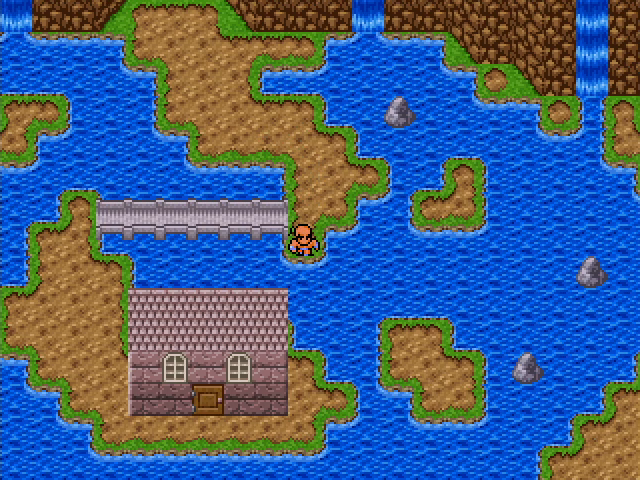 Speaking of, the Tiny Medal house is in the well in the first town, as has become the standard. 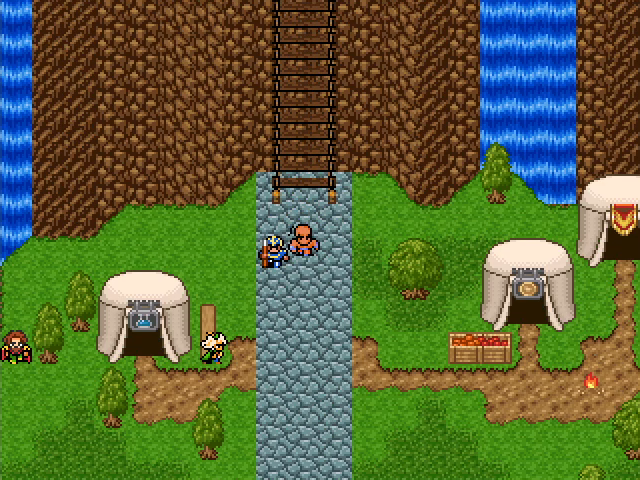 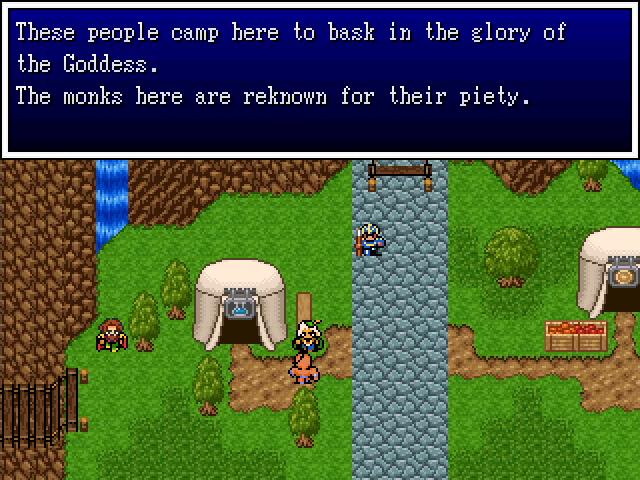 At the base of the mountain is a small encampment of pilgrims. 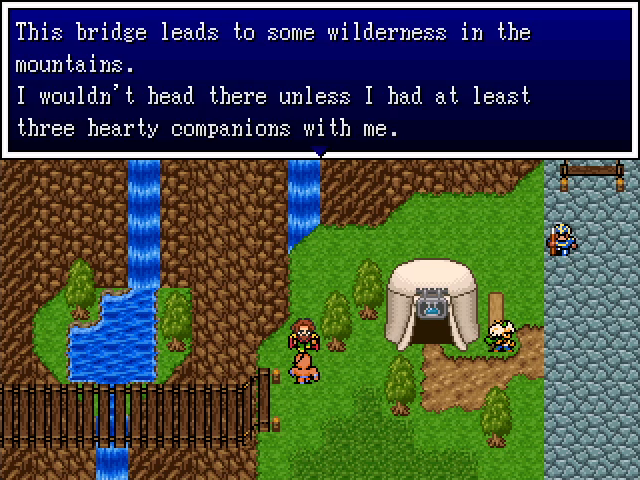 There's also a side area, presumably containing monsters, and we're advised not to go there without getting our party together. 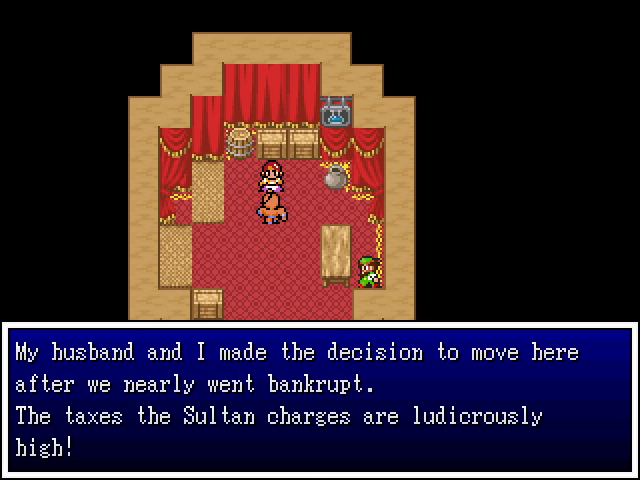 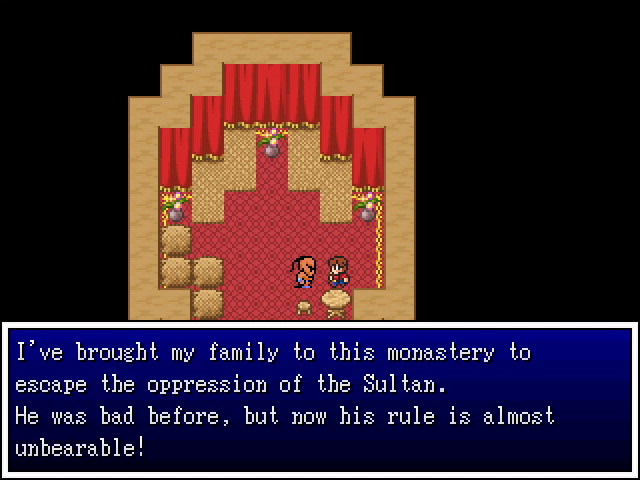 In case you hadn't yet gotten the hint, the Sultan has become kind of a bastard lately. 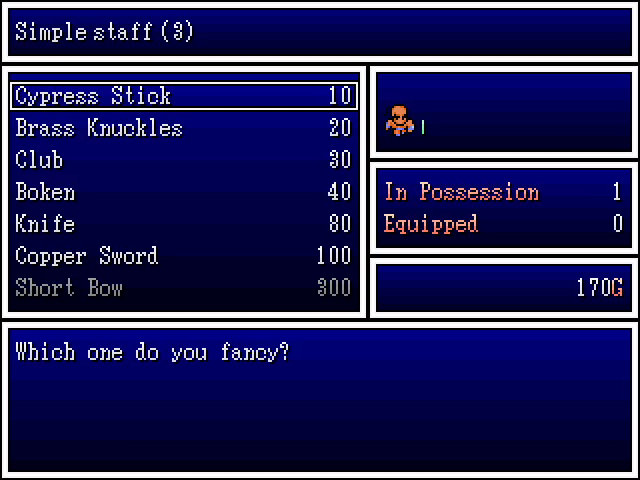 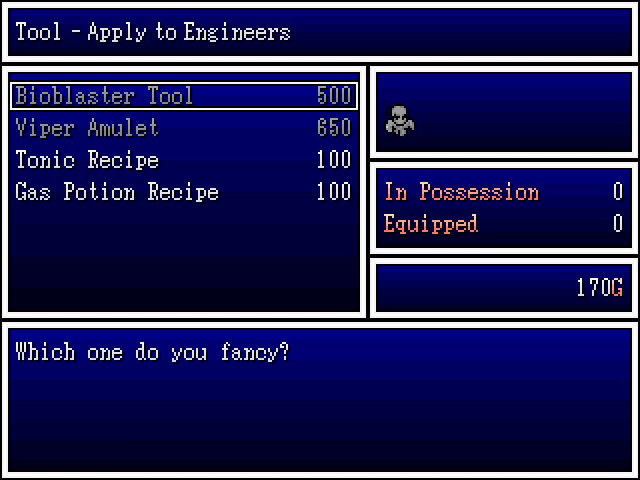 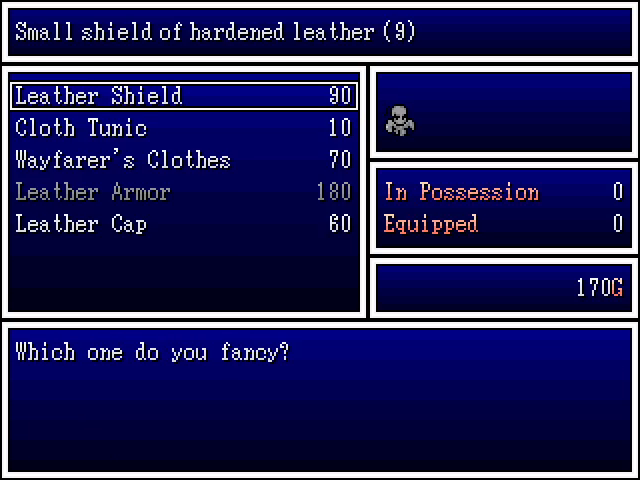 The shops here sell the usual early-game gear. 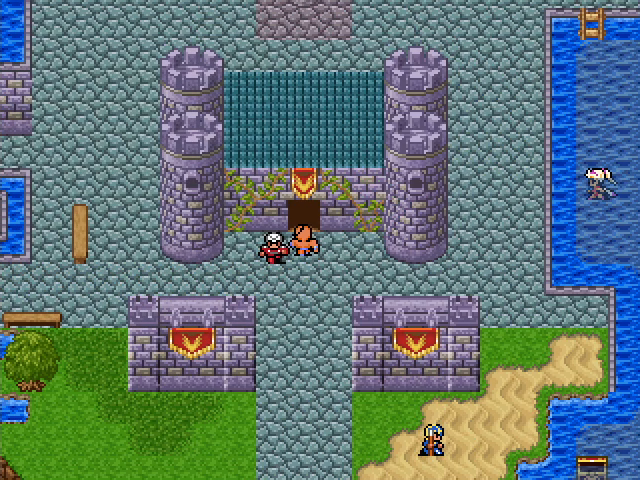 That's about all there is to see in Skatmandu. Let's go see the abbot. 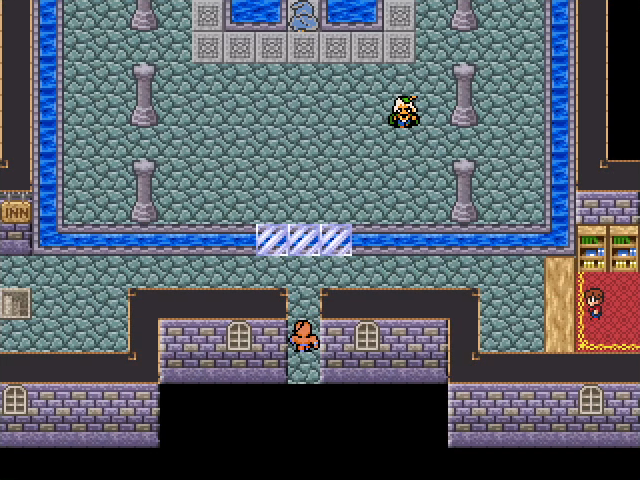 The abbey proper is pretty important, boasting both the recruitment facilities and the inn. 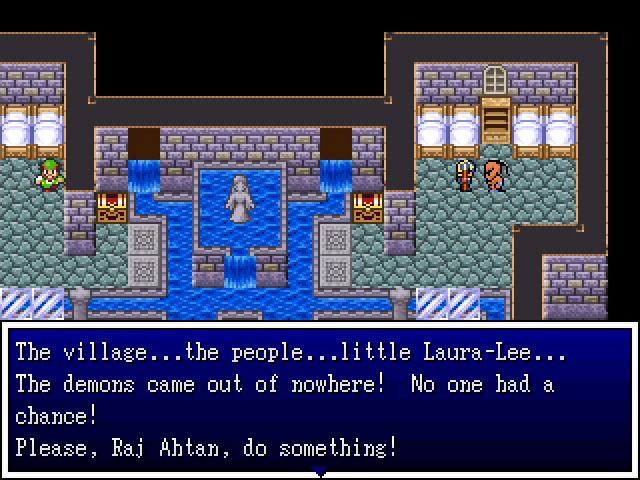 The guard who escaped the town at the start of the chapter is here. Don't worry, man, we'll avange sweet little Laura-Lee. 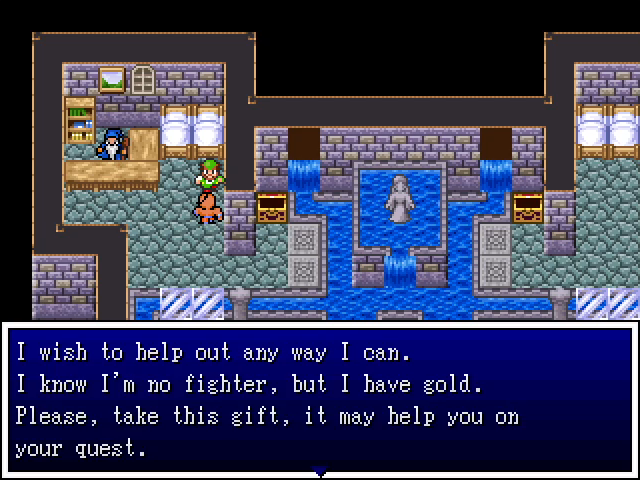 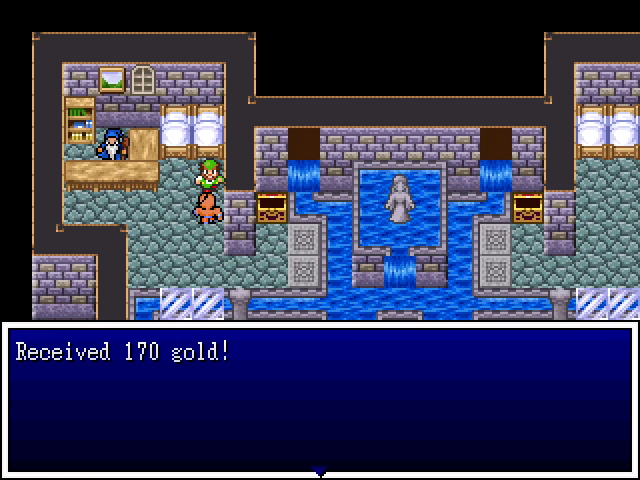 A lone merchant generously donates a chunk of money to fund our heroics. 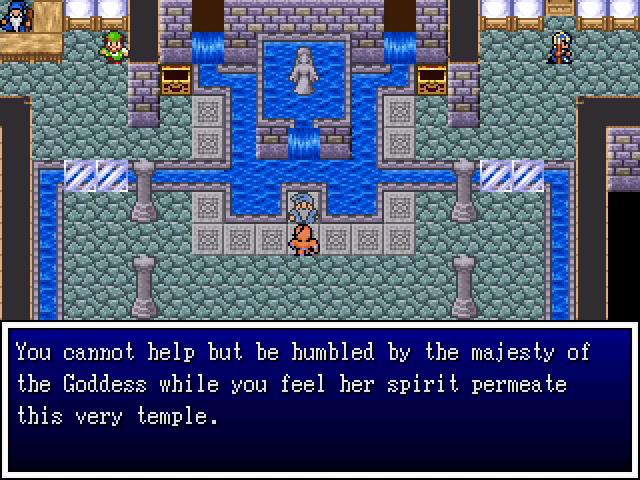 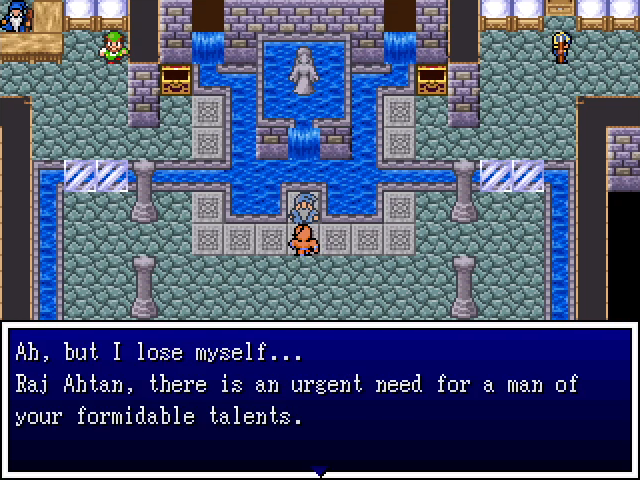 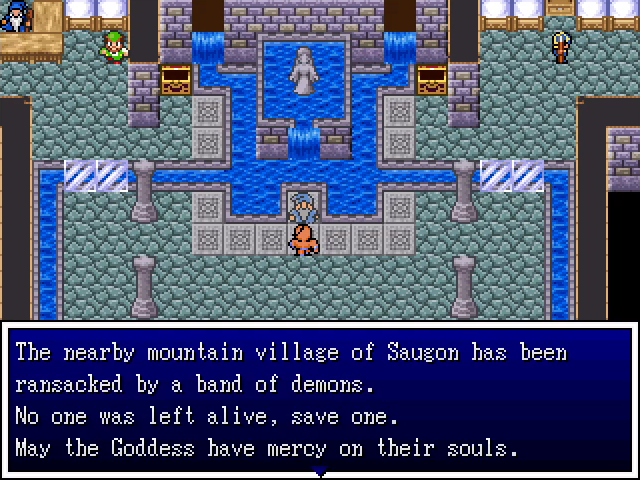 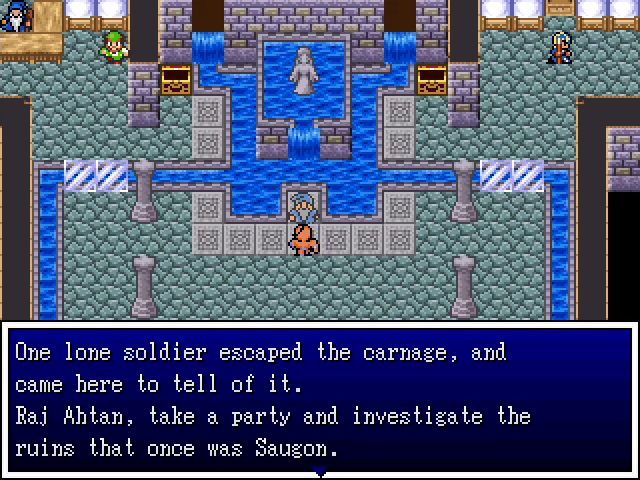 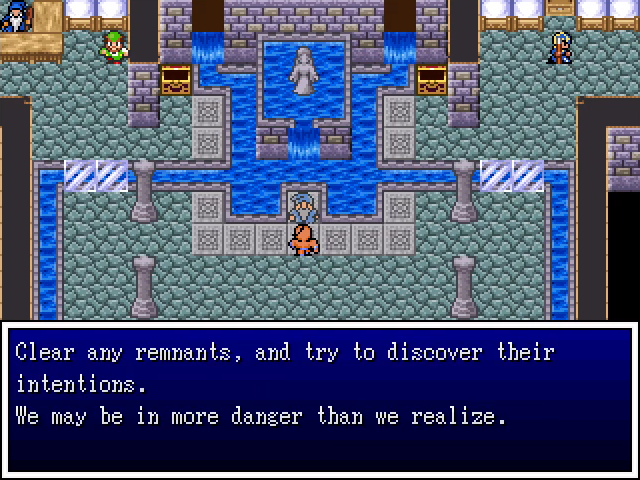 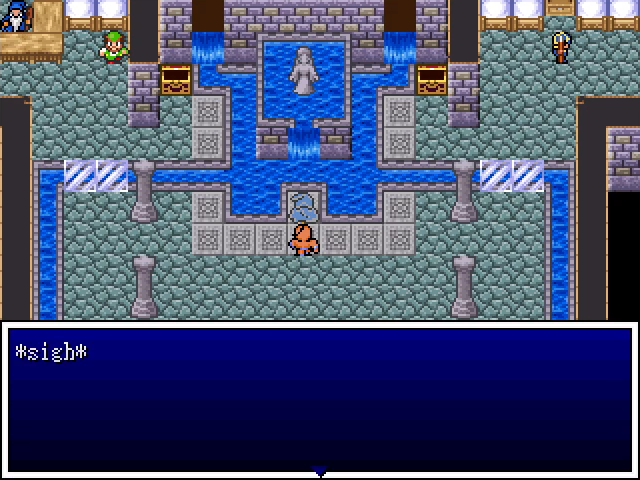 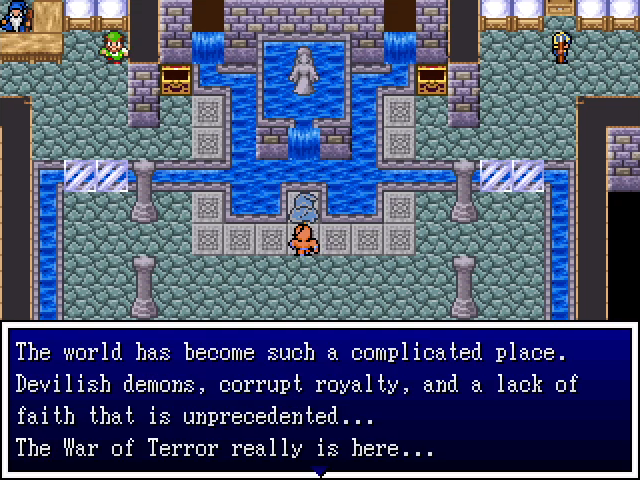 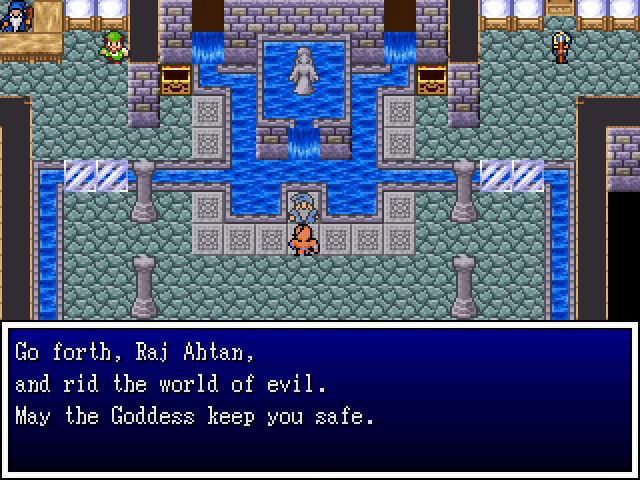 I don't have much to add here. The abbot gives us a brief speech and our initial task. 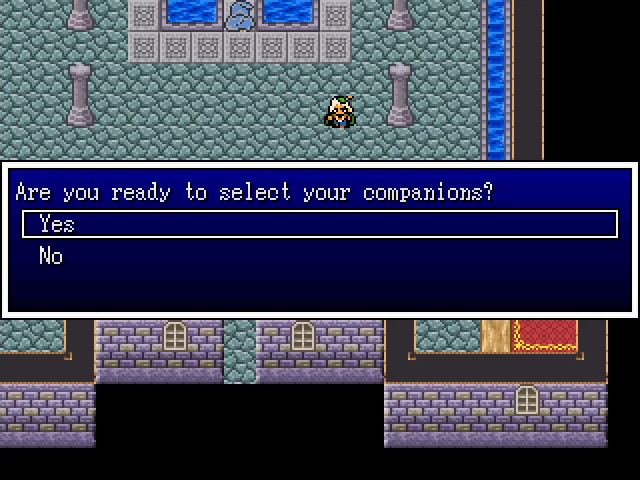 Let's do this. Of course, with this being our fourth and final hero, there's not much to vote on vis-a-vis party composition. Raj Ahtan will be traveling with a Wizard, a Ronin, and a Bandit. I will, however, give y'all a few days to vote on genders and names in case that's something that interests you.
|
|
#
?
Sep 8, 2022 00:26
|
|
|
 Raj Ahtan, our last hero, is a Monk. Its fighting style revolves around dual-wielding the fist and claw weapons that are otherwise exclusive to berserkers, which offers a lot of power at the expense of defense, since it precludes the use of a shield. Monk compensates for this by having the best healing abilities of the four hero classes. It also has the Chi command, which, over time, gains a variety of unique skills.
|
|
#
?
Sep 8, 2022 00:27
|
|
|
Curiously, the Ronin Yajirobe appears to be a little out of place.
|
|
#
?
Sep 8, 2022 00:30
|
|
|
...weird mix of Indian and Middle Eastern/Arabian stuff here. Anyway, our Bandit should be named Alibaba.
|
|
#
?
Sep 8, 2022 00:39
|
|

|
Obviously, our mighty wizard companion is none other than Gondalf the beige, servant of the hidden blaze.
|
|
#
?
Sep 8, 2022 00:56
|
|
|
We need a feminine touch to handle this delicate matter. Preferably a touch that involves throwing around as many fireballs as possible. Lina the female wizard.
|
|
#
?
Sep 8, 2022 01:24
|
|
|
Randalor posted:We need a feminine touch to handle this delicate matter. Preferably a touch that involves throwing around as many fireballs as possible. Lina the female wizard. You, sir, have impeccable taste. 5-Headed Snake God fucked around with this message at 12:12 on Sep 8, 2022 |
|
#
?
Sep 8, 2022 01:45
|
|
|
Randalor posted:We need a feminine touch to handle this delicate matter. Preferably a touch that involves throwing around as many fireballs as possible. Lina the female wizard. 
|
|
#
?
Sep 8, 2022 04:00
|
|
|
All right, seems like everyone who wanted to speak up has done so. Raj Ahtan will be rolling with Lina the Wizard, Yajirobe the Ronin, and Alibaba the Bandit. I'll get to work in the next update presently.
|
|
#
?
Sep 10, 2022 01:18
|
|
|
Oh yeah, I should have voted for Lina the wizard as well. Anyway, the name of this monastery seems to have some personality to it, I'm not sure I like it?
|
|
#
?
Sep 10, 2022 01:20
|
|
|
SIGSEGV posted:Oh yeah, I should have voted for Lina the wizard as well. Yeah, it's definitely a play on Kathmandu, and it feels a bit... culturally insensitive, I guess? If the game has a flaw, it's definitely that, and we certainly haven't seen the last of it. I don't recall anything that's straight-up racist, at least.
|
|
#
?
Sep 10, 2022 01:51
|
|
|
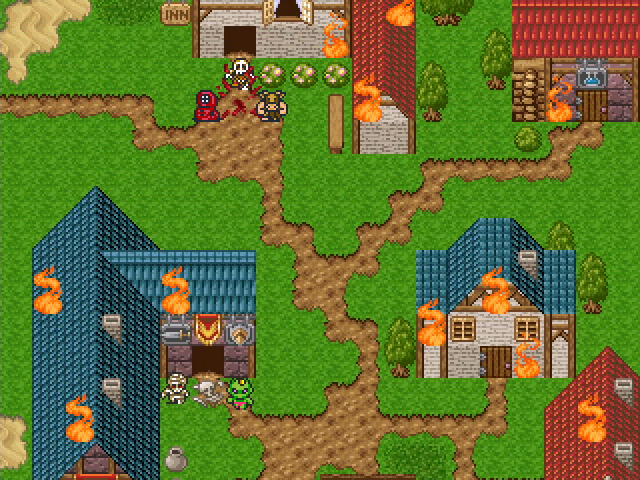
 Out fourth and final party is an eclectic mix of personalities: a short-tempered wizardess, a ronin who seems to be a refugee from Jumongu, and a bandit straight out of myth. 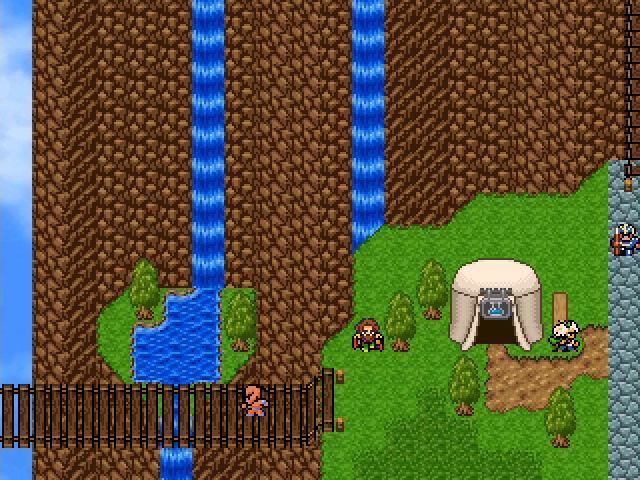 Withour characters in tow, we grab some rudimentary starting gear and head across that bridge at the base of the mountain. 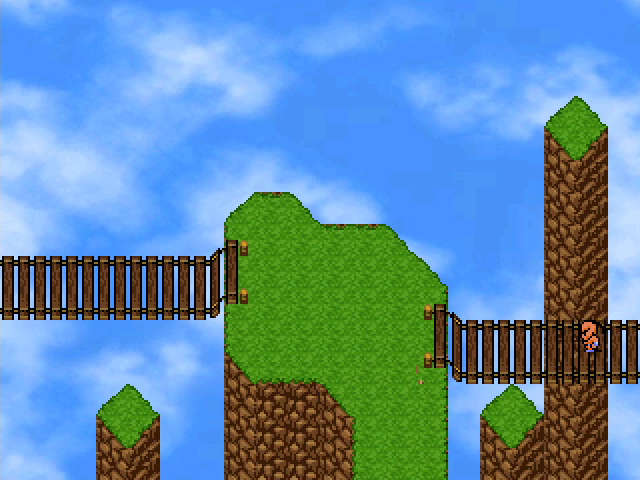 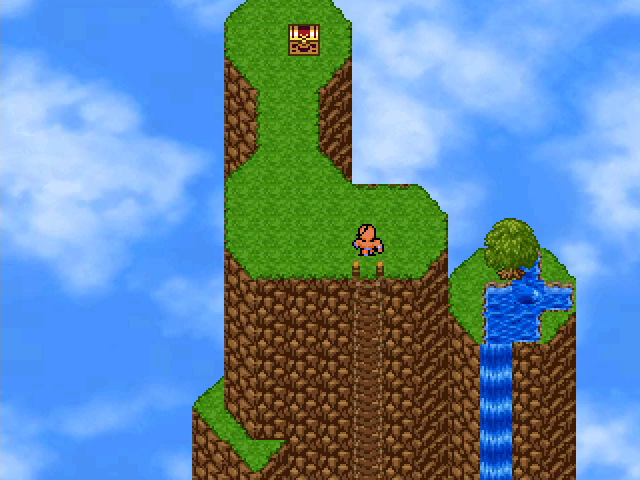 Beyond is a rather nice-looking area that seems like it should be higher in the mountains. There's not much to it - just a few branching paths containing treasure chests - but it's perfect for level 1 characters. 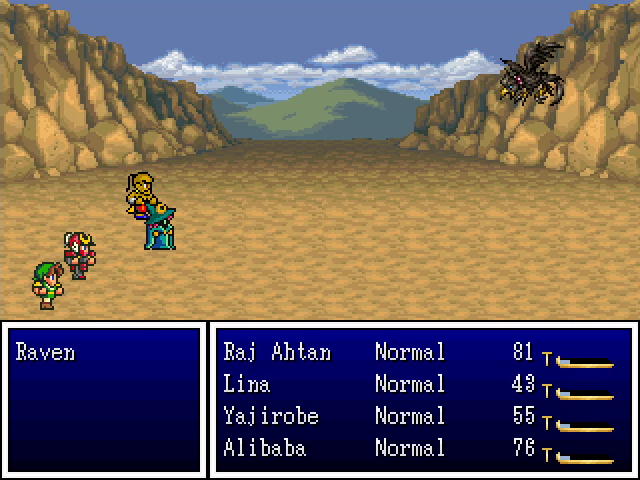 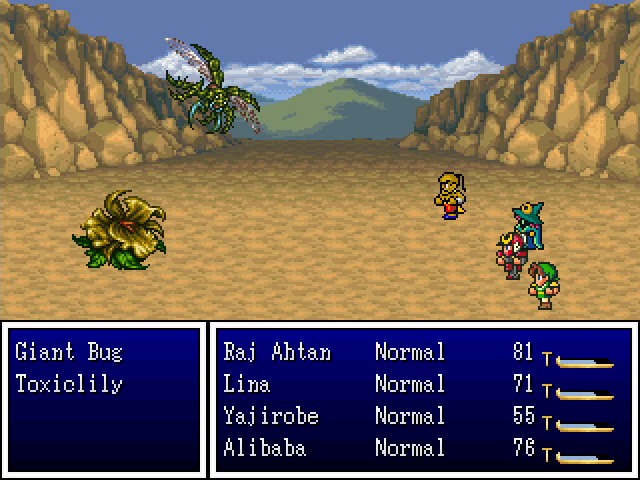 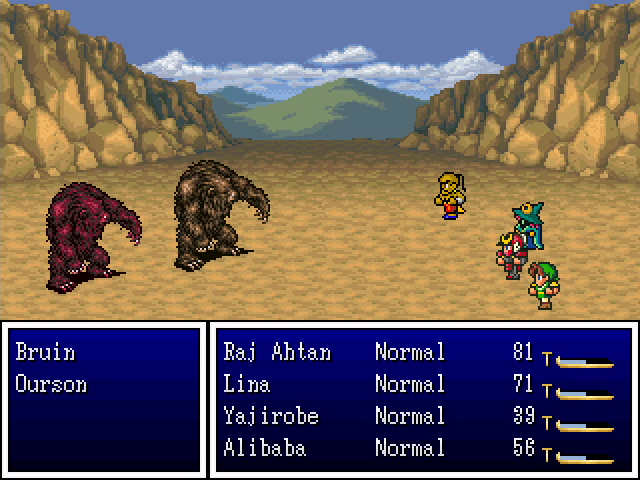 The monsters here are nothing we haven't see before, though most of them were previously encountered at higher levels. Toxiclilies are the the exception; as you might expect, they can inflict poison. 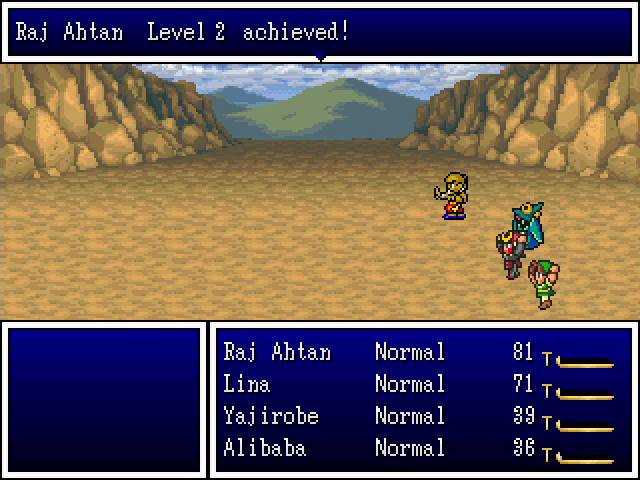 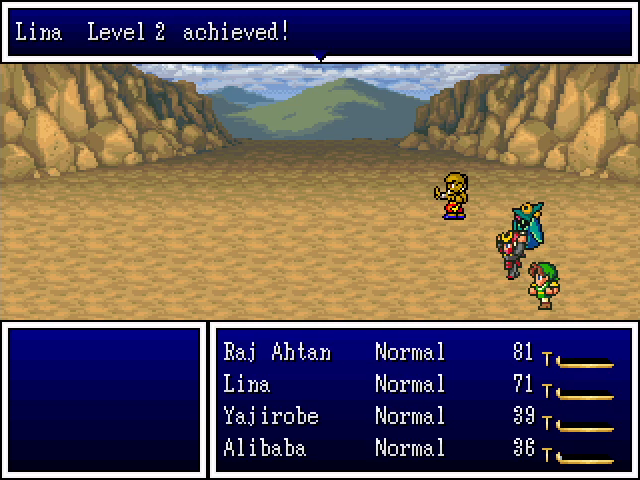 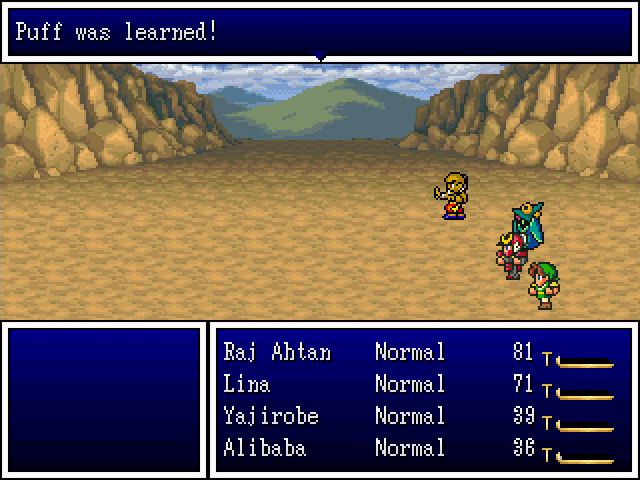   Apart from gathering loot, our team reaches level 2 here. Lina learns her first new spell almost immediately, supplementing the Blaze spell she already had. Puff is an excellent early spell and will help her establish her place in the party by the end of this update. 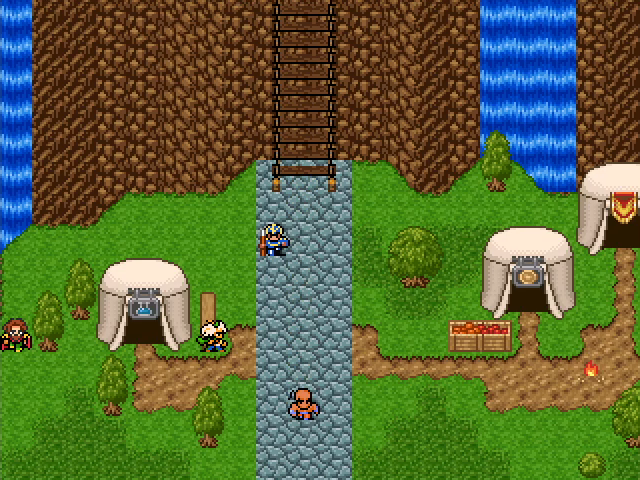 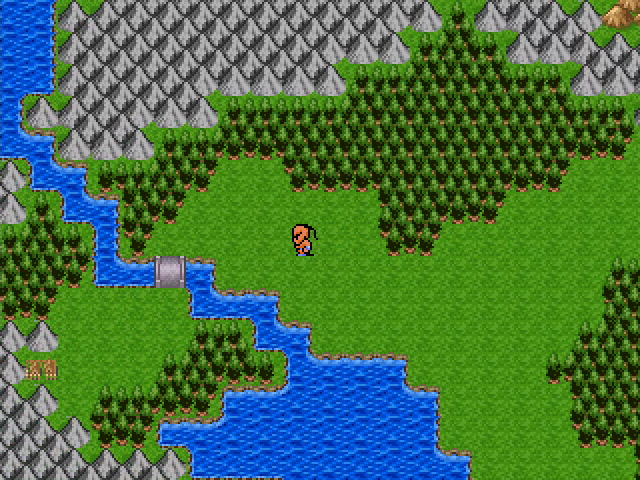 After rounding out our equipment, we head out for the village of Saugon. 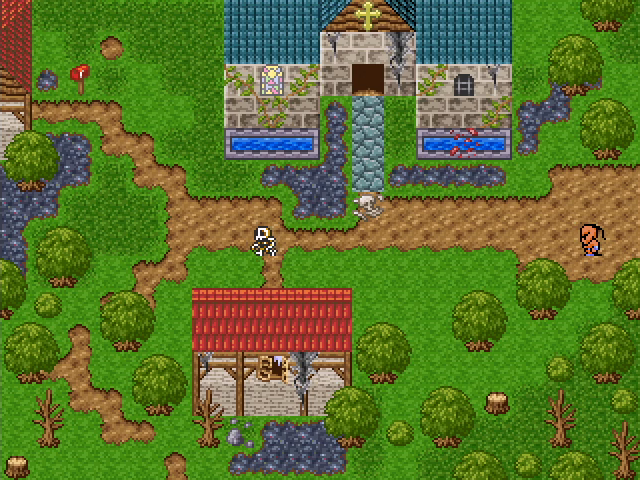 It's recognizable as the town from the opening, if only barely. Monsters have taken up residence, though fights only happen on contact with a monster sprite - the town has no random battles. 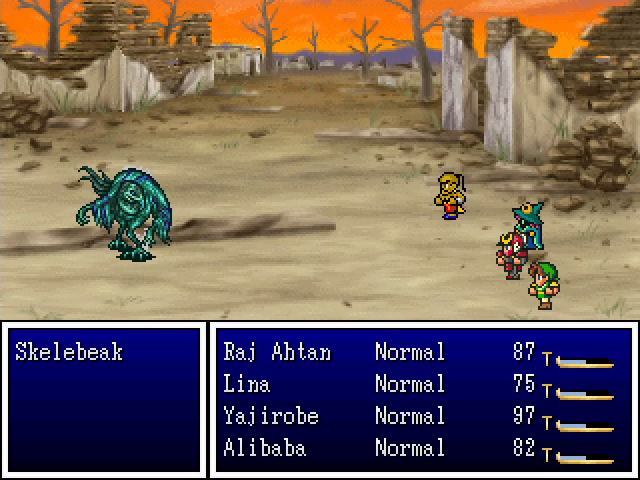 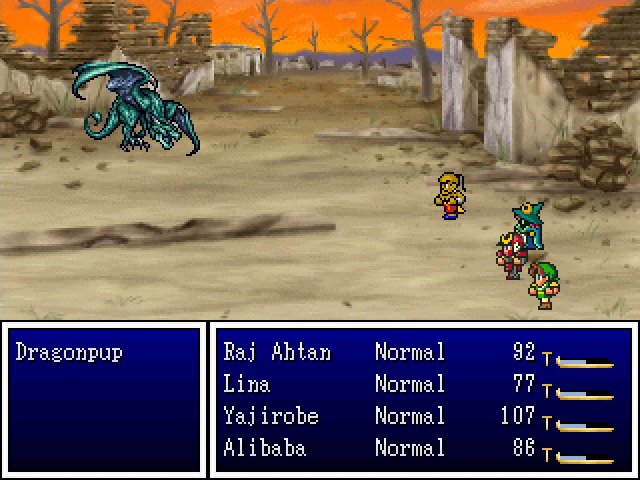 As for the monsters themselves, there are only two types, and they're always fought alone. They're so weak that not one of them got an action while we were here. 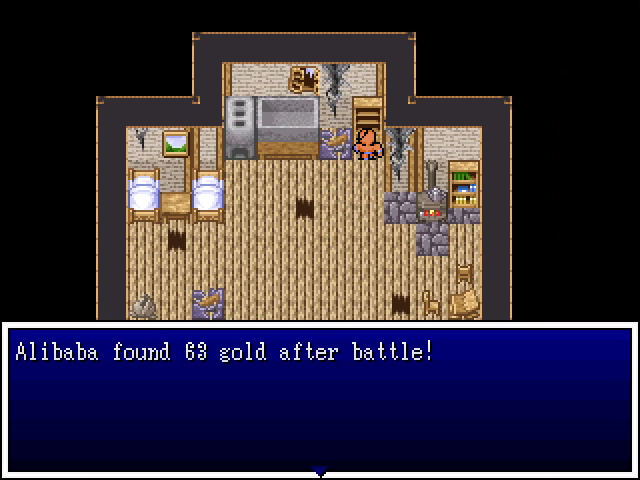 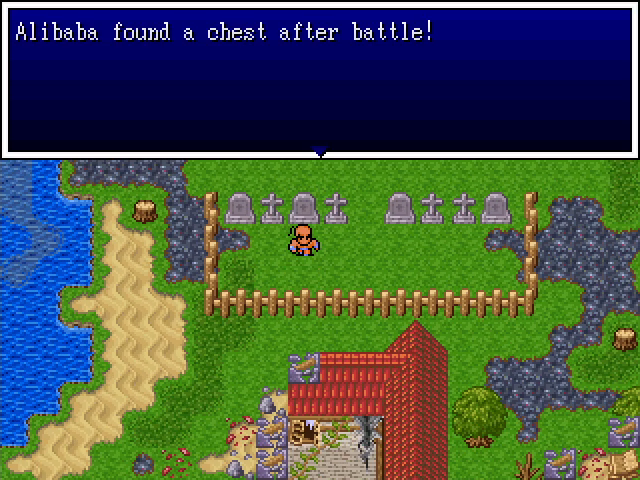 Saugon is also where Alibaba's Bandit skills start to show up, with him randomly finding gold or a chest after battle. Neither is going to break the game, but they're both nice bonuses. 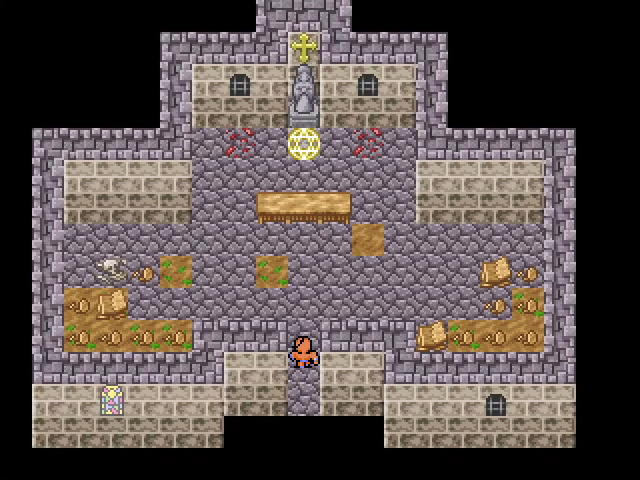 The church is the most important building in town, at least for us. 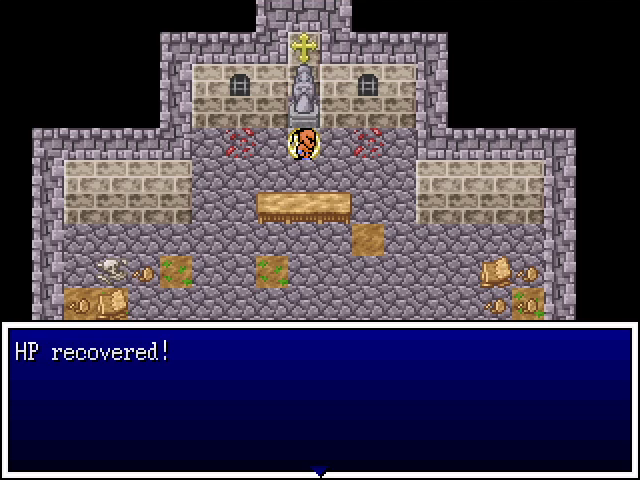 The circle in front of the statue restores our party's HP at no cost, and ensures that we can deal with the swamp terrain and the two tougher battles found here. 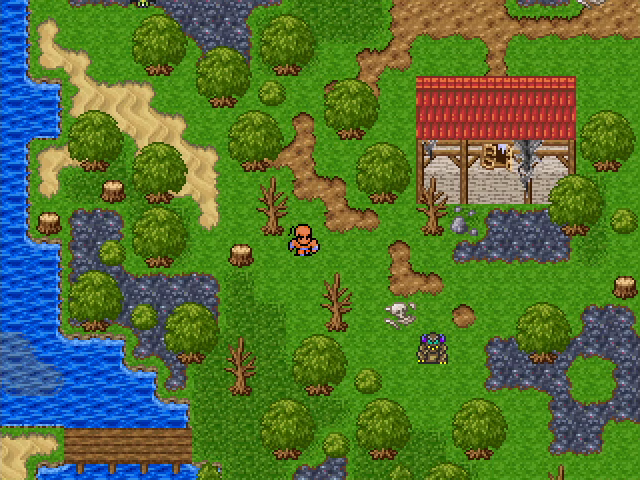 Speaking of which, it's time for a little vengeance. 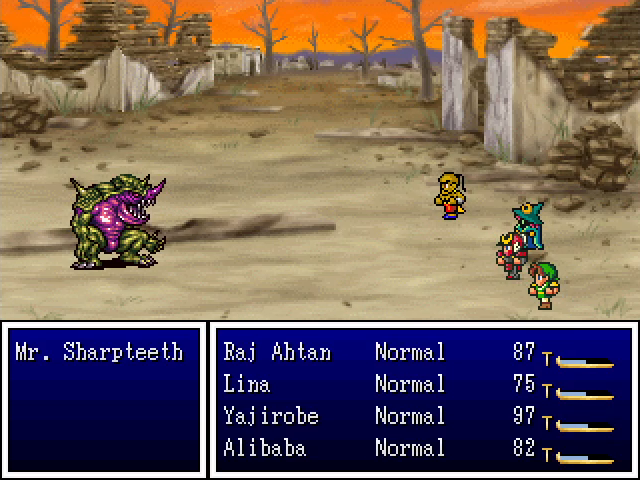 Mr. Sharpteeth uses Plague Bite to poison us, but is otherwise a fairly unassuming enemy. 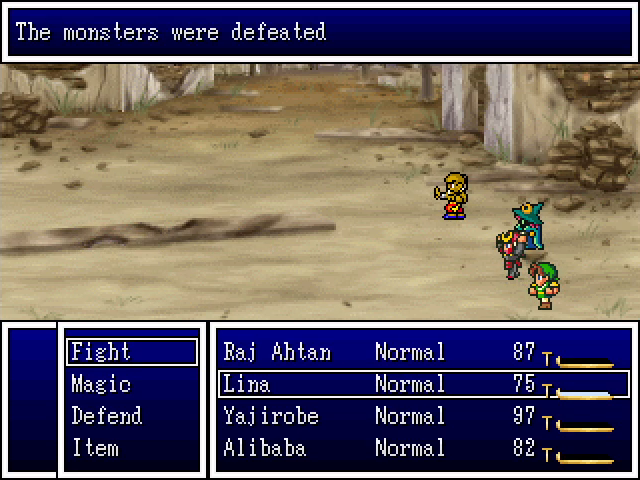 That was for Laura-Lee, you son of a bitch. Sadly, killing him won't bring her back. 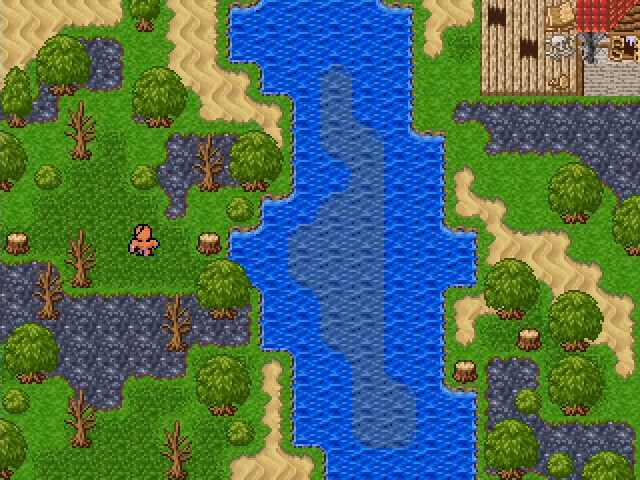 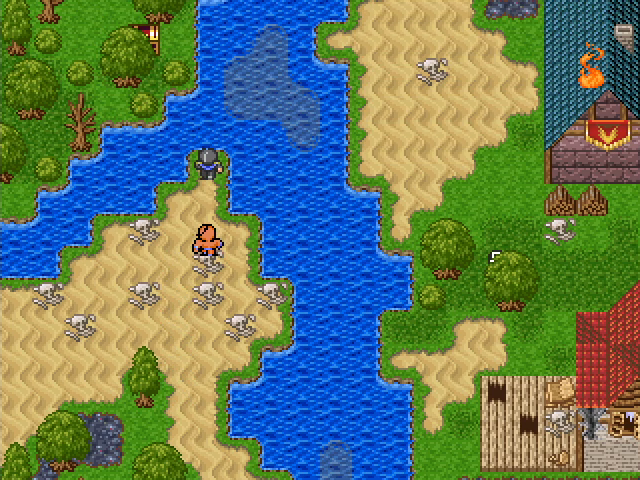 Near Mr. Sharpteeth is a bridge. We cross that and head north to the other important battle here. 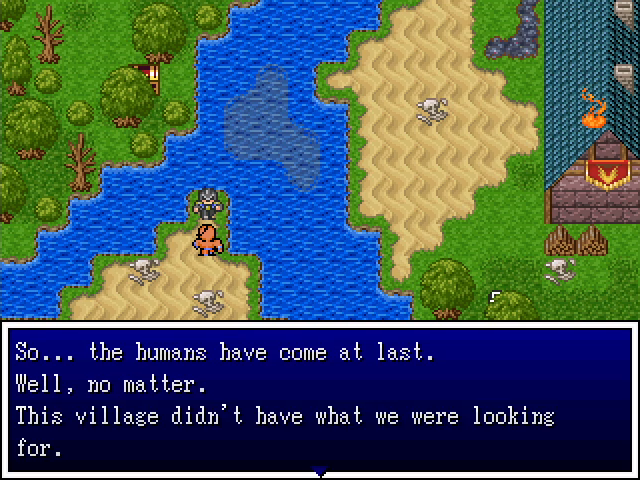 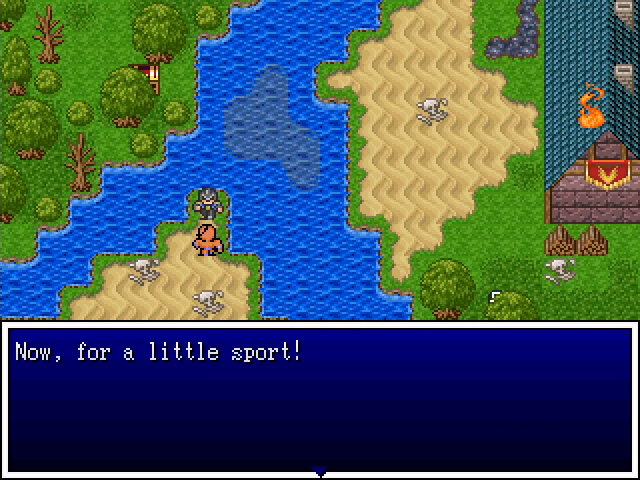 Murzhor's henchman apparently stuck around to make sure the town got razed. 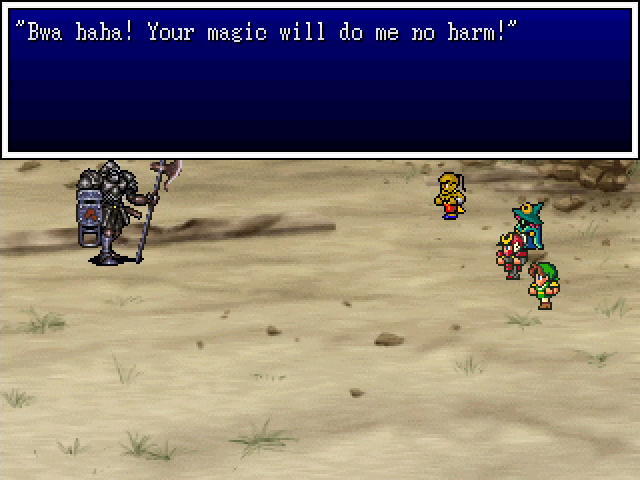 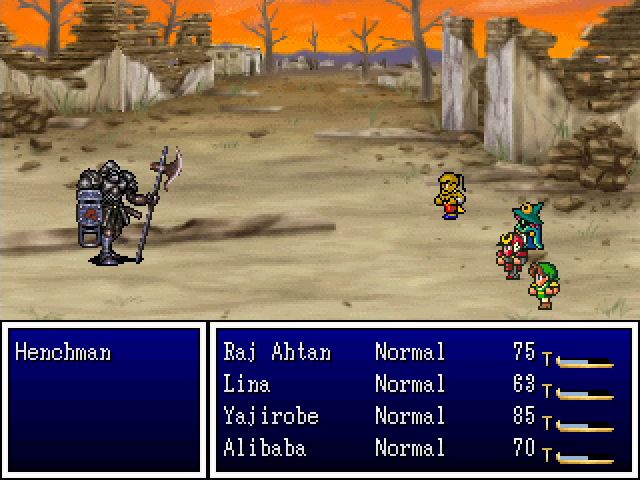 The Henchman is a fairly straightforward fight. As he says, magic does nothing to him, so we have to rely on physical attacks. Luckily we're pretty good at those. In addition to standard attacks, he uses Slasher to hit our whole party and Mutespell to further troll spellcasters. He goes down after a few rounds, though.  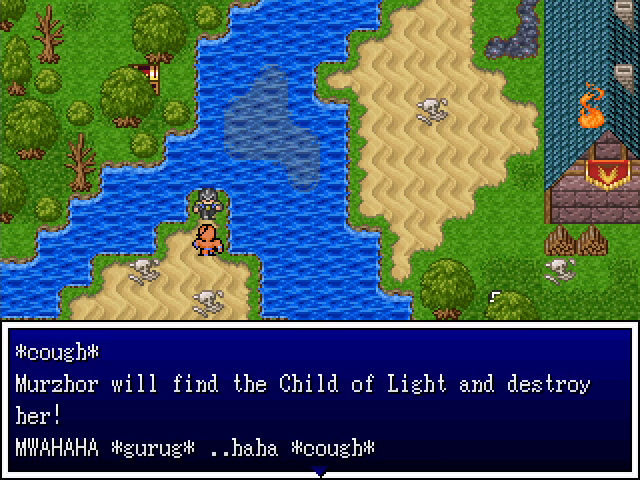 Yeah, yeah. Eat poo poo. 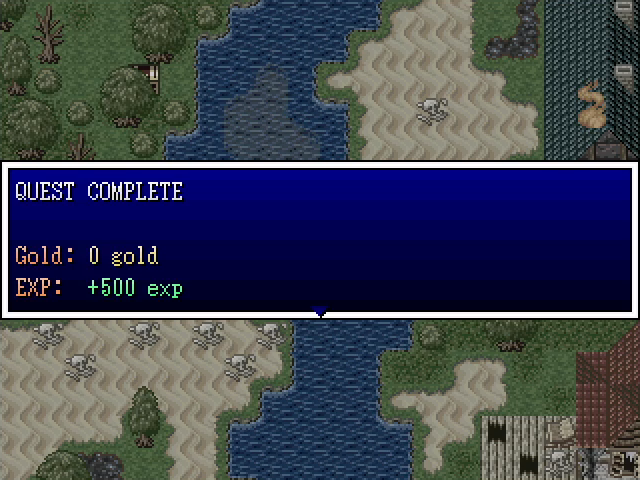 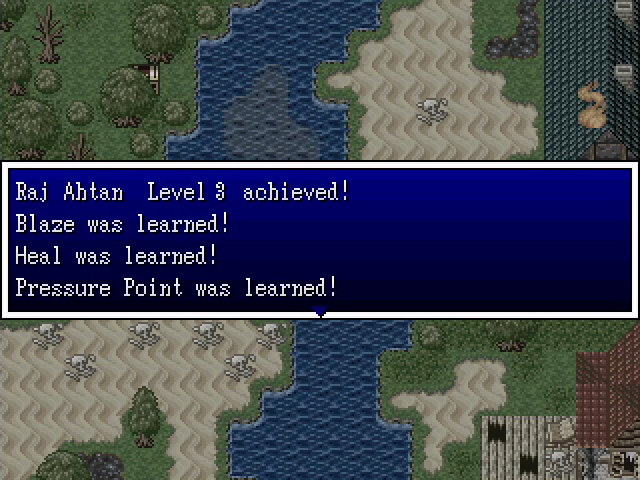 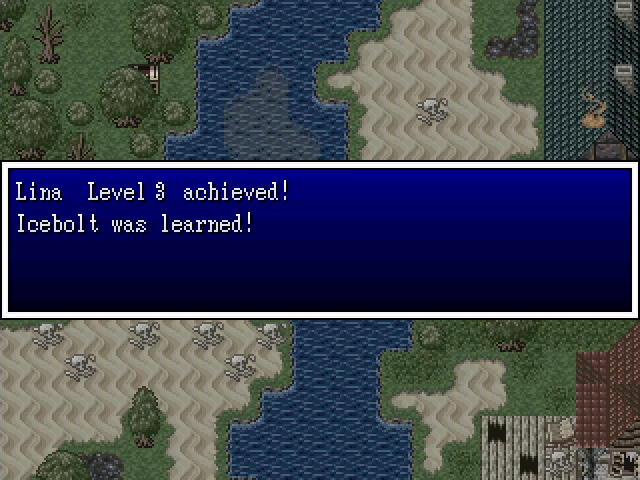   Defeating the Henchman gives us a full set of level-ups, including a significant boost to Raj Ahtan's arsenal. Pressure Point is a Chi skill unique to the Monk class that costs 2 MP and inflicts Weak on an enemy, which is a pretty decent trade. We've done what we came here to do, but let's explore a bit and see if there's anything to find.  The town shop is as wrecked as everything else, but there's still something of interest. 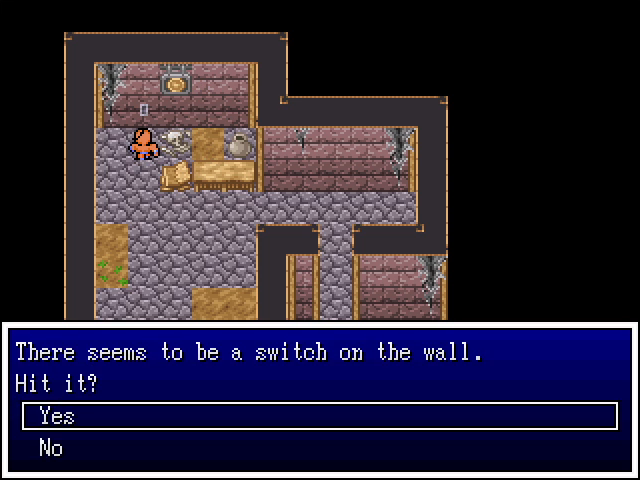  After hitting the switch, a stairway opens in the ground outside. 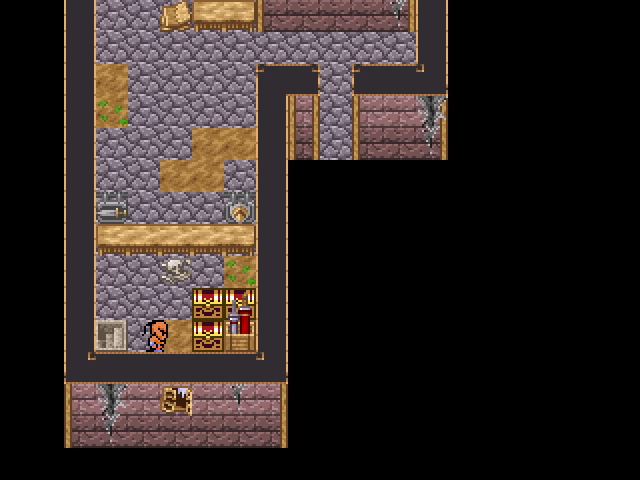 The stairs lead to an underground passage that in turn leads behind the shop's counter. The chests here contain a knife, a leather dress, and a Tiny Medal, which is a pretty good haul. Unfortunately, since Lina is our only female party member, no one can actually wear the dress. 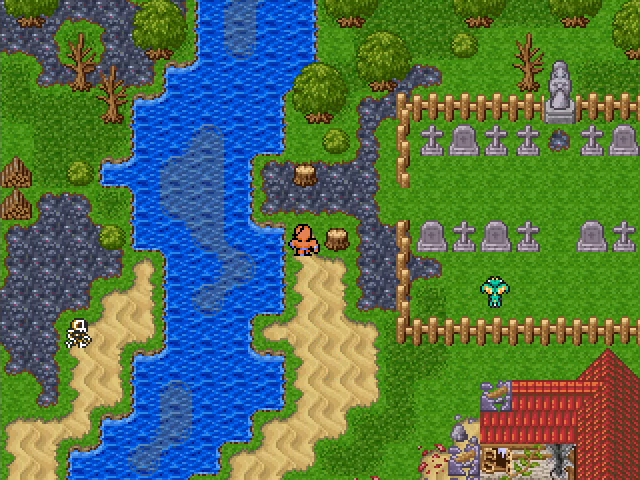 Up north, we come to the town graveyard. You know what that means. 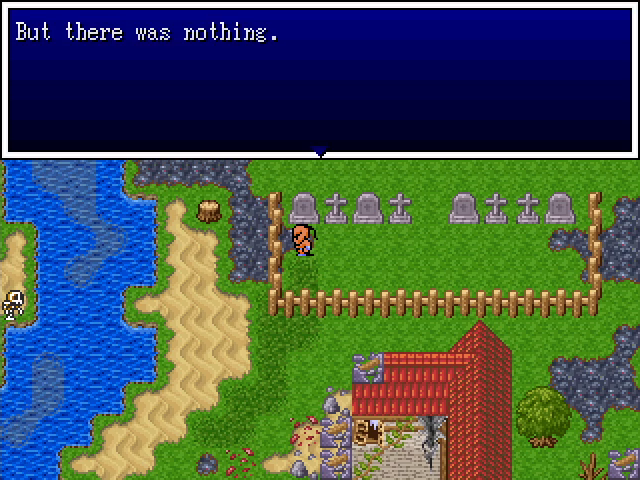 Oh. No heroics for us today. 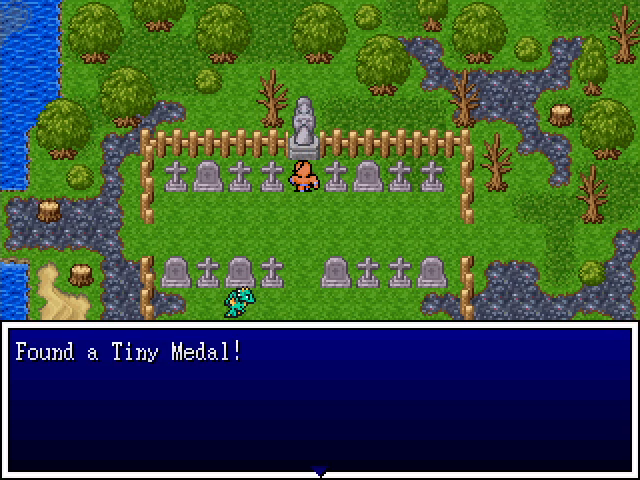 Oh well, I guess we'll just take this Tiny Medal as consolation. 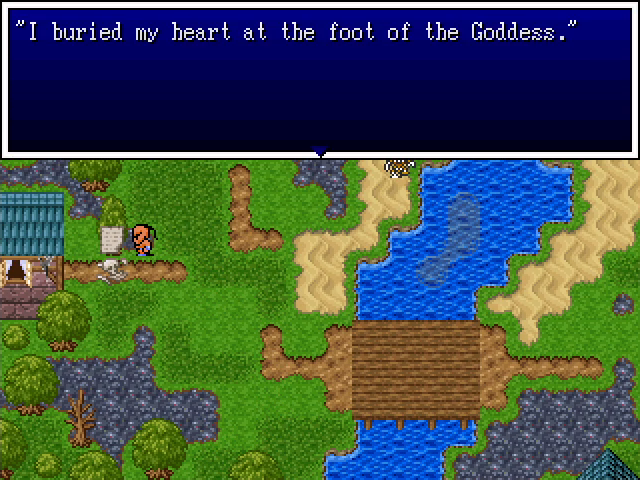 There's also a clue to the Medal's location, in case it's not obvious enough. 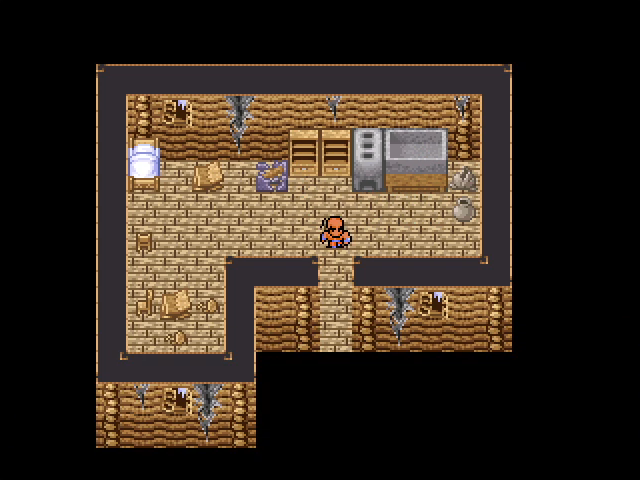 Finally, we stop by Laura-Lee's house, where we find a couple of tarot cards in the cabinets. RIP, girl. 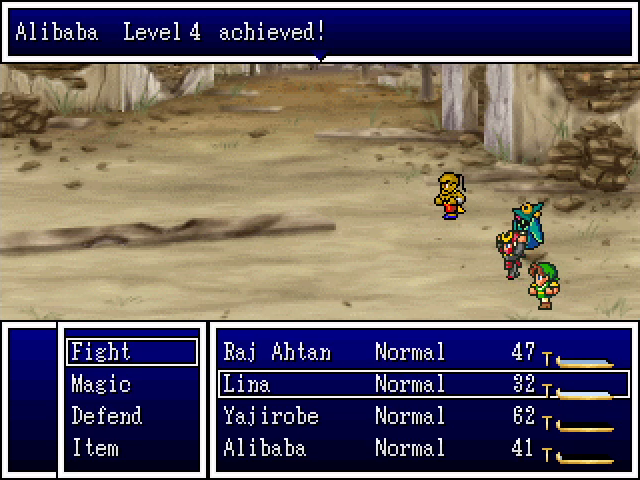 Oh, and before we leave, Alibaba hits level 4. Like other rogue classes, Bandits level a little more quickly than most. With our business here concluded, we head back to Skatmandu. 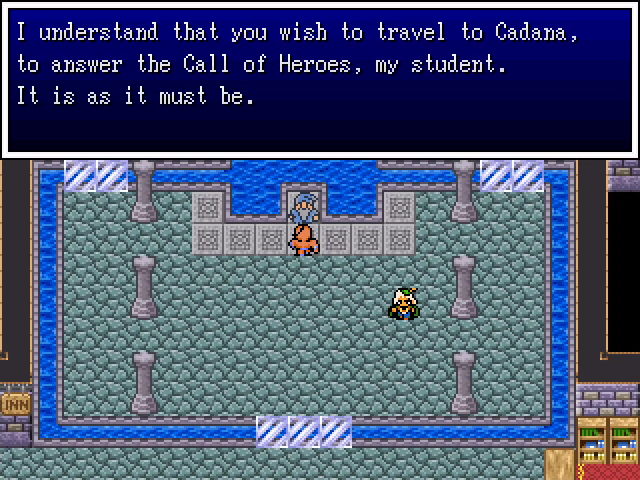 The abbot has no comment on anything we learned in the ruined town, which feels like a bit of an oversight. Instead, he prompts us toward the next leg of the game. Unlike the other heroes, Raj Ahtan's primary goal is actually to answer the Call of Heroes. 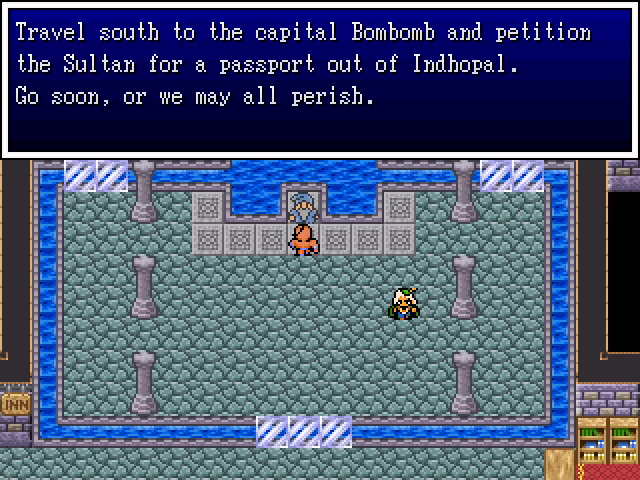 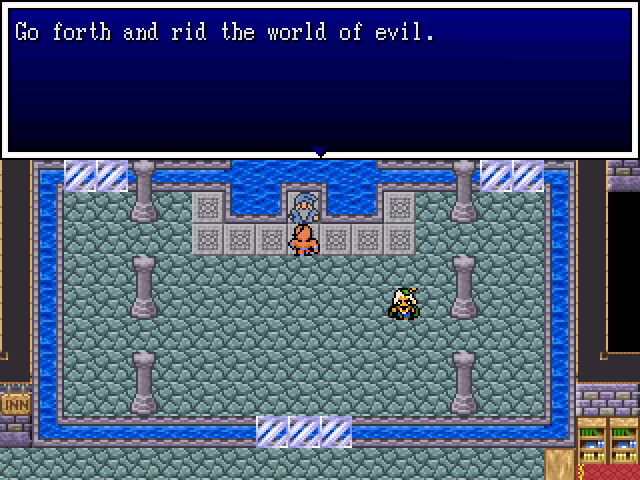 Unfortunately, we have to petition the Sultan, and half the people we've met have told us what a dick he is. Well, we'll worry about that later.  From Skatmandu, we head south around the nearby lake.  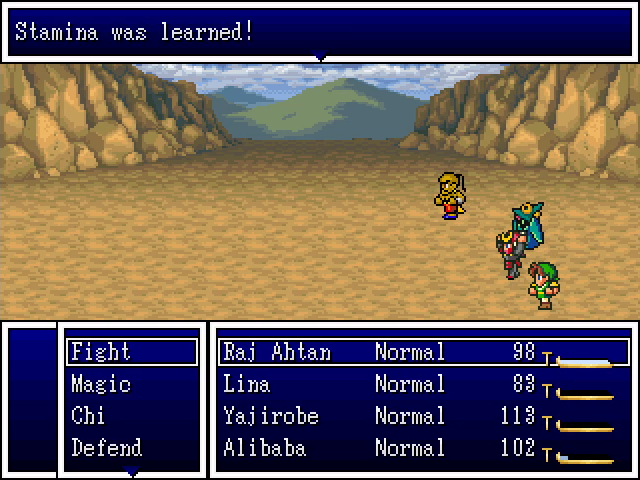 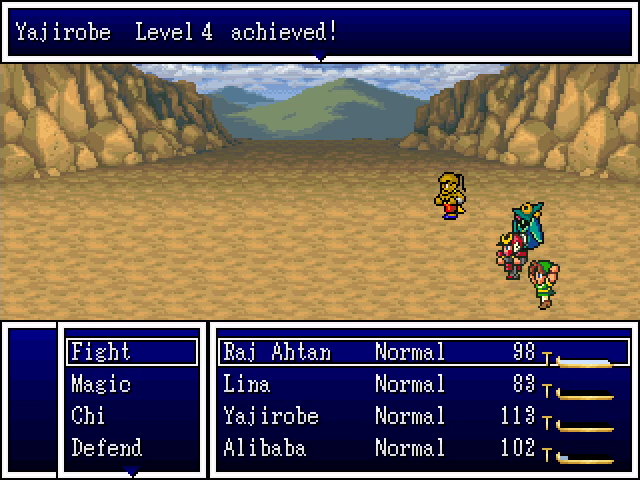 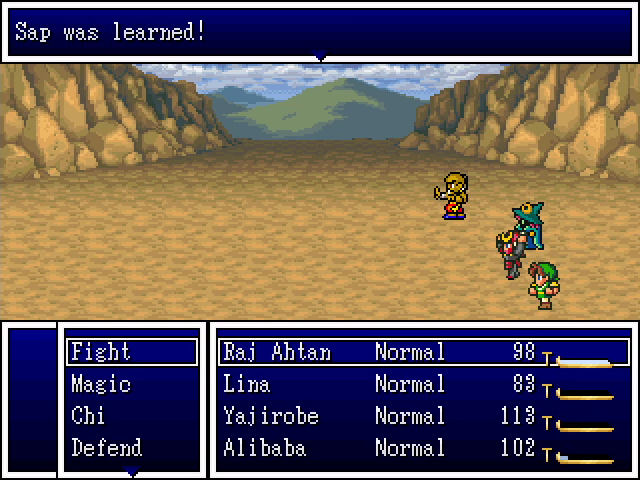 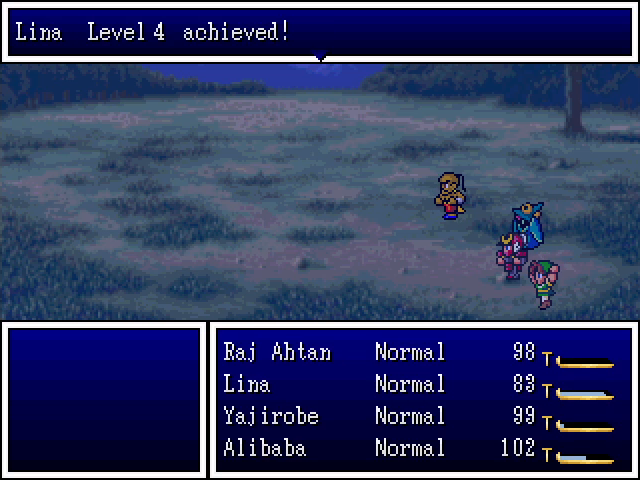 Also, we gain some levels. Stamina is another Chi ability; it acts like Upperself but with a 0 MP cost, which is reasonably nice. Yajirobe also starts learning his own magic, starting with Sap, which combos well with his own high attack power. 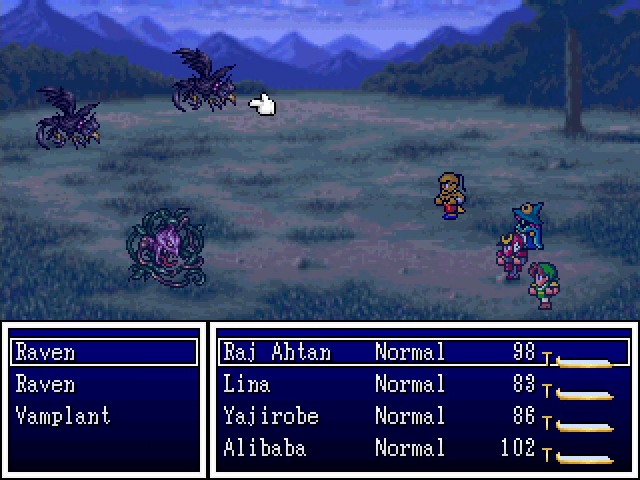 The enemies here are all the same as in the Skatmandu side area, with the exception of Vamplants, which we saw in Chapter 2. 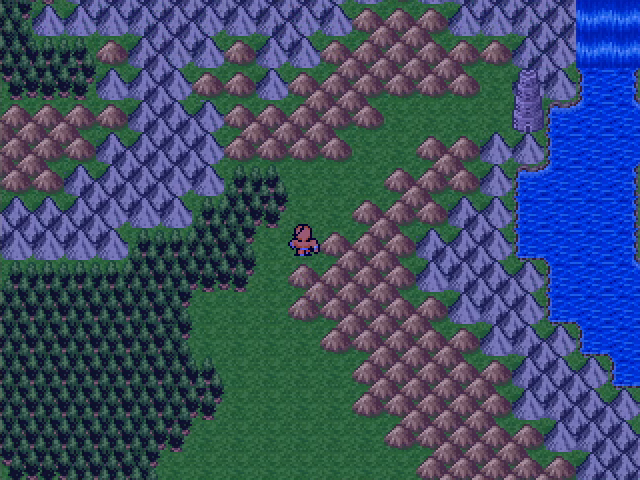 Moving on, we head east and then north to a tower. 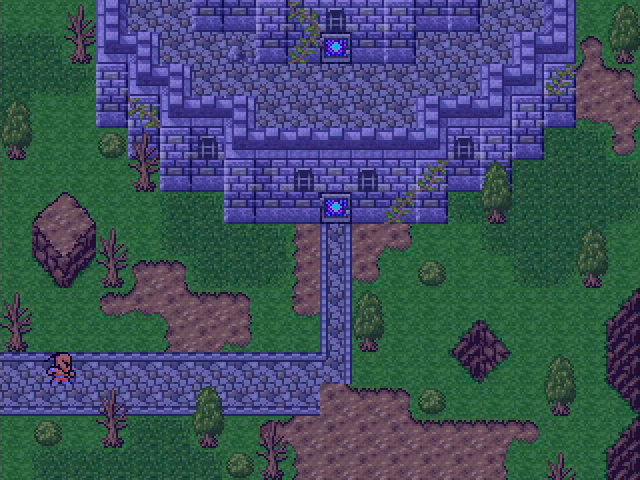 We can't get in, though. 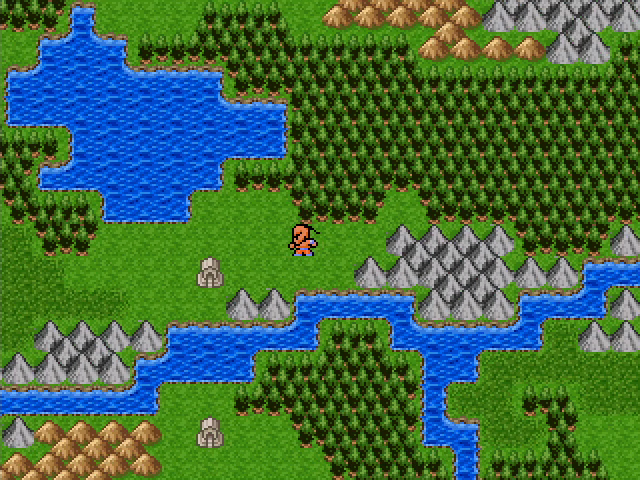 Further south is a pair of shrines, which means there's probably going to be a teleportal involved. 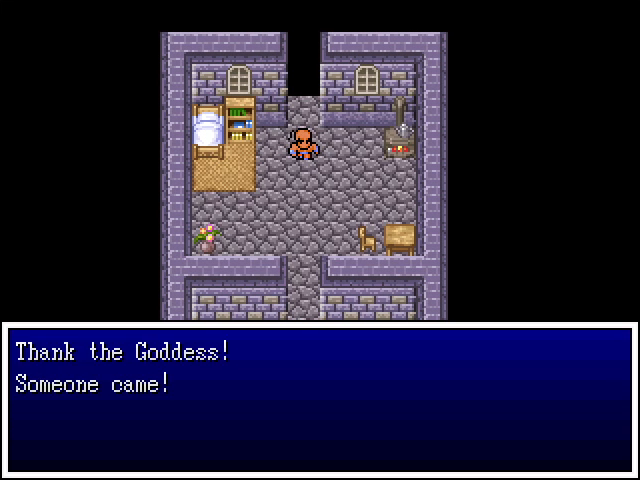 A rescue mission too, it seems. 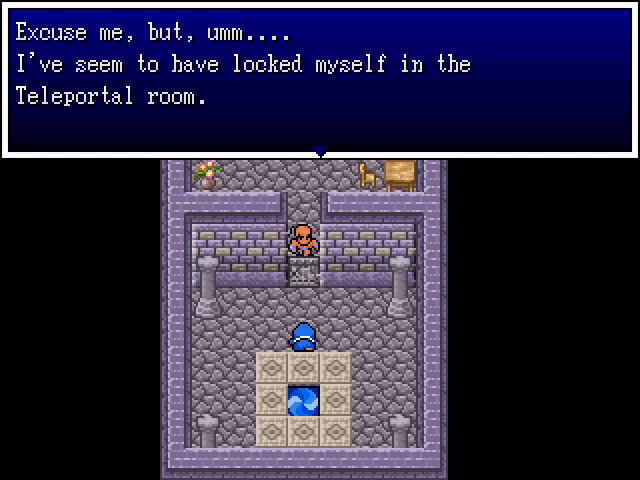  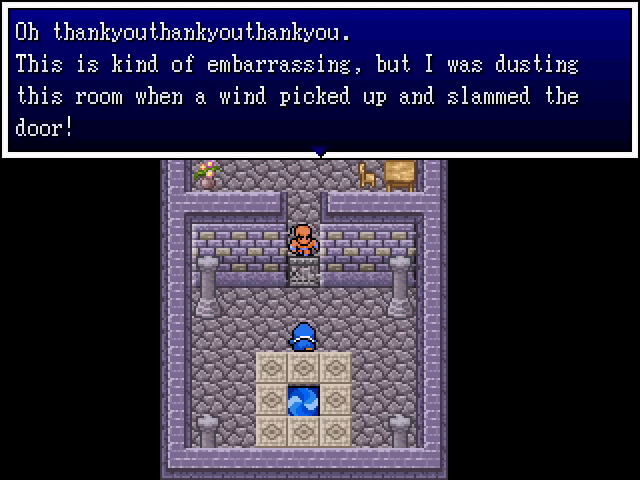 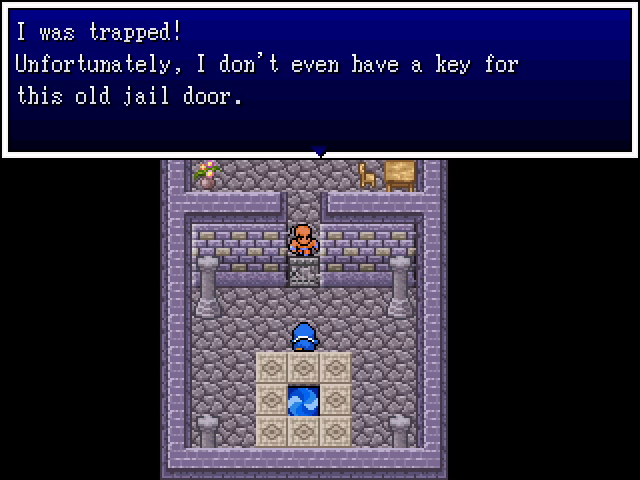 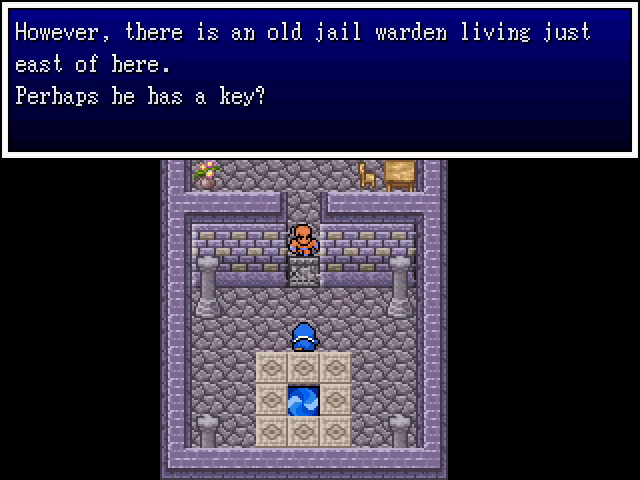 It's another teleportal that we can't actually access without doing some work. Given that there's a key involved, though, it's probably a safe bet that it'll be worth it. 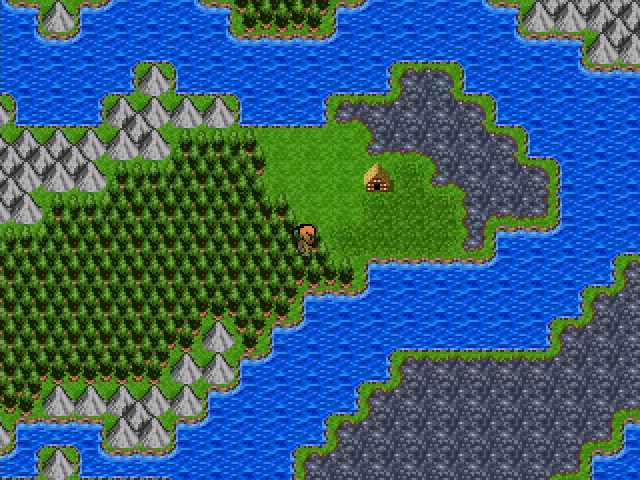 As the priestess said, the hut is not far east of the shrine. 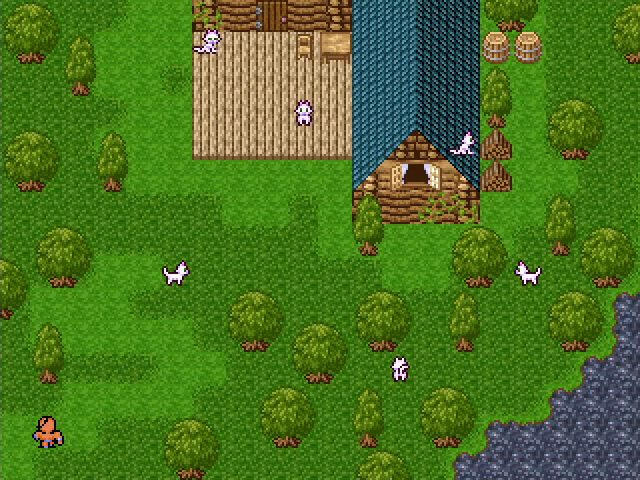 It's, um... 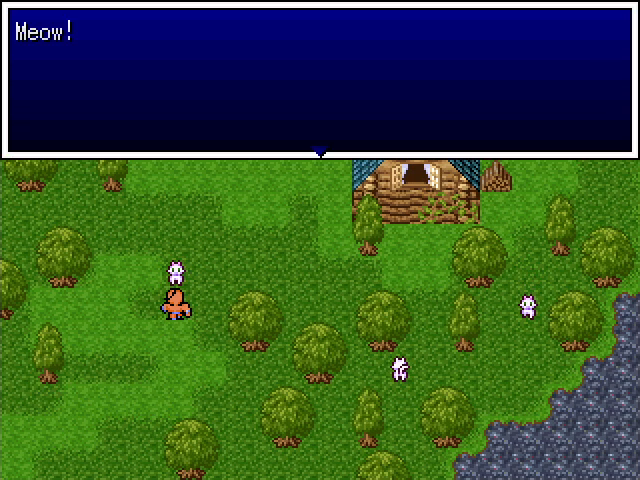 I don't generally like to use the word "infestation" when talking about cats, but I think someone here has a problem. 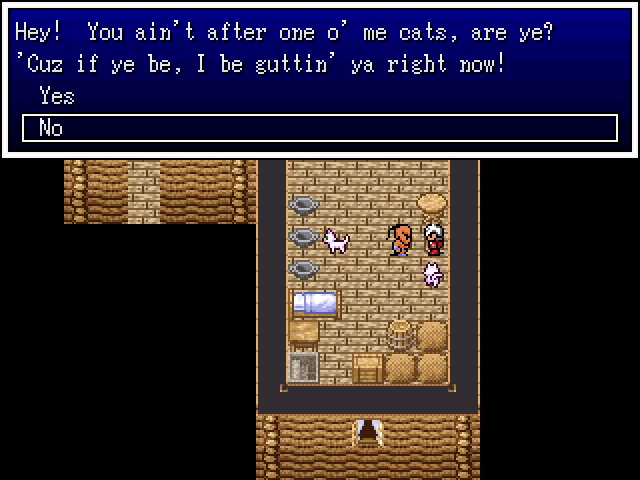 We find our hoarder inside.  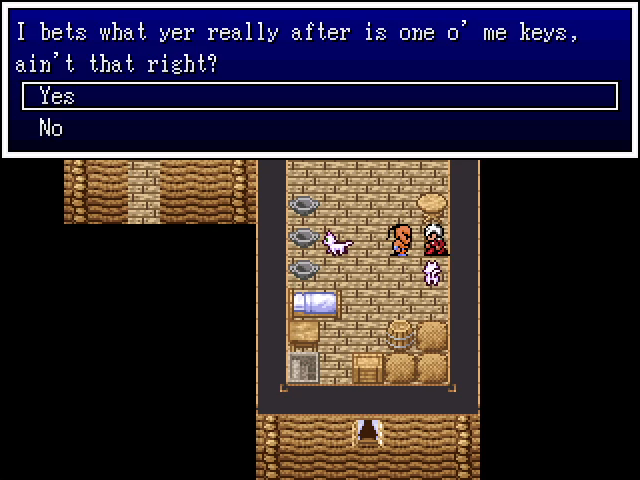 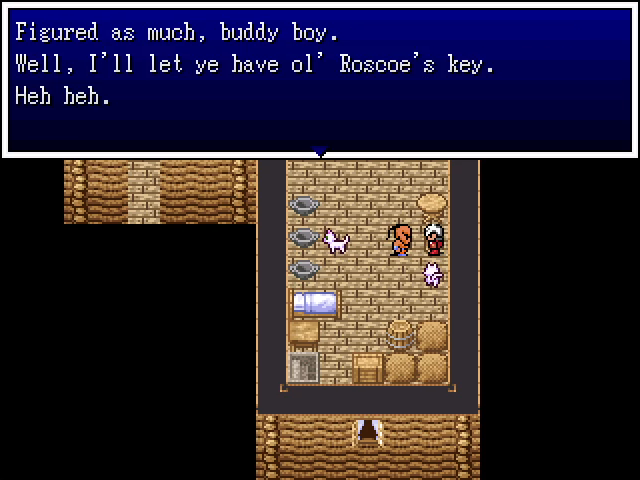 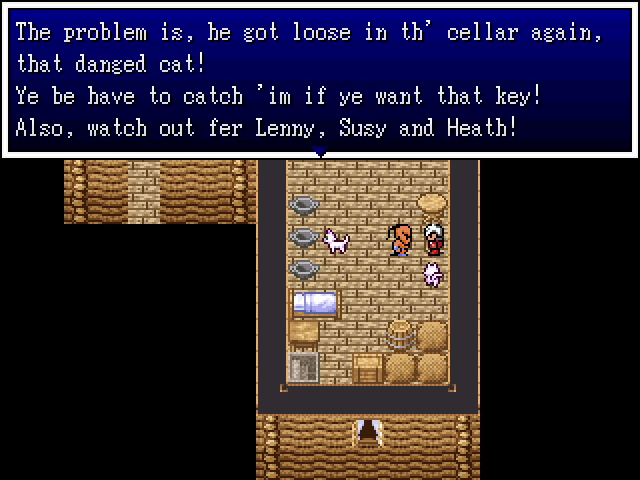 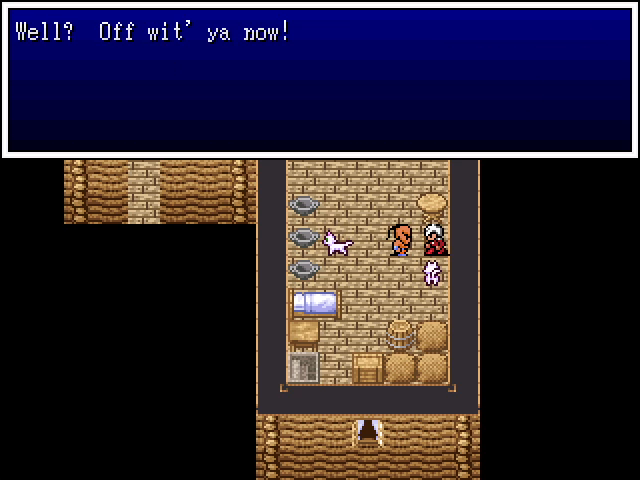 Honestly, this seems like a pretty good deal. All we have to do is catch a cat and we get a key out of it. 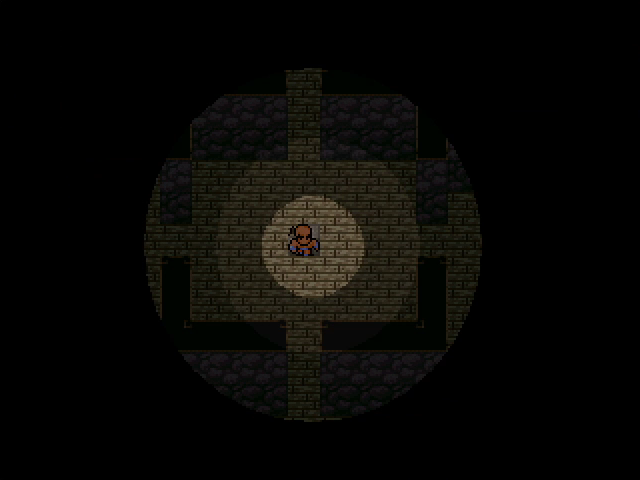 Problem #1: The basement is dark and mazelike. Luckily there are no monsters, but finding our way around can still be a pain. 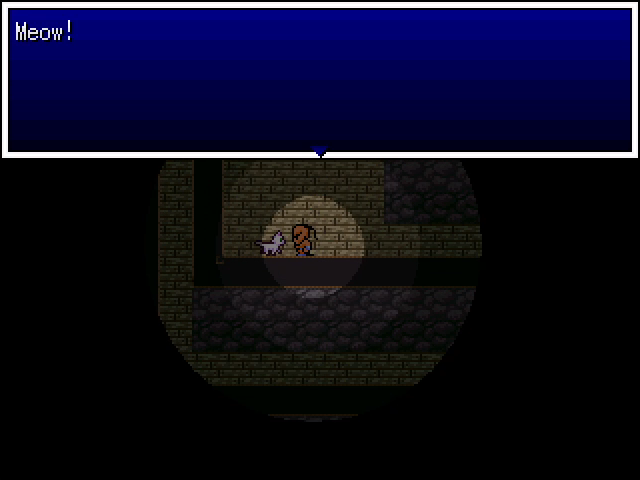 Problem #2: The other cats. You can spend a fair amount of time trying to catch a cat only for it to not be the one you need. 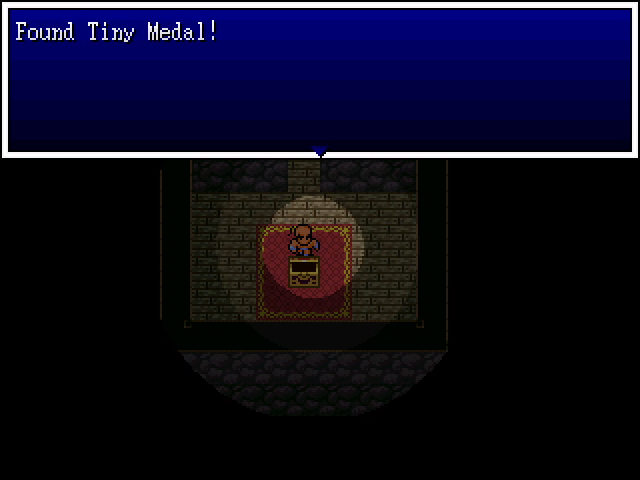 There's also a Tiny Medal hidden away down here. 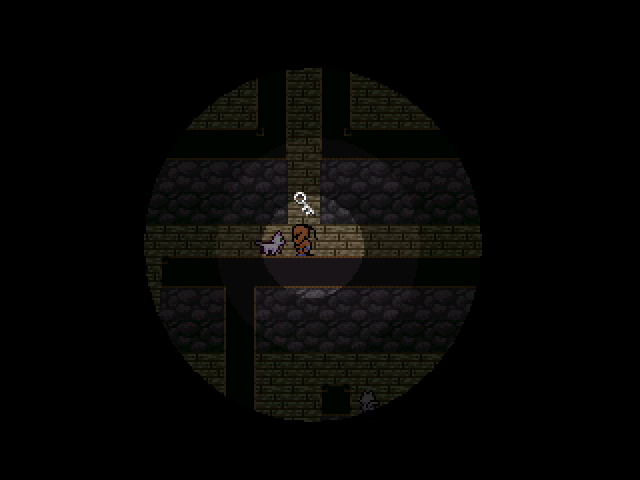 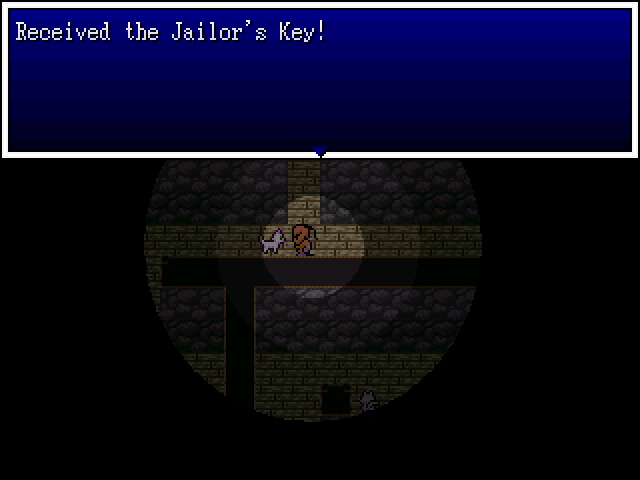 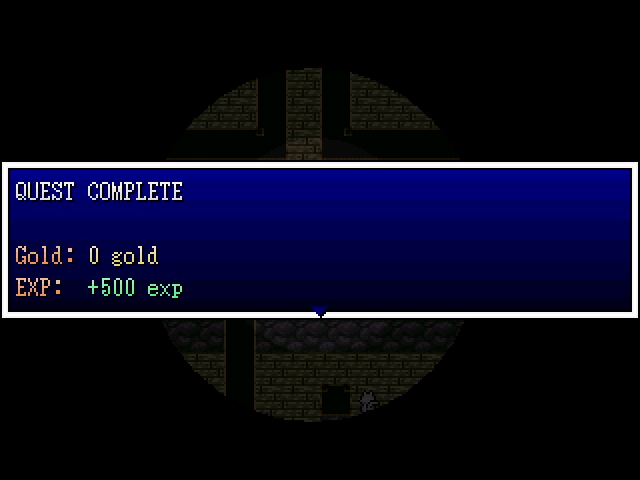 Finally, we catch old Roscoe and claim his key.  I kind of get the feeling the jailor was trolling us. 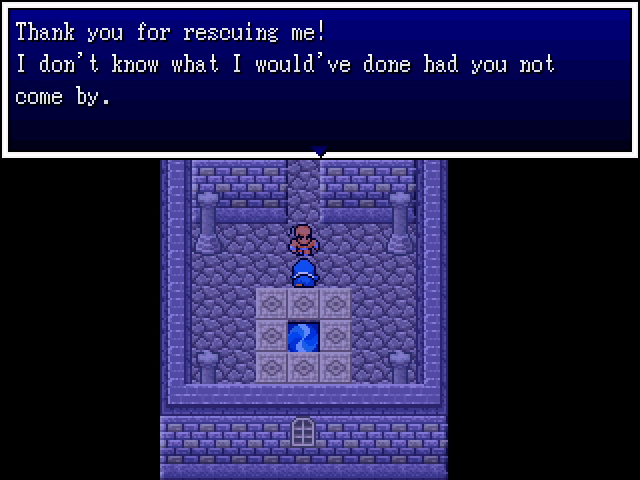 Key in hand, we return and save the priestess. 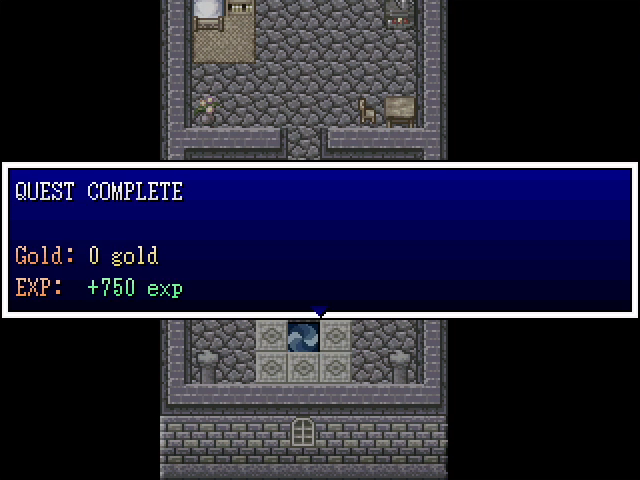     Everyone gets a level for this. Alibaba also learns a new skill, Caltrops, which damages all enemies and is super useful in the early game. 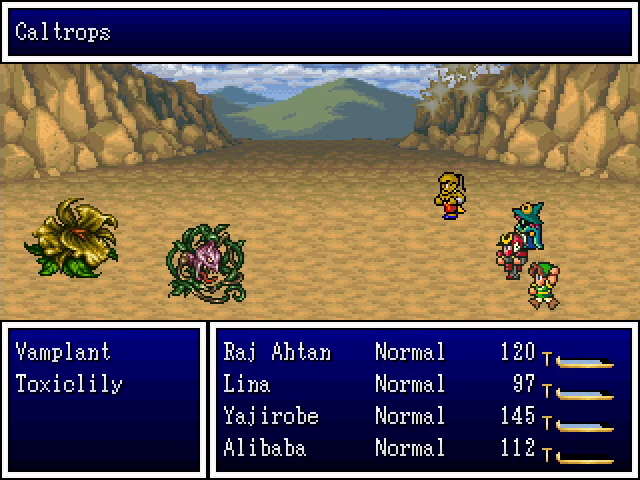 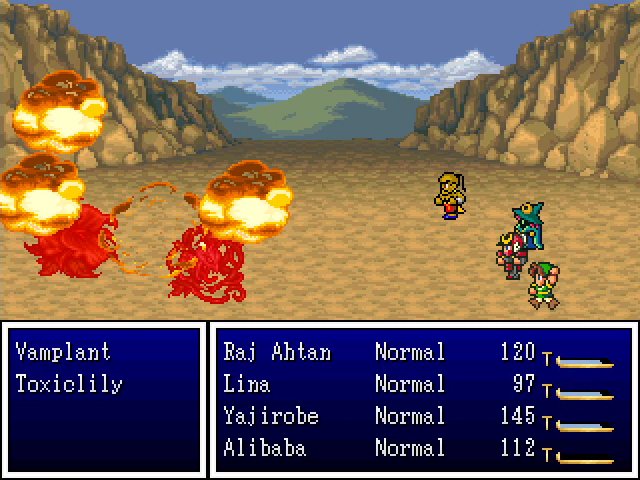 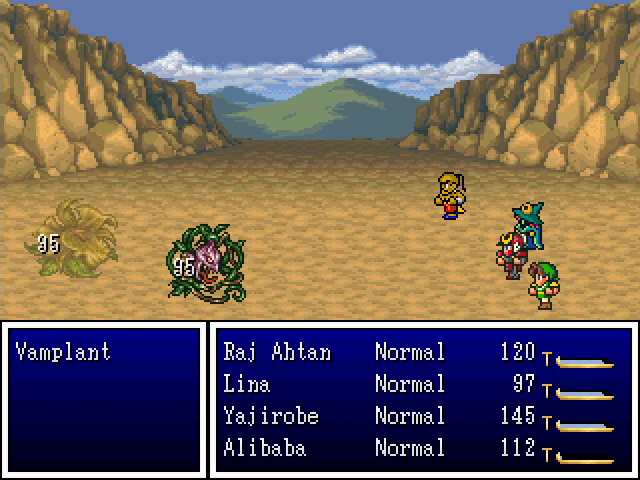 Just imagine this in drat near every random battle for the rest of the chapter. 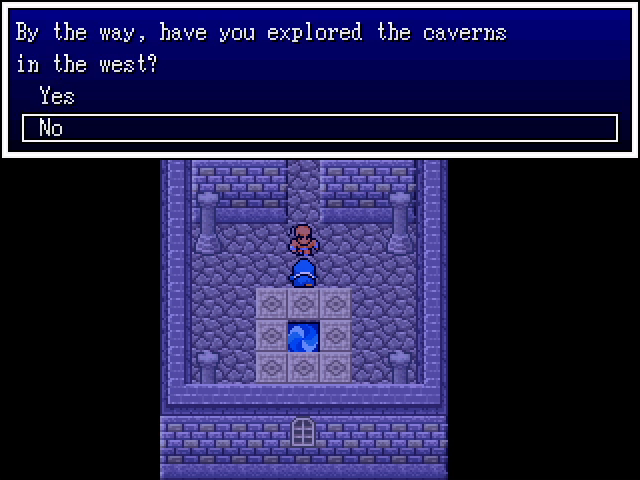 This is a bit of an odd question, as the caverns in question are only accessible from the south bank of the river. We could not possibly have explored them yet. 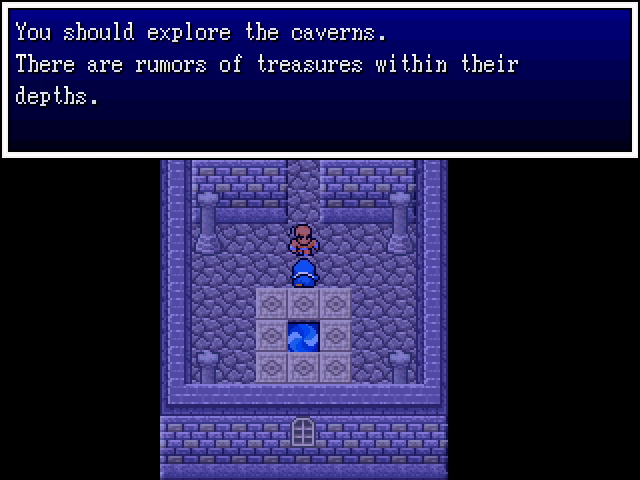 Will do.   We arrive in the south, and as day breaks, we head west. 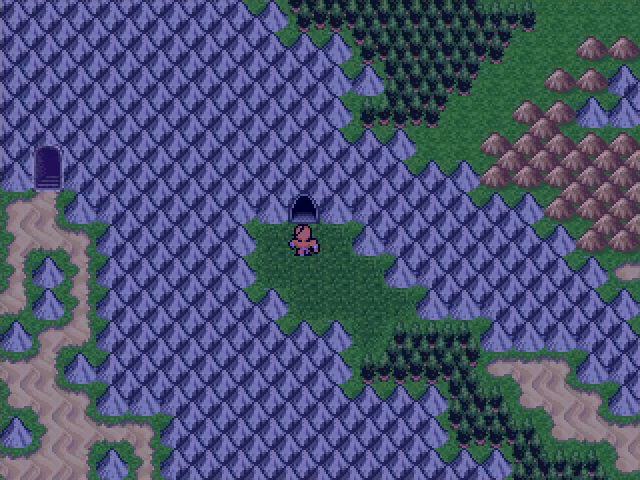 We enter a small valley, head north, and arrive at one of two entrances to the dungeon. (The other, which we're not taking, is to the south.) You might notice an interesting-looking area across the mountains to the west, but the dungeon doesn't connect to it. We won't be going there for quite a while. 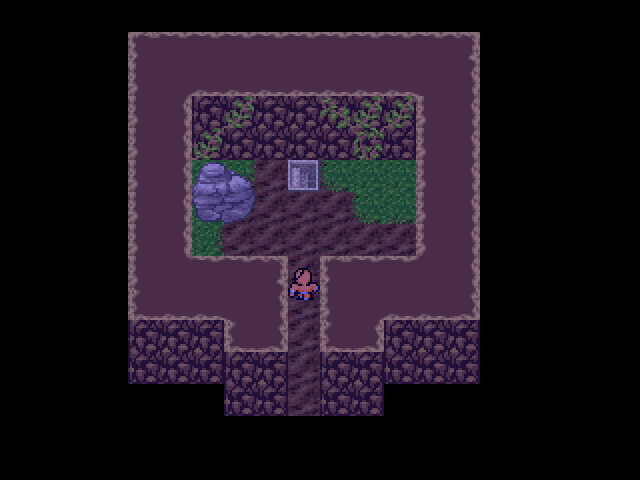 The entrance is pretty straightforward, and leads down into a small set of tunnels.   The enemy set here is limited, and nothing we haven't seen before. 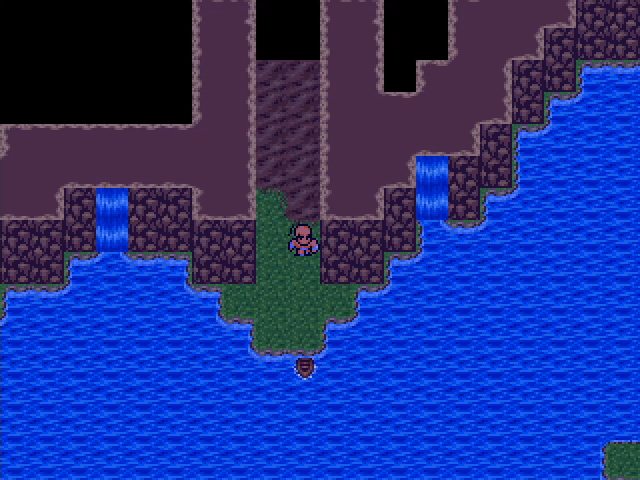 Eventually, the path ends at a huge lake with a skiff docked at its shores. Here's where we see the main gimmick of the dungeon: it's mostly water. 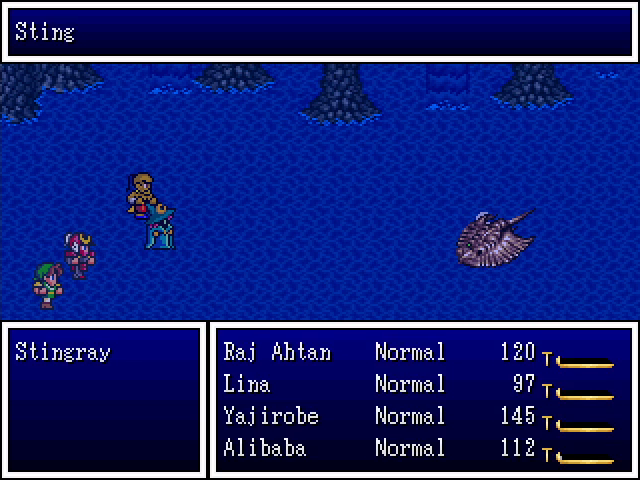 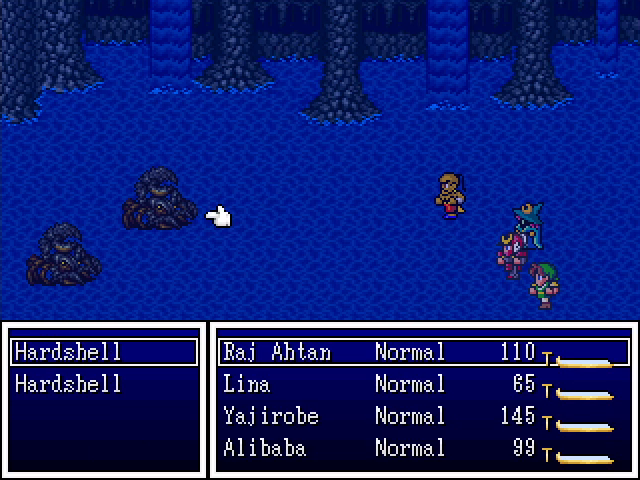 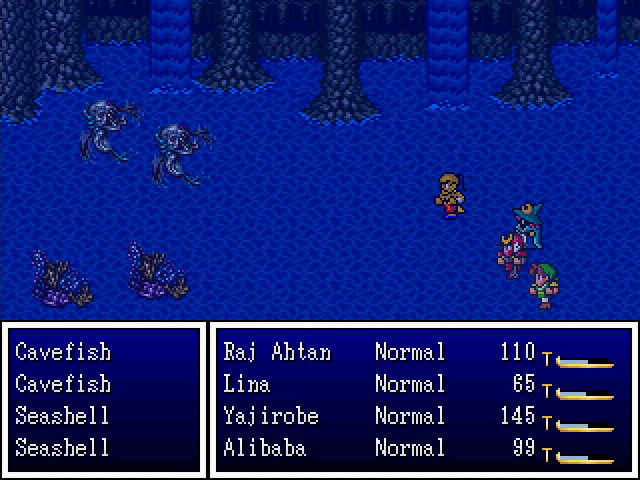 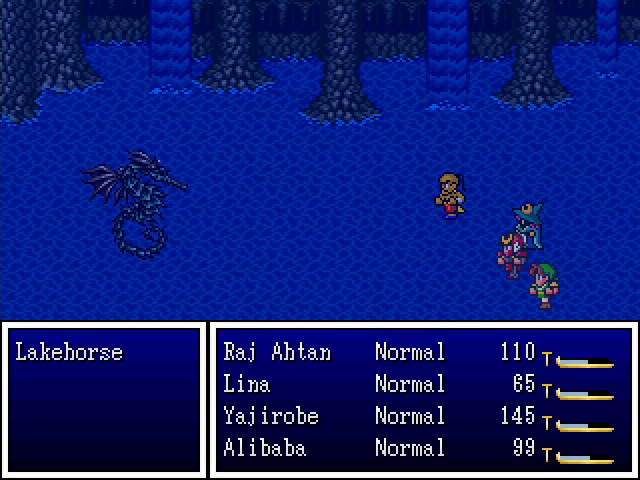 The water monsters are the majority of what we'll be encountering here. Stingrays and cavefish make physical attacks, seashells use Coral, a healing ability, and lakehorses are so rare that I don't actually know what they do. Hardshells, meanwhile, have seriously impressive defense.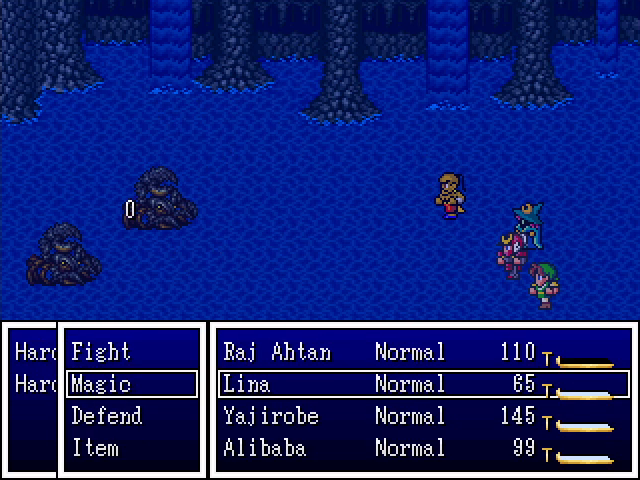 Seriously, no one in this party can scratch them with physical attacks. Alibaba's Caltrops can, though, as can Lina's spells. 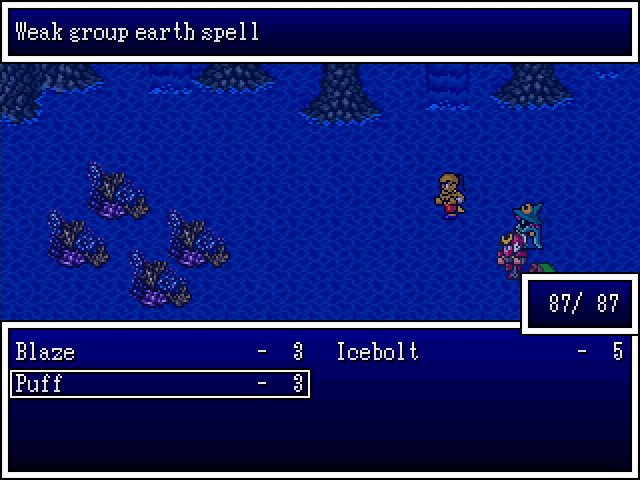 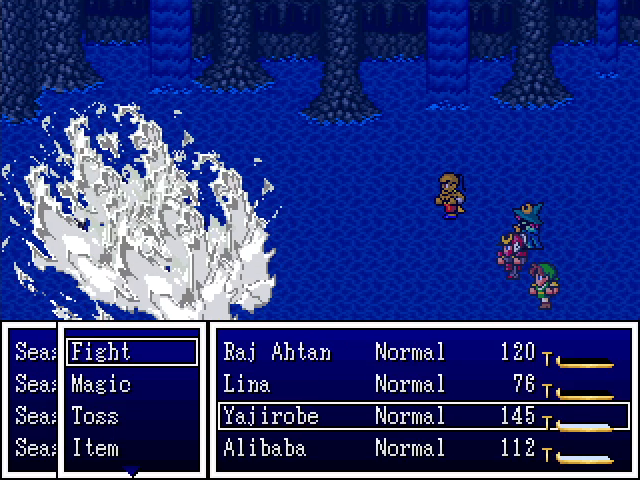 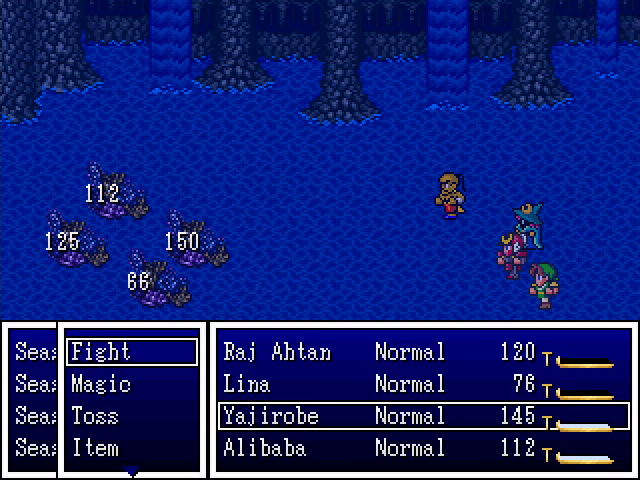 Lina's Puff spell is also very useful against the large groups of seashells here. She's absolutely the star of this dungeon. 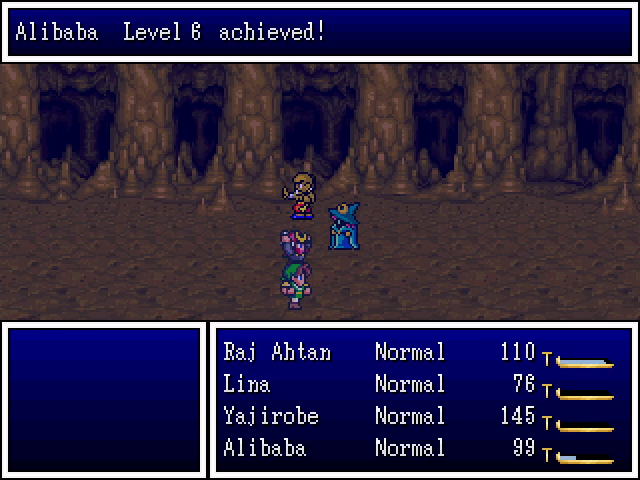 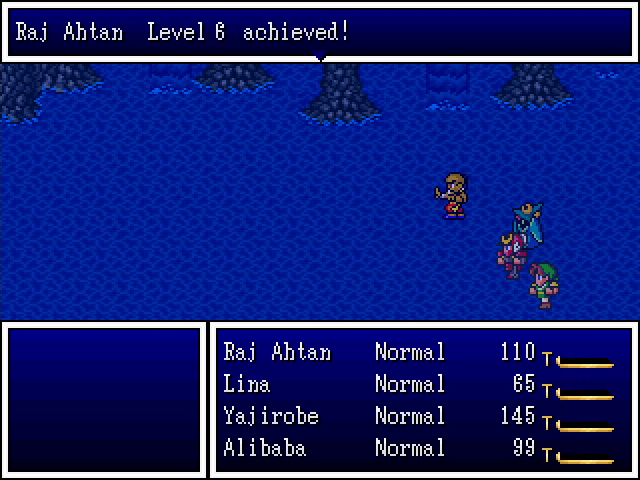 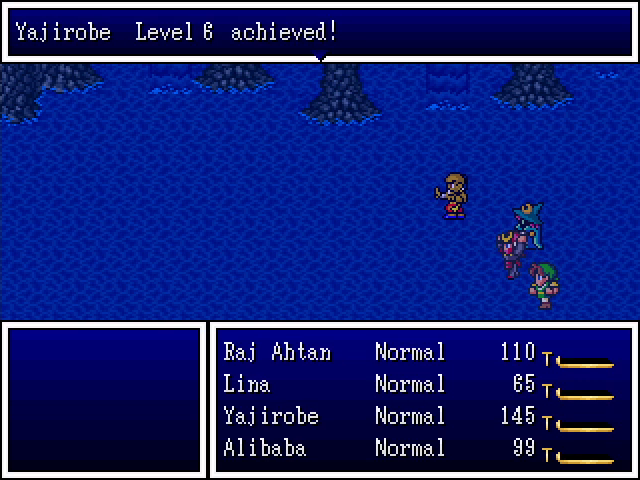 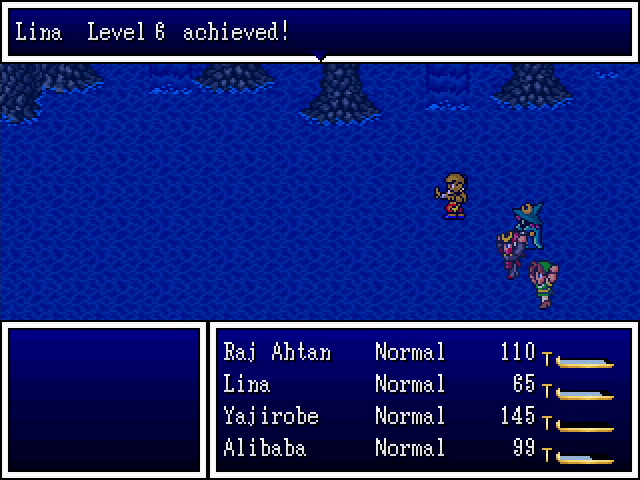 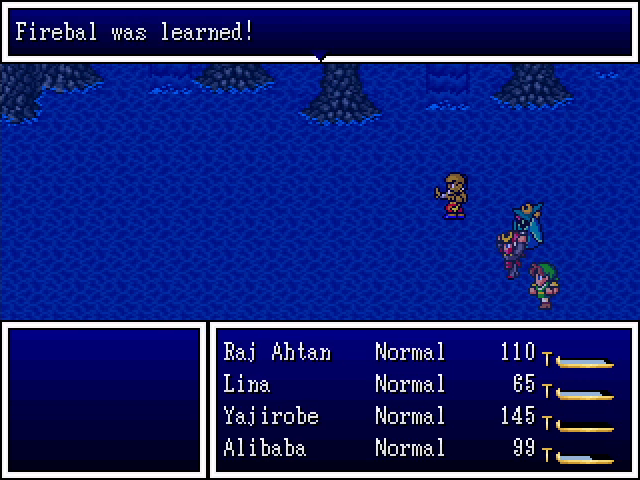 Unsurprisingly, all the fights in here reward us with some pretty decent EXP. Lina in particular is now able to live up to her namesake. 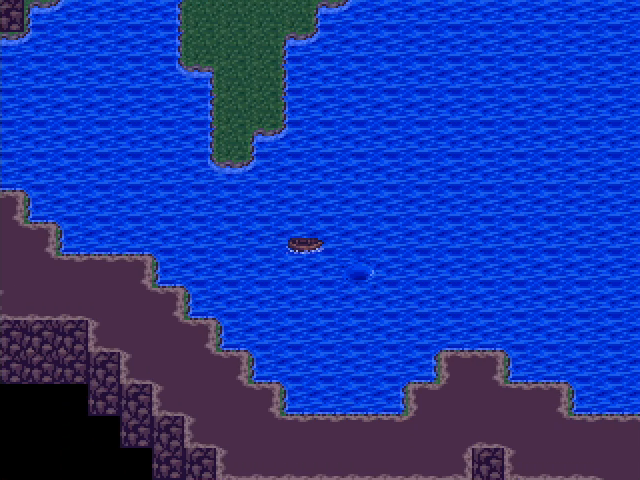 The main floor of the dungeon has a few scattered islands containing treasures, but this is what we really want: a whirlpool.  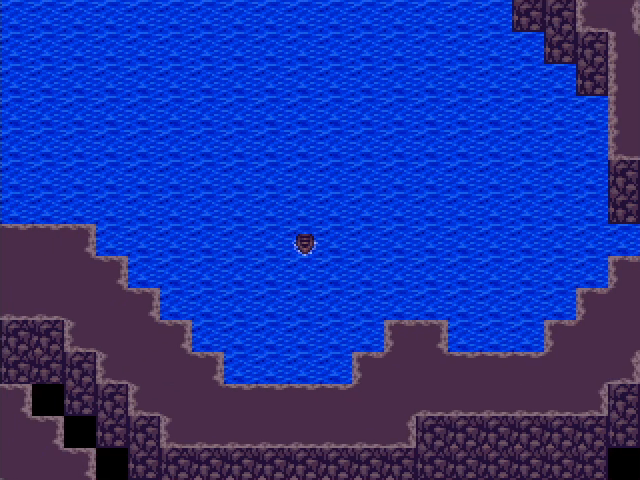 Upon entering it, we're sucked down to the basement, which is almost totally flooded. And that's pretty much it. The dungeon basement has some pretty good treasures, including a poison needle and a Flash tool, but there's really not much about it that warrants more detail. A convenient set of stairs leads us back to the surface, and we leave the valley and head south. 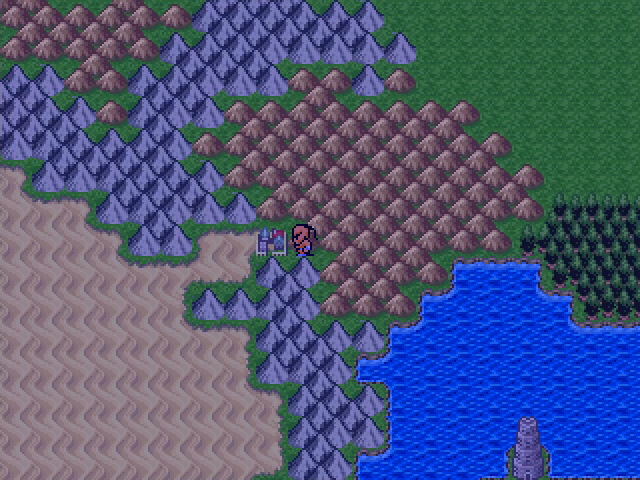 And soon enough, we come to a town. 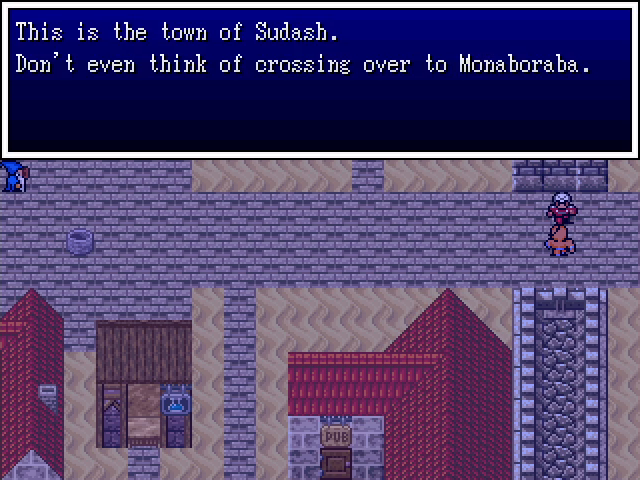 Monaboraba is the bordering nation; Sudash is right on Inhopal's border with it. The town is covered in sand and kind of a dump. Also, the music is a midi rendition of Arabian Nights, which is a bit on-the-nose. 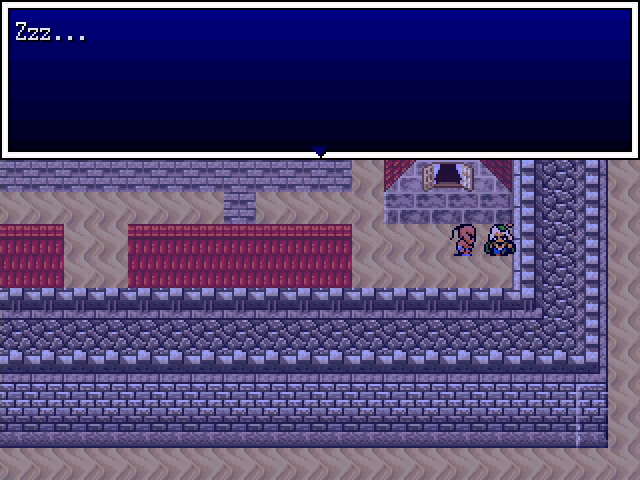 I don't just mean the fact that the ground is mostly sand, either. We've got people sleeping on the streets. 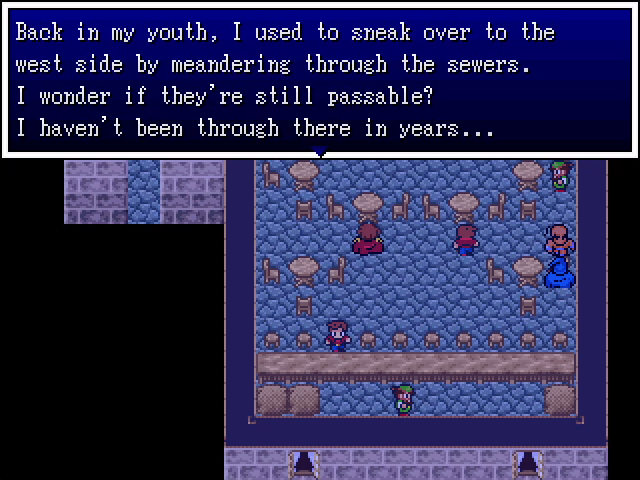 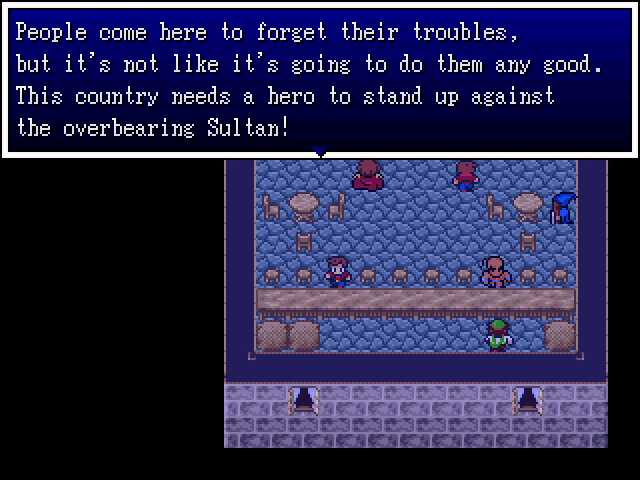 The local pub is a decent source of both information and more complaints about the Sultan. 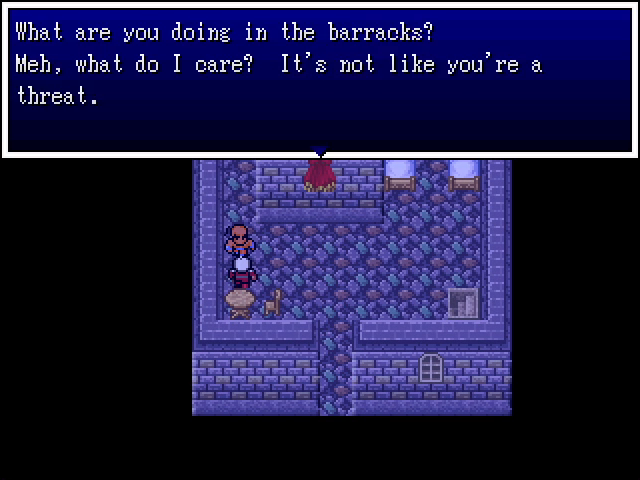 A visit to the local barracks shows us that the guards do not give even a single gently caress. 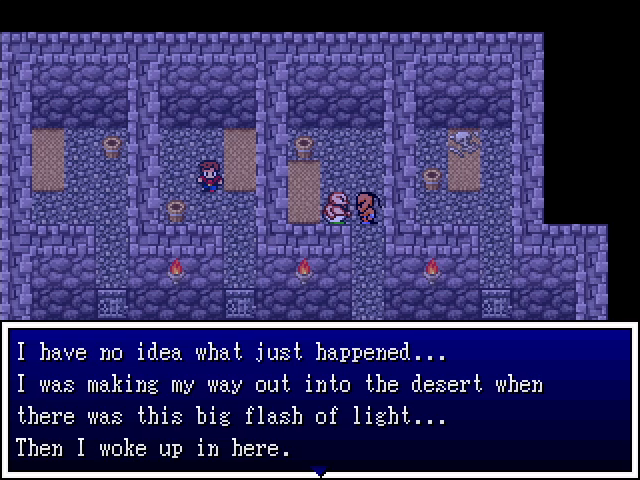 They even let us into the dungeon, and we can open the cells thanks to our Jailor's Key. One of the prisoners relates a curious story. 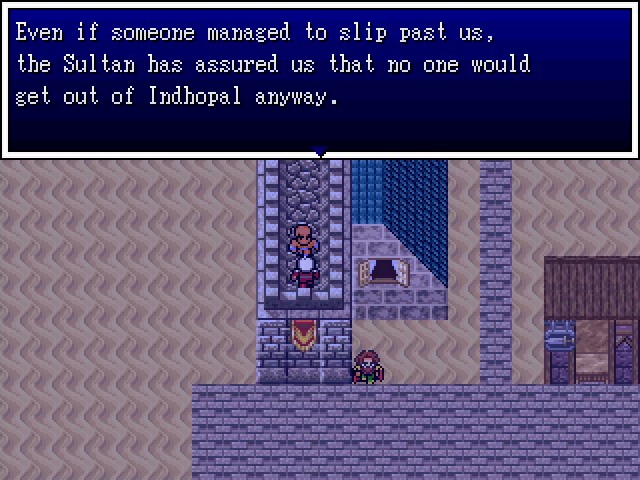 Up on the city walls, one of the guards gives us a tidbit that would seem to back up the prisoner's tale. Even more curious.  We return back to ground level, but as expected, we can't pass over to the east side. 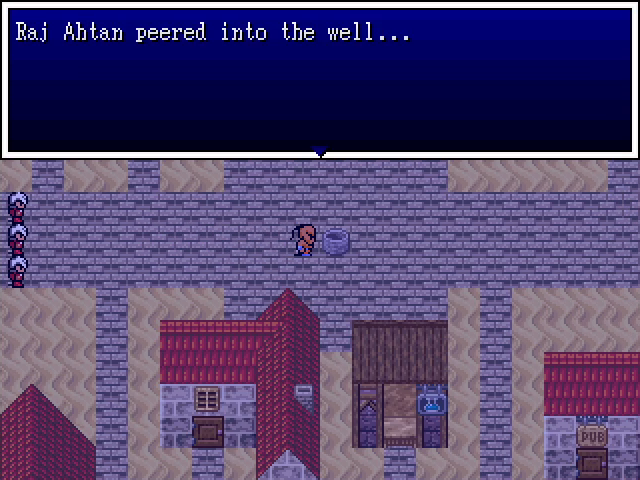 We were told the well might be able to get us over. Let's have a look. 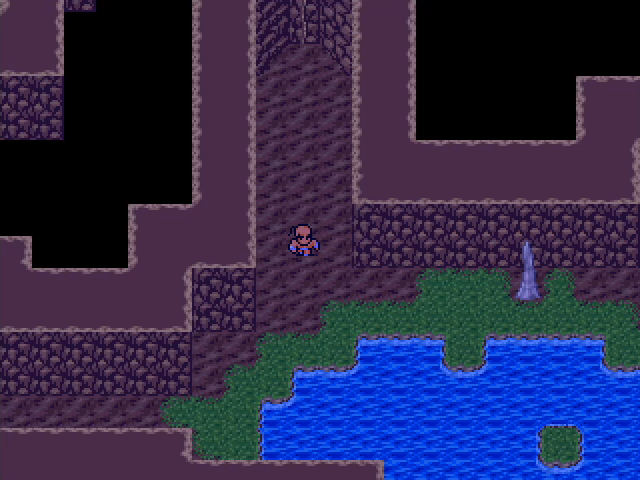 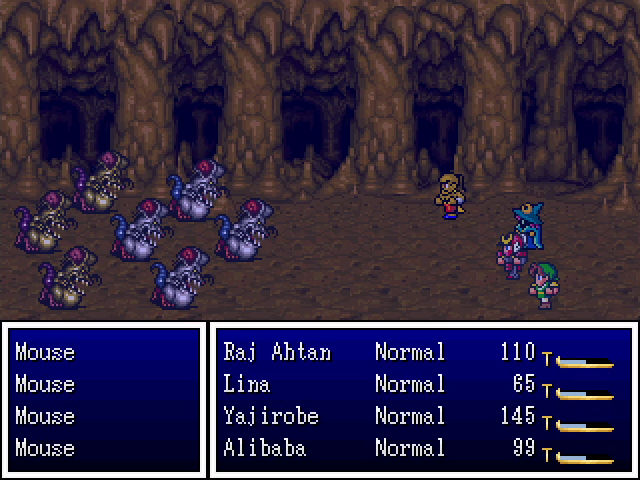 The interior of the well is a simple tunnel. There are monsters here, but just mice and rats. Caltrops one-shots them all. 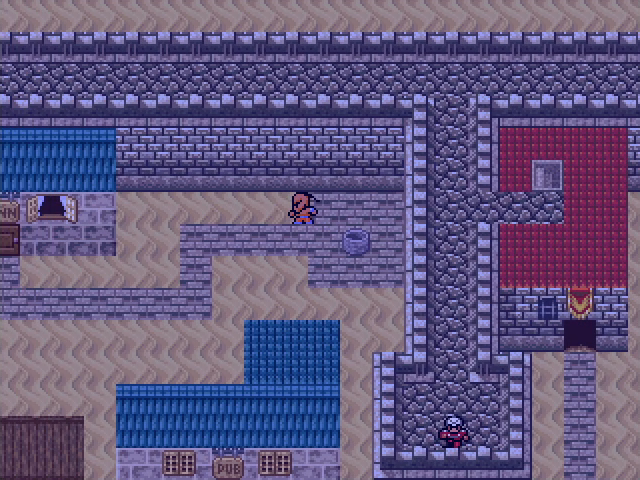 We climb out of a well on the west side of the wall. 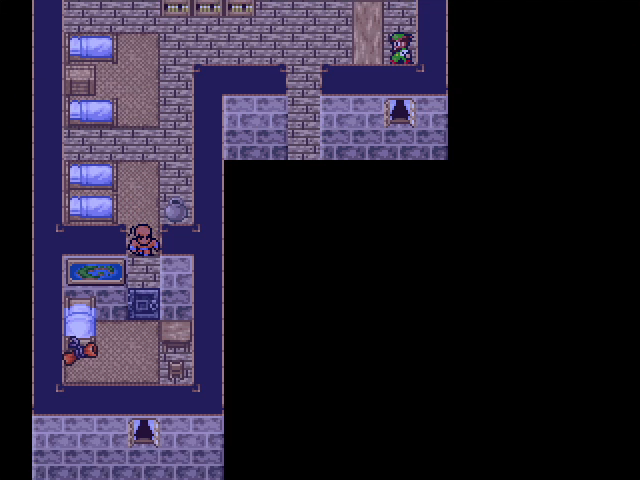 We take a quick stop at the local inn, where we spy an out-of-place sprite in a small room.  Unfortunately, the door is locked. Holdana is carrying the key for it, so we're out of luck for now. 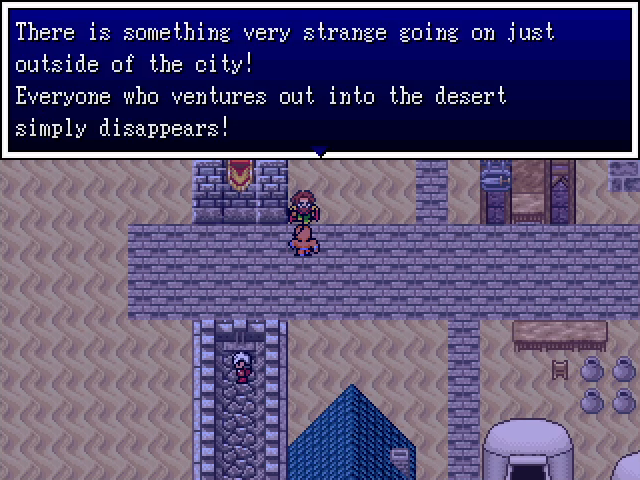 Yet another person tells us a similar story. Still, this is the way to Cadana - let's give it a shot.  Whoa, what the gently caress- 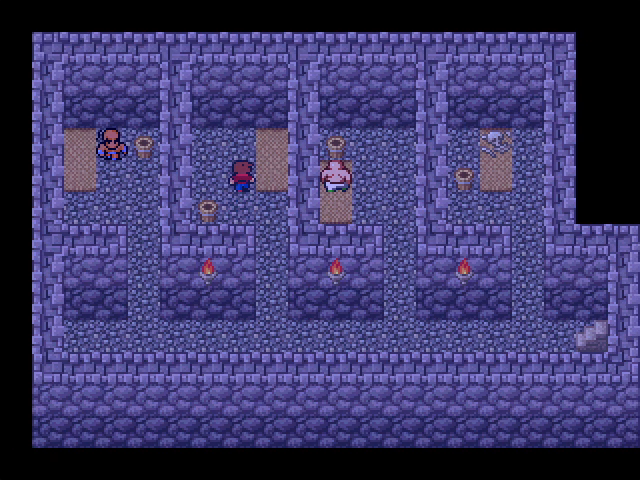 And we wind up in the prison. Good thing we got the Jailor's Key. Our attempt stymied, we rest the inn and look around during the day. 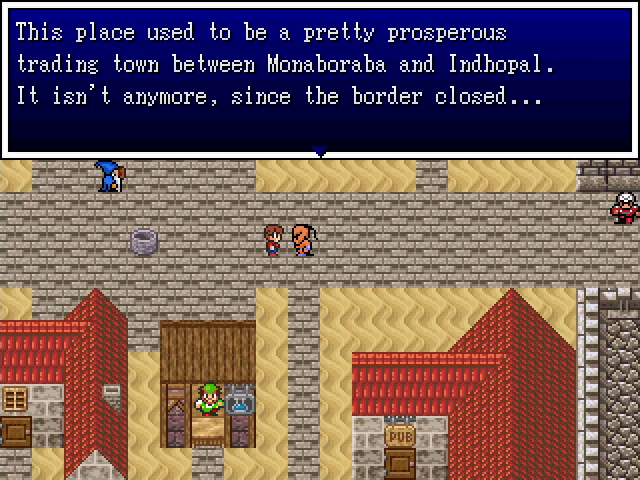 Sudash wasn't always such a terrible town. Makes one wonder why the Sultan closed the border. 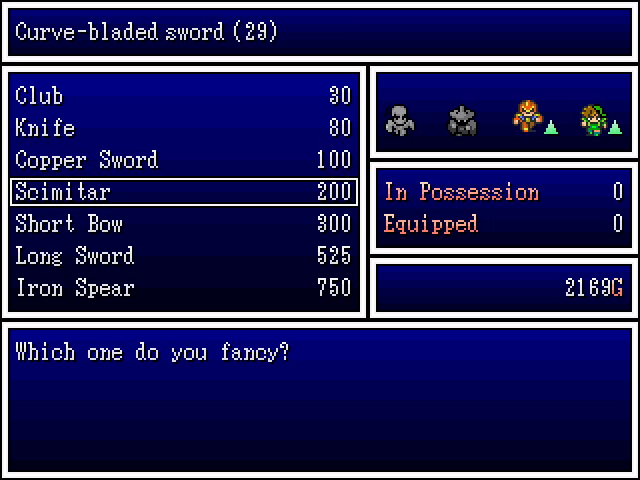 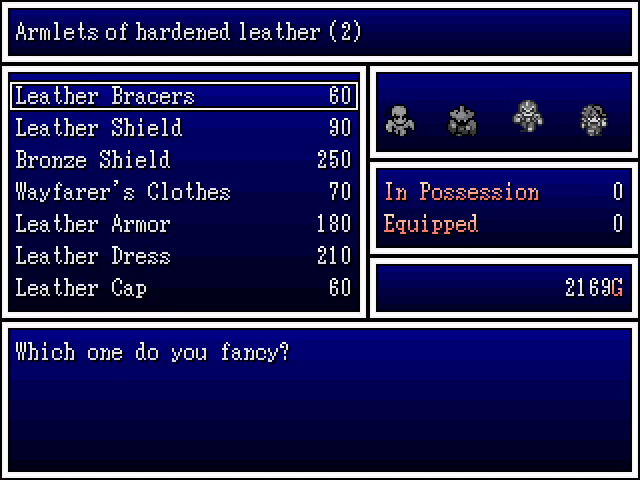 Al that really remains at this point is to check the shops. They have the usual upgrades for this point in a chapter. Scimitars in particular are a great upgrade for us, to the point that we get three: one for Alibaba and two for Yajirobe. 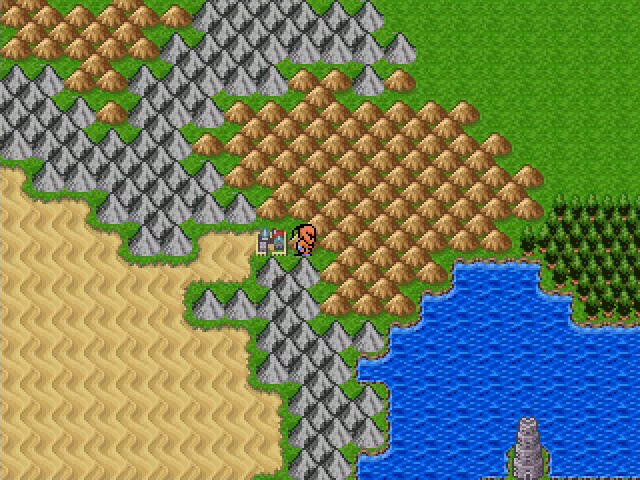 Well, Sudash was a bust. I suppose we need to head for Bombomb.
|
|
#
?
Sep 12, 2022 19:02
|
|
|
I am sure that the Sultan is completely on the up and up and not an evil magic using monster or maybe a sorcerer at all!
|
|
#
?
Sep 12, 2022 21:51
|
|
|
NewMars posted:I am sure that the Sultan is completely on the up and up and not an evil magic using monster or maybe a sorcerer at all! Surprise twist, it's actually the neighboring country that's fallen under the sway of evil forces, and the Sultan is trying to protect his people from its corrupting effects, however he's also trying to keep quiet about it to not cause a panic amongst his people. People wake up in jail because it's cool and dark in there, the perfect place to wait out the aftereffects of the protection magic.
|
|
#
?
Sep 13, 2022 13:53
|
|
|
I know you guys are joking, but if you've paid careful attention up to now, the game has actually dropped enough clues for you to figure out exactly what's going on with the Sultan.
|
|
#
?
Sep 13, 2022 18:52
|
|
|
Last time, we realized that we need to visit the Sultan. We're starting today by not doing that.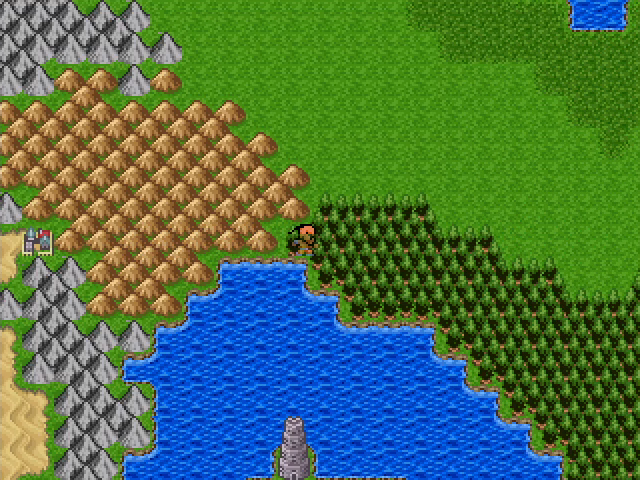 We start by heading east from Sudash, which is the way to Bombomb. We can see a tower to the south, but no obvious way to reach it.   Instead of heading south, however, we head north, finding a huge mass of swampland. Maybe there's something interesting here. 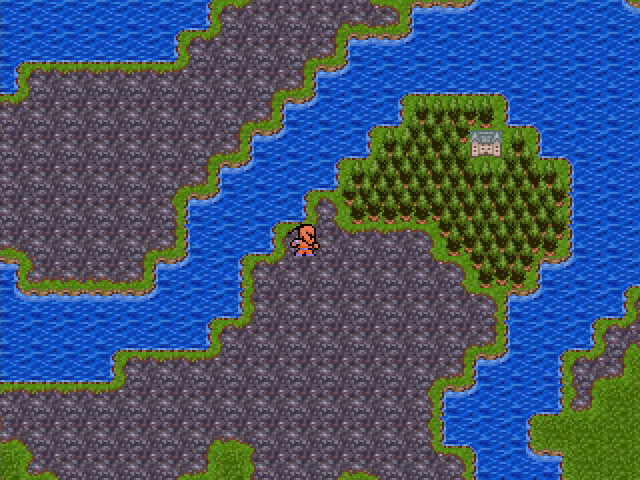 Oh, what the hell? Who builds a funhouse in the middle of a poisonous swamp? "But 5-Headed Snake God," I hear you say, "technically it's not in the swamp, just blocked off by it." 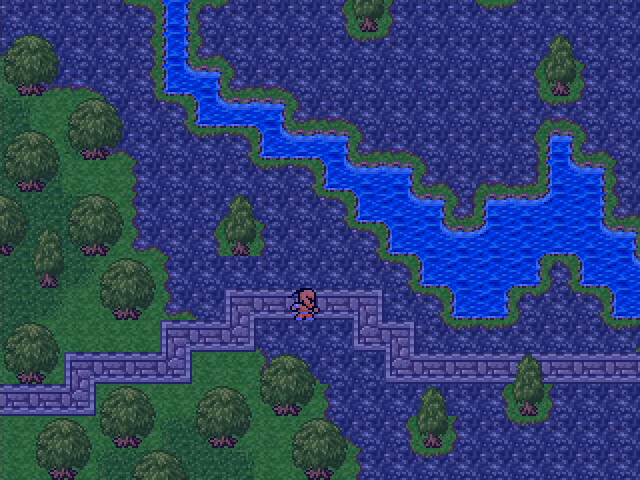  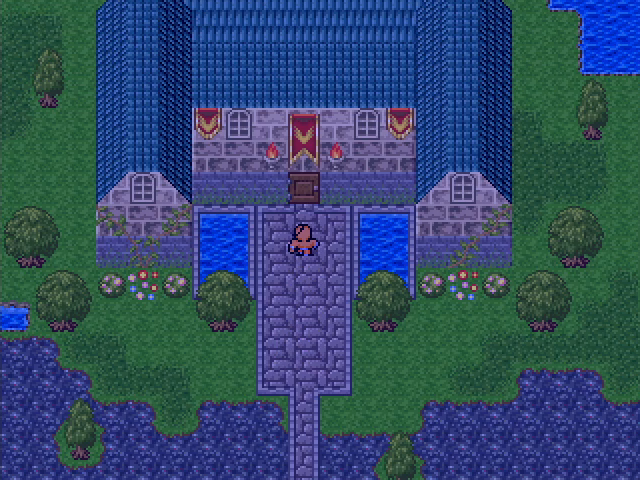 This is seriously the worst possible location. And they still have patrons! 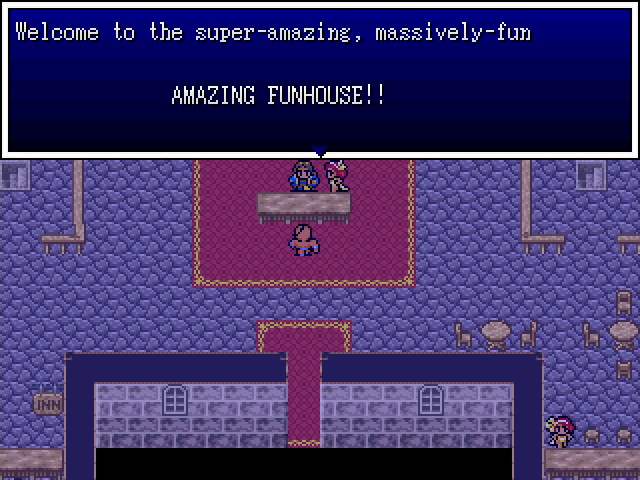 The music here is a jazzy midi rendition of the Peanuts theme, which is a bit of a weird choice. 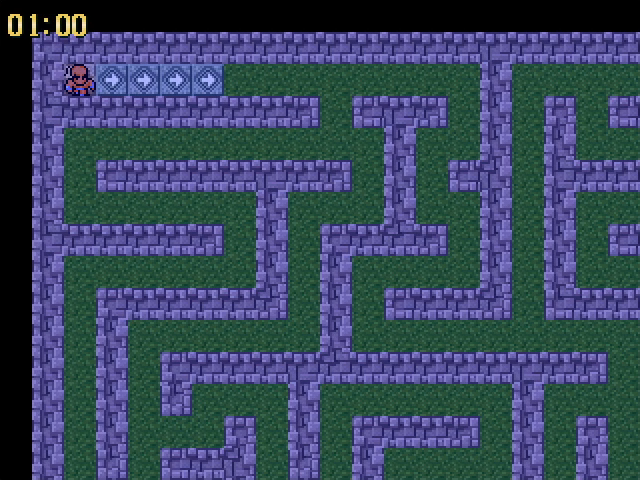 Anyway, yeah, it's the same old shtick. New maze, same deal. 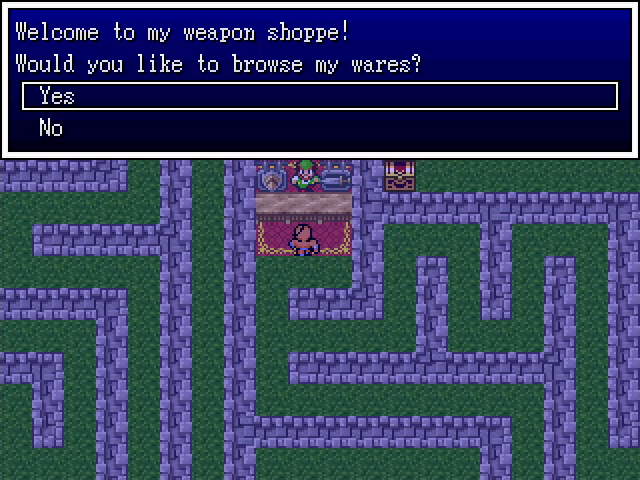 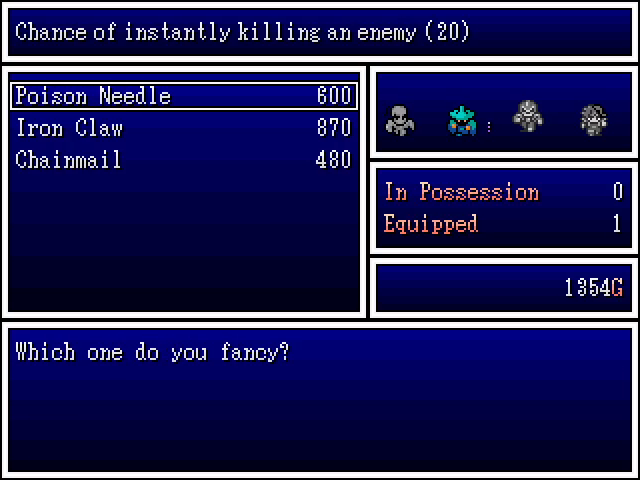 This one actually does have one noteworthy feature, though: its shop is pretty excellent. The chainmail is tempting for Yajirobe and Alibaba, but I instead opt to spend our entire fortune on a pair of iron claws. This will turn Raj Ahtan into a crazy-strong fighter for quite a while. 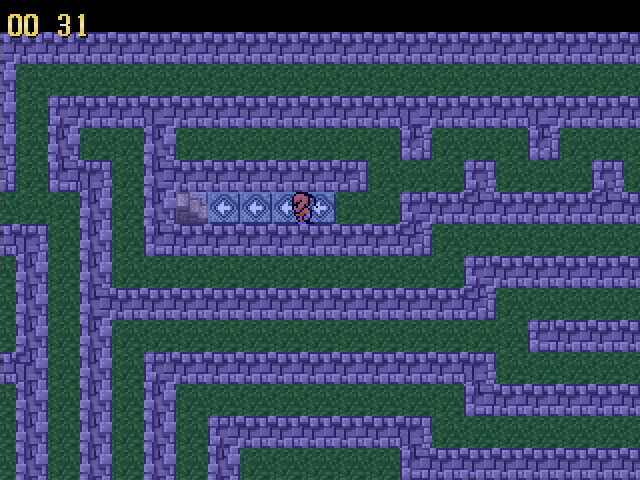 Anyway, we do the maze, claim the treasures, and get the hell out of here. Amusingly, Raj Ahtan cannot wear the jester's mask - perhaps he has no sense of humor. 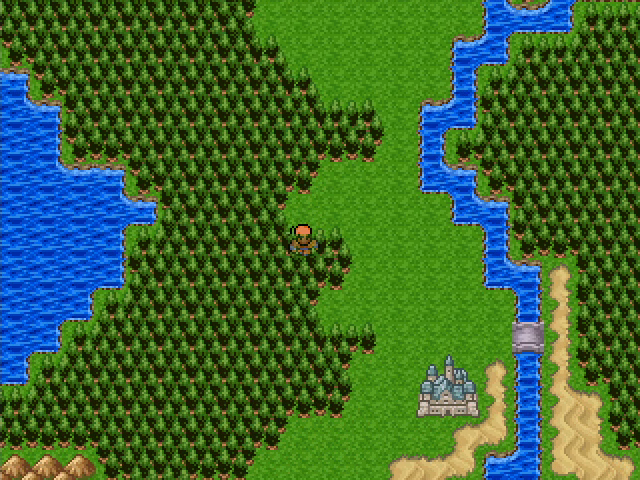 More or less due south from the Funhouse, we catch sight of Bombomb. 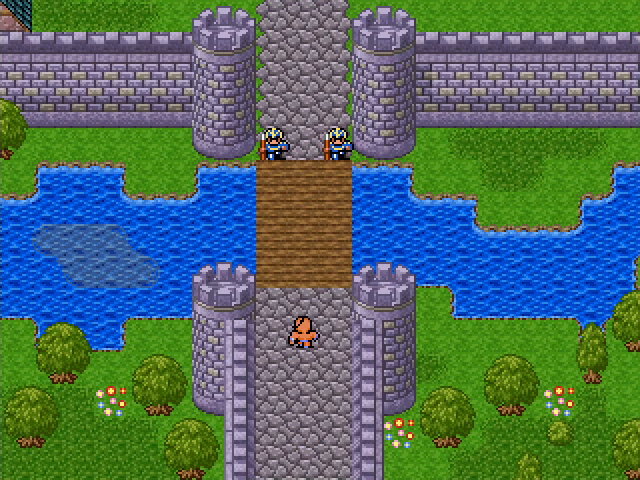 The city is surrounded by a moat and sturdy walls. It's kind of a fortress. 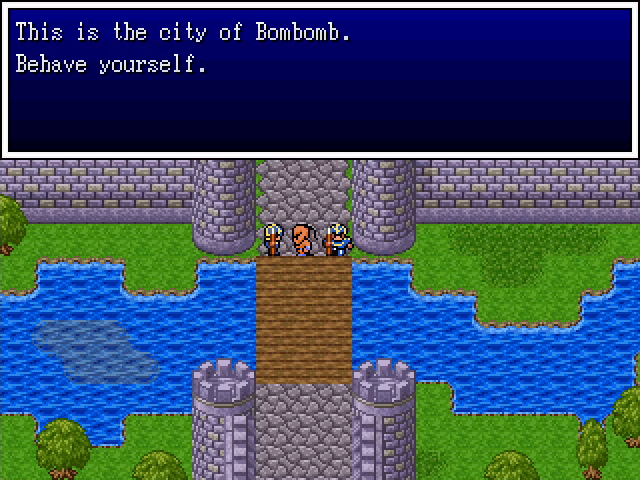 The guards are all business too. 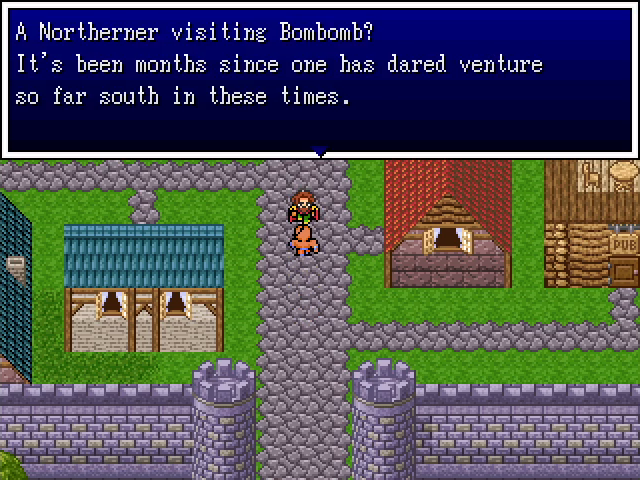 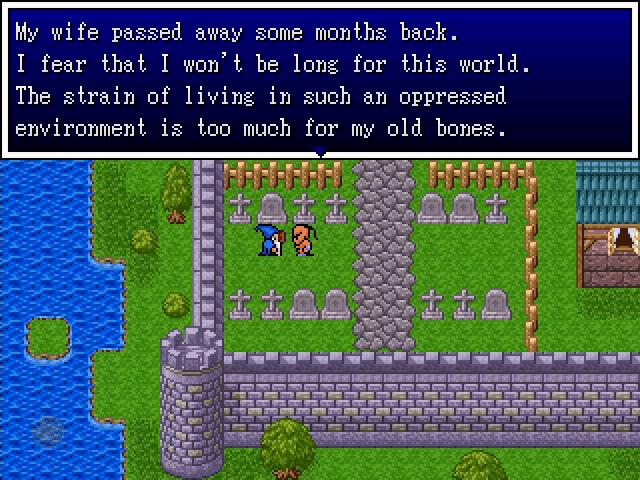 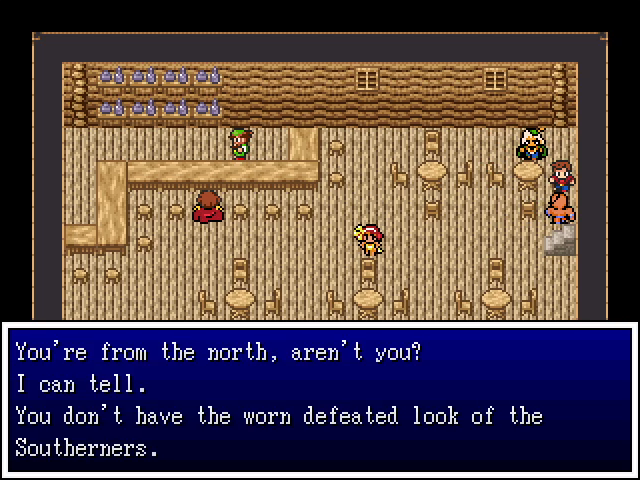 Word around the city pretty much confirms what we've already heard. The Sultan has really done a number on his country lately. 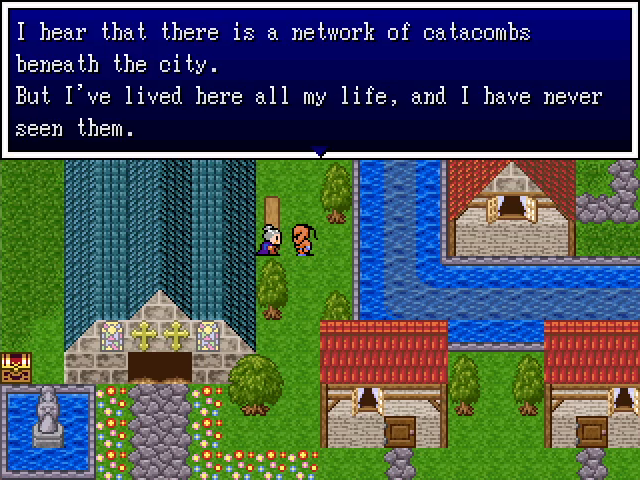 This seems to be a running theme in the major cities of the world. 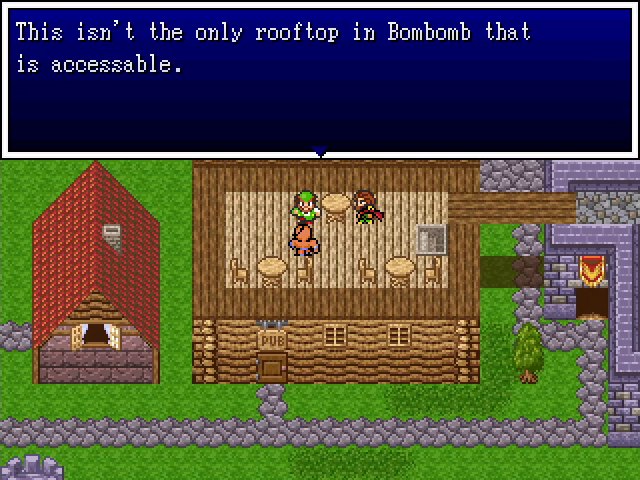 On the roof of the pub is a man who drops an interesting bit of information. The city's architecture certainly backs it up, as several roofs in the northern part of the city are connected by bridges. 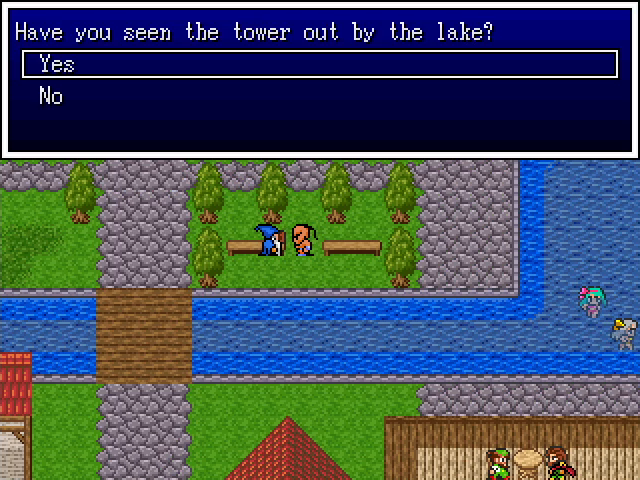 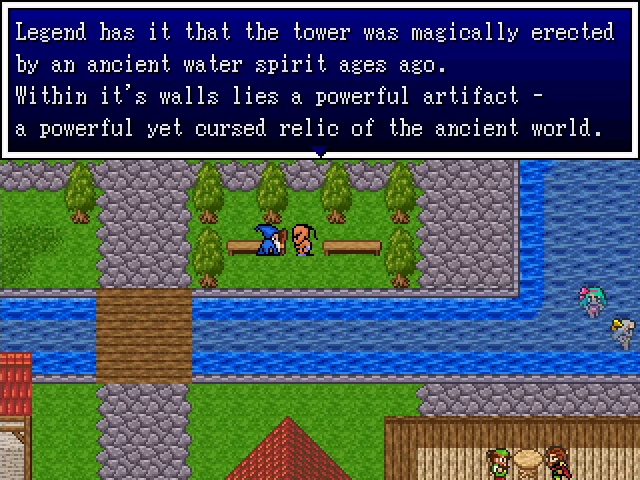 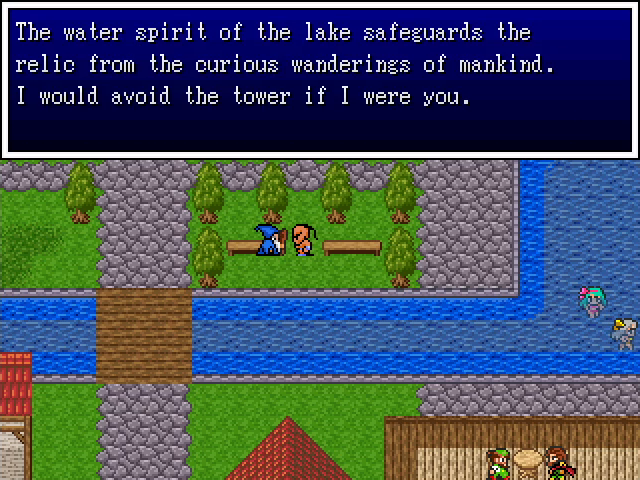 Well, we now know what's up with the tower, even if we can't reach it. 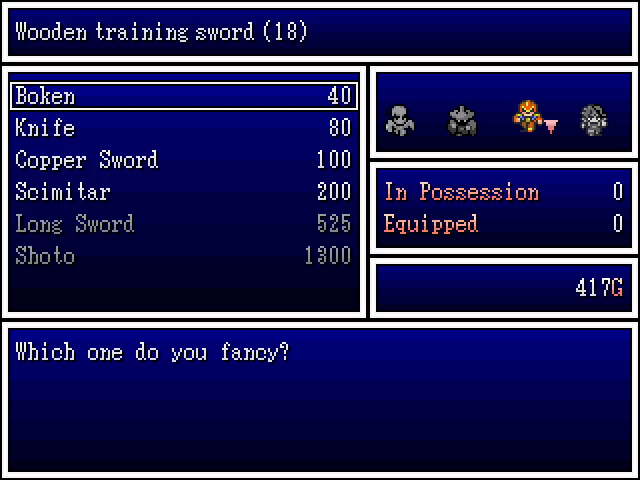  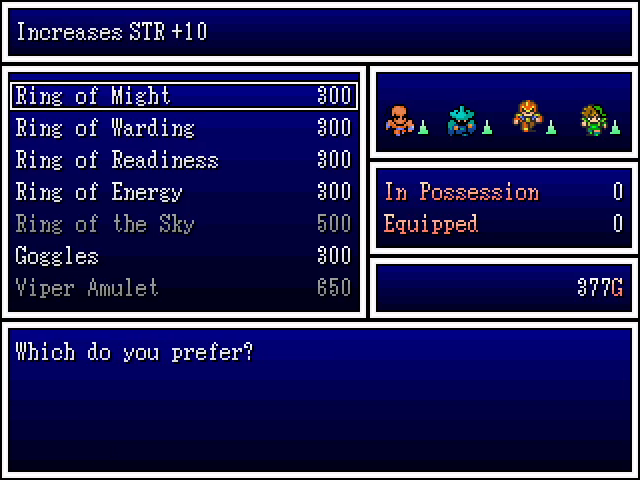 More of the usual from the last equipment shops in the chapter. 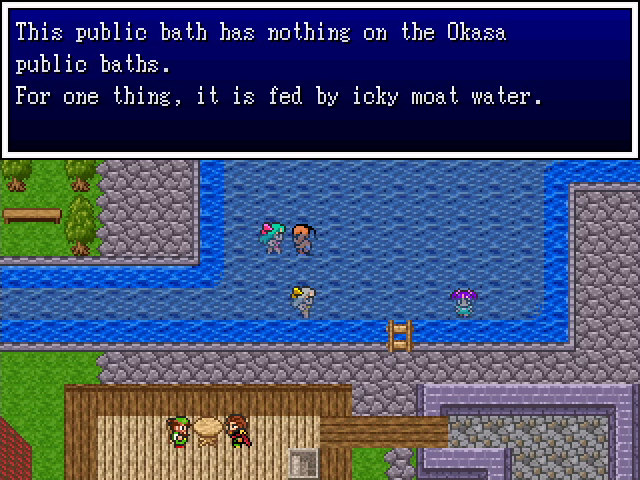 A narrow river divides the city in half and serves as a public bath. 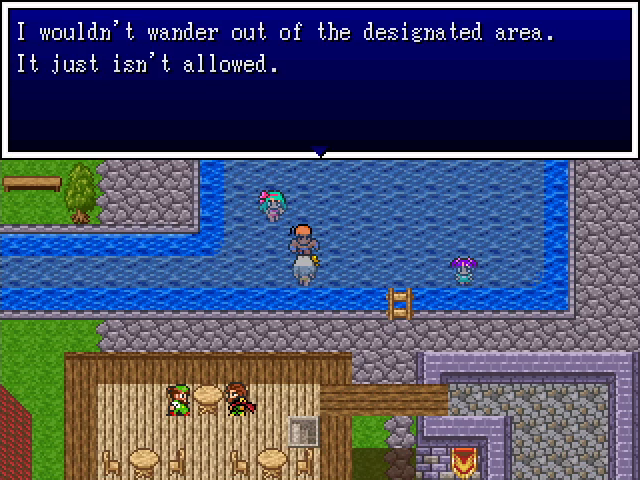 This, of course, means that we should absolutely wander out of the designated area.  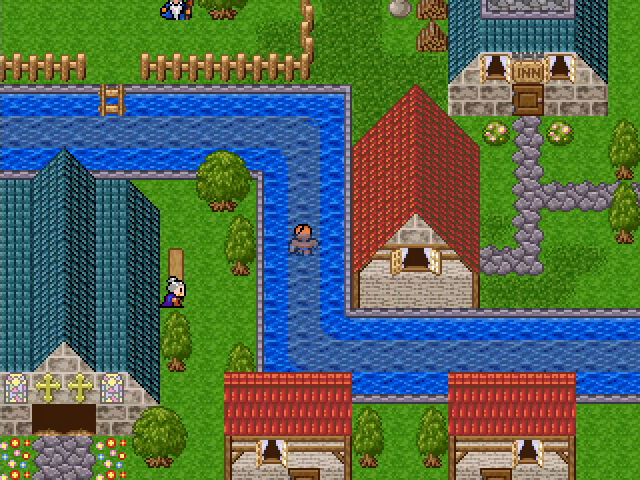 We head west, and come to another exit from the river, into someone's back yard. 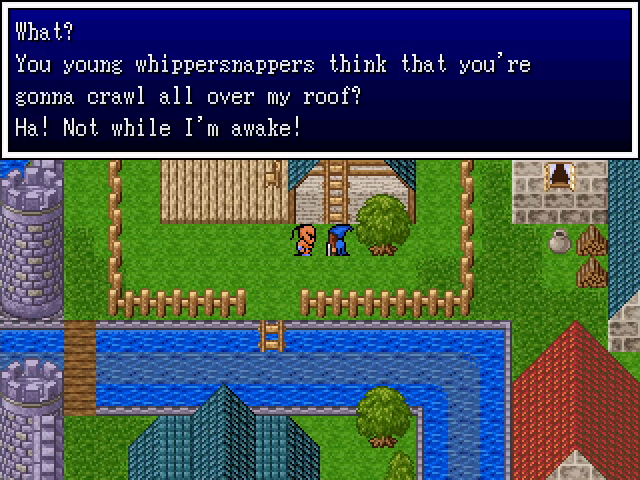 You do realize that we'll just come back when you're not awake, right? 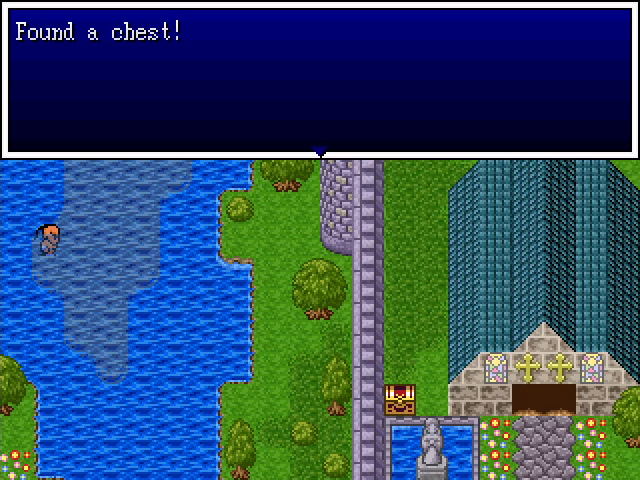 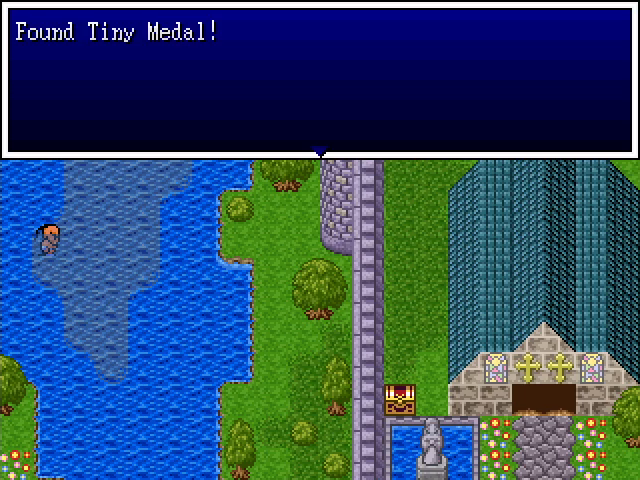 Further west, we enter the moat, where we find a hidden chest.  There's also a stairwell to the north, and once again we have no obvious way to reach it. 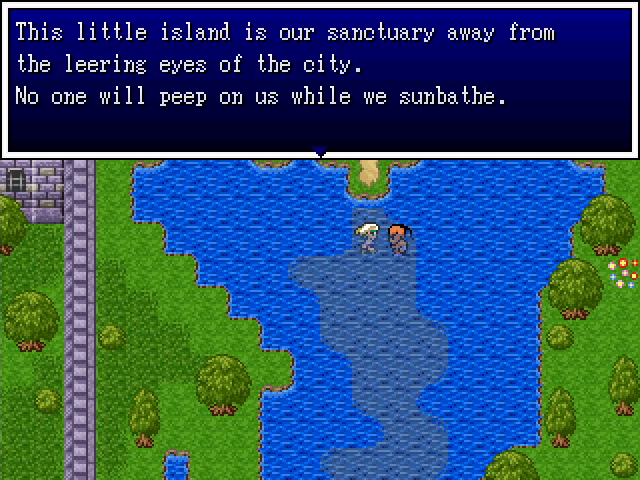 East of the baths, we find some ladies sunbathing on a small island. We do not peep, because we're not creeps, never mind that Lina would murder the other three for it. 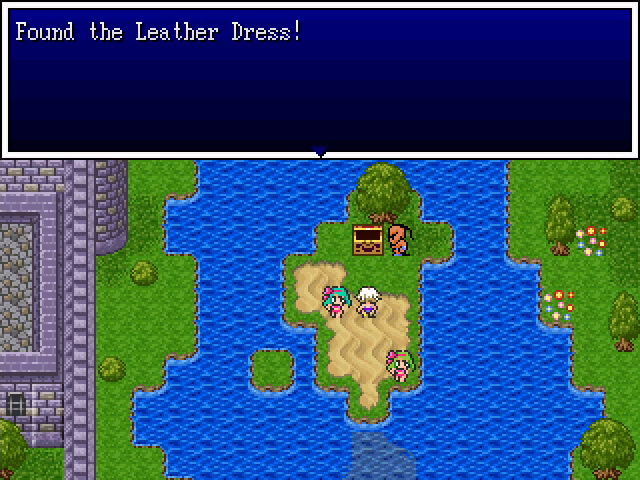 There's a second leather dress here, which we still cannot use. 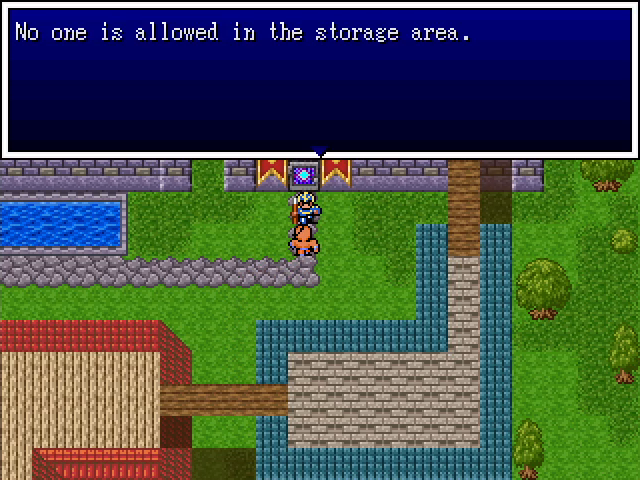 Right outside the palace, we find two locked, guarded doors. Even if the guards weren't there, we still couldn't open the doors. 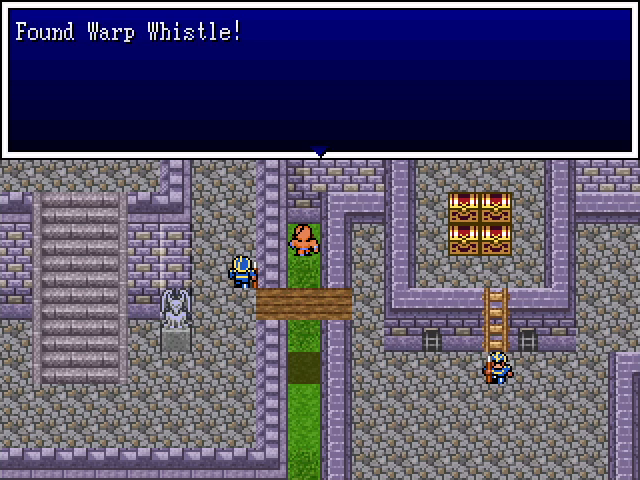 There's also a warp whistle buried in a conspicuous patch of dirt. I promise that this will be significant later. 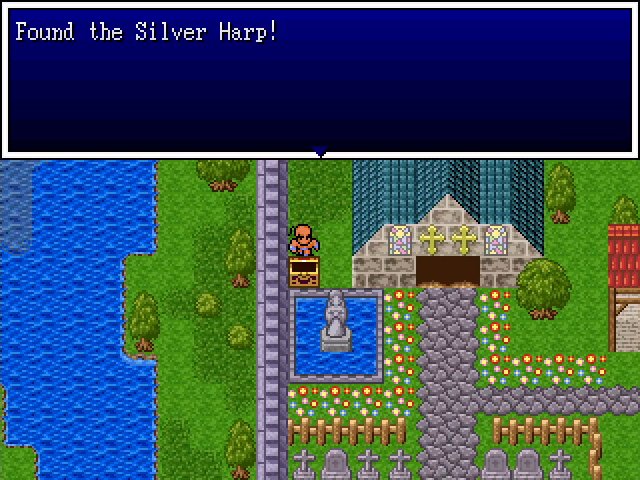 There's also a silver harp in a rather conspicuous chest. What Zefiryn's party had to do a side quest to obtain, Raj Ahtan's just... gets. 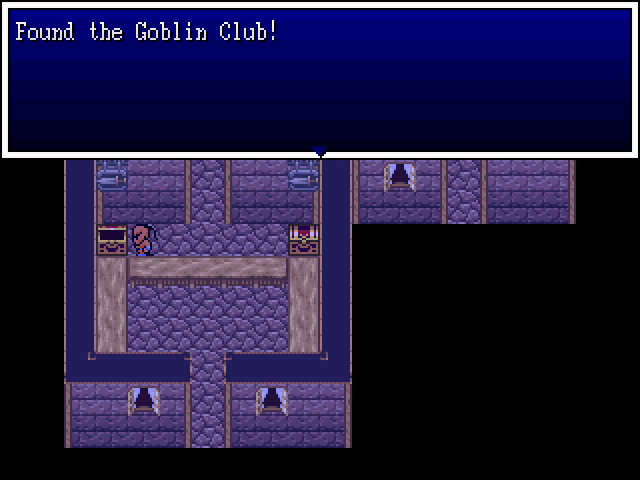 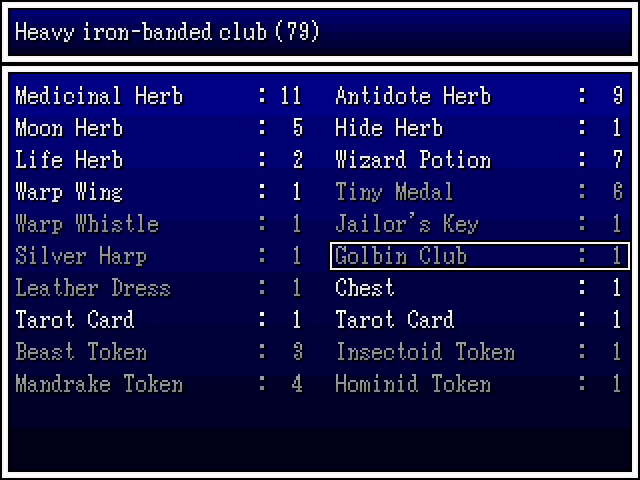 Returning to the city at night, we can loot a couple of chests in the weapon shop. The golbin/goblin club was also available to Zefiryn's team, via the shop in the Hasara Funhouse maze. I believe it's the strongest weapon available in the first four chapters, and it's one-handed too. Unfortunately, as with Zefiryn, Raj Ahtan's party has no one able to use it; I believe it's restricted to Holdana and the Black Knight class.  Told you, old man. 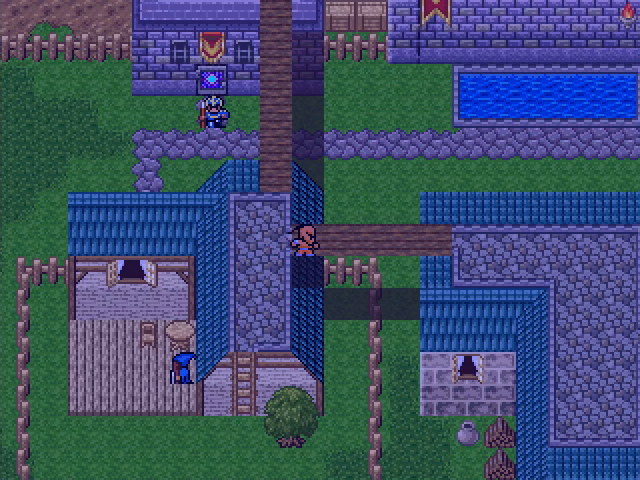 The rooftops are ours! 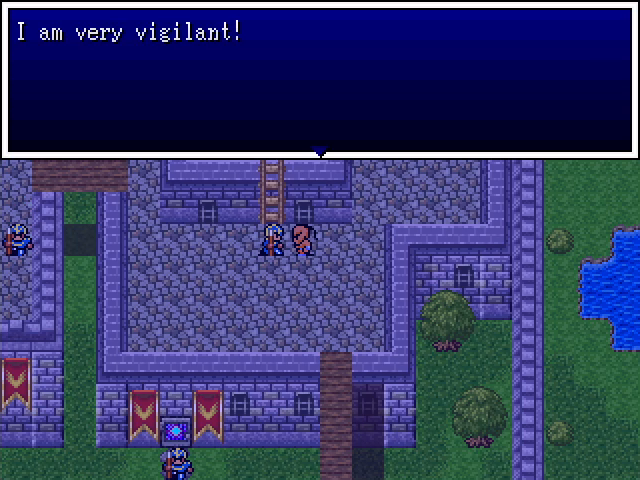 The rooftop path actually leads to the palace, where this guard accurately talks about his vigilance and prevents us from reaching four tantalizing chests. 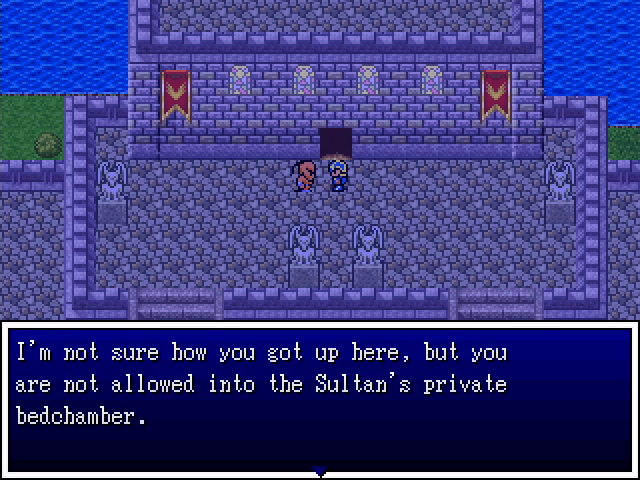 There's also an entrance to the Sultan's bedchamber, which we are, unsurprisingly, not allowed to enter. 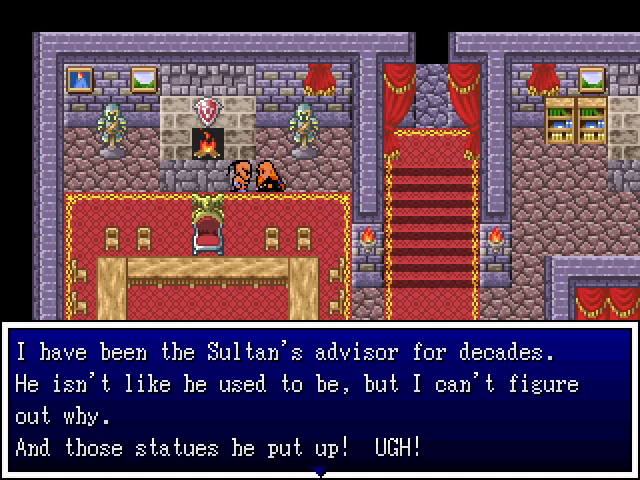 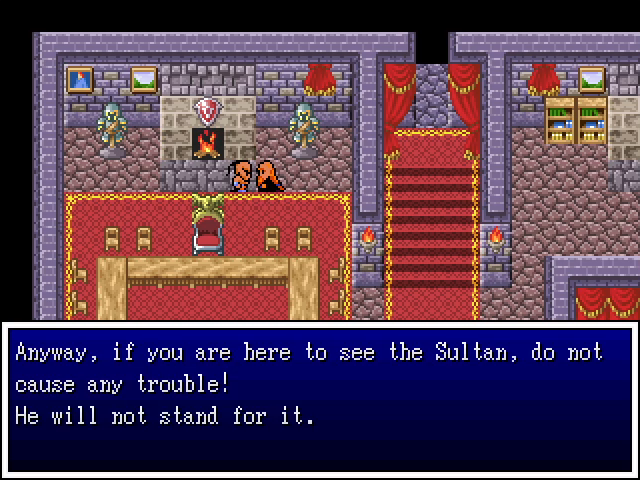 With our exploration of the town concluded, we return during the day to seek our audience with the Sultan. His advisor has noticed a change in his behavior, though he can't determine the cause. Also something about statues? 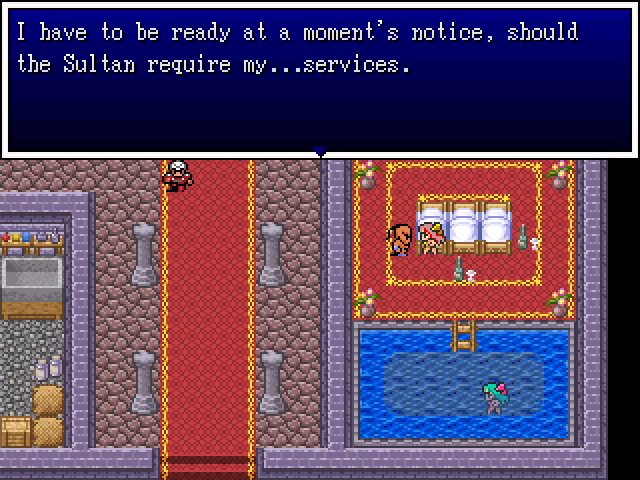 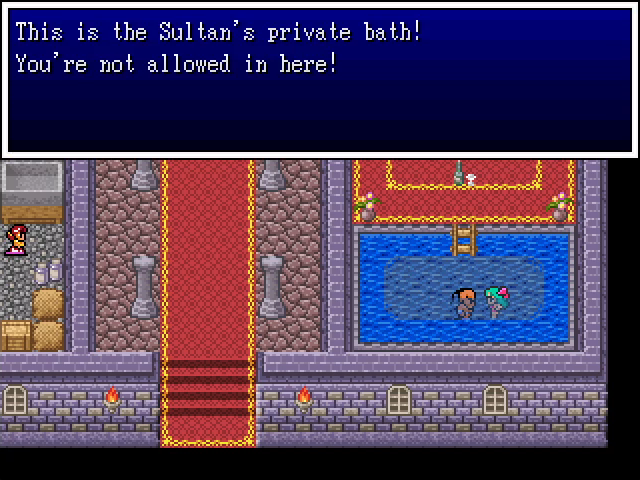 This is not the sultan's bedchamber. He just has a bath and a couple of concubines adjacent to the main thoroughfare. 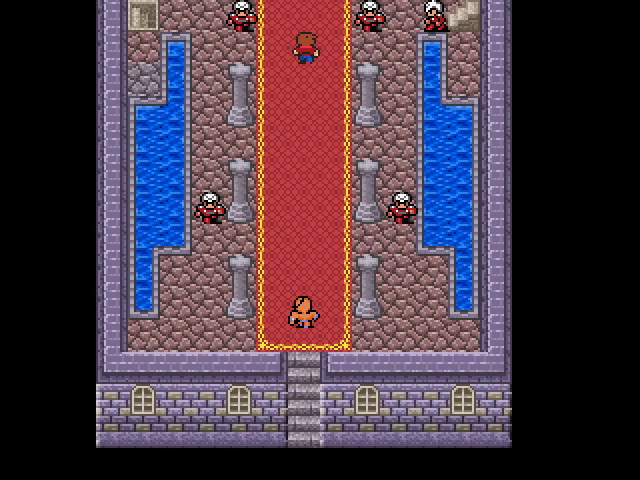 Finally, we approach the throne room, though we have to wait while someone else speaks with him. 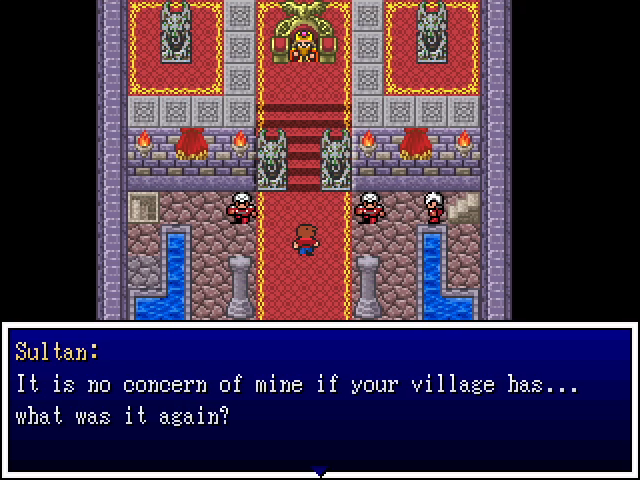 Okay, yeah, those statues are pretty gaudy. 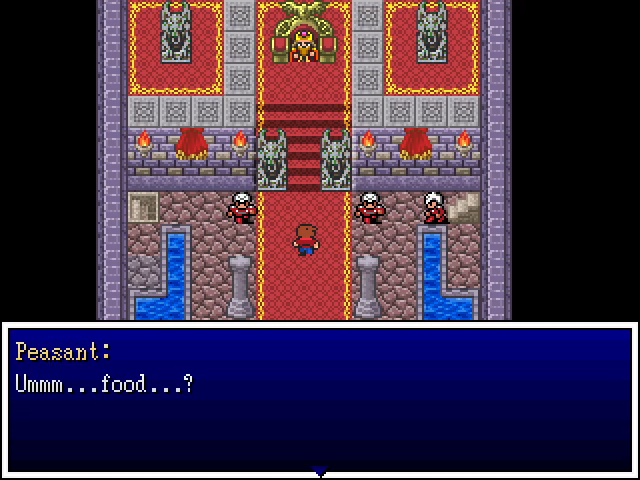 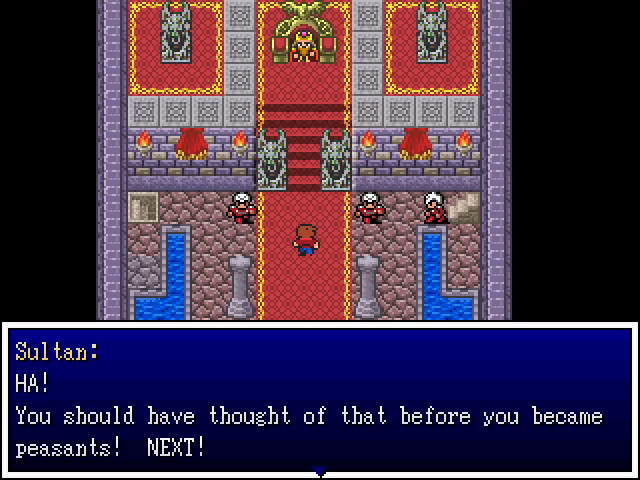 Okay, yes, the Sultan is actually the rear end in a top hat everyone's made him out to be, but I still find his dialogue to be hilarious. 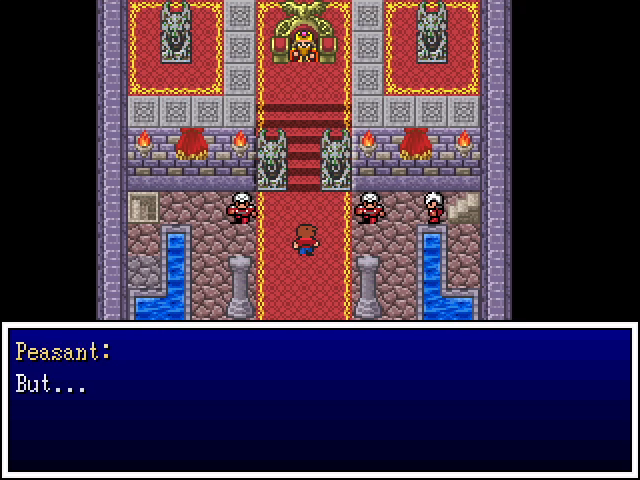 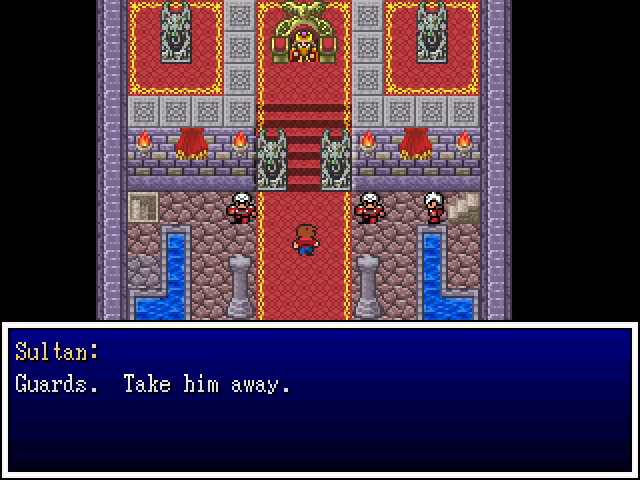 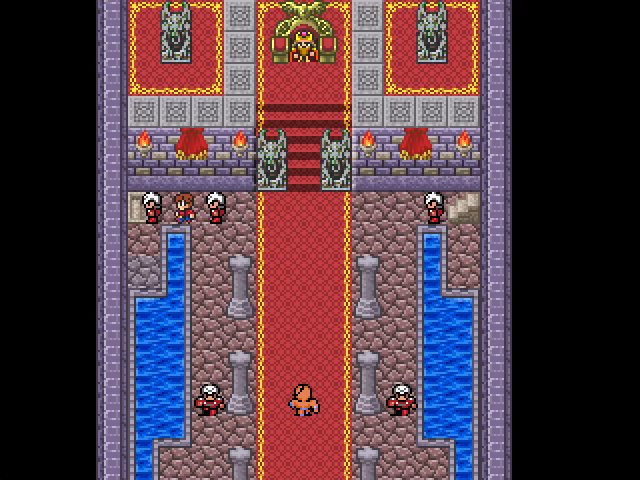 The unfortunate peasant is escorted out of the room. 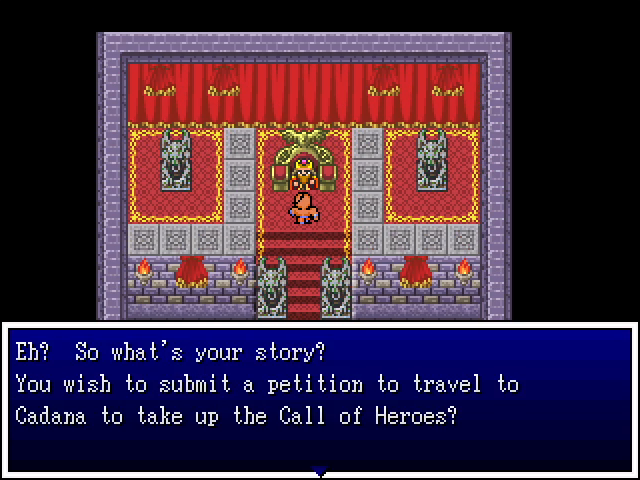 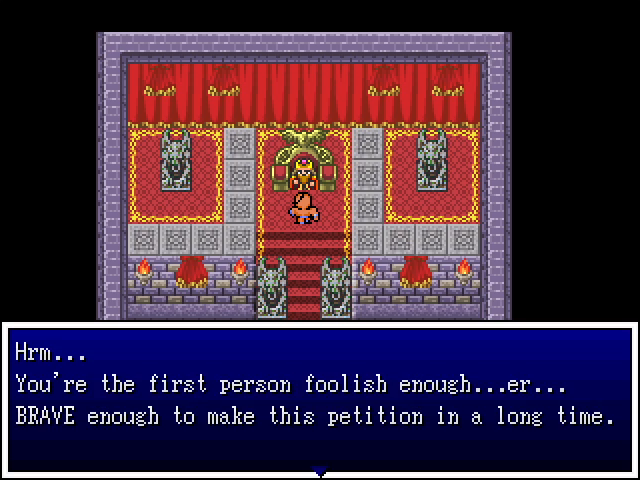 He's never gonna go for this. 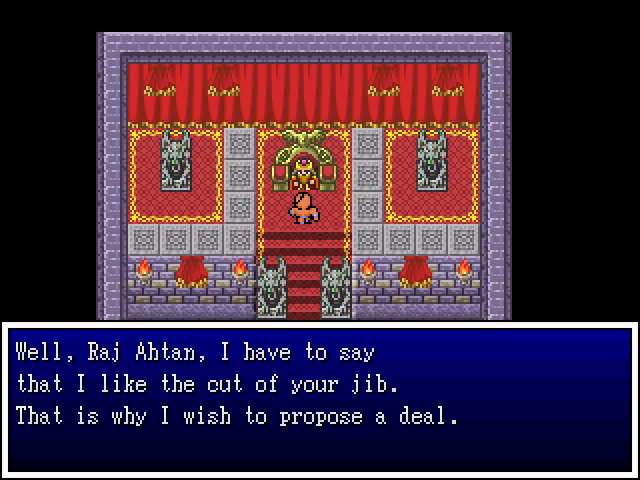 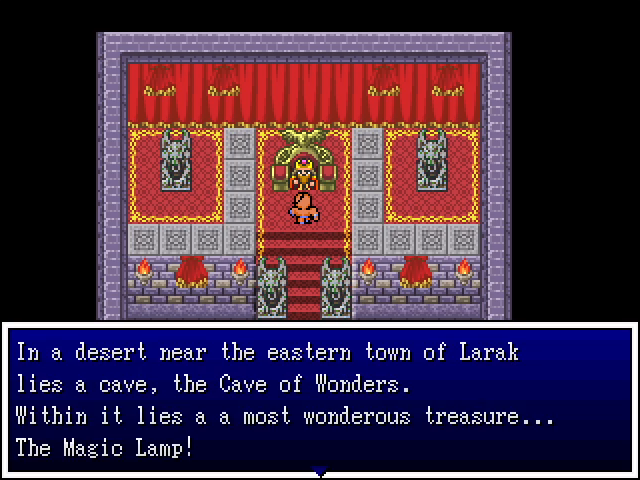 Sorry to the person who suggested the name Alibaba; this is clearly Aladdin.   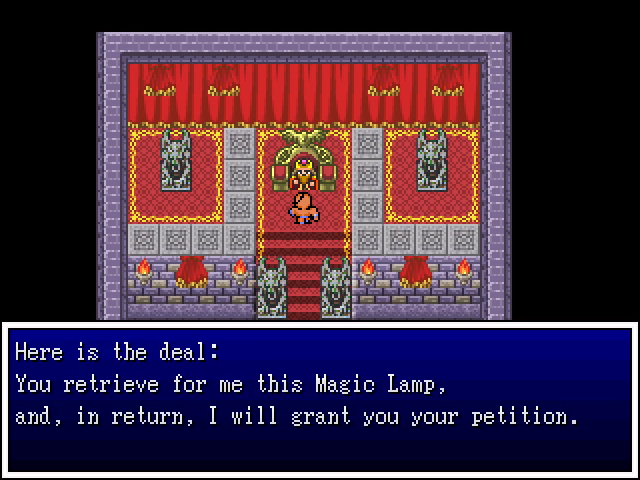 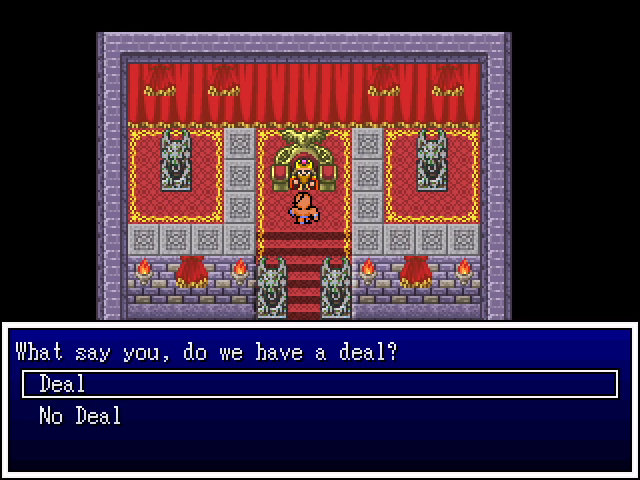 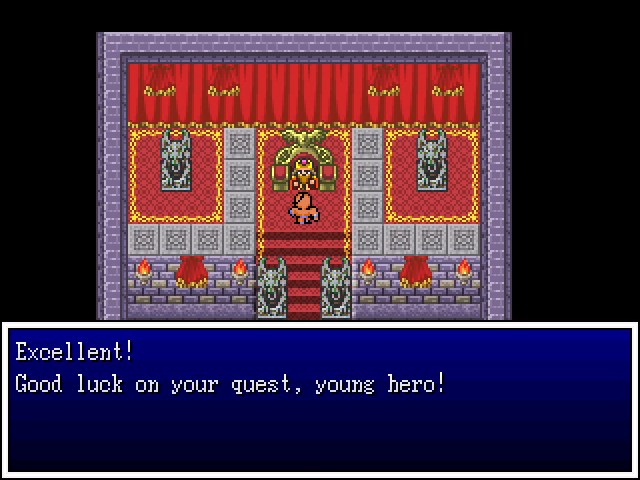 Well, that went better than we could have reasonably hoped. 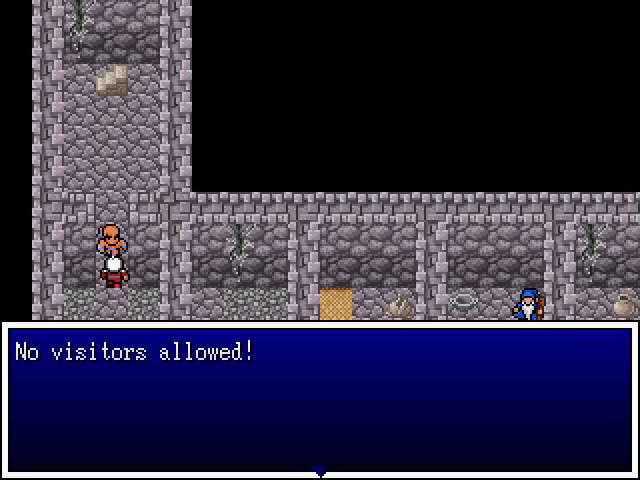 Curious, we check the stairwell down which the first petitioner was escorted. It's a dungeon. 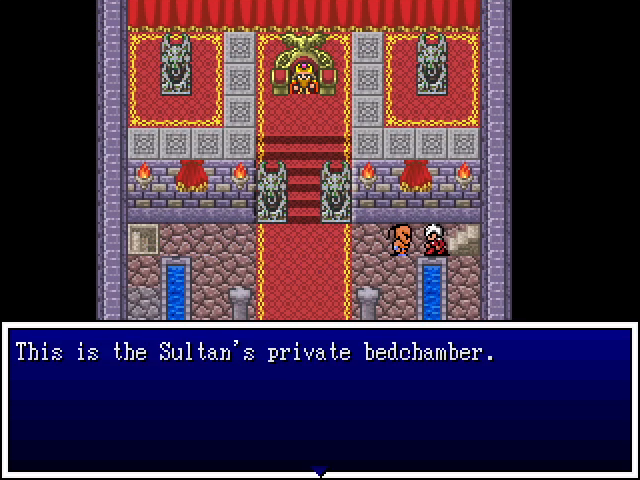 The stairs on the right lead to the Sultan's bedchamber, and we are naturally barred. 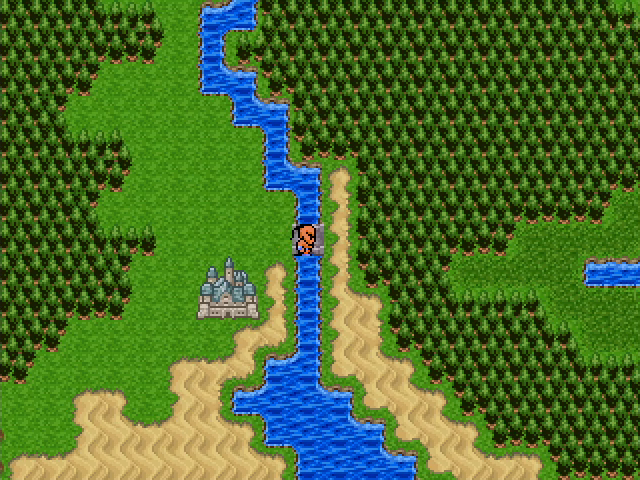 Following the Sultan's directions, we head east. 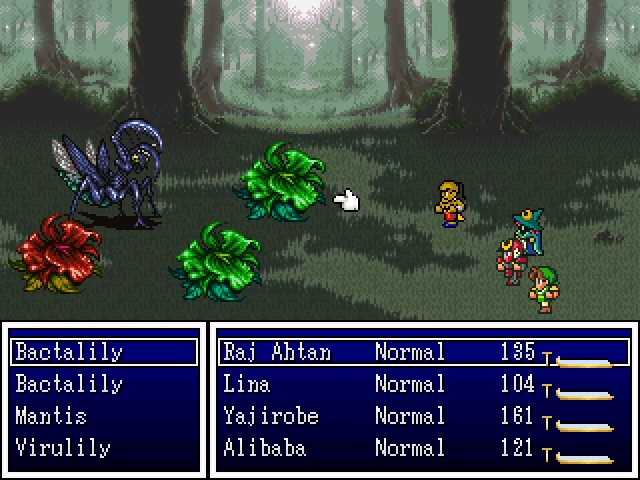 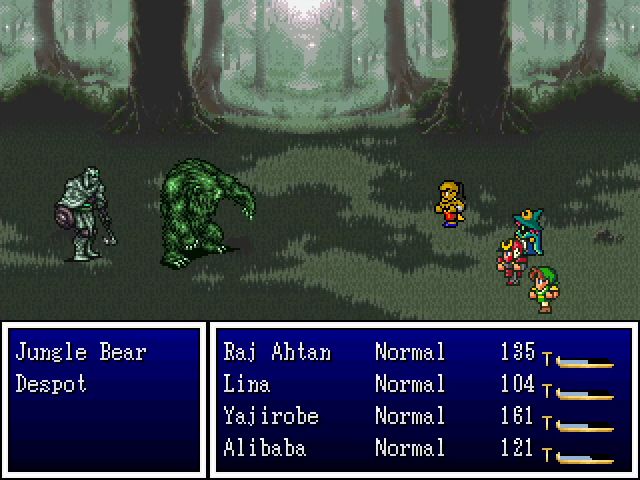 There are a few new enemies in this part of the world. The mantis, virulily, and bactalillies go down pretty quickly to our team's attacks, but it's not too hard to guess at what they can do. The despot/jungle bear fight is more interesting; both use physical attacks, and the jungle bear is highly durable. When it goes down, the despot runs away.  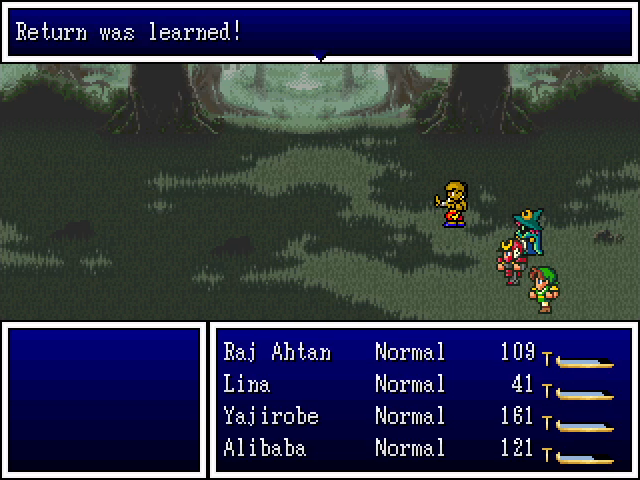 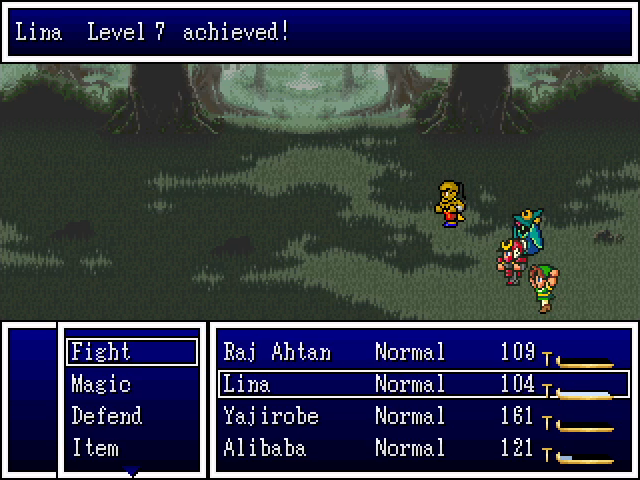    Everyone also gains levels from fighting these new monsters. We're going to need everything we can get.    To r each the Cave of Wonders, we need to head north, then make a u-turn west and back to the south, where we come to a desert. The Sultan said the Cave was here, but there's nothing in sight. 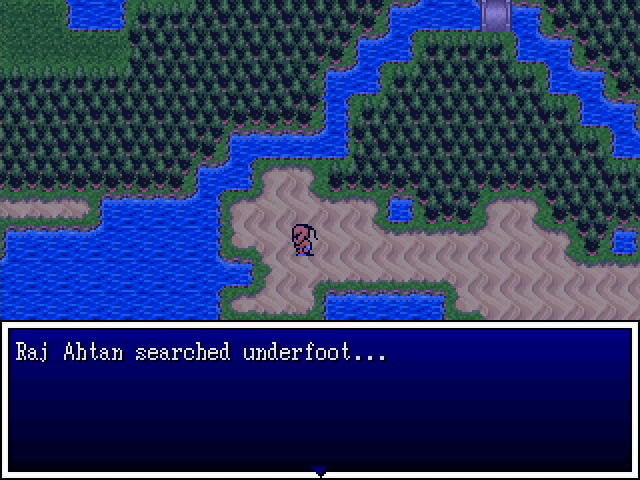 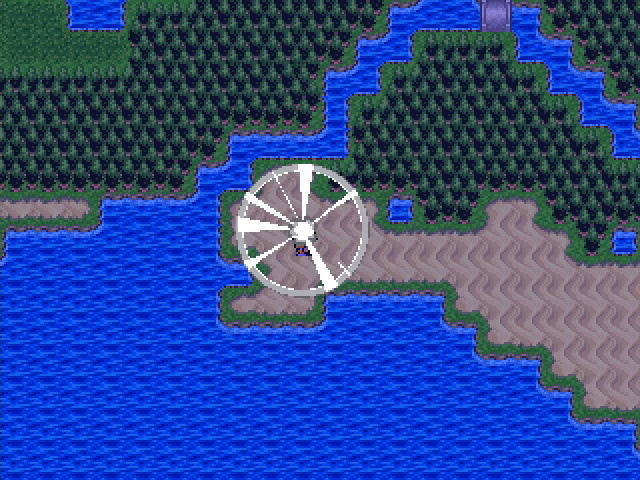 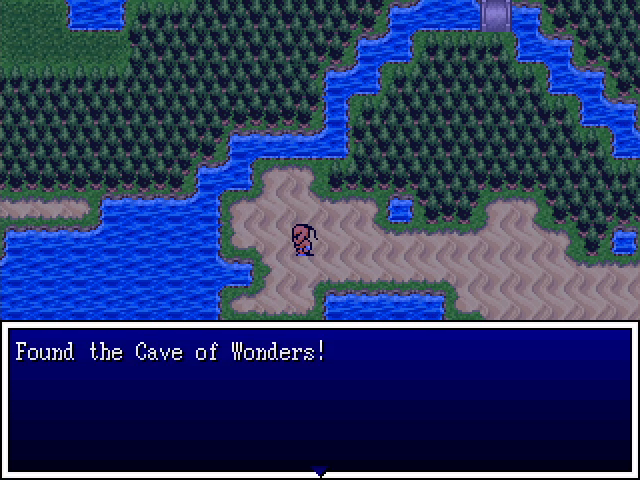 Yeah. If you don't know how or where to find it, the Cave of Wonders can be a stumper. It's not great design, and unfortunately "not great design" something of a theme for the dungeon. 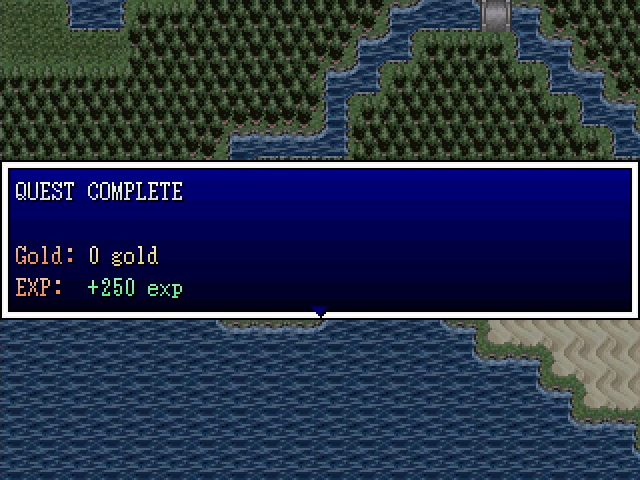 At least we get some XP for it. 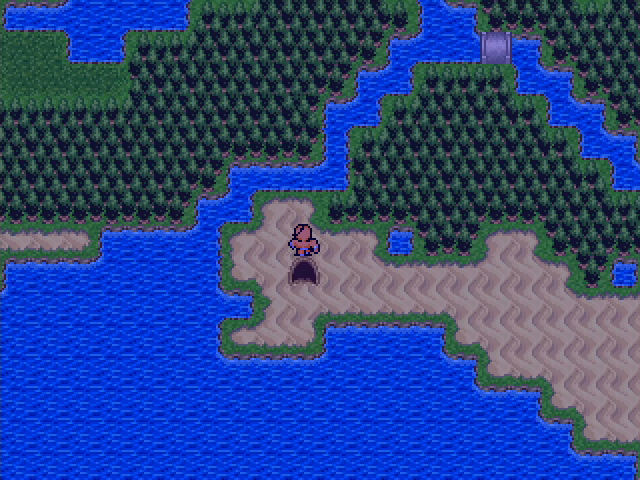 Let's do this. 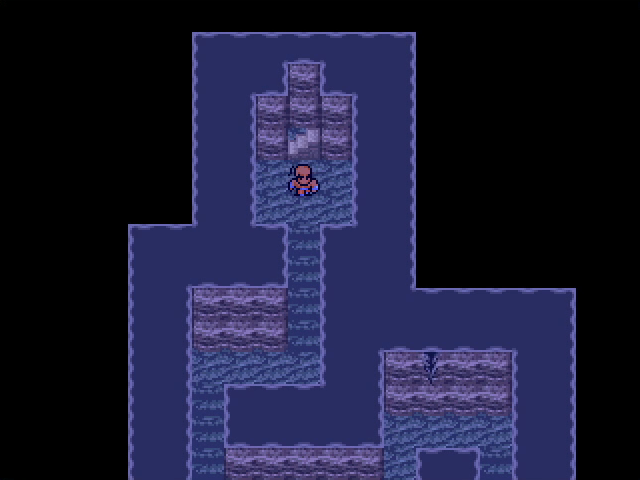 And here we are in the Cave of Wonders! This dungeon is awful and I hate it! 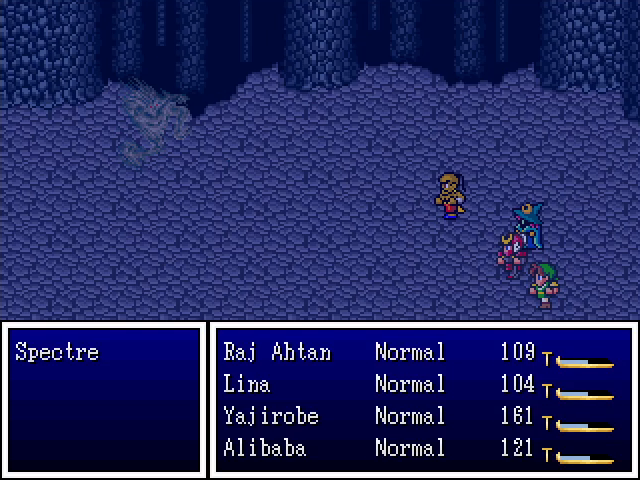 Ghosts and spectres infest the early parts of the dungeon. They're certainly annoying, but not too threatening. 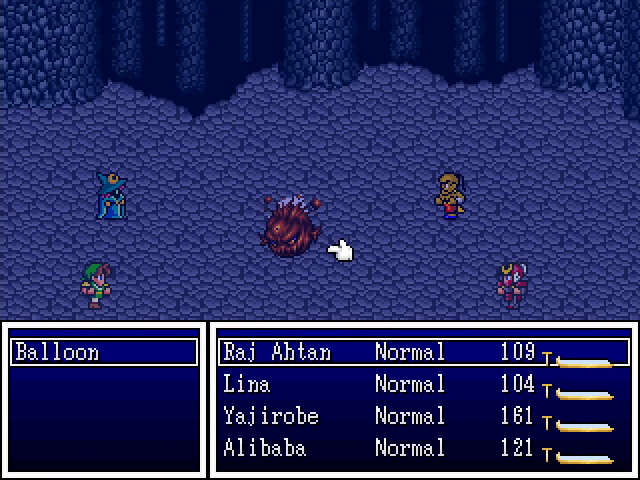 Balloons are a new enemy here. Besides their basic physical attacks, they also use Firebreath, which hits the party for around 10 damage. Again, not really a threat. 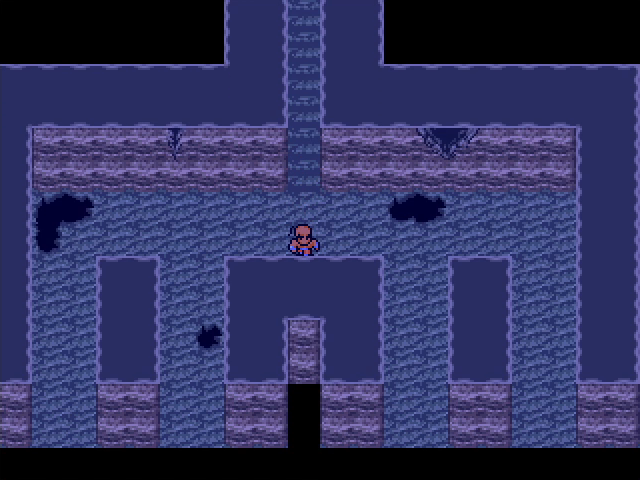 After a few screens, we come to a split in the path. The middle-right fork is an endless corridor, so we don't want that. 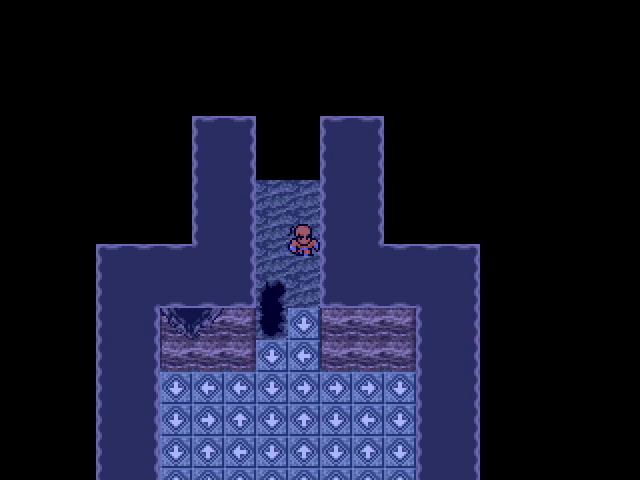 The far-right fork leads us to a room full of arrow tiles. 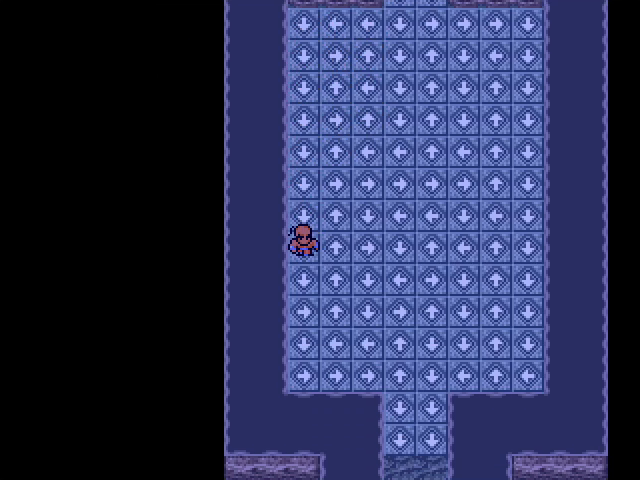  We get pushed all around the room before being dumped in a hole. 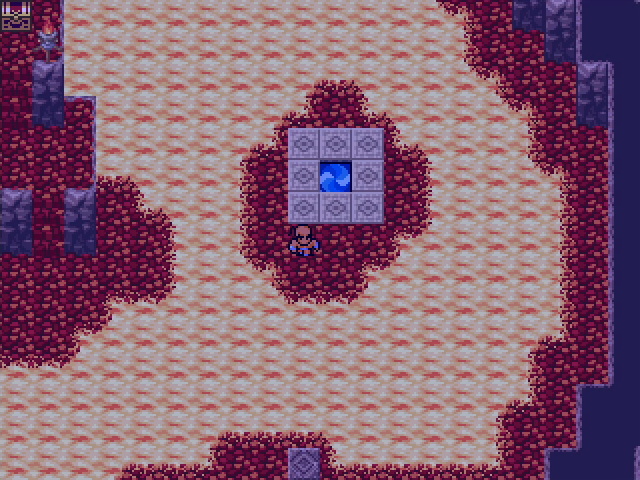 We land on a small patch of land surrounded by impassable lava. Luckily, there's a teleportal available. 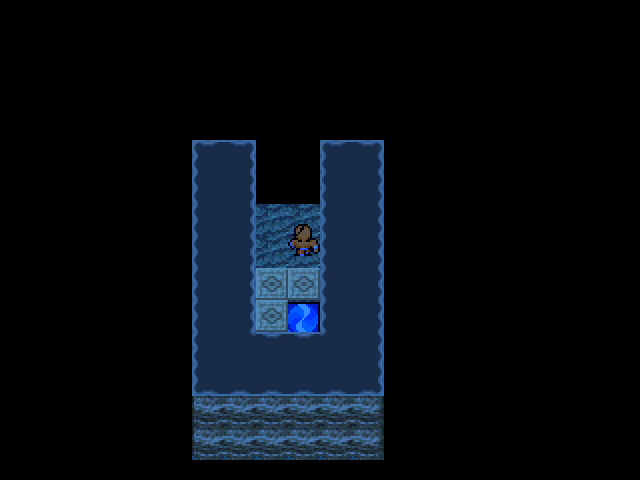 It puts us in the middle-left fork, which leaves only the far-left fork. 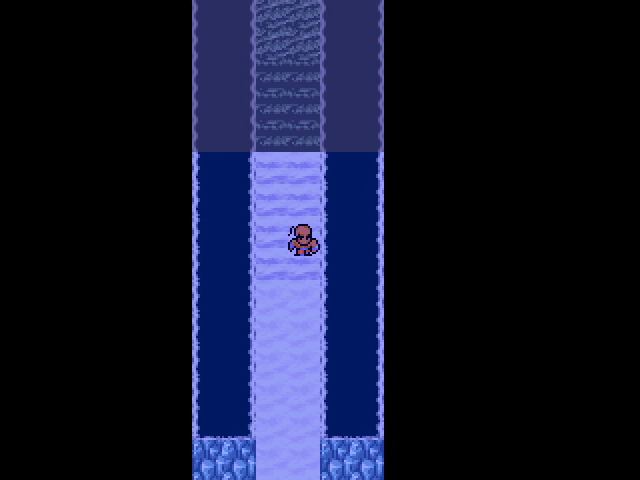 It leads us into a frozen area. You can probably guess what that means. 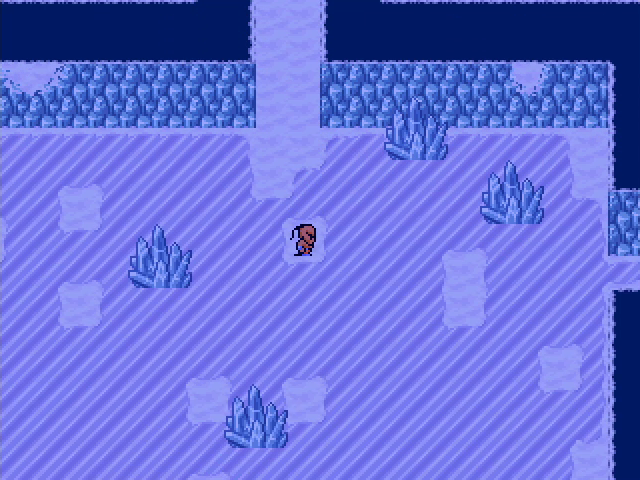 Yeah, it's an ice-sliding puzzle. 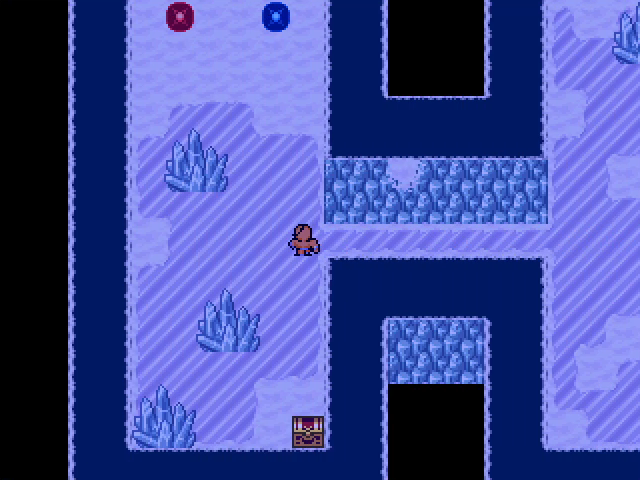 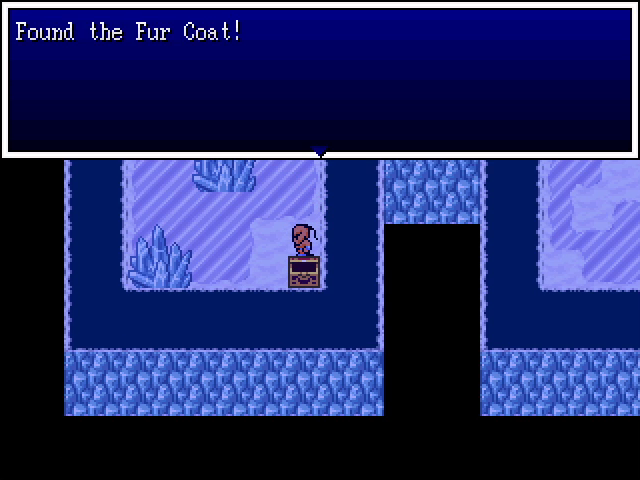 In the western chamber, we find a red and blue orb, as well as a chest containing a fur coat. This is a great find for Lina, who's very fragile and needs all the protection she can get.  The eastern chamber, on the other hand, contains another sliding puzzle.  We solve it a continue on to the south. 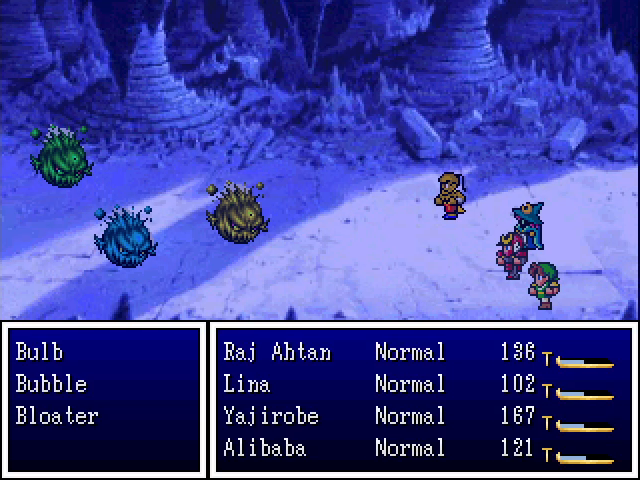 And then... we run into these fuckers. These enemies are faster than any of our party members except Alibaba, who cannot one-shot any of them. And that's a problem. You see, while the blue bubble only uses Icebreath (which is about as effective as the balloon's Firebreath), the other two are... a bit more of an issue. 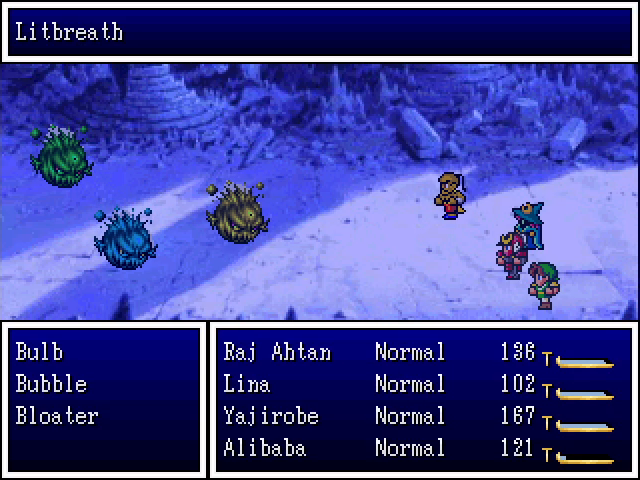 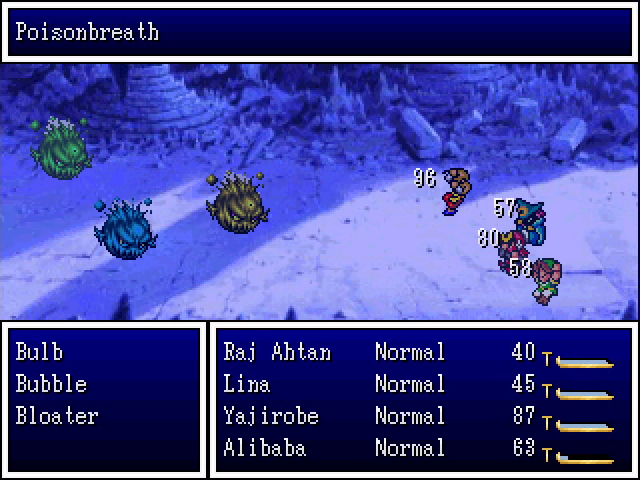 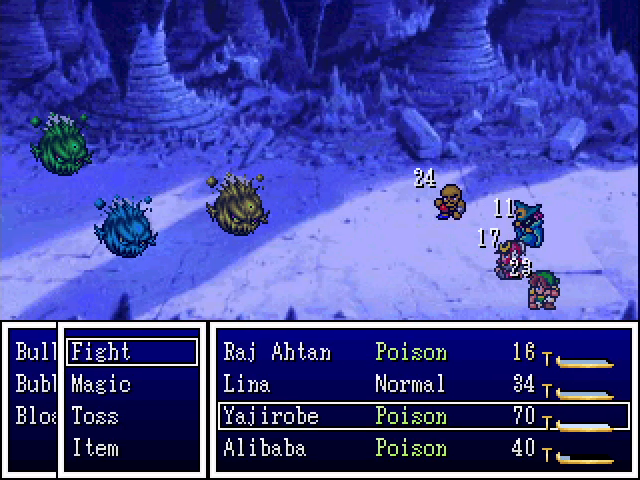 One round of breath attacks, and everyone is on death's door, not to mention that three of our people are poisoned. The bulbs in particular do a ton of damage, and are the main reason I hate this dungeon so much. 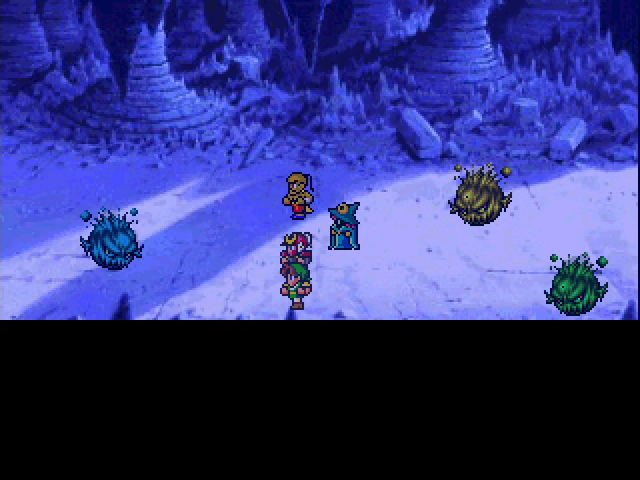 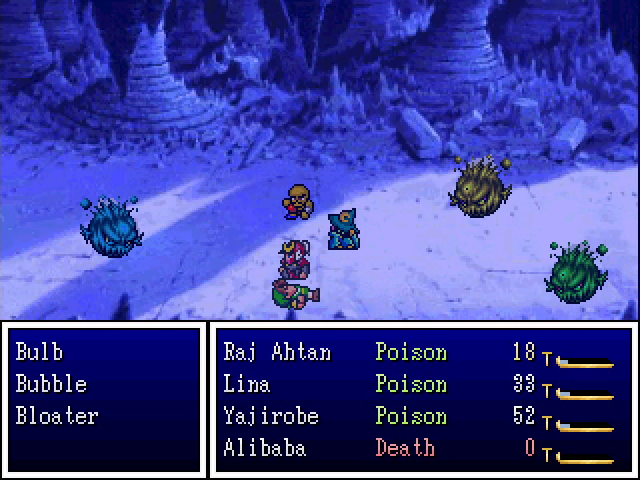 If they take you by surprise, death is virtually inevitable, since they'll get two actions before most of the party does anything. And with life herbs so rare and valuable, anyone dying basically mandates a reload. 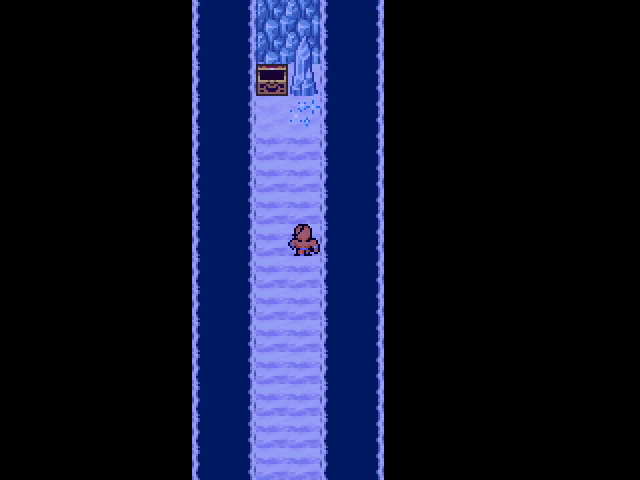 Mercifully, not far ahead is a save point, which makes resets less painful. 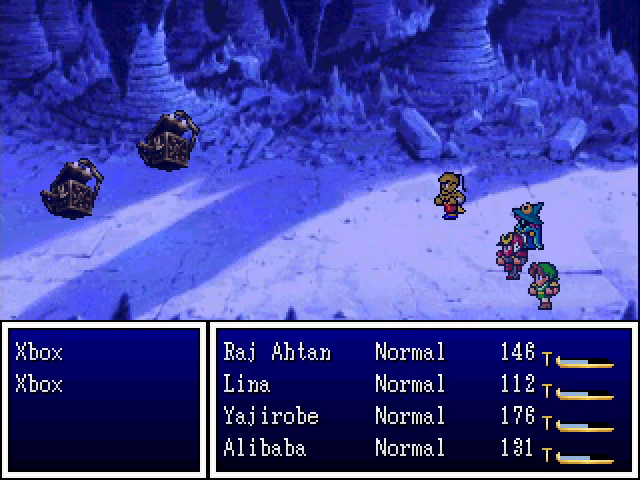 There's one other new enemy in here as well, the Xbox (ha). They're not too strong, but they like to use a bunch of debuffing spells, including Slowall, Sleepmore, and Decrease. 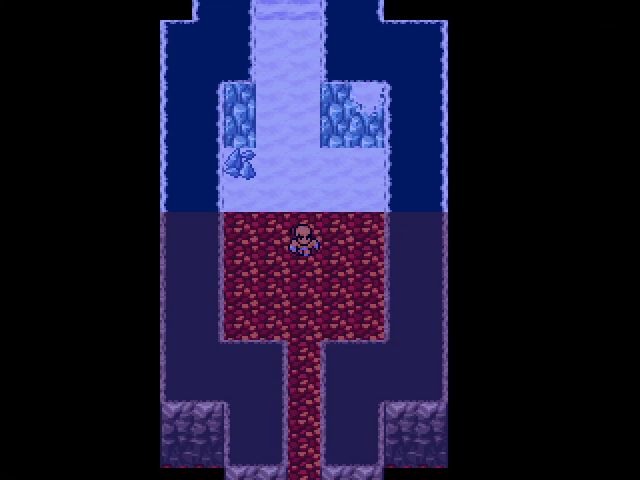 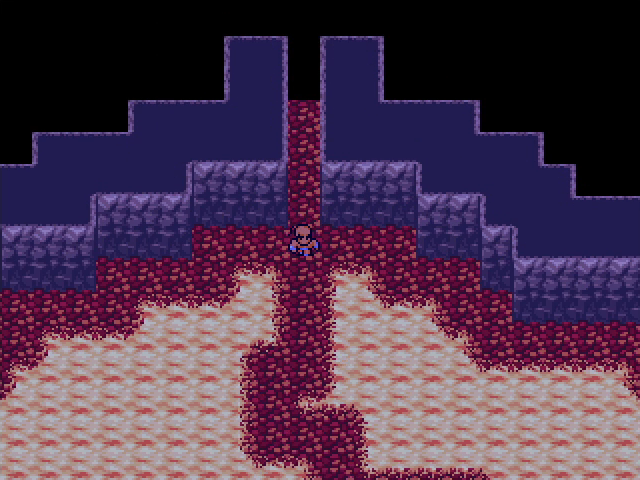 Further ahead, the icy halls give way to fire. 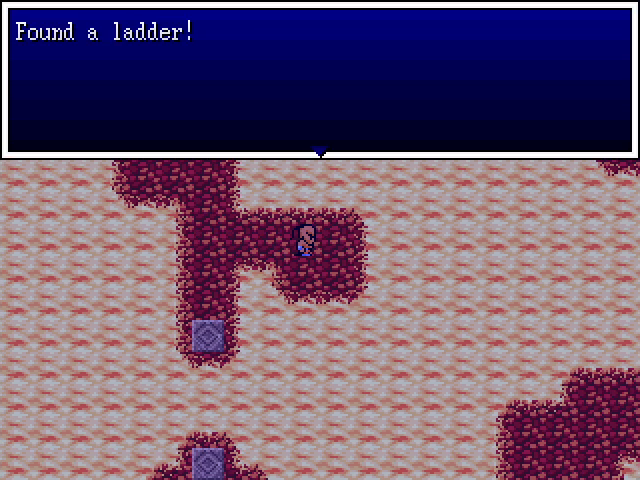 This chamber is filled with lava, and the only way to get through is to use ladders to get from island to island. 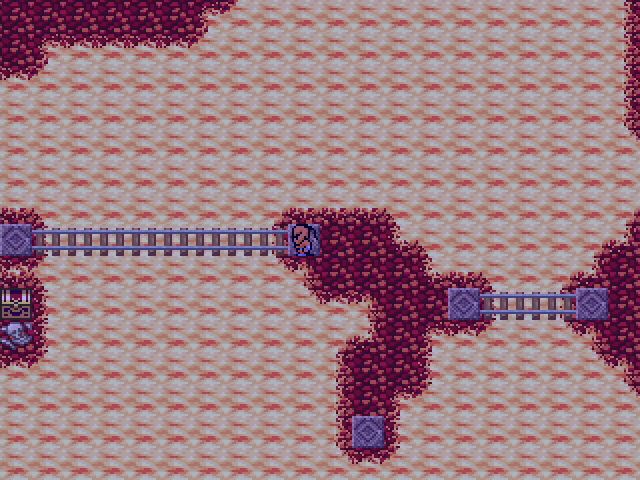 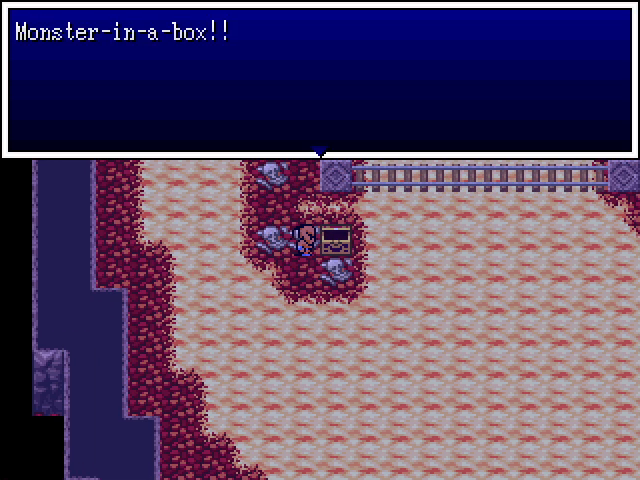 In the western part of the chamber is a treasure chest on a corpse-filled island, meaning there's another monster-in-a-box to fight. 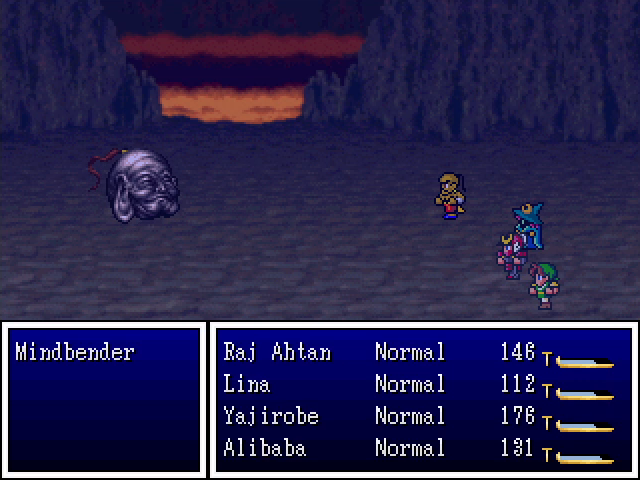 The Mindbender uses Surround to blind the party. It probably does other things too, but this party's damage output is so high that we can effortlessly kill it before it gets a second action. 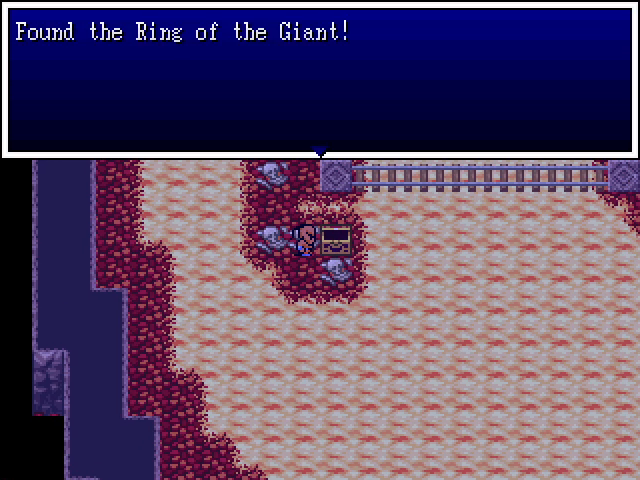 Our prize is a ring of the giant, a solid pick for Yajirobe. 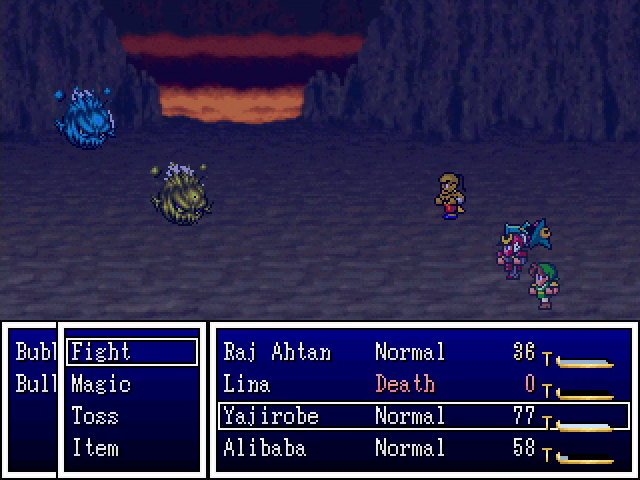 Oh, another death, time to do it all over. I think this happened three or four times. 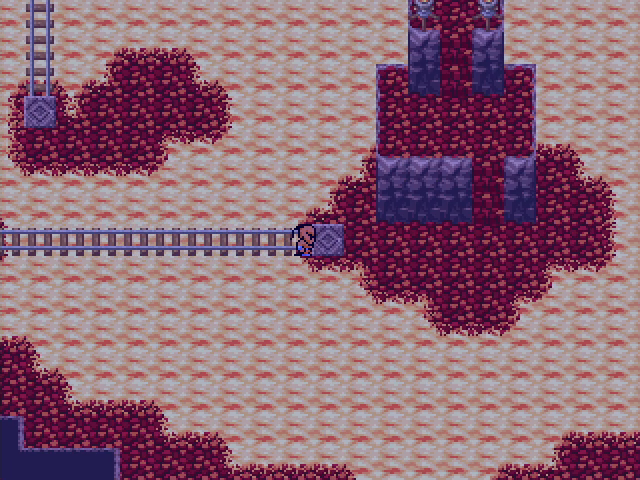 Finally, we lay a ladder to the big central island, and... 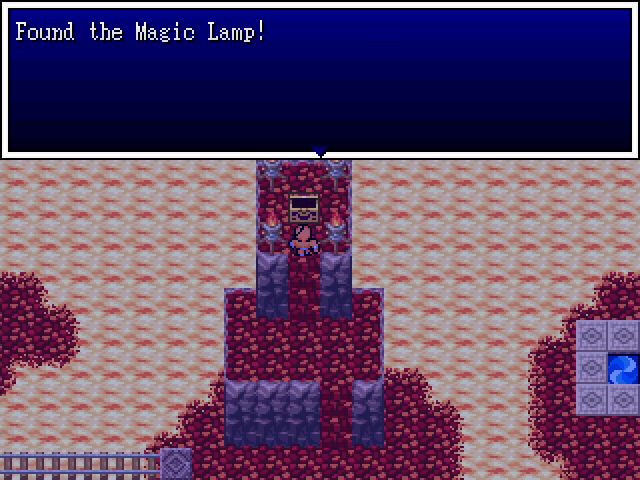 ...claim the Magic Lamp! At least there's no boss here, and unlike the last time I said that, it's not misdirection.  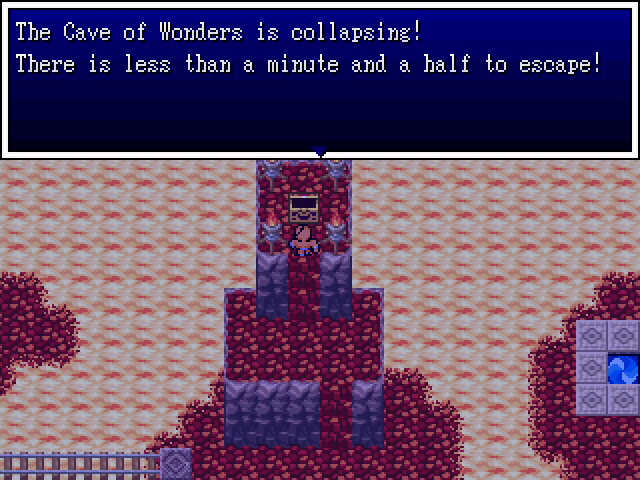 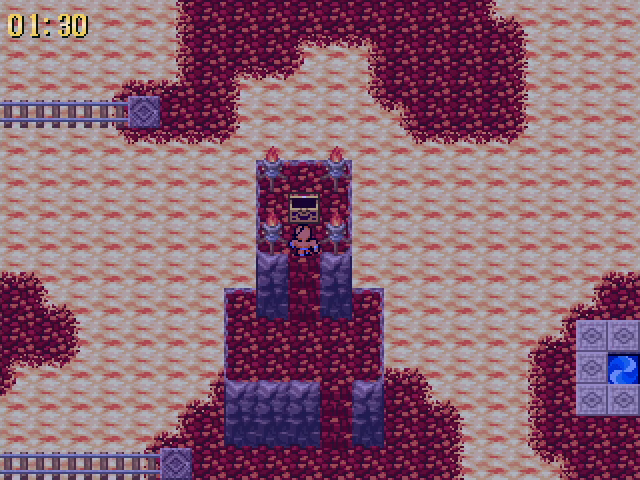 Instead, the cave starts collapsing, giving us only 90 seconds to escape. The timer doesn't tick down during fights or when menuing, but it's still a narrow thing. And bulbs can still show up to end your run. There are actually a few ways to get out of the Cave of Wonders. The first and most obvious is to run back the way we came. This is time-consuming, though, and getting stuck on the ice sliding puzzles is a good way to run out of time. The second is to grab a spare ladder (preferably before getting the Lamp) and use it to make a bridge to the teleportal; from there, it's a short jog to the exit. 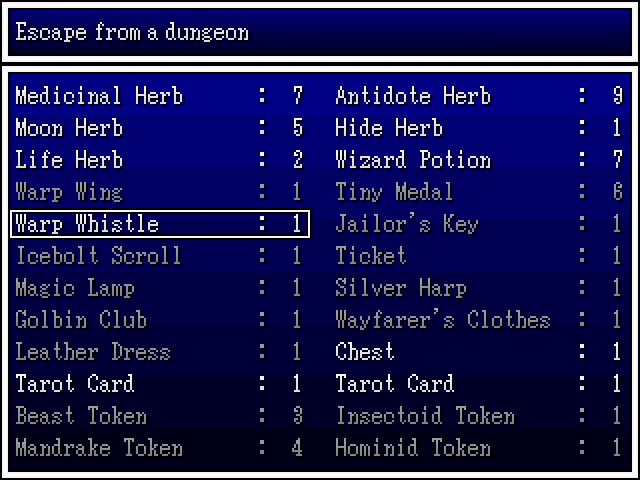 We're taking the third and most practical option: a warp whistle. I told you it'd be important! 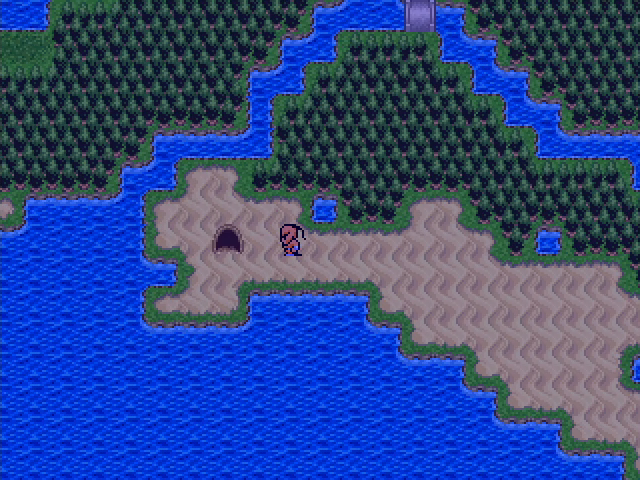 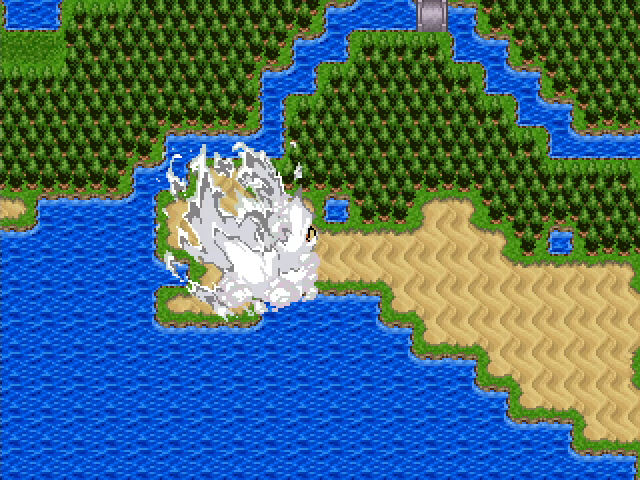 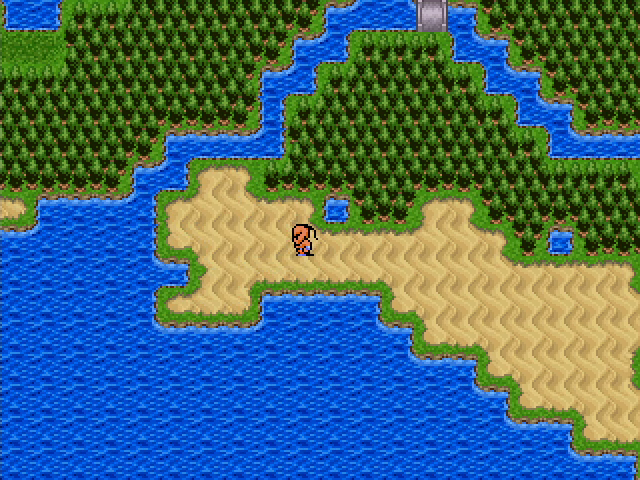 Dawn breaks dramatically as we make our escape, and the cave entrance collapses behind us. Good loving riddance. Let's get back to Bombomb. 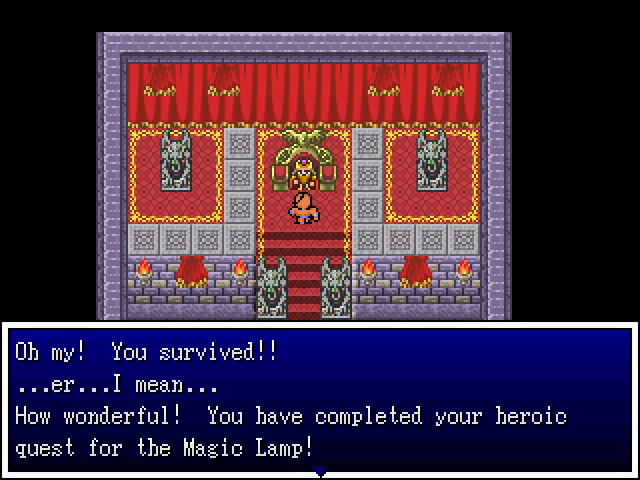 The Sultan seems quite pleased and not at all shocked that we made it back with the Lamp.       The whole affair is worth a level up for everyone, though there's nothing interesting about these levels.  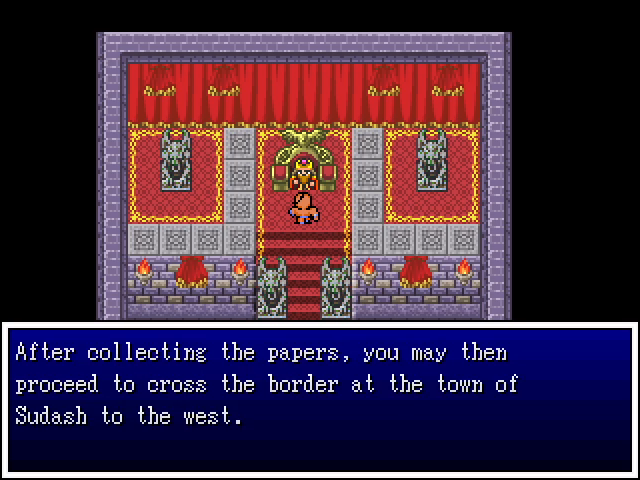 Wait, downstairs to the left? Well, if you say so...   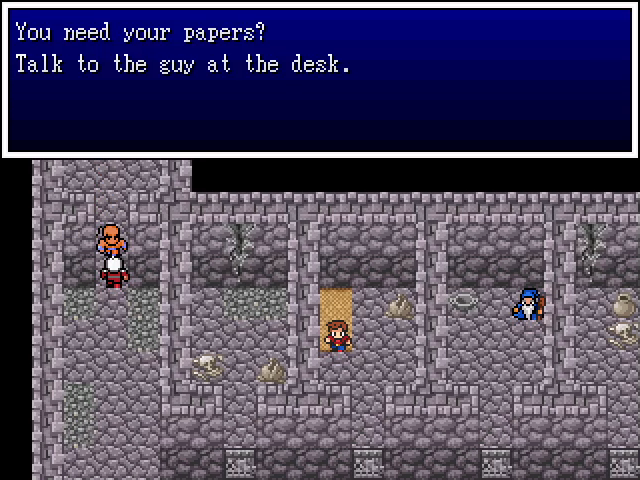  What the f- 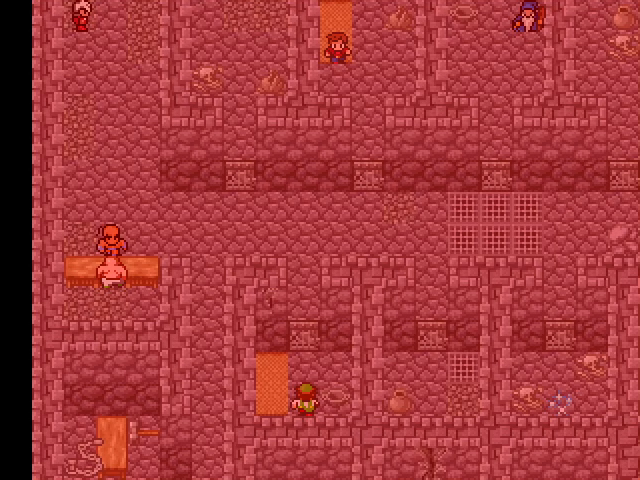 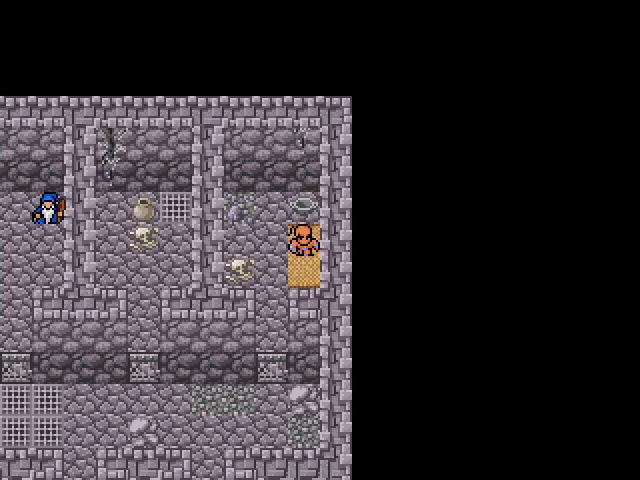 We wake up in a prison cell. 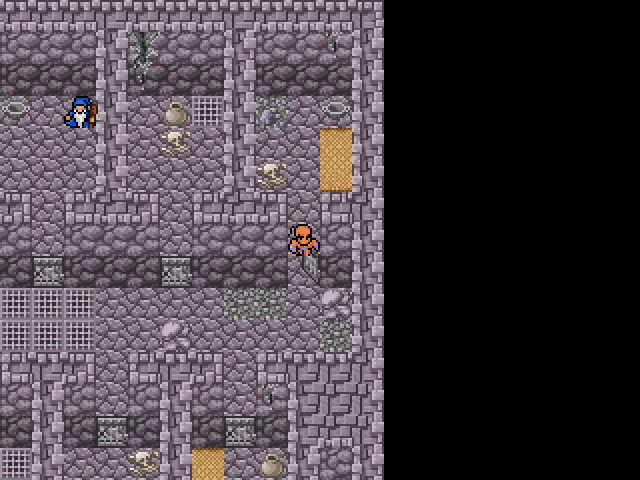 Once again, it's a very good thing we got the Jailor's Key. 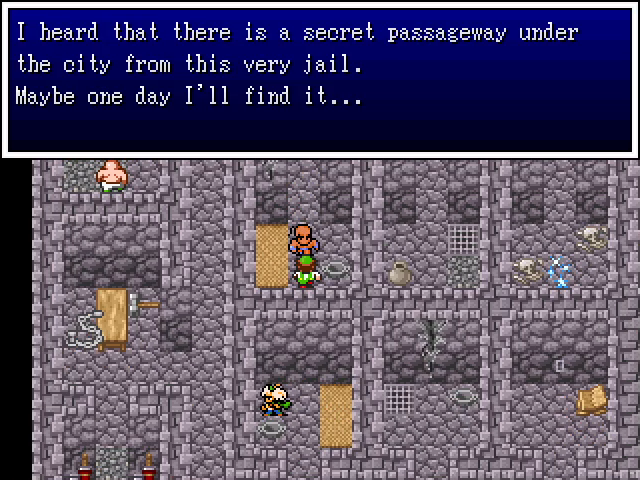 Well, we presumably can't get back out the way we came in, so I guess we'll have to find it.  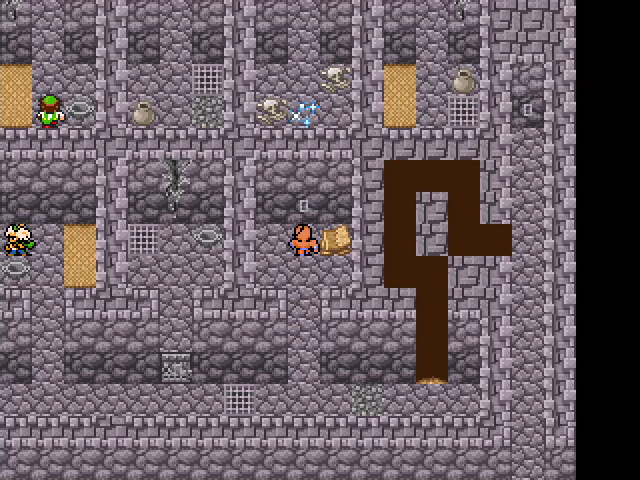 Well, that was easy. 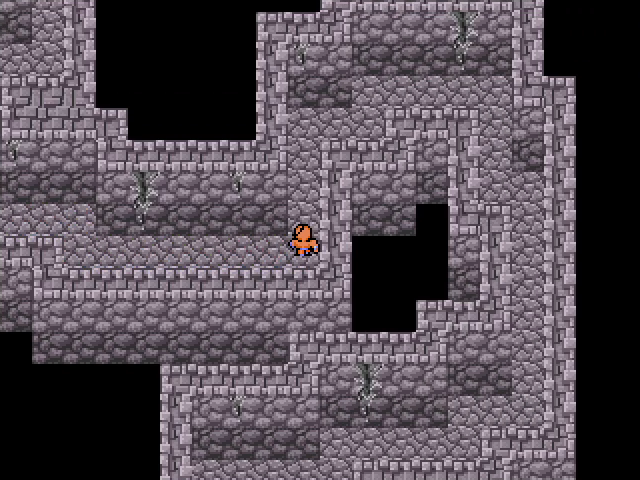 From the other side of that passage, we enter a twisting corridor. 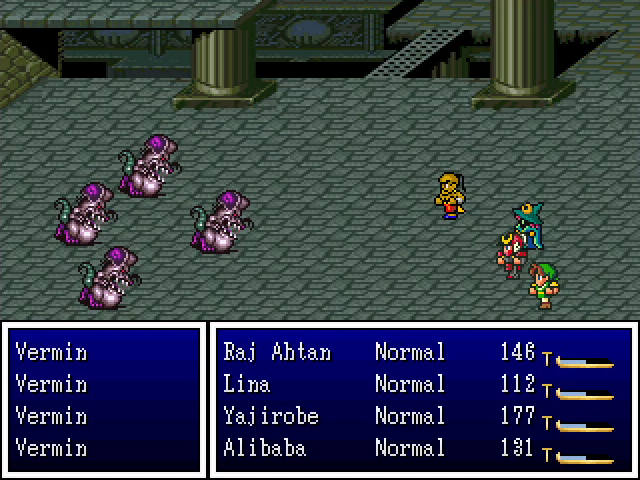 This is where the monsters start to show up, though there's only one type. Vermin are essentially the same as the other rodent-type enemies we've faced, using Plague Bite to poison us, but they don't do much damage and aren't too tough. Caltrops and Puff make short work of them regardless of numbers. 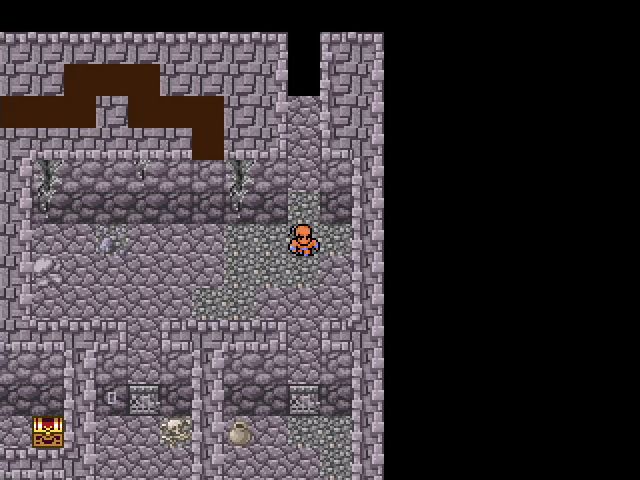 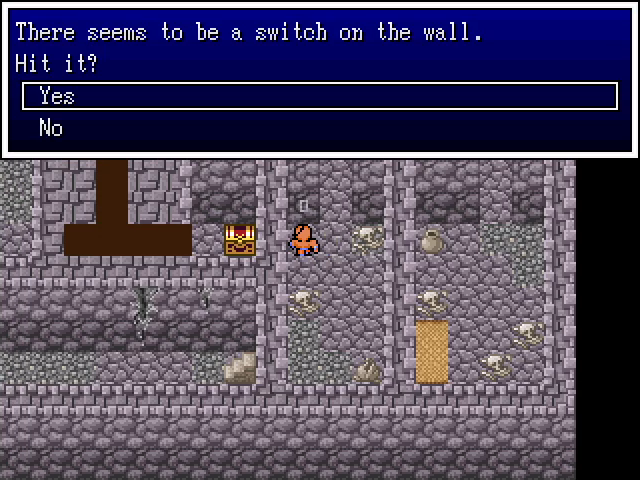 We come to another room with a very obvious secret passage and an easy-to-find wall switch. 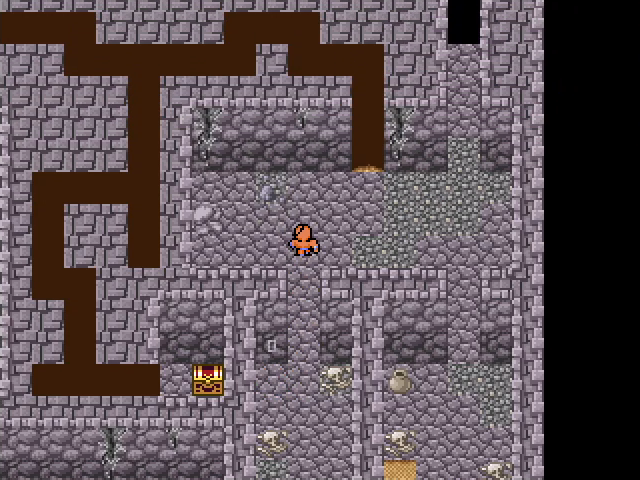 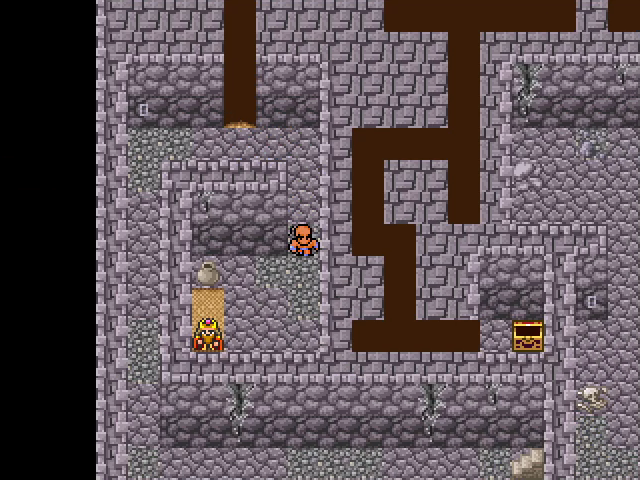 We make our way through the passage, and... Wait, isn't that..?  I'm pretty sure "They took my eyes" is meant literally, which is pretty goddamned horrifying. 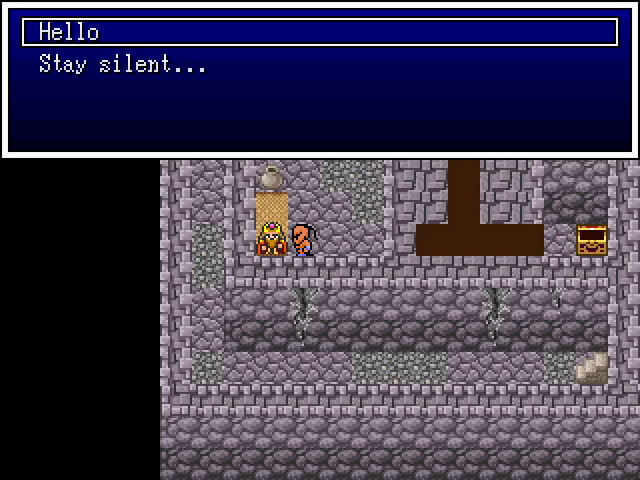 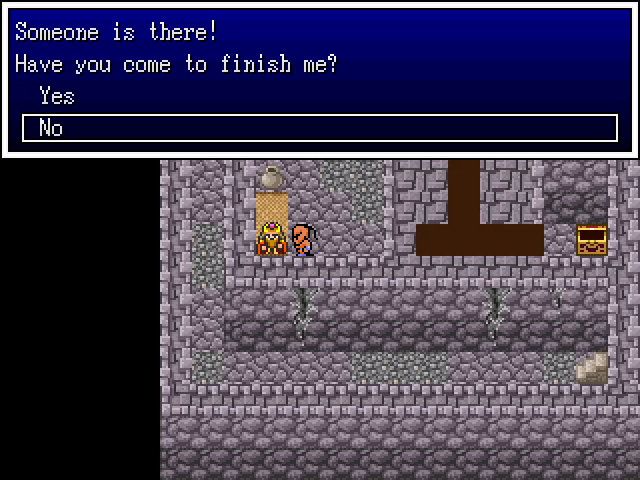 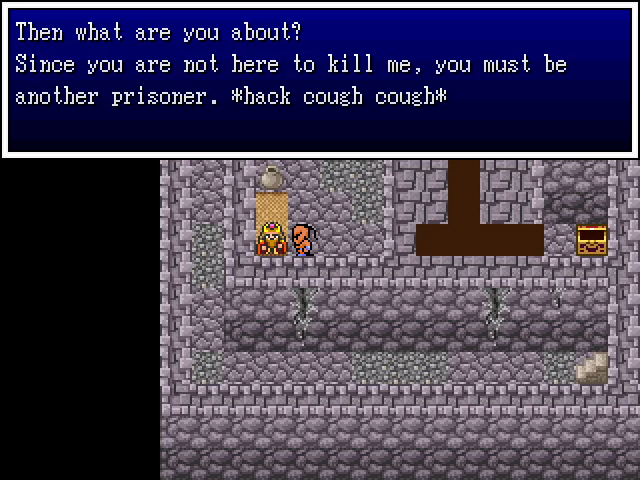 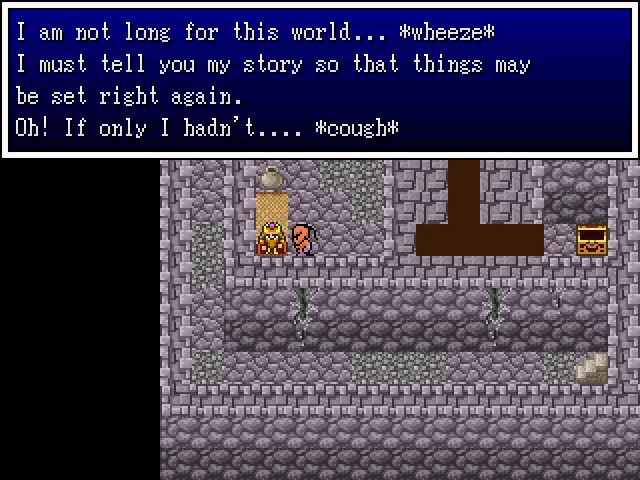 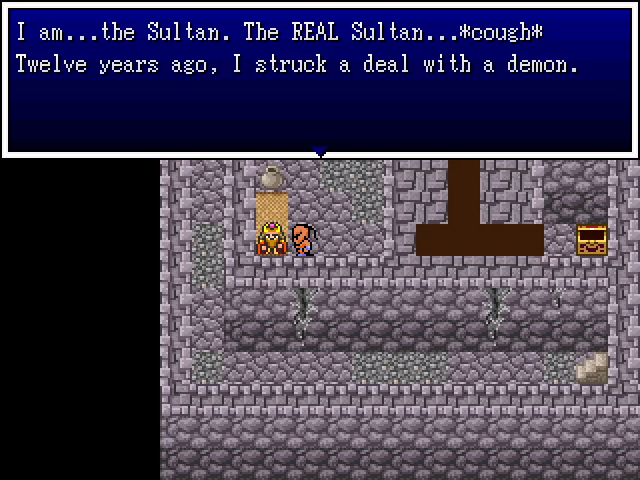 Okay, so this isn't terribly surprising, but still, we now have confirmation that the Sultan we've been dealing with is a fraud, which explains his personality shift. Though the real Sultan was probably not an especially good person if he struck a deal with a demon. 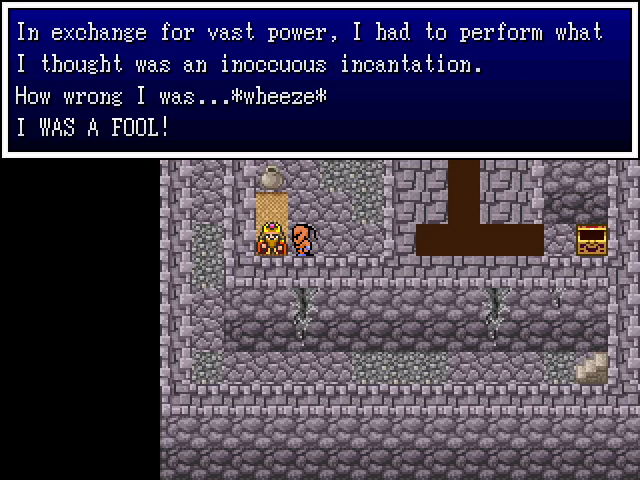 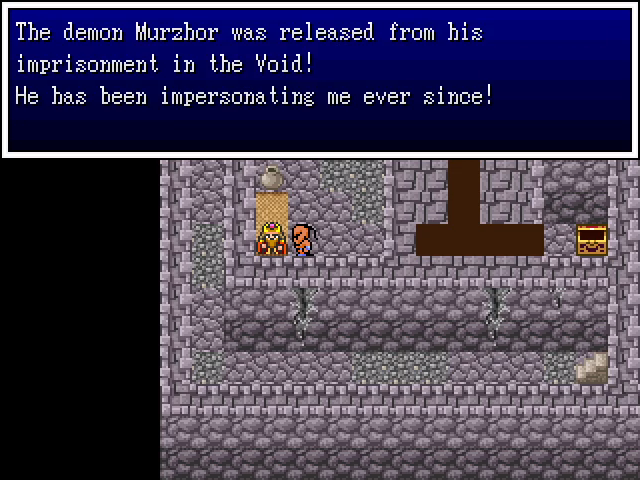 We saw Murzhor at the start of the chapter, leading the attack on Saugon. In addition, if you remember Holdana's encounter with the scholar living in a well, he mentioned that Murzhor is a master of illusion and trickery. Taken together, this whole mess was actually foreshadowed pretty neatly. 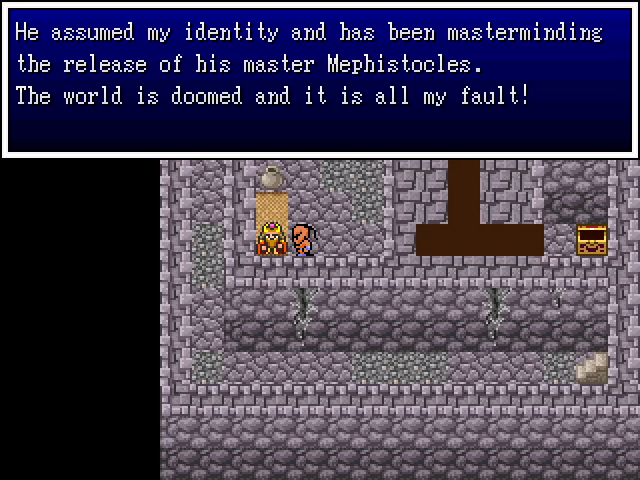 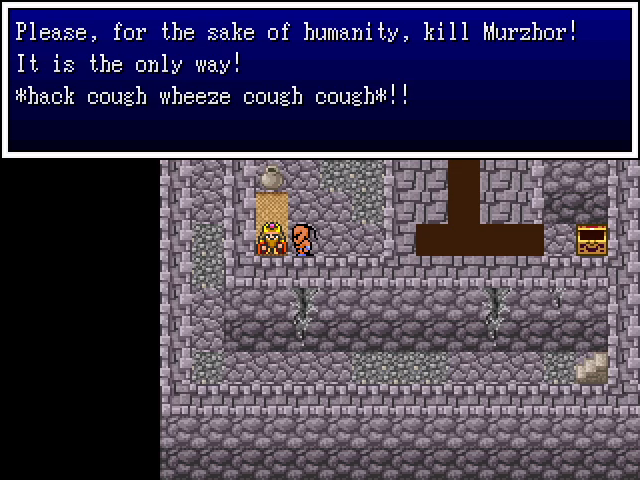 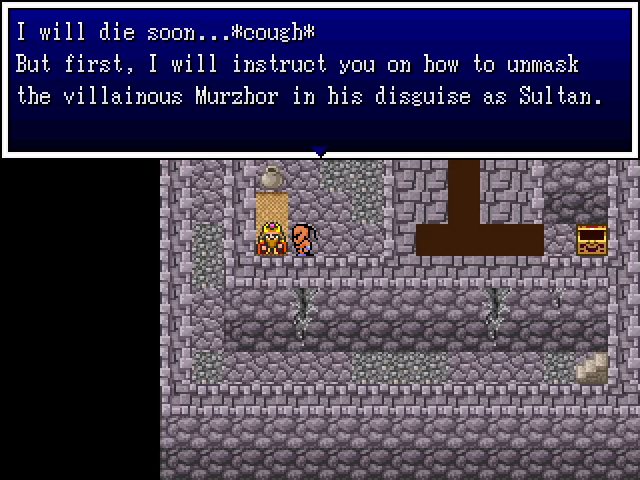 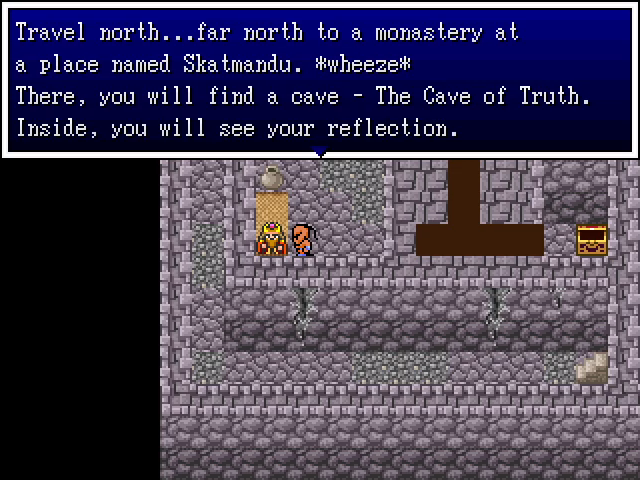 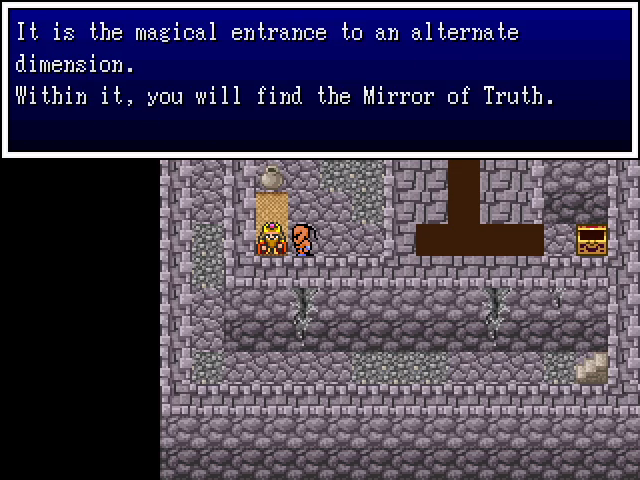 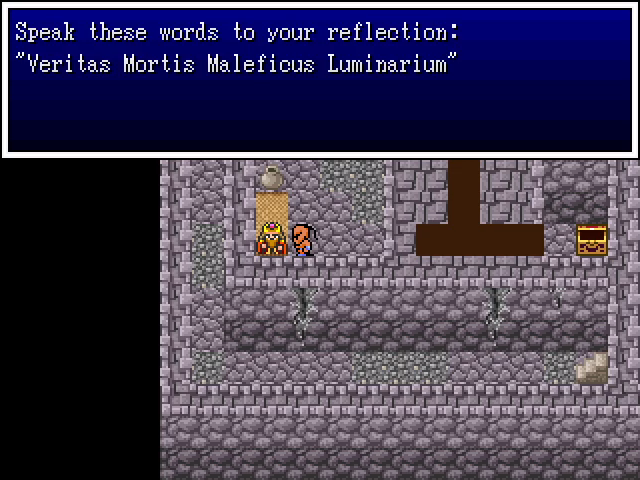  We now have our true goal for the chapter: unmasking and killing Murzhor.   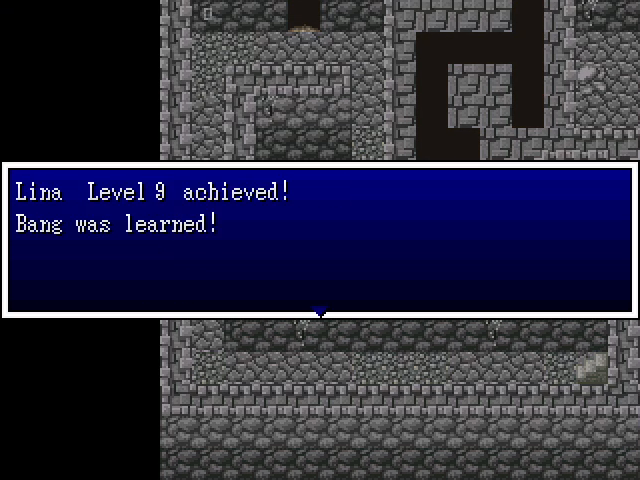 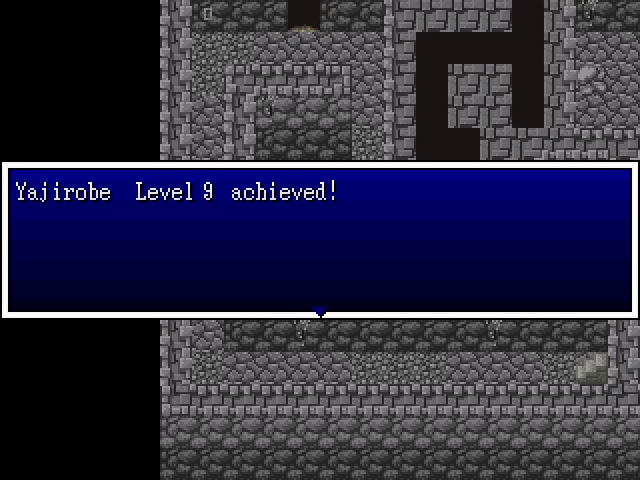 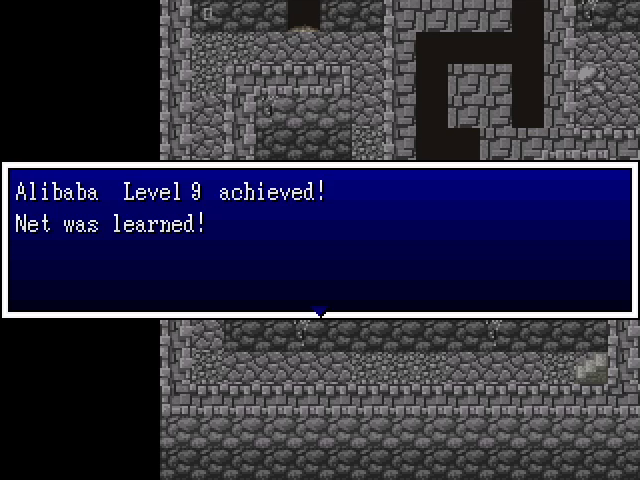 For finding the real Sultan, we get another batch of levels. Net is kind of a mediocre trap, but stronger magic for our wizard is always good. 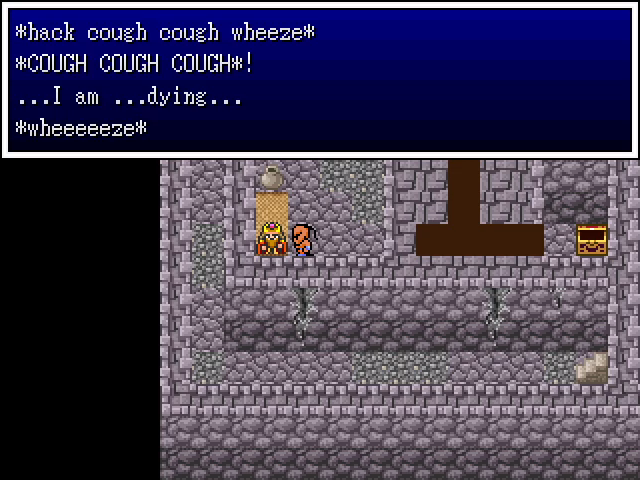 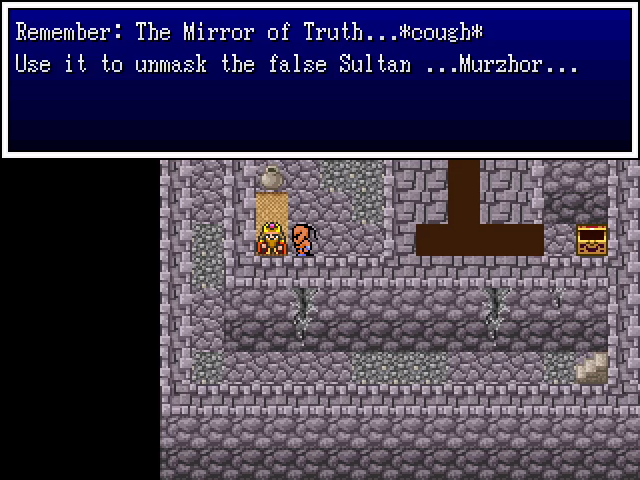 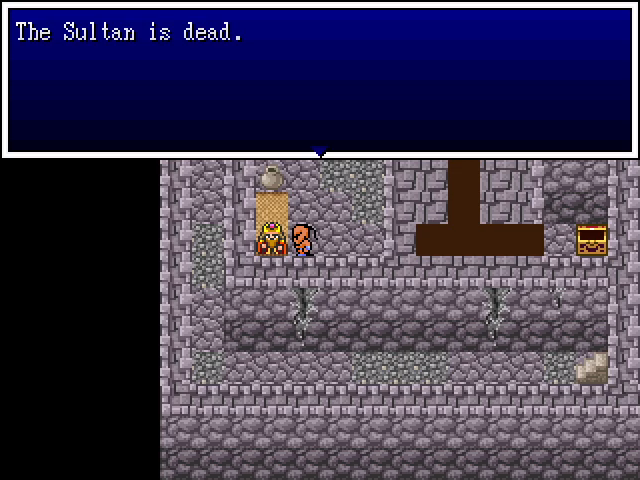 RIP, Your Majesty. We'll go fix your extremely obvious mistake. 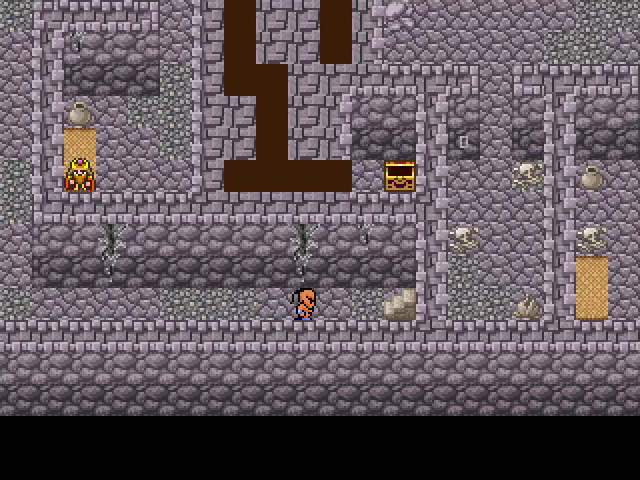 Not far past the Sultan is a set of stairs.  We emerge just outside the palace, from the stairwell we saw earlier. 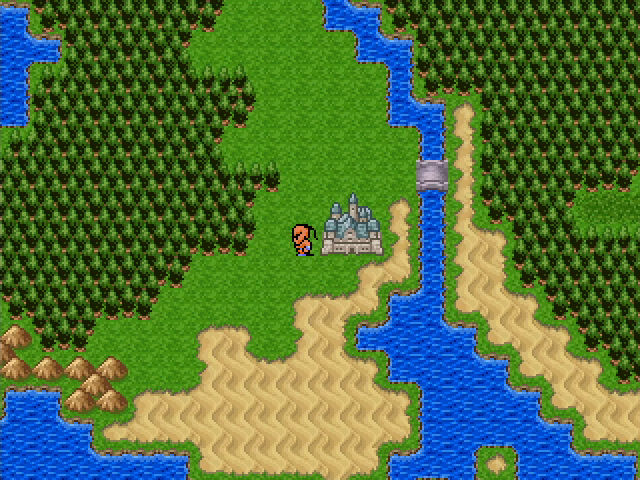 I guess we're off to Skatmandu. 5-Headed Snake God fucked around with this message at 03:38 on May 9, 2023 |
|
#
?
Sep 19, 2022 03:22
|
|
|
I think the dialogue with the peasant is actually from The Emperor's New Groove, which is a good movie.
|
|
#
?
Sep 19, 2022 04:19
|
|
|
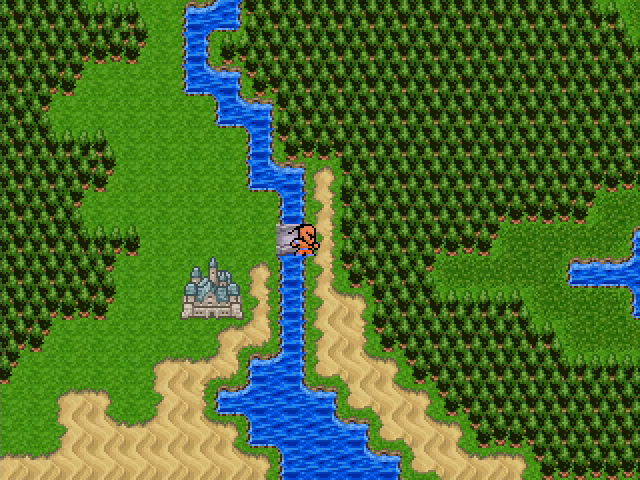 Well, the Sultan's dead, the demon Murzhor has taken his place, we need to find the Mirror of Truth to unmask him. But first, let's take care of a minor side task. When the (fake) Sultan told us to find the Cave of Wonders, he mentioned that it was in a desert near the town of Larak, but we never actually visited that town. 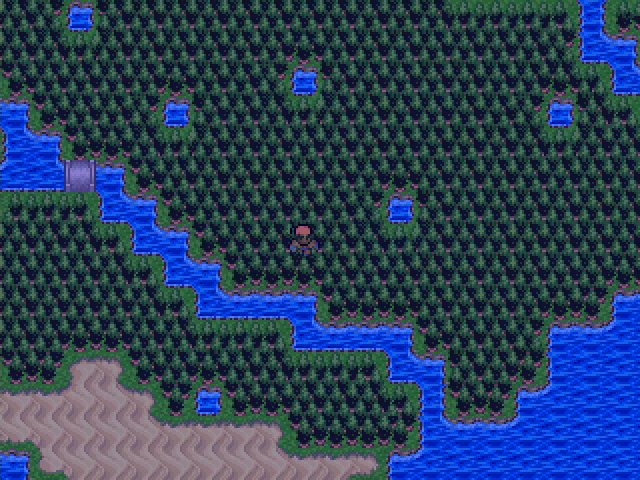 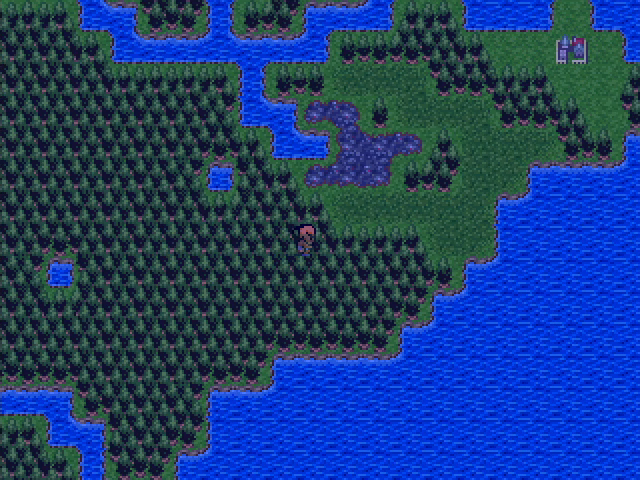 So we head back to the desert where the Cave was found, then head east. 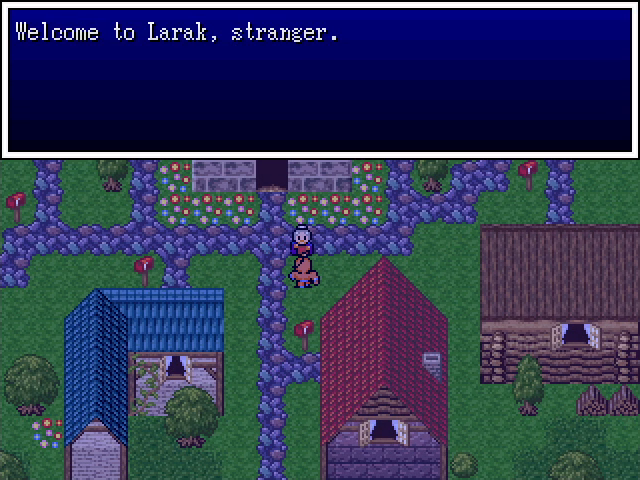 Yep, this is it.  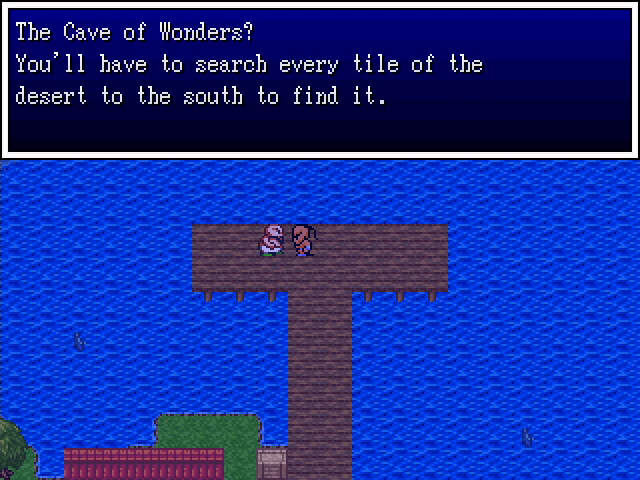 A few people in town tell us how to find the Cave of Wonders, but it's still pretty mean to give the player that entire desert to search. 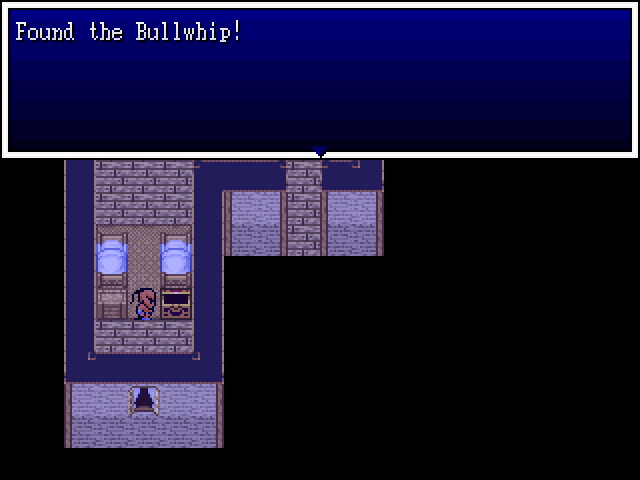 One of the buildings in town has a chest containing a bullwhip. This is a solid upgrade for Alibaba and makes this trip well worth it. 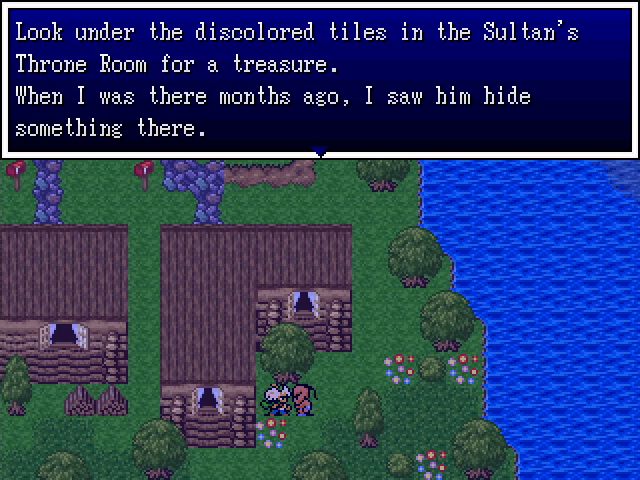 This is an interesting bit of information, and worth remembering. 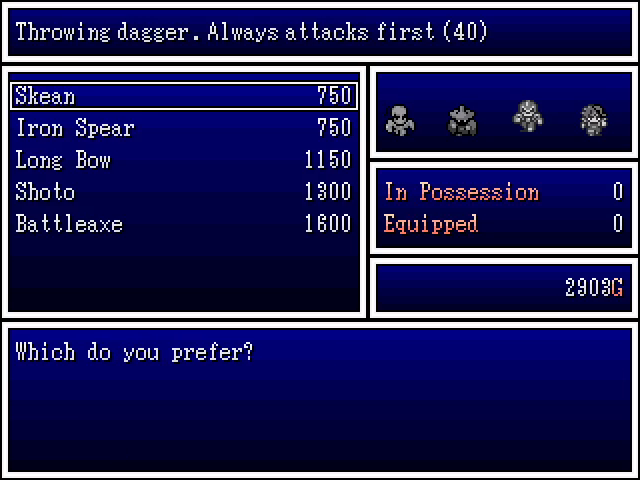 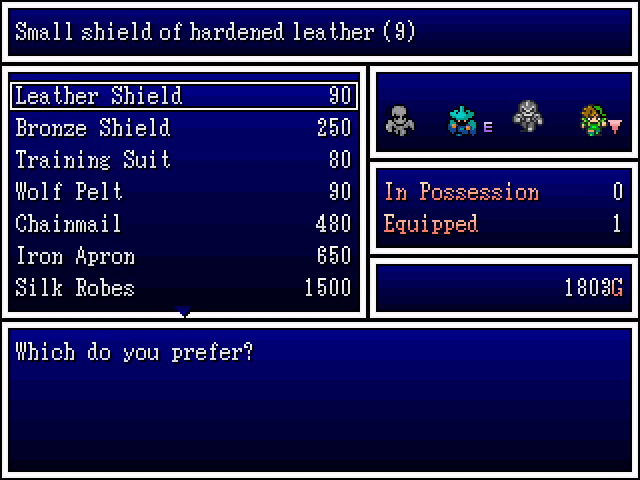 Larak's shops are nothing amazing, but we can at least grab some chainmail for Yajirobe. His defense is kind of lacking and he needs the protection. 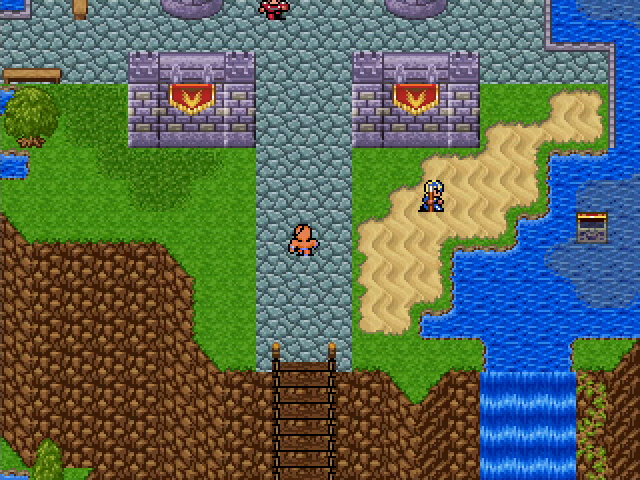 All right, enough messing around. Let's go get the Mirror of Truth. 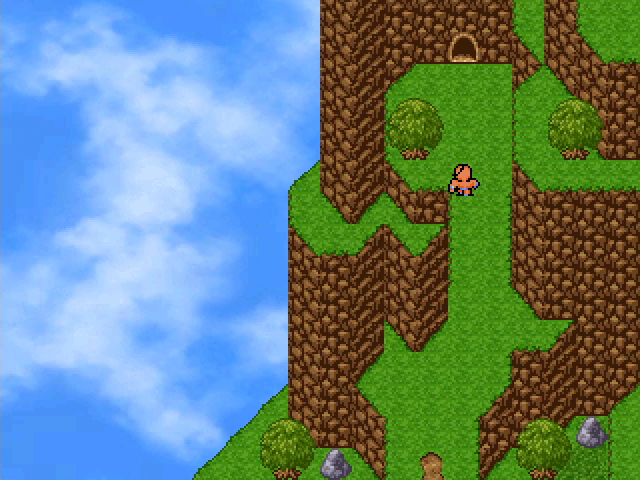 We saw this cave at the start of the chapter, but couldn't do much at the time.     I do like the silly options here. It gives me distinct Army of Darkness vibes.  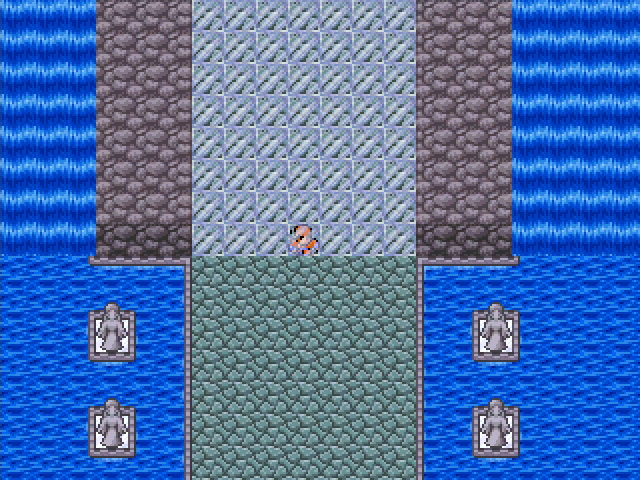 Upon speaking the correct words, we're teleported into the reflective wall. We head north... 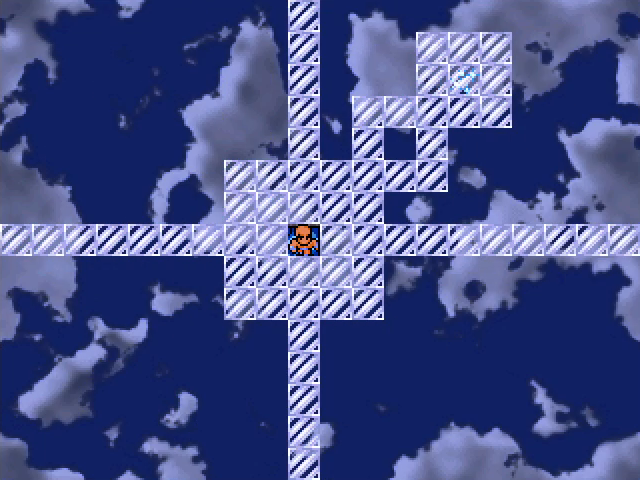 ...and find ourselves in a strange realm. The background constantly scrolls here, which can be distracting, especially with the partially transparent walkways. The mirror realm has four branching paths, each leading to a different area. Though it's a bit hard to see, there's also a save point on that peninsula to the northeast, which eases the exploration process. 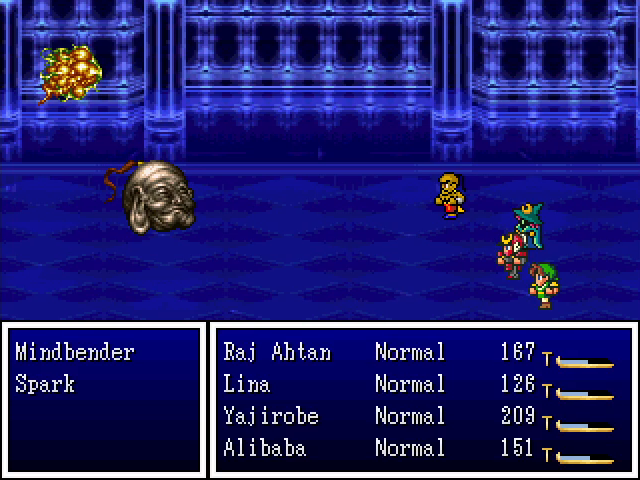 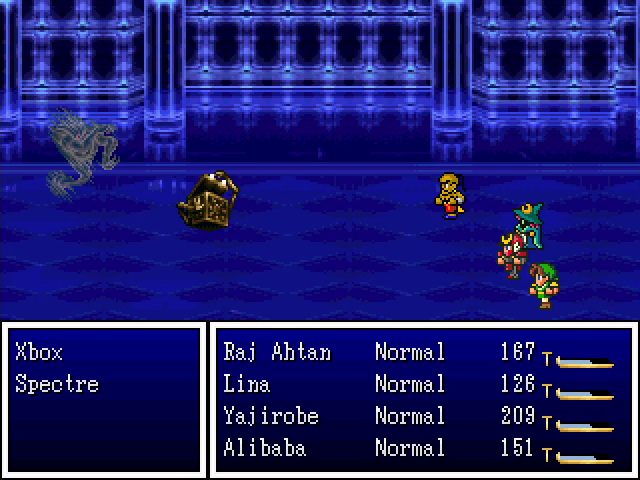 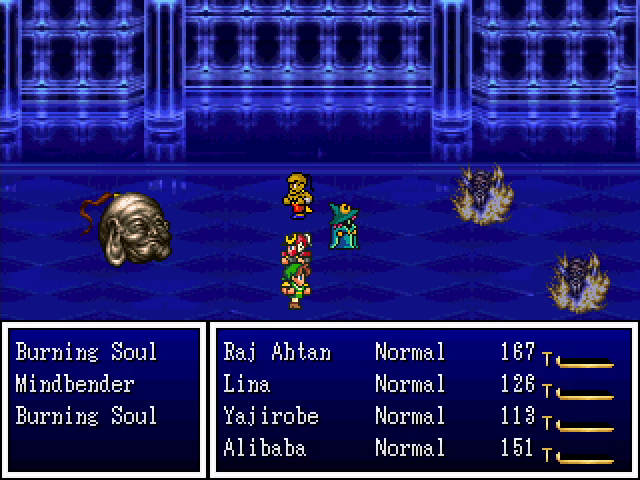 The monsters here are a mix of old and new. Ghosts and spectres have been quite common up to now, and we saw Xboxes in the Cave of Wonders. We also have the monster-in-a-box mindbender here as a normal enemy. For new threats, we have sparks, which are similar to spakles and poplia (right down to their Shocker attack), and Burning Souls, which use Shadow Flame and a moderately damaging version of Firebreath. 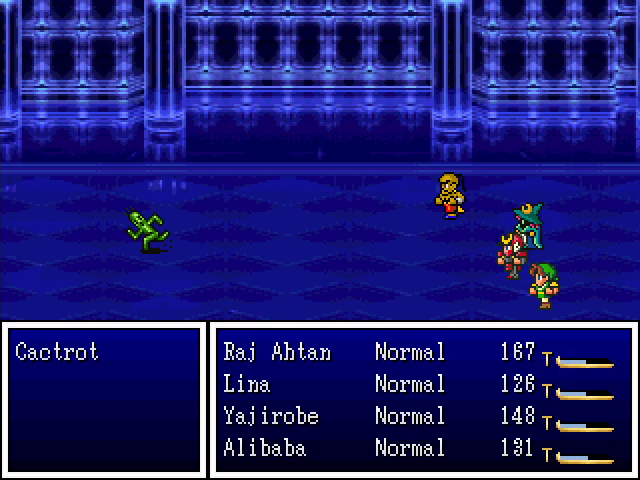 We also have a blatant reference to another game. Cactrots have very high speed and often run away. When they stand and fight, they use Slasher, though it doesn't do much damage. They go down pretty quickly, and while they don't give much EXP (50) or G (1), they are guaranteed to drop wizard potions, which is quite nice.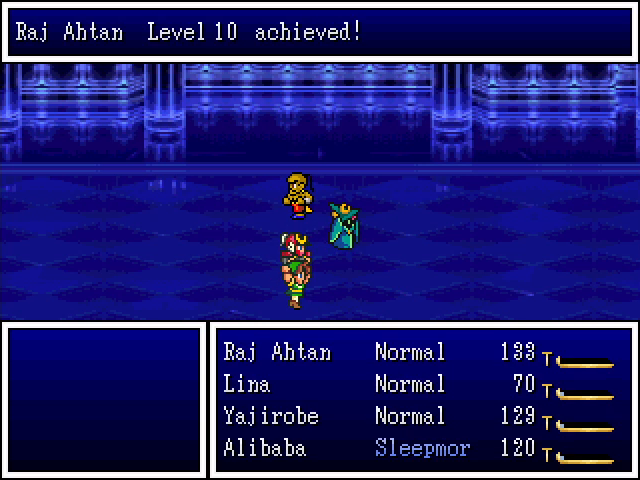 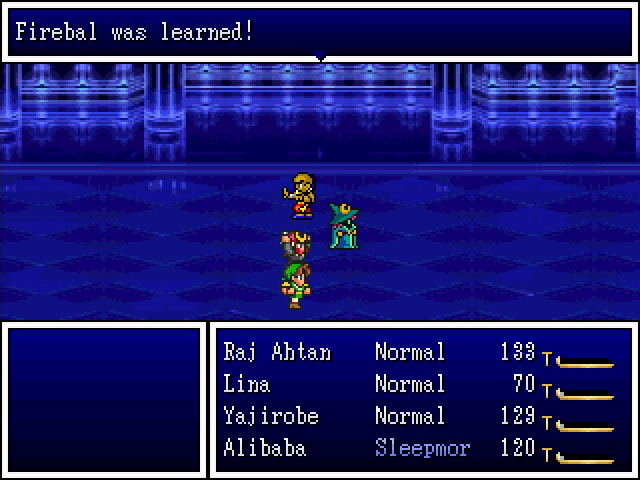 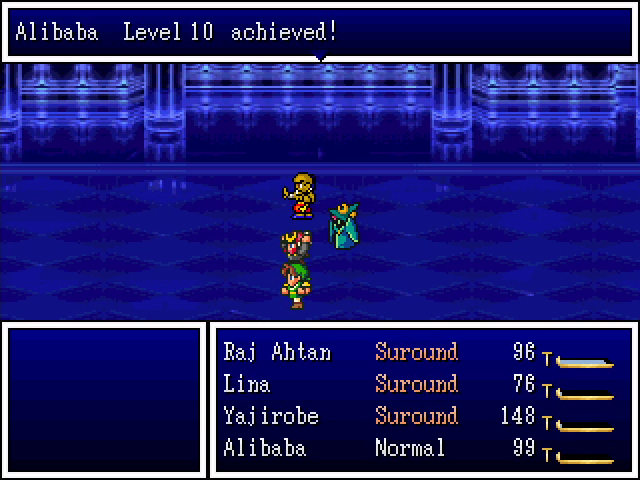 Encounters are uncommon enough here that we don't gain many levels, but we get a few. Raj Ahtan getting Firebal is certainly nice. 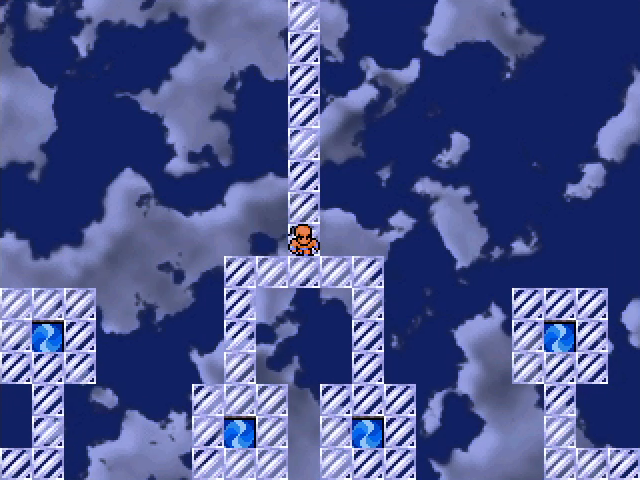 South of the entrance is a teleportal maze, though calling it a "maze" is probably giving it too much credit. There aren't many branches and the teleports are predictable once you've gone through a couple. 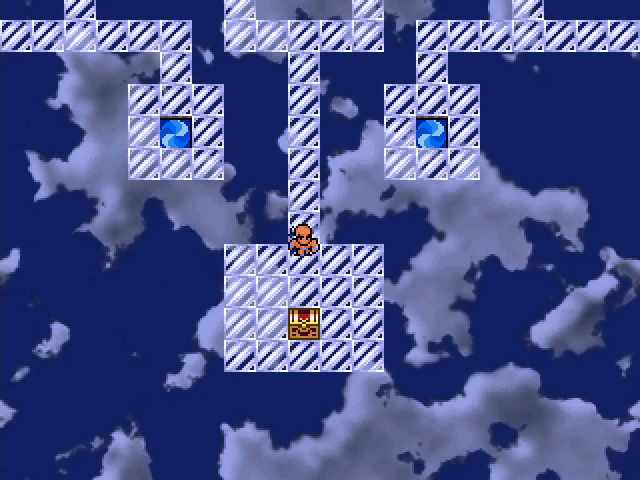 And the end of the maze is a chest, but it only contains a warp wing. It's not what we need. 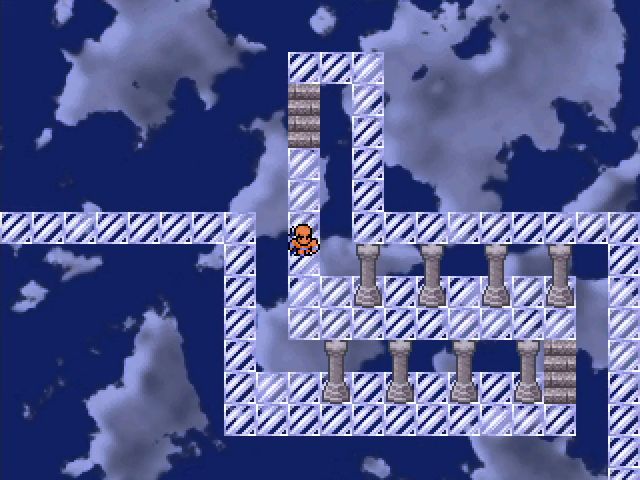 West of the entrance is a curving path lined with stone pillars. 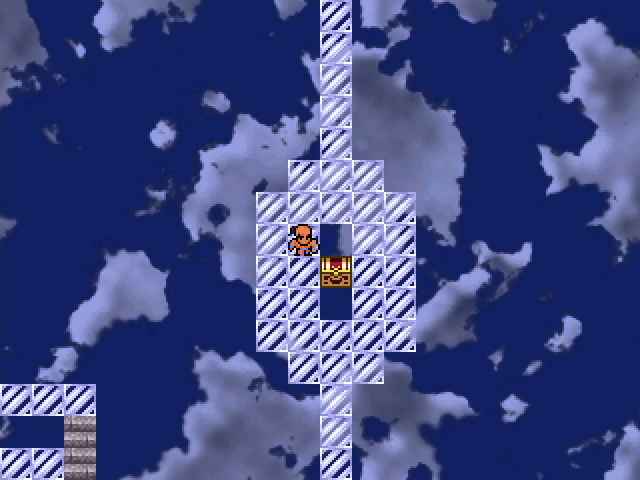 There's another chest here, but it contains a moon herb. 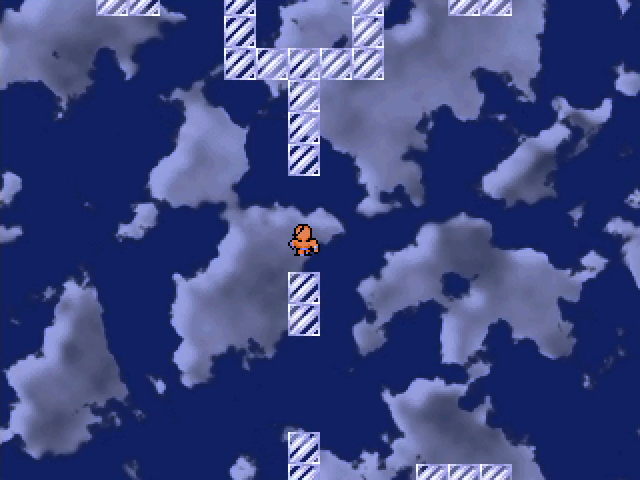 North of the entrance is a set of "islands" connected by invisible paths. They aren't always straightforward, so this area can be a pain to navigate. 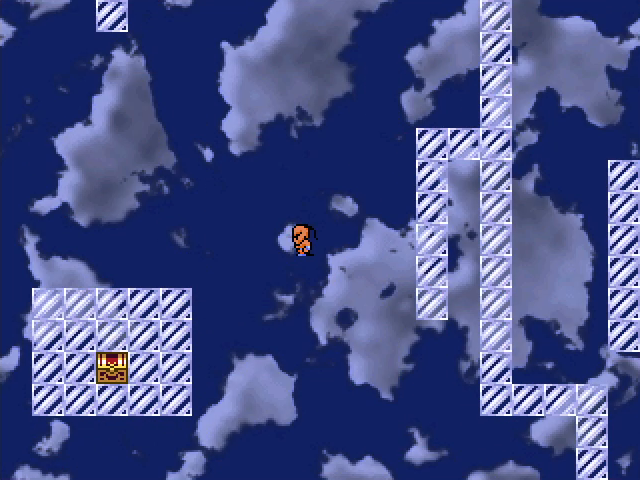 There's a somewhat hard-to-reach chest here containing a Tiny Medal. 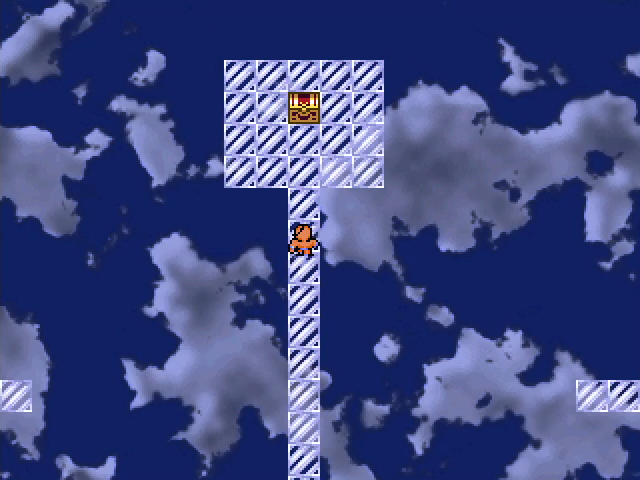 The "main" chest at the end, however, just has a warp wing. 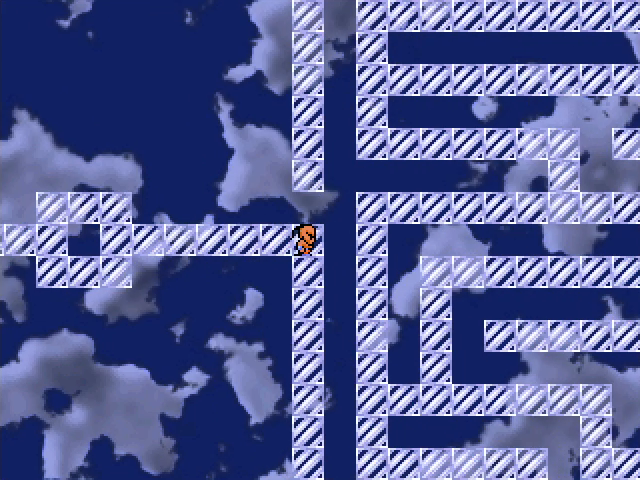 And finally, to the east, we have a bit of a maze, though it's much smaller and simpler than the Funhouse mazes. 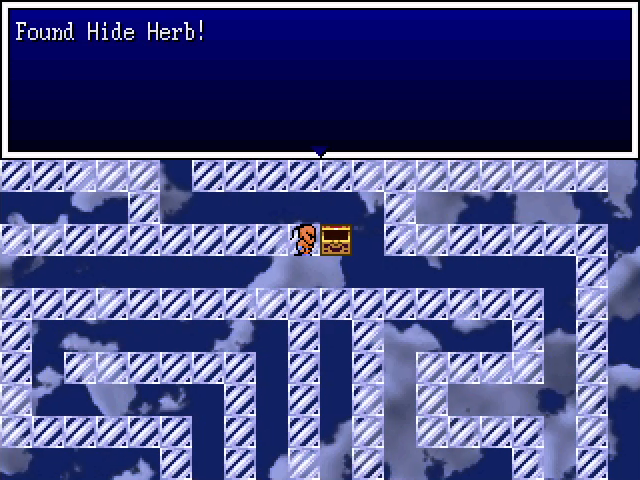 There's a chest in the middle of it containing a hide herb. 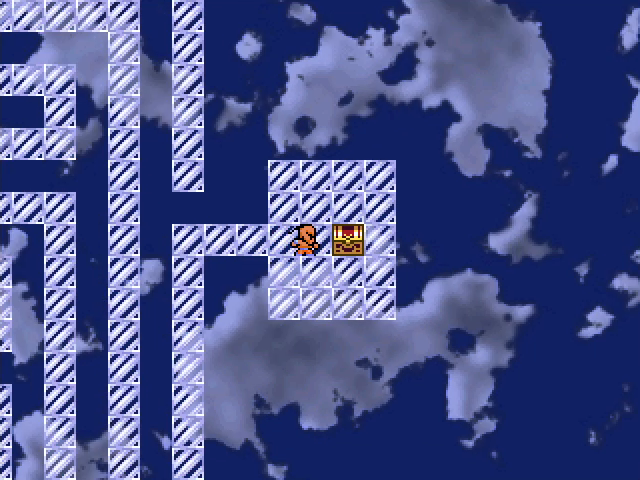 And there's another chest at the end, of course, containing... a warp wing. Wait, did we miss something? 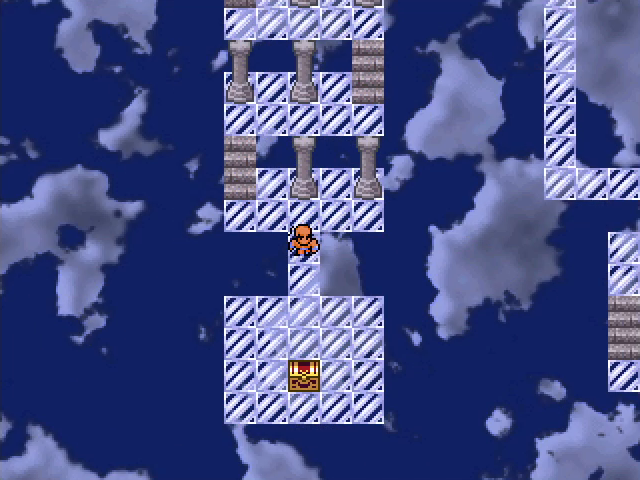 Yes, yes we did. Being a bonehead, I completely missed a path in the western section on the first pass. 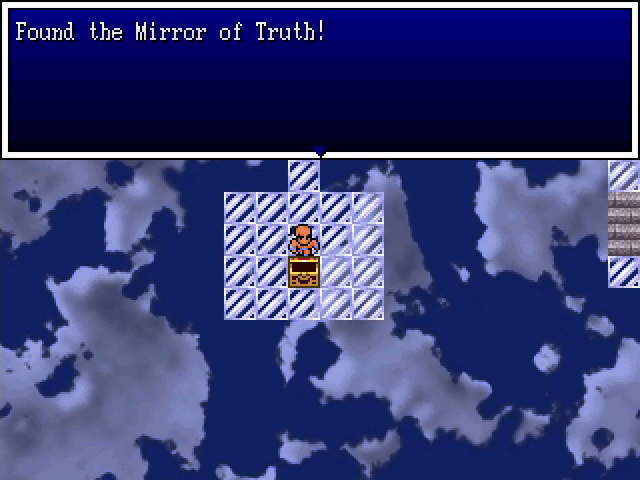 Inside is the actual objective of our quest.     We get some EXP and a handful of uninteresting levels for it. 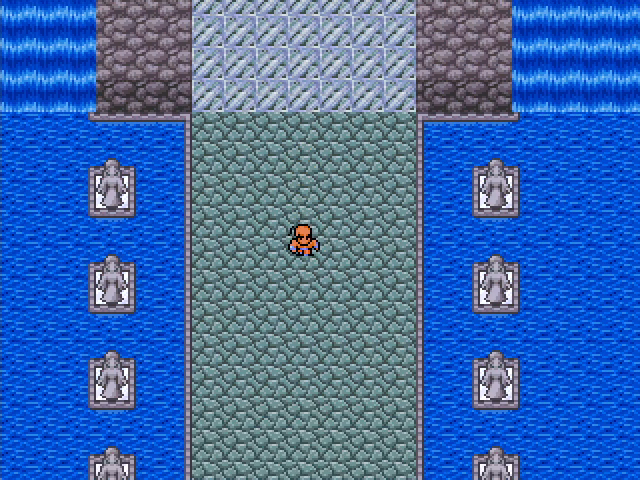 We return to the entrance and leave the way we came. Curiously, the wall no longer shows a reflection. Perhaps its magic is spent now that the Mirror of Truth has been claimed? 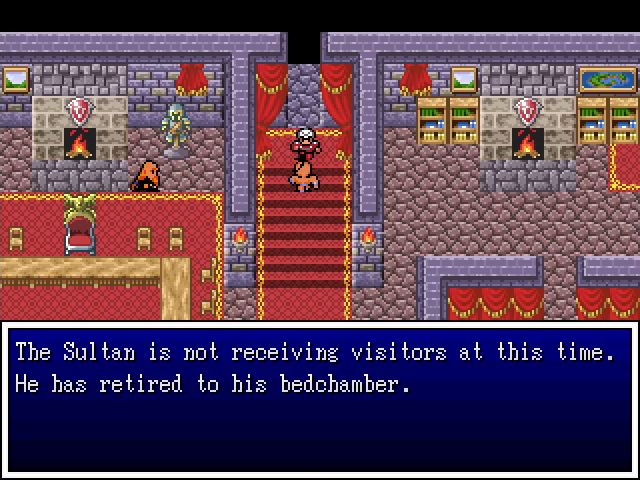 We return to Bombomb to confront the fake Sultan, but we're stymied by the guards. We'll have to return at night. 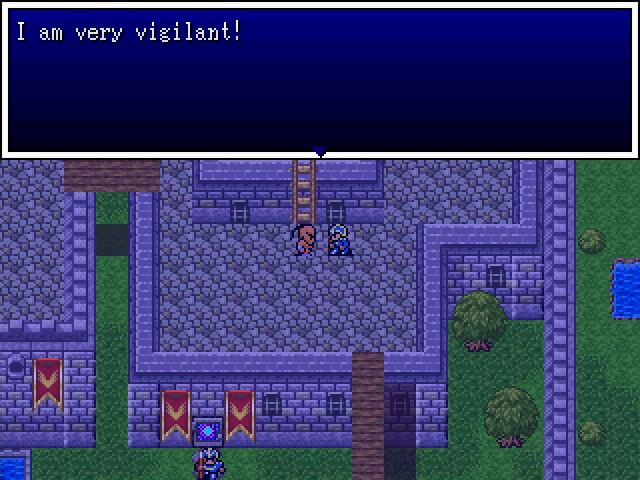  The extra vigilant guard has apparently gotten restless in the last couple days. He now paces back and forth, letting us access the chests he was guarding. The scale shield is the most valuable item here and a nice boost to Alibaba's defenses. There's also a voicebox, which prevents Stopspell; that goes to Lina. 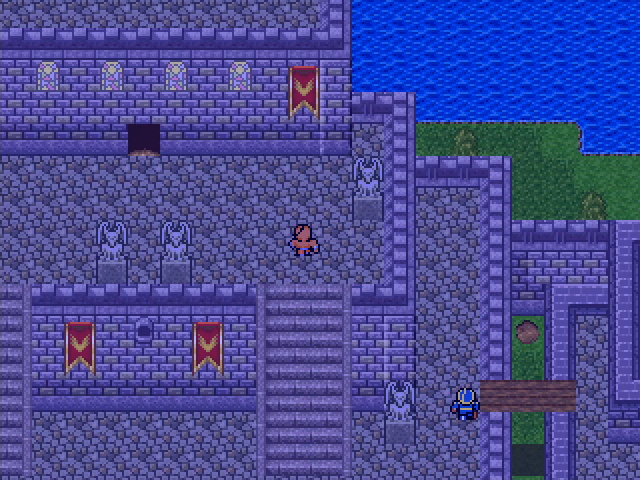 Fortunately for us, the guard in front of the Sultan's bedchamber has vanished, giving us access. 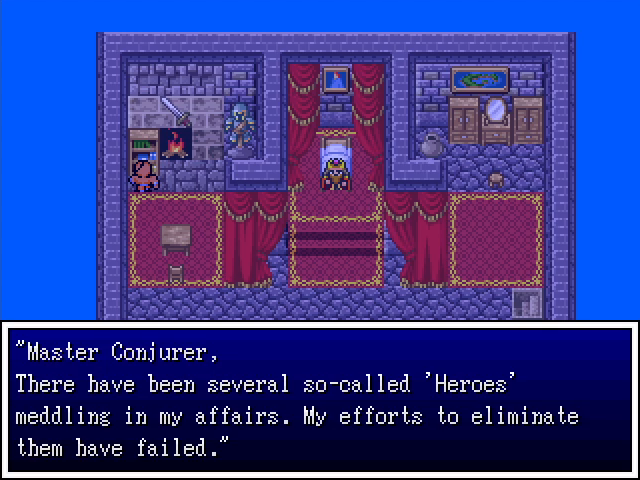 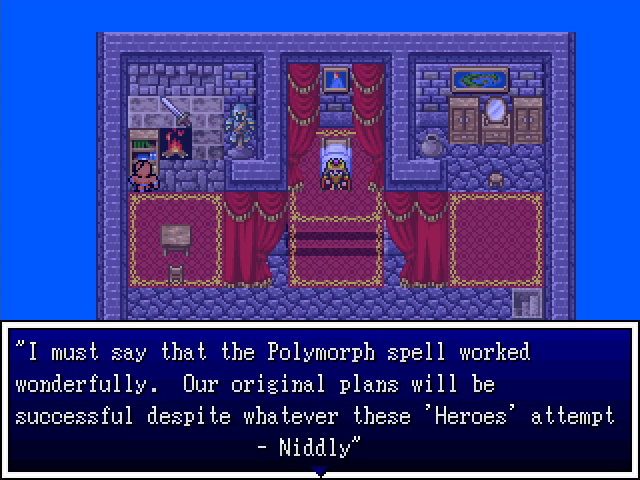 Before confronting the Sultan, we check out his room, and find correspondence from, of all people, Niddly Wormwood. Based on the wording, he must have sent this shortly before Zefiryn took him out. 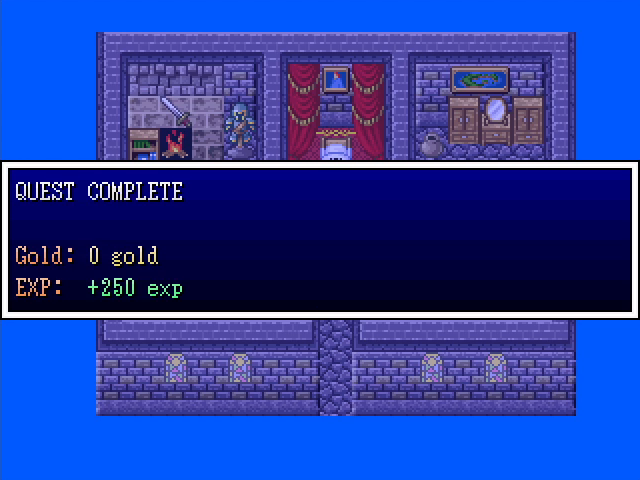 Finding the letter is worth a token amount of EXP, though I'm not sure why. 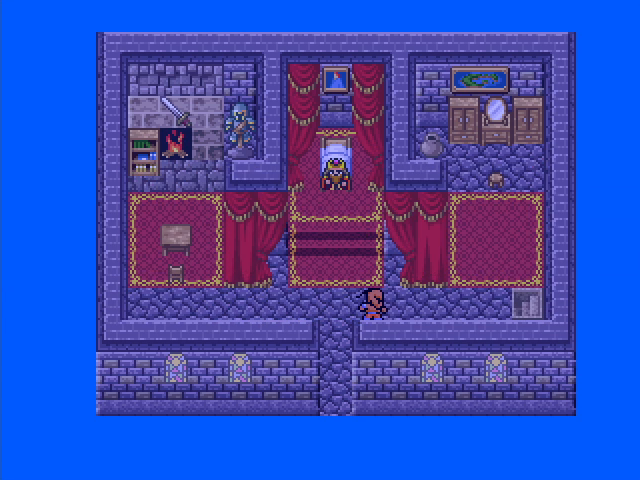 Now, we could confront the Sultan, but a man in Larak told us about hidden treasure in his throne room. Since the room should be empty at this time of night, let's go see if we can find it.  Um. Okay, it looks like this is a bug, possibly related to story flags not working quite as they should. As long as we don't talk to anyone, though, we're fine. 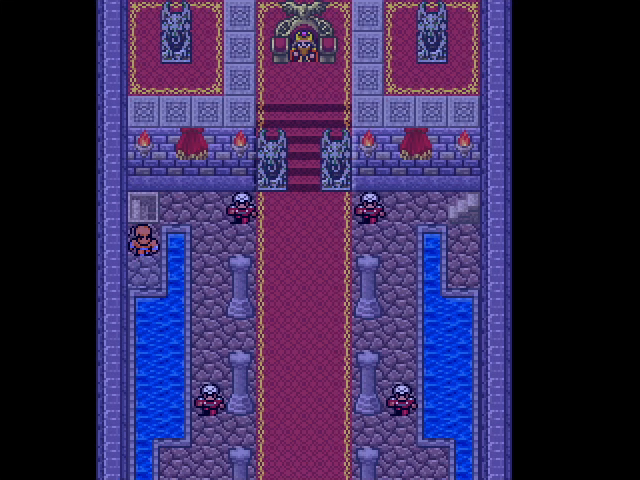  The discolored tile is easy enough to spot once we know what to look for, and we're rewarded with another Tiny Medal. Once we have that, we can head back upstairs to confront Murzhor. 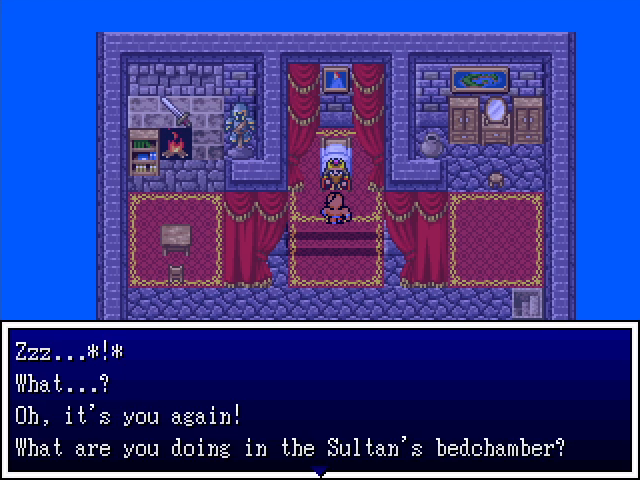 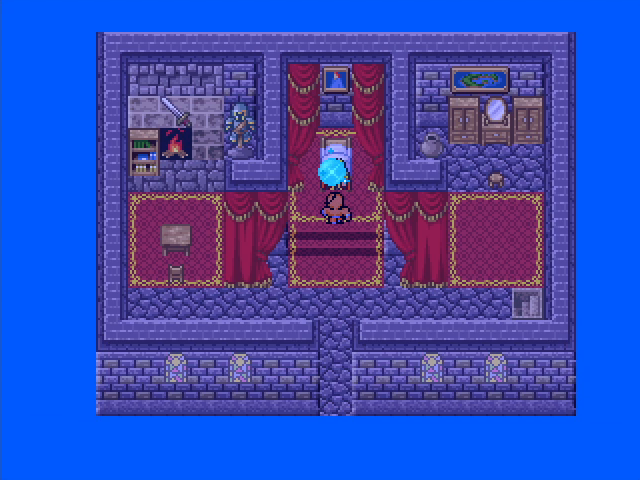 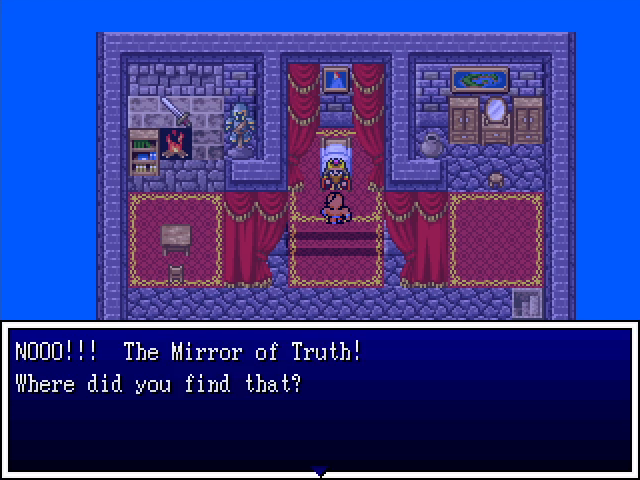 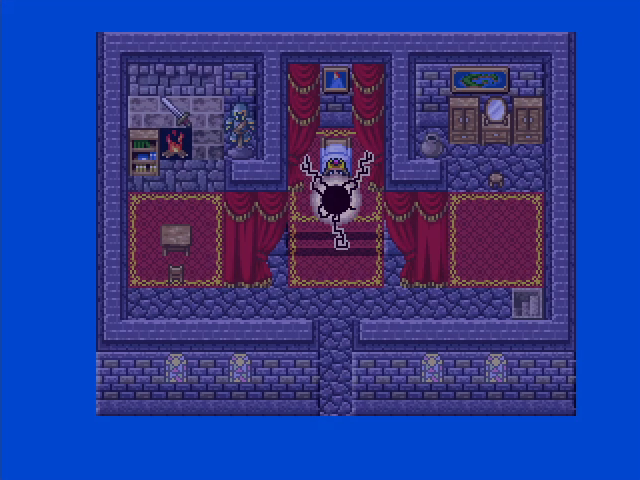 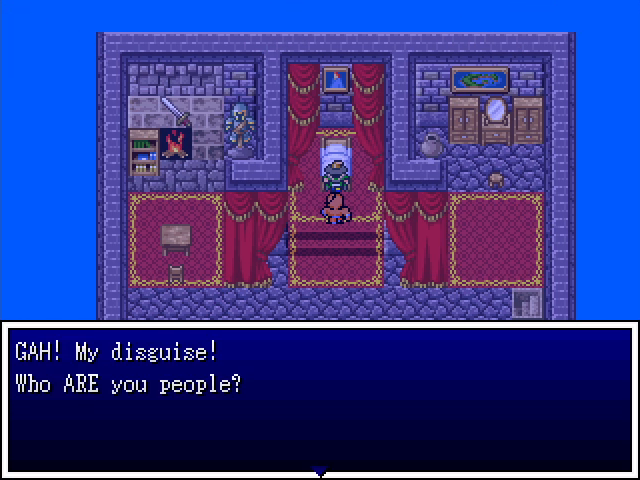 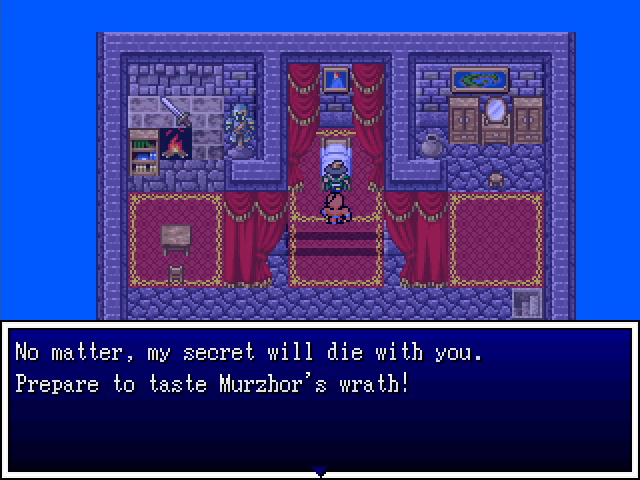 Unsurprisingly, Murzhor reacts quite badly to being unmasked. 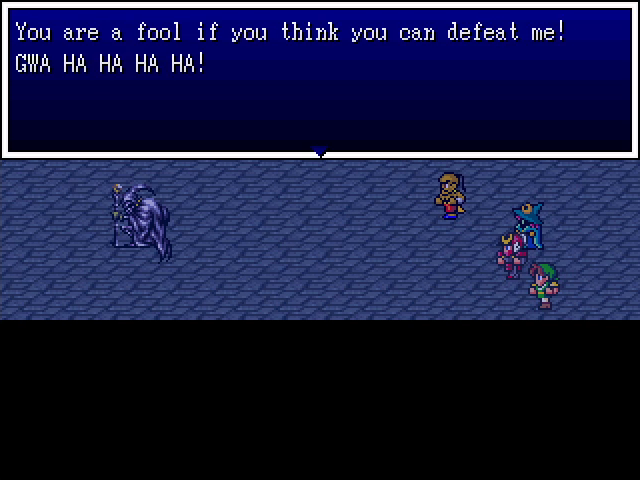 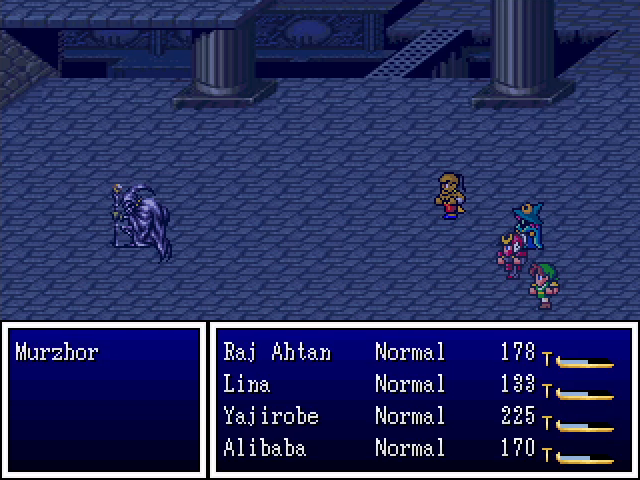 Finally, we get to take on the mastermind behind, essentially, everything that's happened so far. 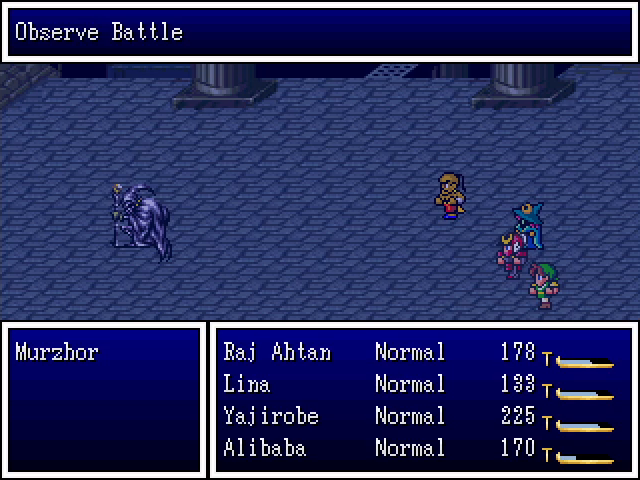 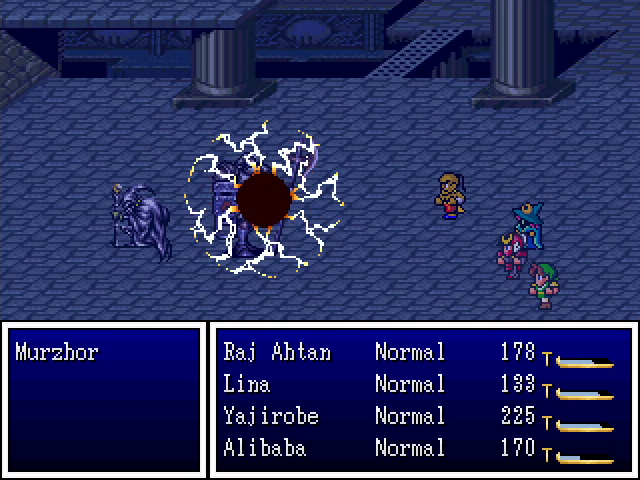 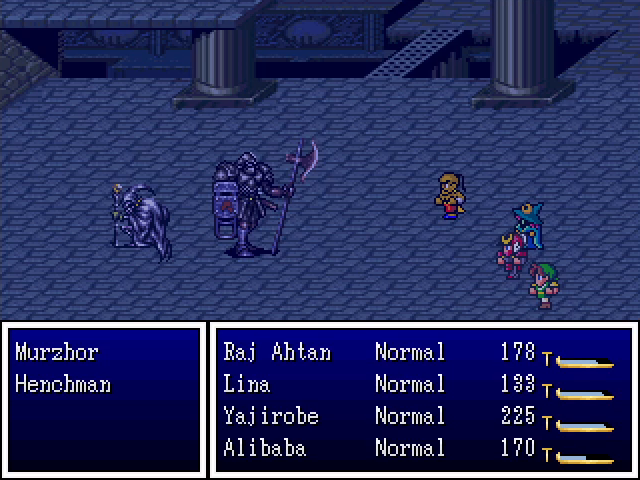 Murzhor is, first and foremost, a coward. He never fights alone if he can help it, and will summon a henchman to aid him almost immediately. He'll also summon another if the current one is killed. Lina is, unfortunately, not as helpful for dealing with this as you might hope, since henchmen are immune to magic. 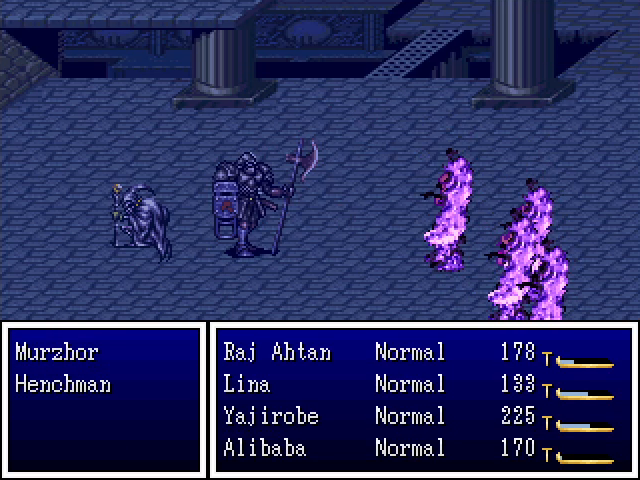 While he has a meat shield, Murzhor will use a little magic, but nothing really dangerous: just Evil Flame and Stopspell. He takes a bit of time to kill, but isn't terribly difficult. 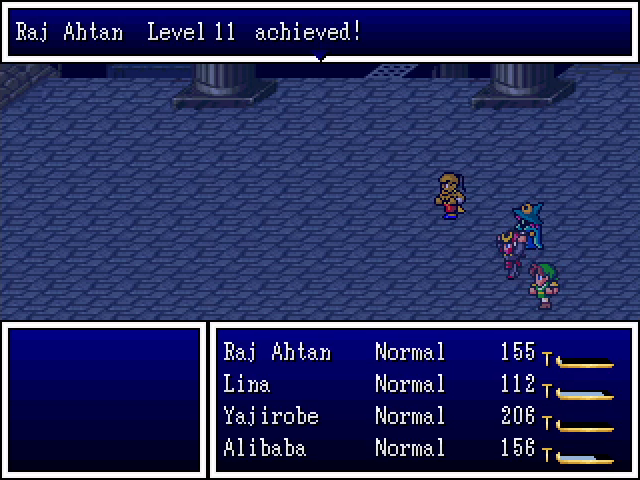 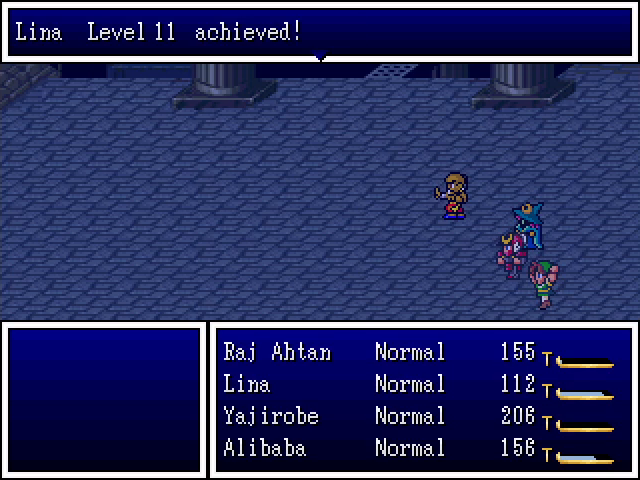  And we get a few levels for our troubles. 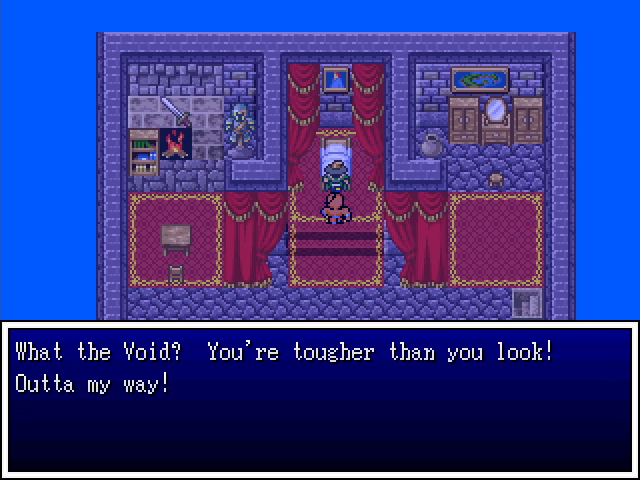 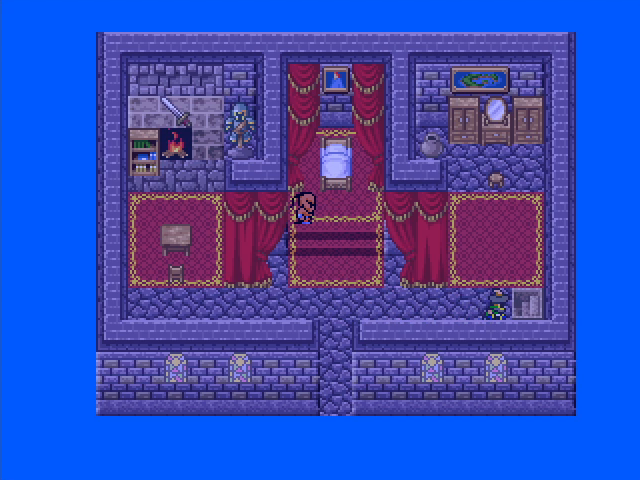 Unfortunately, he's not dead. He shoves us out of the way and runs downstairs, prompting us to follow. 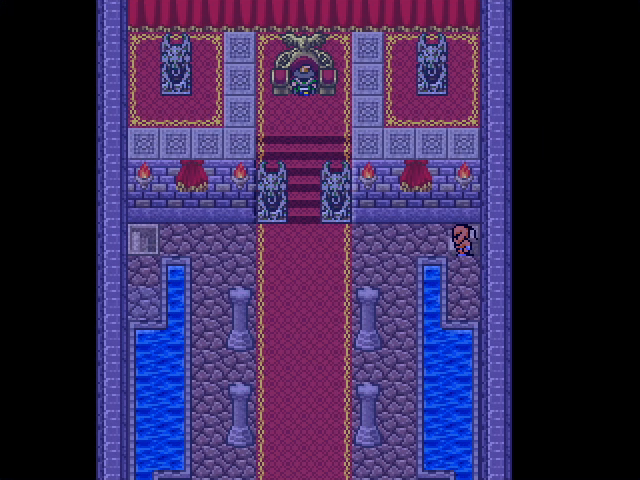 The throne room is properly empty now, at least. 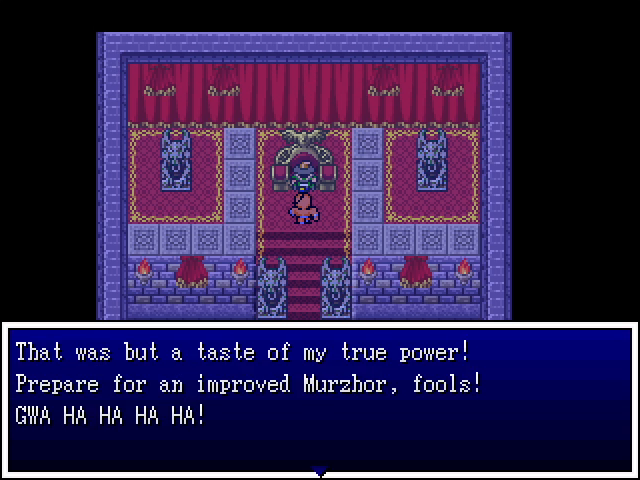 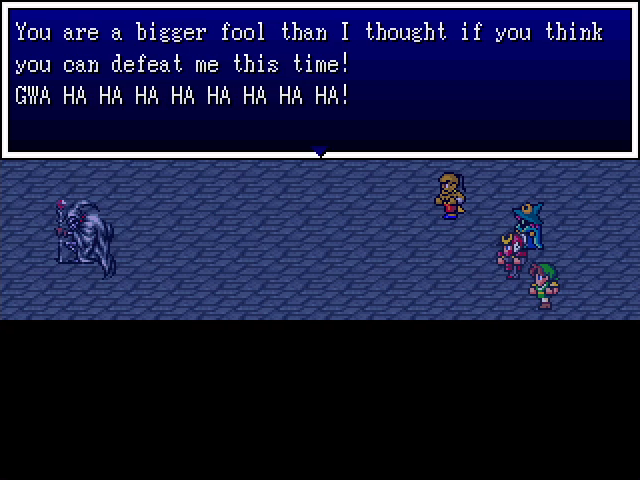 This guy really likes his evil laughs. 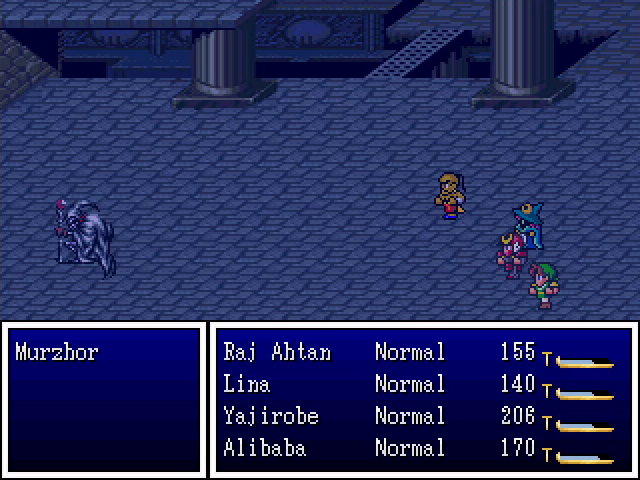 Murzhor's second phase is a similar to the first, but significantly tougher. 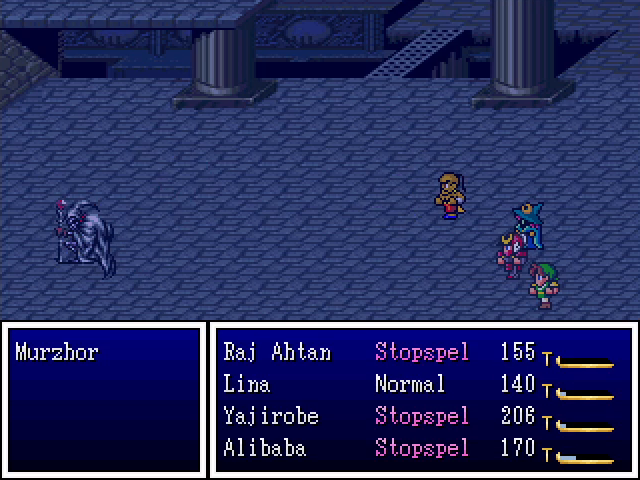 He opens the fight with a special ability, Stopspell Omega, which silences everyone (except Lina, since she has the voicebox we found). 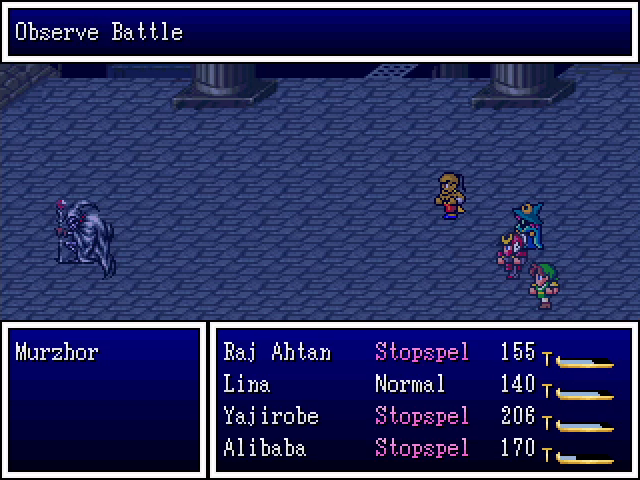 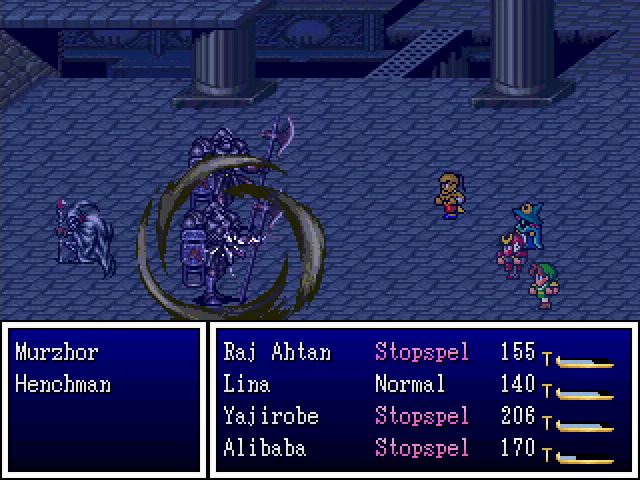 After that, he goes into a henchman-summoning routine. This is similar to his first phase (he summons when there are no henchmen present), but he summons two instead of one. The henchmen themselves aren't terribly dangerous, but the extra meat shield means Murzhor himself will have more chances to use his spells. And this time around they are nasty. 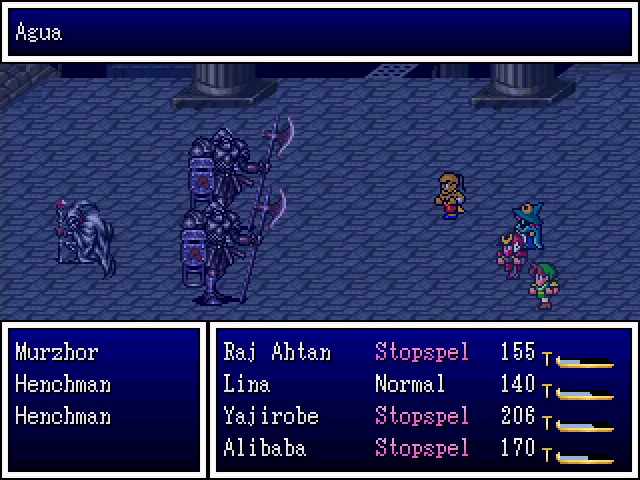 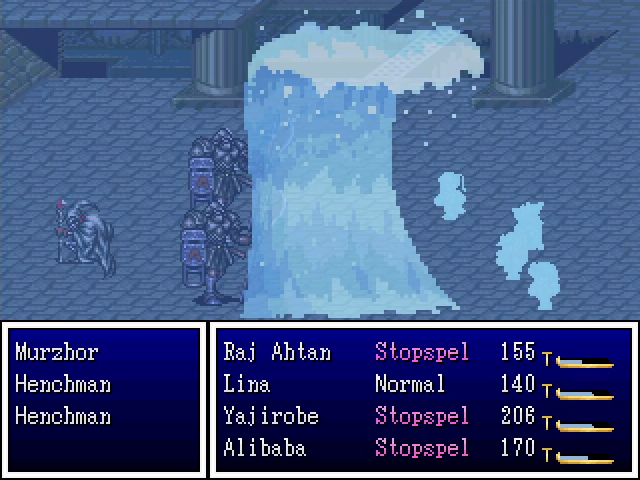 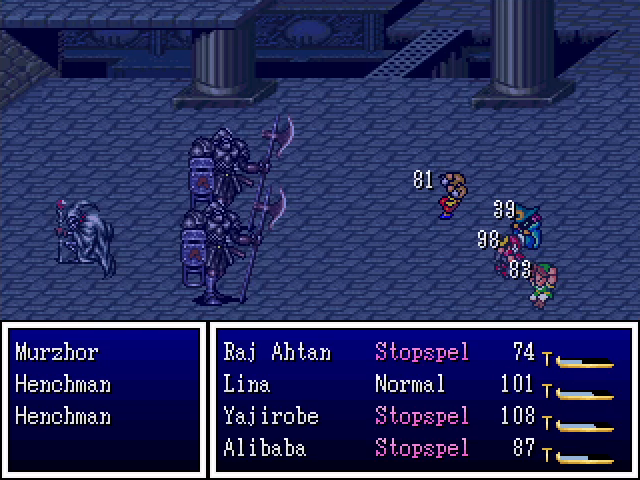 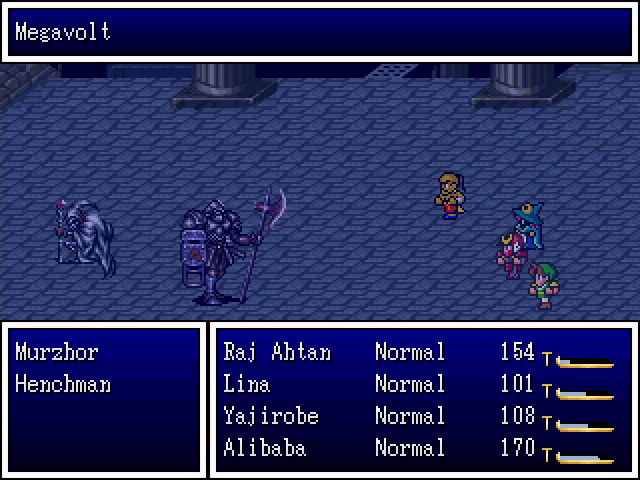 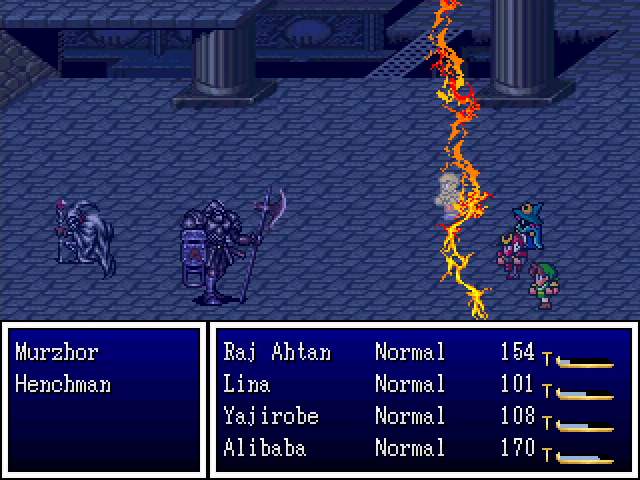 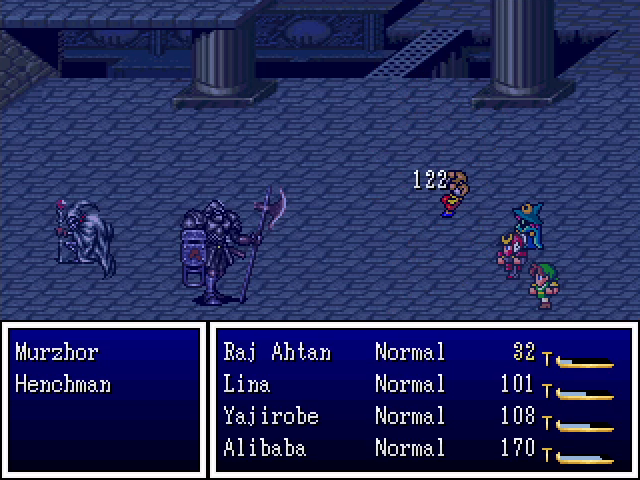 His two favorite attacks are Agua, which hits the whole party, and Megavolt, which hits one character. Both deal significant damage and are quite dangerous. Lina's fur coat helps mitigate the damage she takes from Agua, but everyone else has to suffer. He also uses Evil Flame, which is frankly a mercy.  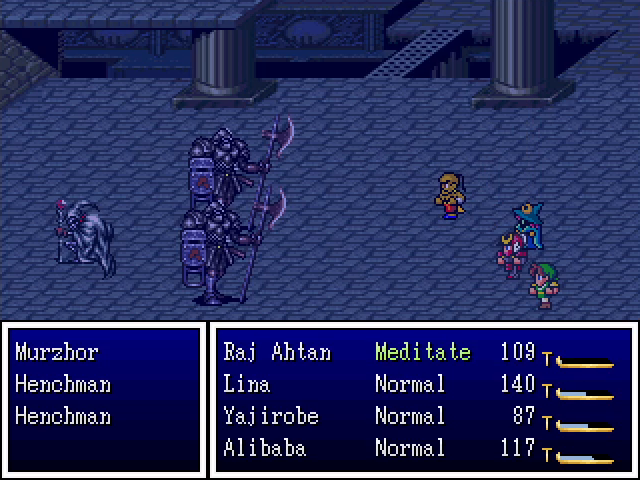 This fight is a perfect time to use Raj Ahtan's Meditate ability. He actually starts the chapter with it, but it costs 20 MP, so he has to gain a few levels before he even has the MP to use it. It gives him a temporary buff that regenerates his HP and MP, which is super useful for long fights. 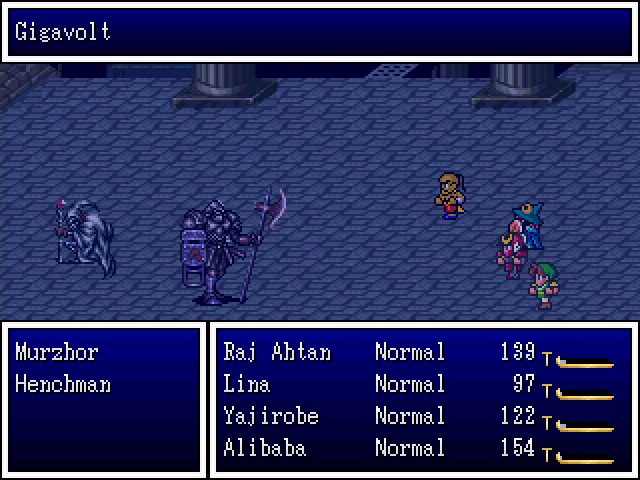 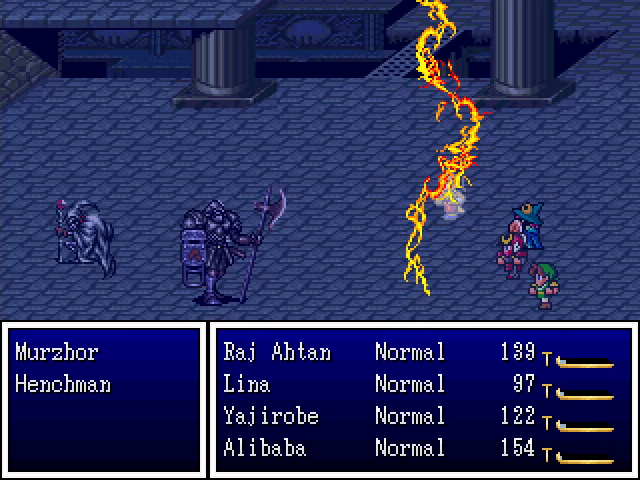 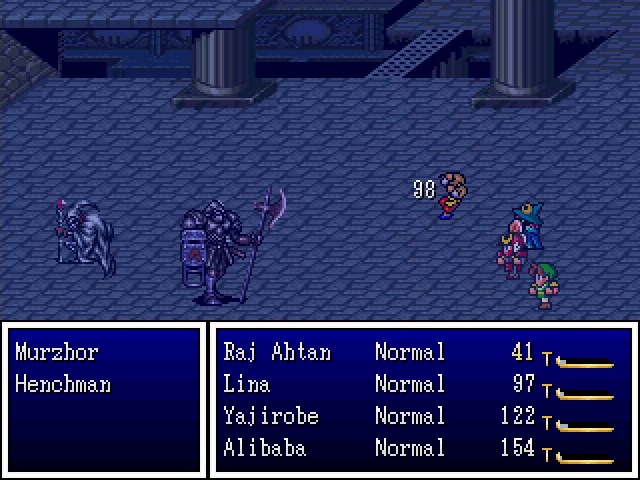 When his HP gets low, Murzhor switches to using Gigavolt, which is essentially the same as Megavolt, and Charge Up followed by a moderately-strong physical attack. He's actually much less dangerous at this time, and not long after, he finally goes down. 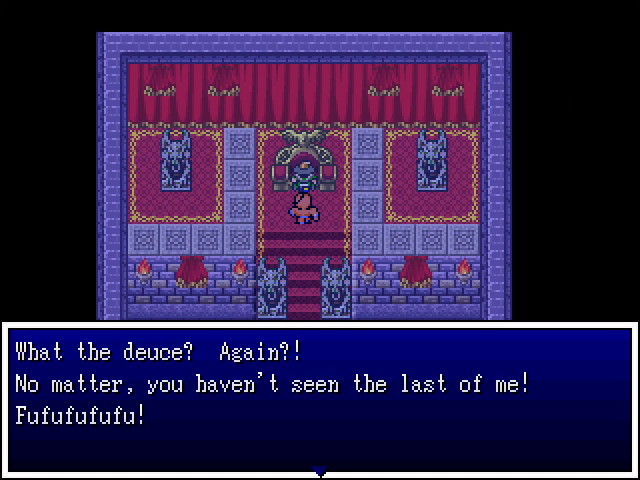 Wait, what? 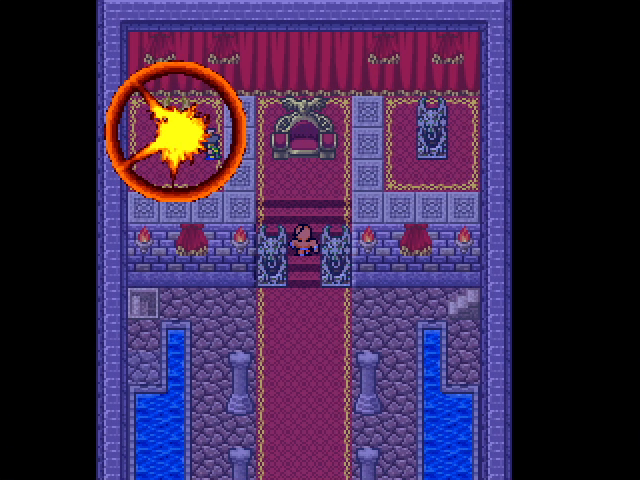 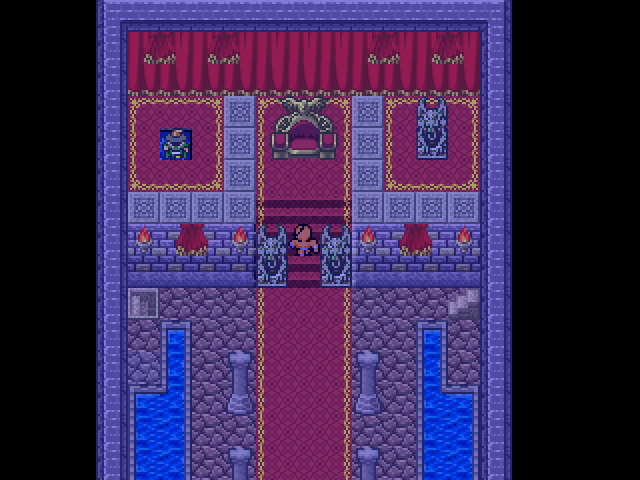 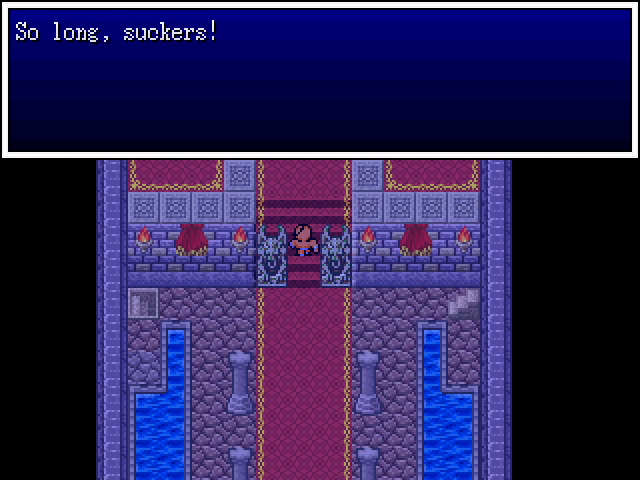 Rather than have the decency to die when he's beaten, Murzhor reveals a hidden teleportal under a statue and flees. Unfortunately, we'll almost certainly be seeing him again. 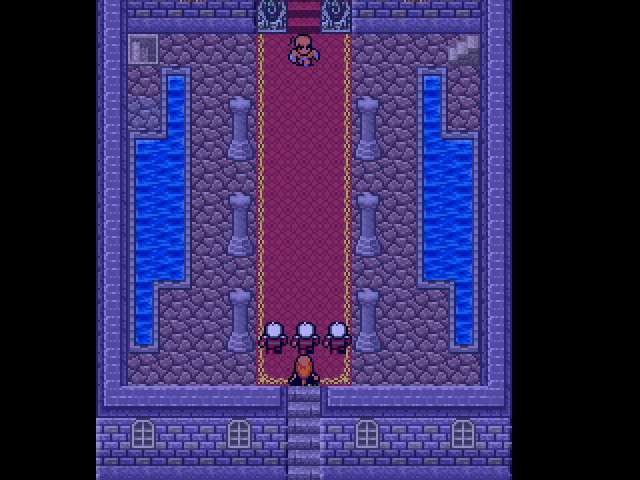 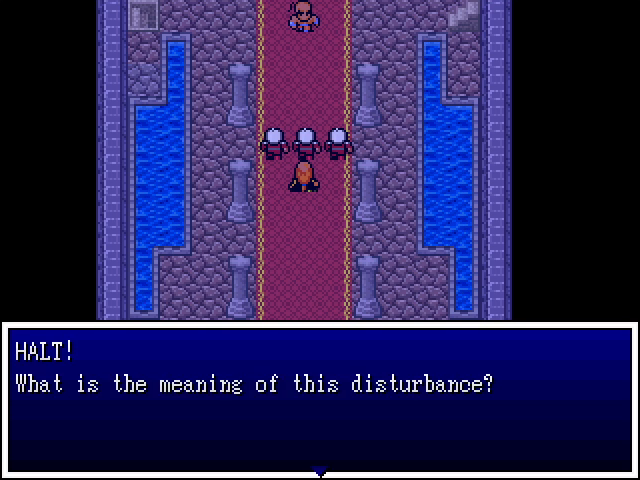 Oh, and a bunch of guards show up, apparently drawn by the commotion. They're probably wondering how we got into the palace at night. 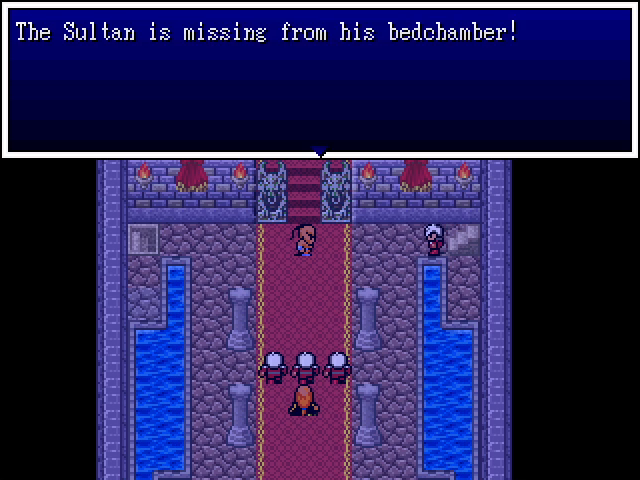 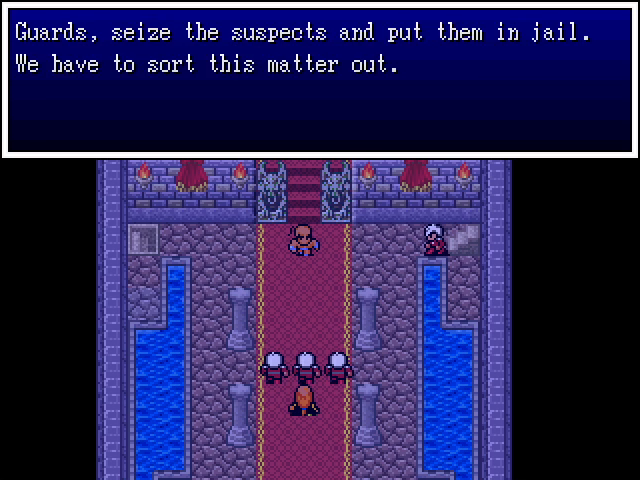 As a reward for exposing Murzhor and foiling his plans, we're arrested. 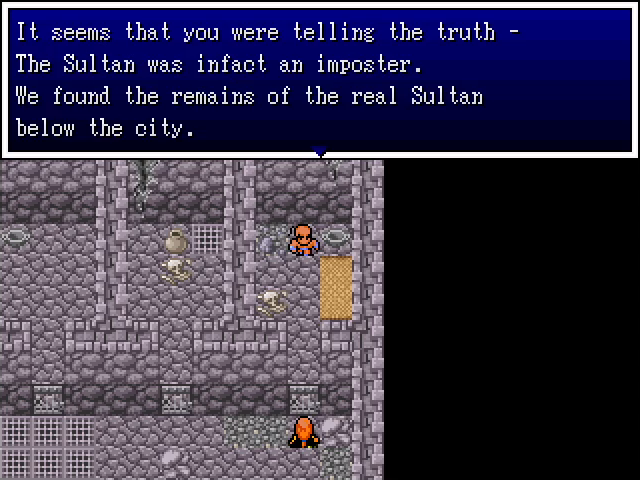 While we rot in our cell, the late Sultan's advisor comes to visit us. 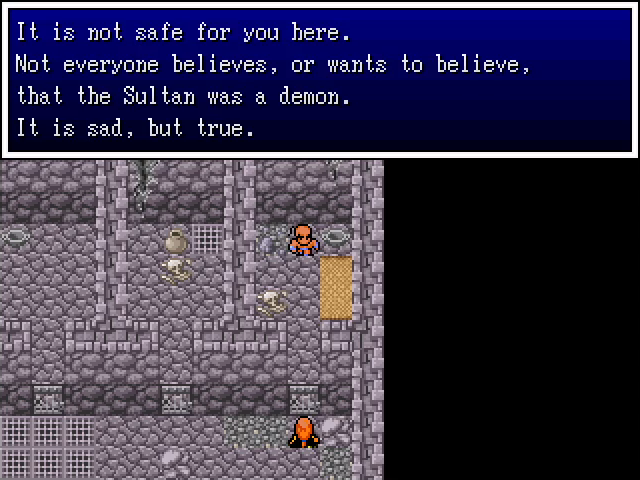 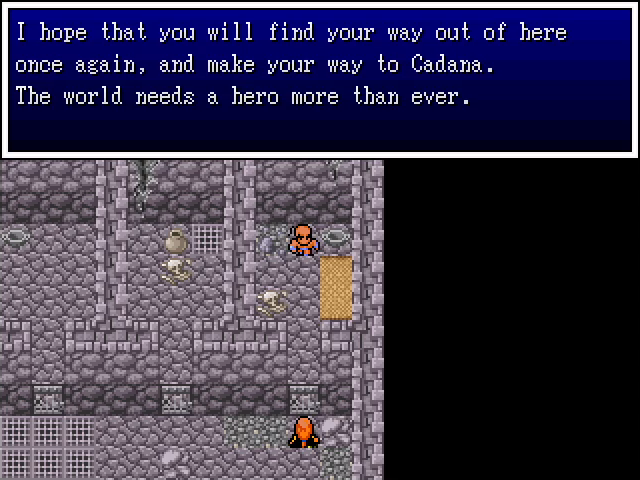 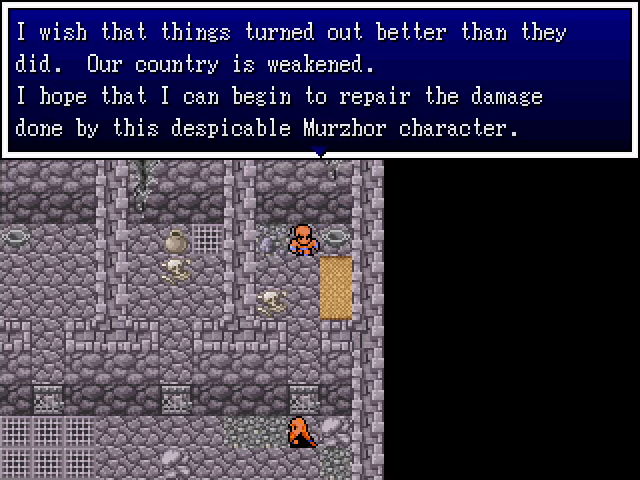 Although the guards still don't seem to believe us, the advisor is at least canny enough to understand what's going on. 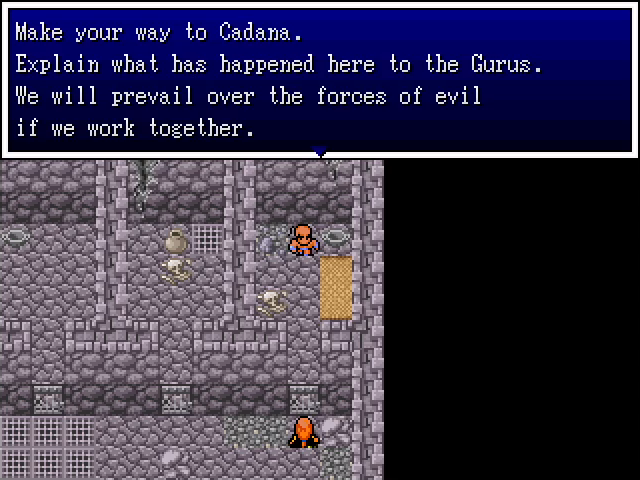   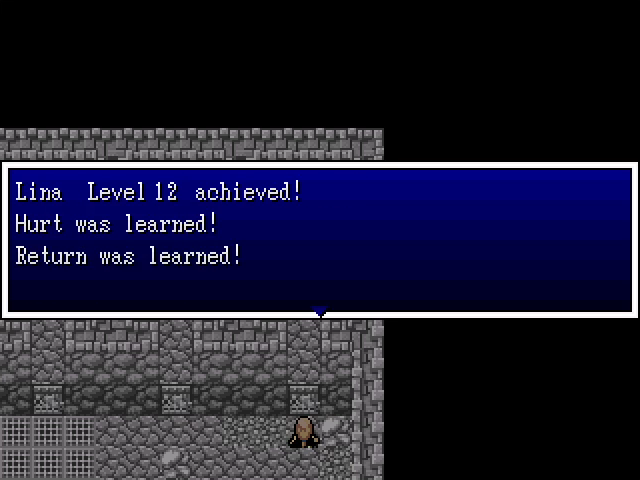   For completing the main objective of the chapter, we gain a huge chunk of EXP and levels for everyone. 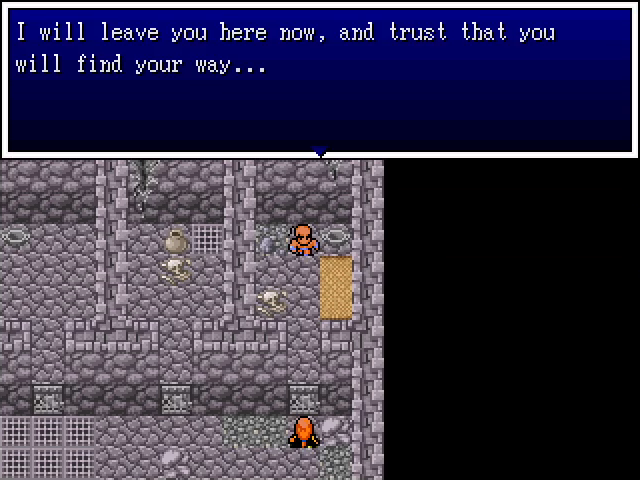  And with that, the advisor leaves. 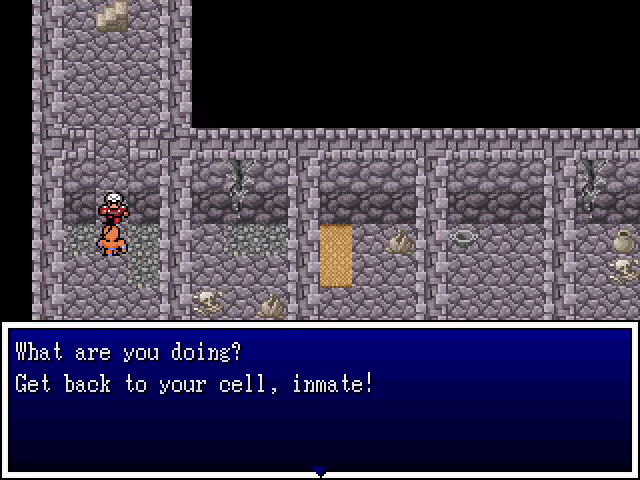 Obnoxiously, there's no easy way out of here. The guard is surprisingly blase about us not being locked up, but we can't get past him. We have to complete the entire vermin-filled dungeon a second time. 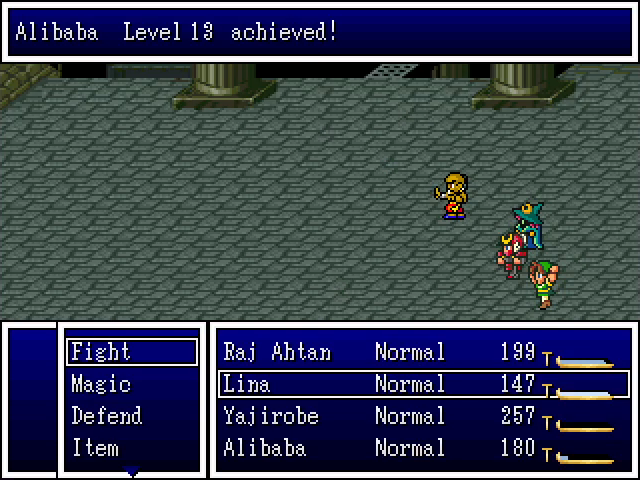 At least Alibaba gets another level out of it. 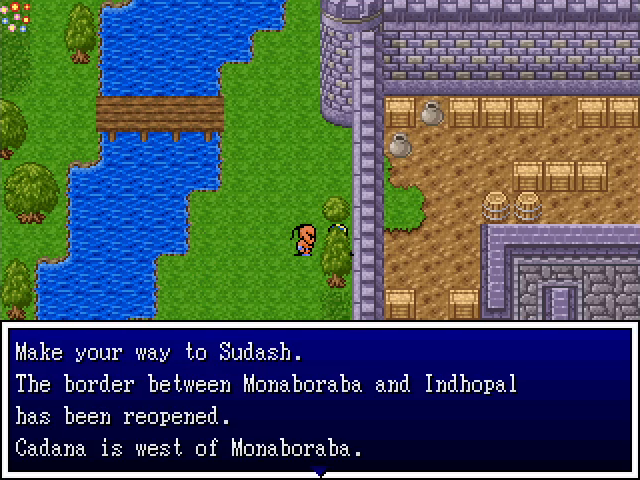 There's a guard at the exit, but it seems he's on our side. He reminds us of where we need to go, in case we forgot in the last ten minutes. 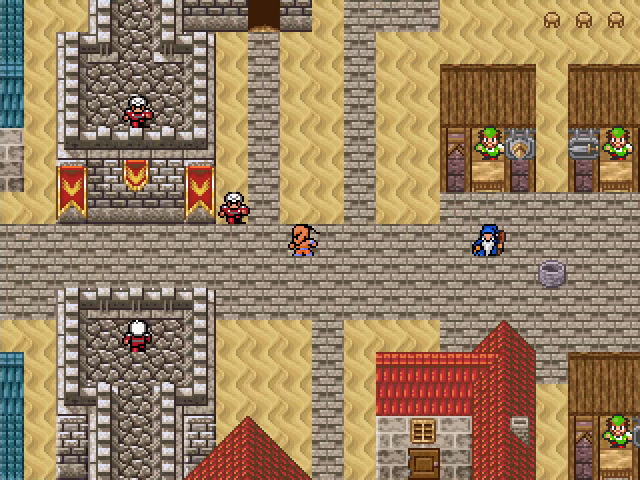 The border separating the two halves of Sudash is now open, as promised. 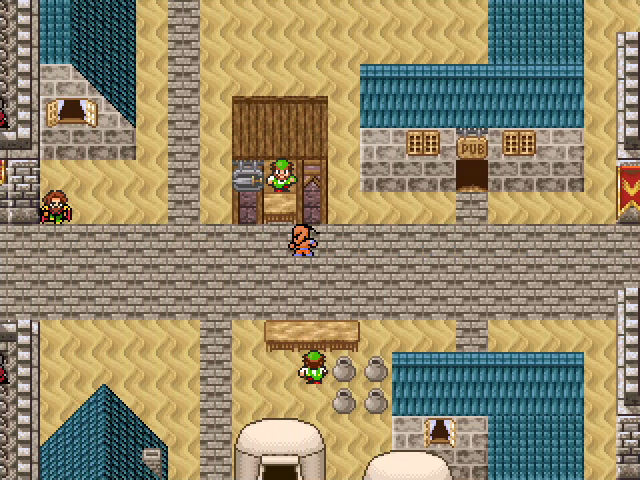 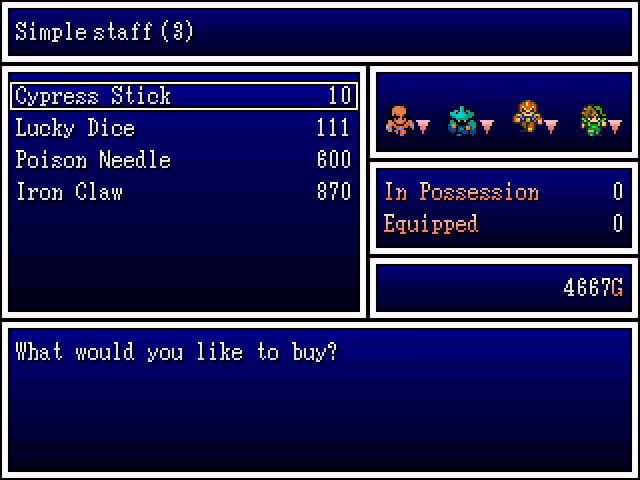 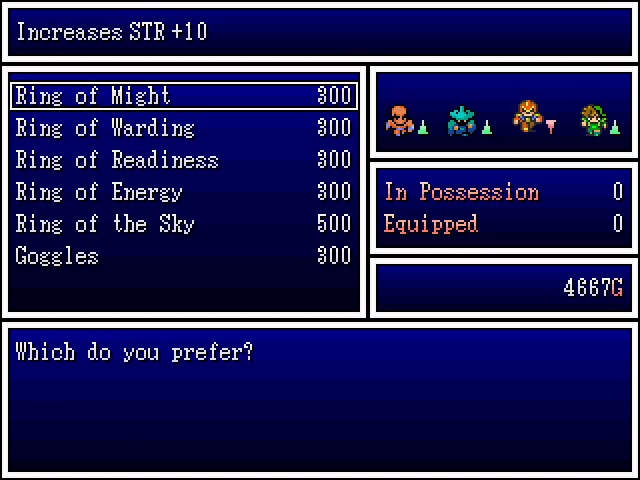 The first time we were here, it was at night, so the shops were closed, and I completely forgot to come back during the day to show them off. There's not a whole lot that's worth buying, although there are iron claws available for anyone who didn't get them at the Funhouse. 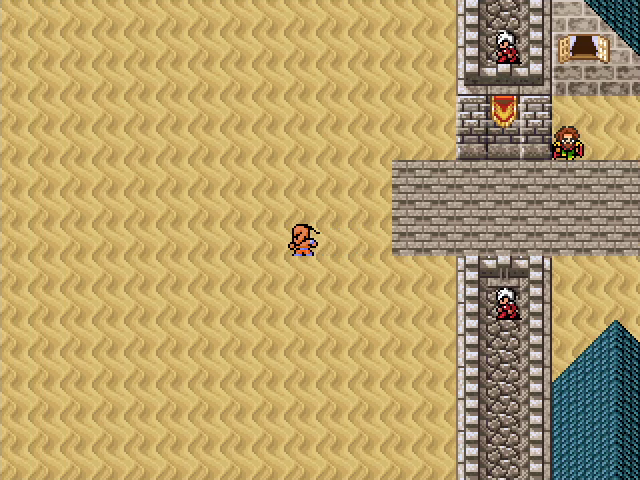 There's nothing more for us to do here, so we head out into the desert. Luckily, nothing stops us this time, and the screen simply fades to black.  Next time: The real Hero's Realm starts here! 5-Headed Snake God fucked around with this message at 03:55 on May 9, 2023 |
|
#
?
Sep 22, 2022 13:17
|
|
|

|
| # ? May 6, 2024 10:49 |
|
|
Do you know what would happen if you talk to the sultan or guards in the Throne room before confronting the sultan in his bedchambers? I'm curious which sultan it's thinking is supposed to be there.
|
|
#
?
Sep 22, 2022 13:43
|
|