


|
You're just lucky the game moves at the speed of plot, otherwise the world would be DOOMED! I hope you had a good vacation.
|
 #
?
Jan 30, 2023 18:56
#
?
Jan 30, 2023 18:56
|
|


|

|
| # ? May 6, 2024 02:52 |
|
|
hope you had a good vacation! i'm excited to see more when you get back.
|
|
#
?
Jan 30, 2023 21:15
|
|

|
Well, I lied. :/ The next update took a long time to actually play, so I haven't had time to write it up. Next week, folks.
|
|
#
?
Feb 7, 2023 02:24
|
|


|
 Welcome back, everyone. With Balthalas finally dead (for real this time), the Bonewall that blocked our access to Ozland should be down.   Sure enough, we're able to sail into Ozland's river and toward the heart of the continent. The random encounters here are the same as on the open sea, but much more obnoxiously frequent. 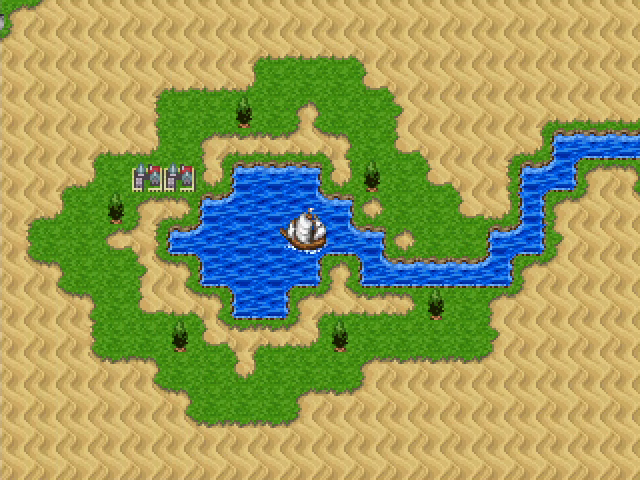 As day breaks, we arrive at the only city - the only place of interest at all, in fact - on the island.  The people here have... accents. There's a lot of Australian slang, as you might expect, but the accents seem questionable.     Cidney's shops sell some outrageously good gear, but of course most of it is terribly expensive. We can't afford to go too wild with our purchases, but we do get an ultrawhip for Alibaba, a dragon mask for Larry (who's still wearing a leather helm!), and a set of dragon claws for Raj Ahtan. That last purchase will prove to be a very good investment before the end of this update.  Like Bombomb, Cidney is a two-level city, with bridges spanning broad sections of it. The roof of the inn is the most immediately accessible, though there's not much we can do here. We don't have any jerky, so for the moment the treasure on the other side of this dog is unavailable.     The local wildlife is extremely deadly, it seems. In that respect the similarities to Australia are accurate.  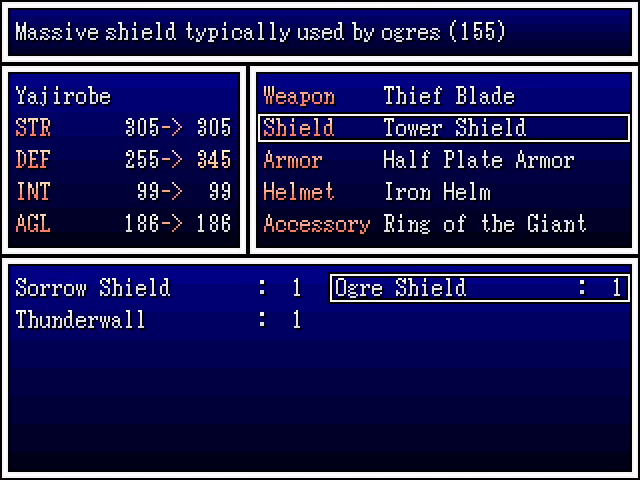 In the northwest corner of the city we find a pot containing a special treasure chest, an ogre chest. Inside is an ogre shield, a powerful piece of defensive equipment for heavily-armored characters. Yajirobe takes it for now, since is level is still a bit low. 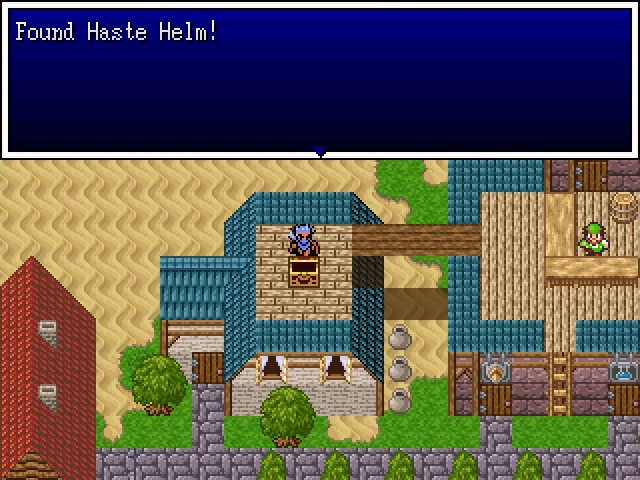 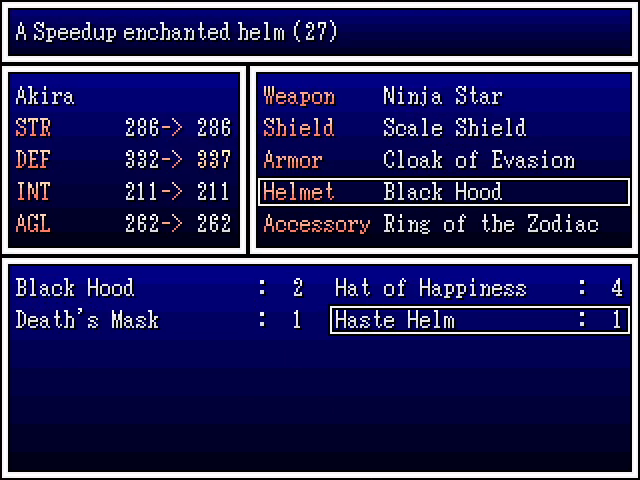 We also find a chest containing a haste helm, which has somewhat low defense but grants automatic Speedup status. This is a great find.  Past a lengthy series of bridges, we come to this impressive-looking building. 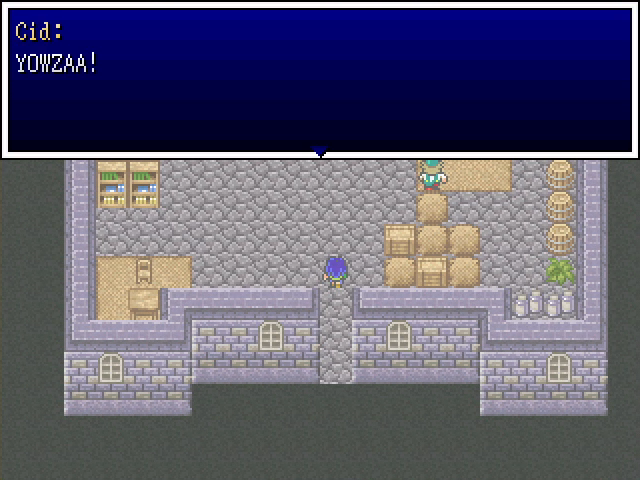 Upon entering, we are immediately greeted by an explosion. 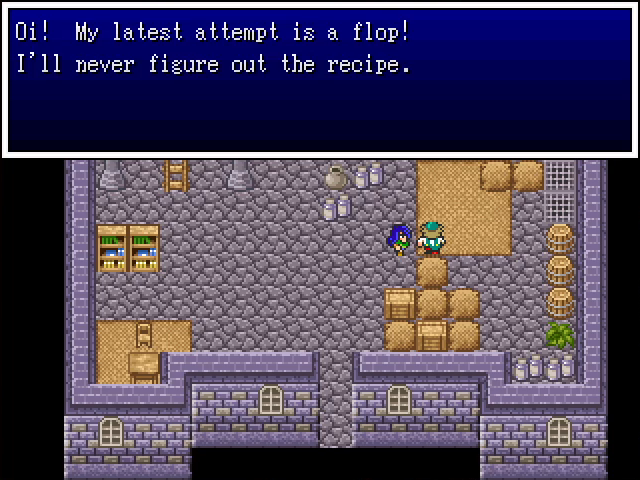 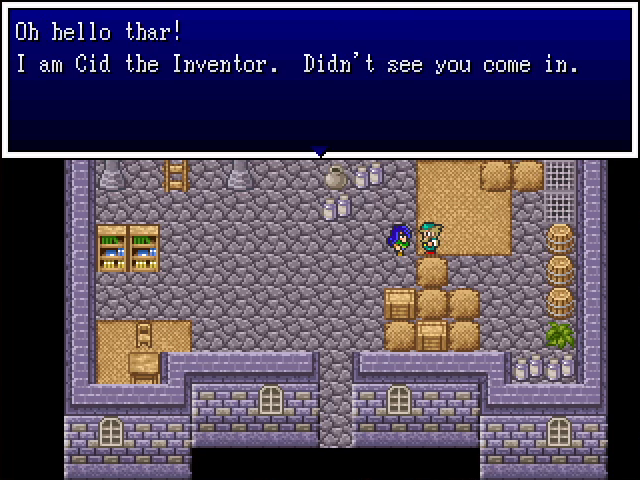 I know there were readers pushing for an engineer party member named Cid at some point, but I'm just as glad it didn't shake out that way. 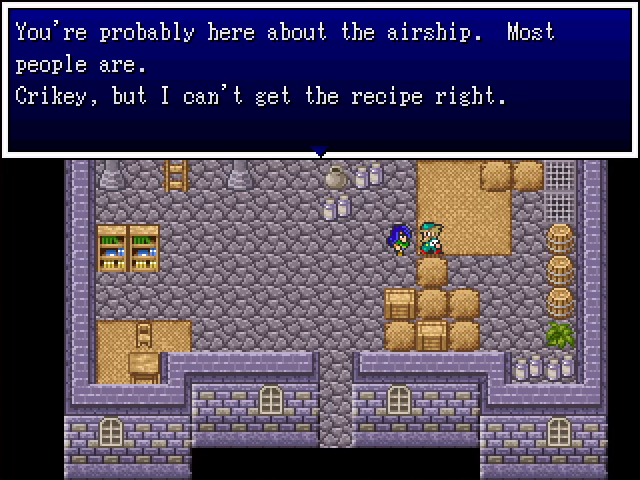     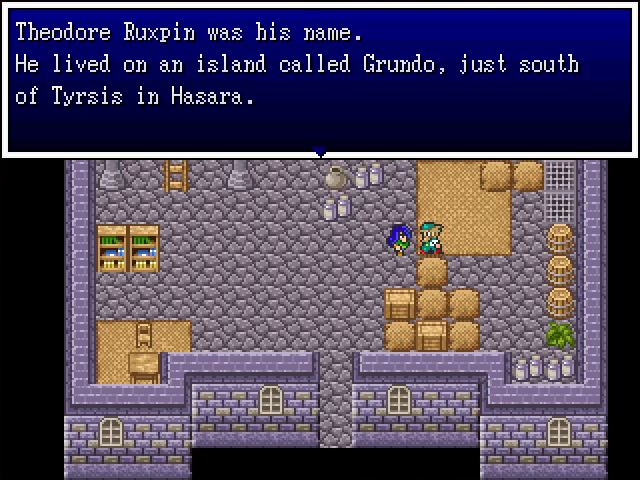 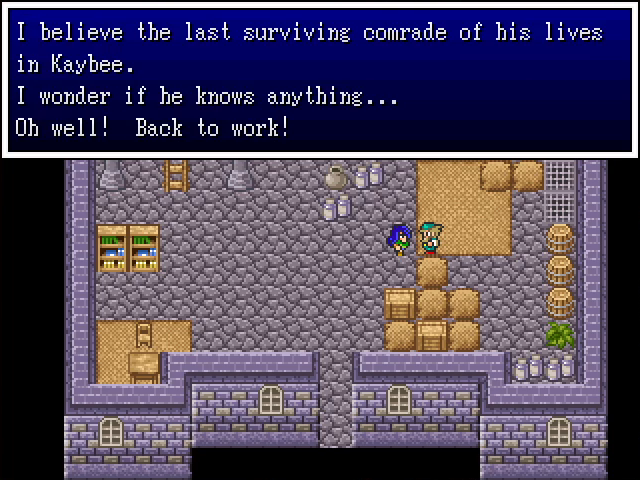 Of course getting our airship isn't as simple as just coming to Ozland and talking to someone. At least we have a destination. But we should probably explore the rest of Cidney first. 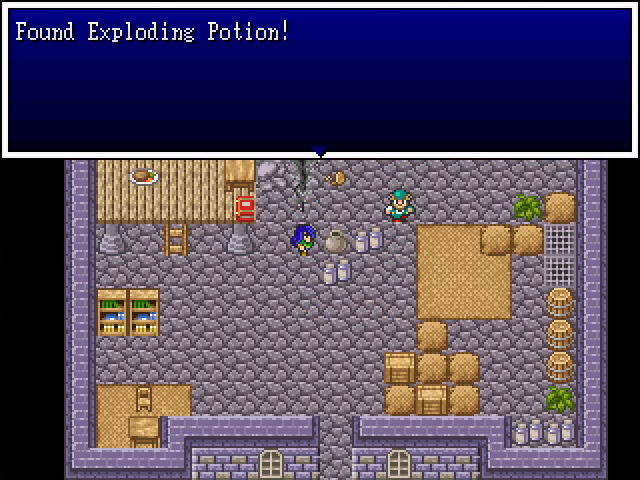 This is the only treasure in Cid's workshop, but it's very appropriate. A shame we can't use it since Hexia is no longer a witch. 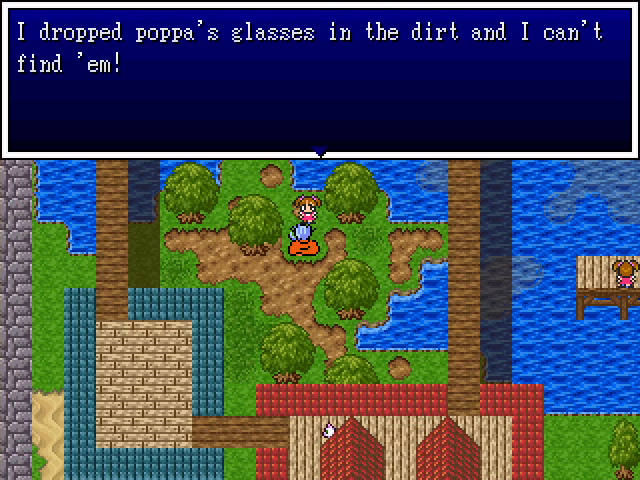 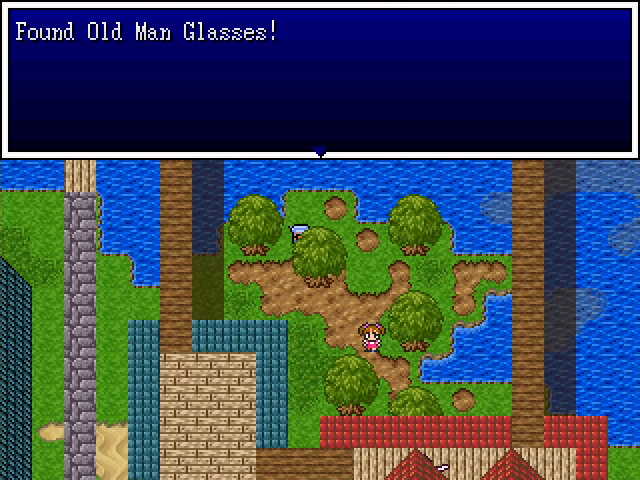 A little girl in the middle of town has lost her father's glasses. They're not hard to find, but... I have no idea what to actually do with them. The girl doesn't react to us having them, nor does anyone else in town.  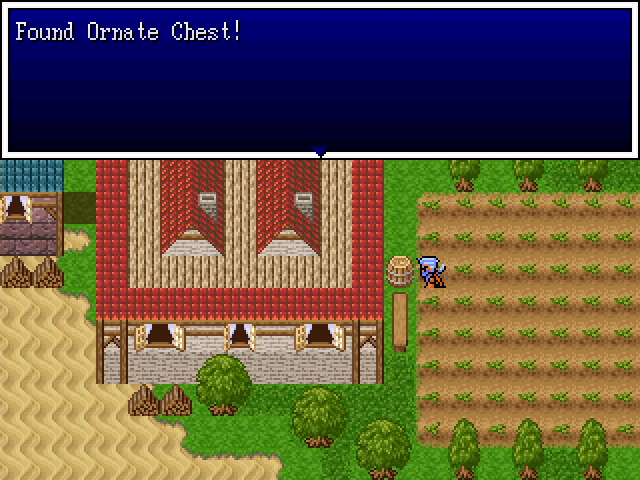 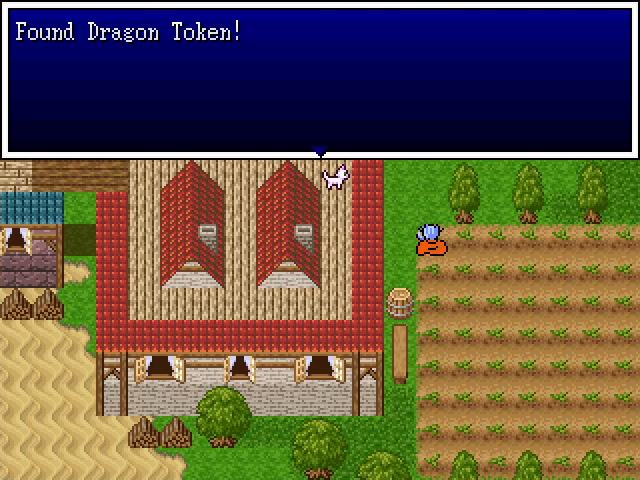 Another unique chest hides on the east side of town, but it just contains a monster token. 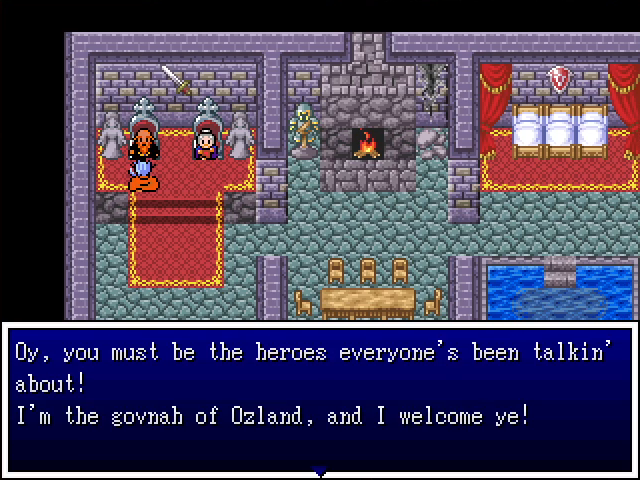 In the door below Cid's, we find the governor of Ozland and his wife.  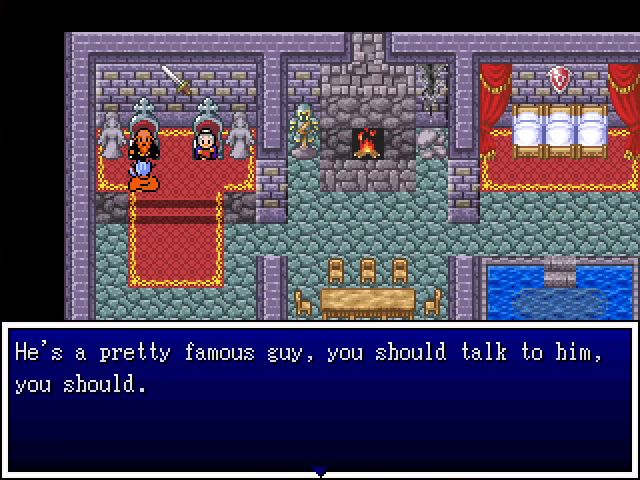 Already done. 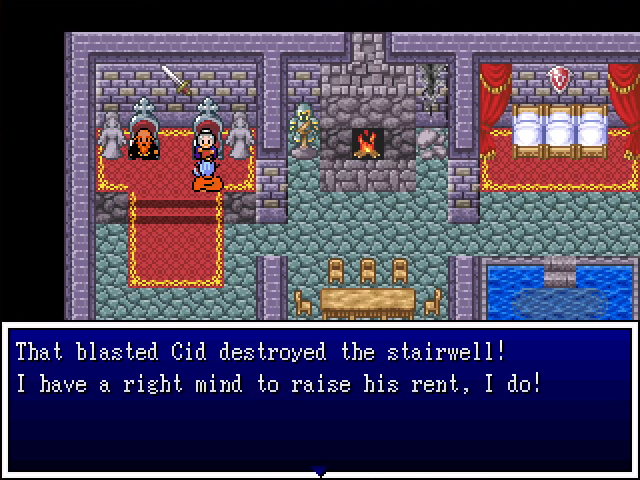 With the property damage he causes I'm shocked he's even allowed to stay. 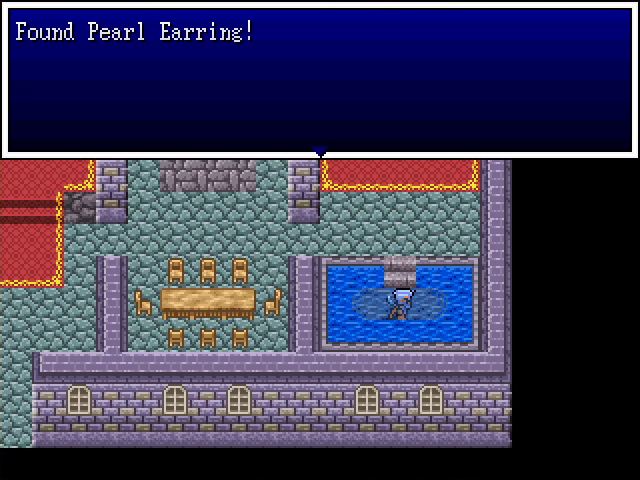 In the governor's bath, we find an earring, presumably belonging to his wife. I'm sure she won't mind if we keep it; we can use the halved MP consumption more than she could anyway. 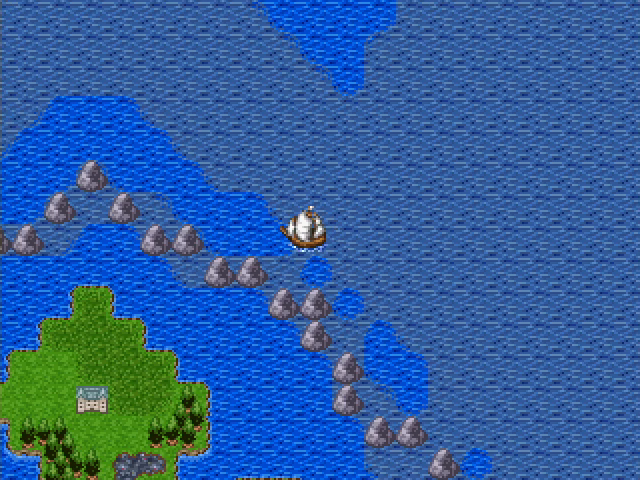 That about covers Cidney, so, following Cid's advice, we Return to Tyrsis and head south. We find what must be Grundo Island, but a ring of stones blocks our access. Guess we'll need to head back to Kaybee. 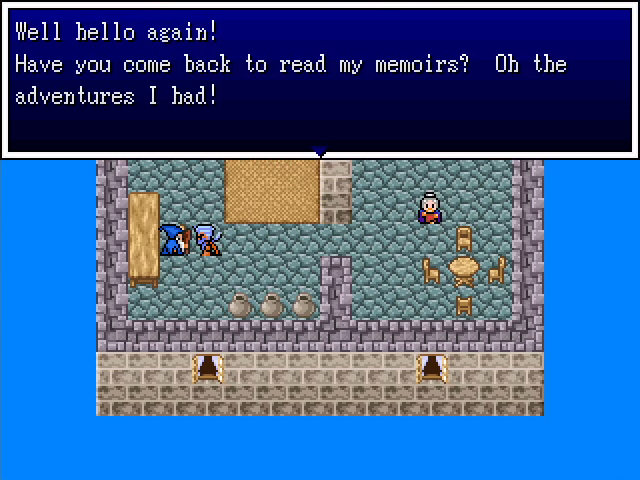 Remember this guy? He's the mayor of Kaybee, and after we cured the plague he suggested we return later to read his memoirs. 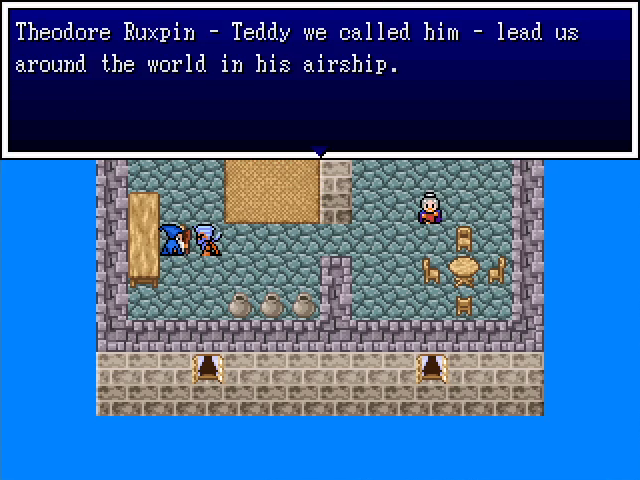 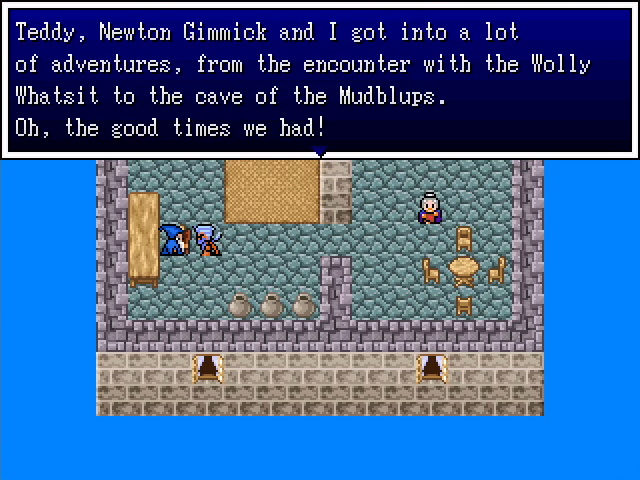 I find myself wondering whether anyone readying this LP appreciates this reference. 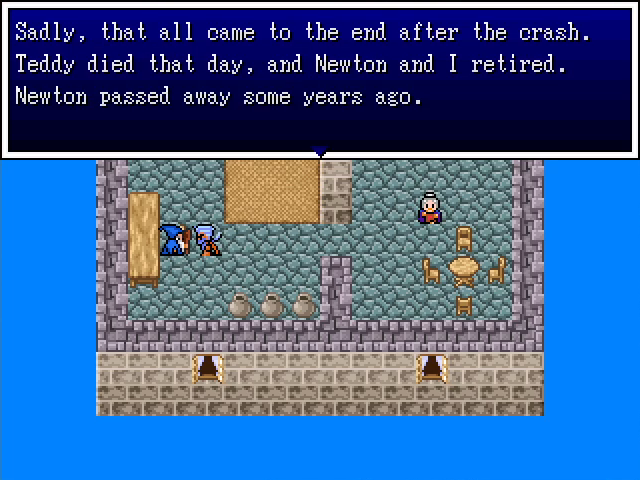    What a cool old dude. ")  We've already seen that we can't get to Grundo, but there's a shrine just south of Tyrsis that may be of help. 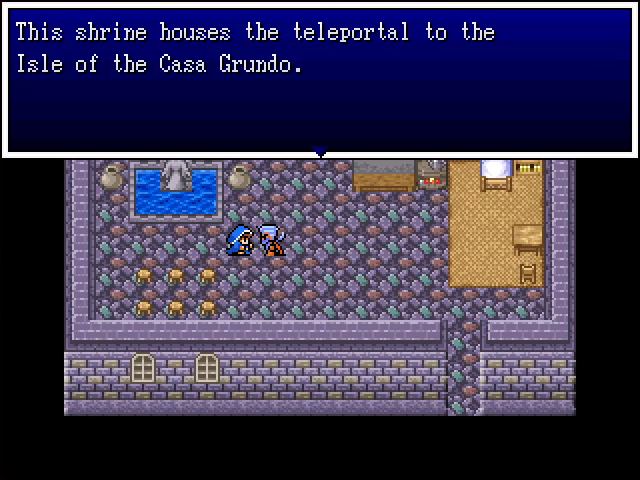 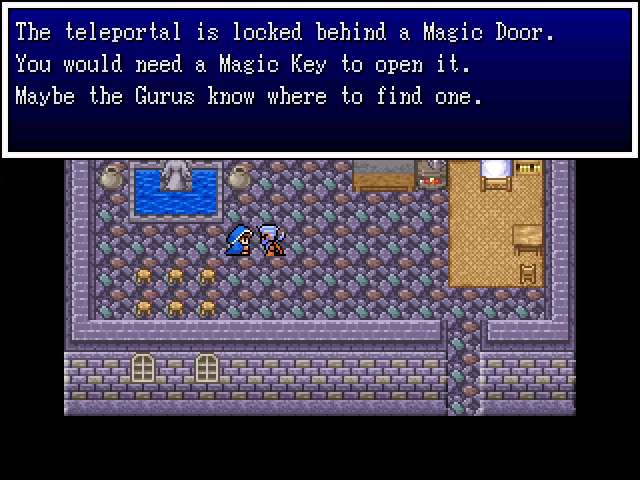 Zefiryn can get to this shrine, but the locked door prevents her from entering during chapter 2. 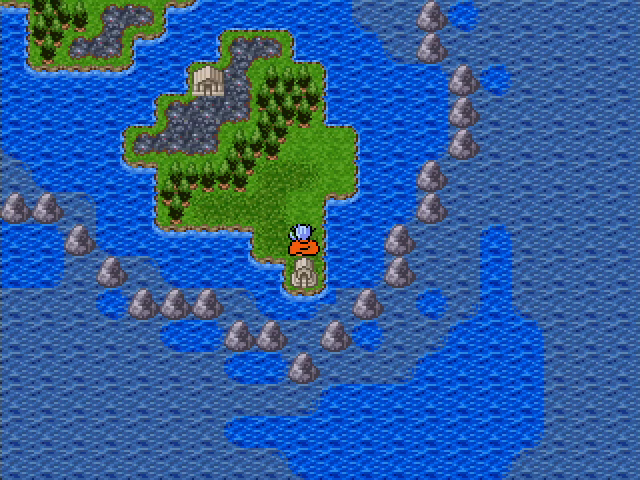 The shrine's teleportal takes us to another small island. It's not where the house is, but it's inside the ring of stones, so it seems like progress. 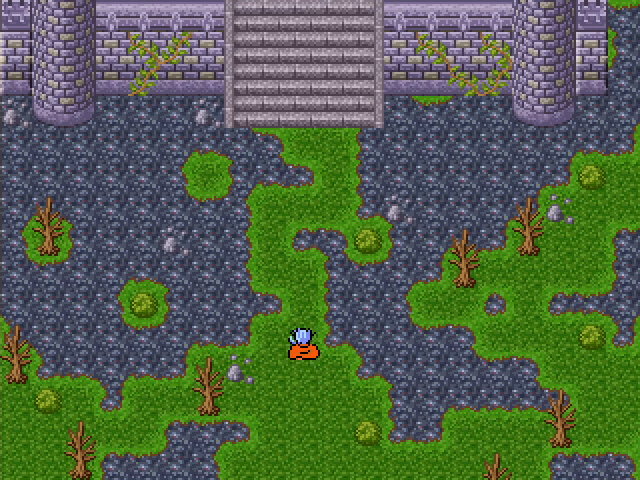 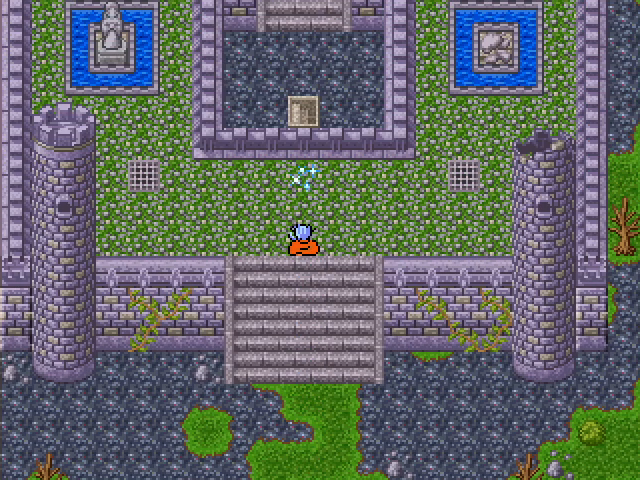 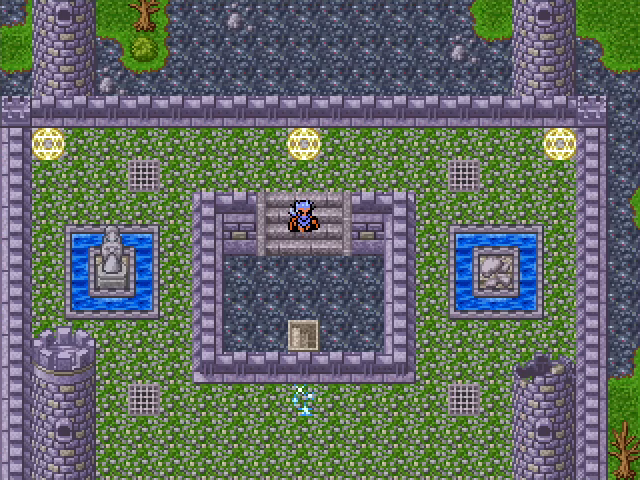 The other building on this island is a small dungeon surrounded by swap.  Inside is another multi-party dungeon! It's... not very interesting. It's a maze with a ton of damaging floors. There aren't any monsters, though, so it's more obnoxious that difficult. The damage tiles don't even accomplish anything since we can head to an inn once the dungeon is finished.     We've got big spikes, small spikes, floor switches... You get the idea. 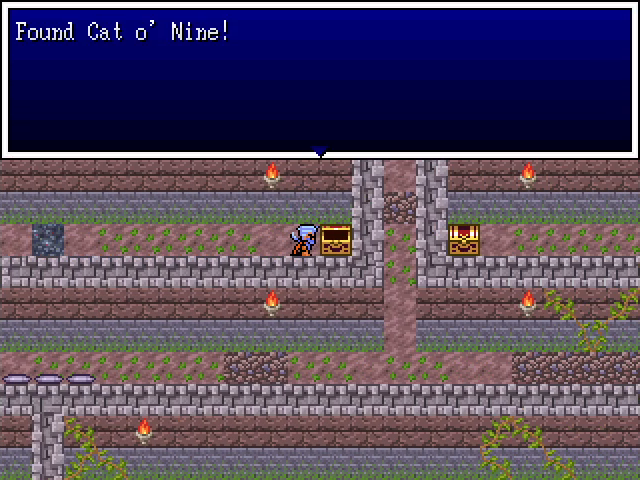 We also have treasures, but the best of the lot is this cat o' nine, which is a direct downgrade for the few characters who can actually use it. 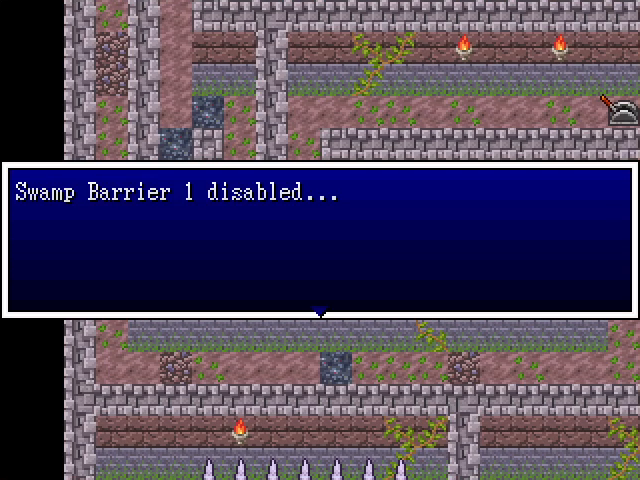 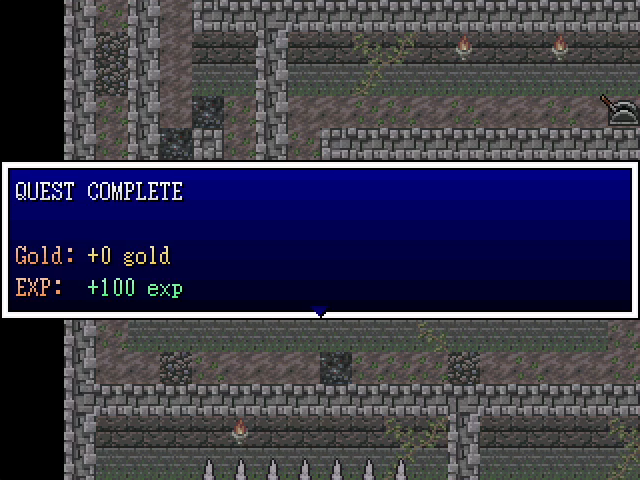 Our goal is to hit four switches, each of which disables a "swamp barrier" and gives us a small amount of EXP. 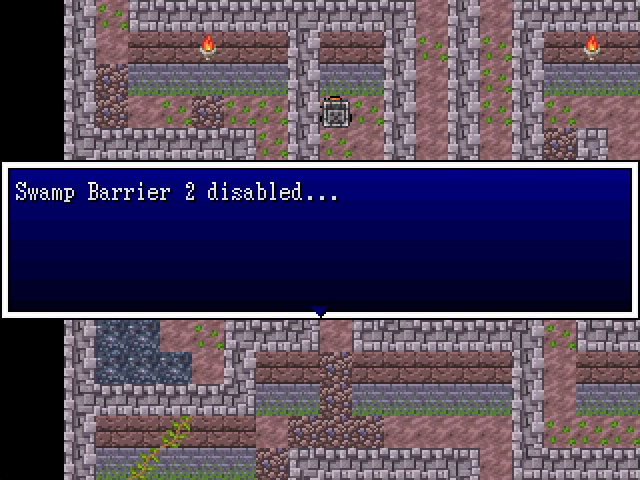 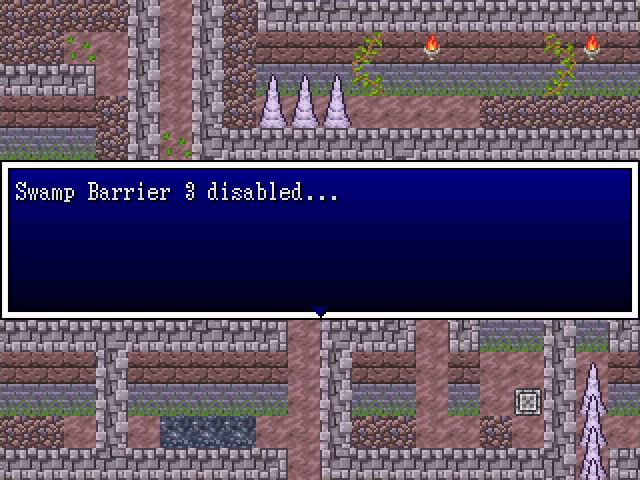 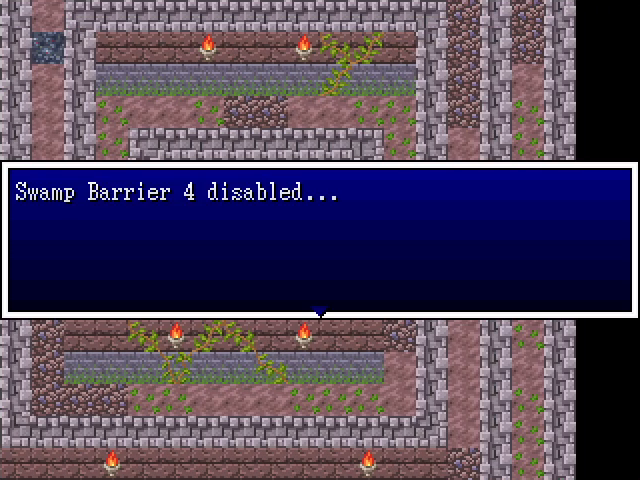 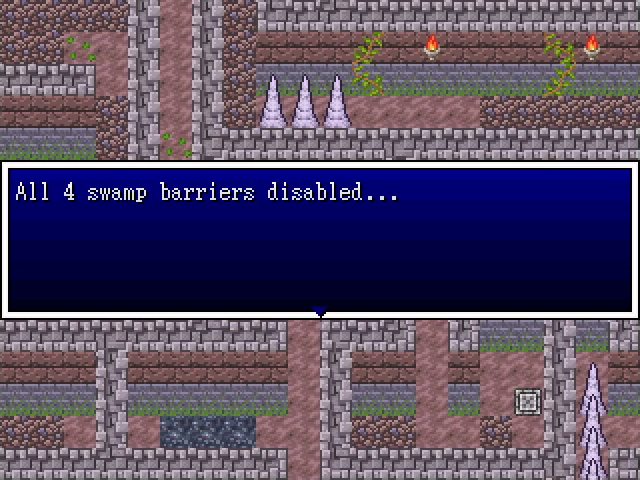 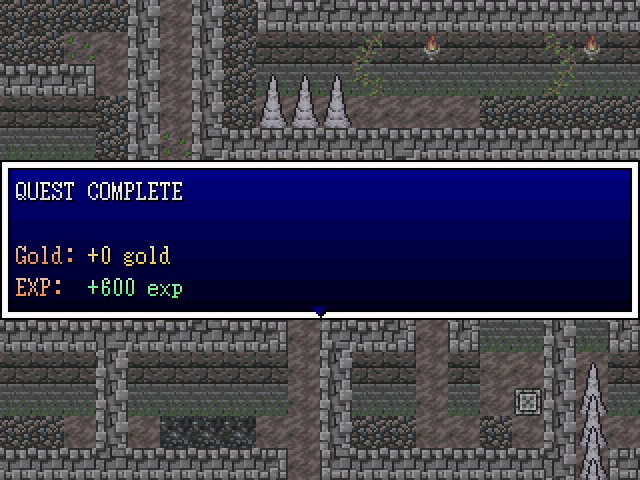 Et voila. 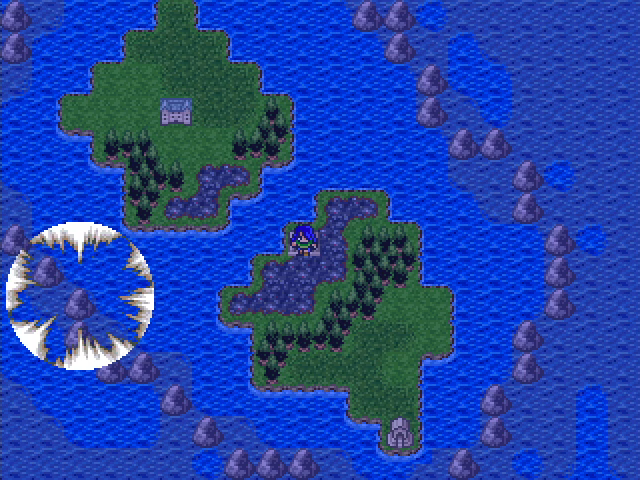 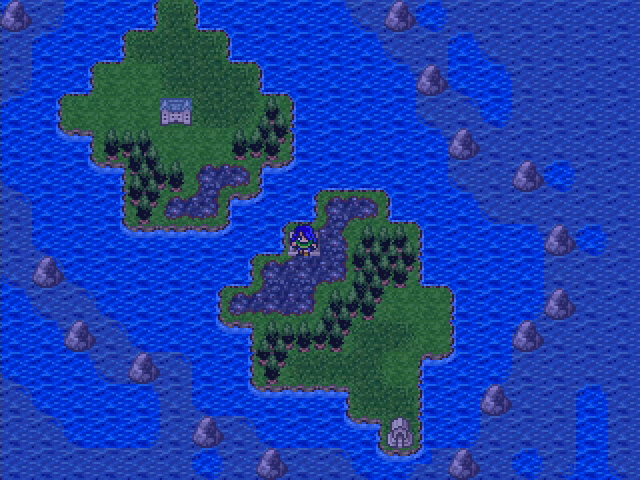 Upon leaving the dungeon, half of the rocks encircling the place explode, giving us ship access to Grundo itself. 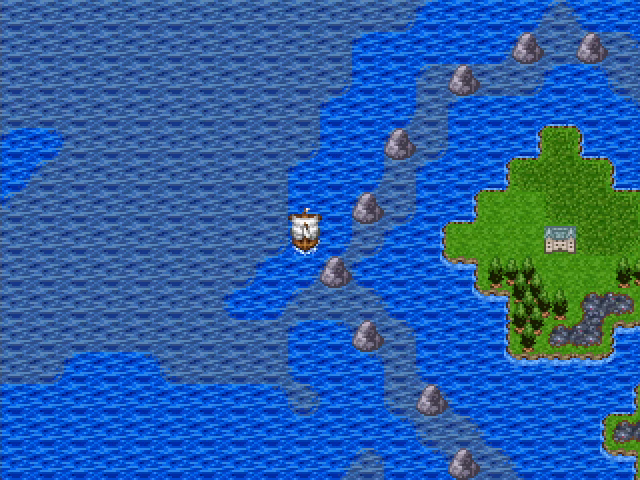 We Return to Tyrsis and sail back.  This place has seen better days. It's in a state of terrible disrepair and there are corpses everywhere. 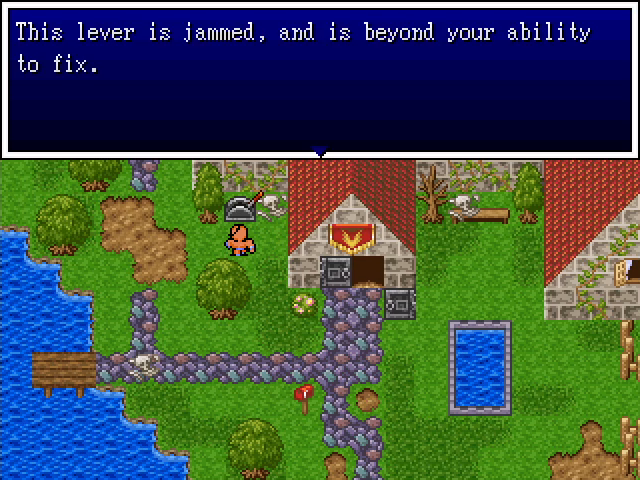 The front door is opened by this lever, but I'm not sure why we'd need it fixed since one of the doors is off its hinges. 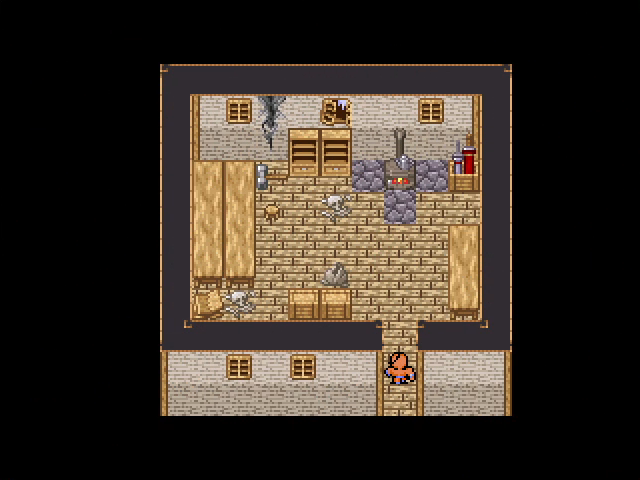 There's a small shed in the northwest containing nothing of interest.  My obsessive interest with searching every corpse pays off as we find some tools. Again, I'm not sure why we need them, but if they're here, we probably will. 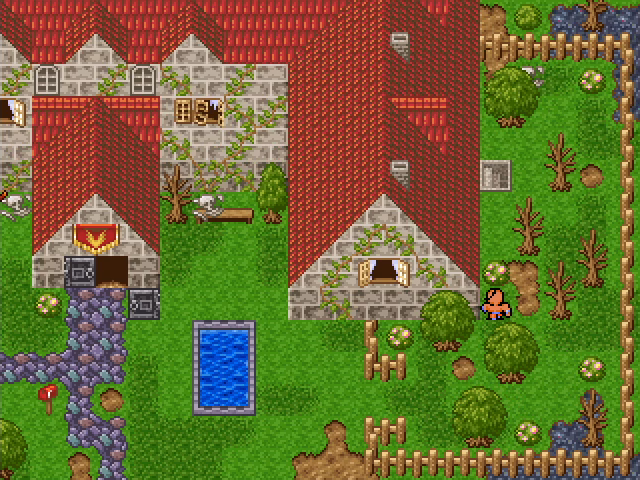 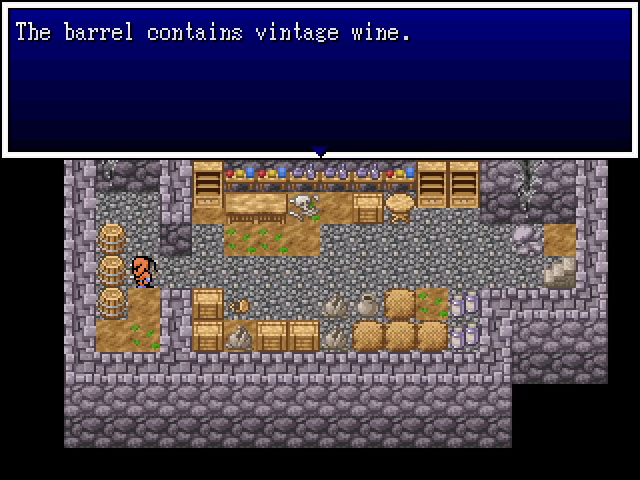 Around the side of the building is a wine cellar. Raj Ahtan is probably an ascetic, as he doesn't even consider drinking the wine. 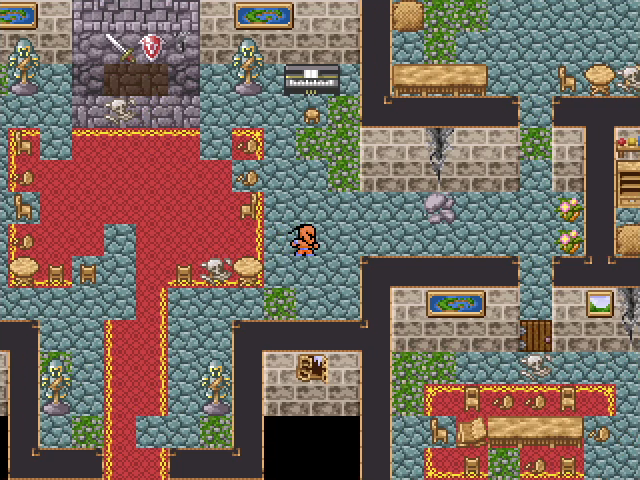 The inside of the house is just as bad. 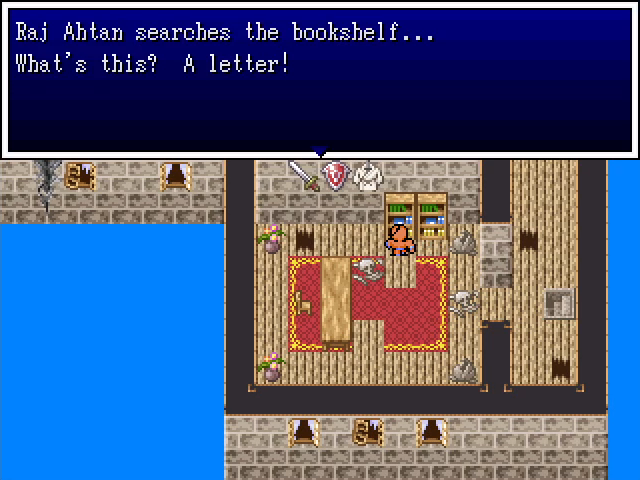 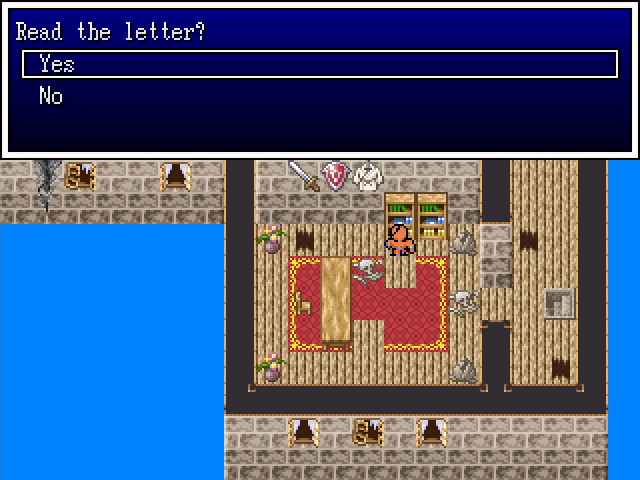 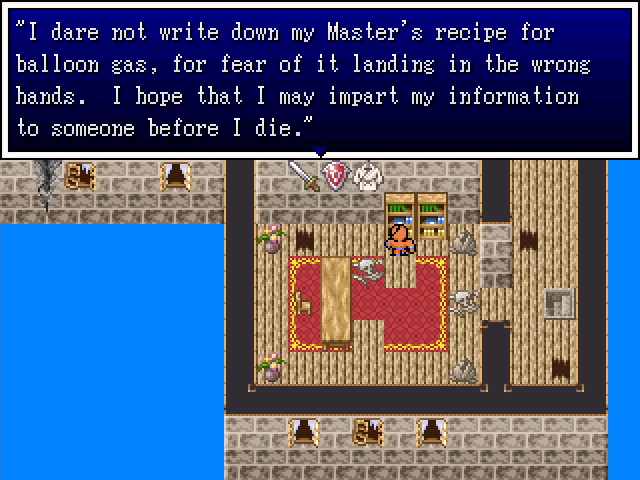 On the second floor, we find a letter discussing the balloon gas recipe. Considering all the corpses, I hope this doesn't mean we've hit a dead end.    Like the tools, we can expect this to be meaningful, but it's not readily apparent how.  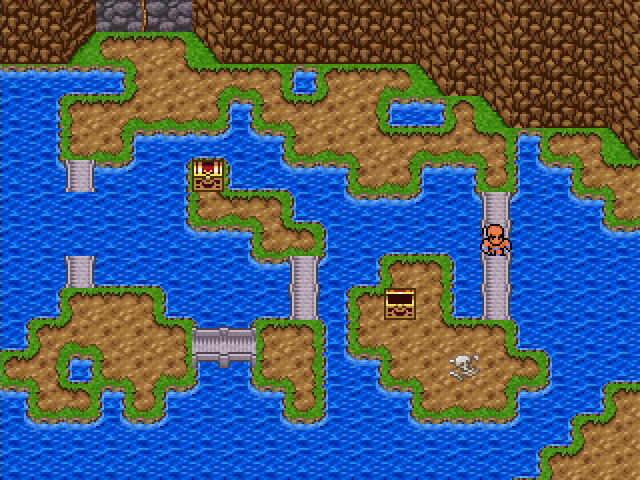 Finally, there's a well. There's a treasure chest inside, but we can't get to it due to the bridge being out. So... what now? Well, you may remember some incidental dialogue from all the way back in chapter 1. 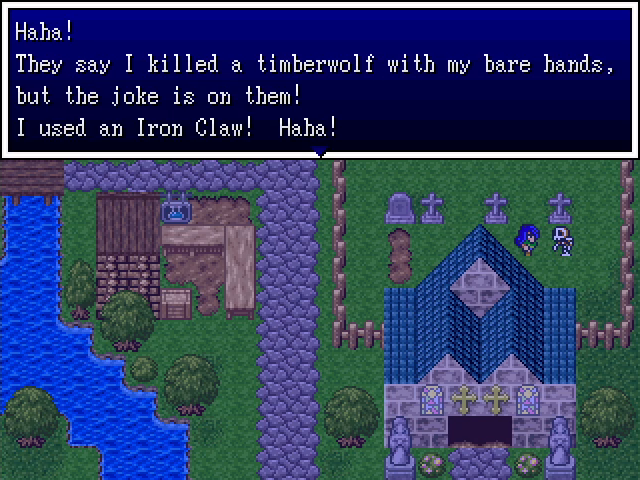 The dialogue itself isn't what's important here. What's important is that this skeleton only came out at night.  Yeah. 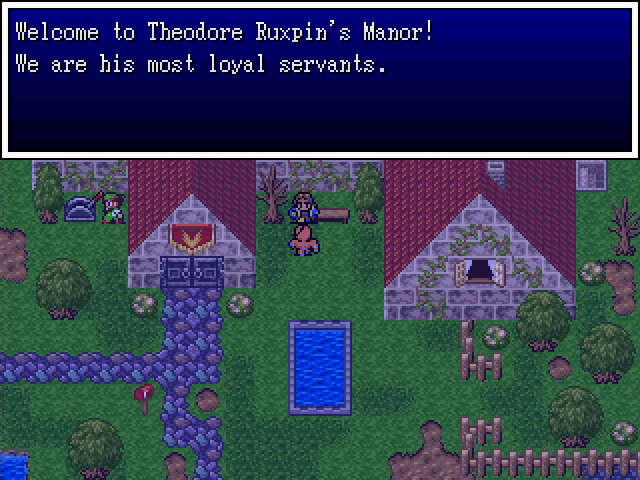 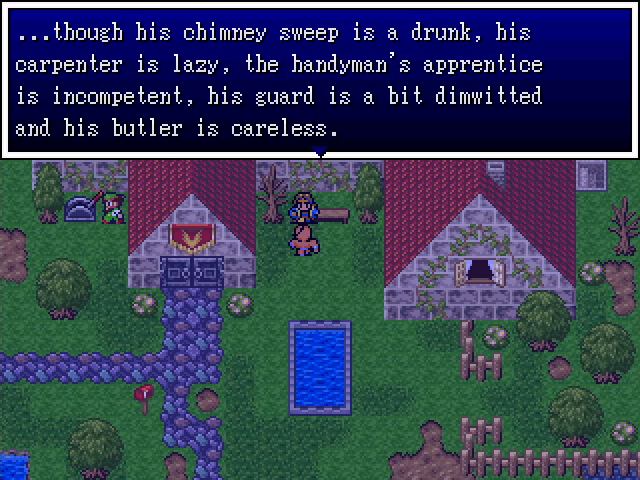 Oh. Oh no. I see where this is going. This is going to be a series of busy-work tasks, isn't it? 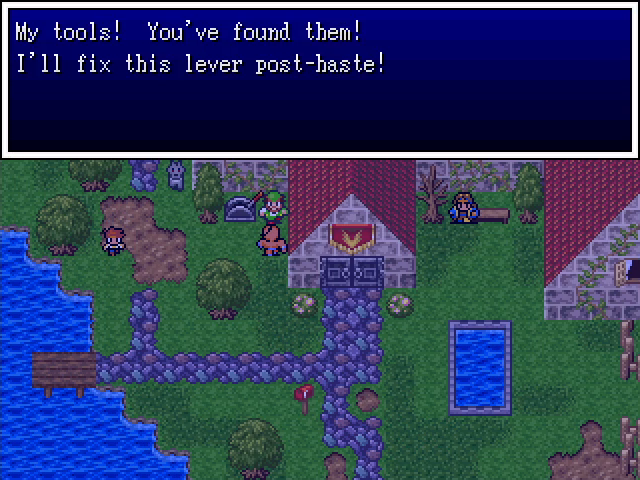 Yes, it is, but at least we've already finished one of them. 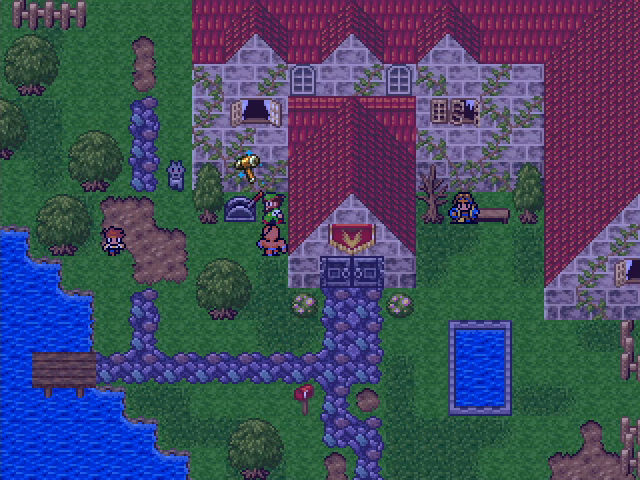 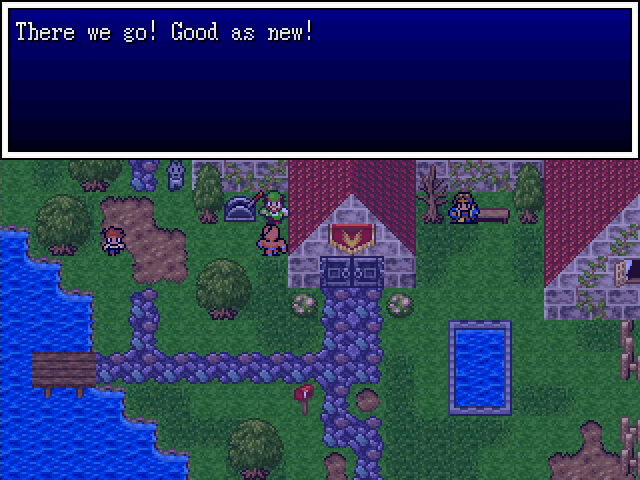 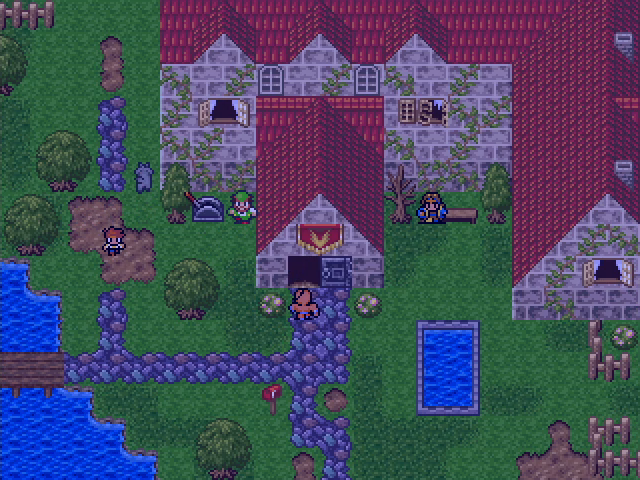 And with that, we can get inside. 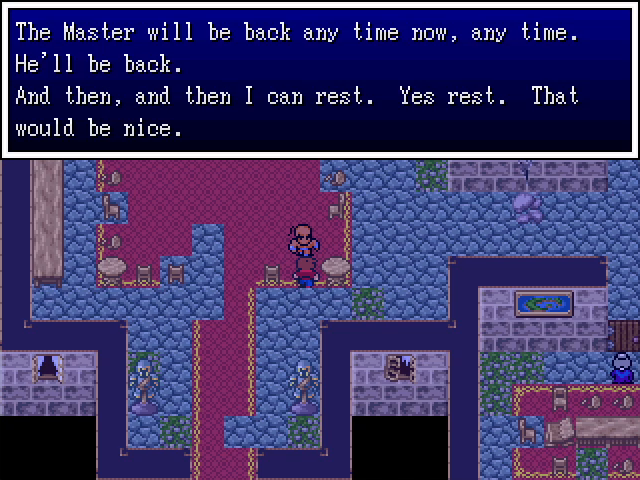 The dialogue here is unsettling in places. Some of these people seem aware that something is wrong, even is they can't place what. 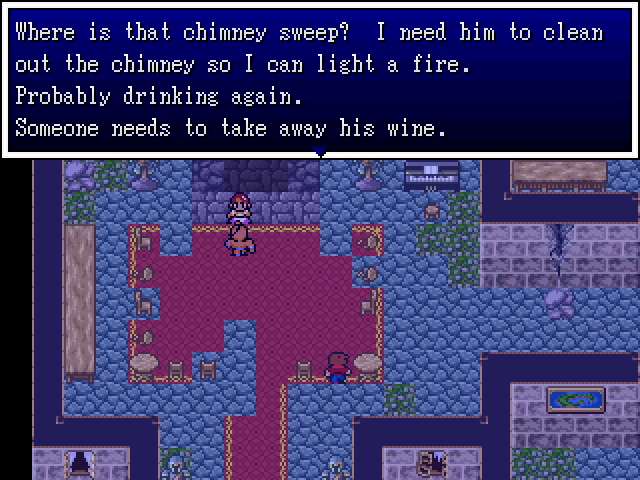 Task acquired: remove wine. 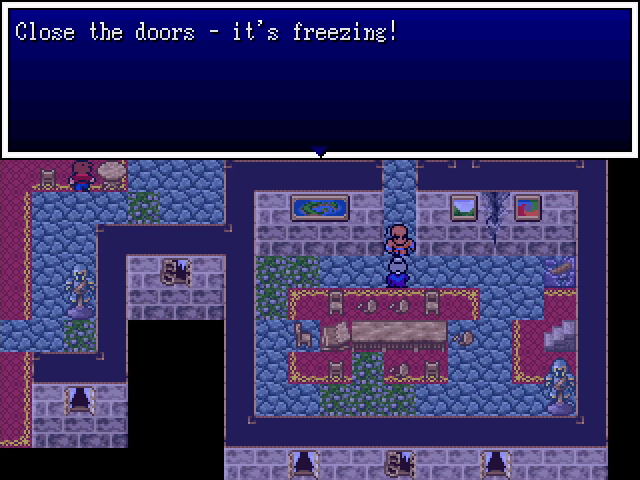  The upper floor is unavailable at the night due to the house being so drafty.    Task acquired: get the carpenter to fix the bridge. That's all we can do for now, so we head outside, wait for daybreak, and return.    Well, that was simple.     Apparently Raj Ahtan is not an ascetic, as he shows no compunction about drinking three entire barrels of wine.  We return at night and immediately head to the well, but the carpenter is extremely lazy. Task acquired: get some wood planks.  Those are the planks in the southwest corner, but they're blocked by a cat. (Also, unlike the tools, the planks can't be gotten early - they can't be taken until the carpenter mentions them.)  Well, in the meantime, let's head upstairs.    The study is our final goal, but of course we can't get in yet. 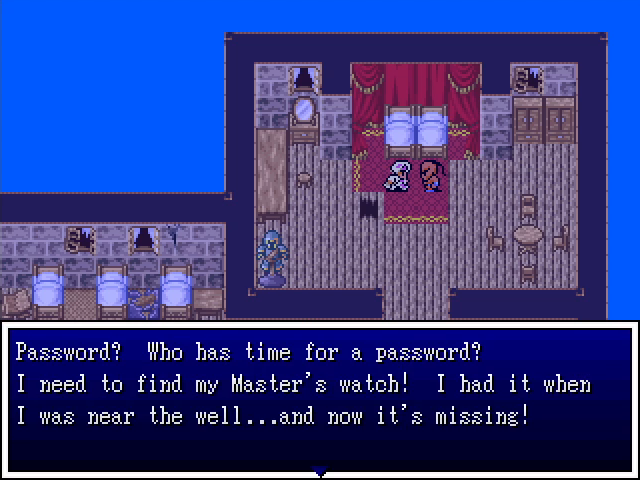 Task acquired: get the watch from the well. 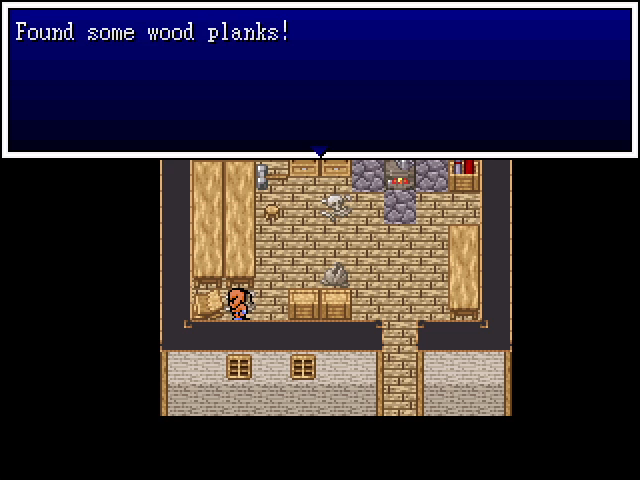 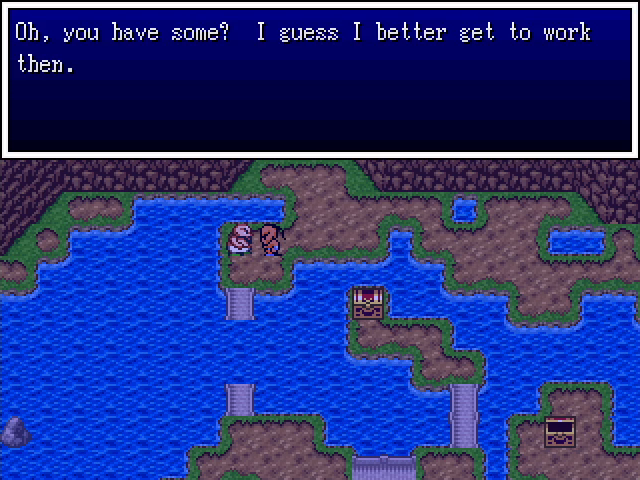 So, we wait for day, grab the planks, wait for night again, and give them to the carpenter. 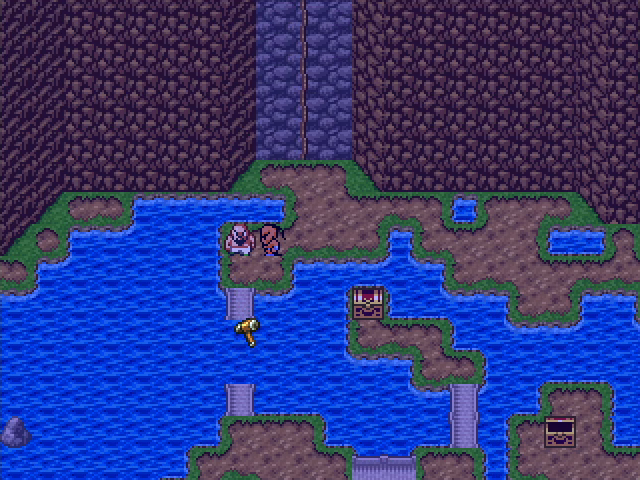 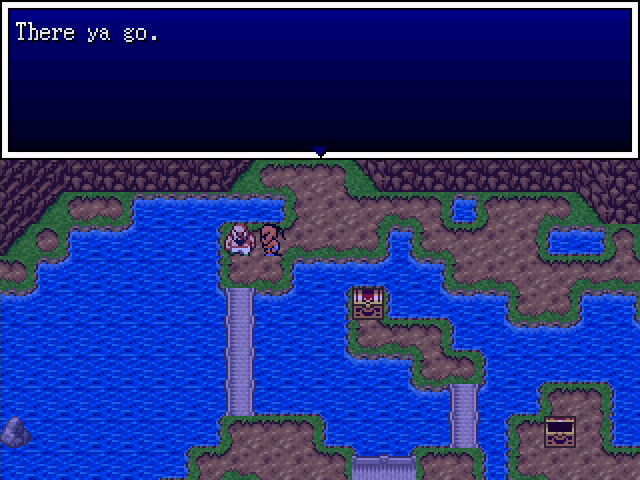 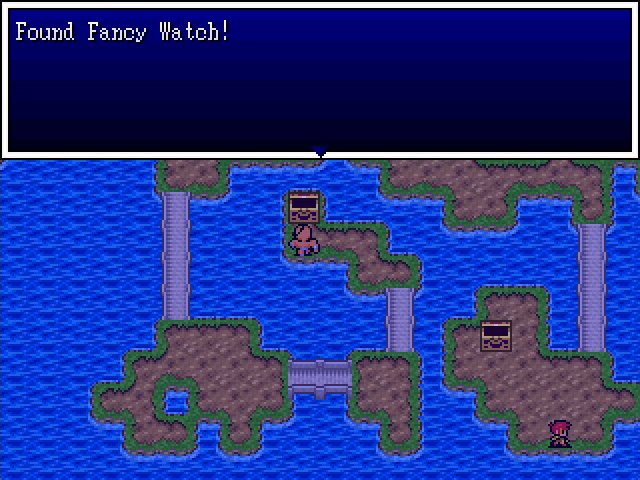 loving finally. 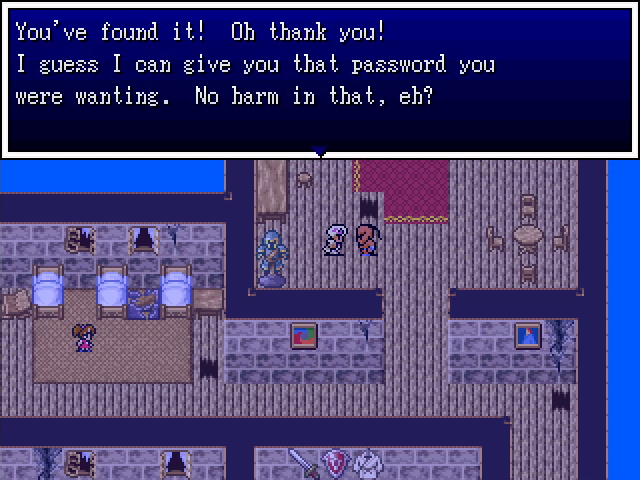 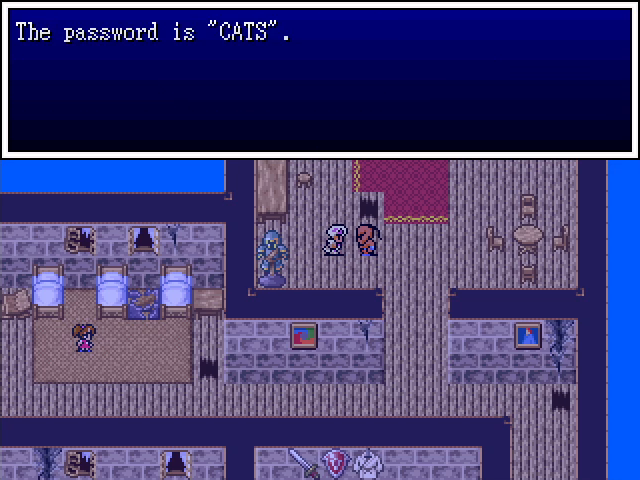 From there it's just a simple trek to the second floor to return the watch and get the password.   We give it to the bodyguard, and he lets us pass.   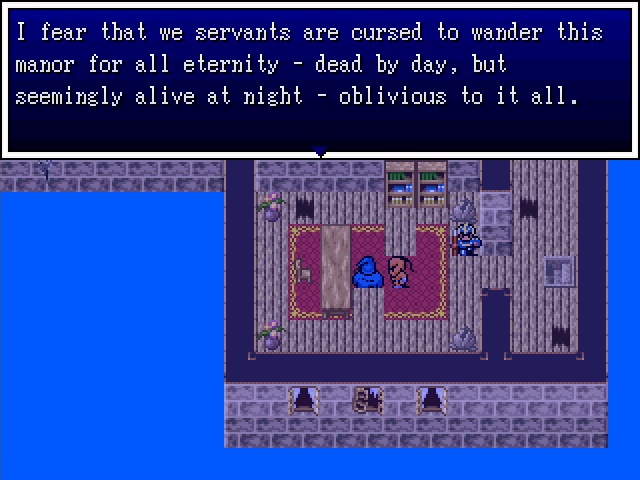 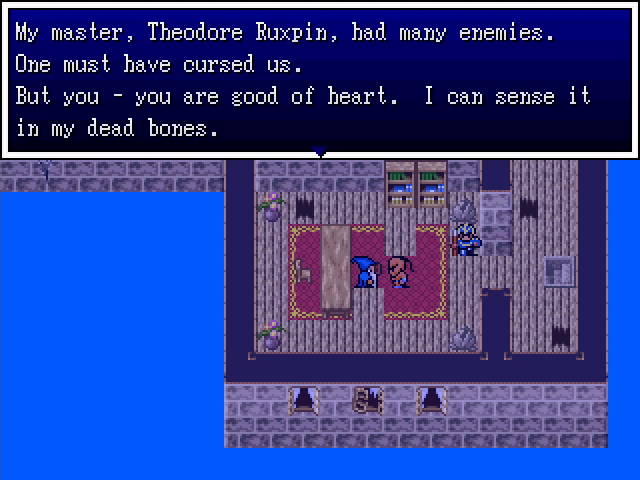 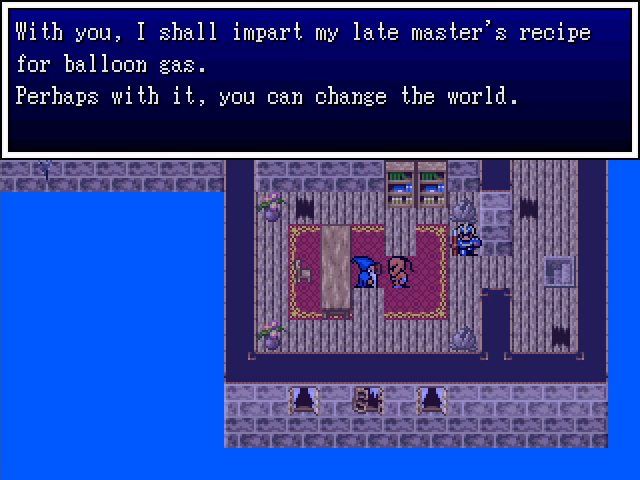 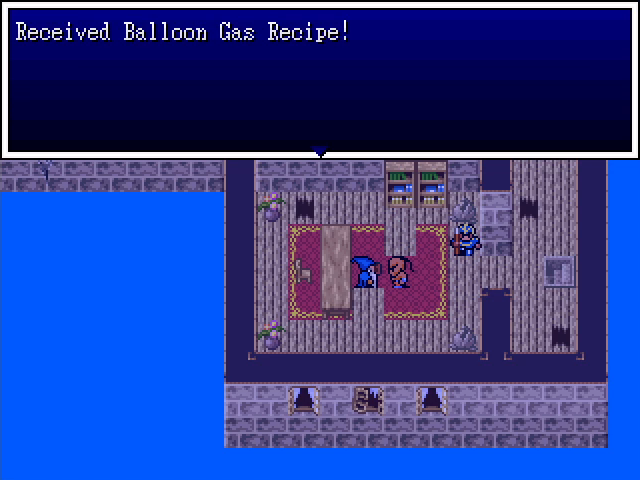 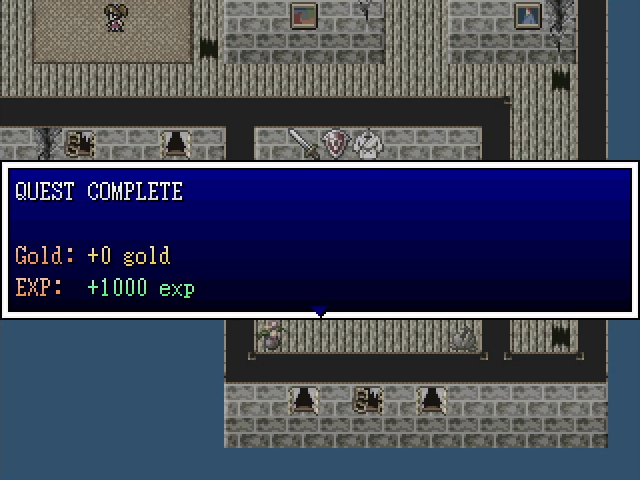 AT LAST. 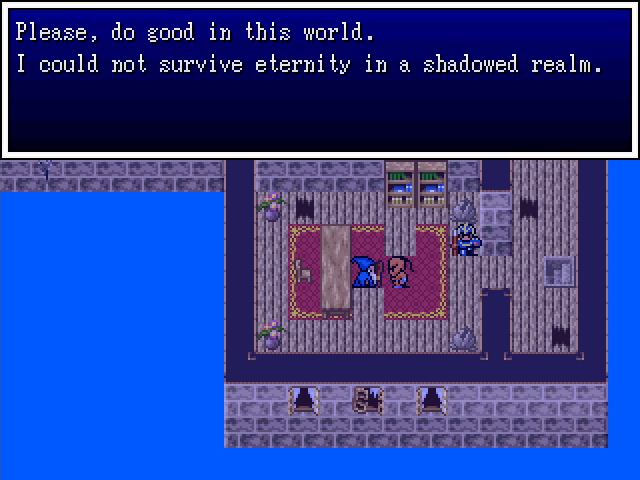 I, uh, hope you weren't hoping for a happy ending for the ghosts here. We got what we came for, but these poor souls are still cursed to walk the earth every night. It's pretty hosed up. 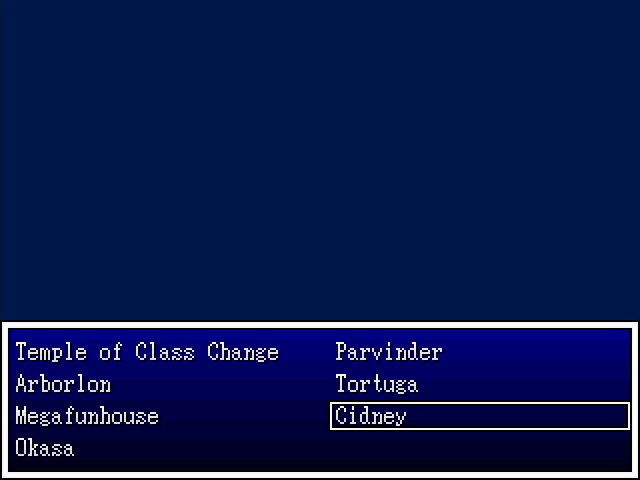 But there's nothing we can do except to continue our travels. Let's head back to Cidney. 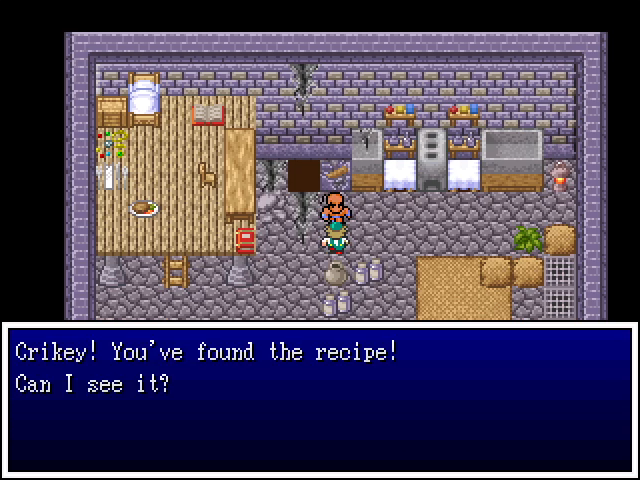 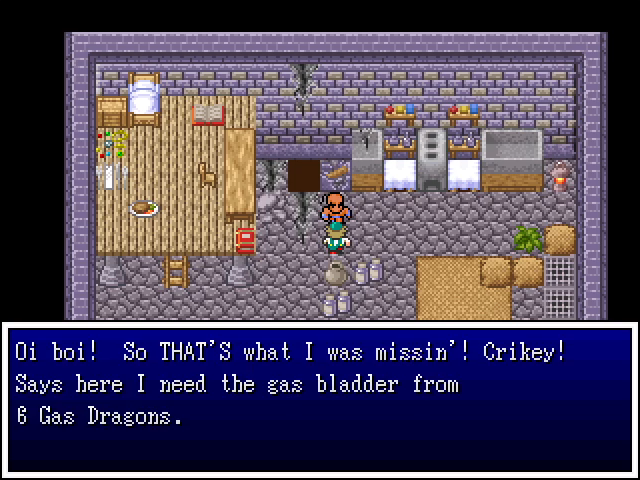 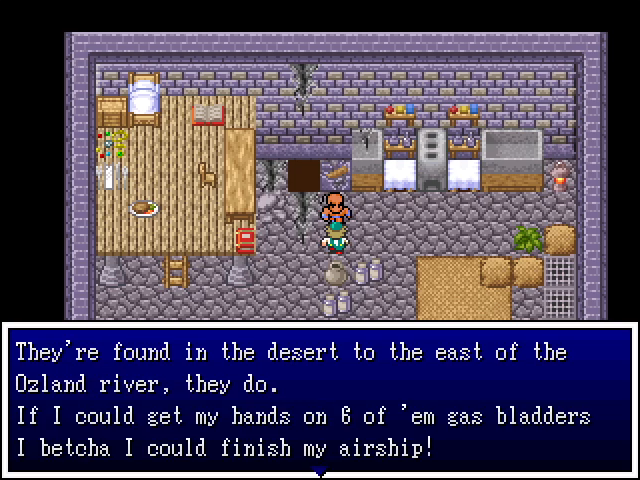 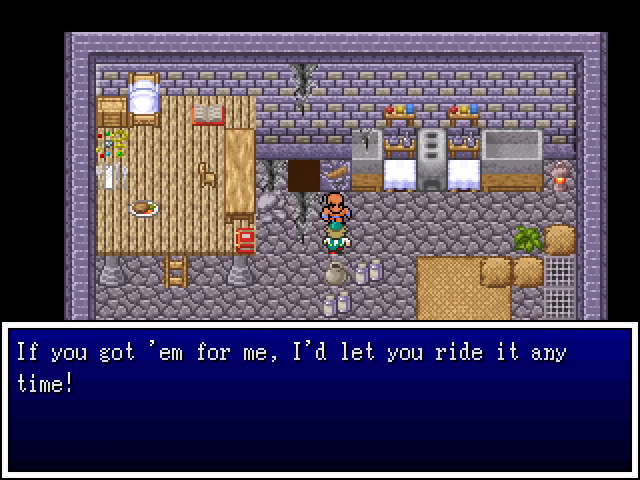 But of course, nothing is ever that simple. Now we have to go kill six gas dragons for their gas bladders. 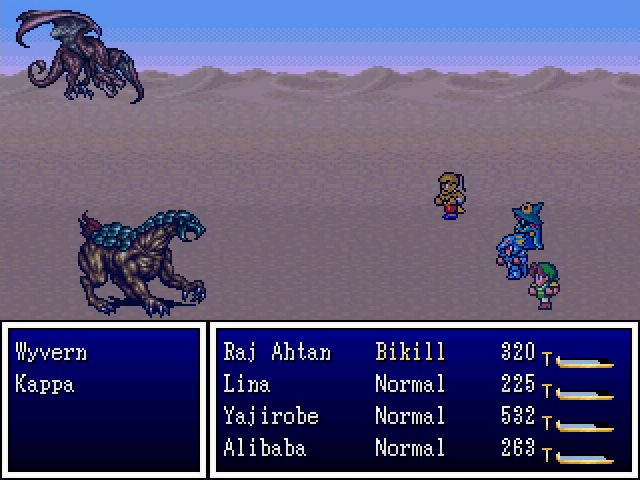 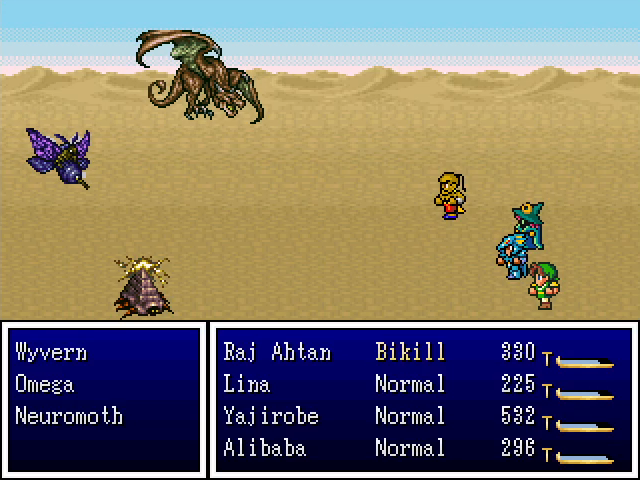 Annoyingly, the gas dragons aren't the only creatures wandering the desert. Omegas and neuromoths are fairly negligible, as both are super fragile and die quite quickly. Kappas are more of a problem, since they're immune to magic, but they aren't too dangerous. Wyverns are the real threat here; they use Firebreath and deal a ton of damage with it. 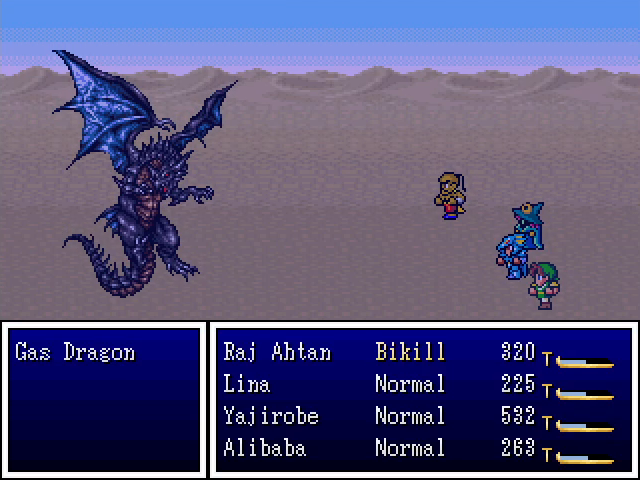 And of course, there are the gas dragons. Gas dragons have a lot of HP and can poison characters with Gas Breath. Luckily, they're slow, and can be Slowed to further reduce their attack rate. 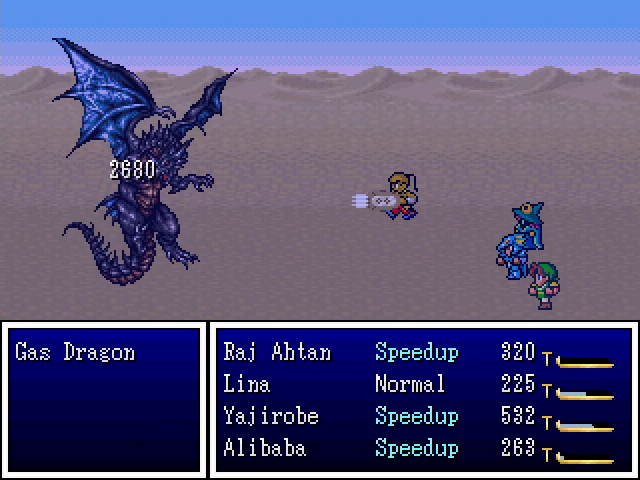 Also, they're super vulnerable to the dragon claws we bought for Raj Ahtan. 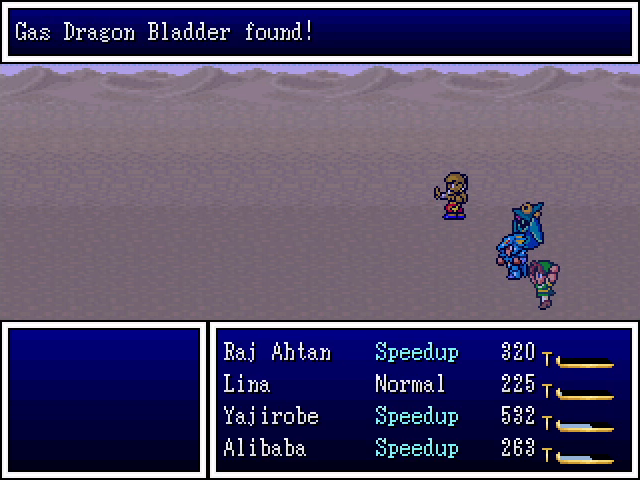 Just imagine this, but five more times. There's also one more encounter in the desert.  You might remember the ghostly desert merchant from chapter 2. There's another one in eastern Ozland. As far as I can tell, no one in Cidney talks about it.   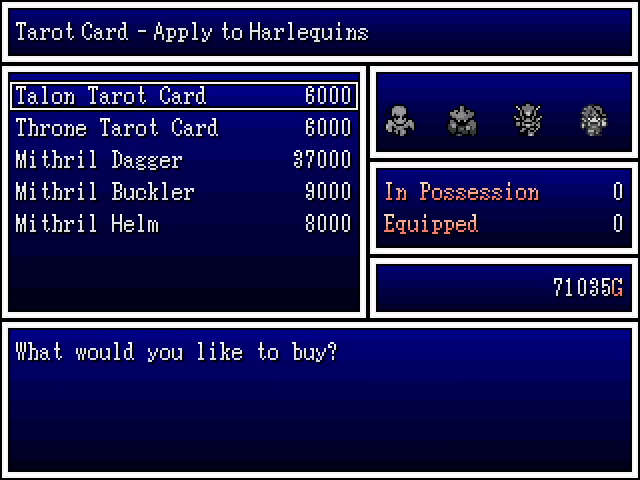 He doesn't sell much, but what he does have is quite good. We grab a mythril buckler for Lina (who's still using a leather shield) and, against my better judgment, a mythril dagger for Yajirobe. The increase in power is enough to justify it, though the price is exorbitant. 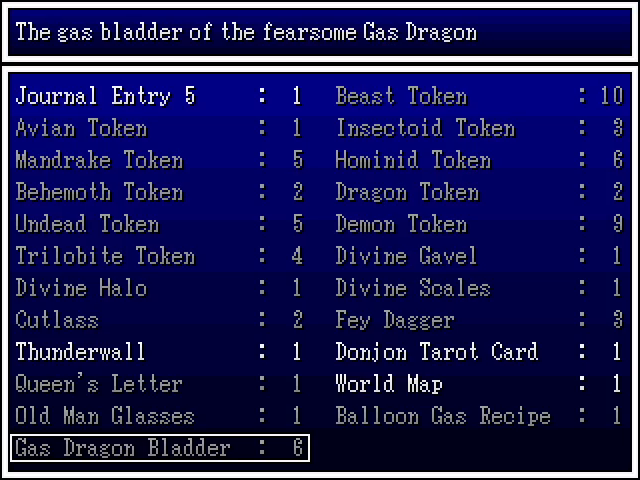 Anyway, after some more fighting, we finally have six bladders. Luckily, the drop rate for them is 100%. 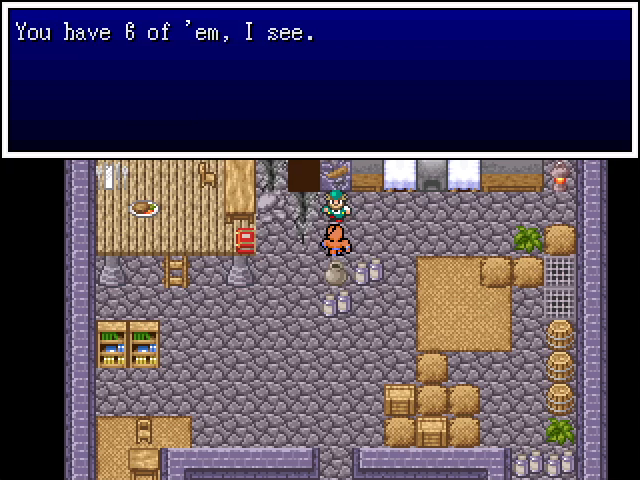 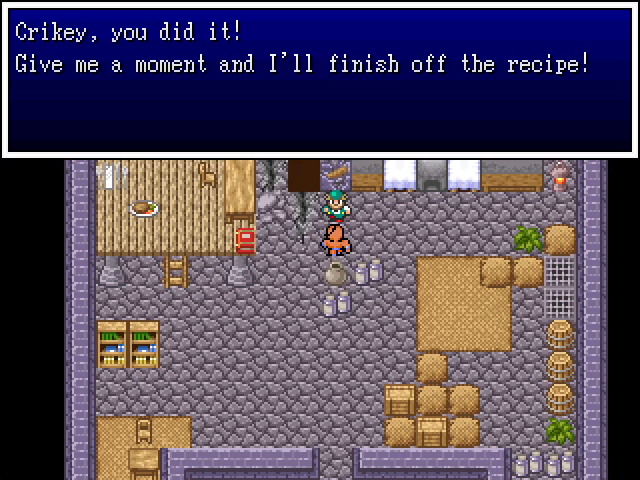 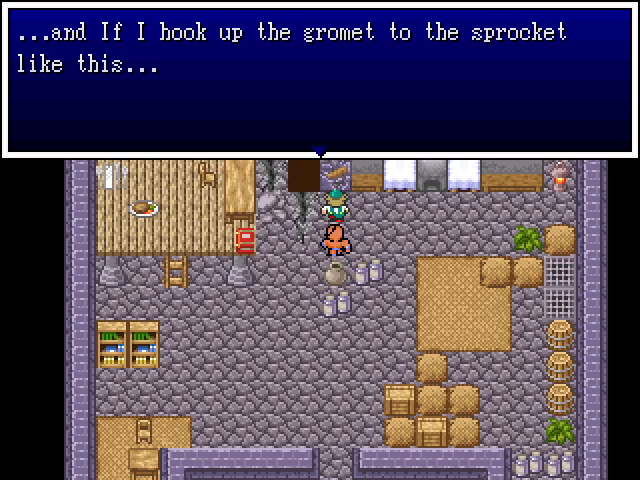 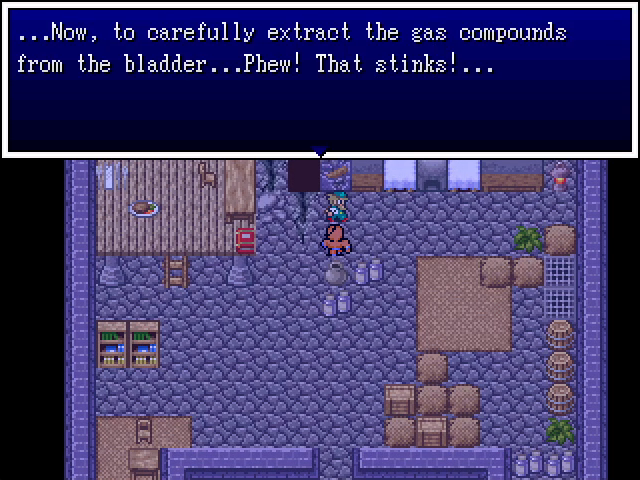 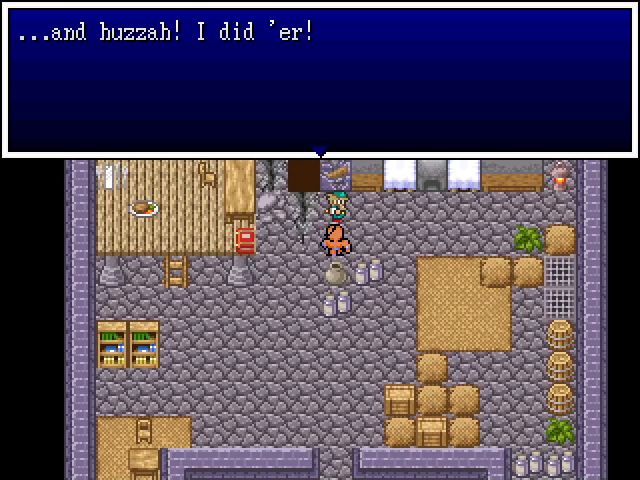 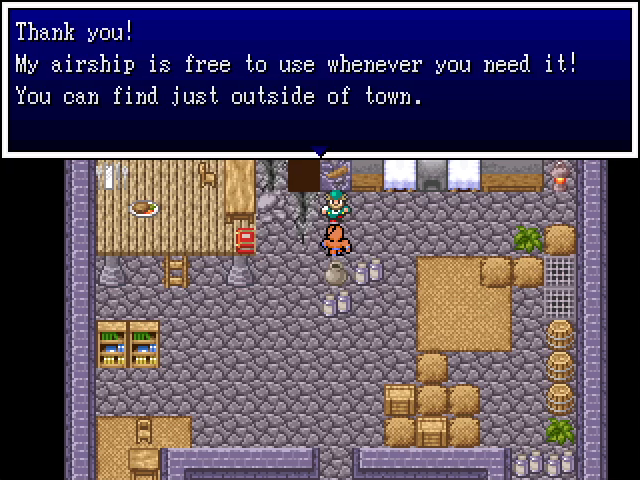 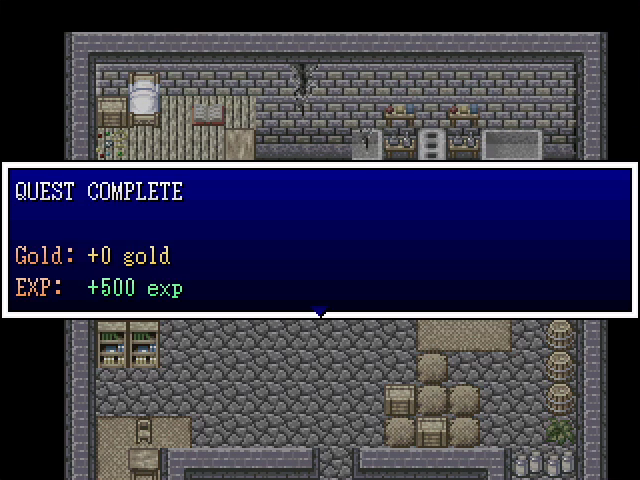 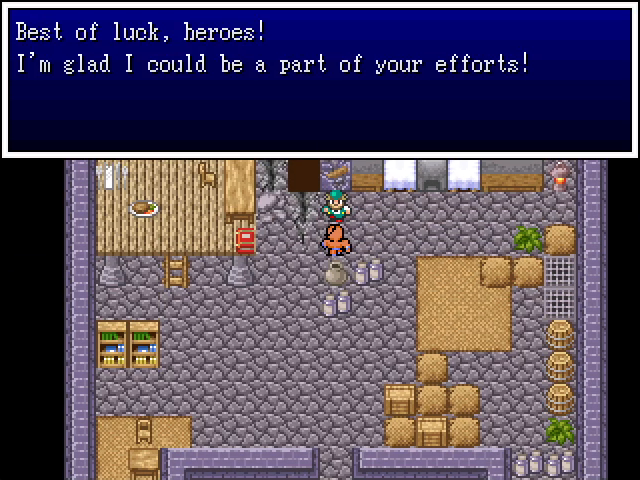 Once the bladders are delivered to Cid, he gets right to work, and our lengthy quest for an airship finally comes to a close. 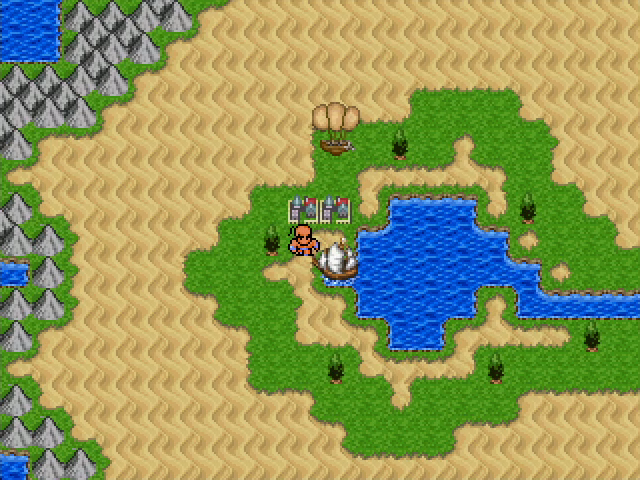 There it is, at long last.  The skies are ours! Next time: We continue to pointedly ignore the main quest. Level Up Roundup       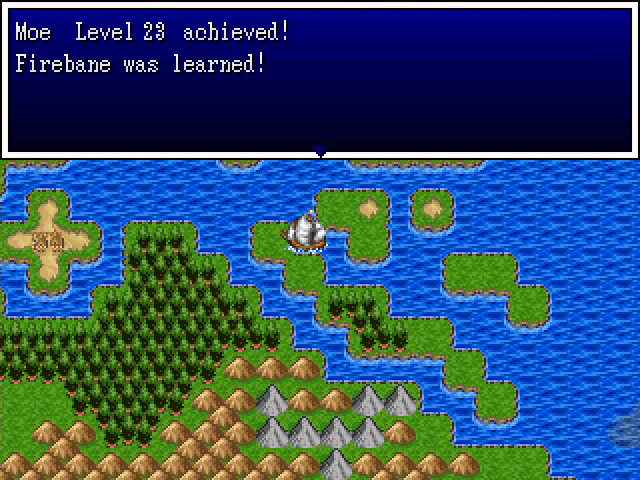 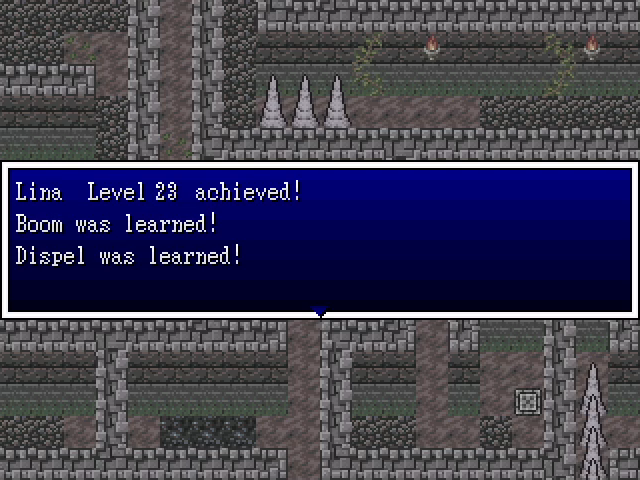 Dispel removes buffs from enemies. Very niche but potentially very useful.  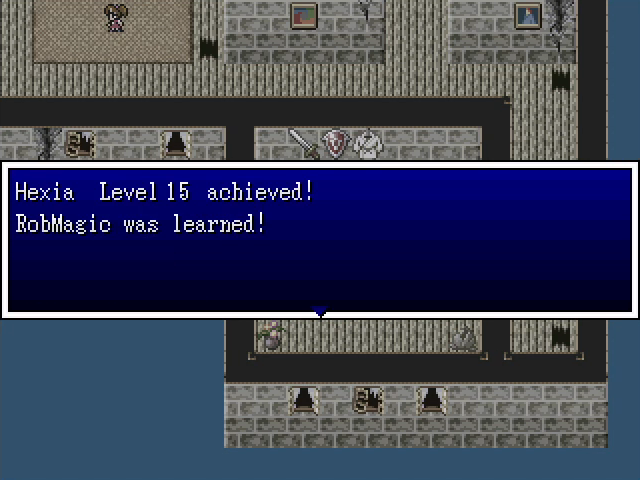 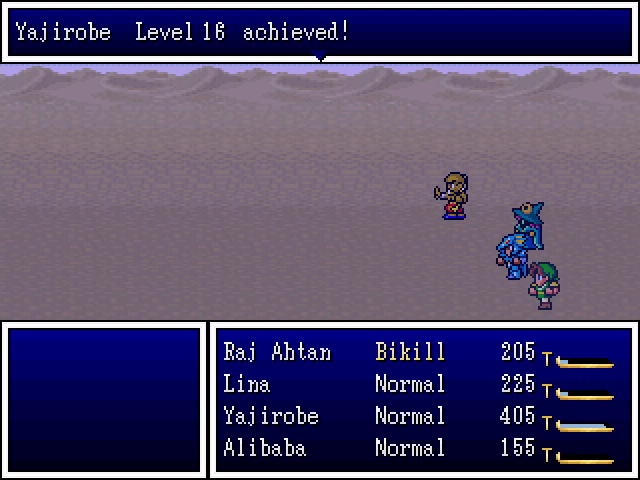   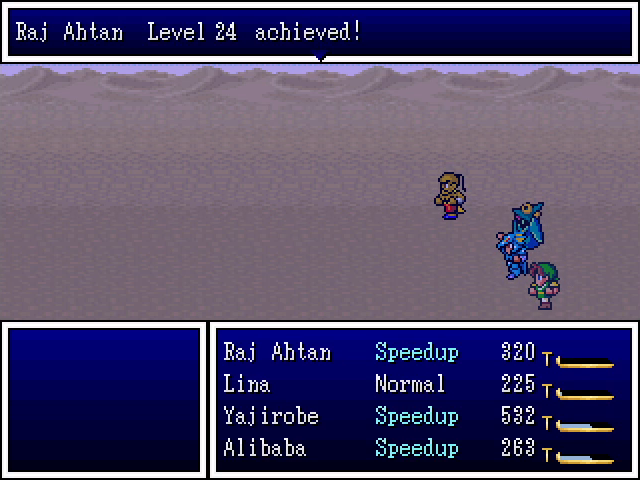         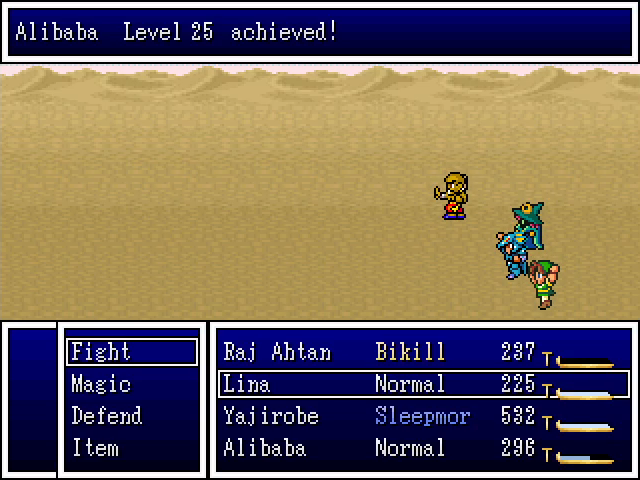 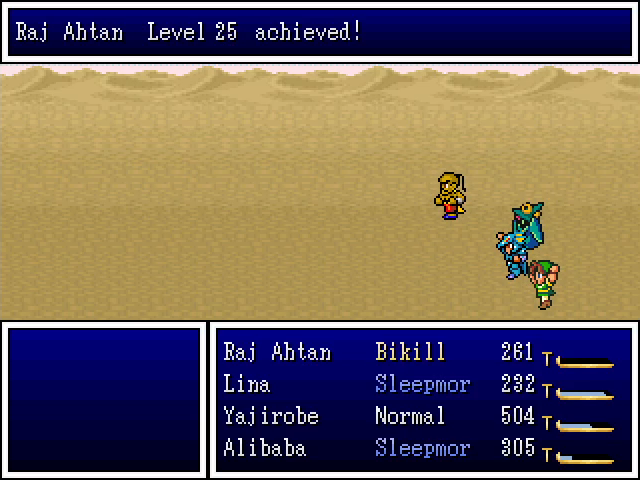  Dragon Quest veterans might expect this to deflect spells, but it actually inflicts Inept. 
|
|
#
?
Feb 13, 2023 18:59
|
|
|
Oh gods, Teddy Ruxpin references. I used to have one of those.
|
|
#
?
Feb 13, 2023 23:22
|
|
|
Well, I'm home sick. May as well get an early update for you all! Welcome back, everyone. Today's update is going to be a short one: it's nothing but three dungeon crawls, and while they're important, there's not a whole lot to say about them. Feel free to skip to the end if monster descriptions and my personal irritation aren't your thing. We could actually have done these dungeons quite a bit earlier in the game, but my faulty memory kept telling we needed the airship first. As a result, we're pretty overpowered for this content. 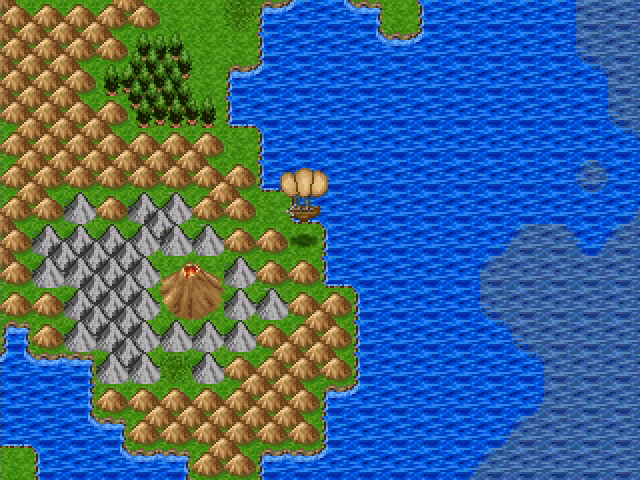 Our first destination is Mount Neverest, a short distance northeast of Okasa. We could have come here during chapter 3, but like all these dungeons, access is blocked by a magic door. 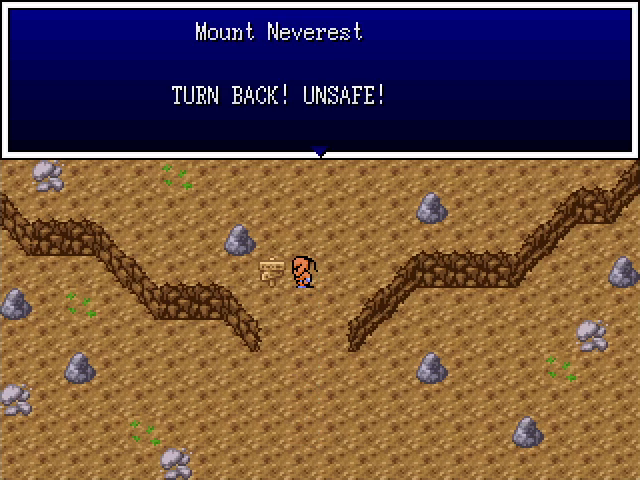 A sign at the entrance warns us that the place is dangerous, but we're more than prepared. 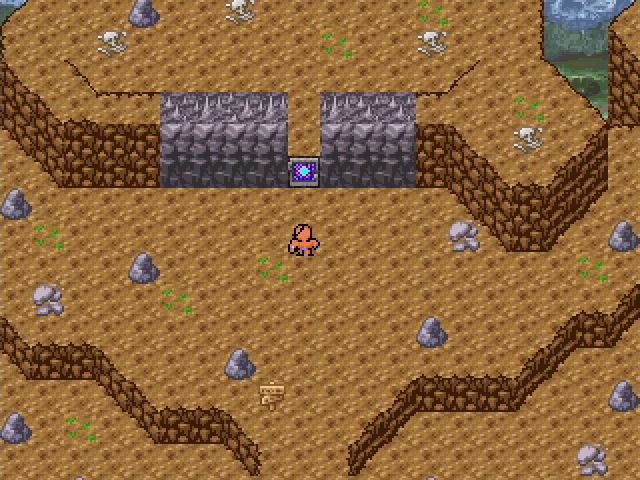 We unlock the door and head in. 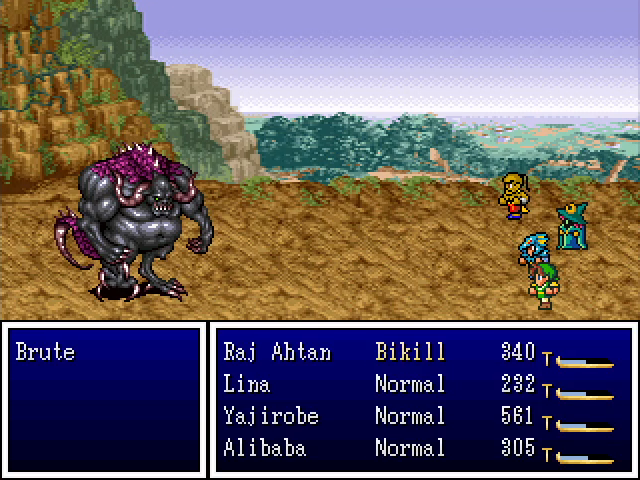 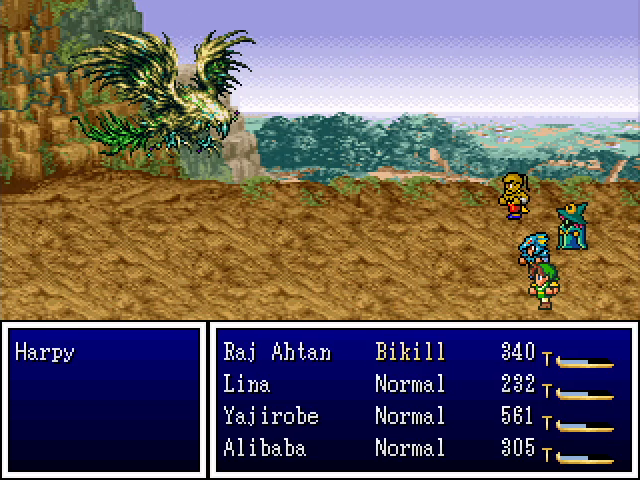 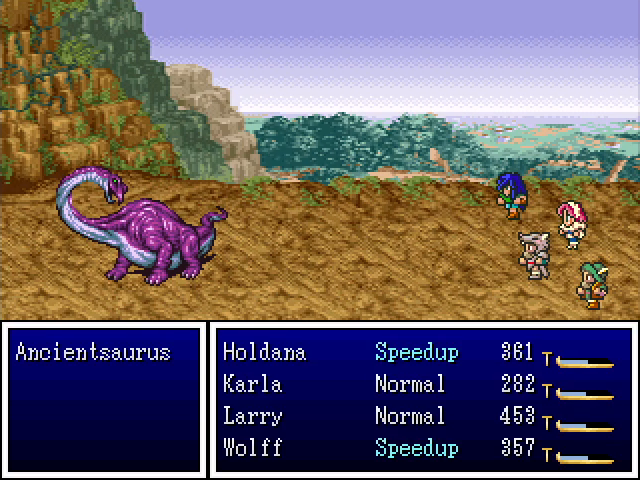   Mount Neverest is somewhat unique in that, with one exception, its battles are all against a single monster. Harpies and creepers can hit the whole party with Windblade and Poisonbreath, respectively, while ancientsauruses are big bags of HP that like to Defend. The others critters here dies too quickly for me to see anything beyond a basic physical strike.  But here's the exception I mentioned. Sprouts and herbs are both incredibly weak and are guaranteed to drop antidotes and medicinal herbs, respectively, when they die. Flowers (the pink ones) are incredibly fast and like to run away, to the point that I was unable to kill one. I strongly suspect that they drop life herbs.   The dungeon itself is a series of small screens, turning it into a bit of a maze. Generally, heading north leads to the end while paths to the left and right lead to treasures.  This ring of the sentinel is probably the best treasure here, offering a solid +60 Defense. It's a good fit for Larry, who has to stand on the front lines with poor armor.  Eventually, we reach the peak, where a lone chest awaits us.  Inside is the Blue Elfstone, which we were told about in San Vegas. With that in hand, our business here is done.   While visiting Okasa to rest up, I happened to talk to this merchant, who sells the weapons that were available outside the palace during the siege. It's nice that they're not missable.  Our next destination is the ruined town of Badon, located east of the desert cave in Hasara. Zefiryn can visit this area during chapter 2, but the only prize is a Tiny Medal, and the monsters are all types found in the endgame of the first four chapters: guardians, krypocalypses, etc. It would not have been worth the trip.  There's also a door here locked by the magic key. Due to the teleportal linking Paranor and Tyrsis, we could have come here as soon as we got the key.  speaking of teleportals, there's one inside the building that takes us to the dungeon: the Crypt of Badon.  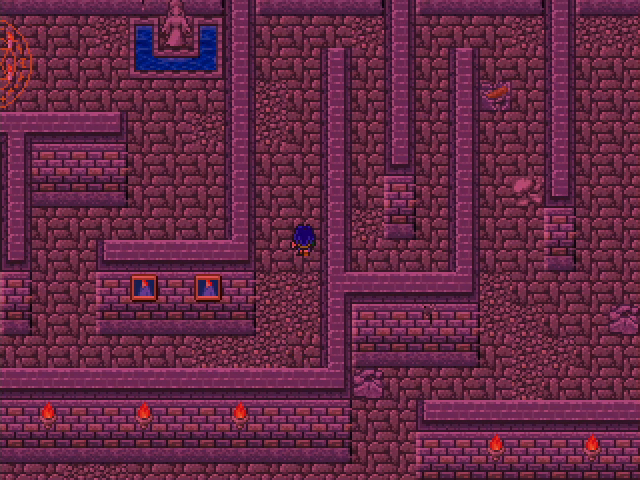 The Crypt is easily the worst of the three dungeons in this update. It's a maze with a ridiculous random battle rate and a weird aesthetic that causes it to shift colors. This first floor changes between green and red, which... isn't the worst set. 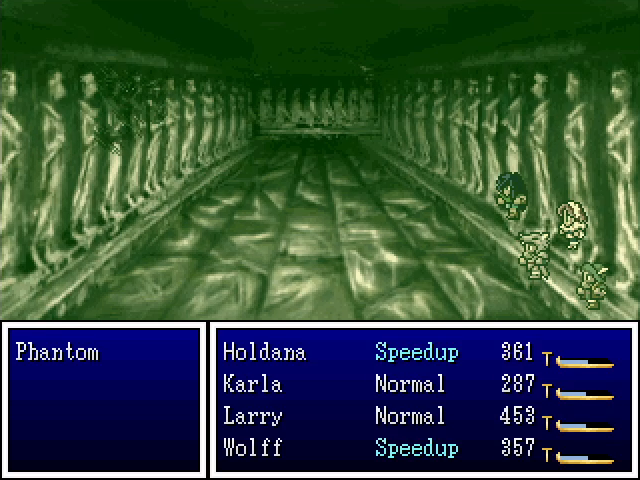 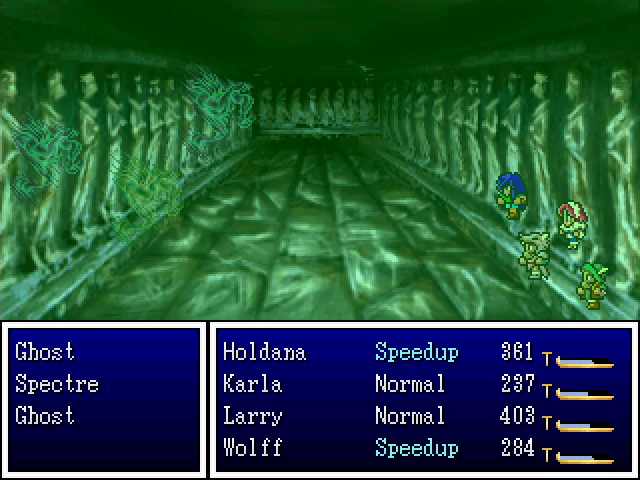 The monsters in the dungeon are universally incorporeal undead (phantoms, ghosts, and spectres). All of them can potentially inflict Chaos on the entire party, though they're otherwise incredibly weak. Holdana, wielding the ghostblade, can one-shot any of them, as can Bless and similar spells. They're not threatening, but due to the high encounter rate, they are incredibly annoying. 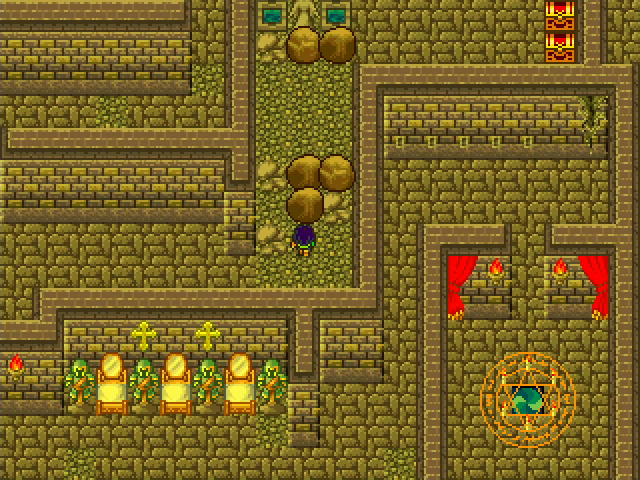  The second floor shifts between yellow and blue. There's a rock-pushing puzzle here, but I wasn't able to see any way to actually solve it, and I really wasn't in the mood to stick around.   Floor 3 shifts between dark gray and light gray. That's... all I have to say about it.  Floor 4 ditches the color-switching gimmick in favor of holes in the ground. What do they do? Honestly, I wasn't prepared to find out, as it would have involved spending more time in this dungeon than I already was.  Oh, and lightning flashes on this floor as well. This is foreshadowing for the last floor. 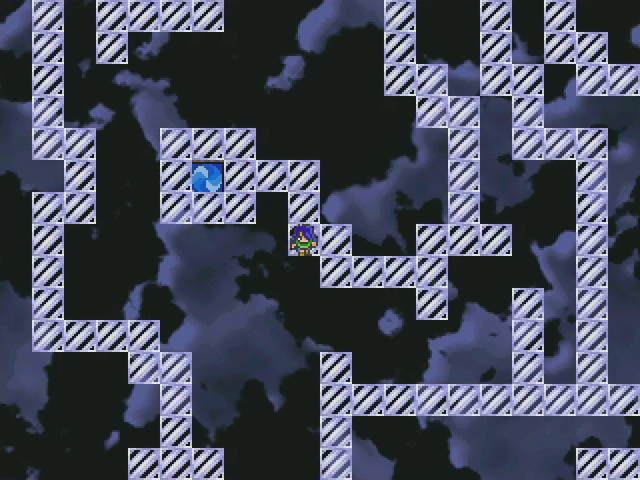 Floor 5 is nothing but narrow walkways, requiring very precise steps to navigate without falling off. This is made tougher by the return of the color-changing gimmick.  The screen fades entirely to black and doesn't fade back. Instead, lighting flashes illuminate the floor at random intervals, bringing back the light for about 3 seconds. So we have to move when we can see and stop and wait when we can't. The only mercy here is that this floor has no monsters. 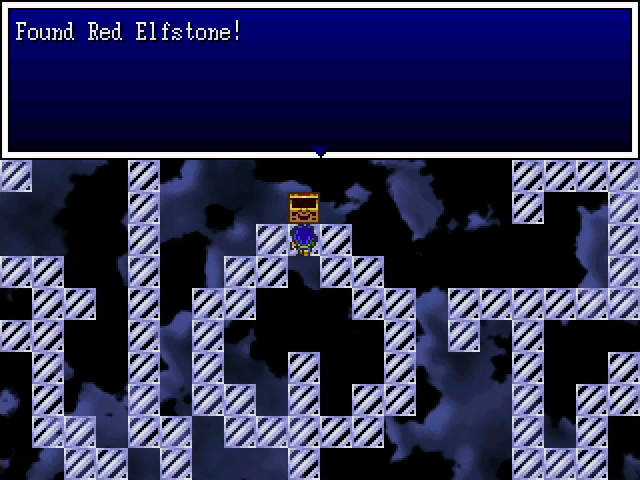 Finally, we reach the end and claim the Red Elfstone.  We cast Outside and get the gently caress out. Good riddance.  Our final dungeon is on this tiny island west of Norsland. The shrine Holdana took to the small northern island has a second teleportal leading here, blocked off by a magic door. So we could have come here at the same time as the Crypt of Badon.  Welcome to the Pit of Peril. It's... a cave. 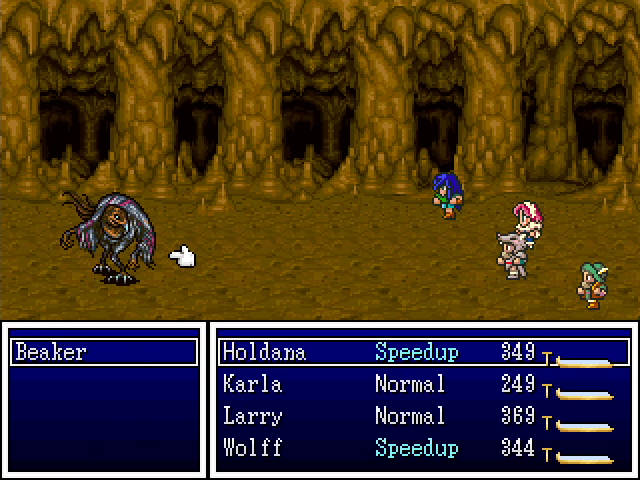 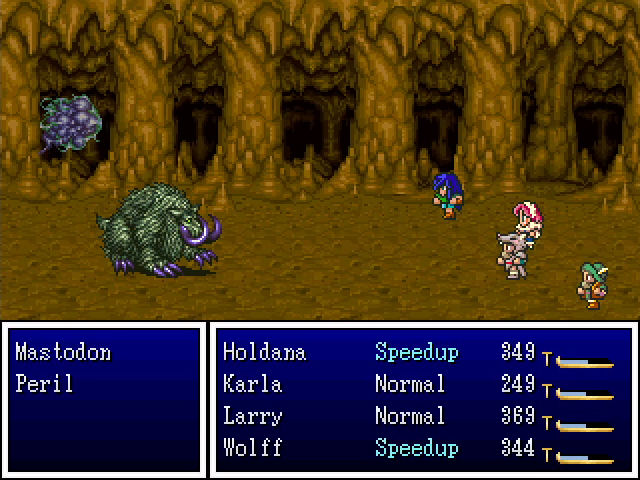 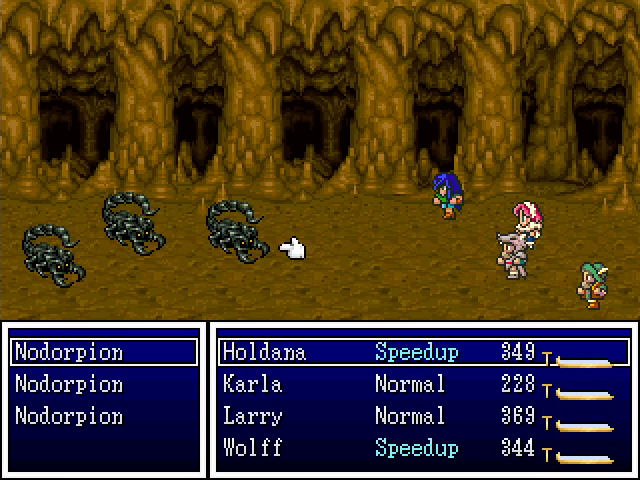 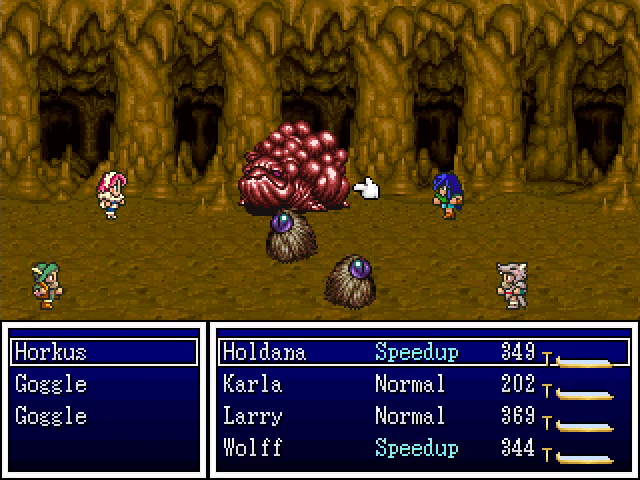 The monsters here are a complete nonissue at our levels. Only the mastodons and horkuses live long enough to do anything, and it's nothing threatening. The most noteworthy thing about these monsters is that there's one literally named "peril".  The penultimate floor of the Pit is a maze of islands and bridges. It's just a maze, but at least it's more visually interesting than most.  At the end of the maze is a save point, which is unique among the three Elfstone dungeons.  Wait, isn't that..?  You might remember that Darmon the Great protected the golden pickaxe in chapter 1. (I wonder what his son here says if he was never fought.) Darmon was kind of a roadblock boss, so this is actually a bit scary.  Or, well, it would be if we'd come here earlier. As it is, us being overleveled makes the battle a complete joke.  In the chamber behind Darmon is the Green Elfstone, last of the three.   And now we have some decisions to make. Level Up Roundup 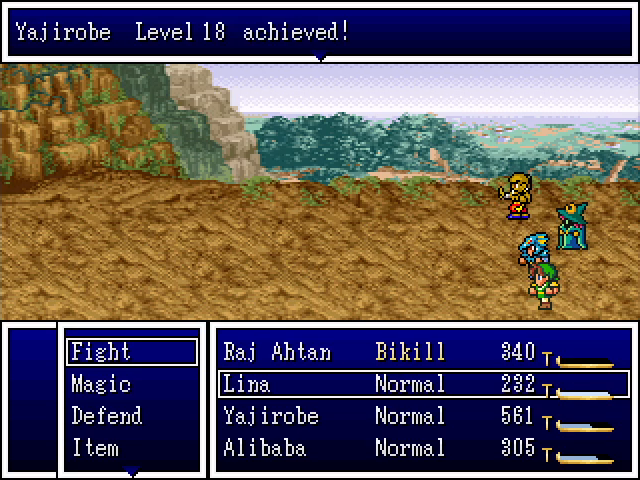 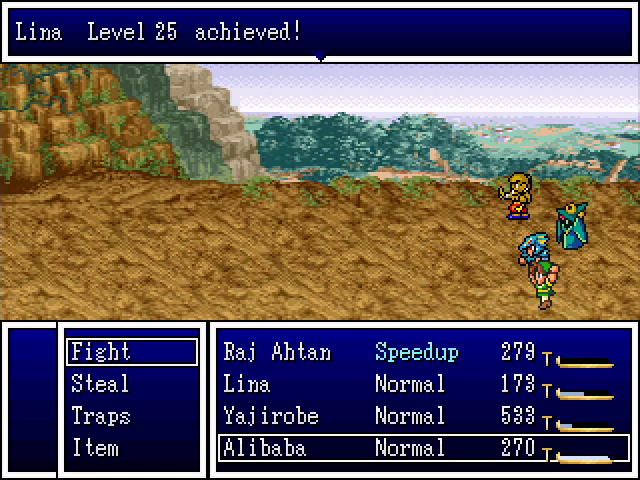  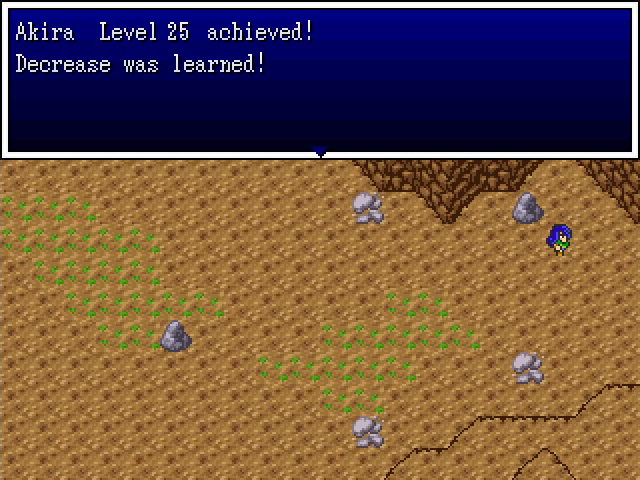         
|
|
#
?
Feb 16, 2023 20:59
|
|
|
With the three colored Elfstones in our possession, we finally have access to the three master classes: Channeler, Templar, and Daredevil. As with the elite classes, I'm asking you all to decide which character gets promoted. The rules are the same; you can vote for one character in each class group (mage, warrior, & rogue) to get promoted, with the additional stipulation that our elite class characters (Hexia, Yajirobe, and Harley) are disqualified. Also as before, you can vote for no one of a given class to be promoted. This is especially noteworthy here since switching a character to a master class resets them to level 1. The loss of levels can certainly be worth it, but it's a consideration. Channeler (Available to Karla, Curly, & Lina)   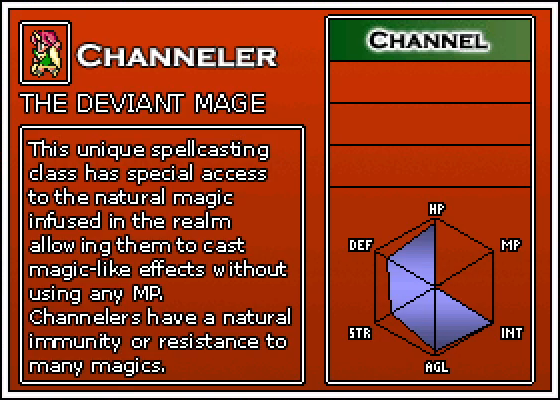 Further Comments: Channelers have access to basically every buff, debuff, and damage type, plus healing, all at no MP cost. That is exactly as good as it sounds. Recommendations: Curly is starting to lag in terms of power, though Lina wouldn't be a terrible choice. Templar (Available to Larry, Kali, & Moe)   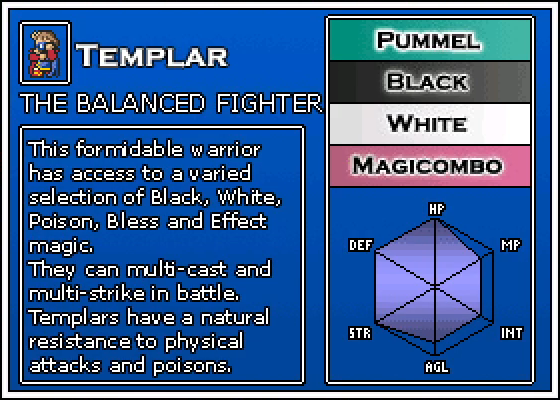 Further Comments: Templars are black knights on steroids. High stats across the board, all kinds of magic, Holdana's Pummel command, and Zefiryn's Magicombo command? This is one of the best classes in the entire game. Recommendations: None of our warriors are really lacking. Kali and Moe are probably the best bets. Daredevil (Available to Wolff, Shemp, & Alibaba)    Further Comments: Daredevil is arguably the best class in the game, with only Templar really rivaling it. It's a direct upgrade to every rogue class except the Harlequin (which loses tarot cards). Recommendations: All of our rogues could seriously use an upgrade, but only Alibaba wouldn't lose anything. Shemp in particular would lose his tools, some of which are irreplaceable, but Daredevil is so good it would still be worth it. 5-Headed Snake God fucked around with this message at 02:25 on Apr 26, 2023 |
|
#
?
Feb 16, 2023 20:59
|
|
|
Channeler-Curly Templar-Moe Daredevil-Shemp You can't get more "lethal joke character" than the Stooges.
|
|
#
?
Feb 16, 2023 21:52
|
|
|
Well, the people(?) have spoken, and we have three characters with shiny new classes.   Lethal joke characters, indeed. Since they've all been reverted to level 1, Akira's party probably won't see much use for a bit; I may have to do a little grinding to get them up to speed.     I can show off a few of Curly's new spells, though. He won't be getting anything else as he levels, but then, he doesn't really need it. The spells he has now can duplicate basically every combat effect that other magic can create. There are a few holes in it (Ironize, raising elemental resistance, and non-combat effects like Return), but what he's got is more than enough.   With that done, it's time to continue the main story at long last. Our next two divine artifacts both lie north of Paranor. 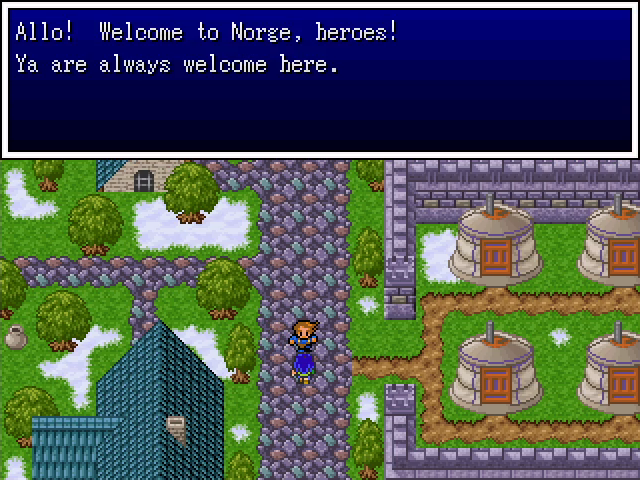 This accent is... something. I think it's supposed to be Norwegian or maybe Swedish? 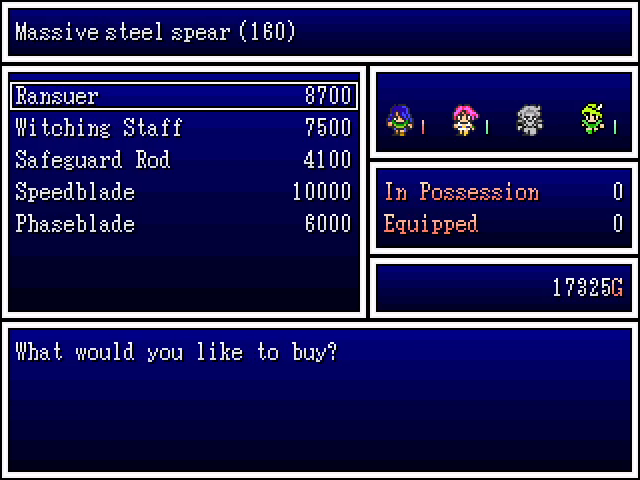 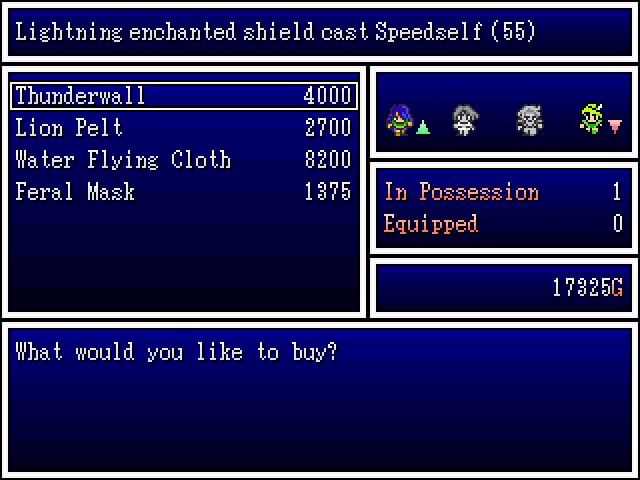   The stores here offer a small selection of mostly unimpressive equipment. The most notable things are the witching staff, which consumes MP with each strike but hits all enemies, and the item shop, which sells tarot cards (though these aren't useful for our party since we don't have a harlequin).  A few people in town mention a lost, sunken city, which I'm sure will be in no way important later.  Likewise, it's not clear why this information would be important, but it's something to check out.   We heard about this back in Paranor. The fact that it's being mentioned again here probably means it'll be relevant soon.   I can be dense at times, but not enough to overlook such an obvious clue. 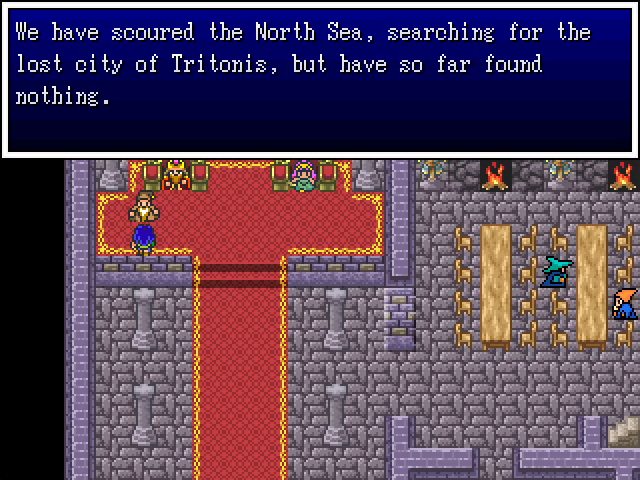 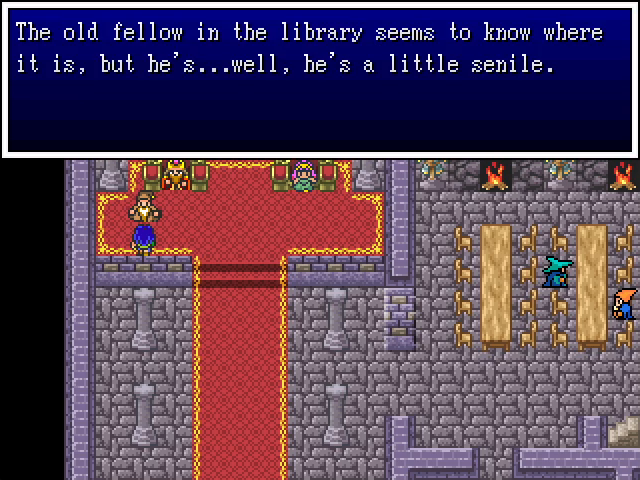 More mention of Tritonis, as well as a clue to someone who might know where it is. HMM...  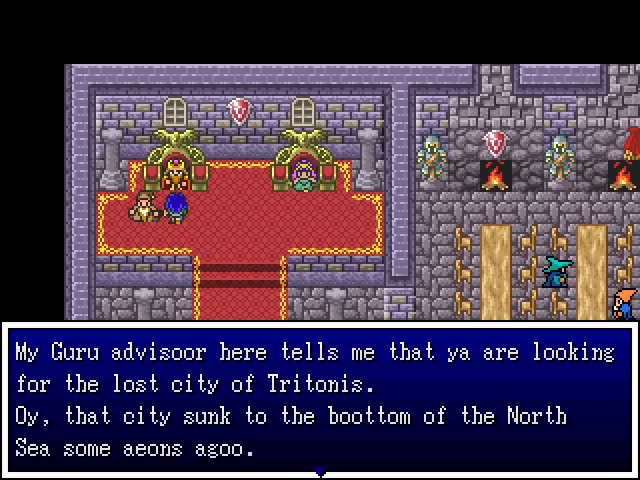 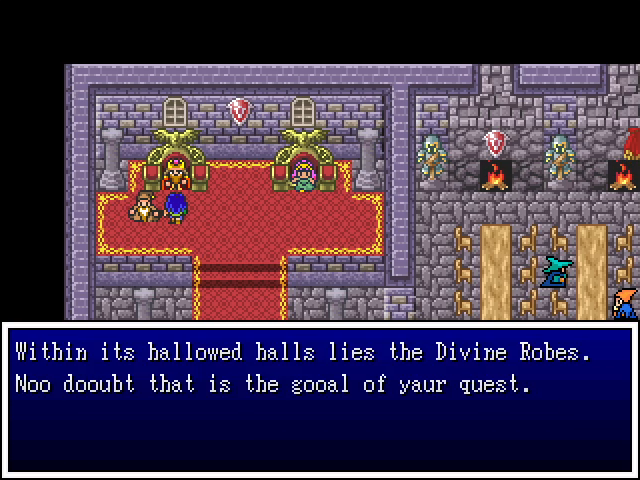  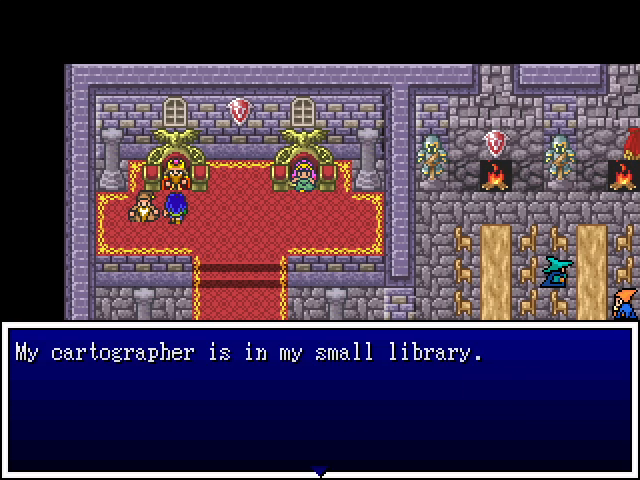 Well, now we know why Tritonis is important. We'll have to find a way to get there soon. Luckily, we've got a lead on that.  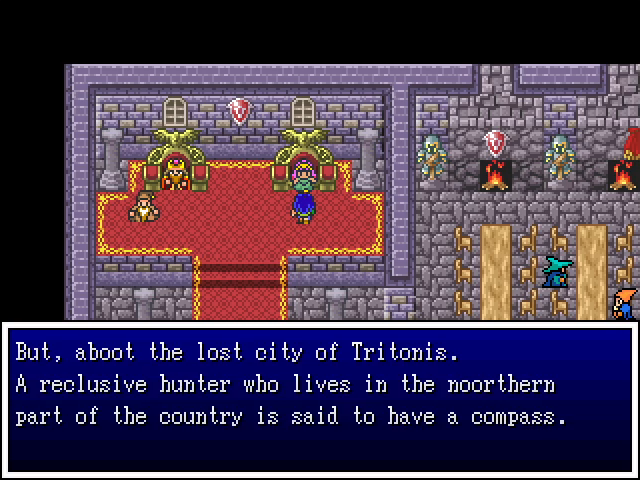   And now we also know why we need to see the hunter up north. The king and queen of Norge don't really seem to grasp the importance of our quest, but they seem like decent enough people. 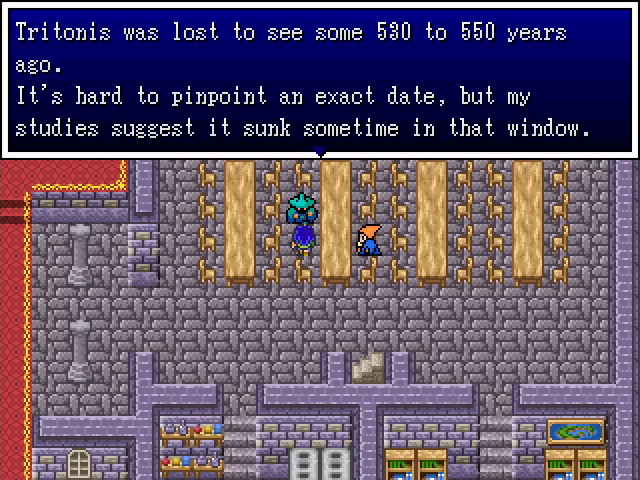 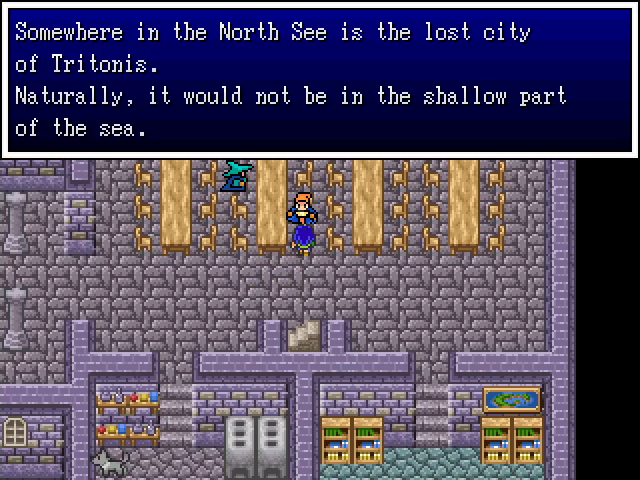 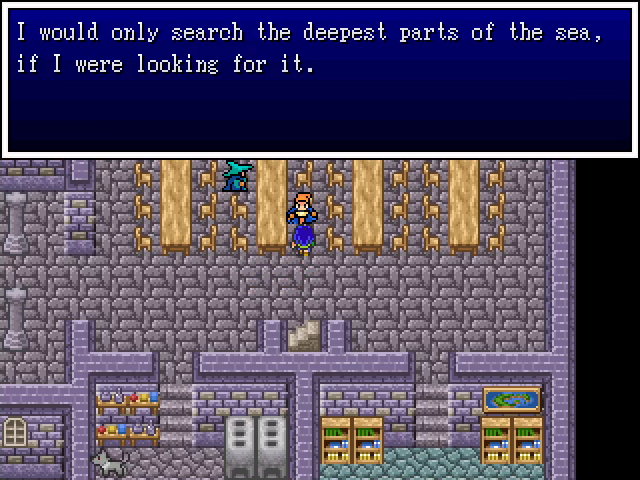 More clues to the sunken city's location. With any luck this won't be as irritating as finding the Cave of Wonders.  Well, we've found the king's cartographer.  He's not fun to talk to.  His dialogue appears very slowly and can't be sped up, and there's a lot of it.  This entire sequence probably took five minutes. That probably doesn't sound like a lot, but you can probably read through it in one.  I'm not an especially patient person by nature. Something like this seriously wears on my nerves. 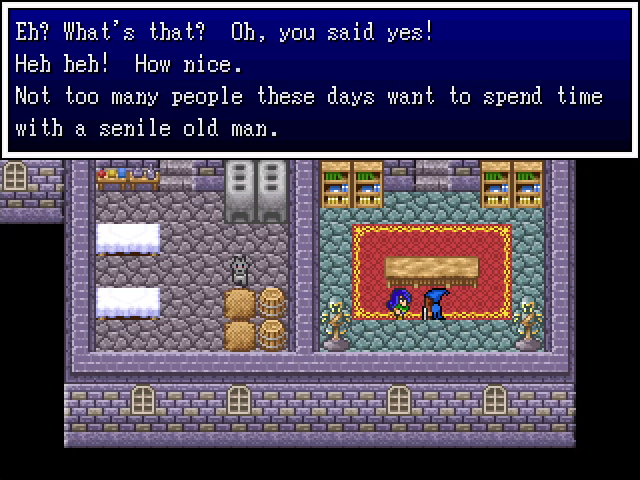 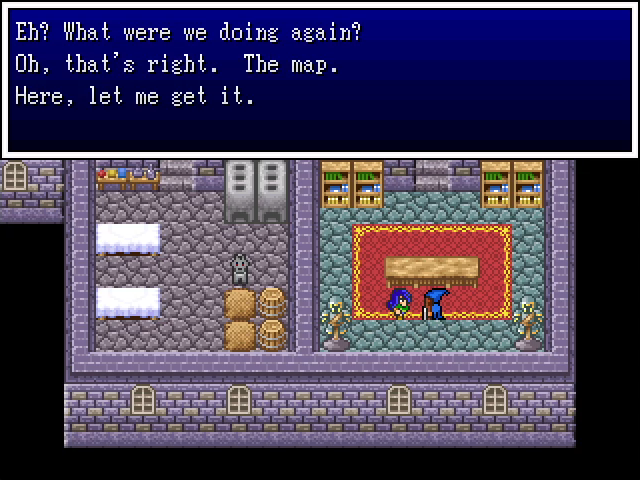  He walks to the bookshelf and back, every step an event. Ughhhhh. 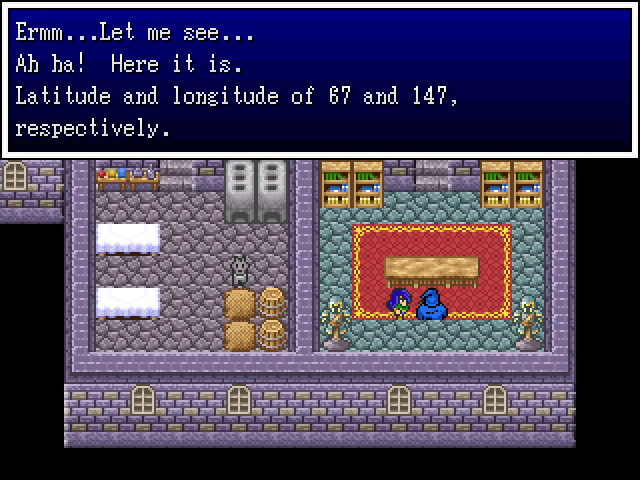    Oh hell no I'm never talking to you again.   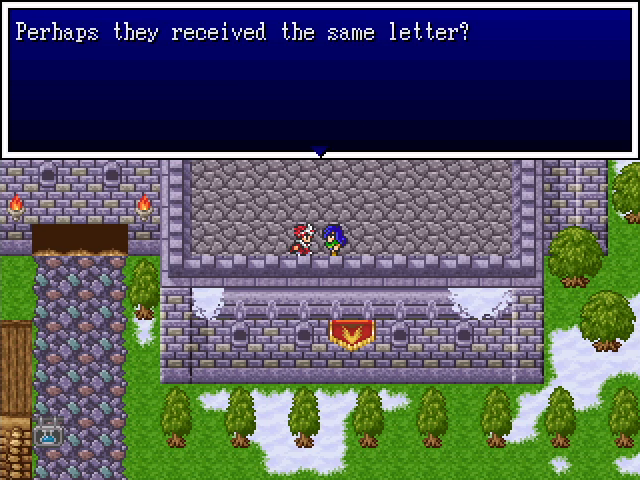 Upstairs, we meet the prince of Norge. It seems he received a letter quite similar to the one we found in Aleksandria. This is something else we're going to need to check on in time. 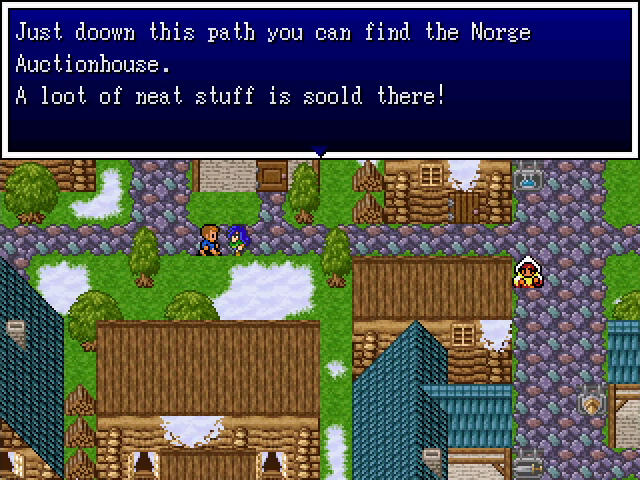 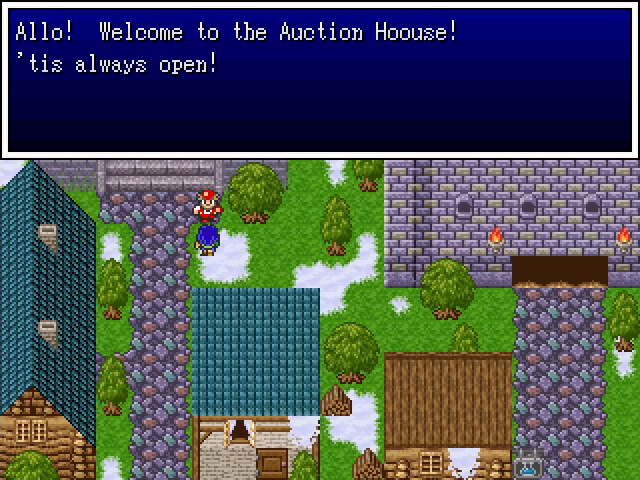 The Auction House is probably the most interesting place in Norge. 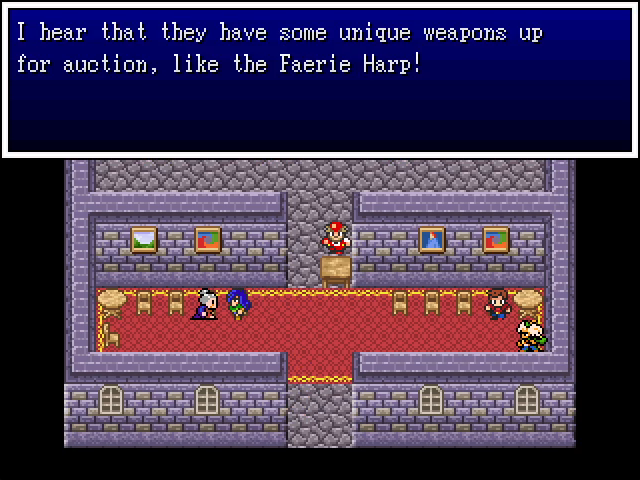 We can get some really rare and even unique items here - provided we have the money. 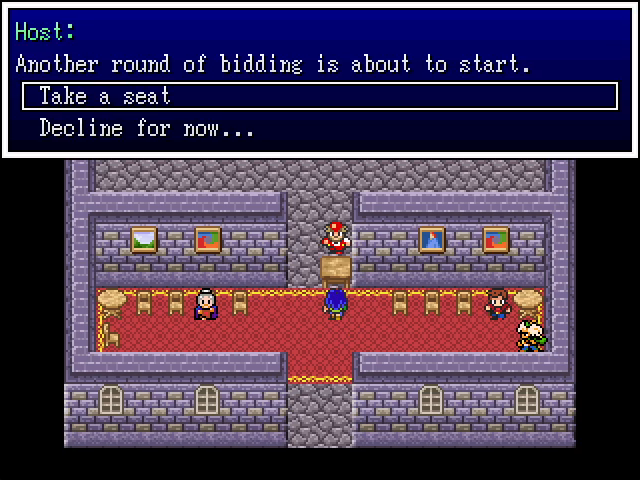 Let's check it out. 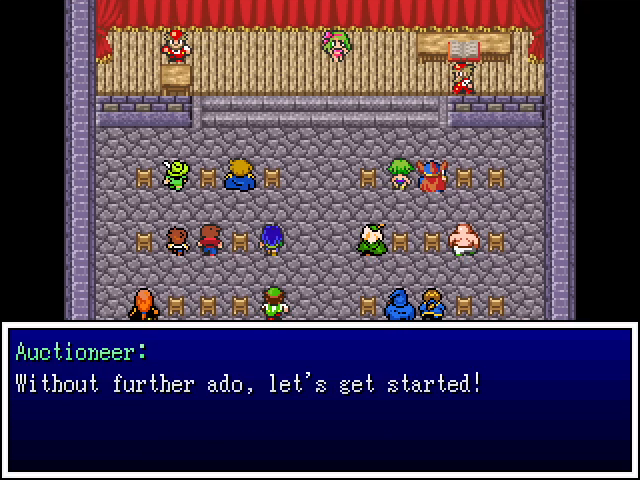 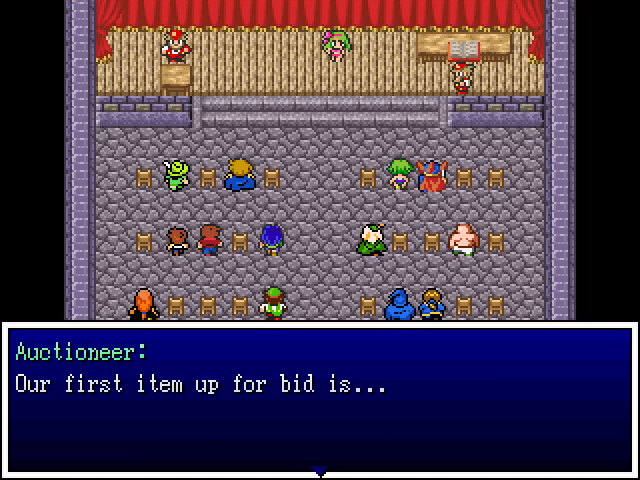 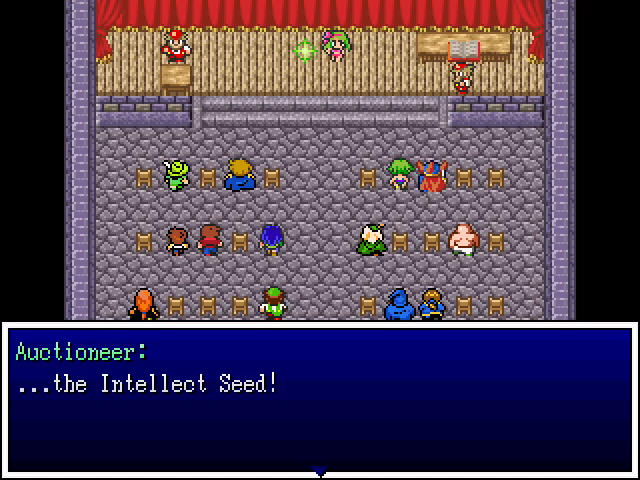 Most of the items presented are stat-boosting seeds. 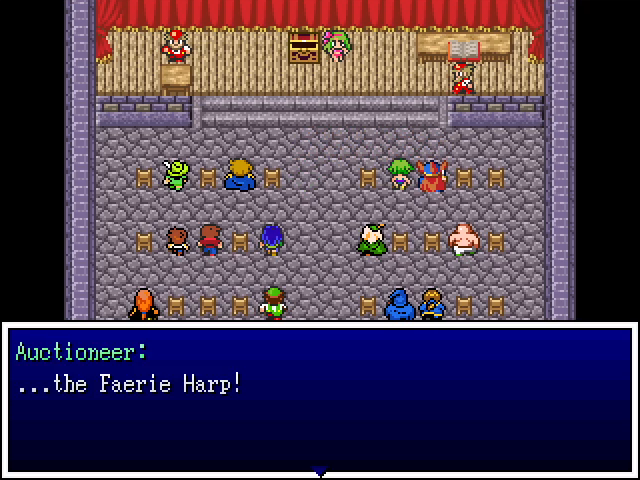 But sometimes there's something more interesting on offer. 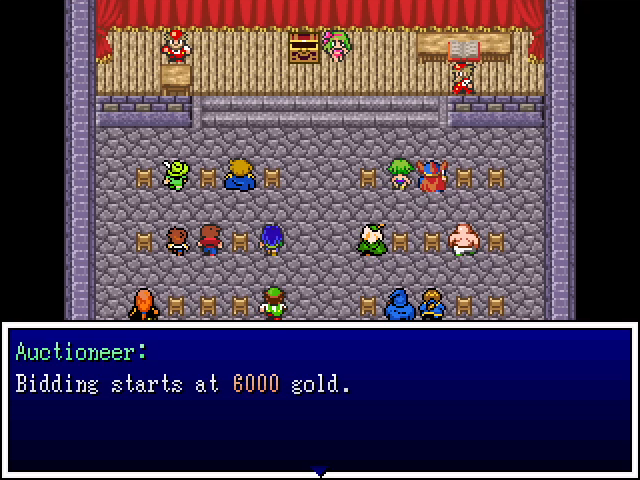 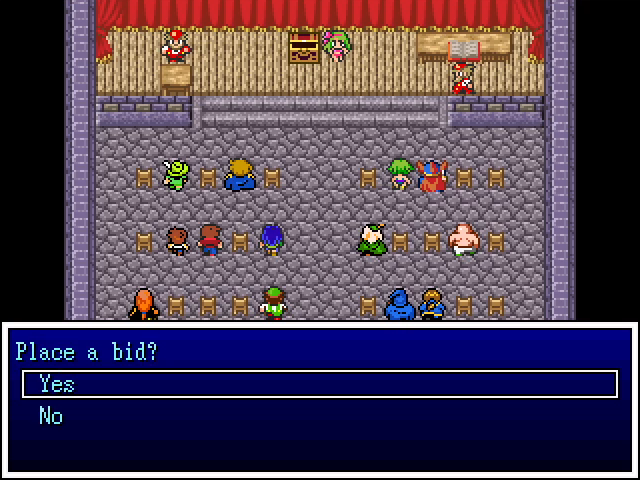 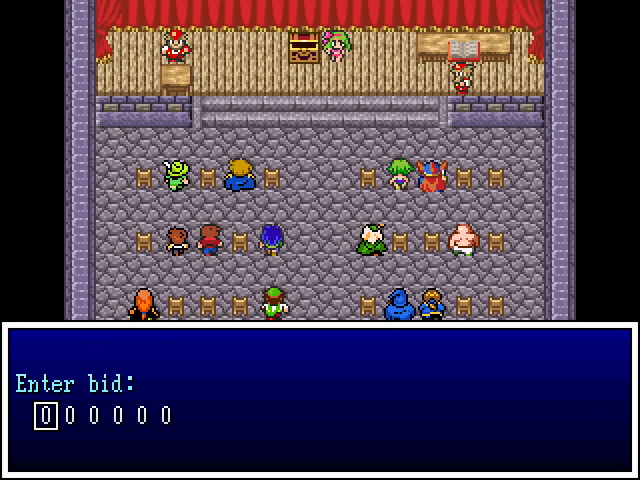 The bidding system works a little differently than in Final Fantasy VI, as it prompts us to enter our own amount. It might be possible to game the system, but I'm not sure.  In any case, we lack the money to buy the Harp. With our business done in Norge, we head north to see the hunter. The terrain is all forested, so we'll have to walk.   There only seem to be two enemies in the woods here. Mastidons [sic] have decent HP and power and can hit the whole part with their Icestorm attack. Mollusk shells haven't changed since we saw them last, and they're still kind of a pain to fight.  Eventually we reach the cabin.  This place is a dump. Well, let's head inside. 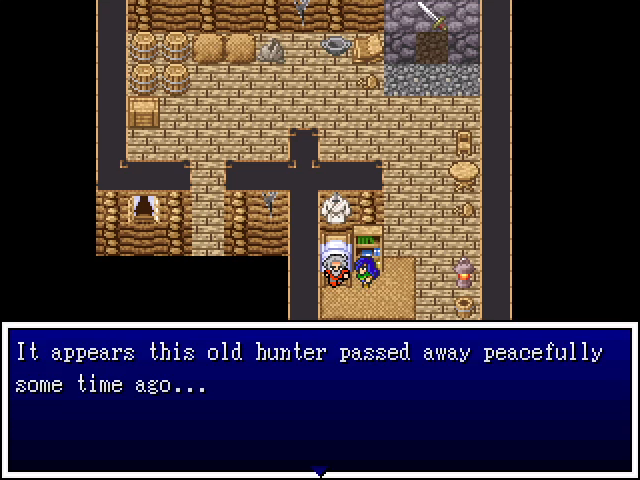 Oh. Well, that explains the state of the cottage. Although if the place has fallen apart so badly it's a wonder the body is still intact. The whole place should smell absolutely awful. 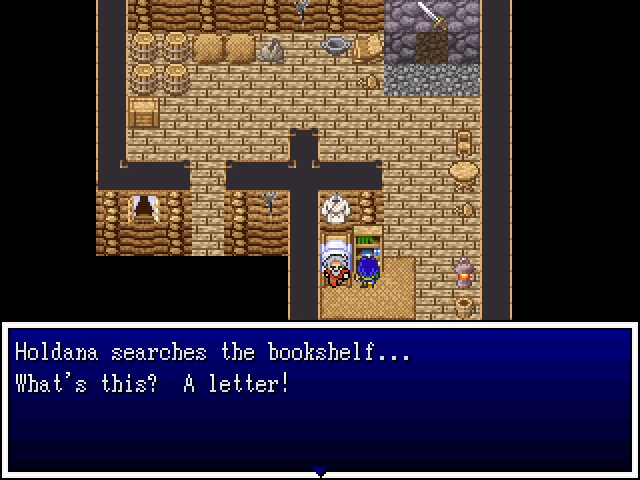  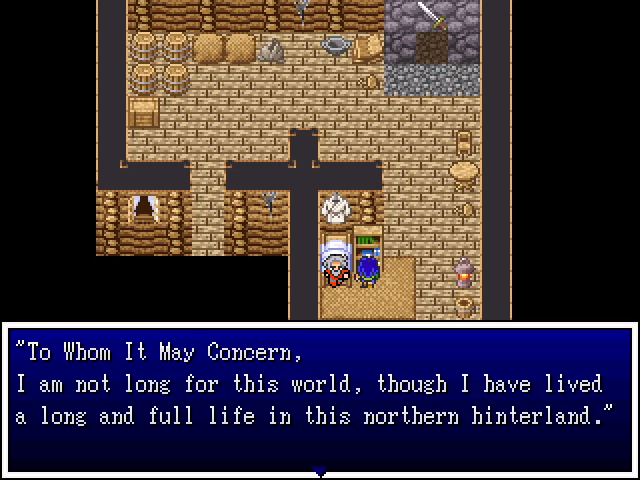 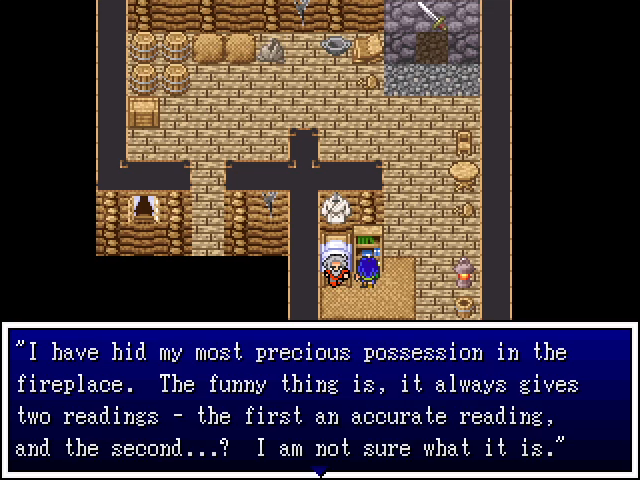 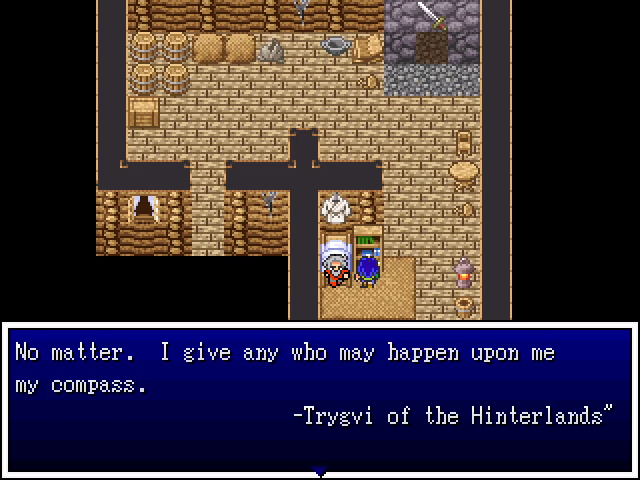 Not that we wouldn't have taken it anyway, but it's good to know he'd have approved. 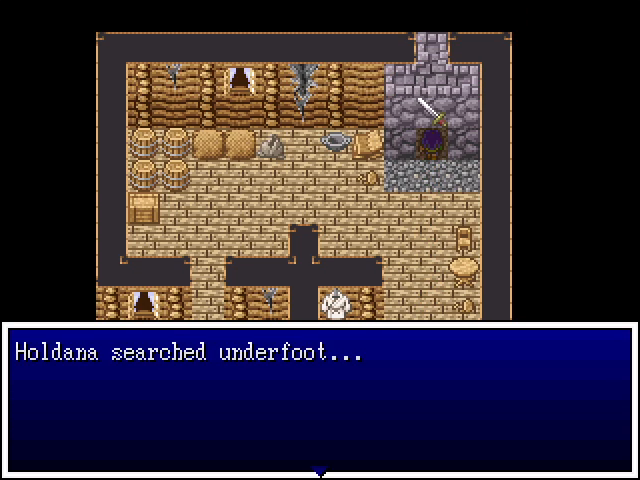 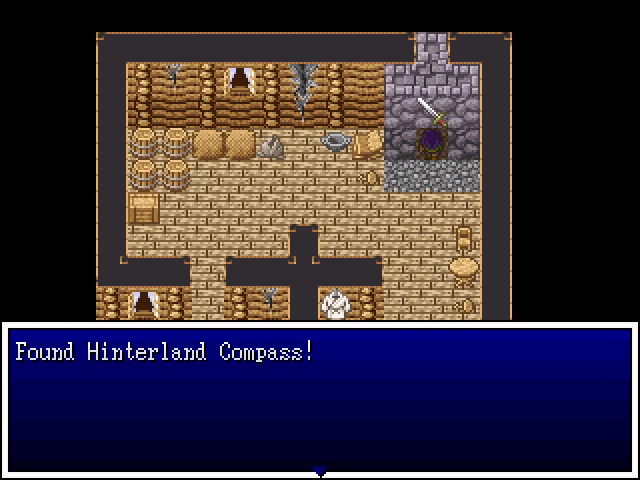 Jackpot. 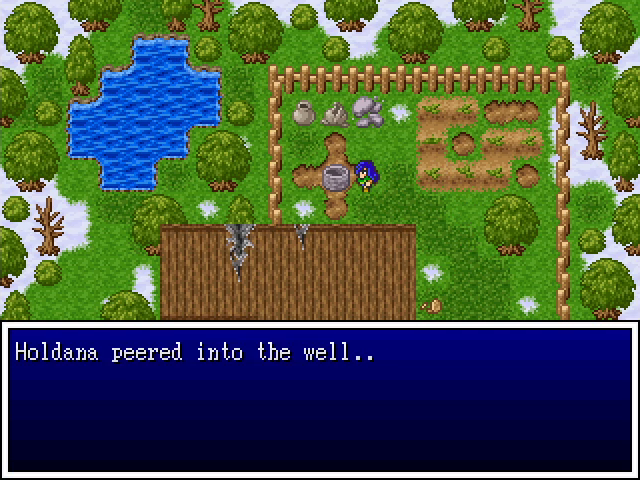  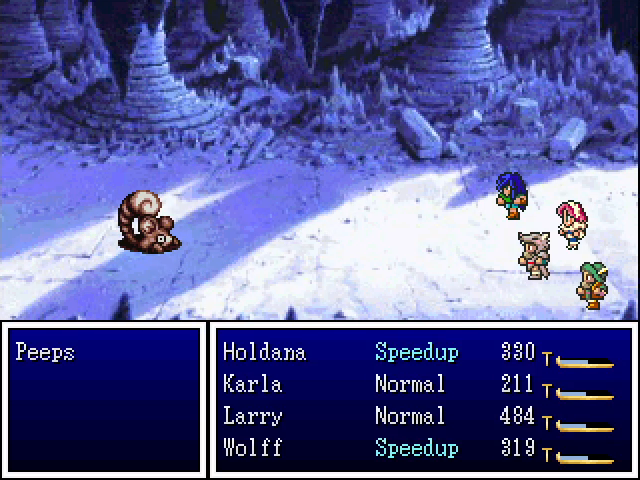 The old hunter has a well behind his house, but there's nothing here except some peeps.  All right, time to head out to sea and find... Wait, what's that?  Looks like we found the ghost ship. Since it's here, we may as well check it out.   The whole place is appropriately spooky. 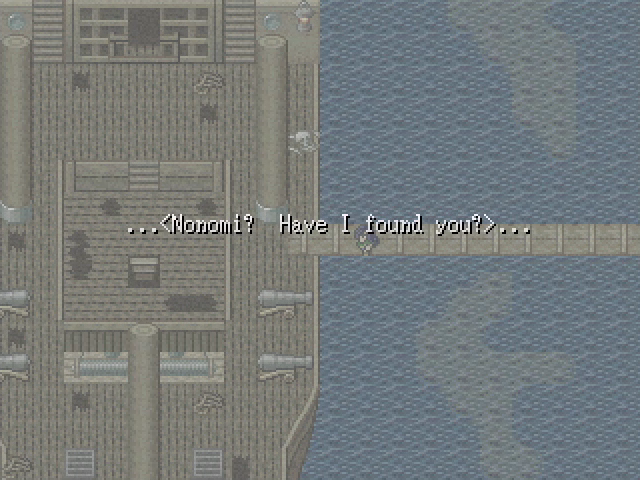 A ghostly voice greets us as we step aboard. We've actually met Nonomi, though it's been a while. 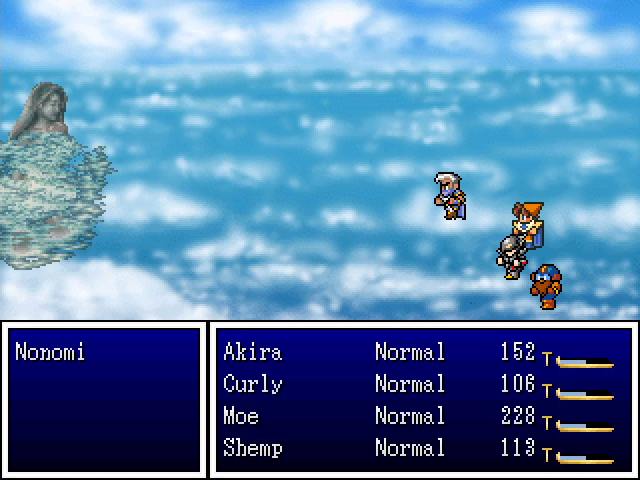 She was the boss of the Jumongu lighthouse in chapter 3, a ghost in search of her lost love, Yasuki, whom we've heard is supposed to be captaining the ghost ship. 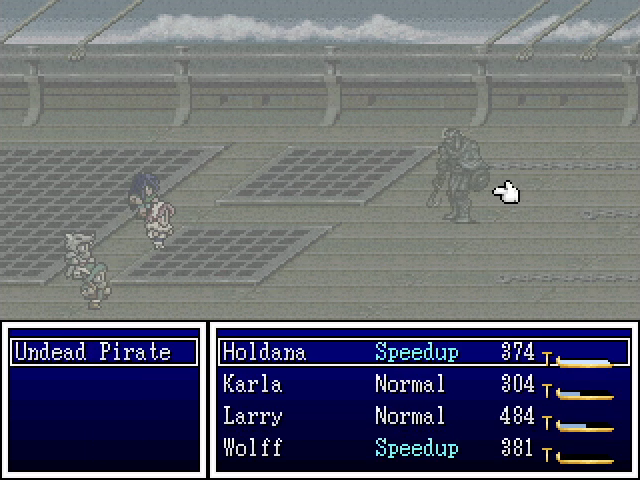 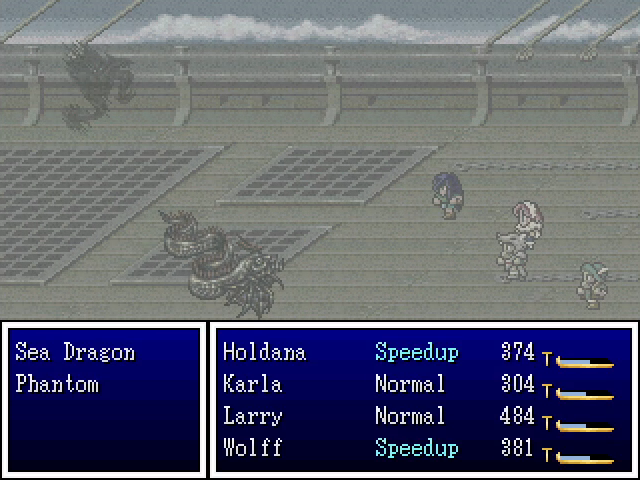 The ship has a few enemies, though only undead pirates are new, and they go down pretty quickly.  Because you didn't go to the lighthouse. Also we kind of destroyed her.   There's one interesting treasure on the ghost ship, and it's the Aeolus shield, which is, unsurprisingly, wind-based. (I suspect is protects from wind attacks).  Two ghosts, both pining for each other but unable to meet. I'm a sucker for tragedy like this.  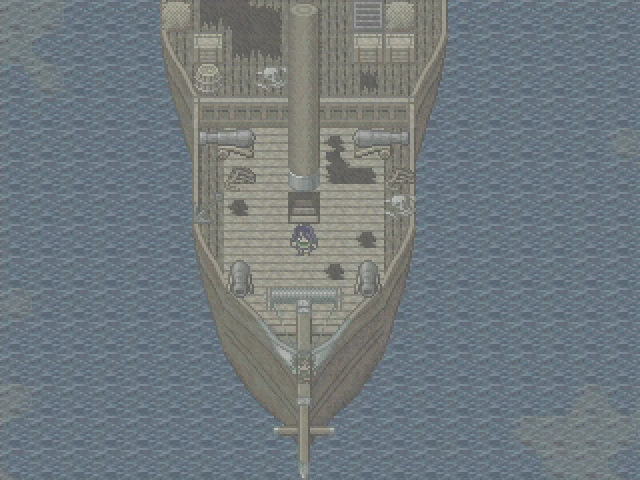 After using a nearby save point, we head back up on deck, where a ghostly figure stands on the prow. 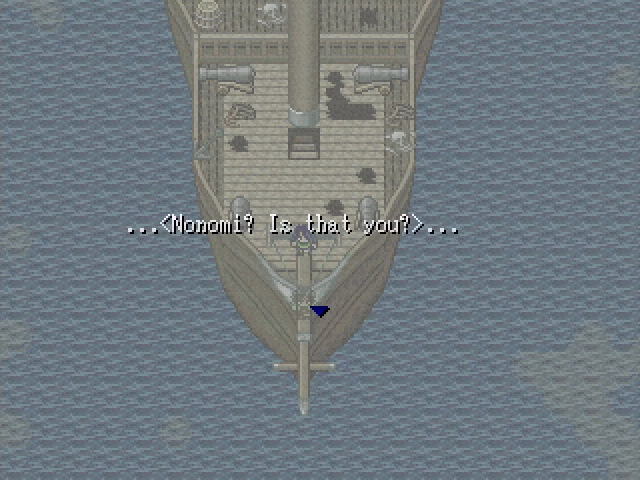 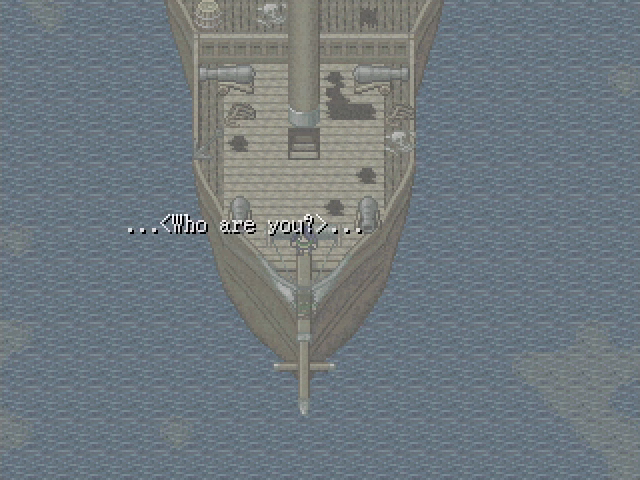 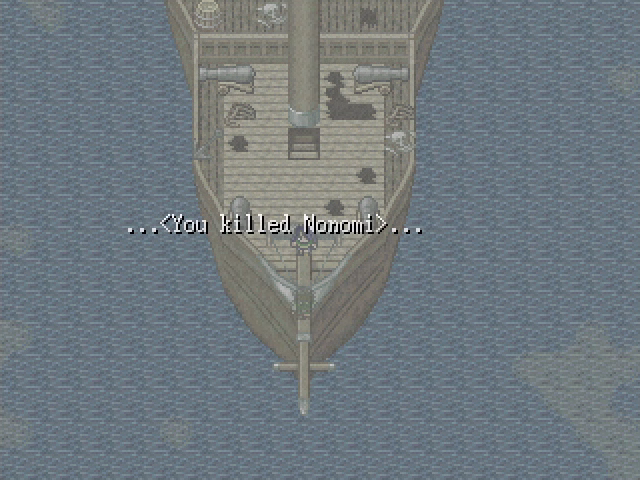 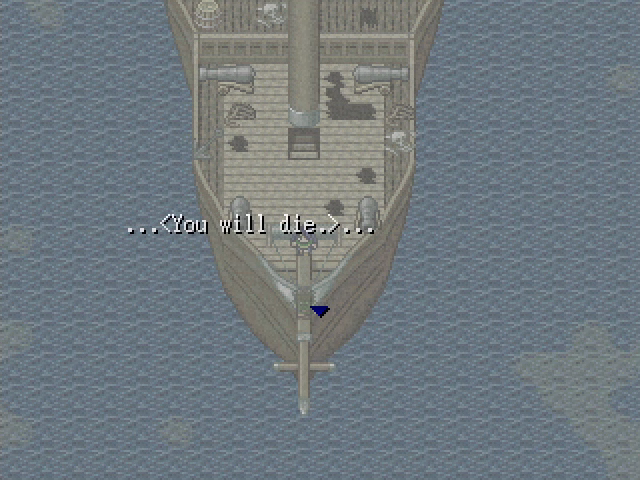 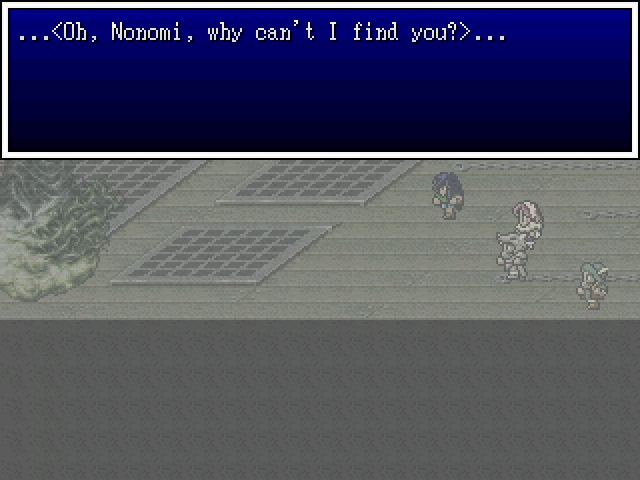  Our boss fight here is against Yasuki, of course. He's not a pushover, but we could have fought him earlier, so he's not as difficult as he could be. He opens with Mutespell (which thankfully only hits Harley), and after that goes into his standard routine. He damages the party with physical attacks, Blazemore, and Sea Gale (a special attack that hits the entire party), and debuffs us with Wail and Slowall. Wail in particular applied Chaos to three characters and nearly ended the fight, though we were able to recover. 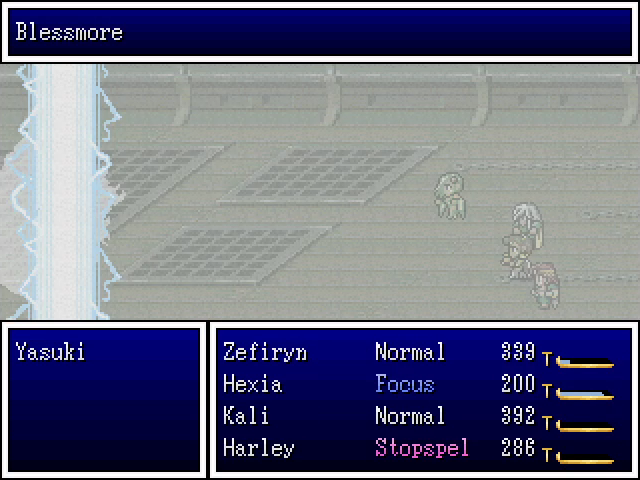 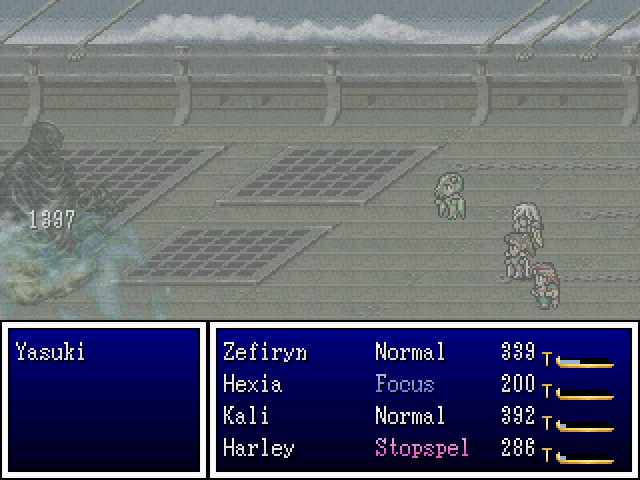 Holdana's physical-heavy team can't do much here, so we swap in Zefiryn. Kali's Blessmore and Hexia's double-cast Bless spells deal tons of damage. 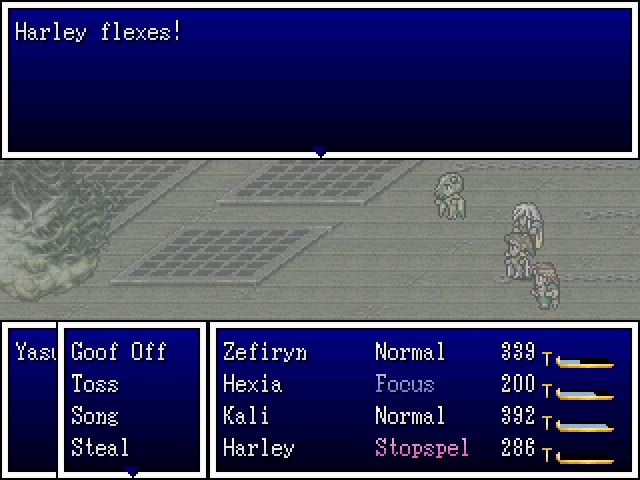 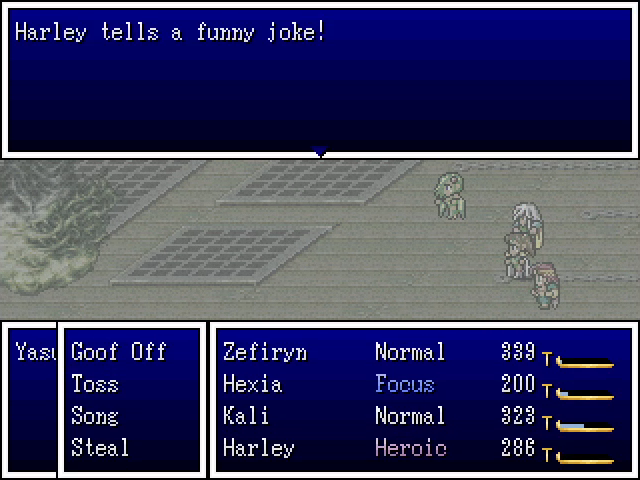 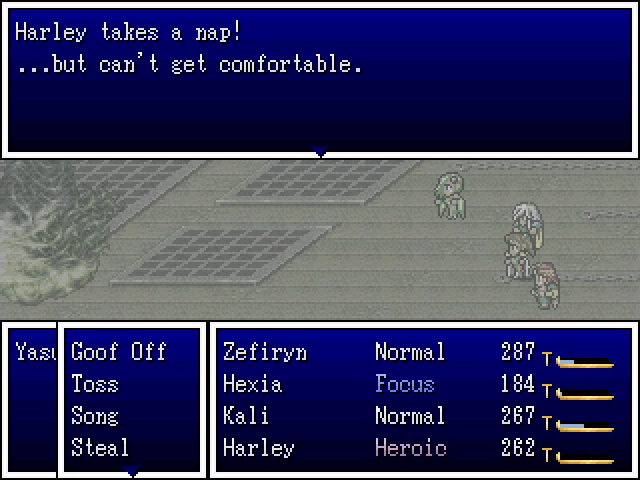 Harley can't really contribute meaningfully to this fight outside of the occasional medicinal herb, so I have her goof off a bit. These are some wildly swingy examples of what she can do: she could double all her stats, make an enemy start laughing, or try to put herself to sleep. 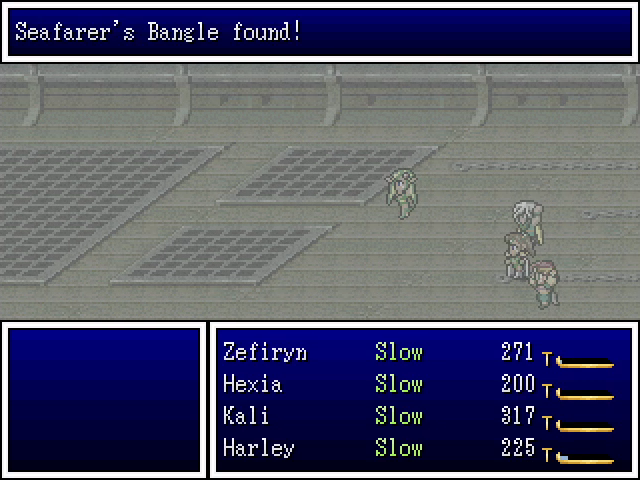 We eventually win, and our prize is the seafarer's bangle, which prevents random battles at sea while equipped. Sure would have been nice to have this when I was doing the airship quest, but at least we can make use of it in our hunt for Tritonis. 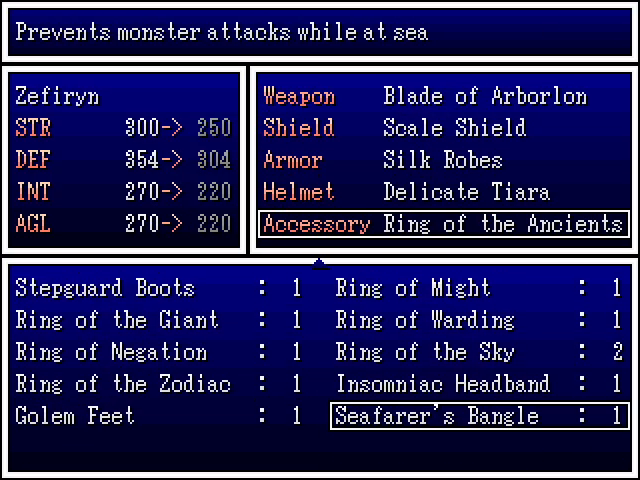 Hopefully they can finally be together now that they've both been freed from their spectral bonds. Next time, we begin our search for Tritonis. Level Up Roundup 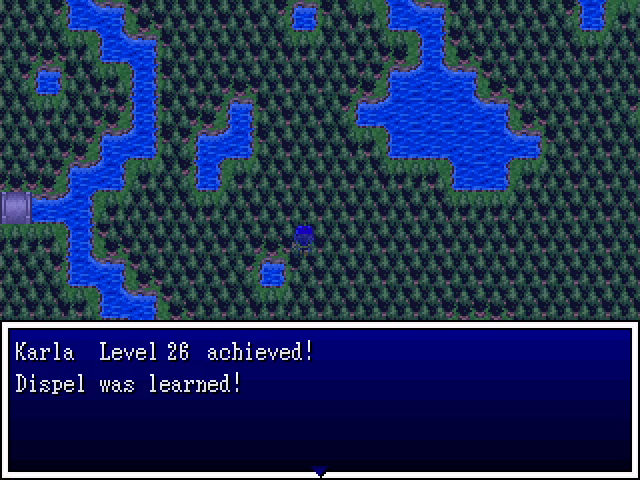       
5-Headed Snake God fucked around with this message at 01:14 on Mar 26, 2023 |
|
#
?
Feb 27, 2023 23:49
|
|
|
The class change / promotion mechanic is kind of baffling to be honest. Is it possible to revert it, by the way? (Also, if the compass was hidden in the fireplace, it means the fire was out when he died and therefore the house was on its way to freezing, which would help a lot with the smell.)
|
|
#
?
Feb 28, 2023 00:14
|
|


|
SIGSEGV posted:The class change / promotion mechanic is kind of baffling to be honest. Is it possible to revert it, by the way? A non-hero character can always change to any of the 12 basic classes at one of the four recruitment locations, but doing so resets them to level 1 anyway, so it's not worthwhile.
|
|
#
?
Feb 28, 2023 01:17
|
|
|
No updates this week or the next. The past week has been too busy to get any work done, and next week I'll be out of town. I should be able to get enough done in the interim to have an update ready the week after.
|
|
#
?
Mar 7, 2023 21:08
|
|
|
Thank you for your patience, everyone, and welcome back. Last time, we explored the ghost ship and defeated its spectral captain, Yasuki. Now we need to get off and return to our quest.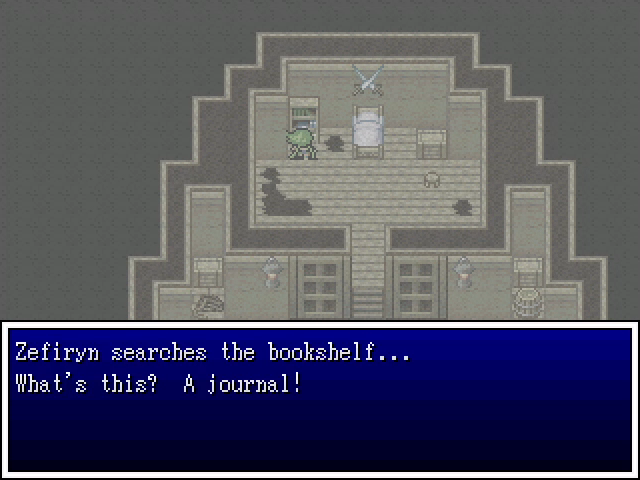 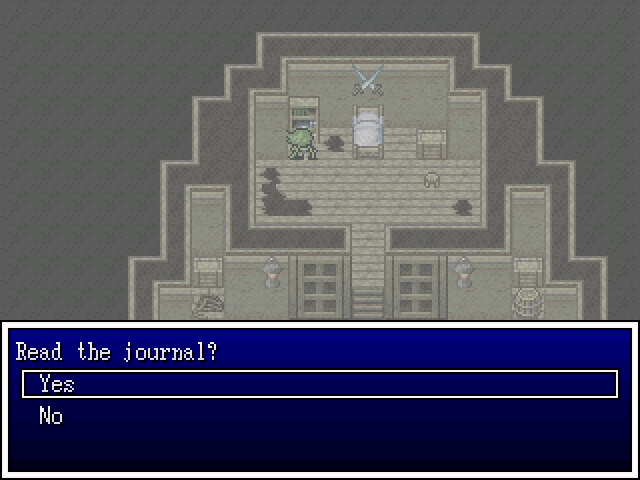 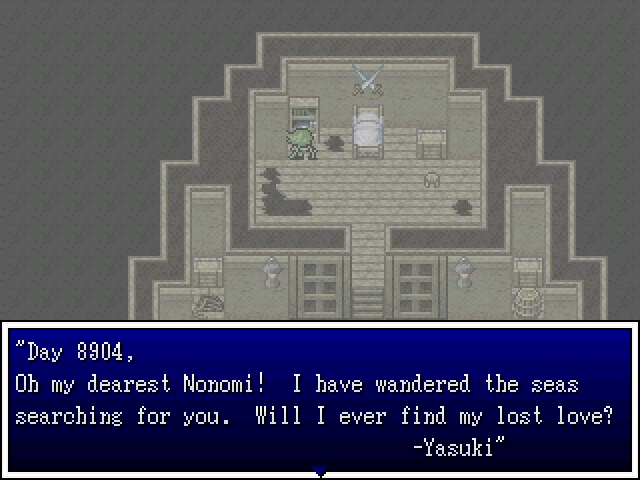 On the way out, I found this journal, which I missed on the first trip. It's not important, but it adds a little flavor. 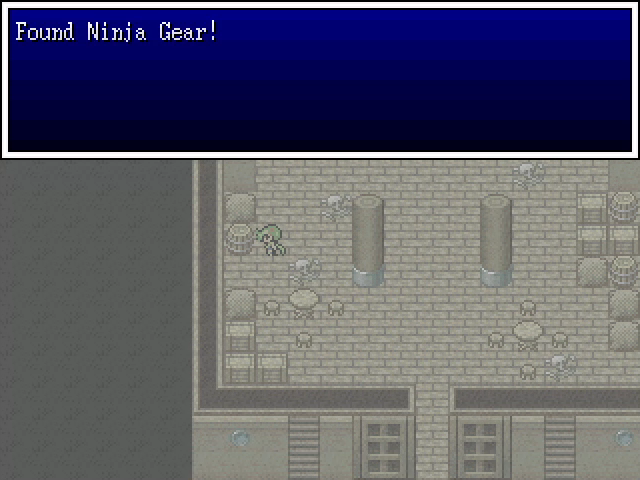 I also found this suit of ninja armor Yasuki seems to have owned in life. It's a good fit for Shemp, who could use the extra protection until he gains some levels. 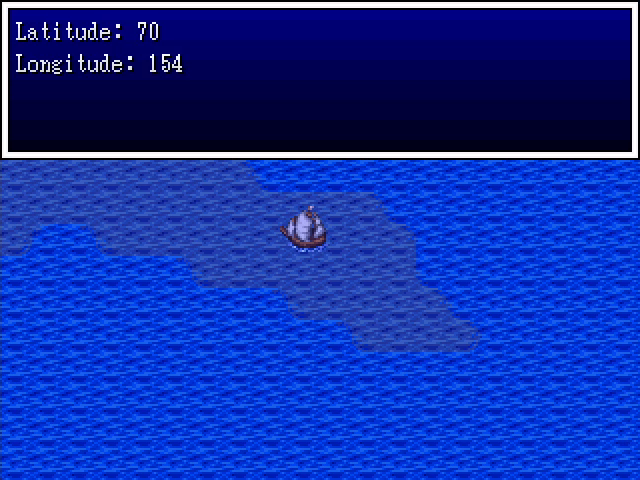 Back out on the sea, we try out the compass, which gives us our latitude and longitude, as promised. 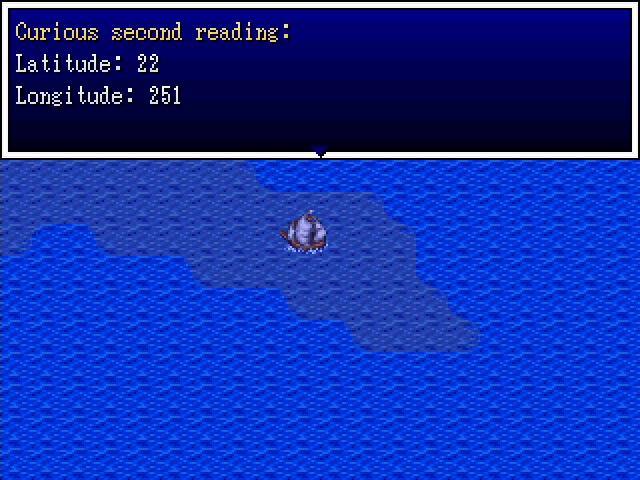 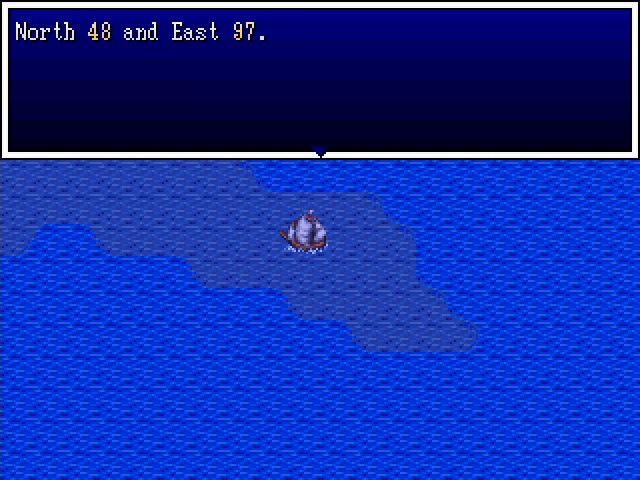 And, as the hunter's journal said, it also gives us a second reading. This is probably worth investigating later. 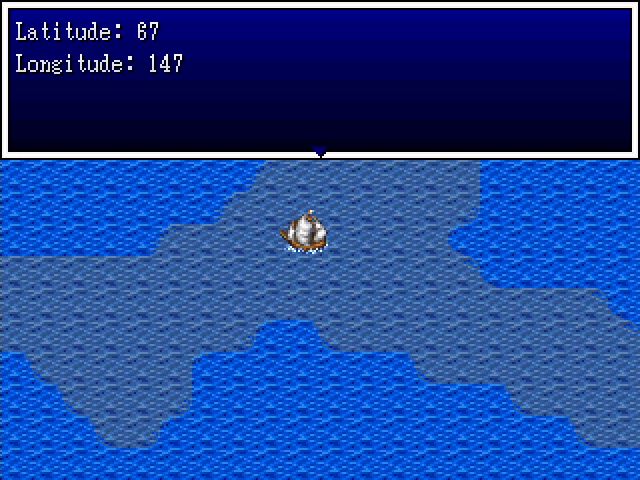 For now, we adjust our position a bit and find the spot. 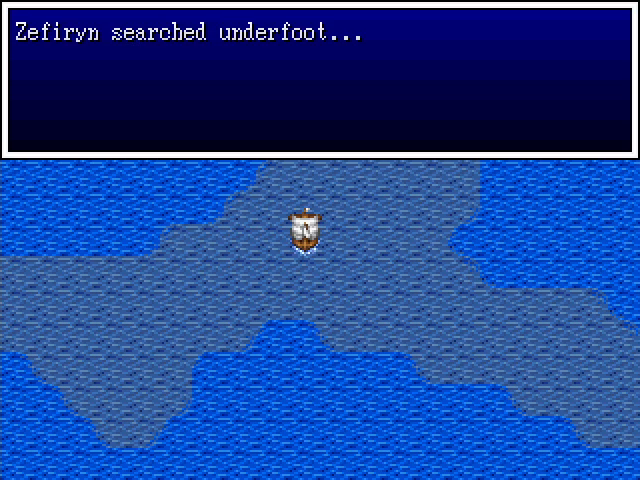 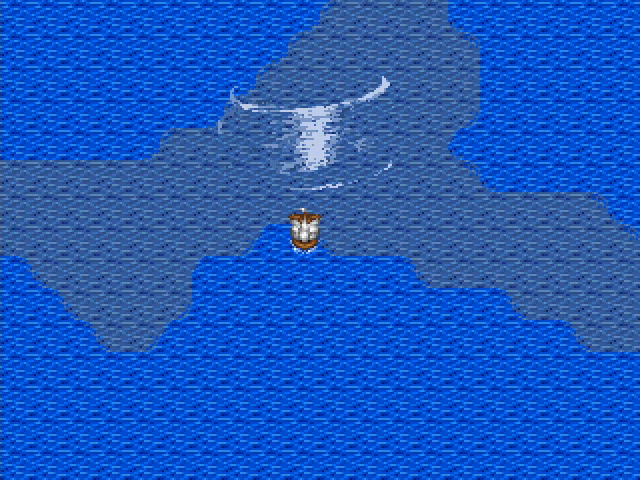 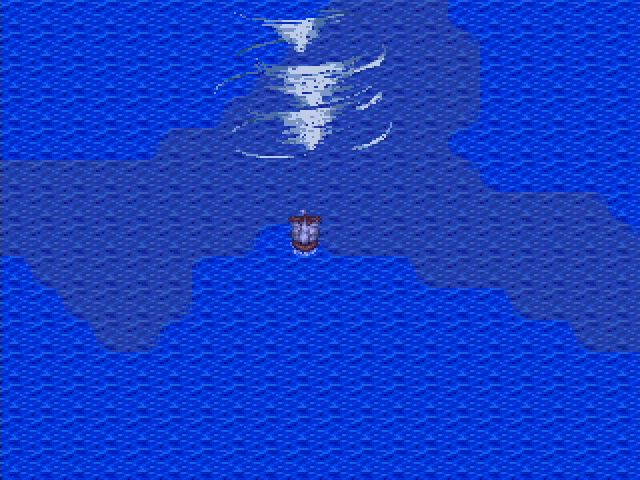 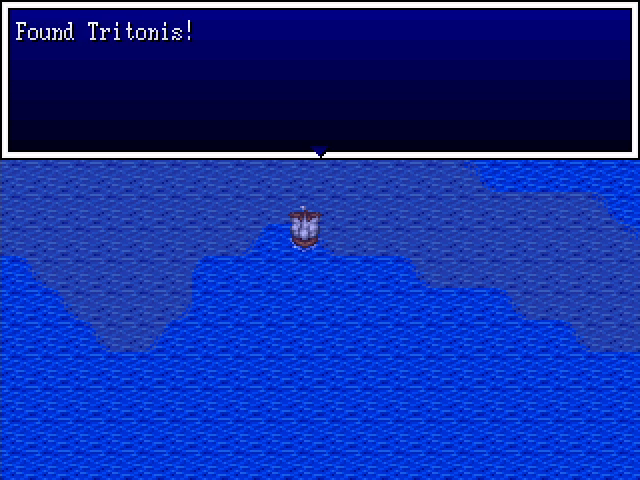 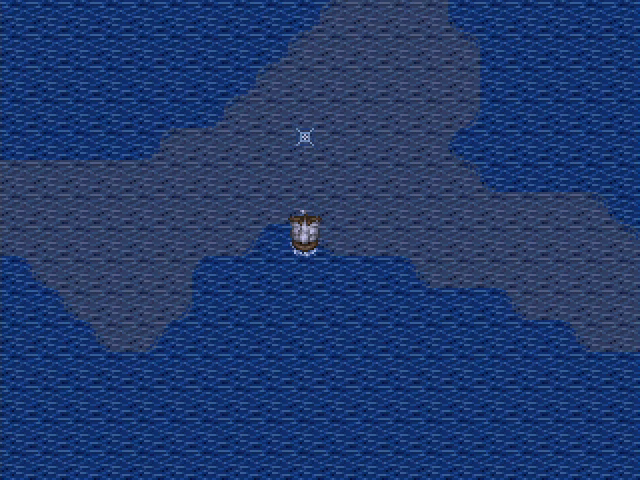 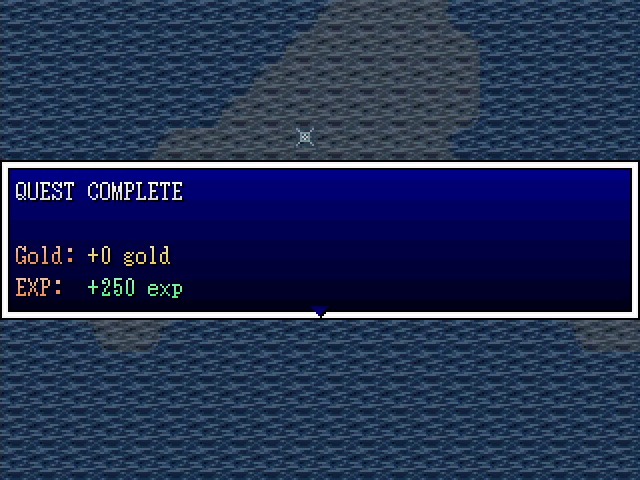 I'm not sure how we check the sea while on a ship, but let's not worry about that and instead revel in our success.  Sailing onto the glowing spot in the ocean takes us to a vast underwater cavern. 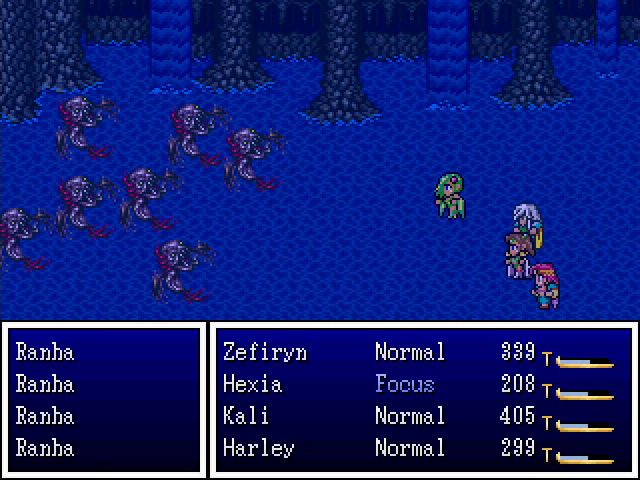 The encounters here are the same as on the ocean, except for the numbers. But numbers don't mean much when we can fry them with Thunder and Zap spells. 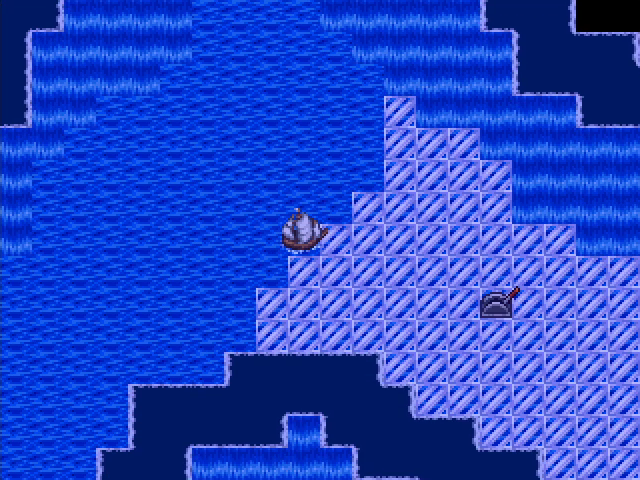 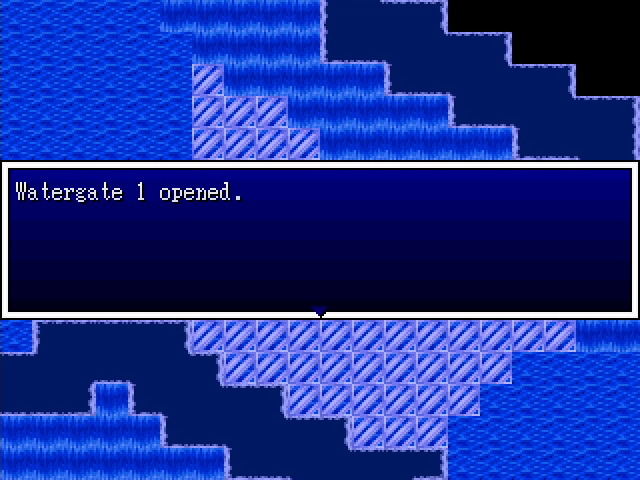 Exploring a bit, we find a lever, which seems to be a control for some kind of gate. 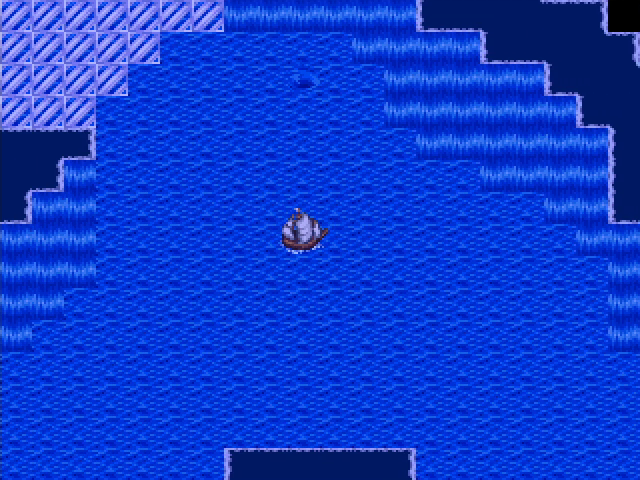 Besides the exit, there's another whirlpool. 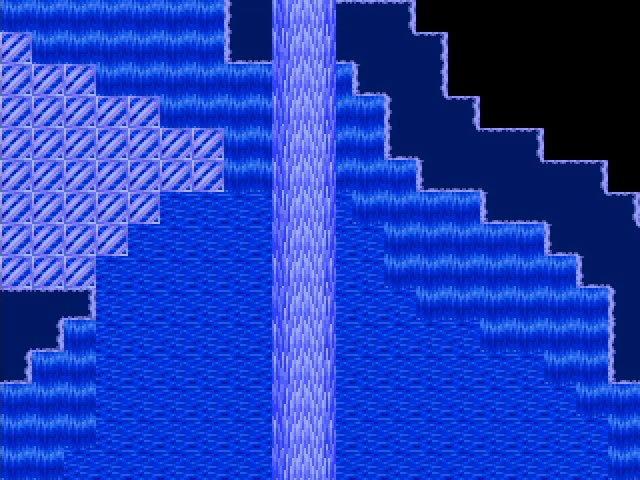 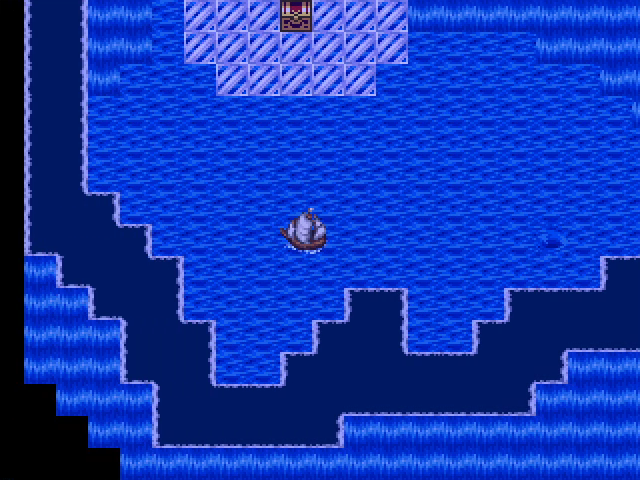 It takes us to a small room with a treasure chest.  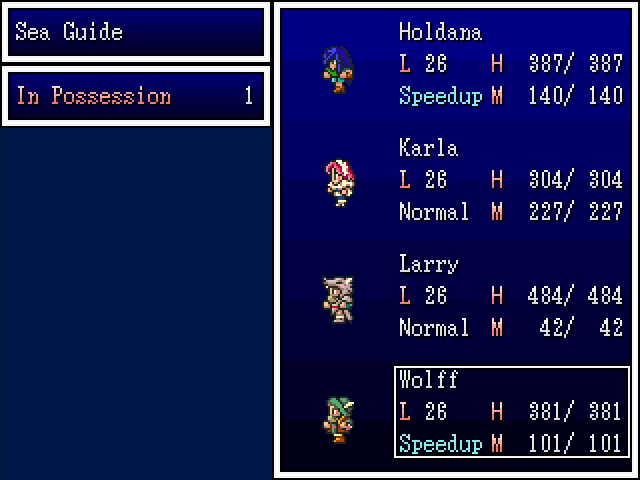 The sea guide is a really nice find - arguably the best thing here apart from the Divine Robes. Wolff's arsenal continues to grow. 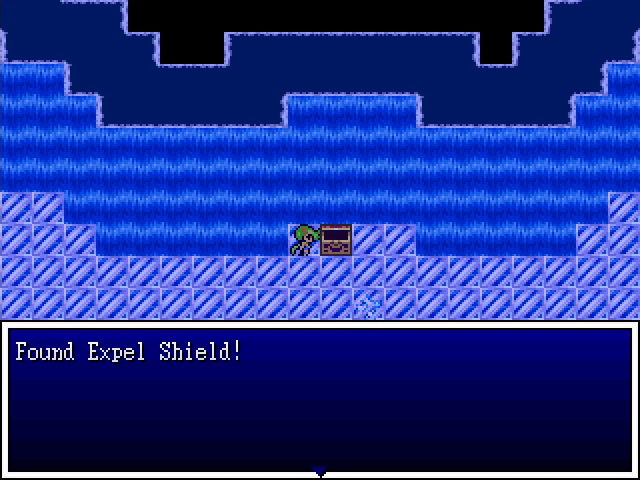 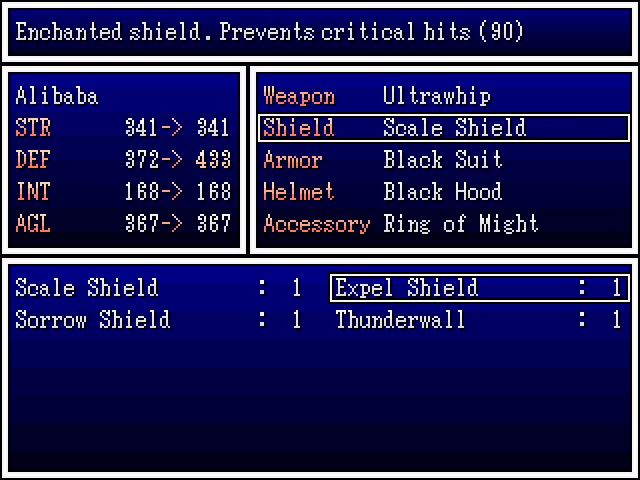 We also find a chest containing the expel shield, another excellent find. Alibaba takes it, since the heavier frontline warriors can't use it. 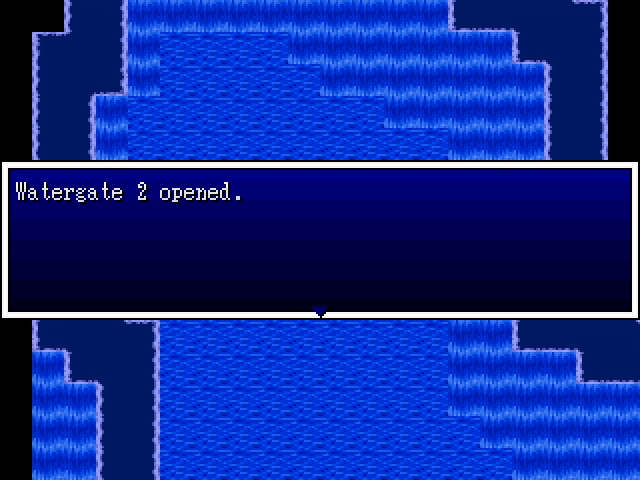 The second watergate is open. No sign of Nixon anywhere. 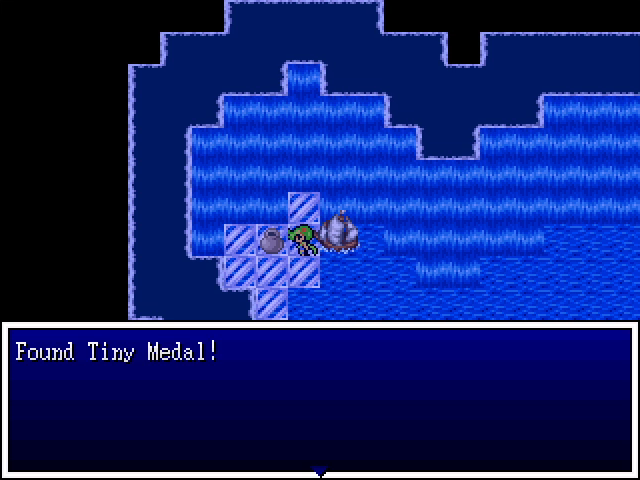 There's a Tiny Medal hidden down here too. It's not the last one we'll find in this place. 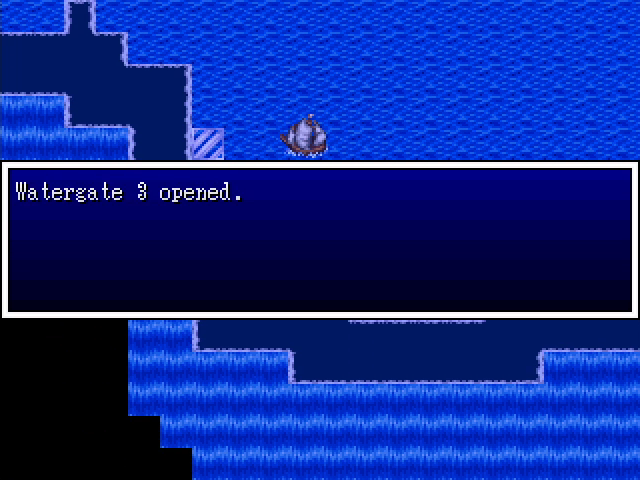 Third watergate down. 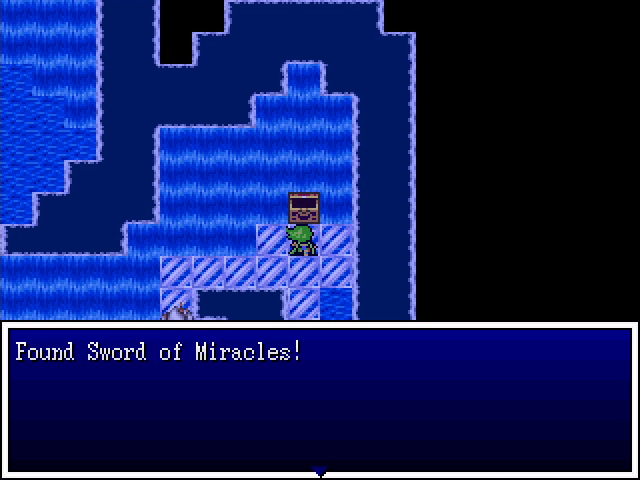 There's a sword of miracles hidden down here too. It's not as nice as the sea guide or expel shield, but it's an upgrade for Moe, at least. 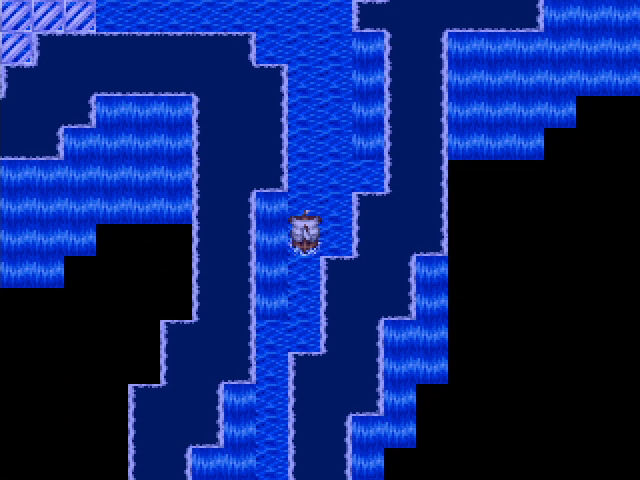 As we continue, we head into a narrow passageway. 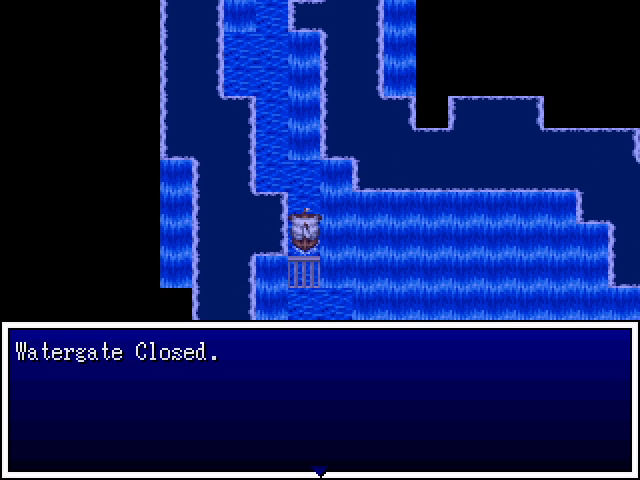 Unfortunately, we can't get through. Seems we have to find another switch.  Luckily, it's not far away. 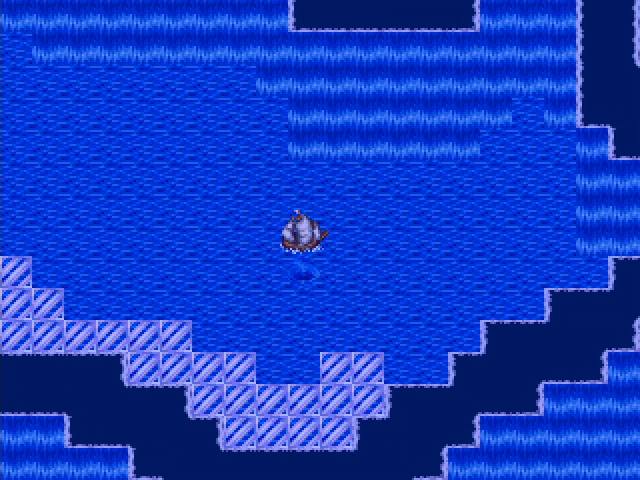 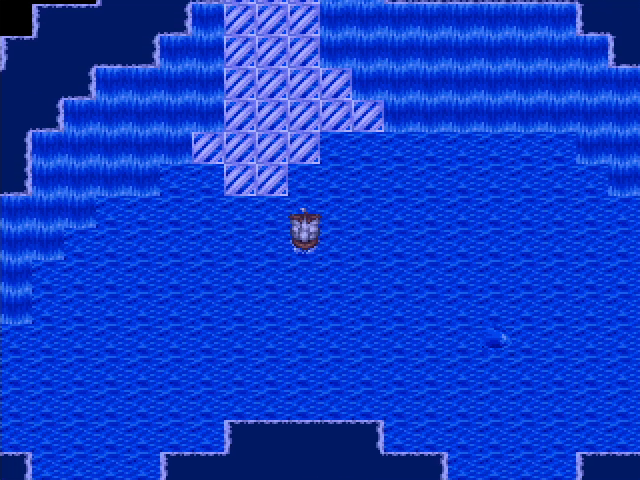 A third whirlpool brings us into another cavern with a walkway leading north. 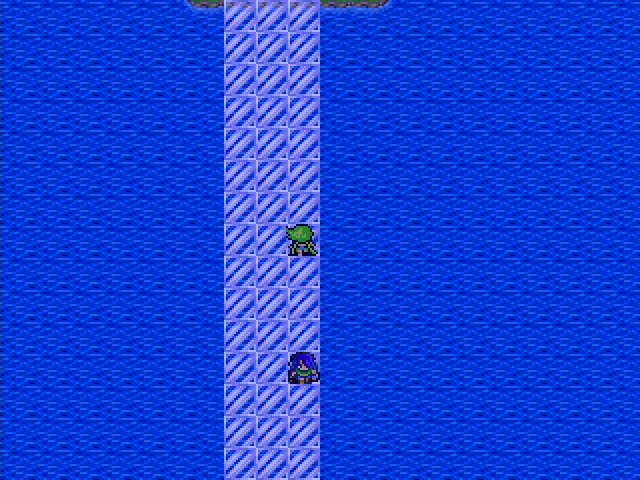 Following a screen transition, we find ourselves in another multi-party area. 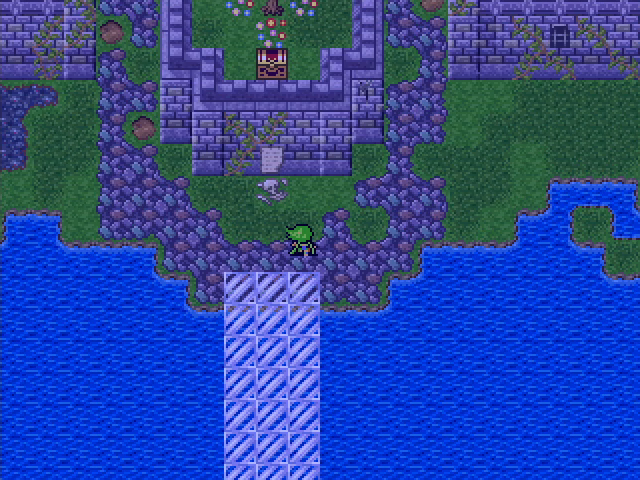 We shouldn't be surprised to find a ruined castle here, I suppose.  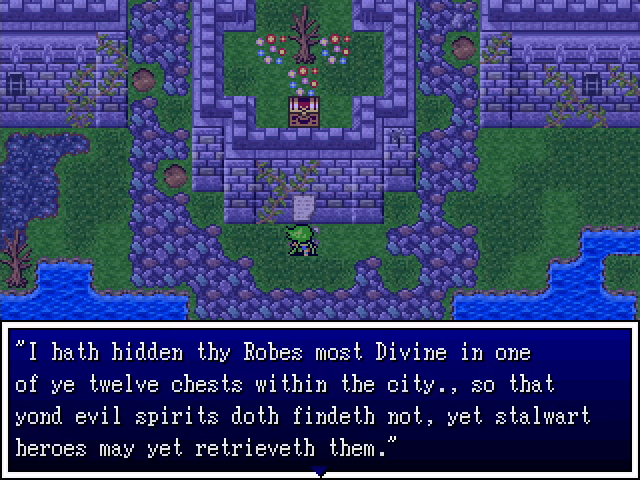 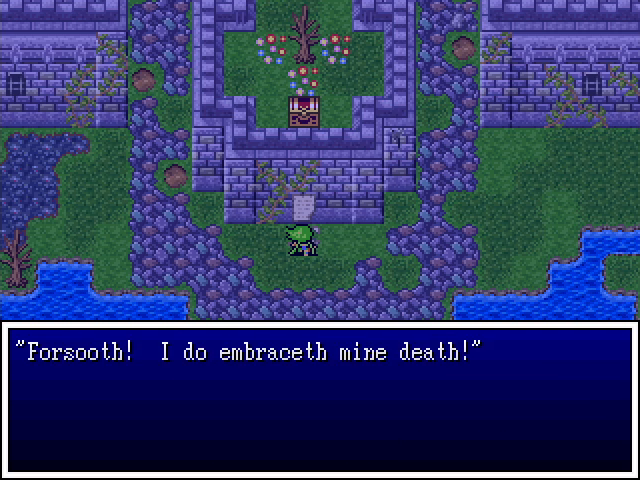 Boy, that is some tortured English.      The monsters here are nothing special. Glorpuses seem to be immune to magic, but don't have much HP. Croakks can cast Healmost, which would be a pain if they also didn't have low HP. Malorkuses are just a more durable iteration on monsters we've already seen, using the usual Pus and Charge attacks. Its are presumably named for a certain Cousin; they don't have enough HP to survive even one attack, so I never saw what they might do. This rhinokeras is likewise the only one I ever saw, and didn't survive long enough to do anything.   Caterpillars are a bit annoying, as they have quite a bit of HP and like to call for backup. They don't do much else, though, and the inchworms the summon are super fragile.  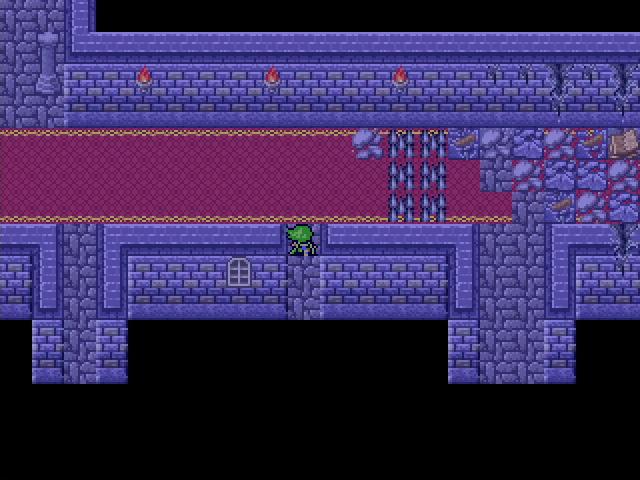 Anyway, we head inside to find a mazelike castle, full of rubble, with spikes sitting in many strategically annoying places. 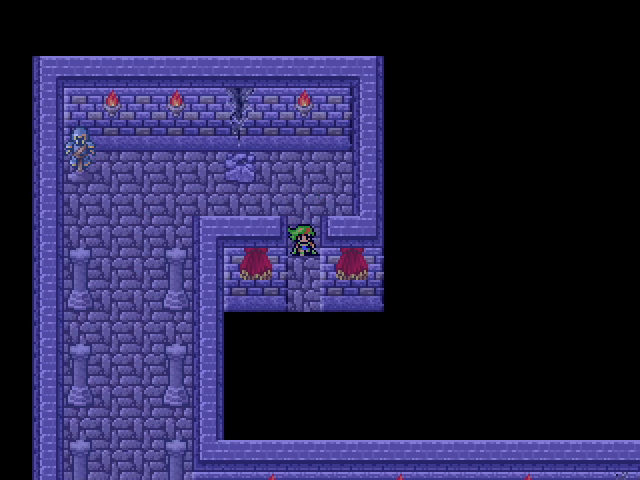  We head out back and, finding more spikes, head inside the small building nearby.  Naturally, the chest within is empty. I'm about 95% sure that the Divine Robes show up only in the last chest searched, necessitating a sweep of the whole dungeon regardless of how it's approached. 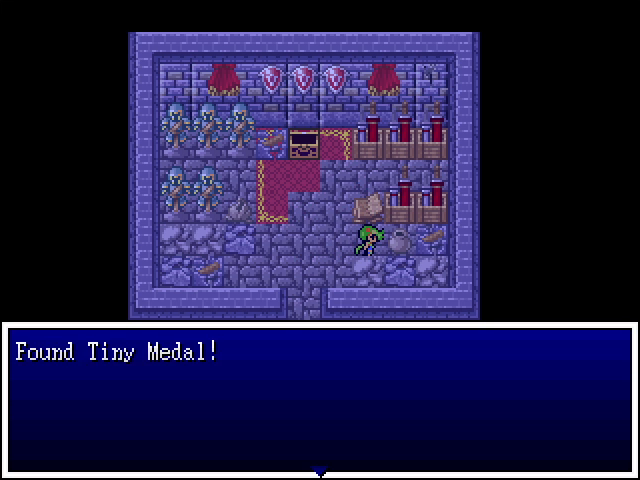 At least there's a Tiny Medal nearby. This castle is absolutely lousy with the things. We should probably see whether we've hit the next reward threshold next time we have a chance. 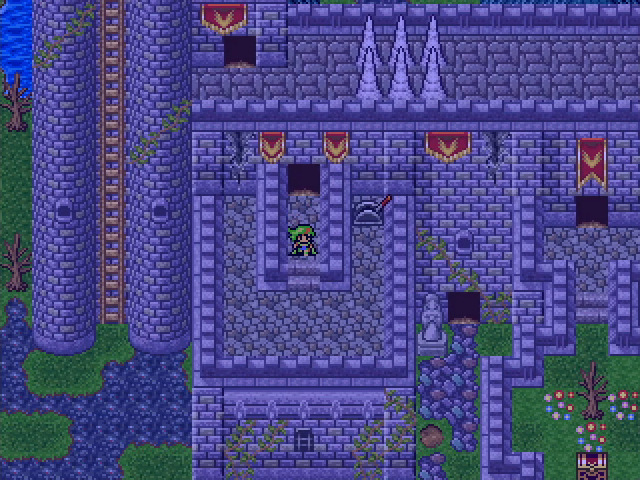  On a balcony in front of the castle is a level, which lowers the large spikes on the ledge above. (Sorry if this feels disjointed, but the whole place is a maze and I can't really give a good feel for its layout in screenshot form.) 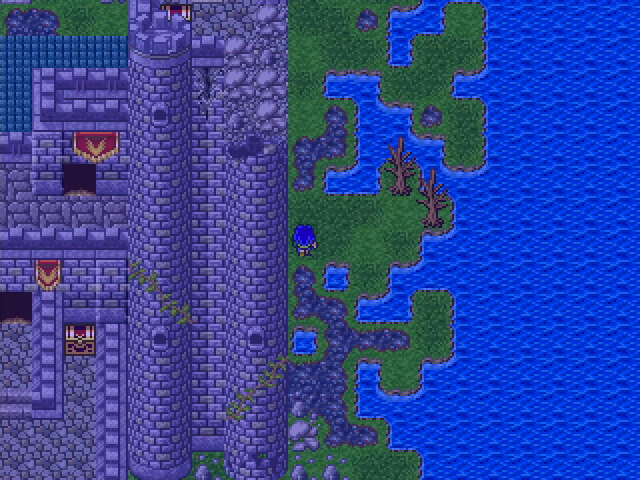 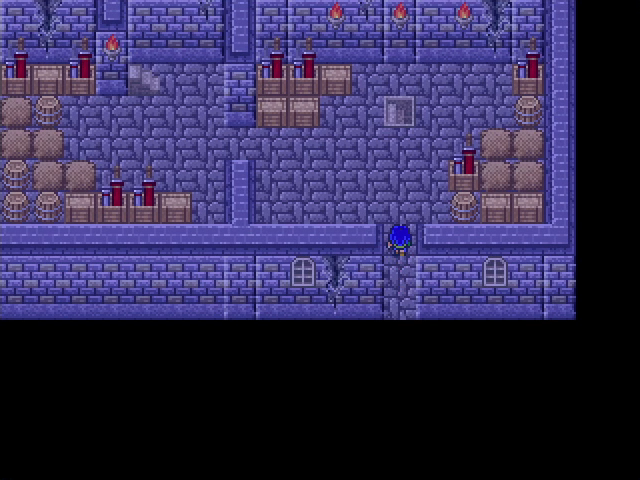 Holdana's team heads around the east side of the castle and finds a storeroom. 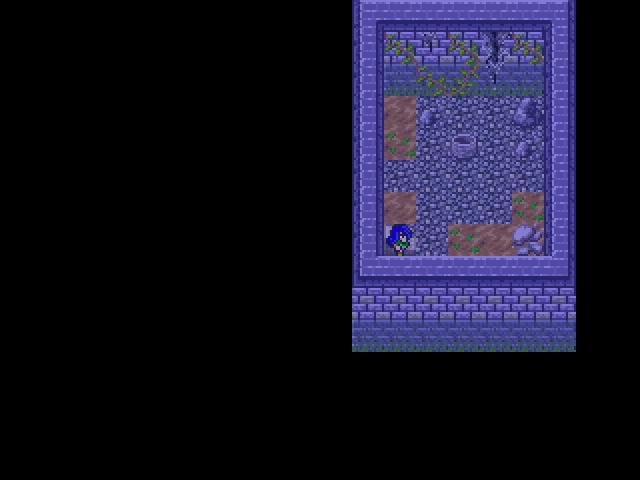 I suppose it makes sense that the well would be here. 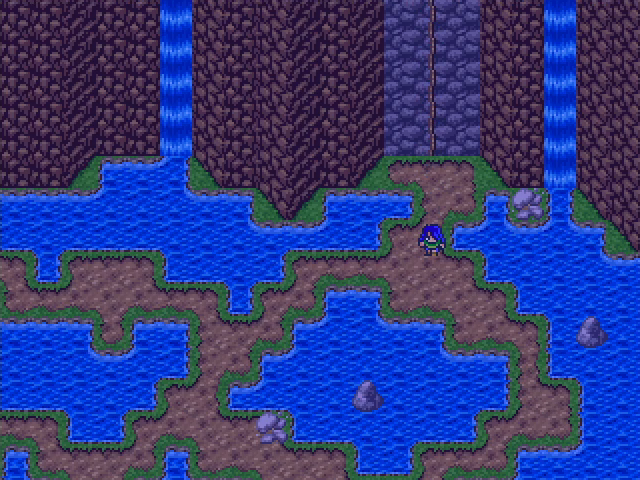 Oh boy, another maze! At least it's not too bad.  Well, except that we're blocked off.   We switch to Akira, who head in and hits a switch on the wall. This lowers the spikes on floor 1 but raises the ones on floor 2. Small spikes don't do much damage at this point, so this isn't a huge deal.  The ninja and his bad come to the throne room, which contains a save point and another chest. It's empty, of course.  He does, however, find some stairs nearby the lead to another well. 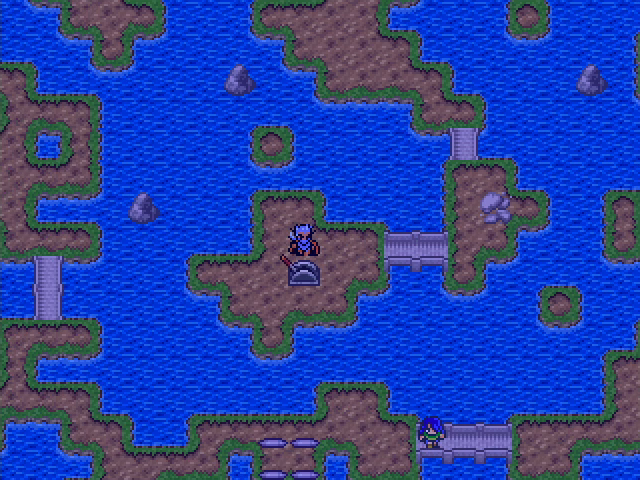 As expected, this leads to the lever that lowers the spikes blocking Holdana's way.  This seems like a good time to mention that Team Shonen didn't have any real issues with the monsters here. Despite the Stooges' low levels, they have good gear, and their classes are crazy powerful. This is the healing from Curly's Curaga spell (which, as you may recall, costs him nothing to cast). 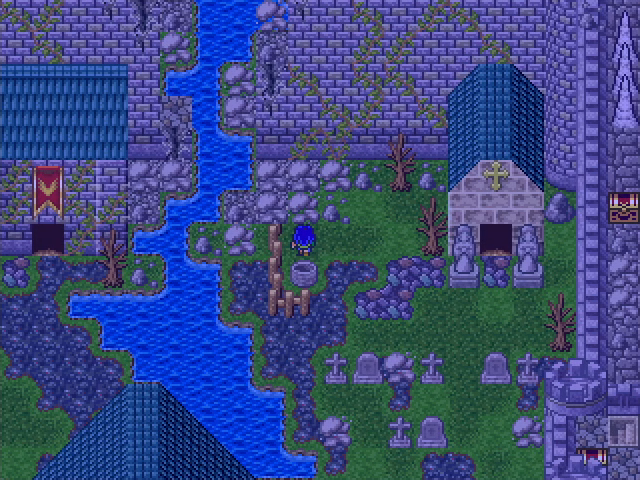 Holdana continues on and exits the well near a church. 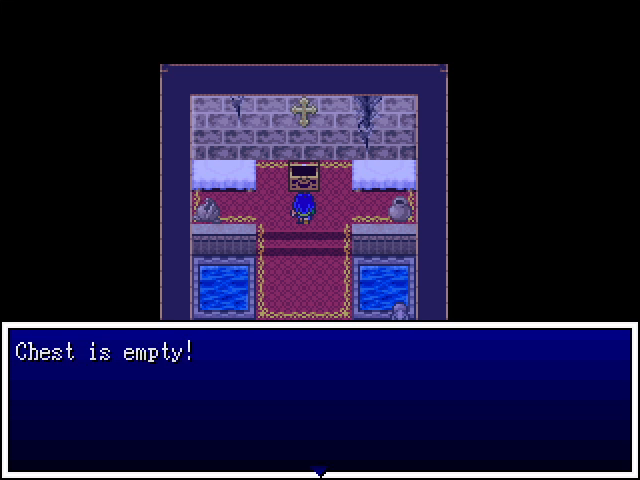 Of course, there's a chest inside, and of course, it's empty. 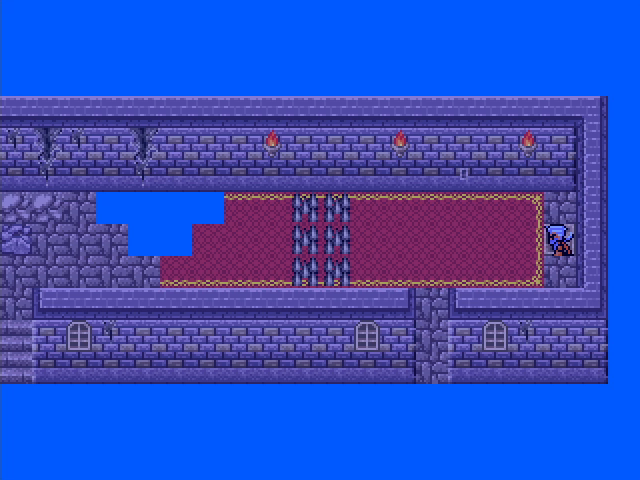  Akira heads back into the castle proper and out to the other balcony. No surprise, the chest here is empty.  He does get to lower the second set of large spikes on the walkway above, however.   He also has easy access to this third ledge containing a tree and another empty chest. How have the plants here survived, anyway? There's no sunlight!   Zefiryn finds the library downstairs and oh? What's this? Why yes, it's another empty chest!  Finally, Raj Ahtan heads to the western side of the castle.  I could have dropped down the hole here to save time, but uh... I didn't think of it until I was climbing back up.  At the bottom is an empty chest and a save point.  One floor up from there, however, is a door leading out to the ledge with all the big spikes we lowered earlier.  Up another tower, and...    There's also a chest randomly sitting out on the grass on the northwest part of the island. 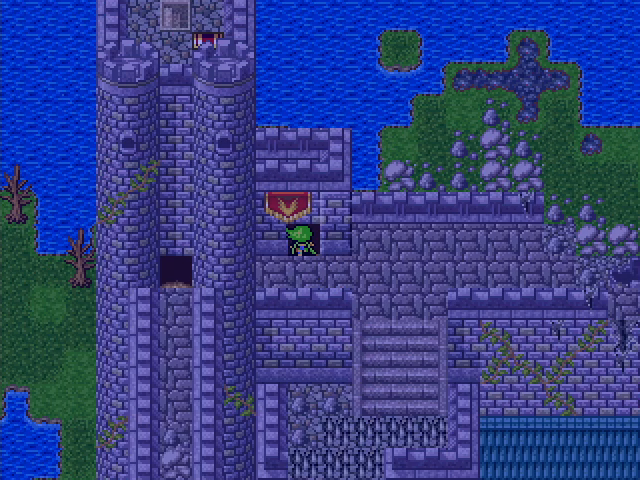 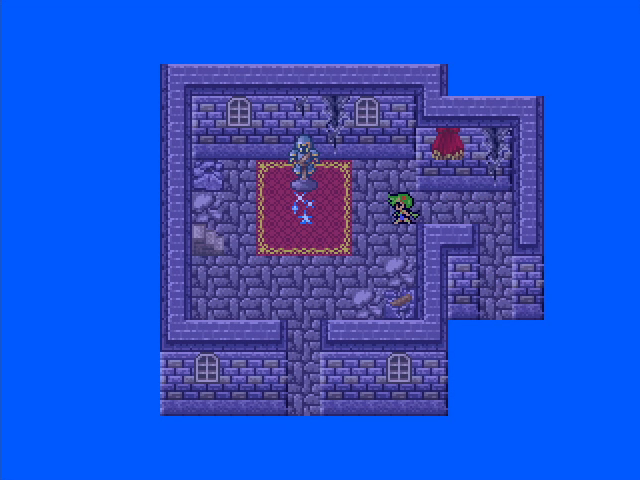 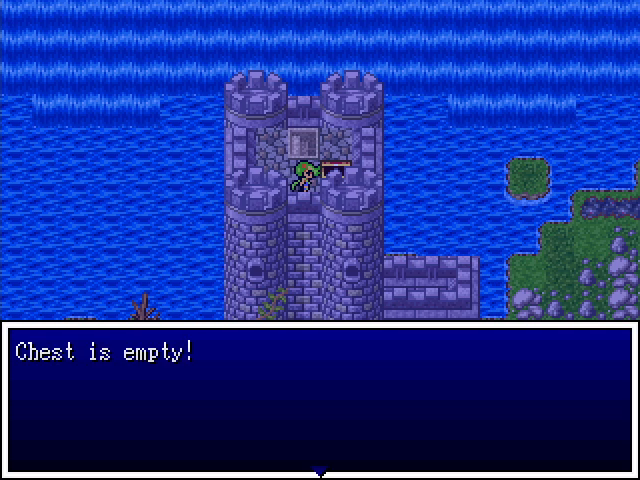 Zefiryn crosses the small spikes she saw earlier, climbs another tower, and opens yet another empty chest. 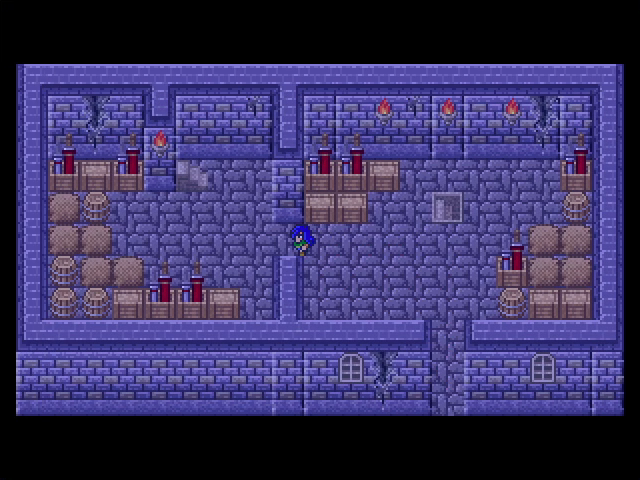 Finally, Holdana heads back through the well and up the last set of stairs I can find.   She comes to a room with a lever and two exits, with large spikes blocking both. No points for guessing what the lever is for.  If you've been counting, you know this is chest #11. The Robes had better be in the next one.   She hits the lever again, heads out the other door, and... 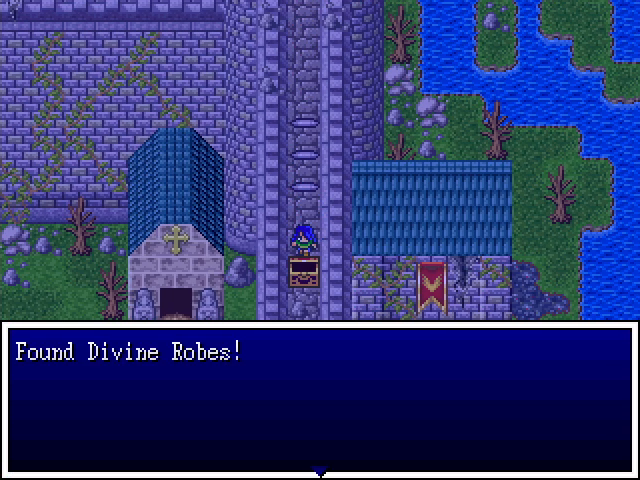 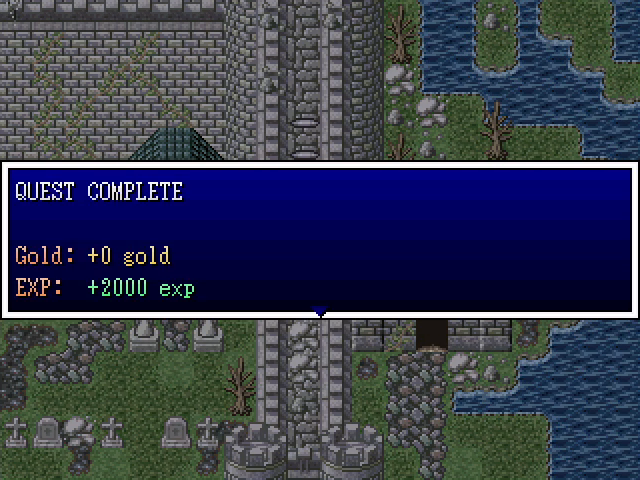 Success! Finally.  Annoyingly, casting Outside takes us to the exit from the castle area, but we still have to navigate the flooded cave to get out. Now, this would be an ideal place to stop, except for one factor: Harly reached level 20 during this update. And I promised that that milestone would be significant.      This is our prize for getting a Joker to level 20: free conversion to one of the best classes in the game. Even with a reset to level 1, this is still a huge power boost for her.  And that's all for today. Next time... I'm not sure! We could check out the weird compass directions, explore some hidden location in the world, or just continue with the main story. Any preferences? Level Up Roundup So... we started this update with three low-level characters. There are a lot of levels here. Fair warning. There's nothing really interesting either, so don't feel compelled to check it out.              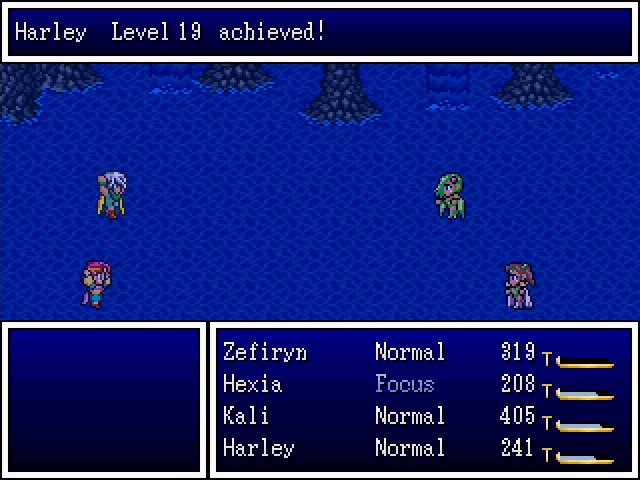  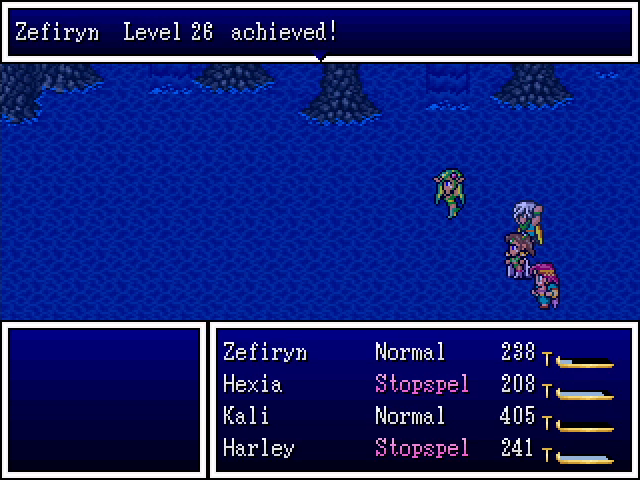 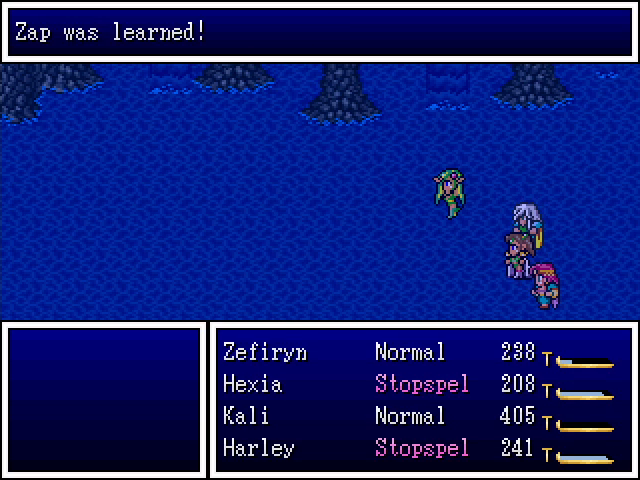 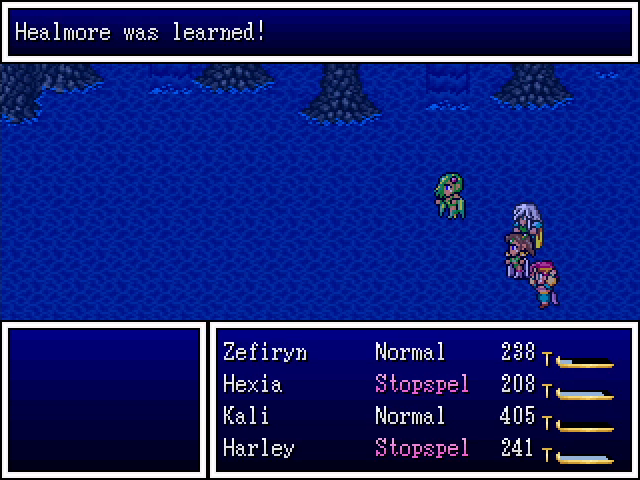          Being able to drain HP from enemies is never a bad thing.          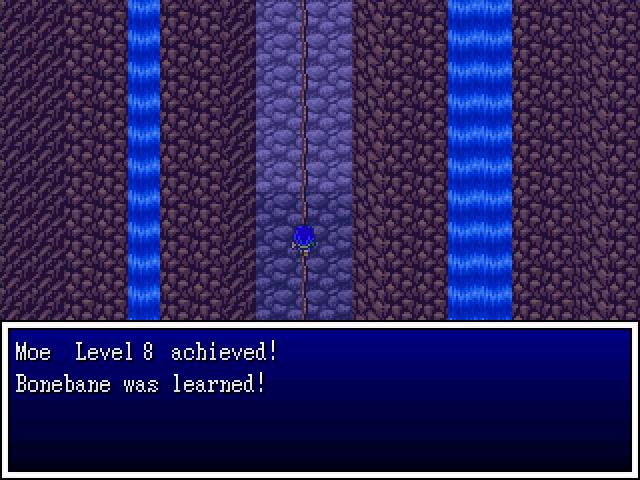    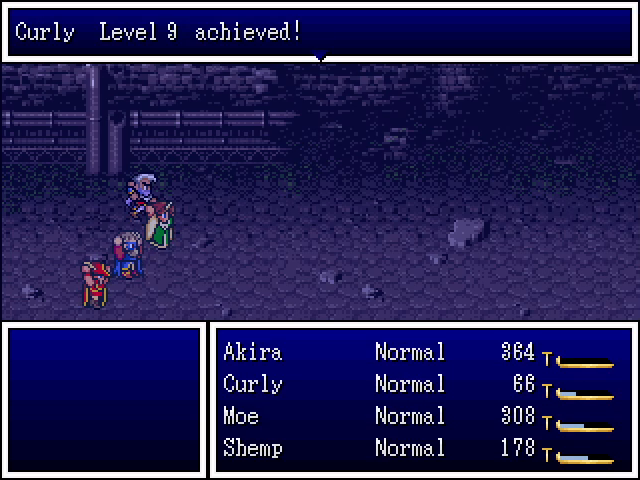 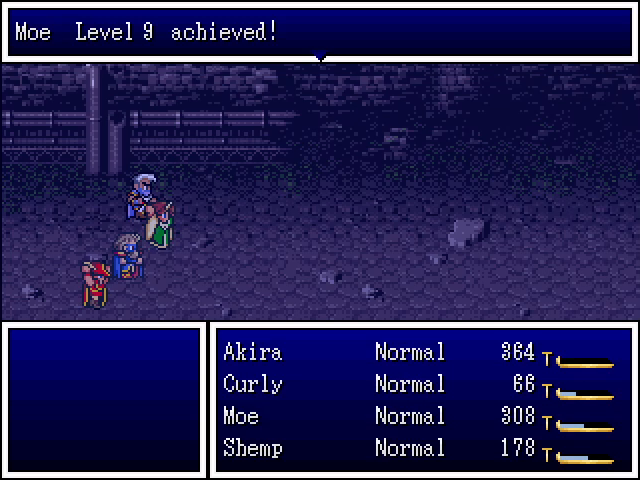    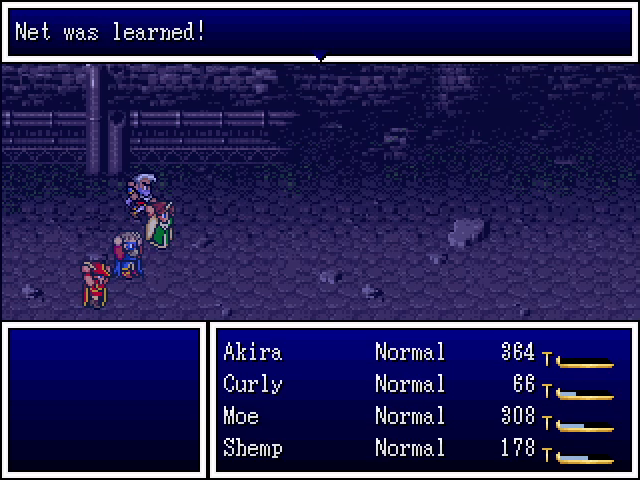  This is actually really nice now that Harley has become a Daredevil.       
|
|
#
?
Mar 20, 2023 21:30
|
|
|
huh. can you get that without the elfstones, the promotion, or is it basically just the same as any other class becoming a daredevil?
|
|
#
?
Mar 20, 2023 21:45
|
|
|
No elfstones required. It's a free upgrade, and can theorhetically be applied to all the non-protagonist members of your party if you start with all rogues (and are willing to put up with that many Jokers). You can even put three Jokers in each party right from the start, but... I really wouldn't recommend that.
|
|
#
?
Mar 20, 2023 22:02
|
|
|
Ooooooh, go check out the mysterious coordinates. The world-ending threat will keep to itself until we finish with everything else, right?
|
|
#
?
Mar 20, 2023 22:04
|
|
|
also that yeah
|
|
#
?
Mar 20, 2023 22:05
|
|
|
Welcome back, everyone! Today's update is fairly short, as I hosed up my recording and had to redo a good chunk of it. Having explored Tritonis and found the Divine Robes, we're once again taking a break from the pain plot to check out the strange readings our compass has been giving us.   Helpfully, this second reading comes with directions, so we can ignore the actual coordinates and just head southwest. We do so, and... 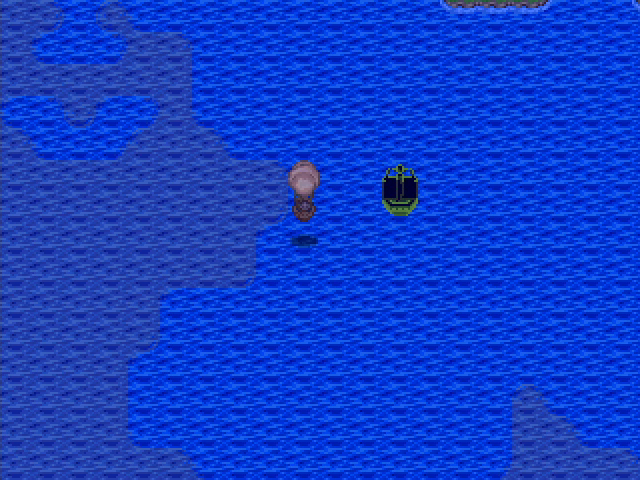 Oh.  Yep, it turns out those mysterious alternate coordinates are just a way to quickly locate the Ghost Ship. Well, I hope you all enjoyed today's update! Come back next week for... Okay, fine, we'll go do something else.  You may remember that we saw a tower in the middle of lake back in Chapter 4. Why don't we check that out?  The lake tower is another multi-party dungeon. It's not an especially complex one, but it uses the gimmick well enough. 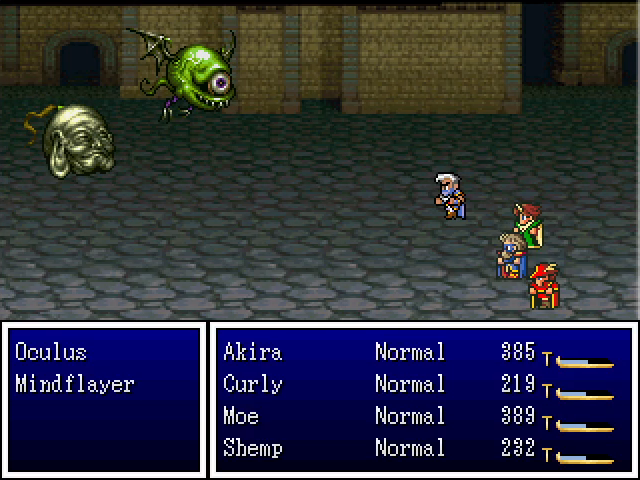 This is easily the worst fight in the tower. Oculi can use Stonegaze to inflict Numb and have a pretty strong standard attack, while mindflayers like to shut down physical fighters with Surround and spellcasters by draining their MP using Rasp. Even full casters like Karla lose all their MP to one shot of Rasp, making it a serious rear end in a top hat move. RobMagic is good for getting it back, but barring that, wizard potions are a must-have item here. 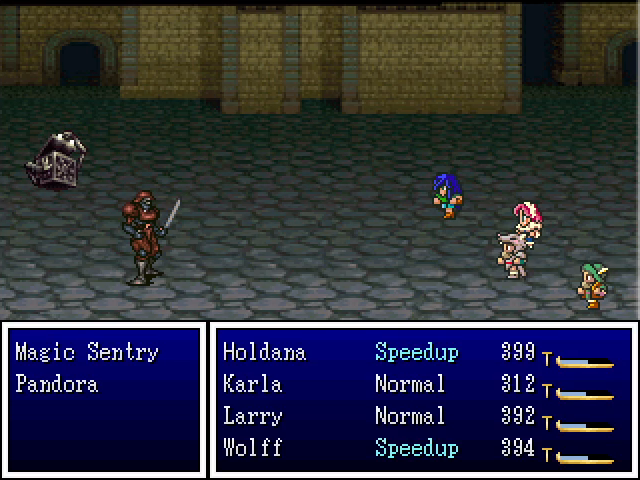 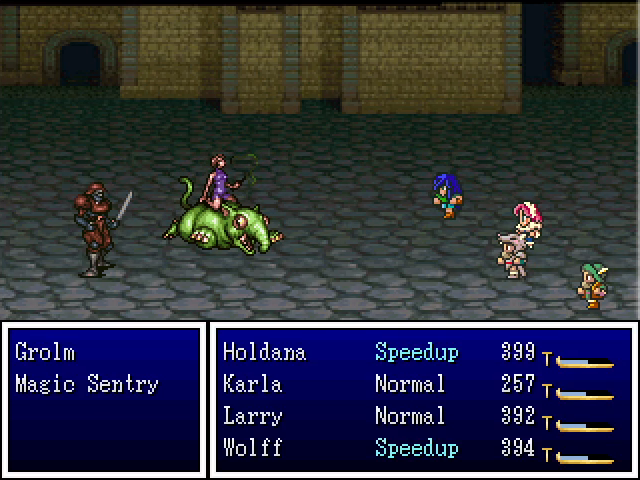 The rest of the enemies are more manageable. Pandoras can use instant death, but are fairly fragile, magic sentries are immune to magic damage but don't have any real offense, and grolms use Build Up before unleashing strong attacks but can usually be killed before that becomes a problem. 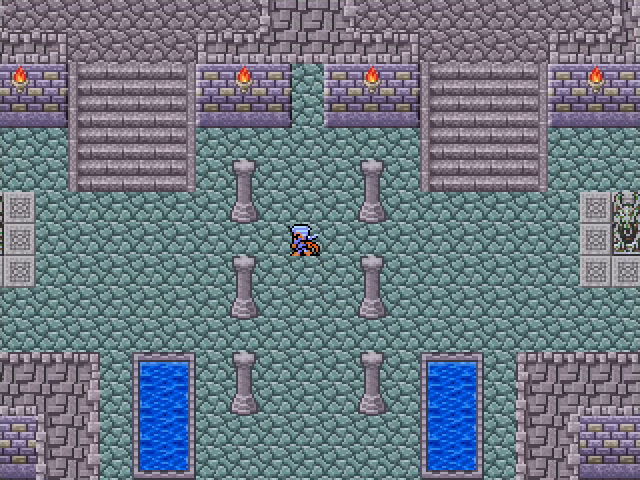 On the ground floor we're treated to a door and two stairways. 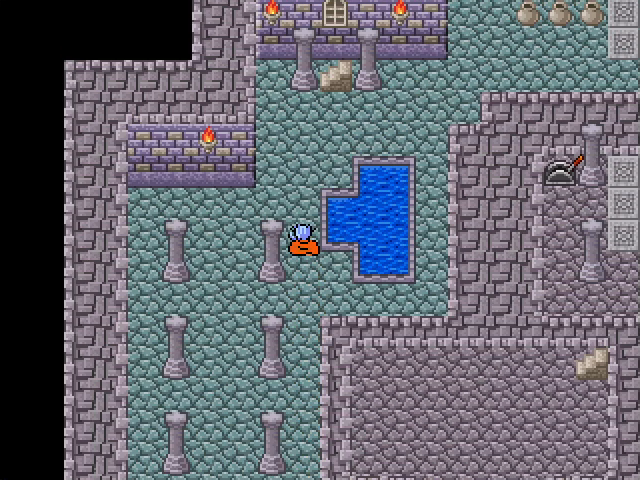 Further north are an additional two stairways. You can also see some pots in this picture; they are all over the dungeon and many of them contain stat-boosting seeds. 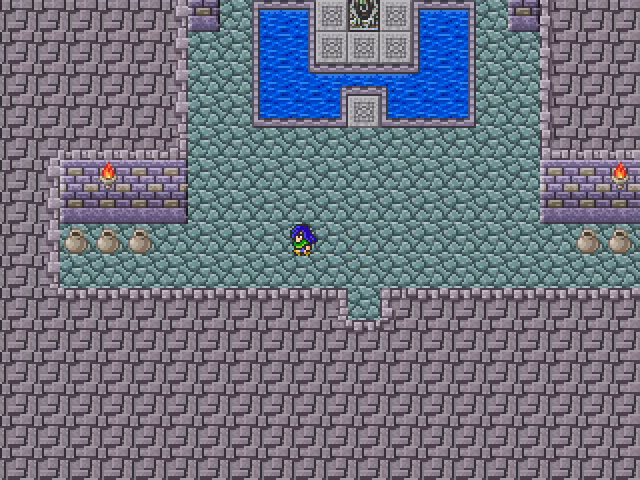 The middle room is empty, apart from more pots. 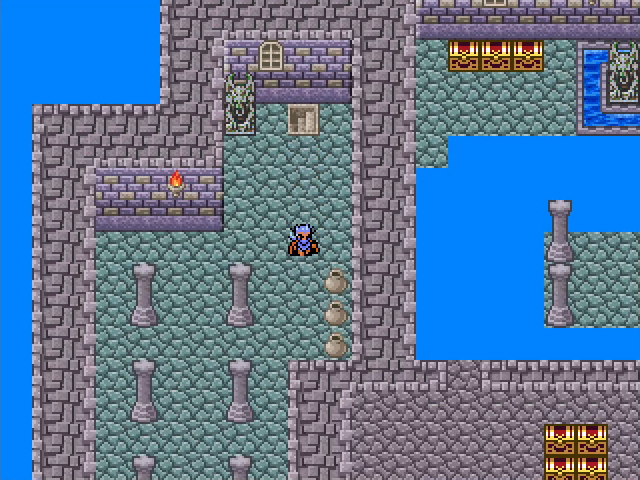 Akira takes the northwest stairway up to the next floor. 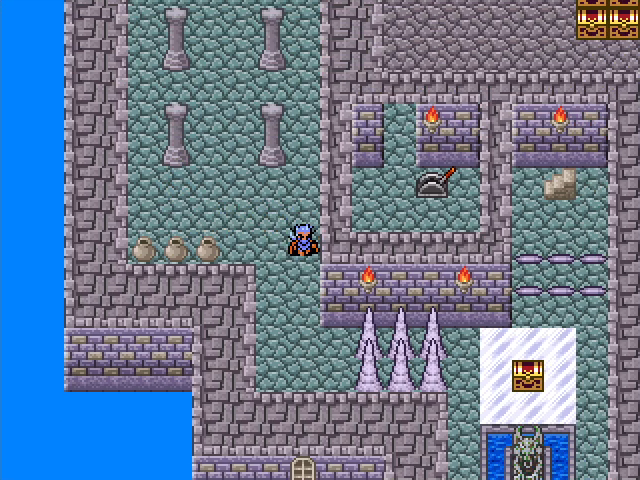 He is quickly stopped by large spikes sticking out of the floor. 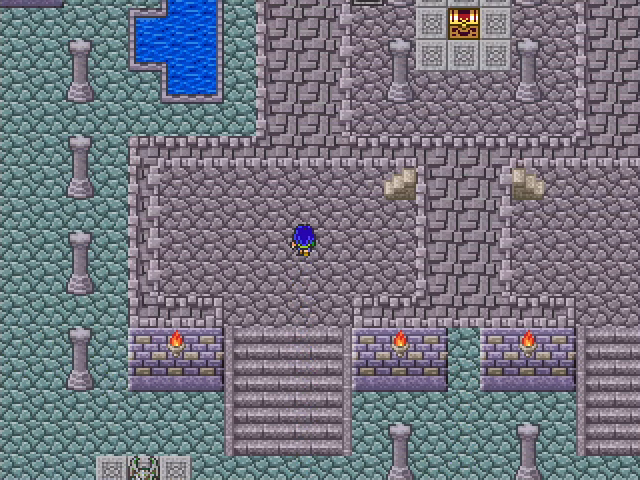  Holdana heads up the southwest stairway, which brings her to the adjoining room.  A complicated puzzle this is not.  It is worth noting that she can't just hit the switch once and move on, though. This could be considered a trap for careless players.  Akira heads up to the next floor and finds himself in the opposite position. 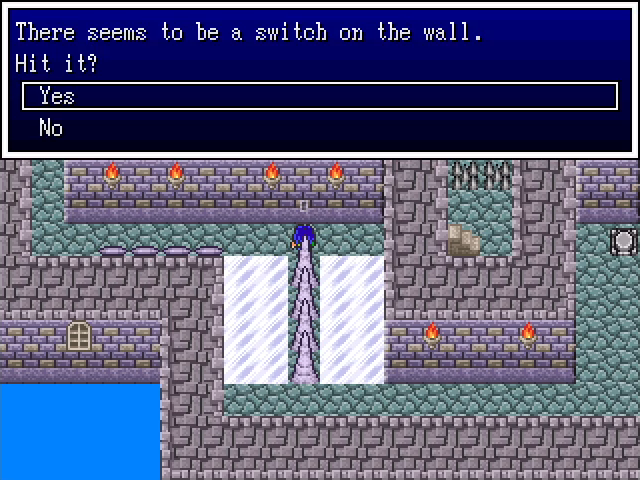 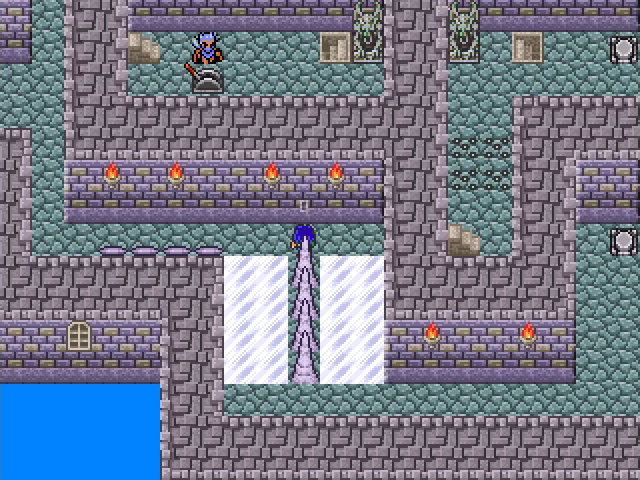 Holdana climbs up to that floor, bypasses the spikes with Akira's help, and hits a wall switch, lowering some small spikes in a nearby room.   She then steps on a button, lowering large spikes in a different room.  Heading back the way she came, Holdana climbs up to the fourth floor and finds herself in a room that looks a lot like the final chamber on the Trial of Heroes.  Akira continues up and finds himself in the same room, but with access to a floor button.   I don't have to explain how this works, do I?  There's only so much Holdana and Akira can do on their own, of course, so Raj Ahtan heads up next.  The right side of the tower has a smiliar setup to the left.    Naturally, Zefiryn takes the last of the three staircases and lets him through.  She then continues up only to be stopped by more spikes.   Raj Ahtan continues up, steps on another button to allow Zefiryn access, after which he can continue up.   With all four heroes on the top floor, the button pushing continues.   Eventually, we clear enough spikes to reach two holes in the floor, one for each pair of heroes. (Or, if you're a dumbass like me, you miss a button and have to make the climb a second time to get everything.) 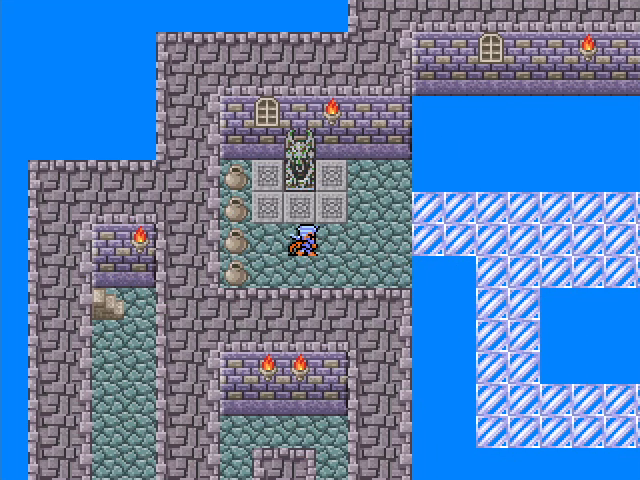 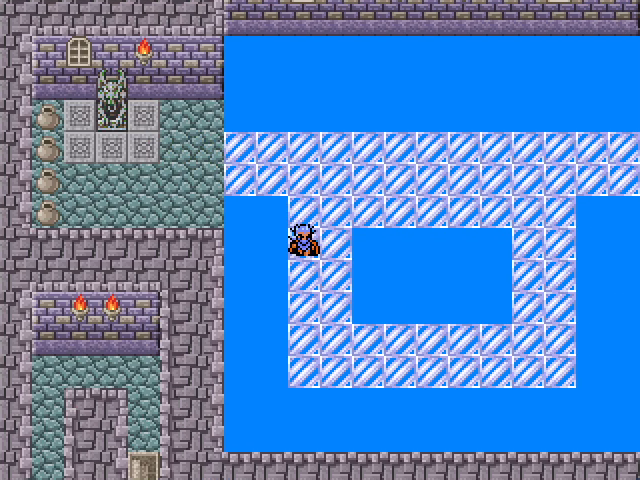 The holes deposit us on one of two small platforms connected to a walkway.  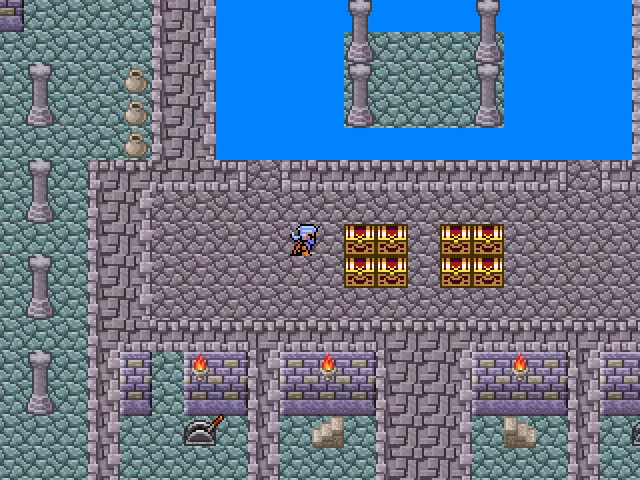 Dropping from the southern part of the walkway deposits us on this ledge containing eight treasure chests. 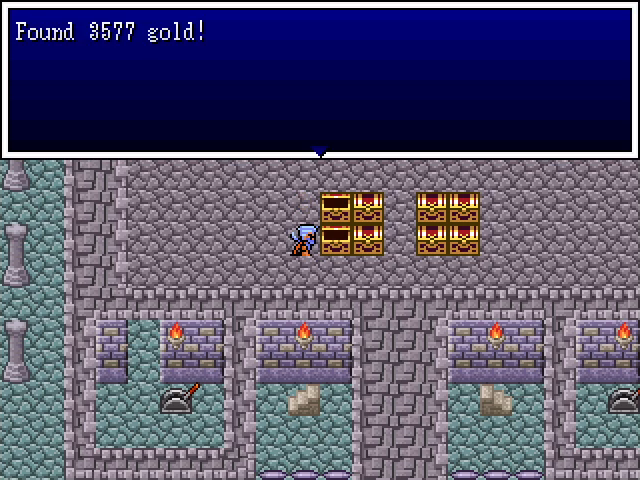 They all have between a few hundred and a few thousand gold. Nothing exciting, but money is always good. Once we get it all, we can drop off this ledge back to the ground floor.   Dropping off the northwest part of the walkway puts us on a small ledge with three treasure chests, one of which contains the excellent armor of light.    Likewise, dropping off the northeast part of the walkway nets us three more chests, with treasures including the female-only dress of radiance and the hero's diadem, powerful head armor usable only by the four protagonists.   Finally, dropping through the hole in the walkway puts us on a small, floating ledge.  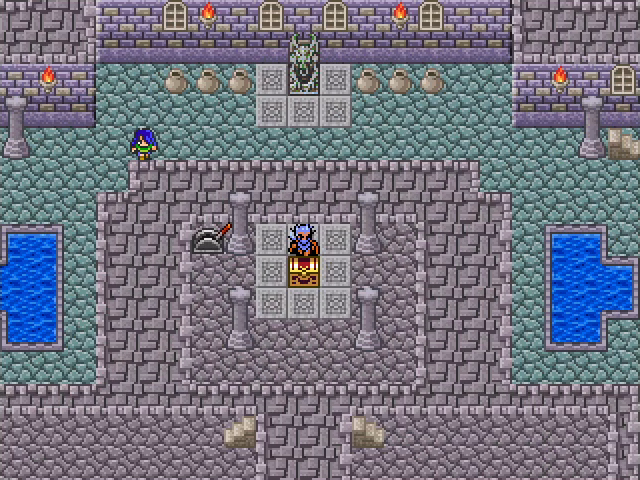 Dropping off of that puts us in this sequestered area on the ground floor. 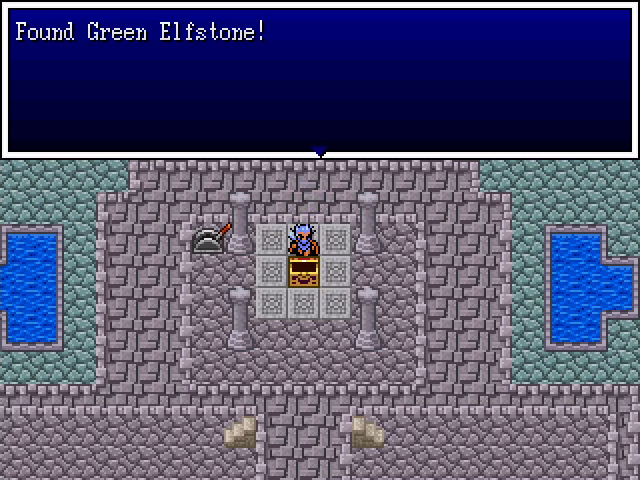 Inside the chest is a second Green Elfstone! What's interesting about this is that in my first run (the one where my recording got hosed up), the chest contained a Blue Elfstone instead. I'd guess it randomly picks one of the three when the chest is opened, which gives each playthrough some variance. As it is, we already have two Daredevils, so unless y'all really want to see my take a third one, I'm inclined to let this stone go unused.  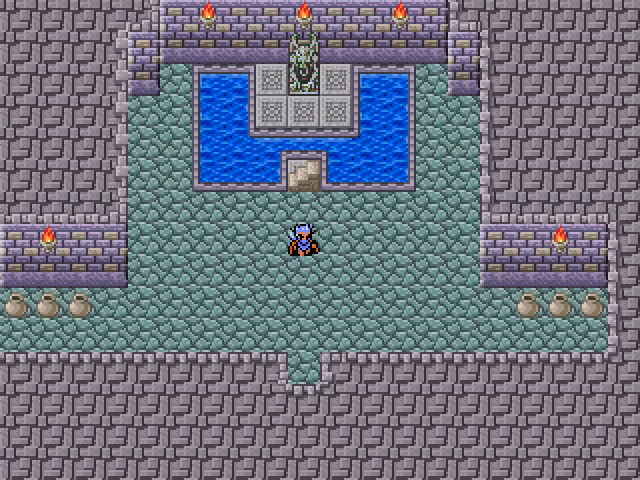 Pulling the nearby lever creates a stairway which leads into the otherwise empty room near the entrance.  And that's it for today! Next time we'll continue with the main story unless there are requests to do otherwise. Level Up Roundup       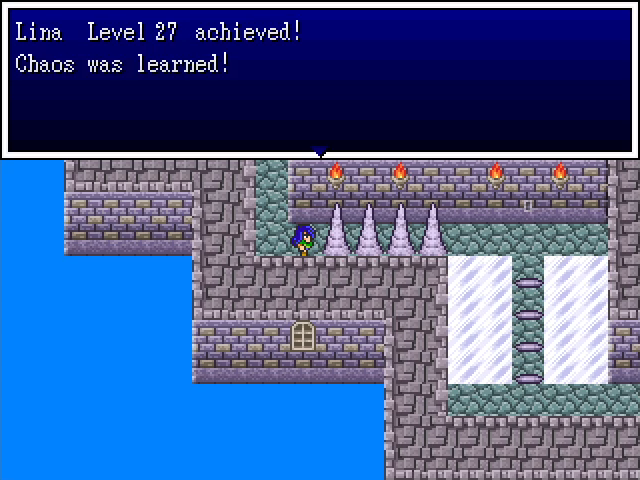 Chaos inflicts confusion an all enemies. Not super useful. 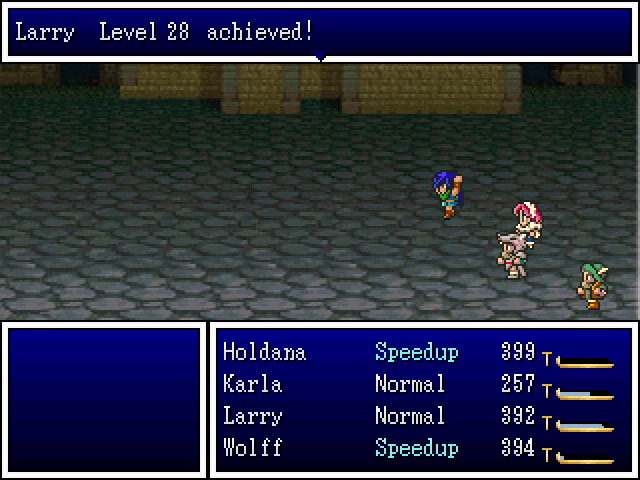 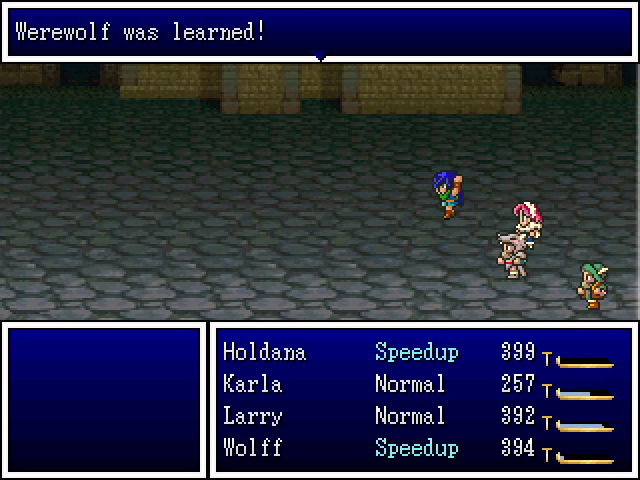 In addition to the usual shapeshifter benefits of doubled power and HP regeneration, Werewolf doubles the user's agility, meaning they hit twice as hard, twice as often. It's real good.       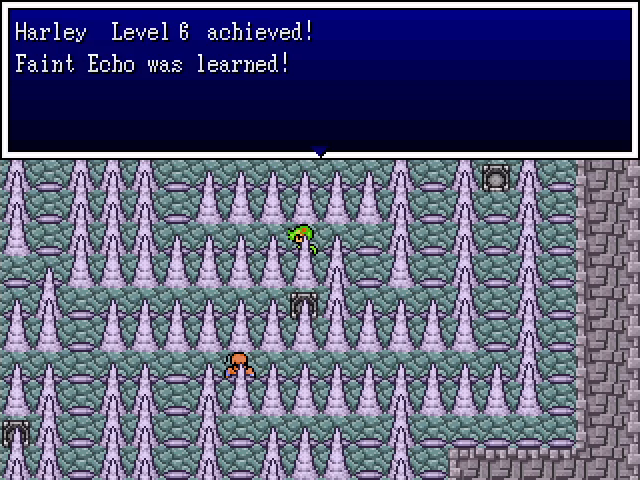  
|
|
#
?
Mar 27, 2023 22:04
|
|
|
Life's gotten a bit busy for me lately. The next update is delayed until next week, and I may have to go on a biweekly schedule going forward. We'll see.
|
|
#
?
Apr 3, 2023 14:21
|
|
|
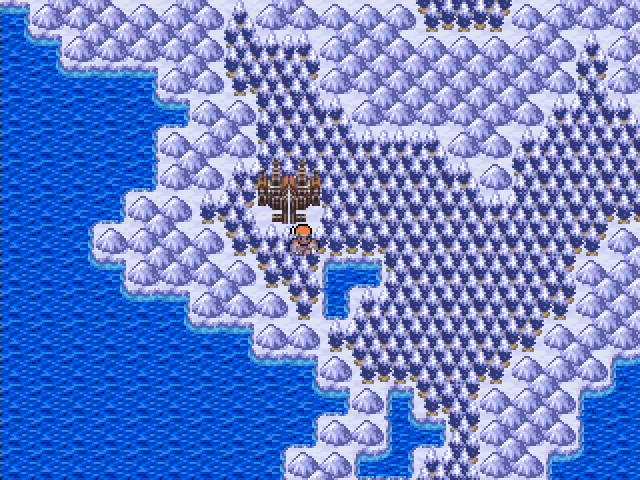
Welcome back, everyone. With our current batch of sidequests done, let's go take care of an errand I've meant to get done for a while now. 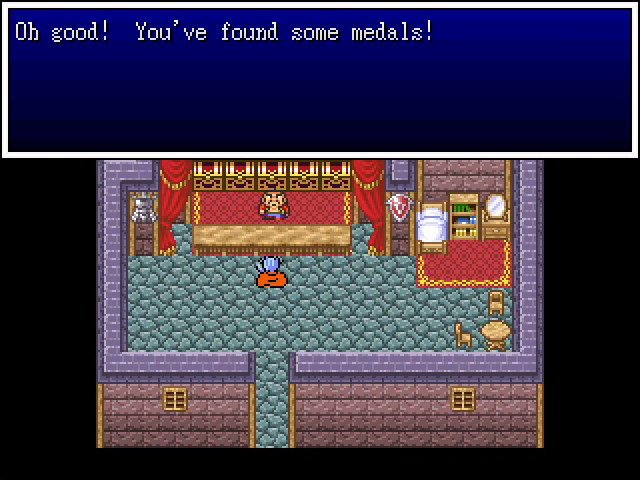 We've got quite a stash of Tiny Medals ready for trade-in.   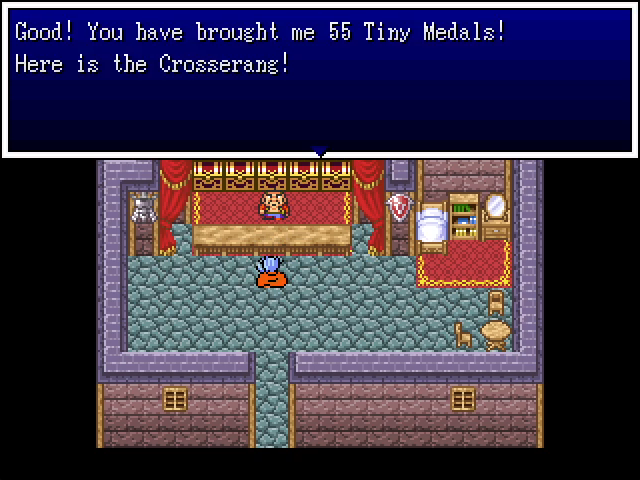   We get four items for our trouble, since I've really been putting this off. The shield of wisdom and immunity idol are easily the best prizes here. The former has solid defense, raises intelligence, and grants immunity to Stopspell, making it ideal for Hexia. The latter provides total immunity to status ailments - not always valuable, but highly useful in the right circumstances. The crosserang is also a decent reward, giving Harley a slight upgrade. The fixed dice, unfortunately, can't be used by anyone in our parties. (I suspect it's limited to Harlequins and maybe Jokers.) 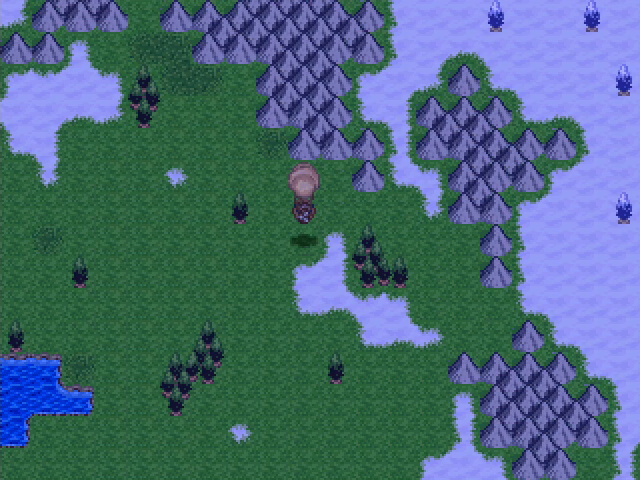 With that out of the way, we can get on with the main plot. We're headed north again, this time to Kremsland, just east of Ikeia, in search of the Divine Tome.  With our airship, it doesn't take us long to reach this small town on the tundra. 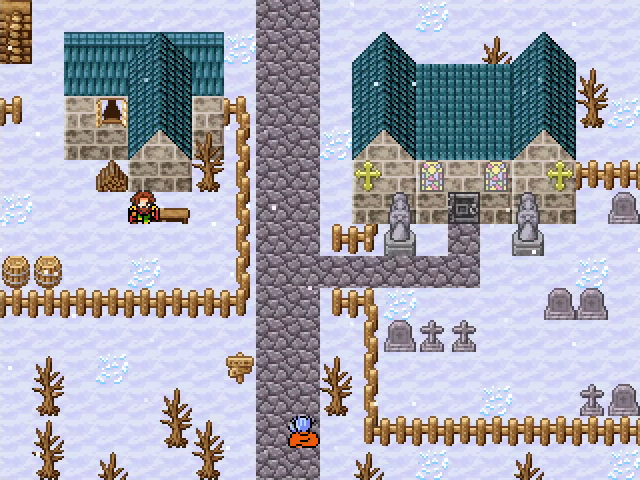 It seems nice, if a bit desolate. 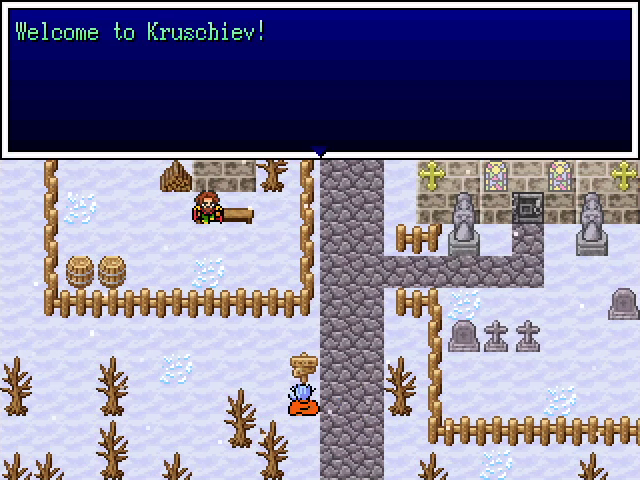 If you thought "Kremsland" sounded a lot like "Kremlin", let me assure you it's not a coincidence. 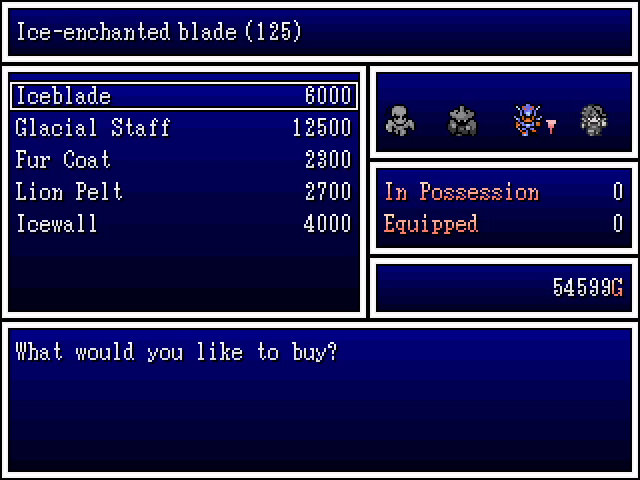 The one equipment shop in town sells ice-themed gear (unsurprisingly). There's nothing we really want.   Honestly, this was just begging to be heroically searched. 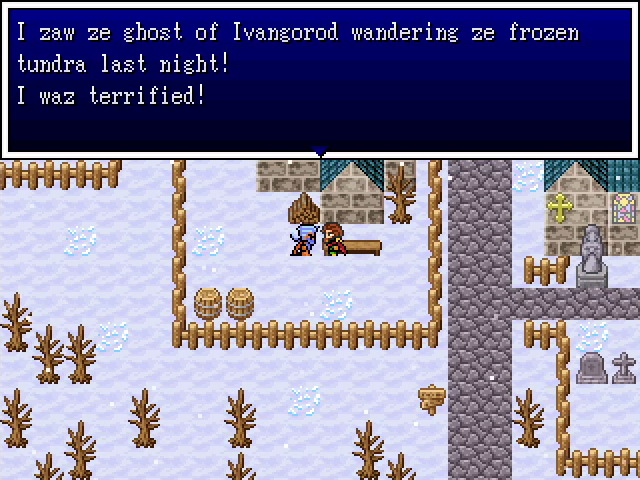 I'm sorry, sir, I didn't catch that. I was too busy wondering what's up with your accent. (I know it's supposed to be Russian, but it reads as French to me with all those Zs.) 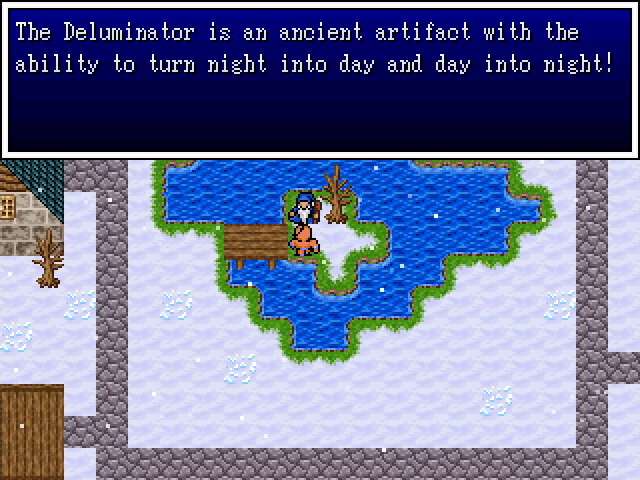 That sounds like a non-vital but very useful convenience item. I sure hope it's not annoying to get! 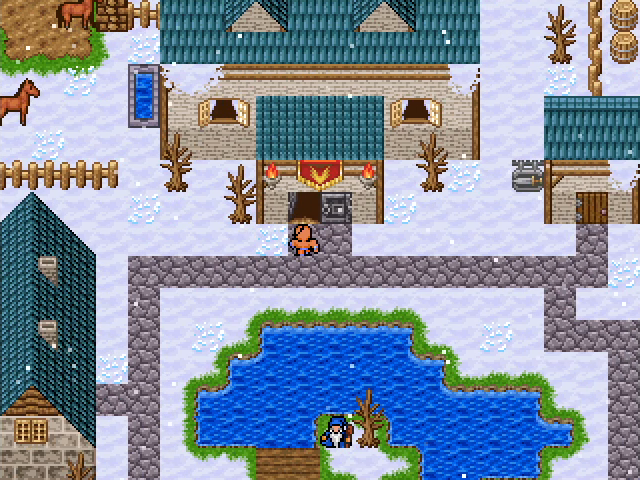 This is the fanciest building in Kruschiev by far. Maybe it's the mayor's house.  Oh.  Oh no.  While I respect the author's attention to detail in adding the local accent to the standard speech, I could really have done without another Funhouse.  There's a shop here selling high-quality stat boosters, but we don't really need any. 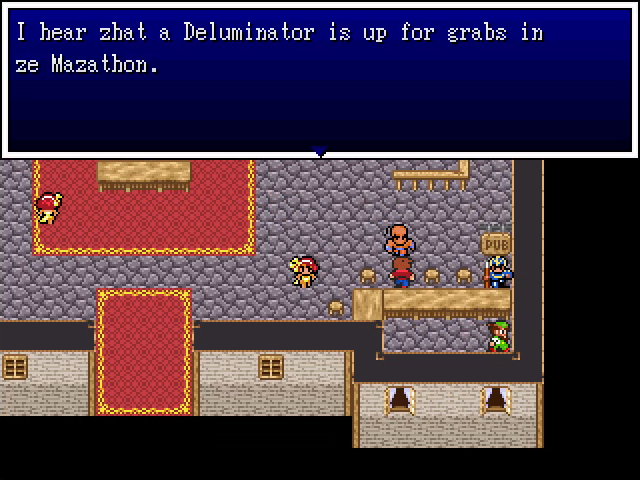 Also, one of the patrons here tells us what the prize is, and it's admittedly tantalizing. 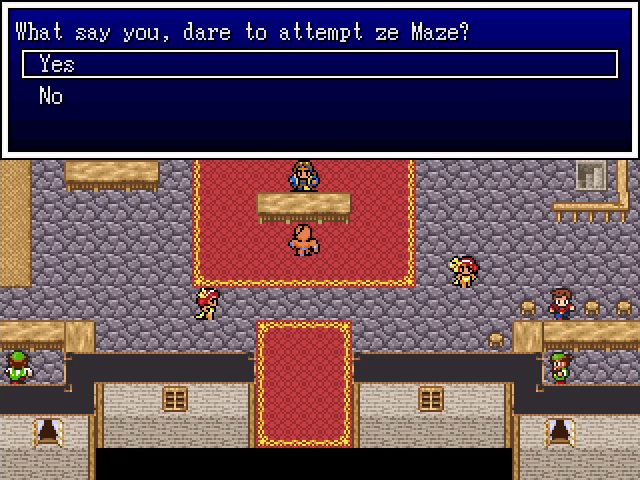 We may as well. 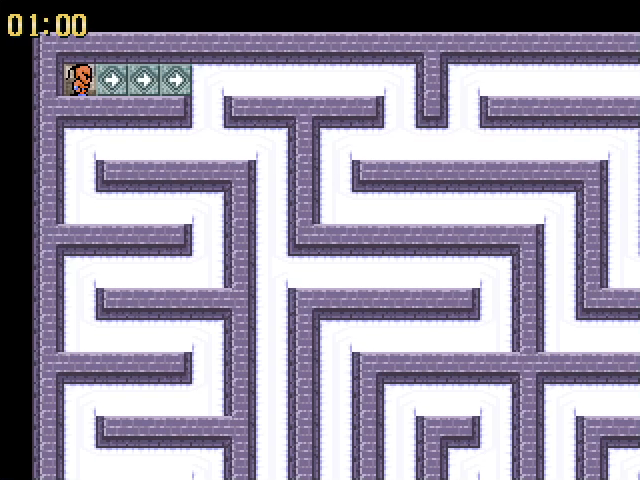 Besides its pleasant snowy theme, there's very little to say about this Funhouse maze that I haven't already said about the others. 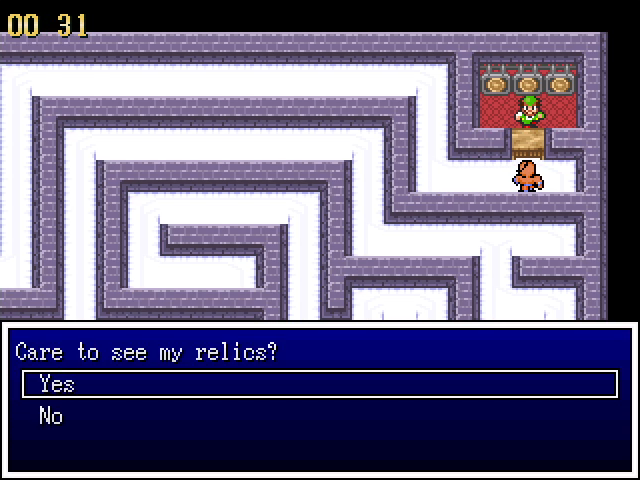  There's a shop hidden within, which sells element-resistant relics, but those have always been situational at best. 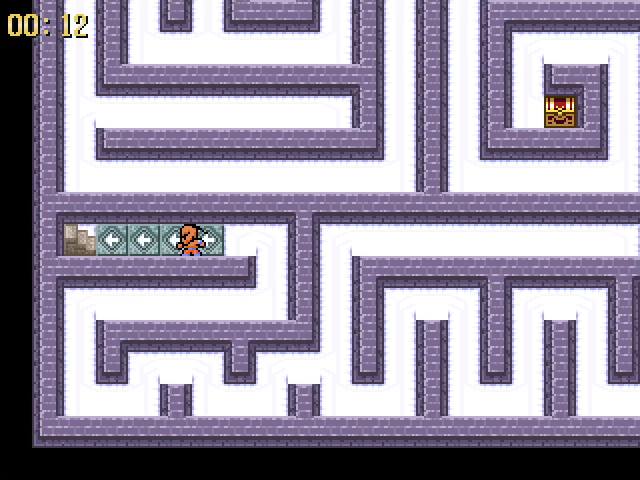 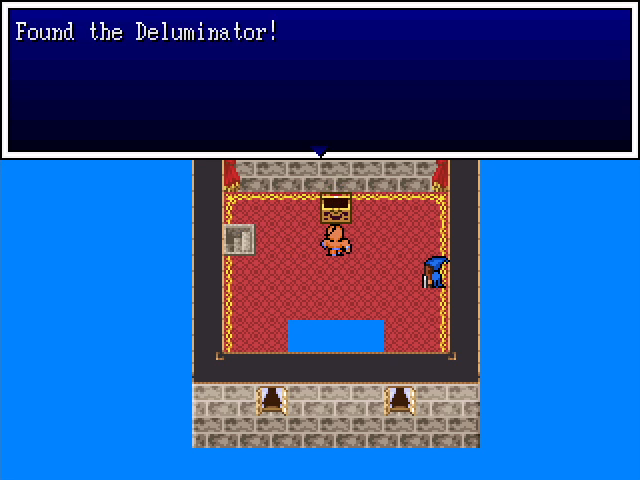 After more tries than I'd care to admit, we reach the end and claim the Deluminator. 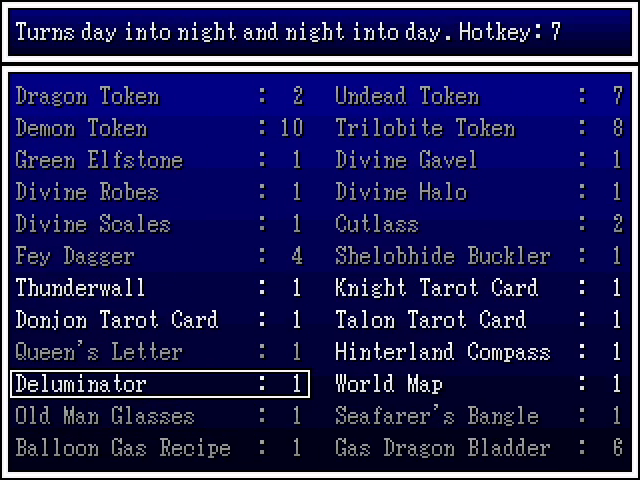 Conveniently, it's bound to a hotkey, so we can access it easily whenever we're on the world map. Its placement here is no coincidence; we'll be using it quite a bit in this update. 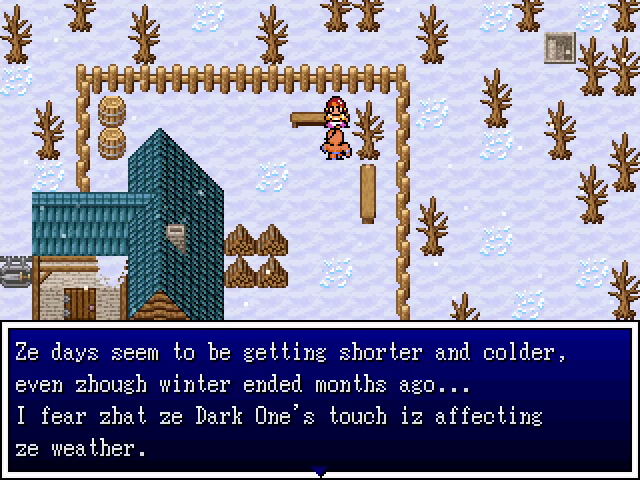 No wonder Kruschiev seems so desolate.  I'm not sure who that is, but it sounds both spooky and important.  We're mostly done here, but there's a stairway in the corner of the town, which is a bit odd.  It takes us down into an ice sliding puzzle, which is actually pretty straightforward.  Our reward for competing it is the Snow Guide, which allows Wolff to use snow terrain powers anywhere. We could also have given it to Harley or Shemp, but they don't need the help.  After finishing up in Kruschiev, we fly southeast, to what is obviously the capital.  Welcome to the city of Marx.      The relics in Marx are nothing we haven't seen, but there are quite a few new weapons and armor available. With money being so tight, we can't afford much, but I do grab a few suits of full plate armor for our warriors. There's also a shop selling scrolls and tarot cards, which is mostly useful for the Heal scrolls. 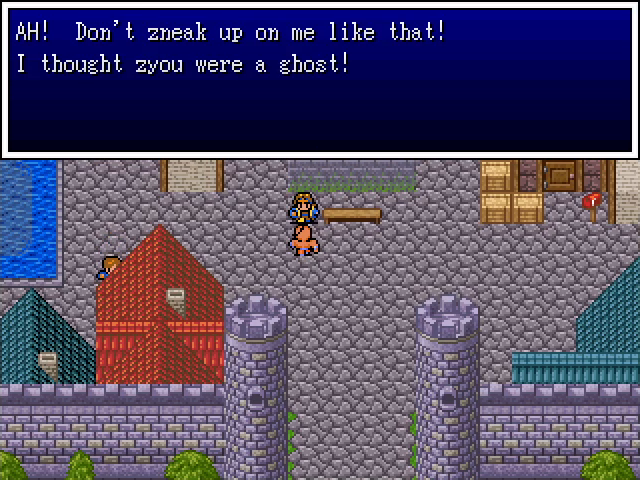 Why ever would he think that? 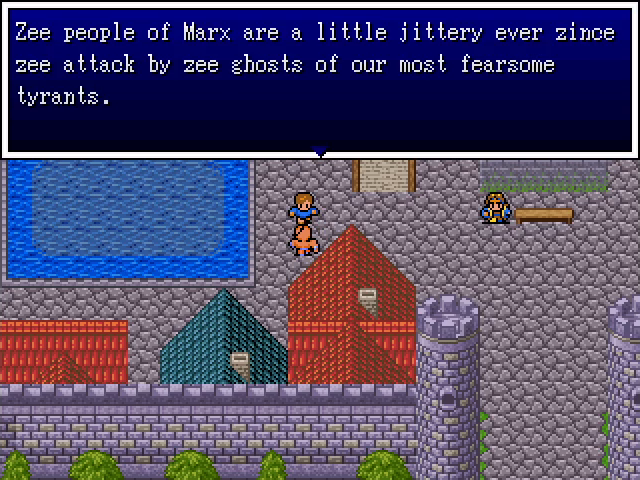 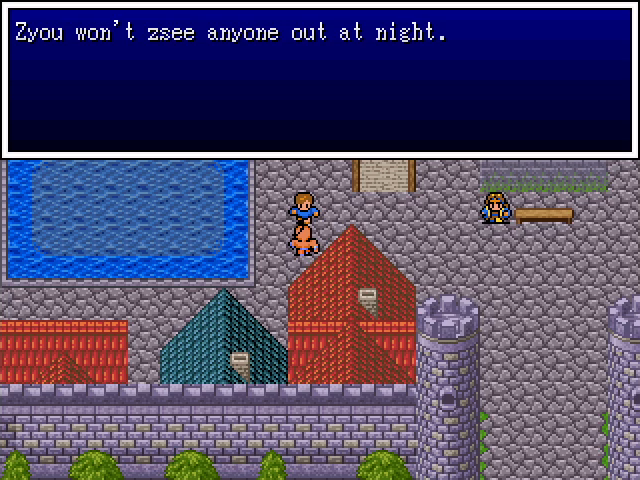 Oh. Yeah, that'd do it. 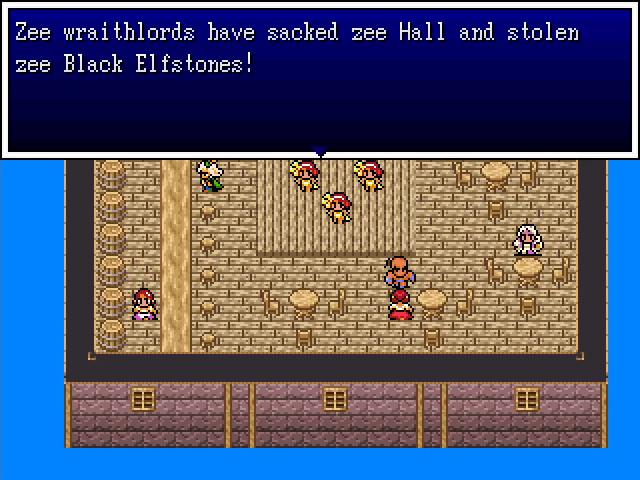 Oh, hey, more Elfstones. Why do I get the feeling we're going to need them? 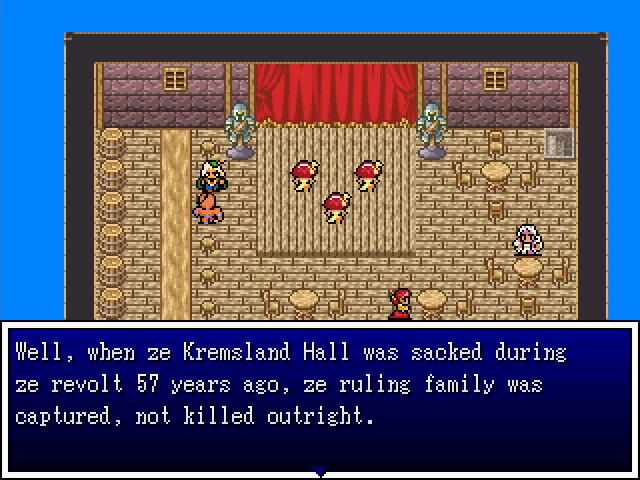 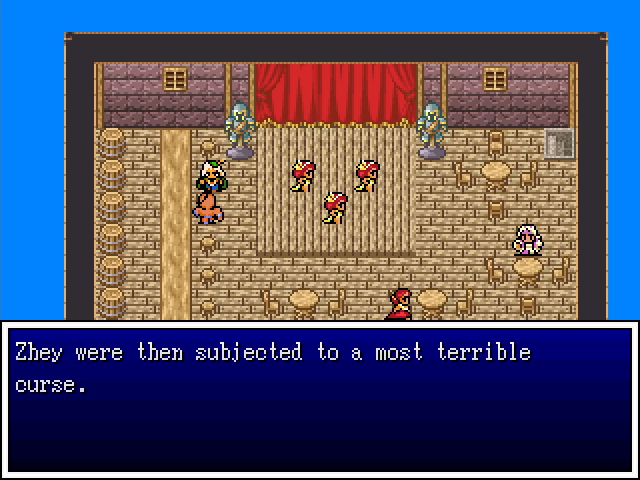 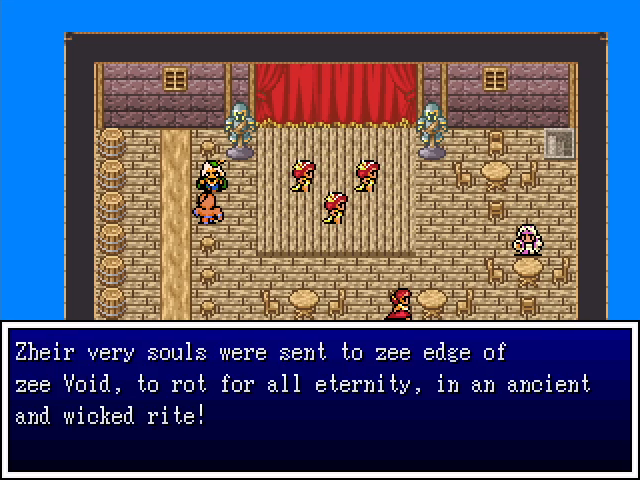 That seems like a needlessly cruel and reckless punishment that has backfired terribly. 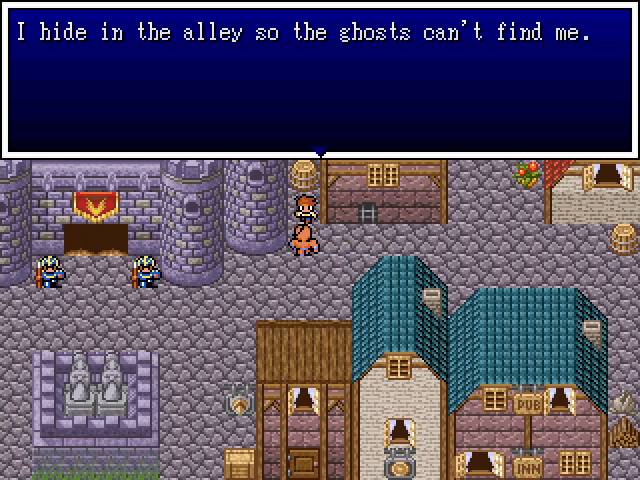 (We can come back at night and grab a Tiny Medal from the barrel behind him, in case you're curious.) (We can come back at night and grab a Tiny Medal from the barrel behind him, in case you're curious.)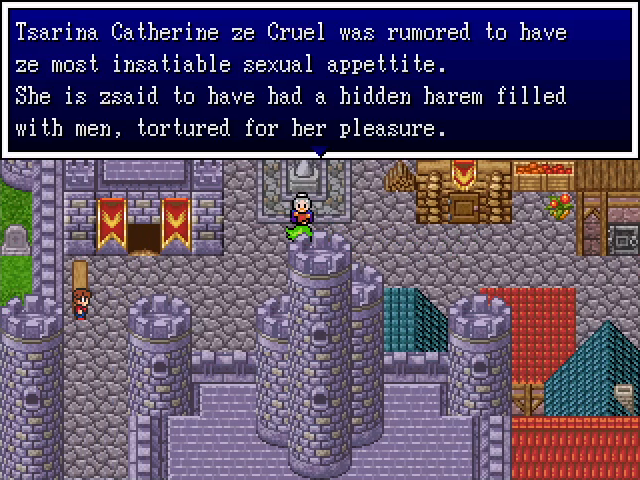 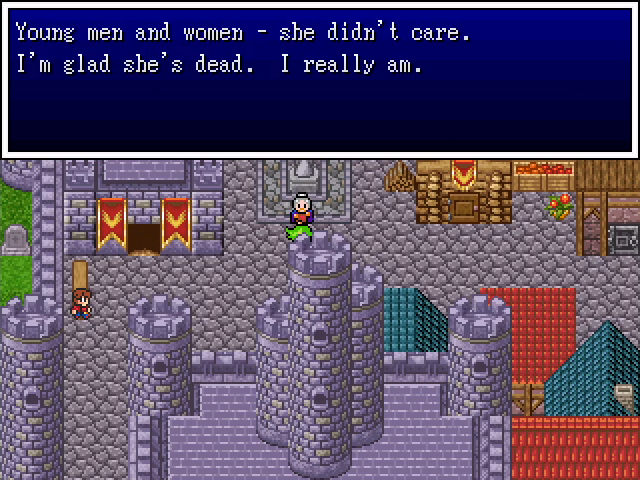 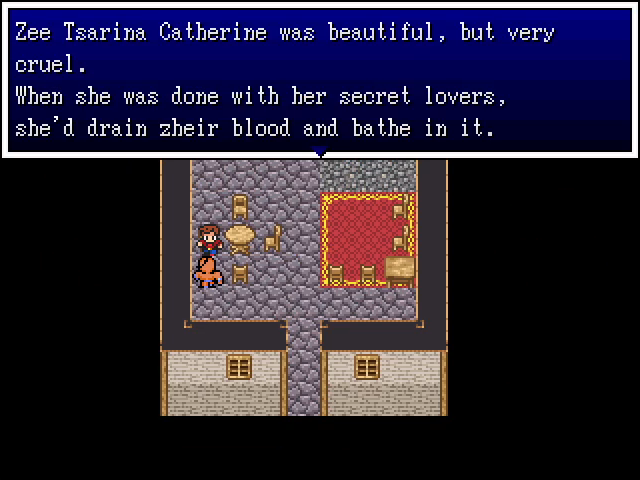 Just in case you didn't get the idea that the former rulers of Kremsland were horrible tyrants, one of them was basically Elizabeth B�thory. 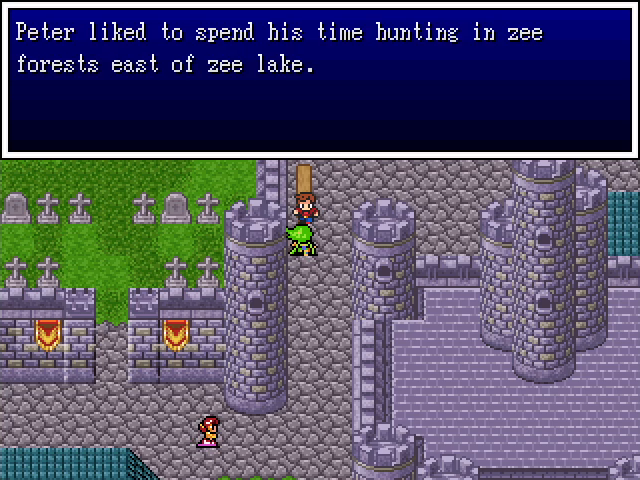 This, combined with actual sightings of the other two rulers, tells us where to find them all. And given that they stole some McGuffins, we have a reason to go looking. We just don't know what the end goal is. 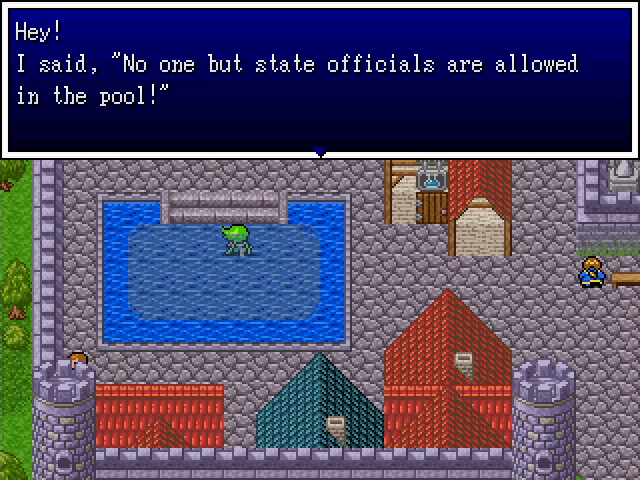 Well, you would have if we'd talked to you.   Jerk.   I am not staying in jail for this bullshit. 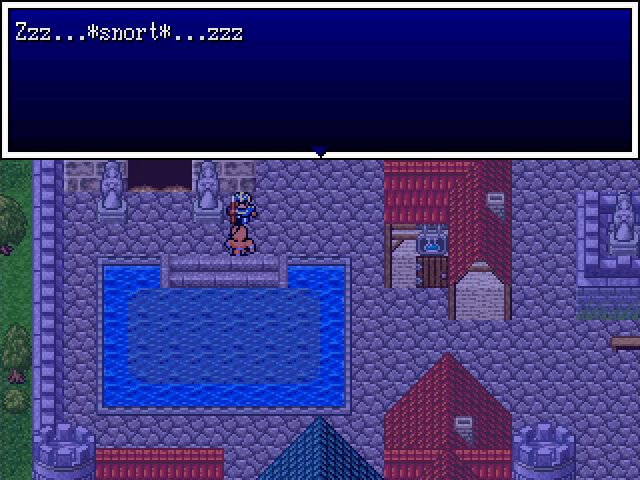 We return at night to find him asleep at his post, which is unsurprising given that he seems to be on duty 24 hours a day. 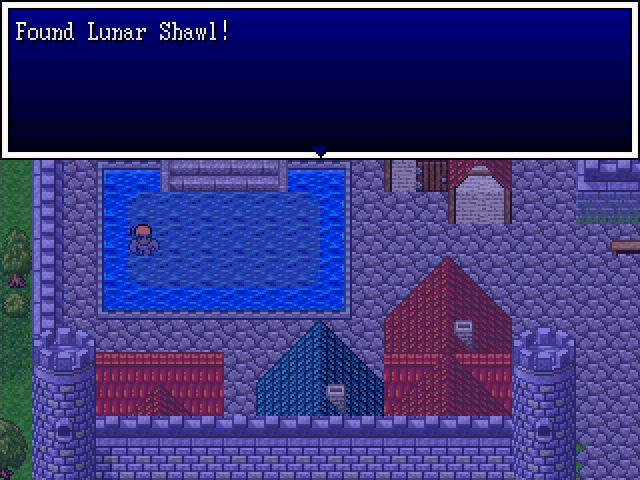  The Lunar Shawl turns its wearer into a werewolf, as if by the spell of the same name. This is very powerful, but our characters all have other things to be doing during their turns. Still, it's worth considering if we ever need more raw damage output (and nothing else) from someone.  That's remarkably progressive for a medieval fantasy world.    And there's the last piece of the puzzle. Without the Elfstones, we can't get to the Divine Tome. Well, nothing for it: let's go re-kill some nobles. 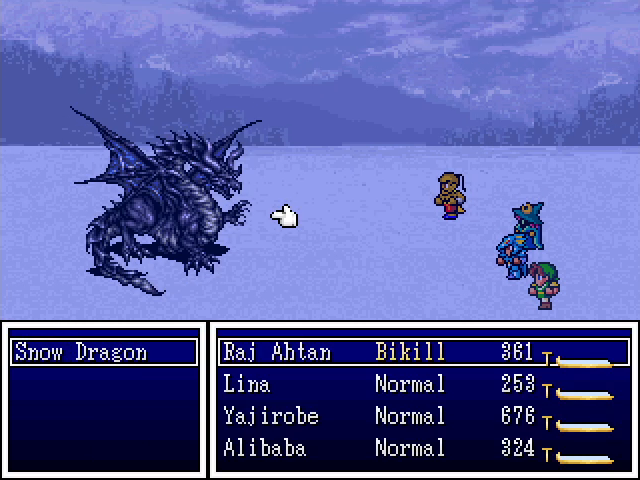 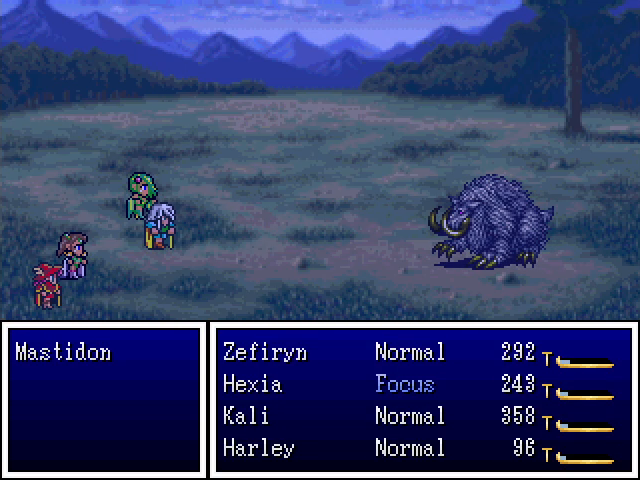 While looking for our targets, we run into a snow dragon, but we only ever meet one and it doesn't get a turn, so that's about all I can say about it. We also run into a mastidon [sic], which attacks use with Icestorm before we put it down. The next fight is... Odd.  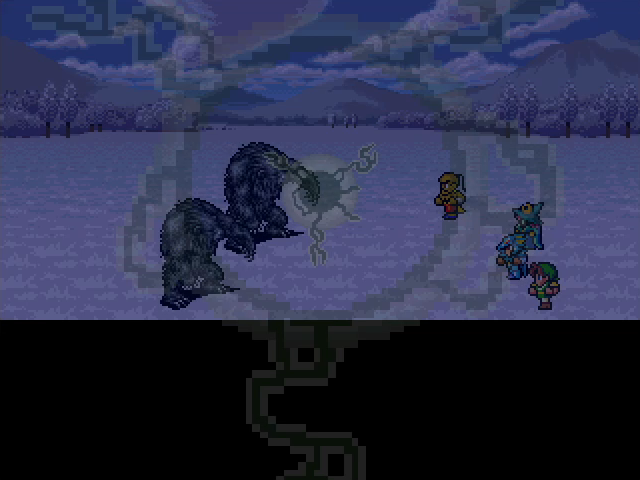   Ah, okay. We've found one of our targets. Ivangorod, the former tsar, is a caster who likes to use spells like Poismost and Demi, while his nanooks just use physical attacks. Despite his appearance, Ivangorod is not incorporeal and can be harmed by weapons. Raj Ahtan's dual claws hit him for about 2000 damage per round, and with the rest of the party assisting, it's not a long fight.   Rather than dying normally, the undead monarch explodes for nearly 20,000 self-inflicted damage.  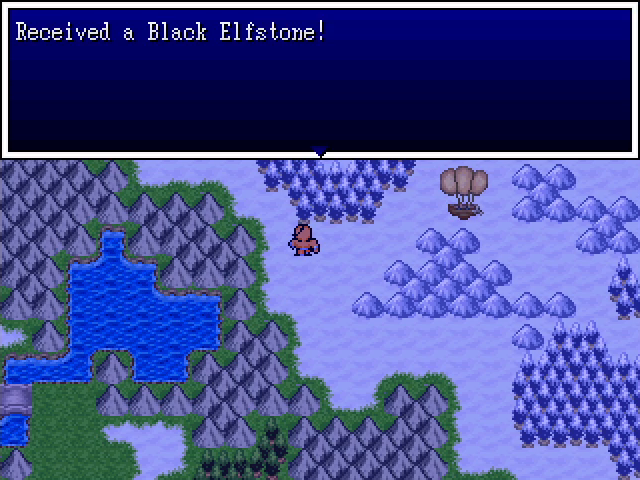 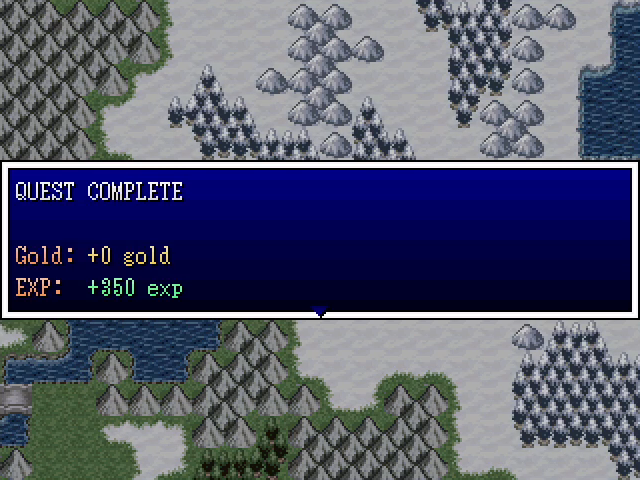 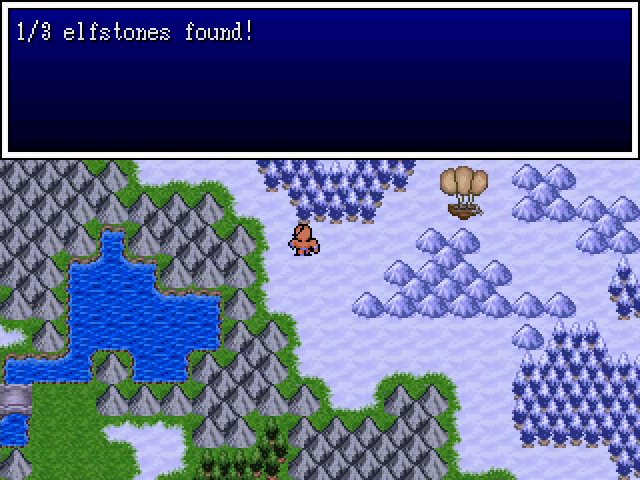 One down, two to go.  Next, we head east of Marx, where Peter supposedly liked to hunt.   We find him on the first encounter, even. He's a physical fighter with uses regular attack and can deal sizable damage to the whole party with Combo.  However, between Holdana using Pummel and attacking with her ghostblade and Larry using Werewolf to power himself up, he doesn't last long.  Boom.    Just one left. 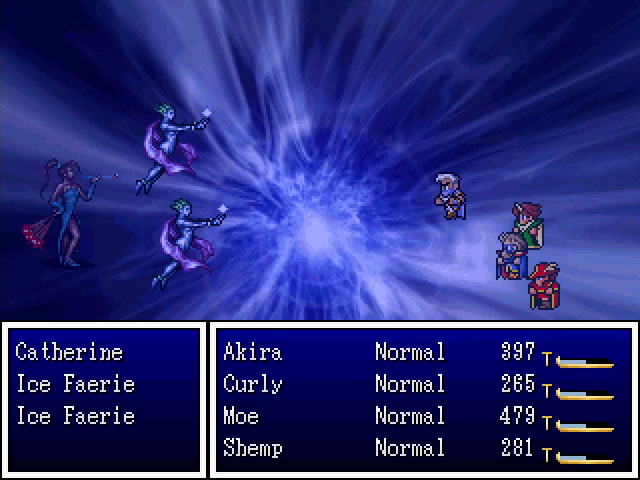 Catherine is actually the toughest of the three ghosts to find, as the instructions ("a valley west of Marx") are pretty vague. We actually run into her while flying in the airship, which I assume is a bug. She brings two ice faeries to the battle, which cast spells like Icespears before Curly summarily executes them with Firaga. 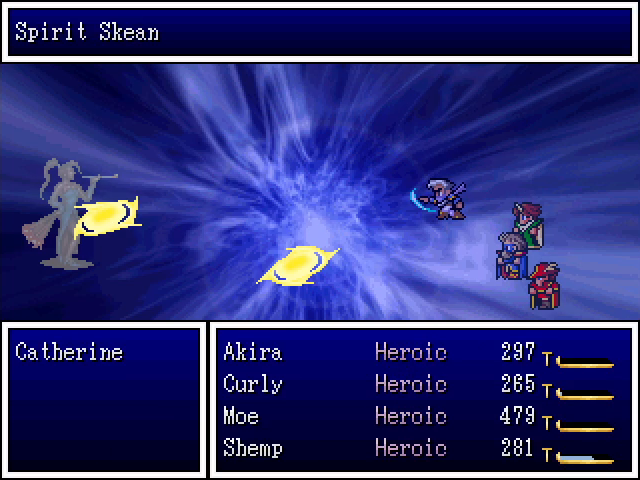  Catherine is a caster, like her husband, though she uses a different set of spells (Stopspell and Healmore). With Akira able to hit her for nearly 4,000 damage a turn, this fight is over nearly before it begins. 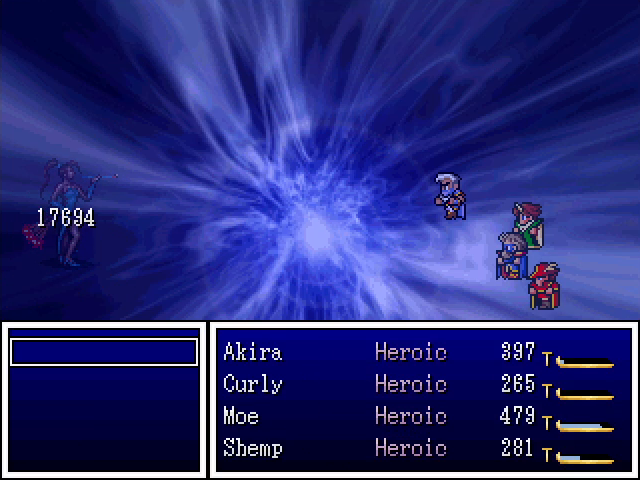 Again, boom. 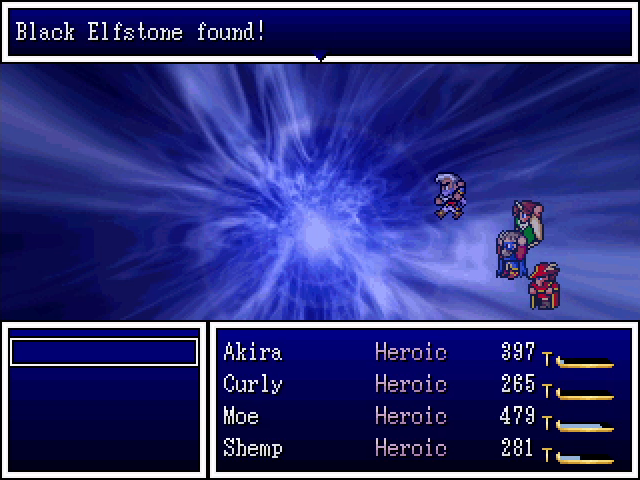 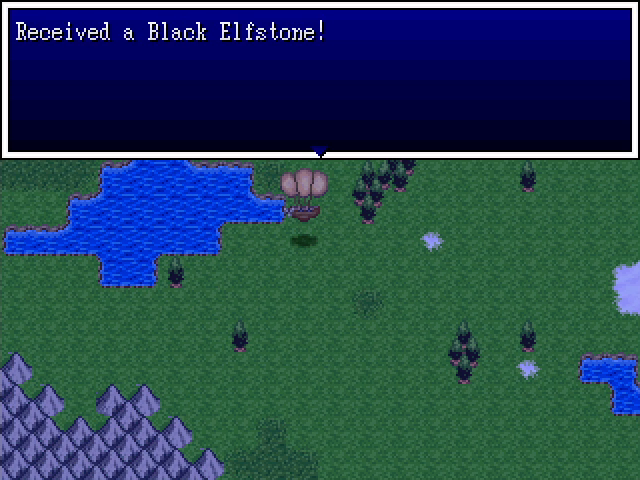 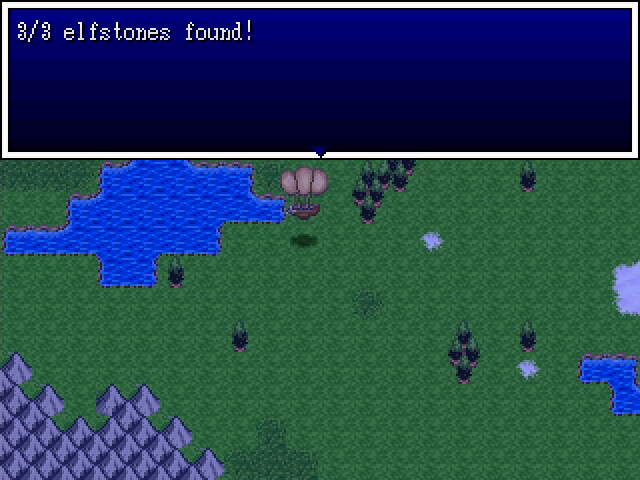 That's all of them. After this, we get teleported to the tundra, where...   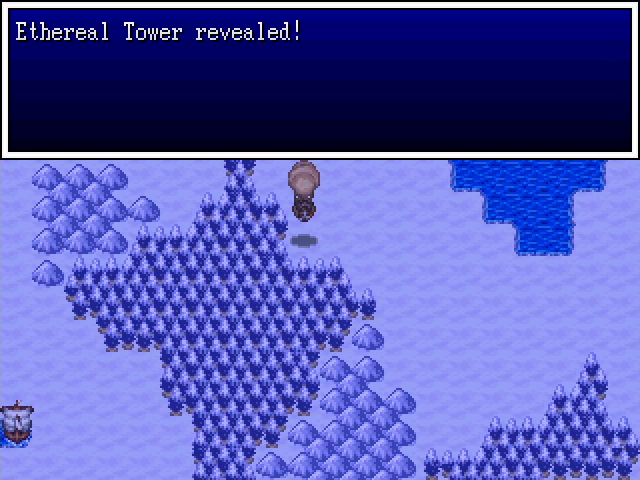 ...the Ethereal Tower reveals itself.   It's time to retrieve the next Divine item. Level Up Roundup                     
|
|
#
?
Apr 10, 2023 20:07
|
|
|
I'm surprised they didn't work in the hunts of Count Zaroff too, or maybe that was the nebulous hunting.
|
|
#
?
Apr 10, 2023 20:58
|
|
|
SIGSEGV posted:I'm surprised they didn't work in the hunts of Count Zaroff too, or maybe that was the nebulous hunting. It's not explicit, but given that they're all supposed to have been as awful as Catherine it's not unlikely.
|
|
#
?
Apr 10, 2023 21:04
|
|
|
This Catherine sounds a bit more unpleasant than our version of her, who reportedly just had a very healthy libido and treated her lovers well.
|
|
#
?
Apr 11, 2023 04:08
|
|
|
Good news! Turns out I hosed up my recording and got basically no footage, so I have to replay everything!  Suffice it to say that I won't have an update for y'all this week. Suffice it to say that I won't have an update for y'all this week.
|
|
#
?
Apr 17, 2023 12:25
|
|
|
oh i only saw this now, poo poo, that sucks. no rush.
|
|
#
?
Apr 19, 2023 22:28
|
|
|
I'm still a bit behind but I should have an update tomorrow.
|
|
#
?
Apr 25, 2023 03:37
|
|
|
Thatnks for being patient, everyone, and welcome back. Today's update is another fairly short one - it took a while to play through but there's not a huge amount to say about it. When we last left our heroes, they had acquired the three Black Elfstones and unveiled the Ethereal Tower.  The visual design of the Tower is actually pretty nice, with lots of water and glass floors. Unfortunately, there's a color strobing effect both in and out of battle, which is pretty ugly. Travel between floors is done via teleportal: there are no stairs anywhere. 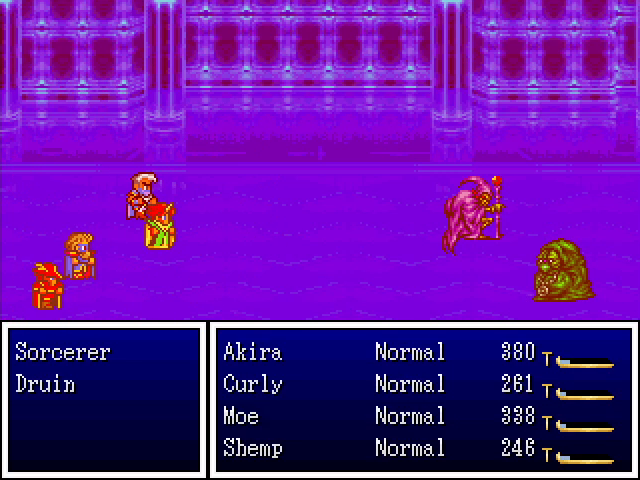 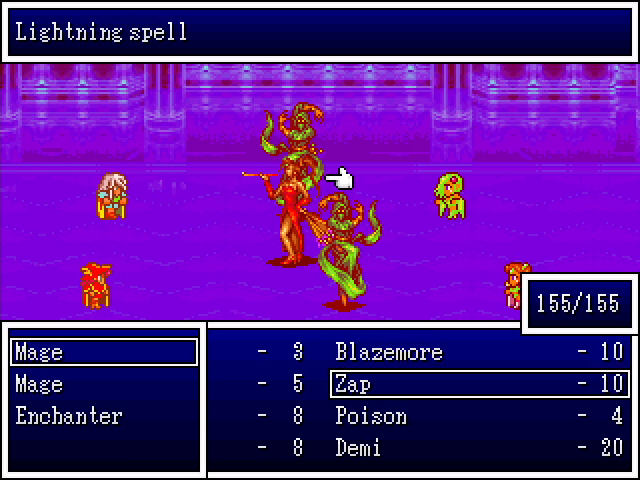 There's no nice way to say this: the Ethereal Tower is, conceptually, an analogue to one of the worst dungeons in the games that inspired Heroes' Realm: the Fanatics' Tower from Final Fantasy VI. The enemies here are all spellcasters (and, frustratingly, immune to Stopspell effects), and while attacking is allowed, there's not much point since all of them are immune to physical damage. (They're not undead, so Bless and similar spells do not work. Physical fighters like Kali are basically worthless here.) As for the enemies themselves, sorcerers, mages, and druins are offensive spellcasters (with the last having a bit of healing as well), while enchanters prefer debilitating magic. 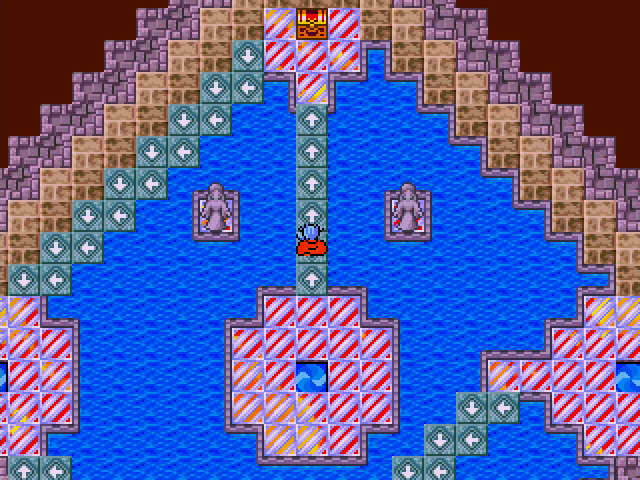 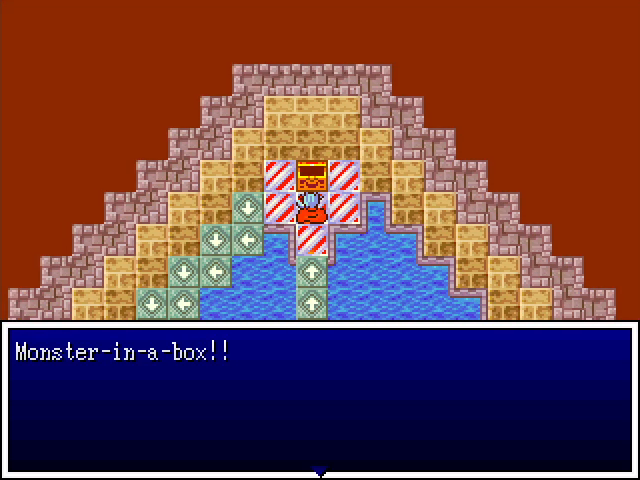 From the ground floor, we take the middle portal up to the next floor and immediately find one of the few chests in the dungeon, which contains a monster. 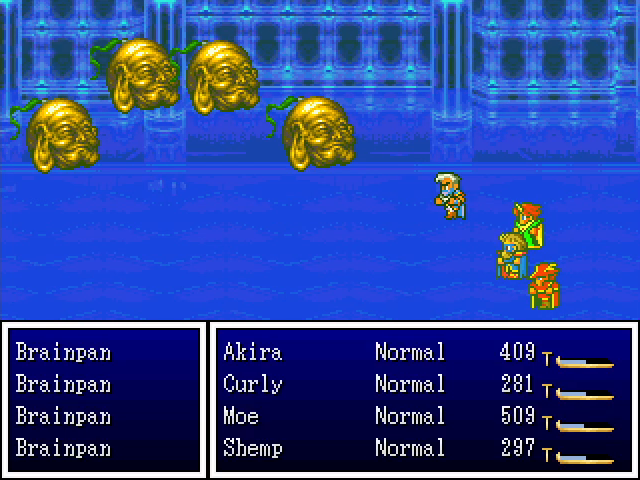 Well, four monsters actually. Brainpans use Demi to halve a character's HP and Blazemost to deal hefty chunks of damage. With four of them in play, it's quite possible for them to gang up on one character and kill them. 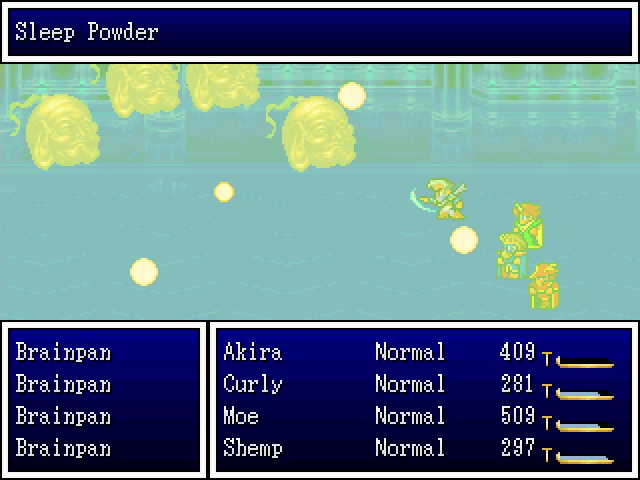 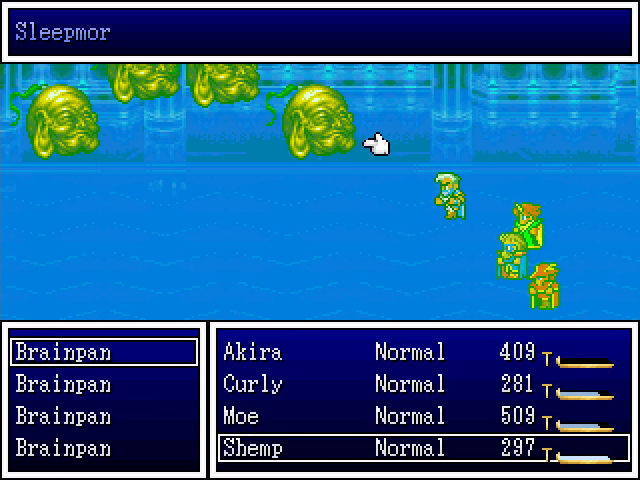 And that's why we don't keep them in play. Once they're asleep we can pick them off at our leisure. 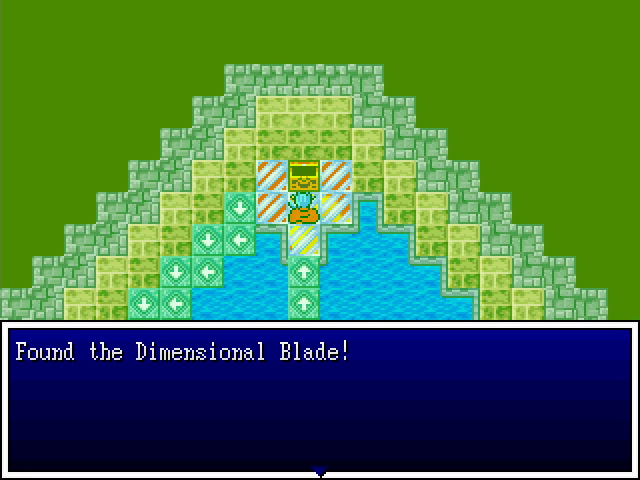  Our reward is the dimensional blade, an unusual sword that hits all enemies. Unfortunately, since it has a low hit rate and mediocre attack power for this stage of the game, we won't be using it.    From the chest, a conveyor takes us to a teleportal back to ground level, and we take the one remaining portal back up. 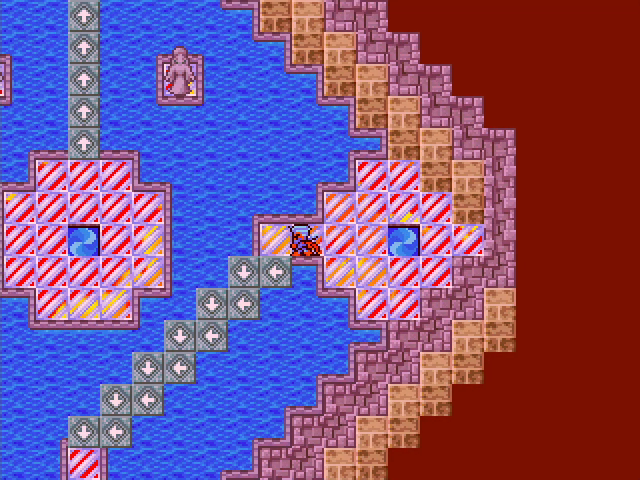 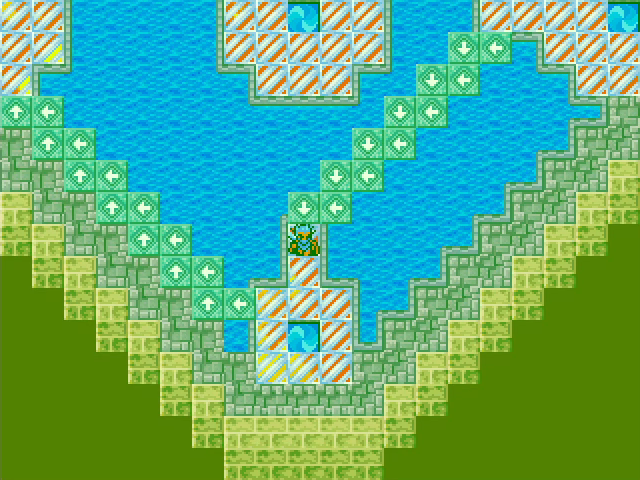 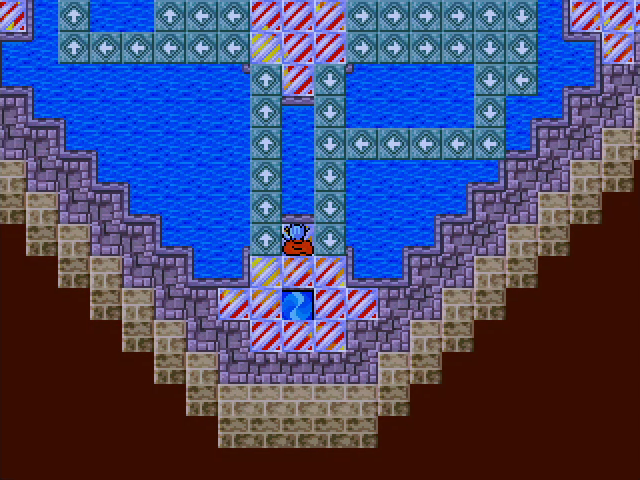 Another conveyor leads us so the south end of the second floor, where we teleport up to floor 3. 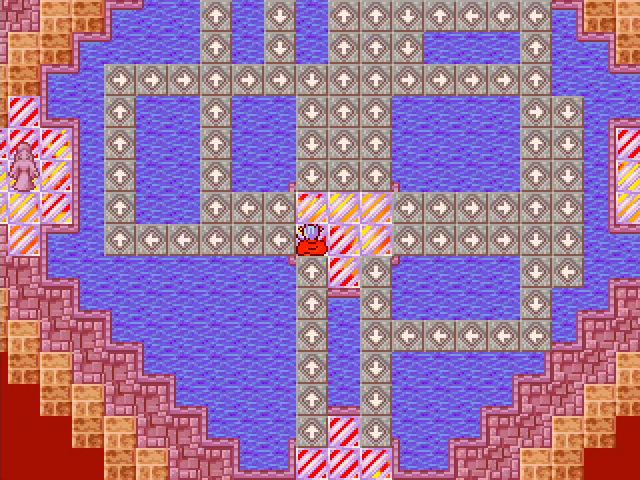 The third floor is a confusing maze of conveyors, but picking the wrong one just takes us back to the middle platform, so it's barely an inconvenience.   Getting to the end isn't difficult even if you resort to trial and error.   Floor 4 forces us to take a circuitous route around the edge of the room, but gives us a convenient way to get back, should we want it.  The next floor follows a similar pattern, forcing us to follow a spiraling walkway to get to the end.  We take a quick detour for the Tower Guide, further expanding Wolff's repertoire.   Eventually we reach the end and find ourselves on floor 5, which is not complex.  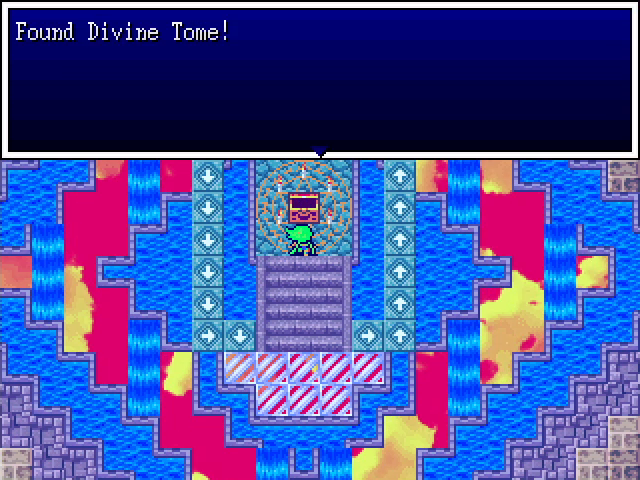  A quick trip on a conveyor brings us to the Divine Tome, the object of our search. 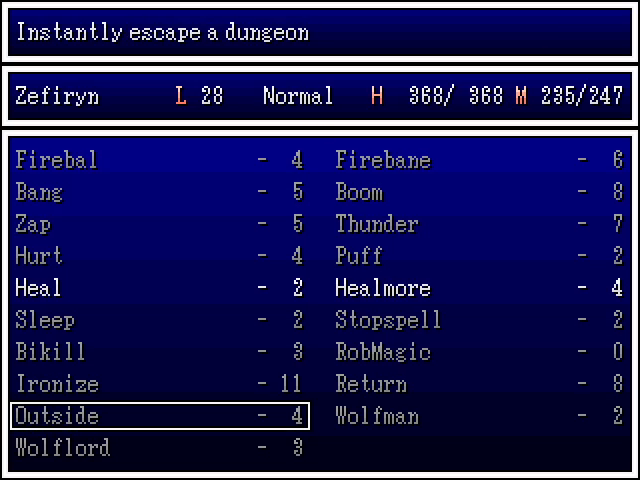 Frustratingly, we can't simply use Outside to leave the Tower. We have to walk. 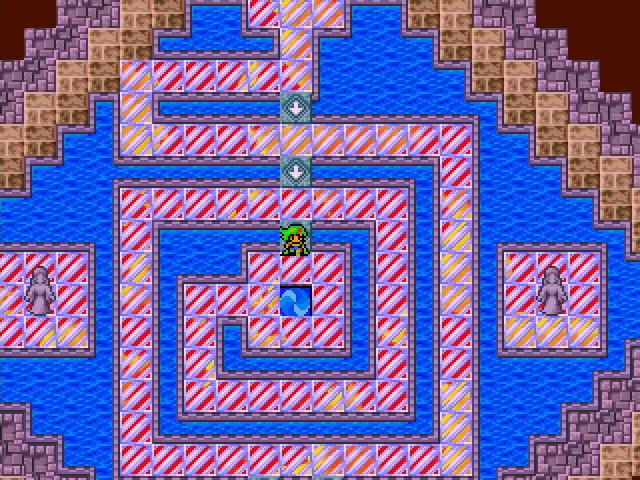   This explains all the shortcuts. It's not a long trip, really.  And that concludes the Ethereal Tower. Normally this would make a good place to end things, but that would make this update disappointingly short, so let's go do something else.  West of Marx is this unassuming structure.   It turns out to be a mountaintop temple. 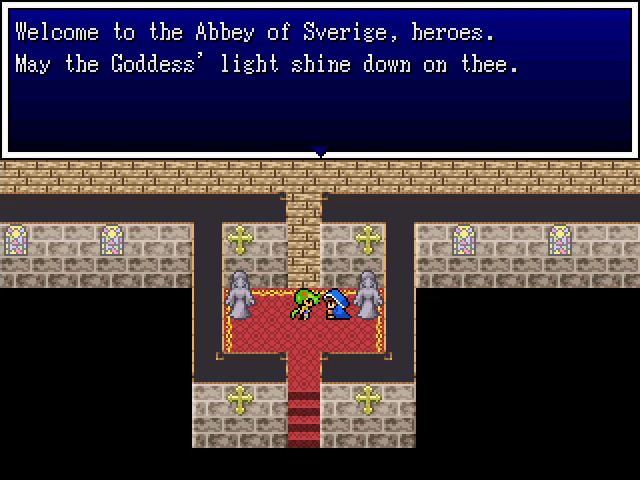  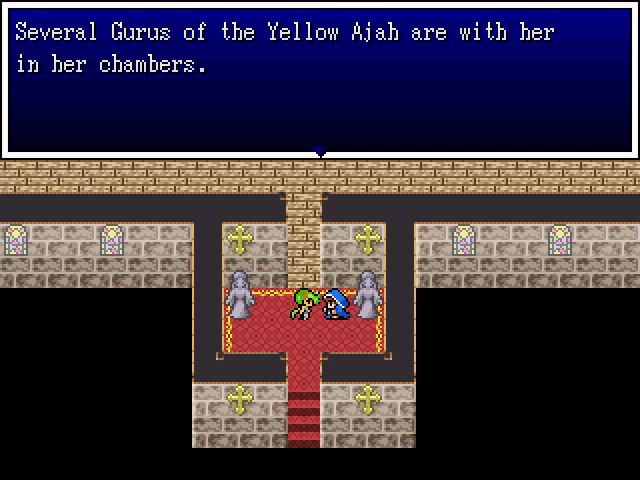 We're greeted by one of the local priestesses. We've finally found the High Abbess, whose condition we learned of way back at the start of the chapter. 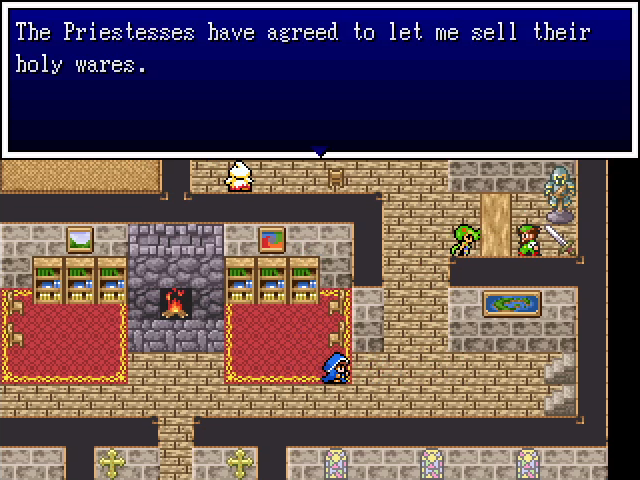 Besides a priestess, the Abbey has both an inn and an equipment shop.  The weapons here are of questionable use (being useful only on the undead), but the armor is top-quality stuff. We won't get any now, but we'll likely come back here closer to the end of the game. 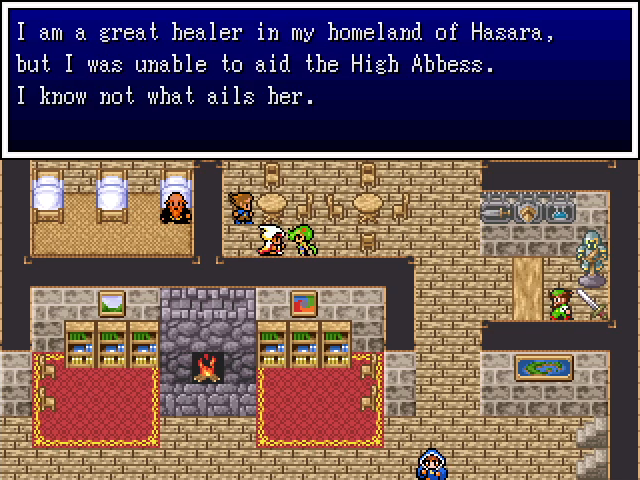 There's nothing especially interesting about this dialogue, except that it seems to imply that this is the healer who cured the fish-borne disease way, way back in chapter 2. 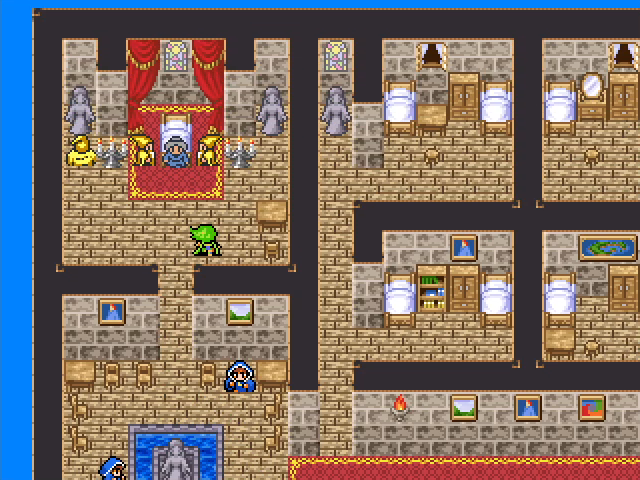 Upstairs, we find the Abbess herself, being treated by Yellow Ajah (the healing experts among the gurus). 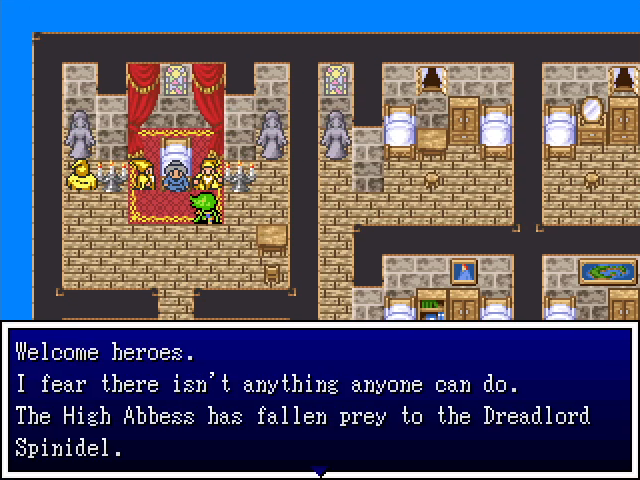 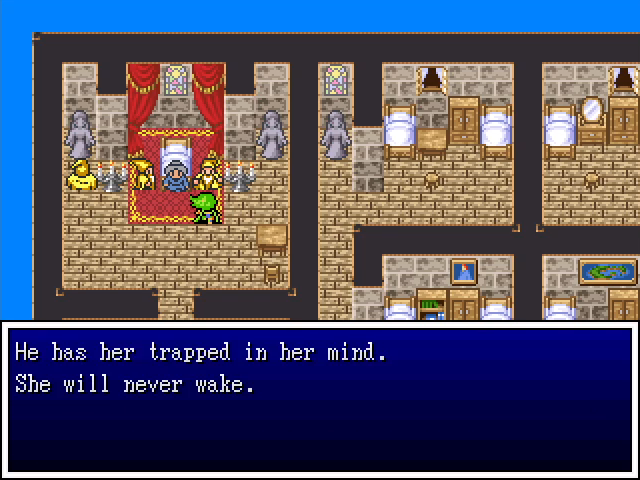 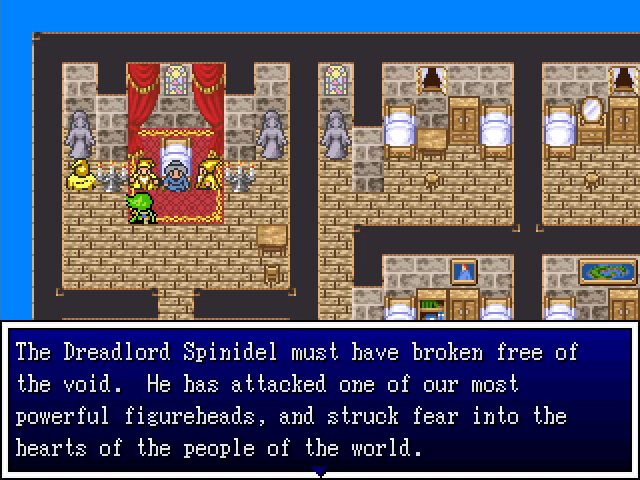 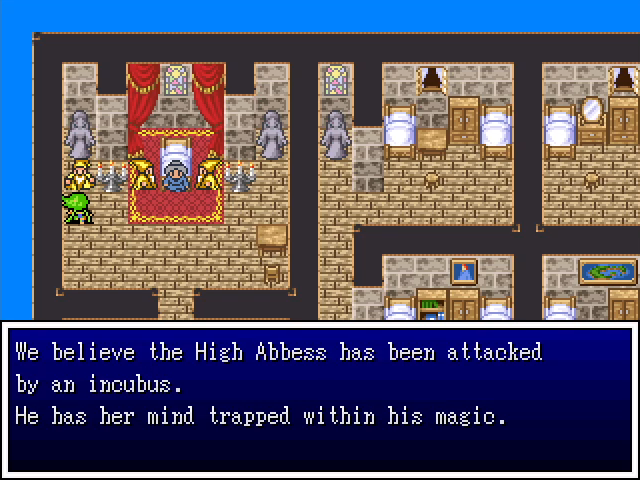 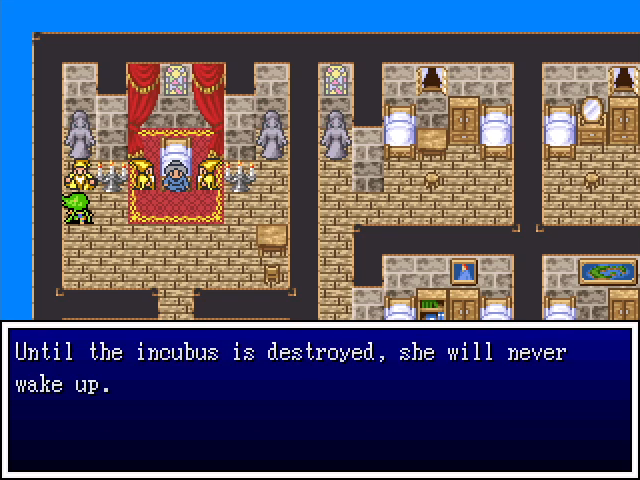 We already knew that the Abbess was possessed by an incubus, though this is the first time we've heard his name.    Hell yeah we are. 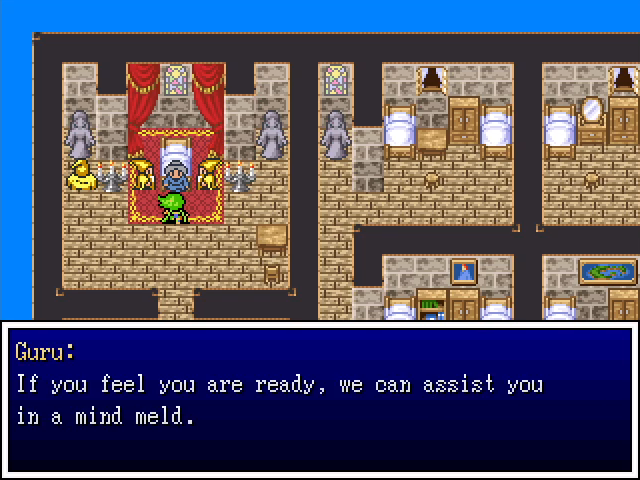    After some fancy visual effects, we're teleported into the Abbess's mind.  This place looks incredibly imposing.  But looks are deceiving. The screen wraps on the sides, creating a totally linear path. We can't fall off, and there aren't any random battles. It's just a mildly annoying walk to reach the boss.  Here he is. I'm sure he'll be surprised to find that someone has managed to enter this mindscape and fight him.  Then again... 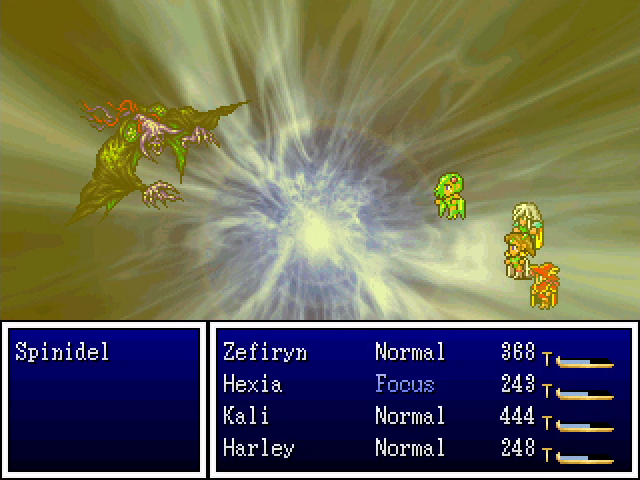 Given what terrible things he's done to the High Abbess, you'd expect Spinidel to be a rough boss, but he's actually kind of a pushover. To his credit, he does have some dangerous attacks (Ravage, which hits the party, and Incubo, which deals hefty damage to one character and drains their HP), and he's immune to magic damage. However, he doesn't have a huge amount of HP, and he's vulnerable to slowing. 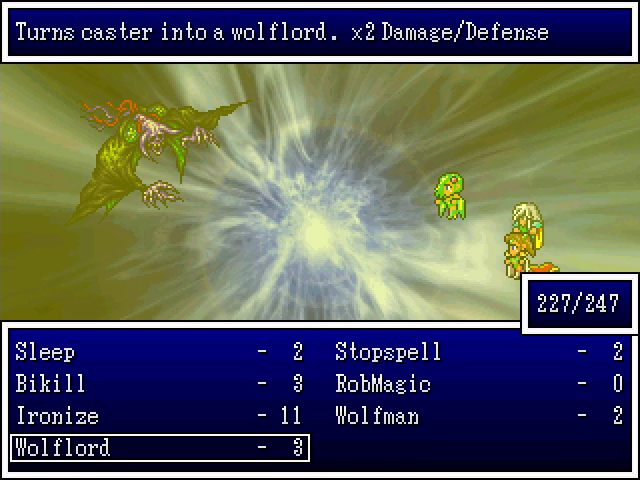 Also, he doesn't have exceptional defense. Zefiryn still has the Blade of Arborlon, giving her three strikes per attack. With Wolflord, she does over 1000 damage per strike, and can do upwards of 3000 on a crit. Between that and a Bikill-buffed Kali, he doesn't last long. 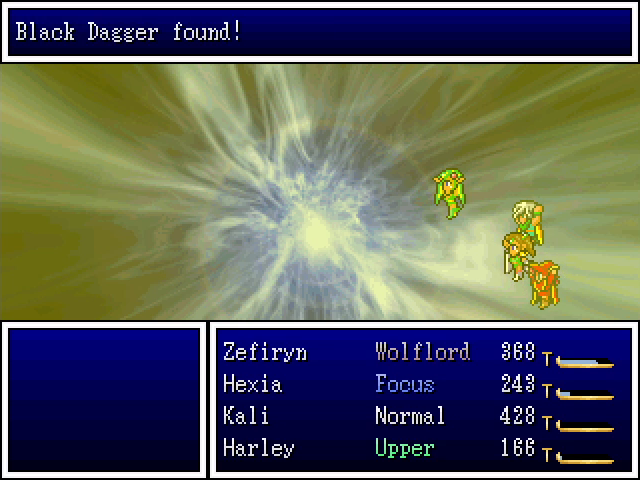 He drops the Black Dagger, which is powerful but, as you might expect, is also cursed. It also gives the wielder a staggering 200-point penalty to Defense. So yeah, not using that. 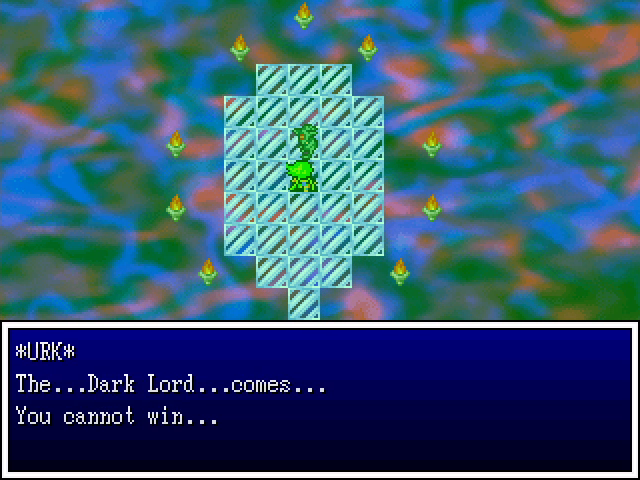 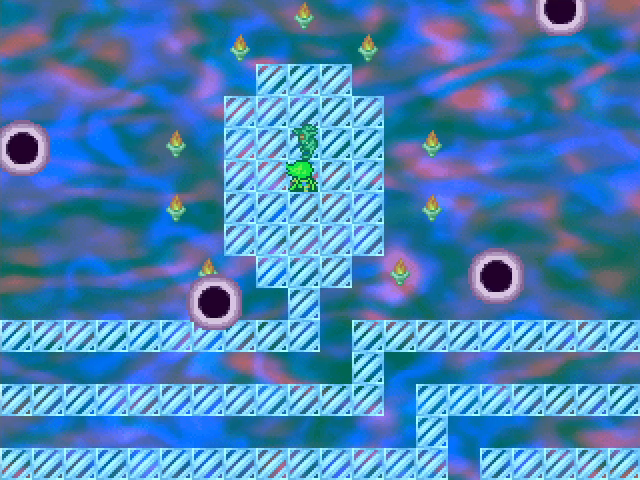  With that, we can simply walk back out the way we came in.  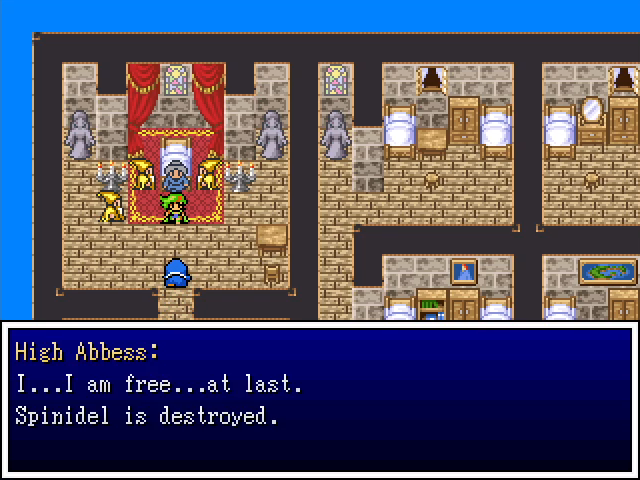 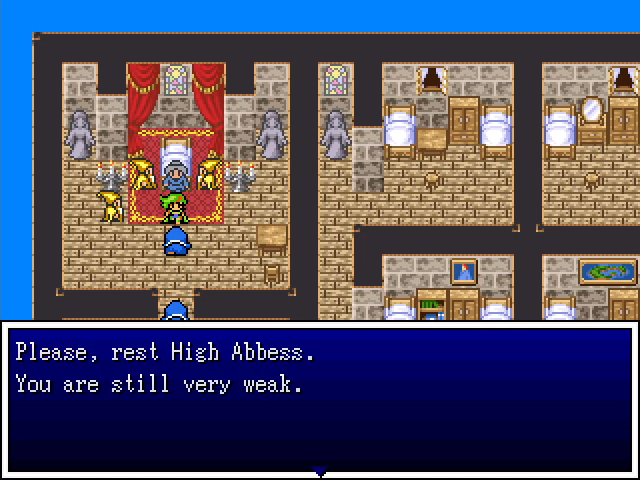 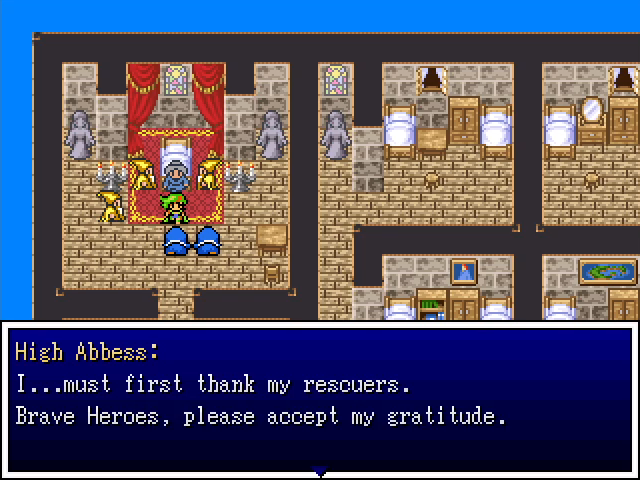 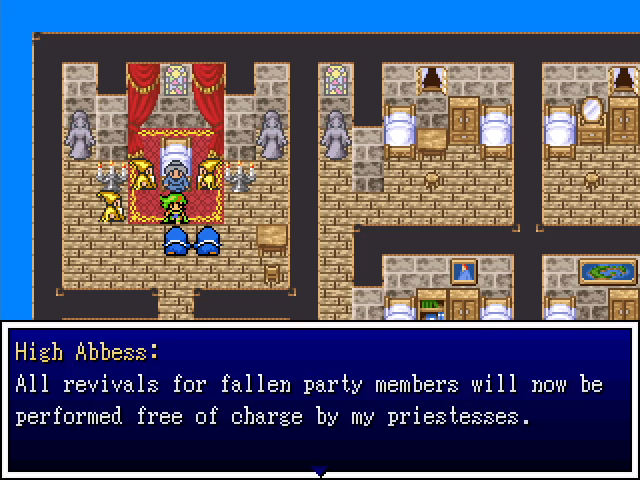 Gratitude is nice and all, but I'm not gonna lie: this is an exceedingly underwhelming reward. 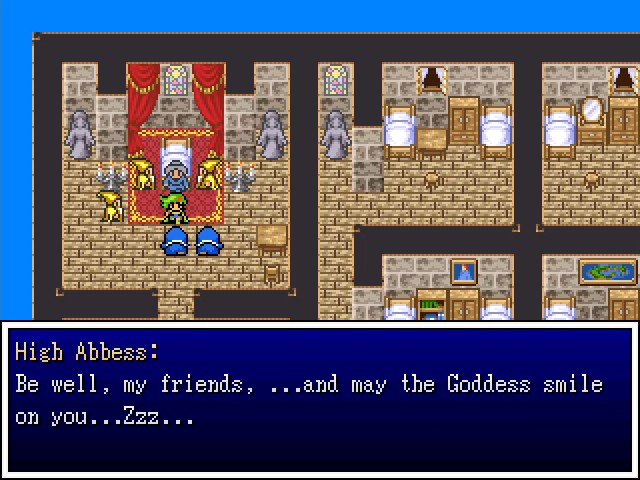 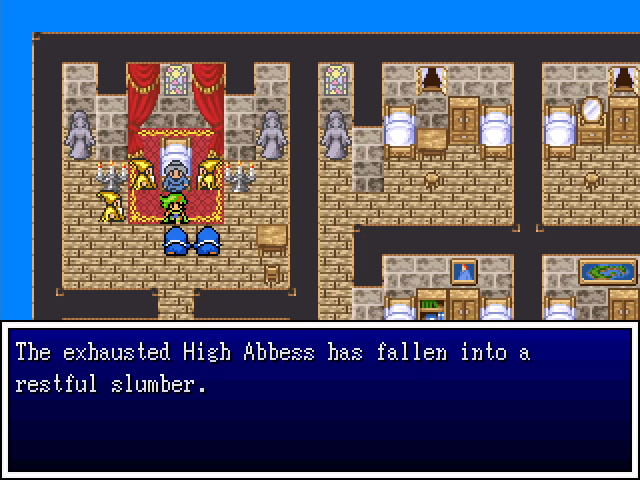  Still, it feels good to get the job done. 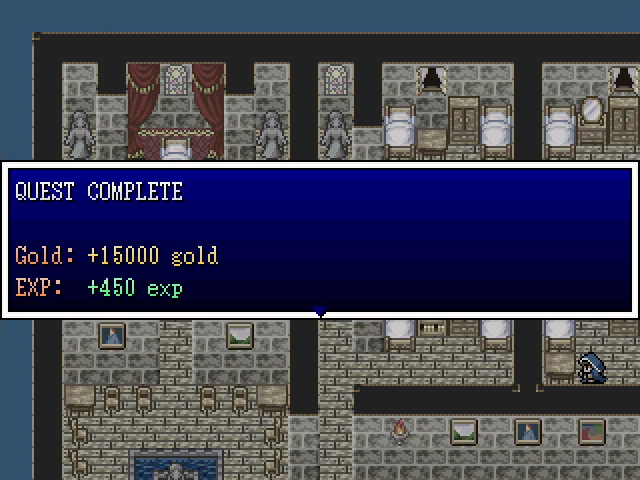 Also, the gold reward is surprisingly nice.   With that, let's head back to Paranor to report in on finding the last two artifacts. 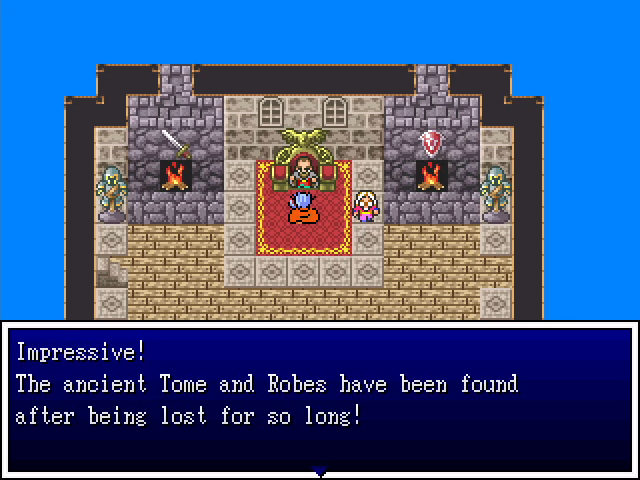 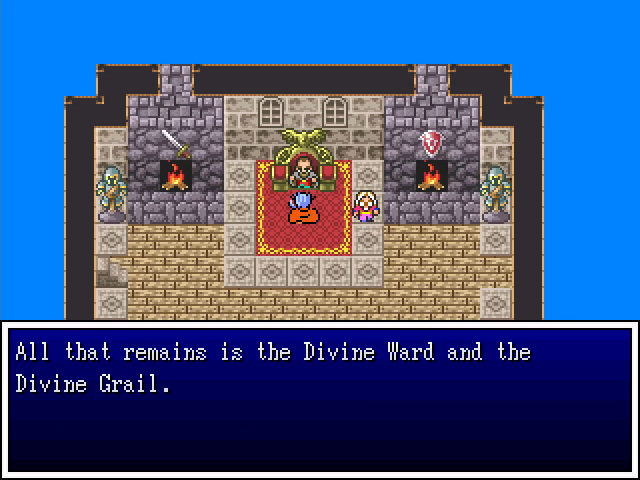 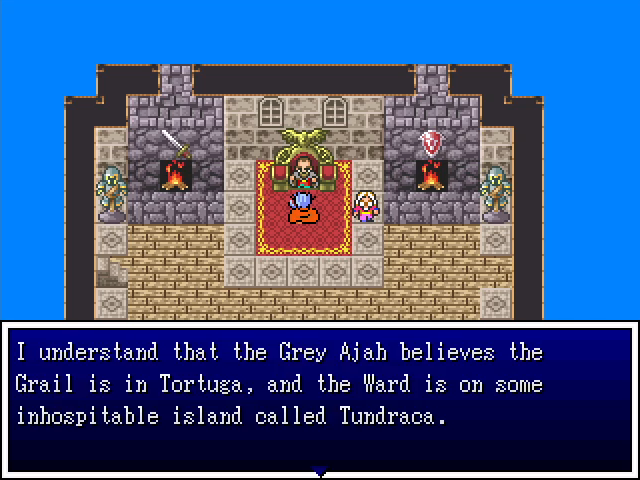 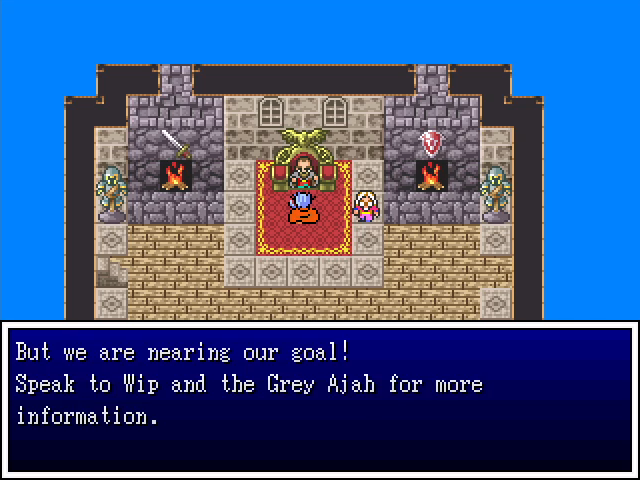 Unfortunately, at the time of recording I still didn't know where Wip was. (I did actually find him wile doing some post-recording messing around, but he had nothing useful to say anyway.)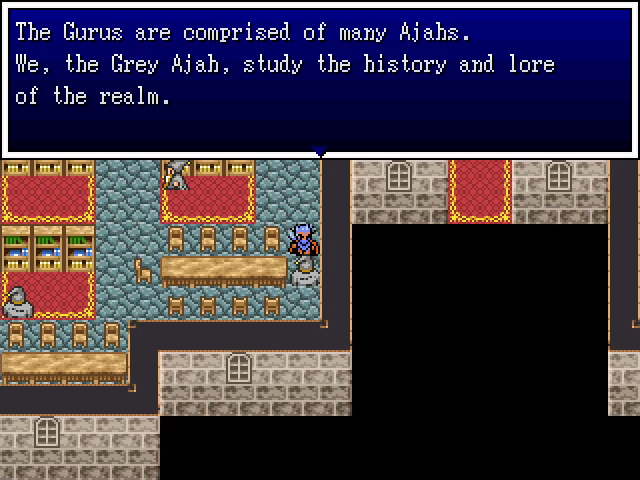 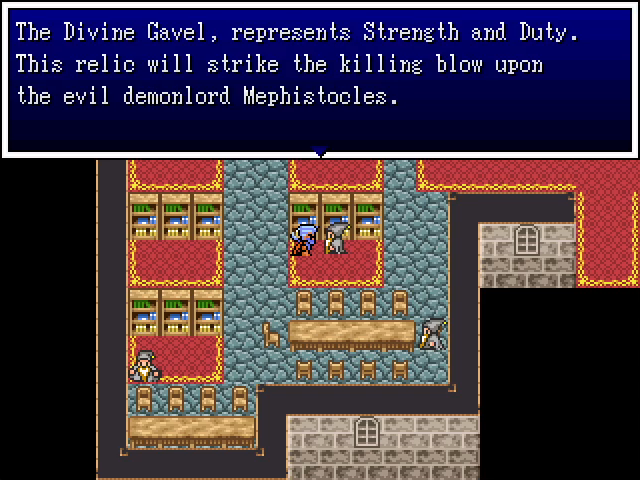 As for the Gray Ajah, they're still taking about the Divine Gavel, which we got quite a while back, so they're no help either. We're pretty much on our own. 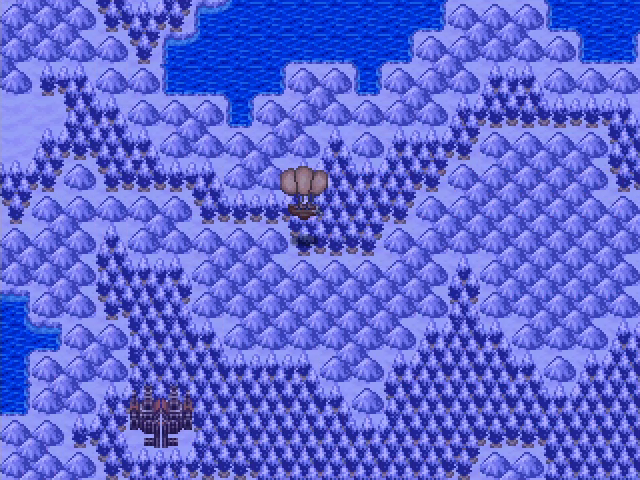 While flying around in the north, we come across this island. It's not clear whether this is Tundraca, but with that big... castle? on it, it seems worth investigation. 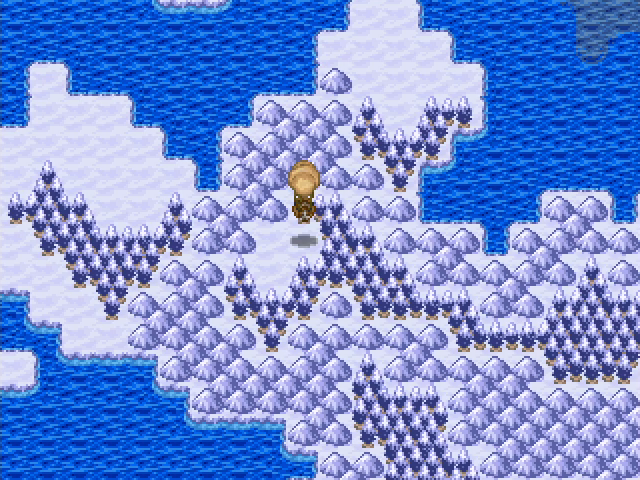 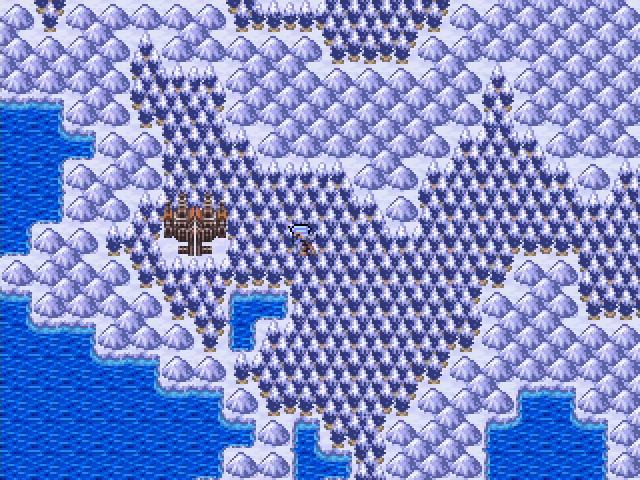 Unfortunately, it's surrounded by forests and mountains, so we have to take the long way around.  That...  ...is a good question. Level Up Roundup 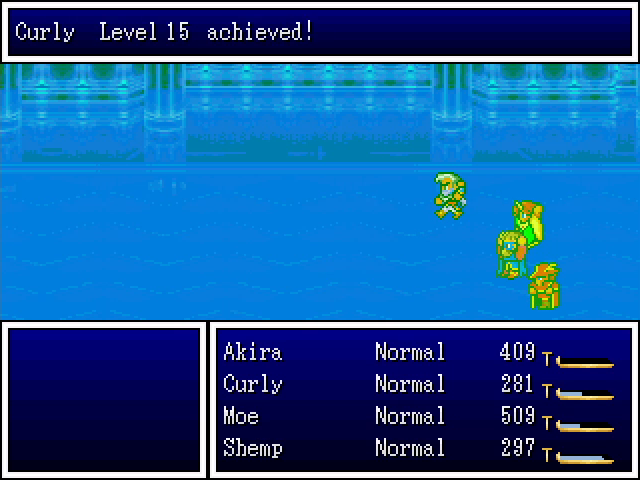    As if Daredevils weren't good enough already, they also learn Rangers' tome effects naturally.    This spell is technically new, but I don't think I need to explain it, do I?            Sanctuary is the next evolution of Bonebane, able to deal a ton of damage to groups of undead.  
|
|
#
?
Apr 26, 2023 02:22
|
|
|
Depending on how much game there is left to go, and how much revivals actually cost, that might be a nice reward, but it feels like it's probably too little too late to make a meaningful dent in your expenses versus gains
|
|
#
?
Apr 26, 2023 04:17
|
|
|
Kinu Nishimura posted:Depending on how much game there is left to go, and how much revivals actually cost, that might be a nice reward, but it feels like it's probably too little too late to make a meaningful dent in your expenses versus gains To put it in perspective, I don't think I've used the church resurrection option in this LP. At all.
|
|
#
?
Apr 26, 2023 12:14
|
|
|
oh lol
|
|
#
?
Apr 26, 2023 12:45
|
|
|
 Welcome back, everyone. Last time, we found a very unusual-looking structure, so let's take a look inside. 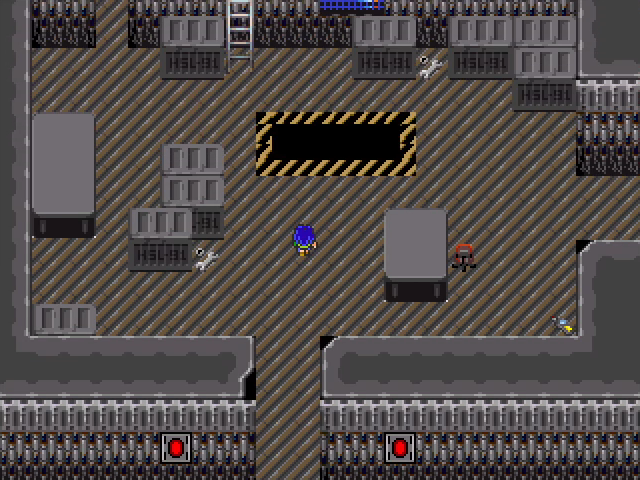 Yeah, it's a high-tech building of some kind. I can't be coy about this. I'd have been more shocked if the game didn't have remnants and a technologically-advanced ancient civilization. But the heroes must be very confused by all this. 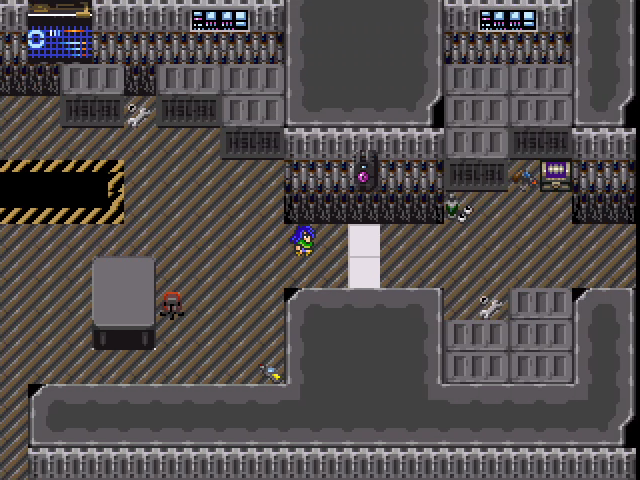 As we look around the entrance, this strip of white stands out starkly. 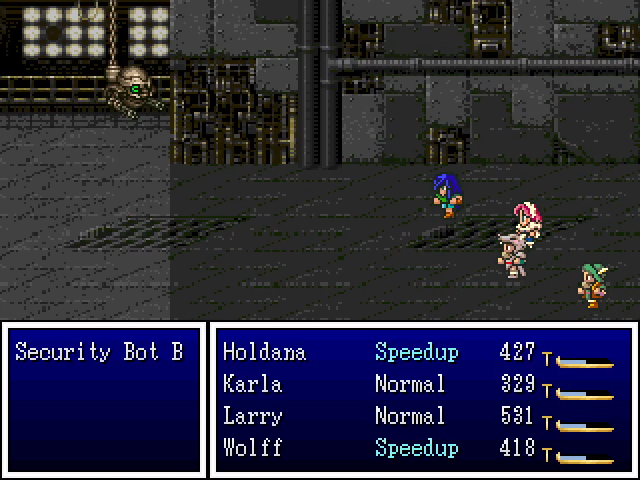 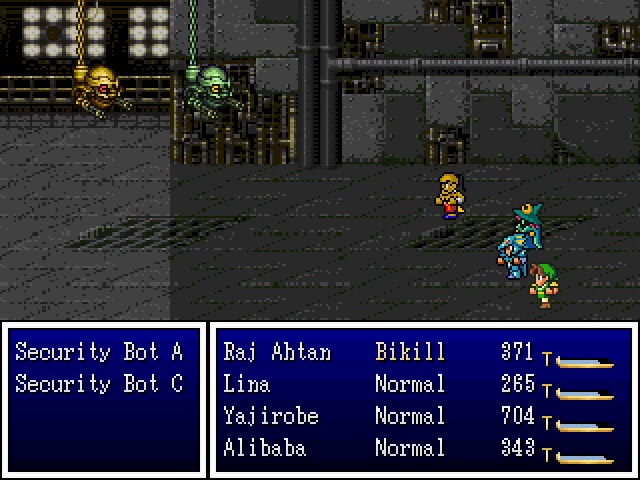 It's a security checkpoint of some kind, triggering a battle every time we step on one. The various security bots aren't especially tough, but they do have a Laser attack that can do considerable damage, especially to more fragile characters like Lina. 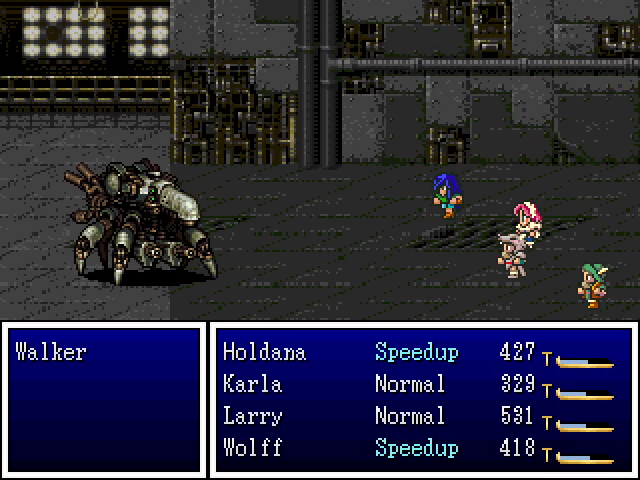 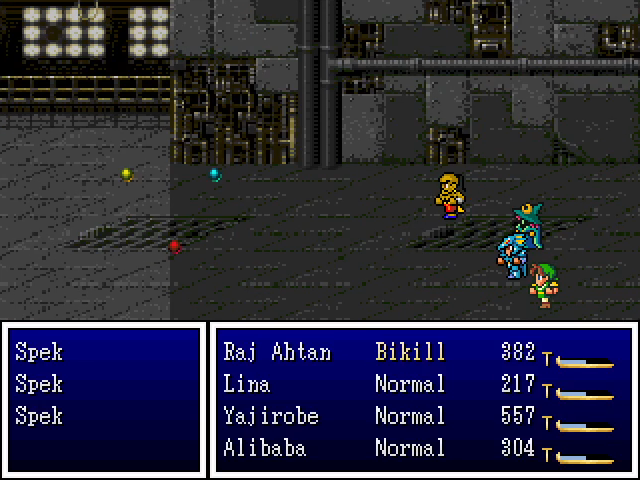   The rest of the enemies here are actually pretty rare, purely because the security bots are so common. Walkers and tekarmors are the resident tanks, with the former having a bit less durability but a somewhat strong Machine Gun attack. Speks are each attuned to a different element (fire, cold, or electricity, dictated by their color) and use attacks of that color; they also absorb damage of the same type. They're quite fragile, though, and not very dangerous except in groups. Bioconstructs are the one organic enemy in the dungeon, and don't seem to do much beyond make mediocre physical attacks.  Just past the checkpoint, we find a chest containing a stim pack. There are a few of these in the dungeon, and they're consumables that restore 100 HP and MP to a character. HP really isn't a big concern at this stage of the game, but it's not a bad thing to have in an emergency.  In the next room we find what look like cryogenic stasis pods. Maybe the computers will give us a clue about them.    Hm, no dice. We'll need to look for a way to activate the terminals.   We head back to the main room and head north, bringing us to a twisting hallway with a bunch of forced fights. Get used to seeing setups like this in the dungeon. 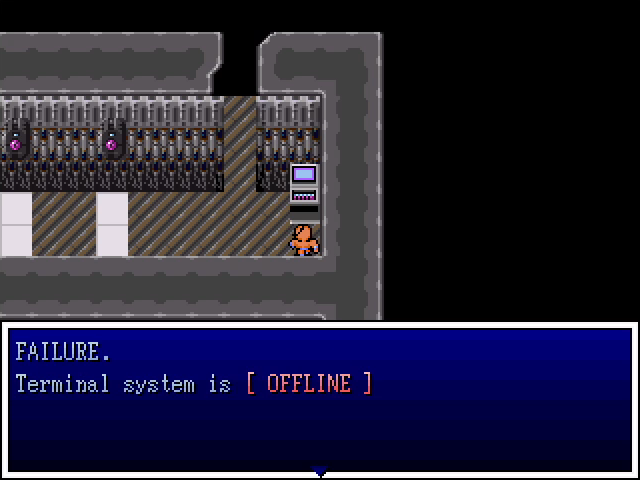 At the end is another nonfunctional terminal. 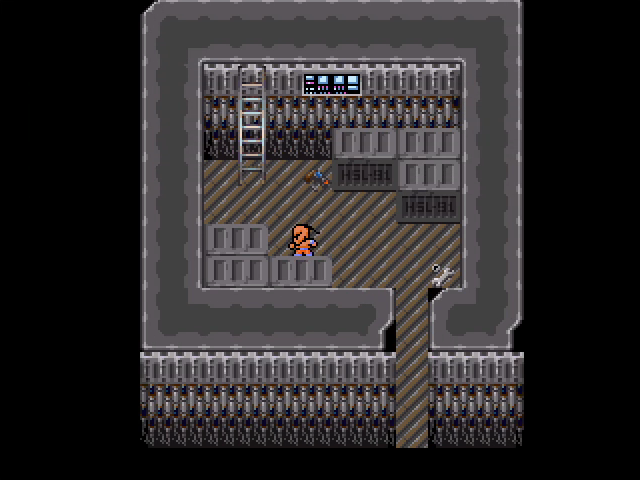 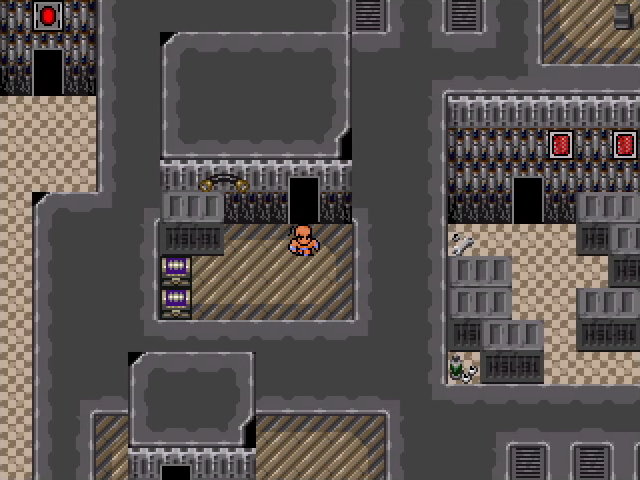 There's also a ladder leading up into a small room, which exits into another small room (with two chests). 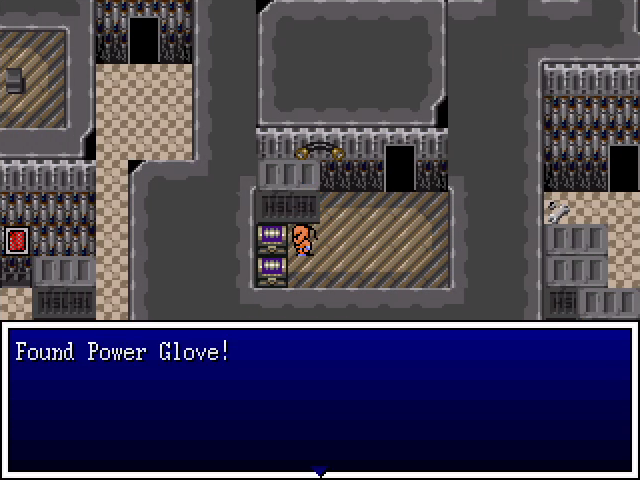  The first contains a power glove (it's so bad), which boosts Strength and Defense and resists physical status ailments. It's a good fit for Yajirobe. 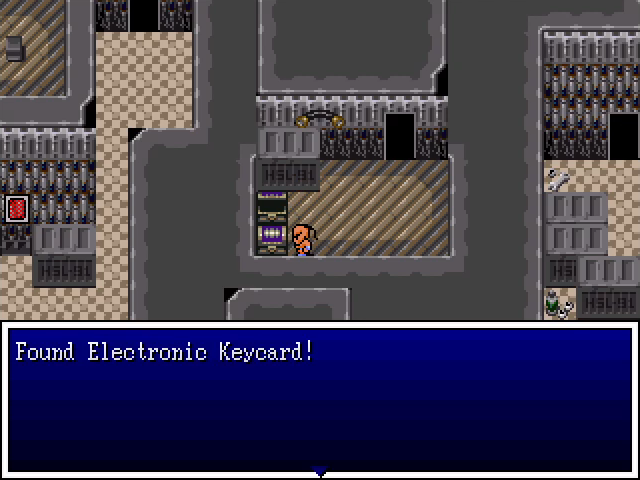  The other chest contains an electronic keycard, which will likely be useful elsewhere in the dungeon.  With nowhere else to go, we head back to the entrance and head up the ladder there. 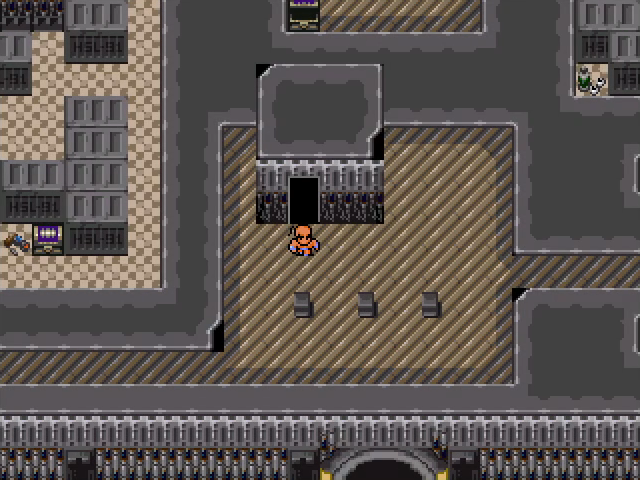 It leads us to the roof, and we head left. 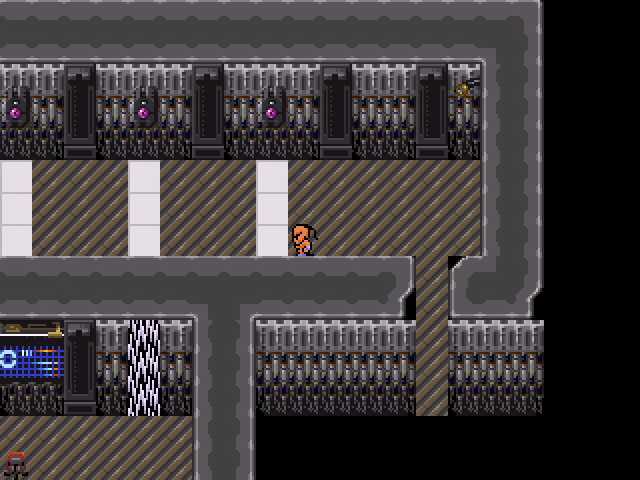 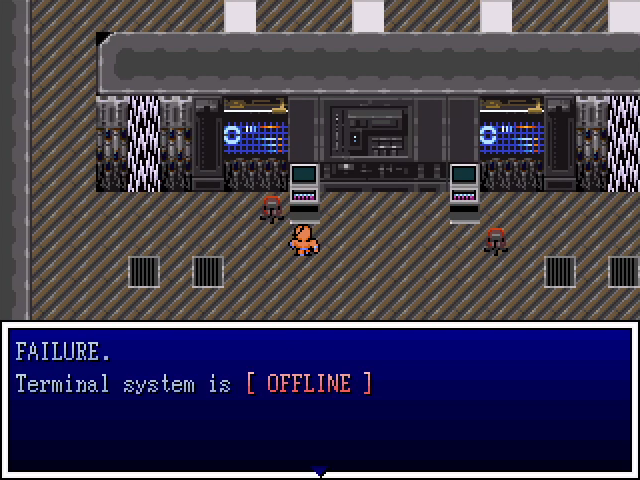 It leads us to another security hallway and a room with two terminals, both offline. 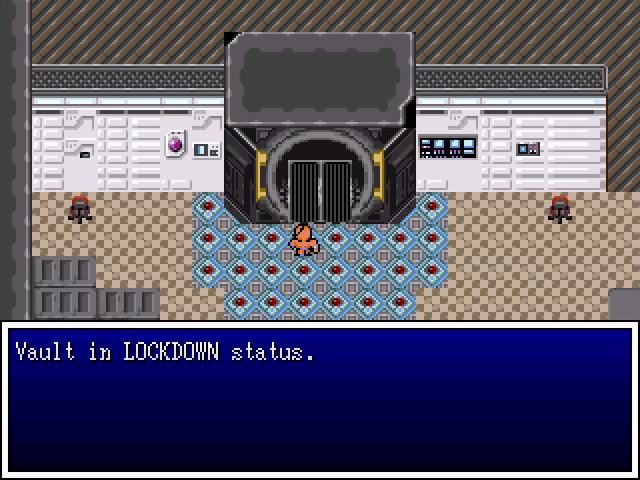 There's also a big metal door here, which seems like the perfect place to use our keycard, but no, it's shut tight. 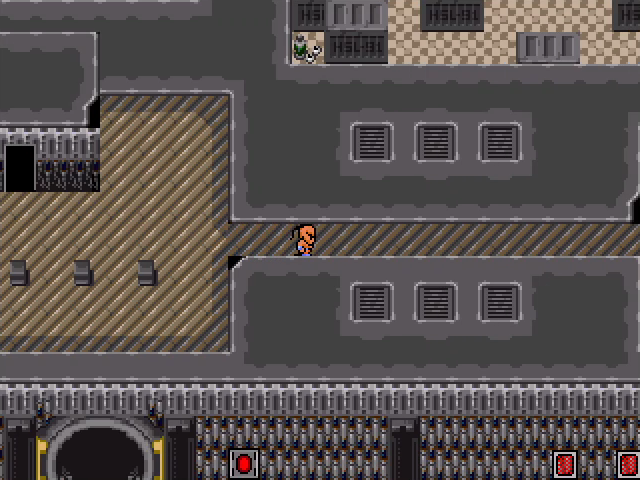  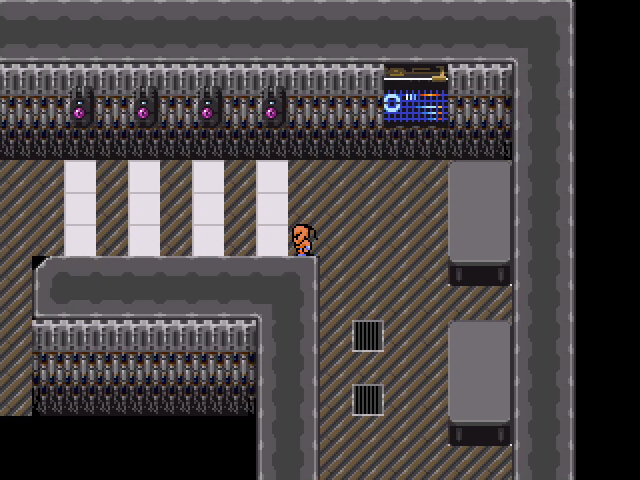 We head back to the roof and head right, passing through a medical ward or bunkroom and into another security hallway. 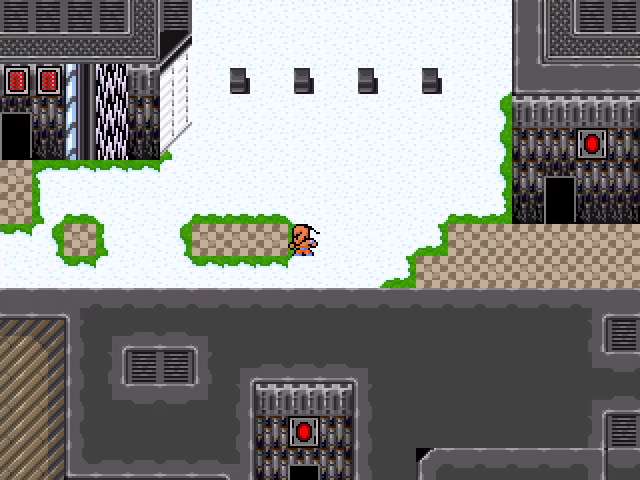 Surprisingly, this leads us outside and to a separate building. 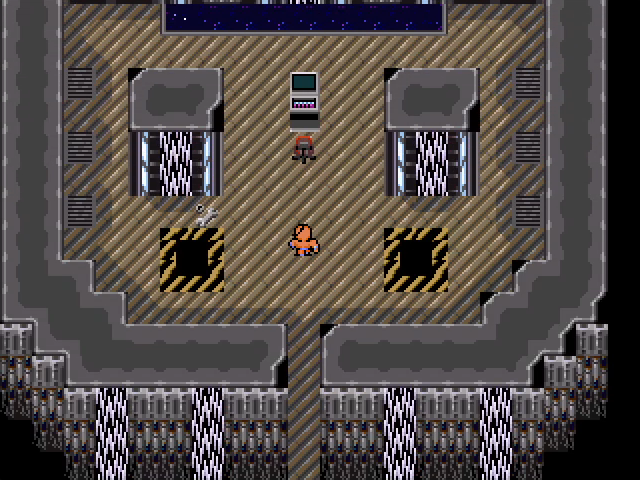 This looks important. 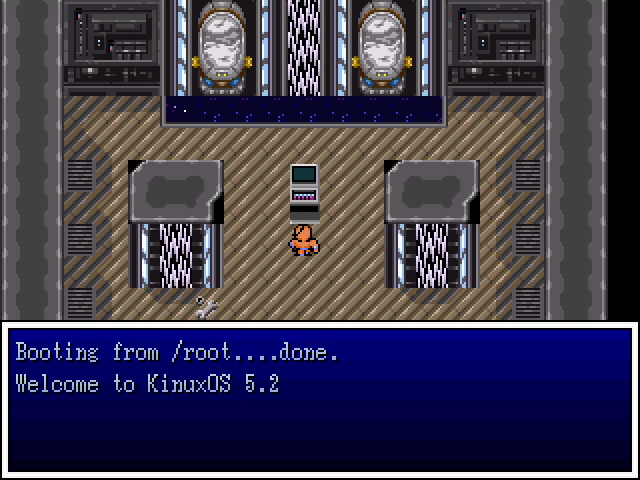 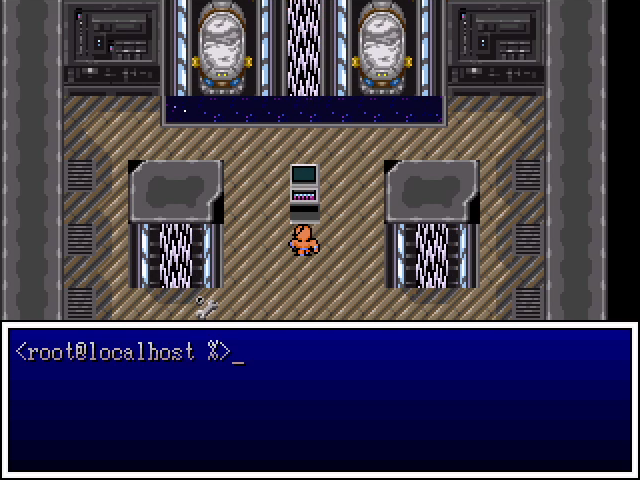 I have no idea how our heroes are able to operate this thing. 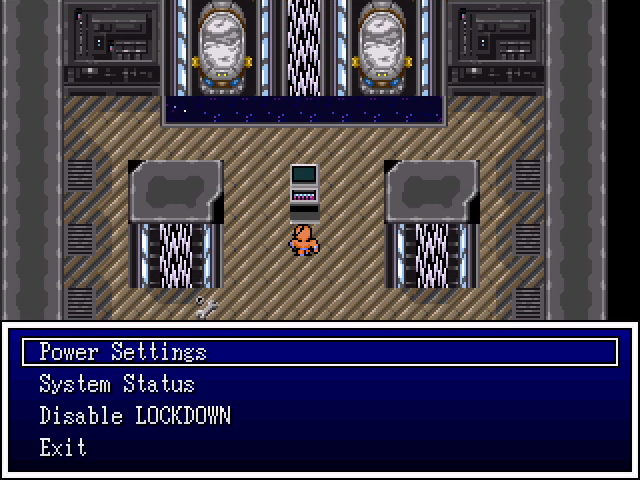 Regardless, this is a very obviously vital part of the dungeon. Priority one is disabling the lockdown to get through the big door. It's the only 100% essential thing to do here. 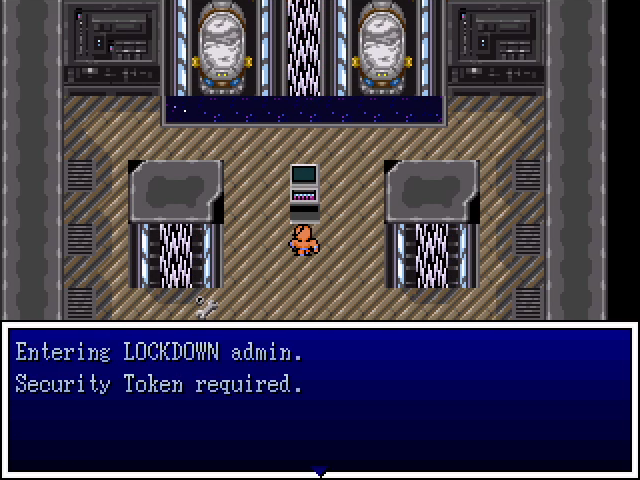 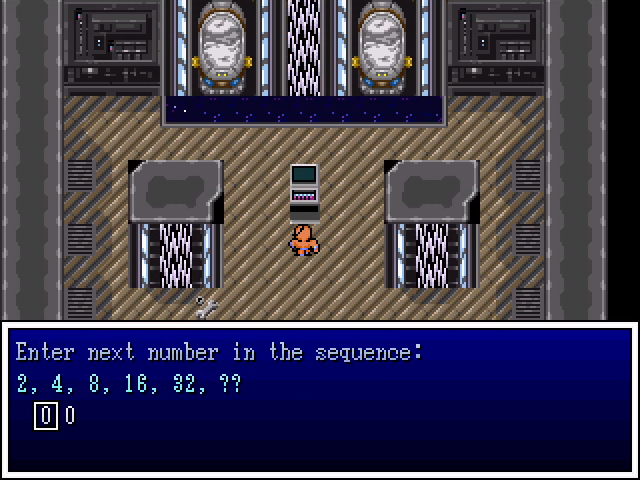 Doing so requires us to solve a math puzzle. 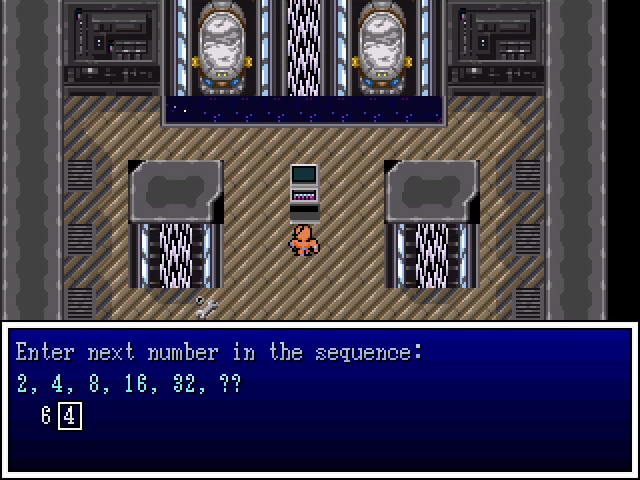 Given that this is the standard Fibonacci sequence, it's not terribly hard. SIGSEGV posted:First puzzle is not Fibonacci, those are sequential powers of two.  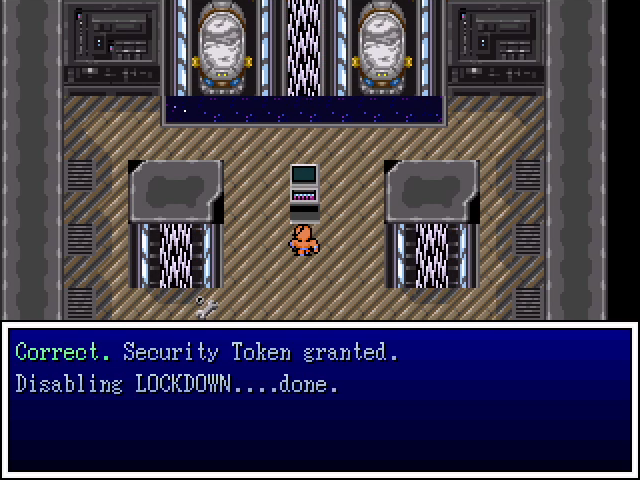 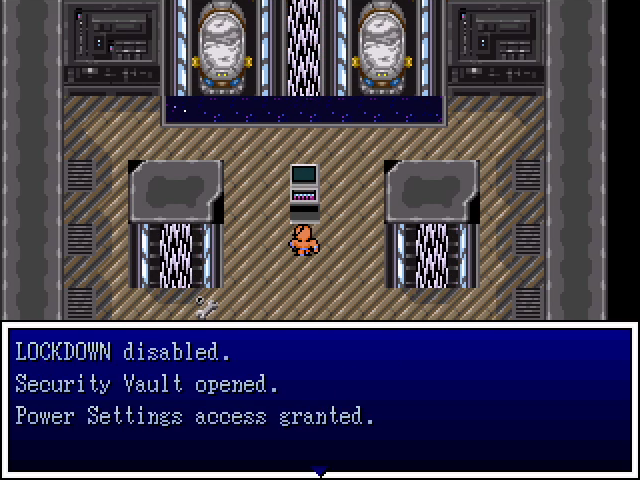 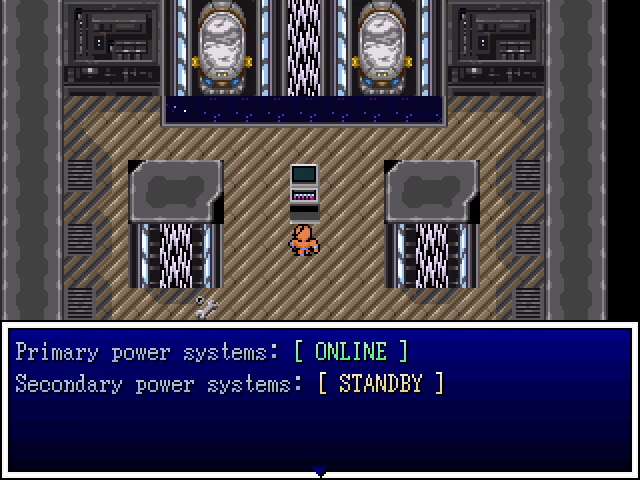 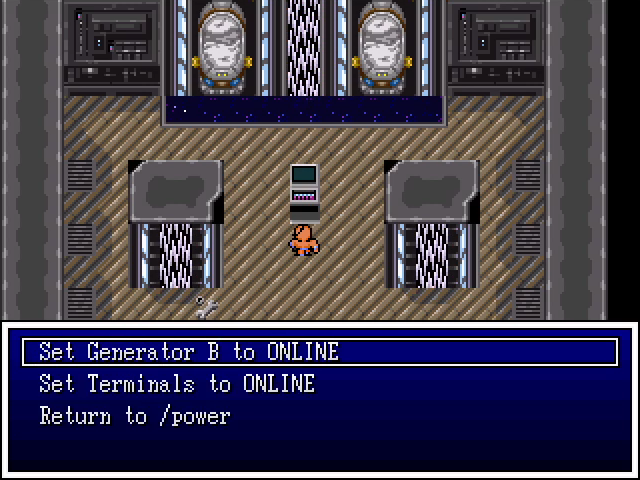 So far, so good. Next I suppose we should focus on getting the terminal system online so we can see what they're about. 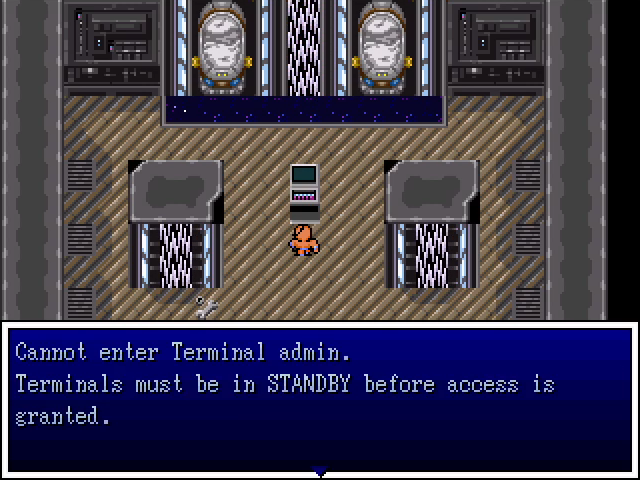 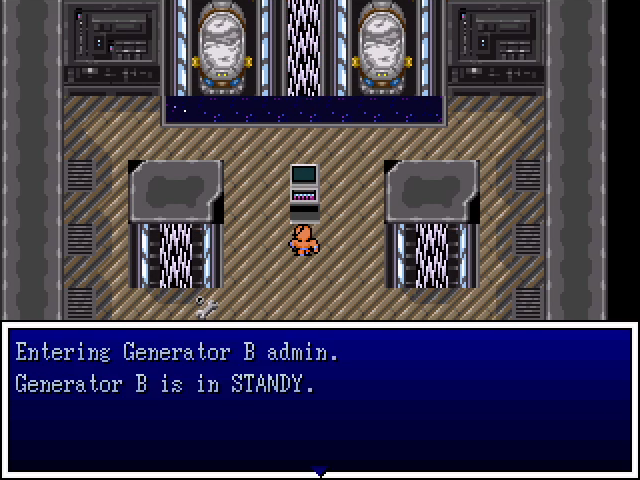 But before we can do that, we have to power them up by turning on generator B. 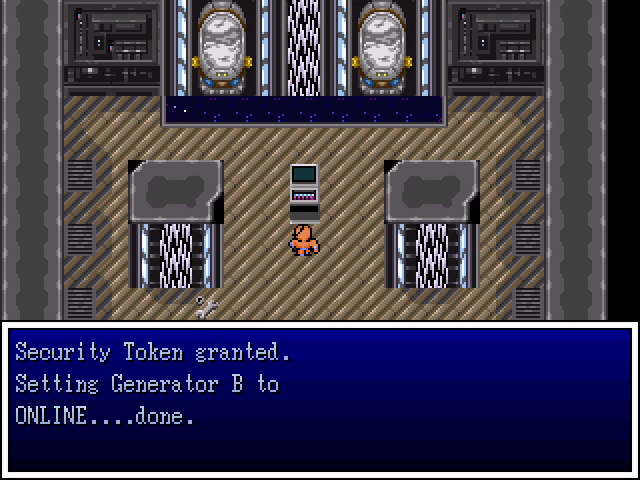 Oddly, there's no puzzle for this one. It just works. 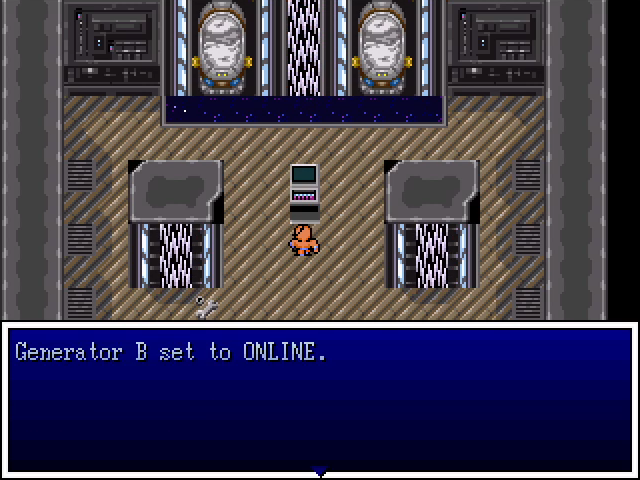 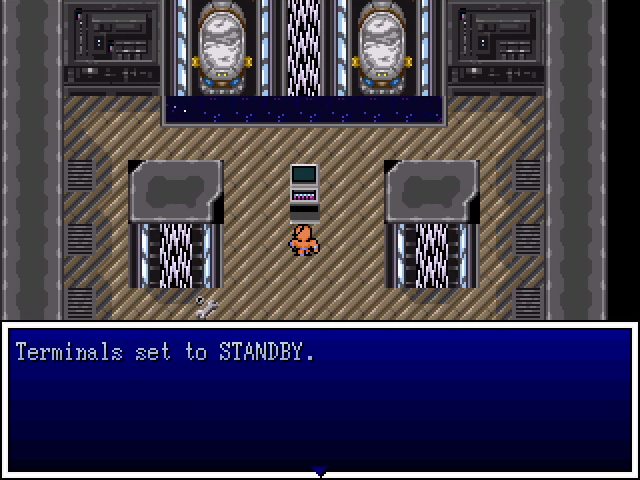 There we go. Let's start up the terminal system.   Naturally, there's another puzzle for this one. Can you solve it?  Based on how the other numbers were added up, this seems right to me.  It's not, though.  Not gonna lie: I only got this by finding another LP looking at the solution it came up with. If anyone can explain this answer, I'm very curious about it. SIGSEGV posted:Second puzzle seems to be 1 and then the list of primes. Next prime is indeed 13.   Regardless, we have the terminals up and running.  Next order of business: shutting down the security checkpoints, because they're really very annoying.   Okay, the third and fourth numbers are each the sum of the previous two, so...  639 + 1065 = 1704   Again, I don't have the slightest clue as to why this is the answer and would love an explanation. SIGSEGV posted:Third puzzle is (213*1; 213*2; 213*3; 213*4 is conspicuously absent ;213*5; answer = 213*6). 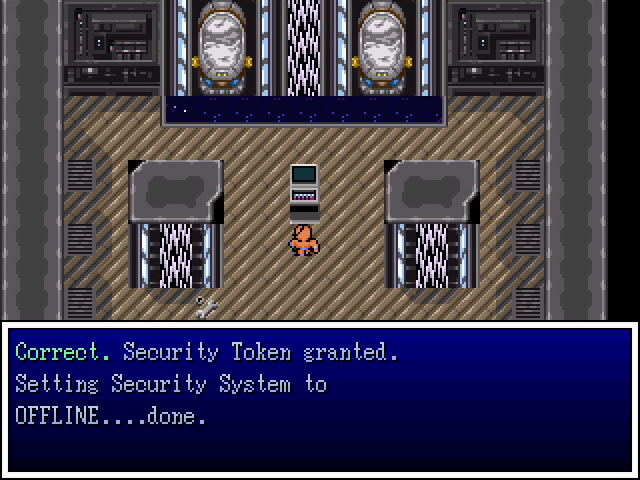 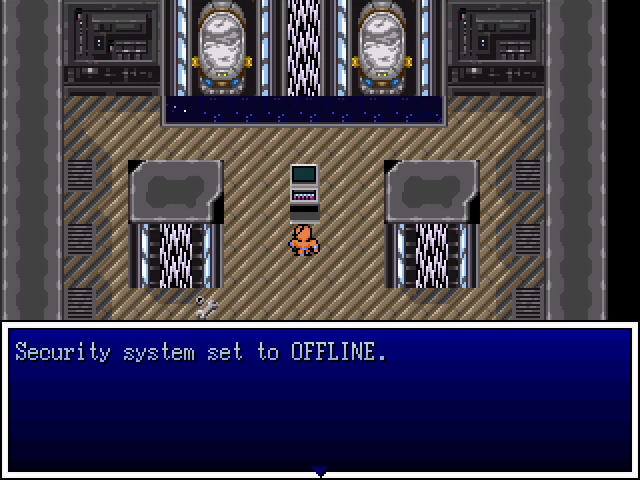 Regardless, it works, and we're done here. 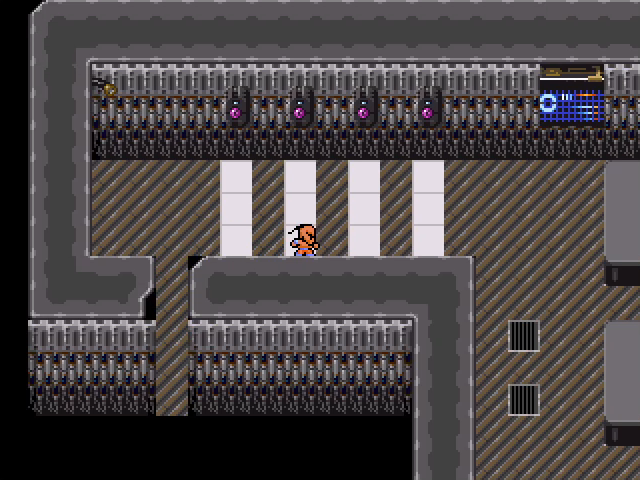 Now we can leave without re-fighting all the security bots.  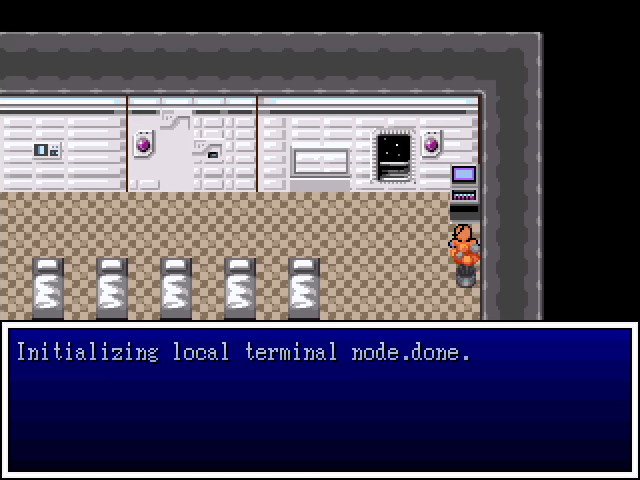 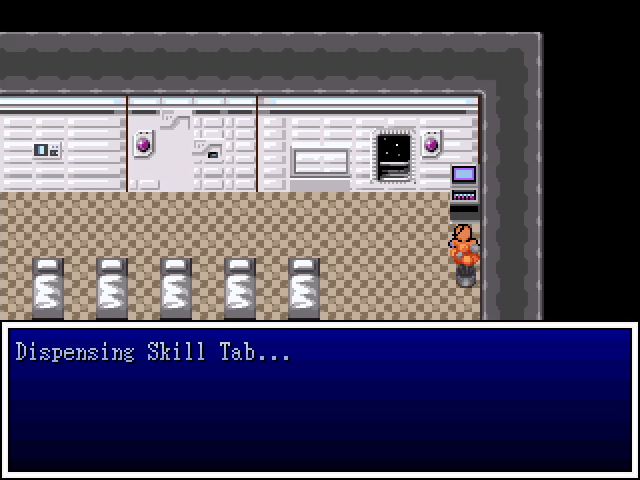  We can also interact with the terminals for items. 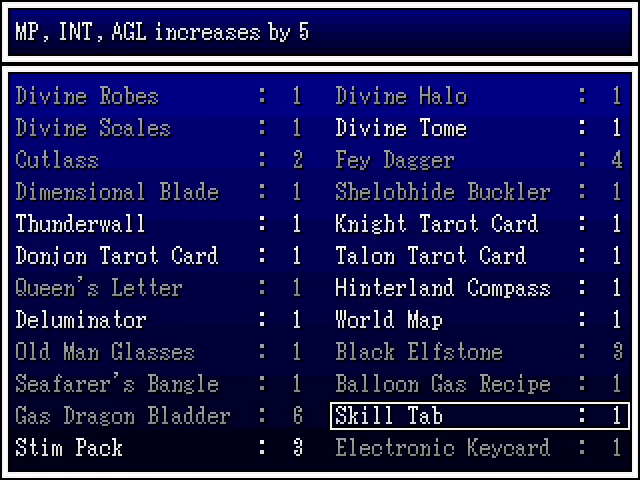 Skill tabs increase a character's MP, Intelligence, and Agility by 5 each. There are also power tabs that do the same for HP, Strength, and Defense. Not amazing, but better than any other stat-boosting items. 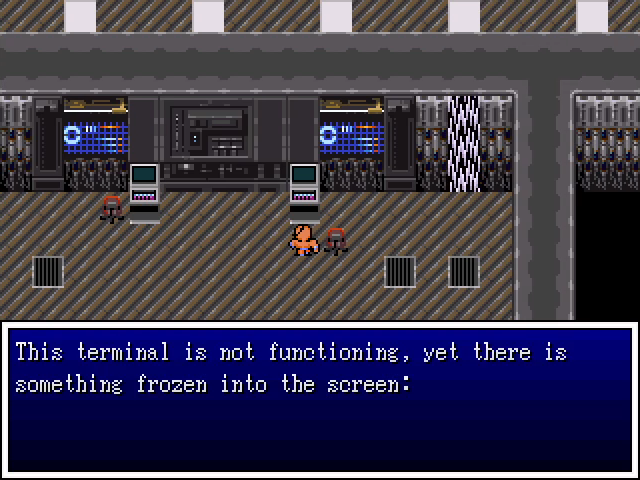 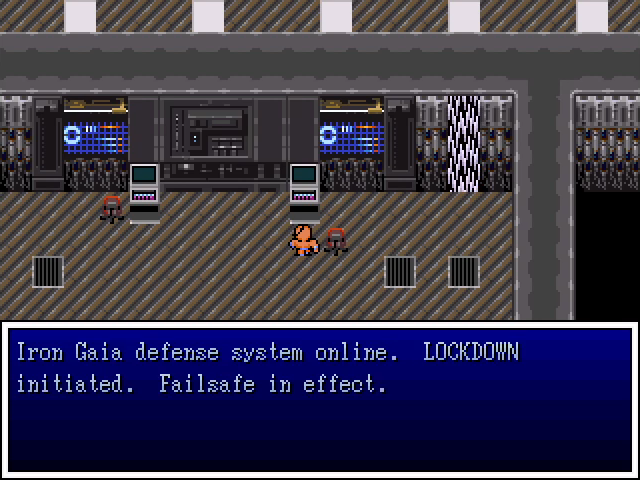 Back near the locked-down door is a different terminal with an ominous warning.  But never mind that, we have a vault to loot!   These have both been available for sale (we actually bought a dagger for Yajirobe), but they're high-quality items and more is always better. 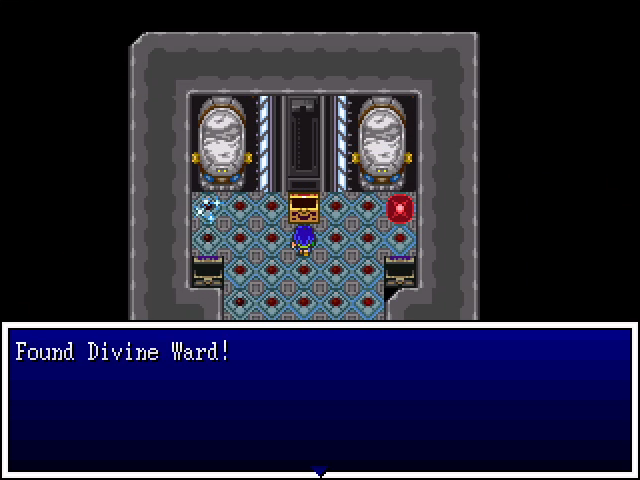 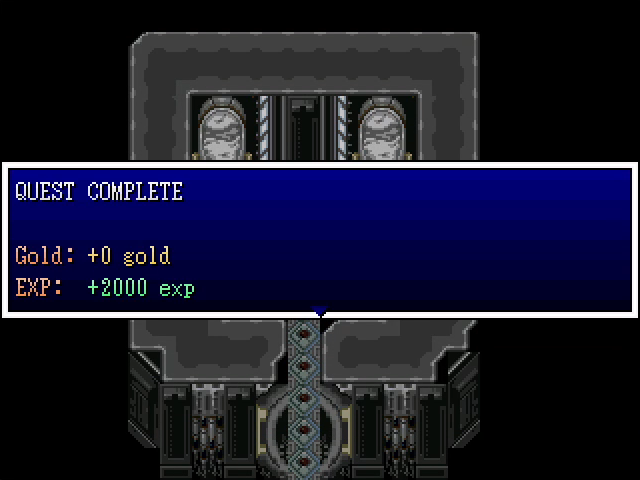 And finally, the fancy middle chest contains the Divine Ward, our sixth relic. I haven't the slightest clue who managed to hide it here or how.  At this point, we could use Outside to leave the dungeon, but let's tempt fate. There's a save point here, after all. 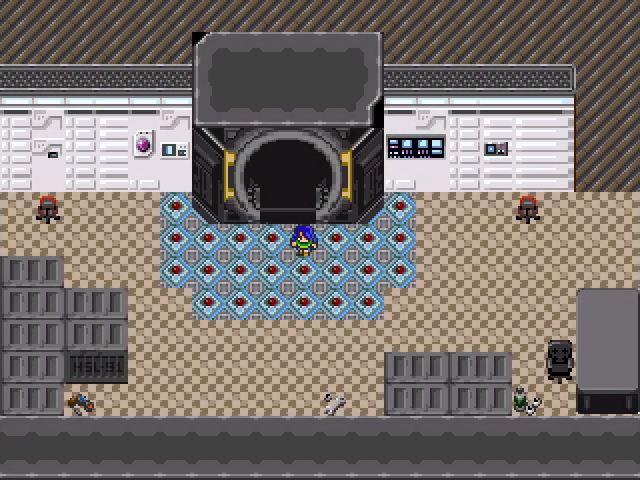 Outside the vault, nothing seems different. 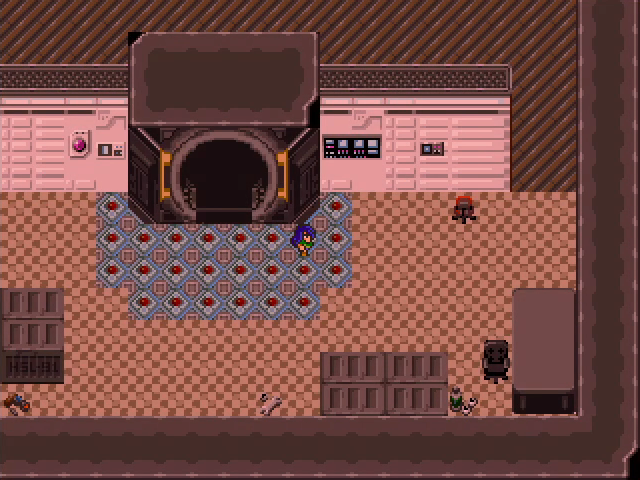 Until an alarm goes off. 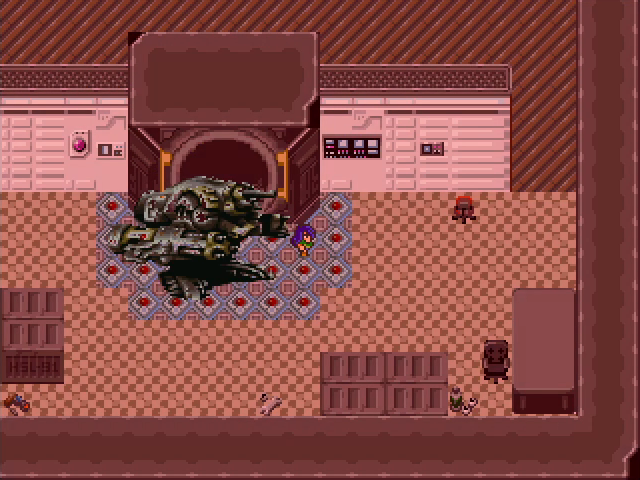 And this big robot falls from the ceiling to fight us. 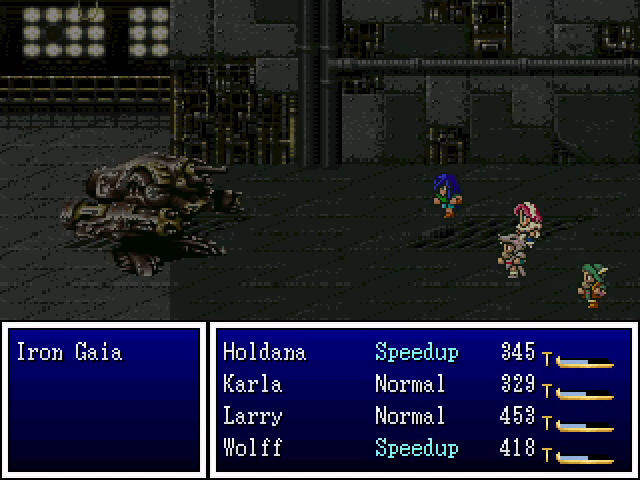 Meet Iron Gaia. This technically-optional boss isn't too tough, but it has a ton of HP and a few mean tricks. It spends most of its turns attacking a single character with either Cannon or Machine Gun (the latter of which is more dangerous), or using Mirage Field or Bio Field to afflict a single character with Surround or Inept, respectively. 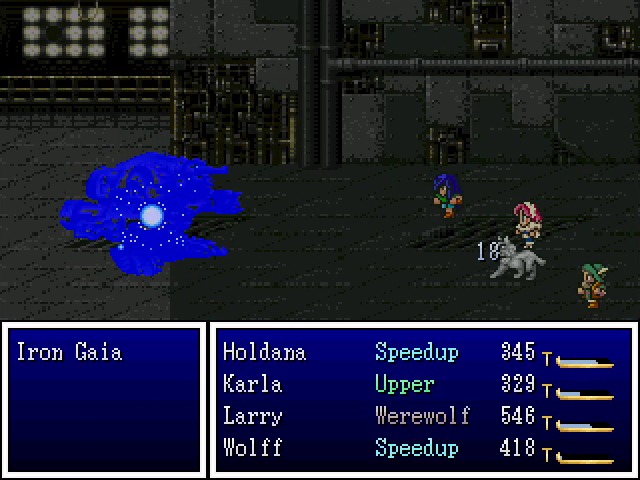  At one point, however, it flashes and changes its color palette. In this form, its defense rises significantly and magic damage heals it. Luckily, Holdana's physical-heavy team is well-equipped to handle this. Unluckily, it also starts charging power for its ultimate attack. 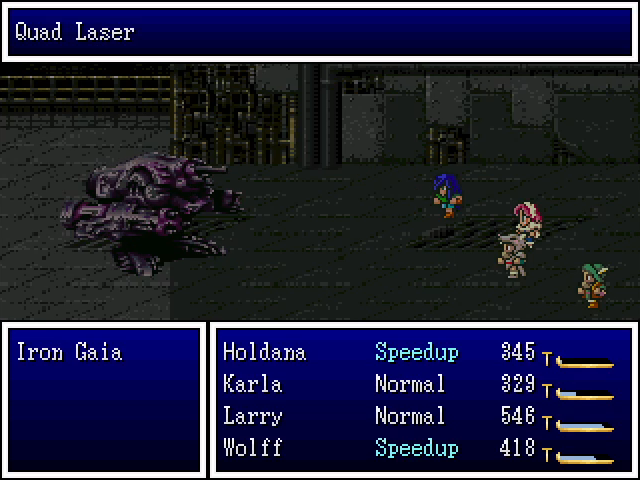 The standard Laser attack use by the security bots is pretty nasty, so it stands to reason that this is gonna hurt.     ...Or not? Despite its impressive animation, Quad Laser doesn't so much as scratch our party. I have no idea whether this is a bug or a matter of supreme luck. 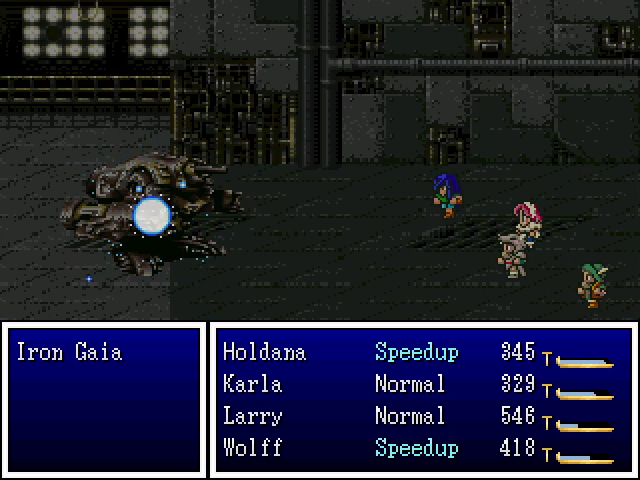 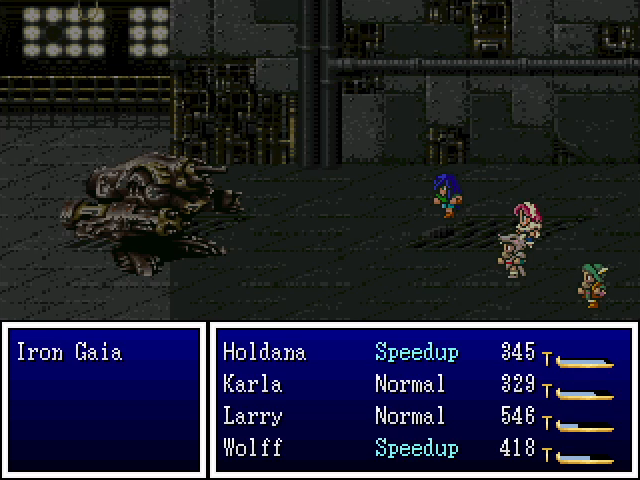 Regardless, it eventually switches back to its less-protected color scheme, and eventually goes down. 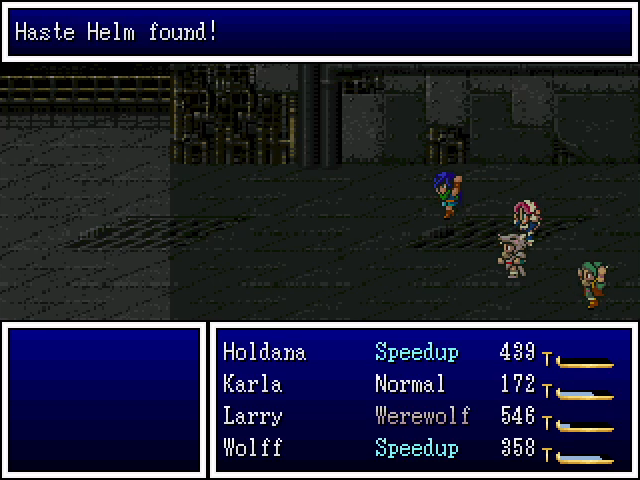 It drops the haste helm, which grants permanent Speedup but has pretty lousy Defense.  And that takes care of that. 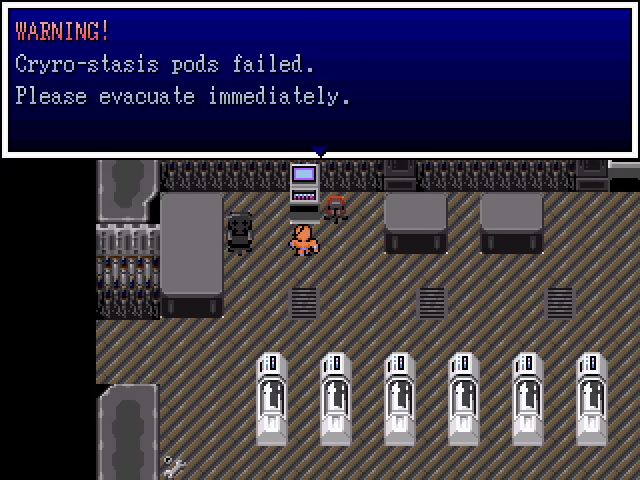 The only other thing of interest is this terminal in the cryo-pod room, which indicates that the pods failed. Presumably, nothing remains of those who built this place.  And that's that. We only have one relic to go, but what do you say we ignore it and check out another side area next time? Maybe we'll find a use for that keycard we discovered. Level Up Roundup     Firevolt is the strongest group-target fire spell. It was a pretty big help in here.        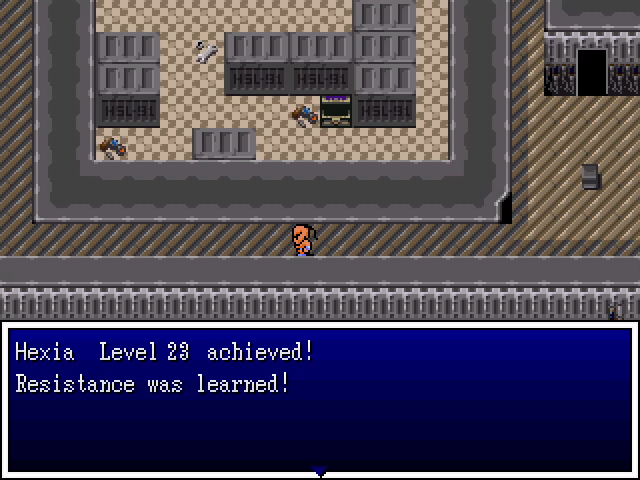        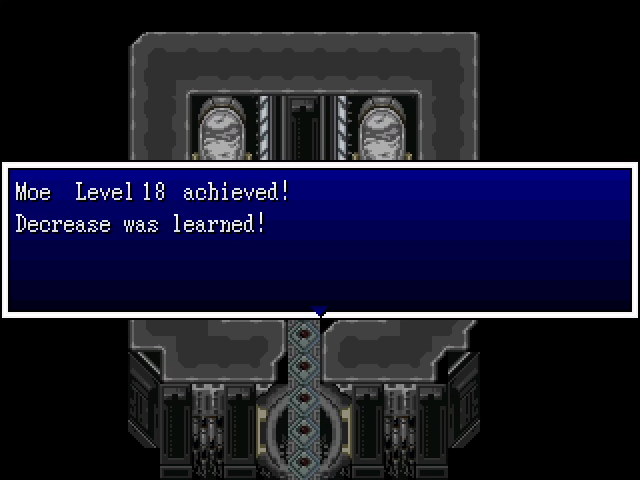 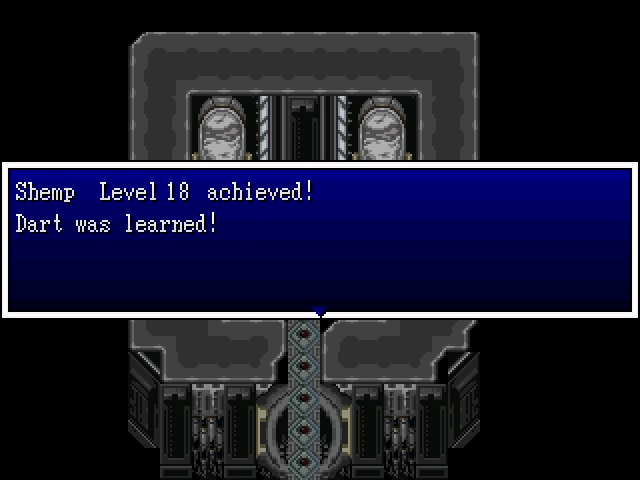  
5-Headed Snake God fucked around with this message at 00:10 on May 2, 2023 |
|
#
?
May 1, 2023 22:24
|
|
|
First puzzle is not Fibonacci, those are sequential powers of two. Second puzzle seems to be 1 and then the list of primes. Next prime is indeed 13. Third puzzle is (213*1; 213*2; 213*3; 213*4 is conspicuously absent ;213*5; answer = 213*6).
|
|
#
?
May 1, 2023 22:53
|
|
|
SIGSEGV posted:First puzzle is not Fibonacci, those are sequential powers of two. Okay, the second one seems fair, though I don't think I'd have gotten it. The third one's just blatantly unfair, though.
|
|
#
?
May 2, 2023 00:10
|
|
|
Nothing indicates it would be *6, it could have been *7 or something, especially with the prime puzzle earlier, definitely 213 times something but yeah, insufficient hints.
|
|
#
?
May 2, 2023 00:17
|
|
|
So here's a bit of trivia for those of you who are enjoying the LP: the author is currently working on a commercial release. This means new art and music (since ripped sprites and midis won't cut it legally), bug fixes, and new names for three of the four heroes. Also three new classes, just for good measure. The project seemed dead for a while, but the latest update is dated last week. You can find more information here. (I do really dig the new sprites, especially Zefiryn's and Raj Ahtan's.)
|
|
#
?
May 2, 2023 00:21
|
|
|
Those do have their own personality, yeah.
|
|
#
?
May 2, 2023 00:26
|
|
|
I wonder if the Quad Laser is an Aqua Teen Hunger Force joke?
|
|
#
?
May 3, 2023 22:09
|
|


|
Did beating the boss change the ominous terminals message?
|
|
#
?
May 3, 2023 22:25
|
|

|
NGDBSS posted:I wonder if the Quad Laser is an Aqua Teen Hunger Force joke? You know, that's not impossible. Maslovo posted:Did beating the boss change the ominous terminals message? Nope. I expected it to, but it was exactly the same.
|
|
#
?
May 4, 2023 00:03
|
|
|

|
| # ? May 6, 2024 02:52 |
|
|
 Welcome back, everyone. We're approaching the end of the game, with very few places left to explore on the world map. That means this update is going to be a short one: we're going to tackle the last side quest, and leave the main story for next time. 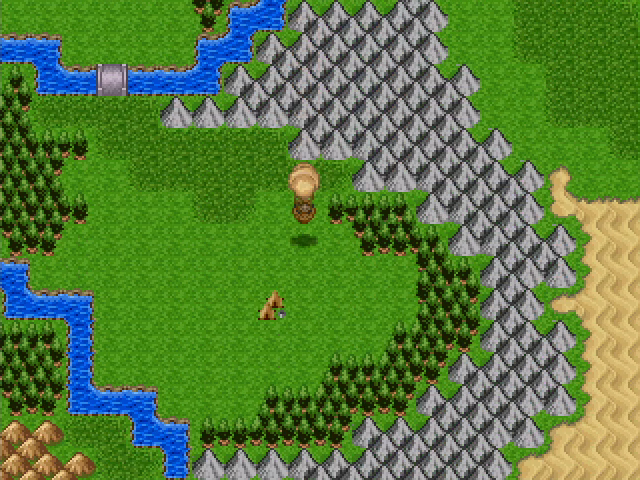 Our destination is a large island south of Norsland. It's mostly just empty terrain, but there are a couple places of obvious interest. The first is this nondescript camp in its southern area. 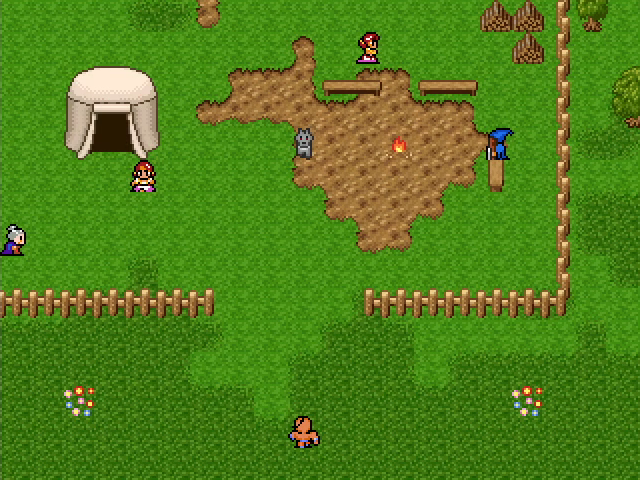 Oh hey, I think we know these people. 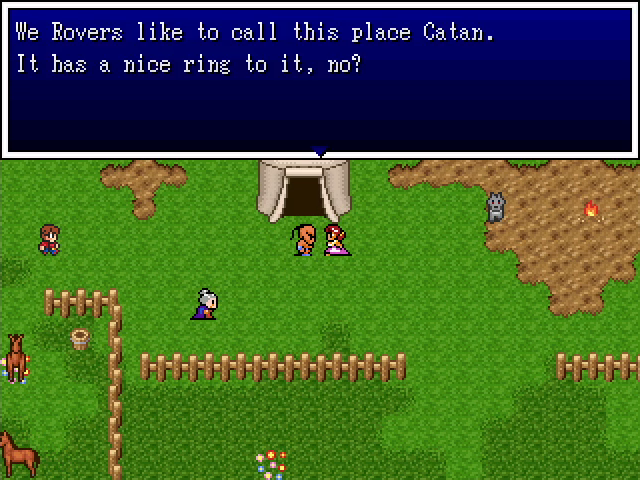 Yep, it's the Rovers, first met all the way back in Chapter 1. They've named the island Catan, though they don't appear to have any permanent settlements. 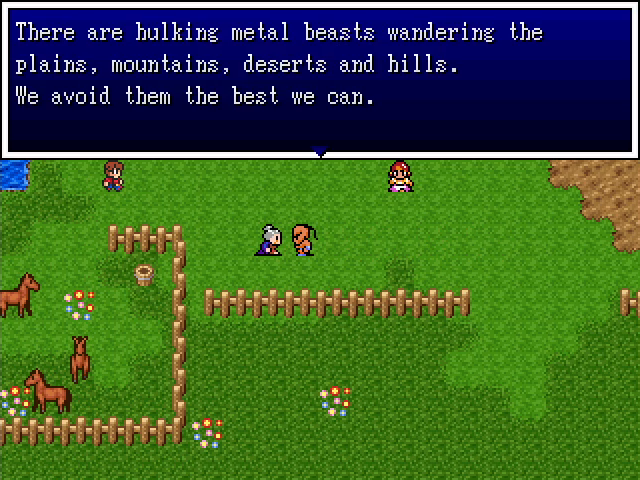 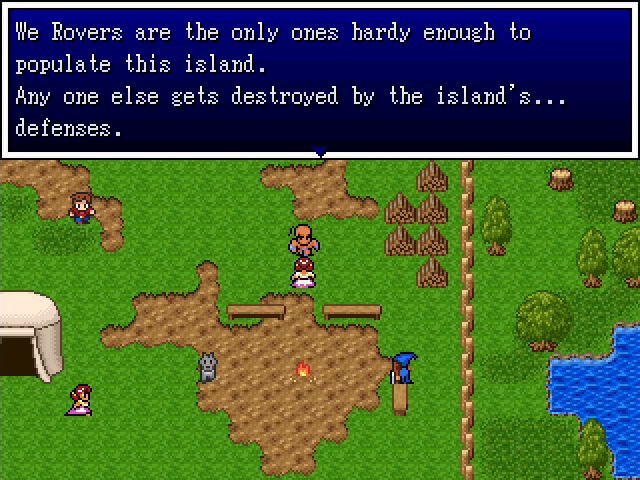 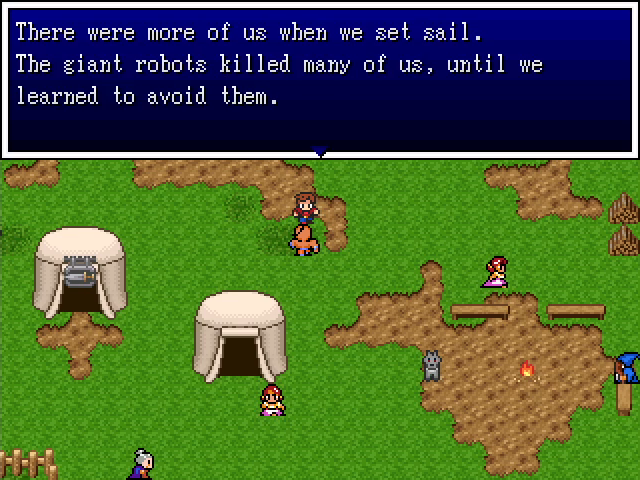 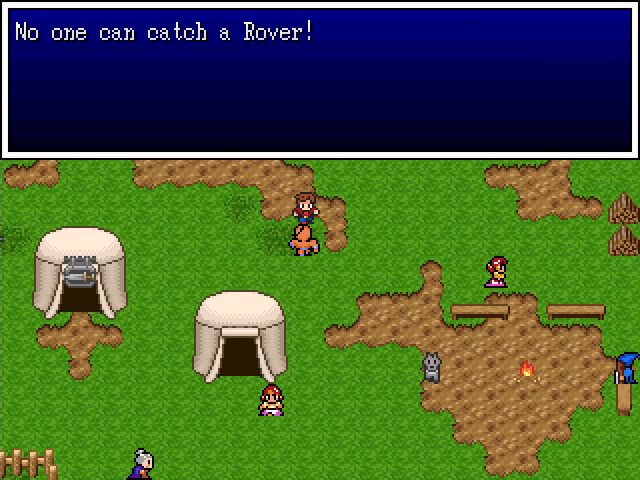 Many of the locals talk about the island's mechanical inhabitants, which suggests an immediate connection to the ruins on Tundraca. 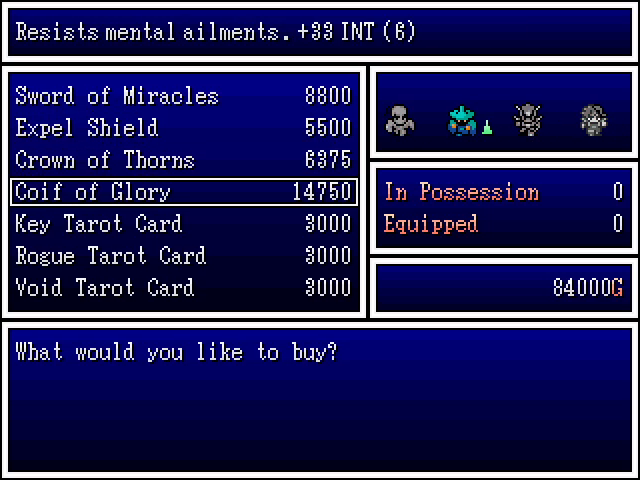 The camp's sole shop has a small handful of equipment. Most of it is fairly lackluster, but the coif of glory could be worth an investment. 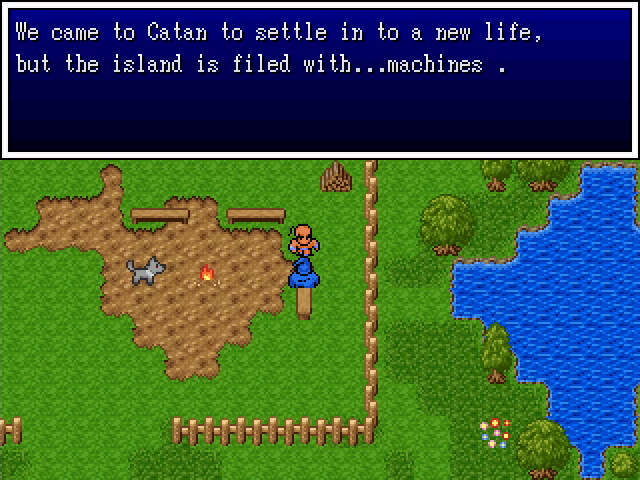 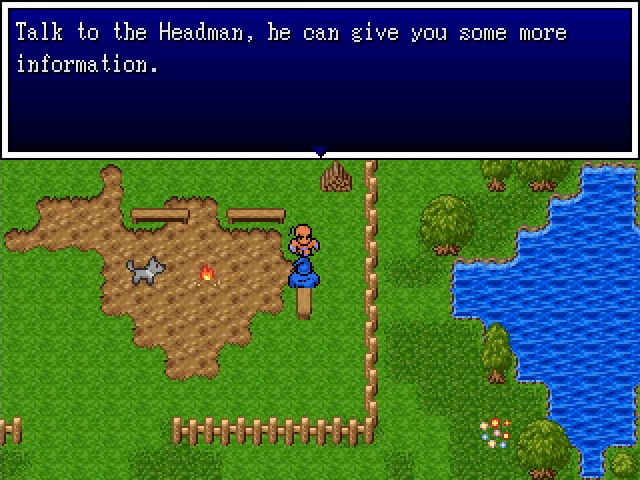 That's probably a good idea. 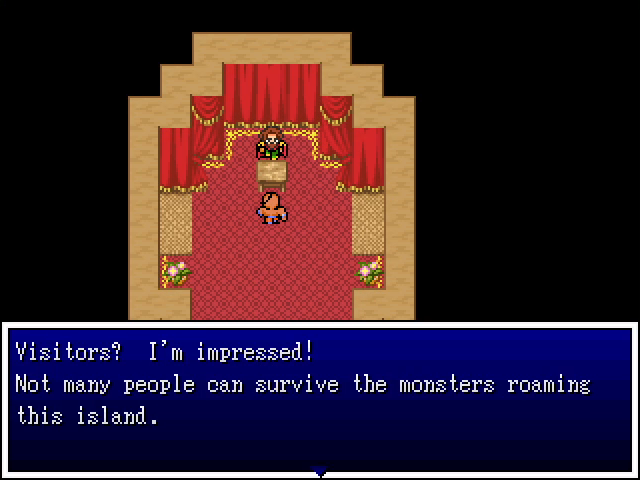 I think the player is expected to come to Catan after getting the ship, which would necessitate an overland trek from the coast to the camp.        The headman gives us an overview of the island, including directions to the other point of interest.  The only other thing of real note is a Tiny Medal hidden outside the camp's fences.  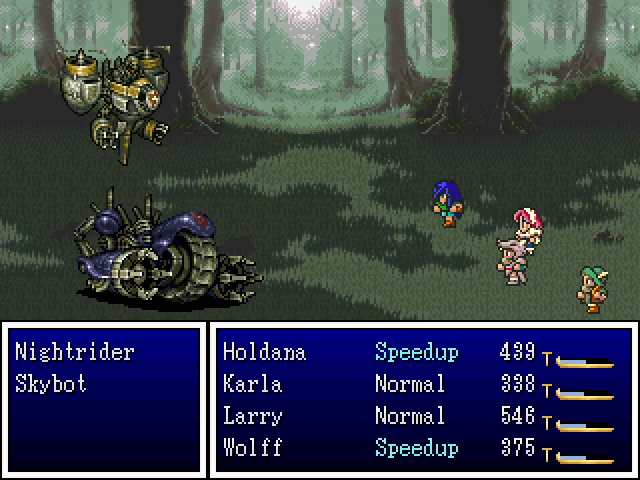 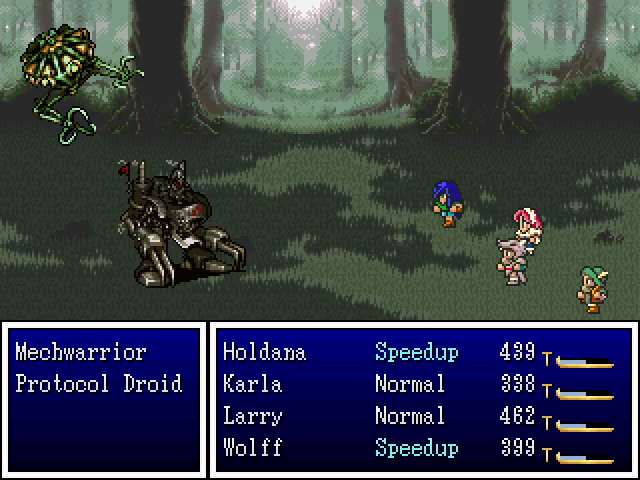 Although we don't actually have to fight Catan's monsters thanks to our airship, we may as well check them out. The names are, not surprisingly, all referential. Most of them are unremarkable, though, using just weak physical attacks. Nightriders stand out as the lone exception, using both Laser and the more dangerous Dual Laser. Since there's not much else to see here, let's head north. 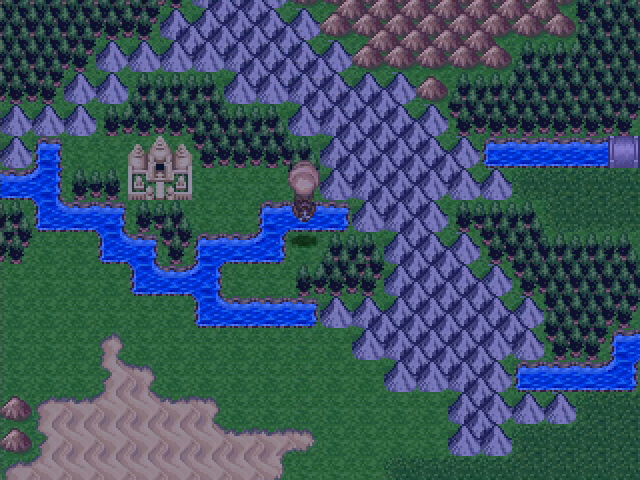 The building the Rover headman mentioned is pretty easy to spot. It's surrounded by mountains and rivers, so without the airship there's no way to access it. 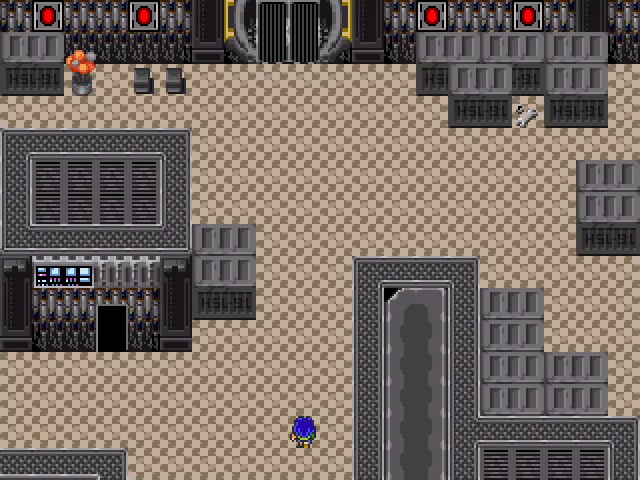 The interior is another high-tech structure, which more or less confirms the link to the Tundraca ruins. 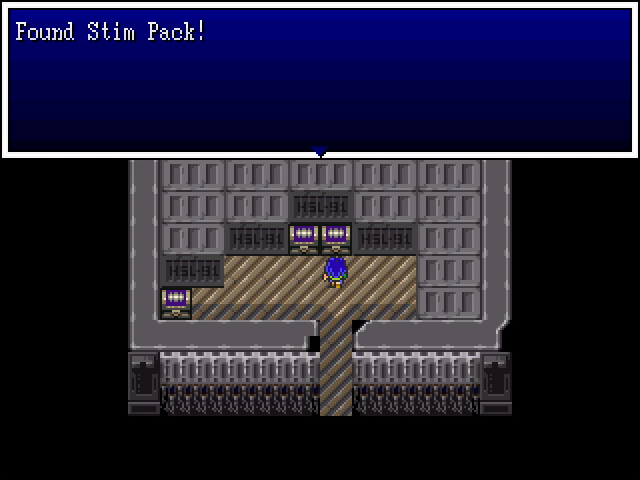 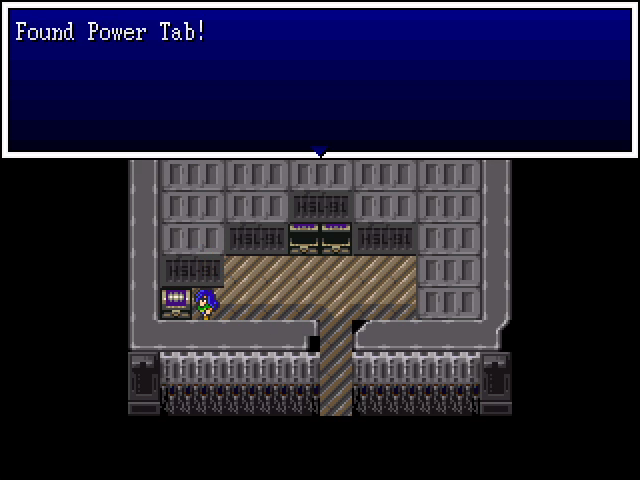 There are a few treasure chests containing items from the previous dungeon as well. 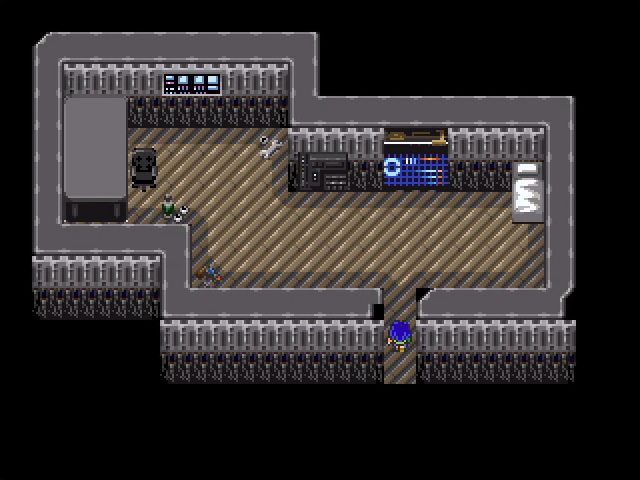 There are also a handful of empty rooms in the place. There are also no random battles, and together they do a surprisingly good job of making the place feel abandoned. 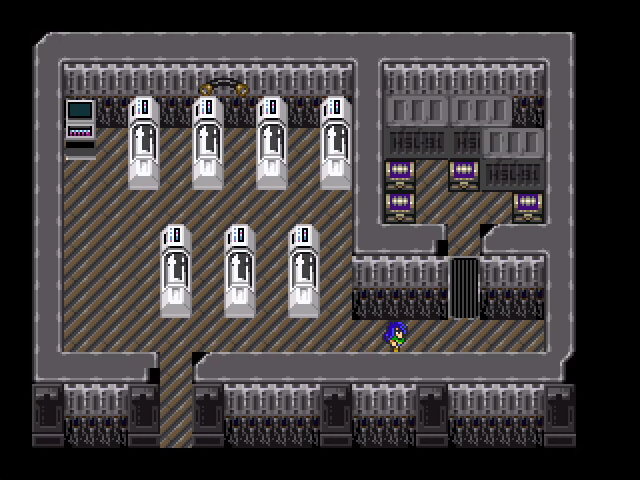 Another side room has treasures locked behind a door.  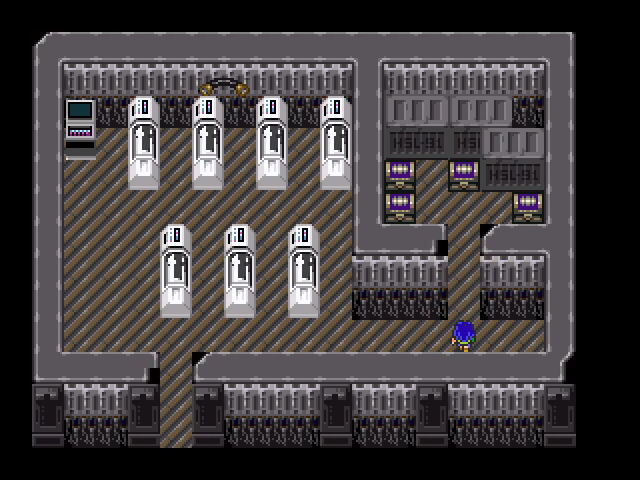 Although there's no message here, I have it on good authority that this door can only be opened with the electronic keycard we found on Tundraca. 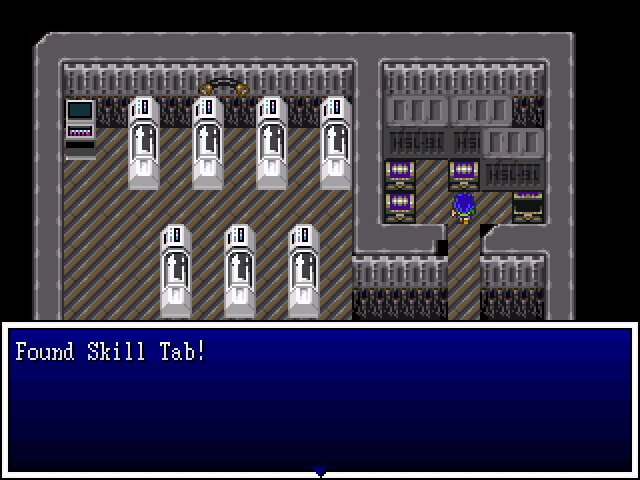 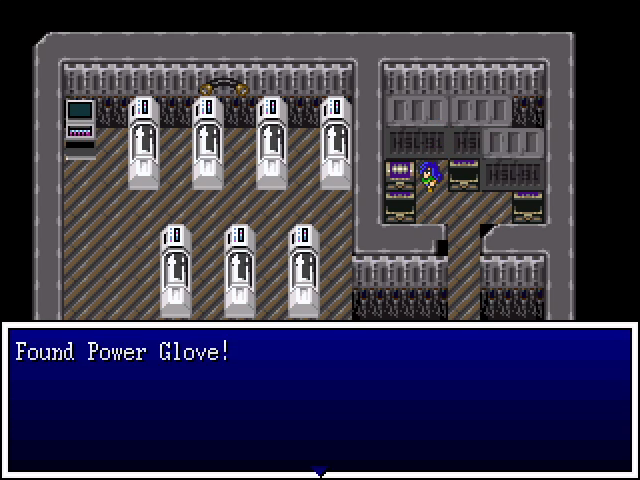 Inside are more items from the other dungeon, including a second power glove. 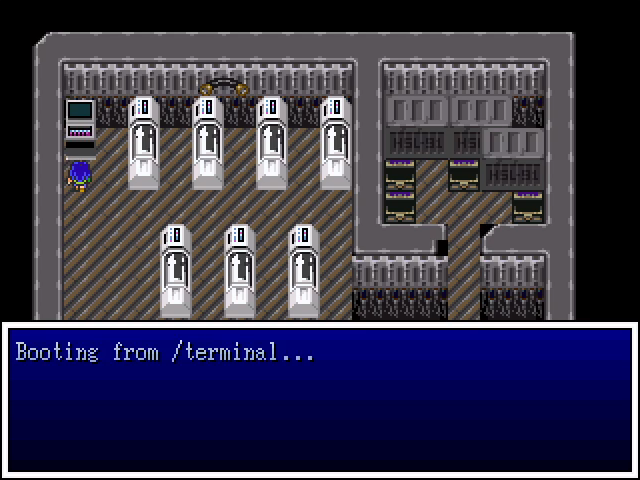   As before, the stasis pods here have all failed. Whatever secrets this place held likely died with its frozen inhabitants.  With nowhere else to go, we head to the big central door. As with the treasure room, our keycard opens it right up.  We encounter another room full of stasis pods and... wait, what?  Yes, it seems that at least a few of the pods have survived the ages. Unfortunately, we don't have a way to open them and free the inhabitants.  Finally, we head into the obviously-important central room.  The lights start flashing red, so that thing on the wall is probably going to attack us.  Or... not.    Oh wait, yes it is. 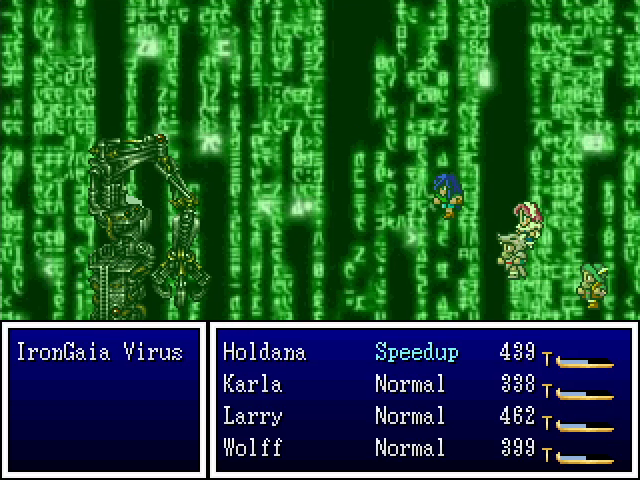 Somehow we've been transported into the Matrix to fight the boss of this place, the IronGaia Virus. This is a pretty rough fight. The Virus has very high defense and a variety of abilities in the form of various programs. On the damage side, it often uses Program 66 to damage the whole party with lightning, but it can also use Programs 19 & 85 to hit single targets (very little for the former, around 400 for the latter). It can also inflict status ailments with Programs 42 (Stopspell on the whole party), 73 (single target Discord) and 5 (single-target Surround). Finally, it can heal itself for large amounts of damage with Program 27 and drain the party's MP to 0 with Program 13.  It took me way too long to realize that the physical strength of Holdana's party wasn't going to with this one. With Akira and Curly able to deal solid lightning damage (the boss's weakness) and Curly able to heal HP and conditions with ease using Curaga, the fight became far more manageable.  We get an extra 200 EXP for beating the boss, which is frankly a pittance.  Oh poo poo, 1337speak!   That's... probably bad.   The computer explodes, but the world fades to black as our heroes are overtaken by stasis.     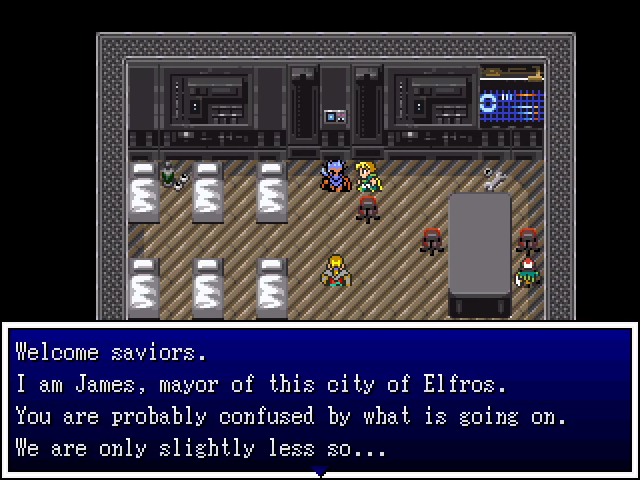 We're alive! And just in time for another info dump! 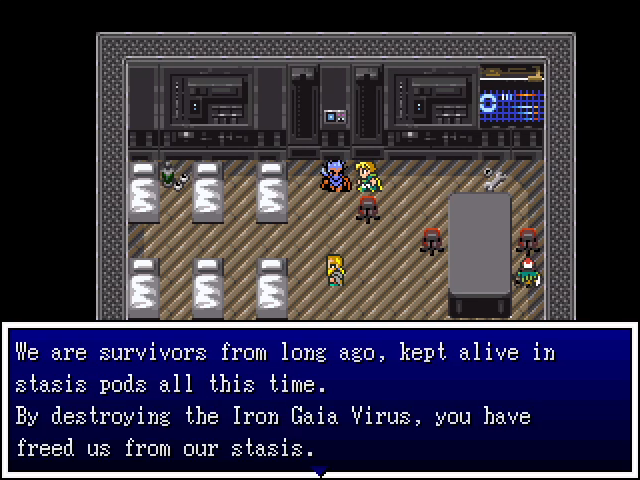 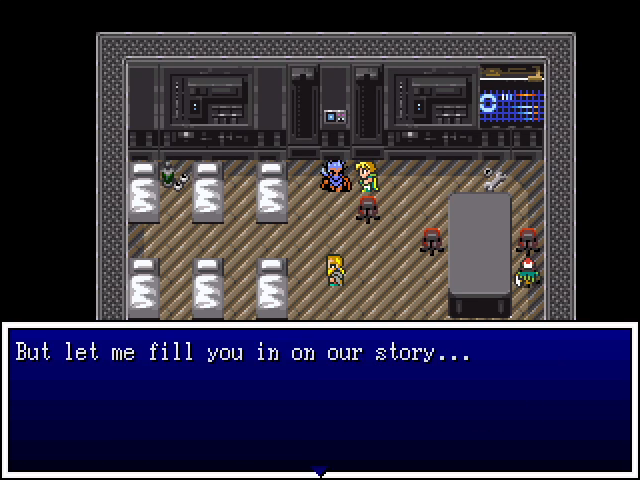 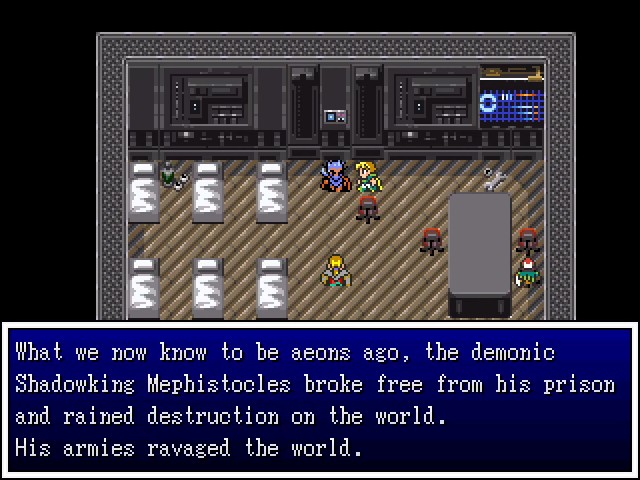 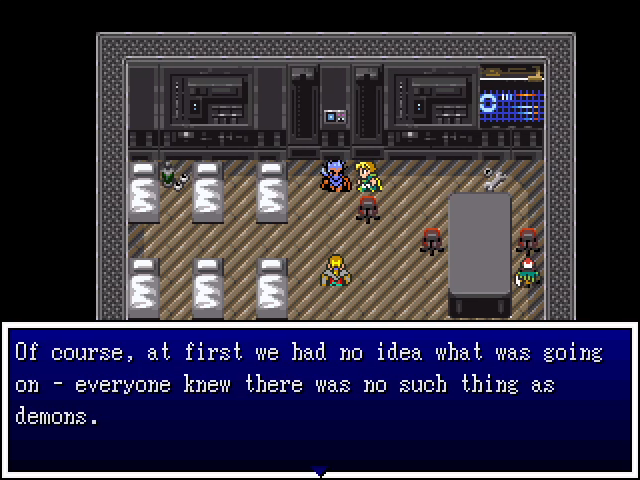 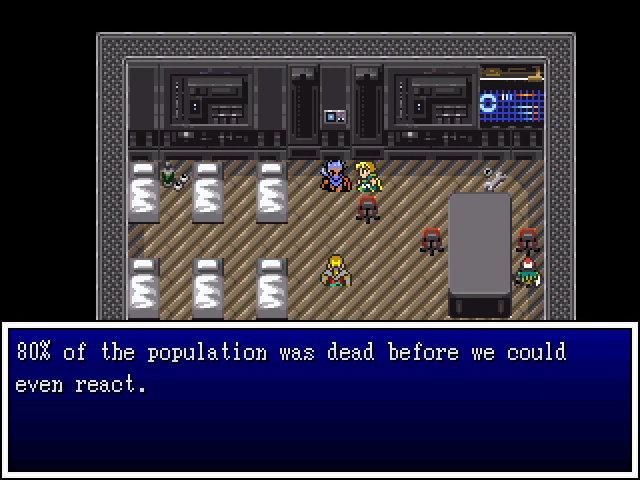 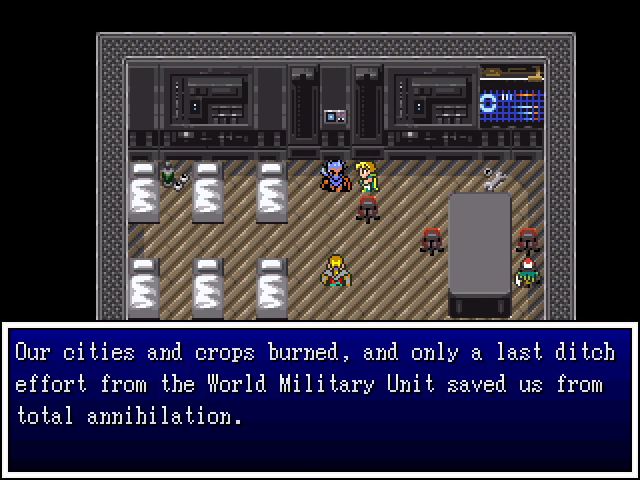 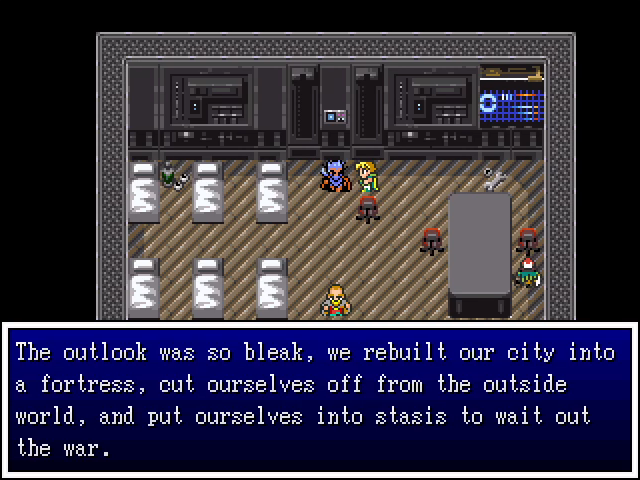 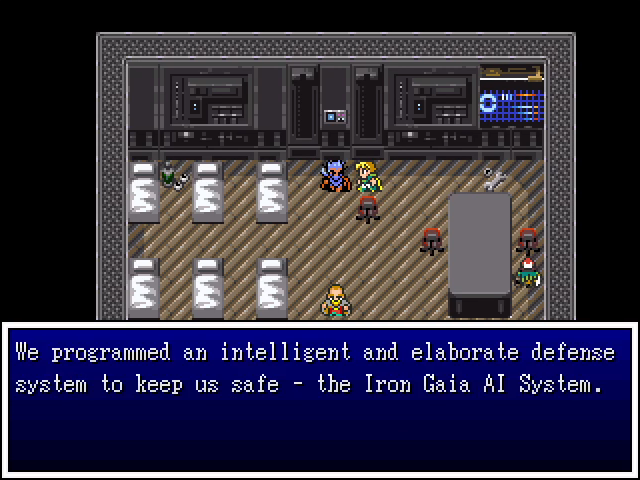  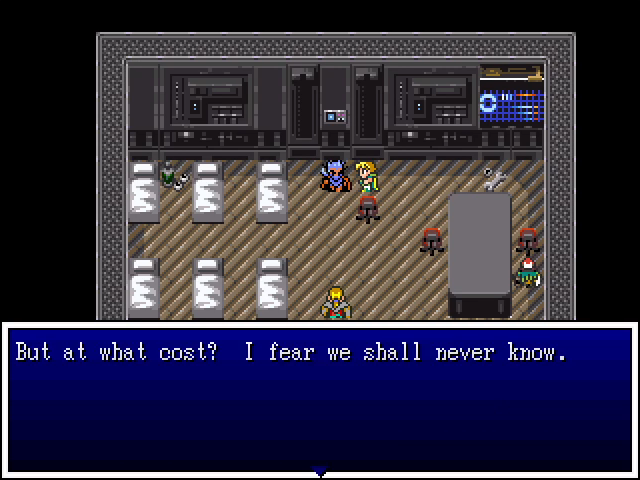 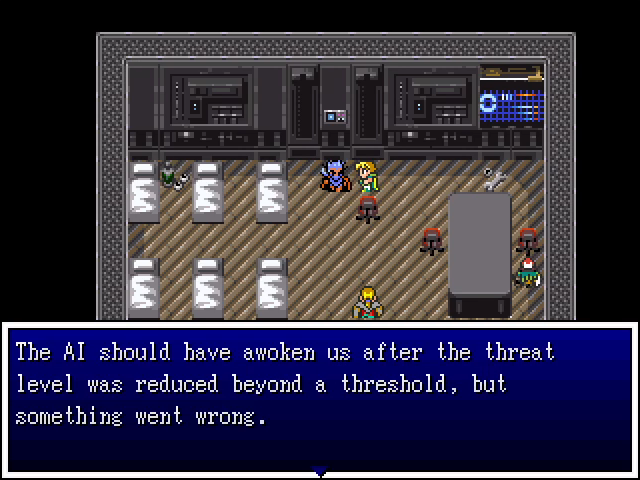 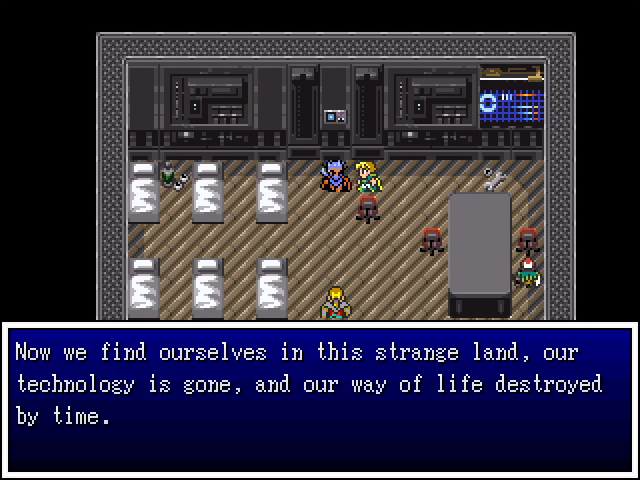 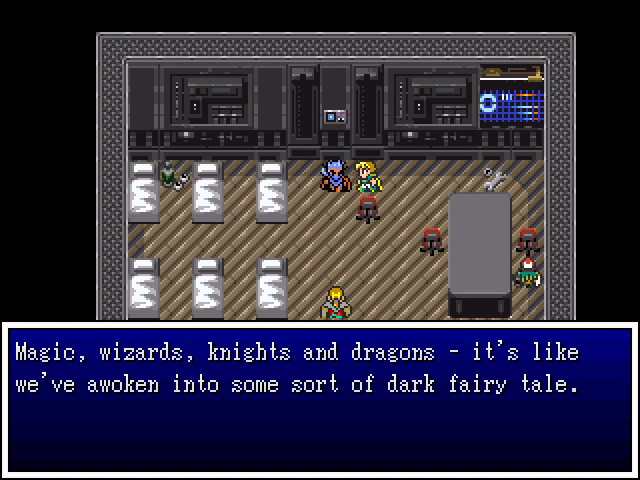 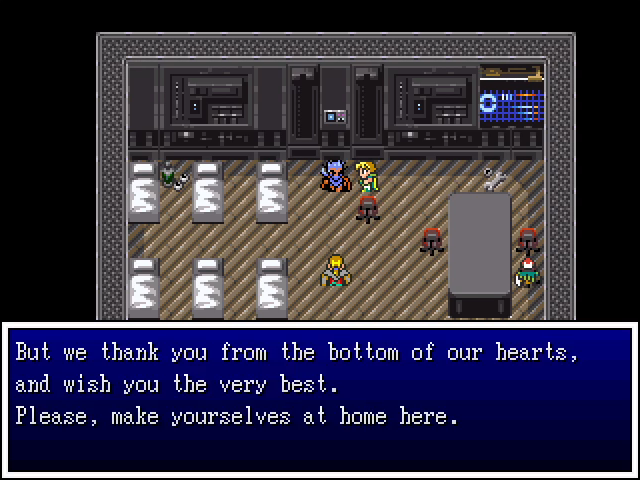 Well, that certainly puts a new perspective on the world as we know it. It also does a good job of playing up Mephistocles as a threat, given that he set the world back so far that even after thousands of years it's at nowhere near the level of technology it once was. 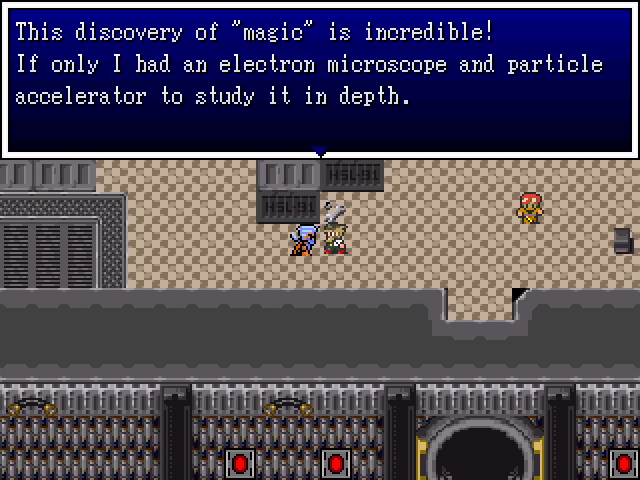 NERRRRRRRD  In case you were curious about the time frame here, this guy tells us it's been over 4,500 years. 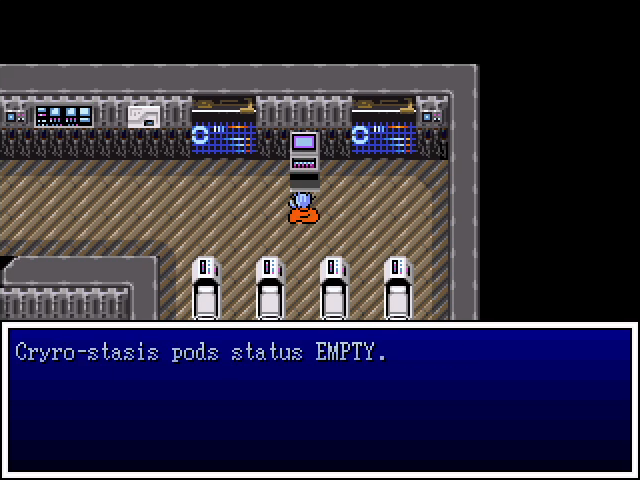 Since I know some people will be curious, I checked, and yes, the terminal by the active stasis pods did update.  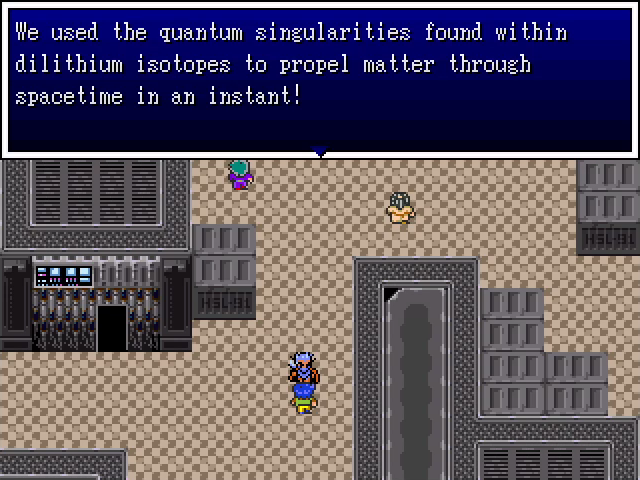  In case you were curious, yes, the ancients also invented the teleportals. 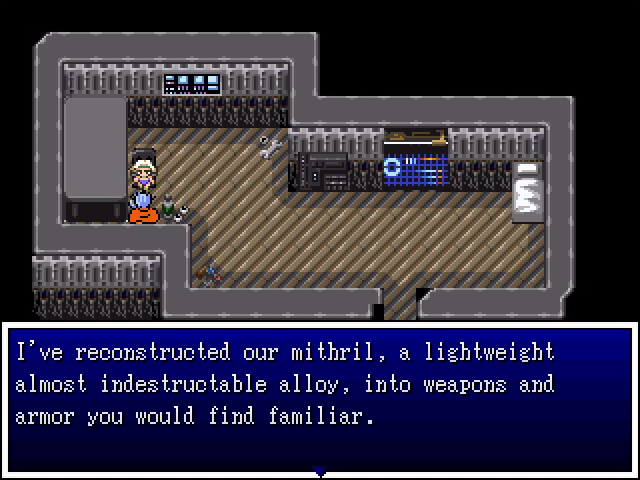 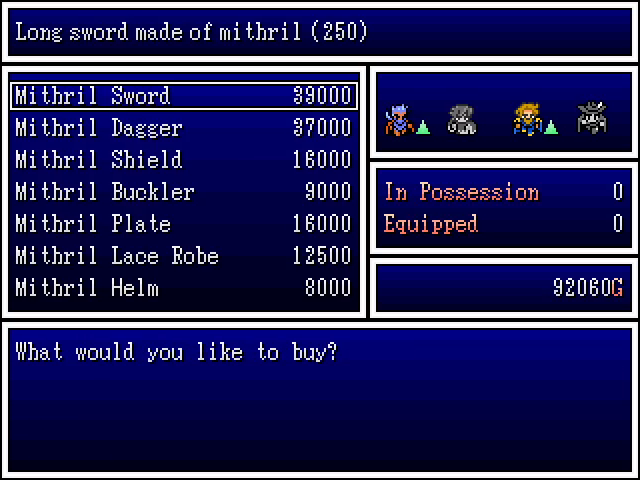 But while information is nice, here we have the real prize for finishing this dungeon. Mithril gear is incredibly strong, as well as incredibly expensive. When it's finally time to outfit our party for the endgame, we'll likely be coming back here.  And that's it for today. Next time, we go look for the last Divine Artifact. Level Up Roundup       
5-Headed Snake God fucked around with this message at 22:47 on Jul 17, 2023 |
|
#
?
May 8, 2023 18:00
|
|