


|
Voting is now closed.
|
 #
?
Feb 16, 2024 03:11
#
?
Feb 16, 2024 03:11
|
|


|

|
| # ? Apr 27, 2024 10:20 |
|
|
Welcome back, everyone. Today's update is a short one - we're retreading some old ground, and even the new ground isn't terribly exciting.  After buying a couple of spells for our party members, we're off to Mt. Scurve. 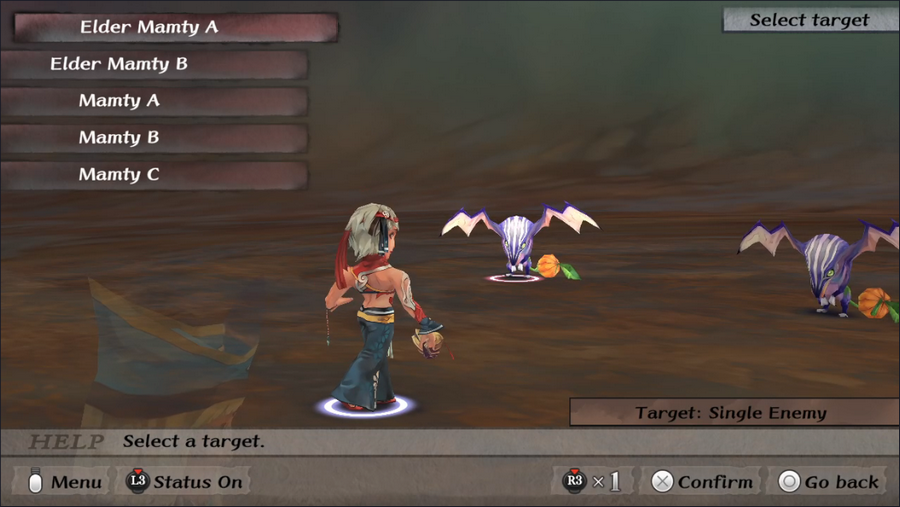 During the climb, we run into a new monster type, the Elder Mamty. They can cast Wracking but are quie fragile, so they're not much of a threat. Apart from this one new monster, nothing about this second climb is any different from the first. 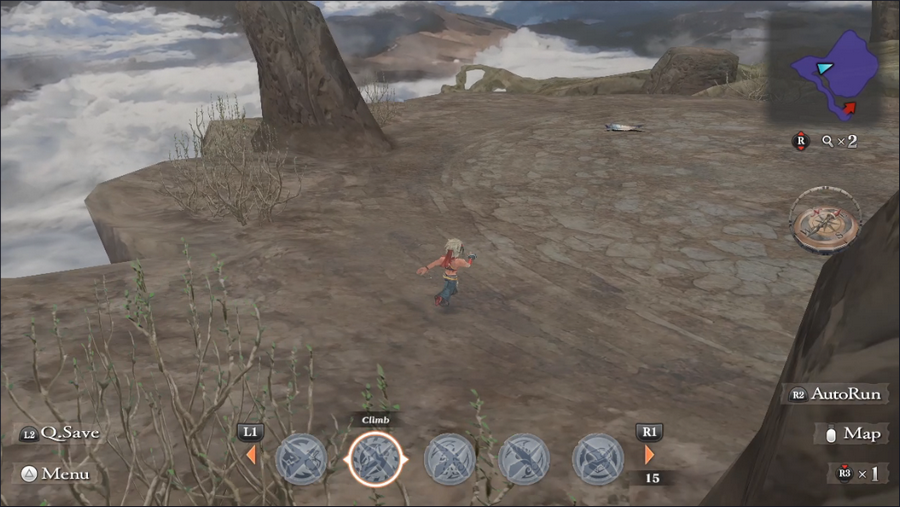 We reach the peak with minimal fuss. 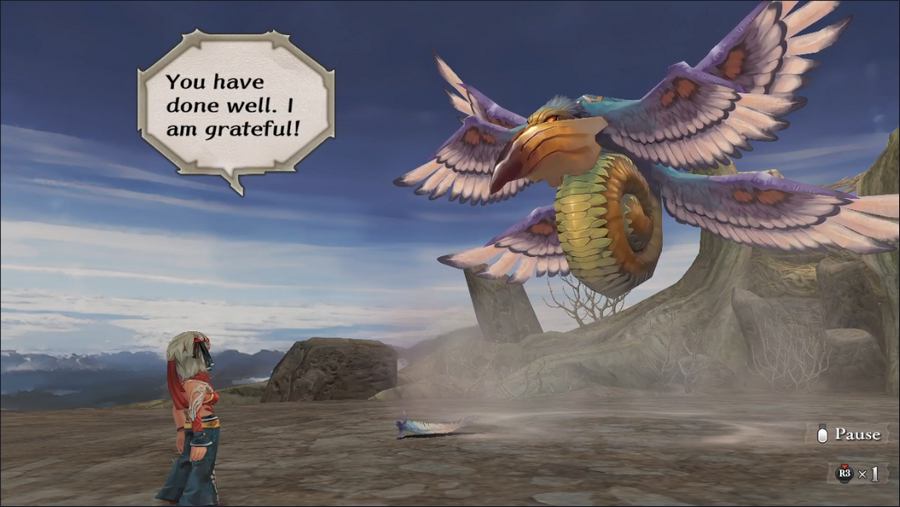  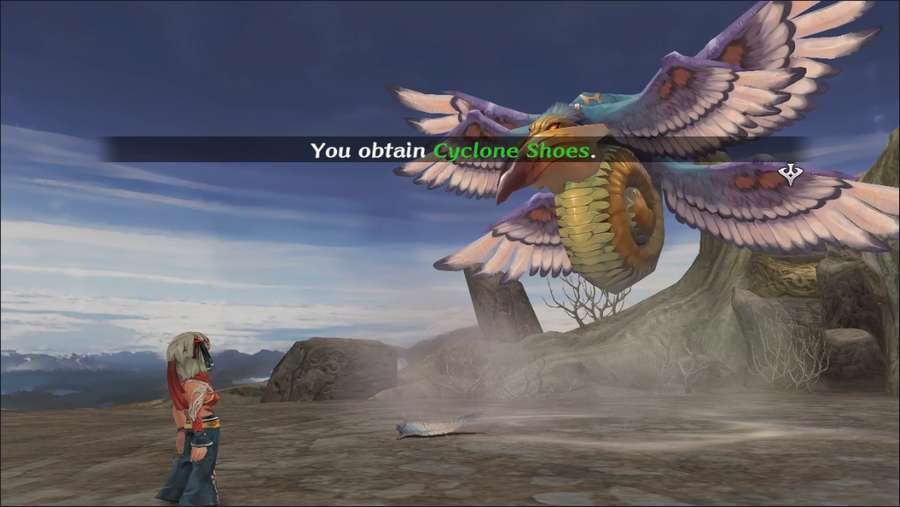 Avi rewards us for bringing him the Ignigarde by giving us another unique piece of gear, the Cyclone Shoes. 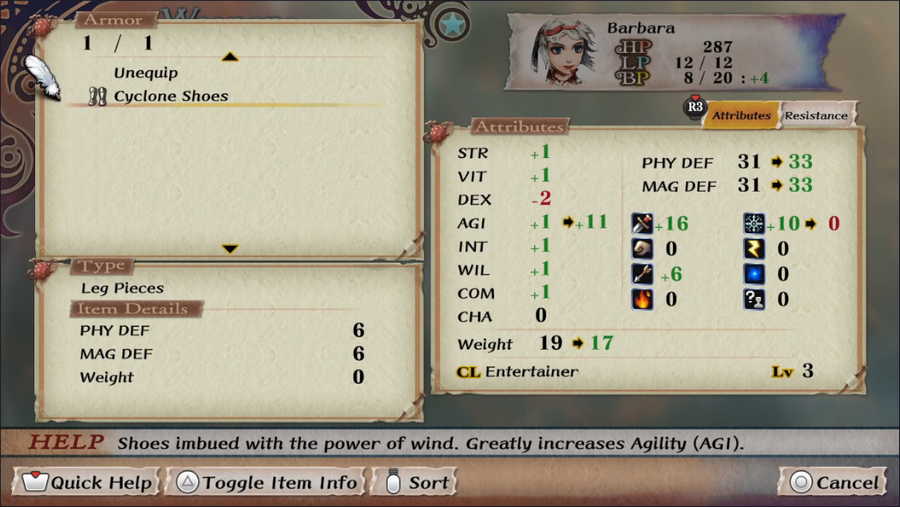 They're pretty good - somewhat lacking in defense, but with a hefty Agility boost. I believe they also protect from certain ground-based attacks, such as the Tremor spell.  We also get a nice haul of jewels. 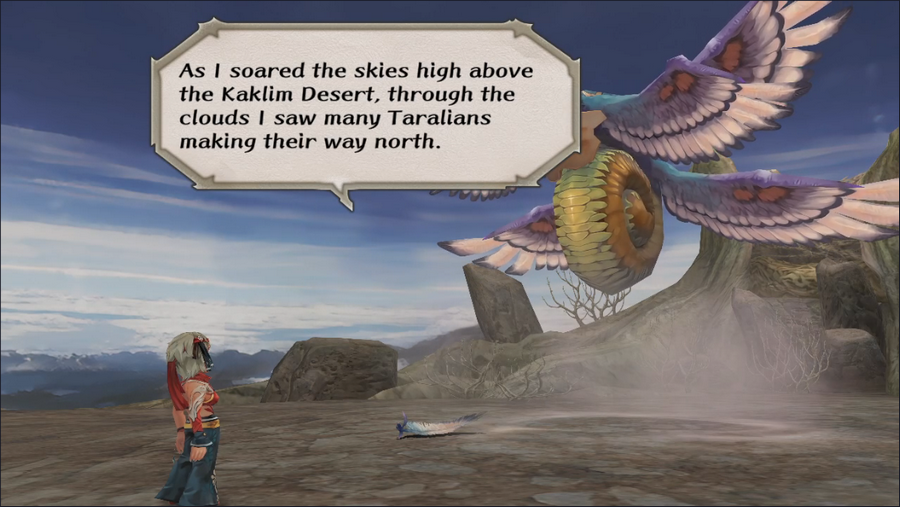 Avi also shares with us a piece of rather interesting news. He has to be talking about the Taralians who once inhabited the abandoned camp.  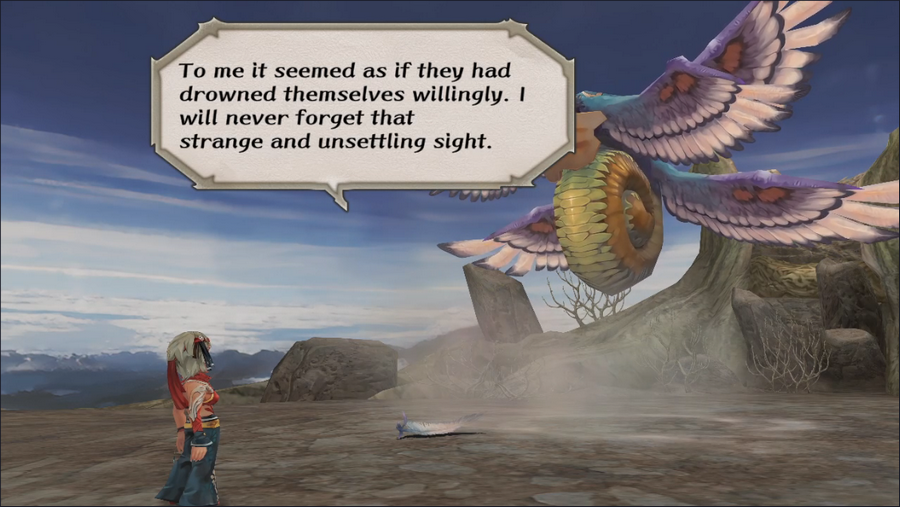 What an interesting tidbit. Perhaps we can find out what happened if we visit the desert ourselves. 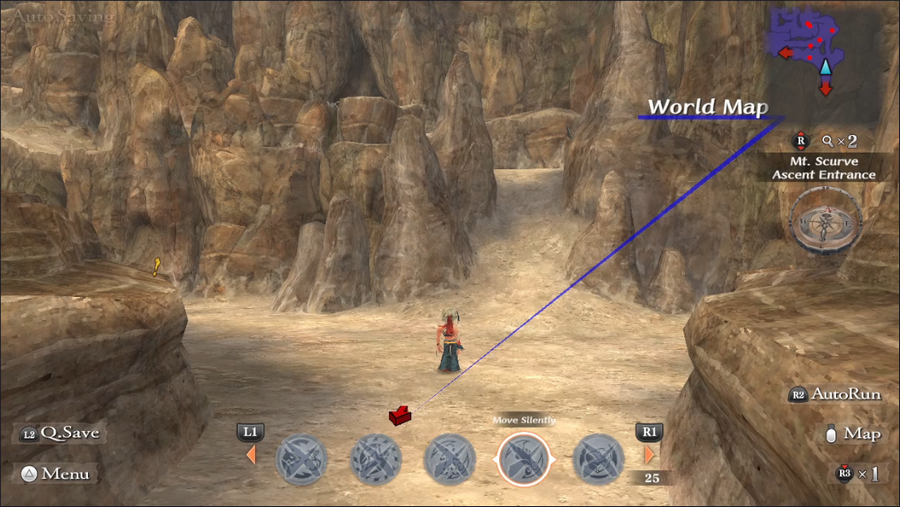 As with all the elemental lords, we're sent back to the area entrance after speaking with Avi.  After making a few tweaks to our loadout, we're off to Bayre Plateau. 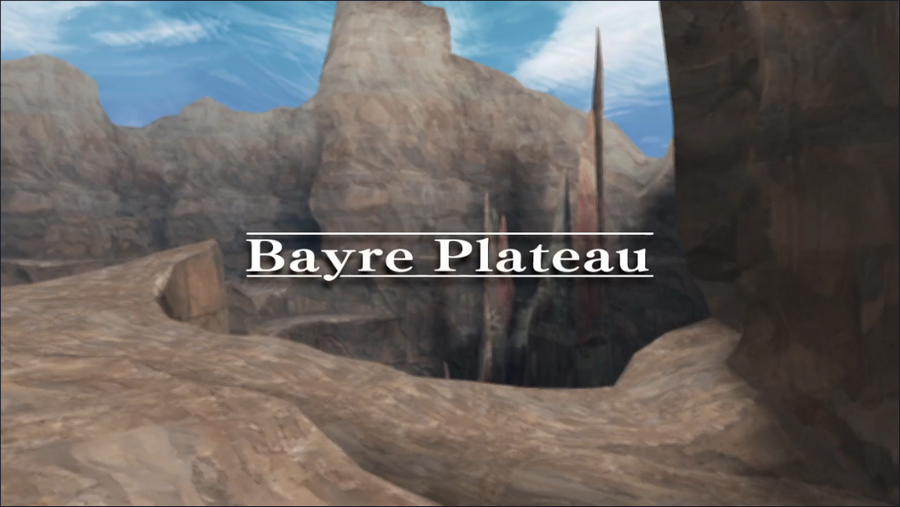 I'm a little surprised this is the first time we've been here. 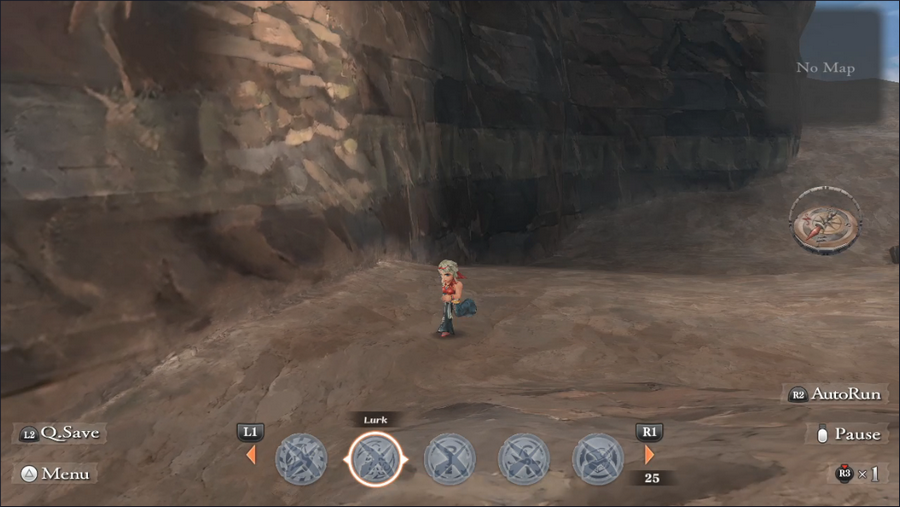 Bayre Plateau actually feels more like a canyon, with lots of high walls. Some of them can be climbed (notice the climb texture on the wall), but we're not here for that today.   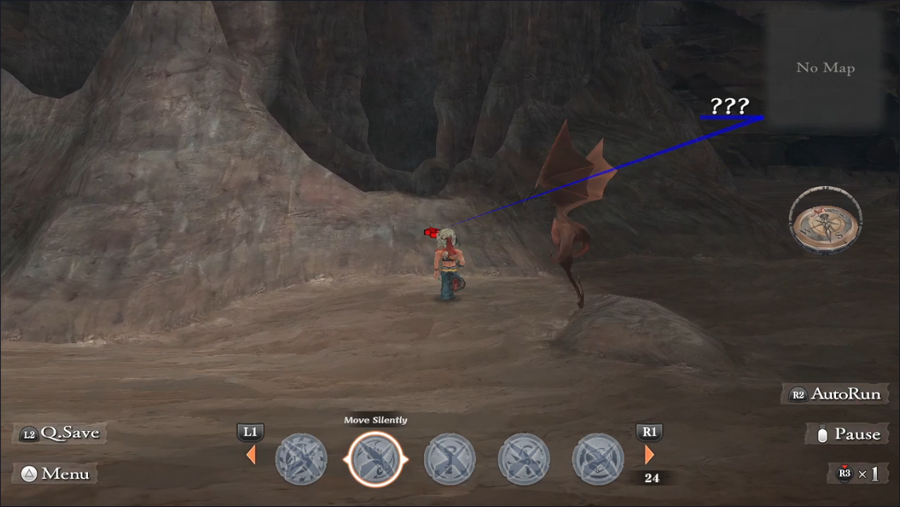 Instead, we run past a bunch of monsters, through a narrow pass, and into what looks like a big hole in the ground. 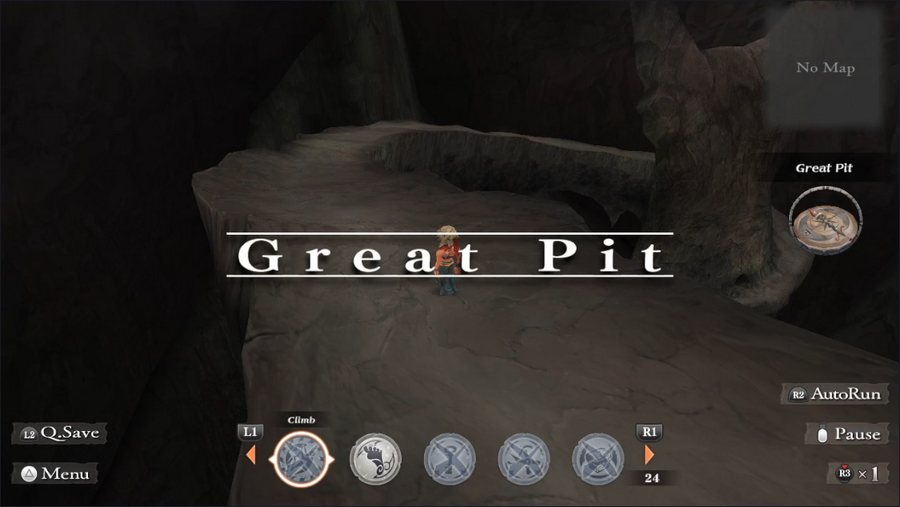 And with that, we're in the Great Pit, though we still need to find Adyllis. This is another area where the sense of scale is really well done. The surrounding emptiness feels almost oppressive, at least until the camera zooms in. 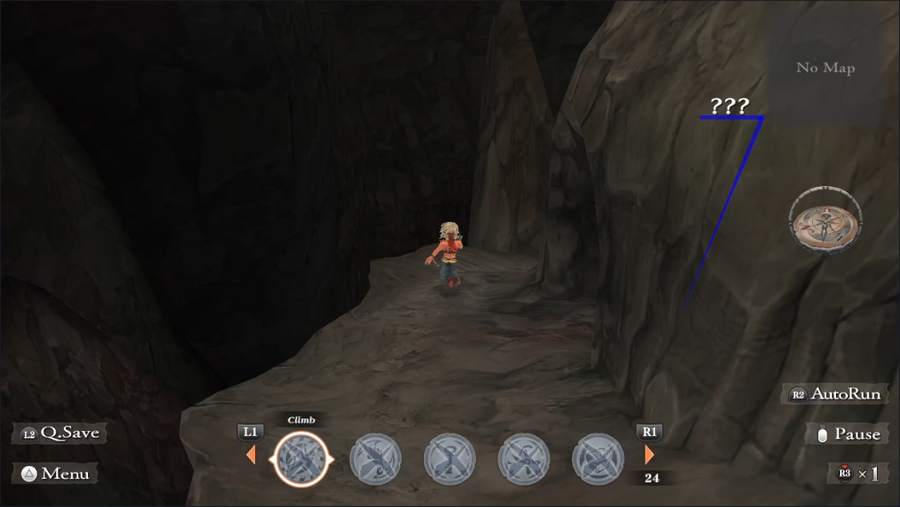 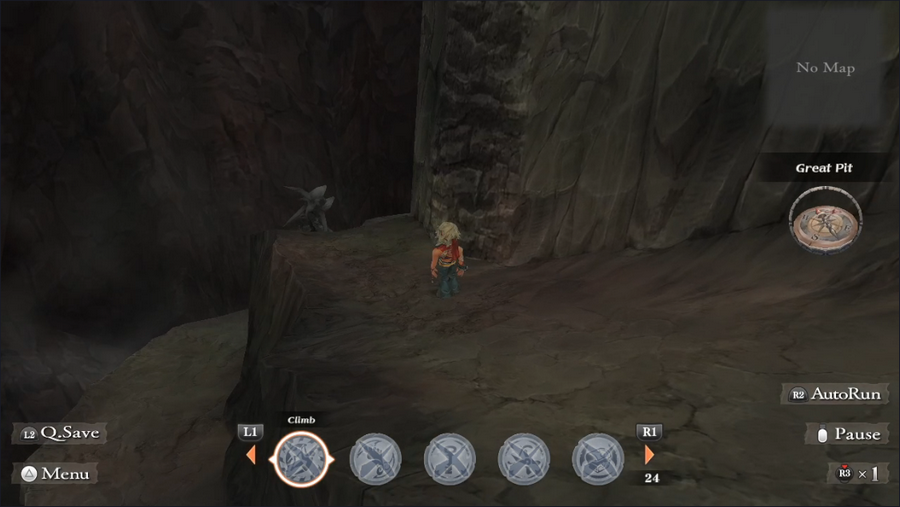 As with Mt. Scurve, the Great Pit is a bit of a maze, with caves and climbable walls creating branches and alternate routes to our destination. However, since we're primarily concerned with finding Adyllis, we'll be skipping over most of those. Most.   We can reach the bottom fairly easily by staying on the rocky slopes of the Pit. The area is pretty heavily populated by plants and insects, but Move Silently lets us avoid the majority of those encounters. 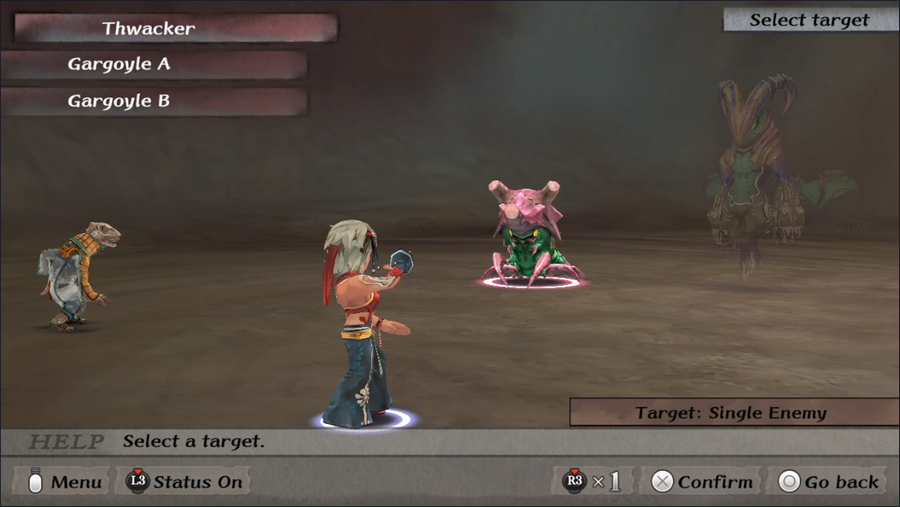 And when we can't, well, we run into a new enemy. Thwackers (gotta love that name) are insect monsters that have attacks that can either Stun us or lower our Agility, but they don't deal much damage and are, by and large, not dangerous. 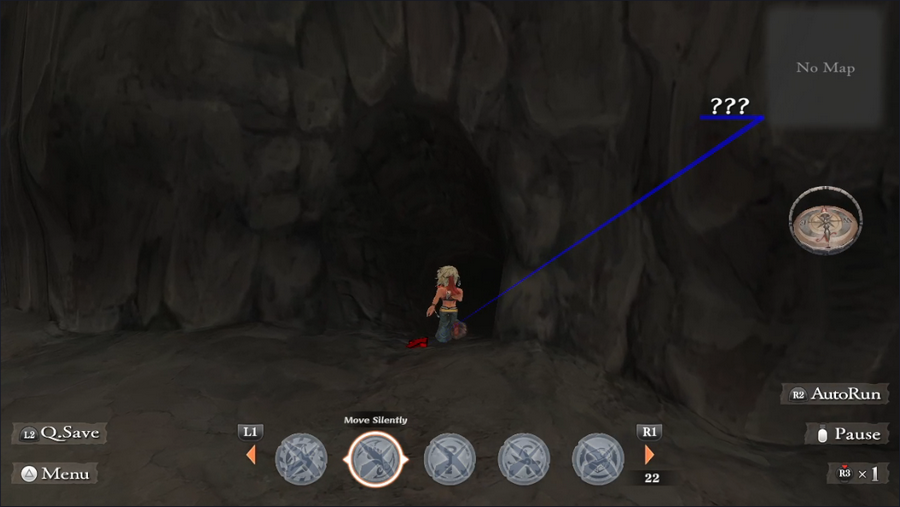 At the very bottom of the ramp is a cave. This isn't Adyllis' lair, but it's our one side-trip. 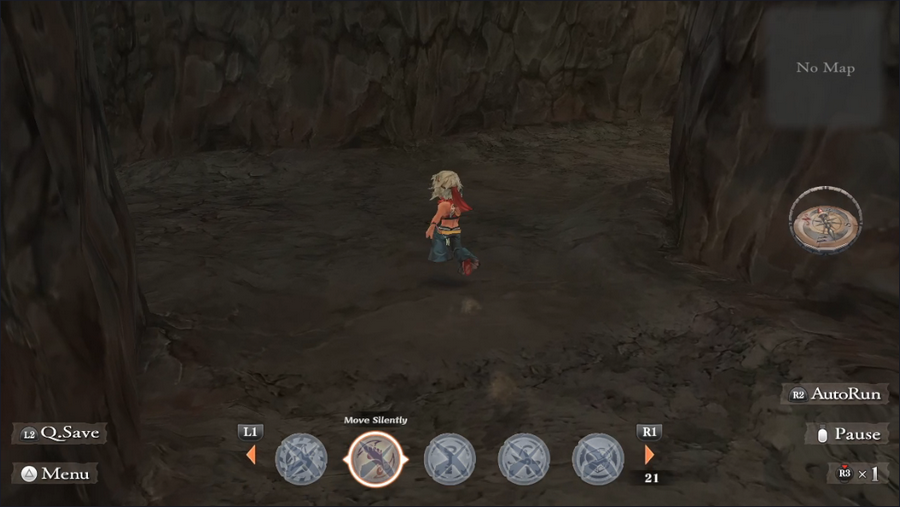  Inside is a spiraling passage leading to a small chamber. 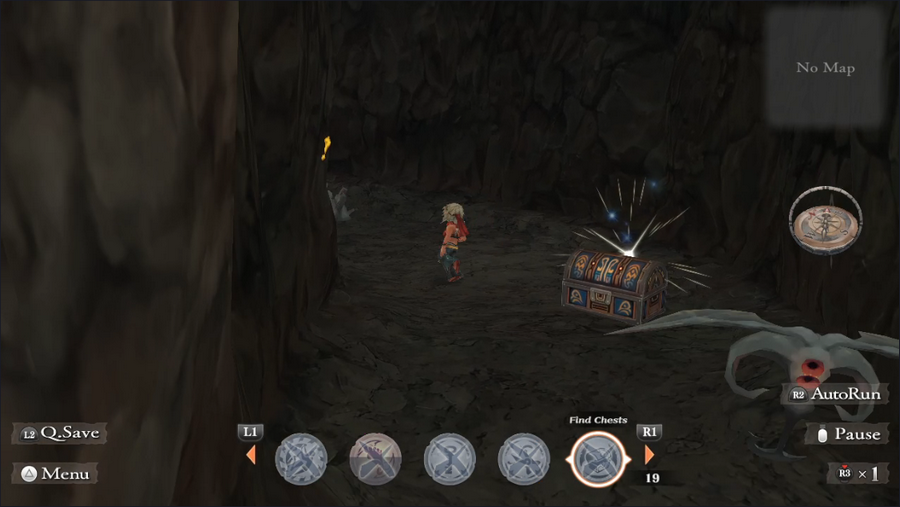 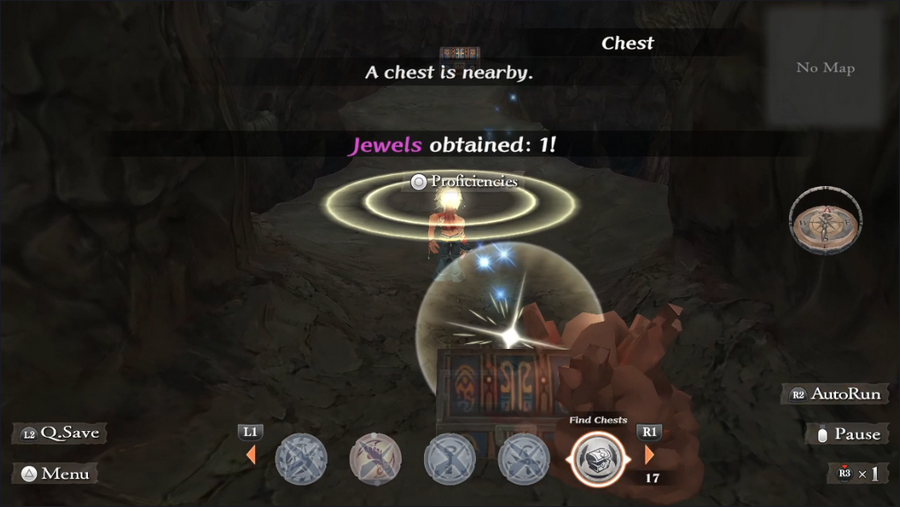 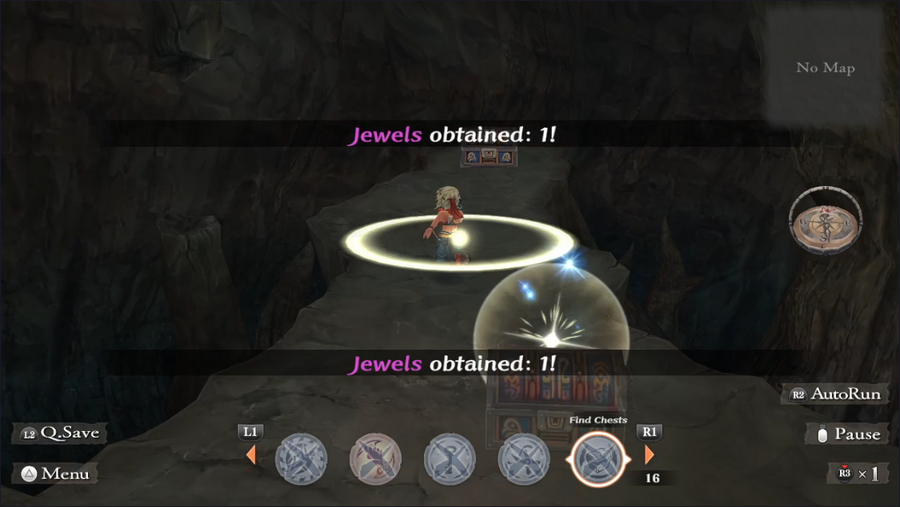 This room has no fewer than three hidden chests, all forming a trail to a fourth one, sitting out in the open.  Inside this last chest is the Earth Spirit, one of the five that can unseal the Faerie King's throne. Three down, two to go.    The other three chests contain some gold, a bow we don't need, and a set of Stone Brigandine armor. 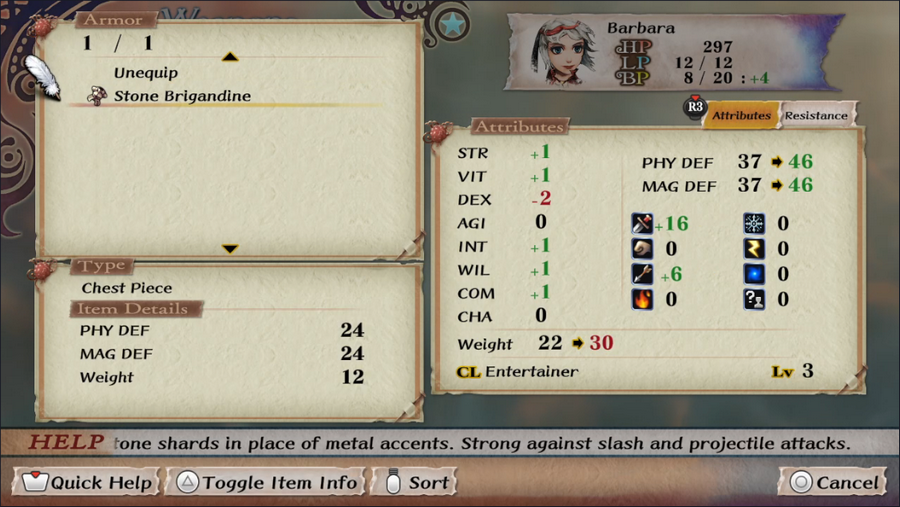 The armor is actually quite good, offering better defense than most of the body armor we already have. It's heavy, but that's barely a concern. 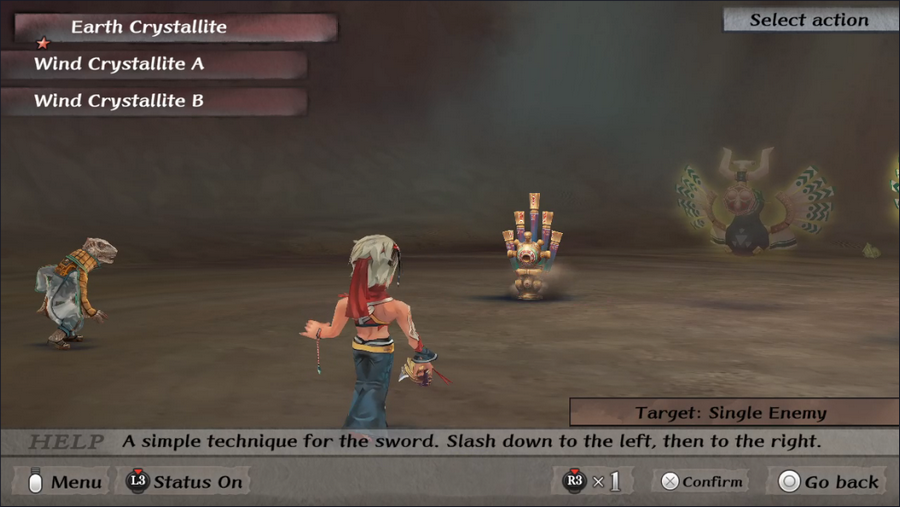 We also meet another new enemy in this room, though it barely merits talking about. Earth Crystallites are similar to Wind Crystallites, but slightly tougher and less evasive (and, obviously, they use Terrology rather than Aerology). 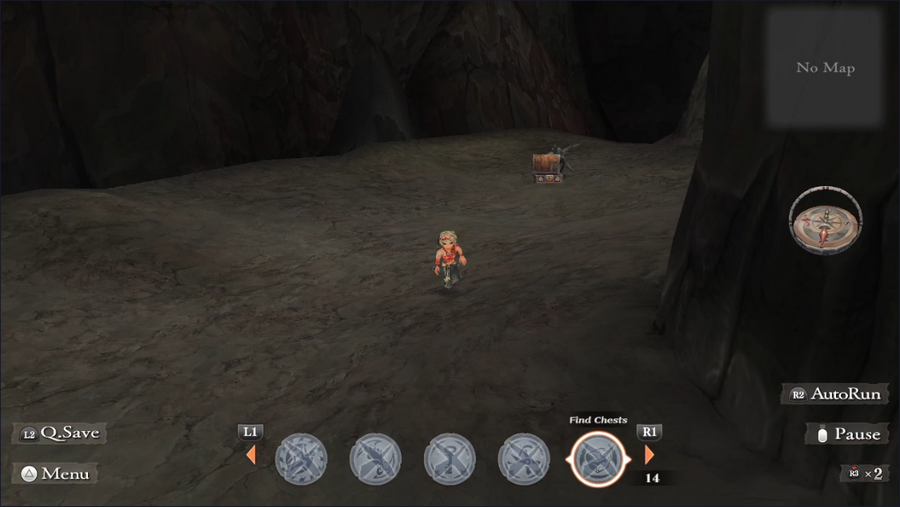 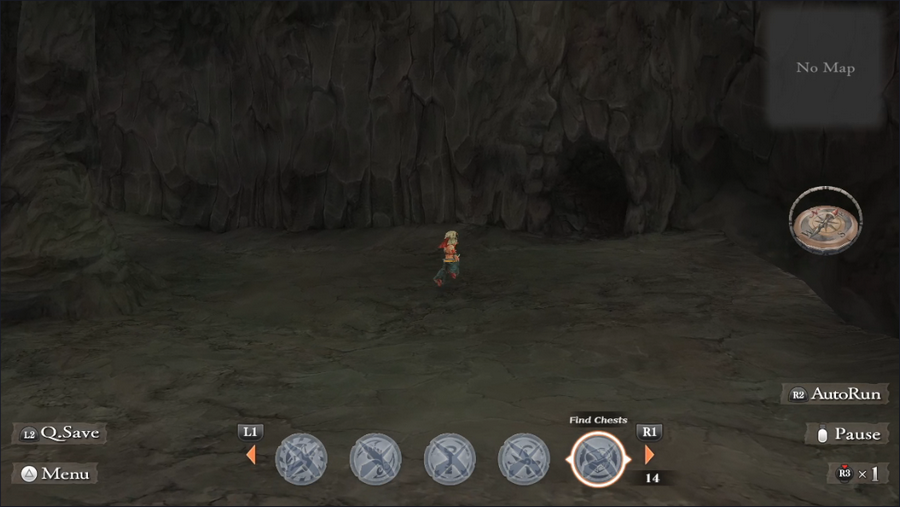 After backtracking out of the spiral passage and up the slope a short way, we come to another cave. 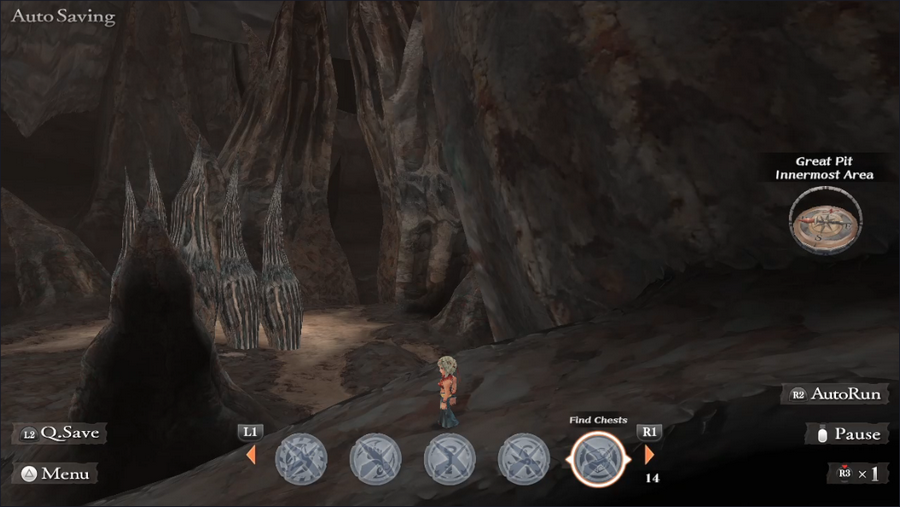 This is our destination.  We come to a wall of stalagmites.  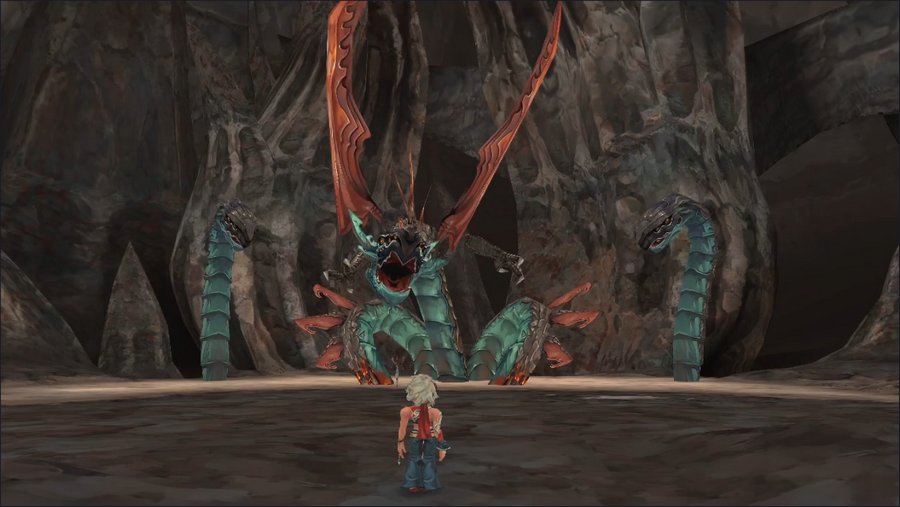 But the ground rumbles, and they shatter as Adyllis burrows to the surface. 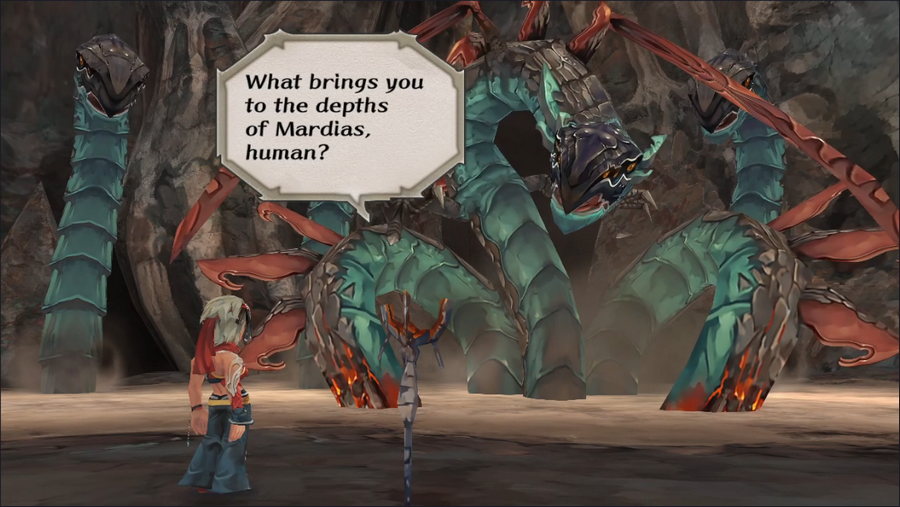 I find Adyllis' design a little unsettling. She's like a mix of dragon, hydra, and annelid.  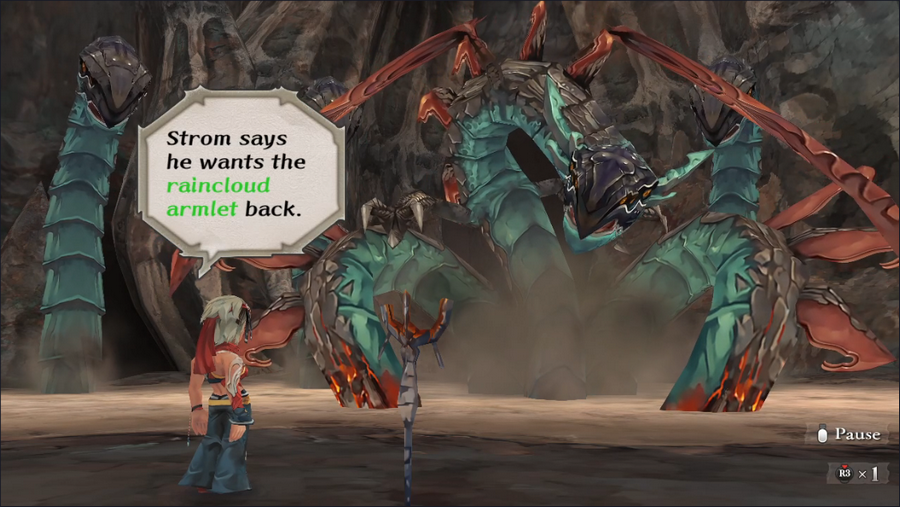 We could fight her, but we're here for a reason, so let's not make her angry.   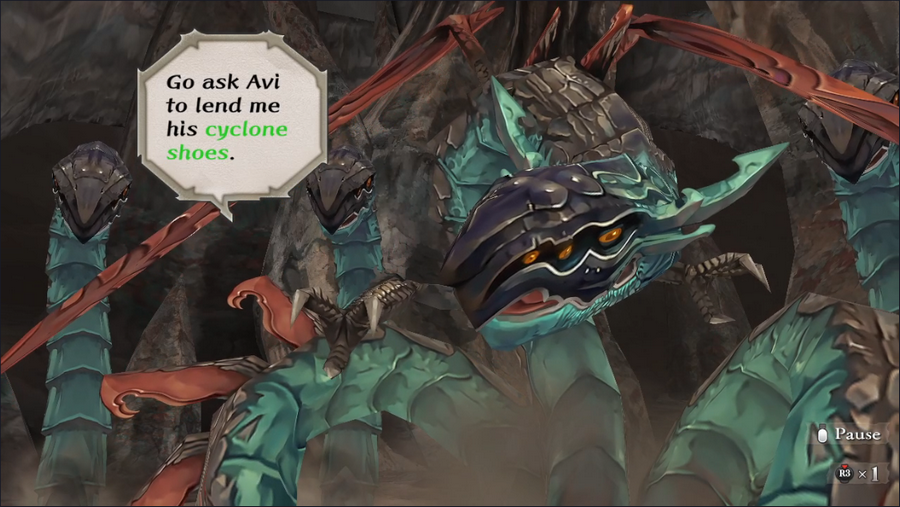 I suspect most of you probably guessed that this was coming, considering that all of the other elemental lords ask for items. 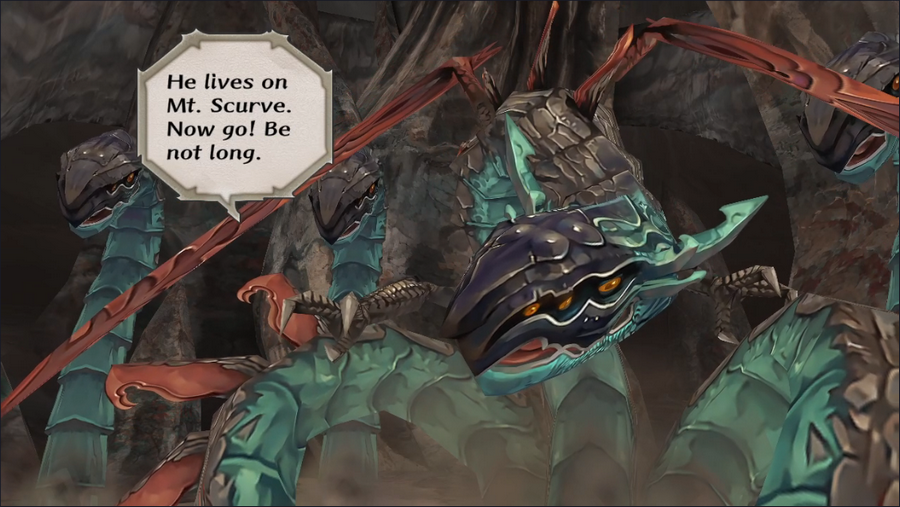 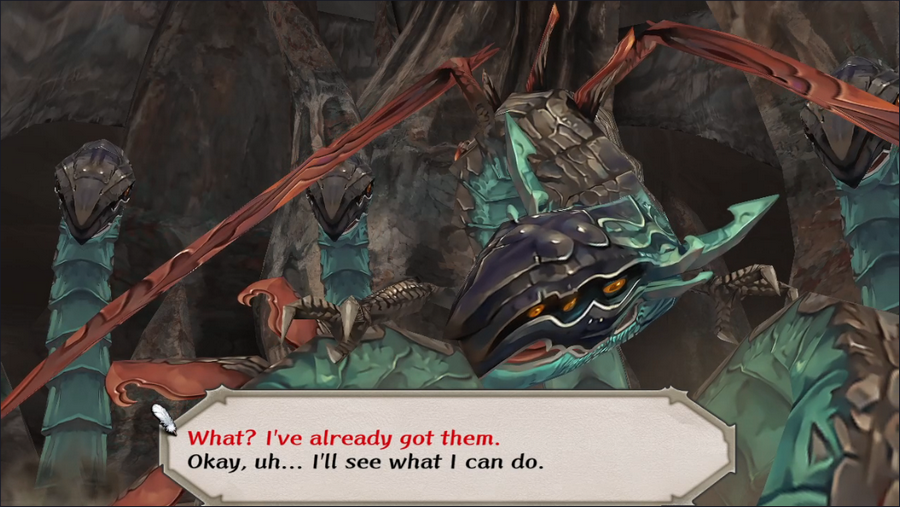 We have the option not to reveal that we have the shoes in case we want to keep them, but we'll fork them over. 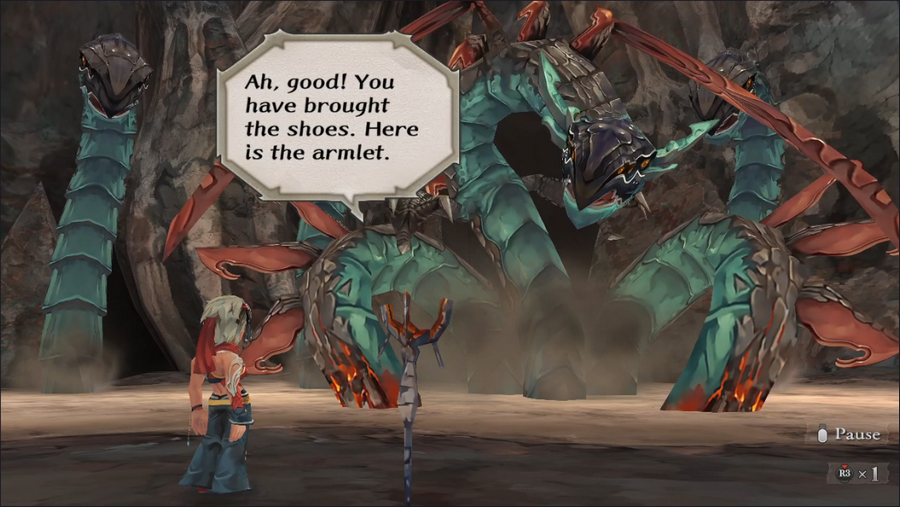 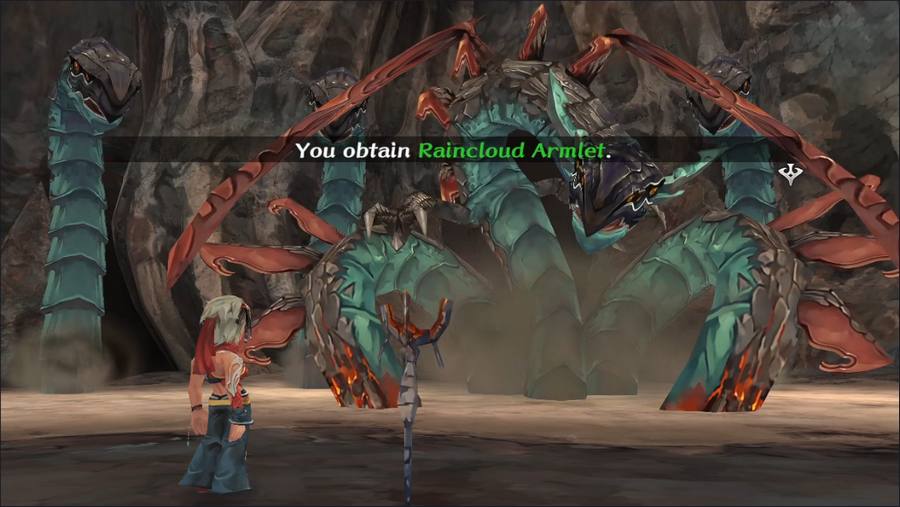 As expected, we get the Raincloud Armlet (and some jewels). 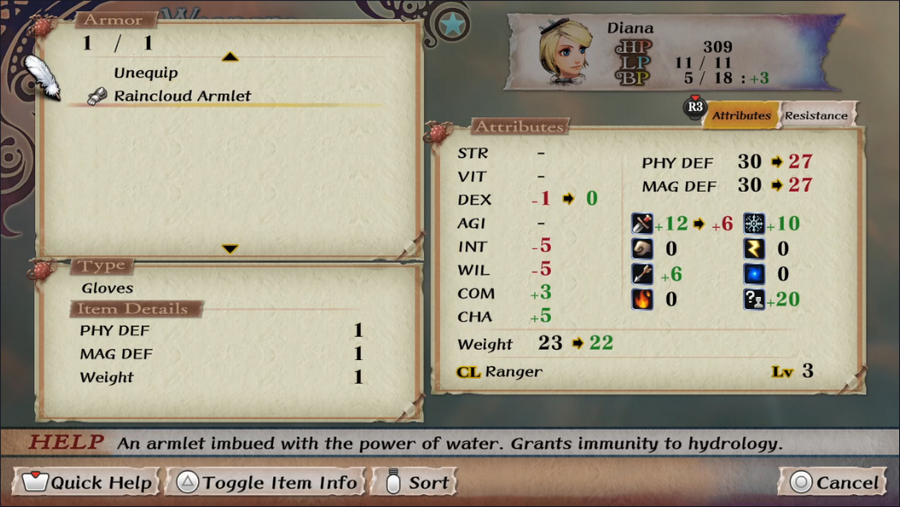 The armlet nullifies Hydrology, but not many monsters use water magic and the armlet's defense is low. It's probably the worst of the items we can get from this quest chain, so handing it over to Strom won't be a big loss. 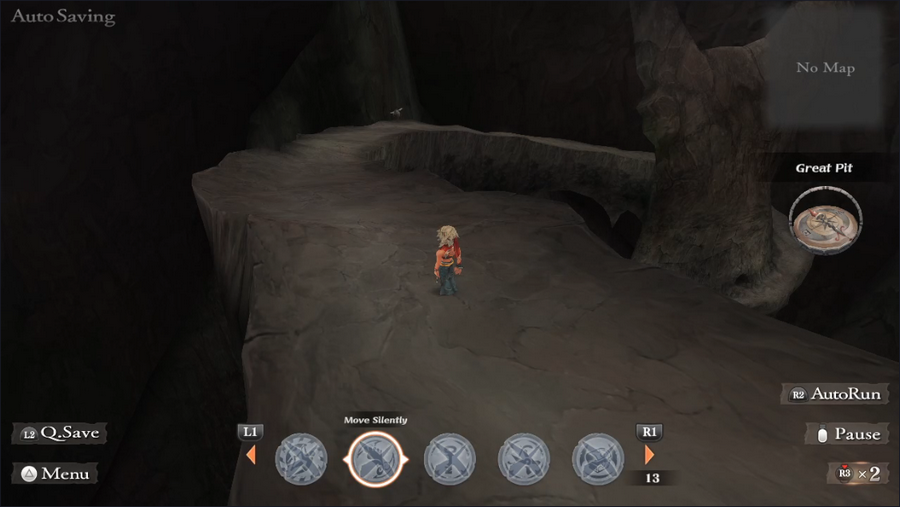 As before, Adyllis sends us back to the Entrance to the Great Pit, but we still have to cross the plateau to get to the world map. 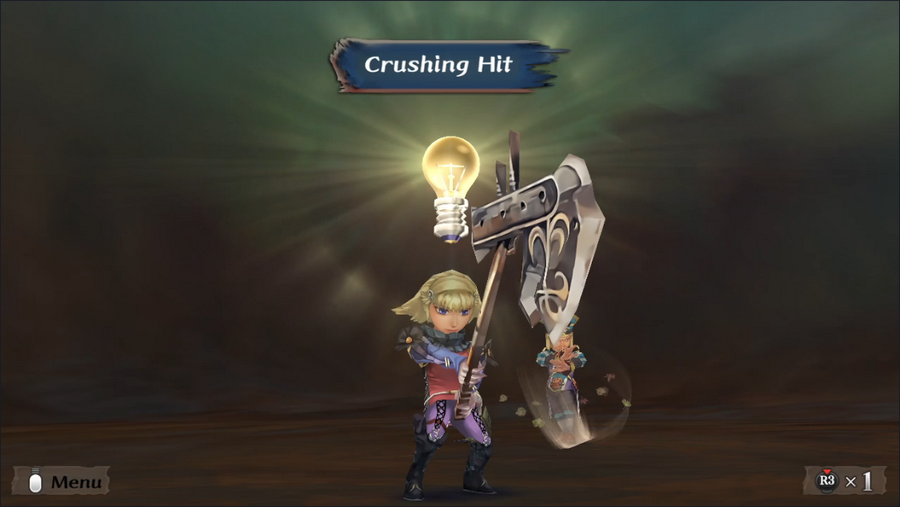 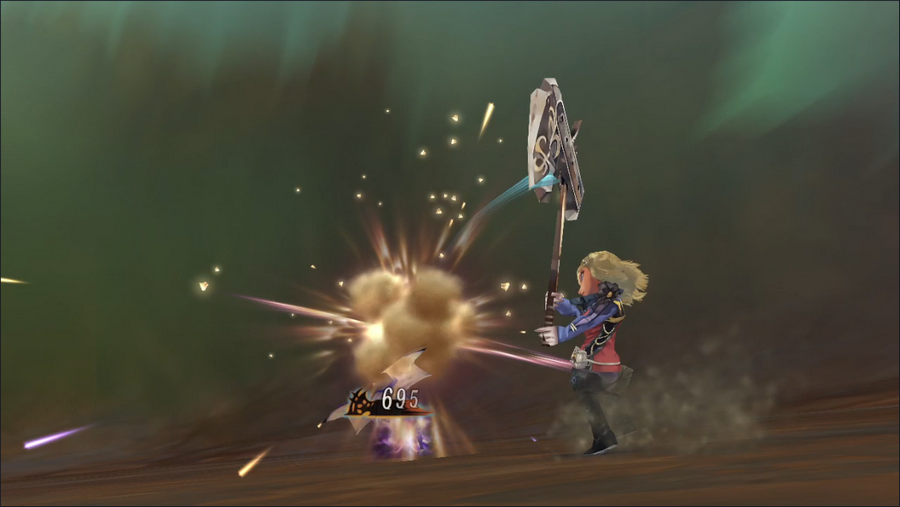 Along the way, Monica manages to Glimmer a new attack, Crushing Hit. It's a strong but rather boring high-damage strike. 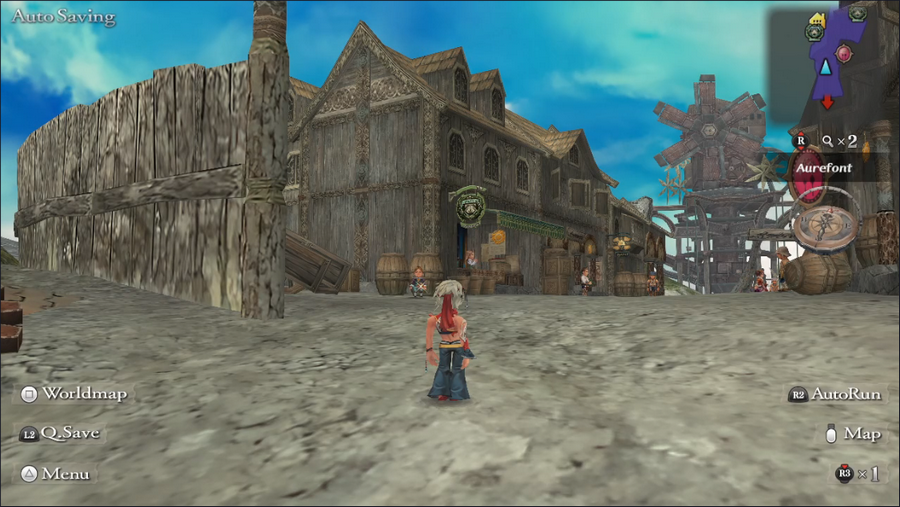 And that's it for today. I imagine I know where y'all will want to head next, but I'll still let you vote on it. Current Event Rank: 12 Things to Do Retrieve the Aquamarine from Crystal Lake - We weren't strong enough for this as of ER2 Kill the bugs in the Altours orchard Find Captain Silver's treasure - We weren't strong enough for this as of ER9 Search the Kaklim Desert for the Taralians Investigate the return of the vampires Check in with the mummy salesman Get the Fatestone from the Isle of Evil Take the job at the South Estamir pub Restore the Plant monster population on Ligau Revisit Avi Revisit Adyllis Deliver the Raincloud Armlet to Strom Places to Explore Estamir sewers Melvir sewers Bayre Plateau The Great Pit Isthmus Keep, or what's left of it The Walon Isle jungle The Ligau caves Mt. Scurve Crystal Lake - We weren't strong enough for this as of ER2 Yassi Cavern Abandoned Keep Saoki Cavern Treasure Maps Jungle, Level 1 Steppes of Galessa, Level 1 Kaklim Desert, Level 1
|
|
#
?
Feb 19, 2024 19:23
|
|
|
Well that was easy and entirely expected. Search the Kaklim Desert for the Taralians Investigate the return of the vampires Deliver the Raincloud Armlet to Strom Priority jobs and obvious clean-ups.
|
|
#
?
Feb 20, 2024 05:10
|
|


|
Take the job at the South Estamir pub Deliver the Raincloud Armlet to Strom Search the Kaklim Desert for the Taralians The elemental lords are a pretty good set of designs - are they similar to stuff from other SaGa games or pretty much just a one-off?
|
|
#
?
Feb 20, 2024 11:45
|
|


|
Let's see ... how about we - Search the Kaklim Desert for the Taralians - Deliver the Raincloud Armlet to Strom and of course - checking out Isthmus Keep, or what's left of it
|
|
#
?
Feb 20, 2024 15:23
|
|

|
Complete_Cynic posted:The elemental lords are a pretty good set of designs - are they similar to stuff from other SaGa games or pretty much just a one-off? I'm not super familiar with most of the SaGa series, but I'm not aware of any analogues.
|
|
#
?
Feb 20, 2024 16:07
|
|
|
Yeah, there's another set of four elemental lords in Romancing SaGa 3, but they're completely different looking. These guys are exclusive to Romancing SaGa 1 (and they probably show up in the gatcha phone games somewhere) They were in the SNES version of Romancing SaGa as well, but they all looked more generic back then. (Also Adyllis was a fairly traditional western dragon instead of whatever she is now)    
|
|
#
?
Feb 20, 2024 17:39
|
|

|
I kinda dig 16-bit Pyrix.
|
|
#
?
Feb 20, 2024 17:50
|
|
|
Voting is now closed.
|
|
#
?
Feb 23, 2024 02:45
|
|
|
Welcome back, everyone. Today we're finishing up a task we began last time and then moving on to a new adventure.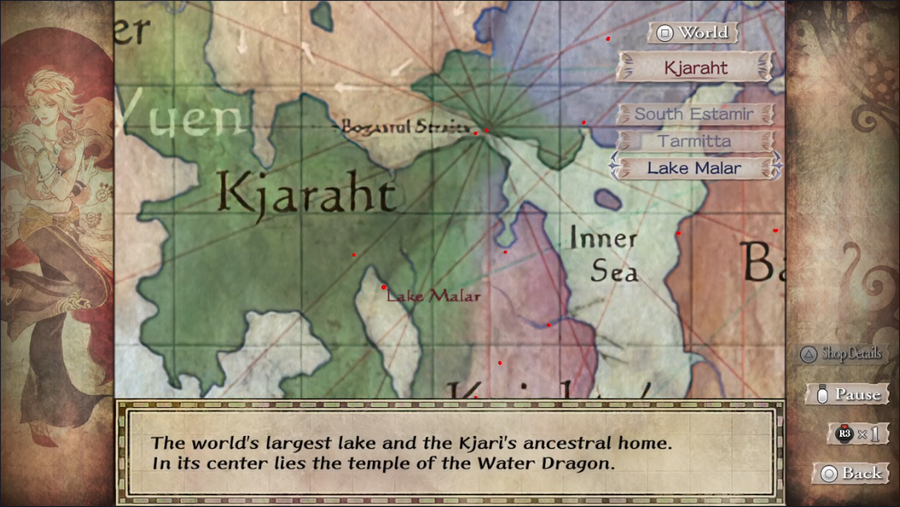 Our first order of business is to deliver the Raincloud Armlet to Strom. 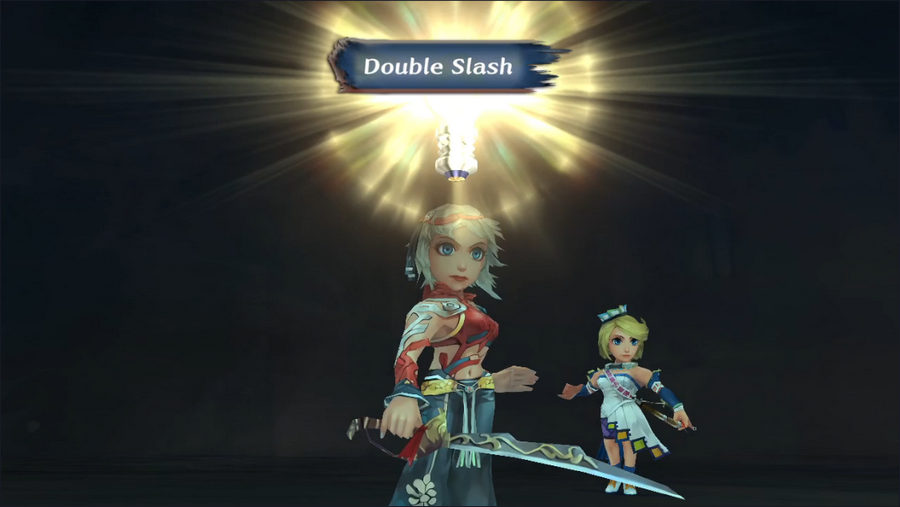  The temple has nothing new to show, though Barbara does get herself a new Glimmer. Double Slash is essentially a stronger, slightly more expensive version of Double Vertical. 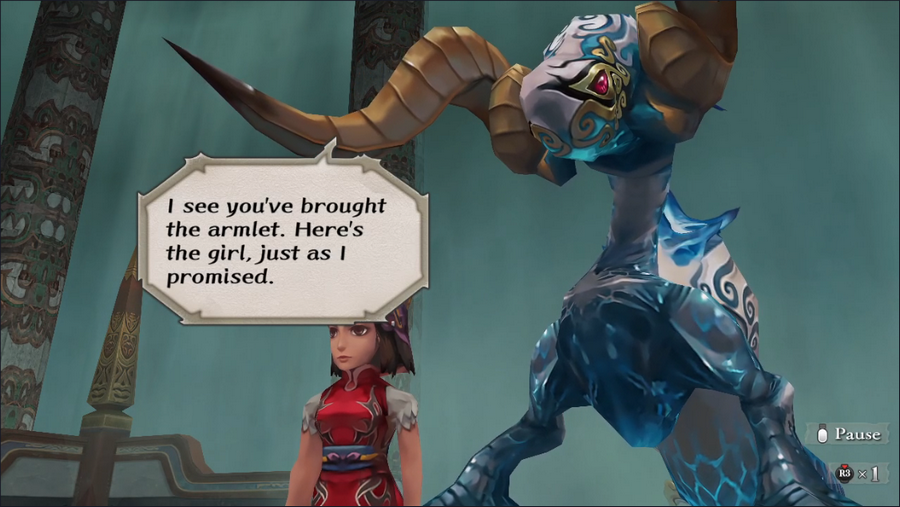 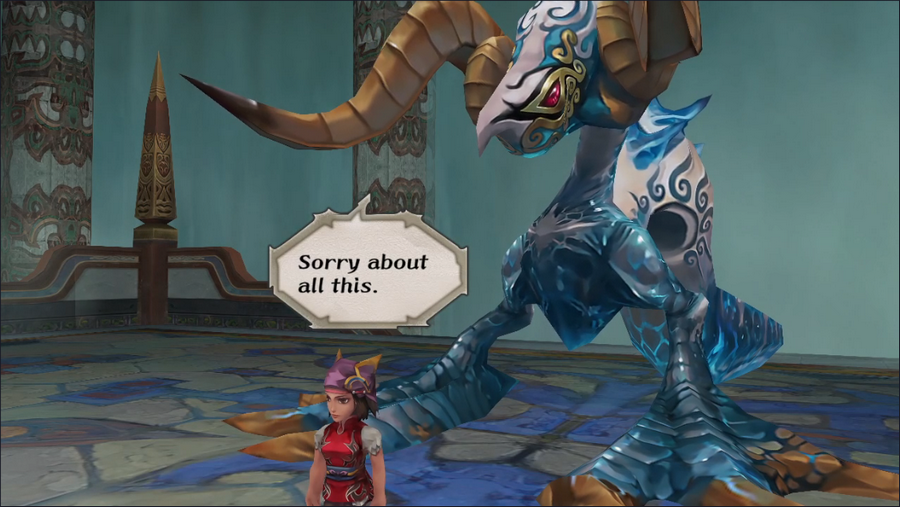 Compared to how he spoke to Tuman, Strom is quite polite to his hostage.  Her response is similarly friendly. I get the impression that Strom gave us the runaround because he wanted some company. 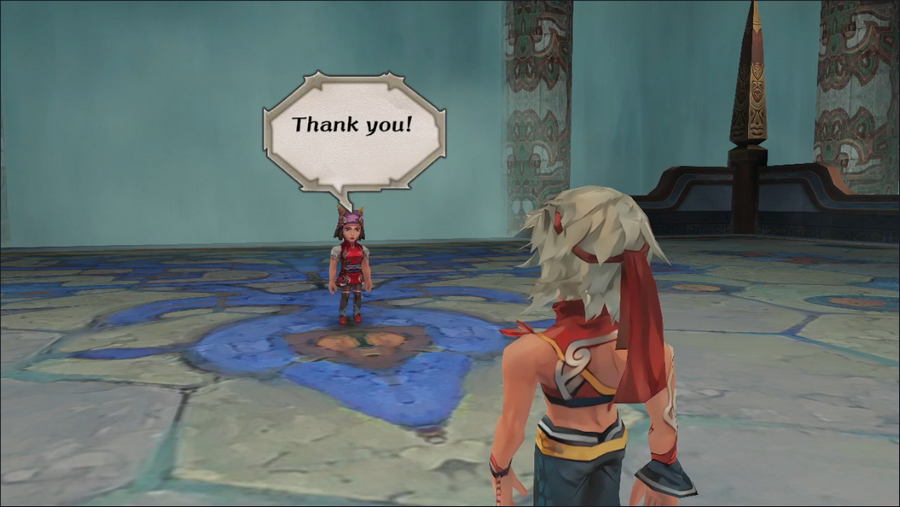 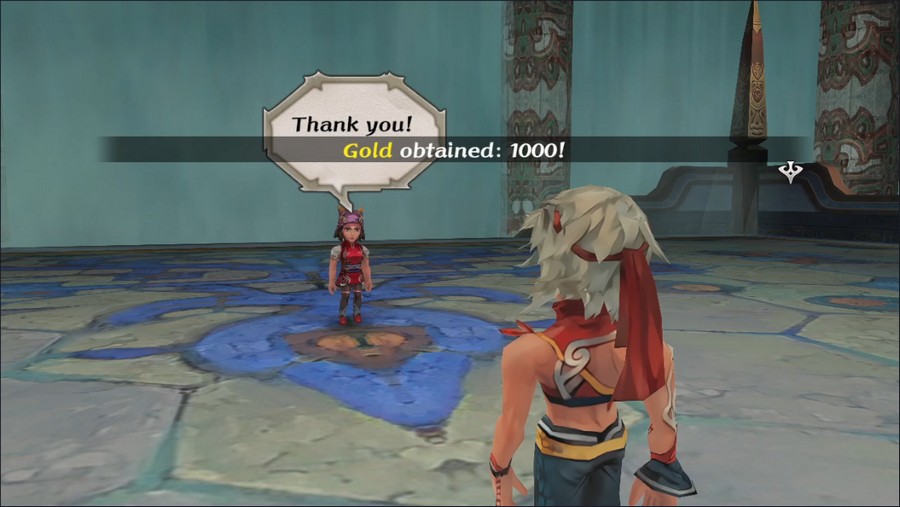 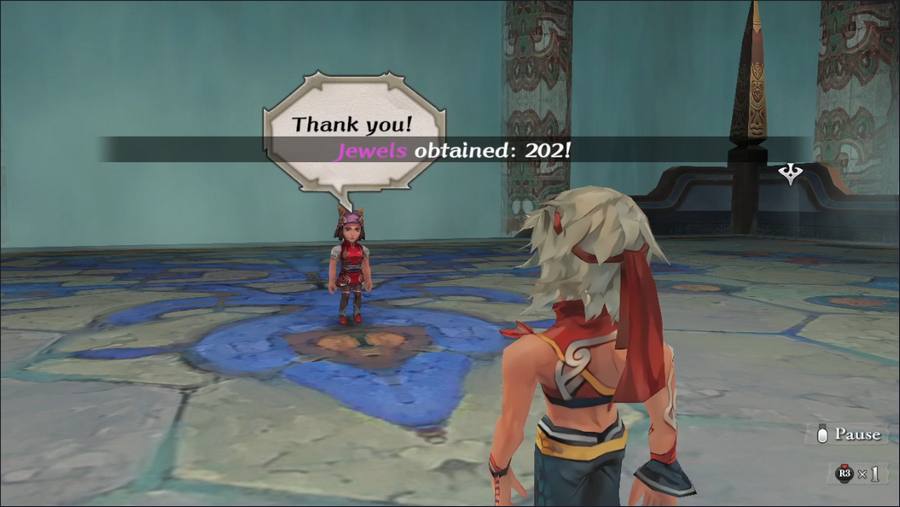 Regardless, the girl is pleased to be free, and we get a some gold and jewels in return. This concludes our dealings with the water dragon, though he might have another task for us should we return, as Pyrix did. 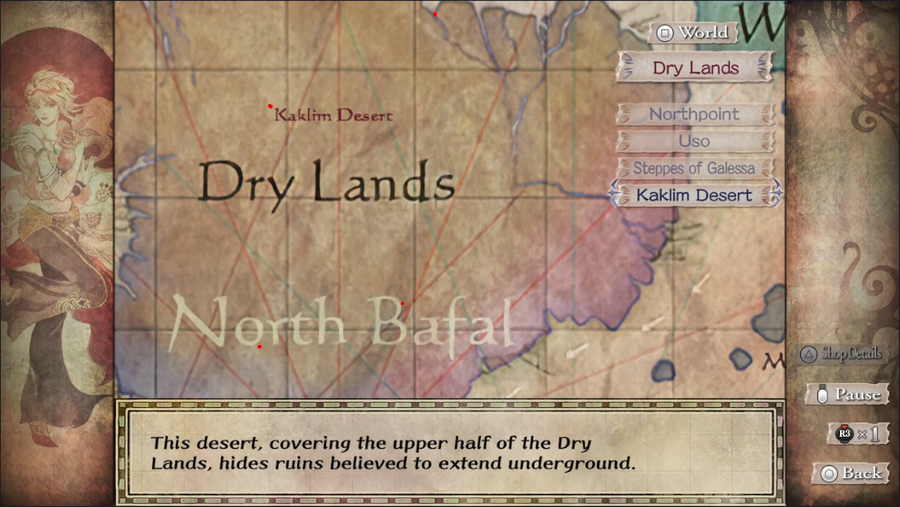 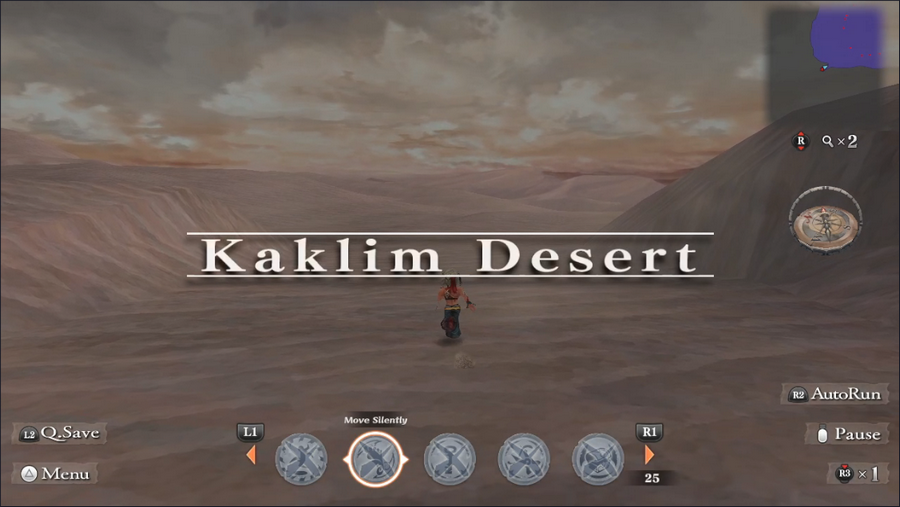 After a quick rest, we head off to the scorching Kaklim Desert to follow up on Avi's Taralian sighting. 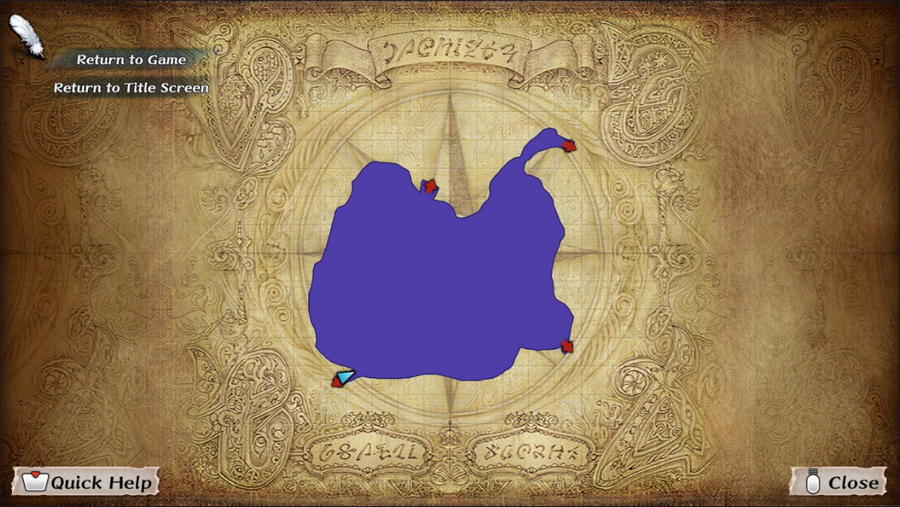 Unlike most areas, we have the desert's map right from the start, though it's quite featureless and doesn't give us much direction. Since the northeast exit leads to Northpoint and the two southern exits lead to the Steppes of Galessa, we can conclude that we need to get to the northwest exit.  The path we have to take is a small strip of land, leading north. The areas to the sides flow like water and will carry us away to other parts of the map, which we do not want.  At the end of the path is another sand flow, but this one carries us through our desired exit.  We find ourselves looking at an open expanse, and beyond it, a large ruined structure. Hidden paths and ancient ruins? This is starting to feel like a proper adventure!   Avians hover atop the ruins' three pillars. When we get close, they swoop in and try to grab us. If they manage it, there's no fight - they drop us in front of the ruins. As long as we keep moving, they can't get us.  We do encounter a new avian monster outside the ruins, a Frisberg. These flying creatures can shoot feathers at us but offer relatively little threat. 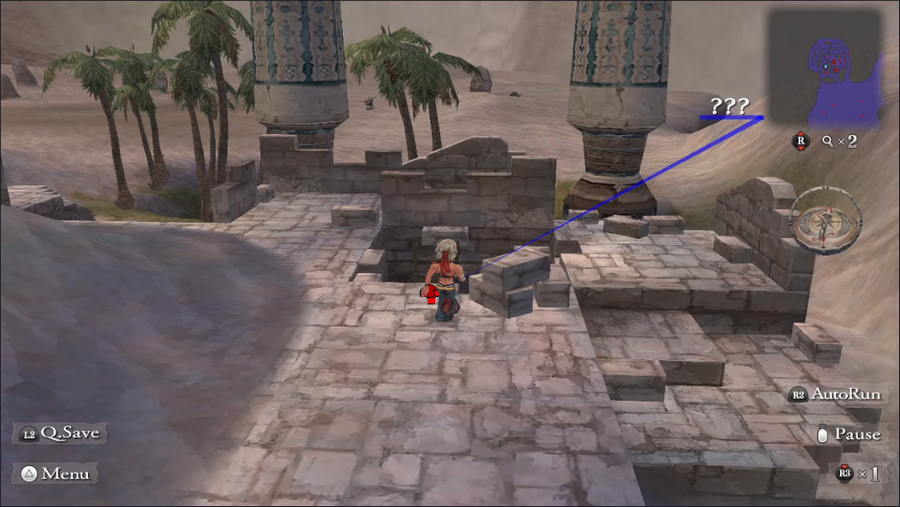 The entrance we need is to the east, but there are two others that lead to separate areas. If you want us to explore this place more thoroughly, it's going to be a bit of an effort. But that's a problem for later. 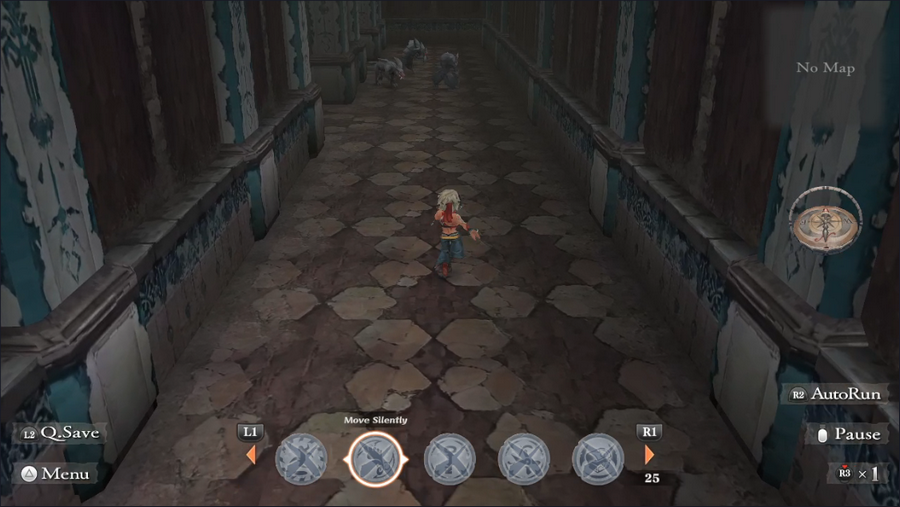 The interior of the ruins is a set of crumbling walls, mazelike layouts, and of course a bunch of monsters. 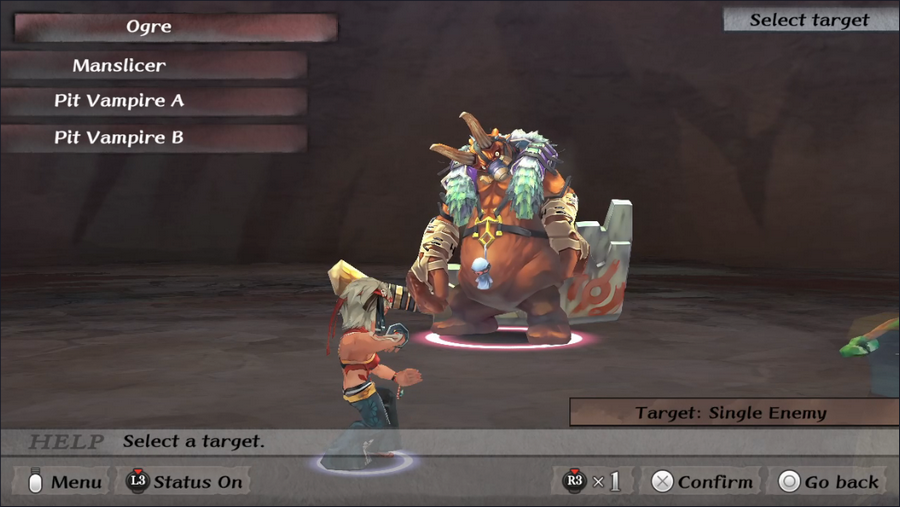 Ogres, first encountered guarding Constance, start appearing as regular enemies. They're still quite tough and strong, making them among the most dangerous monsters at this Battle Rank. 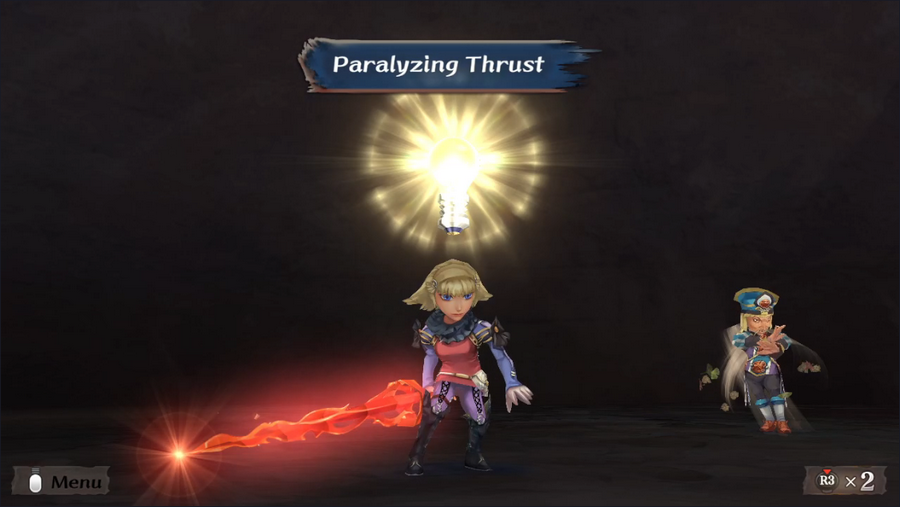 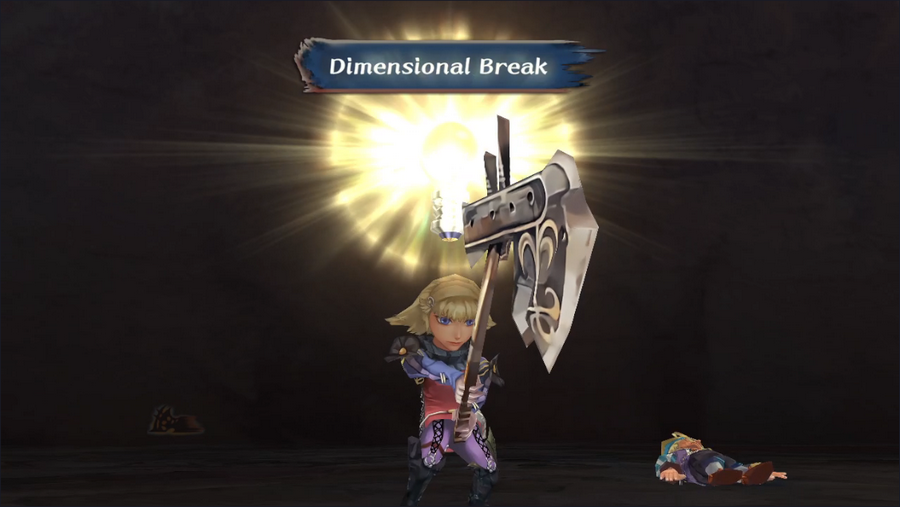 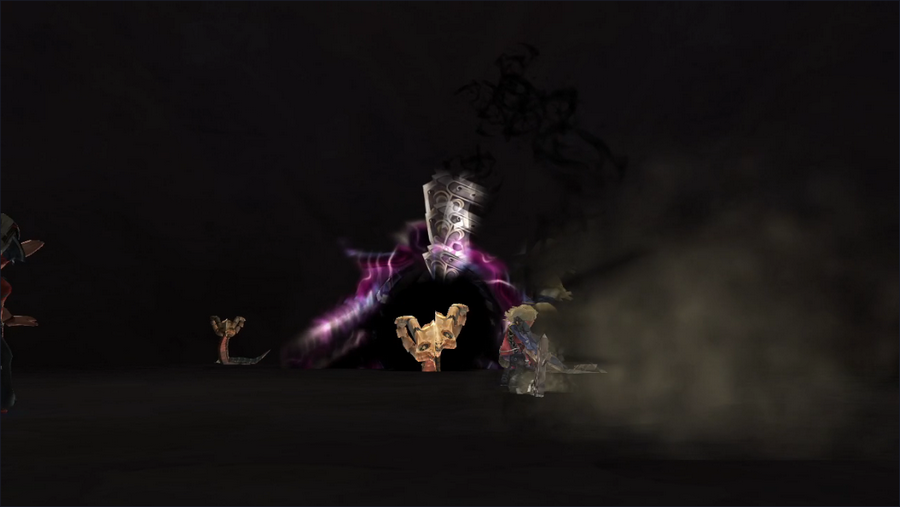 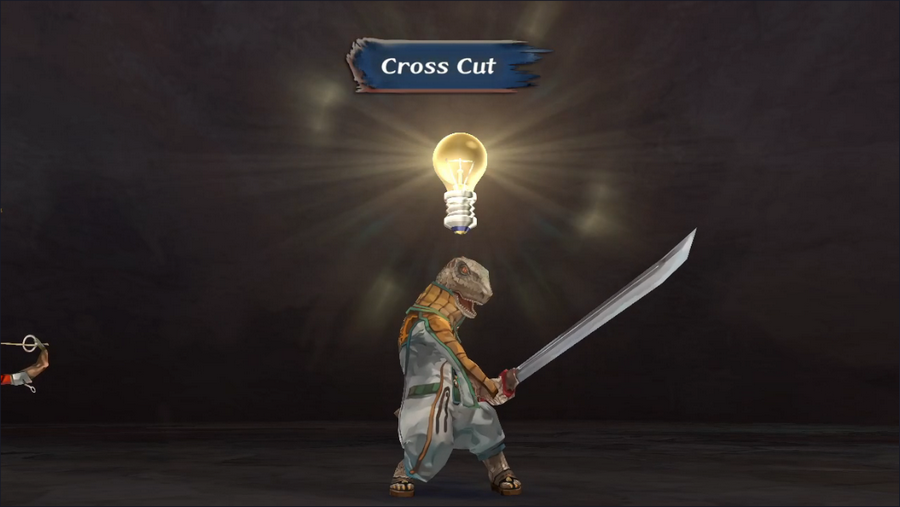 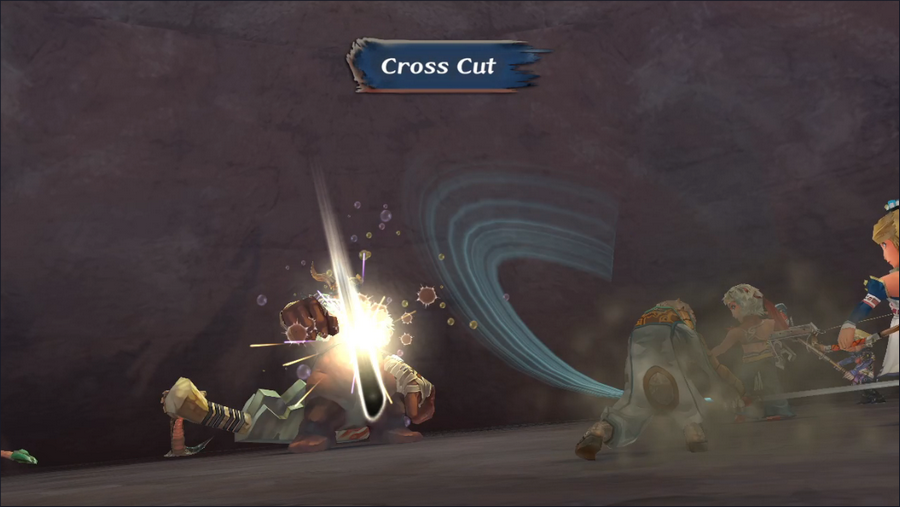 With monsters come Glimmers, though. Monica learns Paralyzing Thrust, which Albert learned way back in the first update, but she also gets Dimensional Break to use with her axes. Besides looking cool as hell, it deals solid damage and has a chance to instantly kill its target. Guella Ha, meanwhile, gets himself Cross Cut, which hits twice and deals bonus damage to undead monsters. 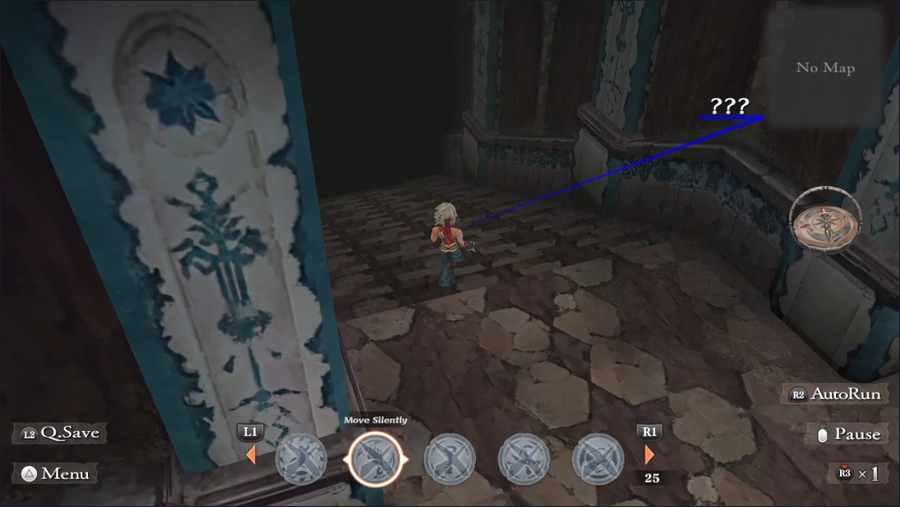 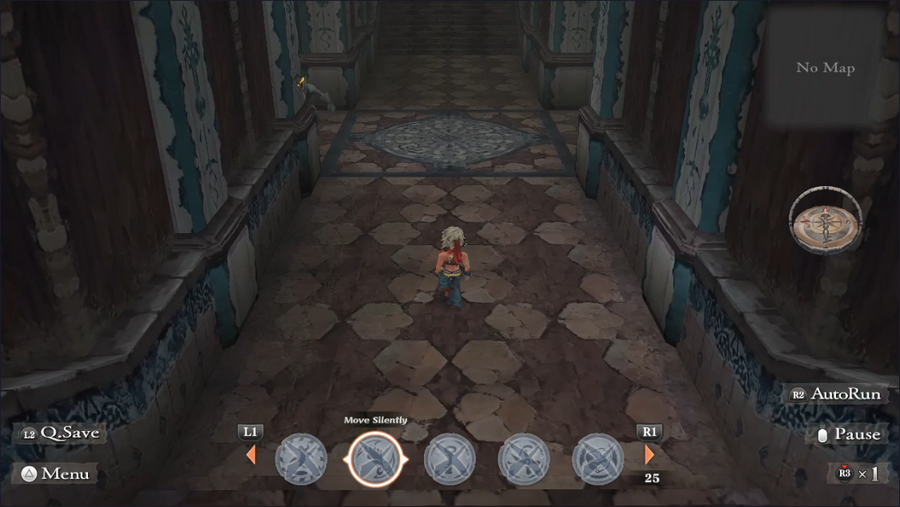 Past the monsters, we come to a set of stairs leading down to a four-way intersection. 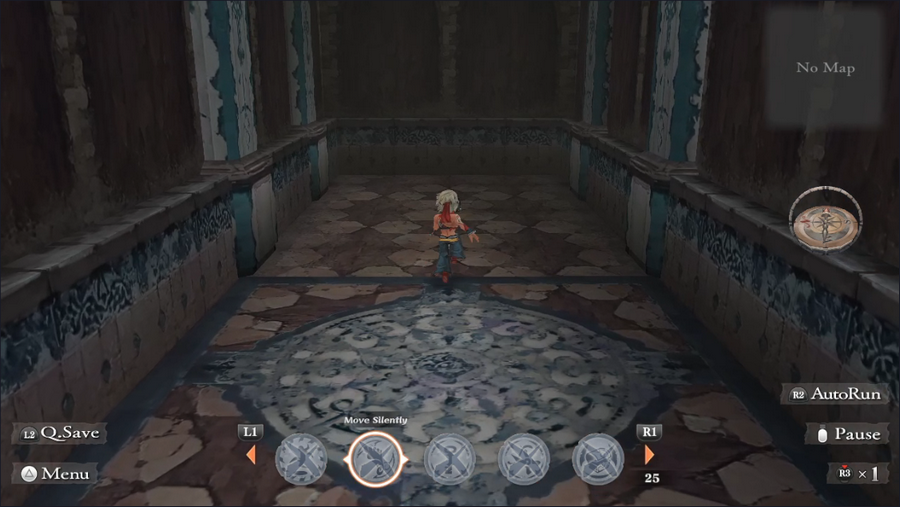 The stairs opposite our entrance lead to a dead end. 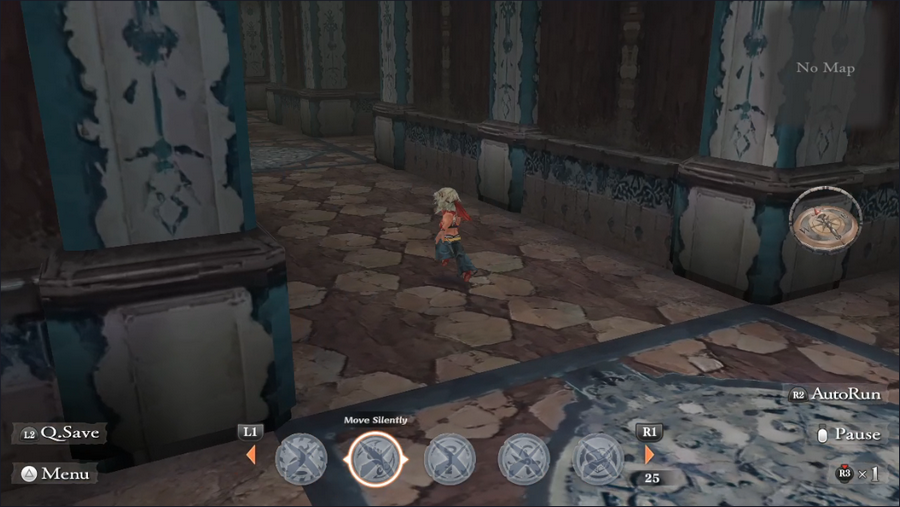 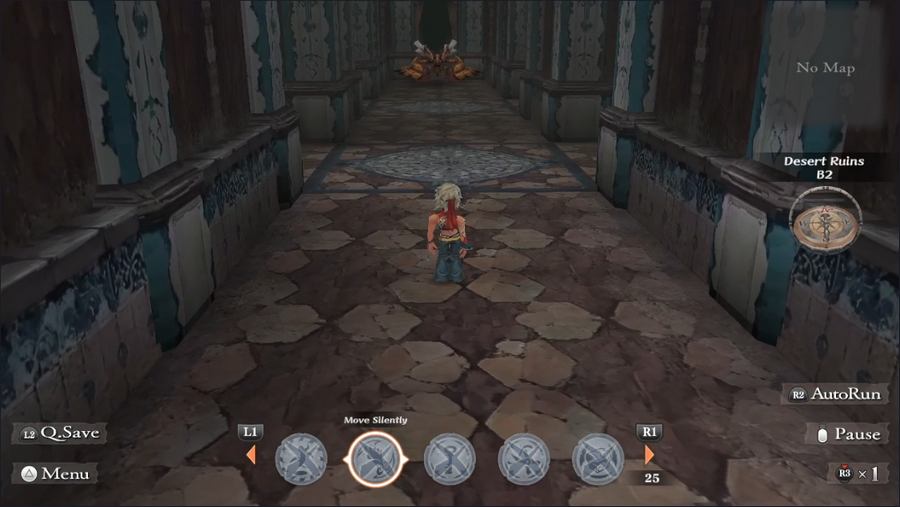 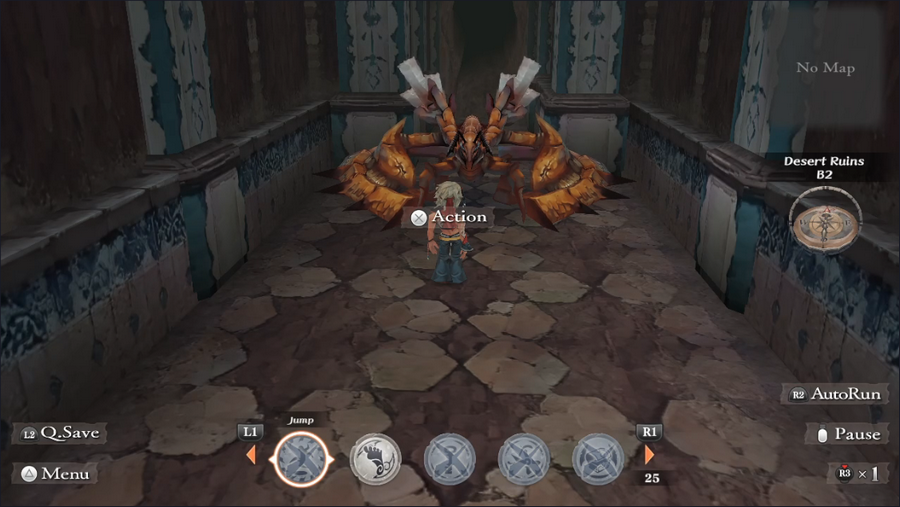 If we instead turn left, we find a hallway with several offshoots and a mean-looking bug at its end. 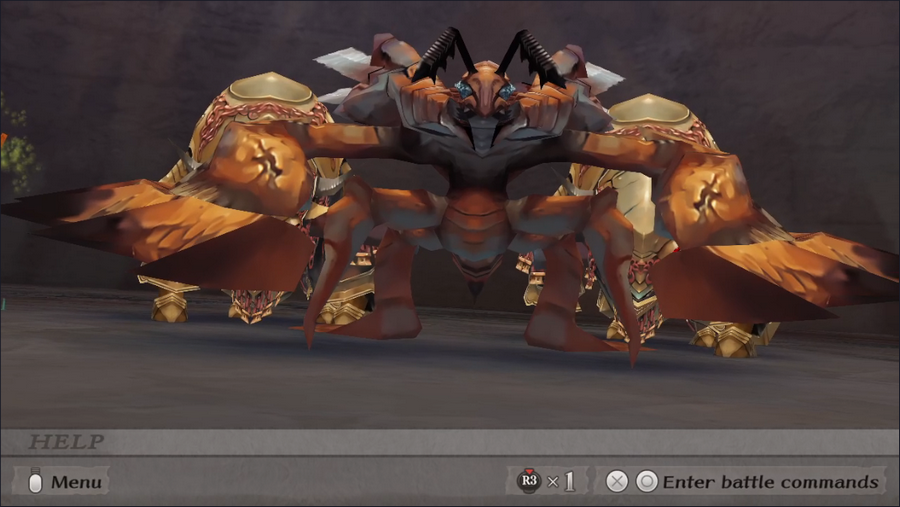 This is a Clawbug, a high-BR enemy, and it's mostly here to stop players from getting into the ruins too early. As a bonus, it has some friends, though they're much weaker: just some War Beasts and Man-Mushrooms. 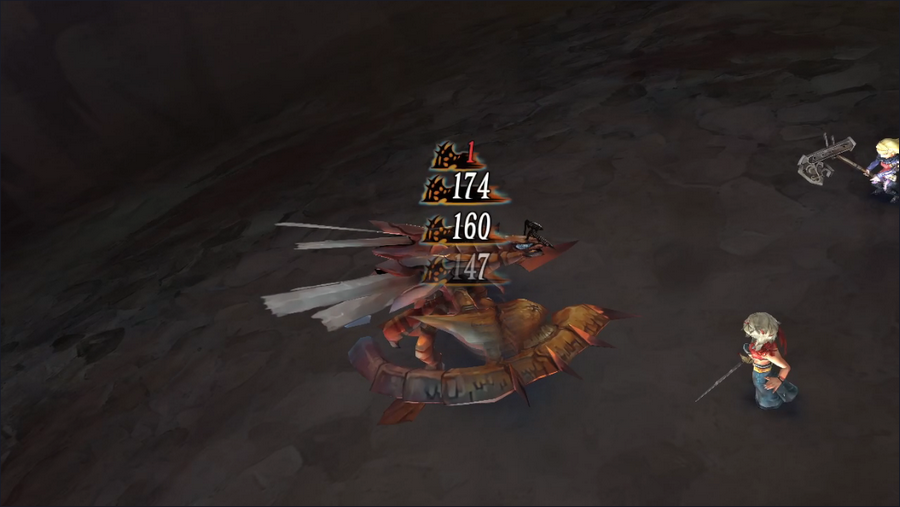 The game acts like this is a boss fight. Buit while Clawbugs are dangerous, and we wouldn't want to face them as regular foes quite yet, we're strong enough to handle one in just a couple of rounds. 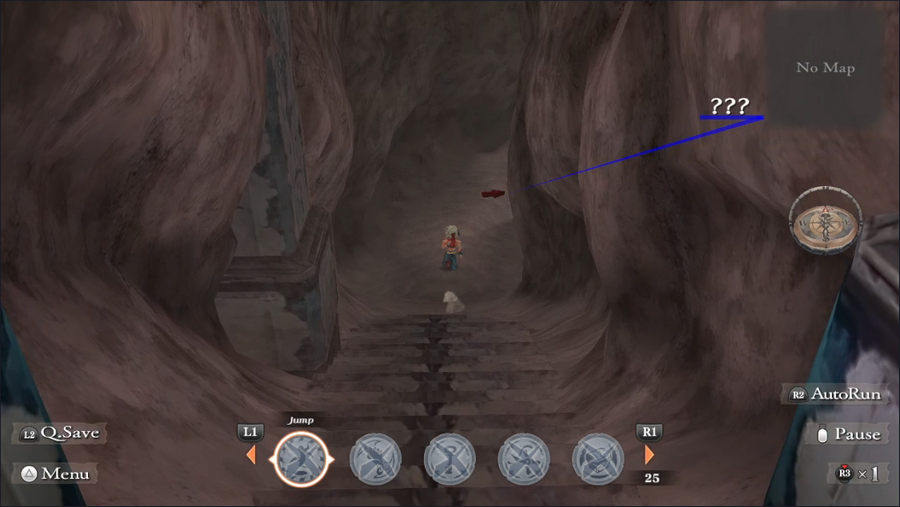 Defeating the Clawbug lets us proceed further down, into a more natural-looking cave. 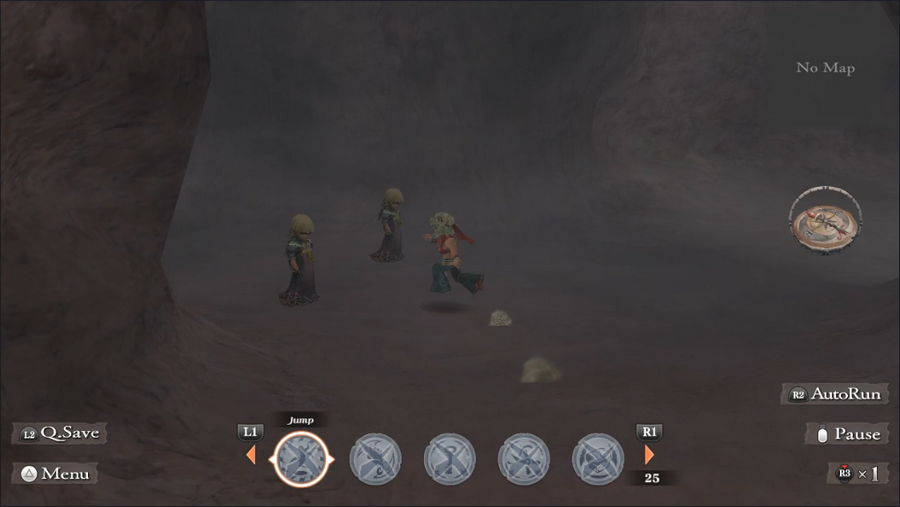 This level is populated by pairs of mysterious people, who aren't hostile but stand guard at the various side passages. 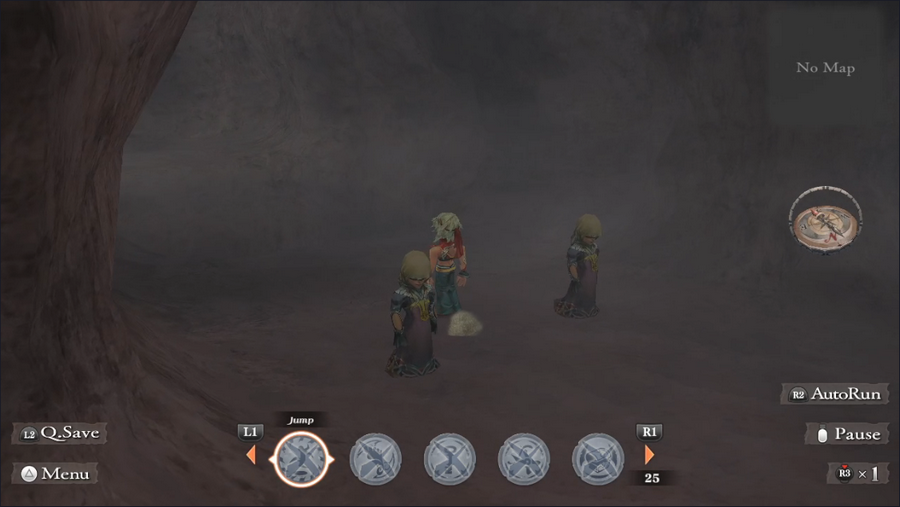 We can squeeze between them, but even if we do we can't actually get past them. 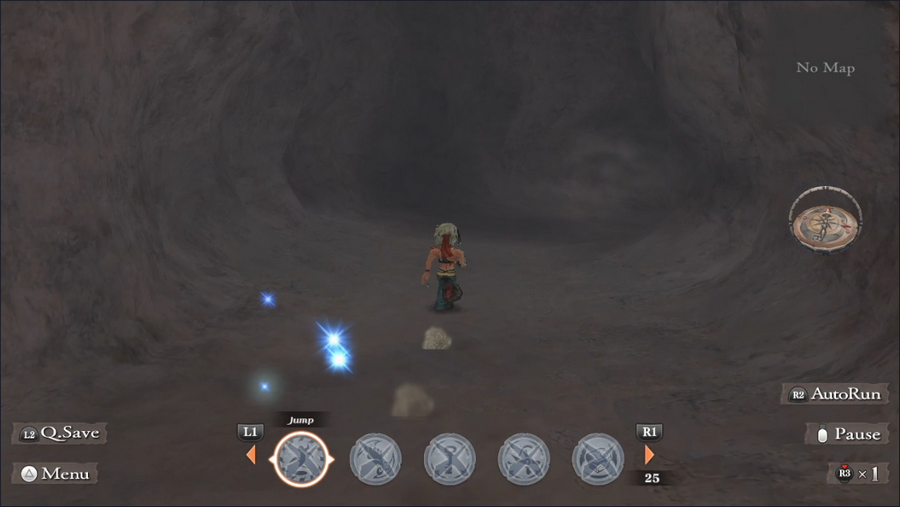 There is a sparkly spot we can access, but it's just an ore deposit. 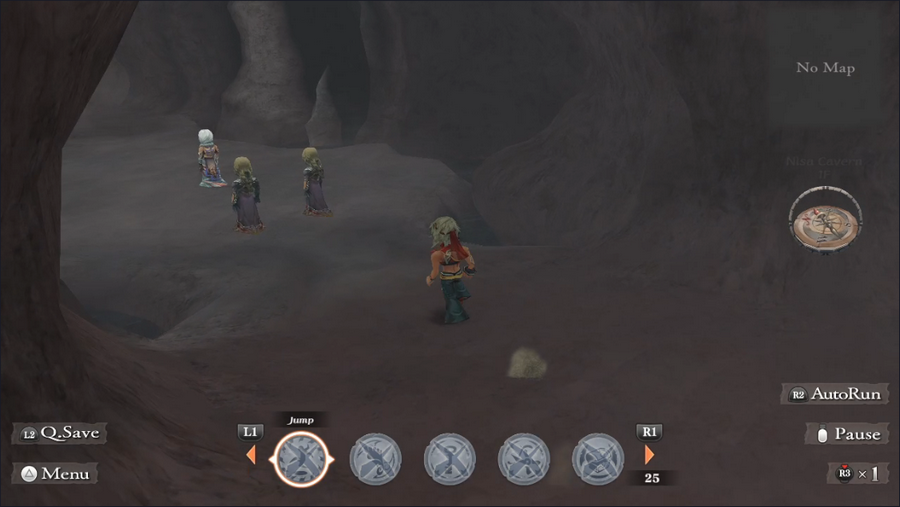 At the end of the path is a man dressed differently from the others. 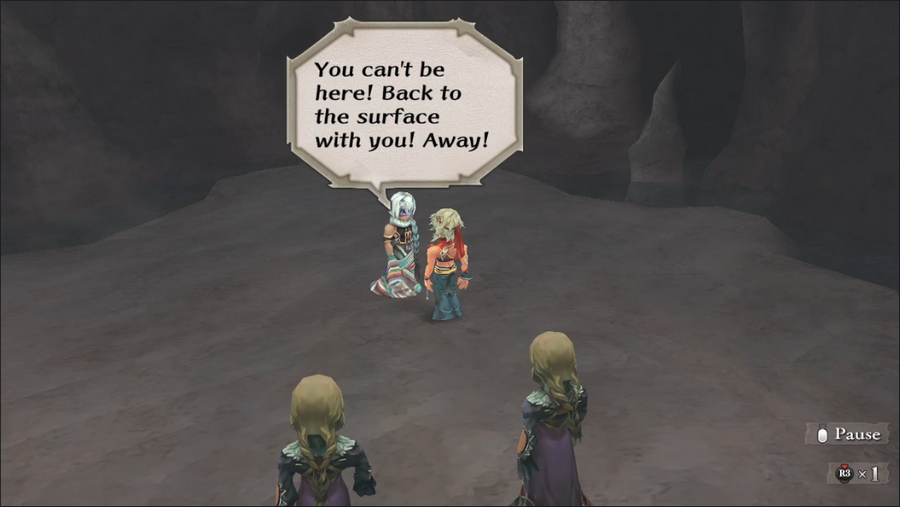 He very much does not want us here. 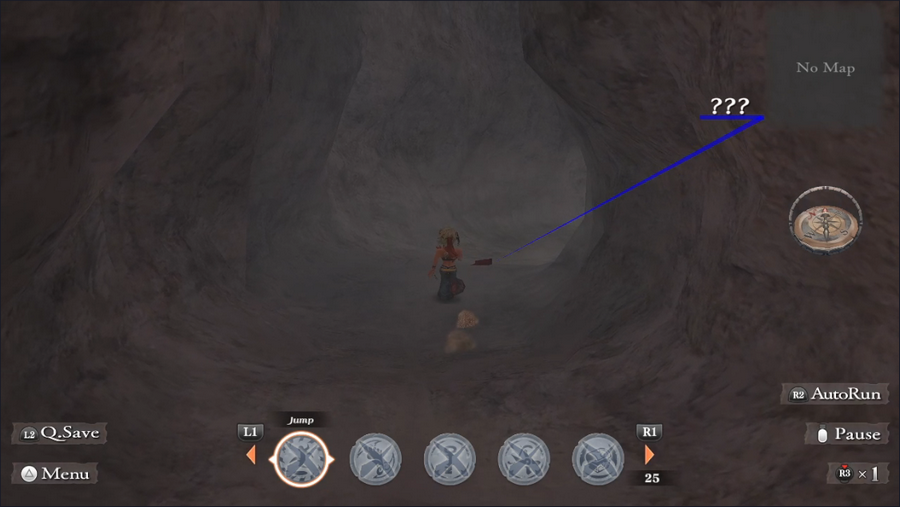 But nuts to that, we didn't come all this way just to turn around.  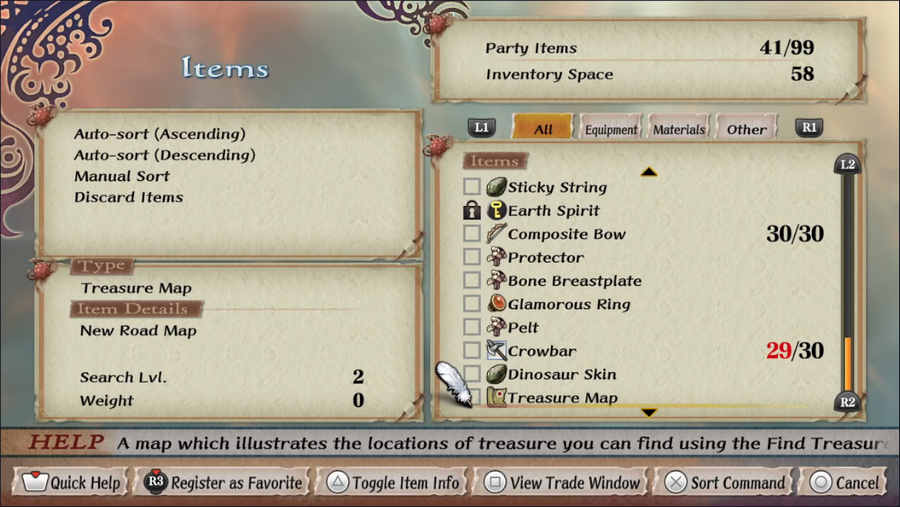 The next floor is another cave, this one containing monsters. We got a nice level 2 treasure map from one of them. Since it's for the New Road, we can use Barbara's carriage to get it quite easily if and when you all are so inclined. 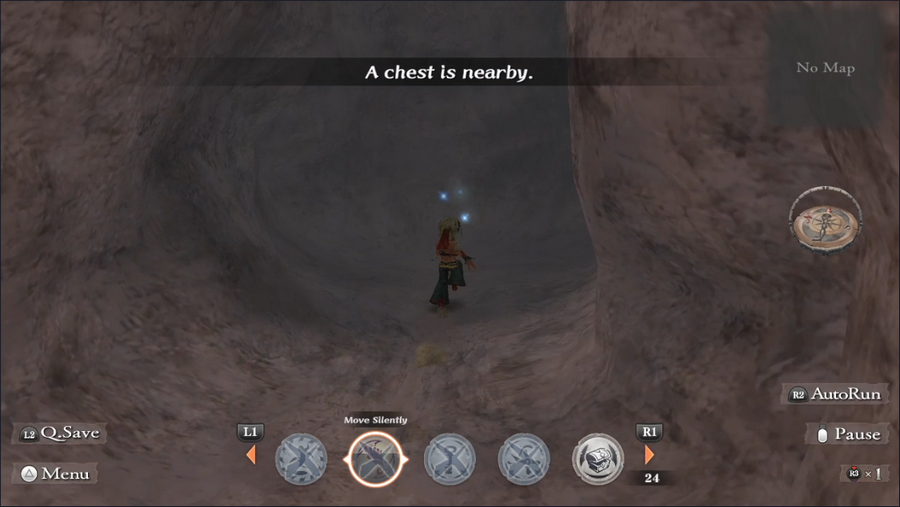 At one point in this trip, we end up taking a wrong path and wind up at a dead end. But there's a hidden chest here, so we may as well grab it. 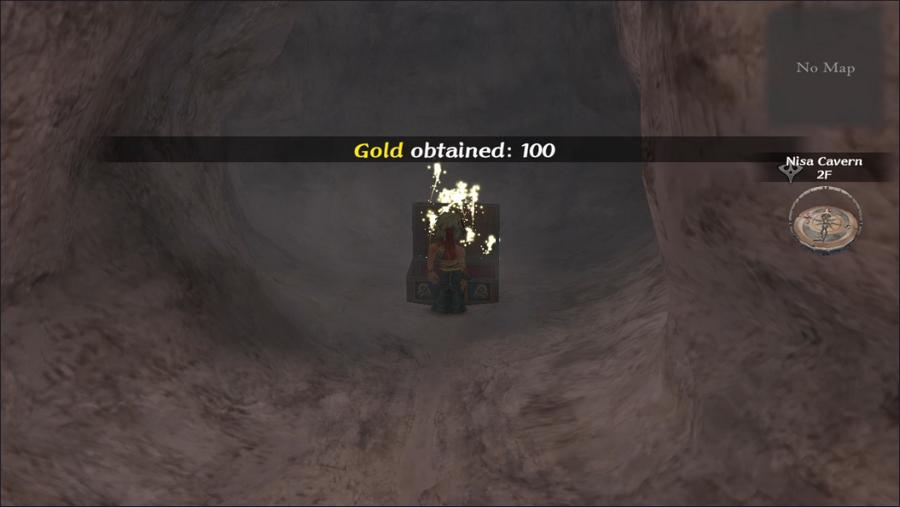 It has 100 Gold, which is pretty underwhelming. But it also has...   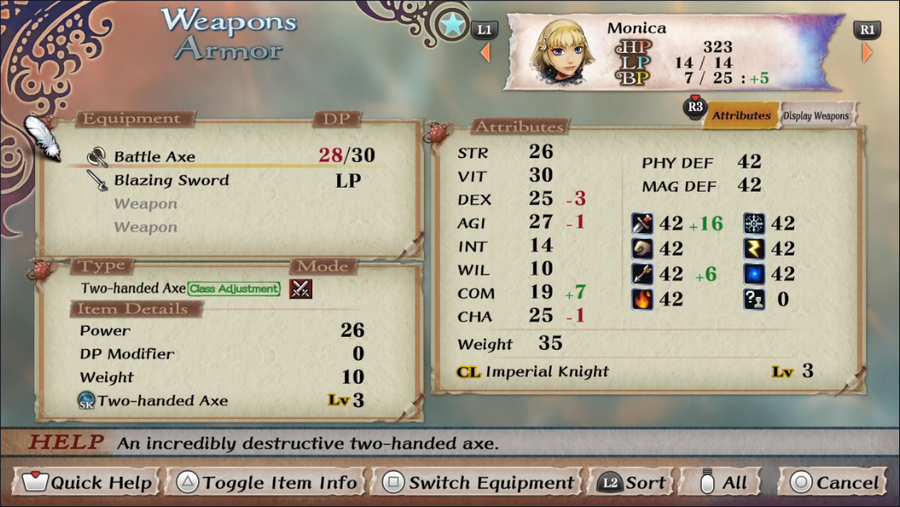 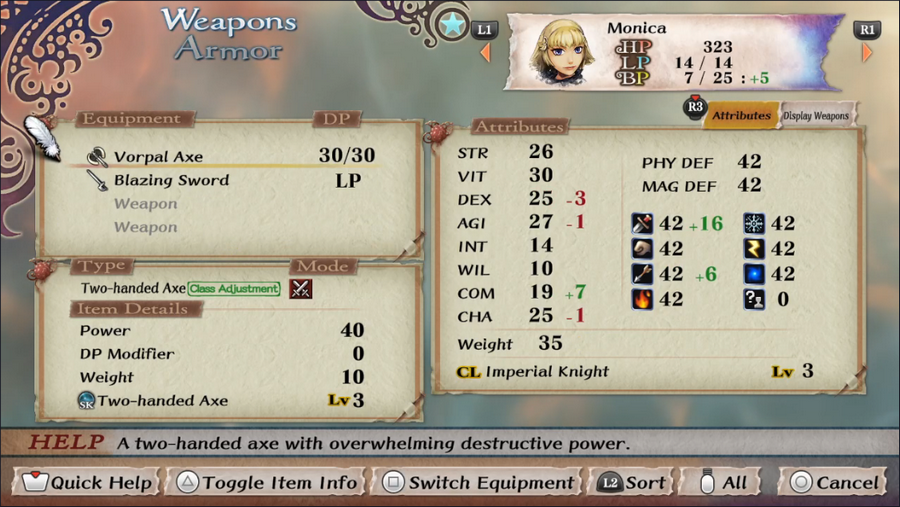 The Vorpal Axe is a two-handed axe that can't be purchased. At 40 attack power, it's insanely powerful. It's one of the best weapons of its kind in the entire game, the kind of thing normally gotten only from Treasure Map chests. And here we just... found one in a random location. This is an astounding find and makes Monica pretty much our strongest character. 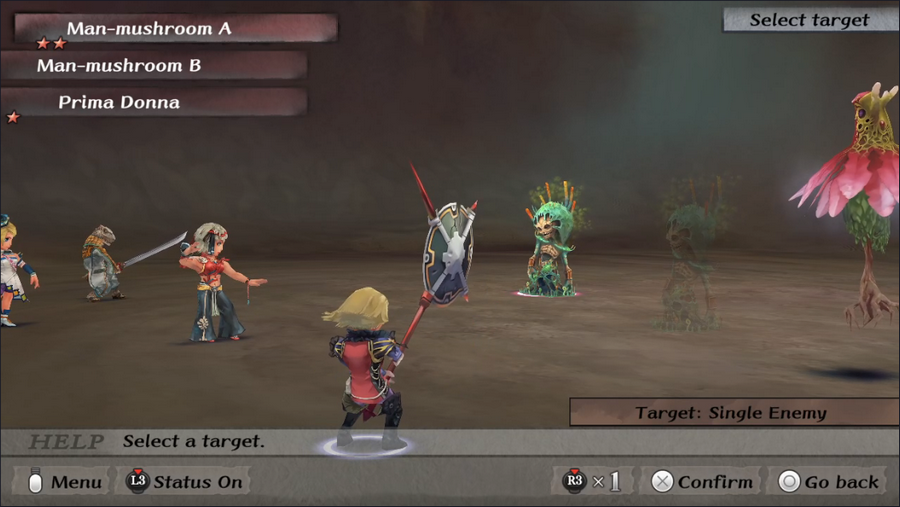 I'll admit, the axe does look quite silly and impractical, but who cares? 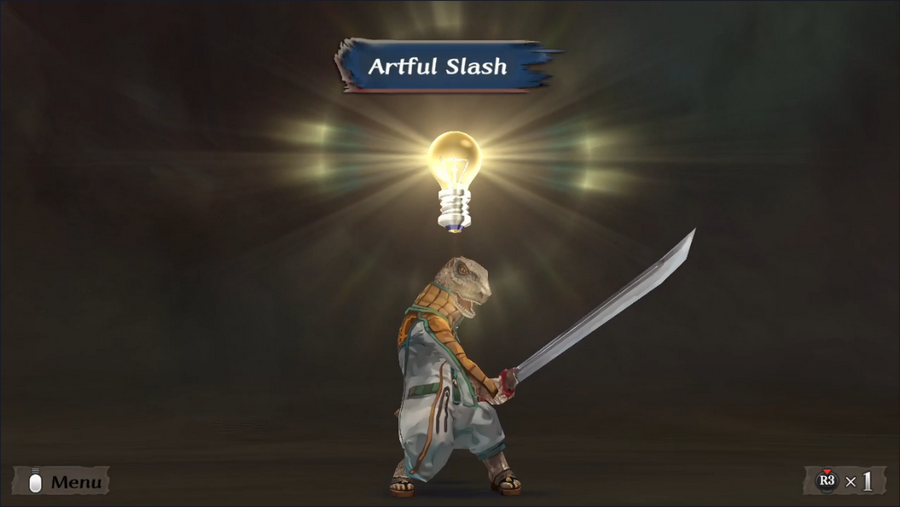 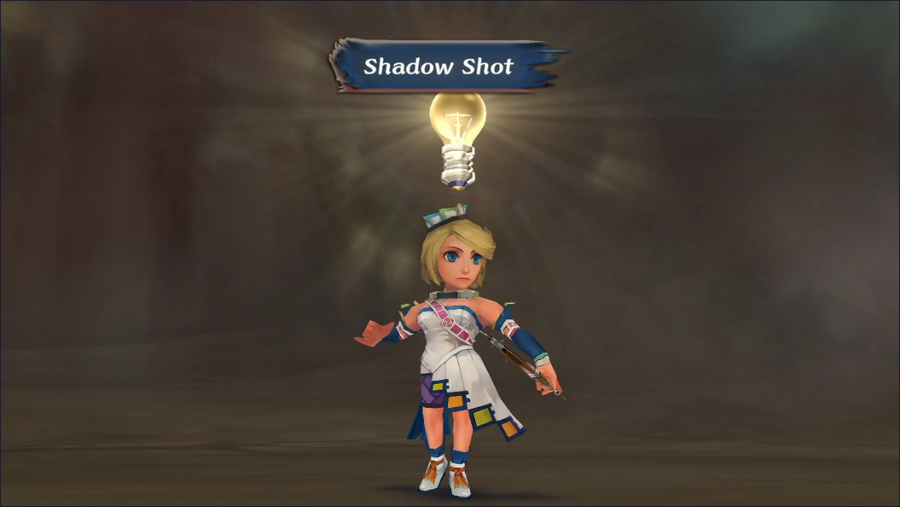 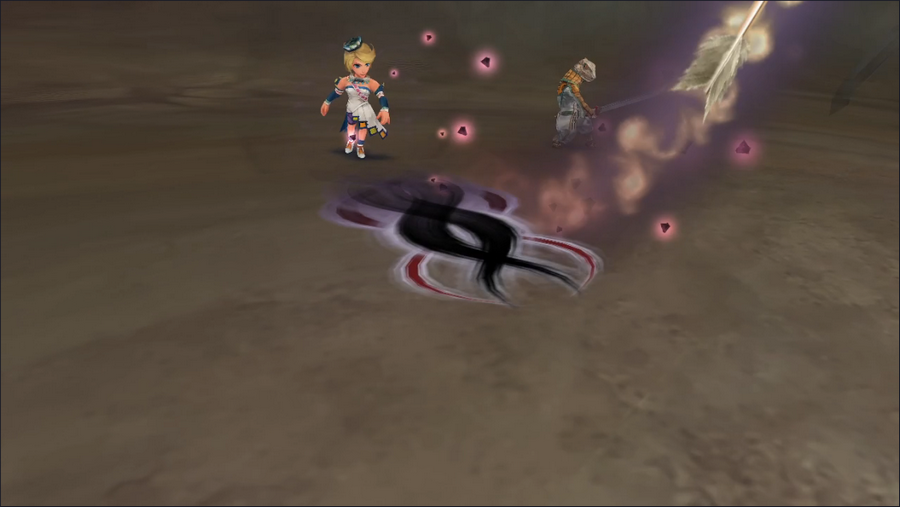 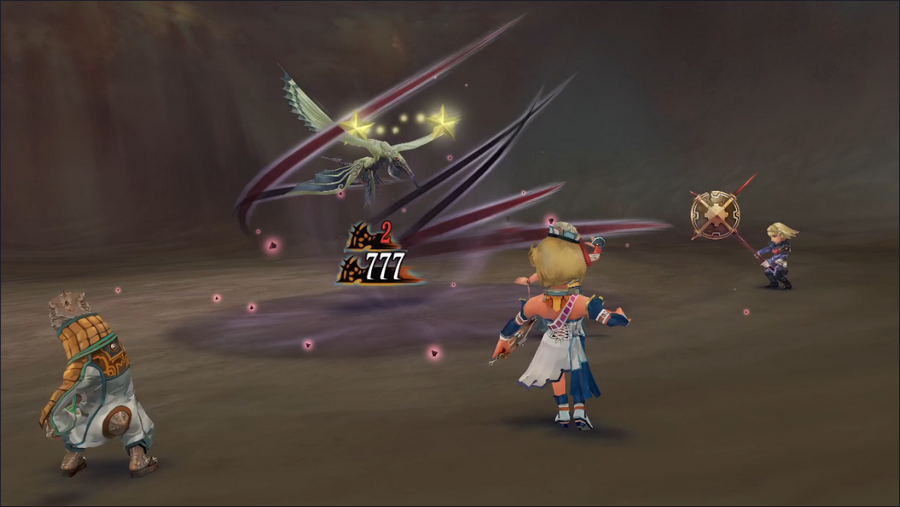 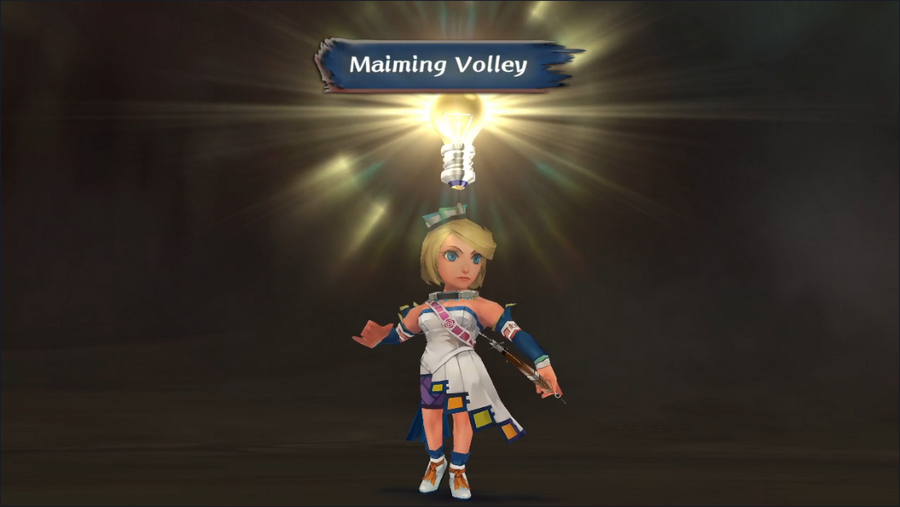 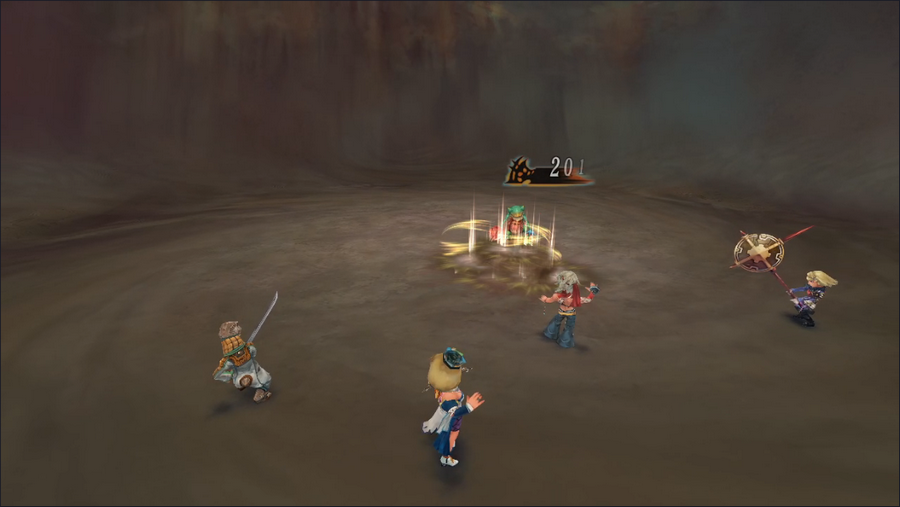 We also get a few more Glimmers down here. Besides Guella Ha getting Artful Slash (which Barbara has had for ages), Diana manages to teach herself a couple of new bow techniques. Shadow Shot, like Dimensional Break, has a chance to instantly kill its target. Maiming Volley hits all enemies, strikes quickly, and can inflict Snare, but it does a little less damage on average than Rapid Volley. 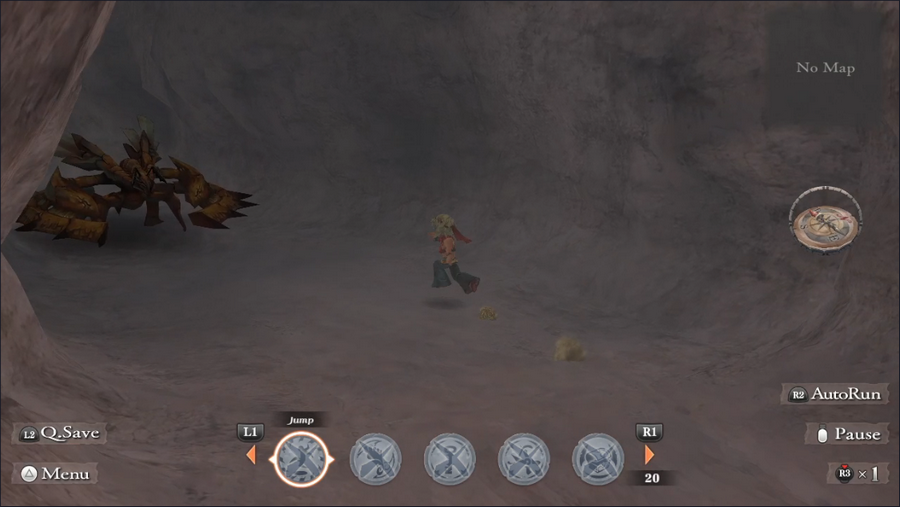 At the end of this cave is another Clawbug, but it fares no better than the first.  Beyond it is what appears to be a set of stairs. 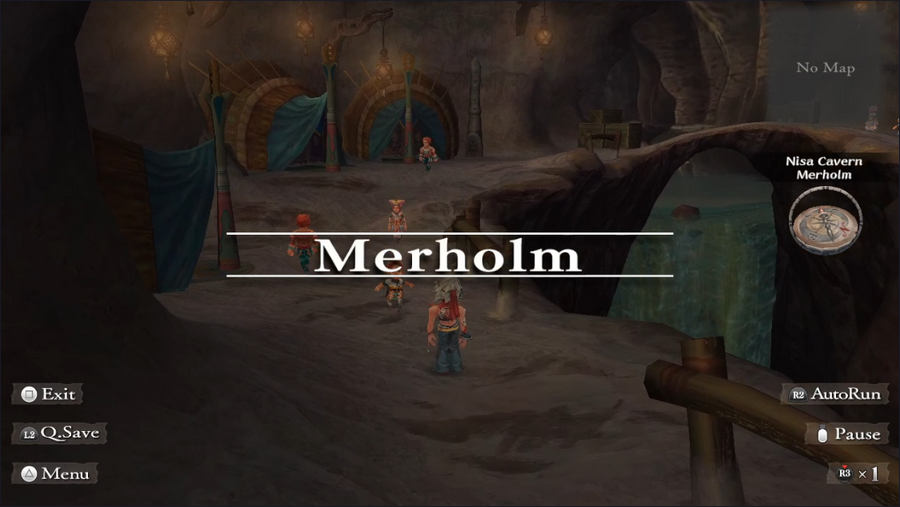 They lead us to Merholm, a subterranean city. Those people walking around are definitely the Taralians, though without Aisha in the party we can't talk to any of them. Their presence here suggests that the people in the caves above are the Terranites, a race Nisa created before she made the Taralians. (And no, the game never explains this - nowhere in the script does the word "Terranite" even appear, as far as I remember.) 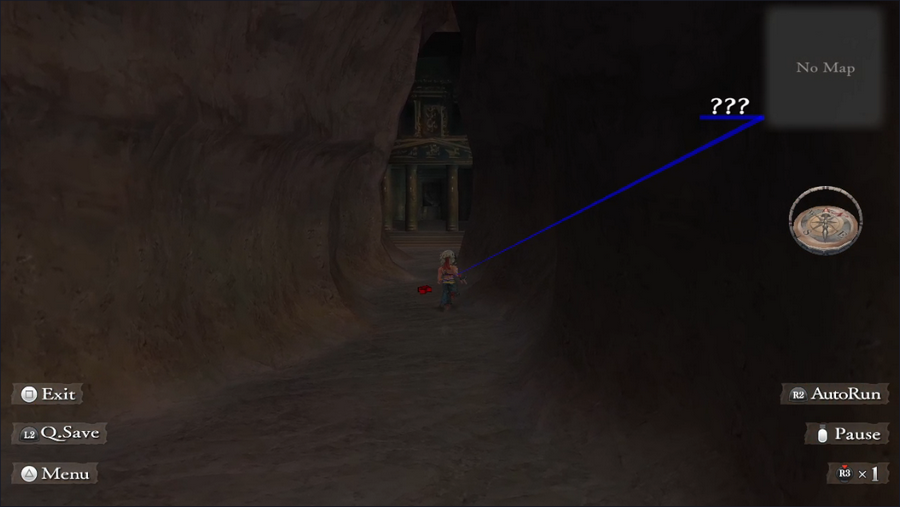 Apart from the missing Taralians, there's only one thing of interest in Merholm: a temple (to Nisa, of course). 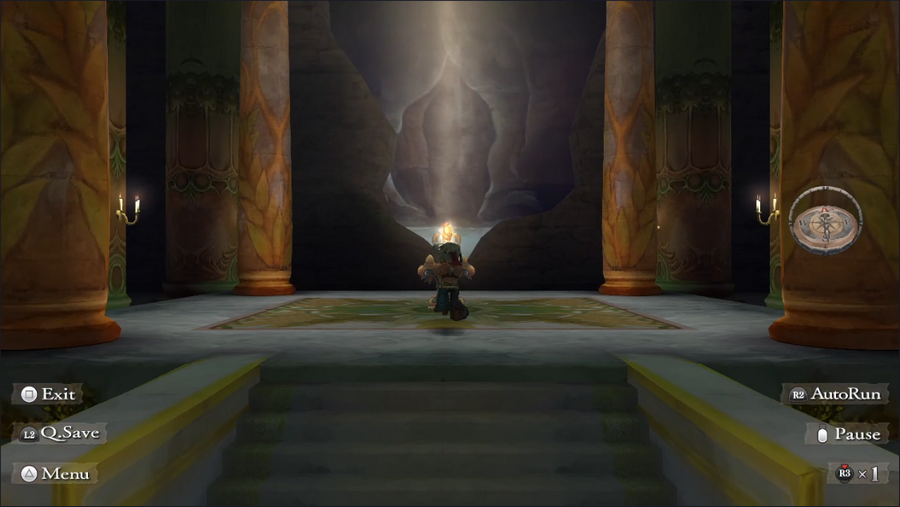 There's no priest here, but there is a shining object on a pedestal in the middle. That's the telltale glow of a Fatestone. 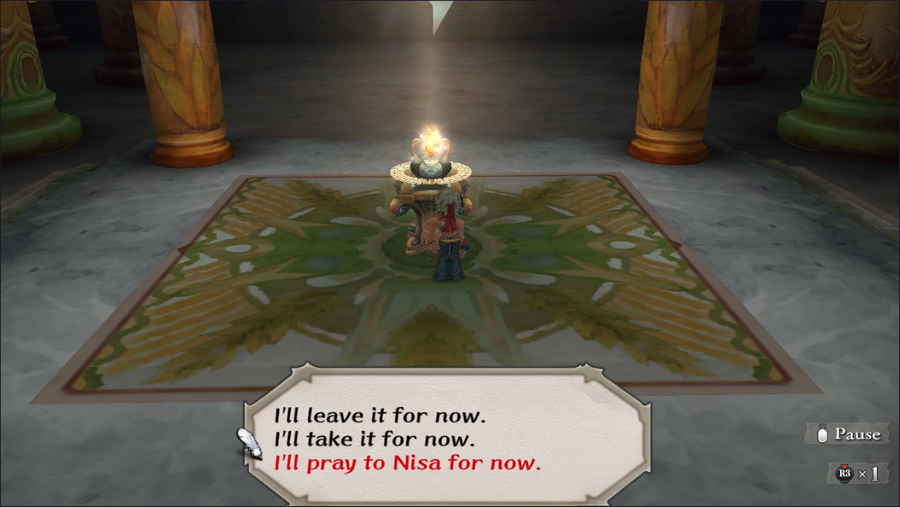 We have a few options when interacting with it. In the interest of not accidentally angering the mother of the gods, we'll pray first.  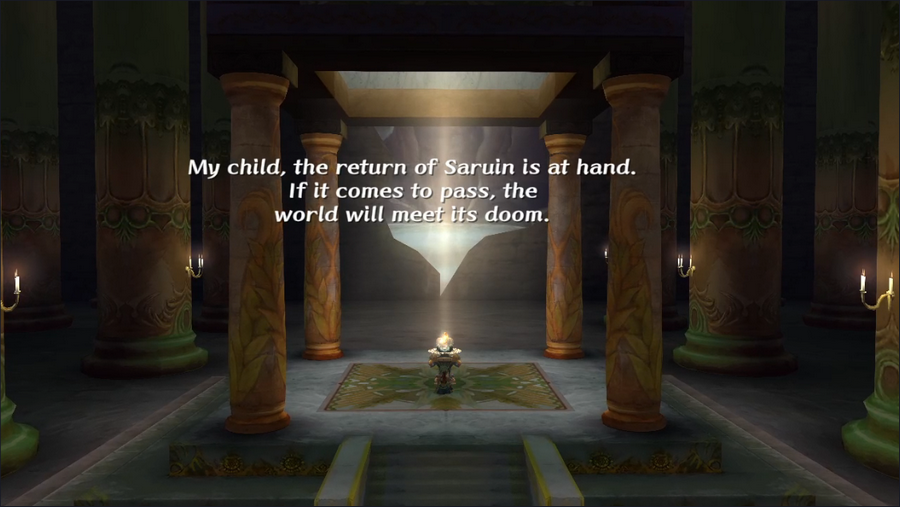 A feminine voice rings through the temple, deep and gentle. 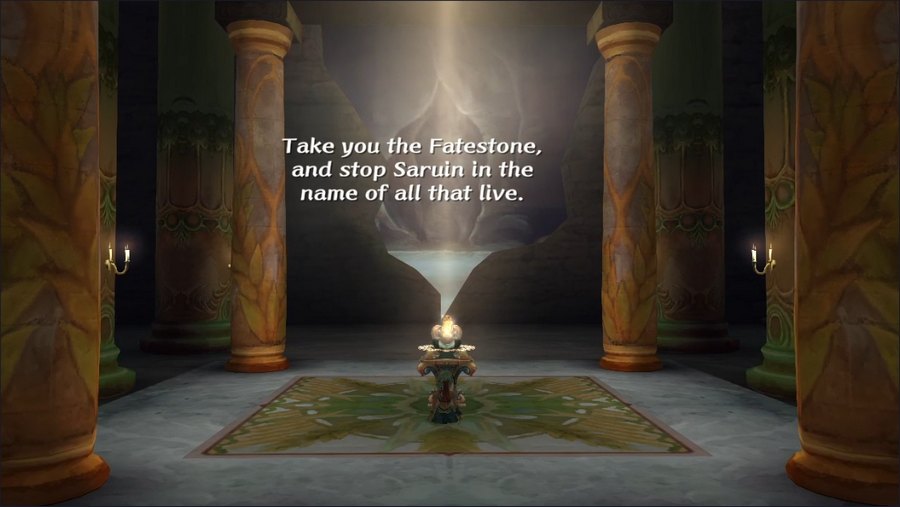 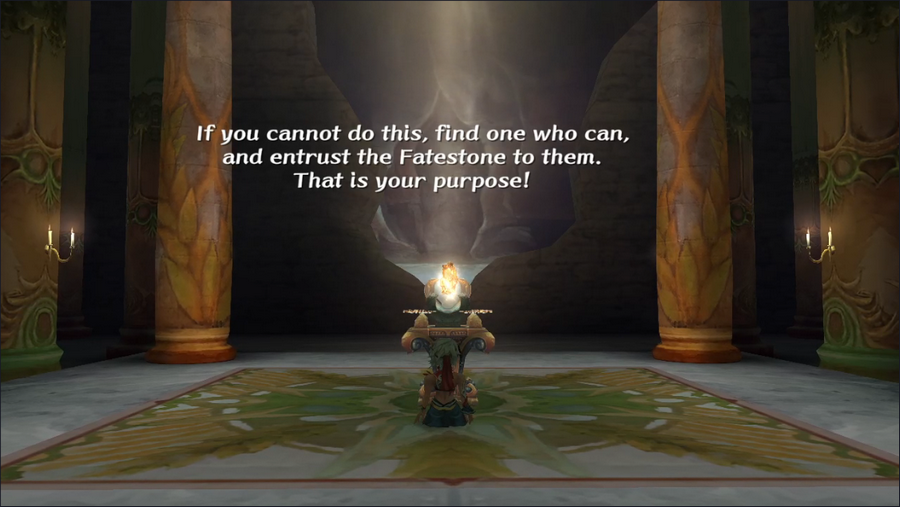 It's always nice when a god gives one a sign in the form of direct communication.  If Nisa wants us to take the Fatestone, who are we to argue?  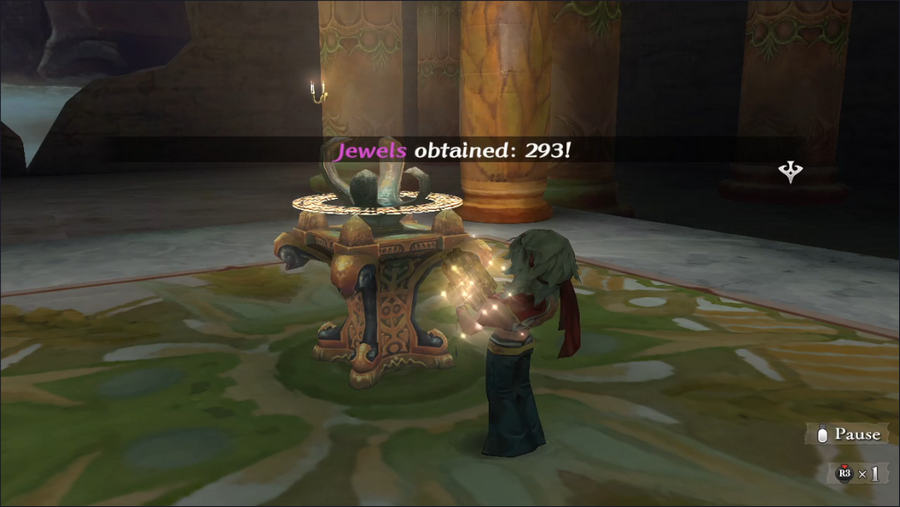 We obtain the Topaz of Earth and a handful of jewels. 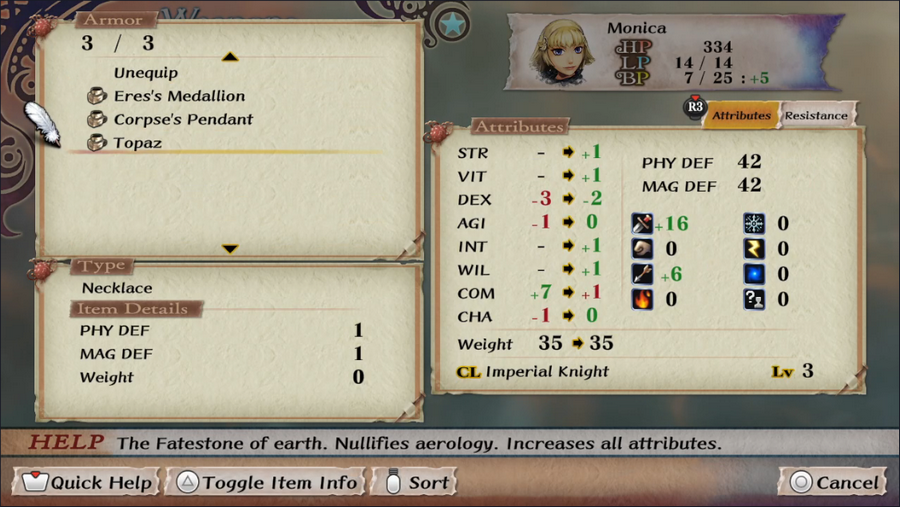 The Topaz protects against Aerology, which makes it an incredibly useful tool for fighting the Minions. It can also be used to survive against Galahad, if one is feeling murderous. 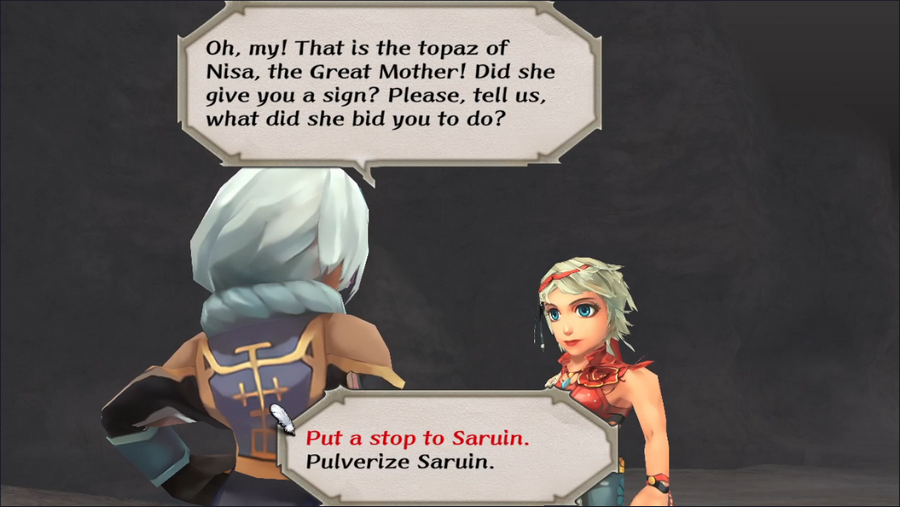 On our return trip, we stop to talk with the Terranite leader, who notices with awe that we have the Topaz. Both of these answers are technically true, but we're better off not being flippant about the words of the guy's beloved goddess.  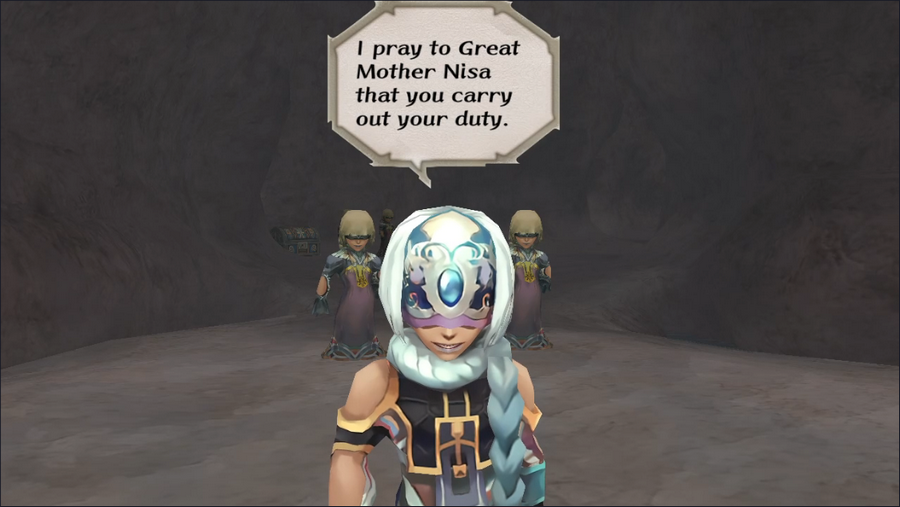 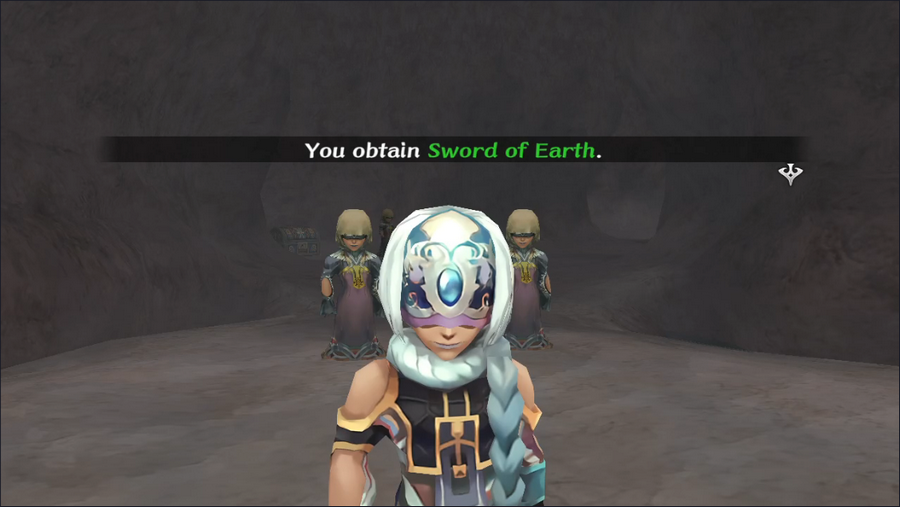 In return, he gives us a unique weapon, the Sword of Earth. 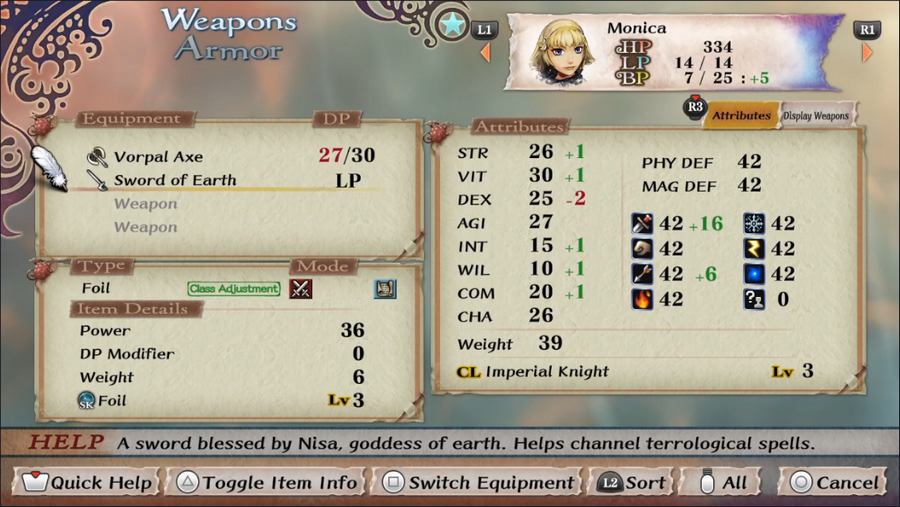 It's a foil, so it goes to Monica. Not surprisingly, it can channel Terrology. It's also quite a bit stronger than the Blazing Sword - almost as strong as the Vorpal Axe, in fact. 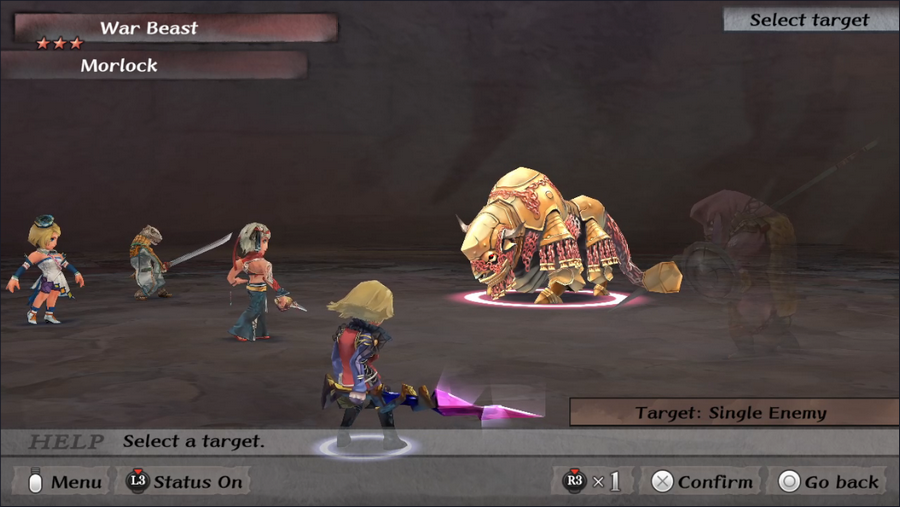 Also like the Blazing Sword, it looks cool as heck. I really like the way light glints off its facets. 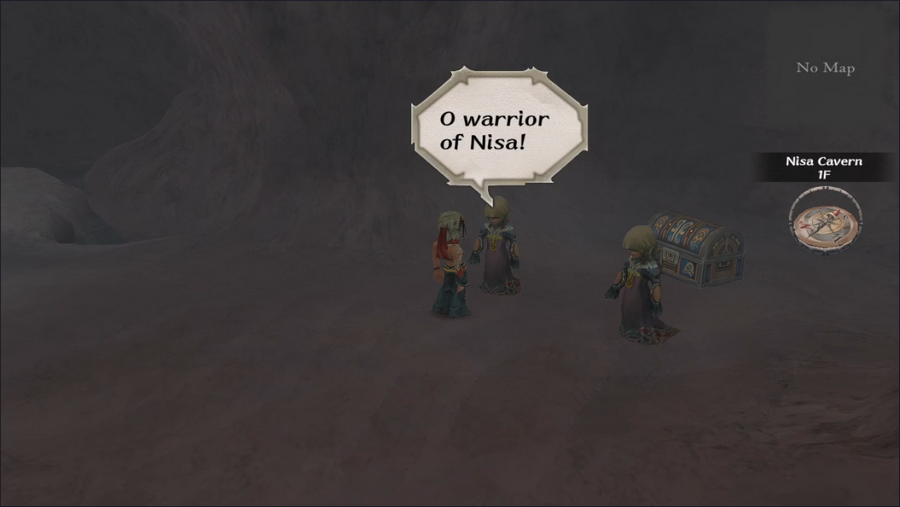 Satisfying the Terranite leader also lets us talk to his followers to get them to move. Though they all say the same thing, they use an impressive number of voice lines - I'm not actually sure any two of them have the same voice.  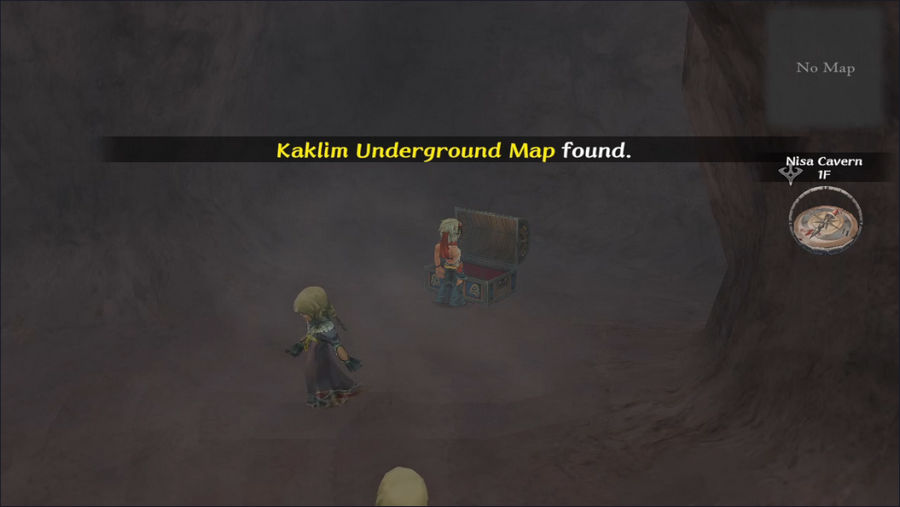 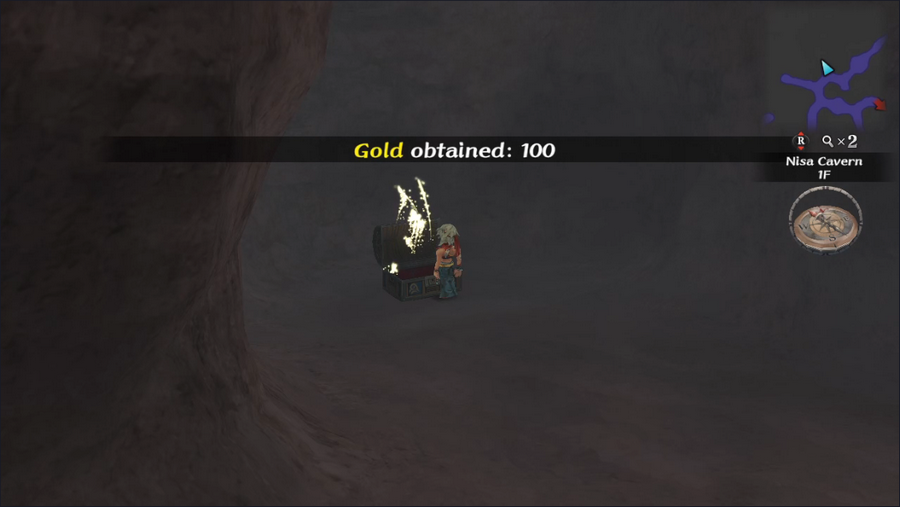 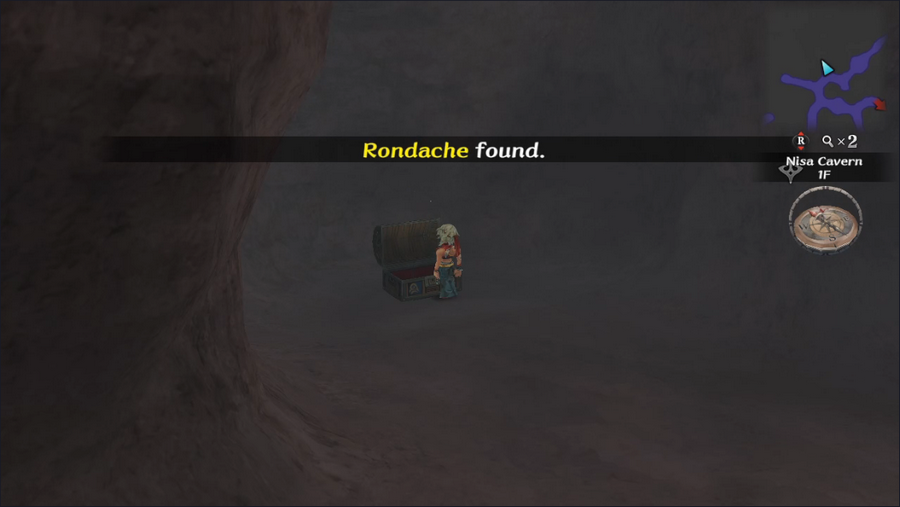 Once the Terranites are out of the way, we can get to the treasures the guard, including the area map, a tiny amount of gold, a decent shield, and a few jump points leading to empty dead ends. 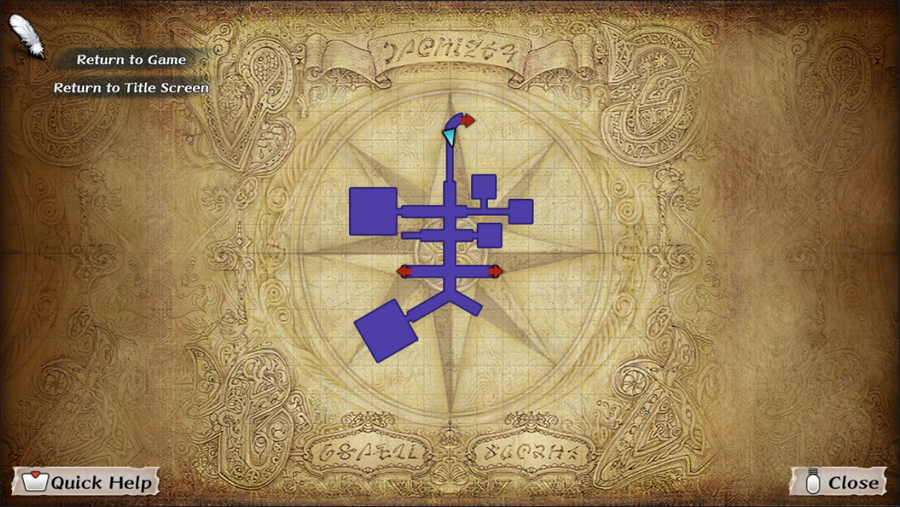 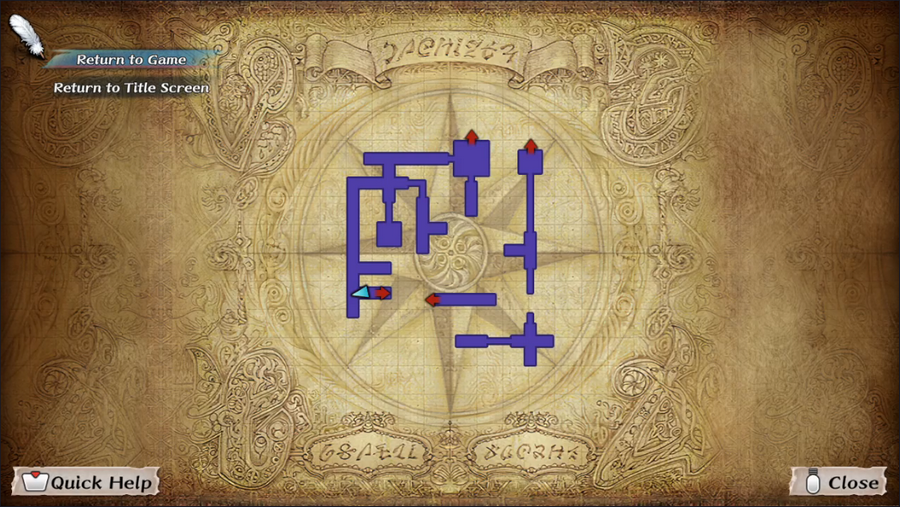 Now that we have the map, you can see how complex the ruins are. 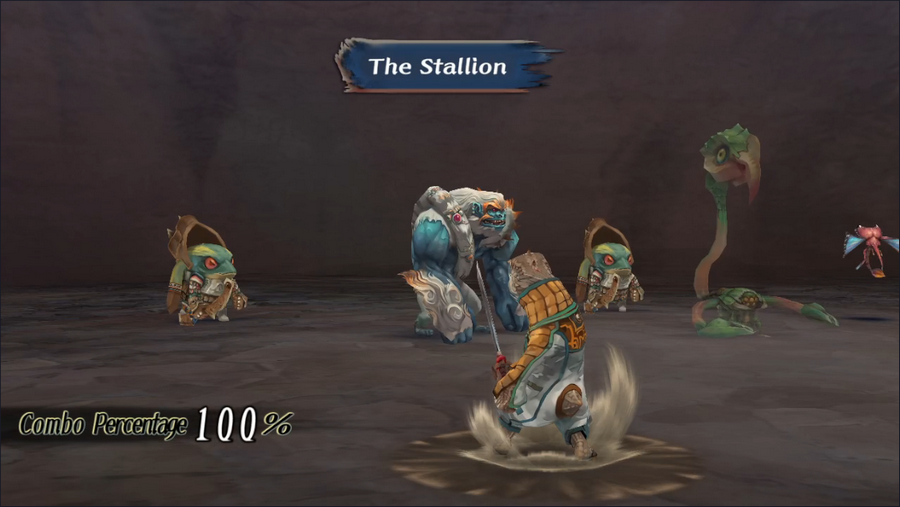 As we near the exit, the game gives me one last surprise: a Vortex that I've almost never seen, the Stallion. 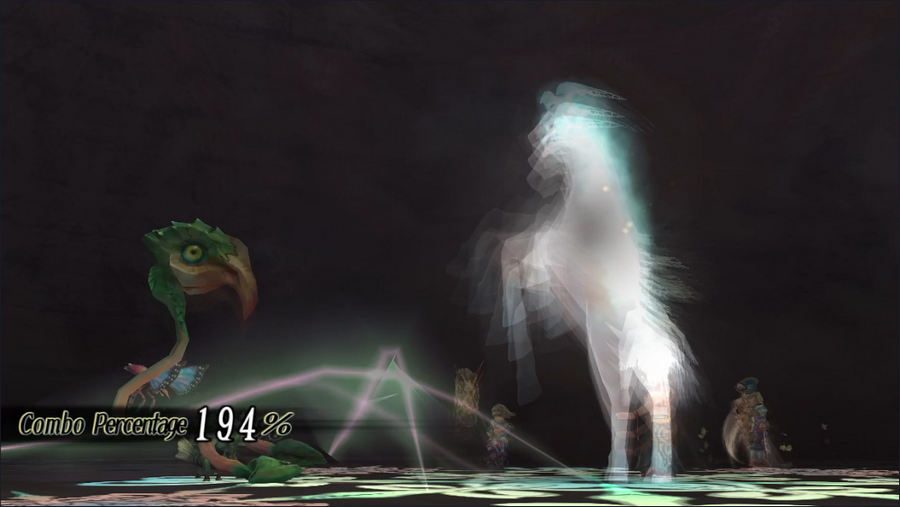   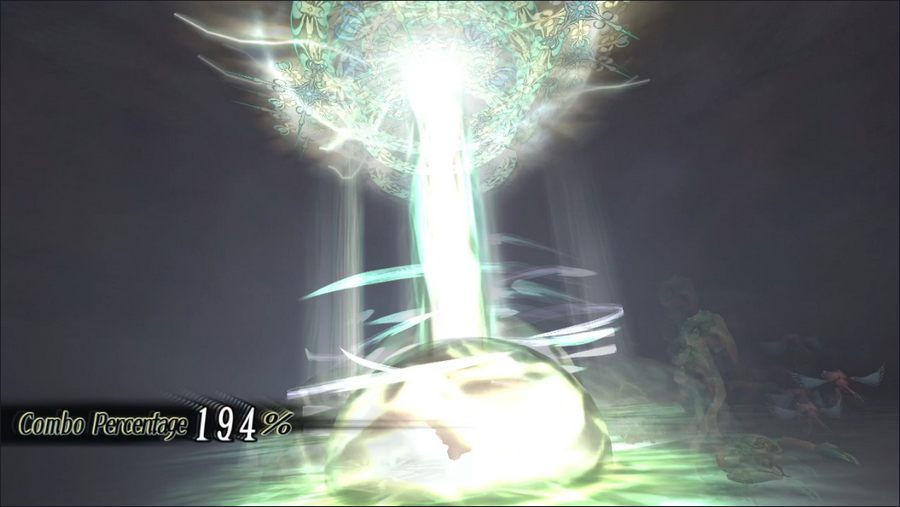 It's pretty cool lookin'. It also gives us a point of favor with Nisa, which appropriate for the adventure. 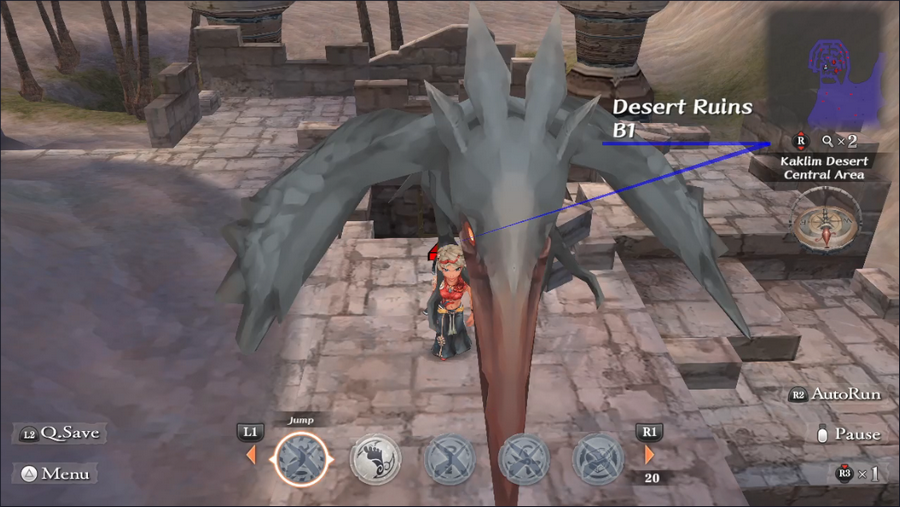 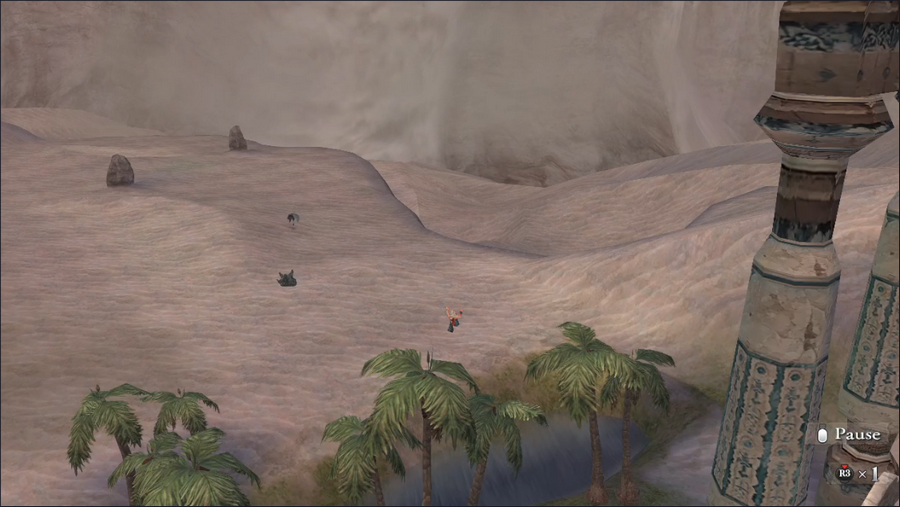 Outside, we can let one of the birds grab us for a small shortcut. 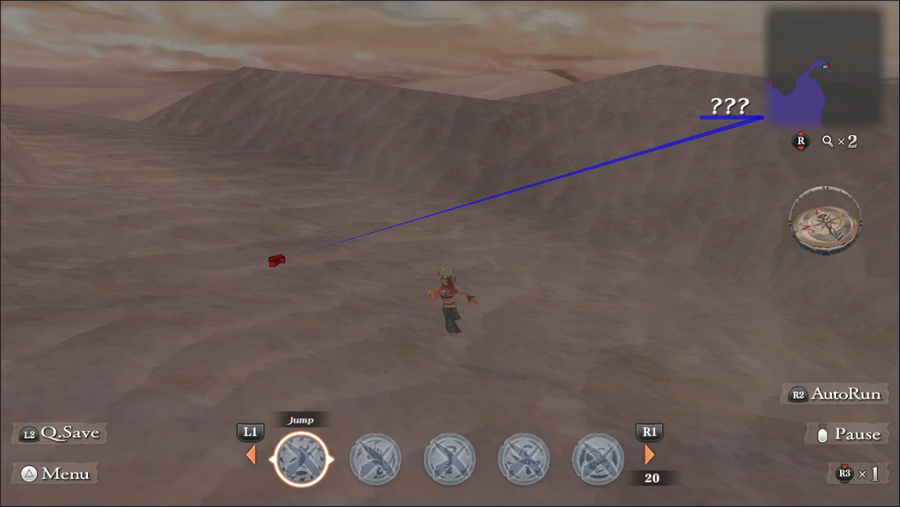 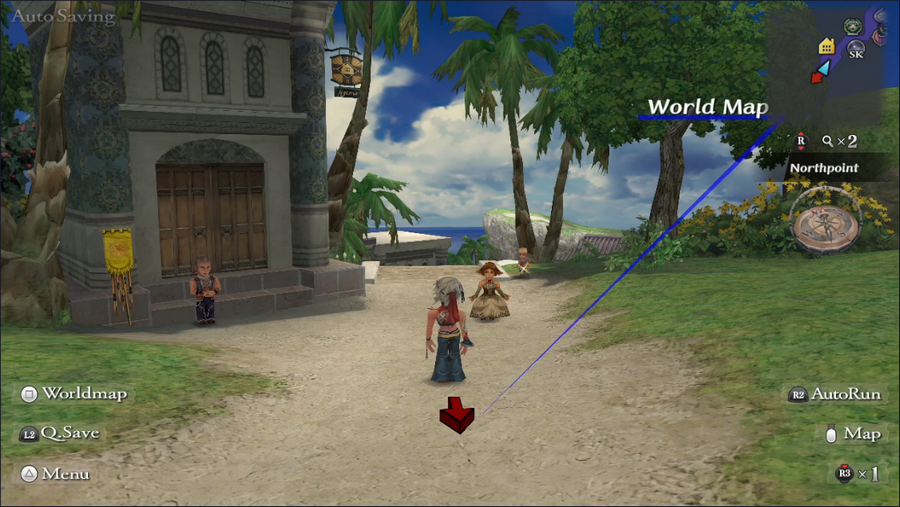 After that, it's a simple matter to leave the ruins and make our way out of the desert, winding up at Northpoint. And that's all for today! We've hit ER 13, but there are no new events for us to trigger. Be sure to vote on our next destination! Current Event Rank: 13 Things to Do Retrieve the Aquamarine from Crystal Lake - We weren't strong enough for this as of ER2 Kill the bugs in the Altours orchard Find Captain Silver's treasure - We weren't strong enough for this as of ER9 Investigate the return of the vampires Check in with the mummy salesman Get the Fatestone from the Isle of Evil Take the job at the South Estamir pub Restore the Plant monster population on Ligau Revisit Avi Revisit Adyllis Revisit Strom Places to Explore Estamir sewers Melvir sewers Bayre Plateau The Great Pit Isthmus Keep, or what's left of it The Walon Isle jungle The Ligau caves Mt. Scurve Crystal Lake - We weren't strong enough for this as of ER2 Yassi Cavern Abandoned Keep Saoki Cavern Desert Ruins & Nisa Cavern Treasure Maps Jungle, Level 1 Steppes of Galessa, Level 1 Kaklim Desert, Level 1 New Road, Level 2
|
|
#
?
Feb 29, 2024 03:50
|
|
|
Yay Taralians! But extra yay shiny murderous axe, lol. The dragons are all just kind of endlessly entertaining to me in how they're all different kinds of just too chill to have felt like staying allied to their creator. Hmhmhmmm ... nah, I'm still predictable, lol. Let's go -- - retrieve the Aquamarine from Crystal Lake - get the Fatestone from the Isle of Evil - bother Isthmus Keep, or what's left of it
|
|
#
?
Feb 29, 2024 04:43
|
|
|
Retrieve the Aquamarine from Crystal Lake New Road, Level 2 Treasure Map Revisit Strom Strom really is super affable for keeping a dragon keeping a sacrifice around like that, huh?
|
|
#
?
Feb 29, 2024 11:22
|
|
|
- retrieve the Aquamarine from Crystal Lake - get the Fatestone from the Isle of Evil And what I don't think we've done the maps (or at least, not recently). -Jungle, Level 1
|
|
#
?
Feb 29, 2024 17:59
|
|
|
In regards to the Raincloud Armlet quest... That girl which we just rescued was Wuhan's daughter. If you started this quest by talking to him (if we was still alive, that is), you could go back to him and get some extra rewards, including one of the best bows in the game. As for what to do next... New Road, Level 2 - This is honestly easy enough, and since it's Barbara, this shouldn't take more than a couple of minutes. Investigate the return of the vampires Get the Fatestone from the Isle of Evil
|
|
#
?
Feb 29, 2024 20:37
|
|
|
Complete_Cynic posted:Strom really is super affable for keeping a dragon keeping a sacrifice around like that, huh? My headcanon is that the Water Dragon Rite was never a human sacrifice thing, the stories just got corrupted over time. Either that or Strom really mellowed out in his old age. Retrieve the Aquamarine from Crystal Lake Get the Fatestone from the Isle of Evil Check in with the mummy salesman
|
|
#
?
Feb 29, 2024 21:20
|
|
|
revist strom
|
|
#
?
Feb 29, 2024 23:05
|
|

|
Retrieve the Aquamarine from Crystal Lake Get the Fatestone from the Isle of Evil Investigate the return of the vampires
|
|
#
?
Feb 29, 2024 23:49
|
|
|
Voting is now closed.
|
|
#
?
Mar 4, 2024 04:11
|
|
|
Welcome back, everyone. I've got another short update for you this time around, as we're undertaking an important but quick mission: retrieving the Aquamarine.  As before, we head off to Crystal Lake and look for ripples in the water - specifically, the one furthest from our starting position. 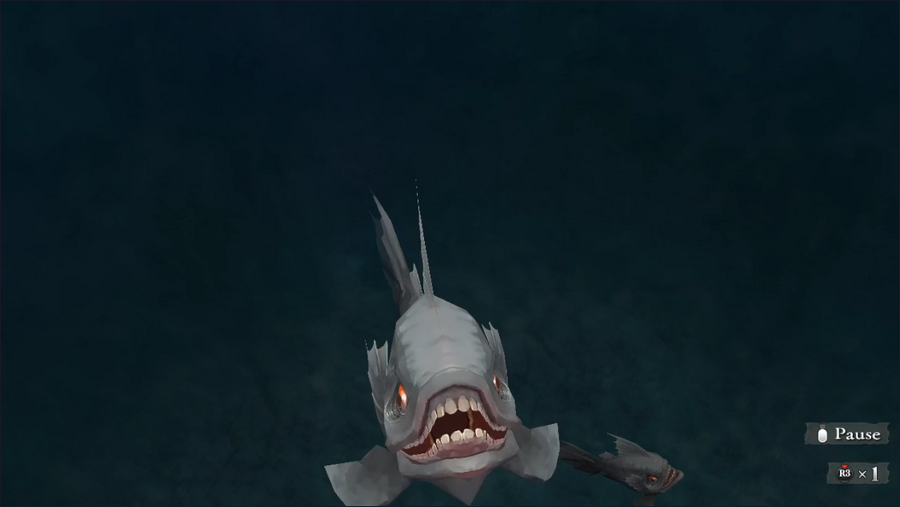  Also as before, we have to get by a group of high-end monsters before we can enter the submerged cave. 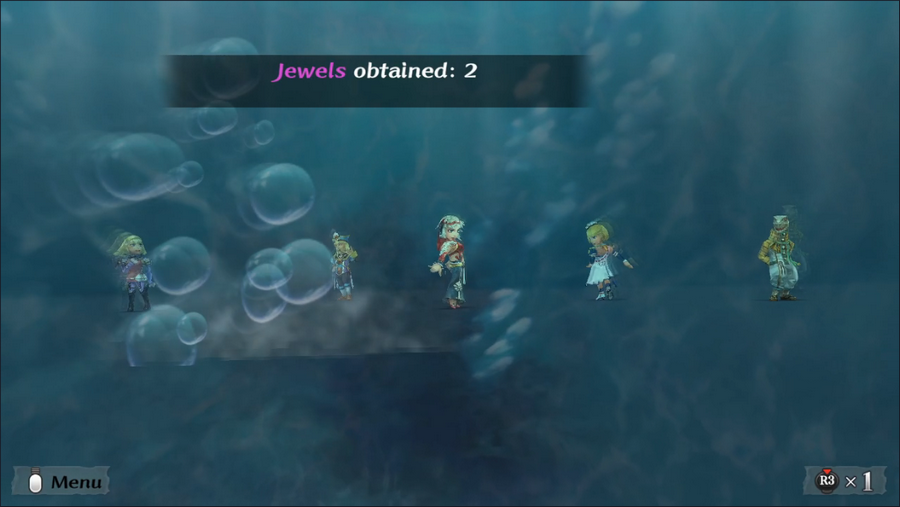 But whereas they destroyed us on our first trip, this time the results are reversed. This took two fairly effortless rounds.  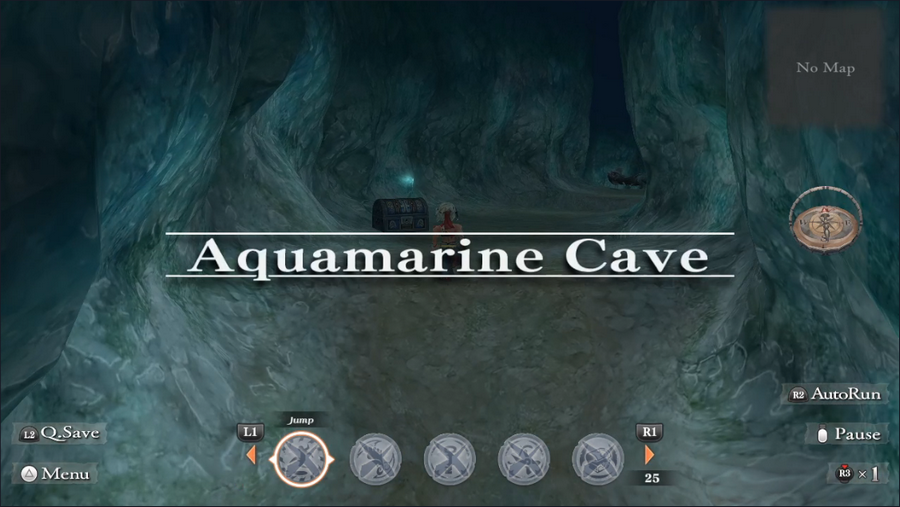 We swim forward and enter the Aquamarine Cave. Or, well, one of them.  Right inside the entrance is a chest, though 330 gold is a pretty paltry sum at this point. 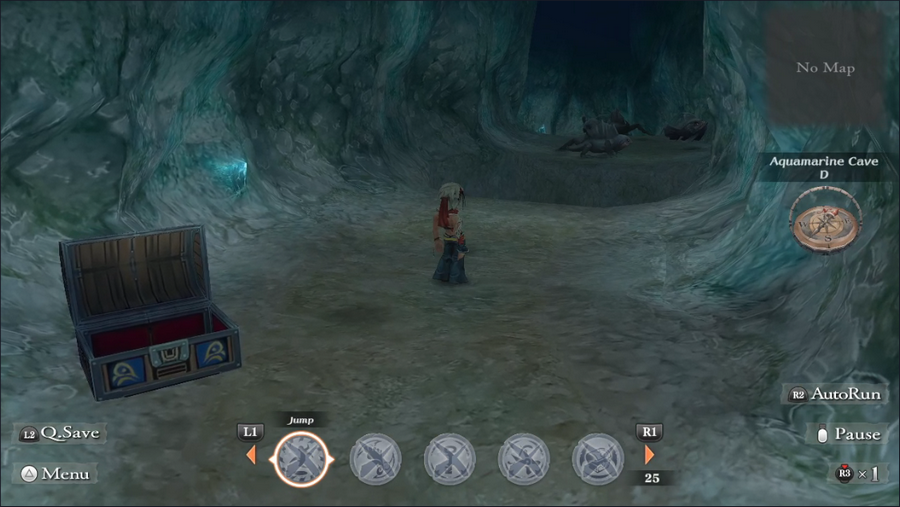 Immediately past that is a level 3 jump, so even without the monsters guarding the entrance, we'd have been locked out on our first visit. The number of monsters on the other side of the gap is a bit annoying and guarantees we'll have to fight a couple of battles.  We fight our way past them and come to a four-way intersection, at which we head straight. 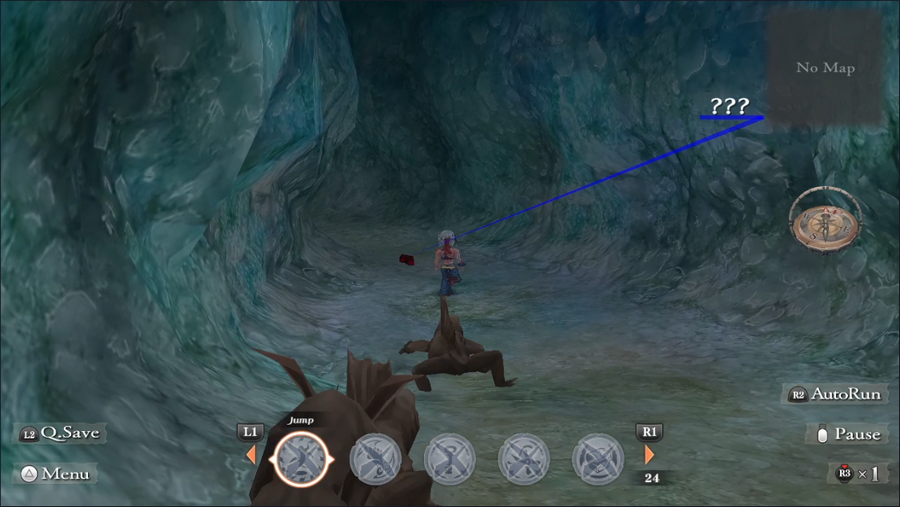 This takes us to the exit to the next area. 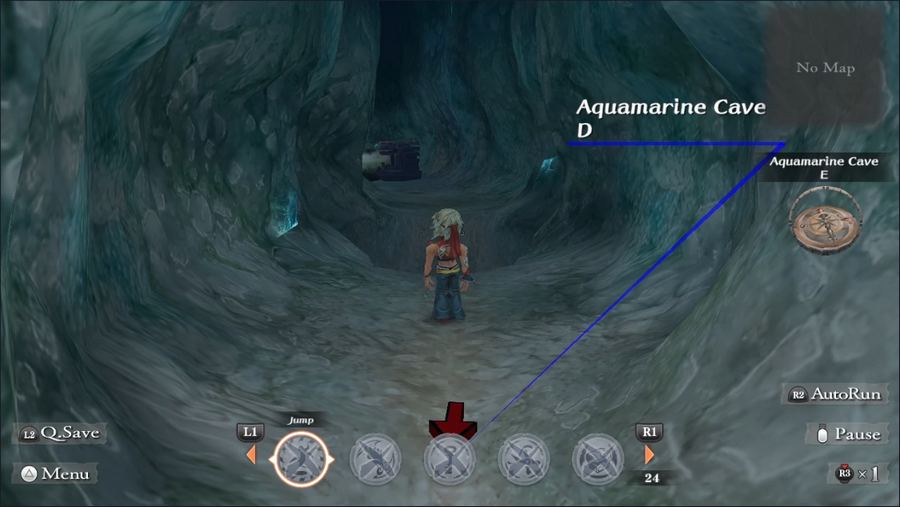 Aquamarine Cave E starts us in front of another gap, with some strange statues on the other side. 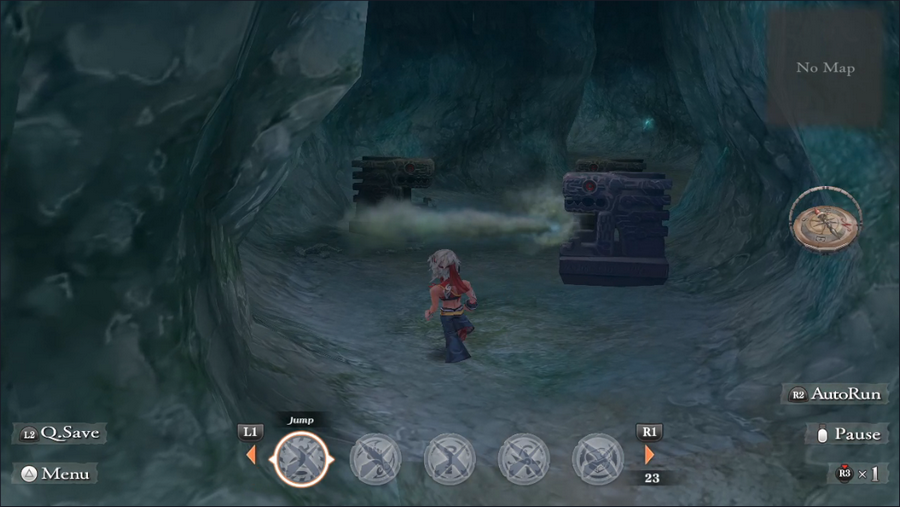 These three statues shoot streams of gas which, if touched, immediately kill our entire party and give us a game over. The security here is serious! 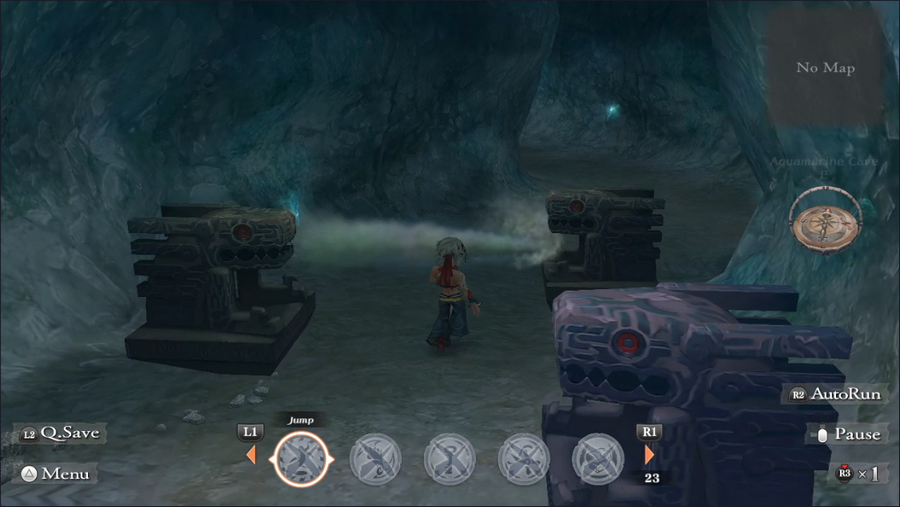 Luckily, their firing pattern gives us room to run between them without getting slain. 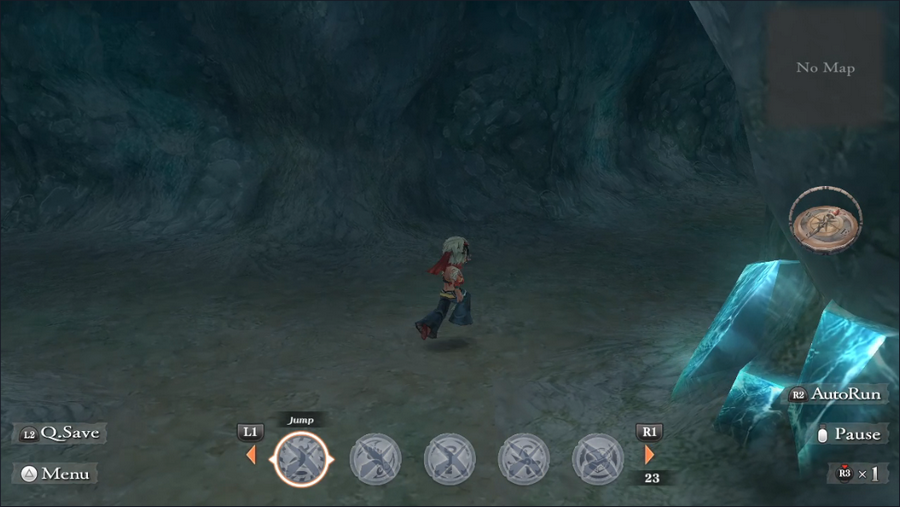 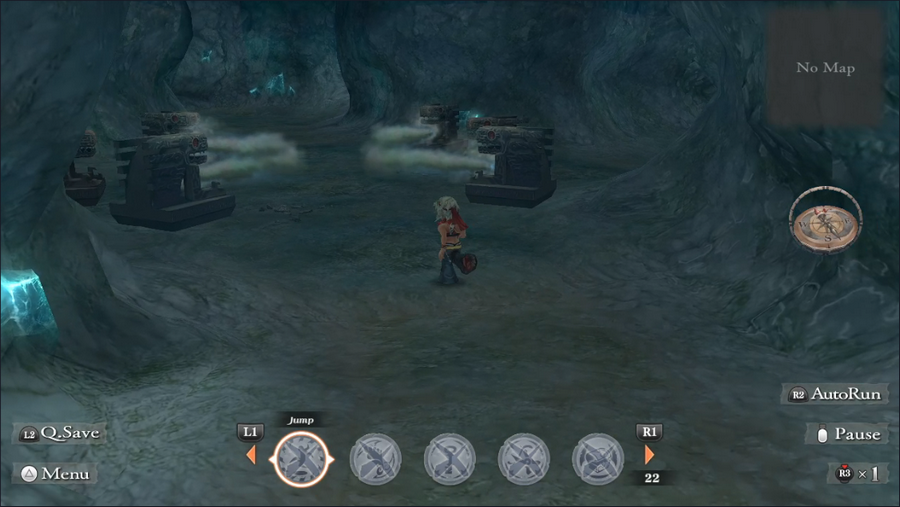 Past the statues, we take a right turn and encounter another group, this time of six. These alternate fire between the four statues shown here and the two to the right and left, with a small break after the latter. 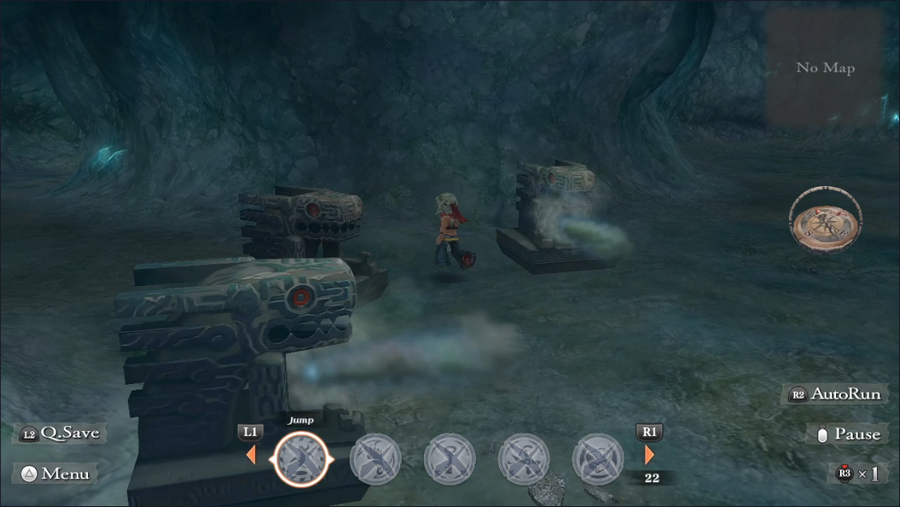 We can use that time to run past them and to the left, into a passage cunningly concealed by a combination of the statues and the game's camera. 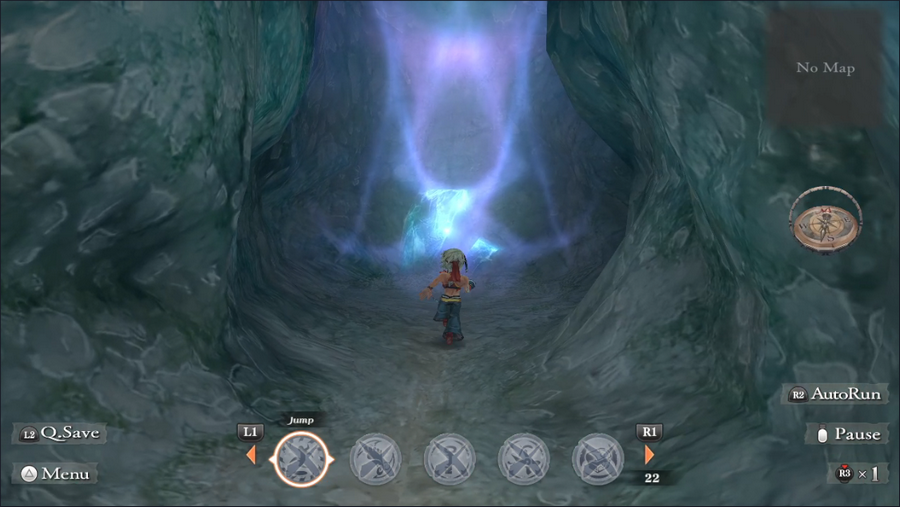 At the end is a strange wall of light. 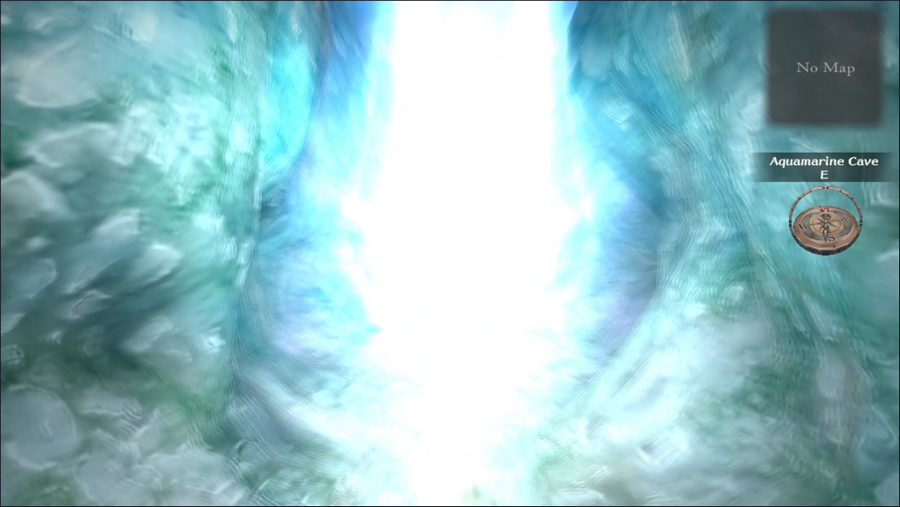 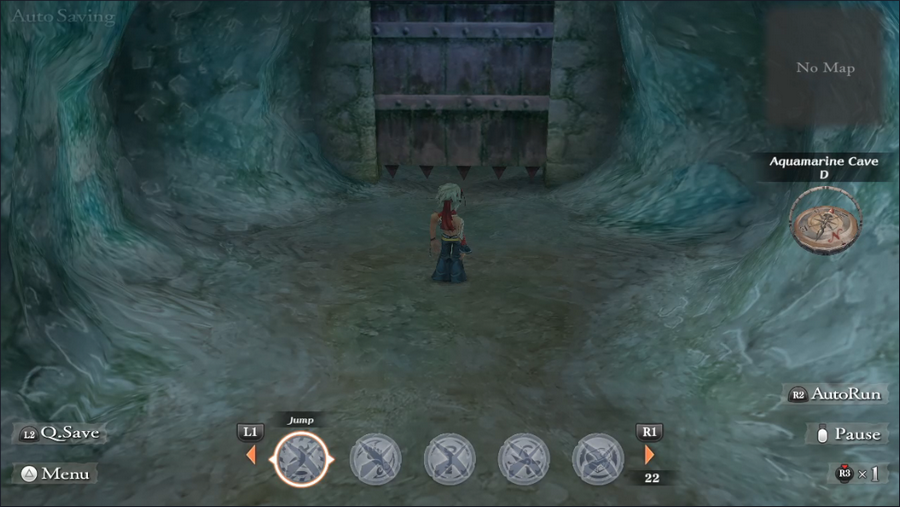 When we touch it, there's a flash of light, and we're teleported back to Cave D, the one in which we began. We could actually have walked to this door fairly easily.  However, since we took the teleporter, the door and the two behind it open at our approach.  I do believe that's our target.  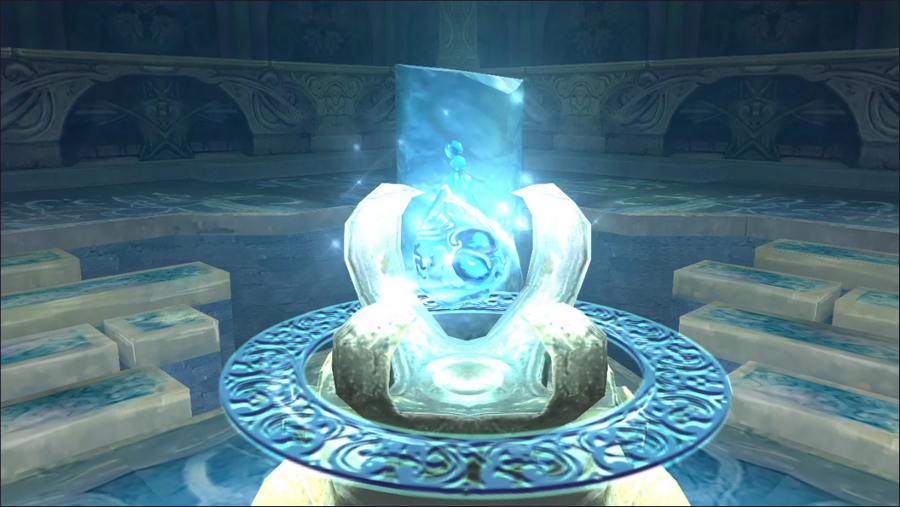 Yes, that's definitely it. 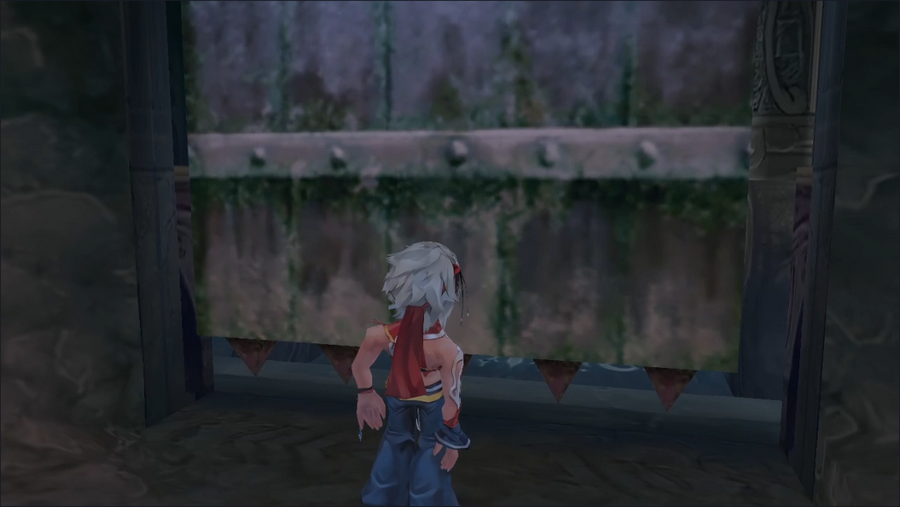 Unfortunately, the door slams shut on us. 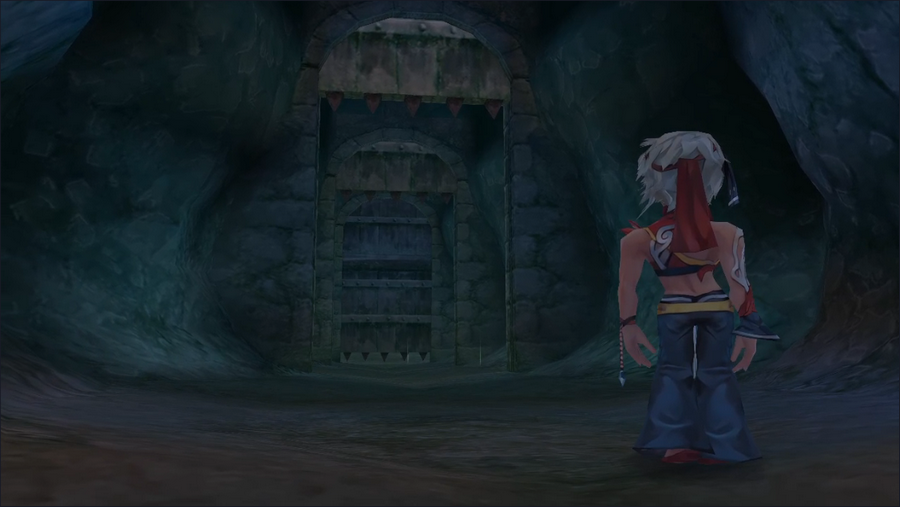 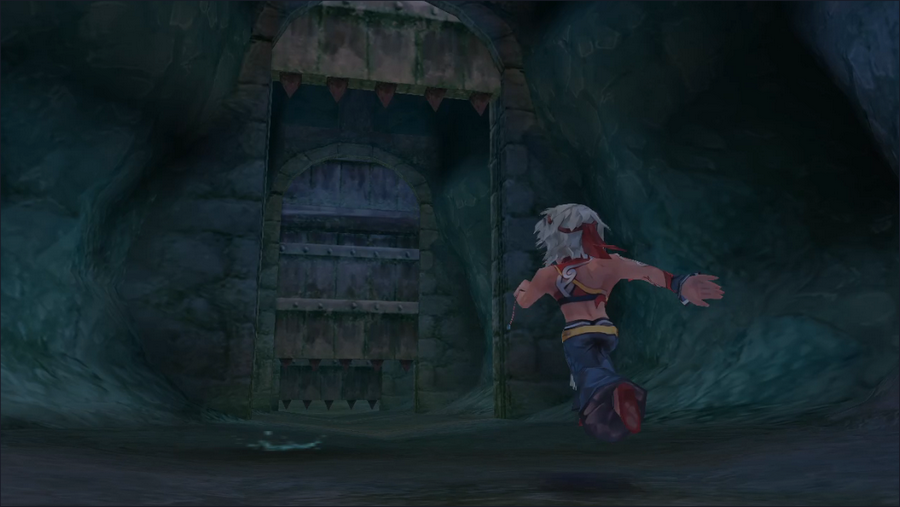 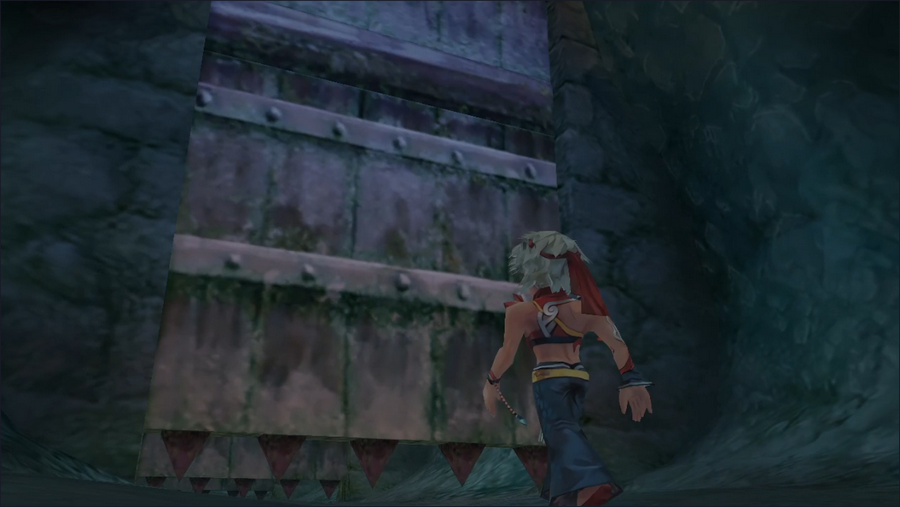 We turn to see the other doors closing as well. We make a run for them, but to no avail.  We turn back toward the Aquamarine chamber to find that a massive monster has appeared behind us! Boss Fight: Ghost Ship https://www.youtube.com/watch?v=uDKlG804V58 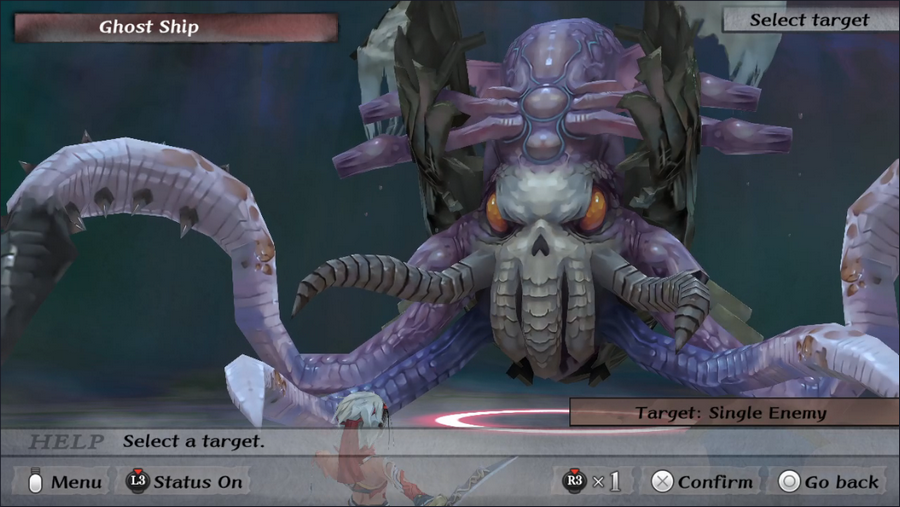 I really don't know how the Rosalians managed to trap a giant squid with a wrecked ship on its head down here, but whatever. It's a cool-looking boss with an intimidating set of attacks. 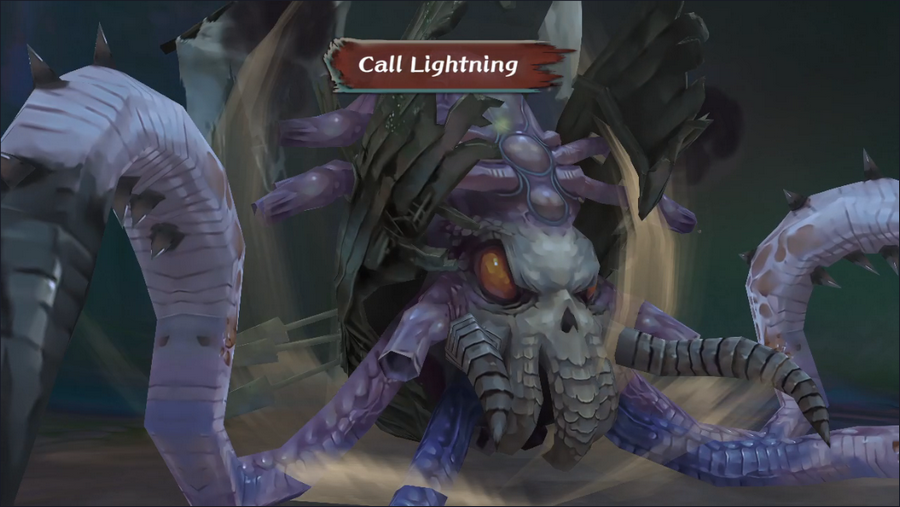 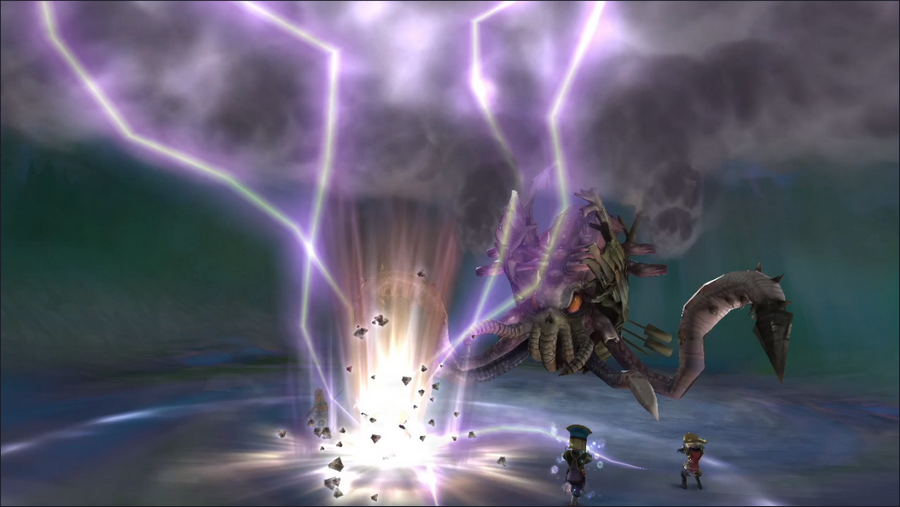 Call Lightning hits a single character for a solid amount of damage.  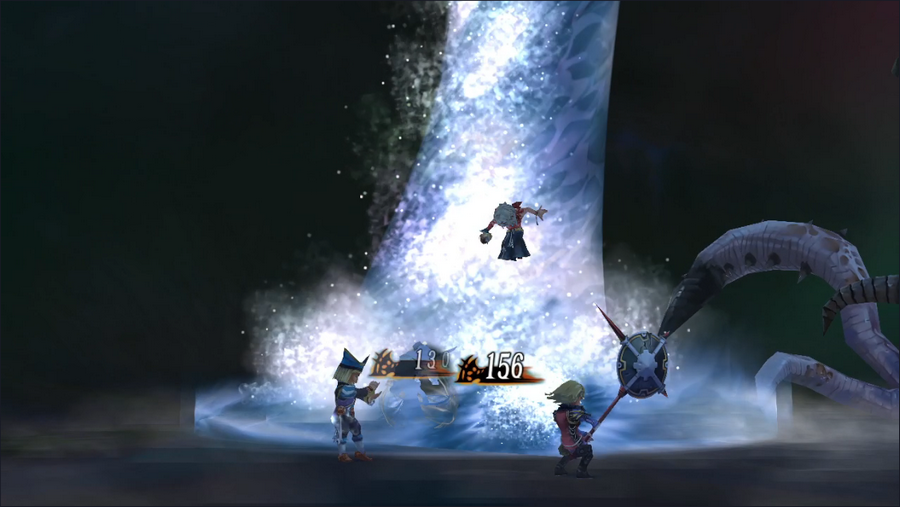  Low Sweep hits an entire row of characters (usually the front) for moderate damage and a chance to Stun. Since it's water-based damage, Monica's Self-Immolation blocks it.  Tentacle hits a single character three times for hefty damage, and Ghost Ship can sometimes use it twice in one round. The boss also has an attack that shoots ink at the party to inflict blindness, but it didn't get a chance to use it this battle. 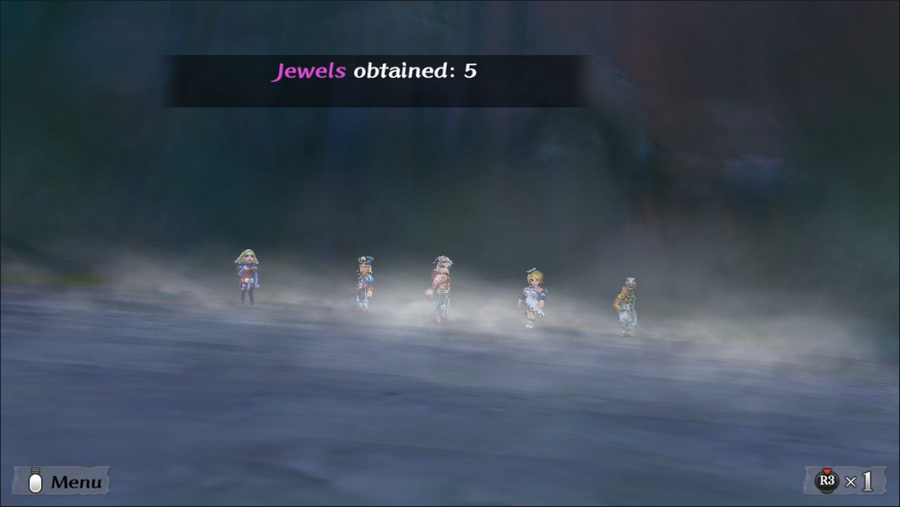 The game expects the player to come into this fight at around ER9, at which time Ghost Ship is a pretty tough boss. But at ER 13, we're strong enough that it doesn't present much of a challenge. That said, we were almost too late: at ER 16, the quest expires, and neither Ghost Ship nor the Aquamarine will be here. Presumably one of the Minions swoops in to claim the Fatestone by that time. 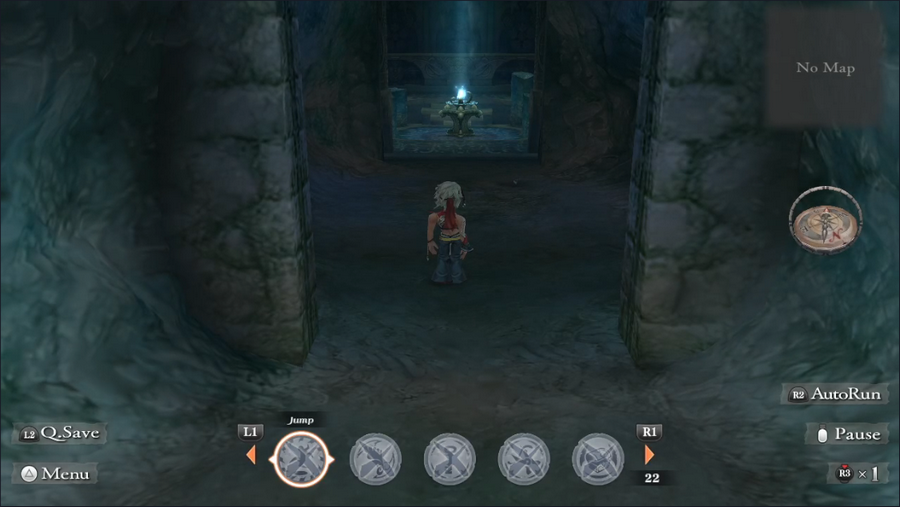 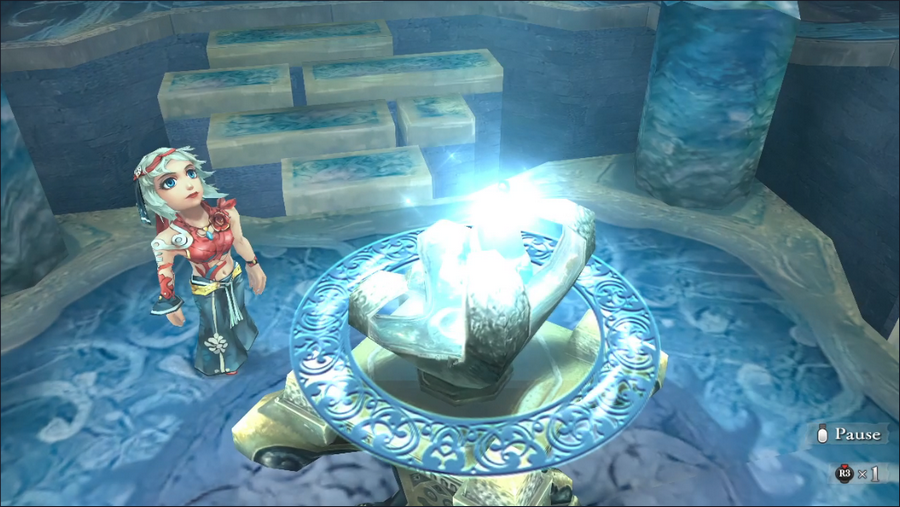 But we made it on time, so the Aquamarine is ours for the taking. 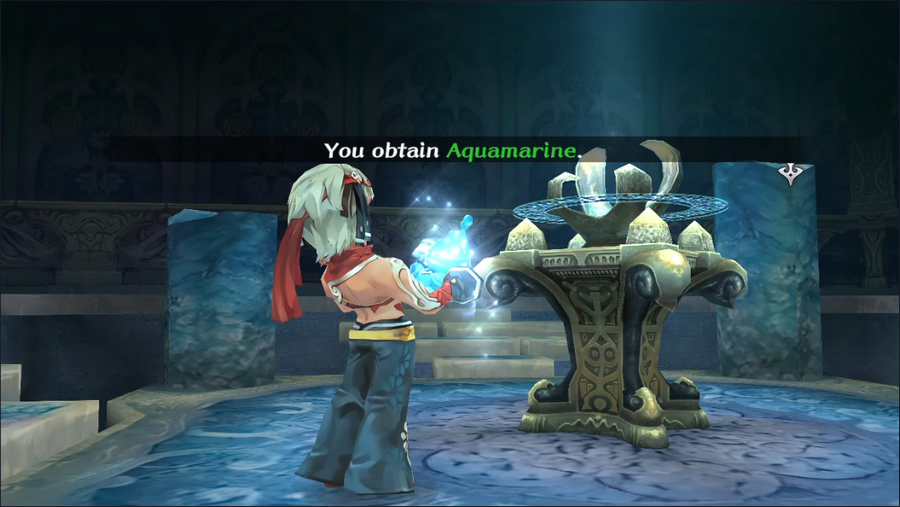 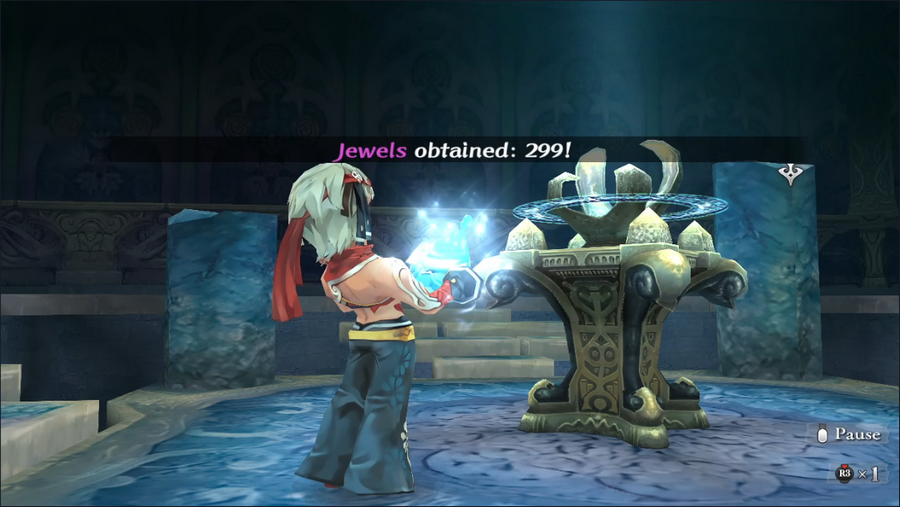 As usual, finding a Fatestone nets us a good number of jewels. 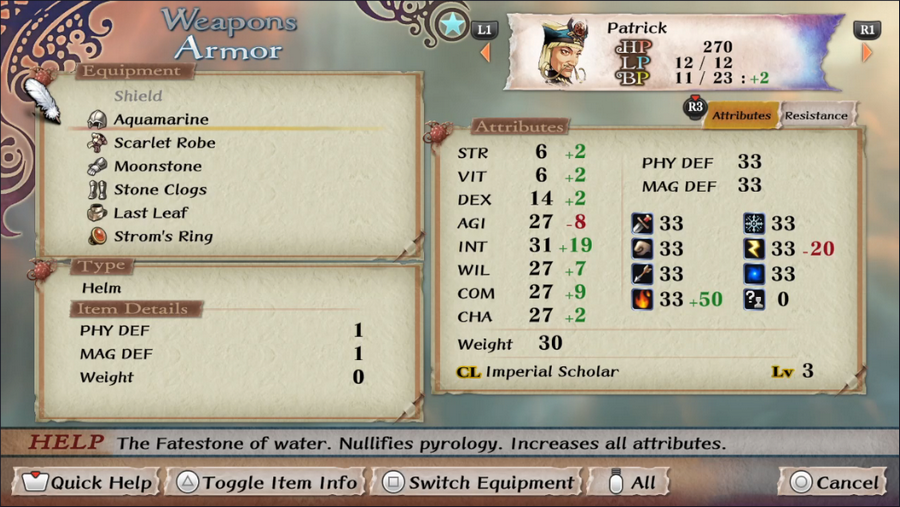 The Aquamarine itself is headgear and protects against Pyrology. Given how many enemies use fire spells, this makes it one of the best Fatestones in the game, especially against the Minions. 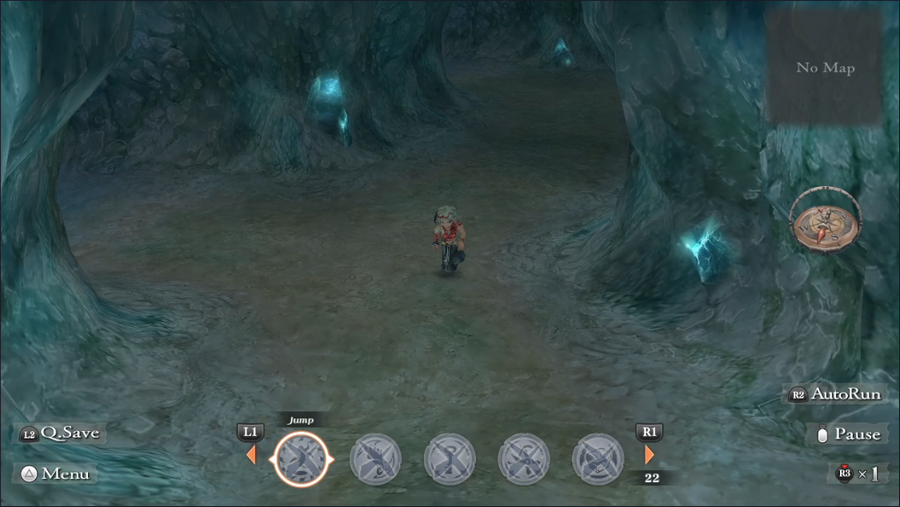 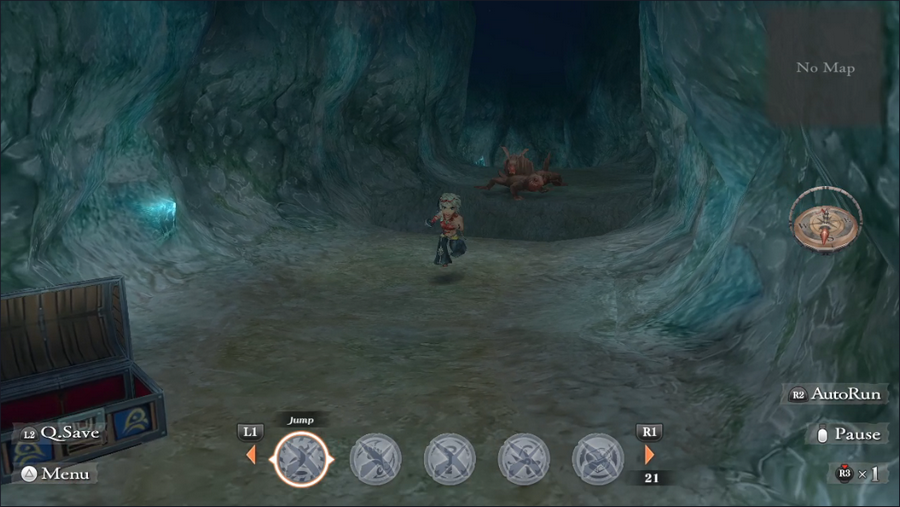 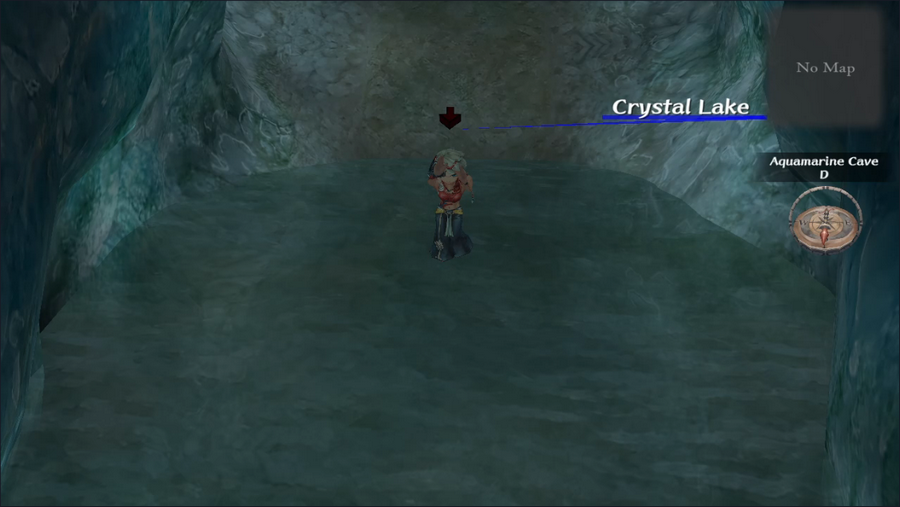 With that, we can simply run toward the camera to make our way out of the cave and back to the world map. The quest is done, but now that we've hit ER 14, there are few things to find. 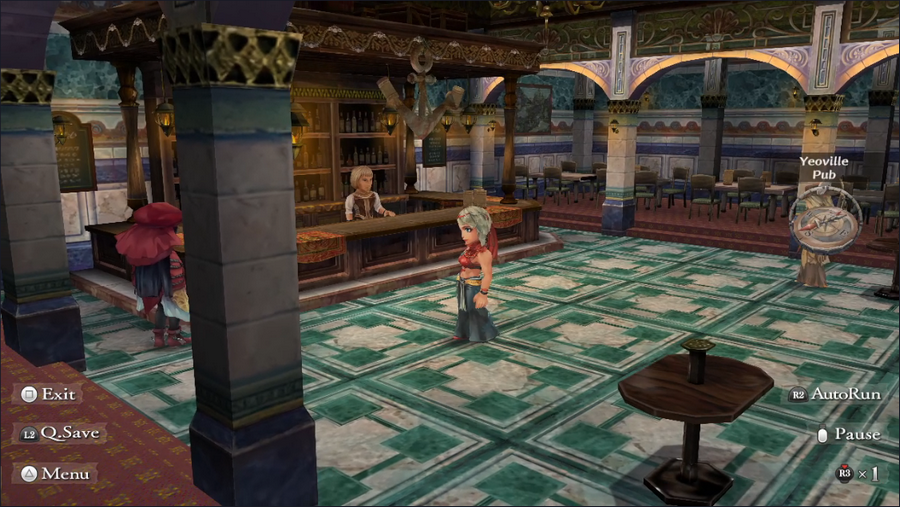 Like Shiele. I'm sure she'll have another cheery tale for us.  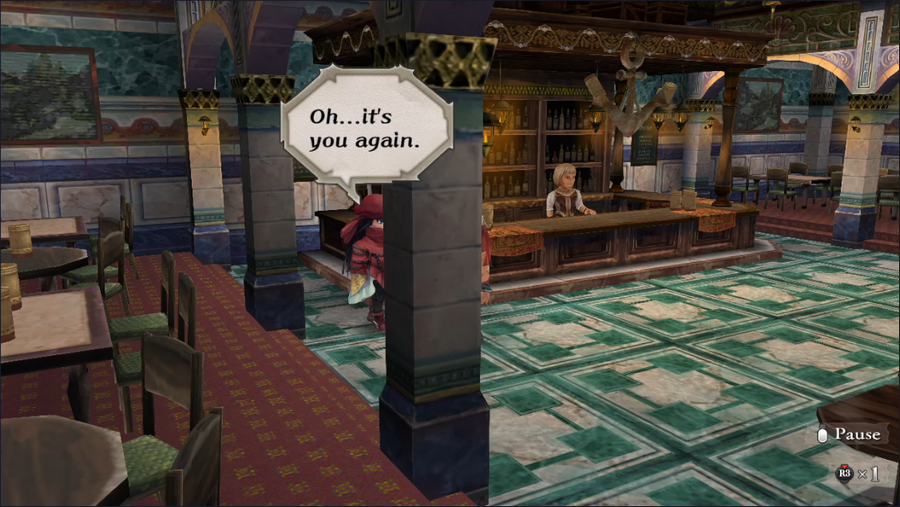  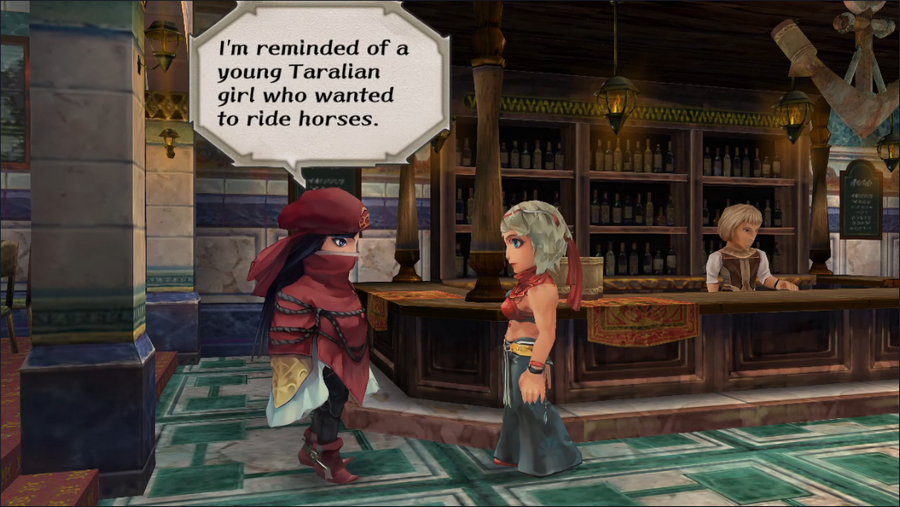 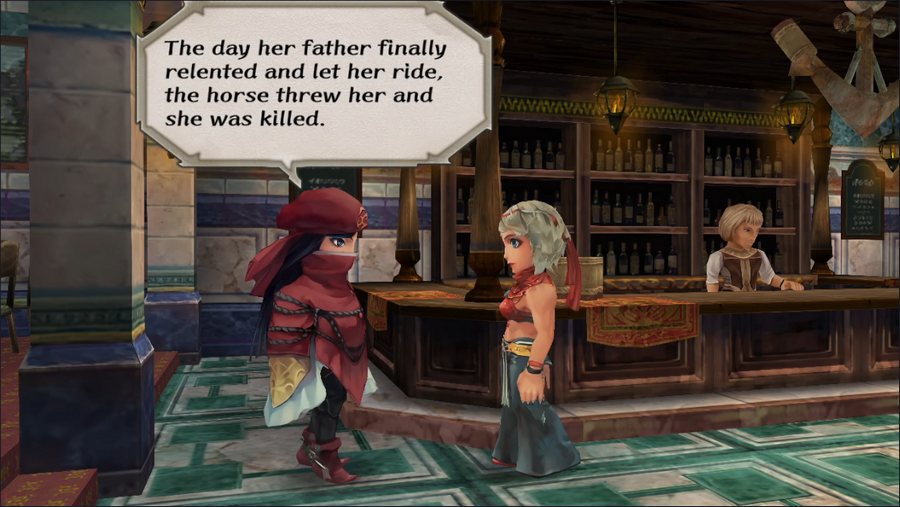  ...Great! 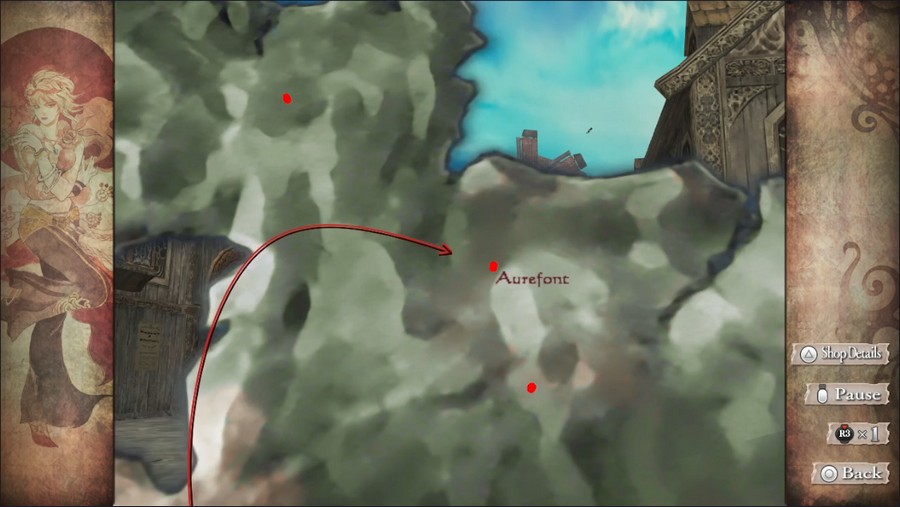 Next, we're headed to Aurefont. 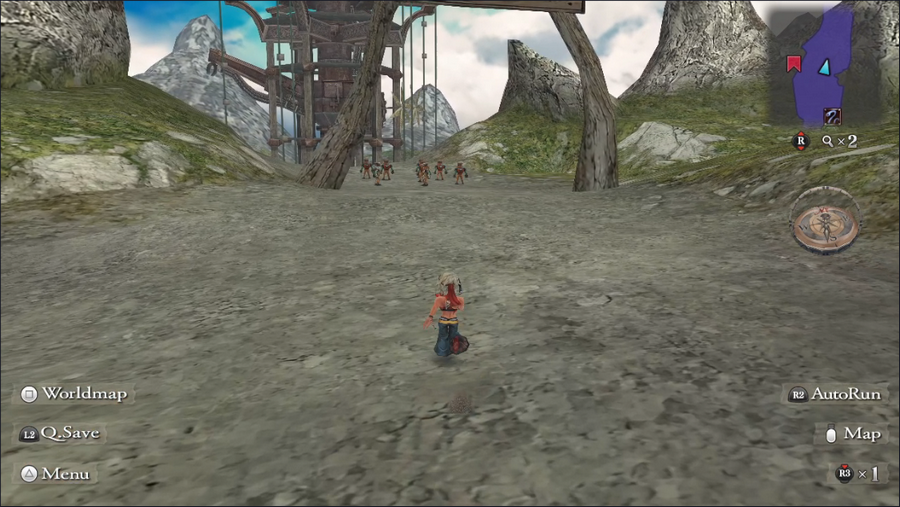 When we enter the town, urgent music is playing, and we can see a group of soldiers gathered outside the mine. 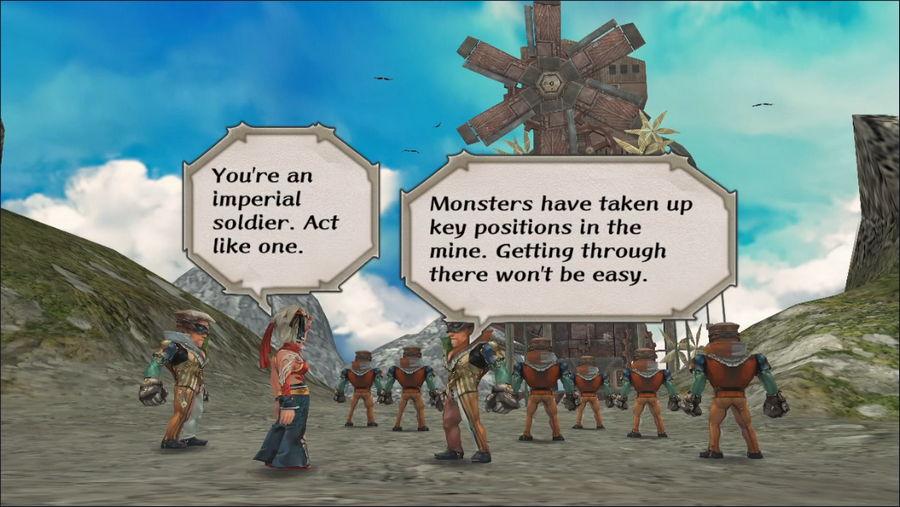 That sounds bad. What makes it even worse is that several miners are still trapped inside, though the guards don't mention that. 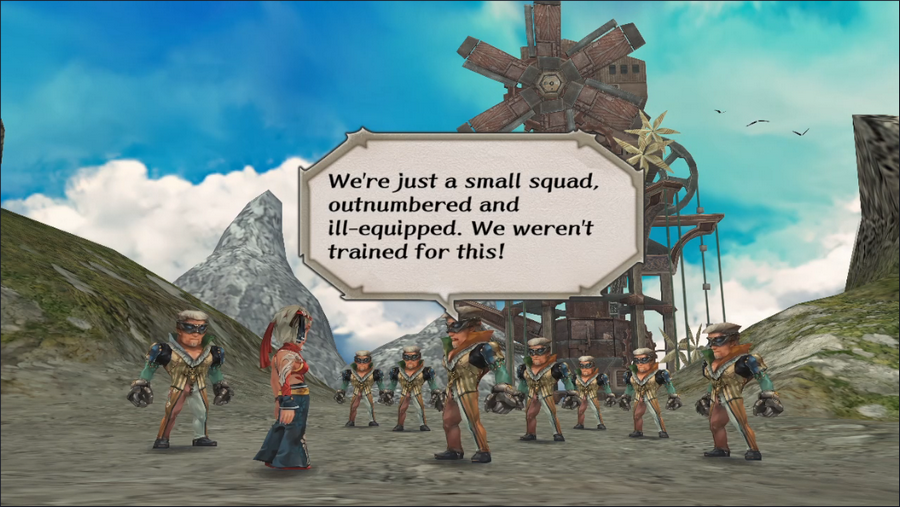 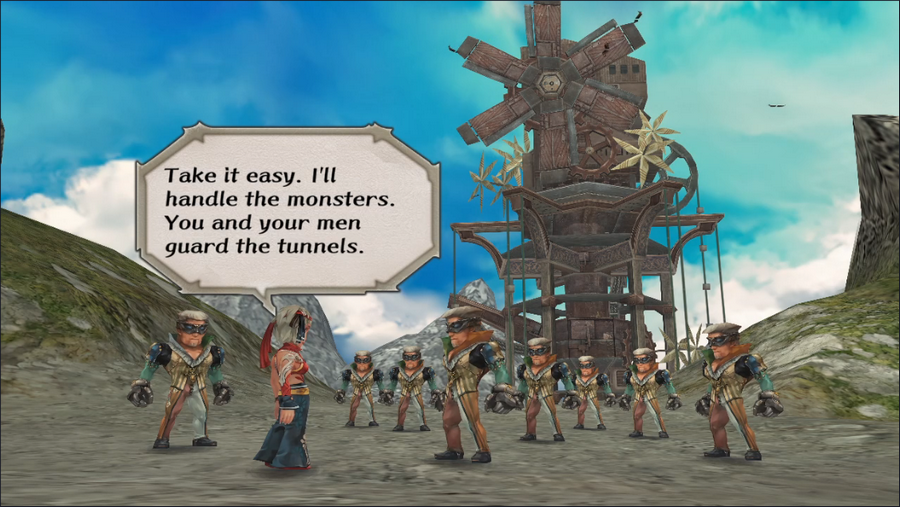 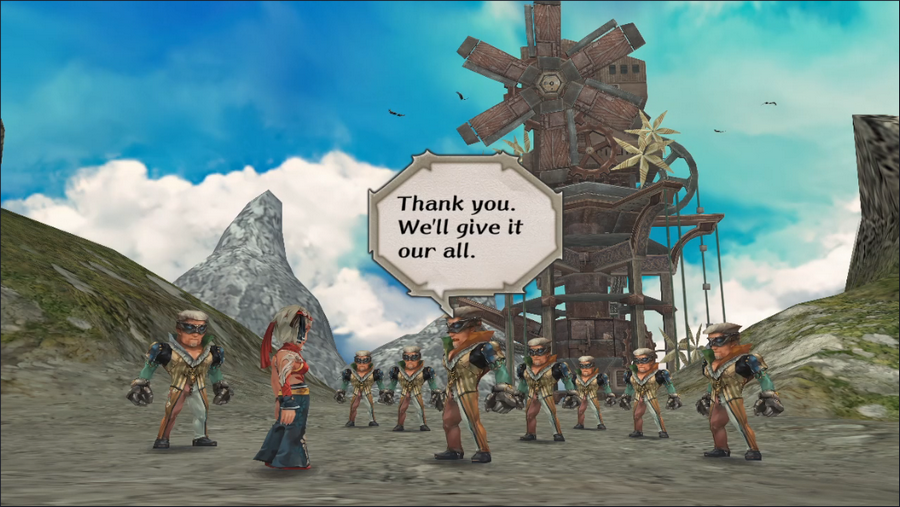 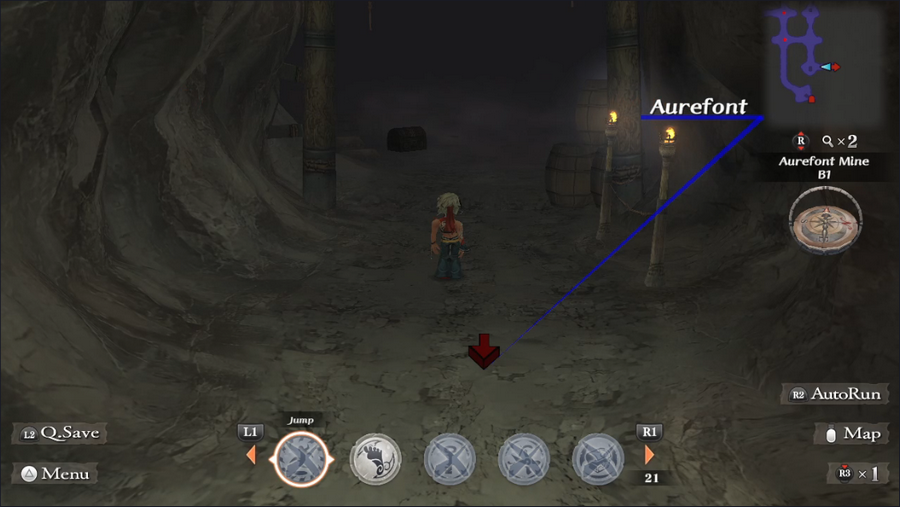 After talking to them, we're immediately sent into the mine. 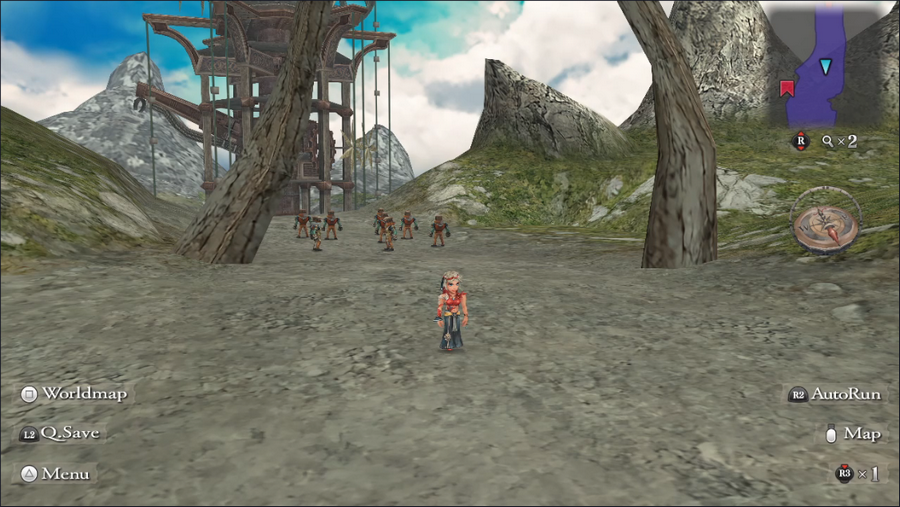 Luckily, we can leave immediately without jeopardizing the quest.  Next, we're off to the Melvir Sewers to see something the game never hints at. Without a guide, we'd just have to stumble into it randomly, which is not very likely, especially since the window to do so is very small.  In the southeast corner is a door, and as we approach it we can hear the pirate song.  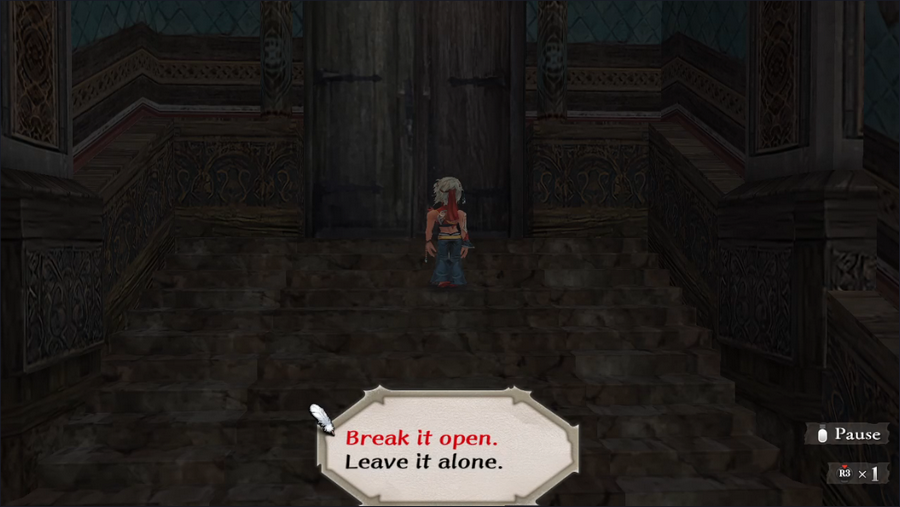 It's locked, but we don't care. 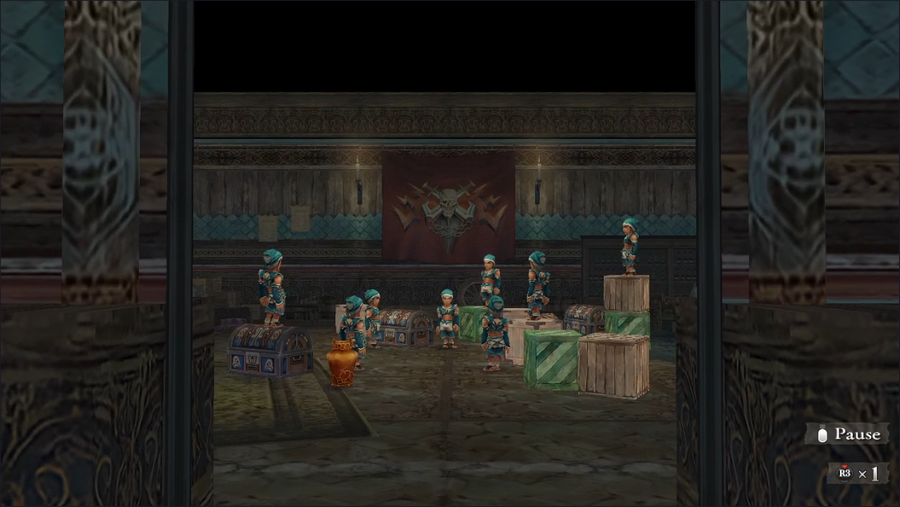 Not surprisingly, there are pirates inside.  It was probably a terrible idea to give the entire navy to the Duke of Loban, huh? 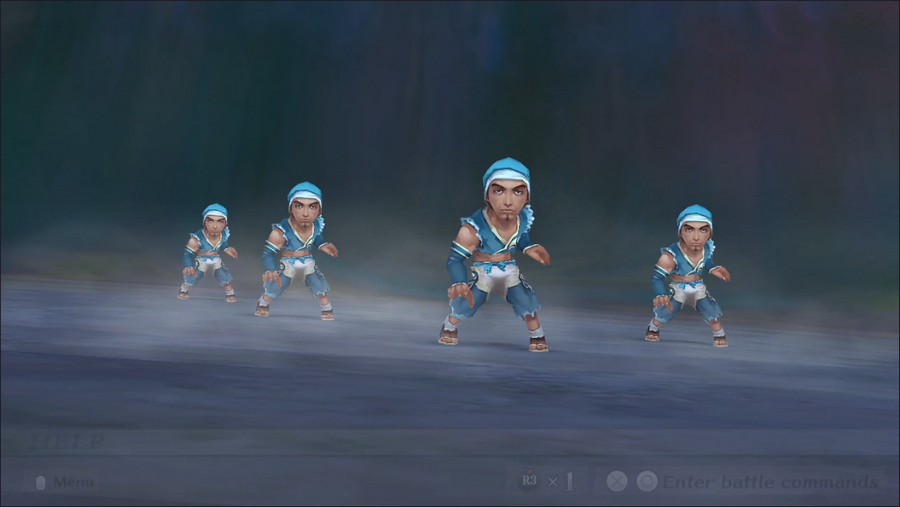 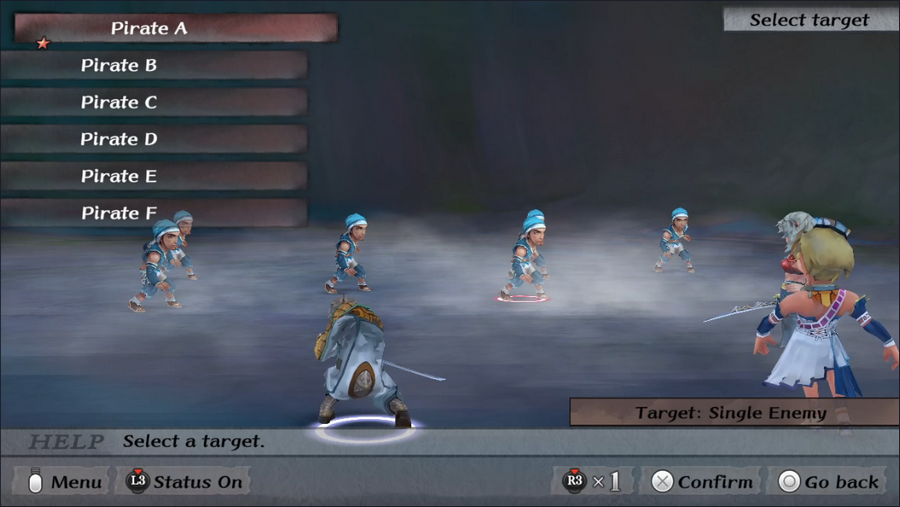 We're immediately thrown into battle with a group of six pirates.  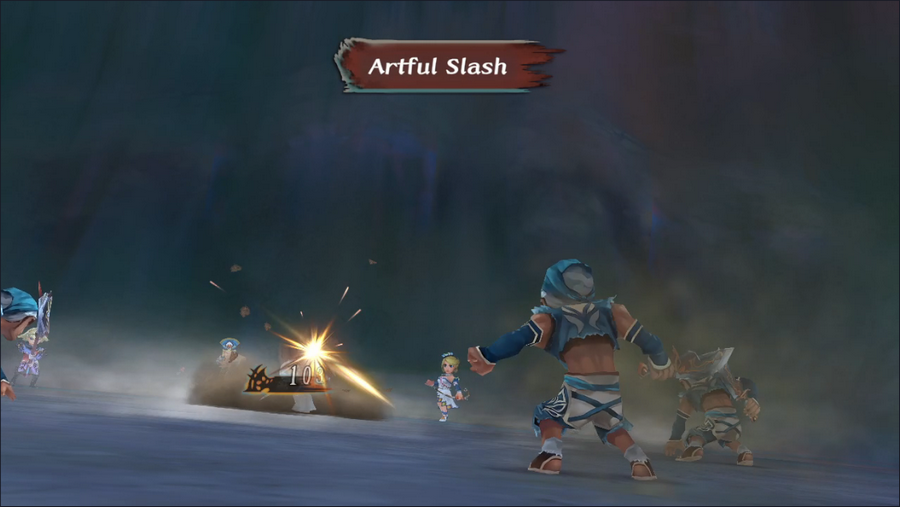 Unlike the pirates in Hawke's intro, these buccaneers are serious fighters. They use techniques like Impact Slash and Artful Slash to deal solid damage, and they're quite fast. Luckily we're still well-equipped to handle them - Maiming Volley turns out to be very useful. 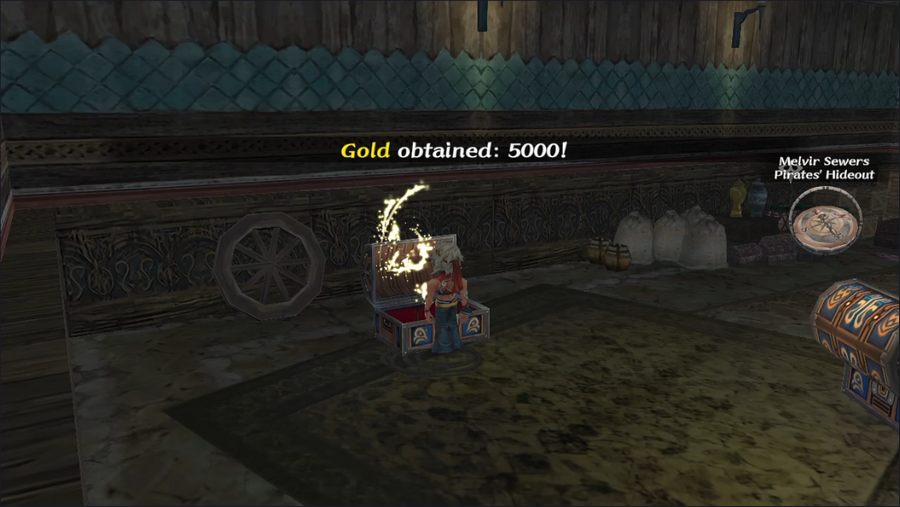 Once they're down, we can loot their treasures. It's mostly weak gear, but the 5000 gold in this chest is very welcome.  After leaving the sewers, we head to the police station to report our findings. 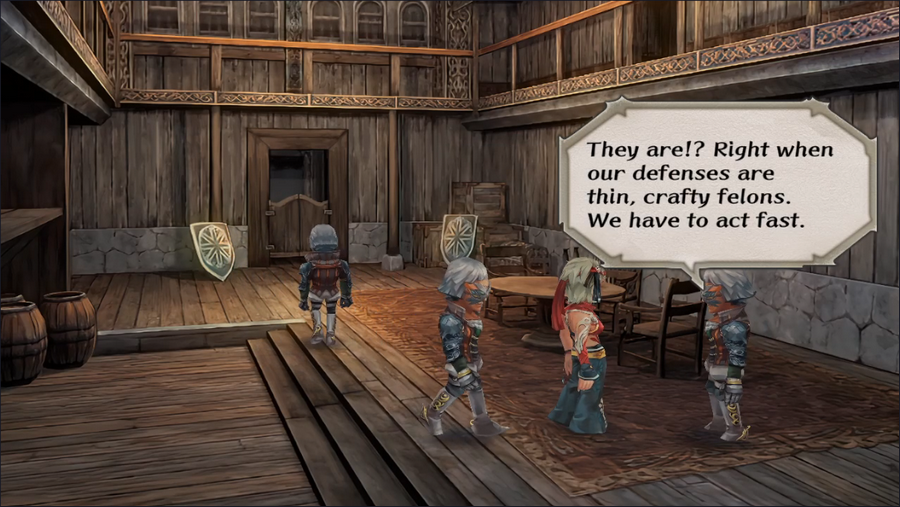   He's not kidding about acting fast - as soon as we leave the police station, we can see that they've set up barricades at the docks. Hopefully it'll be enough when the pirates arrive. And with that, we're done for today. Be sure to cast your votes for our next adventure! Current Event Rank: 14 Things to Do Kill the bugs in the Altours orchard Find Captain Silver's treasure - We weren't strong enough for this as of ER9 Investigate the return of the vampires Check in with the mummy salesman Get the Fatestone from the Isle of Evil Take the job at the South Estamir pub Restore the Plant monster population on Ligau Revisit Avi Revisit Adyllis Revisit Strom Clear the monsters from the Aurefont mine Places to Explore Estamir sewers Melvir sewers Bayre Plateau The Great Pit Isthmus Keep, or what's left of it The Walon Isle jungle The Ligau caves Mt. Scurve Crystal Lake Yassi Cavern Abandoned Keep Saoki Cavern Desert Ruins & Nisa Cavern Treasure Maps Jungle, Level 1 Steppes of Galessa, Level 1 Kaklim Desert, Level 1 New Road, Level 2
|
|
#
?
Mar 11, 2024 16:18
|
|
|
Get the Fatestone from the Isle of Evil New Road, Level 2 Treasure Map Revisit Strom  The Fatestones(or at least some of them) are missable? The Fatestones(or at least some of them) are missable?
|
|
#
?
Mar 11, 2024 16:30
|
|
|
Yay the Aquamarine! Now let's see ... hmm ... - Get the Fatestone from the Isle of Evil - Restore the Plant monster population on Ligau - poke Isthmus Keep, or what's left of it Complete_Cynic posted:
They sure are! SaGa 
|
|
#
?
Mar 11, 2024 17:01
|
|
|
The Ghost Ship is not immune to instant death, amusingly enough. If you get here early it's possible to win anyway with a lot of luck by sparking the right move mid-fight. (This happened to me on my first playthrough, so on my second playthough I thought "Ah, right, the Aqumarine, that one's a pretty easy earlygame quest". Tragedy ensued) Find Captain Silver's treasure Check in with the mummy salesman Get the Fatestone from the Isle of Evil
|
|
#
?
Mar 11, 2024 17:08
|
|
|
Complete_Cynic posted:
Oh yeah. Not all of them are, but the Aquamarine isn't the only one. The Moonstone also disappears at ER 14 (in the PS2 version; I think the timer got extended for the remaster). And of course none of them are mandatory; it's entirely possible to play through the whole game without getting a single one. I think on my first playthrough the only one I got was the Amethyst, and that's only because I happened to recruit Barbara. I was so bad at finding and advancing quests it's a wonder I ever beat the thing. 
|
|
#
?
Mar 11, 2024 17:58
|
|
|
It's not a SaGa game if it doesn't try to knife you. Get the Fatestone from the Isle of Evil Investigate the return of the vampires Clear the monsters from the Aurefont mine
|
|
#
?
Mar 11, 2024 22:19
|
|
|
Voting is now closed.
|
|
#
?
Mar 15, 2024 12:23
|
|
|
EDIT: Actually, never mind. 
5-Headed Snake God fucked around with this message at 02:05 on Mar 18, 2024 |
|
#
?
Mar 18, 2024 01:37
|
|
|
5-Headed Snake God posted:EDIT: Actually, never mind. 
|
|
#
?
Mar 18, 2024 03:25
|
|
|
Welcome back, everyone. The votes were effectively unanimous this round: everyone voted to check out the Isle of Evil, and no two of you voted for anything else. But first, we're headed to the Temple of Nisa in Crystal City. 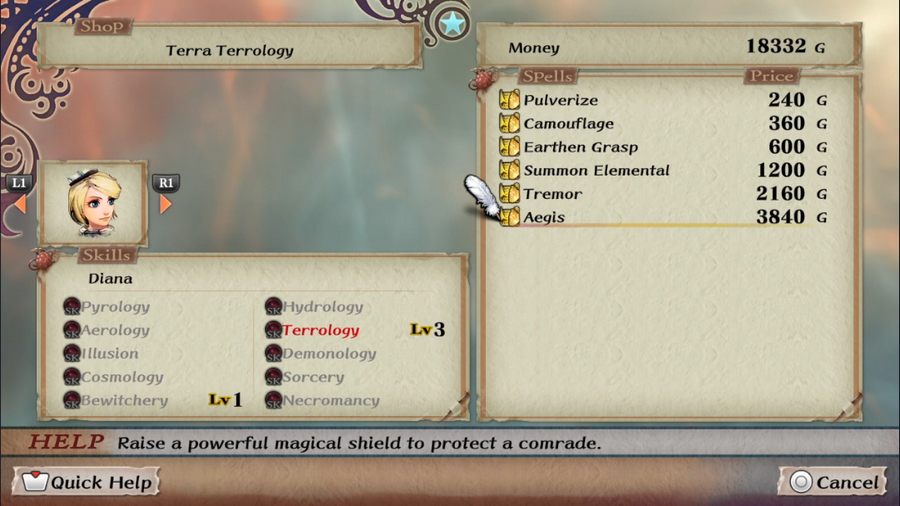 We're here to buy a spell for Diana, though she probably won't get much use from it for a while. Aegis provides any one character with a shield that can block attacks. Its block rate is decent (around 20-30 percent, I believe), and it lasts a long time provided the recipient doesn't get knocked out. As a high-end spell, it's only available from this temple. 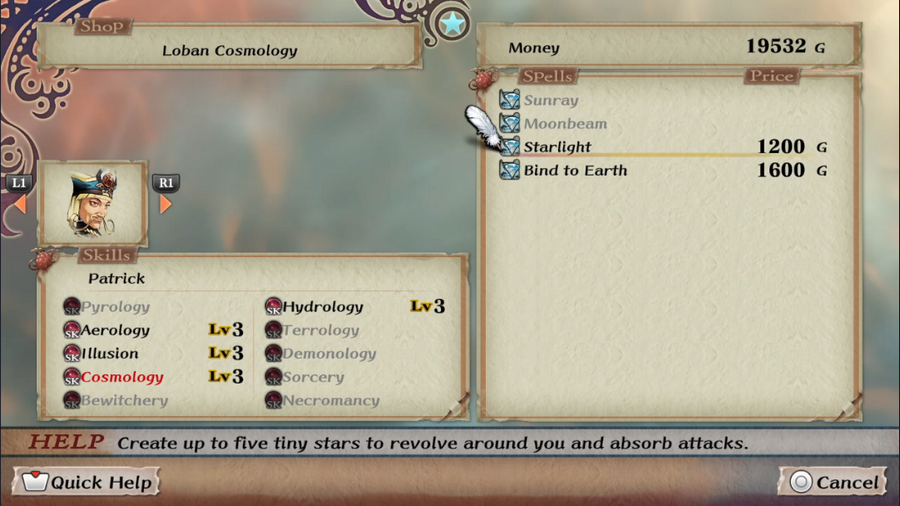 We also grab Starlight for Patrick, which also has a shield property, though each cast only grants protection from one hit, to a maximum of five. It has another trait too, but that will come later. 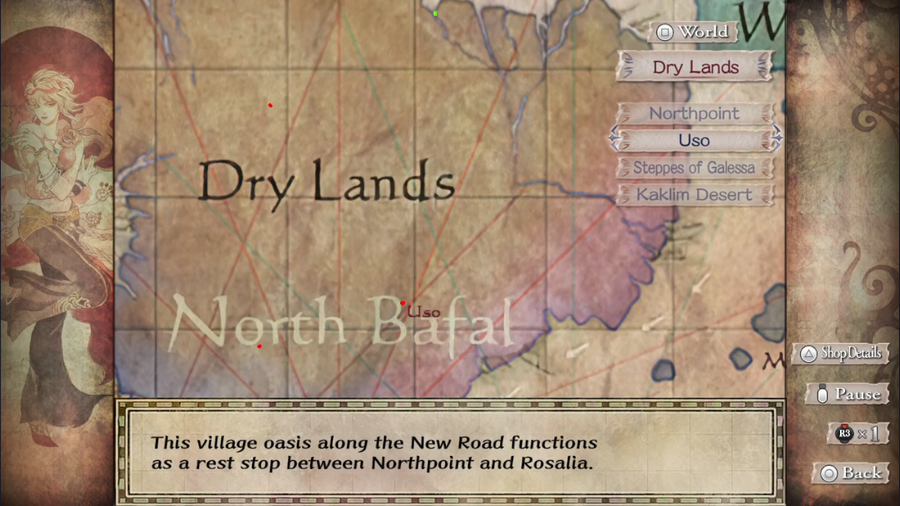 Next we're off to Uso. 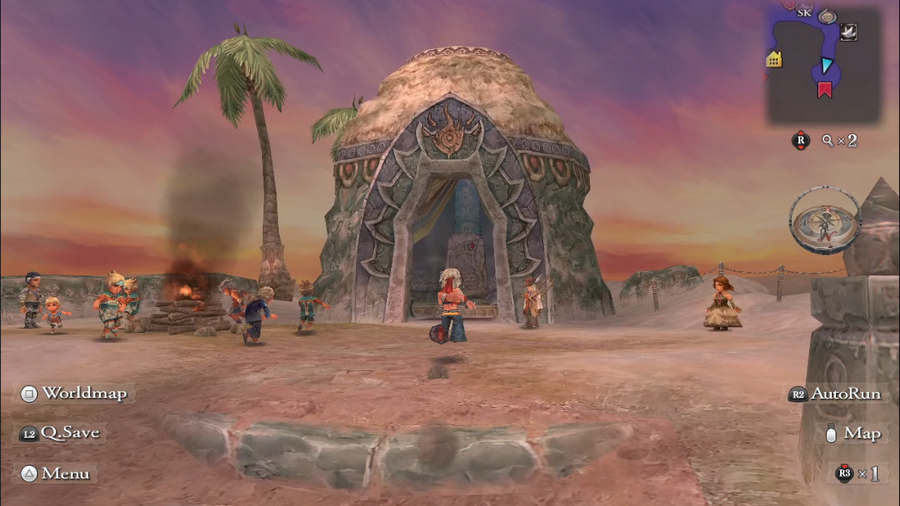 When we arrive, there's a party going on, with people dancing around a bonfire. Music Highlight: It's Charleston!?/Do the Charleston!? Honestly, I just think the name is funny. 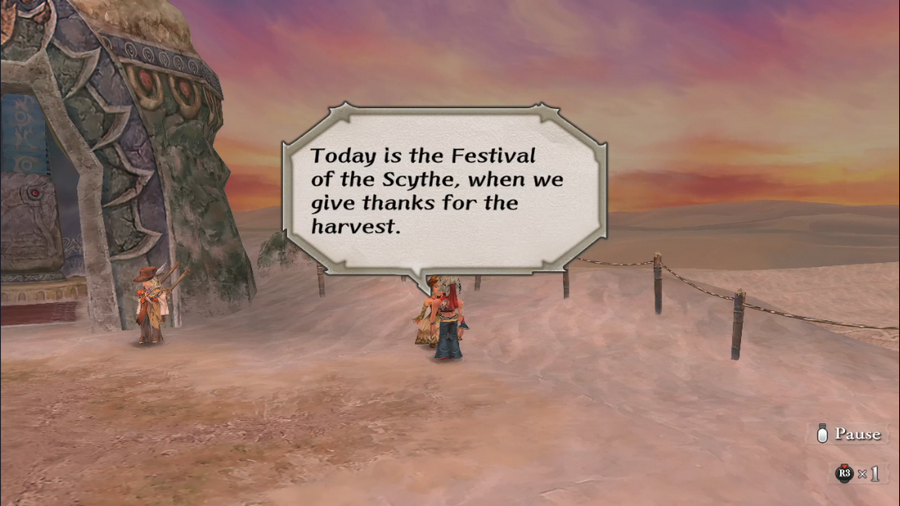 It's a harvest festival. The name is a bit on the menacing side, but the spirit is there. 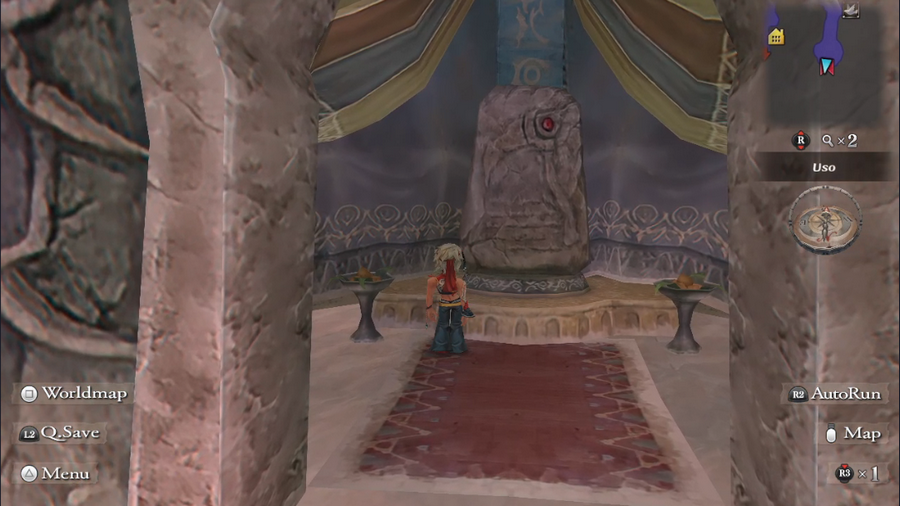 There's even a stone tablet with a scythe on it in this tiny building, though that really doesn't look like a harvest implement. Say, haven't we seen that dancing somewhere before? 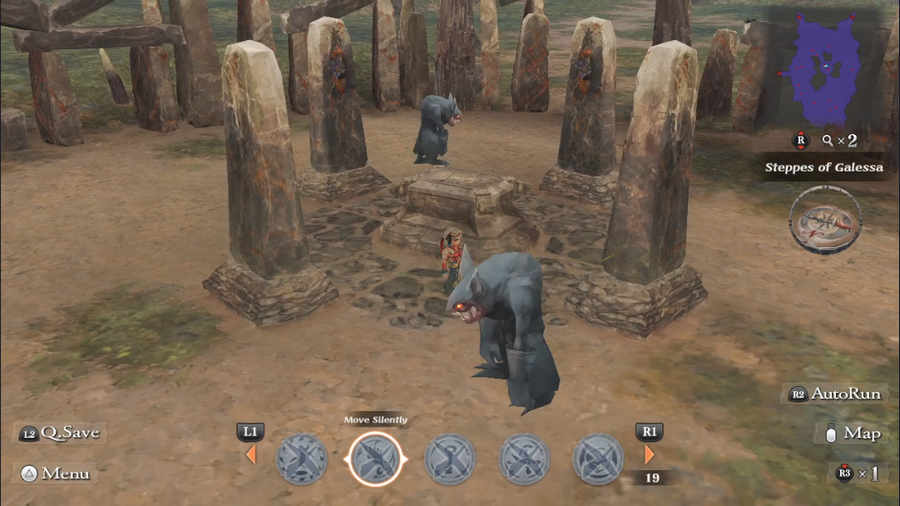 Oh, right, the Steppes of Galessa. There are two monsters running circles around the altar now. Strange. 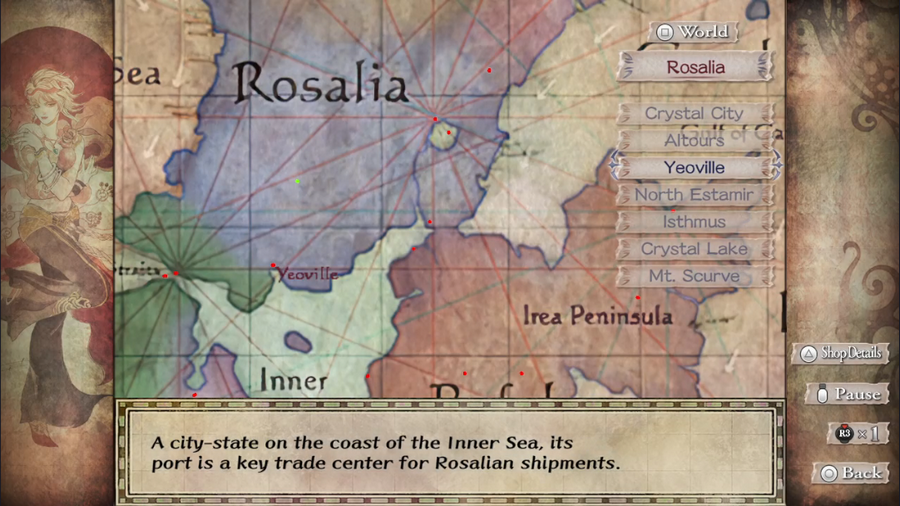 But there's nothing we can do about it, so let's get to Yeoville. 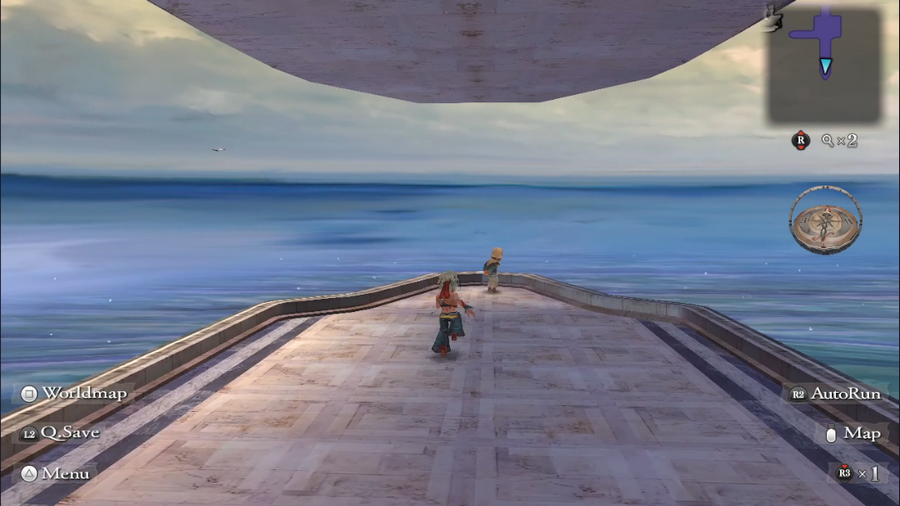 There's an old guy standing on the docks, staring out at sea. 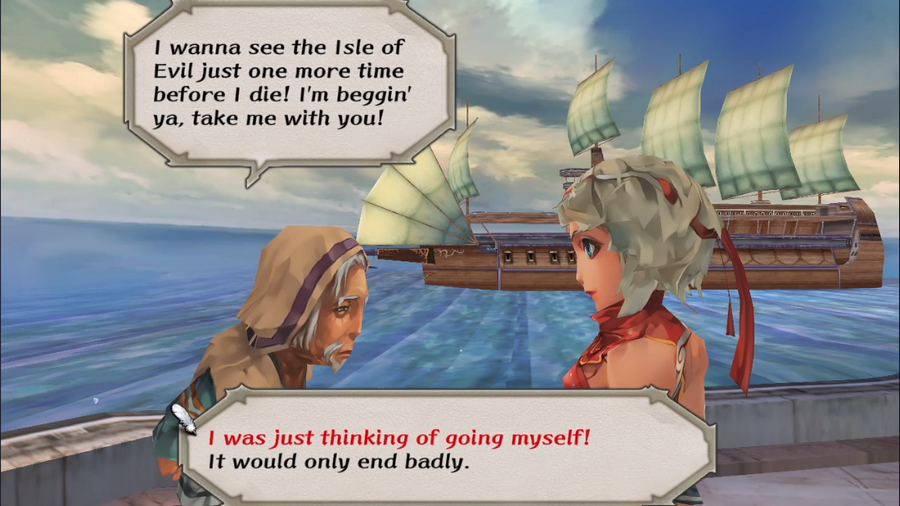  He can be found here early on and always says the same thing, but the party can't acknowledge his request until after either getting the quest from Sofia or hitting ER 19. 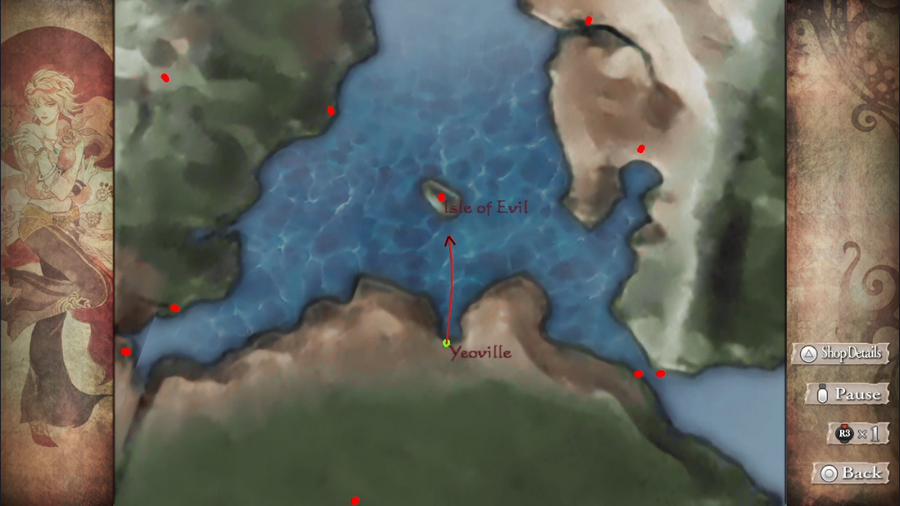 The Isle of Evil is actually visible on the world map, situated between Roaslia, Bafal, and Kjaraht, but this is the only way to visit it. 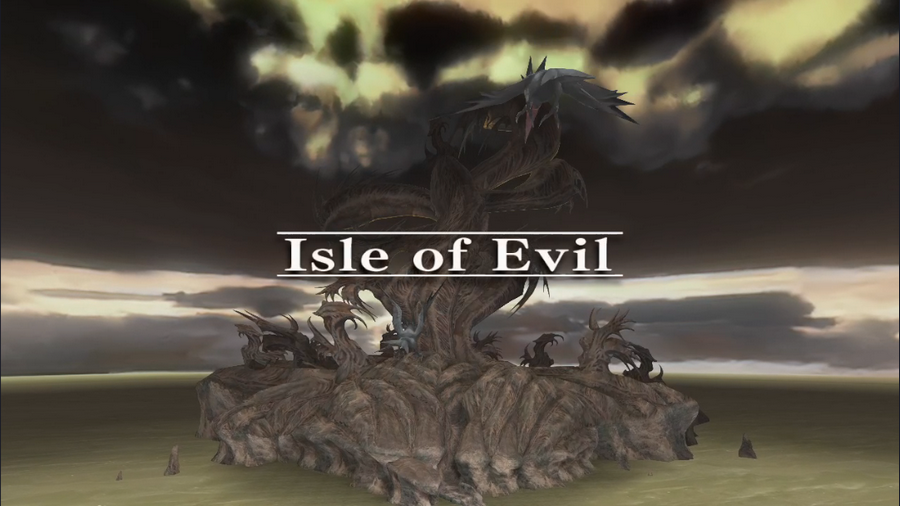 It's a menacing place that certainly looks like it lives up to its name. 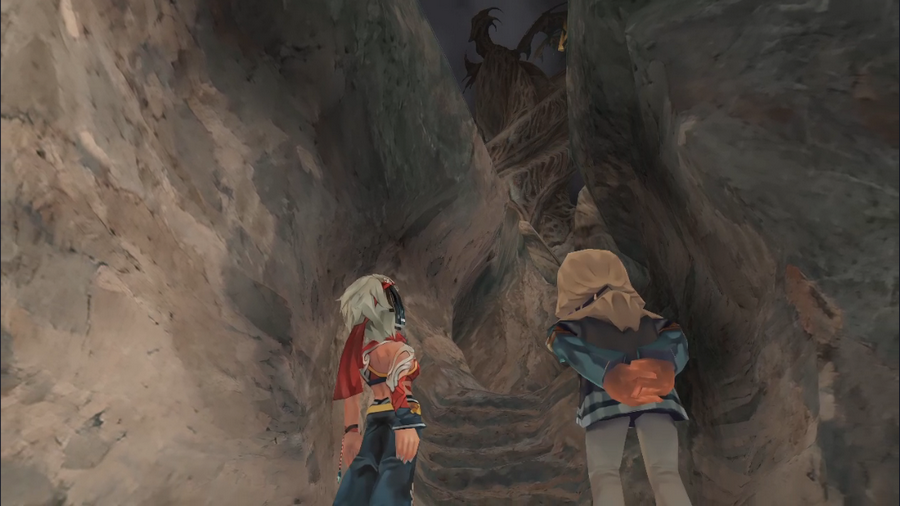 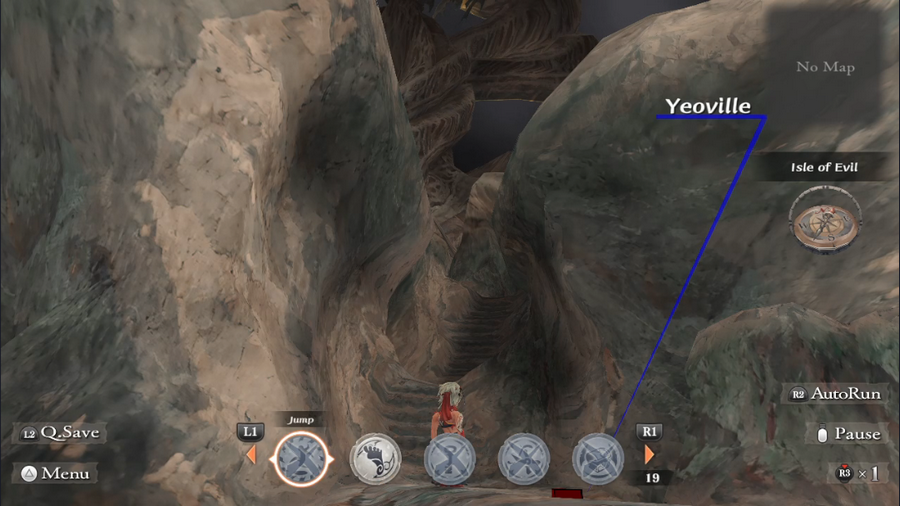 Barbara and the old man take a long look at the island before them, share a nod, and move on. 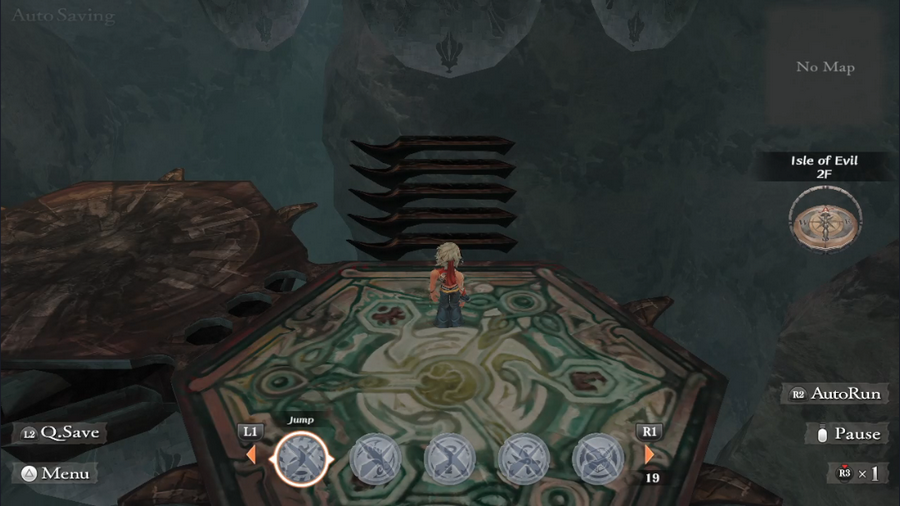 The rest of the Isle is not what you'd expect. It's metal platforms floating in space. 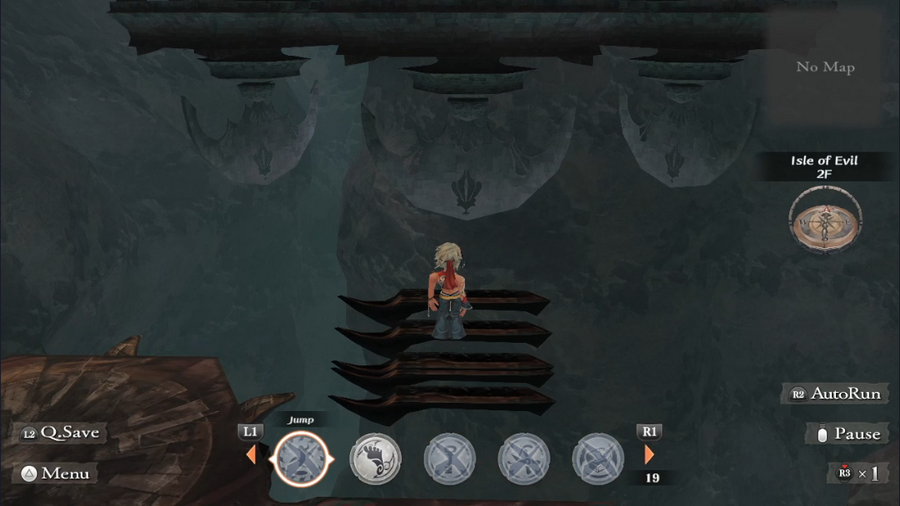 At the start, we have this set of five metal steps that slowly moves toward the next platform, one step at a time. We have to move with it; if we step off, we get send back to the bottom to try again. This easiest to do by walking rather than running. 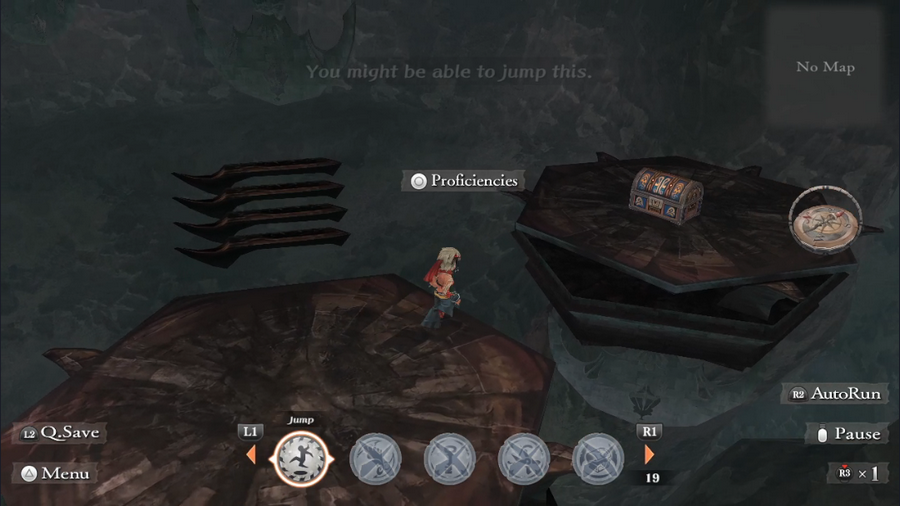 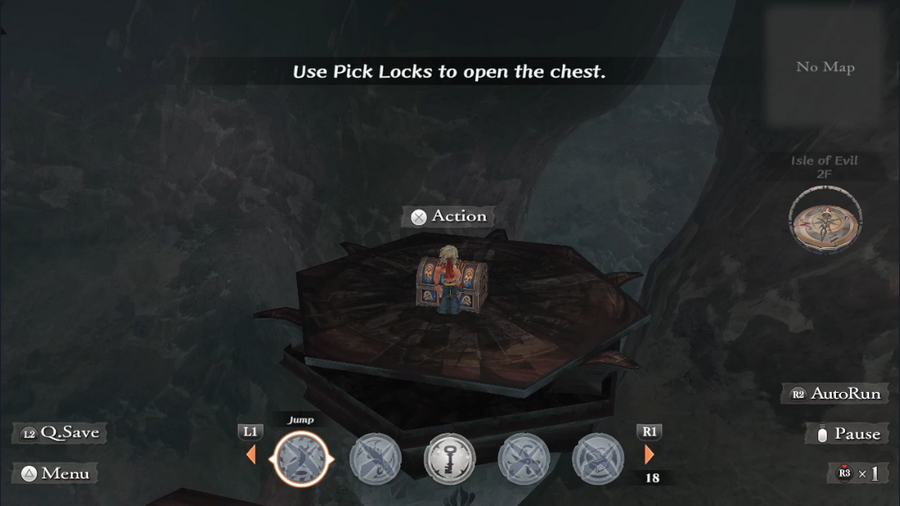 At the top is a jump point with a locked chest on the other side. 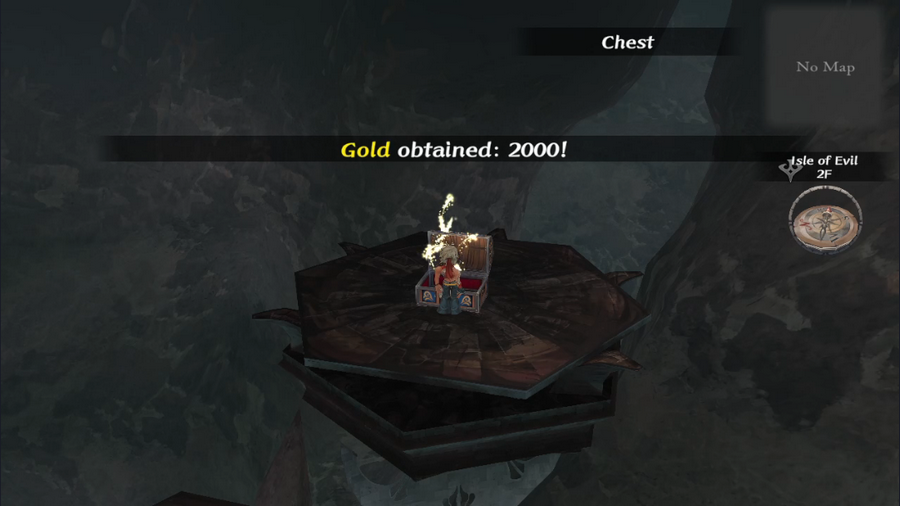 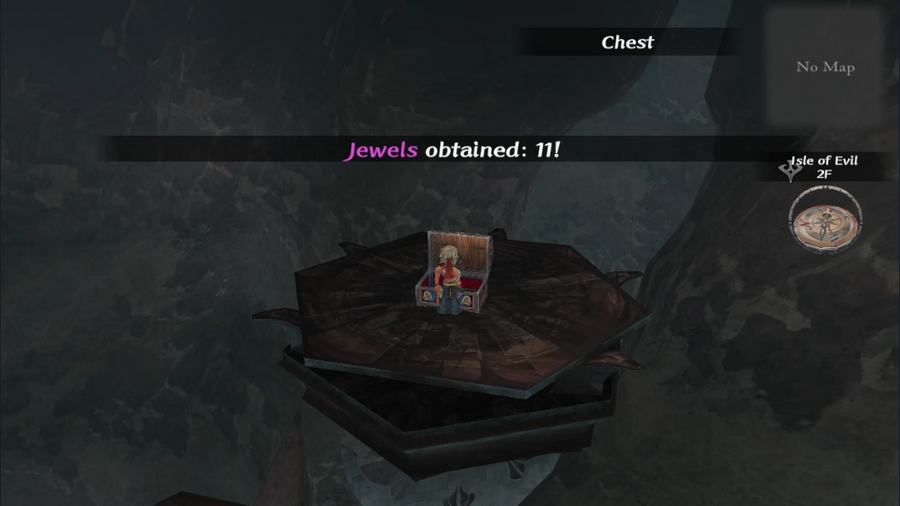  It's nothing special, though the gold is nice. The area map is actually worthless since the Isle is entirely linear save for these isolated platforms. 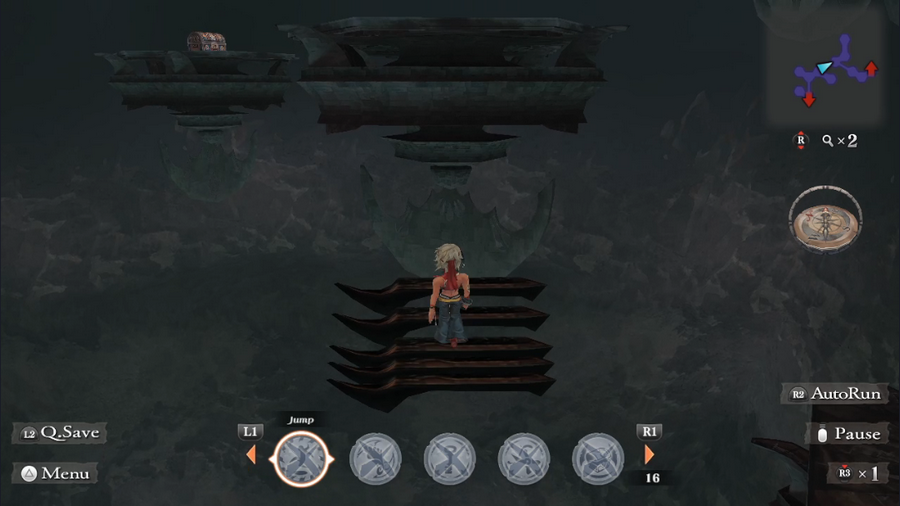 Back on the main path, we get another stairway, this one moving slightly faster than the first one. 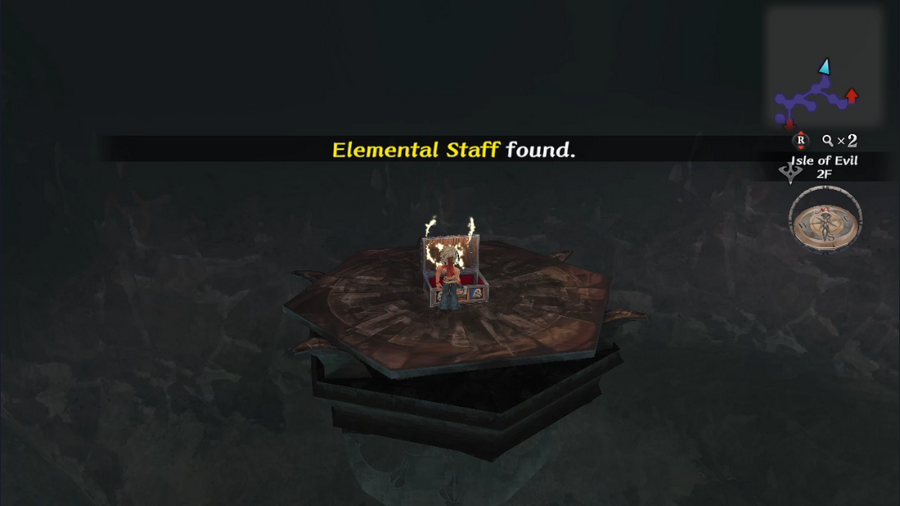 There's also another jump point and chest, this one containing an Elemental Staff. 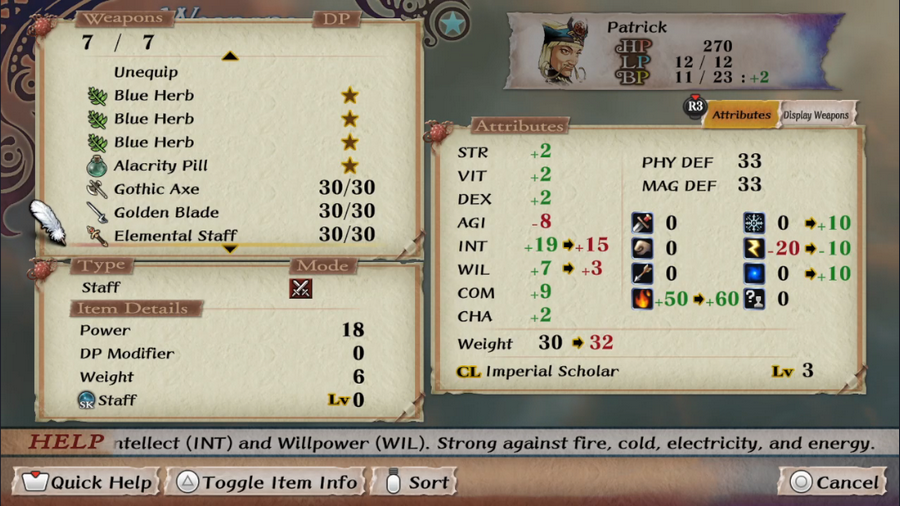 The staff doesn't channel any magic, but it does offer a tiny Int and Wil boost, and it protects against elemental damage, so it's worth keeping equipped. 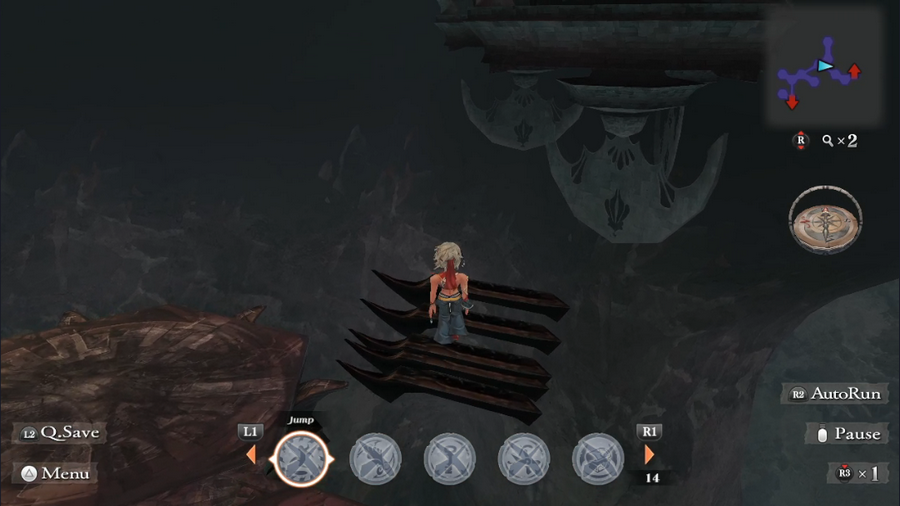 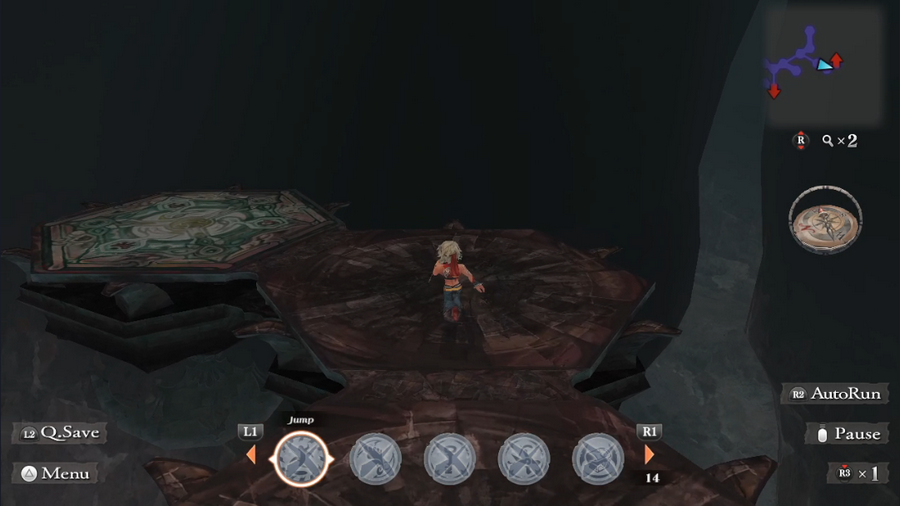 Another moving stairway takes us to the teleporter to the next area. 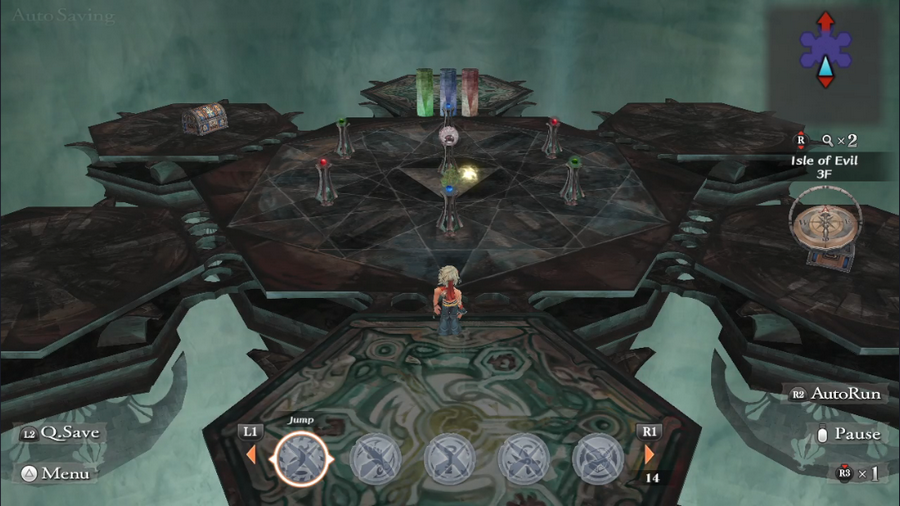 And we're greeted by this weird setup. Our goal it to touch the six surrounding pedestals to lower the gate to the teleporter. 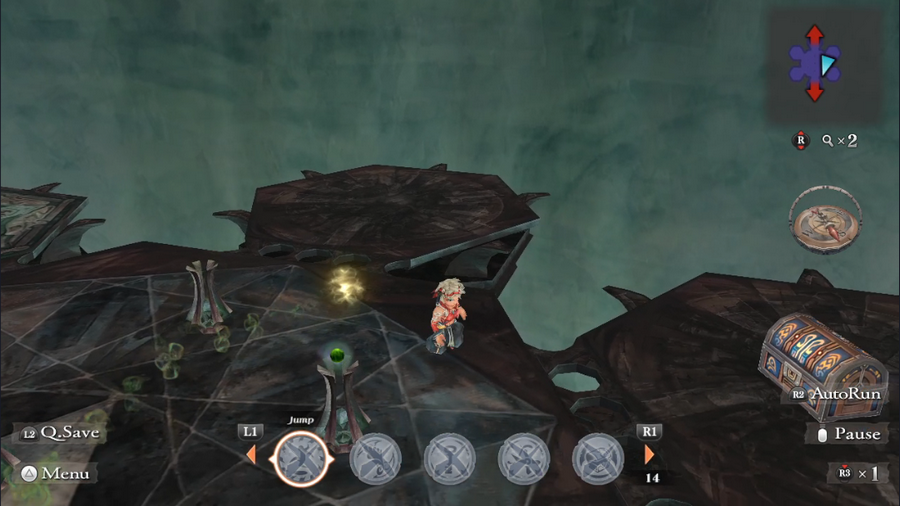 However, while we're on the middle platform, the eye in the middle will track us and shoot a ball of light at us. If it hits, we have to start over. 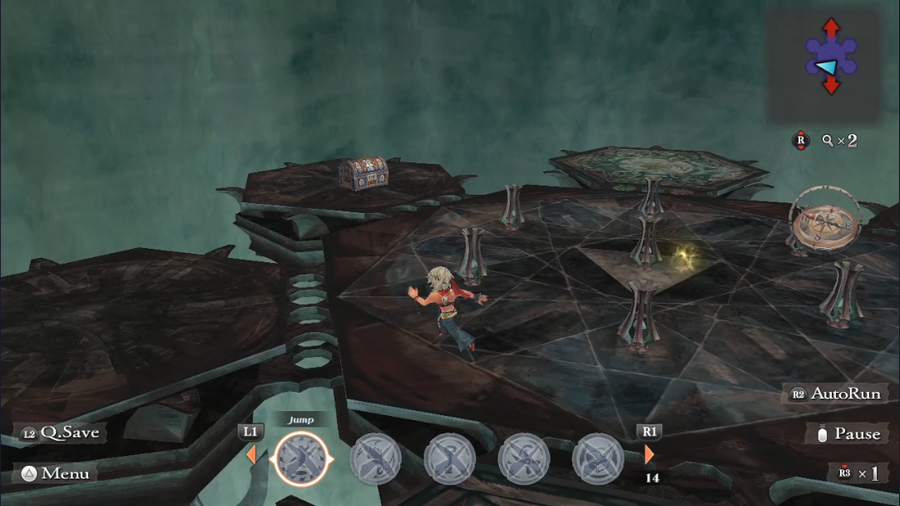 It's not too tough, and once we succeed, the eye disappears. 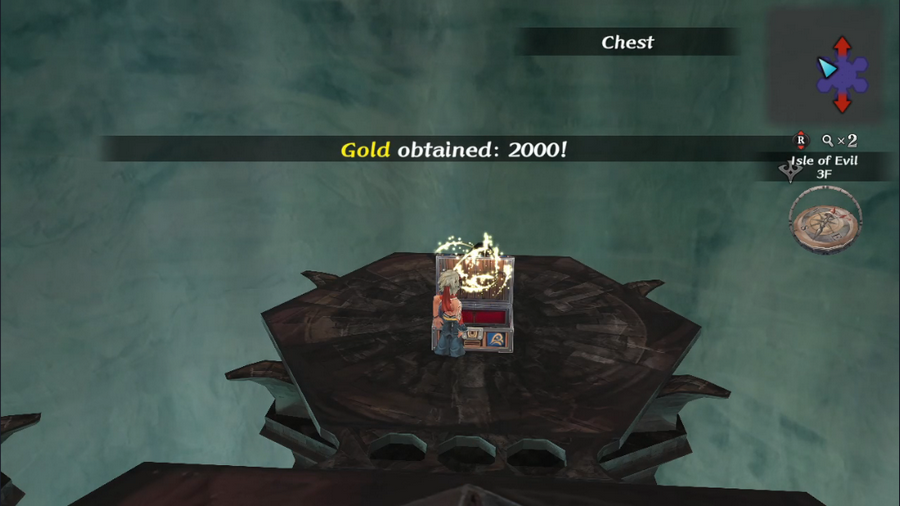   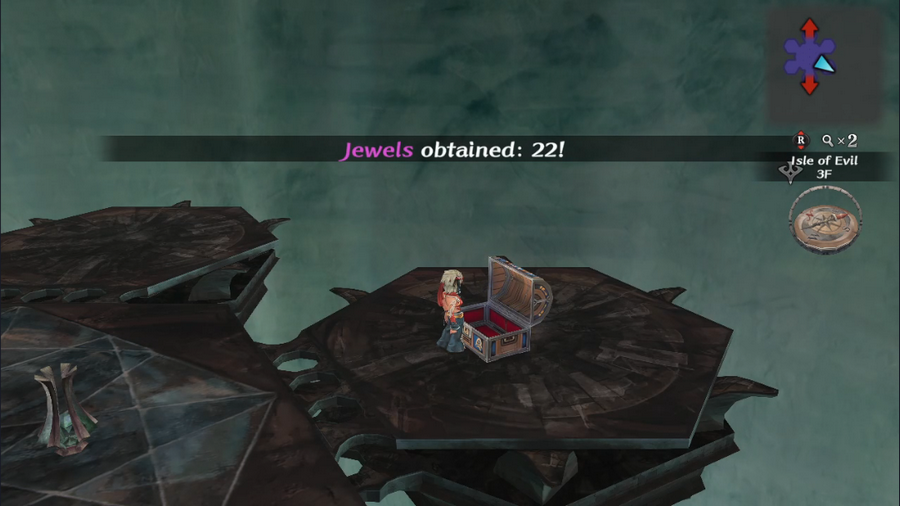 The two chests here contain more gold and jewels - nothing really exciting. 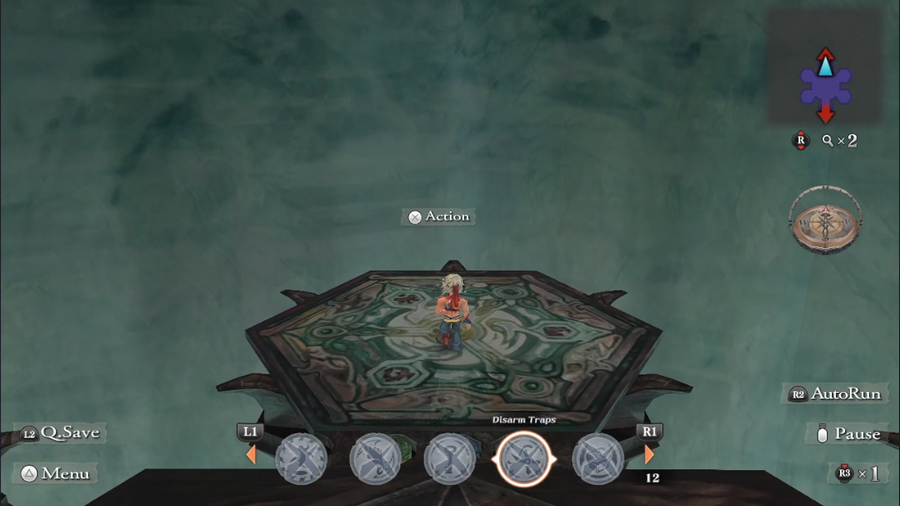 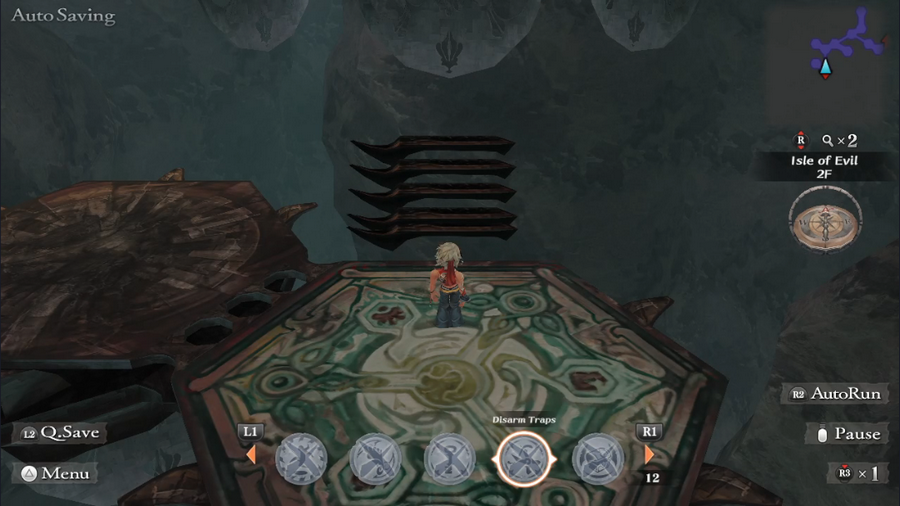 We teleport to the next area and... it's the first area again. The stairs are faster, but it's otherwise the same place. Even the treasure chests we got are looted. 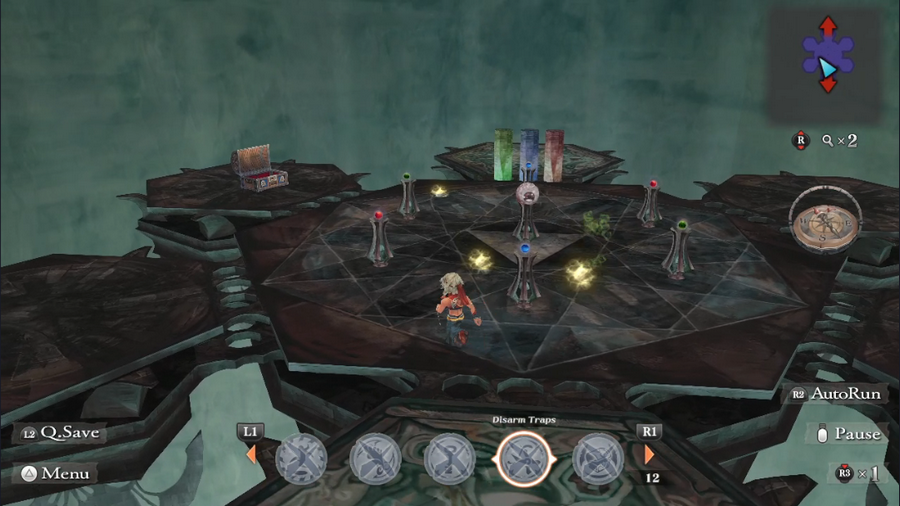 At the end is the eye again, only this time balls of light also drop from above to act as land mines. It's harder than the first time, but not by much. After this, we have to do the whole thing again, only with even faster stairs and a more aggressive eye. 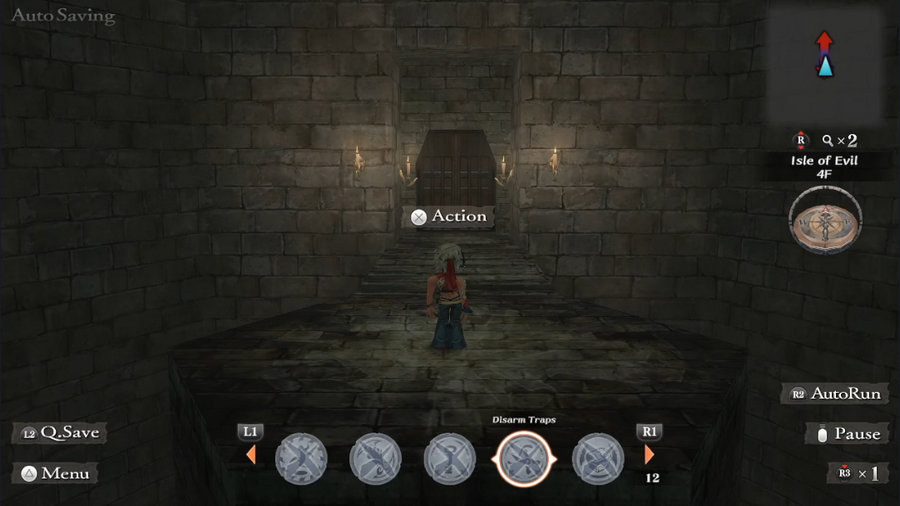 And after that, we finally reach the top. Yes, that's it. The Isle of Evil is the most disappointing dungeon in the entire game.  We go through the doors and are greeted by this fellow. His name is Ewei, and if you want to get a feel for his voice work, just imagine Mark Hamill's Joker and you're about 80% there. 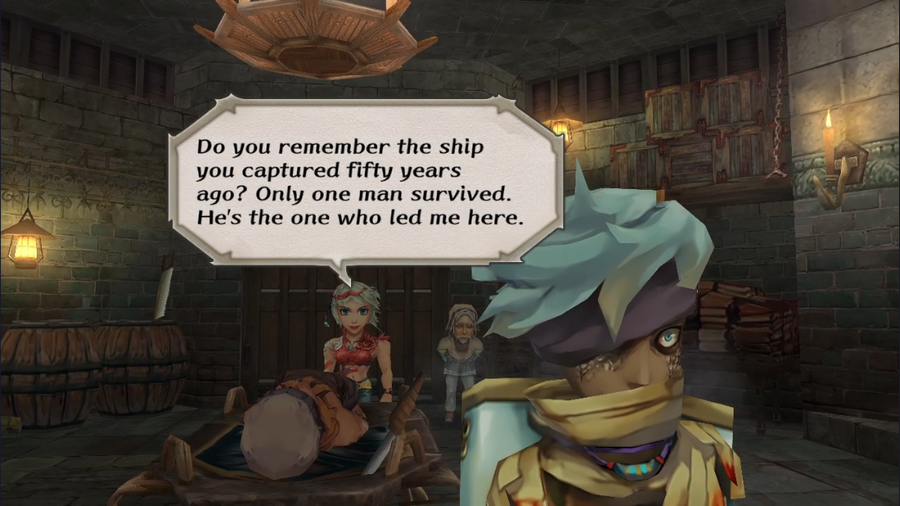 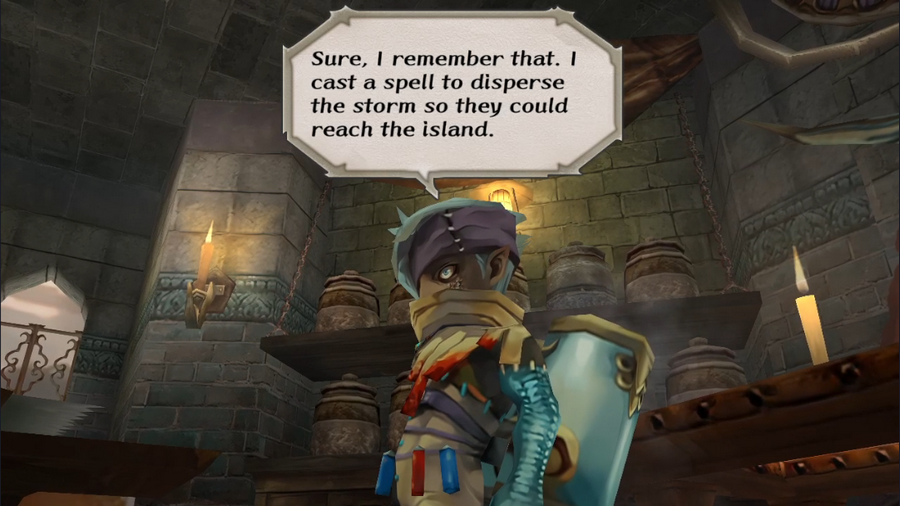  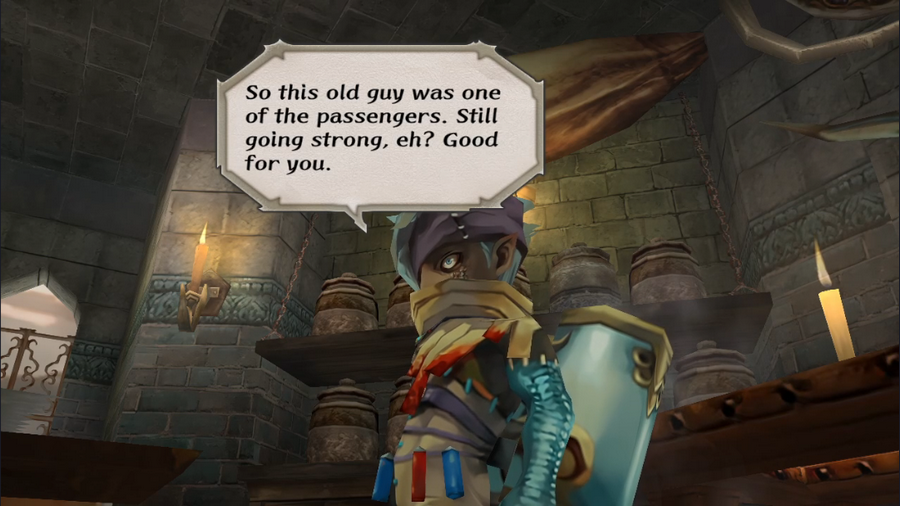 He's a pretty terrible person, but he's fun. 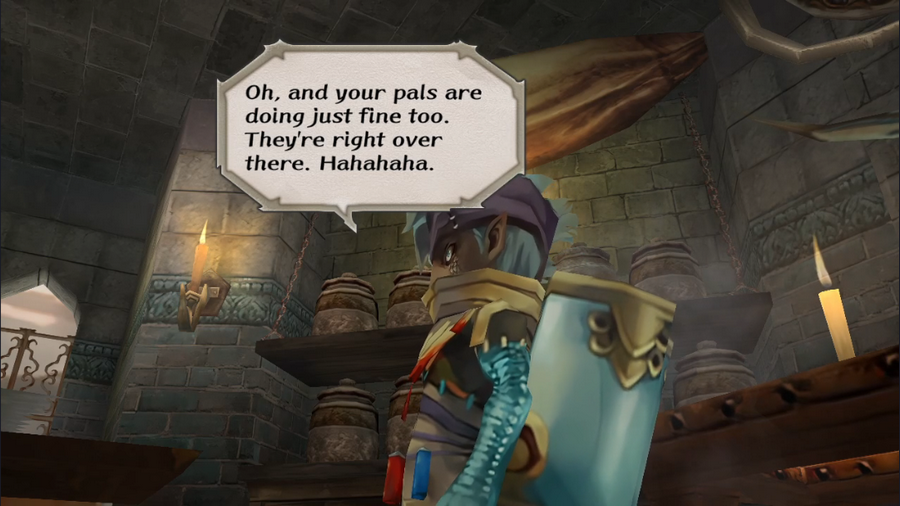 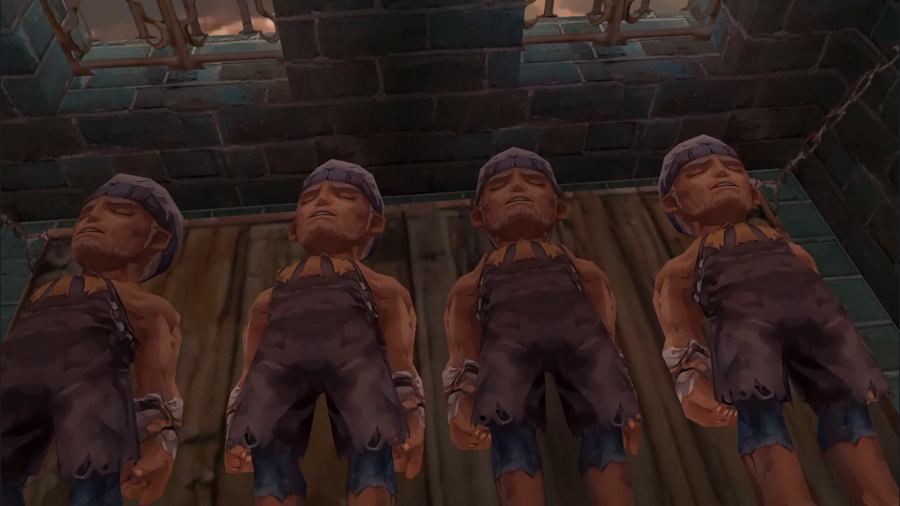 The other sailors all look quite a bit younger than our guide. 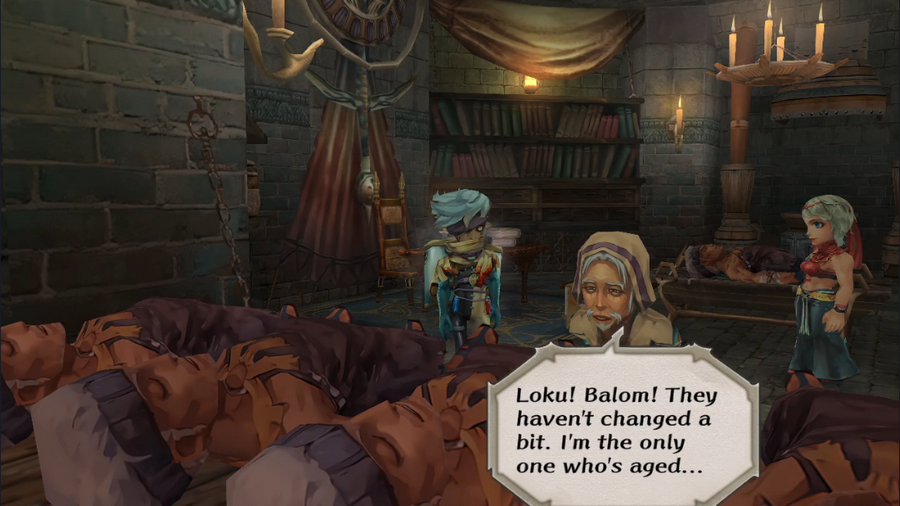 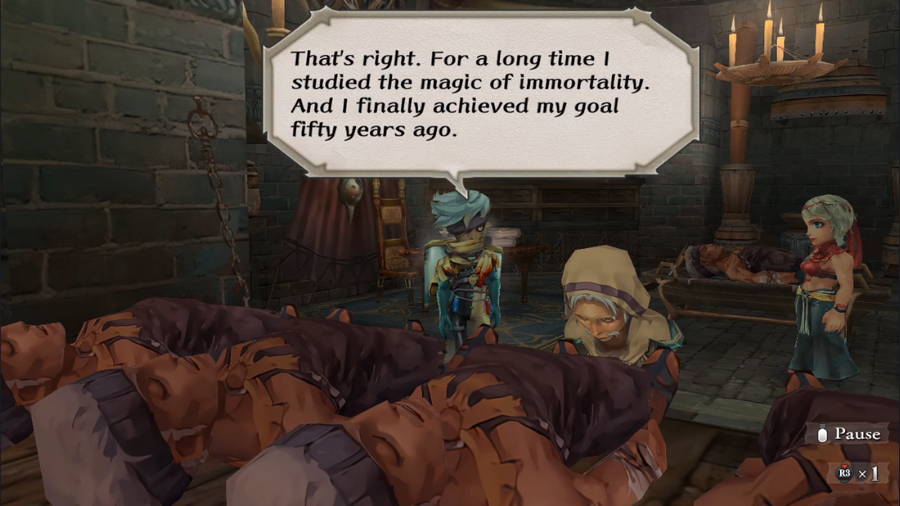 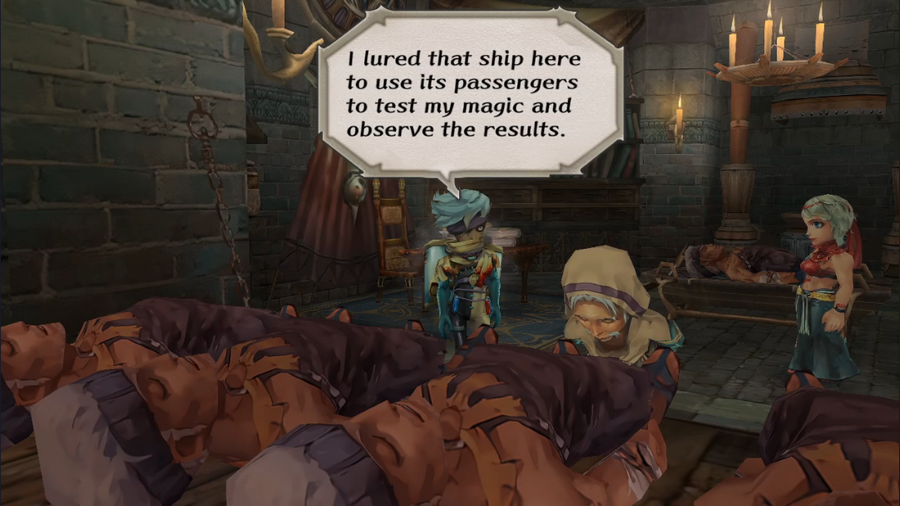 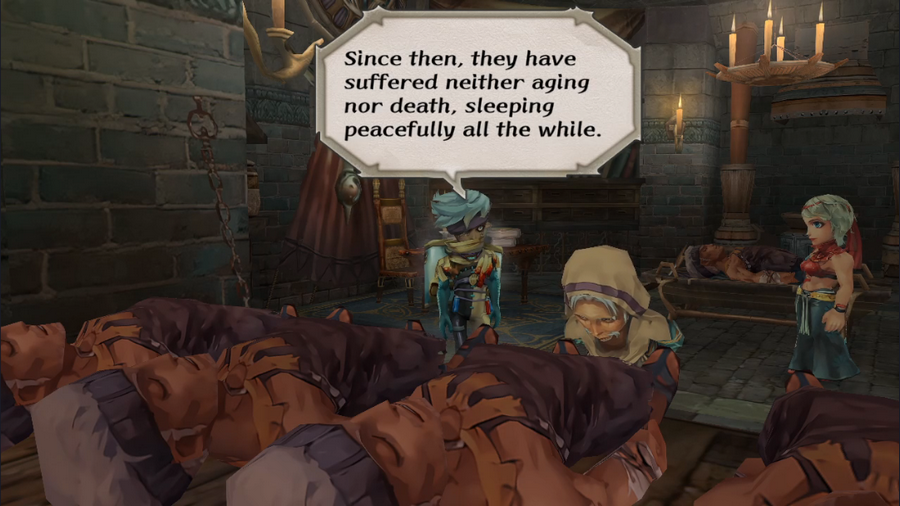 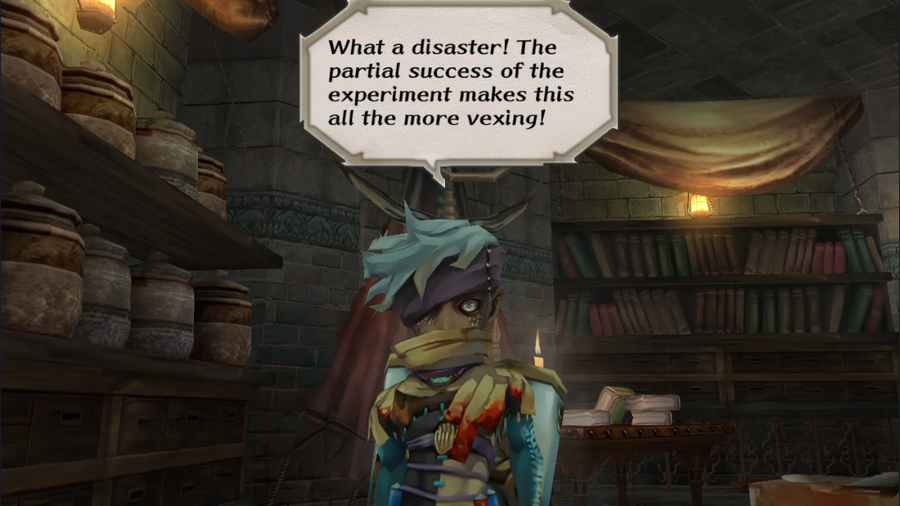 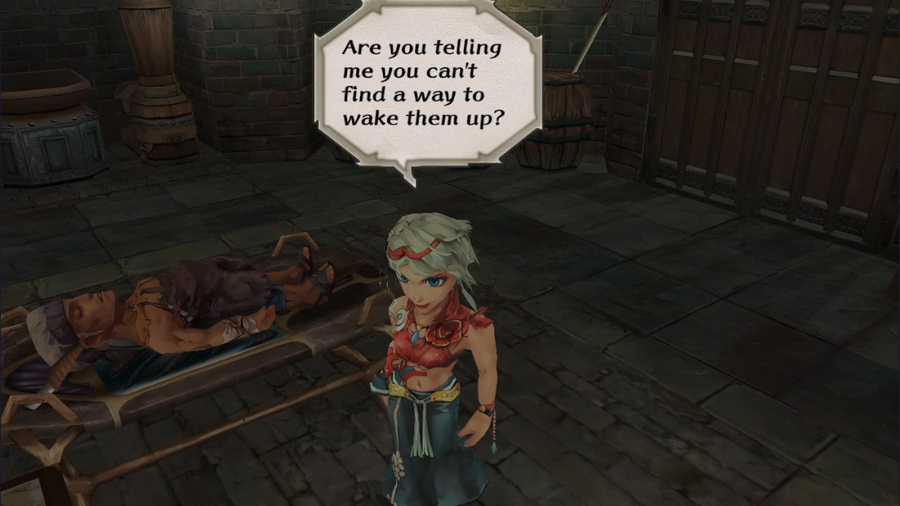 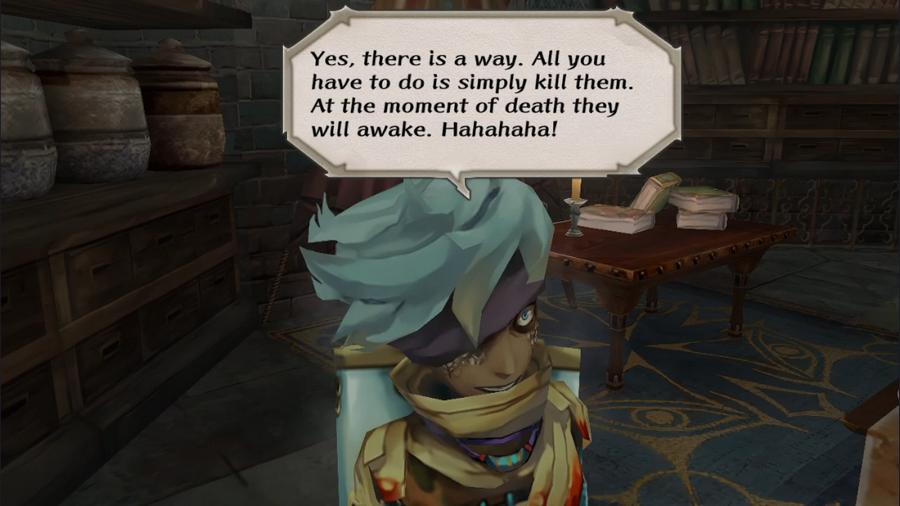 Liam O'Brien's maniacal laugh really sells Ewei's deranged personality.  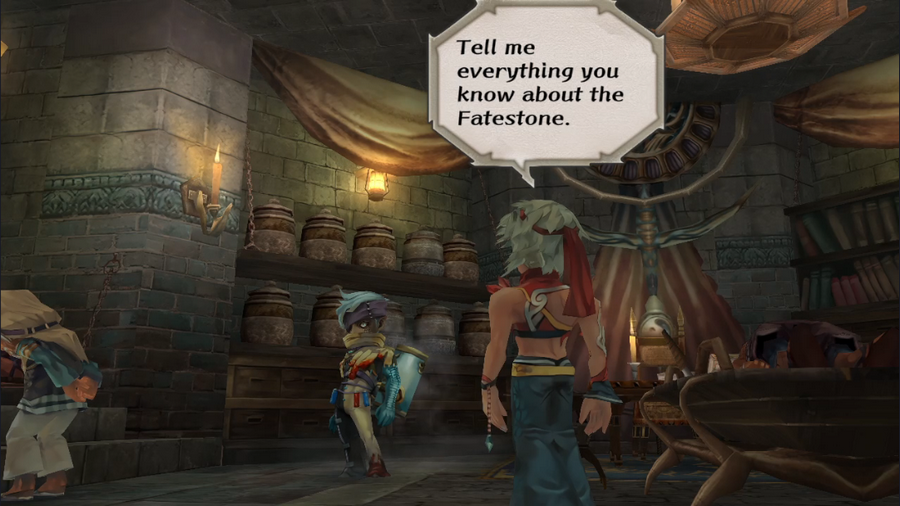 Finally, we get down to business.  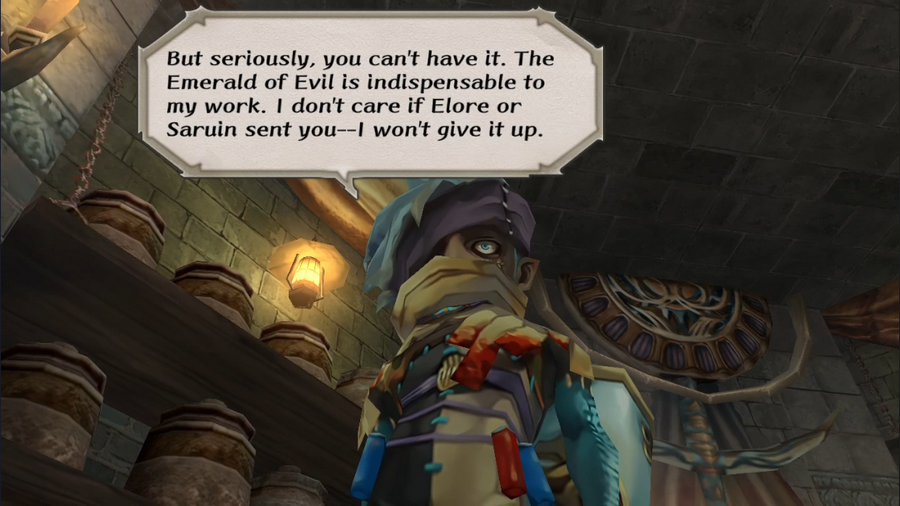 Surprising no one, the mad mage doesn't want to give up his prize.  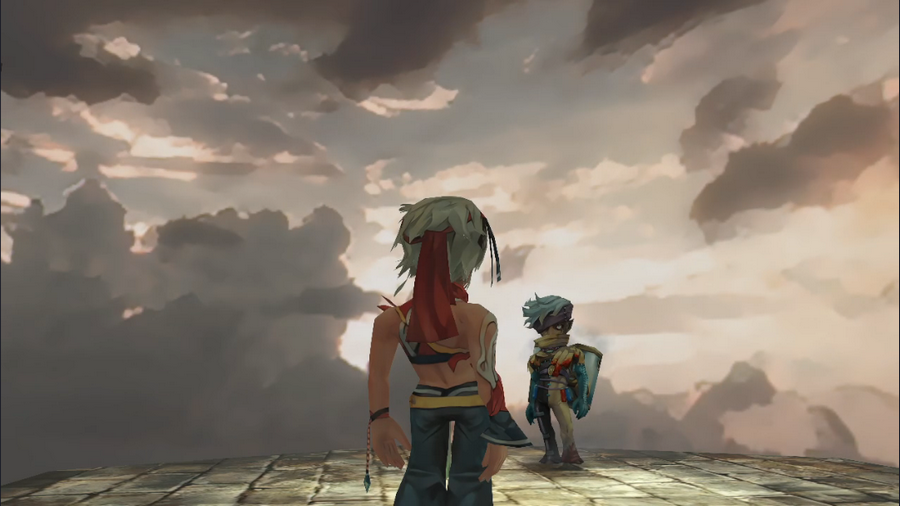 There's a flash of light, and we're teleported to the lab's rooftop. 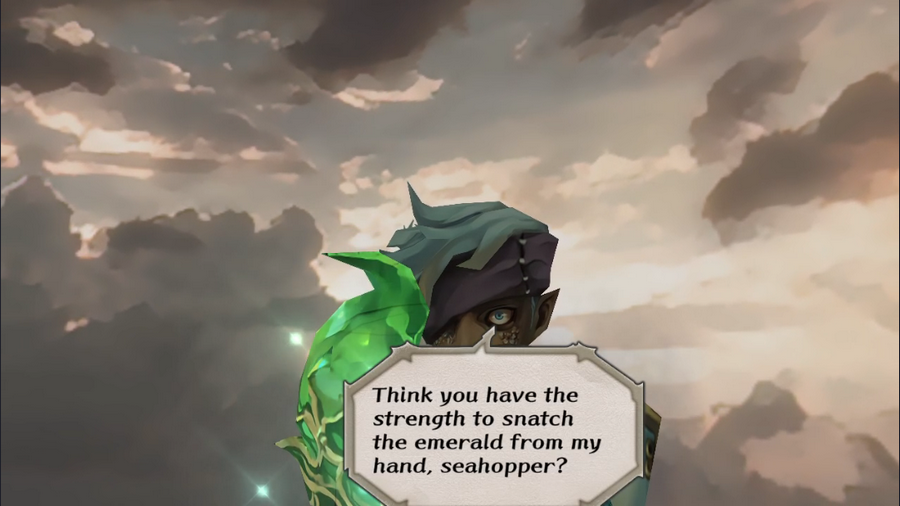 Oh yeah, let's do this. Boss Fight: Ewei https://www.youtube.com/watch?v=gfZUf67utxk 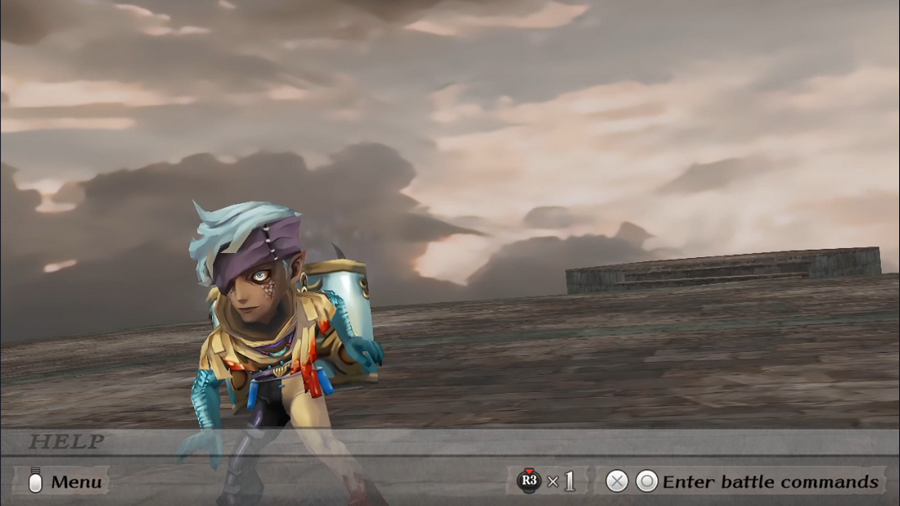 The fight against Ewei is a tough one. Like the Minions, he fights exclusively with magic, though he's significantly more frustrating than they are. 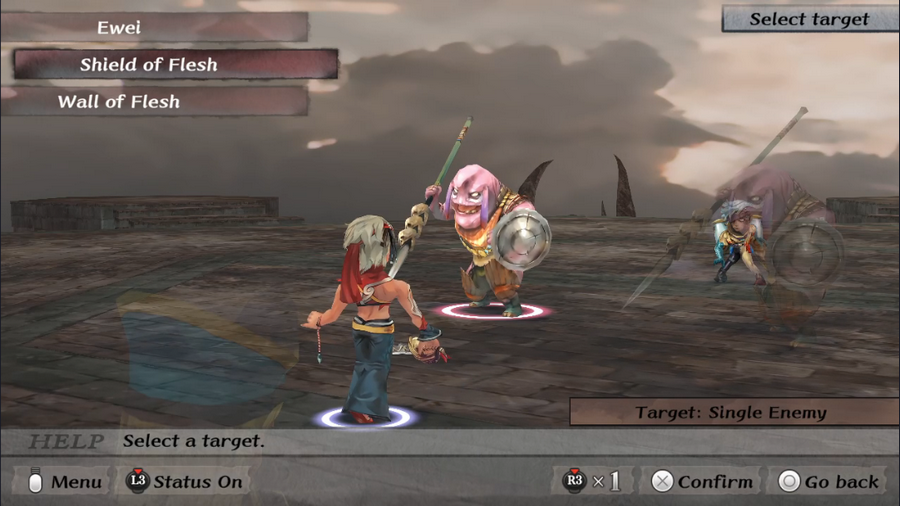 For one, he has literal meat shields. The Shield of Flesh and Wall of Flesh aren't too intimidating, but they will automatically take single-target attacks aimed at Ewei as long as they're alive. They die quickly, but once both are killed, they respawn at the end of the next round, leaving precious little time to hit the boss himself.   As modified Morlocks, they can attack and shield block, though this isn't a huge deal most of the time. 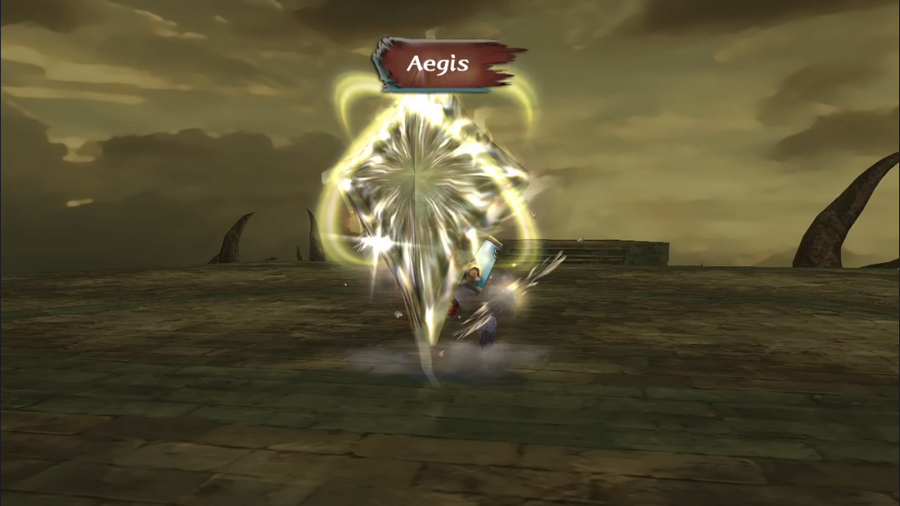 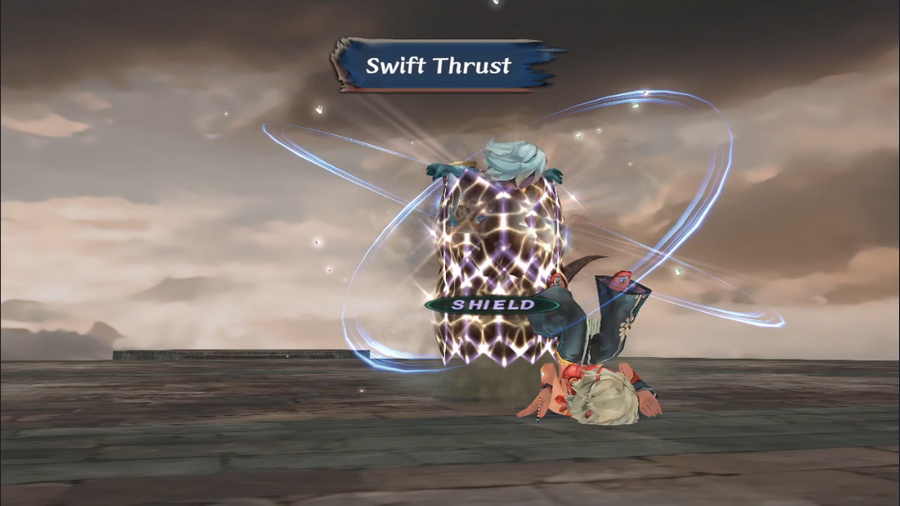 Ewei always open the fight by casting Aegis on himself, which makes hurting him even more needlessly difficult. 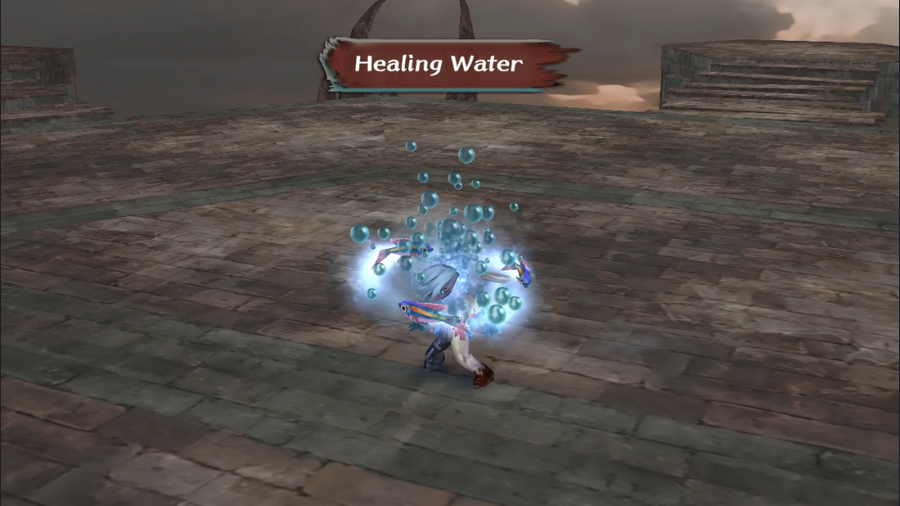 He can also cast Healing Water on himself or one of his guards. Normally this would be considered frustrating, but in Ewei's case it's actually a mercy. 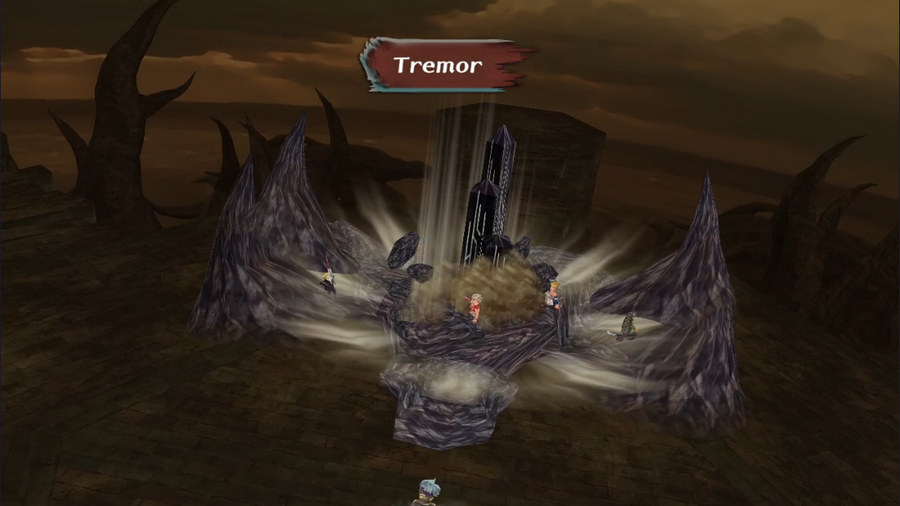 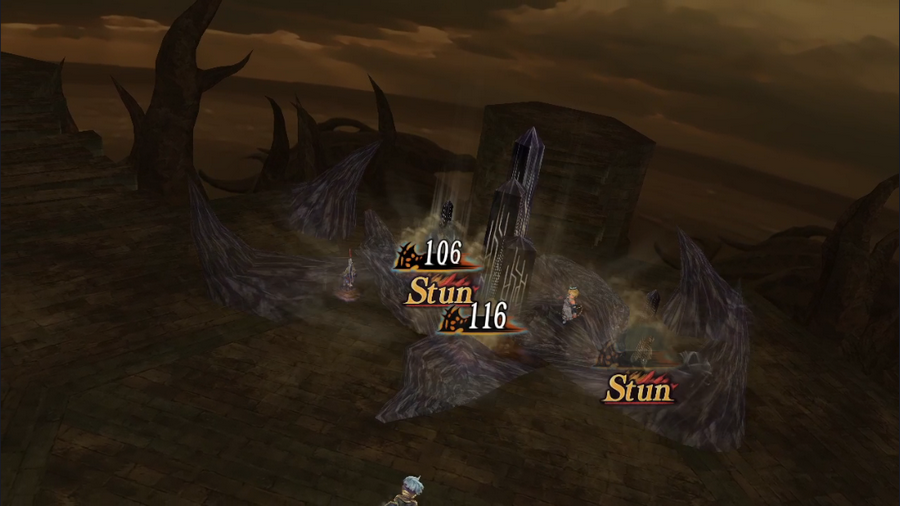 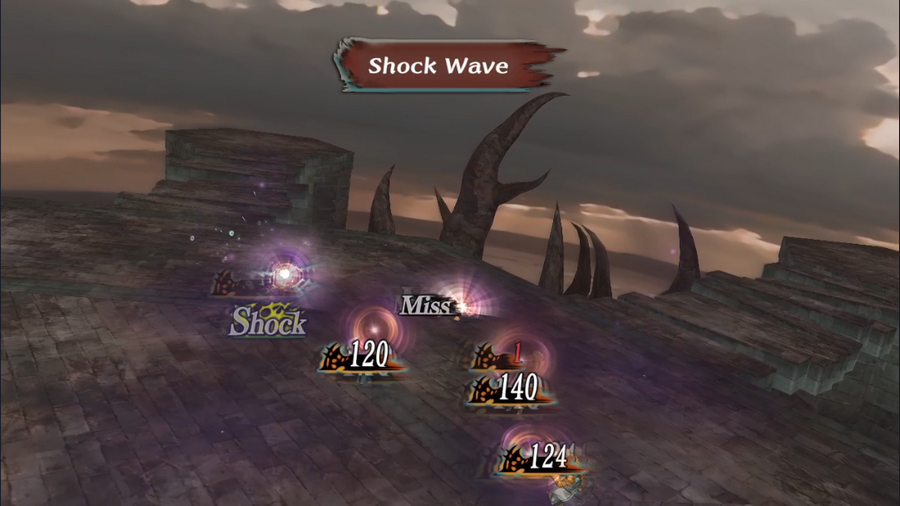 Ewei's more common spells are Tremor, which hits the entire party and can Stun, and Shock Wave, which hits the entire party and can Shock. The right Fatestones can block these spells, but we lack the one that protects against Terrology. 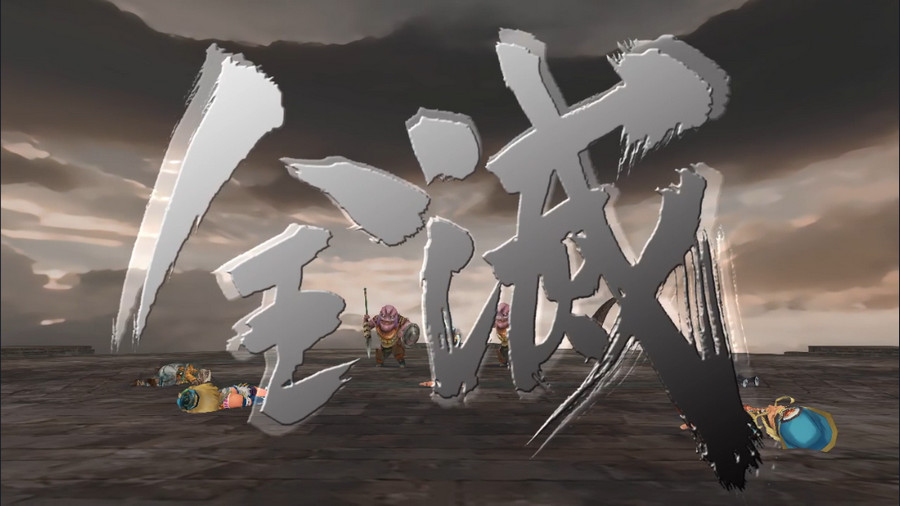 Unfortunately, there's really no way we can win here. At our level, Ewei hits way too hard and fast for us to compensate, especially when his spells are designed specifically to cancel our actions. 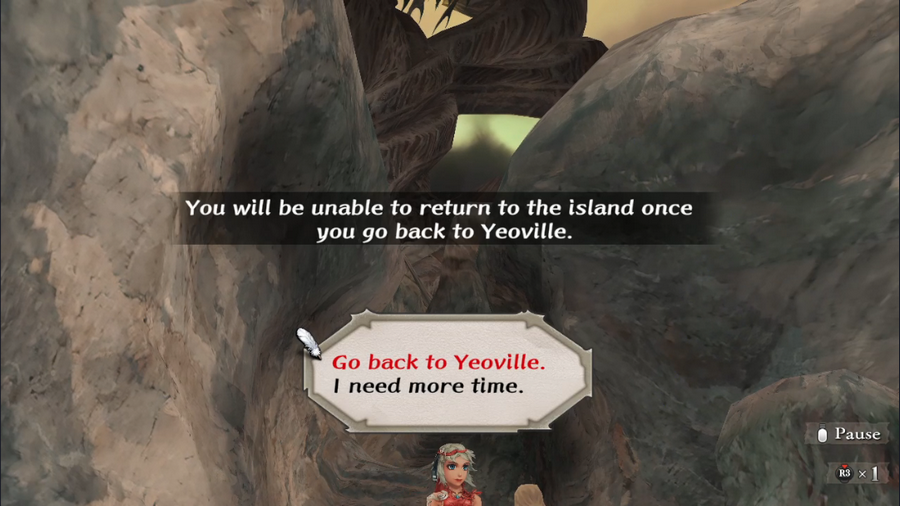 Our only option is to head back to Yeoville, and that's doubly unfortunate, because we can't return.  Regrettably, the Emerald of Evil will remain forever beyond our grasp. 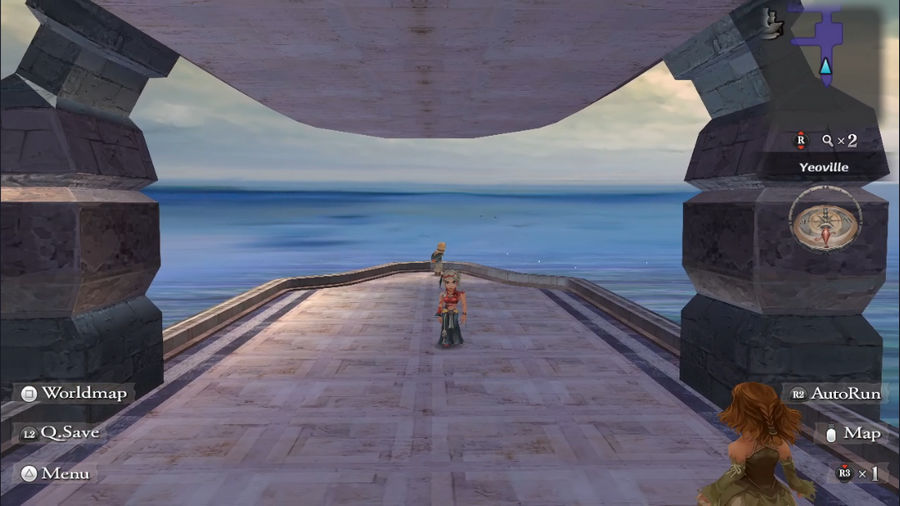 Sorry today was kind of a downer, folks. Maybe our next endeavor will see more success. Cast your votes and we'll find out. Current Event Rank: 14 Things to Do Kill the bugs in the Altours orchard Find Captain Silver's treasure - We weren't strong enough for this as of ER9 Investigate the return of the vampires Check in with the mummy salesman Take the job at the South Estamir pub Restore the Plant monster population on Ligau Revisit Avi Revisit Adyllis Revisit Strom Clear the monsters from the Aurefont mine Places to Explore Estamir sewers Melvir sewers Bayre Plateau The Great Pit Isthmus Keep, or what's left of it The Walon Isle jungle The Ligau caves Mt. Scurve Crystal Lake Yassi Cavern Abandoned Keep Saoki Cavern Desert Ruins & Nisa Cavern Treasure Maps Jungle, Level 1 Steppes of Galessa, Level 1 Kaklim Desert, Level 1 New Road, Level 2
|
|
#
?
Mar 18, 2024 14:12
|
|
|
Spoilers for this update: I considered taking another vote once I realized Ewei was too tough to beat, but the outcome we got is more true to a first-time player's experience, which is why I kept it despite the failure.
|
|
#
?
Mar 18, 2024 14:14
|
|
|
5-Headed Snake God posted:Spoilers for this update: I considered taking another vote once I realized Ewei was too tough to beat, but the outcome we got is more true to a first-time player's experience, which is why I kept it despite the failure. Nah, it's cool; it's showing what's pretty likely to happen, like you said. Also shows another way to miss out on a Fatestone! Also there's a nice little tidbit about how divine meddling and/or pressure is just kind of accepted -- maybe expected, even -- there in Ewei's dialogue. Hmhmhmmm let's see ... How about we - restore the Plant monster population on Ligau and check out - the Great Pit - and Isthmus Keep ~
|
|
#
?
Mar 18, 2024 15:36
|
|
|
taichara posted:- restore the Plant monster population on Ligau Sure, let�'s do this. Game is on sale on Steam, I'm tempted to have a go, even if I don't have the patience to play with a notepad on hand anymore. This seems a game that rewards going in blind and replaying it several times.
|
|
#
?
Mar 18, 2024 18:50
|
|

|
Fat Samurai posted:Game is on sale on Steam, I'm tempted to have a go, even if I don't have the patience to play with a notepad on hand anymore. This seems a game that rewards going in blind and replaying it several times. It's not a game I can recommend wholeheartedly, because it's a SaGa game - a lot of people are going to bounce off of it. But 17 bucks is a pretty good deal if you think you might enjoy it.
|
|
#
?
Mar 18, 2024 20:12
|
|
|
I think Minstrel Song is a pretty good intro to the series, if the LP makes you want to play I'd say give it a shot. The Emerald of Evil is clearly in good hands, so let's Find Captain Silver's treasure Check in with the mummy salesman and get the easy treasure maps: - Steppes of Galessa, Level 1 - Kaklim Desert, Level 1 - New Road, Level 2
|
|
#
?
Mar 19, 2024 15:33
|
|
|
That's Investigate the return of the vampires Clear the monsters from the Aurefont mine Isthmus Keep, or what's left of it
|
|
#
?
Mar 19, 2024 18:26
|
|
|
If nothing else I admire then game�s commitment to dicking you over in new and creative ways. -Leave a quest too late, that�s a lost forever -Attempt a quest too early, that�s a lost forever
|
|
#
?
Mar 20, 2024 00:29
|
|
|
Elite posted:If nothing else I admire then game�s commitment to dicking you over in new and creative ways. Additional fun fact: if you go to the Isle of Evil at ER19 or later, you still meet Ewei, but he refuses to fight and just leaves with the Fatestone. So this quest meets both of these criteria. Stuff like this is why I found having a guide to be so helpful. 5-Headed Snake God fucked around with this message at 04:28 on Mar 20, 2024 |
|
#
?
Mar 20, 2024 00:46
|
|
|
Ok, I've got the game. I assume that the best way to go through my first run is to find choose a cool character (i.e., Hawke or Sif) and just do whatever quest tickles my fancy until the end game arrives. Don't worry too much about BR and don't try to sneak past every enemy, but don't grind, right?
|
|
#
?
Mar 20, 2024 13:18
|
|
|
Fat Samurai posted:Ok, I've got the game. Yeah, I think that's the best way to handle things for your first playthrough. If you talk to the kids from the volunteer brigade regularly, they actually have pretty good tutorials for how all the mechanics work too.
|
|
#
?
Mar 20, 2024 18:09
|
|
|
Fat Samurai posted:Ok, I've got the game. This, but also be sure you set the story progression to slow.
|
|
#
?
Mar 21, 2024 03:37
|
|
|

|
| # ? Apr 27, 2024 10:20 |
|
|
Voting is now closed.
|
|
#
?
Mar 22, 2024 02:15
|
|