|
Combat Mission : Barbarossa to Berlin Welcome to the Let's Play of Combat Mission : Barbarossa to Berlin, a game released all the way back in 2002 by Big Time Software. It's the second game in the Combat Mission series, but since each deals with a certain theater of the war, they are usually named by their subtitle. Since the first one was released in 1999, there have been a continual sequence of Combat Mission games, which have included a major overhaul to the engine, and further updates to the new engine over the years, and this isn't the thread for that in case you were wondering. All of the Combat Mission games have maintained the same core gameplay � a highly detailed simulation of combat at the ground level, with a simultaneous real-time resolution of each 'turn'. To further explain, the game simulates tactical battles at a very granular level on realistic terrain. It gets down to the level of the individual person (and even individual shot). Orders are given at the team/squad/vehicle level, and all the commanders and every individual unit will need to be given an order if you want them to go somewhere. The battles I'm showcasing tend to be fairly big, on the order of a battalion or more of infantry on each side. The gameplay consists of giving orders, and then seeing their effect. Once orders are entered for both sides, the turn is run, with both sides moving at once. As the turn is resolved a 'reactive' AI (called TacAI by the developers) will make decisions about which target to shoot at, whether they can follow the orders given, or whether they should run for cover instead. To clarify if you haven't played it, it is not a real-time strategy game. Instead, you pre-plan the orders by drawing lines on the map, run the simulation for an in-game minute, and observe the results. The units act on their own following the orders given, and cannot be controlled in the course of the minute-long turn. After each in-game minute, orders can be updated. A single battle generally is set to run for 15-30 minutes, although the ending time can vary a bit. Why play this if it's 20 years old and there are newer, better-looking versions? While the games based on the revised engine are unquestionably improved, it turns out this one remains the only one that covers the entirety of the Eastern Front, from � as the name says � Operation Barbarossa in 1941 through to the fall of Berlin in 1945. That's important for what I'm doing with this LP, which is play a whole set of scenarios, from the start of the invasion of the Soviet Union until the end of the war in Europe. Is this one of those classic goon-vs-goon showdowns? No, sorry, it isn't. What it will be is single-player 'operation' scenarios, in chronological sequence, and alternating between the Axis (German) side and the Allied (Soviet) side. It'll also be in screenshot format. Each update will cover about 7-15 minutes of action. That means a lot of individual details will be left out, but we'll still get the high-level idea of how the combat is going. About the worst that will happen is when I simply don't notice something critical happening, and that might not be just because I didn't screenshot it, but that I actually did not see it during my turn. What scenarios/operations are you using? I'm playing the set from the GoG version of the game. I don't know if these are the original set included in the game, or if they were chosen for this release. I have not played all of them, so this will often be blind or semi-blind. It seems to me like the set covers the war fairly well (although it might spend a bit too much time on Stalingrad). Given the age of the game and the ease of designing scenarios, there are literally hundreds if not thousands more battles that others have put out there. I don't intend to play them, however nice they are. I don't mind people recommending them and I might play them on my own, just be aware I won't include them in the LP. I should also explain what the 'operations' are. The typical 'scenario' is a single battle where you can play around with the forces and run them at each other; it's pretty easy to create a custom battle or use a pre-designed one. The operations, on the other hand, consist of a set number of battles on the same map, or occasionally a shifting map as the forces move. Unit strengths (and positions, somewhat) are carried over from the previous battle, with some amount of regrouping and resupply in-between. Often reinforcements arrive that can change the course of the fight, and the passage of time might affect how it plays out as well. There is a larger goal for the whole operation, without necessarily any goal for one battle. This means that each battle has larger implications, and maintaining your forces is important, since they might be needed for the long term. There is no campaign mode for the game (again, not the thread for that). There won't be any units that carry over through the whole series, and since we're switching sides there is no overall goal to 'win' with one side or the other. I'm not even expecting to win every operation, or somehow achieve a perfect score in the course of the battles. Instead, we'll just get to see a lot of the combat on the Eastern Front, and how it evolved over the years of the war. I should also note that not all of these operations are intended for single player, and since I'm alternating, I won't always be playing as the 'intended' side either. I consider that part of the fun. I'm not trying to show off how good or bad the AI is at these. In some cases it'll be showcasing the scenario designer more than anything. I hope to give each one a fair shake, but I'm fully aware that some of these operations might go hilariously wrong (or right, depending on how you view it). How do I understand what's going on if I've never played this? The images of soldiers and tanks fighting, and what they are doing on the map will at least partly be self-explanatory; there aren't too many fancy symbols that must be decoded, and a number of things on-screen will be labeled. I will not give a whole lot of explanation up front, but will throw in remarks now and then [in square brackets] that explain some of the game mechanics. I'll also try to keep the on-screen details visible in the screenshots. Don't worry if you aren't following every aspect; remember that quite a lot of summarizing is going to happen anyway. Hopefully it will be possible to follow what is happening with my descriptions. That said, if you have any questions, feel free to ask. Is there any thread participation? There isn't really anything intended, and I don't think I'll be putting up any decisions. edit: On consideration, the thread will likely get to choose which side I will play in some battles. The choices will be paired, so we'll still see half Axis and half Allied battles. Even if there's no thread votes, suggestions on what to try are welcome. Typically I will be one or two battles ahead of the updates as well, so any specific guidance might come too late. I'm happy to put something into practice if it's of a general nature that can be applied to future battles. I don't pretend to be an expert at this. A note on terminology Regardless of the side being played, the game uses a fixed hierarchical naming of Battalion-Company-Platoon-(Team/Squad) for the units, and consistently labels them with letters for companies and numerals for the other elements. When I need to distinguish units, I will use the abbreviations Btn/Coy/Plt/Sqd respectively, and will use the format A Coy, 1 Plt to mean the 1st Platoon in Company A (the Battalion is not actually specified in-game; instead the company letters increase). The titles of the officers are localized to each side's nationality; I may stick with the title that the game uses, or use translated terminology. Generally speaking, I will use the English term when speaking about the officer or the rank generally, but the native title if including the person's name. I don't intend to use the actual names that often, though, since we will almost never see the same units in battle. Names are randomly generated and frequently recycled, and it would seem as if the same people are showing up at various positions throughout the war, which I think would come off as strange. Kangra fucked around with this message at 20:43 on Jan 2, 2024 |
|
|
|

|
| # ? Apr 29, 2024 13:27 |
|
Let's gooooooooo
|
|
|
|
There should be a 1941 scenario where playing as the Soviets you can defend nearly perfectly giving only the order to stop hiding, after spending half an hour setting up positions and arcs of fire in deployment. Then they send you a KV-2 and BTs as reinforcement and there's absolutely no need.
|
|
|
|
Operation 1, Battle 1 Here's the first operation: Blitzkrieg. It covers a full day of battle in June, 1941.  Yes, it does say June 22, but the briefing later suggests that this takes place after the invasion has already begun, since it mentions that we're facing the remnants of a shattered tank army. The operation begins at dawn; it would not seem possible for there to be a destroyed tank army if this actually is set on June 22 (the same day as Barbarossa began). Nevertheless, we are as near to the start of the invasion as we can be. I don't think actual in-game dates are any more granular than the month and year. This one is a 'huge' operation (that means map size), and will be 5 battles long. Selecting it allows us to read the designer's description. 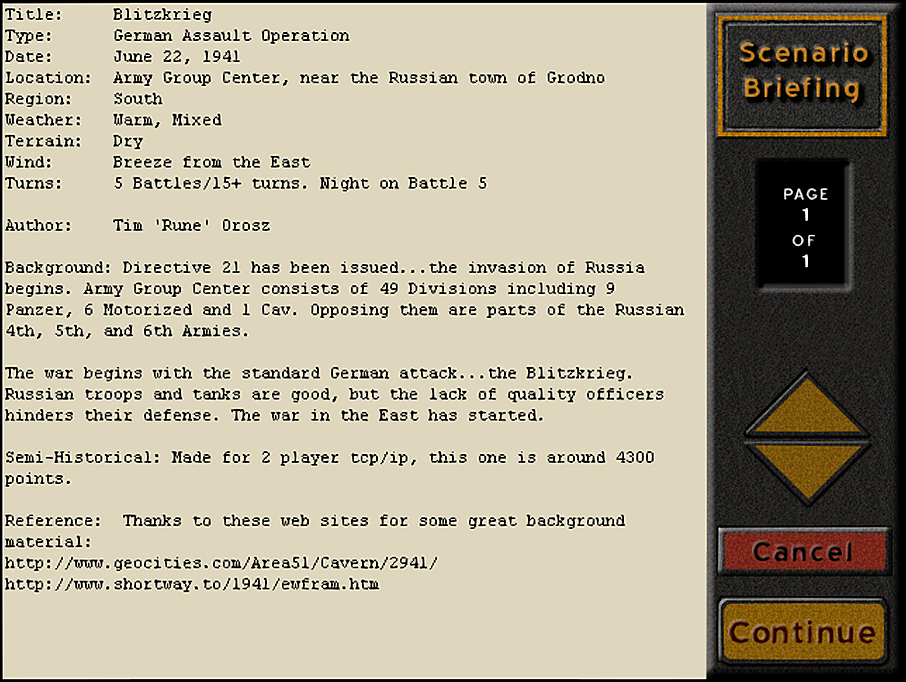 This takes place right at the front edge of the assault, in an unnamed locale somewhere near Grodno. I'm guessing by 'Russian' they mean 'Russian-held'? I think we could accept any of Lithuanian, Belarusian, or Polish for Grodno, but it's definitely not in Russia. I also don't know for sure why the region is set to 'South', since I would've thought 'Central' would be the correct terrain. It might just be to have it come out right for the vegetation coverage, as region setting affects how the map looks. There's a few other things to note from this. The operation is five battles of 15+ minutes, with night on the last one. As we'll see, it basically covers an entire day of fighting. It is also an 'Assault Operation' for the Germans, which means they need to push forward (and usually take territory, which will shift the map for subsequent battles). As for size, the map is 'huge' and the number of 'points' (value of all units involved) is correspondingly pretty big as well, at 4300. An infantry battalion is around 1500 points, and a platoon of tanks might be around 300 at this phase of the war, so we are getting a decent amount of stuff to lead off with. While this one is intended as a 2-player map, I think it works okay on the German side. I have played it before and didn't do very well in it.  We're going to be strictly single-player. This and the next screen I'm only showing this once, to illustrate how the game begins. They won't be any different in the future. 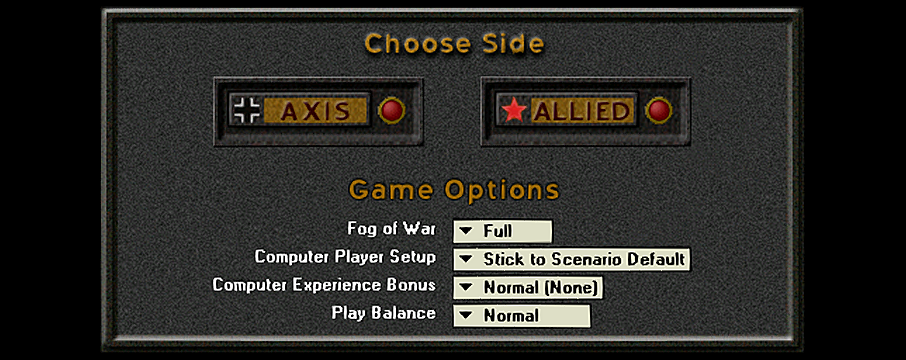 These are also the options we'll choose almost every time. The only thing that might change is using the 'default set-up'. In some cases the scenario description indicates that computer set-up is needed, or it might be apparent that no real default was set up, and we'll use that option. This time, we're playing the Axis. It makes sense to start off with the side that instigated the conflict, and we're doing it in the first few days of Operation Barbarossa, so we will start with an attack. As the scenario proper begins, we get the briefing for our side. This briefing applies to the entire operation; there are no battle-specific briefings and it does not change in future battles. 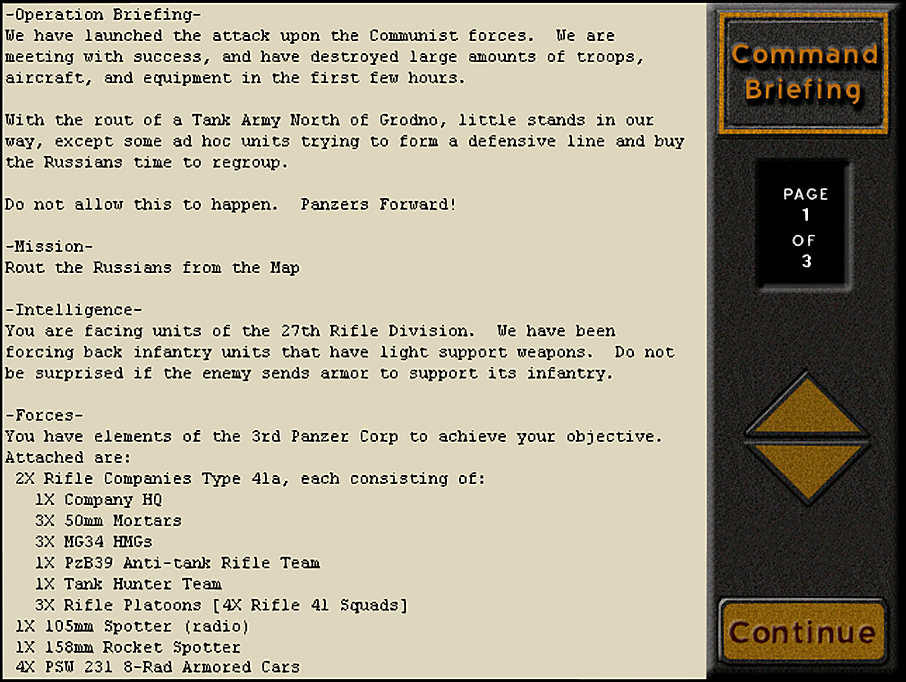 This operation comes chronologically first, which is why I'm playing it first, but it is a somewhat unusual introduction. It lacks any objectives, and only has the goal of 'rout the Russians'. We can decide our own course of action for crossing the map, as long as it works. 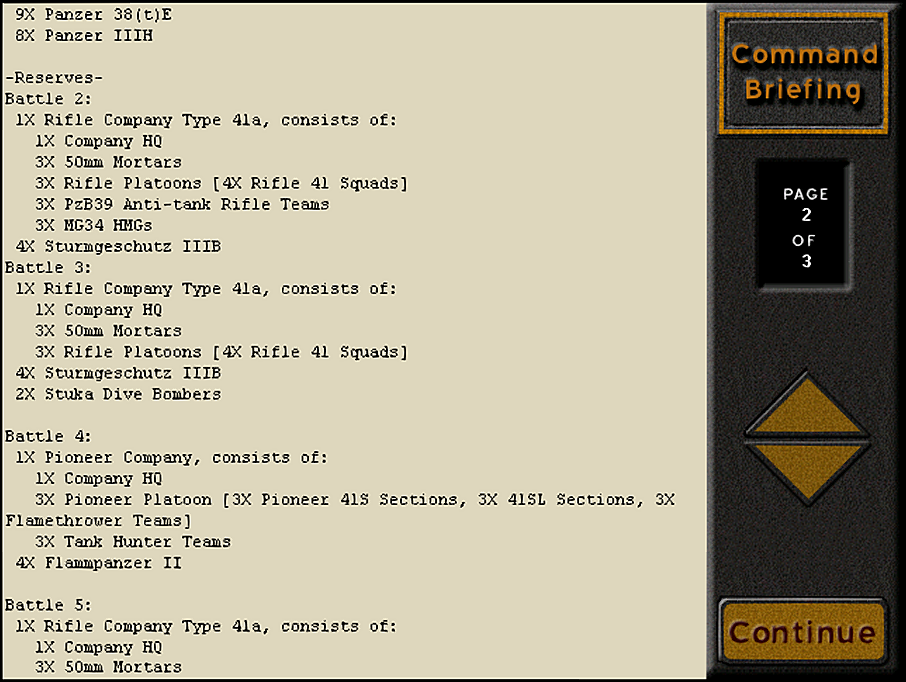 The remainder of the briefing gives us a detail of what our reinforcements will be. Each battle will add a new company of infantry and a few AFVs to our side, and in the fourth battle, we get Pioneers and Flammpanzer. 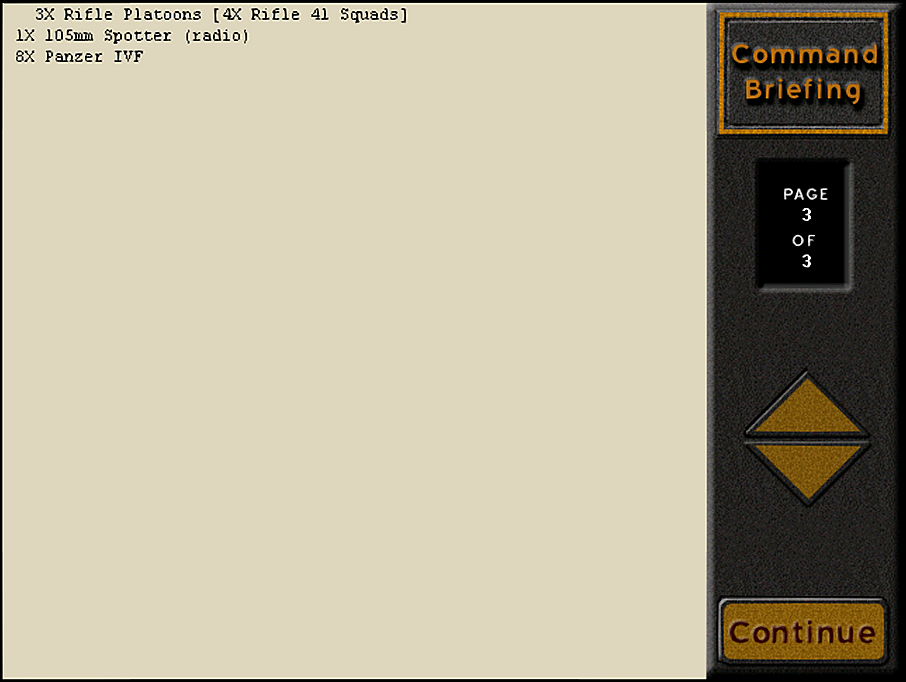 I'll go over the extra forces as they arrive in future battles. Let's consider what we have to start with. Infantry: 2 full rifle companies (3 platoons each), including a support 50mm Mortar and MG34 per platoon, along with a Tank Hunter and AT Rifle squad per company. Vehicles: 1 x PSW 231 scout car platoon (4 cars). 3 x Pz38(t)E tank platoons (4 each; the briefing mistakenly says 9 in total) 2 x PzIIIh tank platoons (4 each) The vehicles are all equipped with radios, which means they can operate just fine if separated from each other. Off-map support: 1 x 105mm Arty (radio) 1 x 158mm Rocket Artillery support is in the form of a spotter, who needs to select the target and call in the strike. If the spotter is killed we lose the fire support for the operation. The radio on the 105mm just means the strike comes in sooner, reflecting more efficient coordination. It's a good spread of equipment, somewhat vehicle heavy but such is the nature of Blitzkrieg. 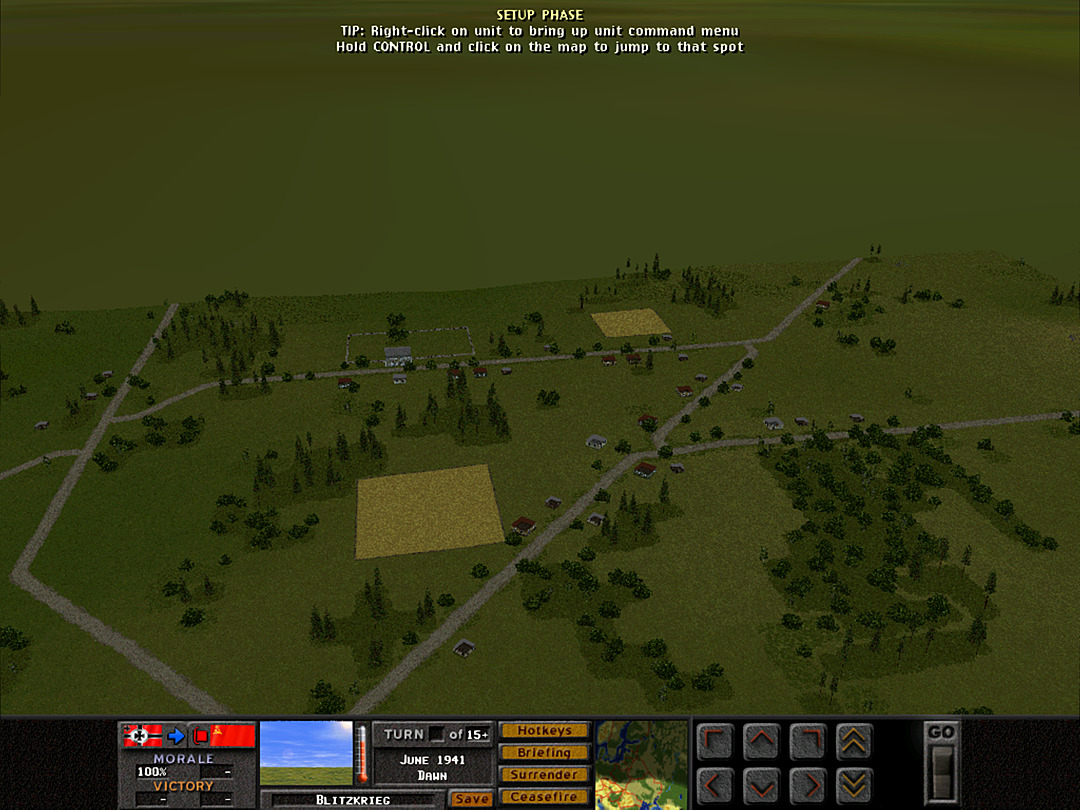 The terrain we're encountering isn't exactly the best for a vehicle-heavy force. There are a lot of places where enemy troops (or guns) could be hiding. Capturing this little village along the main road is likely to be the crucial element of our attack. A stand of dense woods on a slight rise blocks the southwestern approach. 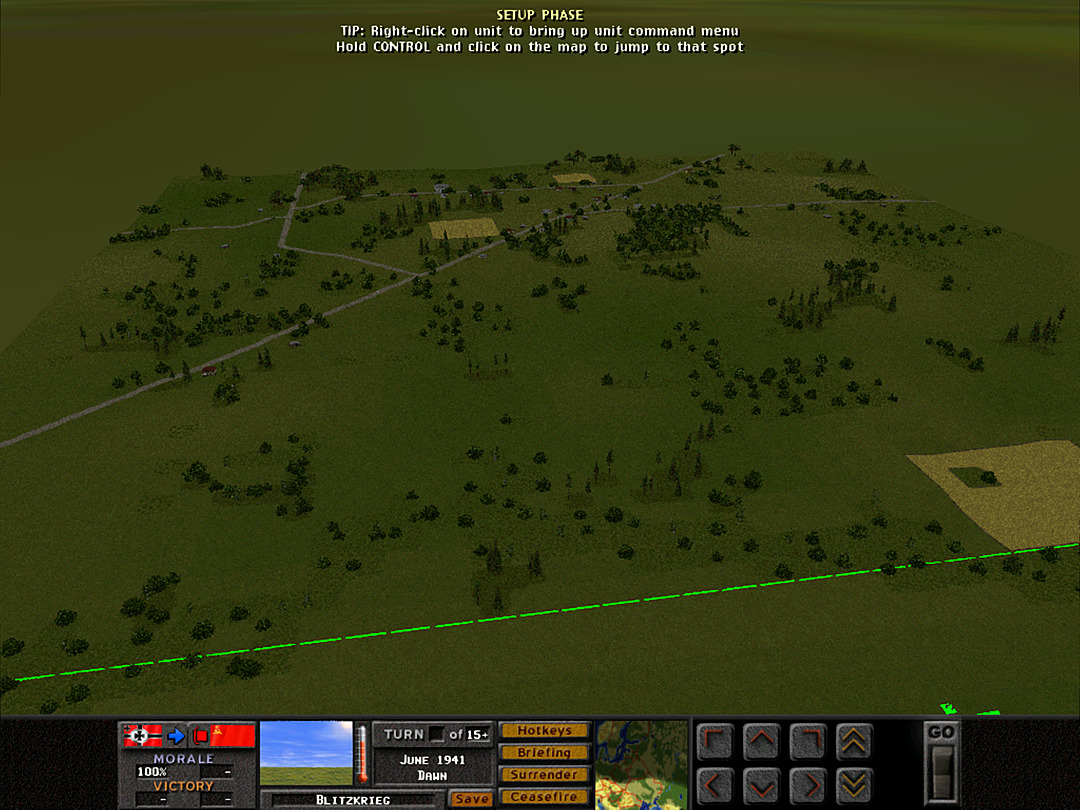 The terrain leading to the village generally consists of sparse forest, and is a little uneven in height. It will provide some cover for our advancing troops, but leaves enough open lanes that we'll need to be cautious about where the vehicles travel. Fortunately most of the forest is not dense enough that our tanks can't get through. It'll slow them down as they go, though. [Each tree does not necessarily correspond to an actual tree on the map; instead it stands in for the type of terrain. There is a correlation with what's displayed, so more trees, or taller trees, indicates a different density or type of forest. I have the visual display of trees at 'moderate', which is a decent balance of visibility and verisimilitude. The actual limits of the wooded areas can be faintly seen as blocky greener outlines on the ground.] 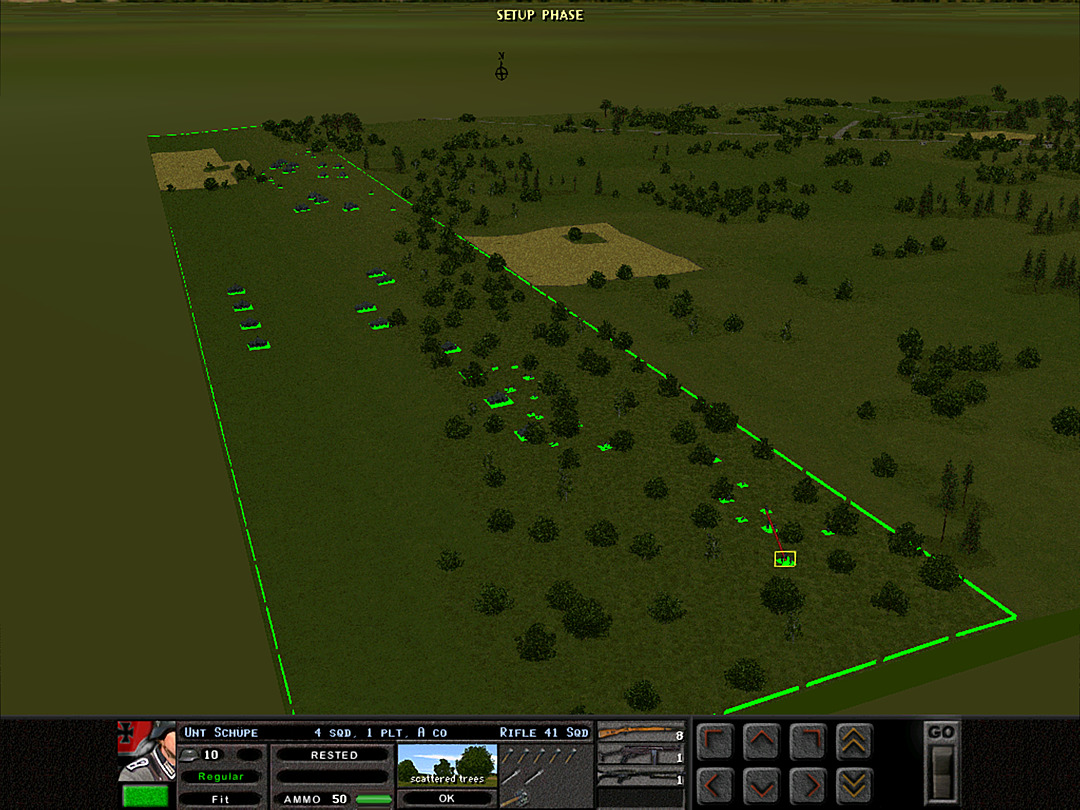 Here's the broad overview of our starting position. We'll get to see the details of our forces as the battle develops. We have the two rifle companies: A Company at the south end and B Company at the north end. One platoon (4 each) of the lighter Pz 38 tanks will be advancing with them. The stronger Pz III tanks will be behind B Coy and in the center, with more Pz 38's in reserve along the south. Our armored scout cars (PSW 231) will be in the center-south, where they can take advantage of the more open terrain to get quickly in or out of position. [Visible here is the compass rose located off the edge of the map showing which way is north. Directions can also be determined from the sun's position in the battle, or deduced from a sensible knowledge of the battle's context. We are heading east, toward Moscow and the dawn.] 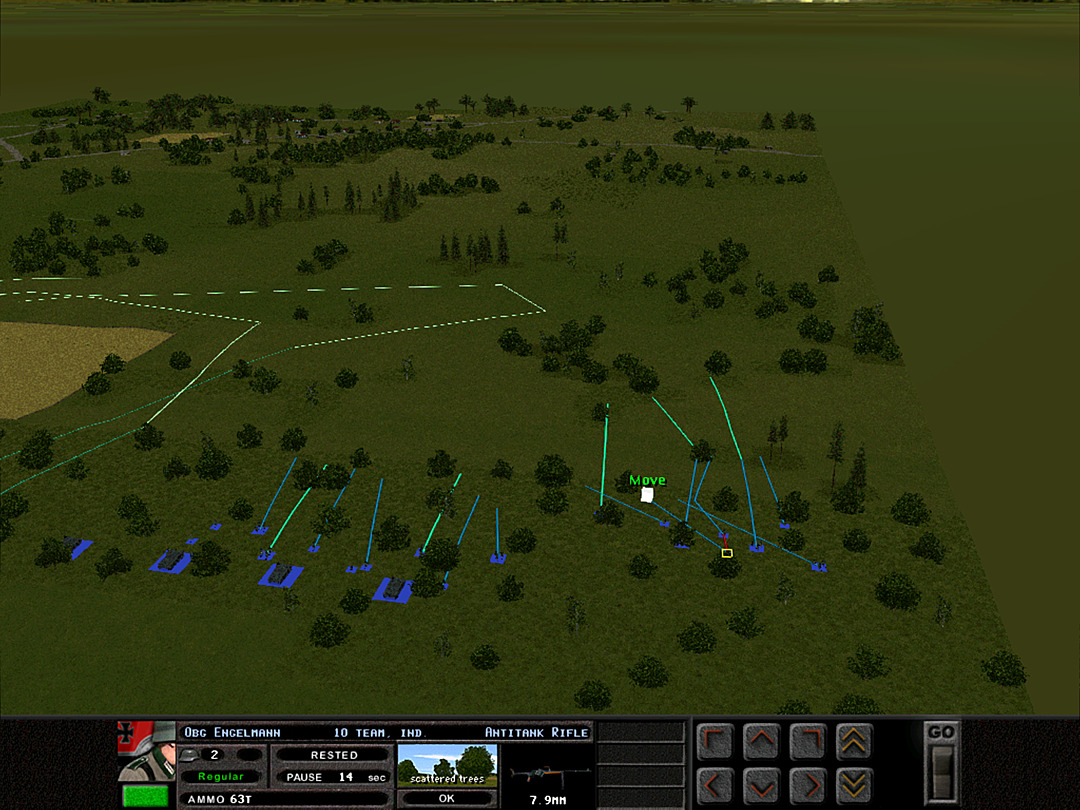 The initial plan for A Coy is for 2 Plt to ensure nobody's in the nearby trees. Then the tanks can start advancing out of the woods. 1 Plt will advance on the right through the heavier wooded section. Meanwhile, our scout cars are going to do a quick circuit ahead to see if they can spot any enemy activity. A Coy, 3 Plt is riding on the Pz III's in the center, and will hop off into the woods beyond the wheat field to support 2 Plt's later advance, or to take the middle woods. 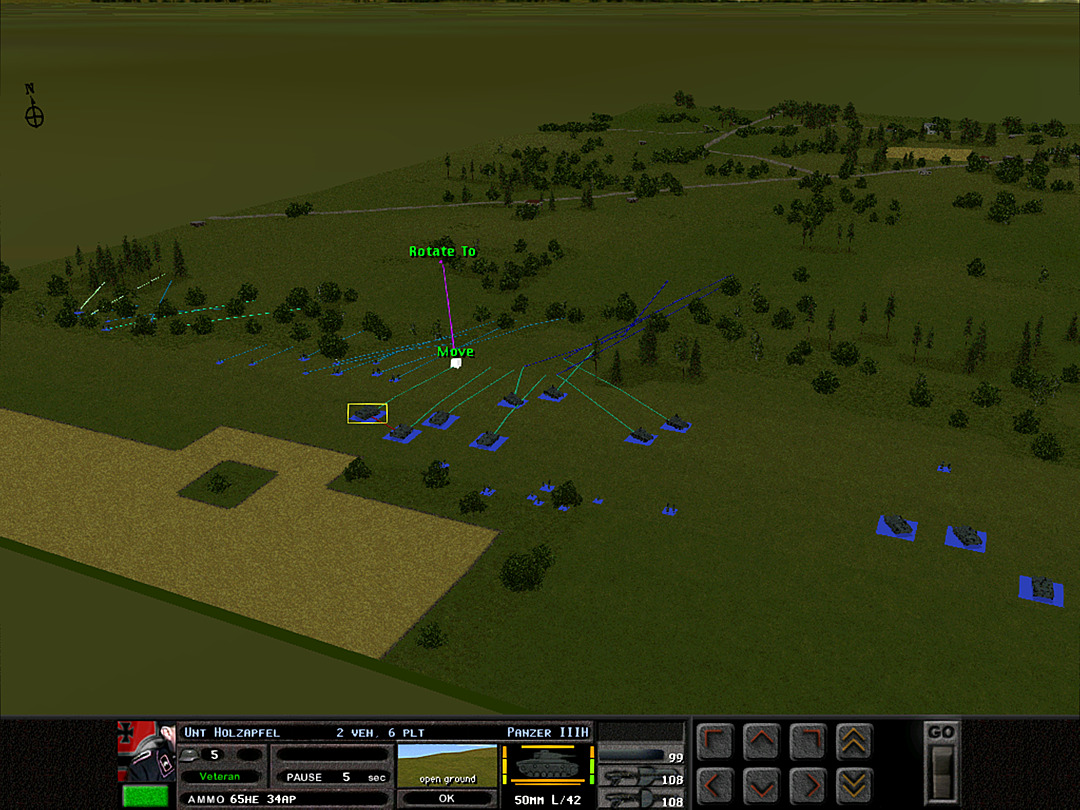 At the other end, two platoons of B Coy will start to scout the road. The Pz 38's will rush through the thinnest part of the trees; this area isn't as open to enemy gun angles, and the idea is to overwhelm any single gun that might be targeting this spot. The Pz III's here are ready to rush in behind them. 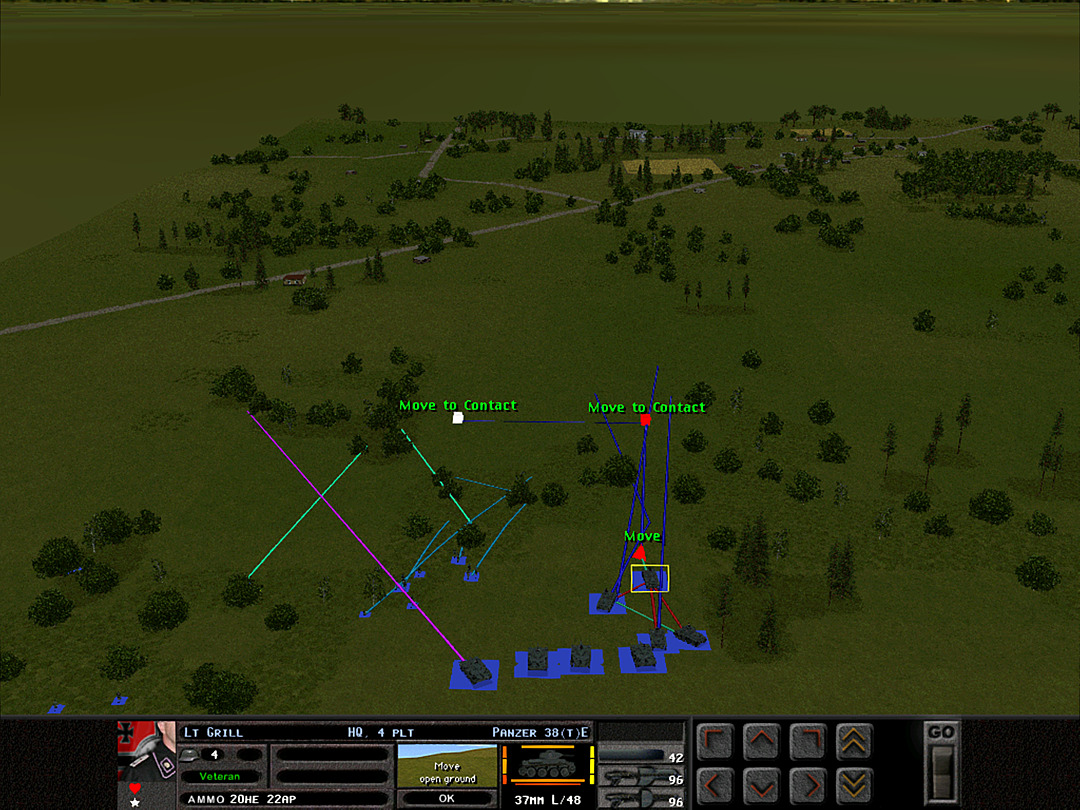 Initial movement is a bit slow through the trees. The infantry in B Coy, 2 Plt make to occupy the patch of trees closest to the road, while the light tanks prepare to charge. 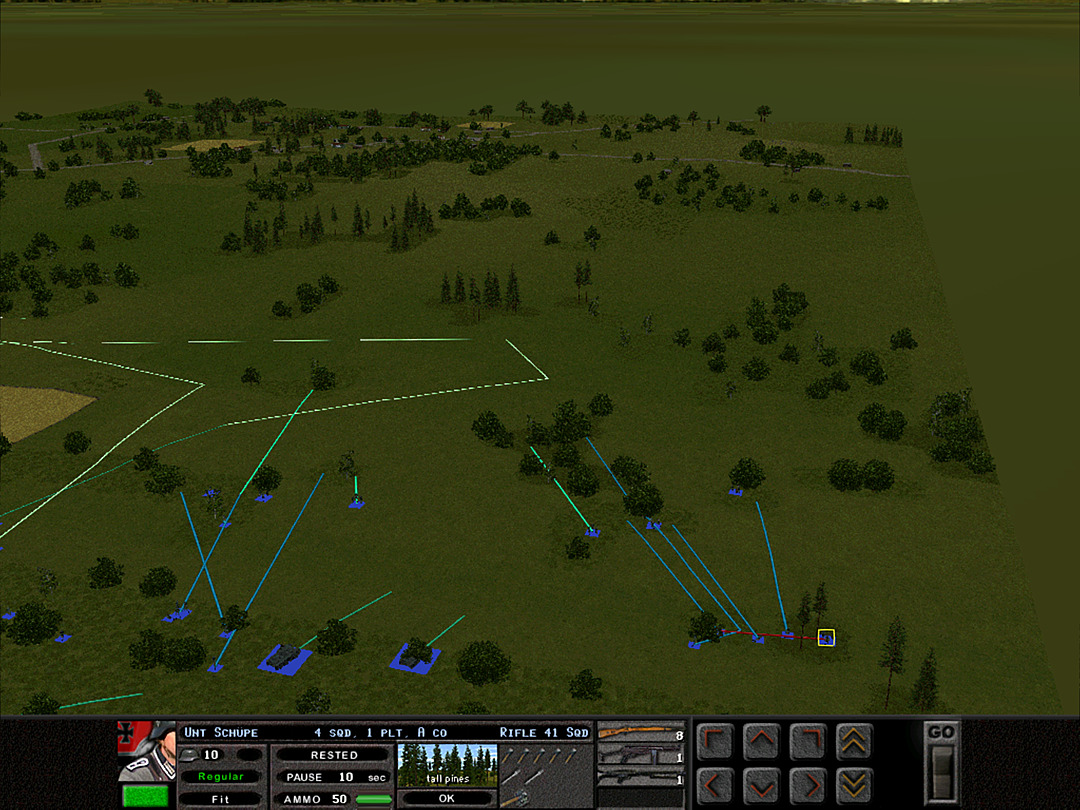 A Company makes swift advances while the tanks and scout cars struggle through the woods. So far, there has been no sign of enemy resistance. 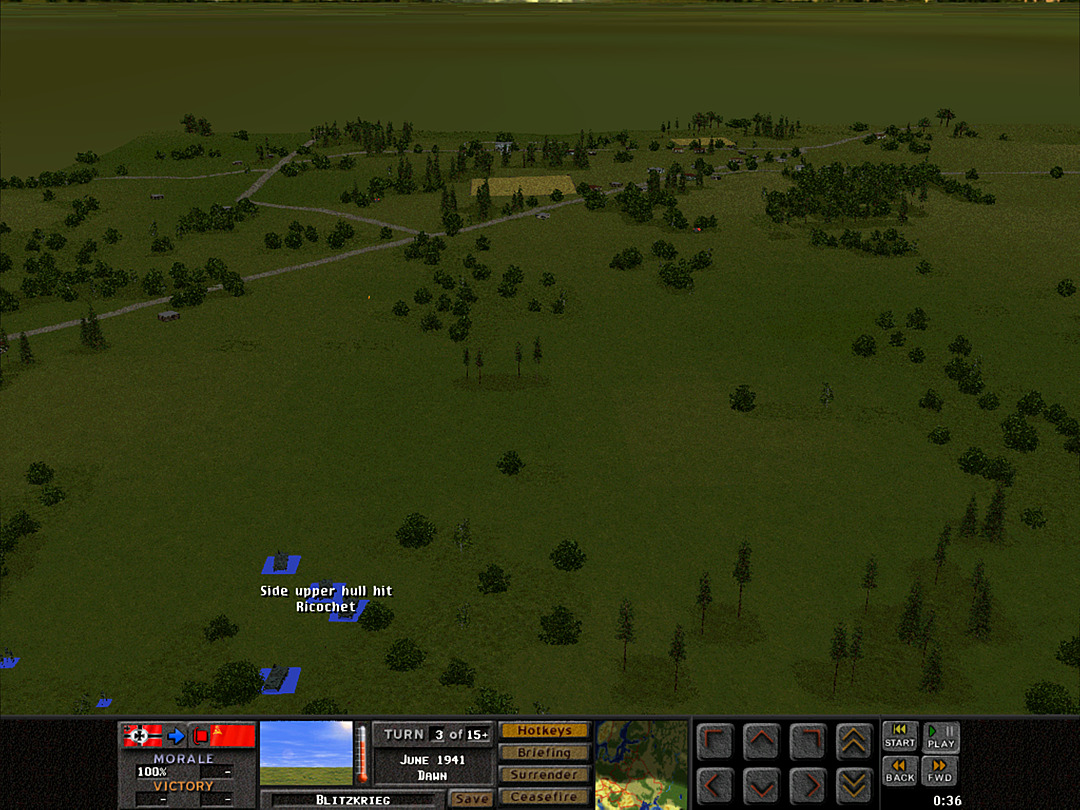 Three minutes into the battle, the Panzer 38's run into their first big problem. There's not just a gun directly in front of them, but also one in the dense middle patch of forest that can turn toward them. [Just visible here, close to the road intersection, is the shot from one of the tanks at the first gun.] 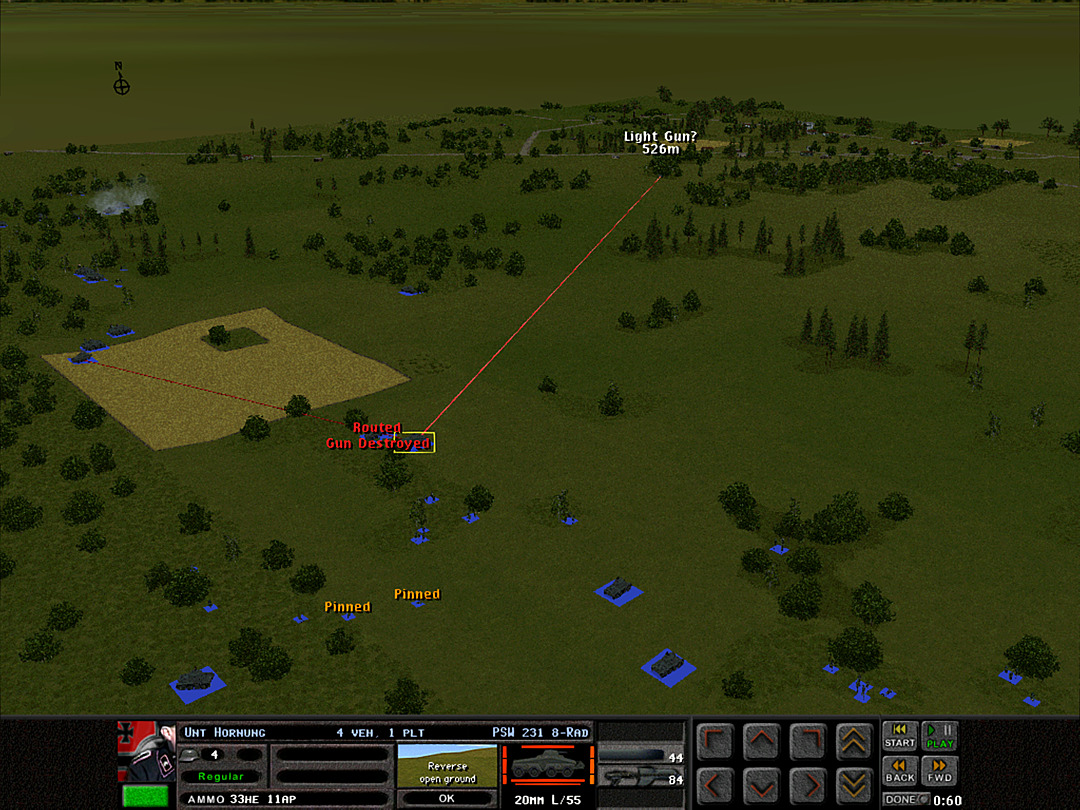 The gun in the woods is actually firing across the field the other direction, though. It disables the gun on one of the scout cars. The crew pulls the car back and seems ready to abandon their vehicle. Meanwhile, A Coy is taking fire from somewhere, seemingly in the direction directly ahead. 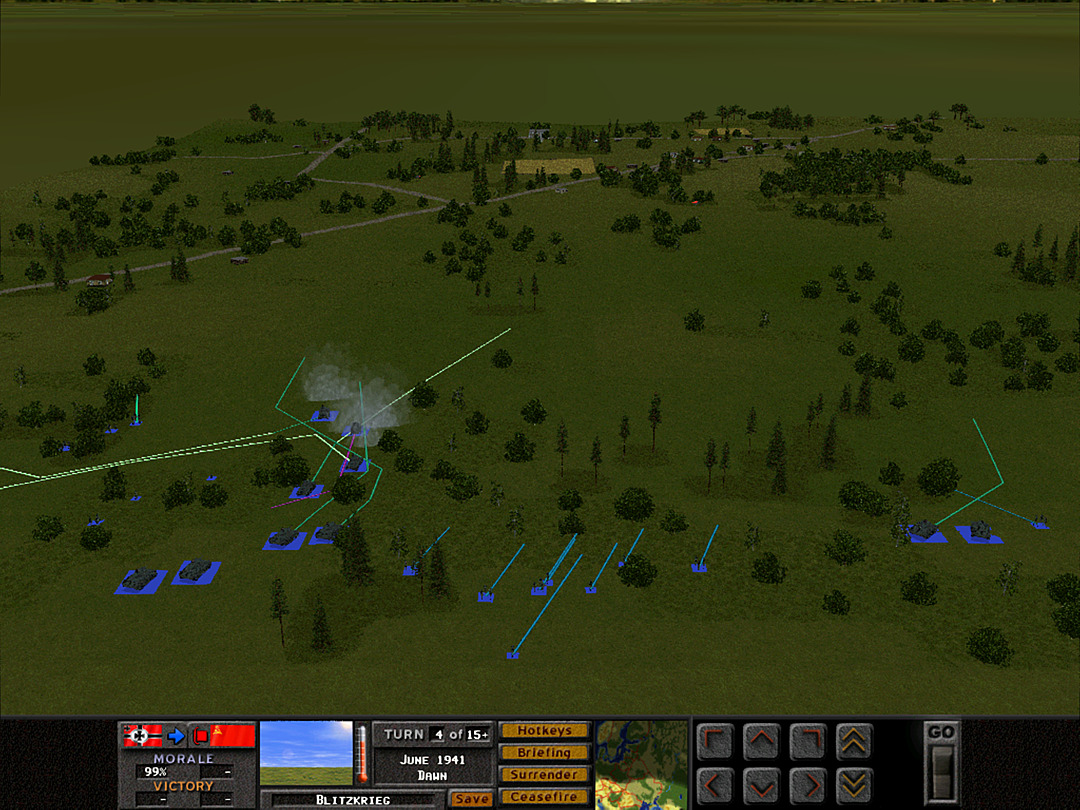 There's a flurry of activity as the 4 Plt tanks try to veer in multiple directions to evade the gunfire. They've already popped their smoke grenades, and hope to get away before any of the guns can zero in on them. Two Panzer III's are going to advance in hopes of suppressing the northern gun. Meanwhile B Coy's reserve platoon marches forward. [The smoke was fired automatically by the crew as soon as they felt threatened.] 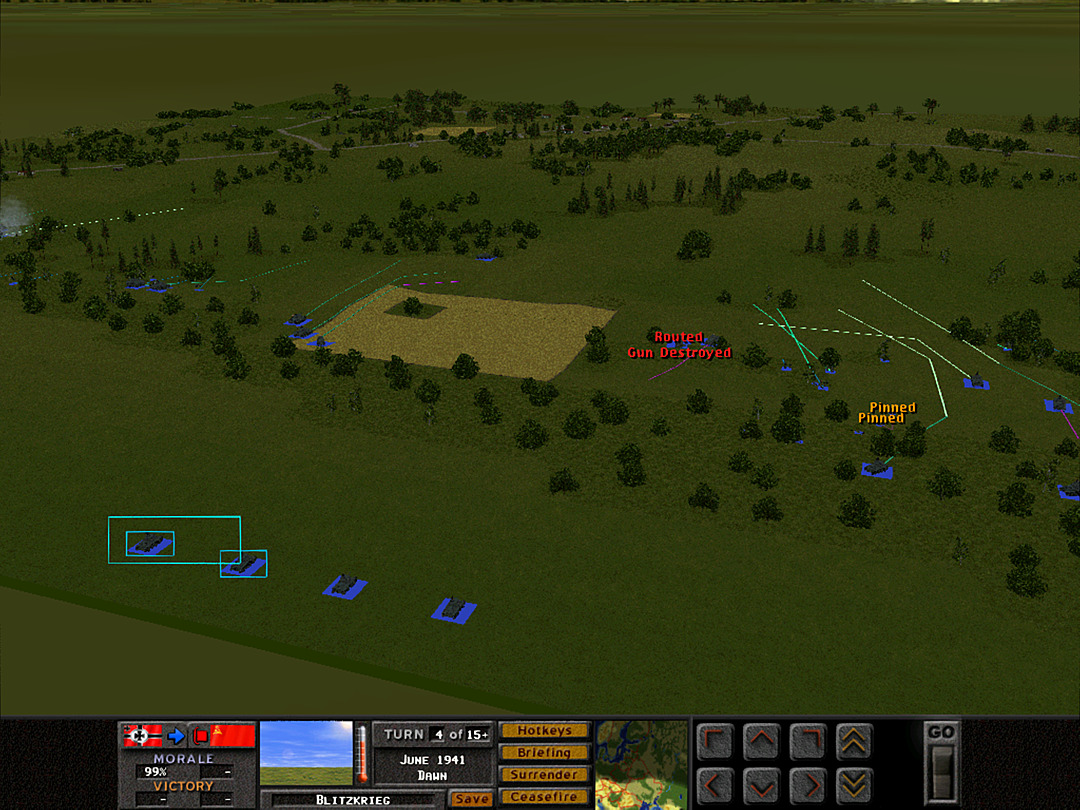 With the gunfire hitting at A Coy seemingly coming in from far away, the tanks of 3 Plt try to push forward. The rest of the Pz 38's are called into action behind them. 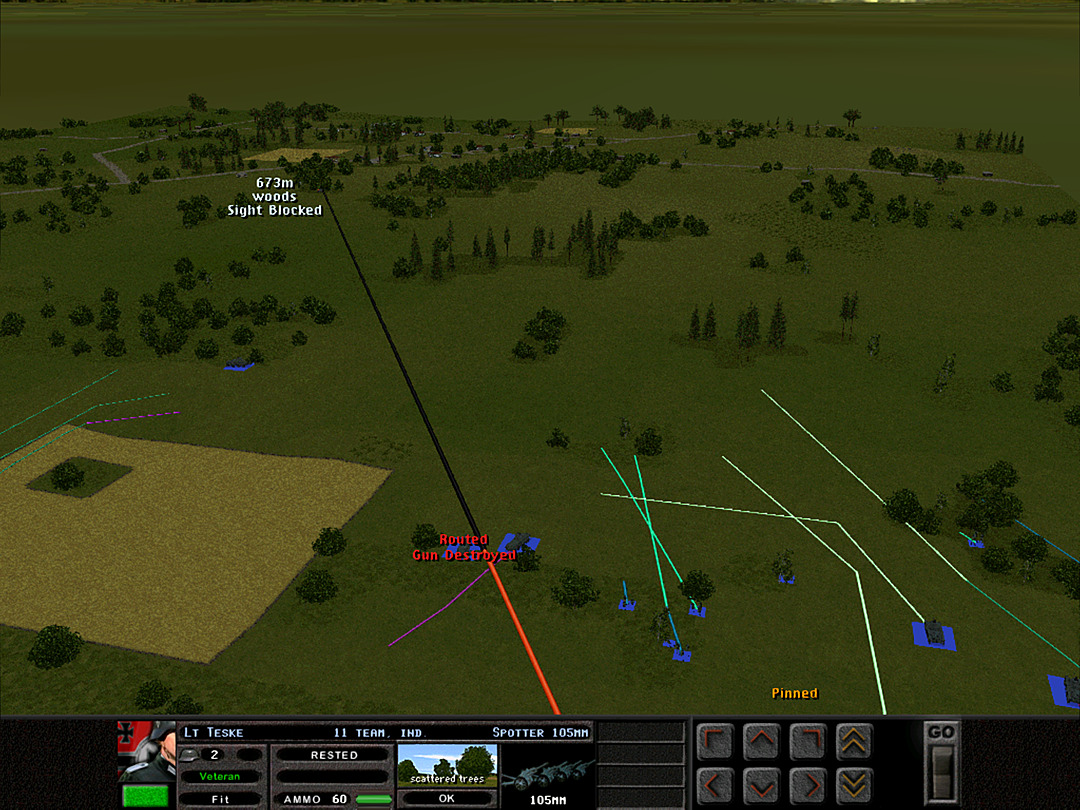 We have an artillery spotter for the 10.5 cm here, and the gun in the woods might be a good target, but he needs to move forward to get a clear view of the target area. 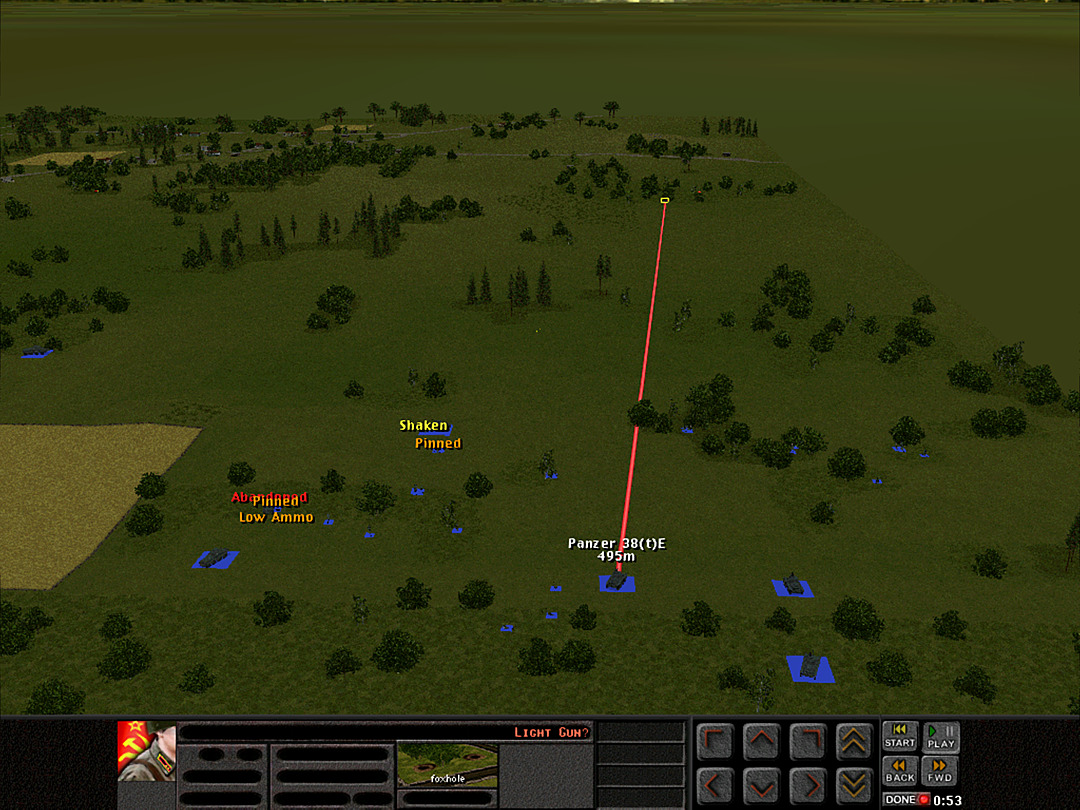 As the light tanks push into the open ground, what might be a light infantry gun reveals itself. Fortunately at this distance, the shot fails to penetrate the tank's armor; it's not clear if it even has any armor-piercing capability. [The 'pinned' & 'low ammo' labels shown here are on the crew that bailed out of the scout car, who never have more than a few pistol rounds, and usually exit the vehicle while under fire and thus start in a poor state.] 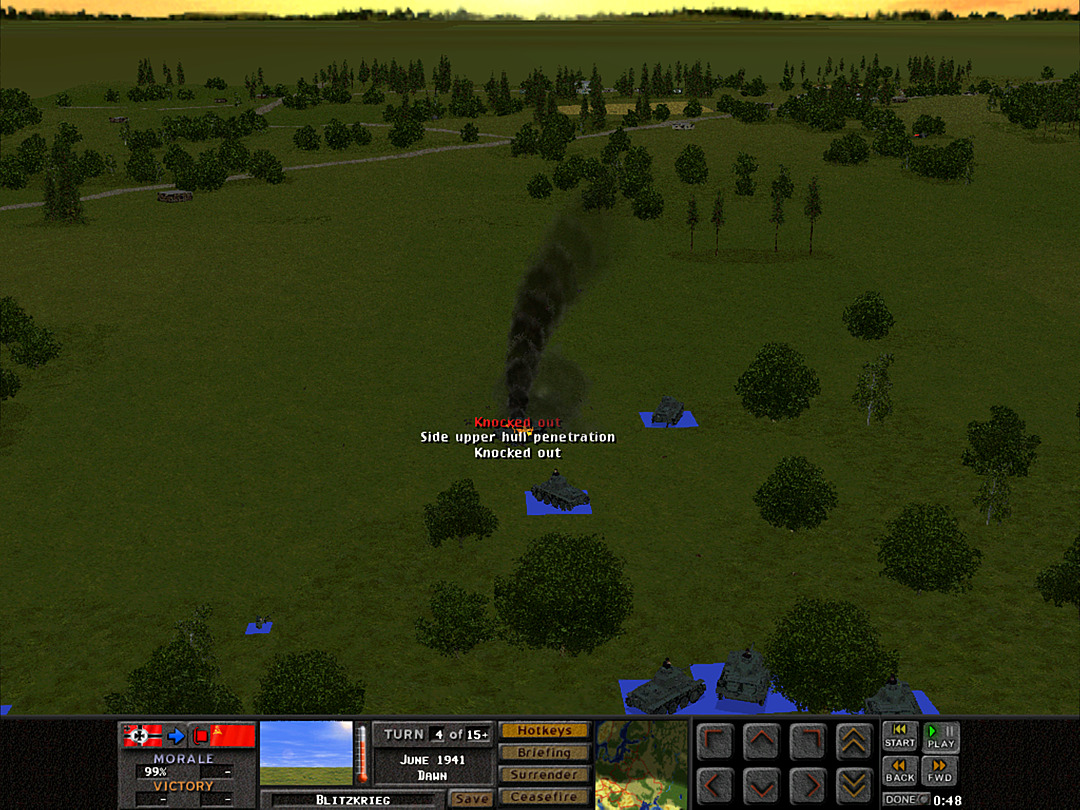 It doesn't go as well for 4 Plt, as one of the tanks is hit as soon as the gun in the woods shifts away from targeting the abandoned scout car. The other three manage to scatter safely away, however. 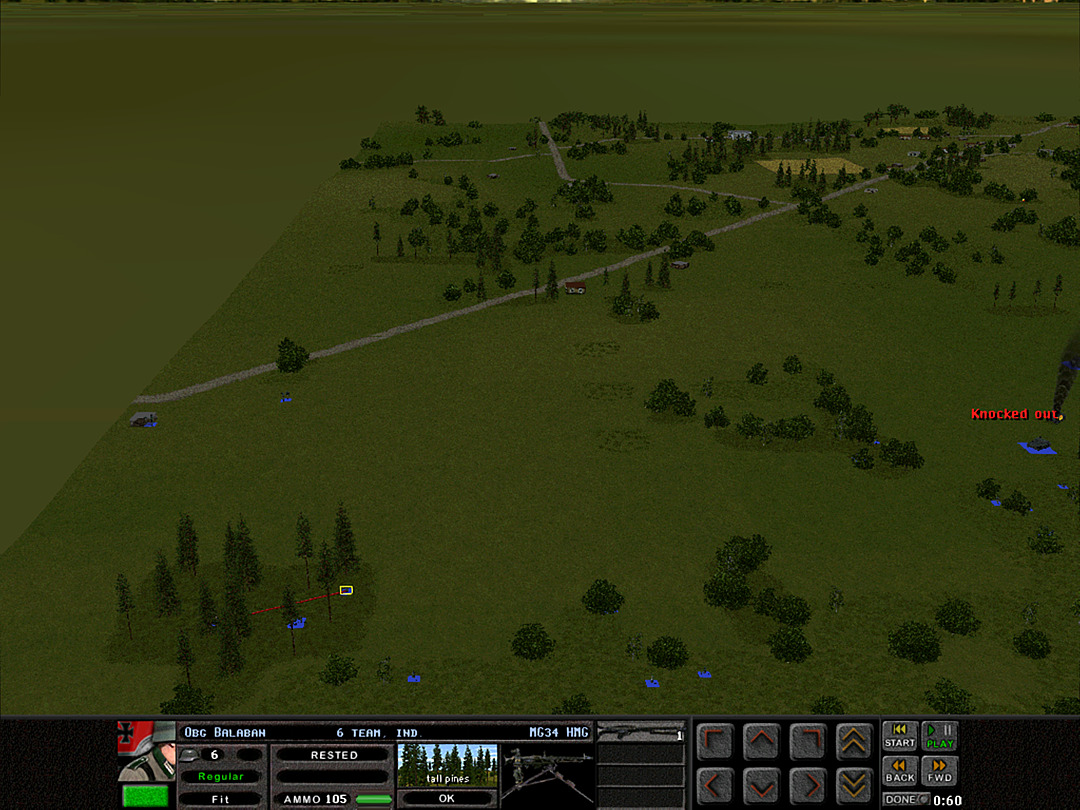 As for B Company, they get some troops onto the road and are able to occupy their first building on the way. No troops have so far been spotted aside from the guns. 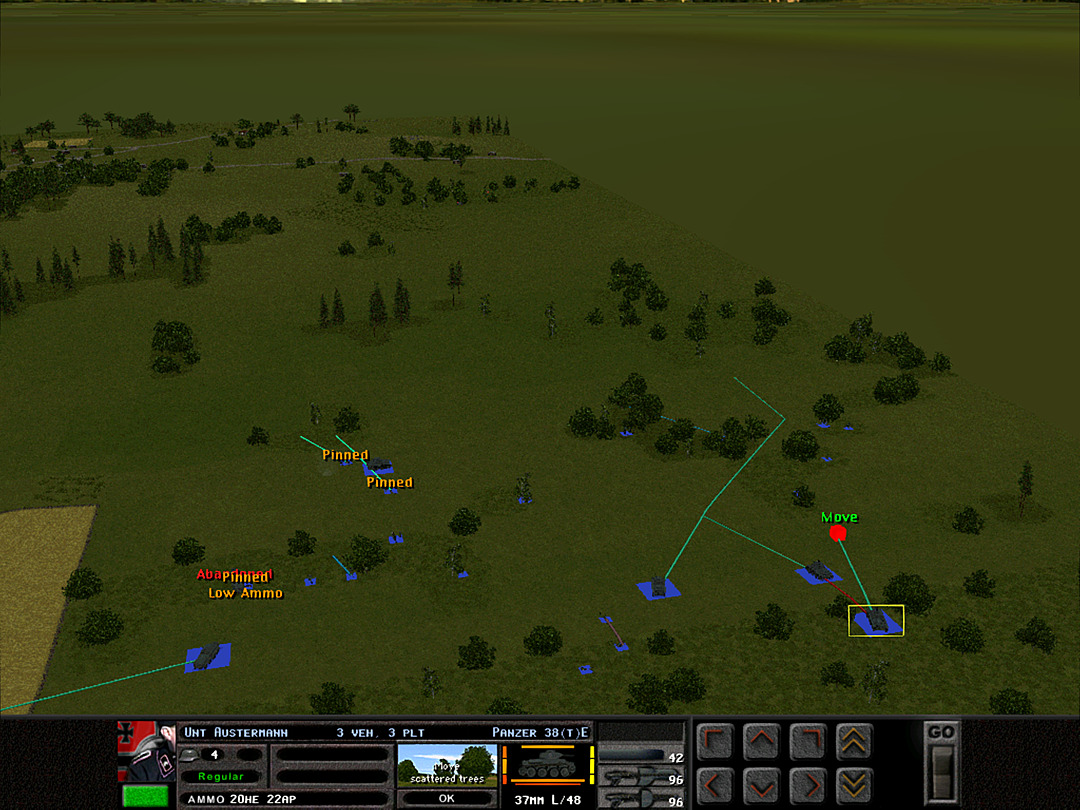 At the south end of the battlefield, A Company is pushing slowly forward. The Pz 38's of 3 Plt shift their route to avoid exposure to the gun 500m in the distance. 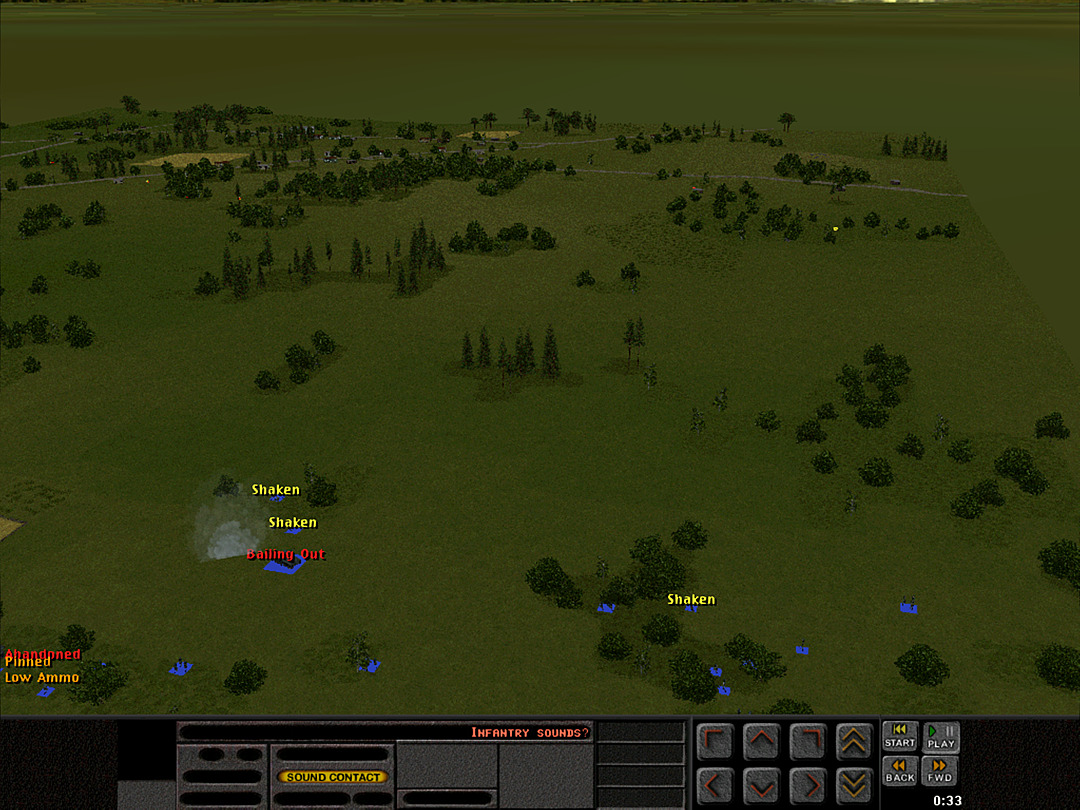 Unfortunately the gun all the way on the north end manages to take out the lead tank of 3 Plt after it scooted away from the closer gun. It takes a big hit and the crew bails out. Nearby infantry forces are shaken by the rounds exploding around them. 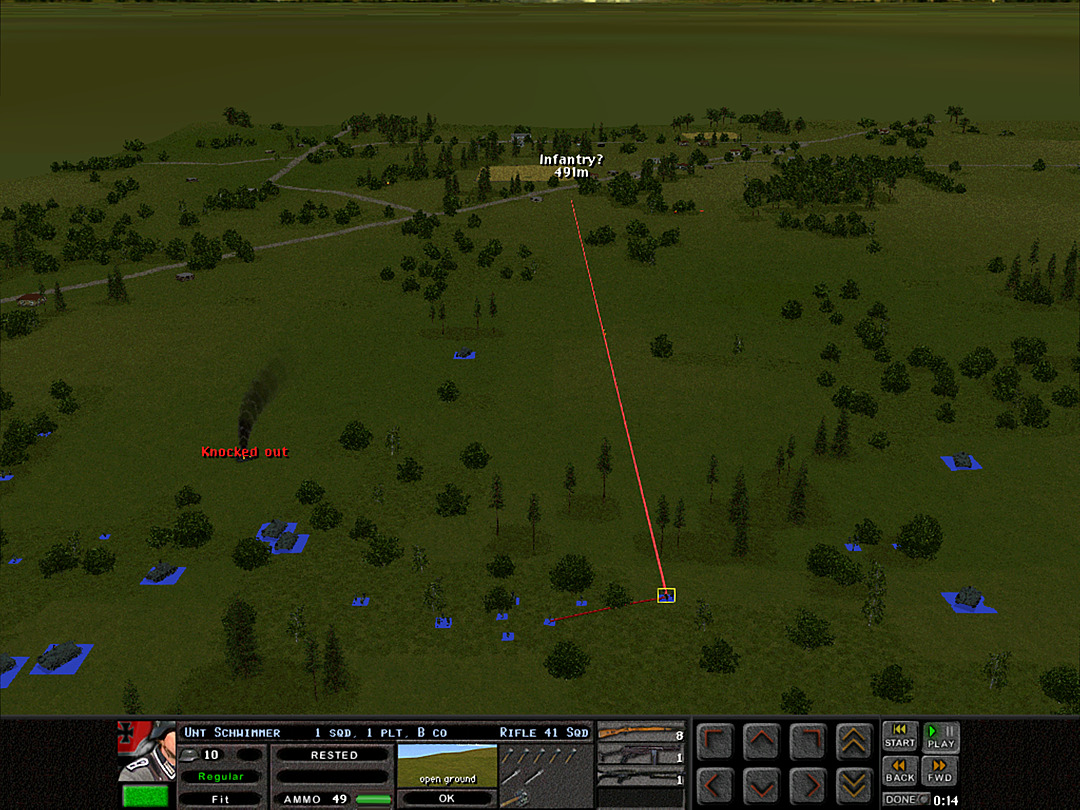 Movement is spotted between the road and the woods by B Coy, 1 Plt. These troops appear to be heading southwest towards us, which will bode well for B Coy's main push on the village. 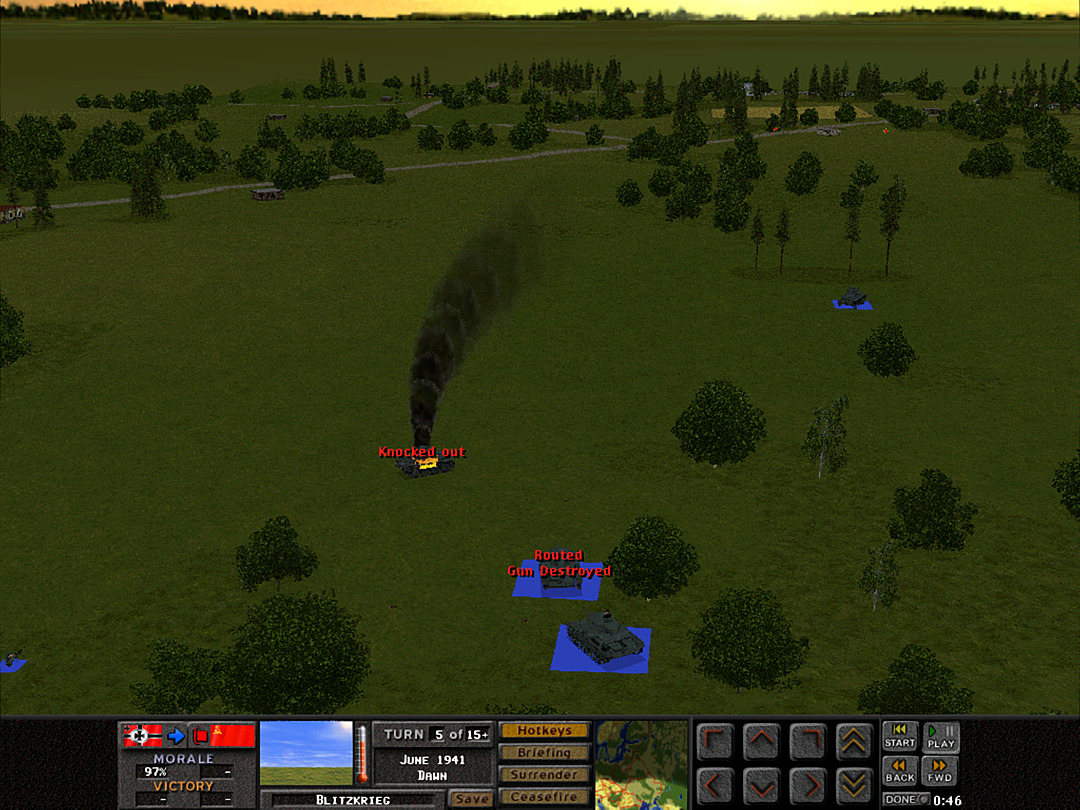 Disaster strikes again as a long-range shot takes out the gun of a Panzer III in 6 Plt. More shots slam the vehicle once it stops and the crew jumps out. 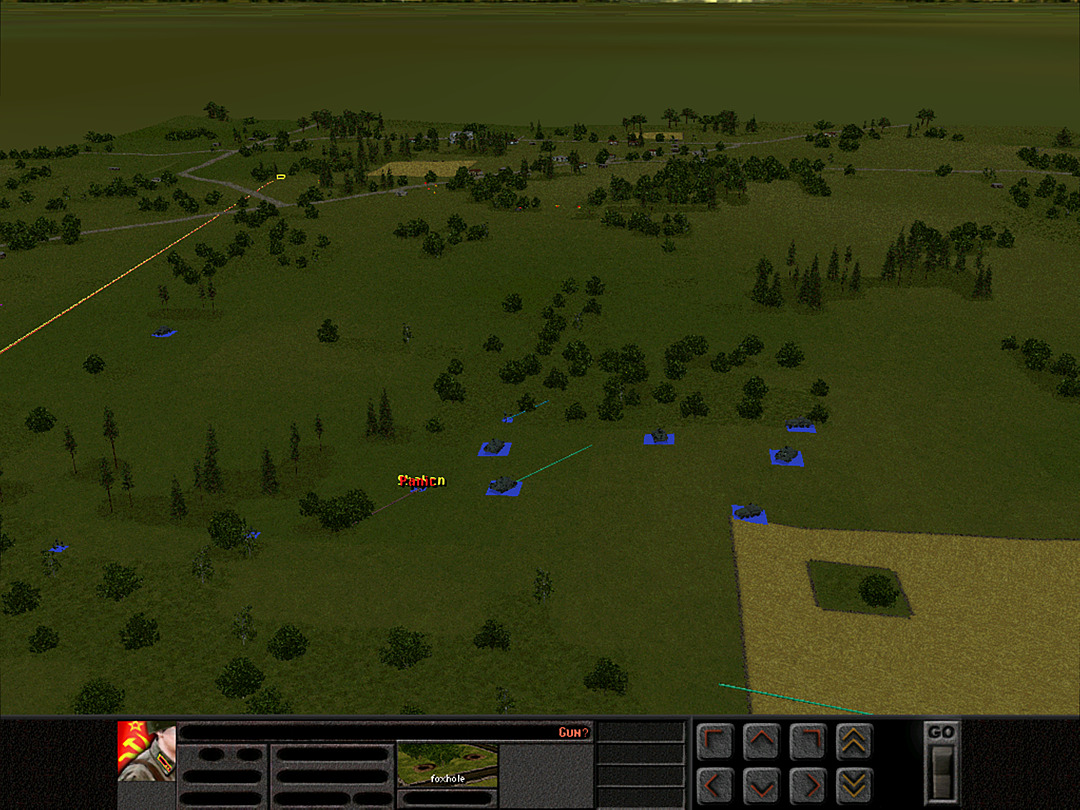 Some spotty gunfire sprays into the lightly wooded area where A Coy's last platoon is advancing with the tanks. Two squads are thrown into chaos. 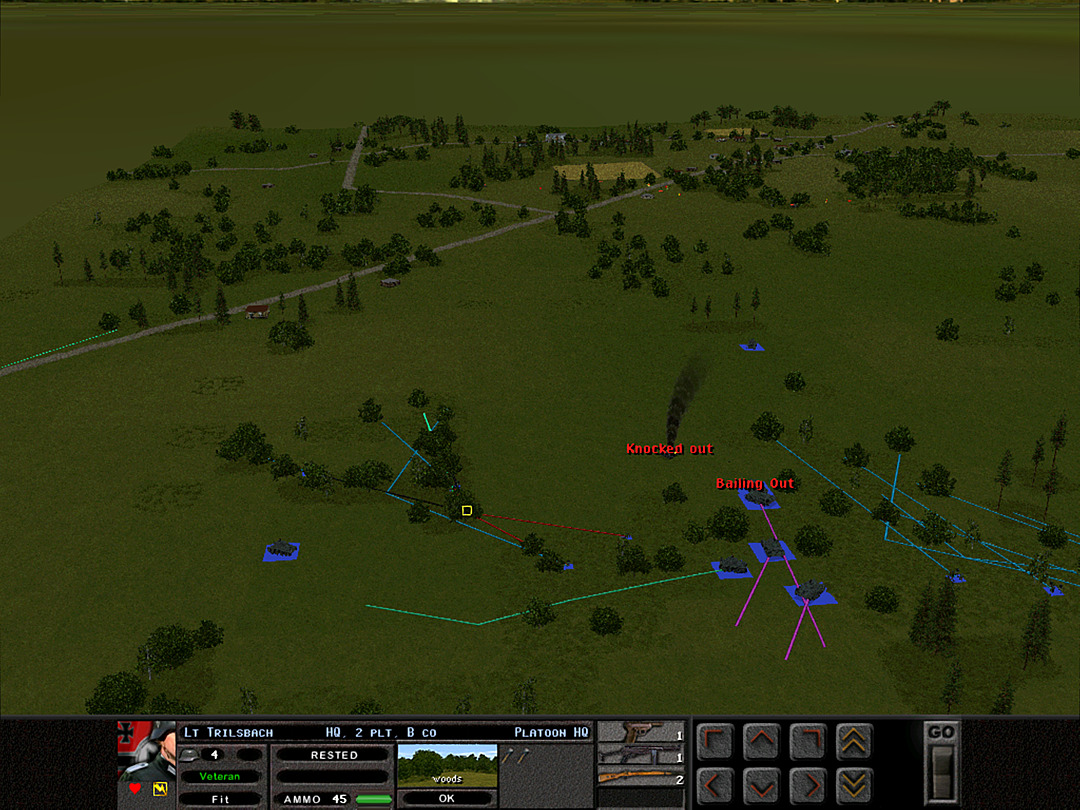 As the Panzers fall back, B Company advances. They're getting as far forward into the woods as they can, and 1 Plt starts advancing up the road. 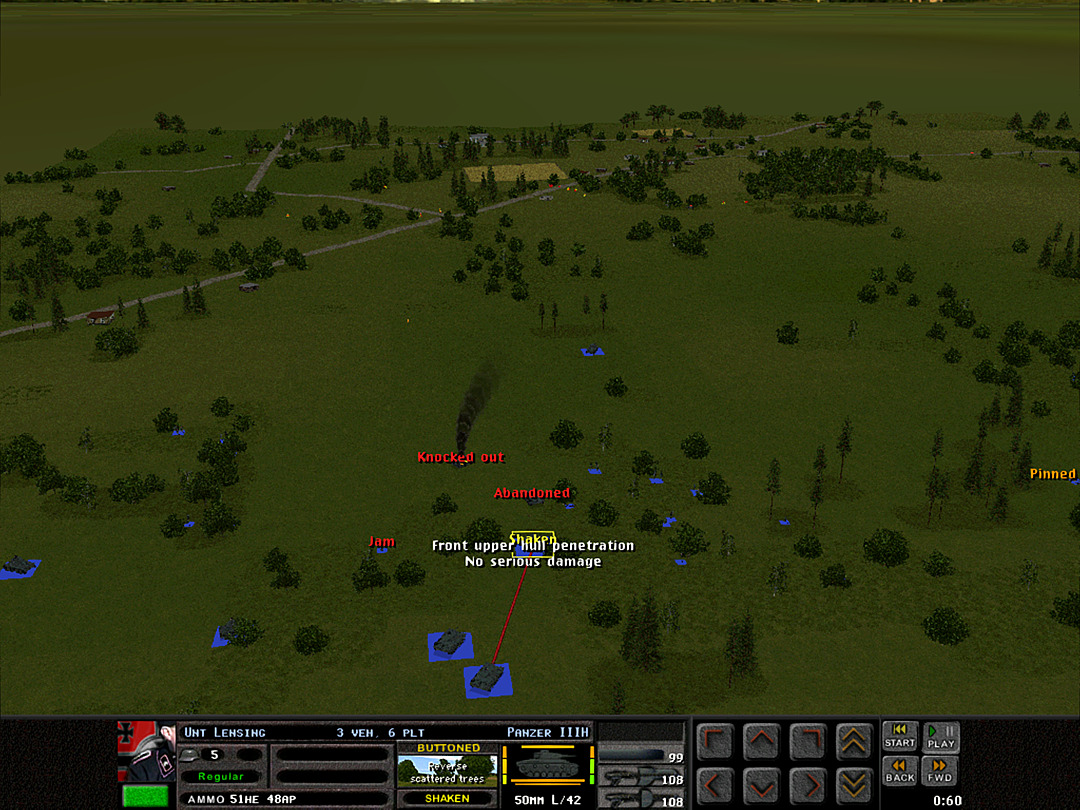 A shell hits another Panzer IIIh, but it luckily does nothing more than spook the crew. 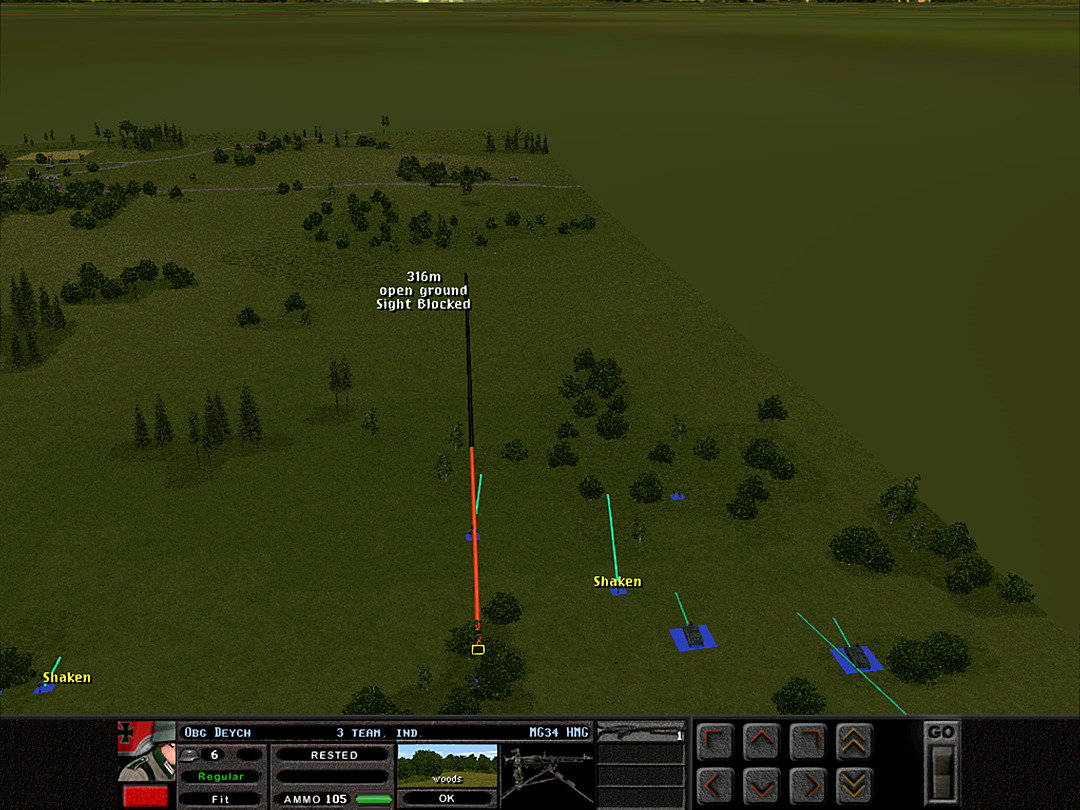 As they head into thinner trees, A Company is starting to take fire from the wooded patch ahead where the gun was spotted. They can't stay in the safer cover and return fire; they'll need to get closer. 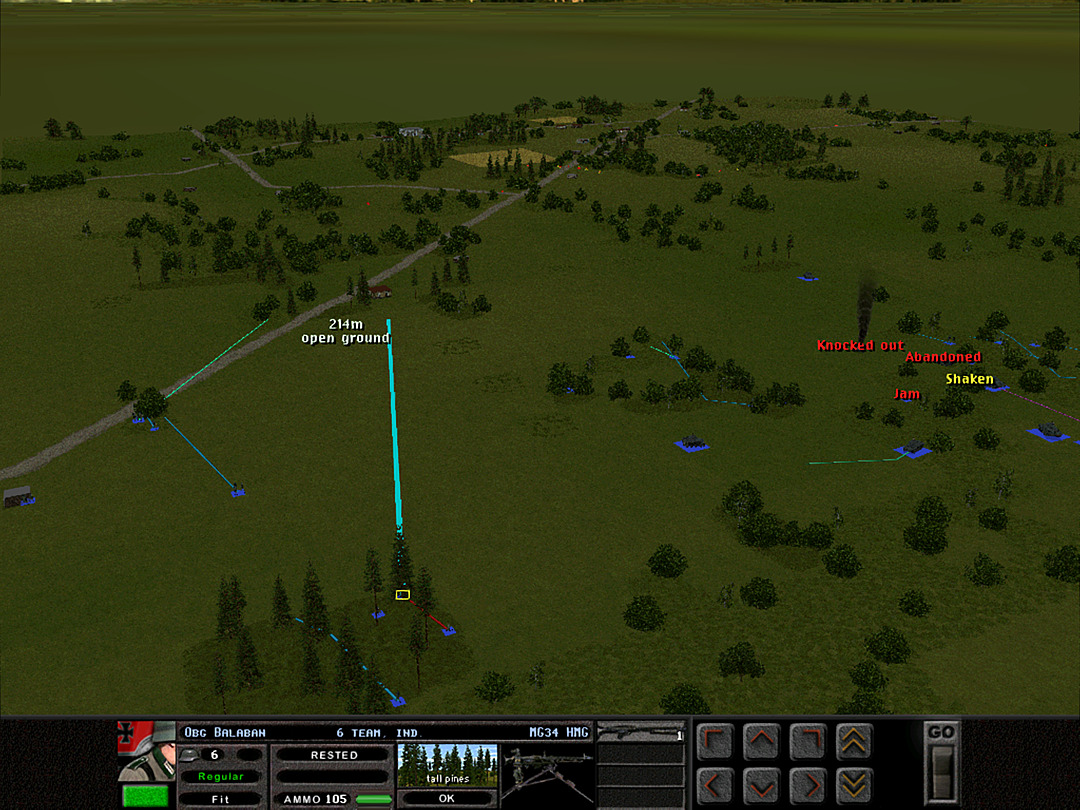 Aside from a jammed machine gun in 2 Plt, everything's going well for B Company. They are well set up to advance into a good position on the roadway. 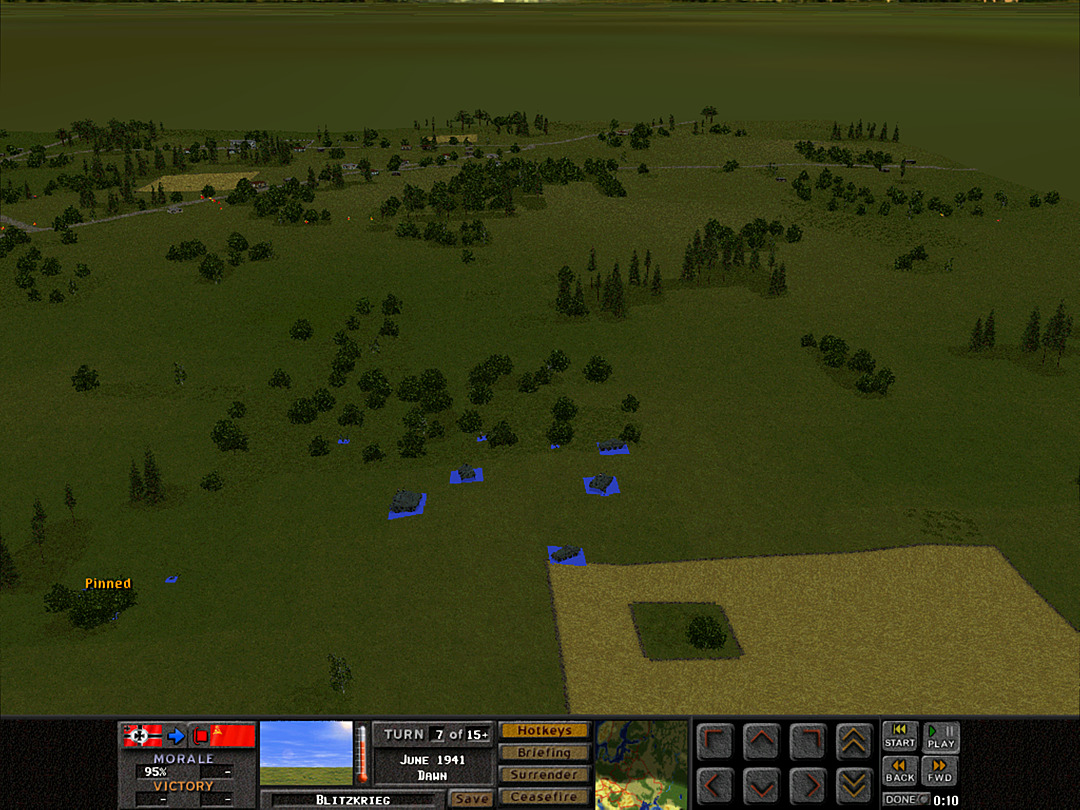 In the center, 5 Plt has dropped off the rest of A Coy, 3 Plt and now both groups must decide their course of action. 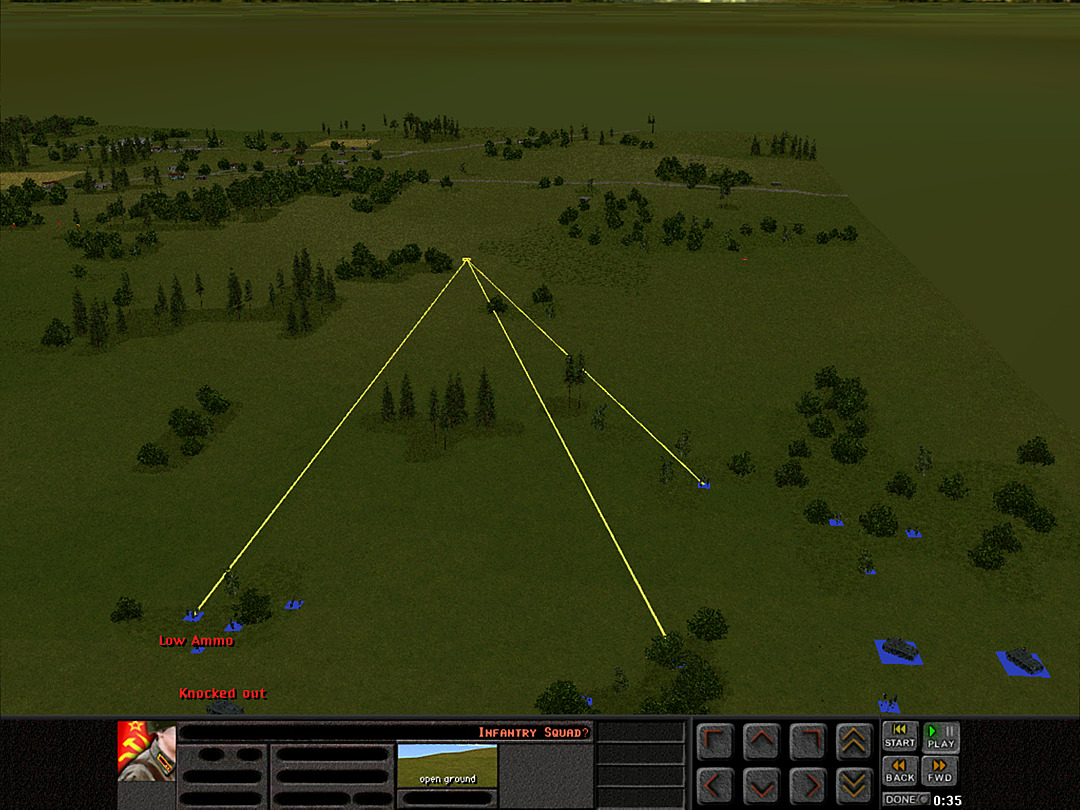 The farthest-forward Soviet troops are spotted and immediately engaged by A Company's rifle squads. 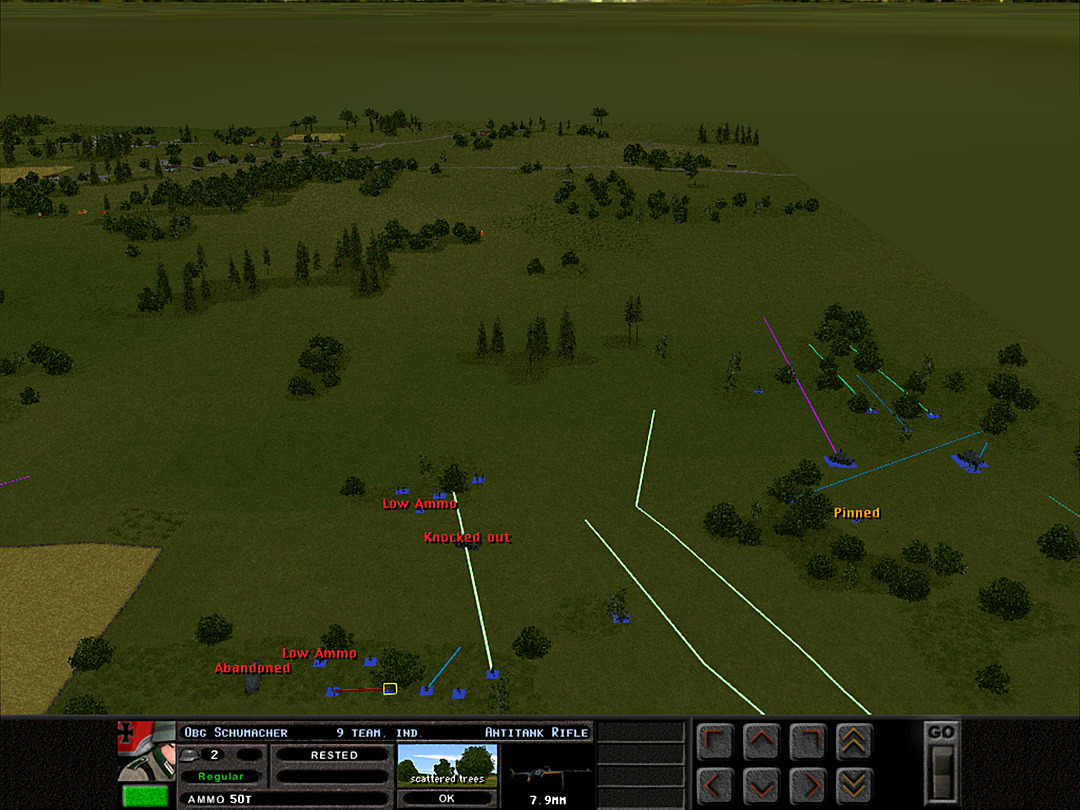 The Panzer 38's are going to try and rush the gun over on this side. This area is slightly lower down than the village, and thus the tanks should only come under fire from one direction. 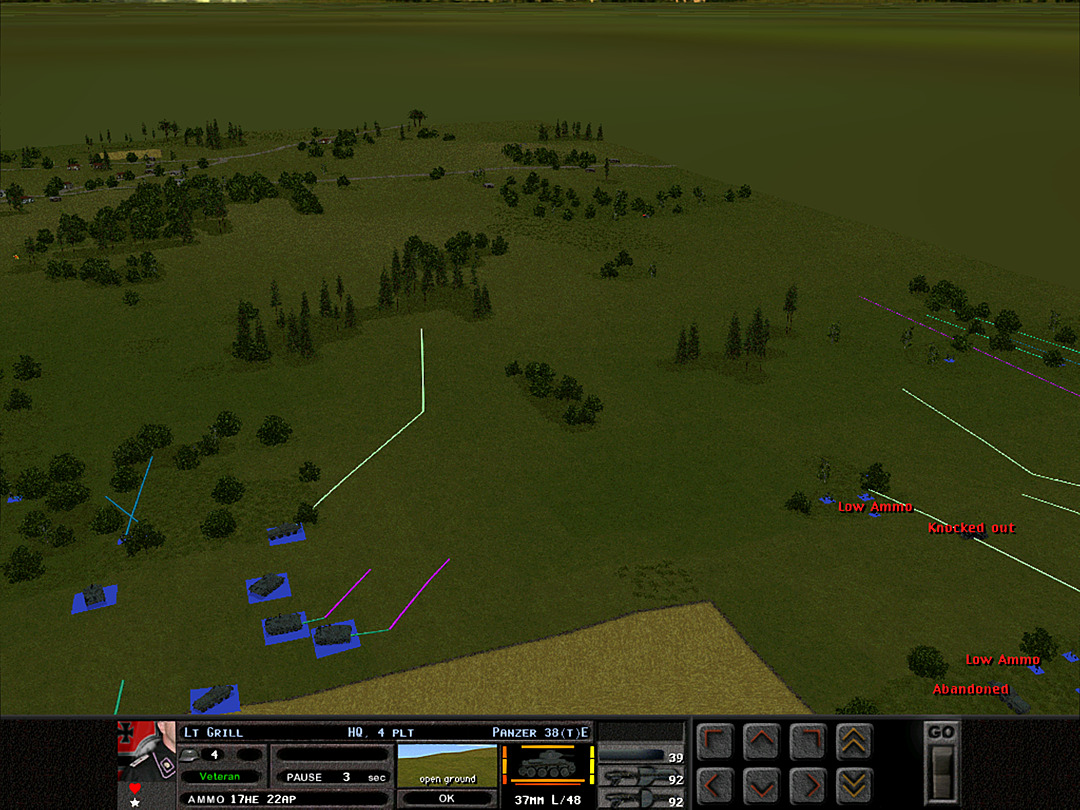 One of the remaining scout cars is ordered to scoot into the space covered by denser trees. The Panzer III's in 5 Plt will move up there if it's safe. This move should come right as my artillery strike will hit the woods near the village, and that should keep the gun and any other forces there occupied. 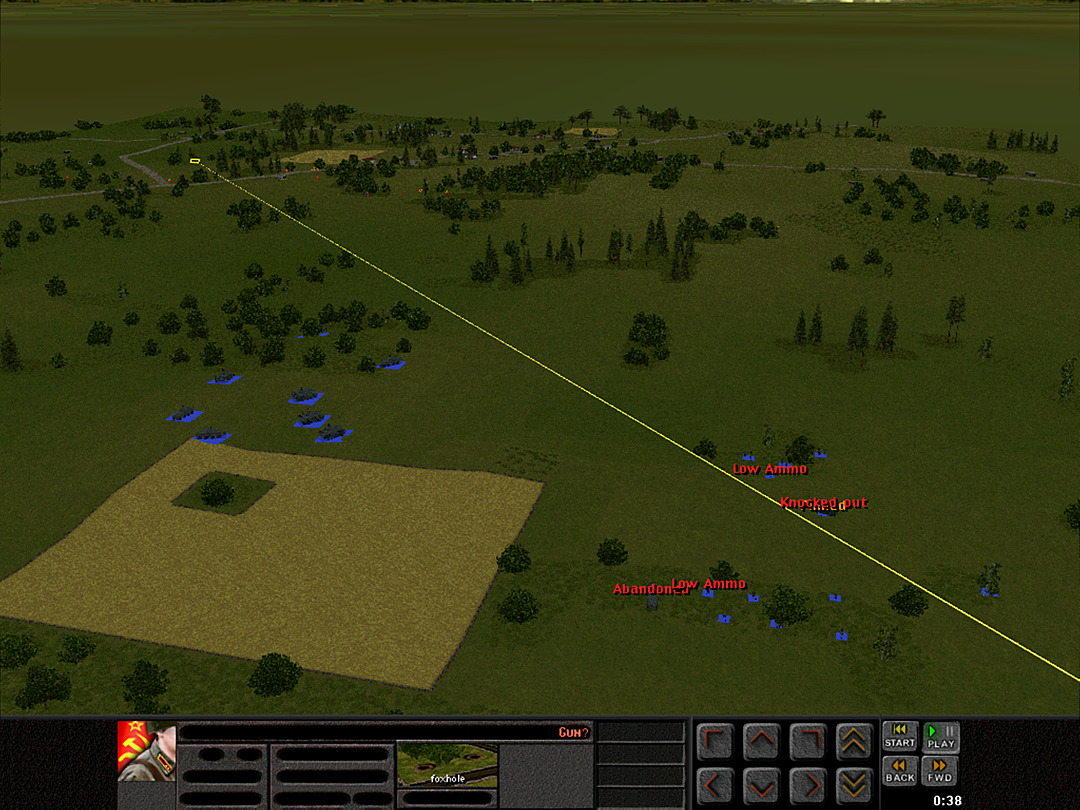 As the light tanks push forward, they once again spot the northern gun. It would likely need a lucky break to track them through all the intervening trees, though. 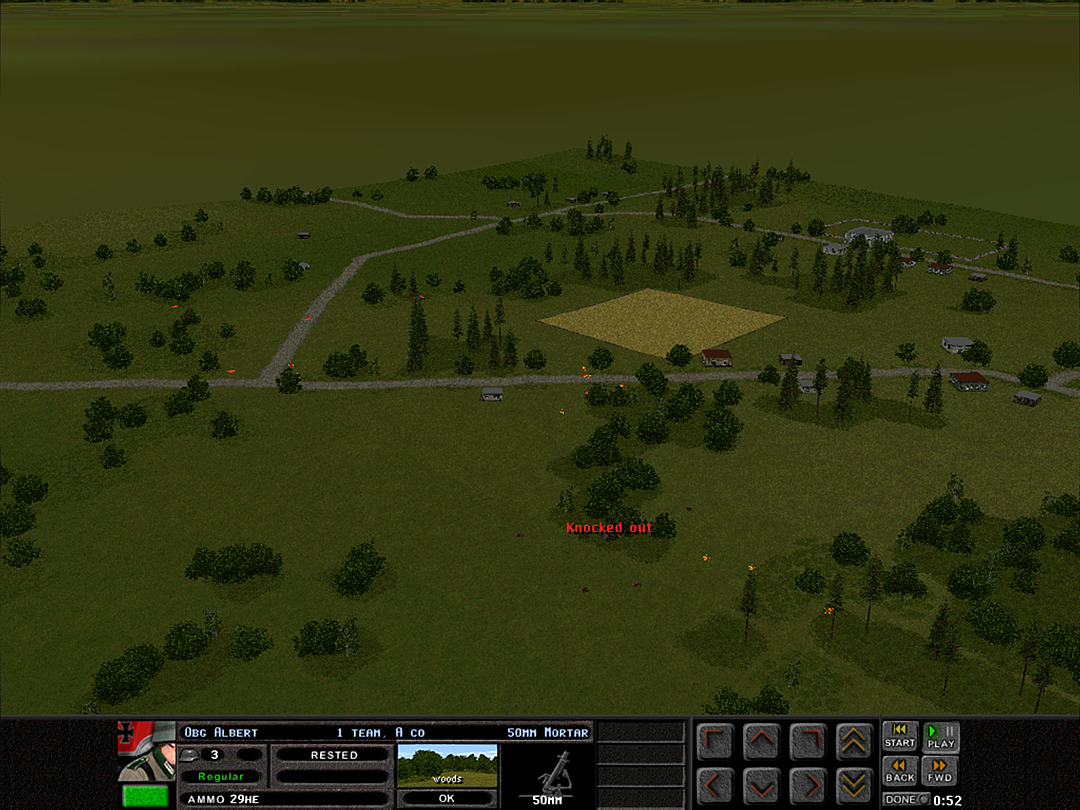 We're the ones who get the lucky break, however, as within seconds of the artillery barrage landing, the AT gun in the woods is knocked out. That's a key point in their defense gone. It looks like we'll suppress some infantry with the shelling as well. 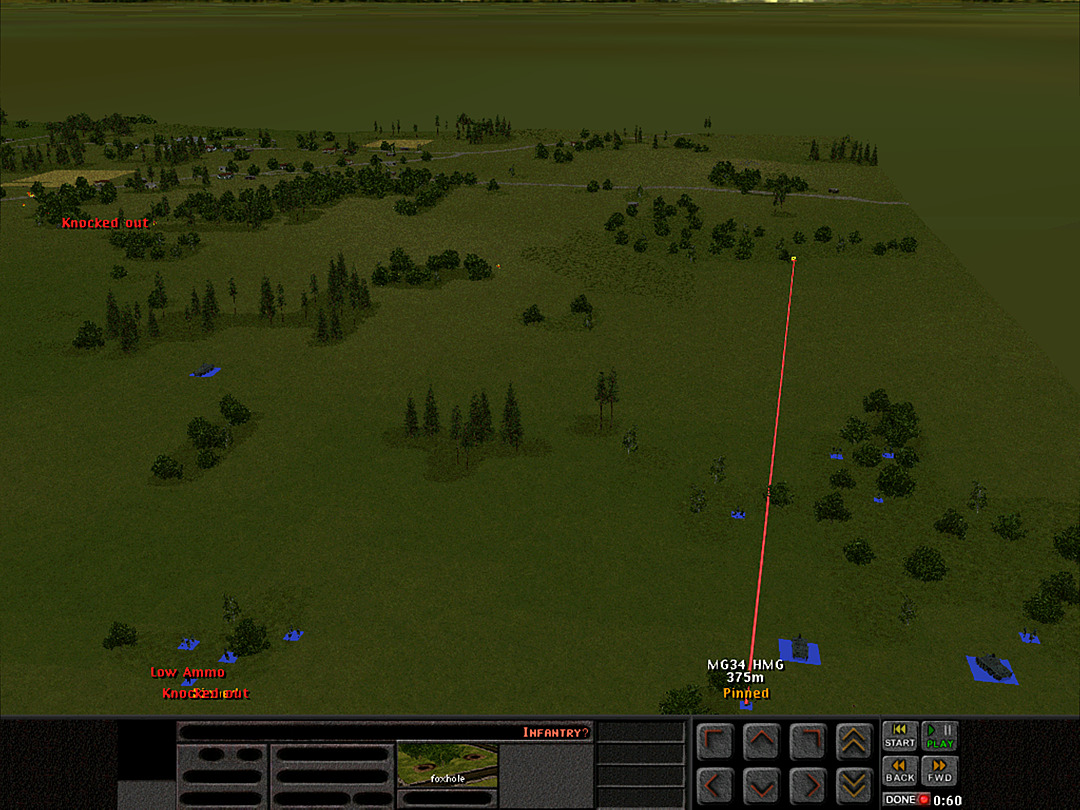 The advance is a little tough for A Coy, 1 Plt, as they're getting hit as soon as they try to make any movement forward. 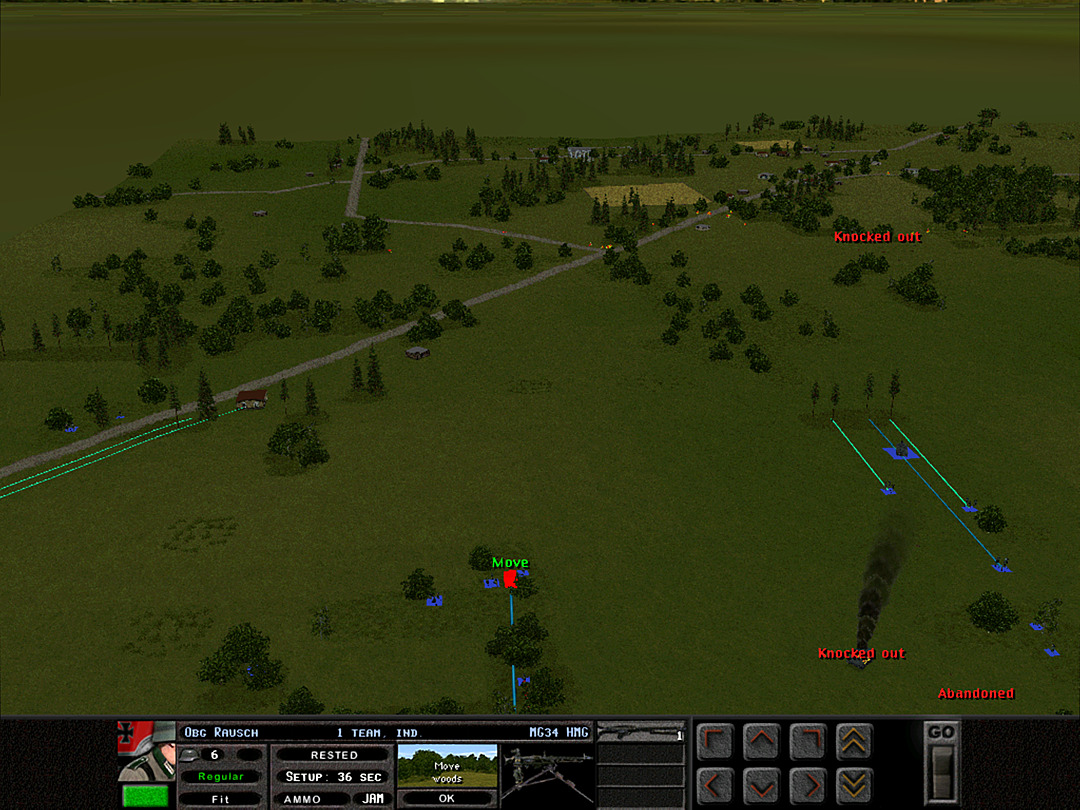 The elimination of that gun in the woods means the northern side is a bit safer as well. B Coy, 3 Plt is finally reaching the isolated tank of 3 (Tank) Plt that had scurried behind a stand of tall Polish pine trees. 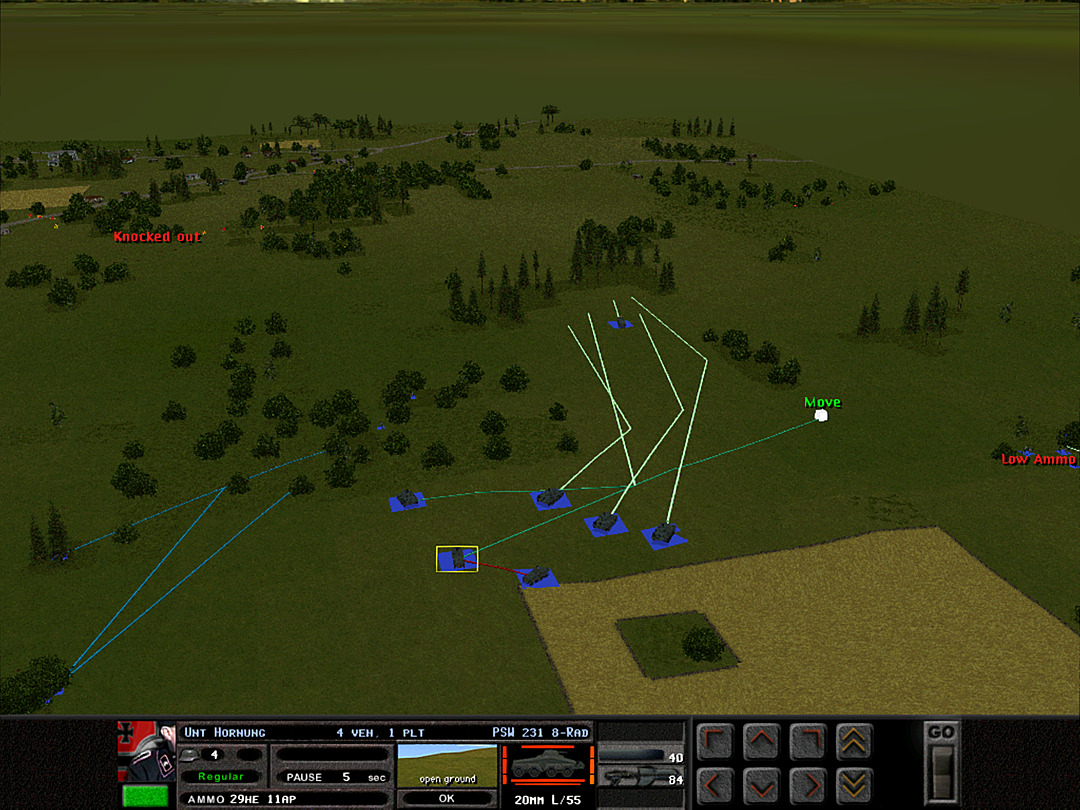 The gun in the center is gone, and the scout car hasn't seen anything unusual, so 5 Plt is ordered forward. Another scout car is sent to lend support for A Company's push on the southern flank. 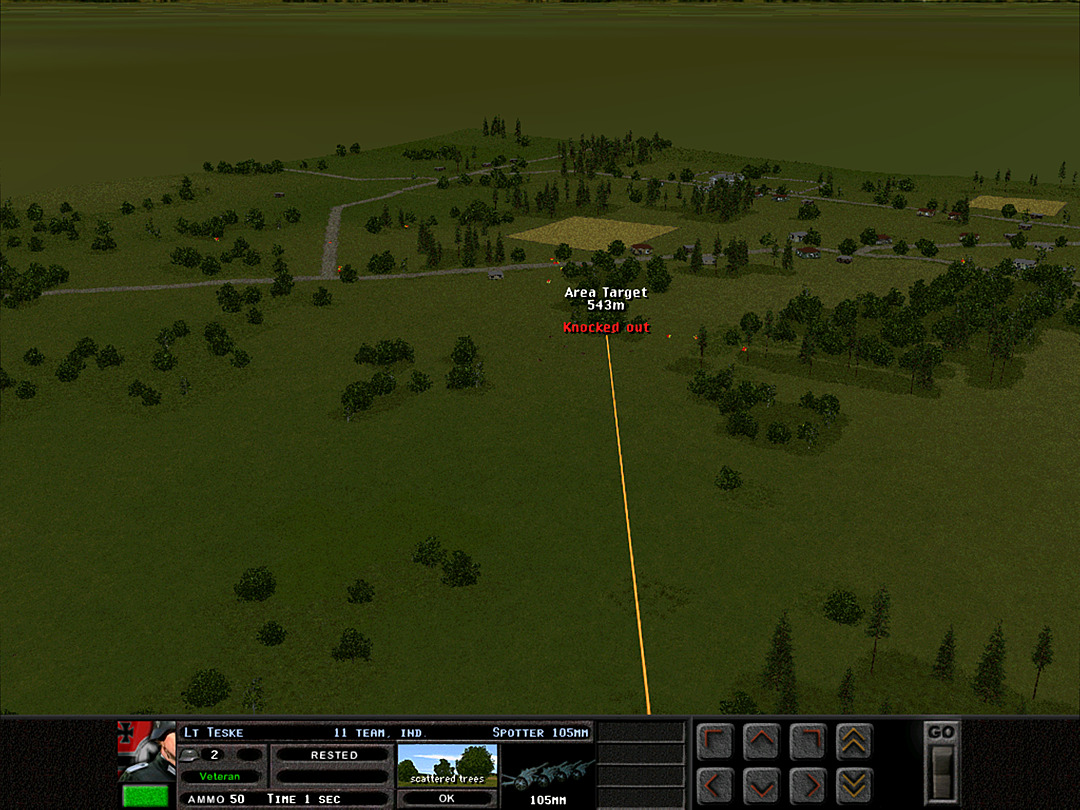 We keep the artillery barrage going, to keep these woods well suppressed. We don't want any more surprises from there. 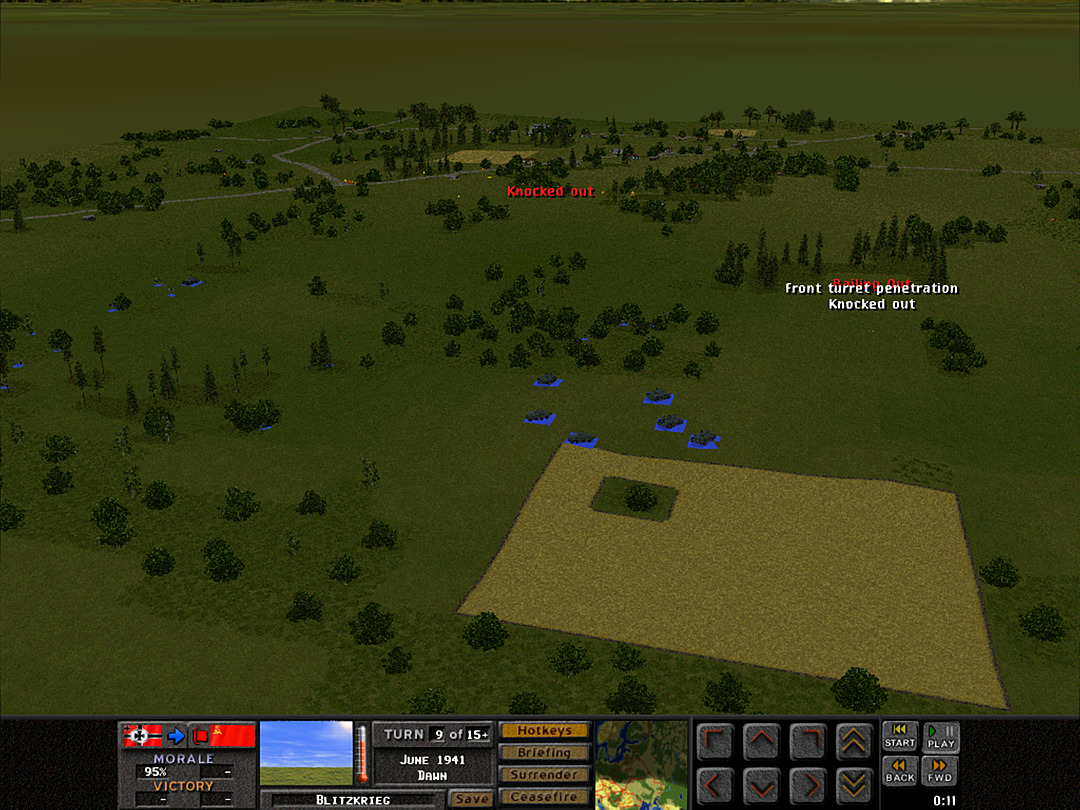 The surprise comes from elsewhere, though. As soon as we thought it was safe, the enemy opened fire from an unseen location and knocked out the scout car. The Panzers are about to drive into a trap! 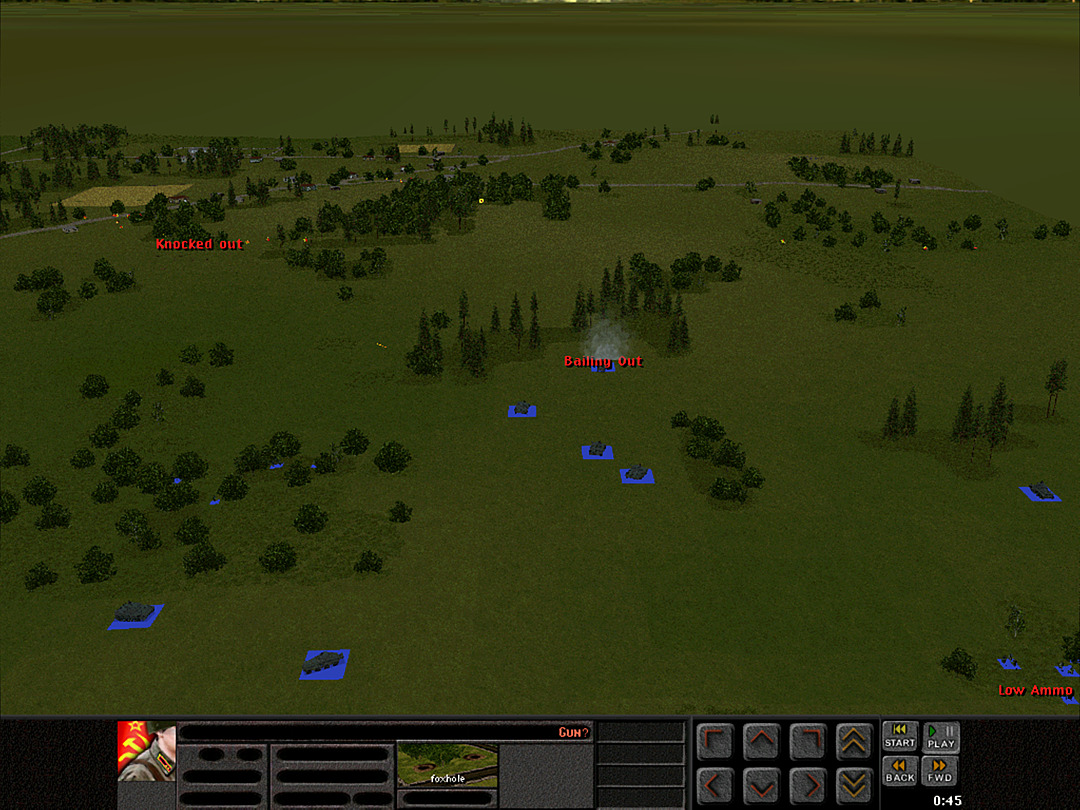 It's another gun, sited just at the interior corner of those heavy woods. 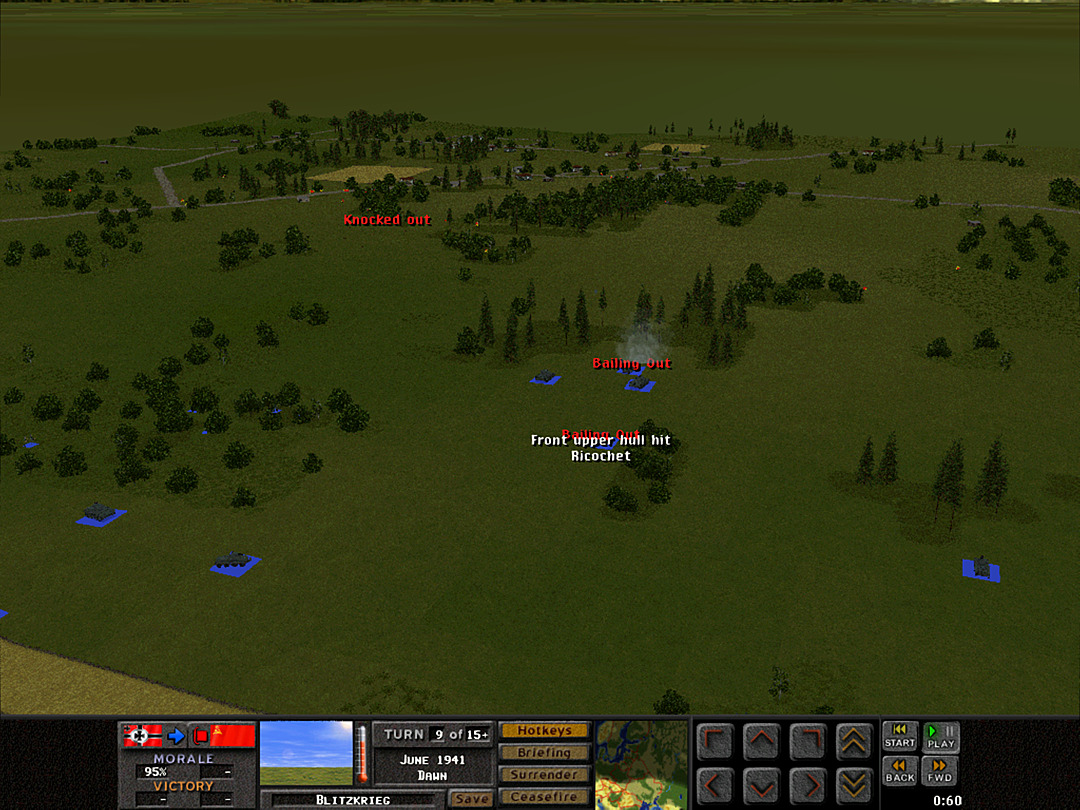 There's nothing to be done for it; one of the tanks is knocked out as soon as the gun can spot it. 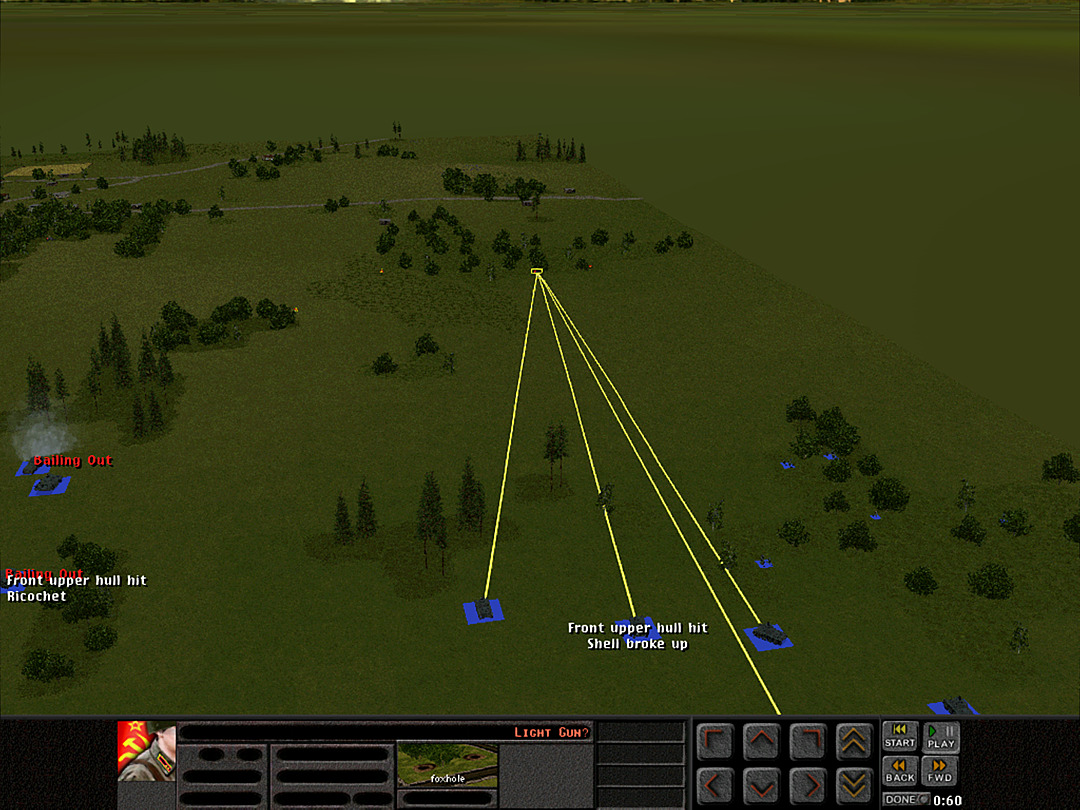 As for the advance of the light tanks in the hollow, it's gone excellently. They're suppressing the gun and there doesn't seem to be anything else down there that can hurt them. [This might have been a shot from the infantry gun in the face of fire, or it's from something else like an MG that can't penetrate the tank's armor.] 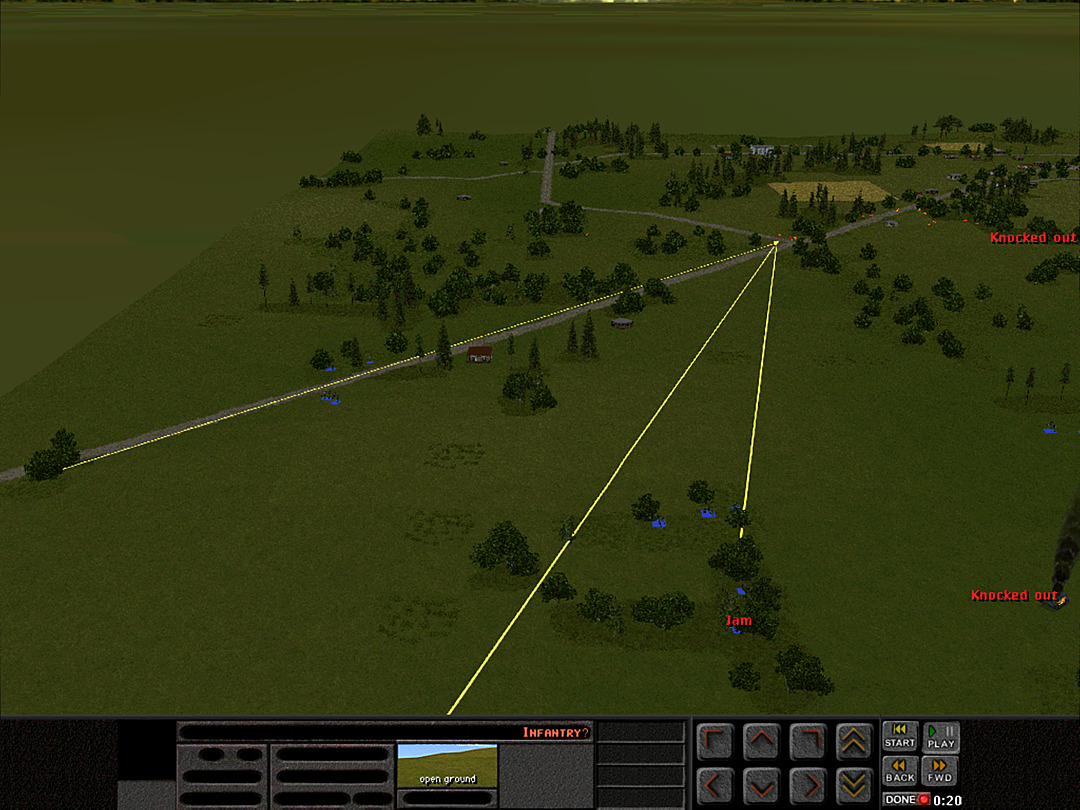 The rifles of A Company are doing a good job of holding down the Soviet infantry that's seemingly scrambling about in front of them. 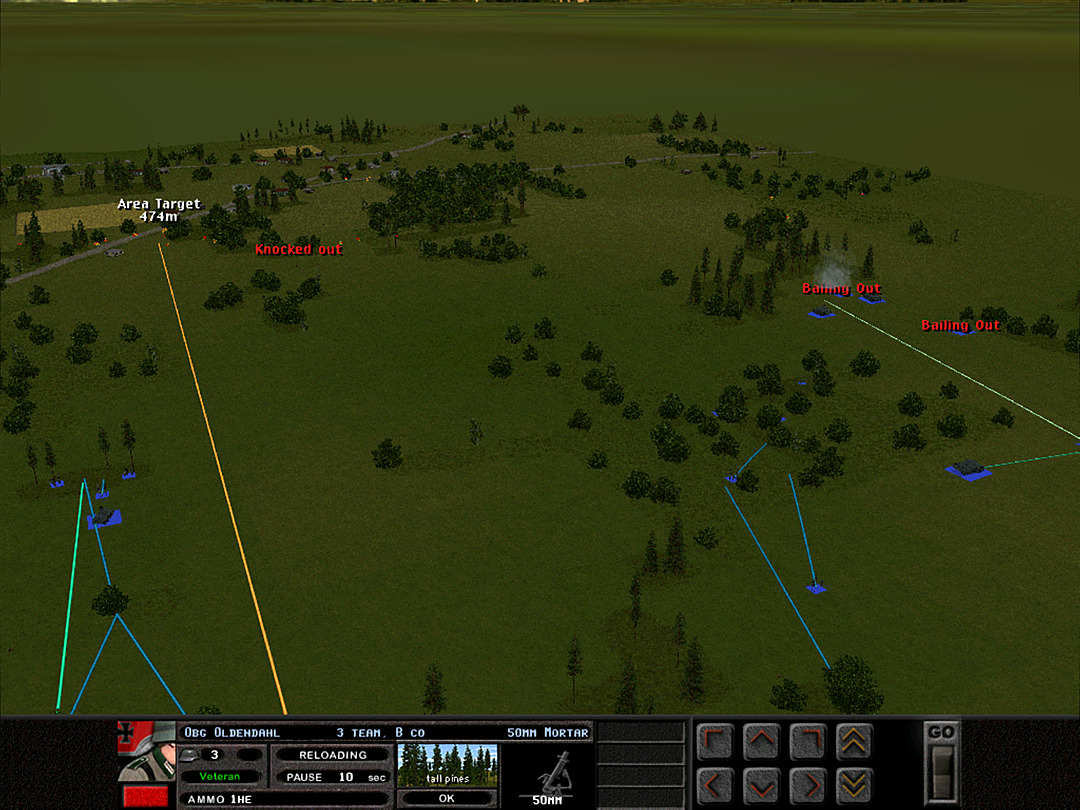 The 10.5 cm artillery strike is halted, and I order the mortars to rain fire on this group of infantry near the road. 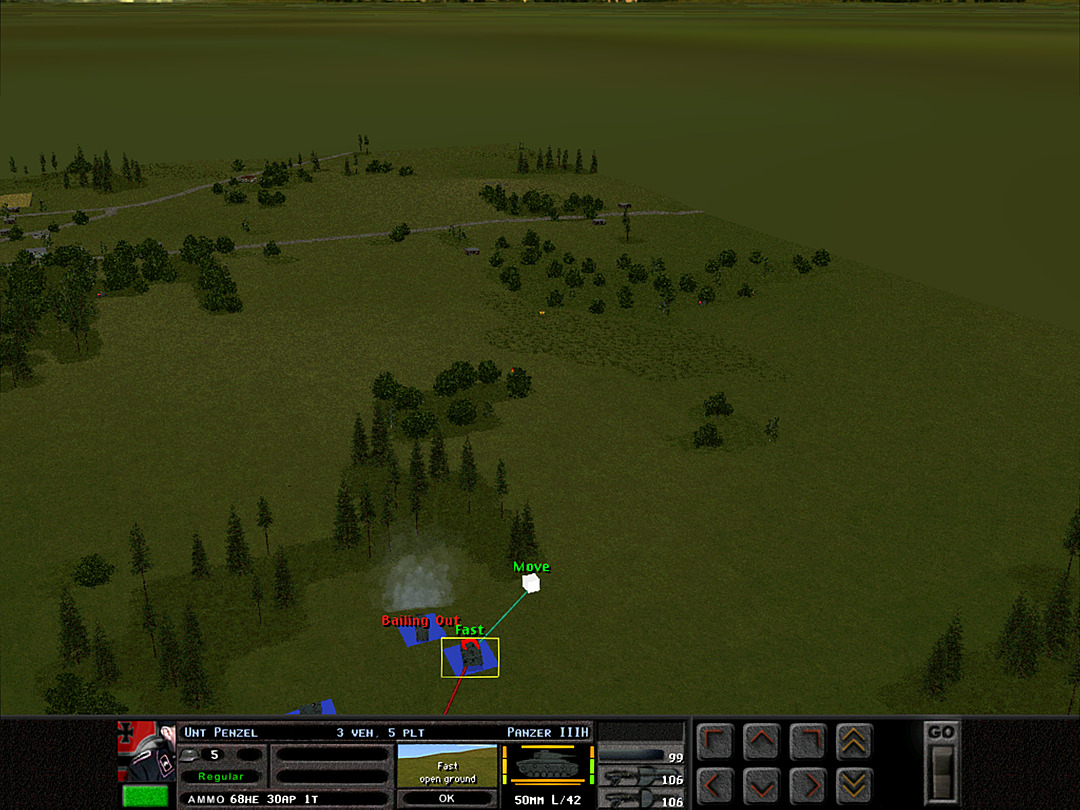 The command tank of Plt 5 is told to pull back, while the other two survivors try to find a spot where the newly-found gun can't sight them. 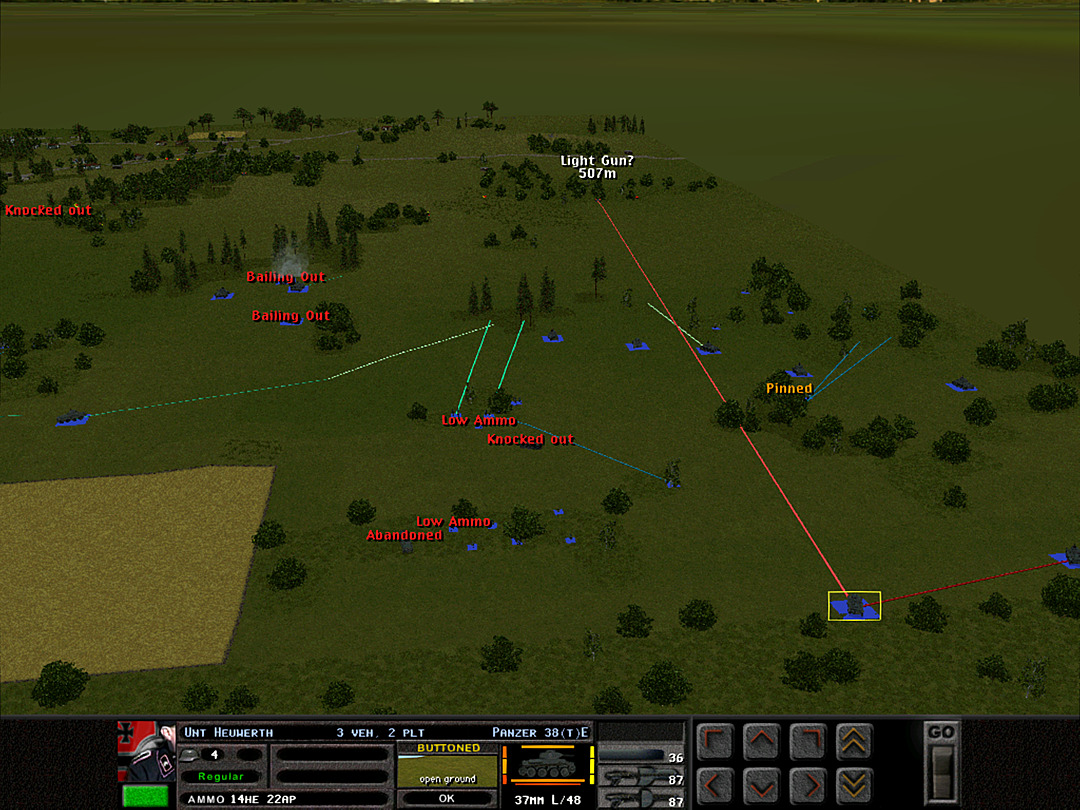 As the Pz38's keep the gun under control, the rest of A Coy tries to grab more ground. 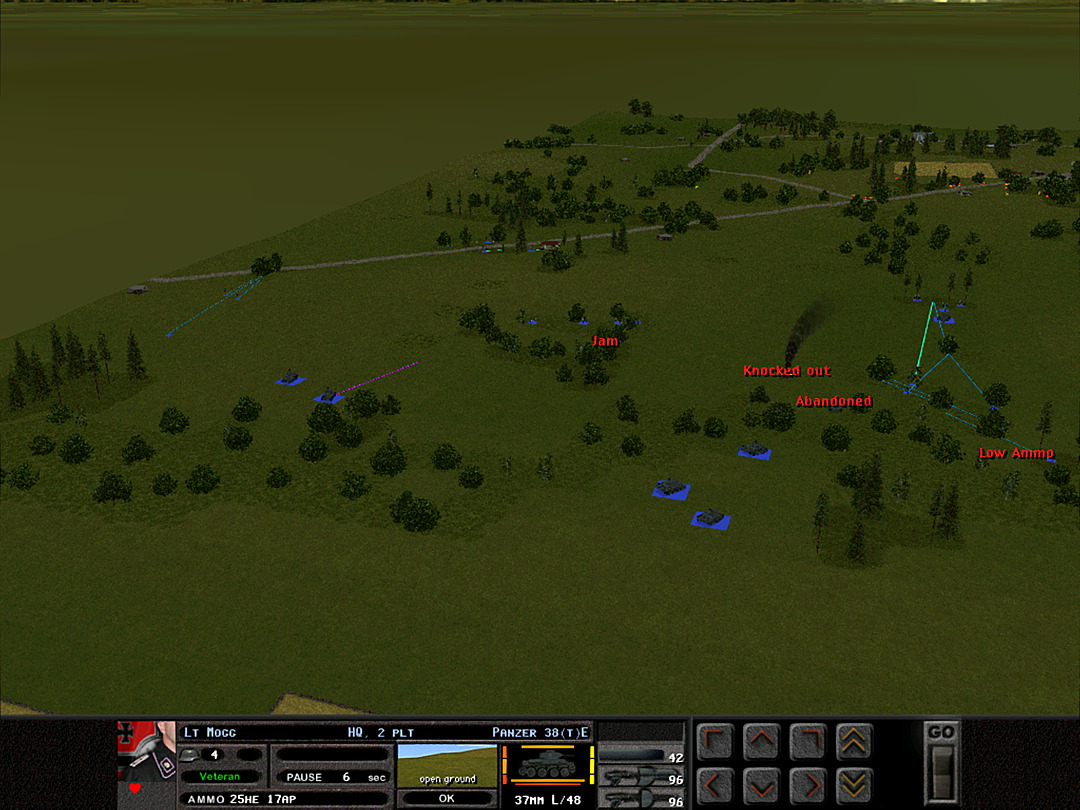 The tanks on the north end have pulled back and regrouped. It seems B Coy is making advances up toward the road without their help. 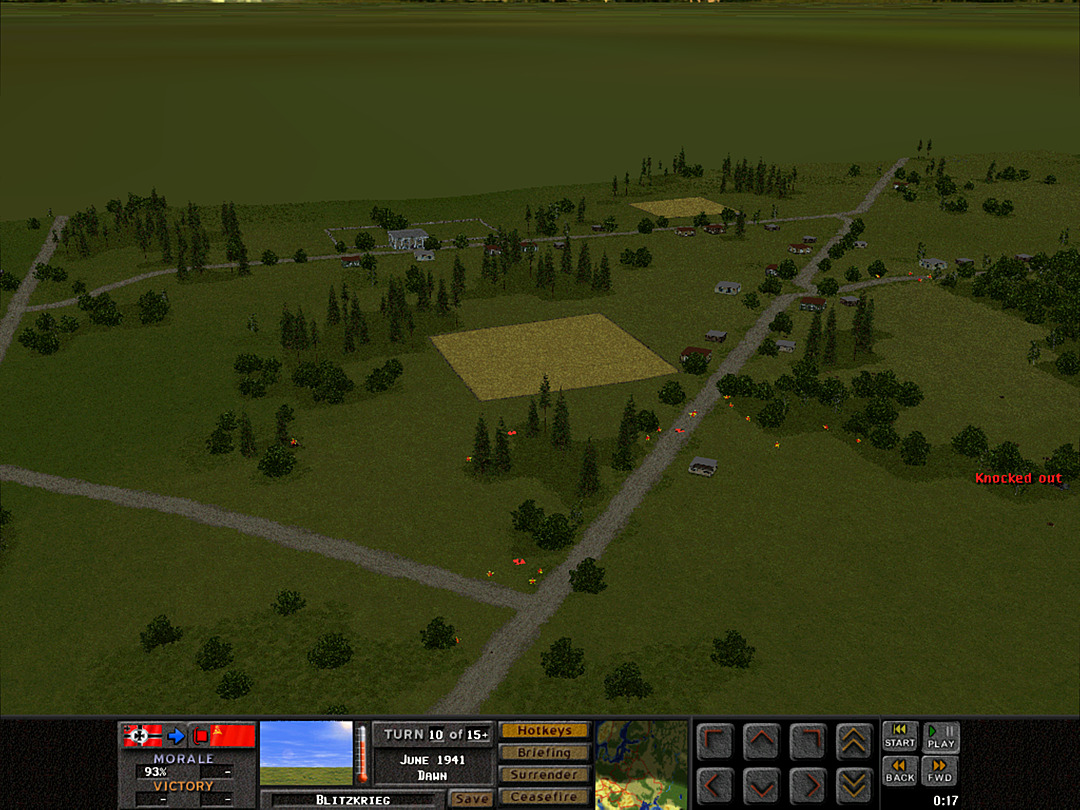 It's not clear just how many forces we're up against here, but they do seem ready to defend the village. [Anything with a solid red rectangle underneath = confirmed enemy unit, though not necessarily what it appears as. The yellow-tinged shapes, which are actually red stars (since they're Soviet), are 'contacts', and could well be from units we've spotted or all from different units.] Unit Highlight I'll be showing off the detailed info for many of the game's units, though I won't always show every variant. I won't get into the specifics of what the stats mean; they generally reflect real-world values but also have in-game significance. Some of the numbers really only make sense relative to the values of other units in the game. Unit cost is the 'point cost' for a single one, given here disregarding rarity adjustments to the price (adjusting it based on when the scenario is set and real-world availability). Today's unit is the Panzer 38(t)E, the light tank we've put to good use in the battle so far. 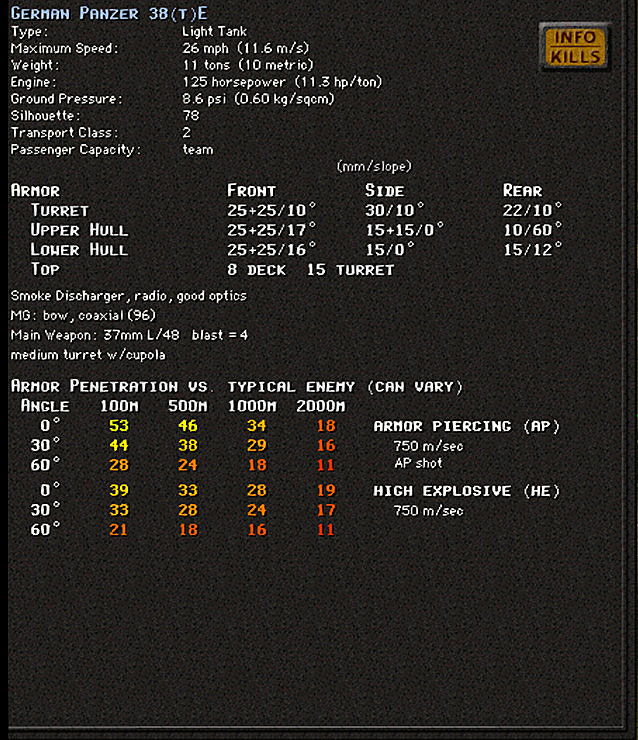 Base cost: Pz38(t)A - 62 Pz38(t)E - 63 Crew size: 4 Panzer 38(t)E, the most successful variant Since Germany's own tank development only began once they started ignoring the interwar restrictions on military build-up, they had need of new tank designs. While the fascist Nazi ideology made them reluctant to make use of other countries' tanks, this Czech tank that was available once most of the country had been annexed was better than anything the Germans had at the time, and it was ordered for production to augment the armored units. When chosen it was sometimes called the 'Czech Panzer III' or Panzer III(t) until the German-designed Panzer III was produced in numbers, and then the designation of 38(t) was finally settled upon (the 't' indicating that it was of Czech origin). The tank's reasonably powerful gun was quite effective in the early war against anything with thin armor, and it was used in campaigns from Poland through to Barbarossa. By 1942 it was obsolete, as it was too lightly armored to withstand many of the Soviet tanks that were being fielded, while also no longer able to destroy them except at very close range. It was still a decently mobile (if small) vehicle. The chassis was repurposed in a few other ways later on in the war, some of which we will likely see. While many variants of the tank were put into service, they were similar enough that the game only has the A and the E versions. The E is mainly distinguished by its much better armor in some locations (the values with a '+' above show what it is different from the A variant). Kangra fucked around with this message at 20:13 on Jan 2, 2024 |
|
|
|
SelenicMartian posted:There should be a 1941 scenario where playing as the Soviets you can defend nearly perfectly giving only the order to stop hiding, after spending half an hour setting up positions and arcs of fire in deployment. Then they send you a KV-2 and BTs as reinforcement and there's absolutely no need. There are almost certainly single battles where this can be done, or nearly so, outside of maybe adjusting firing arcs or calling in artillery if you have it. But I doubt a whole operation can be done that way, where you never adjust on even subsequent battles. It'd be kind of interesting to see. Proper set-up is key, and tends to be about a third of the playing time for me.
|
|
|
|
Blitzkrieg, Battle 1, Battle Time: 10 minutes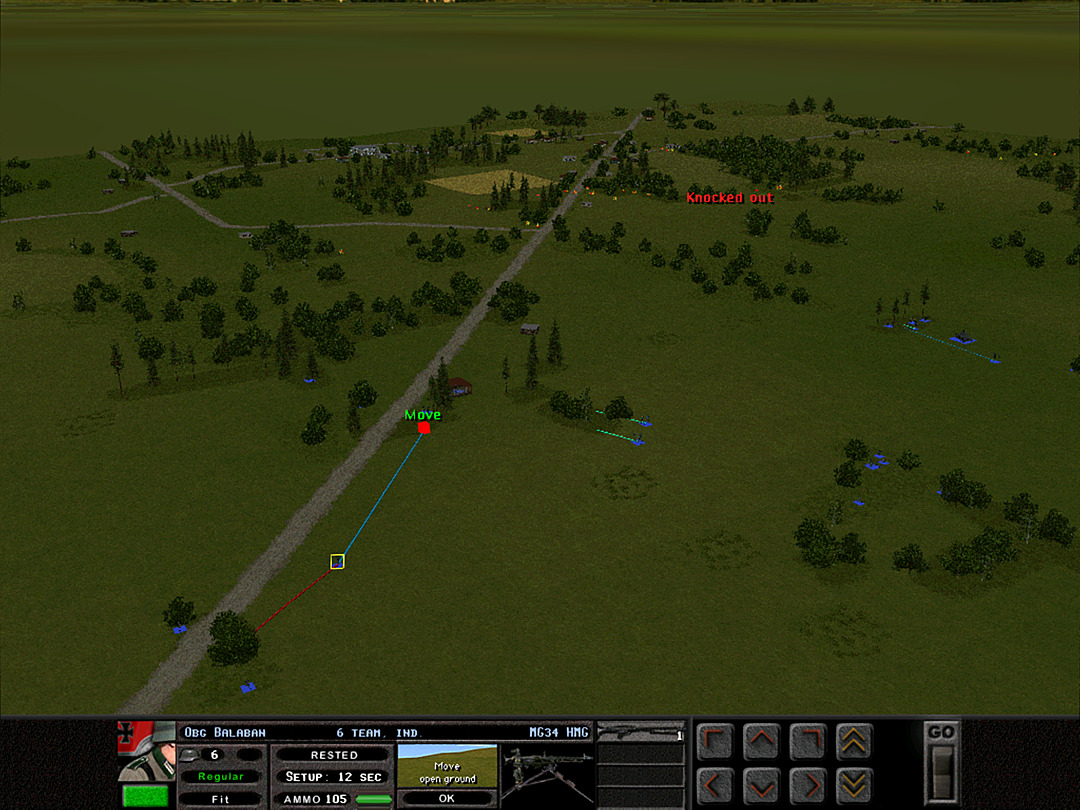 As B Coy, 3 Plt advances, a machine gun is ordered to get a better position covering the main road. 2 Plt is heading toward the road as well, as it seems to be a clear path toward the enemy. 1 Plt is pushing into the trees and they'll likely be able to link up with the rest of B Coy as they get close to the village. 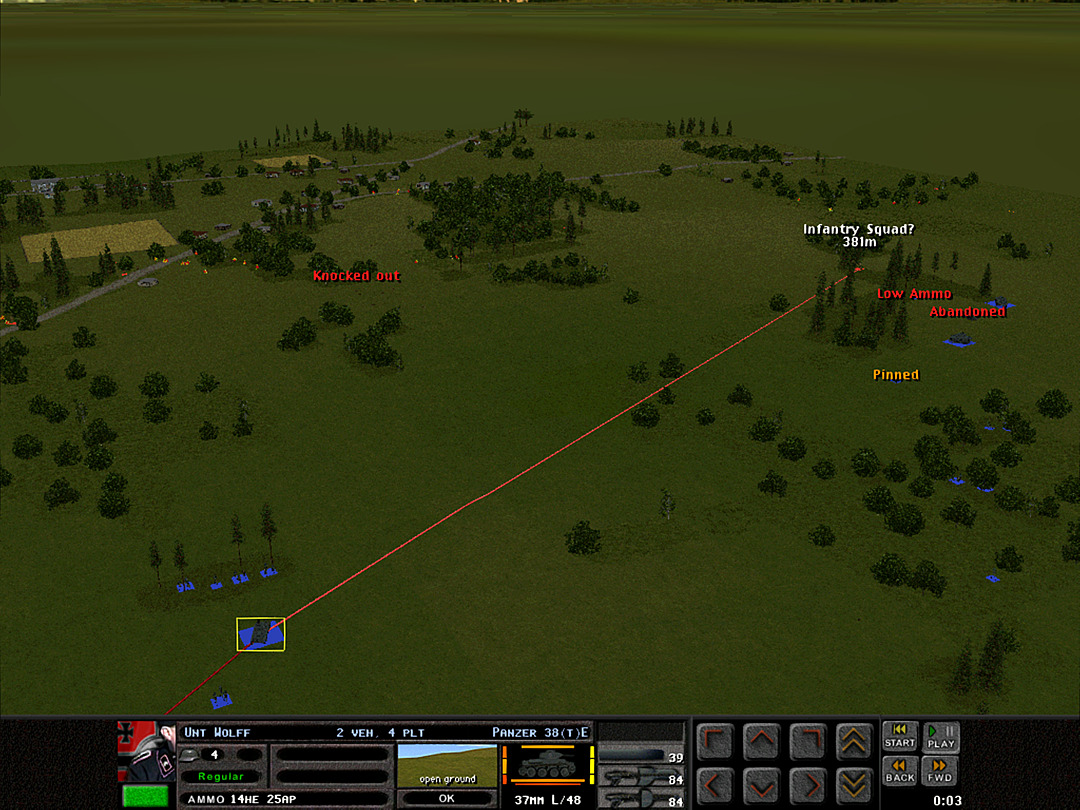 The lonely Pz38 of 4 Plt spots infantry trying to advance into the copse where A Coy, 3 Plt is setting up, and prepares to fire on the Soviets. 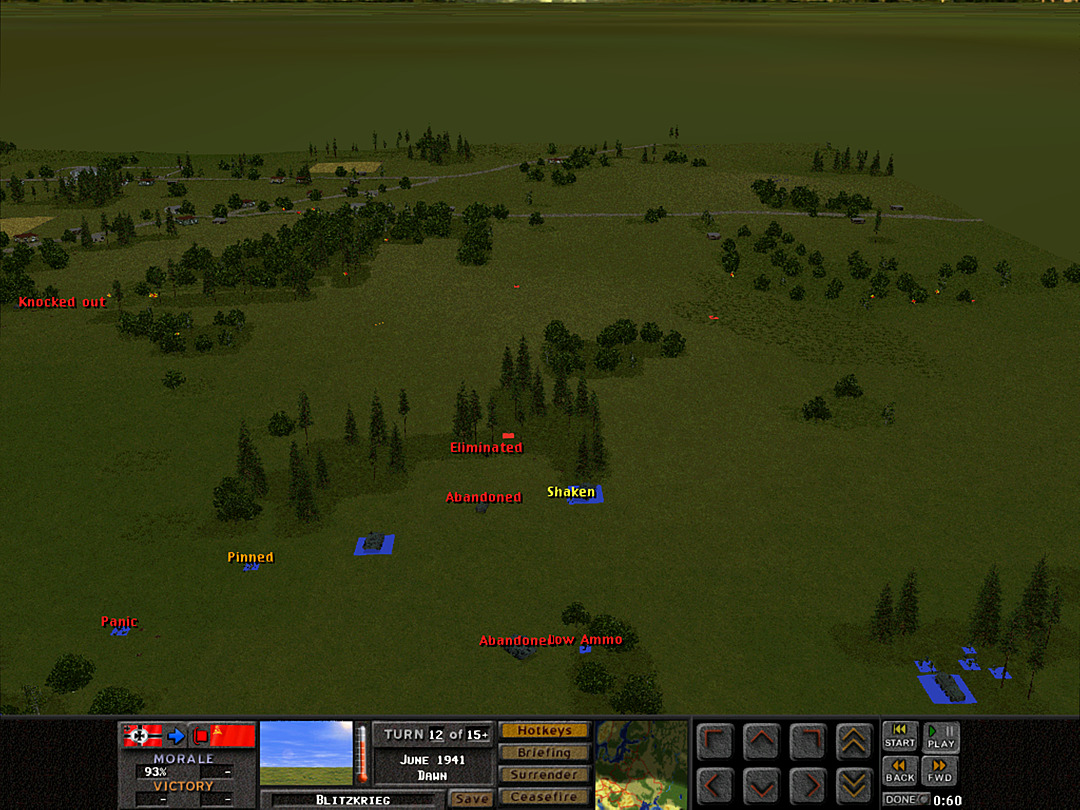 A Coy, 3 Plt is having difficulty making the crossing, as they're taking a lot of fire from the northeast. 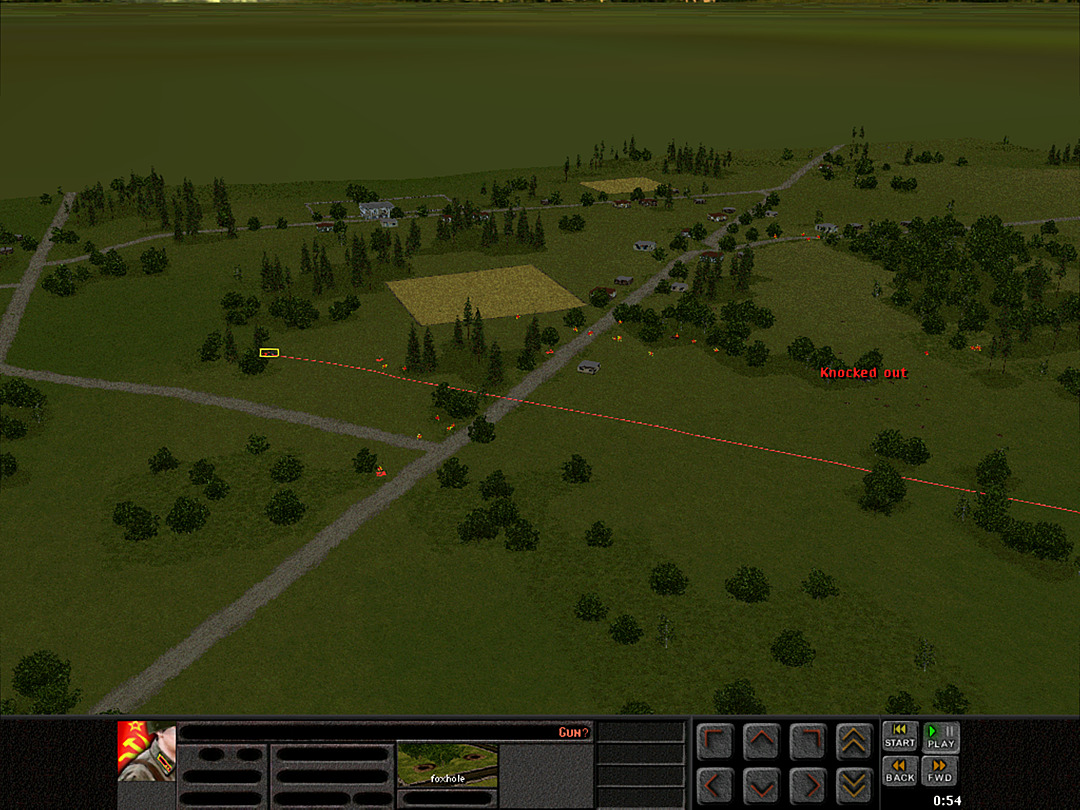 It is the gun over there. It lacks vehicular targets, and is pounding them with high-explosive rounds. 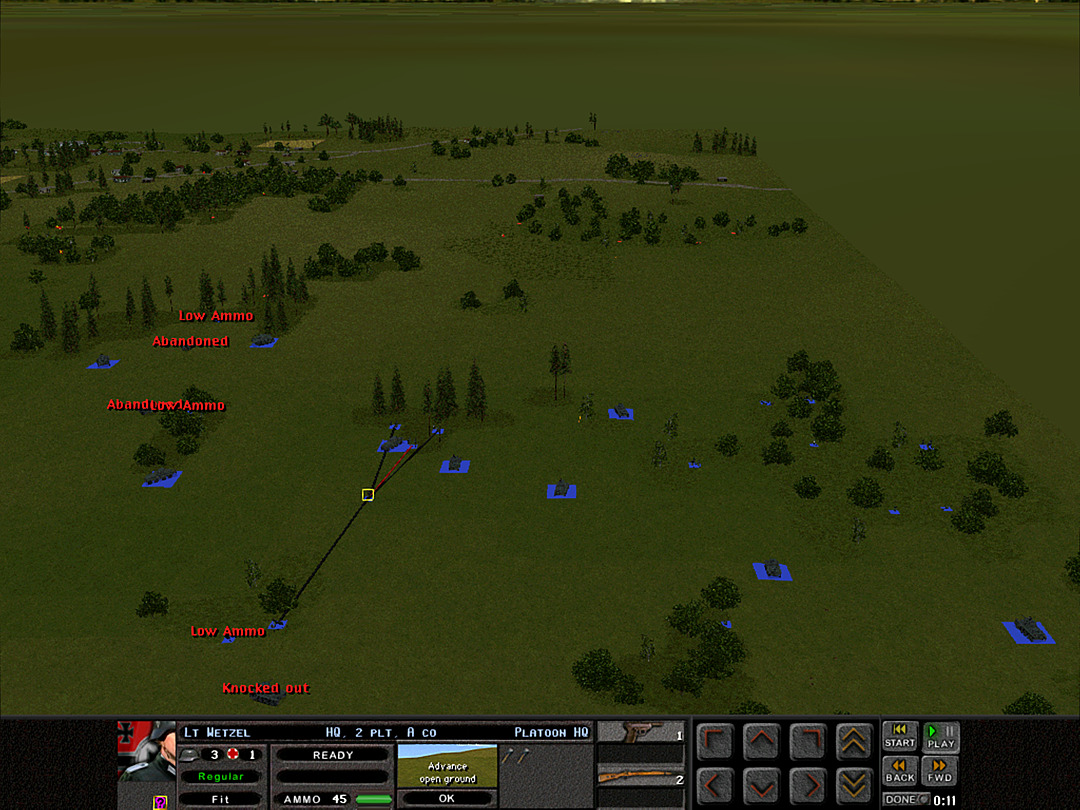 A Coy, 1 Plt is finally getting to forward positions. They can't easily advance on this side, but from here they can support 2 Plt's eventual assault. 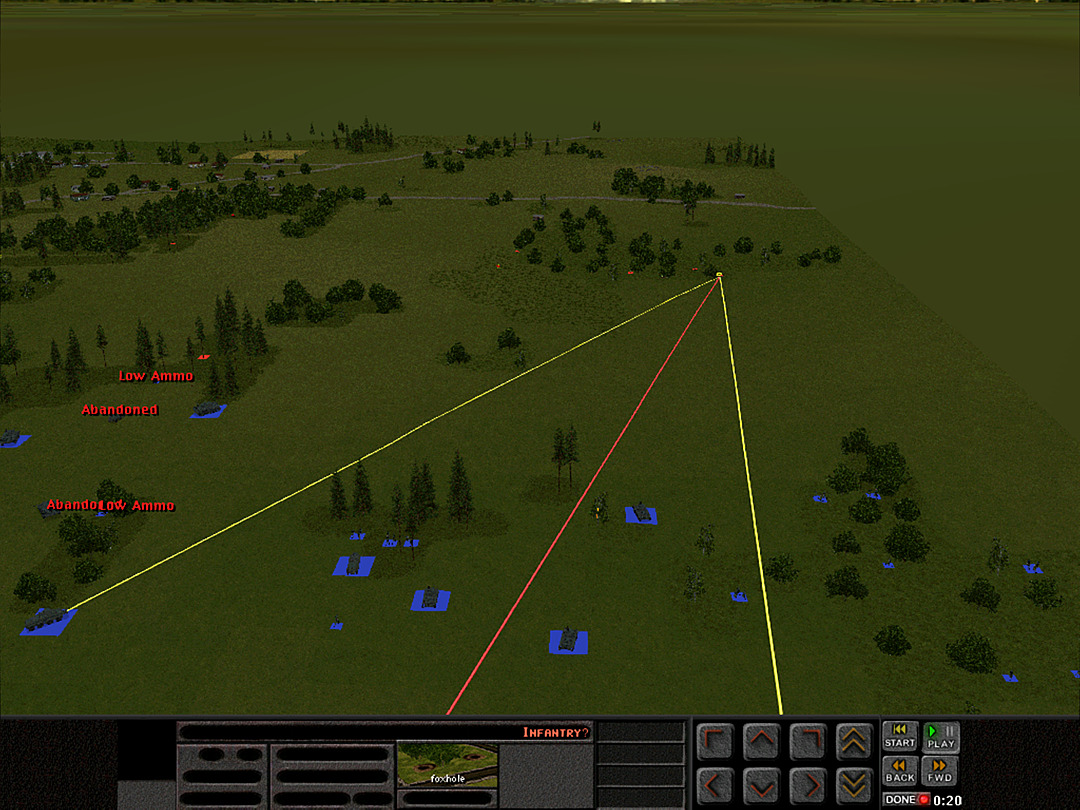 It's a firefight of automatic weaponry, as we attempt to silence the machine gun anchoring the southern line in the sparse woods. 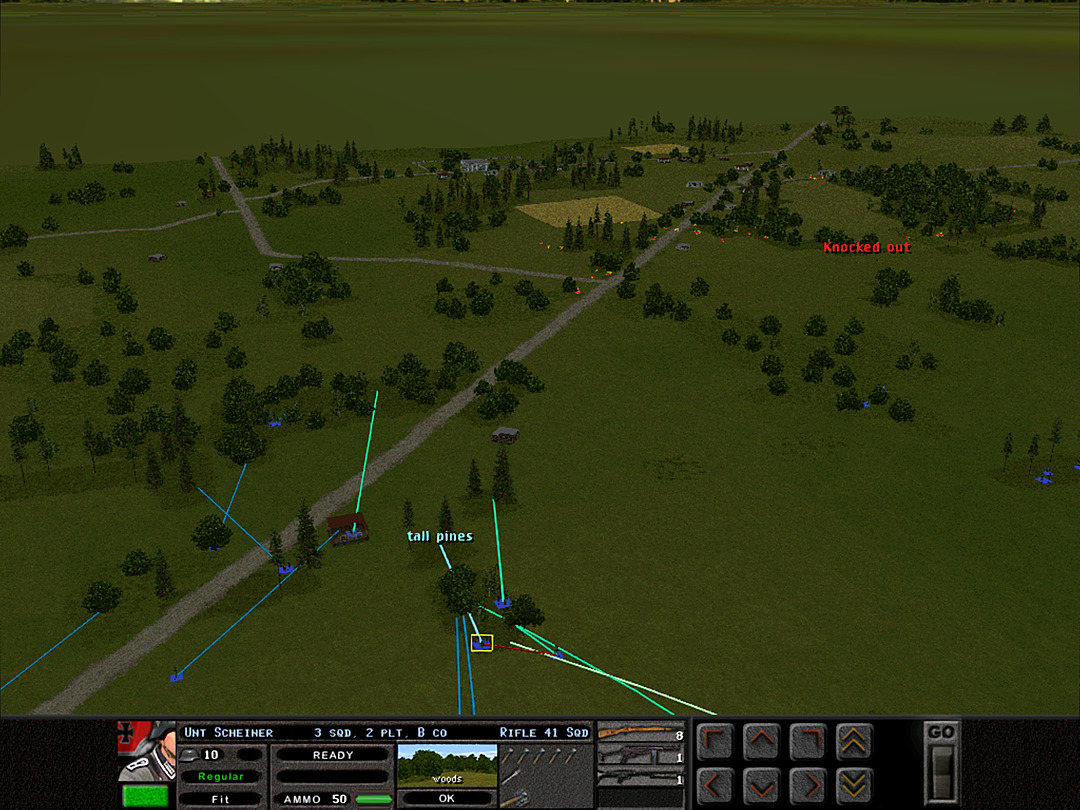 B Company continues to meet with little resistance. 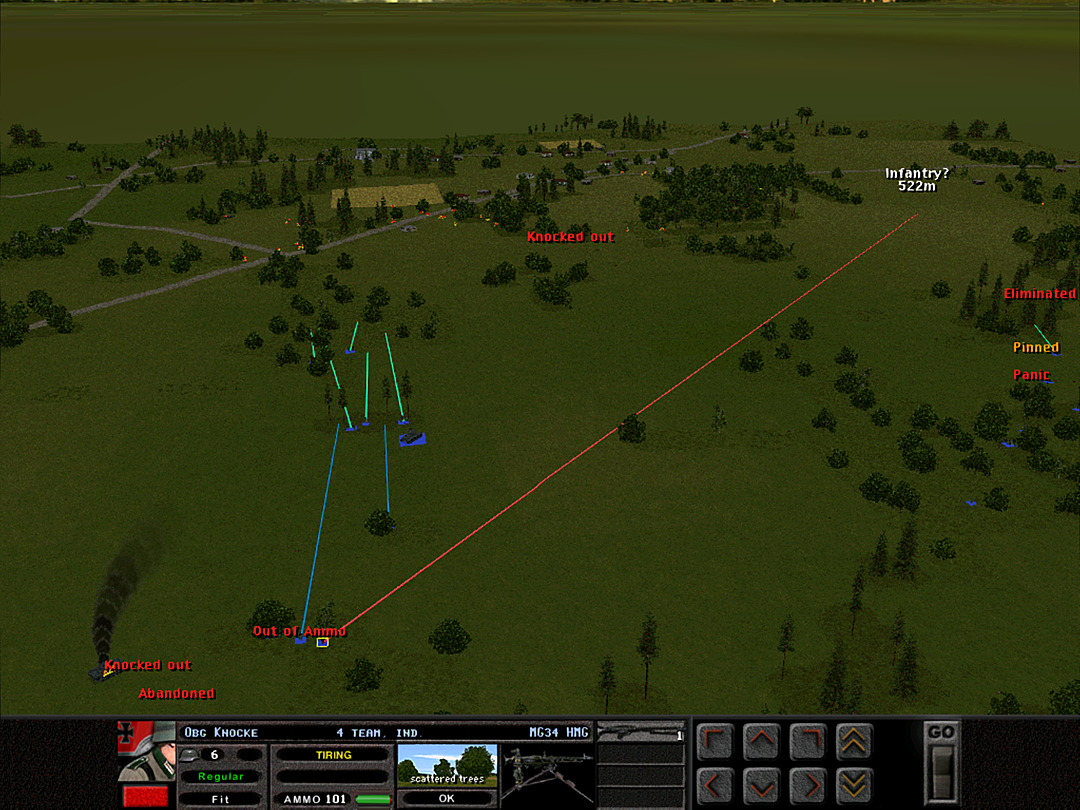 The rear units of B Coy, 1 Plt spot more enemy soldiers rushing to defend the southern side. 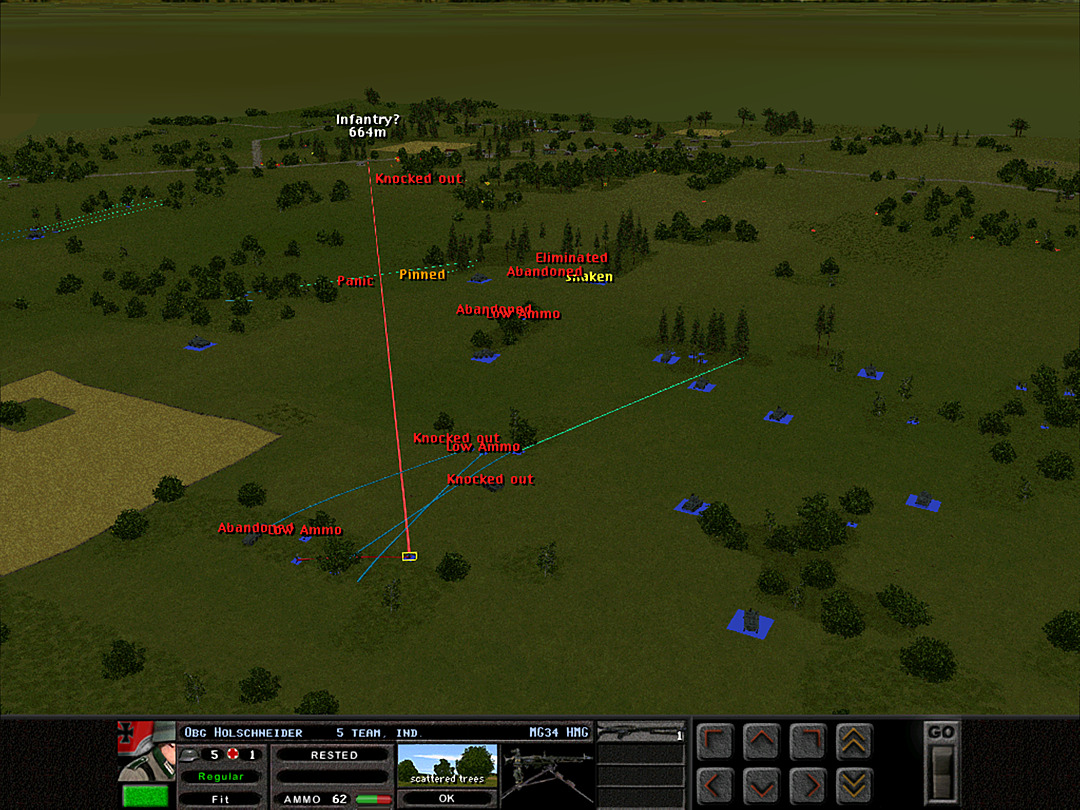 The situation is mirrored on the other side, as the MG supporting A Coy, 2 Plt spots soldiers moving near the village and sends harassing fire their way. 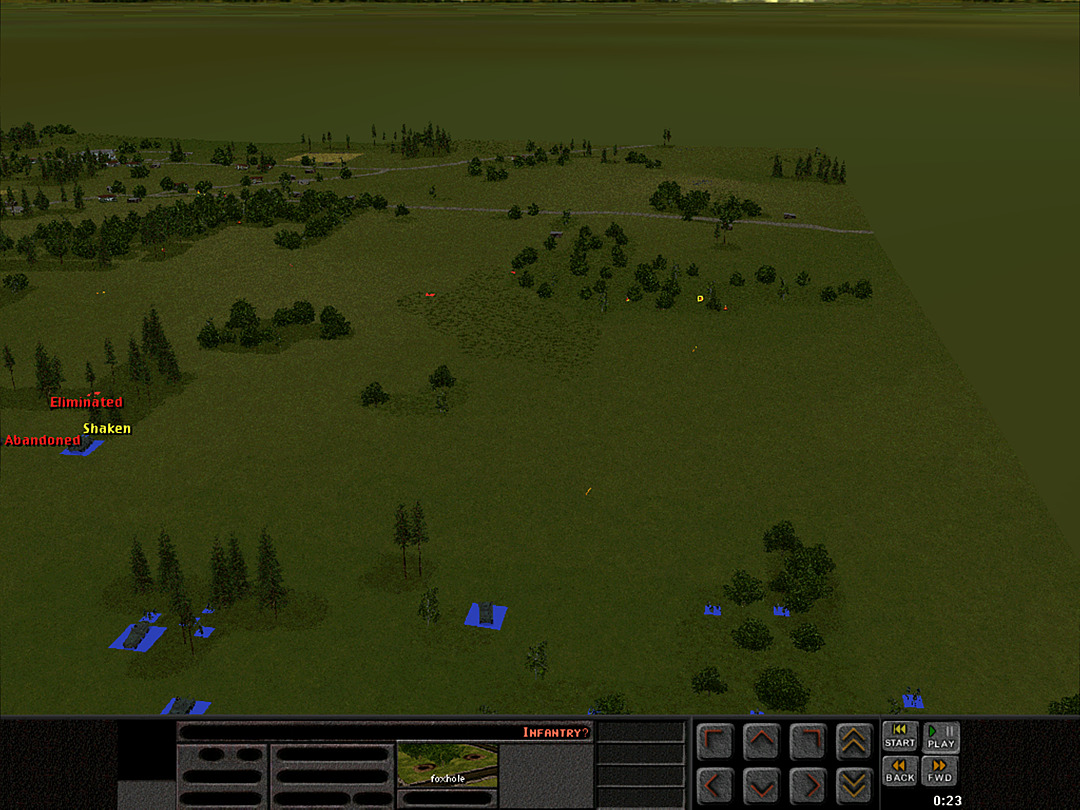 It's clear that more troops are heading to defend against A Company's advance. But some of them are moving through more open ground. 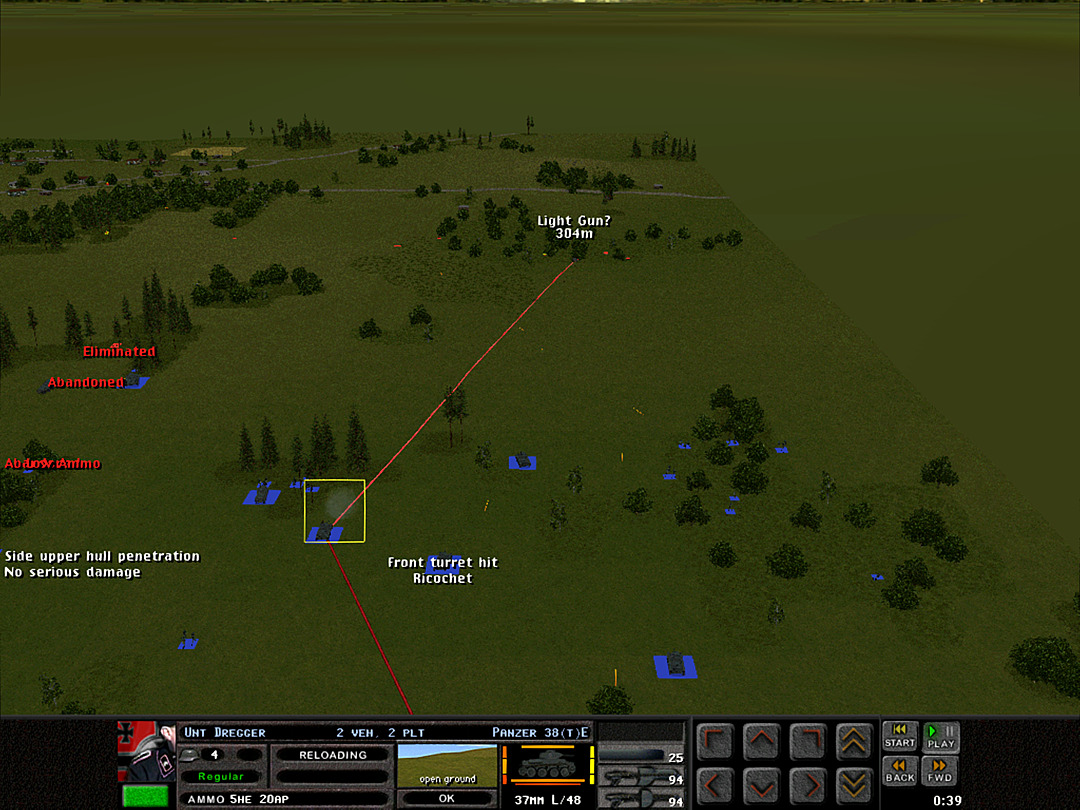 Fortunately our tanks are practically immune to anything they can bring to bear. The scout car is taking the occasional hit from a machine gun, which does have a slight chance to penetrate its thin armor, but is unlikely to cause serious damage. 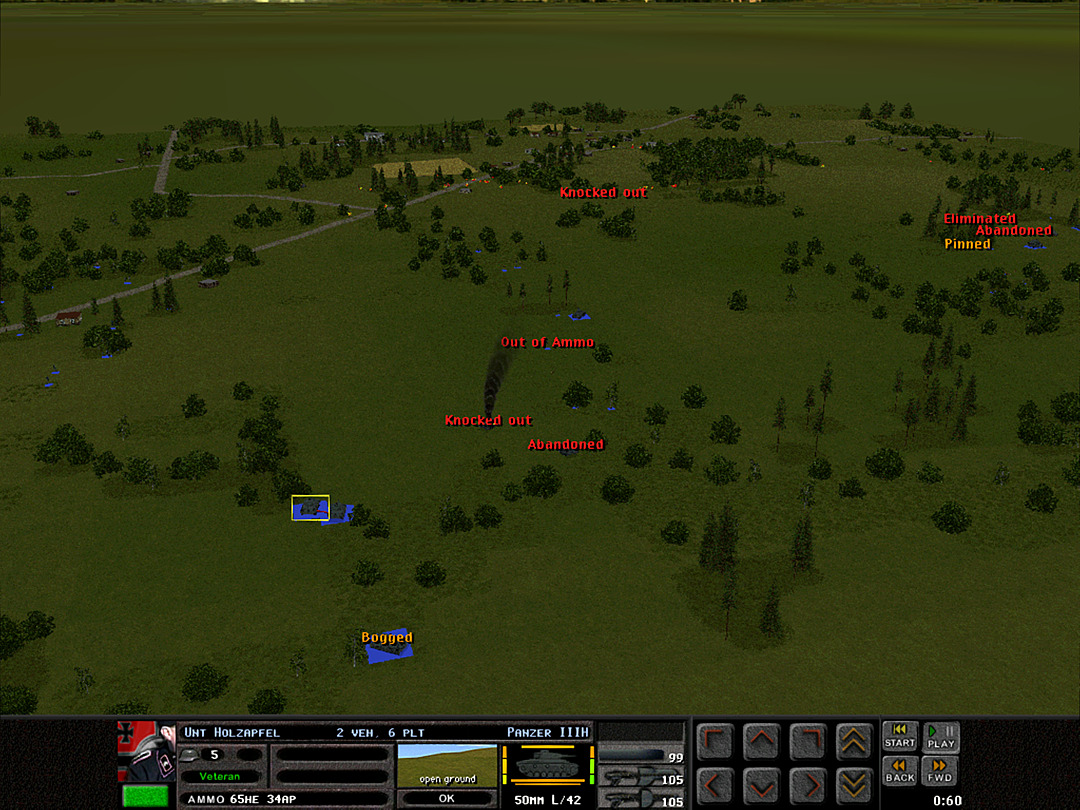 The Panzer III's of 6 Plt try to get back into the action. They hug the tree line in a way that should avoid the gun in the woods. Their rear tank gets bogged down, however. 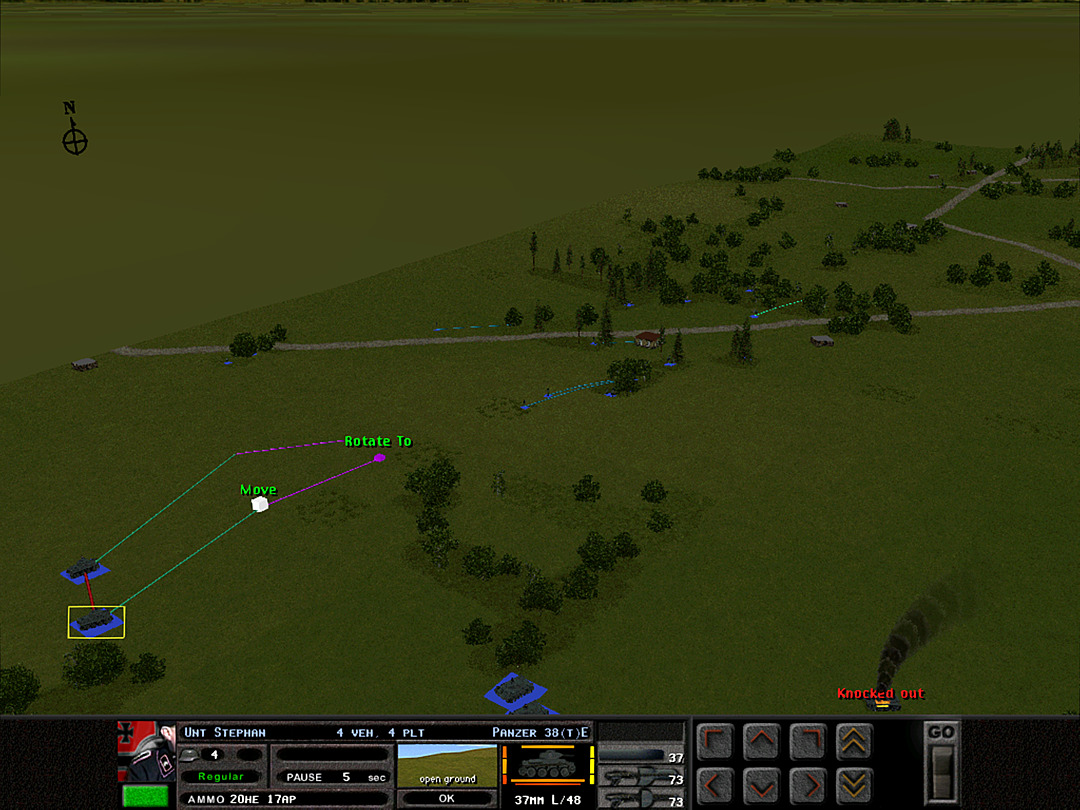 4 Plt finds a support position as well. 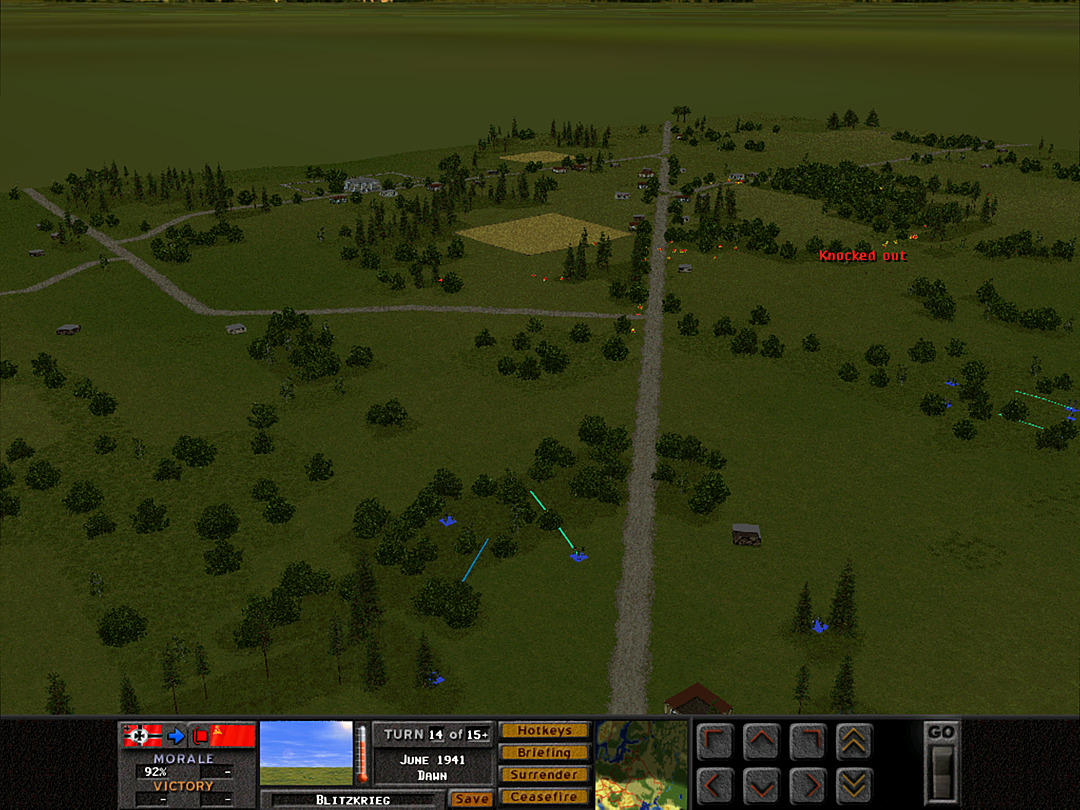 B Coy, 3 Plt is occupying the woods around the road. They're closing in on the road junction. Taking it will put us in prime position to assault the village. 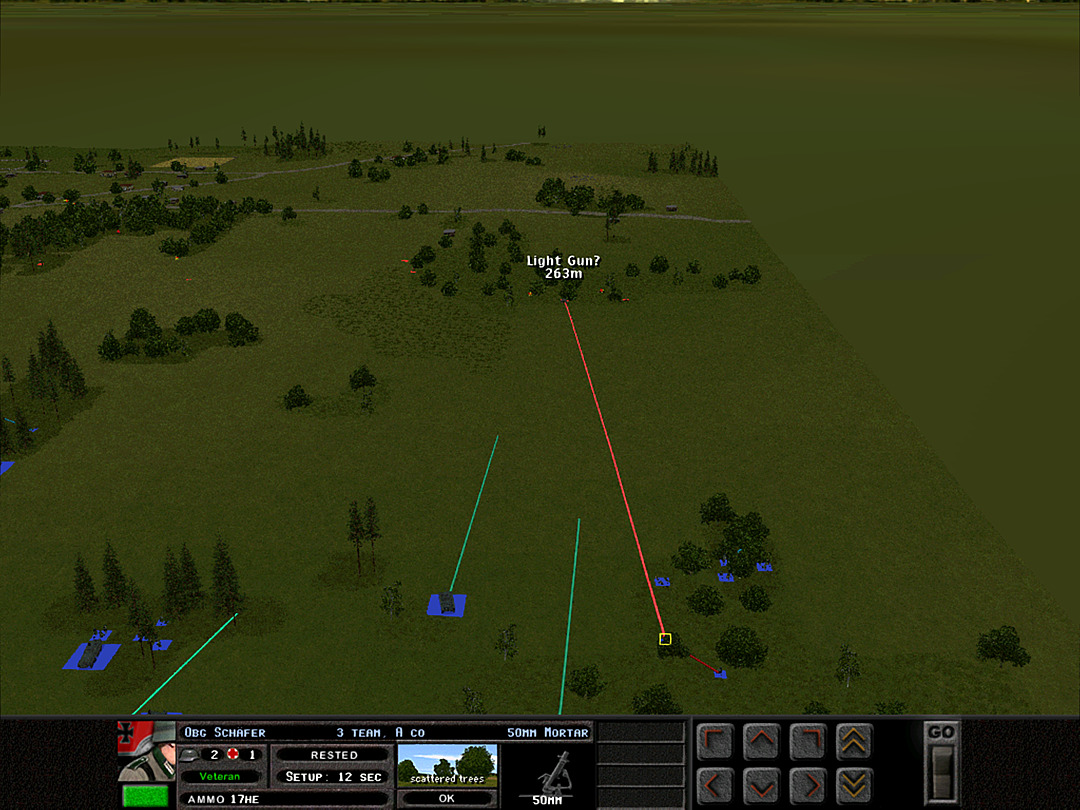 As A Coy, 3 Plt's position solidifies, the tanks down here grow bolder. We can suppress the gun with mortar fire as the tanks roll ahead. 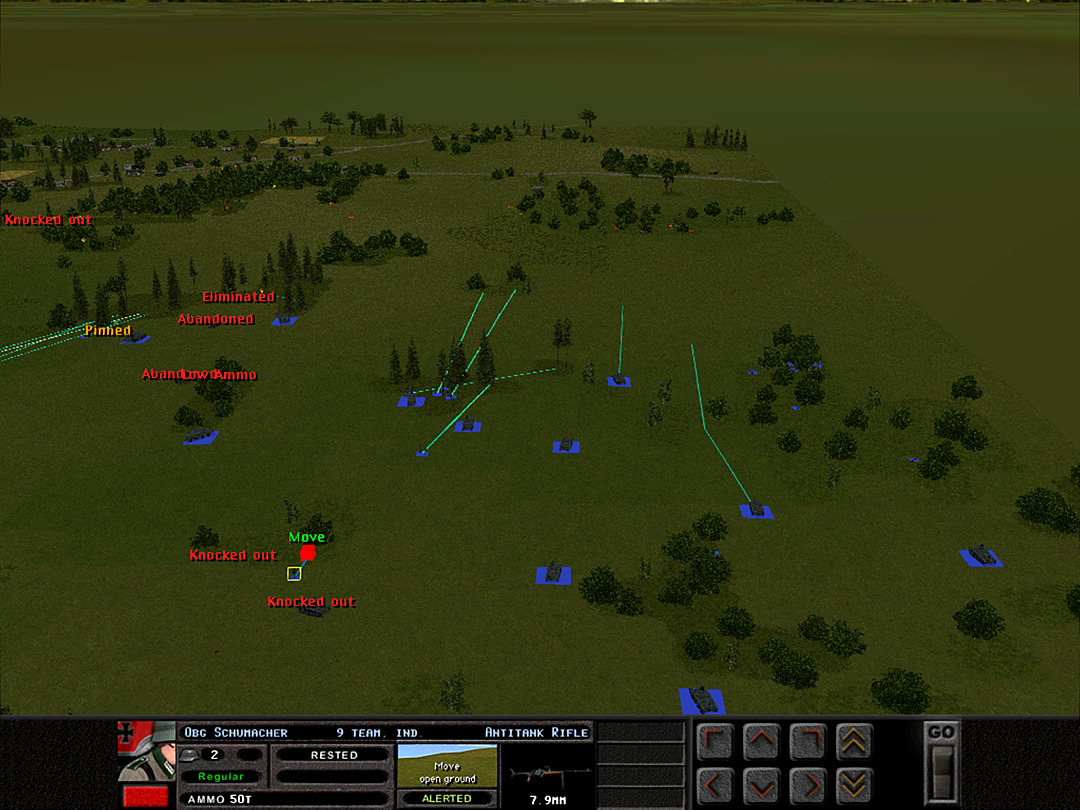 That should give A Coy, 2 Plt a chance to take another stand of trees, and put them nearly in range of attacking the sparse woods. 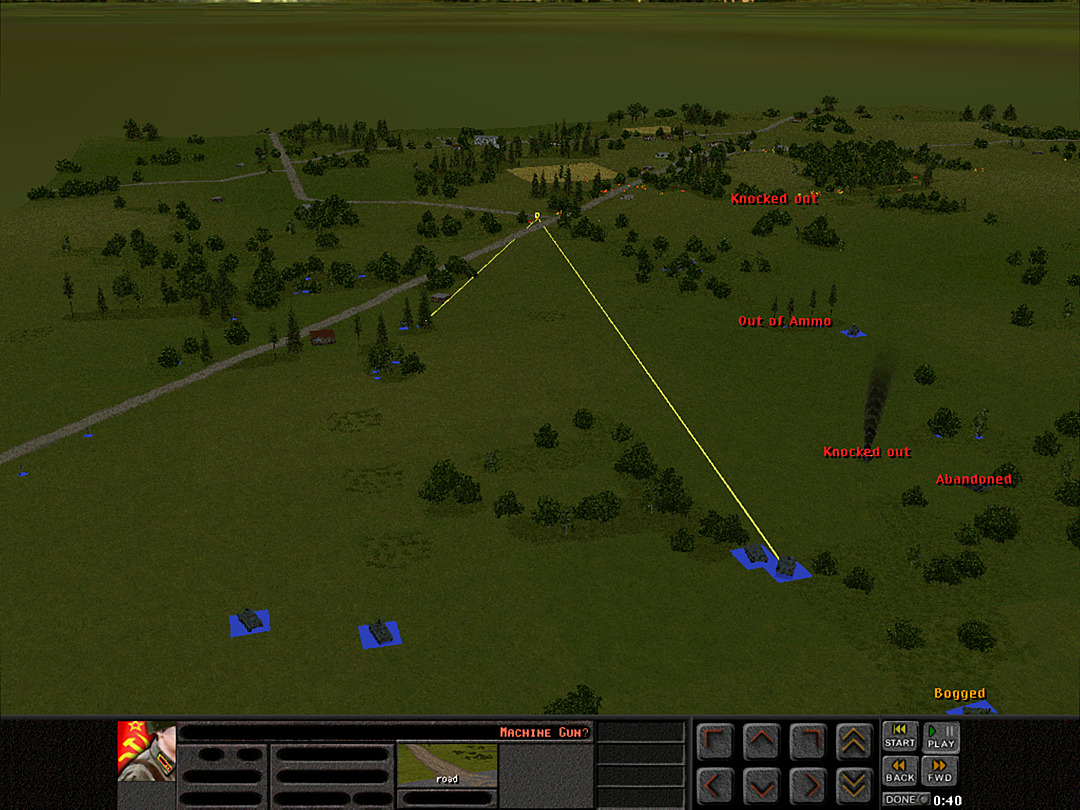 As we get closer to the village, we're seeing more confirmed enemy squads. Supporting fire from the tanks will be very useful here. 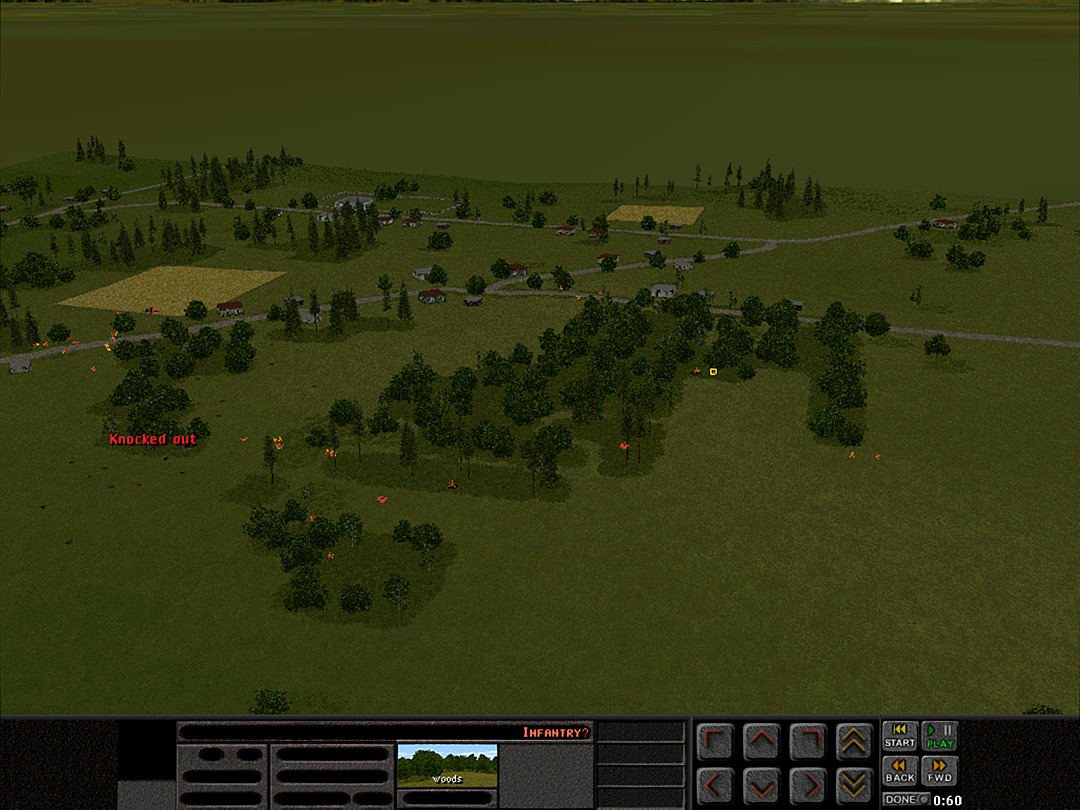 A Coy, 3 Plt is getting a better picture of what we're facing in the heavy woods. 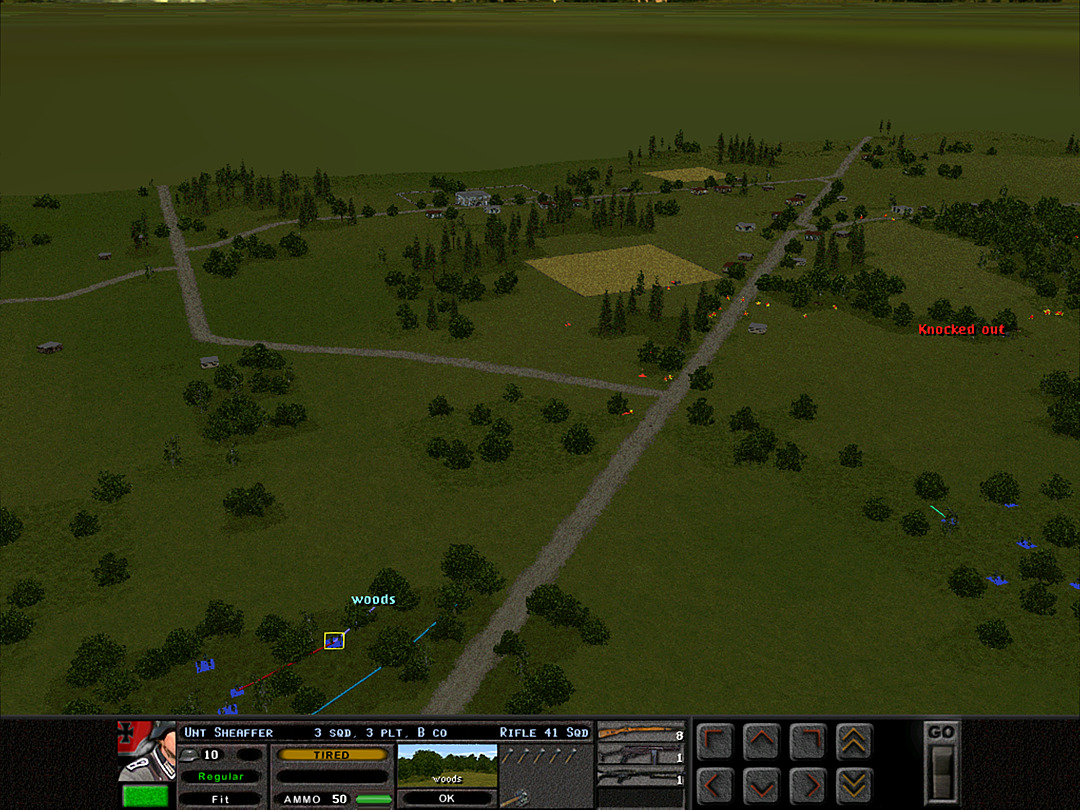 B Coy, 3 Plt has been pushing for a while now, and some of the troops are tiring out. 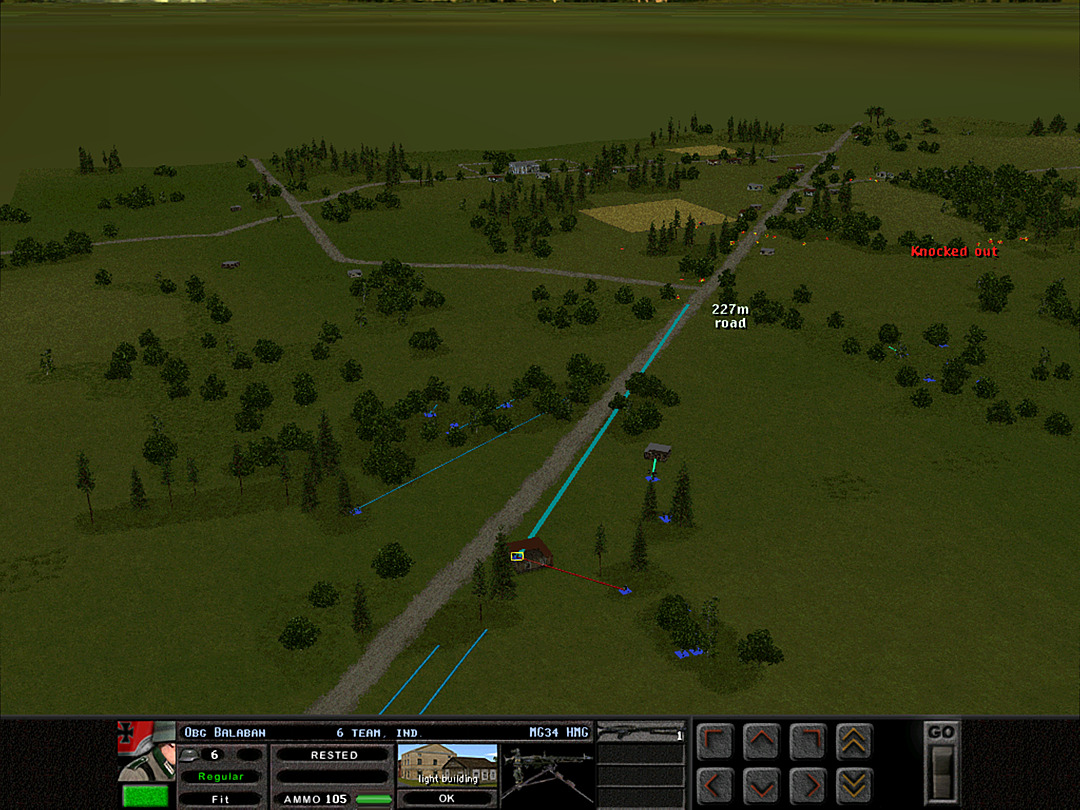 We have an MG34 team in the big house by the road, and it can cover targets across most of the western road junction. 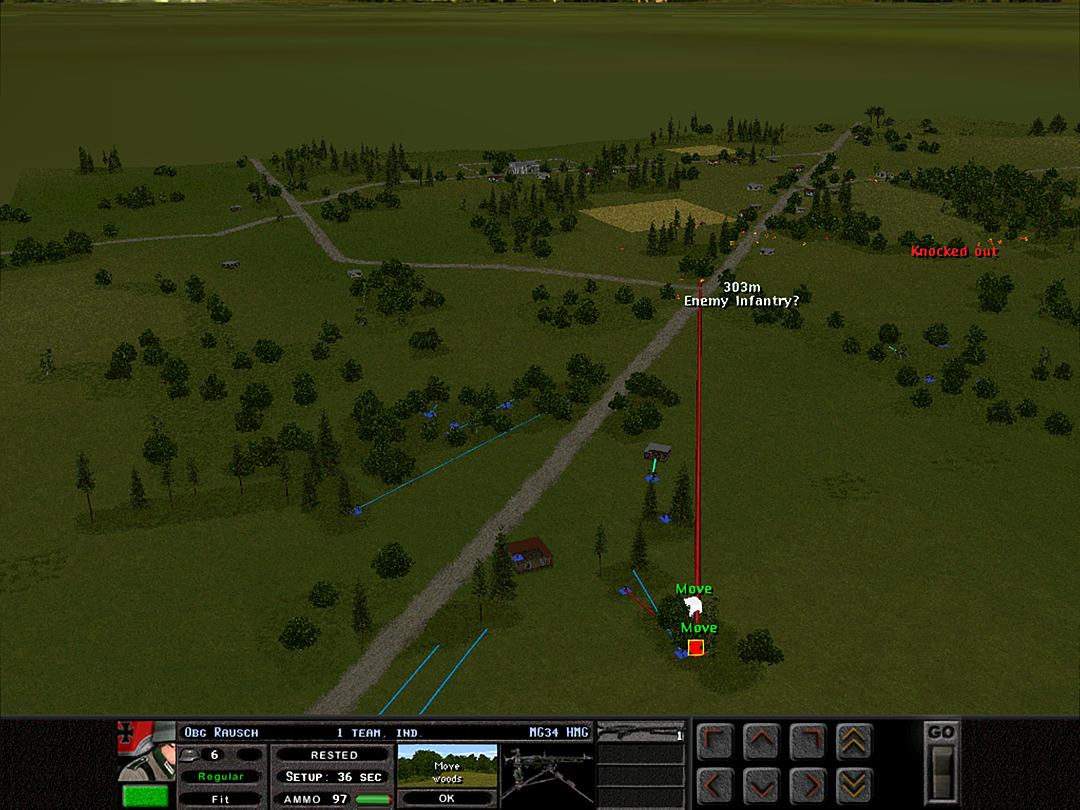 A second one will set up in the nearby woods to cover the rest of it. 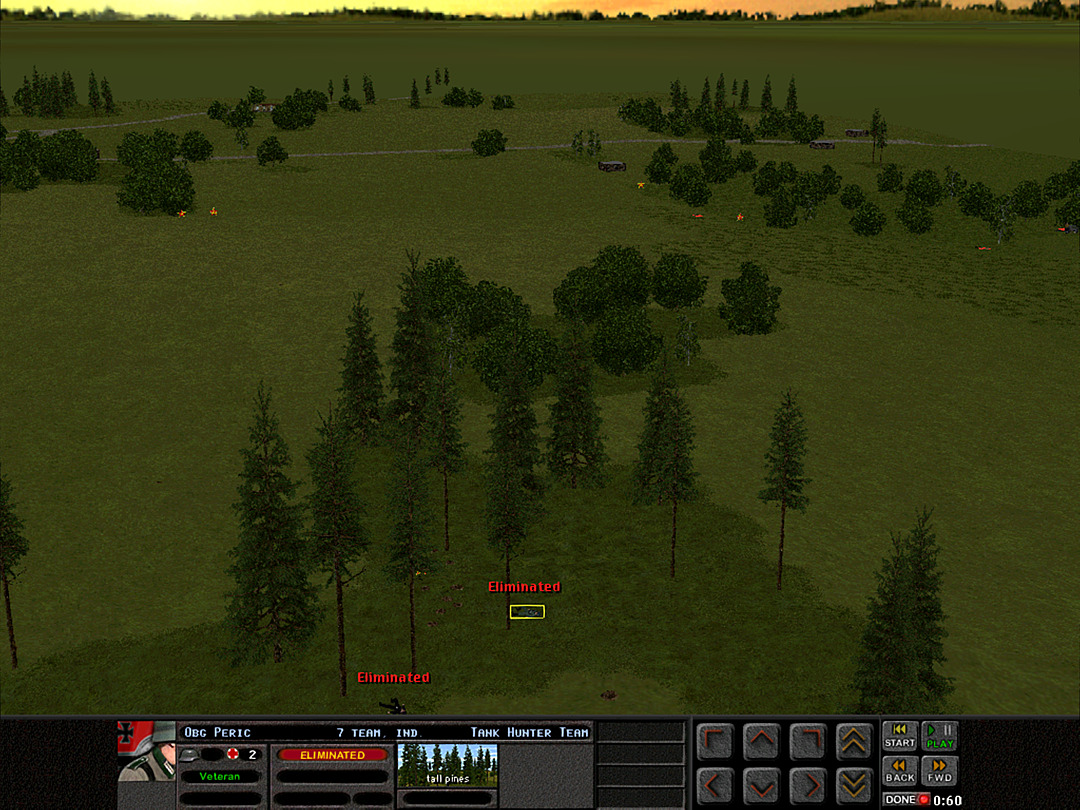 I lost a tank hunter team that I was using to scout these woods in the middle. It seems some enemy infantry have managed to enter it. (The other eliminated unit was the tank crew.) 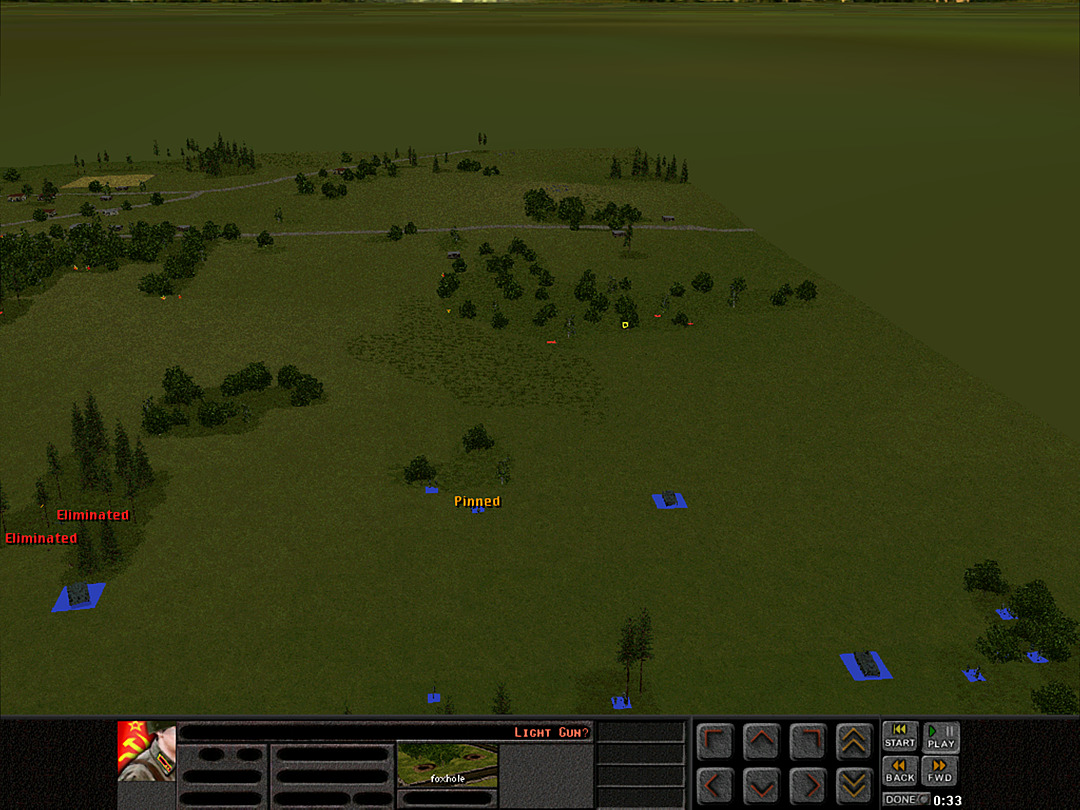 Two squads from A Coy, 2 Plt nearly make it to the next spot of cover. 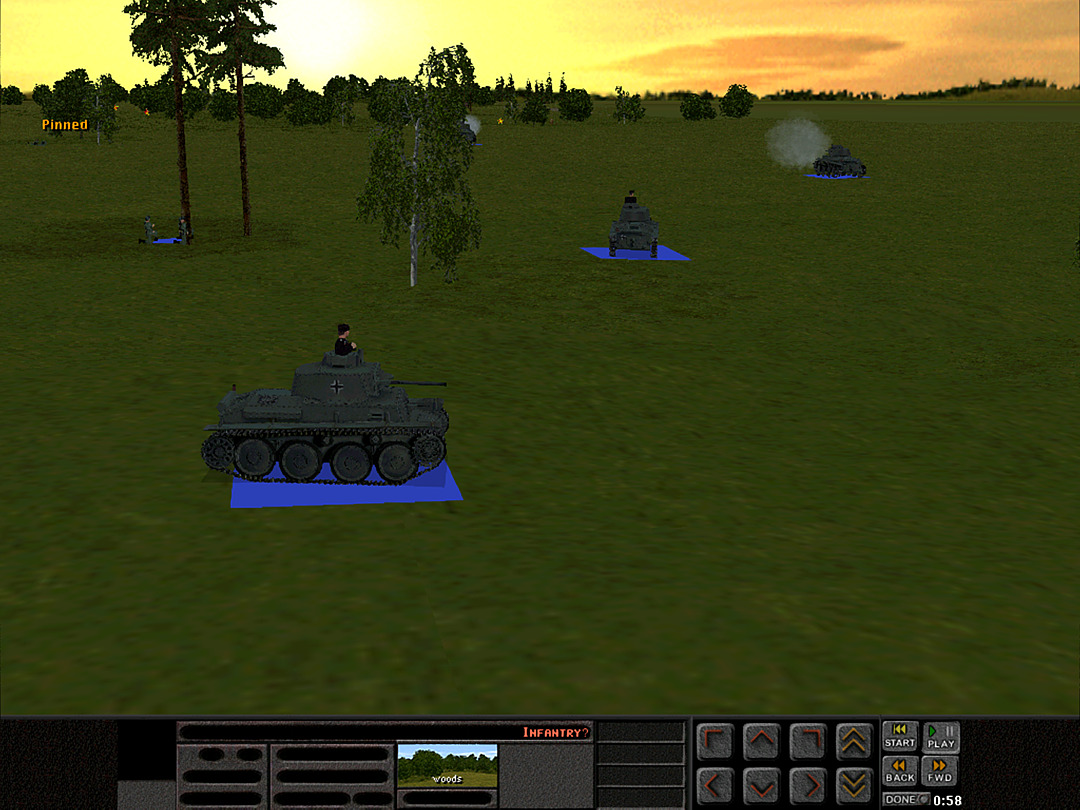 The Pz 38's keep up the pressure to help them out. 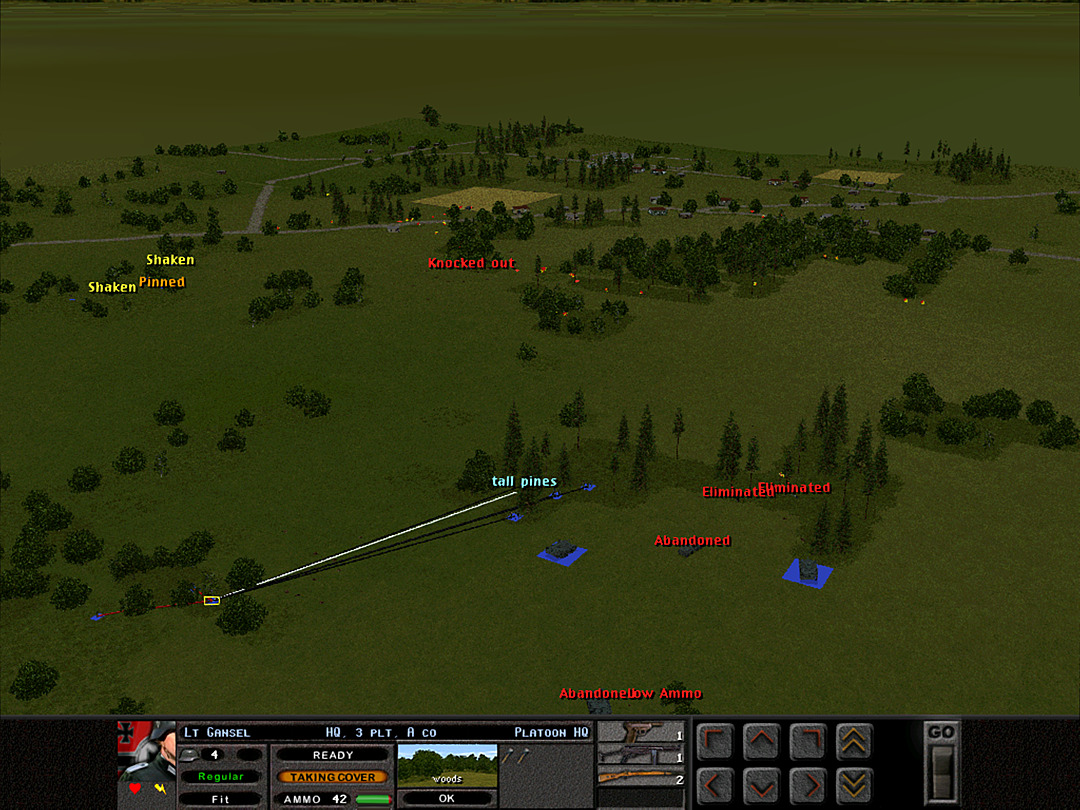 A Coy, 3 Plt is still having trouble organizing, as their lieutenant had to fall back in the latest move. 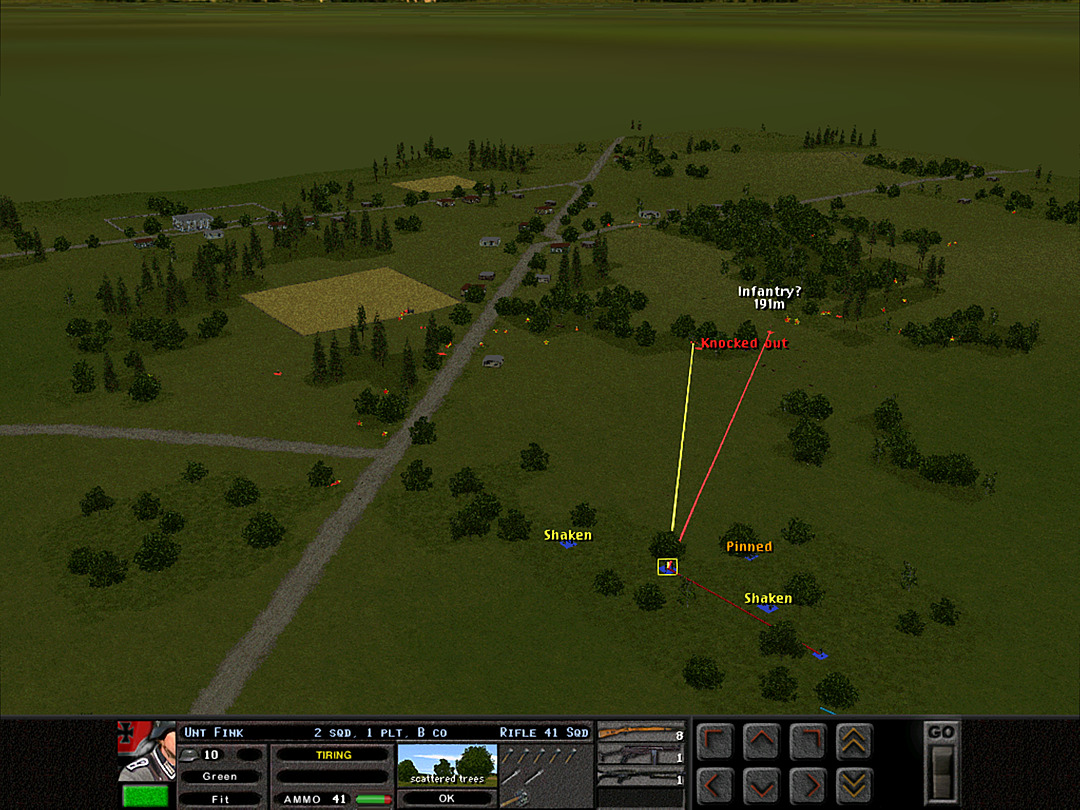 B Coy, 1 Plt is encountering heavier fire, now that they're much closer to the enemy. They have contacts in the village and also the heavy woods. 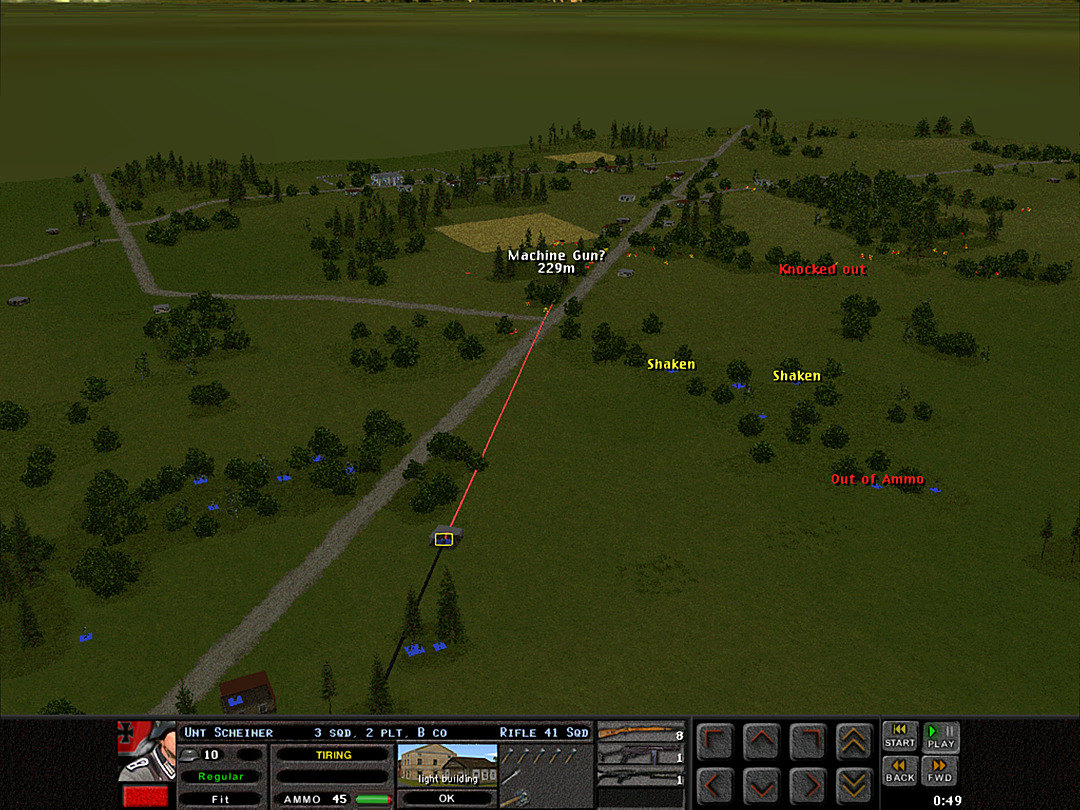 A squad from B Coy, 2 Plt manages to occupy another building, despite the presence of a machine gun on the road. 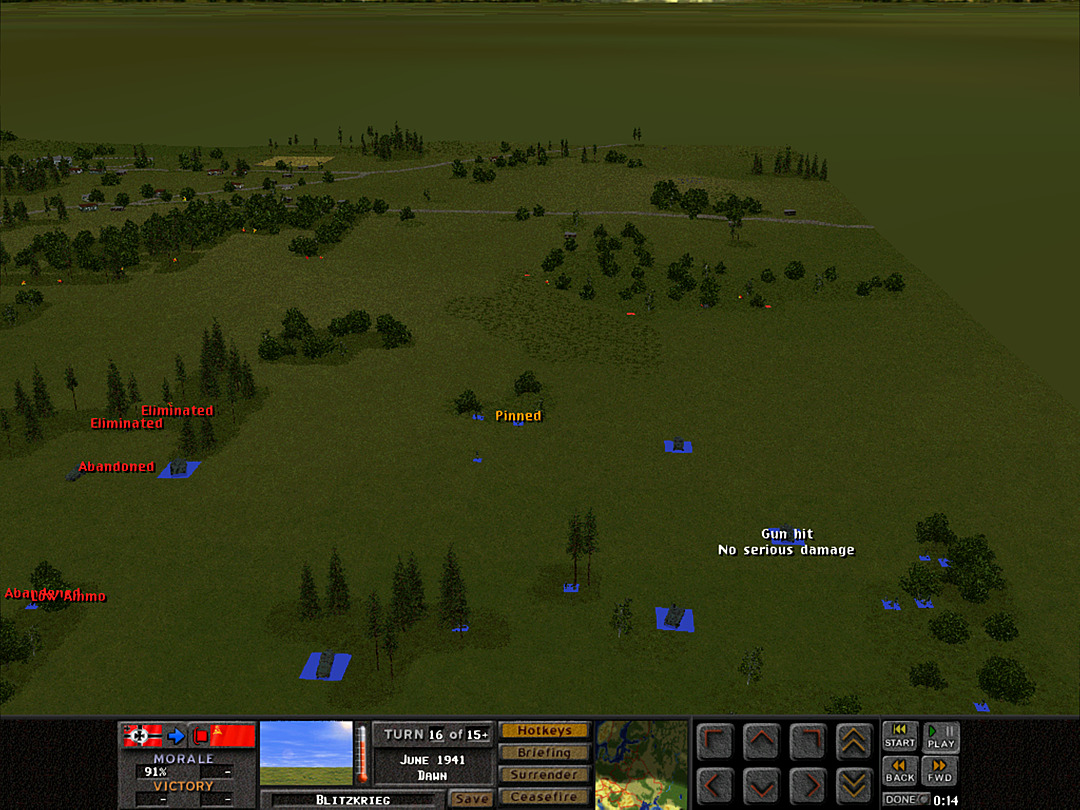 One of 3 Plt's tanks gets a scare when their gun is hit, but it doesn't get damaged. [Note the turn counter reads 16; the 15+ limit means the battle lasts at least 15 minutes, but can go longer.] 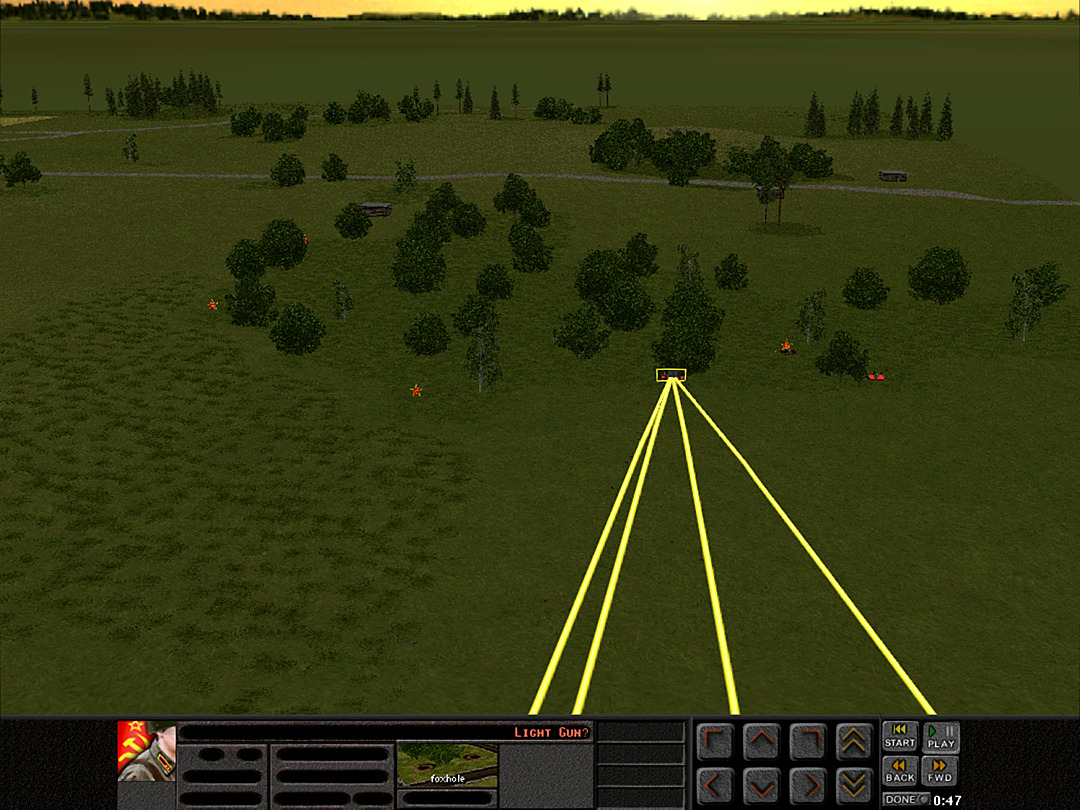 We continue to pound the enemy gun with all our tanks. 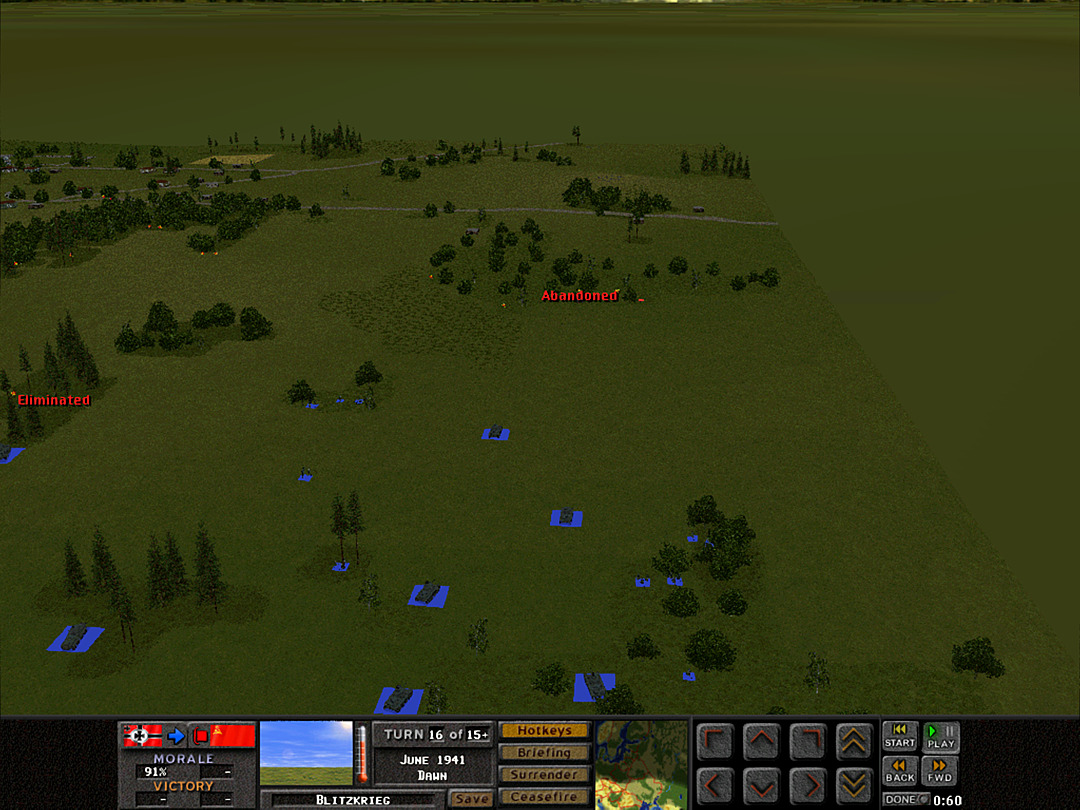 Finally, after dozens of rounds exploding all around it, the crew abandons it. 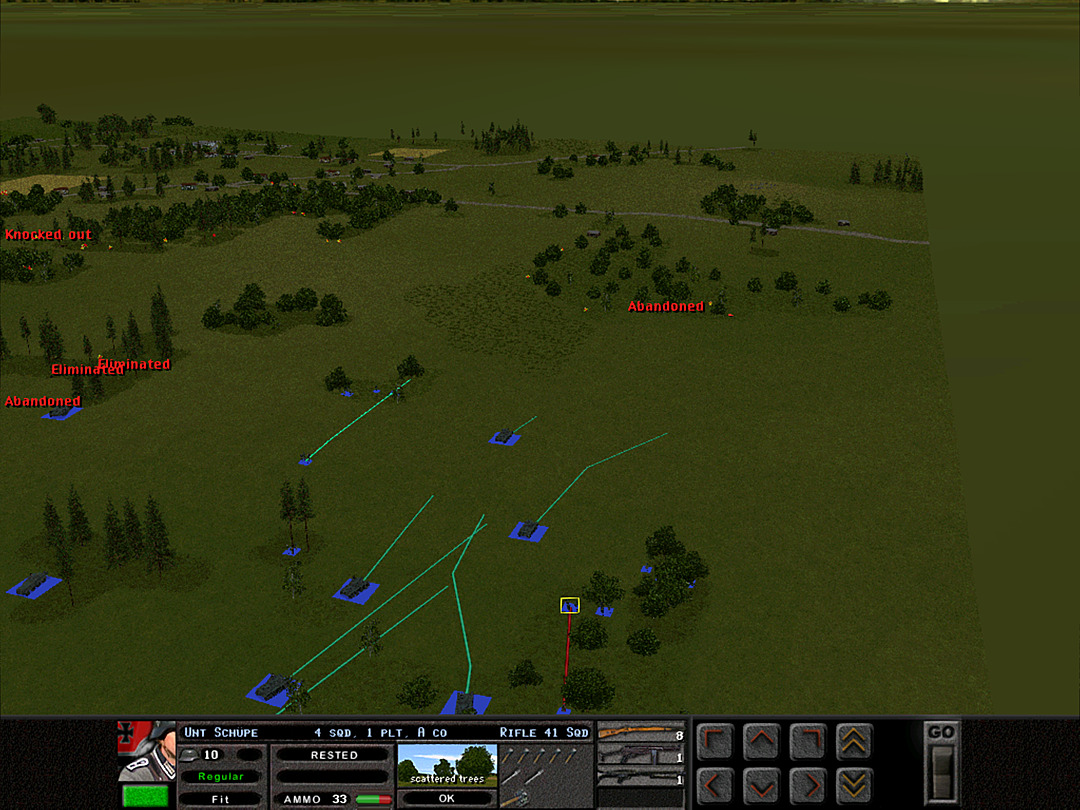 We're emboldened to drive the tanks even closer to the sparse woods. 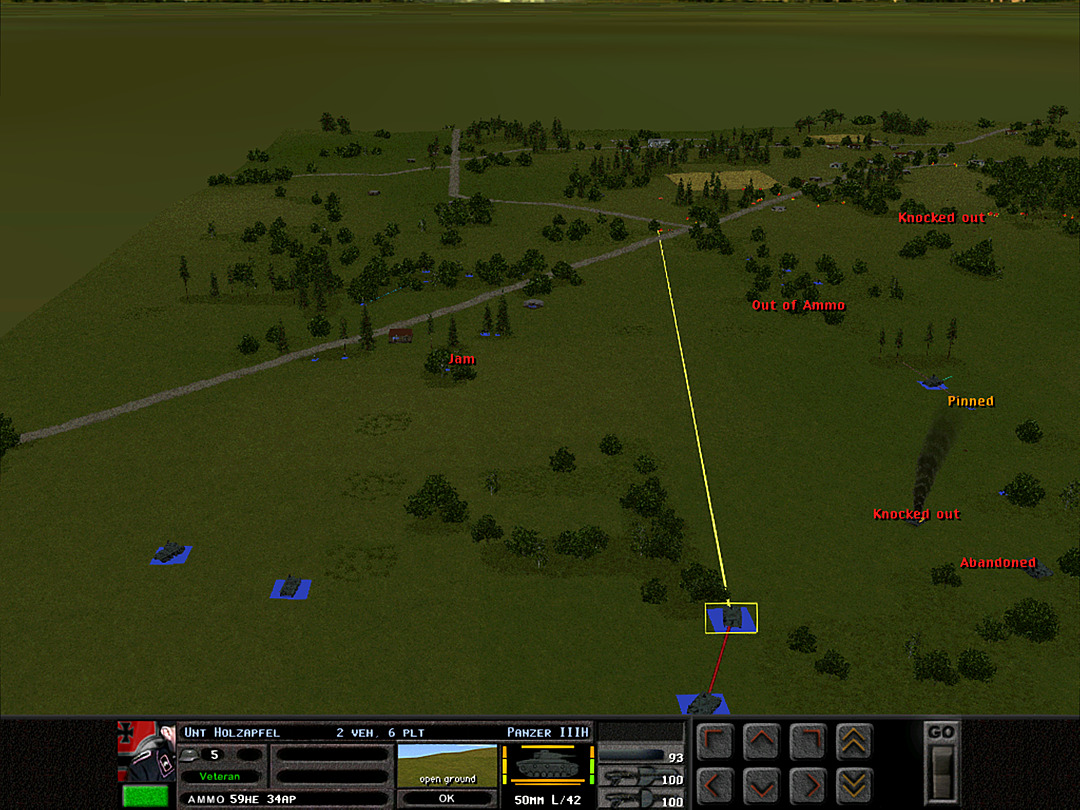 Tank support in the north is there to fill in when the MG34 jams again. 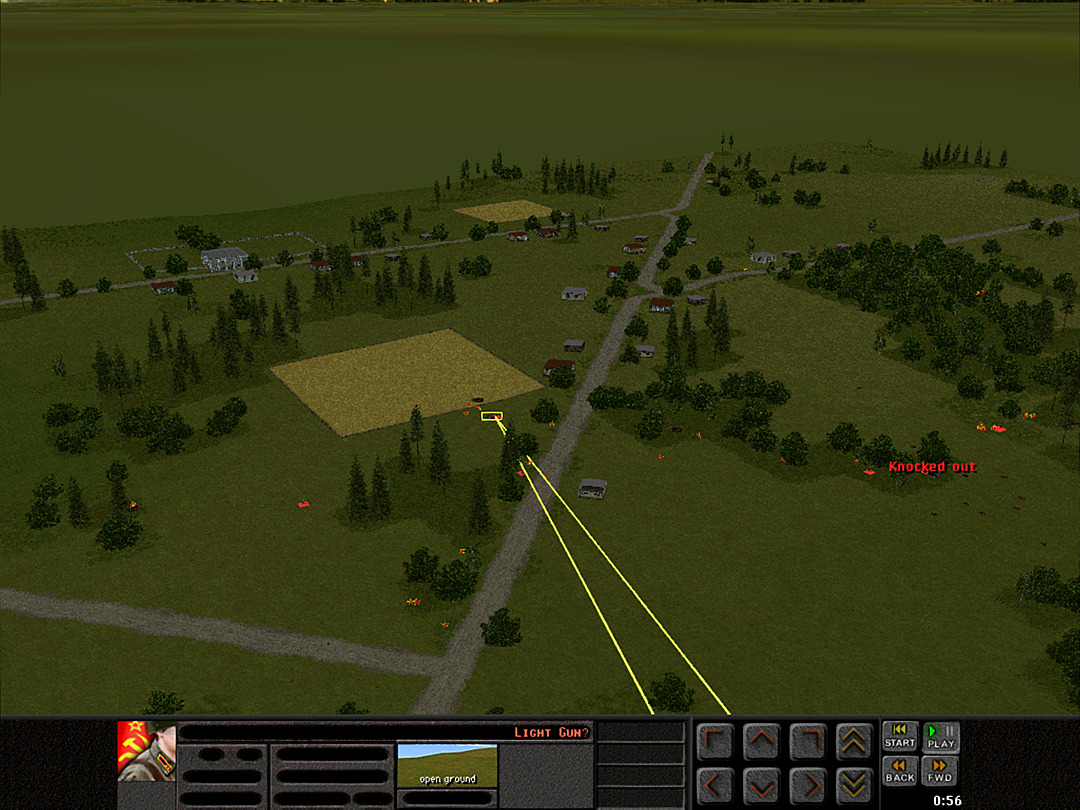 It appears that another light infantry gun might be present at the village. We get to work on suppressing it. 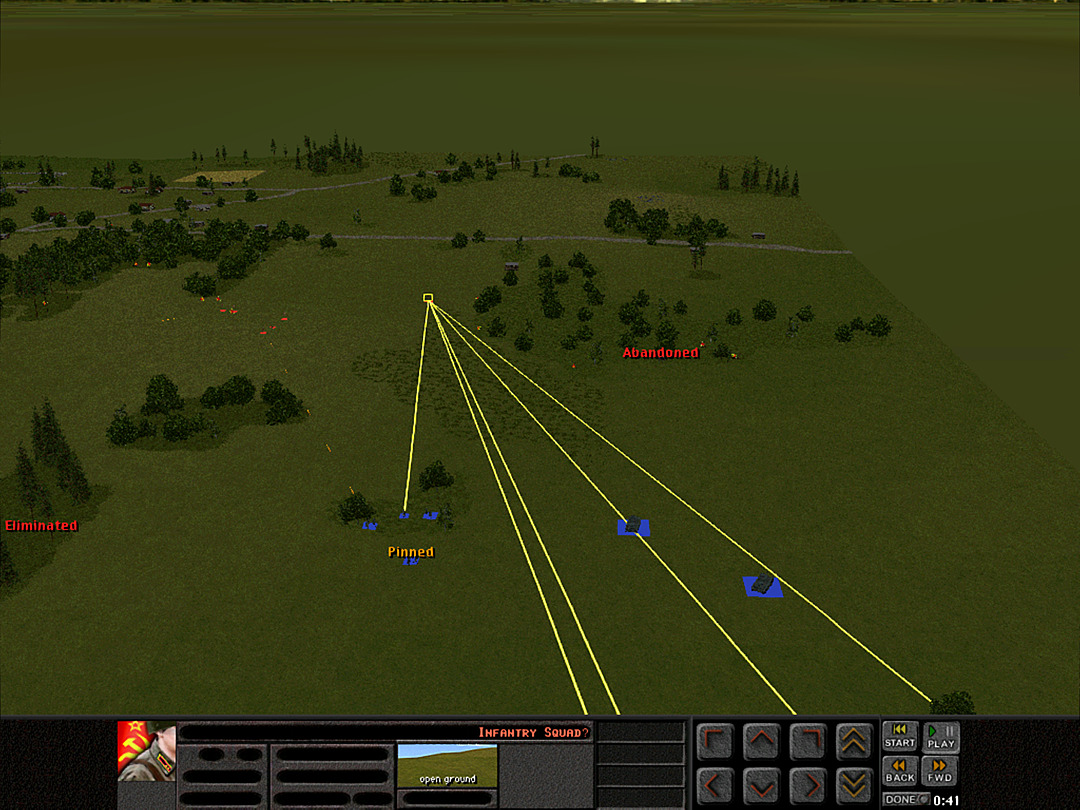 Even more Soviets are heading over to the sparse woods, but we now can spot them as soon as they come down the rise. They're in open ground and easy to suppress. 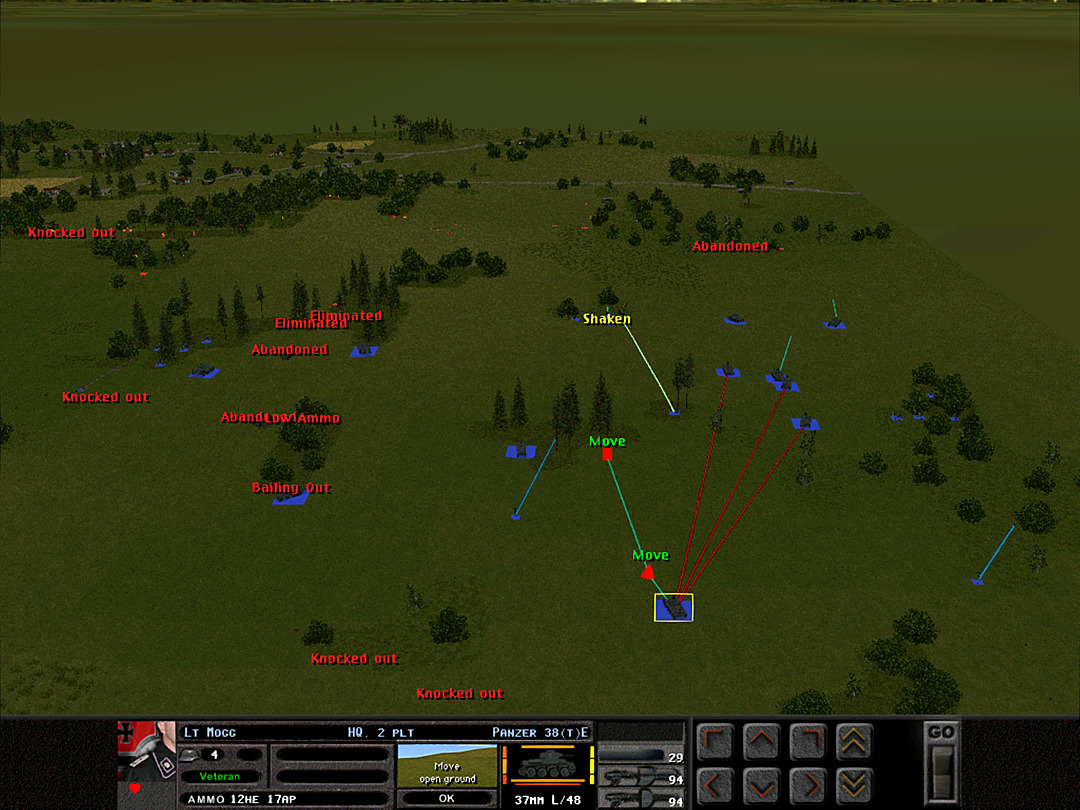 The Panzer 38's are dominating this part of the battlefield. Unfortunately we did lose another scout car when an MG penetration knocked it out. 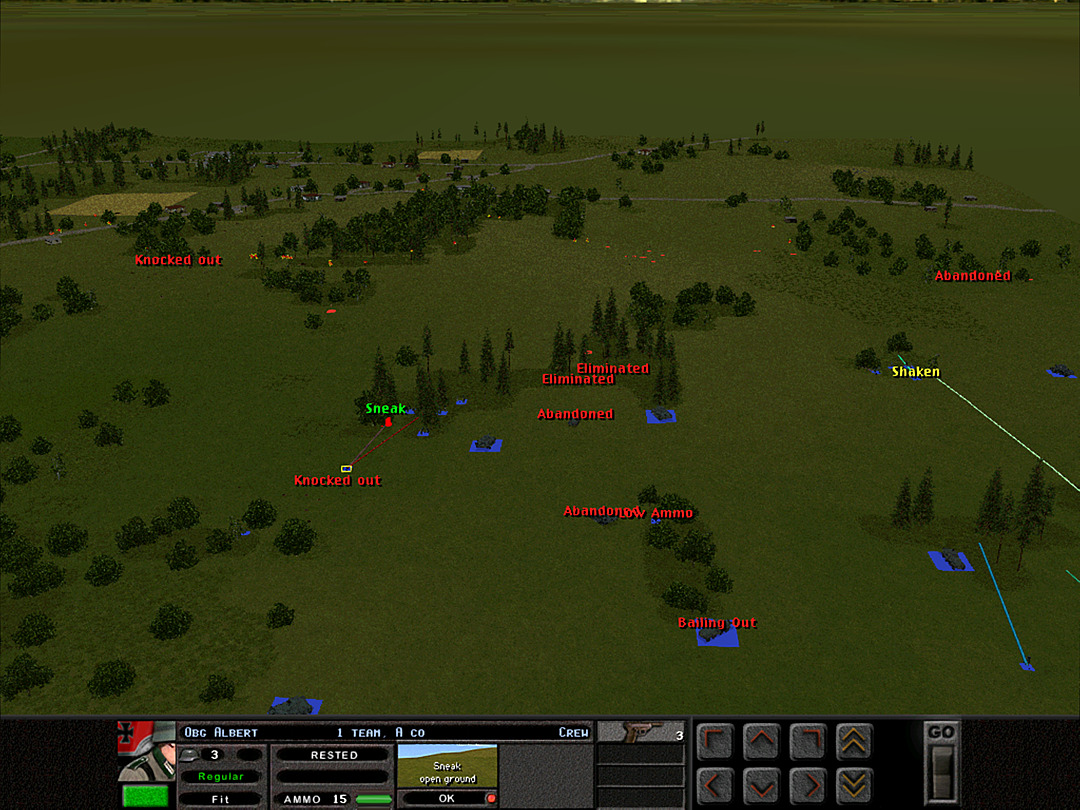 A Coy, 3 Plt has managed to get most of their soldiers across, but the mortar team lost their equipment on the way. 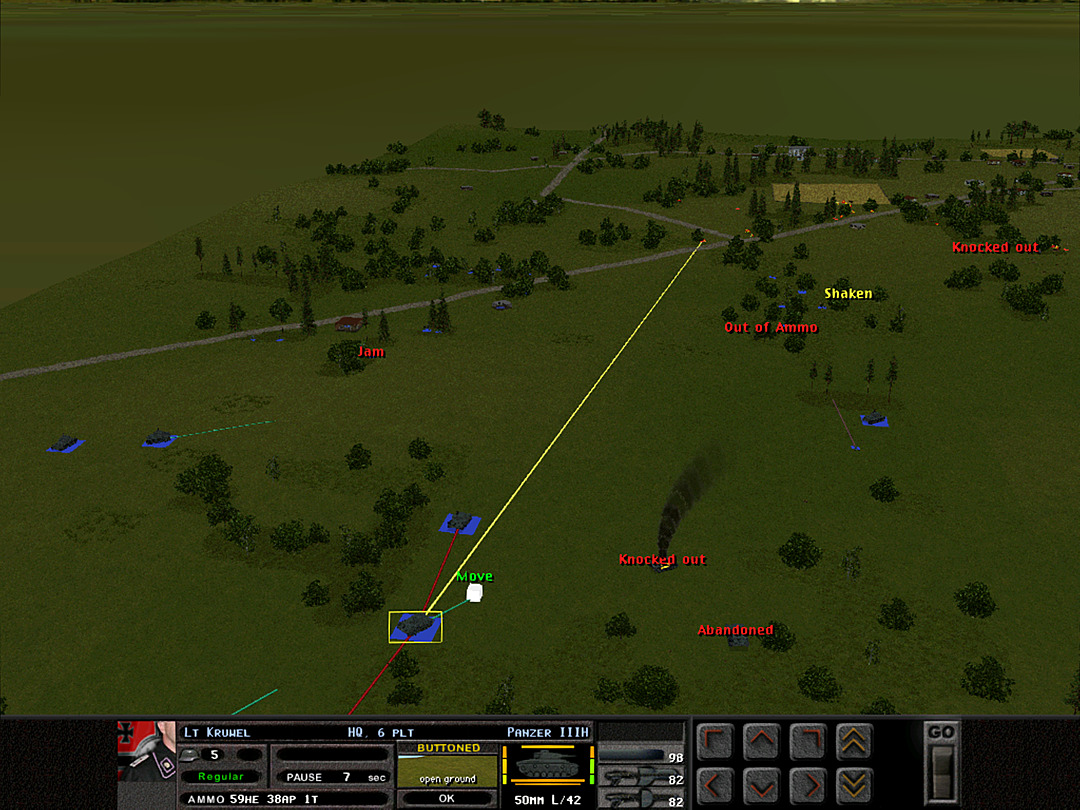 The tanks of 6 Plt are doing a good job hitting the intersection while avoiding enemy AT guns. The command tank is finally free and is moving up behind them. 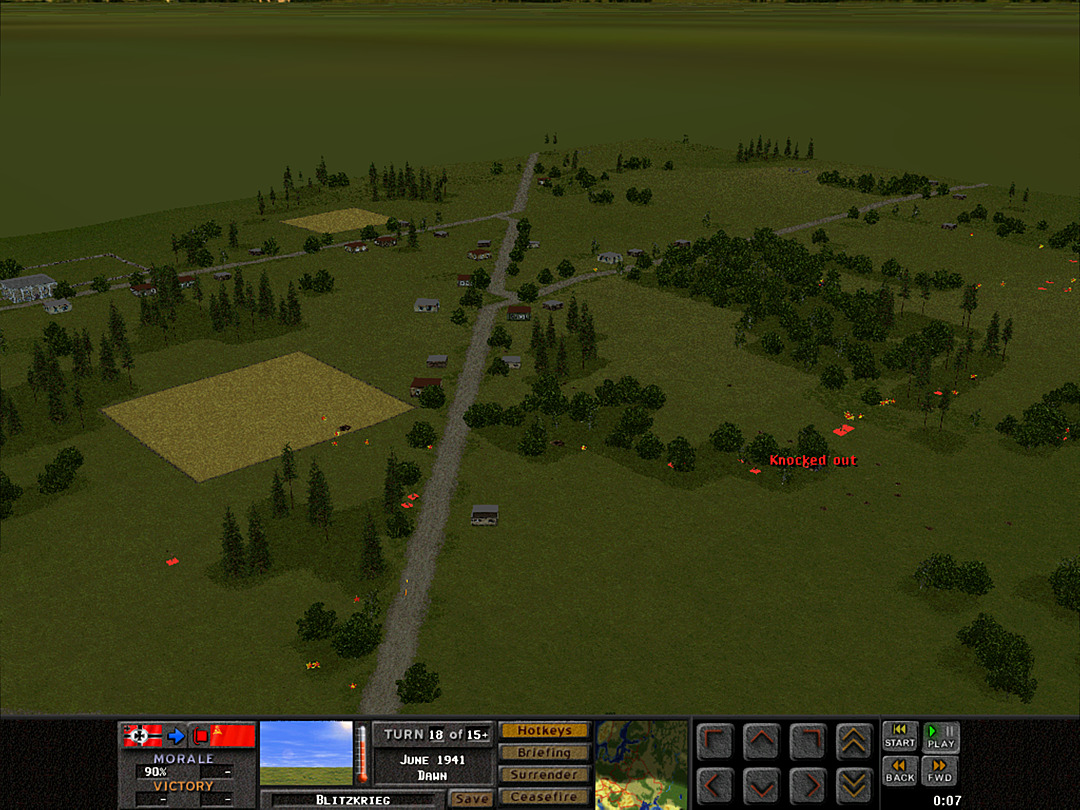 There are a fair number of forces here, but it looks like we'll be able to handle them if we assault the village. A lot more seem to have moved into the middle woods or southward. 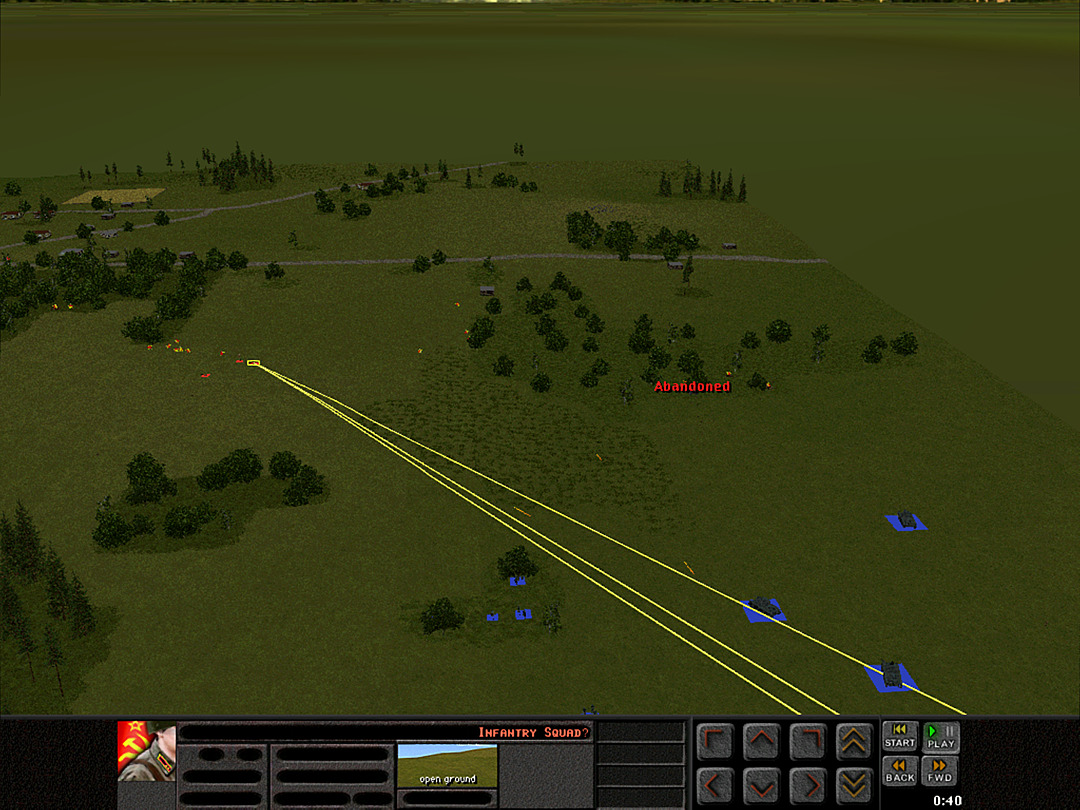 We continue to blast anyone foolish enough to move out into the open from the woods. 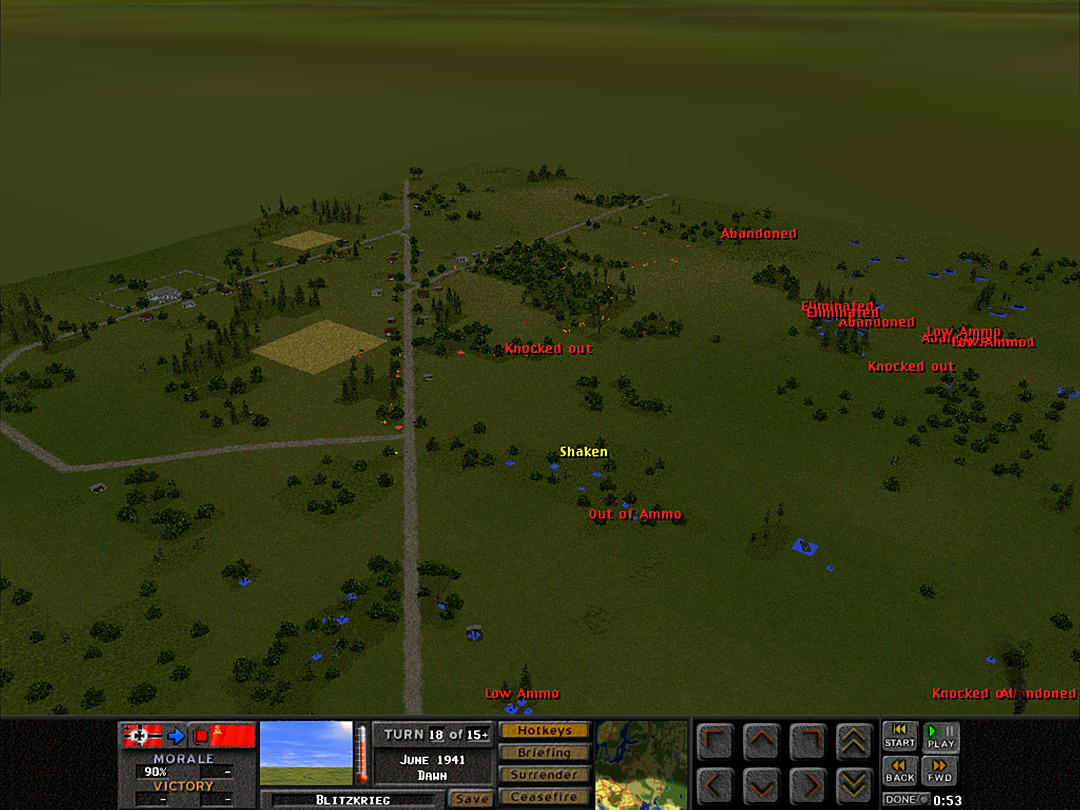 As the sun rises higher on this clear June morning, we take a look at how much ground we've taken. We managed to clear about half the distance to the village, without too much heavy fighting yet. 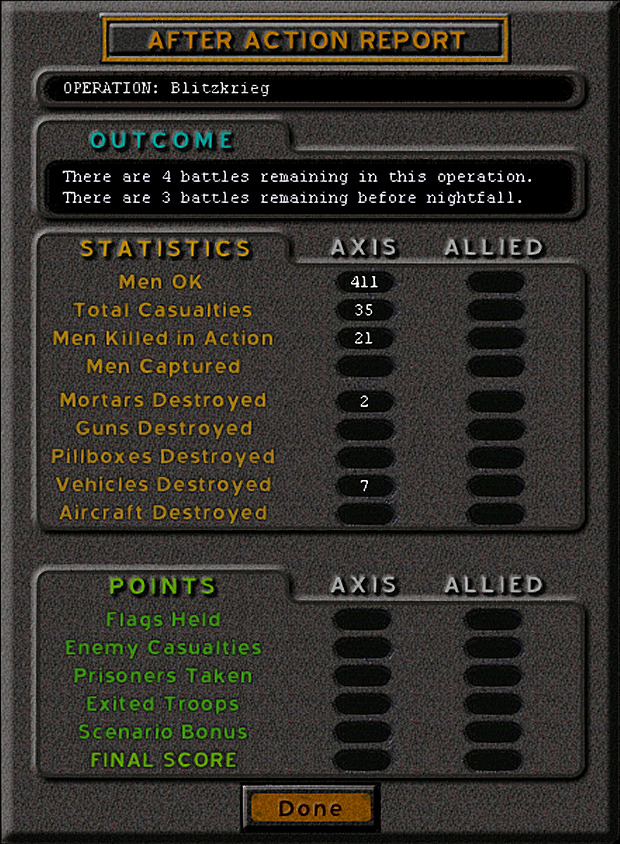 Human casualties have been quite low so far, although the number of lost vehicles is unacceptably high. Since this is an operation, we only get the battle results for our side. Note that except for the first line (Men OK), all entries in the upper part are losses for us. It's hard to tell how well we are doing relatively to the enemy, but at least we can see the totals from the battle. Unit Highlight There are a number of units that likely won't show up in any of our operations, but will be covered here. I'm trying to alternate between units we are currently using and the ones we'll never see. So today's unit is the first tank produced as Germany remilitarized, the Panzer I. 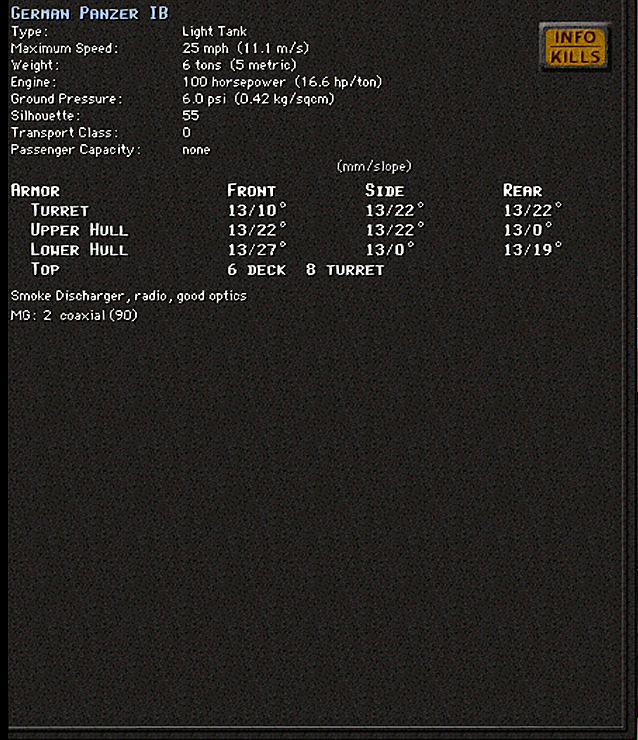 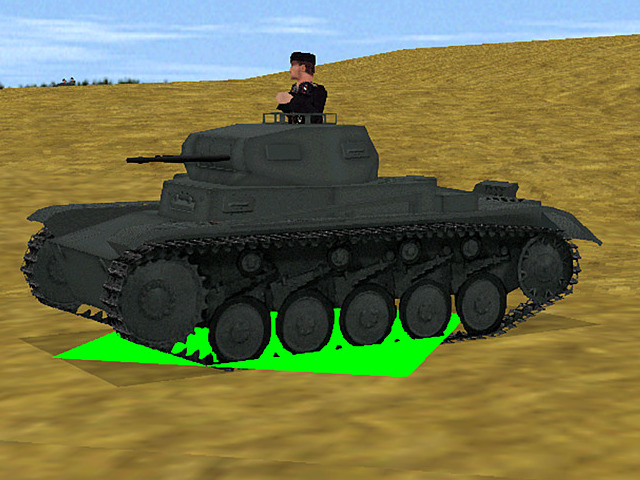 Crew: 2 Base cost: 36   Crew: 2 Base cost: 36 Panzer Ib The original Panzer I was designed in the 1930s, and was given the codename as an 'agricultural tractor' since Germany was not yet openly defying its treaty obligations. It was a design that was more suited to the 1920s or 30s, as a mobile armored machine-gun platform, meant to fight infantry. The vehicle was eventually designated the Panzer Ia, and this second model, the Ib followed not long after it. The Ib had an improved engine and suspension, although it was not produced in as many numbers as the Ia, as the later and better tank designs were being favored. It had been deployed competently in Spain in the 1930s, but by World War II was rapidly approaching obsolescence. Nevertheless, they had formed the initial backbone of the new German military, and as such some remained in service at the time of Barbarossa, despite not having a viable battlefield role. Kangra fucked around with this message at 23:58 on Apr 28, 2024 |
|
|
|
So proportionally if you had to guess how well do you think you're doing? You've lost maybe half/a third of your vehicles and about 10% of your infantry strength pushing towards the objective. Is there a chance that damaged vehicles can be recovered/repaired or not or that beyond the grounds of the engine/timespan of an operation?
|
|
|
|
wedgekree posted:So proportionally if you had to guess how well do you think you're doing? You've lost maybe half/a third of your vehicles and about 10% of your infantry strength pushing towards the objective. Without knowing what the enemy losses are actually like, I just have to gauge it by what we traded. We got two AT guns, but I don't know think we got any of the heavier ones. I would've liked to not lose the first (or any) Panzer III. I think if we still had that, and maybe hadn't lost another scout car, we'd be fine. The infantry are doing well; no platoon has really taken heavy hits and we did take about as much ground as I wanted. I have a feeling it's not enough for the expected pace of the operation, but I don't really do rapid advance well, so this is a tougher one for me. The other annoying thing is that usually if you lose a tank to a gun, like we did to the one that hit the scout car, you at least learn its location. But if you aren't able to act before the end of the battle, it is of no help, since it can re-position. All we know is that they have at minimum one, probably two heavy AT guns, which is about what I'd expect. As for recovering vehicles: When it has been abandoned by the crew (but not knocked out), you can re-crew it later. I forget if it's automatic at the end of the battle or if you actually need to re-crew it before the timer runs out; I think it is the latter. All the surviving crews of the destroyed vehicles will be withdrawn at the end of the battle, so they wouldn't be able to try and take it back once we move way ahead or something like that. It's not something I try too hard for, so it might not happen in the LP. Vehicles with damaged guns are also removed after the battle, presumably to be repaired, e: According to the manual it is possible for some vehicles that were removed to return; how quickly they do is a setting in the scenario designer, so there's a chance for units to come back, though maybe we'll only see it in the really long operations. Something that does happen is that a vehicle that becomes immobile (due to track damage, or getting stuck) will typically free itself by the next battle. Occasionally it will switch to 'bogged' from immobile, meaning it can't be moved prior to the next battle, and will take a few minutes to get free. I also may at times confuse details from the later engine or other games in the series, so anyone who knows this particular one well, feel free to correct me. Kangra fucked around with this message at 22:52 on Nov 21, 2023 |
|
|
|
A screenshot LP of a venerable classic? I am so in. If I have time, I'm going to try my hand at playing the same missions to see how much worse I am than OP.
|
|
|
|
Operation 1, Battle 2 of 5 Operation: Blitzkrieg Time: Mid-Day Skies: Clear Ground: Dry Temp: Warm Wind: Breeze WSW We're now entering the second battle of the operation. Time has moved on from dawn to daylight. Since we're starting a new battle, I'll go over how battle progression occurs. Unit casualties remain as they were, although status effects (like 'shaken') are cleared. Fully eliminated squads will be removed; heavily-depleted squads may be broken down to fill other squads within the same platoon. Destroyed and abandoned vehicles remain on the map and can be used for cover. A vehicle may be removed if it was seriously damaged (such as the gun being destroyed), and in some cases can return later. The crews whose vehicle (or weapon, like a mortar) was knocked out will be withdrawn from the map. Damage to buildings persists, as do the craters from explosions, including the 'cosmetic' craters that only affect the terrain visually. Most units will also have their ammo supplies replenished by some amount. That includes the artillery spotters; if you fire off all rounds in one battle, you will have some rounds available, but usually not the amount a unit starts with. The factors affecting unit recovery do have some customizability in the scenario designer, so what I've described may vary between operations. 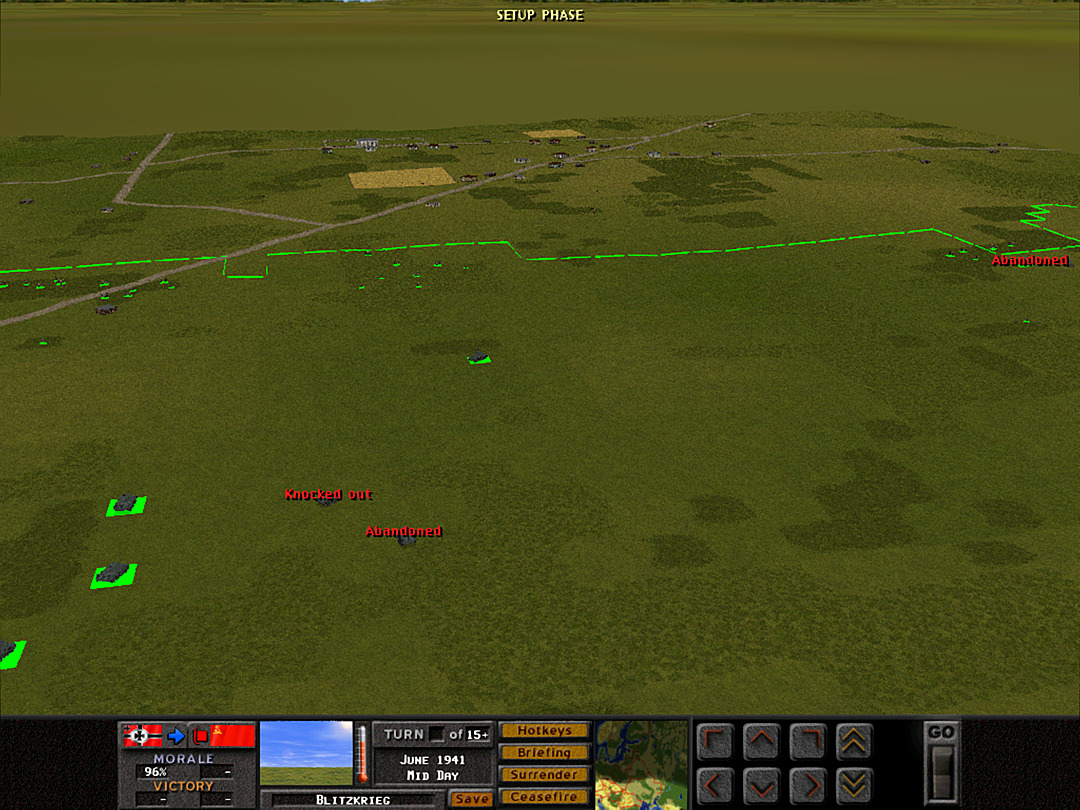 This shows the line of our advance, which is determined by how far we got ahead in the last battle. I have trees turned off in order to see where all the units are and reorganize them properly. We can set up anywhere behind the green line. We can fully expect the enemy to reposition their forces on the other side of that line, although there is a "no-man's land" which I think is set to 80 or 100 meters by default. I should also say that the region where we set up is not necessarily demarcated by a single line, as there can be enemy-controlled pockets if you don't fully clear out some part of the map. Note that at the far right, a couple of squads are beyond the line of control, basically in the "no-man's land". If there are units outside your controlled area, you can leave them where they are, but they may not be repositioned. They can be pulled back inside the line, but once moved there, they cannot be put back outside your territory during setup. There are also slightly different rules for units outside your zone, based on the different operation types, and we may see examples of those in the future. Units that stay within your zone can be repositioned in any way you desire. I have a set of guidelines that I try to follow for the reset between battles. Units at the front won't move a whole lot from where they ended up, unless we are retreating. I can pull a unit back, but won't put it immediately along the front line in another spot. To apply that to this battle, A Coy and B Coy will remain on their respective ends of the battlefield, and no platoons will radically switch around. I also avoid 'moving' units across areas I'd consider unsafe based on last known enemy positions, though that is a judgement call. Another thing I won't do is retreat 'cut off' units, except after a night battle. Finally, a general rule I can easily adhere to is that all units in a platoon must reset within range of their organic commander (unless they are isolated behind enemy lines). I also try to ensure that all independent infantry teams have a commander in range, but I'm not as strict about that. Units can remain ahead of the line of control as long as they are in command range. This setup actually gives us a great illustration of how I apply that rule. 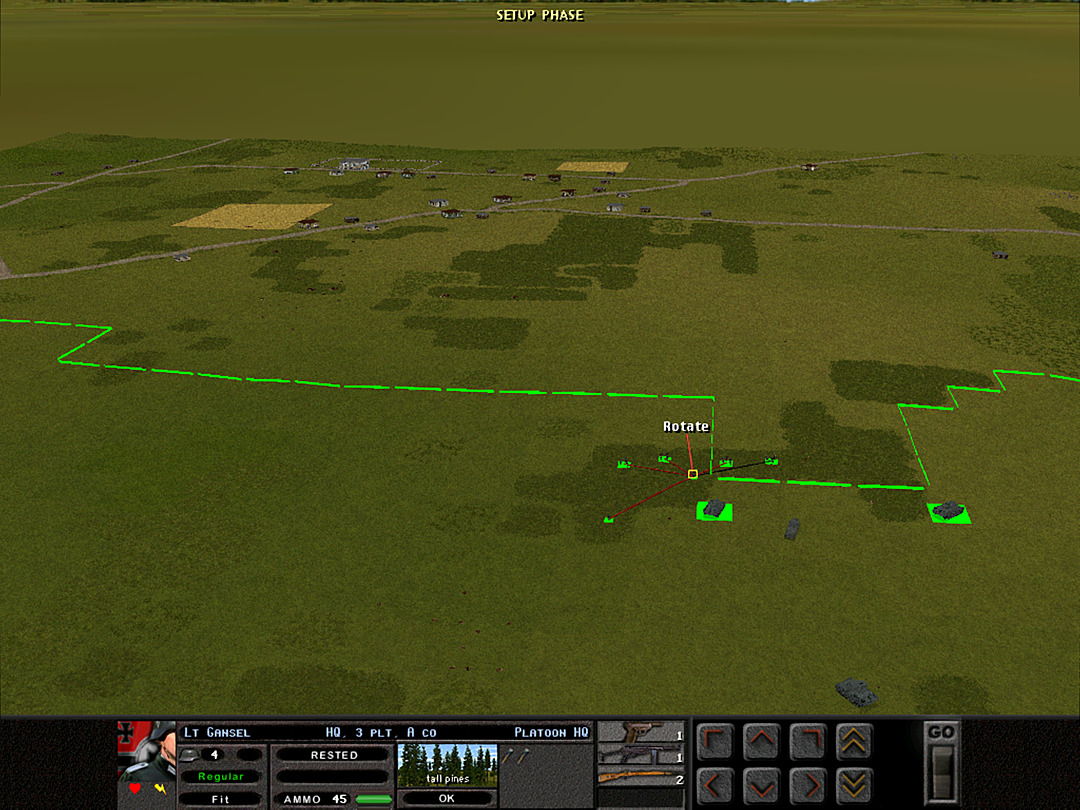 Here's A Coy, 3 Plt in the middle woods. Their commander, Leutnant Gansel, is located right near the line. Most of the platoon can take orders just fine, but one of the squads over the line is out of range (the line connecting to them is black, not red). They must be pulled in. 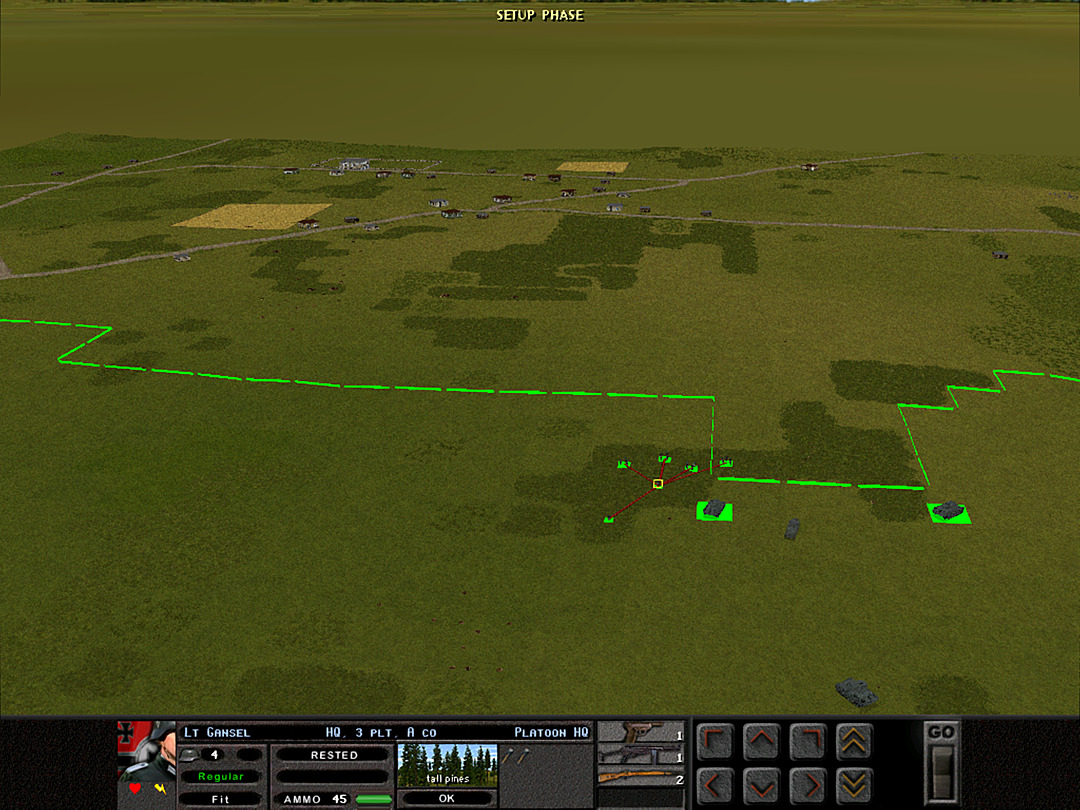 Here's what it looks like afterward. Note that while I also moved Gansel's unit in a bit, the fourth squad remains in command range. They can stay outside of the line. As for my use of other units: Vehicles will often regroup, and get into a more protective position. They tend to get adjusted a bit more, but usually in terms of pulling them away from the front lines. Reinforcements (which typically appear far back, in a blob) can be positioned anywhere I choose, and units that were off the front line at the end of the last battle may be moved up (or in another direction) freely. 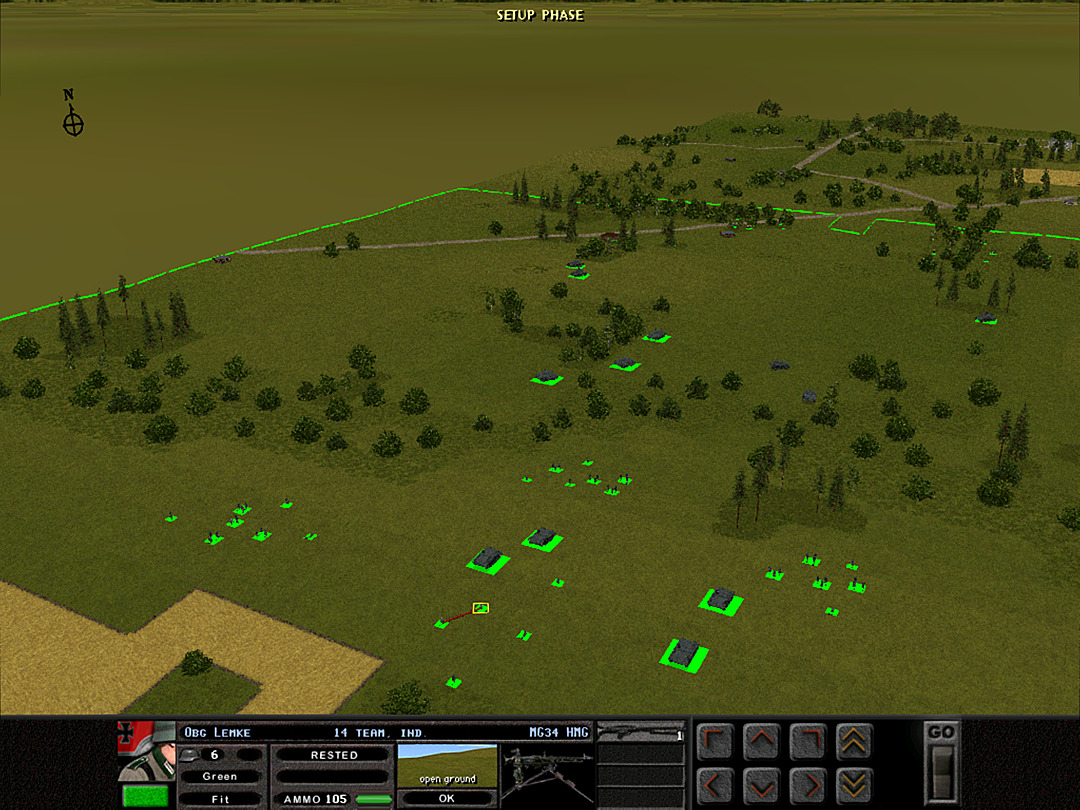 Speaking of reinforcements, here's what showed up for us. It's another complete rifle company (C Coy), along with a platoon of Stug IIIb assault guns. [These did not show up like this; they come in an unorganized clump, and I split them out into groups so that I could then decide where to position them.] We're also expected to get some air support on the map, in the form of two Stukas. [Aerial support is wholly out of your control, and is a double-edged sword. It will usually attack enemies somewhere but also has a chance to go after your own forces.] 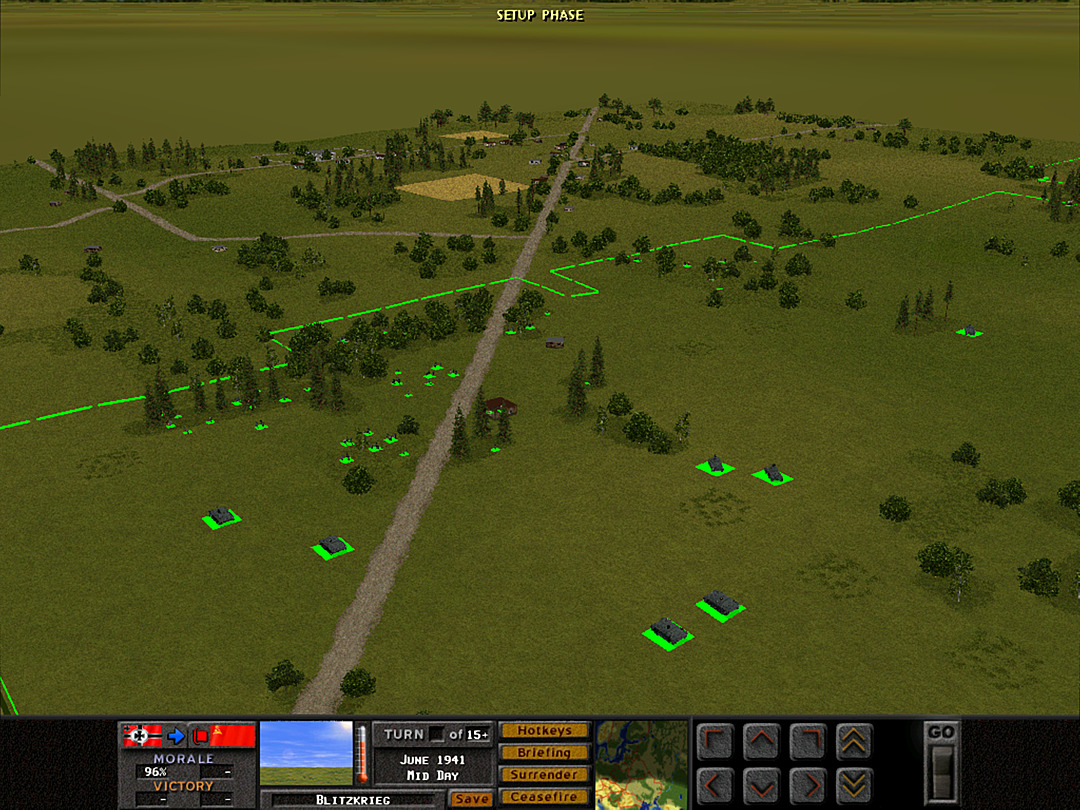 All of C Coy is sent to the north end of the line. They'll be swinging around for the attack on the village as soon as B Coy occupies the trees near the road junction. The Stugs will support the assault. Also seen here are Tank Plt 4's two Pz38's in their reorganized position; the one in the middle of the map remains as it was. 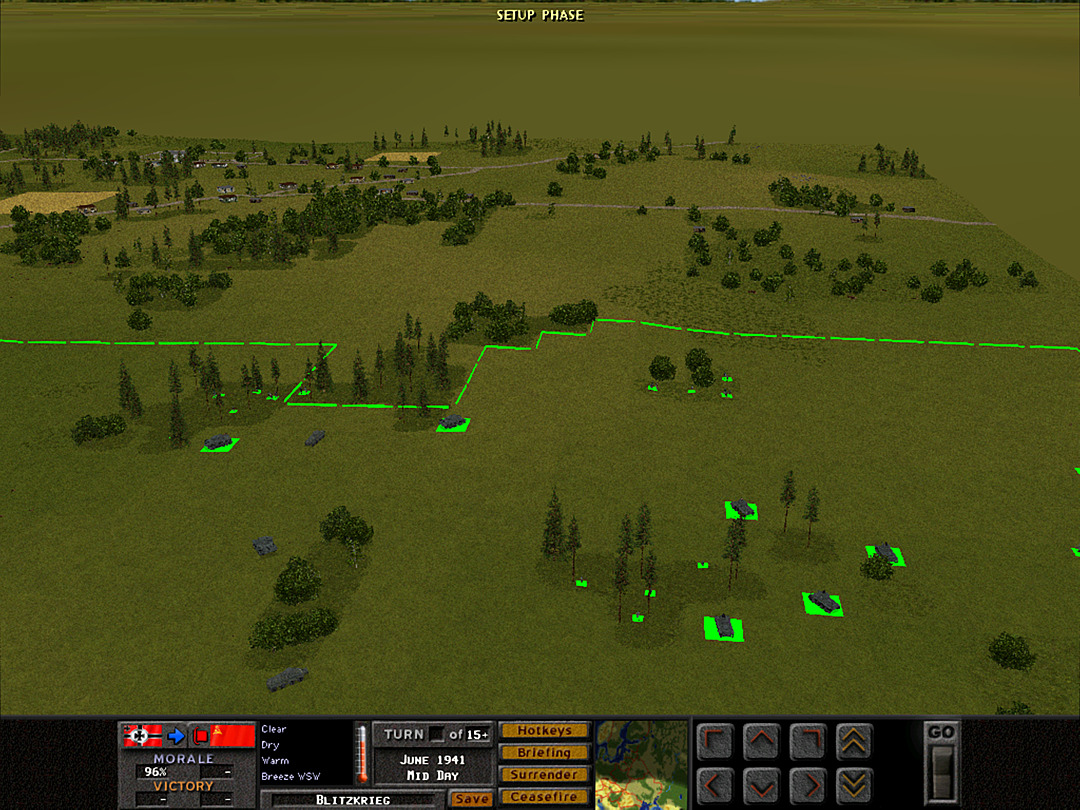 The forces at the south end mostly keep their position, with some of the rear units (like A Company's HQ) moving up, and the tanks pulling back a bit so they don't get surprised by anything the enemy puts out. 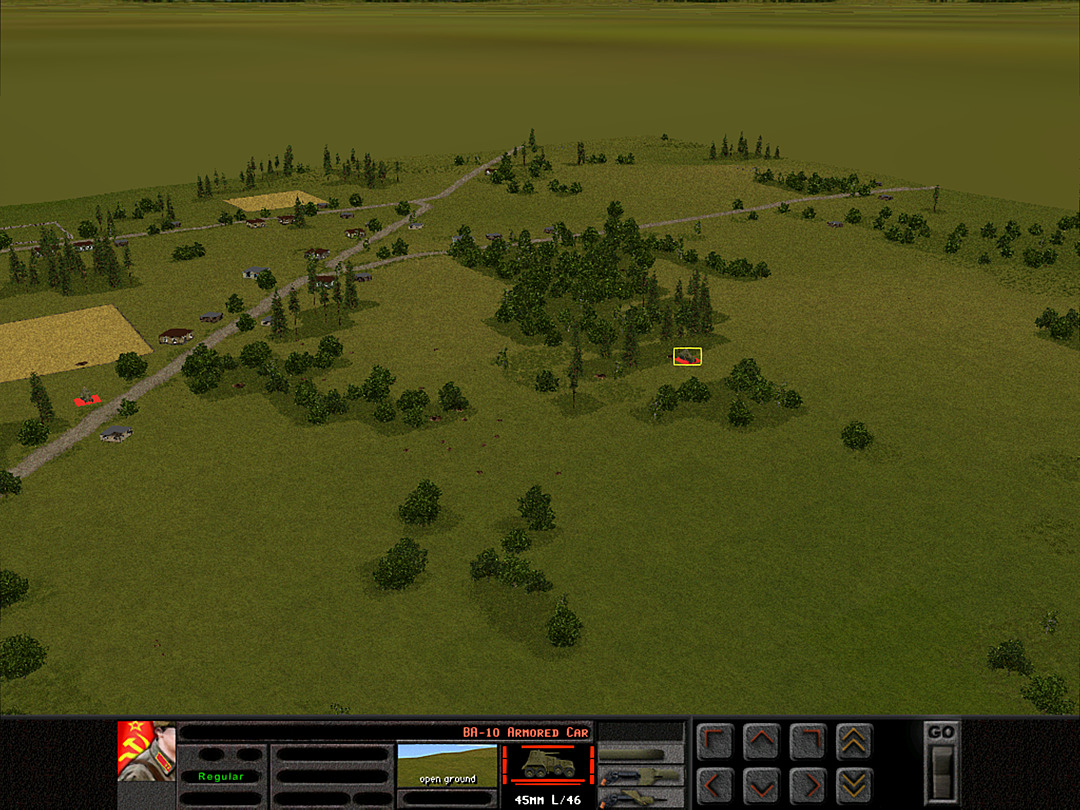 As the battle opens, we see that the Soviets have sent out armored cars to probe the battlefield. The BA-10 could do some damage to us, but they have practically no armor and will be easy to eliminate, especially if they expose themselves so readily. 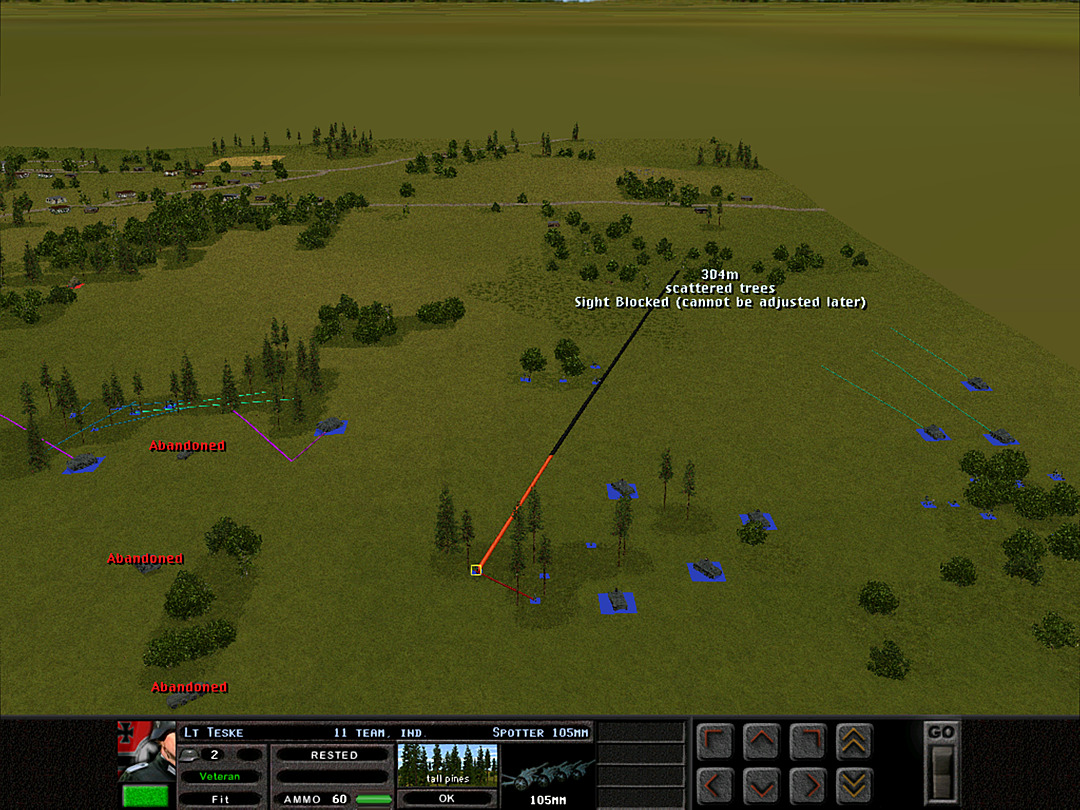 I decide to order the 105 mm artillery to hit the sparse woods as the battle opens. This may be a bad decision if the Soviets have not reinforced their forces there. [Ordering an artillery strike in the first turn has the advantage that there is no delay; it starts hitting immediately. The downside is that it cannot be adjusted; normal artillery strikes can be shifted if they are in line of sight.] 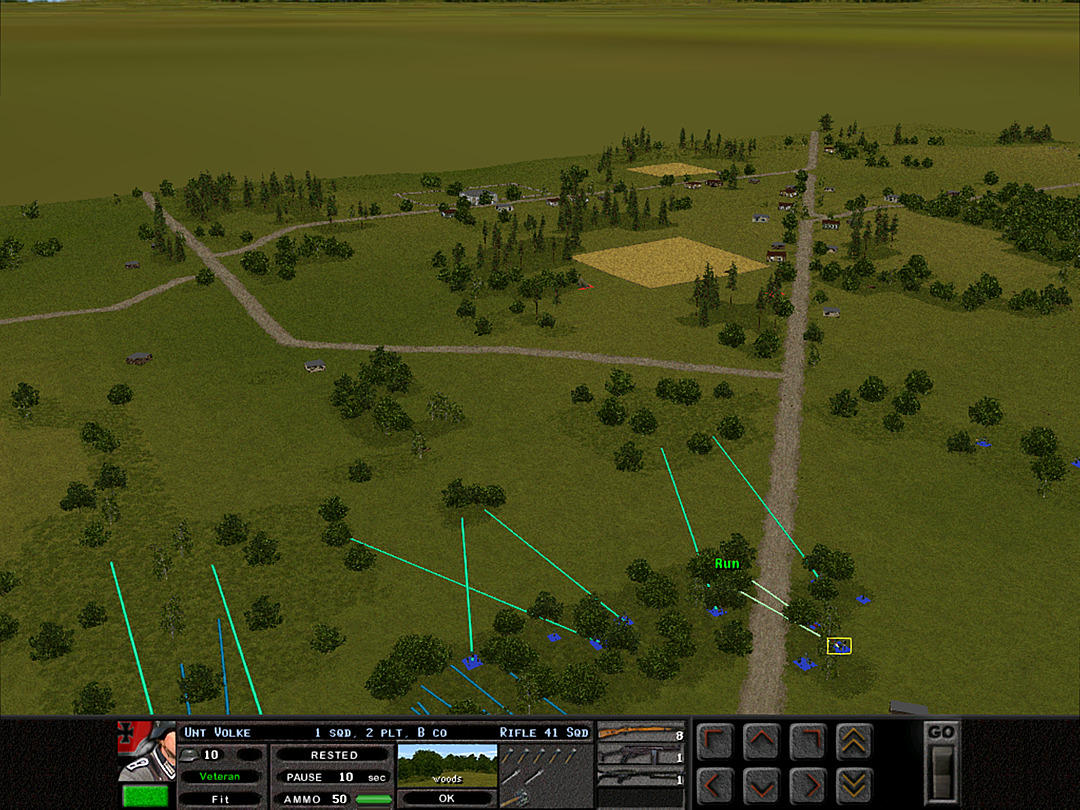 B Coy will initiate a push toward the road junction, while C Coy on the left will move around and strike from the north. 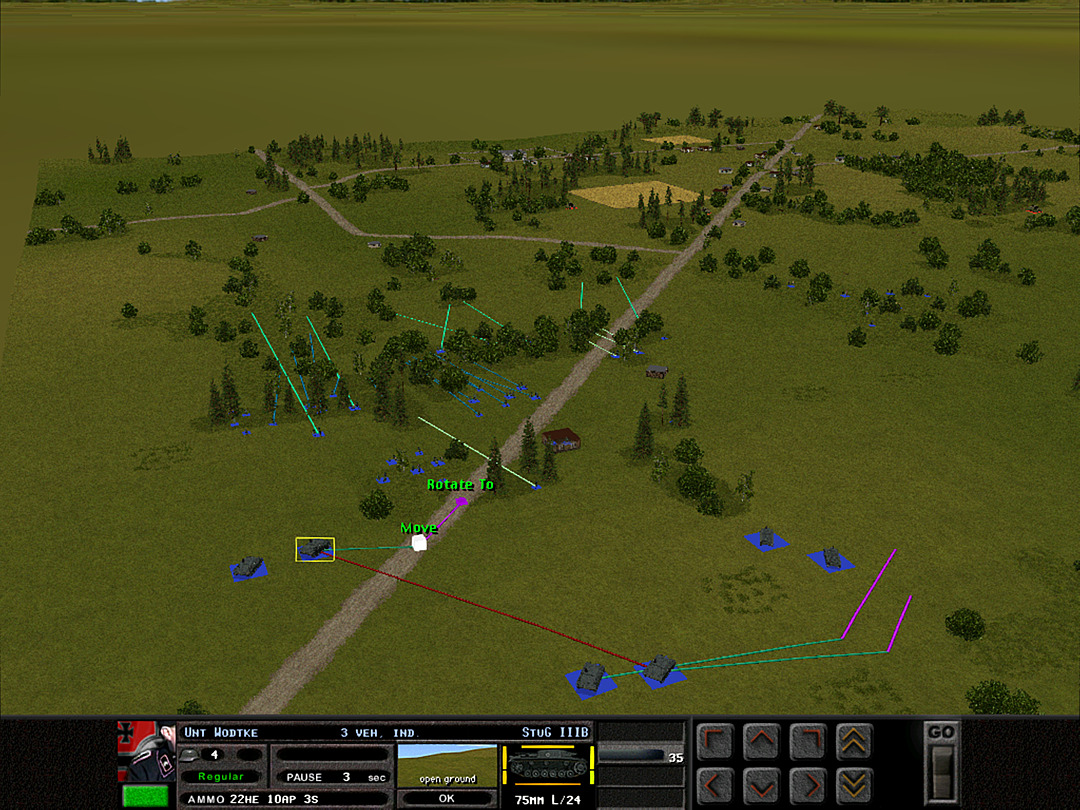 One Stug will take the risk of heading up the road. It's possible the enemy will have something sited to hit them at range; we will see what results. 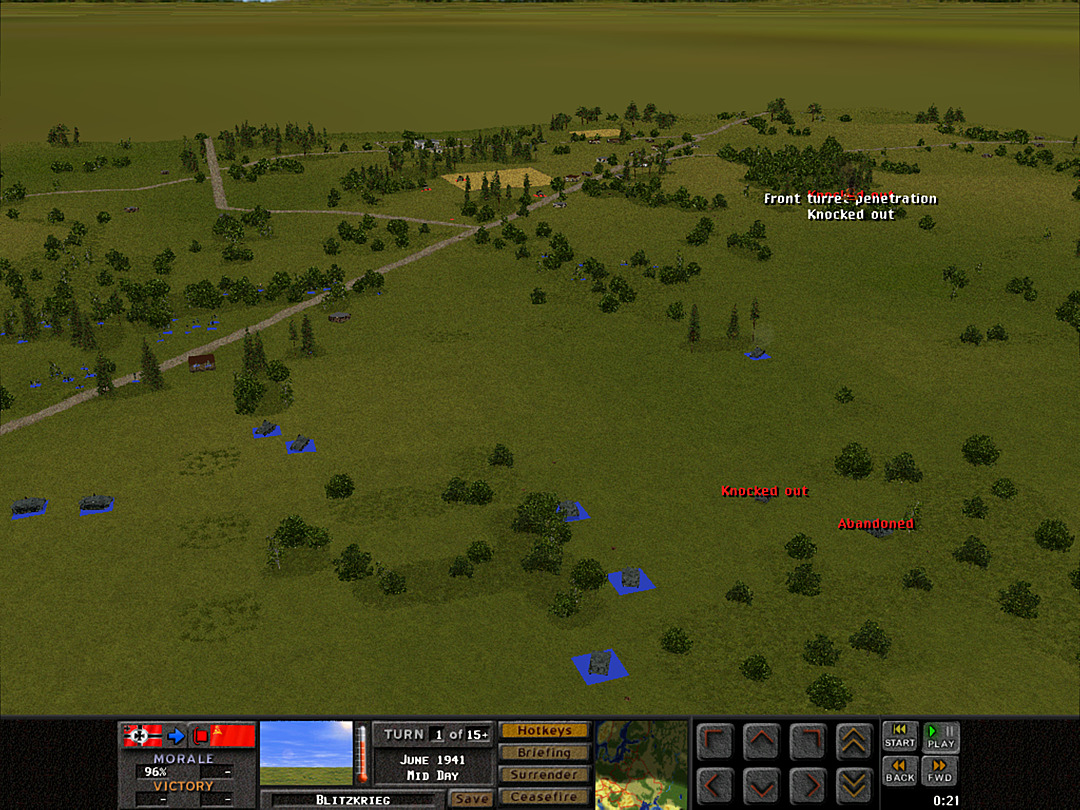 The battle begins with an immediate exchange of cannon fire. The central BA-10 is swiftly eliminated by the Pz 38 in the middle, but the Stugs and 6 Plt's Panzer III's are hitting vehicles as well. 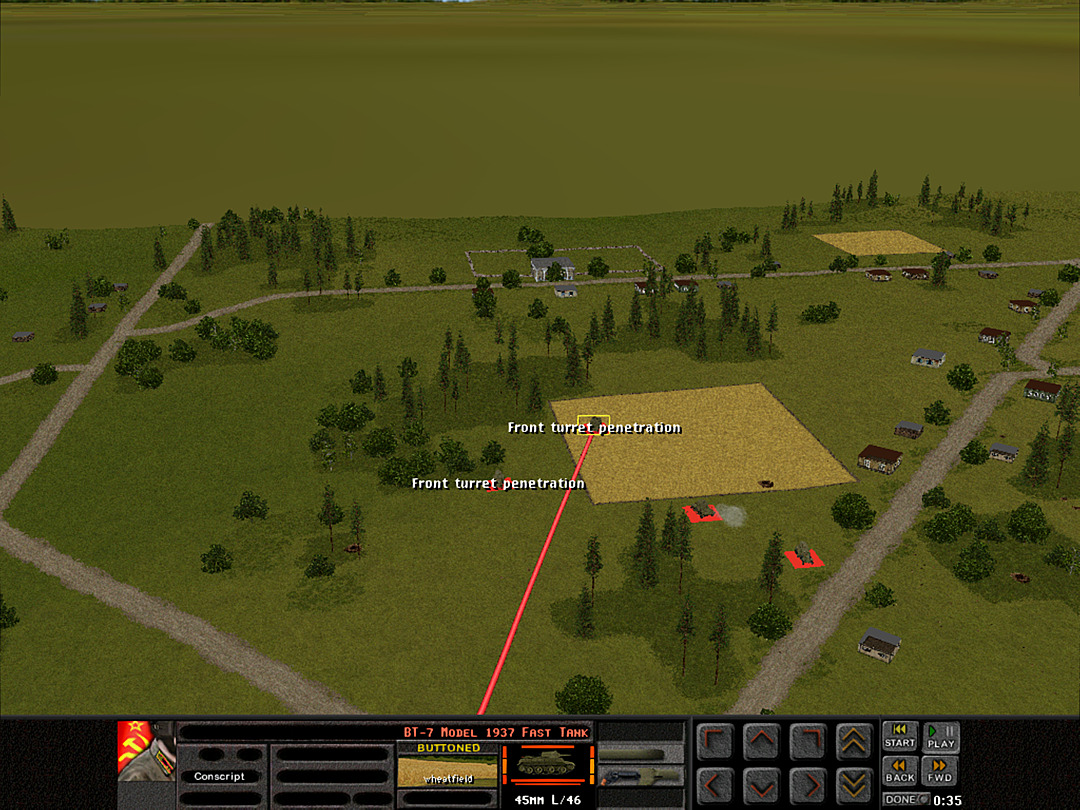 They've managed to not only scrounge up some armored cars, but a few light tanks as well. They are poorly prepared for our barrage of fire, and get knocked out within seconds. 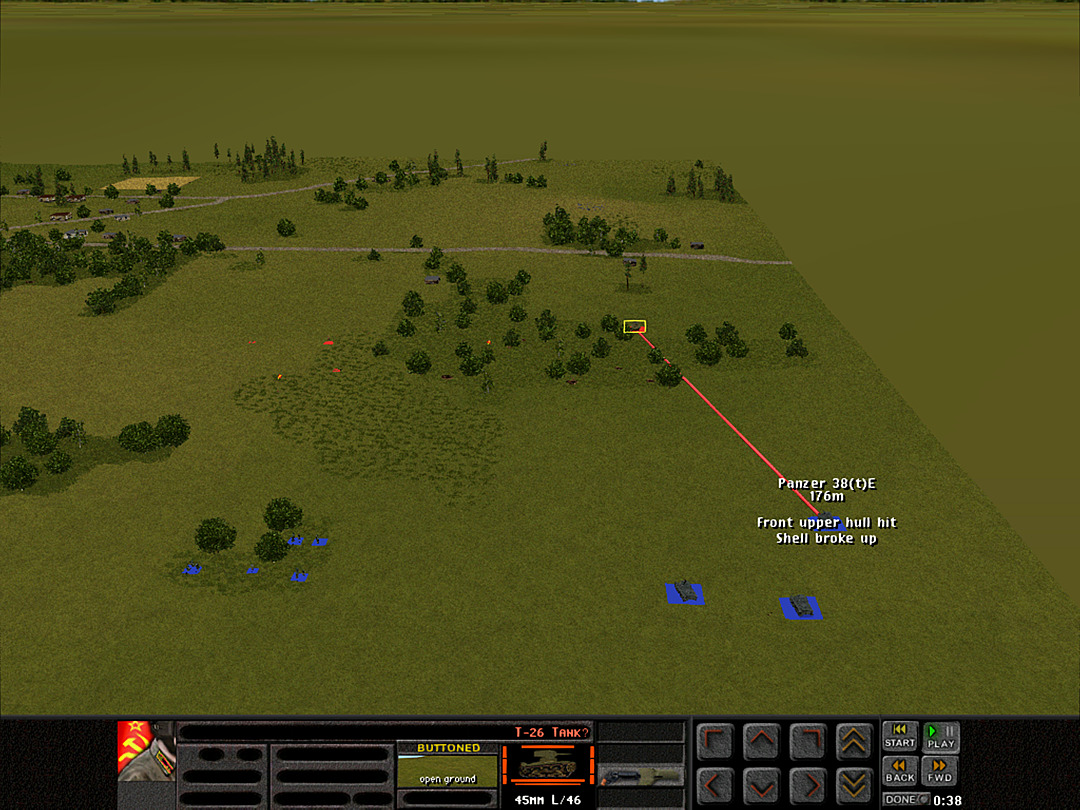 A lone light tank is spotted through the woods in the south. 3 Plt's tanks immediately engage. 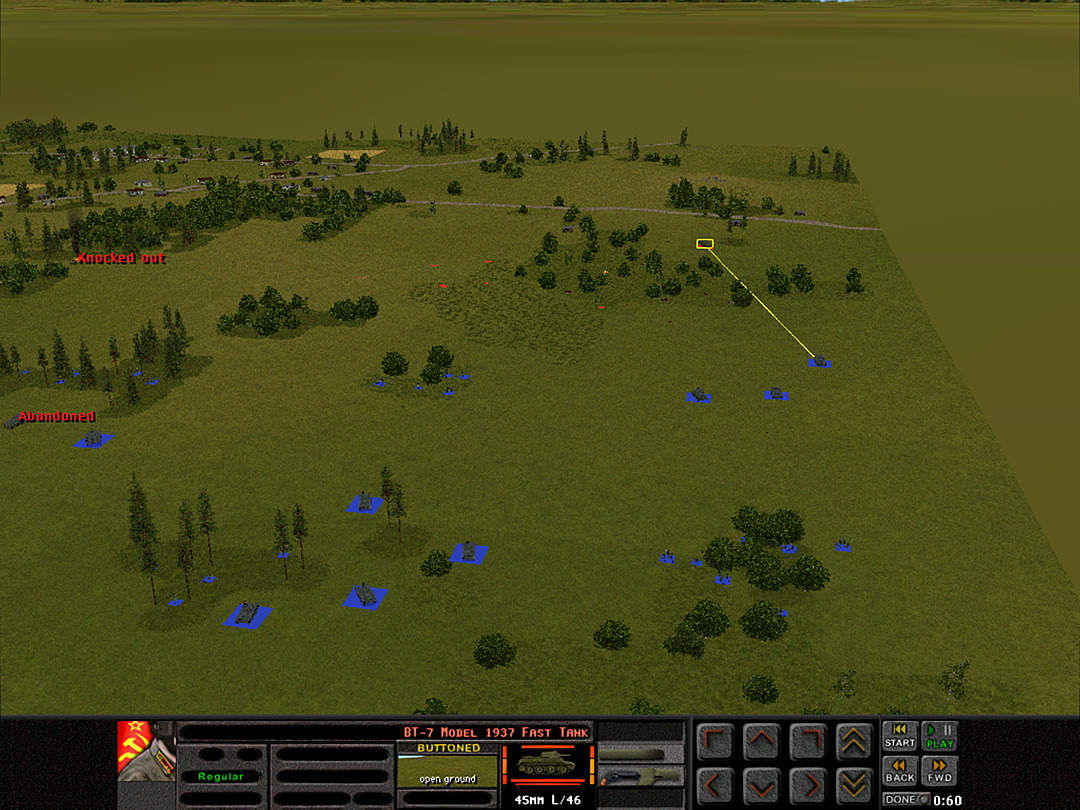 The Soviet tank, which turns out to be a BT-7, realizes the danger it is in and falls back quickly. 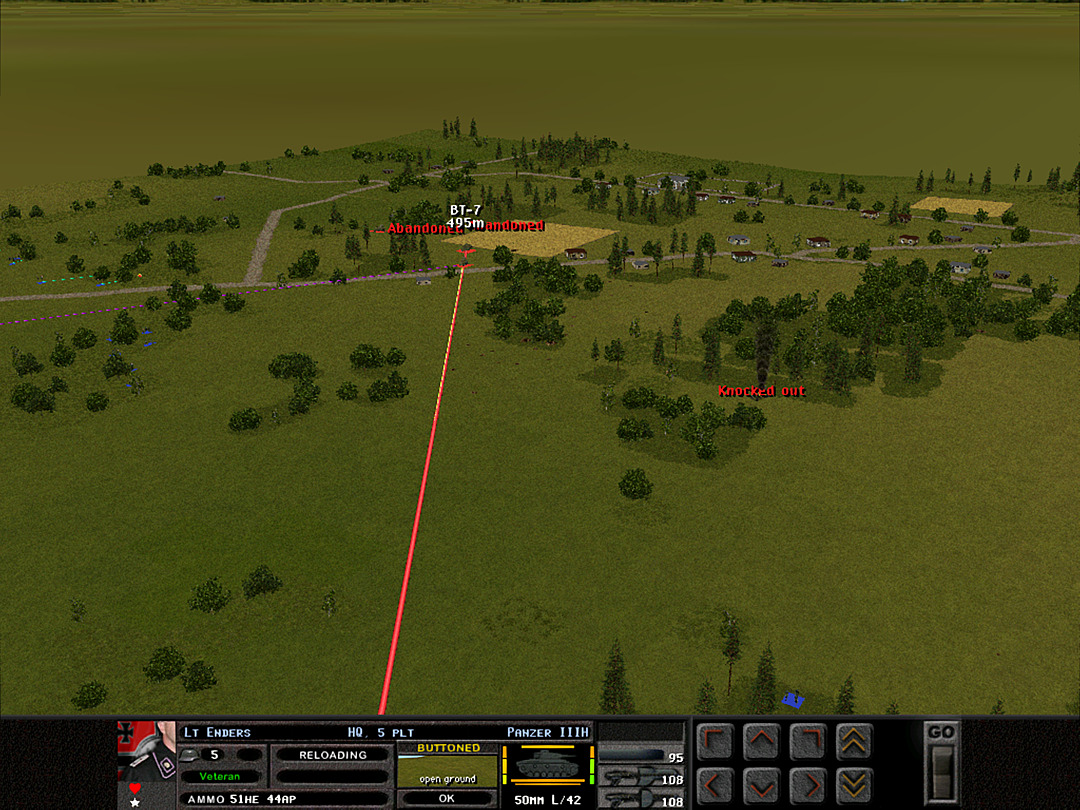 The command tank of 5 Plt engages with the remaining vehicles near the village. 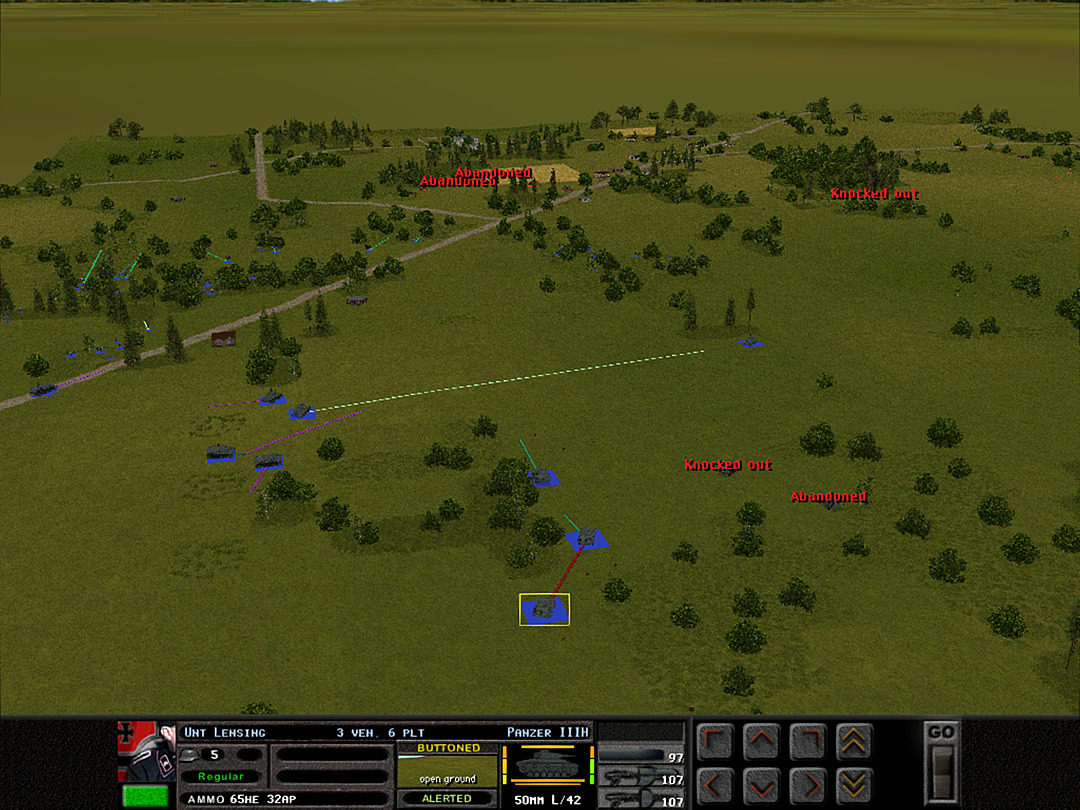 The assault guns and 6 Plt pull out to fight them as well, while 4 Plt prepares to scoot toward the center. [Something I'll comment on here, since it's a bit hard to discern, is that the lighter purple/mauve line in front of a unit or at the end of a move path indicates a rotation, and not movement, while the darker purple means a move in reverse. In this image, the Stug on the road and the left one of the pair further back near the brush patches are both rotating. Meanwhile, the Pz 38 near the trees and the other Stug are both reversing direction. I will almost never order a unit to reverse in a way that is not rearward to its facing, and conversely will rarely order a rotation that's not within a unit's forward arc, so the two can be distinguished based on the facing of the unit or its path.] 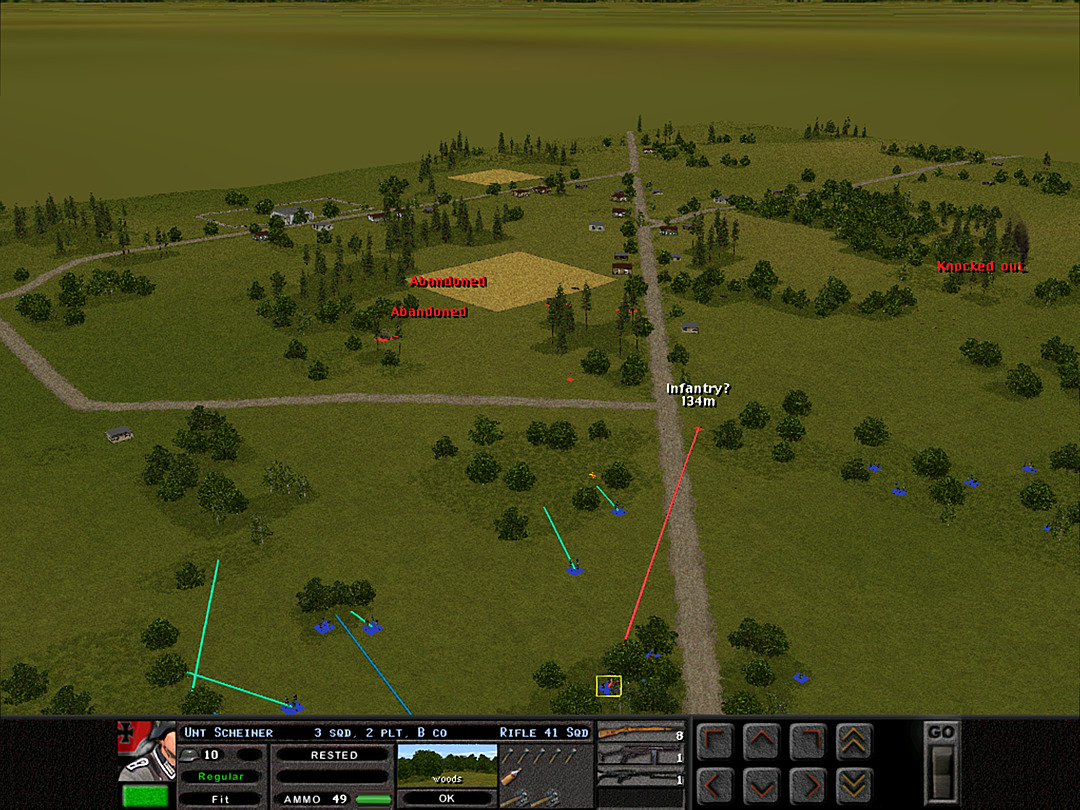 Soviet infantry has been spotted near the road junction, and B Company's men have their work cut out for them. 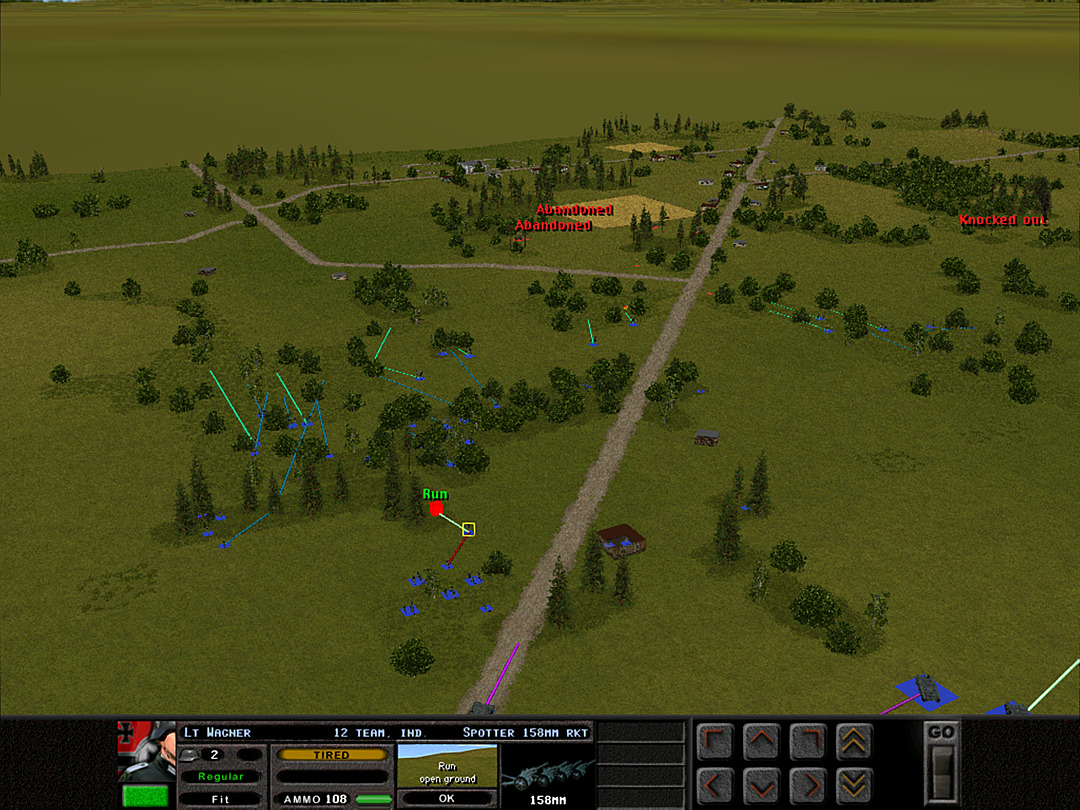 I want to order a rocket strike close to the village before C Coy arrives, so the spotter has to run to get a view of the target. 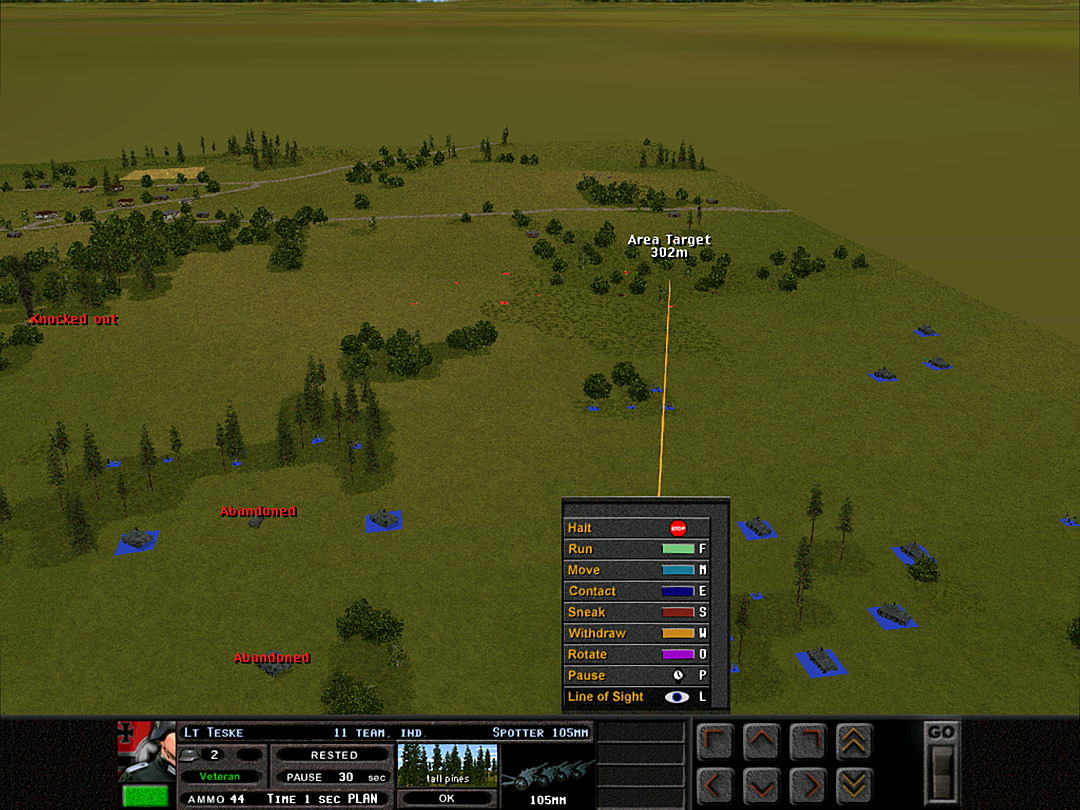 The 105mm artillery is landing, but it appears it might have done better if it had been aimed a little more to the north. [I also forgot that being unable to adjust it also means it's unable to be cancelled, so all the rounds will be expended here.] 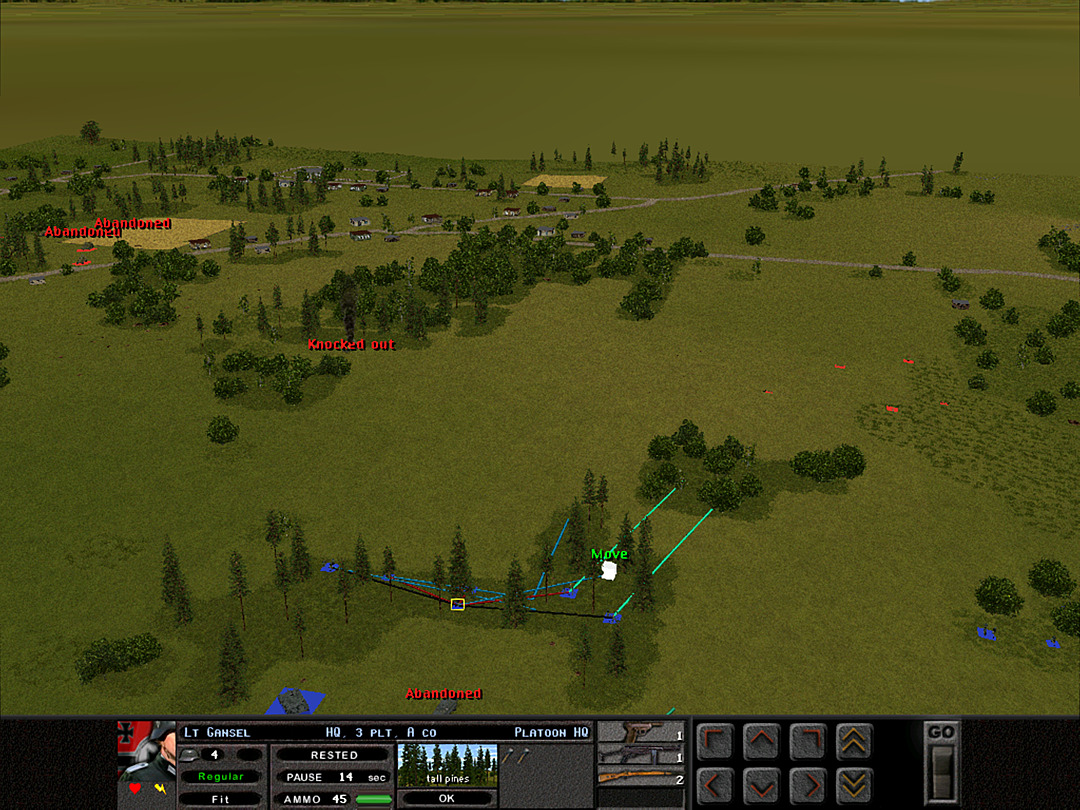 Activity in the dense woods appears light, so A Coy, 3 Plt will shift toward where the action is, near the sparse southern woods. 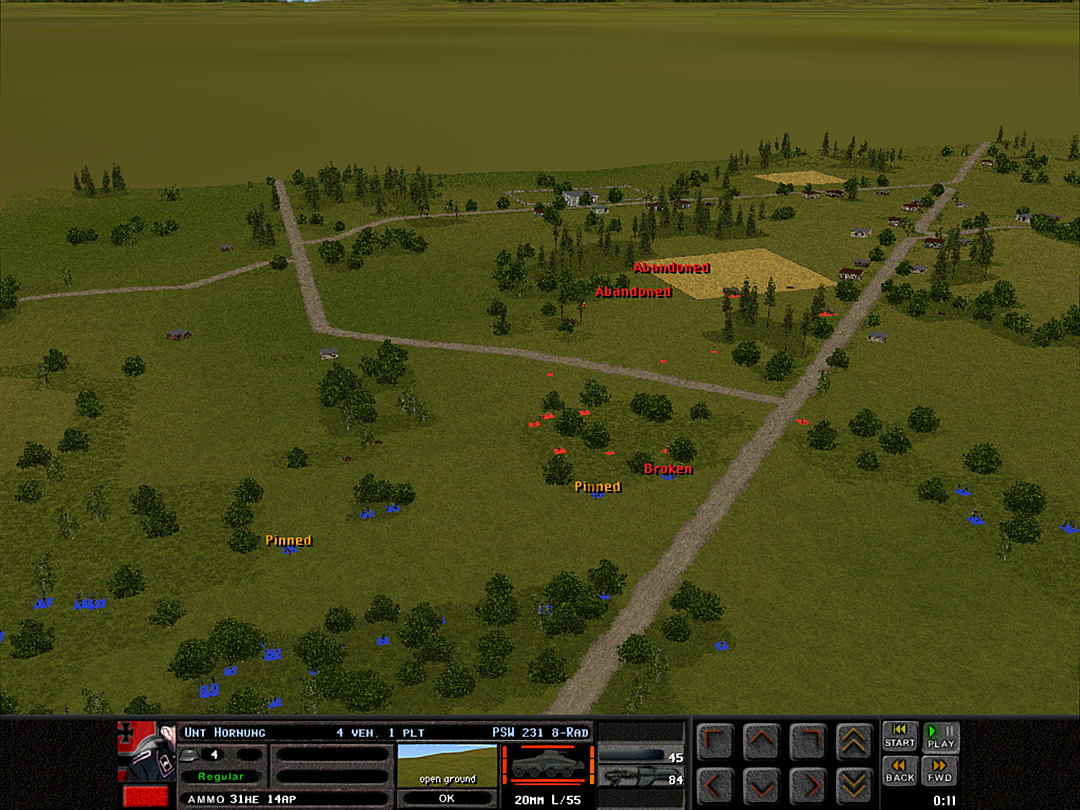 The squads advancing toward the road junction suddenly realize this patch of woods is full of more soldiers than expected. It's an ambush! B Company is in trouble. 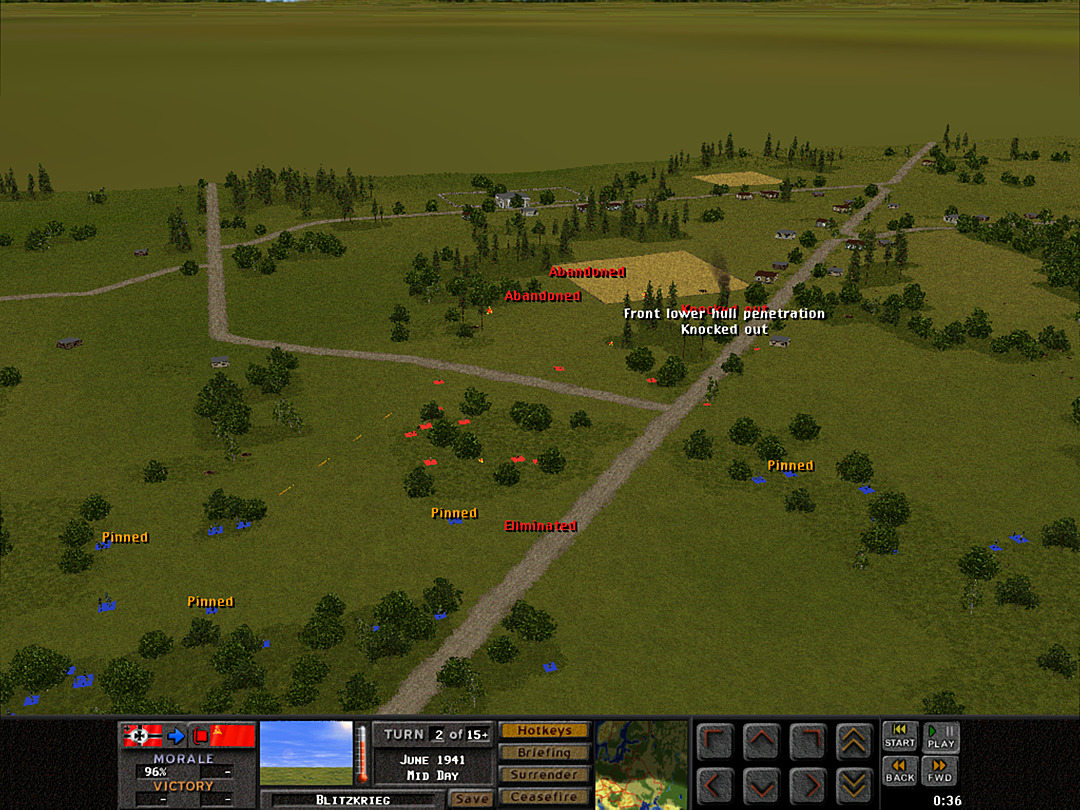 One squad from 2 Plt is wiped out trying to run back to our lines, while several others are pinned down by rifle fire. At least the tanks do their job and knock out another scout car. 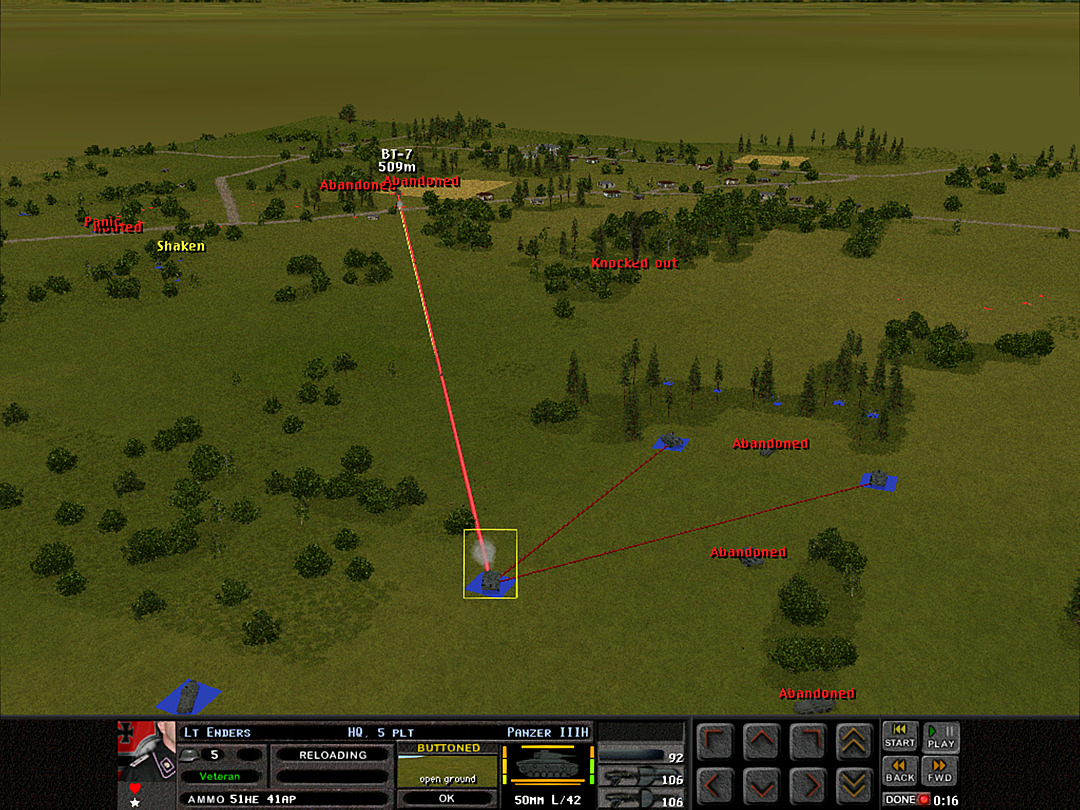 The command tank of 5 Plt spots a remaining BT-7, and selects it as a new target. 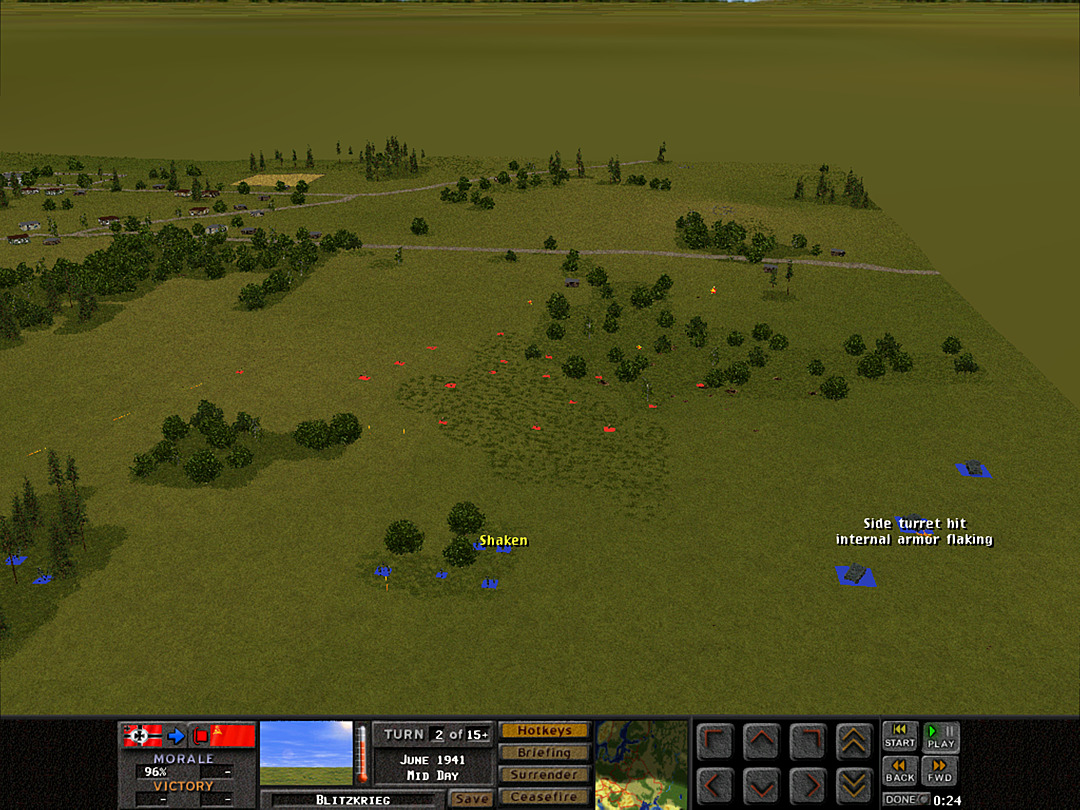 The Pz 38's are getting peppered with gunfire, but nothing that can really hurt them. The BT-7 that was behind the woods has moved away to safety. 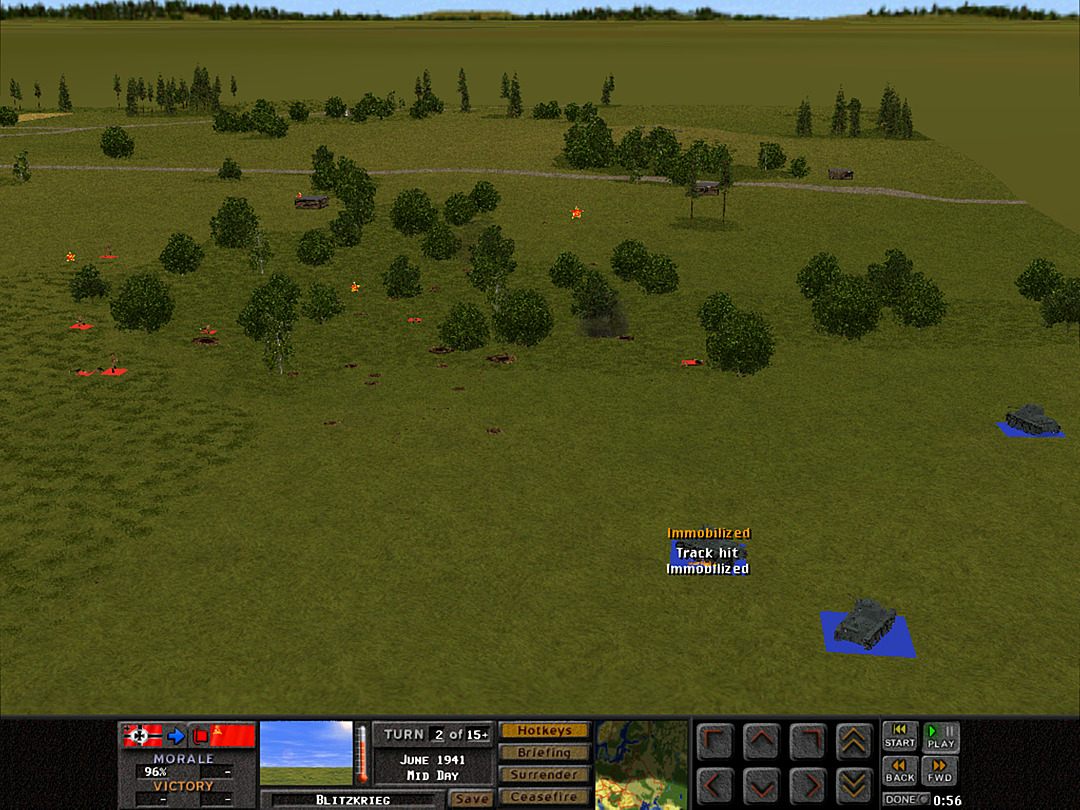 An unfortunate incident occurs when 3 Plt's track is damaged by machine gun fire, and it's left a sitting duck. 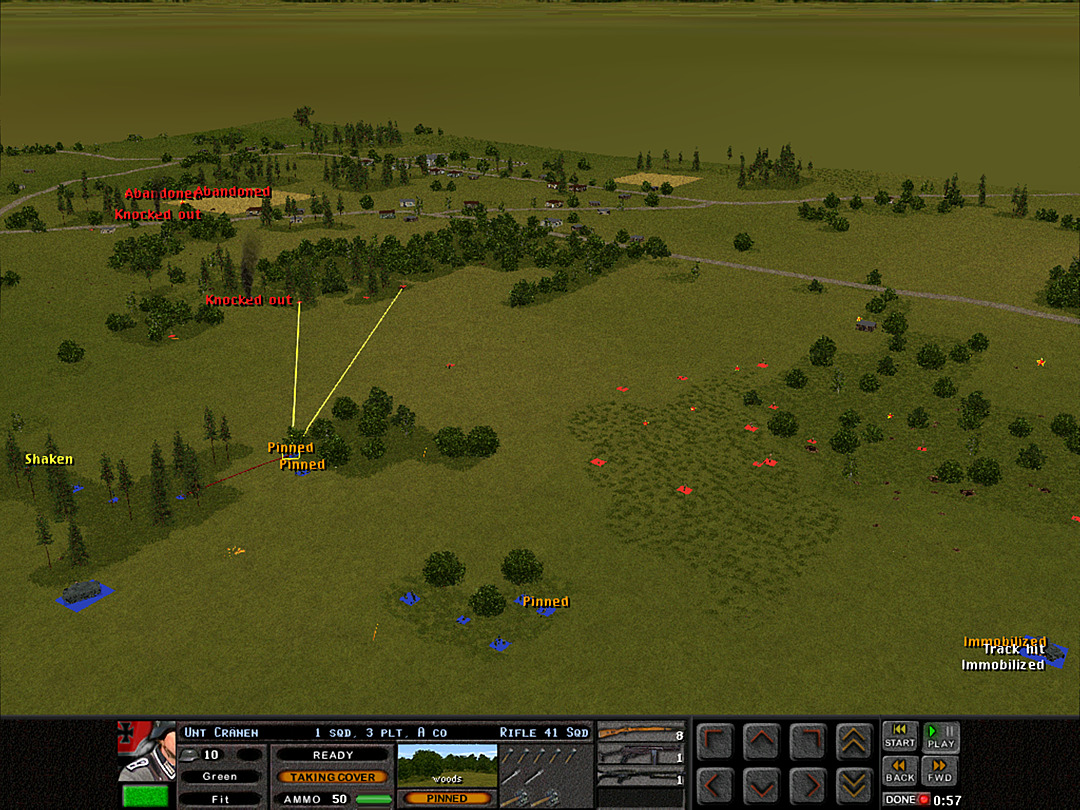 As A Coy, 3 Plt pushes forward, more enemy soldiers in the dense woods reveal themselves. There is also a significant surge of troops into the brush near the sparse woods; possibly they are avoiding the artillery strike, or hoping to shock us into retreating. 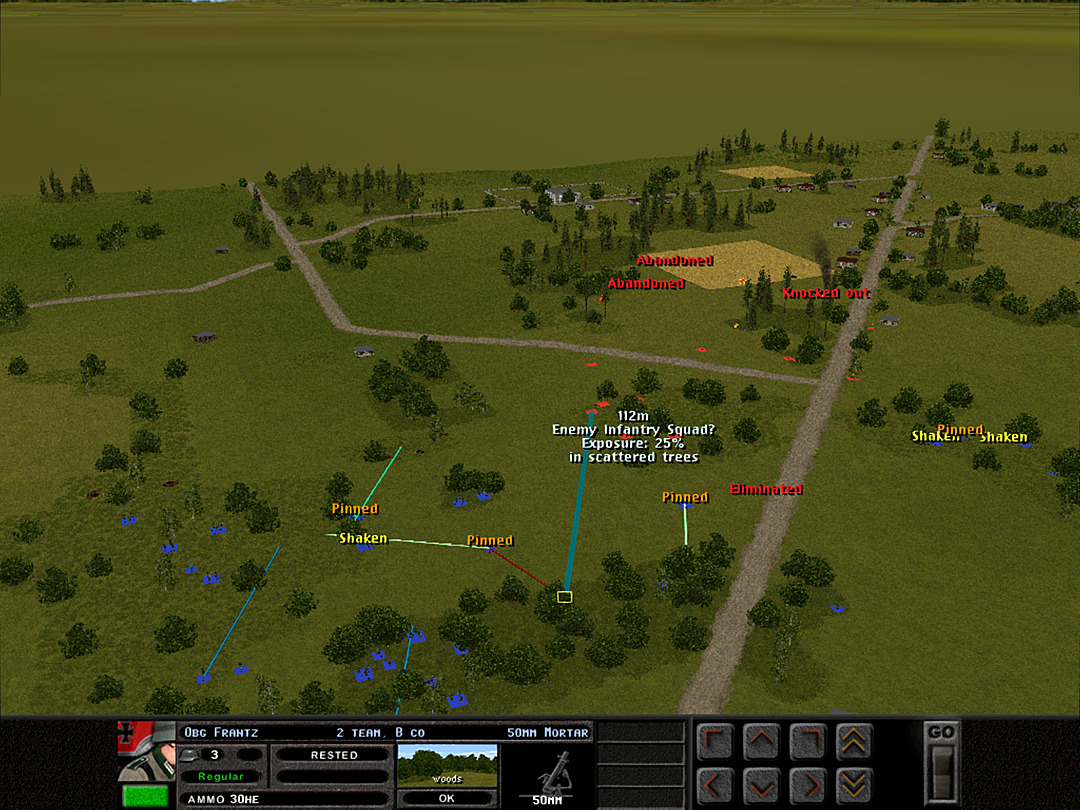 B Company tries to make the best of a bad situation and lays down mortar fire at short range. 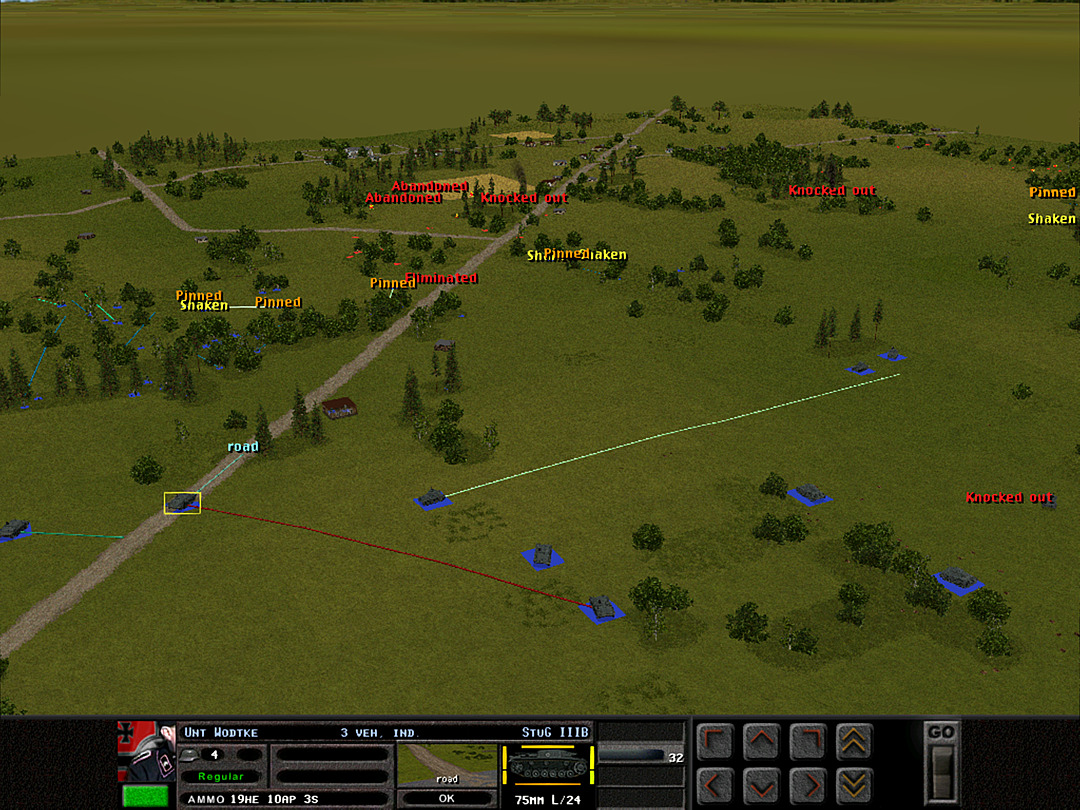 The Stug that braved the road continues to cautiously push ahead. Meanwhile, 4 Plt is attempting to reunite their three remaining tanks. 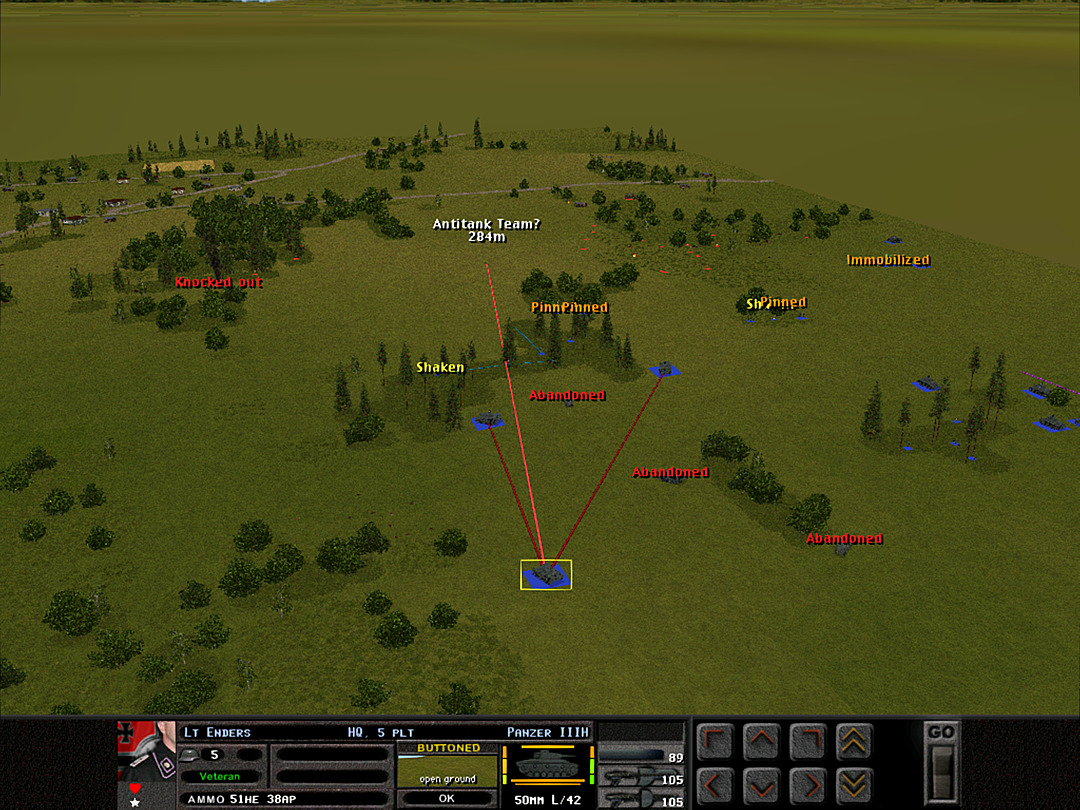 What might be a Soviet anti-tank team is spotted in the open ground, but it's not enough of a threat to deter 5 Plt from getting their own tanks together. 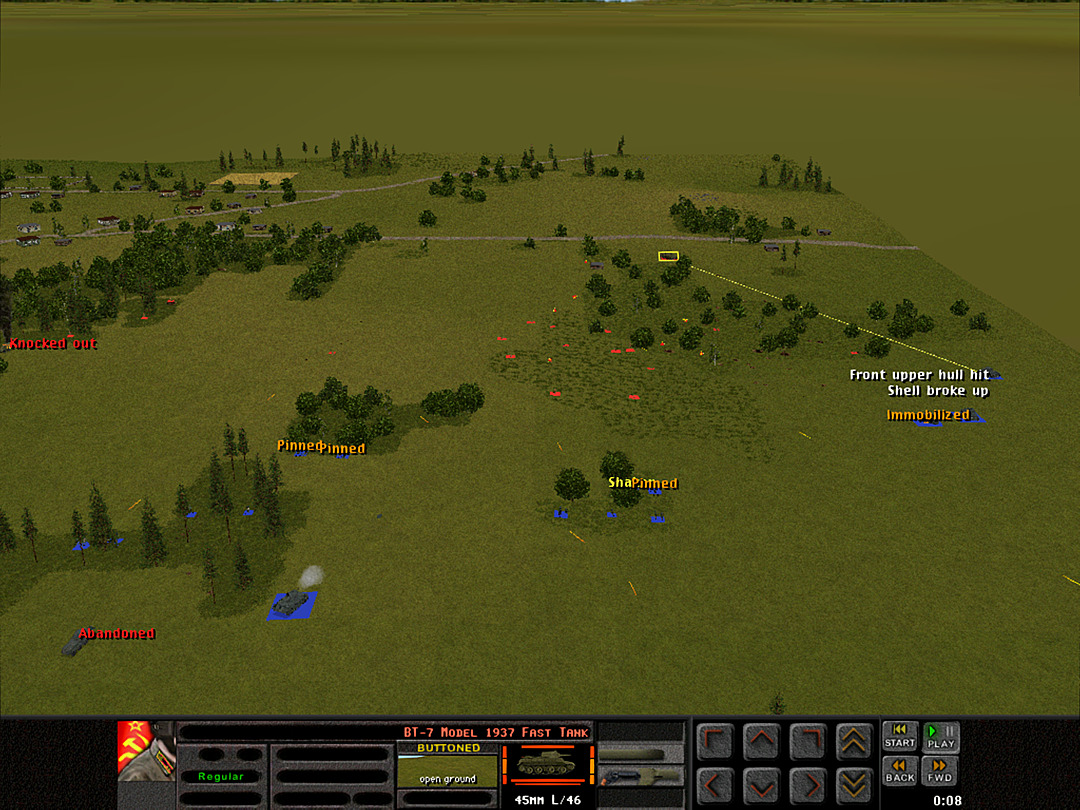 The tanks of 3 Plt that can still move around continue to duel with the BT-7 through the trees. The rest of the forces intensify their fire on the mass of infantry in the brush. 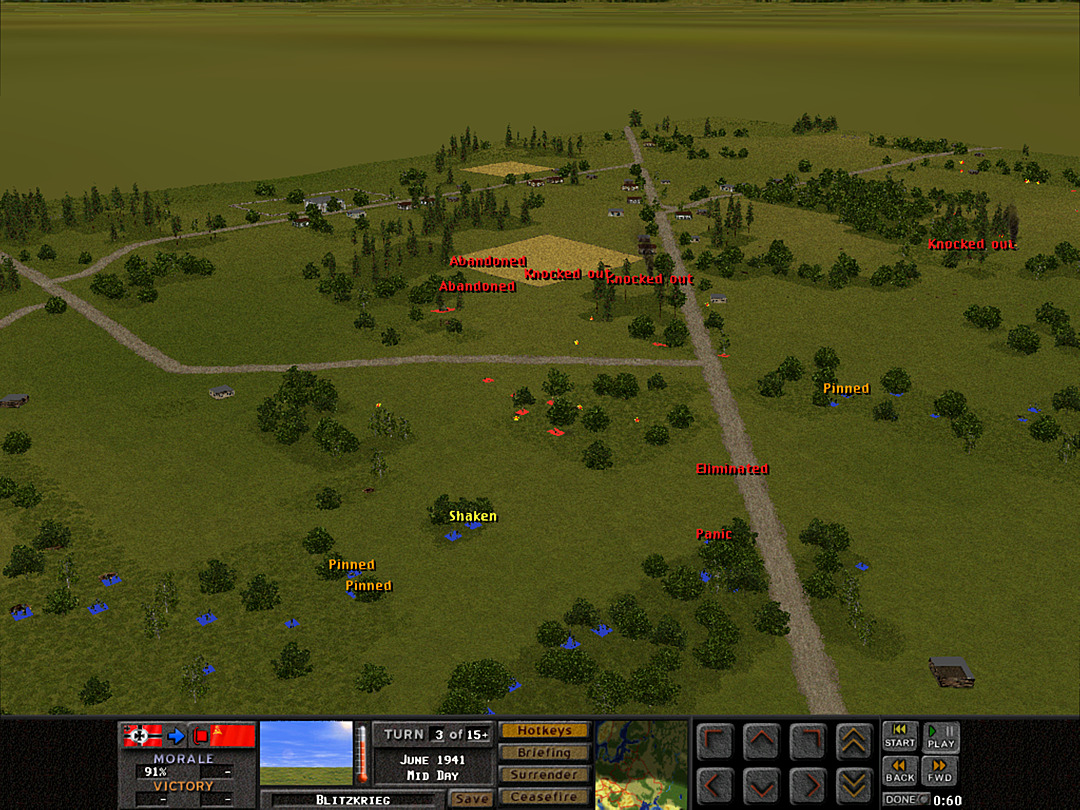 B Coy's forces are starting to stabilize after the surprise of the ambush, but it doesn't look like they'll be taking these woods anytime soon. 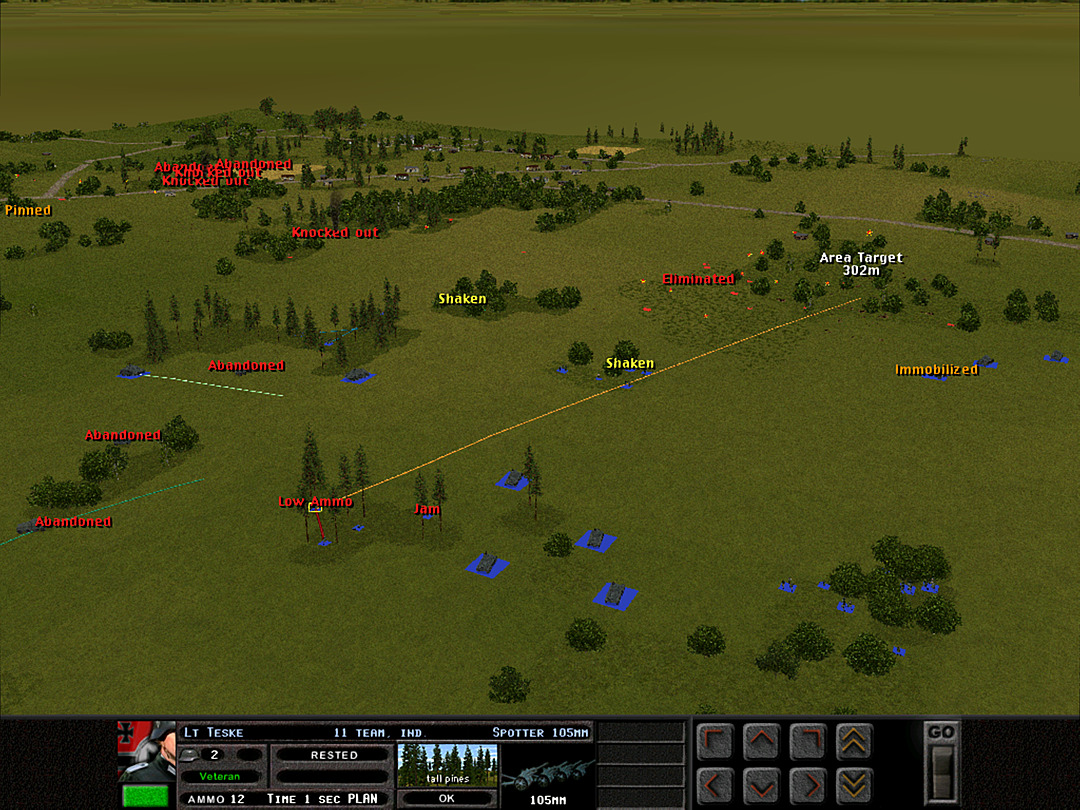 The artillery strike has nearly ended. Our troops here are mostly content to remain in position and target the squads in the low brush ahead of them. 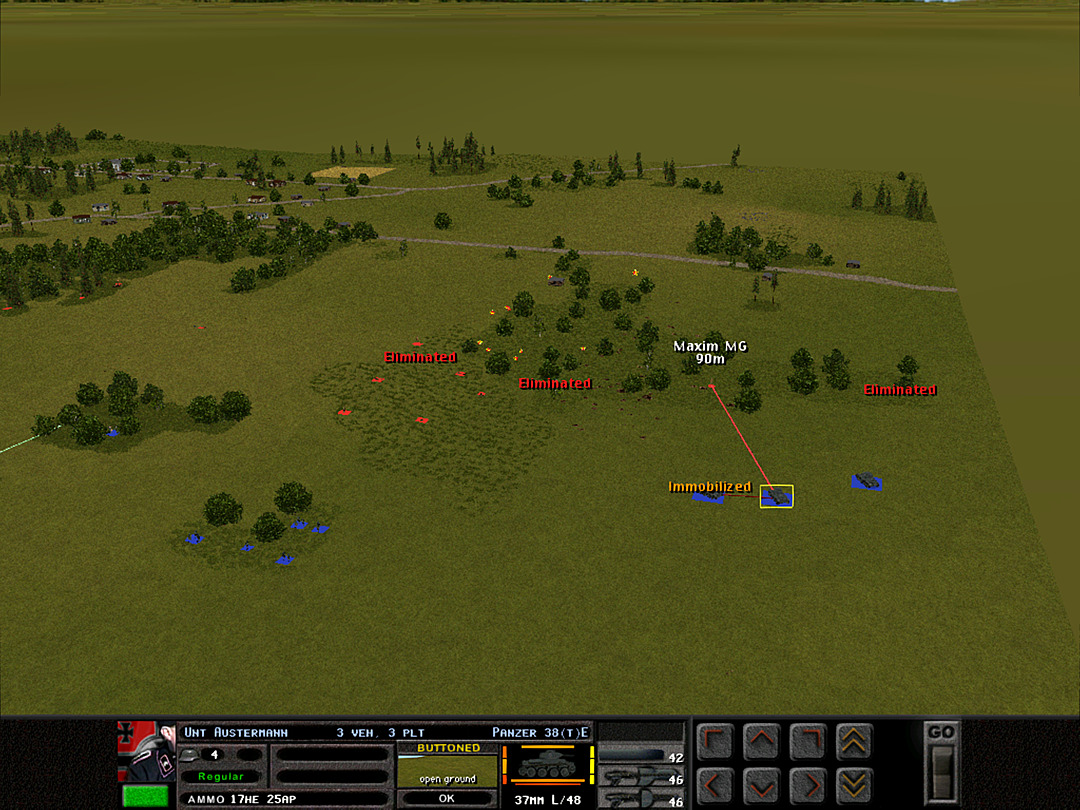 In the woods, they have a Maxim gun. We do not; we have tanks that can shake off its fire handily. 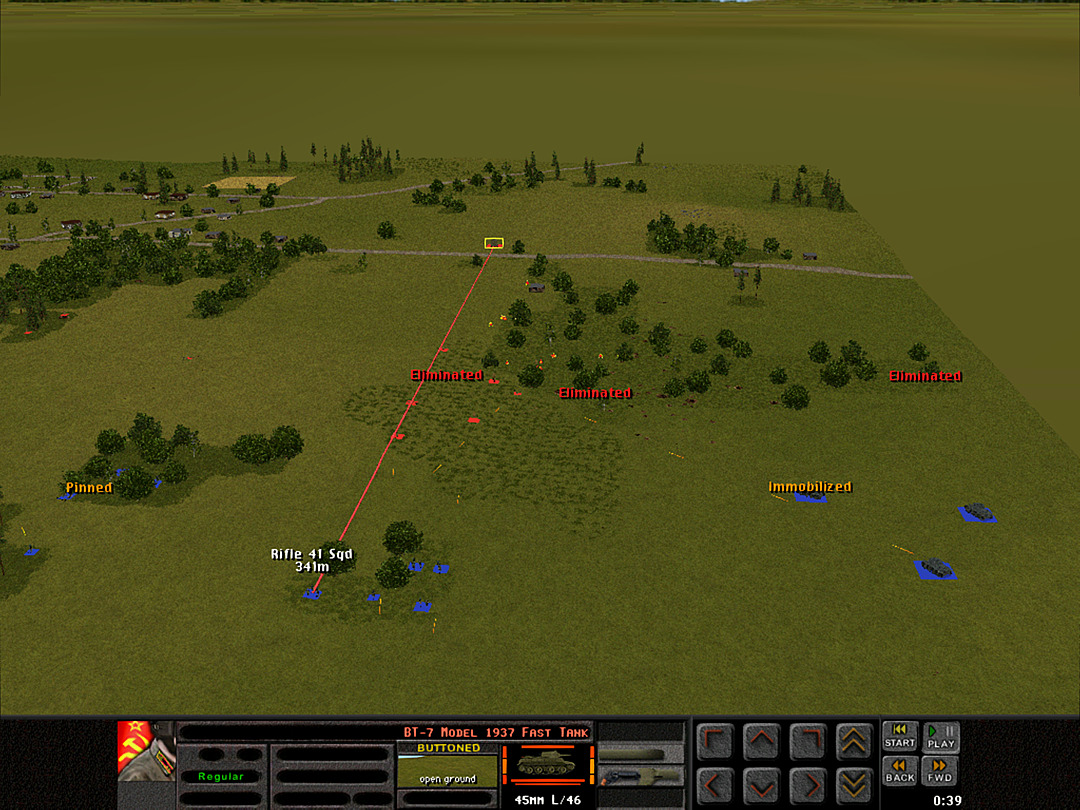 The BT-7 that was down near the woods is spotted trying to make a break for the village. 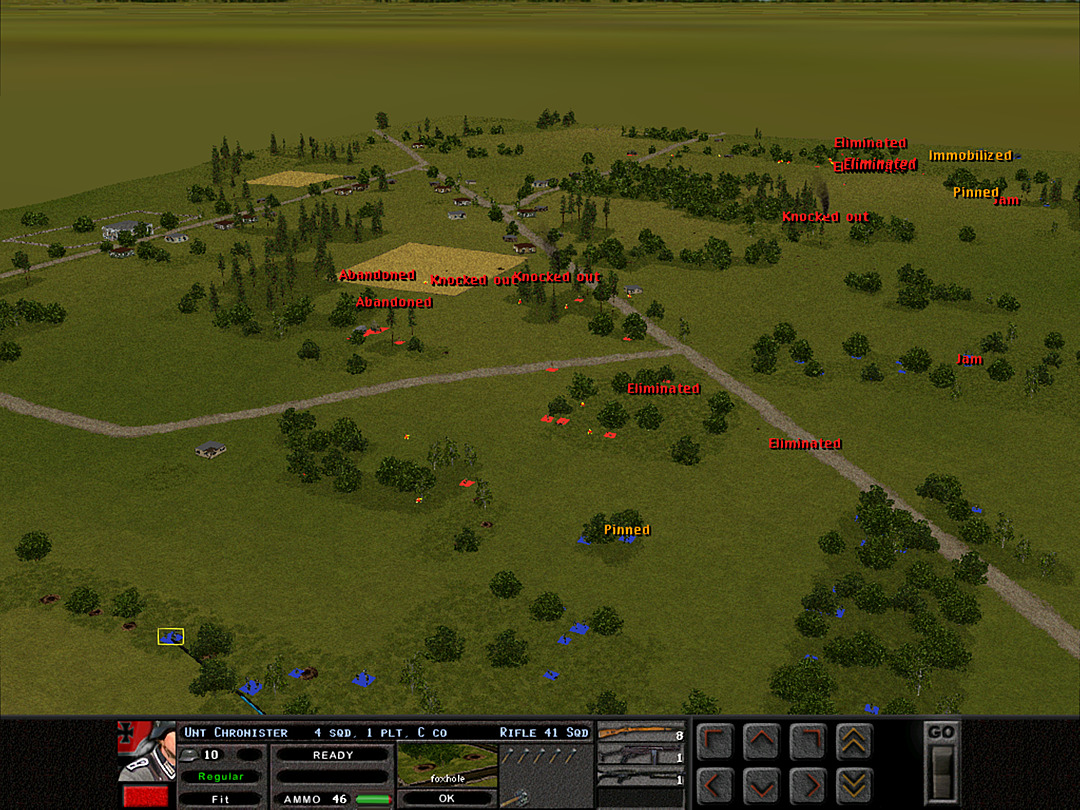 As C Coy, 1 Plt maneuvers on the left, they discover that foxholes have been dug here, probably for the Soviets to take over once they'd pushed us back from the road junction. Instead, we're occupying them. 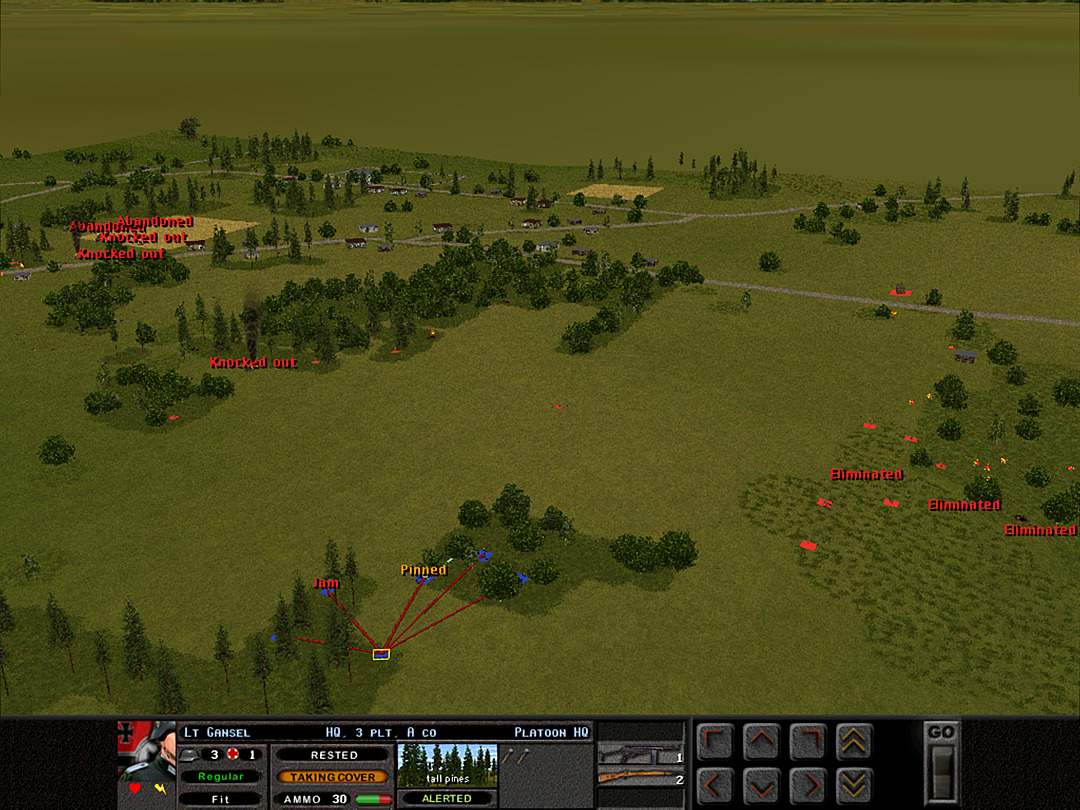 Our farthest-forward platoon in the woods is being harassed from both sides, and while losses are light, they are having a tough time maintaining their composure. 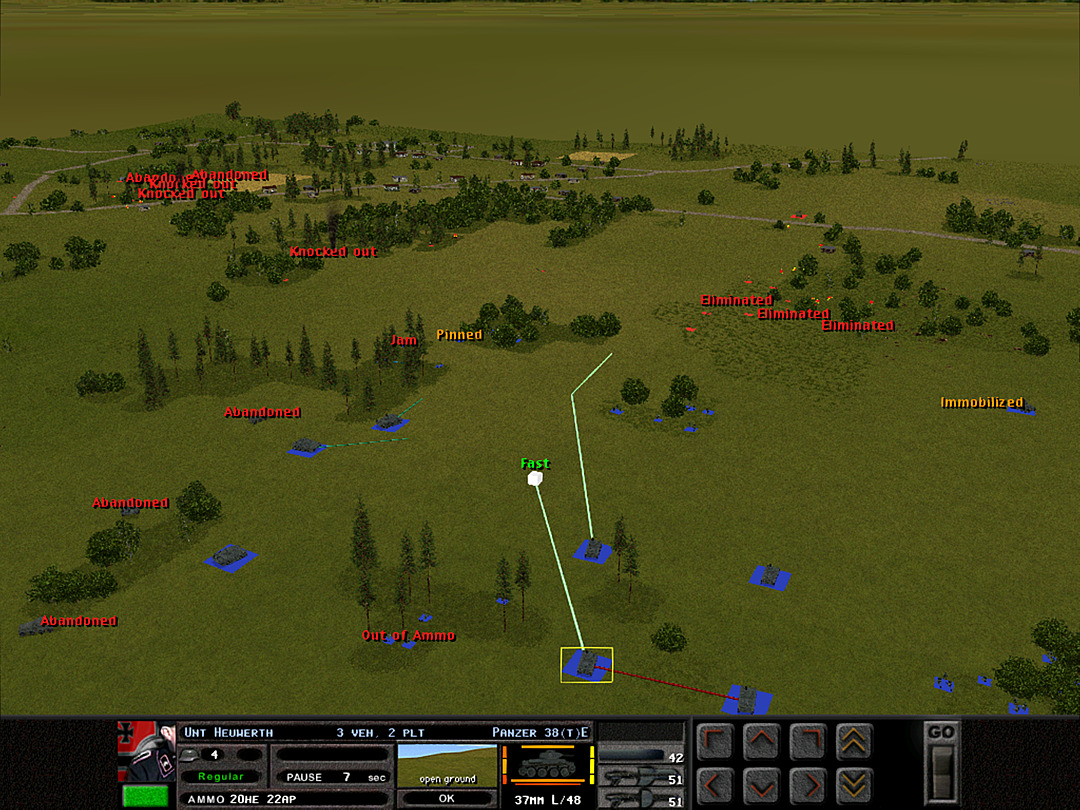 The tanks of 2 Plt have been mostly staying back, but now they rush forward to knock out the BT-7. The Pz III's in 5 Plt might get a crack at it as well. 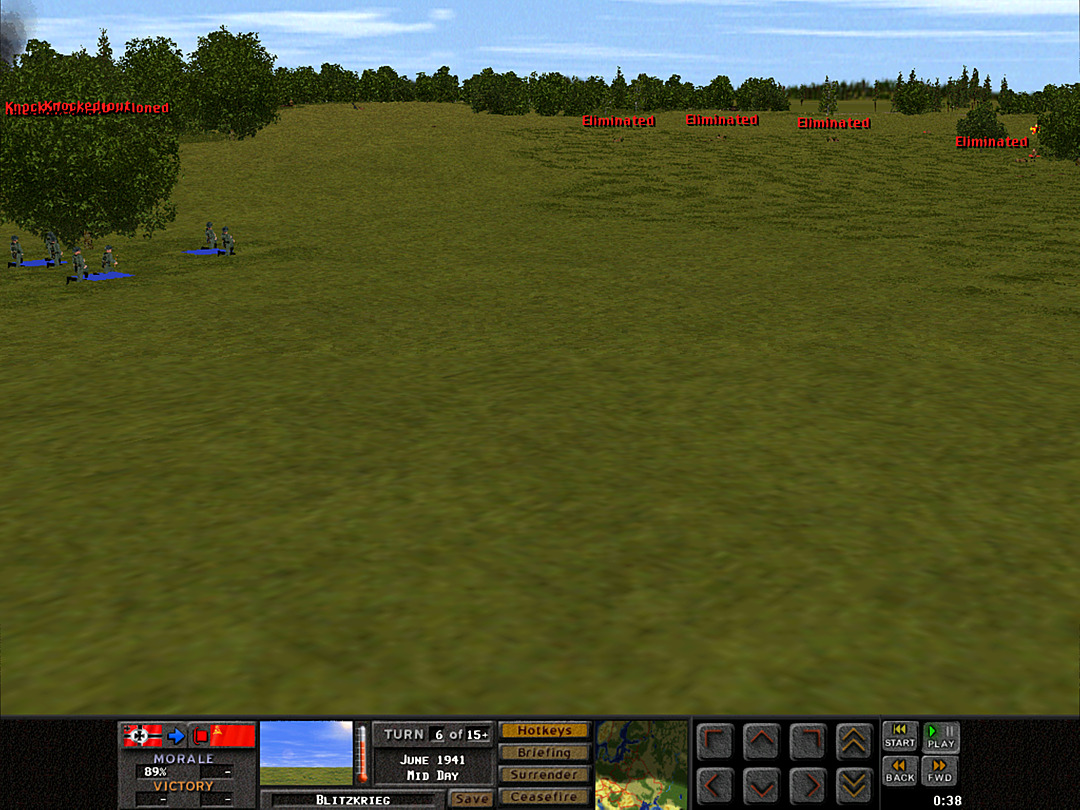 This little rise on the south has turned into a killing zone. 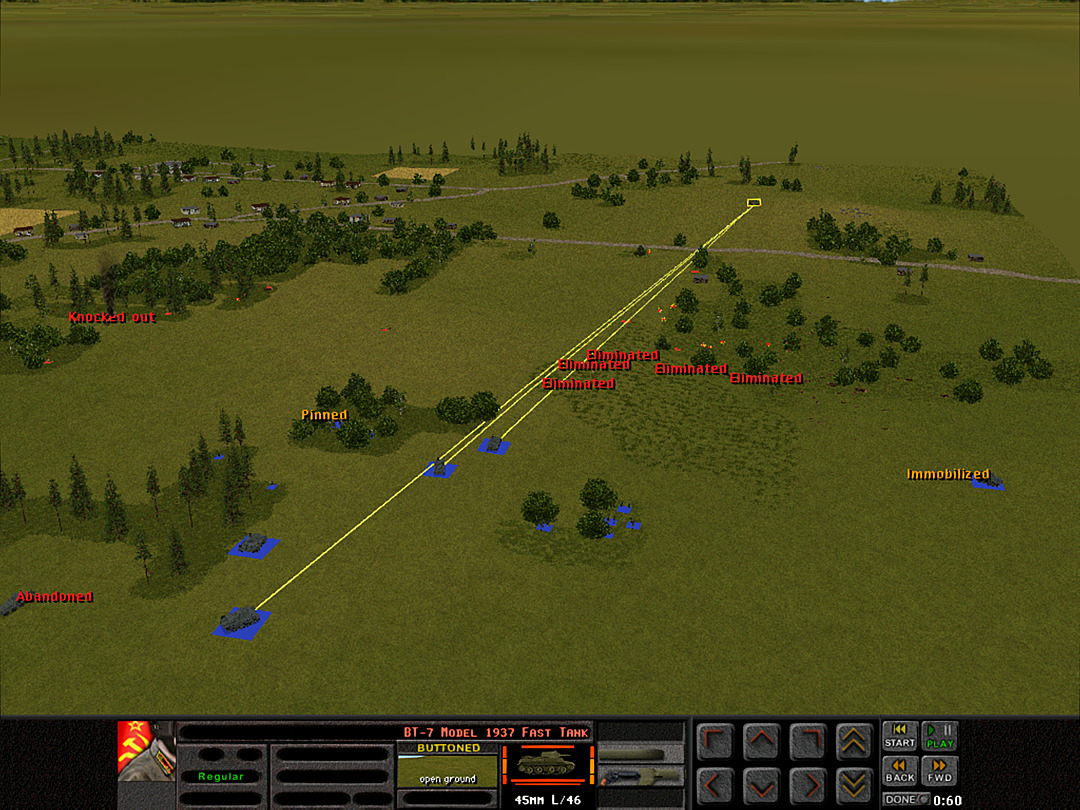 The tank is farther away than we'd realized, but at least three of our own are targetting it now. It should not last long. 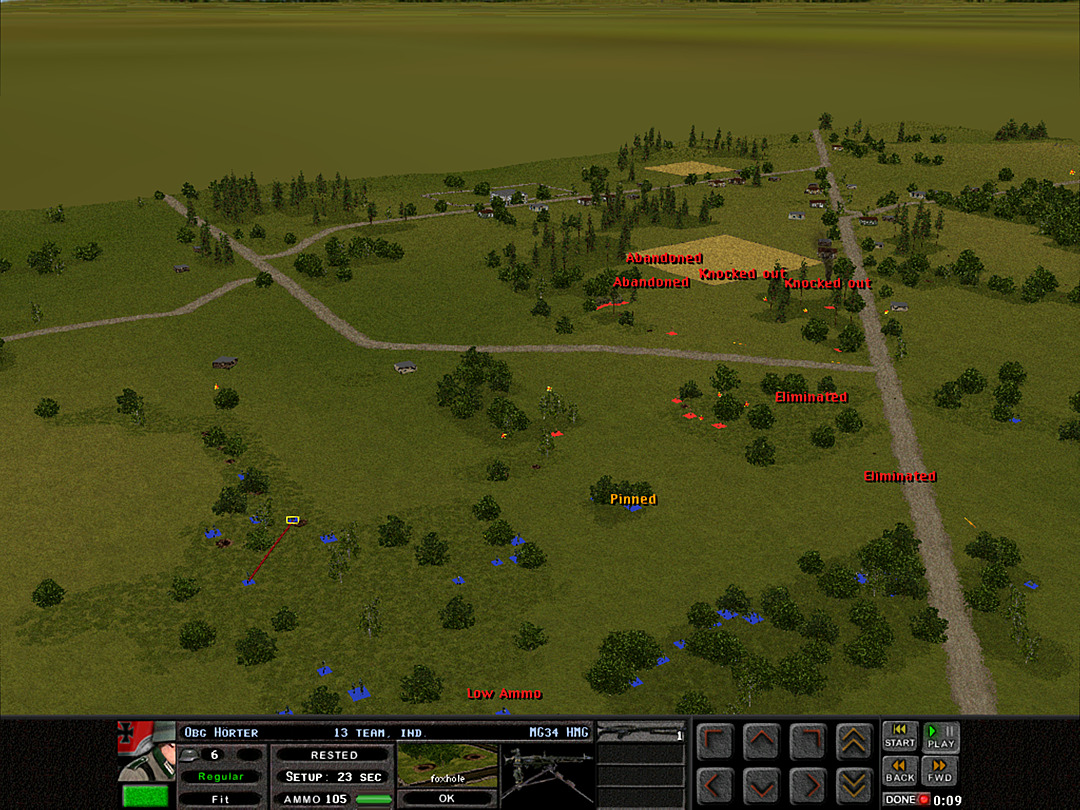 We're positioning a MG into one of the convenient foxholes. C Coy may have to sit tight for a bit, as there appear to be signs of enemy units sneaking into this side of the woods. 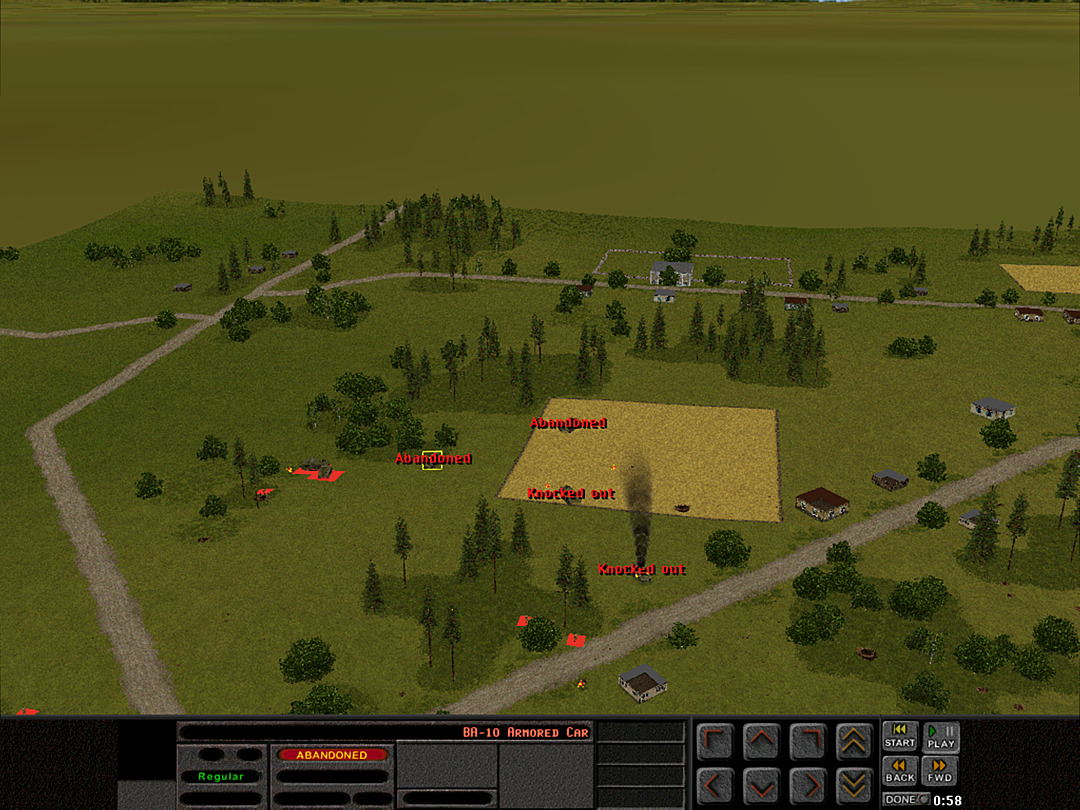 We have knocked out about four vehicles at the northwest corner of the village. It appears that at least two more remain, and so far we haven't lost any yet. The tally of destroyed vehicles seems to be evening out. Unit Highlight PSW 231 8-Rad Before we lose all of them, let's show off the scout cars we had available in this operation. 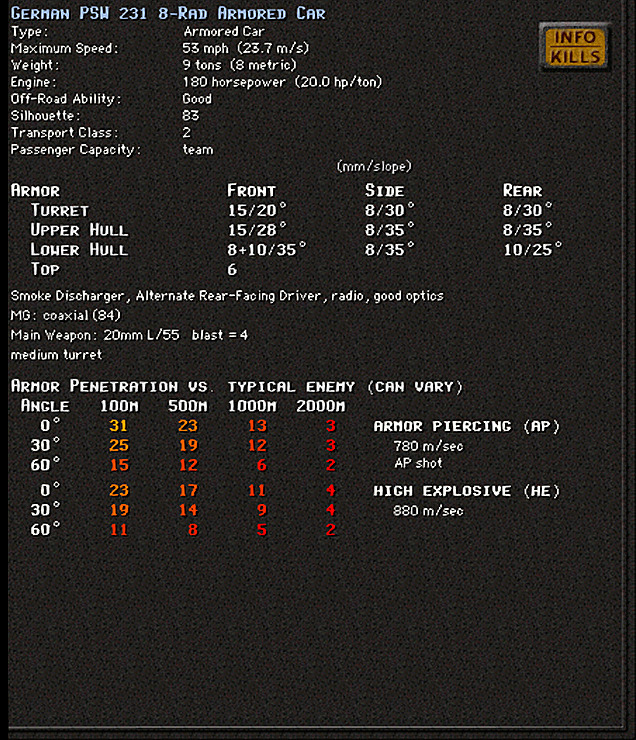 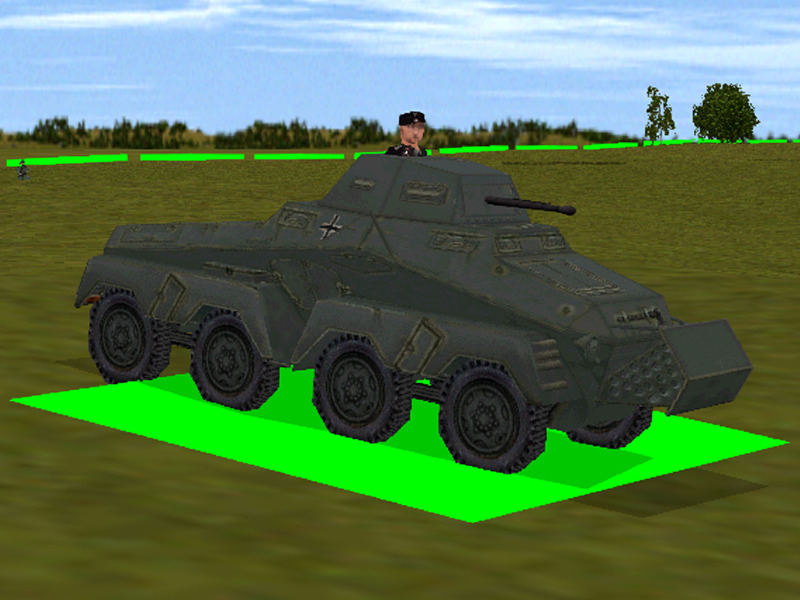 Base cost: 51 Crew size: 4 PSW 231 8-Rad Scout cars were a key component of the more modern rapidly-maneuvering armies of World War 2, and the Germans made extensive use of them. This one was an eight-wheeled off-road vehicle featuring independent steering and suspension on every wheel, making it quite advanced for the 1930s. There was also a secondary rear-facing driver position, allowing for rapid movement in either forward or reverse. It made for a reconnaissance car that could go practically anywhere. The armament of a 20mm cannon plus a machine gun gave it some decent combat ability, but its primary role was quickly surveying the landscape. It was produced through 1942, and saw action all throughout the war.
|
|
|
|
Operation 1, Battle 2 of 5 Operation: Blitzkrieg Battle Time: 7:00 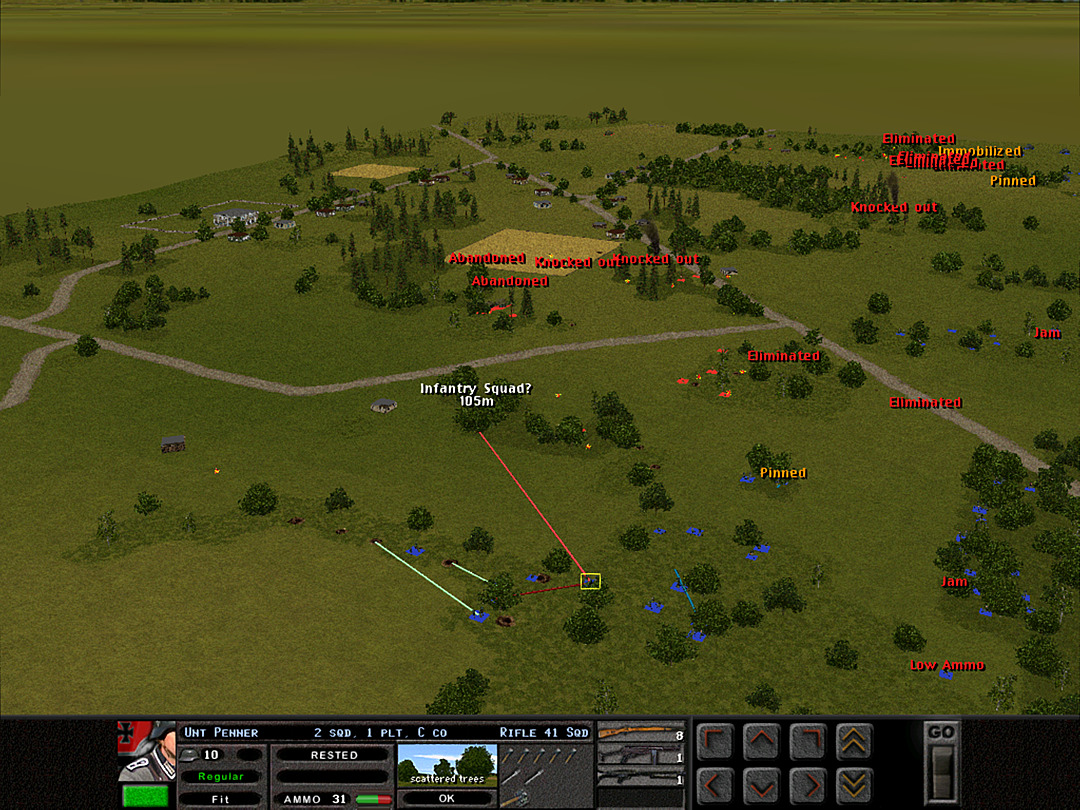 As suspected, there are a number of enemy troops in the woods close to C Coy, 1 Plt. We arrived first, so we should have the upper hand on them. 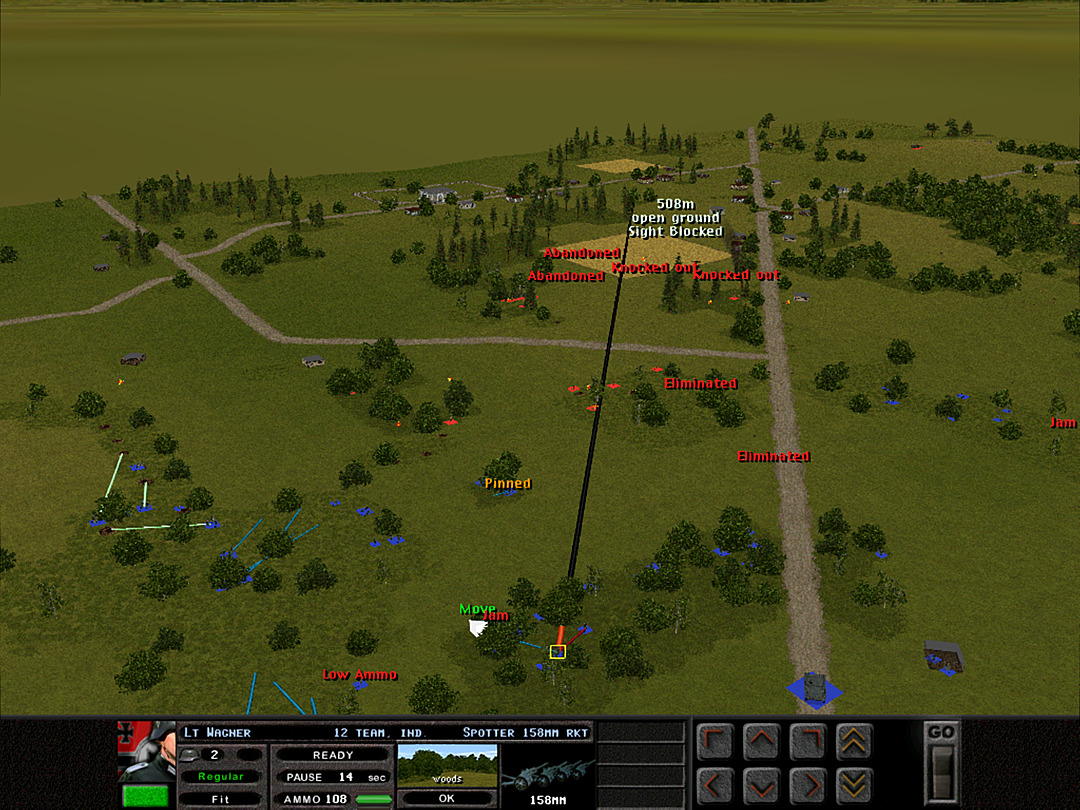 The spotter for the rocket artillery can't quite see the target, but he should be in position to order the barrage soon. 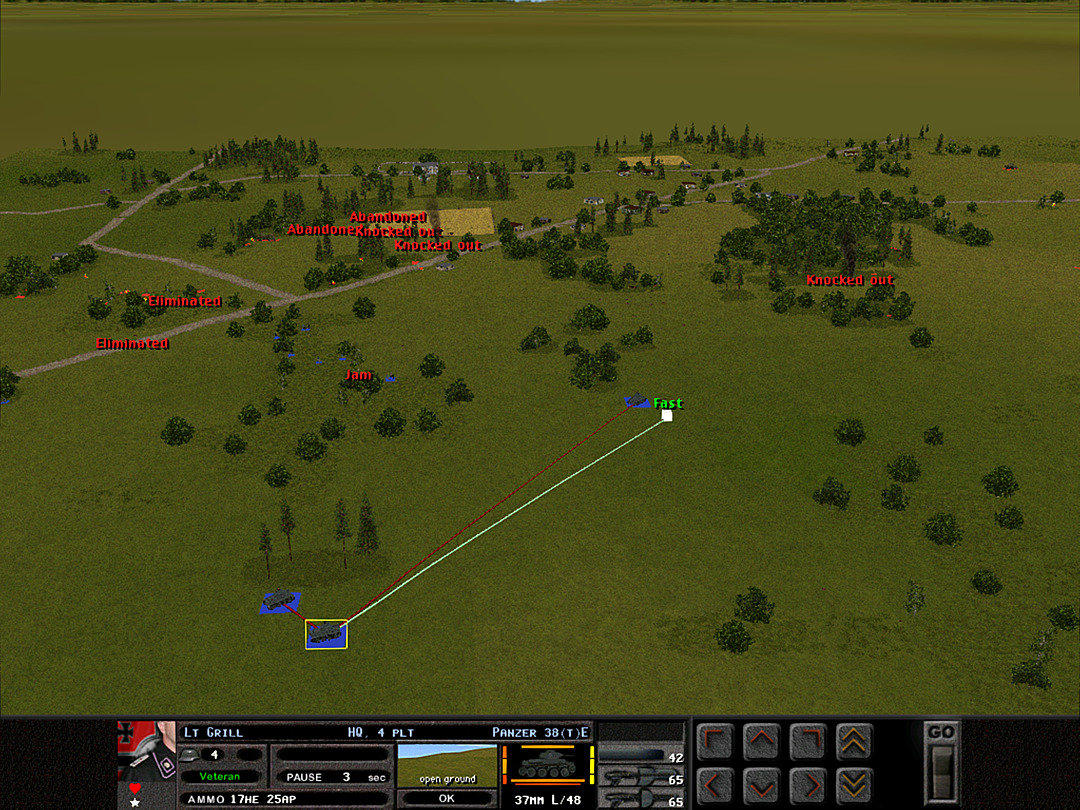 The tanks of 3 Plt will gather in the center. They ought to be able to contain any forces in the dense woods who might want to sneak out towards our lines. 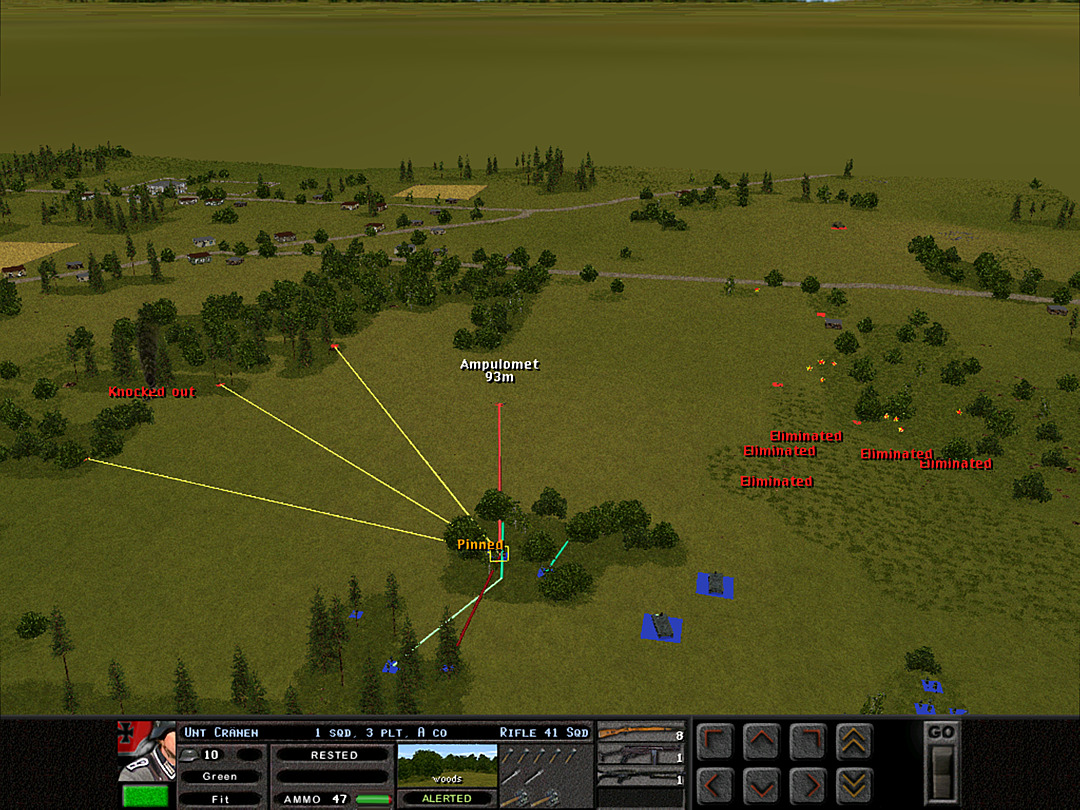 Most of the forces in the woods seem to have shifted to the south side anyway, where they are putting out continual fire at A Coy, 3 Plt. One of the enemy's few anti-tank assets has foolishly ventured into the open, and will likely be taken out easily. 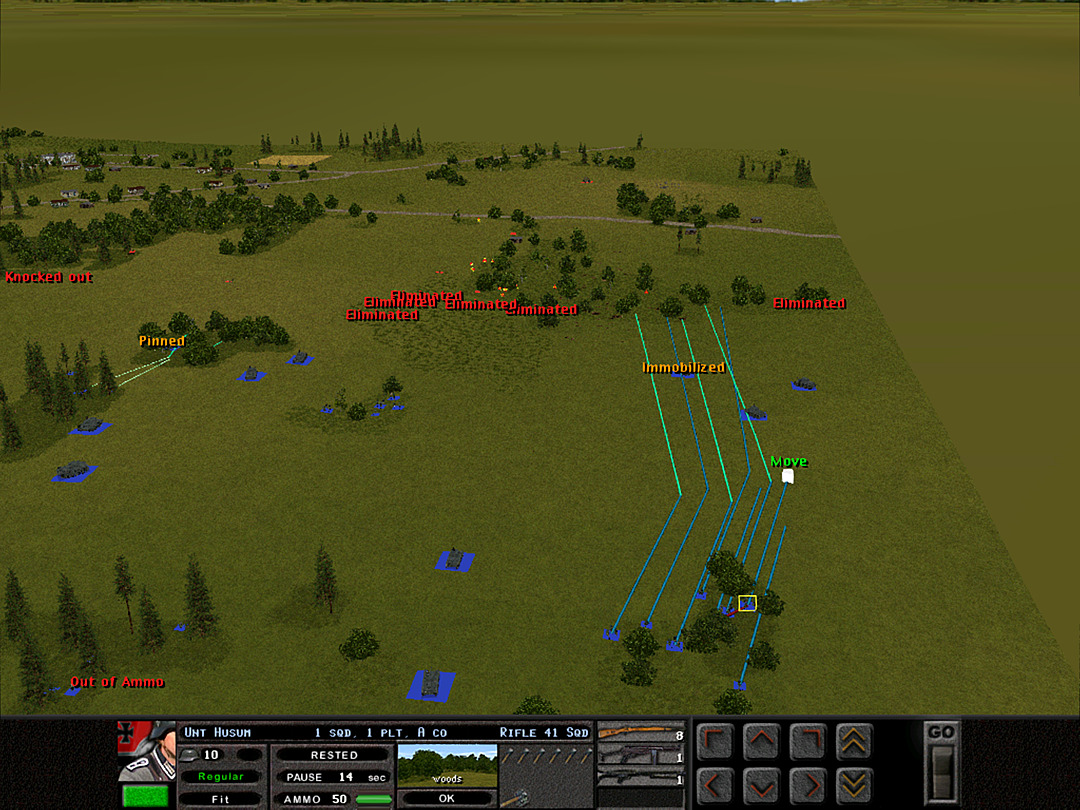 It's time to make a move on the southern woods. A Coy, 1 Plt is too far from the action now. It's a risk to have them charge so far across open ground, but hopefully 2 Plt and the tanks will keep the enemy occupied. 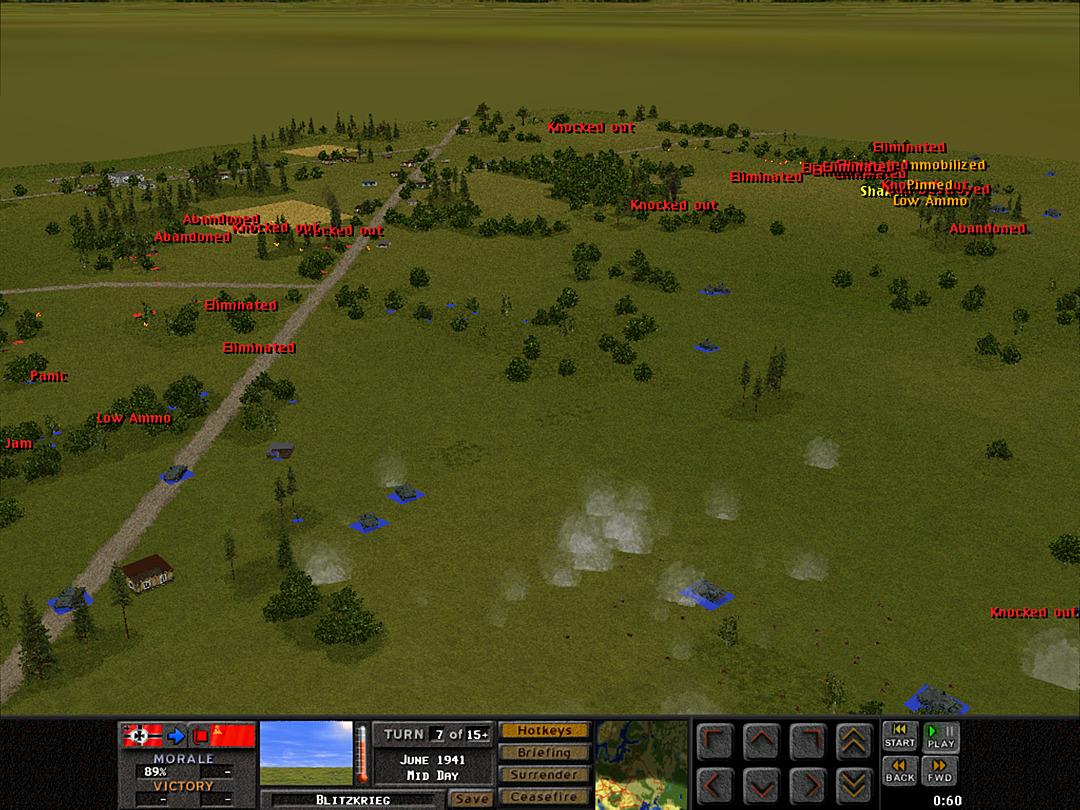 The Soviets try to block our tanks in the north from giving support by bombarding them with smoke. 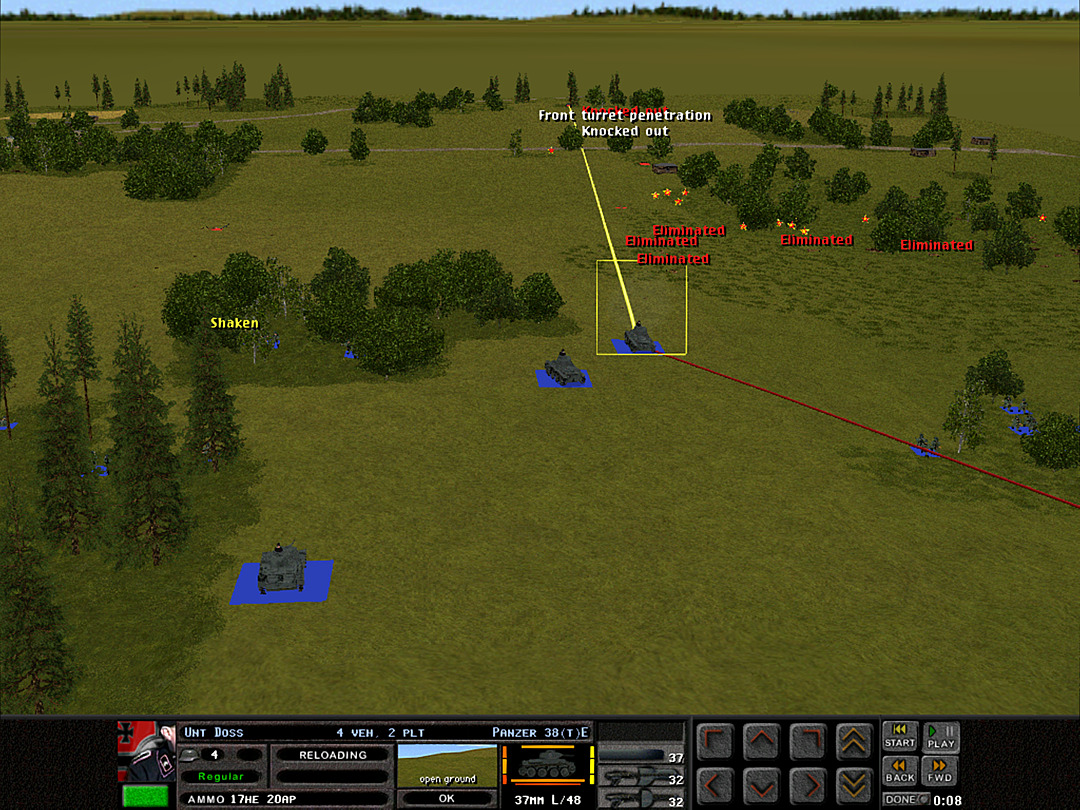 The BT-7 fails to escape from our tanks, as two Pz38's from 2 Plt knock it out. 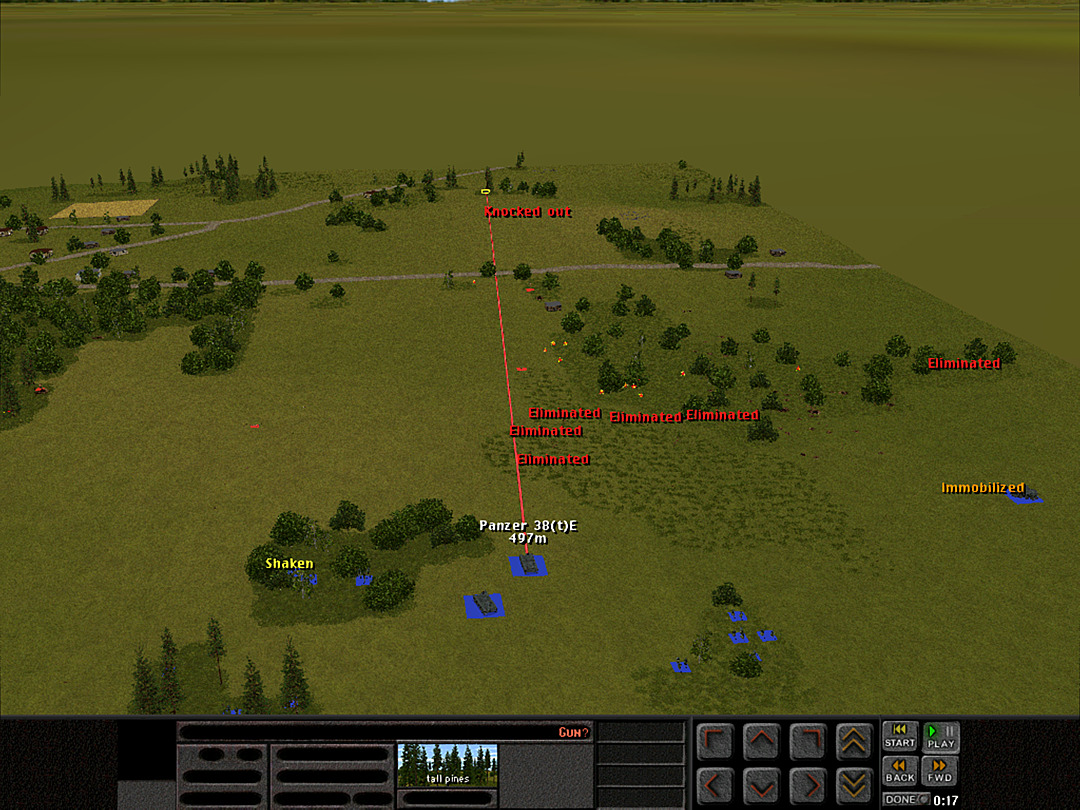 They've been baited into another trap! An AT gun far behind reveals itself. This was most likely moved back from the central woods. 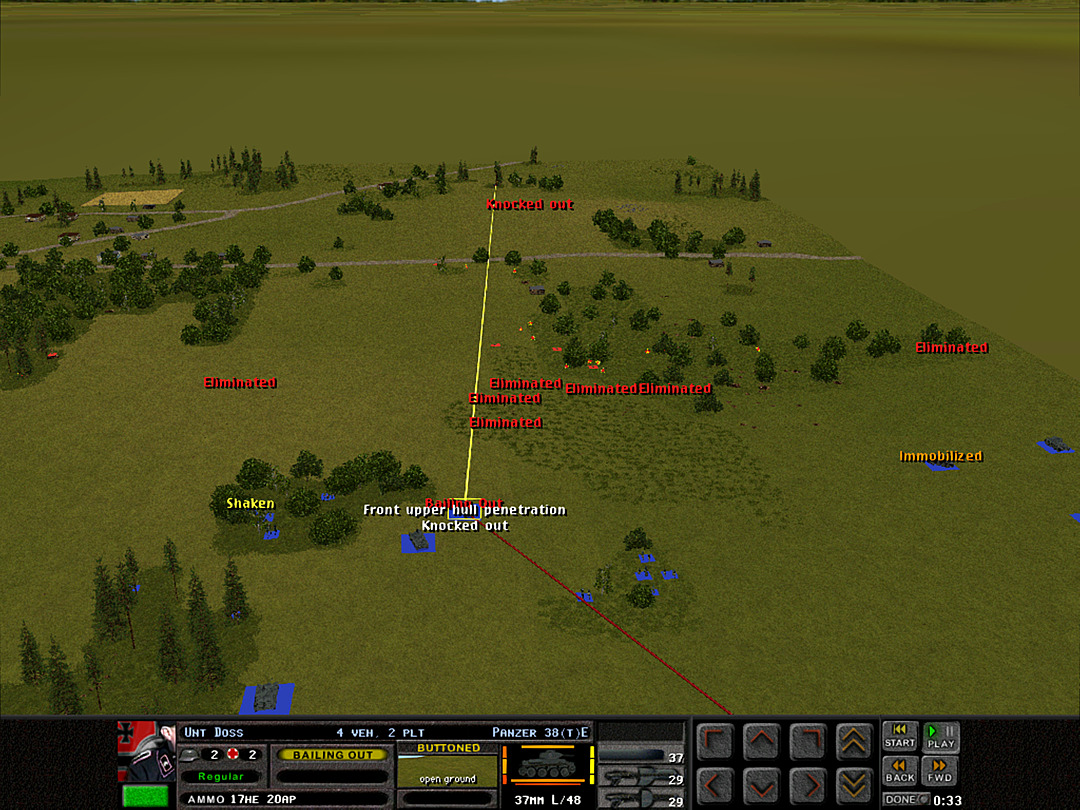 It takes revenge for the BT-7, and goes on to destroy the gun of another Pz 38. Two for one is not a good bargain for us. 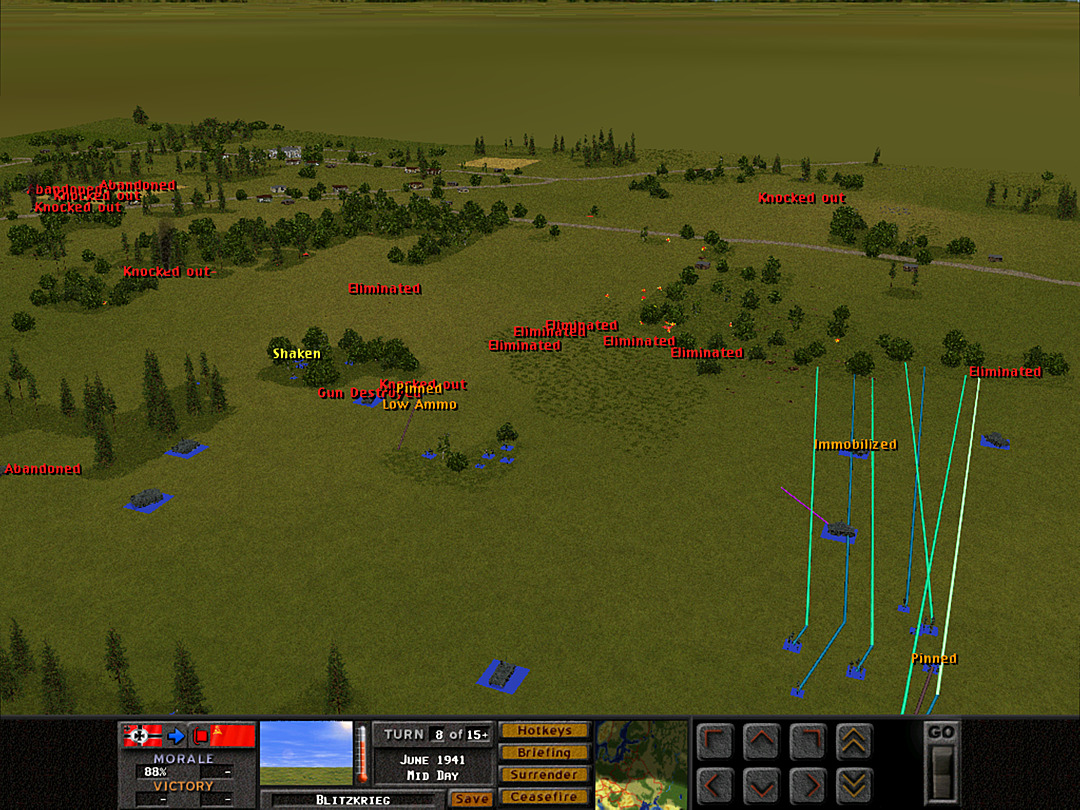 The advancing platoon in the south is coming under fire, but they haven't been halted yet. 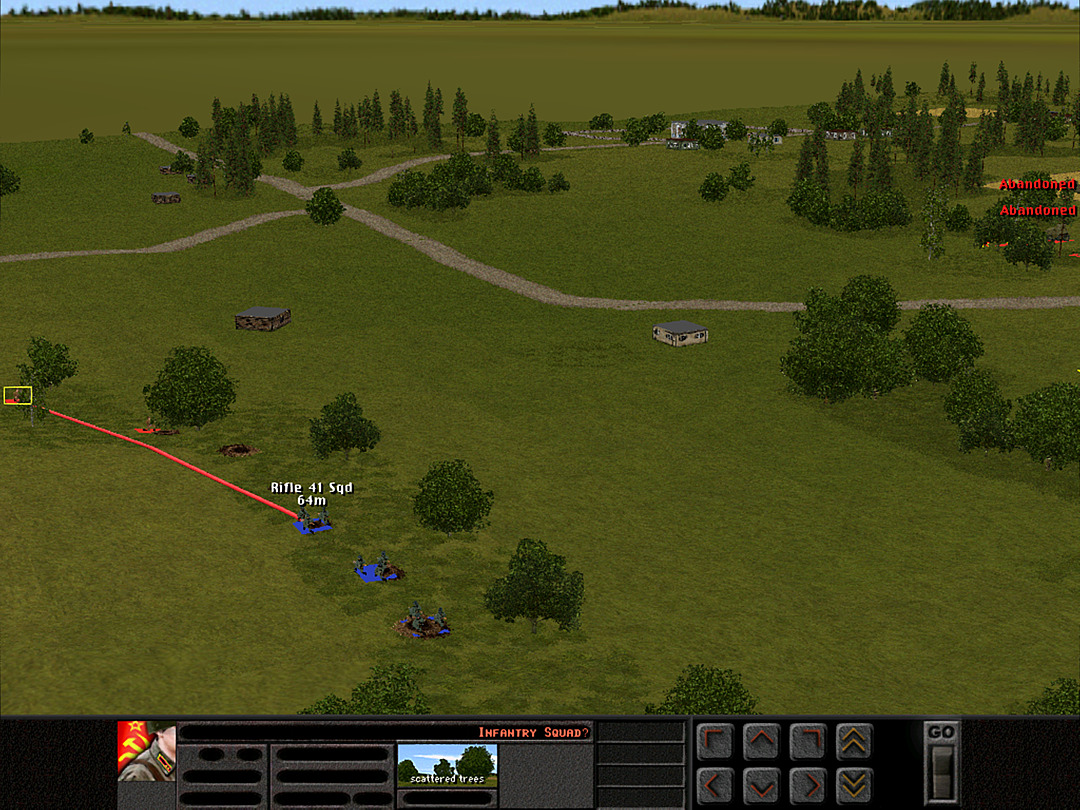 At the opposite end of the battlefield, it does appear as if the Soviets were attempting to outflank us in these foxholes. Since we occupy several of them already, we'll have an easier time stopping these few squads. 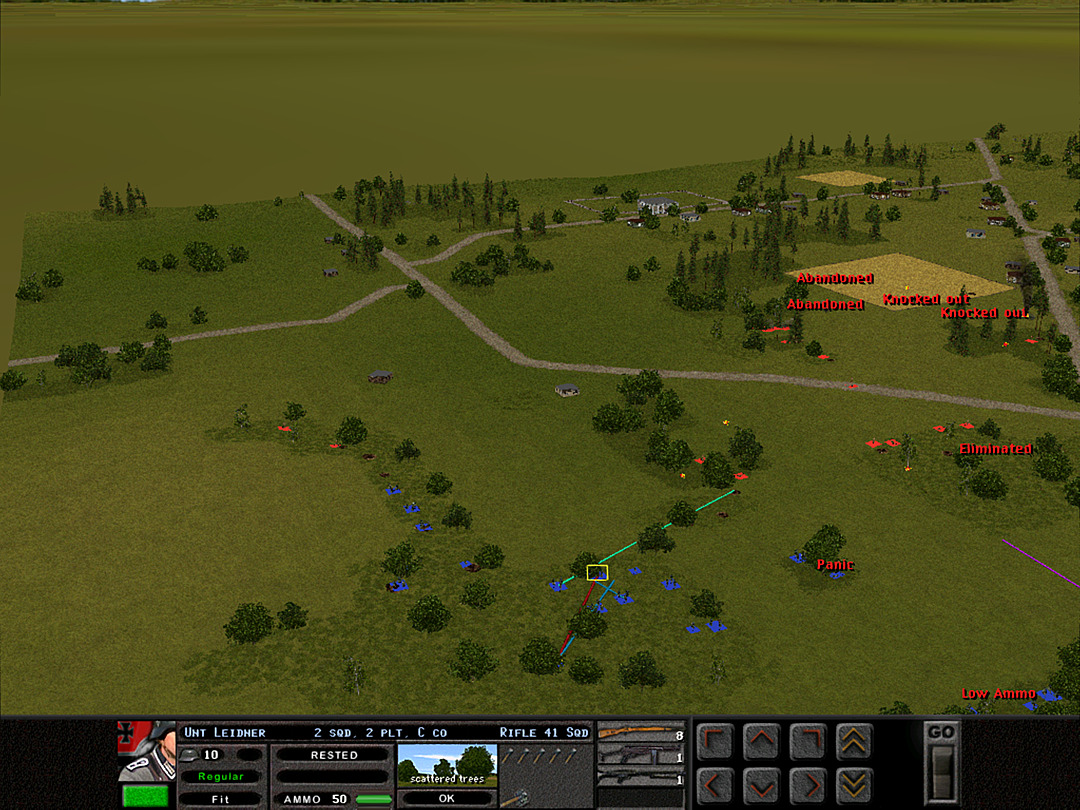 With C Coy, 1 Plt holding tight at the flank, 2 Plt moves forward and will attempt to get into a few more foxholes we've spotted closer to the enemy. 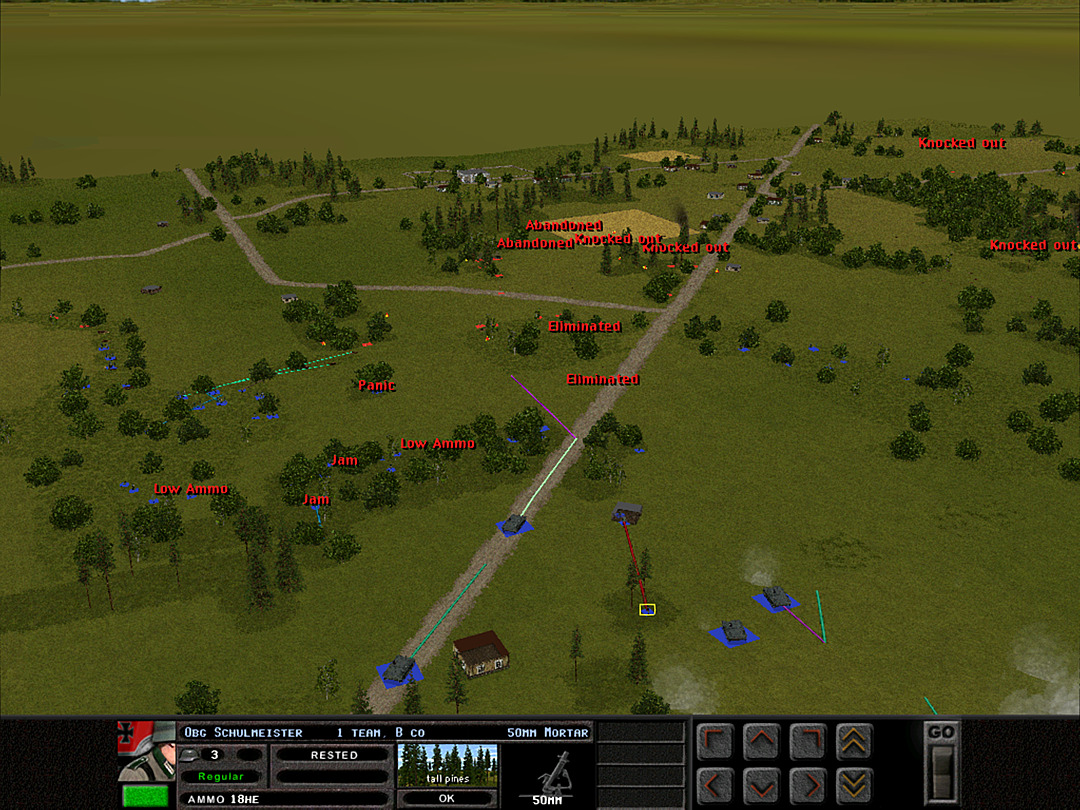 We're going to bring the Stugs into the action as well. 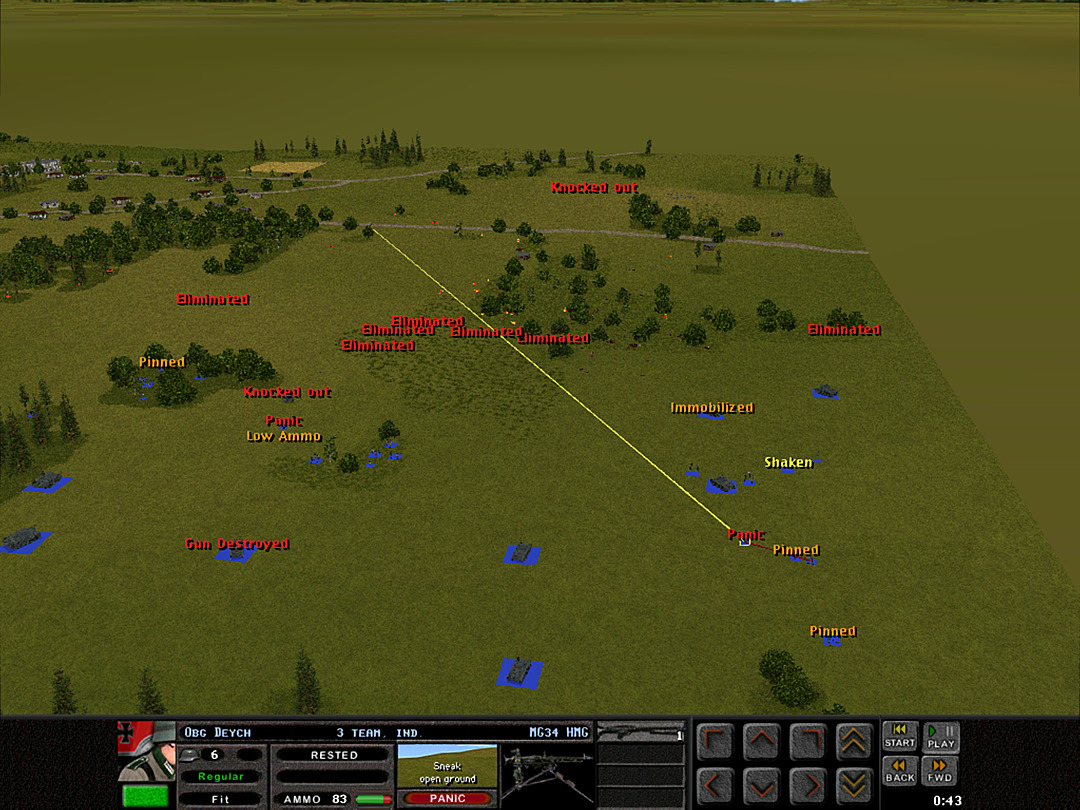 As we get closer to the enemy, A Coy, 1 Plt is taking more fire. The route they chose was just a little too exposed to fire further up the hill. 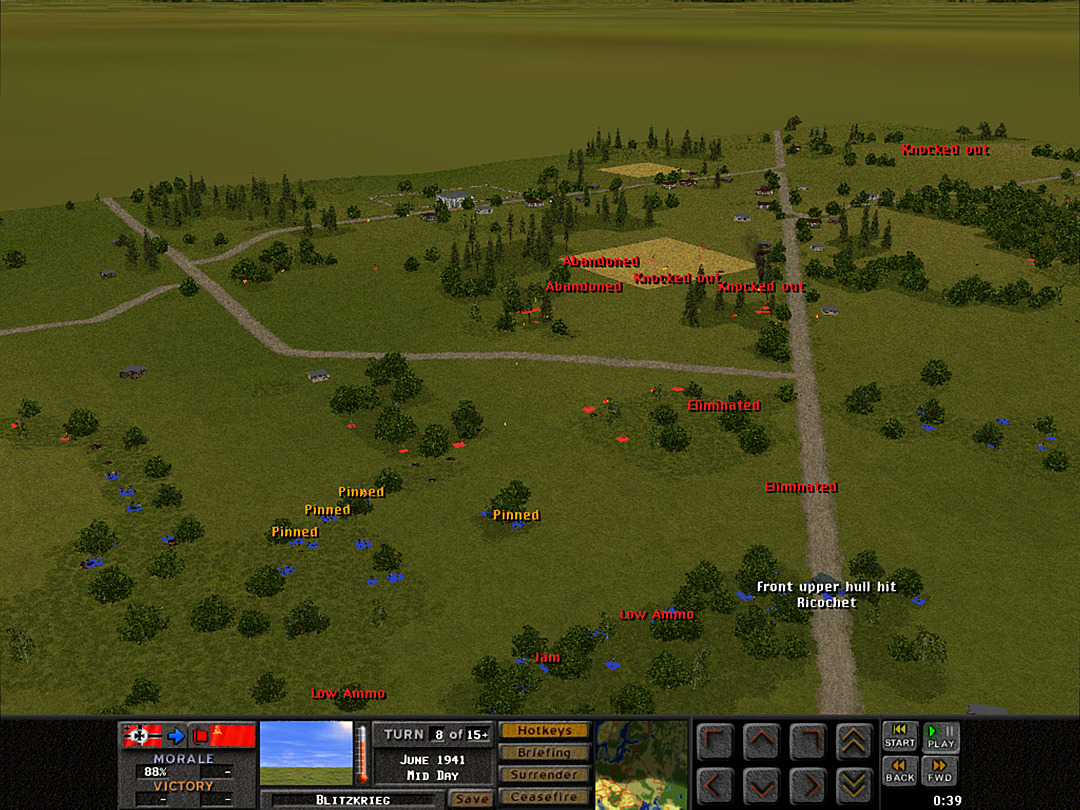 On the north end of the battle, C Company's push hasn't gone well, either. Although it doesn't appear that the Soviets have anything at hand that can penetrate the Stug's armor, so they'll be around for close support. 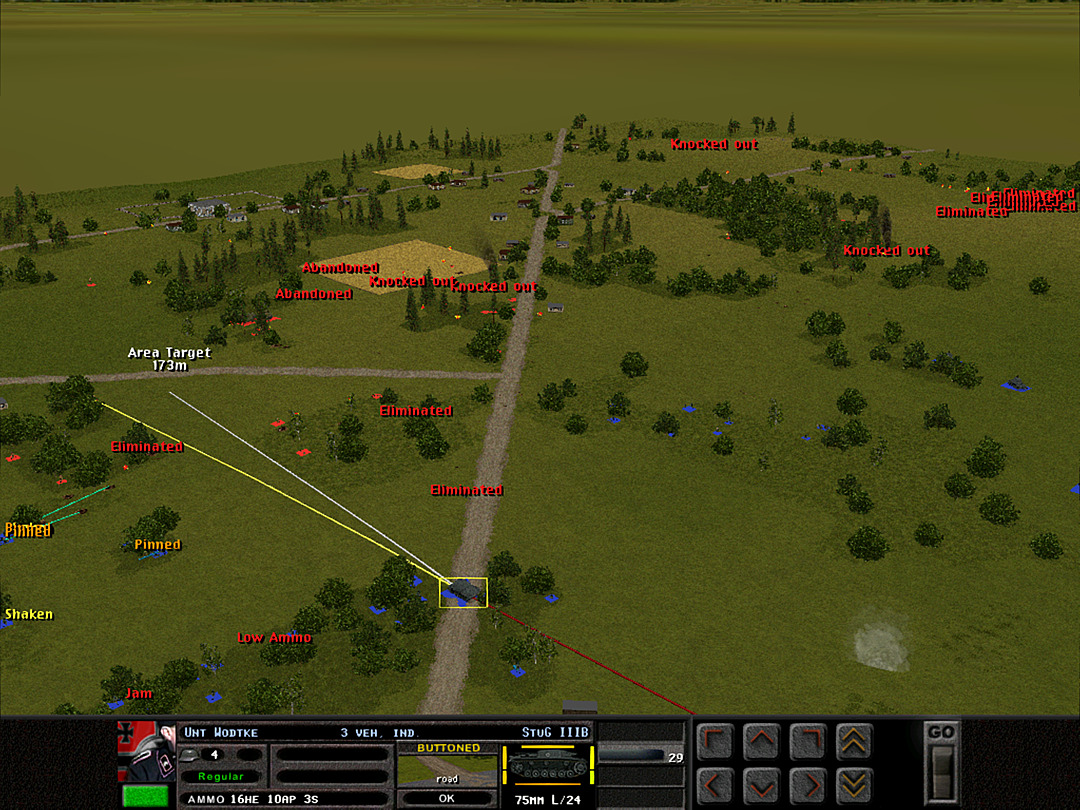 The Stug is actually going to put out some smoke rounds, in the hope of making it easier for C Company to take those woods. 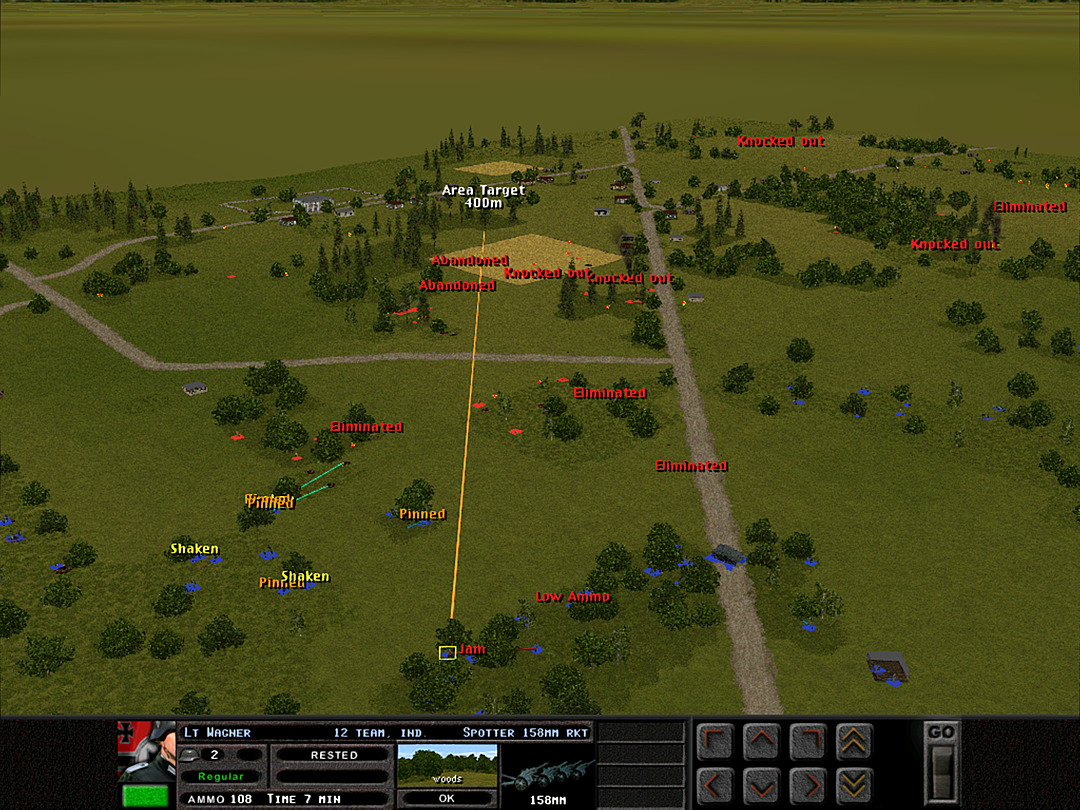 The rockets are called in. Rocket strikes can spread pretty widely, so we want to make sure there is a low risk of hitting our own forces. The strike is targeted far from the action. 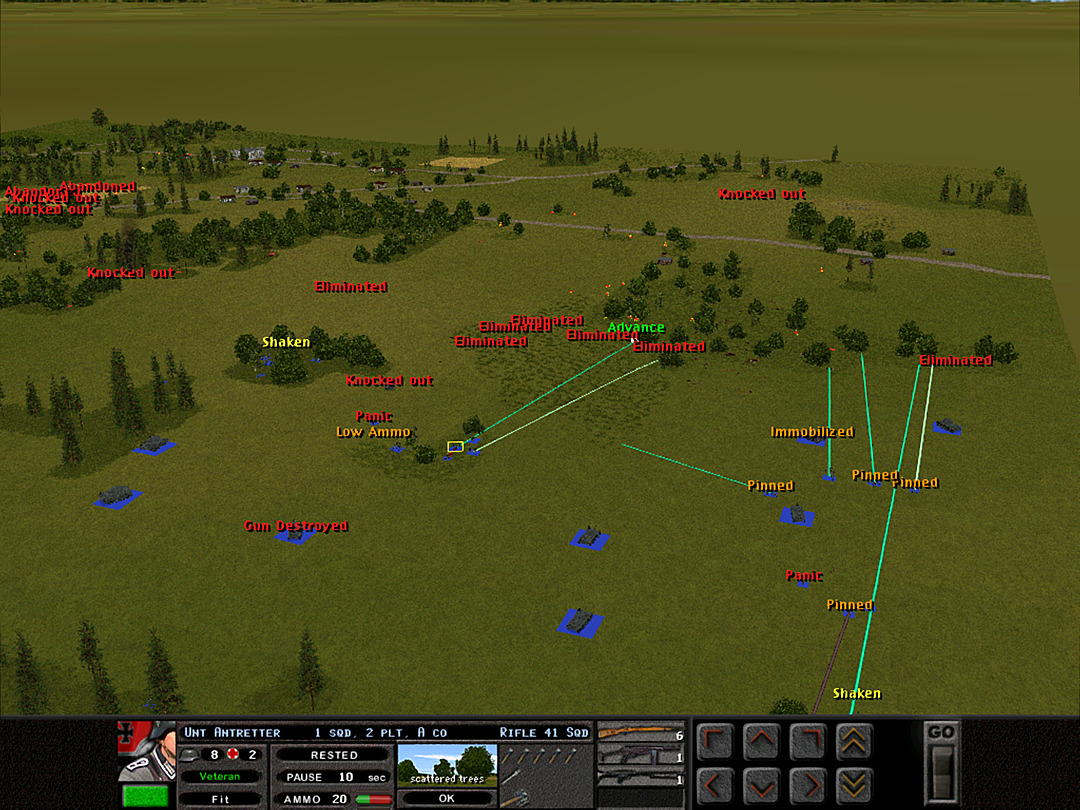 Even as A Coy, 1 Plt has struggled to make the crossing, I still think we've suppressed the enemy enough that more squads can be ordered forward. They just have to stay down in the crease, out of view of anyone up near the dense woods. 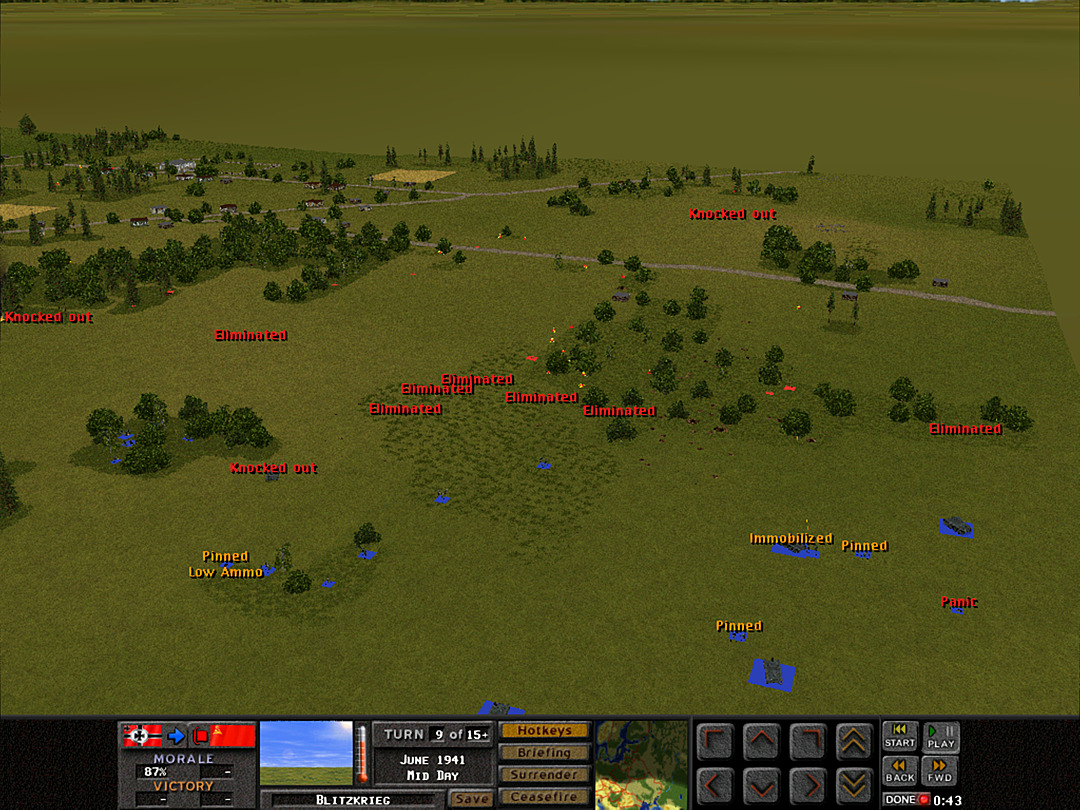 It seems to work. While 1 Plt's squads are still taking a lot of fire, the two squads sent out from 2 Plt make their way through the brush. 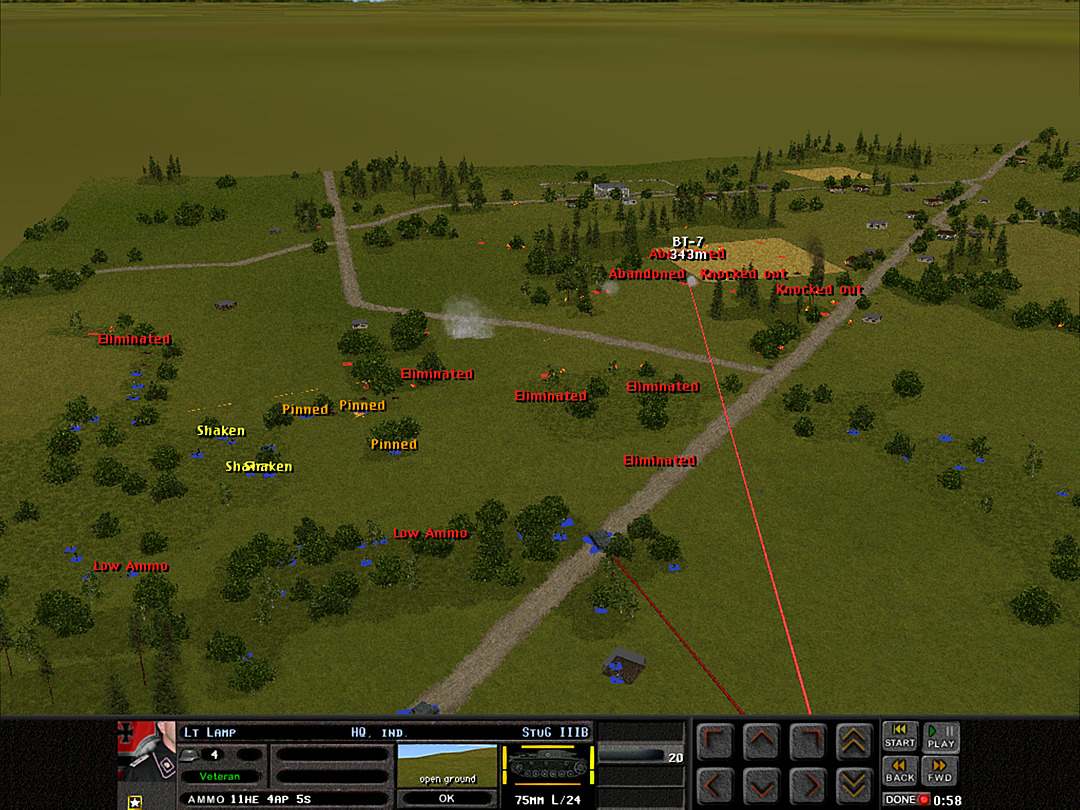 In the north, another Stug spots the remaining BT-7 and quickly blasts it with armor-piercing shells. We seem to be wearing them down in the wooded pockets near the junction, at long last. 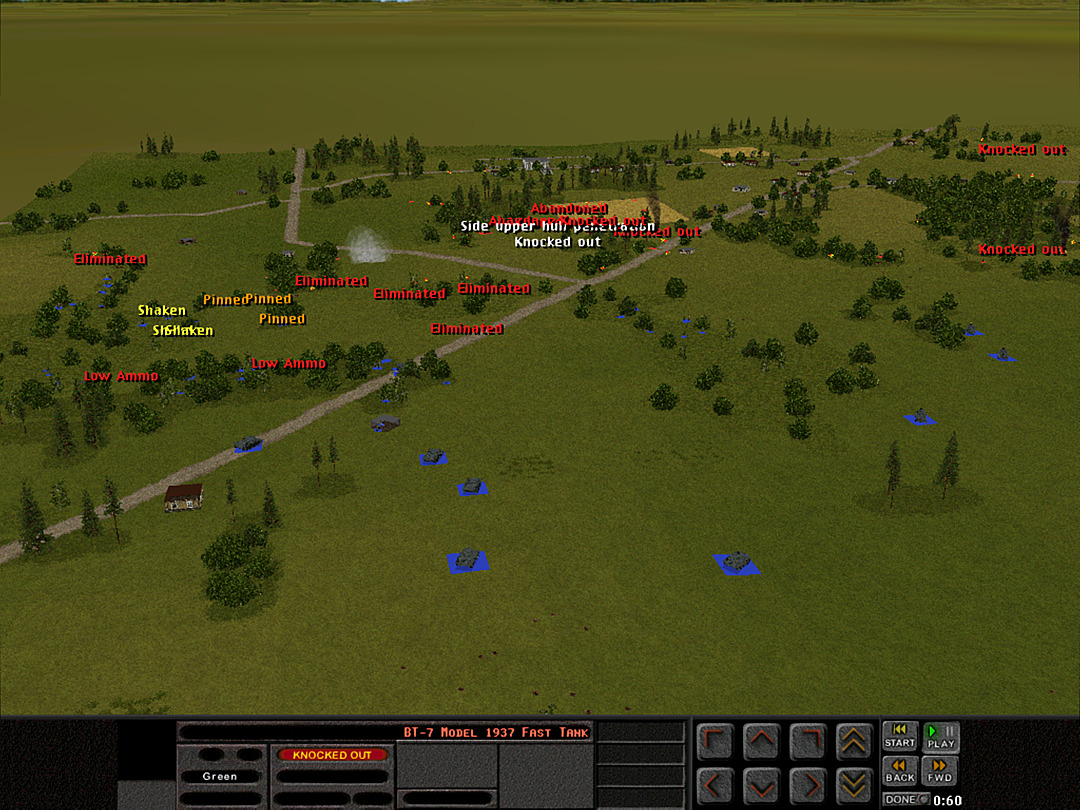 The Stug first hits the BT-7's tracks, and then knocks it out with a shot to the side. They may still have some AT guns around, but that seems like the last of their tanks for now. 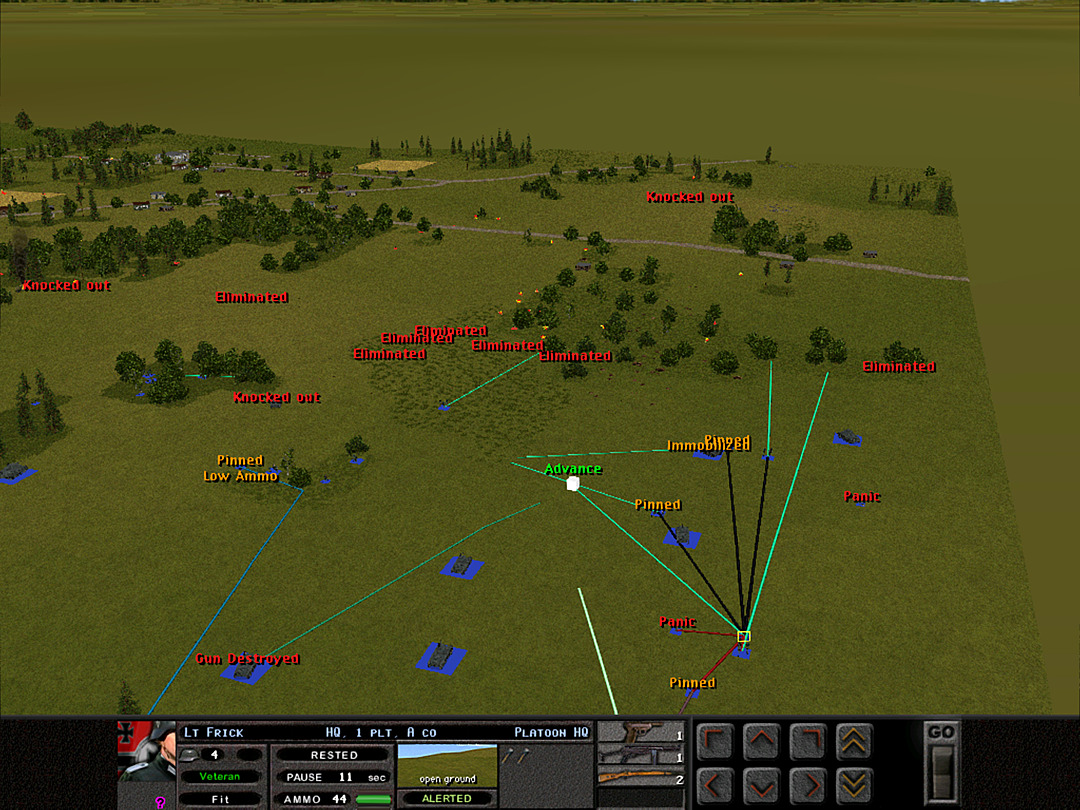 The charging units from A Coy are disorganized, but not broken. They are ordered to try and move into the less exposed brush at the base of the rise. 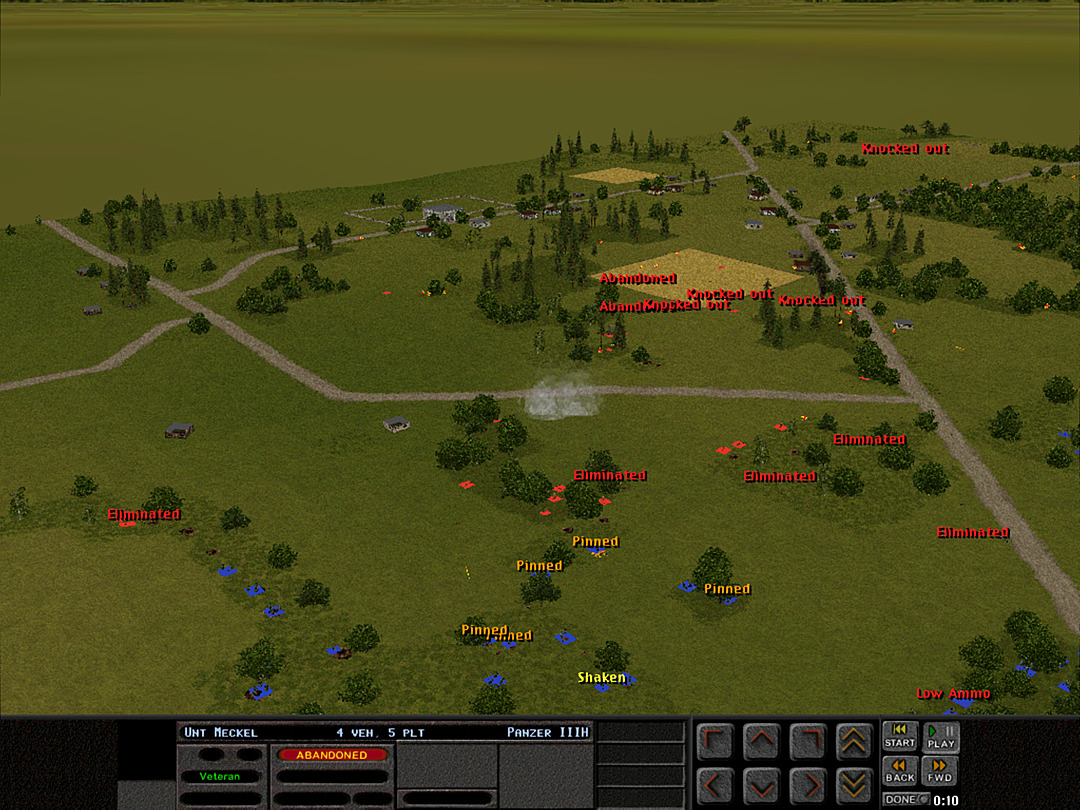 As C Coy advances, we're getting a clearer picture of just how densely packed these woods are with troops. There's more in the northern patch than we'd thought. 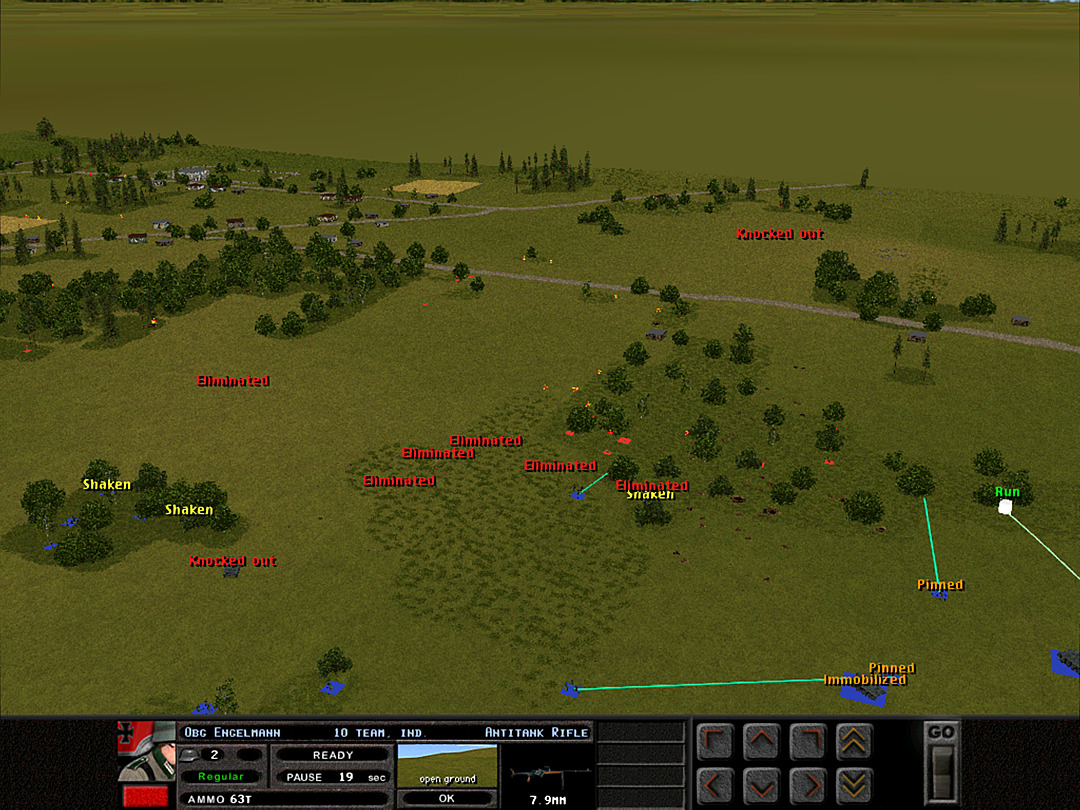 As A Coy, 2 Plt advances, we get a better idea of who remains in the sparse woods. Most of these enemy squads are on their last legs. 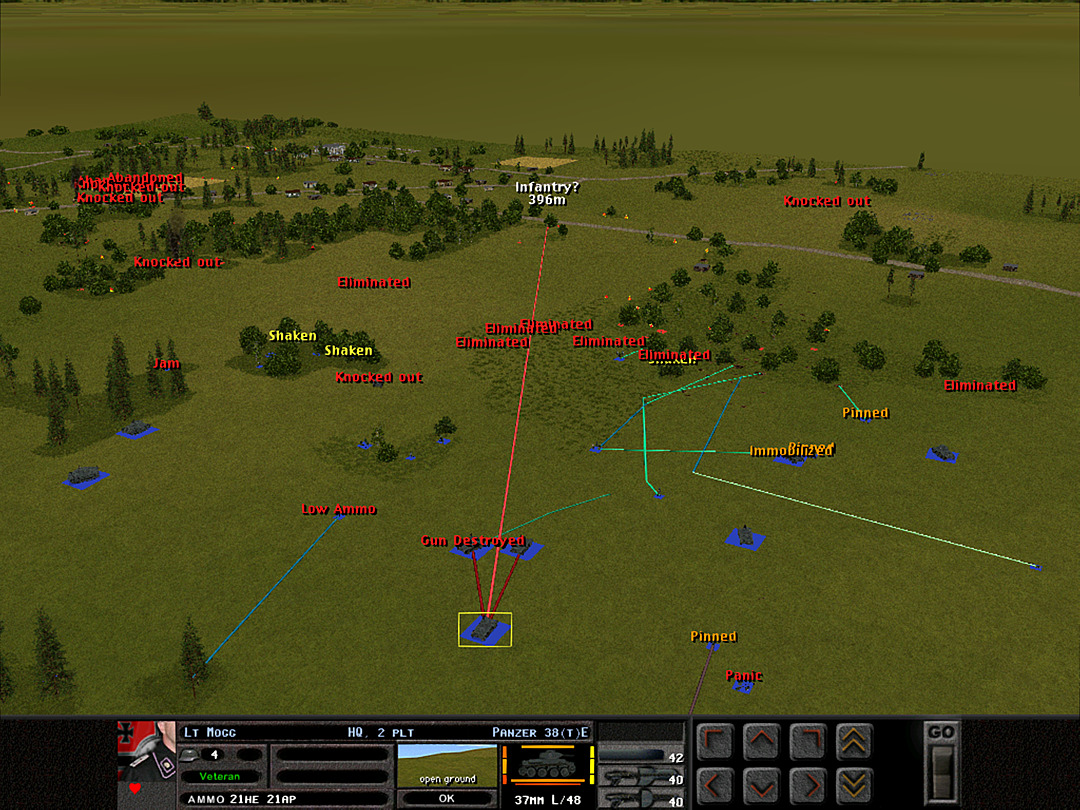 Behind them, the scattered elements of A Coy, 1 Plt are regrouping to gain the woods properly. The tanks back up to ensure that no one enters or exits the lower wooded area. 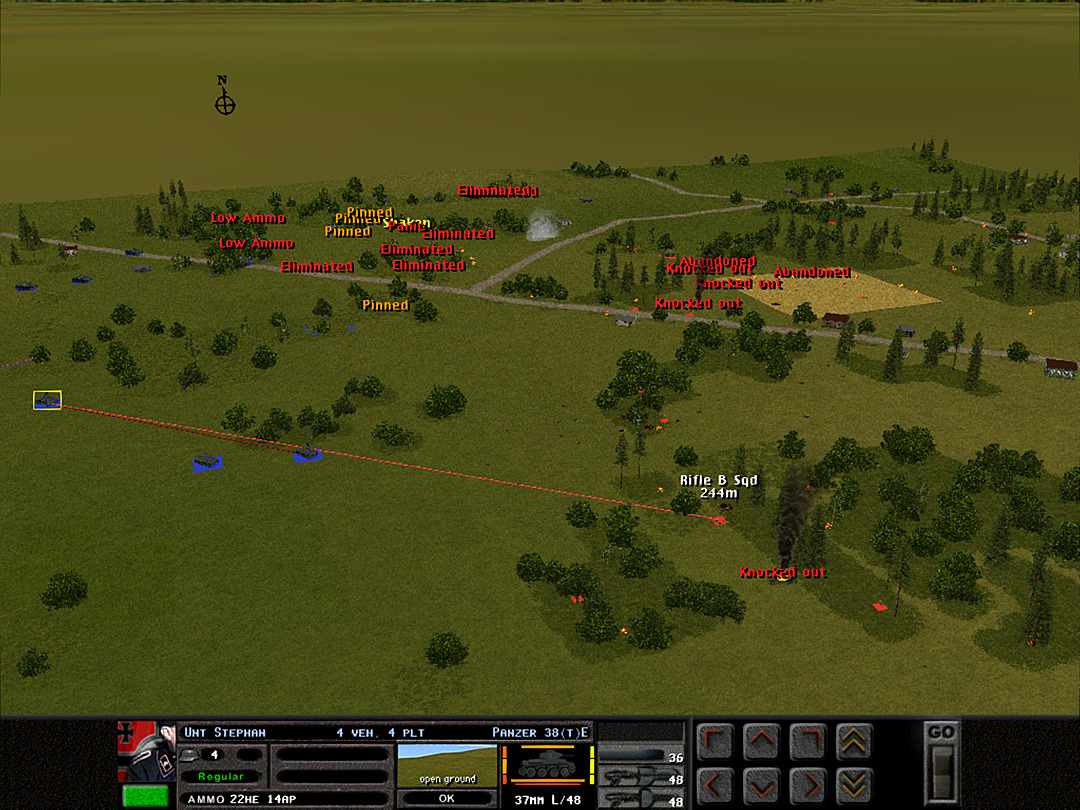 We are uncovering a fair number of troops in the central dense woods, but they pose no threat to even our light tanks. 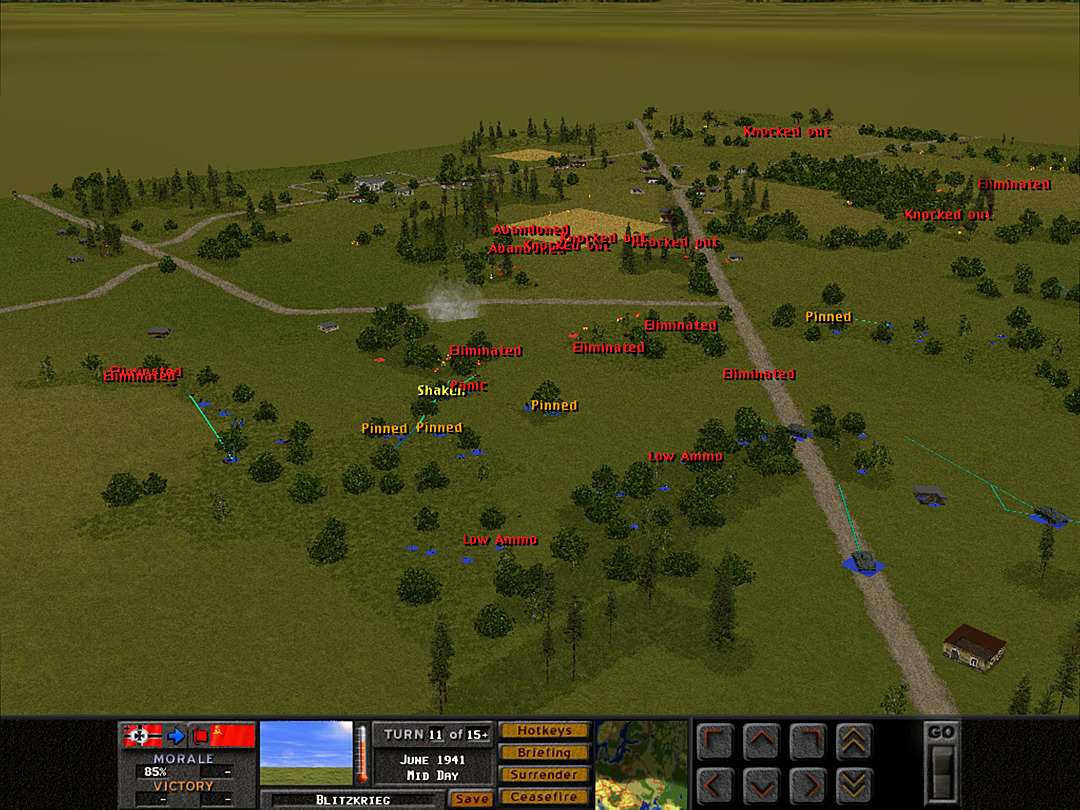 We're also maintaining steady pressure in the north, as a few more Stugs get closer to the action. 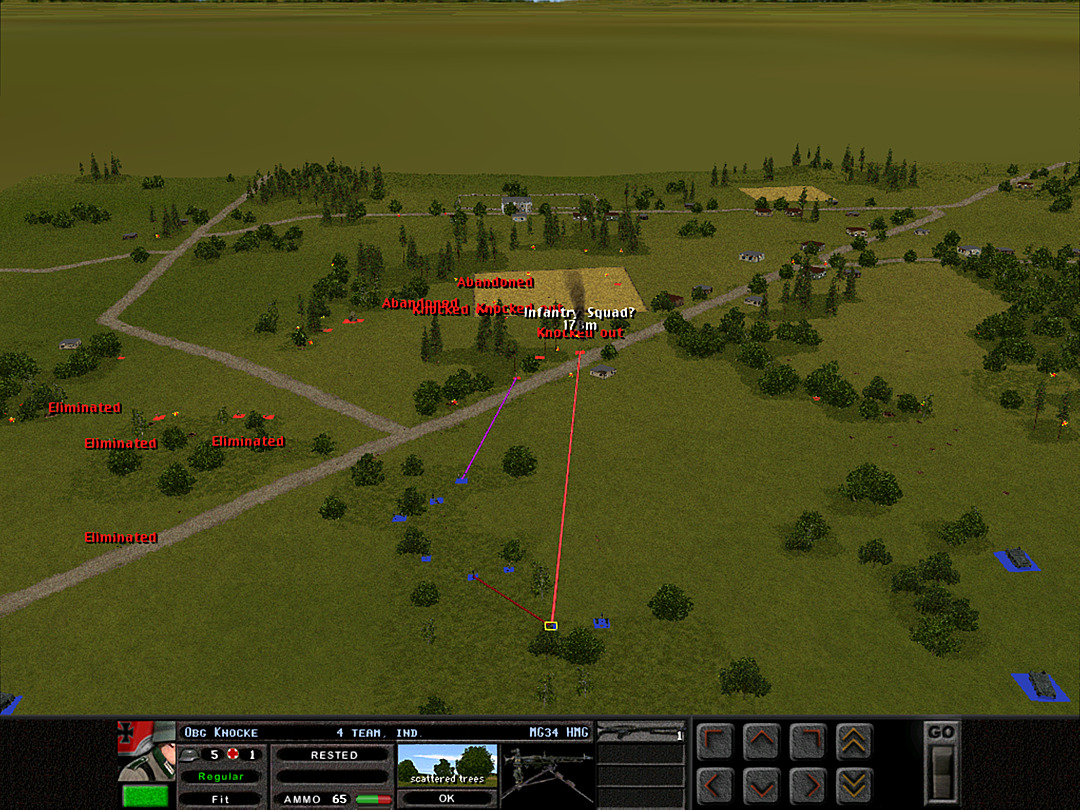 The other platoon in B Company hasn't been engaged as heavily, but they are doing a good job preventing any more forces from crossing the junction. 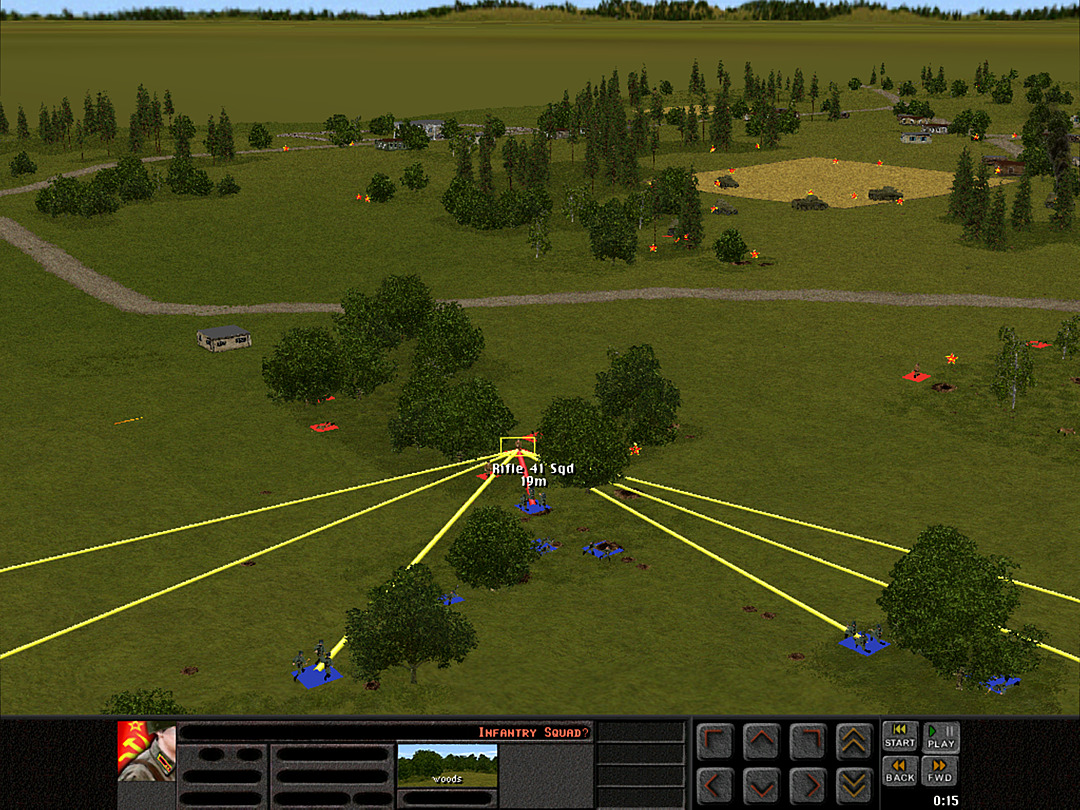 Overwhelming fire is allowing us to finally make some progress. C Coy, 2 Plt is ensconced in some forward foxholes. 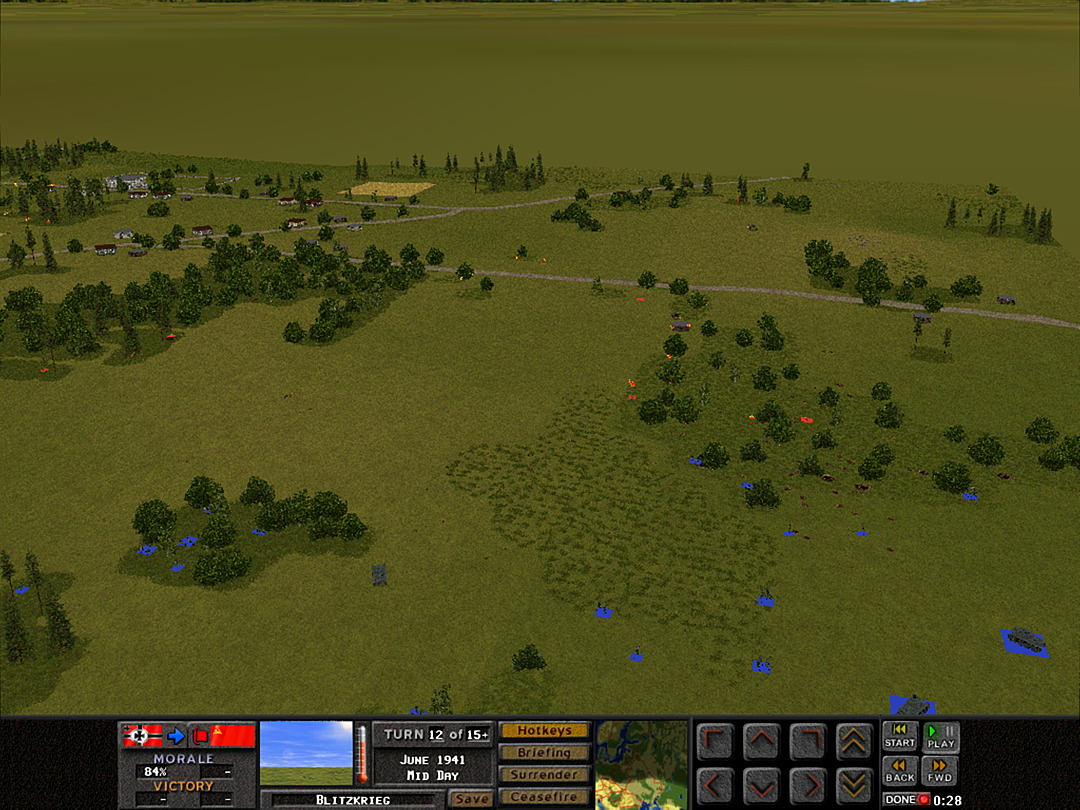 A Company is now starting to claim the woods. [Now that the battle has been going on for a while, the labels on eliminated units are starting to crowd out everything else, so they won't always be turned on.] 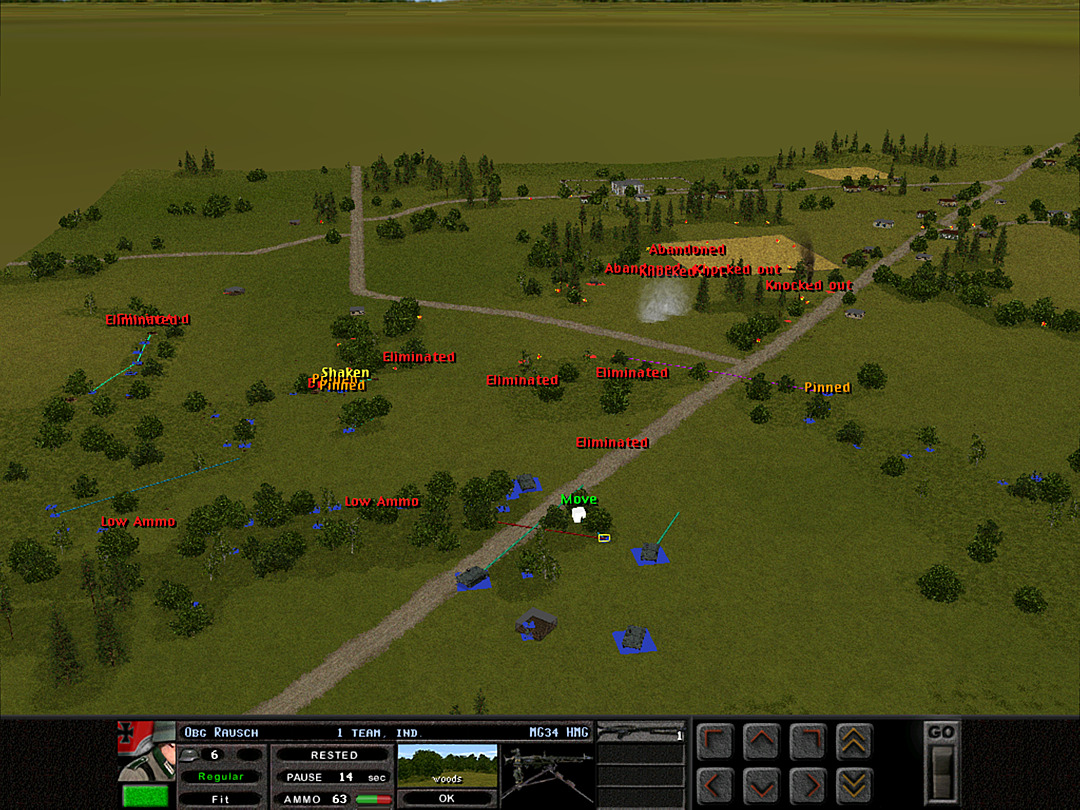 It seems the Russian troops in the northern woods may be at their breaking point. We start to reorganize for another assault. 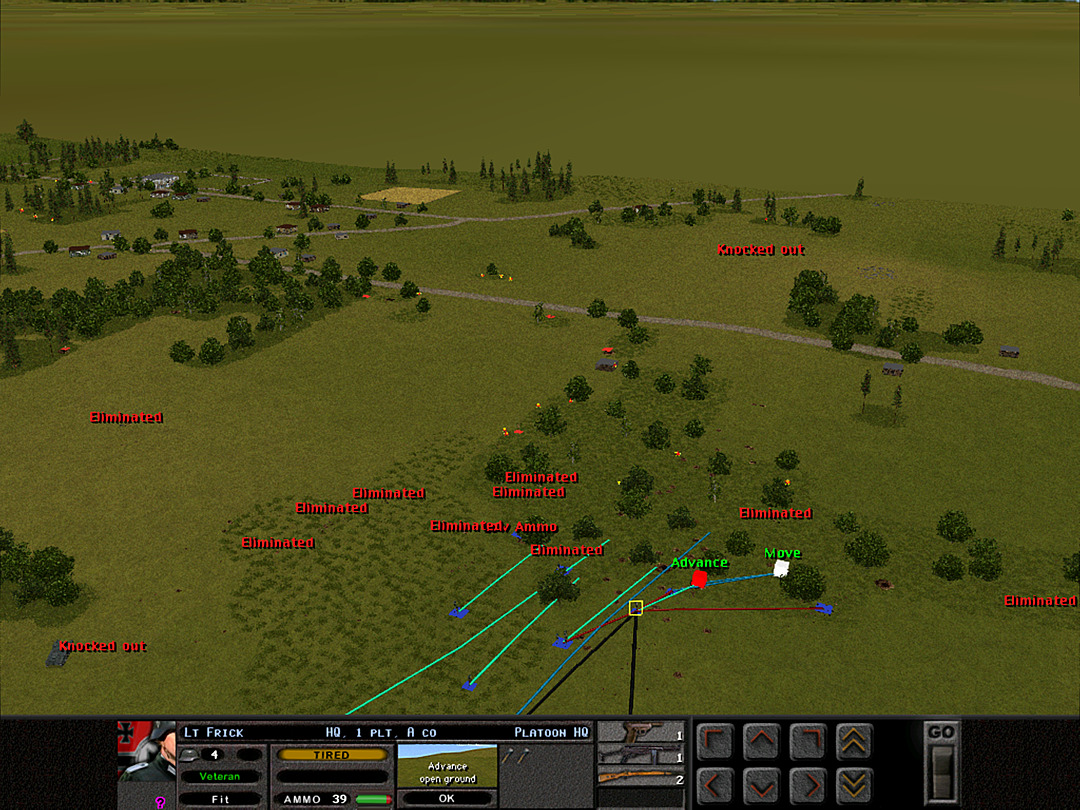 The charge of A Coy has completed, and the troops are now pushing onward to clear out the woods. 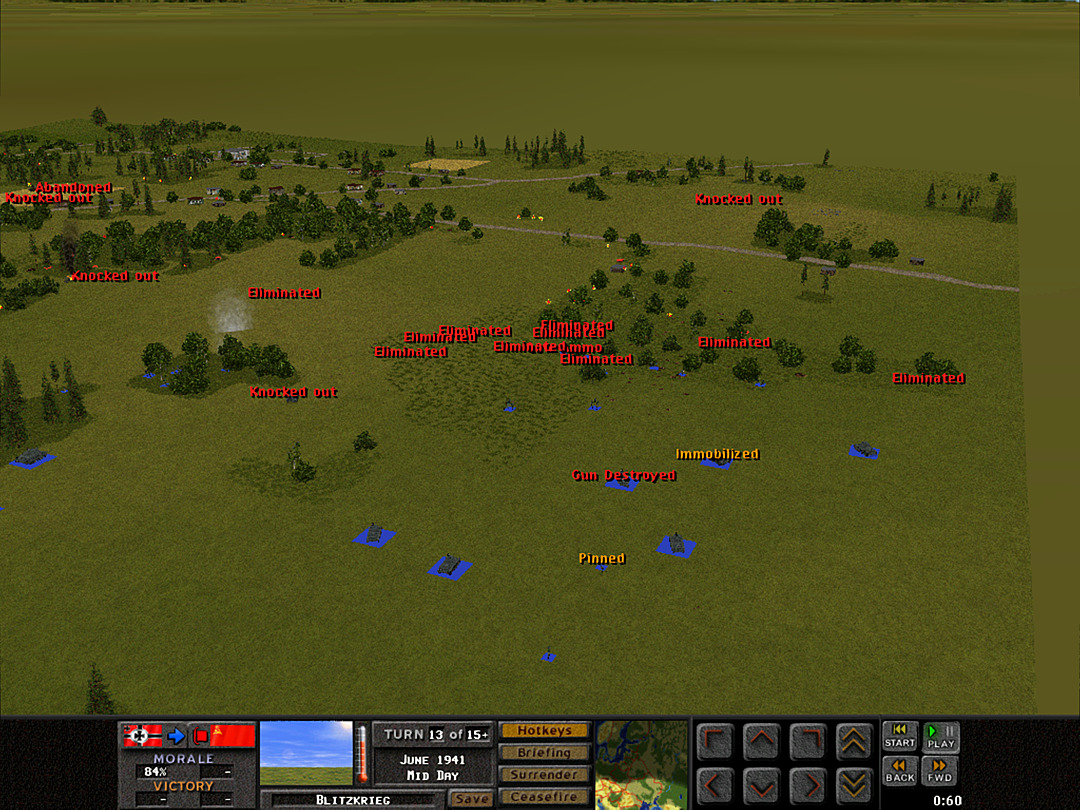 Perhaps for lack of tanks to fire at, the AT gun shoots some smoke rounds near A Coy, 3 Plt. Perhaps they wanted to give the forces in the woods a break, or screen another attempt to reinforce (or flee) the southern woods. 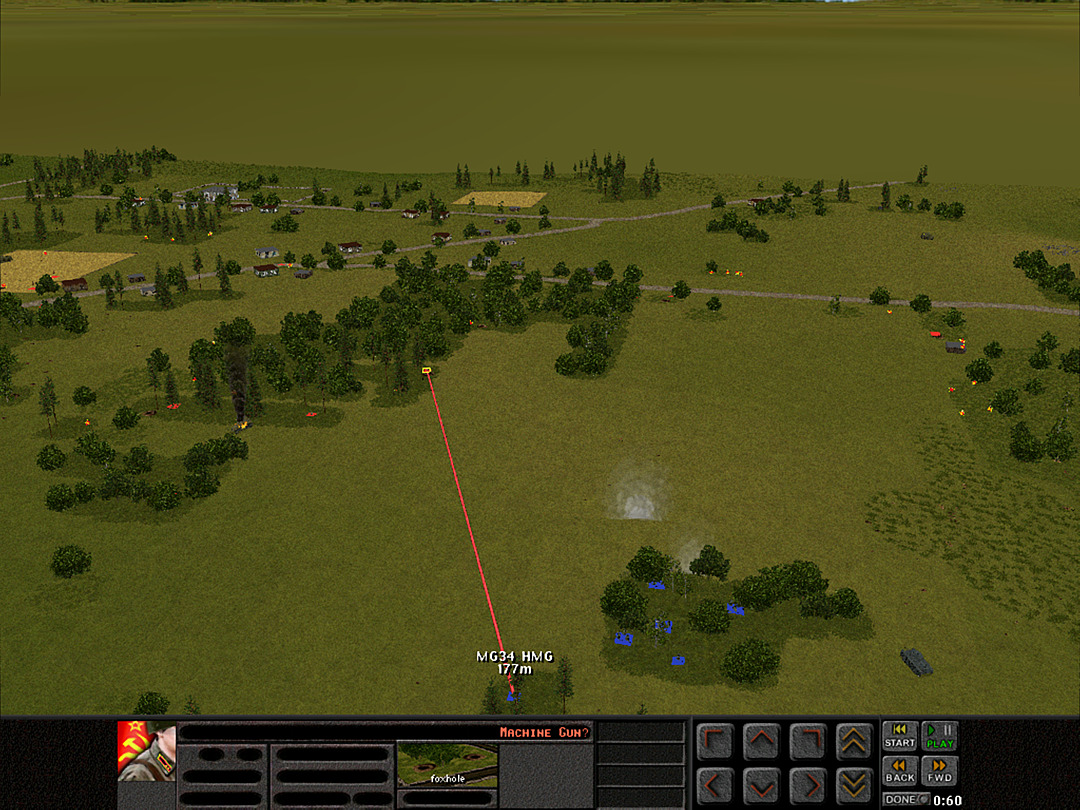 Whatever the reason, the rounds aren't really falling close enough to block their view of the woods, so we can keep up the harassing fire. 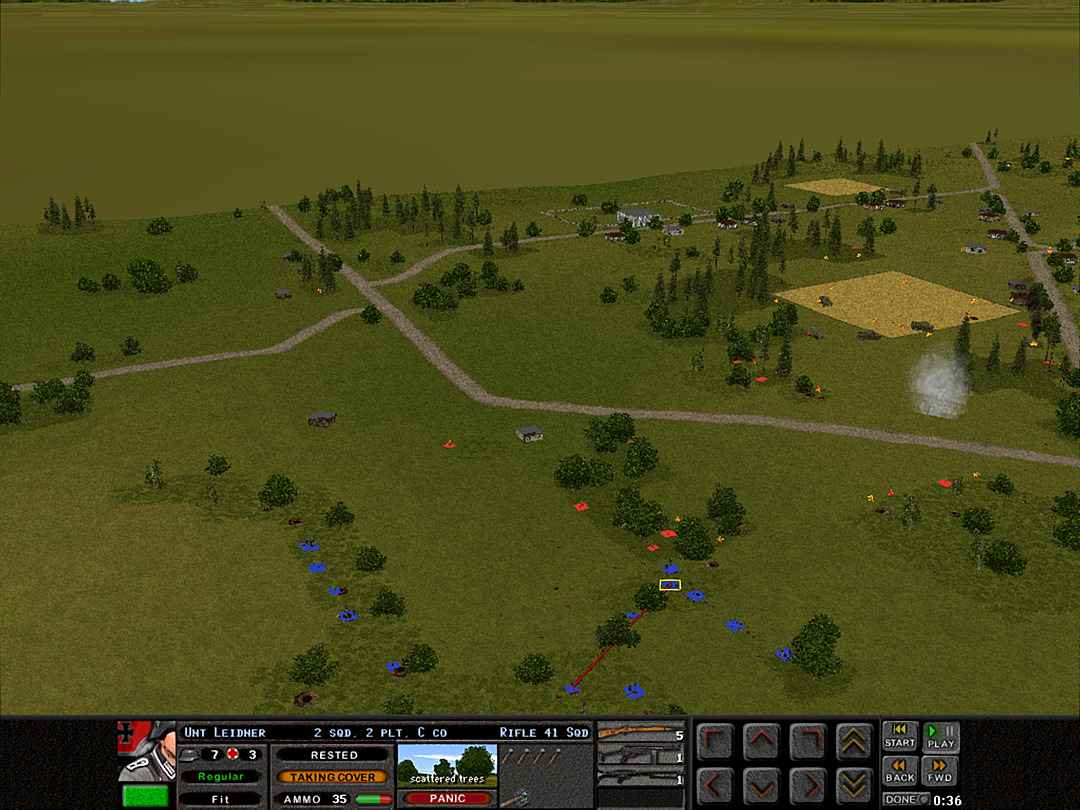 C Company has gained ground, but isn't able to push any farther at this point. 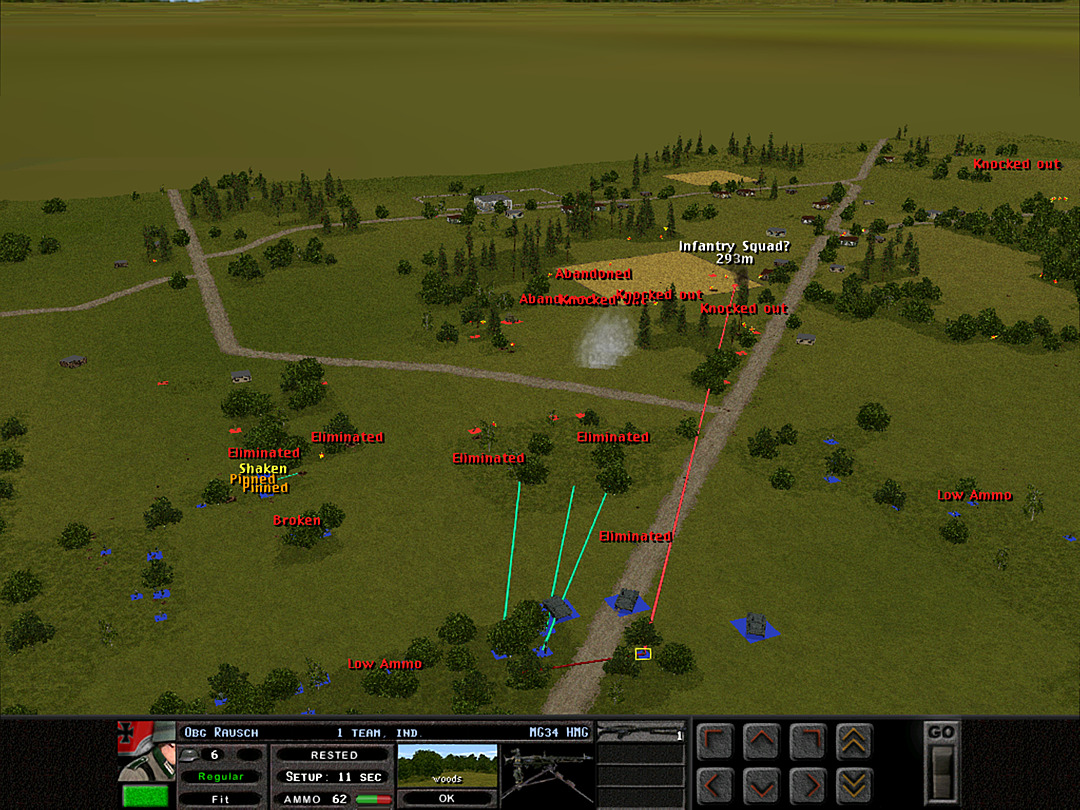 B Coy, 2 Plt is set to make another assault on the woods, as they seem actually quiet now. It should commence just as the rockets start hitting the village. 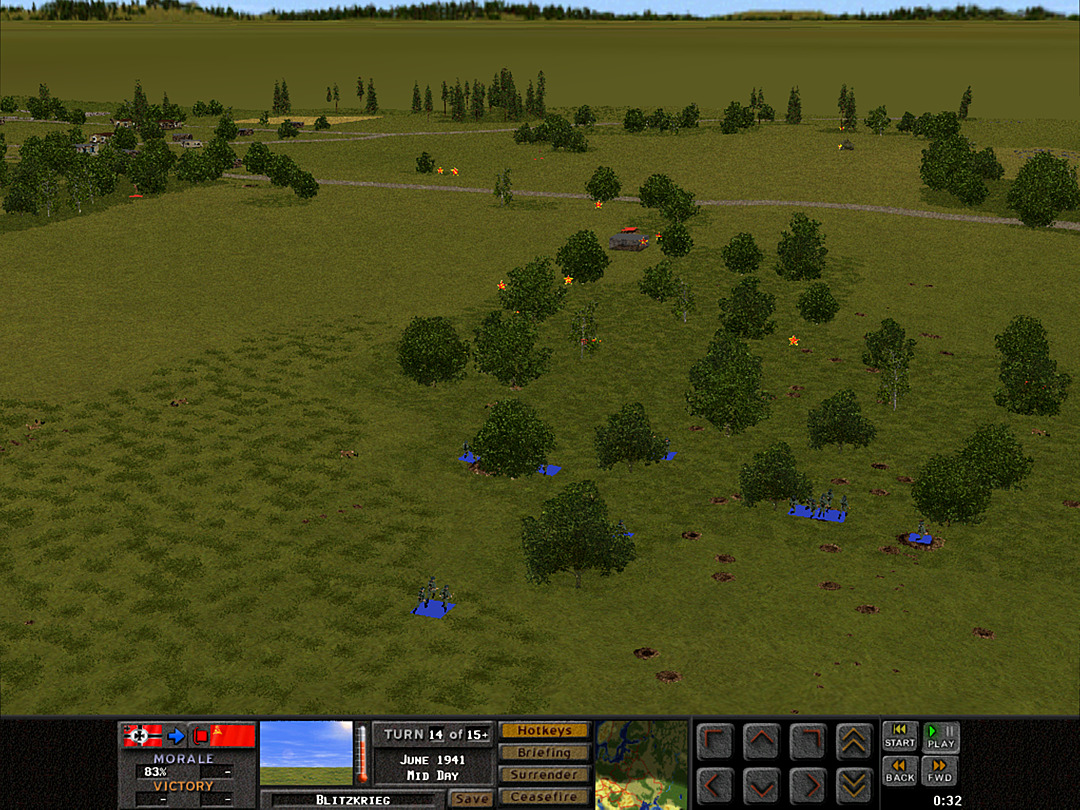 Some of the squads in A Coy, 1 Plt take a moment to rest in some foxholes that the enemy had formerly occupied. 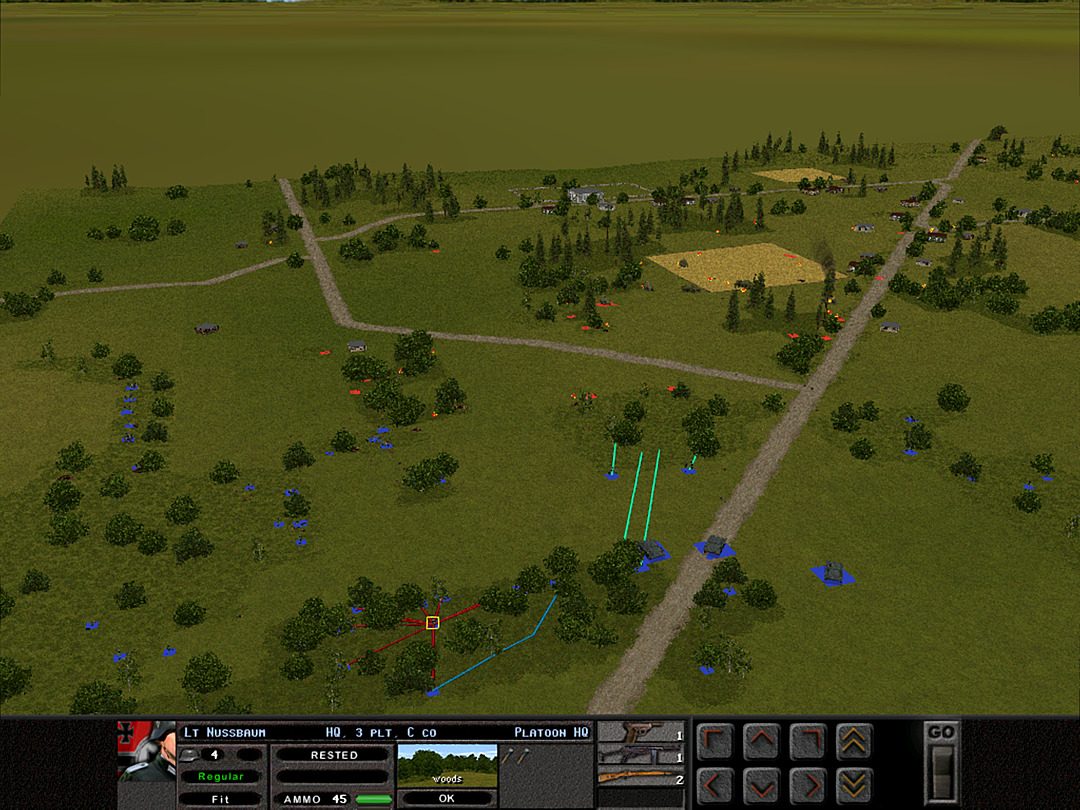 B Coy's charge has safely reached the edge of the woods near the junction. Hopefully the area is clear, and the rest of the platoon will be able to move up as well. 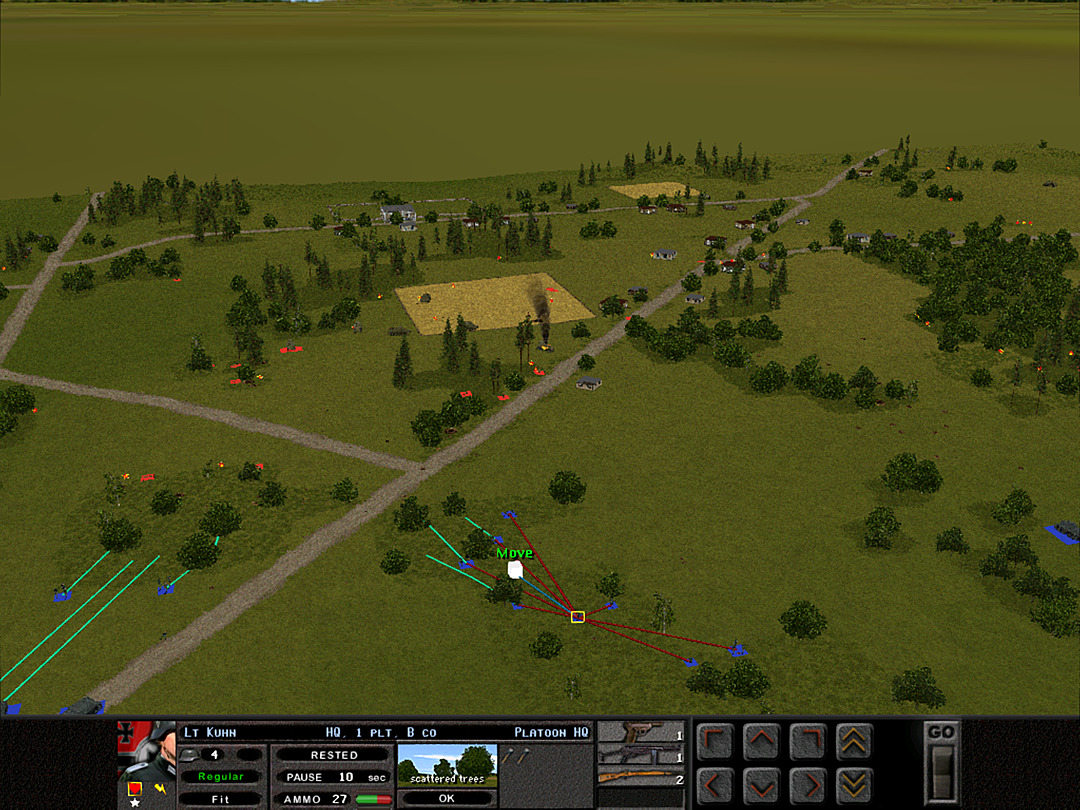 B Coy, 1 Plt is ordered to shift forward and lend support if 2 Plt needs it. 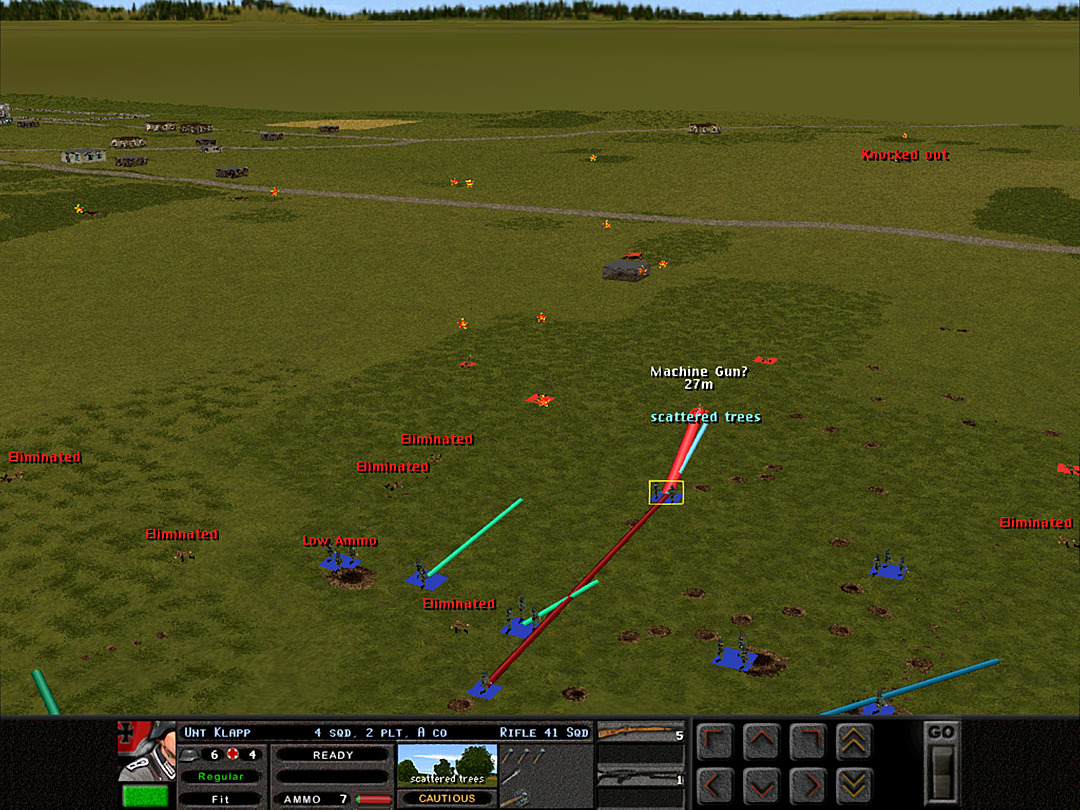 Some of the squads in A Coy are running low on ammo, but with the Soviet troops in full retreat, we may be able to take them in melee combat. [As with all combat, melee occurs automatically, and will happen when units are in the same terrain square.] 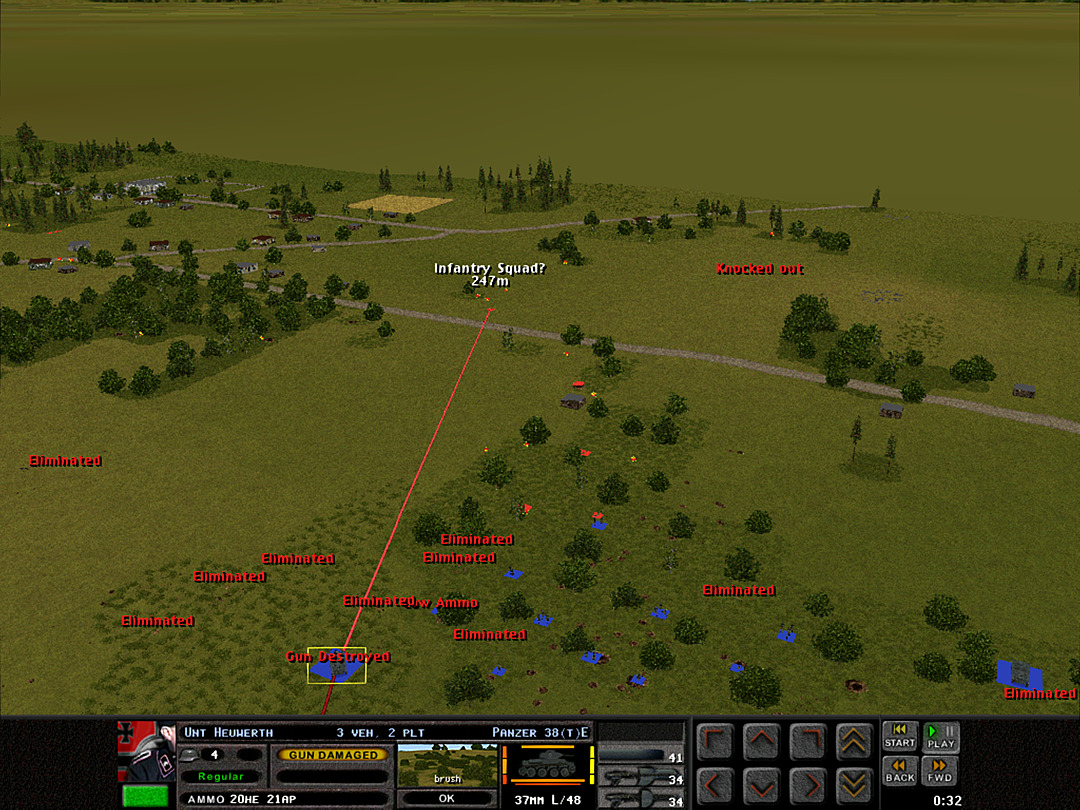 This tank in 3 Plt may have lost its main gun, but the machine guns are still operable. 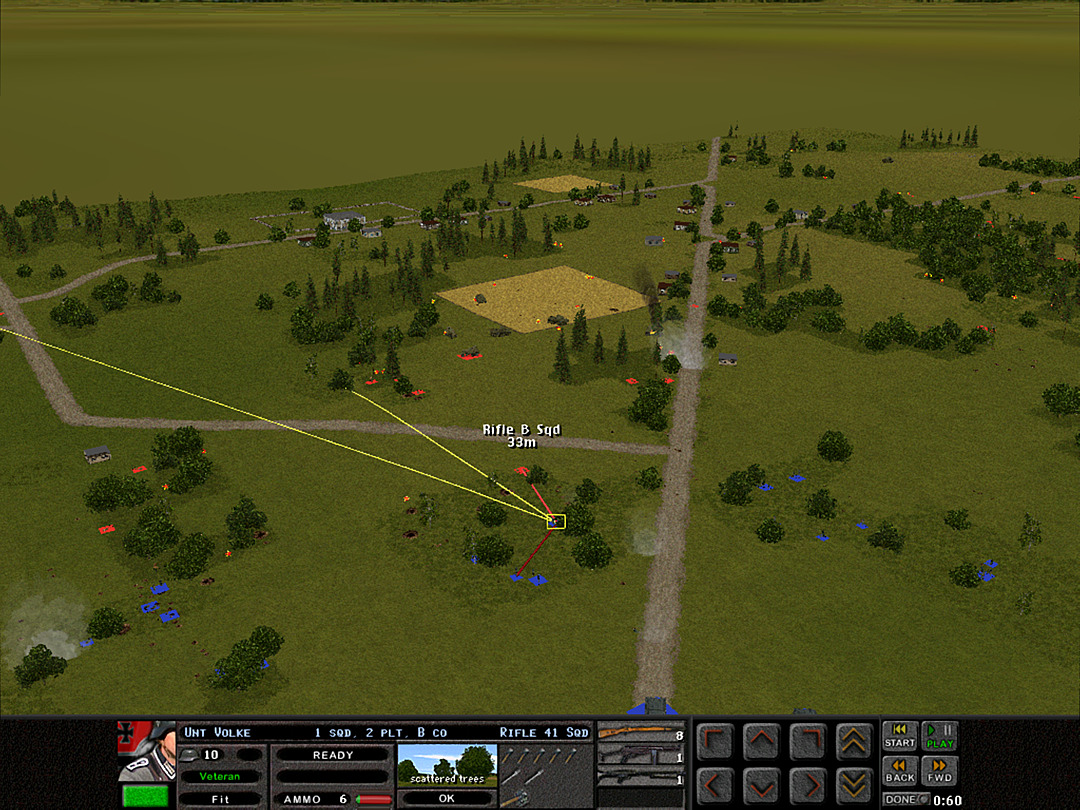 As we continue our push, more smoke rounds are landing near our forces. It's not clear what they are trying to do, as in some ways this only helps us. 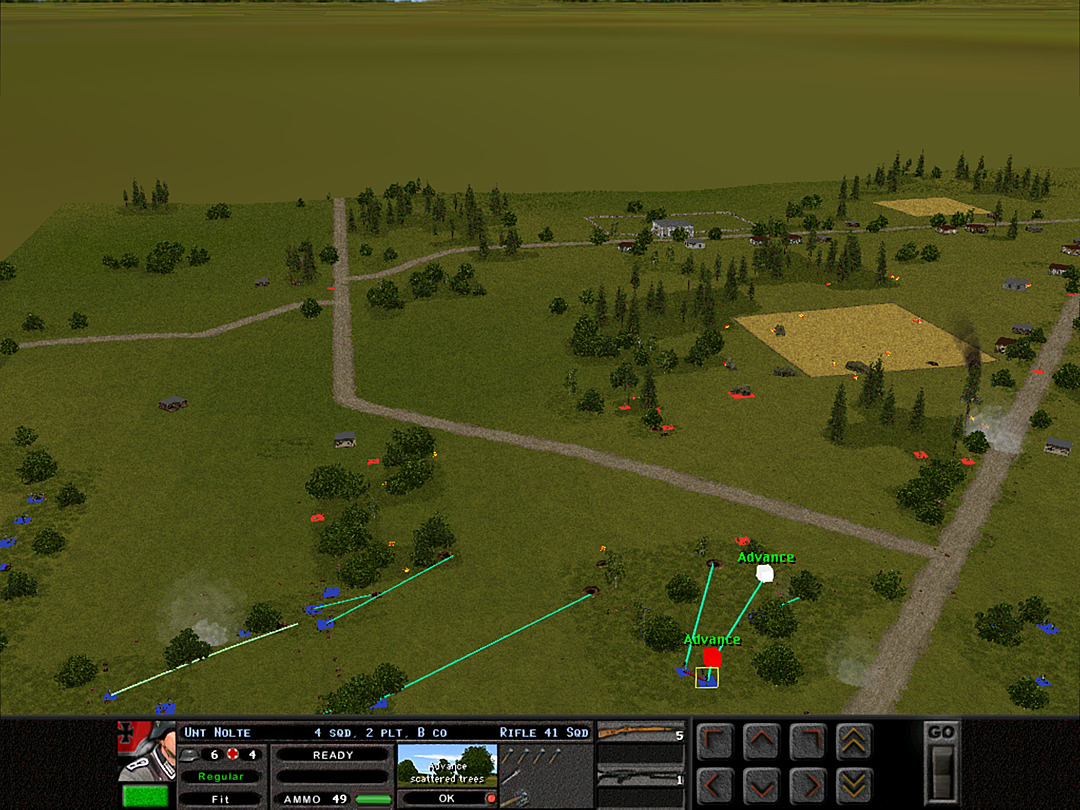 The enemy position here appears to be collapsing, so I order more squads forward. 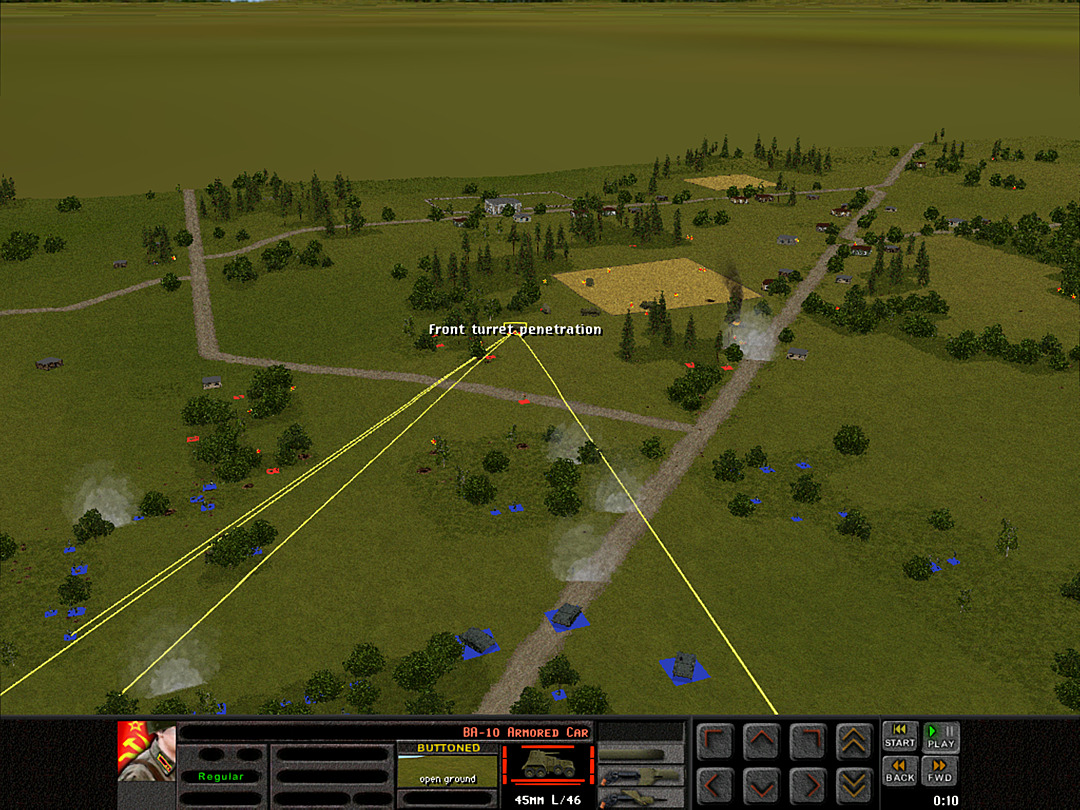 One more scout car is knocked out. It was likely trying to escape before we moved on its position. 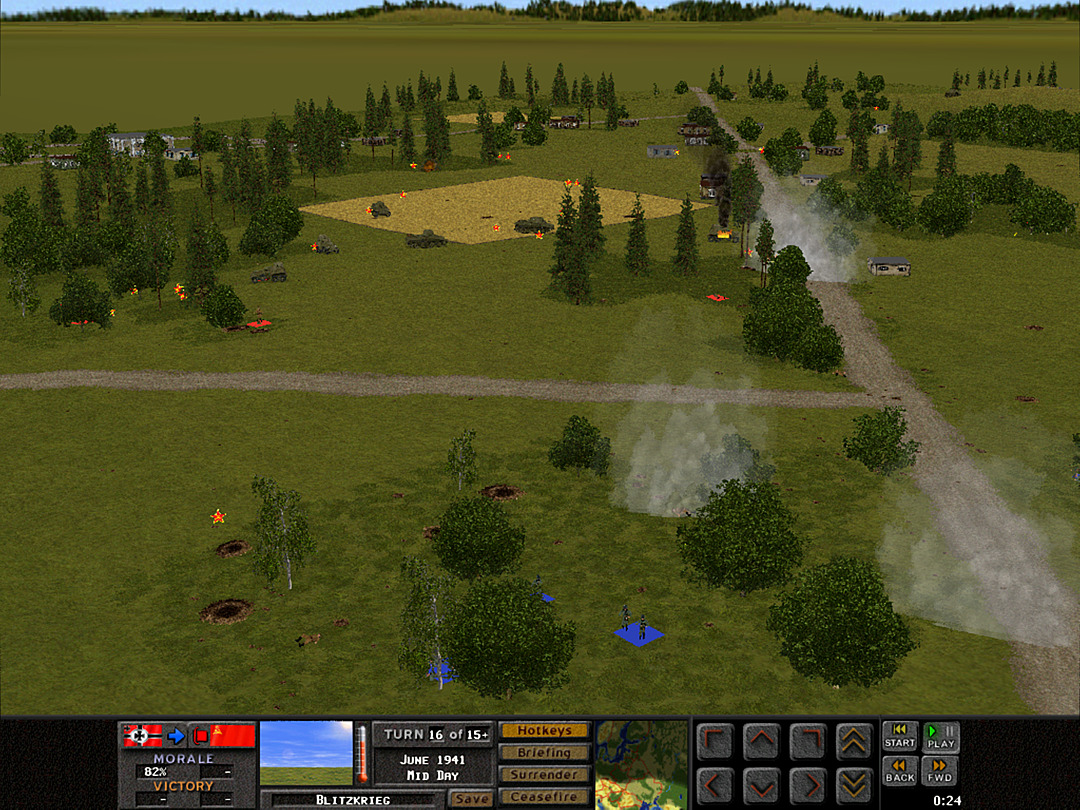 We capture the woods near the junction just as the rockets start to come down. [Hard to spot, but there are a few new craters visible here in the wheat field, and to the right of the road. It's possible some of them came from the bombers which we have not had any clear sign of. ] 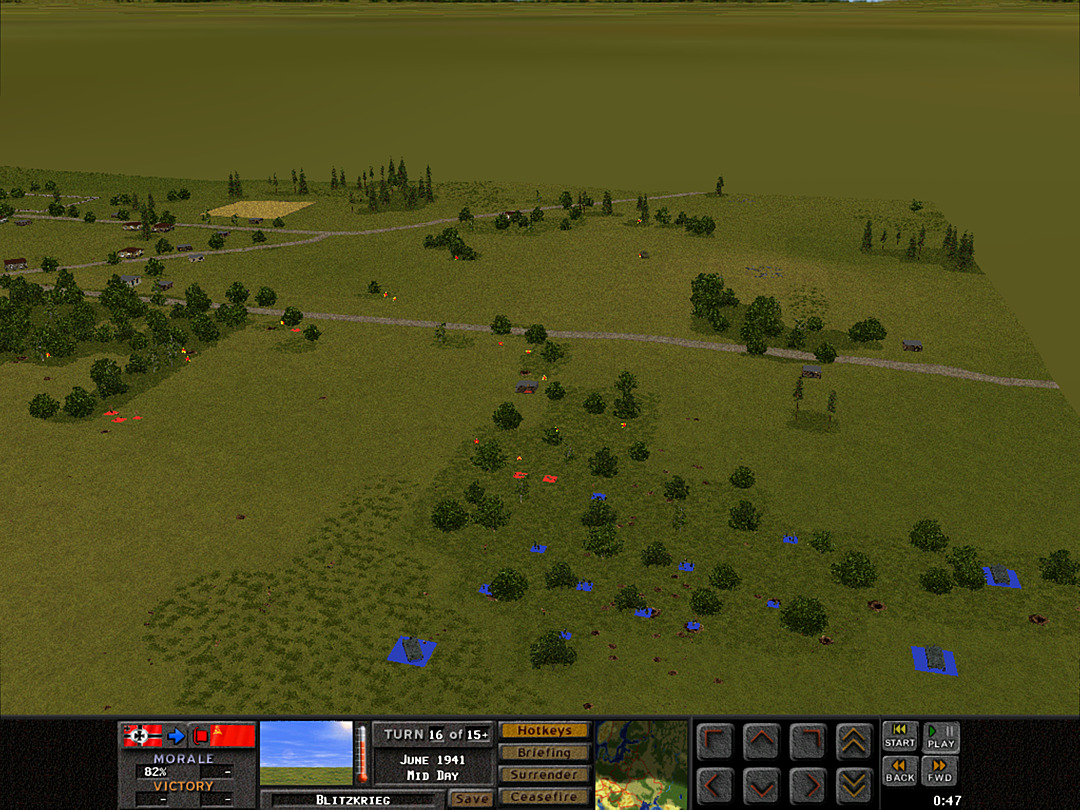 In the south, we have secured most of the wooded area, and the tanks roll forward.  The battle has grown bloodier. We did make some hard-fought gains, and most likely inflicted more losses than we took. That's especially the case for the vehicles, considering we only lost 2 (only 1 destroyed, but the other damaged tank will be withdrawn) and knocked out around 6. Unit highlight Panzer 35(t) 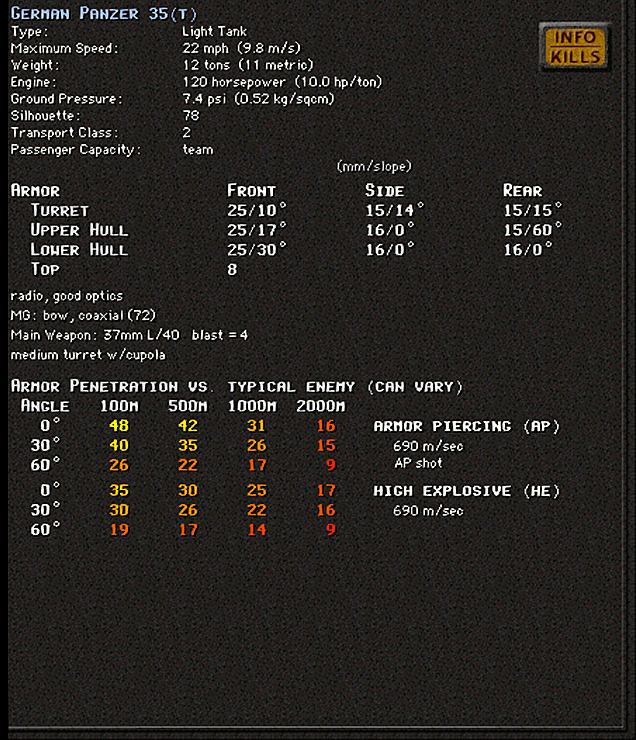 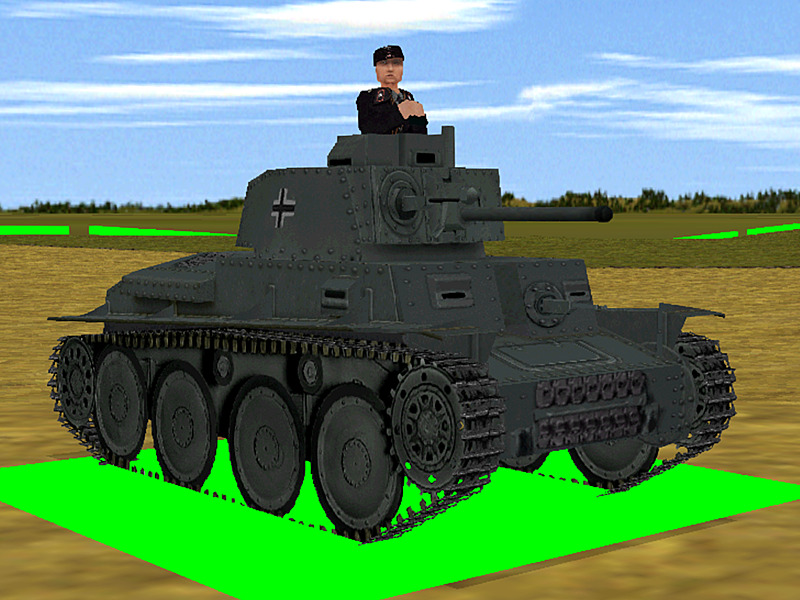 Crew: 4 Base cost: 56 Panzer 35(t) This tank was another Czech model that the Germans made use of. However, since this was the main tank of the Czech army when Germany took over, most of these tanks could be considered captured instead of produced to order as with the Model 38. The Germans did modify it to fit a fourth crew member, fitting their philosophy of more focused roles in tank warfare. The vehicle was a slightly older design, similar to the A variant of the Pz38. It shared with it the fairly thin front armor paired with a capable main gun for its time. The Pz35 filled out the German battle lines in 1939 and 1940, but was rarely seen in combat by the time of Barbarossa. By the end of 1941, it was no longer used on the Eastern Front.
|
|
|
|
For start of Barbarossa campaign this is massive attrition. The Soviets are putting up an incredible fight here! Your batallion has lost about 20% of it's strength (probably more in vehicles) in under a day of fighting. And still have more of a battle to go to secure the area. Presuming you secure your objectives throughout the rest of the battle, at a bare minimum your batallion would be combat ineffective until reinforced. For early Barbarossa that's a terrifying level of pain.
|
|
|
|
Operation 1, Battle 3 of 5 Operation: Blitzkrieg Time: Mid-Day Skies: Overcast Ground: Dry Temp: Warm Wind: Still It's still daylight, but we've only managed to advance a few hundred meters in the last few hours. That's not exactly Blitzkrieg. We need to push harder. 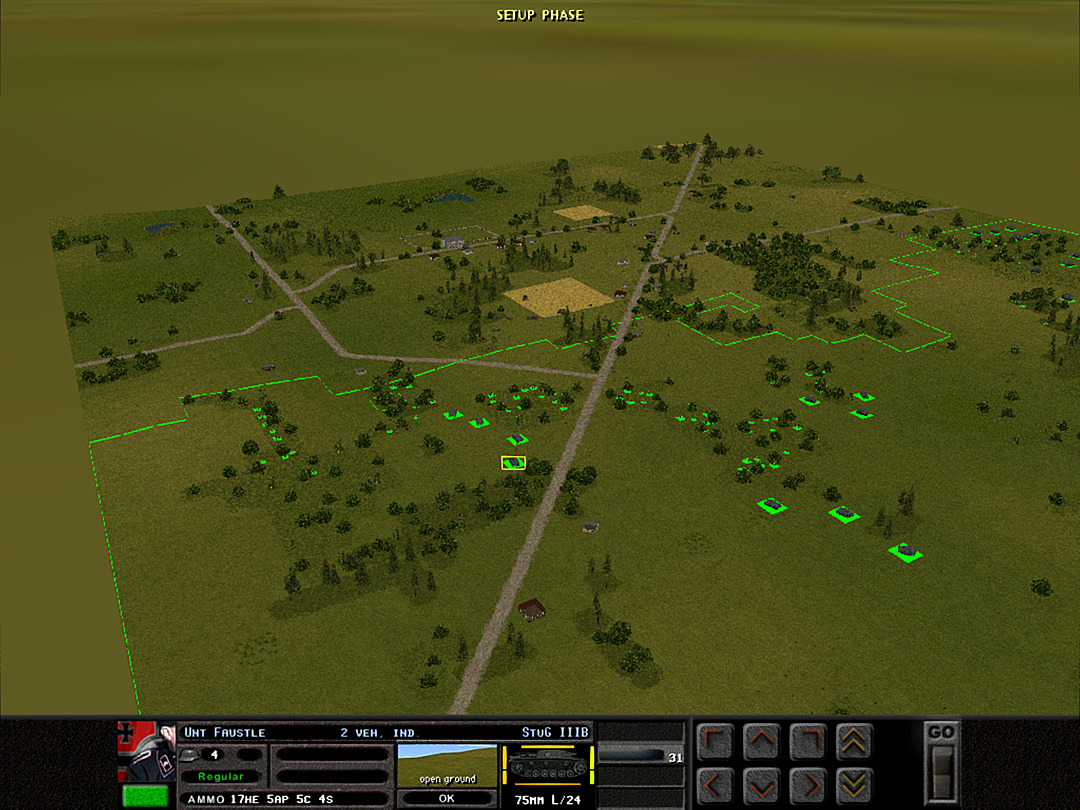 Here is the new line of control. It's staying mostly even, with the only area we haven't really taken being the central woods. My plan has been to avoid them and focus on the village, with a flanking move on the south to cut off any troops trying to reinforce or escape. C Company has been holding position on the north edge of our line. They will still try to advance toward the village, but only if enemy resistance has been weakened. B Company has been pulled away from the junction, and the newly-arrived D Company has taken their place. The fresh troops will attempt to drive up the road toward the village. B Coy will support D Coy's right side, and probe the dense woods if all seems safe. Meanwhile, A Company will consolidate the gains in the south, and try to take control of both sides of the road there. Another platoon of four Stugs has arrived, and they have been positioned down there. If the open ground is clear, the tanks can make big gains there. 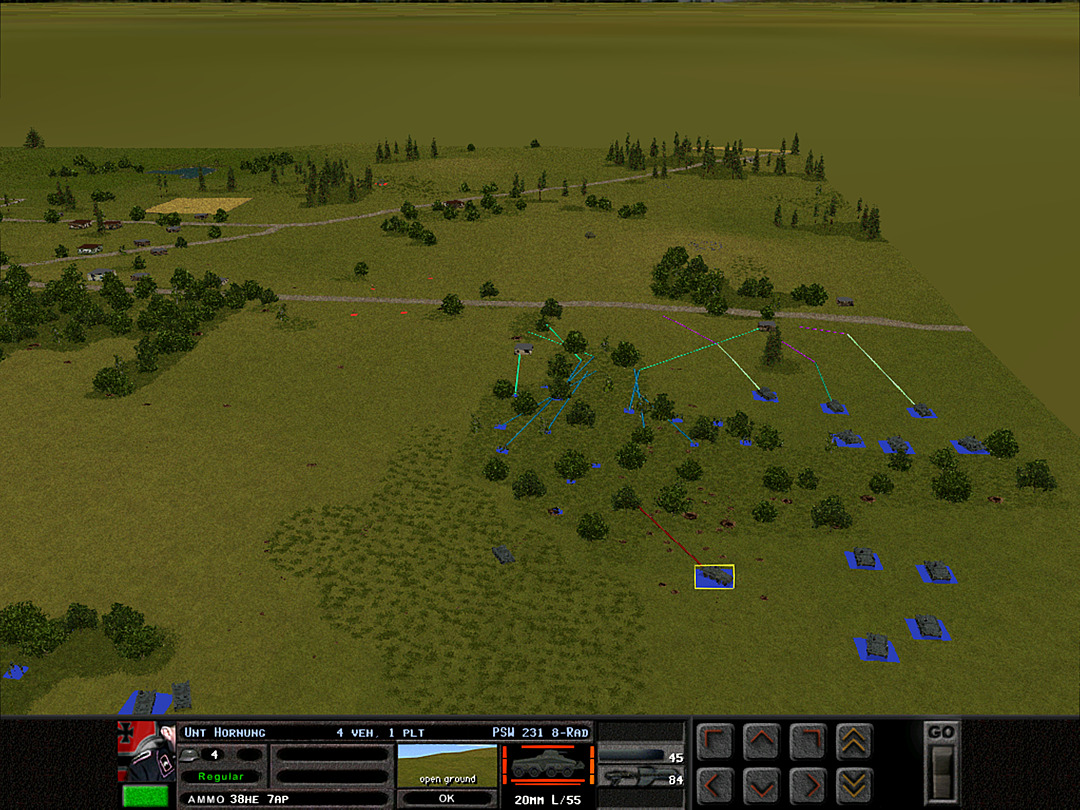 The two forward platoons of A Coy will try to push ahead, with 2 Plt capturing the nearby building, and 1 Plt making for the structure by the roadway. 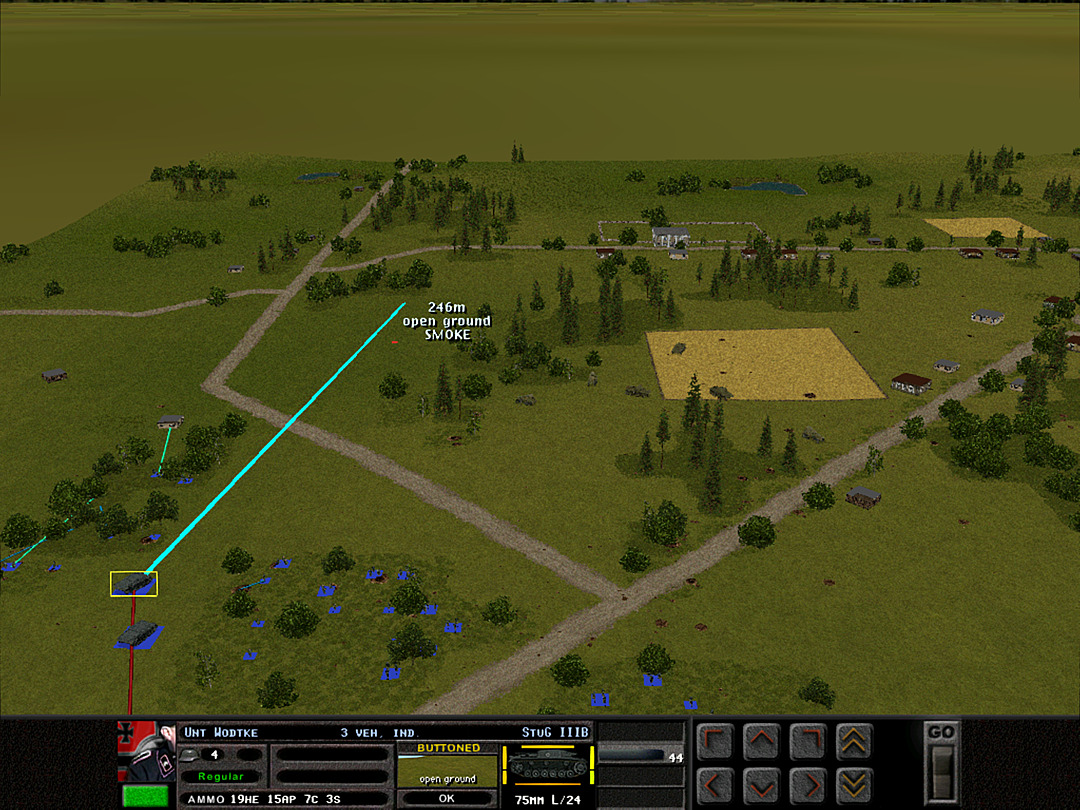 While a few troops are visible, it seems like there might be a chance for C Company to advance. The Stugs will lay some smoke to cover them. 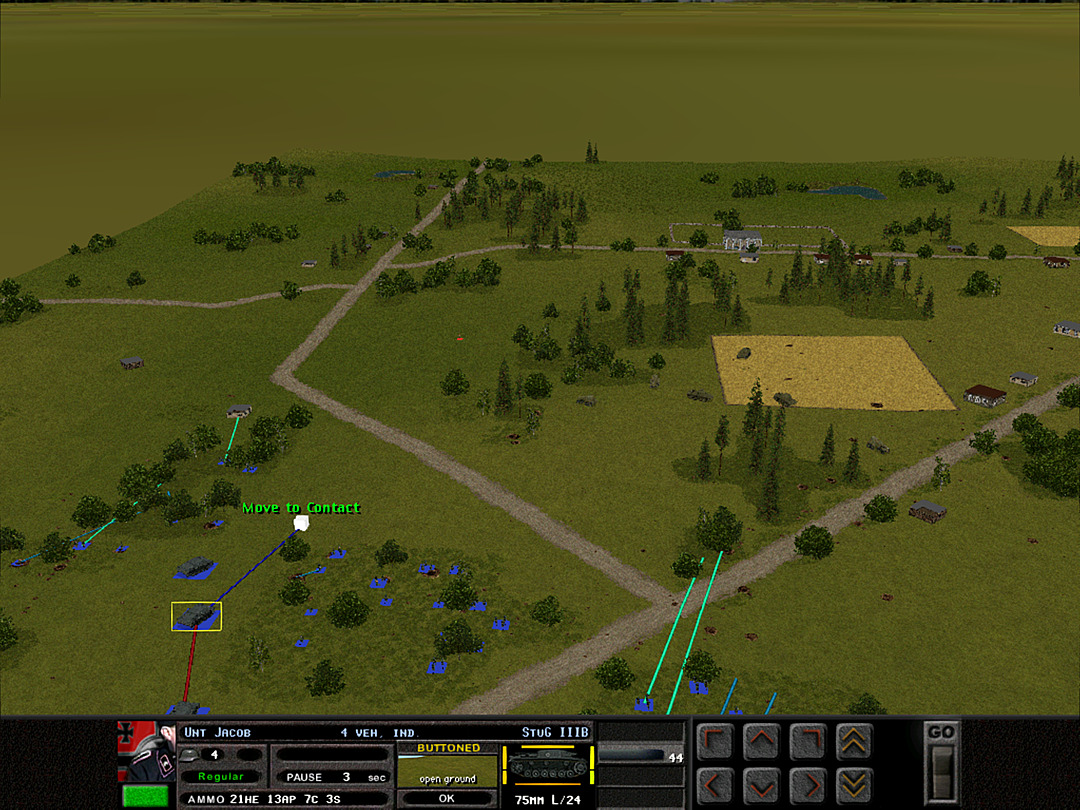 Nearby, D Coy, 1 Plt will be moving across the first road junction. 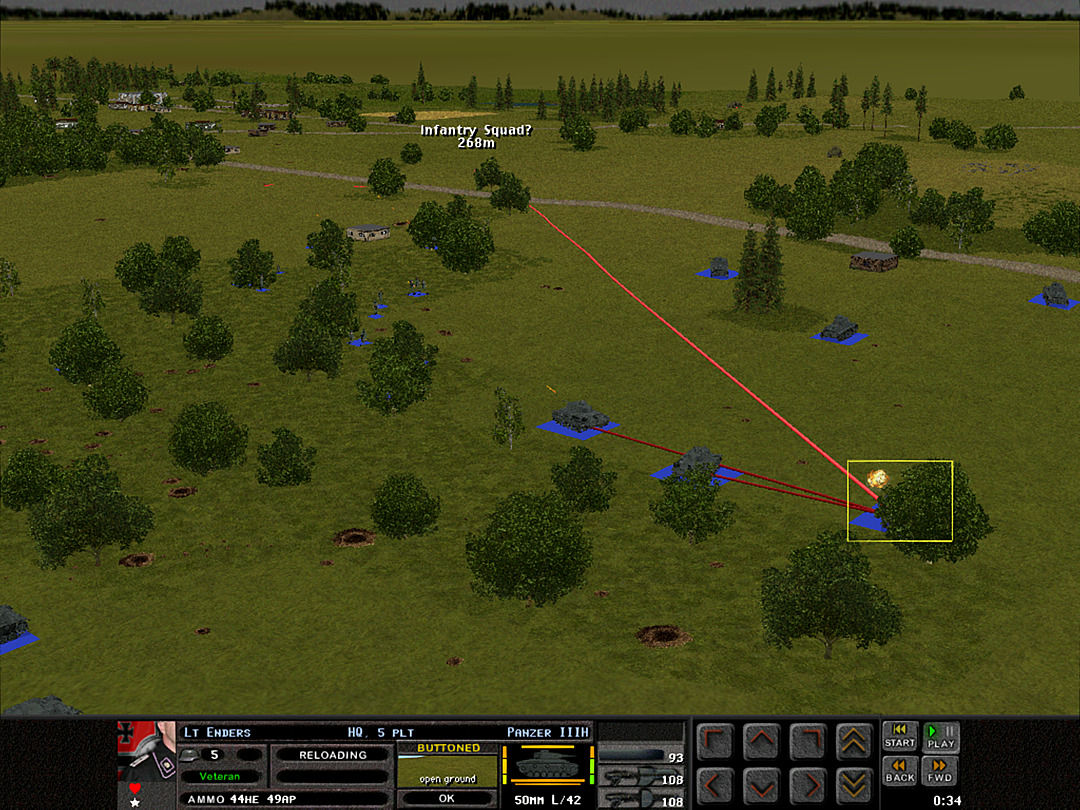 A Company starts out with Soviet forces right in front of them; the tanks give supporting fire. 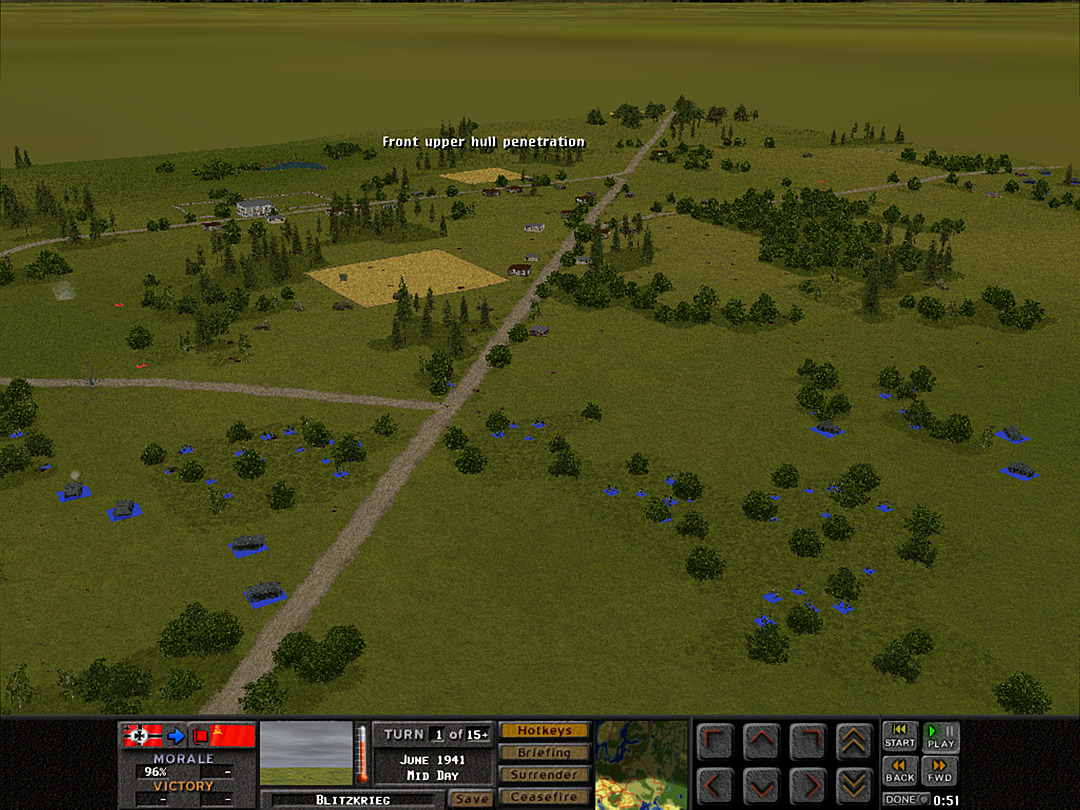 More enemy forces are observed in the northern woods. D Coy, 1 Plt's initial advance goes smoothly. In the distance, one of our Pz38's snipes at what is likely a BT-7 from far away, and fails to knock it out. 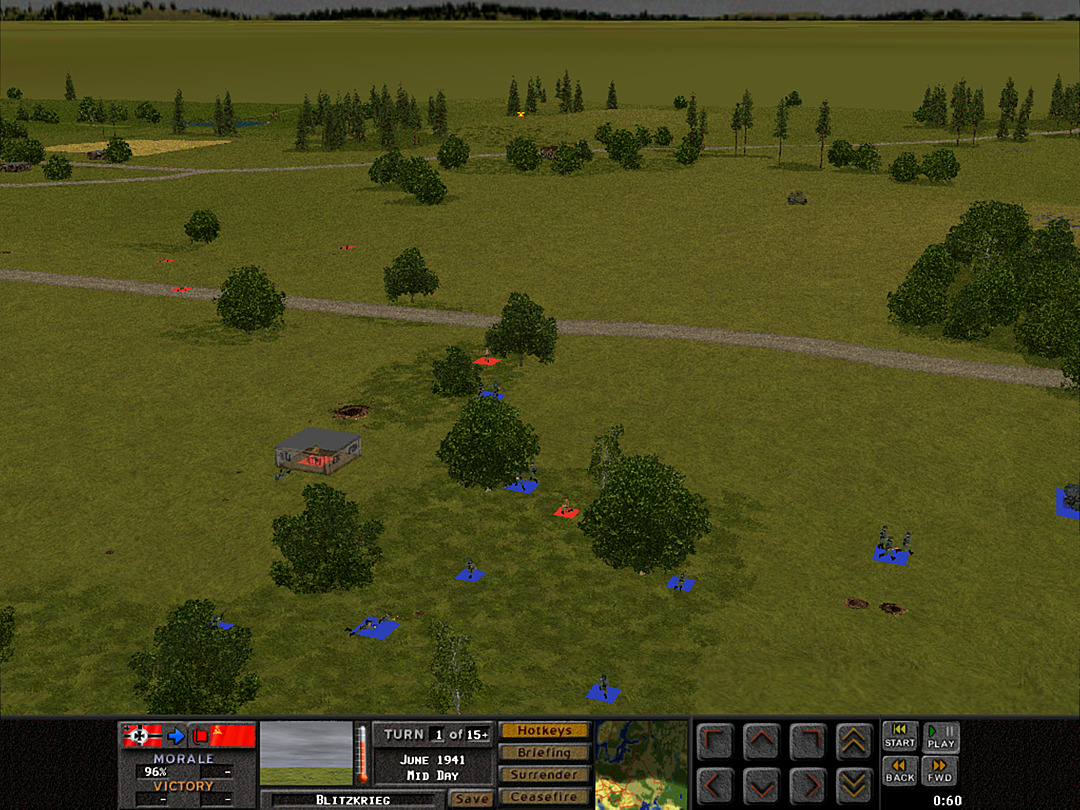 As they rush forward, A Coy, 2 Plt discovers that there are more soldiers in their midst than they thought. One squad is wiped out when it tries to take the occupied building. 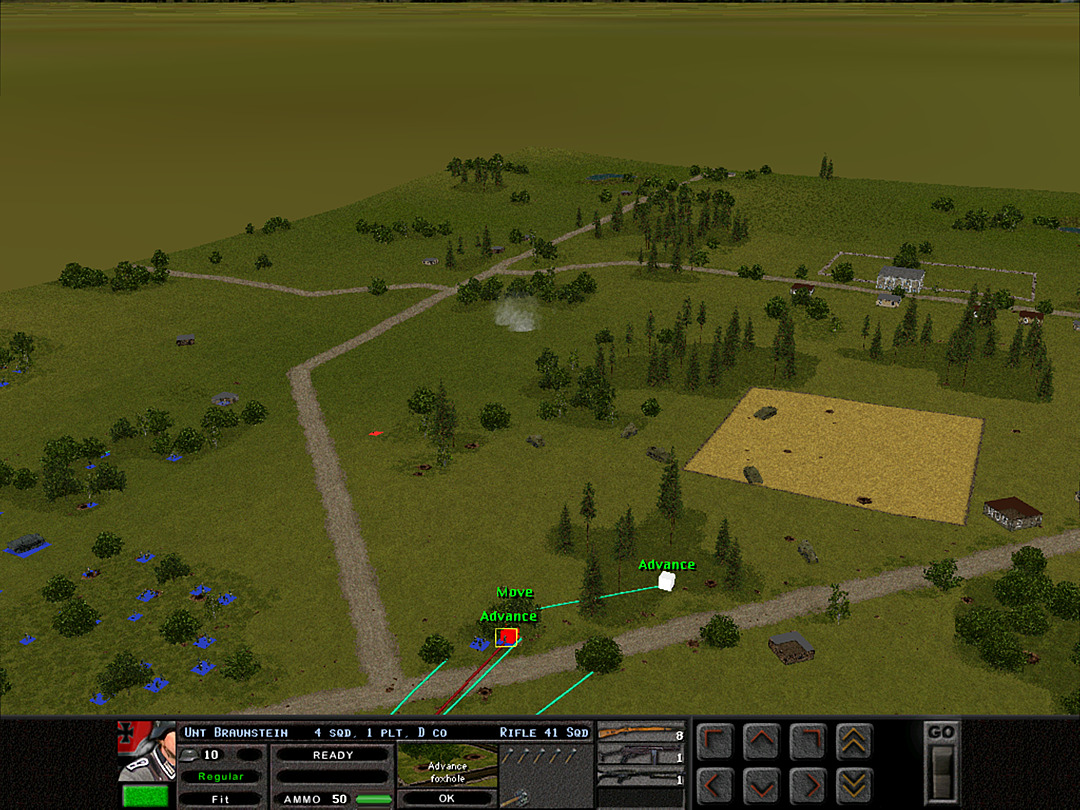 D Coy, 1 Plt spots abandoned foxholes that will make for good stopping points on their advance up the road. 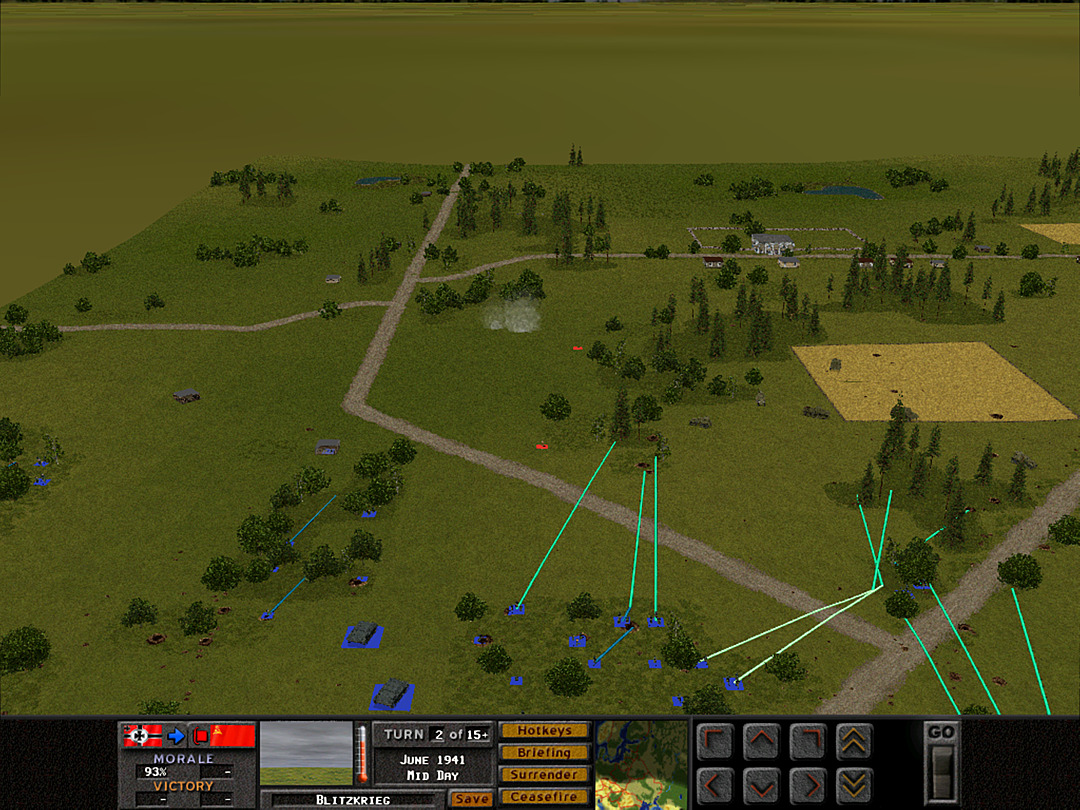 C Coy will attempt to send squads directly across to the woods, where they should be less exposed to any fire coming from the northeast. 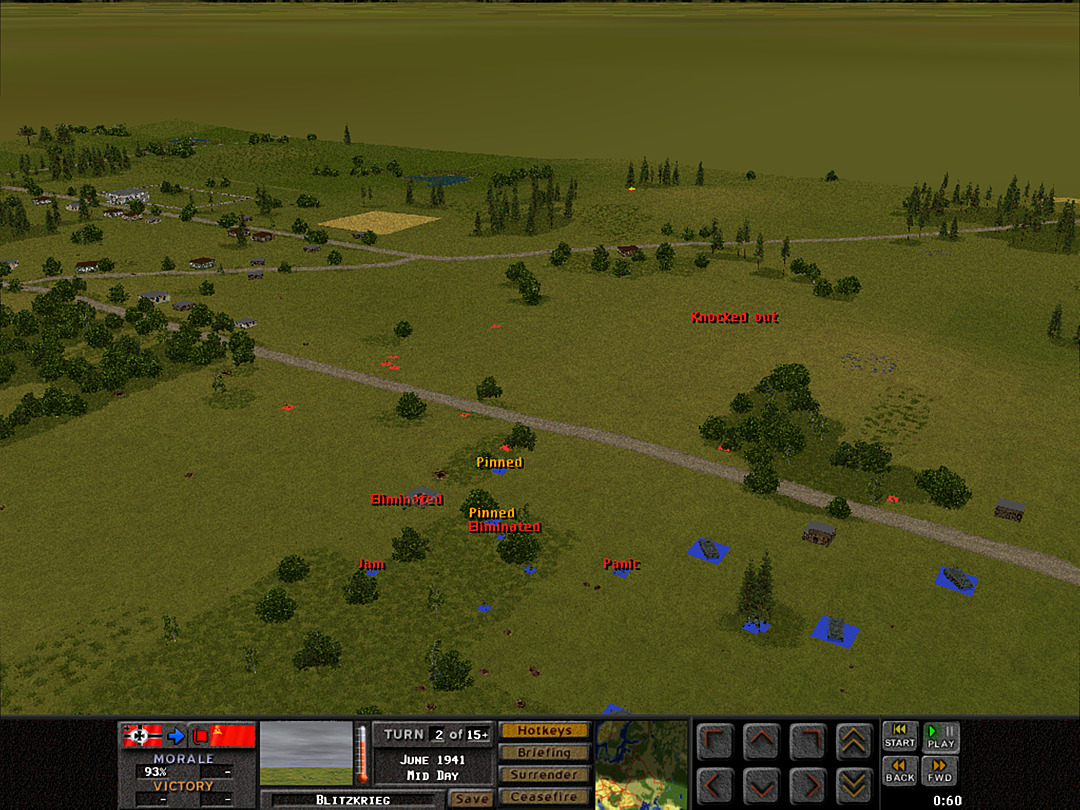 A Coy, 2 Plt manages to get a couple squads into the small clump of trees about halfway to the roadway. There are a few Soviet squads spotted in the woods on the east side of the road. 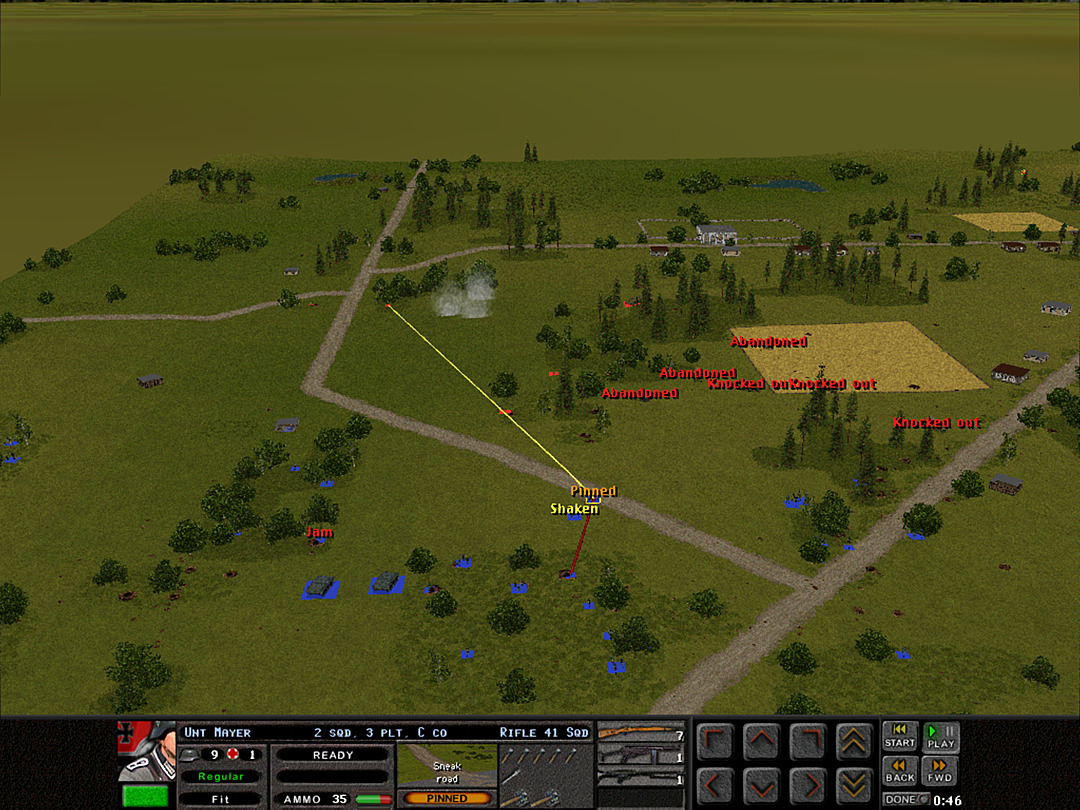 It looks like the smoke shells from the Stug went just a bit too far, and C Coy, 2 Plt's charge goes wrong straight away. 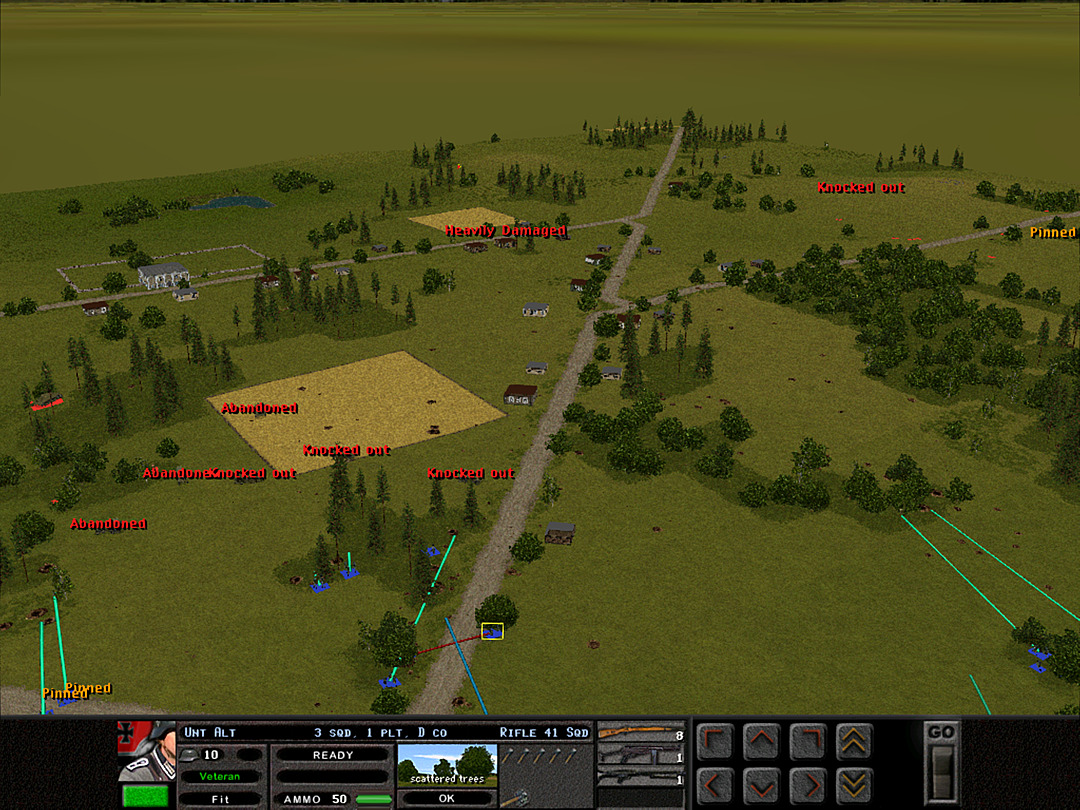 The advance of D Coy, 1 Plt continues to go right, though. They haven't encountered any resistance. ['Heavily Damaged' is a label on one of the buildings there, which likely occurred during the shelling in the previous battle(s).] 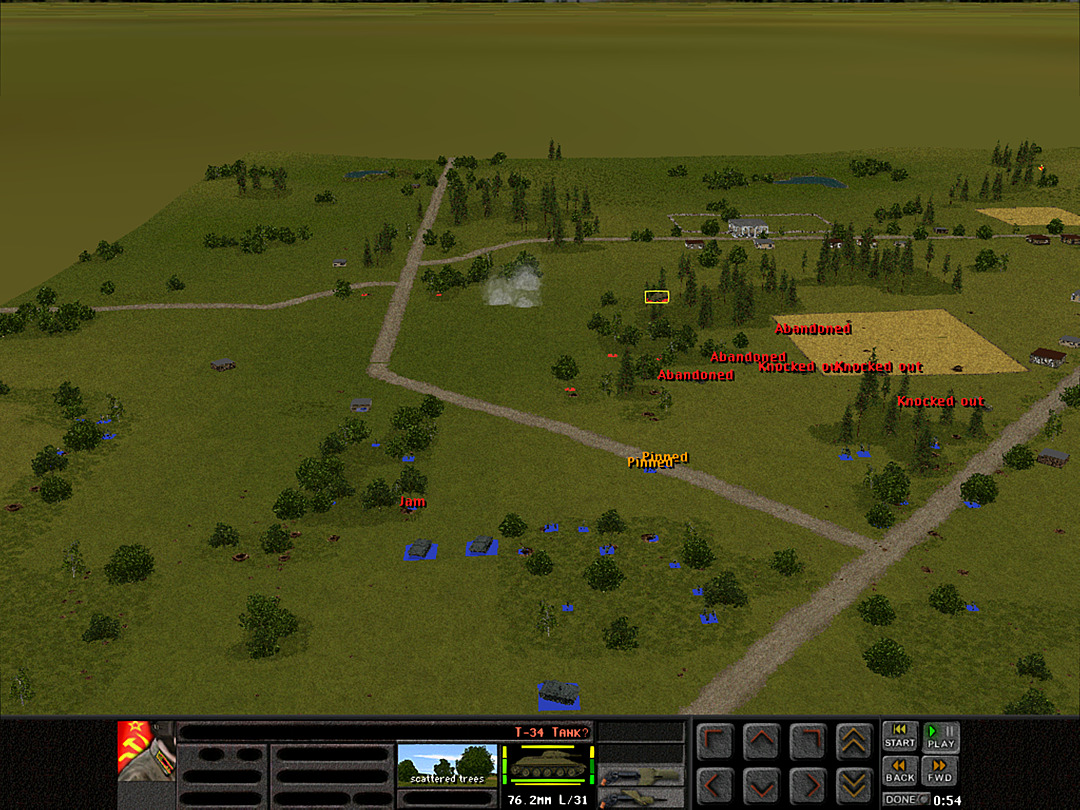 There appears to be another tank on this side of the battlefield. Worryingly, it might be one of the better Soviet models. 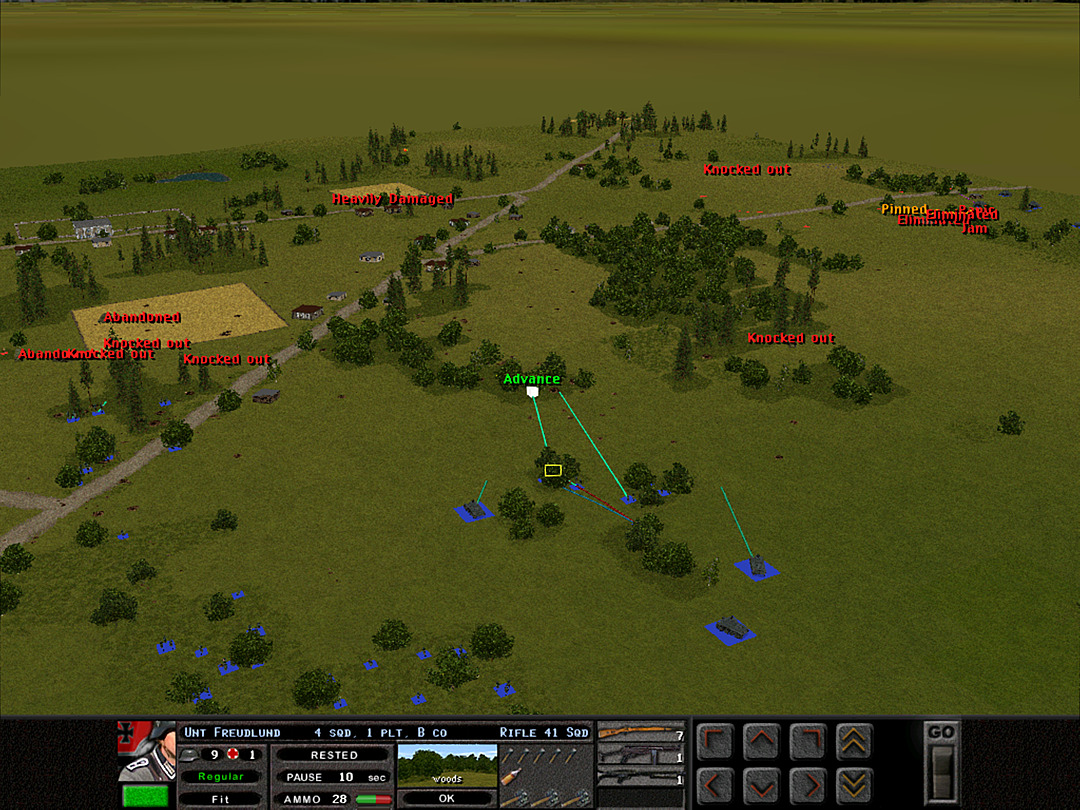 With D Company advancing, B Coy, 1 Plt is sent to secure the larger patch of trees on the near side of the highway. 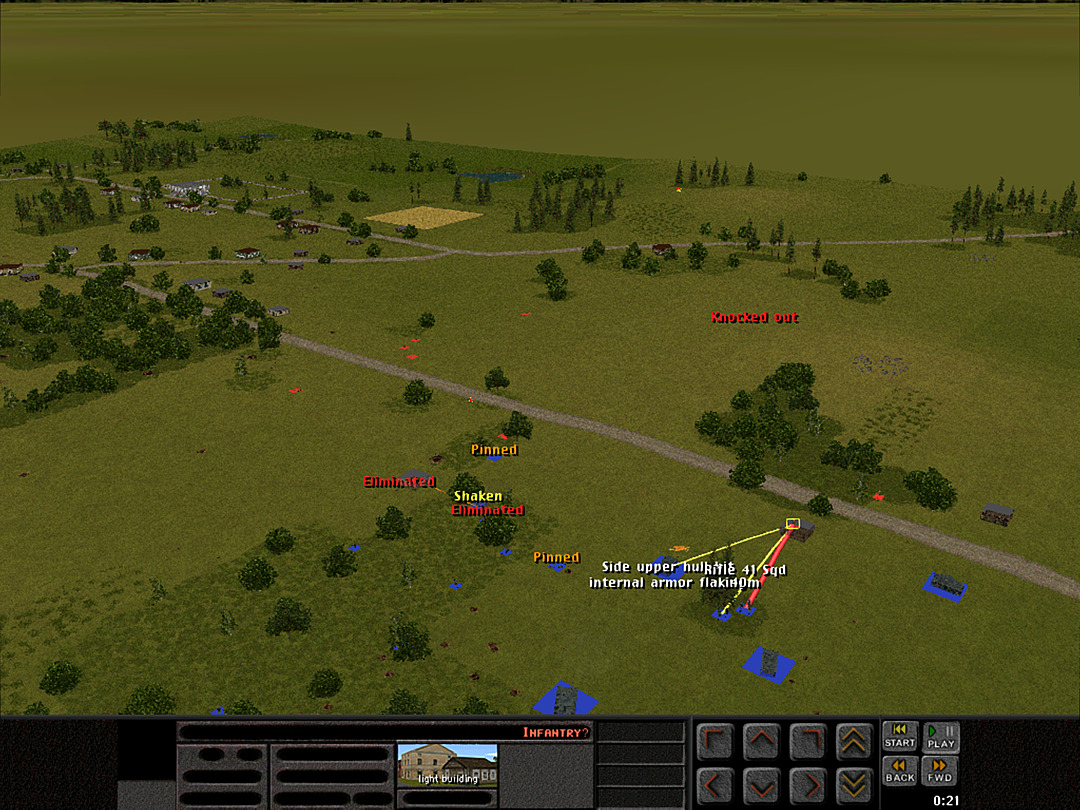 It won't be possible for A Coy to get across the road unless this building is cleared. The tanks should make it much easier to do that. 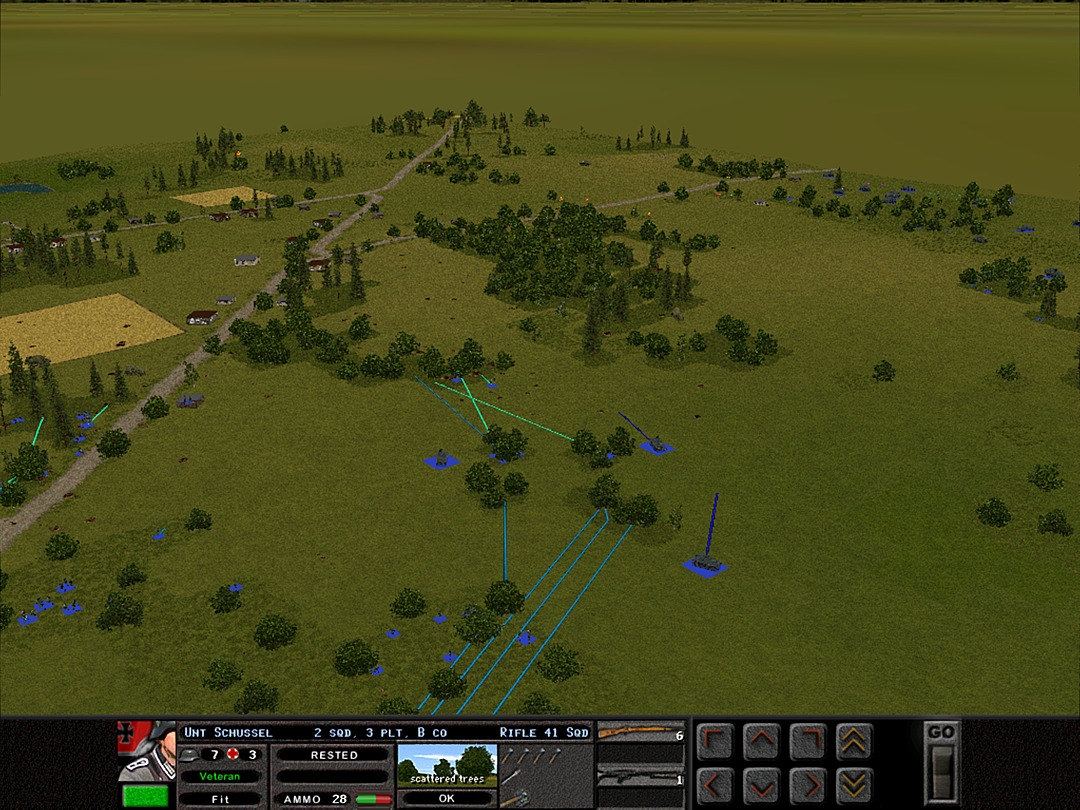 As the trees seem to be peaceful here, another platoon from B Company is sent to take a position close to the dense central woods. They'll start a probe in a few minutes. 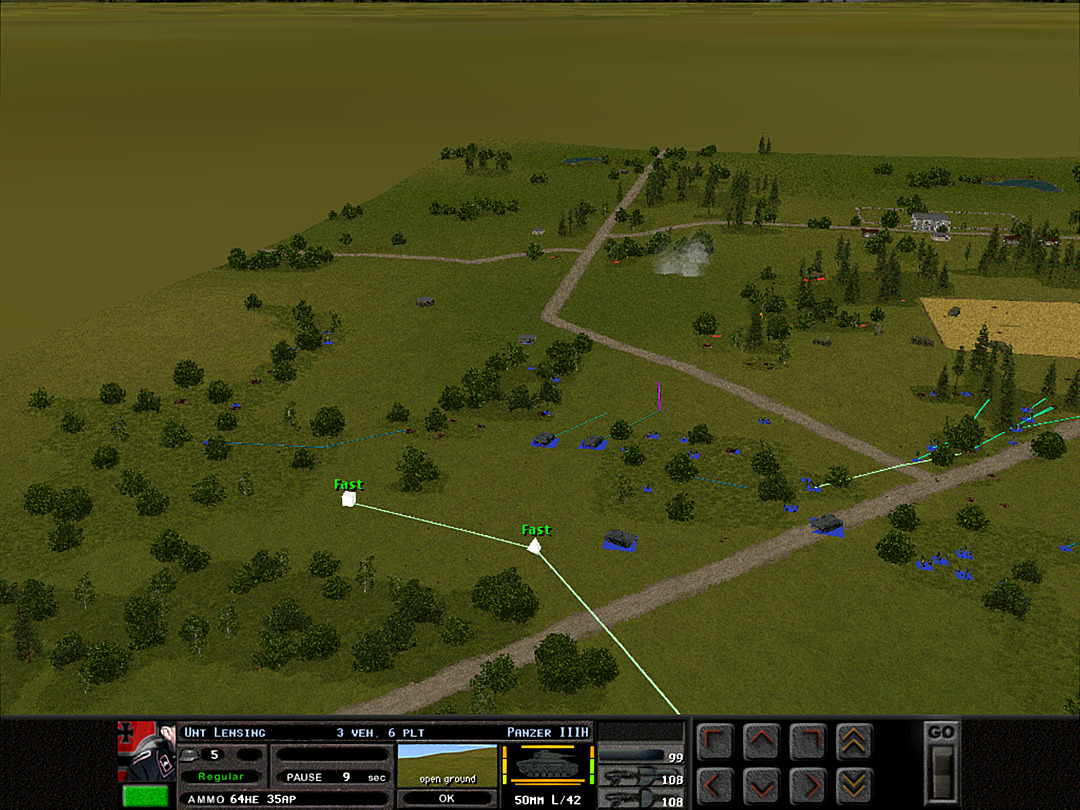 If the Soviet tank does turn out to be a T-34, our own Panzers can handle it, but they need to be in position to do so. We send some to swing northward, while the Stugs push out a bit. 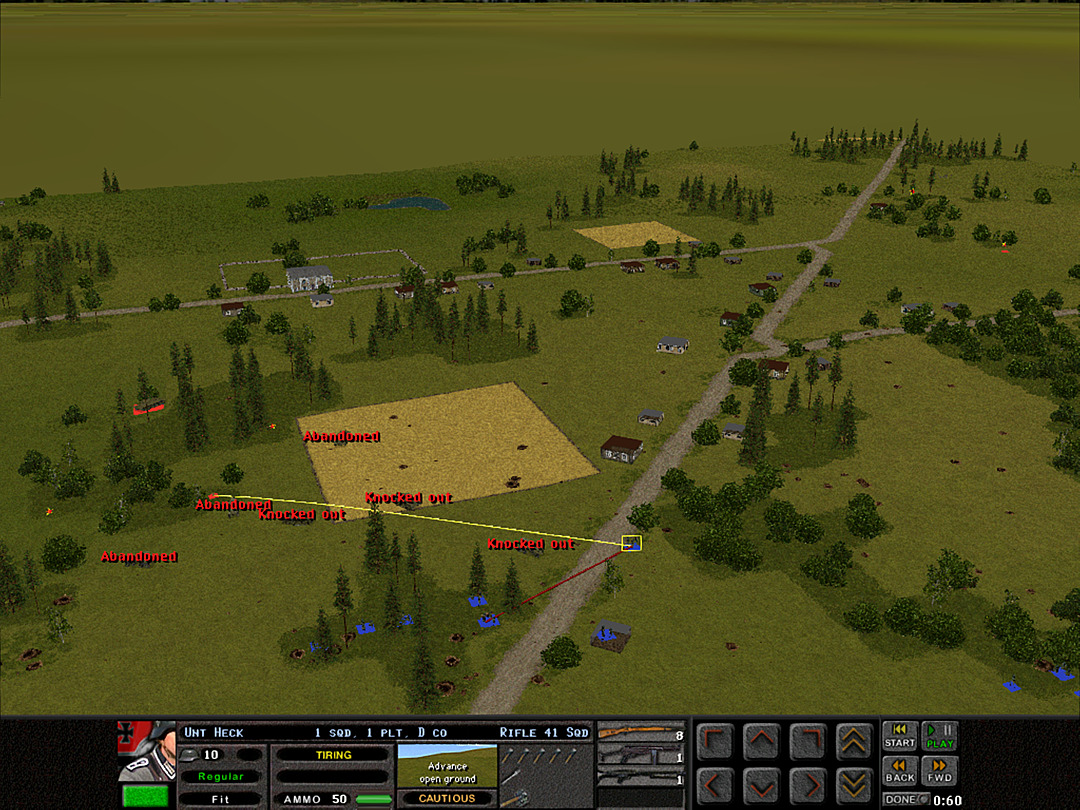 The main road seems to be undefended, so we're pushing our troops hard to get up there before the enemy can respond. 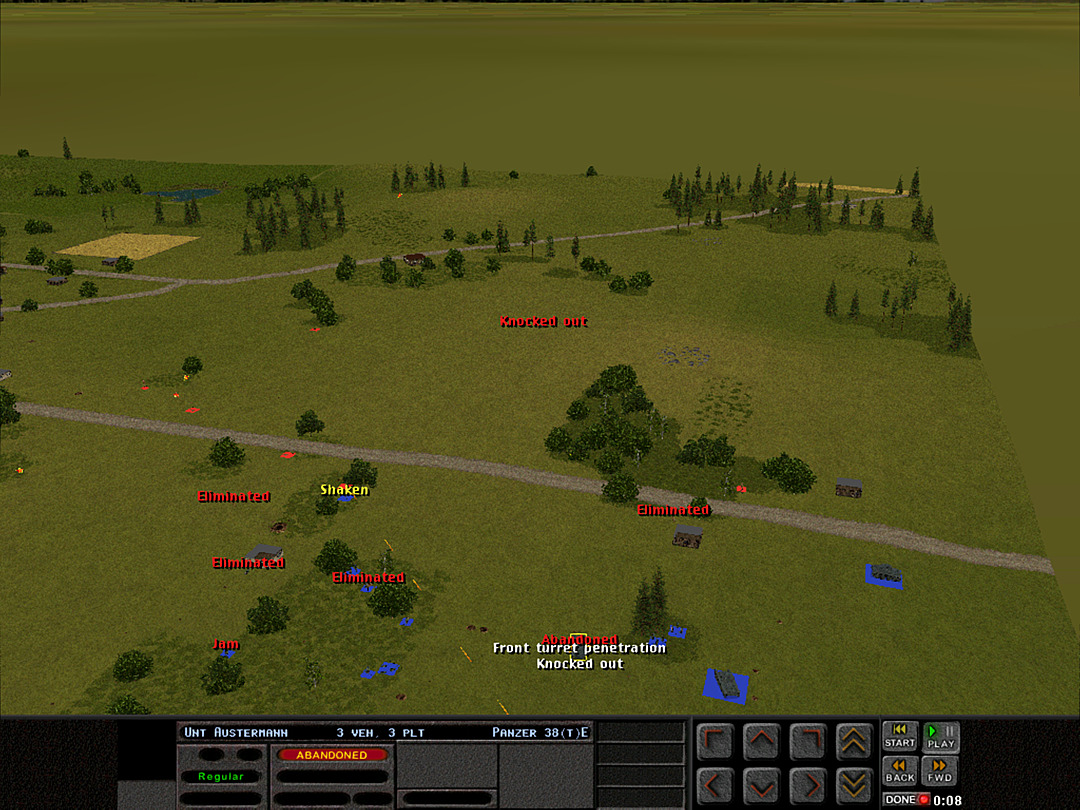 Misfortune occurs on the south side of the battle, as one of the Pz38's is knocked out from an unseen shot. It might be the BT-7 that we've lost track of to the east, or another tank that's hiding in the village. 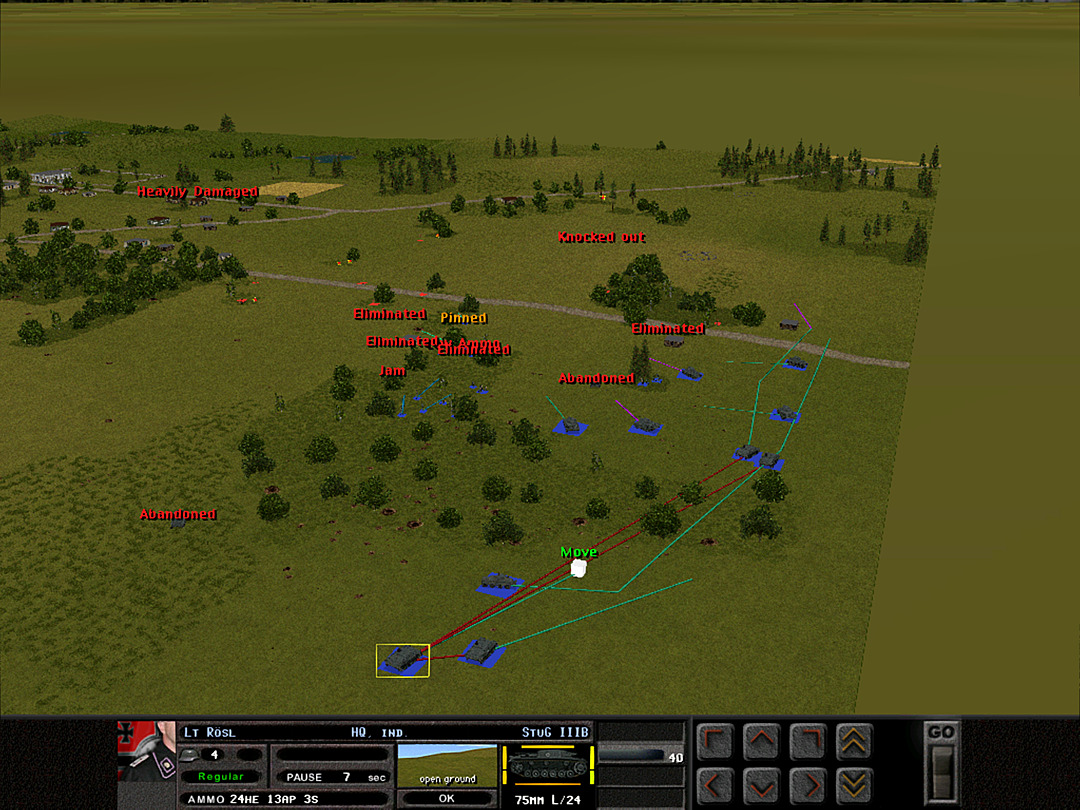 The Stugs (and our last remaining scout car) are sent to sneak around and see if they can spot what took out our tank. 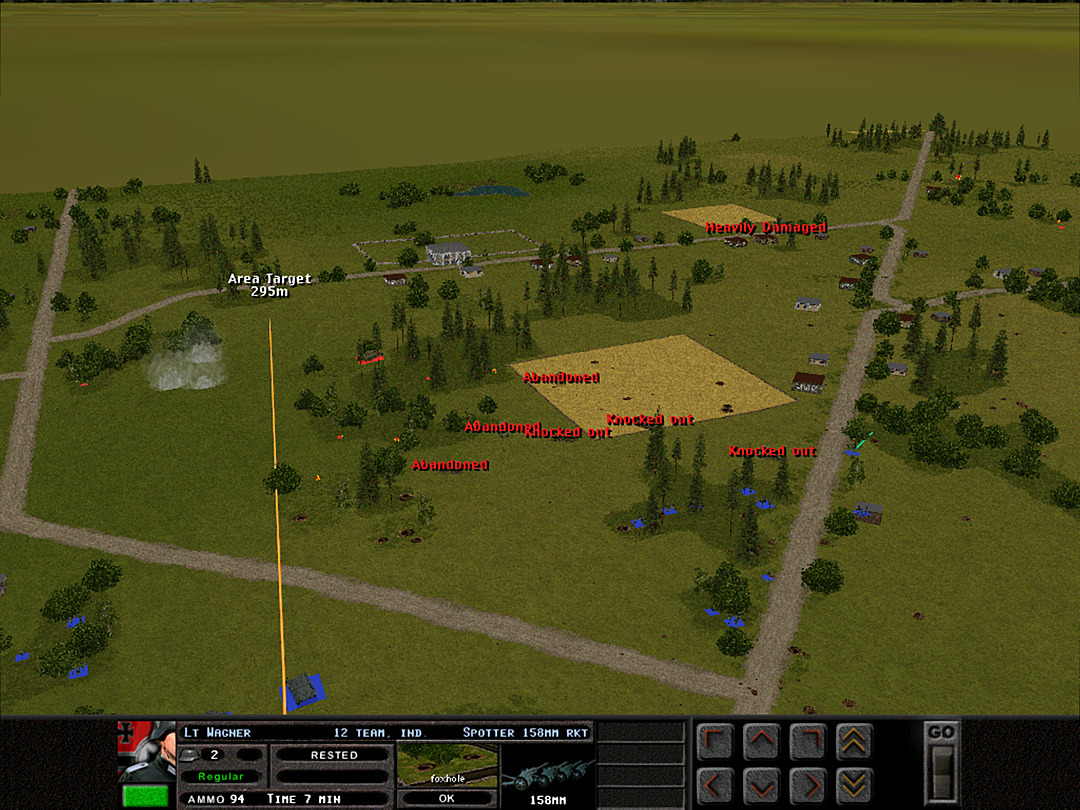 With all signs pointing to a significant enemy presence north of the village, a rocket strike is ordered there. We have to position it farther away than we'd like from known enemy positions, but we really don't want it falling too short on us. 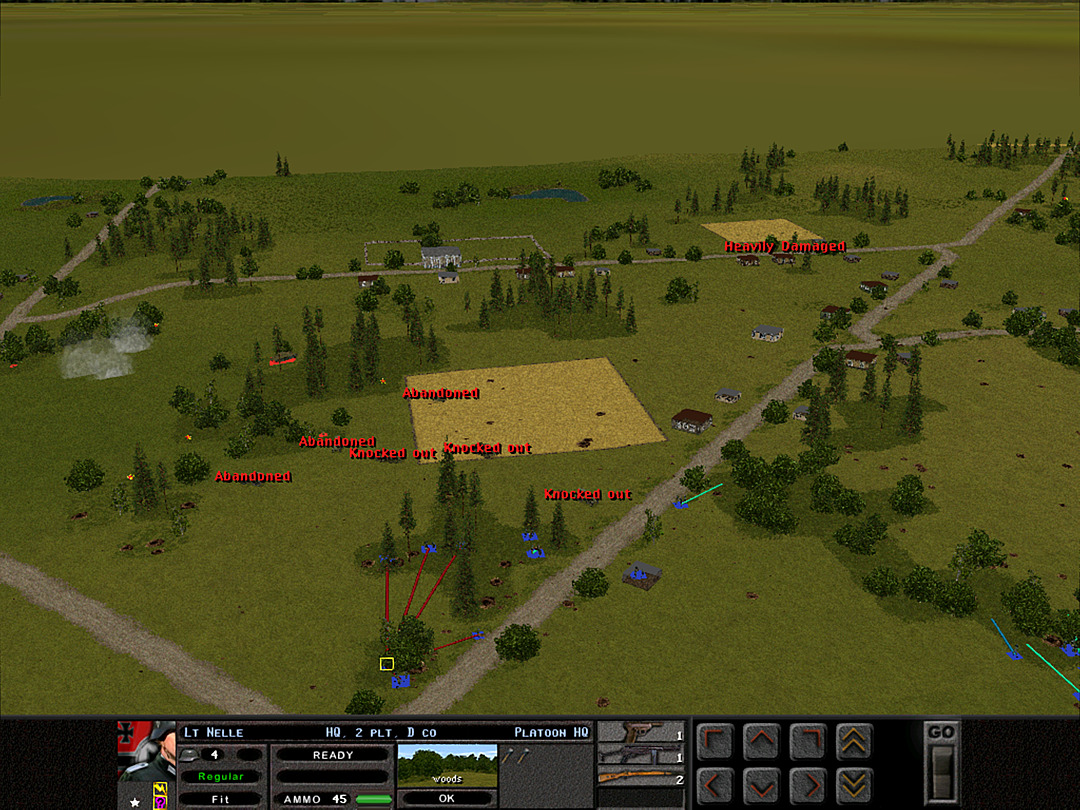 D Coy, 2 Plt is moving into the woods, where they can engage the enemy forces and cover 1 Plt's advance. 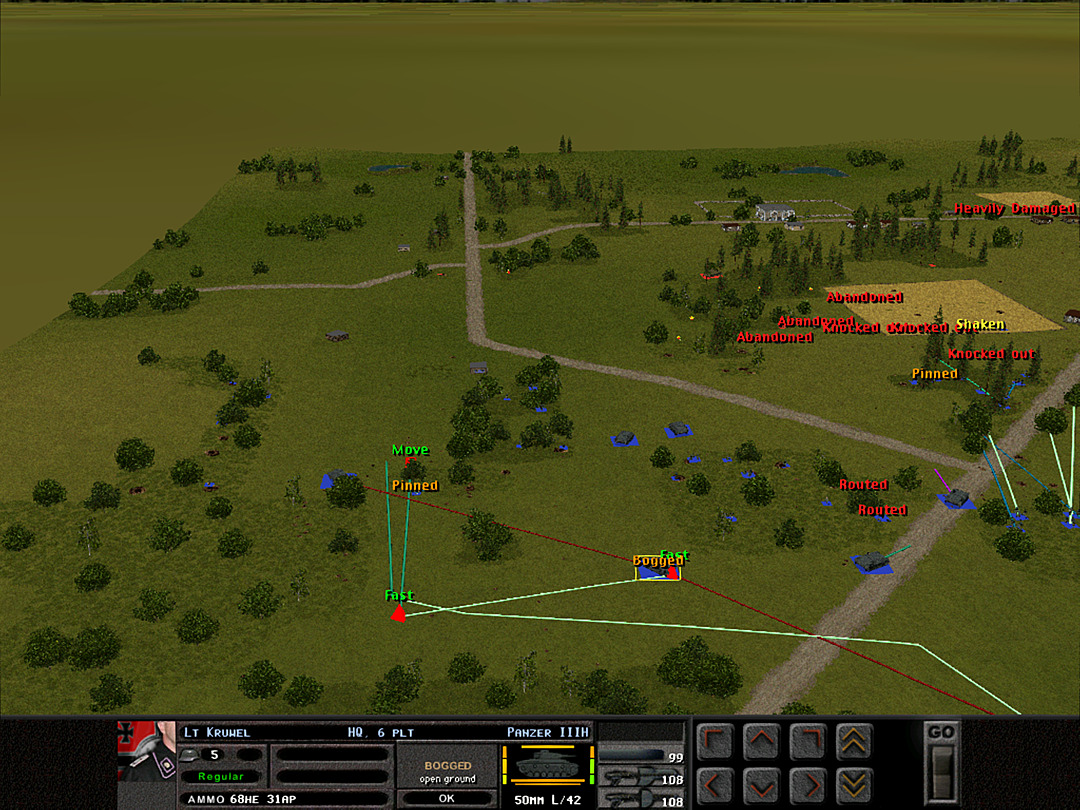 One of the Panzer III's gets bogged coming off the highway, so we send another one over to the north side. 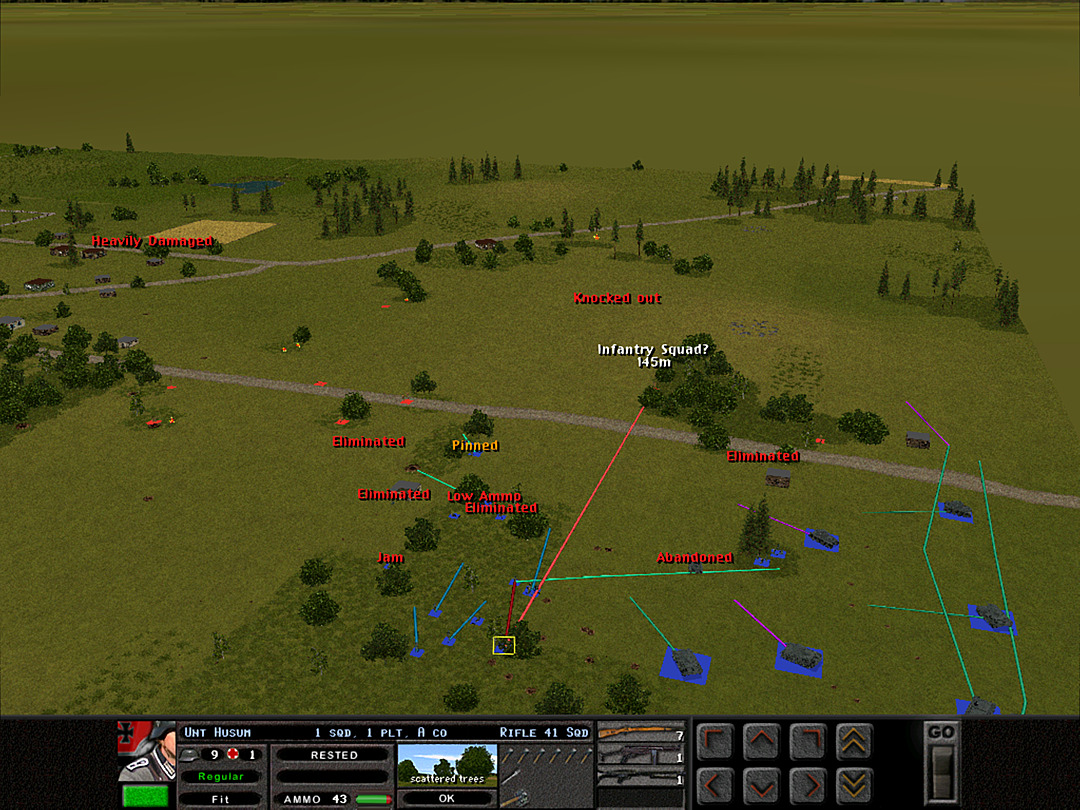 A Coy, 1 Plt is making some progress with its advance on the road, but there are still enemy troops that are holding them up in spots. 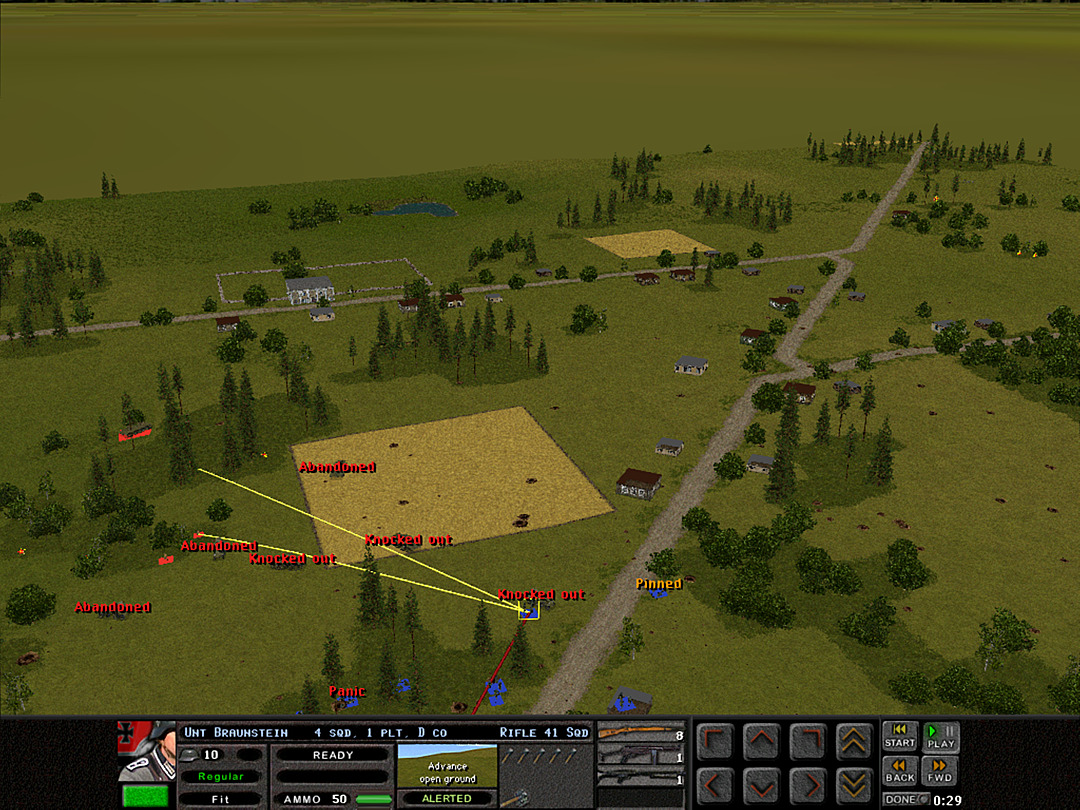 Braving enemy fire, one squad from D Coy, 1 Plt charges to take cover in a crater left by an rocket impact in the morning. 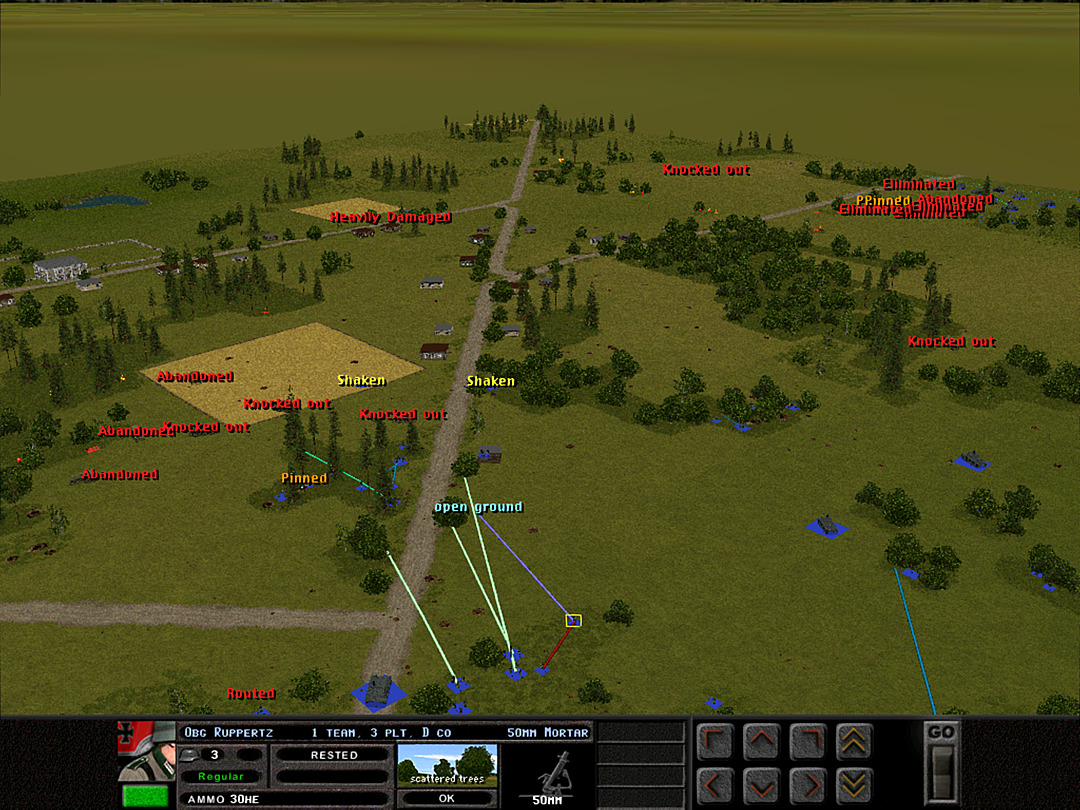 With the first two platoons of D Company in a good position but likely unable to advance any more, the captain sends the third to see if it can sneak its way around behind them and make it to the village proper. 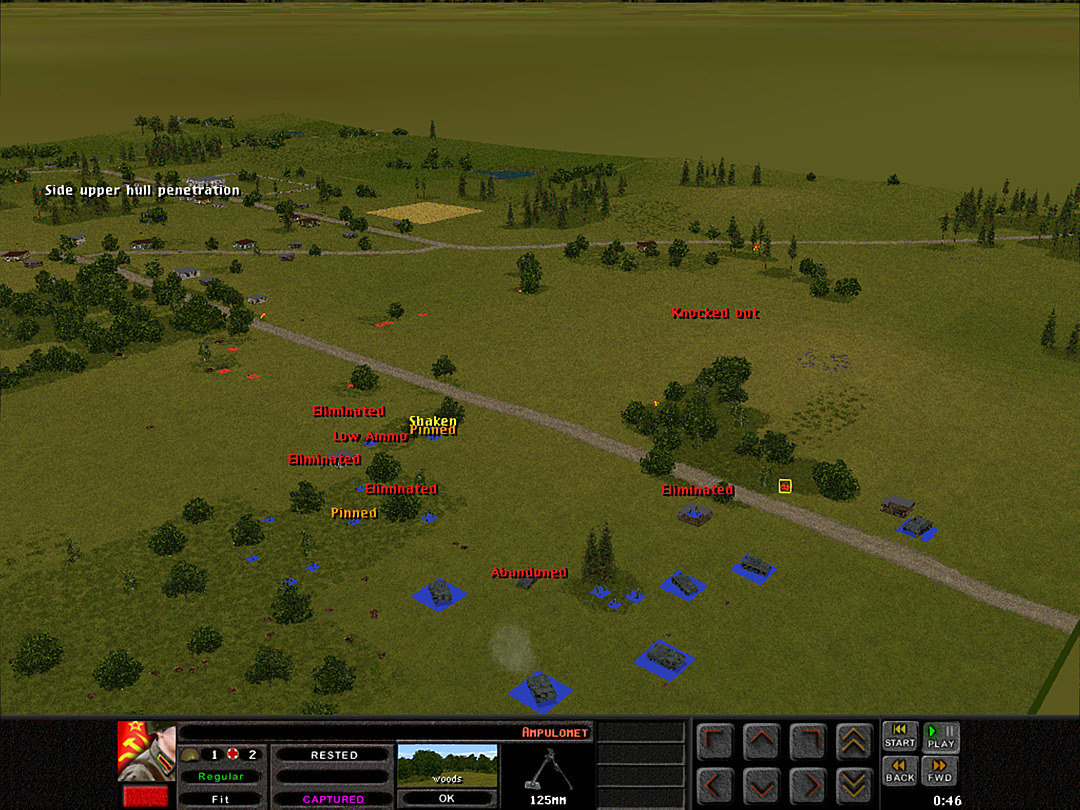 Thanks to the plentiful close tank support, A Company is clearing out its area well. We get the first surrendered unit of the battle, an anti-tank squad near the road. [Captured units come under your control. They can be ordered to move but not to fight. Explosions or stray shots can still hit them, however. I'm not moving this unit yet as I don't feel like we've safely secured this area.] 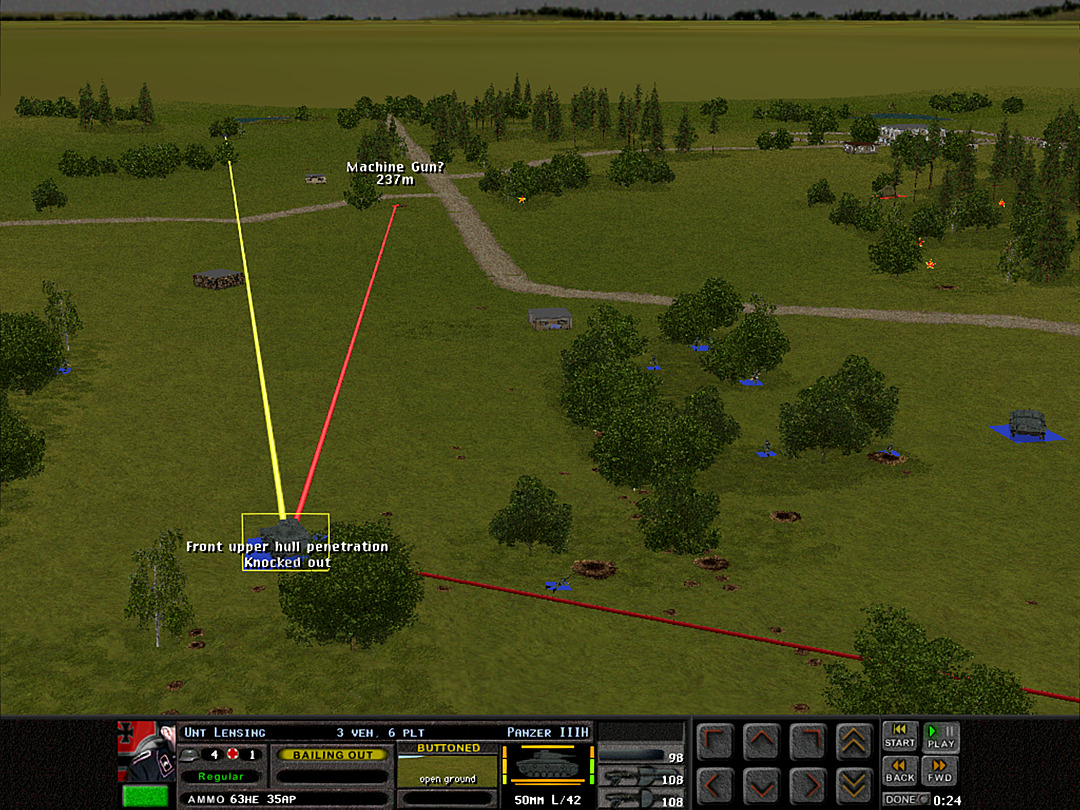 Before we can get to the unknown tank behind the woods, the Panzer III that went over to the north gets split open by a shot from an AT gun lined up on the gap it came from.. 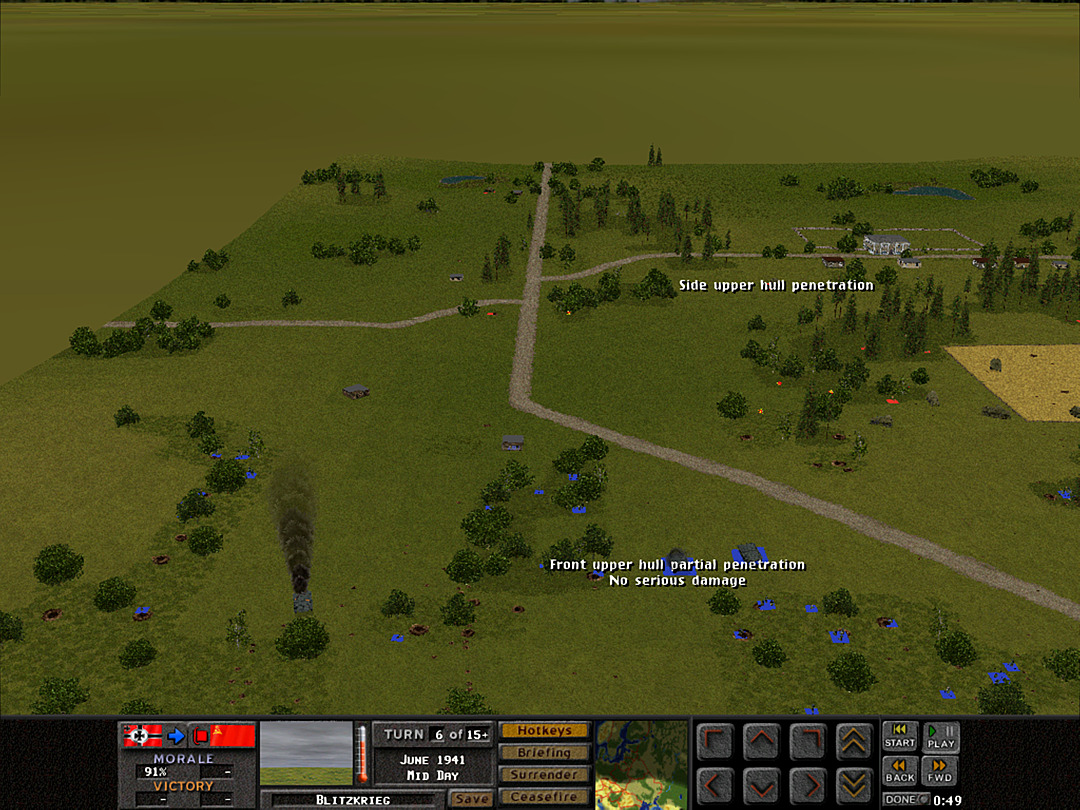 As soon as the AT gun destroys the Panzer III, it turns toward the Stugs. One of our AT rifles started taking potshots at the tank, but at this distance they will do little more than annoy it. 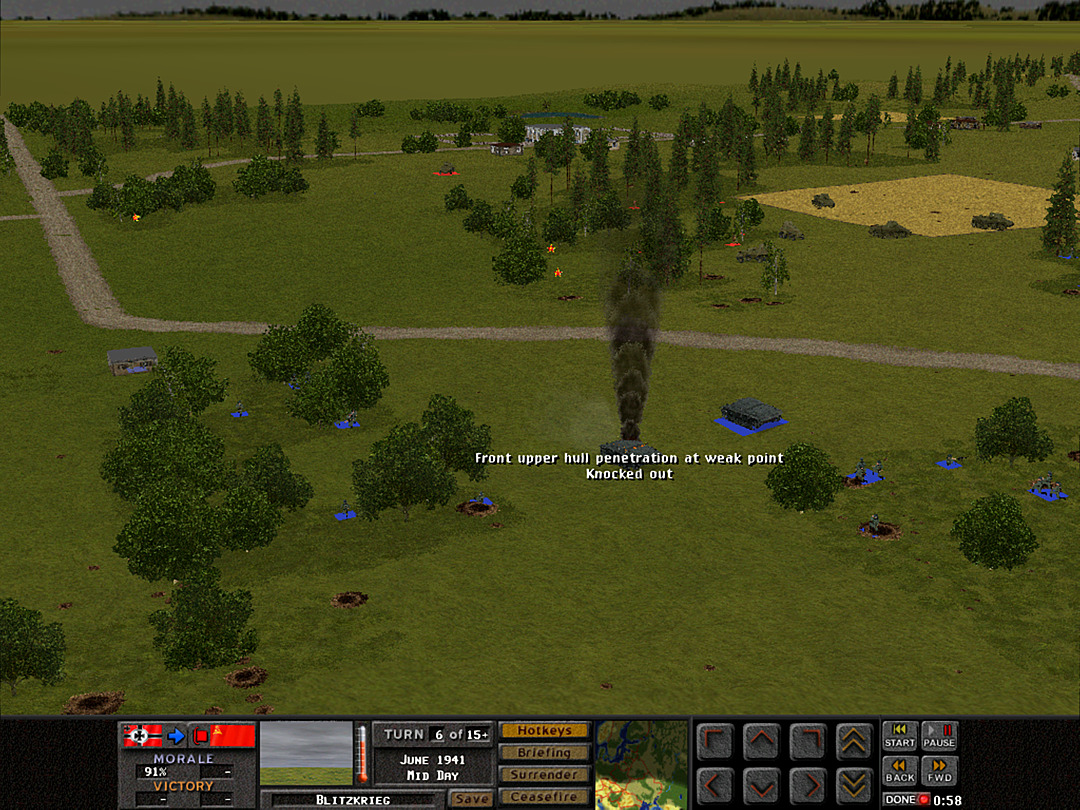 A second shot hits the Stug at a weak point, and it's taken out as well. 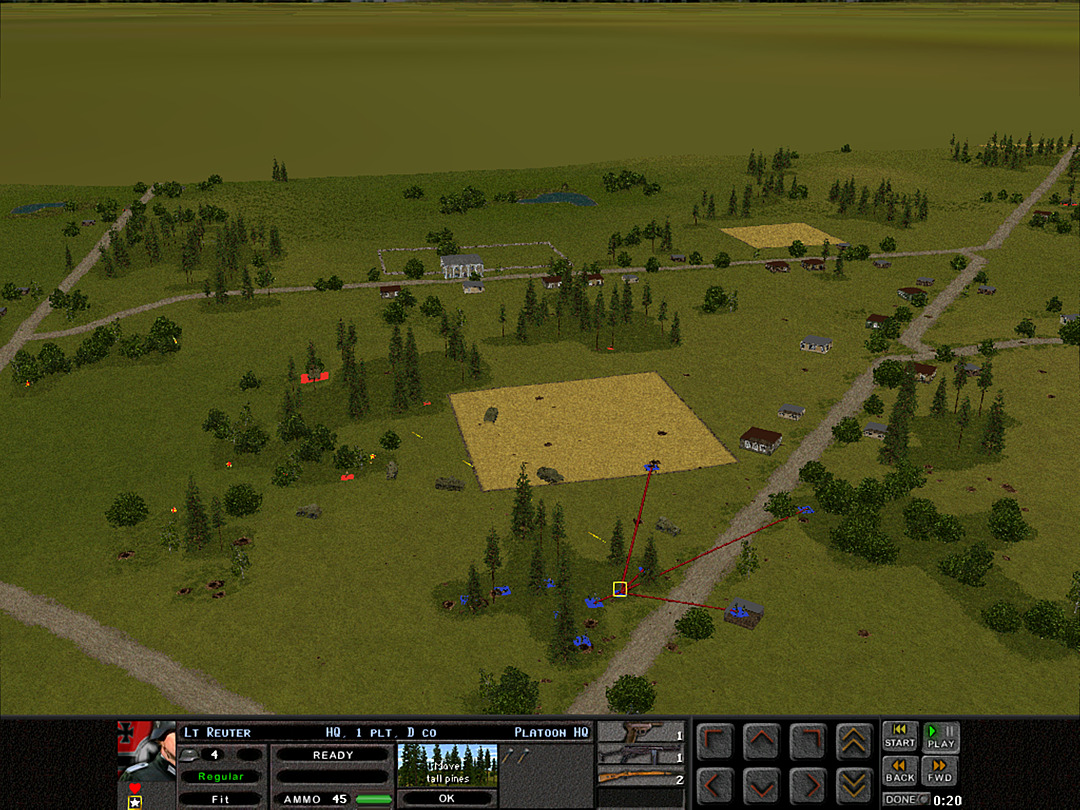 D Coy, 1 Plt is spread out, but generally in decent cover. 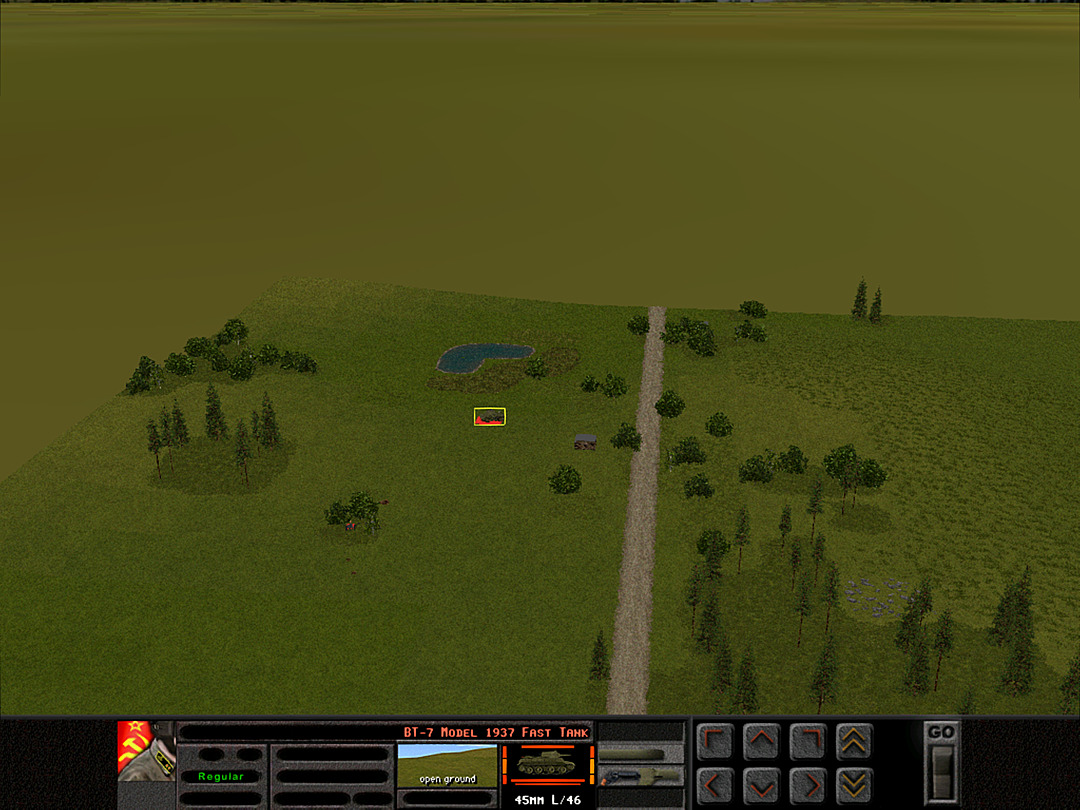 There was not only the AT gun, but a BT-7 tank back here behind it. It might have claimed the kill on the Stug. [The likely AT gun can be seen here; it's the red blot under the shorter trees in front of the tank. ] 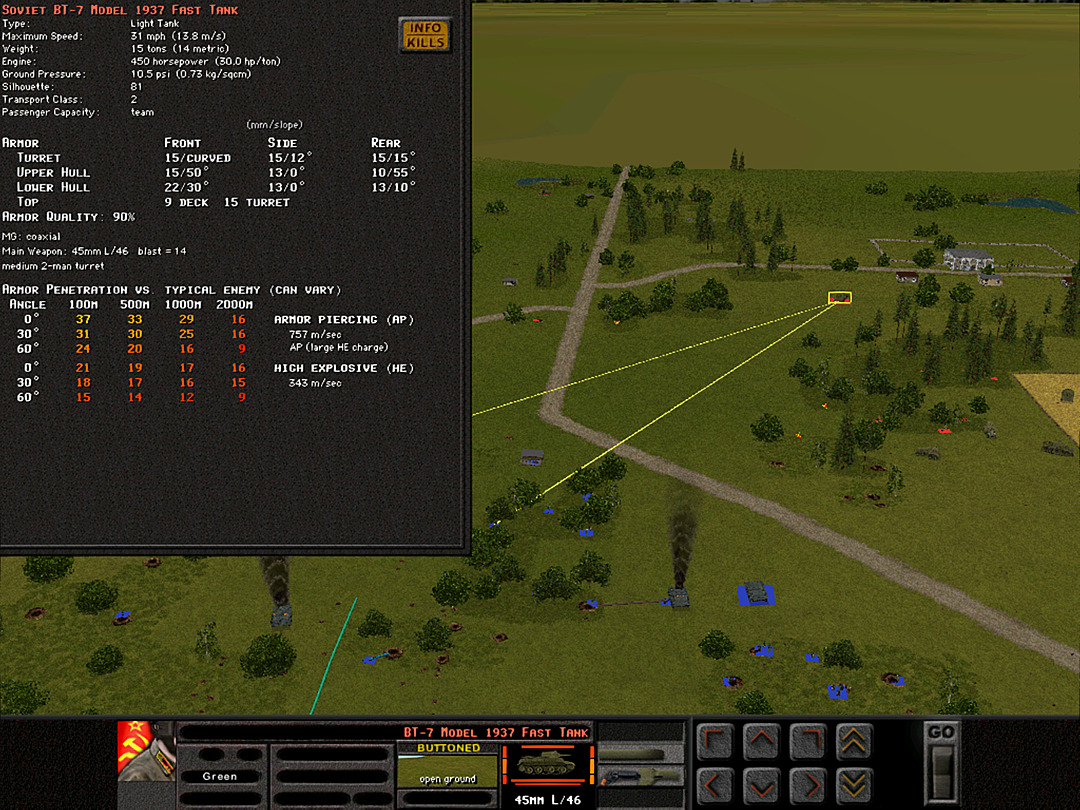 It turns out all the fuss was not over a T-34, but just another BT-7. Two AFVs lost with nothing to show for it. Unit Highlight 50mm Mortar Team Time to take a look at our first infantry unit. Note that infantry units depicted in the game are abstracted, with one human model indicating several actual people. 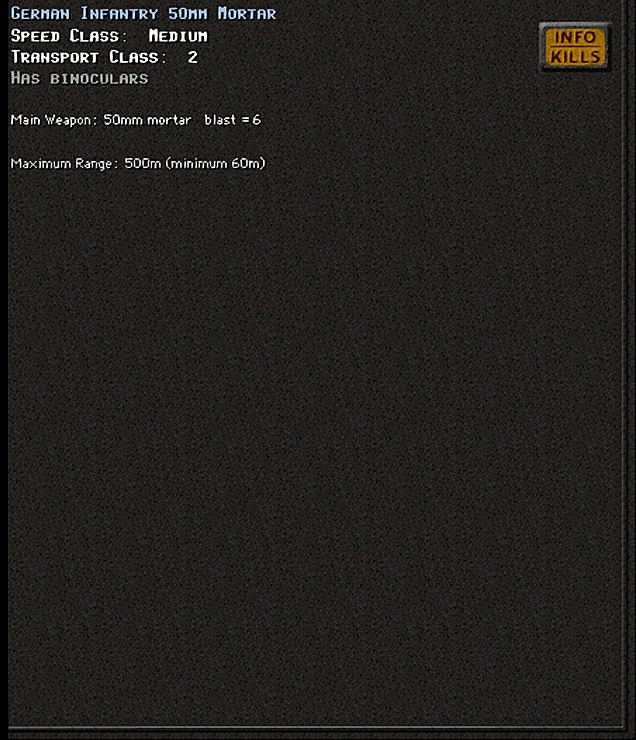 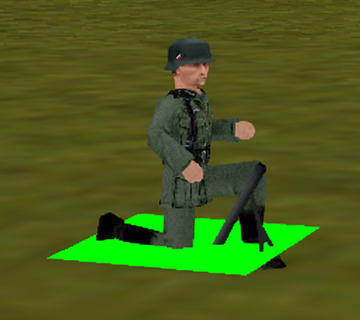 Team Size: 3 Base Cost: 15 US Army manual comparing it to the 60mm US weapon While designated a 'light' mortar due to its smaller charge and suitability to be set up quickly by a two-person team (the third being the ammo carrier), the German 5cm mortar was still somewhat impractically heavy, at around 14 kg. It was also a somewhat complex design, had a limited range of only 500m, and fired only relatively small HE rounds. All these combined to make it inferior to most other mortars of the time. This was the typical mortar team attached to the German infantry for most of the early war, but it was eventually superseded as better weapon systems became available.
|
|
|
|
wedgekree posted:For start of Barbarossa campaign this is massive attrition. The Soviets are putting up an incredible fight here! Your batallion has lost about 20% of it's strength (probably more in vehicles) in under a day of fighting. And still have more of a battle to go to secure the area. I think any of these operations is naturally going to be an exaggeration in some sense for the sake of making a game out of it. Though some of this is my own screw-ups in the battle. I'll have more to say when the operation wraps up. I will probably also try to get a sense of what the Soviet losses were like, or at least what they were heading into battle with against us at each stage.
|
|
|
|
Operation: Blitzkrieg, Battle 3 of 5 Battle Time: 7:00 So far the day has been a tough one. This afternoon, we've started made some progress to our goal. We are gaining a foothold in the village, and taking control of the southern road. The enemy anti-tank guns are posing problems on the periphery, however, and we are also are struggling to keep the drive into the village sustained. 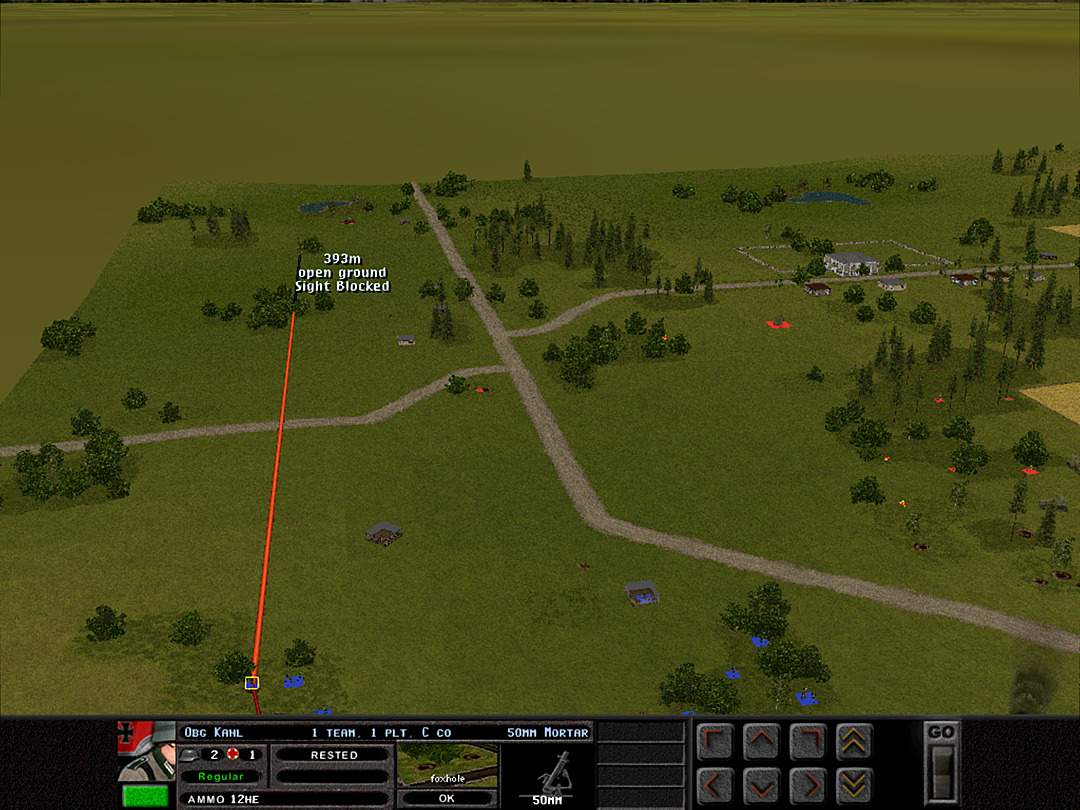 The AT gun on the north side is not in a spot that's easy to target. Our only mortar in range can't get a clear line of sight to it. About the only thing we can hope for is that one of our rockets due to hit in a few minutes will be a lucky strike. 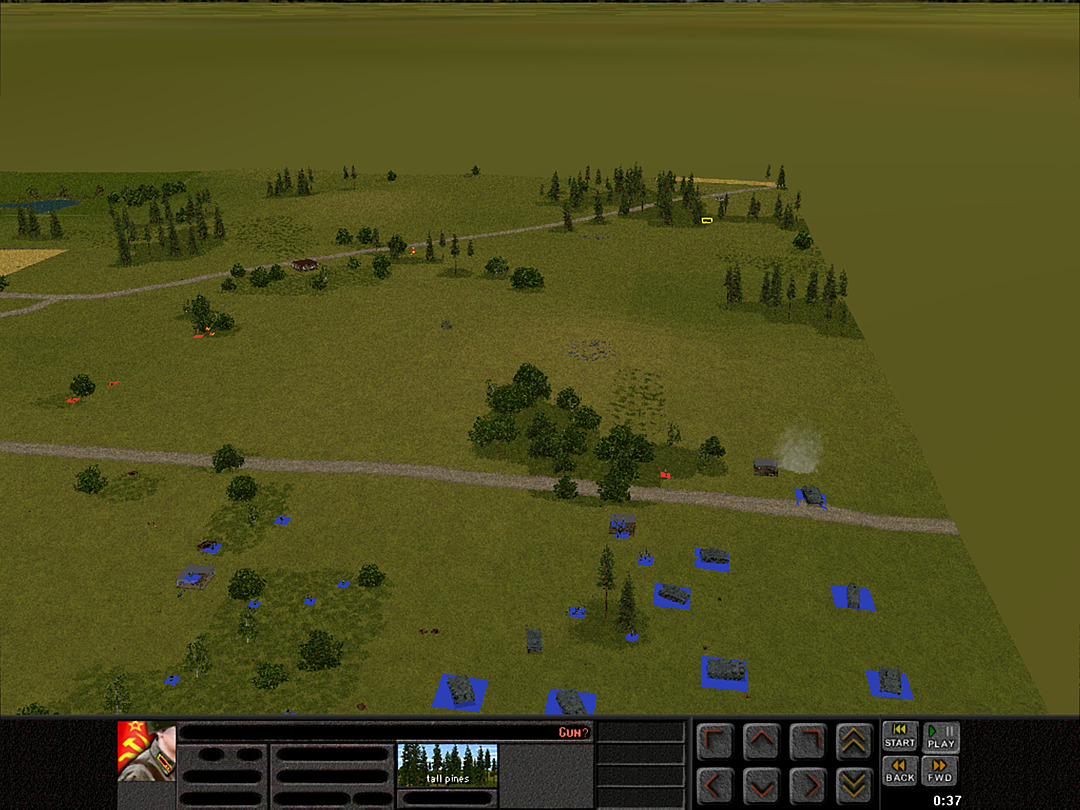 The attempt to come around on the south side is blocked when the location of a second AT gun is revealed. Our Stug manages to drop a smokescreen and pull back safely. 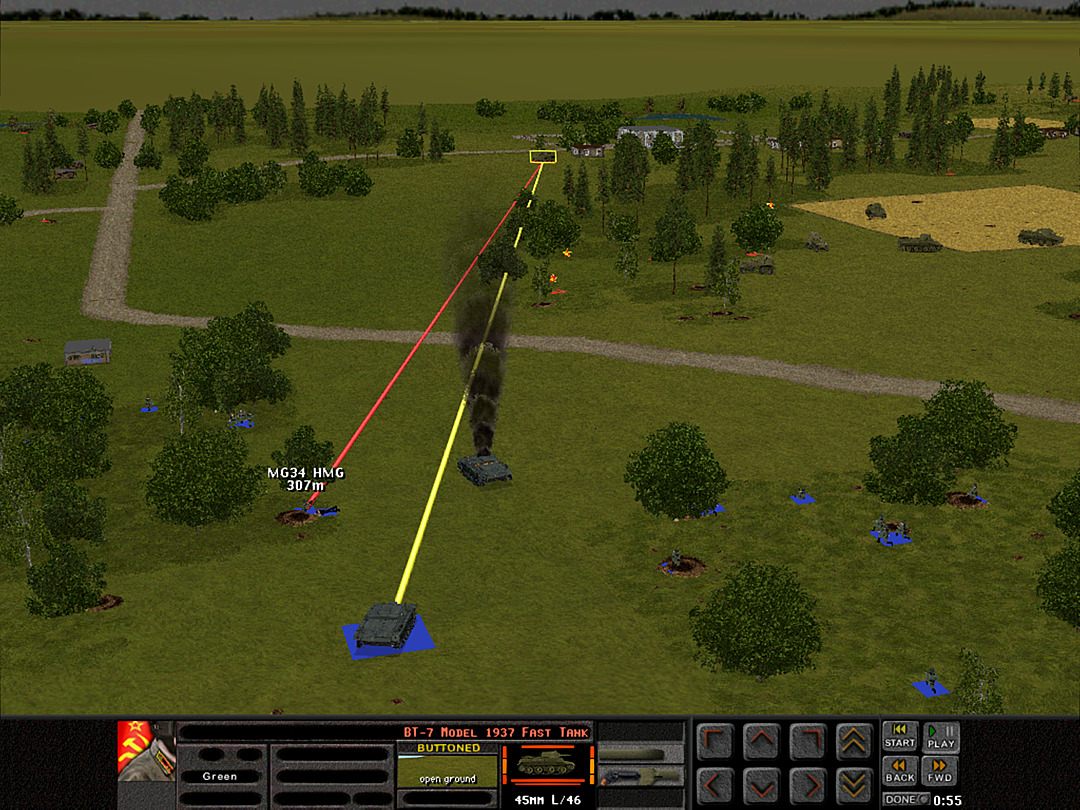 The tank that isn't a T-34 has pulled back from its position, presumably now that its job of baiting us into coming into the sights of the AT gun is finished. Our Stug might be able to line up a shot on it now. 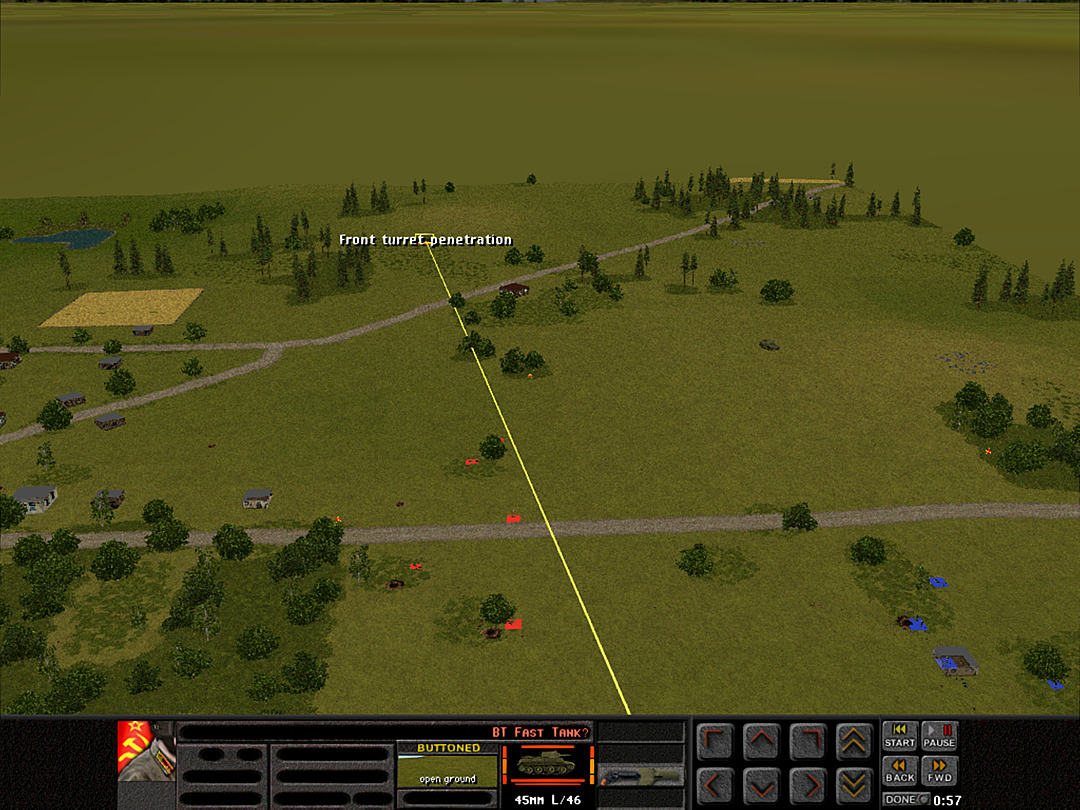 The BT-7 on the south is still popping up here and there, but we are a bit too far away for the light tanks to get an effective hit on it. 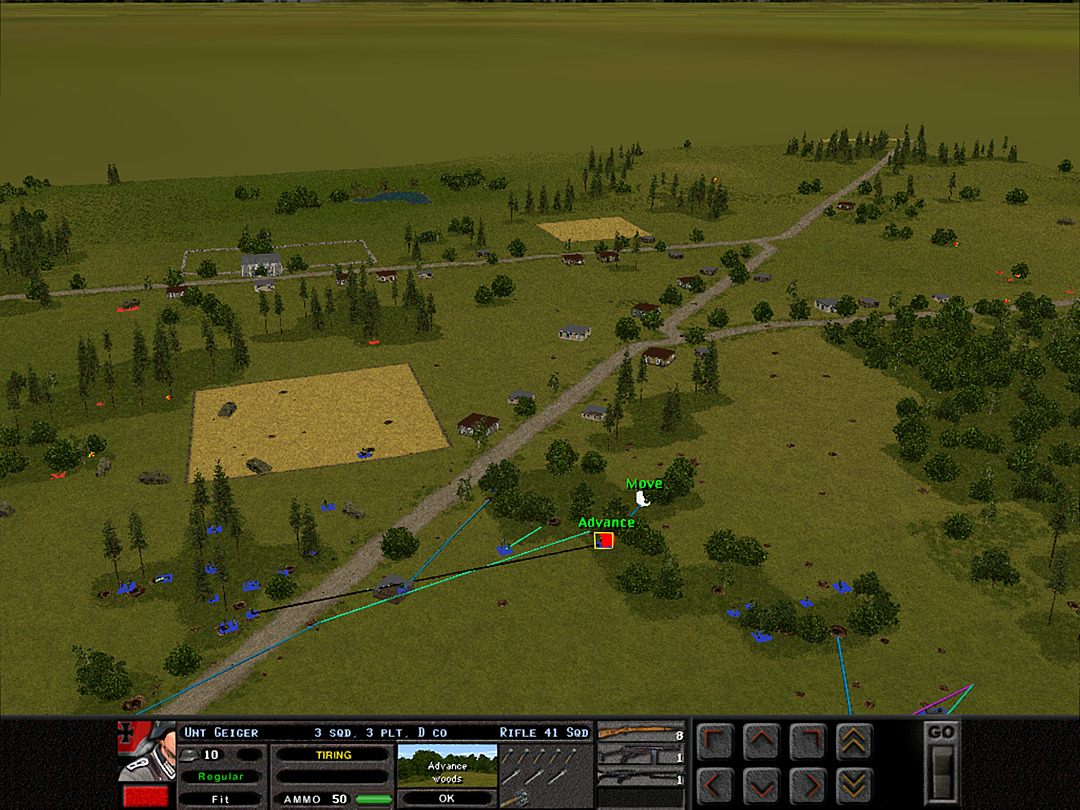 D Coy, 3 Plt is about to swing through these woods on their way to the first few houses of the village. 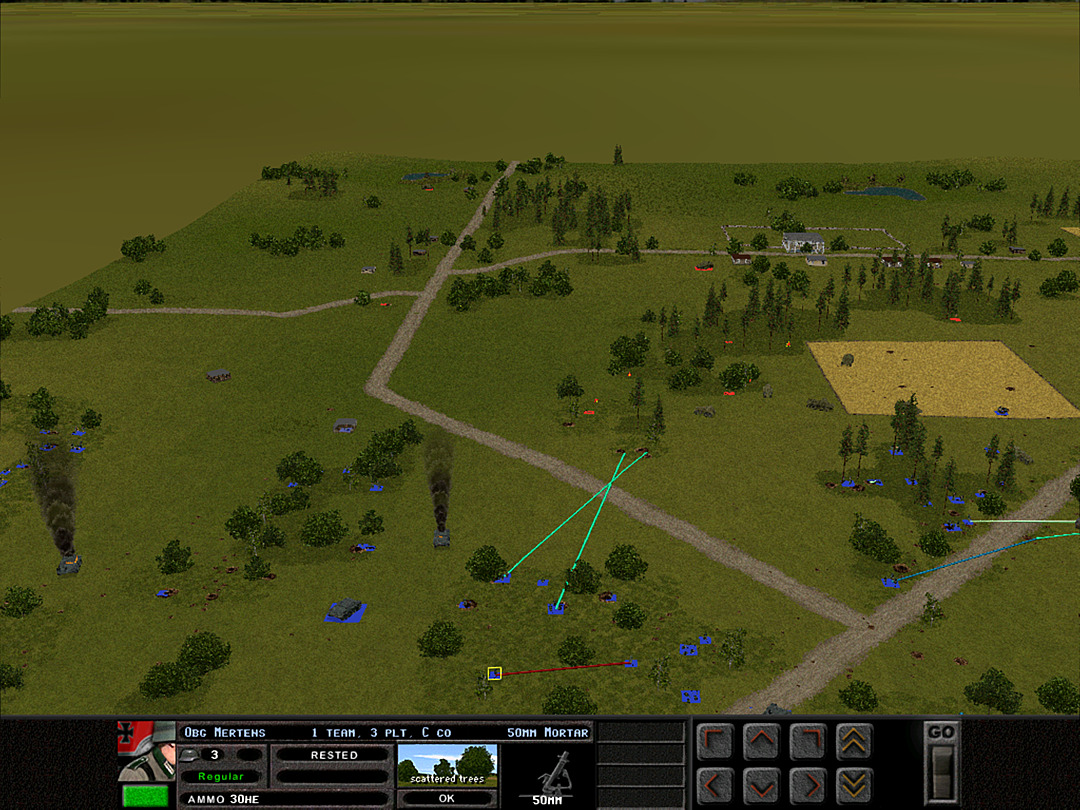 The soldiers of C Company have been putting a lot of fire into this corner, so it's time to try another charge across the gap. 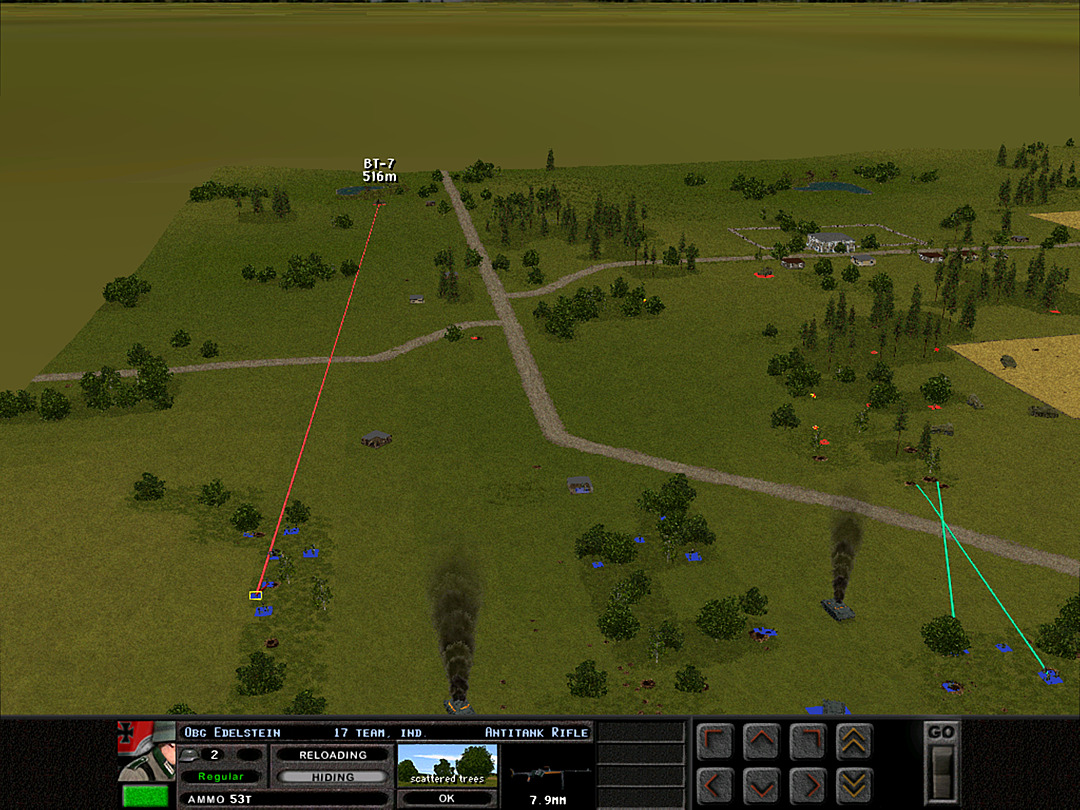 The AT rifles are ordered to stand down. They'll only take a shot if the tanks come into close range. [The image shows them still having a target despite them 'hiding' because I just gave the command to hide. Once they actually hide they will not be able to spot any targets.] 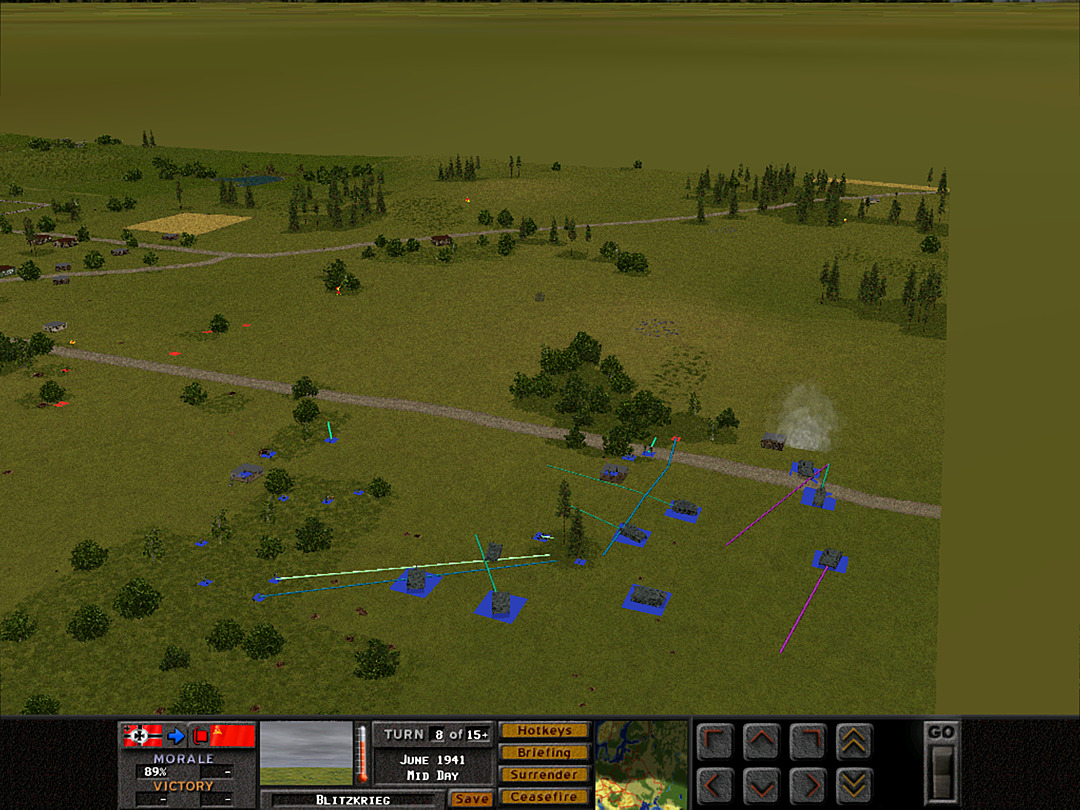 A Coy, 1 Plt is sending its first squads across the road. We're pushing back the rest of the Soviets toward the village. 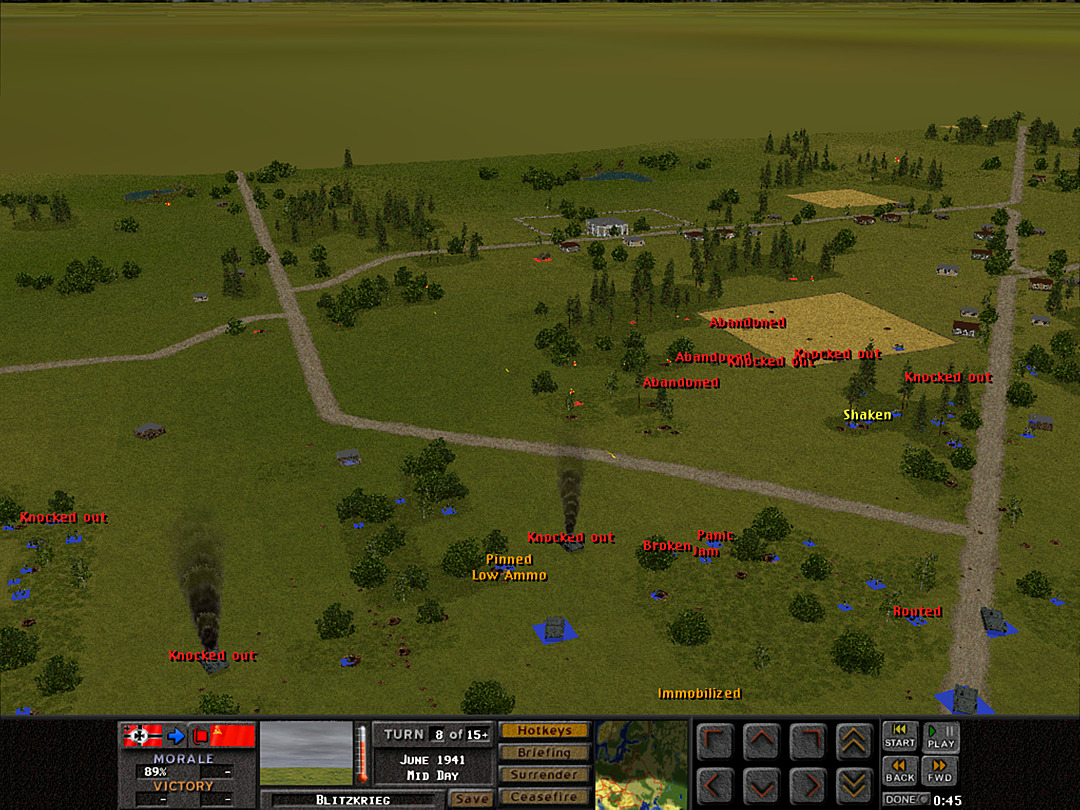 The MG34 that was meant to cover the advance of the squads of C Coy, 2 Plt jams at the worst possible time, and our second charge is cut short before they even make it out of the woods. 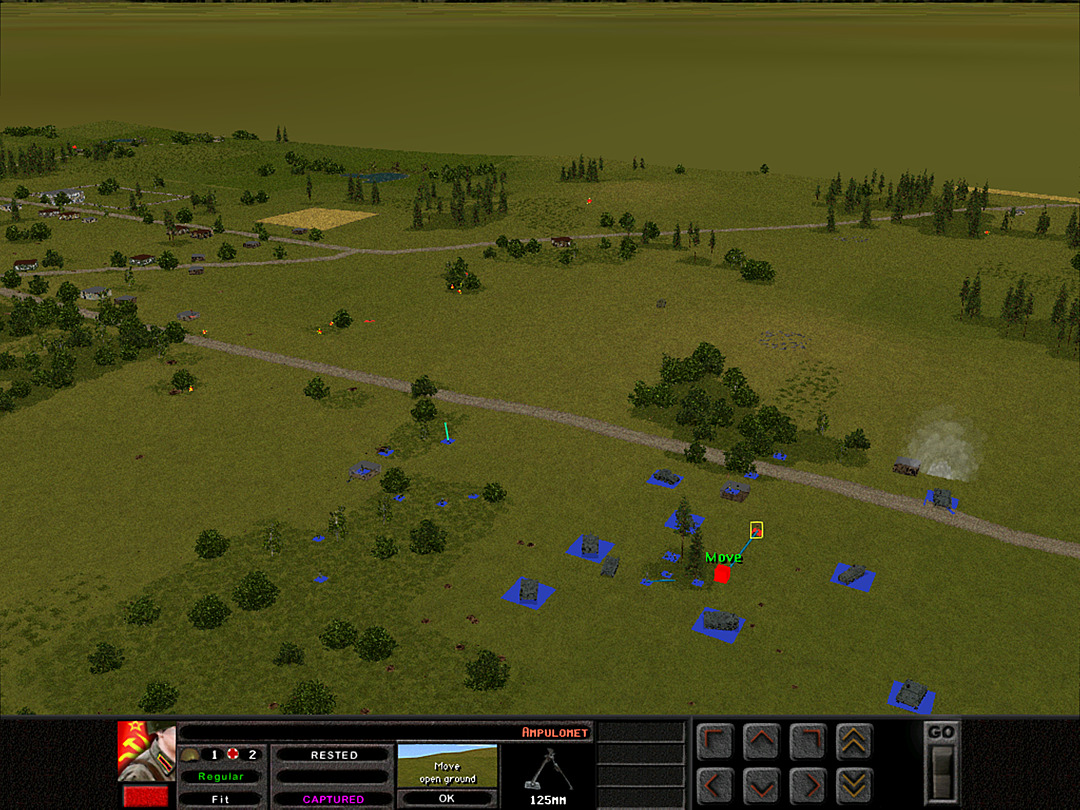 Now that we have gained the southern road, the captured Russian soldier is sent rearward to stay under the guard of the captain's unit. 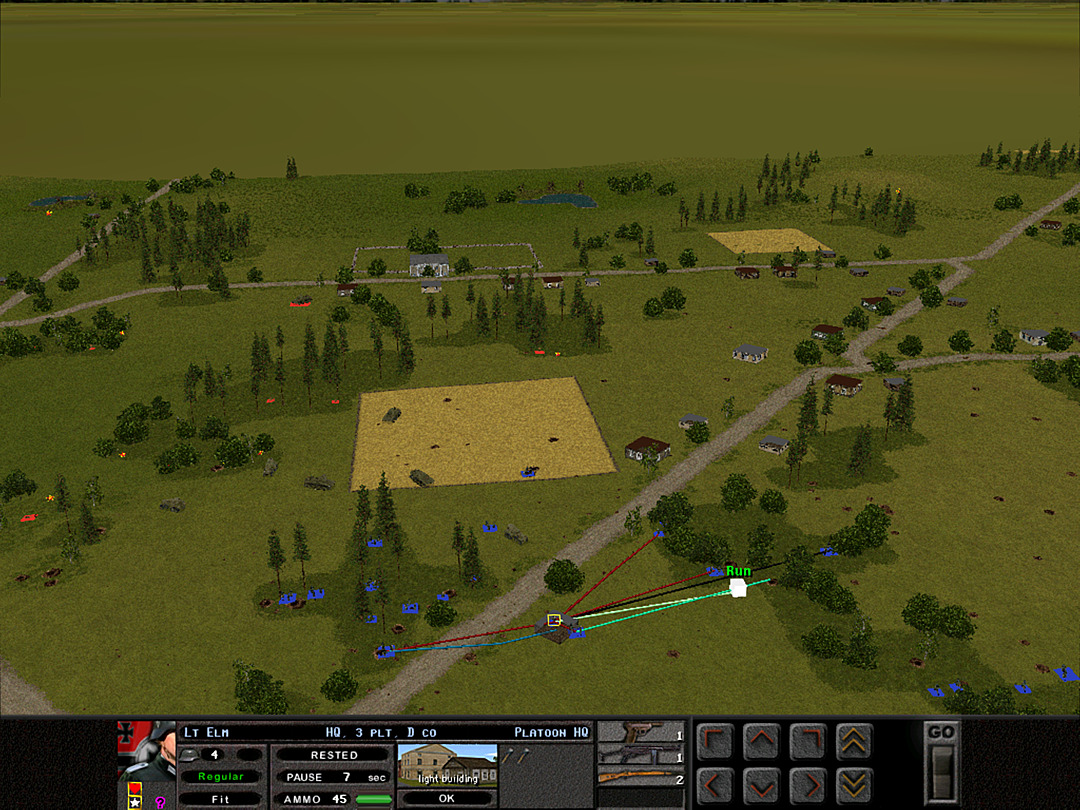 With the rest of D Company suppressing the enemy machine guns, 3 Plt is moving rapidly towards its goal of taking the first few village houses, and may possibly take the main road junction. 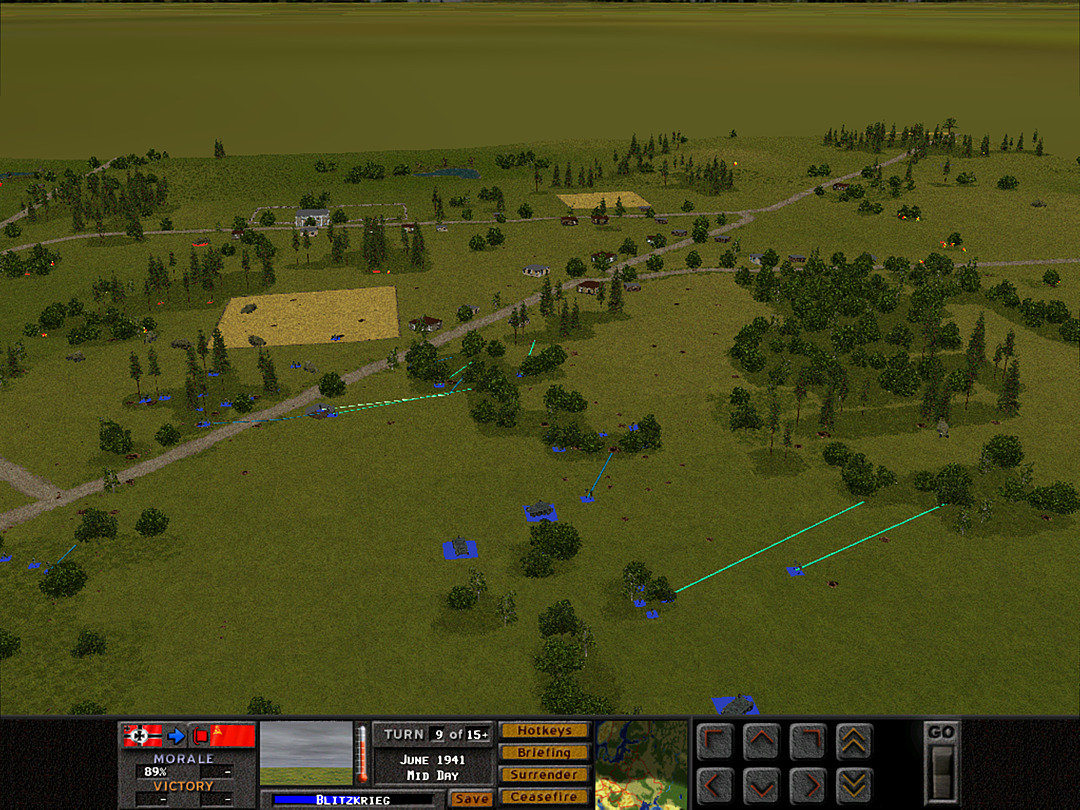 B Coy, 3 Plt initiates a probe of the dense woods. 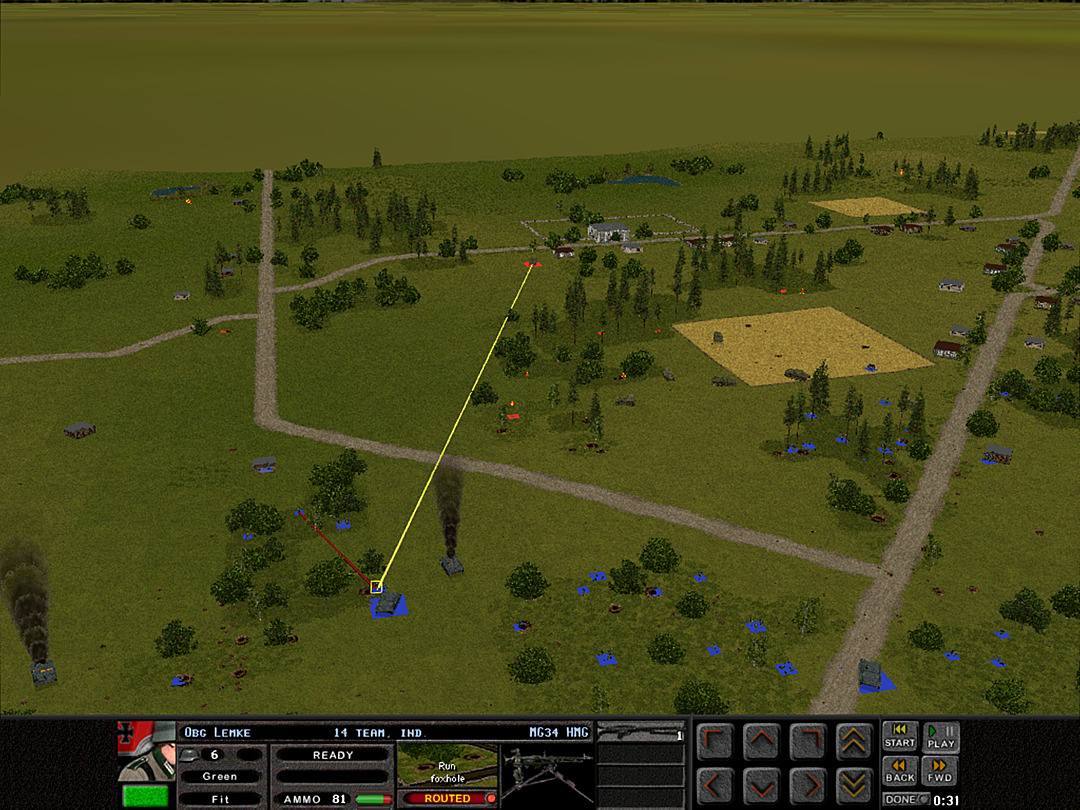 One of the machine guns that was anchoring the corner for C Company takes a hit from a tank round, and the men abandon the position. 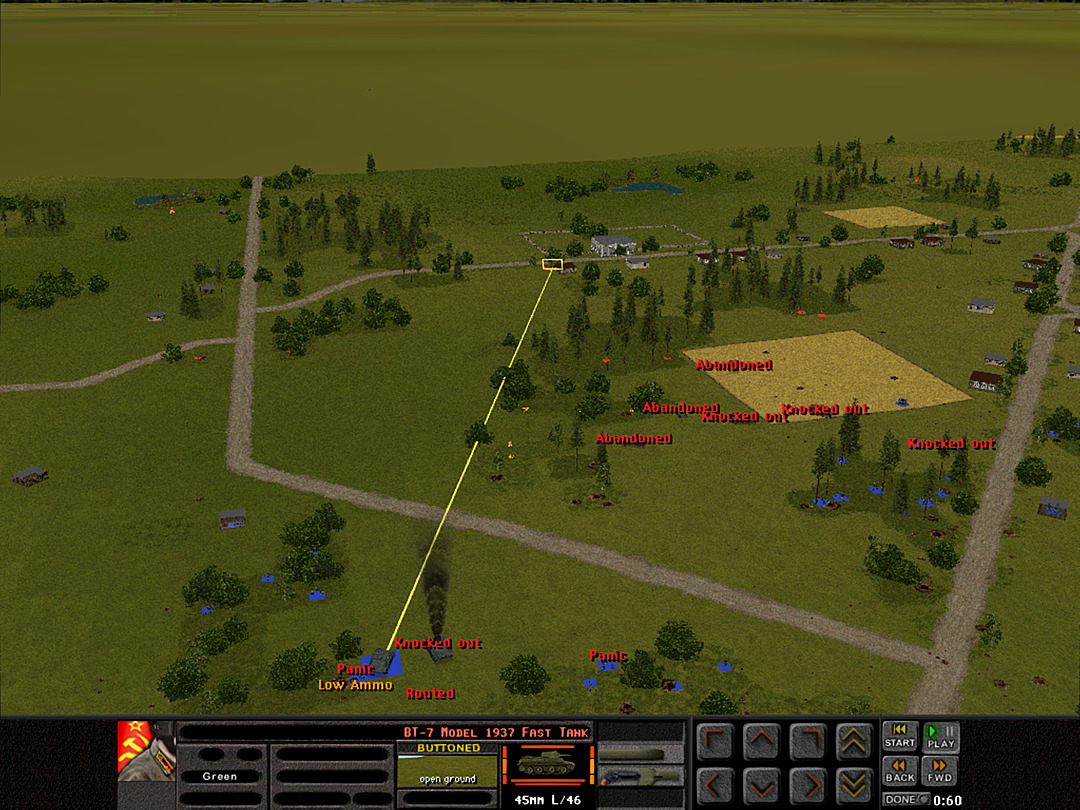 Unfortunately the Stug still can't line up a clear shot to return fire without risking exposure to the AT gun. 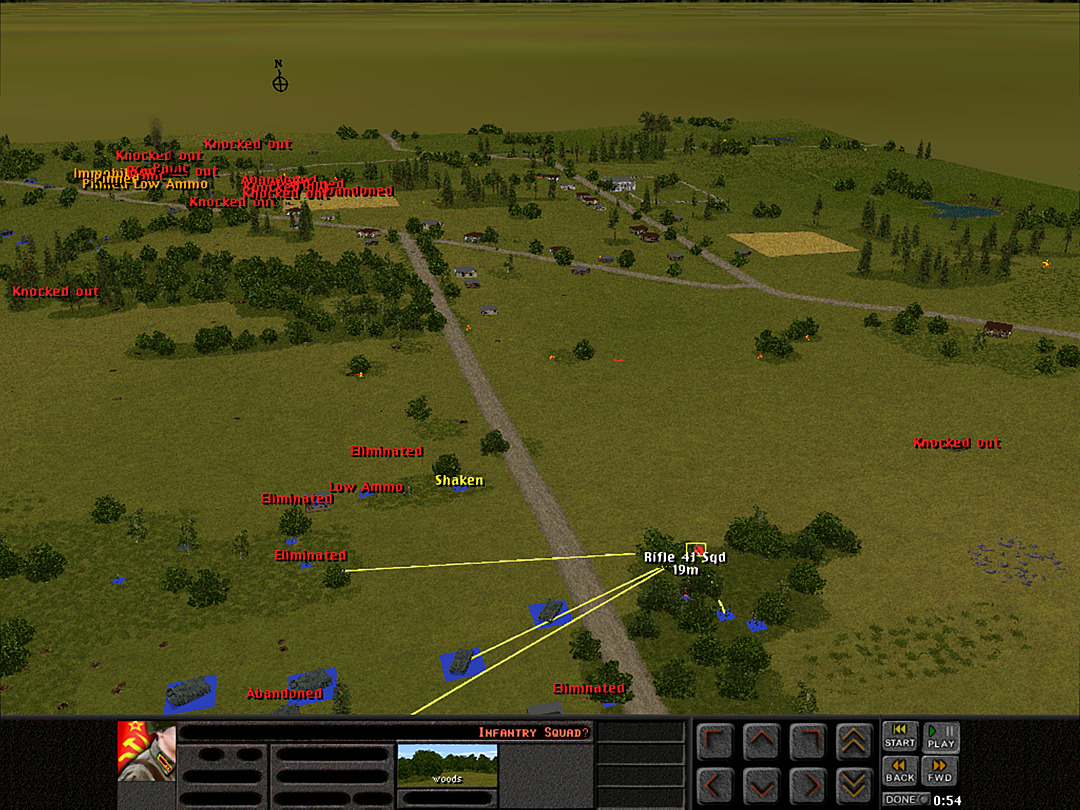 A Company is down to clearing out what might be the last enemy squad in the woods here. 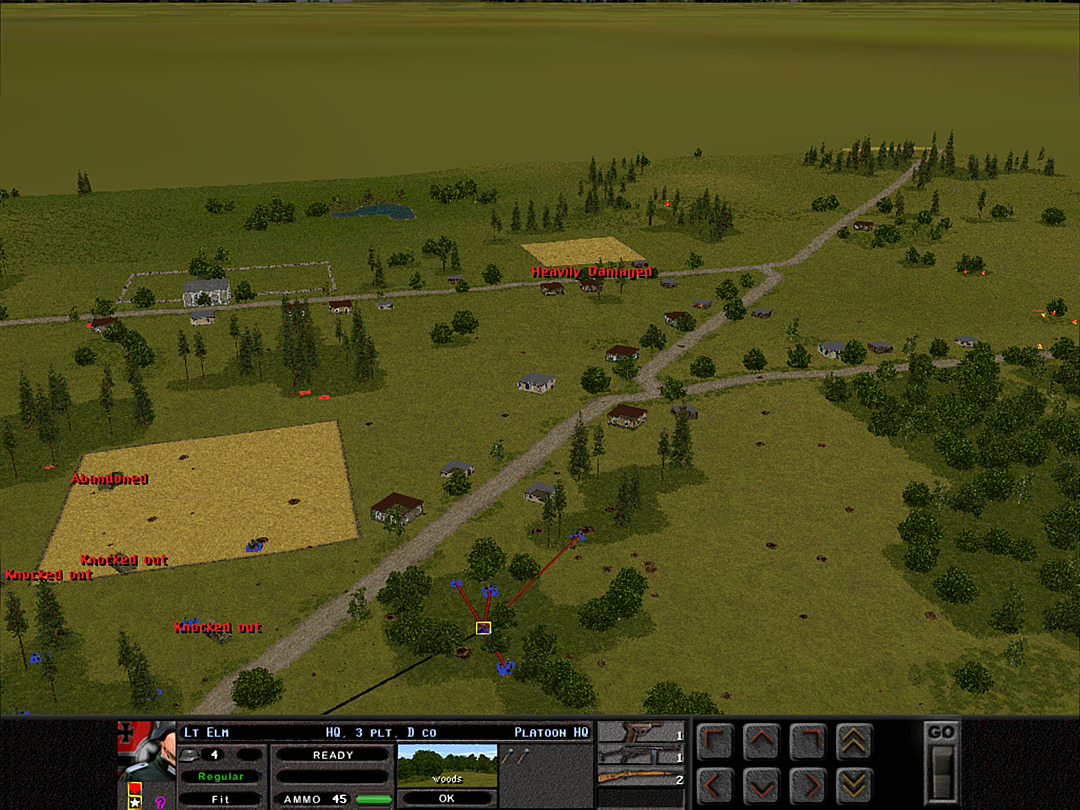 D Coy, 3 Plt is just about ready to take the houses northwest of the main junction. 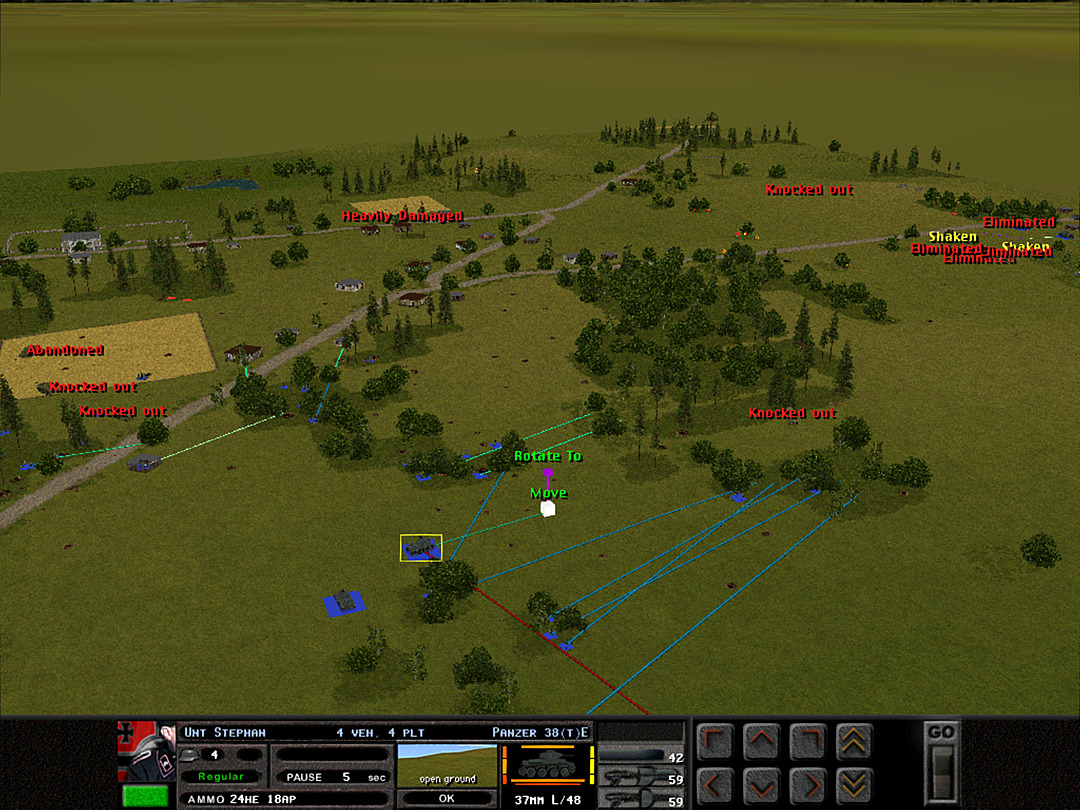 B Company's probe revealed no enemy presence, and a full sweep of the woods is ordered. 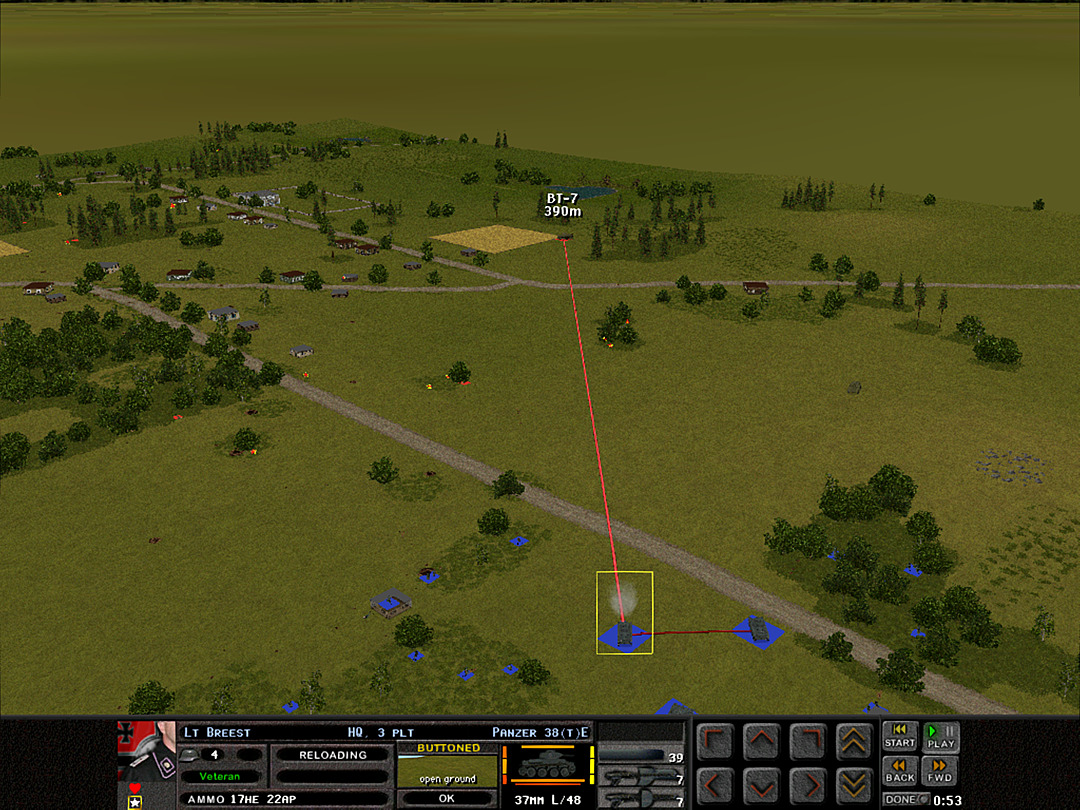 We're still duelling with the BT-7 on the south side. 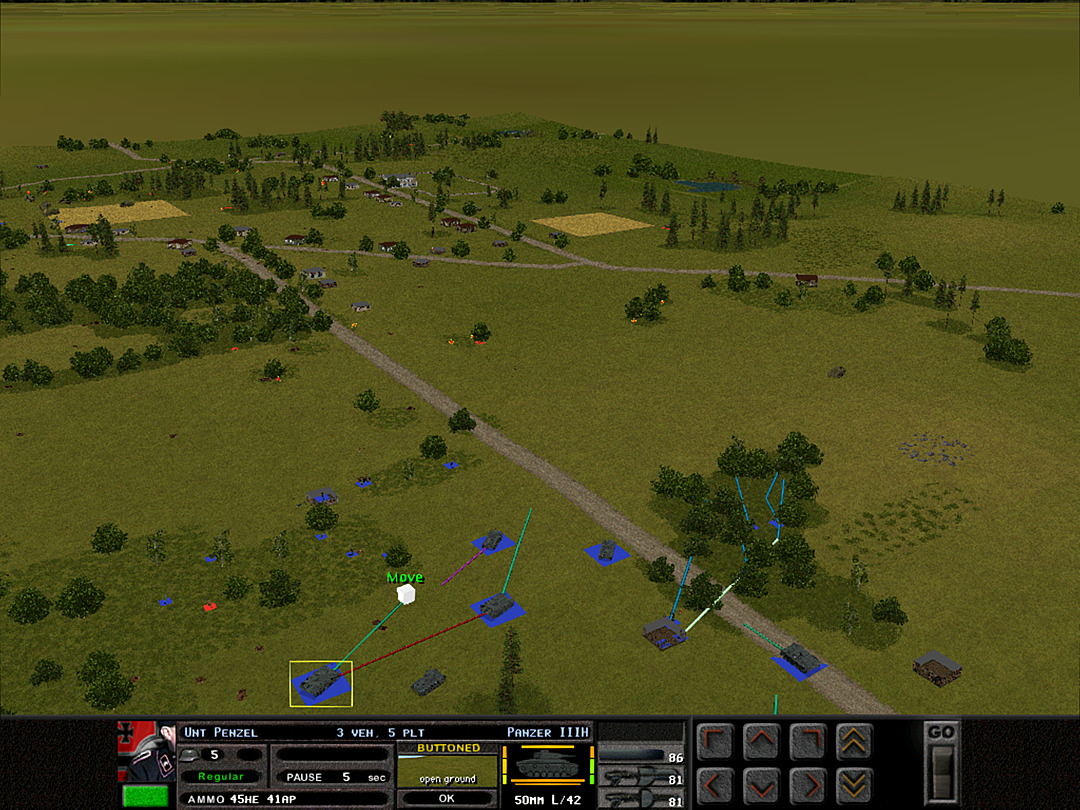 It's risking another trap, but we decide to bring the Panzer III's up to deal with the BT-7, as the Panzer 38's gun just isn't cutting it. 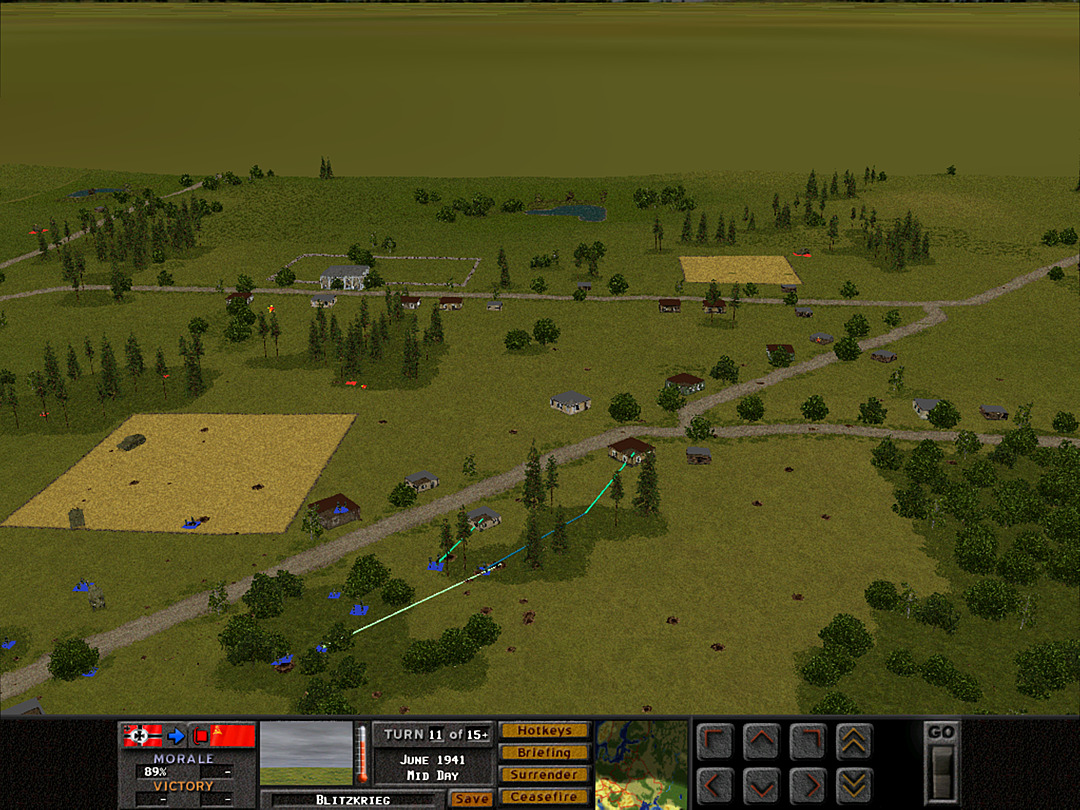 The advance of D Coy, 3 Plt into the town finds that all is quiet. The lieutenant pushes them to go for the junction. 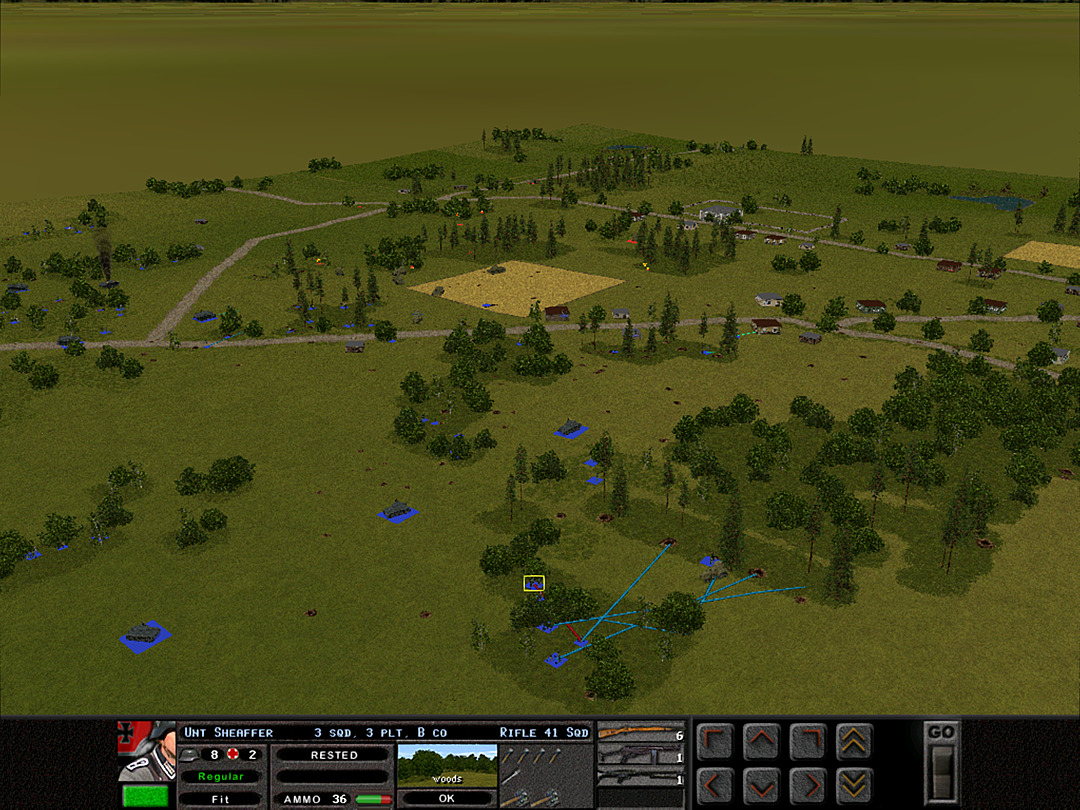 The sweep of the dense forest commences. The tanks of 4 Plt move to support B Company, and also to back up the drive to the road junction. 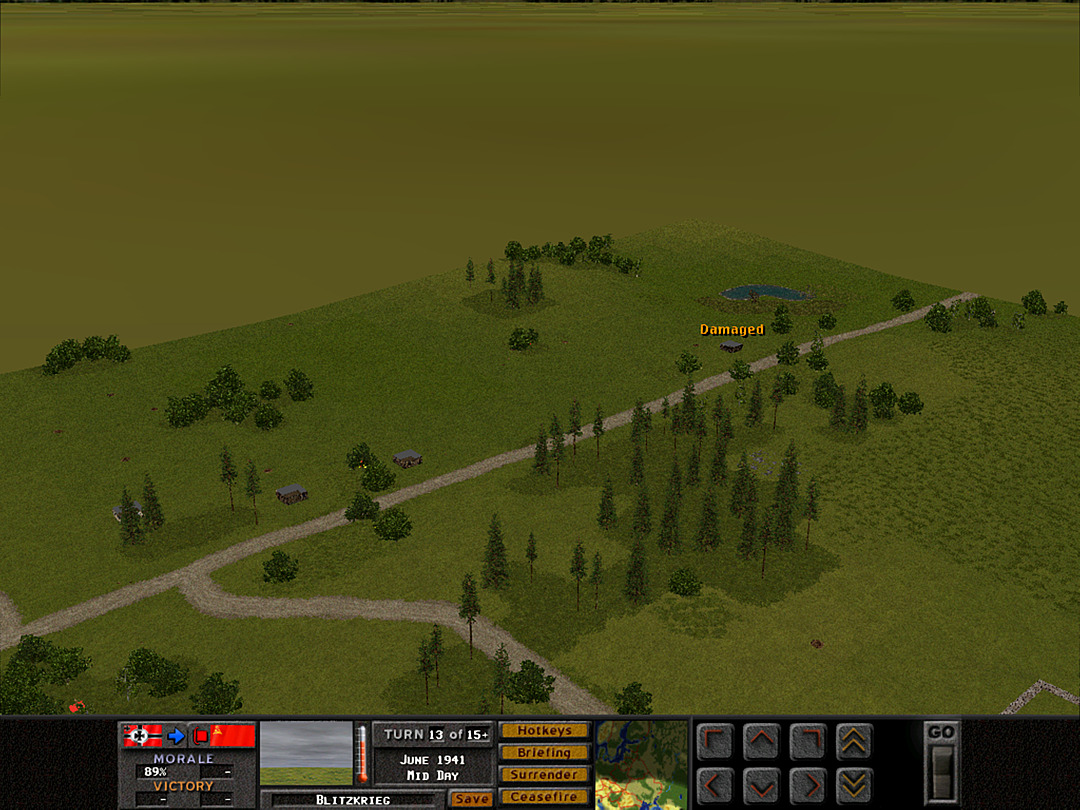 Some rockets have hit the northern area, but most likely the AT gun was not knocked out. 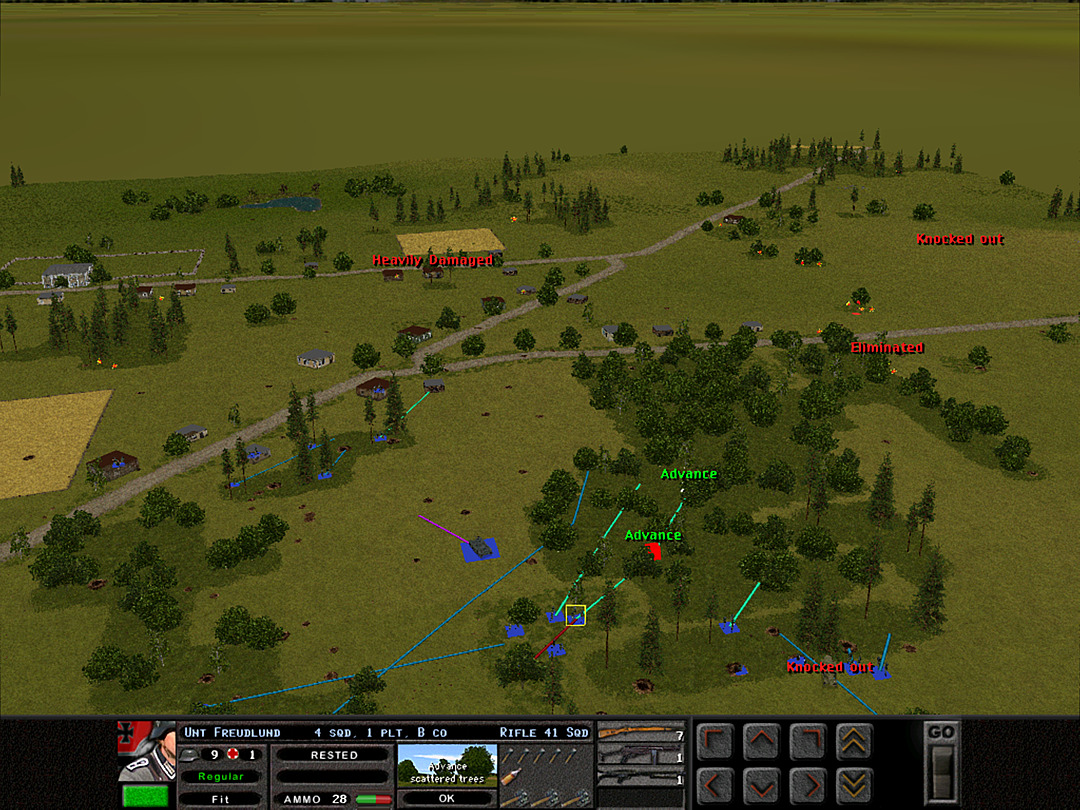 B Company makes rapid progress through the woods. The Soviets seem to be in full retreat south of the village, thanks to the punishing fire from A Company and the tanks they have with them. 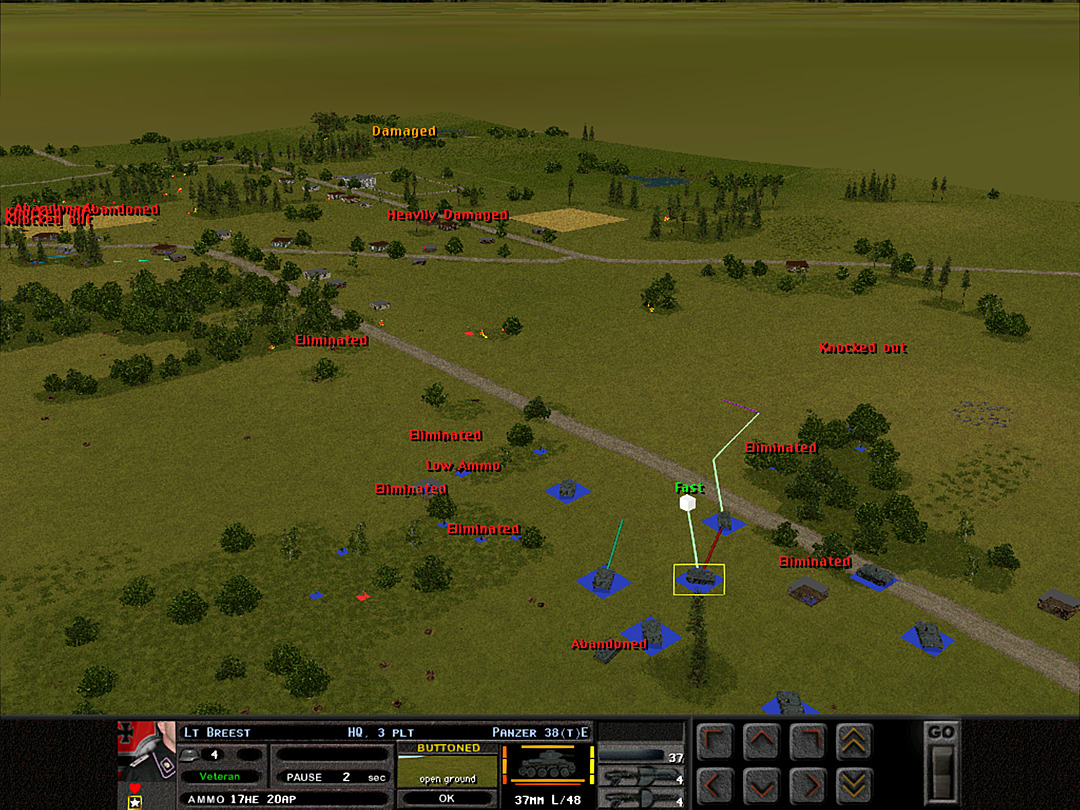 As good a job as the tanks have done pushing back the infantry, they have failed to bag any enemy armor. The Pz38's make a brash move into a more open position to see if there is anything that they can hit in the village. 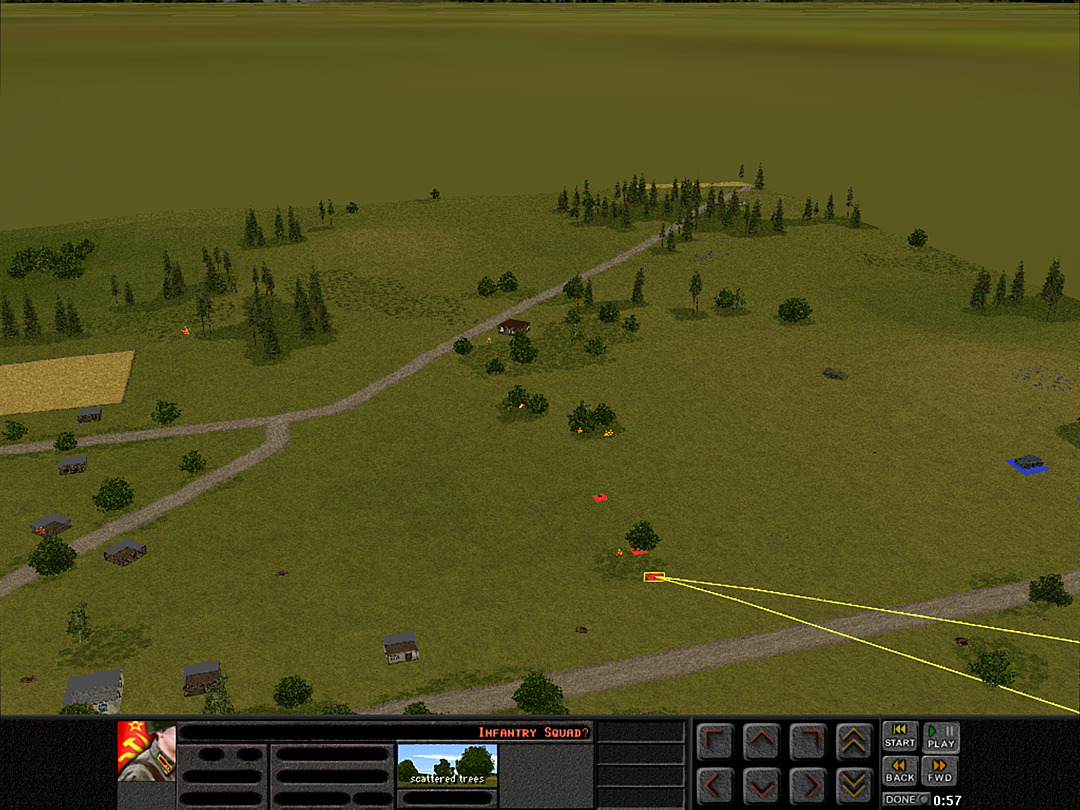 A Company's men are running low on ammo now and will not advance, but they're still firing on the Soviet infantry as they fall back. 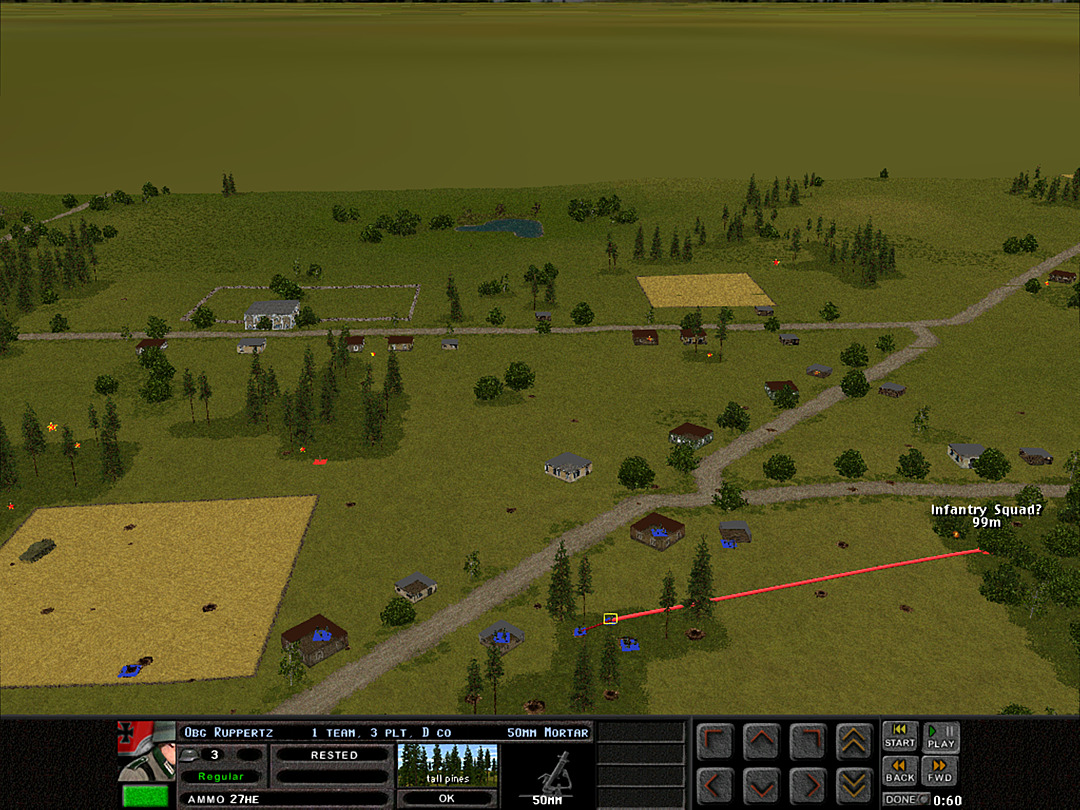 The move of D Coy into the village from the north has been quite successful. We have nearly secured the road junction. 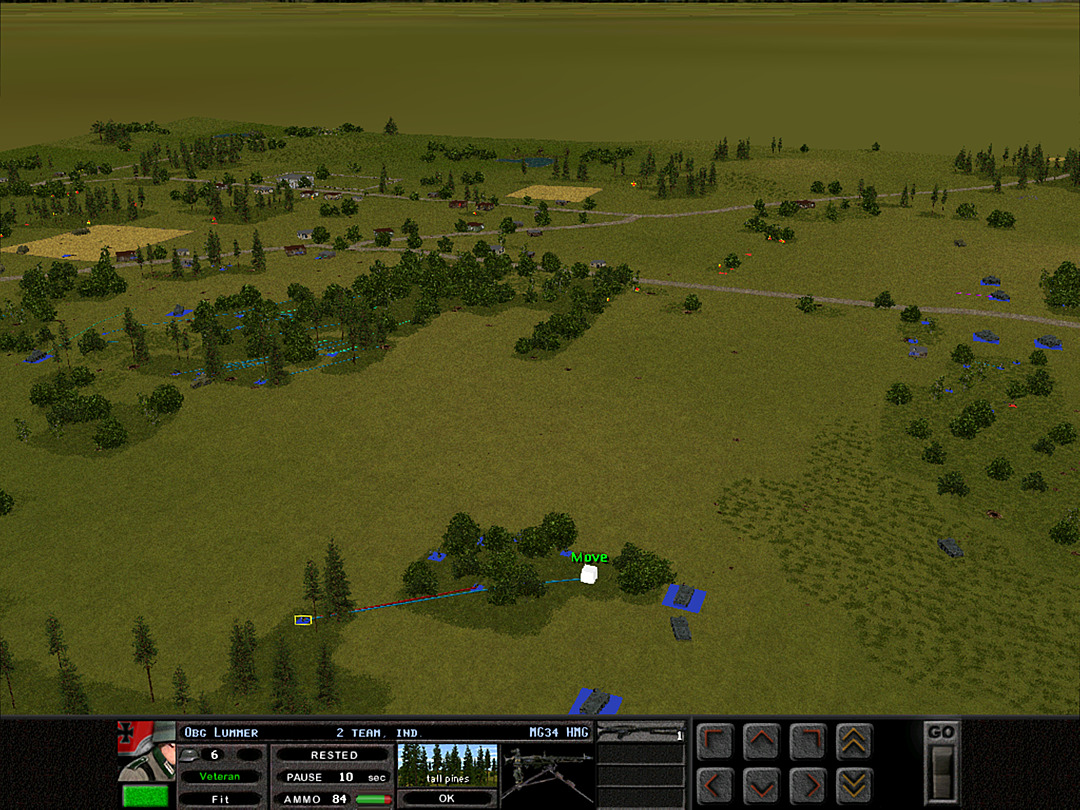 With B Company clearing the forest, A Coy, 3 Plt is no longer needed to guard this flank. They prepare to move out. 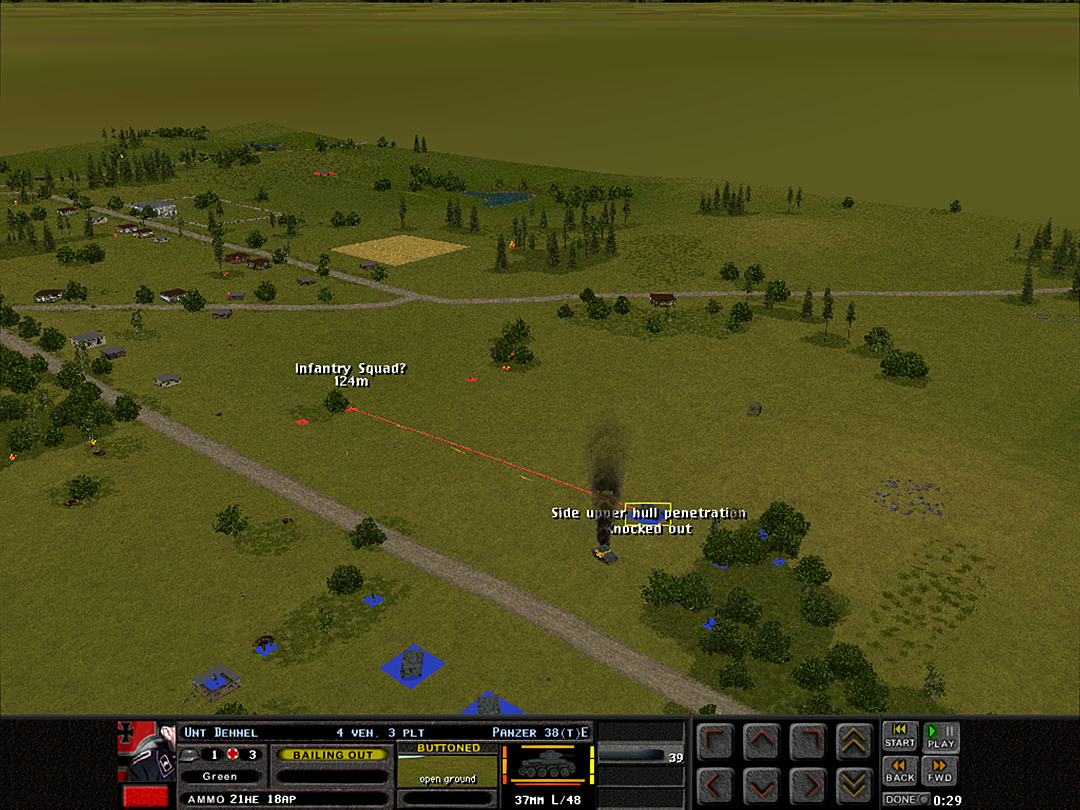 The Pz38's have barely taken up their position when a shell rips into one and it explodes in a ball of fire. The one next to is knocked out as well. 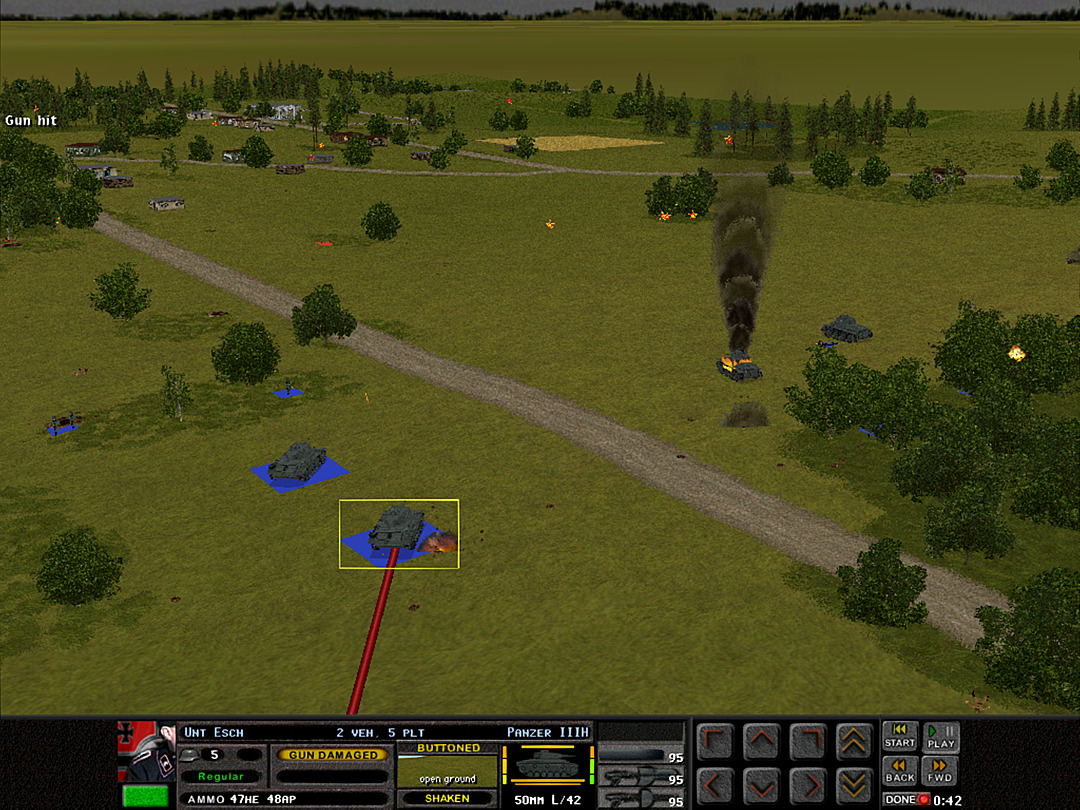 Seconds later, a Panzer III takes a hit. 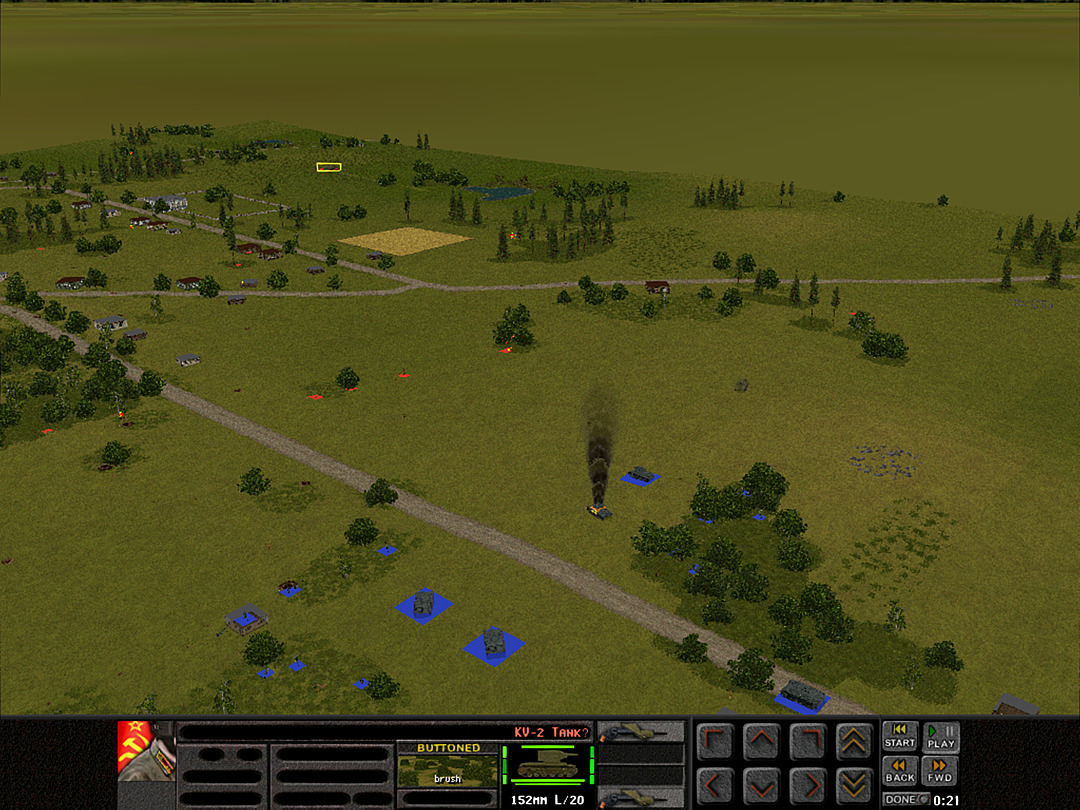 It looks like the Soviets were holding back their best asset until now � a heavy KV-2 tank. It has a fearsome cannon and extremely tough armor. This is going to be a problem. Only our best tanks have even a prayer of stopping it. While its gun is not in theory well-suited to penetrate armor, we've just a sufficient demonstration that it can knock out lighter tanks with ease, and be a serious threat to anything we can put up against it. 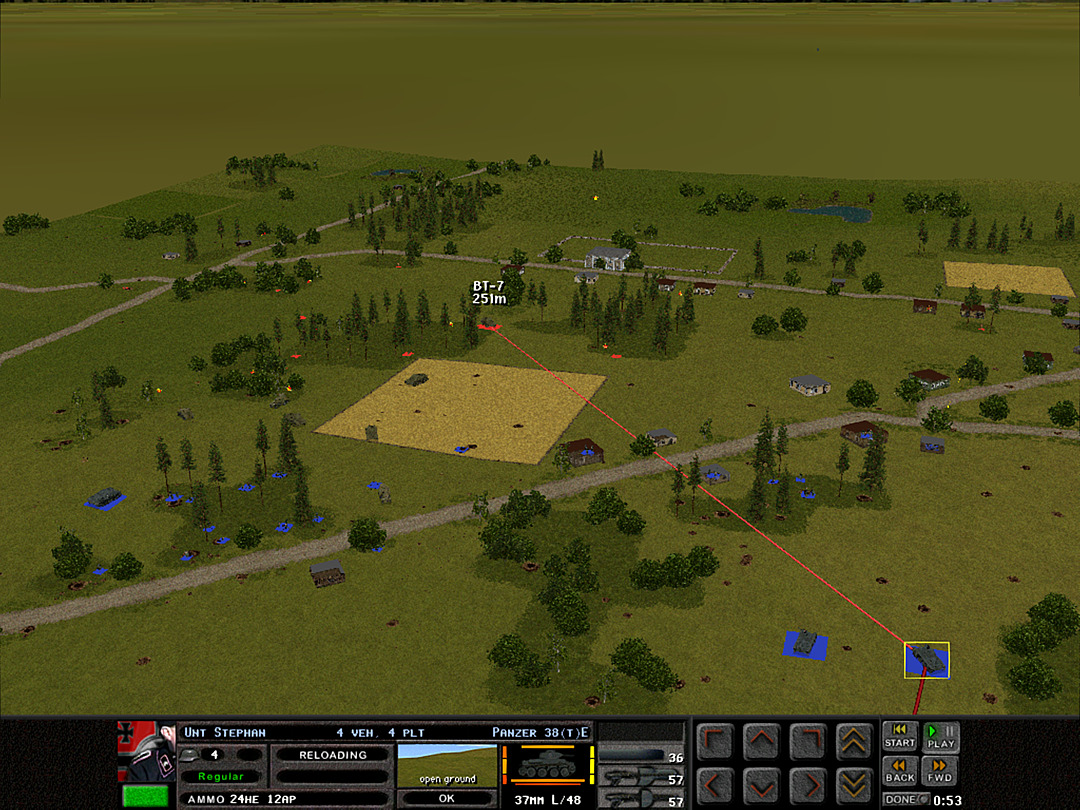 About the only bright spot is that we finally are able to take out a Soviet tank in this battle, when one of the tanks in 4 Plt gets a line on it from across the village. 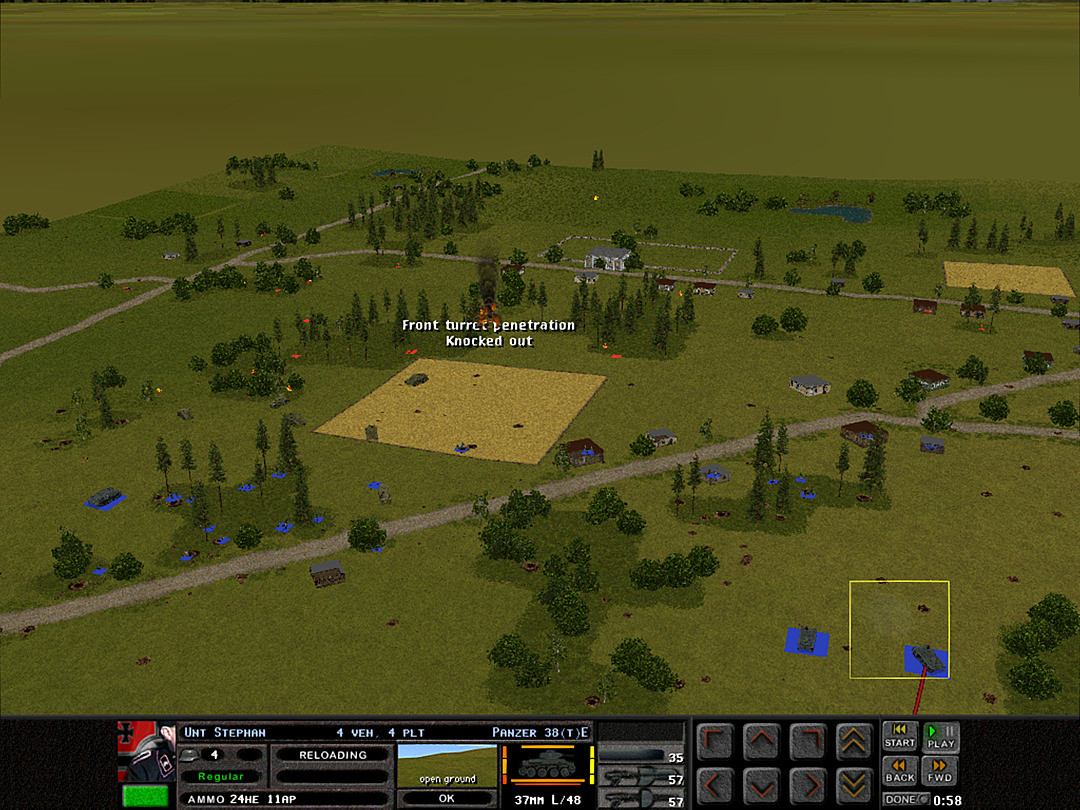 It's a small consolation for the losses we've taken. 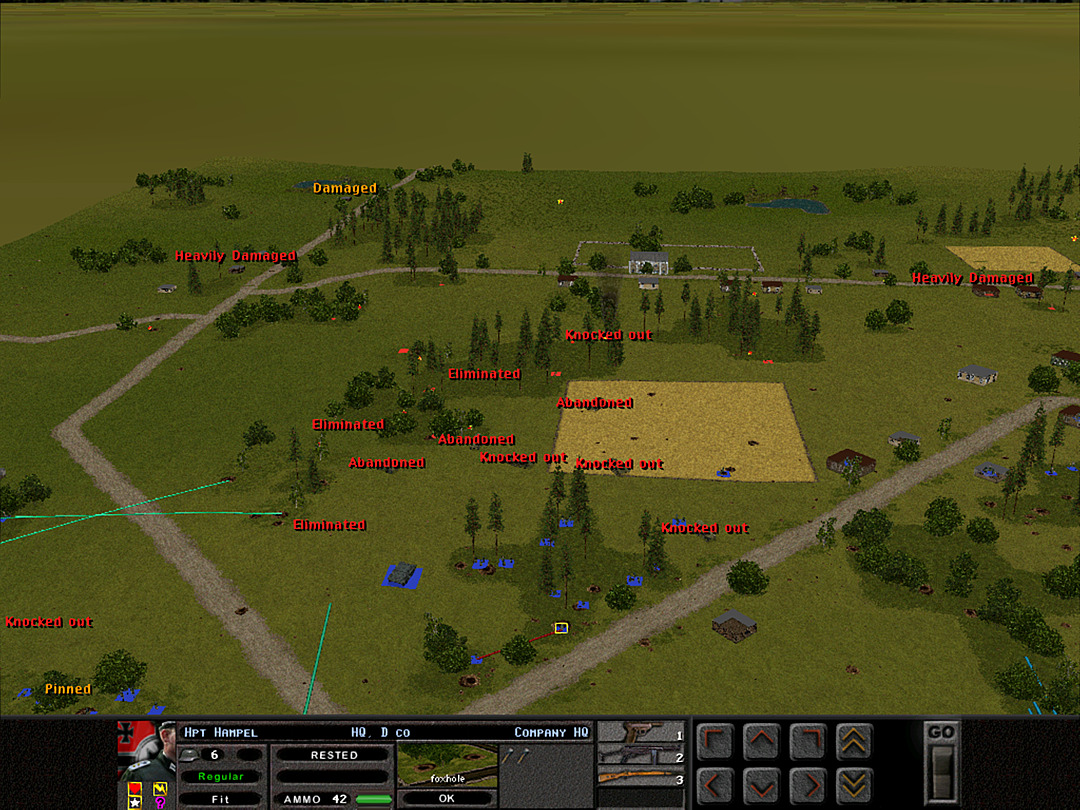 The battle is winding down, but one final attempt is made by C Company to cross the gap. 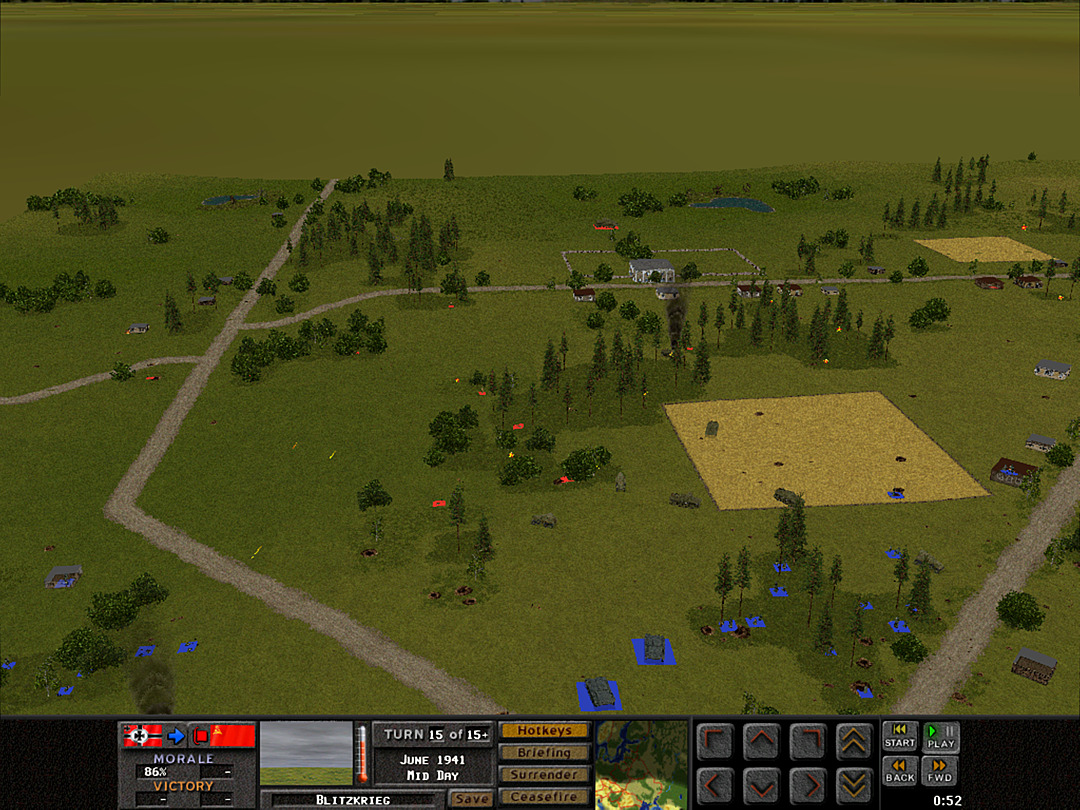 Not unexpectedly, it goes nowhere quickly. Our rocket attacks have failed to sufficiently suppress the troops to the east. 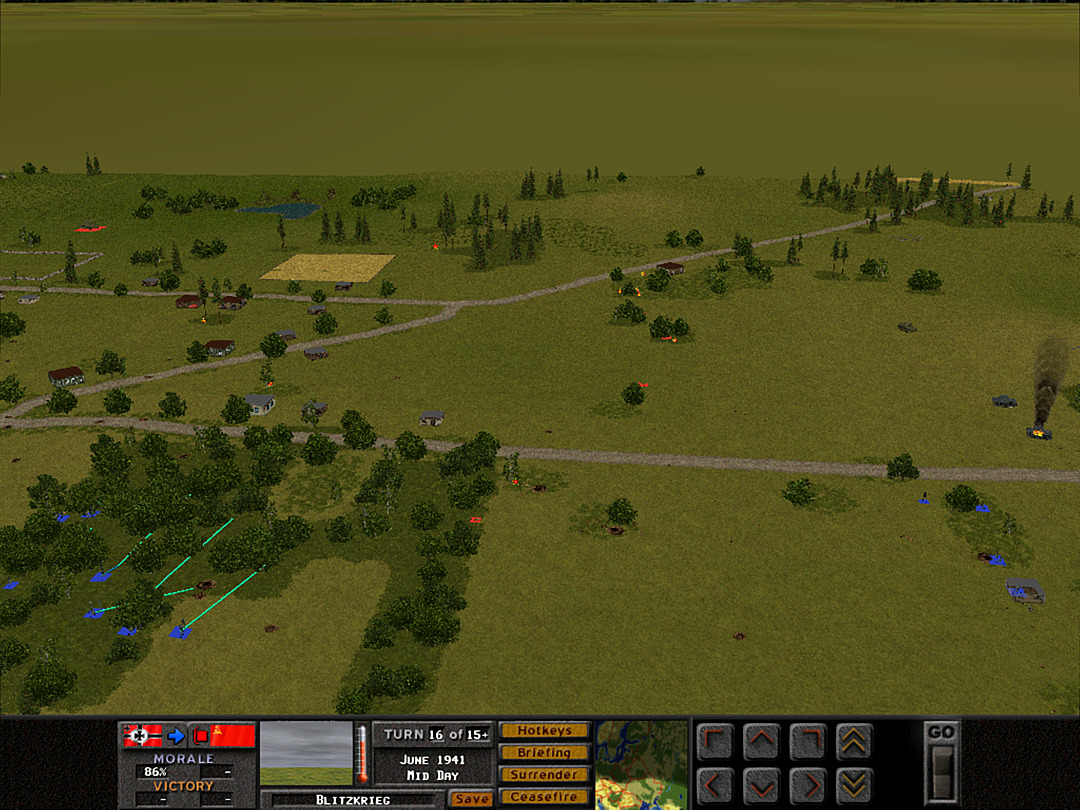 B Company's sweep of the woods is almost complete. They've encountered almost no enemy soldiers, just a lot of empty foxholes. 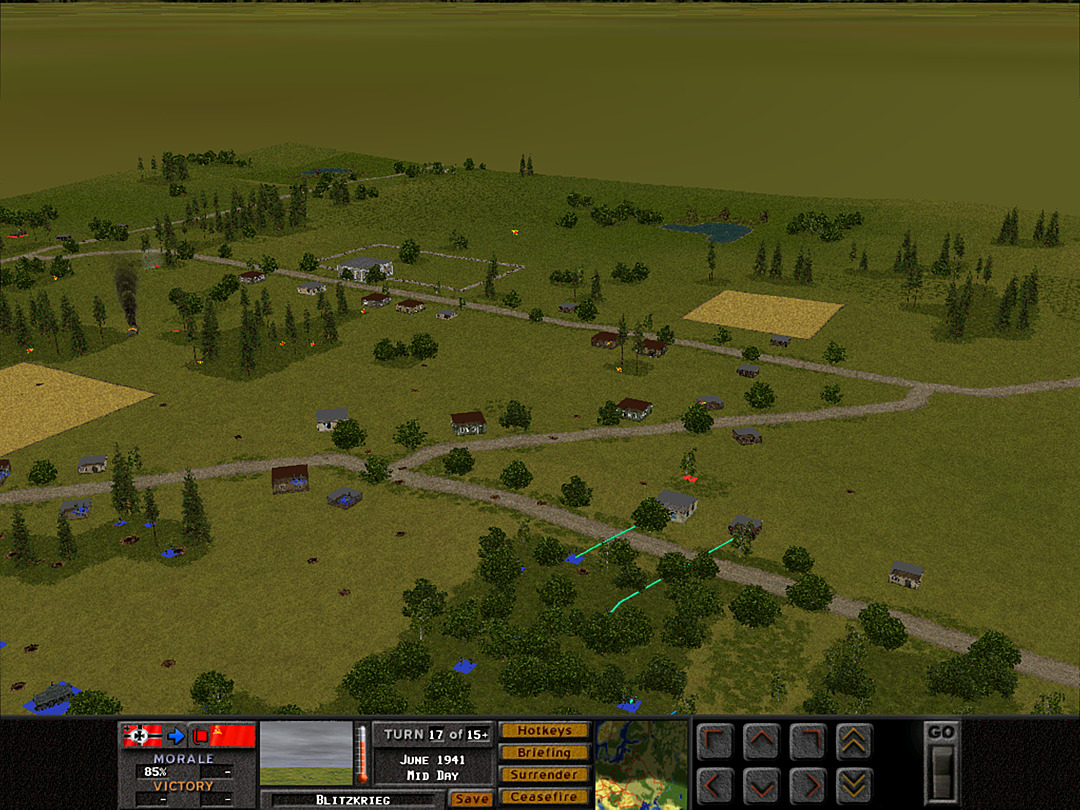 D Company has stopped just short of taking over the road junction, as they don't want to be too stretched out. B Coy, 1 Plt will make an attempt to secure some of the houses just west of the southern road. 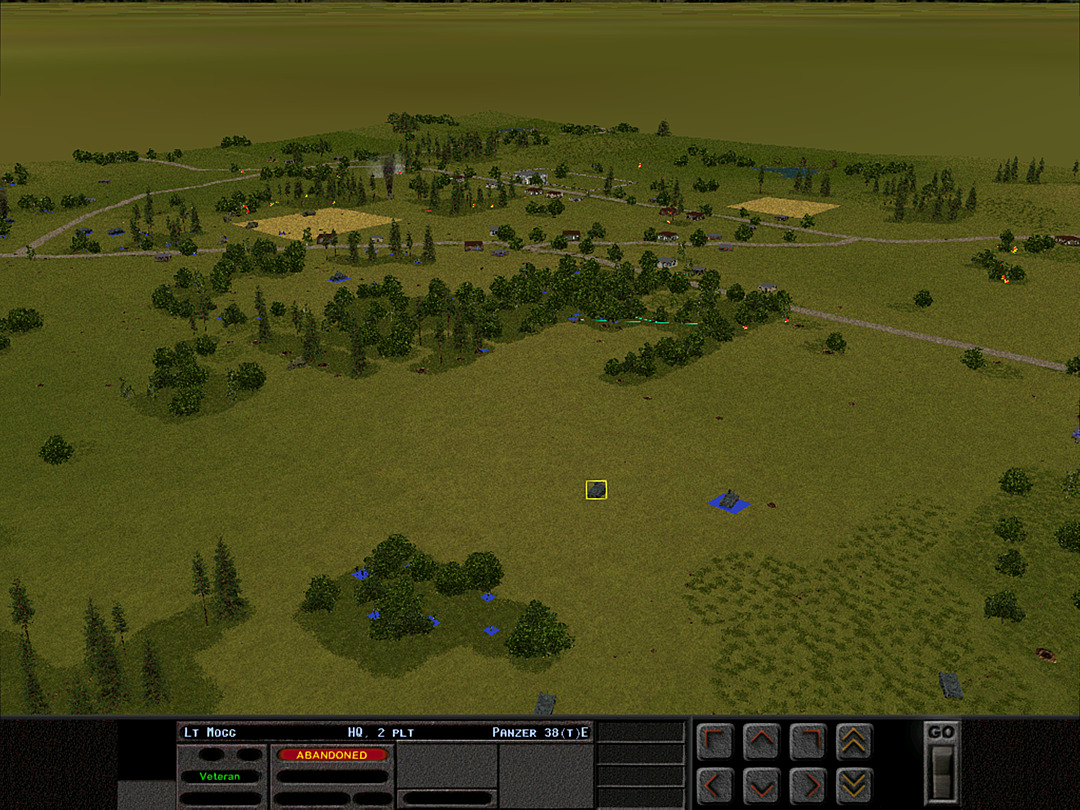 Our last tank loss of this battle is a very foolish one. The two remaing tanks in 2 Plt had been holding back near A Coy, 3 Plt and decided to move forward. The command tank went a little too far up the hill, and put itself in view of the gun in the southeast. The result was as expected. 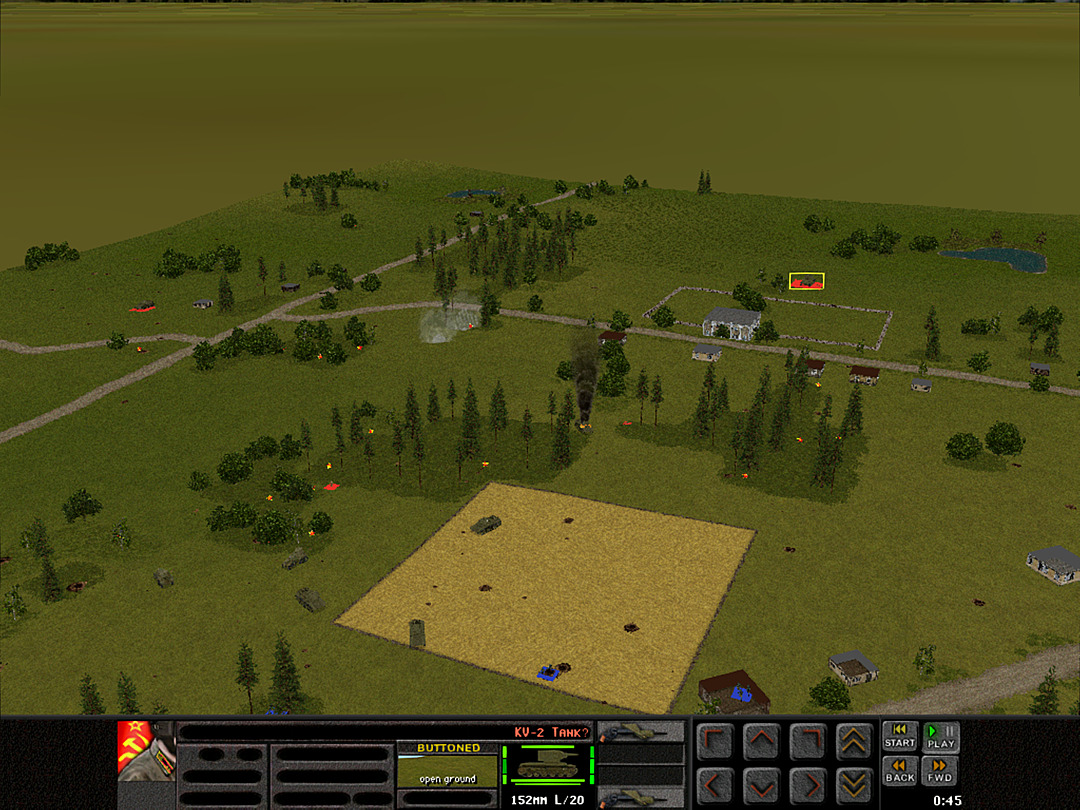 The KV-2 is on the move. 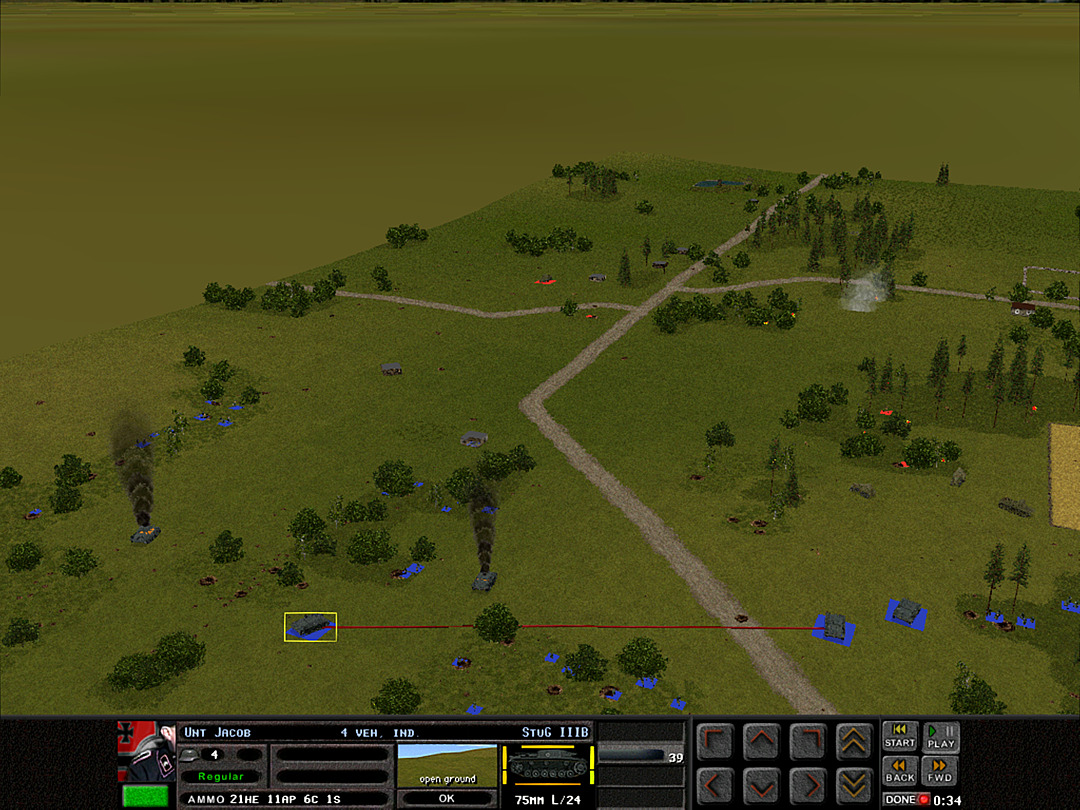 So is the BT-7 on the north, but we can handle that one if it gets any closer. 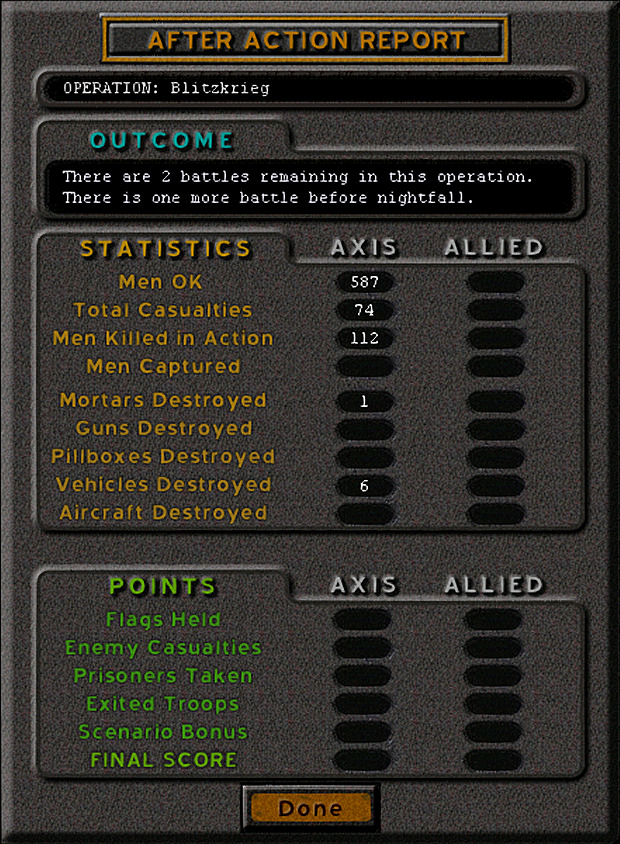 Further conflict is halted before any further tank carnage can occur. We did make some genuine advances, but this was not a good afternoon for the tanks. Six losses to a measly BT-7 killed. Unit Highlight Renault R-35 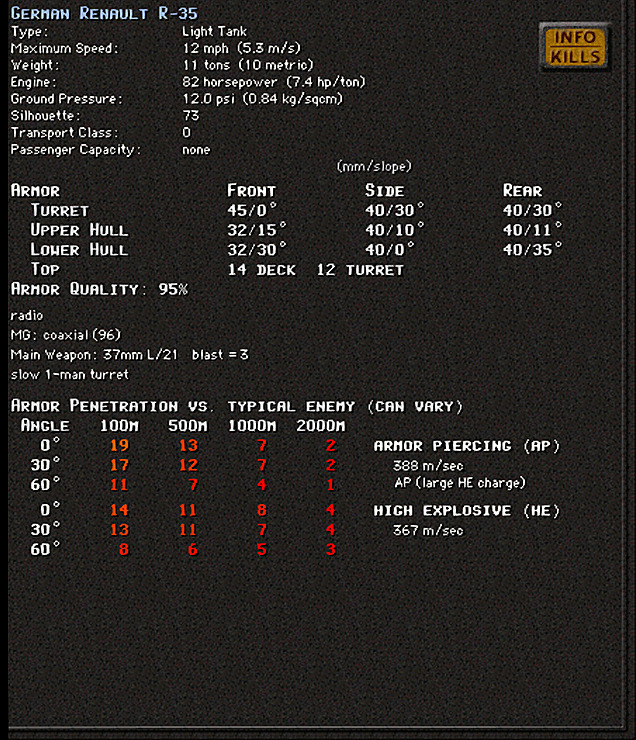 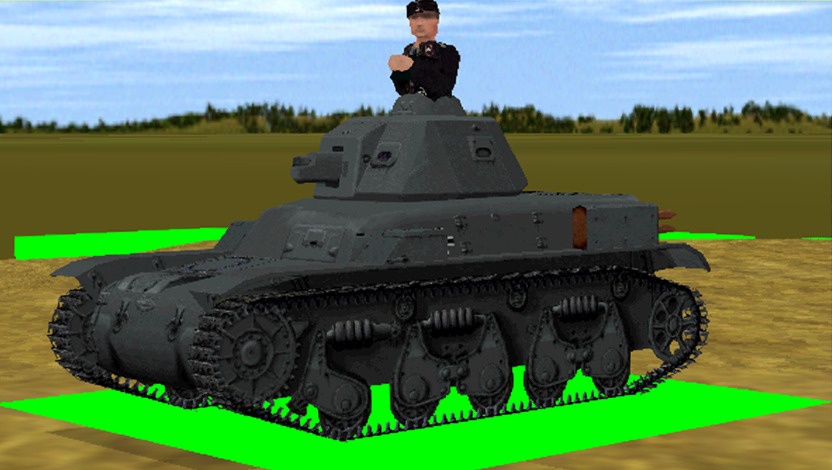 Crew Size: 2 Base Cost: 34 A French tank the Germans tried to find a use for. This tank was the most numerous one in French service at the time of the war, and the rapid capitulation of France allowed for the capture of a very large number of them, many intact. But while it had been able to deal with the Panzer I's and II's it met up with during the invasion, it wasn't really strong enough to operate on the front lines of the Eastern Front. One attempt was made to add a bigger gun and make it a tank hunter, but that isn't the version depicted here. Some were successfully turned into tractors. In its original form, the tank was mostly used by security forces, most usually within France itself. Kangra fucked around with this message at 20:10 on Dec 1, 2023 |
|
|
|
Shame that KV-2 wasn't willing to play.
|
|
|
|
Operation 1, Battle 4 of 5 Operation: Blitzkrieg Time of Day: Dusk Skies: Overcast Ground: Dry Temp: Warm Wind: Breeze W Daylight is fading and the sun is setting behind the clouds that have gathered over the battlefield. We must keep up the pressure to have any hope of breaking through here. Although our progress was more definite in the last battle, the potential presence of Soviet heavy tanks is quite worrisome.  Before we get into the battle situation, I want to go back to the reinforcement schedule. So far, we've been getting a new company of infantry and a supporting platoon of armor at the start of each battle. We're up over battalion strength now, even if it doesn't appear as if the Major is going to deign us with his presence. It's no matter; we can fight well enough on our own. A big change for this battle is that the incoming company this time is Pioneers, and the tanks we're getting are flamethrower tanks. We'll have plenty more chances to see them in action, but the distinction of the Pioneers is that they have more but smaller squads. They also have less heavy equipment attached (no mortars or heavy machine guns); typically flamethrower teams round out the platoons instead. They are best suited for close-range assault, and we will be using them in the village. The new tanks are also only suitable for close assault, as their flamethrower has a very short range, and they don't have much armor themselves. That does mean we can potentially push hard with these fresh troops, but realistically only in spots where we aren't exposed to longer-range fire. The battle is getting complicated. 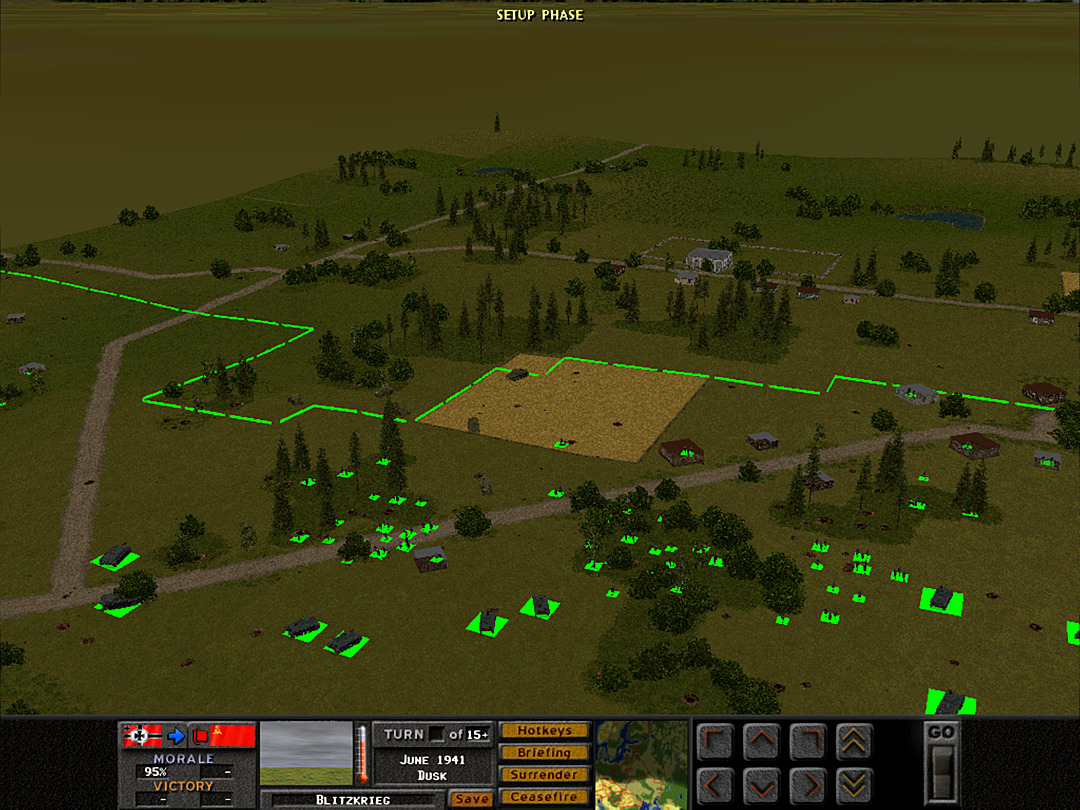 The incoming Pioneers take a position just behind the road. They'll begin an assault on the woods and then sweep south toward the remainder of the village. D Coy will be holding the line at the start of the battle, and then will likely shift to continuing an attack up the road. 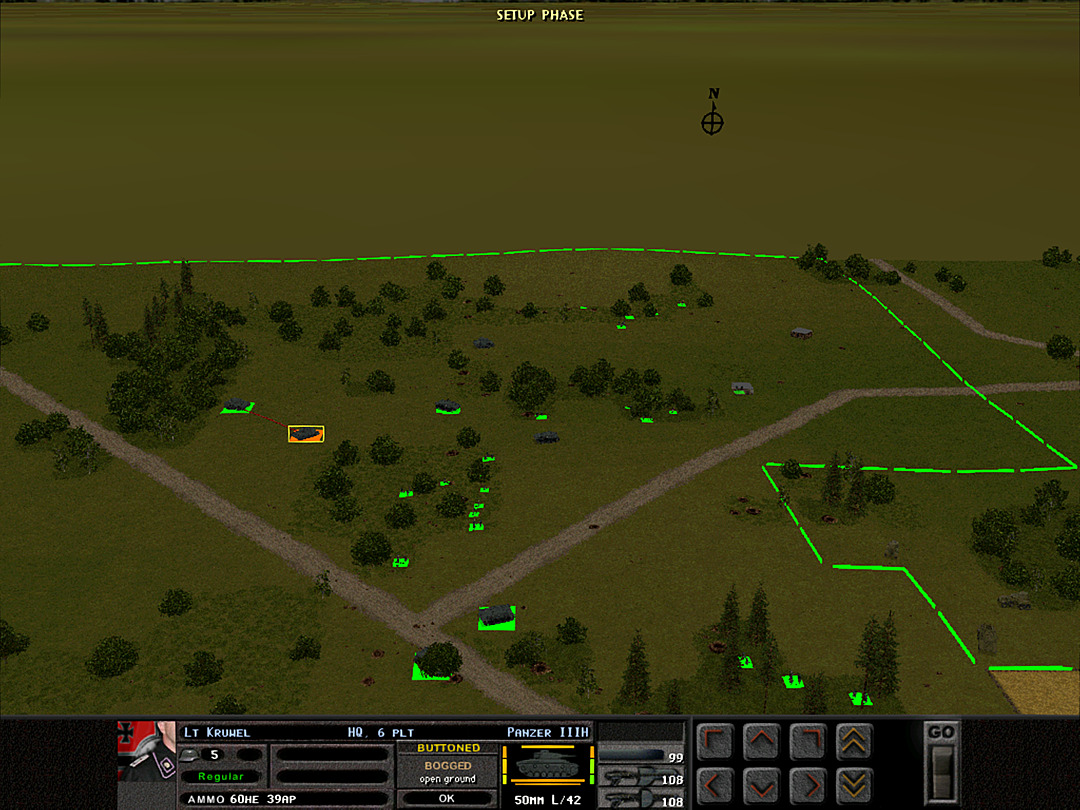 C Company is staying put for now. Their job will be to take the woods from the north, and then to protect the flank as the Pioneers blow through the village. Only if it appears the Soviets have pulled back here will they make any advance up the road; this is not our primary line of attack. [Visible here is a Panzer III that was immobile at the end of the last battle. It starts out bogged and cannot reposition, but it can try to free itself once the battle starts.] 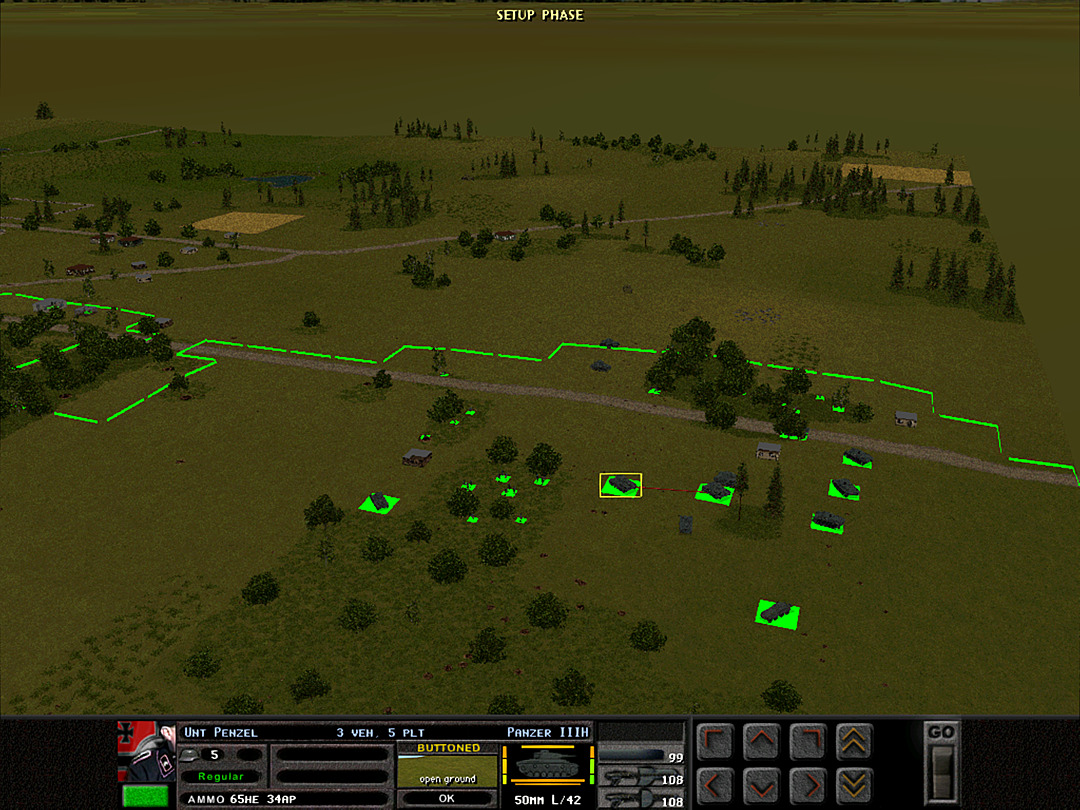 Now that the central woods are effectively cleared, all of A Company can move forward. We won't necessarily be trying to push on this side, as the route to the enemy is fairly exposed. We can consider moving out along the south if it looks safe. B Coy will finish clearing the woods, and support D Coy's advance through town. Both A and B will be responsible for ensuring no enemy units come up the main southeastern roadway. 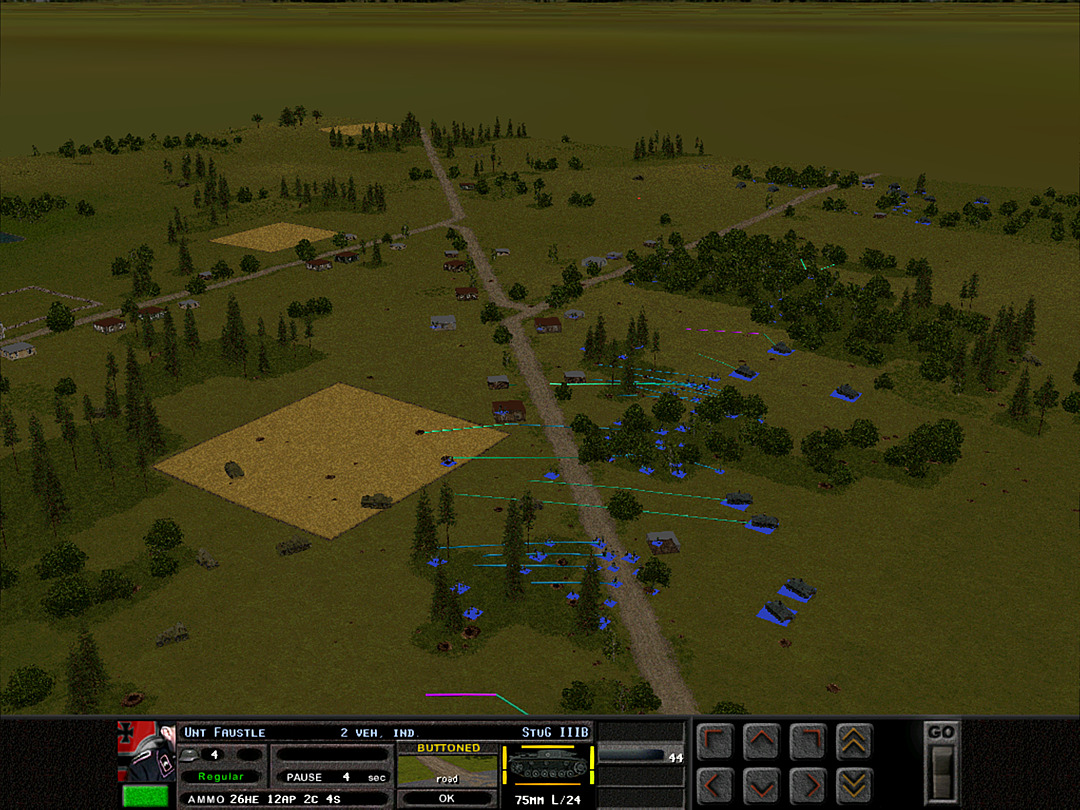 The fresh troops of E Coy prepare for their assault, and the tanks make moves to support them in case the enemy has reinforced with more armor. 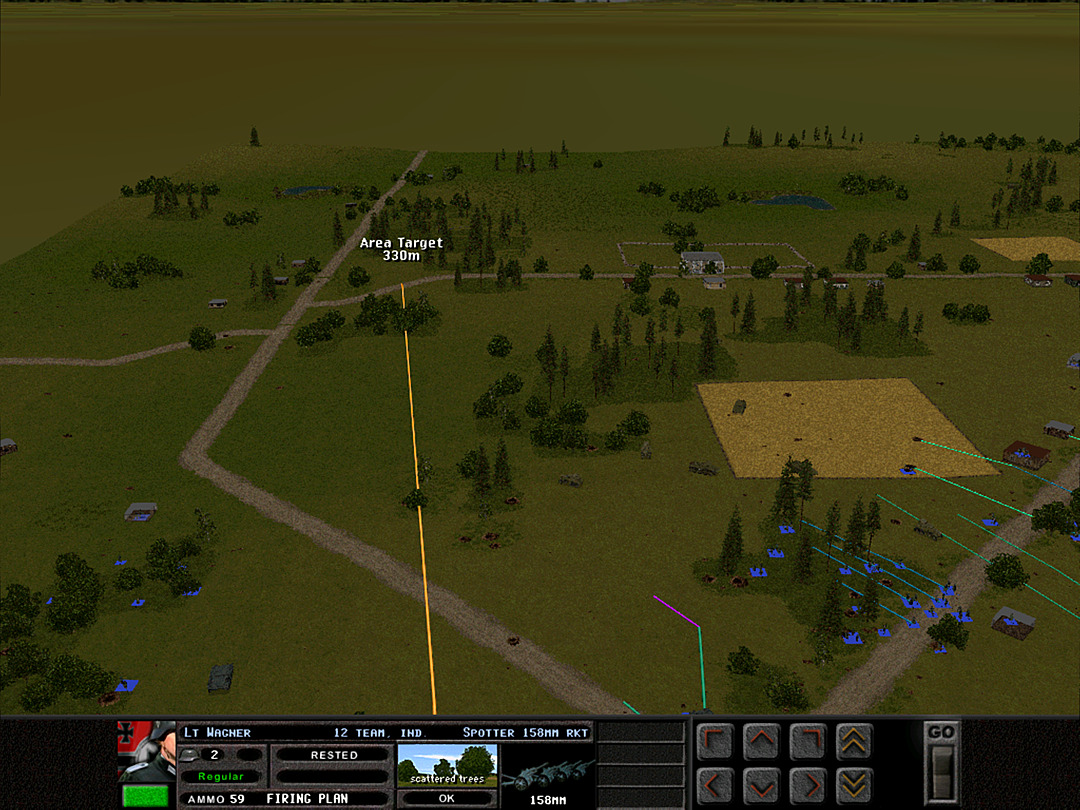 There aren't too many great rocket targets around, so I order them to strike once again at the north end. We can always get lucky if they still have an AT gun here. 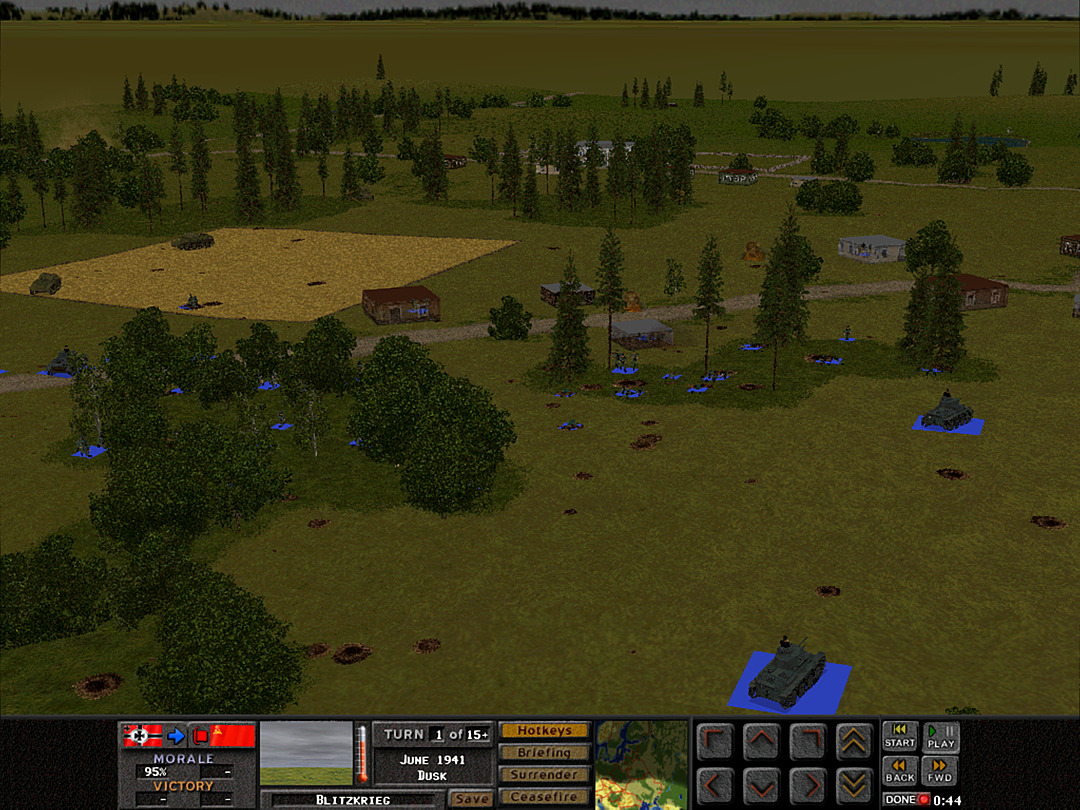 We aren't seeing any signs of the enemy in the woods ahead, but E Coy, 2 Plt (as well as D Coy, 1 Plt) come under immediate artillery fire. [ The brown blotches near the road, and further back by the trees, are explosions. ] 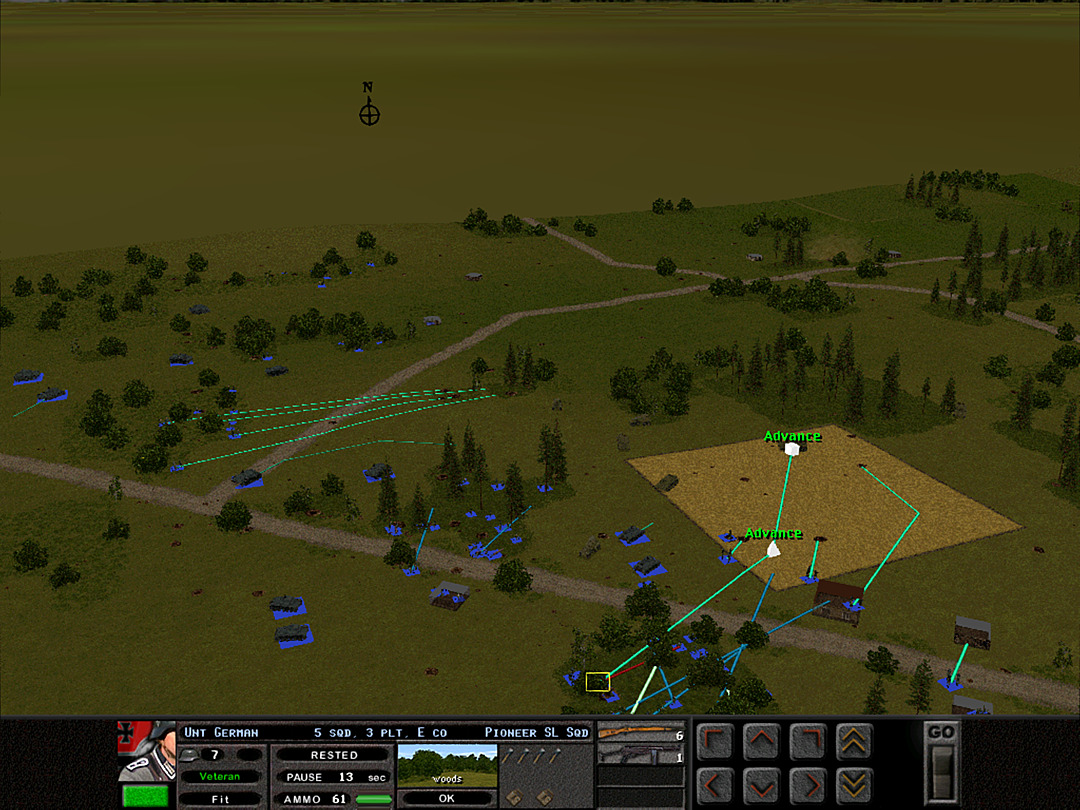 While they take cover, E Coy, 3 Plt begins its advance. Meanwhile, C Company is about to brave one more charge across this gap. 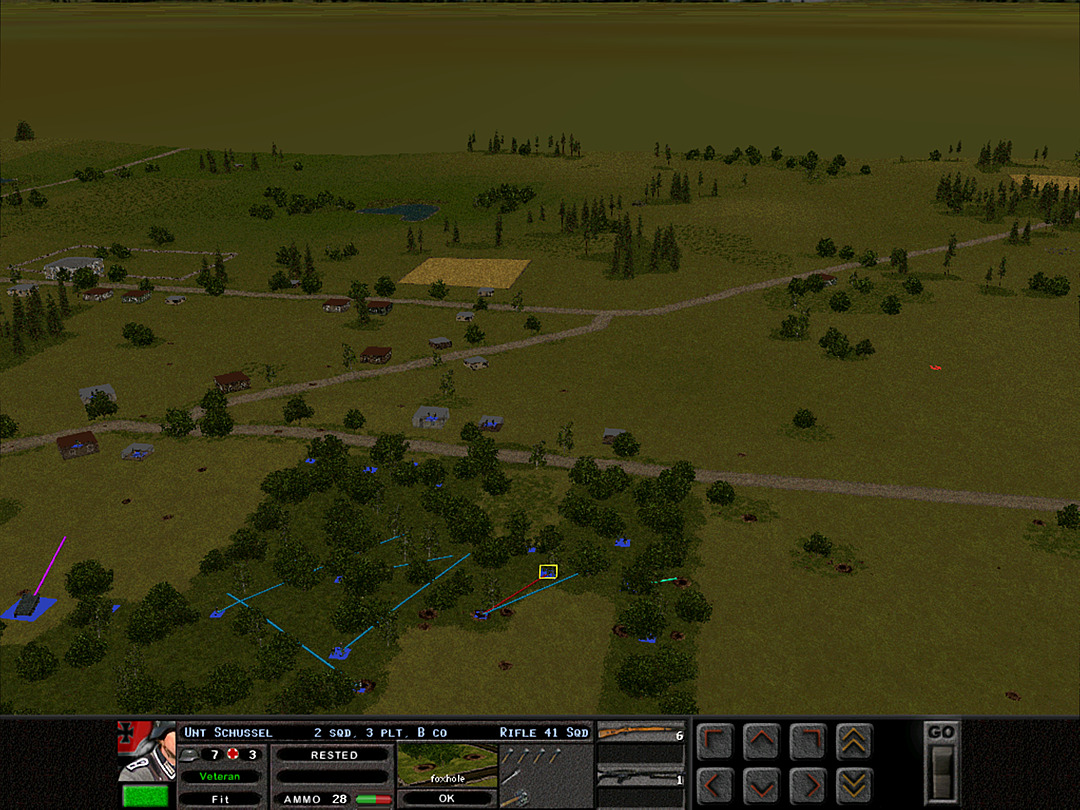 We're having no trouble clearing the remainder of the dense woods. It looks like there are a few troops still either retreating, or trying to observe our own positions. 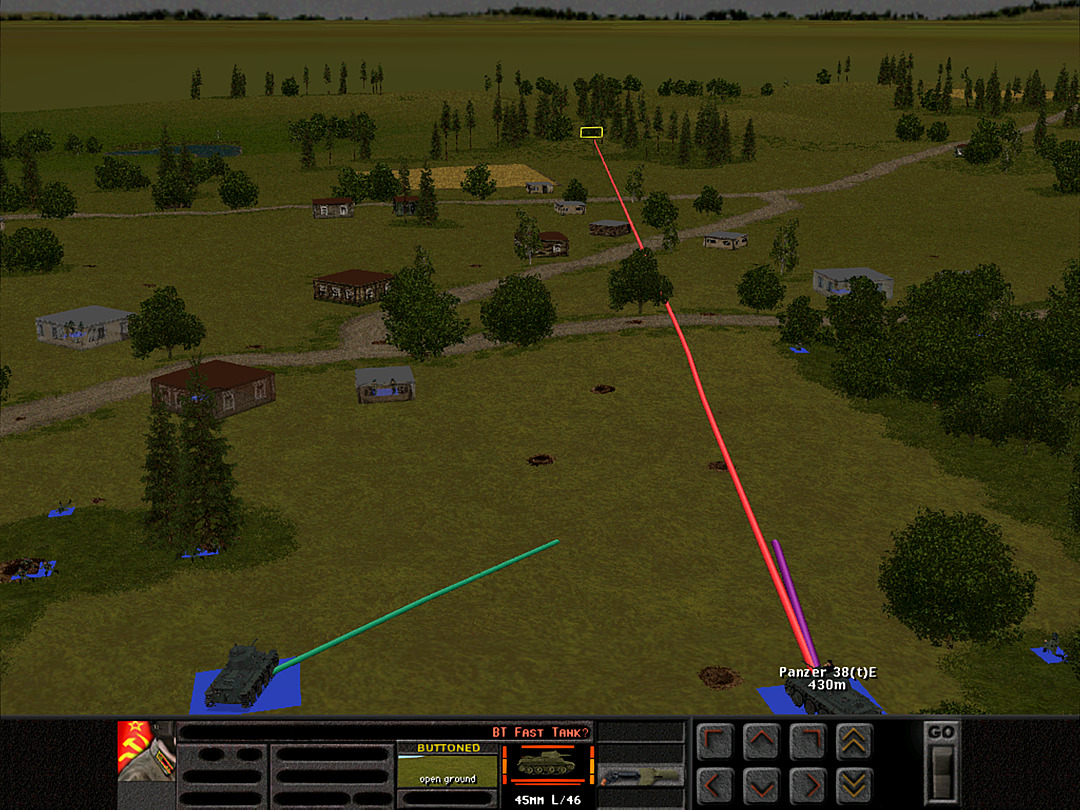 The light tanks have spotted what appears to be a BT-7 beyond the village. We need to be a little cautious, as it is probably trying to lure us into range of either a big gun or a big tank. 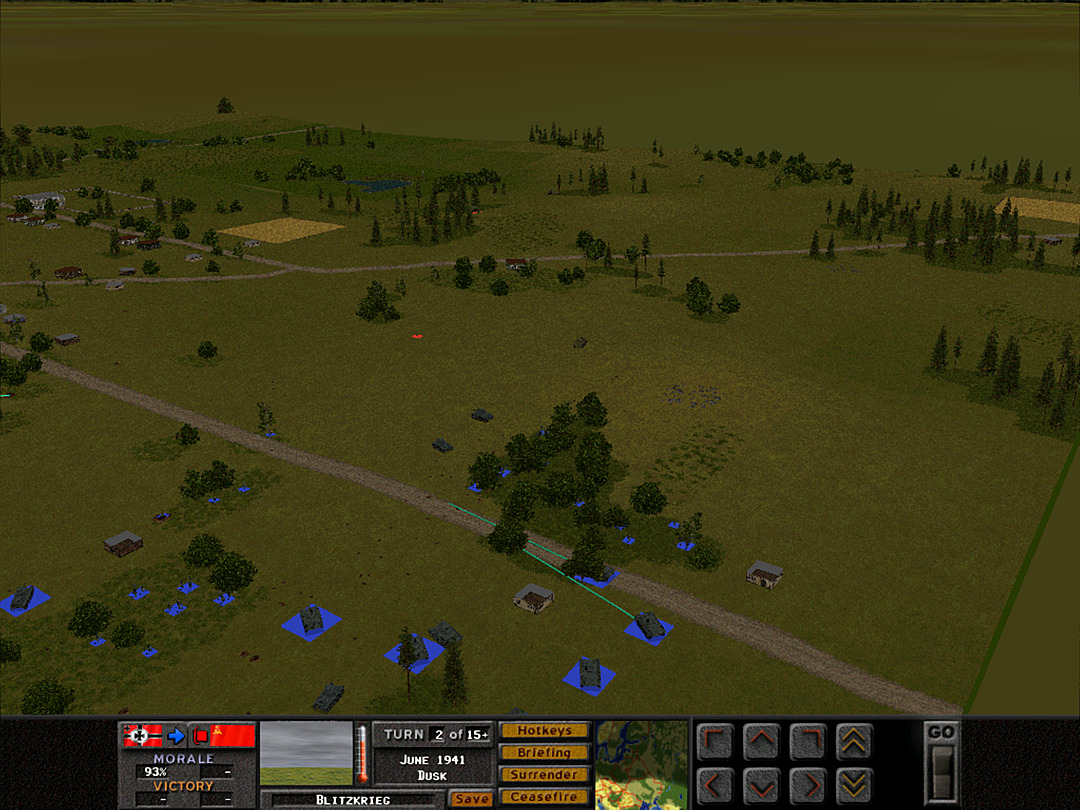 The Stugs may be able to get an angle on any tanks that are close to the village, so they push down the road. 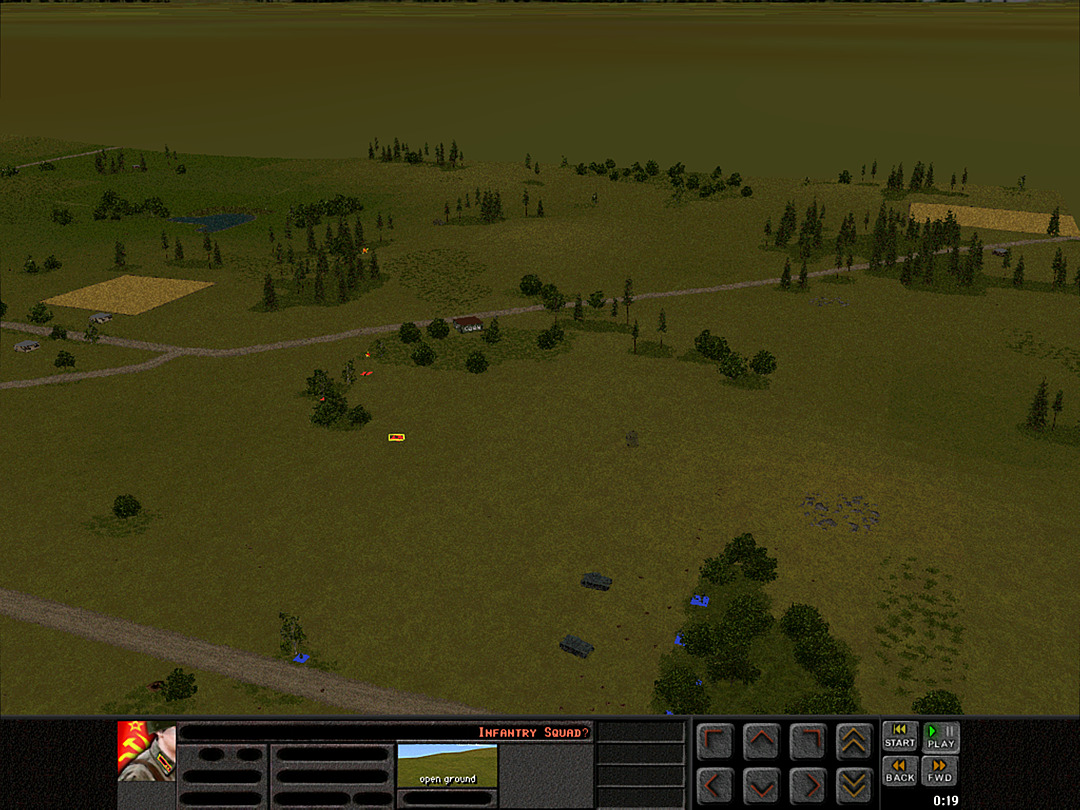 More infantry are spotted at the southeast road. We should have no trouble with them. 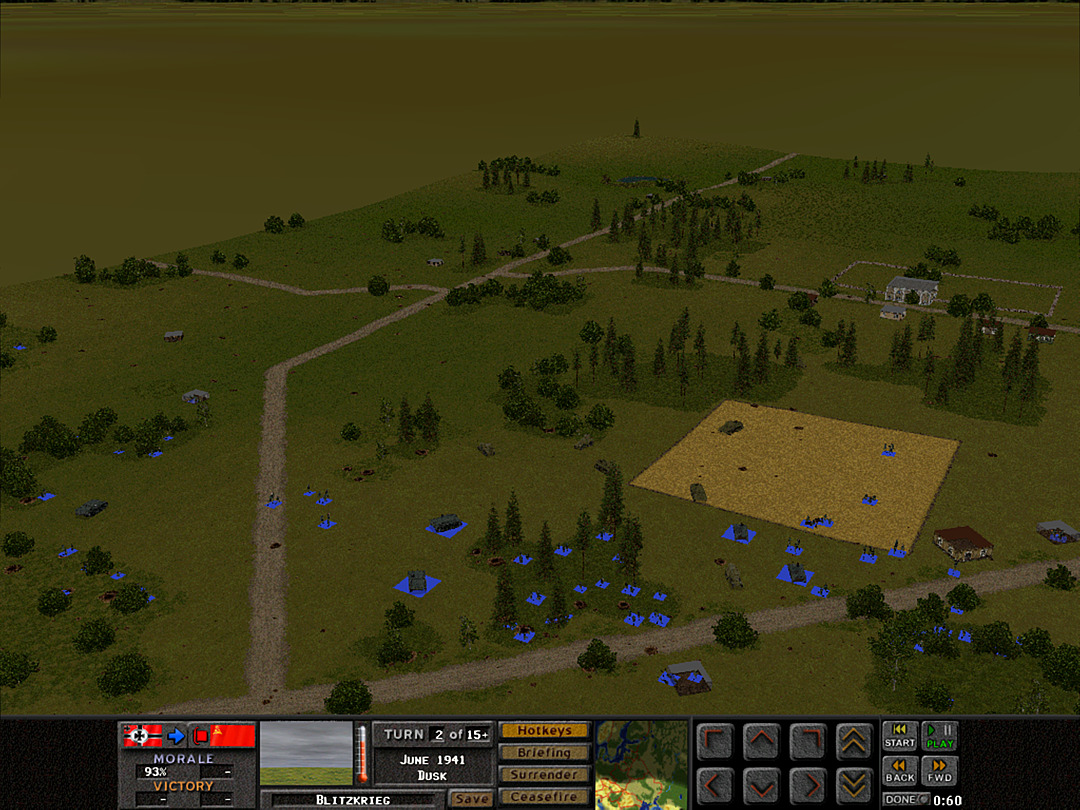 In the north, no one has stopped our advance yet. It would be quiet, if not for all the rockets and artillery shells hitting the ground nearby. 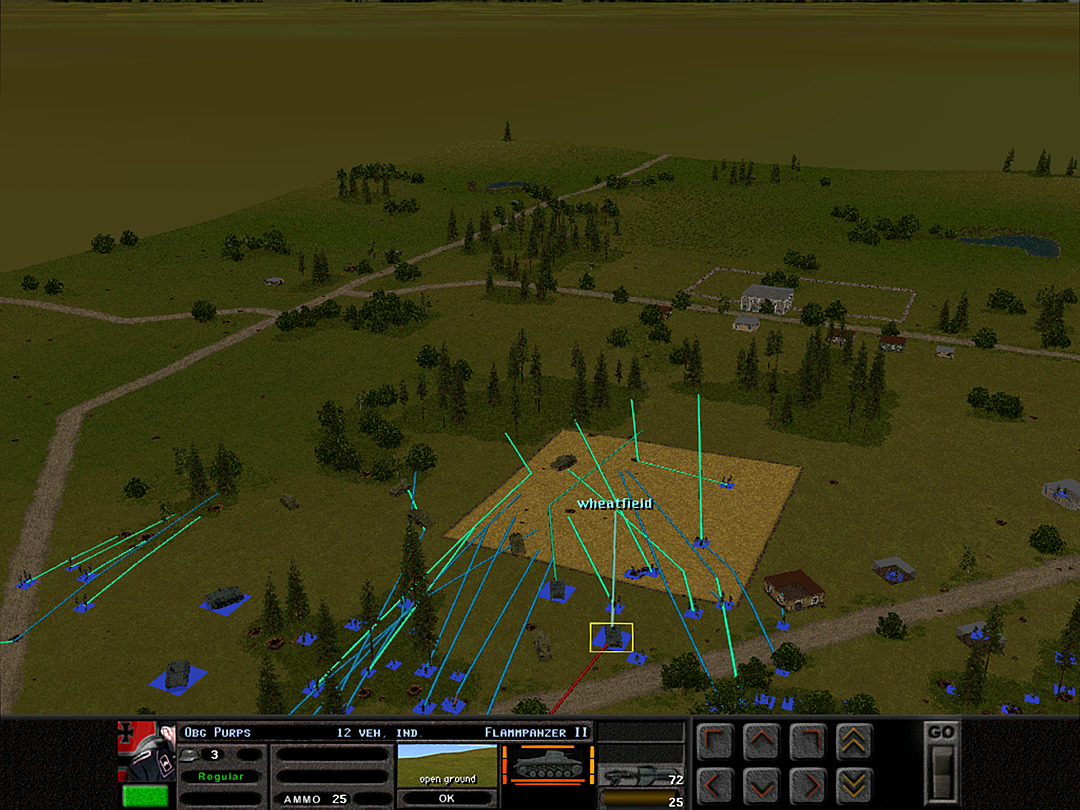 Two platoons of Pioneers are on the move. The flame tanks are ready to support them, if need be. 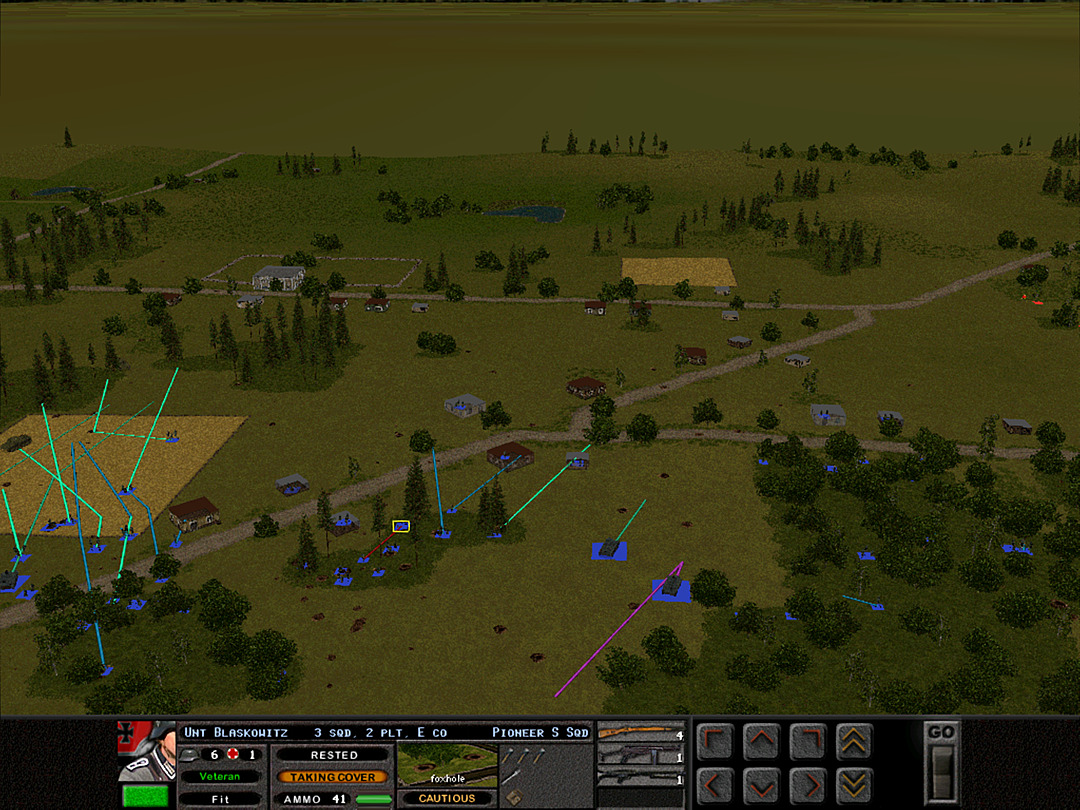 The artillery strike has inflicted a few casualties, but the other platoon in the company should be ready to go soon. With the advance going well, D Company can get underway, too. 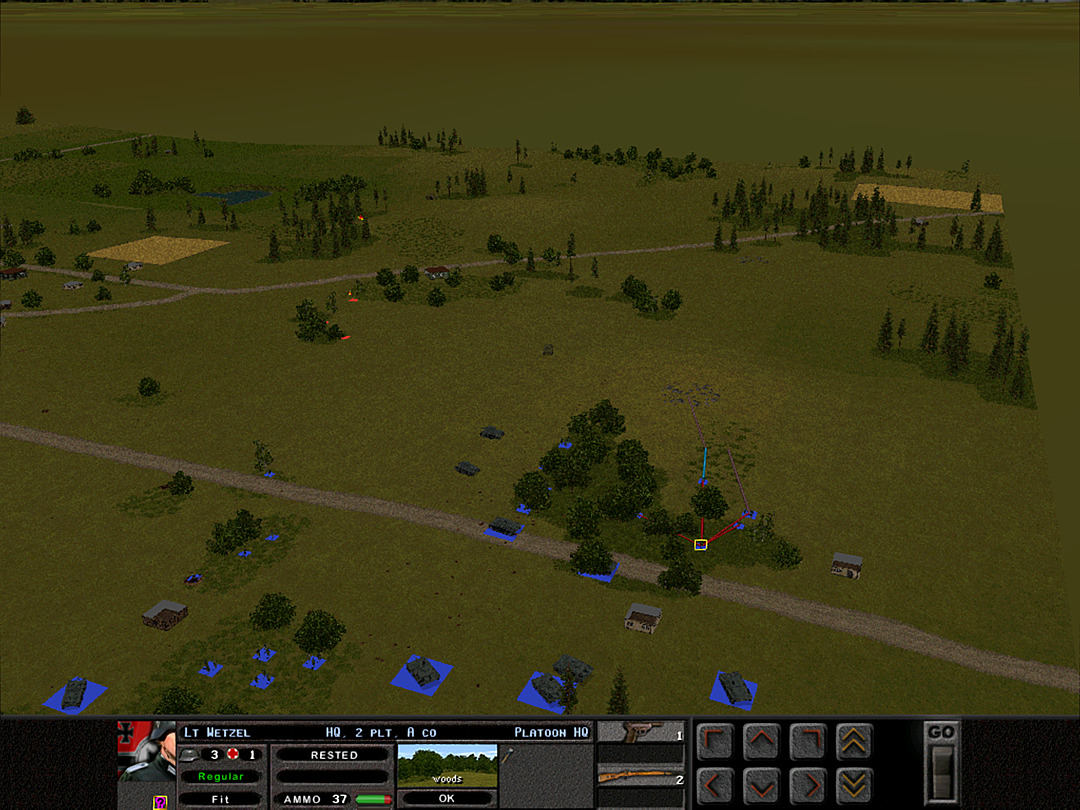 Meanwhile, on the other side of the battlefield, we're going to cautiously sneak units to the top of this hillock. A Coy, 2 Plt is severedly depleted, and will only be used in a recon role for now. 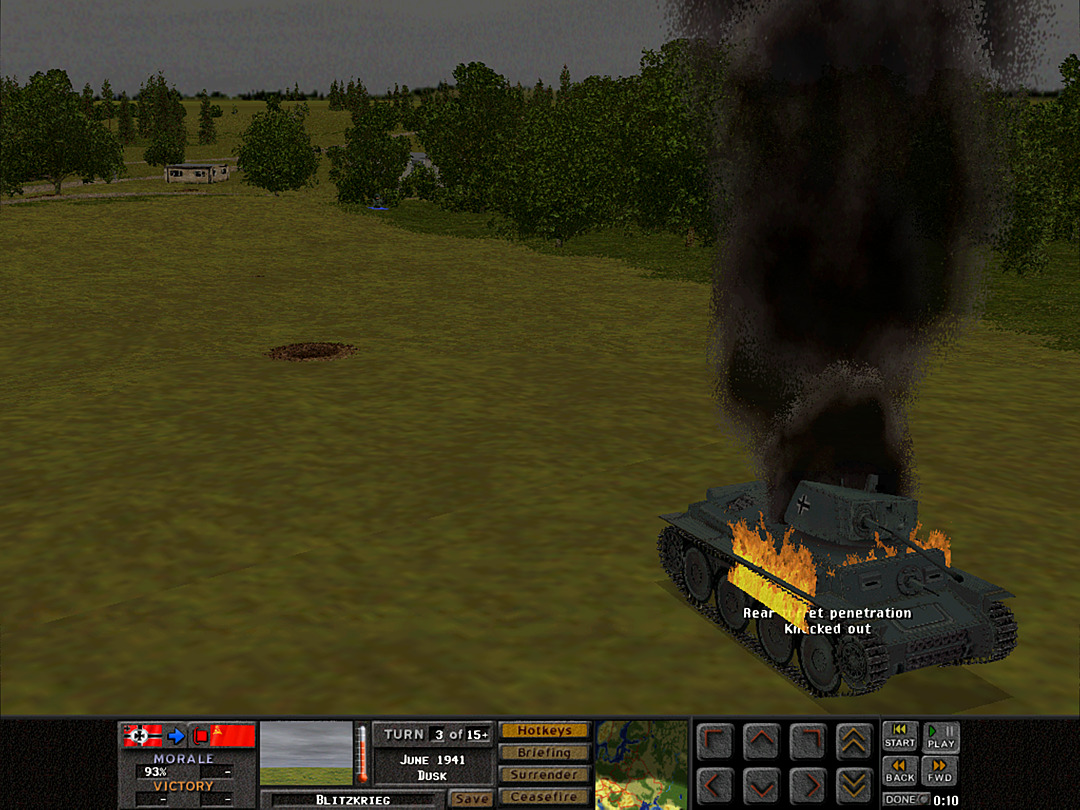 Somehow this Panzer 38 got itself turned completely around, and as a result was easy pickings when another tank revealed itself up beyond the village. 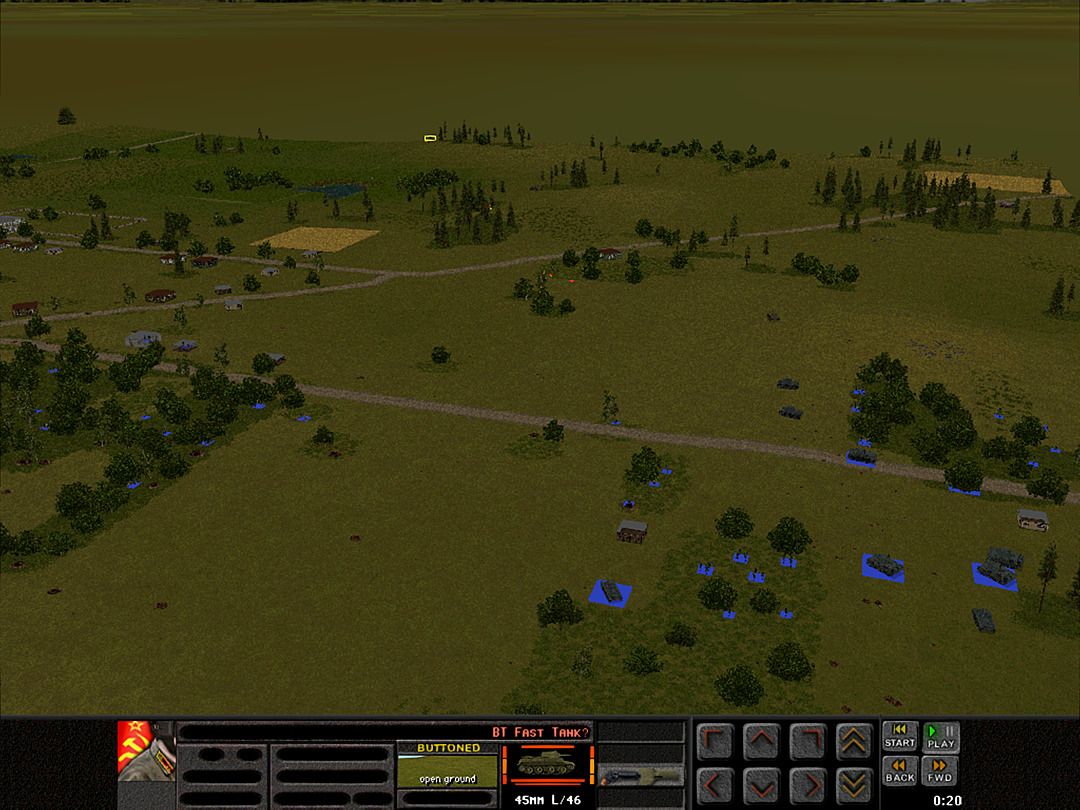 It does appear that more Soviet tanks have arrived from the east, or else they've really pulled the few they were left with rearward. 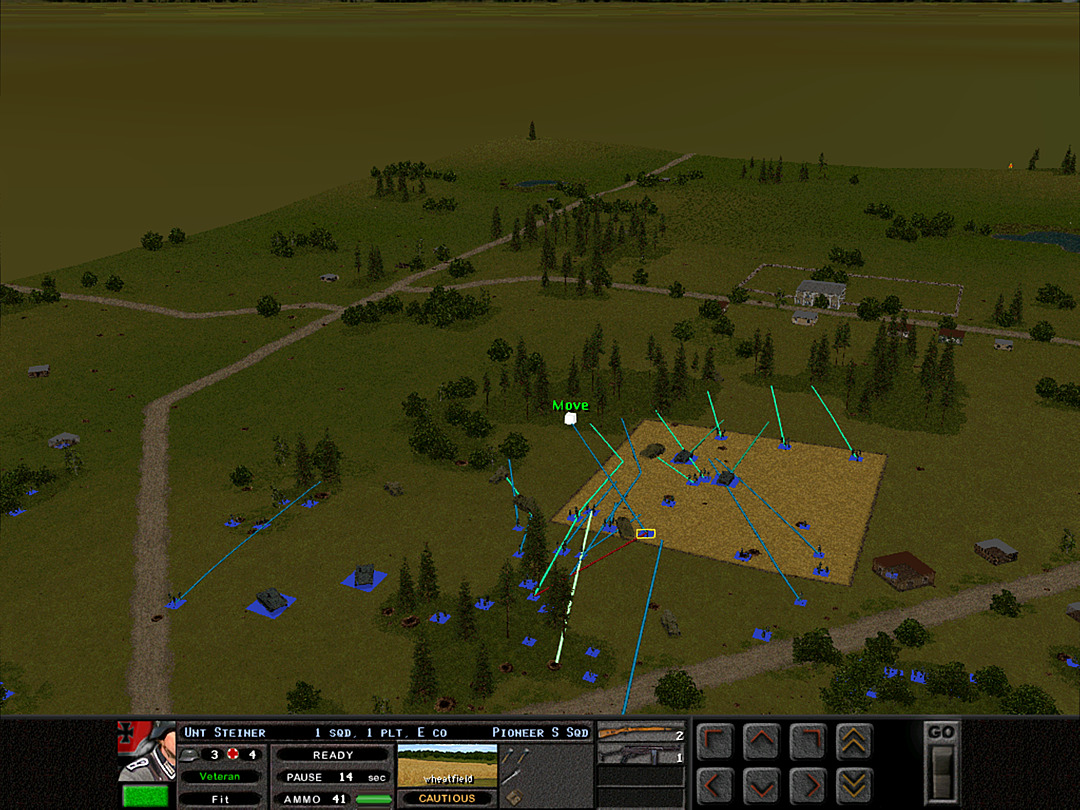 That tank is the only serious loss we've taken so far. The advance into the woods is proceeding without resistance. 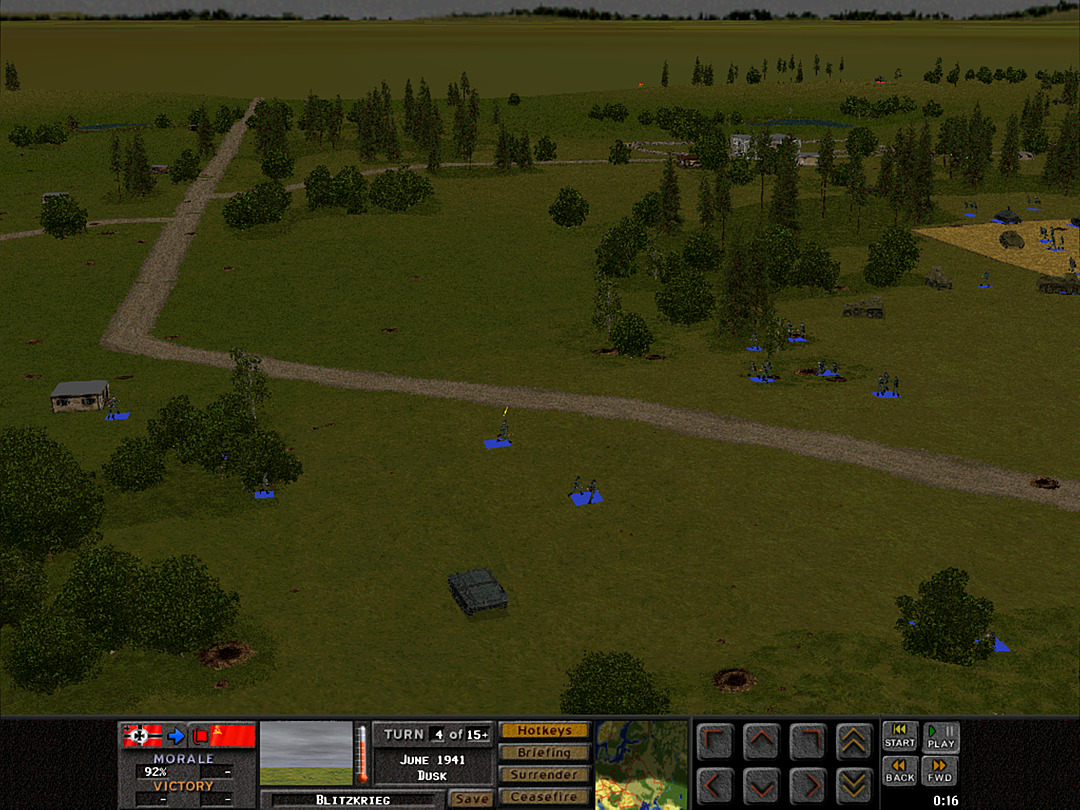 A second platoon crosses over toward the woods. They take a little fire from the far-off tanks, but nothing that really hinders them. 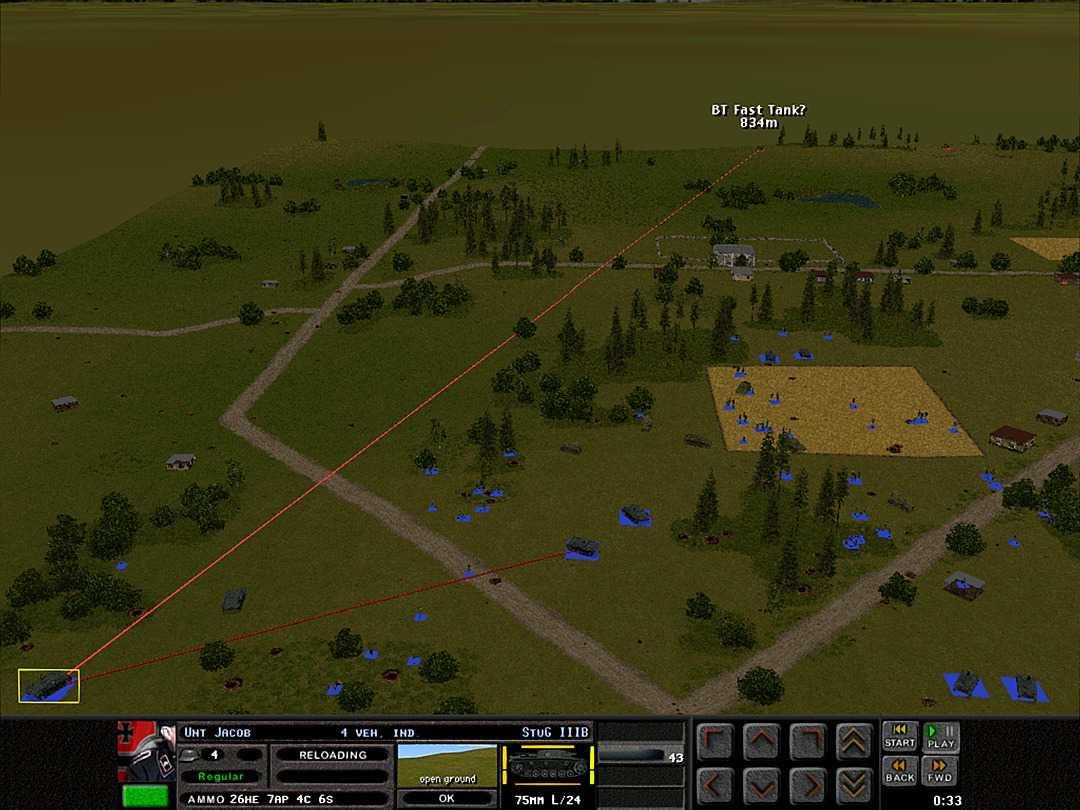 With them revealed, our own armor can line up shots on them, but we fail to knock any of our targets out. 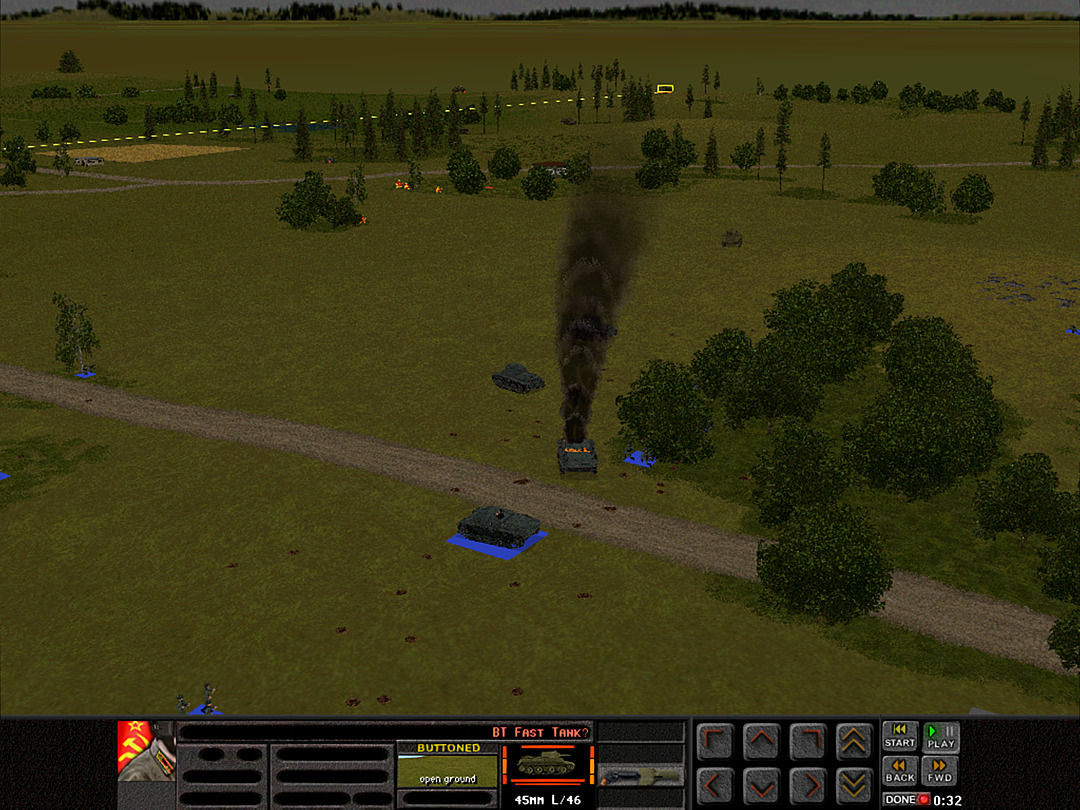 Suddenly one of our Stugs takes a penetrating hit and is knocked out. It's not likely to be from one of those BT-7's, so it could possibly be from the unseen KV-2. 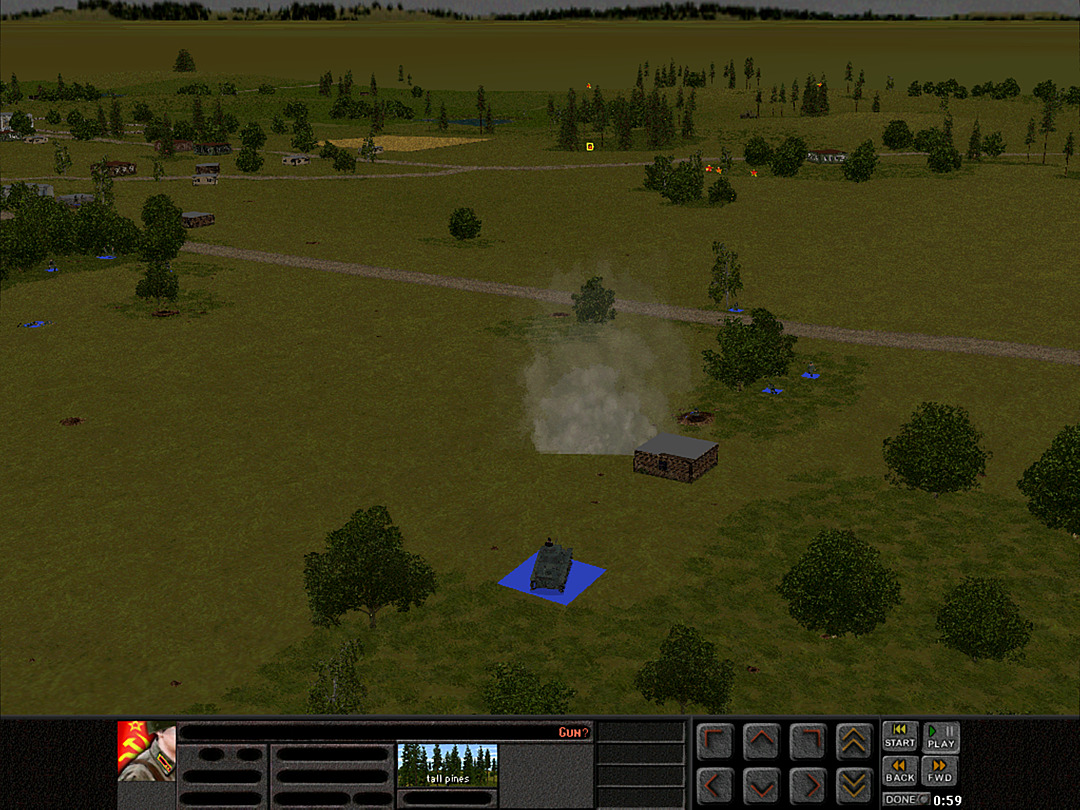 The more likely culprit is found, in the form of an AT gun concealed closer to the village. Our lone Pz38 on the south side pops smoke and pulls back. 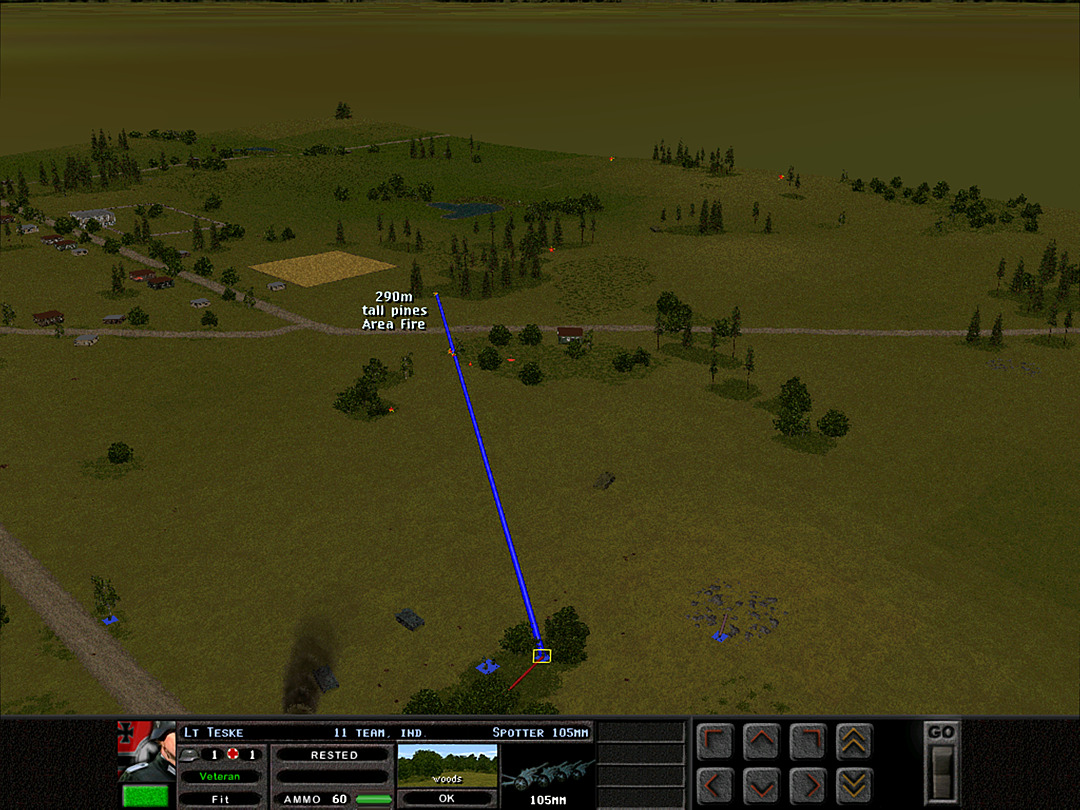 Fortunately the gun seems to be just in the line of sight of our artillery spotter, and we call in a strike. 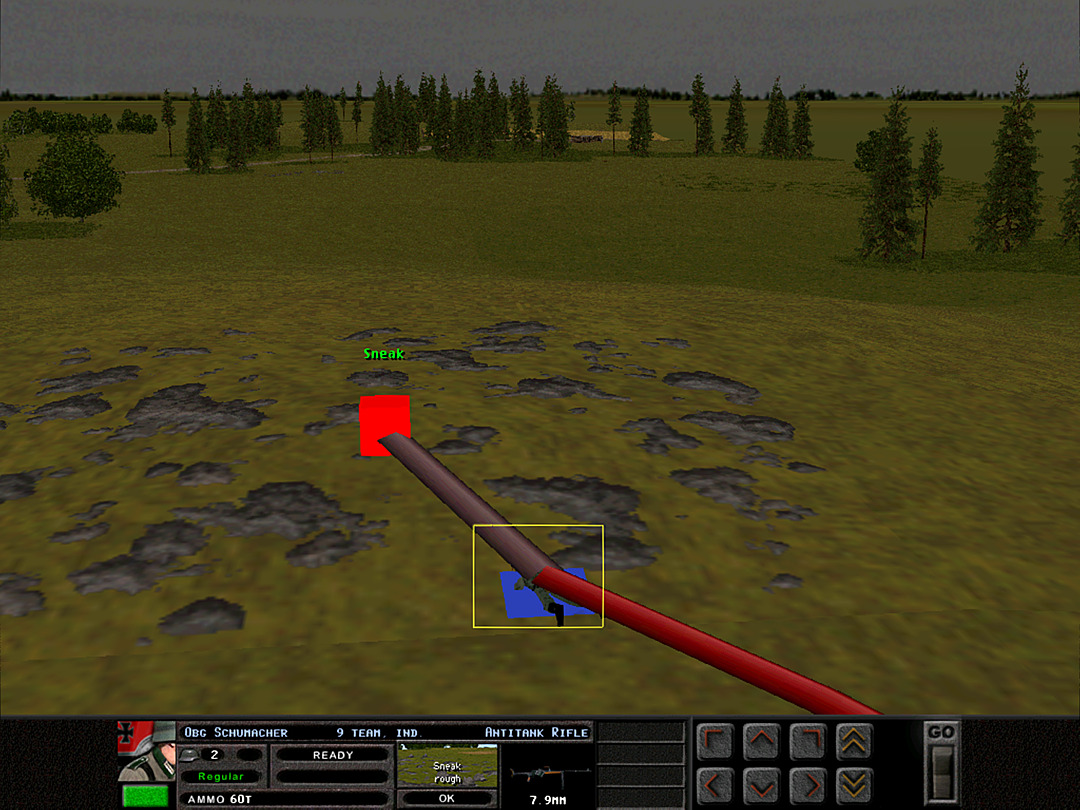 An AT Rifle team reaches the crest of the hillock and should get a decent view of what's in this stand of trees. 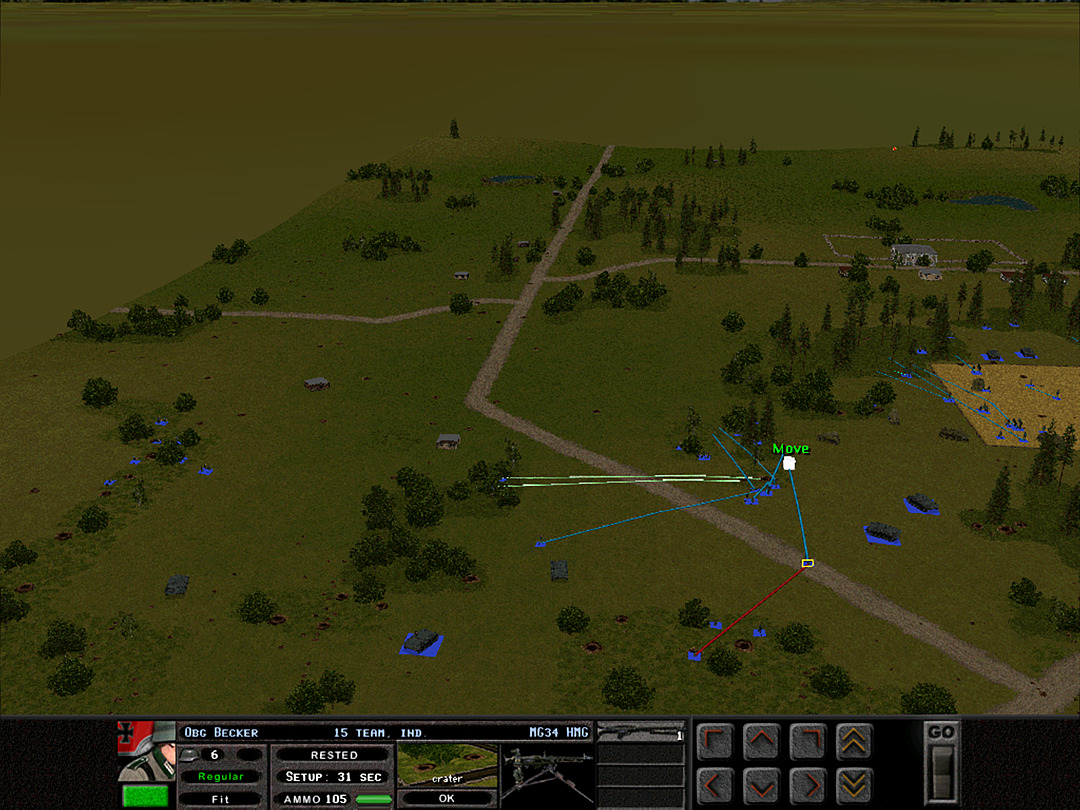 An MG 34 is ordered to support the defense of the woods by C Company. 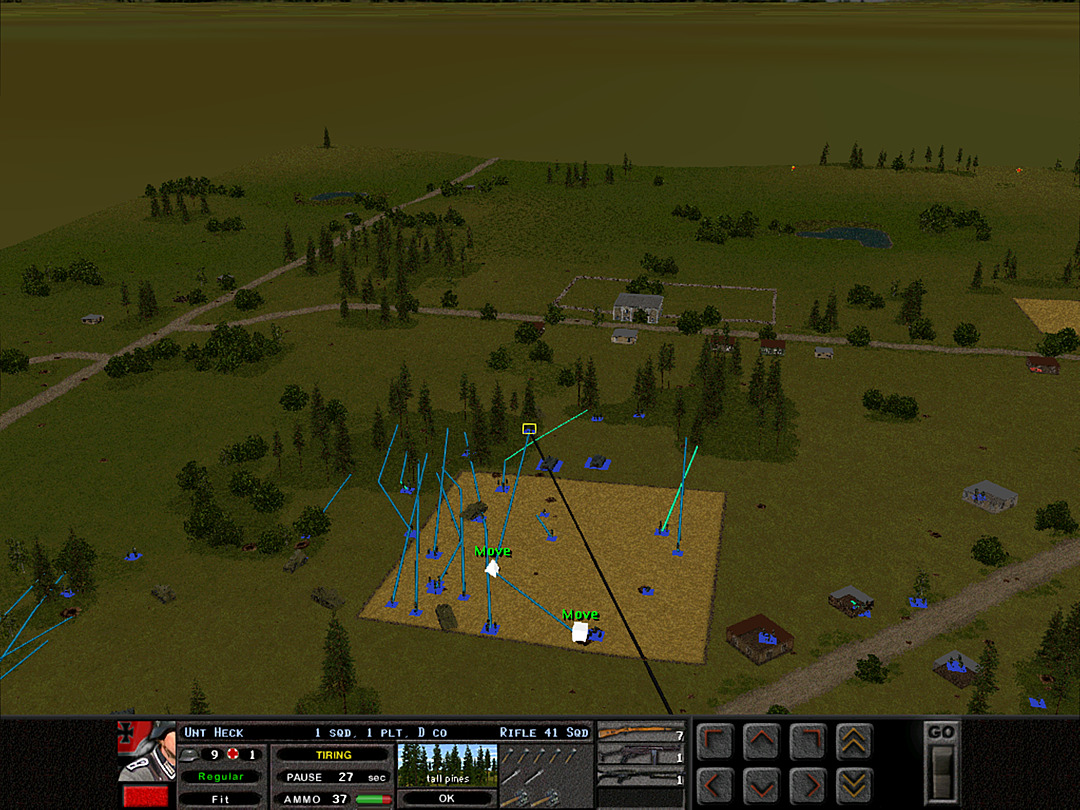 In the initial confusion and excitement of the artillery barrage and the advance of E Company, one of the squads from D Coy mistakenly rushed over with them. [ This is just my own mistake, and why it's usually a bad idea to position units so close to each other. ] 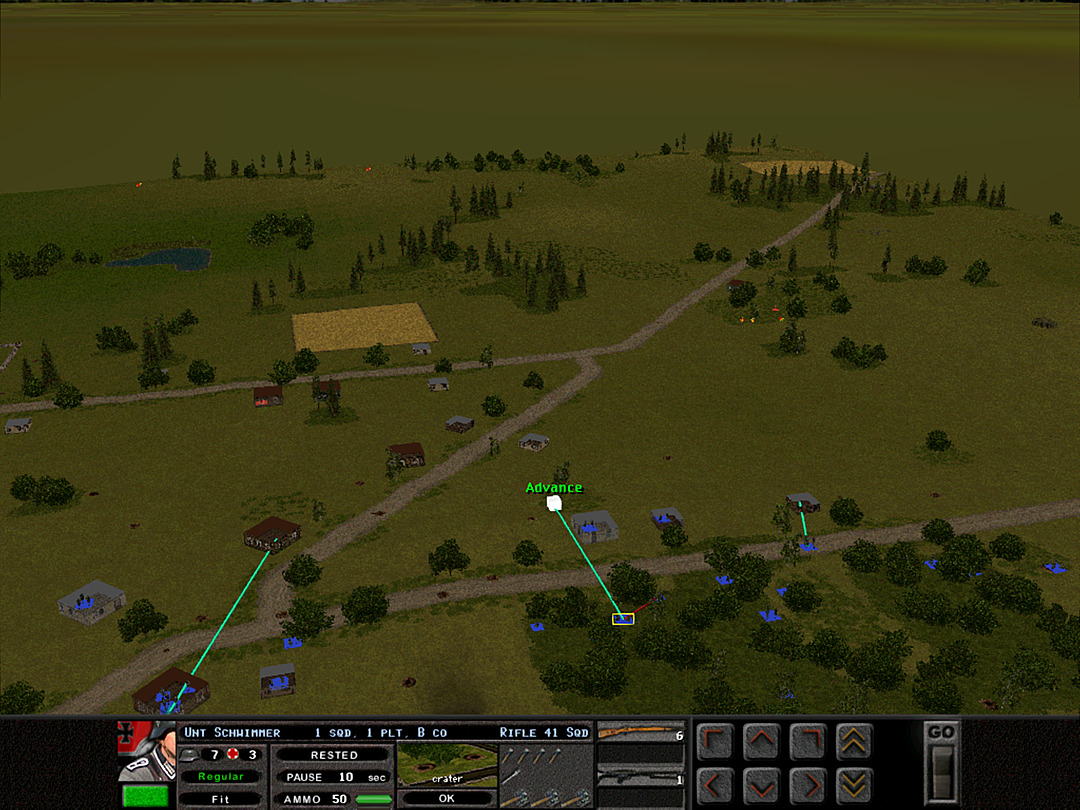 We've spotted at least one Soviet infantry unit occupying a house in the eastern part of the village. Initial advances will be made by both D Coy and B Coy. 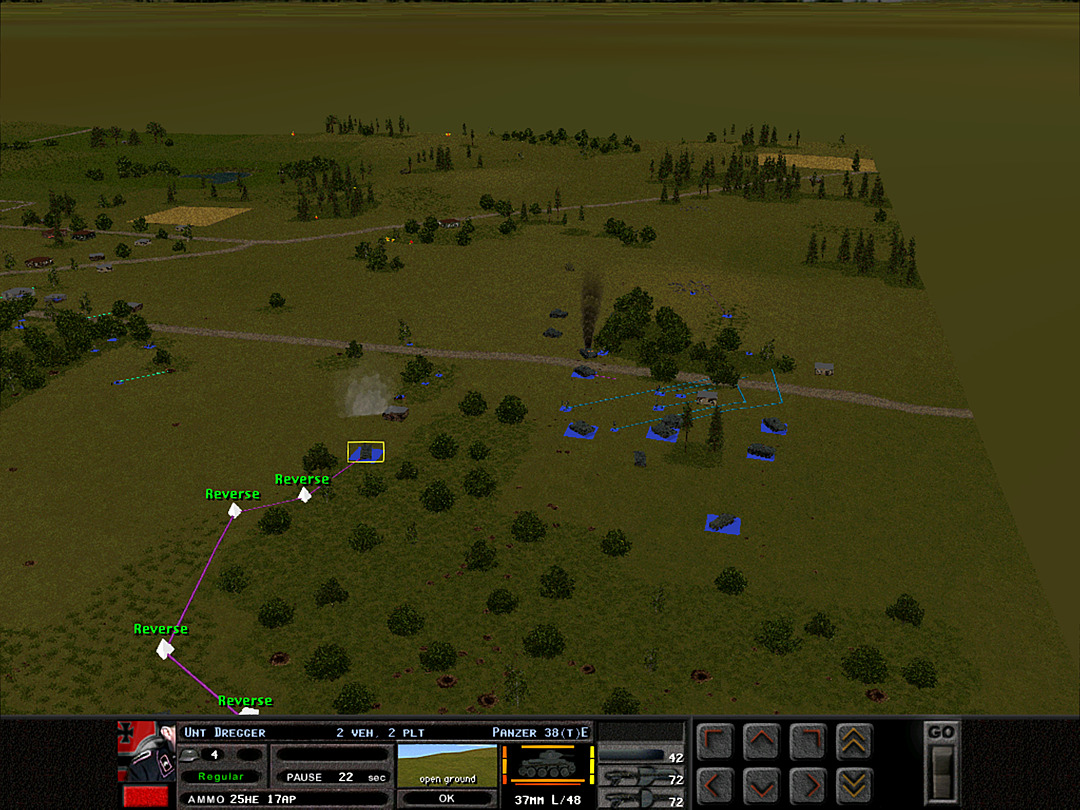 The tanks in the south will sit tight until that AT gun can be handled, but since the scouts haven't seen much in the trees, we're going to push another platoon out and see if it can't rush its way into them. 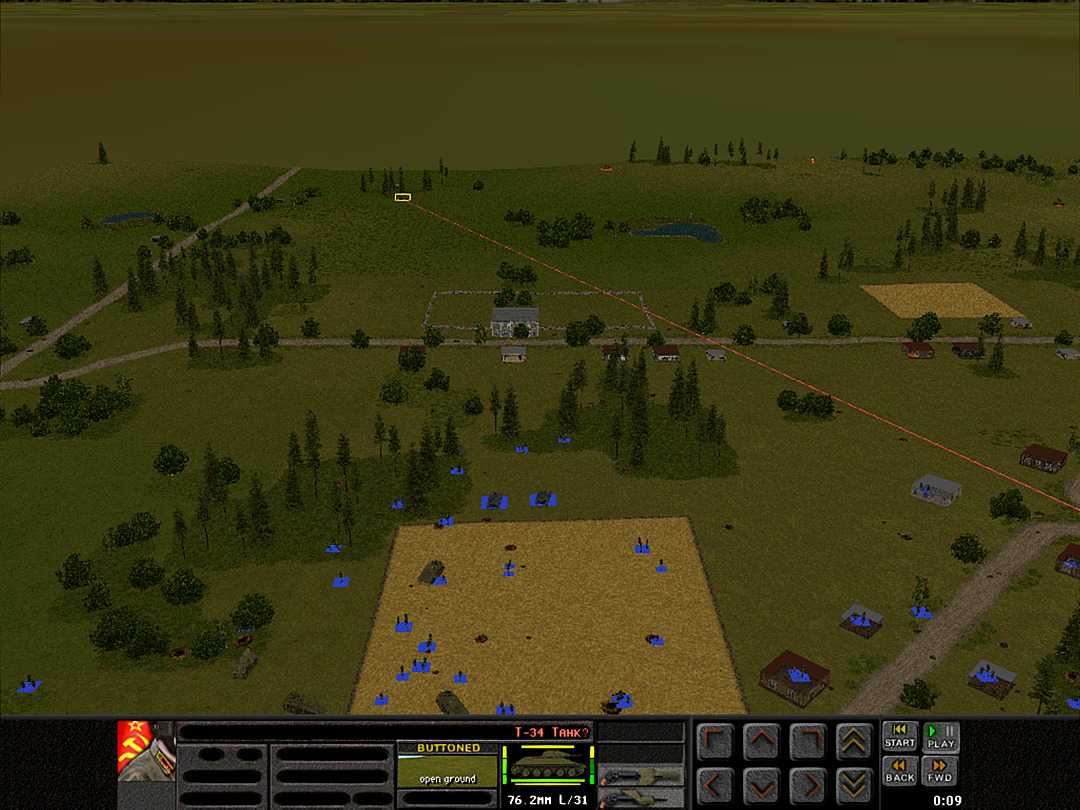 Yet another tank appears beyond the village. It probably isn't actually a T-34, but we do need to be cautious, since if nothing else it signifies that the enemy has definitely reinforced with more armor. 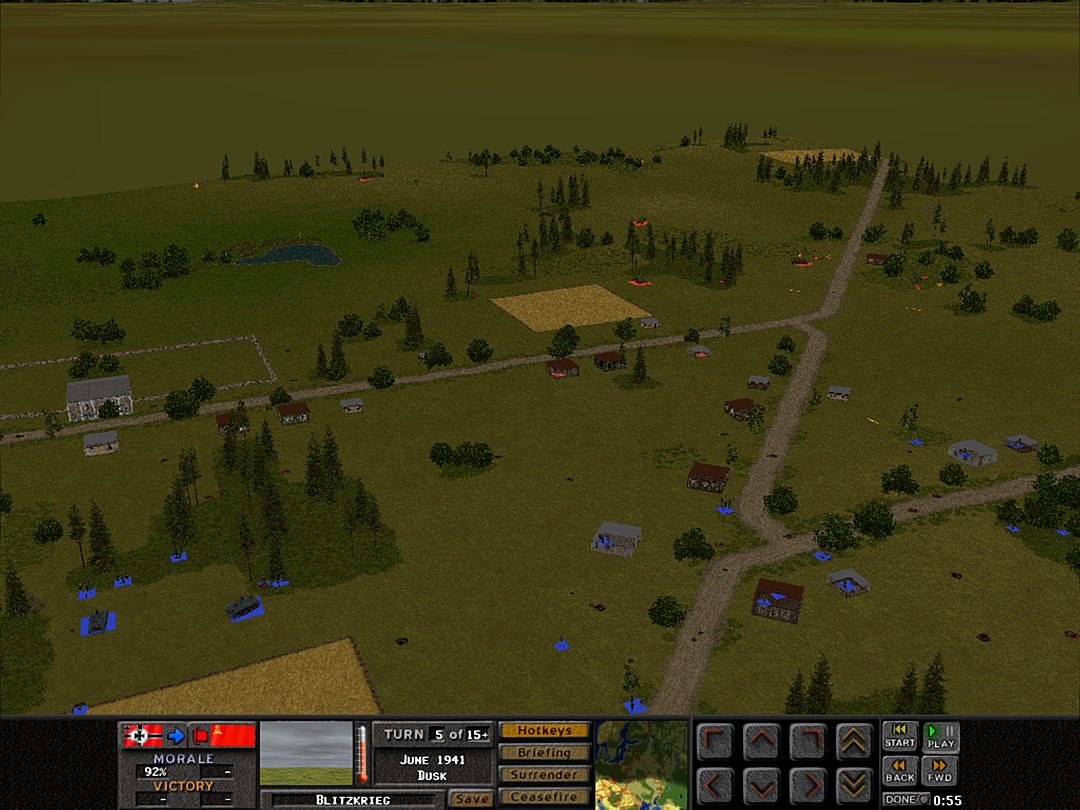 With our own tanks holding themselves back, the enemy tanks start to maneuver. More enemy squads open fire in the village. The battle is heating up. 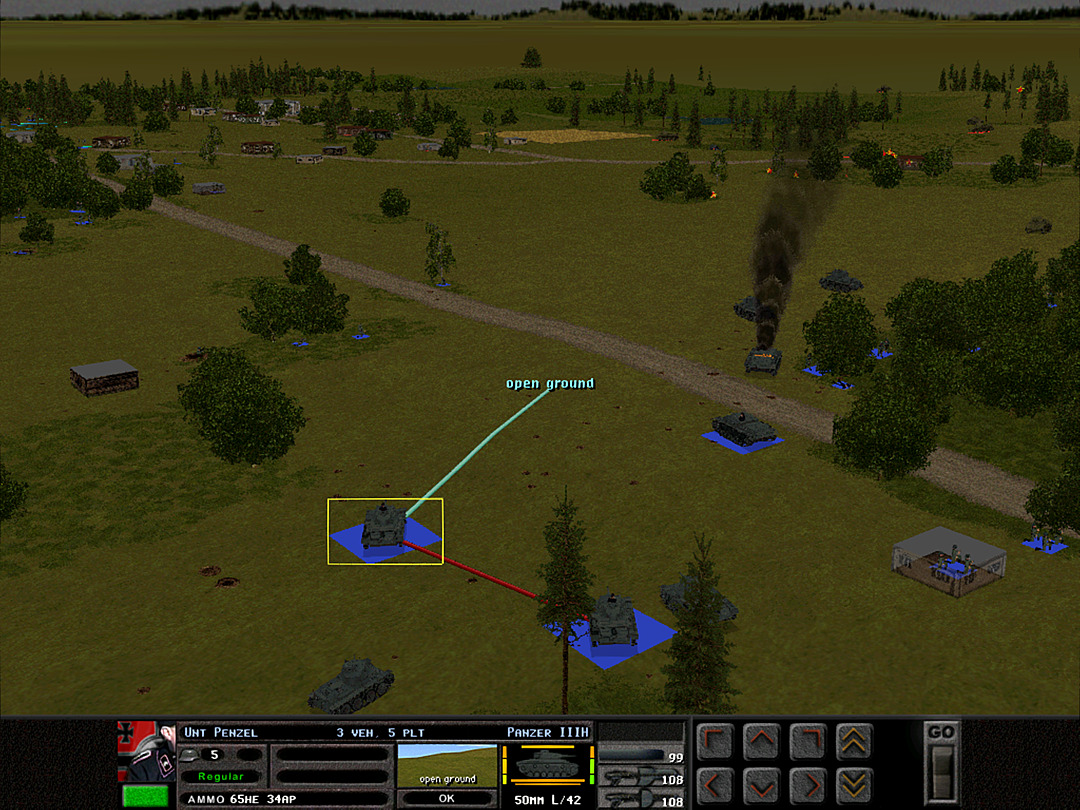 The Panzer III's try to find a line that is safe from the AT gun, yet also will allow a better shot at those annoying BT-7's. 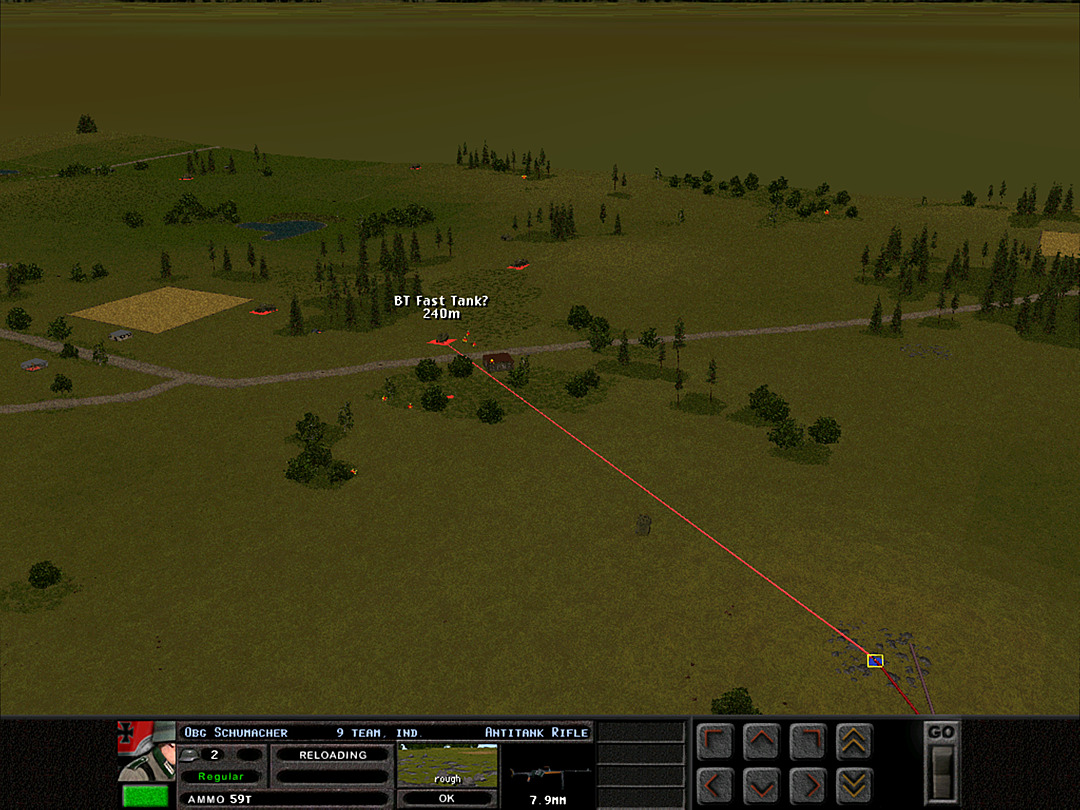 The AT rifle scout on the hillock is actually in range of one of the tanks, and they're so lightly armored he stands a chance, if low, of actually damaging it. 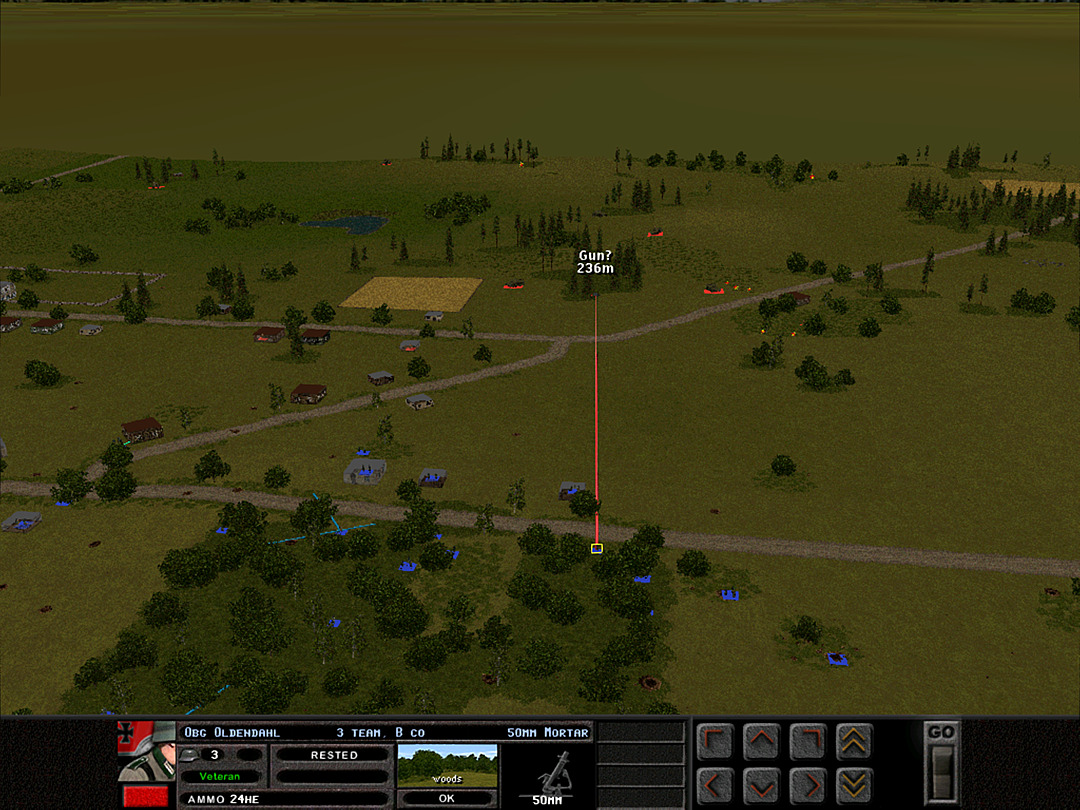 Even before the 105mm rounds land, we can try to knock out the gun with mortar rounds. We are finally getting a lot of troops in the face of the enemy positions. 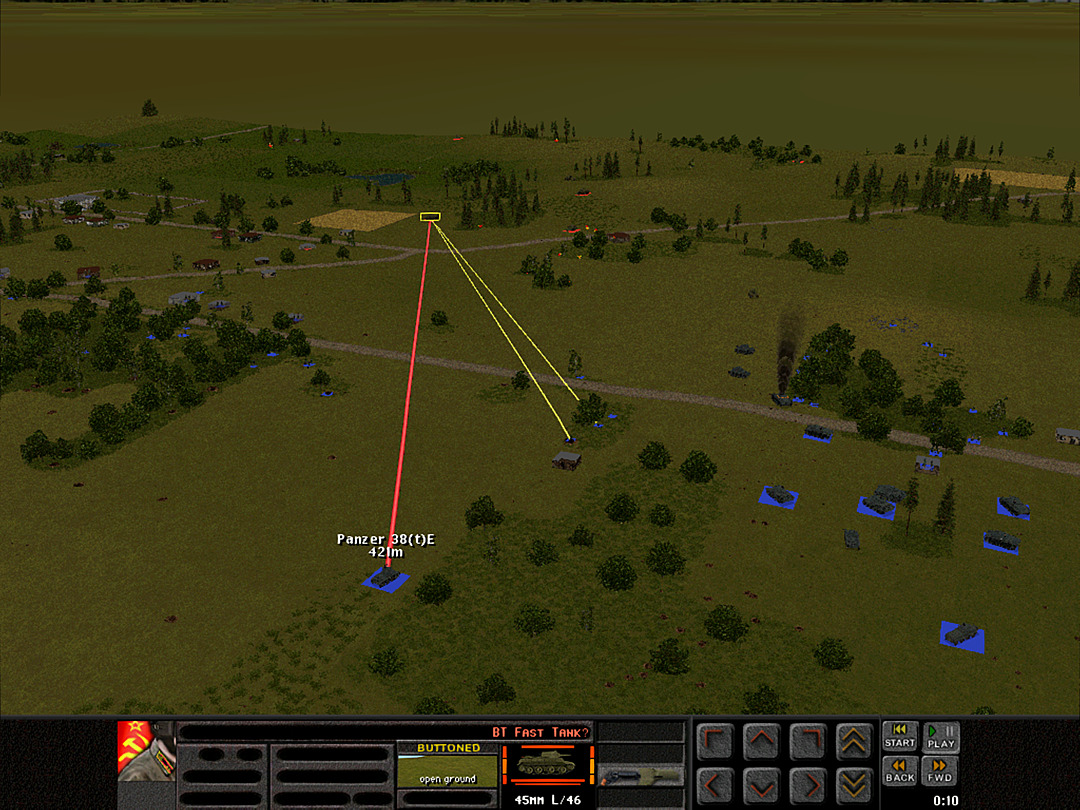 The enemy tanks keep darting around to evade fire. They aren't able to shoot at us effectively, but it's a little annoying that they are keeping our own tanks so occupied. 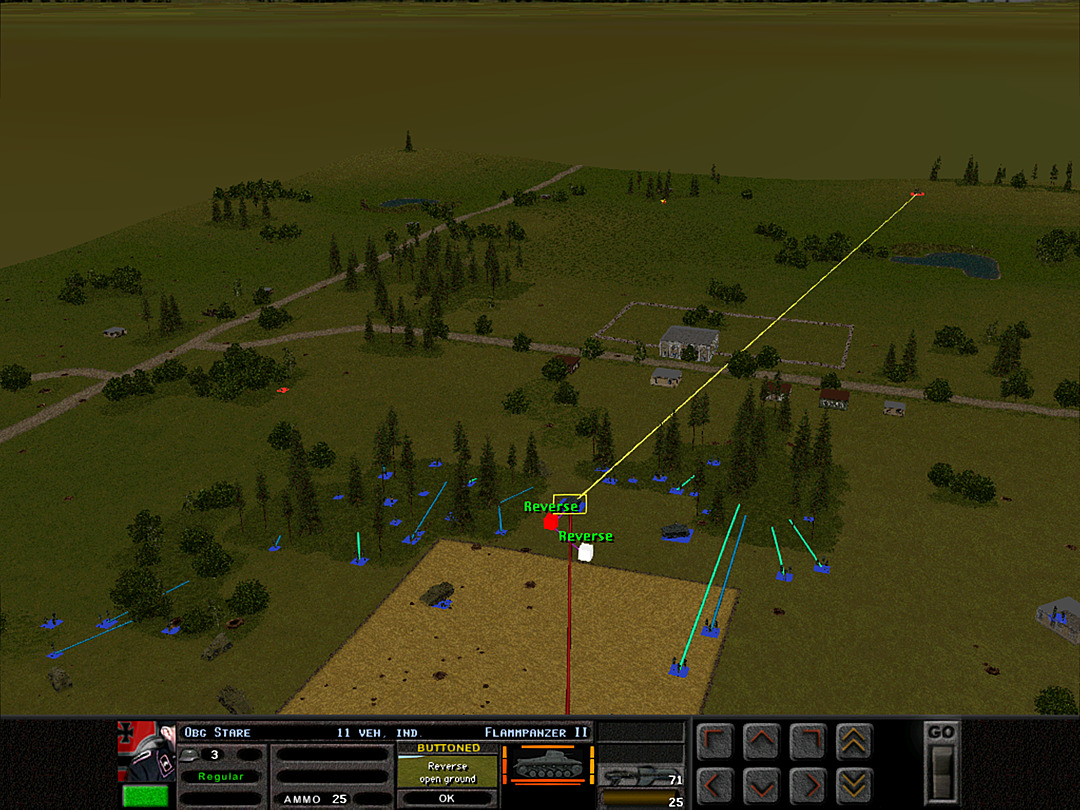 The Flammpanzer need to be careful not to let themselves be seen through the woods. With no close targets, they're basically useless at the moment and just need to hide. 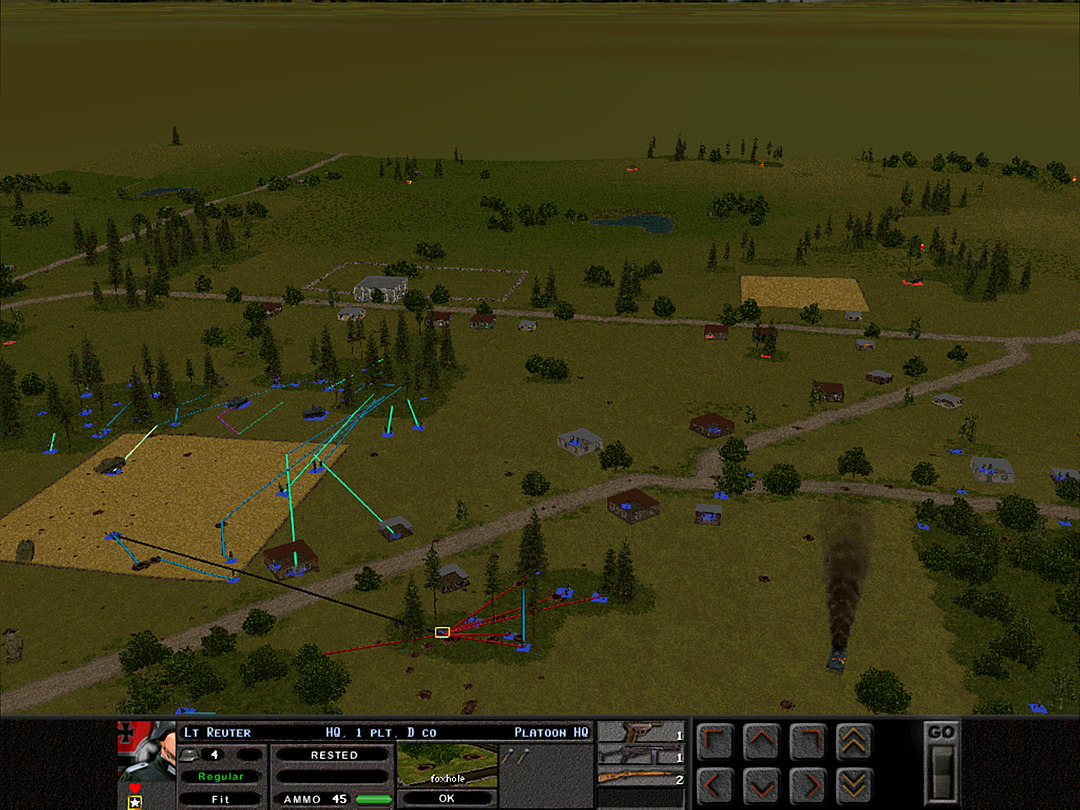 With the Pioneers well on their way to their main targets, D Company is ready to leapfrog its platoons along the road. 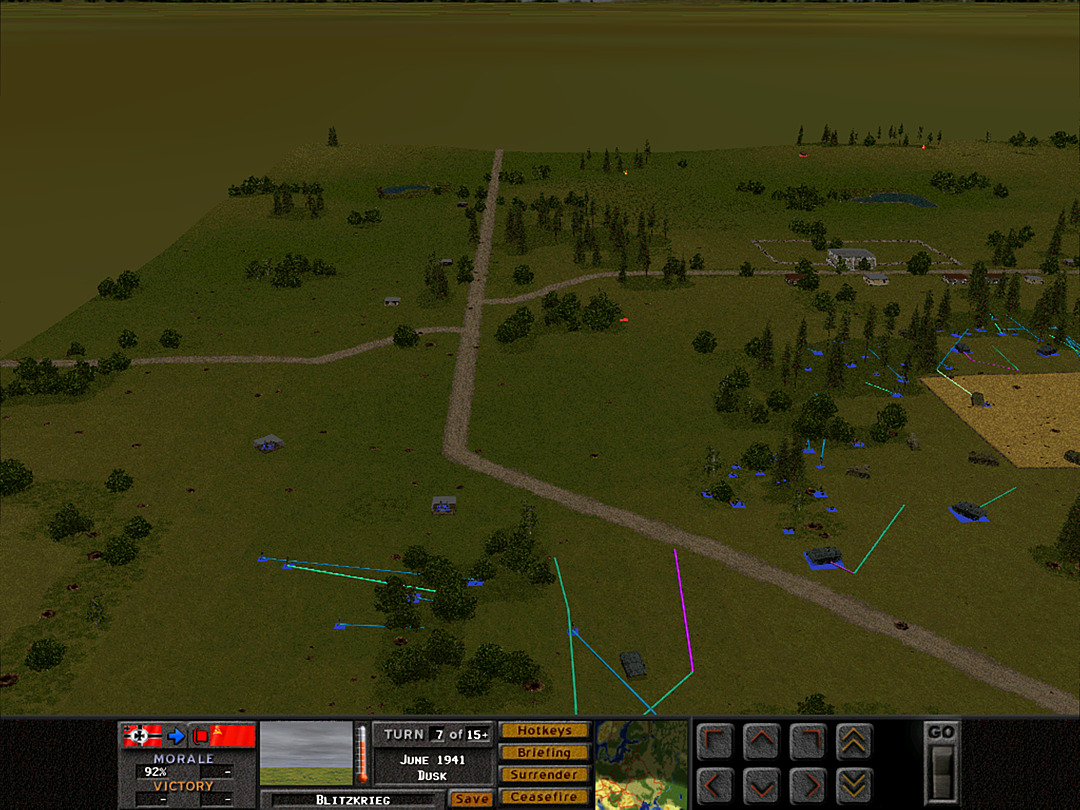 The Panzer III's on the north are going to hold the end of our line as the last platoon of C Coy prepares to make its crossing. The tanks are shifting around, trying to see if they can get an angle on one of the rear enemy tanks, but also cautious about potential AT guns up here. 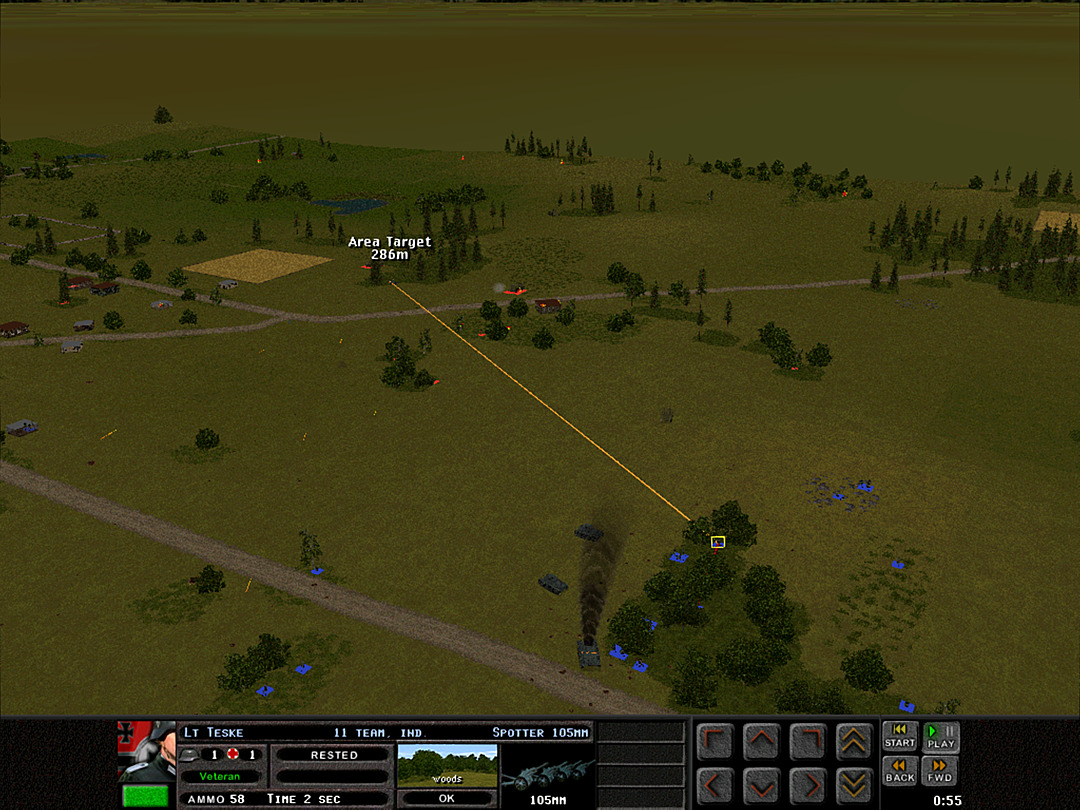 The shells are about to fall on at least one of their guns. 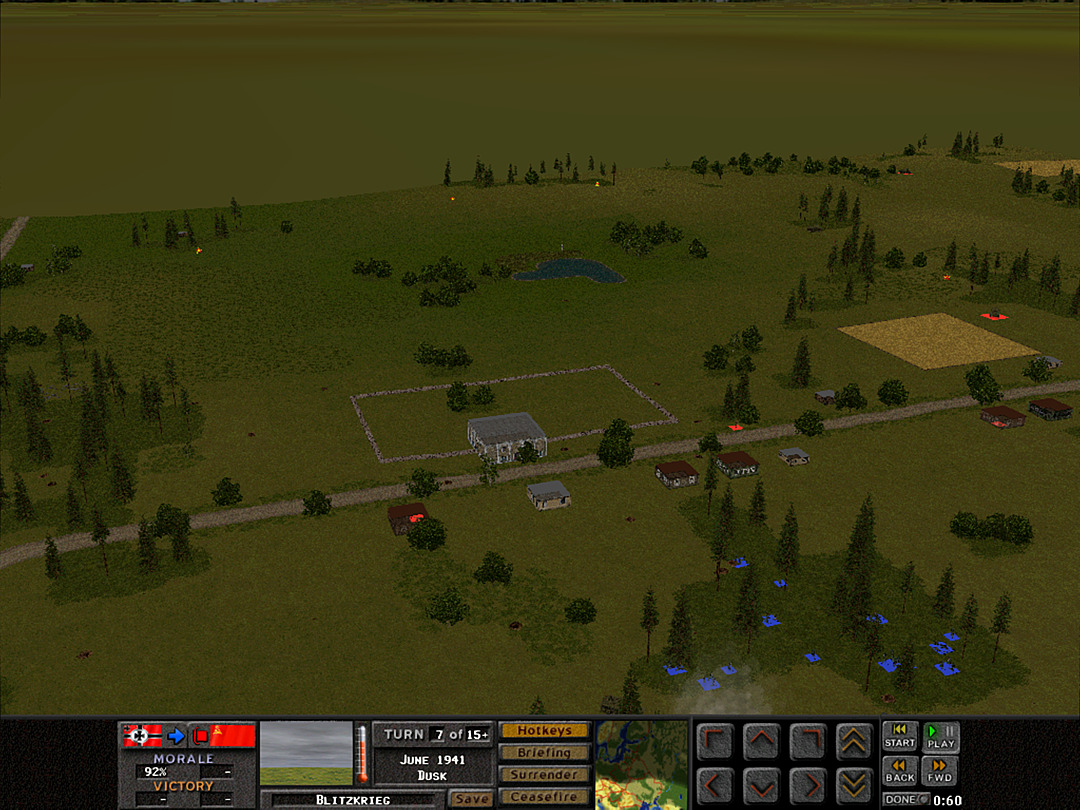 More enemy contacts show up on the east side, near the village's central meeting hall. The Soviets have pulled back a bit, but they have by no means given up the fight. Unit Highlight Panzer IIIf (early models) 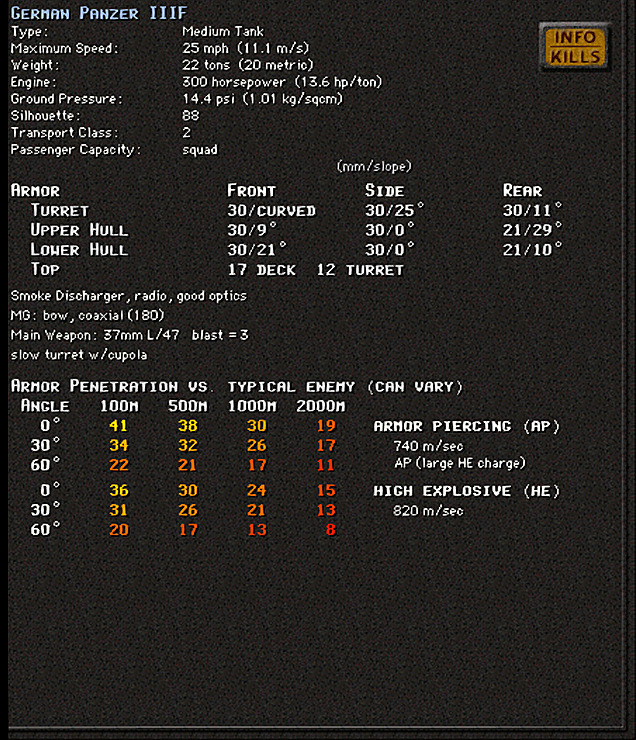 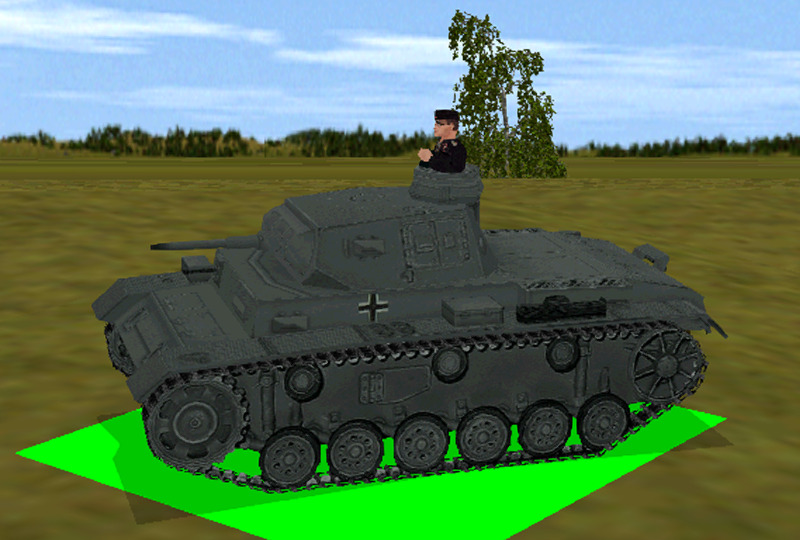 Crew: 5 Base Cost: 72 This gives a decent overview of the early models. While the first few German tank designs of the Nazi regime were outdated and not terribly effective, the Panzer III was the first that could be considered a tank suited for the war that was coming. It was the first to have a proper cannon for its main gun, and it used enough armor to reliably protect it from anything that wasn't another tank-sized gun. It was also the first of theirs to implement the 3-person turret that became the hallmark of the German design philosophy. It underwent many iterations. The first few could be considered prototypes; it wasn't until the IIIe, produced in 1939, that they seemed to have settled on a decent form. The IIIf that followed was the first to come out in number. It saw action in the early part of the war, but was not frequently on the front lines by the time of Barbarossa. In real life, the initial version of the IIIg was almost the same as the IIIf. However, it tended to get up-gunned (especially on the Eastern Front), and the in-game IIIg reflects this, making it quite distinct from the IIIf. So the game's IIIf variant could likely stand in for any early model Panzer III with its original gun. Other variants, including the IIIh that we have seen in action, will be highlighted in future posts. Kangra fucked around with this message at 22:35 on Dec 4, 2023 |
|
|
|
Operation: Blitzkrieg, Battle 4 of 5 Battle Time: 0:08 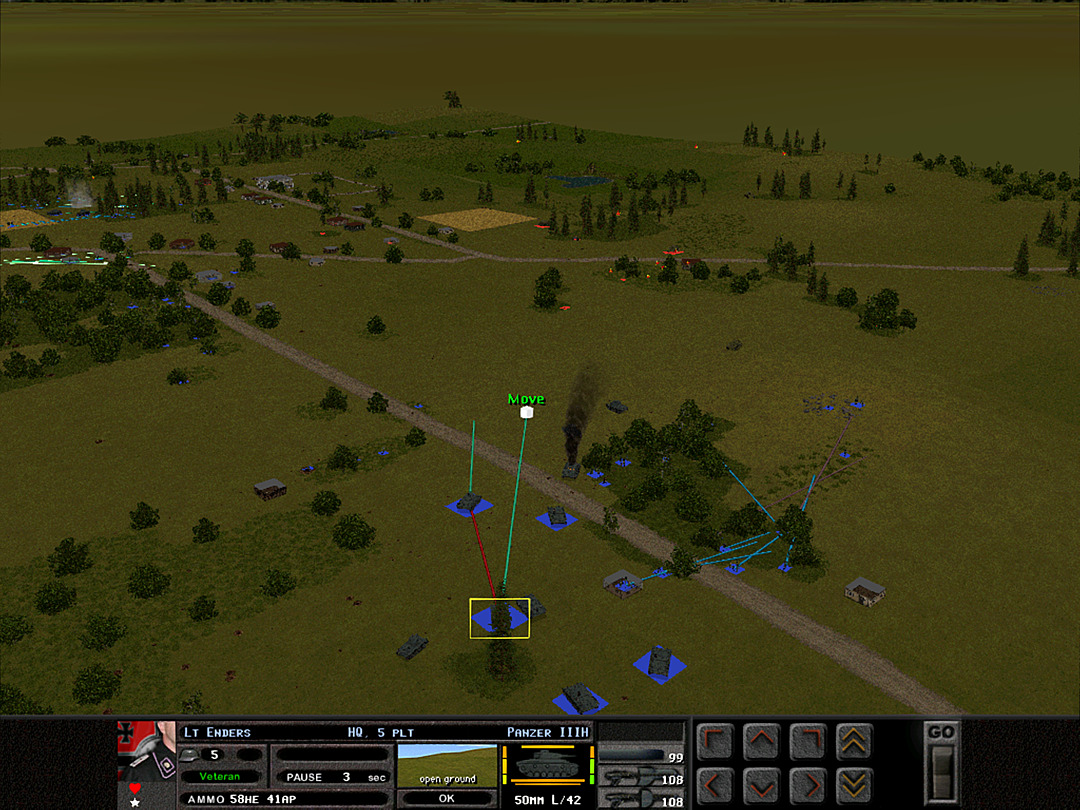 We are trying to knock out those BT-7's close to the village. The tanks of 5 Plt shift a little forward. 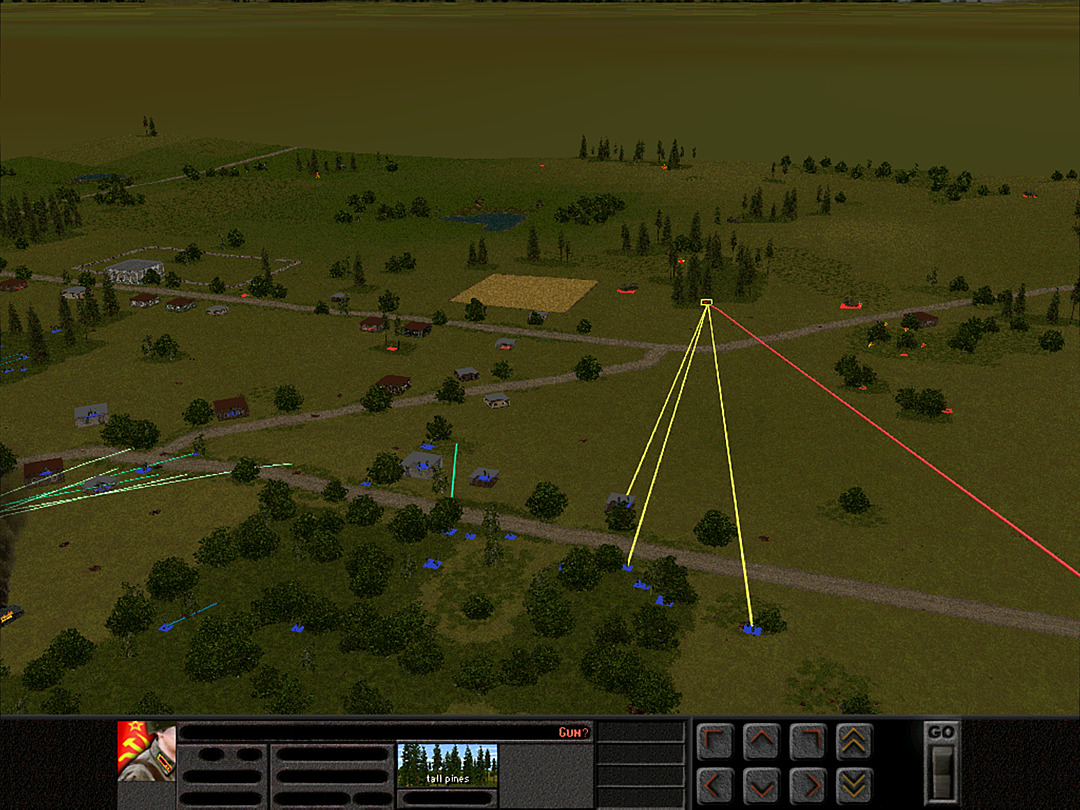 It's not clear yet if the artillery has taken out the AT gun, but we stand a good chance of suppressing it if it's still operable. 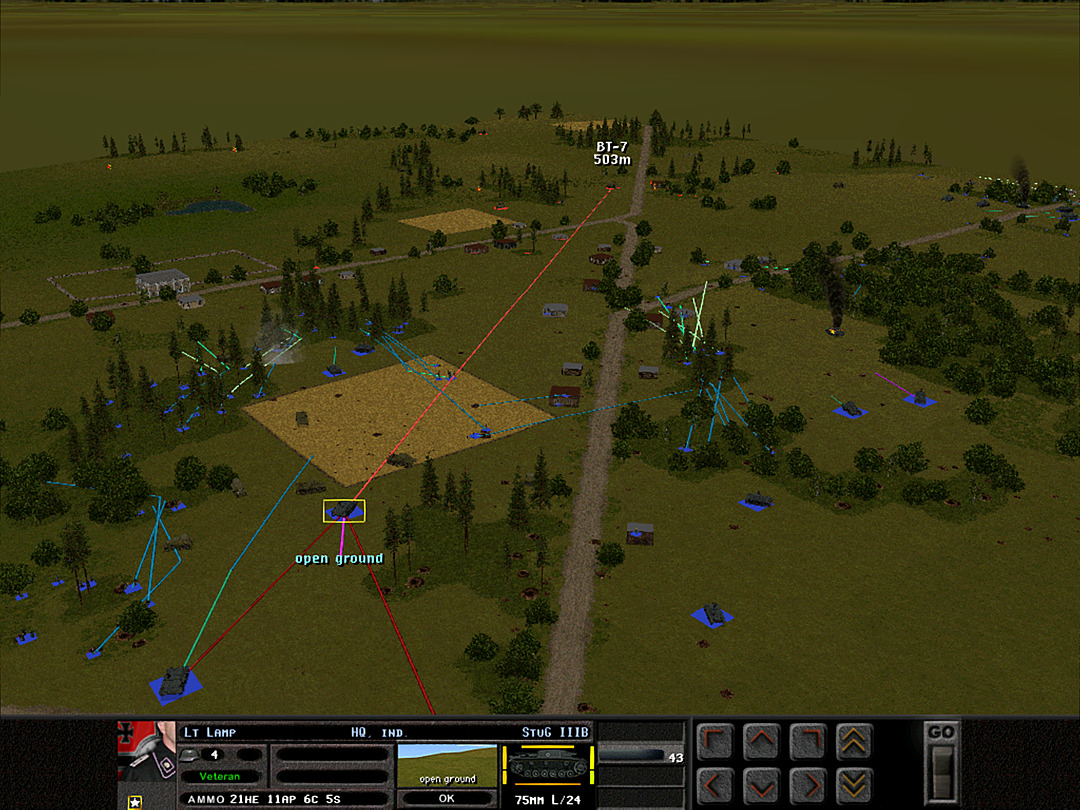 The Stugs can take shots at tanks from across the village, but I'm leery of putting them too far forward. There is a good chance the KV-2 is lurking somewhere near the road. 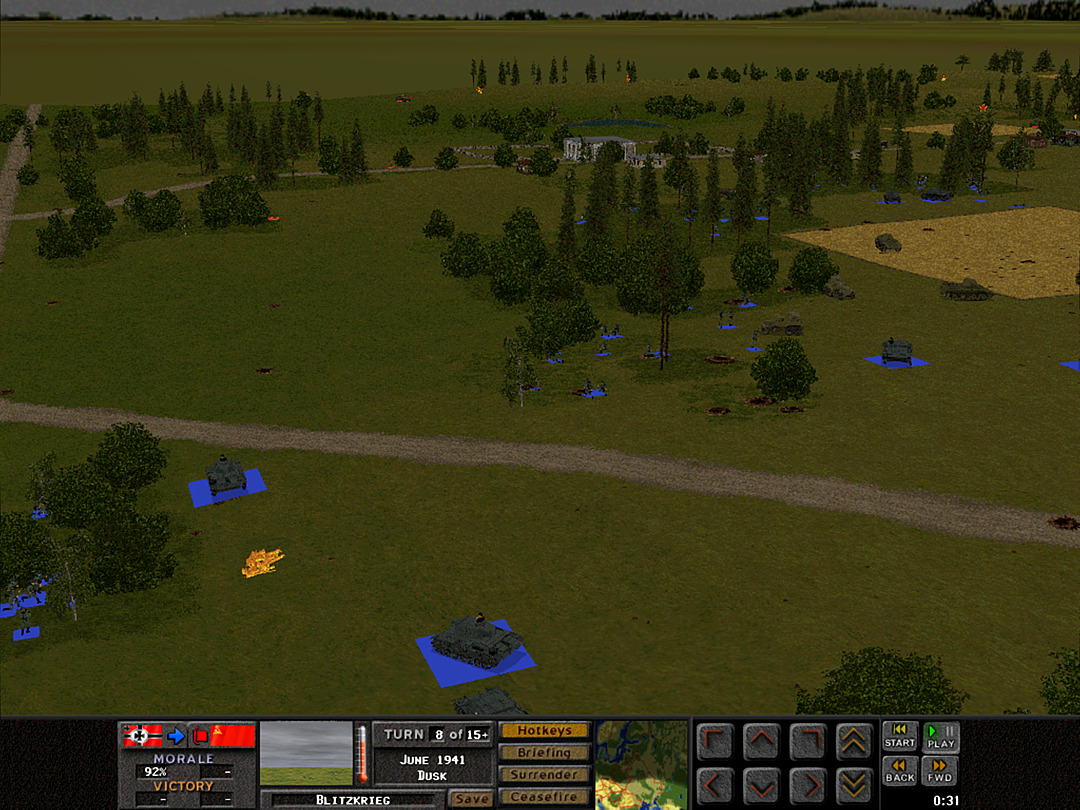 In the north, the Russians are trying to knock out the tanks with crude incendiary devices, but they have no success. 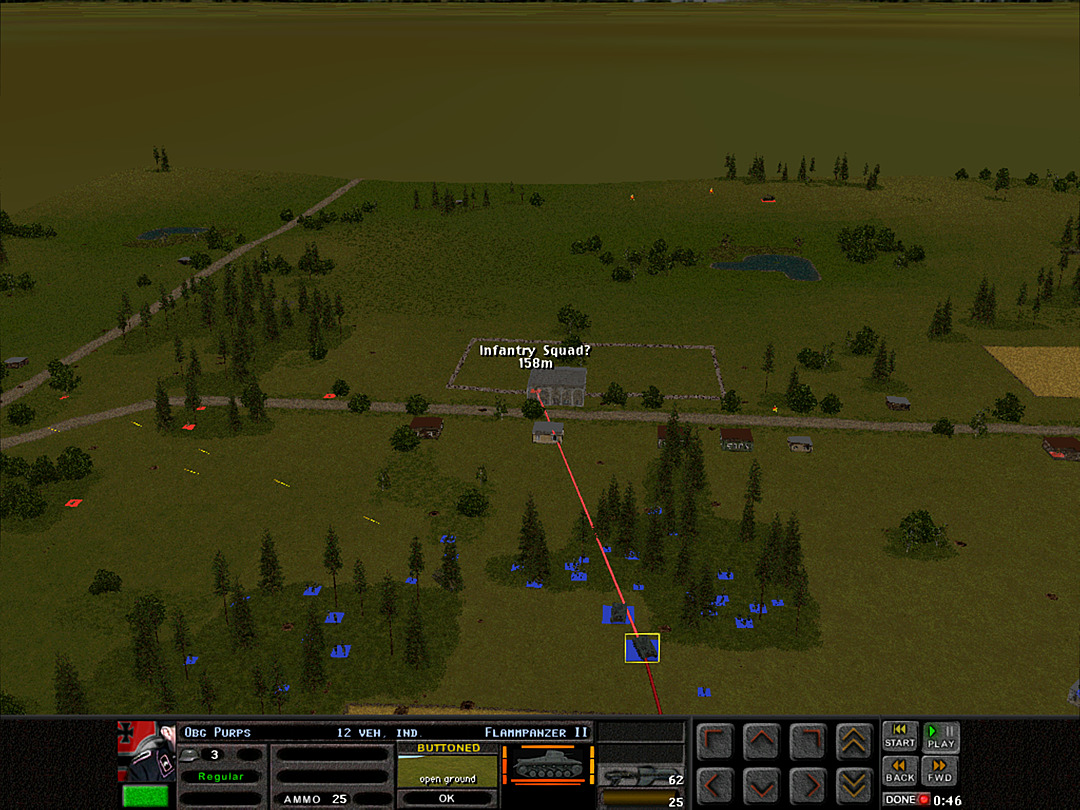 The Pioneers start their assault, and immediately reveal more soldiers in the northeast woods. 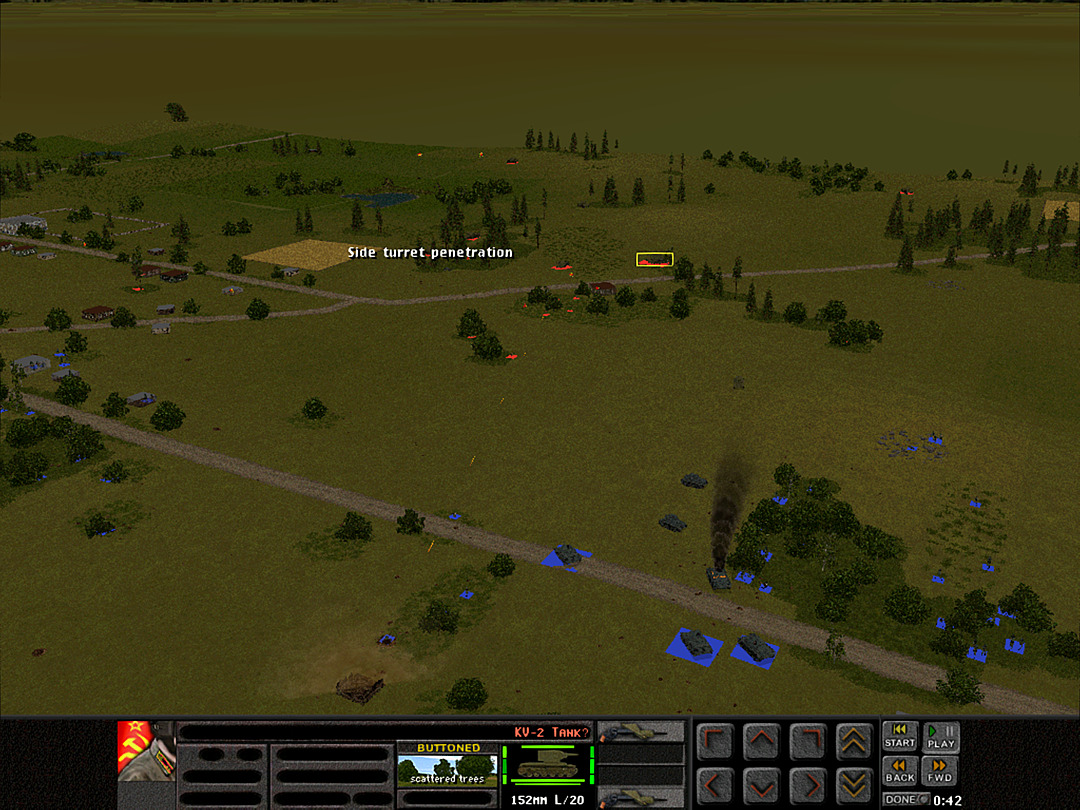 The KV-2 rears its ugly head. We have to be a lot more careful about taking this location, as we have almost no chance of penetrating its armor. 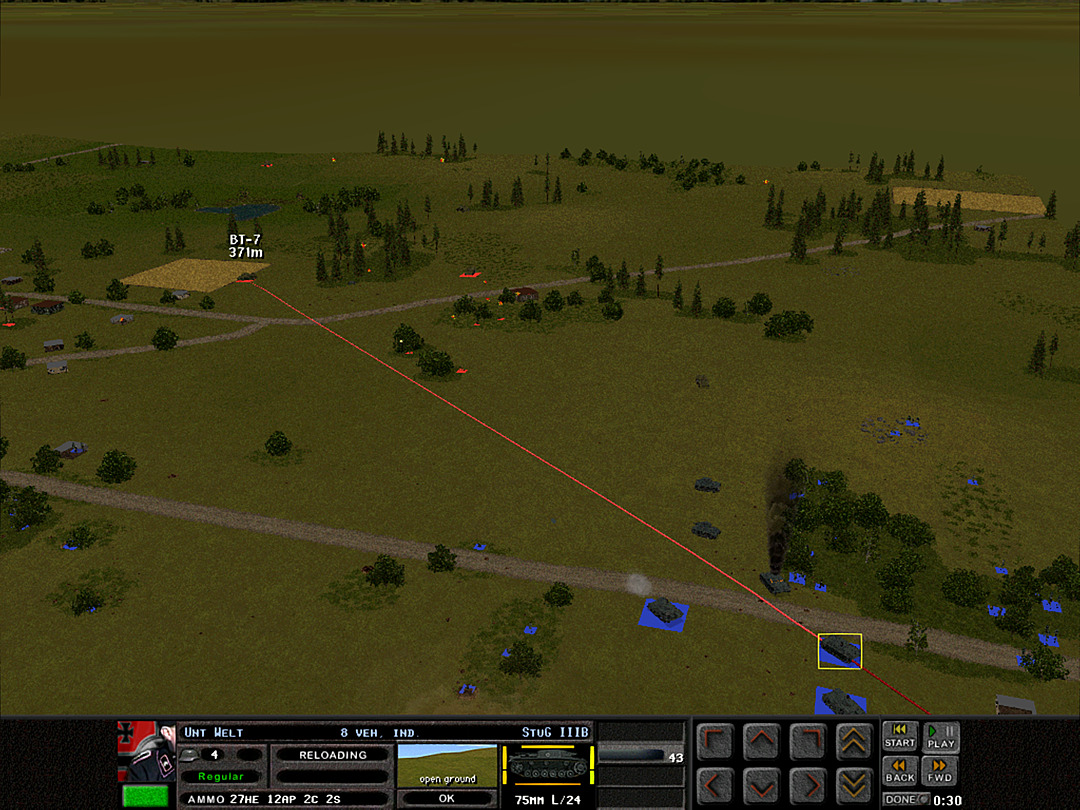 The lighter tanks could be easily penetrated, if only we could get a clear shot at them. 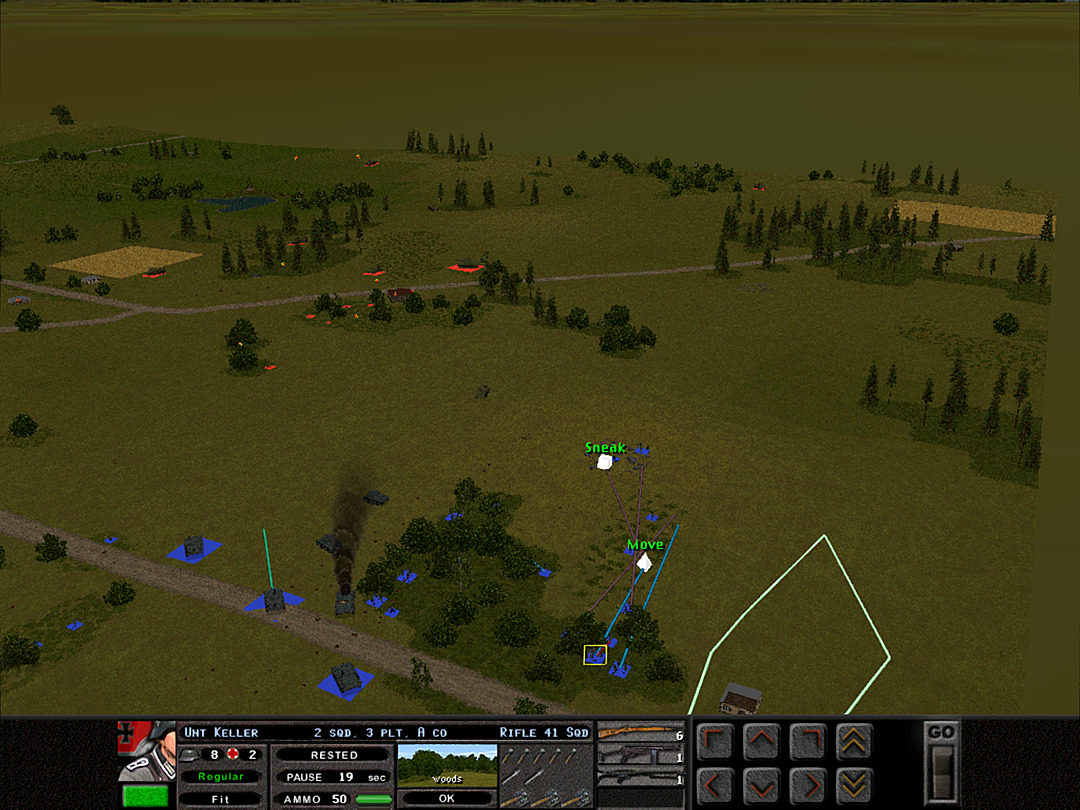 If we do manage to get infantry in those woods, the KV-2 would be forced to pull back. A Coy, 3 Plt prepares to run around from the hill. We also send the scout car around to see if it can spot anything more.  Whether it was the artillery or the direct rifle fire that did it, it appears that we have in fact knocked out another AT gun. 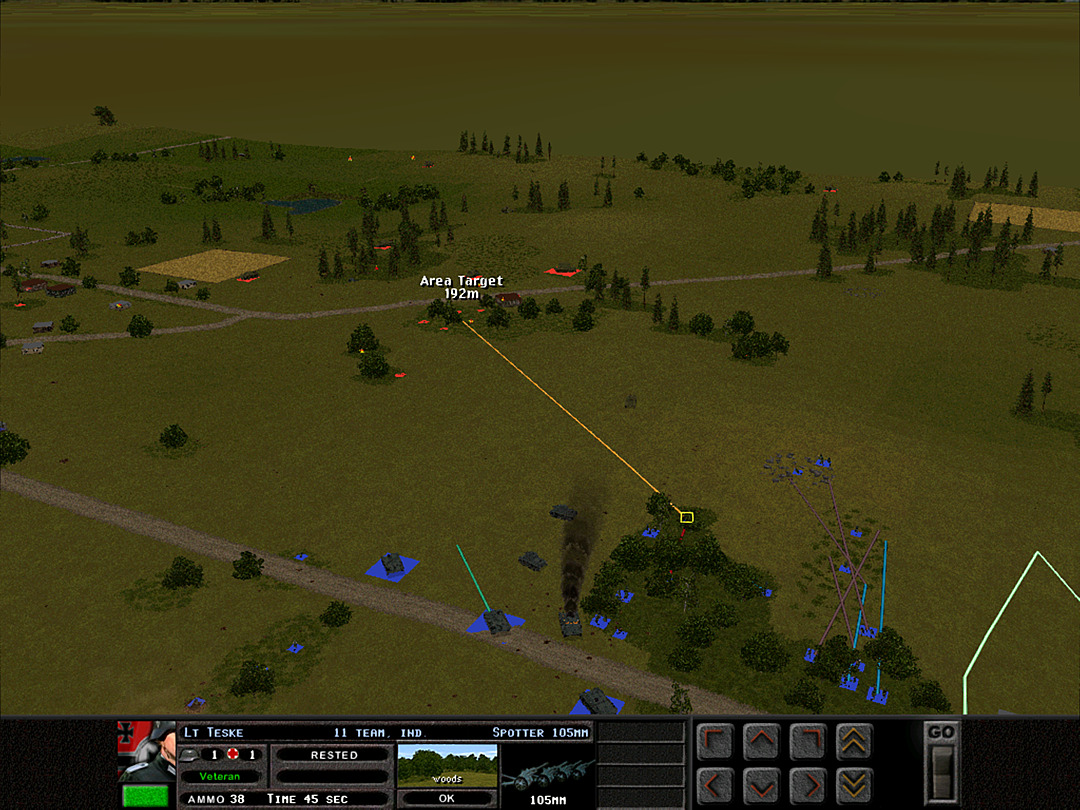 The spotter adjusts his target to the forward woods. The 105mm will be less effective as we lose daylight, so there's little sense in conserving ammunition. 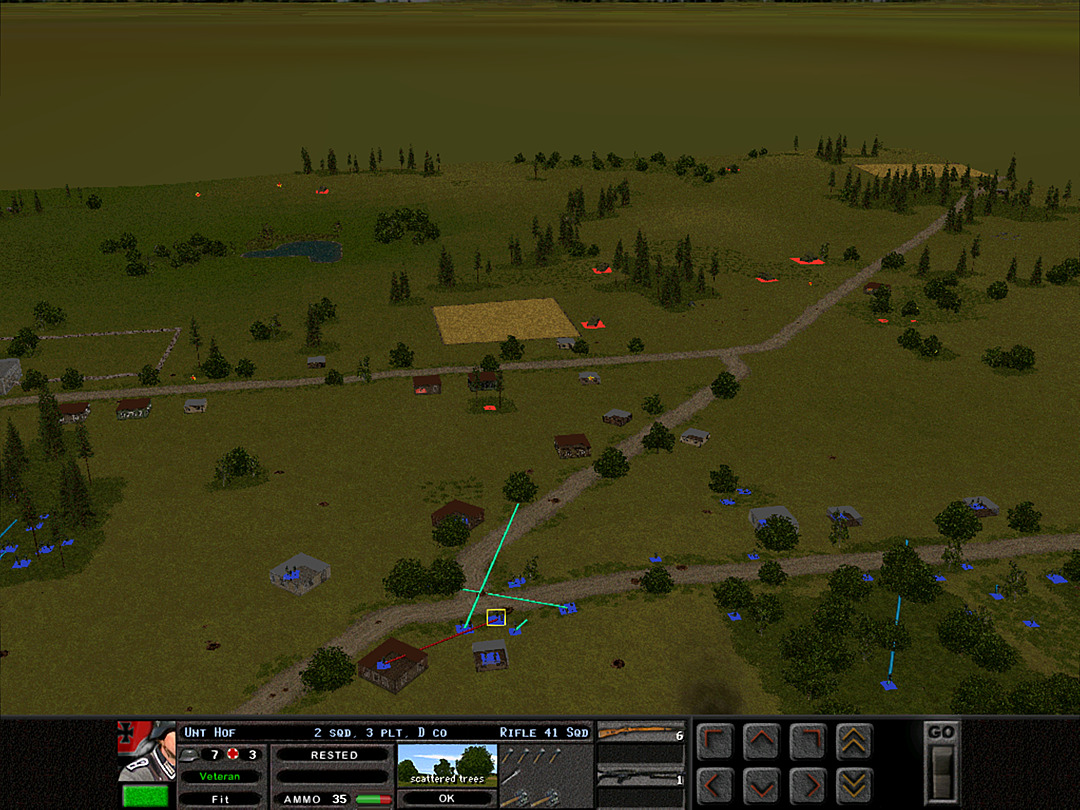 It is getting a little harder to deal with the enemy fire from both the east side of the village and along the highway, but D Coy, 1 Plt is going to attempt to keep moving forward. 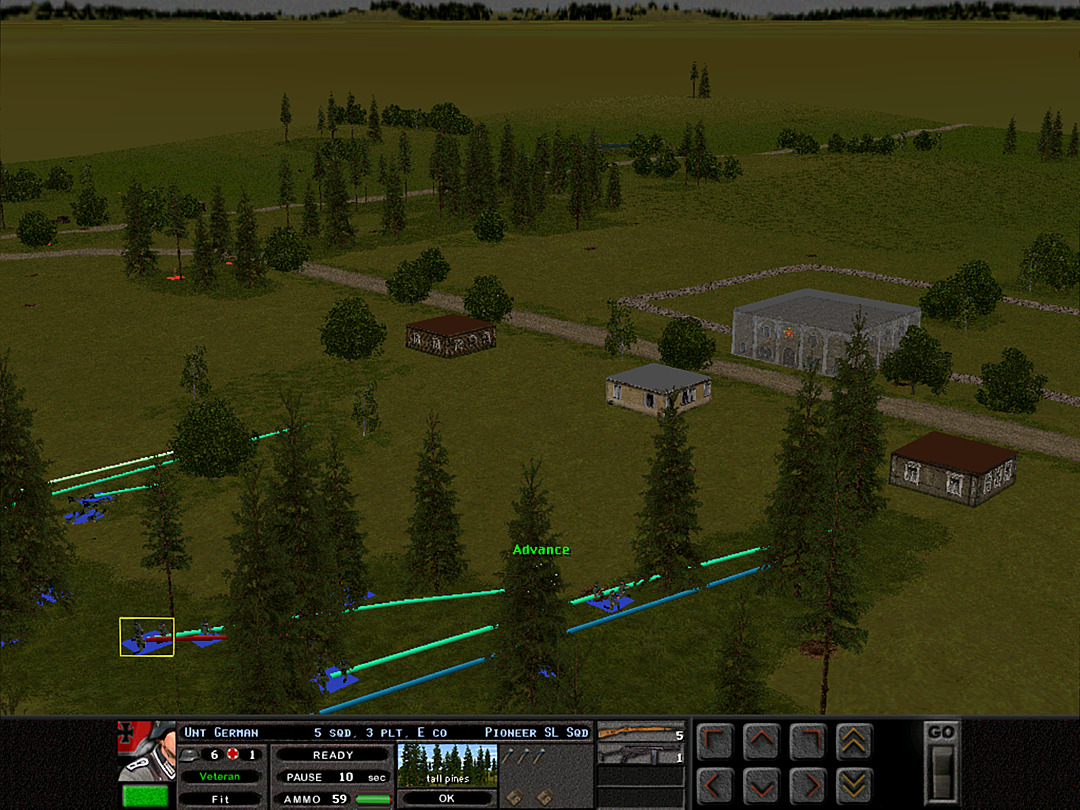 The Pioneers will be pushing through the woods to reach the houses of the village. We expect some hidden occupants, but these men are prepared. 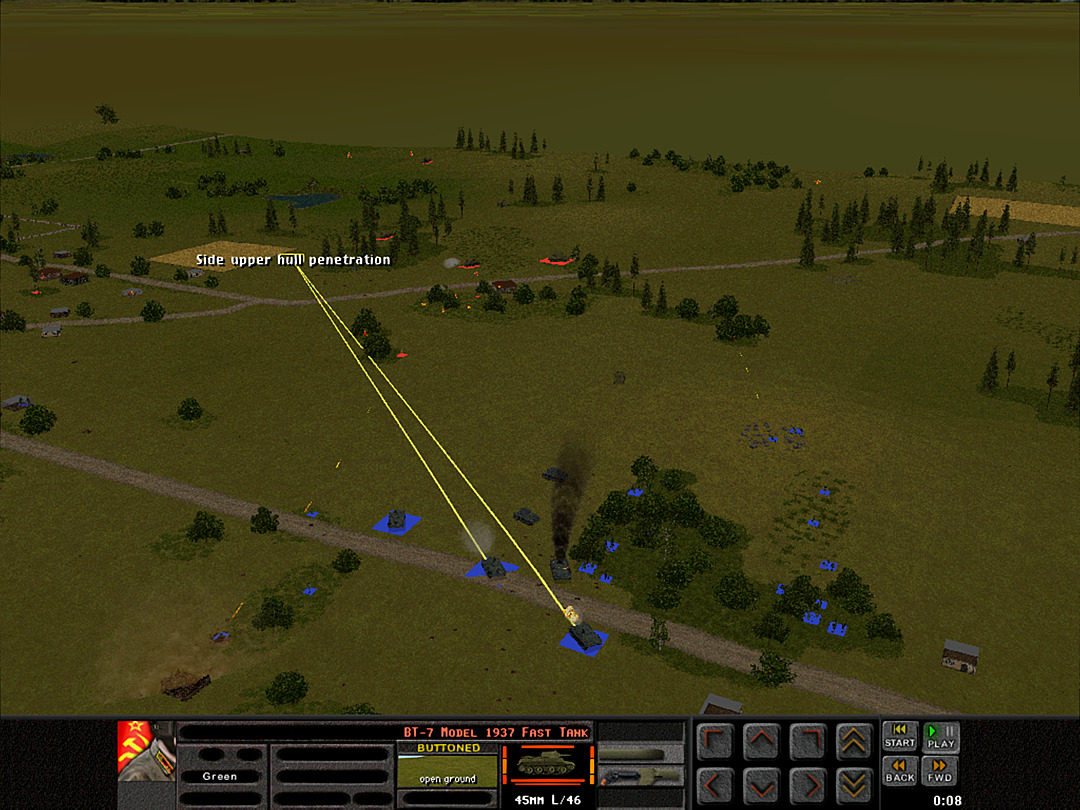 Even when we hit the BT-7 with tank rounds, it still somehow fails to eliminate it. 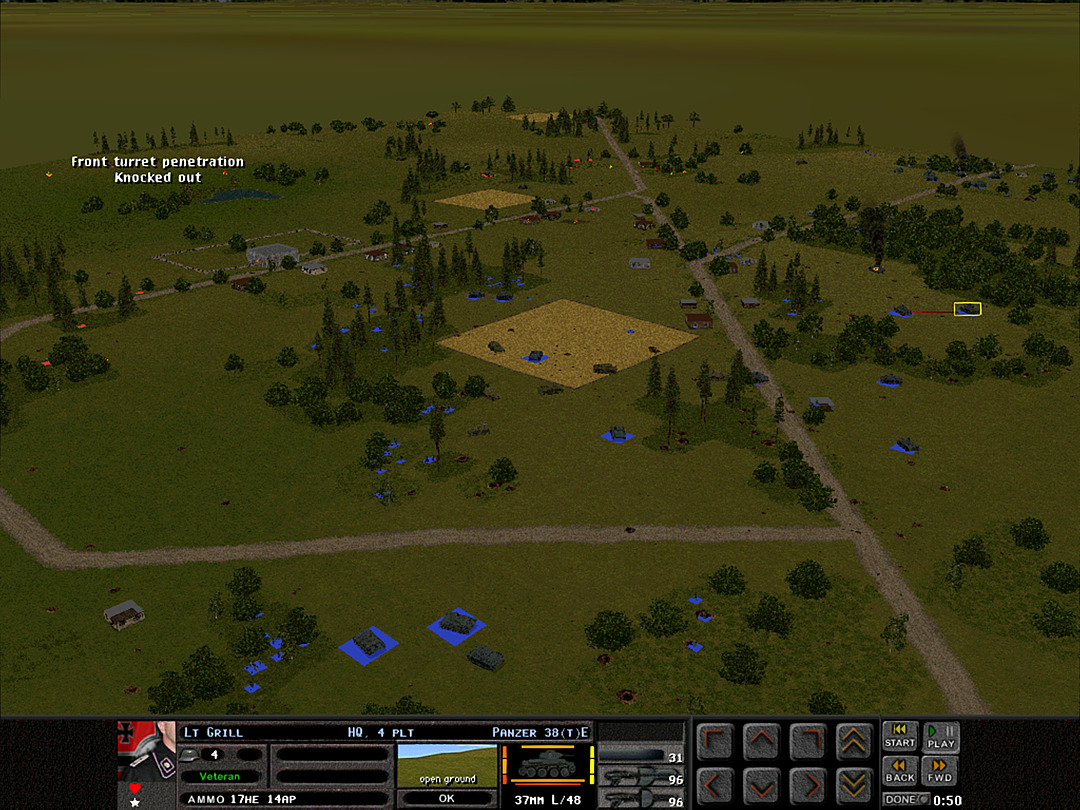 Another one is taken out, though, with a direct hit from the Panzer 38 by the central woods. 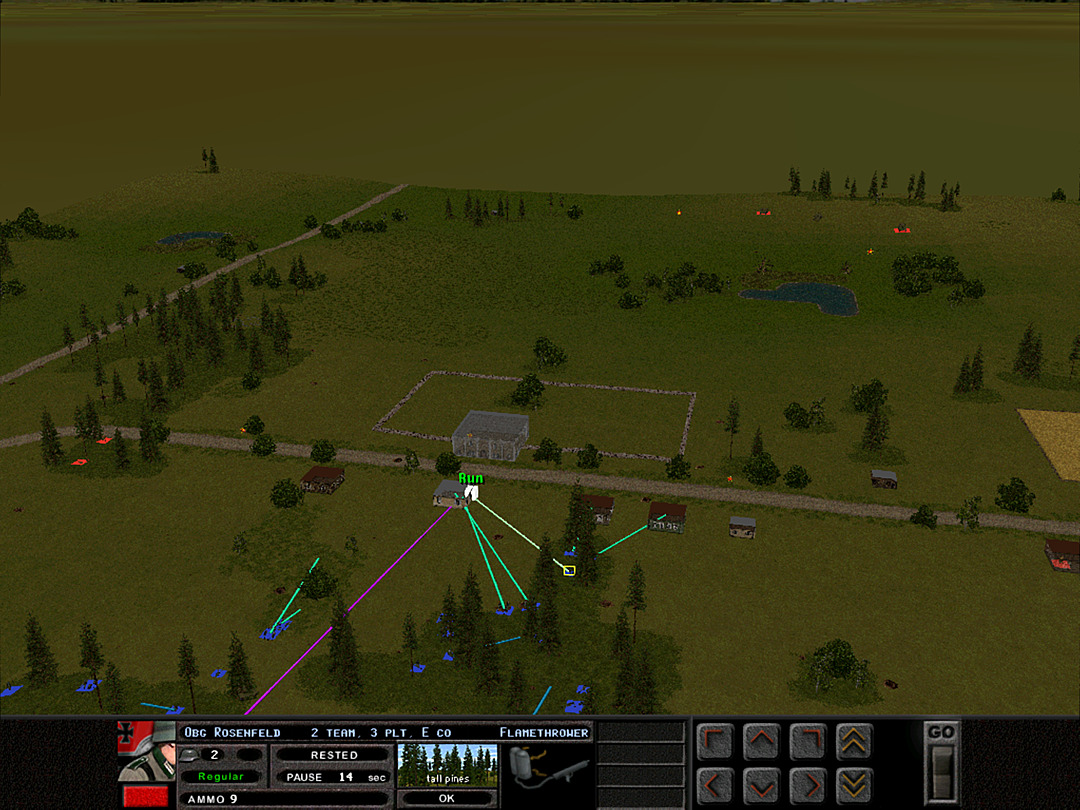 The flamethrower teams are going to assist with clearing these buildings. 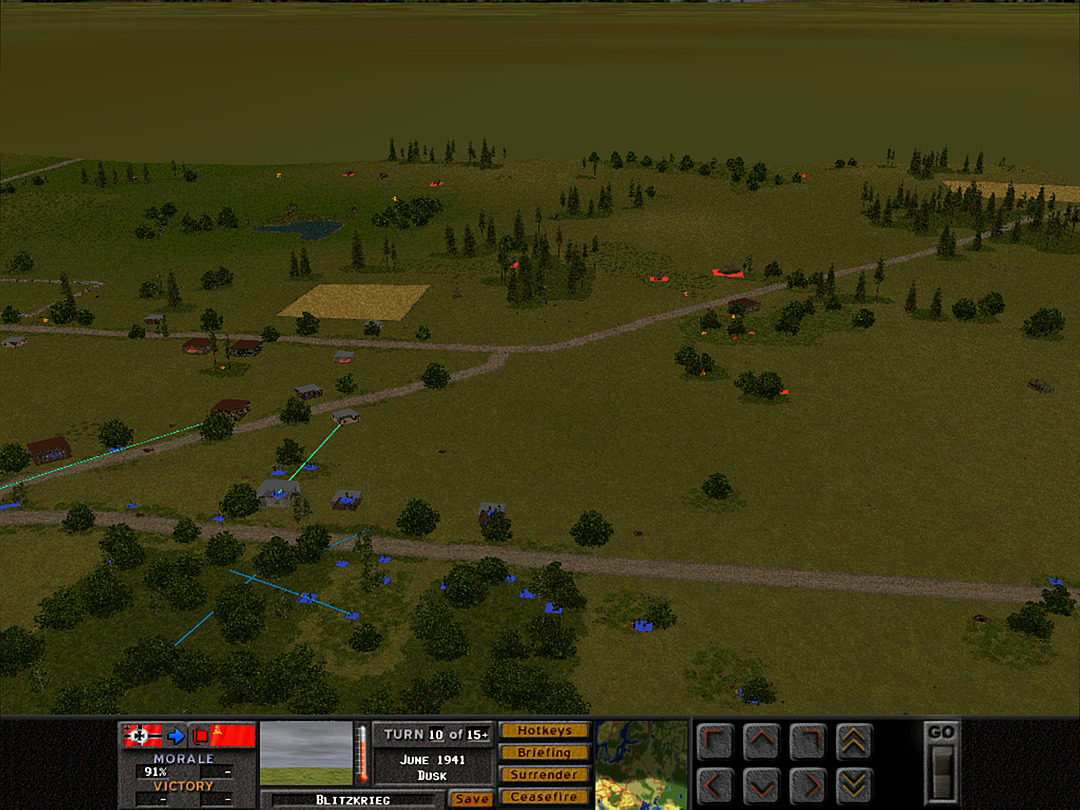 Teams from both B Coy and D Coy will try to take more of the houses on the southeast side, as that part of the village seems cleared out. 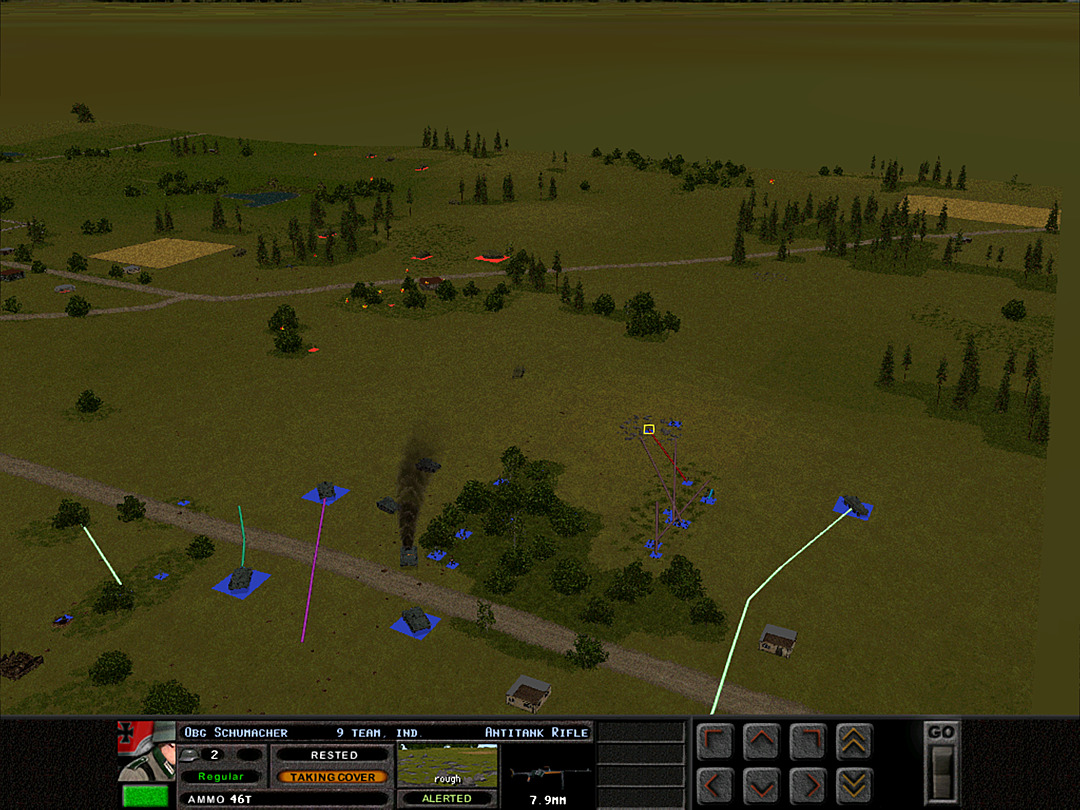 The AT Rifle on the hill has been harassing the tanks for a while, and the Soviets have started to aim more fire at it. 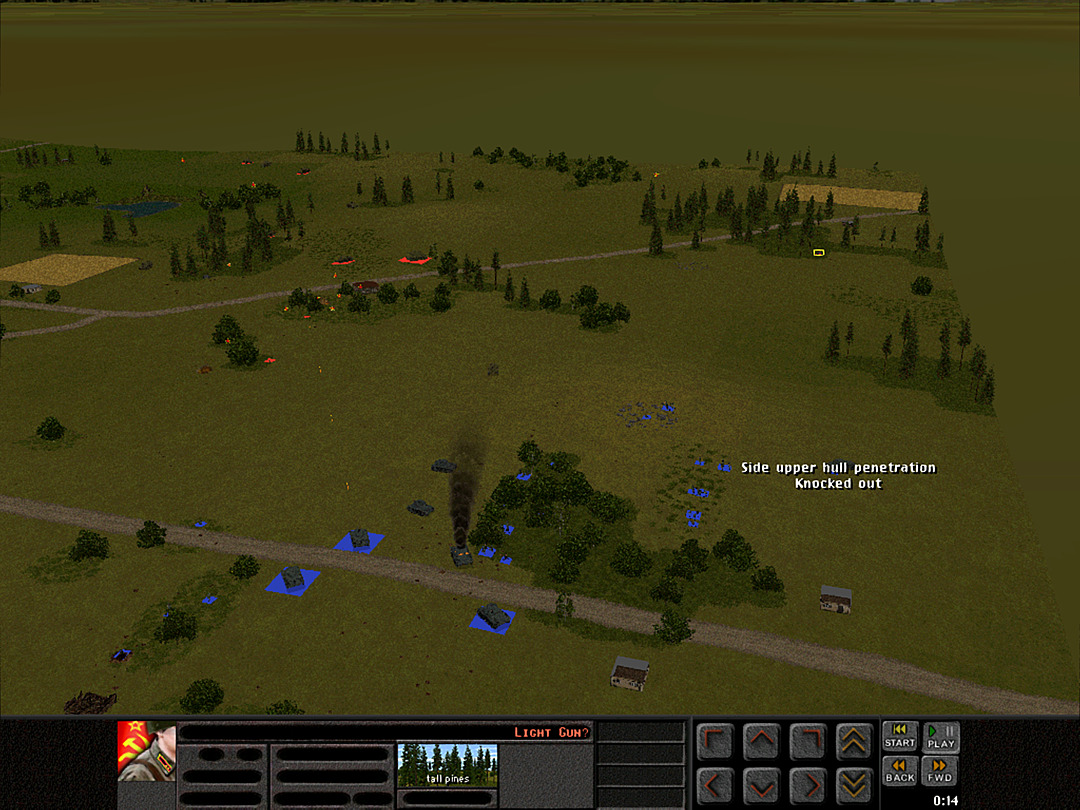 The last scout car is lost when one of the smaller anti-tank guns reveals itself. 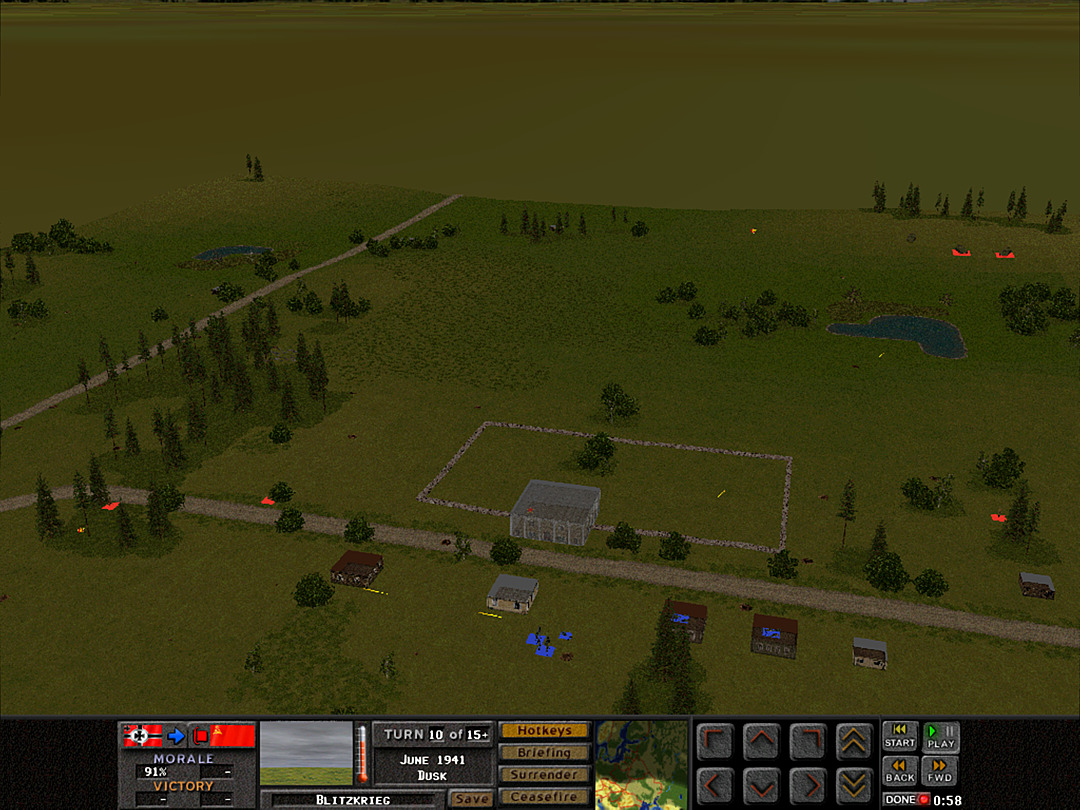 The charge toward the house comes under fire from the trees north of the village. 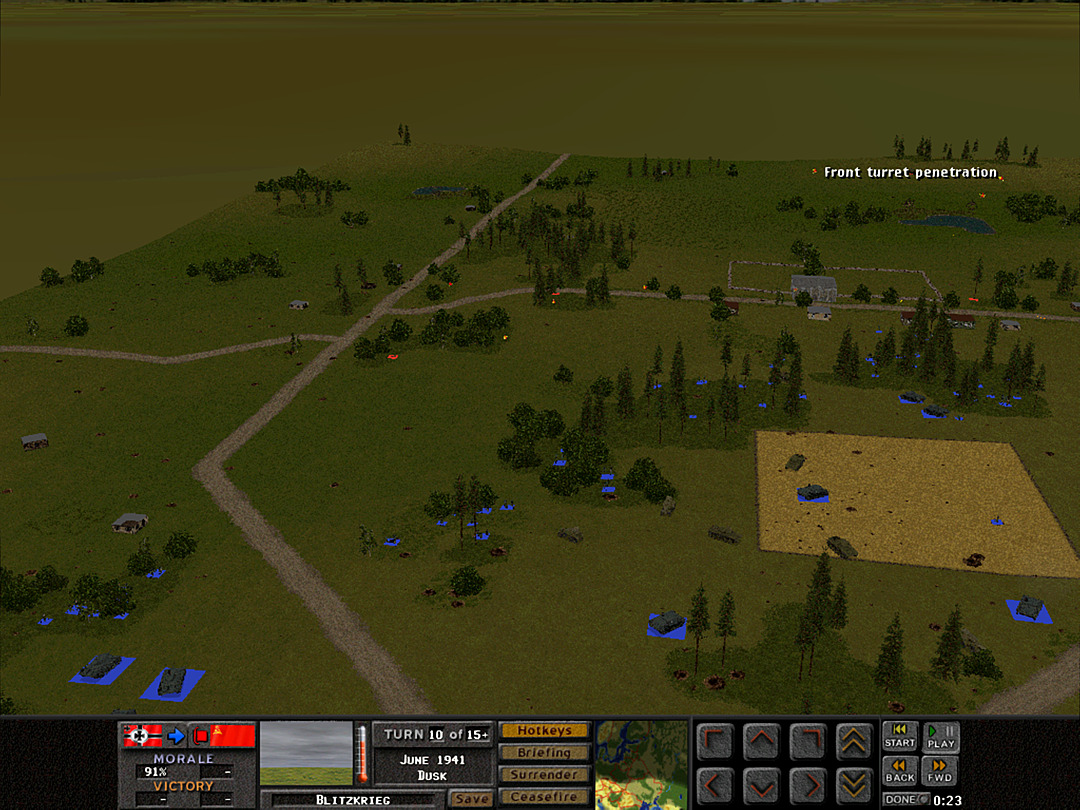 We are certainly seeing a number of squads there, but it's not enough to really stop the assault. 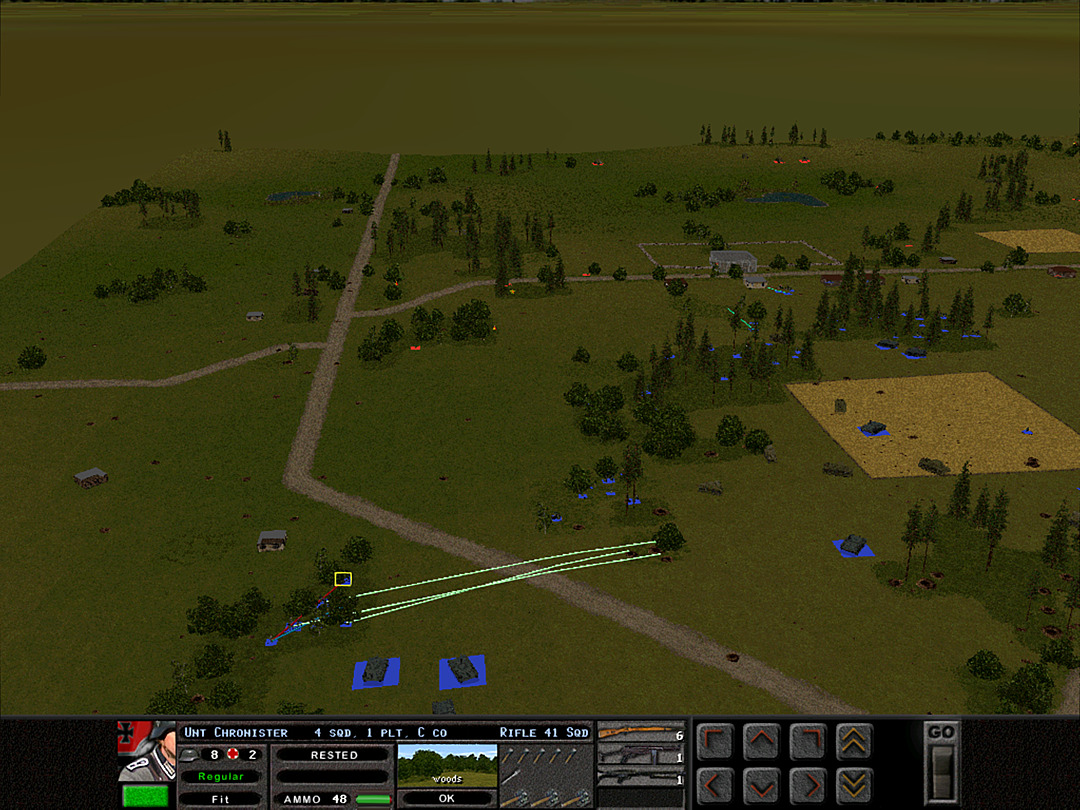 Nevertheless, C Coy needs to get more soldiers on the flank, and we send over the last platoon. 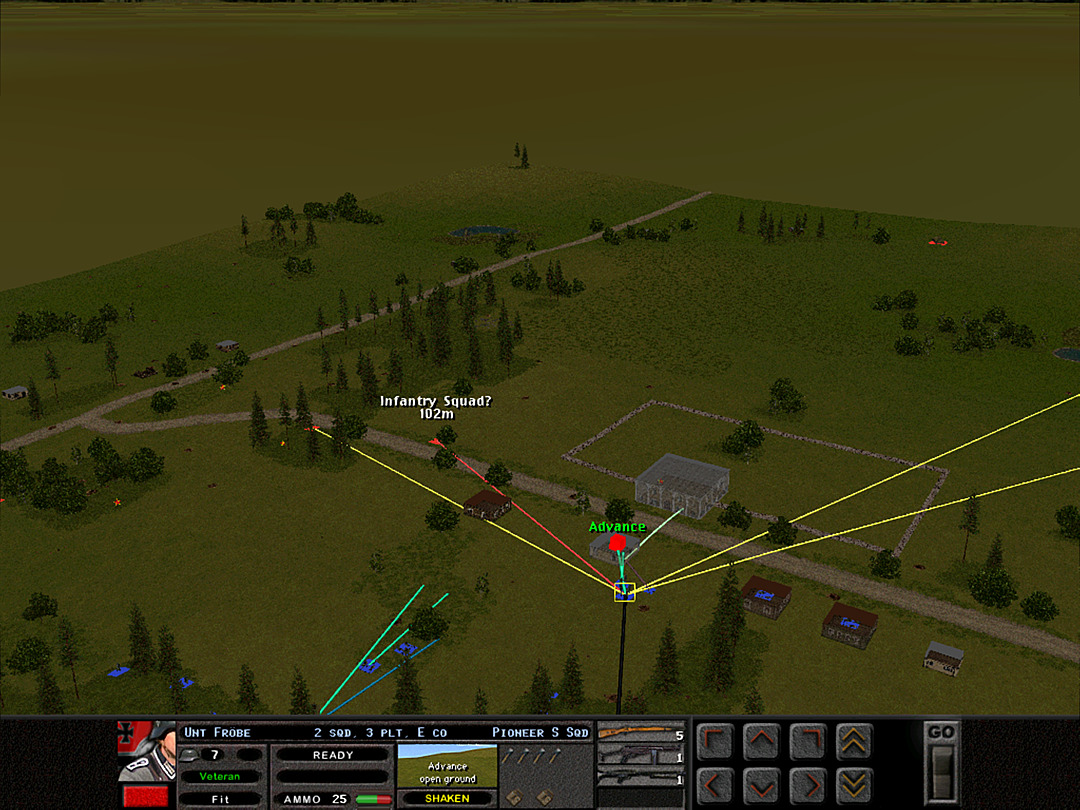 The tanks positioned east of the town are disrupting our advance more effectively. 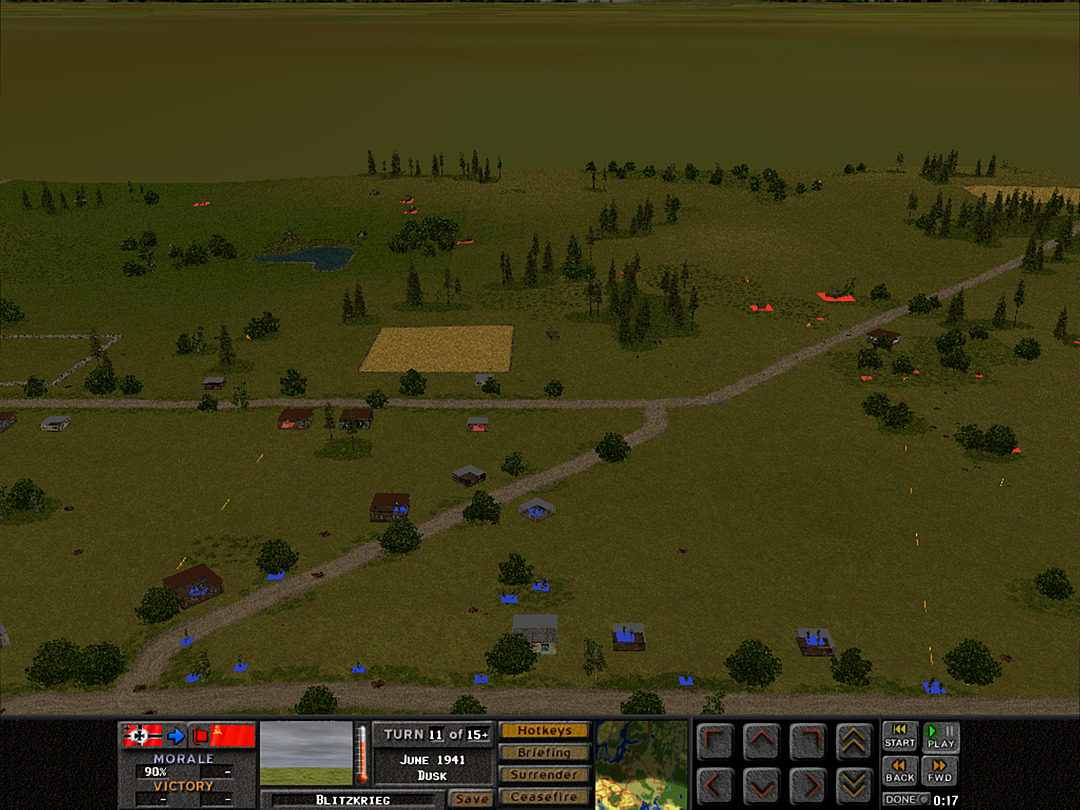 D Coy is managing to surge along the road, and may make it to the southeast end of the village if things go well for them. 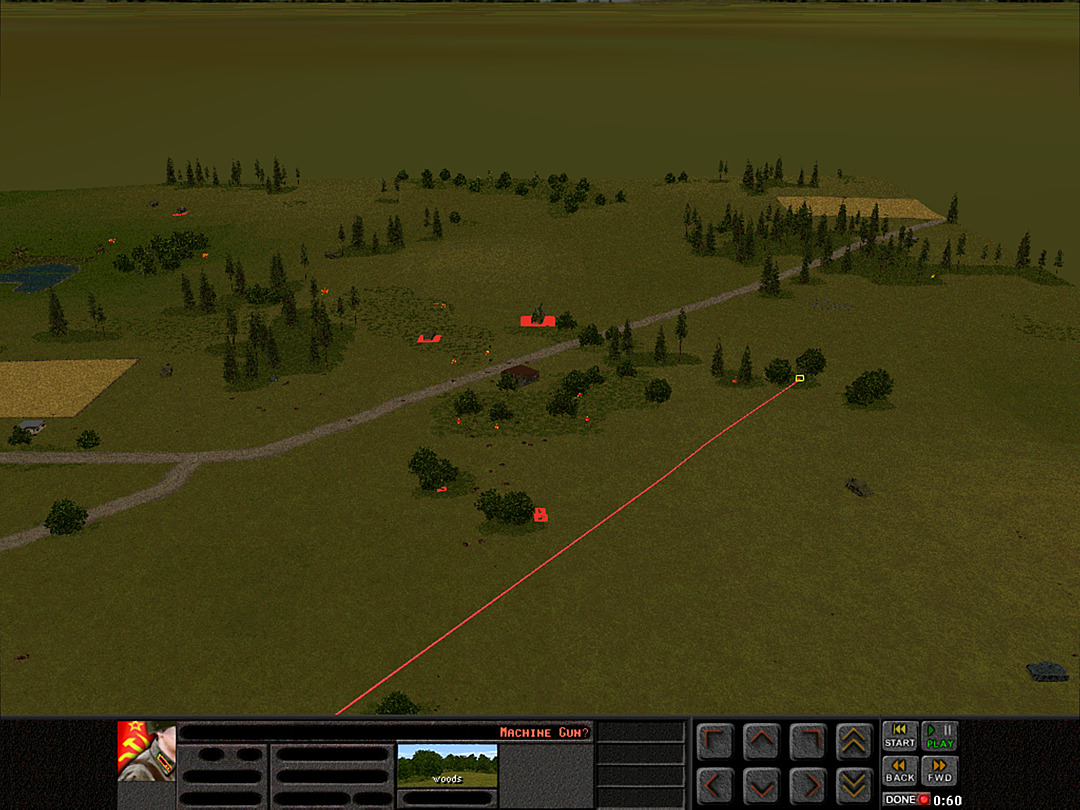 B Coy's troops discover that there are a few squads in these trees, and among them is a machine gun. 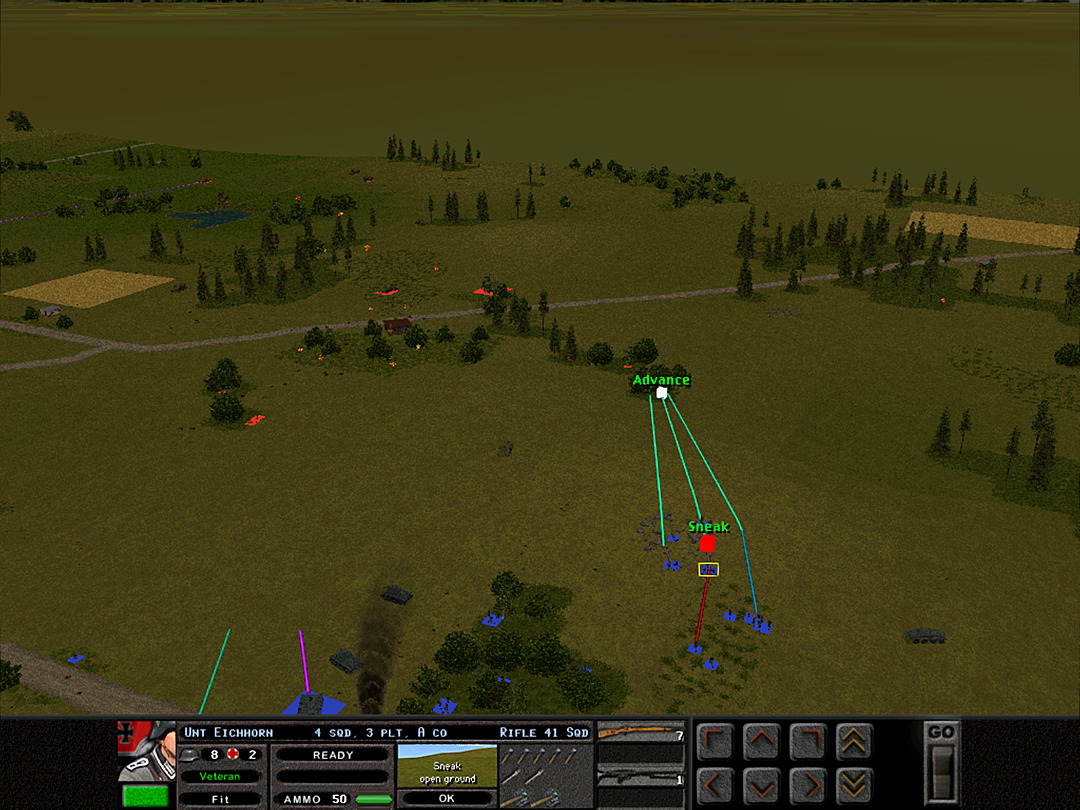 There's a good chance we can surprise them with an attack from the side, though. 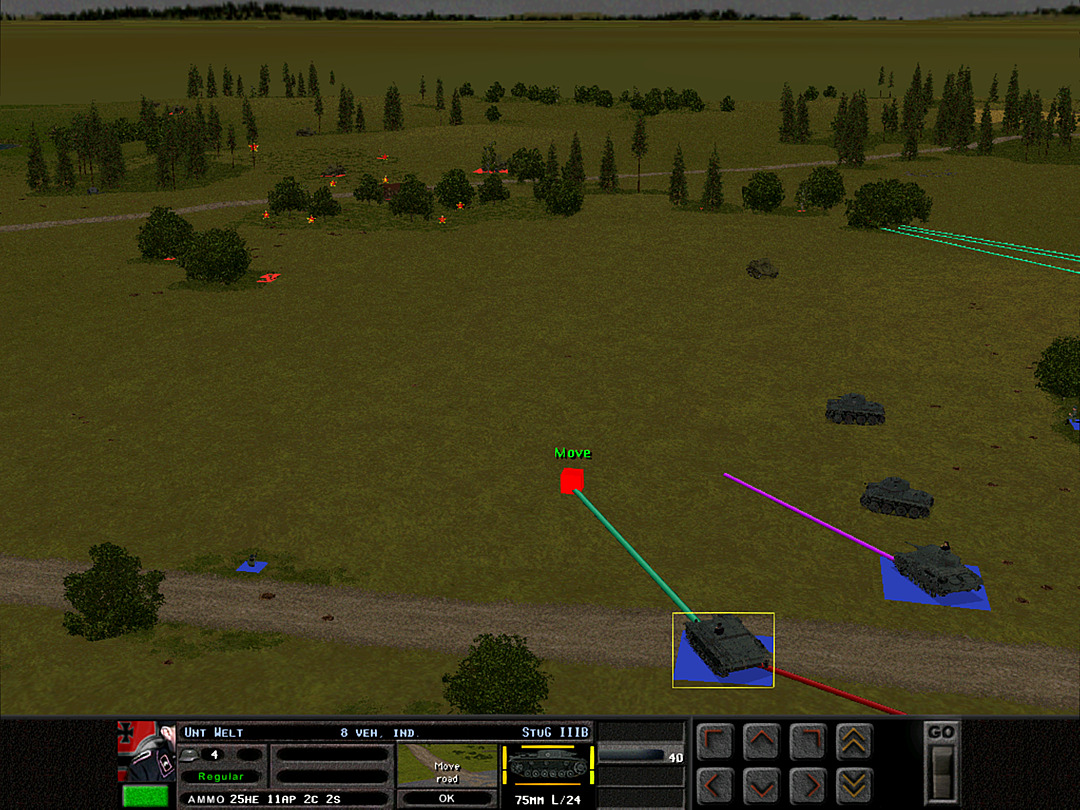 Our tanks can move a little ways out, but not too far. They have to be mindful of the gun that knocked out the scout car. 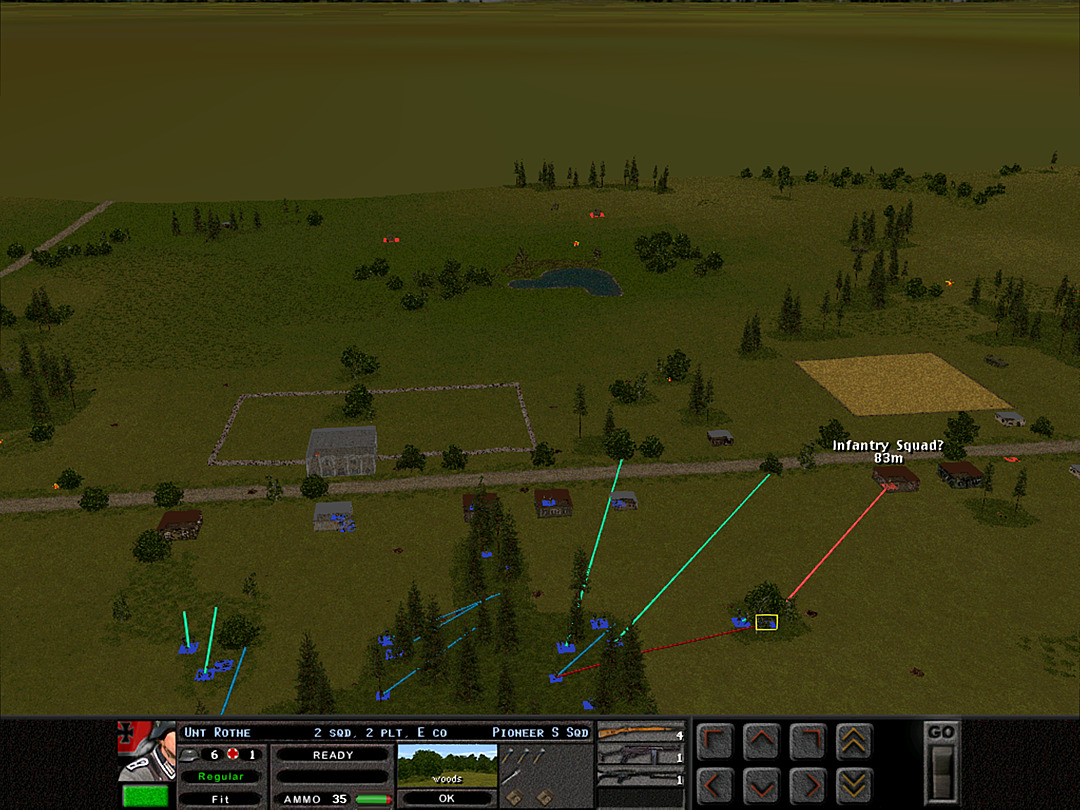 E Coy, 2 Plt can likely make more direct assaults on its end of the village, as surrounding enemy forces appear light. 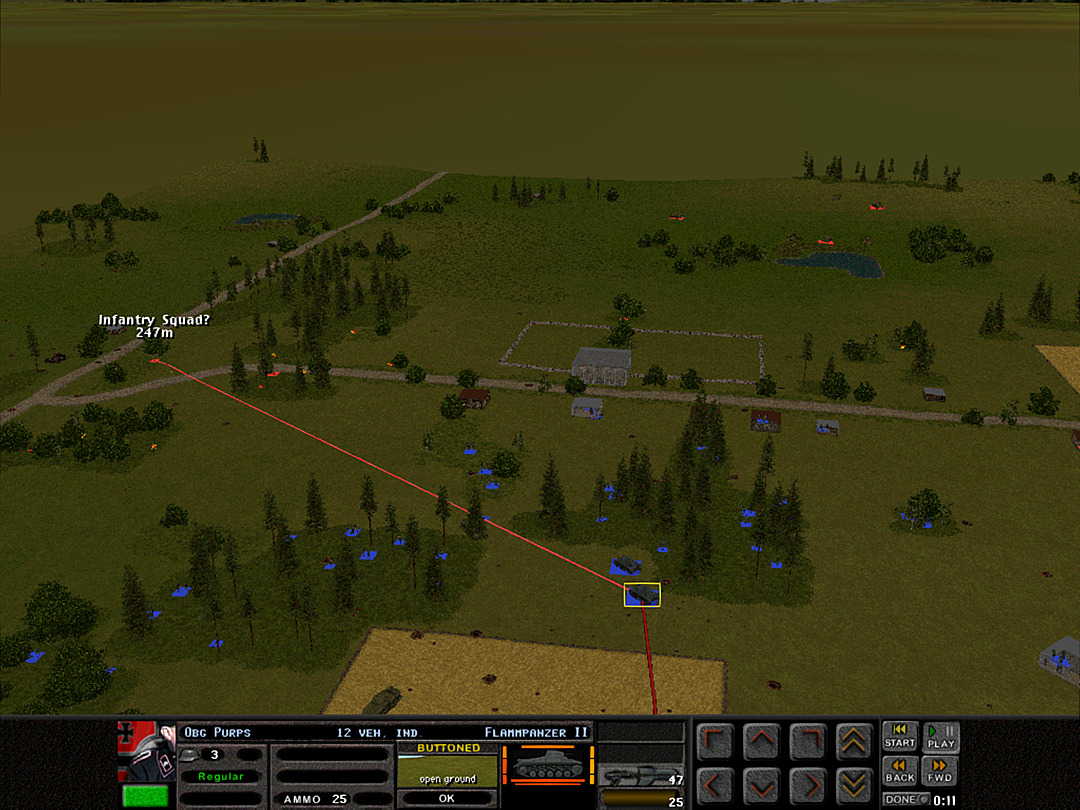 The Flammpanzer tanks haven't quite been rendered fully useless, as they can still use their machine guns on the infantry to the north. 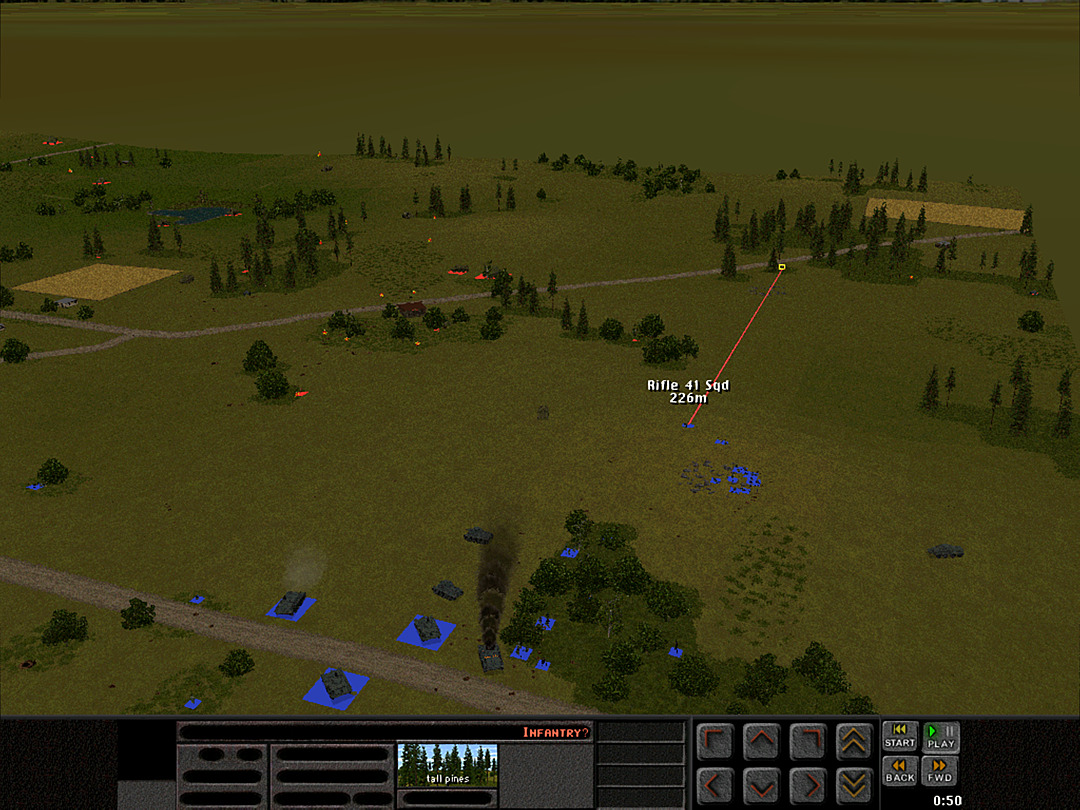 As A Coy, 3 Plt begins to rush for the trees, they come under immediate heavy fire from more units to the southeast. 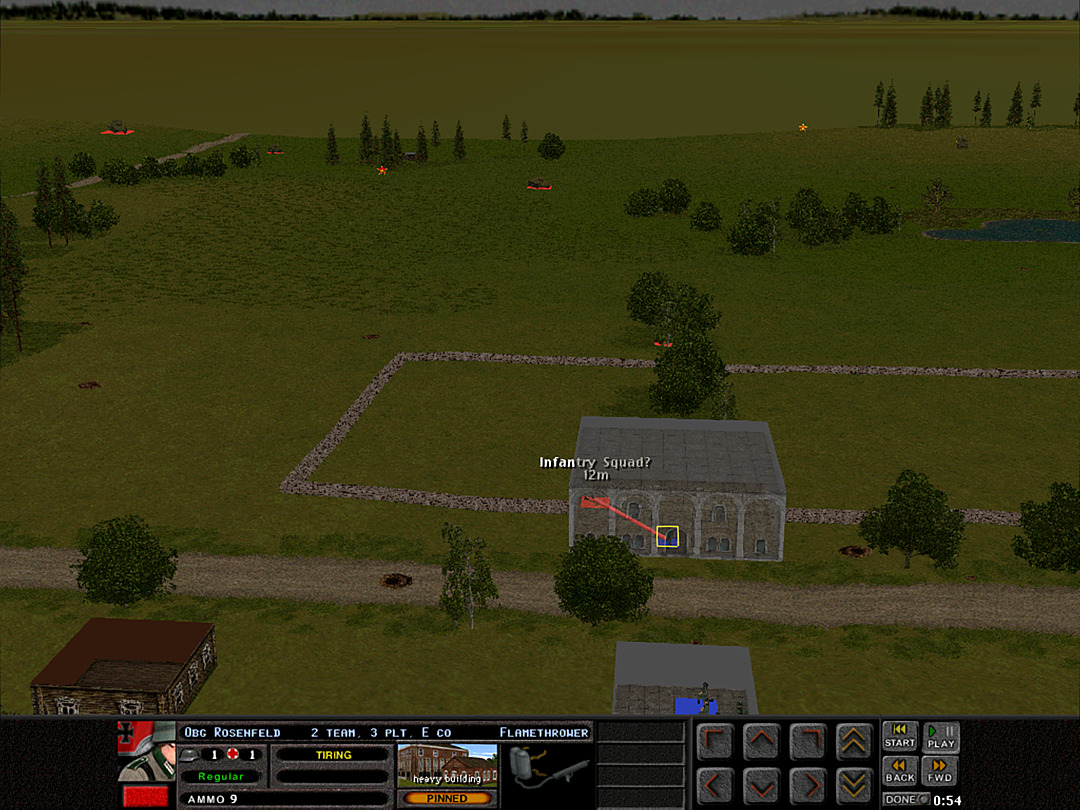 The flamethrowers are sent in to the meeting hall. They discover a squad of enemy infantry. 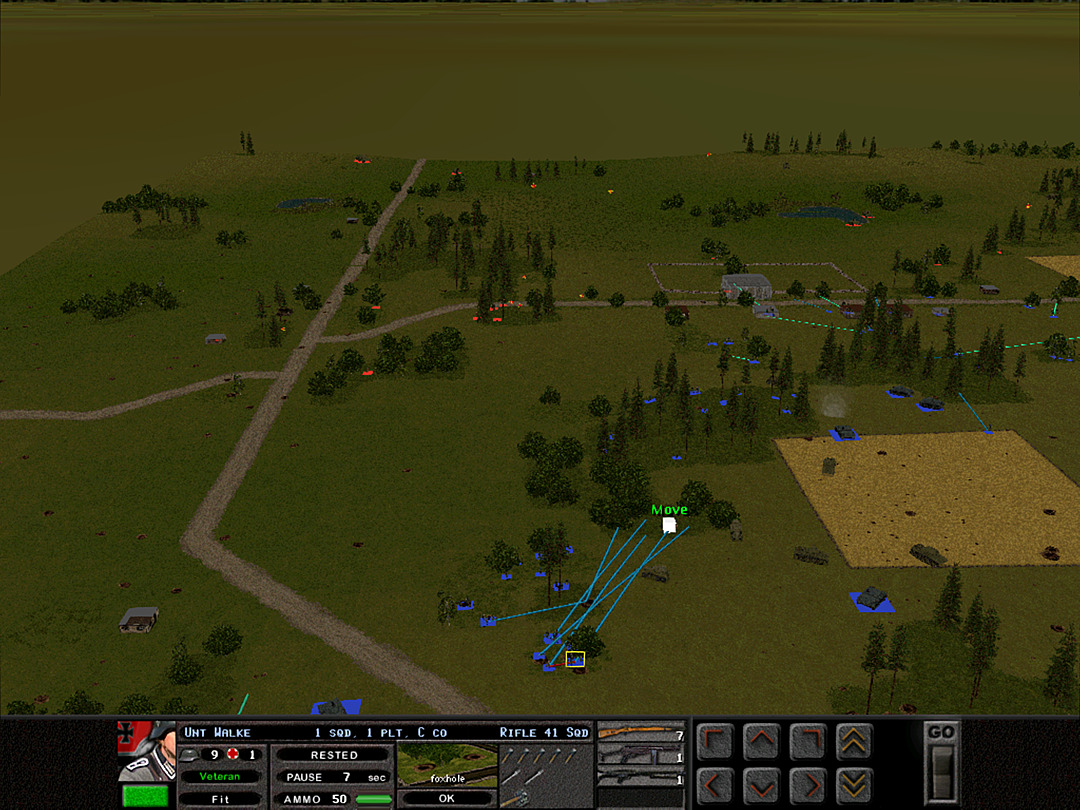 All of C Company is now in the woods just north of the village's central farming plot. The platoons will be shifting eastward through the trees. 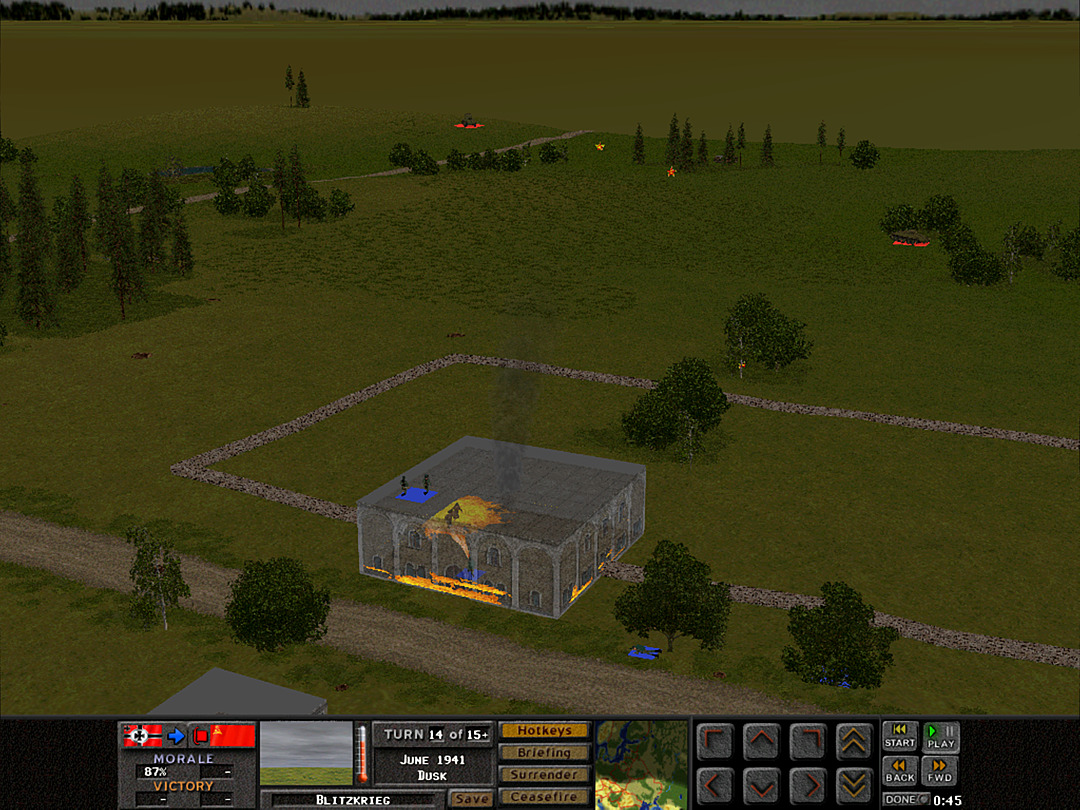 Another pioneer squad comes to clear the upper floor of the meeting hall. The flamethrowers spray fiery death at the soldiers occupying the ground floor. 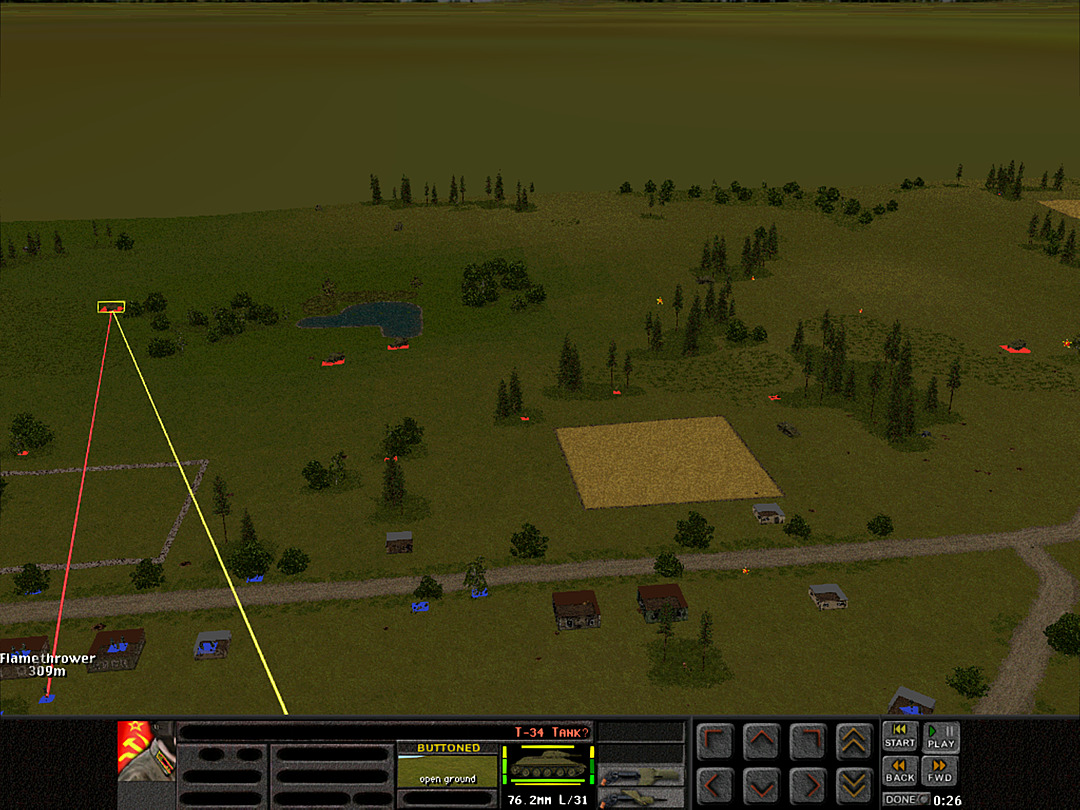 These tanks continue to be troublesome, as we can only rarely get a shot in their direction. 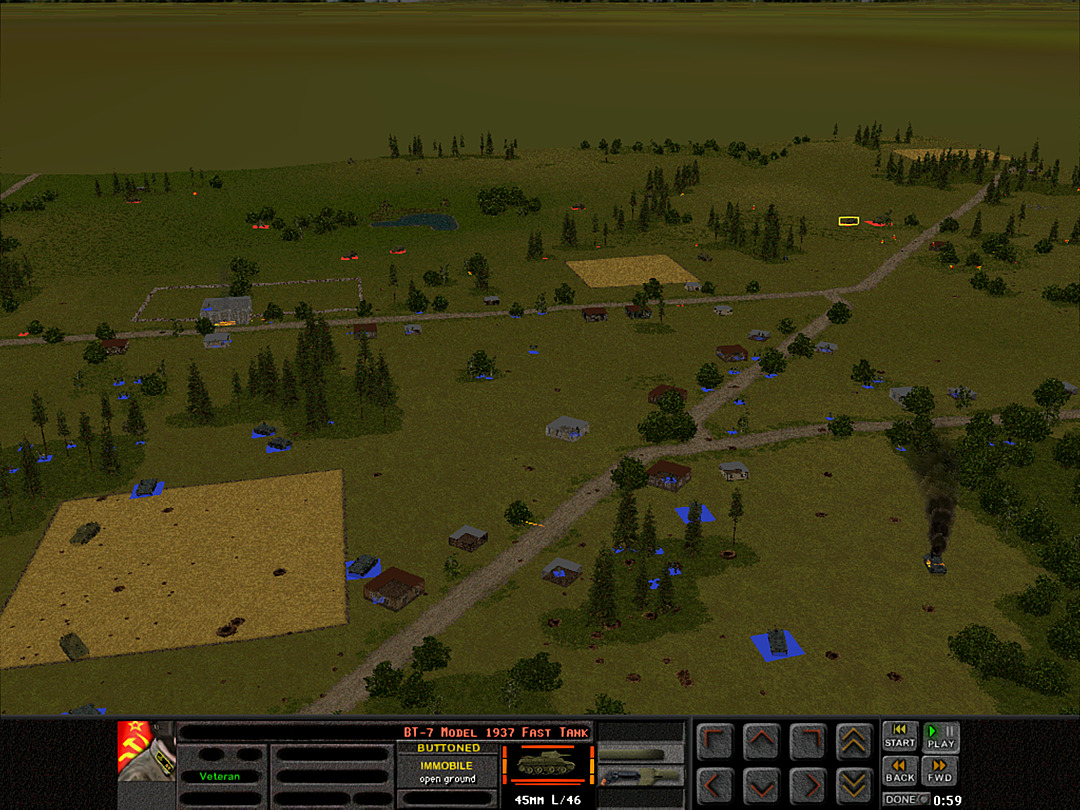 We have at least been able to damage the track on the one near the KV-2. 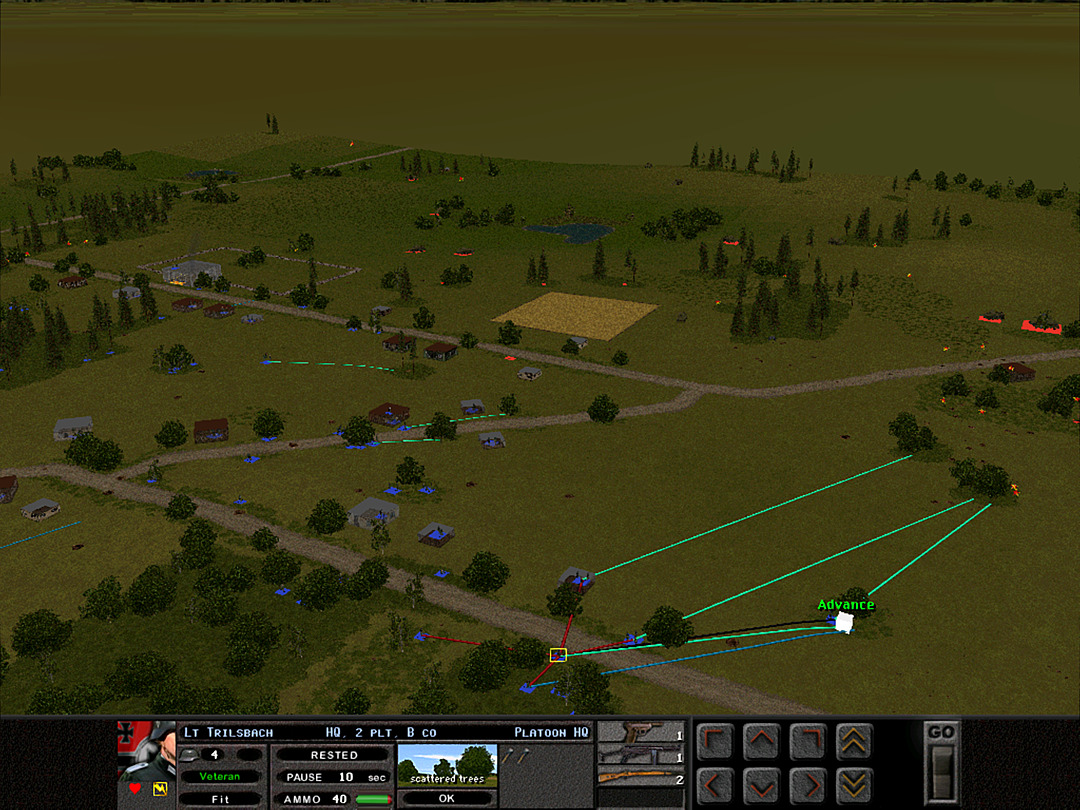 It's not clear if the charge from A Company will succeed, so B Company orders its own foolhardy assault. 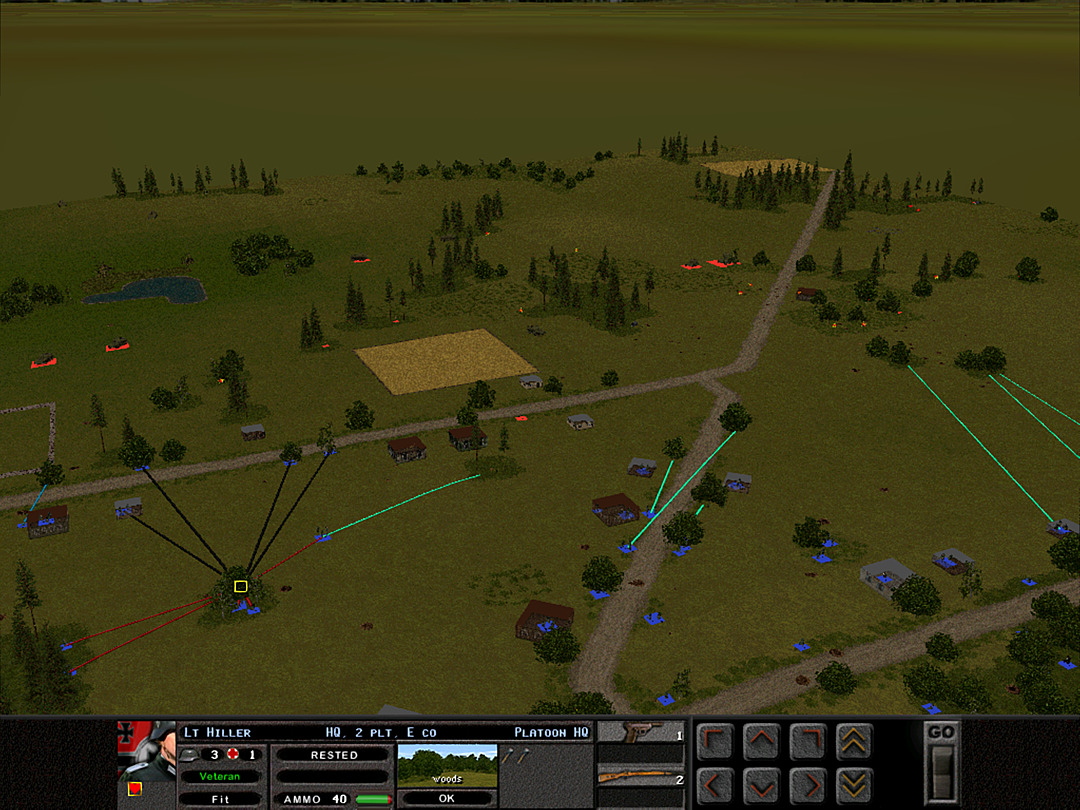 Both D Company and E Coy, 2 Plt appear poised to gain the last corner of the village. 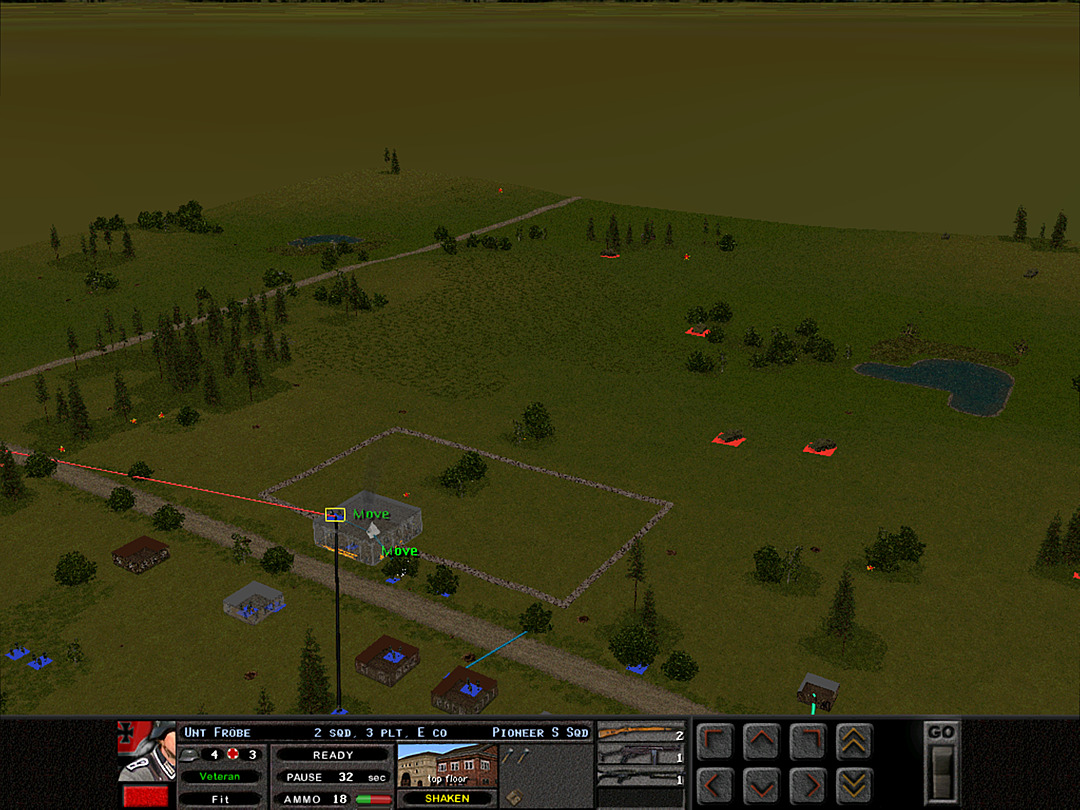 The enemy troops have fled the meeting hall, and the building is on fire. The squad on the upper floor sees no point in sticking around inside. 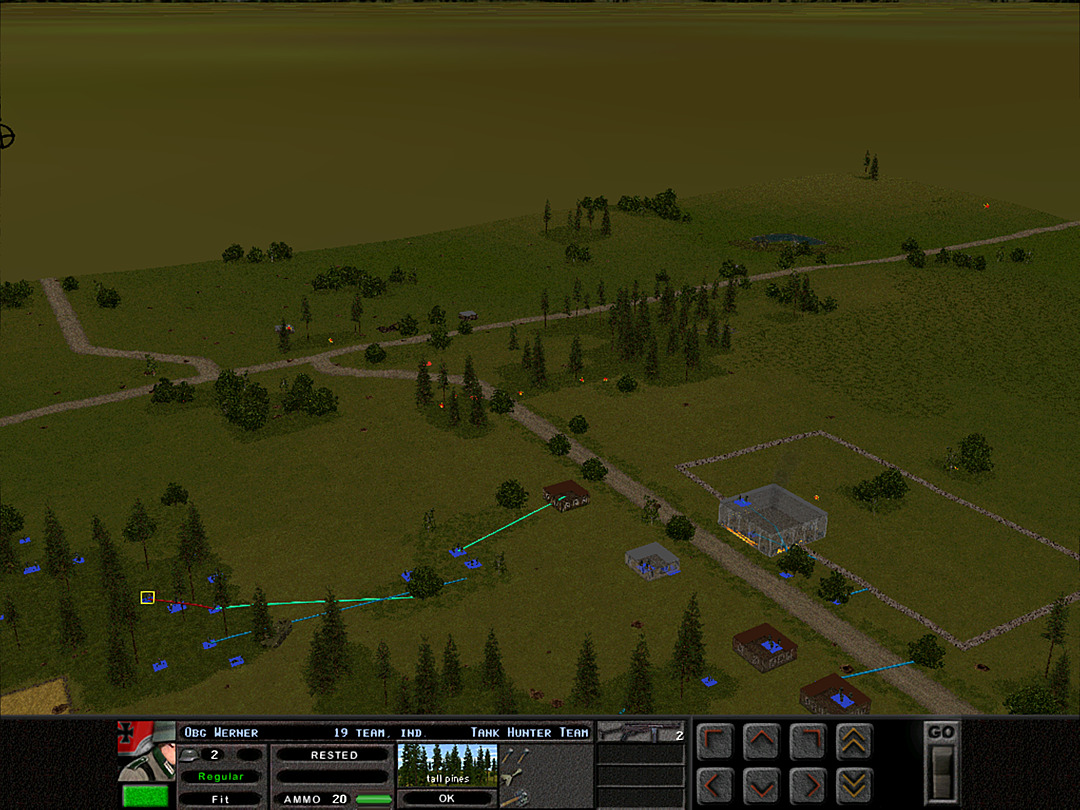 One more charge ought to secure the north end of the village. 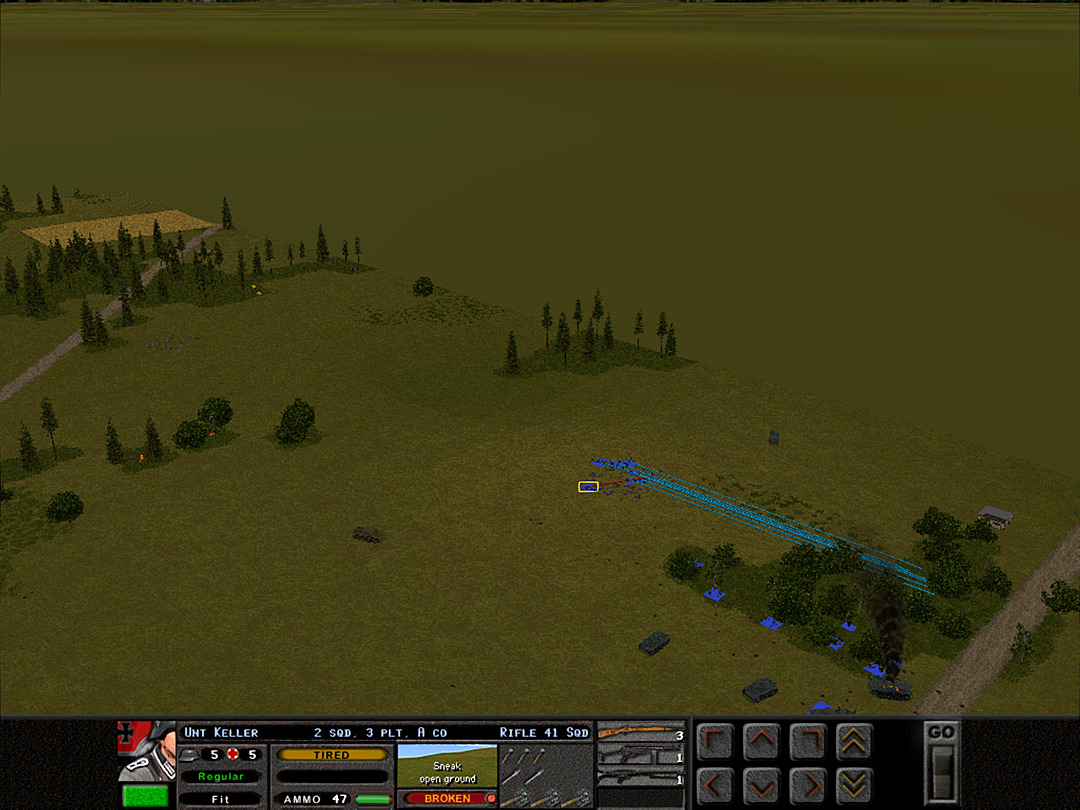 All of A company's squads on the hillock are ordered back. The attempt to come in from the southwest has failed. 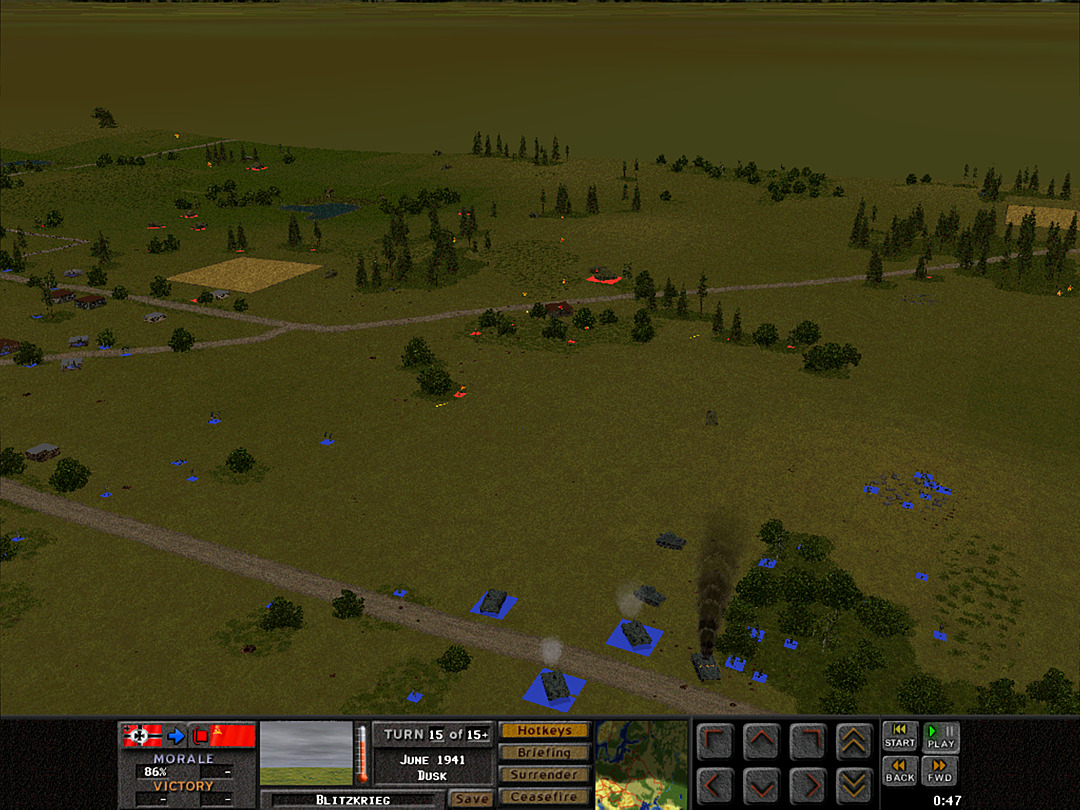 Somehow, improbably, the bold charge of B Coy, 2 Plt has not been stopped. It looks like they have a chance to make it! 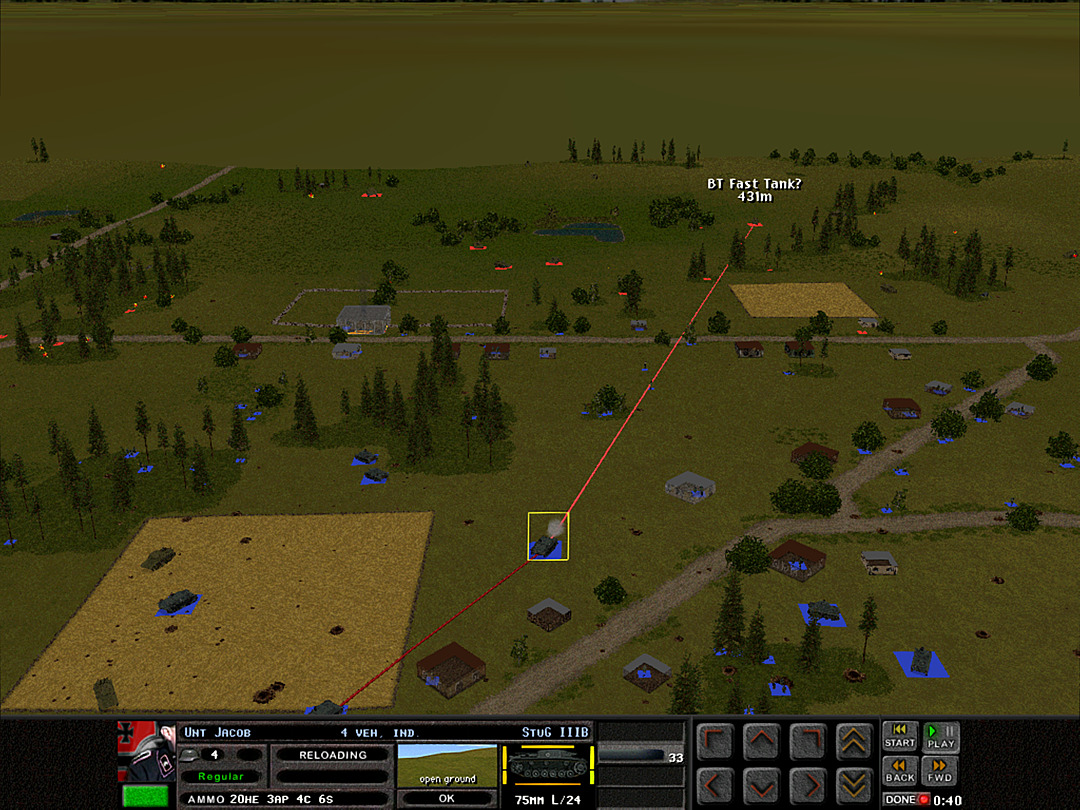 The Stug in the village is close to having a better chance at hitting some of the enemy tanks. 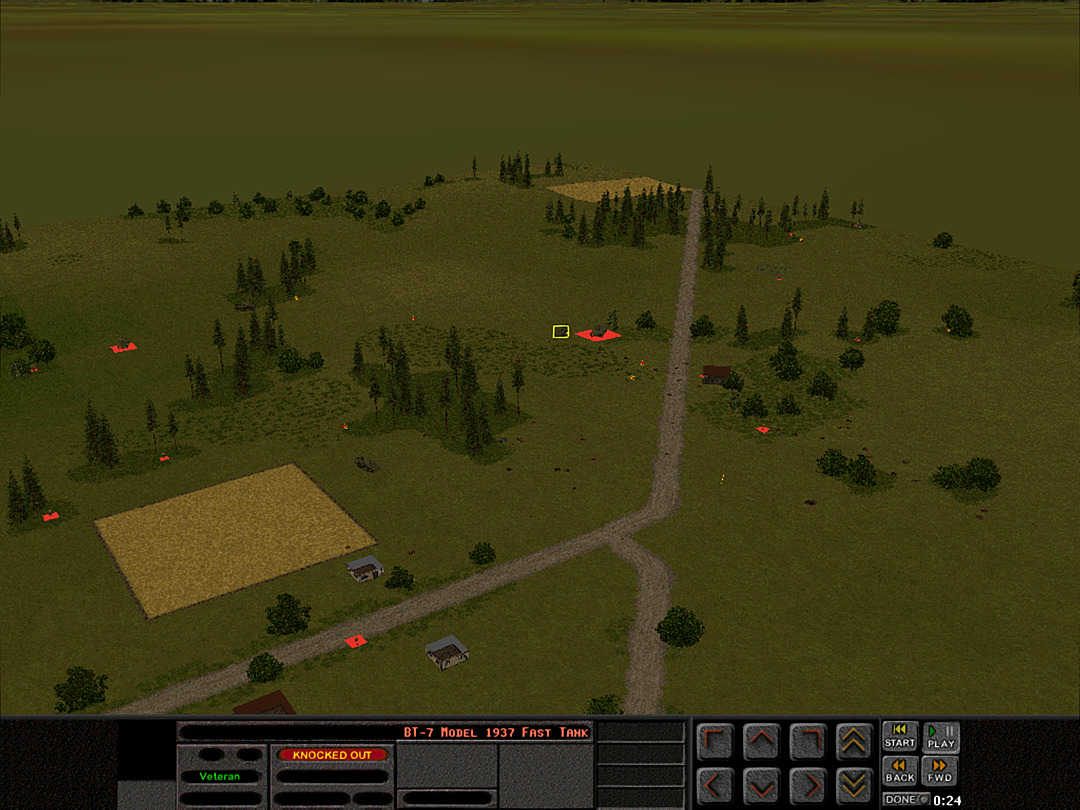 The tank that got stuck is now eliminated. The KV-2 remains. 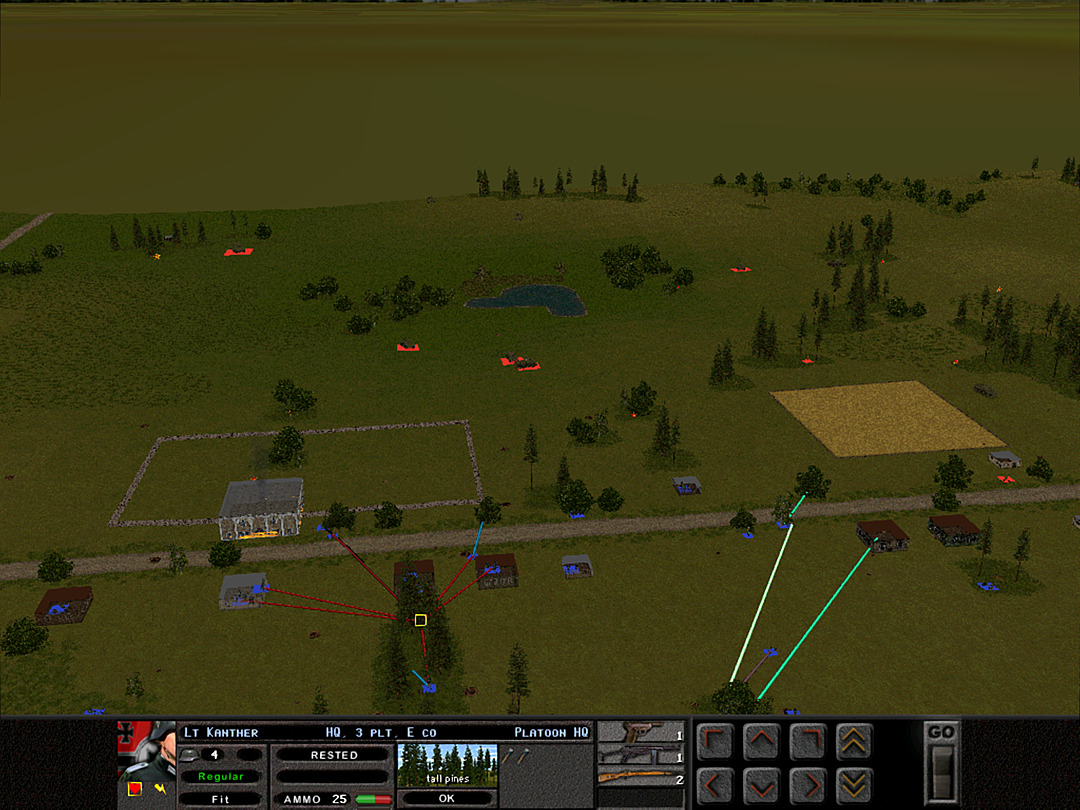 We have control over almost all the buildings in the town now, and just need to hold it against the enemy tanks. 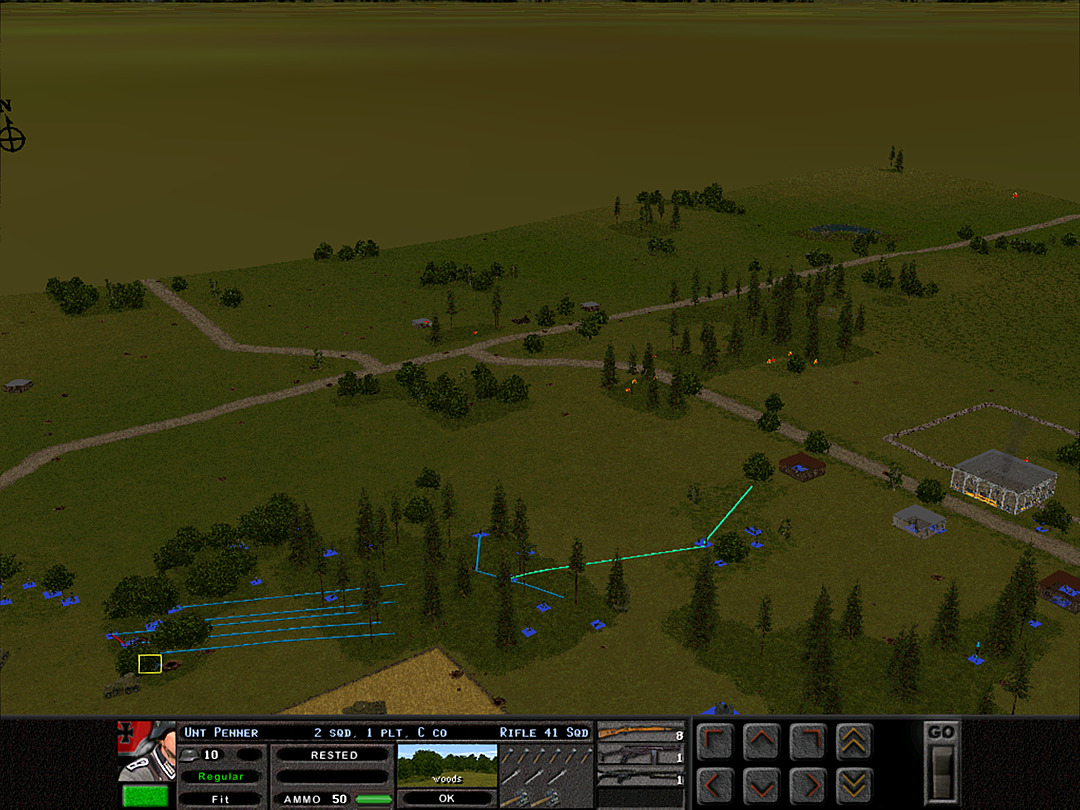 The north end of town is liable to need more support as well. 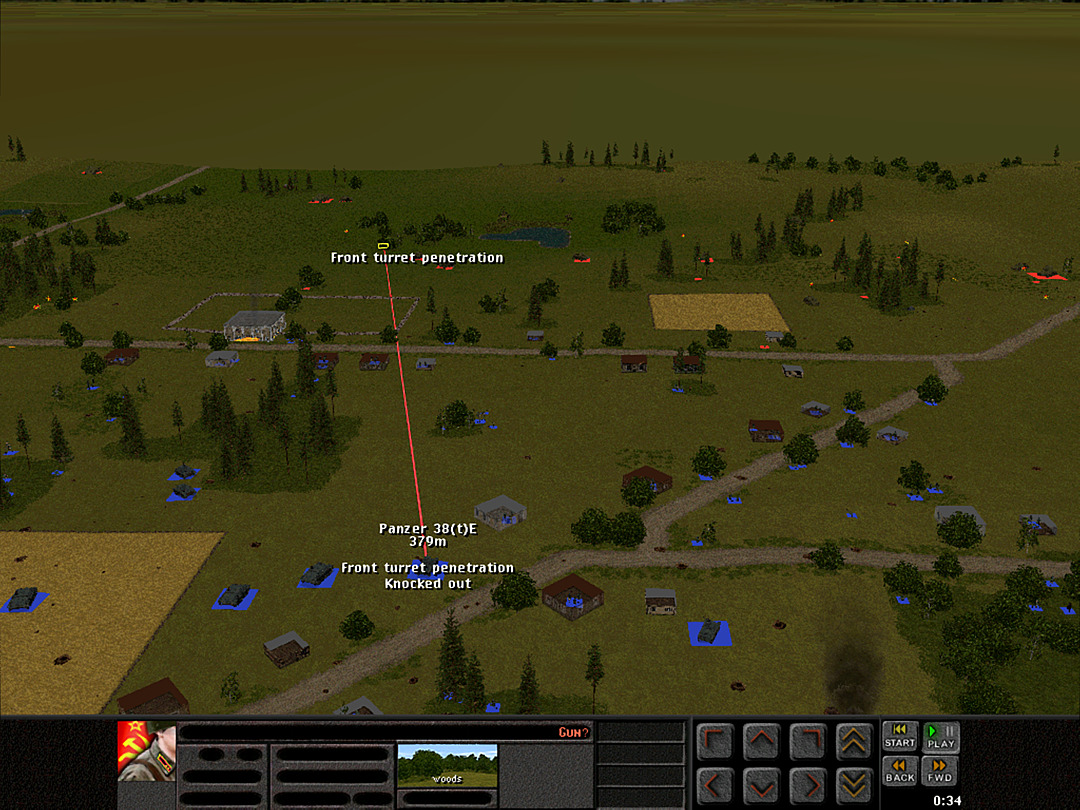 A single good hit takes out one more of our light tanks. 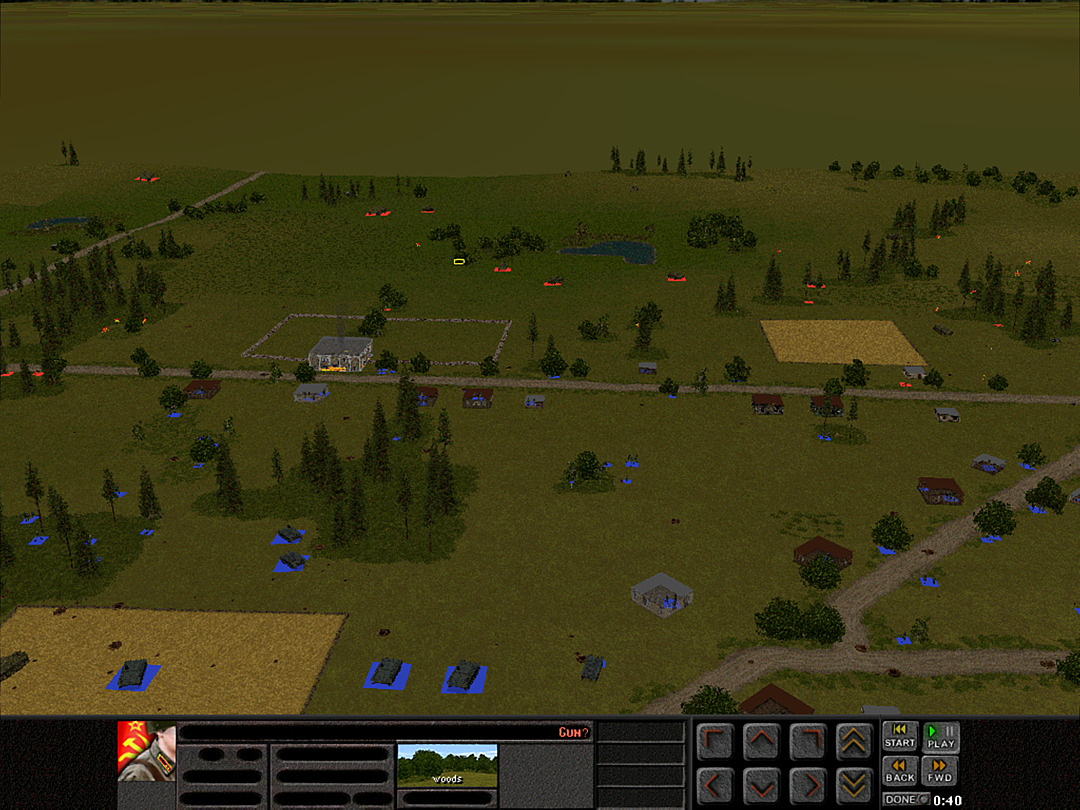 Their other AT gun has been moved into the center, or perhaps they reinforced with a new one here. 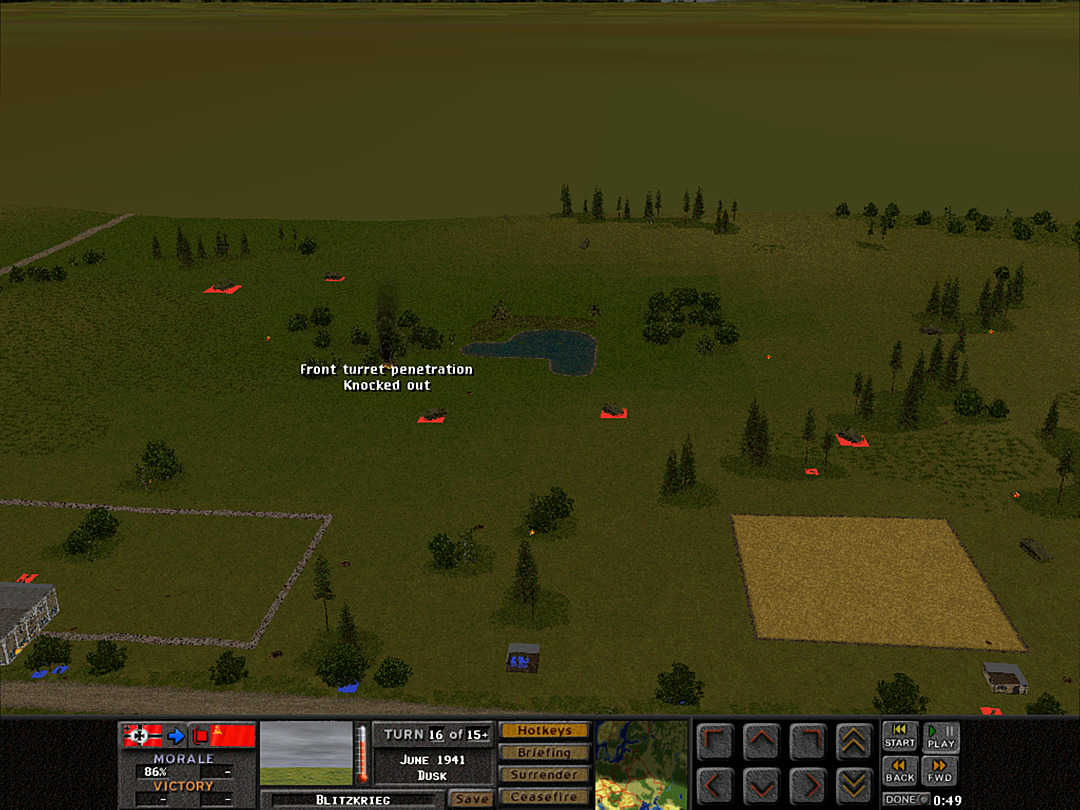 We do get some revenge by taking out the tank that was close to it. 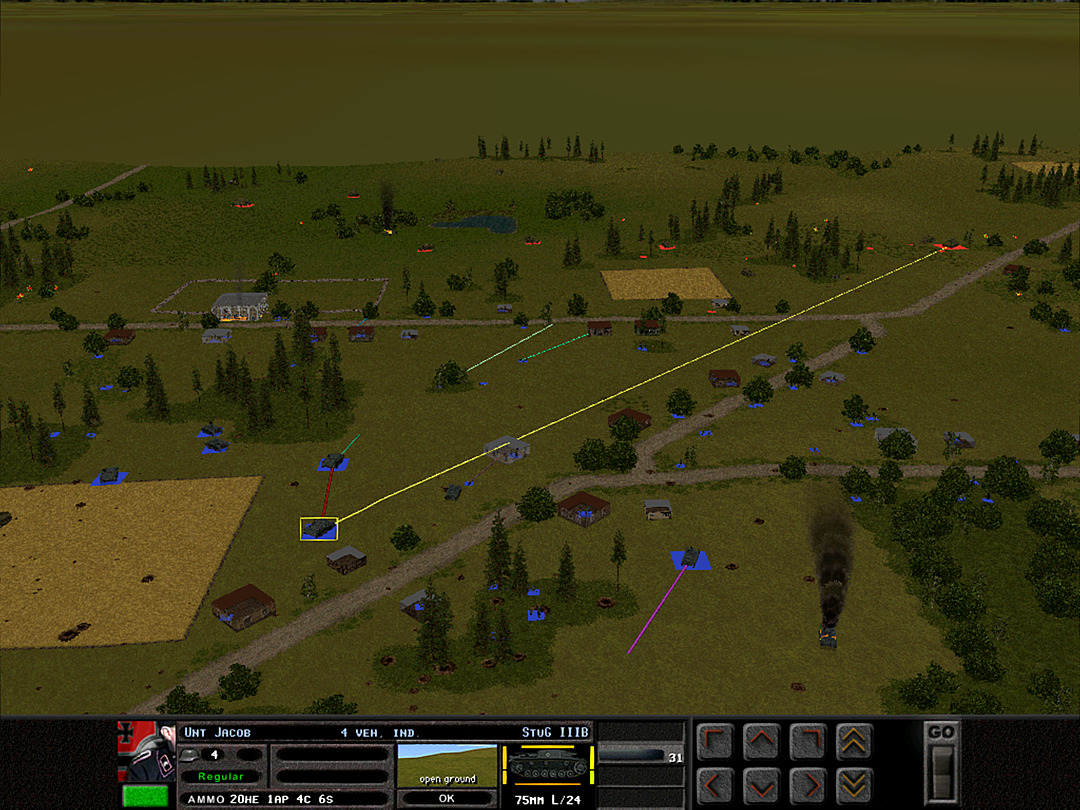 The Stugs in the village are staying just out of the vision of the KV-2 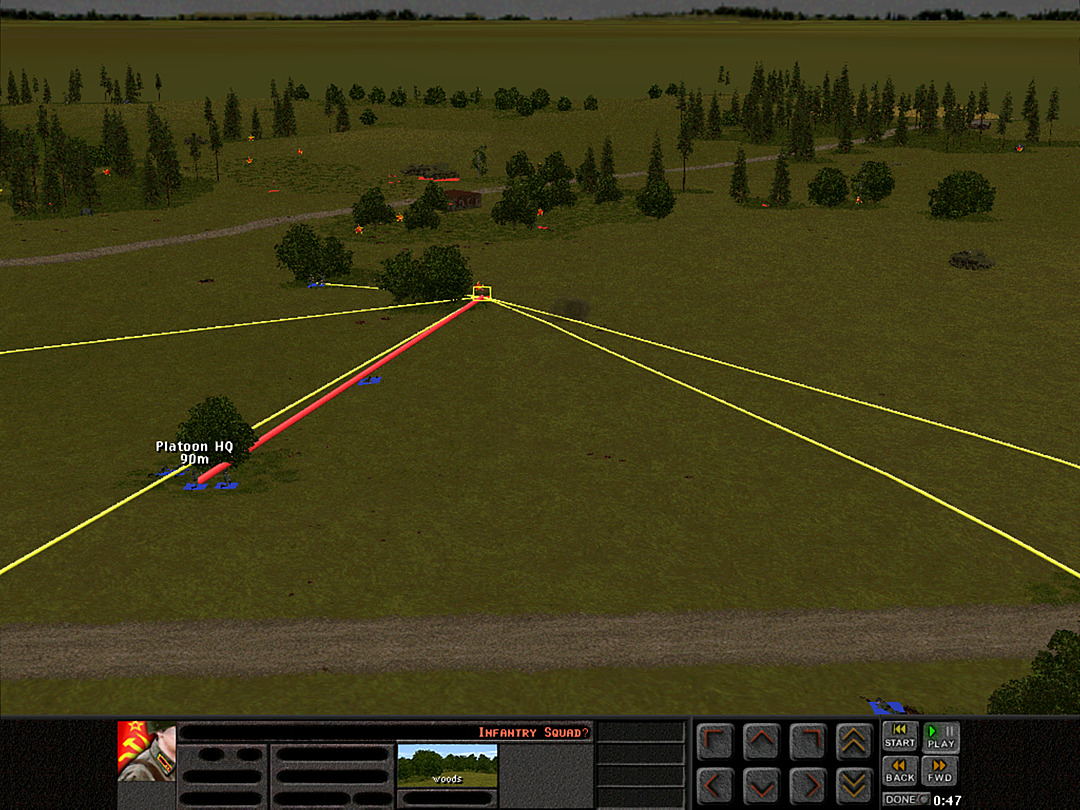 One of B Coy's squads is driven back, but another team made it to the woods, thanks to significant fire support. 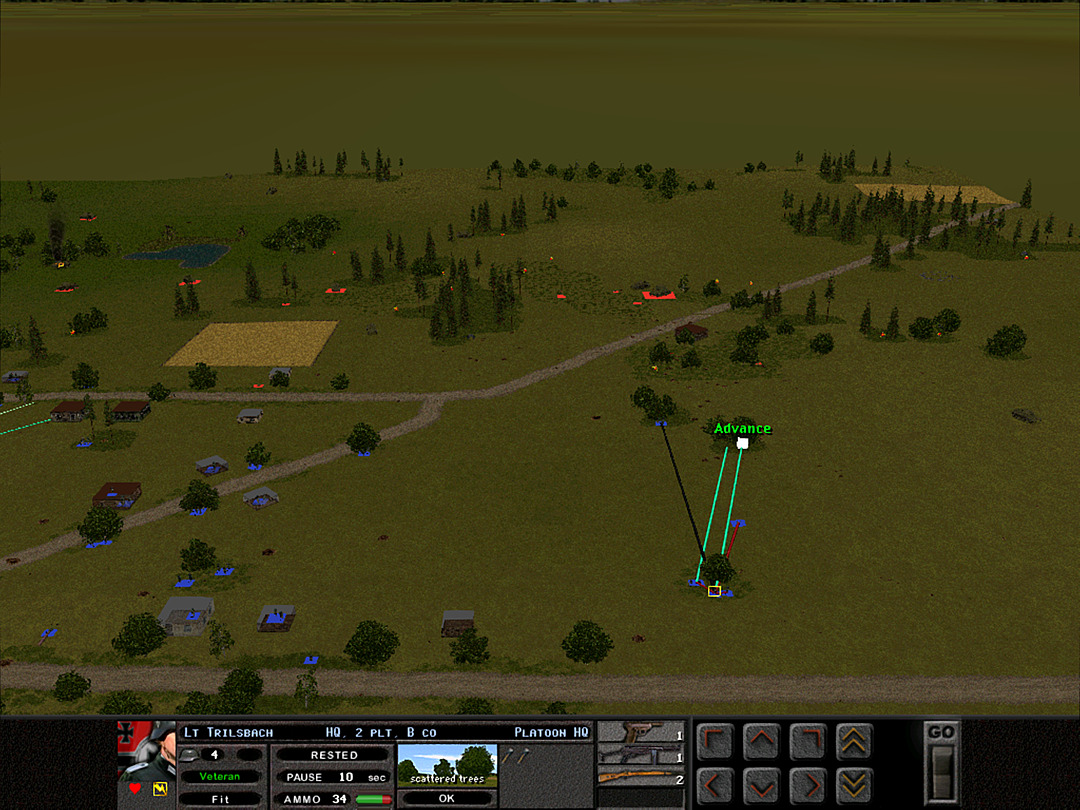 The rest of B Coy, 2 Plt is emboldened to run at the enemy. 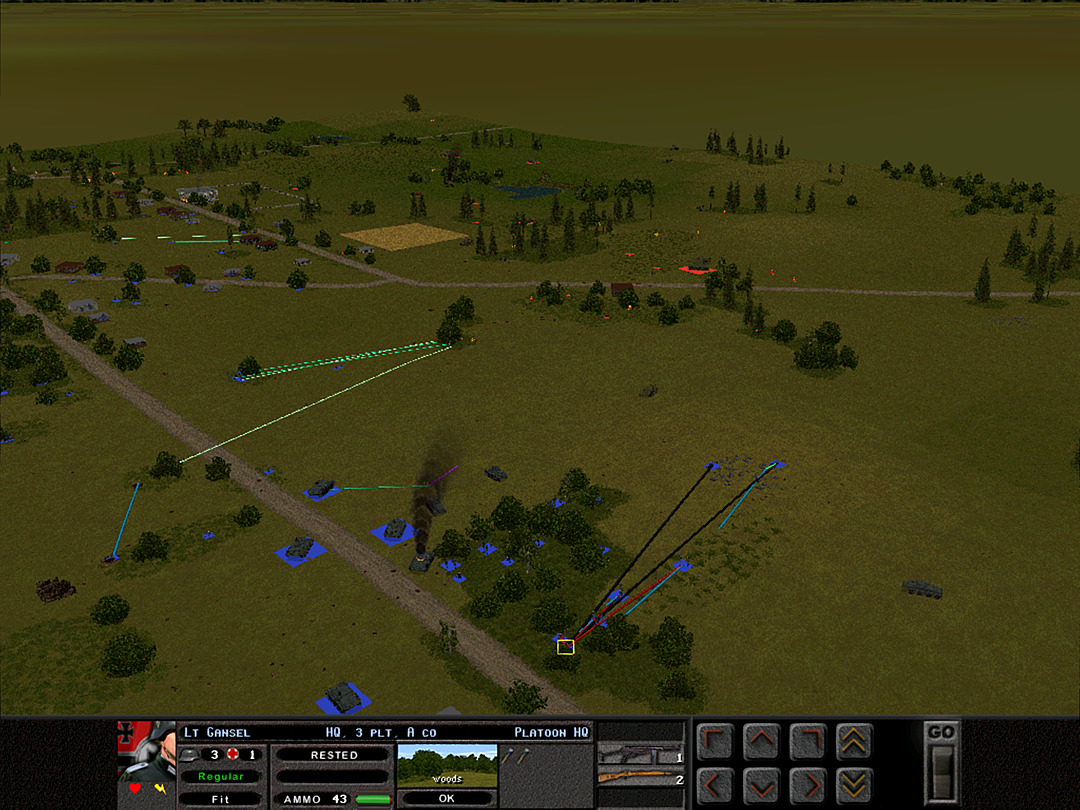 Nearby, A Company has almost fully retreated from the hillock. 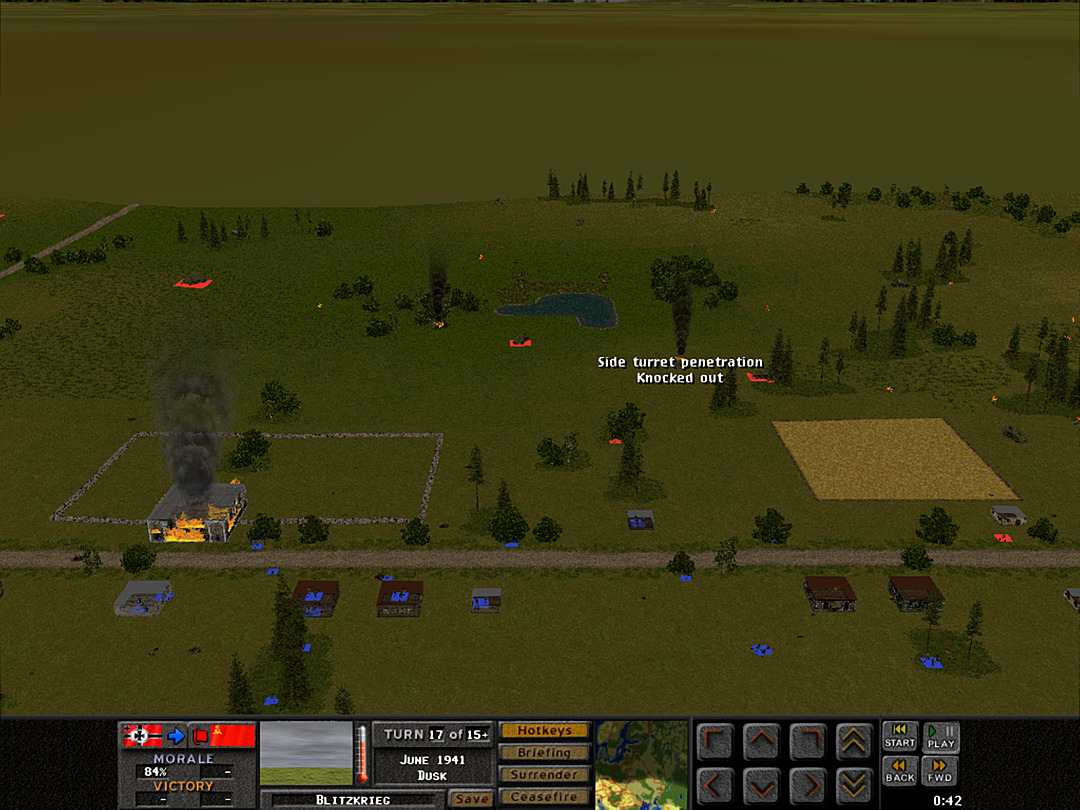 We bag another BT-7 behind the village. The AT gun in the vicinity is going to hold us back somewhat, but we can take open shots where possible. 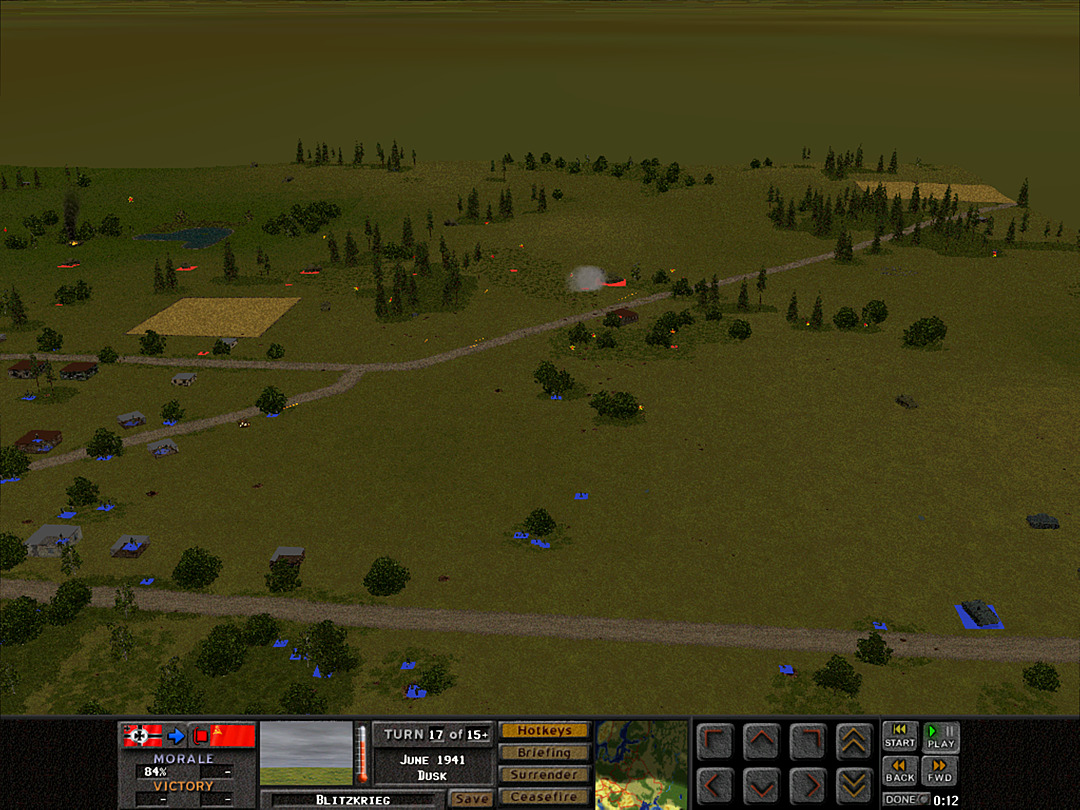 The KV-2 is firing punishing HE rounds on our infantry in the village. There's little we can do about it unless we can get enough infantry close enough to scare the tank into retreating. 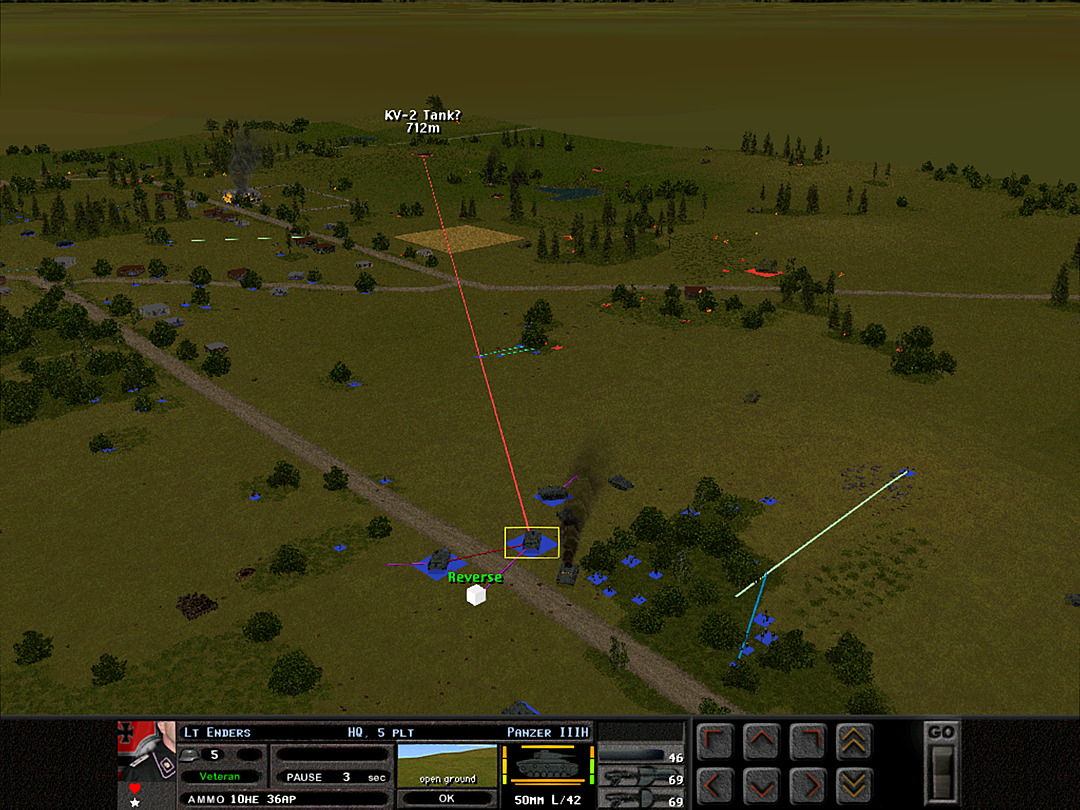 Despite our recent success knocking out Soviet tanks, there's more bad news. Another heavy tank is present on the battlefield. 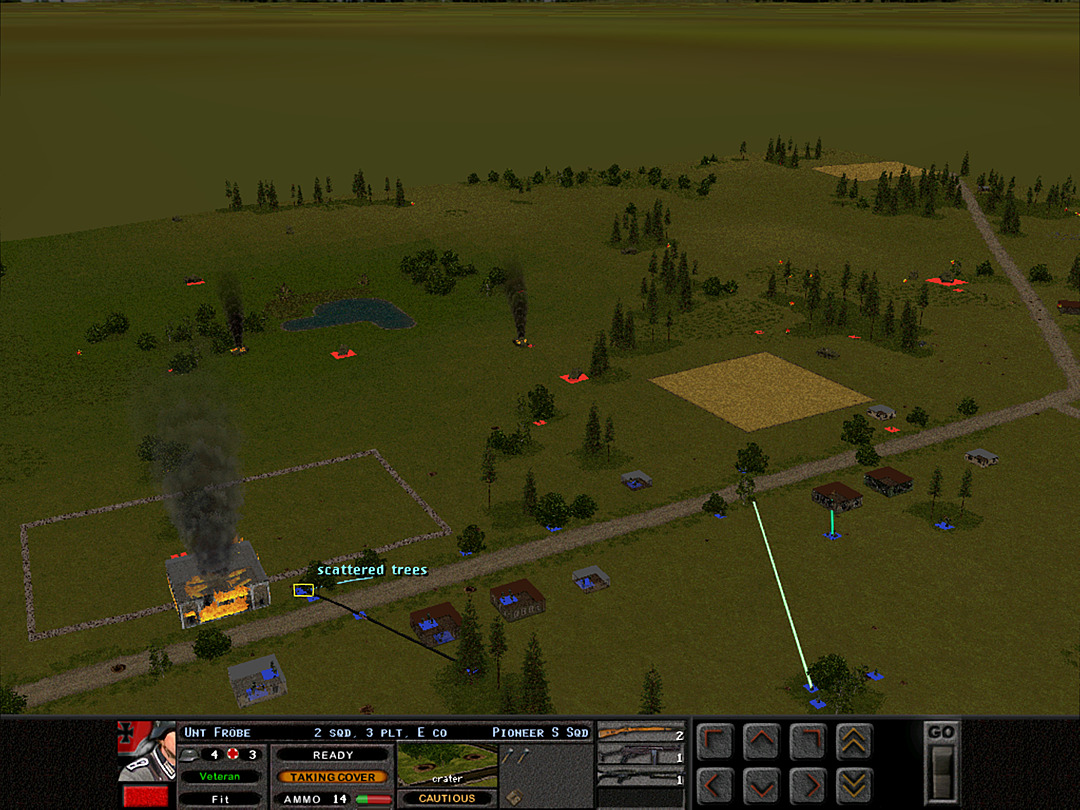 Still, we are holding the village now, even as the fire in the meeting hall starts to burn out of control. 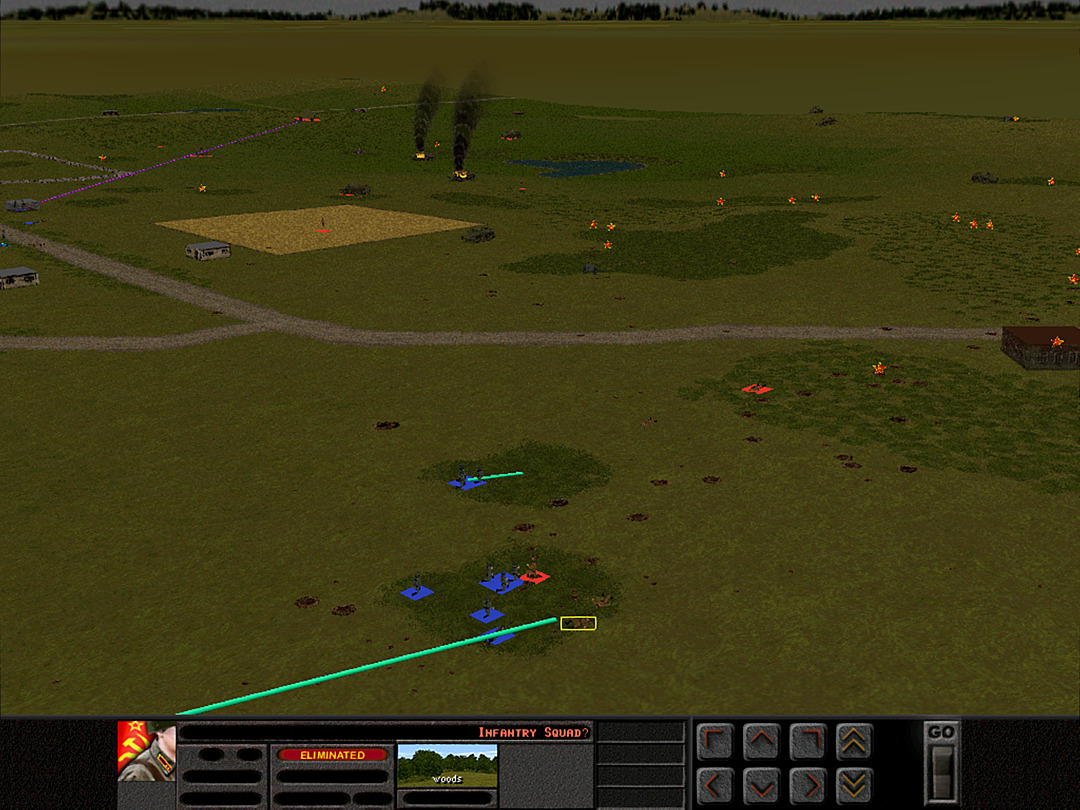 The charge of B Coy, 2 Plt is succeeding. They capture the Maxim gun. 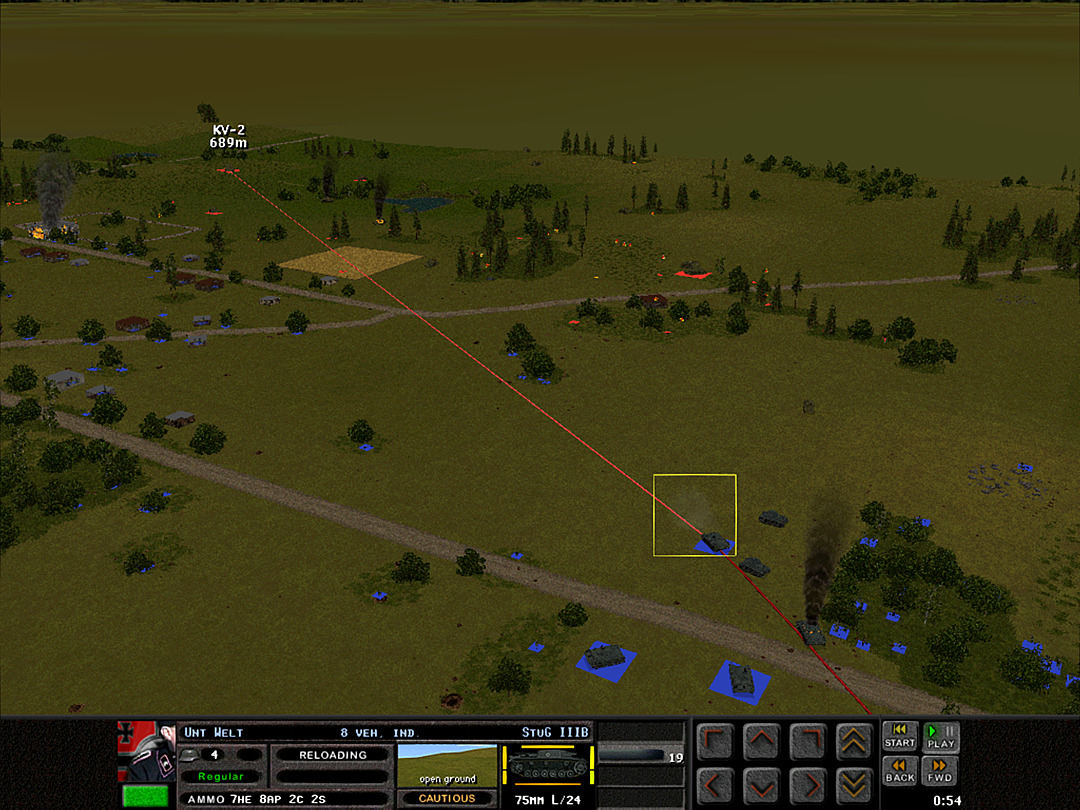 Despite knowing it has almost no chance, the Stug fires on the distant KV-2. 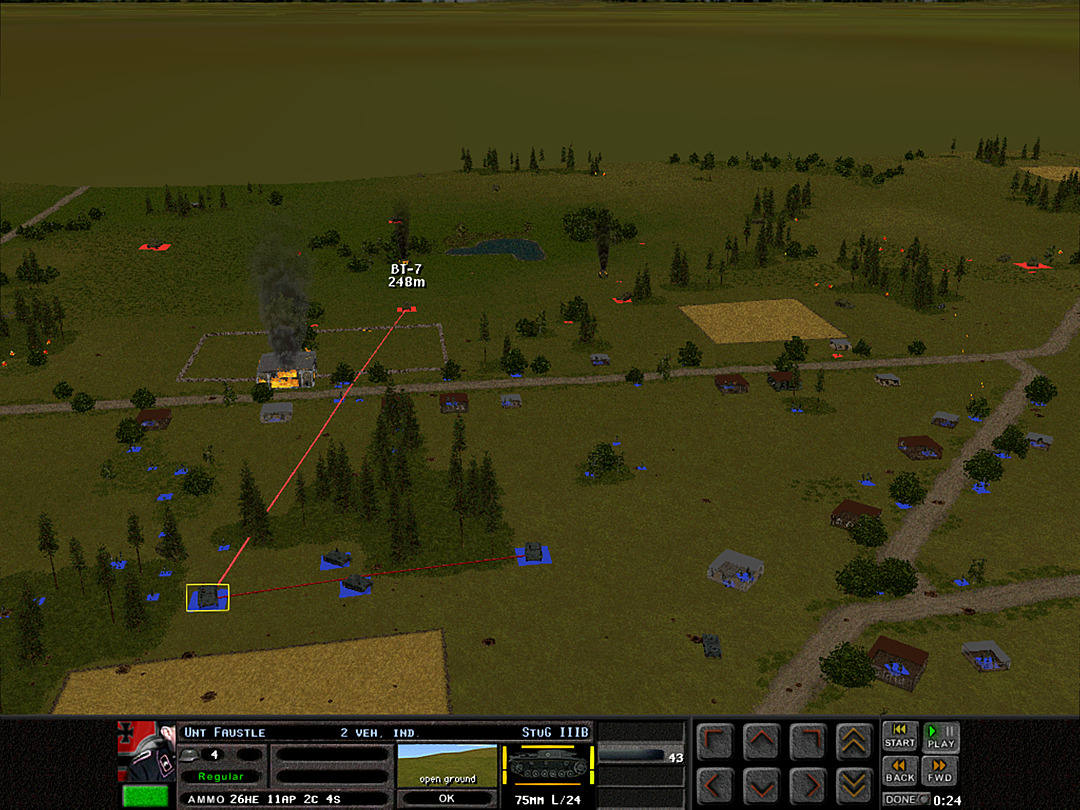 The heavy tanks are going to be a problem. We can still deal with the three remaining BT-7's behind the village. 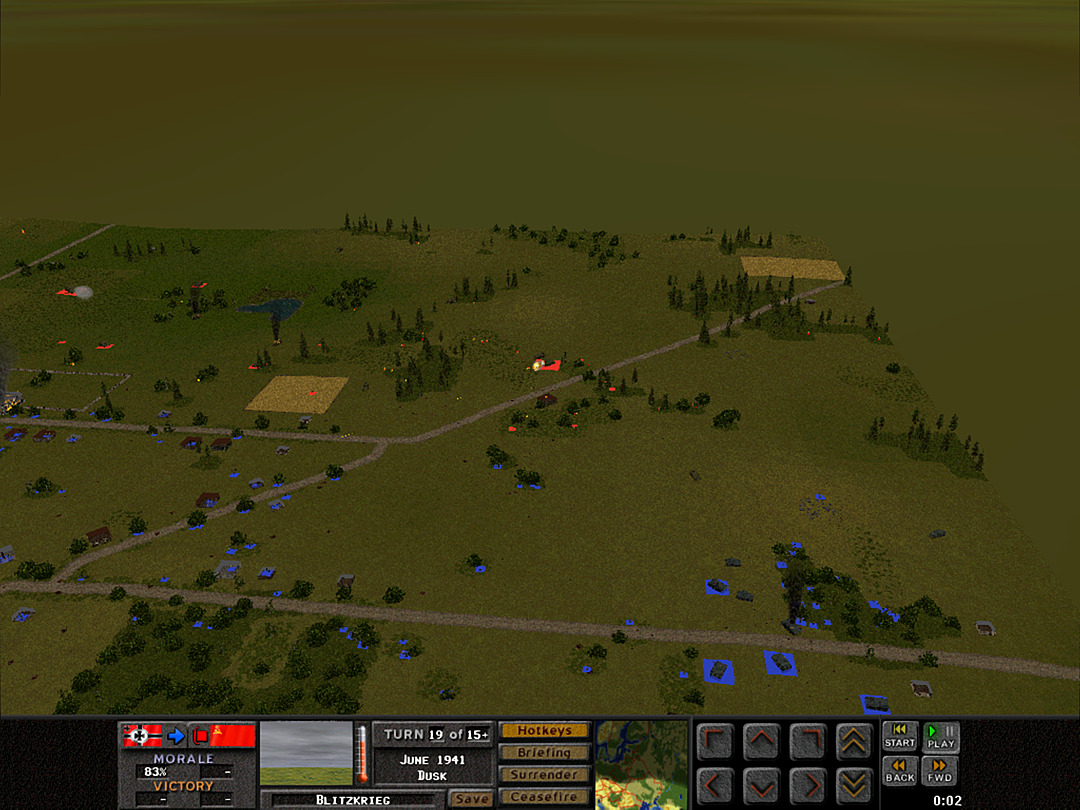 The village has been taken, and we have troops in the southeast woods. This isn't enough to drive out the KV-2, though, and it continues to discharge shots at our infantry. 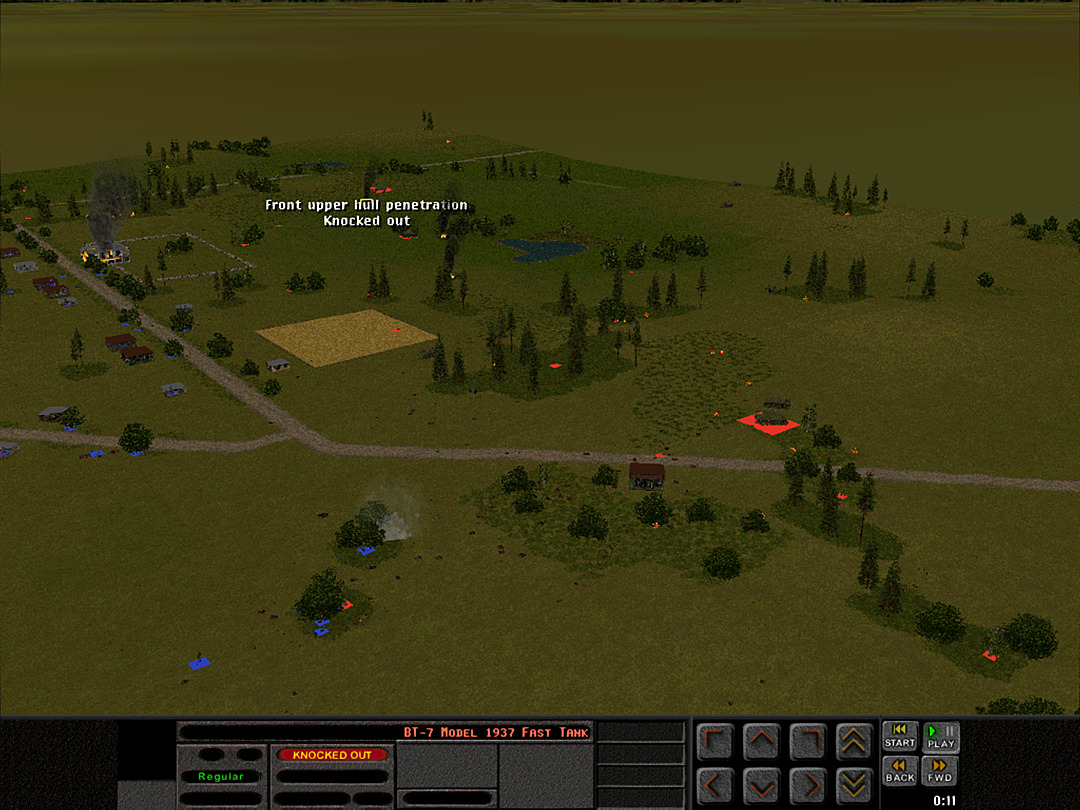 We put one more BT-7 out of action as the dark of night closes in. Unit Highlight Somua Tank 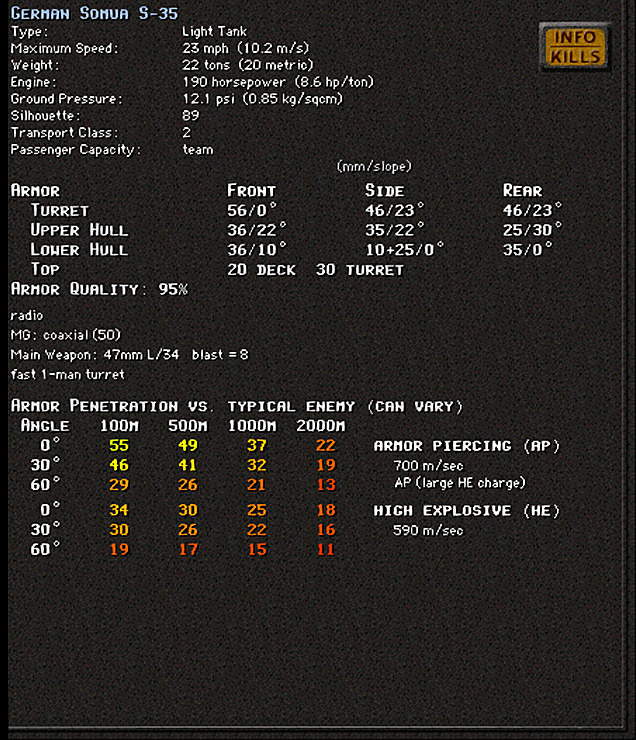 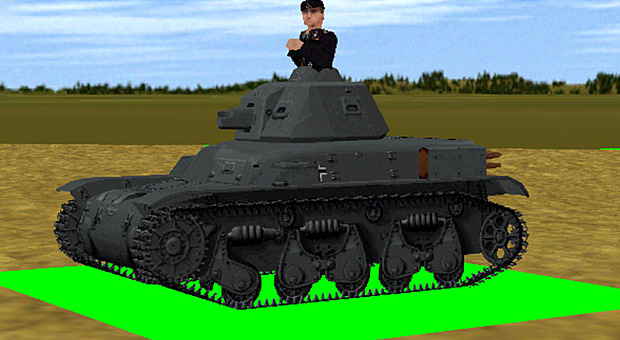 Crew: 3 Base Cost: 50 One of France's better tanks that was also captured. With its strong armor and decently powerful gun, the Somua S-35 was one of the best tank designs of the 1930s. Its primary weakness was a smaller crew, in particular a single-person turret that required the commander to fill several roles. It still performed quite well during the German invasion of France, but as that campaign was lost so quickly, much of the stock was captured when France surrendered. It hadn't been produced in as high numbers as other French models, but several hundred were available to the Germans. I haven't found much indication that it was used on the Eastern Front directly, but it was most likely deployed by occupation forces in an anti-partisan role.
|
|
|
|
Messy fight. By eastern front standards in summer 1941, this counts as a victory by the Soviets. They've held up the Germans for most of a day and put a batallion through a meatgrinder.
|
|
|
|
I've always wanted to give this a try. How awkward are those controls? I know that it uses those arrows and not camera controls we're used to nowadays.
|
|
|
|
TitusGroen posted:I've always wanted to give this a try. How awkward are those controls? I know that it uses those arrows and not camera controls we're used to nowadays. It is something you get used to. Using the mouse to move the camera is my primary means of control, and it sounds odd at first but doesn't take long to work out. Basically if you move the cursor to the edge of the screen in the six directions that those buttons mark, it moves the camera the same way that button would. With my mouse settings, it's easy to hit the corners quickly, and I get medium movement and rotation. Clicking the buttons gives faster scrolling, which is what I do when I want to switch to another side of the field. The (keyboard) arrow keys give precision positioning, which is rarely necessary. I usually stay at the same zoom level, or click to change them. You can actually jump zoom level using the number keys as well, which I probably should use but don't. It is a little less fluid than more modern controls, but not terribly so. Since there's nothing that you really have to catch in real-time, repositioning isn't as painful. You often end up taking one viewpoint to observe from and stick with after you've set it for a certain amount of time, which gives it more of a feeling of being on the map (or at least hovering above it). Kangra fucked around with this message at 08:11 on Dec 10, 2023 |
|
|
|
wedgekree posted:Messy fight. By eastern front standards in summer 1941, this counts as a victory by the Soviets. They've held up the Germans for most of a day and put a batallion through a meatgrinder. Yeah, I've basically had to settle for the imagine objective of 'secure the village and its surroundings' to keep it interesting, but it was likely a done deal by battle 3. There's still some excitement to be had, however.
|
|
|
|
Operation 1, Battle 5 of 5 Operation: Blitzkrieg Time of Day: Night Skies: Clear Ground: Dry Temp: Cool Wind: Still Night has fallen on our first day of battle, but the fighting is not over yet. We have managed to take almost all of the village, but to properly secure it, we need to really push the Soviets back. It'll be no easy task, though, as they have put up a tough fight, and have a platoon of their best tanks at hand. [This is our first night battle. Most operations will include a night battle (or more than one); the ratio of day/night battles is set by the designer, so there's no requirement to have a sequence of dawn-day-day-dusk-night as we had in this one.] 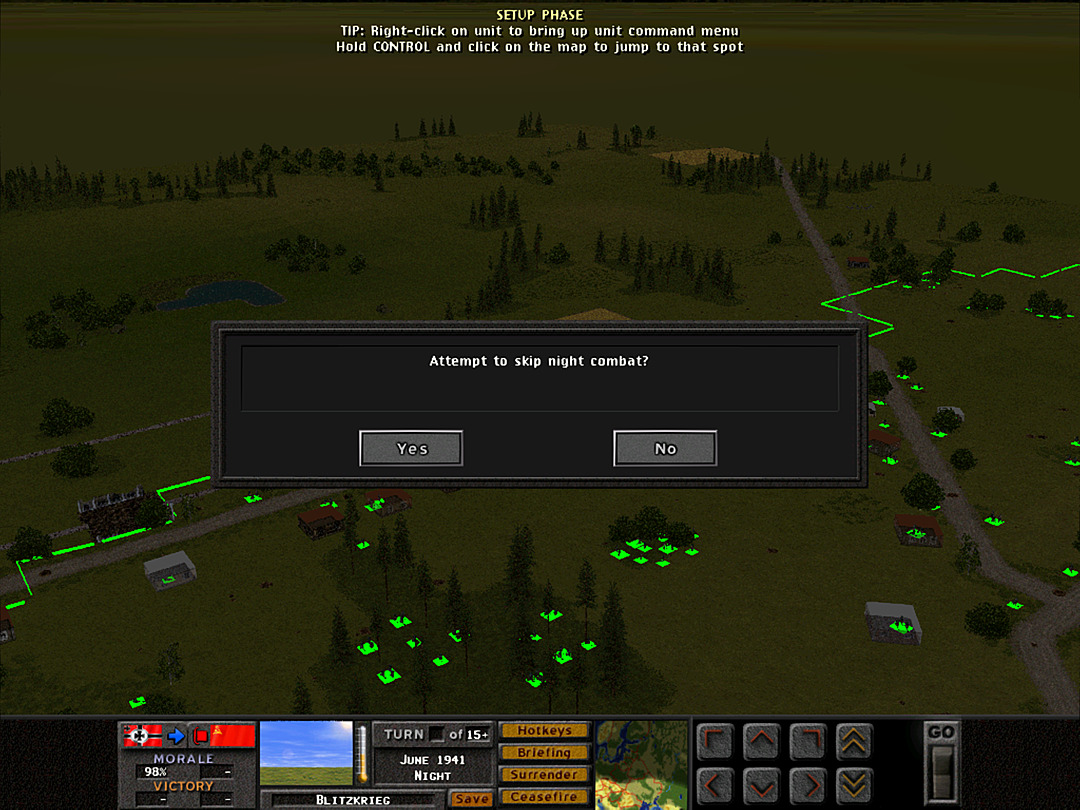 [One feature of night battles in operations is that you can attempt to skip them. If both sides agree to skip it, the night battle is not played and the next battle after it will ensue. In some cases one side will not be given a choice of whether to skip. Of course, in this case we do not wish to skip it. The other thing that should be apparent by now is that the time of day affects how bright the game is. It was probably noticeable that the dawn/dusk turns had darker images than the daytime battles. Now that it's night, everything is harder to make out. This is clearly an intentional choice, and while I understand it might make it harder to follow since you can't just click on a shape to see what it is, for now I will keep it as-is. If enough people are finding the night battles unreadable, I can try to up the brightness with post-processing. I will also mention, for anyone who is playing this or thinking of doing so, that for some reason it is much darker in the game than in these screenshots, at least most of the time. I set the in-game gamma to maximum, and that makes things barely visible. To actually make it playable I tweak my graphics card settings to get more brightness. Occasionally the game will run with what appears to be proper gamma, but I'm not sure how to get that to happen reliably.] 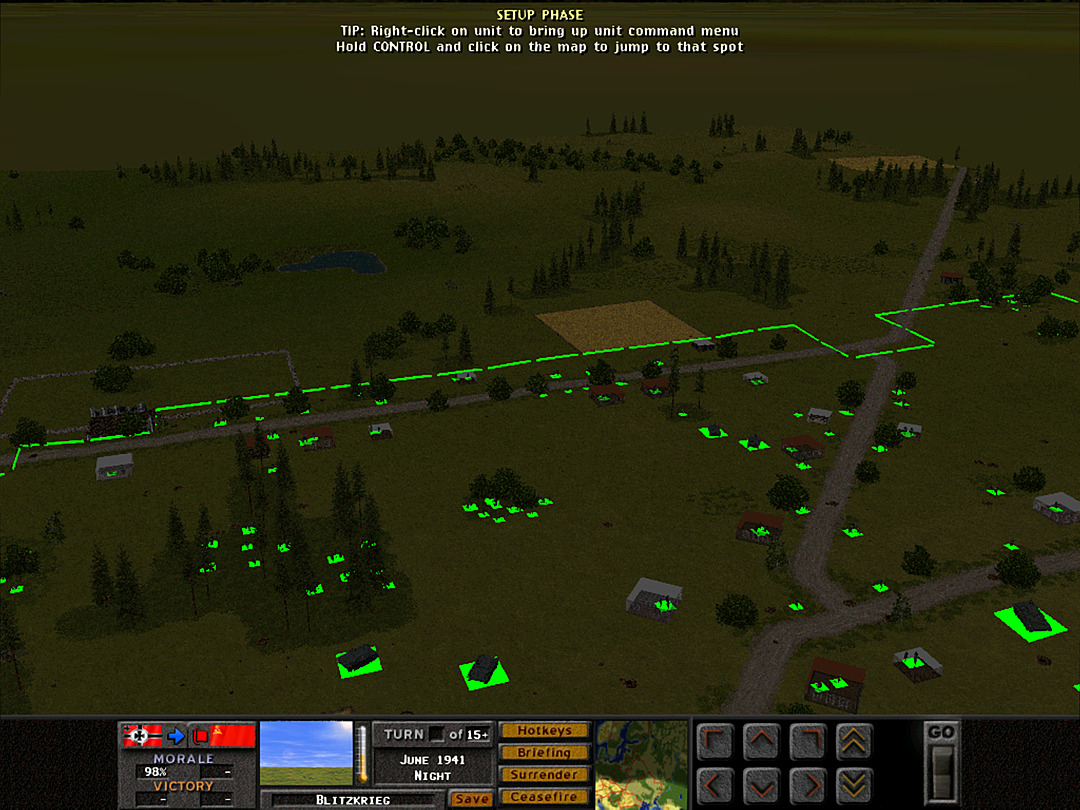 Our final reinforcements of the day come in the form of another rifle infantry company (Coy F), and two platoons of Panzer IV tanks. Since nighttime visibility is reduced to 200m, we can actually bring the tanks up pretty close behind our troops without fear of losing them. The fresh troops are sent to the village woods. The pioneers of E Coy are going to lead a charge eastward, and F Coy is set to fill in behind and ensure they don't get cut off. D Coy is responsible for holding the village, although they will also be needed to hold the initial assault's right side. 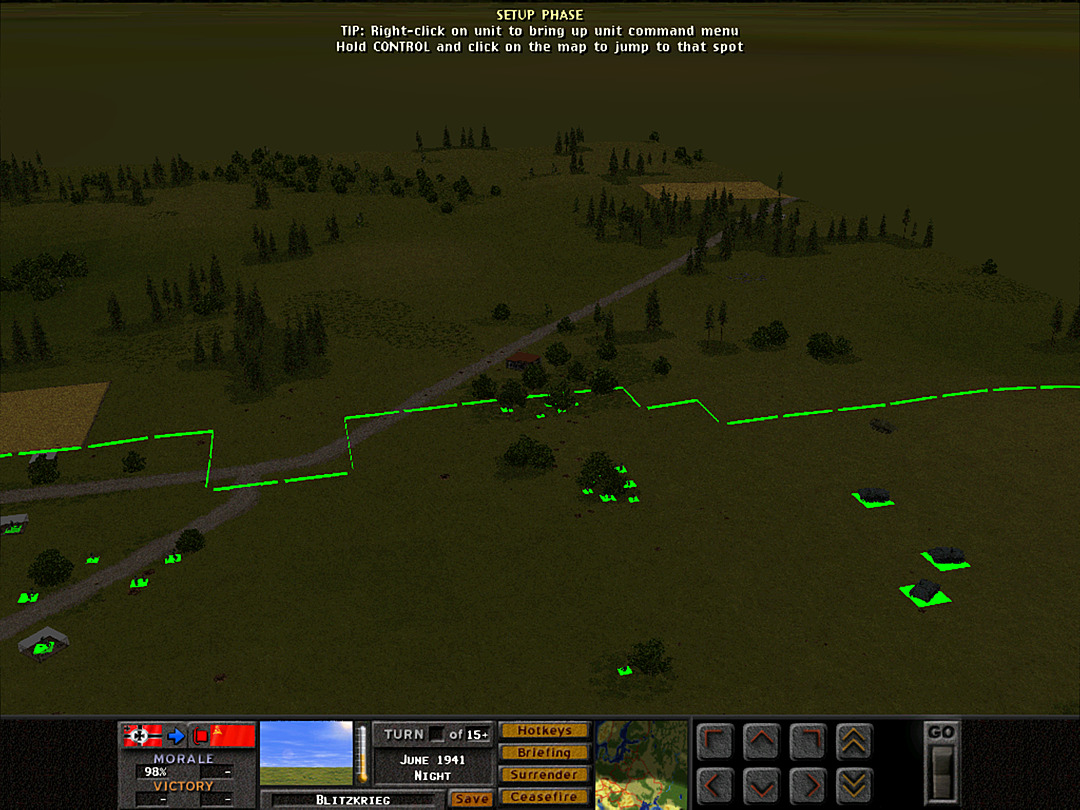 With the brave twilight charge of B Coy, we've gained the woods along the road. B Coy is going to keep moving through here, and with some support from A Coy, they'll be responsible for taking the road all the way to the southeast edge. One of the newly-arrived platoon of tanks will be near at hand to assist. 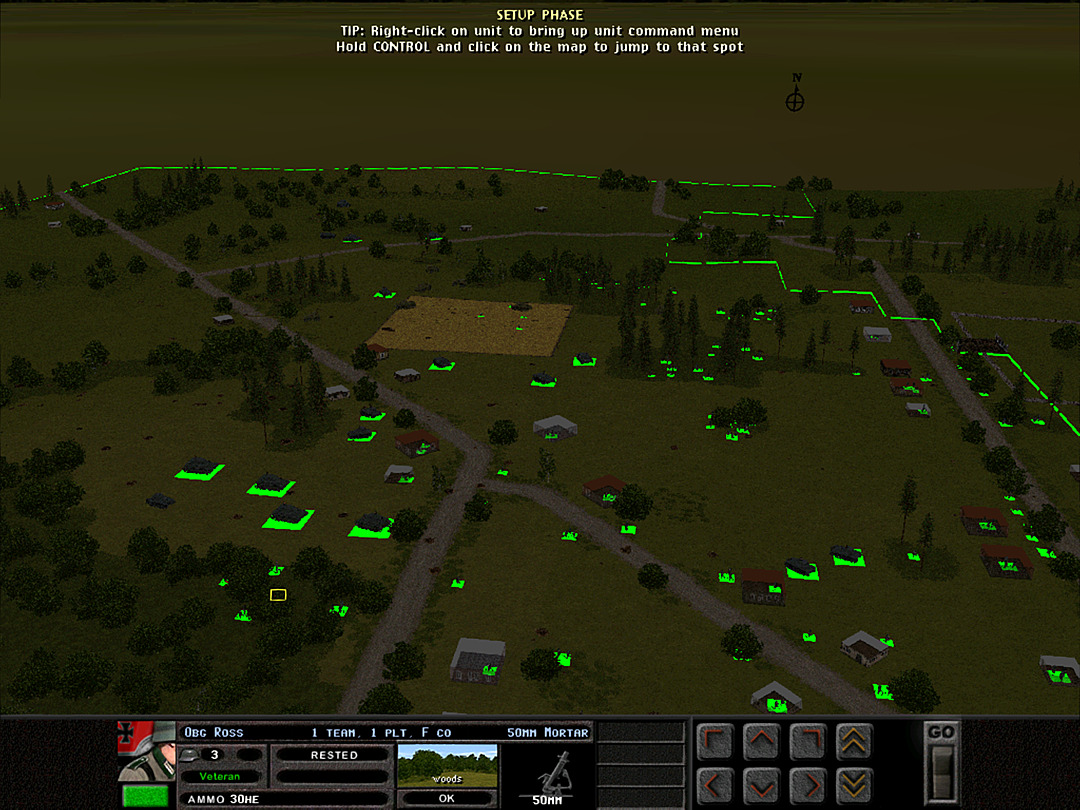 A fair number of our tanks will simply be kept in reserve, as we don't want to risk losing any more today. C Coy will sit tight on the north end of our line. Only if it seems clear will they advance toward the northern intersection. It's time to head into the last battle, and see what we can salvage from this grueling day. 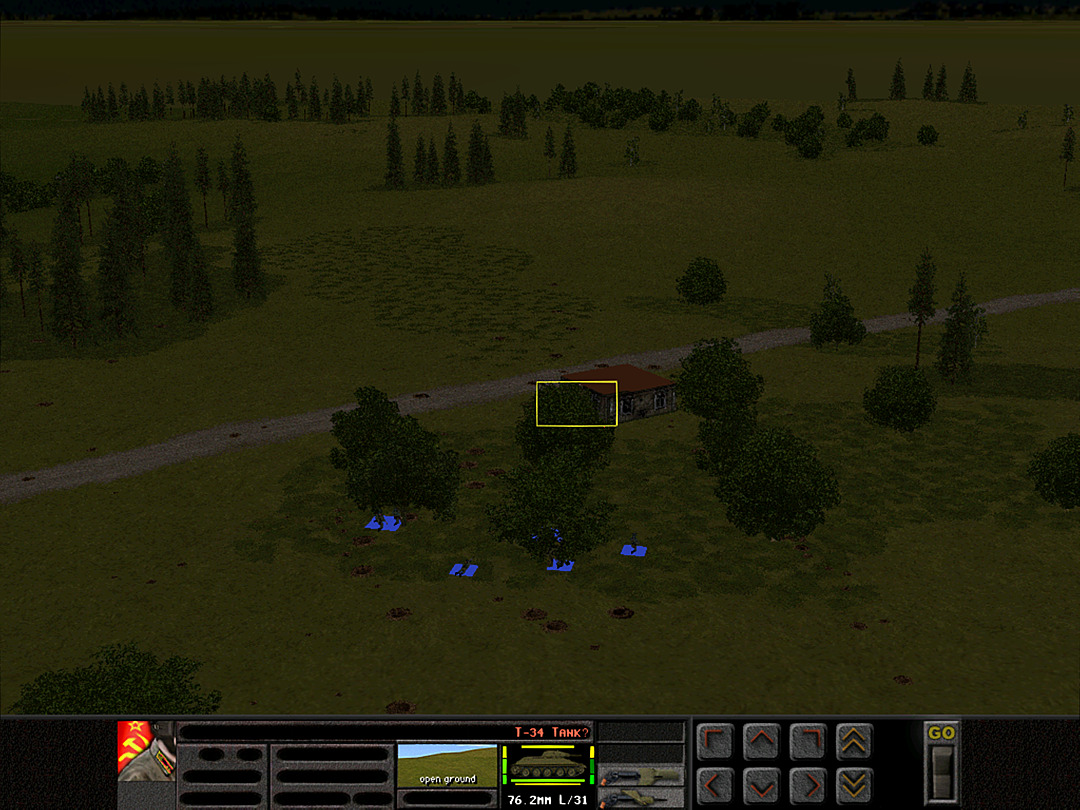 Before B Coy even starts to move out, they sense the presence of an enemy tank. Could it be that the KV-2 hasn't shifted its position since the sun went down? We have a tank-hunter team in prime position to knock it out if so. 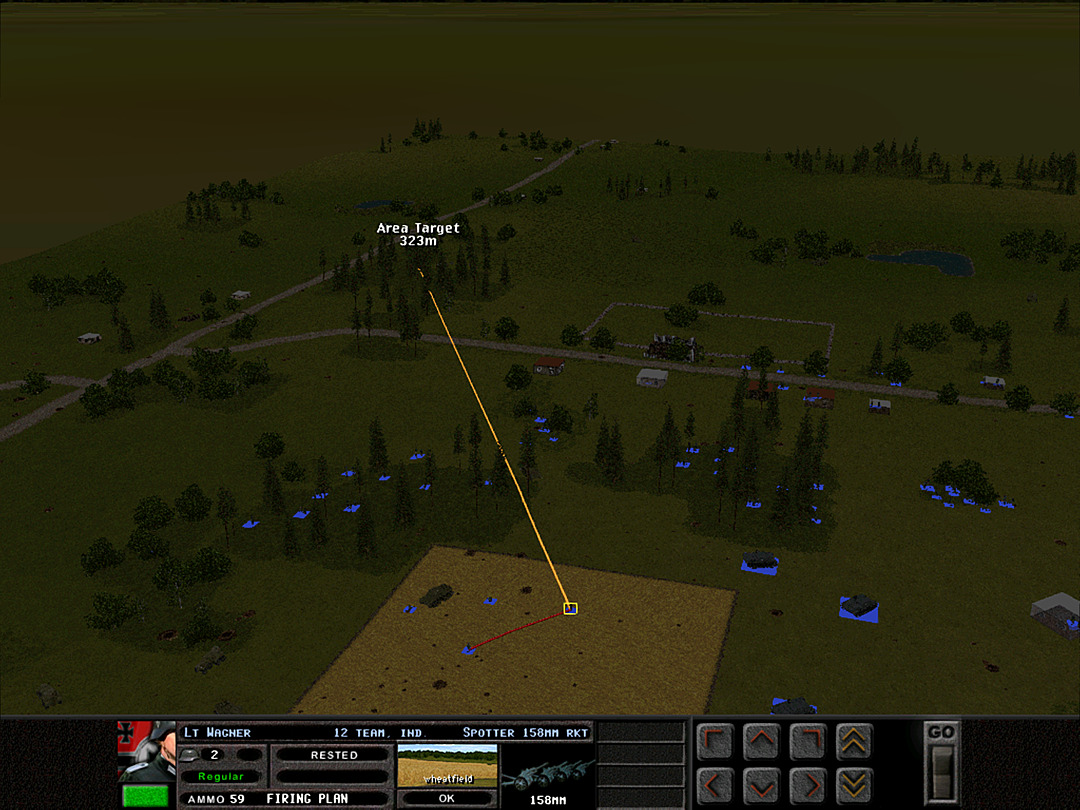 There's no point in trying to call in precision artillery strikes at night, since our spotters can't see far enough away to prevent it from being dangerous. Pre-planned barrages are set to go at a few likely enemy locations. 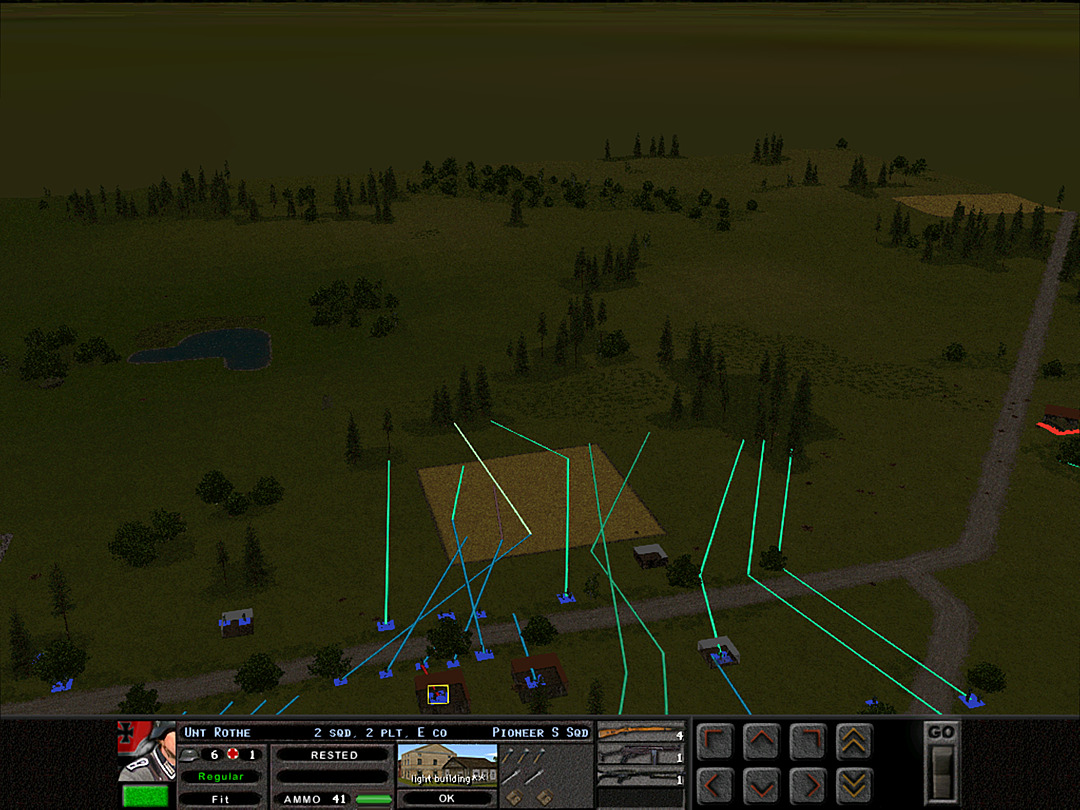 E Coy will get underway immediately. One platoon from D Coy will also attempt to clear the woods near the roadway. 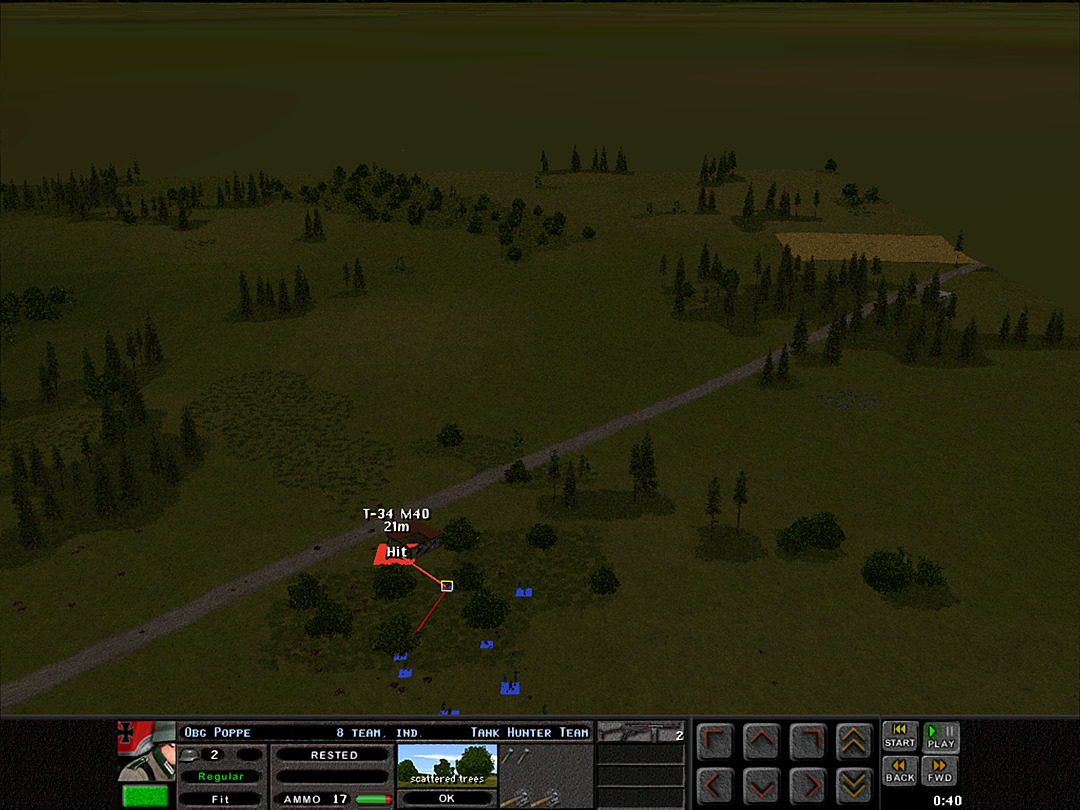 It turns out the KV-2 did not stick around. But it is still a tank here, and a T-34 at that. The team gets their grenades in before the Soviets can react, and that's one enemy tank down. 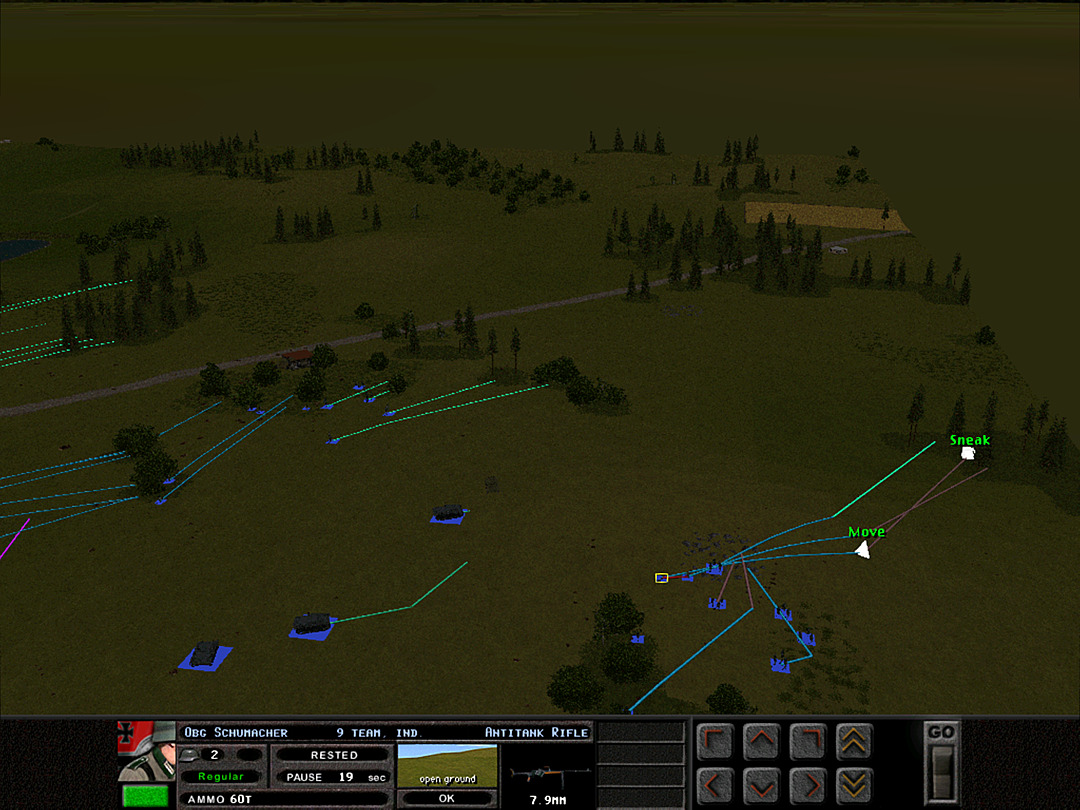 While B Coy occupies the woods in front of them, A Coy will send a scouting team to the south and make sure no enemy forces are hiding out down there. 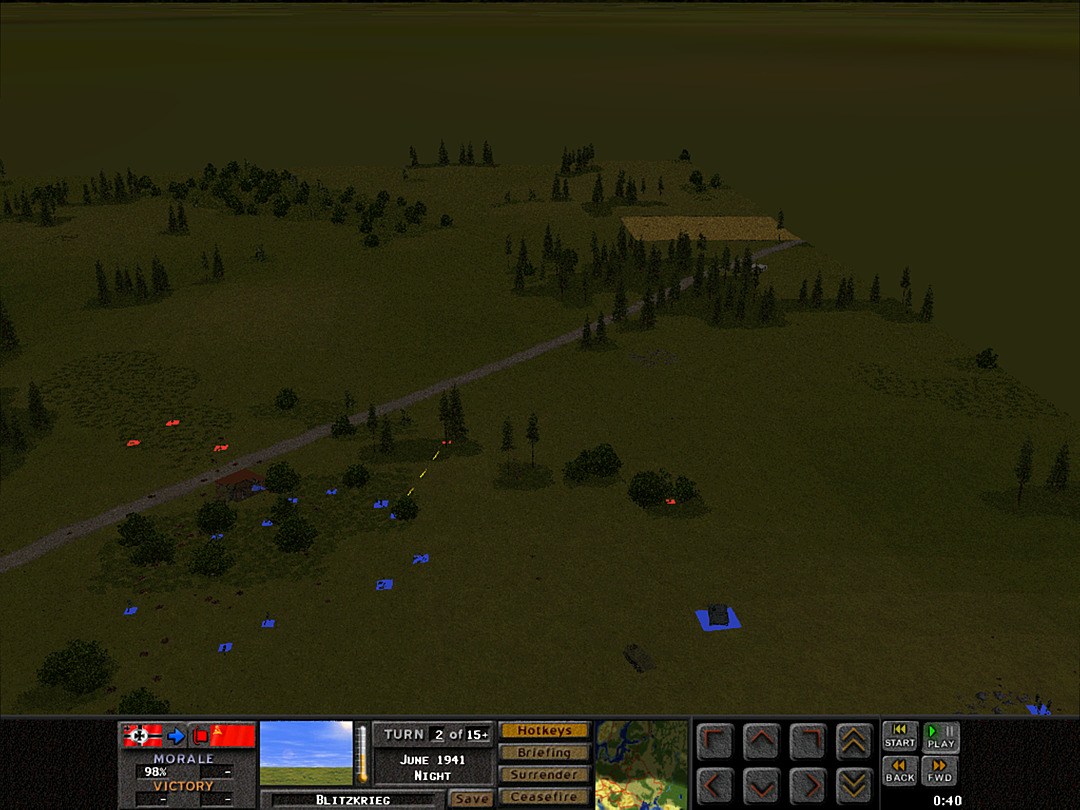 The T-34 might be gone, but there are a fair number of enemy squads sticking around to hold up B Coy. 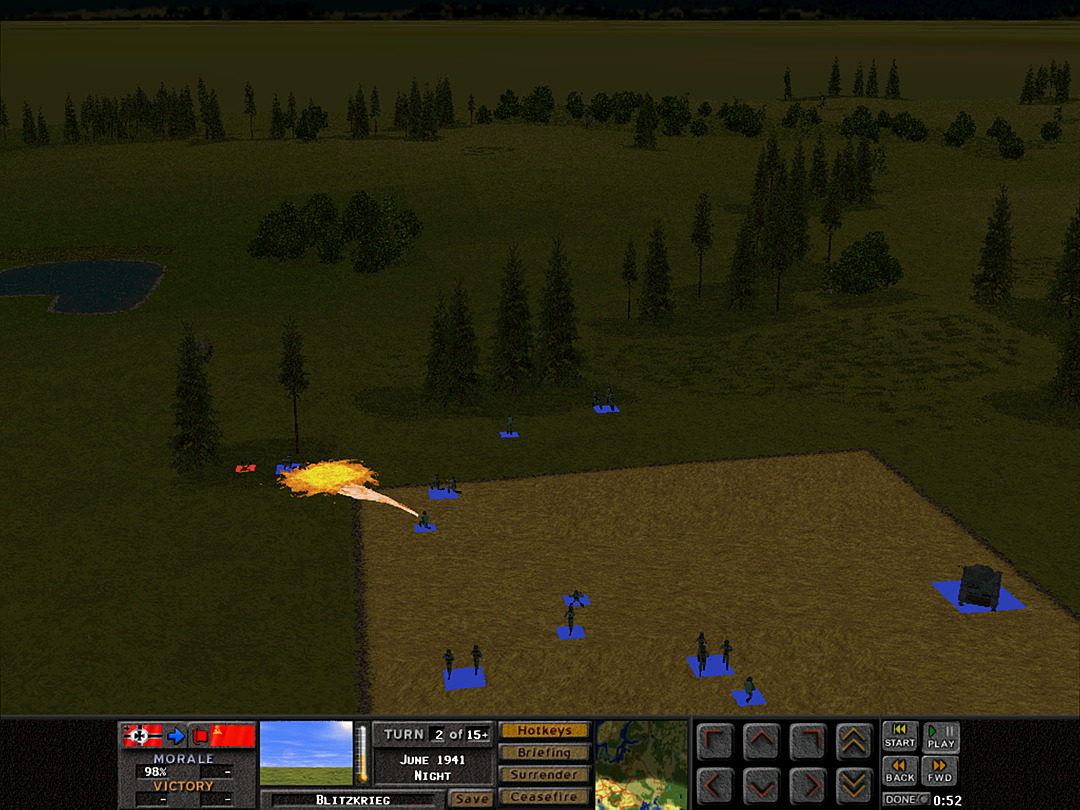 As E Coy makes its first rapid assault, the flamethrower teams open up on a couple of Soviet squads in the woods. Unfortunately they also catch some members of their own platoon in the spray of fire. 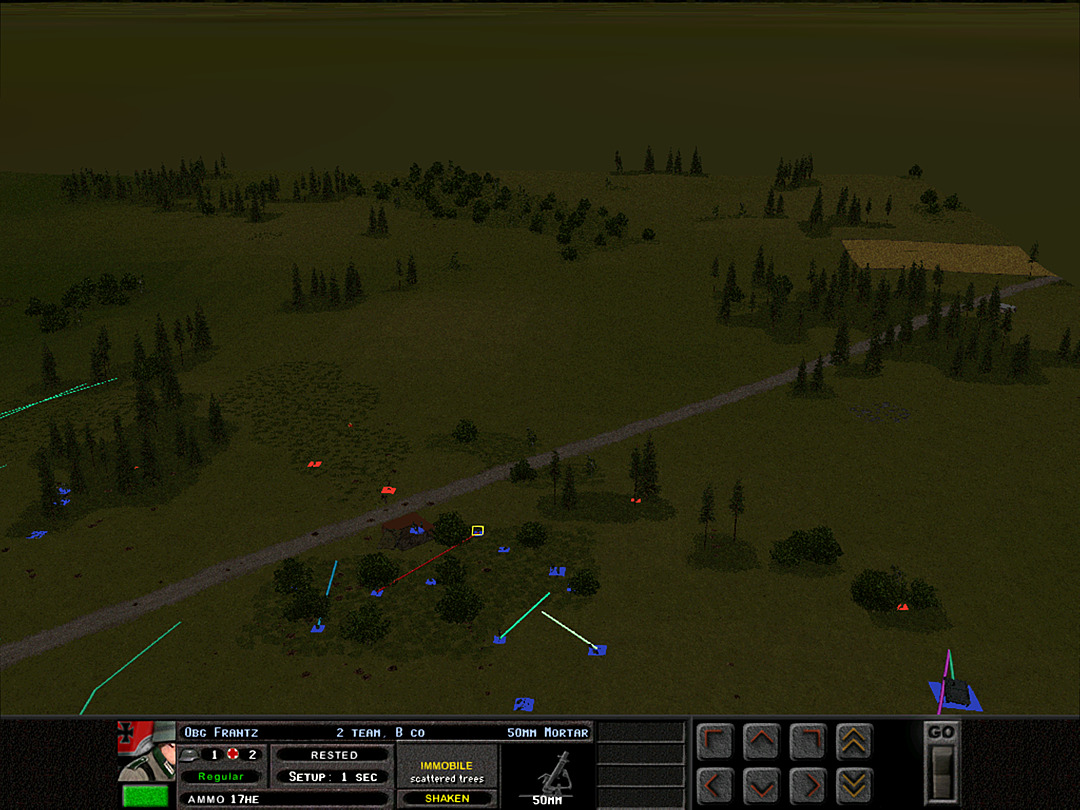 One of B Coy's mortar teams takes losses, and is unable to carry its equipment any farther. 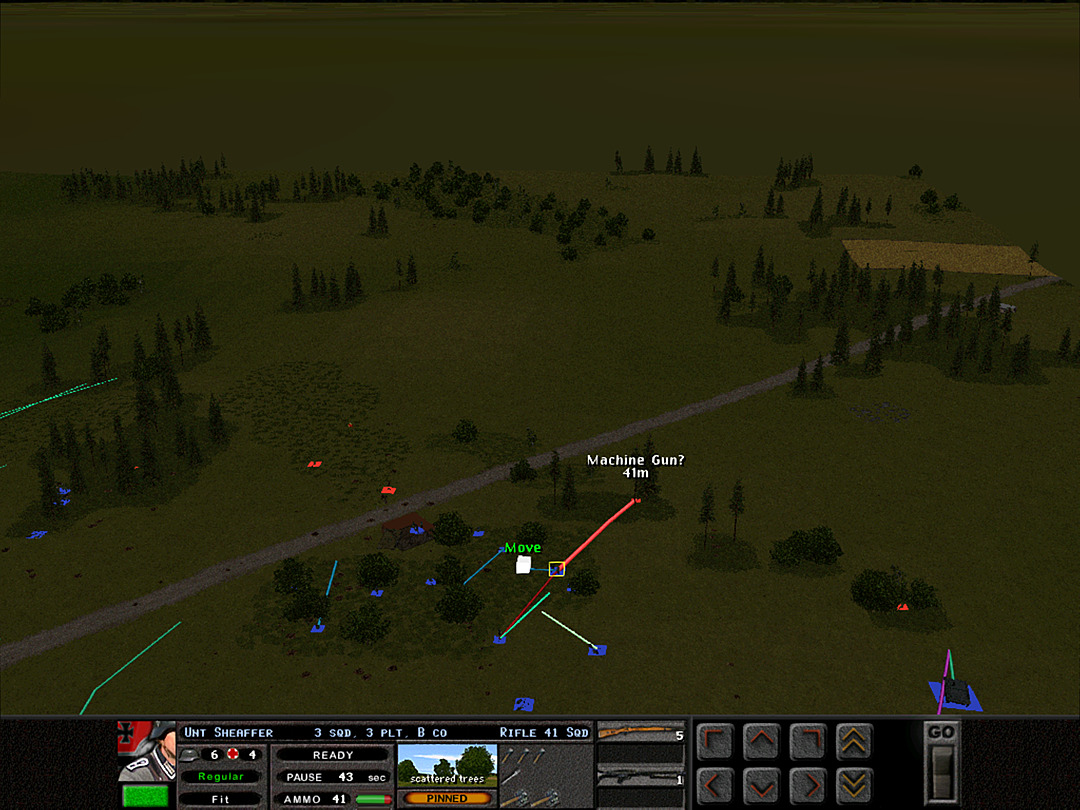 B Coy, 3 Plt is coming under intense fire from right in front of them. 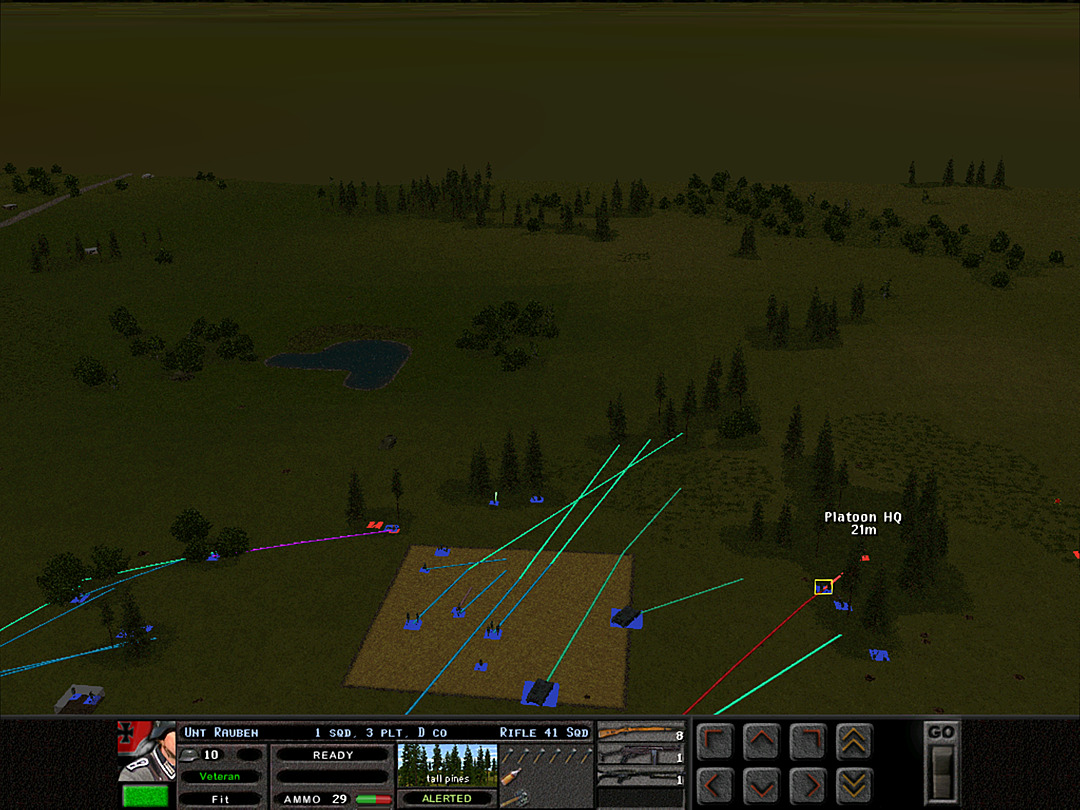 Fortunately our main charge is still meeting with only very light resistance. 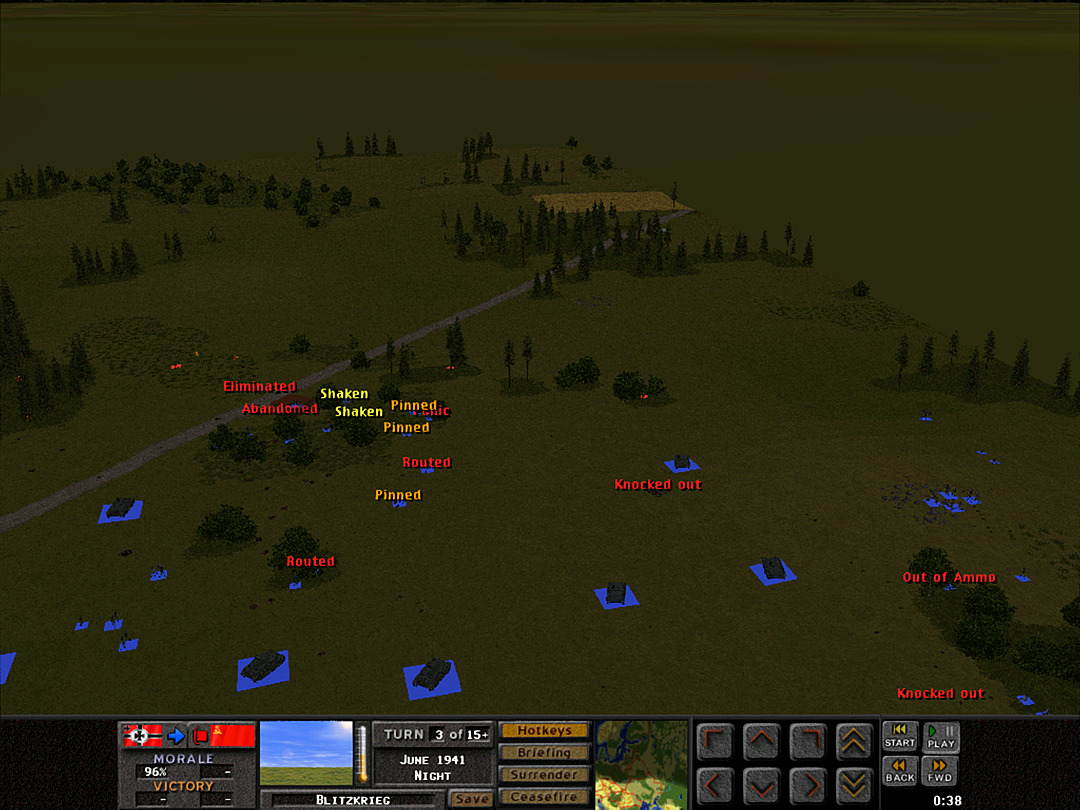 B Coy is having a really hard time of it. The cohesion of our initial assault is breaking apart. 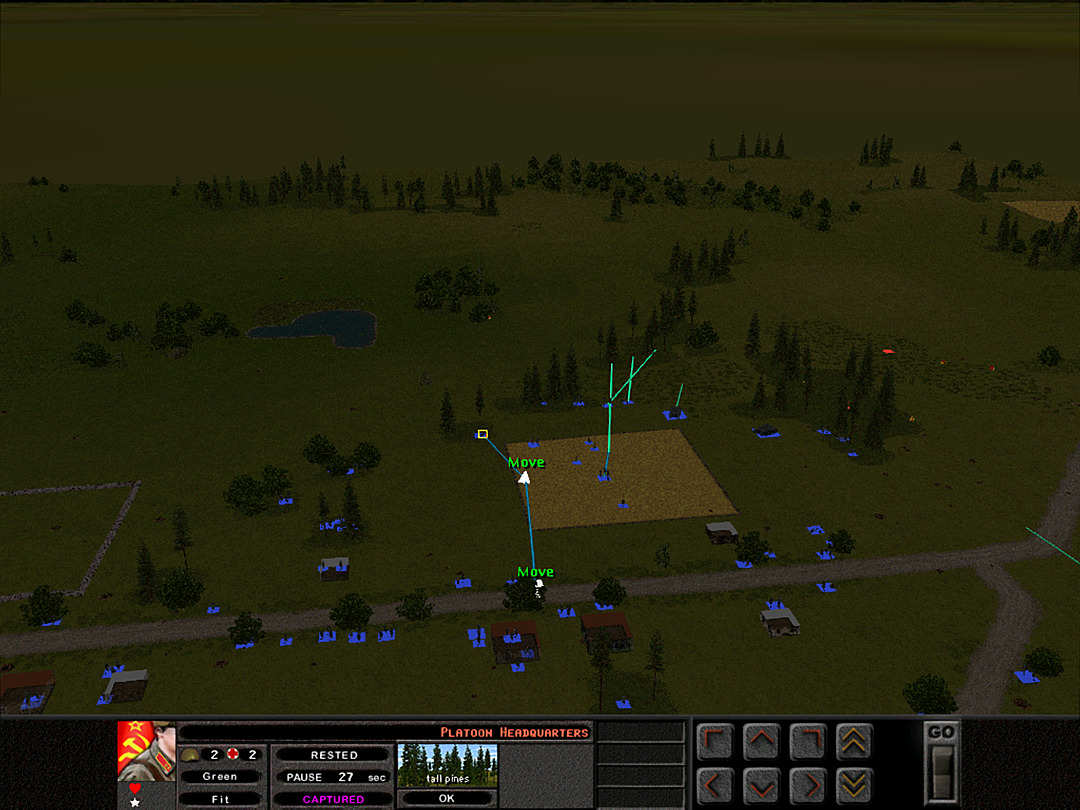 Meanwhile, the Pioneers capture an enemy officer. 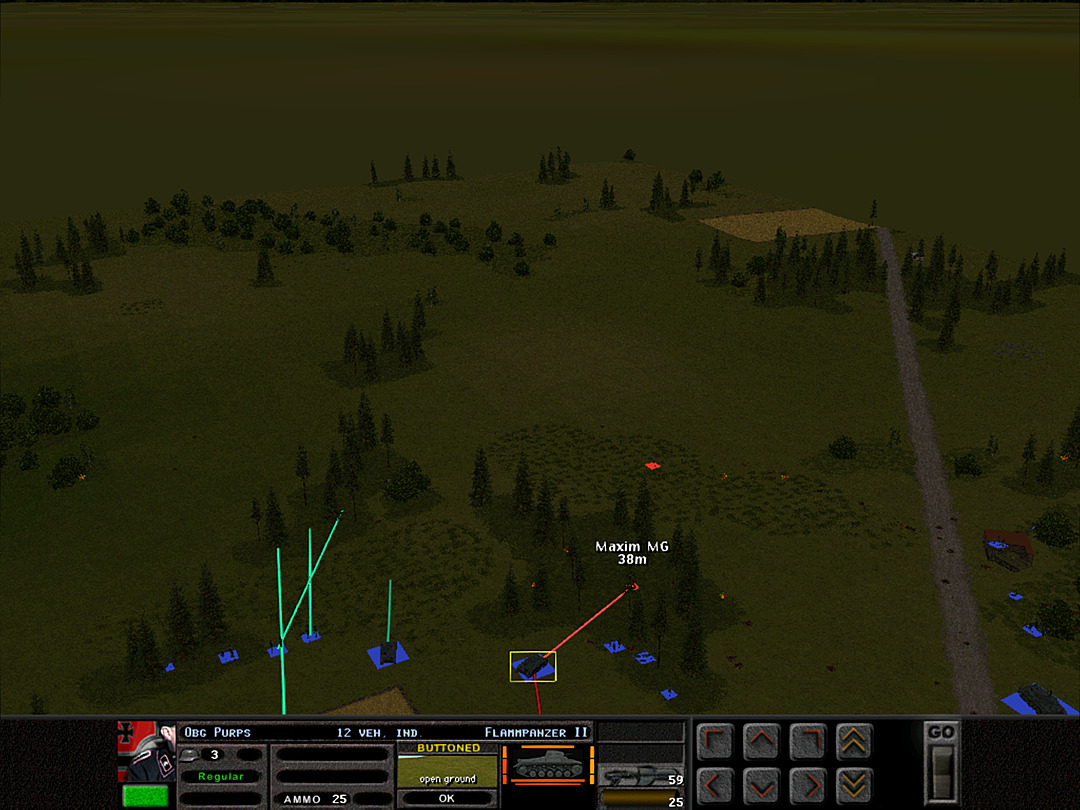 Our tanks have little to fear from the Soviet infantry, and if our flame tanks can get close, we will smoke them right out of the woods. 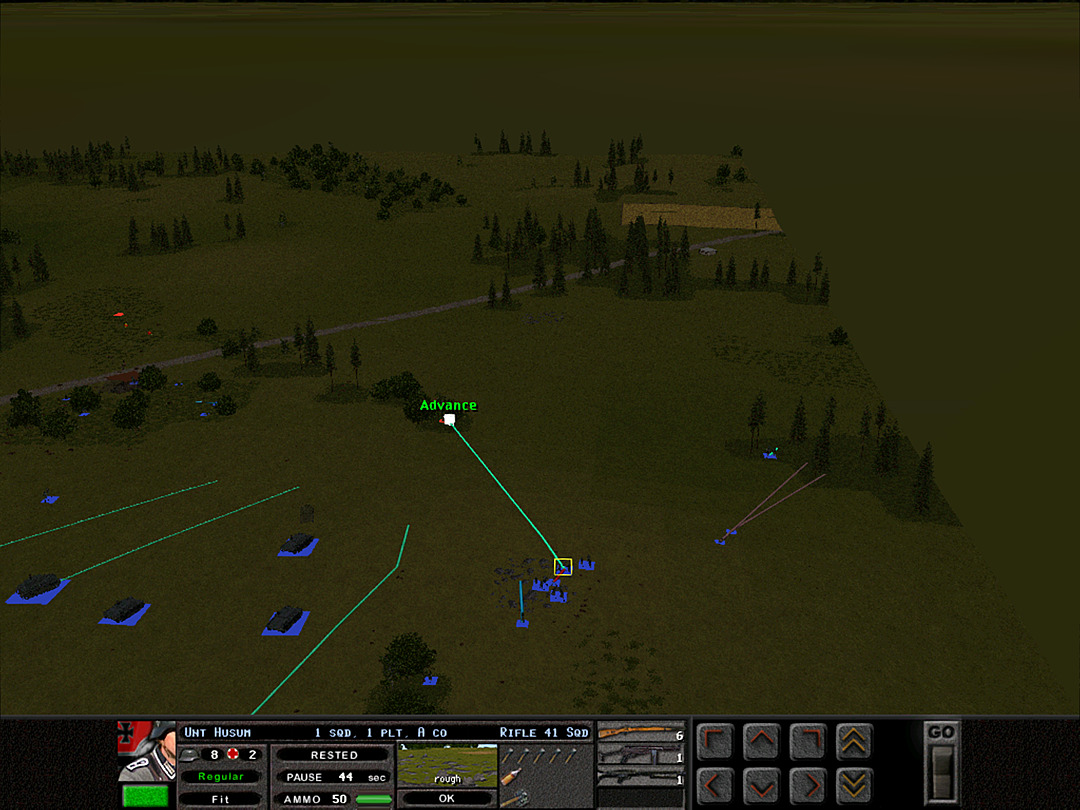 A Coy, 1 Plt decides to give B Coy some assistance with a potentially crazy charge of their own. 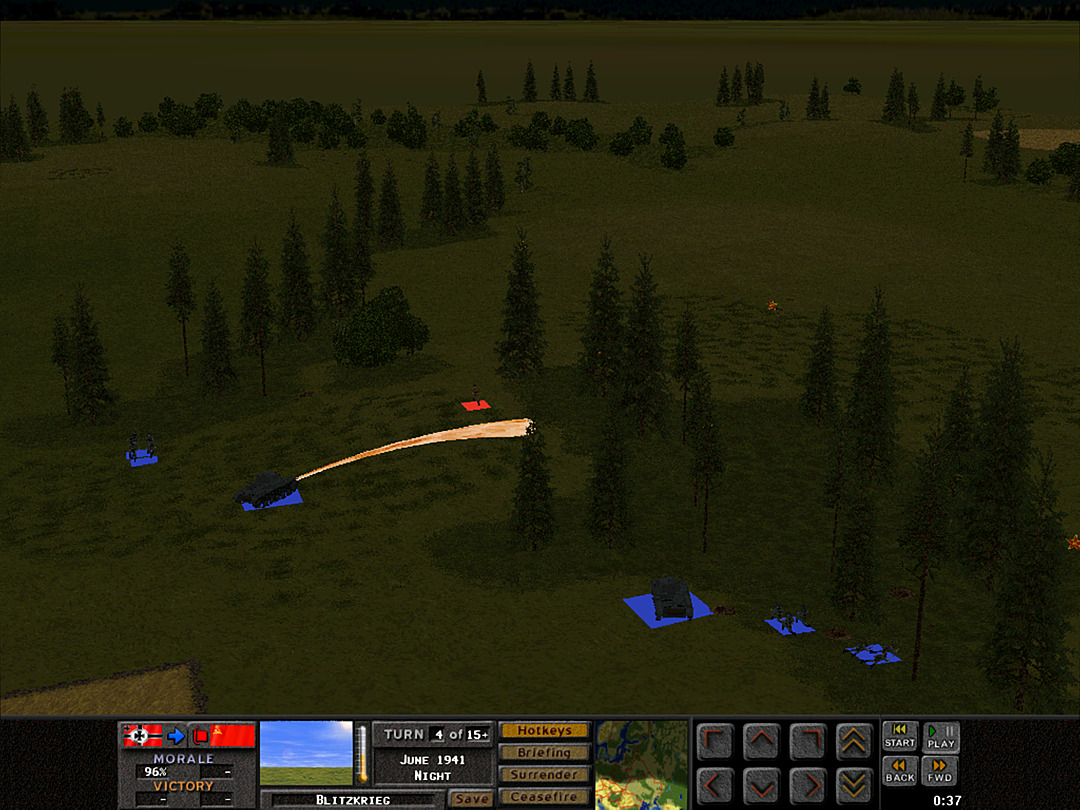 The flame tanks get to work on clearing the woods. 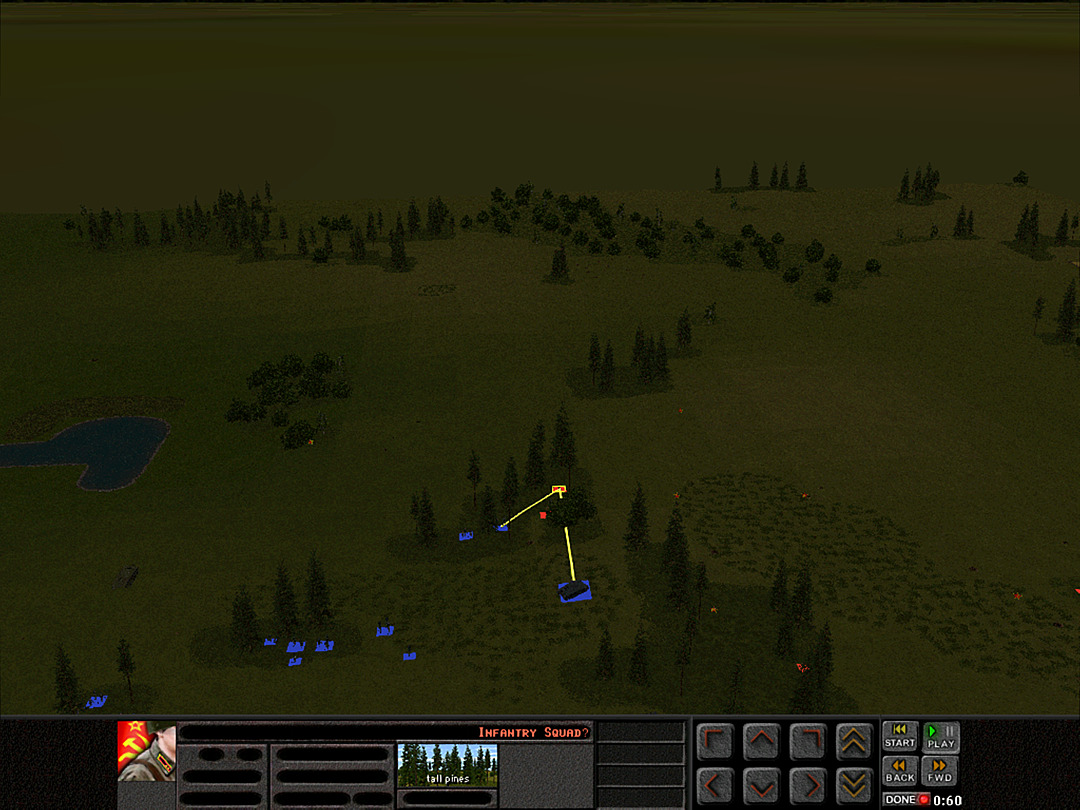 The Soviets are hardly putting up a fight in the middle; our shock attack has them fleeing in terror. 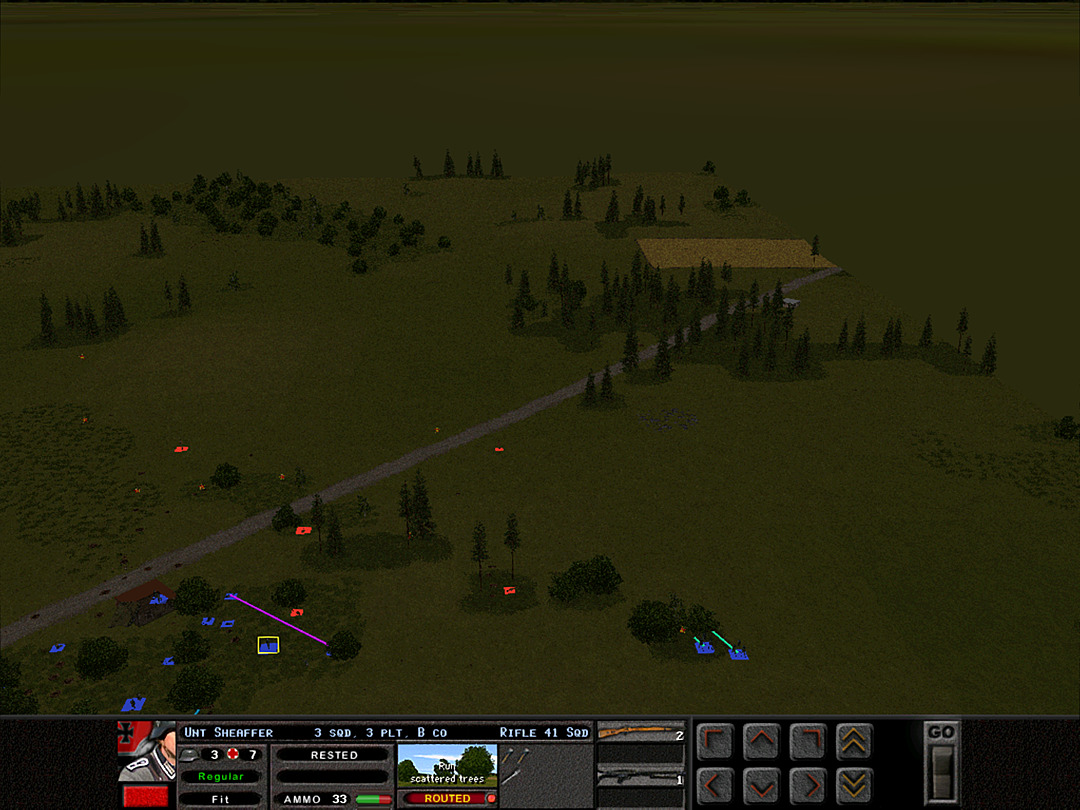 The charge from A Coy goes through. But it has come too late for some of B Coy, as the commanding officer of 3 Plt has been lost. 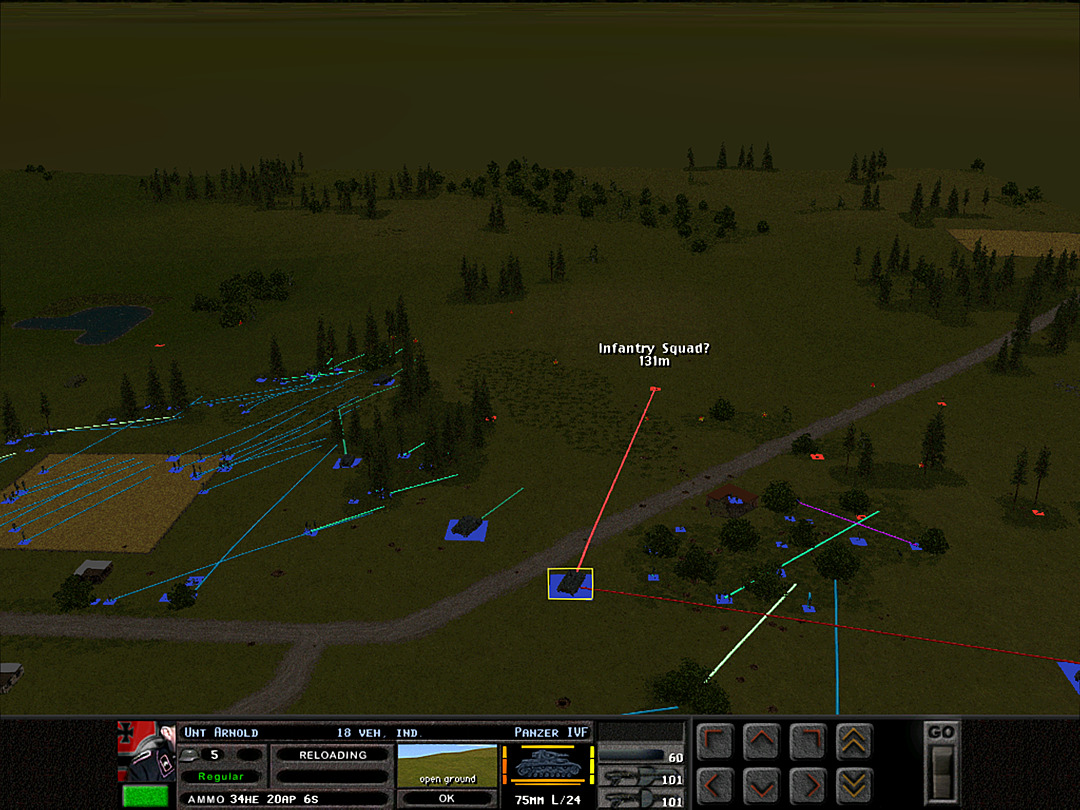 The Panzer IV's lend some help to B Coy on the other side. 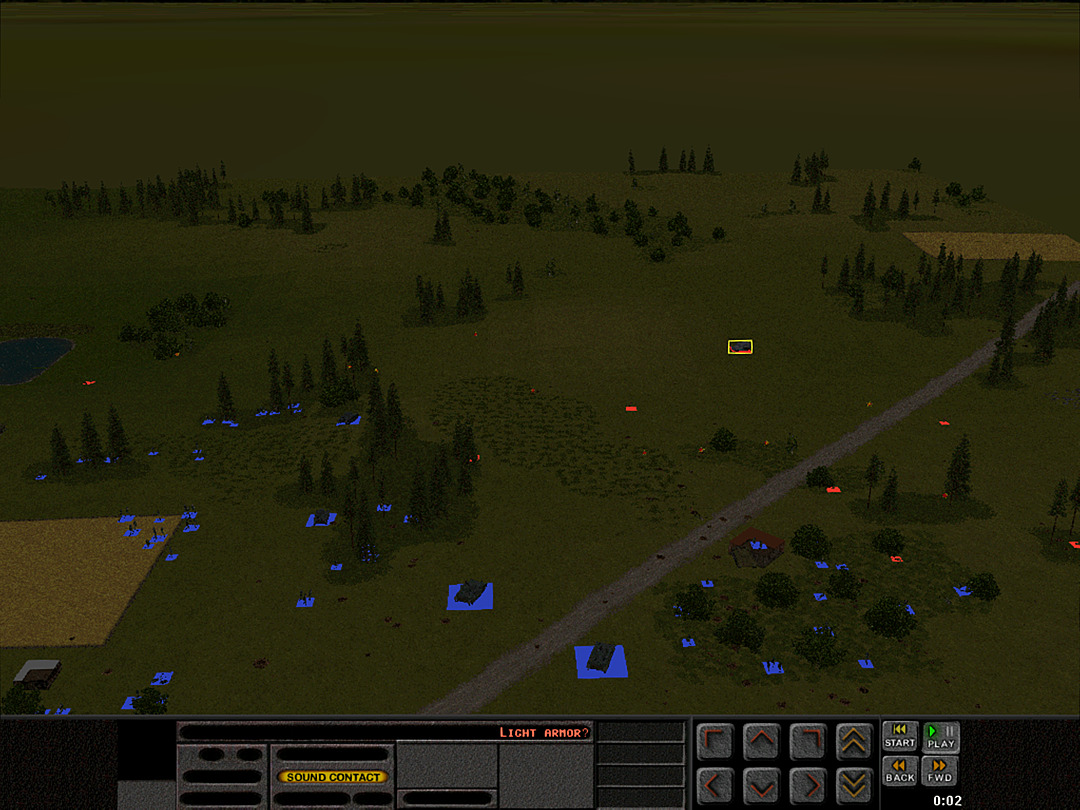 Their arrival may have stirred some of the enemy vehicles to react, but it does not sound like their heavies are close at hand. 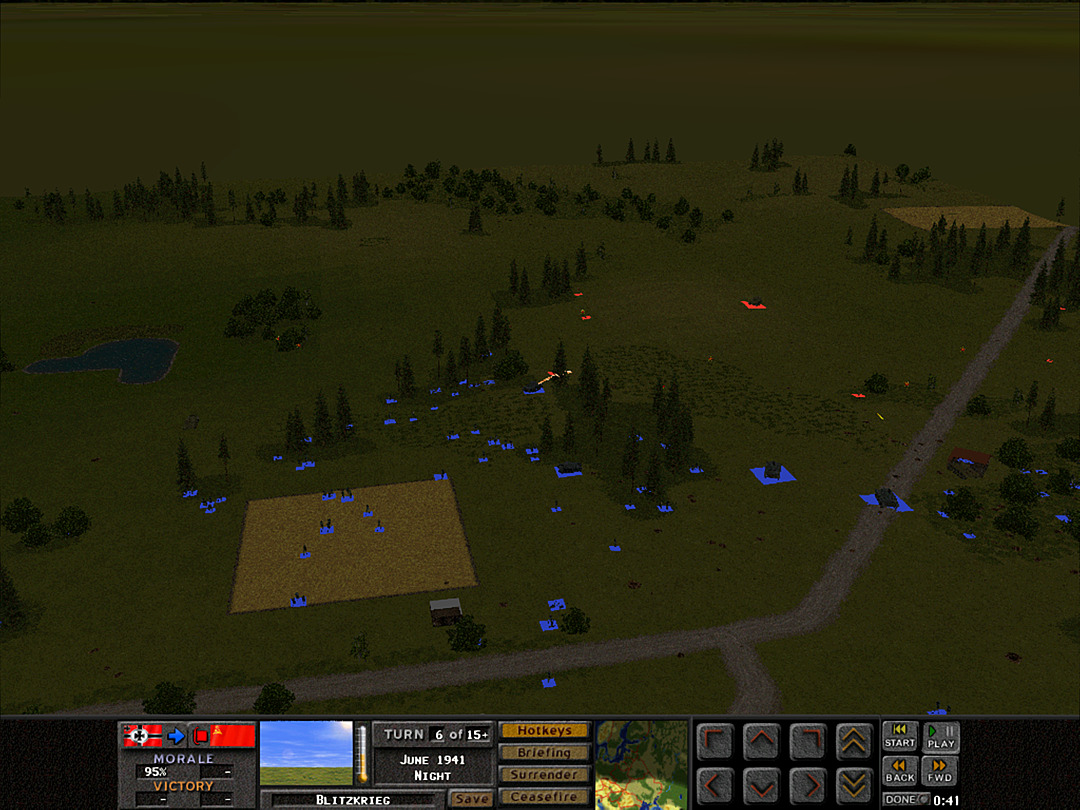 Indeed, we can just make out what's probably another BT-7 out in the open. Any of our own tanks will knock it out in short order. 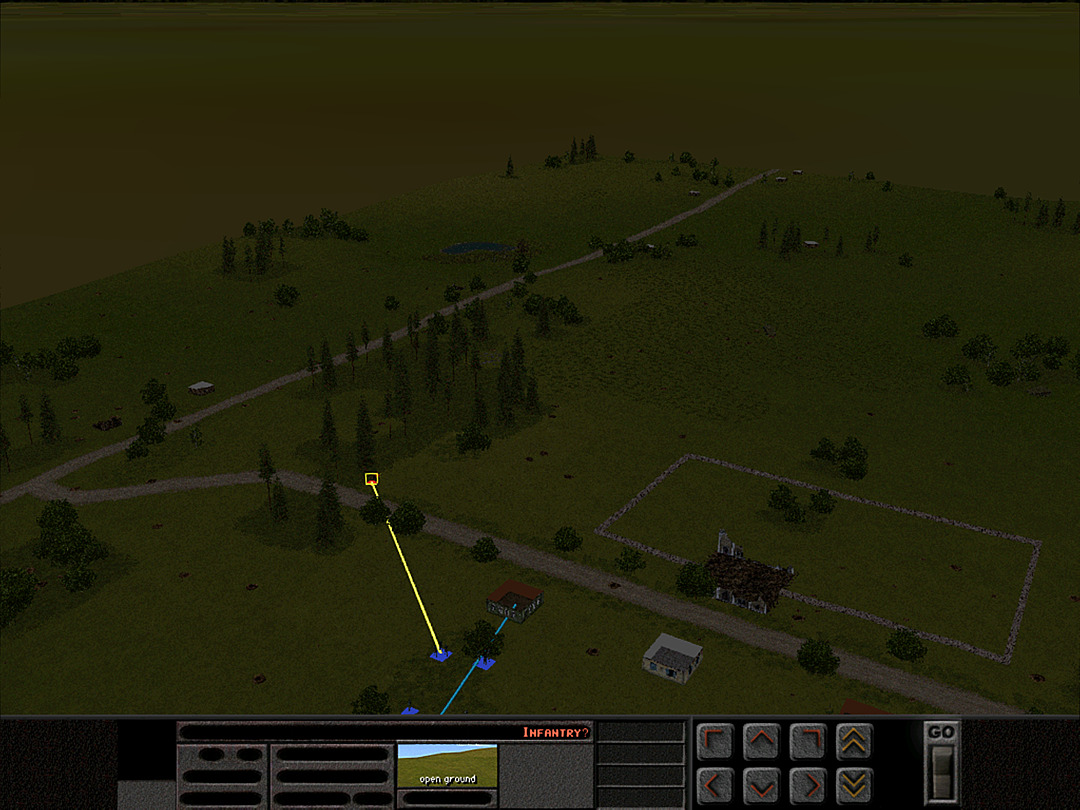 There are a few contacts at the north end of town. C Coy will make sure they don't try to retake any part of the village. 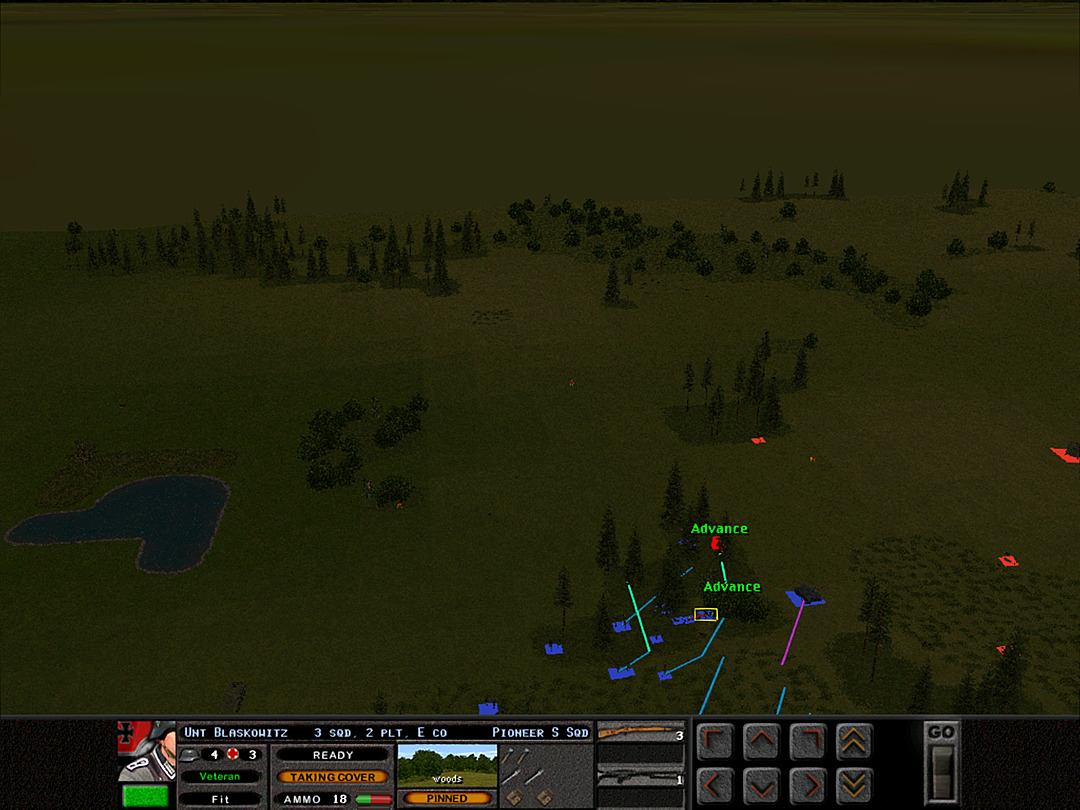 The Pioneers have had some close combat encounters in the woods, so not all the squads are ready to maintain the charge. 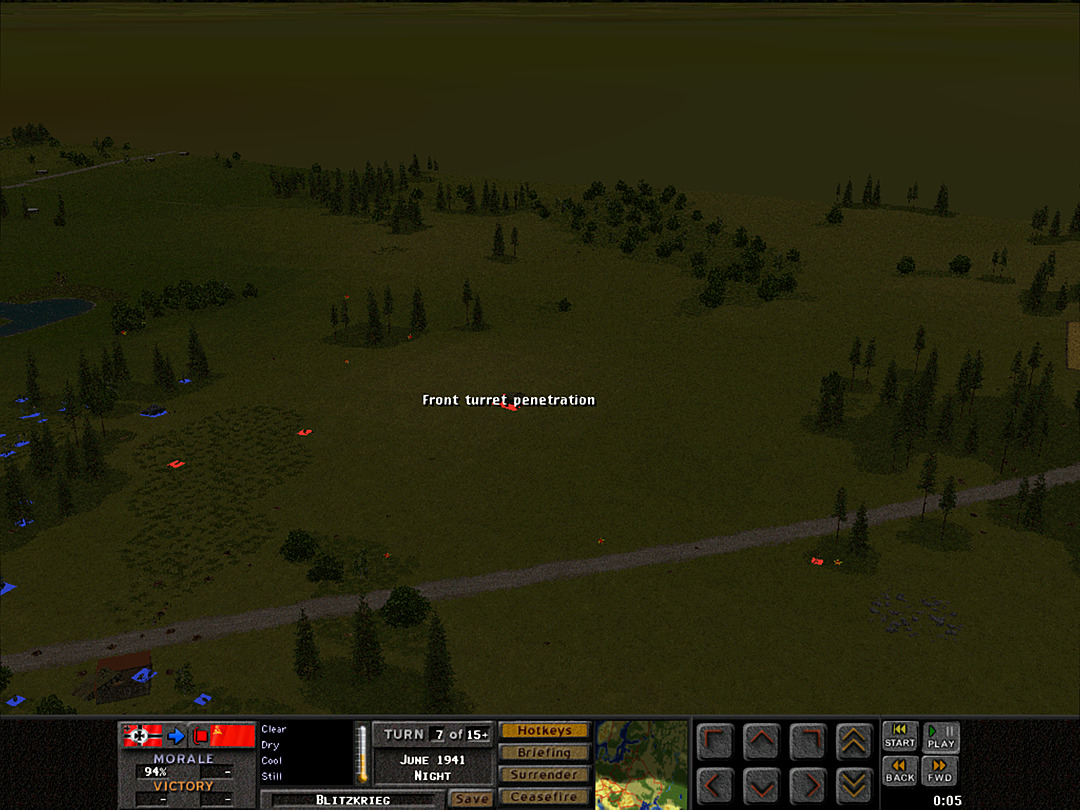 It does not take long to knock out the Russian light tank. 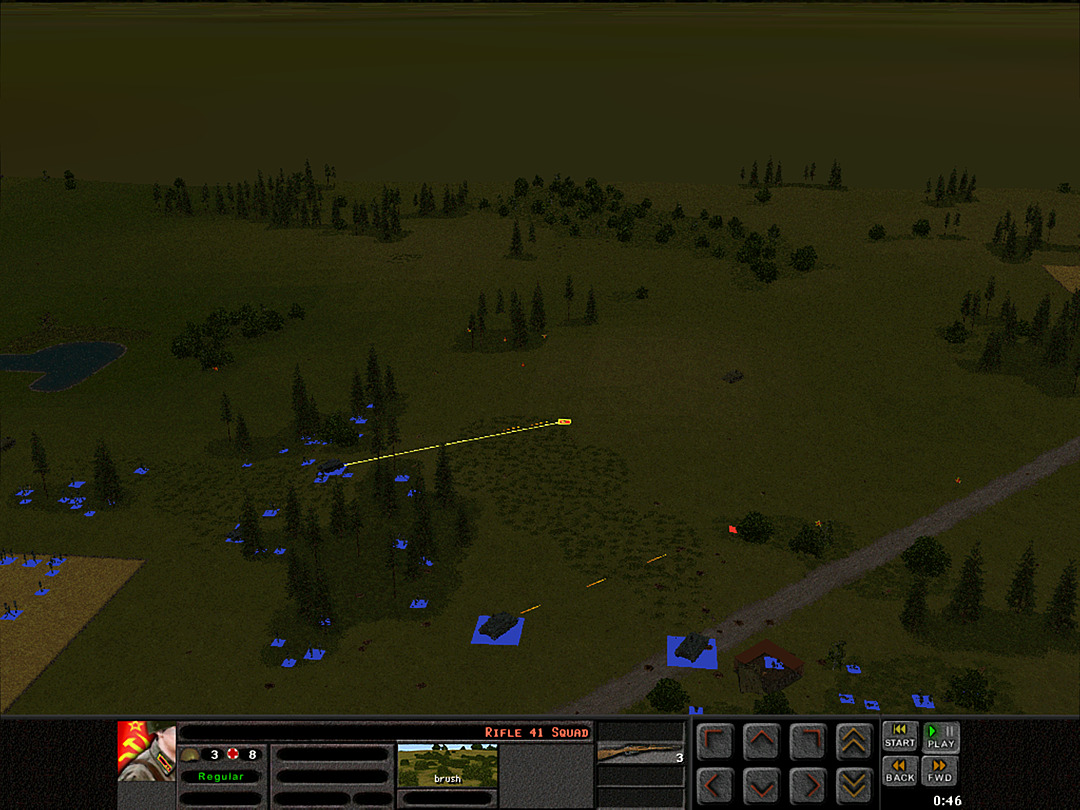 That gives our own tanks free rein to suppress the infantry. Unit Highlight PzB39 Antitank Rifle Team 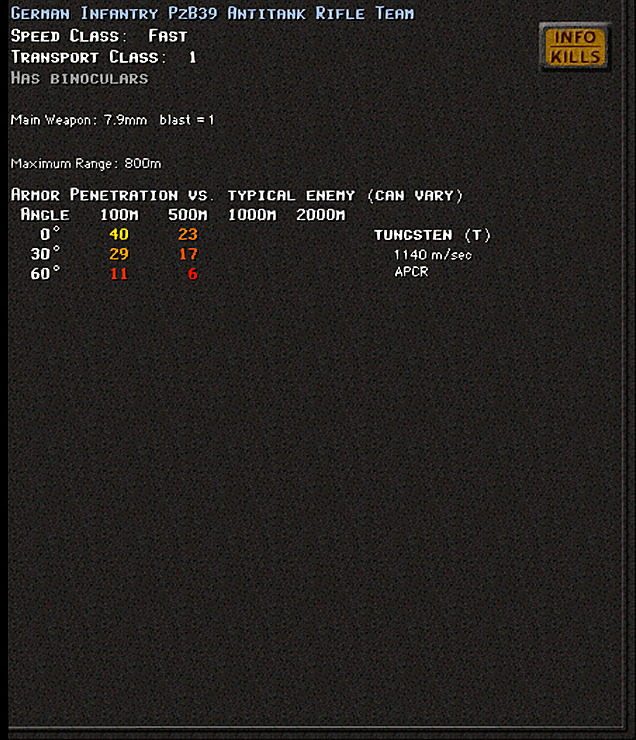 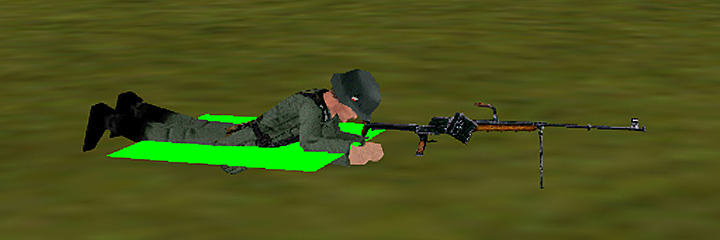 Team size: 2 Base Cost: 10 A weapon meant to let the infantry fight against armor. Originally developed a little before the war, this was a high-powered rifle that had the ability to penetrate the armor of most tanks of the 1930s. The pace of technology was such that it very rapidly proved ineffective against anything but older tank models or vehicles with thin armor, such as an armored car. It lacked any strong ability to incapacitate the vehicle, although an attempt was made to use a tear-gas filled cartridge (seemingly insufficient, however). At a little under 13 kg, it was something one person could conceivably carry and set up, though since it could not reliably knock out its target, it was probably best used in prepared defensive positions. It was used effectively in Poland and well into the initial phases of Barbarossa. Many thousands of these were produced and provided to the infantry, but it did not take long before much better man-portable anti-tank weapons were required. Kangra fucked around with this message at 00:00 on Apr 29, 2024 |
|
|
|
Operation 1, Battle 5 of 5 Battle Time: 0:07 In the darkness after the day-long battle, we're finally making good progress. The Soviets are on the run, and their tanks have been no issue for us so far. 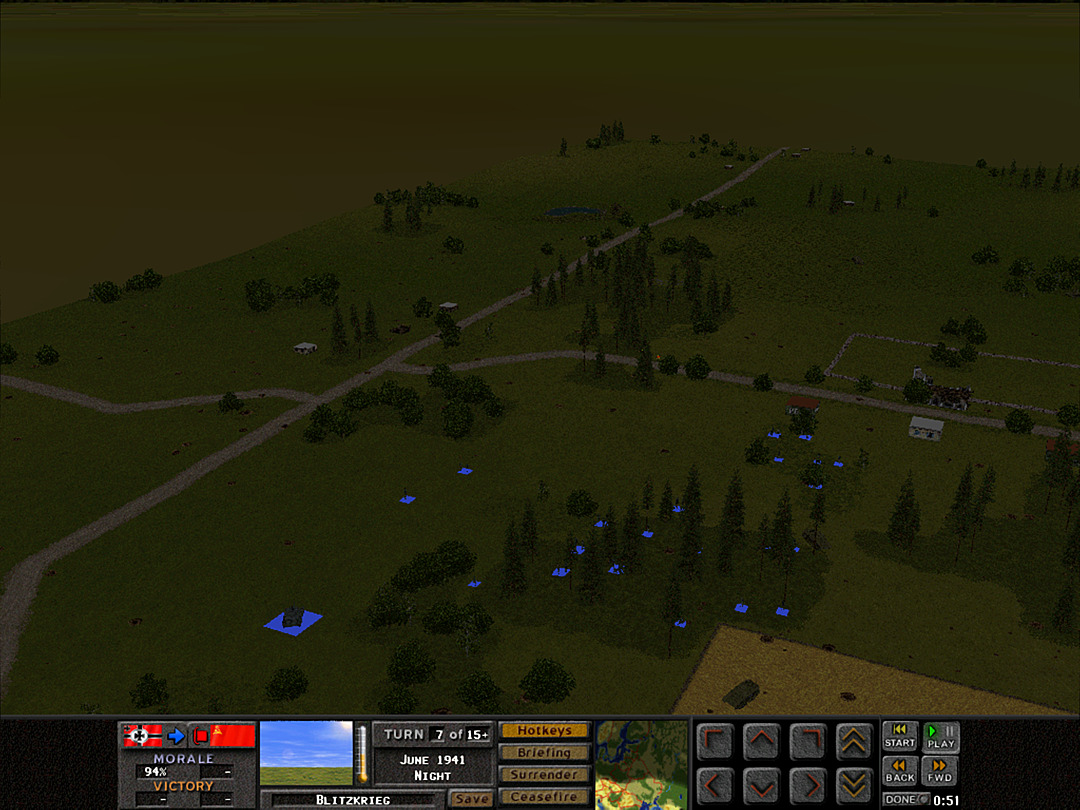 The north side has been quiet enough that some squads from C Coy circle around to investigate the crossroads. 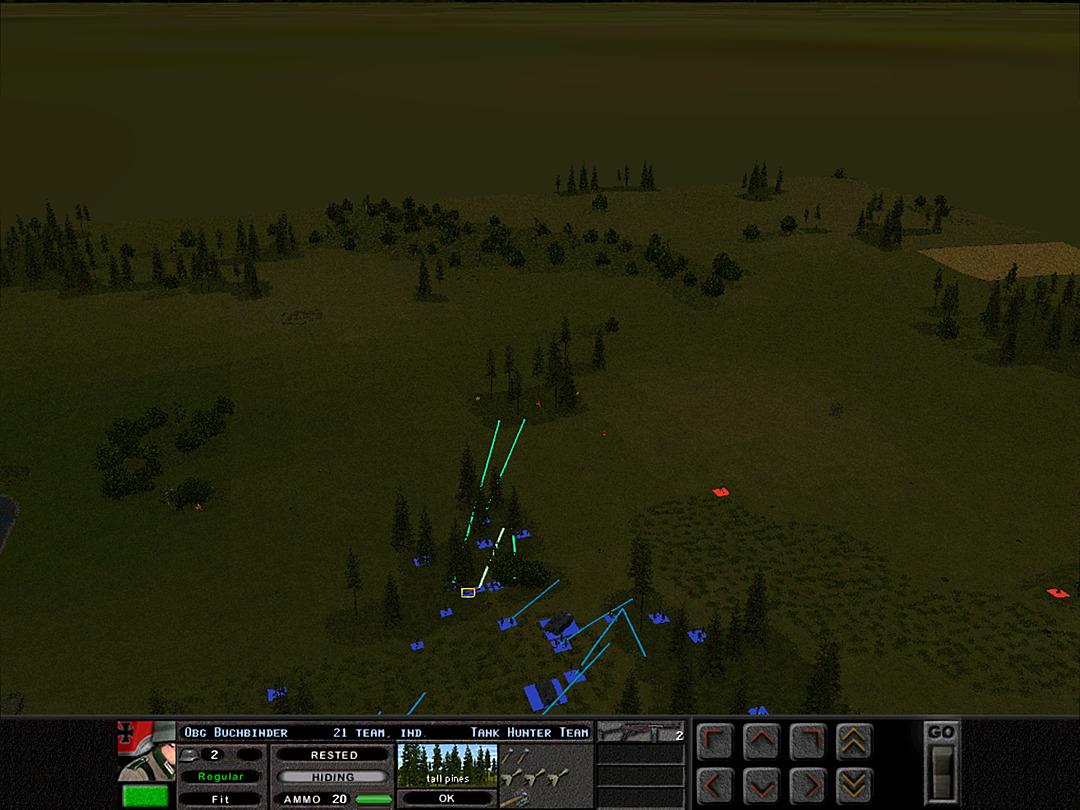 E Coy, 2 Plt was the first to reach the edge of the woods connected to the village. Now they'll need to make a charge across more open ground, into what might be an enemy-occupied group of trees. 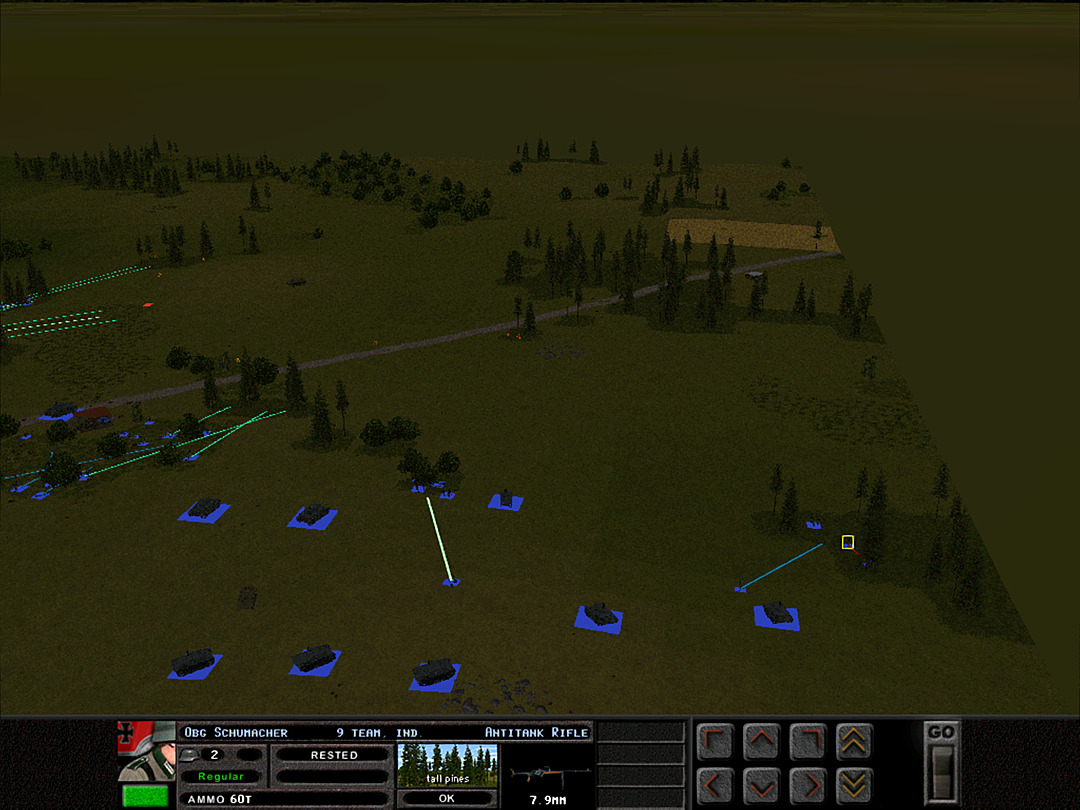 After initial struggles, the combined advance of A and B Coy is moving forward. We have scouts on the south side now, and no sign of the enemy there. 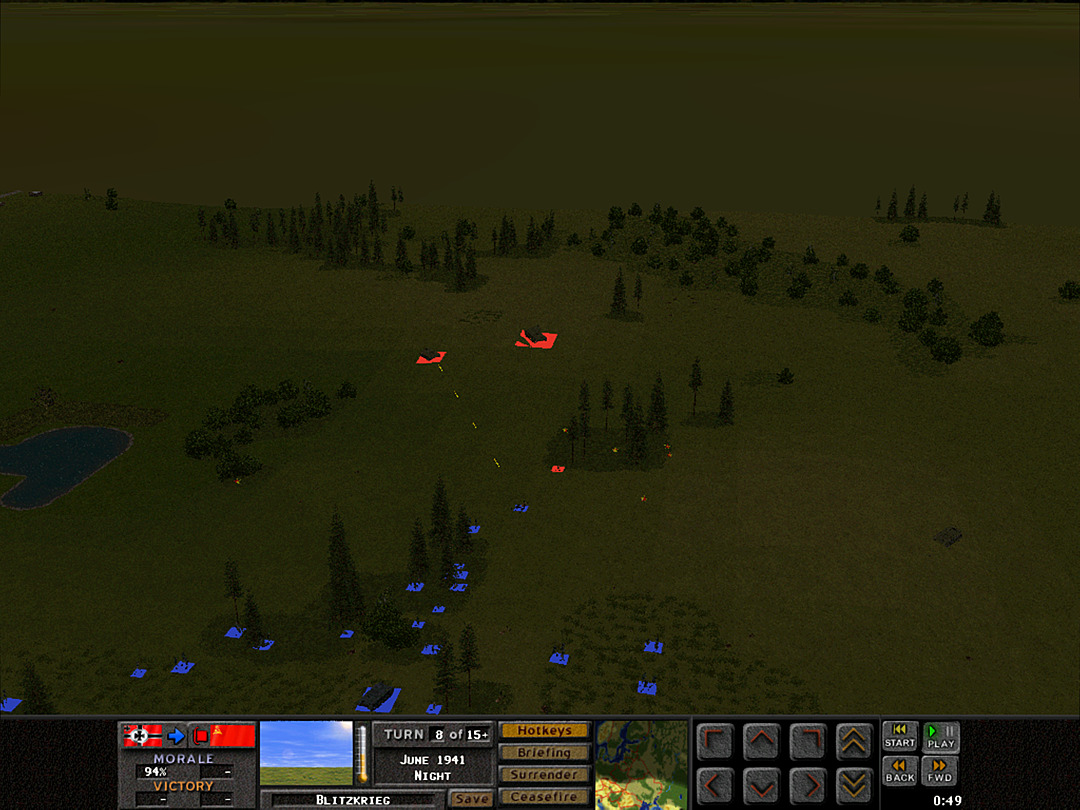 The Pioneers reveal the presence of two big tanks covering the ground they're trying to move across. We knew they'd pop up eventually. 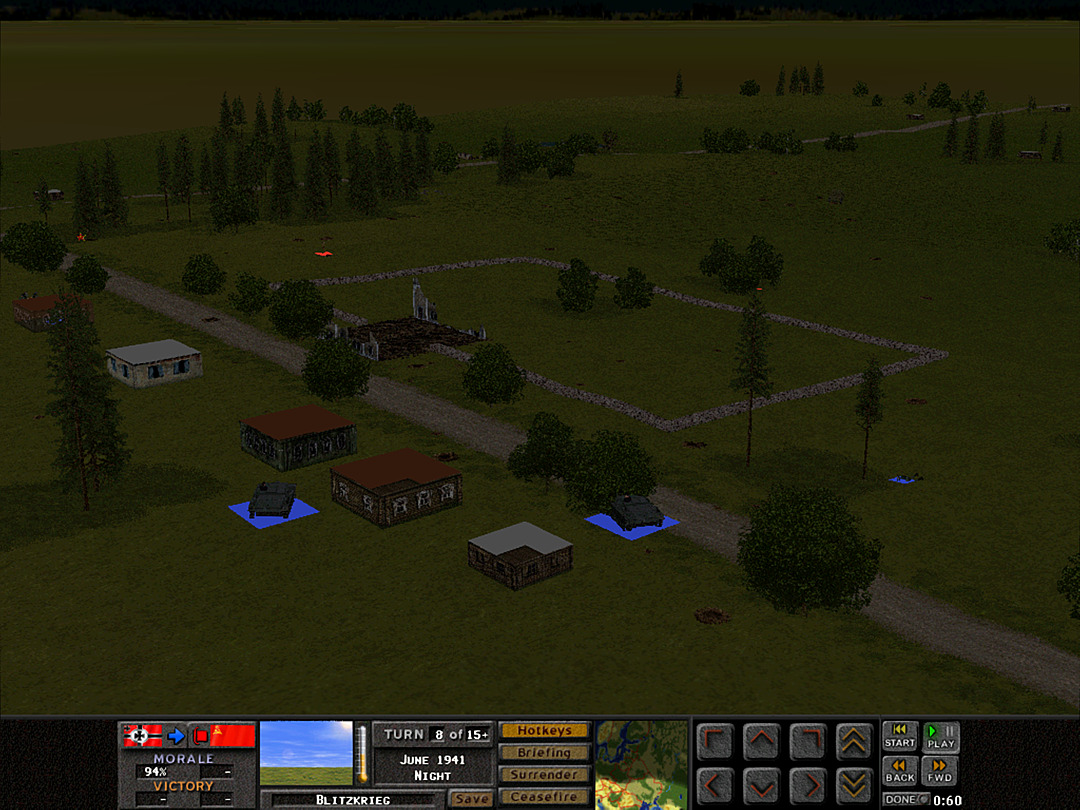 Some scattered enemy squads are detected on the village outskirts, beyond the smoldering wreckage of the town's meeting hall. 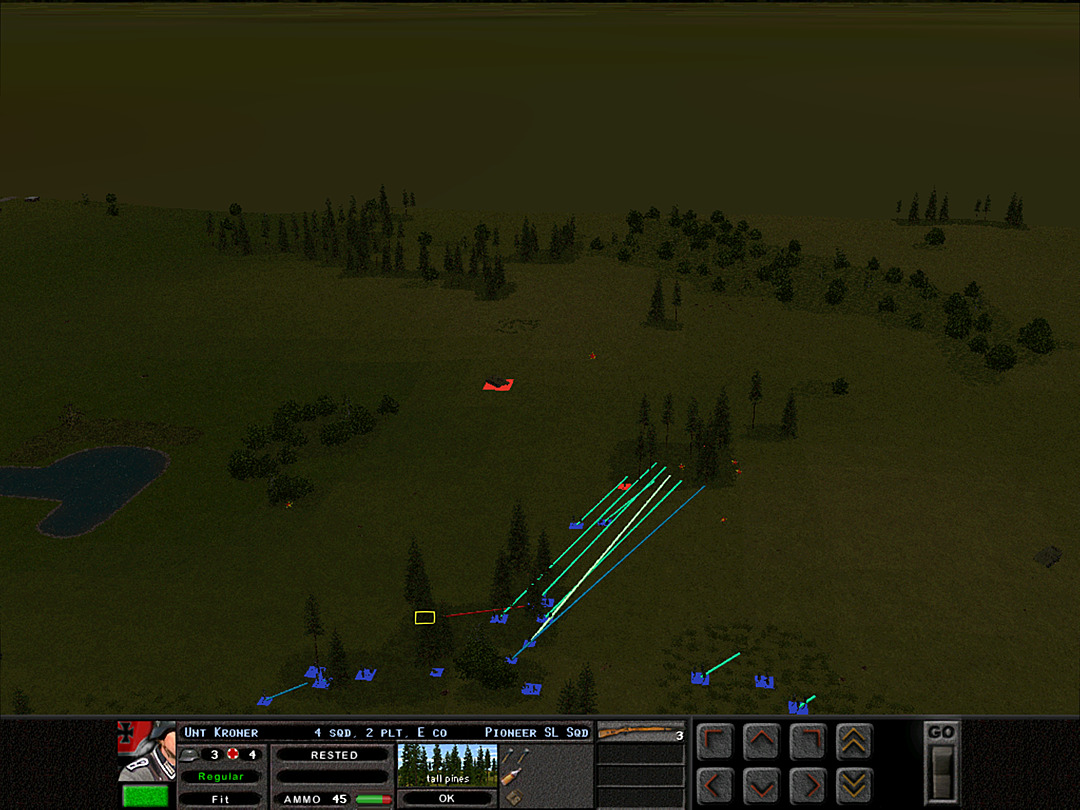 The Pioneers figure the best way to deal with the tank problem is to make a mass charge for the woods. Poor visibility at night should mean more of them can make it. 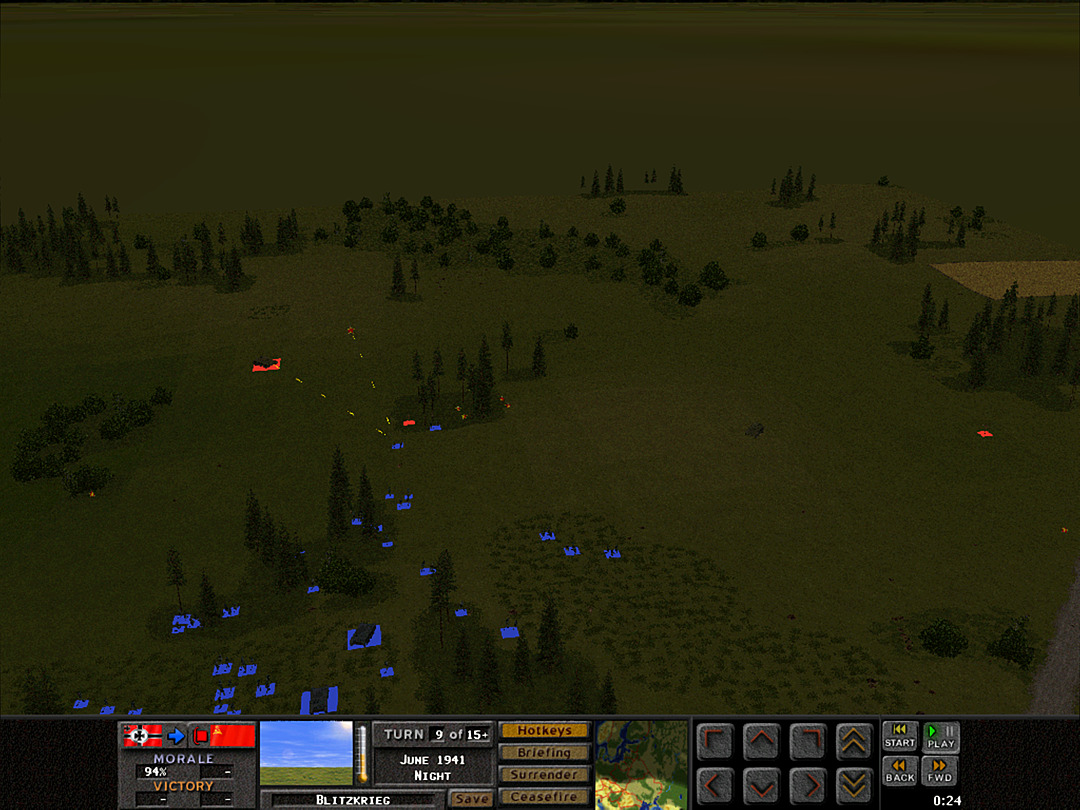 The advance squads are taking withering fire, but the ones coming through afterward make their way unhindered. 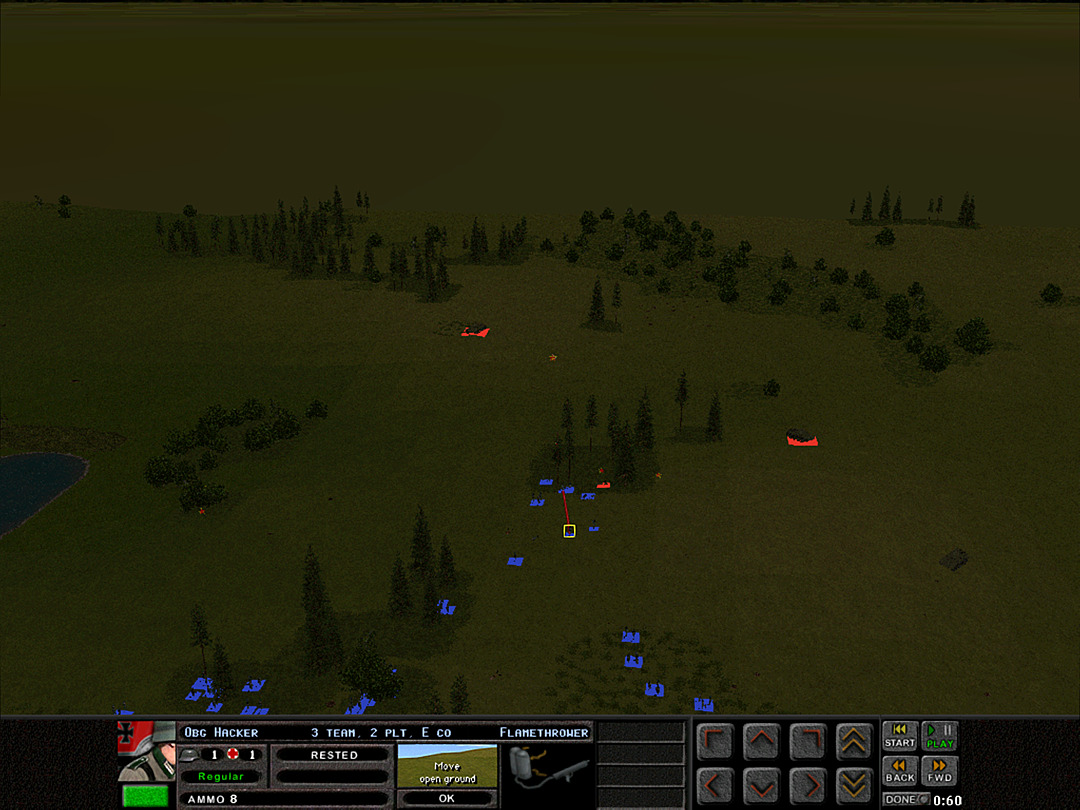 Then a third tank is discovered to have been hiding out nearby. 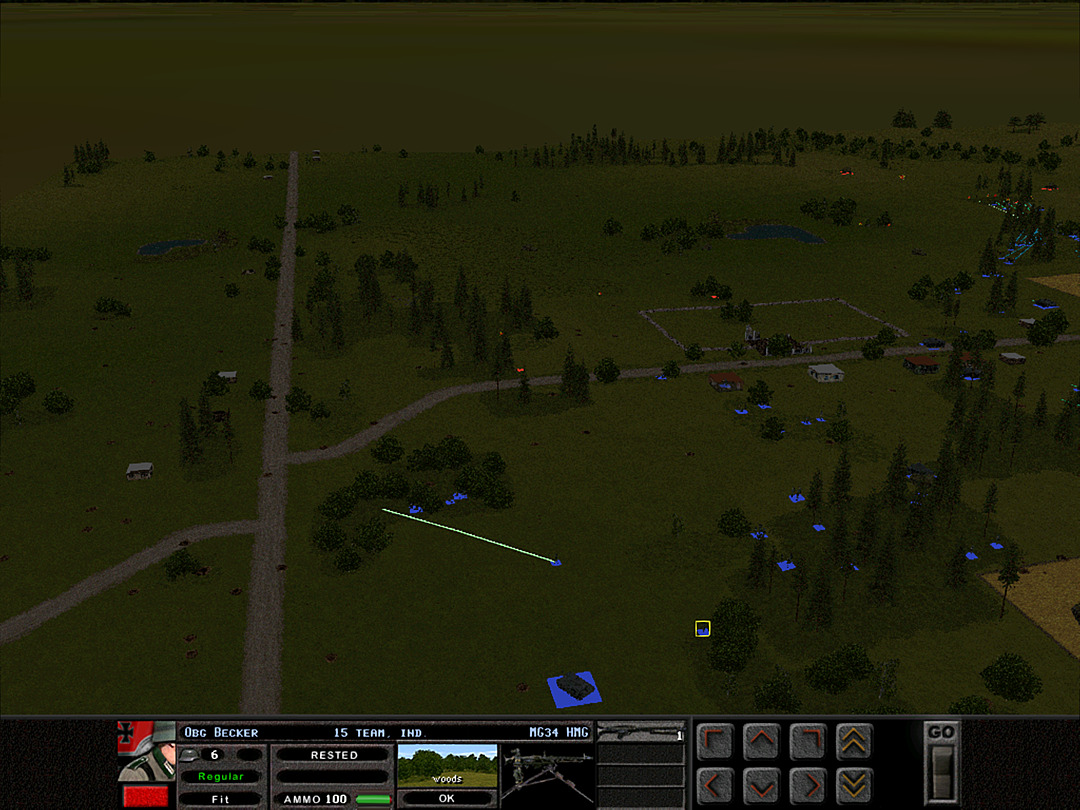 Over on the north end, C Coy is making quiet advances. 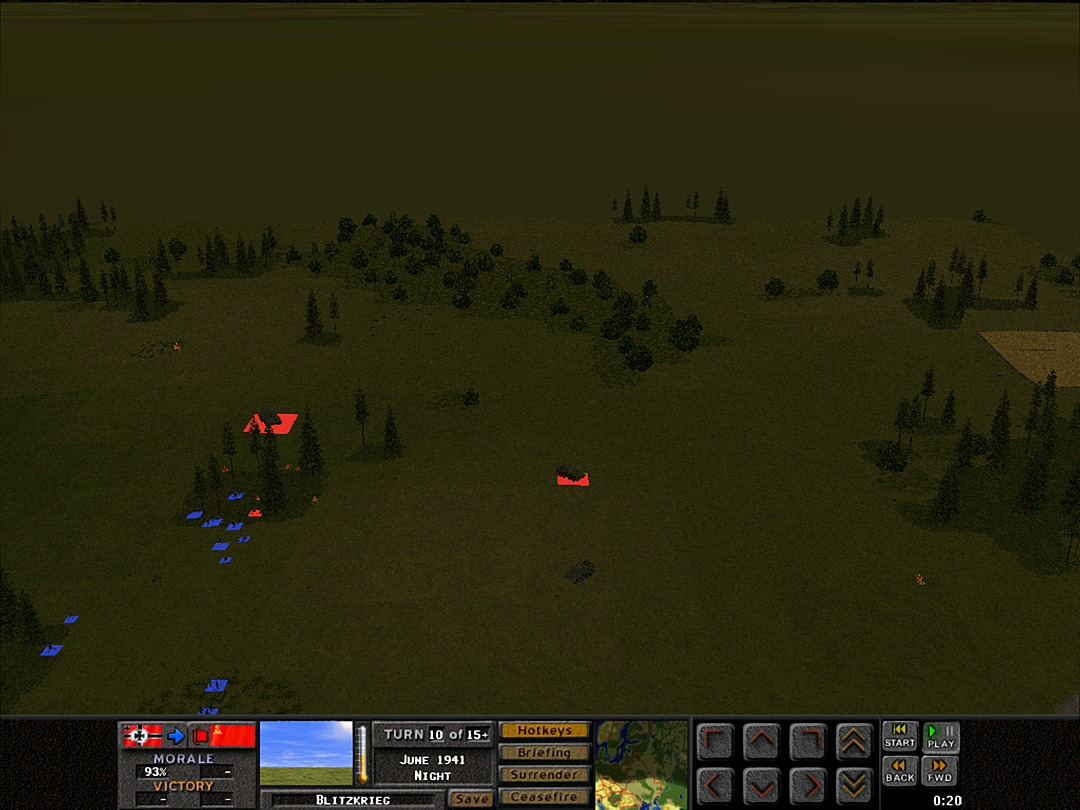 The Soviet tanks look to be making toward the south side, where our own armor has been wreaking havoc. 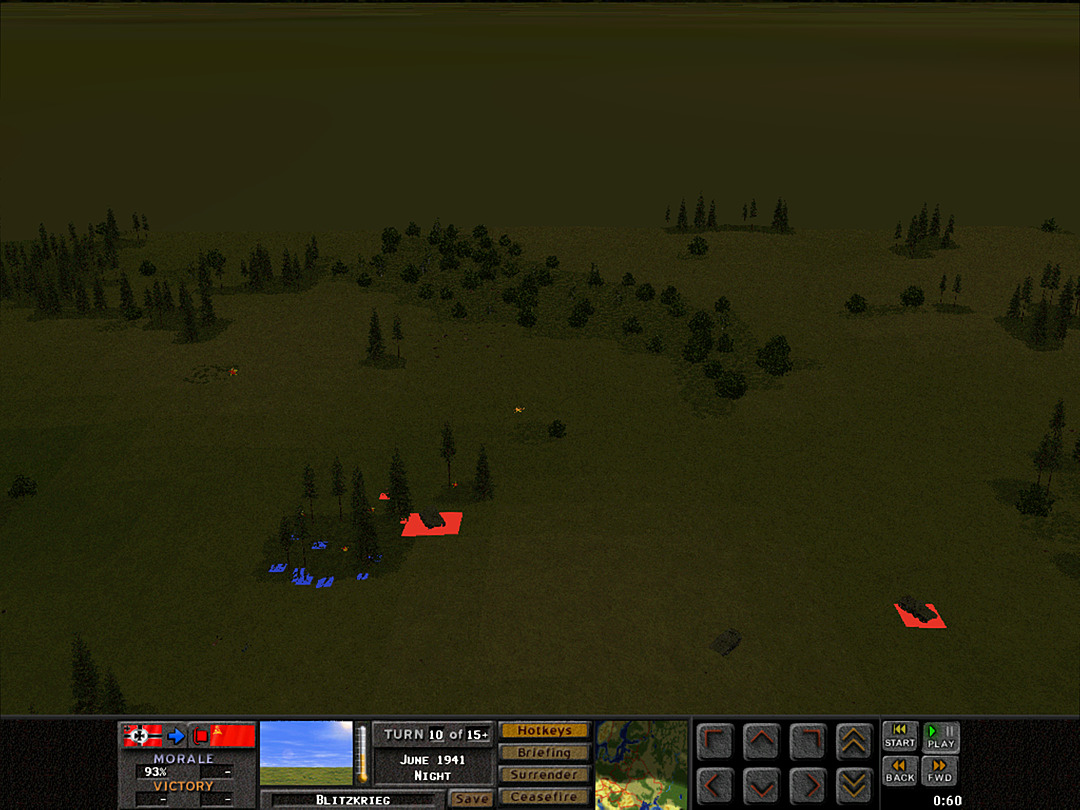 But the push from the Pioneers has sent the less-disciplined enemy forces on the run, and now their biggest tank finds itself right next to German soldiers. 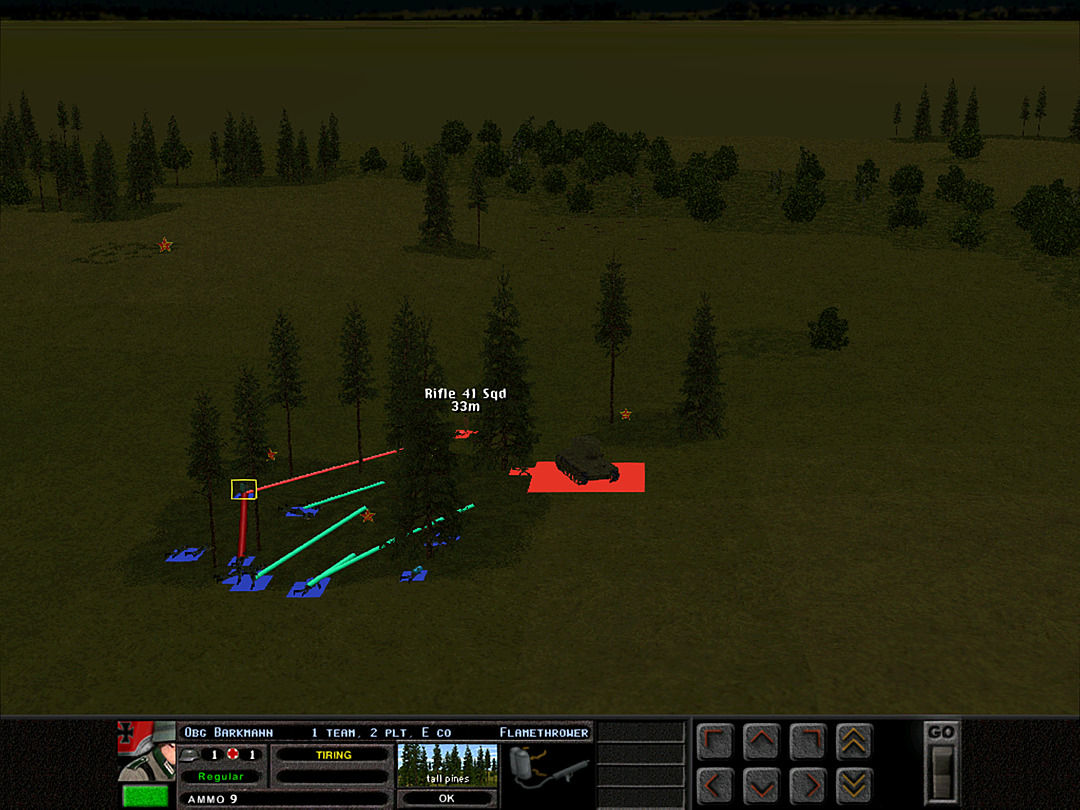 This one definitely looks like a real KV-2, and we have not only our grenade-carrying teams, but flamethrower units that can knock out any tank if they can get right next to it. 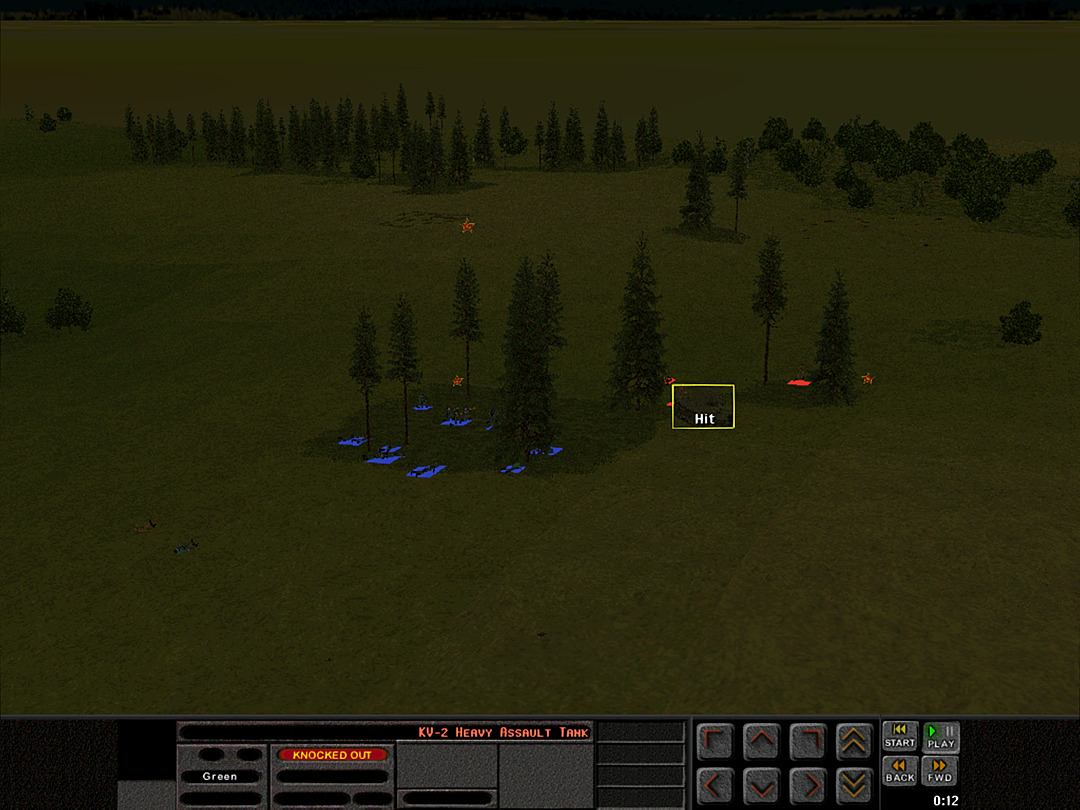 The tank-hunters could not have asked for a better chance to get up close to a KV-2, and they knock it out with ease. 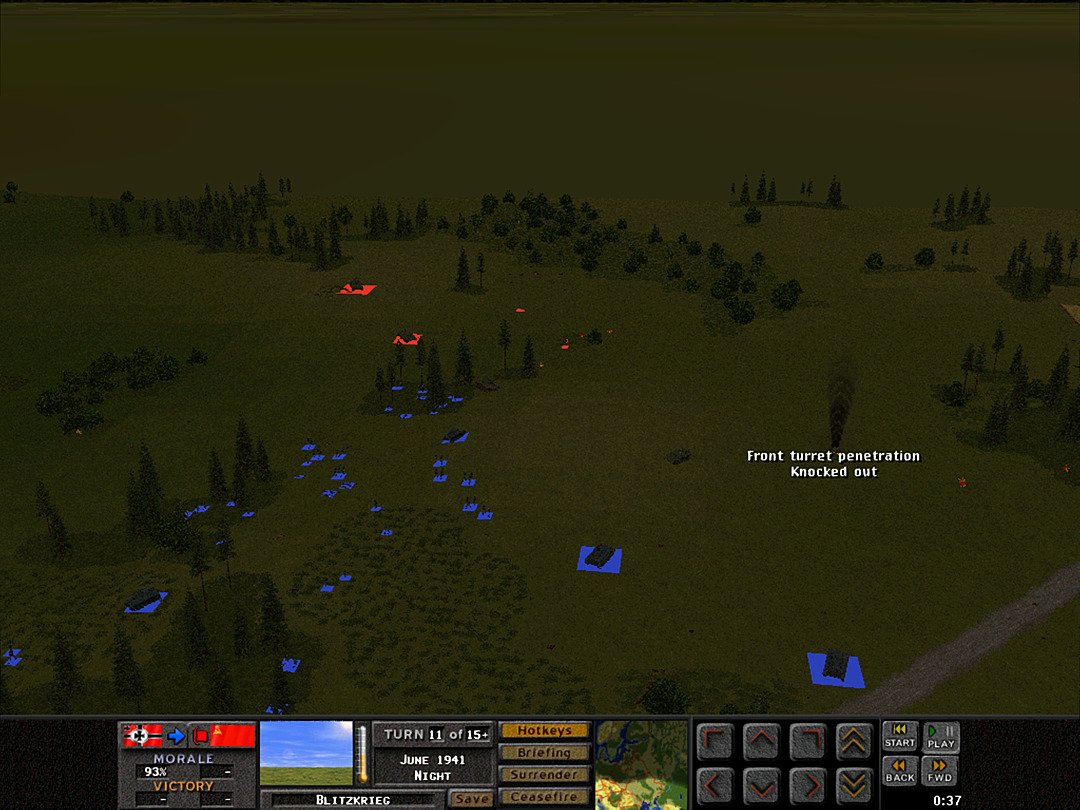 The light tank we had seen rushed too quickly toward the south, and our Panzer IVf's dispatch it with no trouble. 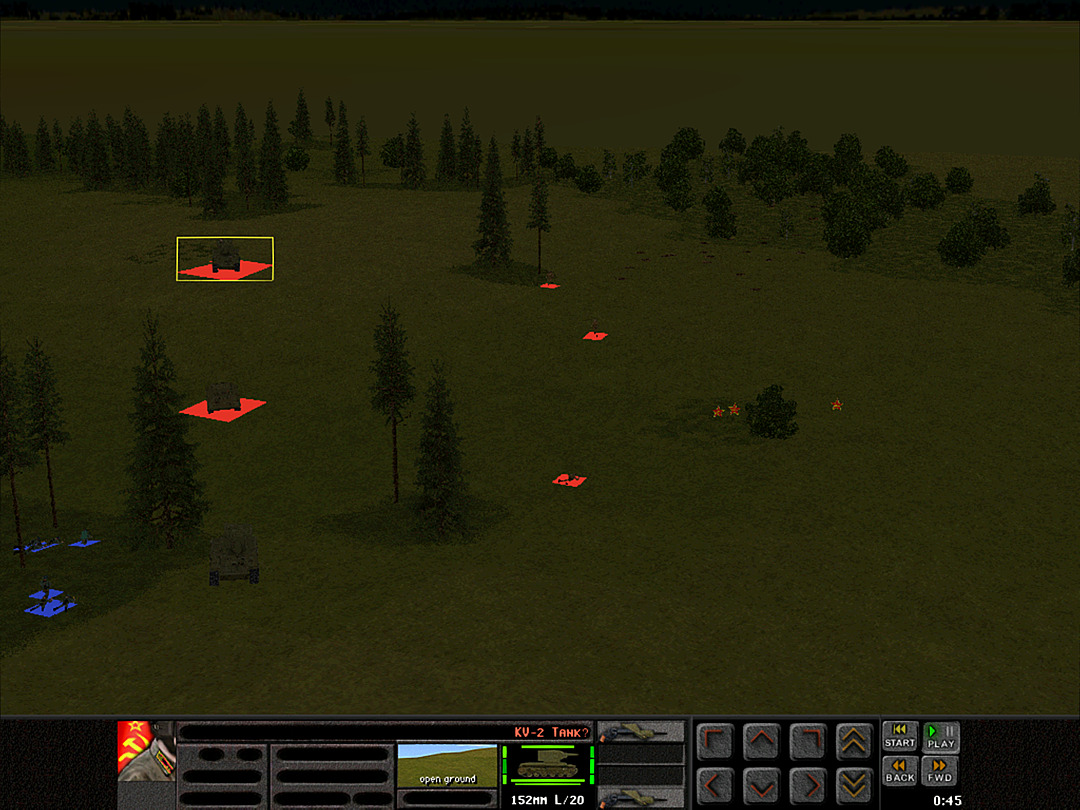 The advance platoon of E Coy isn't able to celebrate for long. There's yet another KV-2 rolling over, and it probably won't make the same mistake. 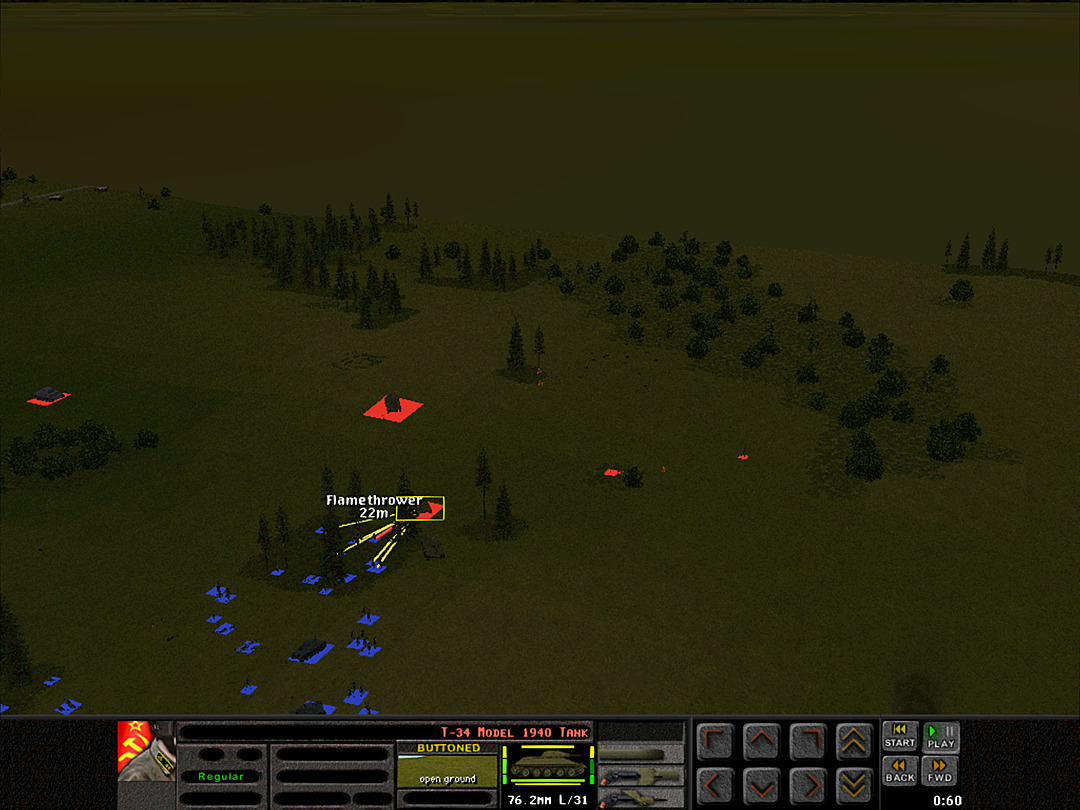 There is a T-34, though, that just might. 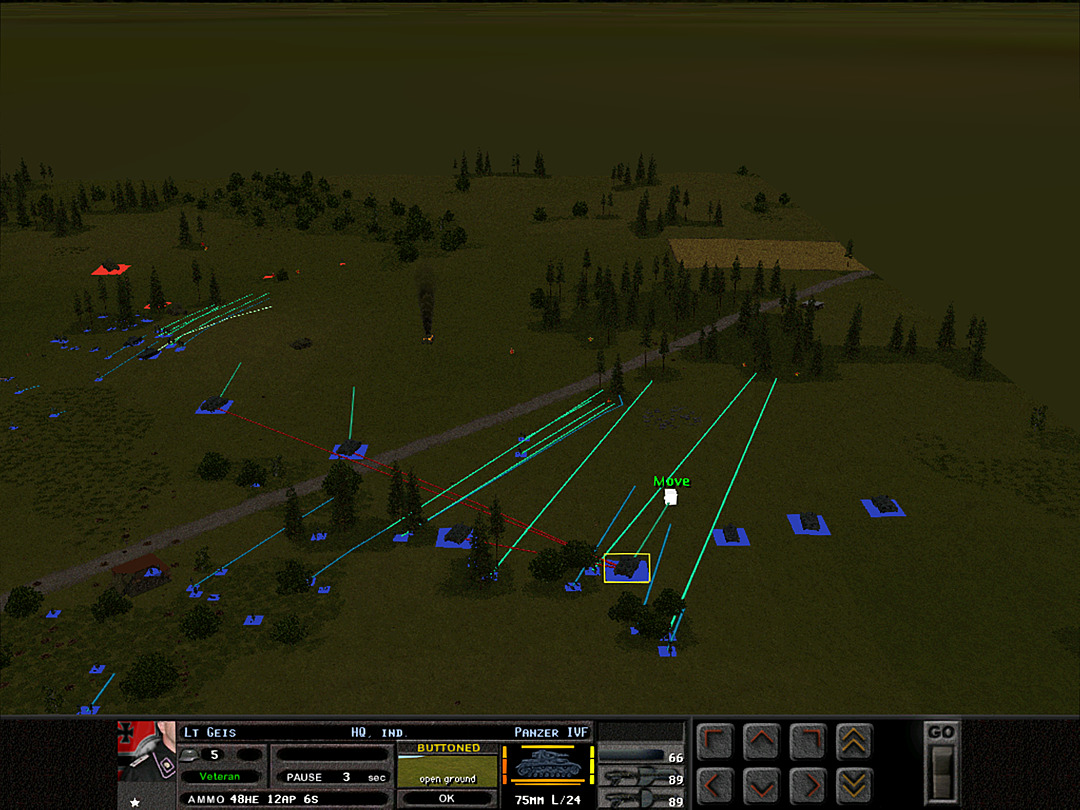 The Pioneers are going to make a big push to gain the patch of forest to the east. With the tanks being handled by 2 Plt, the rest of the company has been free to move, even in the open. 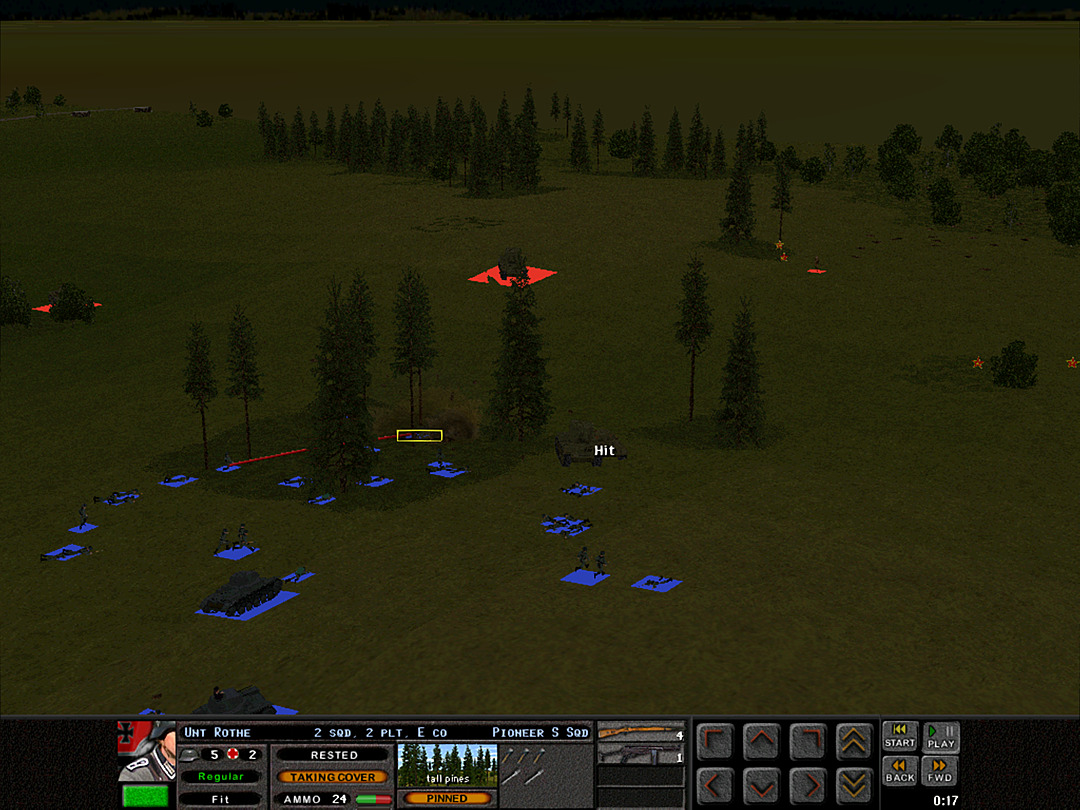 The second KV-2 starts firing HE rounds at E Coy, 2 Plt. At the same time, the tank hunters score a second kill, and knock out the T-34 right next to the KV-2. 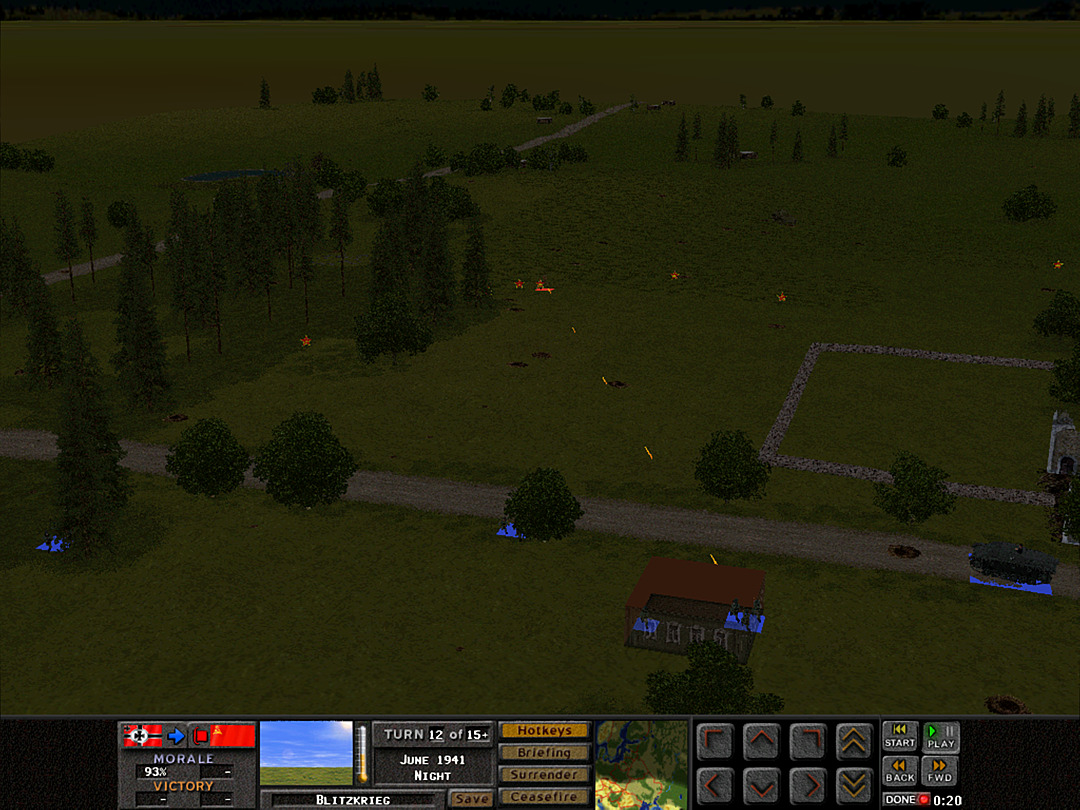 There is a bit more activity at the north end of the village. C Company is content to hold its line for now. 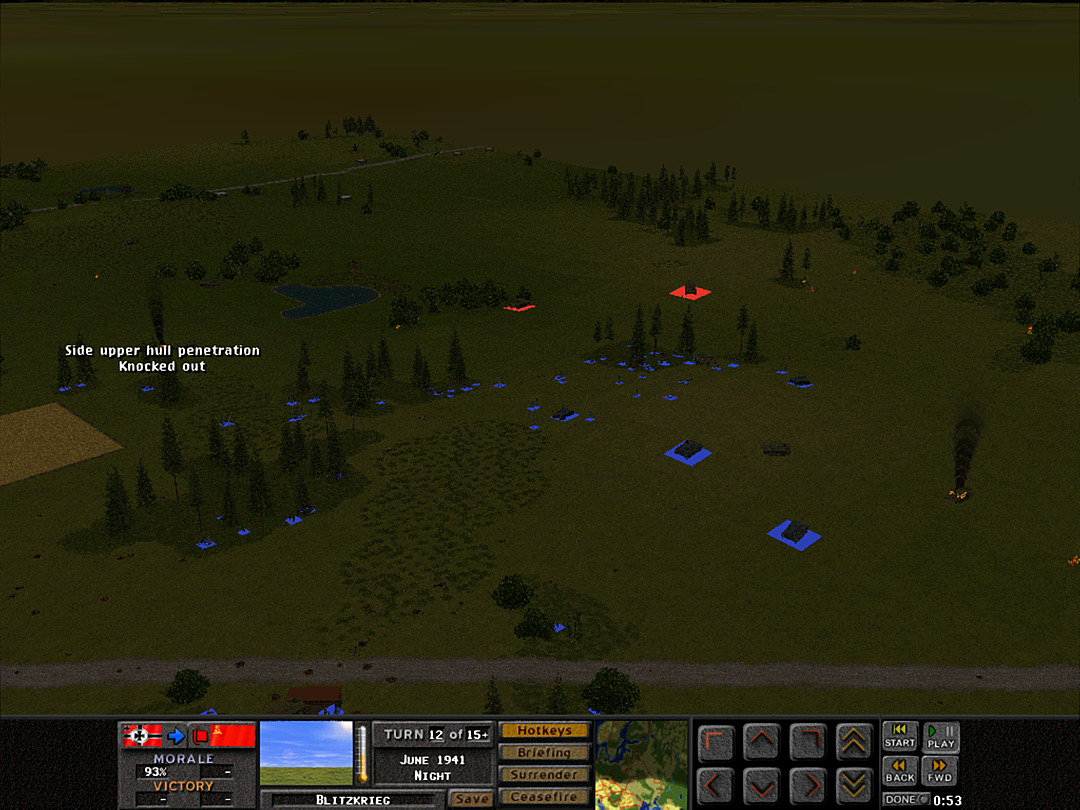 One Stug had left the village to see if it could sneak up on a T-34, but it is instead knocked out. 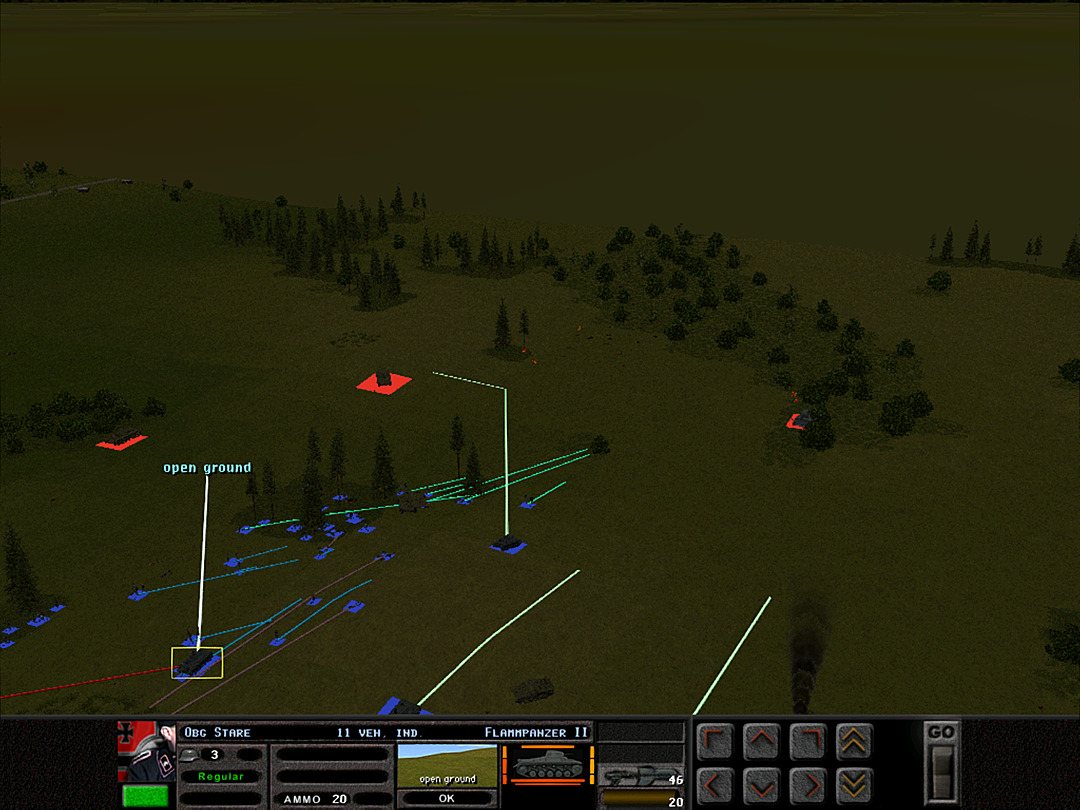 There are two tough tanks here, and about the only thing we have to deal with them well is flame weapons. If the Flammpanzer can somehow manage to get right next to a tank, it might be able to fight without the enemy firing back. With two targets, though, it's not going to be easy. 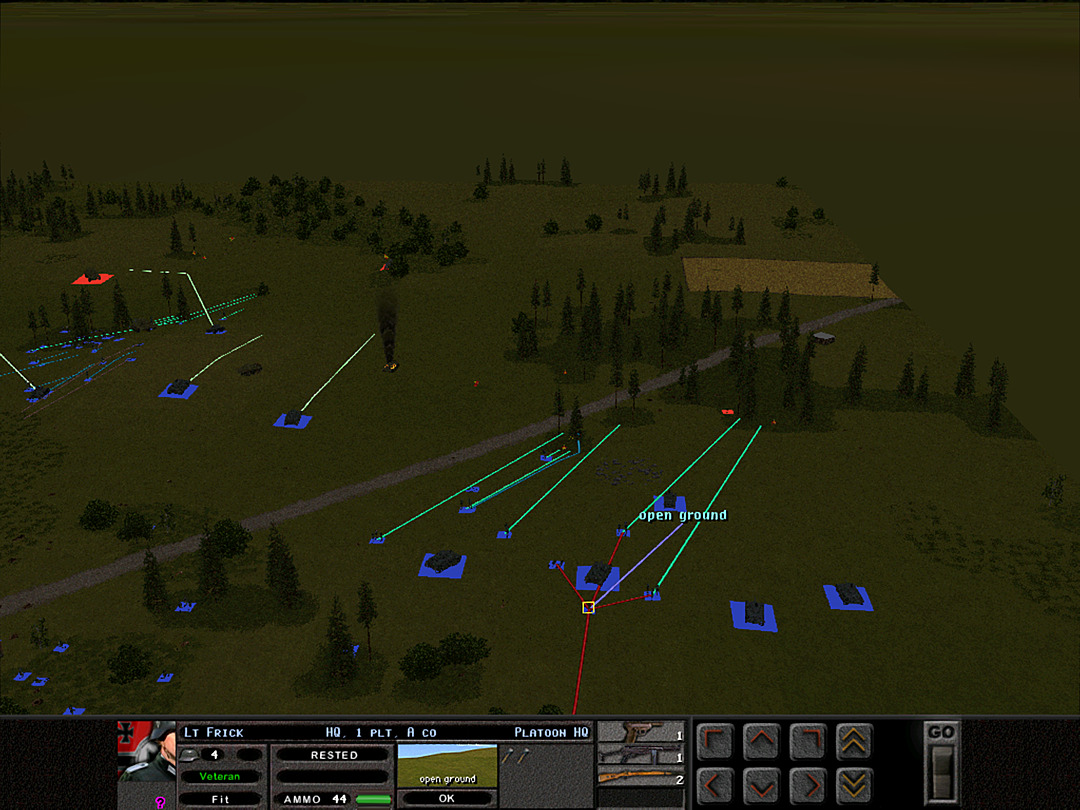 Squads from B Coy, 1 Plt have gained the first part of the southeastern woods, and A Coy is charging in to their right. There are enemy forces here, but they do not appear strong enough to deter our assault. 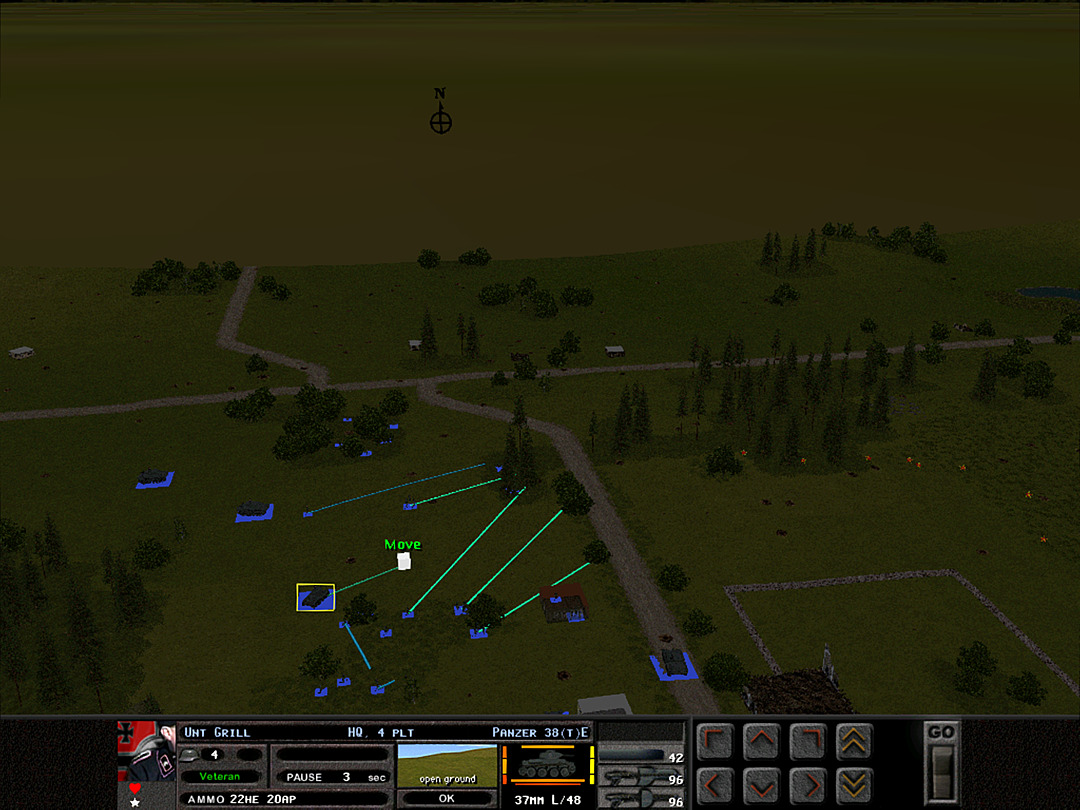 More of C Company is sent to hold the line at the road. 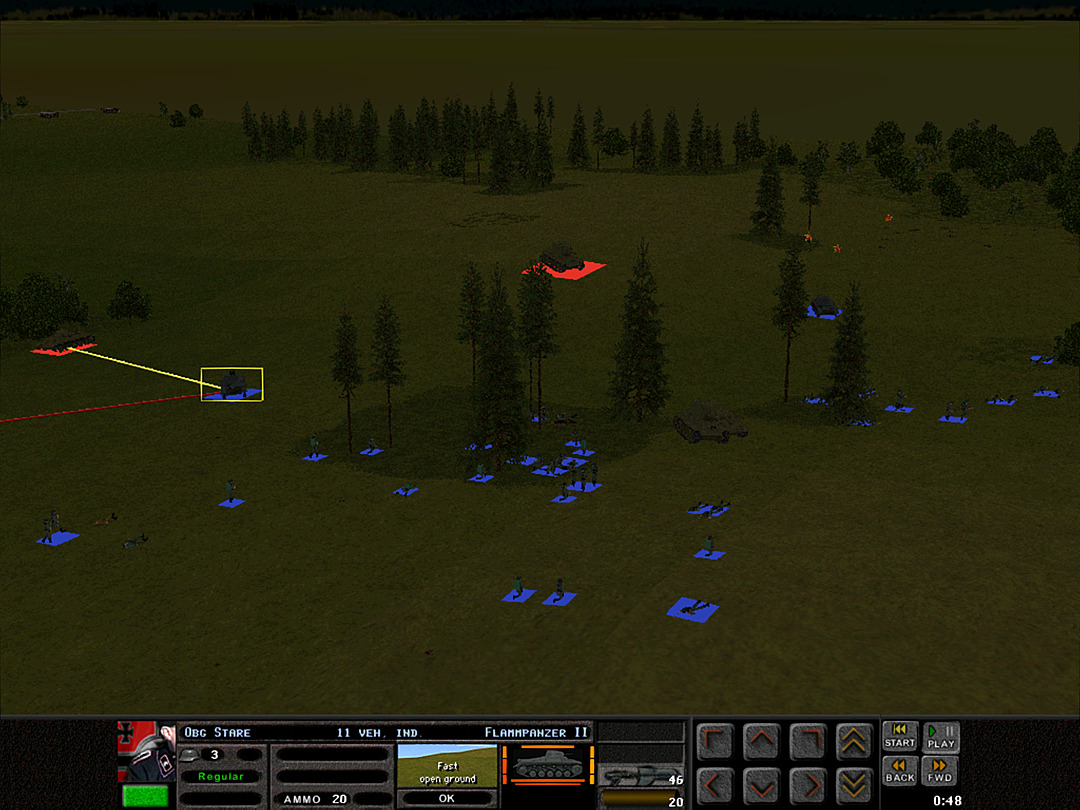 In perfect synchronization, our flame tanks advance. 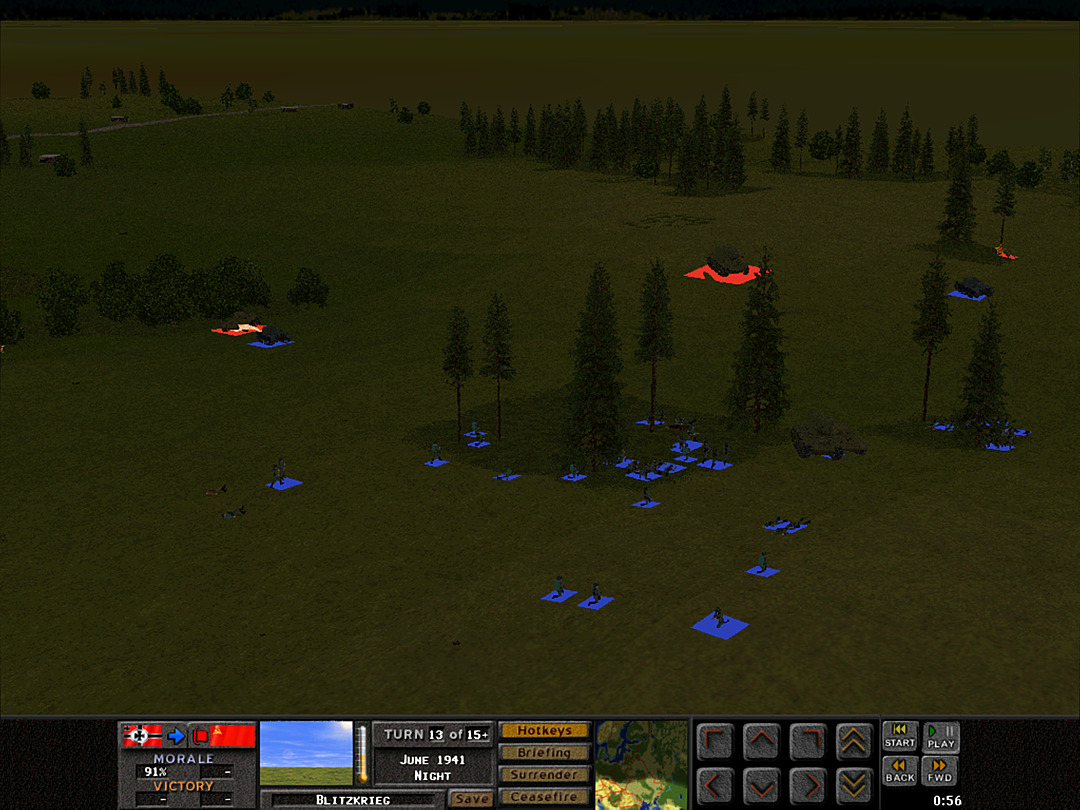 One of them reaches its target first, and a great gout of flame bursts from its front. Another T-34 goes out. 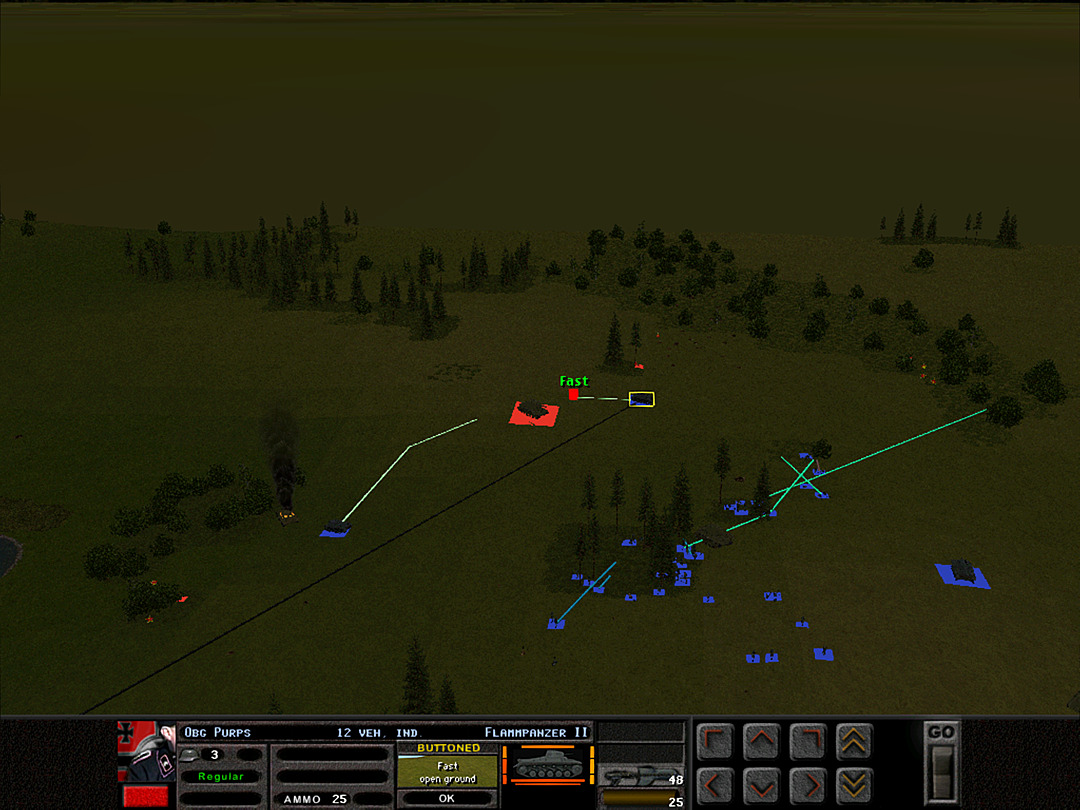 The second hasn't quite made it to the KV-2, so we try to surround it with flames. 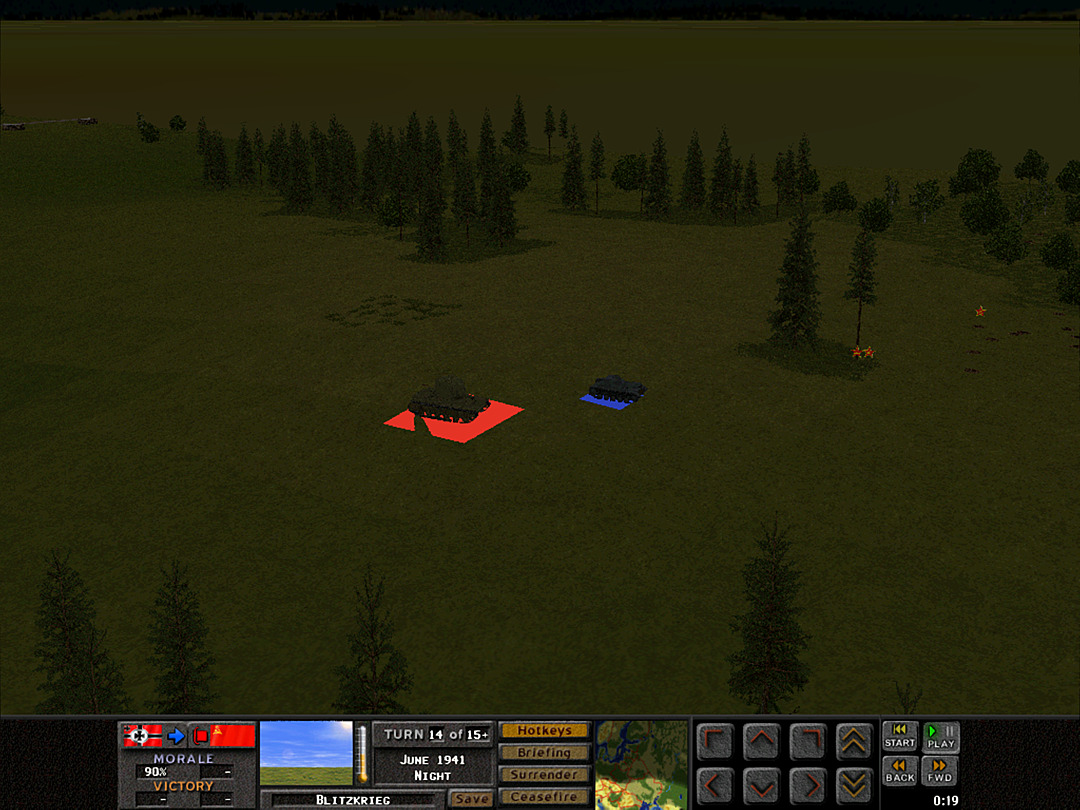 The big tank starts to rotate towards its adversary. 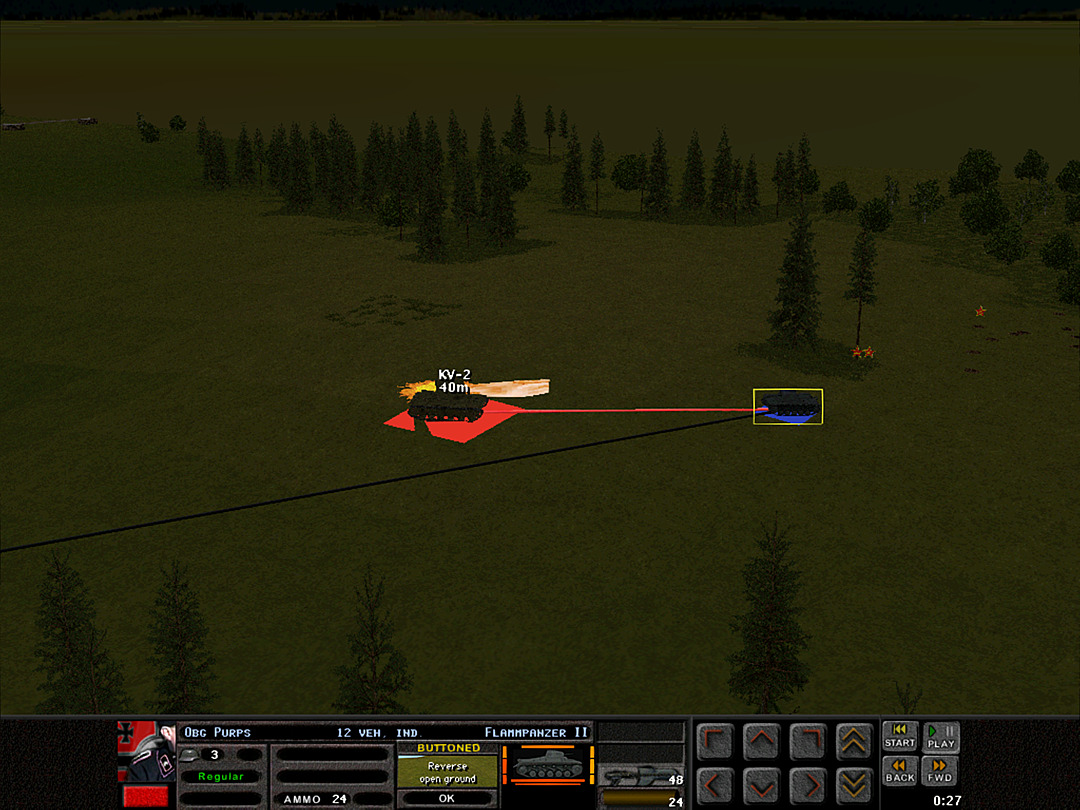 But before it can fire its cannon, the little Flammpanzer opens up with a spray of deadly fire. The tank crew bails out before they get burned alive. The tanks once thought to be useless have just taken down two of the enemy's best tanks! [ This graphics glitch sometimes happens with certain viewing angles; what we see here is only the 'front' half of the flame, which should be shooting all the way from the tank. ] 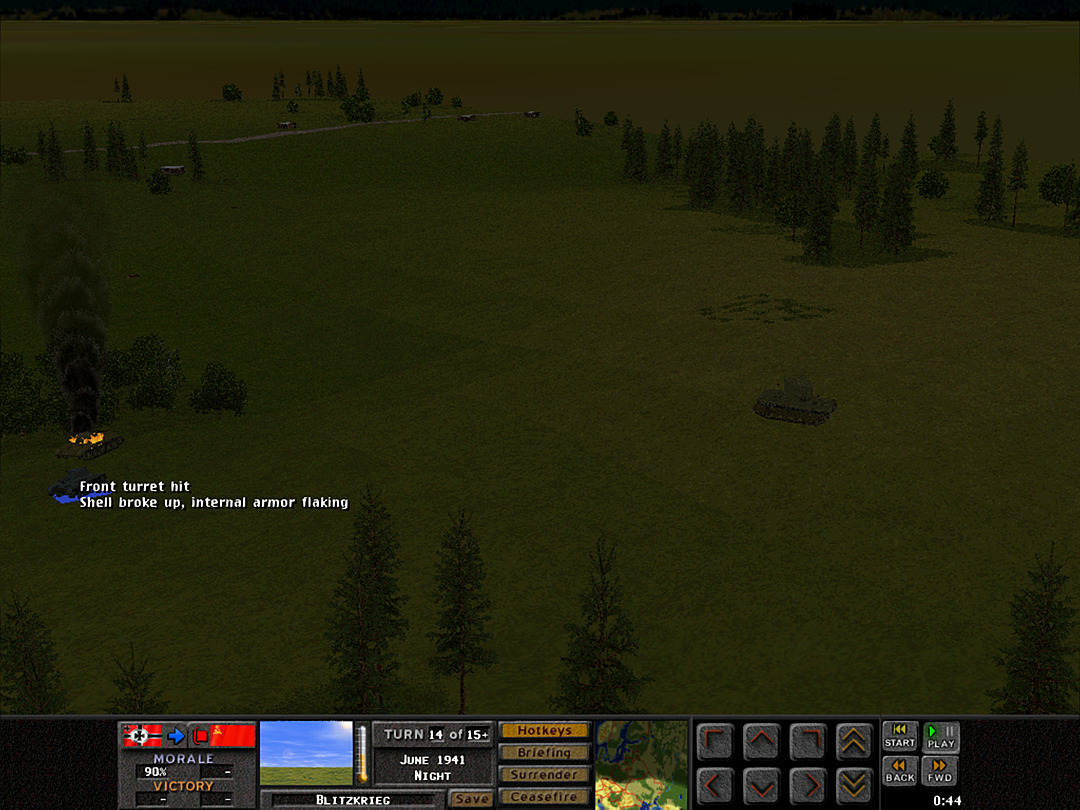 The flame tank that knocked out the T-34 was unable to get to the other side of the KV-2, though, as it was suddenly taking fire from a very short distance away. 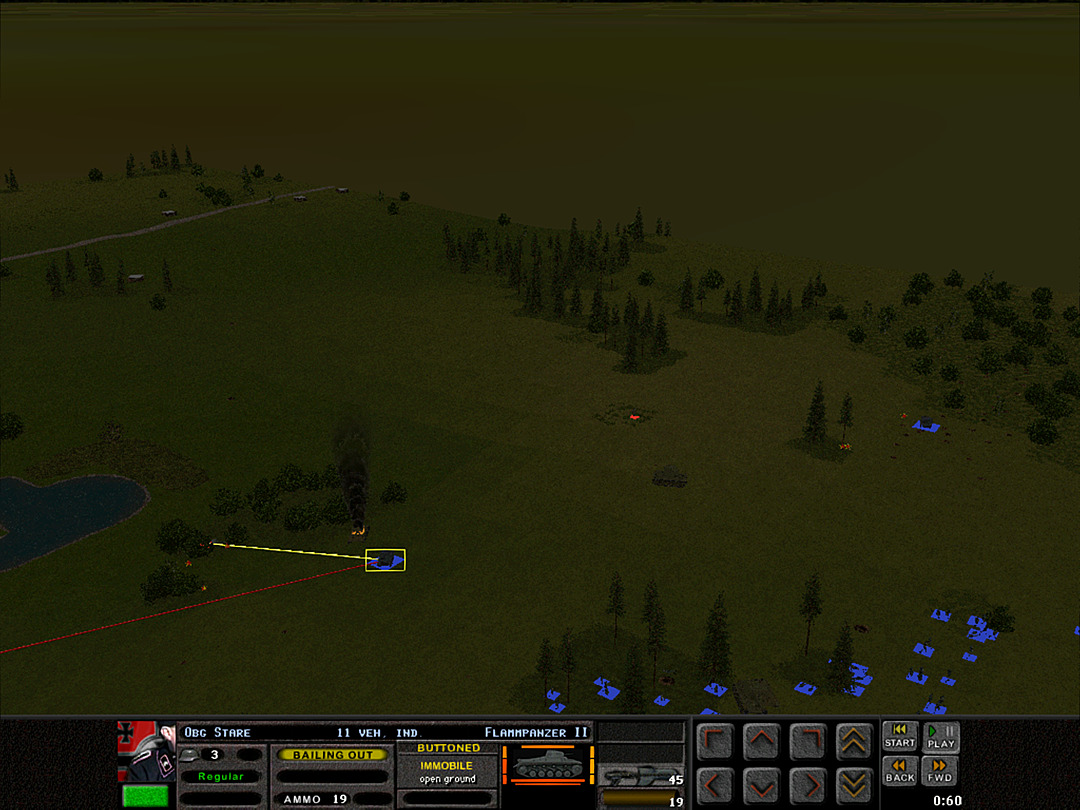 An AT gun concealed in the nearby woods blasts away at it, and the crew is forced to abandon the tank. At least they know it was able to serve its purpose. 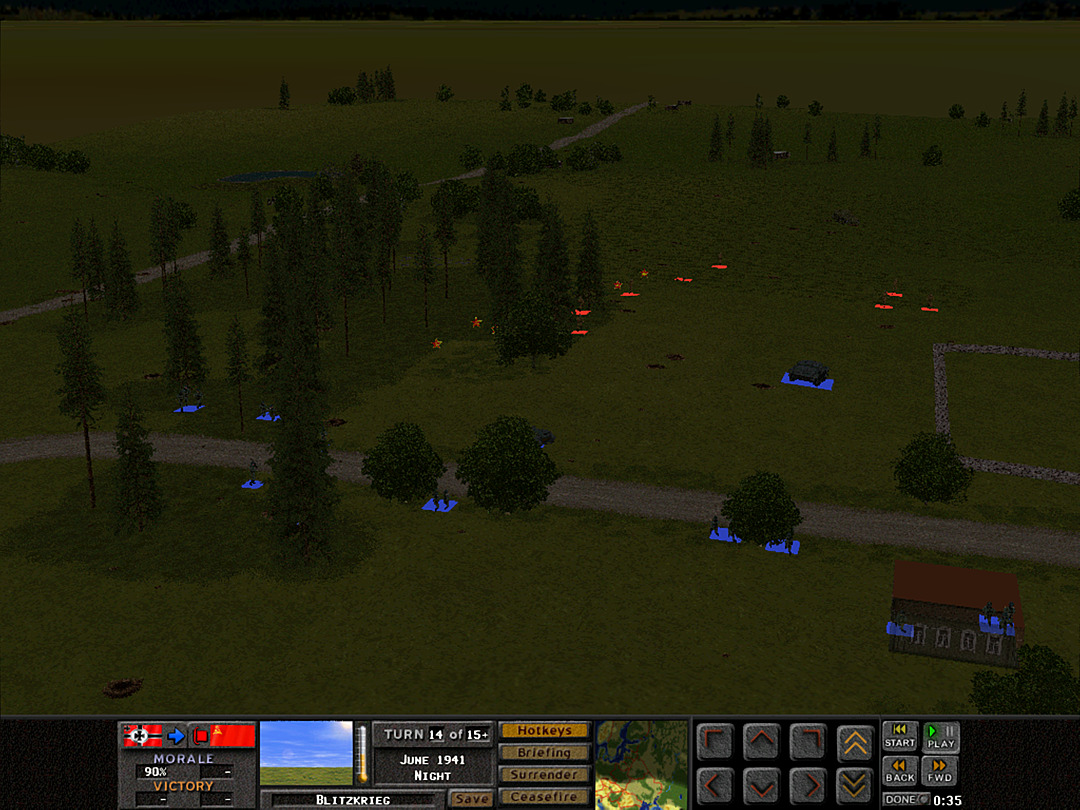 Russian soldiers are fleeing the north end of the village. Their will to fight has vanished. 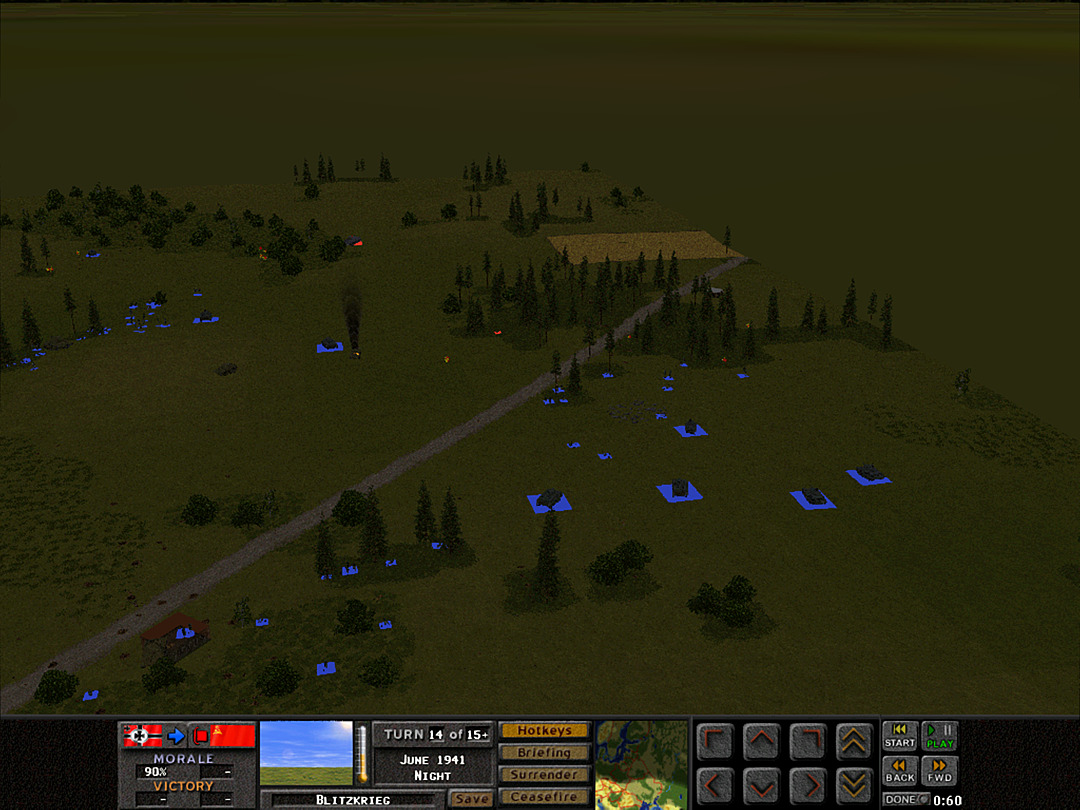 On the southeast side, the enemy forces seem down to their last few men as well. 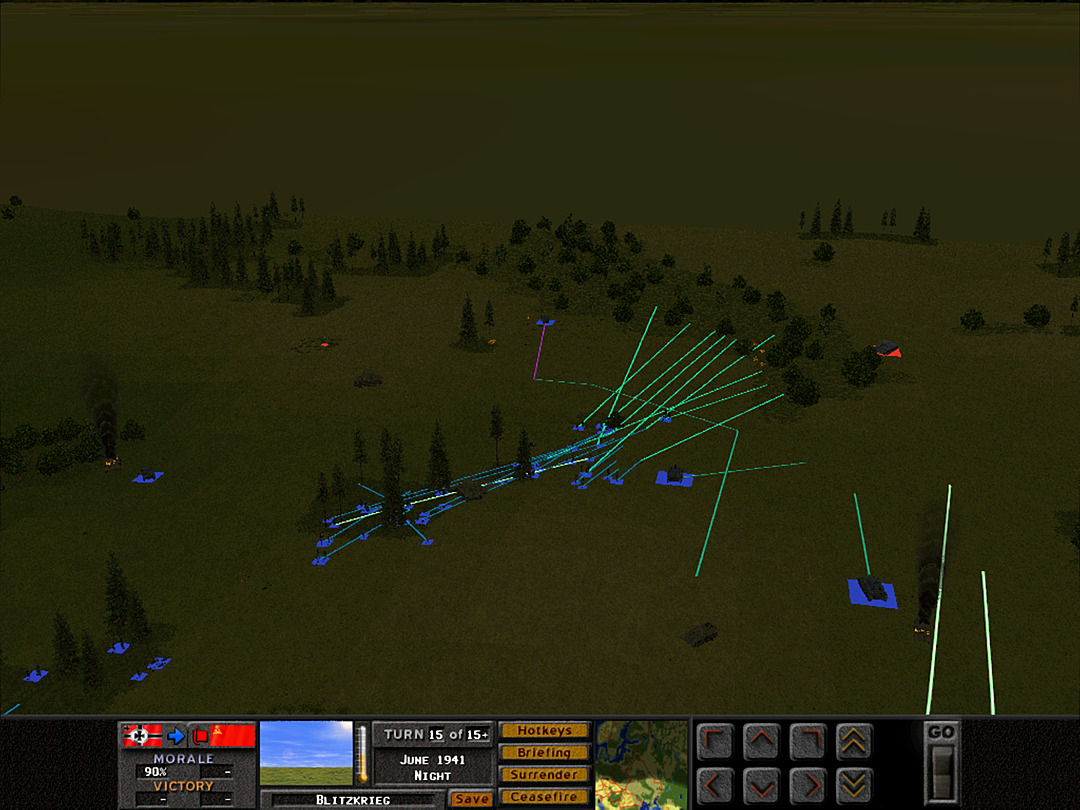 Most of the enemy tanks have been dealt with, and the charge to take the woods continues apace. 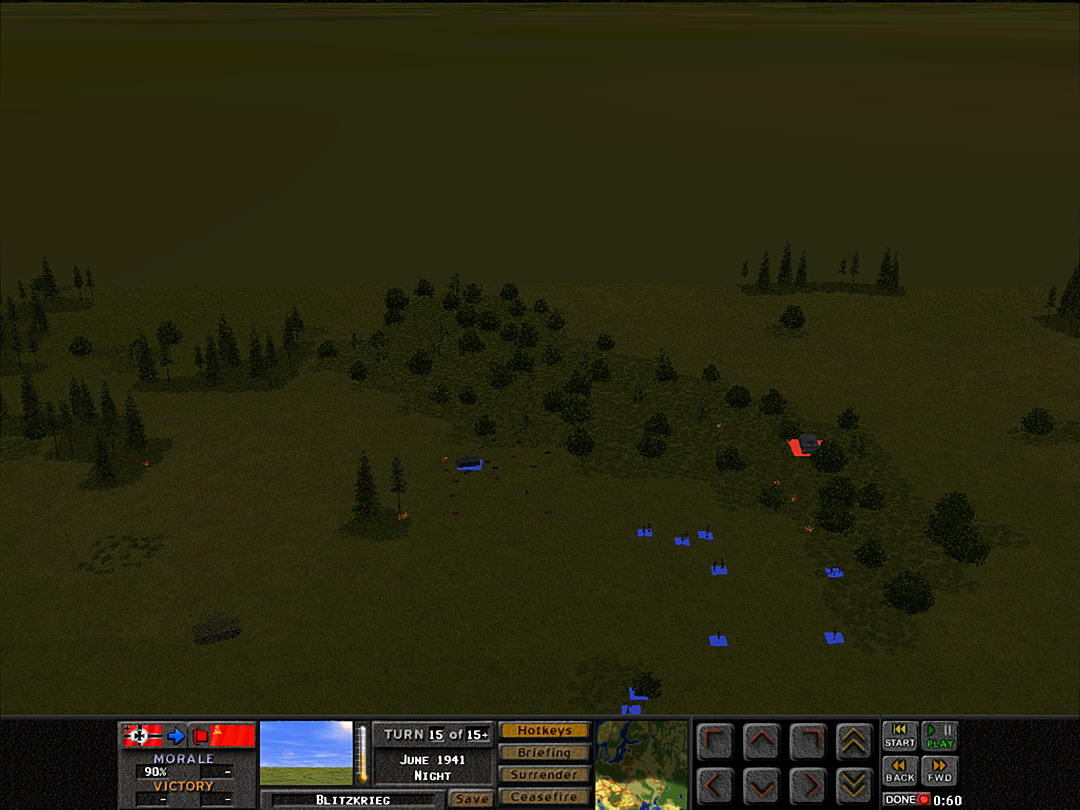 One more tank is spotted coming through the woods. The tank hunters may need to be called on again. 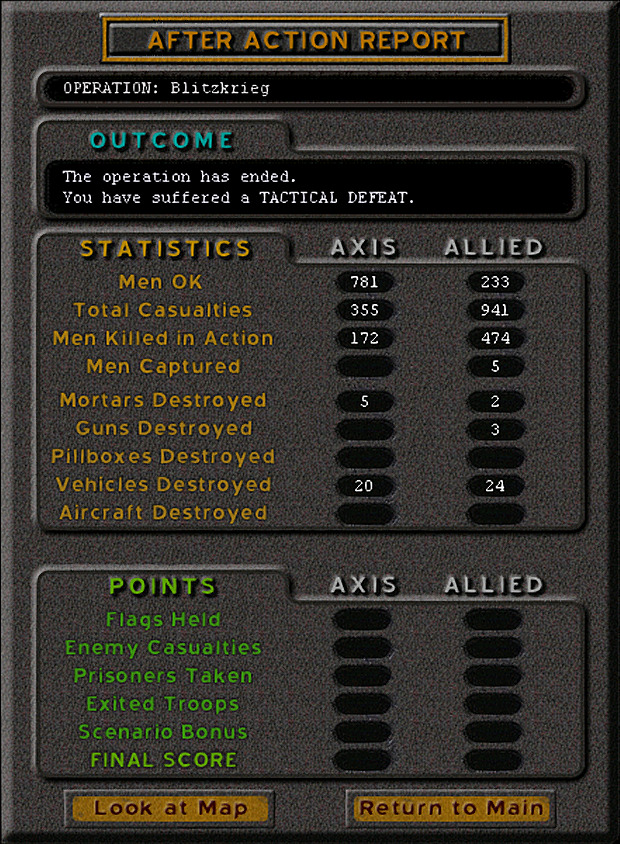 Yet for all our success, there's the gnawing sense that we didn't quite do enough. The day of battle is ended, and it's too late to make any more progress beyond securing the village. Despite inflicting massive casualties and knocking out many vehicles, we lost quite a number of our own tanks and men. The enemy is most likely to fall back here, but by delaying us this day, they've stopped the invasion from making advances that would cut off even more of their forces. [When the final battle is done, we get to see the full cumulative statistics for both sides. We also have the 'look at map' option, to reveal where the units on both sides ended up. What this reveals will be done in the next post, which will also review the operation itself.] Unit Highlight German H-39 Hotchkiss 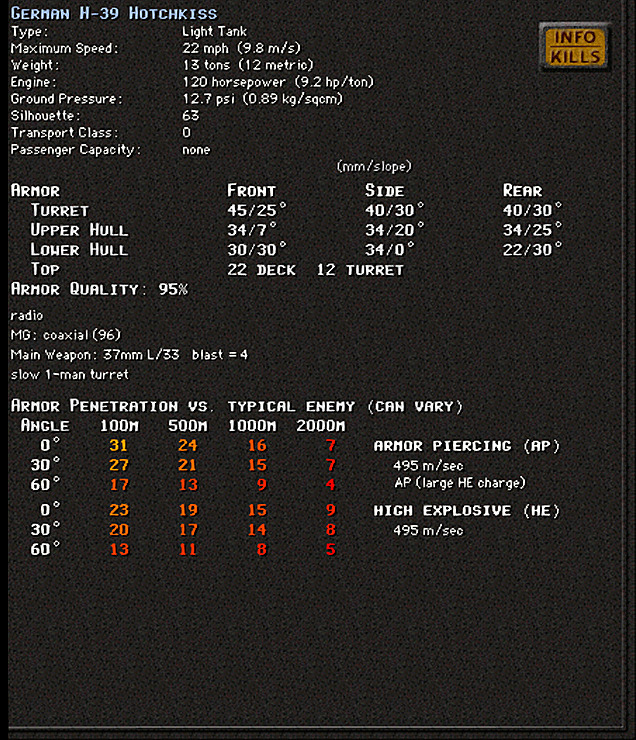 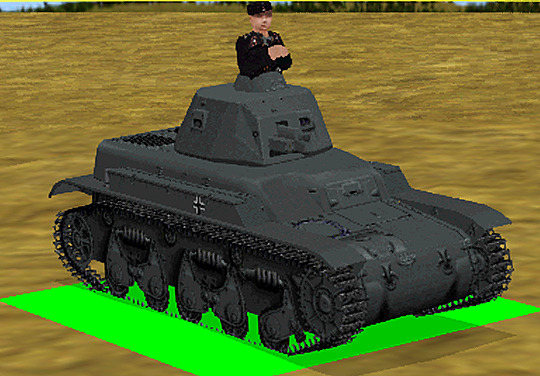 Crew: 2 Base Cost: 40 Another French tank the Germans captured. The Hotchkiss H-39 was a light tank of French design that was an upgrade of an earlier model, and the two together filled out most of France's infantry-support tank stocks during the invasion of 1940. Once again, the swift capitulation of France allowed a large number to be captured by the Germans. While this wasn't a stellar performer with its light armor and somewhat weak cannon, it was put to use during Barbarossa, since Germany just wanted to field as many tanks as possible. Some of them were later converted to tank hunters by adding a bigger gun, and a fair number ended up being sent to some of the Axis minor powers.
|
|
|
|
Just a few too many casualties for a victory. Also if you could post the OOB before the next operation starts I'll try to guess which unit dies first.
|
|
|
|
habituallyred posted:Just a few too many casualties for a victory. Also if you could post the OOB before the next operation starts I'll try to guess which unit dies first. Casualty numbers didn't matter here; the only thing was territory taken. As for the OOB, I think it's a good idea for me to put it in as a point of reference. Then when I say 'D Coy' or '4 Plt' people can go back and look if they're confused. It's also good to know what we actually get as opposed to what the scenario description says. Although I won't put it up separately, it'll just be in the first post of the operation and you can guess before reading onward. [ I've already played the first battle of it, and I think you might guess the unit but not the reason.]
|
|
|
|
You basically had a full half batallion and supporting vehicles mostly pulped and lost over half it's combat effectiveness. It'd have to be taken off the line and reconstituted.. Or more than likely just split up and fed to other units as reinforcements. Messy battle!
|
|
|
|
Operation 1, Recap Operation: Blitzkrieg Now that the battle is over, let's take a look at the final position. 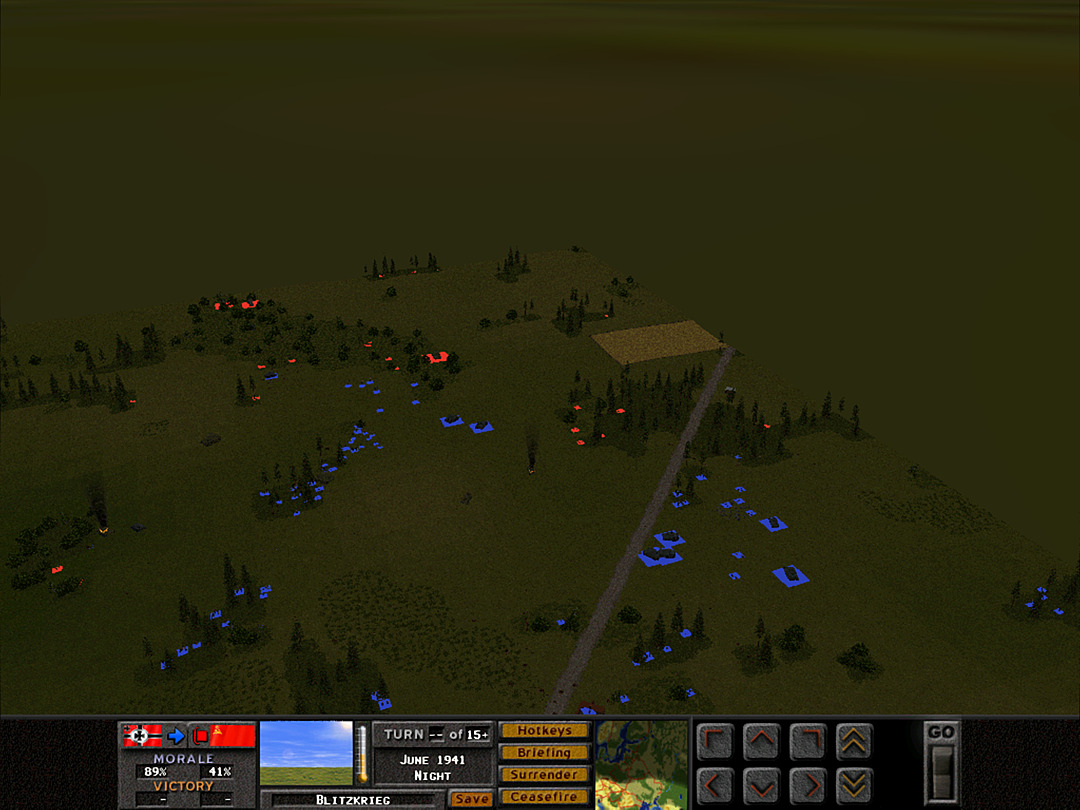 There really weren't many forces left to oppose us in these woods. The Pioneers would likely have had little trouble pushing ahead. A & B Coy were successfully routing the enemy, even if roughly a platoon remained standing. 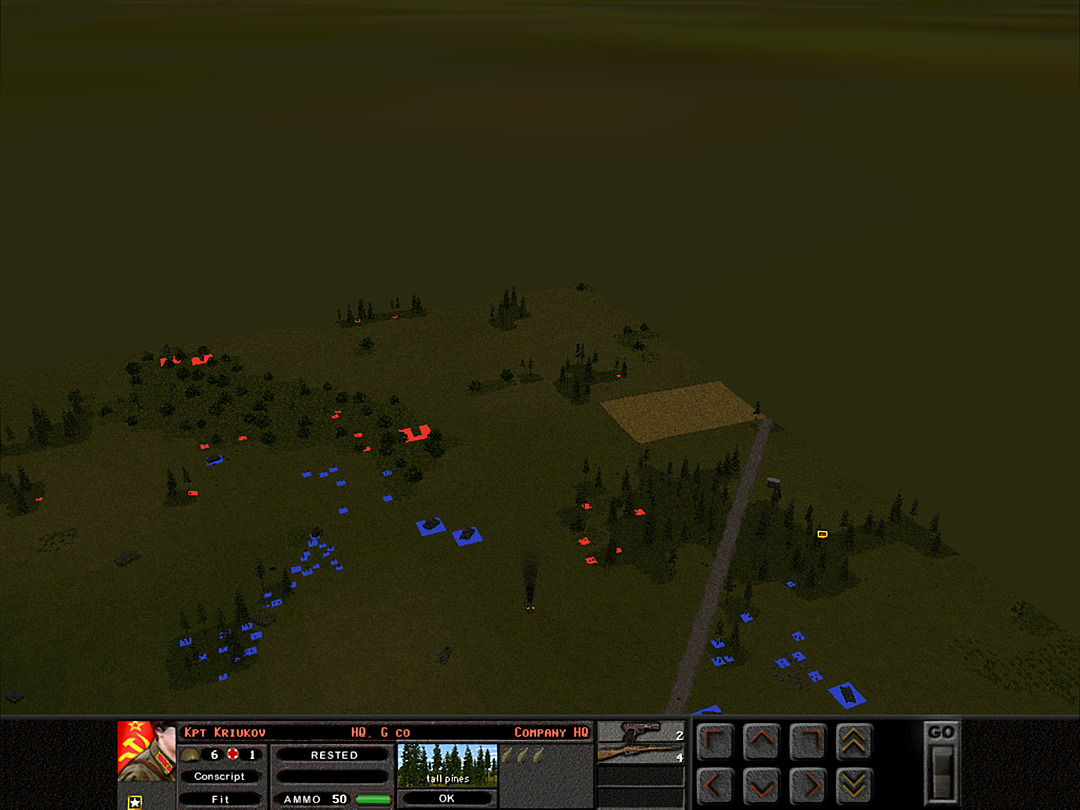 They were on the verge of capturing a higher-ranking officer. 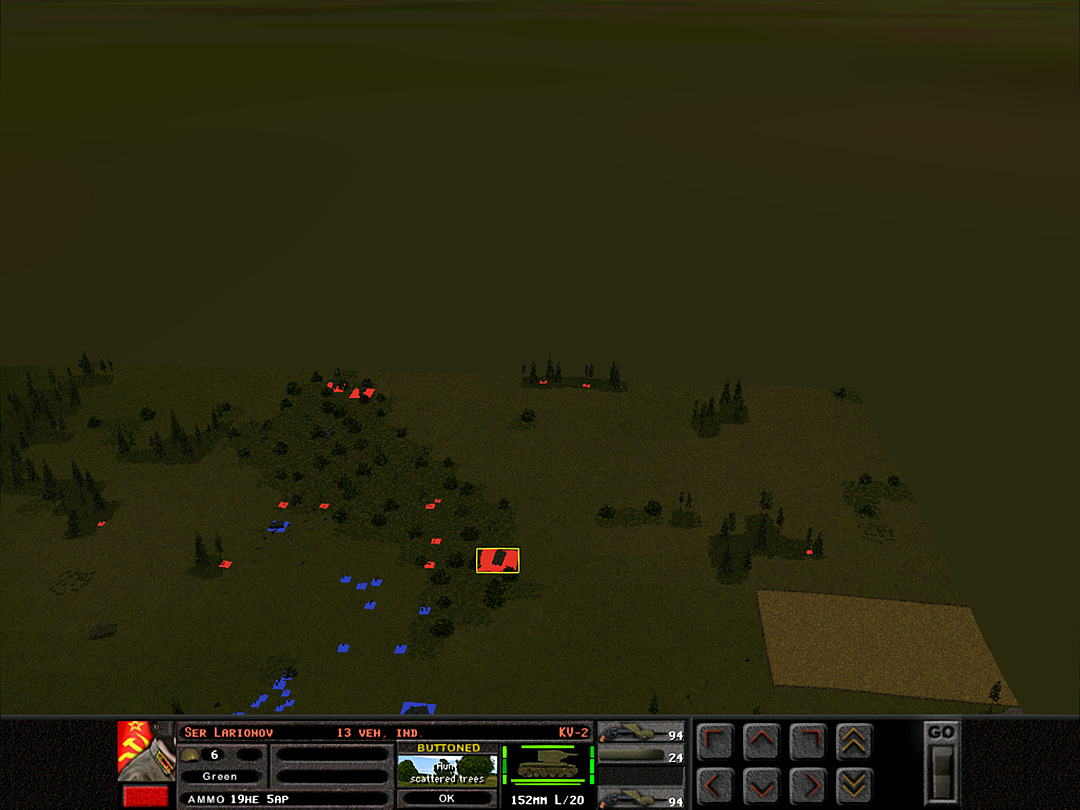 There was of course one more KV-1 tooling around back there. It might have hit one of our tanks if we'd gotten closer. 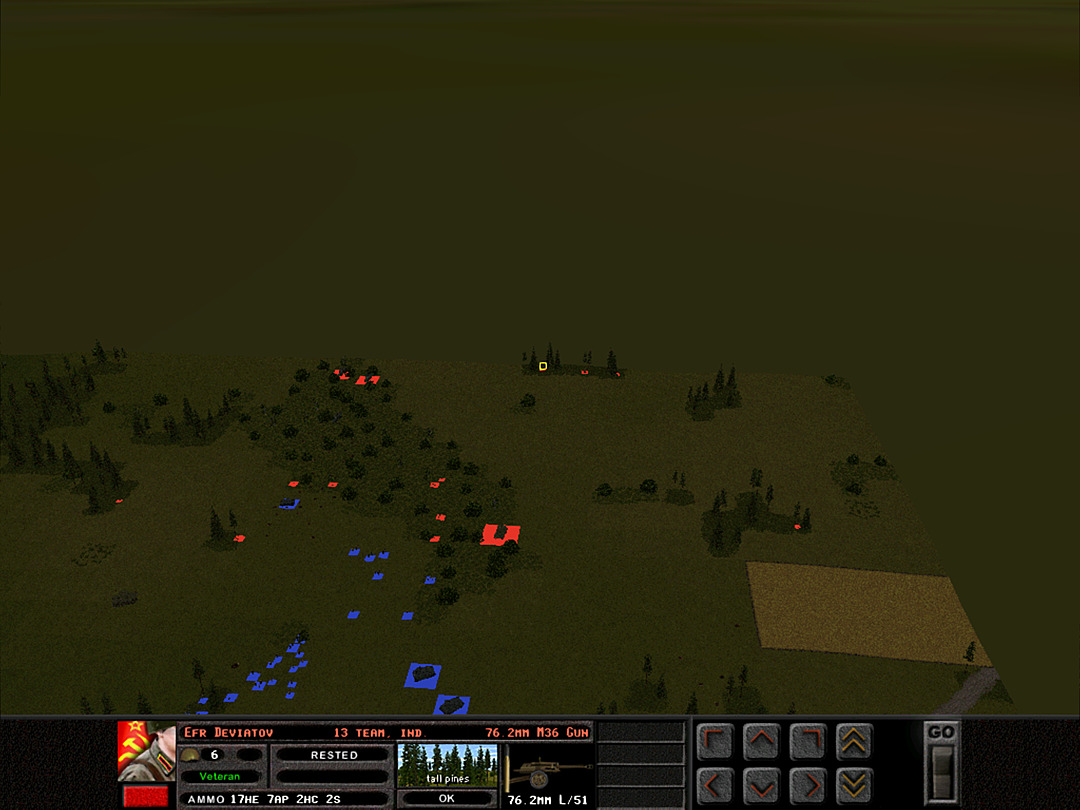 Even more dangerous would have been the anti-tank guns, which they pulled all the way back to lay a trap for us if we had circled around the trees. 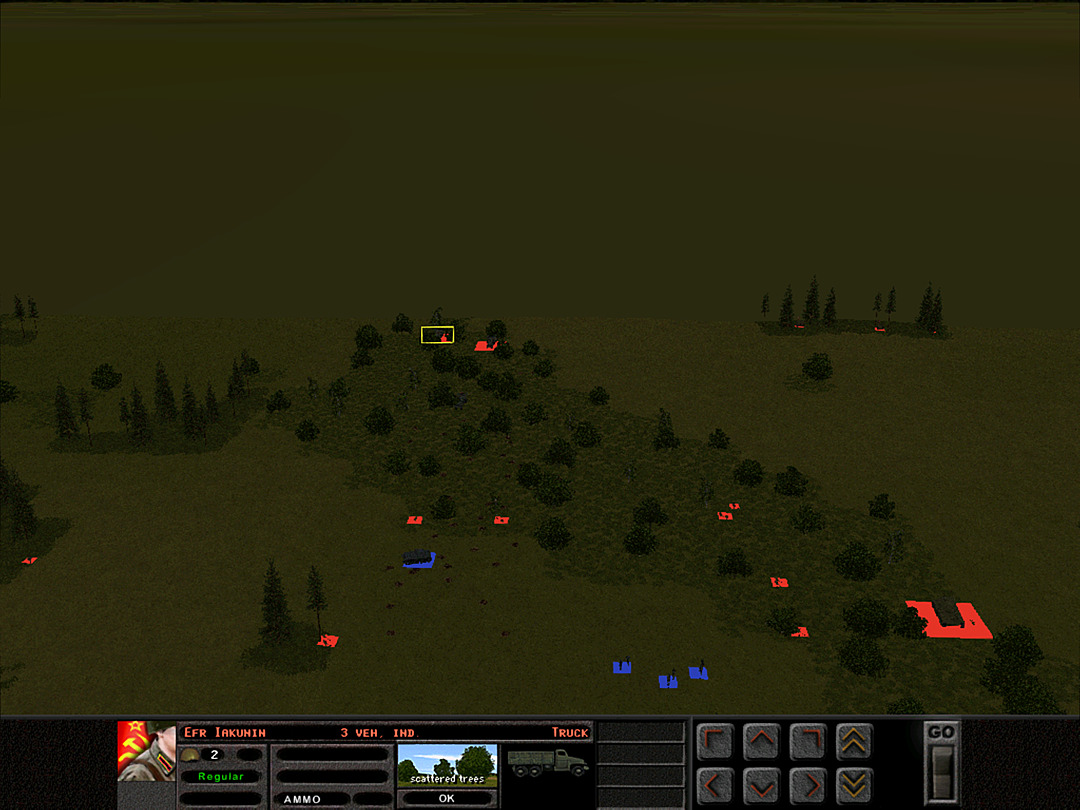 You may have noticed a large shape indicating more vehicles at the very edge of the map, but it's just two transport trucks that would have posed no threat. 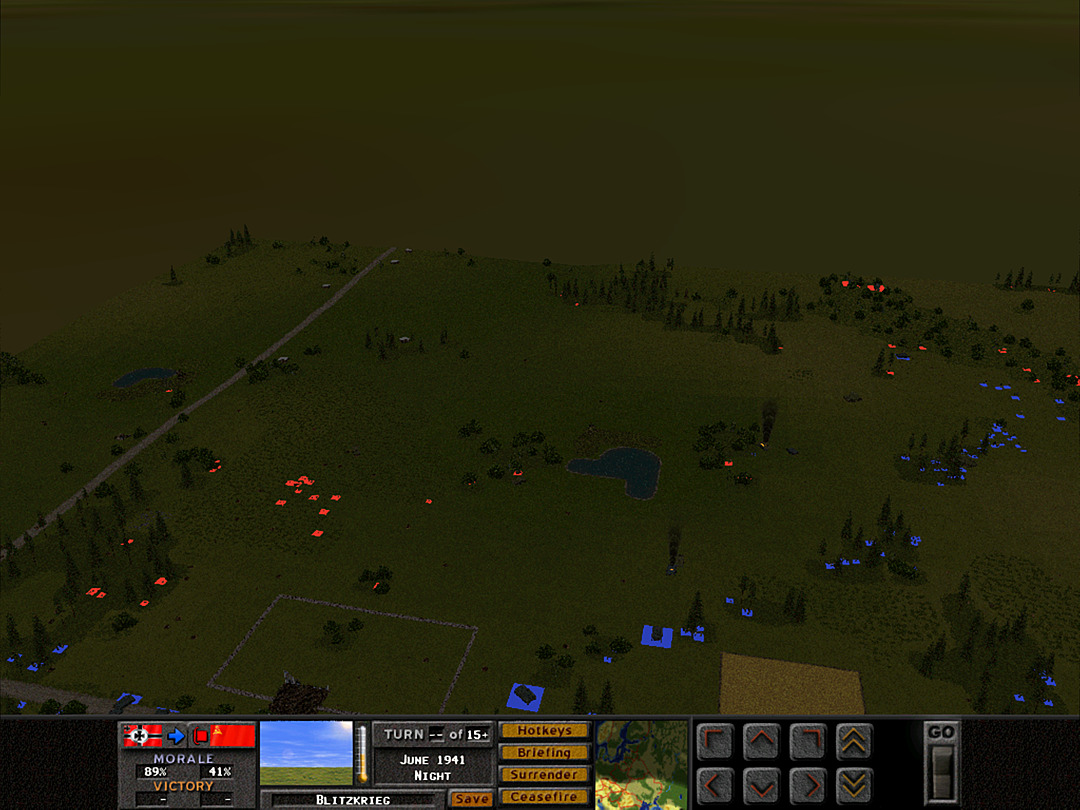 Quite a lot more troops remained in the region northeast of the village. Again, though, they looked to be on the run at the end of the battle as far as I could tell.  Here's what the map would look like with all labels on. A huge mess of eliminated squads where this battle started, there. 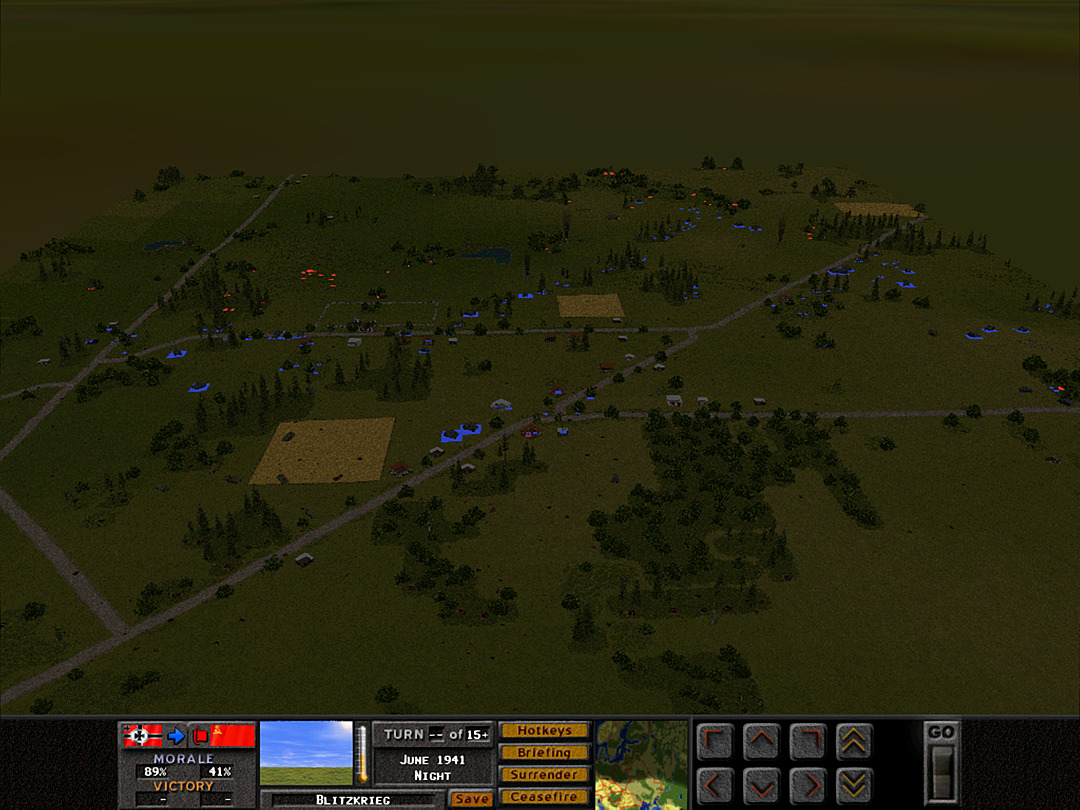 And the same view, labels off. Now let's review the final tally.  You'll note that in terms of total men deployed, we were pretty much equal. However, we inflicted nearly three times as many casualties, and come away with far more men in fighting condition than the enemy. They have been all but shattered. That isn't to say our losses weren't that heavy - taking more than 40% casualties leaves us in a pretty bad way. Vehicle losses showed a lot more parity, unfortunately for us. We did score a few more kills (especially if you throw in guns knocked out), but it was a bad day for both sides in terms of armor losses. I'm not going to go through and calculate point totals for those kills, but I suspect it's about equal. Our losses were almost all of the light tanks and all of the scout cars gone, with a few more higher-value AFVs lost. They had a similar spread. Losing two KV-2's, however, might tip things in our favor. Knocking those out could be seen as a big win -- that's nearly 1% of the entire number of them produced taken out in a single day! Obviously, however, it was counted as a loss. The only criterion for victory here was whether we made it to the end of the map. (The degree is adjusted based on how just how far we actually got.) And even though it seemed like we were mere minutes from reaching the goal, as we'll see, that wasn't the actual edge of the map. So despite somewhat impressive results on the casualty table, it's entirely fair to call this operation a failure. To really accomplish the goal, we likely needed to be pushing about as hard as we did in the last battle in at least one previous battle. Looking at where my plan was faulty, I'd say that early on, I spread the forces too thin and advanced broadly, but slowly. A few too many risks were taken with tanks as well; trying to hunt for targets exposed them to being taken out by anti-tank ambushes. As I've said before, rapid advancement is not a style of combat I'm very good at, so I didn't expect to win this one. We did shatter a battalion and eliminated a fair number of Soviet tanks, but a loss is a loss. The information at the end of the last battle is the only knowledge we get as a player of what the opposing side's results were. However, I'm now going to peek a little bit behind the scenes, to assess the operation a little more in depth. The scenario editor (accessible directly within the game) lets us open up the operation set-up, and we can see exactly what each side has available. I will not post the full lists, but I did review them and will note anything that stuck out. Below are the actual point totals, showing that the operation description gave the size of the defending Soviet force. The numbers here represent the cost of all units initially on the map, as well as all reinforcements for the operation. These are split into the unit category the game gives. 'Support' units are the various specialty teams attached to the infantry forces, such as Anti-Tank Rifles or Mortars. pre:Infantry Support Vehicle Armor Artillery/Air Fortification TOTAL Axis : 2370 732 185 2943 920 0 7150 Allies: 1951 761 203 1255 186 0 4356 We can get a similar idea of how the battle might shape up from the details. As we saw, both sides had similar numbers of infantry. The difference in point value is explained by the quality rating of the German troops being higher (somewhat more veteran troops vs. green or conscripts on the Soviet side). Armor shows a big disparity. There were more and better tanks on the German side. Outside of the big KV-2's, the Allies had few quality tanks. The attackers also get much better off-map support, although a fair chunk of that is the air units that seemingly had no real effect for us (and even in general are quite variable). The raw point values don't tell you everything, of course. It's quite easy to have a unit be far more valuable than its price would indicate, if there's nothing that can stand against it. The KV-2 is a good example. About the only way we had to eliminate one was using the means we did -- close-range Tank Hunter teams, and our incendiary weapons. Prior to the night battles, it was effectively impossible to defeat them. The Soviets would similarly struggle to beat the German tanks, although in different ways. The infantry have basically no close-range defense against armor (the ampulomets, as we saw, were rather ineffective), but they do start with 6 anti-tank guns (4 of the 'light' 45mm ones, and two 76mm) to make up for it. Also available when you load the scenario is the initial set-up, along with the entire map (instead of the 'rolling' partial maps we were on as the operation progressed). 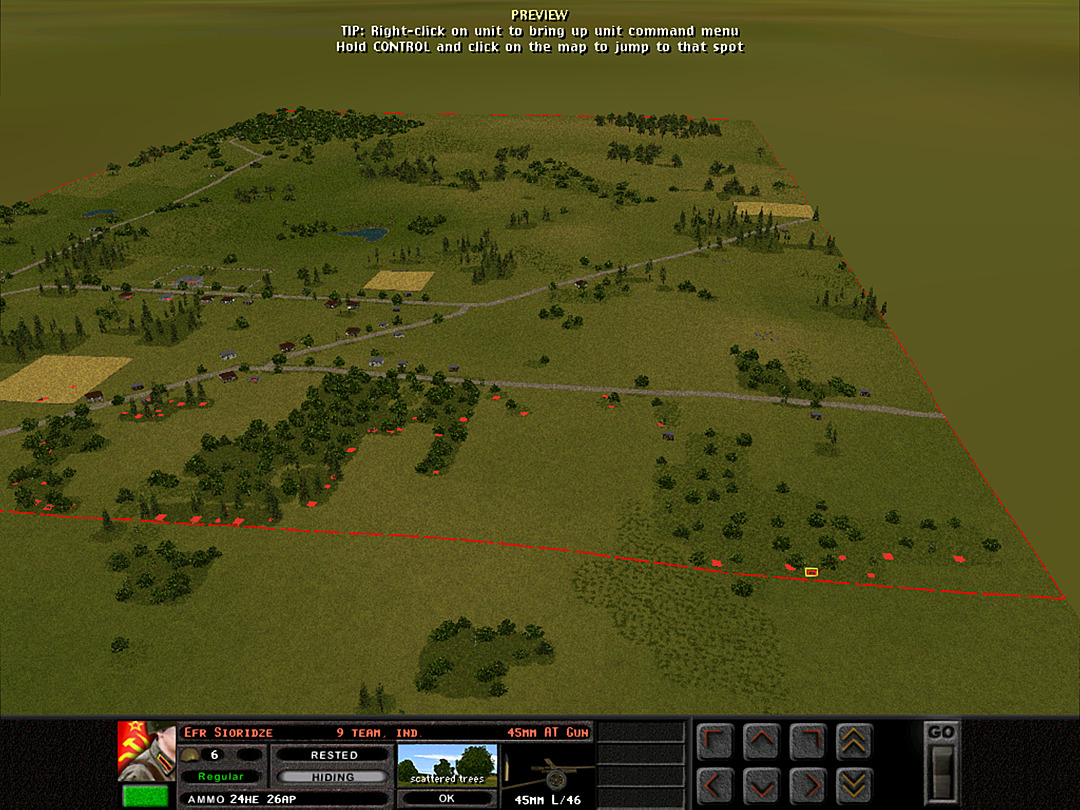 Here's the set-up on the south side, including the gun we were able to suppress in the first battle. 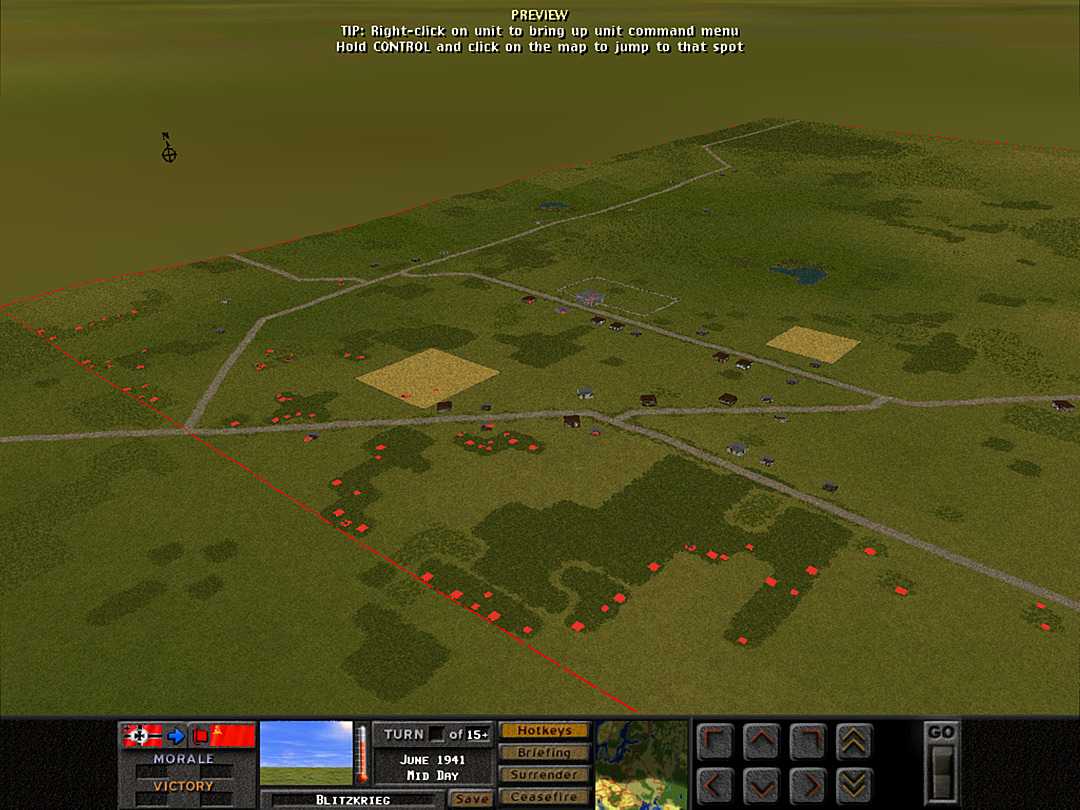 And here's the rest of it, with trees turned off in order to highlight unit locations. 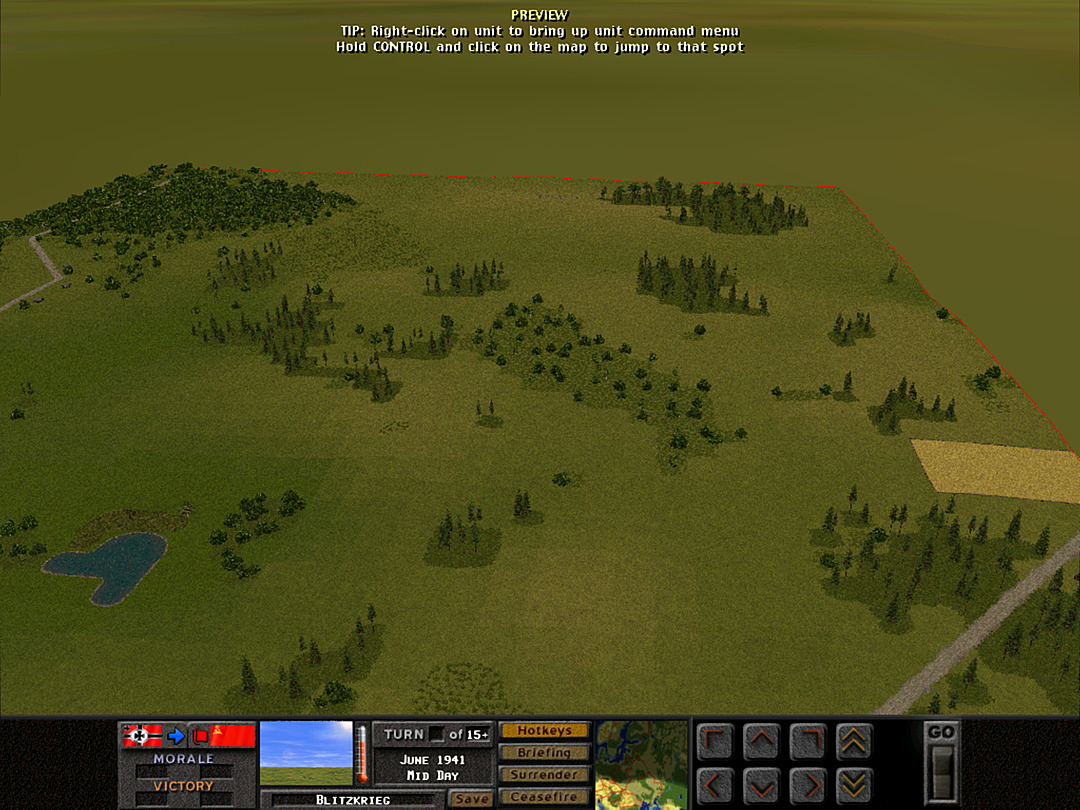 It's also worth noting that despite the dramatic push to reach the edge of the map in Battle 5, we actually did not uncover the full map. There was still a significant amount of ground left to capture, so we likely had no chance to win even by the conclusion of Battle 3. Now I'll look at how the losses developed for the Soviet side. If you load a save, you can immediately surrender, and this will give you the same information that was displayed at the end of the last battle. You also get to look at the map to see all units. I used the save from the set-up phase of each new battle. That gives us a tally of losses from the previous battle, as well as the strength of any reinforcements. Note that in the following shots, the Axis side will record all vehicles as destroyed, and all soldiers on the map under 'captured', since we had to surrender to see this screen. I will not post the maps, as these saves were made prior to the AI set-up, and do not reflect the actual set-up that we saw. I did look at a few of them to see how many tanks or guns they had remaining. If you surrender on initial set-up:  The Soviets start with most of their battalion on the map; 726 men strong including support units. The Germans only have their first two companies, but all the tanks are around to give them an equal chance. At the start of Battle 2: 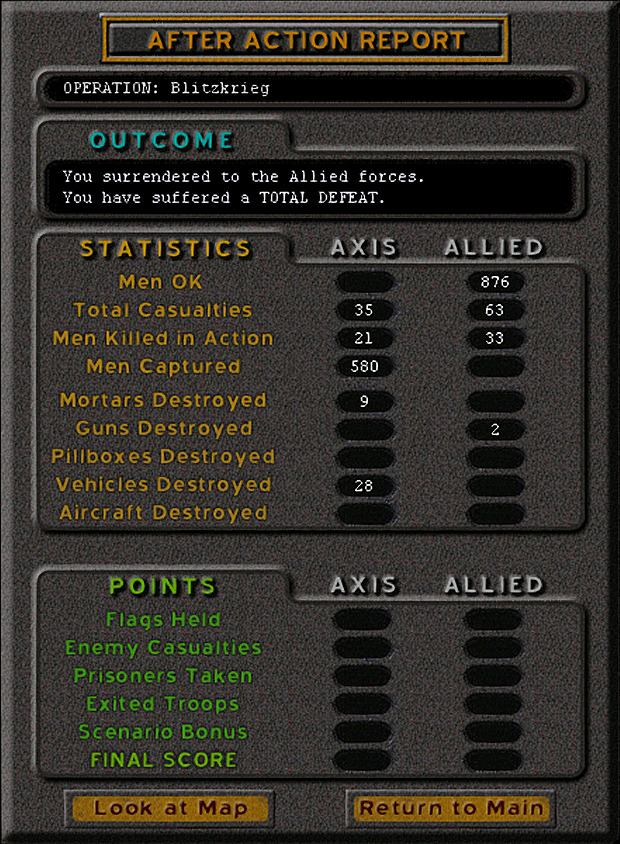 Casualty numbers were already higher for the Soviet side, even if it was just the beginning of the day. We remained outnumbered on the infantry side, while the Soviets received their first tank platoon reinforcements. Battle 3: 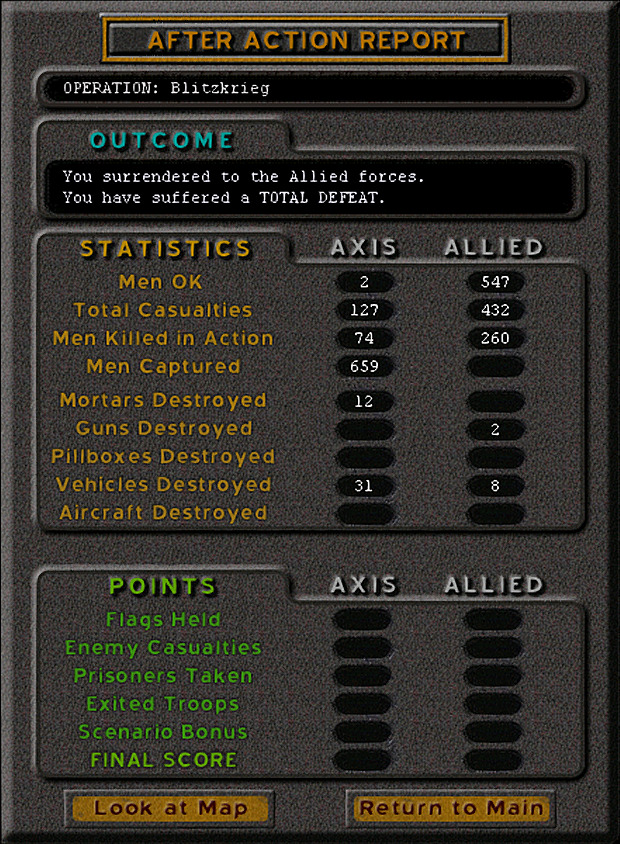 The difference in casualties begins to show. The Soviets are now outnumbered. However, the KV-2's actually show up in this battle, and could have made a big difference. From what I could tell, we did actually knock out all the vehicles and tanks that arrived in Battle 2. Whatever vehicles we saw in Battle 3 were reinforcements. Battle 4:  Allied losses continue to mount, and they are starting to get overwhelmed. We had a better than 3:2 infantry advantage at this point. Of course, our poor showing in defeating armor meant we didn't do much to limit their numbers of vehicles. I also checked a save just before the end of Battle 4 (around the 17' mark). 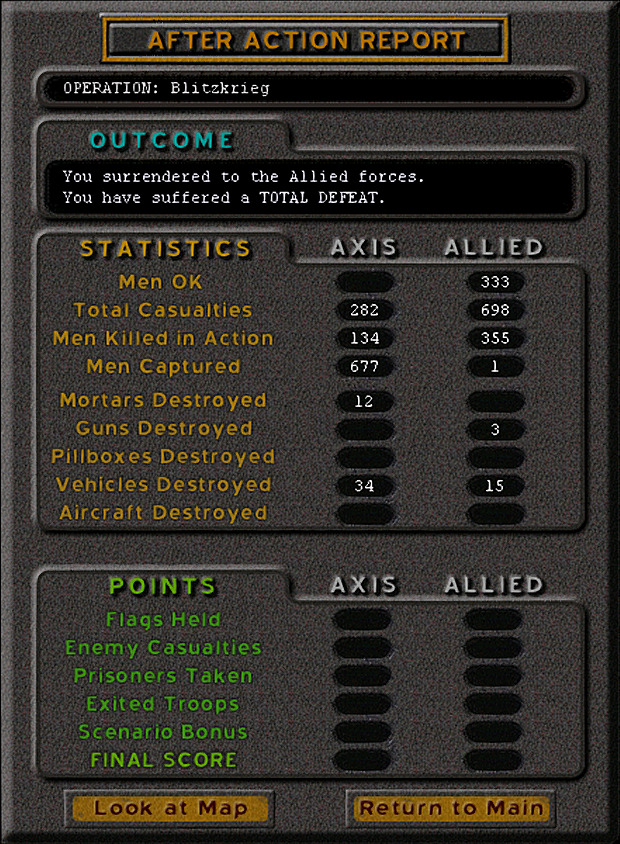 We'd worn them down quite a bit. Six Soviet tanks lost, and the infantry ratio is right about 2:1. We did take proportionally more casualties to accomplish this. Battle 5:  Reinforcements on both sides kept the force ratio relatively the same. And finally, for comparison, here's the screen at the end of the battle once more.  I'm surprised we actually took out 8 more tanks in the night battle, and if I recall rightly, we only lost a Stug and a Flammpanzer. Given that their losses included two KV-2's and two T-34's, that was a pretty good night. My take on this operation: I found the back-and-forth of the tank war a lot of fun. The steady stream of reinforcements meant it never felt like we were out of it. Surprisingly, even though it is designed for two-player play, it works quite well in single player, at least on the Axis side. I do kind of feel like it's not quite 'Blitzkrieg'. The Soviets actually have some significant defensive assets, and it seems like the Germans don't really have enough to knock them back until a few battles in, at which point it might already be too late. Then again, maybe the whole point for the Axis is to knock their enemy off balance enough that the gradual increase in force strength is what allows them to push the Soviets off the map. I feel like it probably is well-balanced to give both players something to work with. The Germans have all those tanks, but at some point they will have to puzzle out how to handle a platoon of KV-2's. The Soviet player has to manage a defense that makes the best of their anti-tank guns while not yielding too much ground. My quibbles with the feel of it aside, it really was an enjoyable ride (although had I known I had no chance to win at the end I might not have felt the same way). I'd love to hear other people's thoughts on this one. Did it seem an interesting operation? I'm also open to additional assessment of my performance. The next battle will be our first time on the Allied side. While it is set only a few weeks after this one, during Barbarossa, it's another one where we're on offense, as the Soviet 21st Army Counterattacks. Kangra fucked around with this message at 08:01 on Dec 17, 2023 |
|
|
|
Operation 2, Battle 1 The second operation occurs during the Soviet counterattack of July 1941.  This one is another huge map, and consists of 4 battles. The point total is lower than the first operation, though. I should note that we won't always be given the point total ahead of time; the listed value is also only based on what the scenario designer has written, so it may not be accurate. I will continue to do wrap-ups that give the actual values, after the operation is finished. 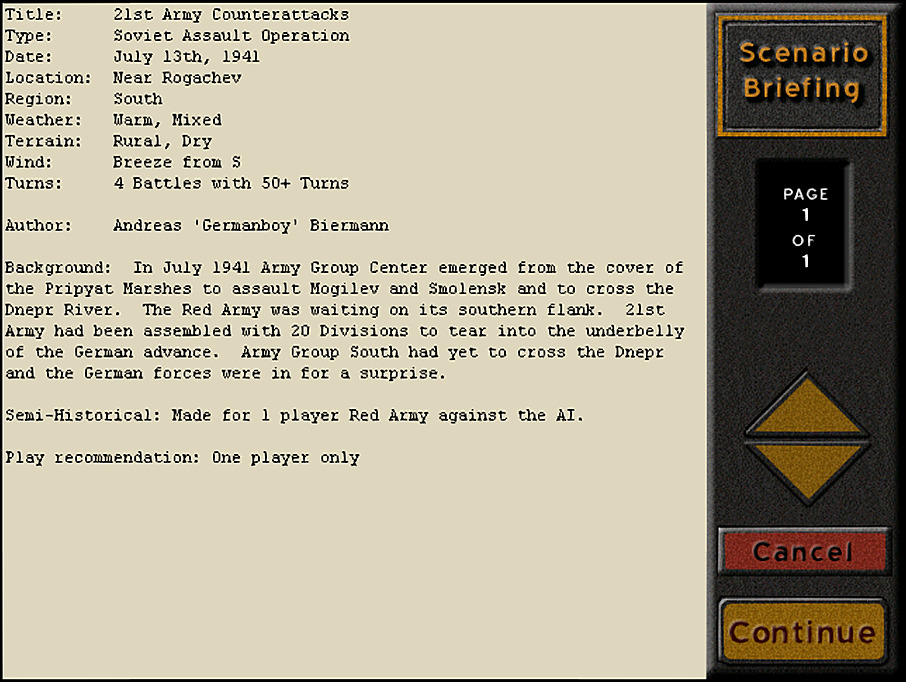 This operation is expressly recommended for single-player as the Soviet side, so it's a good thing to have at the start. It's also another 'assault' operation. That ought to compare well with the first German one. What's most notable about this operation is that the battles are very long, at 50+ minutes each. We can expect a much different style of combat, as it's not going to be quick and intense firefights, but longer maneuvers and potentially a chance to just wear out the enemy (or ourselves). For this one, I am allowing 'computer free to place units' as that appears to be the intended option. Hopefully that doesn't lead to craziness. 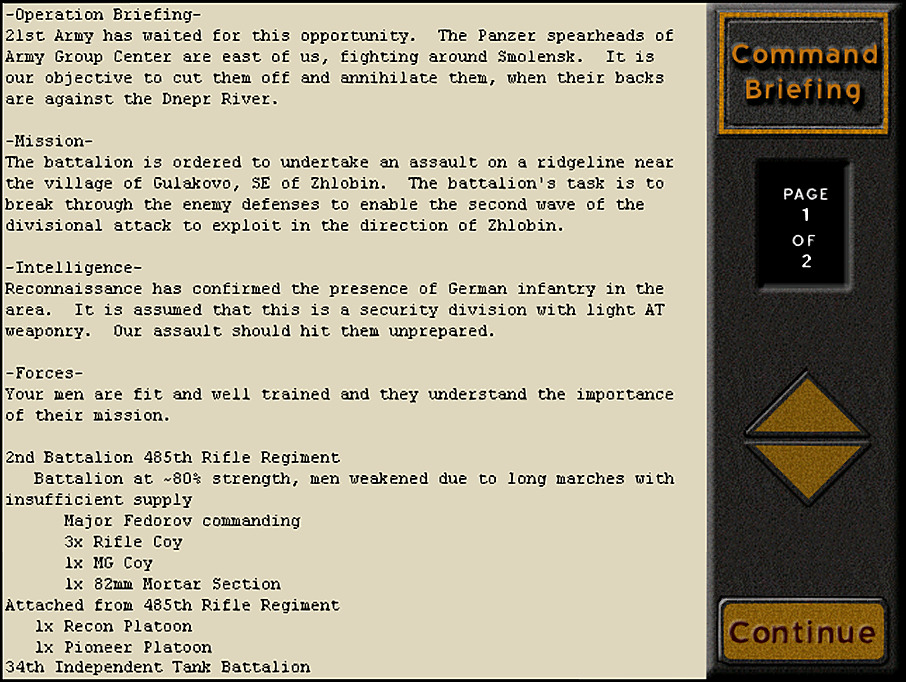 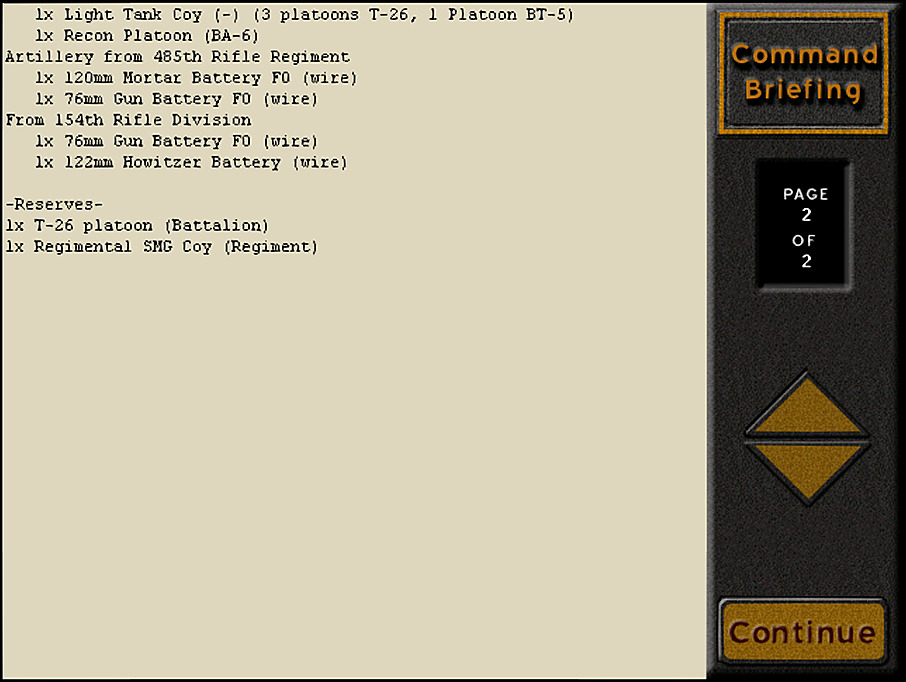 The initial force size in this one is not all that different from the first map. We begin with a battalion, and we have tank support to assist. There's also a good amount of artillery, and a small number of recon and pioneer troops to play around with. Unfortunately, we are not at full strength � the long march to get here means our battalion has already suffered casualties (the 80% strength will apply a random number of losses to each unit). Not only that, we cannot expect much in the way of reinforcements. It looks like one more company, and another platoon of tanks will be all that's along to help out, and they are for now being kept as reserves. That's barely enough to keep us at full strength. Force preservation will be the name of the game here. [Units labeled as 'reserve' are not automatic reinforcements; they are released only if we have taken enough losses for it to be considered necessary to commit them, and that decision is out of our control.] Here is a more detailed order of battle that includes the unit names. I won't indicate which have pre-battle casualties, but most squads are down 1 or 2 men. pre:Battalion HQ - Maj�r Vasyliyovych A Company 1 Plt - 2 x Rifle 41, 2 x Rifle 41L + 50 mm Mortar 2 Plt - 2 x Rifle 41, 2 x Rifle 41L + 50 mm Mortar 3 Plt - 2 x Rifle 41, 2 x Rifle 41L B Company 1 Plt - 2 x Rifle 41, 2 x Rifle 41L + 50 mm Mortar 2 Plt - 2 x Rifle 41, 2 x Rifle 41L + 50 mm Mortar 3 Plt - 2 x Rifle 41, 2 x Rifle 41L C Company 1 Plt - 2 x Rifle 41, 2 x Rifle 41L + 50 mm Mortar 2 Plt - 2 x Rifle 41, 2 x Rifle 41L + 50 mm Mortar 3 Plt - 2 x Rifle 41, 2 x Rifle 41L D Company (Machine Gun ) 1 Plt - 4 x Maxim MG 2 Plt - 4 x Maxim MG 3 Plt - 4 x Maxim MG Independent (Infantry) 5 Plt - 4 x Recon A 7 Plt - 4 x Pioneer 1 Team - 120mm Mortar (x4) 2 Team - 76.2mm (x4) 3 Team - 76.2mm (x4) 4 Team - 122mm (x4) 5 Team - 82mm Mortar 6 Team - 82mm Mortar Vehicles 1 Plt - 2 x T-26 M33 2 Plt - 3 x T-26 M33 3 Plt - 3 x T-26 M33 4 Plt - 3 x BT-5 6 Plt - 4 x BA-6 Date: June 1941 (1941-07-13) Time of Day: Mid-Day Skies: Rain Ground: Dry Temp: Warm Wind: Still Now, let's look at the map. 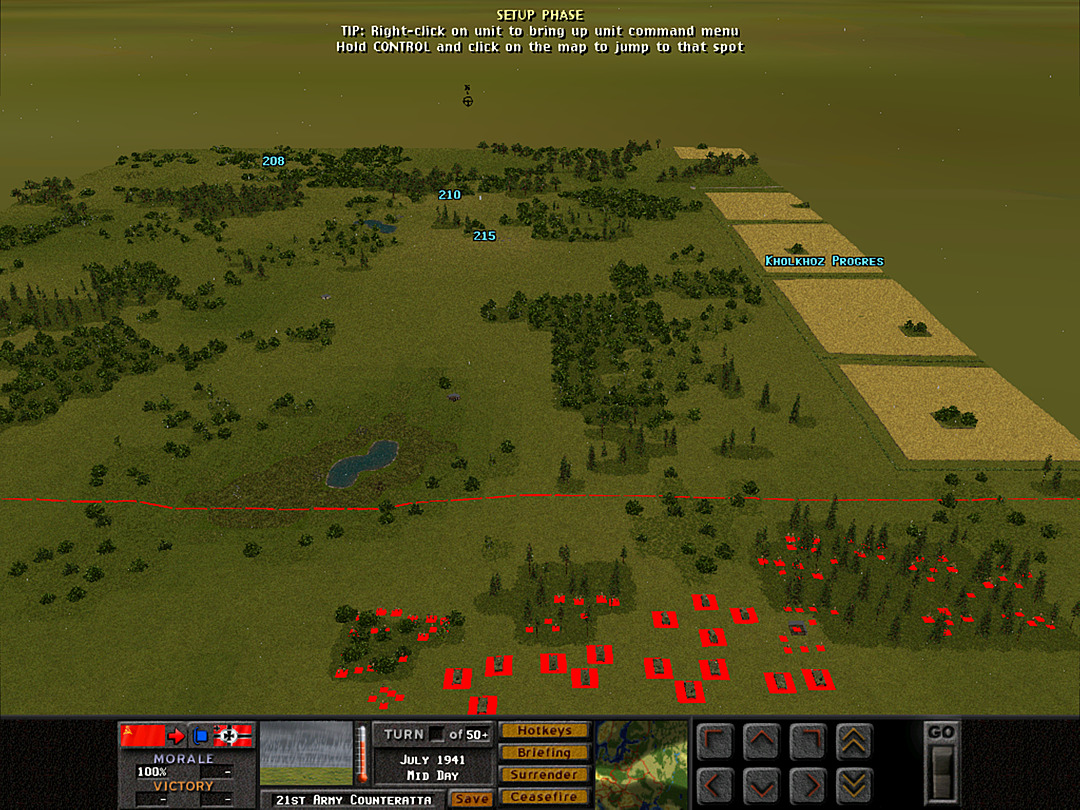 The terrain here is decently rugged, and decidedly rural. Only a few buildings dot the landscape. Most of it is forested, although a large stretch of farmland indicates the eastern edge of the battlefield. We are approaching from the south. The ridge line we must take runs for about a kilometer from southeast to northwest. There are a few marked hilltops on the map indicating the highest points. The ridge itself is discernable but not particularly prominent; the hills stick out no more than a few meters from the surrounding terrain. [What looks like whitish flecks on the map is actually raindrops, that are continually falling down to indicate the weather.] 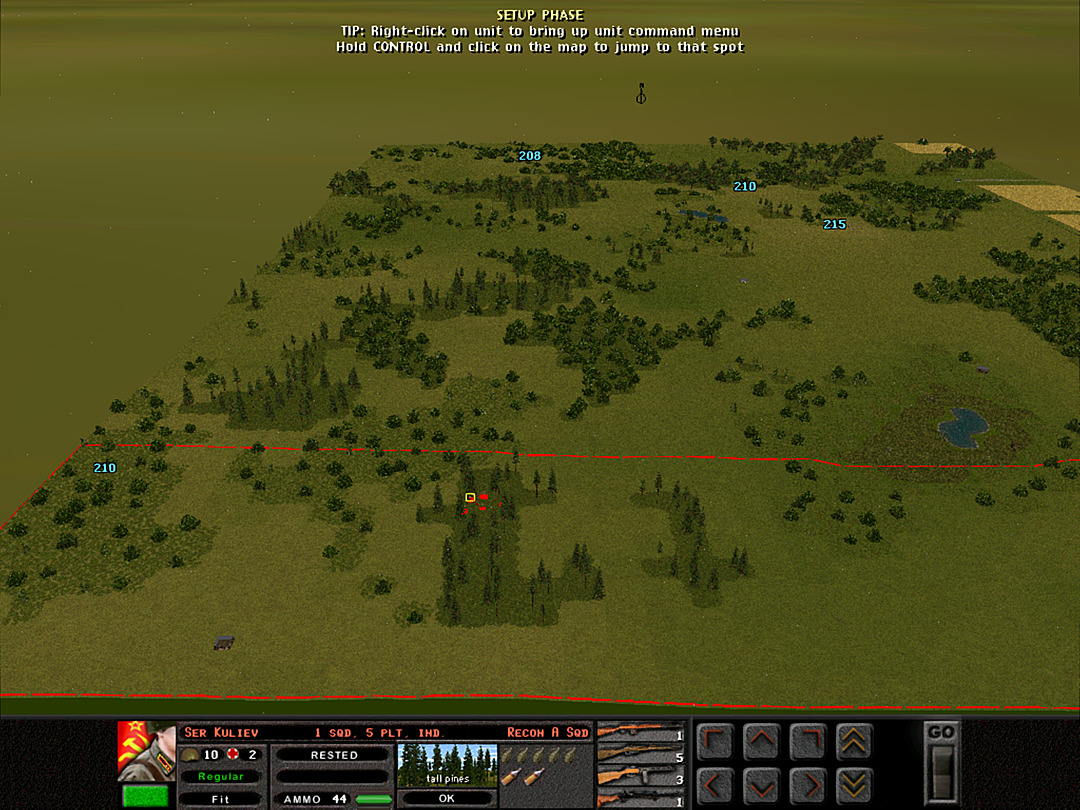 The most direct access to the ridge would take us into far too open grassland, and as that approach also rises up from a marshy lake close to our own position, it's not a route we would want to go for. The southwest side is gently wooded, and might provide the best cover, although a large force moving through there would doubtless be spotted as it got close. On the east, there is a large patch of forest that would allow us to get close to the end of the ridge. The problem there is a gap of at least 100 meters of open space, and even getting across that would only put us a bit on the far side of the ridge, with the main objective still to be captured. I will nevertheless opt for coming through the eastern woods. My reasoning is that the enemy is expected to be holding the ridge already. That means they are better prepared for an assault coming up from the southwest, and have a decent vantage point toward it. Even if it offers some cover, that route is still constrained into a narrow and somewhat exposed section. Meanwhile, if we can make a strong push all at once to cross toward the eastern woods today, we can likely move more of our forces in at night, and make a drive around to take the ridge tomorrow. 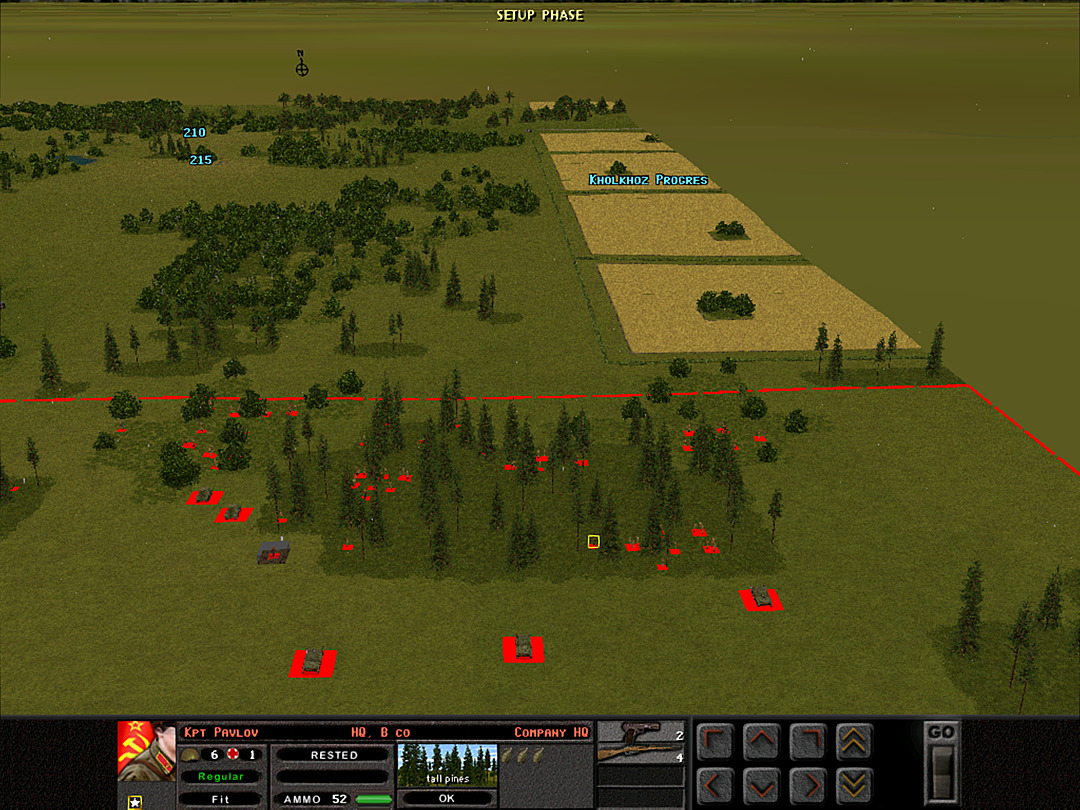 To that end, two companies are assembling on the east side. A Coy is responsible for the initial scouting of the woods. B Coy will clear the fields and do a pass through the brush. We don't expect any enemy units out this far, but it pays to be sure of no surprises. Once we have a better idea of the enemy's disposition, we will make our advance. 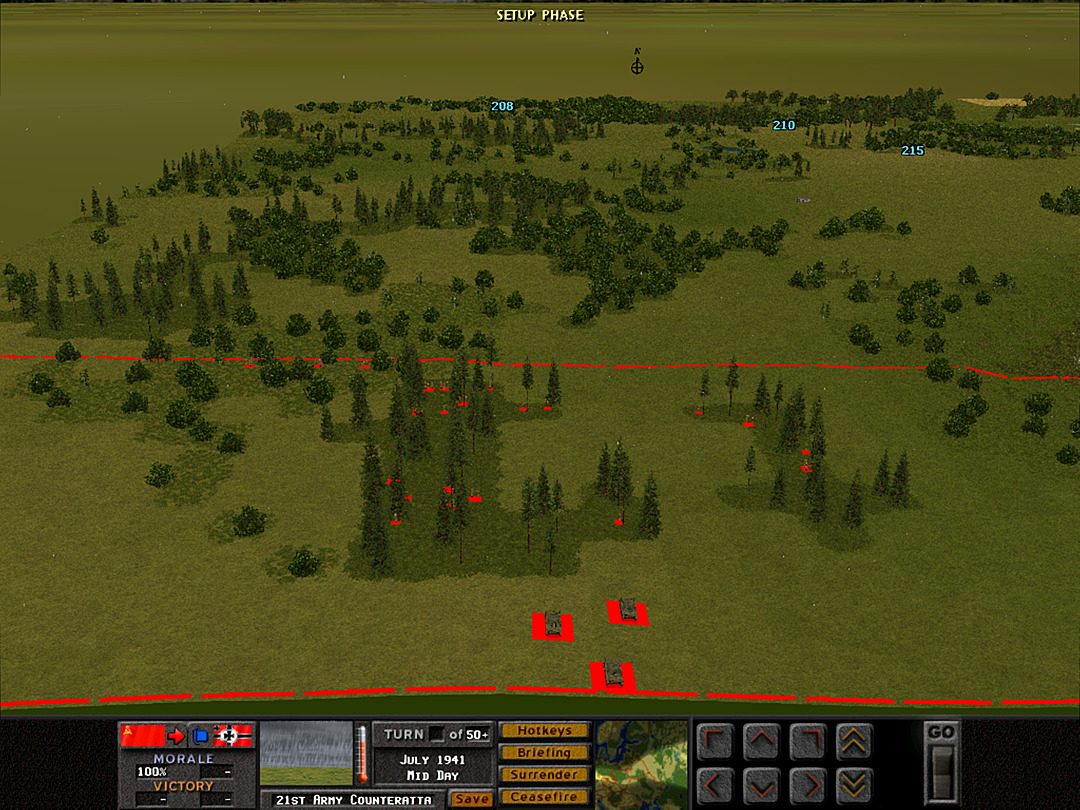 We have a recon platoon at our disposal. They'll be responsible for reconnaissance of the woods on the west side. C Coy will also move up to support them if a firefight ensues. The units here are not to make a push forward, but merely to gauge the enemy strength. Later they might be used to keep the Germans occupied once the main assault comes in from the other side. 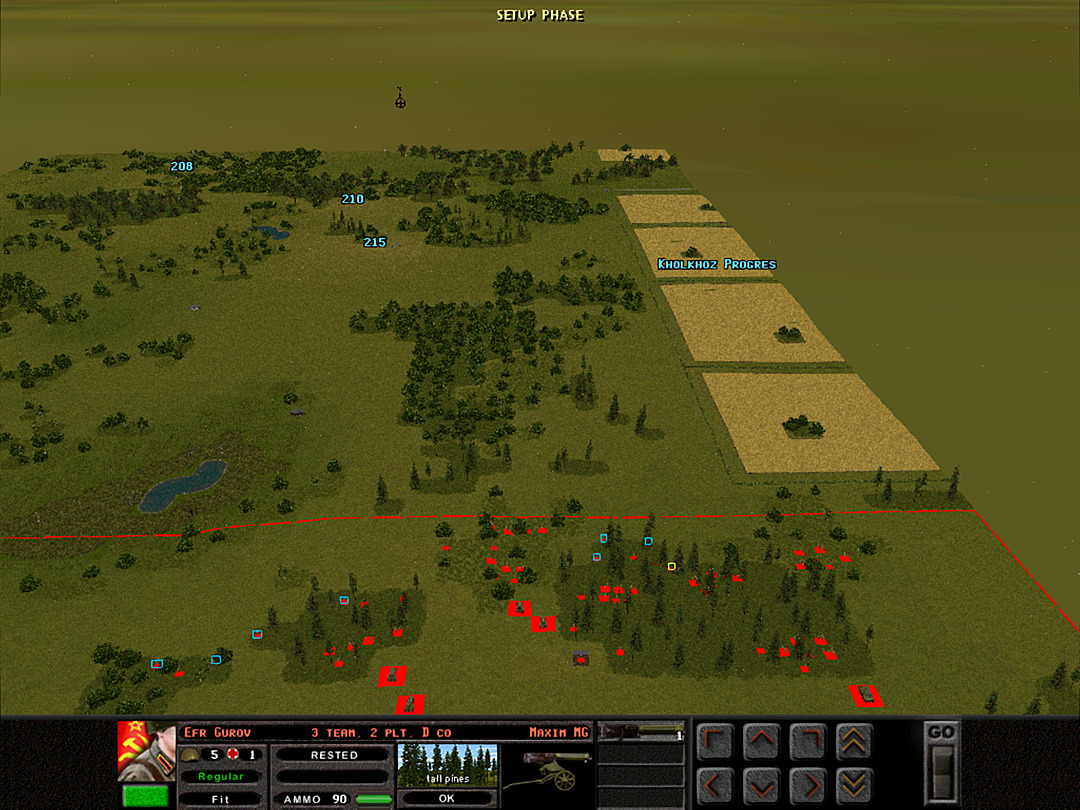 Our machine-gun company is set up for now in defensive positions along the edge of the trees, with the same ratio of 2 platoons on the east, and 1 on the west. We'll advance them as needed once the battle starts. Most of the tanks and scout cars will stay to the rear for now, as we can expect the Germans to have an anti-tank gun or two ready to take them out from a long ways off. The Pioneer platoon will remain in reserve as well; they will be needed if we have to take out any really dug-in enemy positions, and I'd rather not put them in danger yet. 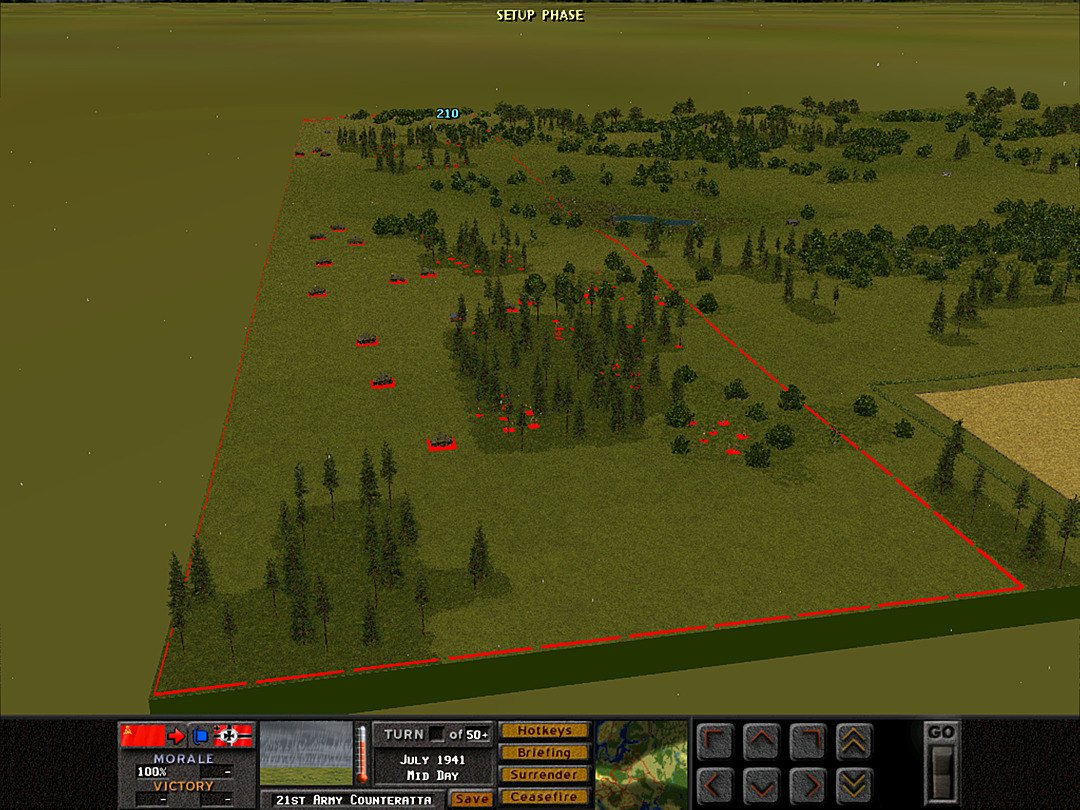 There's a warm summer rain falling which makes the advance a bit sticky and uncomfortable. But it is probably to our advantage. It will reduce visibility and conceal our approach. More importantly, it means there's no chance any enemy aircraft will fly today. 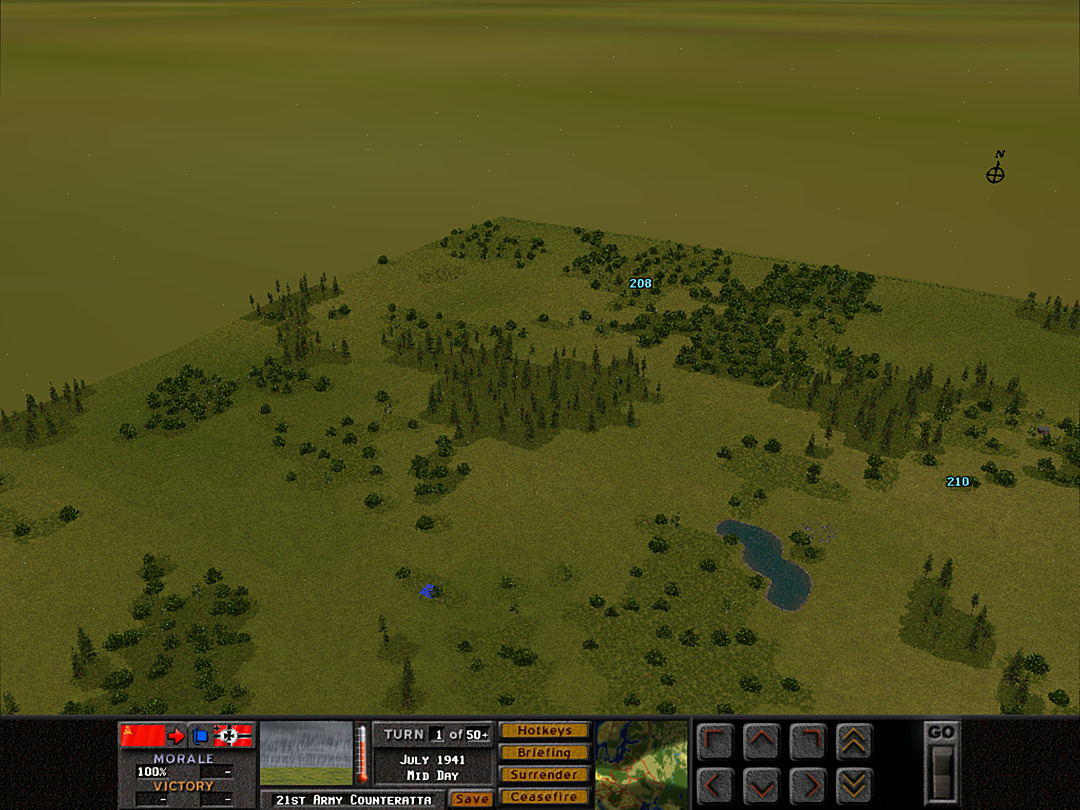 As we set out towards the ridge, we spot the first clear sign of the enemy positions. A line of barbed wire, stretched out in the woods on the southwest side. It's not a lot to go on yet, but our suspicions that the Germans would be more ready for defending here might end up being confirmed. 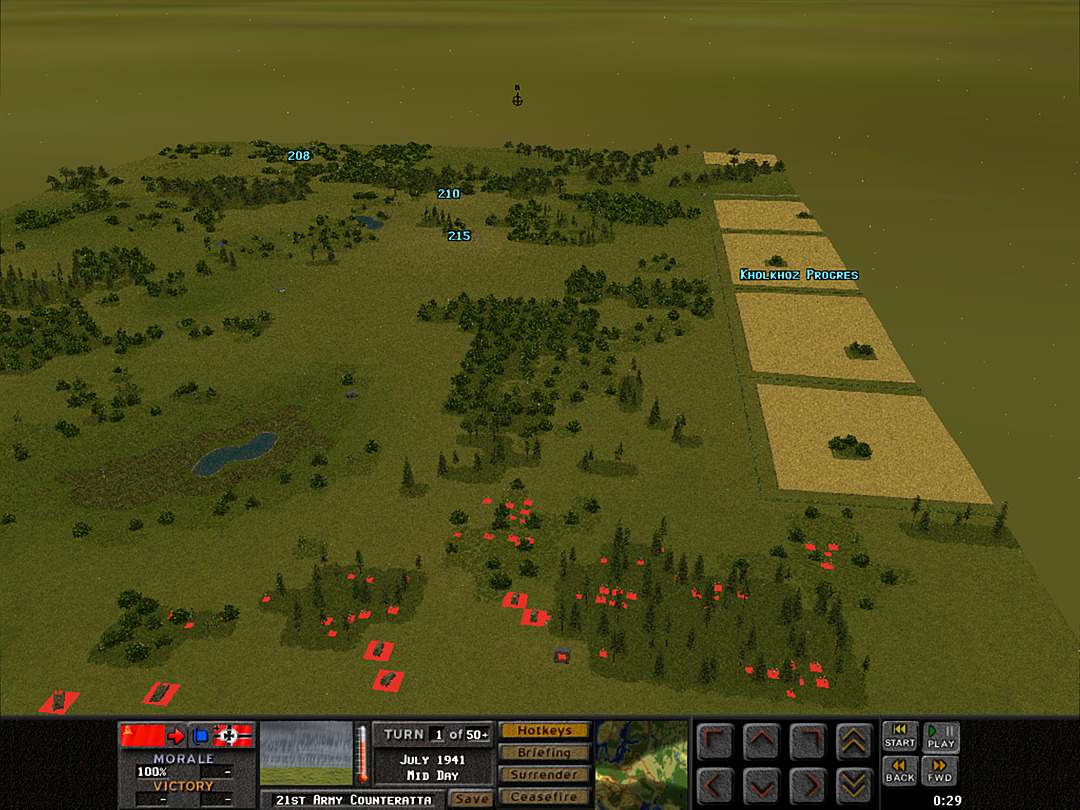 The first platoons head out. 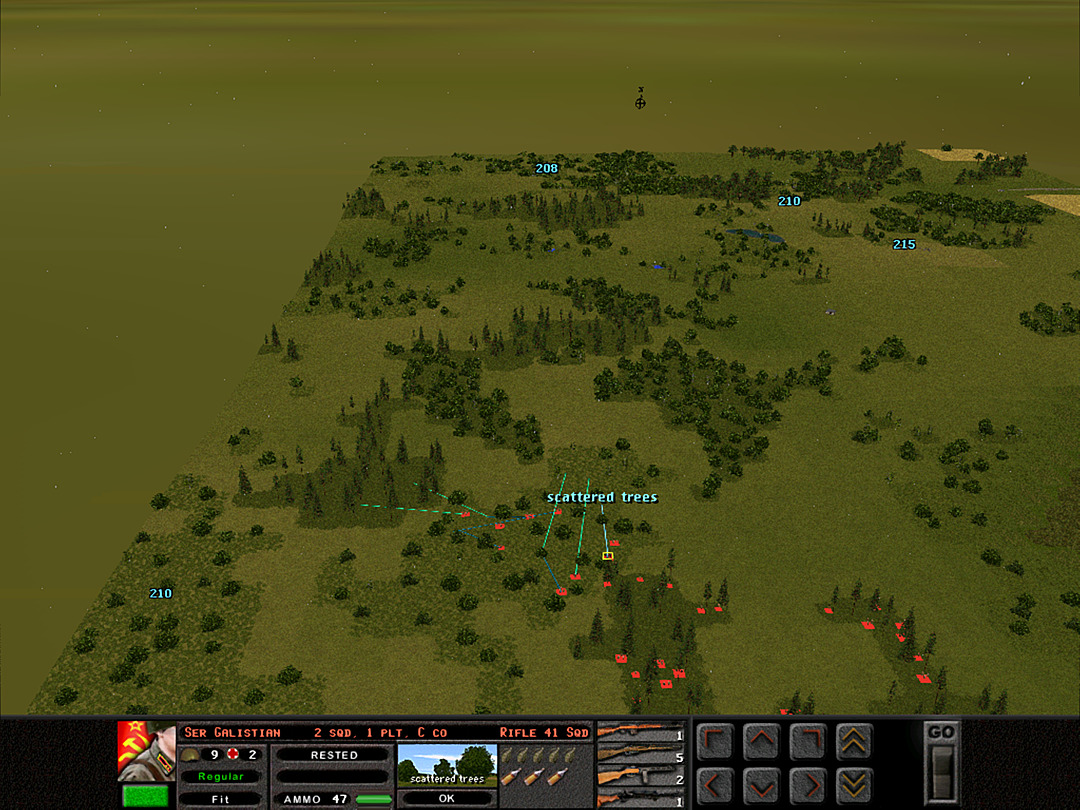 C Coy, 1 Plt marches forward to occupy a patch of trees. They'll sit tight here while 5 Plt circles around through the denser trees to the west. 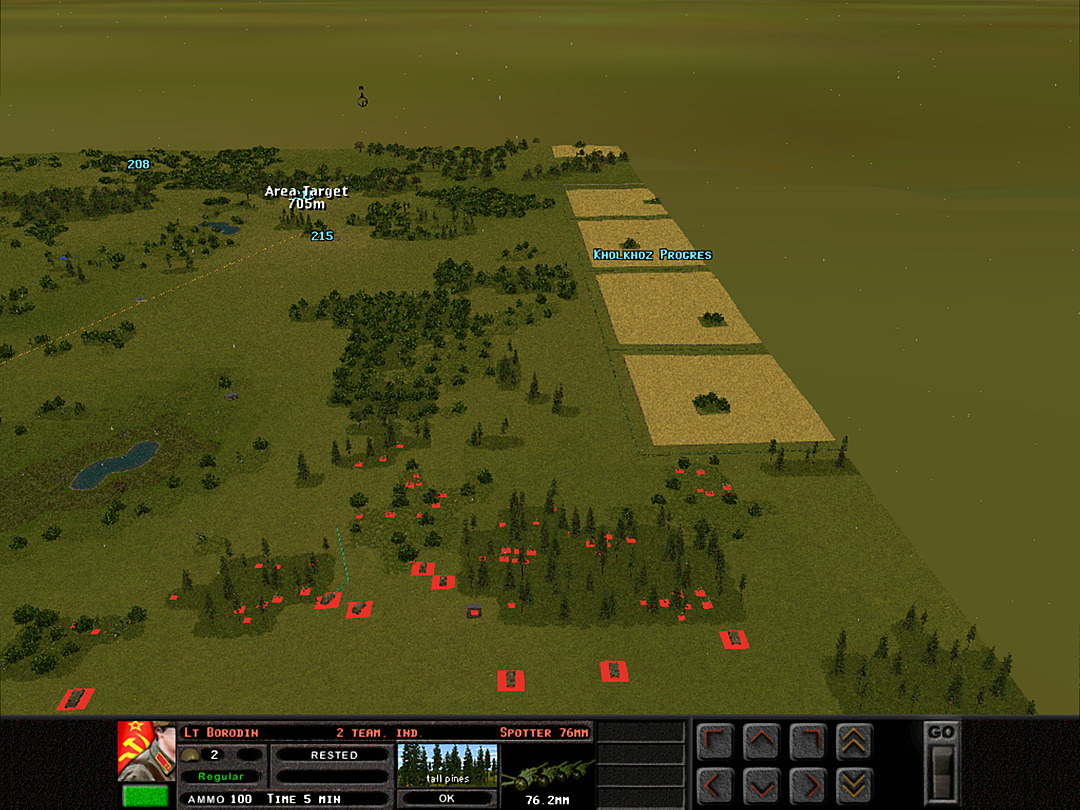 As our troops begin the march toward the enemy, an artillery strike is ordered to hit the first hilltop. No targets have been seen there, but it's worth trying to scare them off from using this spot as a vantage point. 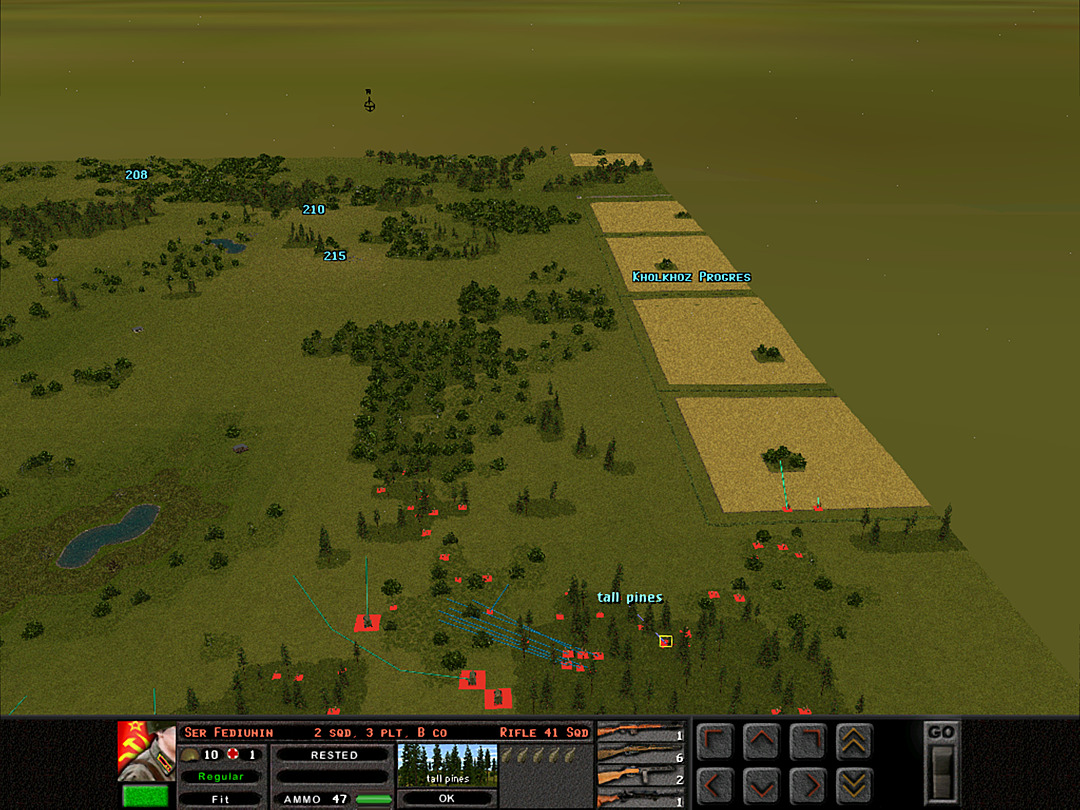 Another platoon from A Coy falls in behind. We're also going to send a few tanks and scout cars to probe a little ways forward along the edge of the woods. 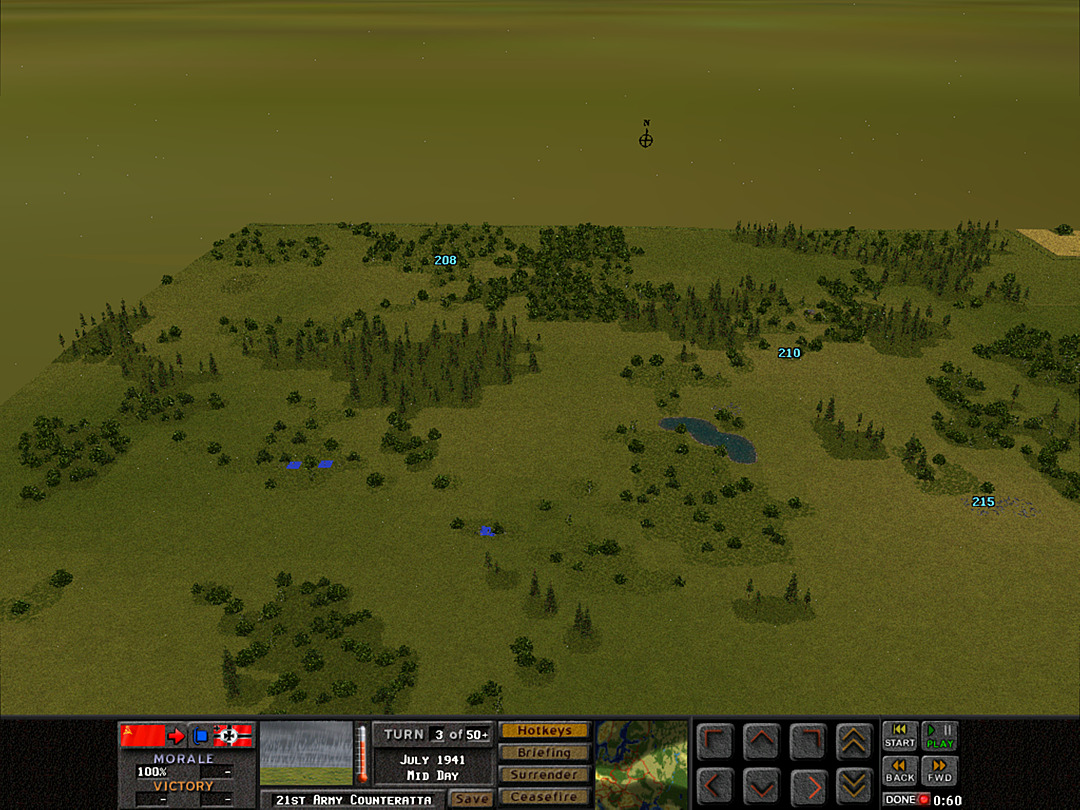 We get a view of more enemy defenses, but nothing that shoots at us yet. 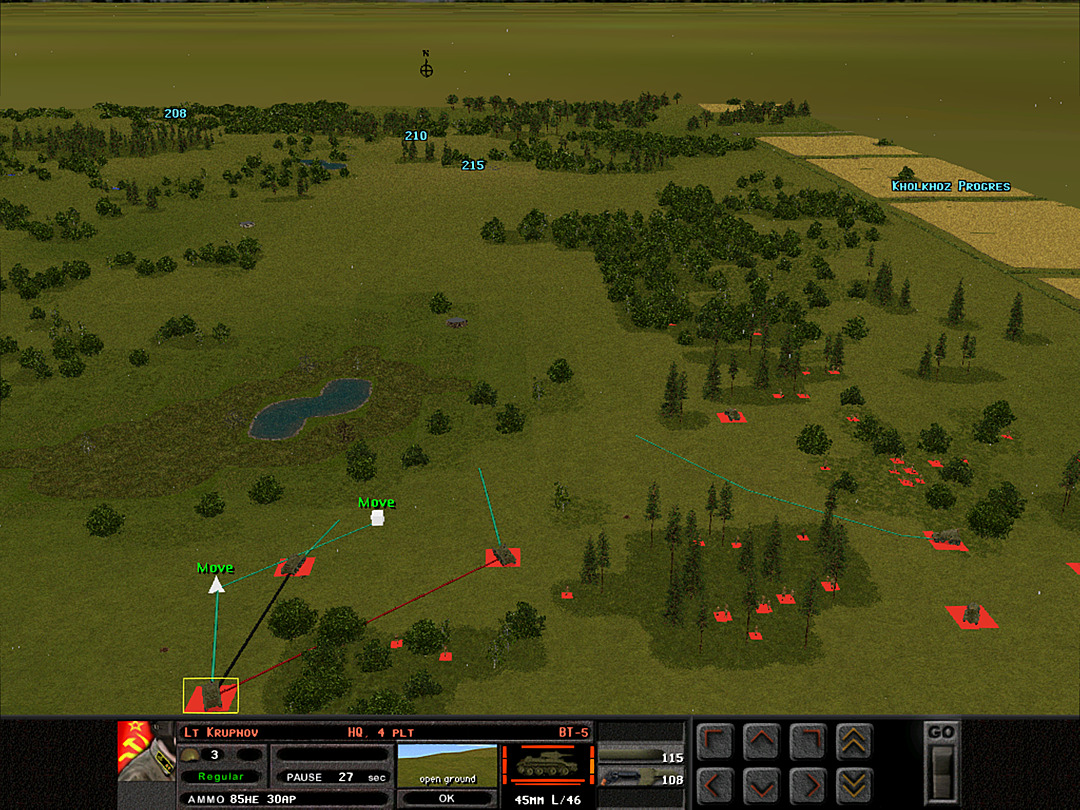 A few small explosions show up near where most of our reserves are. These could be spotting rounds for an artillery barrage.  It appears that the Germans have set up some minefields as well. 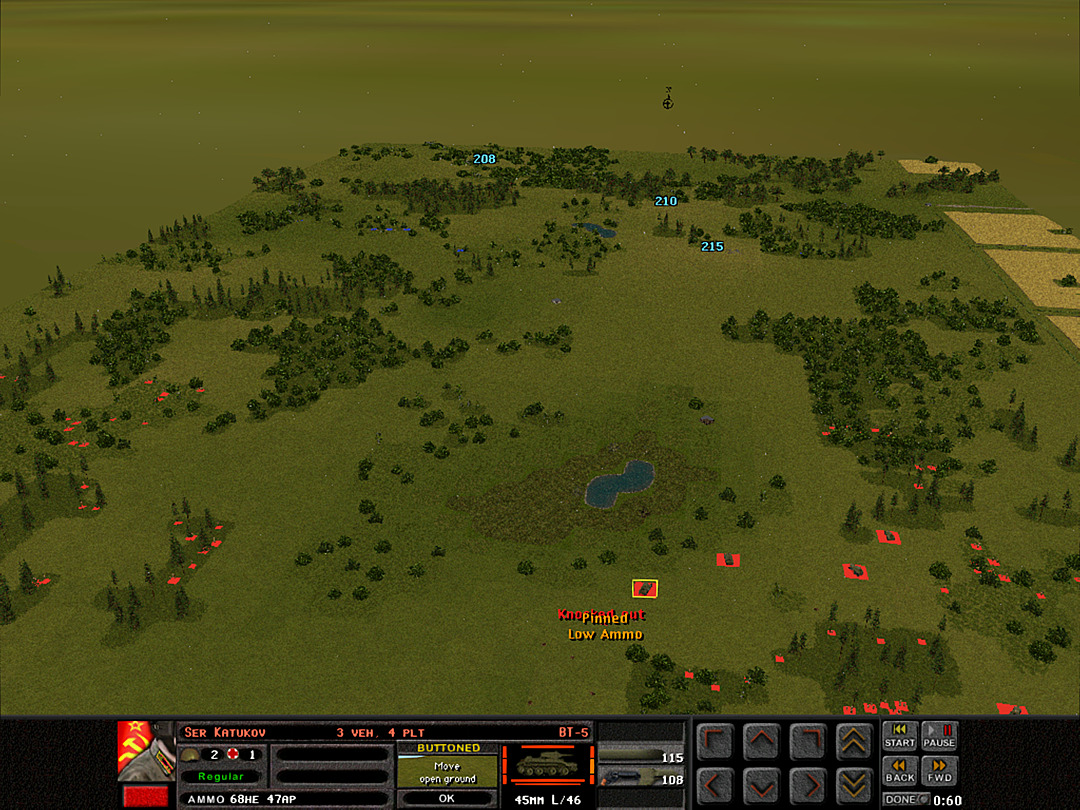 Suddenly a violent explosion rips apart the command tank of the BT-5's. The other tanks in the platoon button up rapidly and search for a possible gun location. 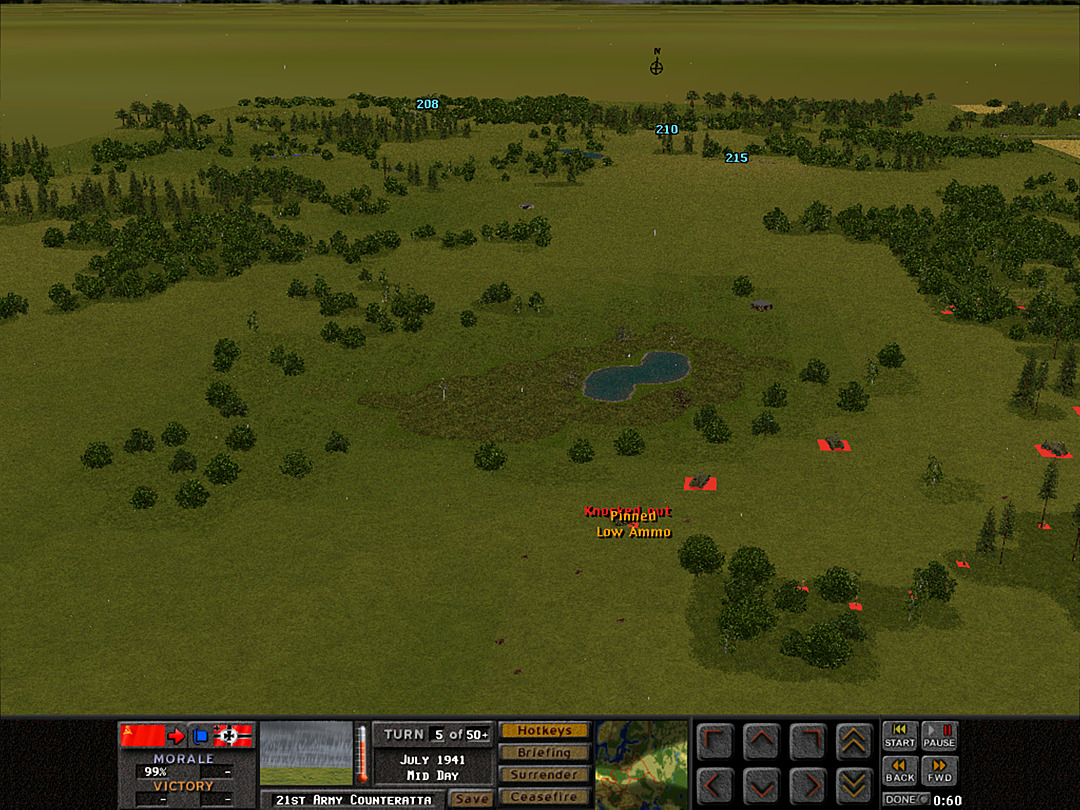 Nothing is spotted however. The remaining tanks decide to head forward. 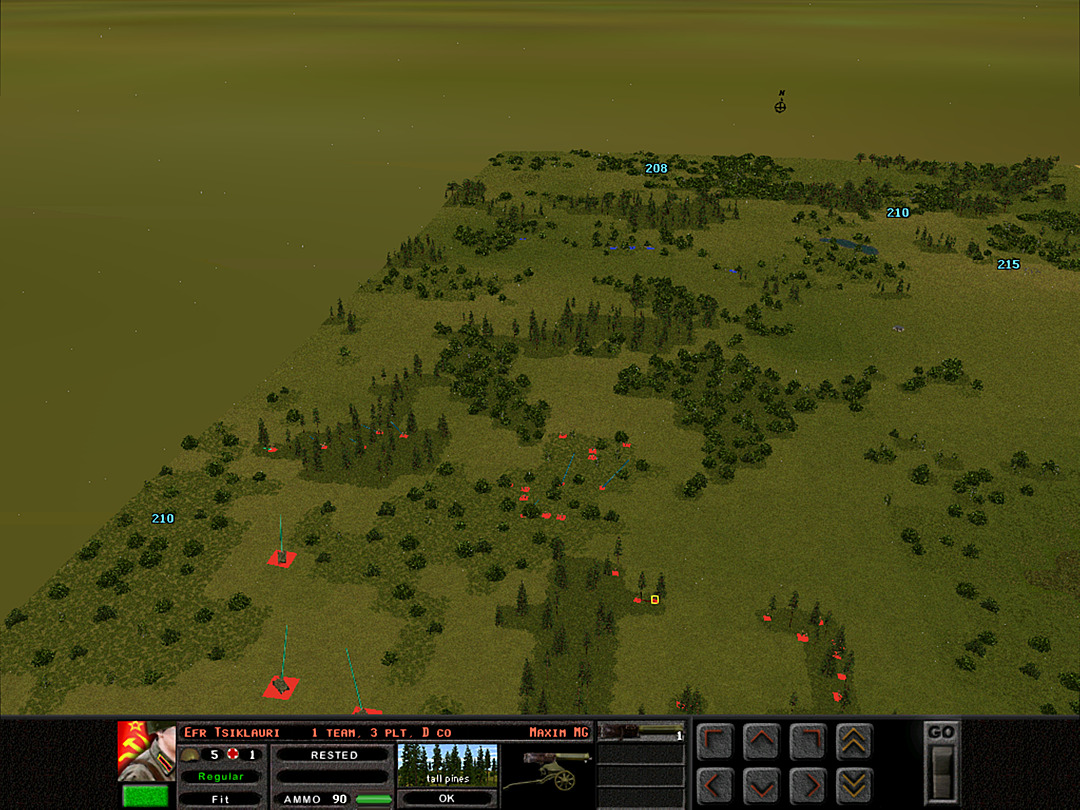 The western side scouting is proceeding as planned. The T-26's here will snake their way forward via the relatively clear gaps in the trees. 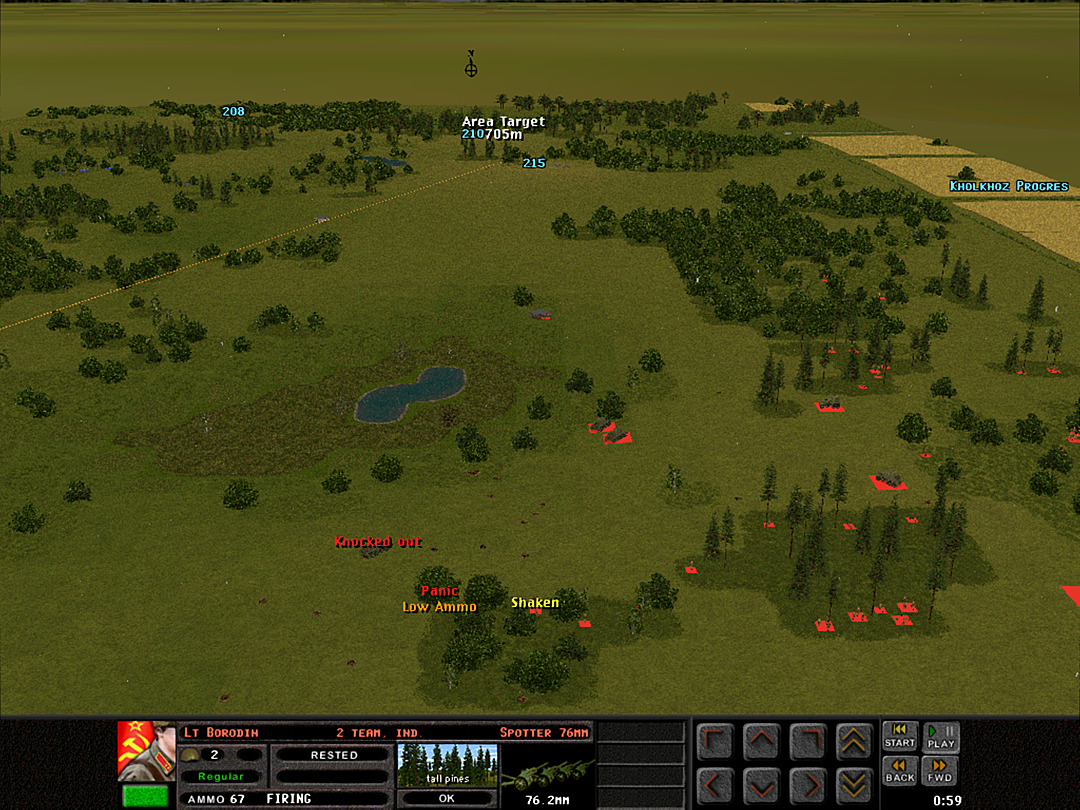 More explosions come soon, and we realize that it was no gun that knocked out the tank. It was a heavy artillery shell. The squads here duck for cover. 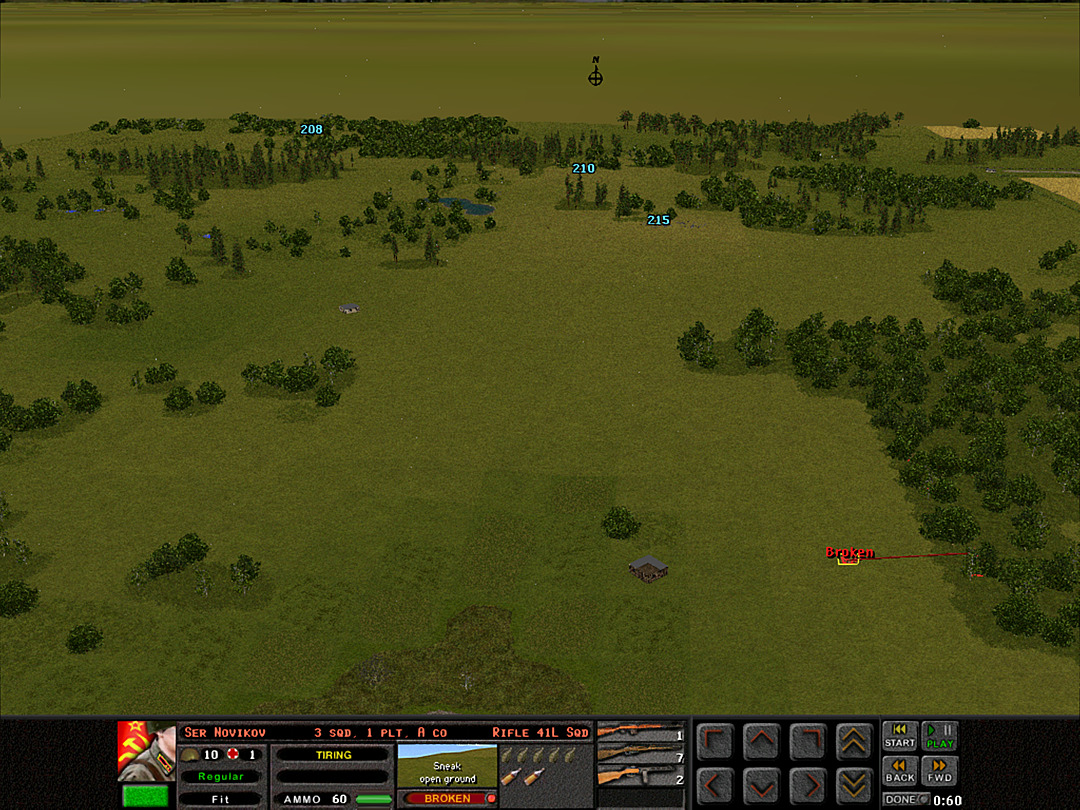 One of the squads from A Coy was sent to check out this lone hunting cabin. On its way back it came under fire from somewhere on the ridge. The burst only lasted a few seconds, and we fail to determine its precise source. 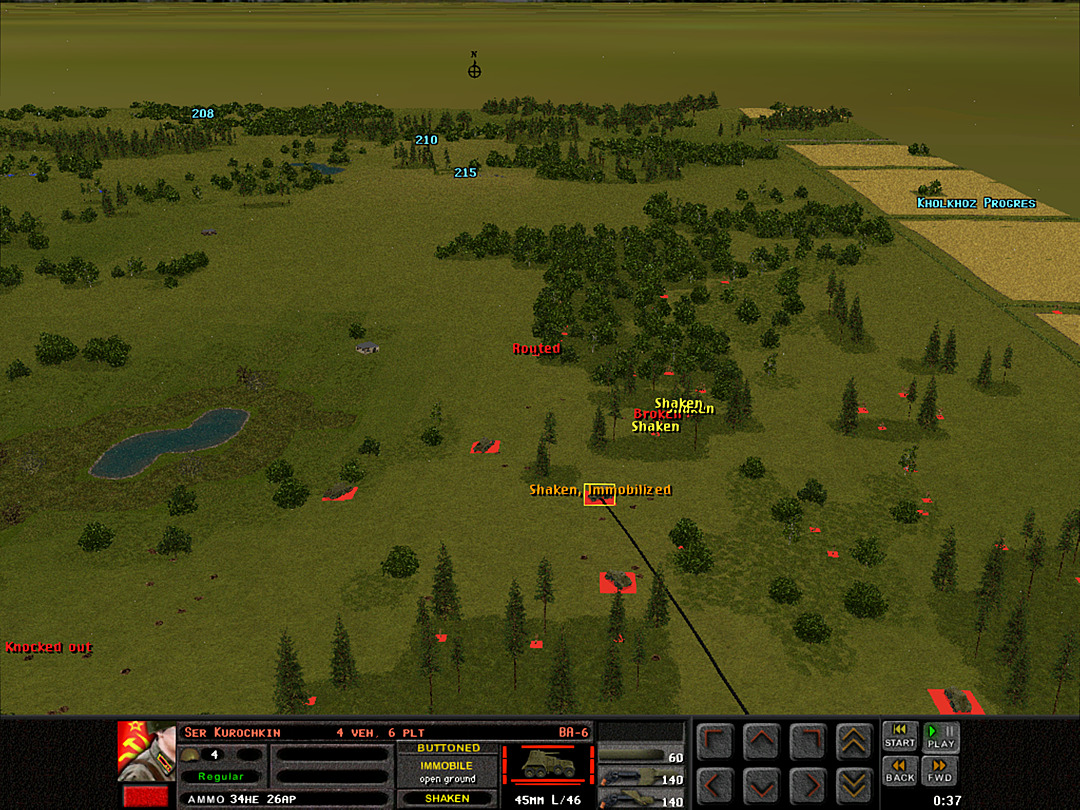 The shelling that took out the BT-5 appeared to have halted, but only too late do we realize that it was just shifting its target. Unluckily for us, the powerful shells shock the second platoon of A Coy to enter the woods, and also do enough damage to a BA-6 to make the crew give it up for lost. 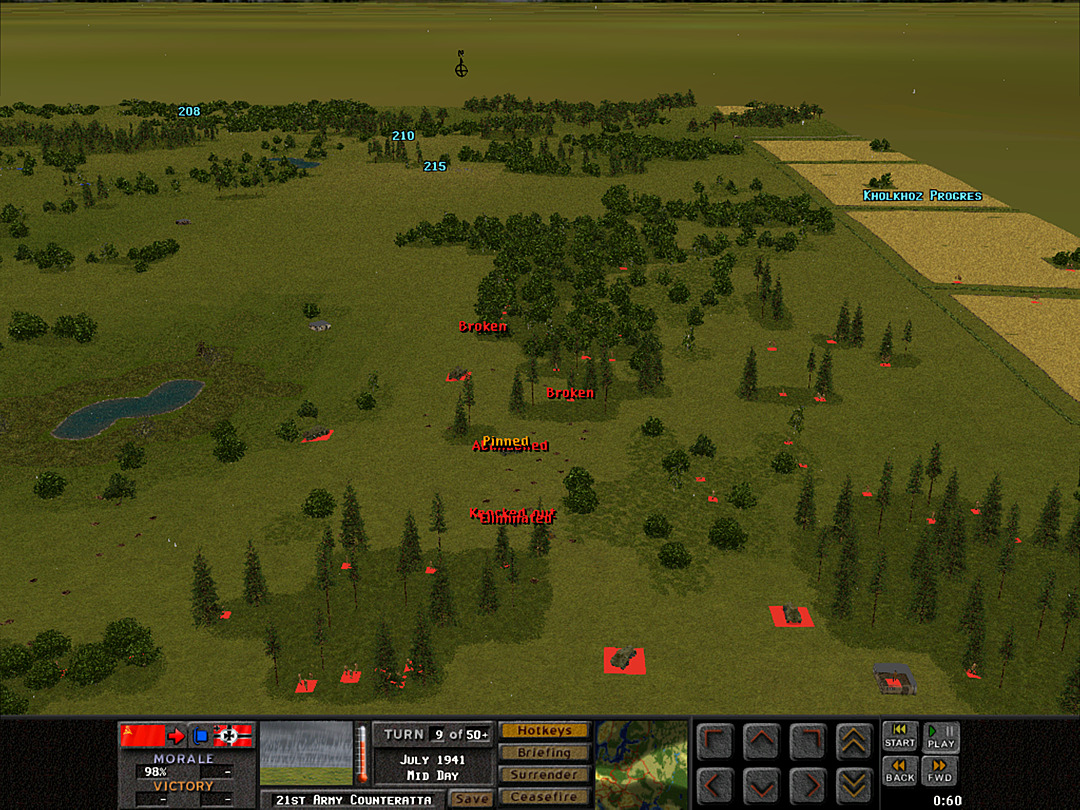 It's almost as if they were pinpointing their shots, as another BA-6 mere meters away is utterly destroyed when a shell explodes directly on it. 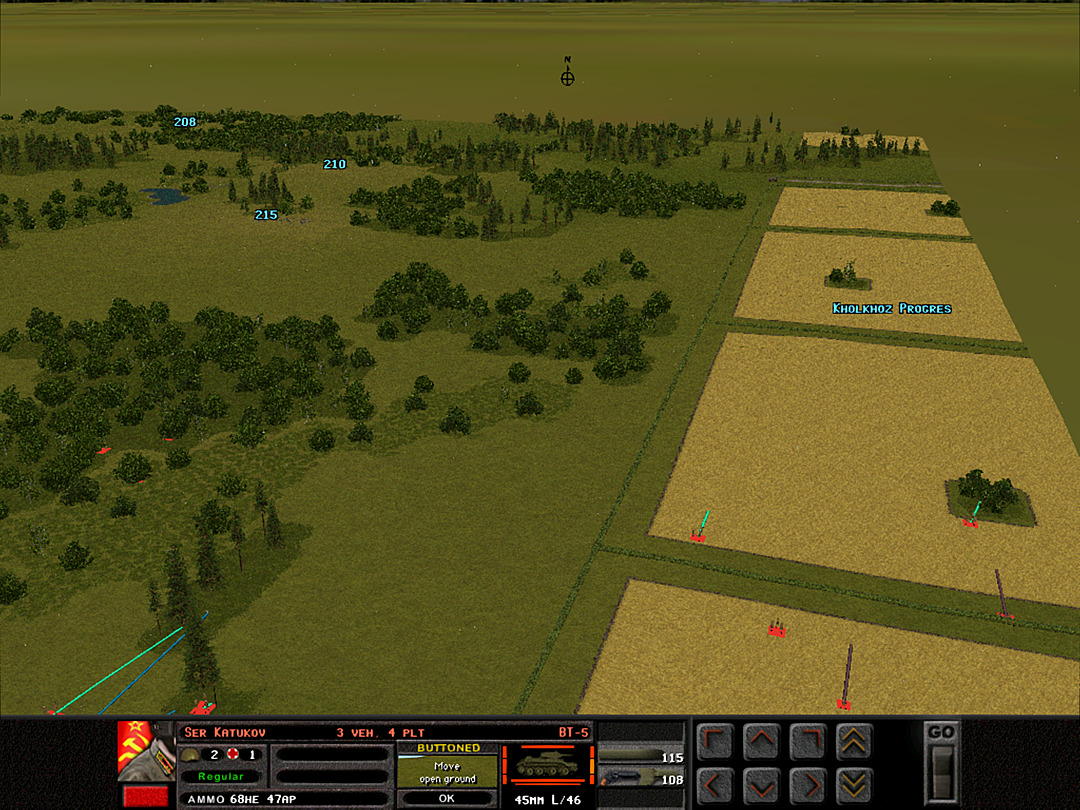 While there has been the one focused spot where the enemy has rained death on us, the advances elsewhere have been uninterrupted. 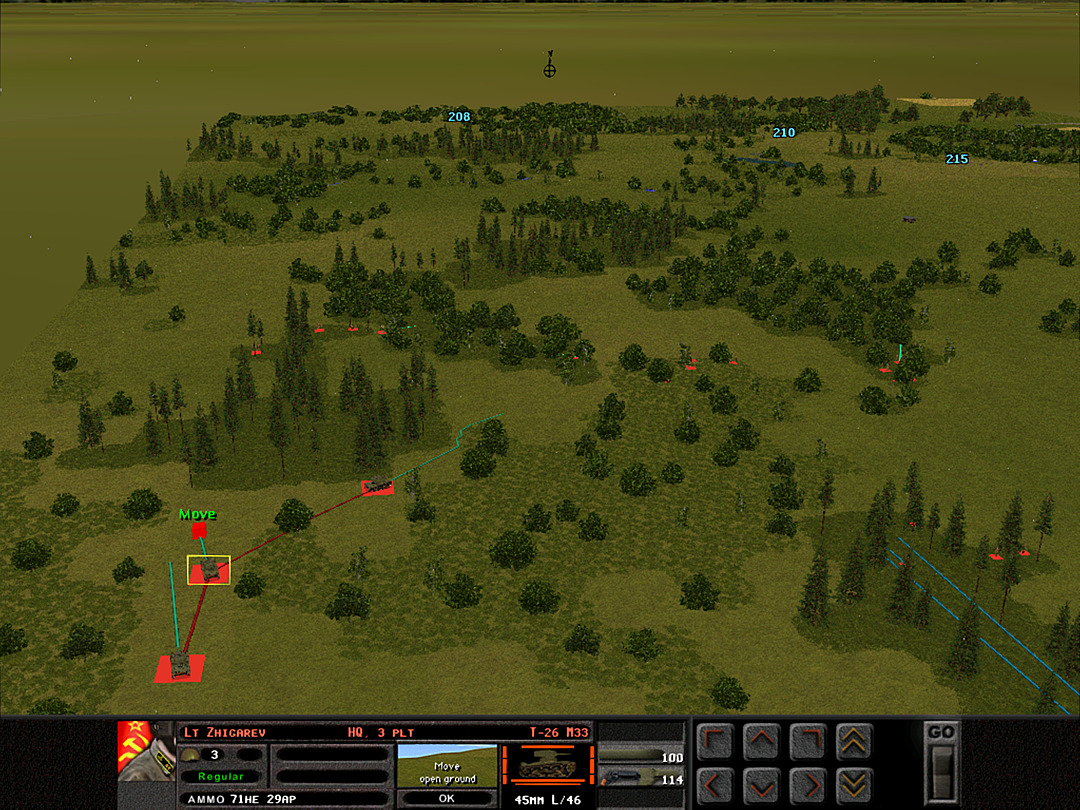 The recon platoon finds no enemy presence yet, just more barbed wire. The tanks slide through the trees in single file. 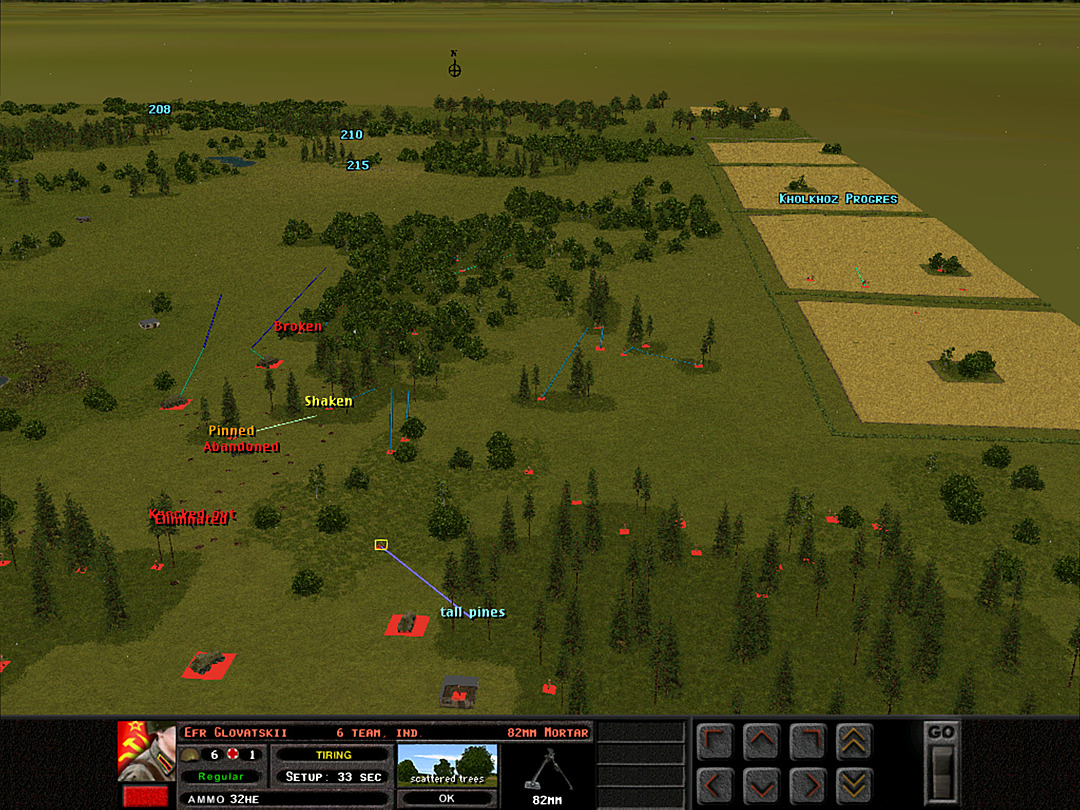 Everyone who was even close to the middle where the artillery hit is fleeing in panic. 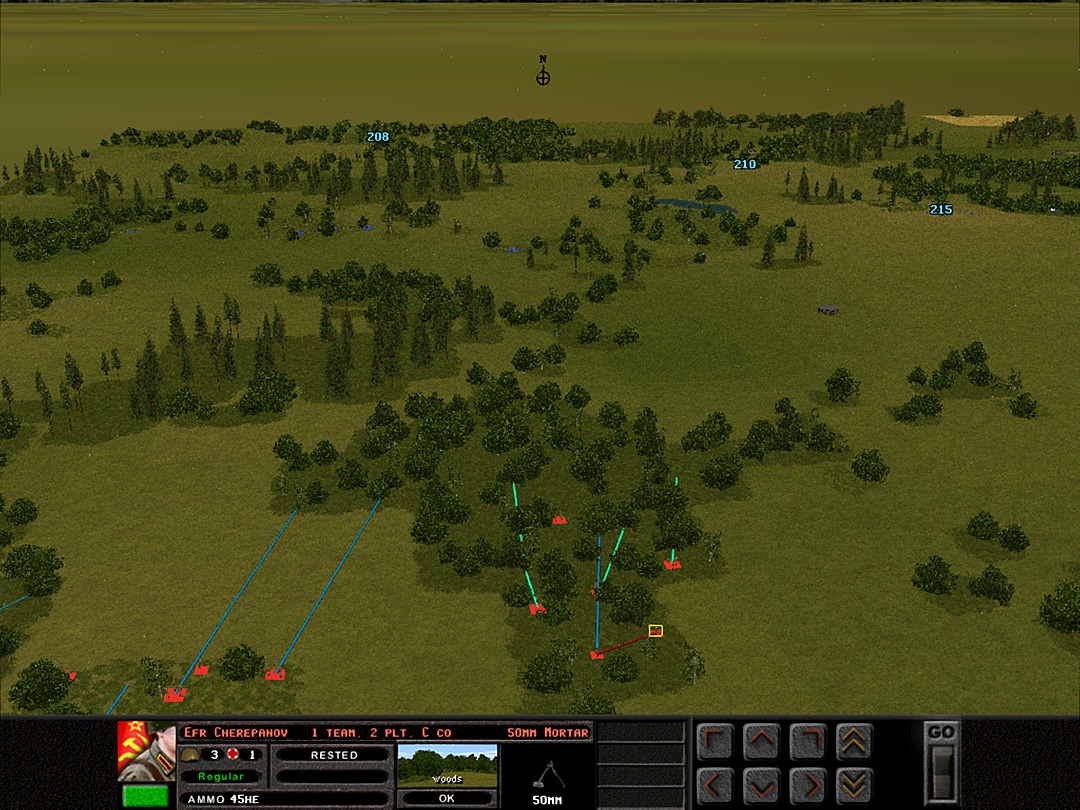 C Company doesn't want to sit in spot for too long. They start to explore the nearby woods. 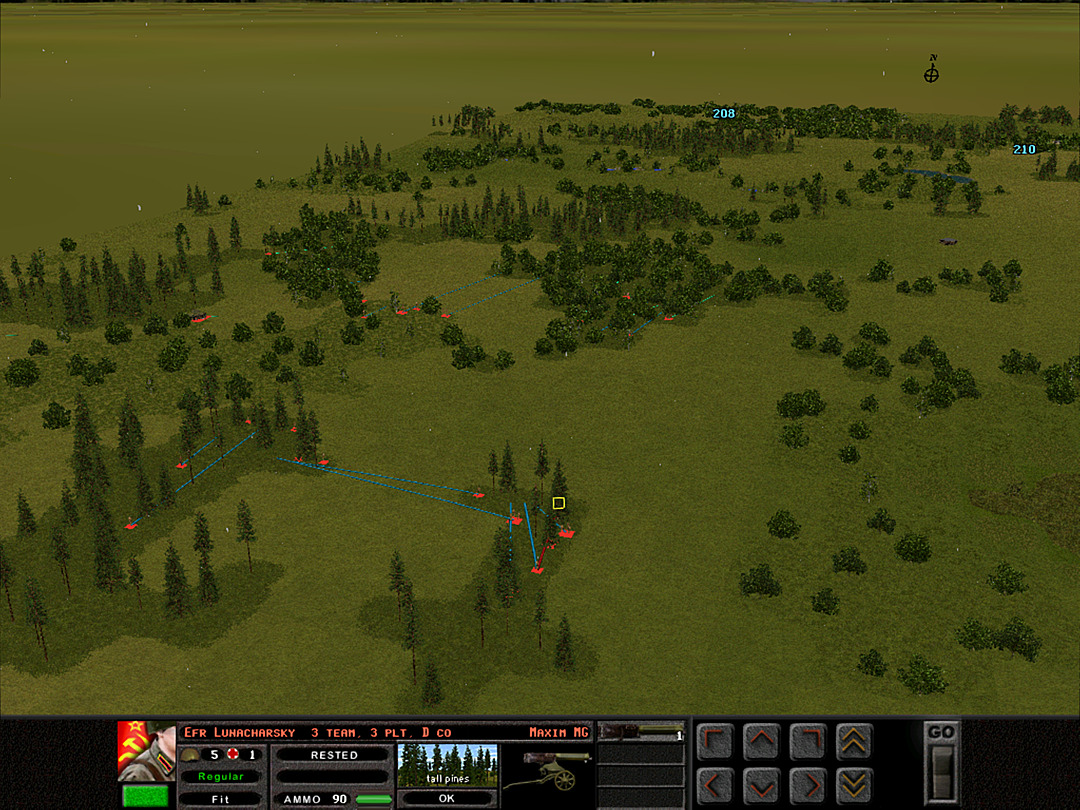 They had been holding one platoon, along with the machine guns, in a reserve location, but the enemy artillery presence makes us reposition these forces as well. They may as well move forward, now that we've scouted a fair amount of the woods. 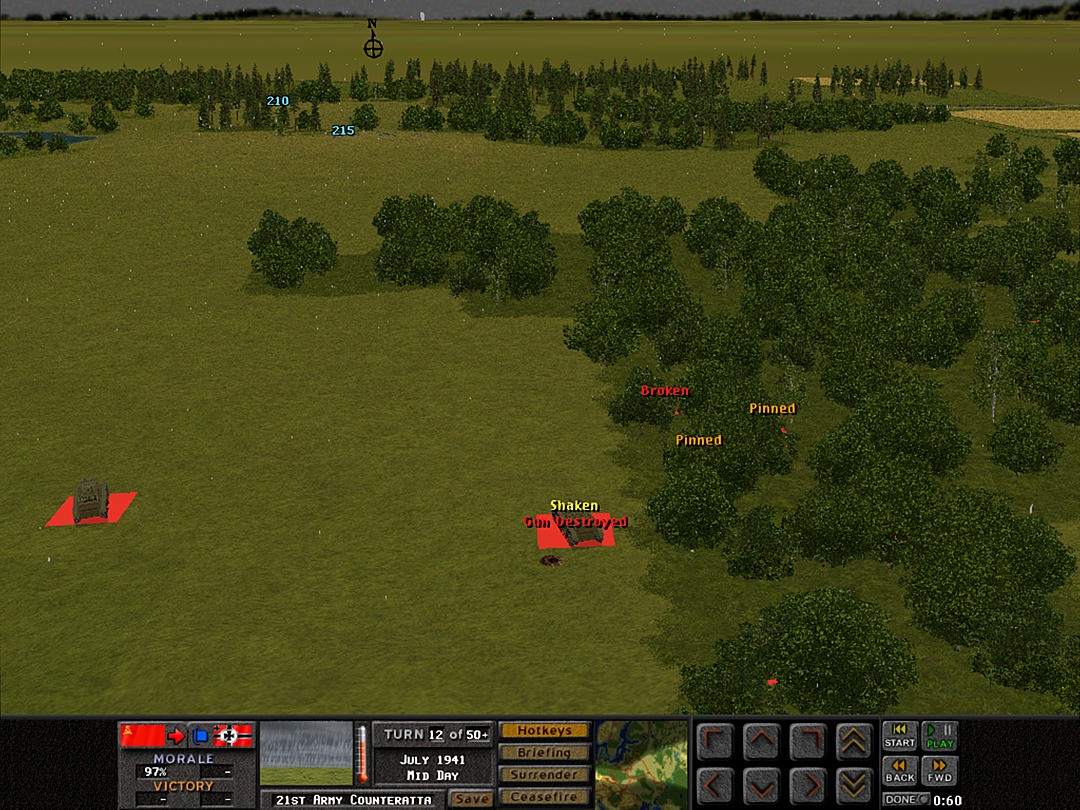 The two remaining BT-5's had rolled forward to get way from the shelling, but they only ended up getting caught in another blast. One of them loses its main gun, and the explosions cause half a platoon to go prone in the woods. 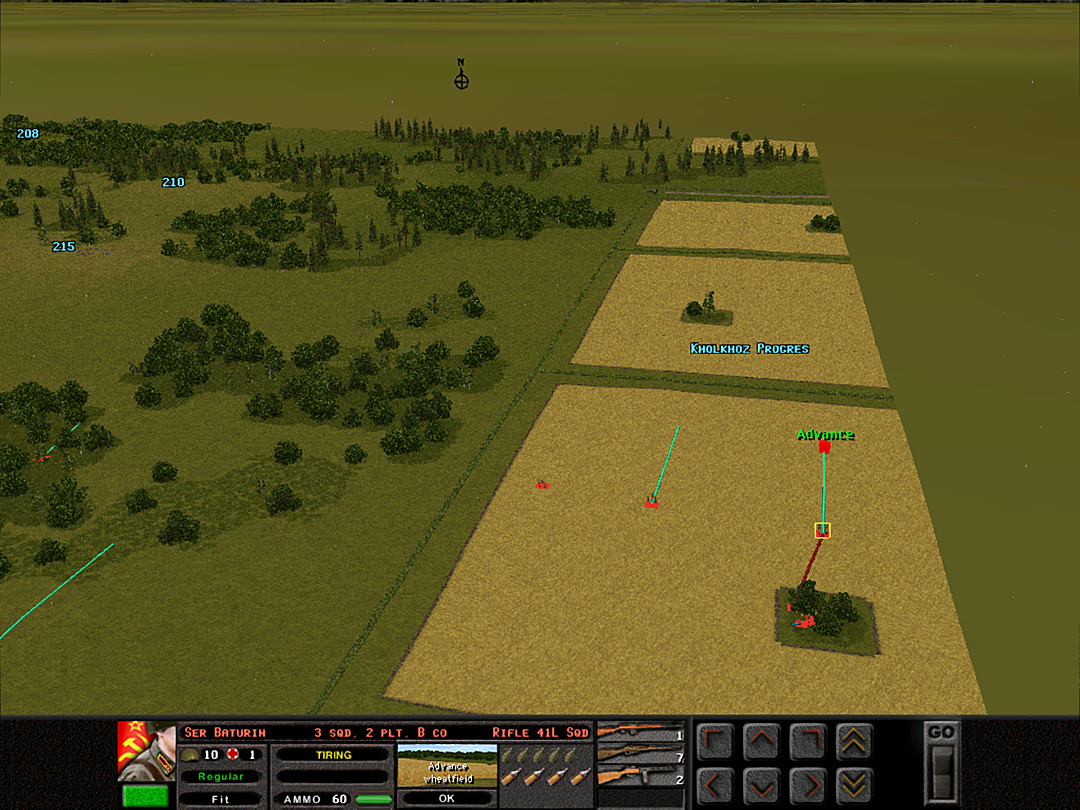 The farmland remains about the only unperturbed location on the map. 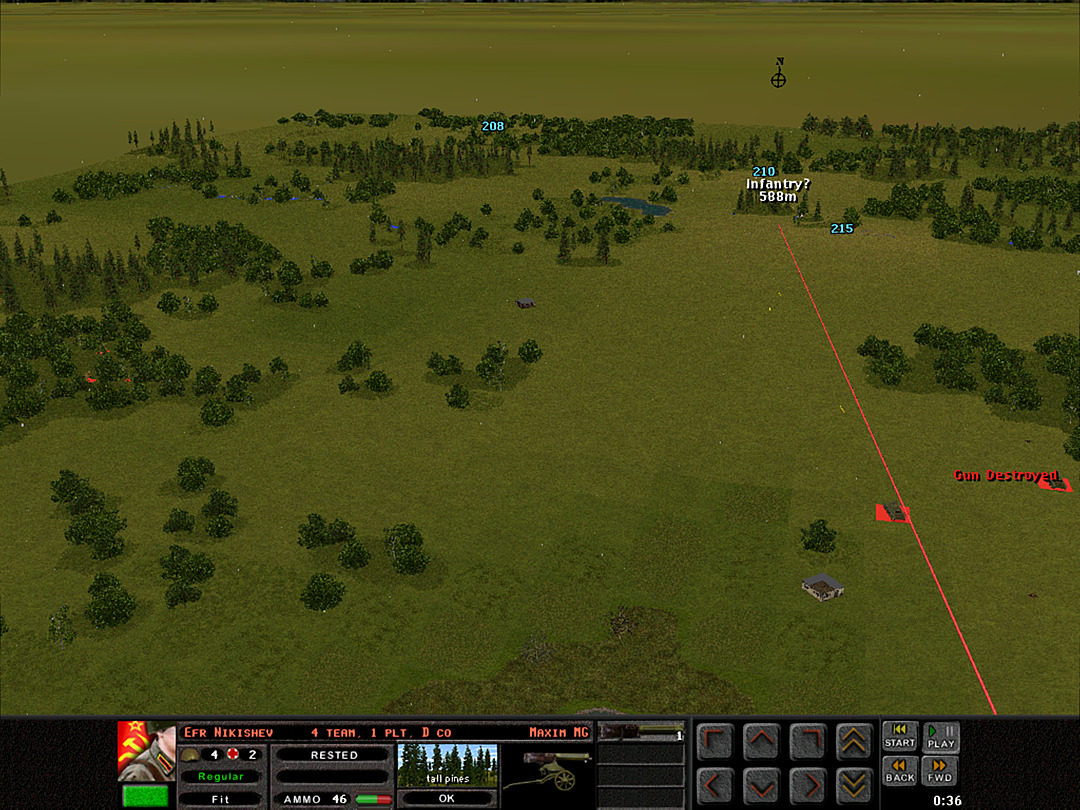 One of the Maxim guns thinks it sees movement, and unloads a few rounds toward the ridge. 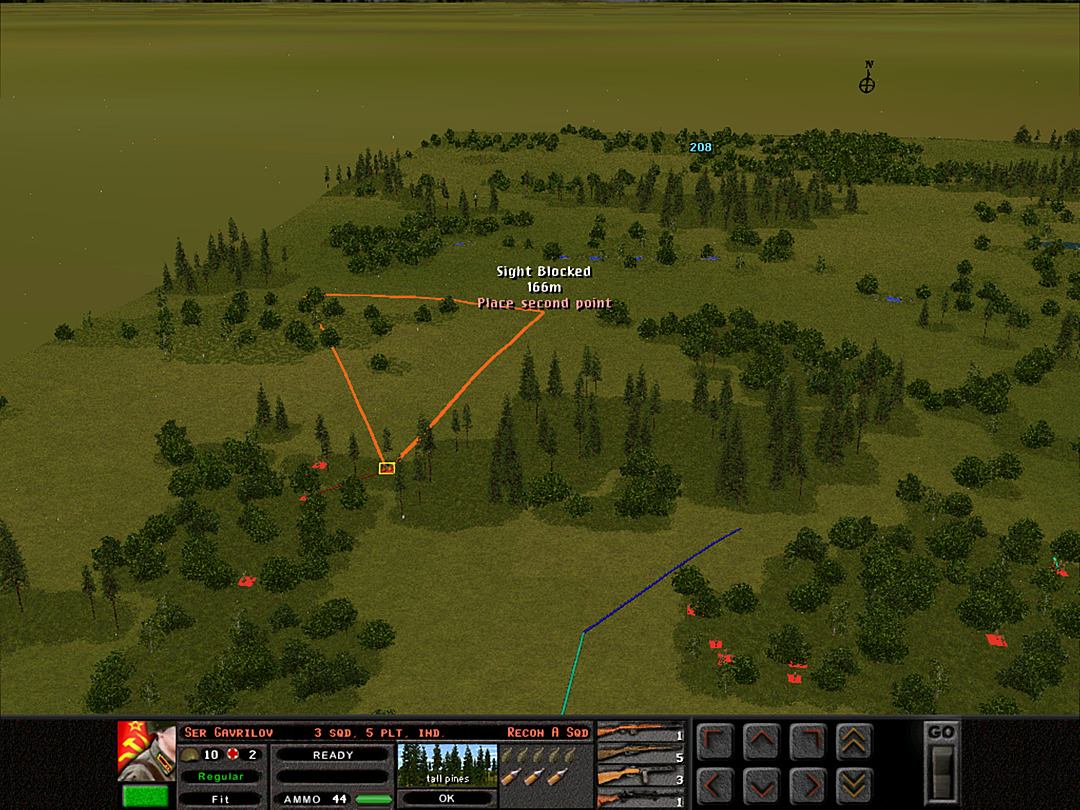 We seem to be getting close to the enemy lines now. The recon squad is ordered not to engage unless the enemy charges at them. [This is a 'target arc', which can be used to indicate which part of the battlefield to focus on, or, as done here, to limit the range at which a unit will start firing.] 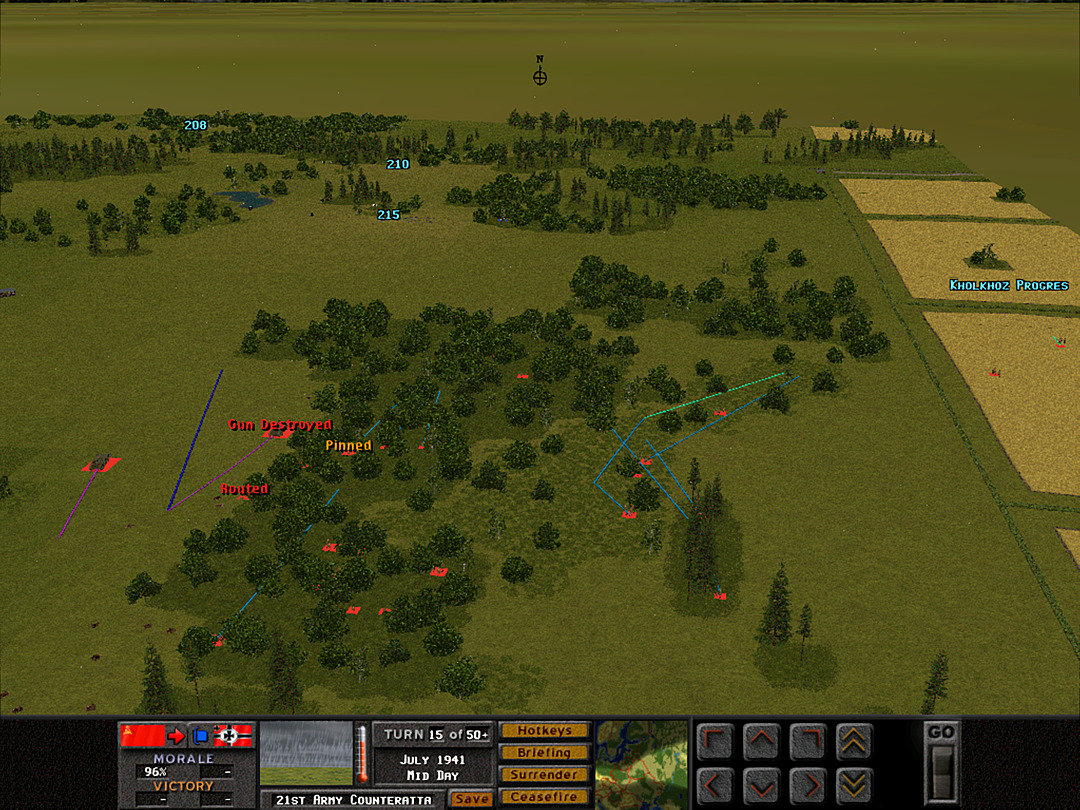 Much of A Coy has been held up by the shelling. B Coy started after their lead, but has had little trouble advancing, and they've now made about the same progress. 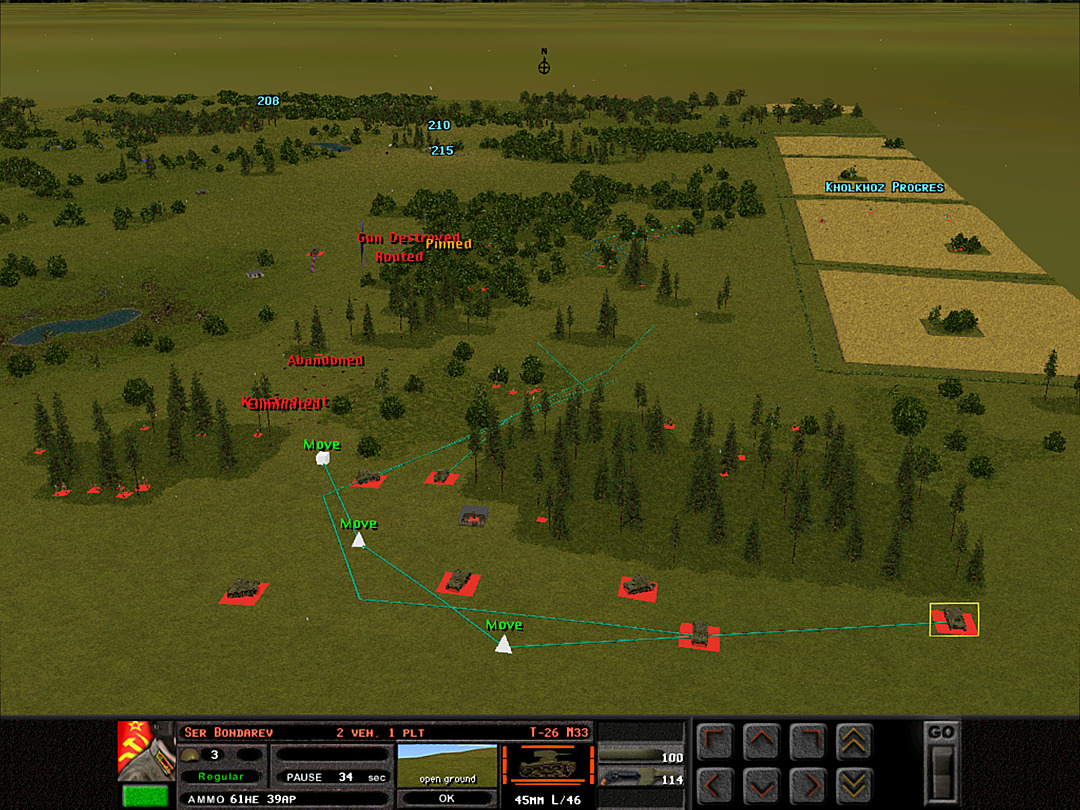 No strong enemy anti-tank presence has yet revealed itself, so some of the tanks start to get underway. 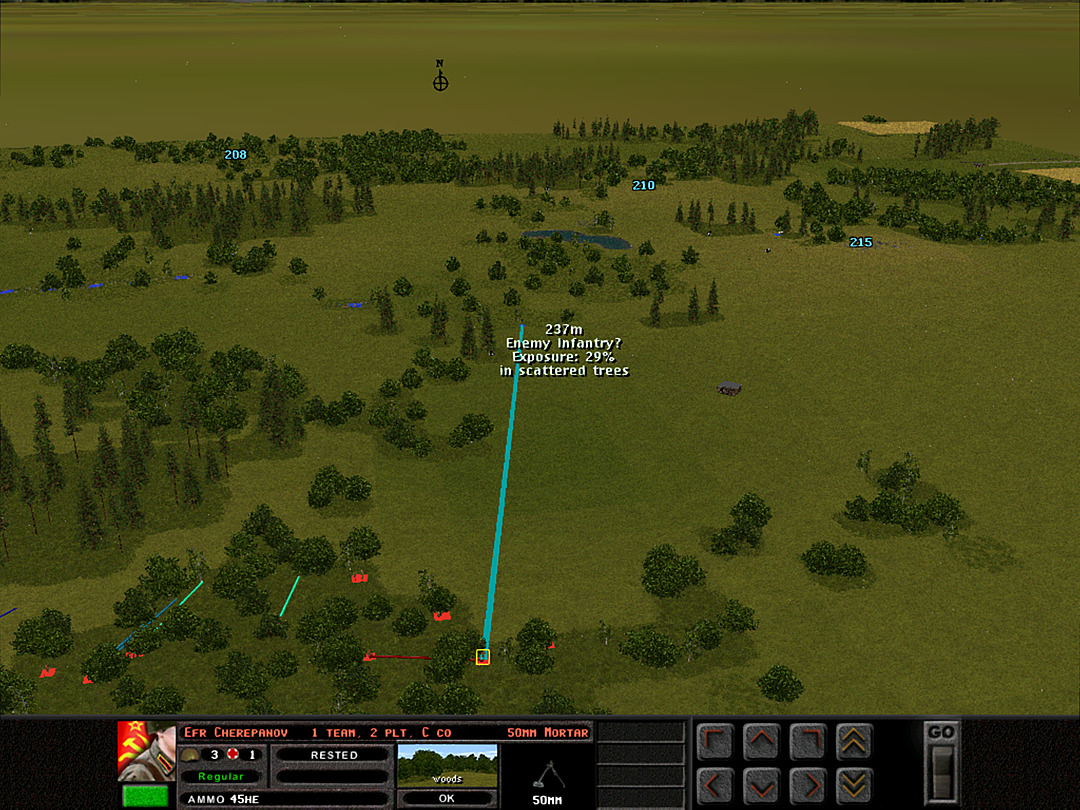 C Coy reaches the edge of the woods and spots clearer indications of enemy troops. 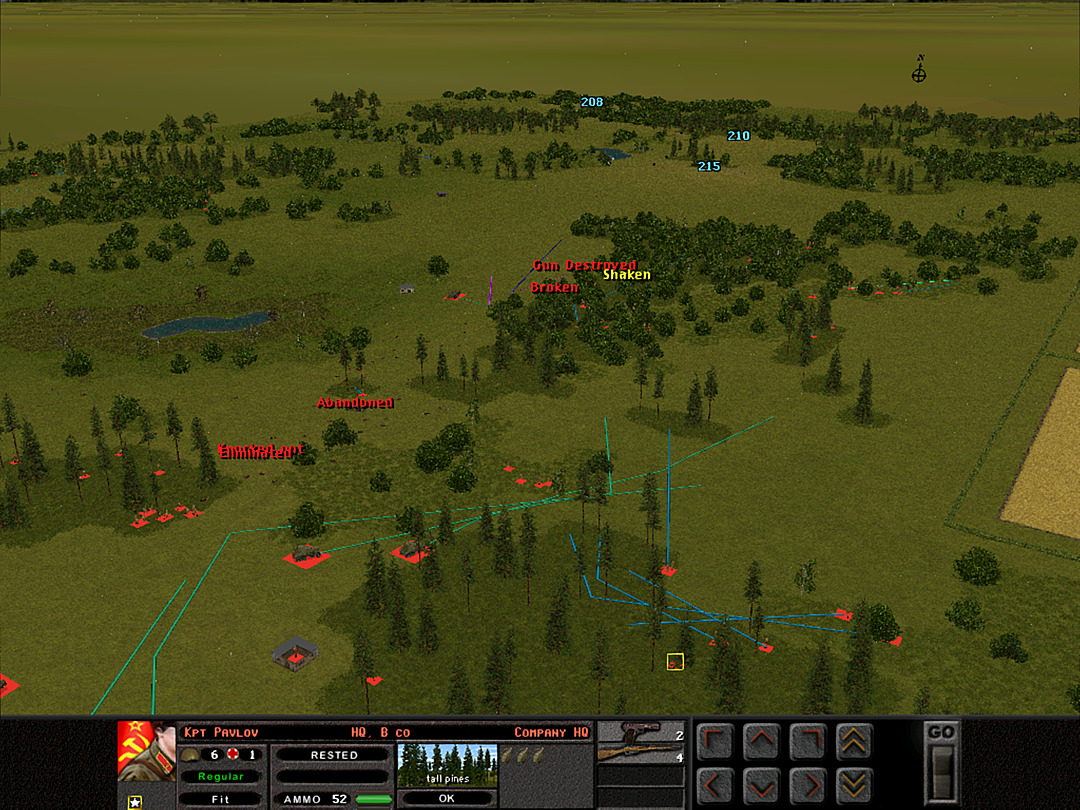 Almost everyone is pushing forward now. 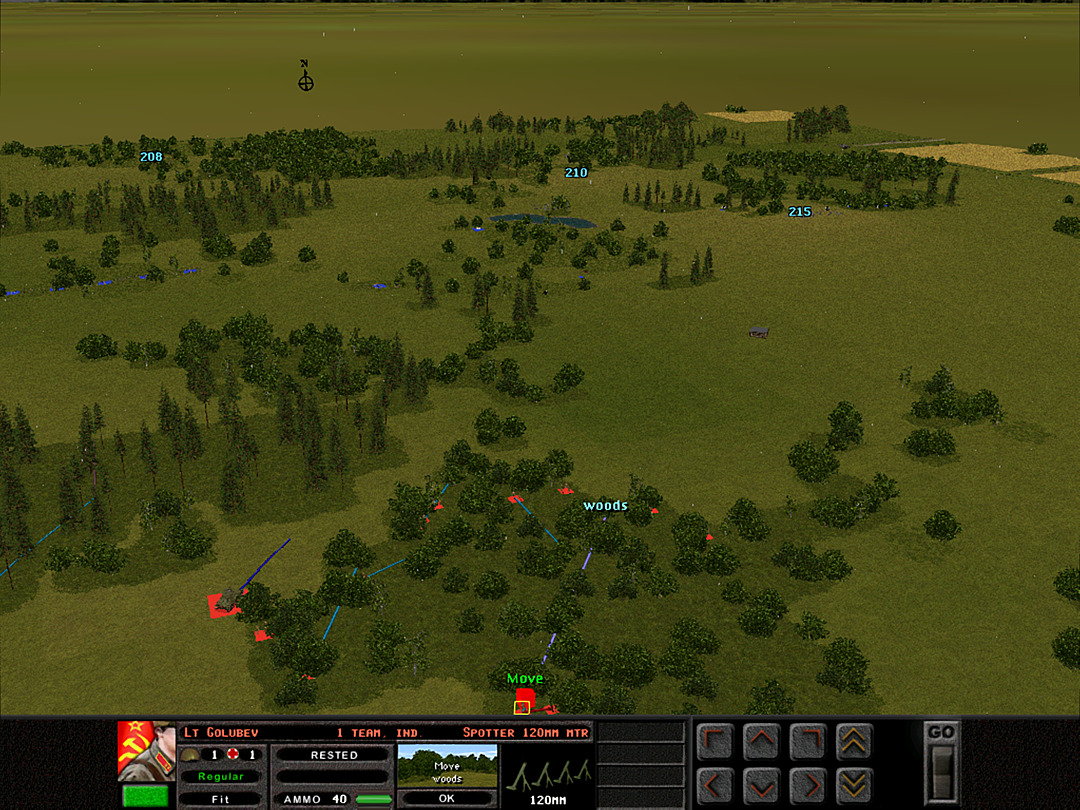 C Coy is setting up a firing line in the woods. We're going to try for another artillery strike on the hilltop, now that we have surer signs of the Germans being up there. 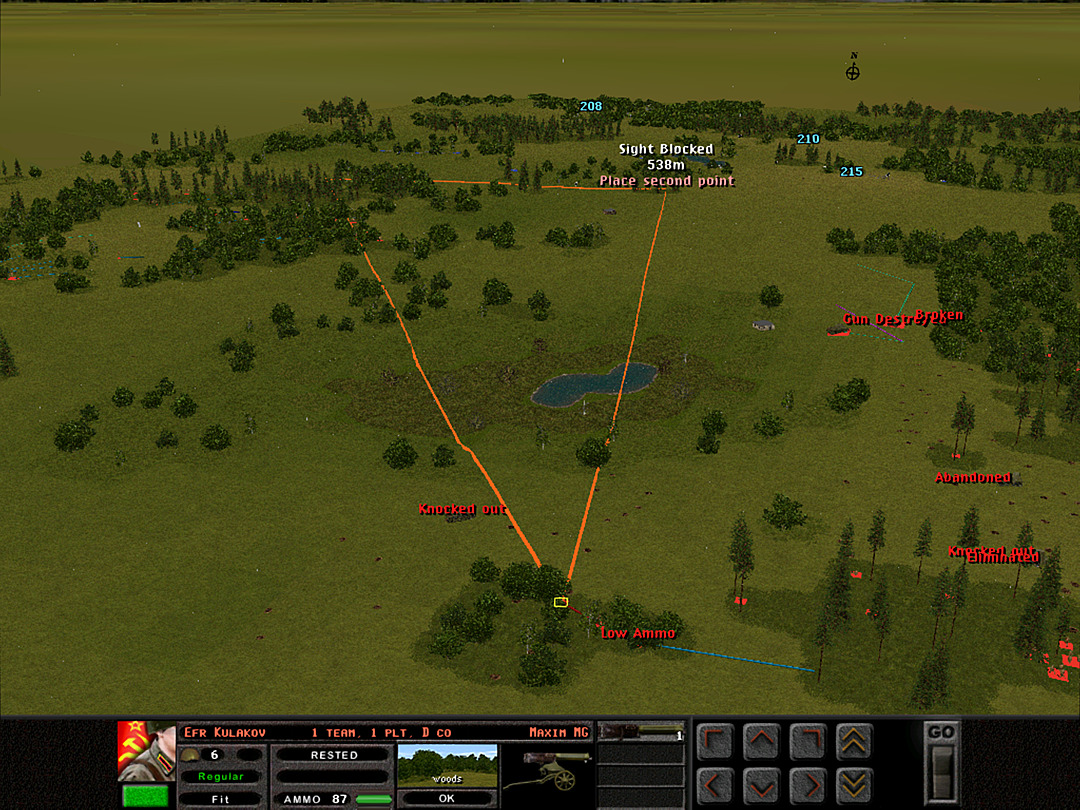 To conserve ammo, the Maxim guns back here 'in reserve' will be restricted from firing indiscriminately. 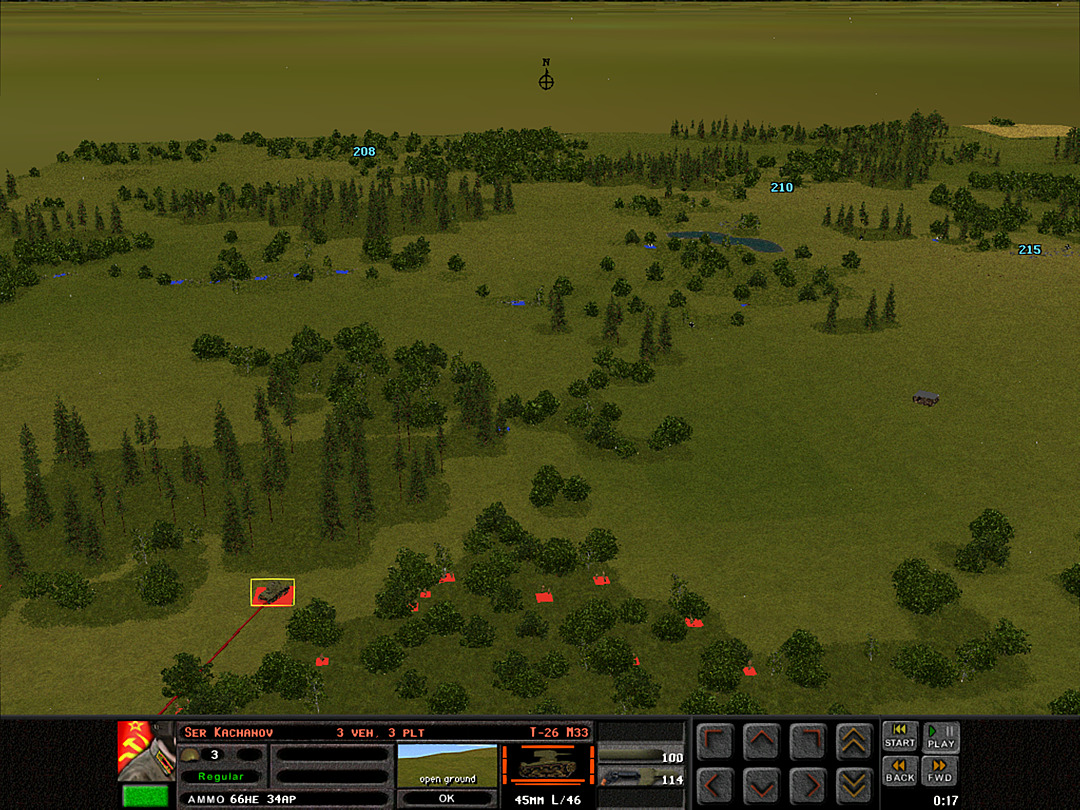 The tanks of 3 Plt are moving alongside C Coy. 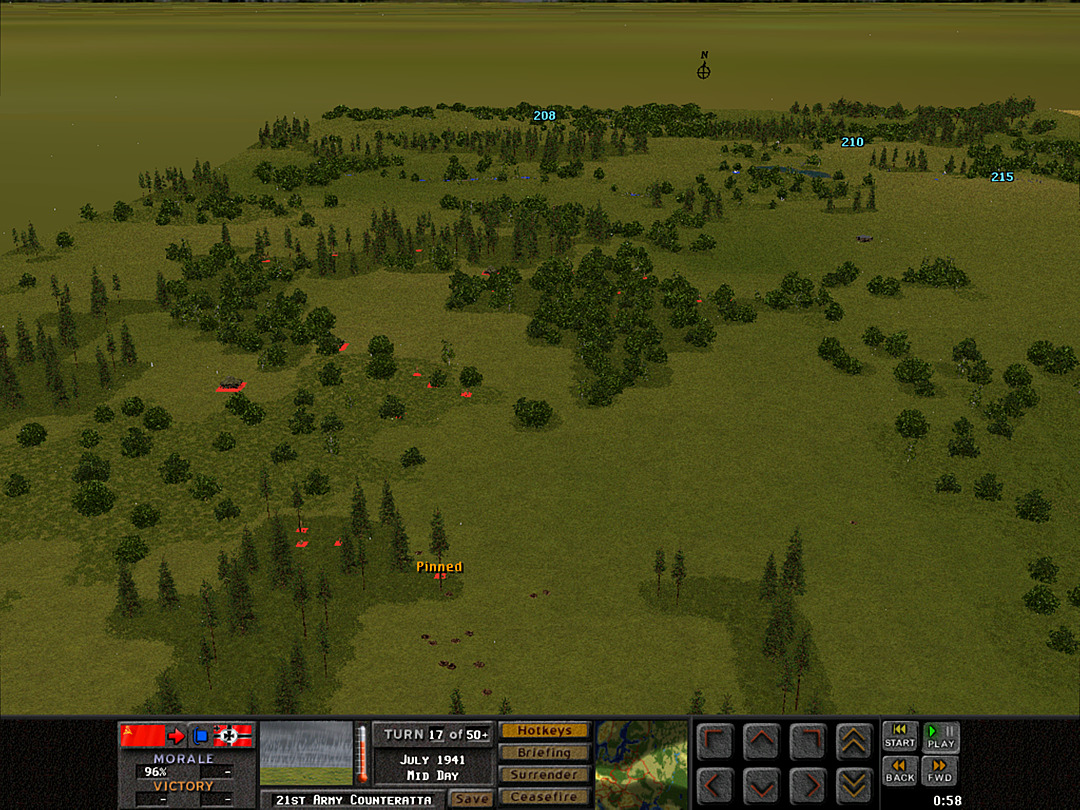 It seems our rearmost units on the west side moved ahead just about in time to avoid an artillery barrage. There's some excited scrambling when the shells start to fall, but no casualties. 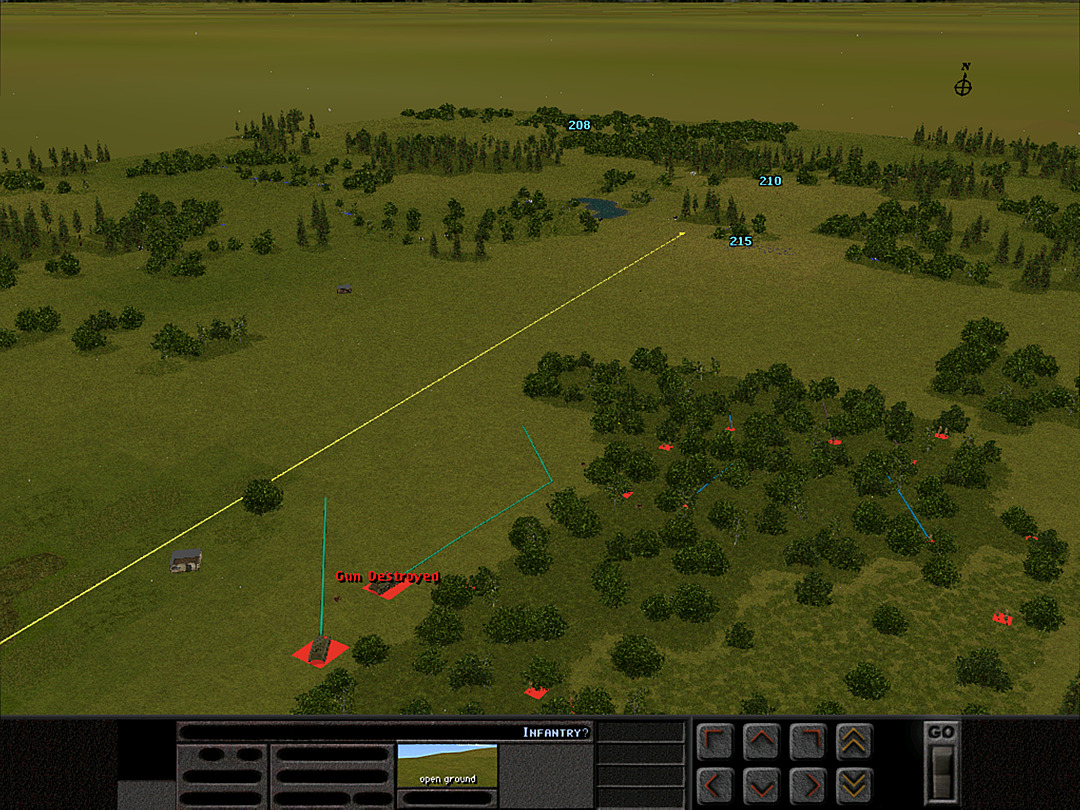 There are clearly enemy infantry on the hilltop, though curiously they seem to be moving around instead of holding steady in their foxholes. 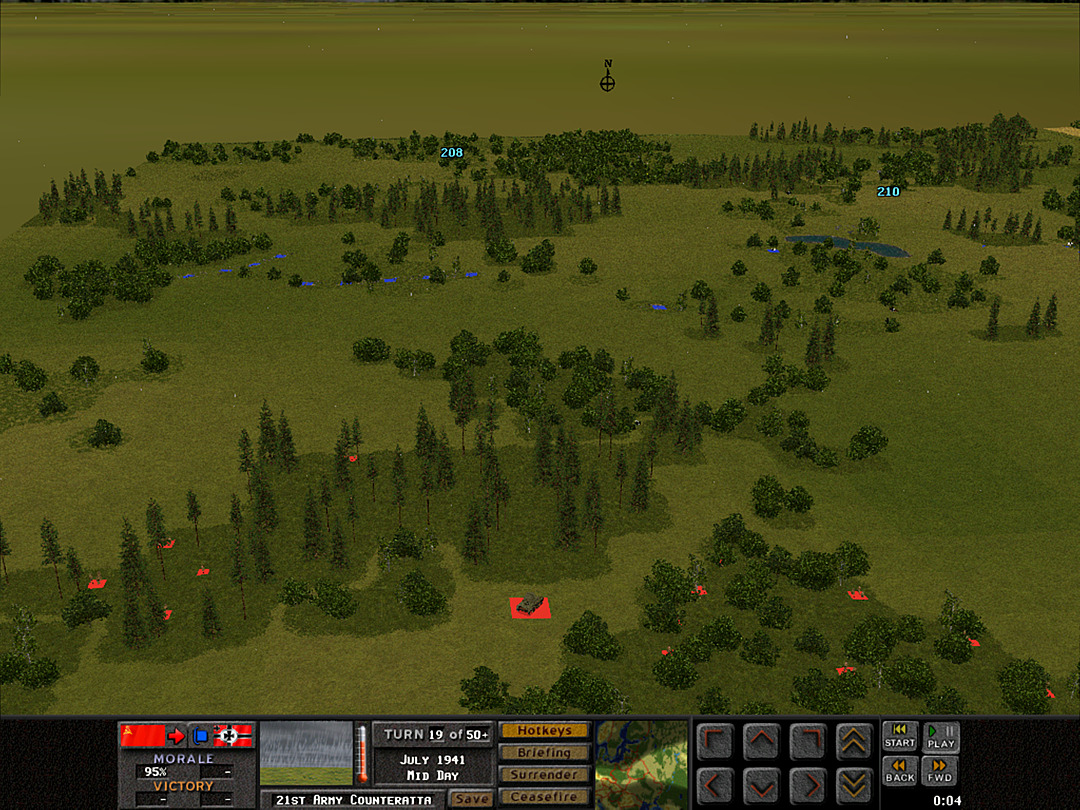 Our recon company has provided a fairly clear picture of the enemy defenses on the southwest side. There's a lot of barbed wire there. 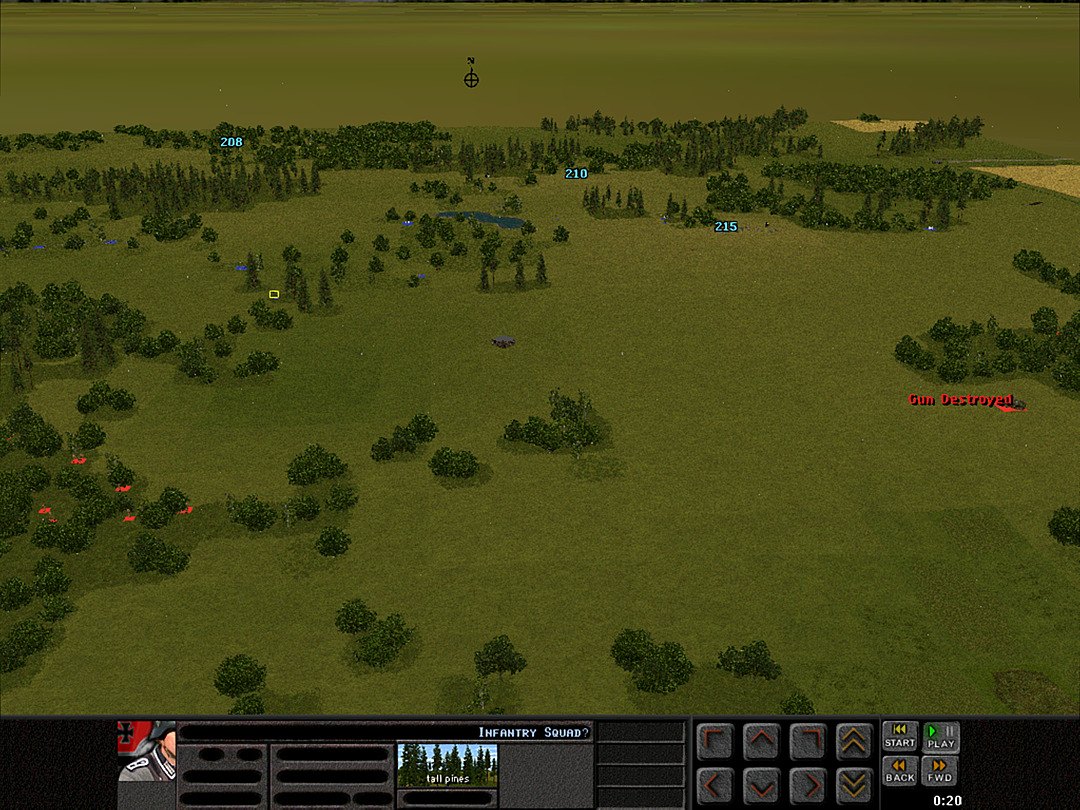 As for their soldiers, however, they seem to be trying to push outward towards us, perhaps believing that our presence on this side of the battlefield is fairly light. We may be heading into a straight-up fight in the forest. Unit Highlight BA-6 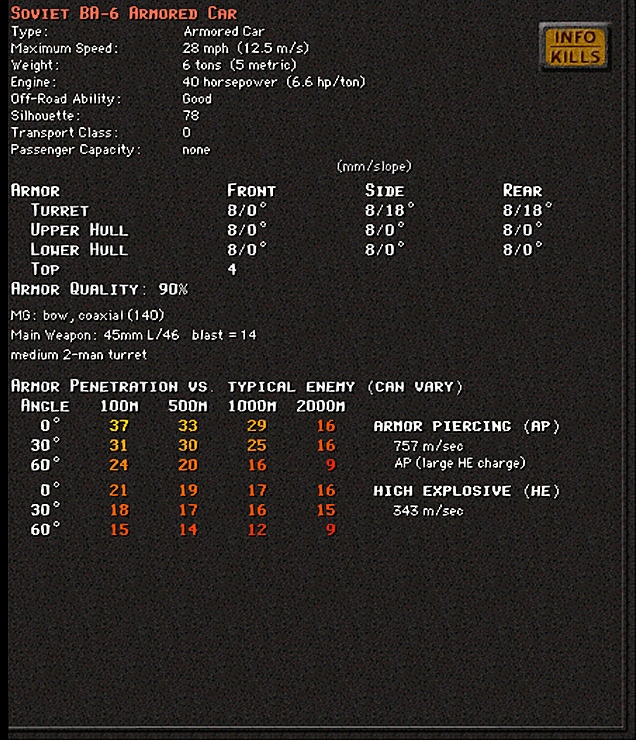 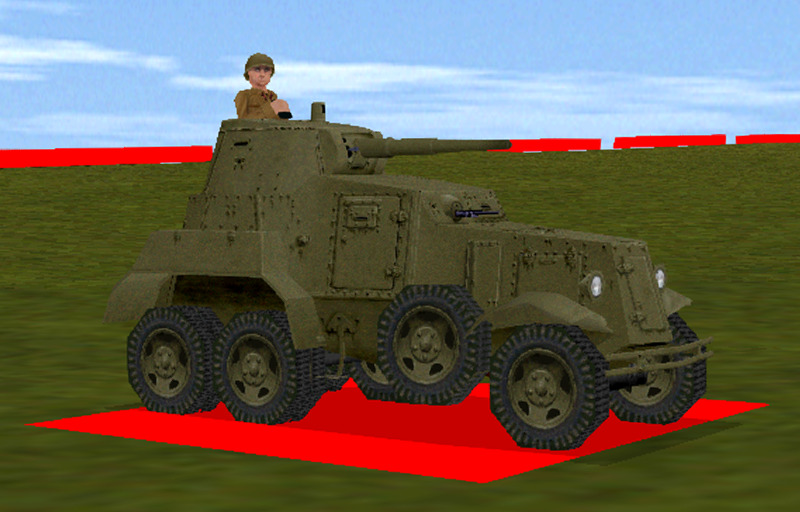 Crew: 4 Base Cost: 41 An armored car with a powerful gun. The BA-6 was an armored car originally developed in the 1930s, though it was an iteration on designs dating to the late 1920s. It featured the turret and gun of a tank (the T-26), along with two machine guns, making it decently combat effective. It was, however, lightly armored, and more intended for reconnaissance than covering the battlefield. It first saw combat during the Spanish Civil War. Eventually its role was taken over by scout tanks that could move nearly as quickly while sporting much better armor. However, a large number of BA-6's had been deployed in the eastern part of Russia at the time of Barbarossa, and as a result some remained available for use until late in the war.
|
|
|
|
Looks like I should have gone with the BT-6, but I already put my money on the first recon platoon.
|
|
|
|
Operation 2, Battle 1 of 4 Battle Time: 0:20 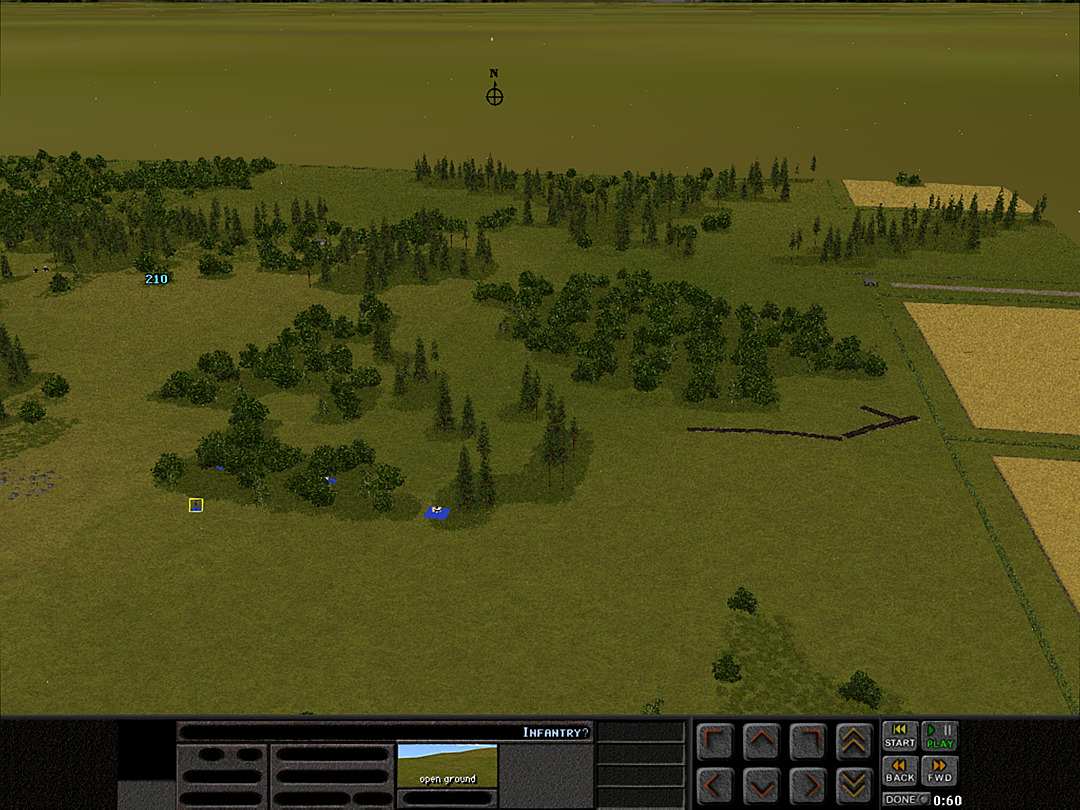 On the eastern side, we are getting a better view of what they've put up for defenses. Mines in the woods, and trenches that could cover both the fields and the forest approach. Some activity has been spotted here, too. 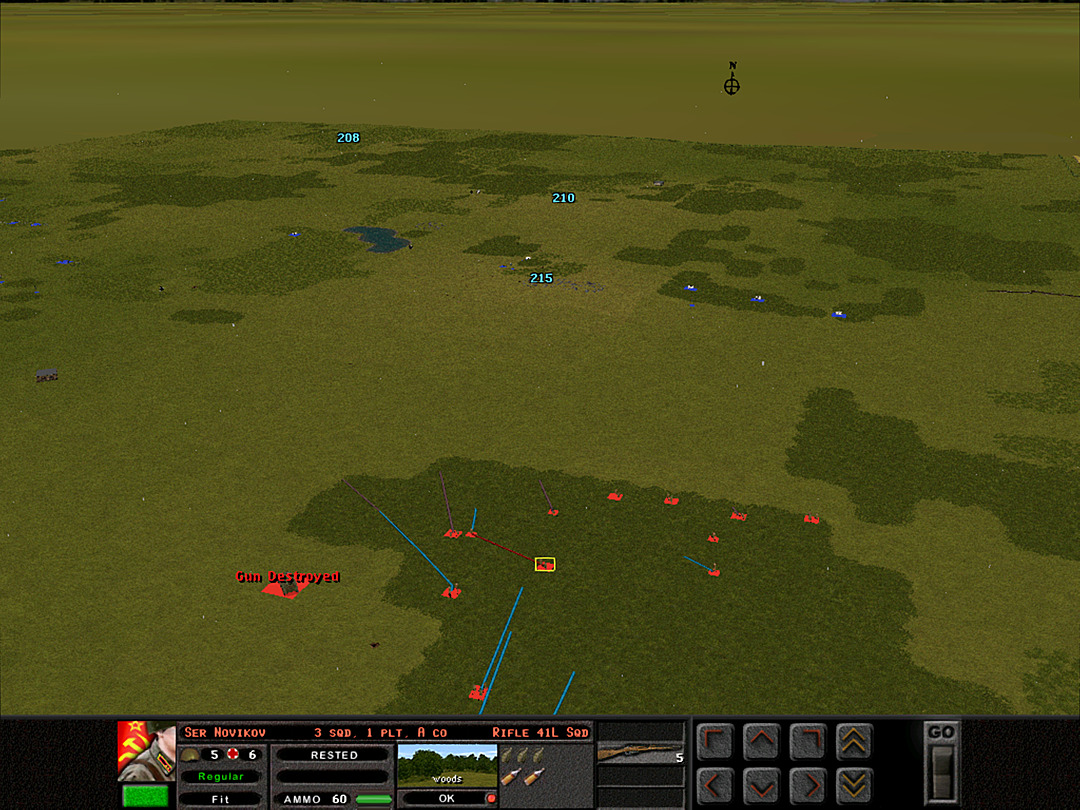 A Company is getting into position at the edge of the woods. We'll have to decide where we want to cross, if that's indeed what we want to do. 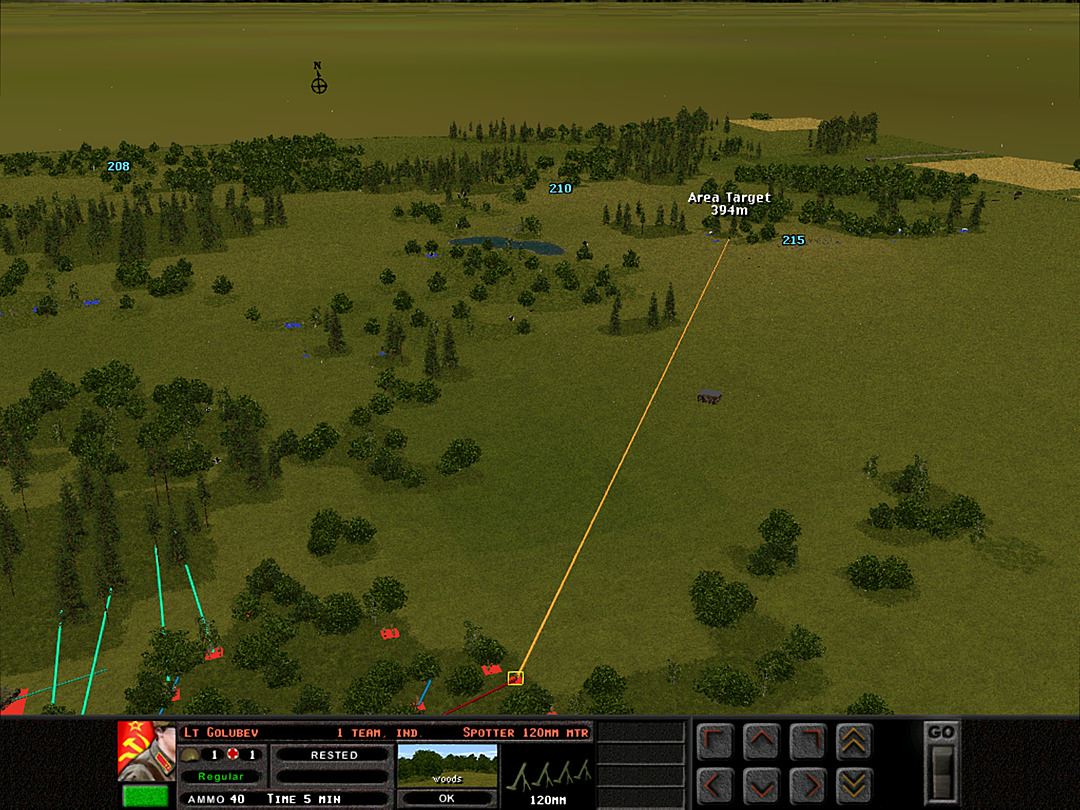 We've seen enough movement on the southeast end of the ridgeline to justify a heavier strike. We're also sending C Coy, 1 Plt forward to engage any German troops that try to reach the denser woods. 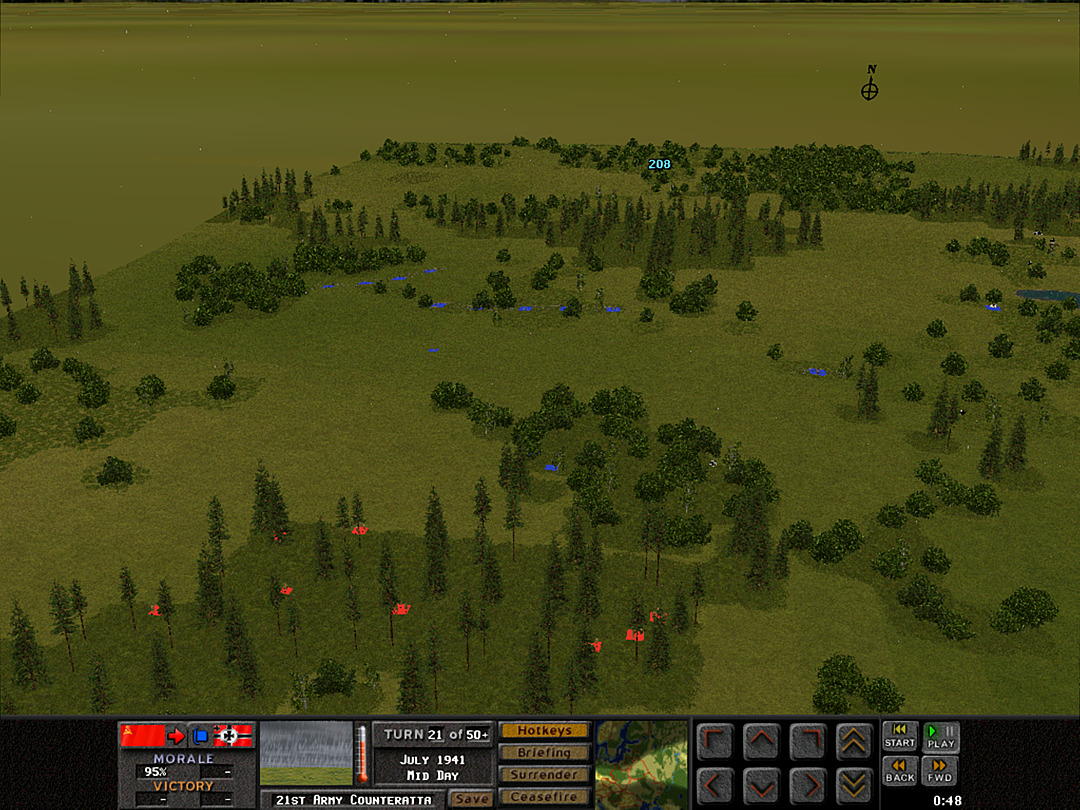 There are definitely some German squads attempting to come through the southwest woods. The recon troops hold their fire; C Coy will need to deal with the enemy. 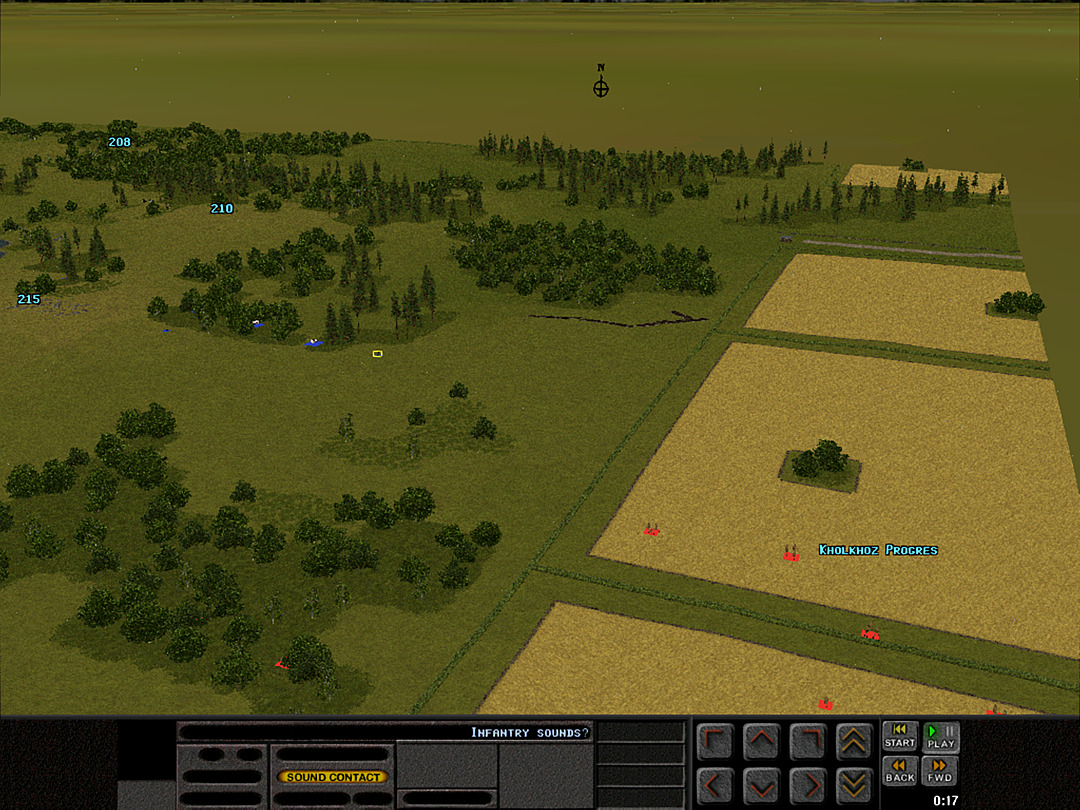 As B Coy sweeps through the fields, they hear what sounds like infantry moving to engage us. 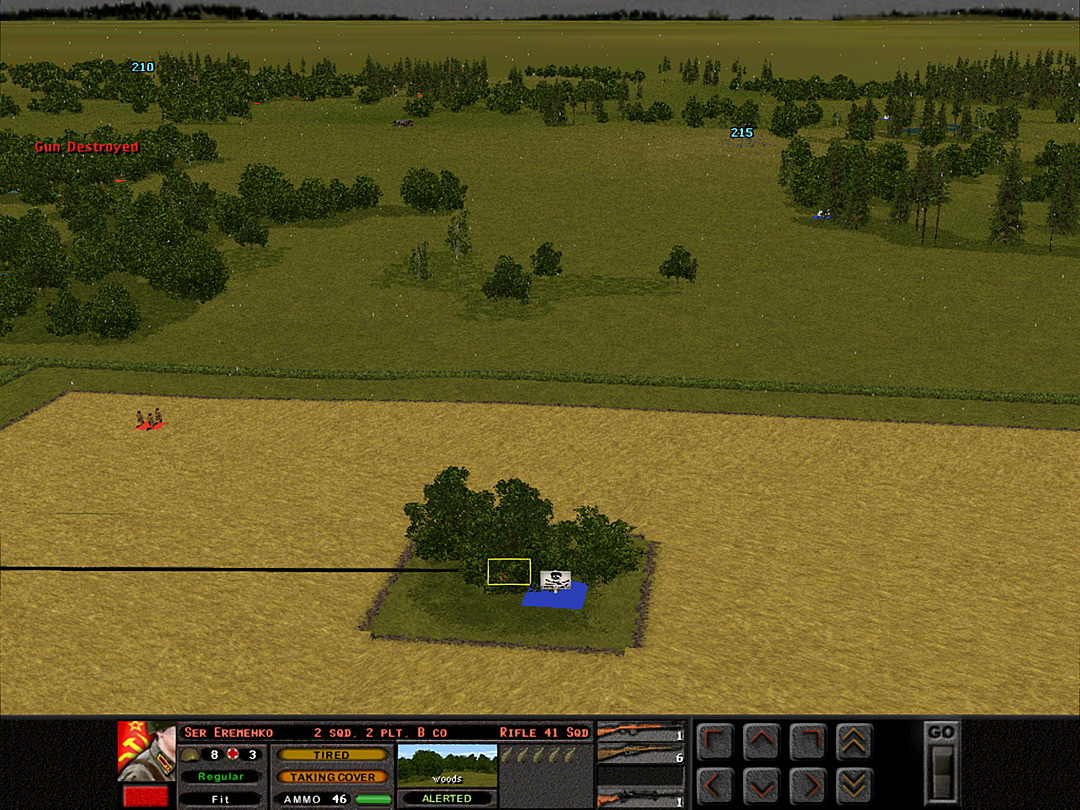 The lead squad encounters an unpleasant surprise: The small stand of trees in the field has been mined! 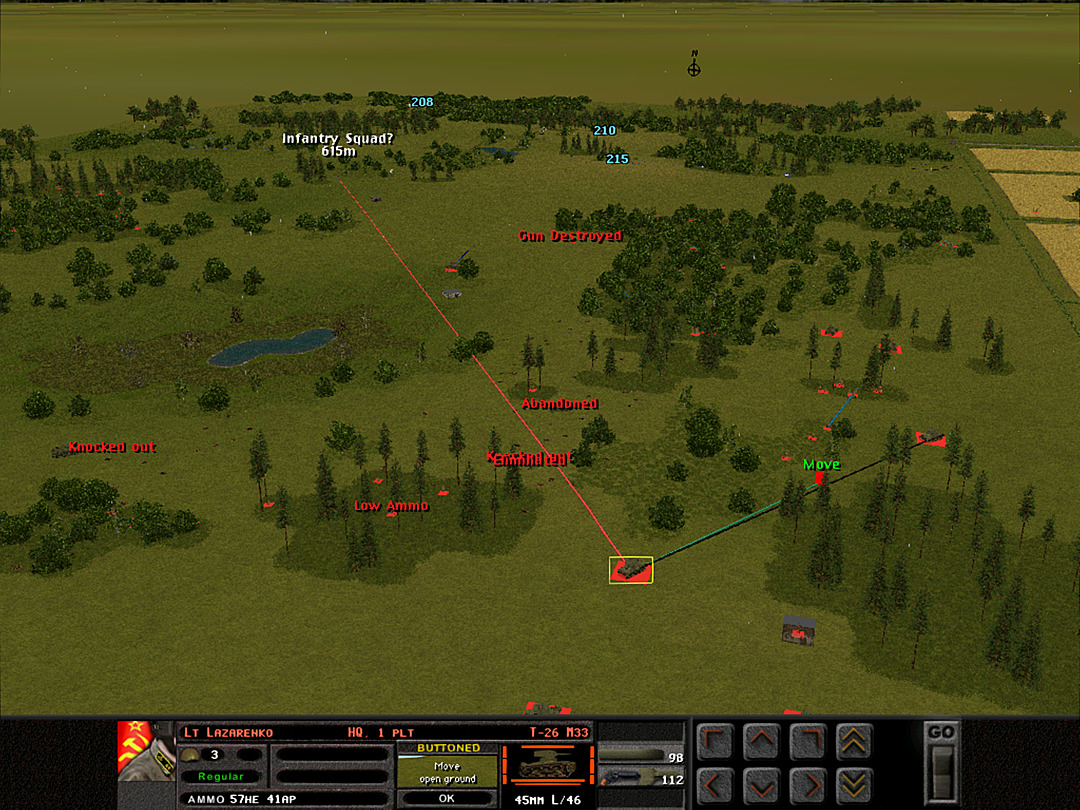 Some of our vehicles are going to make a careful advance on the east. 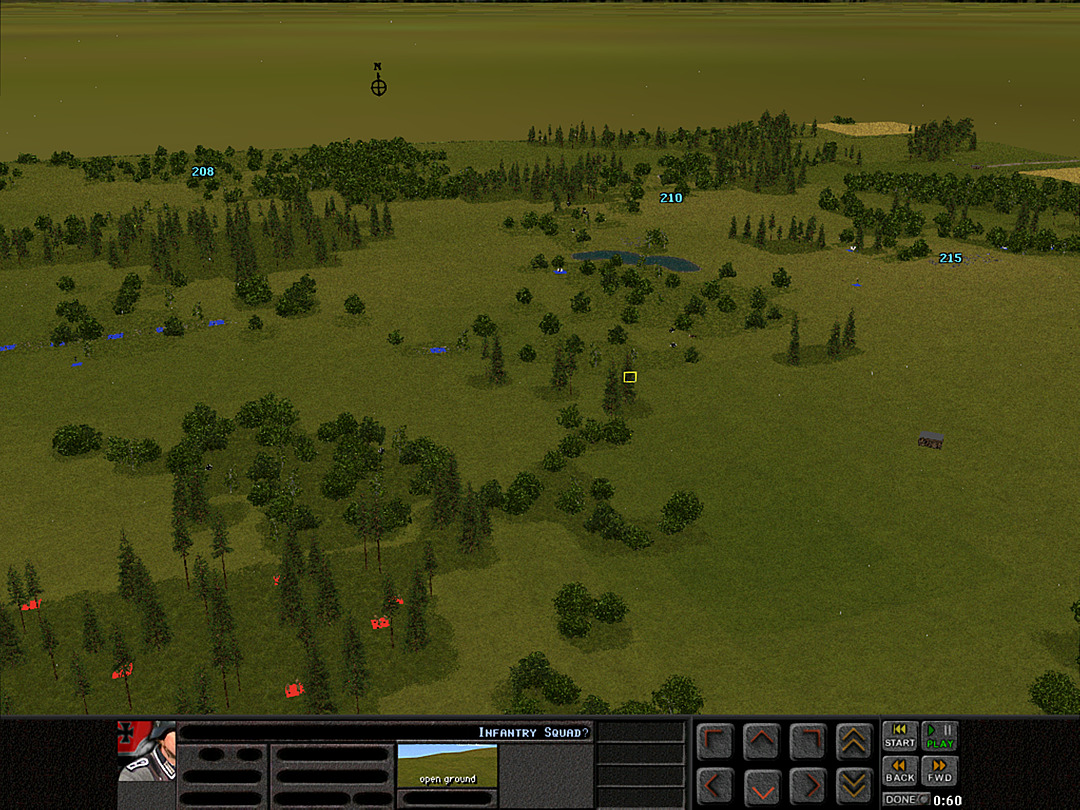 It's unclear if there are units that are coming out towards our side of the woods, or if we're just hearing things. Either way, we can expect a fight soon. 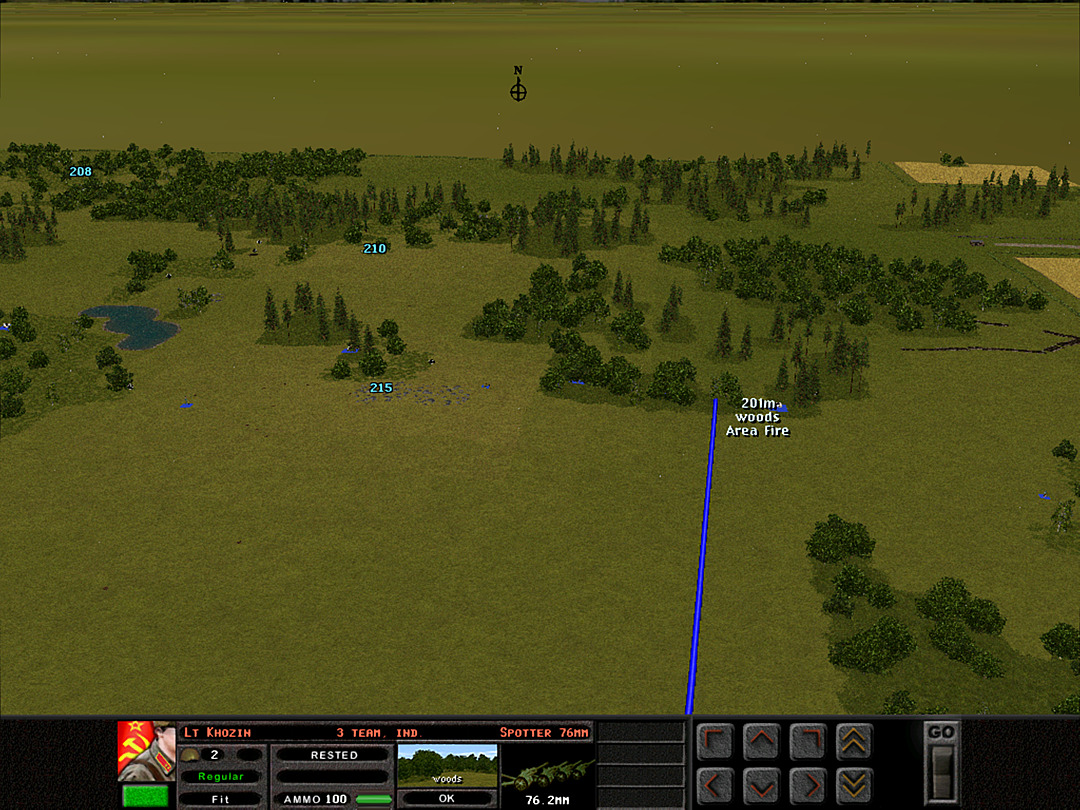 We do want to make a crossing into the eastern woods somehow. An artillery strike will hit the front edge, since we've seen vague signs of enemy soldiers positioned right by the mines. 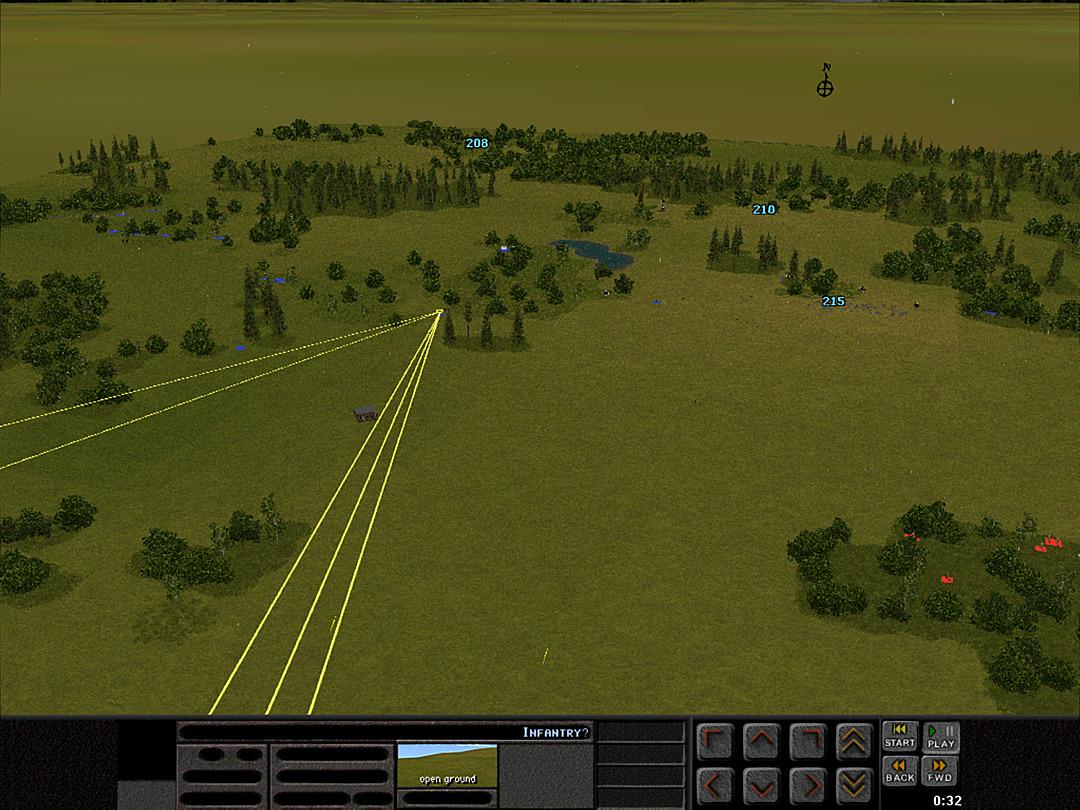 Some enemy squads are being caught out in the open. We may not be inflicting heavy casualties at this range, but we are surely slowing them down. 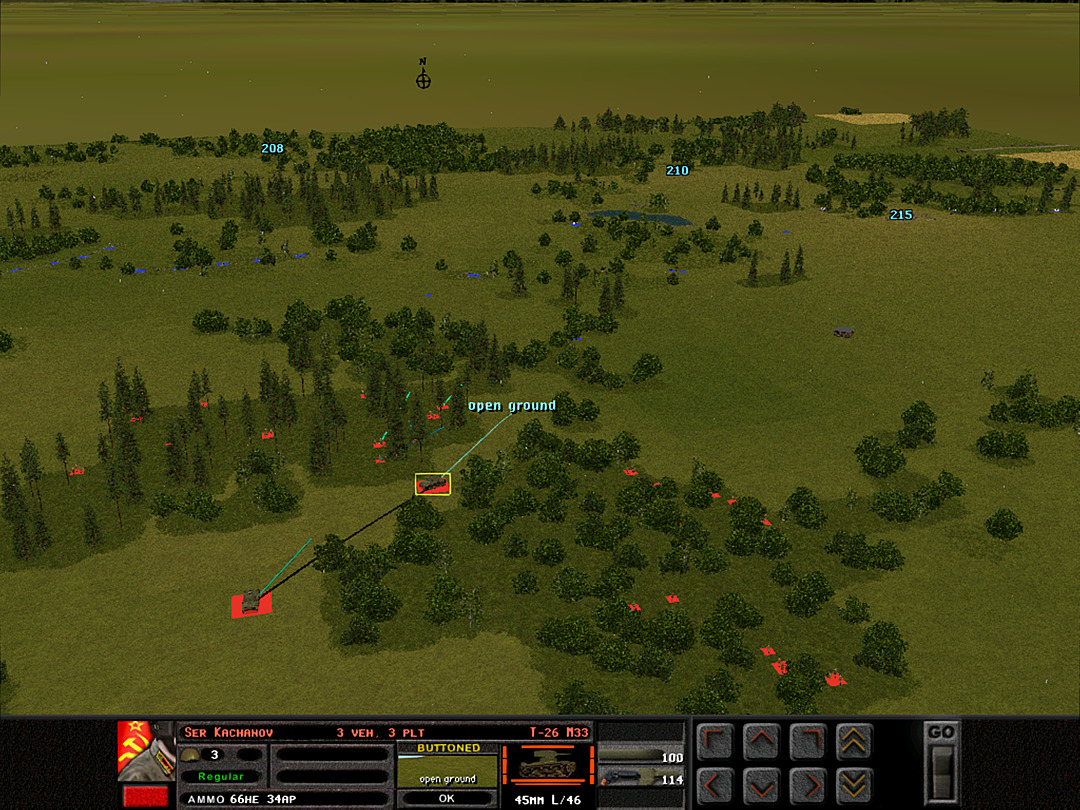 C Coy is making a defensive line near a slight clearing. One T-26 moves to give close support.  The heavy mortar rounds start to hit the ridge, but it looks like they enemy might have shifted forward already. 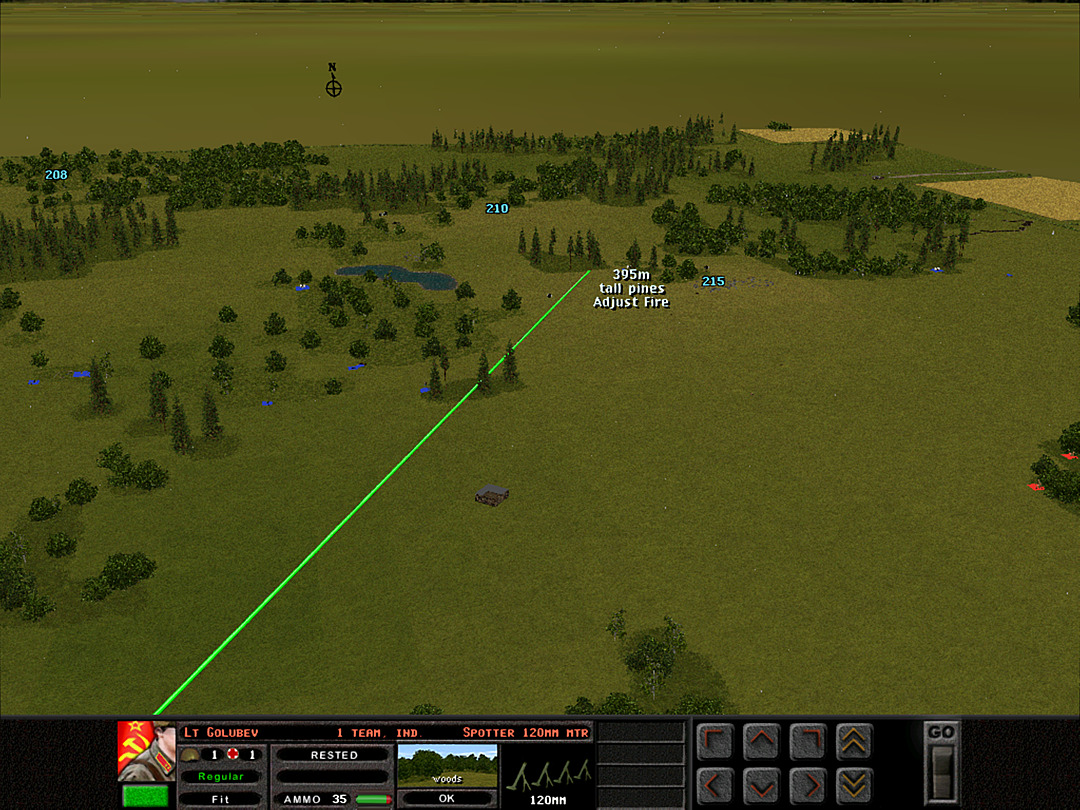 We can't get the artillery strike to come in much closer; instead we push it slightly to hit the trees, just in case more enemy soldiers are hiding there. 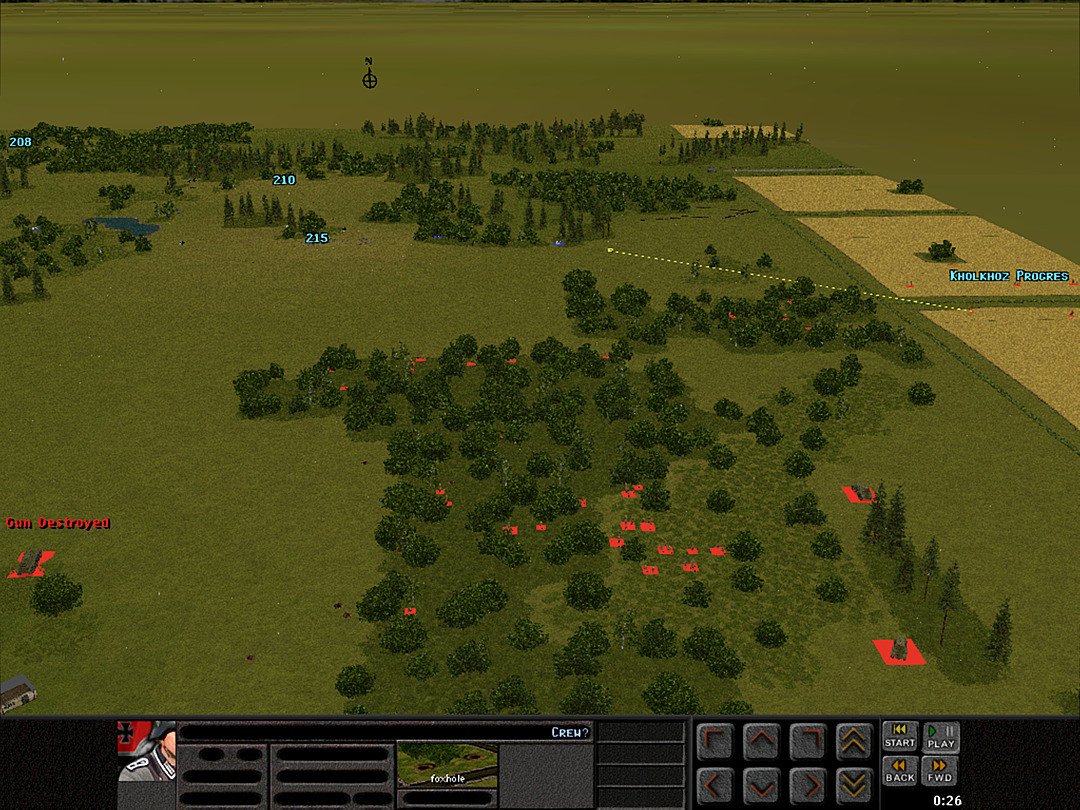 There are definite contacts on the east side outside the woods. But these men aren't trying to run at us; they are dug-in just outside the mined area. 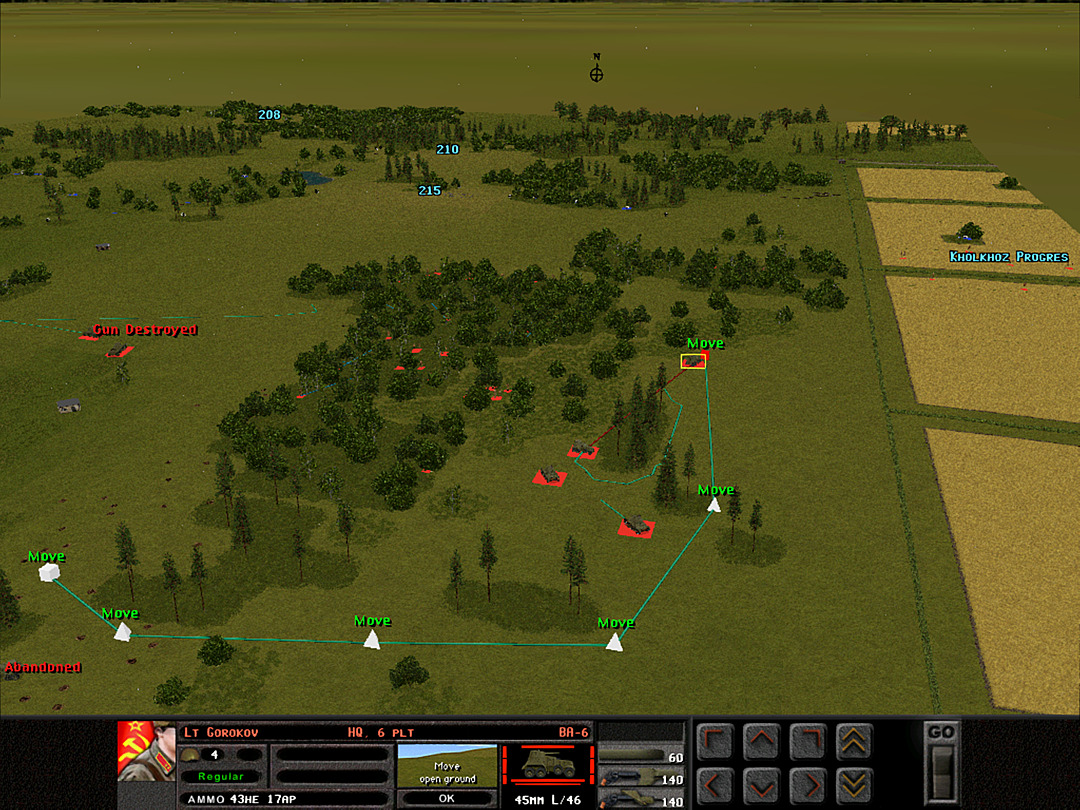 It seems like our scout cars might do better on the western side of the woods, as there's a lot more enemy movement there; we send them around in that direction. 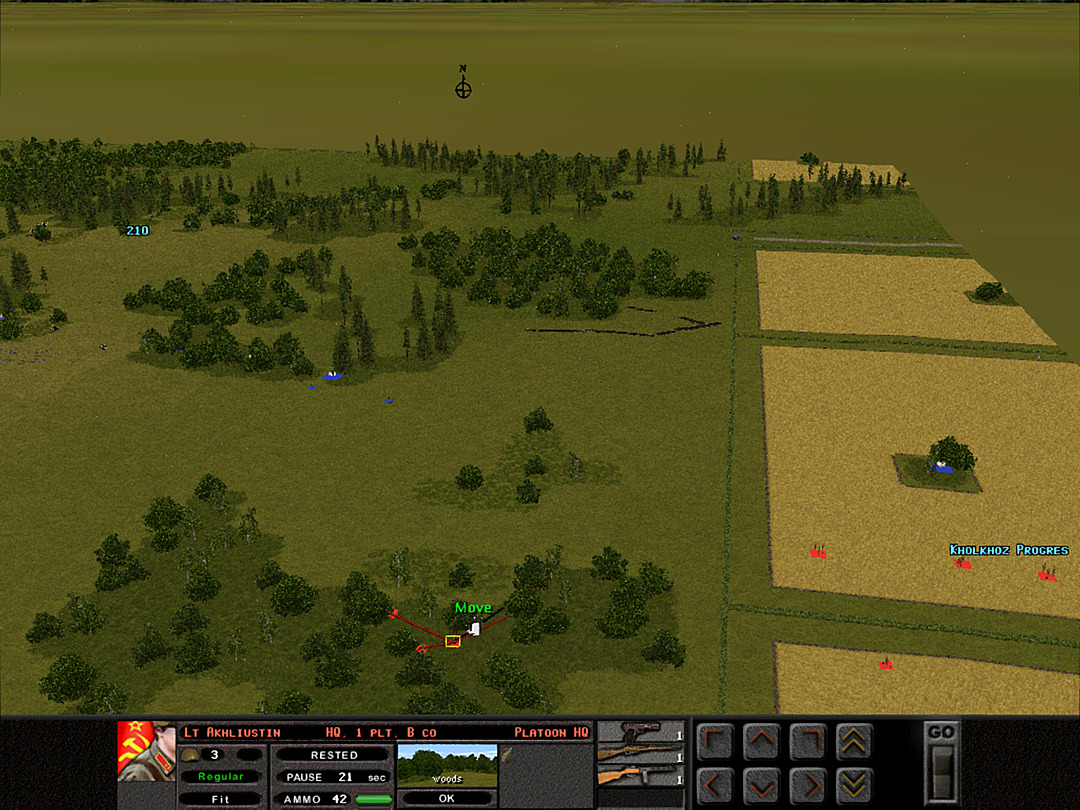 B Company has halted its advance. One platoon found the mines in the farmland and won't move any farther up there for now, while the other platoons will take up positions in the forest that gives the closest view of our goal. 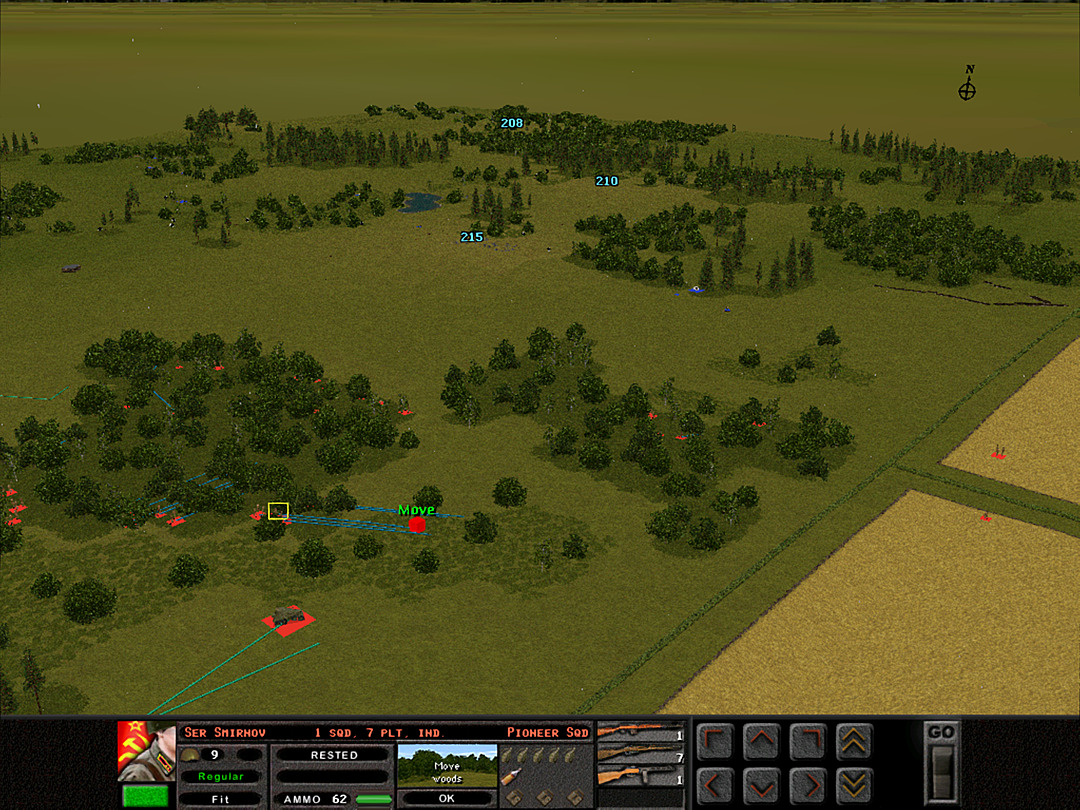 The Pioneers have come up close to where B Coy is positioned. They won't do the initial charge across the gap, but will be needed if we have to clear those trenches. 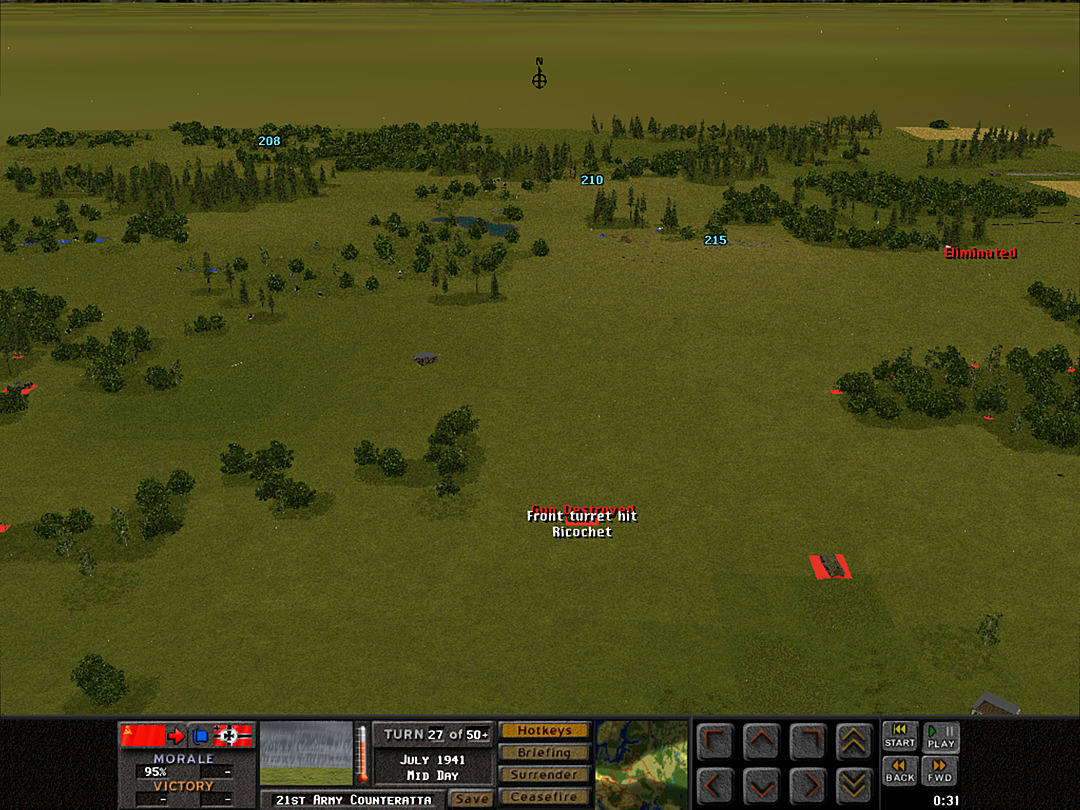 The BT-5's have been roaming freely around in the center. If the enemy has any anti-tank guns, they don't seem to have deployed them here. Some of the heavier machine guns could be an actual threat, so we can't just rush the tanks forward. 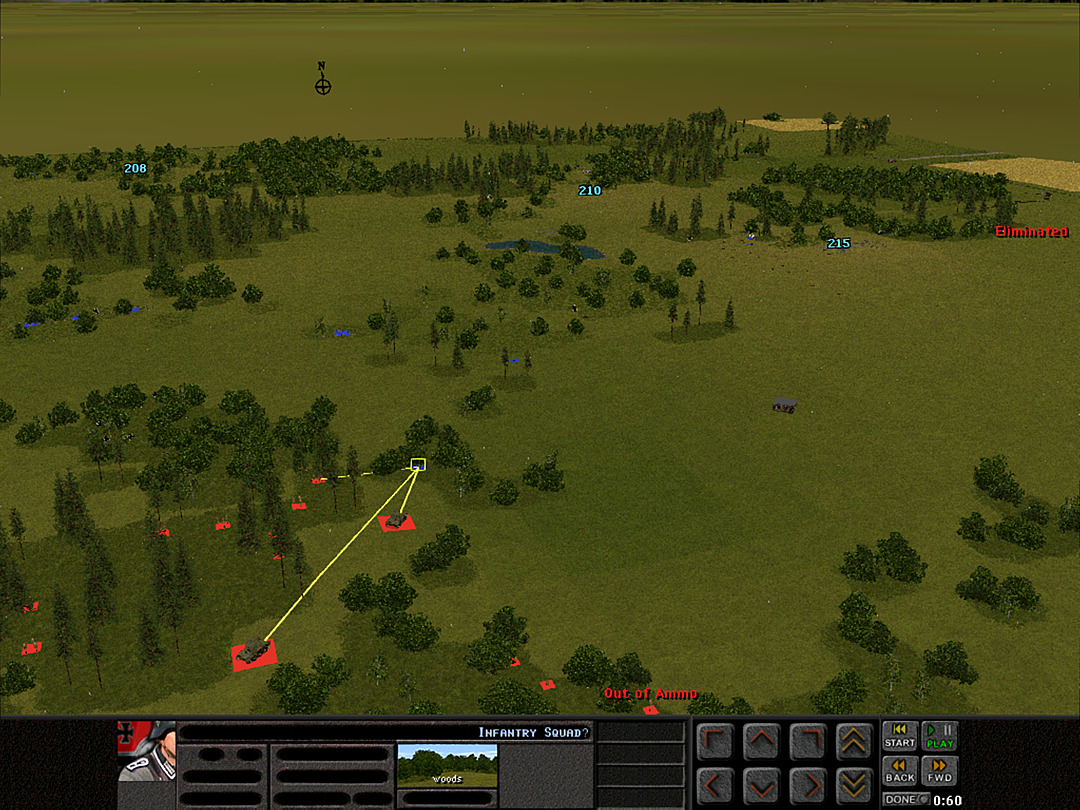 The T-26's of 3 Plt are doing an admirable job helping C Coy hold its position. The few enemy squads coming through aren't much of a threat. 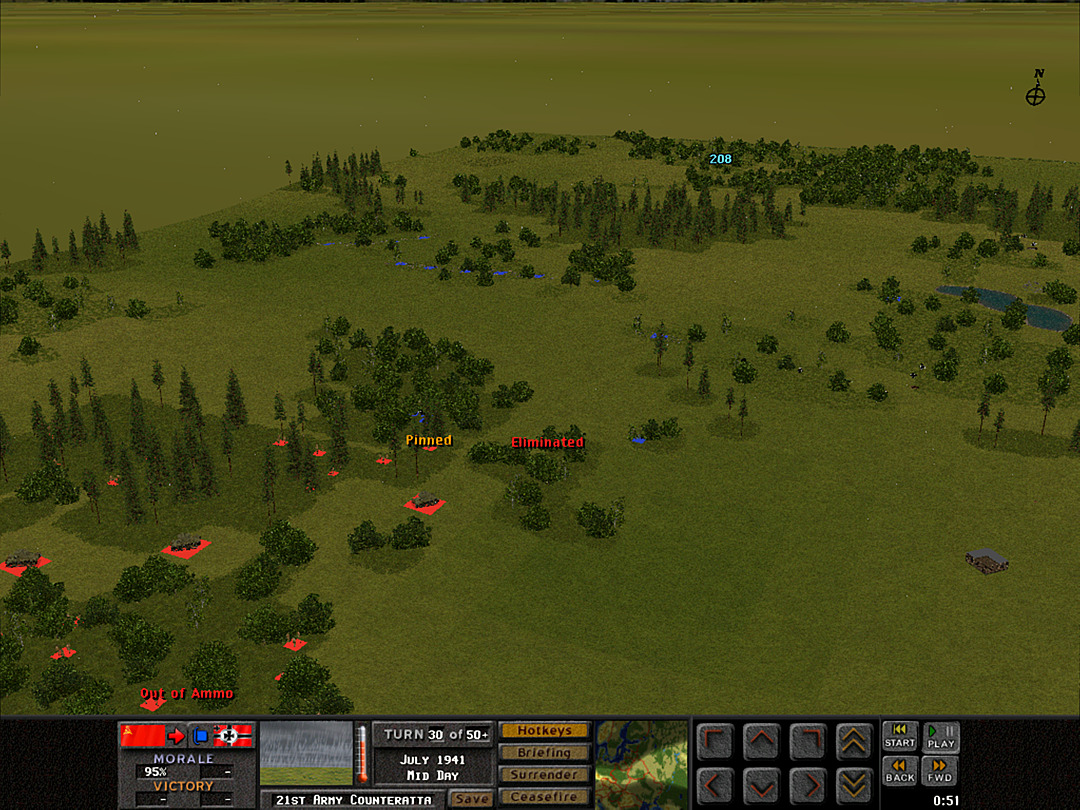 As the fighting continues, more German soldiers show up in the woods just to the north, and put a bit more pressure on C Coy, 1 Plt's most forward squads. 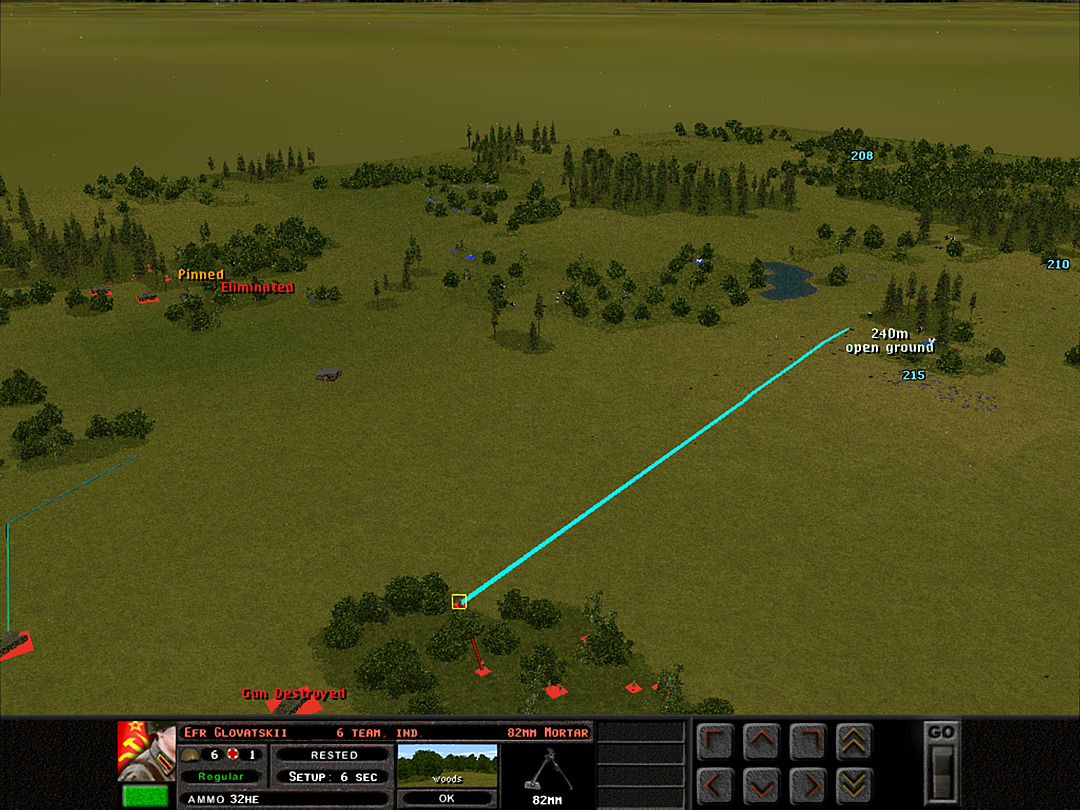 We now have a mortar squad in position to hit any more targets in the space between the ridge and C Company. It's been somewhat quieter there, though. 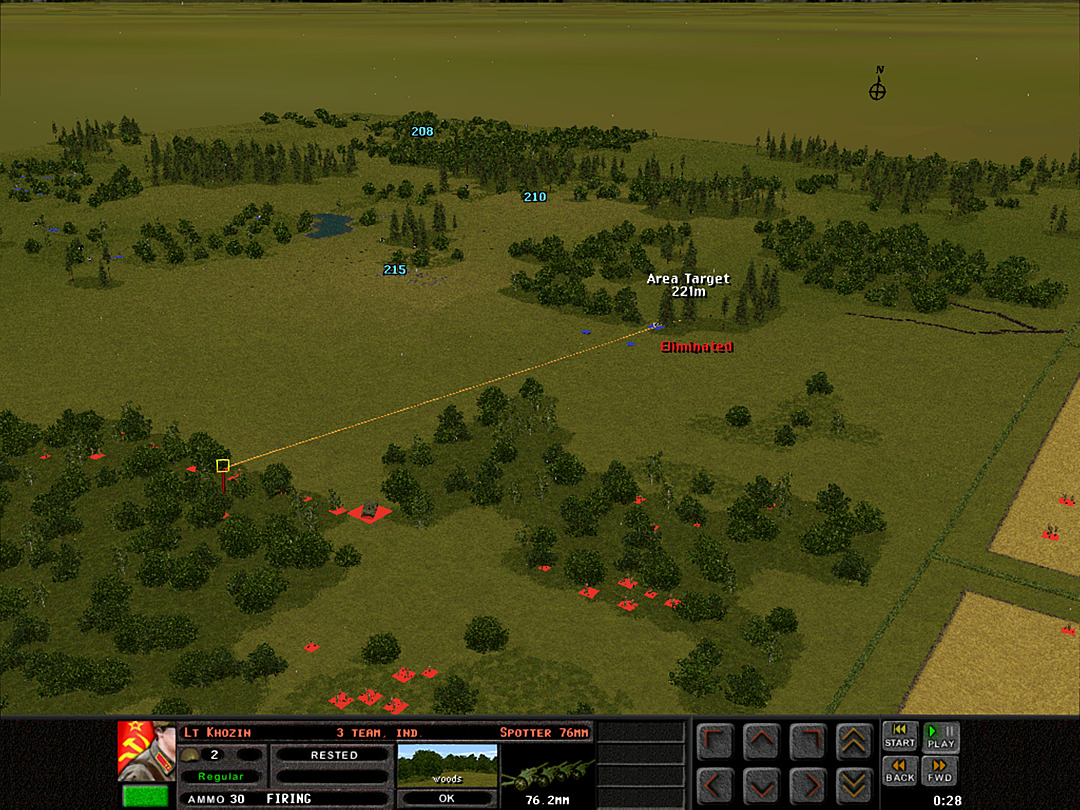 Our 76 mm artillery starts to land. 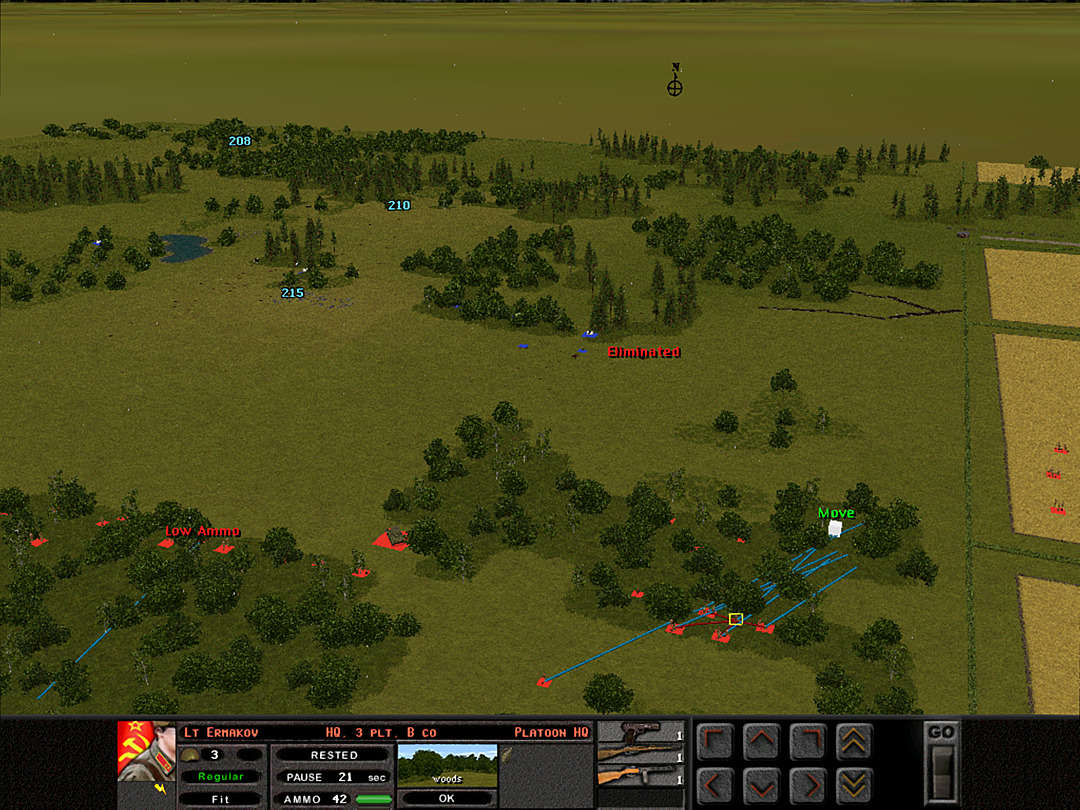 We've decided on a plan to gain a foothold on the eastern woods. One platoon from B Coy will make a charge from the southeast toward the enemy foxholes. A Coy will provide support from its treeline to the west, and the rest of B Coy will give fire support from the east side. 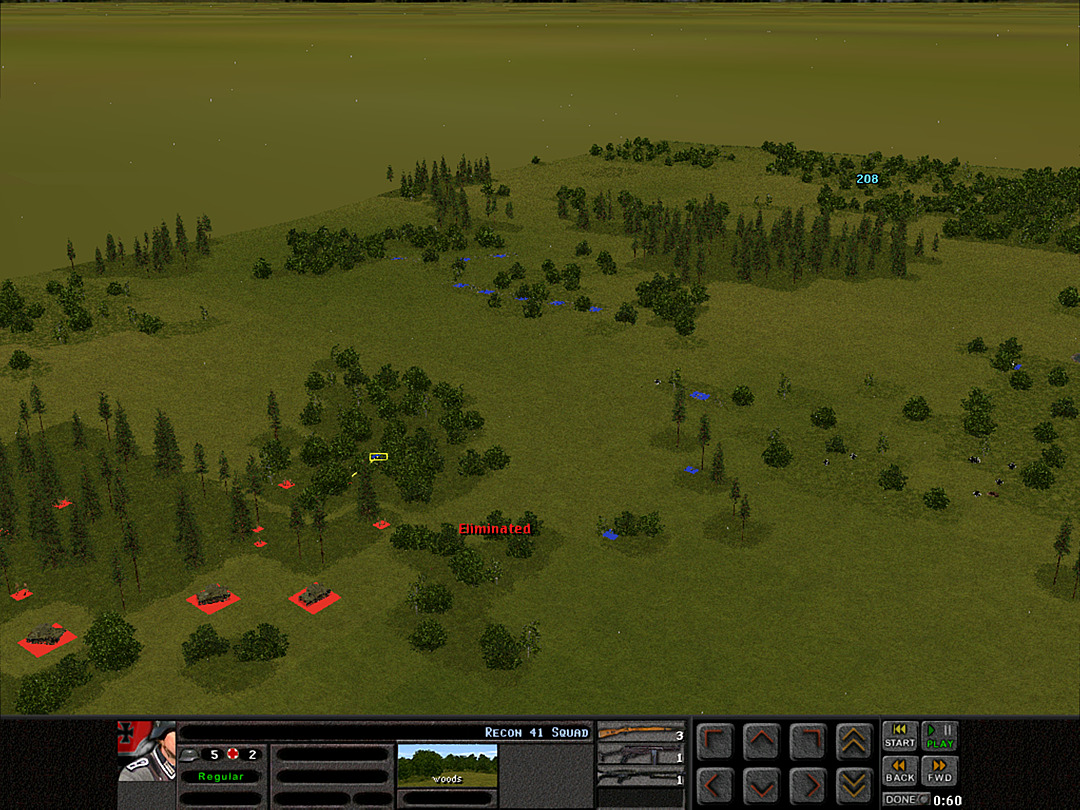 C Coy, 1 Plt crosses the clearing to push back the Germans. A closer inspection reveals that this is likely a scouting platoon, not a full advance. That means most of the forces are likely dug-in somewhere beyond the barbed wire. 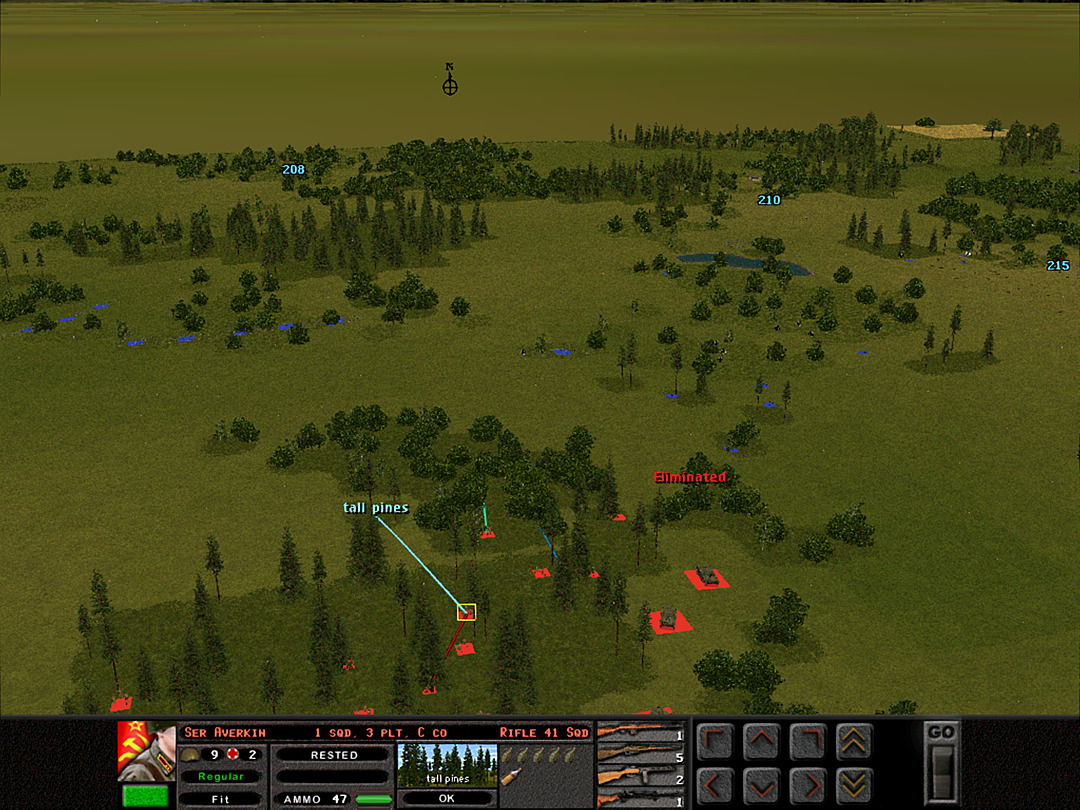 Another platoon moves up to their left to ensure that the German recon platoon does not escape. 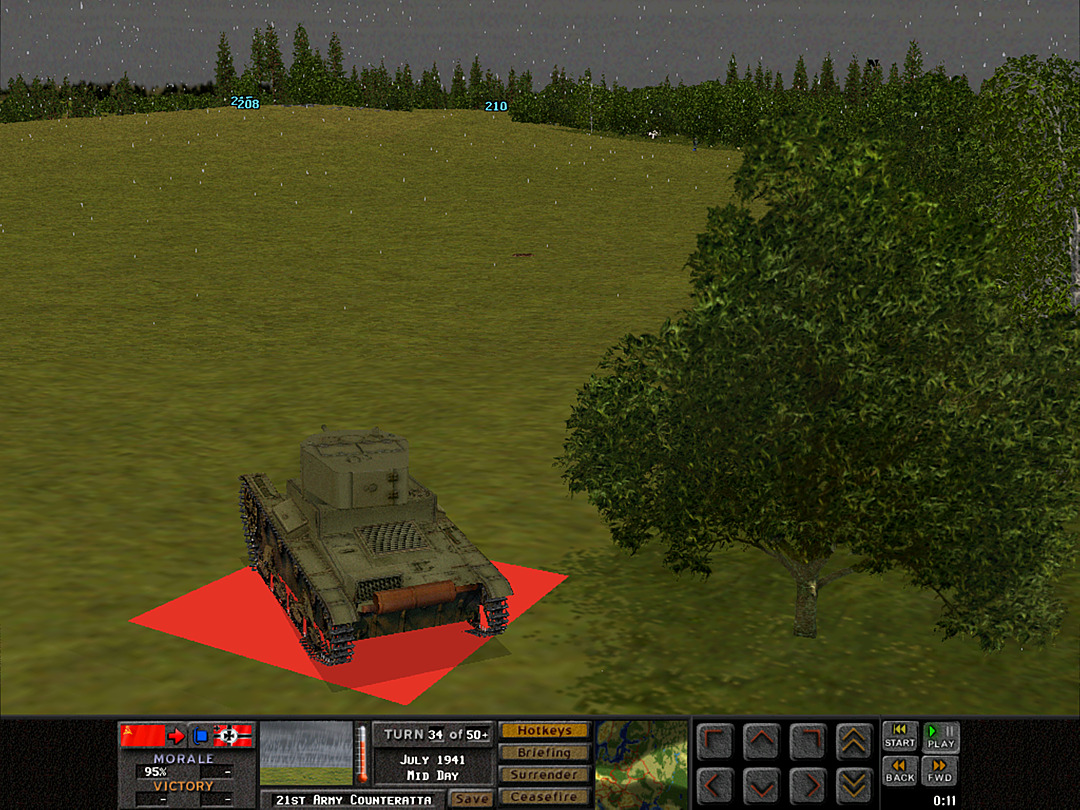 We've brought up two tanks (what remains of 1 Plt after the long haul to get here) to help suppress the enemy forces on the eastern side. 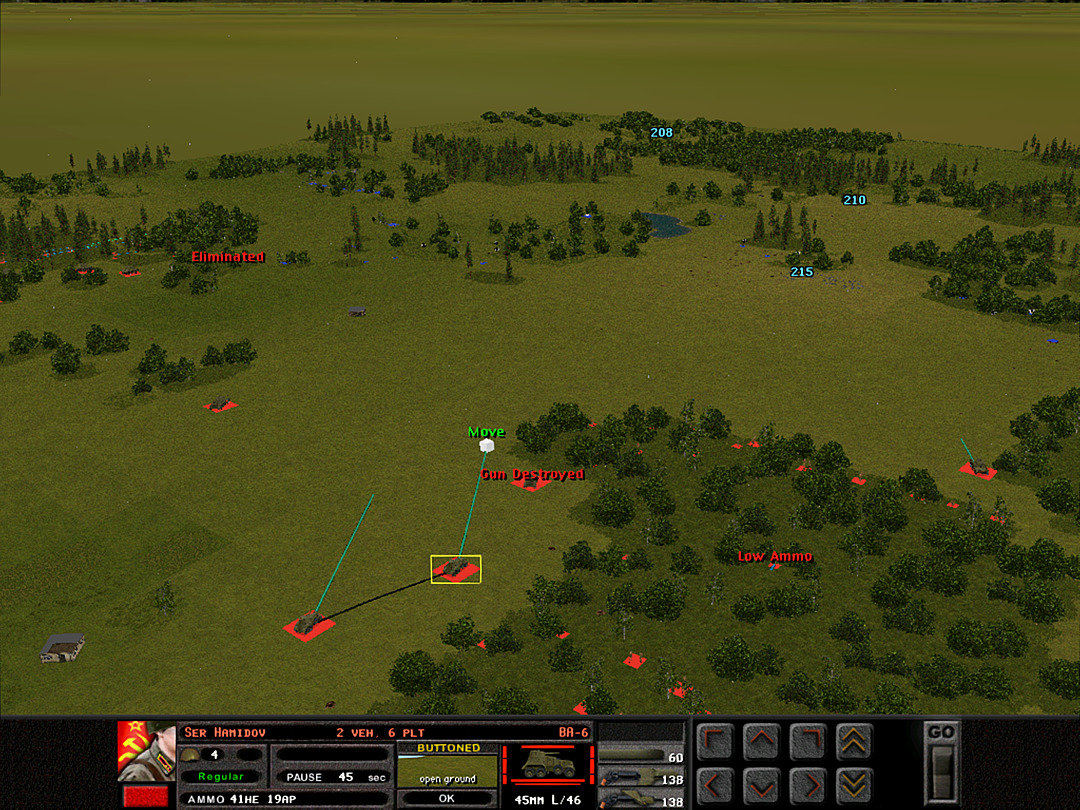 The BA-6's have made their way along the western side of the woods. They can give fire support to C Coy from here. 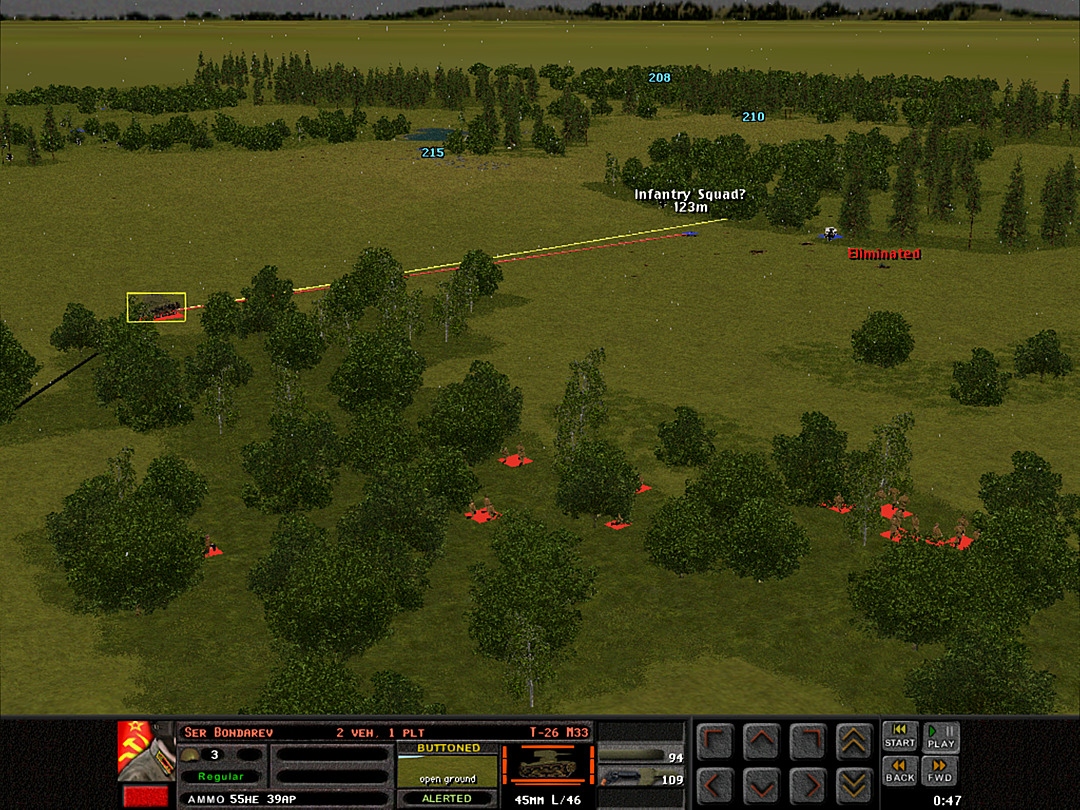 The first T-26 pokes out on the east, and immediately engages the German infantry holding the woods. 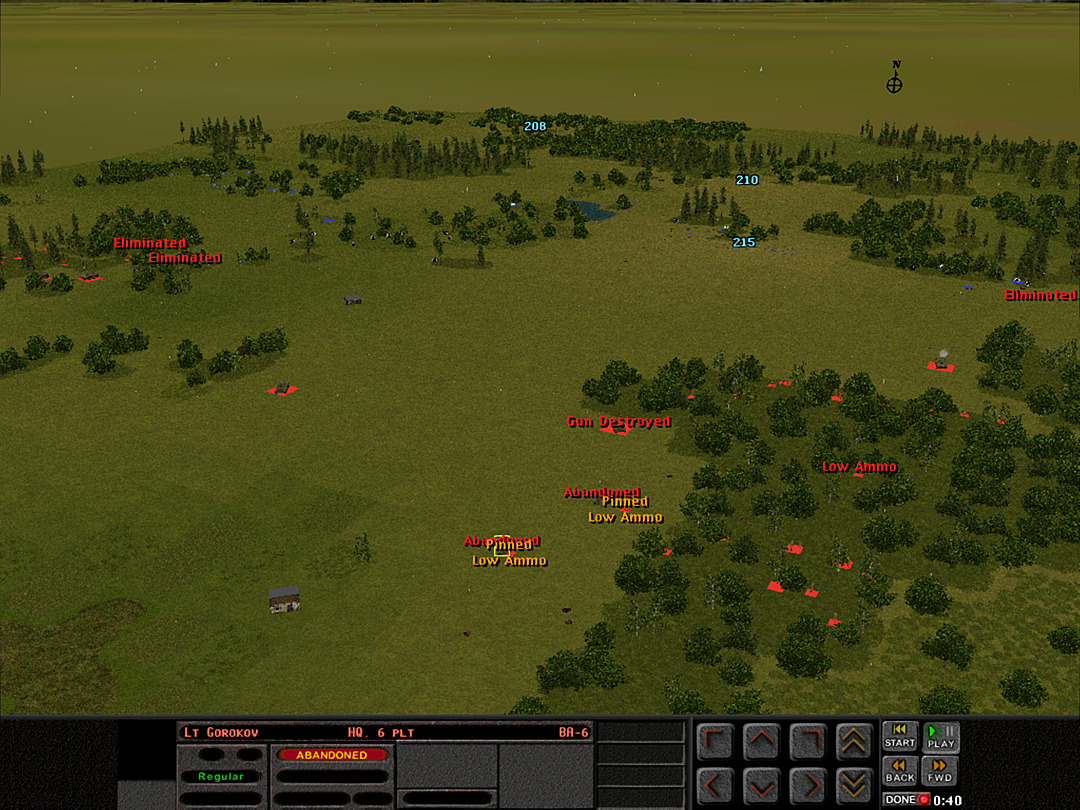 It does not go as well for the BA-6's. Their paper-thin armor crumples when the German machine guns open up, and both crews abandon their vehicles. 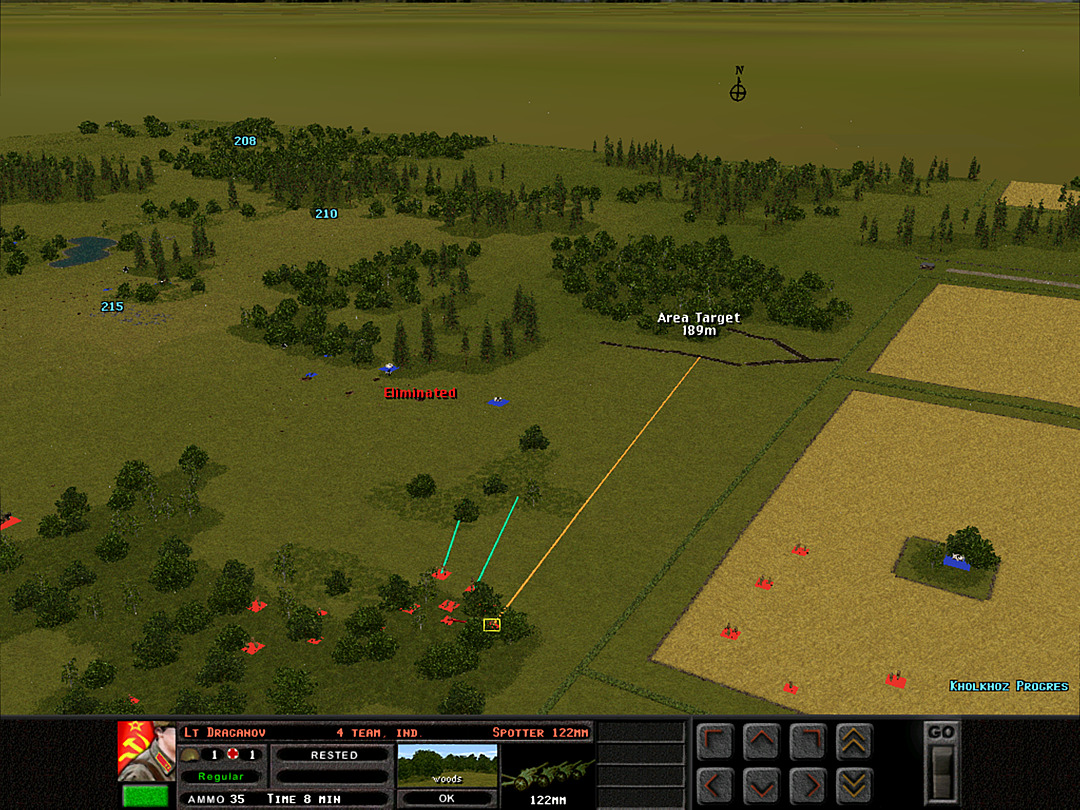 If we have any hope of sending men across the eastern gap, we need to make sure the trenches are quiet, so a heavy artillery strike is ordered to hit it. 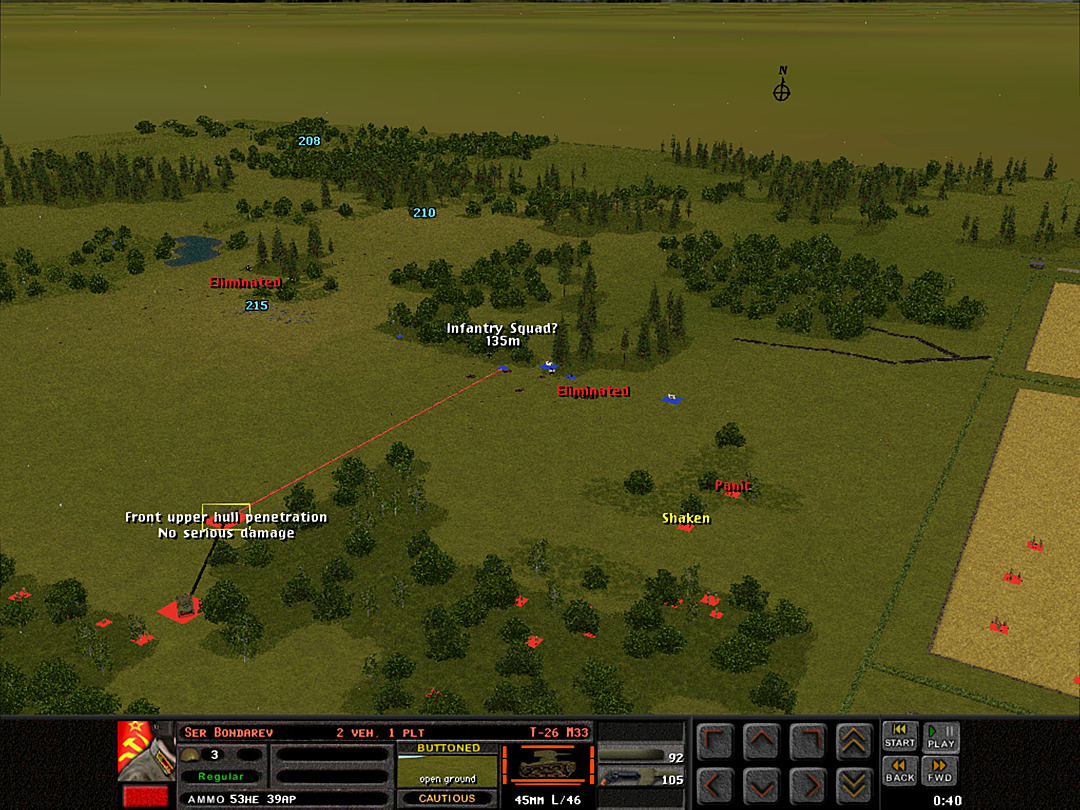 The T-26 takes a penetrating hit, but nothing inside is damaged. Meanwhile, the first few squads from B Coy cross into the last bit of cover on our side. 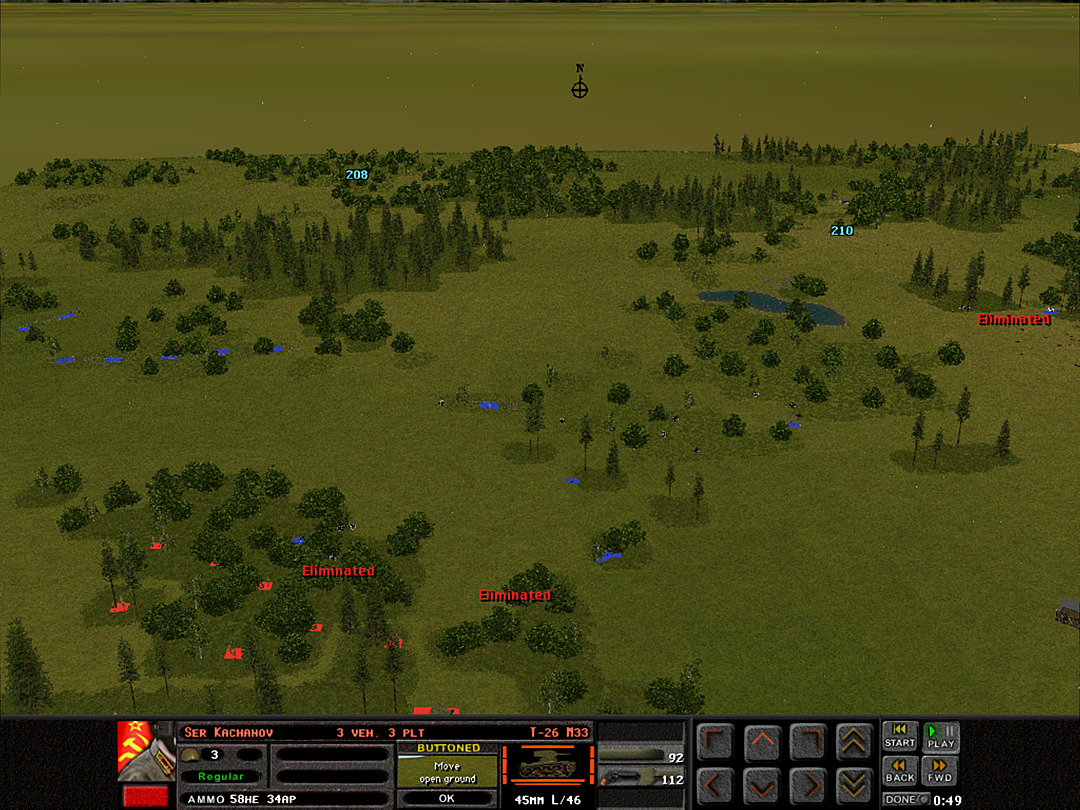 It looks like there's only one more recon squad in the woods near C Company. More enemy troops are in the sparser woods beyond, but they are no longer moving to advance. 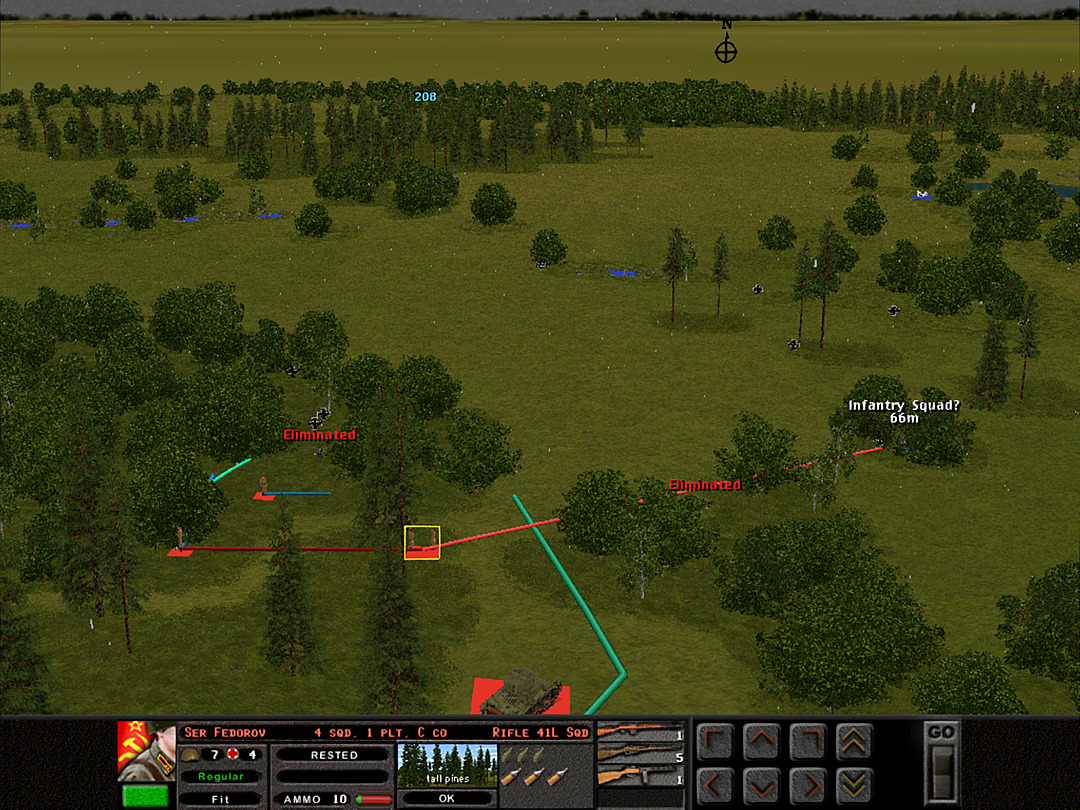 We do not intend to push any farther with C Company, though. Some of the squads are running low on ammunition, as they've been fighting for some time now. 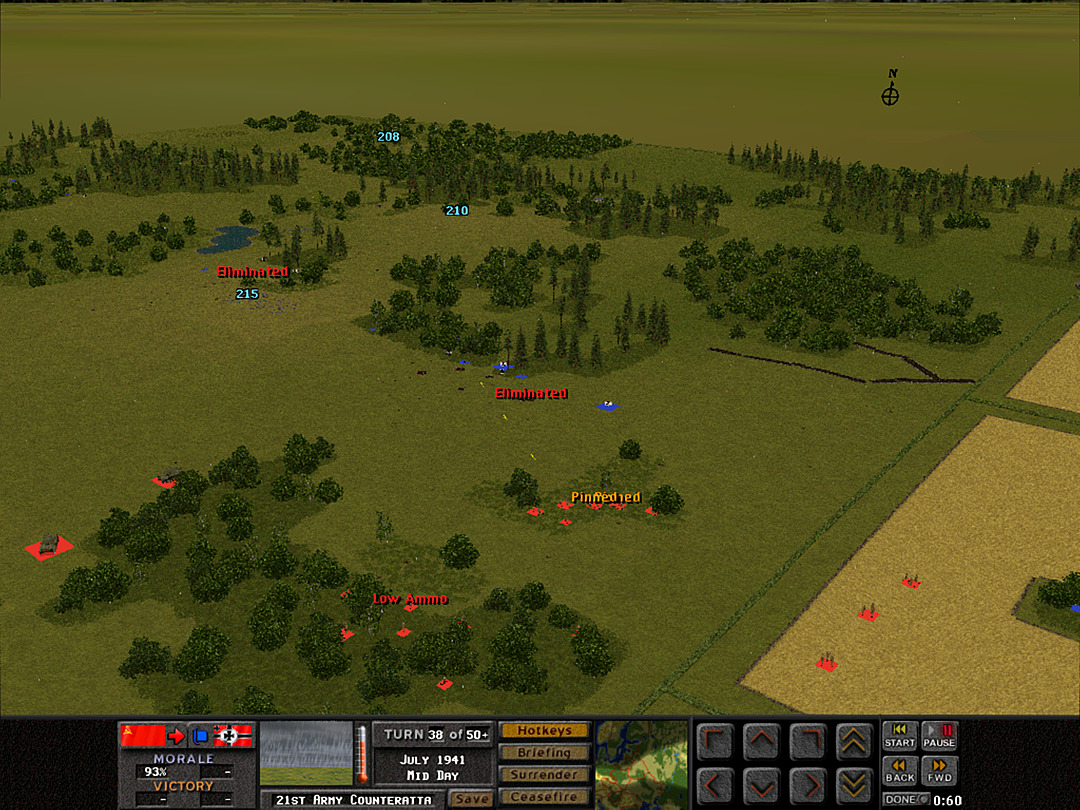 The squads to support the charge of B Company move into position. 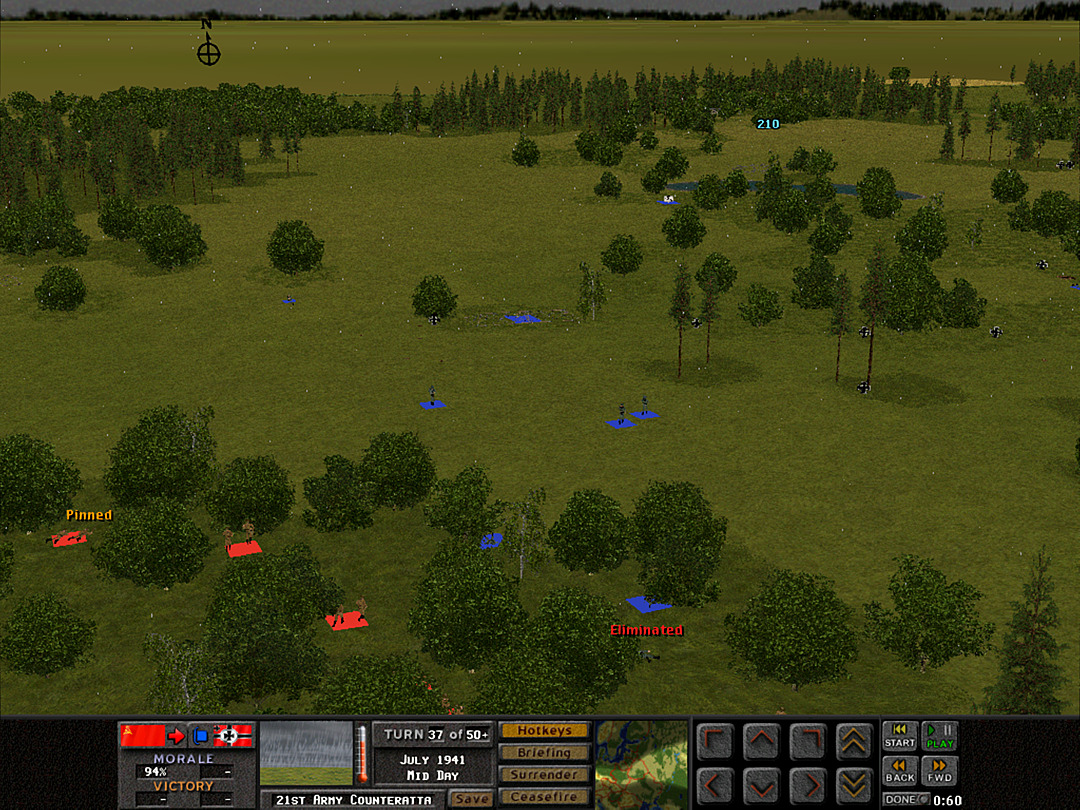 More German recon troops than expected were found in the woods, but they are fleeing from us now. 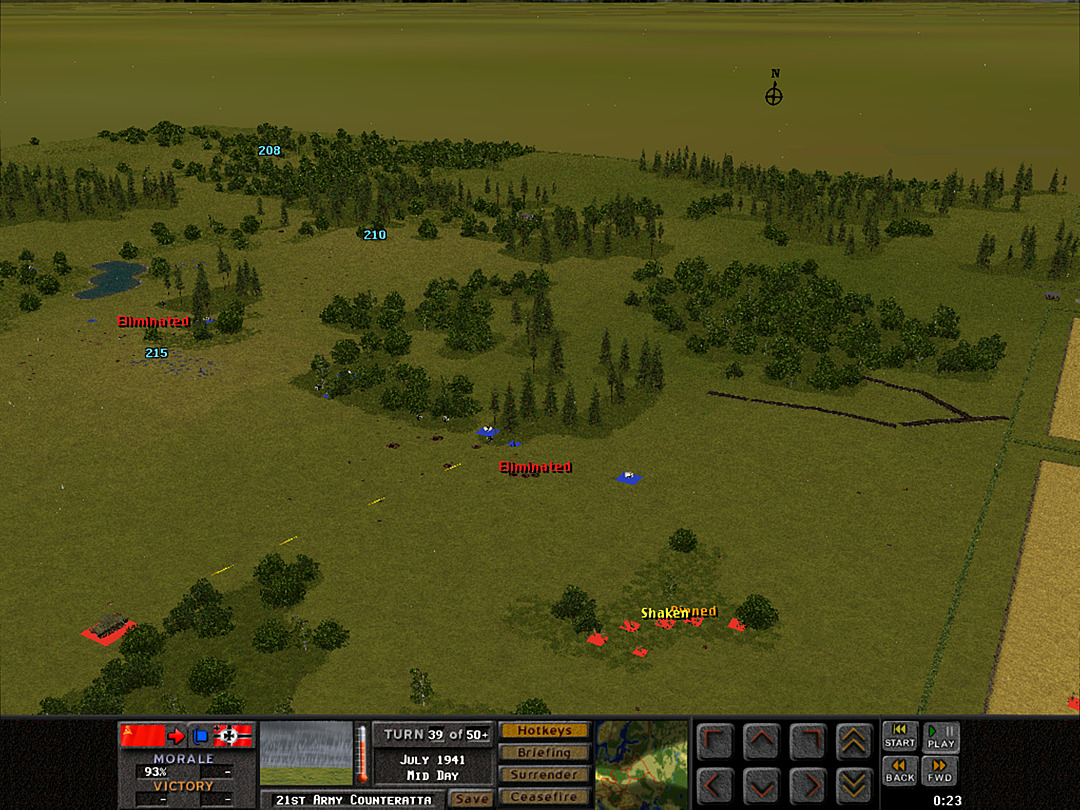 Our tanks are doing a good job of clearing the foxholes on the east side. 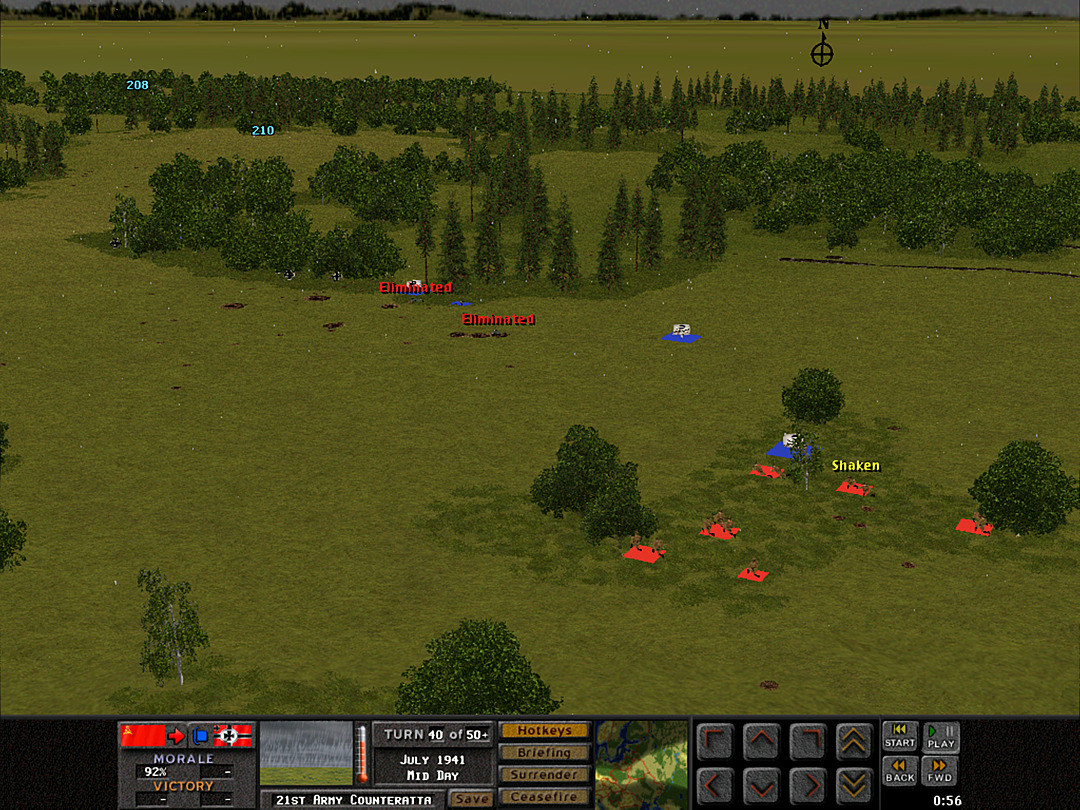 B Coy, 2 Plt discovers another minefield among the trees. We can only hope that there aren't more mines in the open, or else the upcoming charge is going to run into serious trouble. 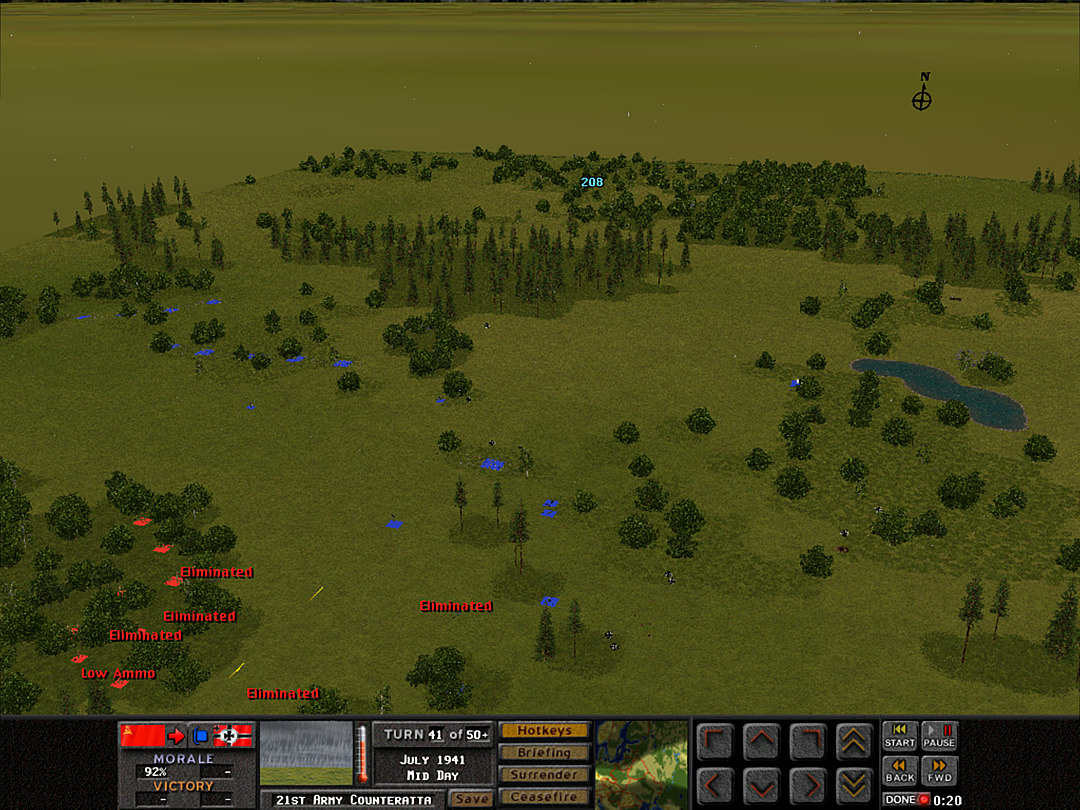 C Company has repulsed the scouting mission and claimed the treeline on the west side. 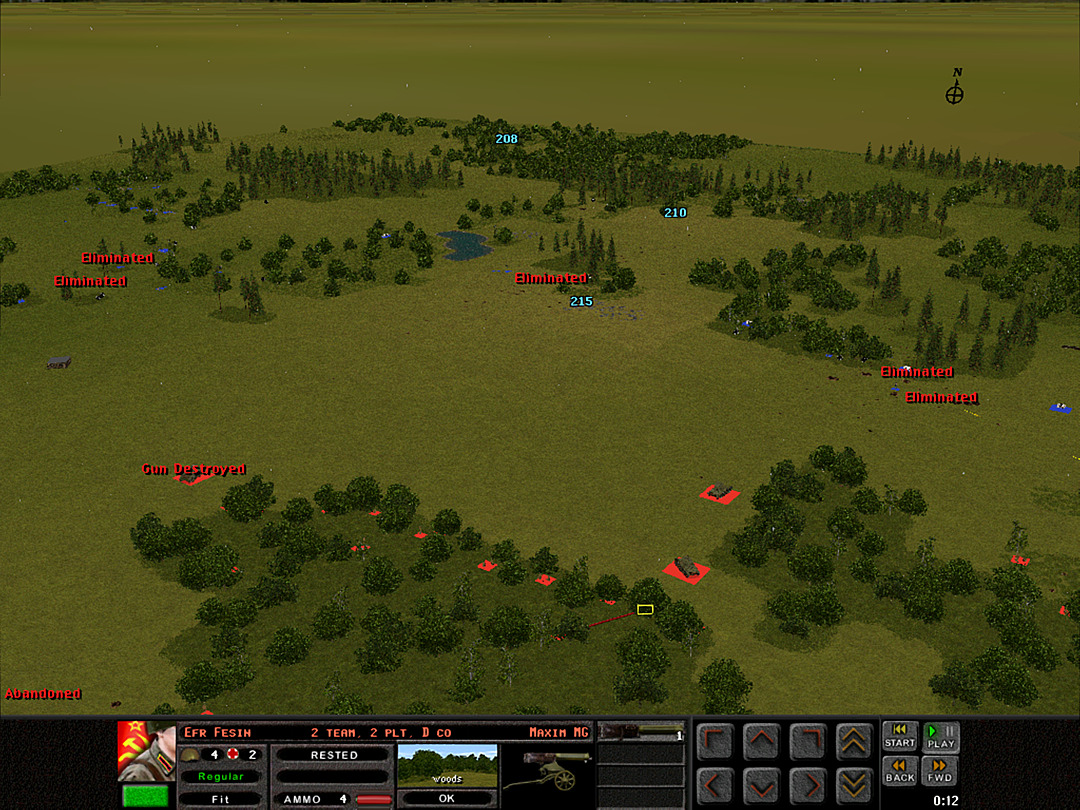 We had posted some Maxim guns along the line that A Company is holding. They are running low on ammo now, and will be pulled back from the edge of the trees. 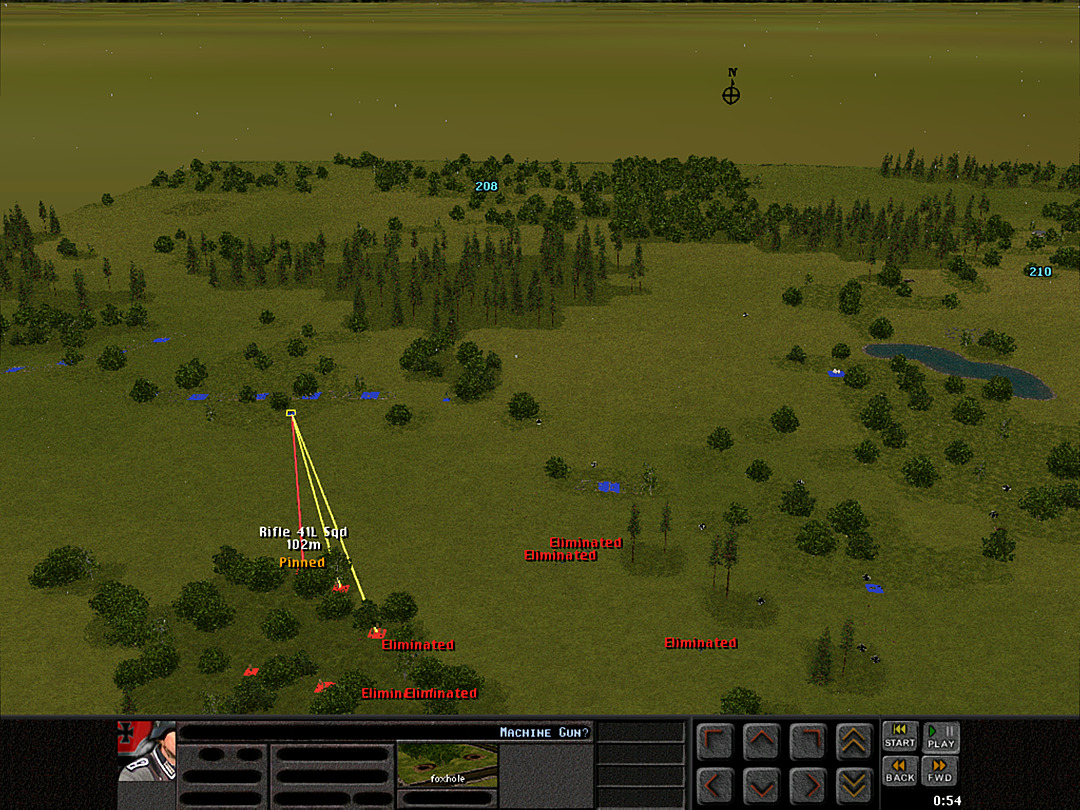 C Coy has barely established itself at the edge of the forest when a machine gun posted up near the barbed wire starts shooting at them. 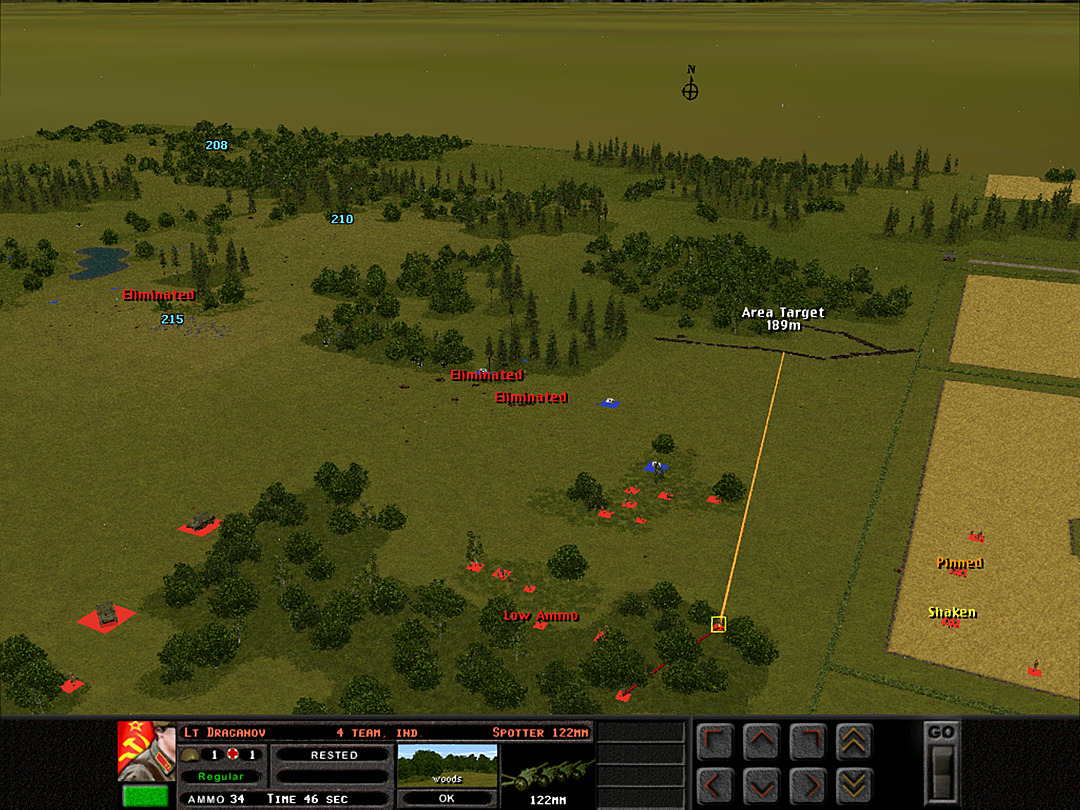 The artillery is about to come in. The men of B Coy, 1 Plt ready themselves for the charge. 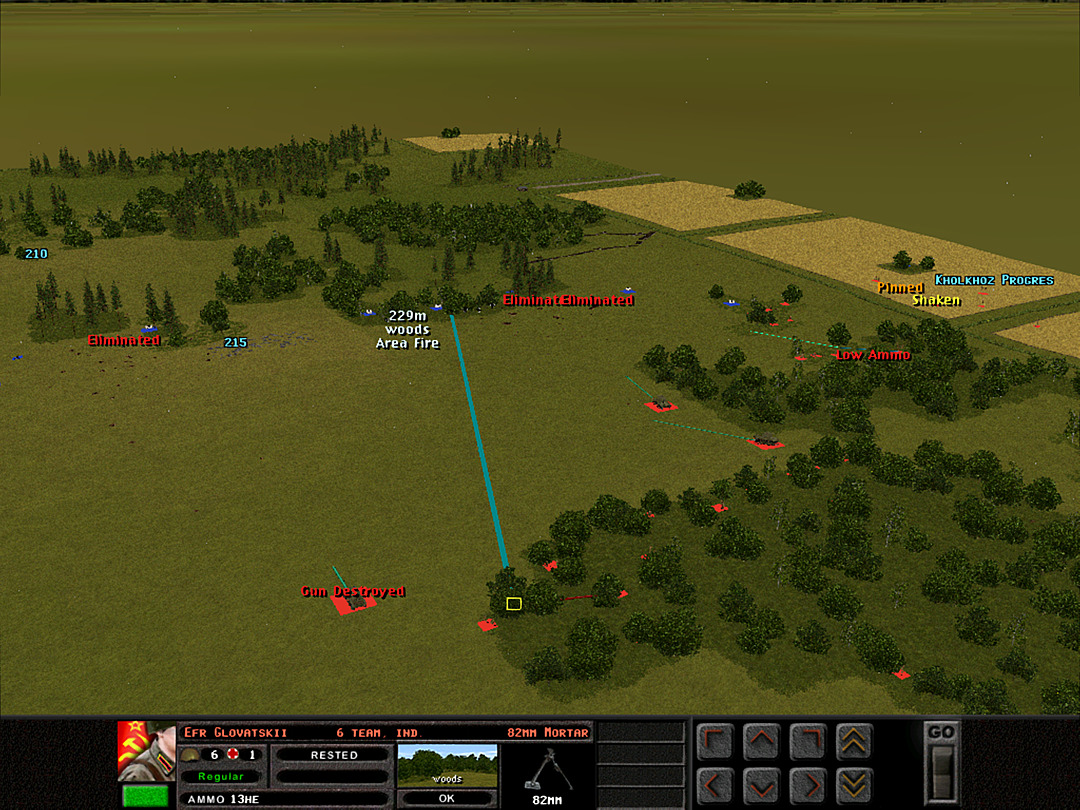 Precision mortar rounds are also sent toward the other side of the same woods, to ensure a safer crossing. 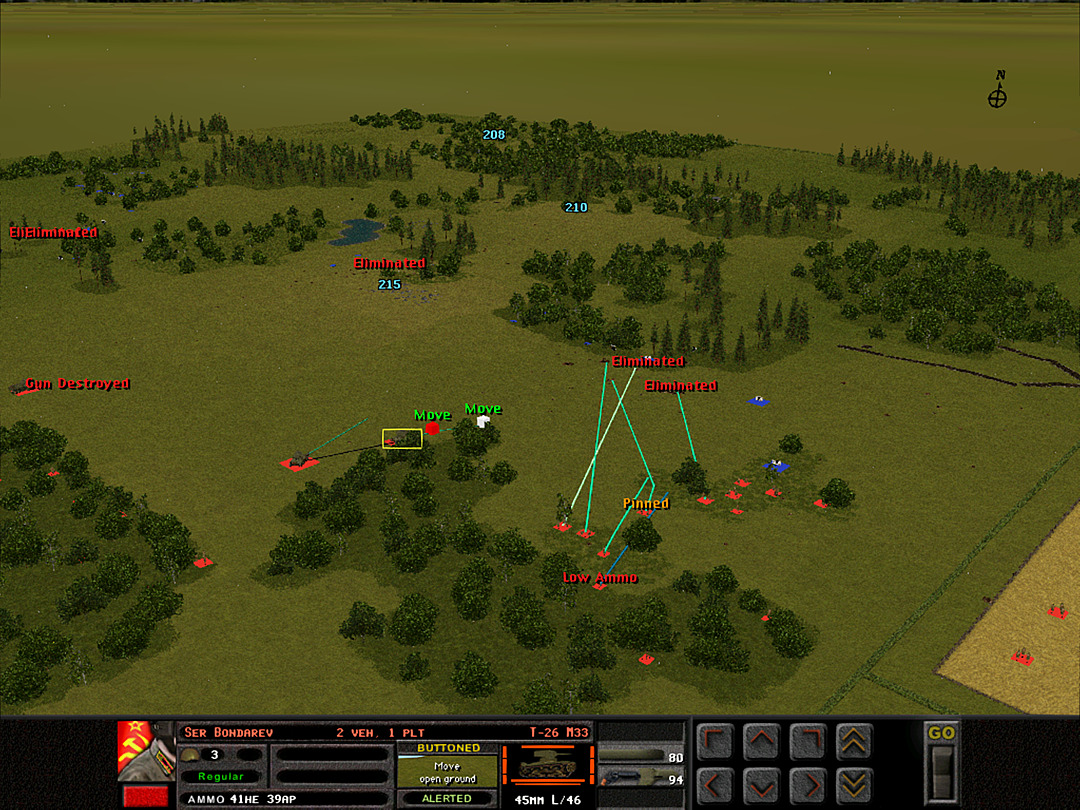 The tanks get aggressive and push a little forward. Each squad chooses a foxhole to make for, and they all wait on the lieutenant's signal. The charge begins. 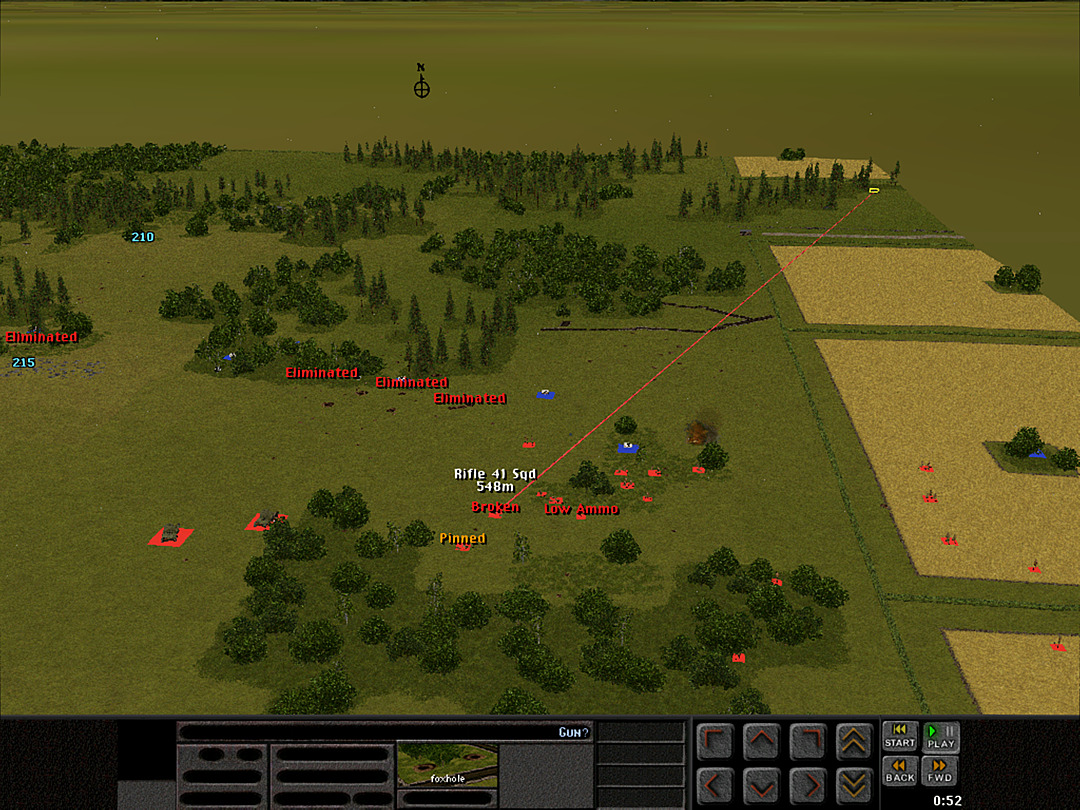 Only one squad gets out ahead. The others are halted when a HE round explodes right next to them. The whole time they've been stalked by an anti-tank gun way out on the enemy flank. 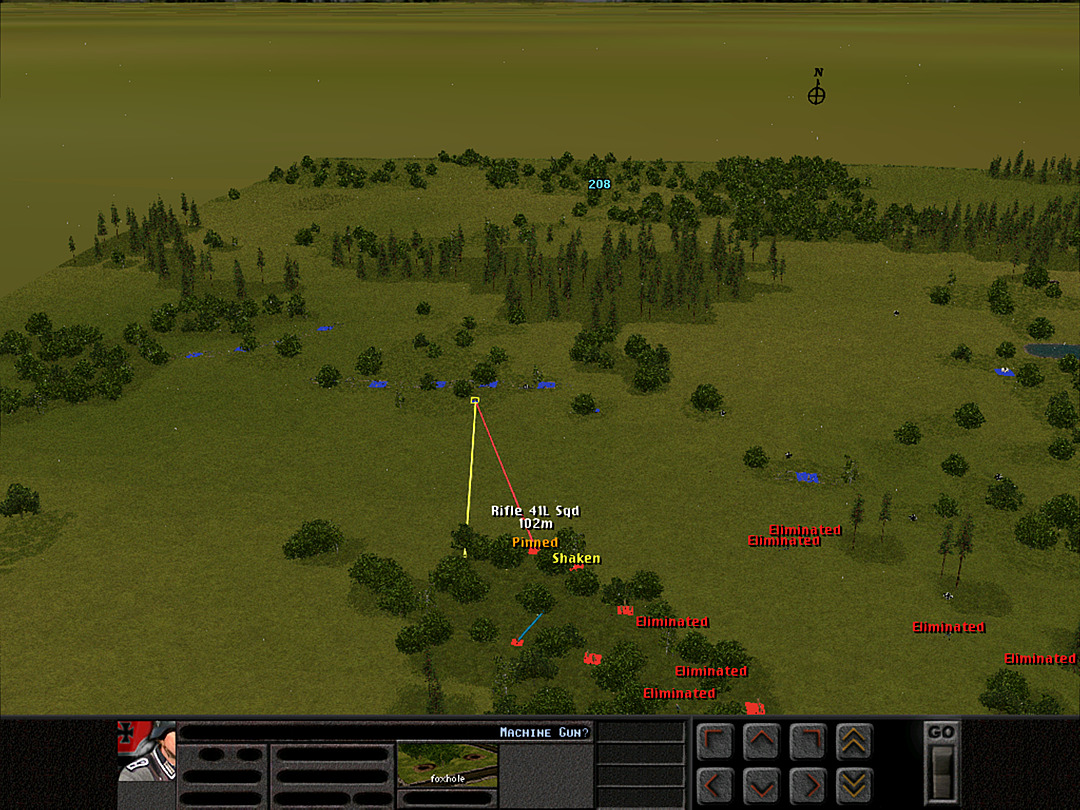 C Coy takes fire from more German forces at the barbed wire. 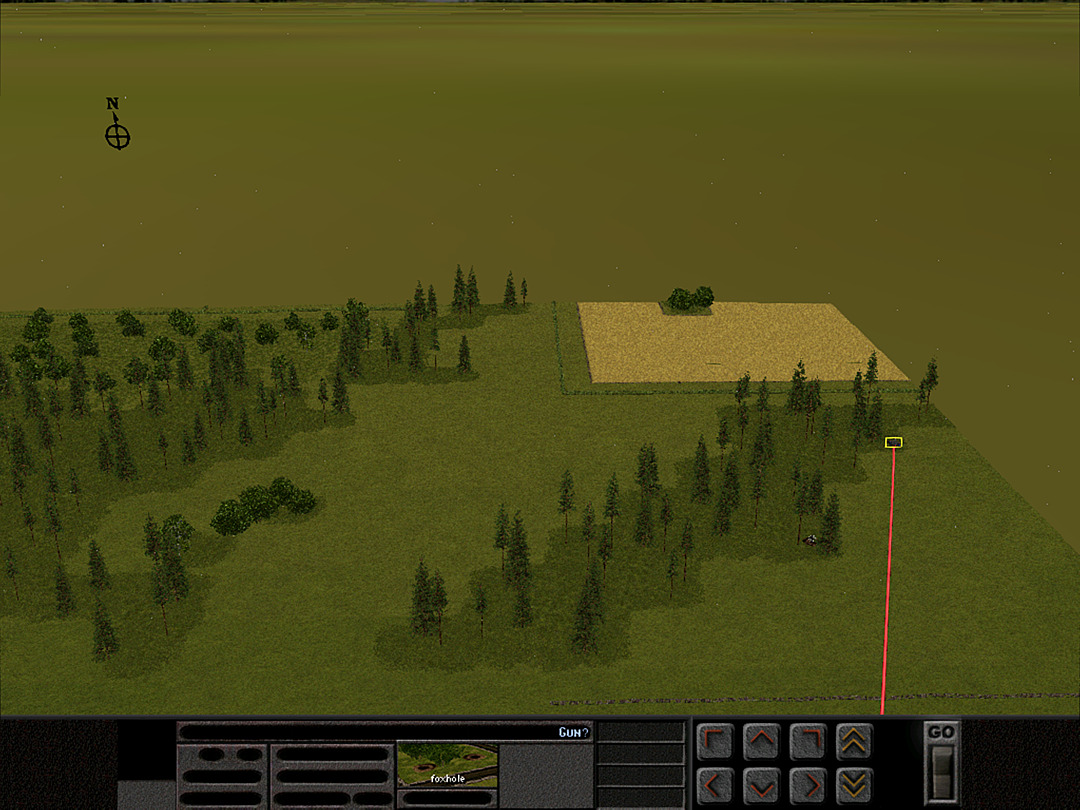 From the looks of it, there are actually two AT guns back on the eastern edge. At least we know not to put any tanks over there. 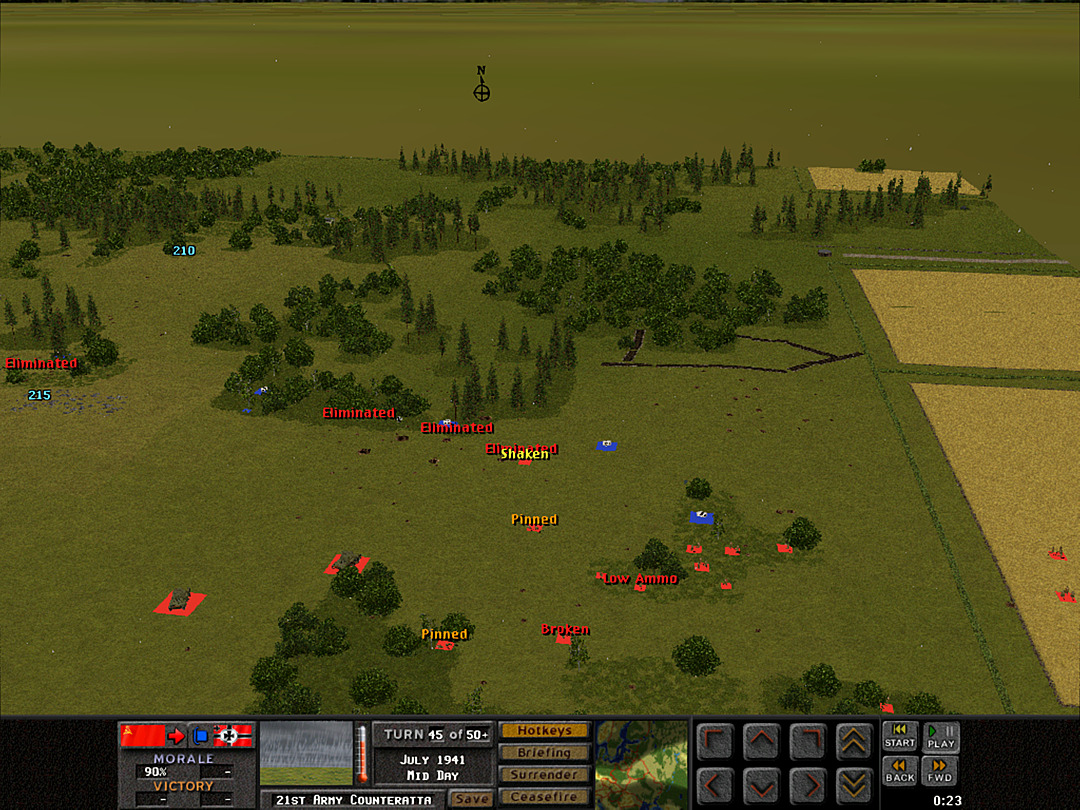 Two brave squads rush forward into the gap. Those AT guns actually don't have a very good angle on us, and can only just about hit at the point where the charge began. 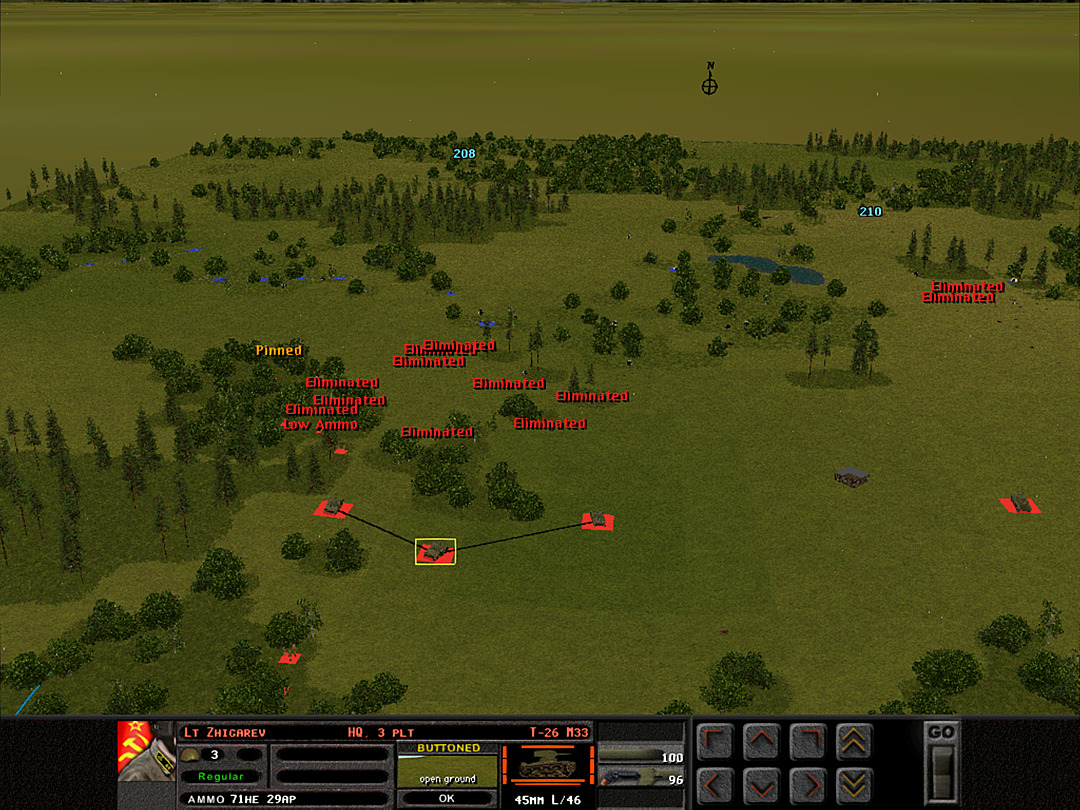 We are content to sit tight on the western side. We've practically wiped out a whole recon company. [ Note that because they are buttoned up, none of the tanks are considered in command range, even if they are this close to each other. They lack radios, and can only send commands by voice.] 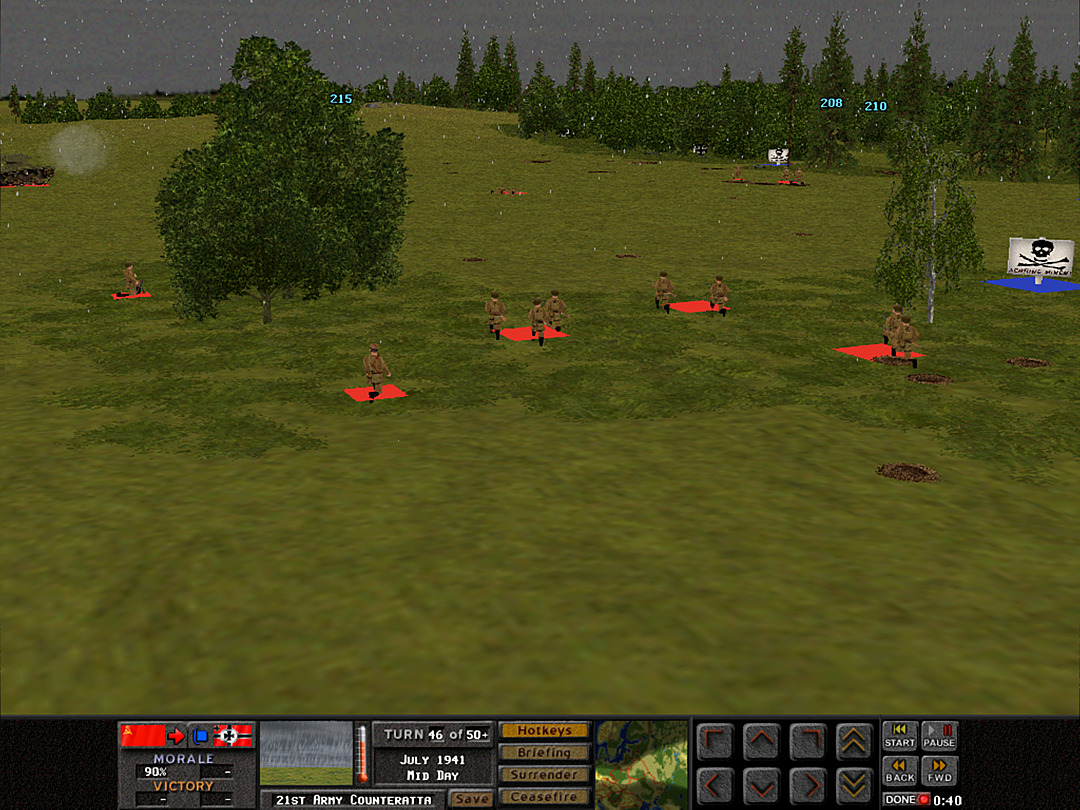 Two squads and the lieutenant have actually almost made it to safety � or at least to a German foxhole to occupy. 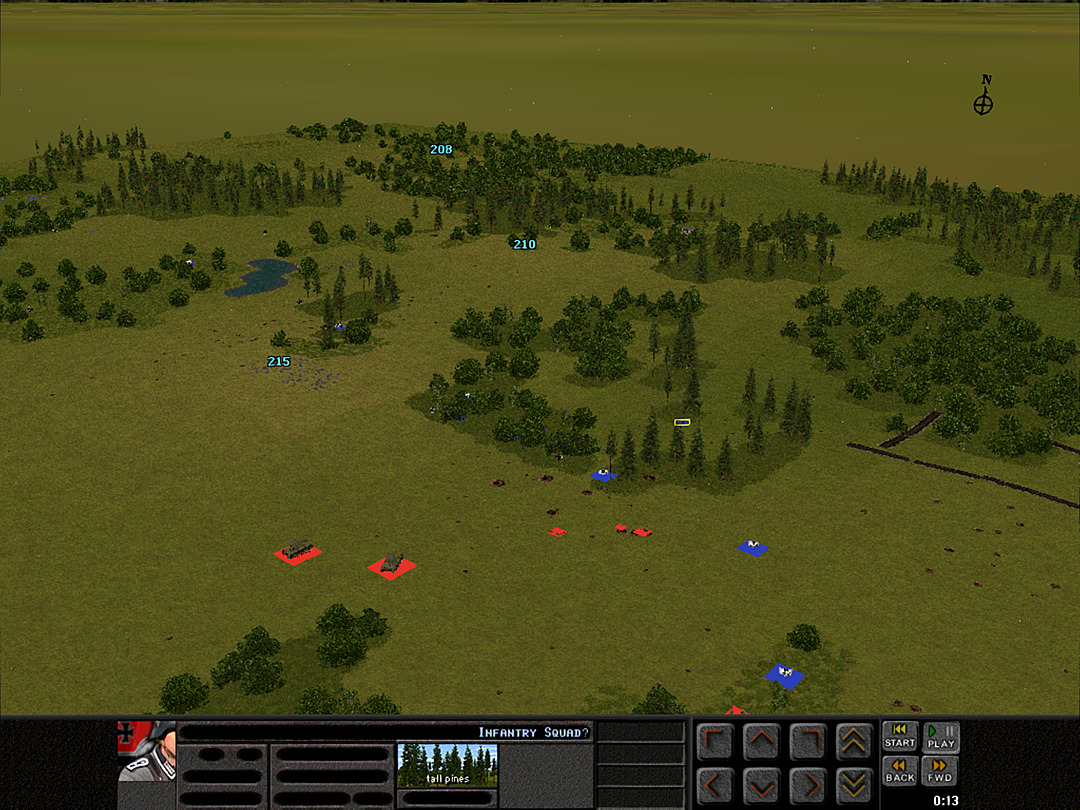 The Germans are shocked by our assault, and some units are seen fleeing rearward. 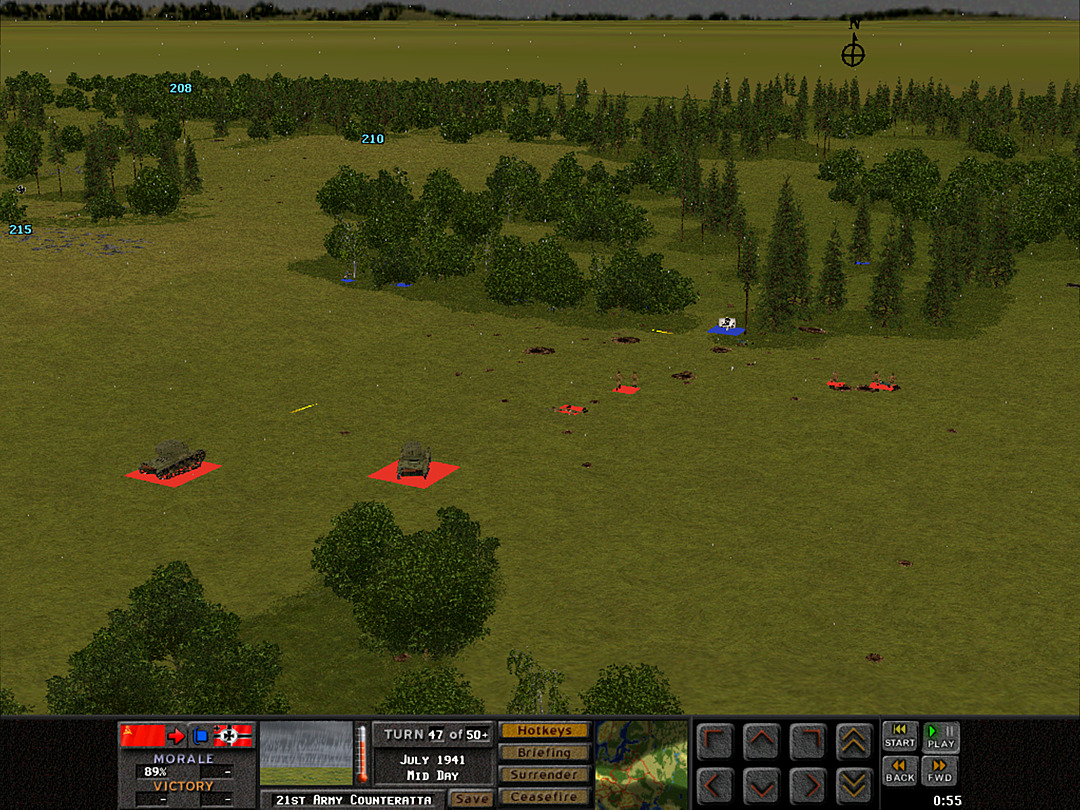 Another squad is coming close to gaining the enemy's position. 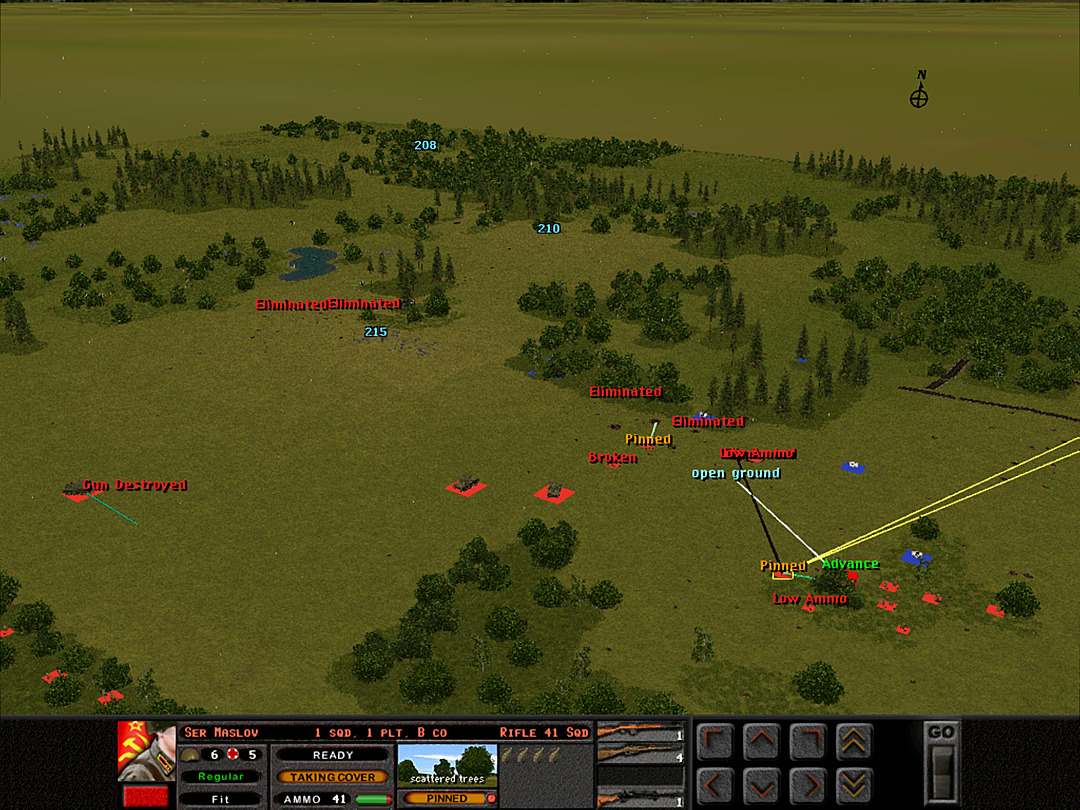 The last one is still just in sight of those AT guns. 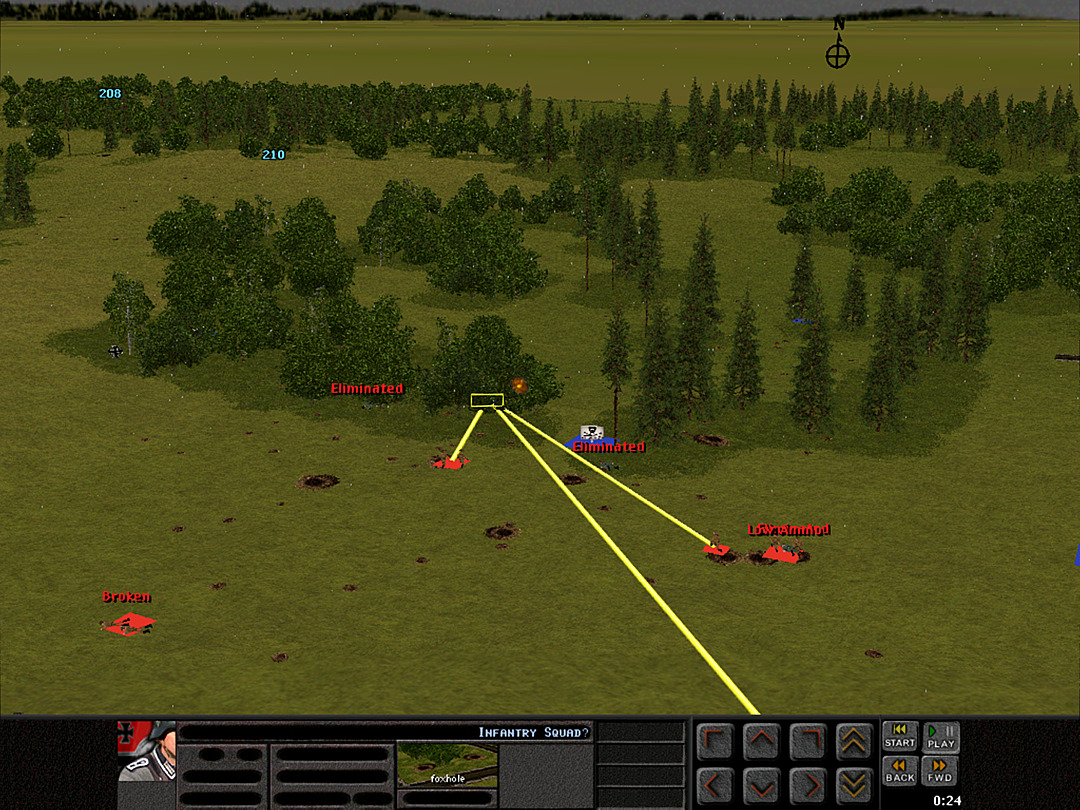 Only half the platoon has completed the charge, but they're now putting fire into the trees at very close range. 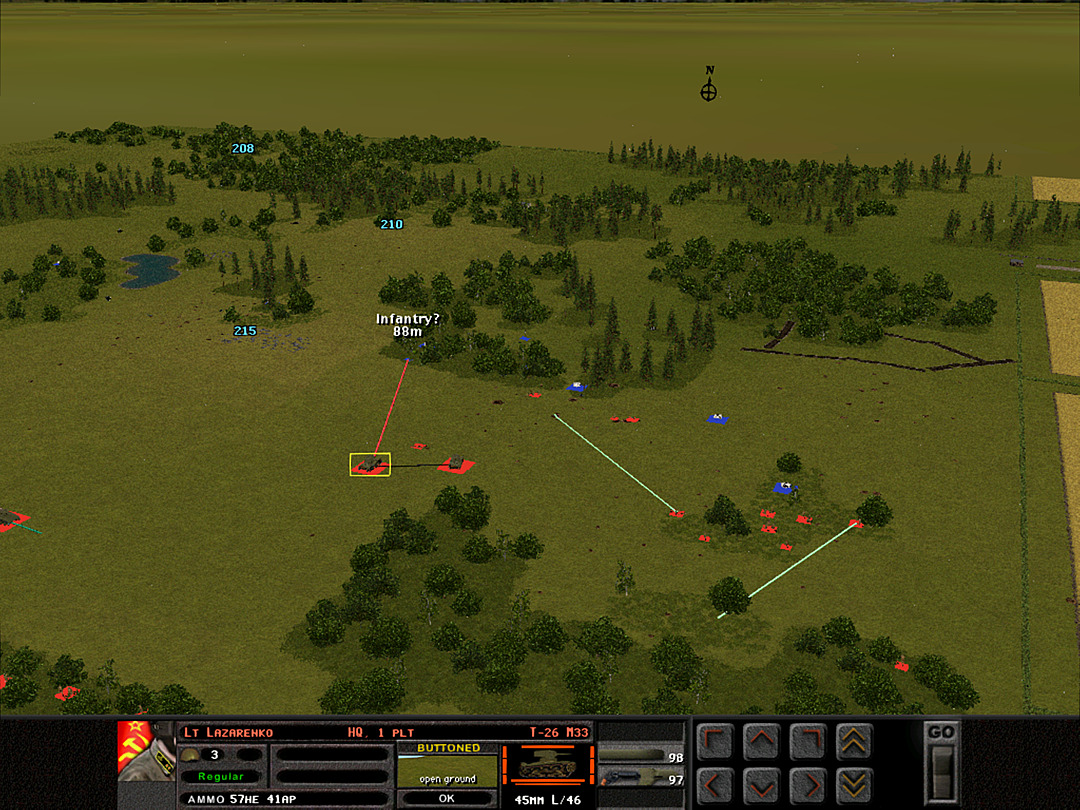 There are still Axis soldiers in the area, so we aren't going to move our troops any farther forward yet. Meanwhile, the remainder of B Coy starts to pull back, so they don't come under fire from those guns. 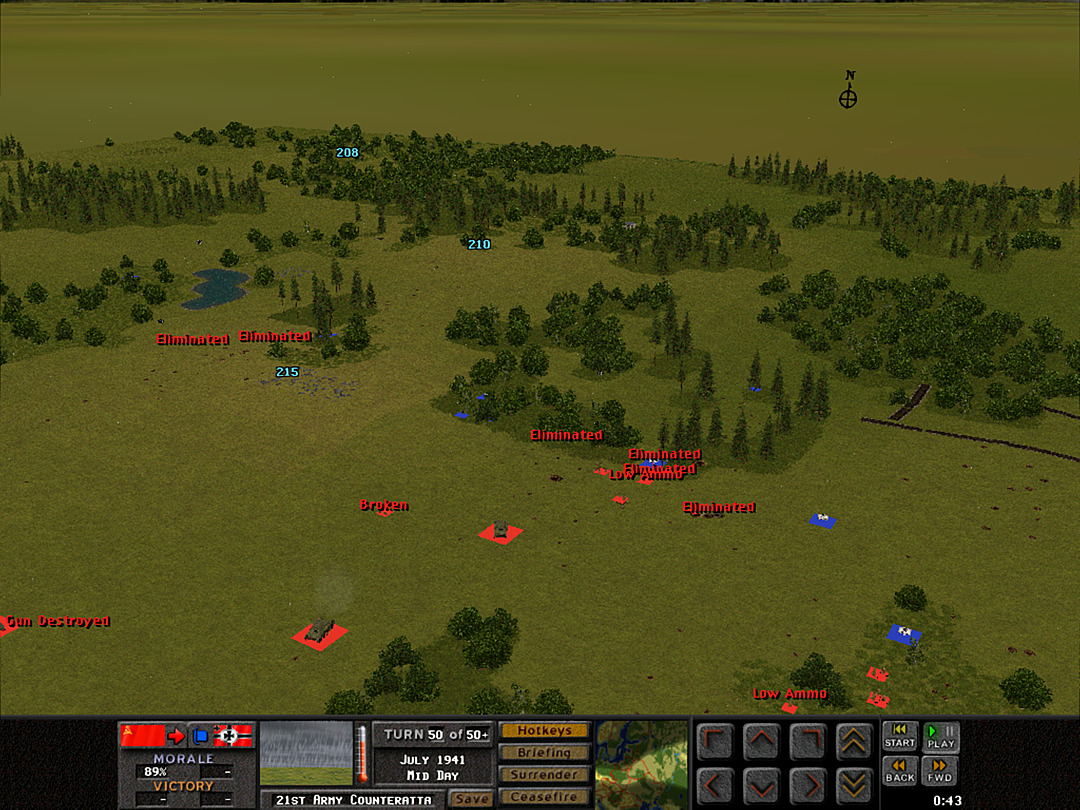 B Coy, 1 Plt has secured some foxholes. One squad has panicked under fire and started to crawl out into open ground; fortunately they haven't come under fire from anywhere. The charge has succeeded! 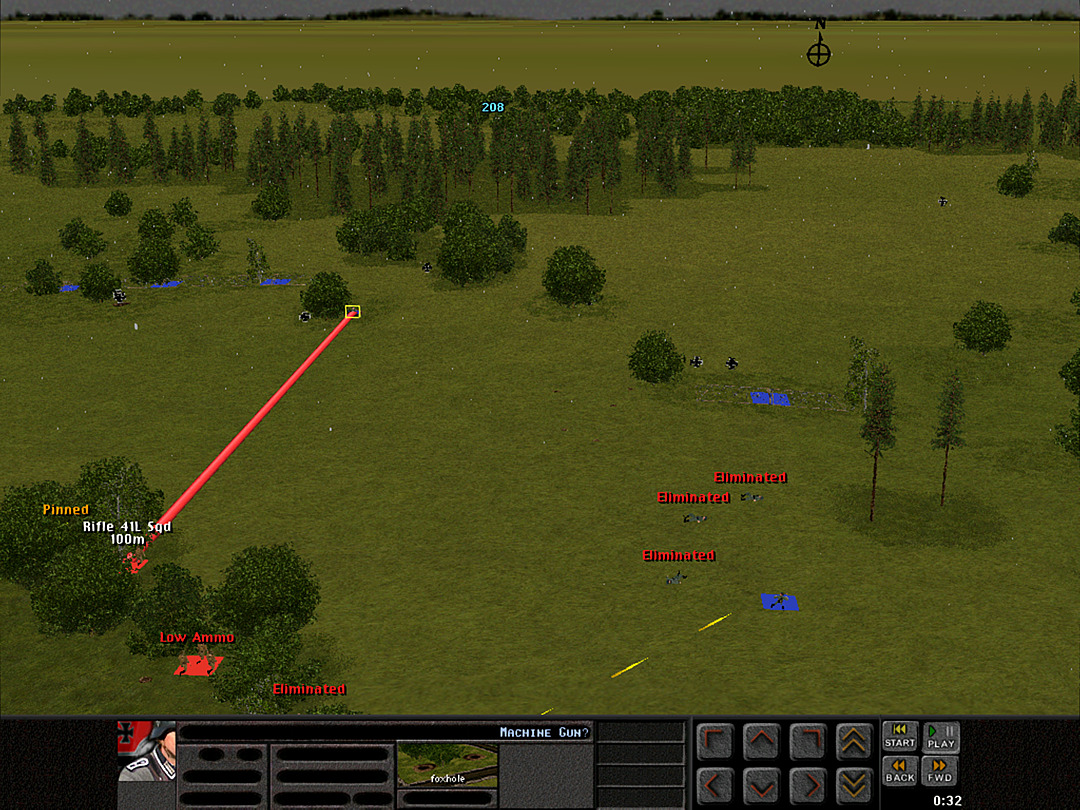 On the west side, a handful of soldiers from the German recon company are still spotted moving around. The troops up on the defensive line are still active, but C Company is relatively secure. 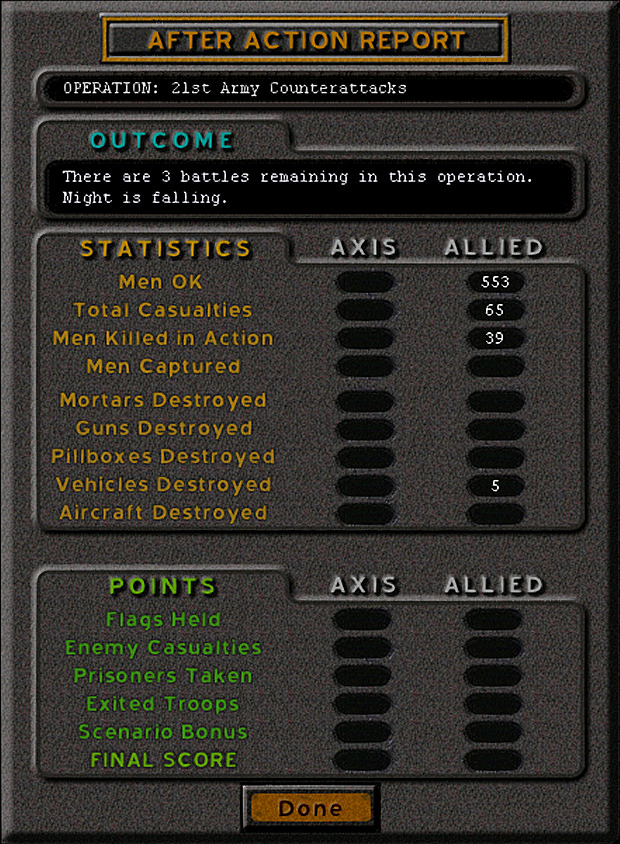 Losses are a bit heavier than we would have wanted thanks to the artillery strike. Still, we inflicted a fair amount of casualties, and have a toehold on the enemy lines. Unit Highlight Ampulomet 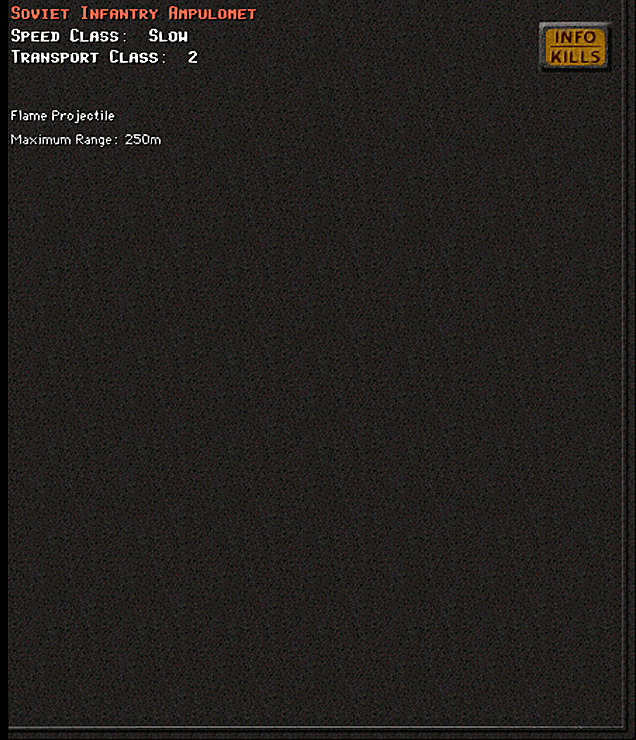 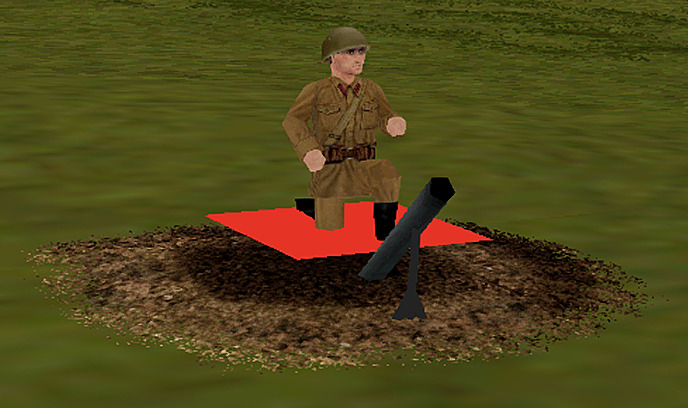 Crew: 3 Base cost: 17 An extremely in-depth article on this weapon. The ampulomet was one of several attempts by the Soviet army to develop anti-tank weapons that could travel with the infantry. It could launch small incendiary charges up to a few hundred meters. These charges were filled with a napalm-like substance and designed to shatter on impact. In theory, the material could get on or inside a vehicle, and the noxious smoke might well have been enough to cause the crew to bail out. While it was used in combat, it doesn't seem like it was actually very effective against mobile units like tanks. It might have worked decently against soft targets in fixed positions. Details on its actual use are scarce, as it was not really deployed on a large scale. I will say that while we saw these on the Soviet side during Blitzkrieg, their presence at the start of Barbarossa seems unlikely. Notably, it doesn't seem as if the weapon was really made available to troops until late in 1941.
|
|
|
|
Operation 2, Battle 2 of 4 Operation: 21st Army Counterattacks Time: Night [* Attempted to skip: NO *] Skies: Rain Ground: Damp Temp: Cool Wind: Strong Wind ESE We made some easy advances and repulsed an enemy attempt to grab the positions we were heading towards ourselves. The weather has unfortunately only worsened, as the summer storm has whipped up into something a bit stronger as night arrived. 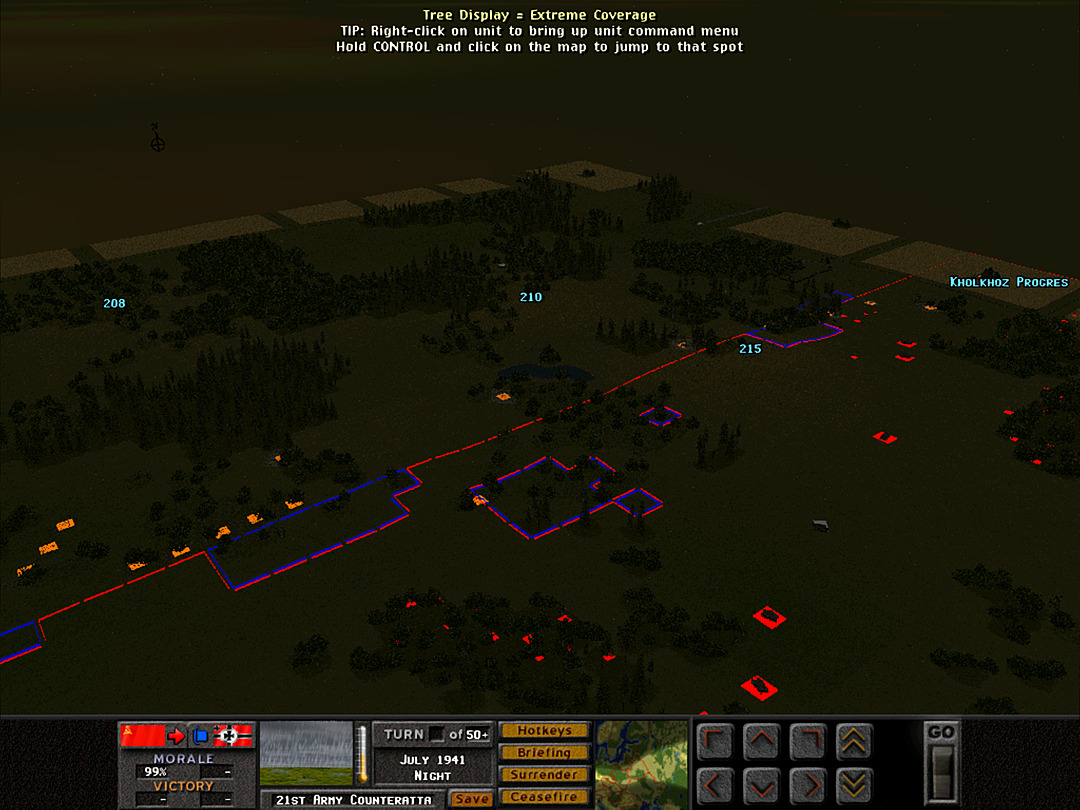 Our line of advance actually moved quite a bit forward, and we are within shouting distance of the first part of the ridge. We've spotted that on the north side the farmland spreads westward to the far end of the ridge as well. Once we get on and over it, it looks to be clear on the opposite side for the main advance. [It can be seen here that during setup, the precise placement of minefields is visible. They can also appear in 'our' territory, as they do not affect the line of control.] 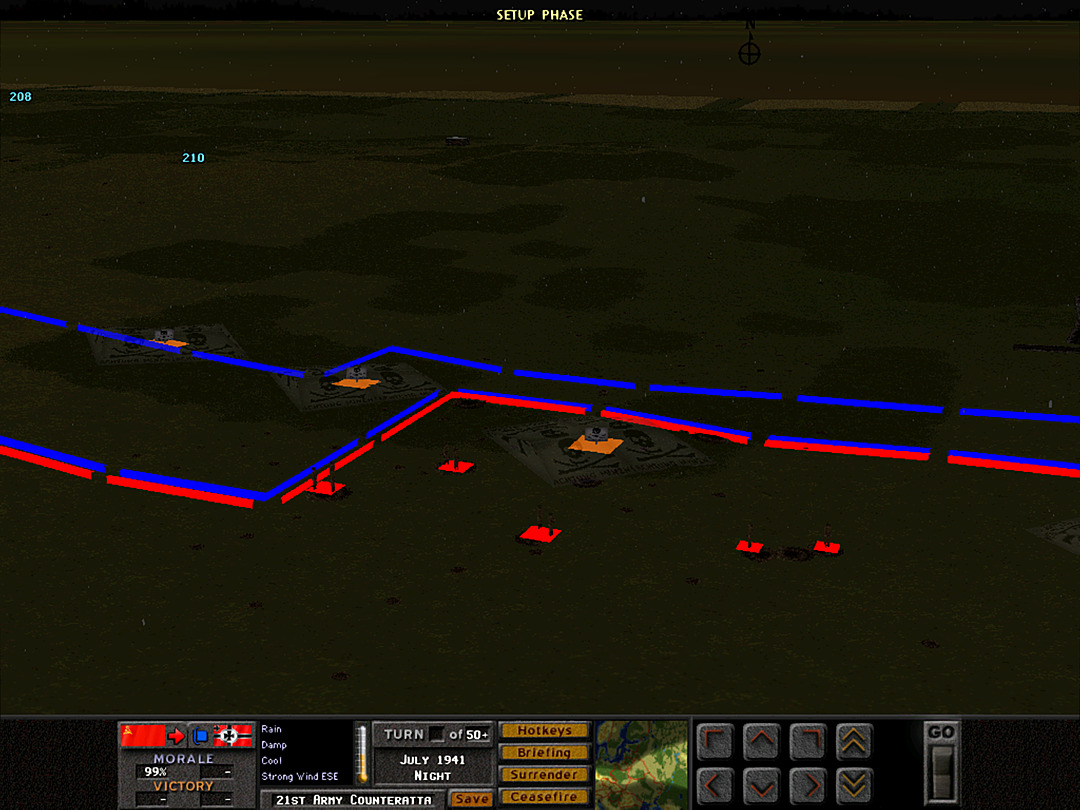 Our goals for the night are modest; no direct assault is required yet. We want to make some progress, though, using the cover of darkness to our advantage. Thanks to the capture of the enemy foxholes, we ought to be able to take control of a larger chunk of the woods. That will be B Coy's task for the night. We also hope to find a safe path through the minefields or clear them, so that the bulk of our forces can advance safely in the morning. 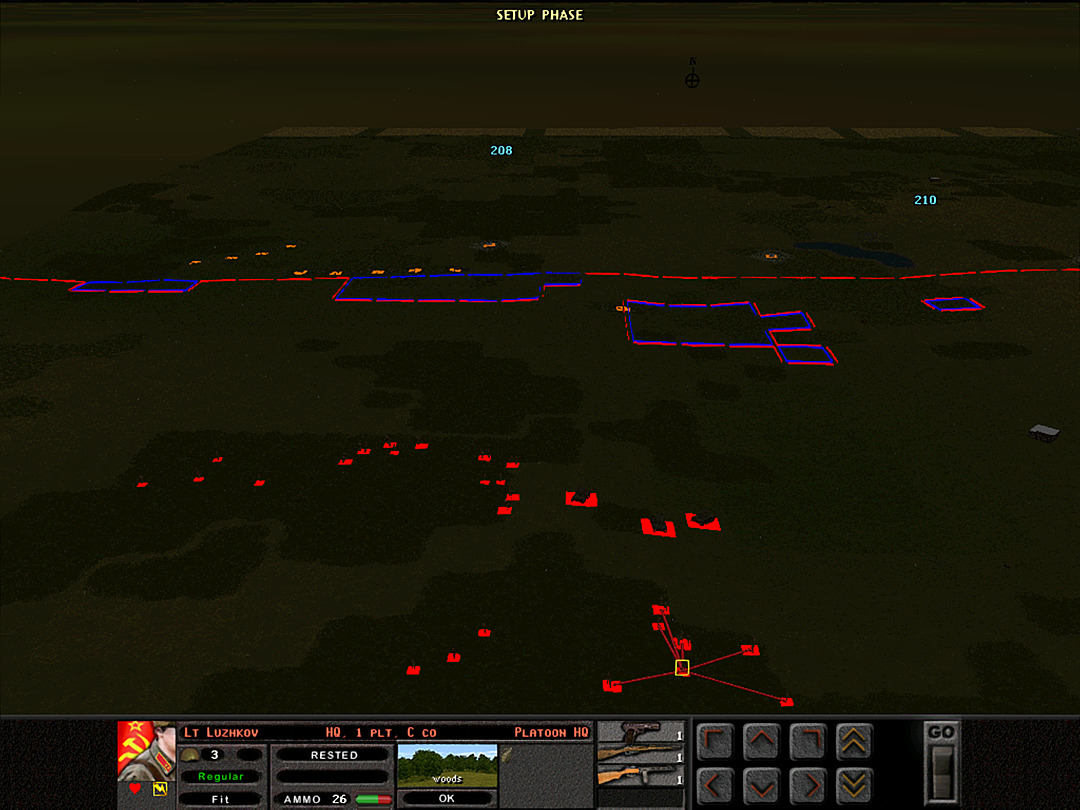 After sundown we actually retreated on the west side from the woods closest to the barbed-wire line. Still, we plan to make some moves here as well. C Coy will scout the route through the trees in the middle, in the area where we saw the Germans trying to move towards us. If it's clear, we'll be primed to assault the ridge from both sides at first light tomorrow. 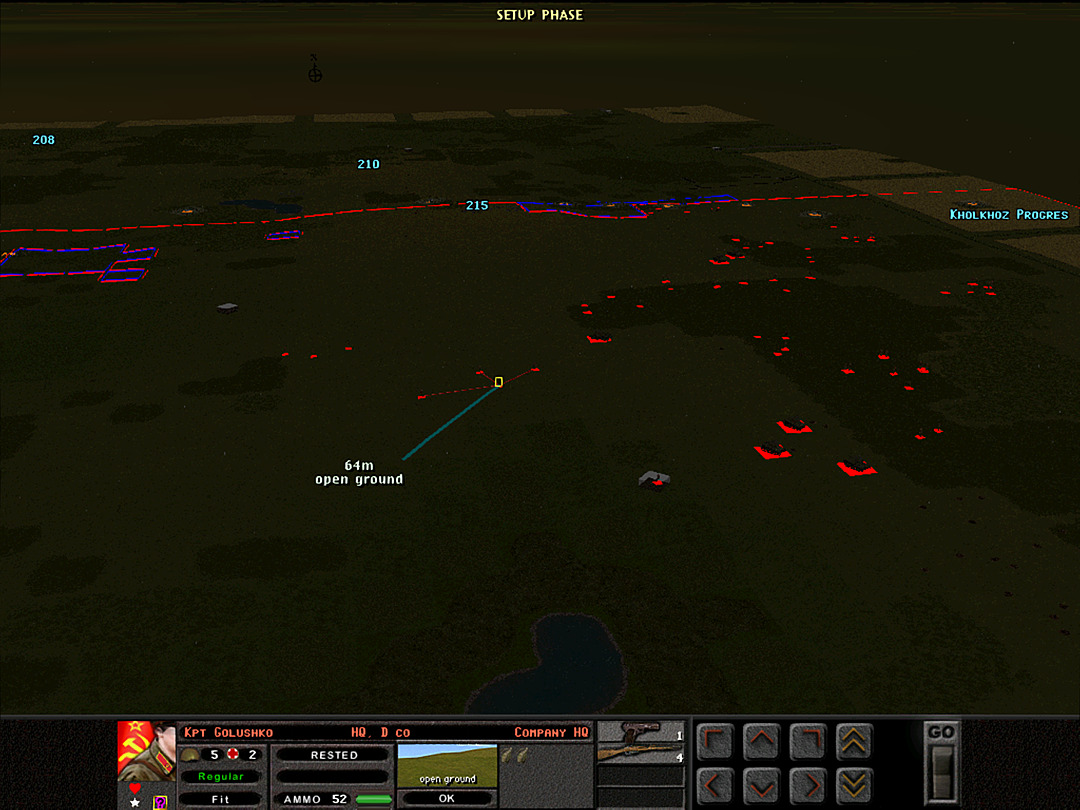 The continued rain and wind means that it's almost impossible to spot anything that's not within spitting distance. That'll be good for some of the troops that are trying to sneak towards the enemy lines, but it also means anyone on the front lines won't get much fire support if they do run into trouble. 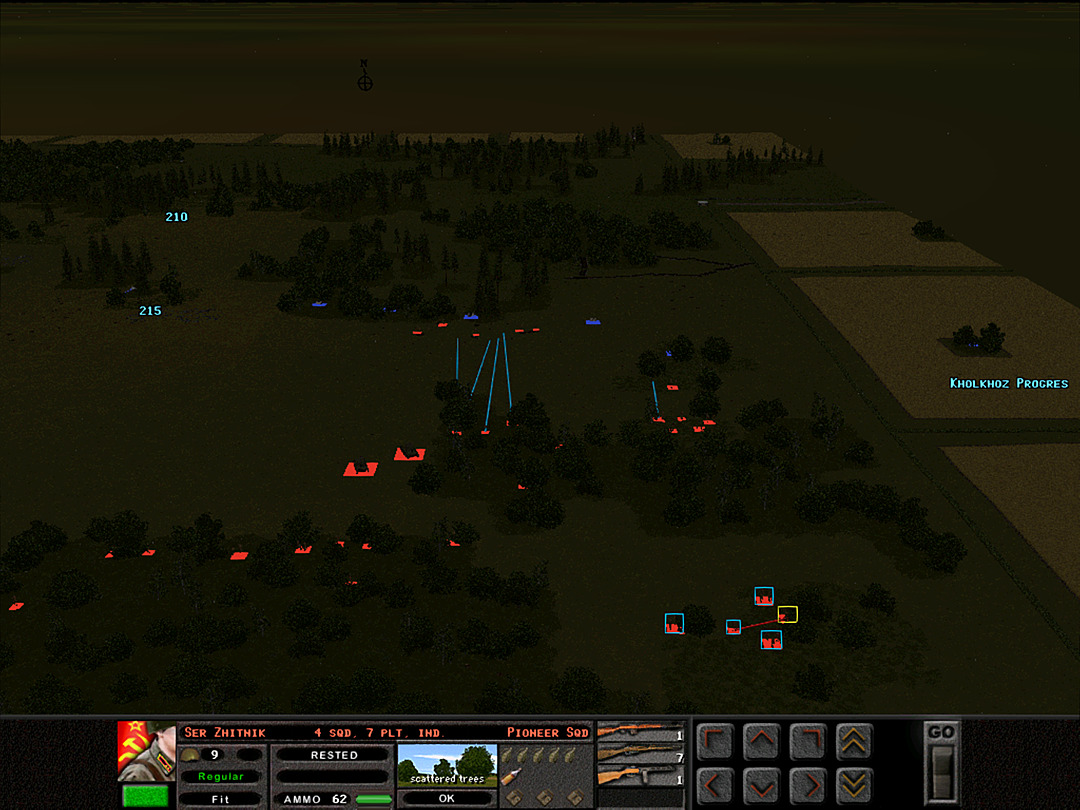 B Coy's platoons will be responsible for making the first movement into the enemy lines. The Pioneers are close at hand, since they may be called on to use their explosive charges to help clear the minefields. [Minefields can be weakened by direct or indirect fire. When 'damaged' they are less likely to be triggered, but there's no indication of their status unless they get cleared out entirely. As might be expected, explosive ordnance is the most effective at removing them.] 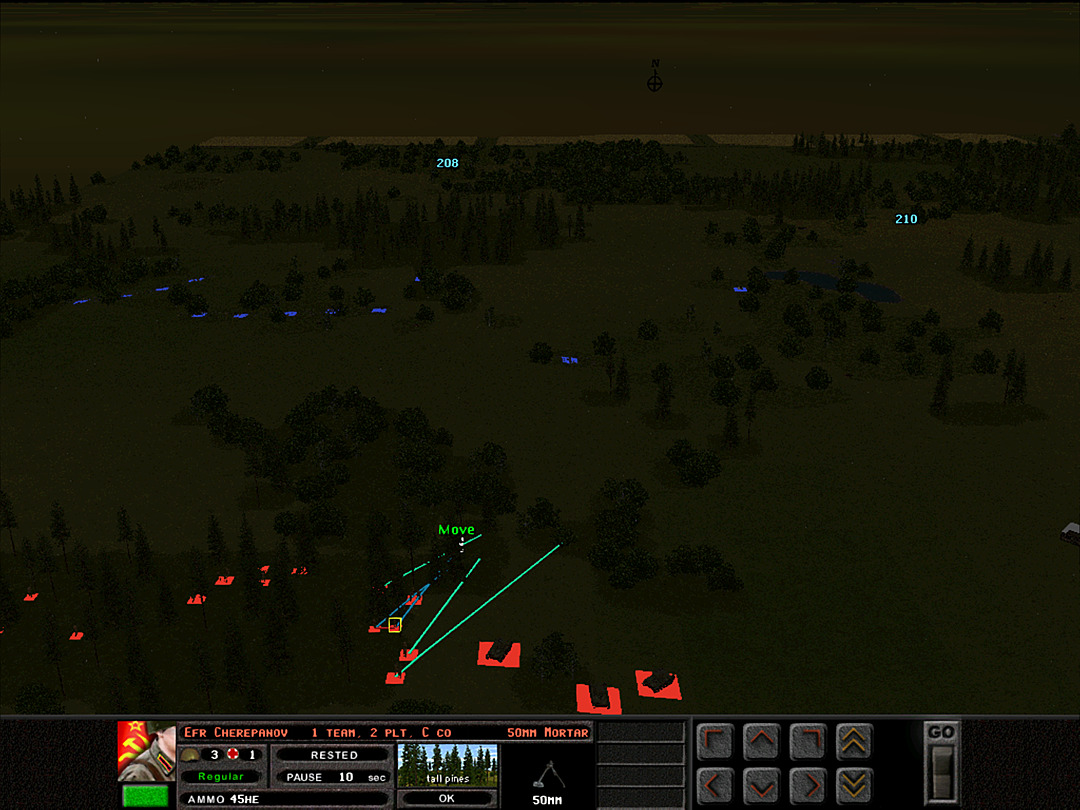 As for C Coy, it's 2 Plt that will reconnoiter the woods; they haven't seen much combat yet and retain the best strength. 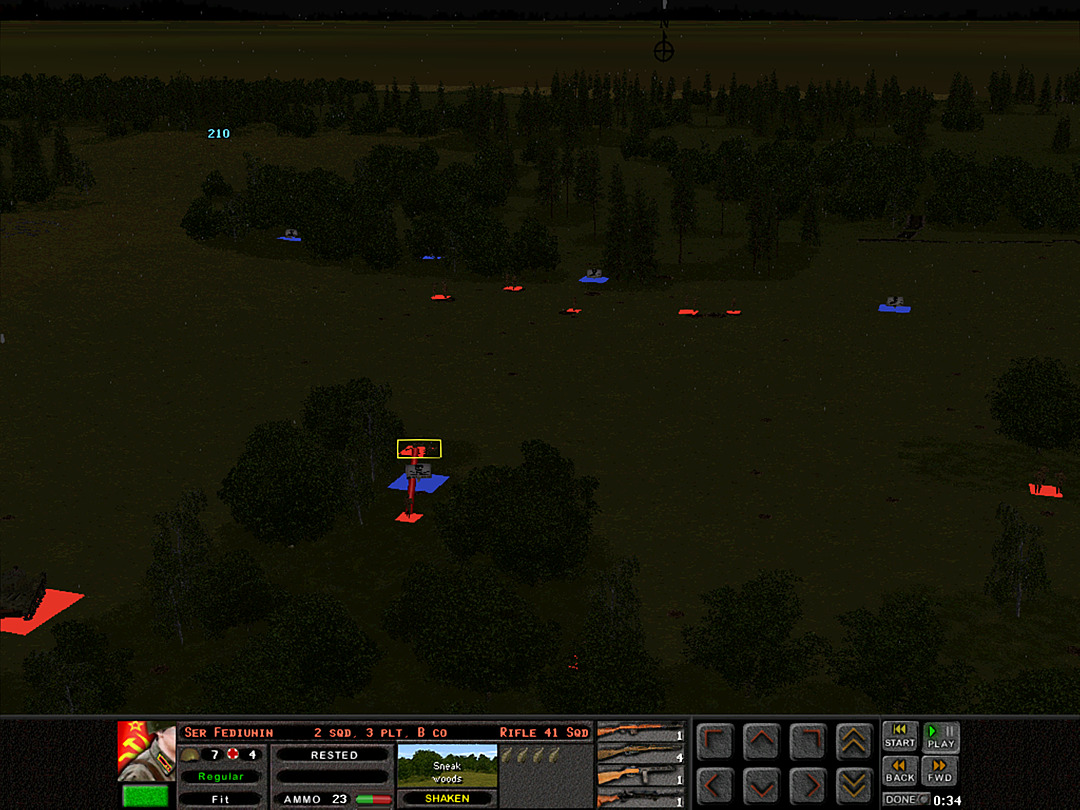 Barely has the advance of B Coy, 3 Plt begun when they discover another minefield. This one is on the south side of the woods. 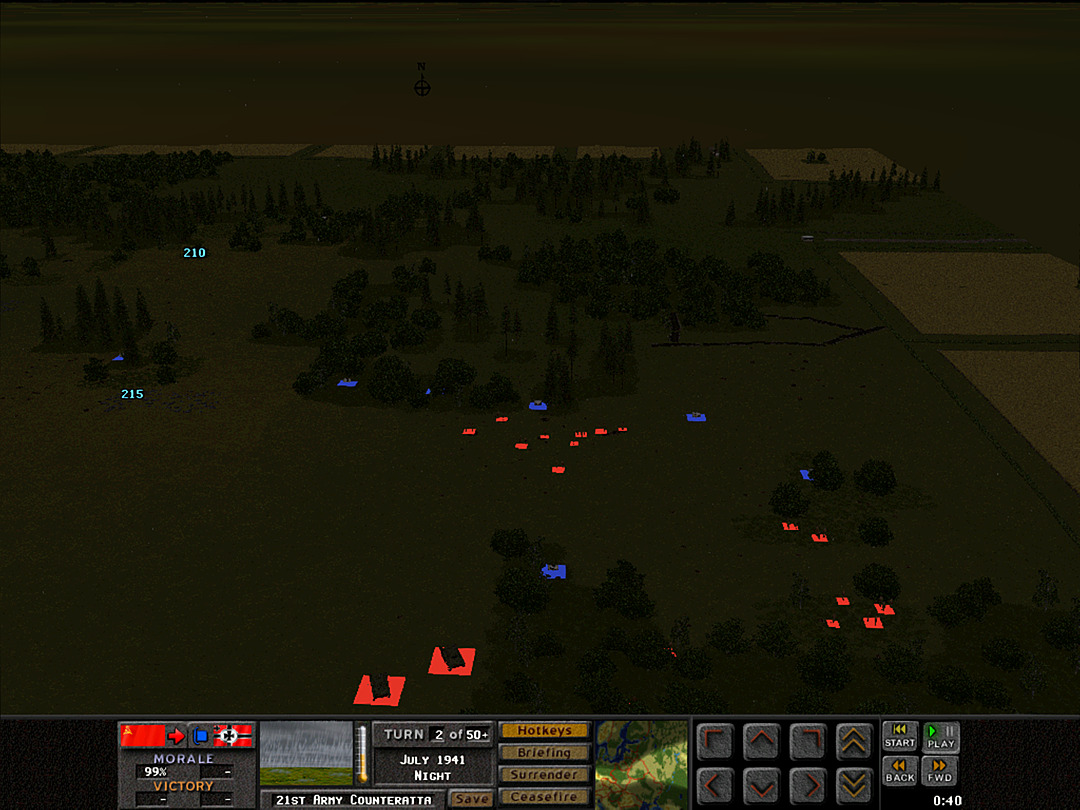 Nevertheless, they push on through the driving rain and reach the far side without further incident. 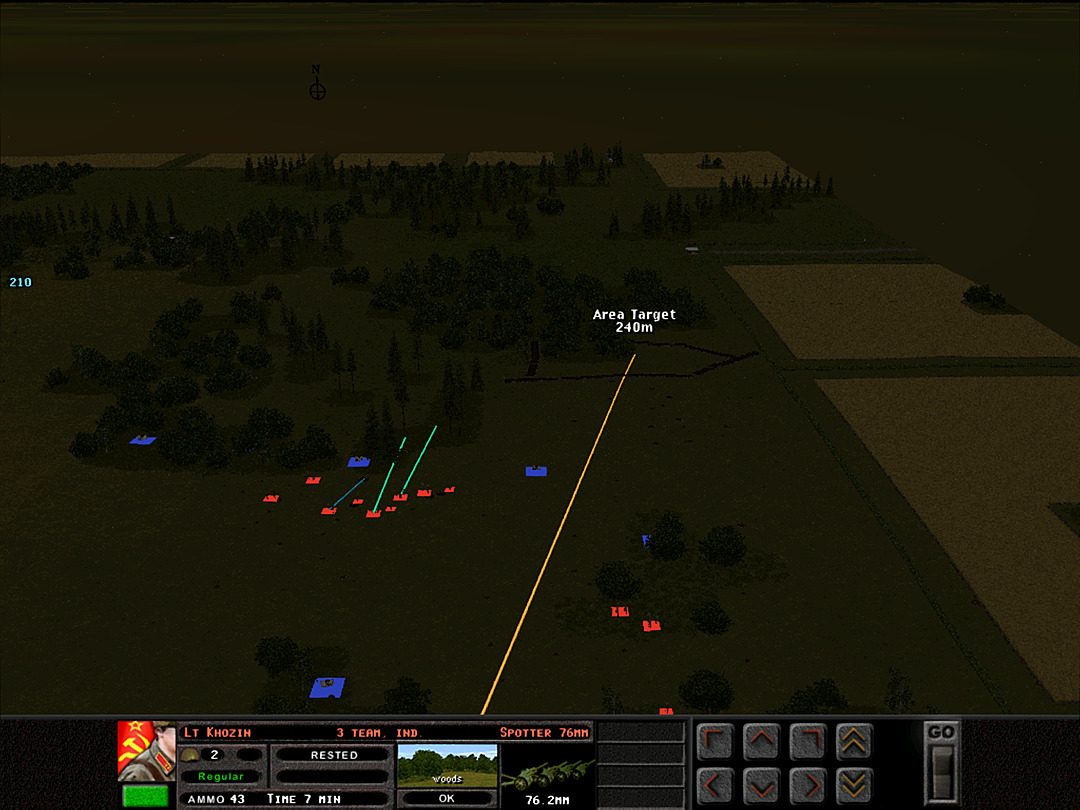 As it seems likely that the Germans will have reinforced these trenches, we order a brief artillery strike. It's a bit dangerous to call in due to the poor conditions, but it might well help out a lot. 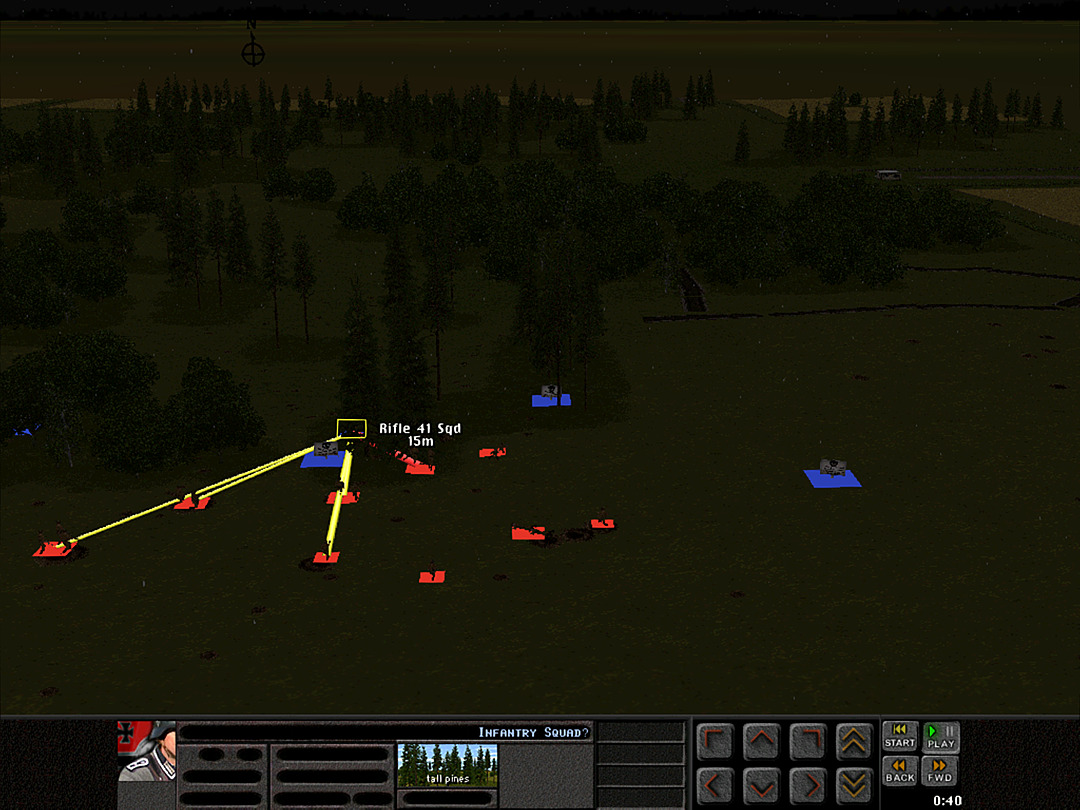 Once B Coy, 3 Plt starts to push ahead, the first enemy squad is revealed. Our soldiers open up on it. The advancing men also report that another minefield is blocking our path into the German lines. 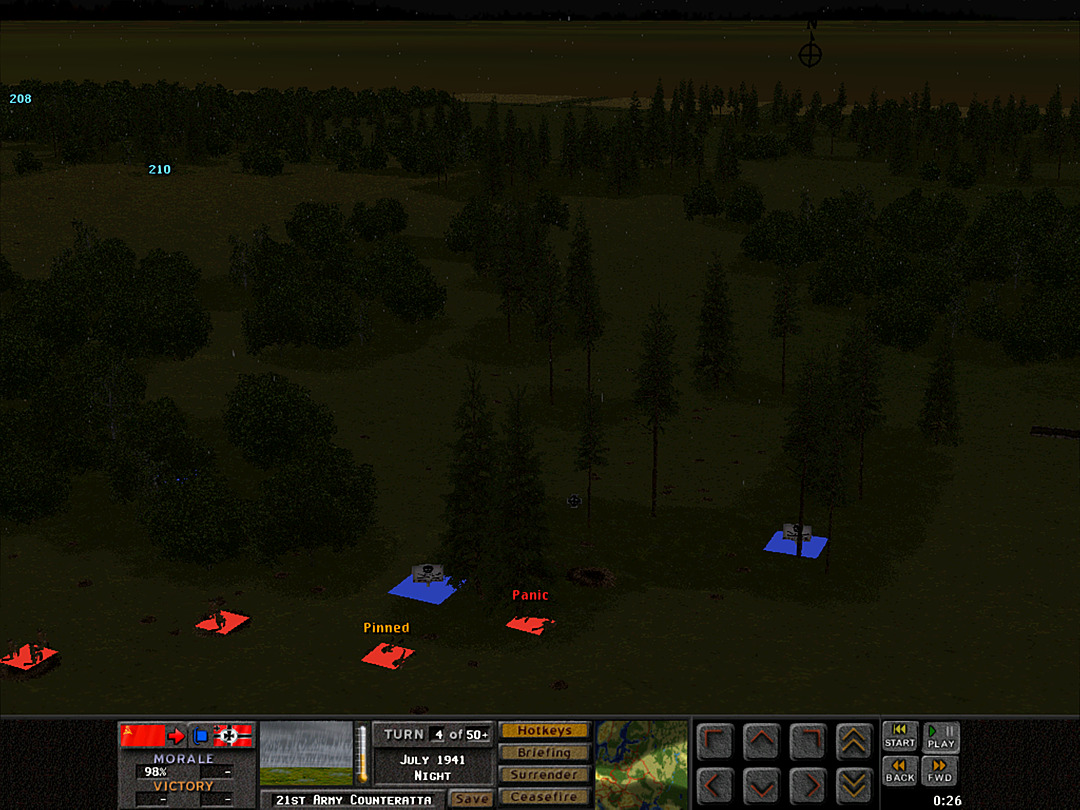 It's hard to spot the enemy in the dark woods. We're a bit more exposed as we move in, and the first charge is driven back. 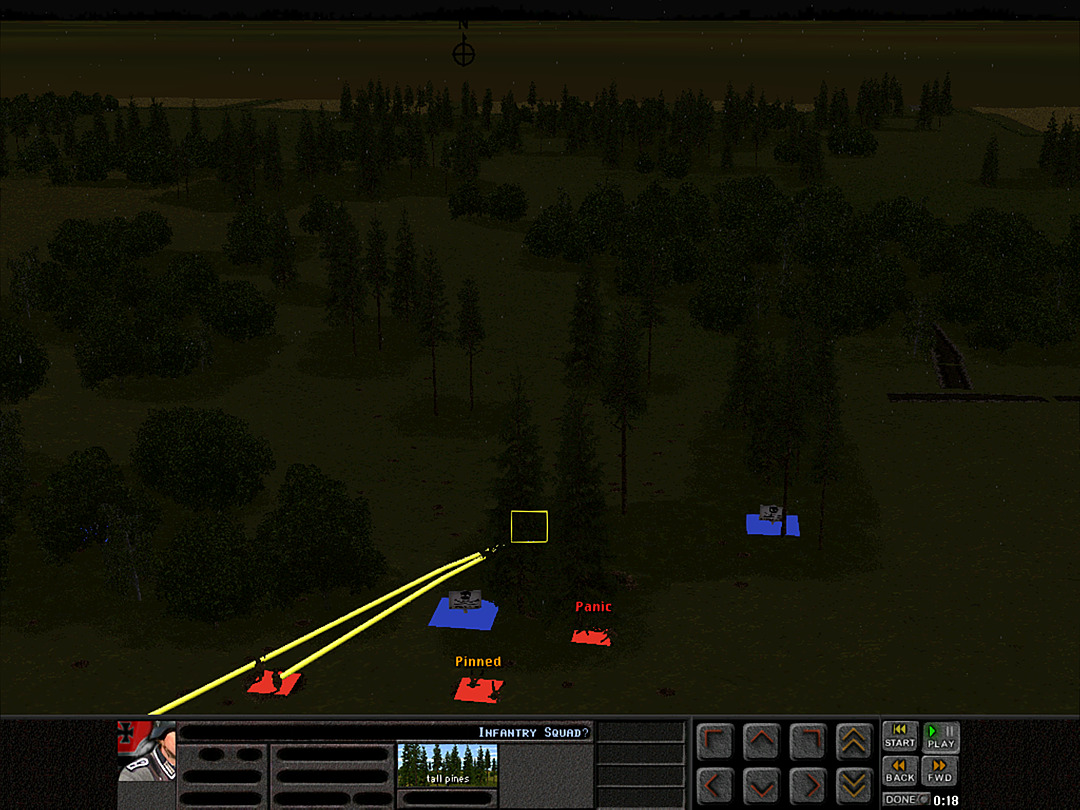 Still, we have enough units right near the front that they can suppress the enemy squad. 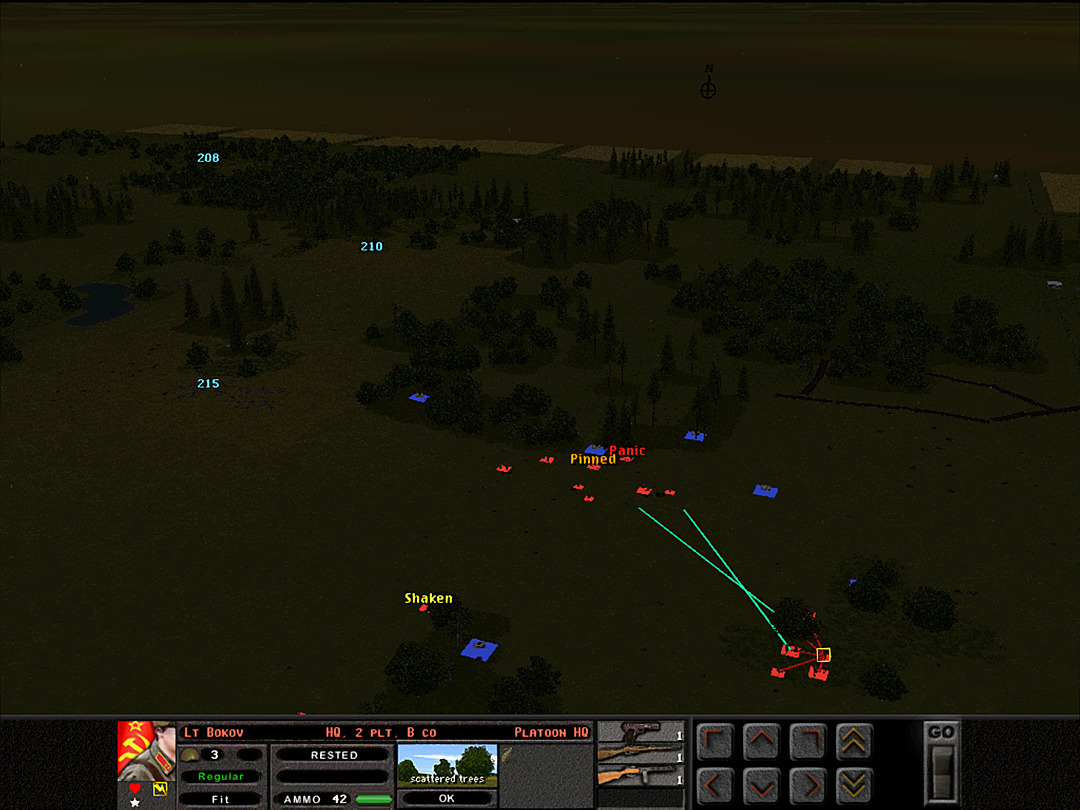 Once we do get some troops through, we'll want to keep pushing, so B Coy, 2 Plt prepares its advance. 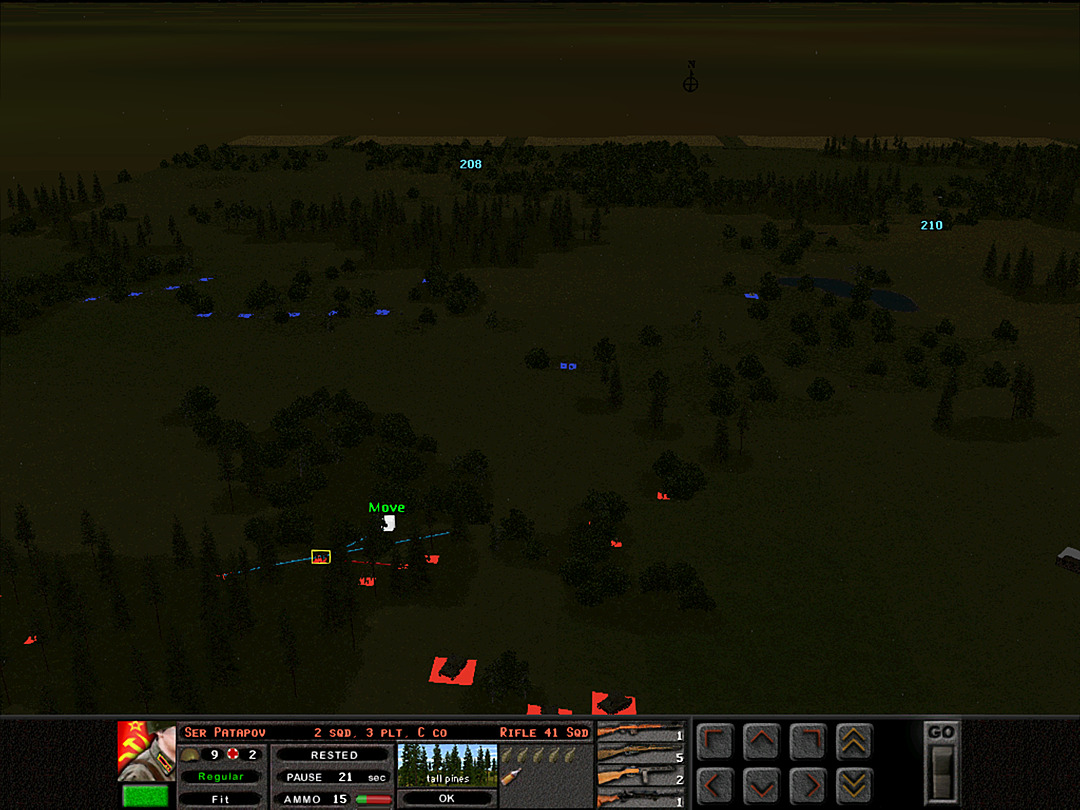 As C Coy, 2 Plt scouts the woods, the other platoons shift to keep an eye out for any enemy patrols. 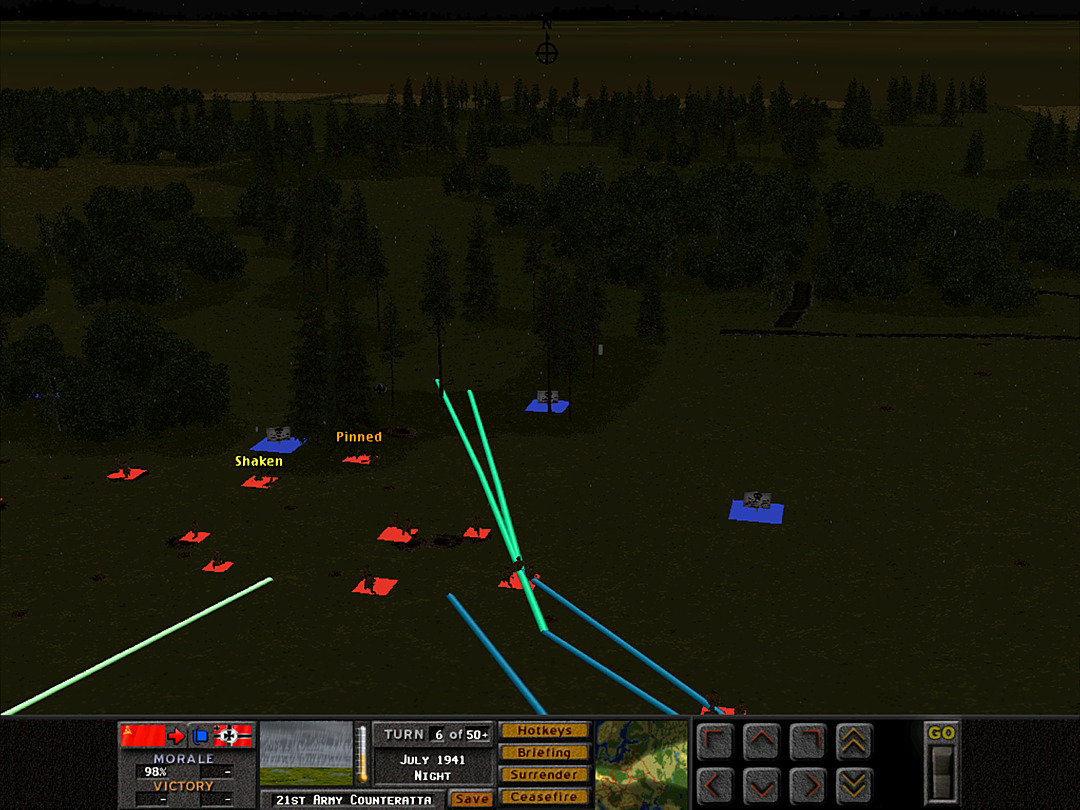 Since B Coy, 3 Plt's first push is taking a bit longer than expected, 2 Plt decides to take the initiative. 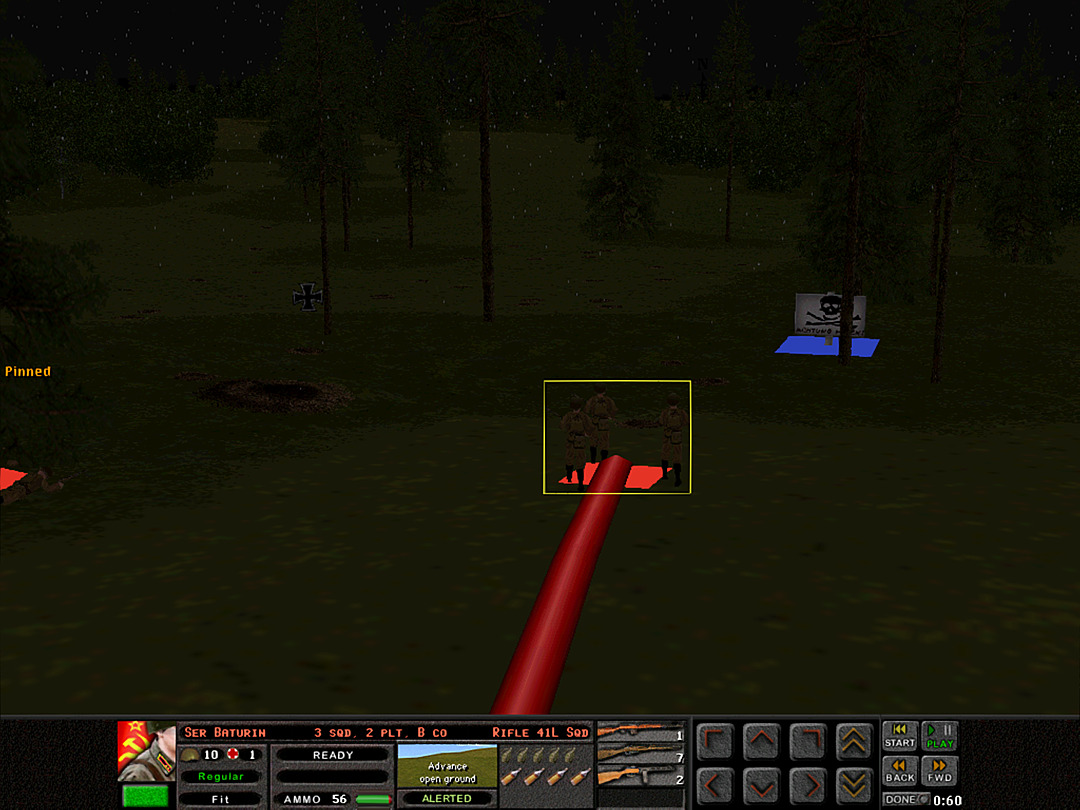 The minefield (and the potential enemy contacts) causes some hesitancy in the squads. [The iron cross faintly visible on the left through the trees indicates a questionable German contact; in this case it's the last sighting of the unit we fired on.] 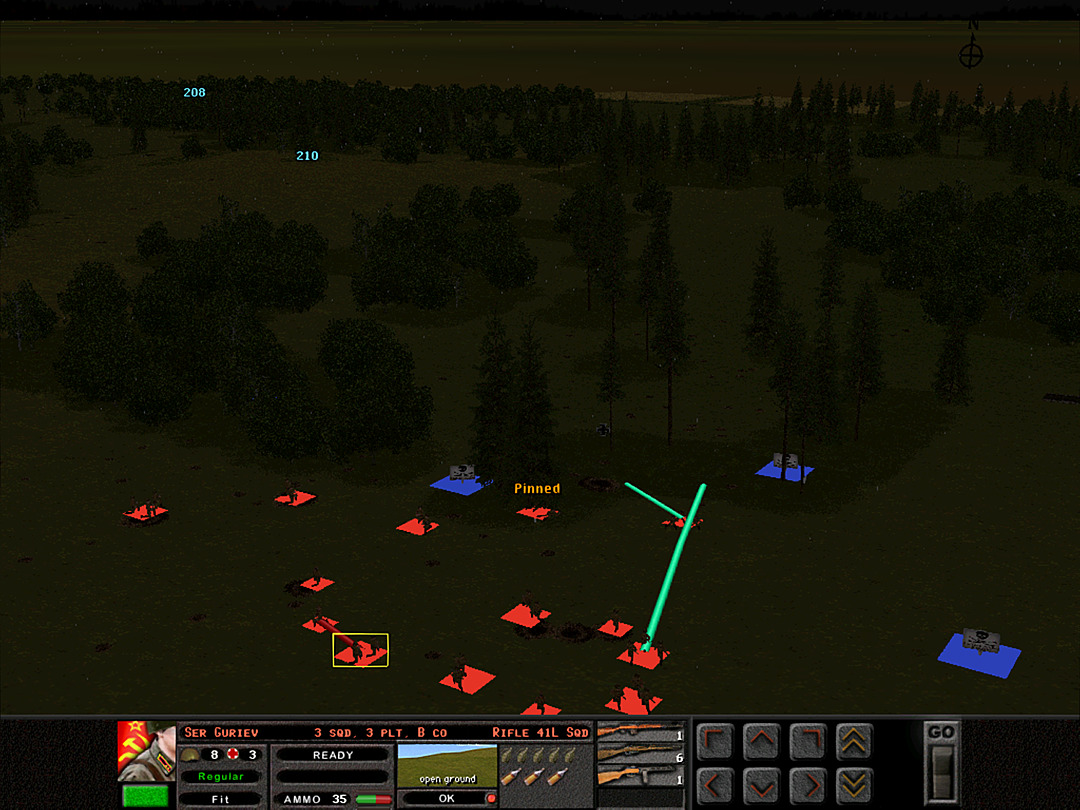 We spot some foxholes in amongst the trees, and move to seize control of them. It'll be a safer position to charge forward from. 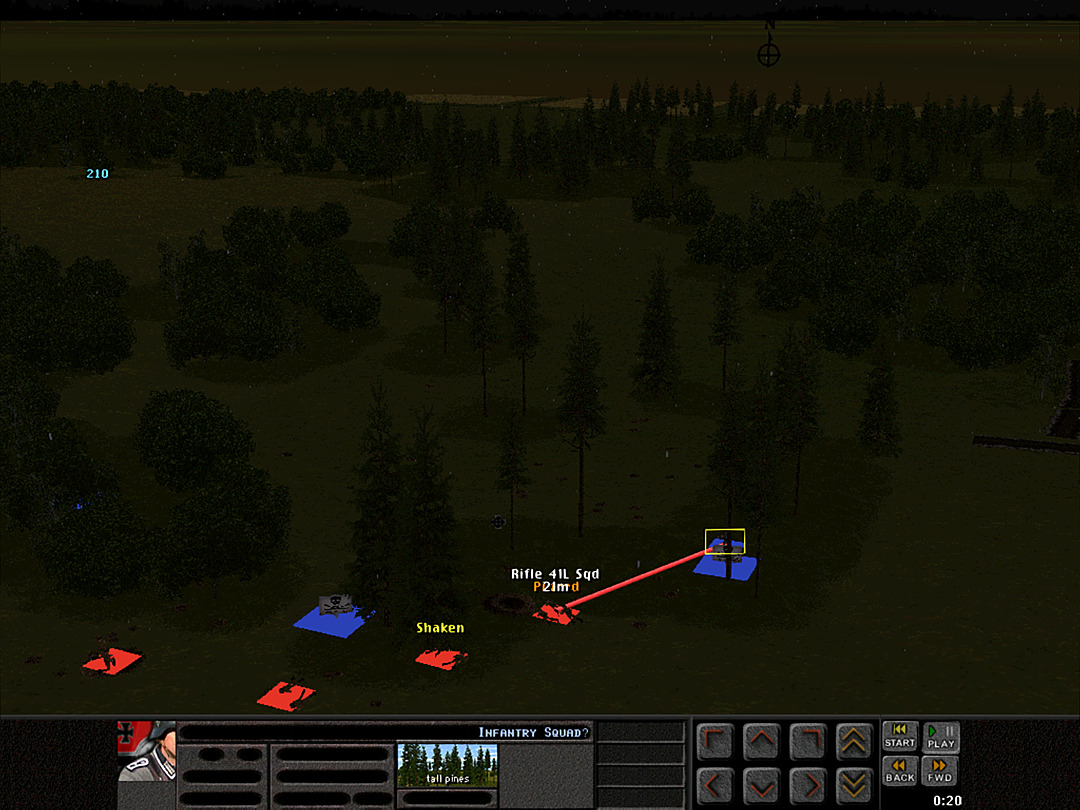 Another enemy contact is found to be right in the middle of the minefield we just discovered. 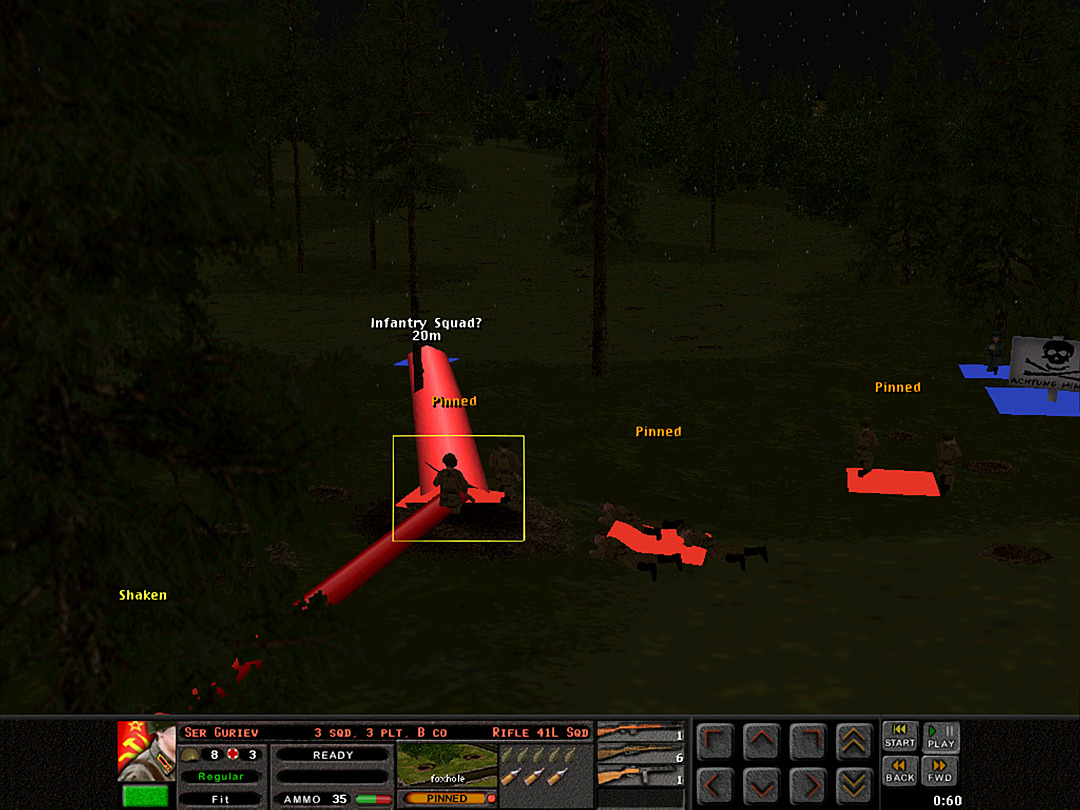 Incoming fire is heavy, but we do take one of the foxholes. 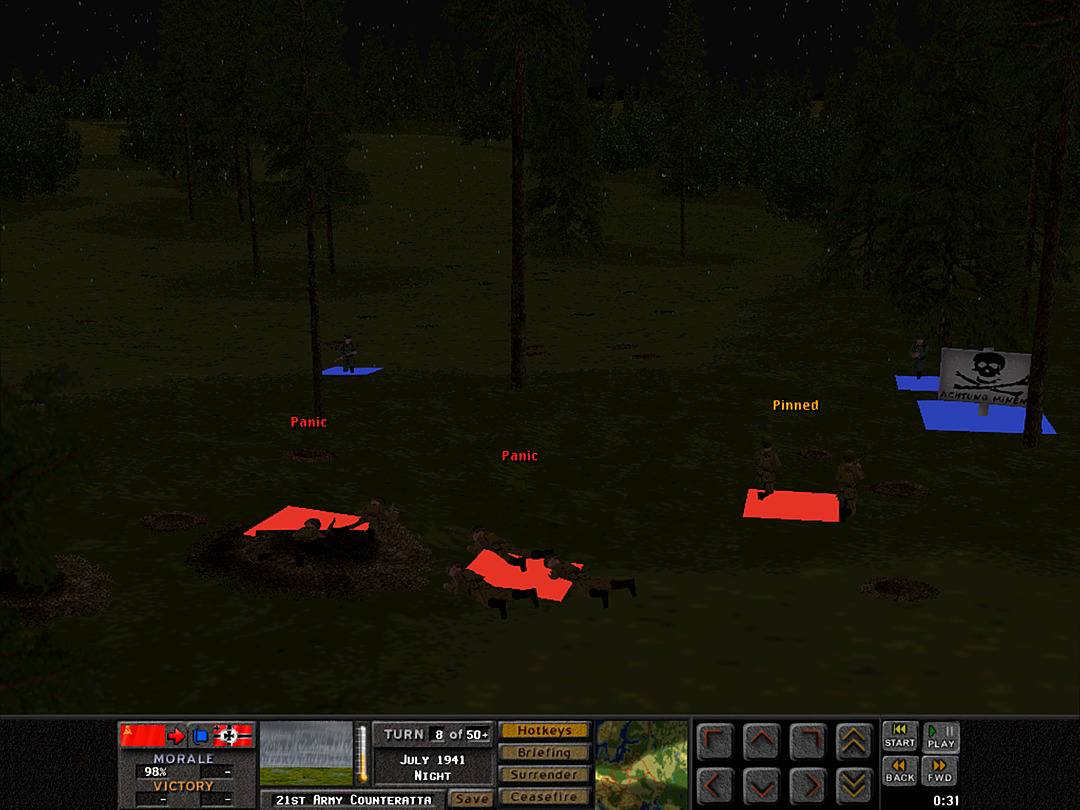 Both German squads are attacking now, and our men can't seem to hold up under the stress of battle. 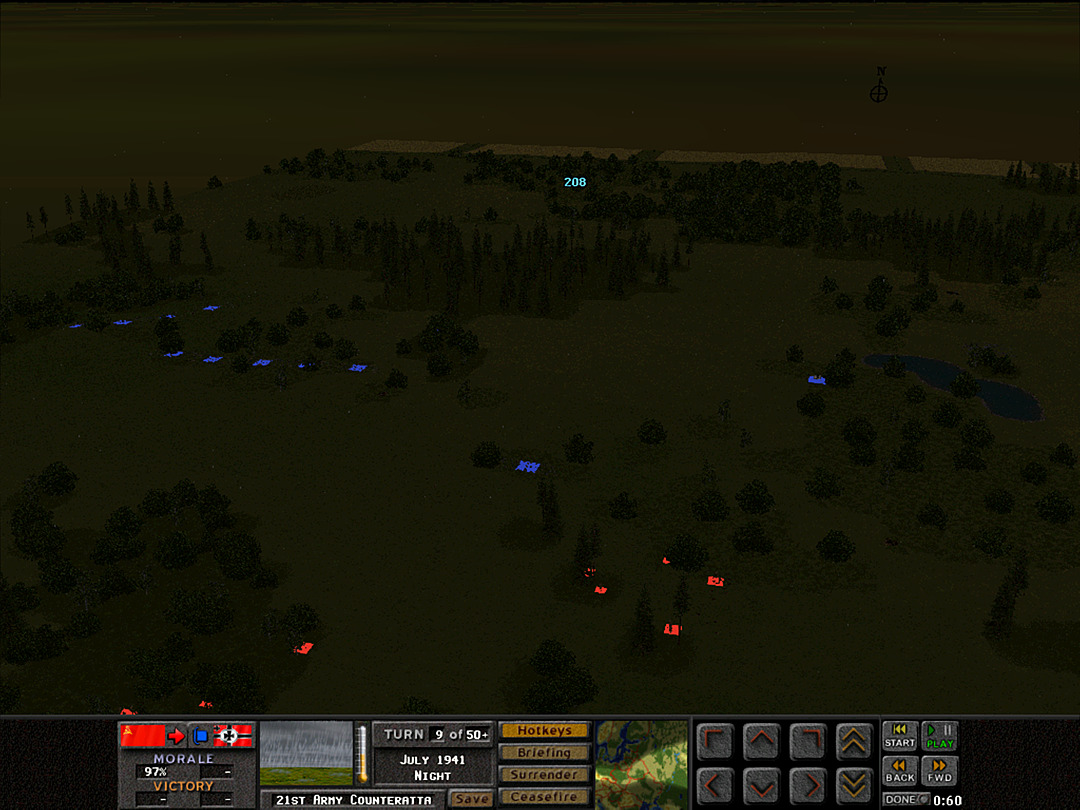 C Coy has nothing to report on the west side. They've cleared the narrow connecting section, and can now search through the forest. 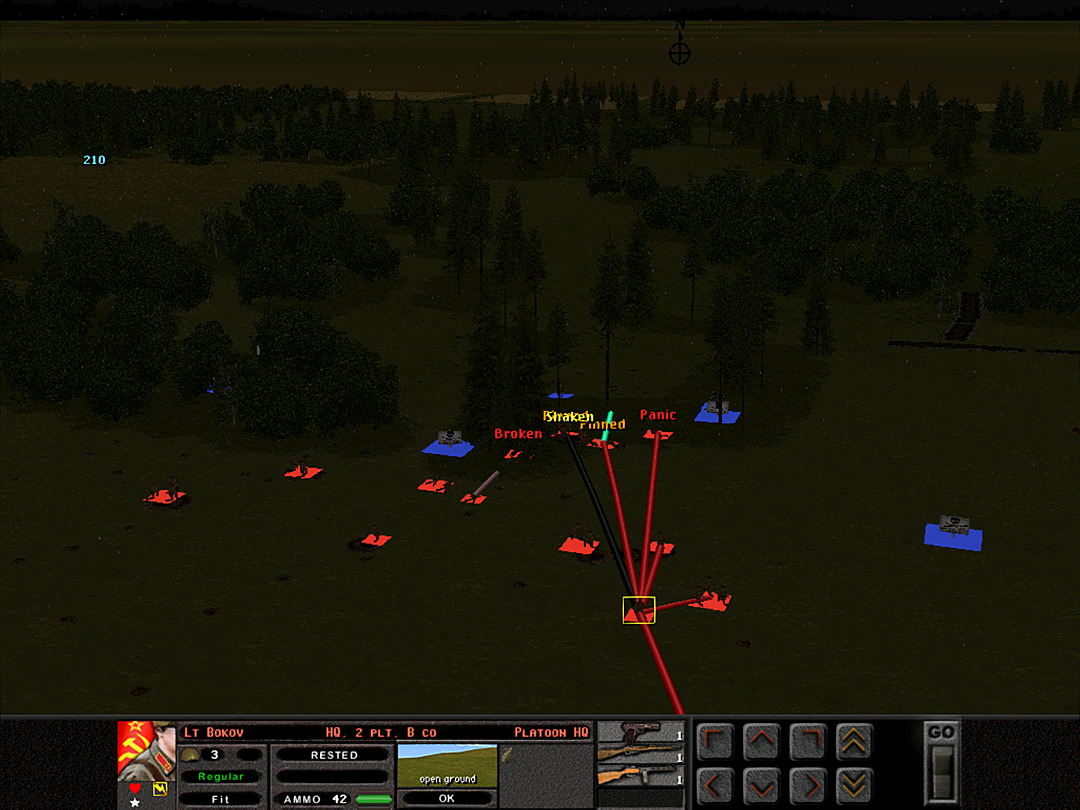 We can't seem to make any headway against the defenders of this small patch of trees.  Distant explosions are heard. Our artillery strike is landing � several hundred meters off target. Luckily, it's toward the enemy and not toward us. But since it's hitting an open field, it's unlikely that we scored any lucky hits with the shelling.  Our squads had already used a fair amount of ammo in the afternoon's firefight, and one advance team is already running out.  Some of the men ran all the way back to our side of the woods, and the officers call out vainly for them in the high wind.  Needing to find some way to break the stalled advance, we order some of B Coy, 1 Plt's squads to leave their foxholes and take another route into the woods on the left. 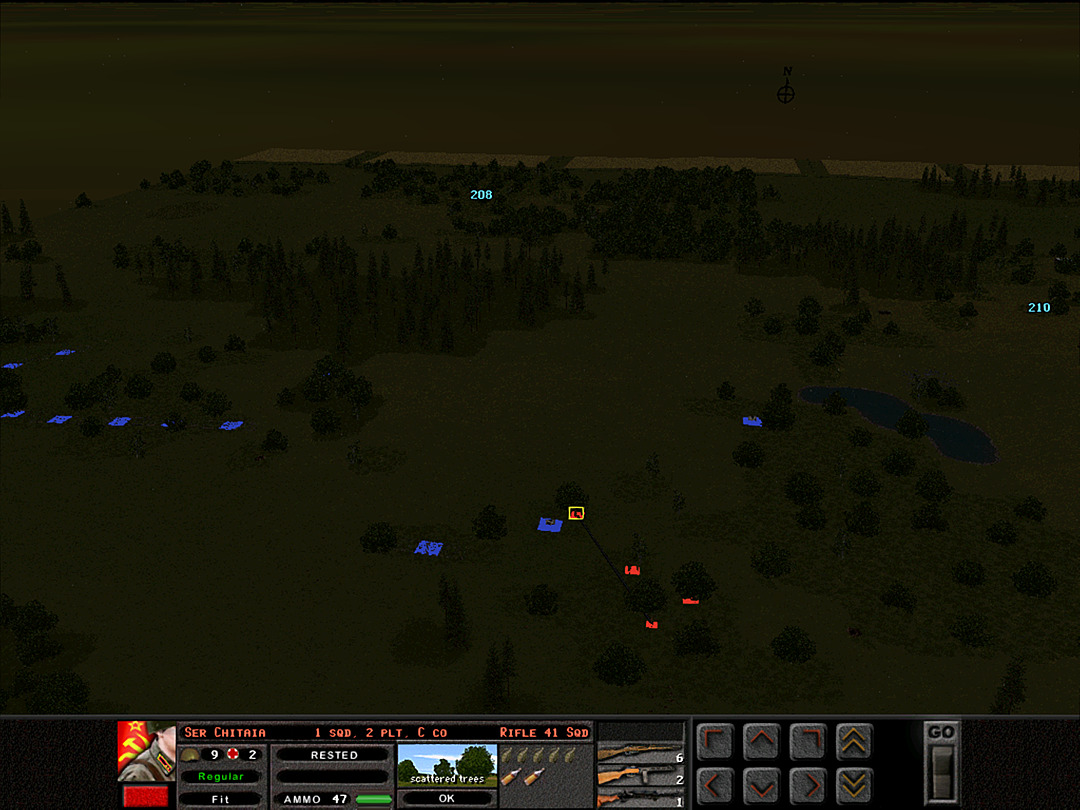 C Coy's scout mission has found no enemy units, but they did sadly trip into another minefield. 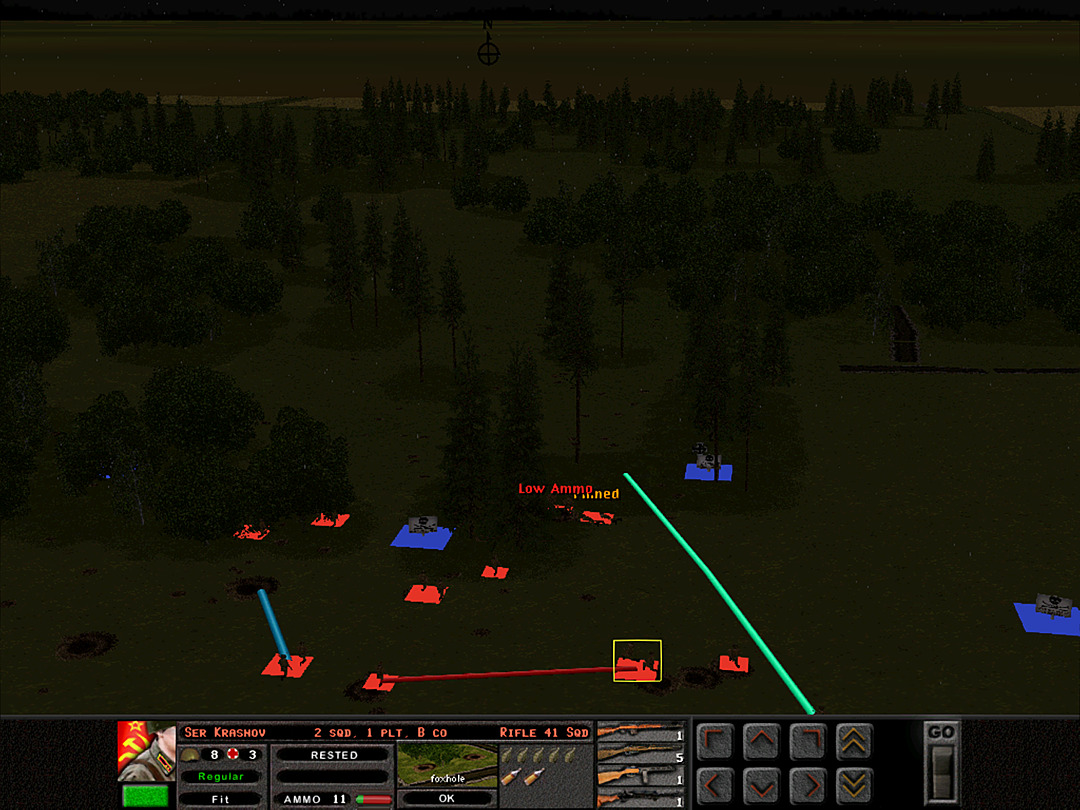 The woods have gone quiet momentarily, and it seems as if our advance can proceed. 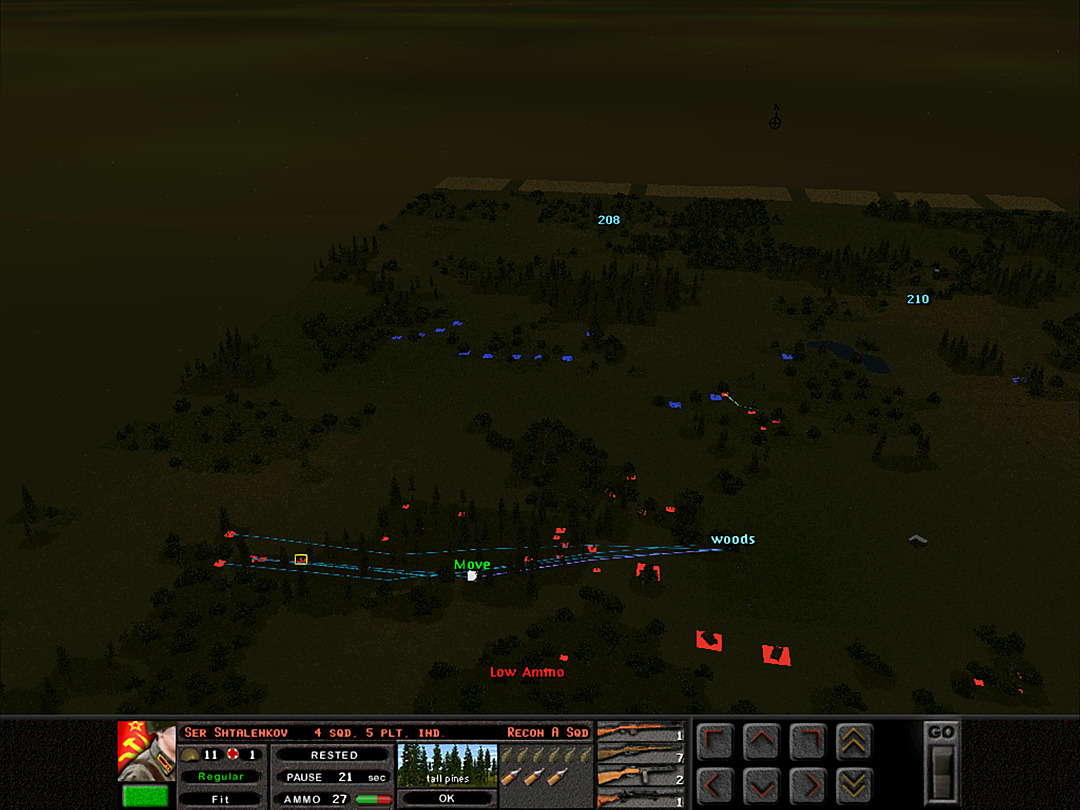 There seems little sense in worrying about the enemy so far over on our left, so the recon platoon is sent to support the main recon mission of the night. 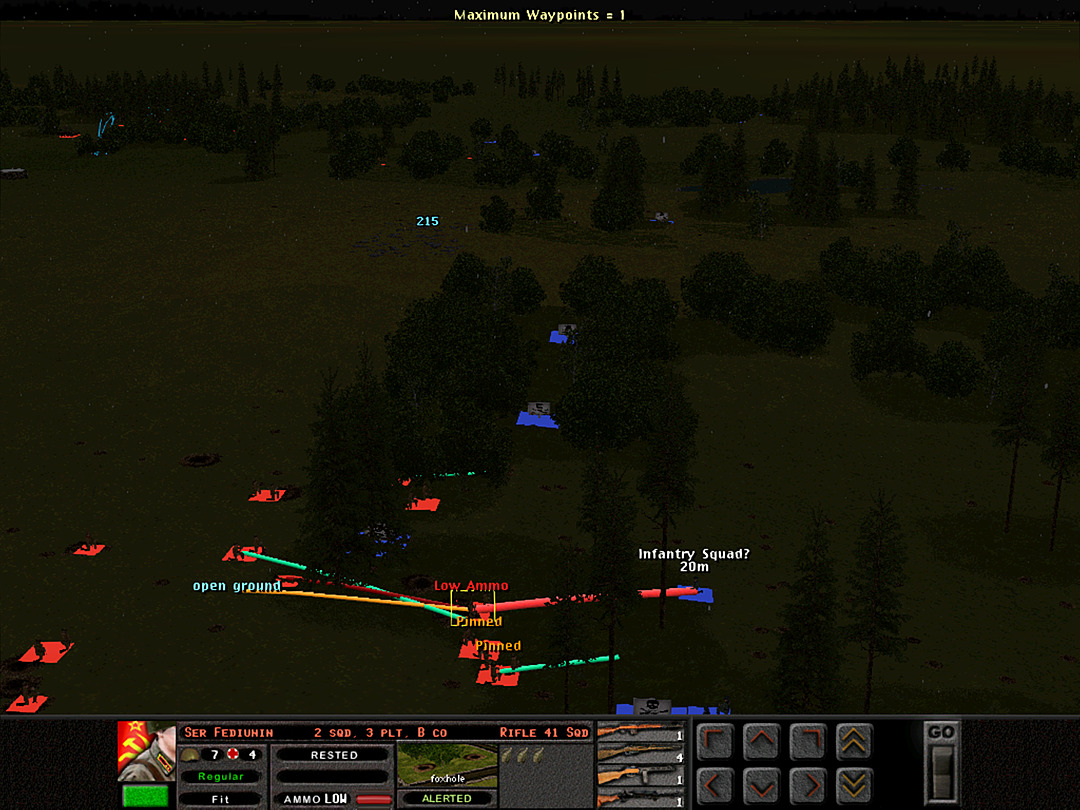 B Coy is bringing a number of squads into the woods now. 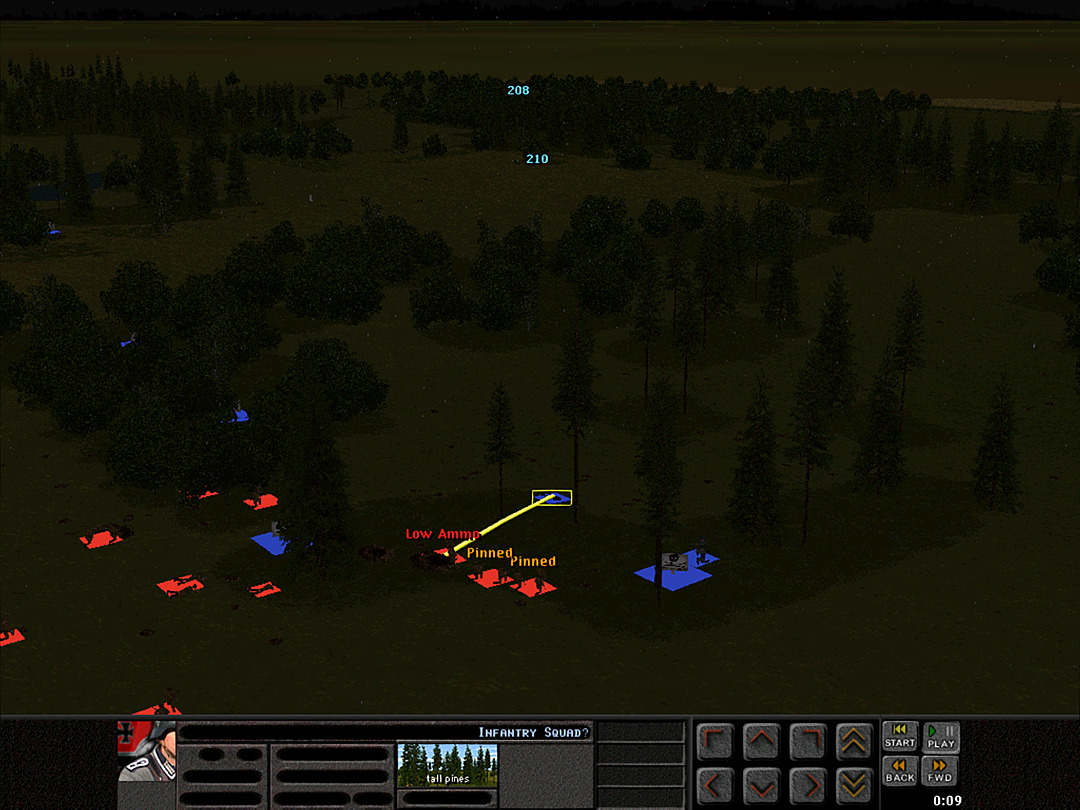 We pin down the enemy, and the shooting stops again. 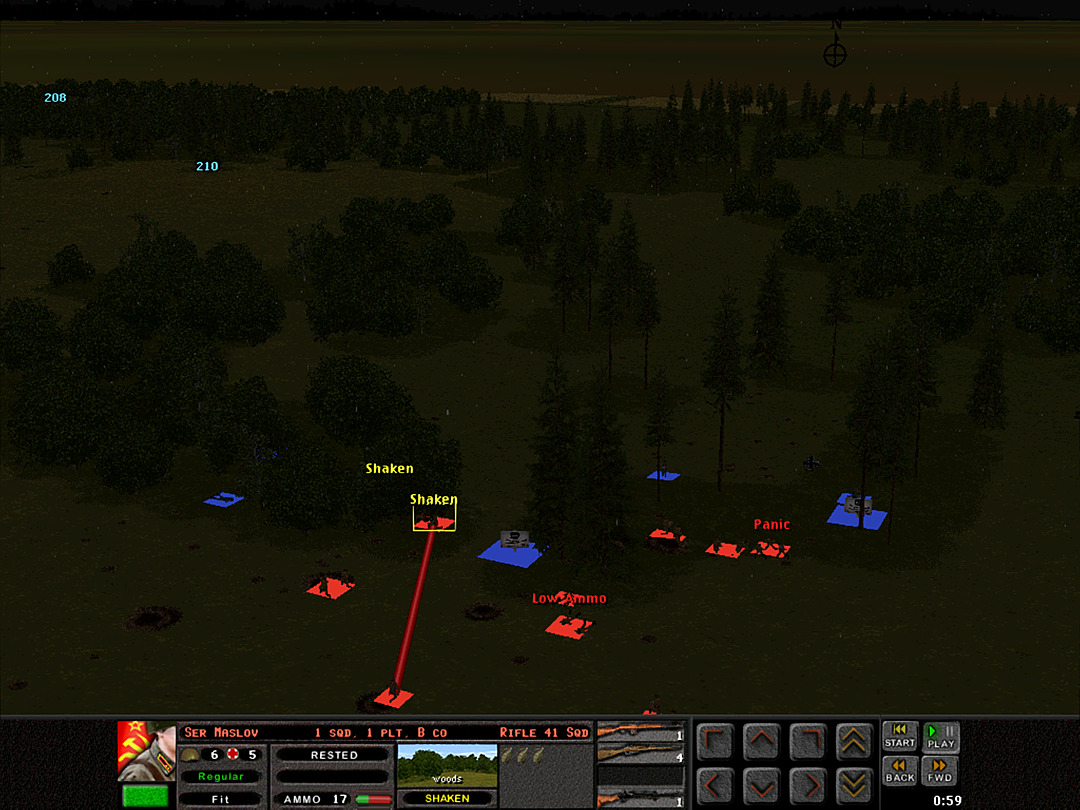 Suddenly the squads of B Coy, 1 Plt that advanced on the left are surprised by an attack from their own left. 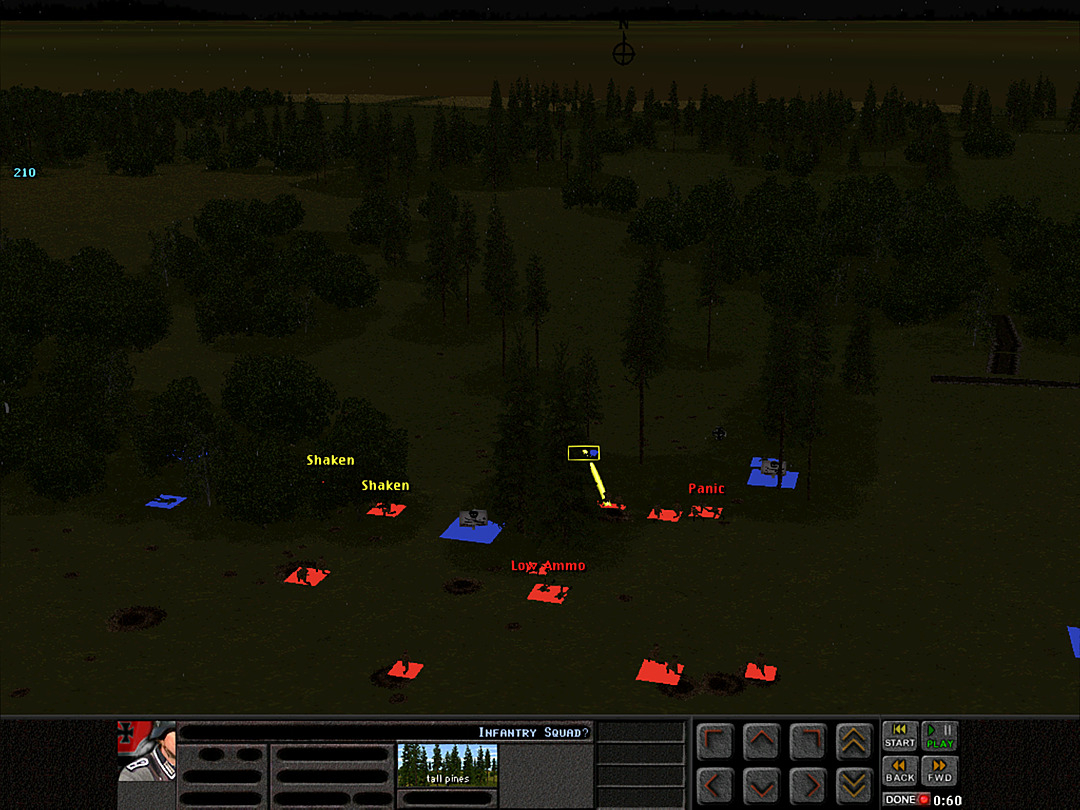 Seconds later, the German squad in the woods opens up once more. 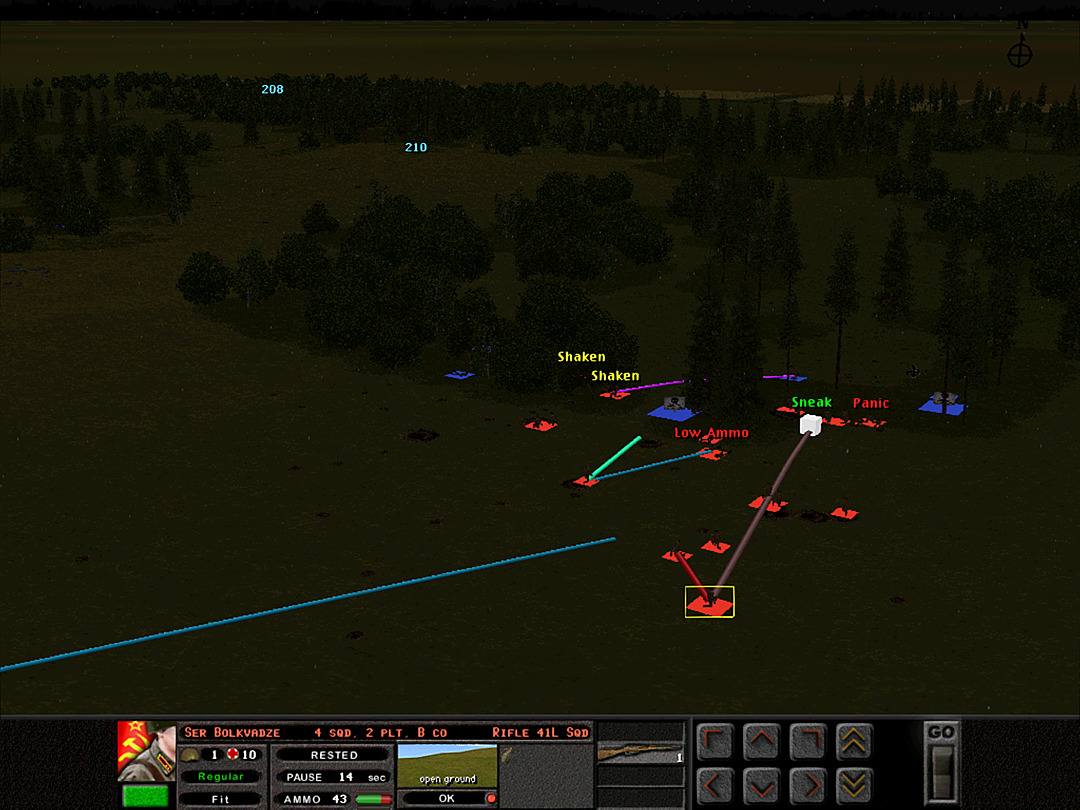 We try to push more men into the gap to deal with the problem. 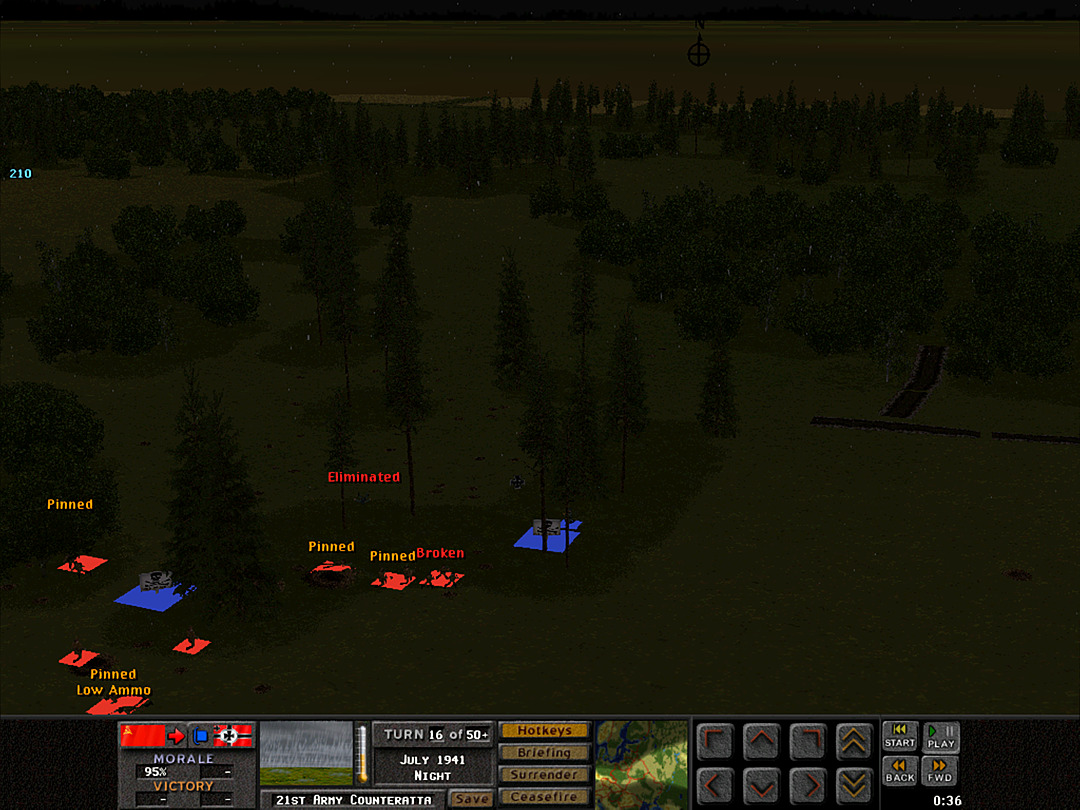 The enemy squad in the center is finally whittled down, but we're still taking fire from the one in the minefield. 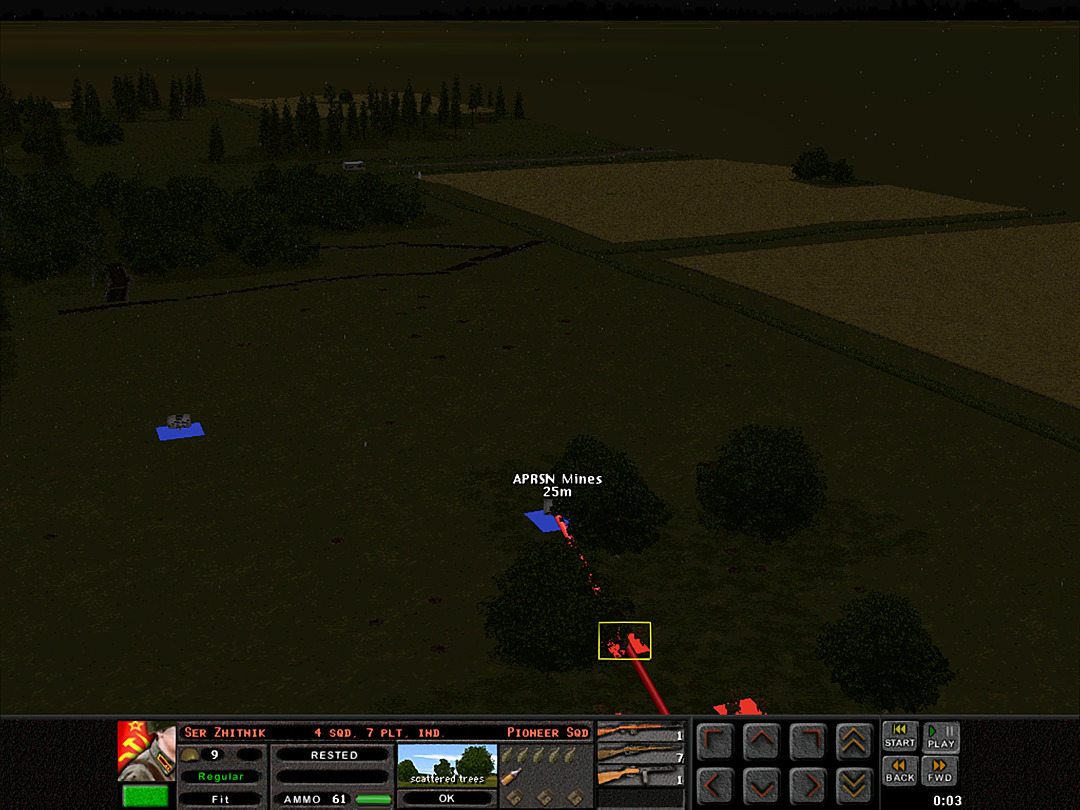 The Pioneers get to work on clearing some minefields in a less contested part of the battlefield. 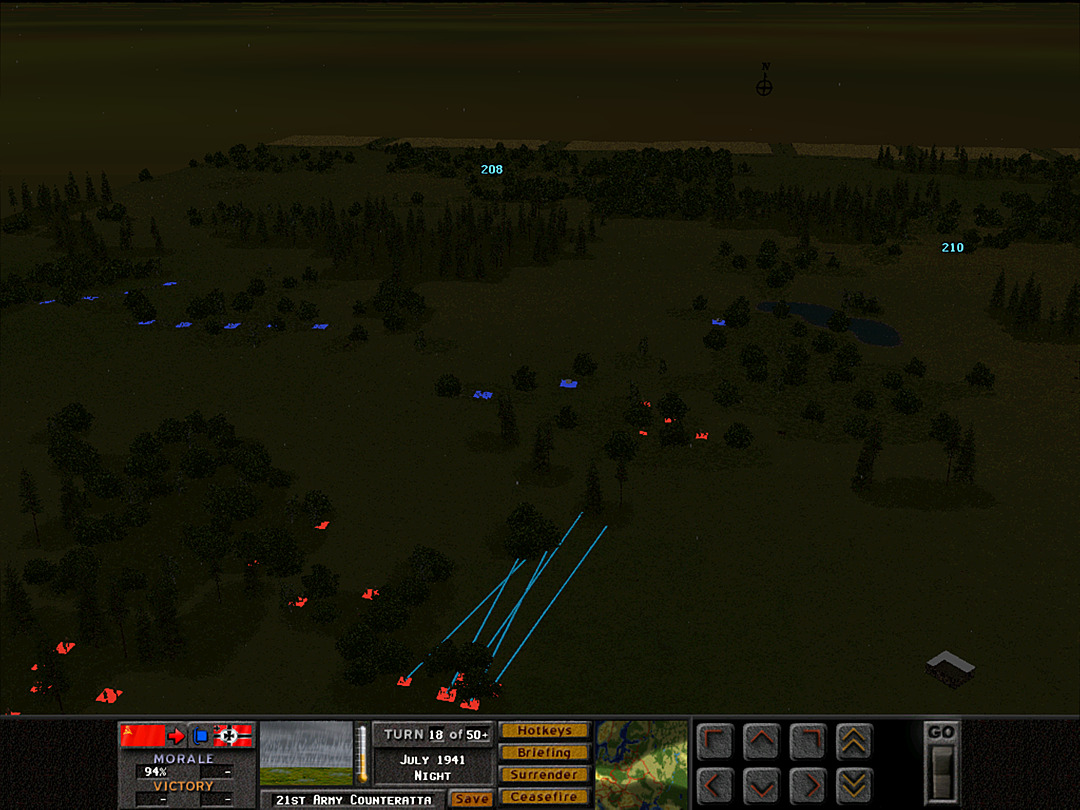 The Recon platoon prepares its advance toward C Coy, 2 Plt. 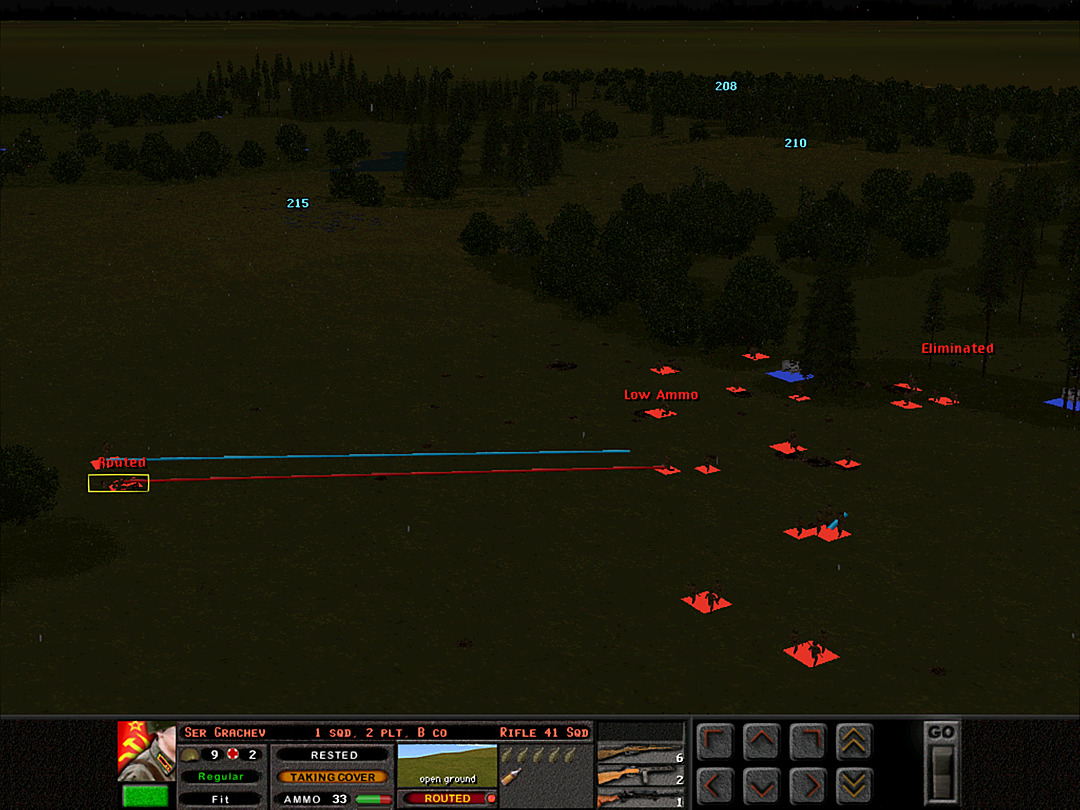 It's gone quiet again for B Coy, so they attempt to catch their breath and regroup their squads. 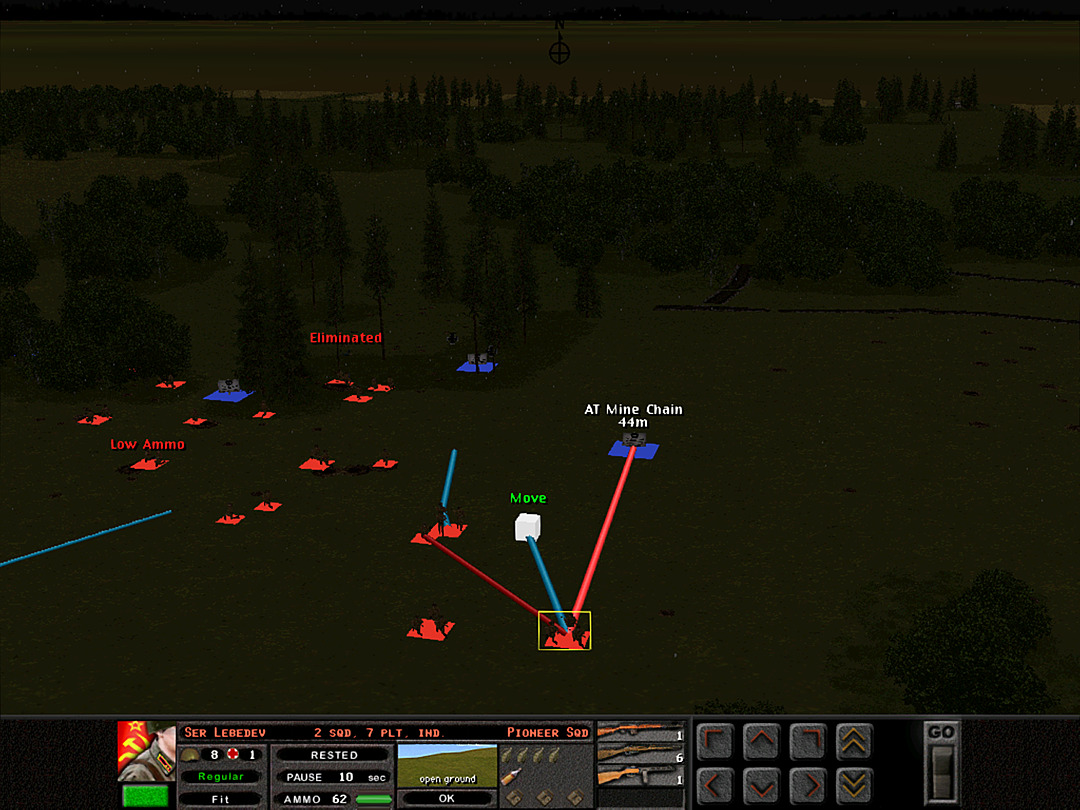 I'd rather not risk losing any more men to the mines, so the Pioneers are brought forward. 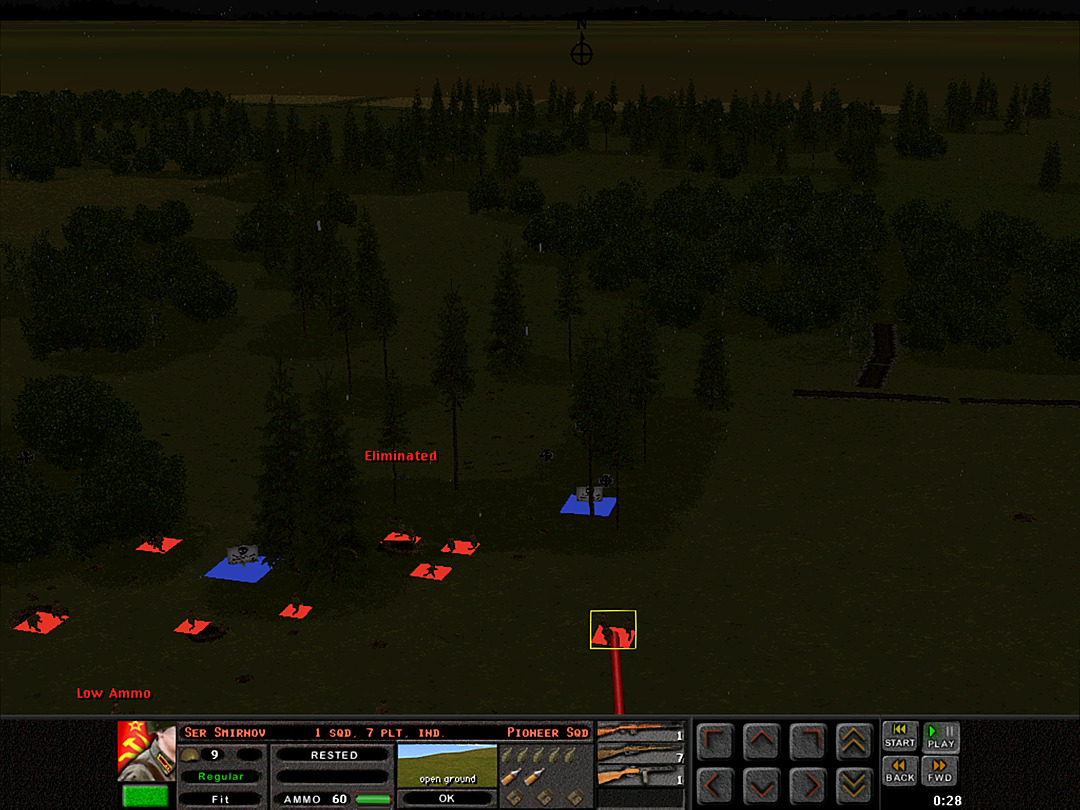 We should be able to clear at least one patch of mines, and then the charge can keep going safely. Unit Highlight T-26 Model 31 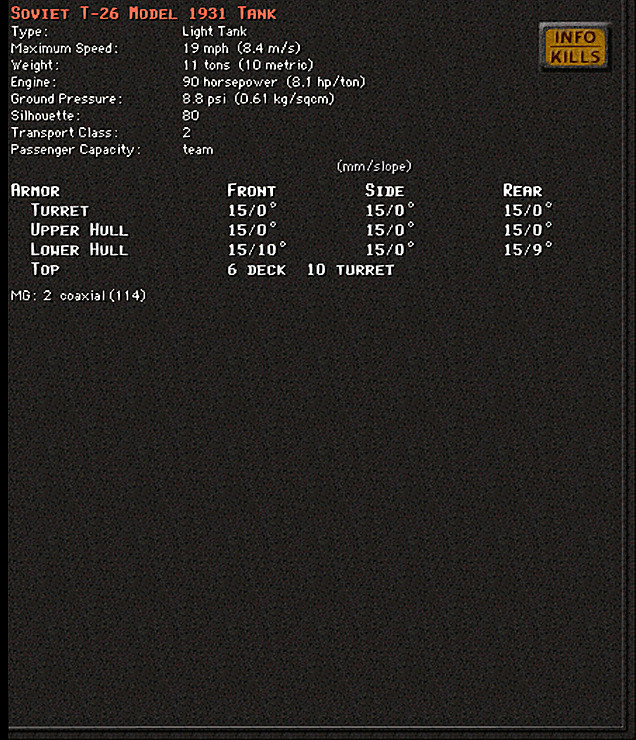 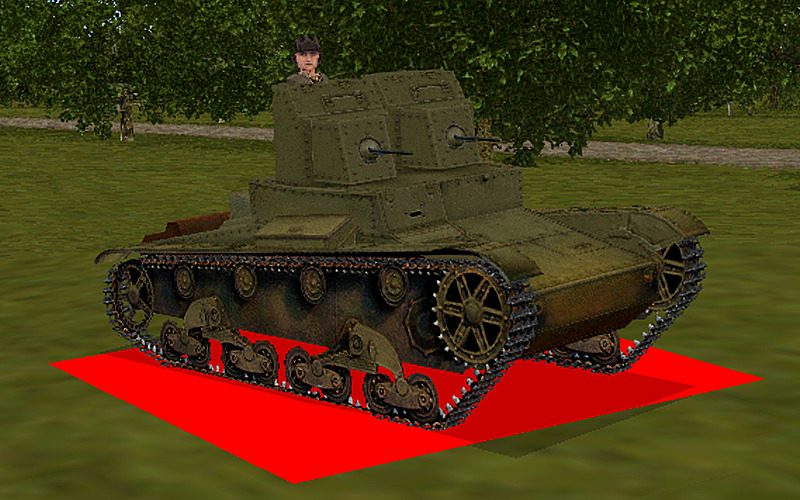 Crew: 3 Base Cost: 34 The first model of the most numerous tank in the interwar period The T-26 was a British design adopted by the Soviet army at the start of the 1930s. It was easy to manufacture, and the several variants became the Soviet Union's primary tank during the decade. This first model featured twin turrets, each with only a machine gun (although some mounted a cannon in one of the turrets, they are not in the game). They also had thin armor that even most machine guns could penetrate. By the time of World War II, they were quite obsolete, and any of these models were either modified into other forms, or likely used only for training purposes.
|
|
|
|
Operation 2, Battle 2 of 4 Battle Time: 0:21 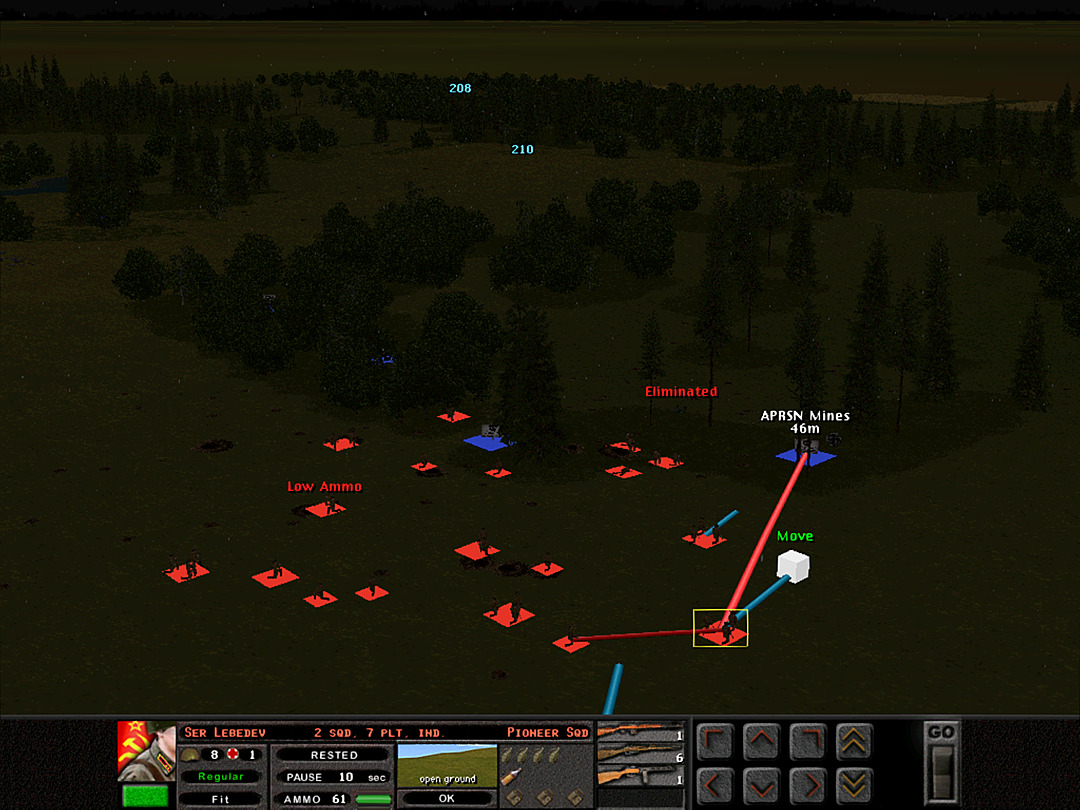 The Pioneers move in to clear the minefield. They need to get close to throw their explosive charges. 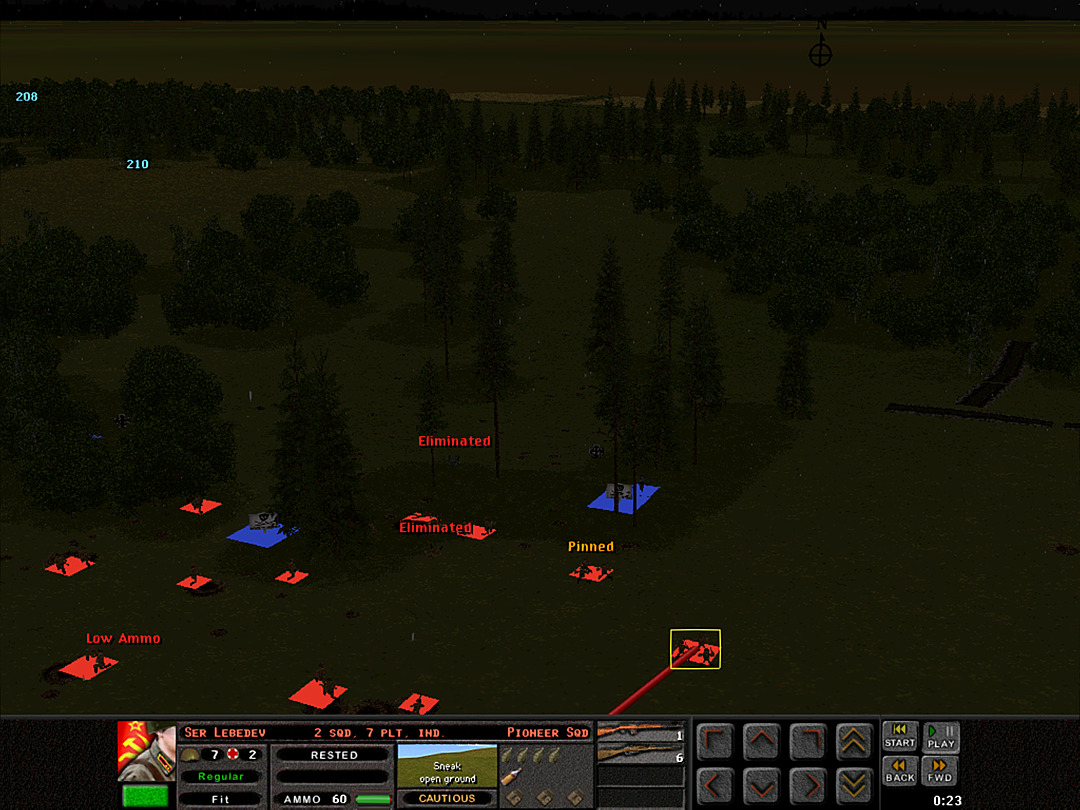 All seems quiet, but then the forest is disturbed again by bursts of gunfire. There's one squad still in the minefield, and more enemy troops somewhere to the west. One of our own squads is eliminated, and the Pioneers are unable to continue with their task. 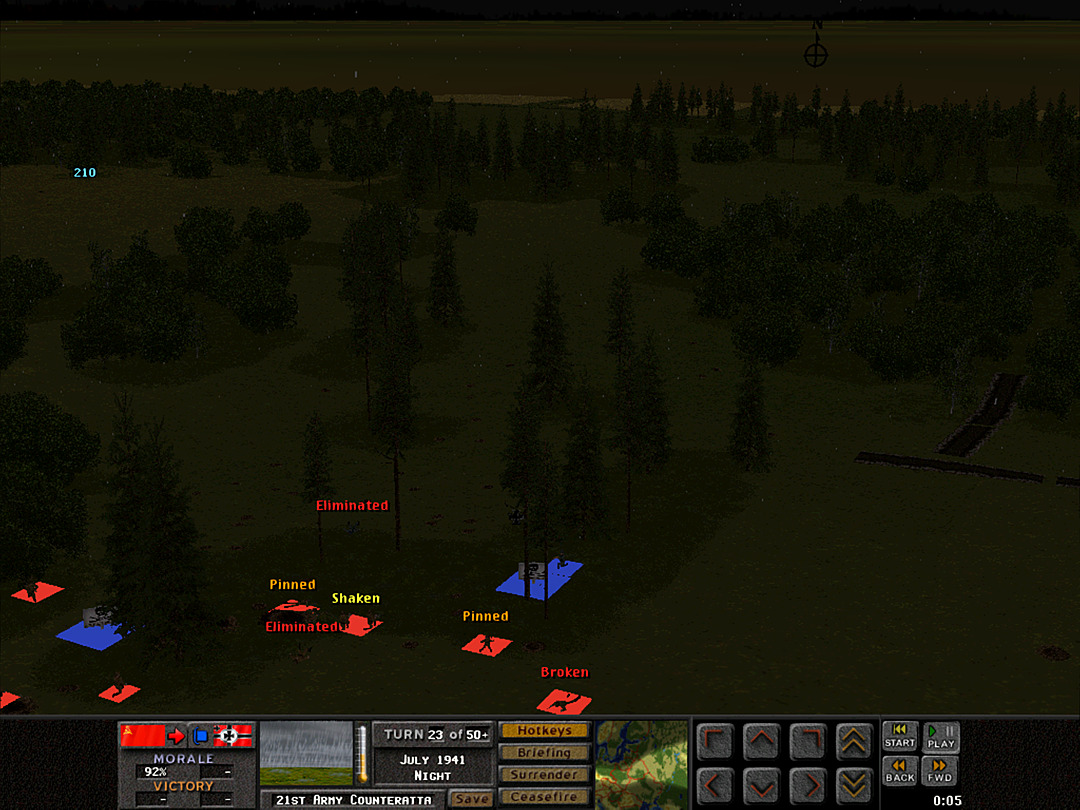 The Pioneers give up on trying to prepare their charges, and instead duck for cover. But they had to come into the open to get close to the minefield, and the Germans remain concealed in the woods. 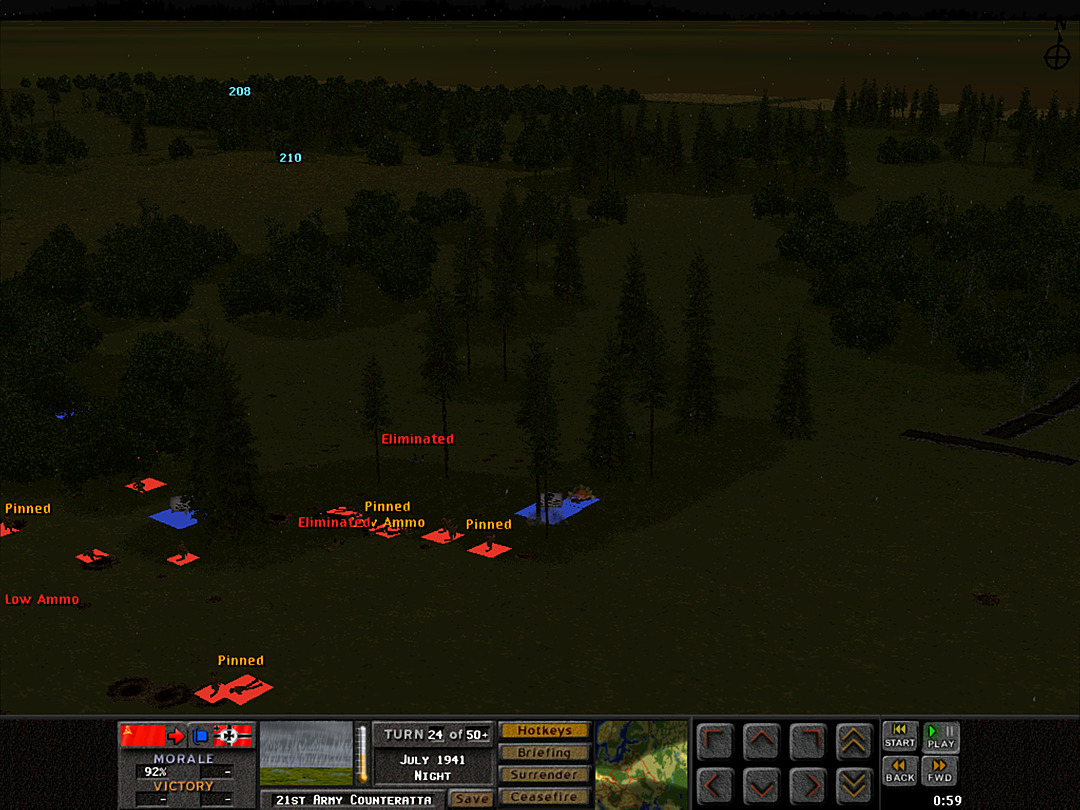 More of our soldiers come forward to attack. The Pioneers do manage to throw some grenades. They are ineffective at either clearing the mines or stopping the enemy from firing at us. 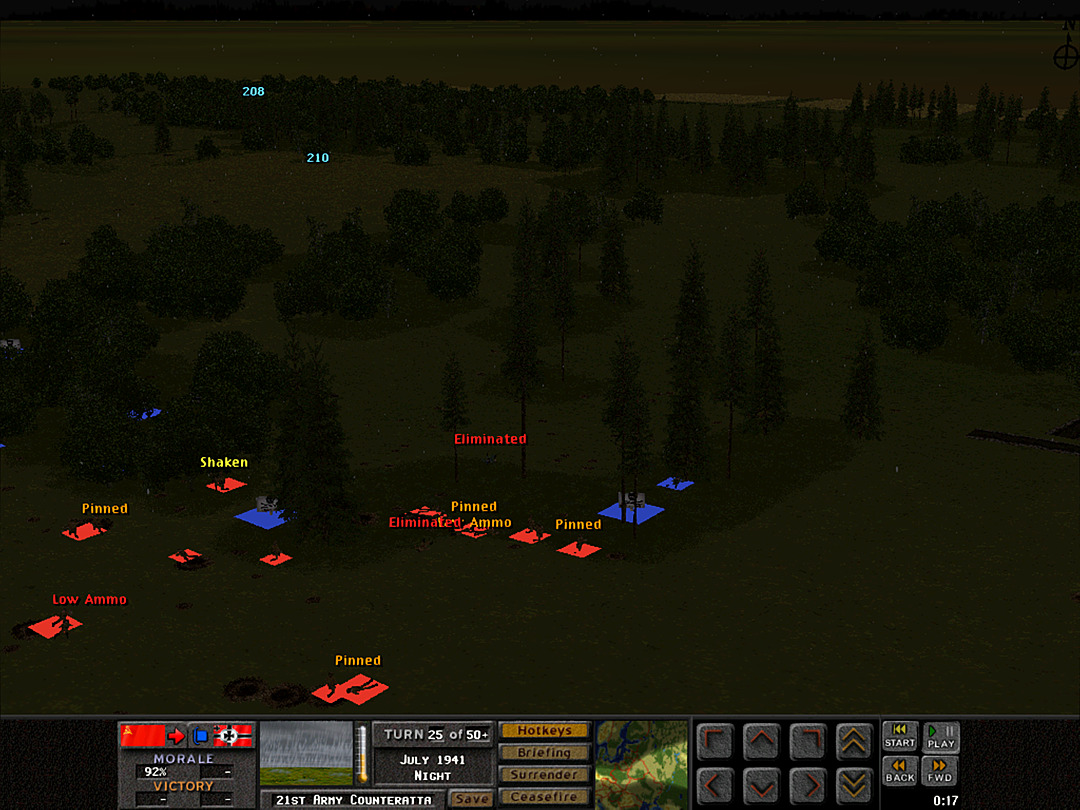 Another grenade finally causes the German squad to break, and we spot them trying to crawl off into the darkness. 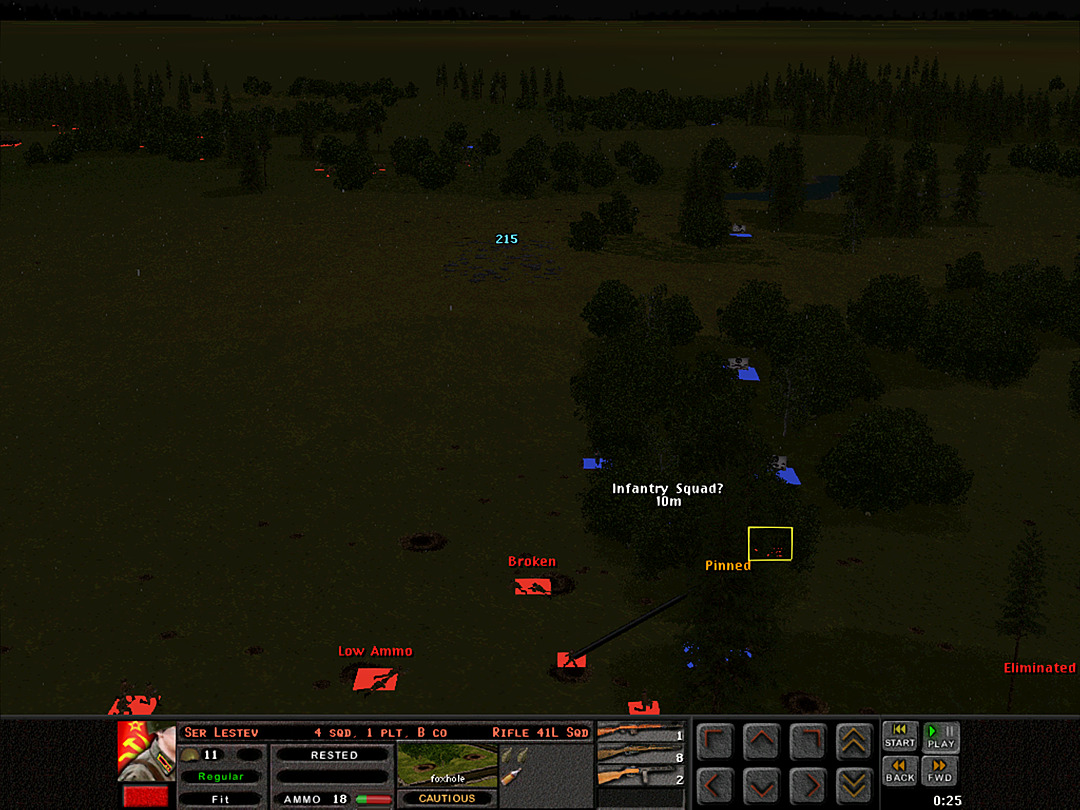 Meanwhile, they've brought more units to bear on our western side. 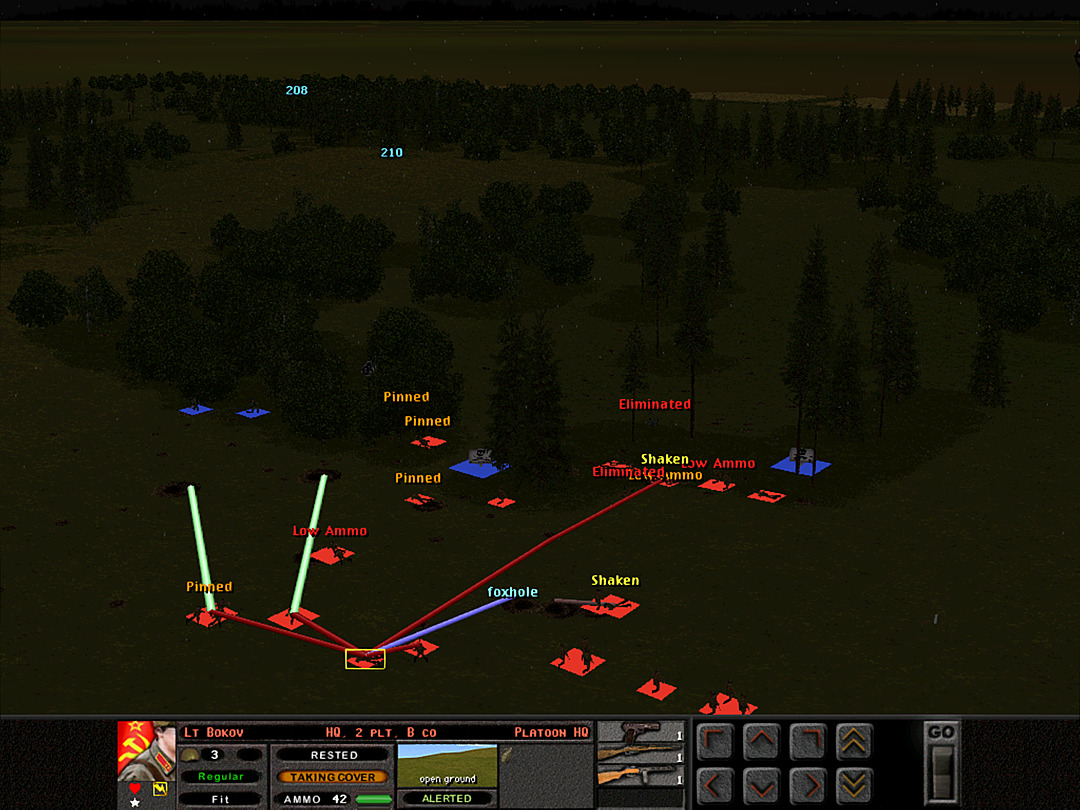 We try to get men into foxholes to combat this threat. 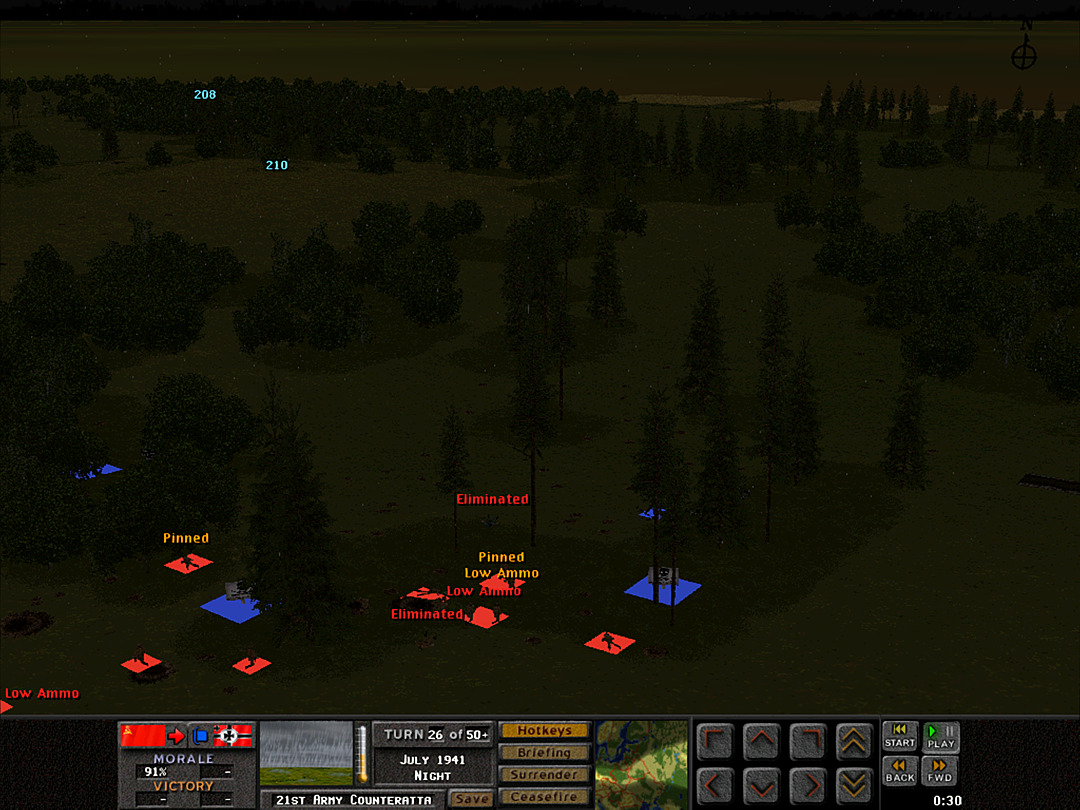 The Pioneers eventually manage to lob a satchel charge at the minefield, but it fails to clear it. Several squads are running low on ammunition now. 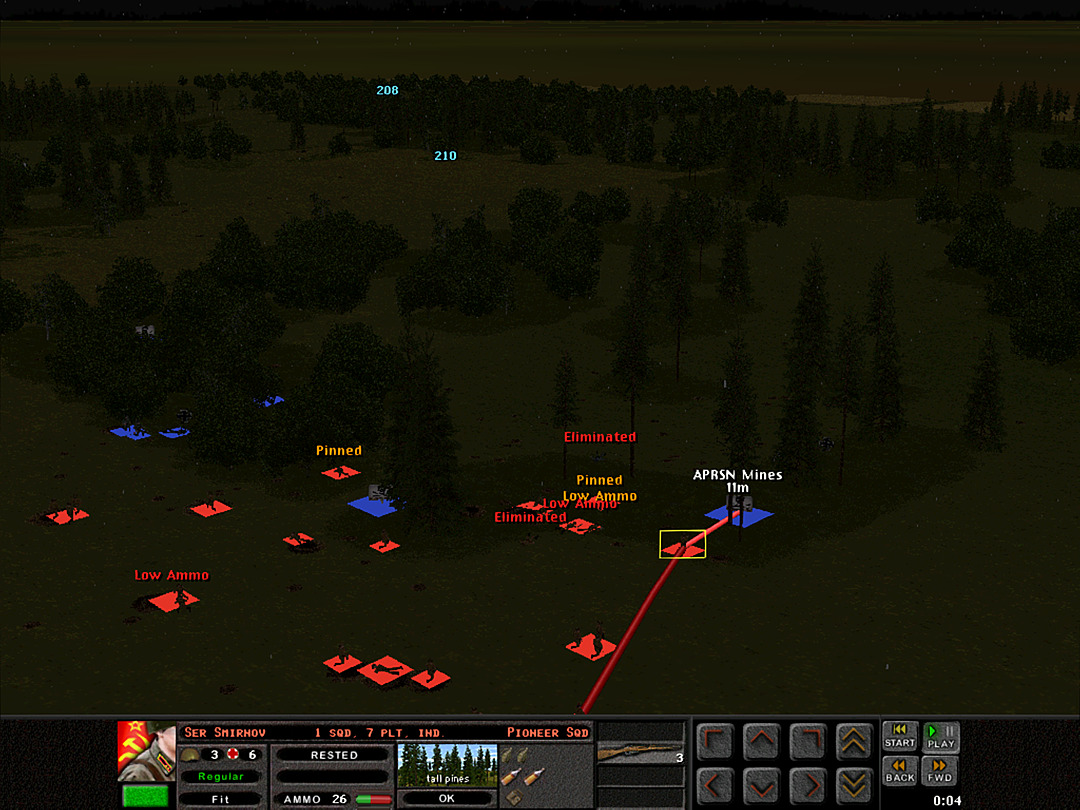 A second charge is thrown, and again it has no apparent effect. We're seeing a lot more movement on the left now. 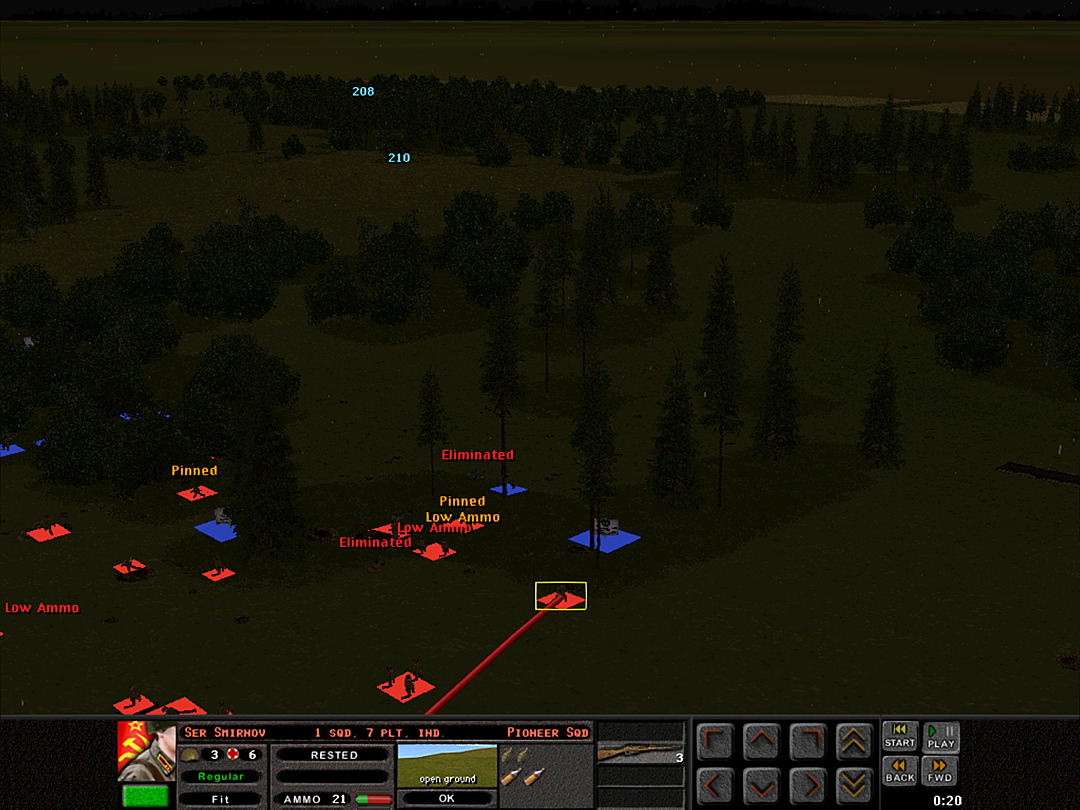 The Pioneer's 1 Sqd has thrown all its charges, and taken heavy casualties. They can't do anything now but pull back. Just about as they do, we discover that there's still a German unit close by. 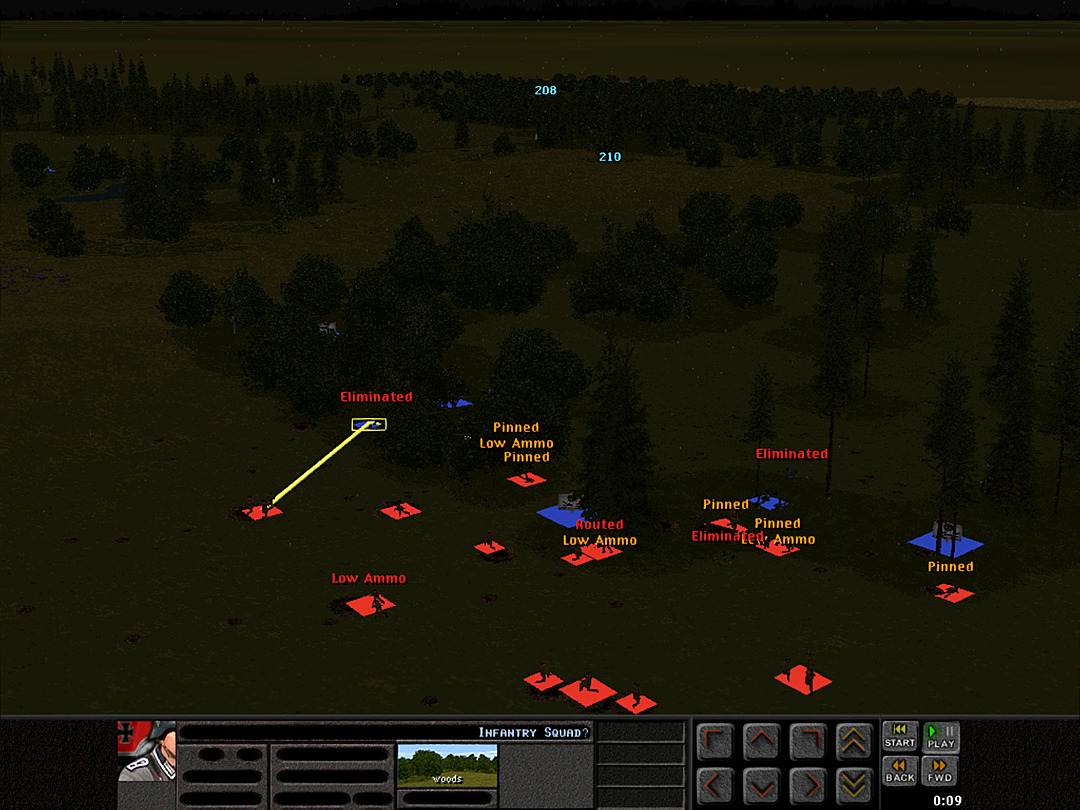 The firefight on the other side of the woods is a back-and-forth affair. We are taking out a lot of them, but they are also putting heavy pressure on some of our squads. 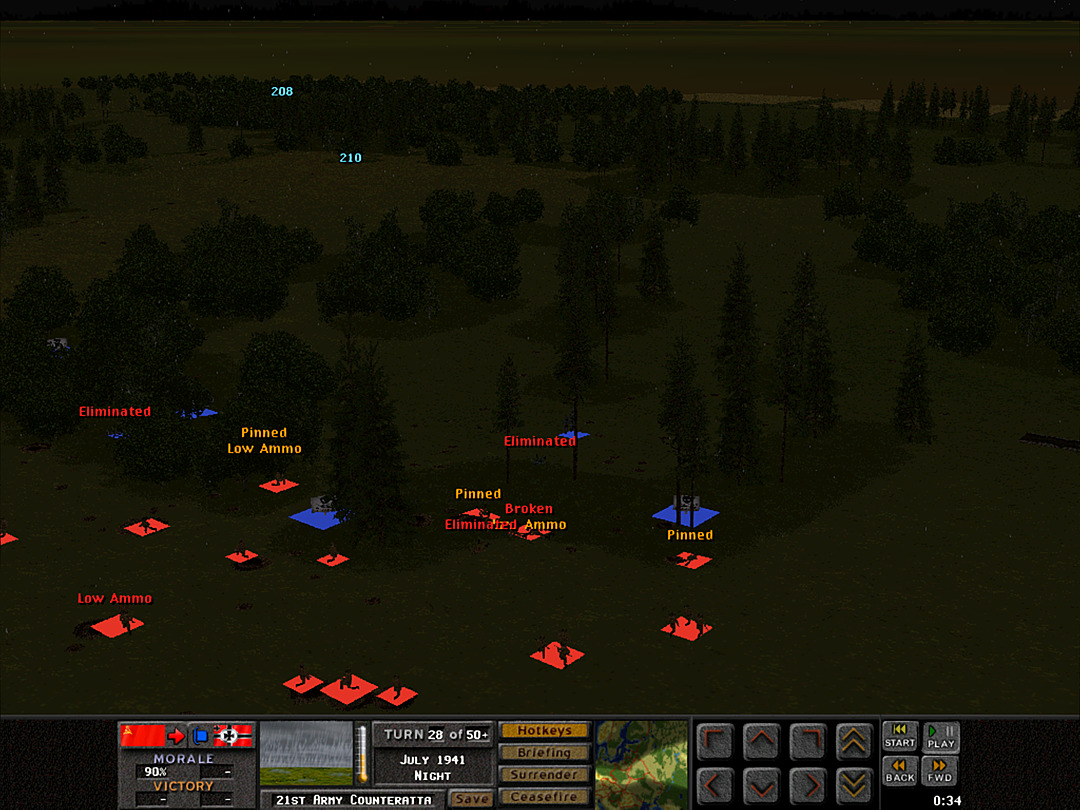 We manage to force a few of their squads to retreat, but our own units are in complete disarray. 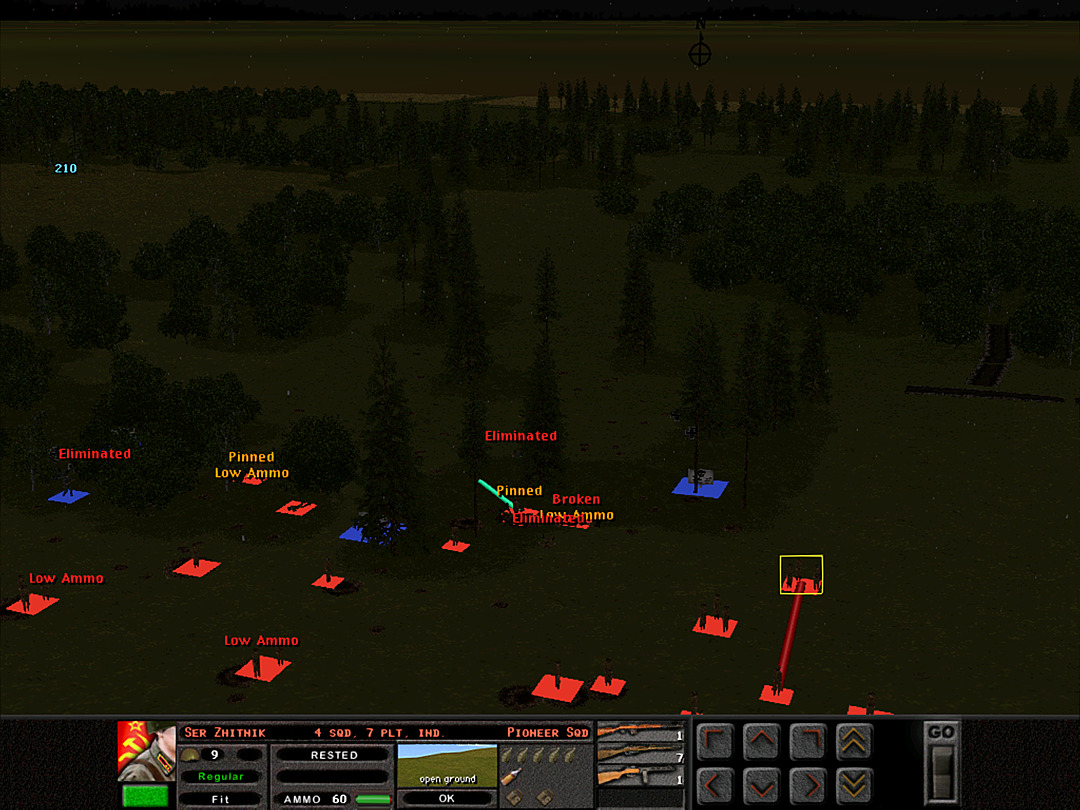 We must clear a path. The Pioneers send two fresh squads forward to clear the mines. 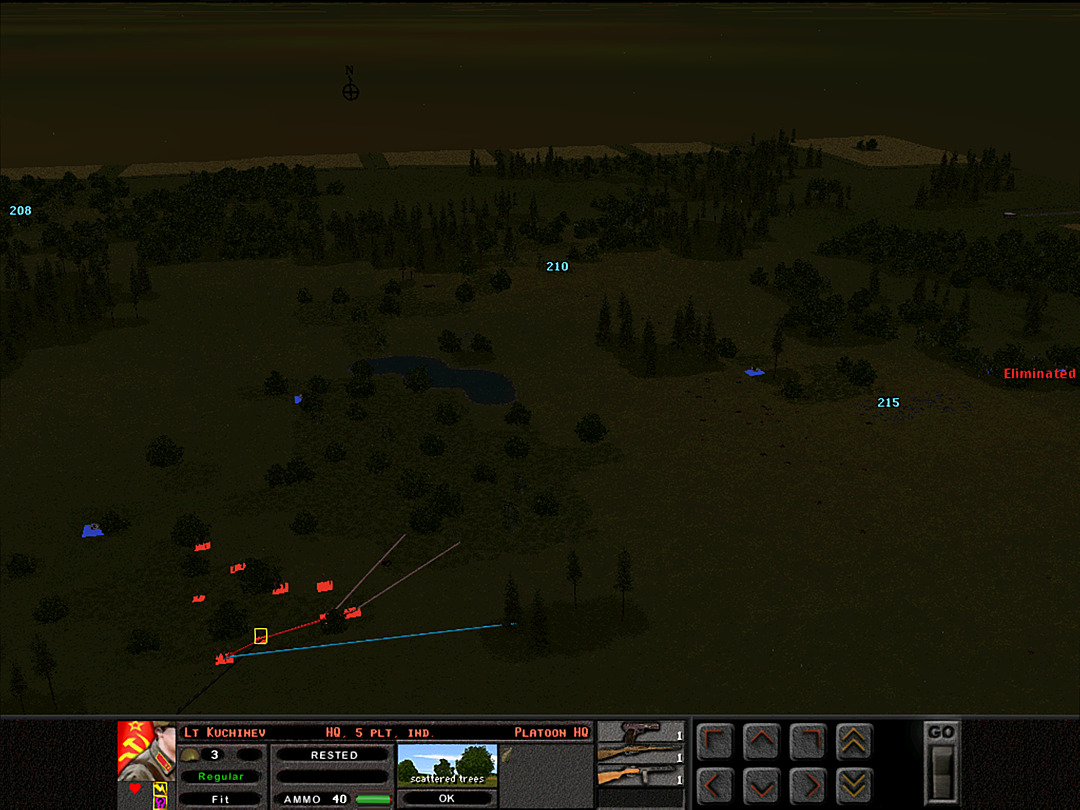 Over on the other side of the battlefield, C Coy had halted its advance, and was waiting for the Recon platoon to come forward. They'll make a more stealthy advance into these woods, as enemy presence is more likely. 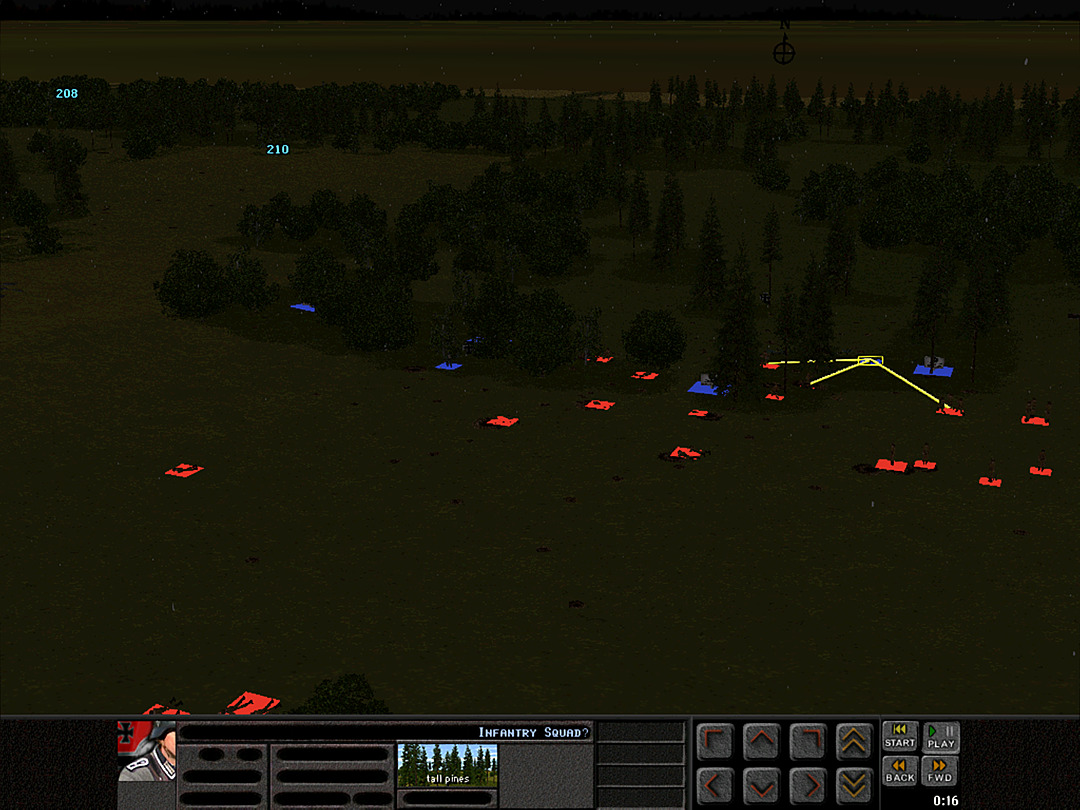 Another squad � or perhaps the same one that we've seen before � appears near the minefield. We'll have to send them back again if we want a clear shot for the Pioneers. 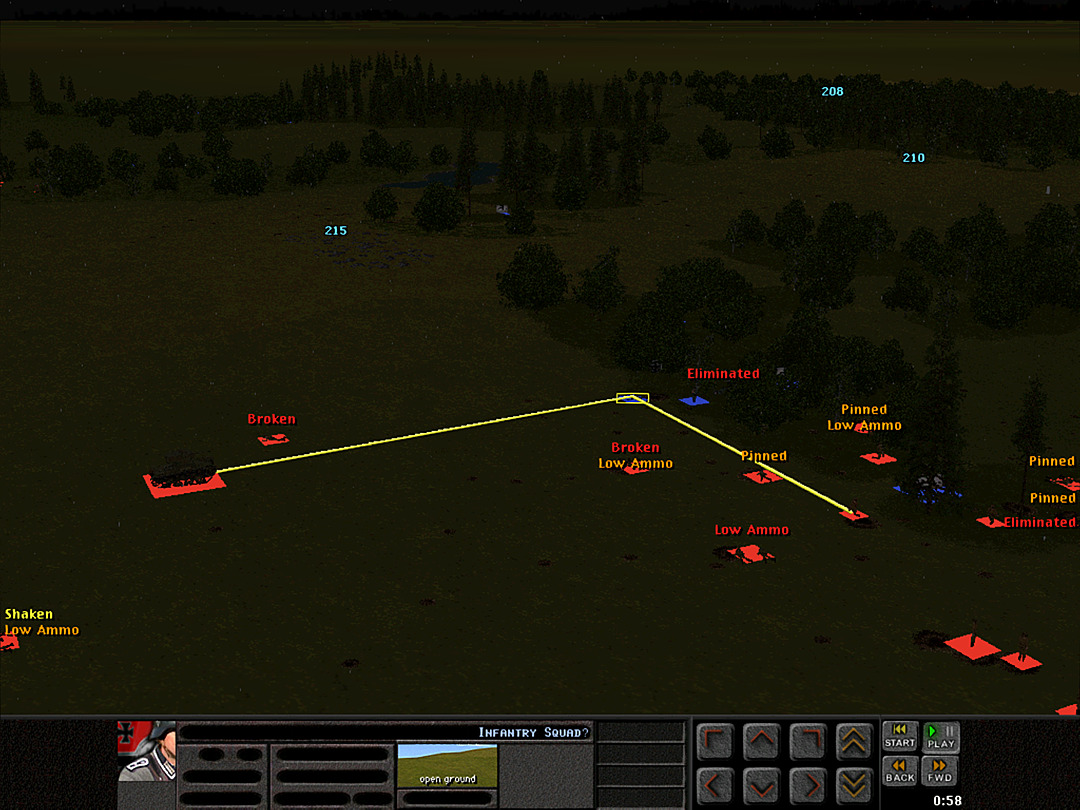 With things going poorly on the western line of trees, our tanks are finally called forward. Hopefully the enemy won't have anything close at hand to knock them out. 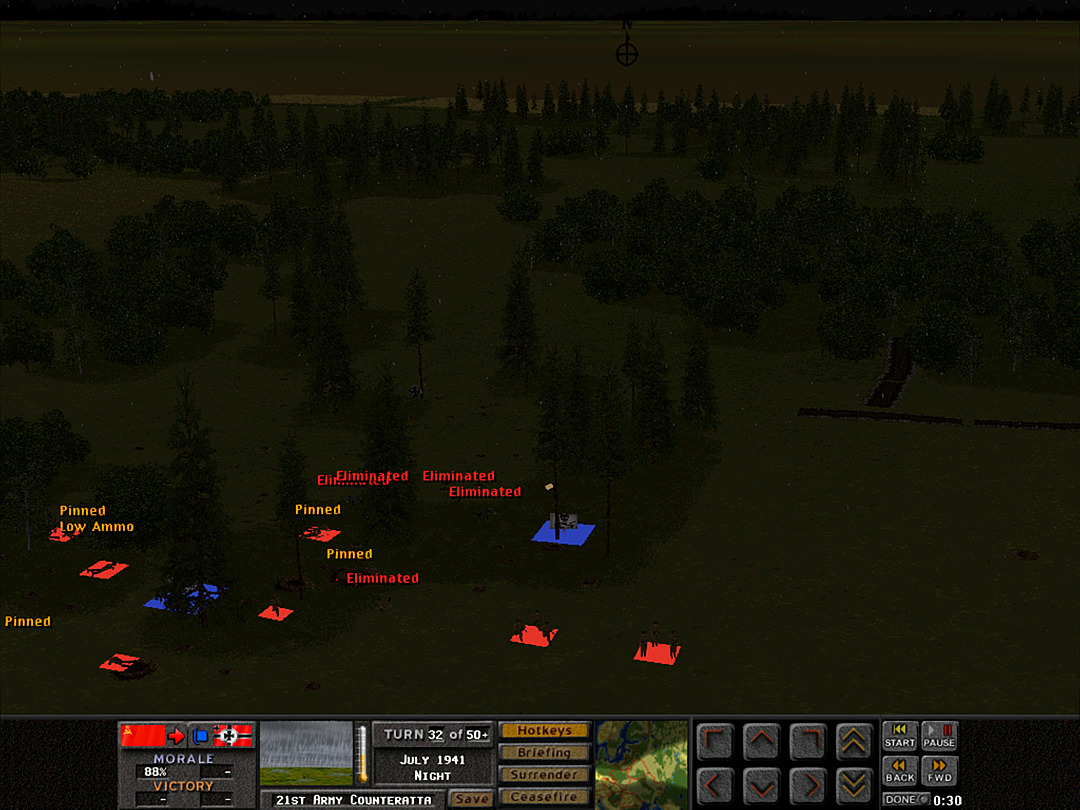 One more satchel charge is thrown, and the minefield is finally cleared! [That is the charge in the air, just before it hits the mines.] 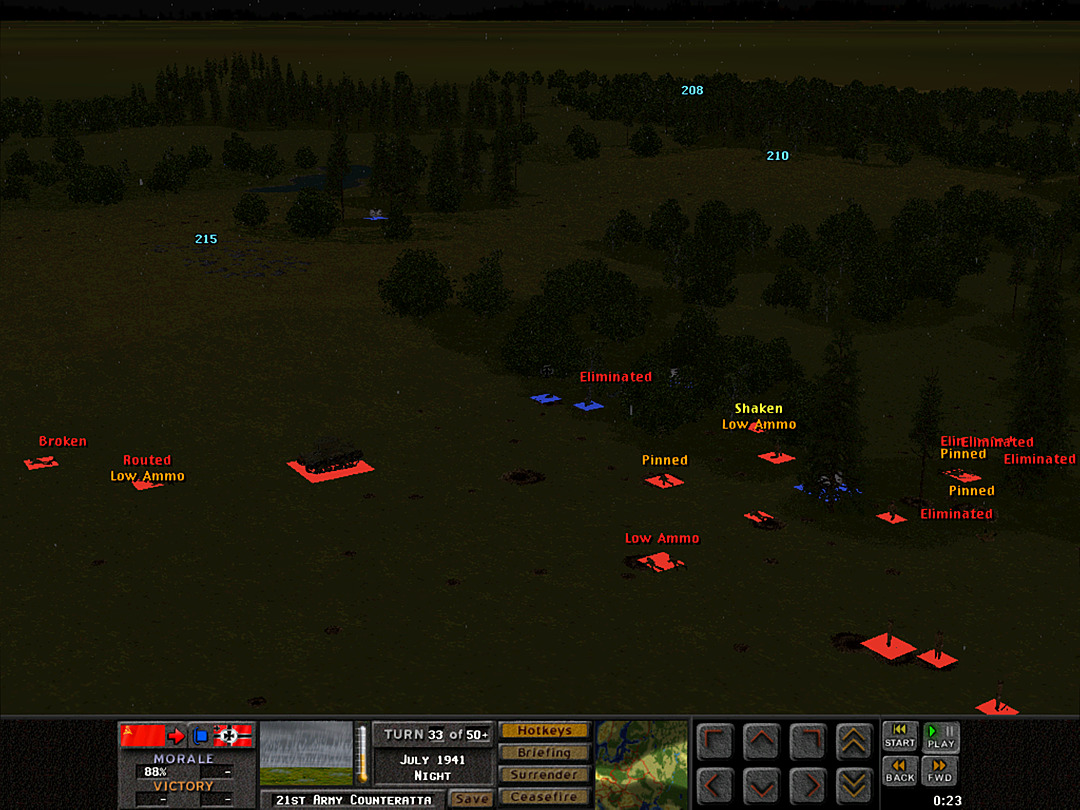 With a tank to give covering fire, we can finally start shifting our forces into the gap we just made in the enemy defensive line. 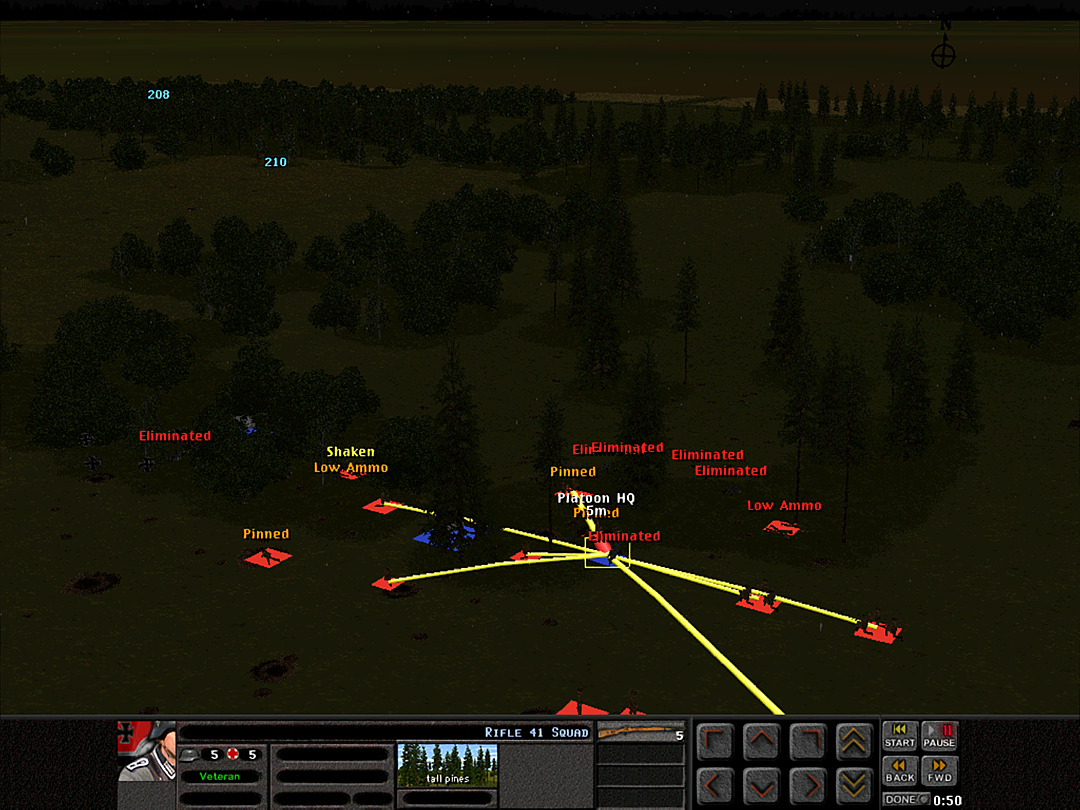 We're surprised, however, to find that one enemy squad has been cowering in the woods this whole time, and then suddenly pops up in our midst. 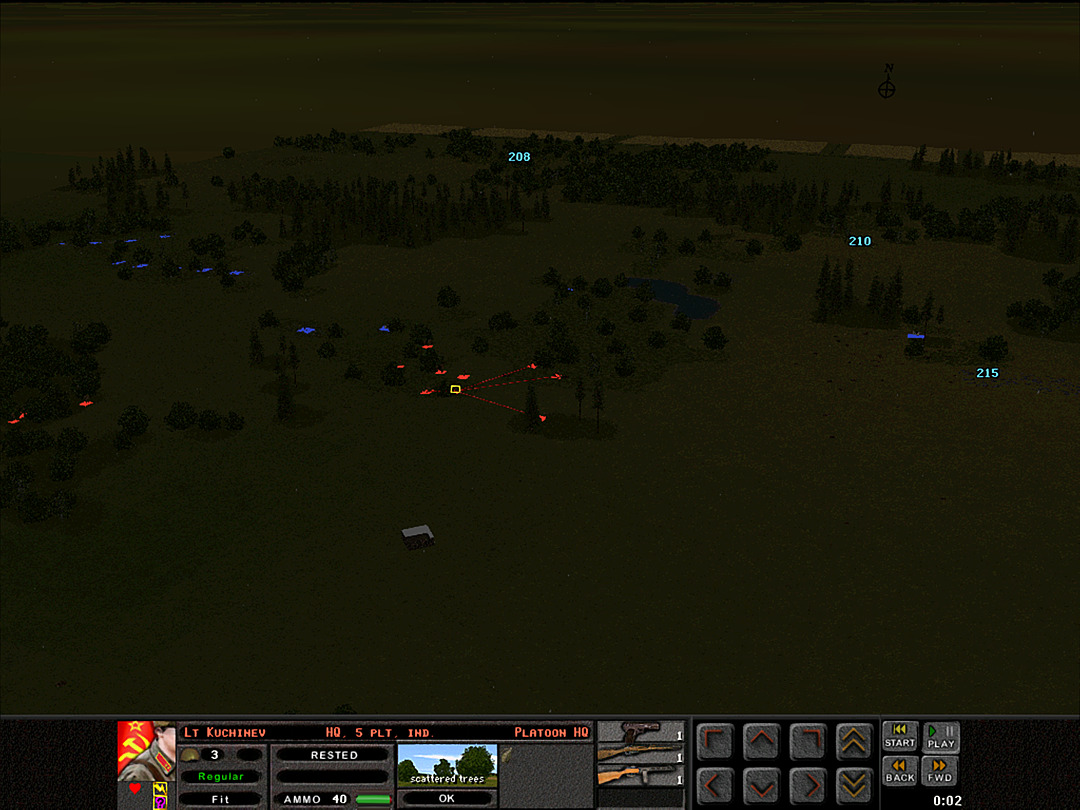 The recon troops have found nothing of interest yet. 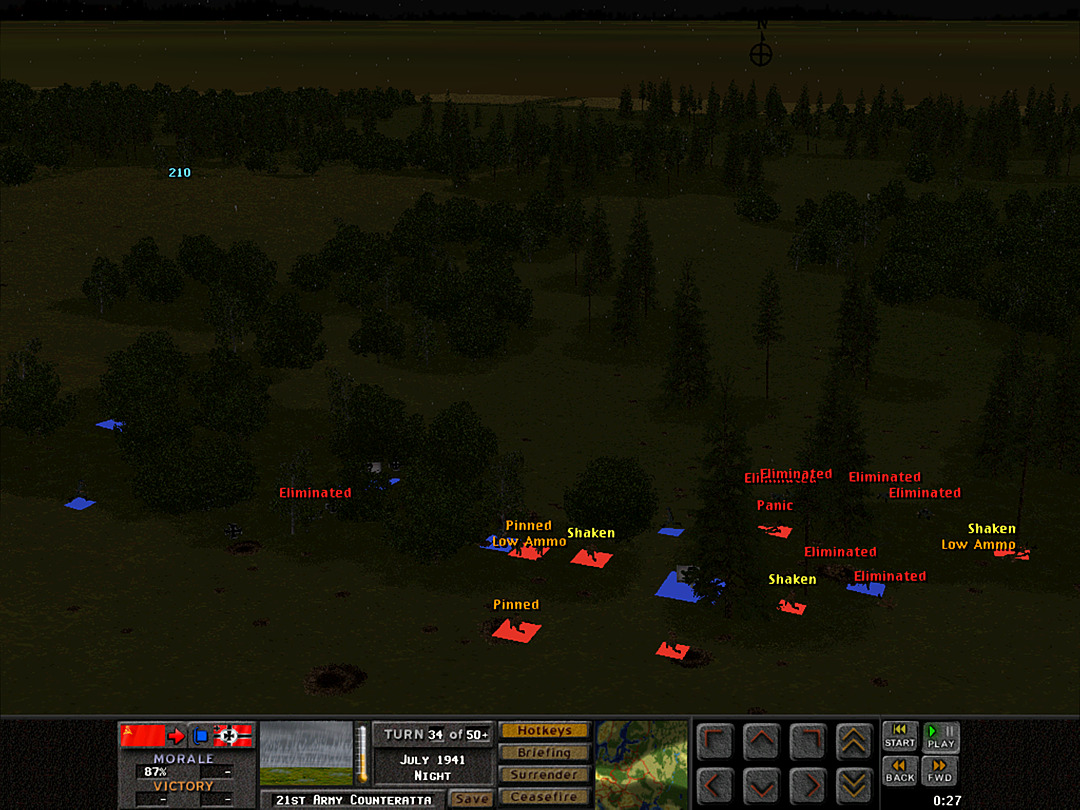 We have killed quite a lot of the enemy, but now we're losing squads, too. 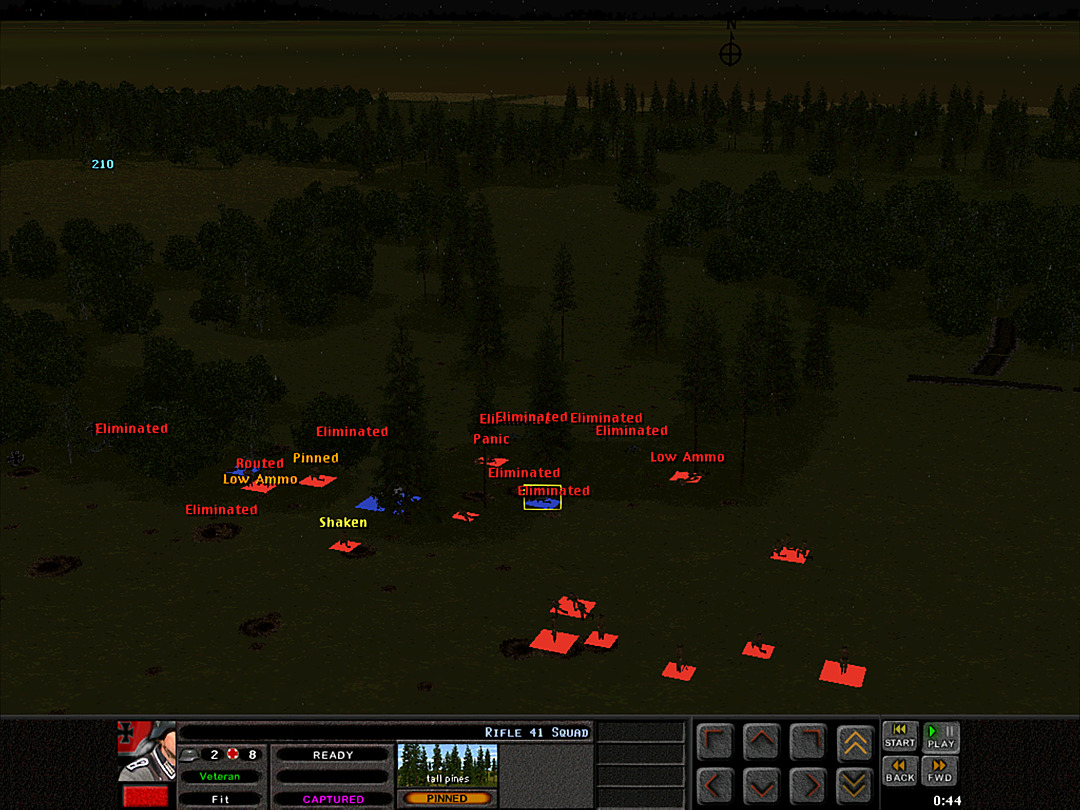 The unit that had been hiding under the brush eventually surrenders. 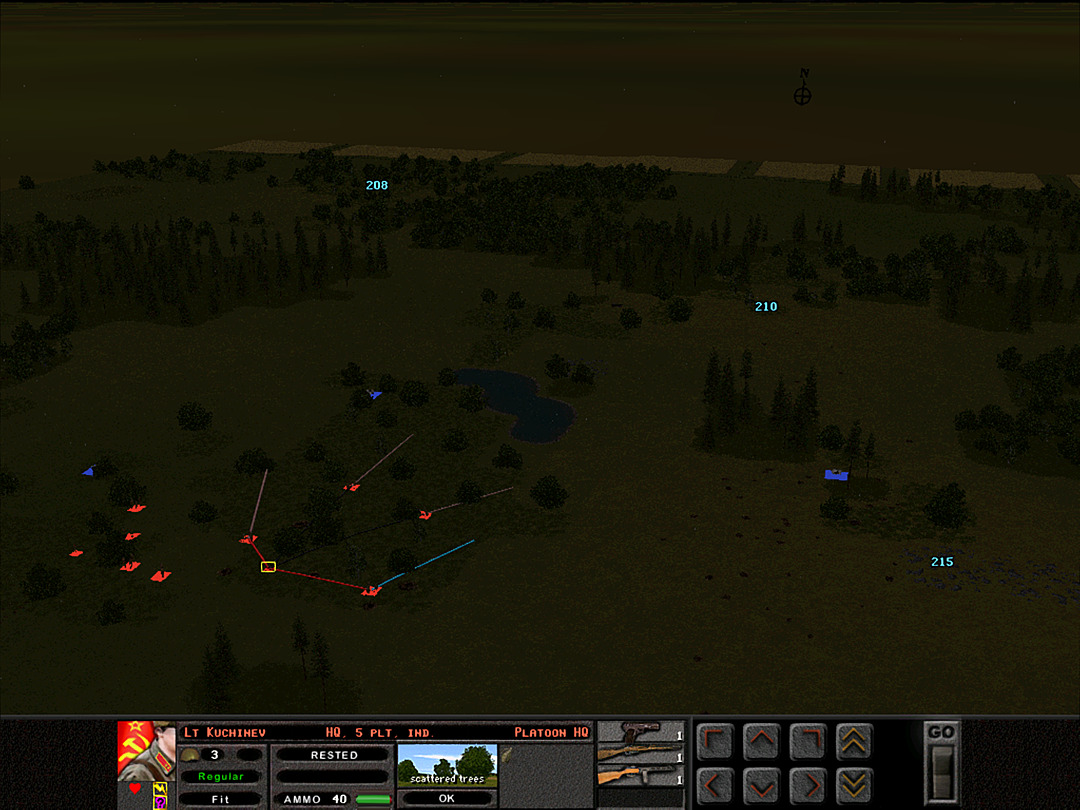 5 Plt broadens its advance through the woods, as all seems quiet. 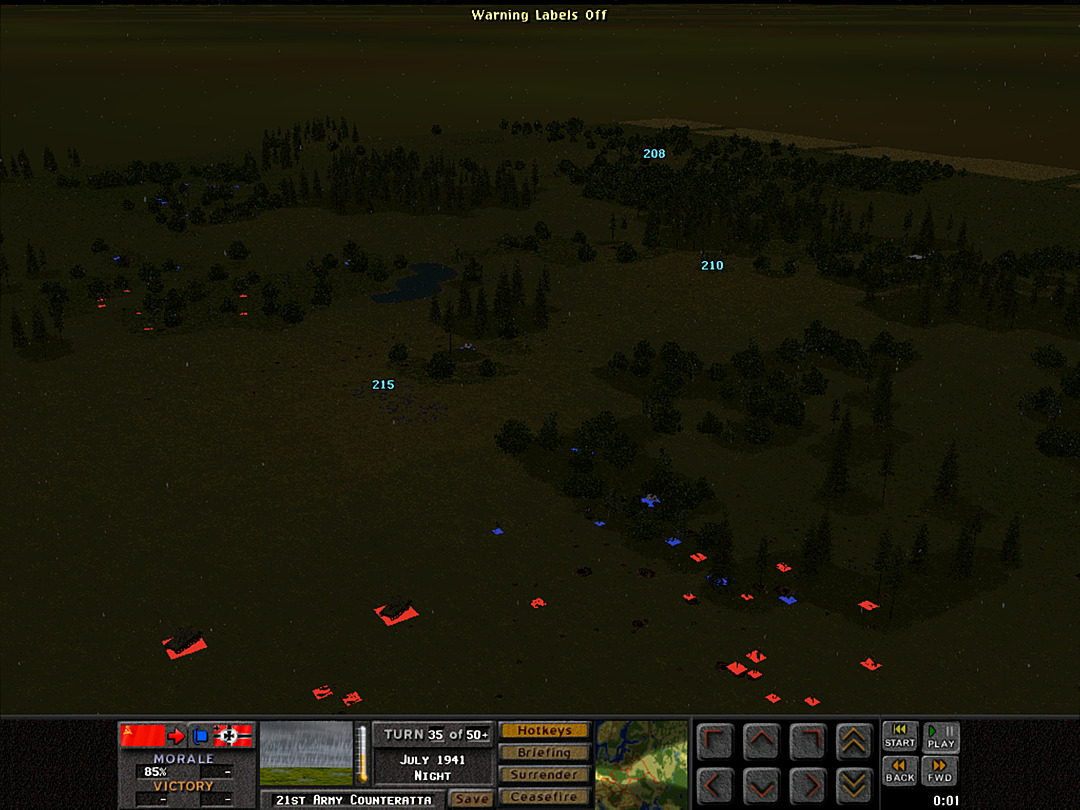 Some of the German squads have run out of the treeline towards us in panic. 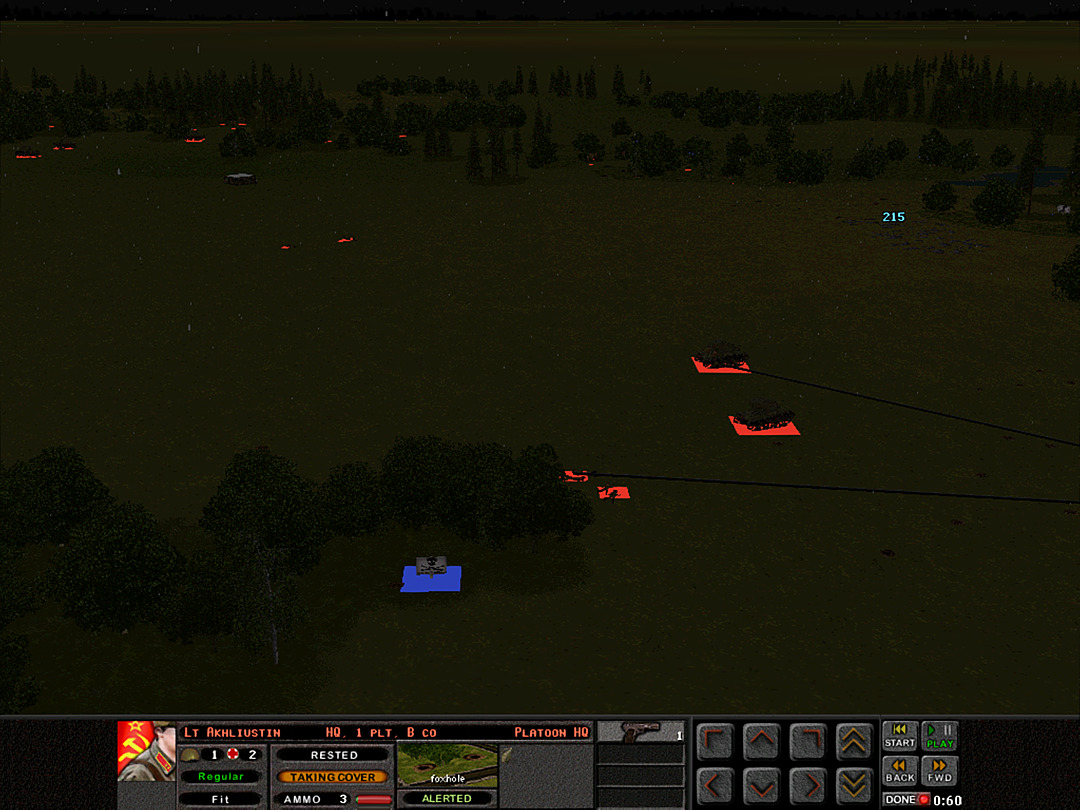 But many of our own soldiers have fled as well, even farther away. 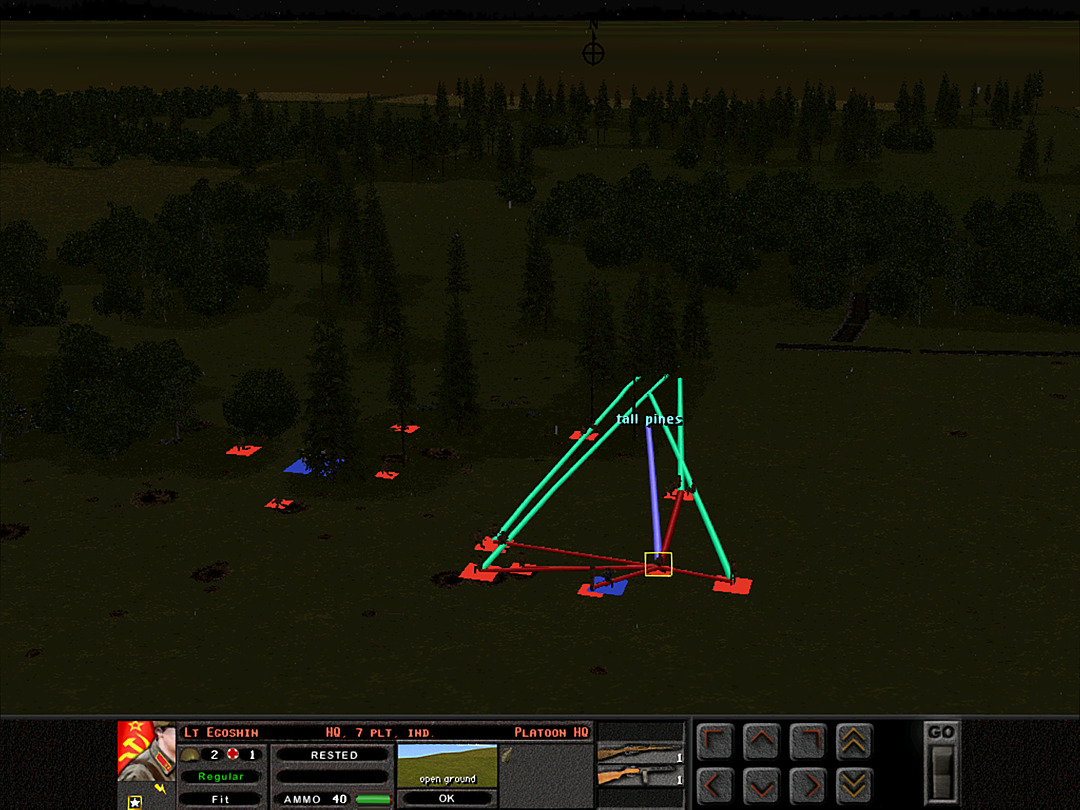 The Pioneers head forward. The minefield is gone, but they can work on clearing those trenches while B Company regroups. 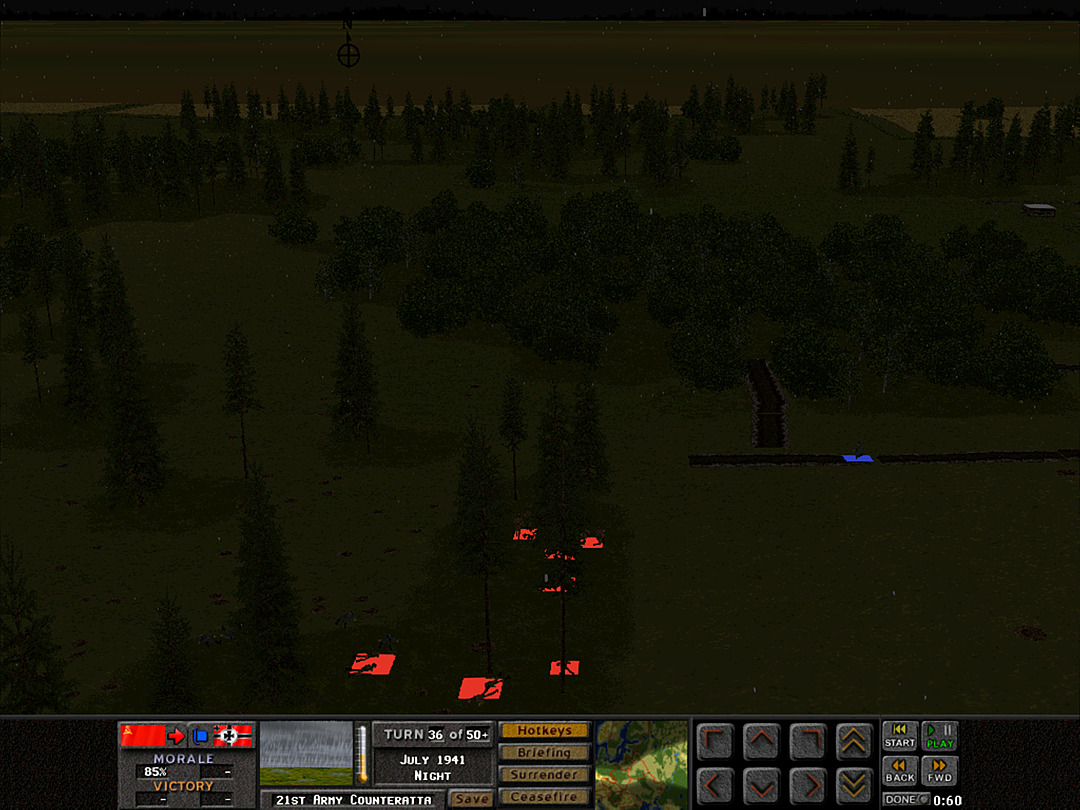 They indeed reveal the presence of enemy troops. 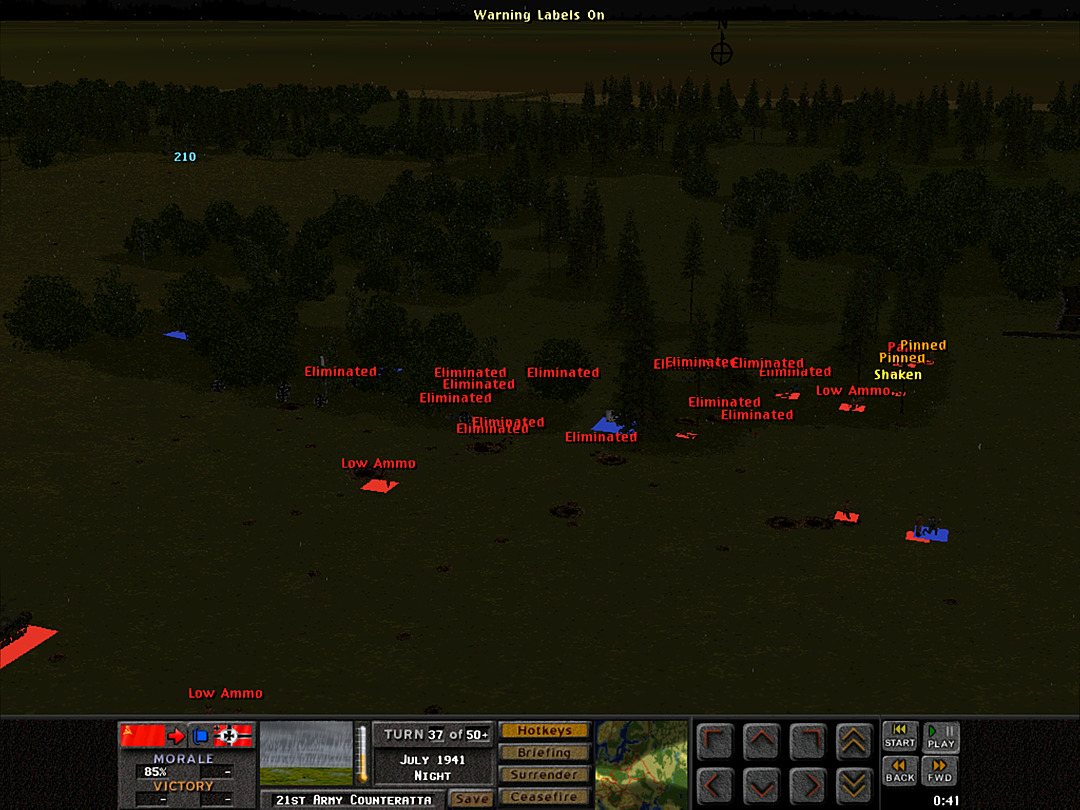 We aren't seeing many more German squads, but at the same time many of our own squads have also been taken out. 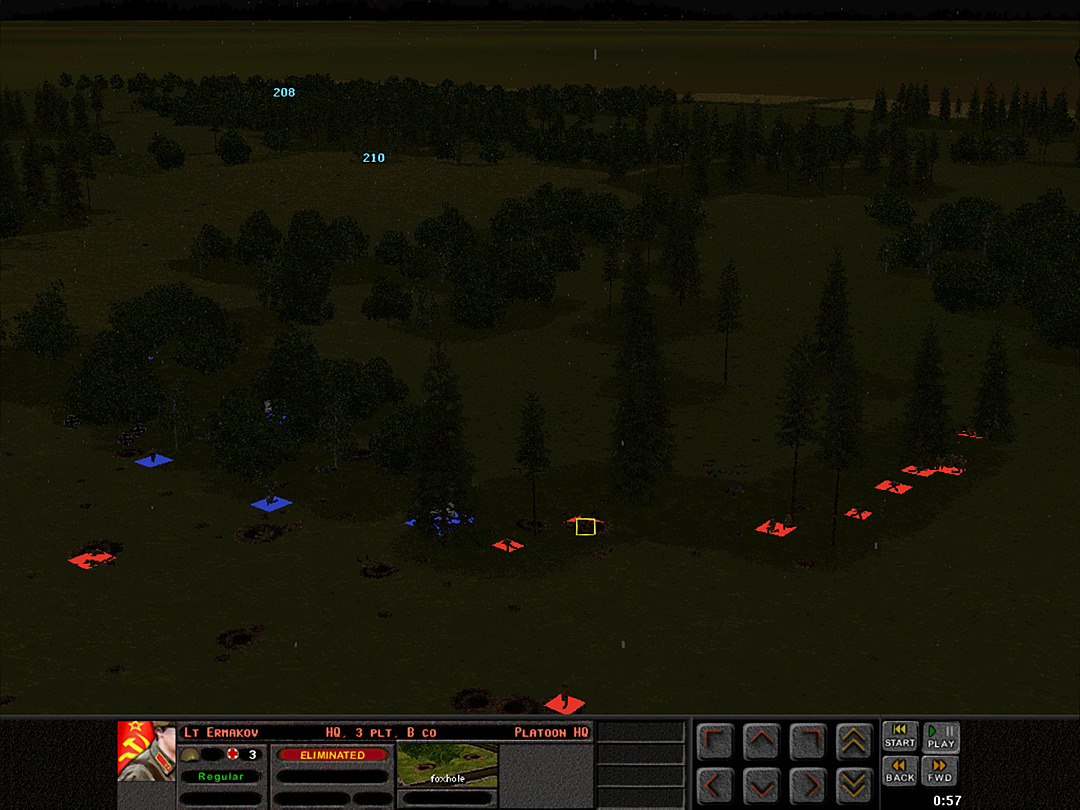 B Coy, 3 Plt has lost its lieutenant, and the rest of its squads are scattered. 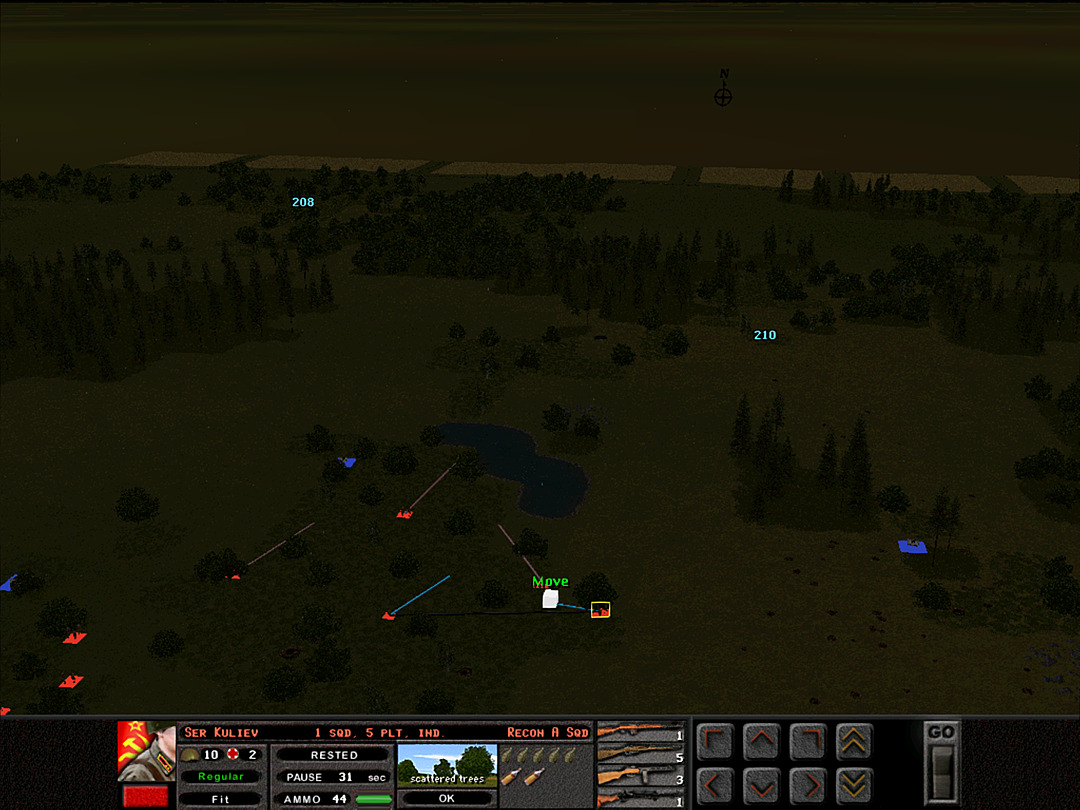 The reconnaissance mission of the woods is nearly complete, with no enemy presence reported. A few empty foxholes are the only sign that it was once occupied. 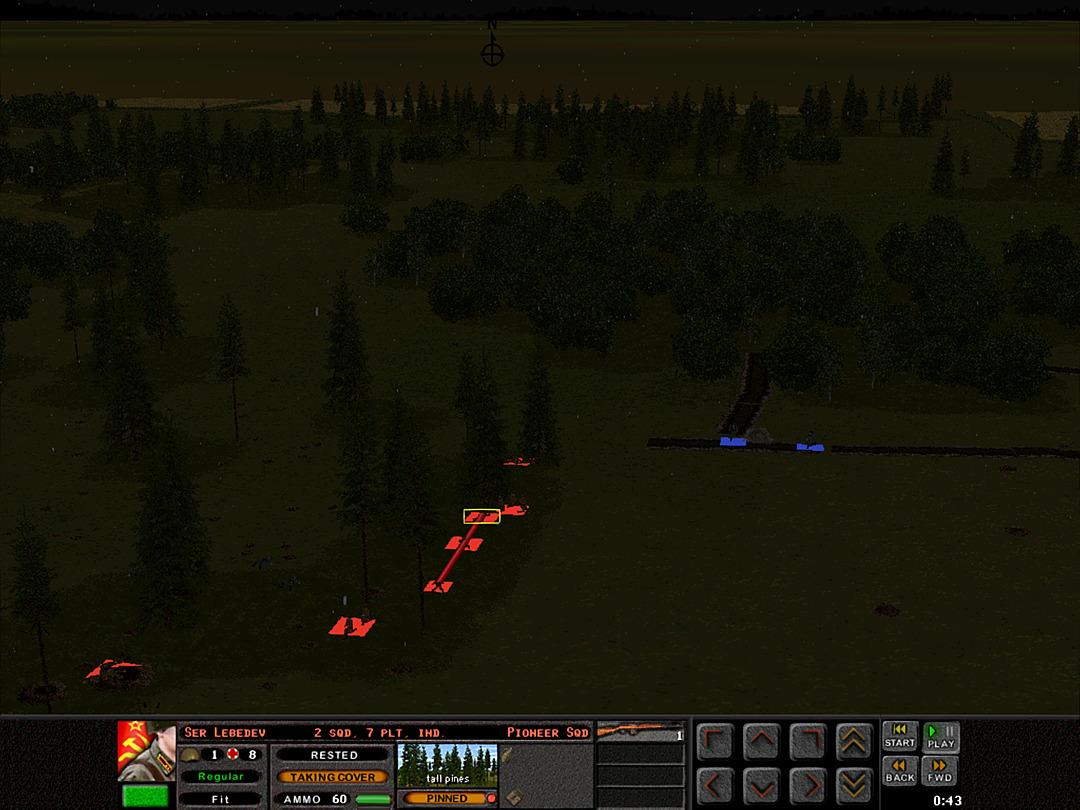 More enemy units are seen in the trenches, and the fighting intensifies. The Pioneers are losing men quickly now. 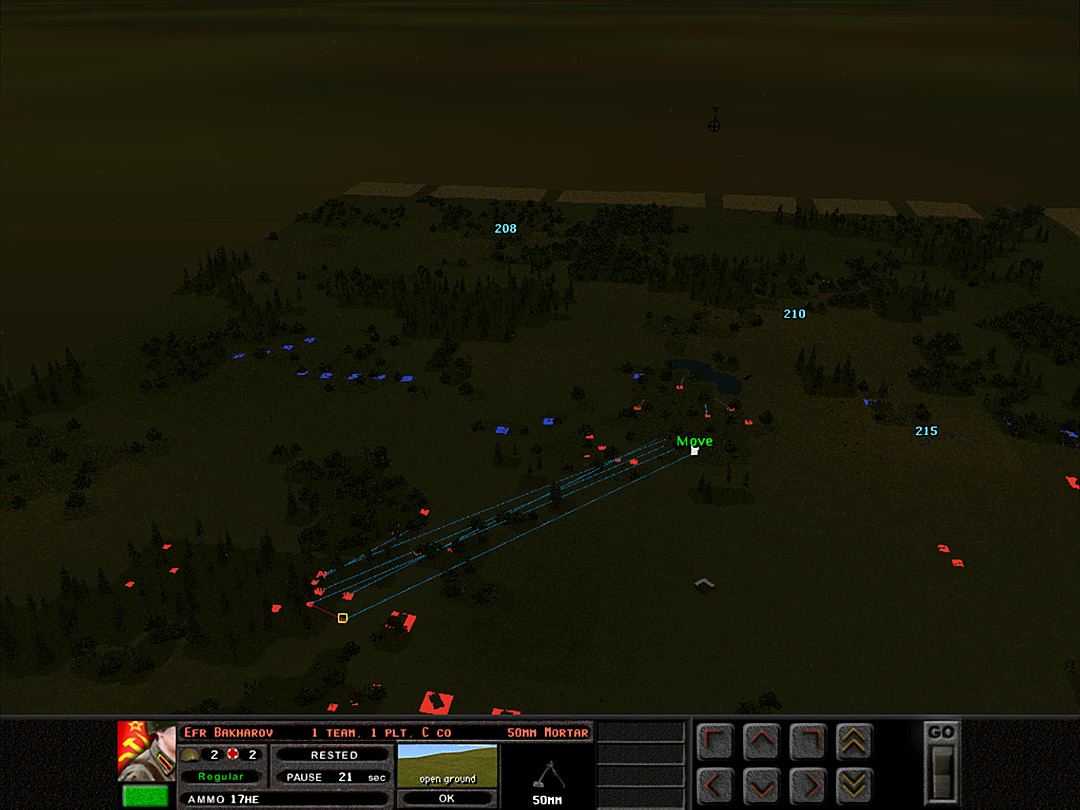 If the central woods are open for taking, we no longer need to hold our forces back. C Company will advance. 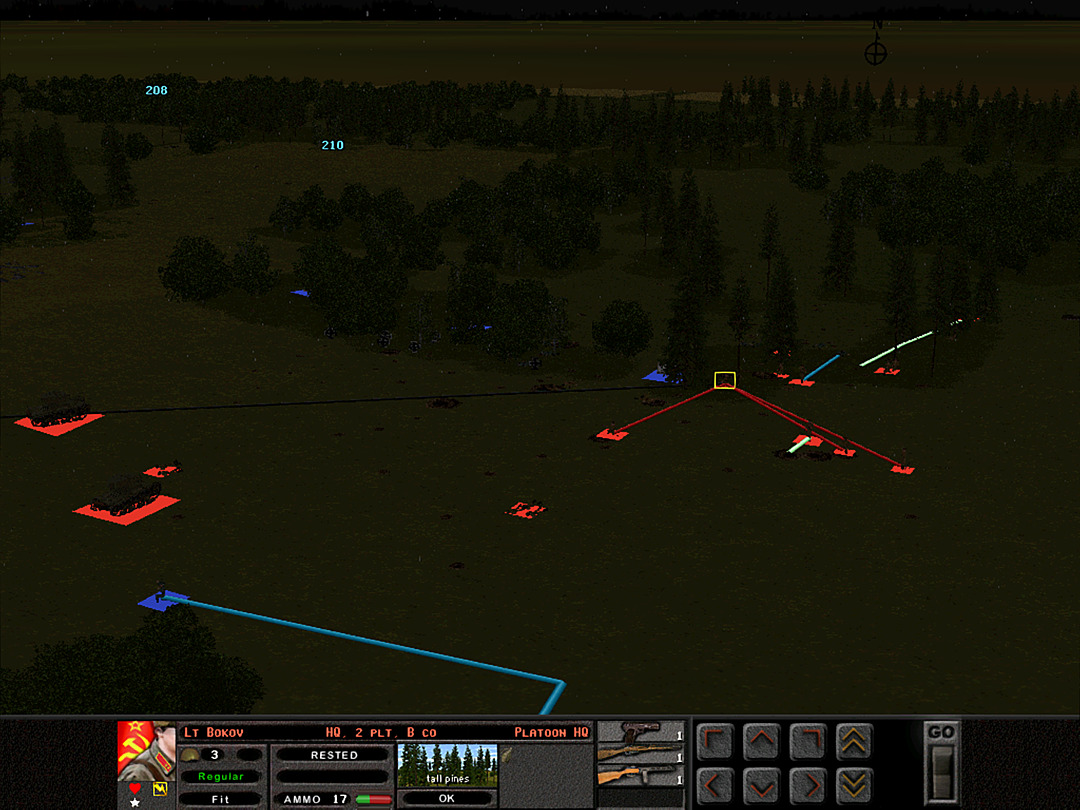 The tanks are keeping the treeline suppressed. We're trying to get what remains of B Coy to reassemble. 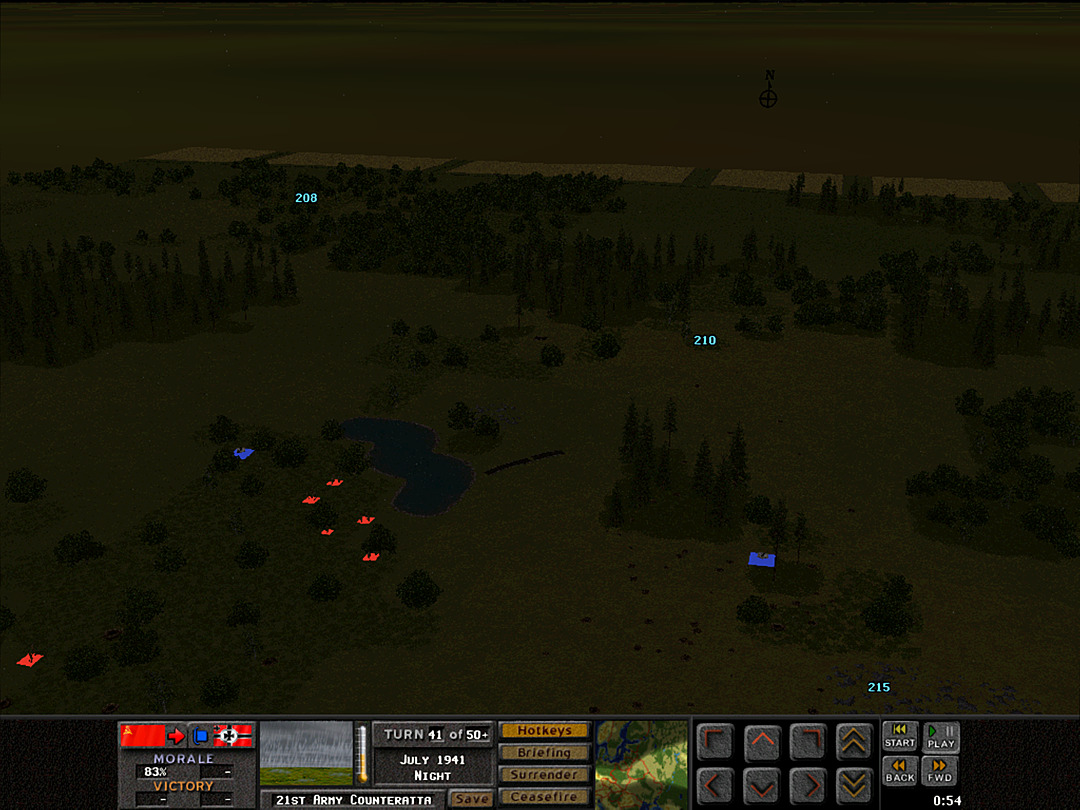 The scouting platoon spies a small trench dug near a pond on the ridge. 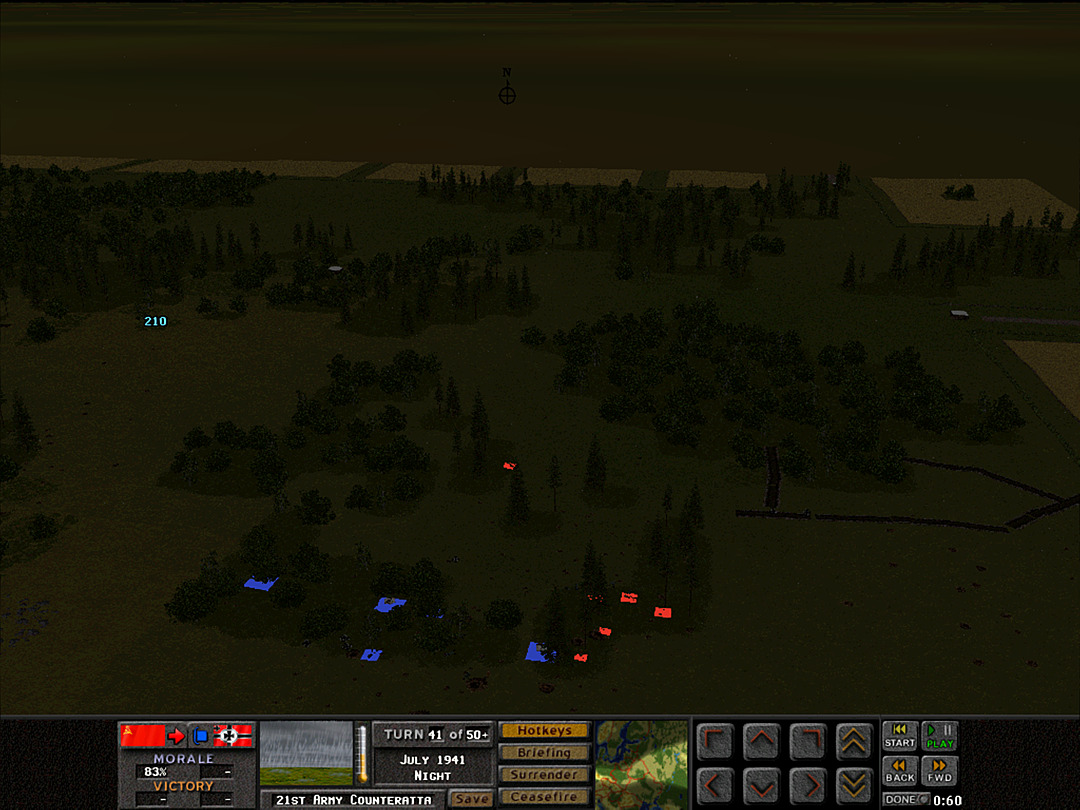 The Pioneers decide to pull back, as we don't have the strength to support an assault. One squad has somehow managed to get lost deep in the woods ahead. 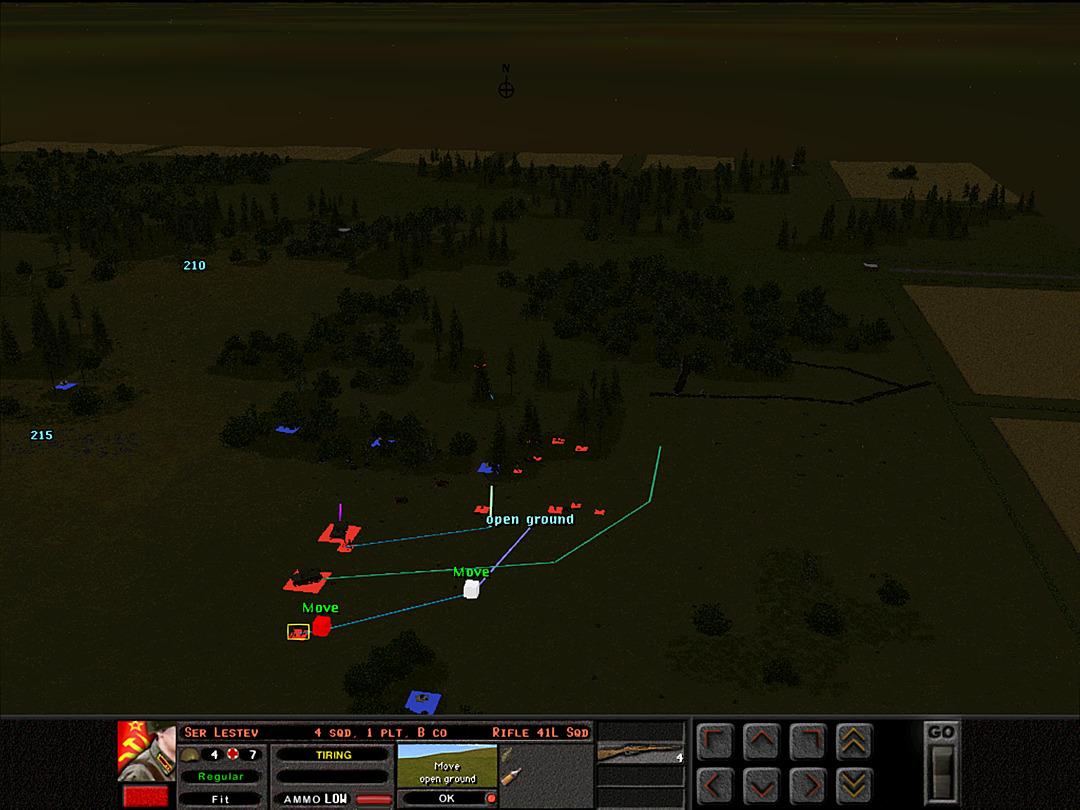 One of the T-26's is sent to hold off any attempts to come at us from the eastern trench. 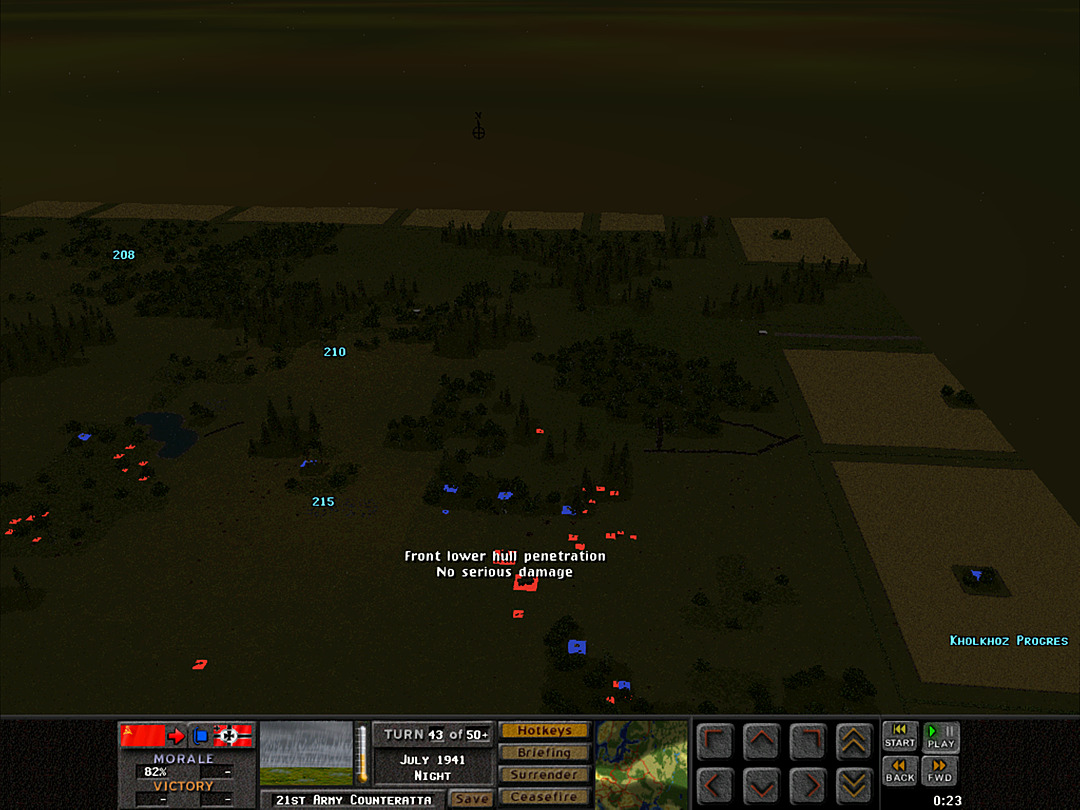 It looks as if both tanks will have to move away from the trees, though, as the Germans have brought an AT rifle team out to hunt them. 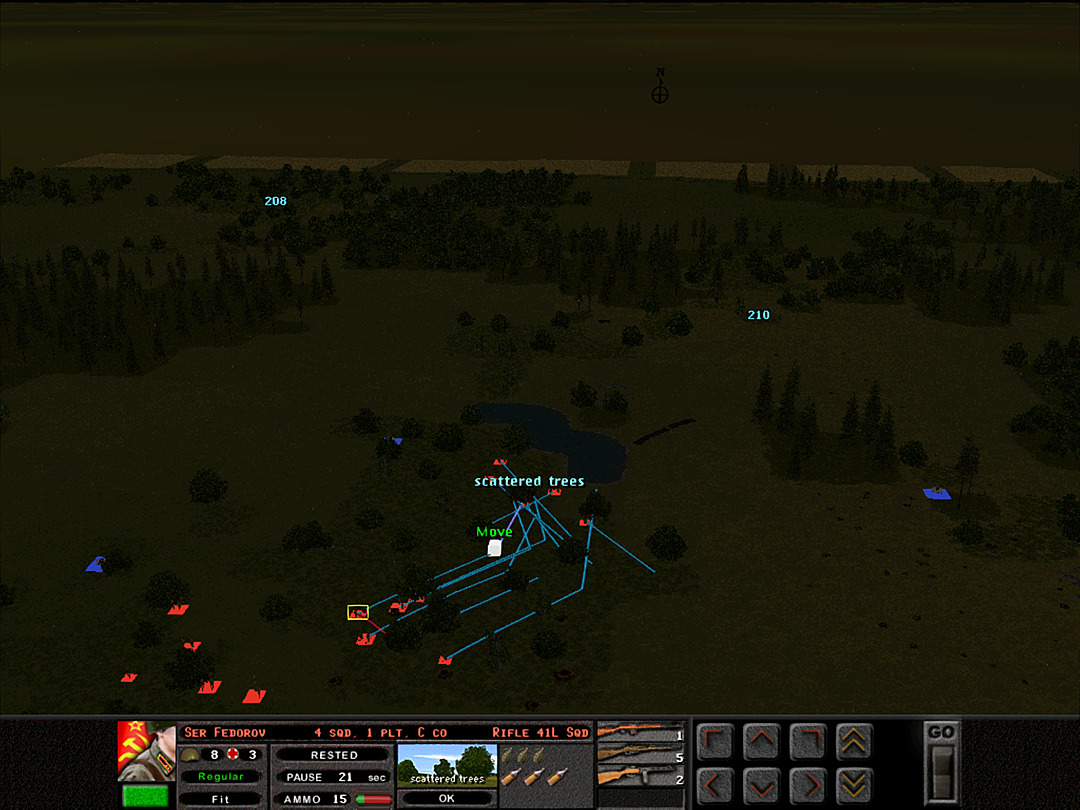 The recon platoon will be replaced on the front line with C Coy, 2 Plt. They can assault the ridge in the morning, and it may be our best line of attack now that our push to come in from the east has gone nowhere. 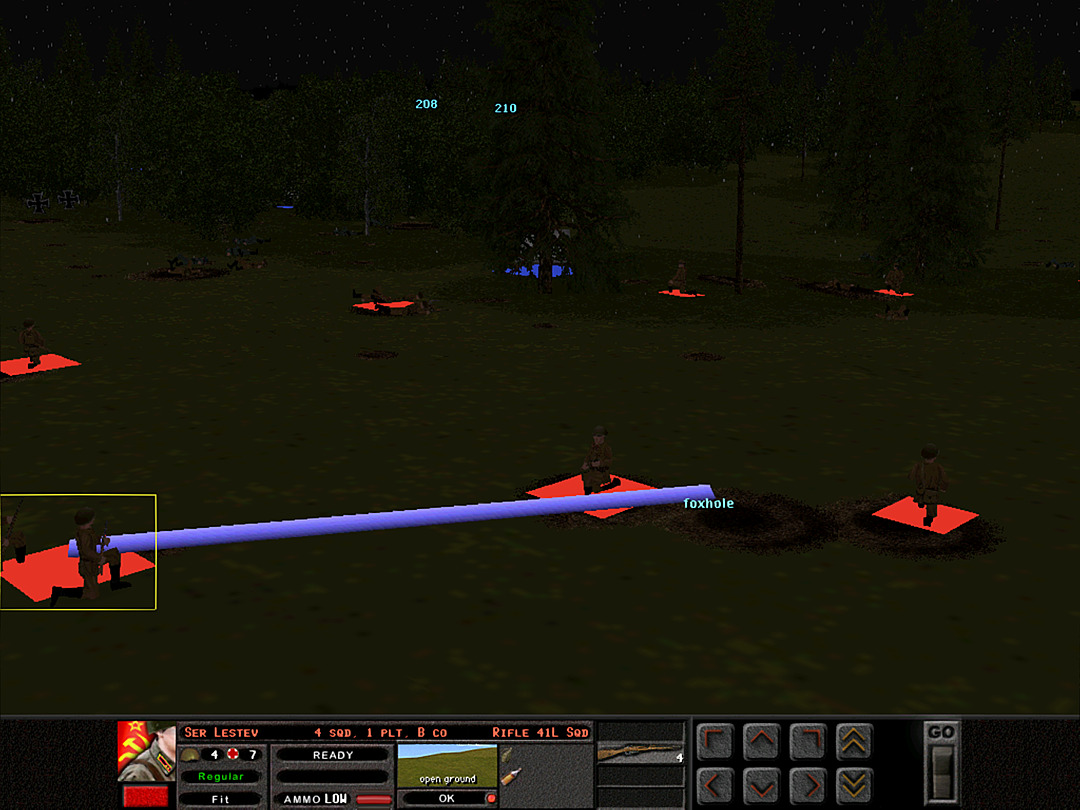 Barely any of B Coy's squads are in good shape, and most are low on ammo now as well. 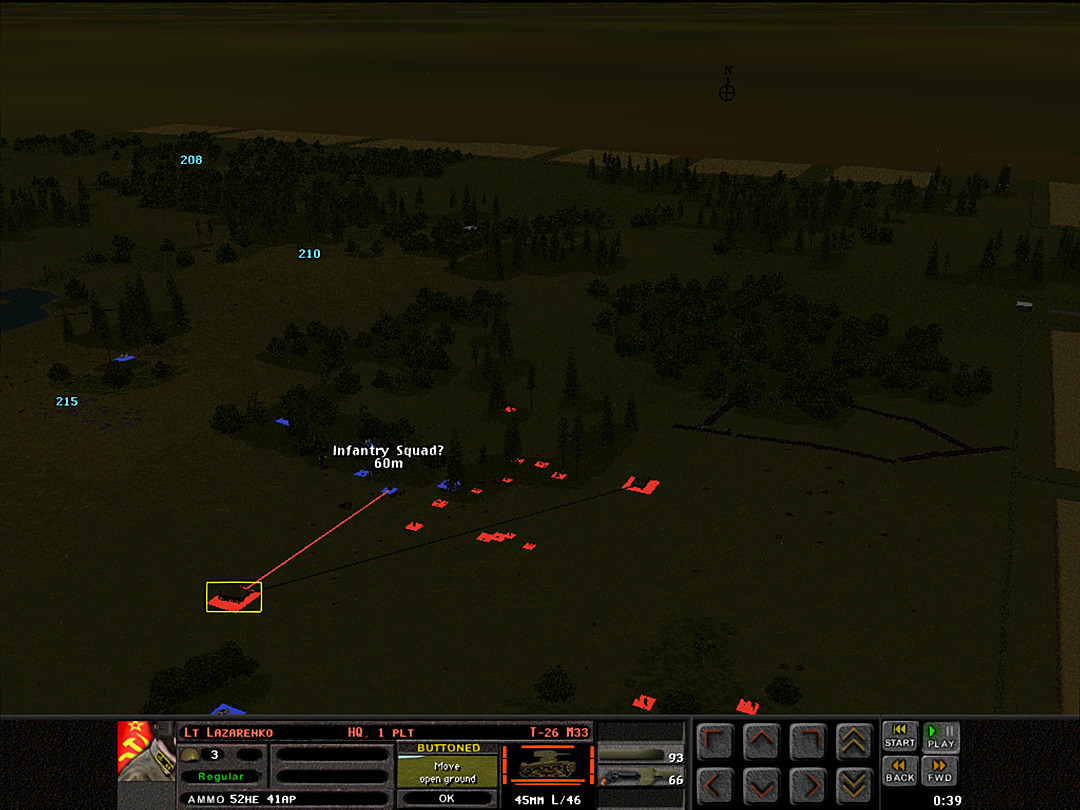 As the tanks pull away, a renewed group of German infantry comes at us again. 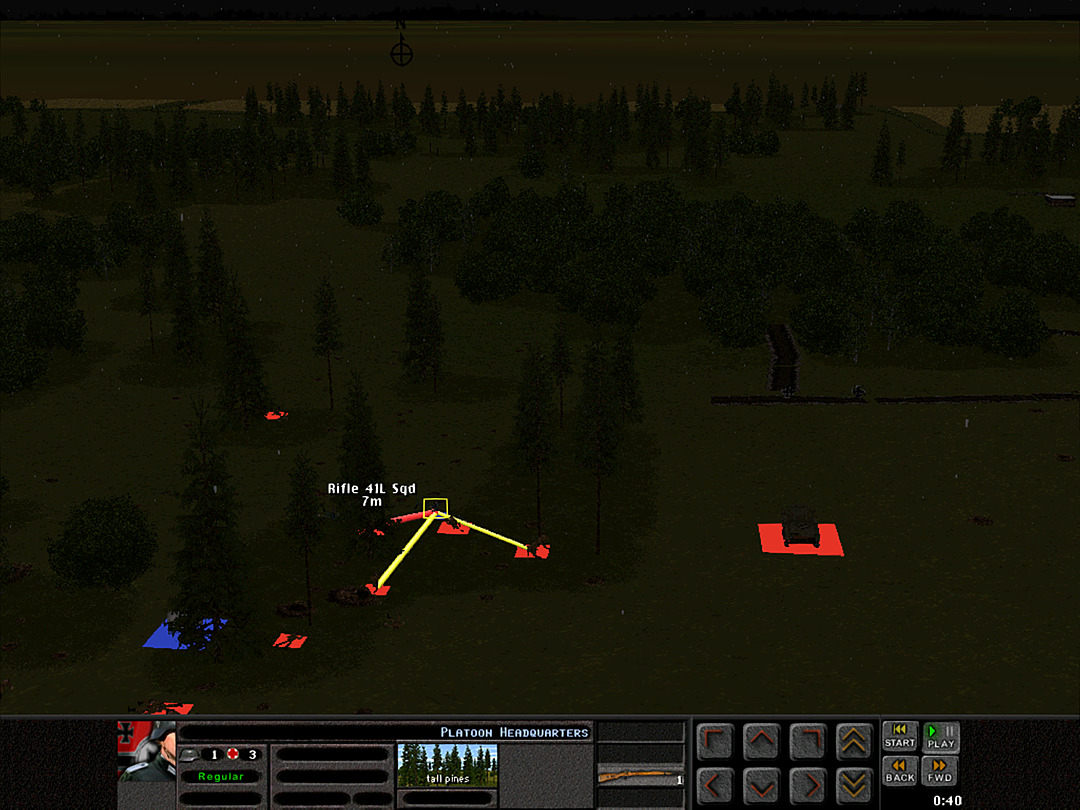 A German officer is discovered to be hiding near where the minefield was. He does not surrender, and is quickly taken down. 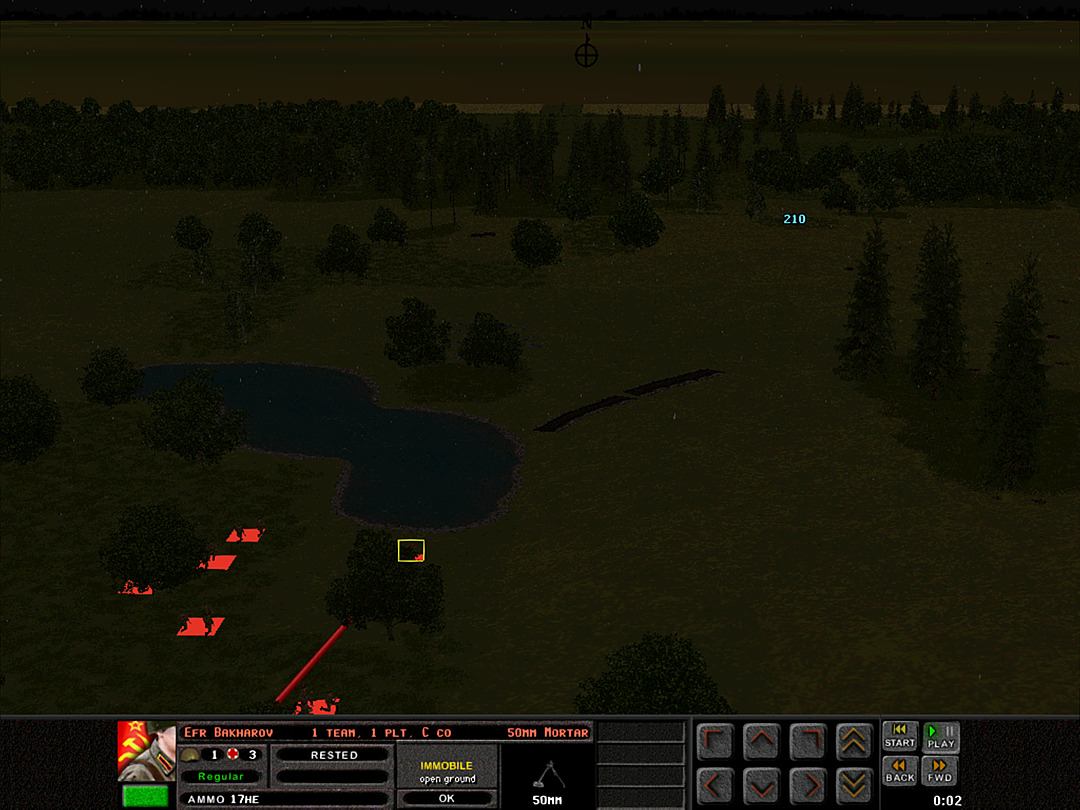 The mortar team in C Coy, 2 Plt takes fire from an unknown location, and loses all but one man. He can no longer transport the weapon. 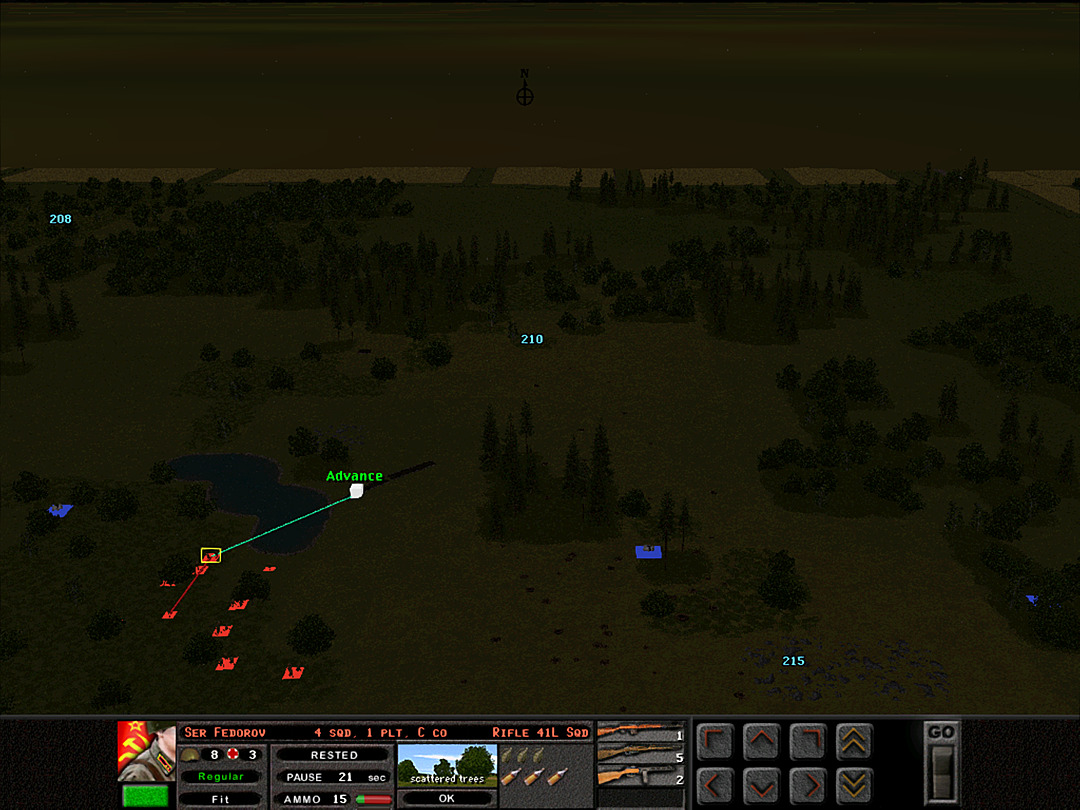 Defying orders to wait for the dawn, a few squads brave a nighttime assault on the trench. 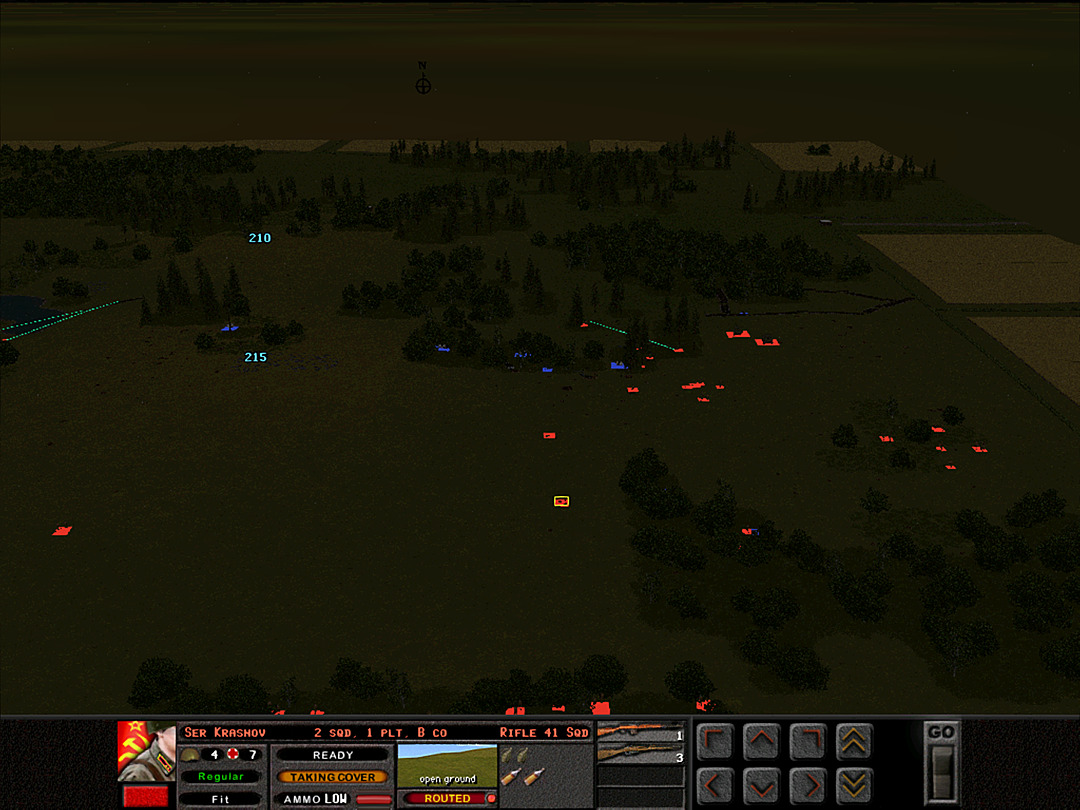 Several of B Coy's squads are still running around in panic, as they lost their commanding officer in the last German attack. 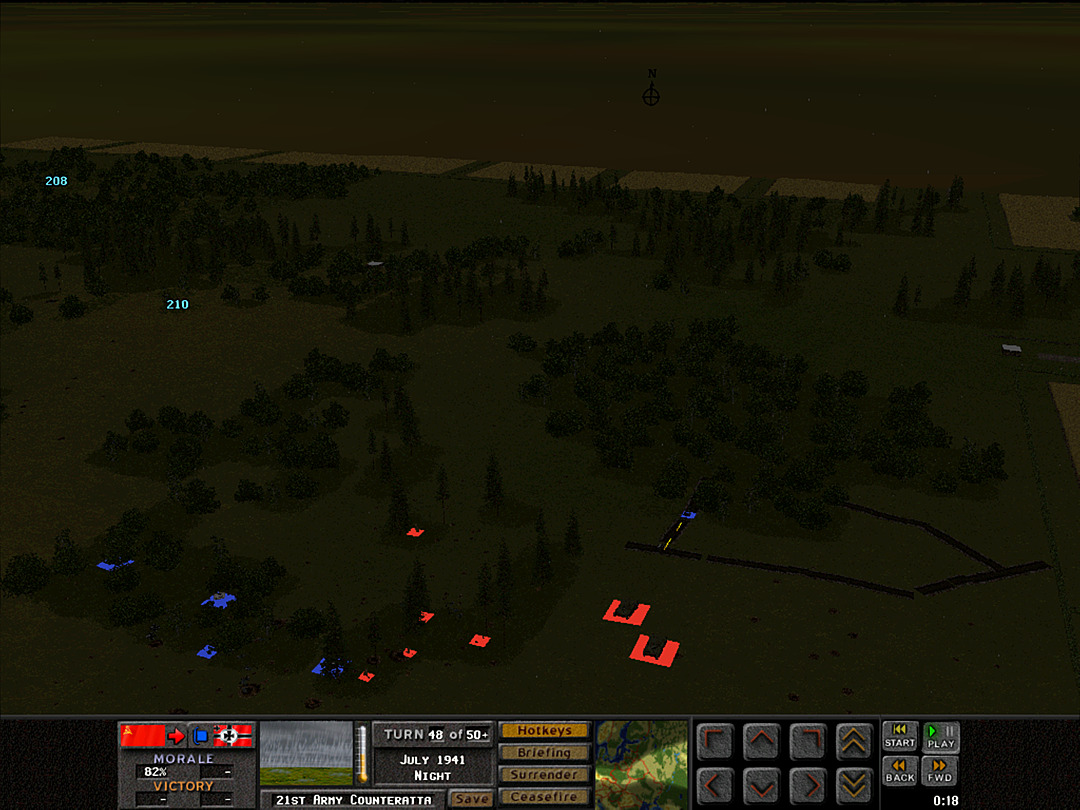 Both of the T-26's push towards the trench line, and the German forces there open fire on them in fear. 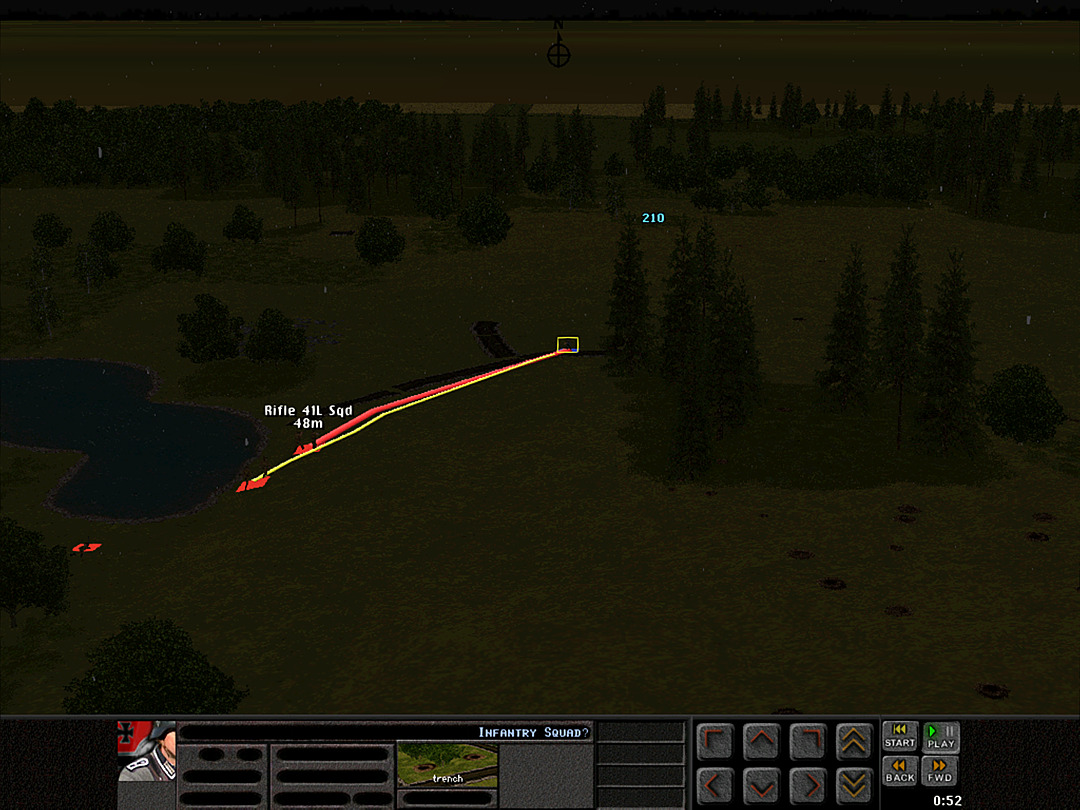 The charge toward the trench of C Coy, 2 Plt reveals where the enemy units are positioned. 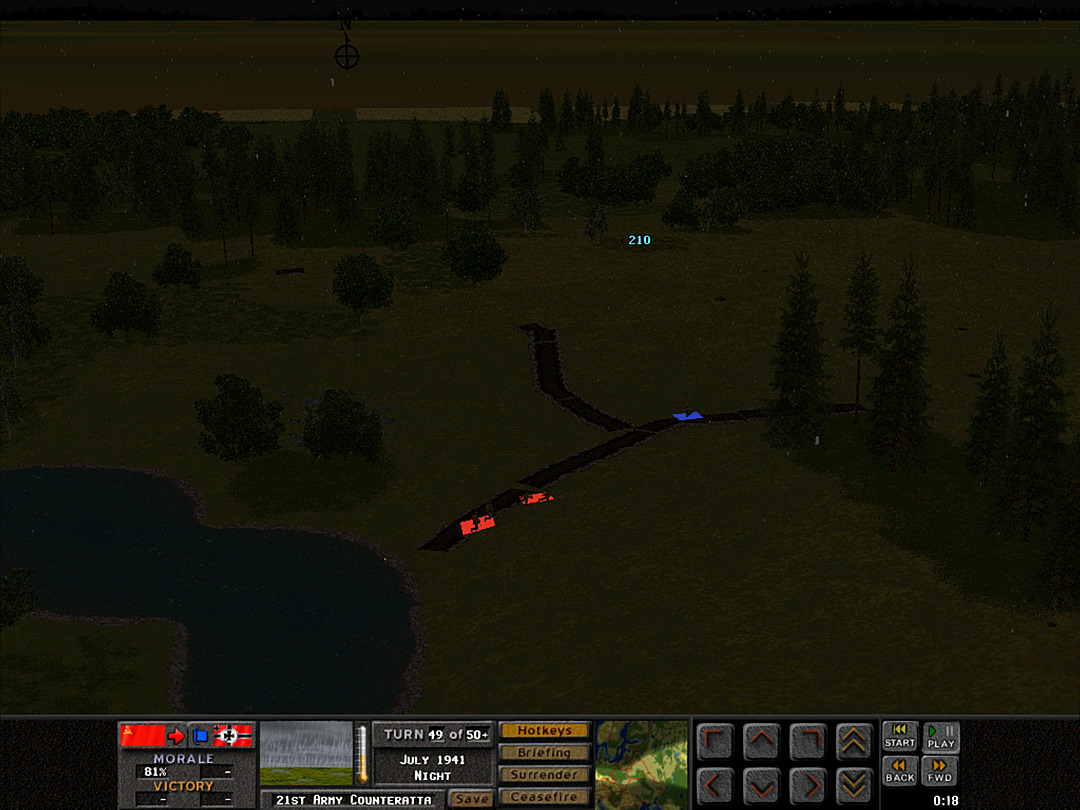 But it looks like the line was not held by many forces, as the first two squads gain the safety of the trench. 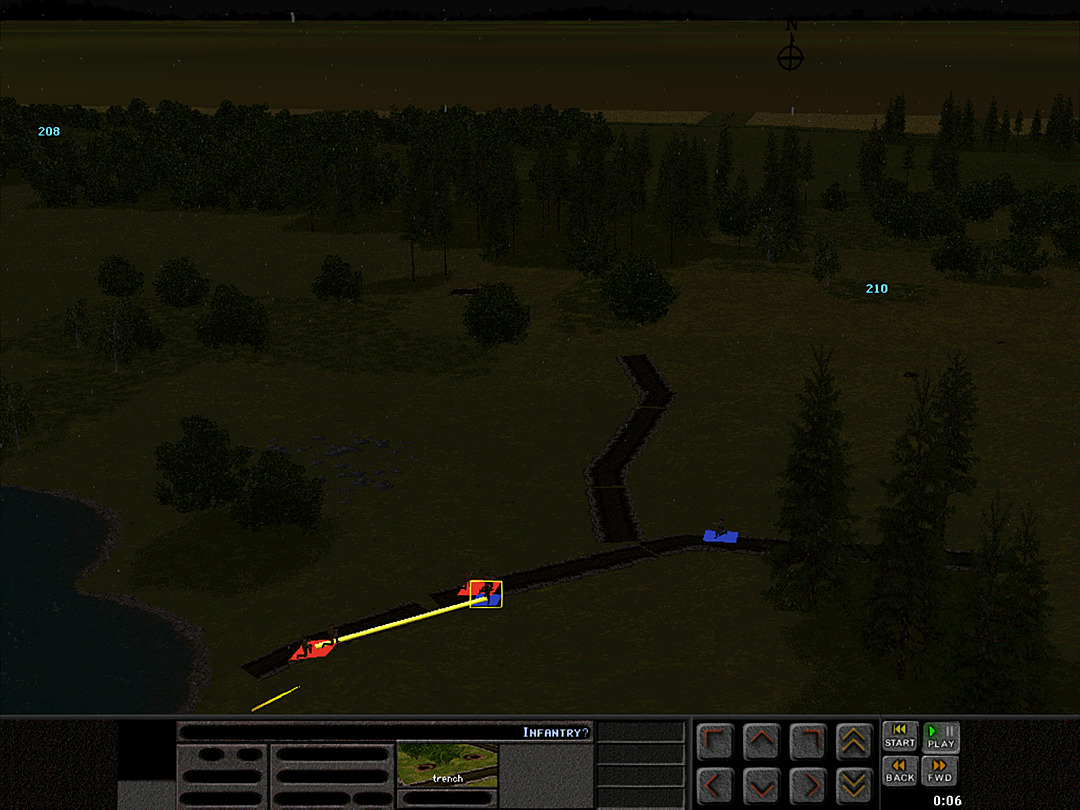 One squad drops in almost on top of the enemy, and close-quarters combat ensues. 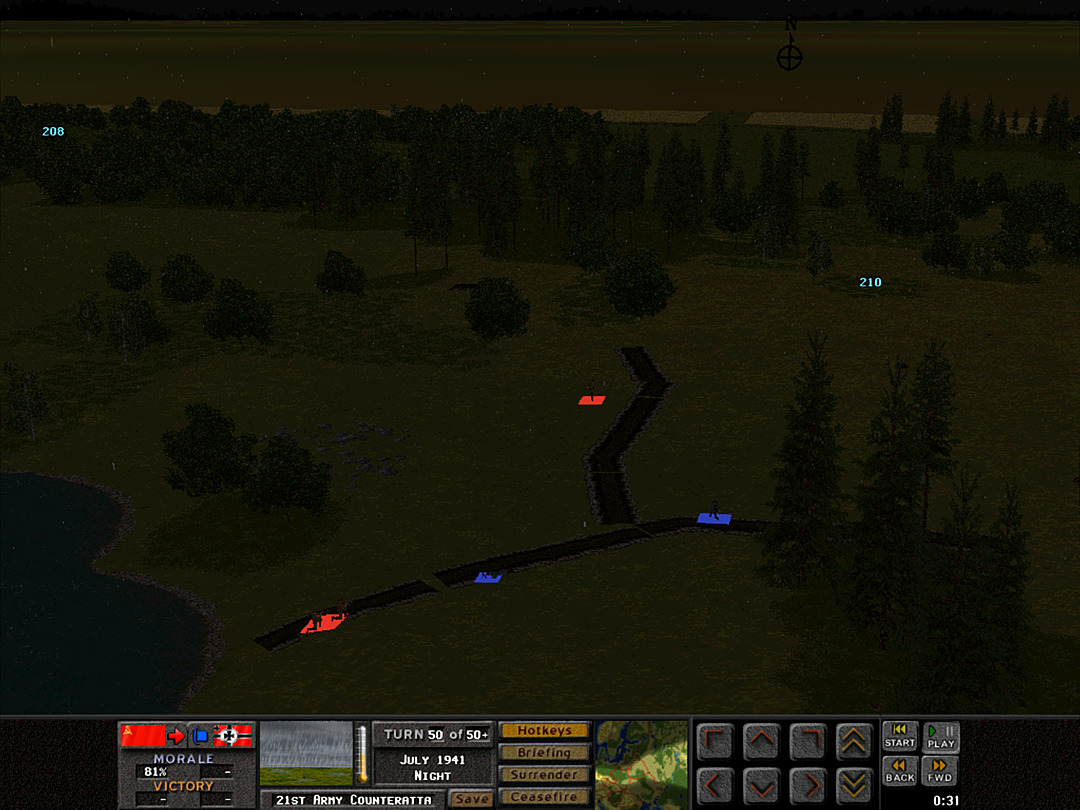 It turns against our side, though, and the Soviet squad rushes in a panic headlong toward enemy lines. 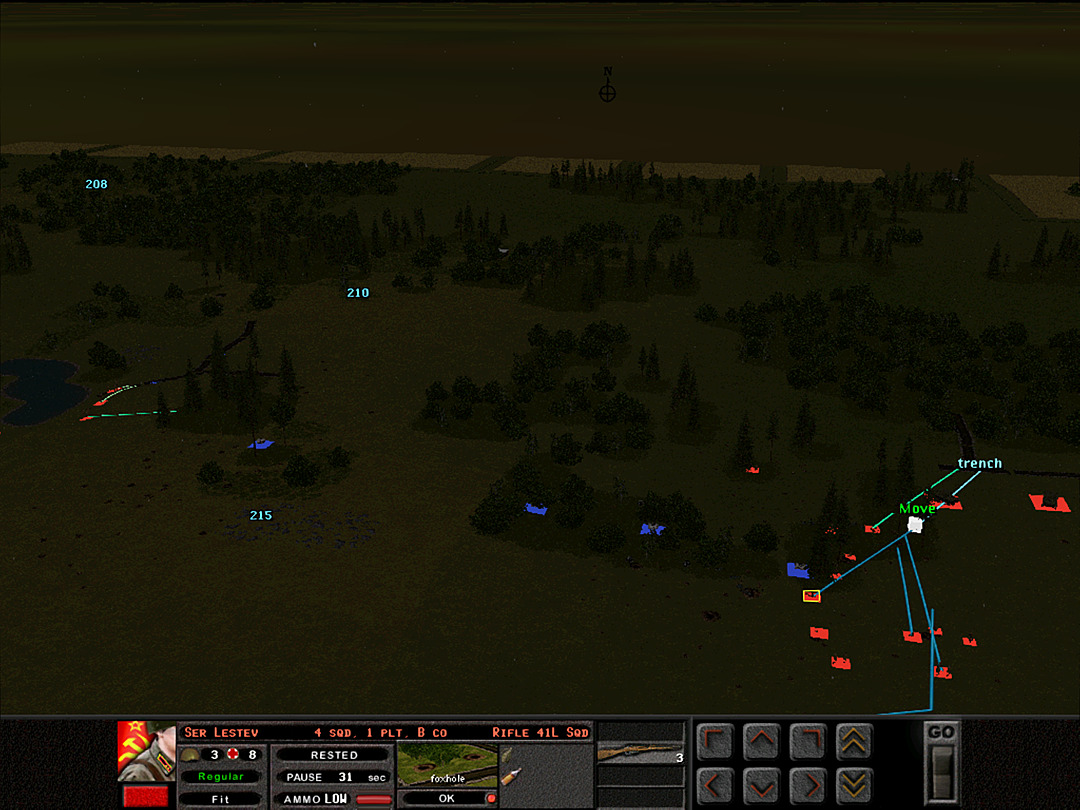 With the tanks doing the job of scaring the Germans out of the trenches on the east, we send a few squads to try and take them. 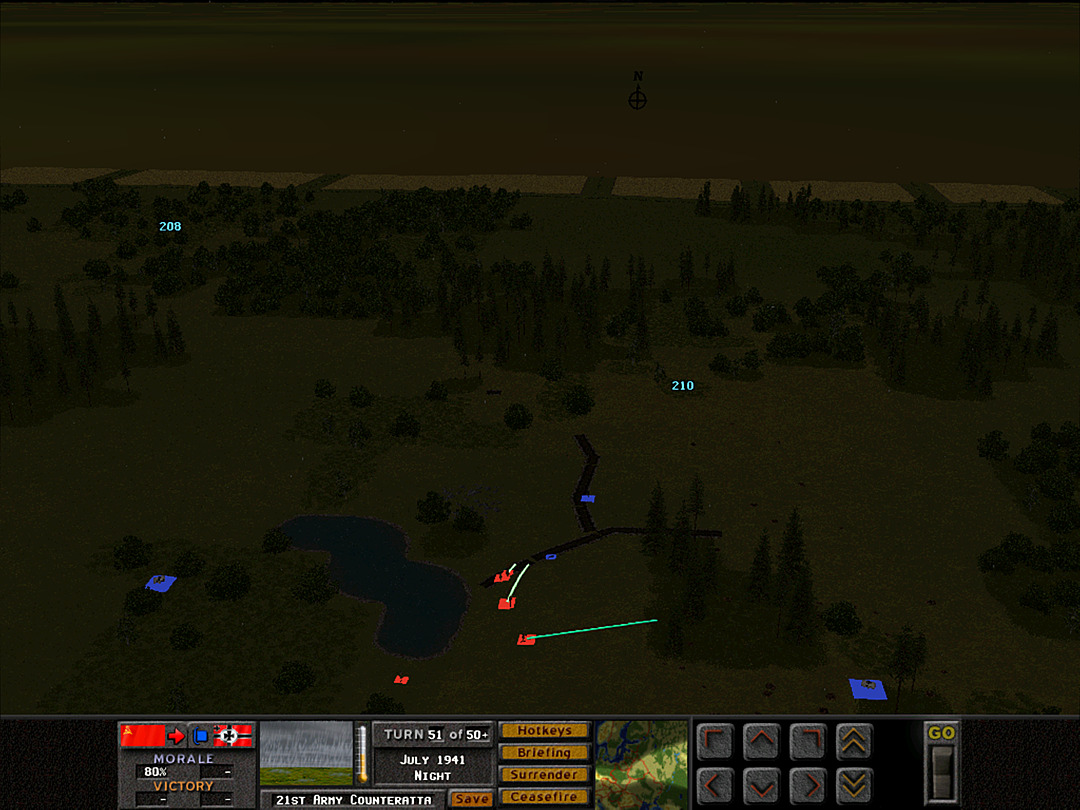 Since two squads have already advanced, the lieutenant of C Coy, 2 Plt pushes the rest of the platoon forward. 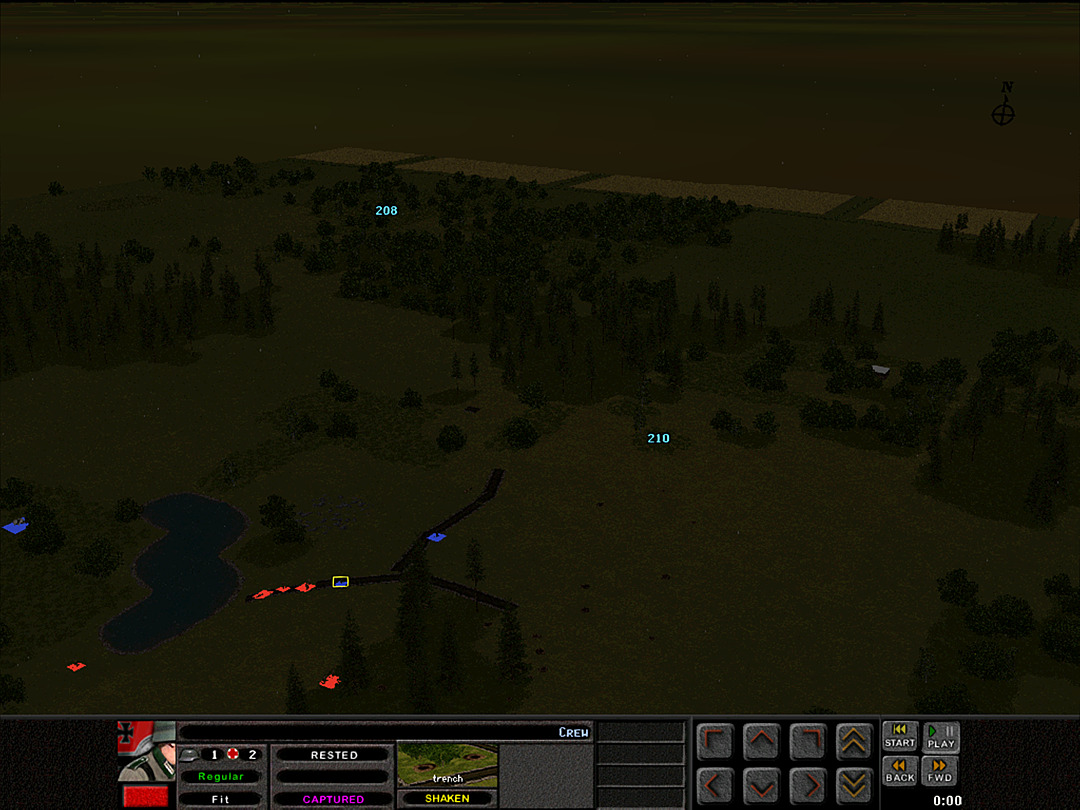 The German mortar team that fought off our assault surrenders as more Soviet soldiers enter the trench. 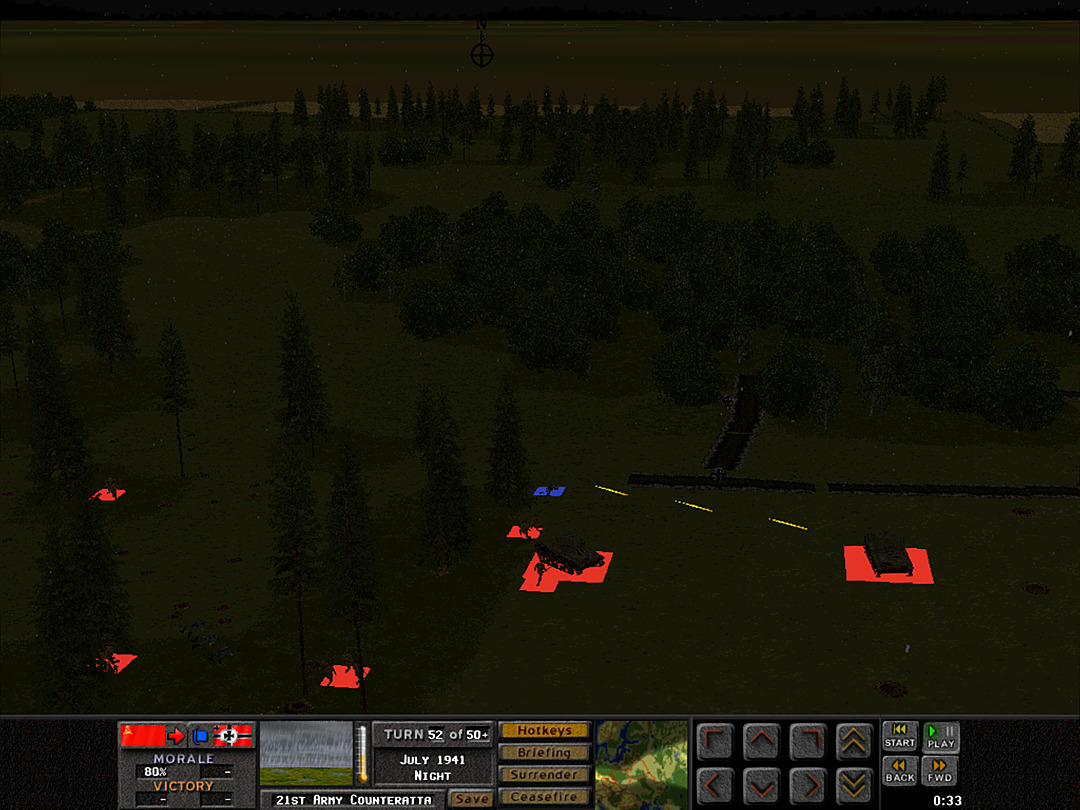 Fighting over the eastern trench continues, but we appear to have the upper hand. 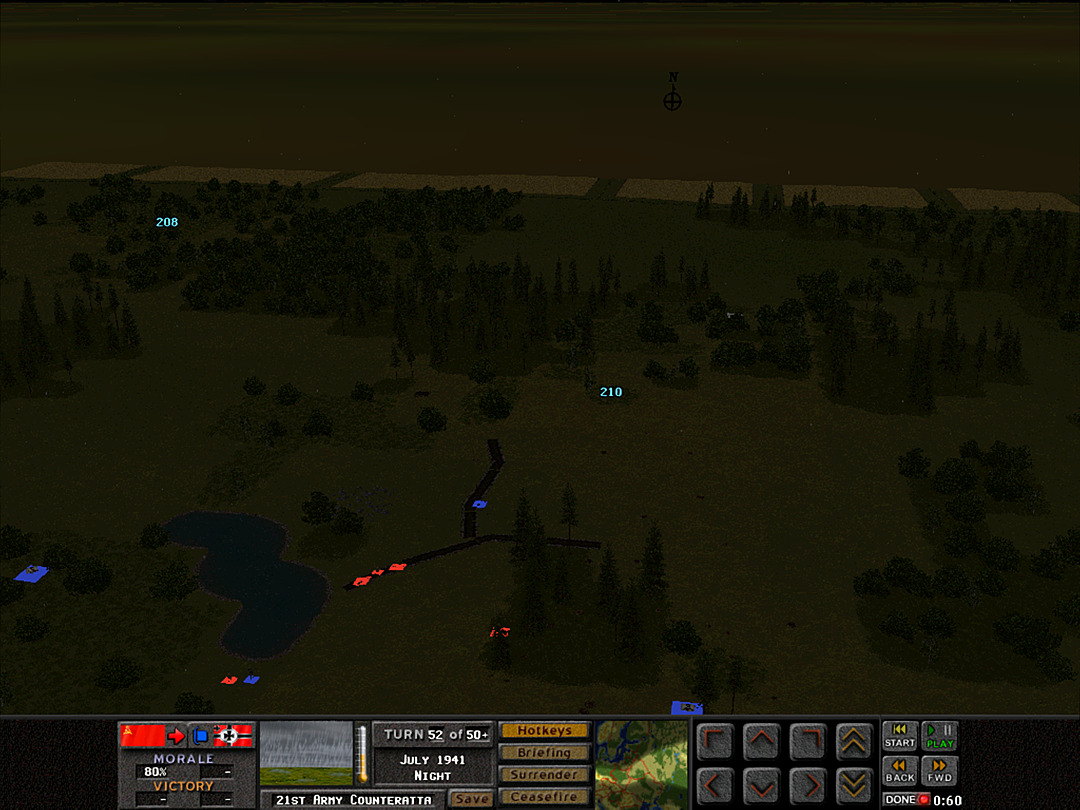 Although one squad was lost in the foolhardy charge on the trench in the middle, we are able to settle in to one corner of it, and will hold that position until the morning. 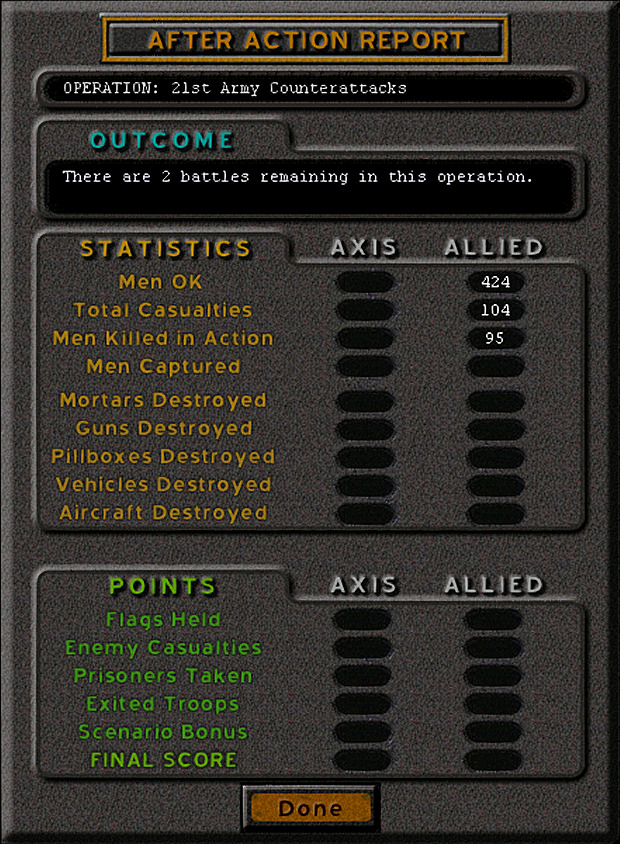 The night attack on the eastern side was a complete fiasco, and we can't hope to make any progress. At least we had a relatively easy night elsewhere. Unit Highlight T-37 Tankette 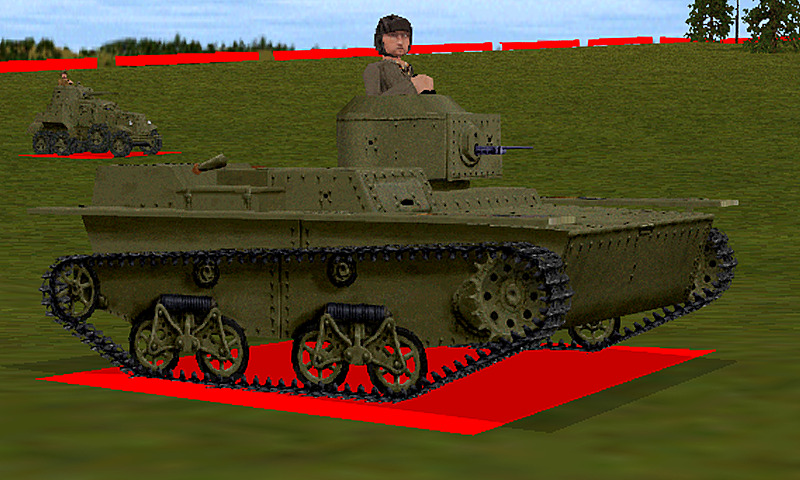 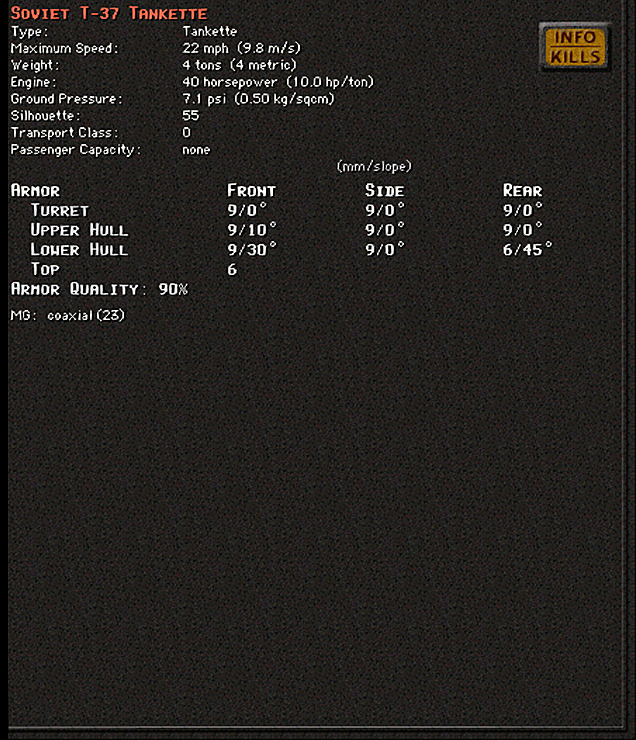 Crew: 2 Base Cost: 21 [The game designates these in the 'vehicle' category along with armored cars, and I don't know if their amphibious characteristics are modeled at all.] A 'scouting' tank that ended up seeing more action than intended. The T-37 (often designated the T-37A, for the main non-command version) was another Soviet model based on a British design, this one for an amphibious light tank. It was developed in the mid-1930s as a reconnaissance vehicle, making use of its ability to cross water to allow it to traverse any terrain. Lacking armor and sporting only a machine-gun, it was not intended for direct combat. It saw service as a scout during the Winter War with Finland and the early parts of the war against Germany. During Barbarossa, however, they were sometimes the closest thing to a tank for infantry support, although they did not fare well in that role.
|
|
|
|
Operation 2, Battle 3 of 4 Operation: 21st Army Counterattacks Time: Dawn Skies: Overcast Ground: Wet Temp: Warm Wind: Windy W The night was rough. We failed to really secure the woods on the western side, and only managed to clear a small portion of the minefields. Some success was achieved on the east, as we are nearly on top of the ridge there, and in good position to attack. The weather has let up after the overnight storm, though the rain left the ground a bit damp. It shouldn't hold us up that much, since we're not trying to cover a lot of ground today. We also aren't asking our tanks to do much other than support the infantry, so no rapid movement will likely be asked of them. There is a chance of enemy aircraft flying today, should they have any, so we may need to keep an eye out overhead. 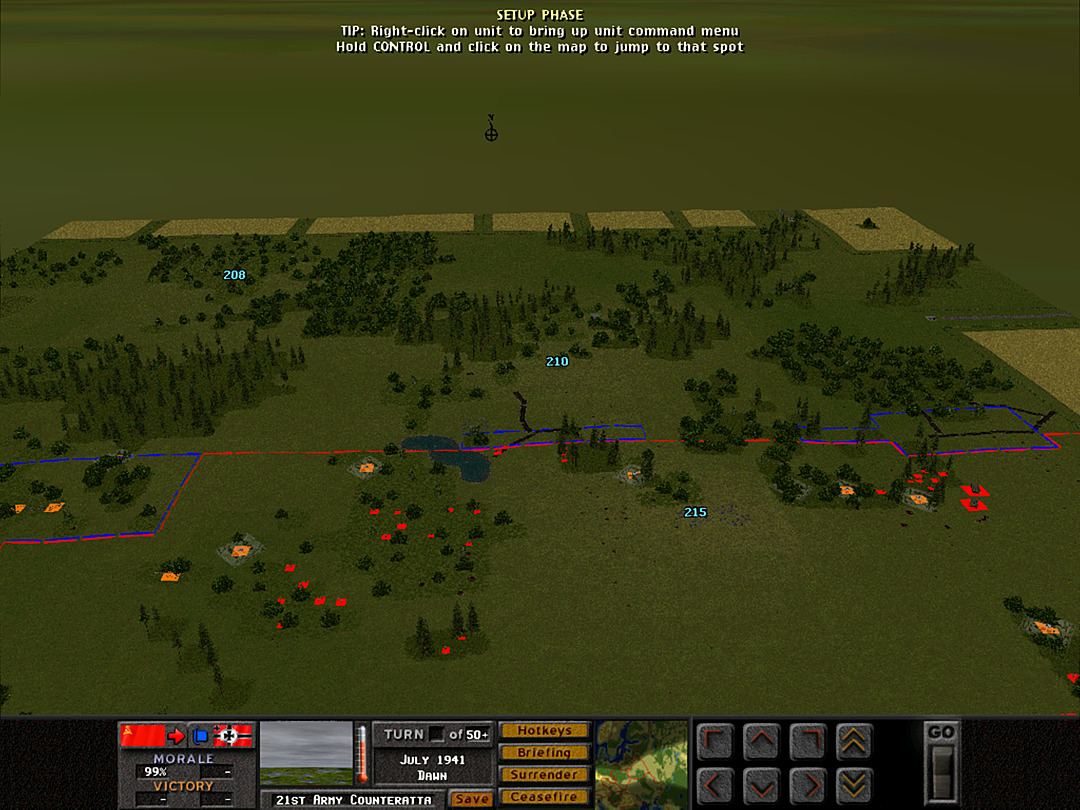 Thanks to the advance of C Coy, 2 Plt, our forces have gained the first tip, and the highest point, on the ridge. We might well be face to face with a trench full of Germans up there once day dawns, however, so we'll have to be ready to fight. The rest of C Coy has moved into the woods. 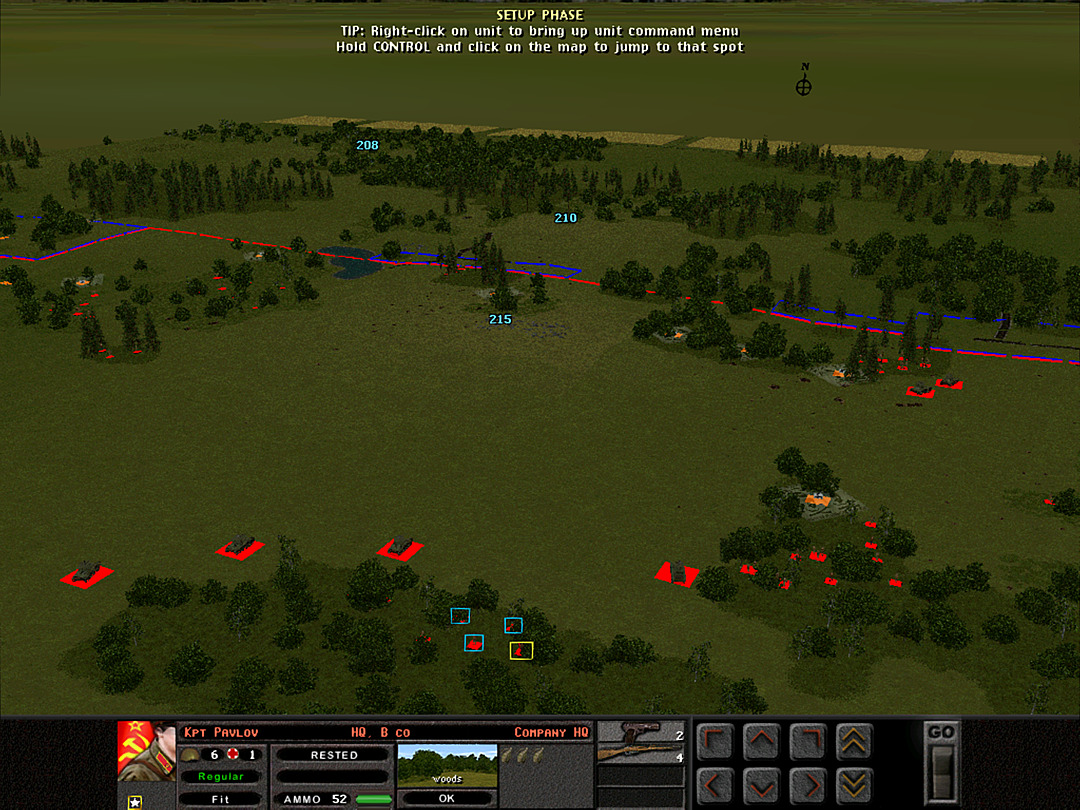 On the other side, the situation is grave. The confusion of battle has led to B Coy being utterly shattered. Many men died in the fighting, or they fled from combat and deserted later in the night. All that remains is the captain, a few mortar teams, and 2 Plt's lieutenant. It'll be up to A Coy to take the lead here, as even the Pioneers have been reduced quite a bit from their original strength. [Sometimes units are just gone, especially if they've lost their leader and ended the previous battle in a poor state. Squads that take heavy casualties may also be broken down and absorbed into other units. At this point even some of our 'stronger' platoons likely only have three squads instead of four, since we started at 80% strength and it doesn't take much to reduce those numbers. This may also be why you'll see squads that were previously weaker having more soldiers in them now.] 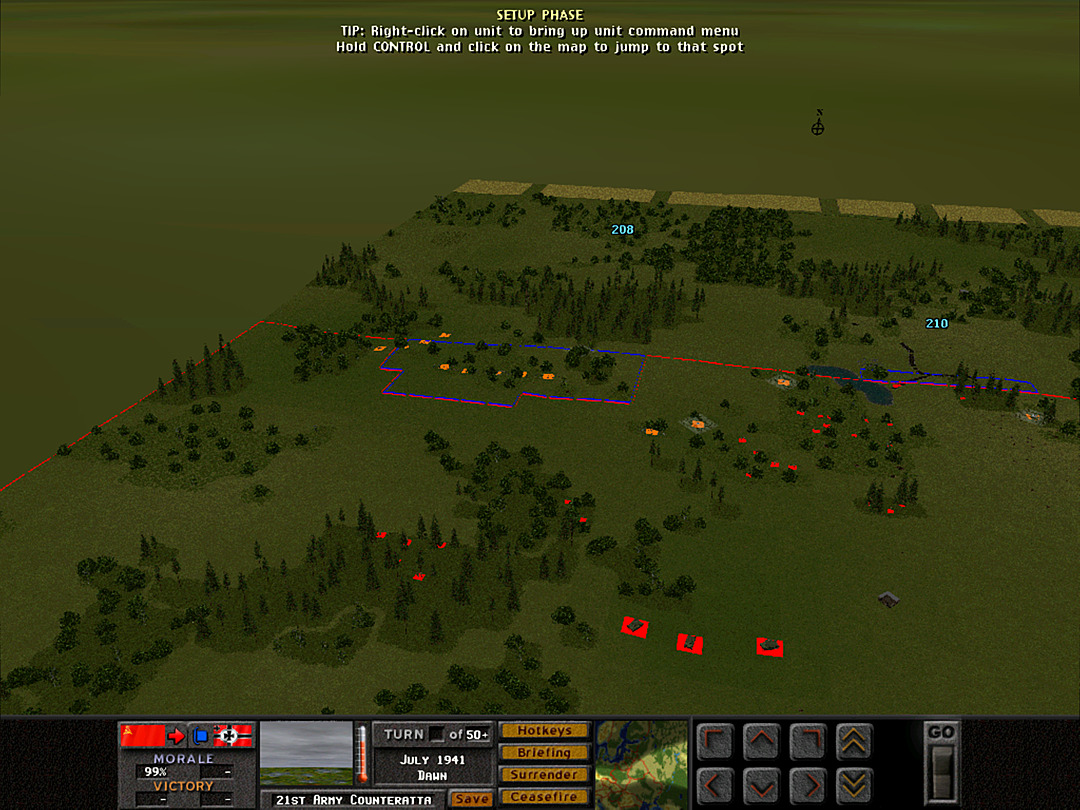 We still haven't seen strong anti-tank weapons on the German side, but it pays to be cautious. The tanks on the west will hold back for now, unless they can see a safe position to take up in support of the infantry. The recon platoon is going to hold the western edge. Mainly they are there to protect our Maxim guns that are covering the southwest side of the ridge. We don't really need to hold all of this territory, so if all is clear and C Coy advances, these units can move toward the center. The general plan for this morning is to have C Coy start the assault on the hilltop trenches. A Coy will still try to push on the western side, but mainly to secure the right flank for the advance. We do not need to take the entire line, just the ridge, and with our depleted force, that's where we have to focus our efforts. 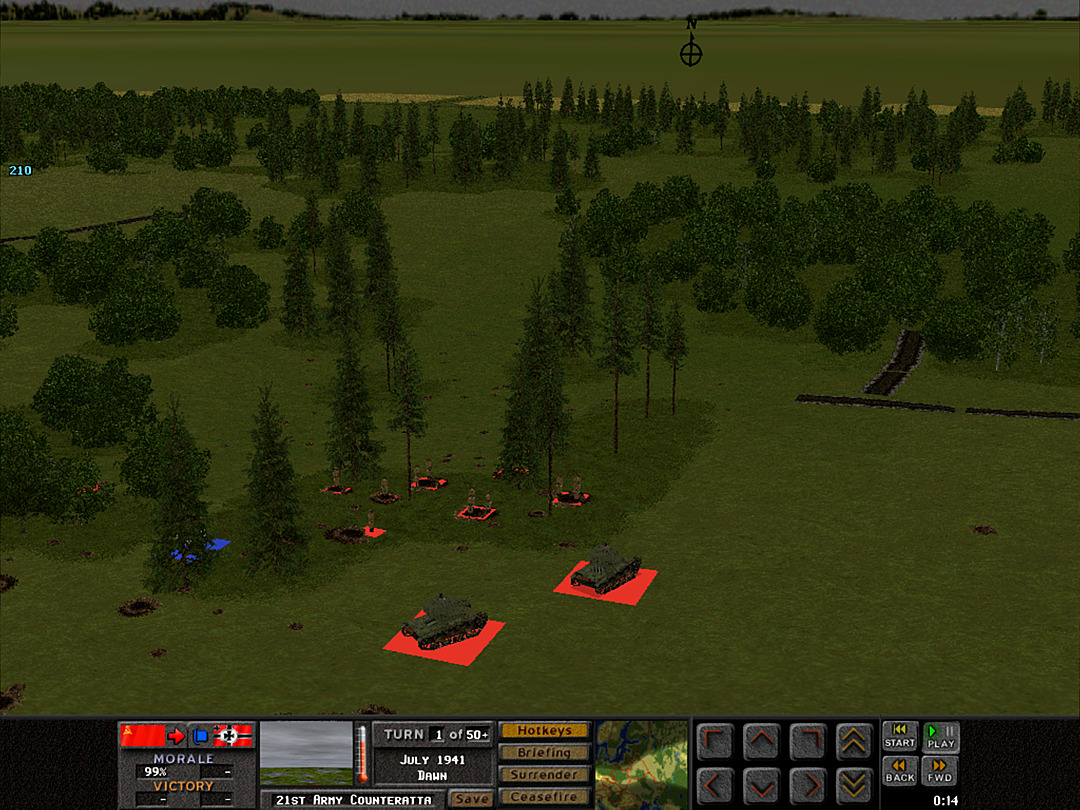 As the sky grows brighter, the troops of A Coy, 1 Plt begin to leave their foxholes. 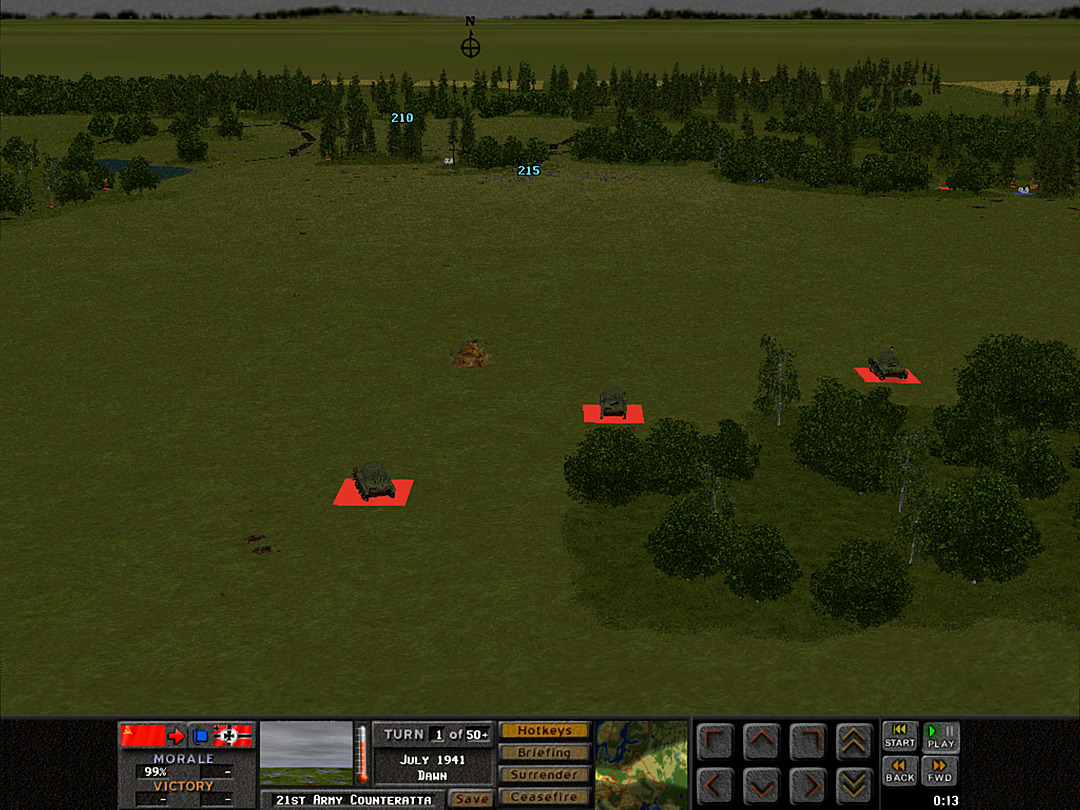 The tanks of 2 Plt were holding down below the ridge, but as artillery rounds begin to land all around them, they are forced to move out. 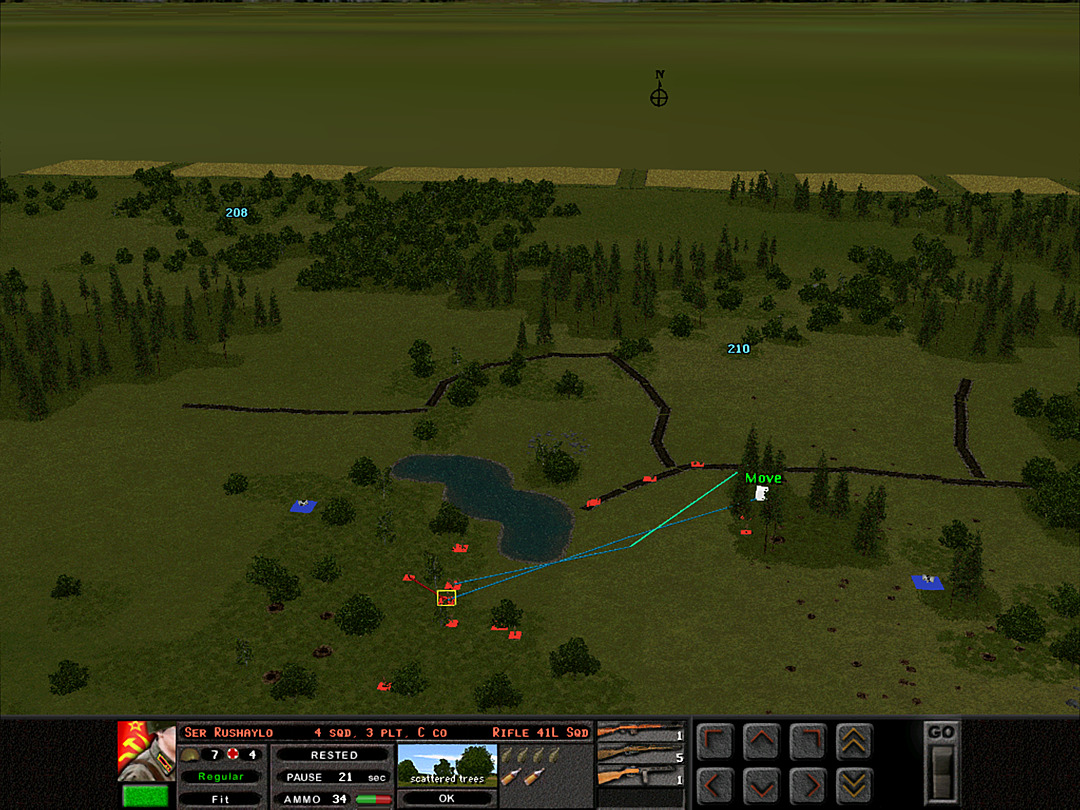 The first trench appears to be mostly clear. More of C Coy will move forward. 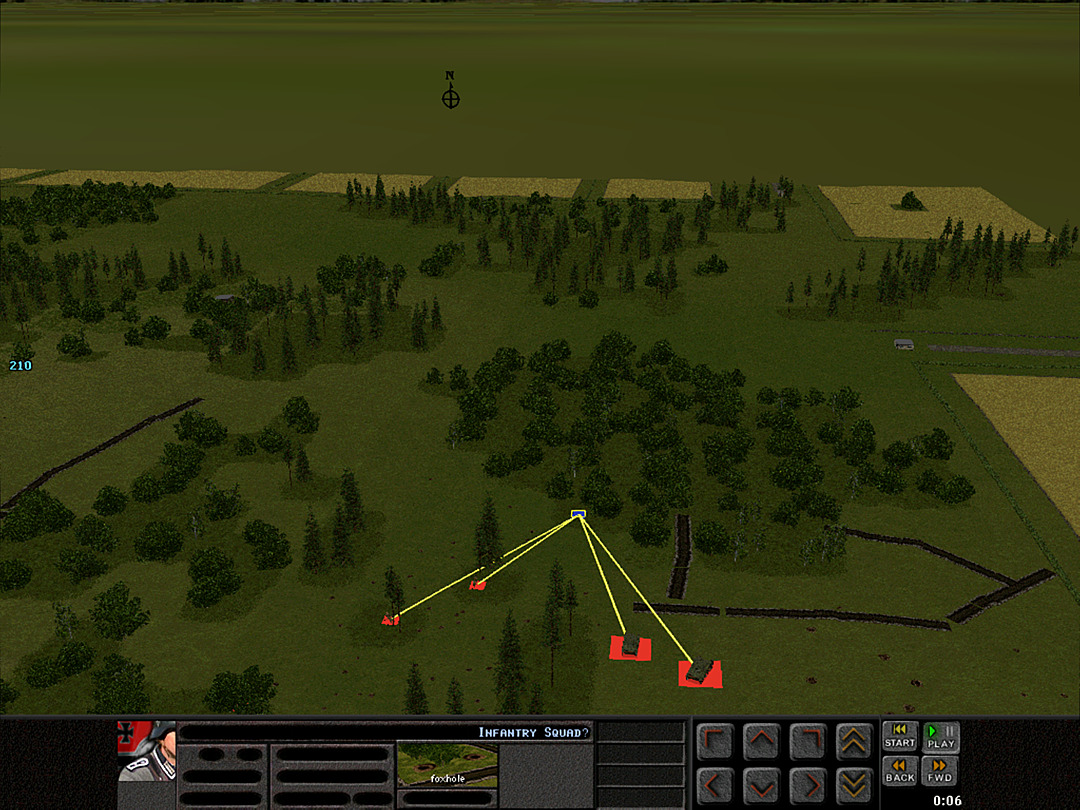 A German squad pops up in the eastern woods, and we engage immediately. 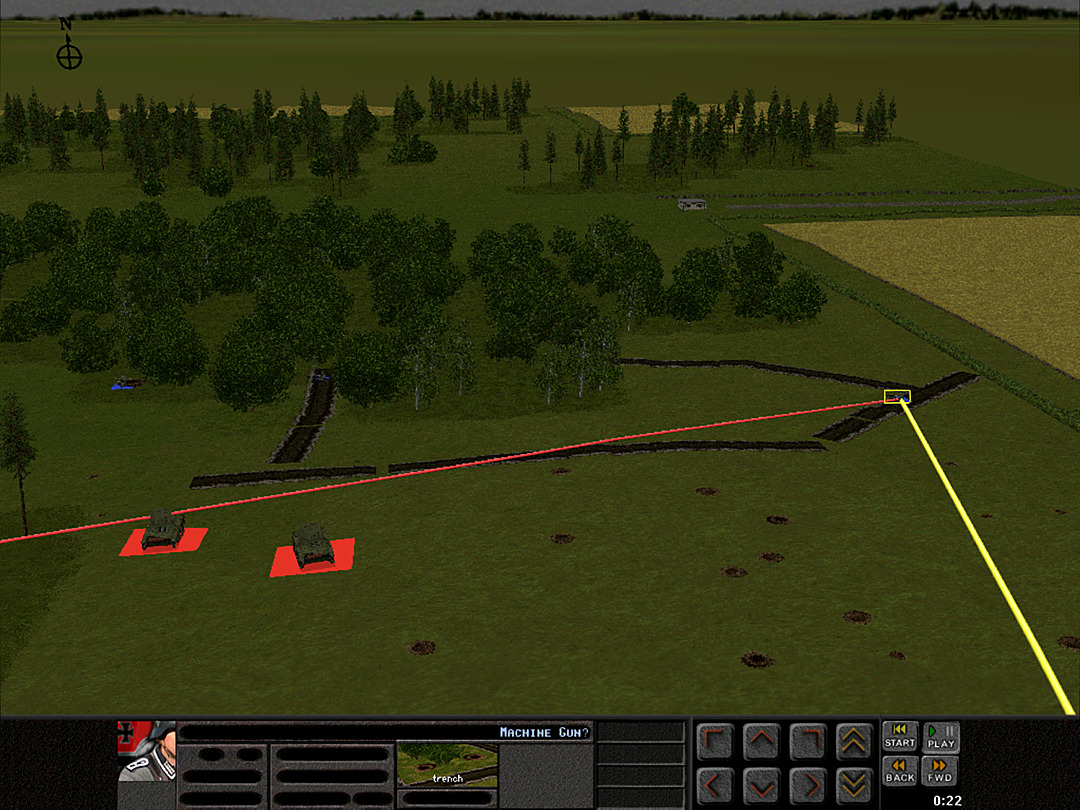 The east trench doesn't seem to be filled with enemy soldiers, but they do have a machine gun out on the far end, and it sprays bullets across towards our advancing units. 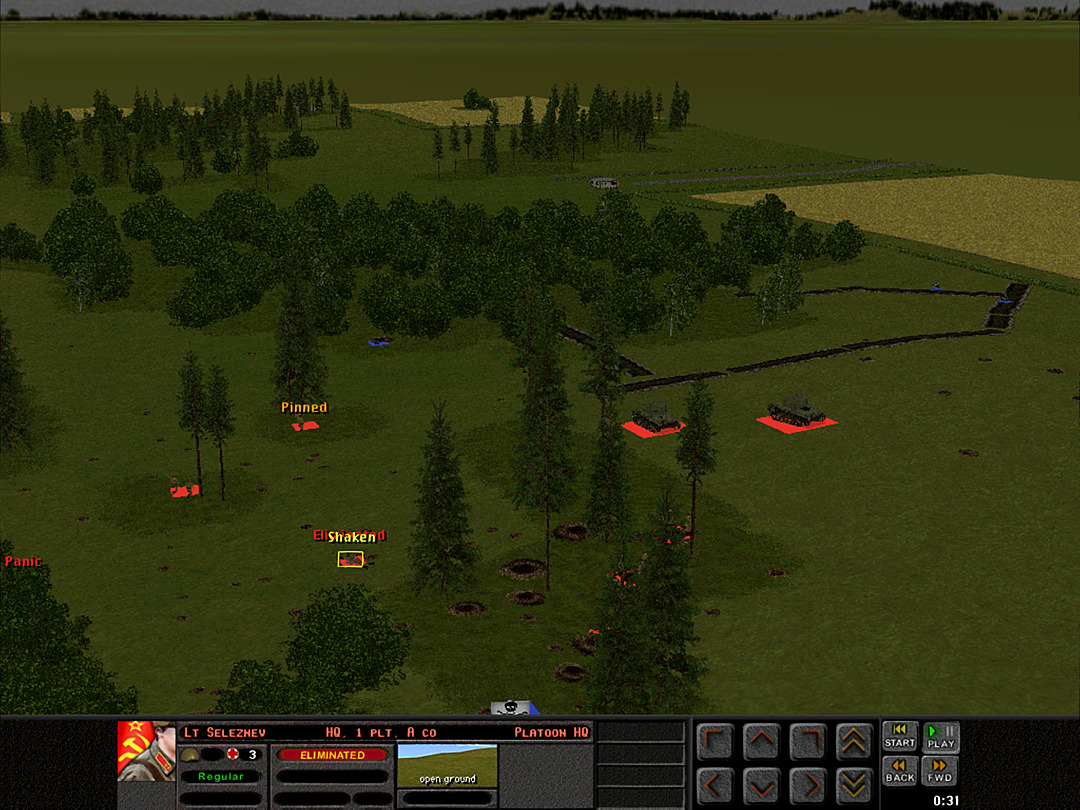 Unfortunately, between the gun in the trench and the squad in the woods, they take out a lieutenant, and yet another platoon is tossed into disarray. 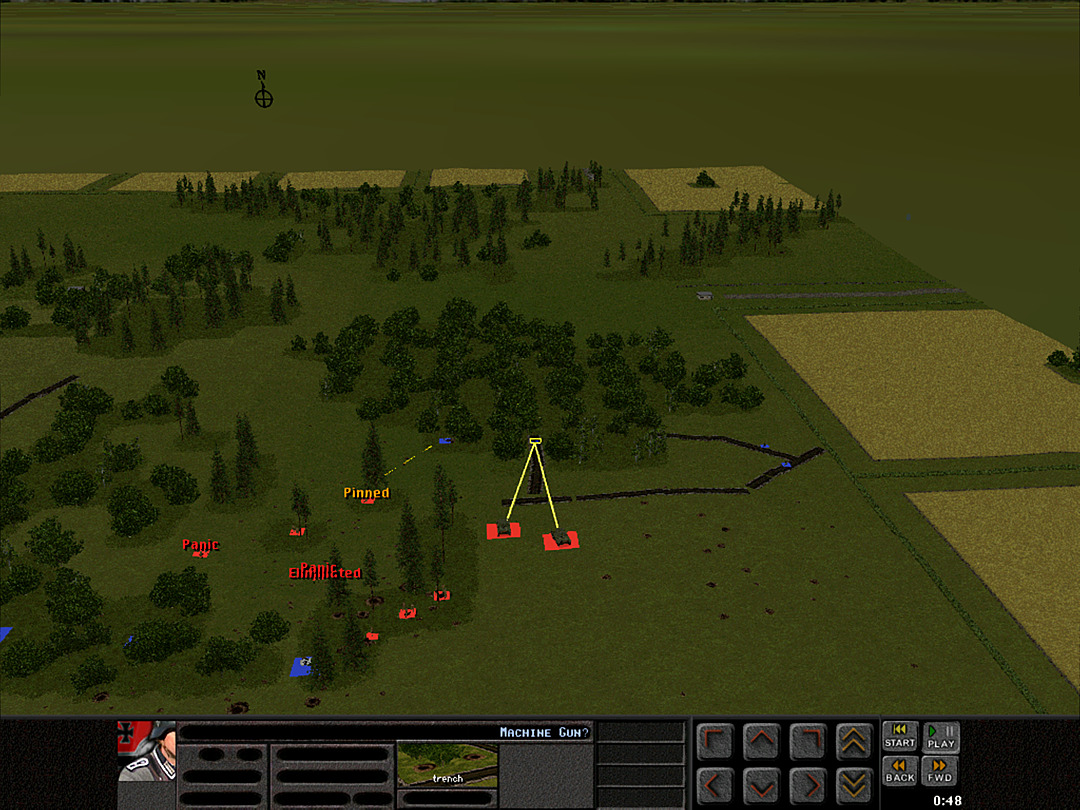 Another machine gun is discovered deeper in the woods. We do have tanks on hand for close support, and they ought to be able to handle it. 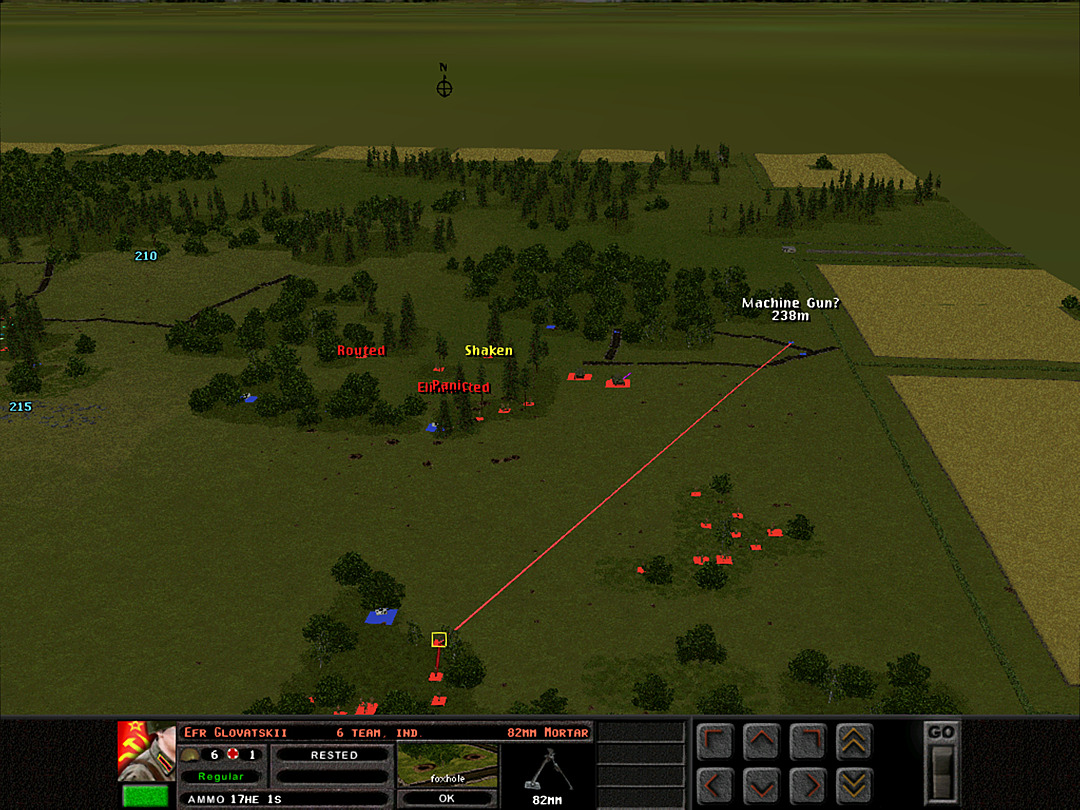 It's unlikely that we could bring in the heavier artillery very quickly, so our direct-fire mortars are tasked with suppressing the trenches. 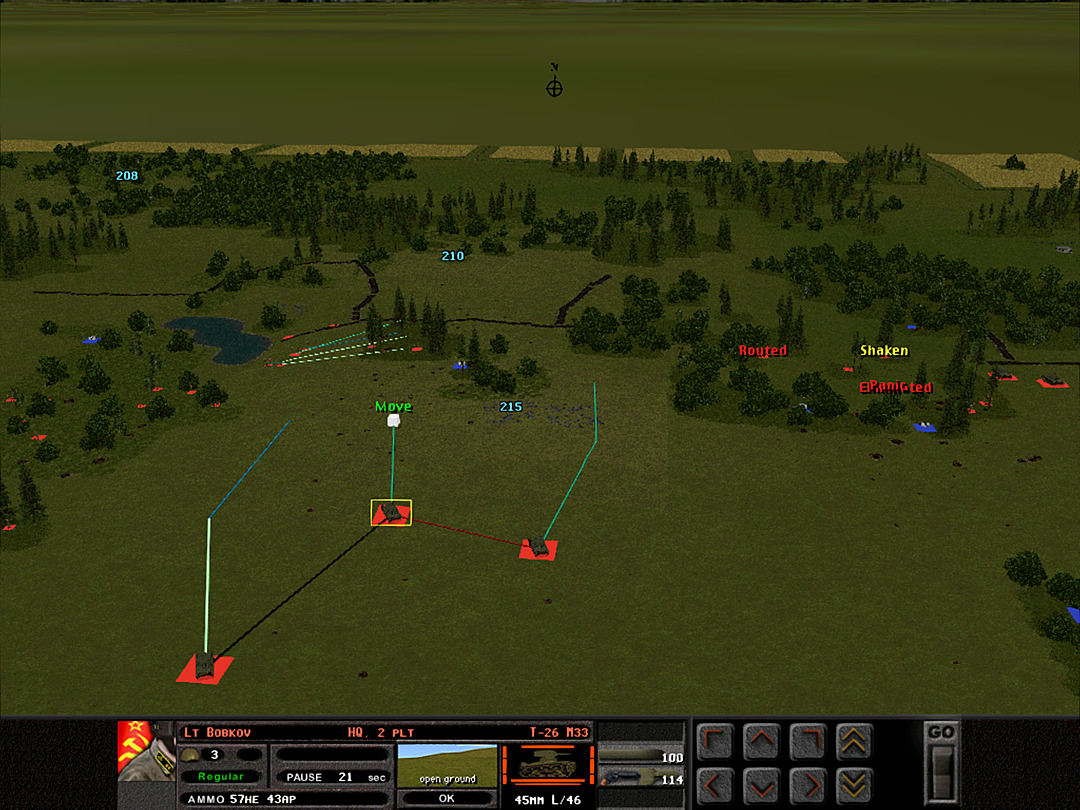 The tanks fleeing the artillery strike will take up positions on the ridge. It's a risk to bring them closer to the front line, but they couldn't just sit there and let the shells knock them out. 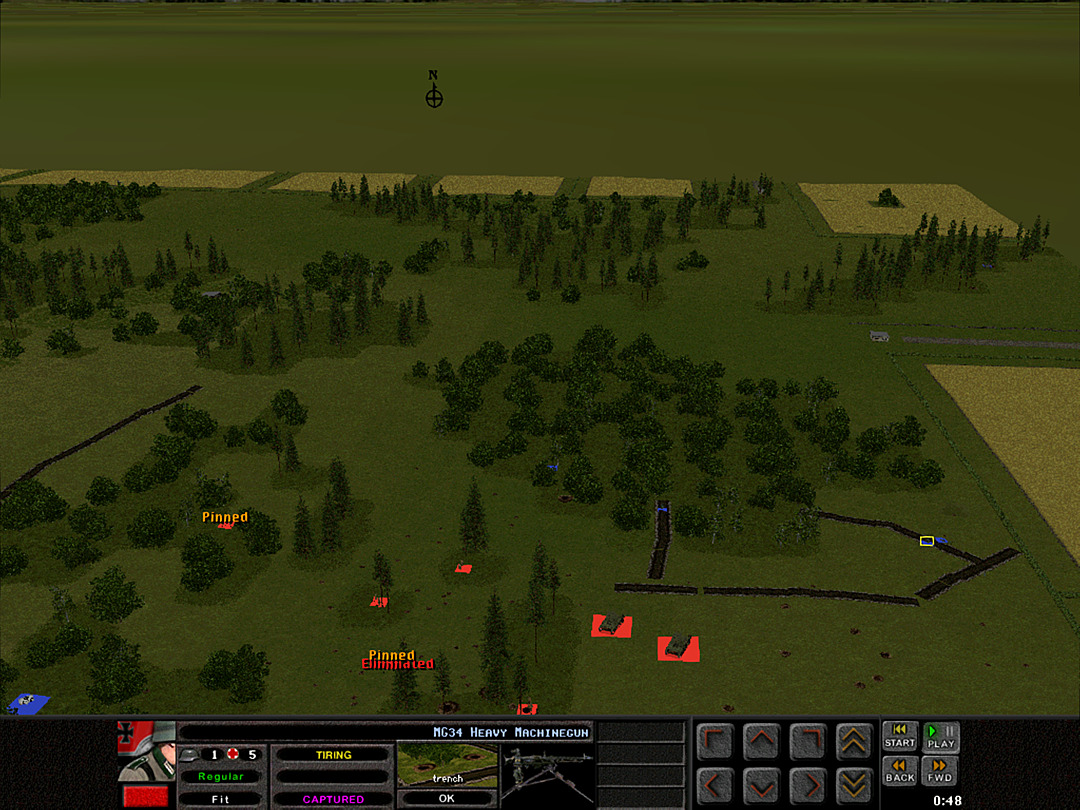 Faced with the impossibility of fighting a tank, and with most of his team wiped out, one of the German machine-gunners surrenders. 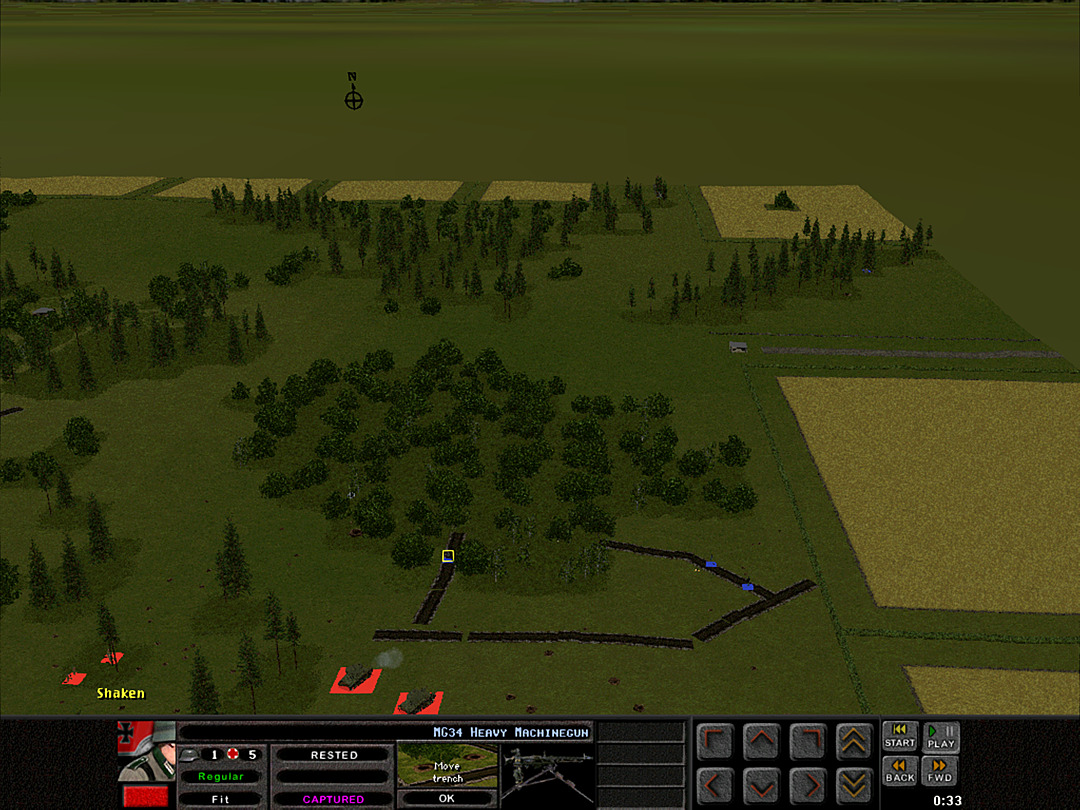 After taking a pounding from high-explosive charges, the second machine gun gives up as well. 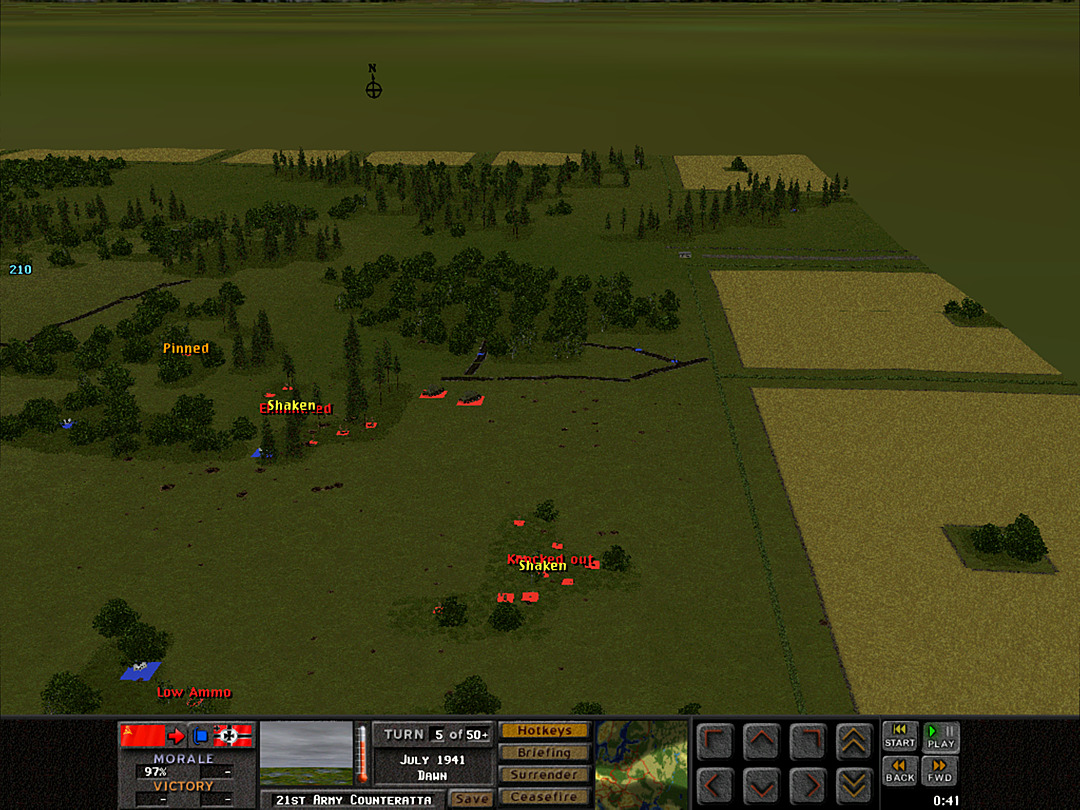 One of our mortars is spotted by what is likely the anti-tank guns far to the rear, and is knocked out. 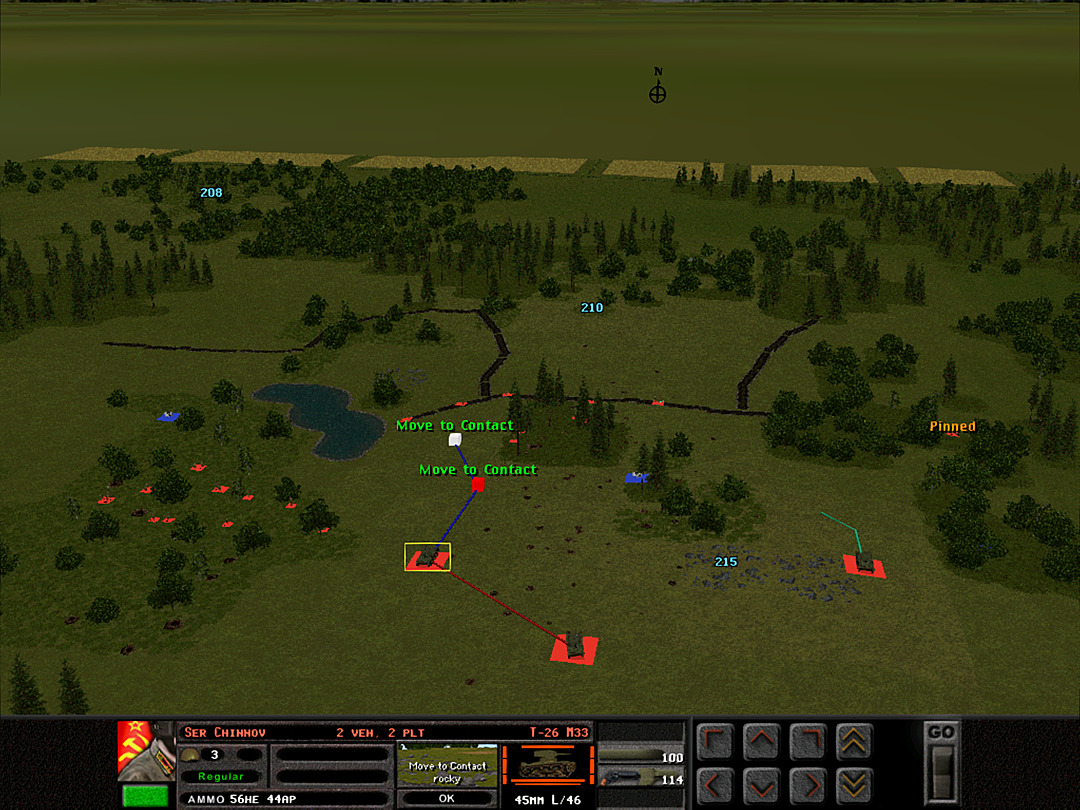 The front trench looks clear, and the tanks will creep up the hill. 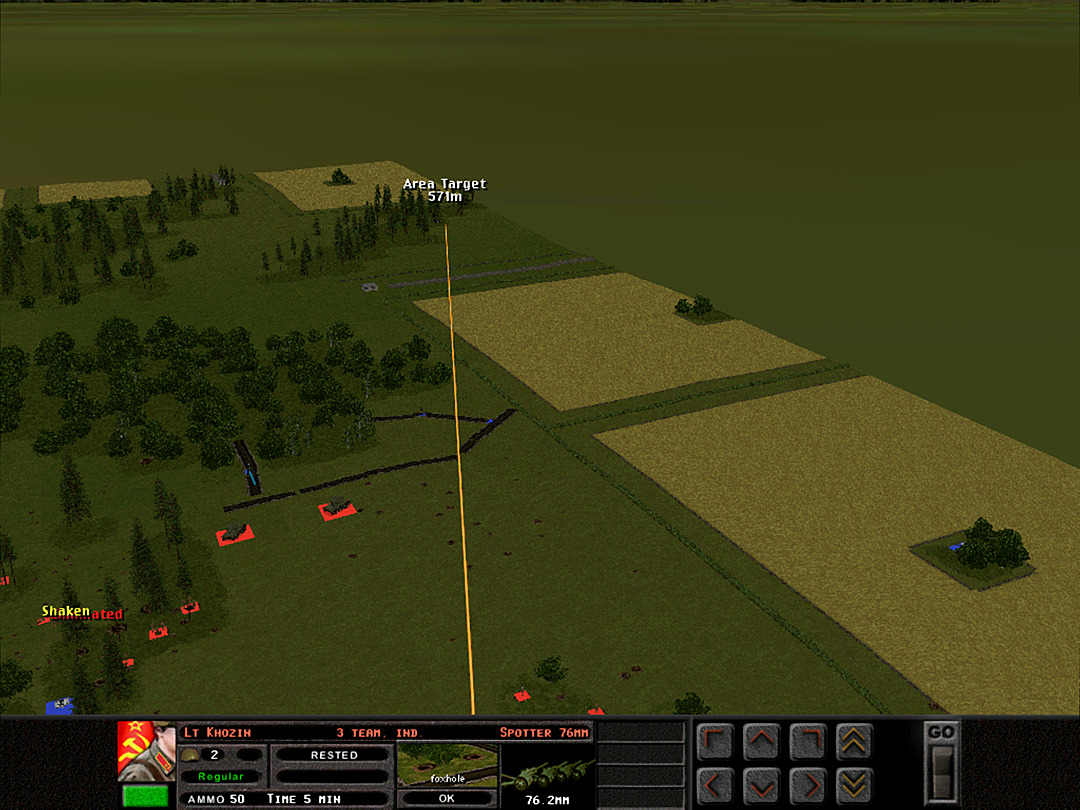 We call in an artillery strike on the possible location of the guns. 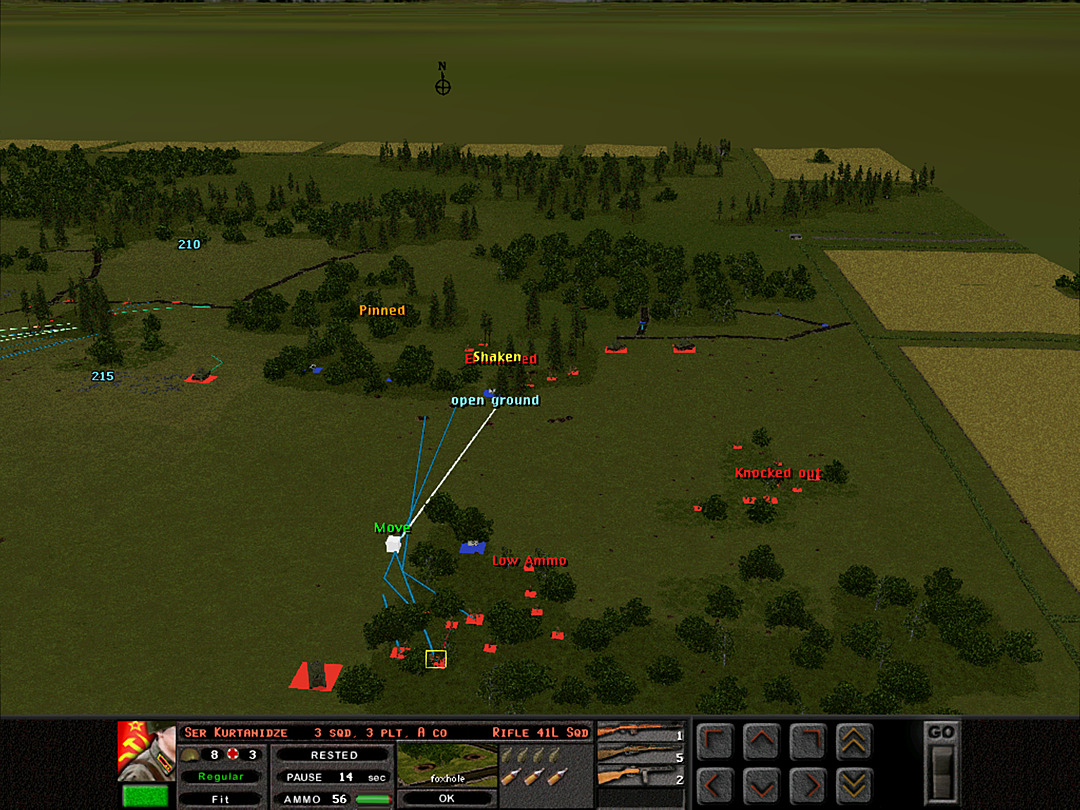 Another platoon from A Coy is sent forward. 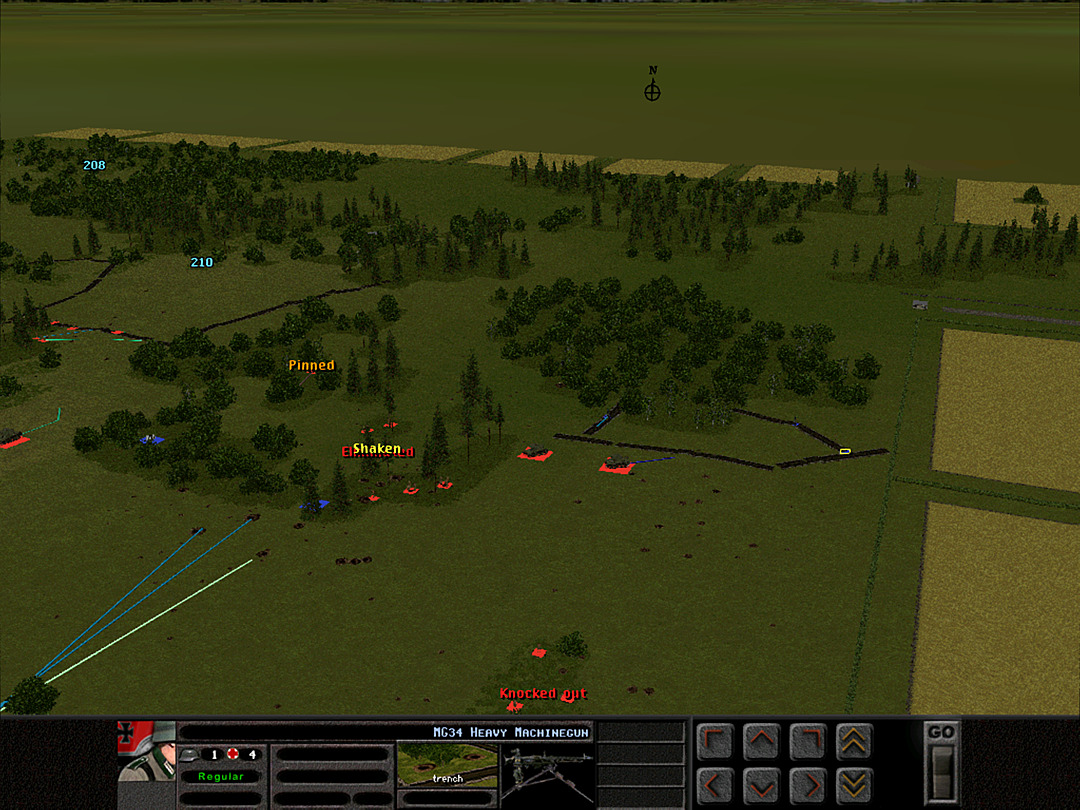 The machine-gunner that had surrendered refuses to exit the trench, so we treat him as hostile. [ This unit ended up too far from any of our units, and lost its 'captured' status. ] 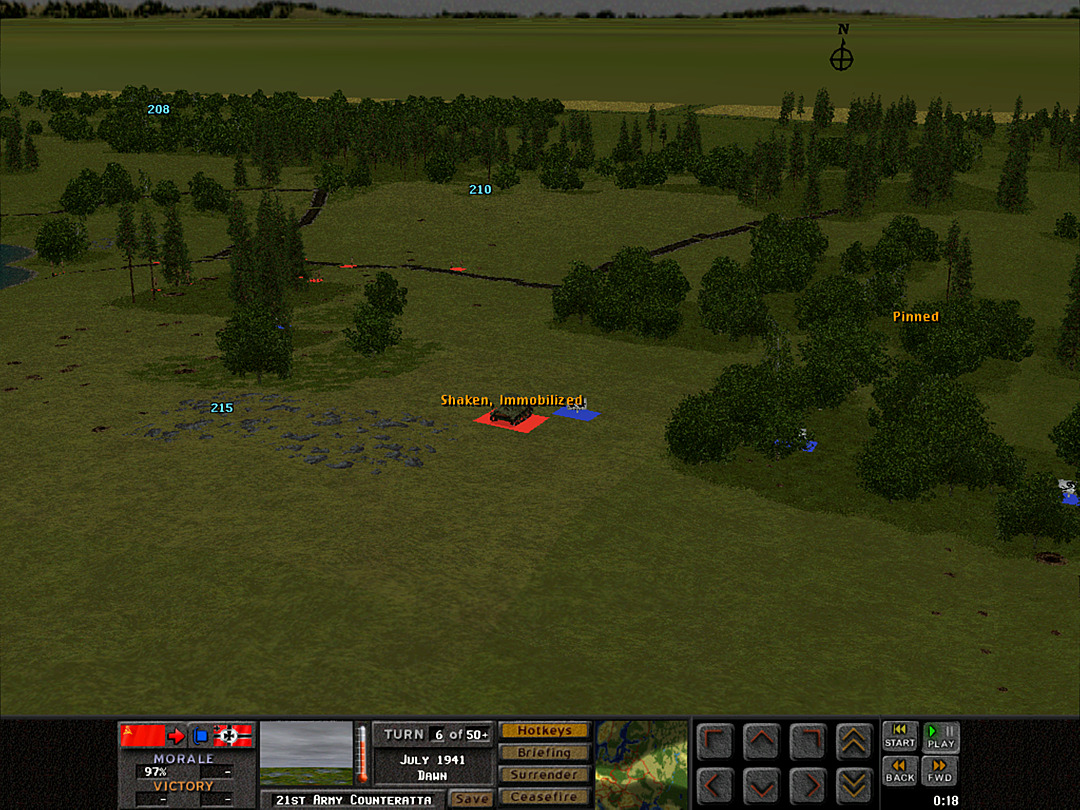 We should've known better than to send tanks up on the ridge. A mine explodes and causes one tank to get stuck. 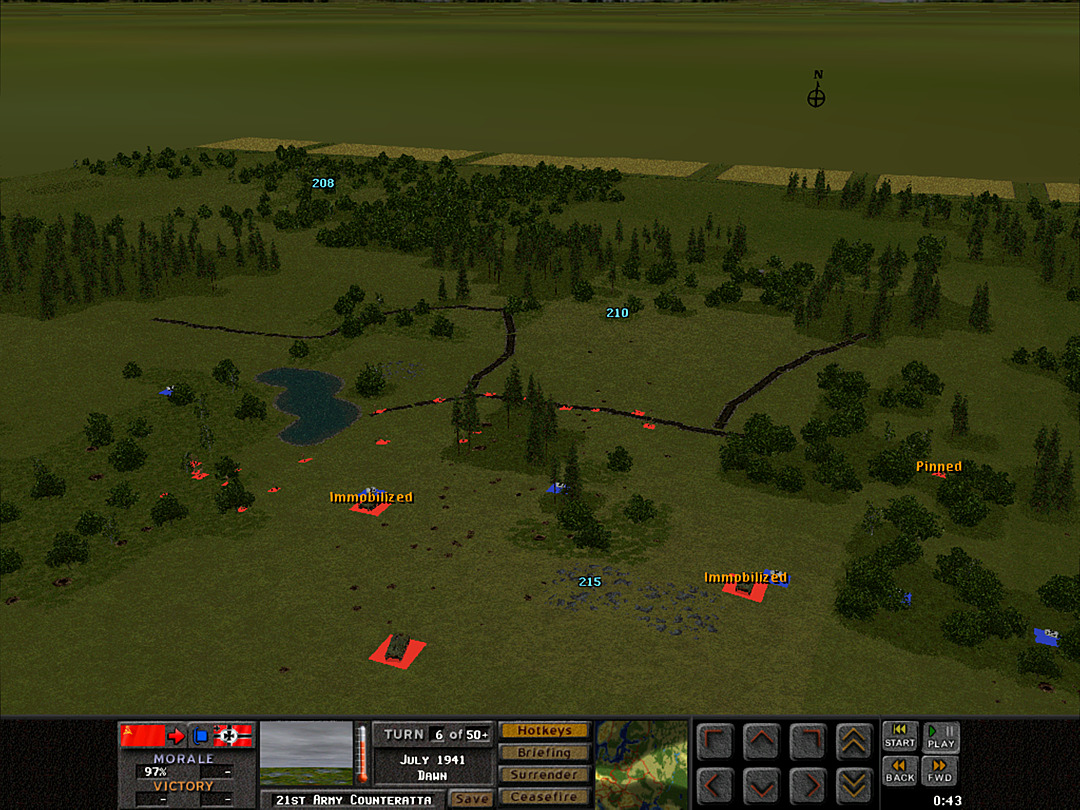 Before they can react, a second tank drives into the minefield as well. 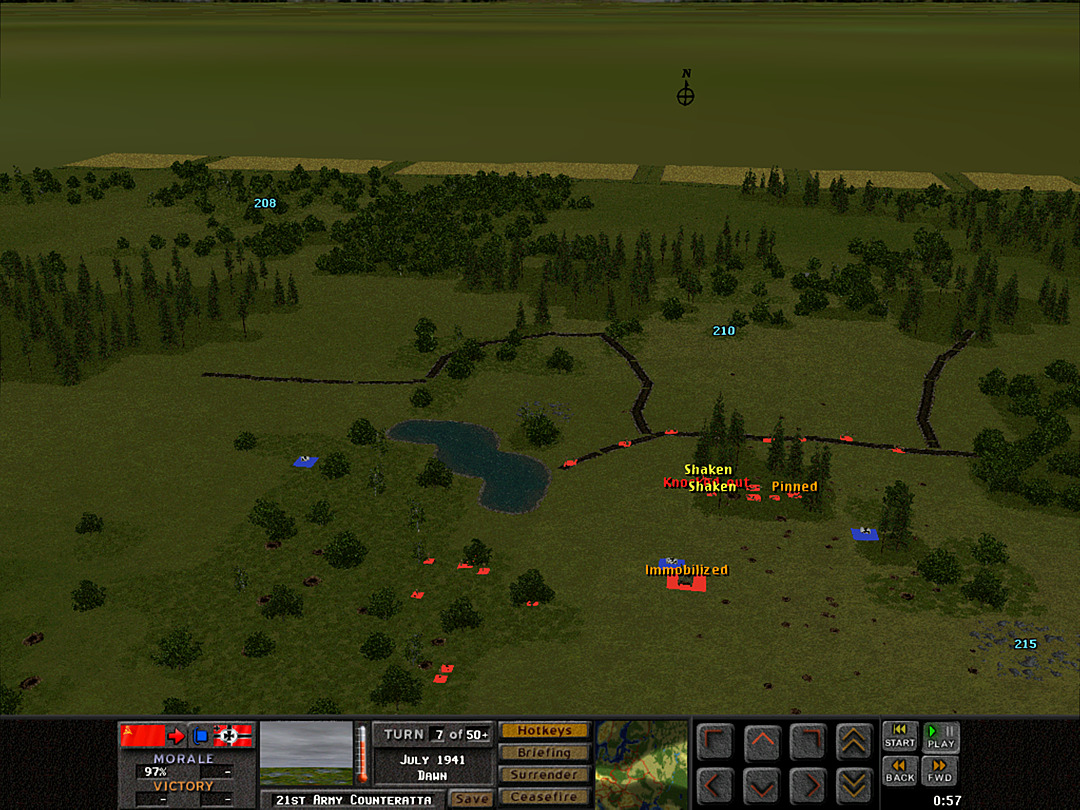 C Coy had been doing fine clearing out the trenches, when suddenly artillery starts to hit the patch of woods on the hilltop. 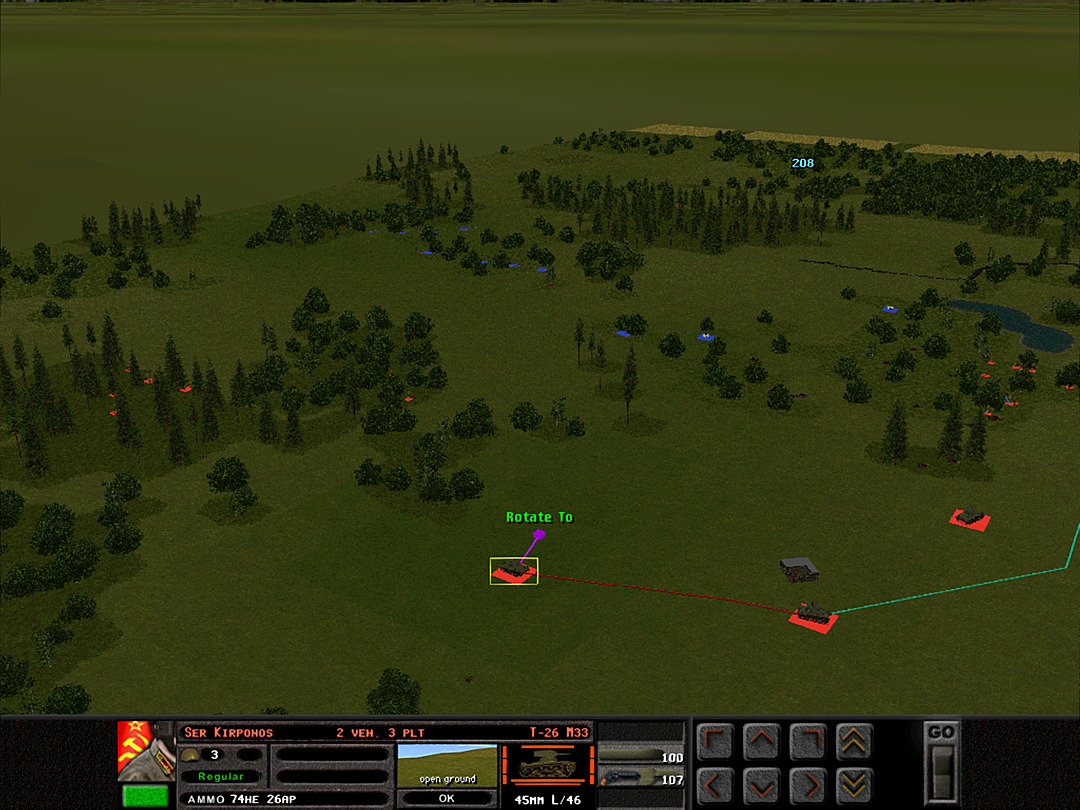 Our other tanks start to move around, just in case there are additional artillery spotters hoping to land shells on them.  Everyone on the hilltop tries to get to safety, but even the trenches get hit by a shell or two.  The top of the ridge does provide a good view of where we expect the enemy to be, so we send the last mobile T-26 in 2 Plt towards it. They should be okay as long as they avoid the mines.  The bombardment is relentless, and some of the squads in the woods break. They flee from the trees toward the trench. Luckily for them, there does not seem to be anyone waiting to snipe at them in the open.  Misfortune continues when another shell lands a little outside the woods. It hits one of the immobilized tanks and destroys it. 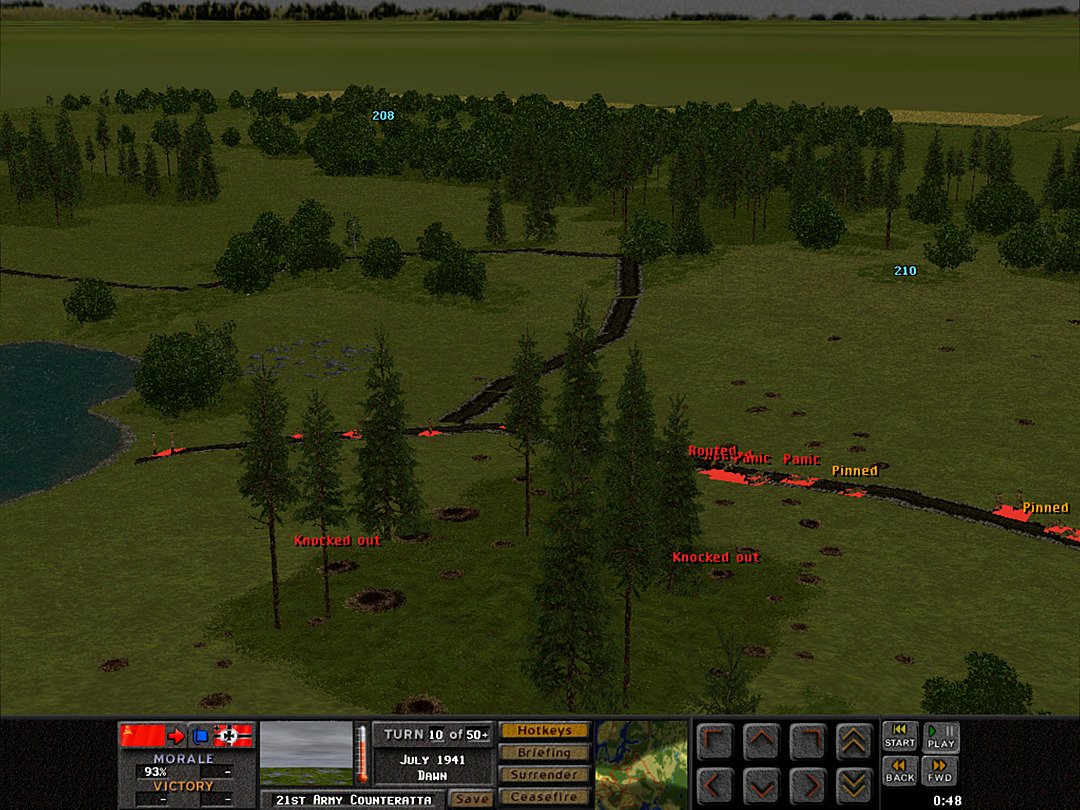 Two platoons of C Coy have managed to take control of the first trench line, but only because they were forced into it by the artillery. Two mortars were lost in the process. 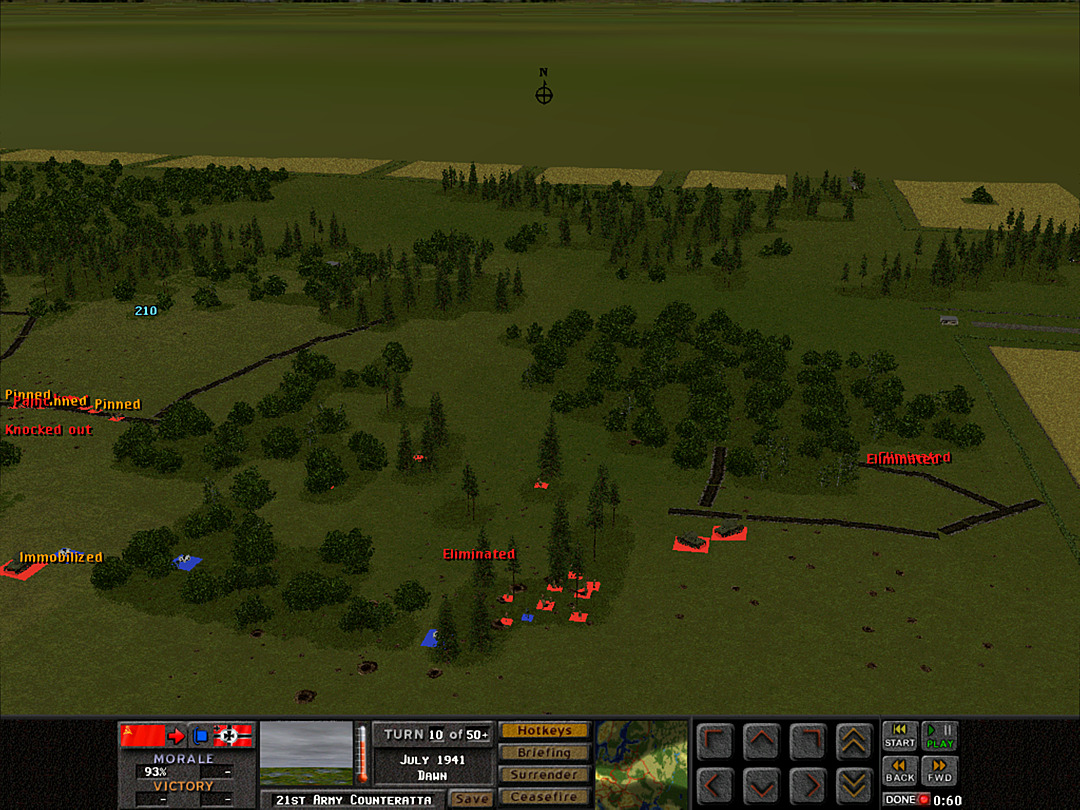 In the mean time, A Coy, 3 Plt has reached the woods and is ready to try for another push on the western side. 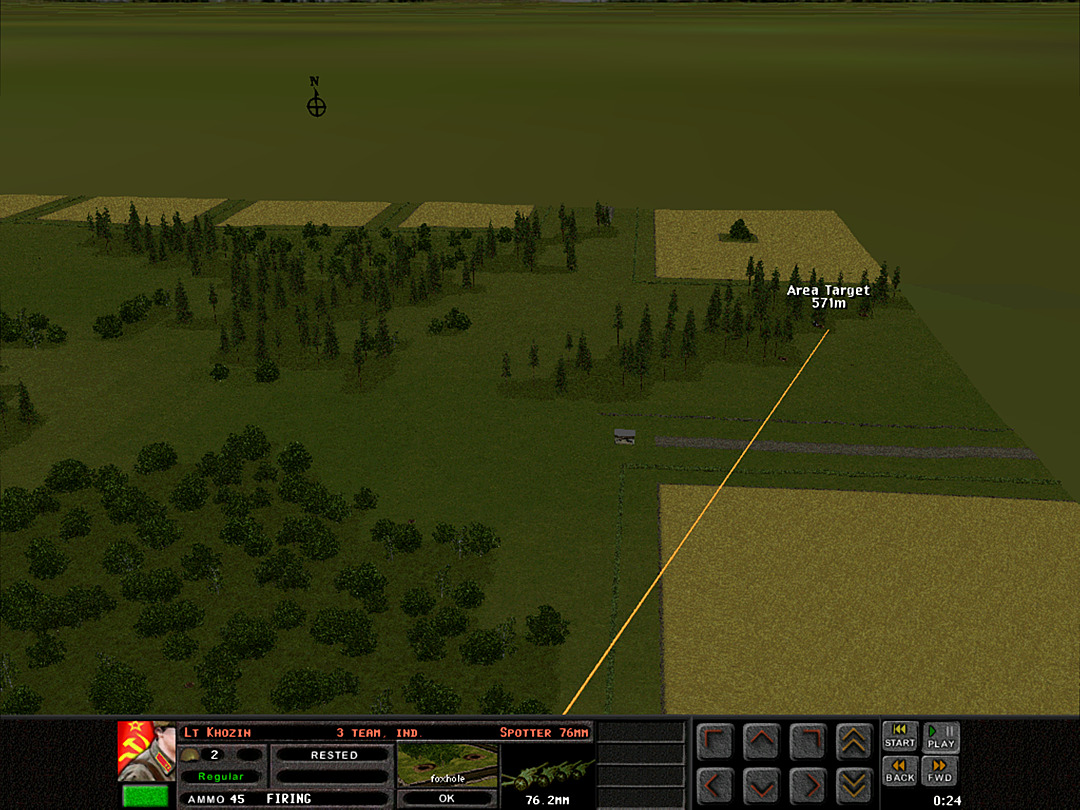 Our artillery shells are hitting, but we can't tell if they are having any effect. 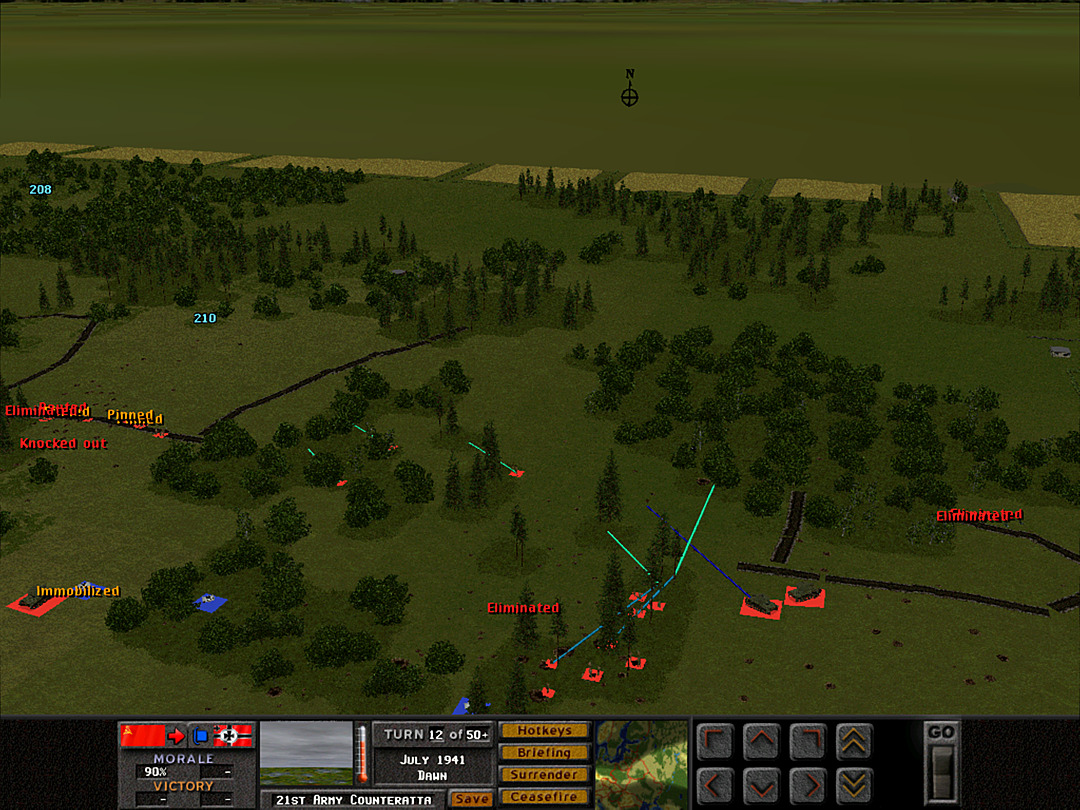 With A Coy, 1 Plt's officer gone, the remaining squads are ordered to scout the woods that are near the western trench line. It's expected that the enemy will have no presence there. A Coy, 3 Plt will advance into the denser patch of woods that we are fairly sure still holds troops. 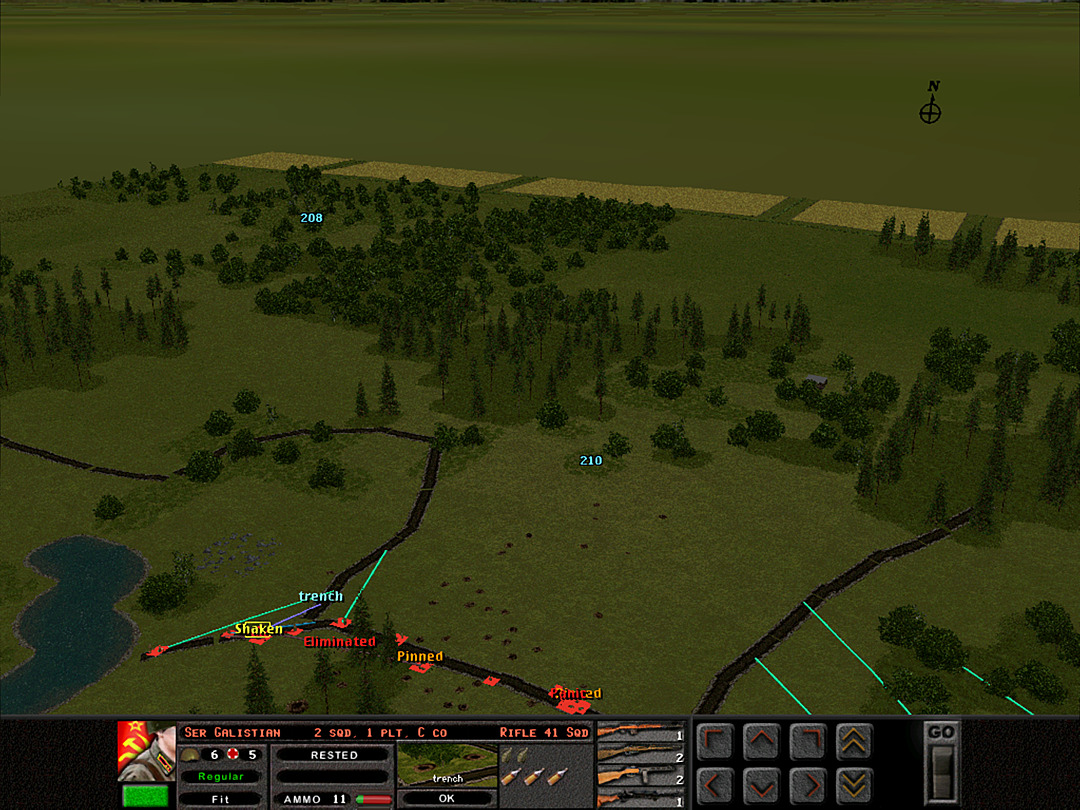 The barrage is finally over. Now that it seems safe to move, the officers order the still-trembling men to advance along the trenchline immediately. 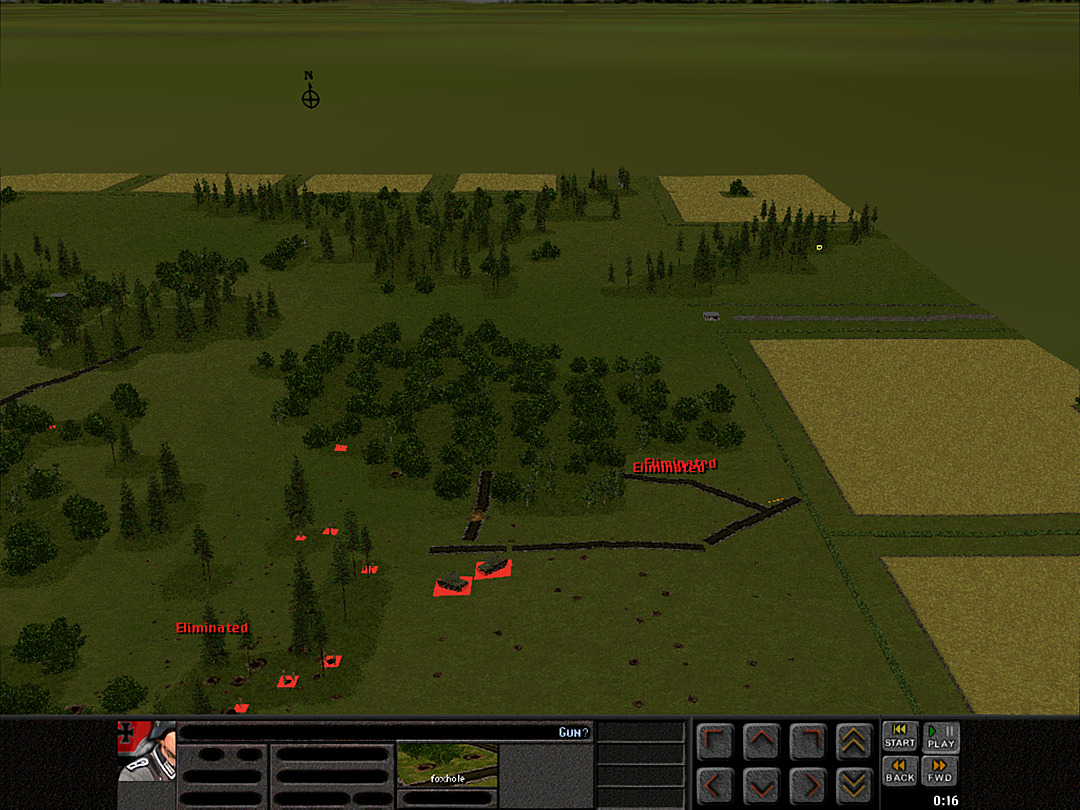 Our own shelling seemingly failed to knock out the gun over to the northeast. 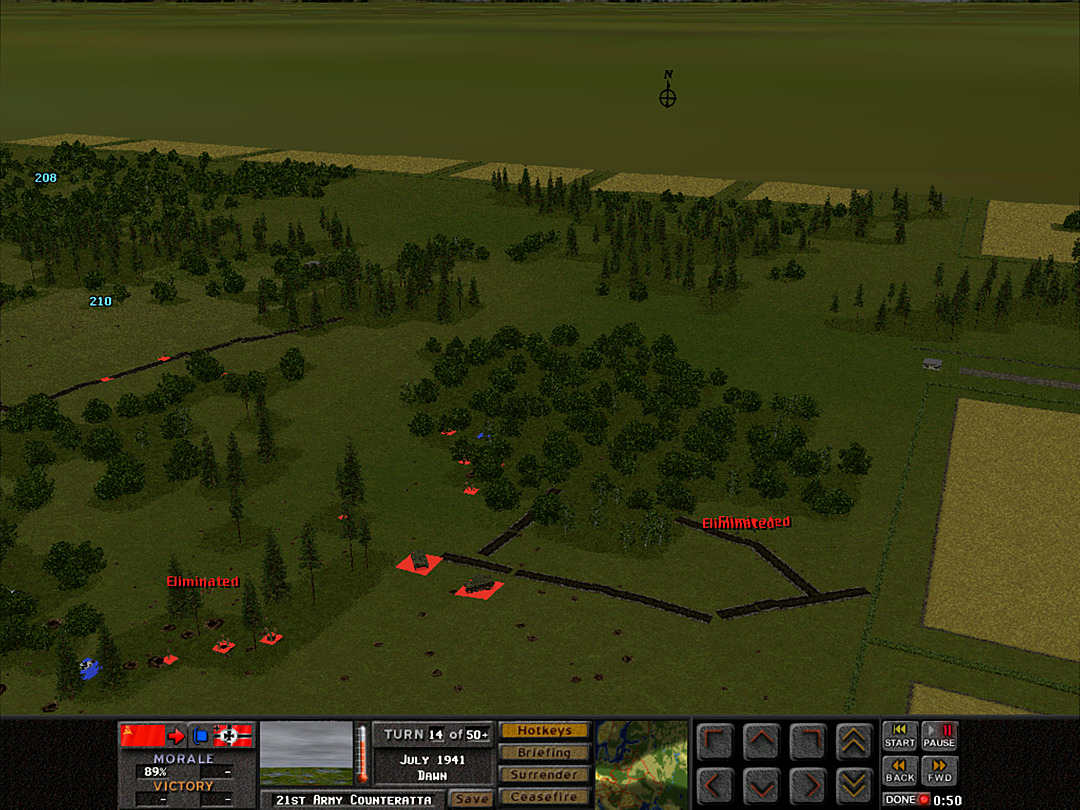 As A Coy, 3 Plt advances, they encounter one hidden squad of Germans, but swiftly eliminate it. 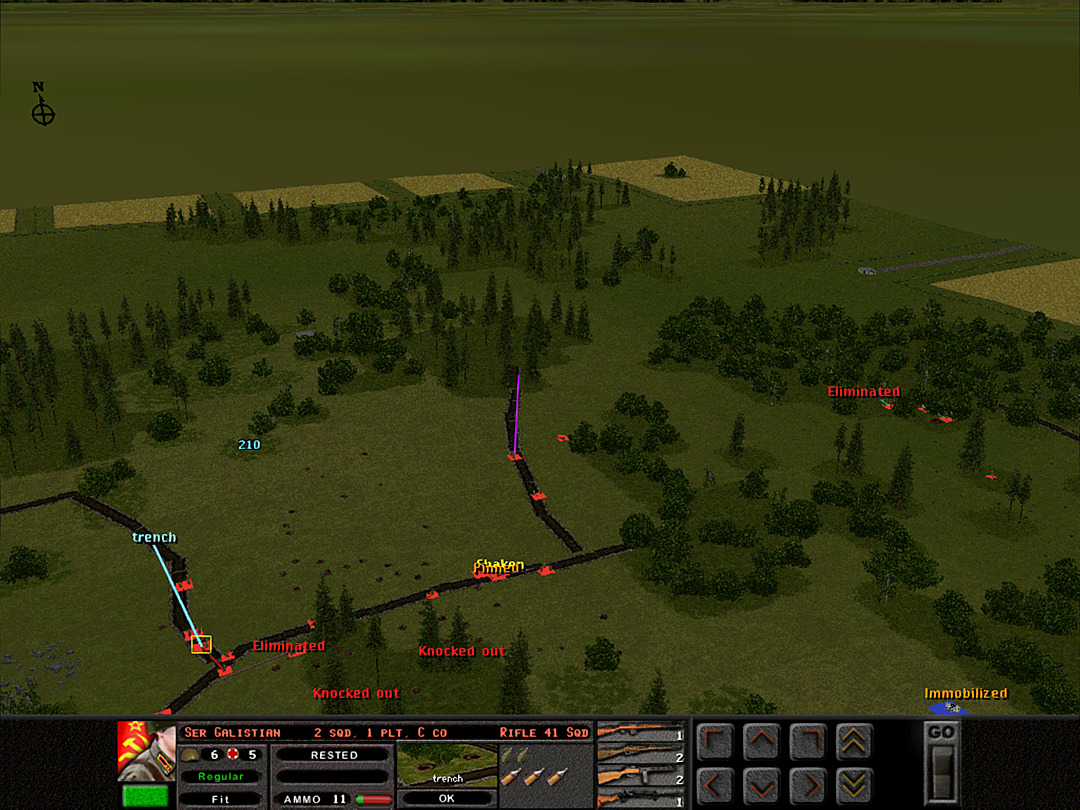 The remnants of A Coy, 1 Plt reach the east side of the main trench and occupy it, while C Coy continues its nervous advance along the line. 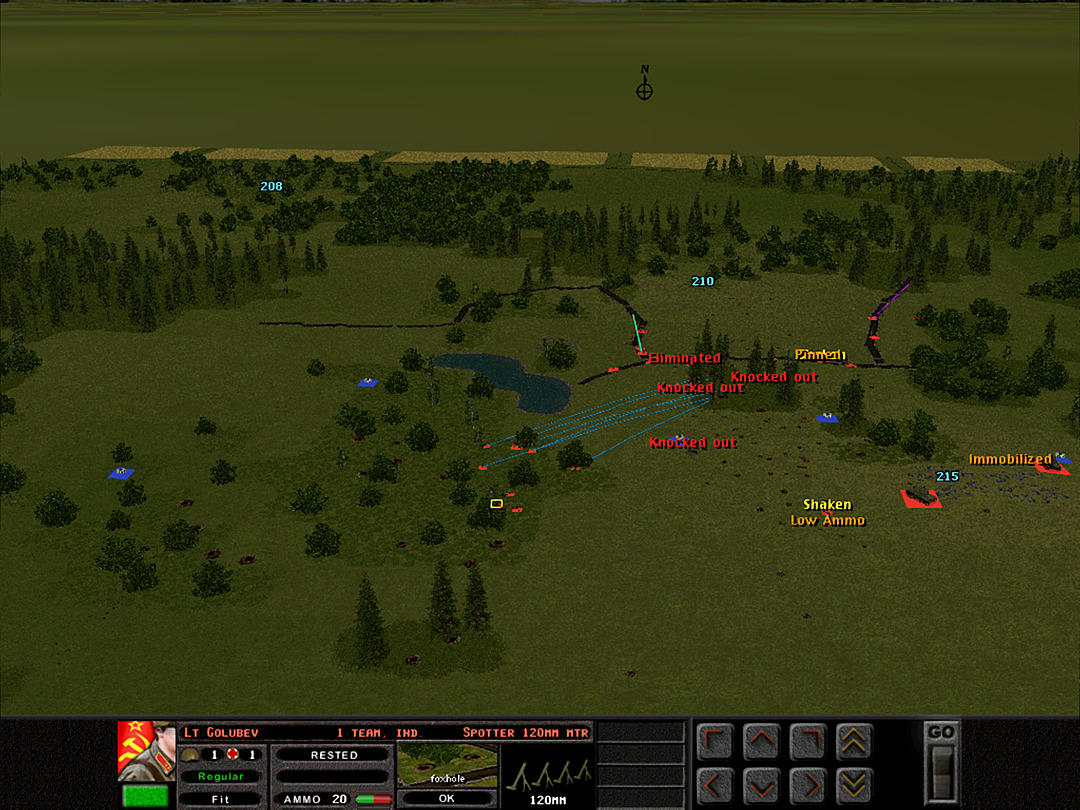 Since the artillery seems to be still for now, and the trenches have so far been clear, the rest of the company is called forward. They'll circle around to take the trenches, as we have no need to assault the western line directly. 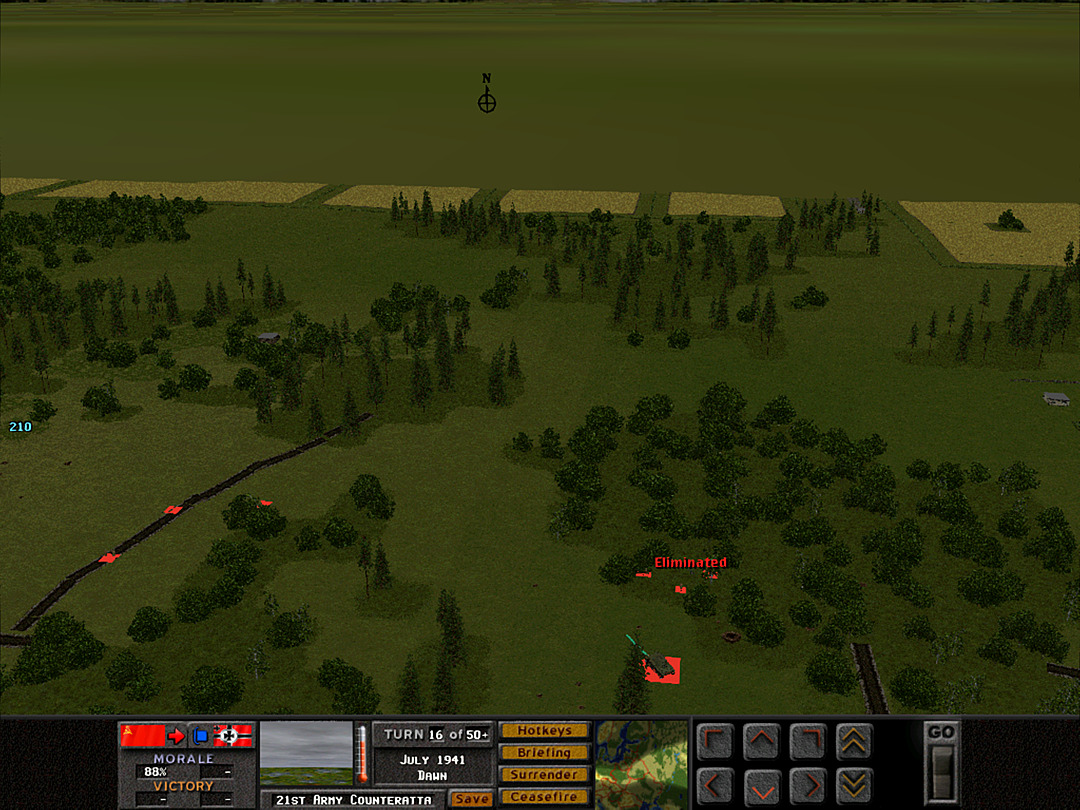 Now that we're finally making progress, the tanks on the east side push into the open space beyond the first tree line. 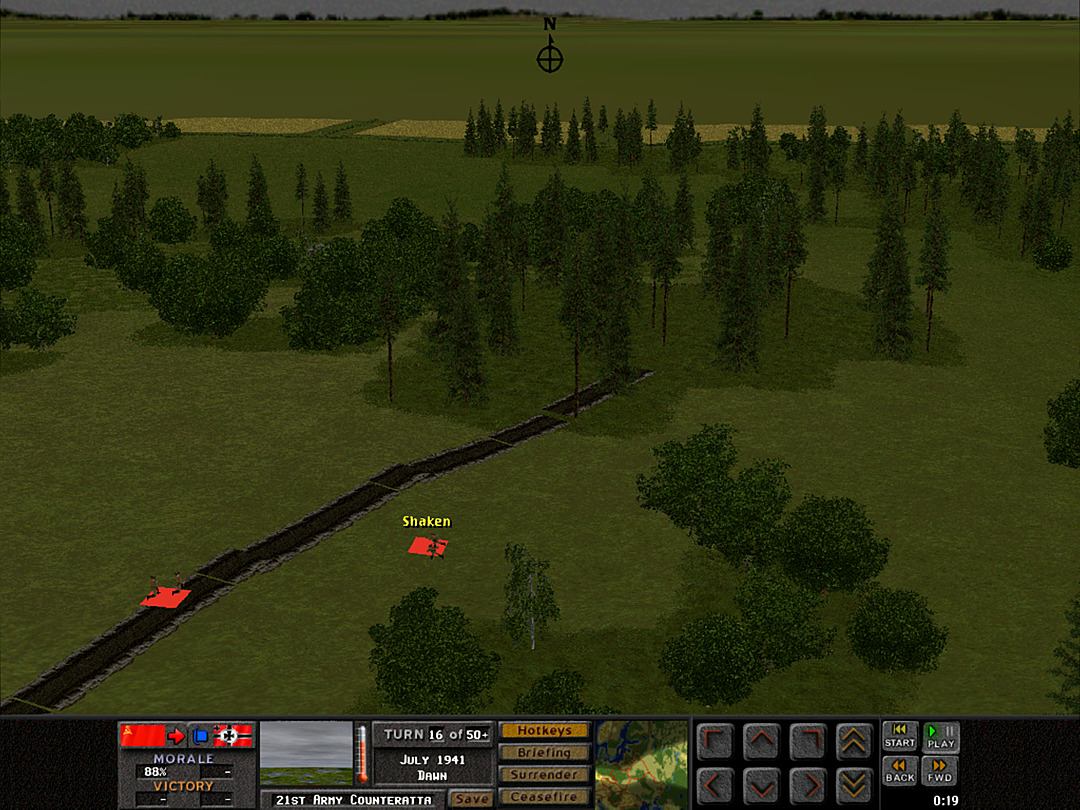 One of the squads of A Coy, 1 Plt takes fire from an unknown direction. The men decide to dash for cover in the trench. 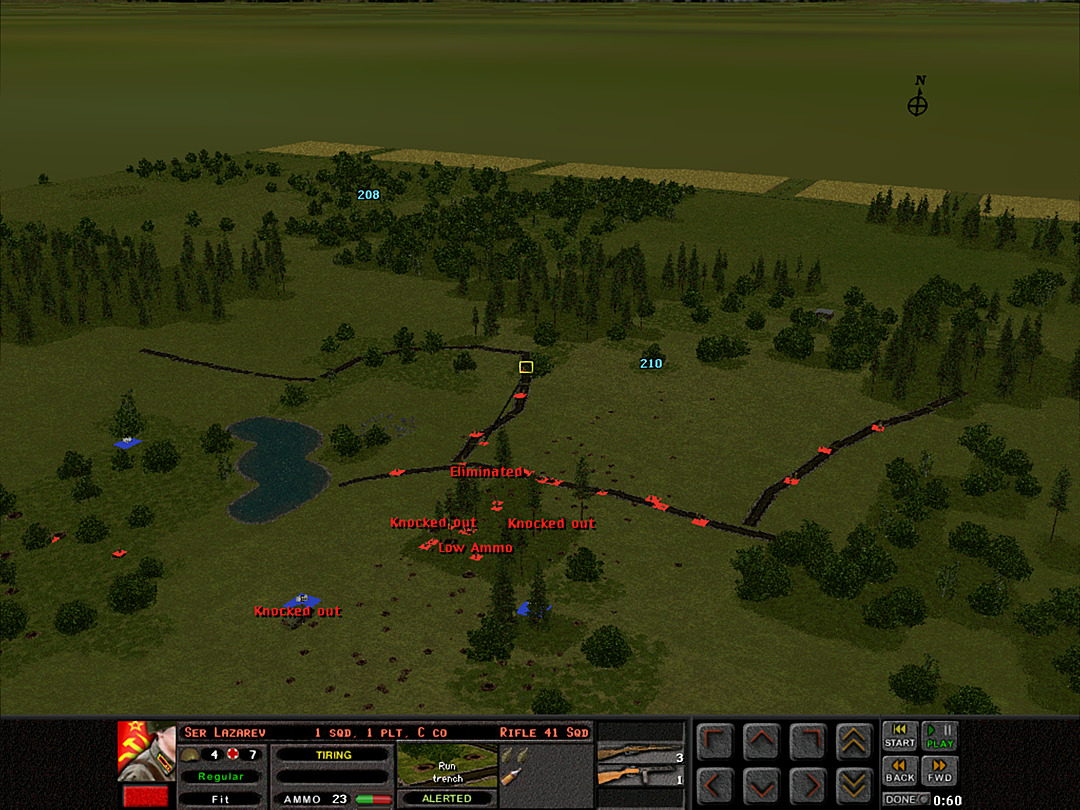 The trenches seem to have been abandoned so far, but some hidden enemy forces are now firing on our troops. 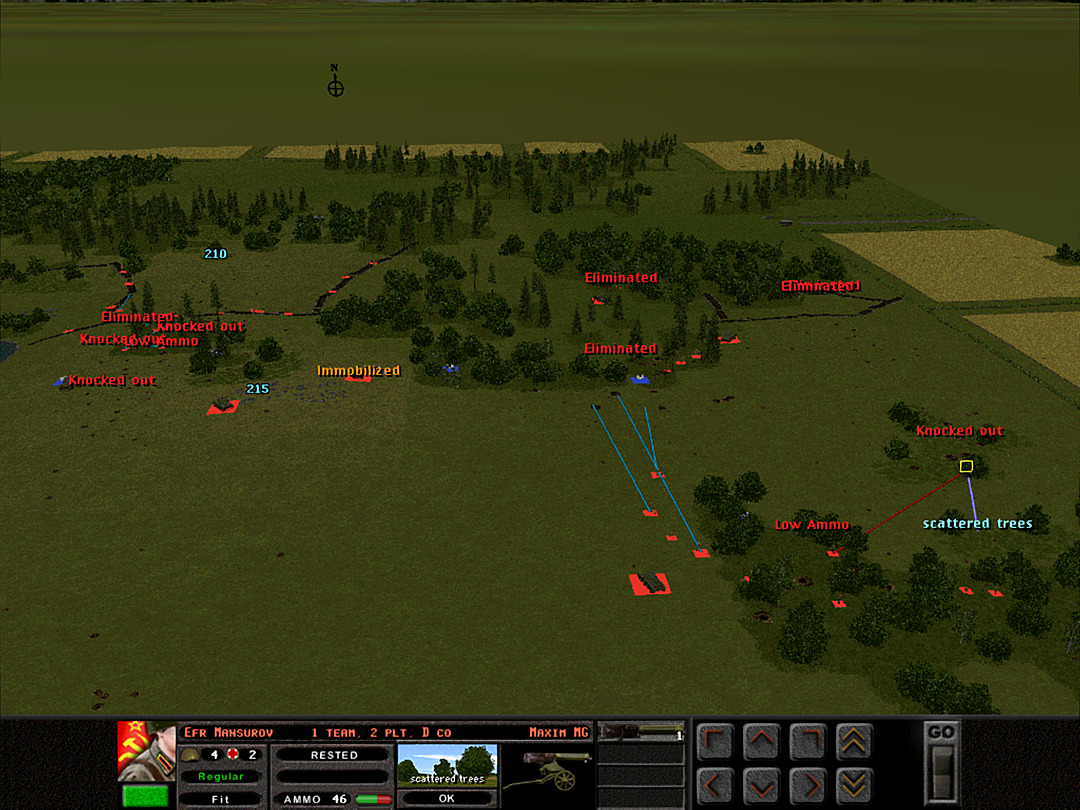 The last platoon from A Coy will advance to fill out the line. This should be enough to hold the right flank while we clear the trenches on the ridge. 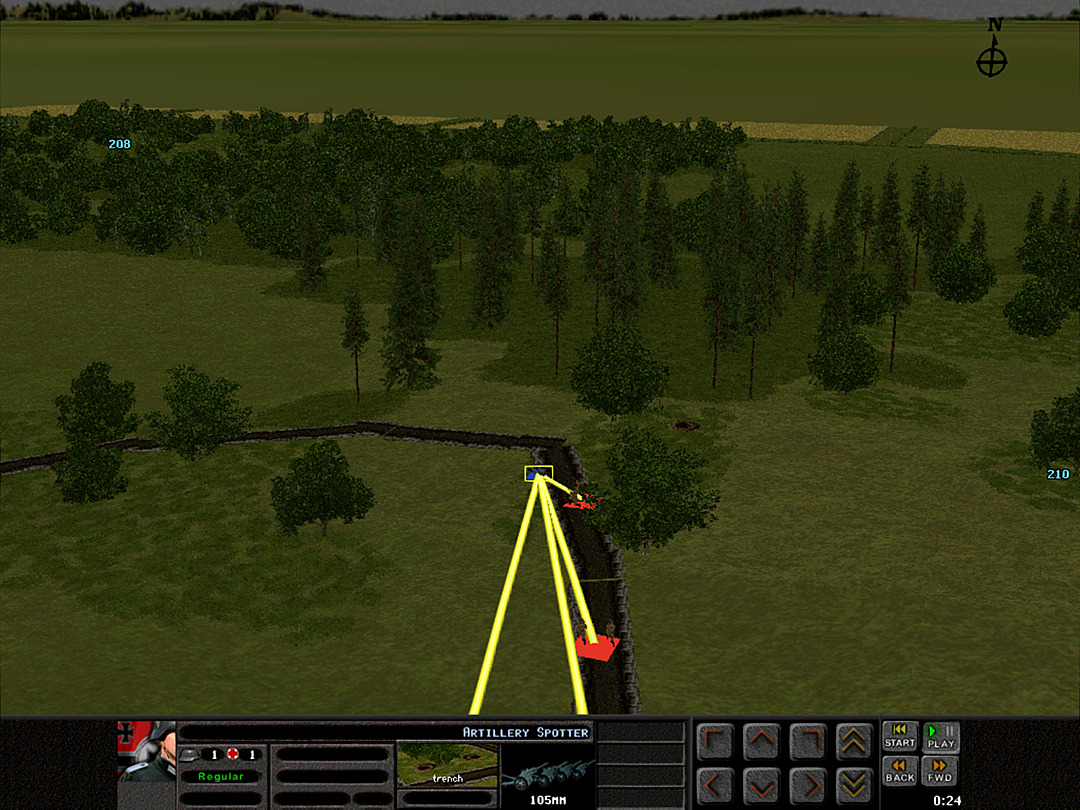 After a few more shots are fired, we determine that the artillery spotter did not fall back after calling in the strike, and take our revenge on it. 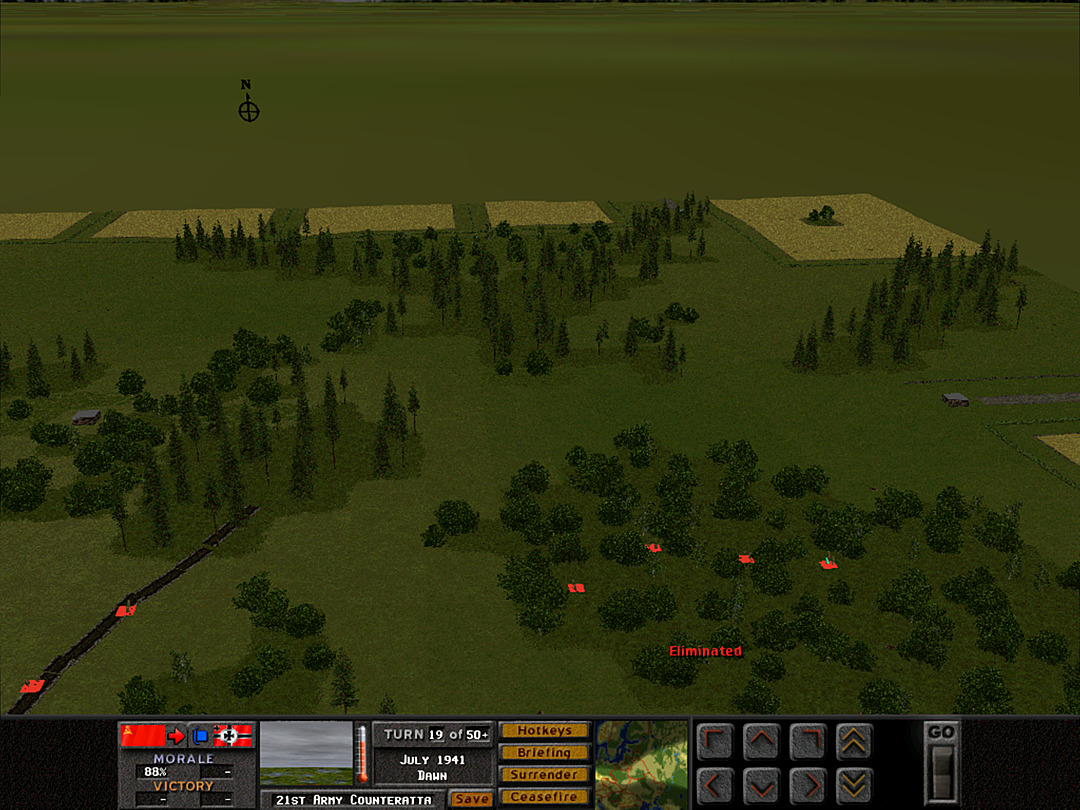 The sweep of the woods by A Coy, 2 Plt is going well. No more squads are encountered. 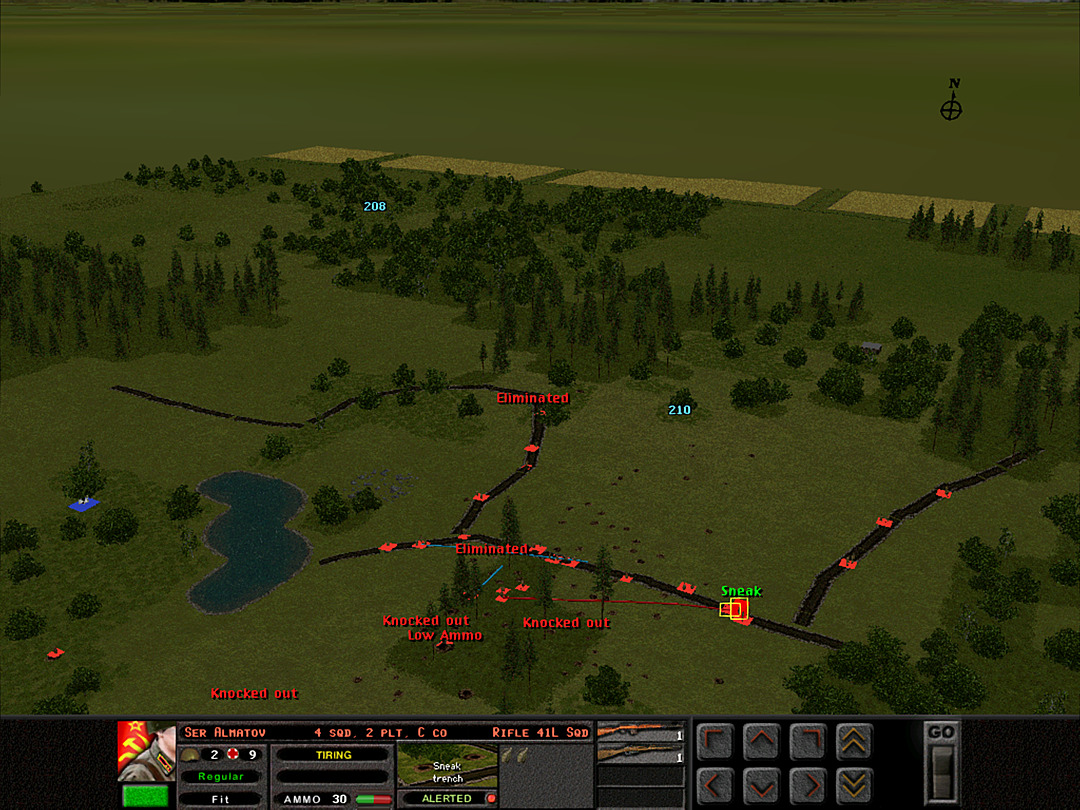 C Coy remains disorganized by the artillery strike, but the platoons will filter out as they advance. 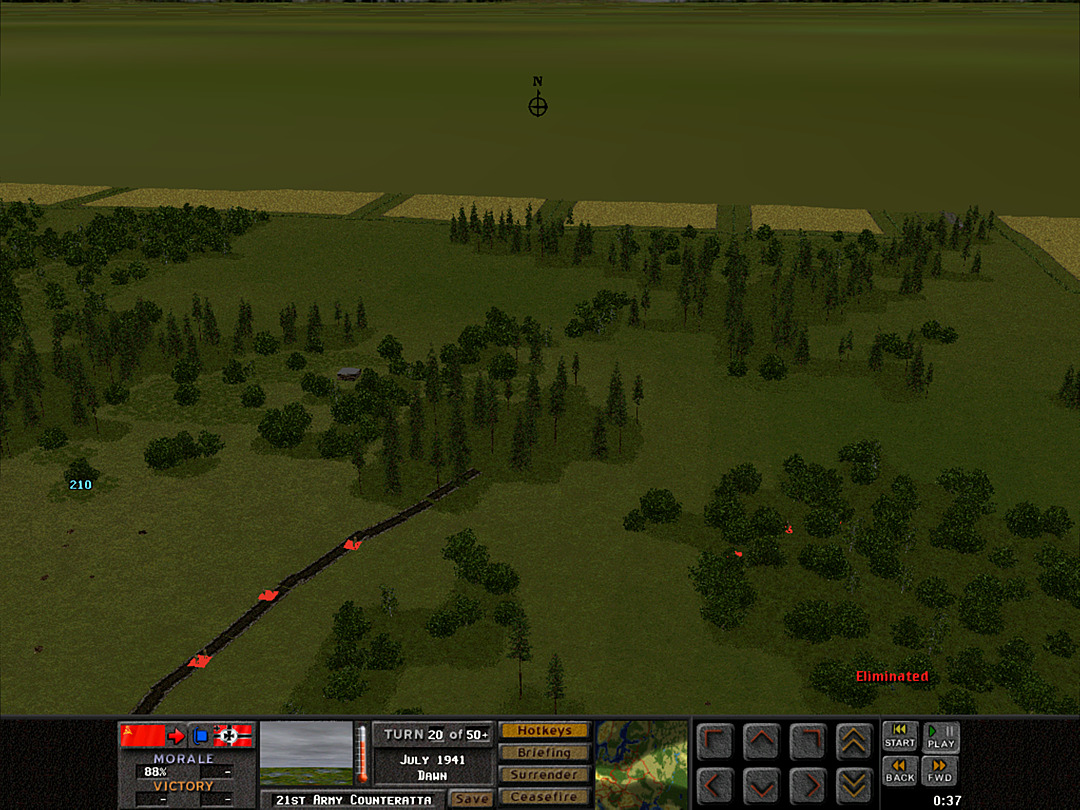 All is still for a few minutes as the clouds continue to brighten. We have nearly cleared the patch of woods off to the east of the ridge. 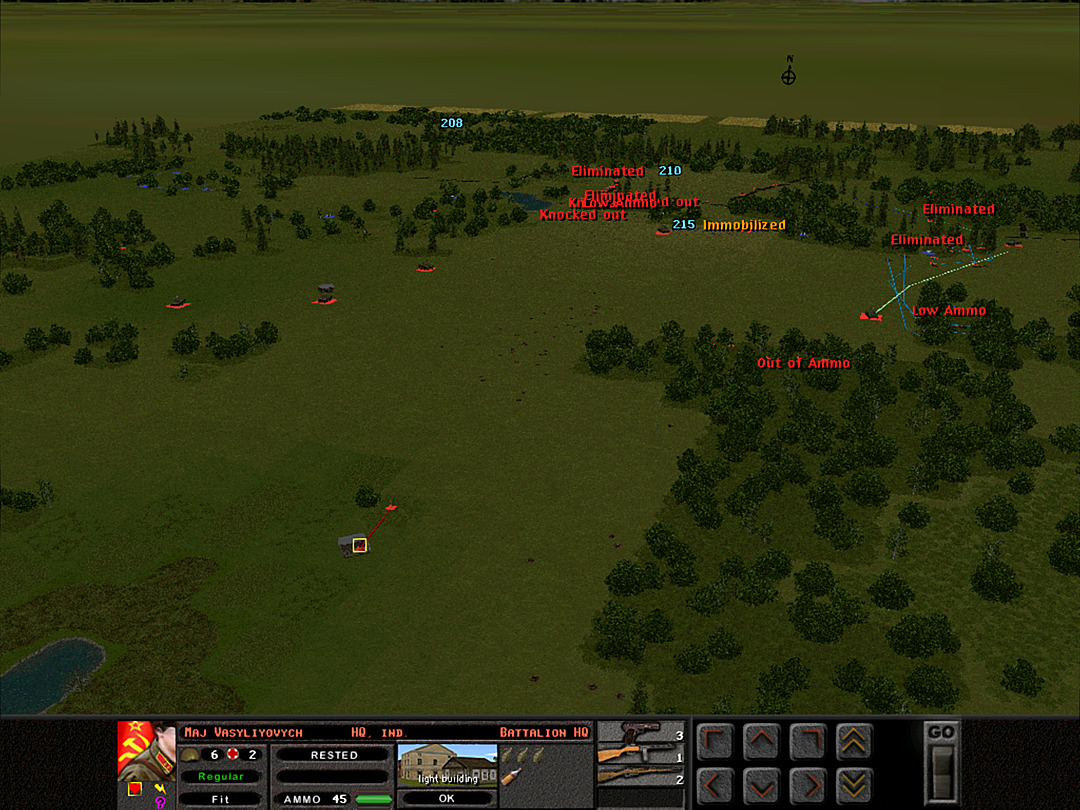 The major had moved his planning operations to the hunting cabin; it's too vulnerable a target in case of another artillery strike, so he shifts into a more mobile mode and heads toward the woods. Unit Highlight T-26 Model 1933/1935 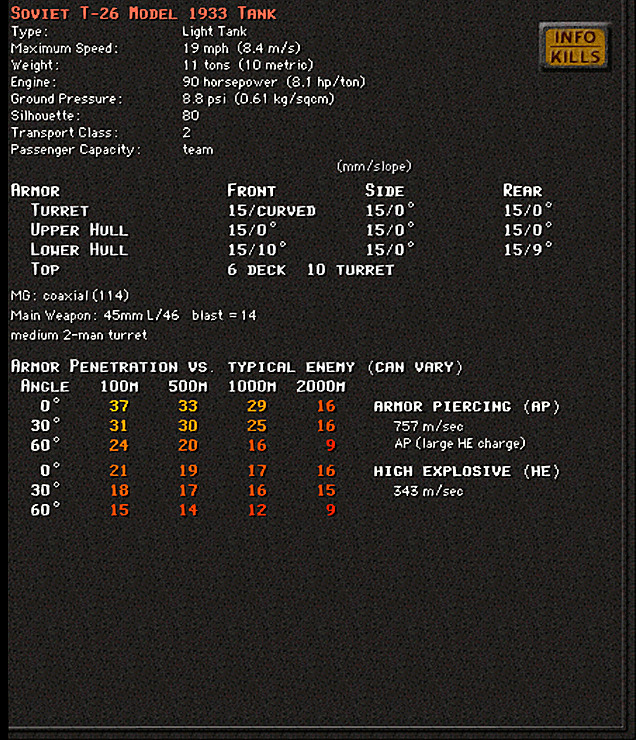 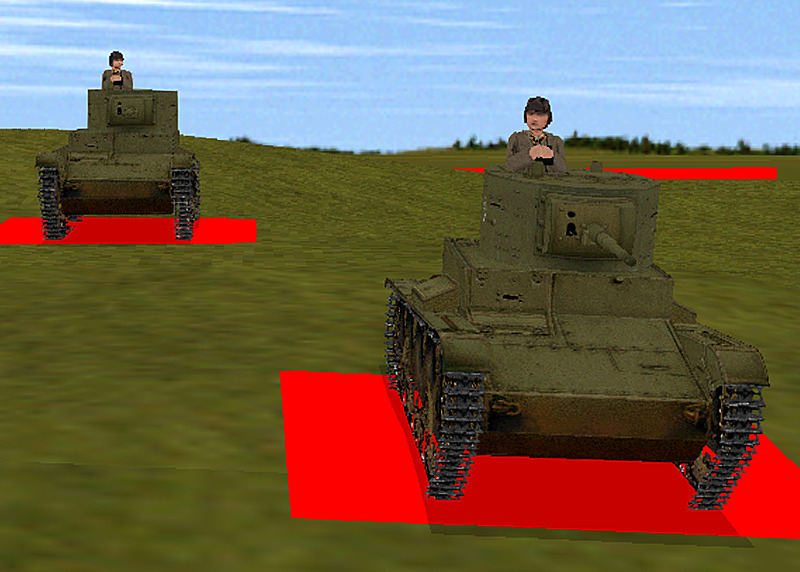 (Model 1935 on the right) Crew: 3 Base Cost: 46/46 The evolution into a well-used model. [The game's Model 1935 only adds the rear-facing-MG, and an increase in ammo capacity. The extra storage capacity was not strictly a feature of the later production run, although it could be considered that later models in use would have been equipped for it.] After the first few years of production, the T-26 ditched the twin-turret design in favor of a single-turret with a 45mm anti-tank cannon. That marked an improvement on the original British design's weaker gun, and ended up making the T-26 the most popular tank of the 1930s. This single-turret model was tweaked a few times over the tank's production run. The 1935 version included a rear-facing machine gun mounted in the turret, along with the switch to favoring welding over riveting for a more reliable structure. This tank was considered the best all-around tank during the Spanish Civil War, and while many of them remained in service at the start of World War II, they were only effective against similarly outdated models. Kangra fucked around with this message at 06:45 on Feb 6, 2024 |
|
|
|
Operation 2, Battle 3 of 4 Battle Time: 0:21 Our dawn attack began decently as we took the initial trench. We've been held up by artillery strikes for a bit. Now we expect C Coy to continue to clear the main trench line, and that ought to ensure our control of the majority of the ridge. 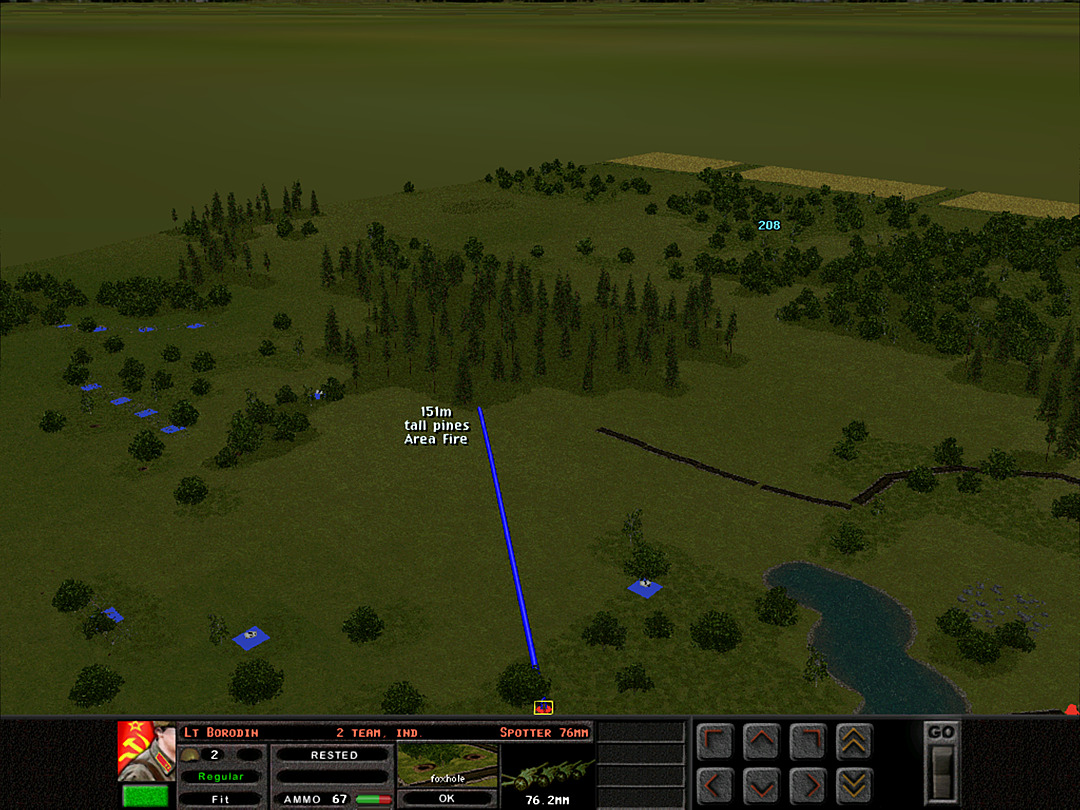 We send in an artillery strike to suppress the woods. Our squads ought to be reaching the last trench line just about as this comes in. 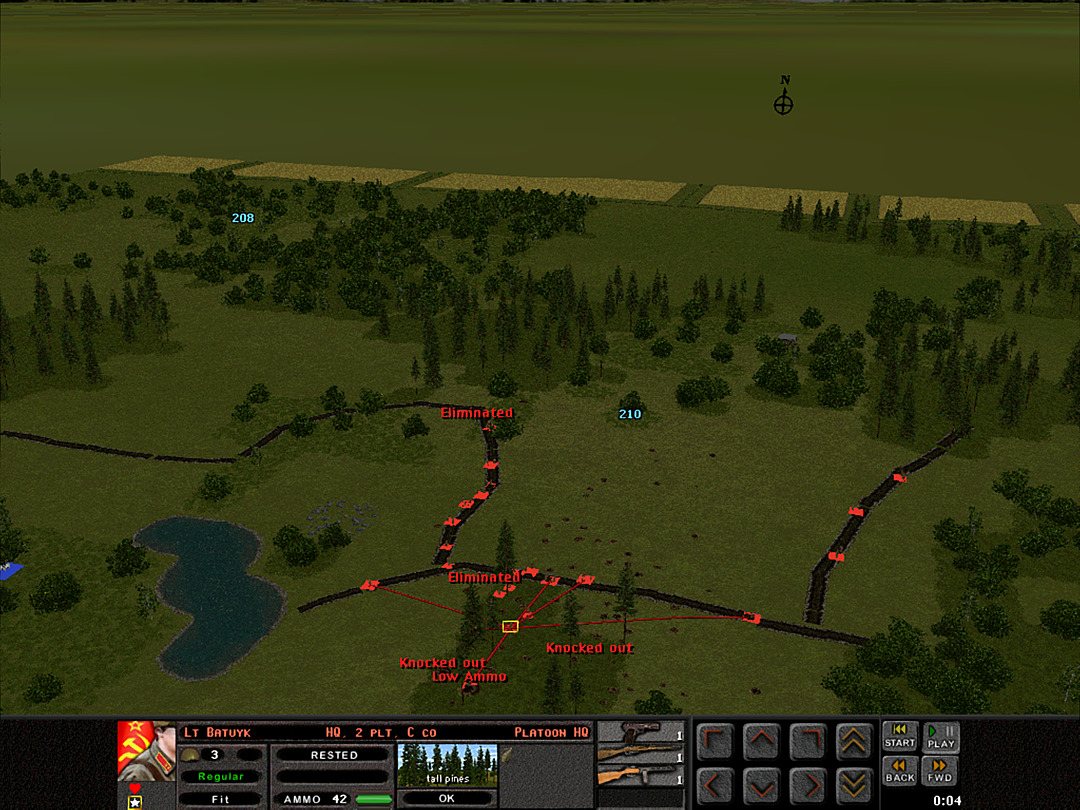 The platoons of C Coy have sorted themselves out; 2 Plt will hold the ridge top, while 1 and 3 Plt make their way down the line. 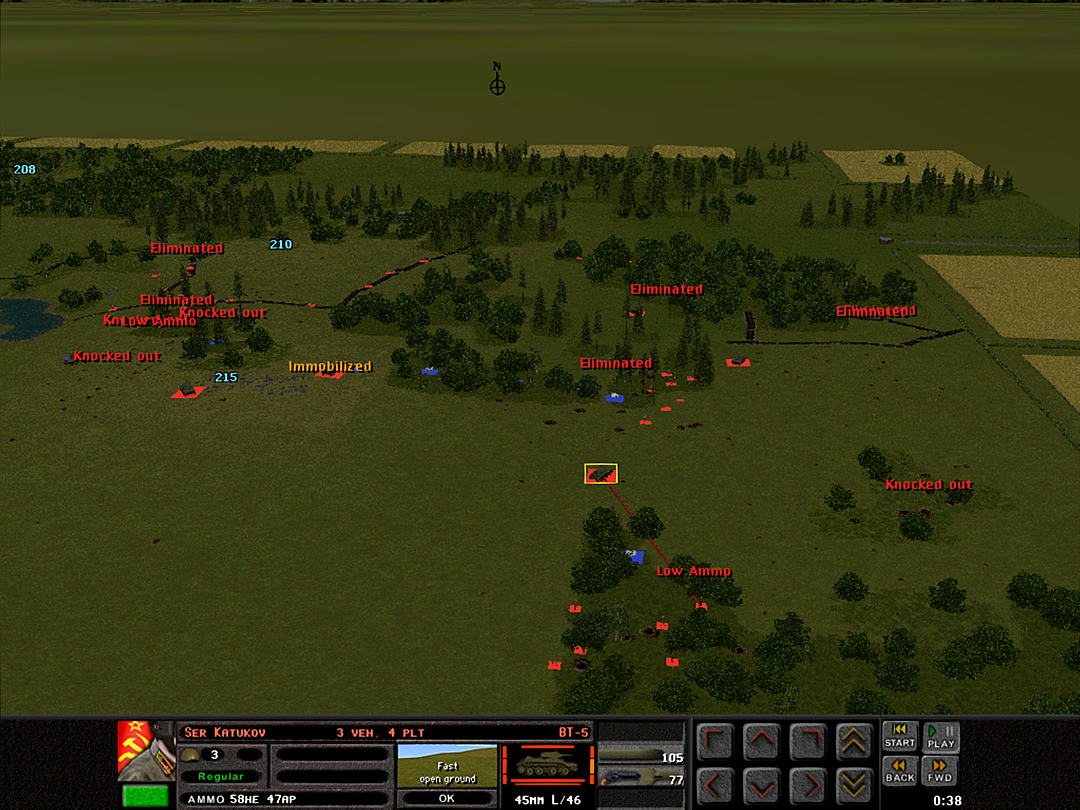 The two T-26's of 1 Plt are heading steadily forward. The last BT-5 pulls into position to guard the mine-free gap. 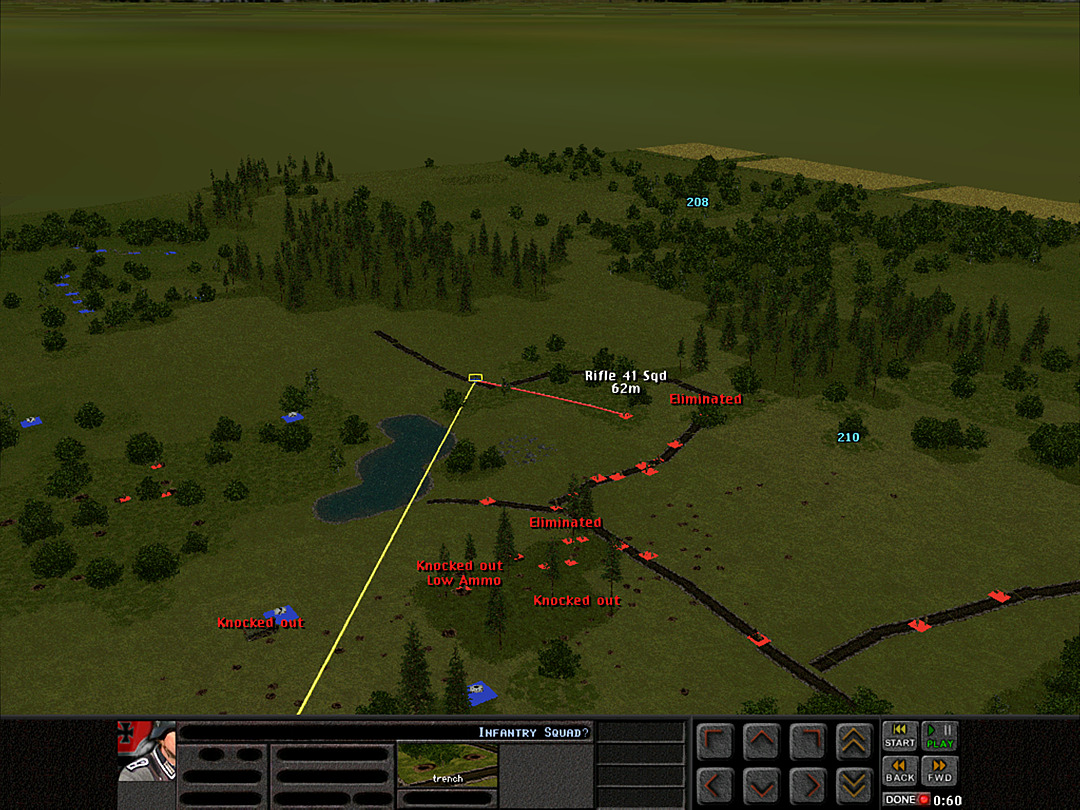 As we start on clearing the trenches, the first German squad pops up. Our tank on the hilltop is able to train its main gun on them. 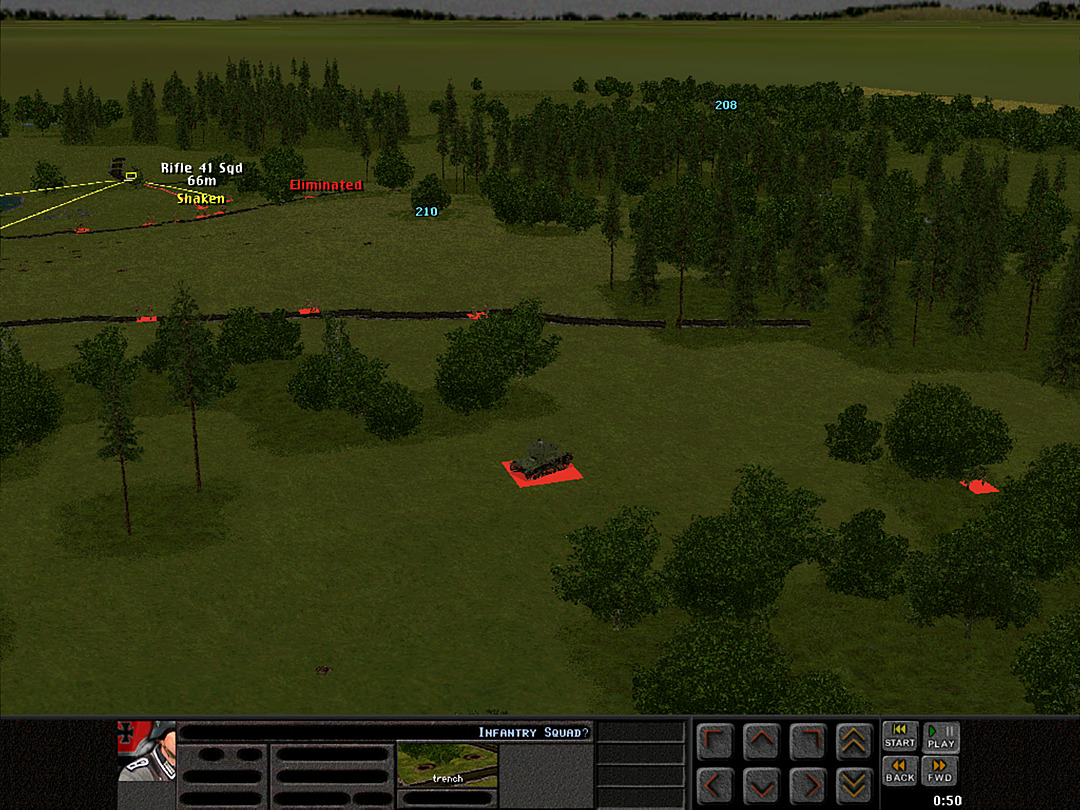 Having maneuvered their way around the minefields, the two T-26's of 1 Plt will shift to cover the central space north of the trenches soon. 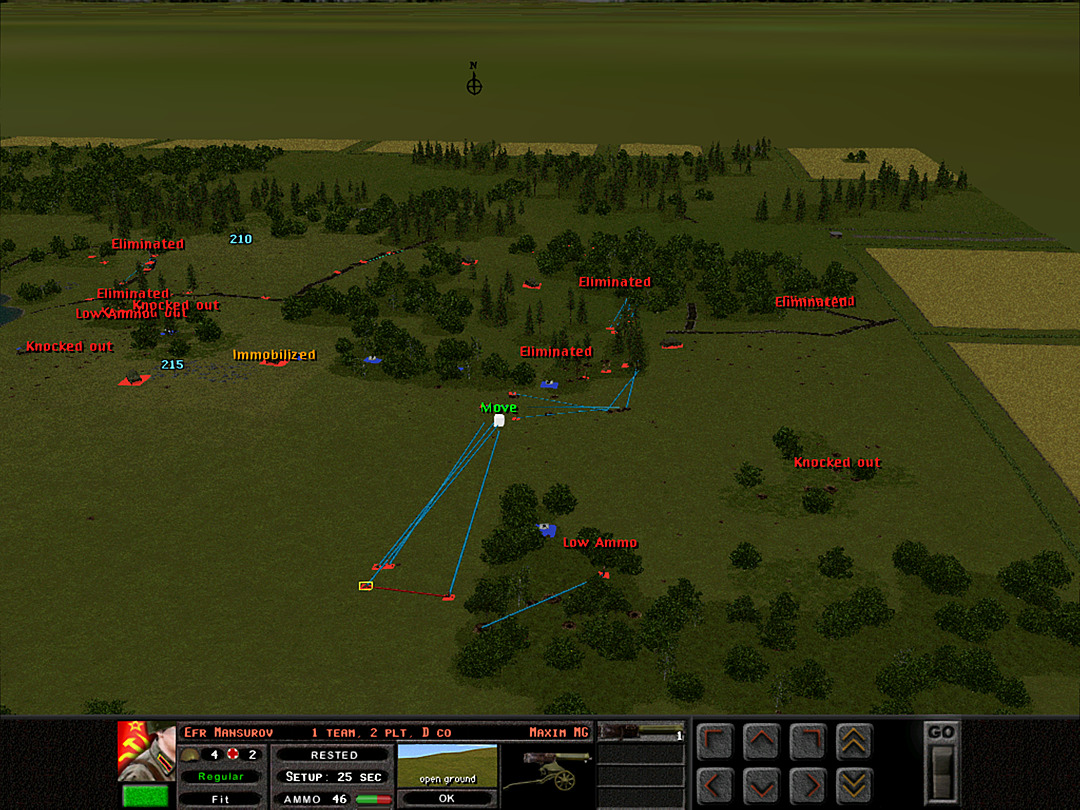 There aren't too many good spots to place machine guns on the front lines, but they aren't doing much good for us back in the southern woods. We start to bring them forward. 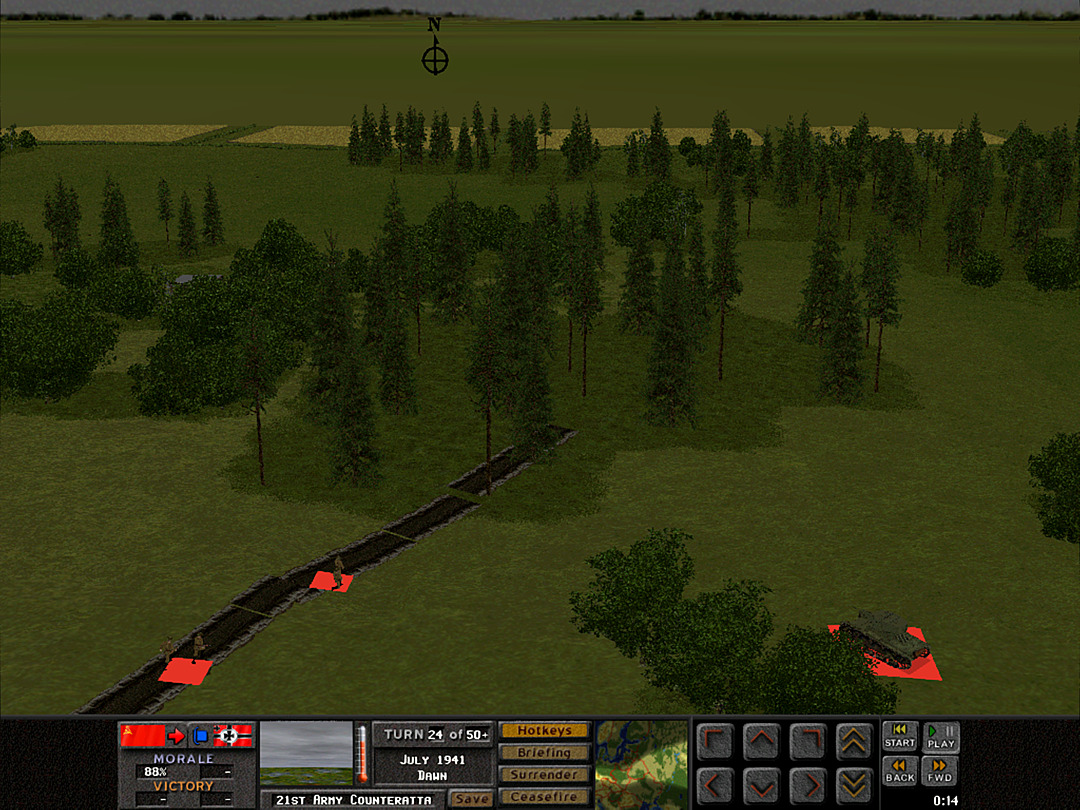 There's been repeated gunshots from out of the trees at the northeastern end of the main trench, but so far no one has spotted the shooters. 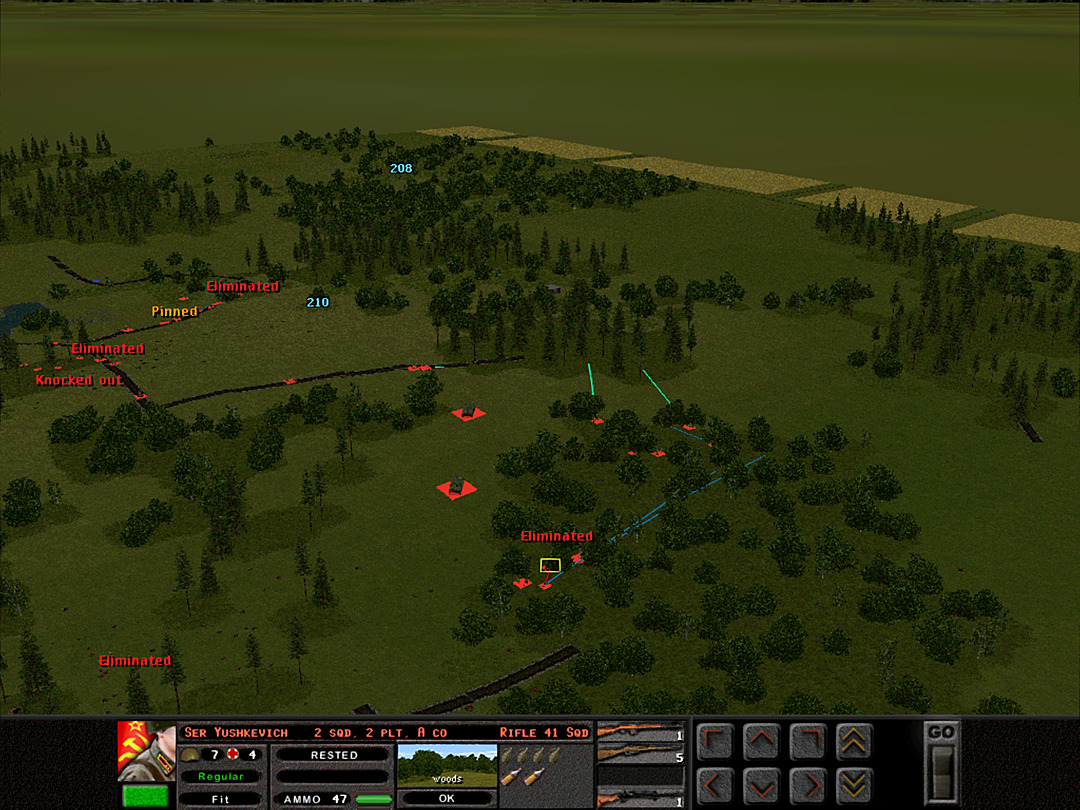 All of A Coy is being shifted forward to the northern woods; one squad will investigate the source of that gunfire. 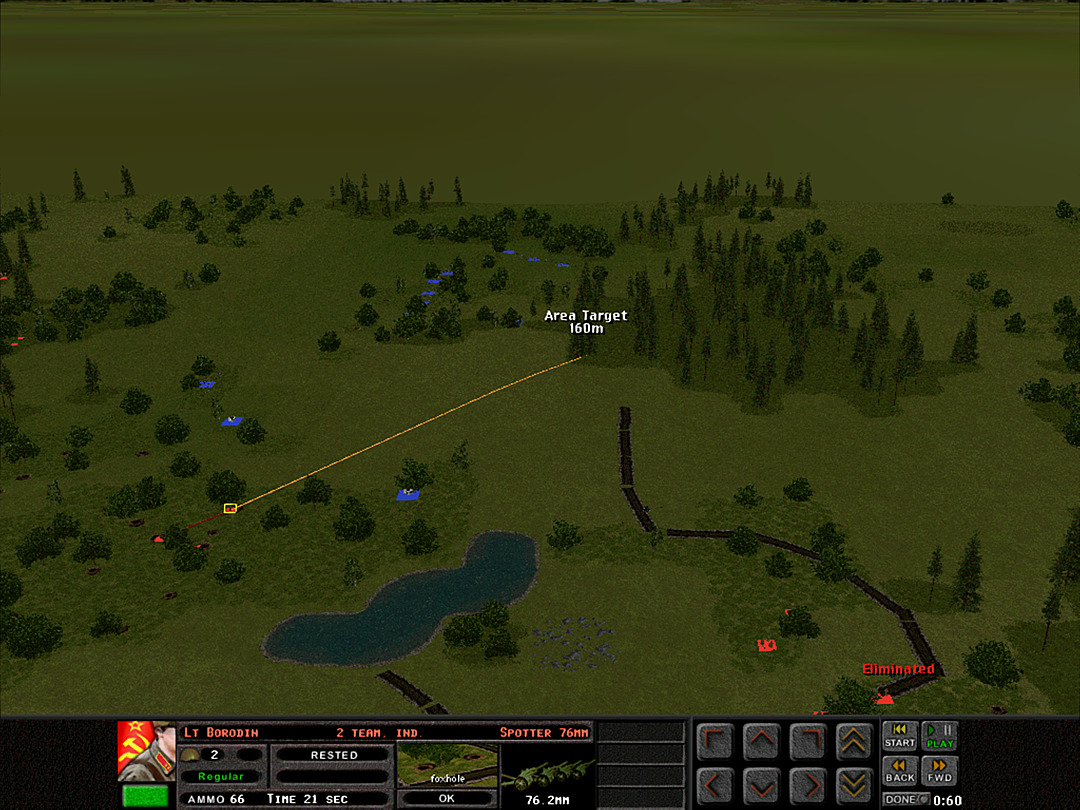 It's taken a little longer than expected to get close to the trenches, so our artillery strike will land before the final push around the bend. 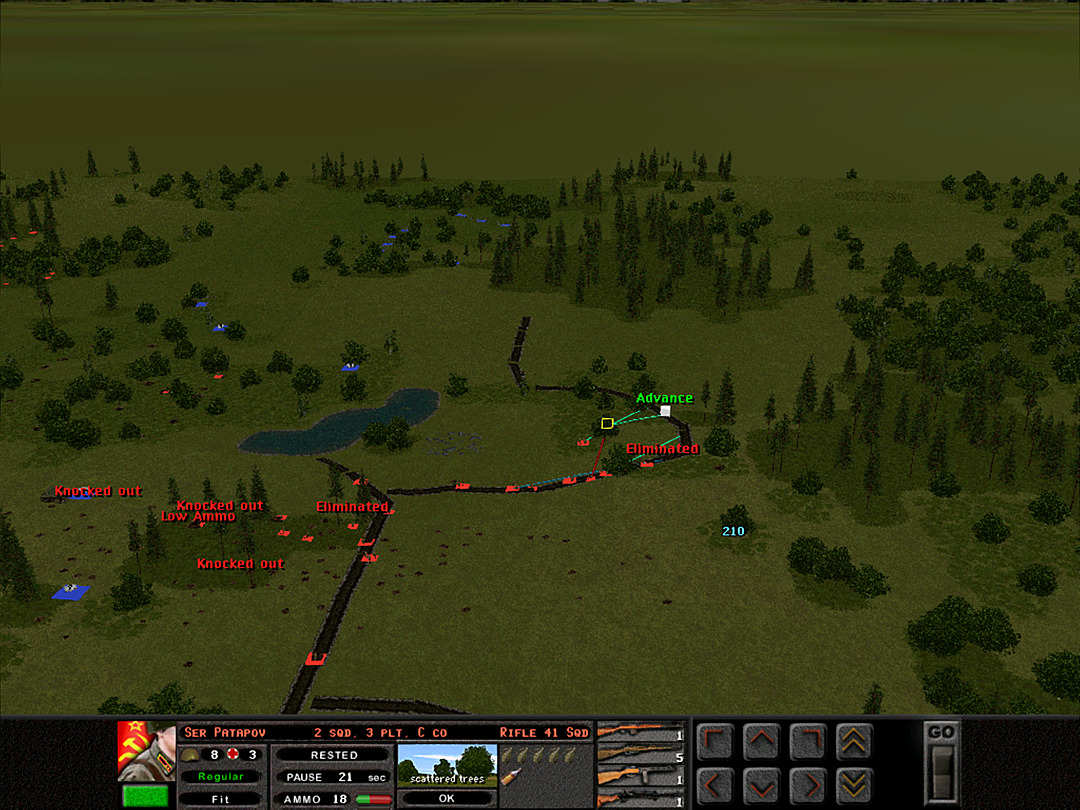 There hasn't been a lot of enemy activity, at least, so we are capturing more of the line rapidly. 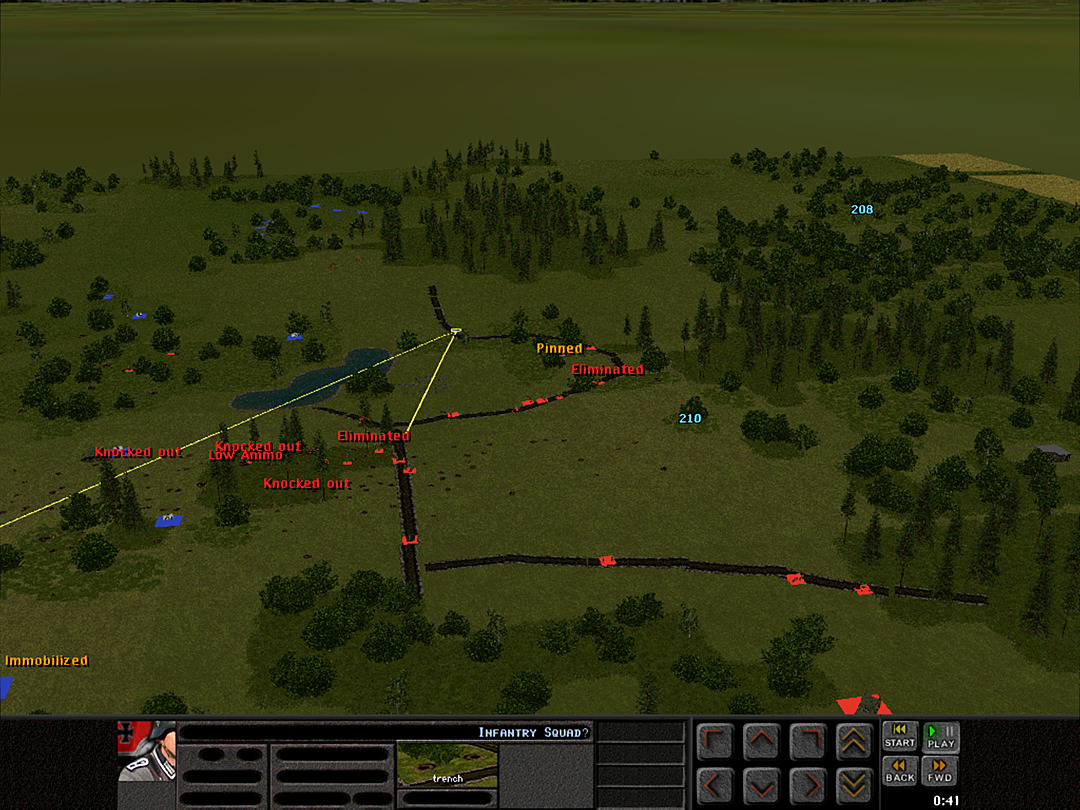 As we inch forward, the German squads occastionally pop up out of the trenches. Our machine guns suppress them in short order each time. 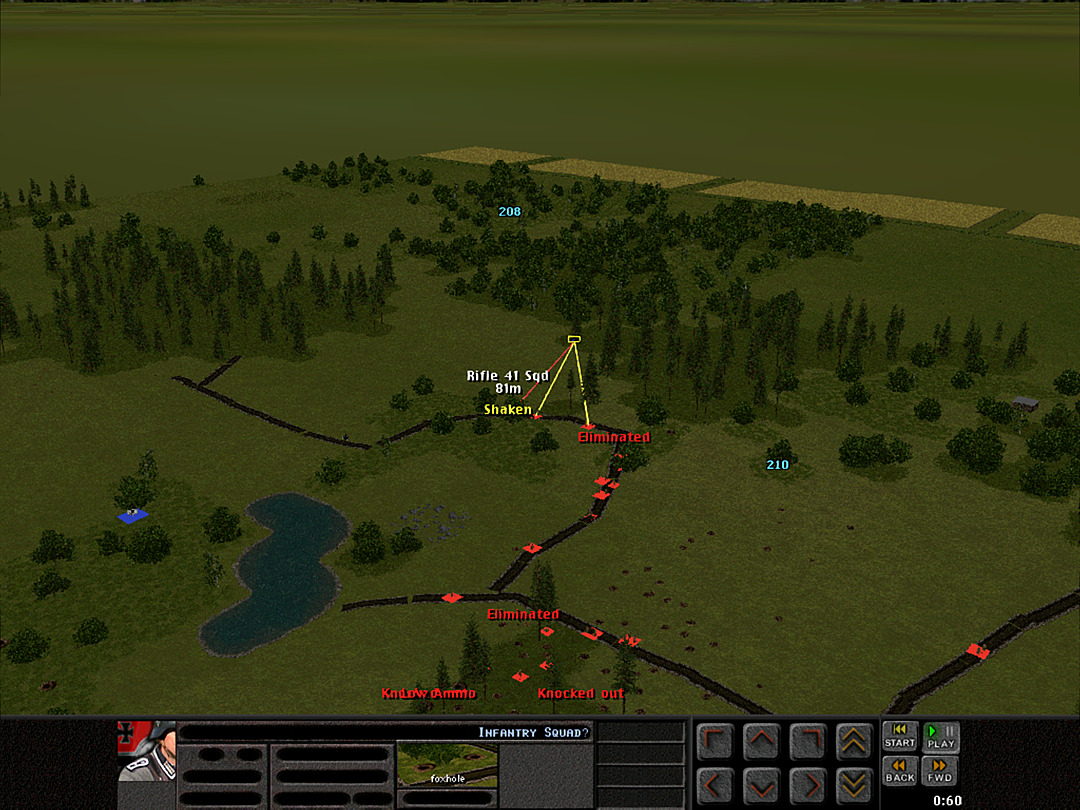 But another threat soon appears. More enemy squads are hiding in the woods a little ways along the ridge. 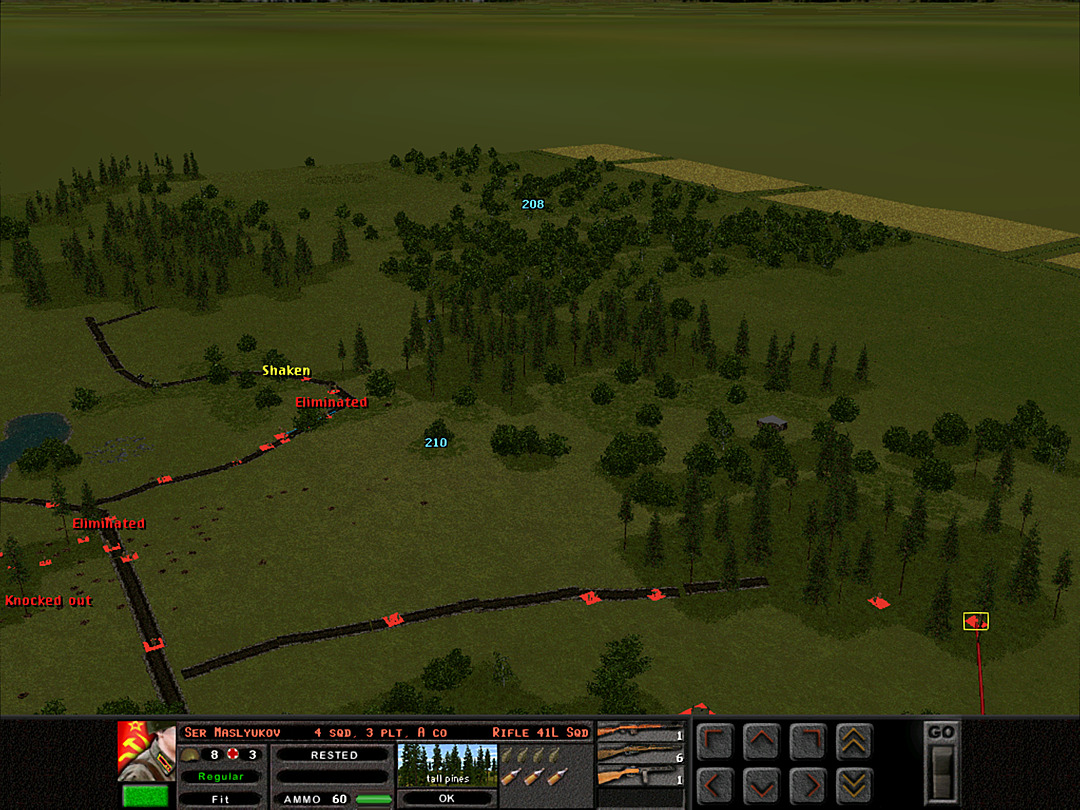 On the west side, we've sent several squads into the woods at the end of the trench, but they fail to locate any of the enemy units. 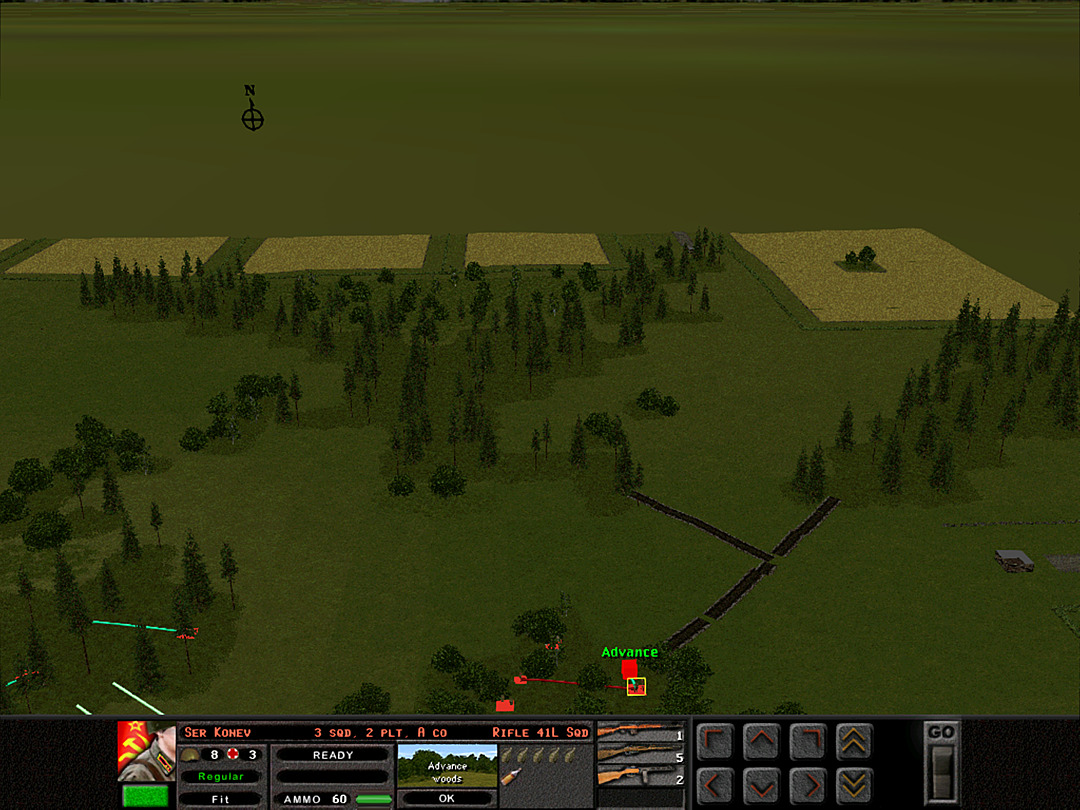 We also reached the north edge of the forest, where we discover another line of trenches built facing eastward. No signs of enemy squads are spotted. 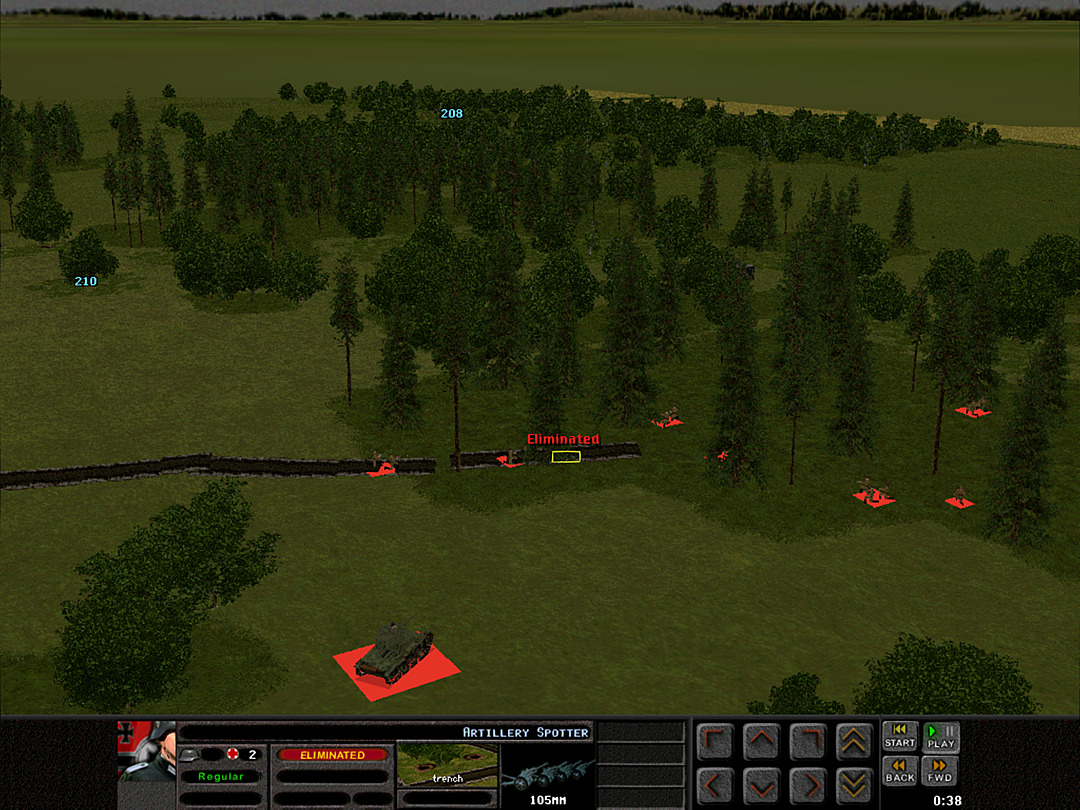 It's not until we finally reach almost to the end of the eastern trench line that we discover the mysterious German unit. It was another artillery spotter. We were likely being hit from two simultaneous attacks earlier on. 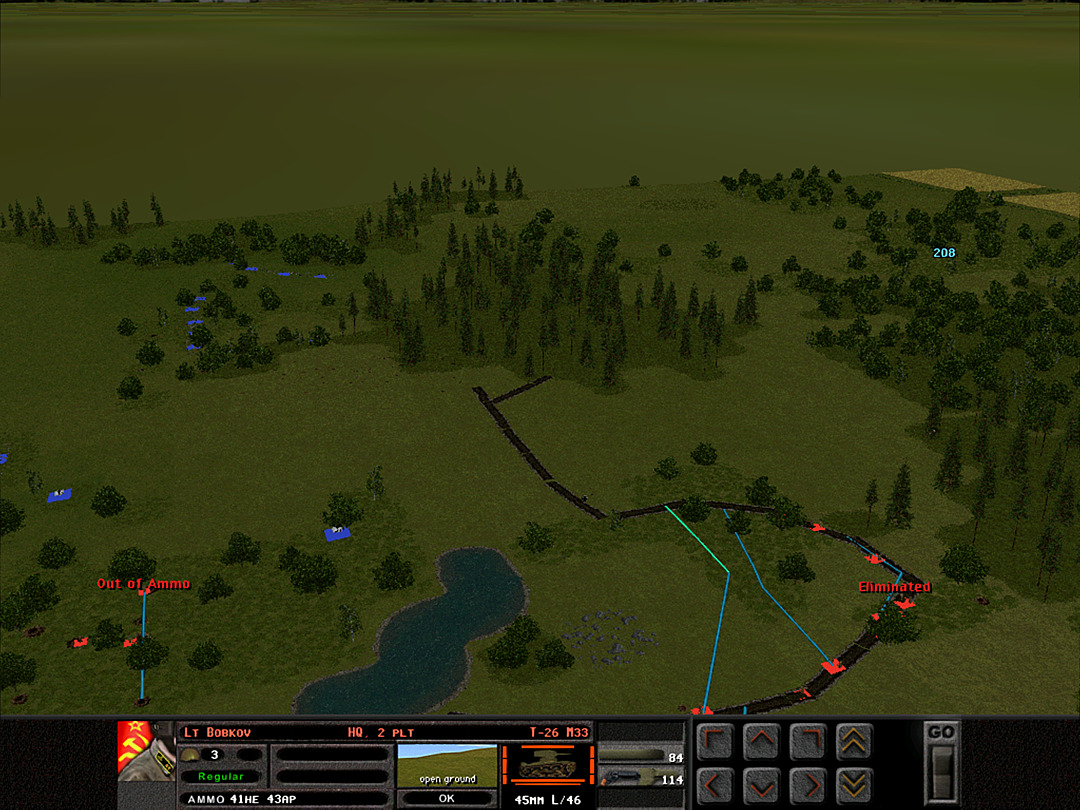 To avoid being hit from the enemy units in the woods along the ridge, we send the next set of squads toward the woods between the trenches. 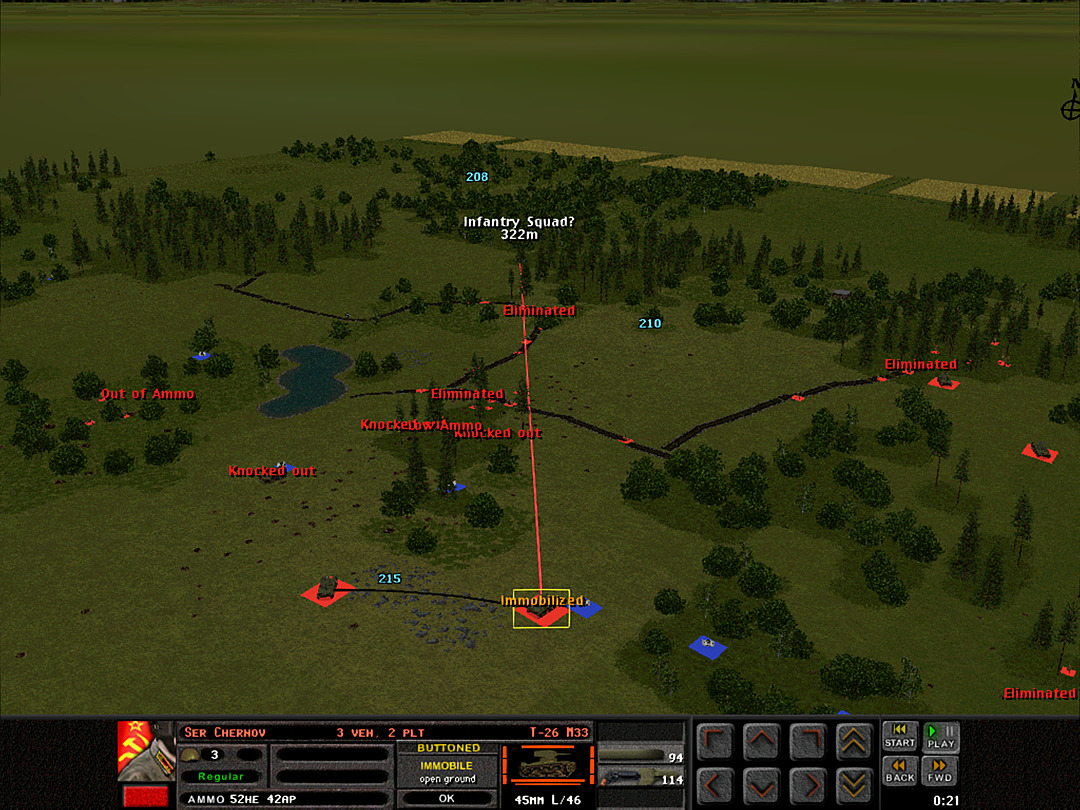 Sometimes we line up a lucky position; our tank that was struck by the mine is just able to spot some of the enemy units back in the trees and take a few shots at them. 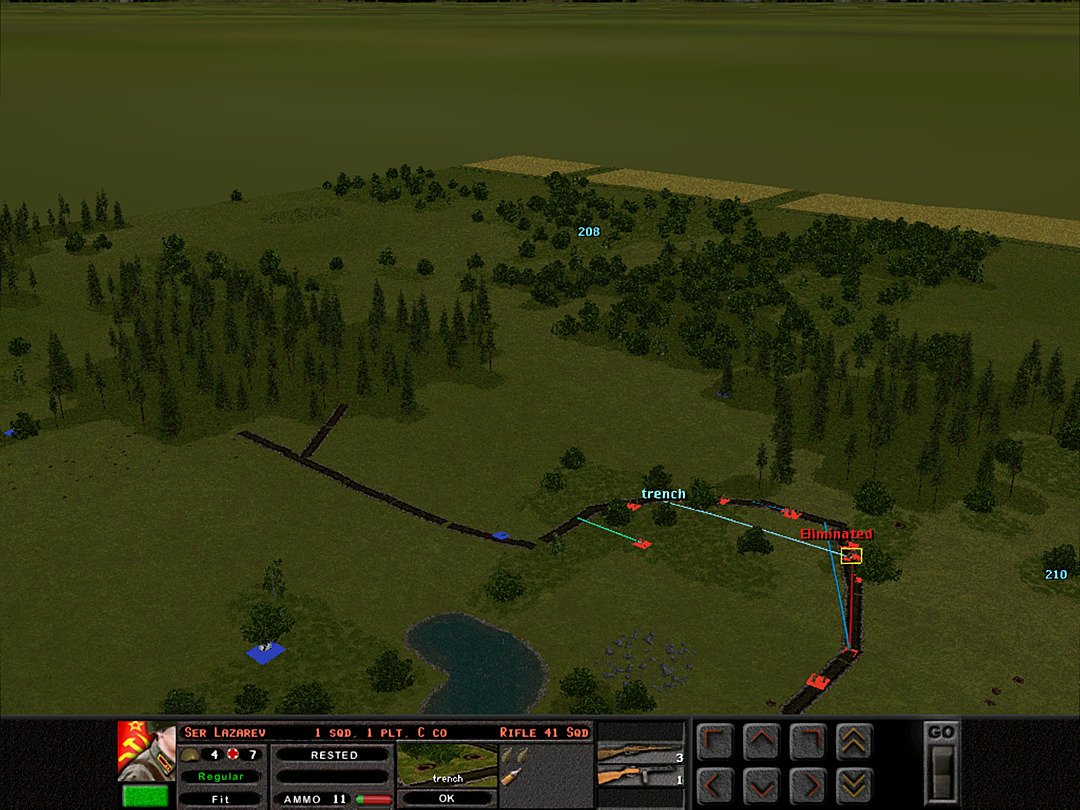 Our own infantry are being whittled away, however. We don't have enough full-strength squads for an effective assault. 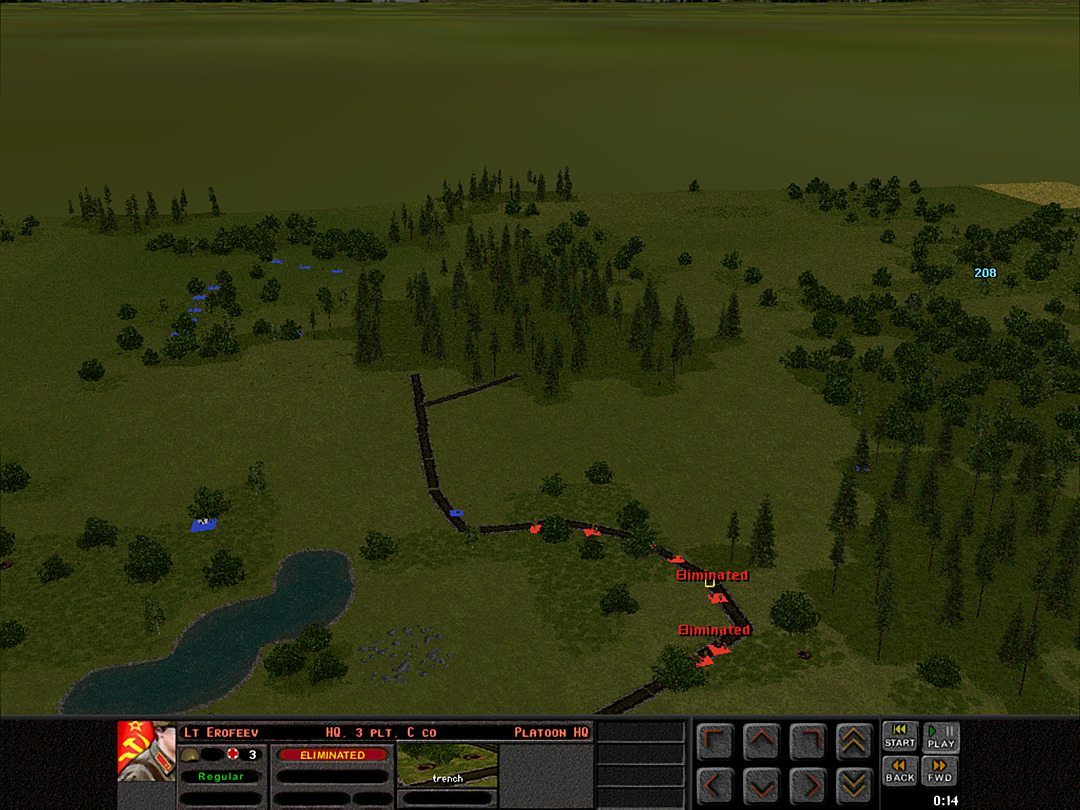 The situation gets worse when we lose yet another lieutenant � this time, of C Coy, 3 Plt. 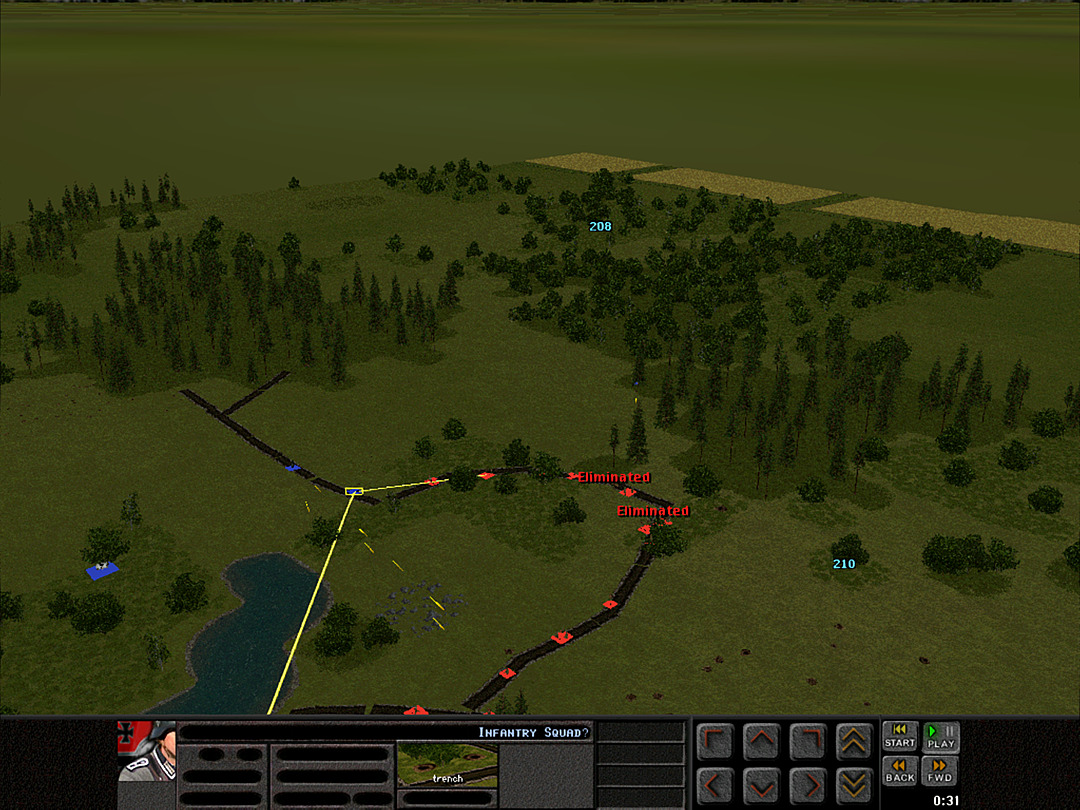 We are still doing fairly well at responding each time the enemy squads appear. There are still at least two more in the last trench line, however.  We reduce one of them and discover that the other is actually the headquarters for the whole ridge. The enemy is surely on its last legs, but our own units are starting to run low on ammunition.  The tanks of 1 Plt cross the trenches; they'll be able to provide support to clear the west side soon.  One squad is sent forward to see if the enemy commander will surrender.  He does not, however, so we finish him off with gunfire. 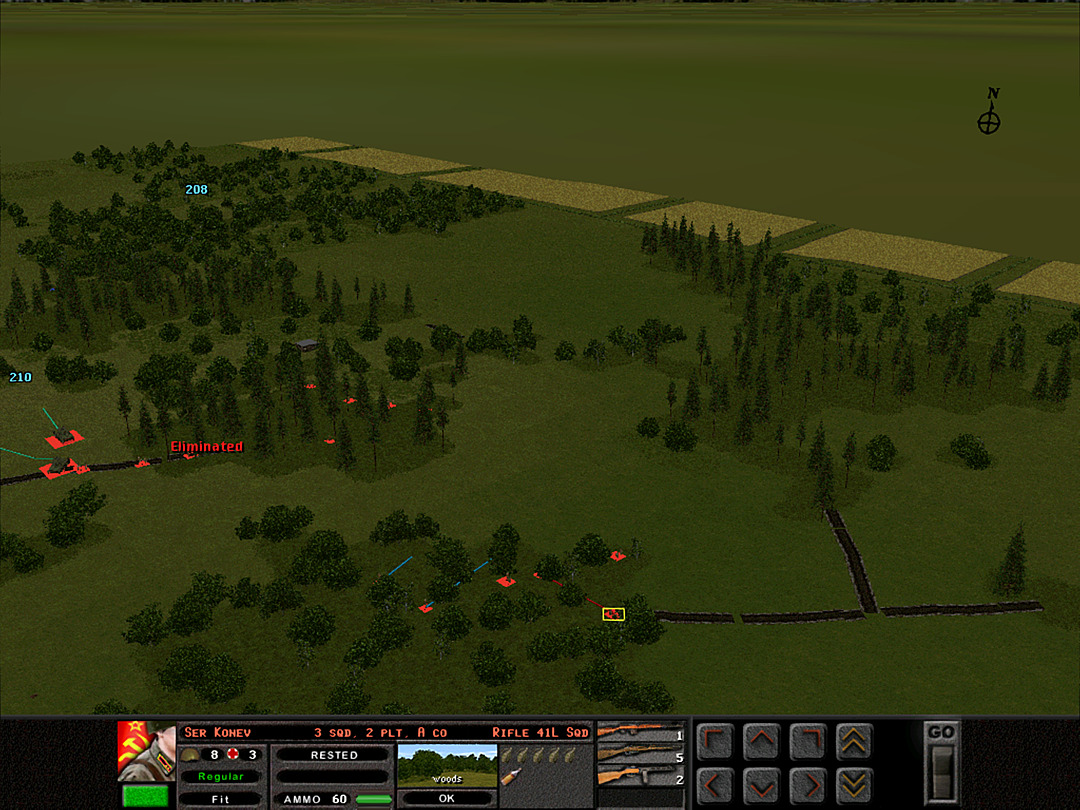 The trench on the west side looks quiet, but we'll continue to keep an eye on it. There's no real need to take control; we just want to keep the ridge secure. 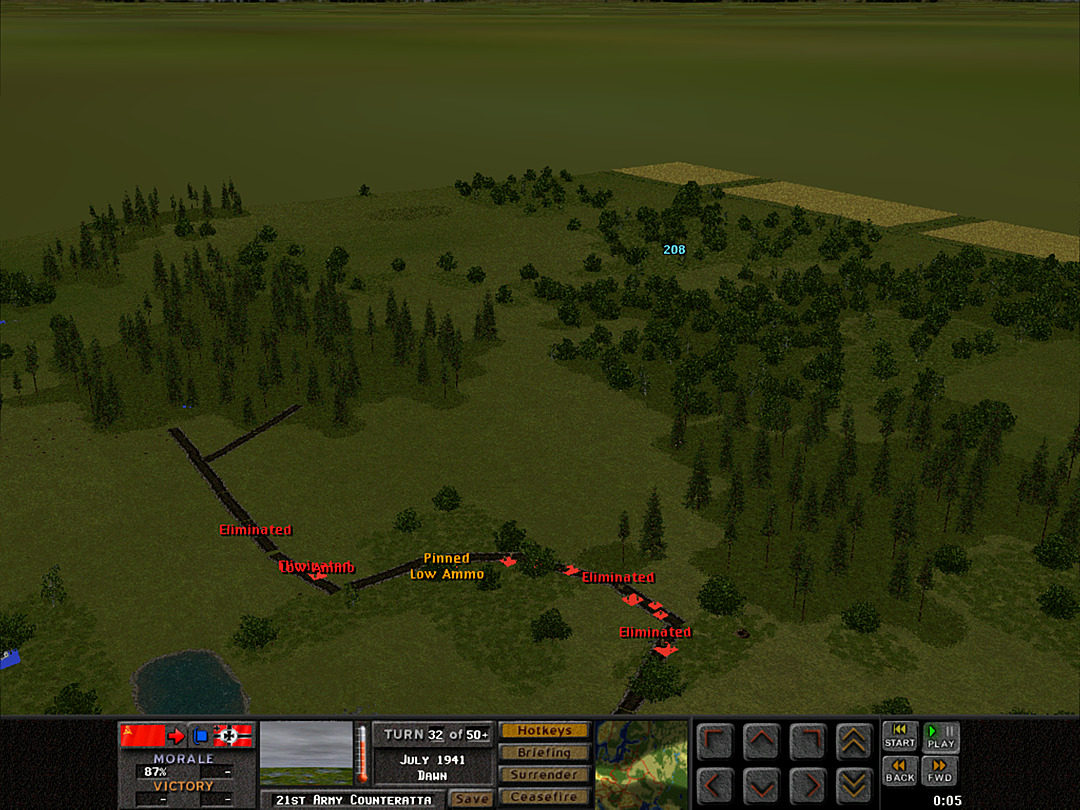 One squad reaches the enemy commander's position. We spot another German unit back in the woods off to the west. We decide to pause our attempt to capture the whole trench. 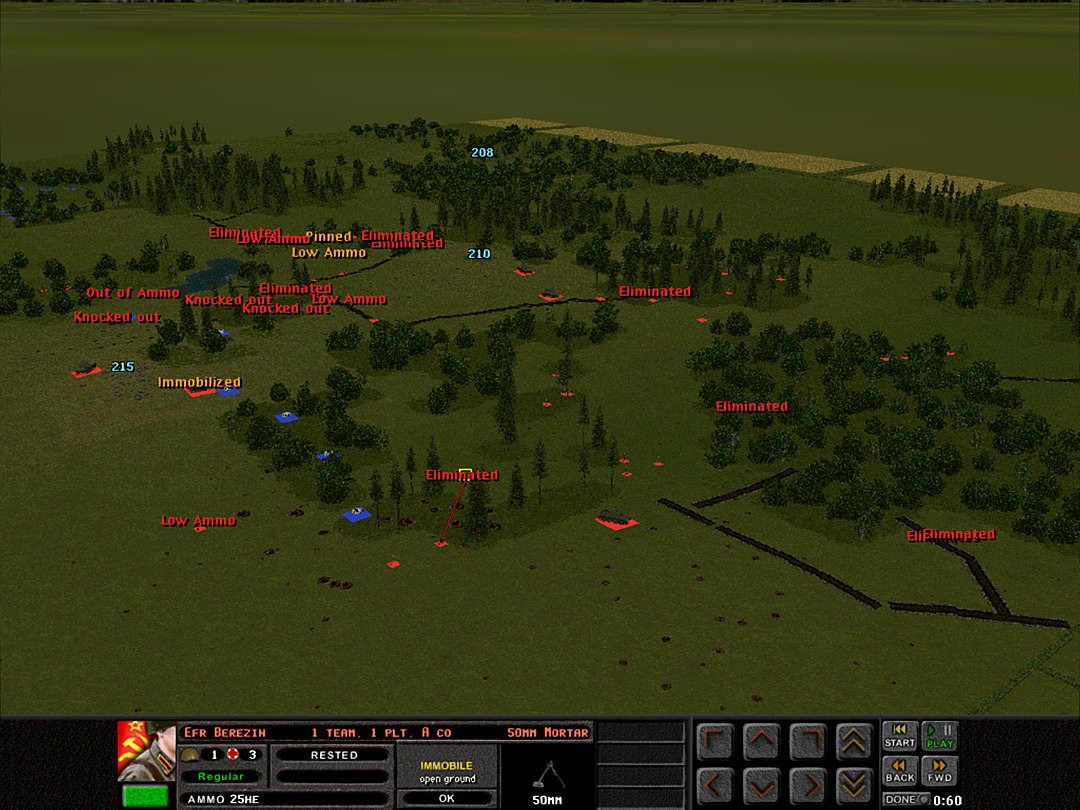 We have moved almost our whole line up north of the gap now. 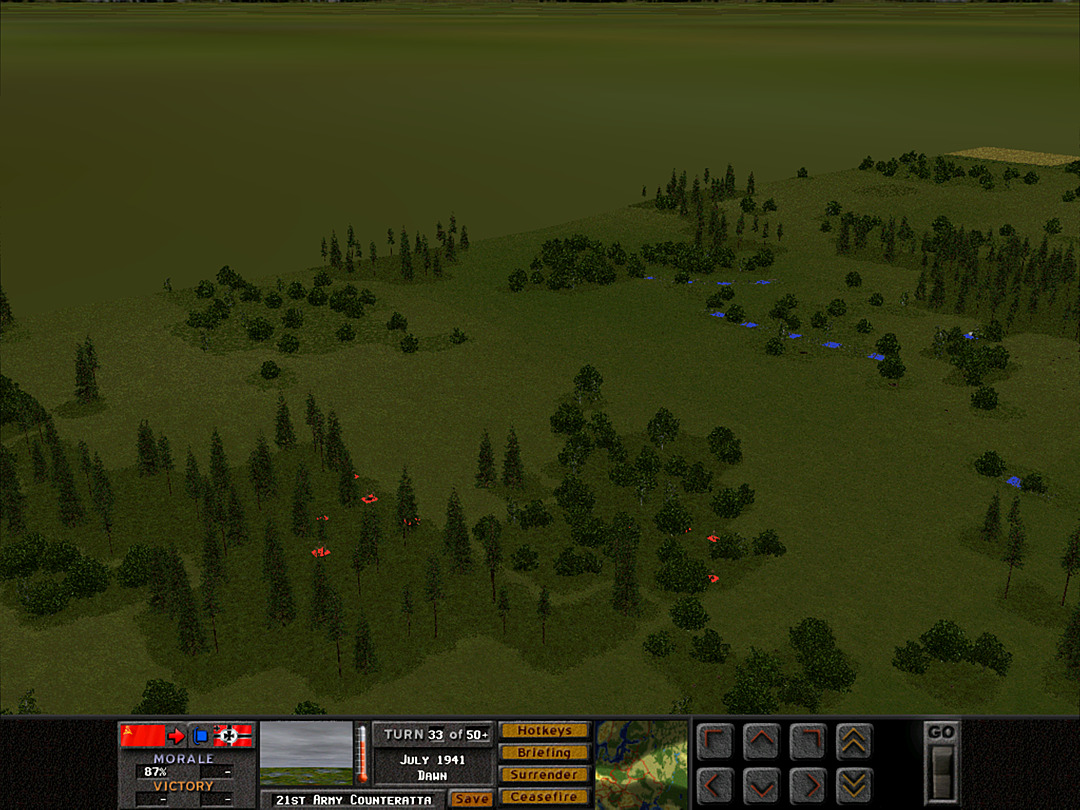 The recon platoon and the machine guns back on the west edge have seen no activity. 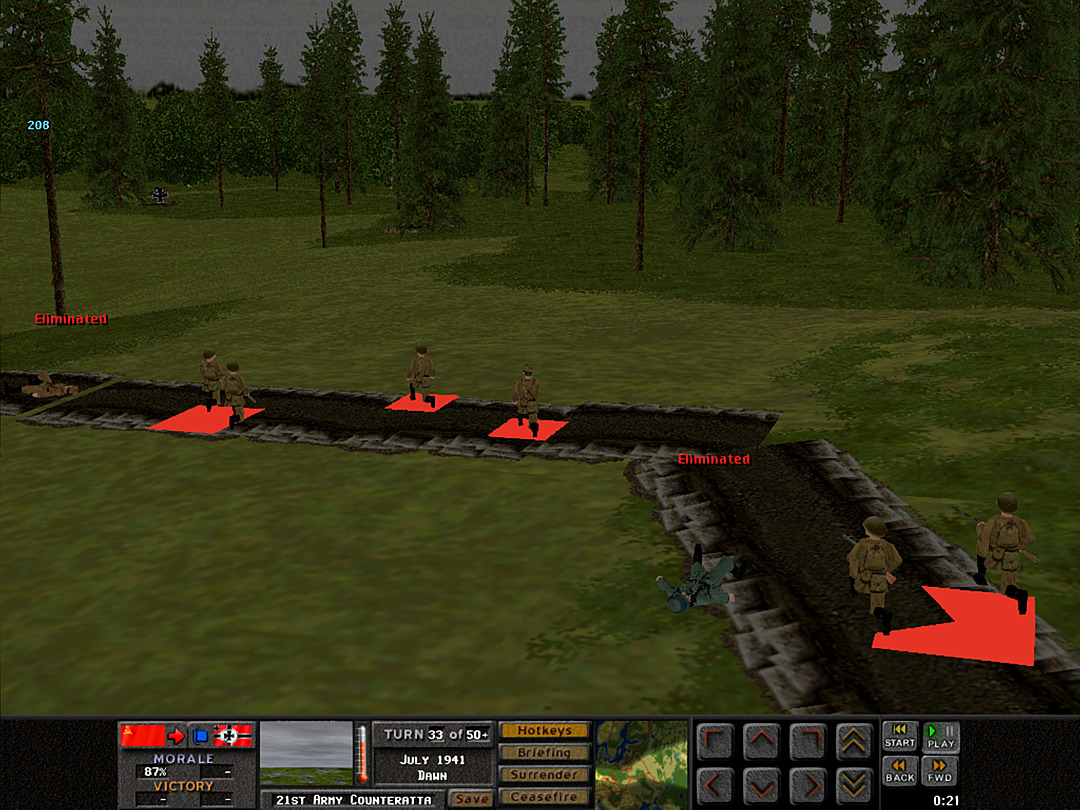 We still have a number of squads from C Coy sitting in the northern tip of the trench. None of them really want to push out beyond it right now, however. 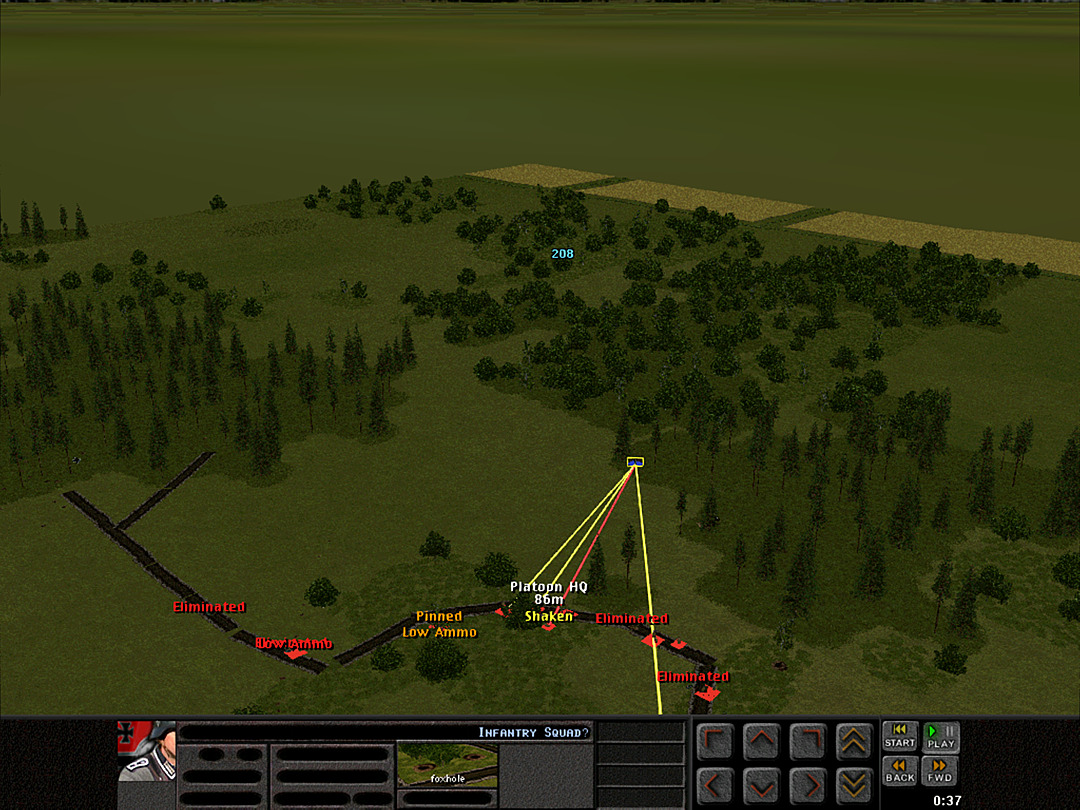 The Germans seem to be bored of the inactivity, and start firing. We respond back in force. 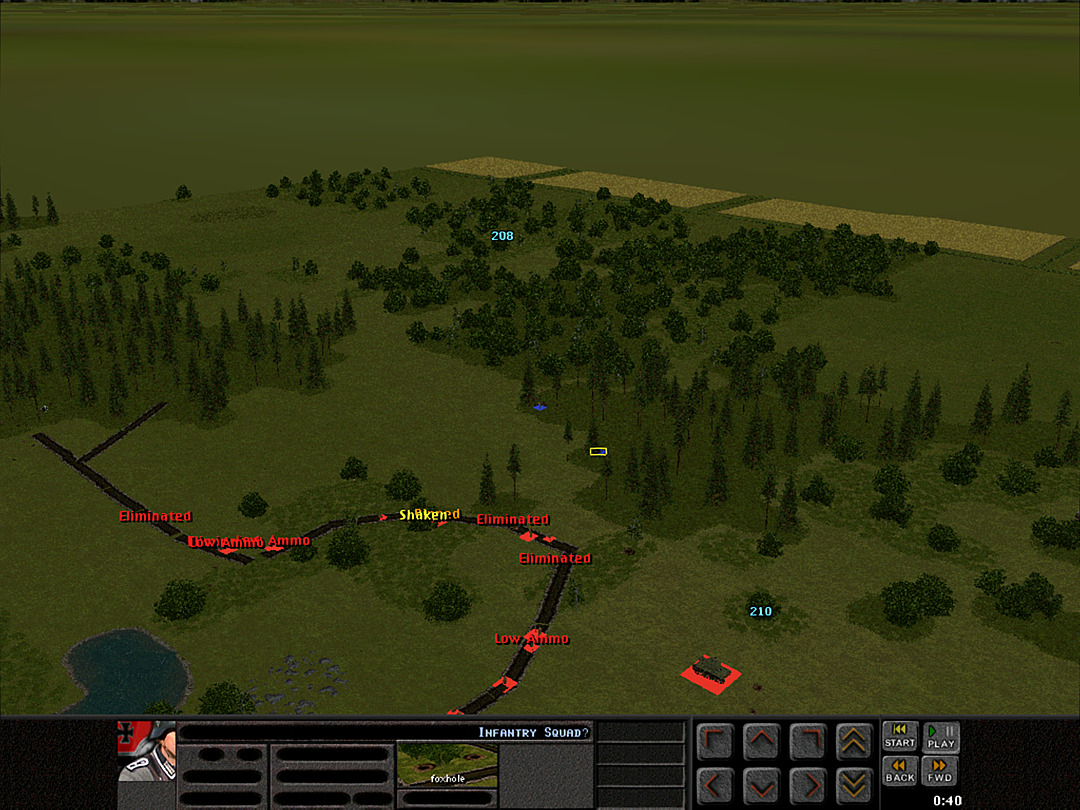 Two enemy units are revealed. We have almost all our men safely in trenches, but we're still having trouble dealing with the opposition in the woods. 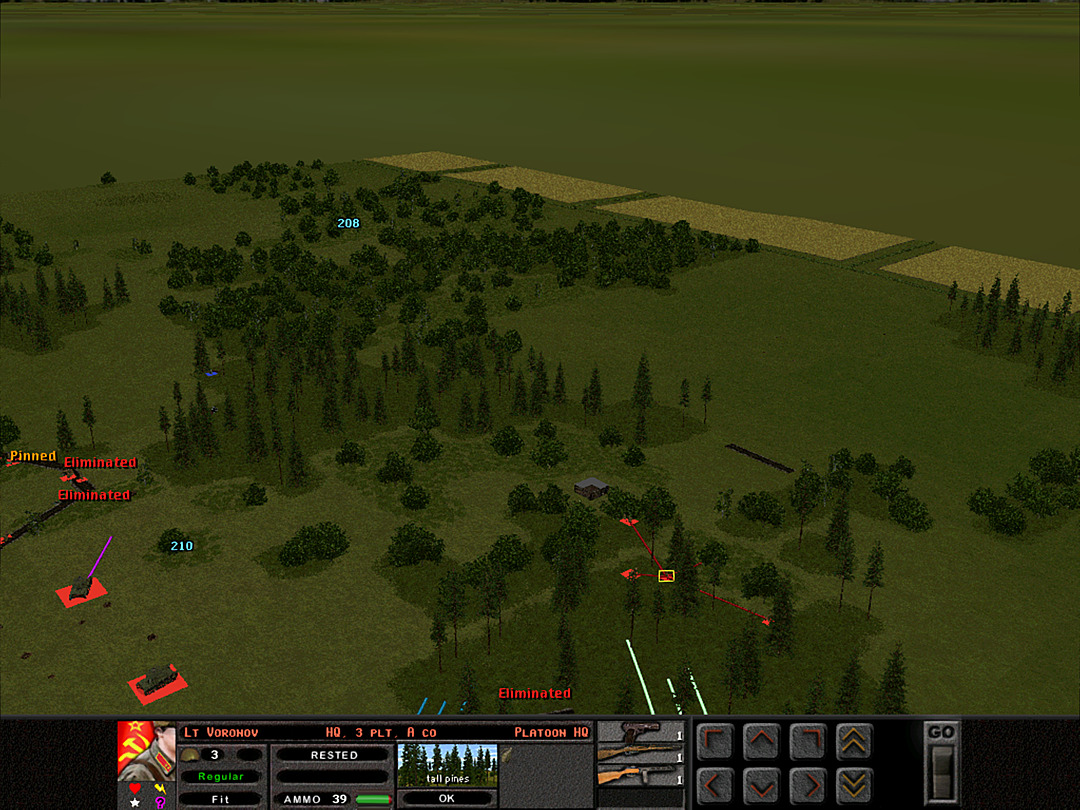 A Coy, 3 Plt is investigating a lone structure just north of the ridgeline. 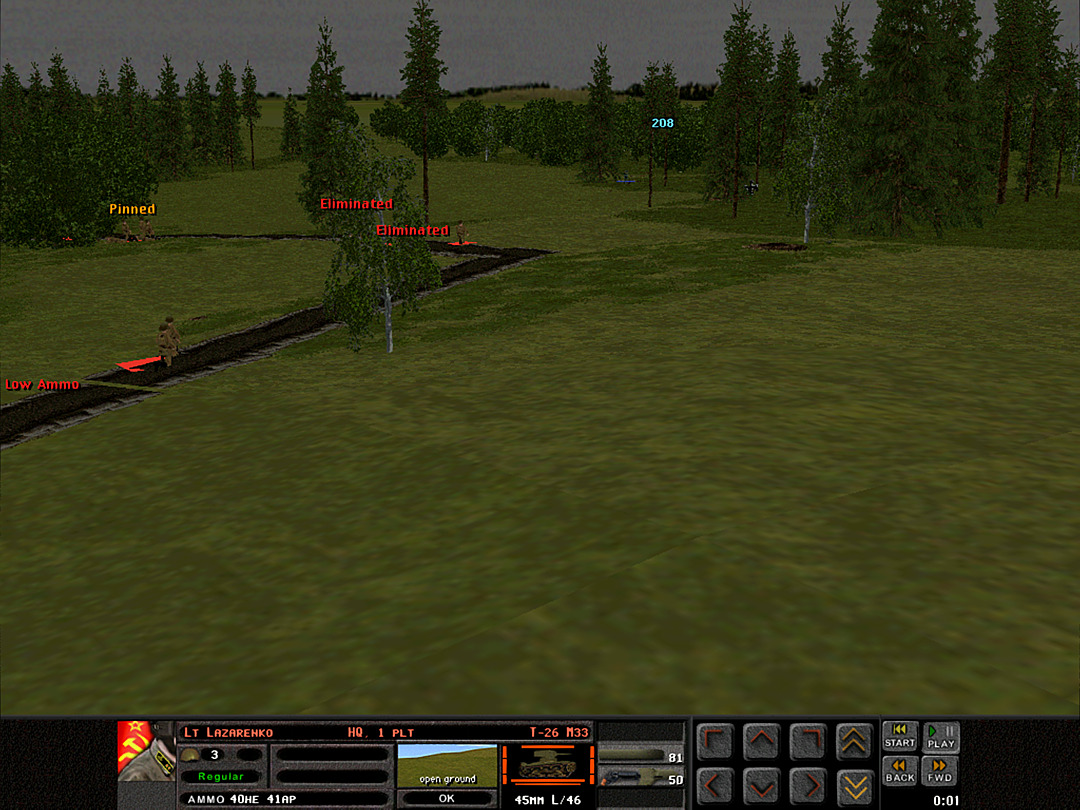 The T-26's of 1 Plt have crossed over to the west and are ready to engage the enemy. 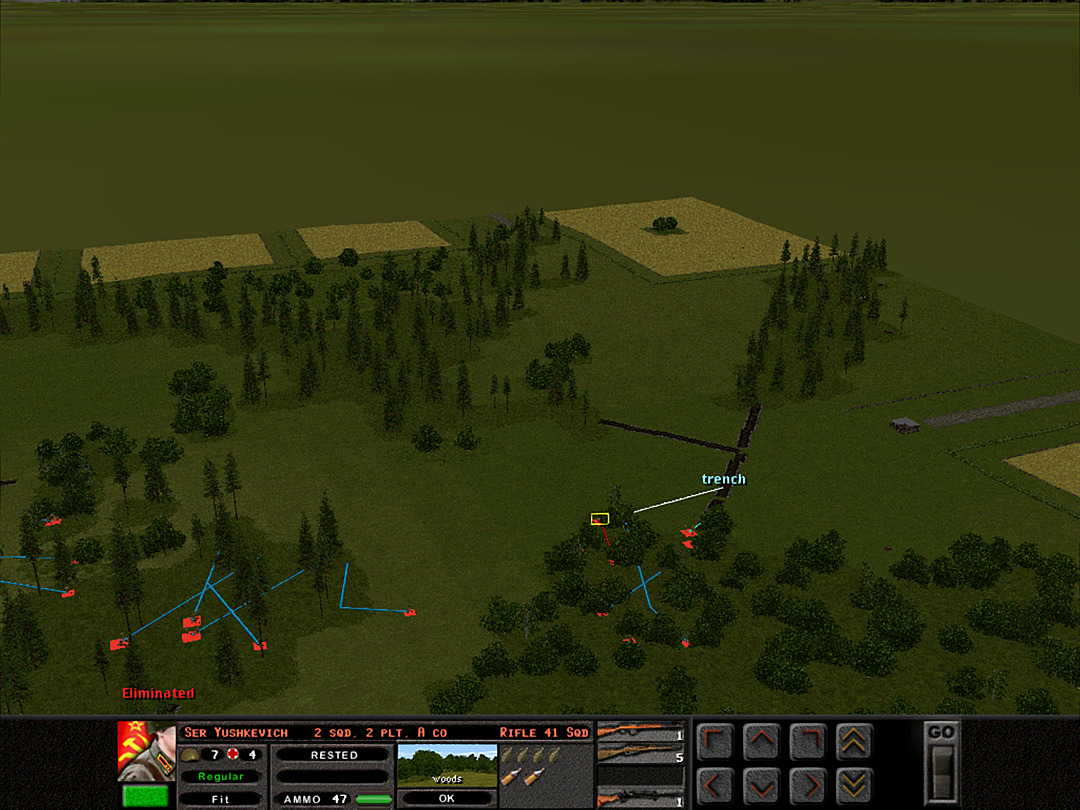 Without much else to do, we decide to check out the trench on the east side as well. 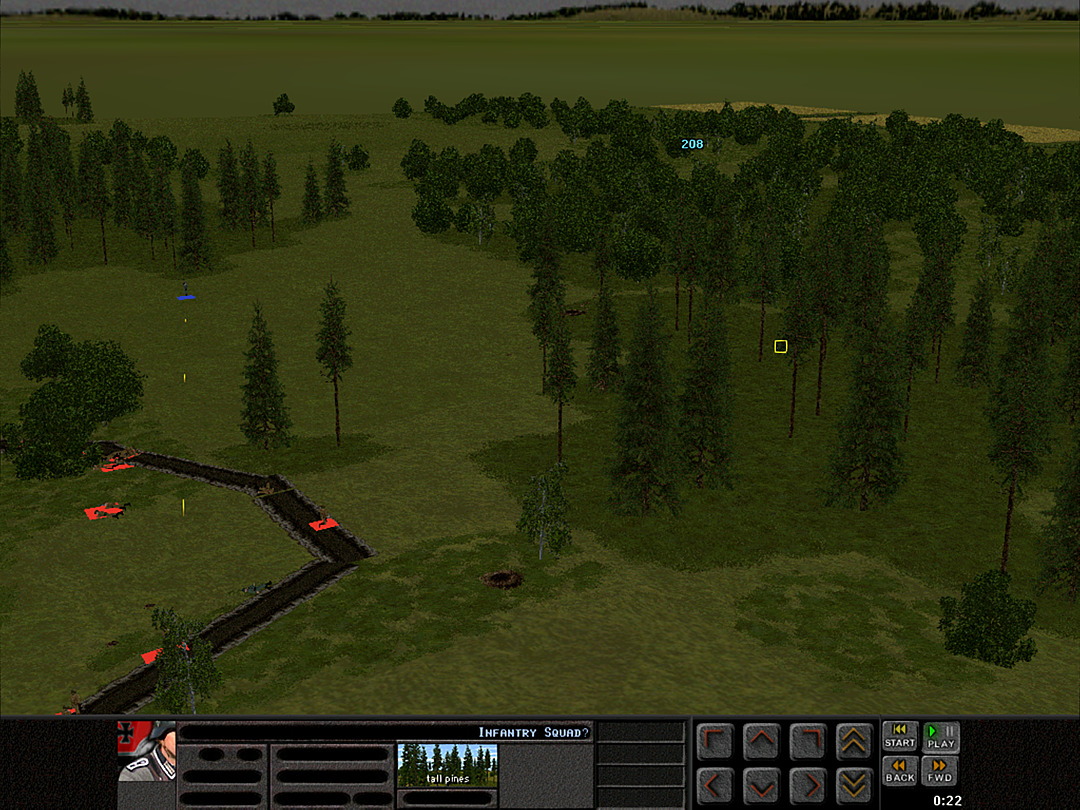 Our advancement into the trenches, and possibly the elimination of the enemy's highest-ranking officer, has caused some of their squads to flee the western woods. 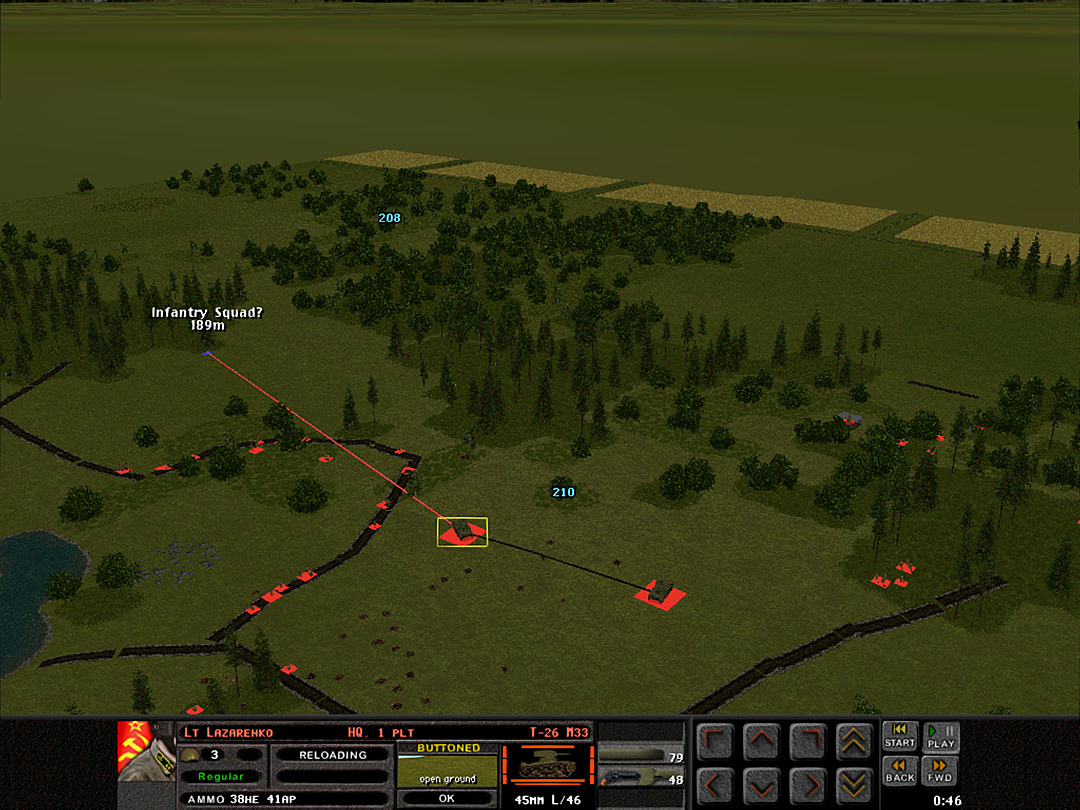 They run into the open, and our tanks engage them. 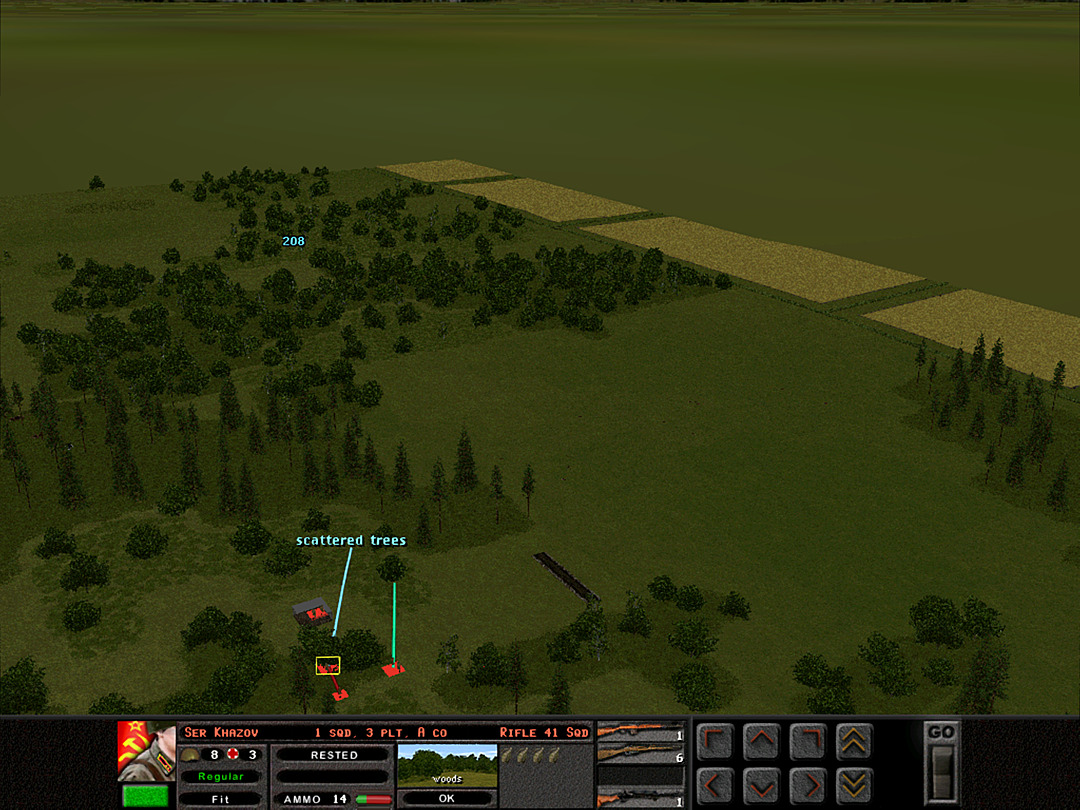 The building on the north side is unoccupied. A Coy, 3 Plt pushes a little farther. 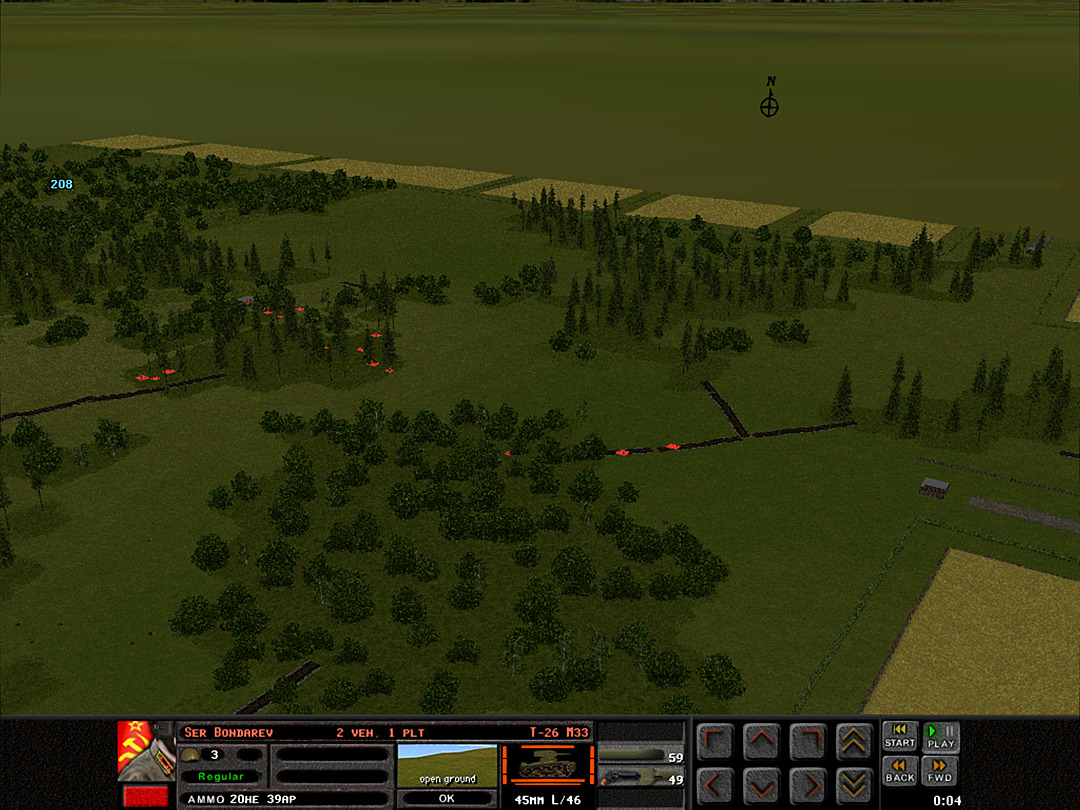 The trench on the east is empty too, at least as far as we can tell. 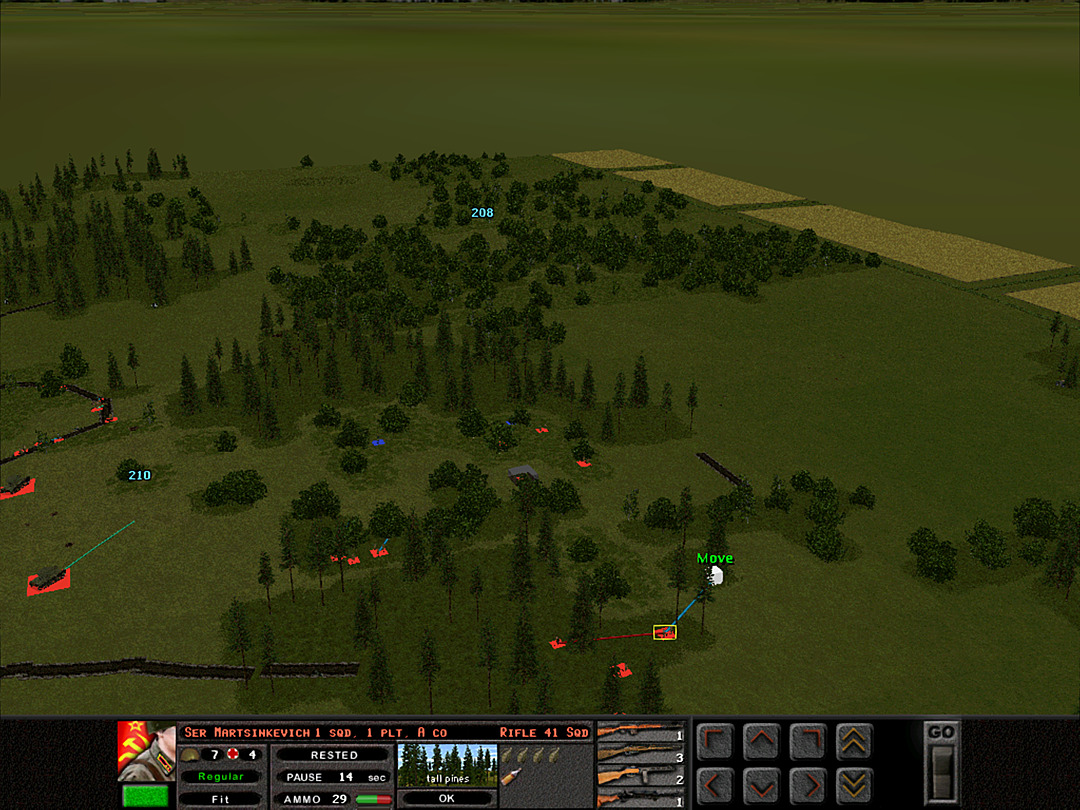 More Germans are fleeing from the ridge toward the east, and they run right into our somewhat surprised soldiers. 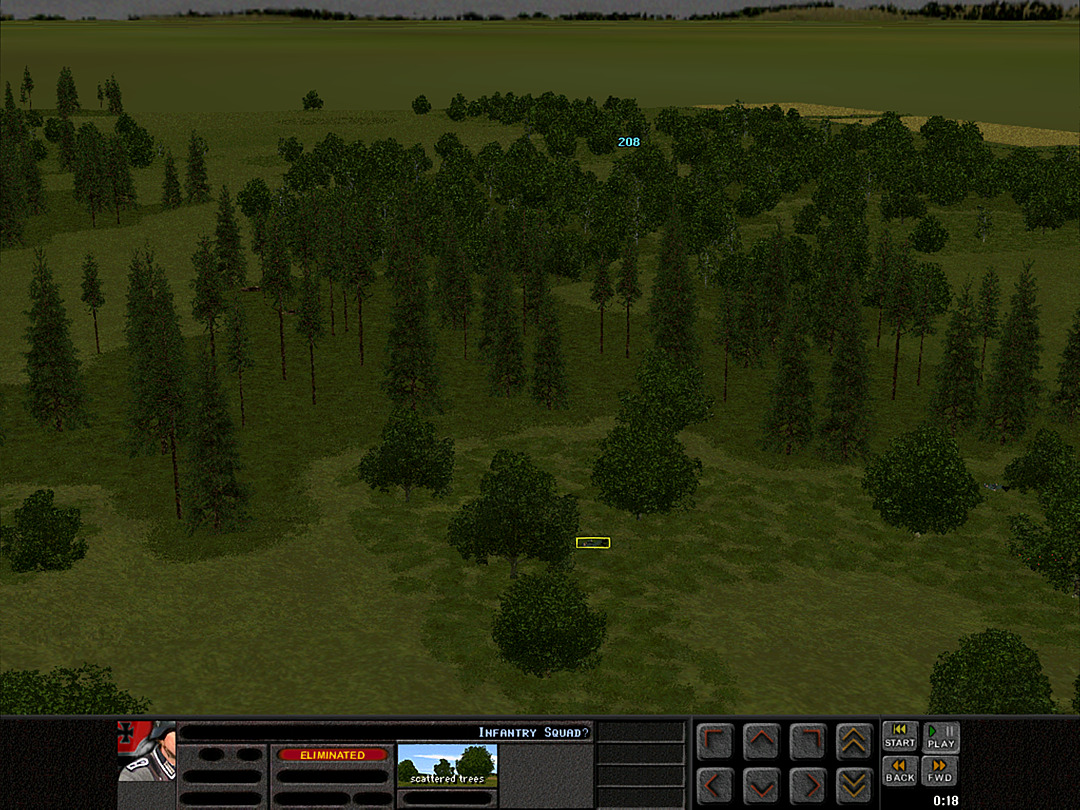 The enemy is rushing in terror, and we swiftly gun them down. 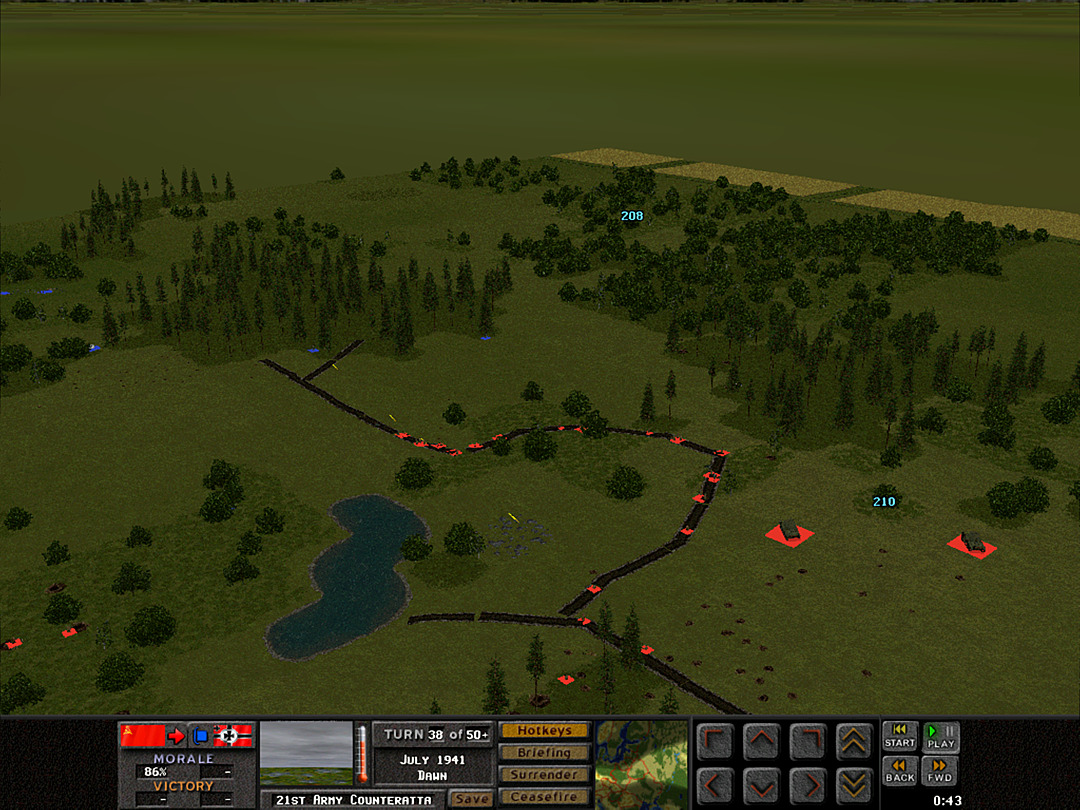 That reduces the only definite activity to the few forces still in the western woods. We're inching along the trench line again, and might actually take it now. 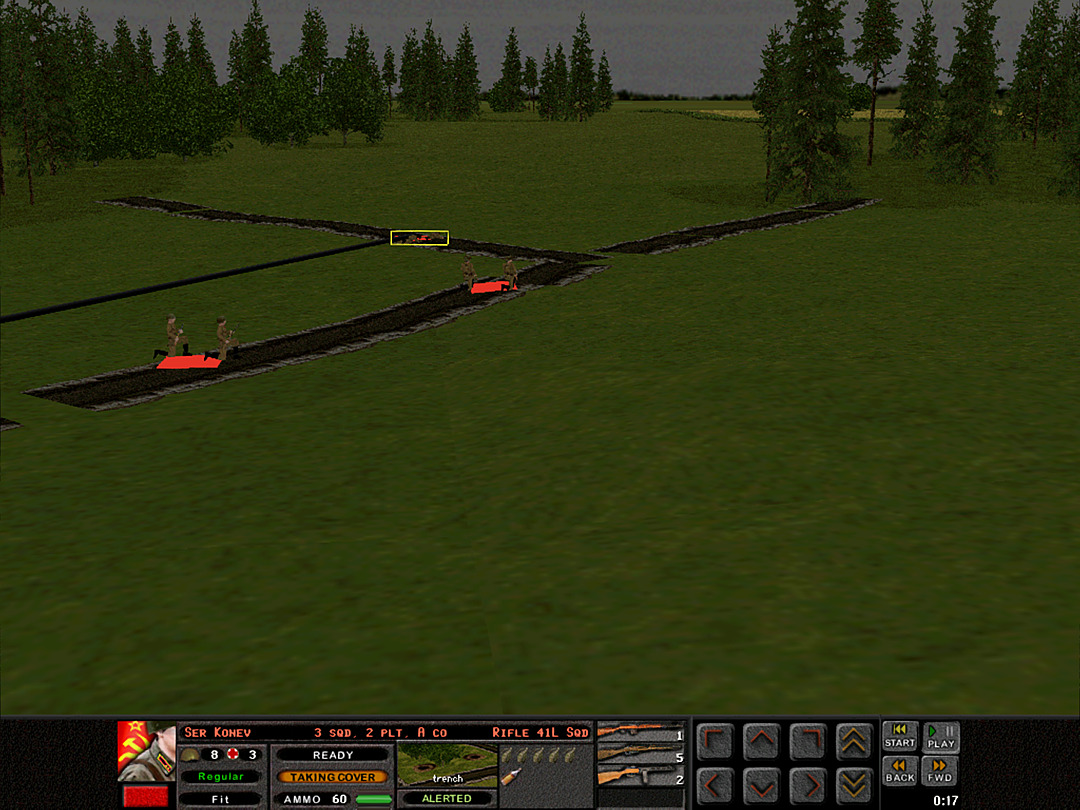 It turns out to not be the only place where the enemy remains. One of the squads of A Coy, 2 Plt comes under fire. We suspect the source to be farther off to the east, perhaps in the vicinity of the anti-tank guns. 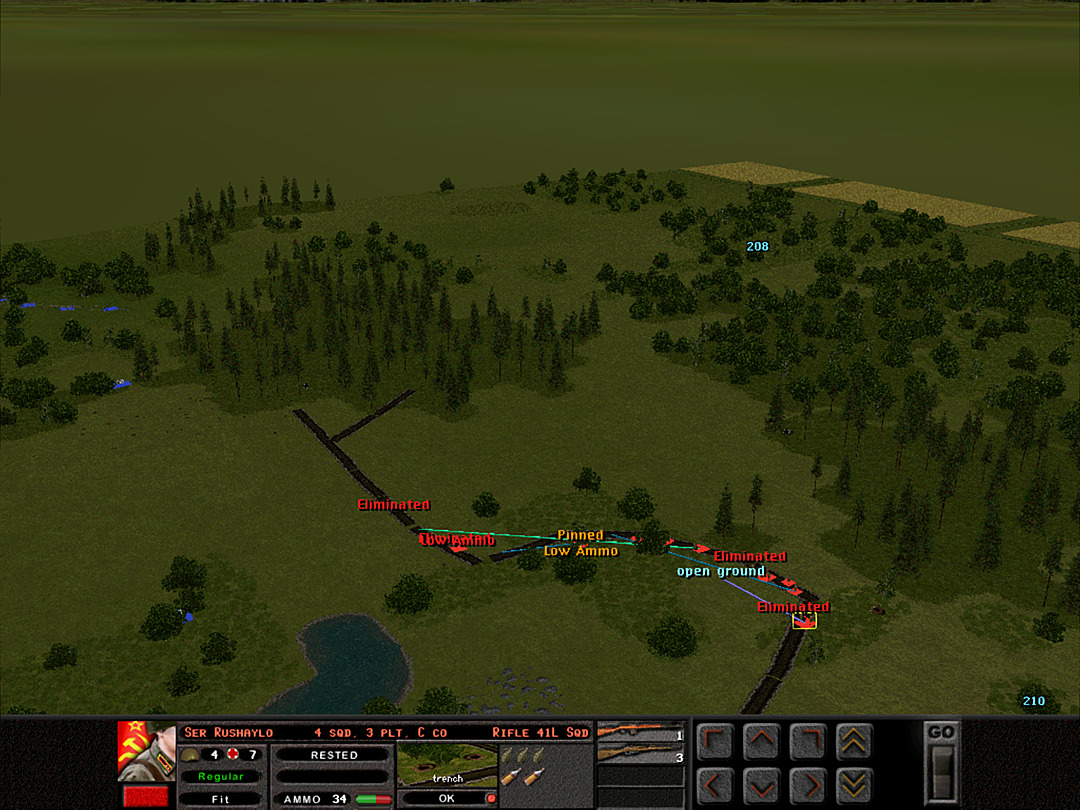 Our troops are pretty rattled at this point, and advancing remains a challenge for C Company. 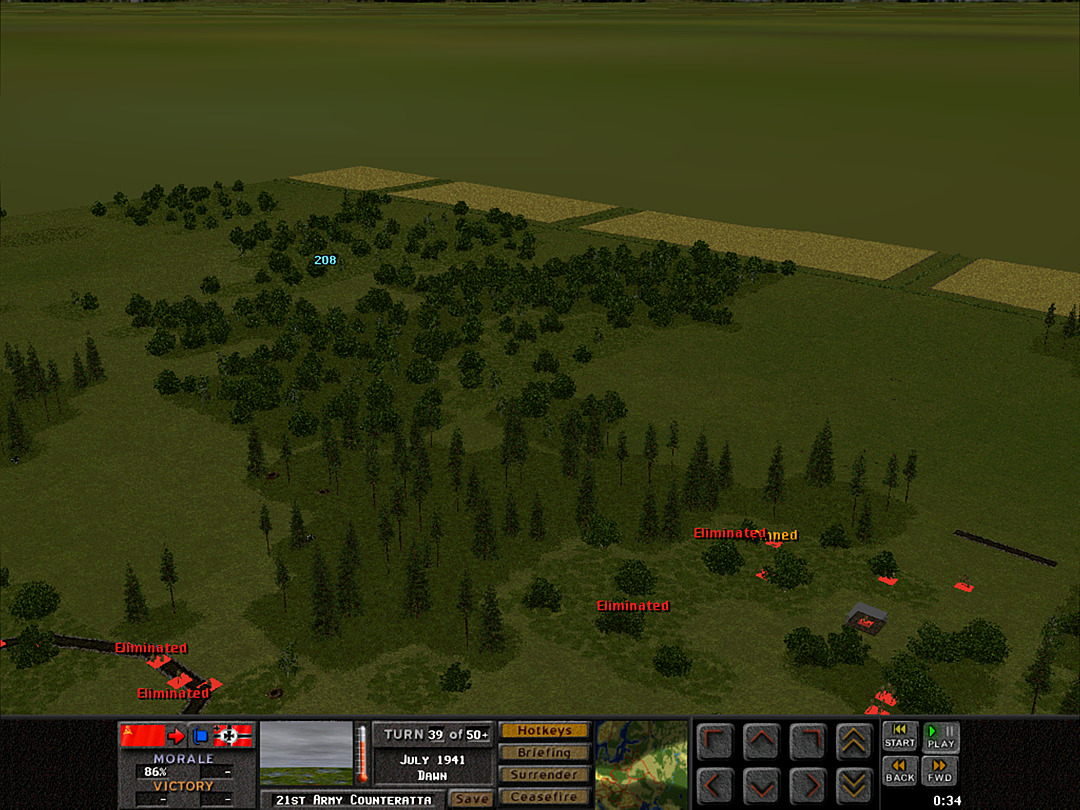 A Coy, 3 Plt believed it was doing well at clearing the woods, as no more squads had escaped. Then an explosion went off right behind them. 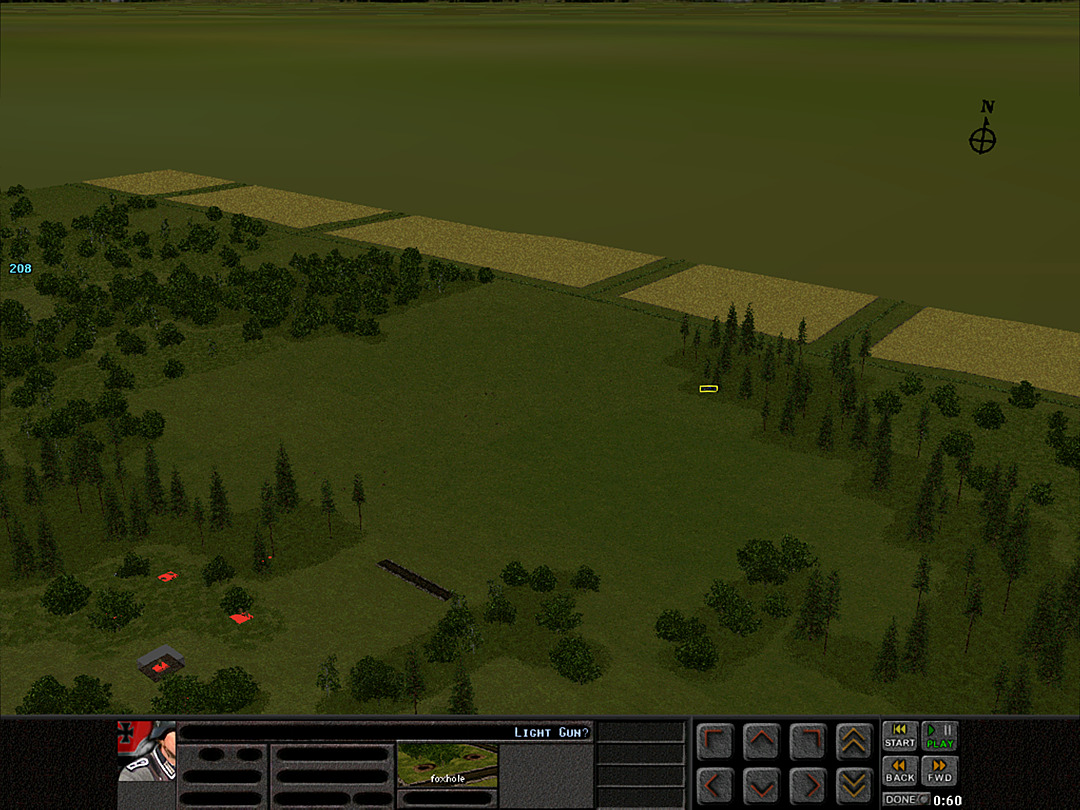 It appears that the enemy might have an infantry gun positioned off to the north. It's not really close enough to the ridge to cause us problems, as we have no real need to advance all the way to that edge. 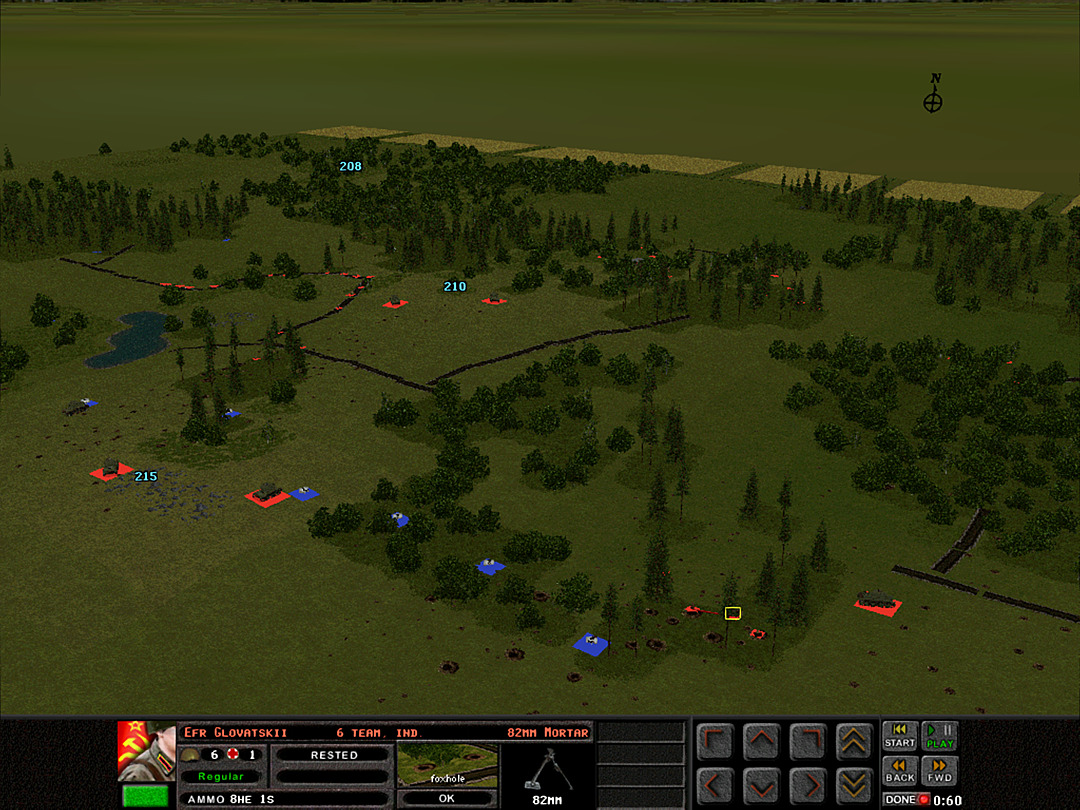 That said, it could be a nice target for our direct-fire mortars, assuming they can get there before it moves its position. 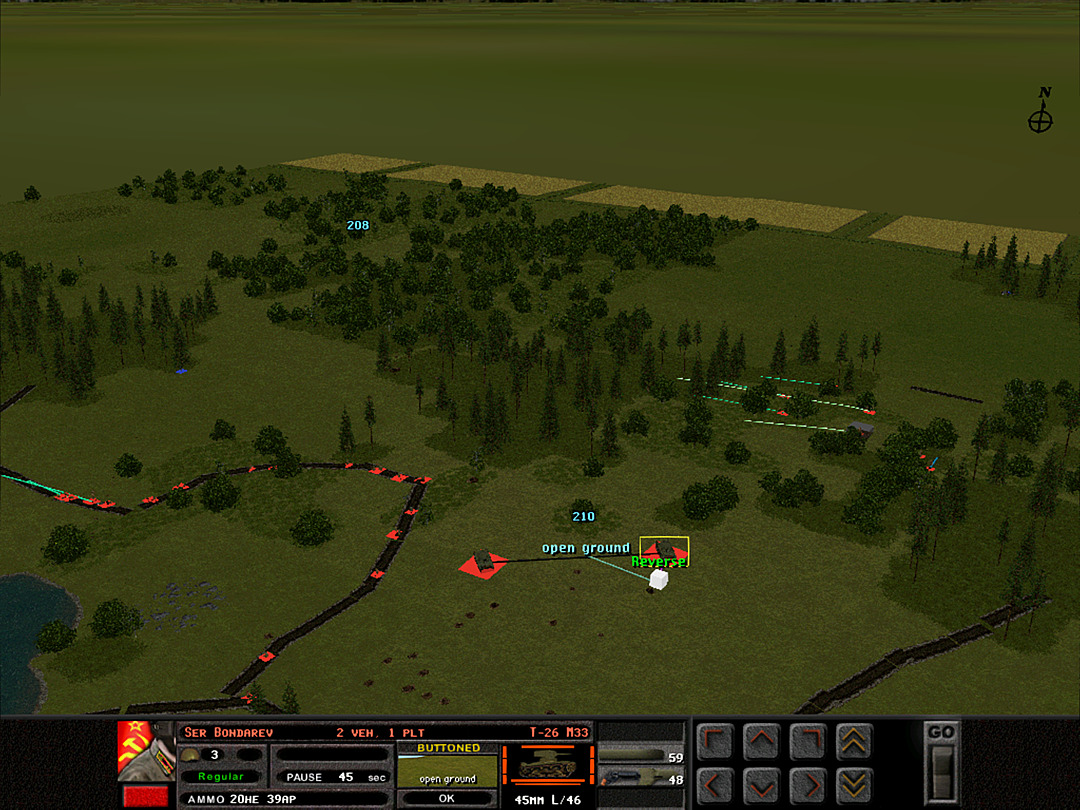 The enemy gun most likely can't see us through the trees, but it doesn't hurt to be a little cautious. One tank repositions to a safer location. 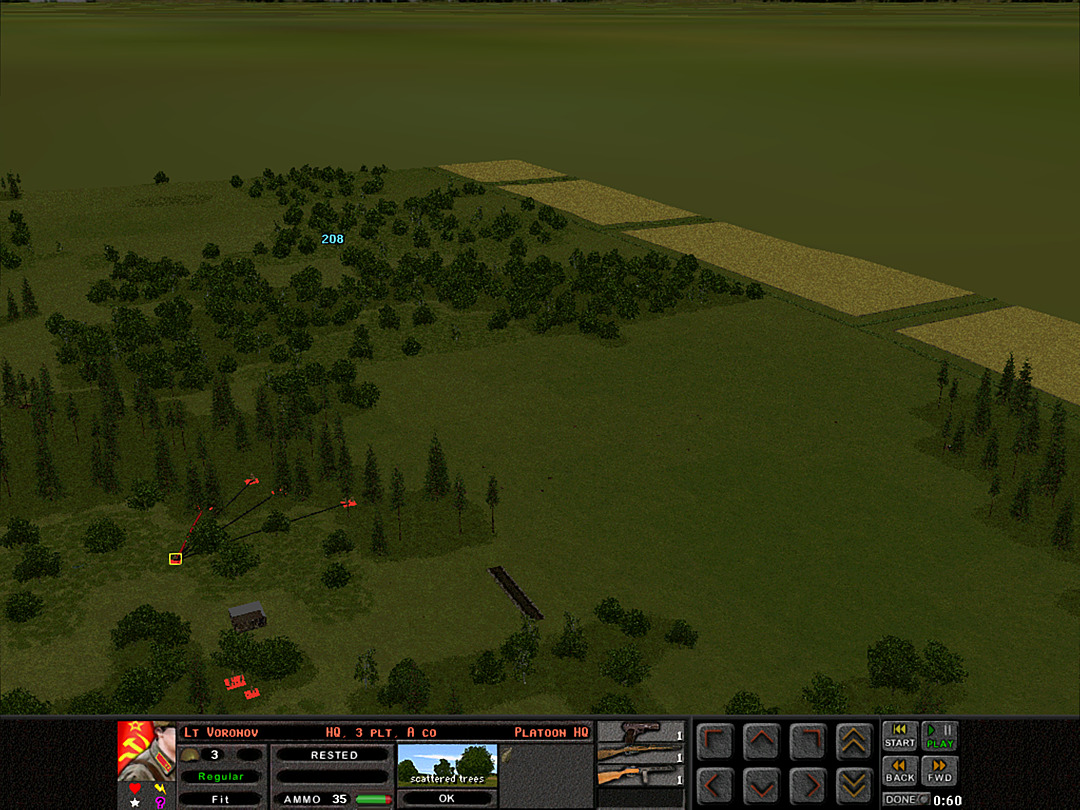 Our platoon that the gun originally fired at shifts deeper into the woods. They can do a sweep towards the south, to make sure that all the Germans have fled. 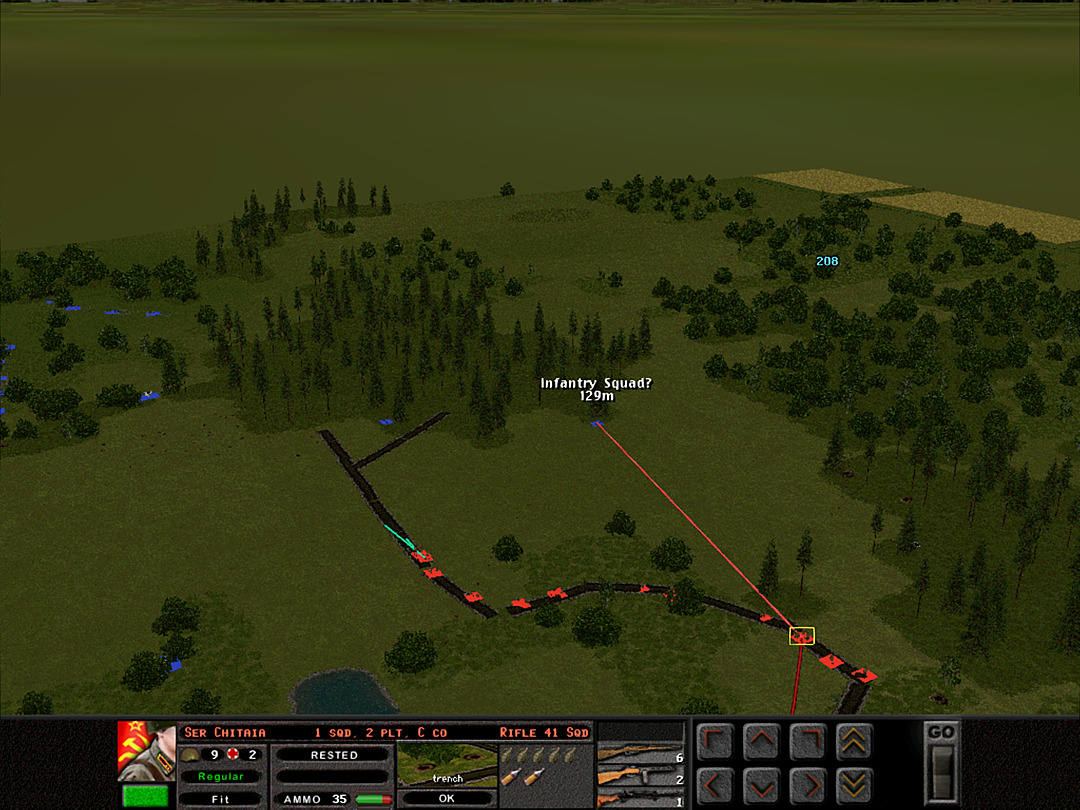 Just a few squads remain that we have confirmation of. We are actually able to advance in the trenches against them. 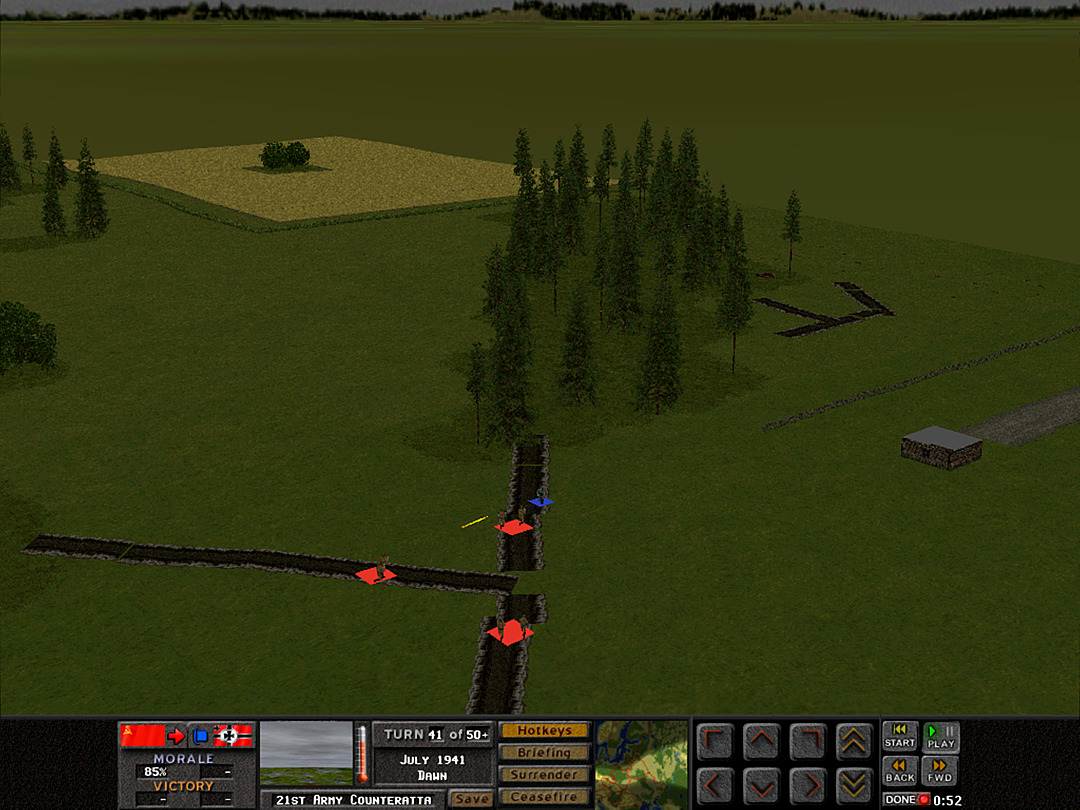 Over in the eastern trench, we come across the last survivor of a mortar crew. He surrenders as soon as we fire a few warning shots his way. 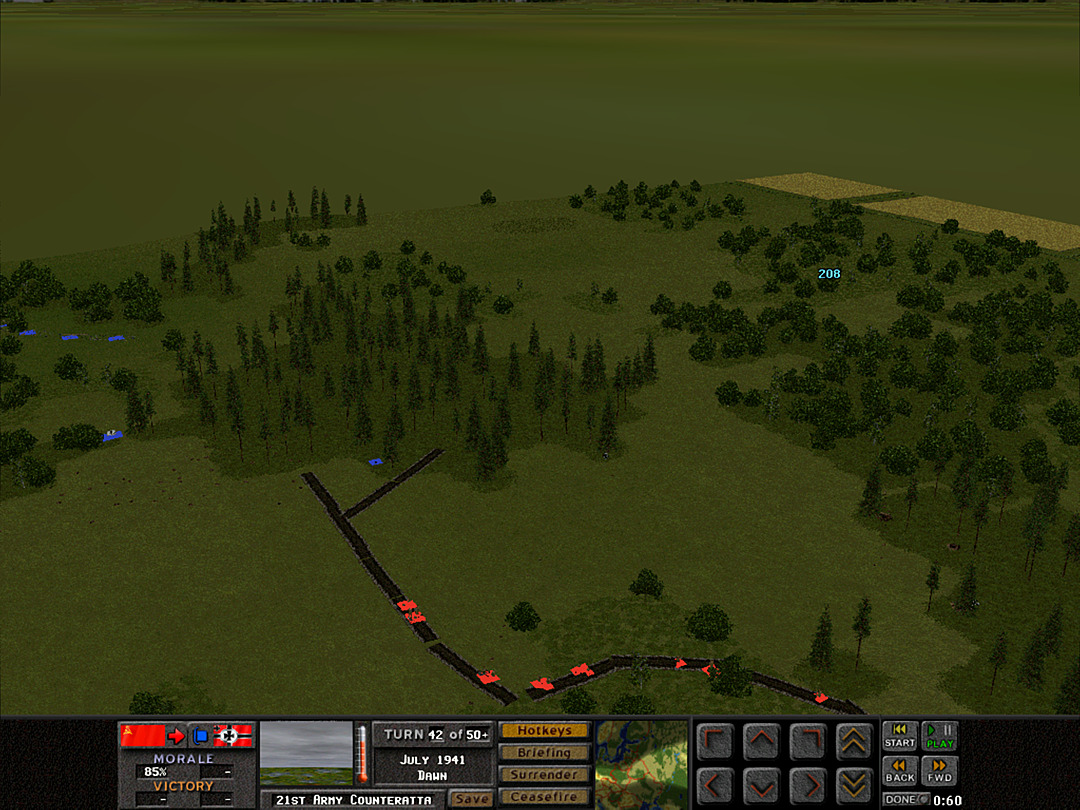 The Germans in the western woods have gone quiet. They are likely running low on ammunition at this point. 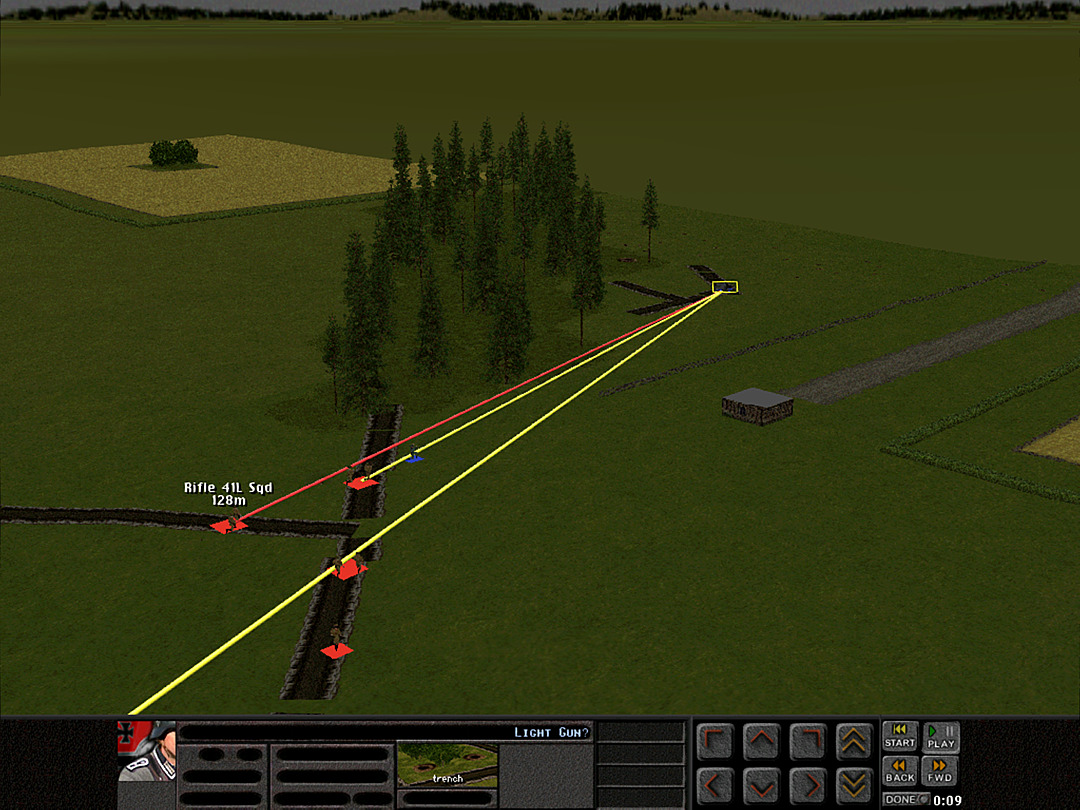 Another gun remains entrenched out on the far eastern side. 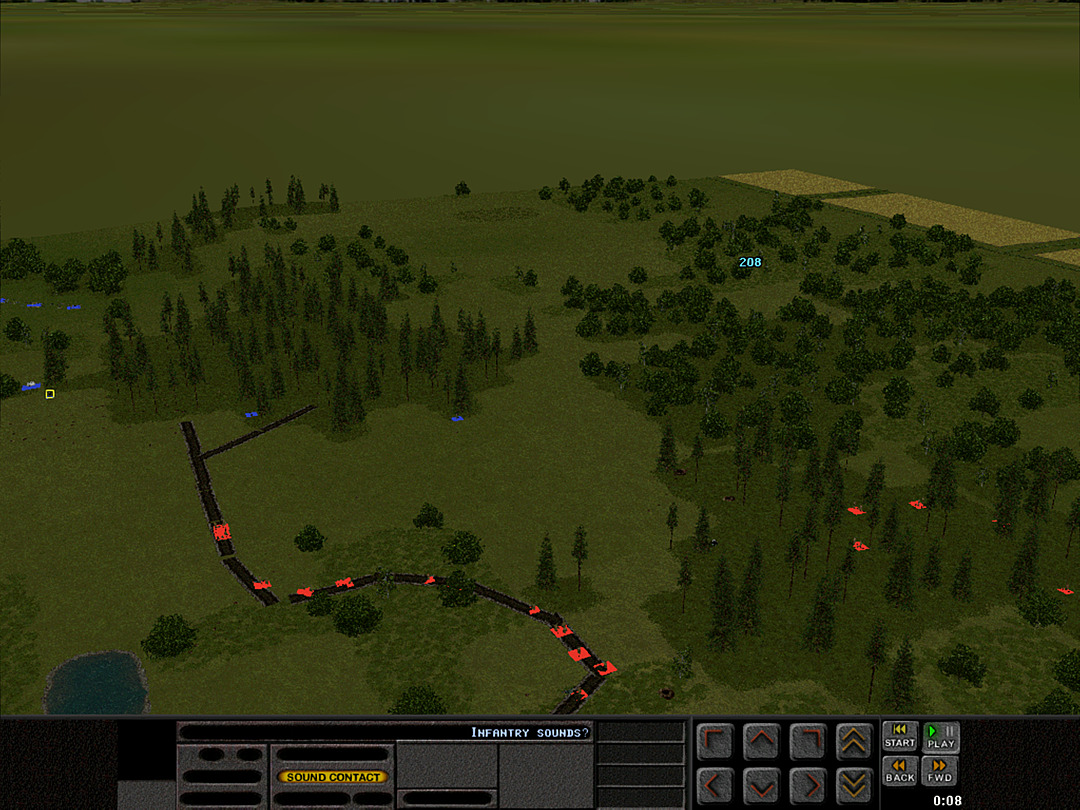 There might be a few more enemy squads on the western forest. It's possible that they had more men stationed on the southwest, and they are now being called back before we cut them off completely. 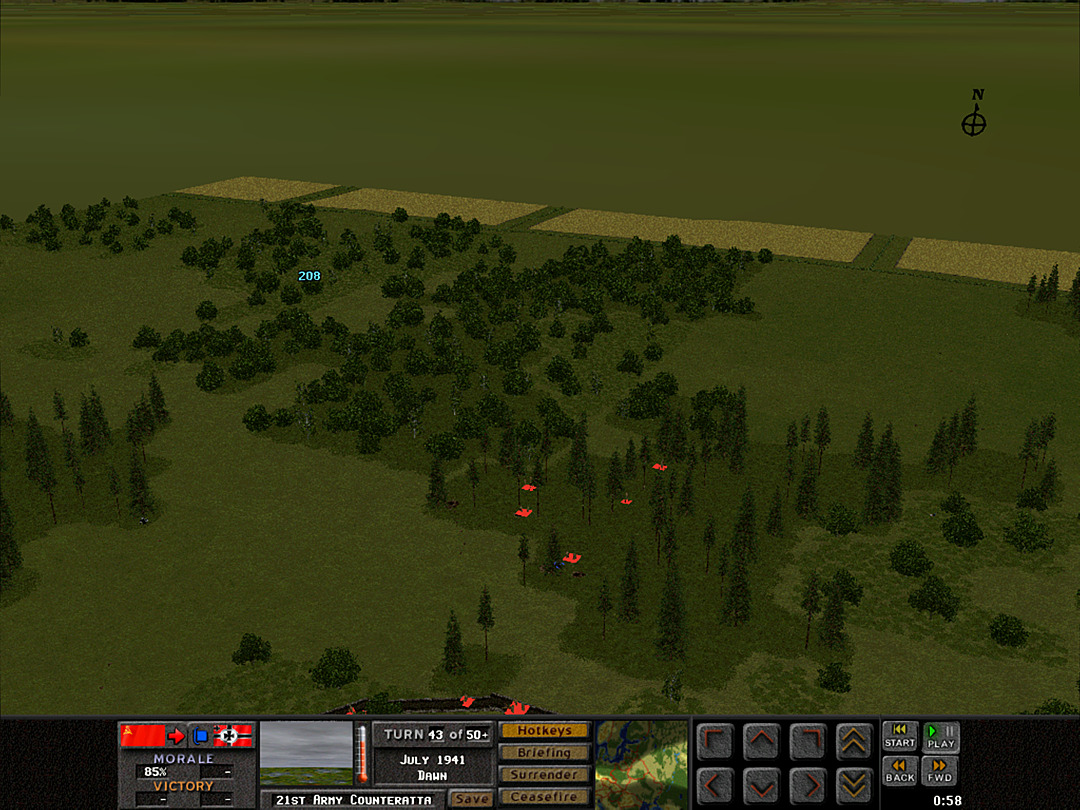 A Coy, 3 Plt has just about completed its sweep. They've found the foxholes the Germans were hiding in, but all of them appear to be abandoned. 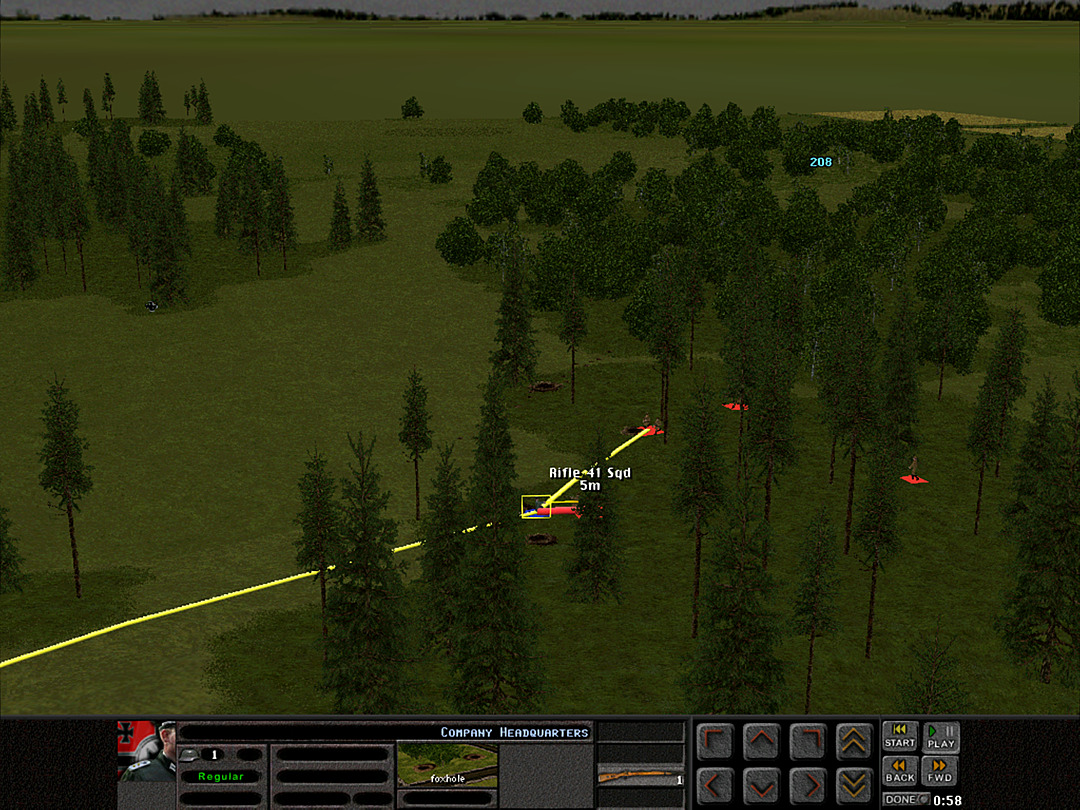 That turns out to be not quite true, as we find one lone captain who did not run off with the rest. He is quickly dispatched when he refuses to give himself up. 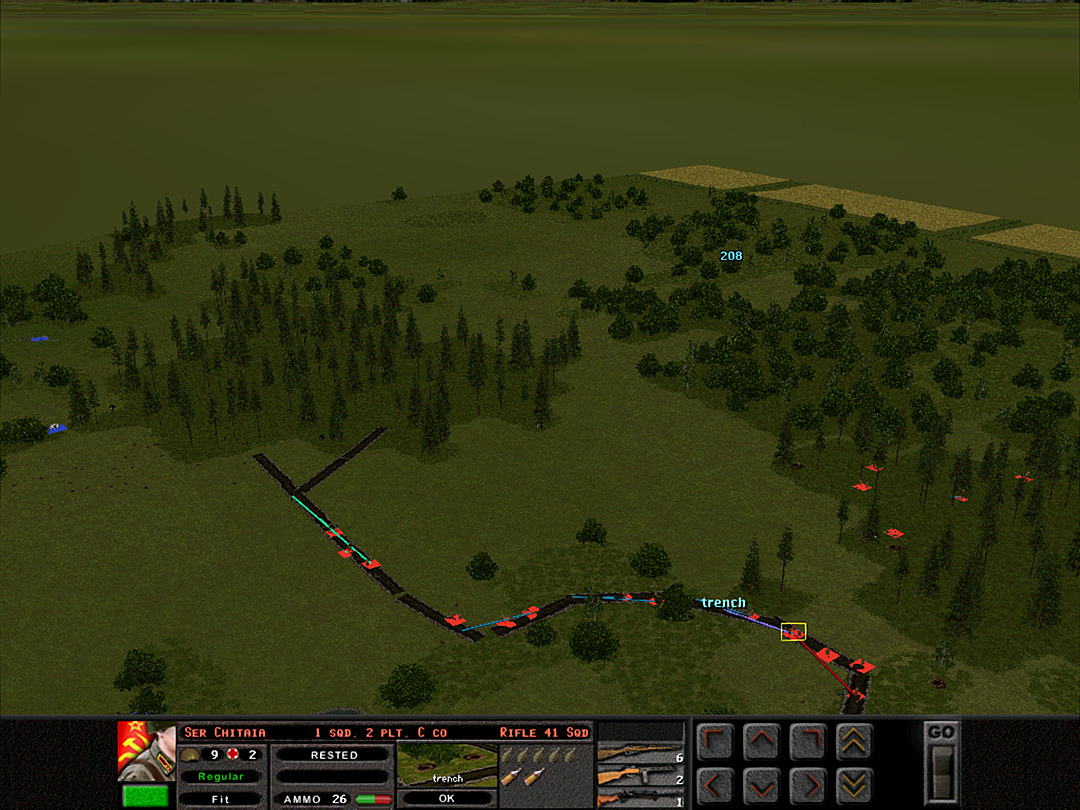 It seems like it's safe to keep moving through the trench. We won't be trying to go any farther than that right now, as we can be pretty sure that several squads remain in the woods beyond it. 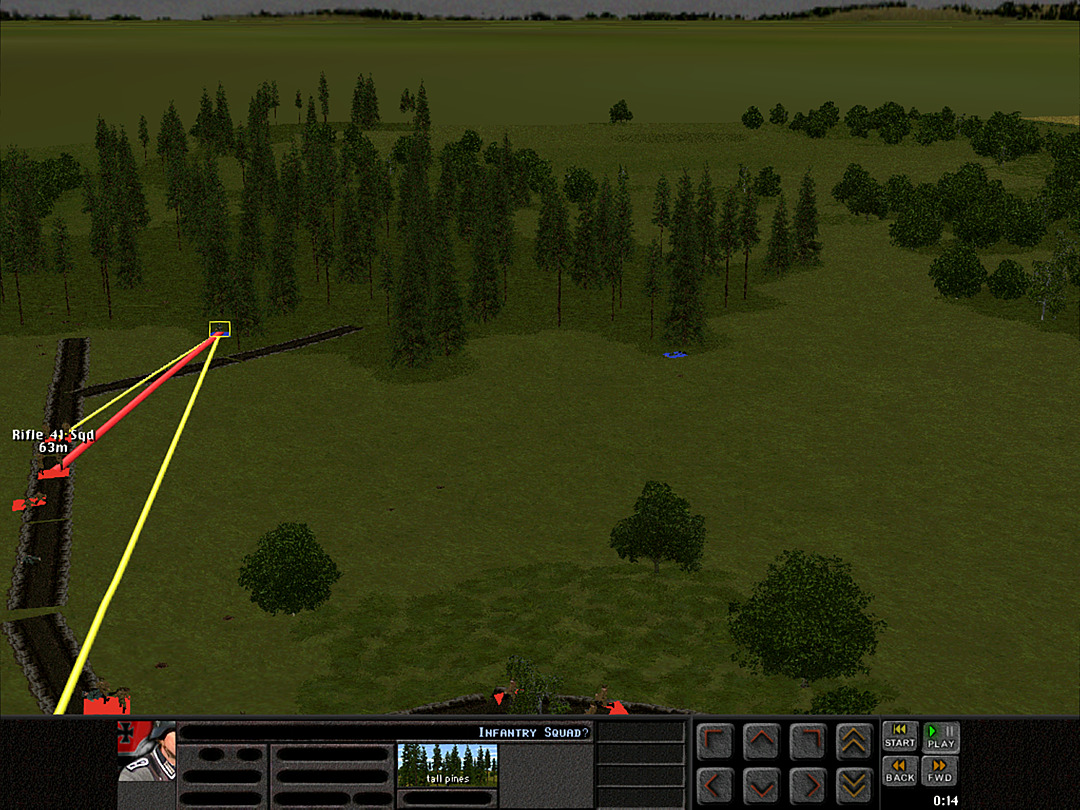 As expected, the enemy starts a new round of firing after a minute or so of silence. They are fairly easily suppressed by our own guns. 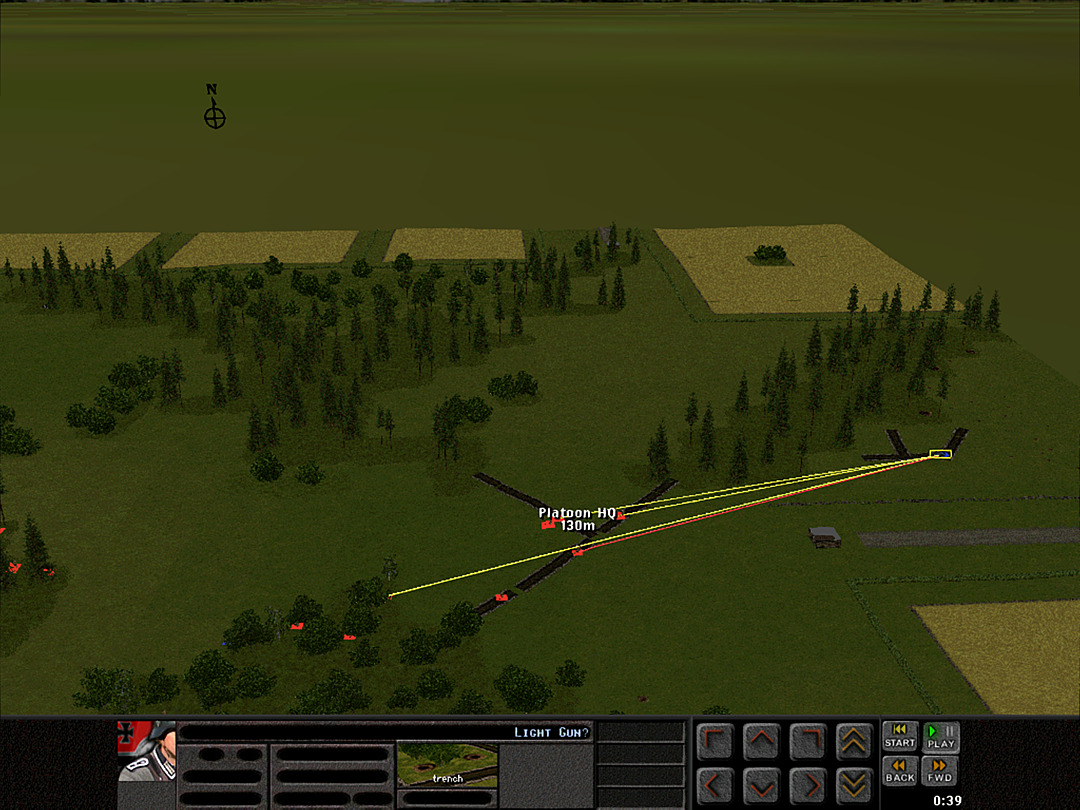 It's a somewhat more lively firefight on the eastern side, as we're trying to knock out the infantry gun, while they are trying to hit our squads in the trenches. 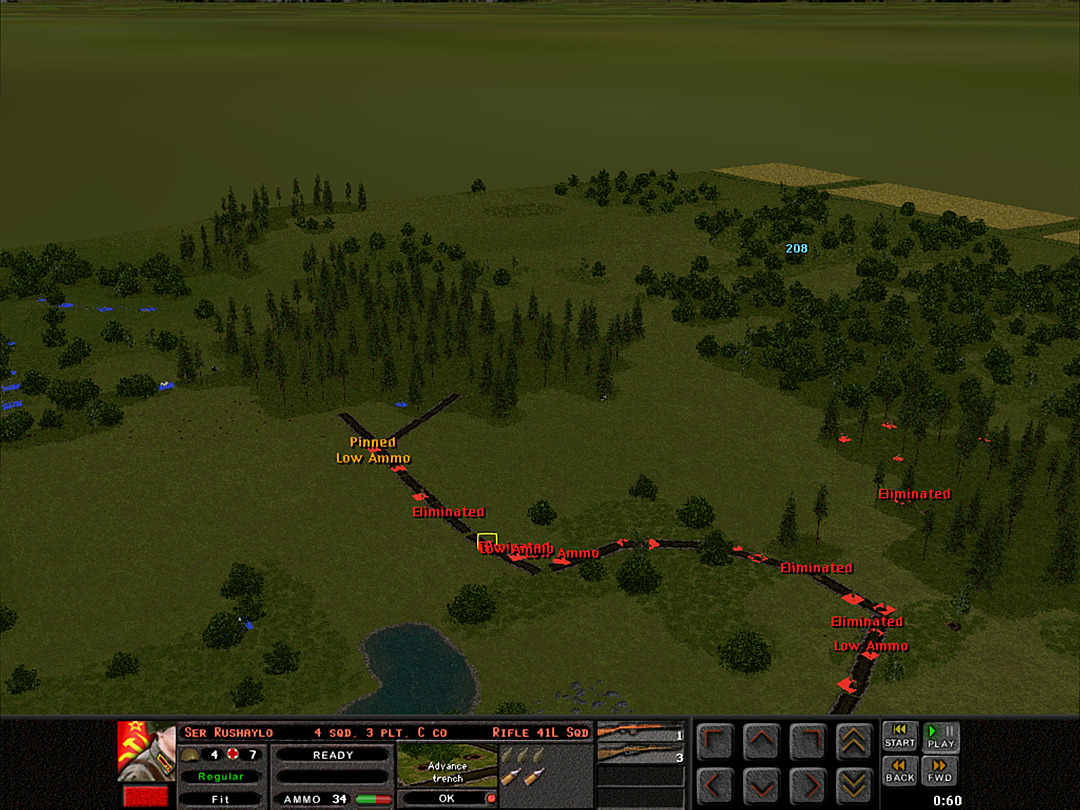 We have achieved the goal of capturing the main trench line on the ridge. We can see that the enemy is hiding in the trees, and they can see us. Neither side wants to escalate the conflict at this point. 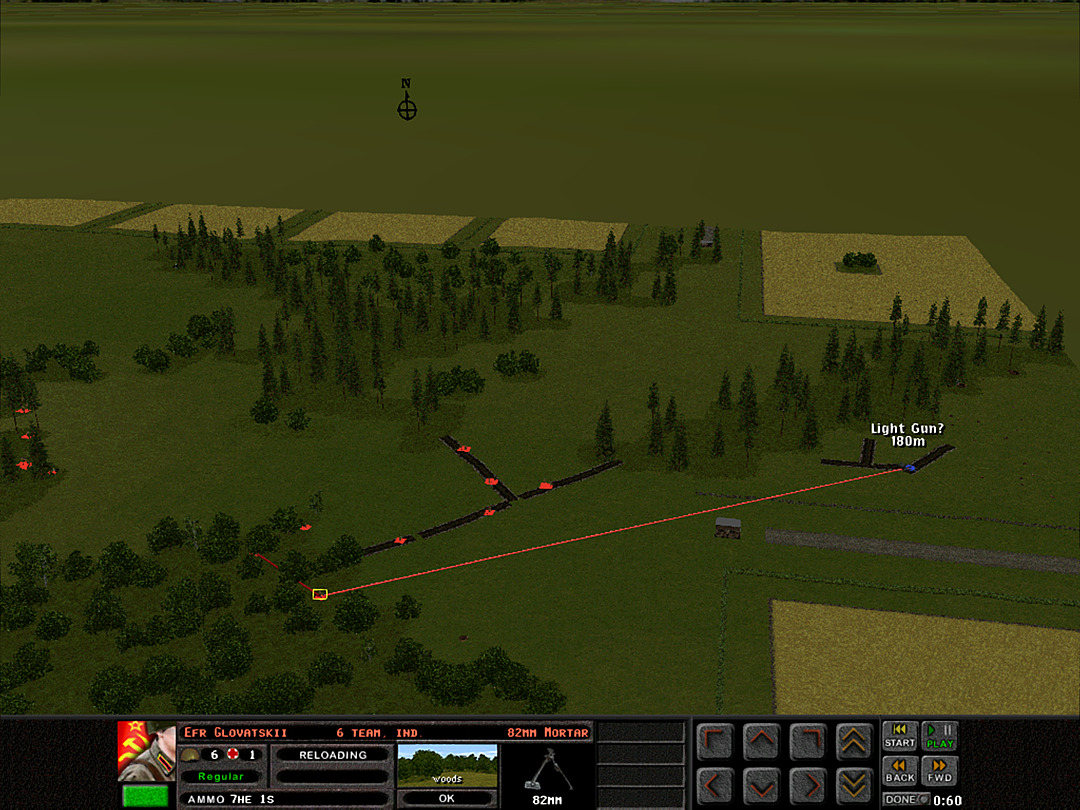 Instead of going for the gun on the far north side, we switch our mortar to go after the gun in the eastern trench. 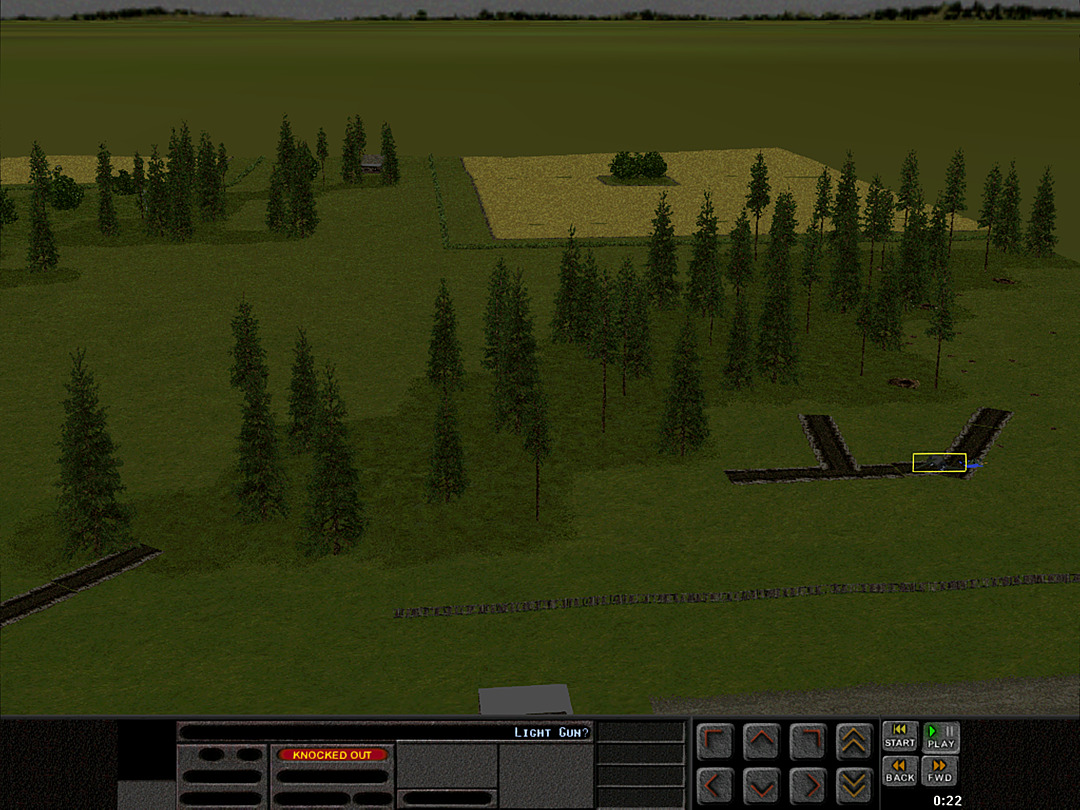 They knock it out with just a few rounds. 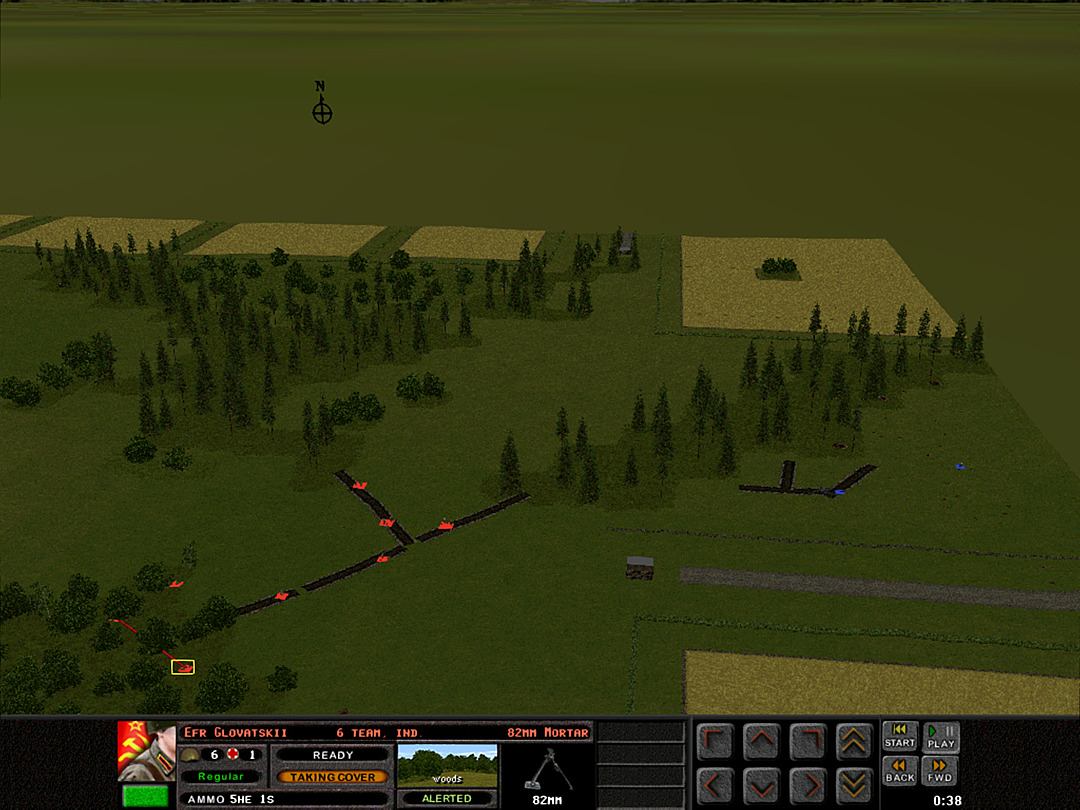 But then our mortar team has to start dodging rounds, as a nearby German mortar team fires back on them in retaliation. 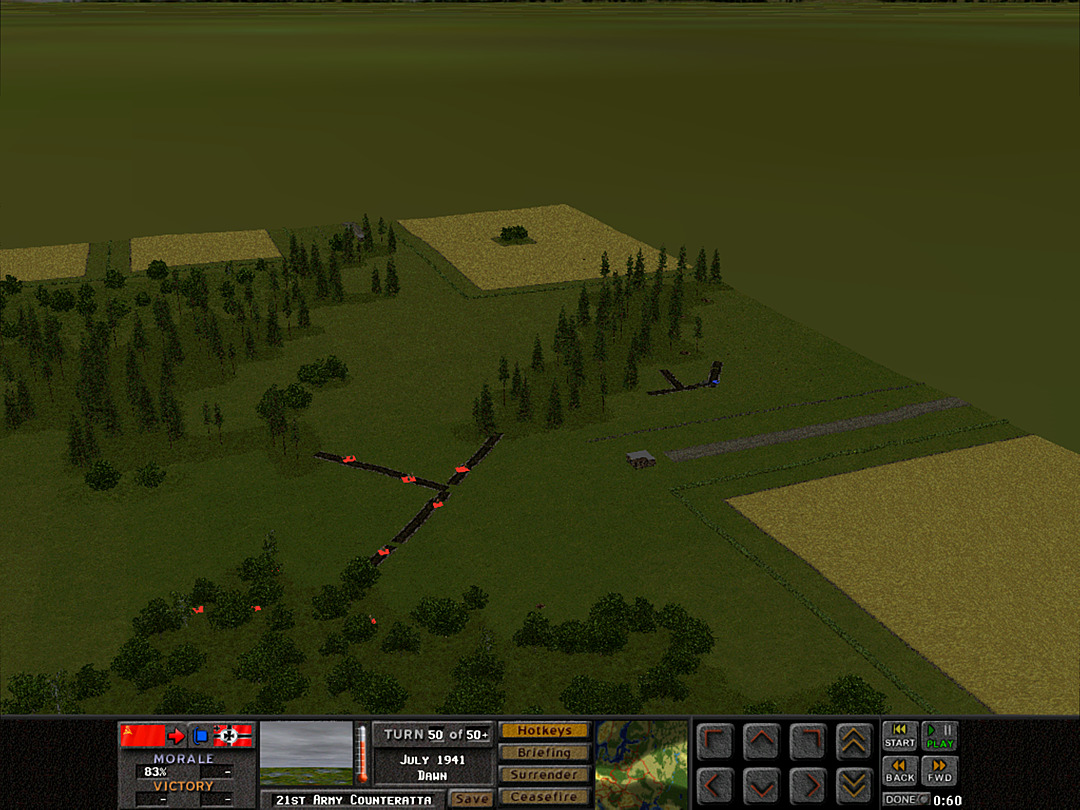 The 82mm team pulls back, and the enemy gives up on trying to hit them in the woods. 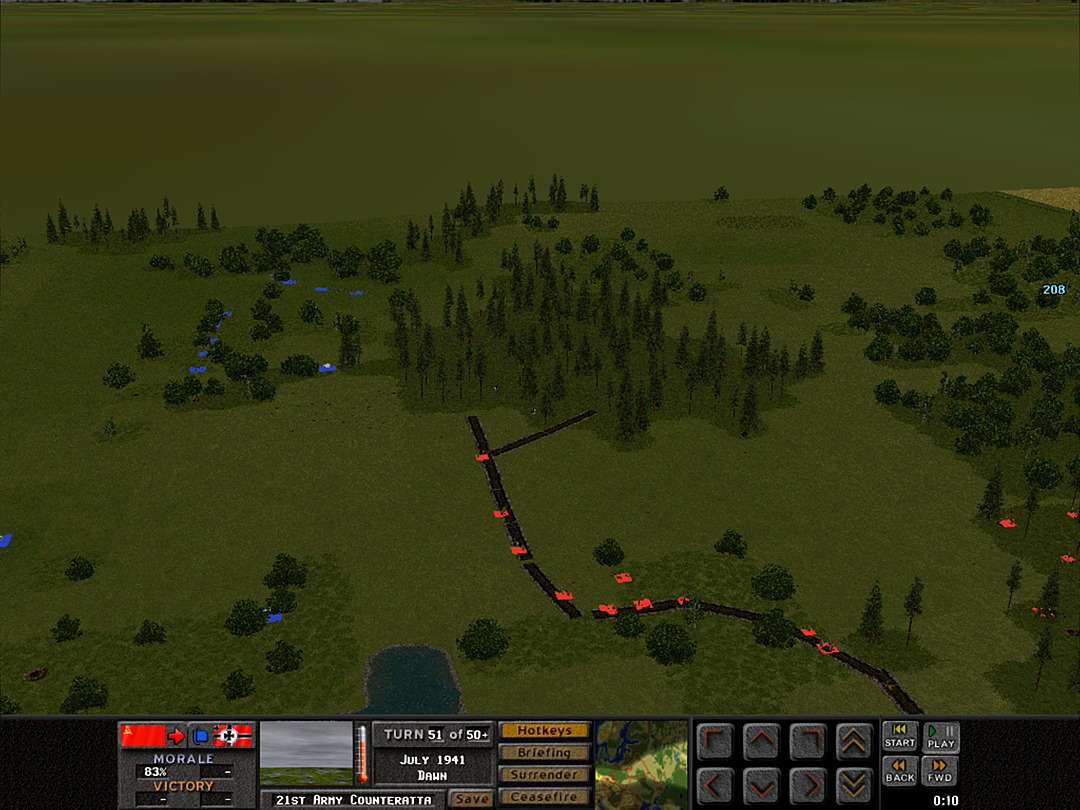 In the western woods the Germans go quiet, and remain quiet. 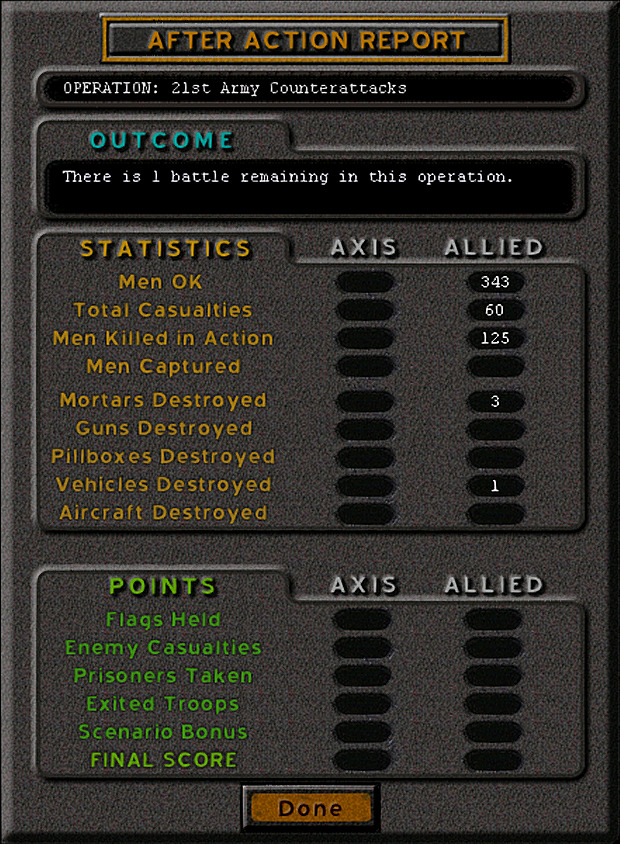 It was another fairly bloody battle, but at least we have something to show for it. Our assault on the main part of the ridge has been largely successful. T-38/M2 Tankette  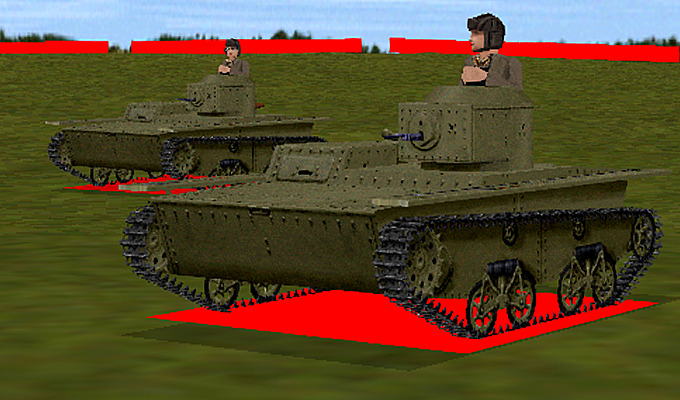 [M2 is on right] Crew: 2 Base Cost: 25 [The only in-game difference between these is that the base T-38 has a 40 HP engine, giving a top speed of 26 mph.] The next iteration, but not the last, of the amphibious 'scouting tank'. There were several Soviet attempts to come up with a newer model amphibious tank in the 1930s to improve on the T-37. The T-38 was the one that ultimately was chosen. It didn't represent much of a radical departure from the T-37, as it still had quite thin armor and only a single machine gun. It was slightly lower-profile and broader, giving some benefit for flotation as well as in its reconnaissance role. The M2 was introduced in 1938, and had a slightly improved engine. The lack of a radio in the T-38 made it less than useful as a scout by the time of World War II. As with the T-37, it often ended up merely being usable as a mildly-armored gun mount. Kangra fucked around with this message at 22:32 on Jan 9, 2024 |
|
|
|
Amazed you didn't just sit tight for a resupply but it seems to have worked out.
|
|
|
|
Oops, some images in the last post were mistakenly from the first part of the battle; they should all be fixed now.habituallyred posted:Amazed you didn't just sit tight for a resupply but it seems to have worked out. Part of it was knowing we'd taken out the battalion HQ, and part was that trenches are generally better places to defend, so the more of them we could occupy, the better. Also even if we're low on supply, they would be too, as long as they don't have fresh forces that were in reserve. I should note that taking out the Battalion HQ doesn't have any knock-on effect to the chain of command as far as I know; it's more the fact that if we had reached it, they likely did not have any better fallback position for it, and probably limited or no reserve units.
|
|
|
|
Operation 2, Battle 4 of 4 Operation: 21st Army Counterattacks Time: Mid-Day Skies: Overcast Ground: Wet Temp: Warm Wind: Breeze NW After losing an entire company and having several platoons reduced to half-strength, we might have hoped for reinforcements. The response from command was praise for knocking out the enemy battalion's command post, with the comment that "they can't possibly have much left to oppose you". We have to hope they are correct, or else this operation is about to end in total failure. 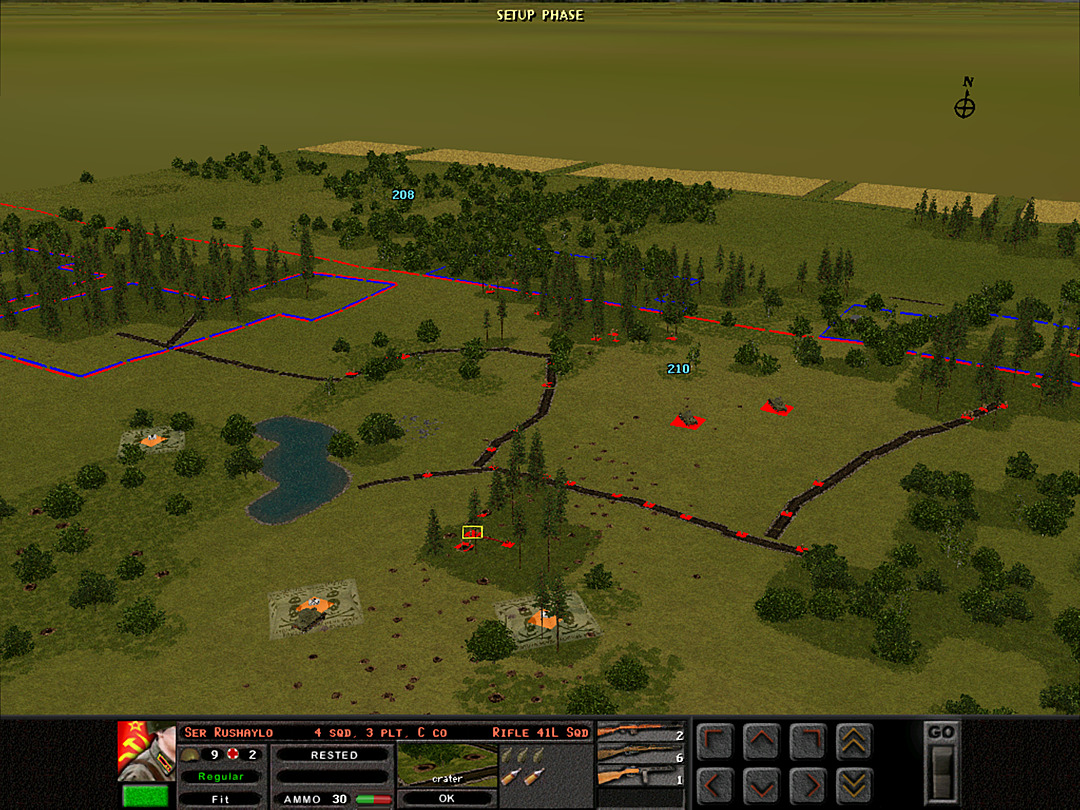 We have managed to occupy the main trench lines on the ridge. C Company, or what's left of it, has spent the morning keeping them warm. This group will now be responsible for sweeping the western woods. We don't actually have to completely clear the enemy out, just ensure they aren't going to be coming for us as we claim the last hilltop. 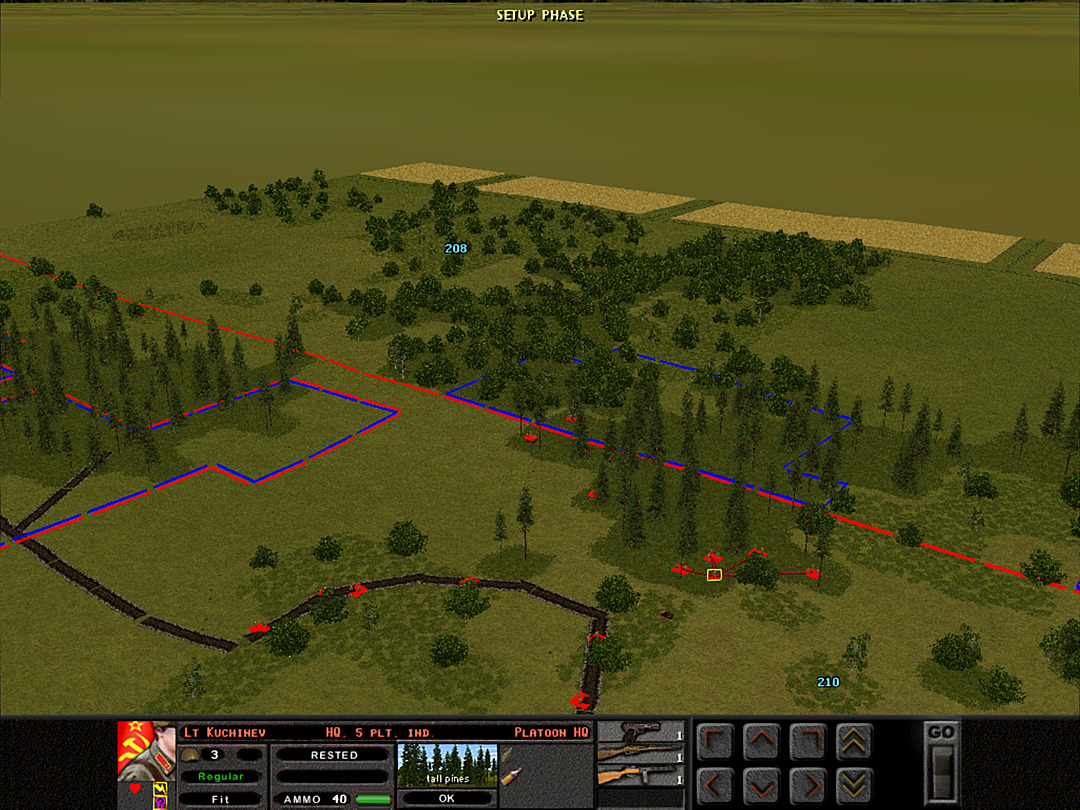 The troops actually charged with taking that hilltop will be the only decently strong platoon we have left � the recon forces. They will at least be the first to probe the woods covering the final hill. One platoon from A Coy will guard their advance on the right. If it turns out the enemy has concentrated his forces on the rest of the ridge, both A and C Coys will shift to ensure that we take our objective. 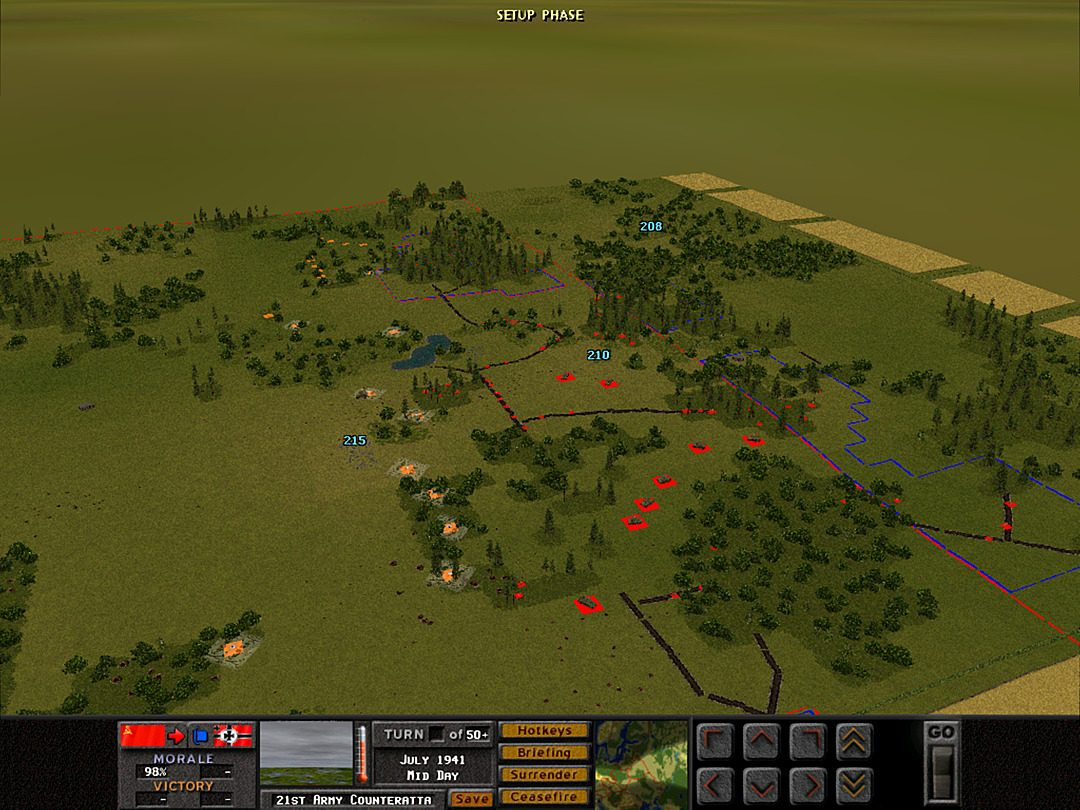 A Coy will in fact be quite thinly spread out. They are essentially all we have to hold the ridge line and form a buffer into the woods to the northeast. No territory will need to be taken by them, but since this was one place where we did see some activity in the morning battle, it's likely they'll be engaged early on. The depleted Pioneers remain centrally located to give support. Our tanks are not far off, but will generally be held back unless it is deemed safe to move forward. Most of our machine guns are now holding the trenches, with a few on the northeast side to help out with the defense there. [Just visible at the bottom of this image is a blue corner showing a German-held spot 'inside' our claimed territory. That's an indication that an enemy unit remained there at the end of the last battle. It does not mean the unit is still there now, however, and in all likelihood it would be moved back to safety. The same is true of all blue-outlined locations; they may or may not contain enemy forces at the start of this battle.] 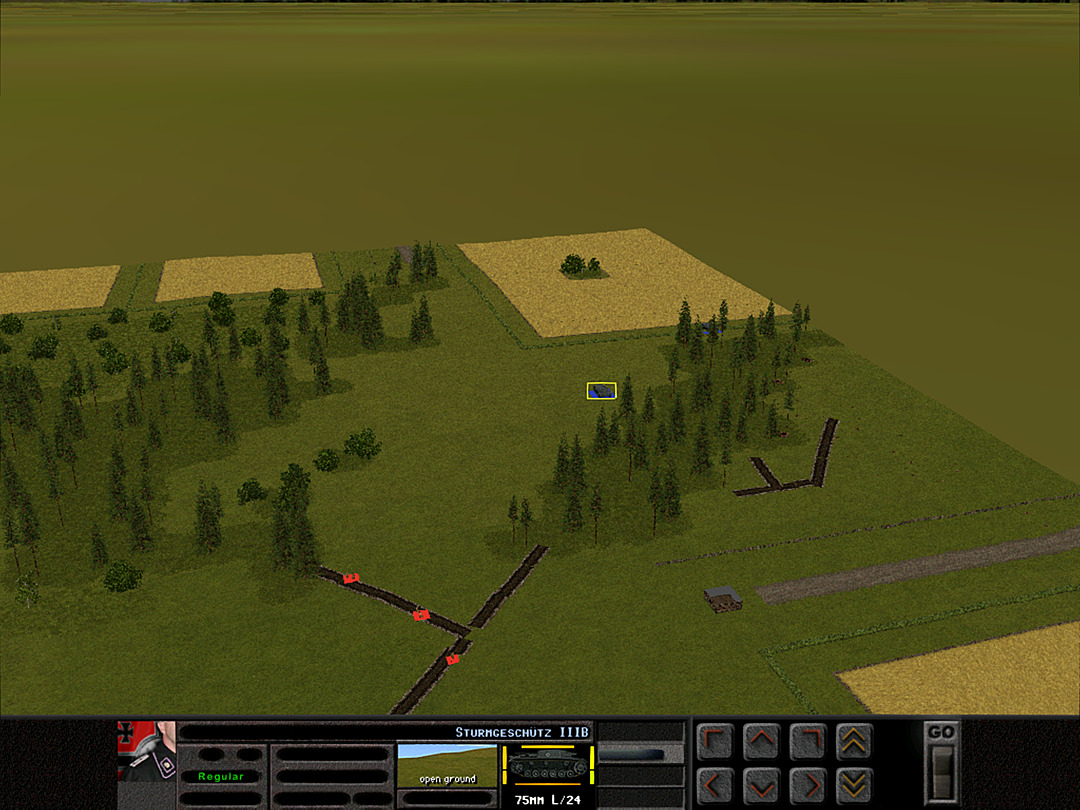 As the battle opens, the men of A Coy holding the trench are met with a shock. It's a German self-propelled gun! Are they launching a counter-attack? 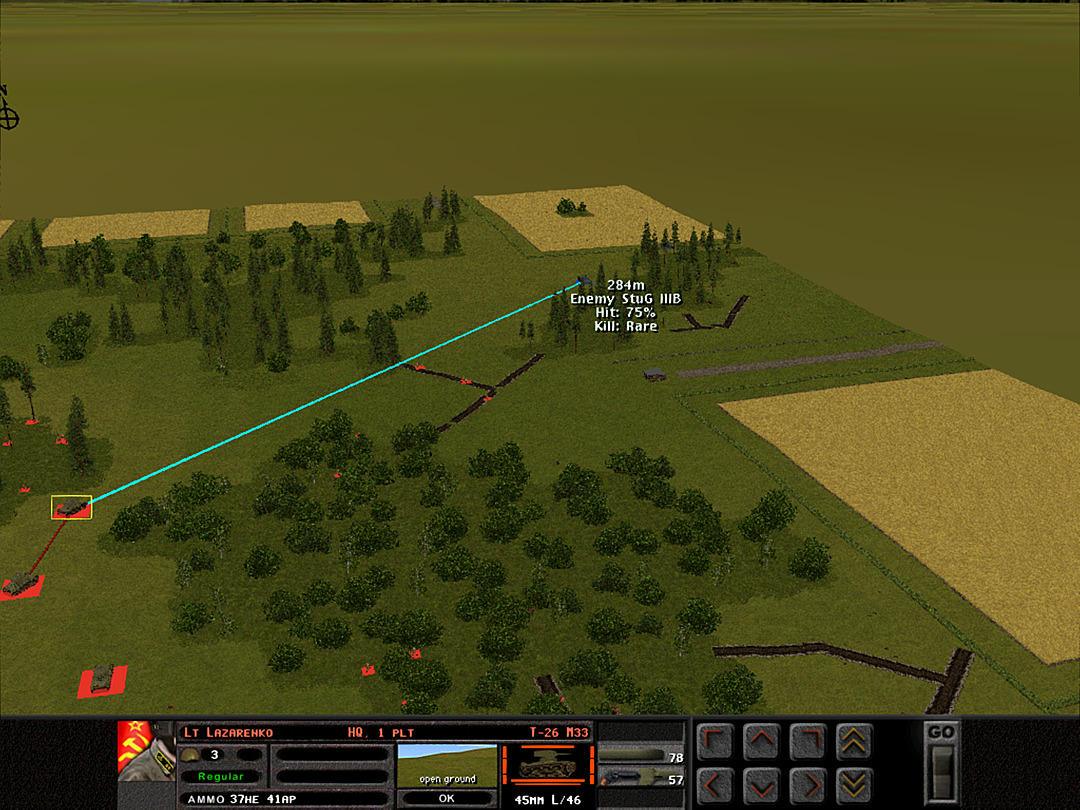 Our own T-26's have very little chance of knocking one of those guns out in a head-on confrontation. We can only hope for a lucky shot. 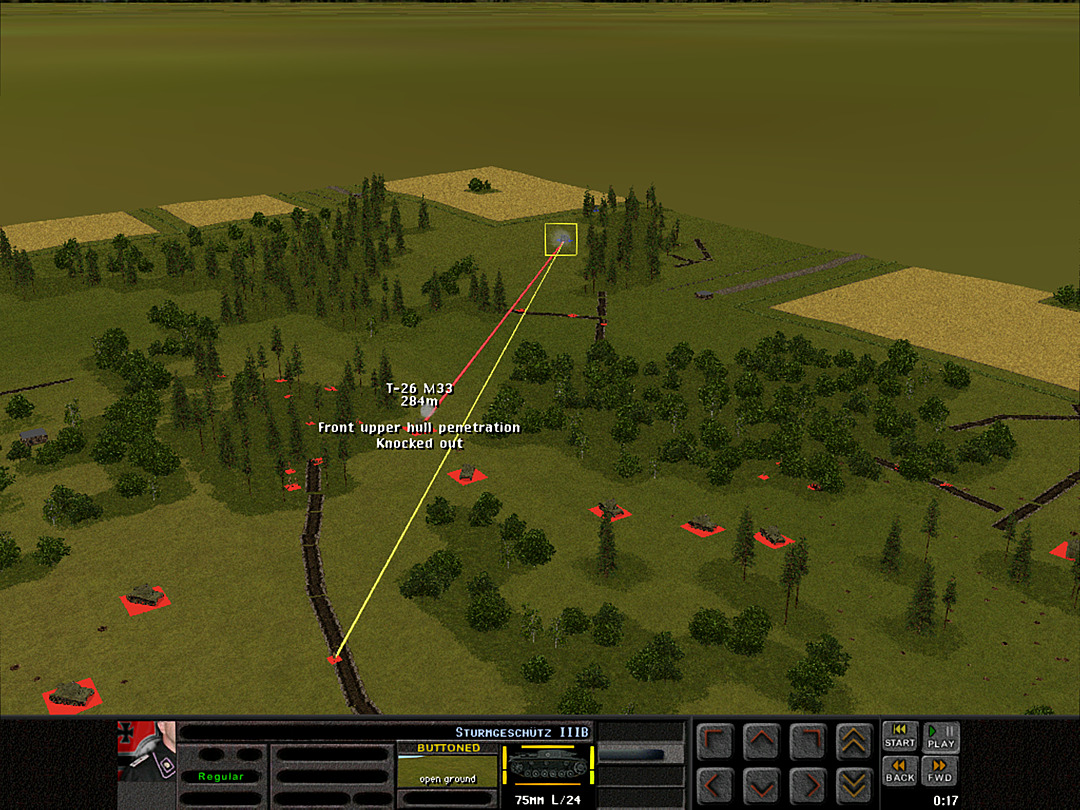 We have no such luck, and the enemy assault gun wastes little time eliminating one more of our outdated tanks. 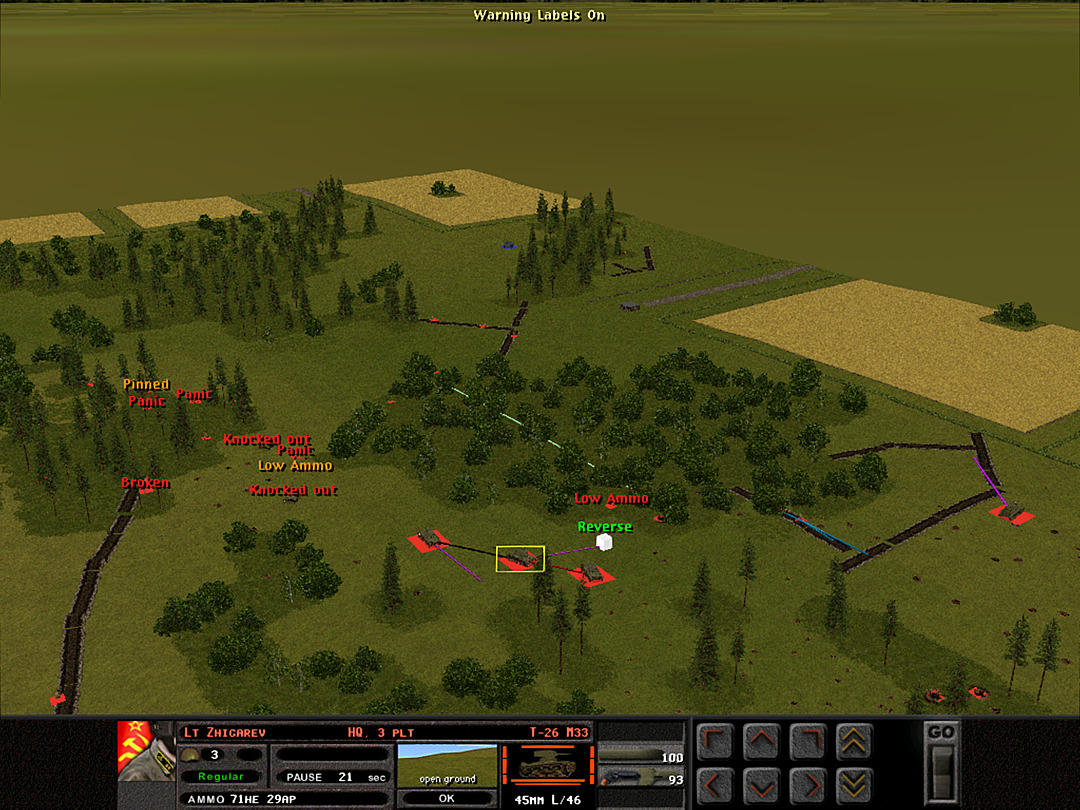 At the same time, an artillery barrage starts to land right in the same spot, and we lose another tank and several soldiers. 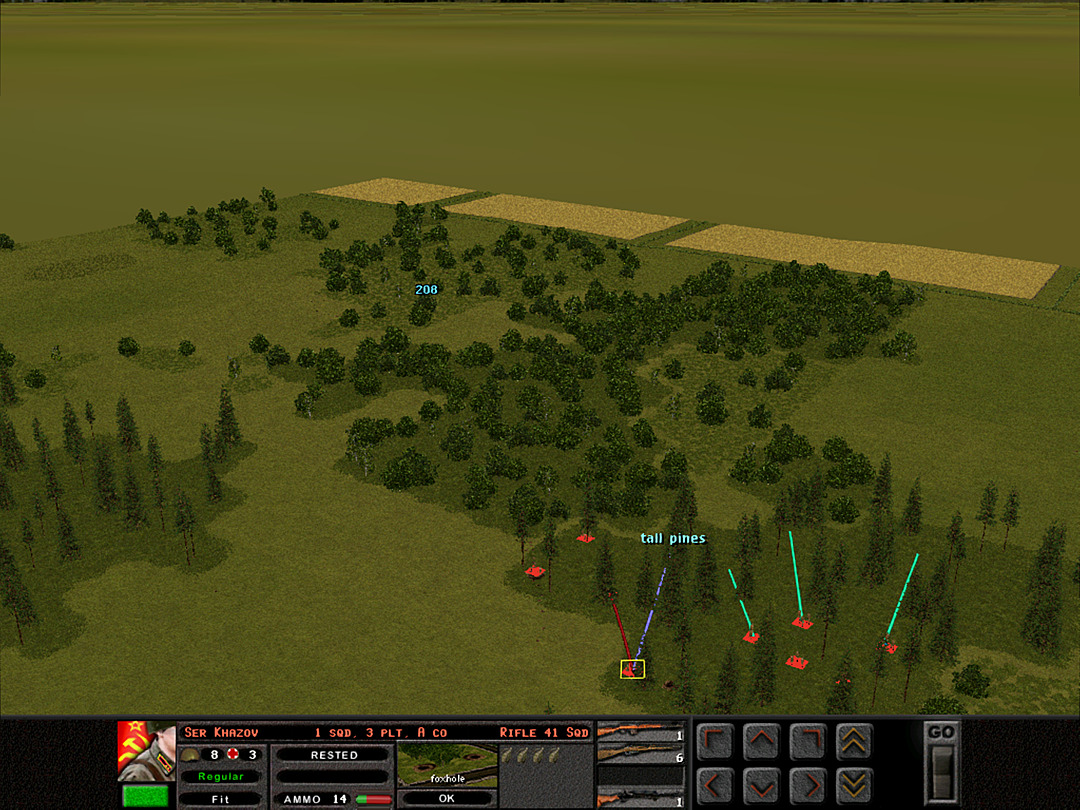 Initially, the Recon Platoon and A Coy, 3 Plt are in reversed positions; they'll swap as they advance to the northwest. 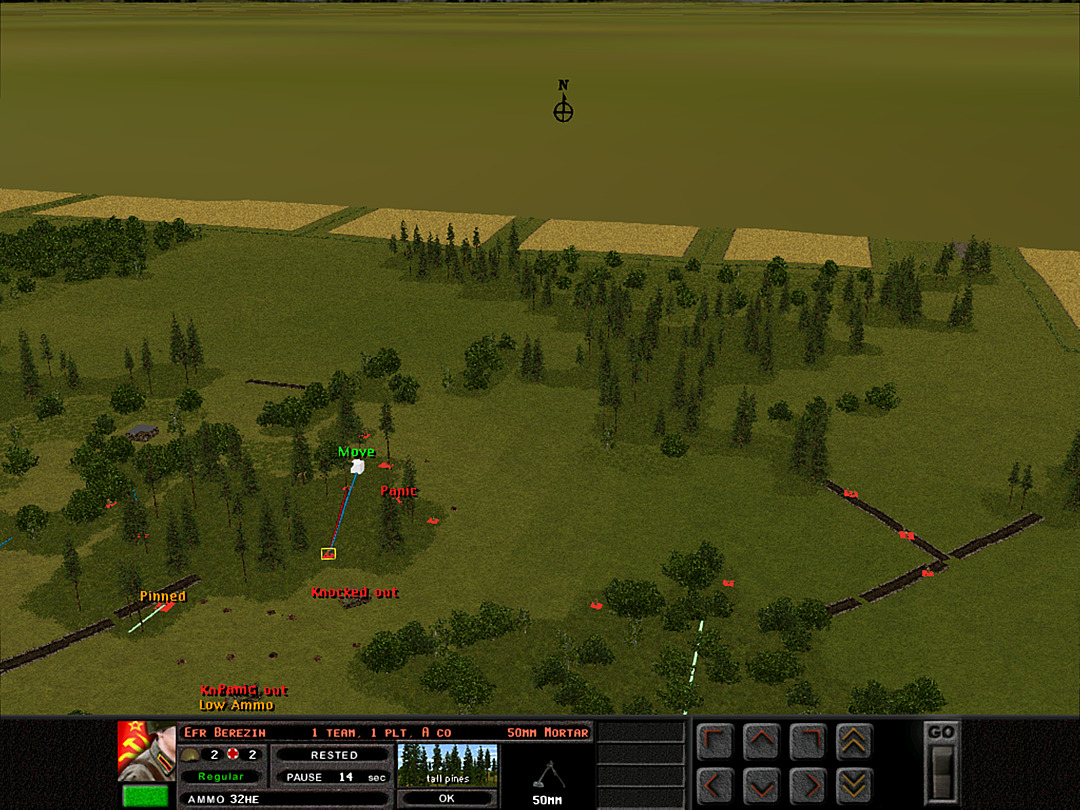 The artillery strike seems concentrated on the little rise between the wooded areas, so we rush our forces away from it. 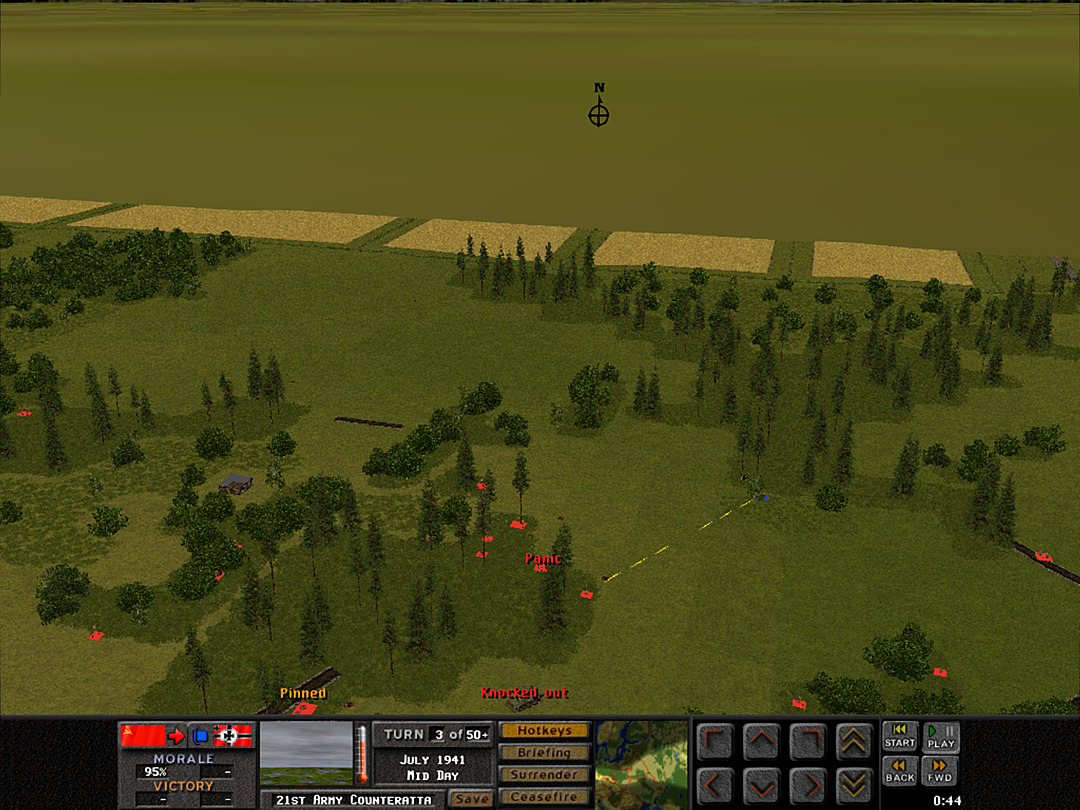 We spot some enemy infantry fairly close to us in the woods, just north of where the artillery is landing. 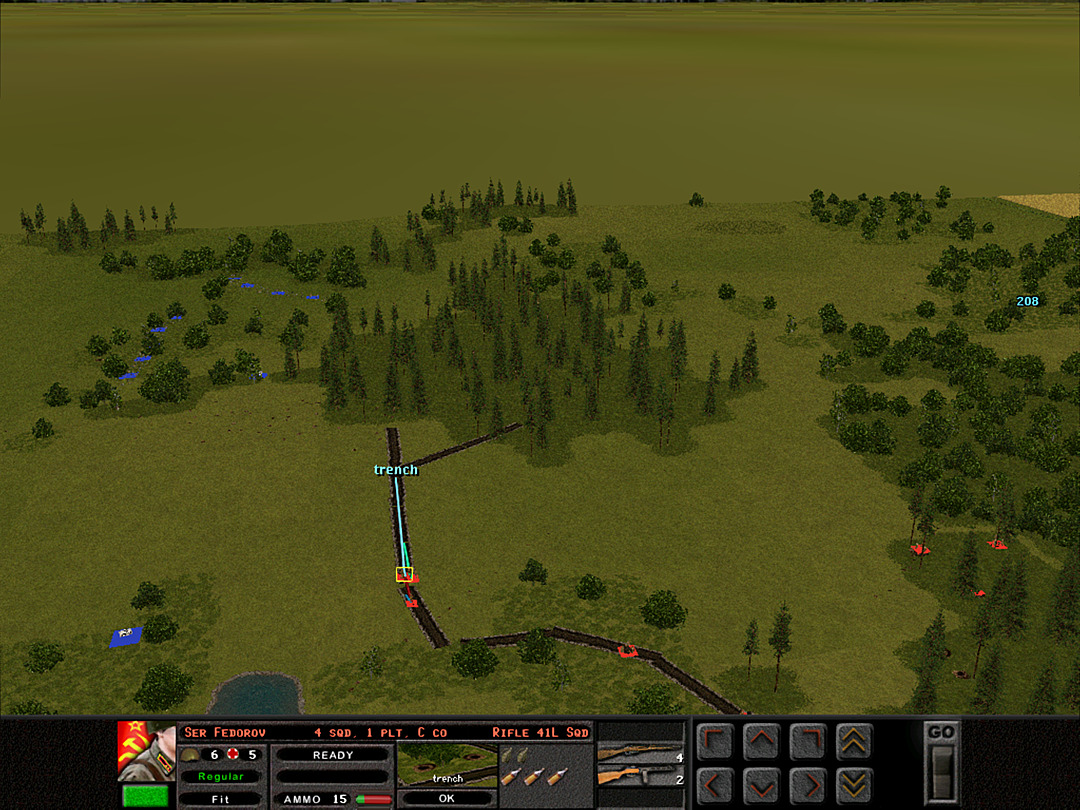 C Coy starts its advance toward the western woods; the squads can stay in the trenches for now. 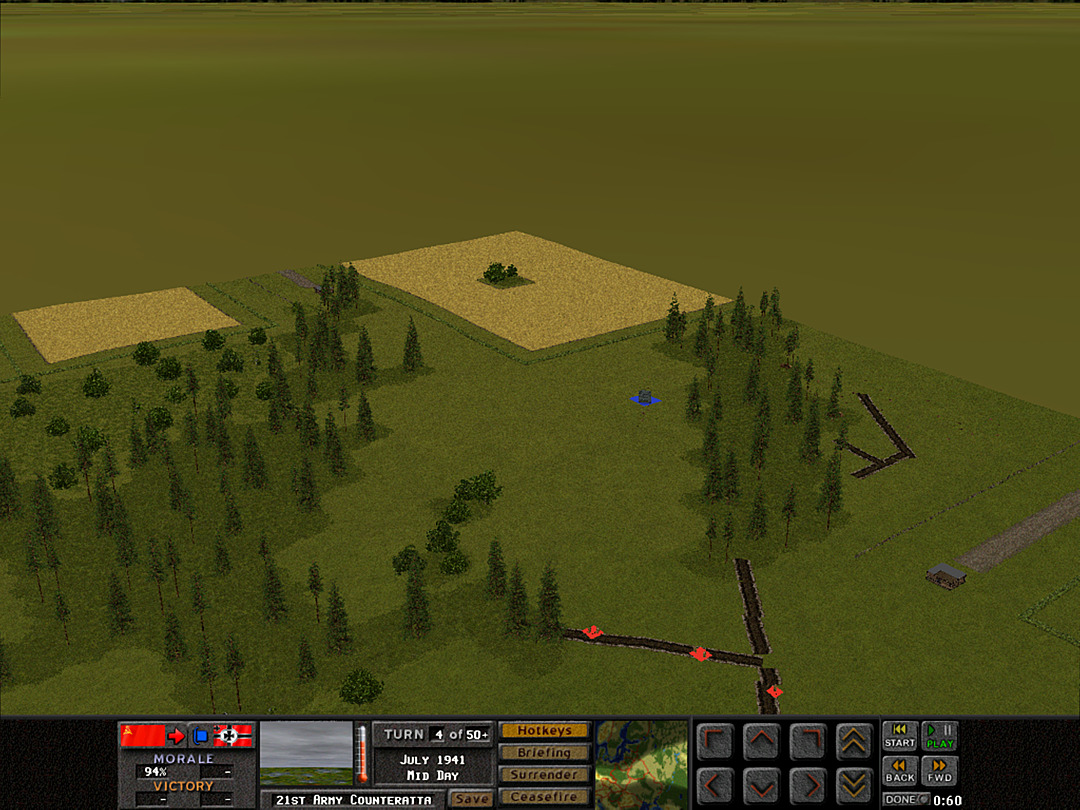 The Stug holds its position in the northeast. It may just be supporting whatever is coming through the woods on the north side. 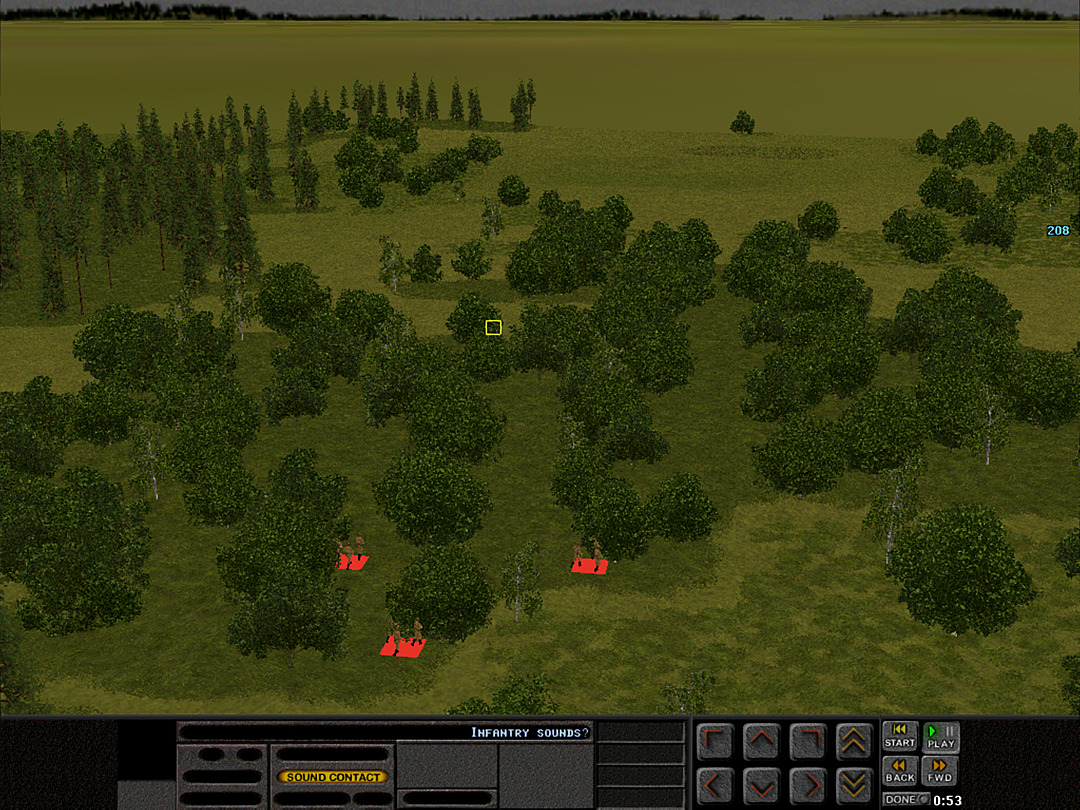 As 5 Plt shifts to marching due west, they hear what sounds like German being spoken somewhere back in the trees. 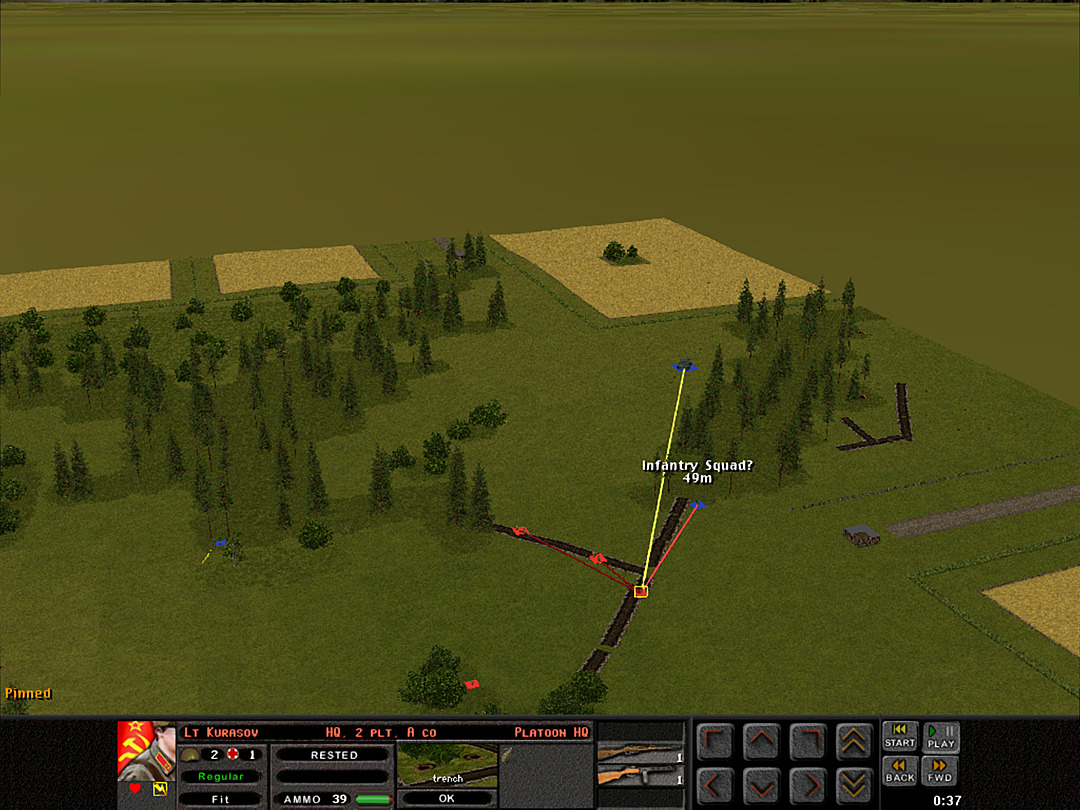 One of A Coy's platoons stayed out in the trench it had explored in the morning. Now they are pinned down by fire from the Stug, and a few infantry squads have arrived to attack them as well. 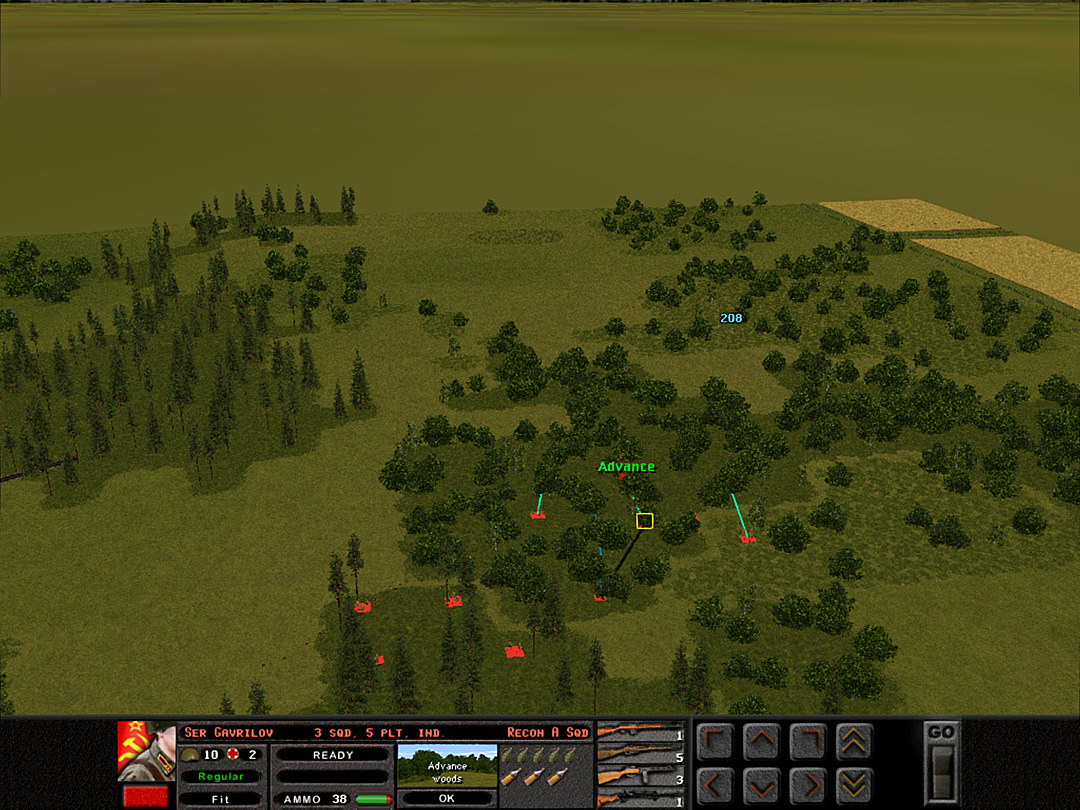 With enemy activity expected on the far side of the forest, 5 Plt advances cautiously. A Coy, 3 Plt holds up, just in case any German squads break out of the woods toward the south. 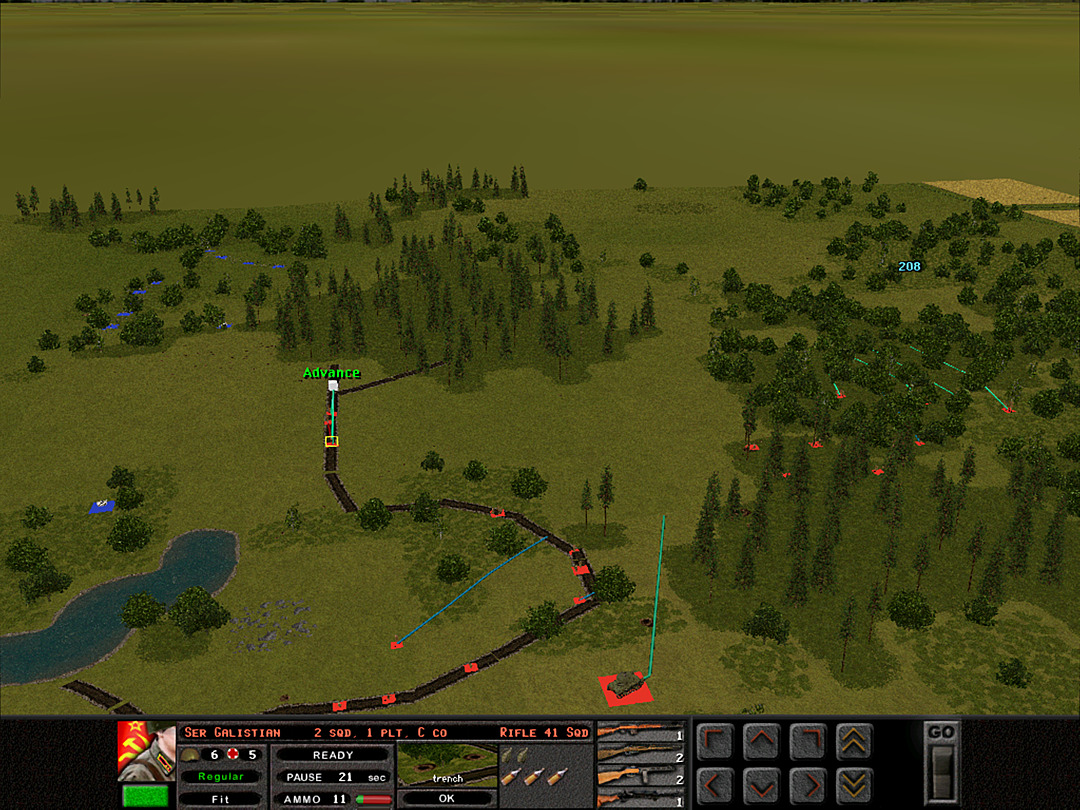 C Coy continues heading along the trench, and we also bring a tank up to cover the space between the ridge and the western woods. 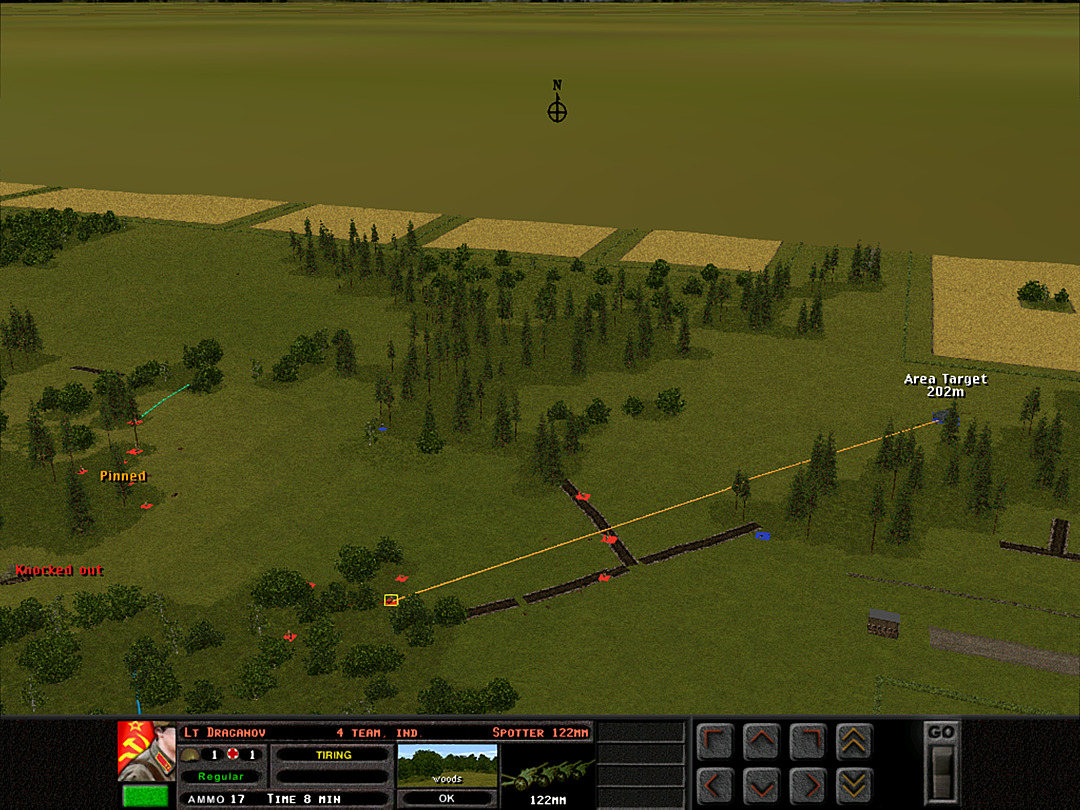 We really have nothing that can knock out the Stug, but since it doesn't seem to be advancing, we're going to try and drop mortar shells on it. If nothing else, it should keep it quiet for a bit. 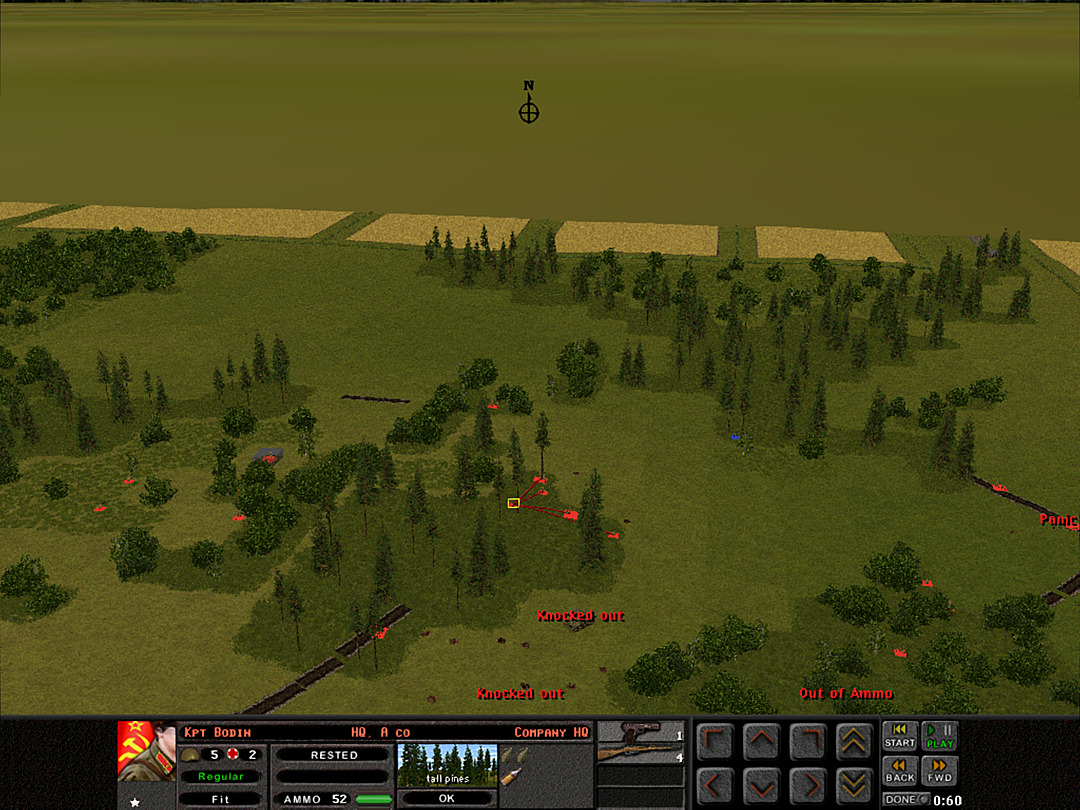 The orphaned squads of A Coy, 1 Plt effectively form a unit that's directly under the captain's command. So far they haven't had much to do, as it does not look there are any additional enemy forces in the woods to the north. 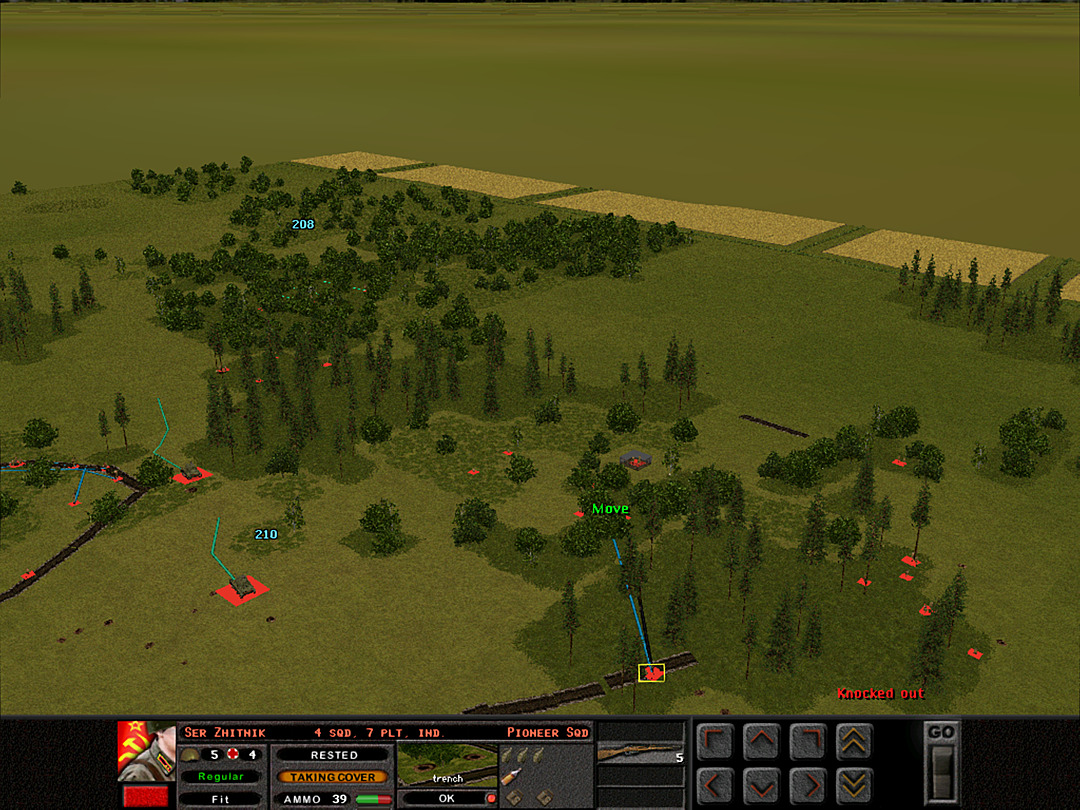 The eastern side ought to hold, so the Pioneers are being sent to support the movement on the west toward the end of the ridge. 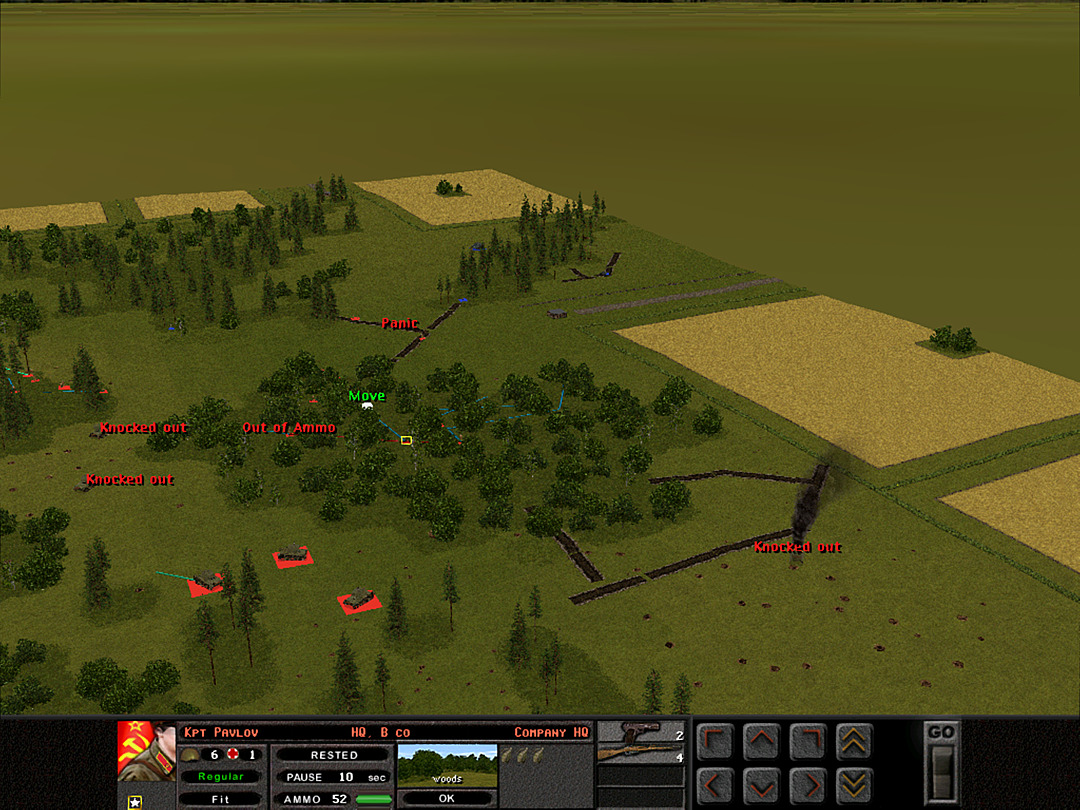 Our last BT-5 was investigating the end of the trench line, and also seeing if there was a route around the edge of the woods. But it turned out that the AT guns are still active over on the east, and were able to spot it sooner than it could back off. We lose another tank. 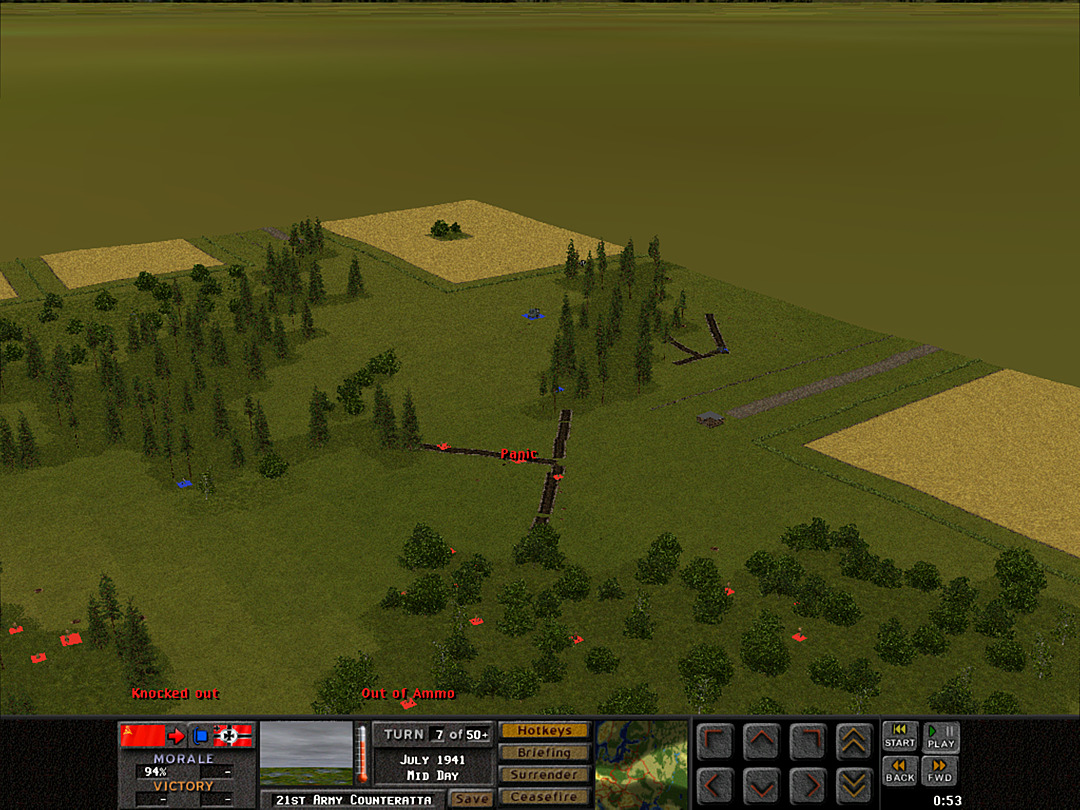 The squads in the trench continue to take a pounding from the Stug's cannon. However, there isn't much other activity or advancing from the neighboring squads. If this is a counterattack, it does not seem to have much strength to it. 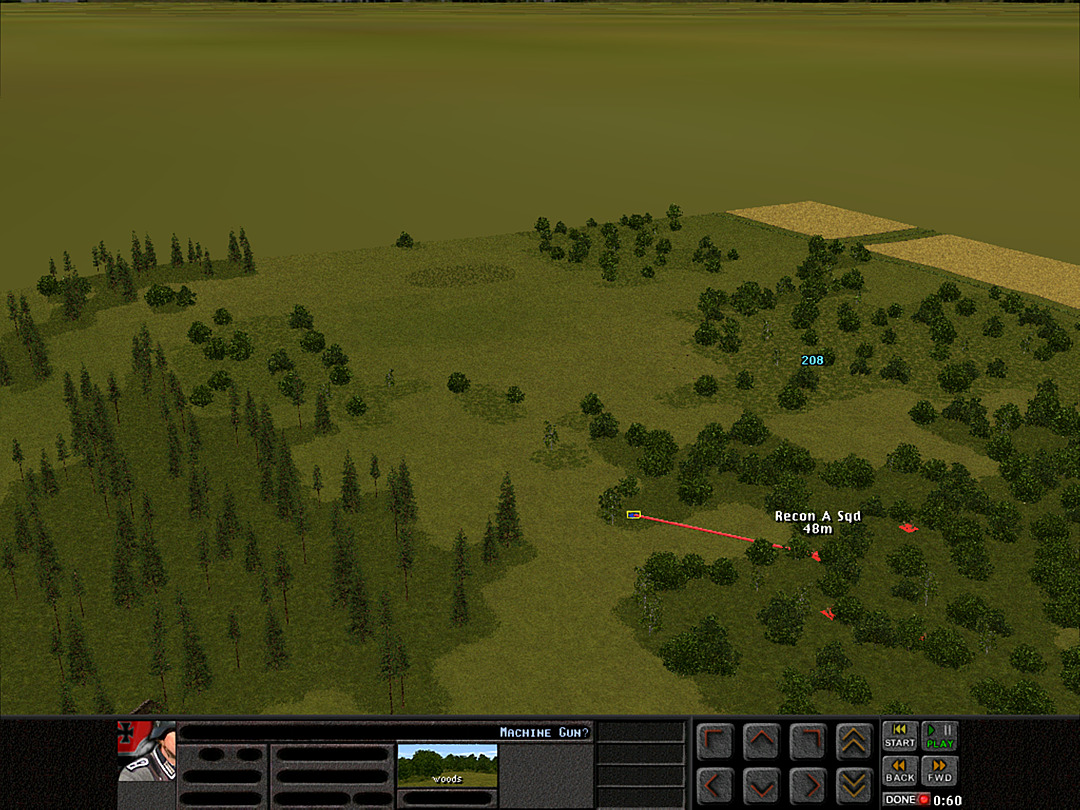 The Recon troops finally make a positive contact. German troops, likely a machine-gun nest, out on the tip of the woods. 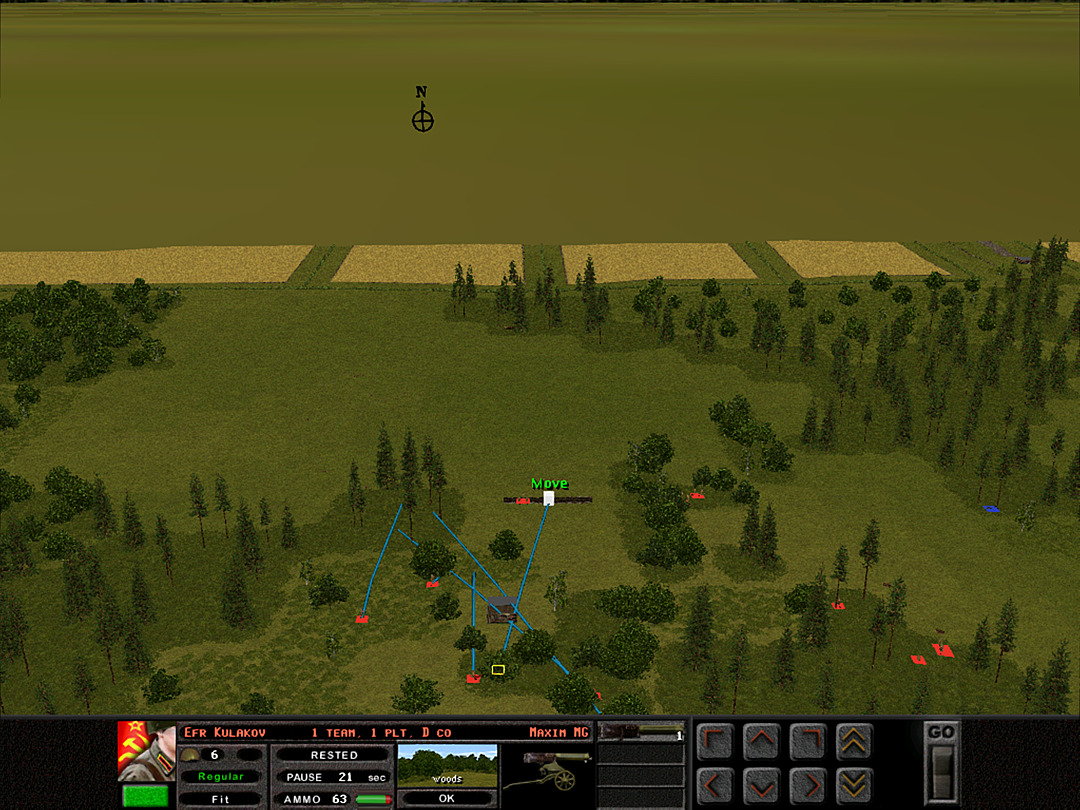 There has been no sign of enemy activity to the north of our main position, but it doesn't hurt to have a Maxim gun in the trench to cover the open territory there. 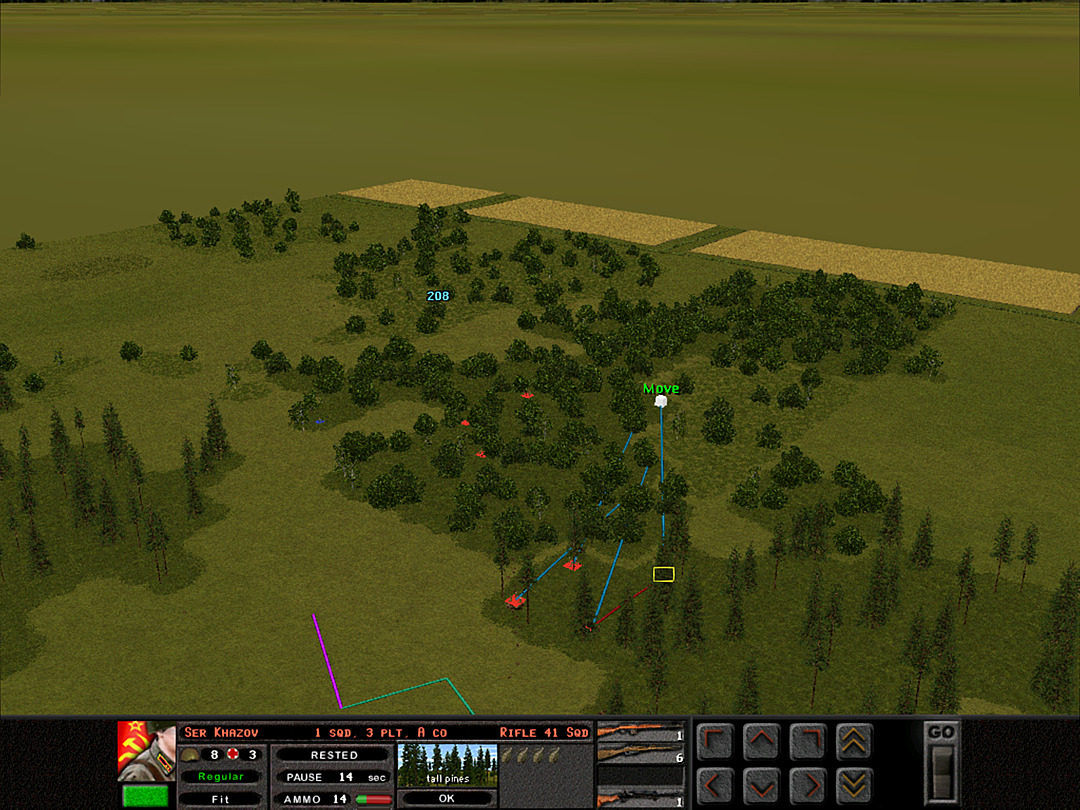 As the recon platoon advances, A Coy, 3 Plt gets underway to guard their right flank. The tanks of 2 Plt will cover the gap between the woods. 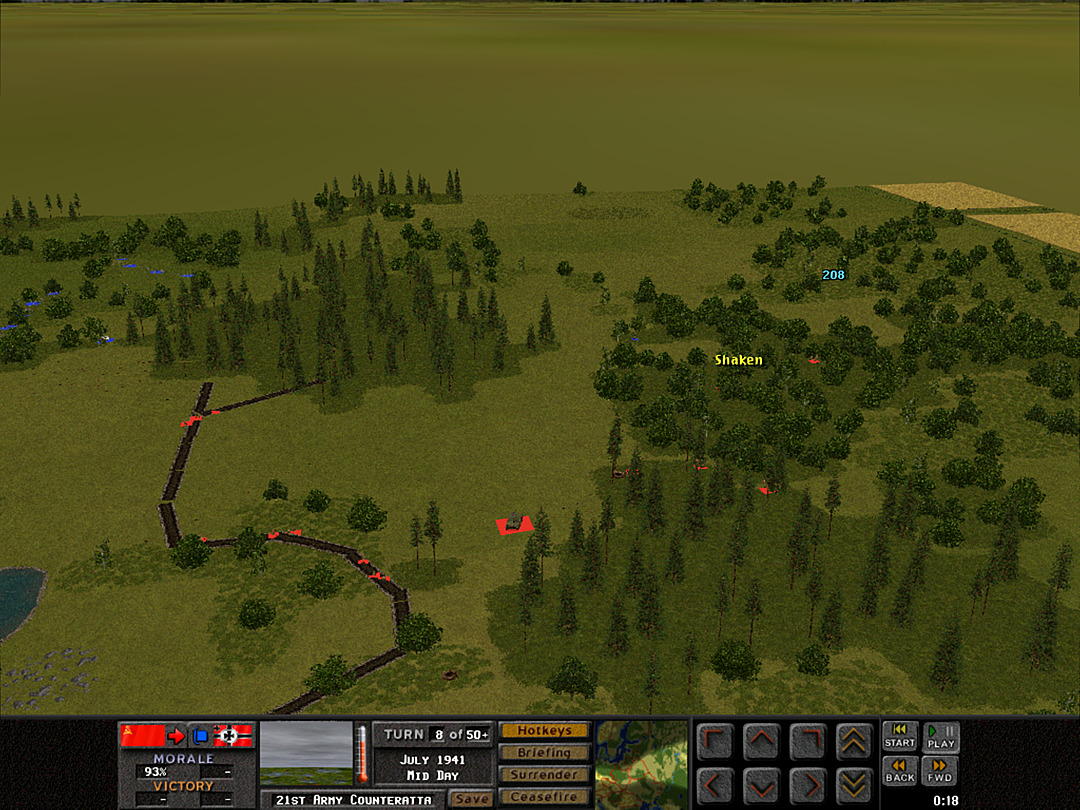 C Coy has successfully reached the end of the main forward trench, and can now start advancing into the woods. 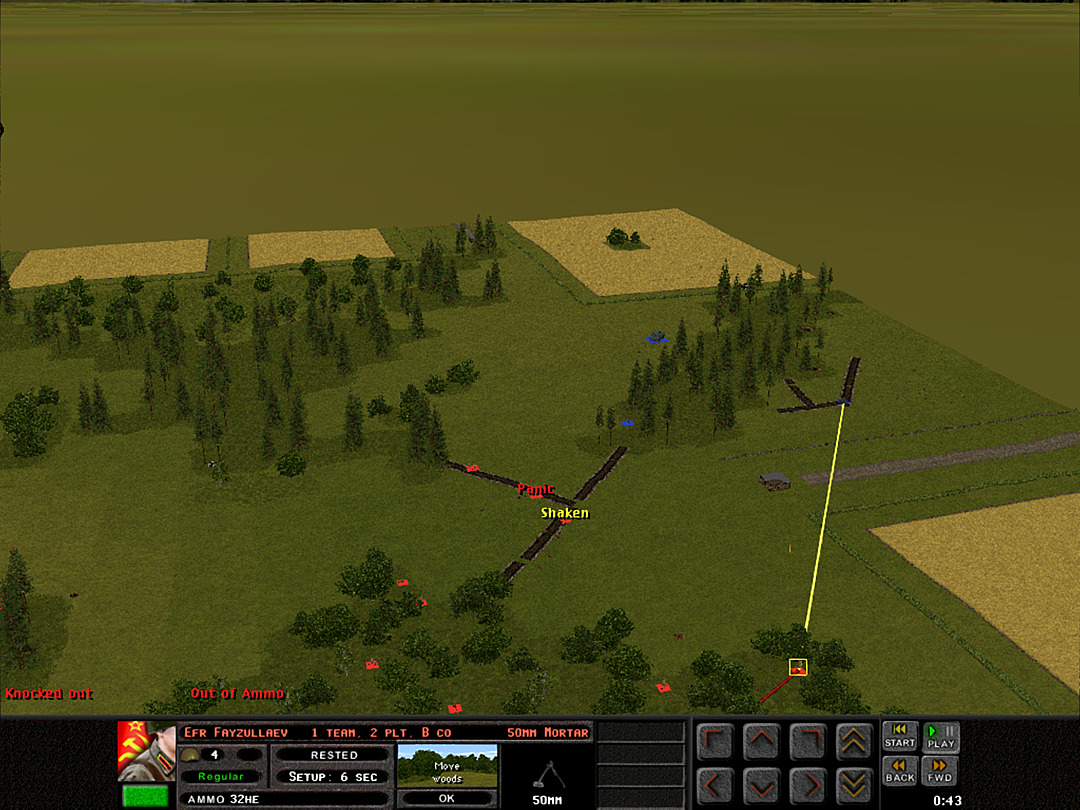 The only remaining combat units in B Coy � the mortars � attempt to get a line on the AT gun still covering the eastern wheat fields. But one team starts taking fire from an unidentified unit in the lone farmhouse. 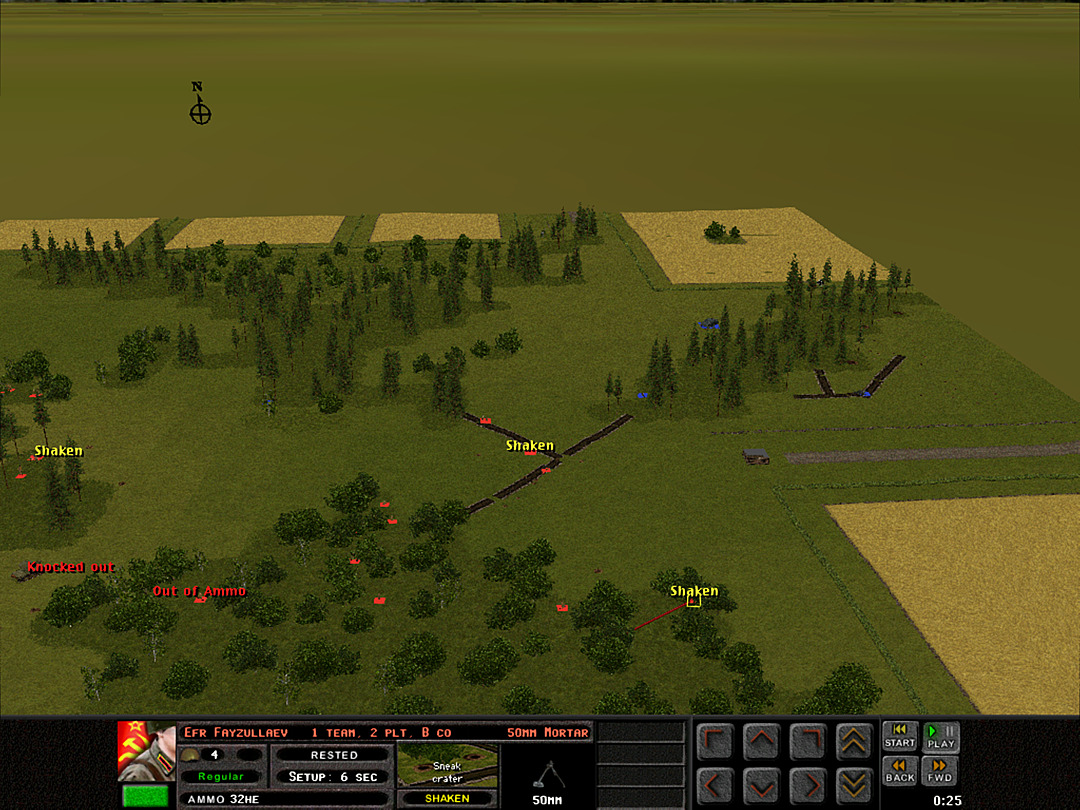 Crossfire coming over from the woods as well as the northeast end of the battlefield leaves several of our squads in a disrupted state. 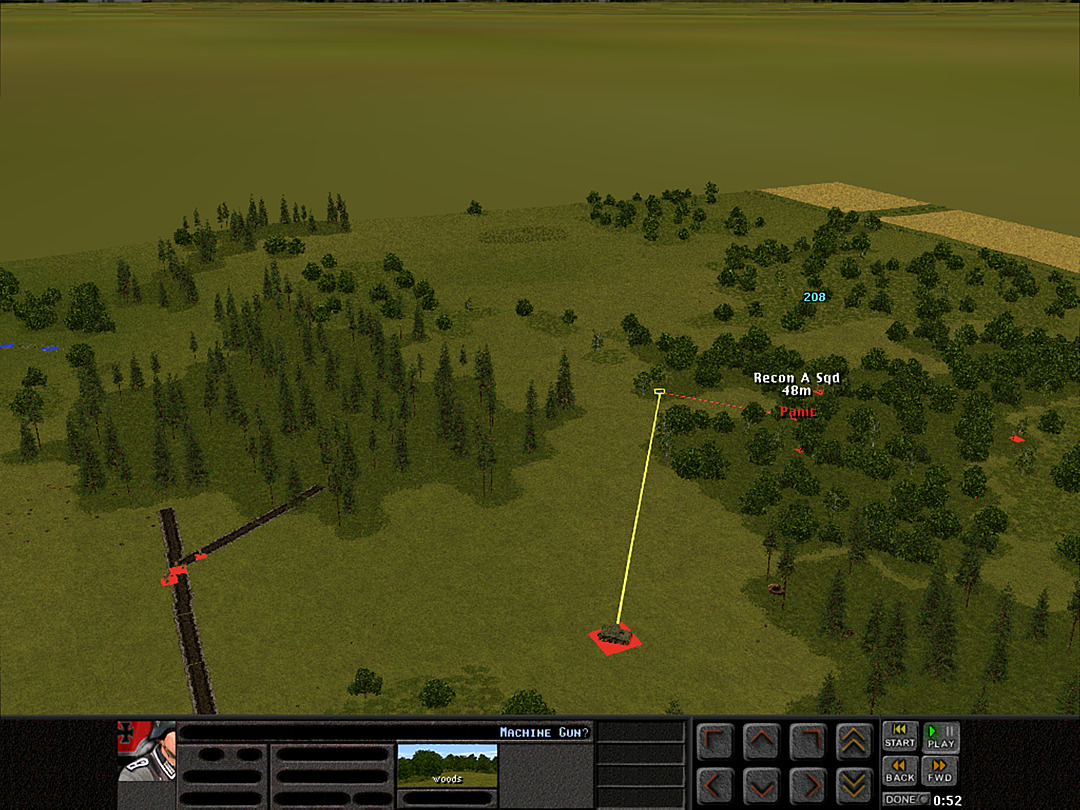 The scout platoon is having some trouble with the machine-gun out on the ridgeline, but the tanks of 2 Plt have arrived just in time to help out. 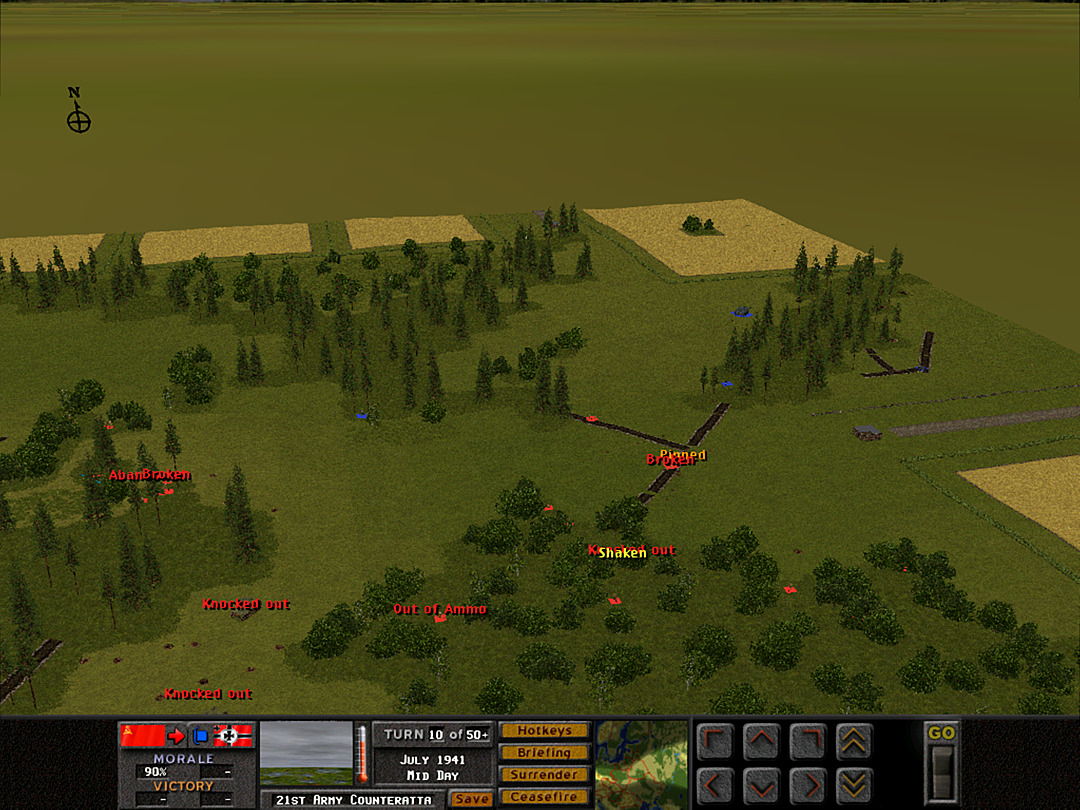 The enemy guns on the eastern edge are now finding targets in the woods to shoot at. 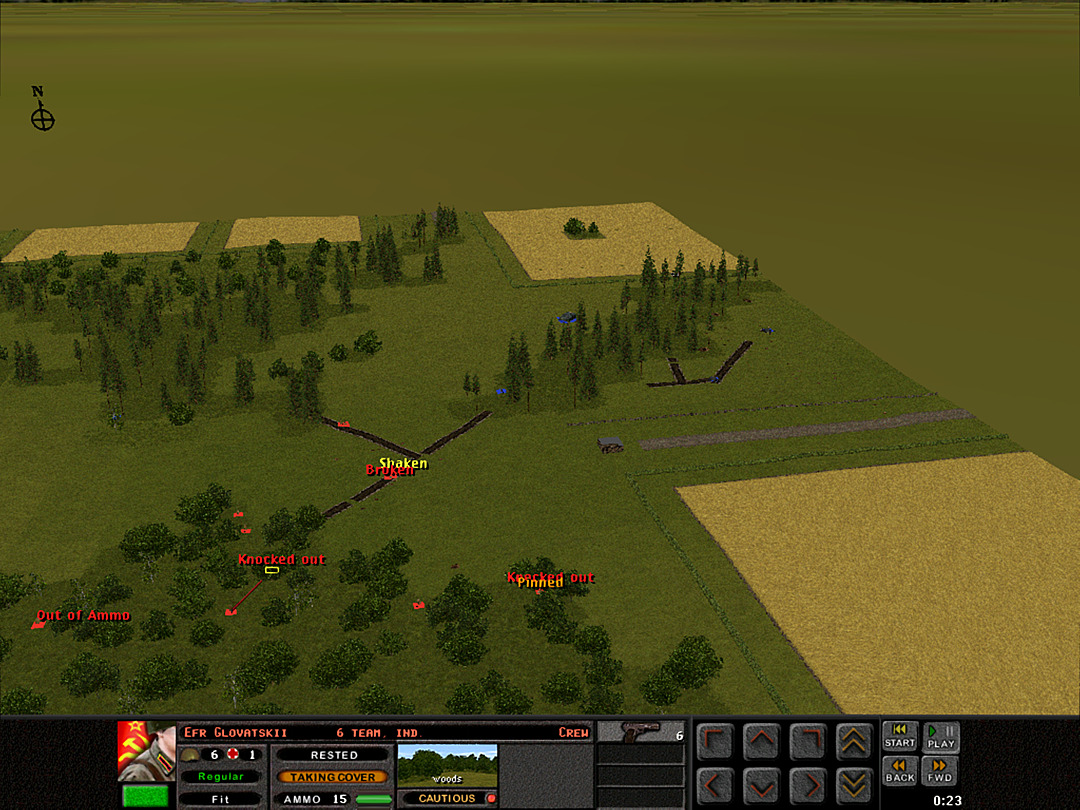 As those guns fire into the woods, we lose two mortars. The men in the trenches are getting no relief. The defense here is in danger of breaking. 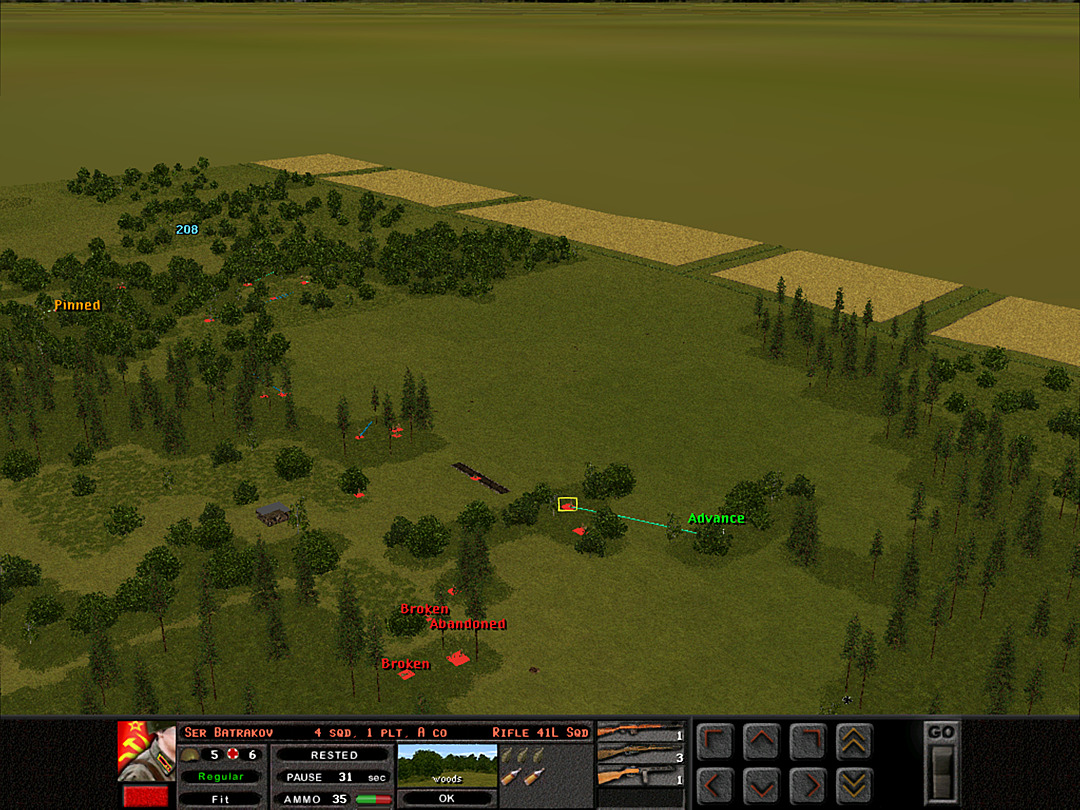 In hopes of hitting the enemy from a slightly different angle, the remnants of 1 Plt try to maneuver around into the northern woods. 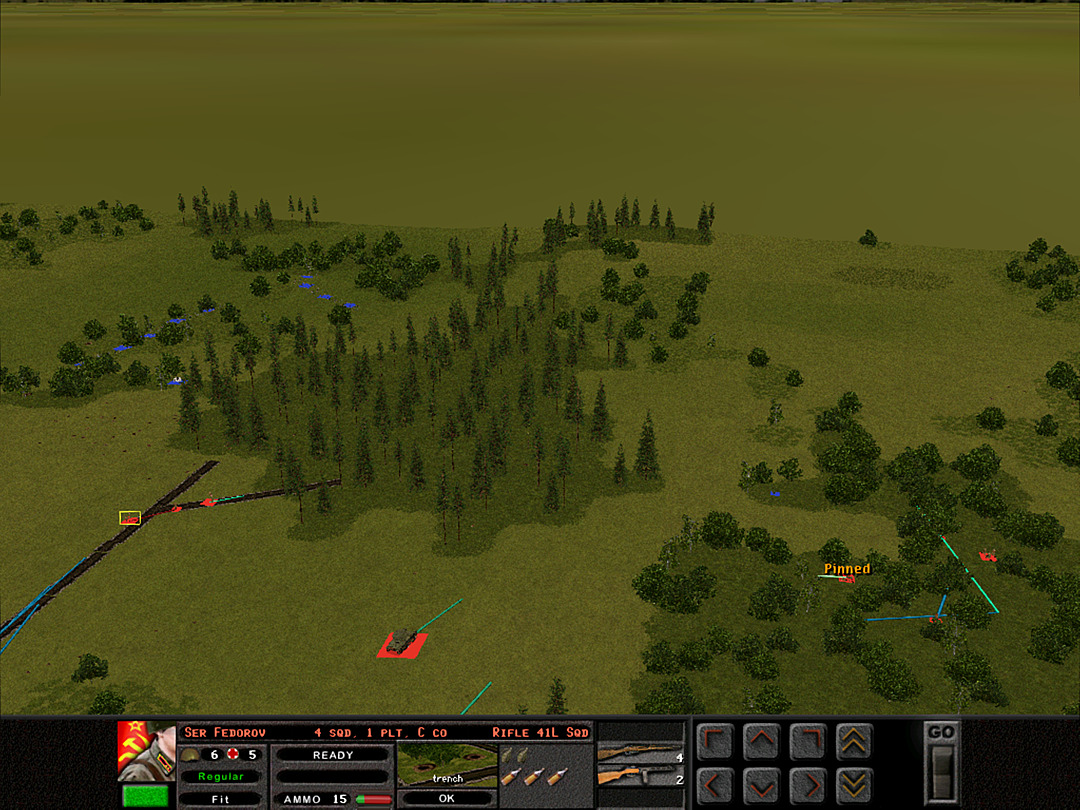 C Coy continues to make steady progress. So far we've only discovered that lone machine-gun team on the west side. 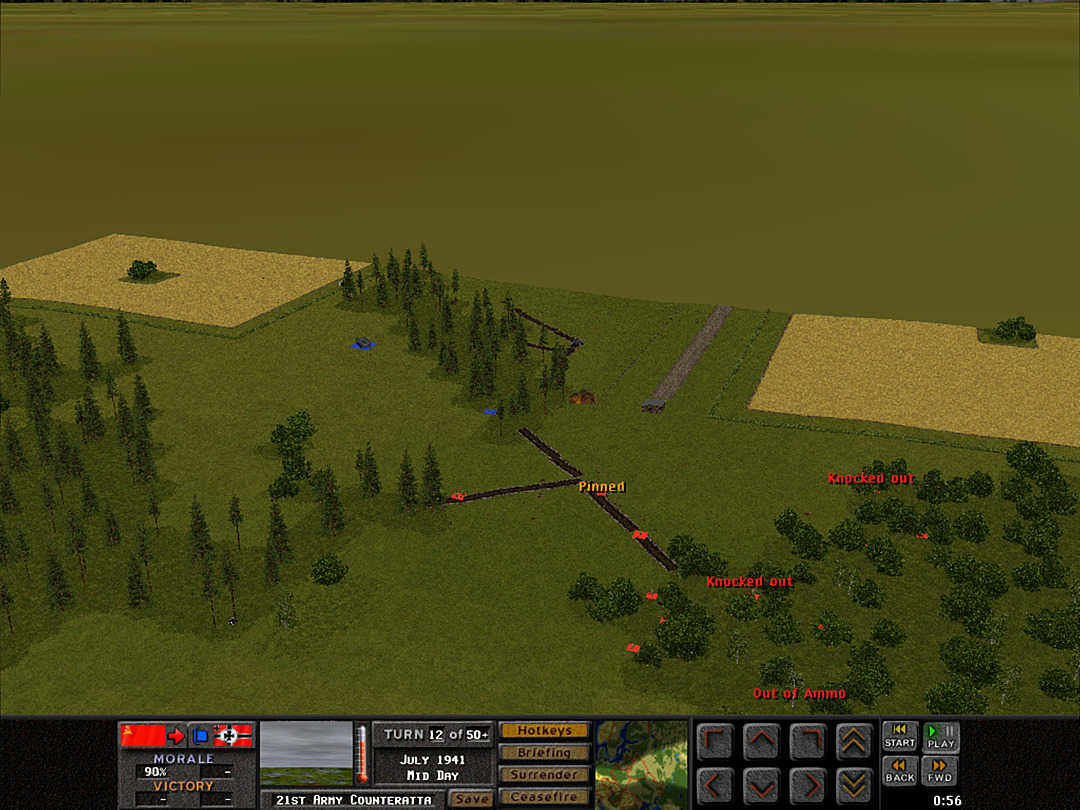 Our heavy artillery rounds start to fall to the northeast. They aren't on target for the assault gun, but with a few other enemy units in the area, they might still hit something. 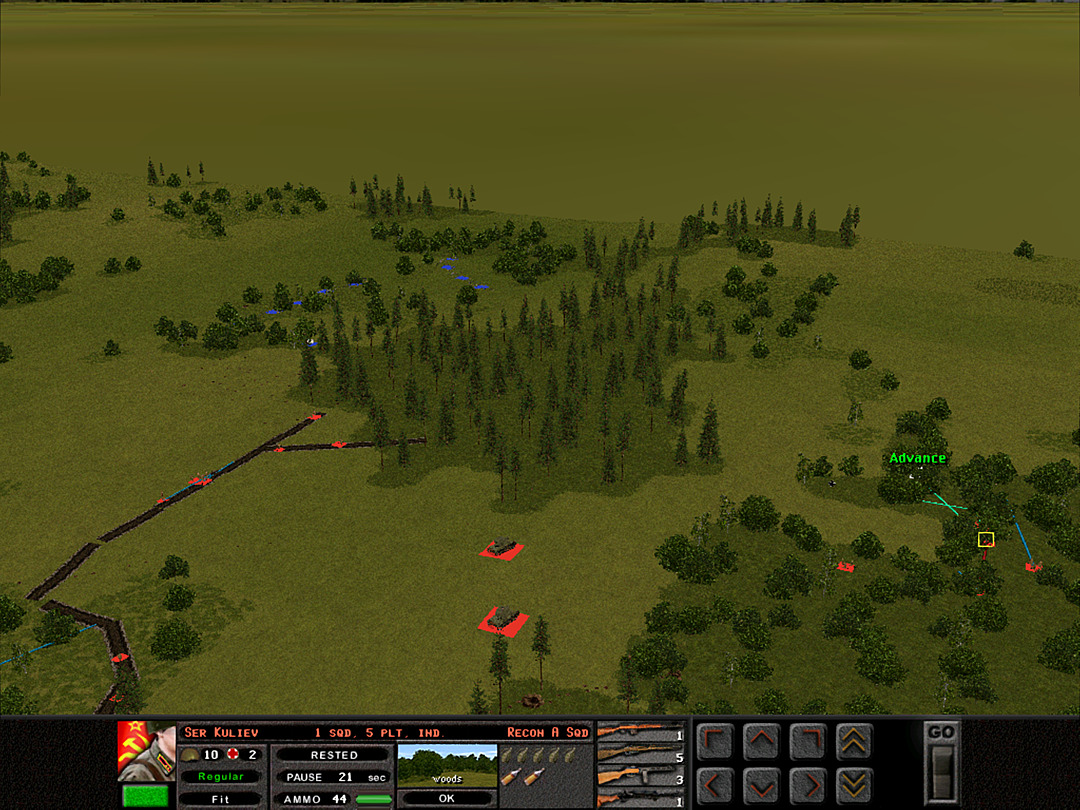 The machine-gun has gone silent, but we have to get in close to confirm the kills. 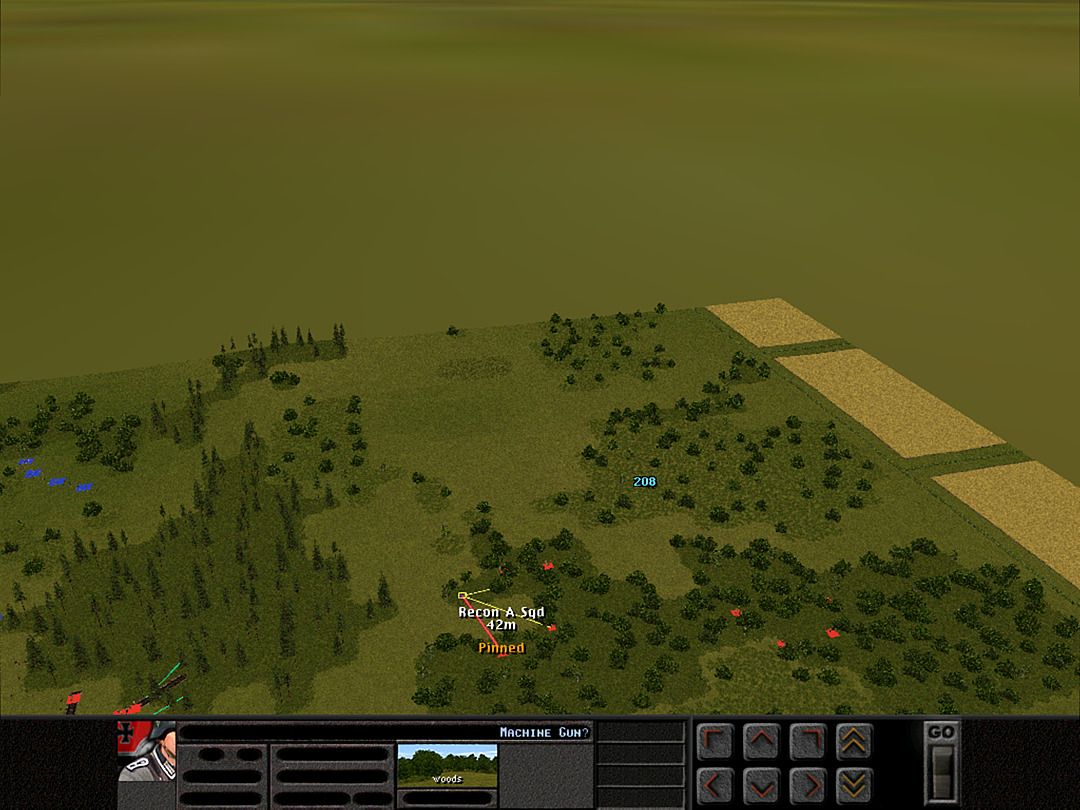 Before we get there, it starts firing again. 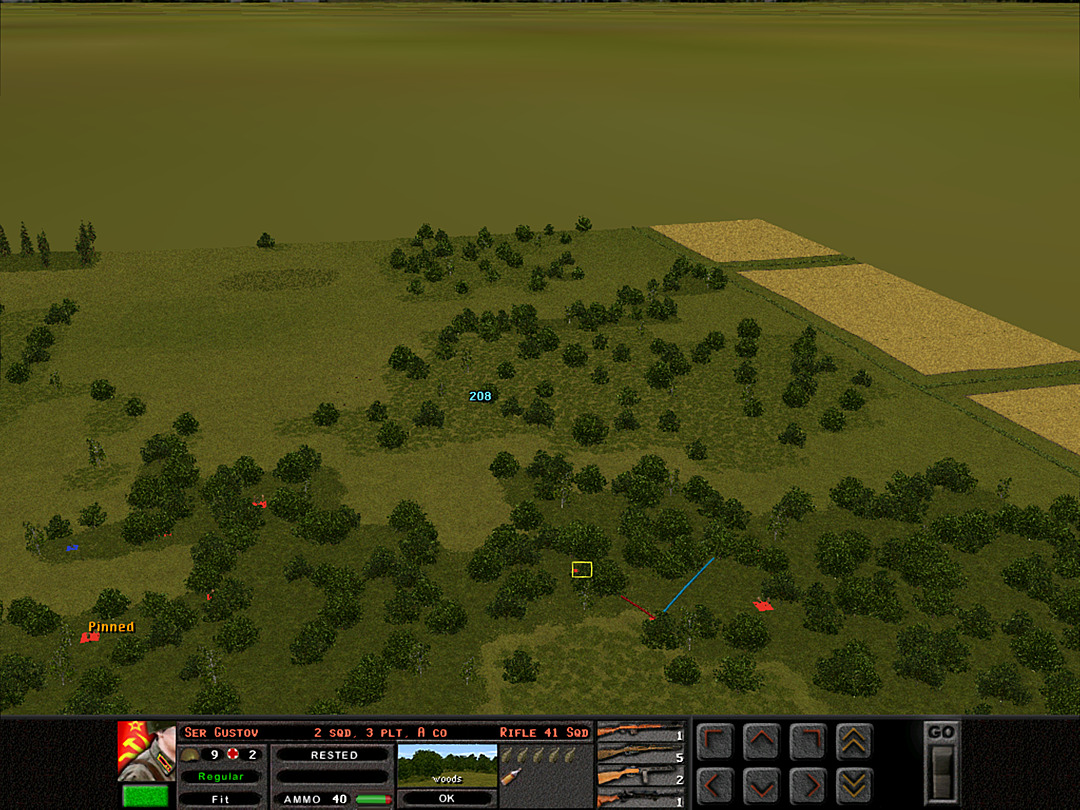 Meanwhile, A Coy, 3 Plt continues to scout northward. No signs of enemy activity are seen. 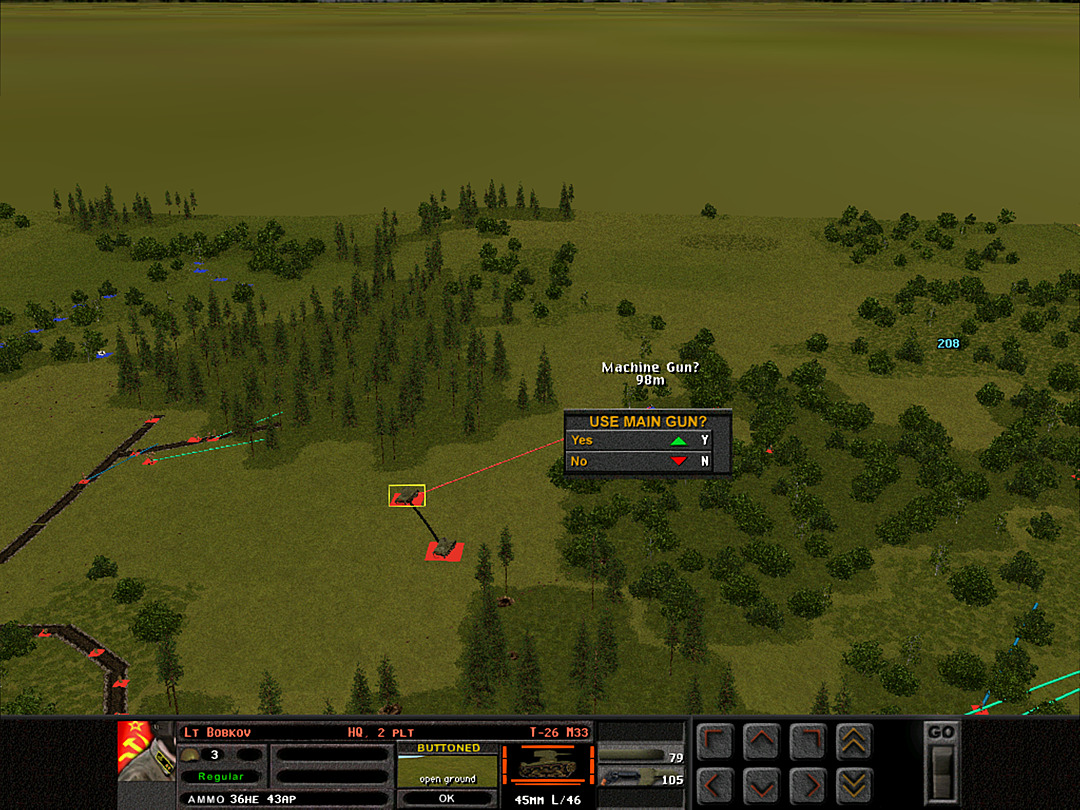 Our tanks are in range to start blasting away at the machine-gun's position. 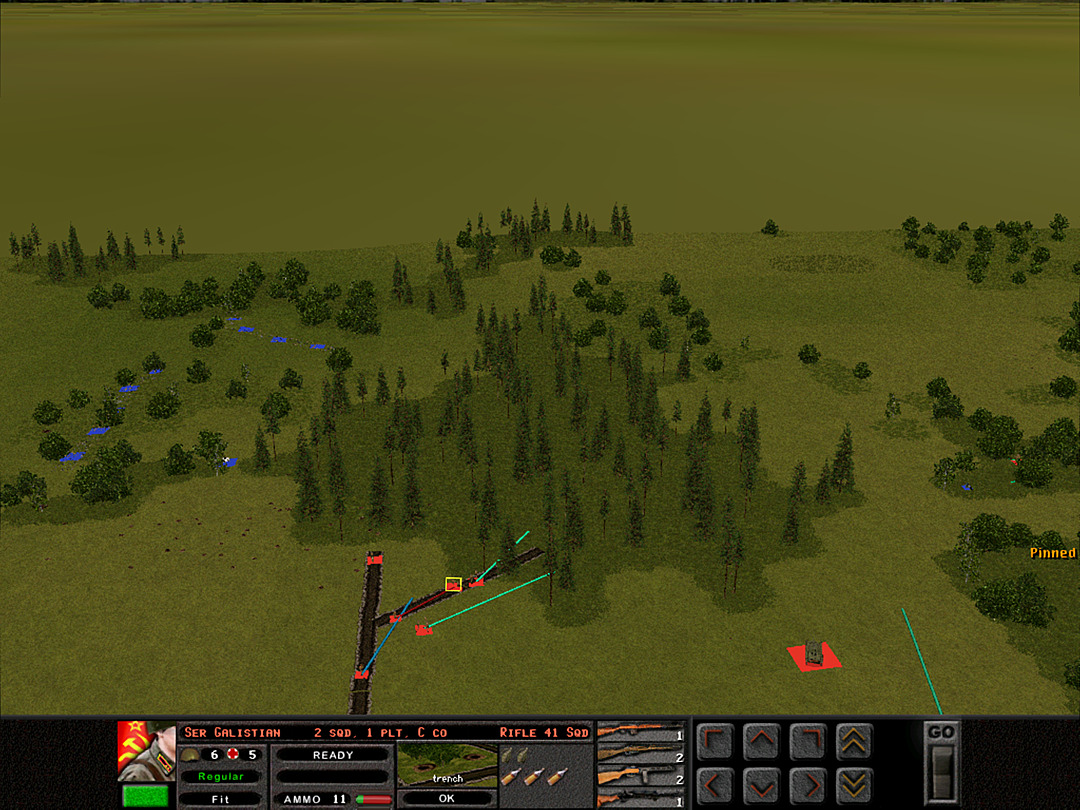 C Coy is making steady progress, and will soon have to leave the trenches behind entirely. 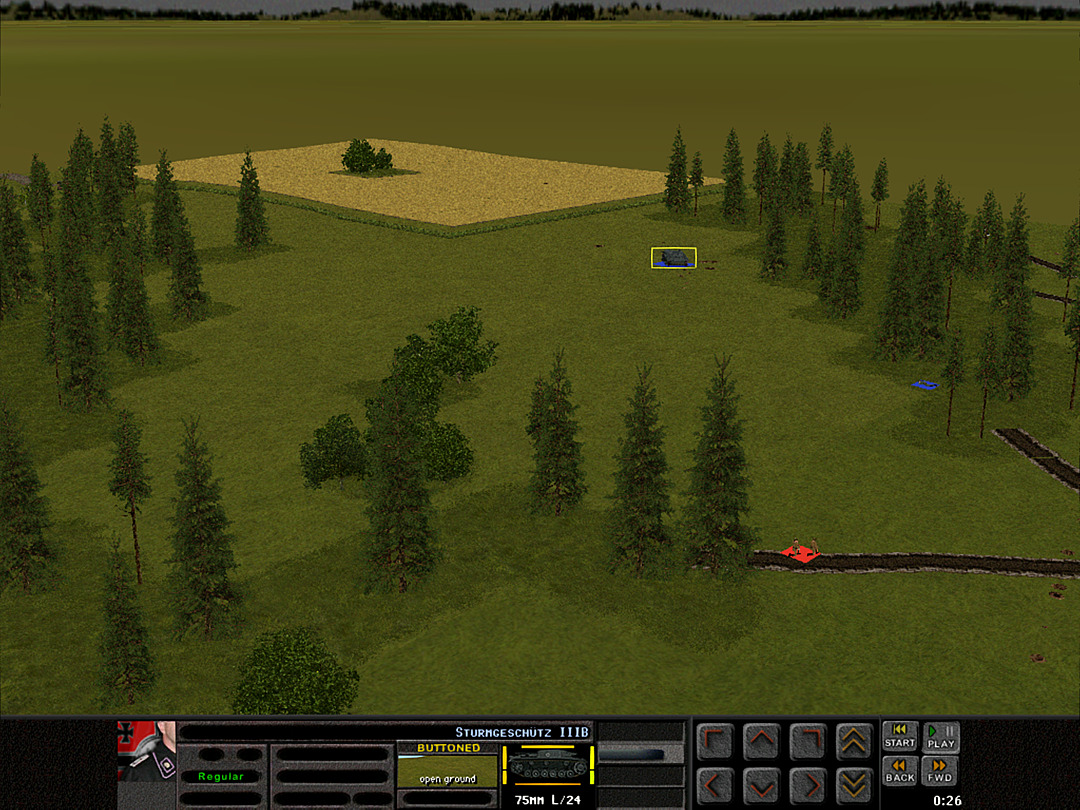 Several mortar rounds actually landed quite close to the Stug, but none of them seem to have done any significant damage. 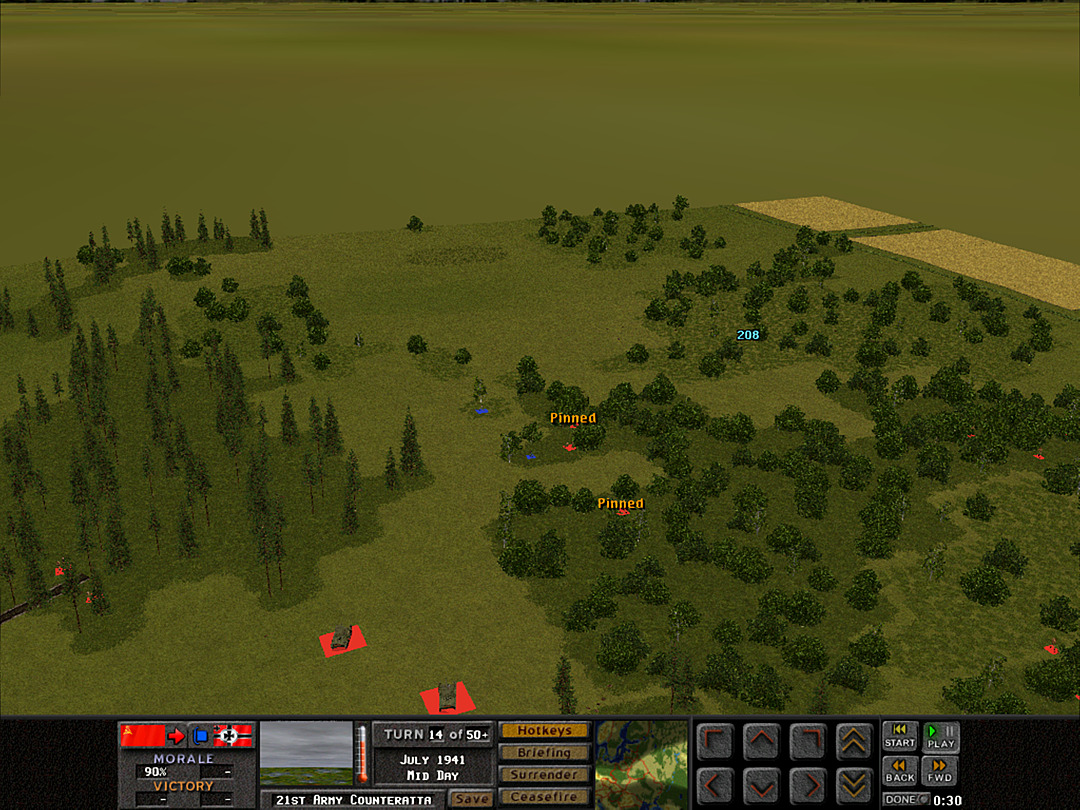 Just as we thought we had the machine-gun on the ridge handled, a second enemy unit pops up close to it. 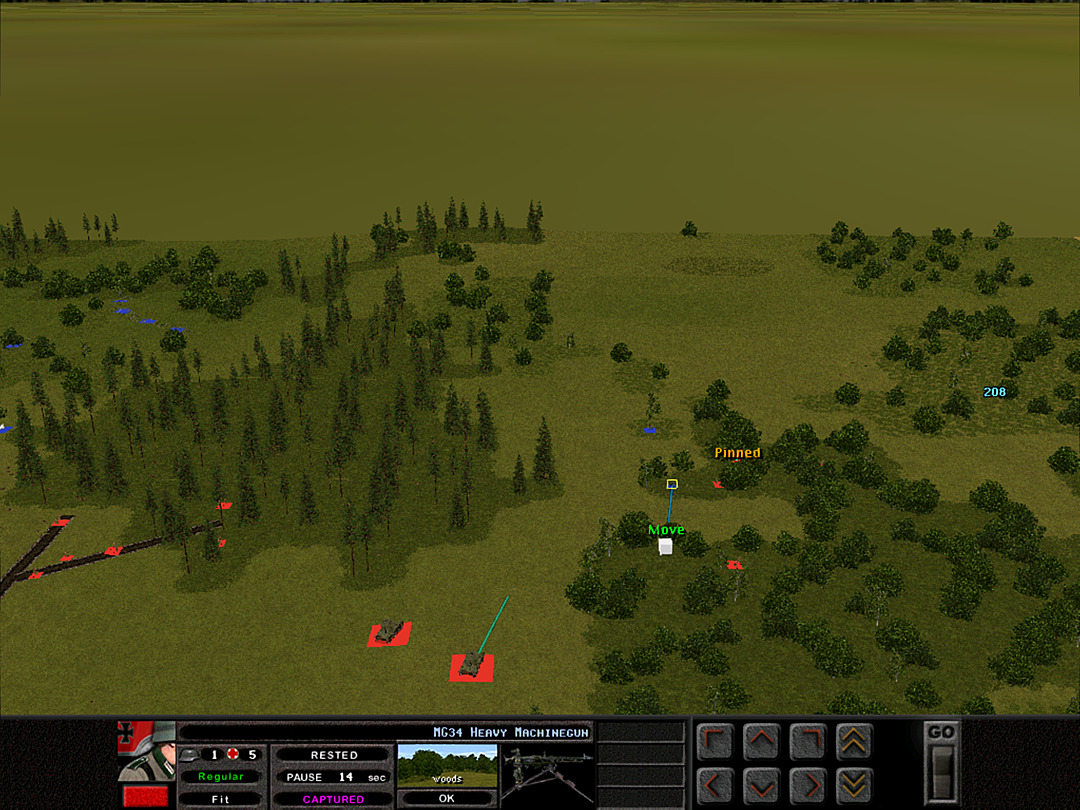 Our advance was too much for the first gun, though, and they at least have surrendered. 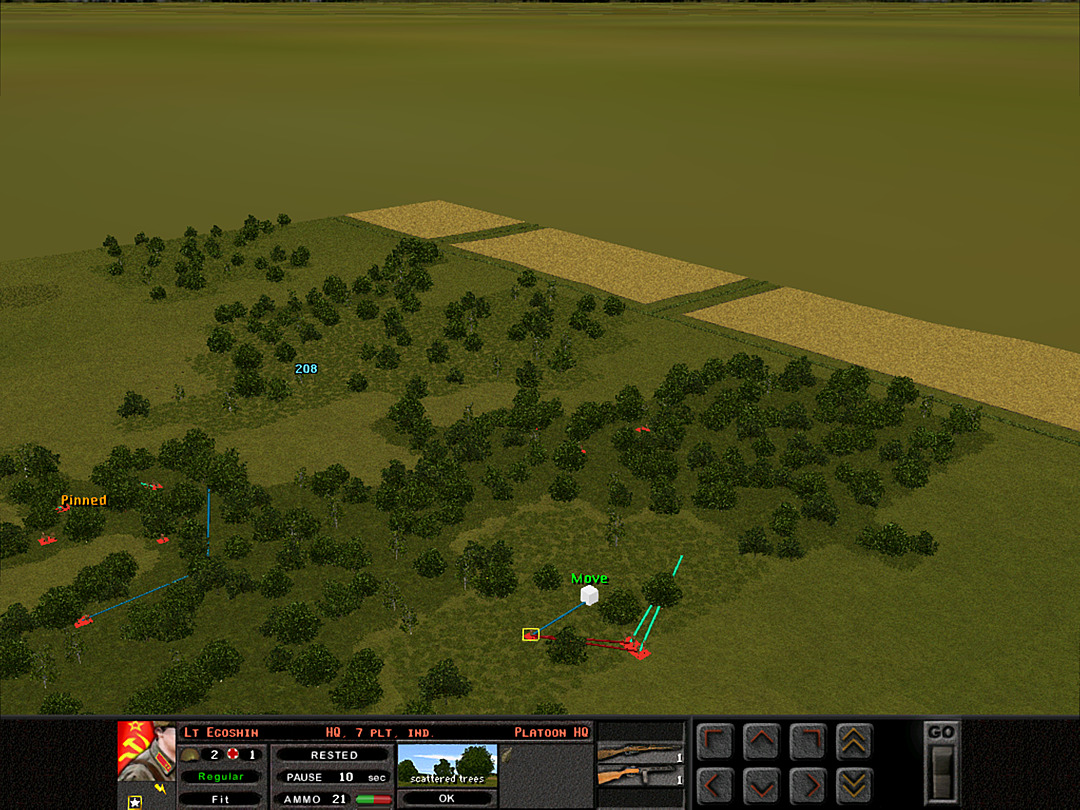 The Pioneers come in behind A Coy, 3 Plt. They're checking the east edge of the woods for any hidden Germans. 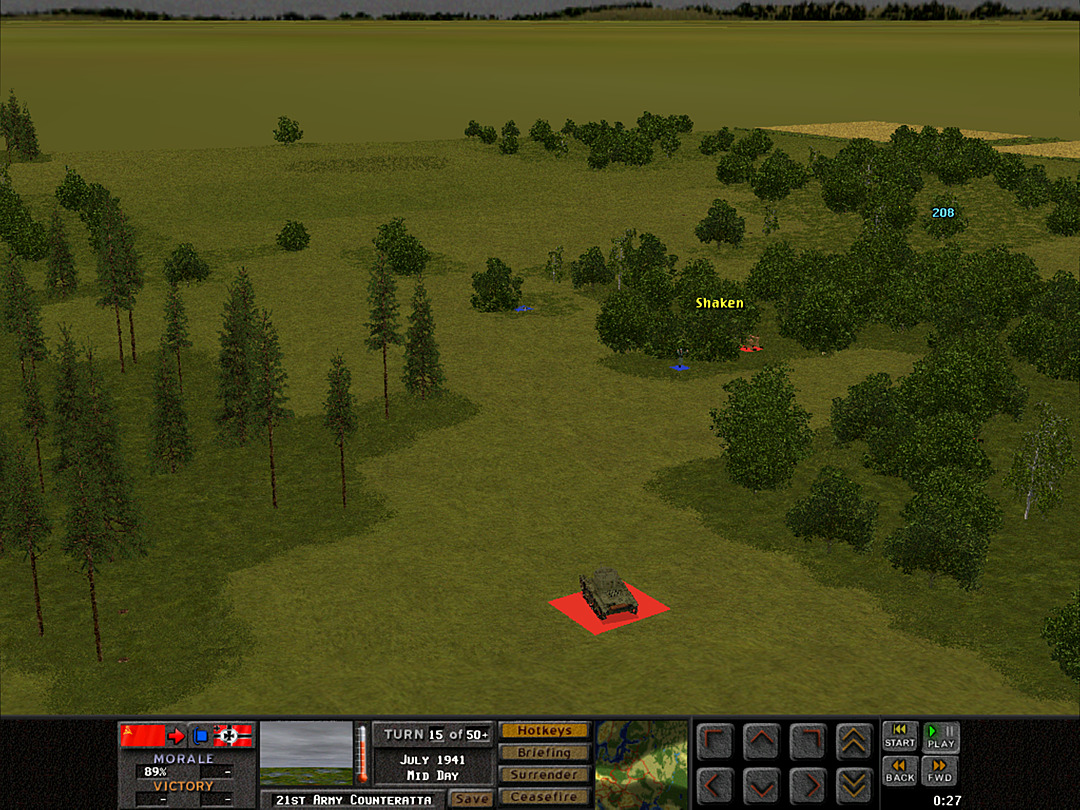 It's something of a risk to have a tank so close to the trees, but we send one forward to help the recon platoon take care of the second enemy squad. 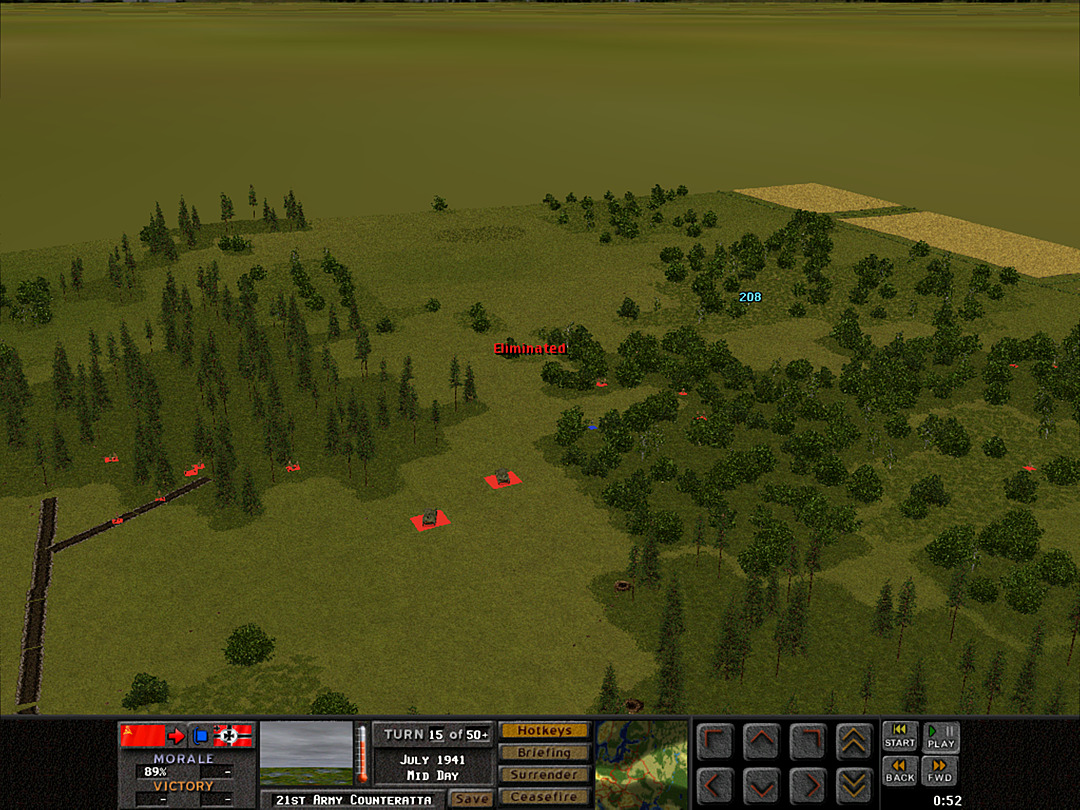 The tanks do their part, and the enemy squad is knocked out. 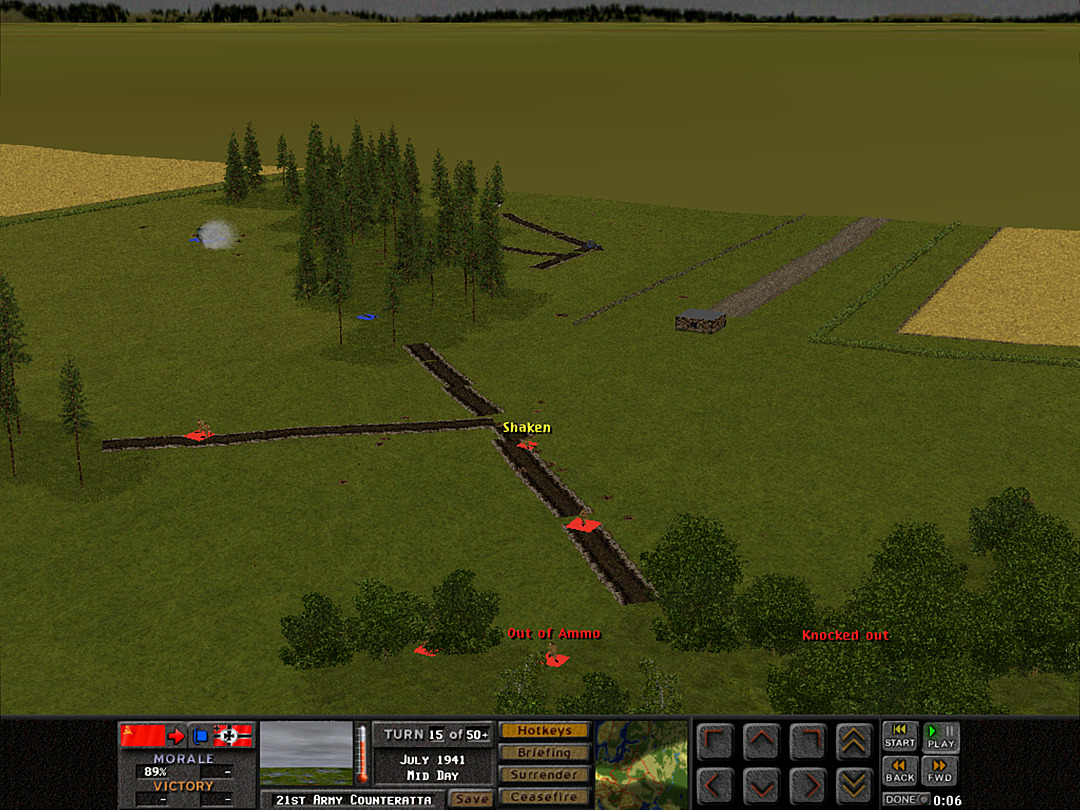 Once the mortars stopped falling, the Stug opens up with its big gun again. 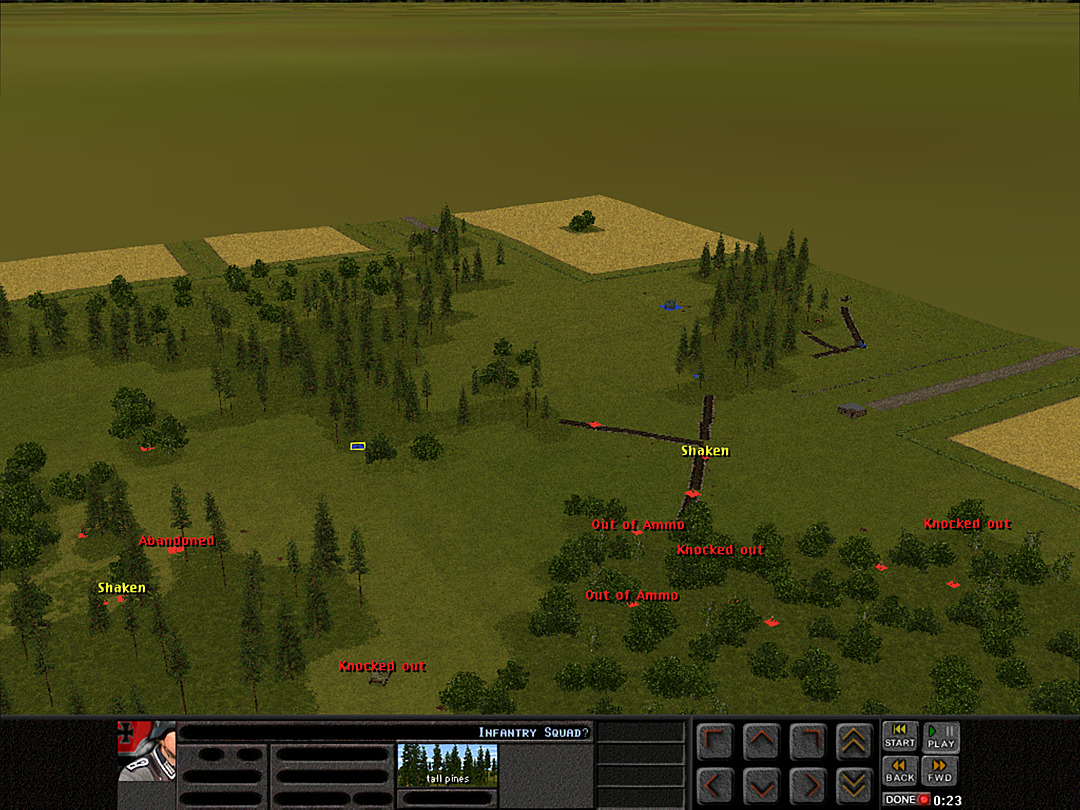 The enemy unit in the northern woods hasn't been seen for a while; it may have shifted position. 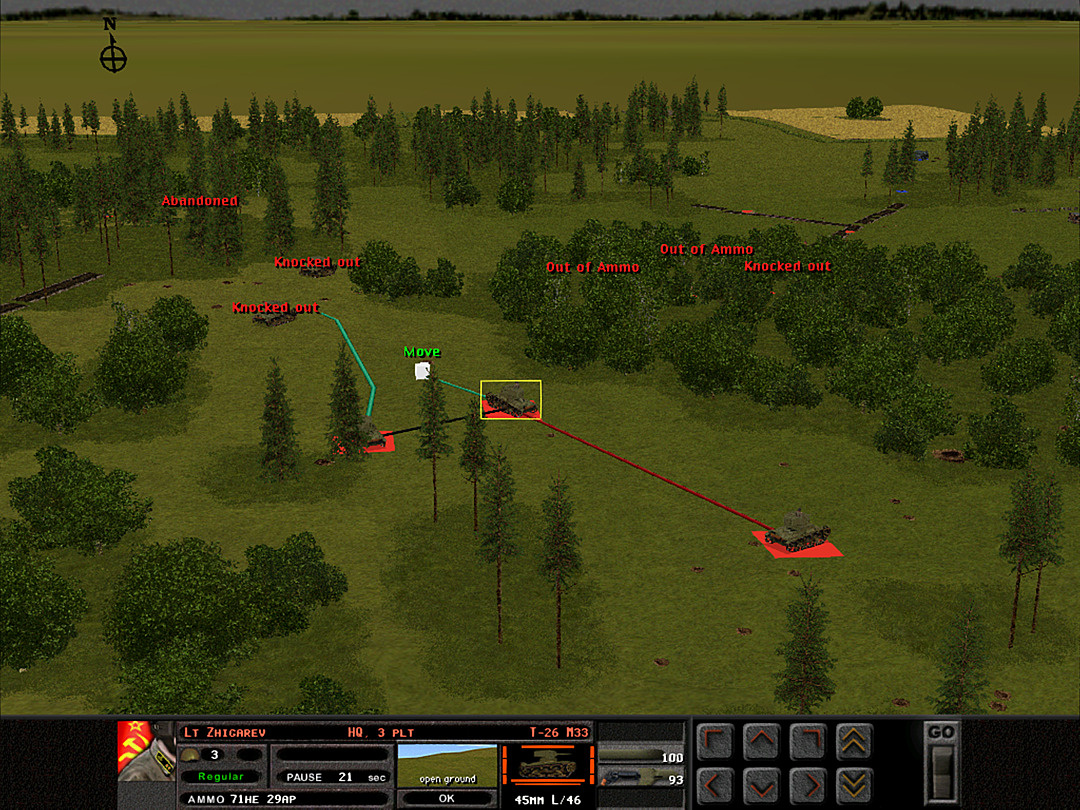 Something must be done to hold the ridge if the enemy really does have a strong force sneaking in; the last full platoon of tanks starts moving into a more defensive position to blunt any assault. 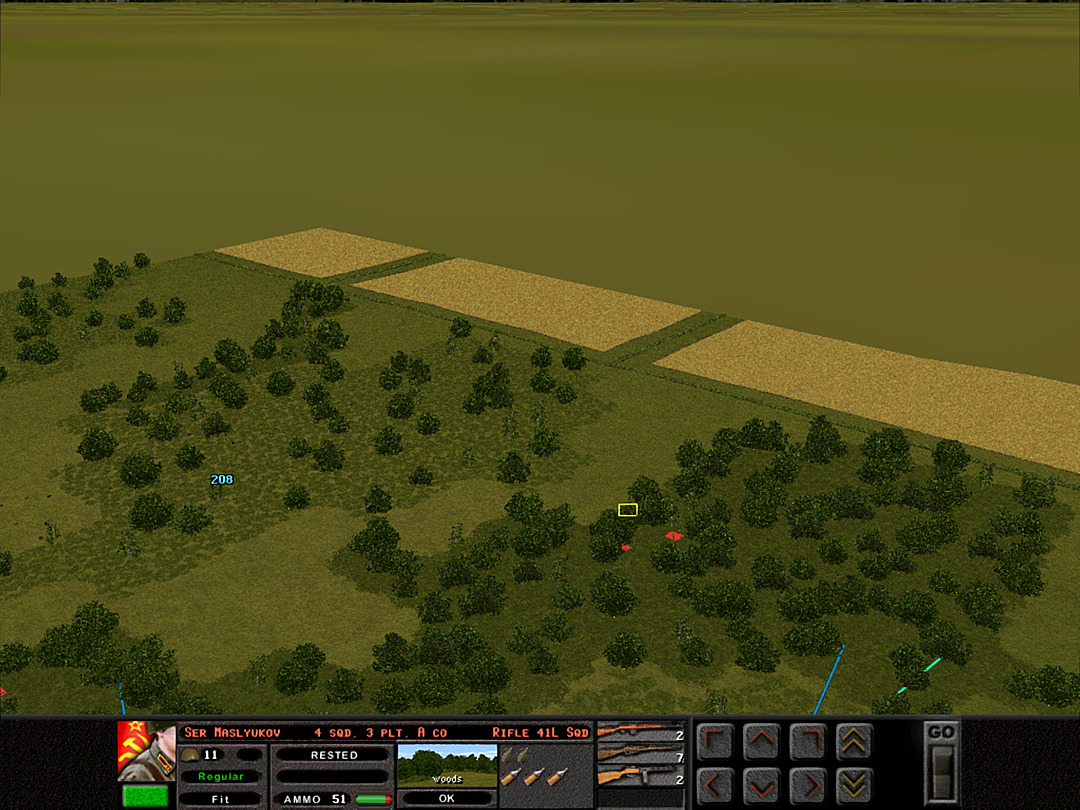 A Coy, 3 Plt has reached the edge of the dense forest. Still no sign of any defenders remaining on the ridge. 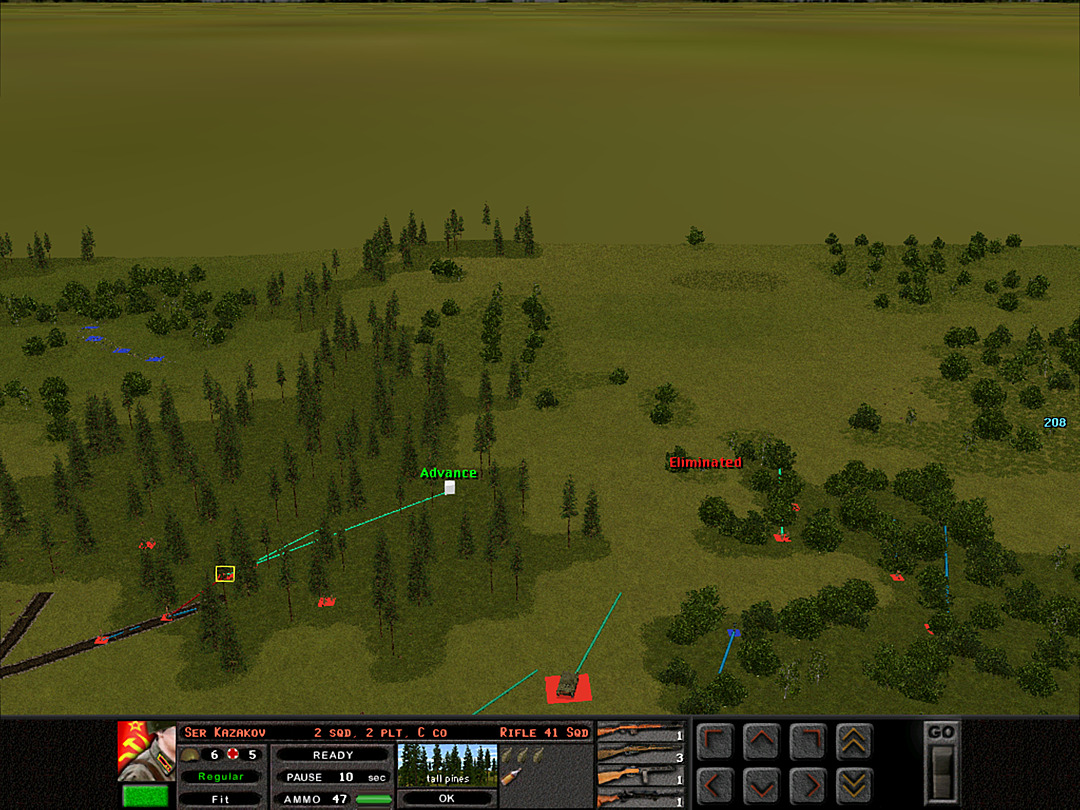 C Coy feels like it's moving through an empty forest as well. Perhaps we really did force a rout this morning. 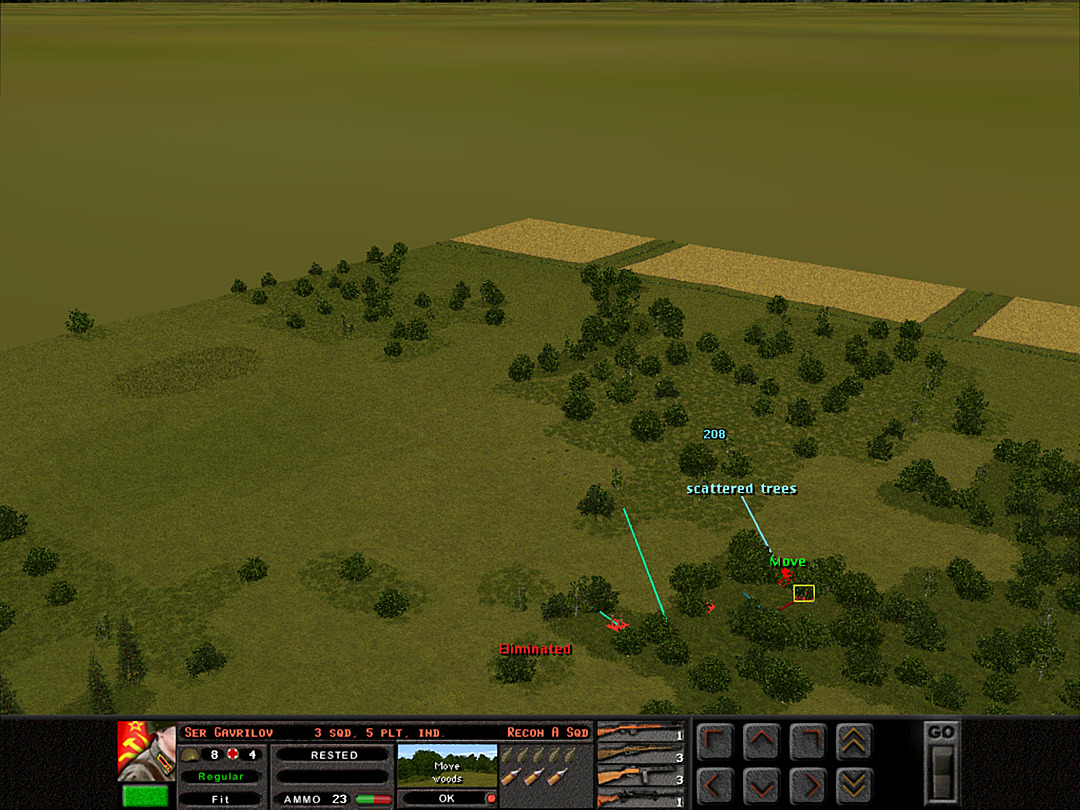 5 Plt prepares for one last charge, to take the final hill. 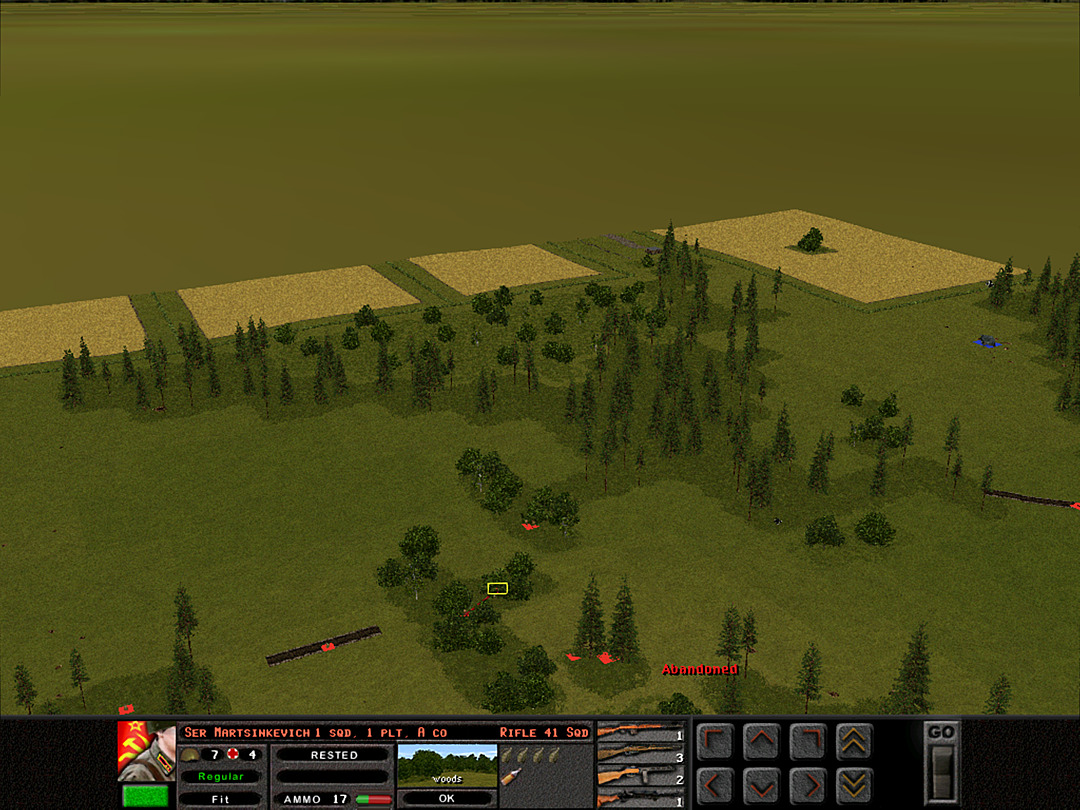 A Coy's "captain's platoon" in the middle has not spotted any activity in the north woods. It may be safer just to hold tight. 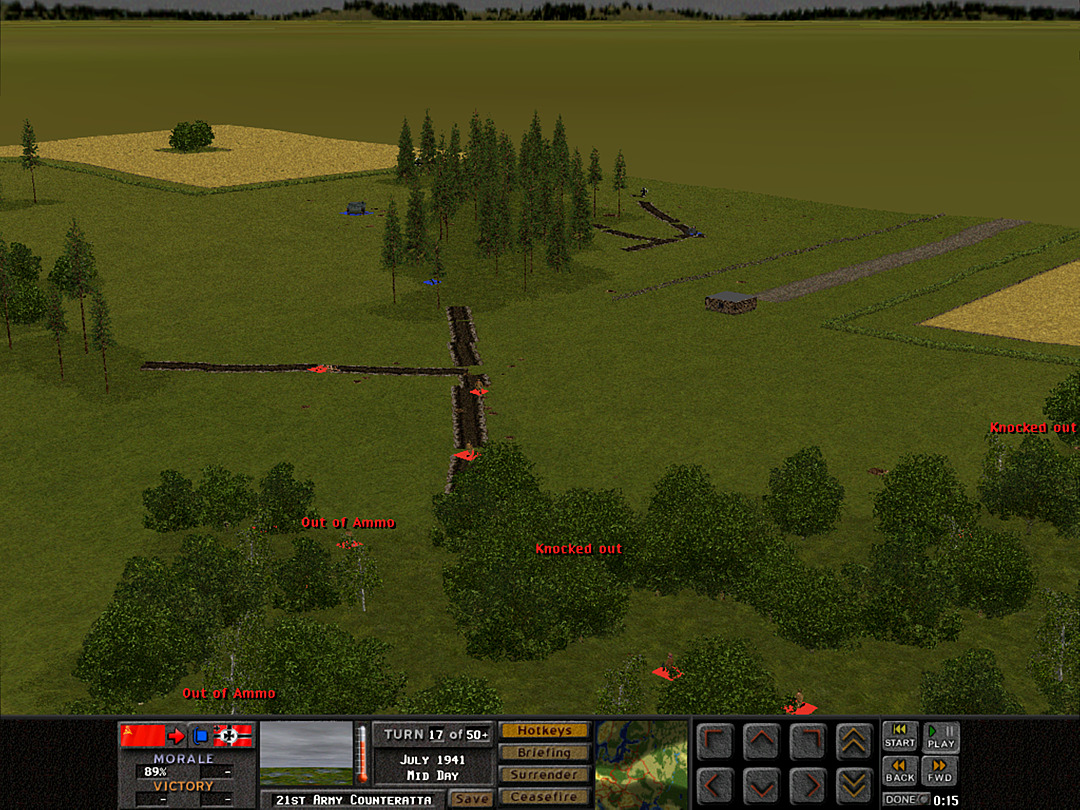 The situation on the northeast side remains unclear. The Stug isn't firing as frequently now, and no enemy squads are advancing towards us. 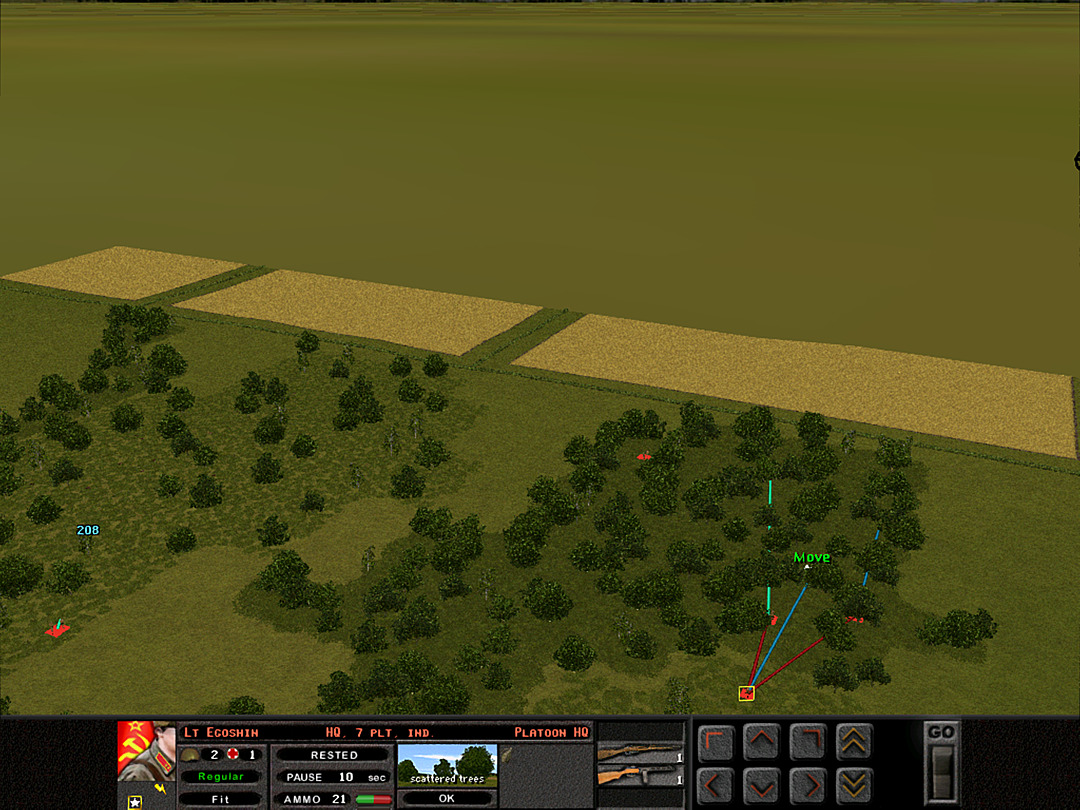 The Pioneers are checking all the way to the farmland beyond the ridge. If this side is secure, we can send more units to hold off anything coming at us from the northeast. 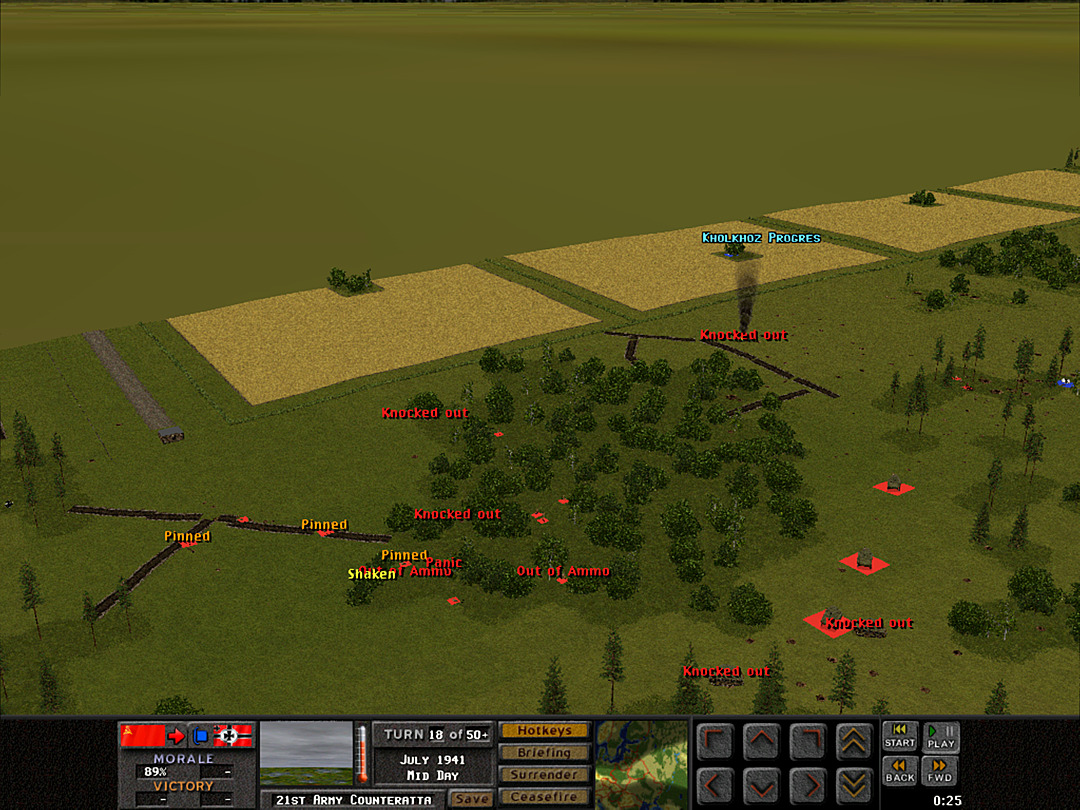 A Coy, 2 Plt tries to retreat from the trenches, but cannot move in any direction safely. 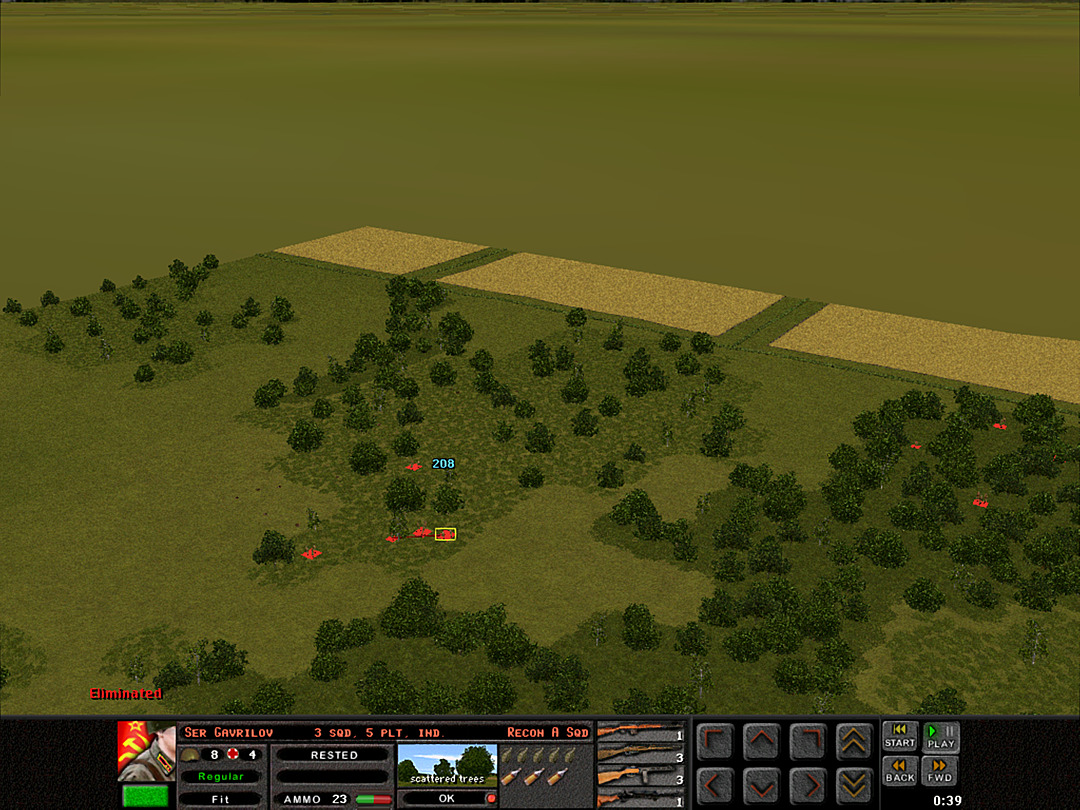 5 Plt takes the last high point. The ground appears undisturbed except by our own earlier artillery strike. 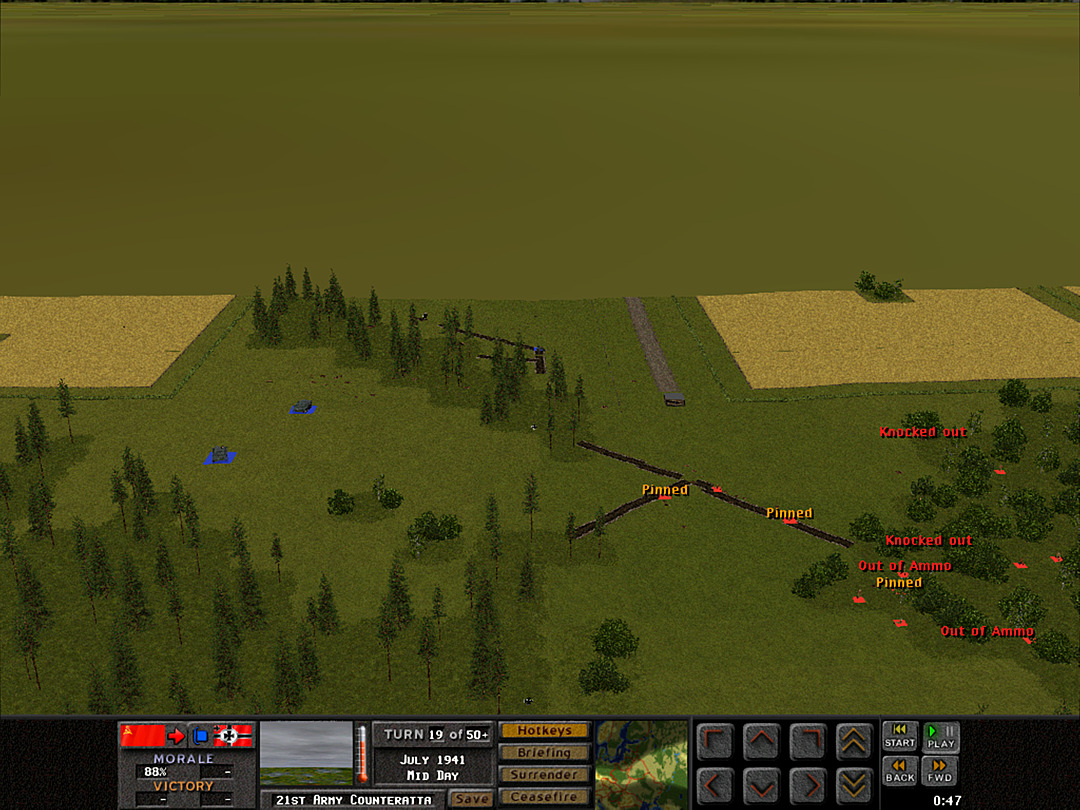 A second assault gun, that we had so far only heard moving behind the first one, rolls out. The Germans are on the move in the northeast. Unit Highlight T-26S Model 1937 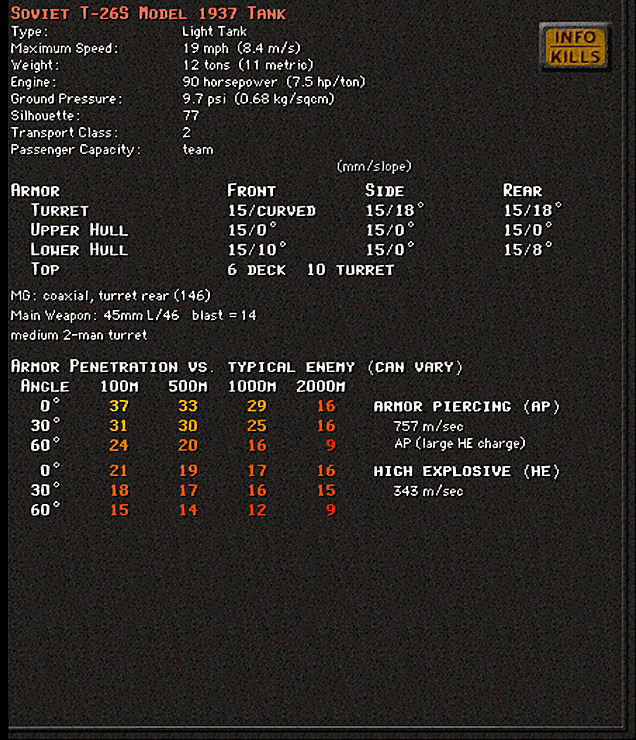 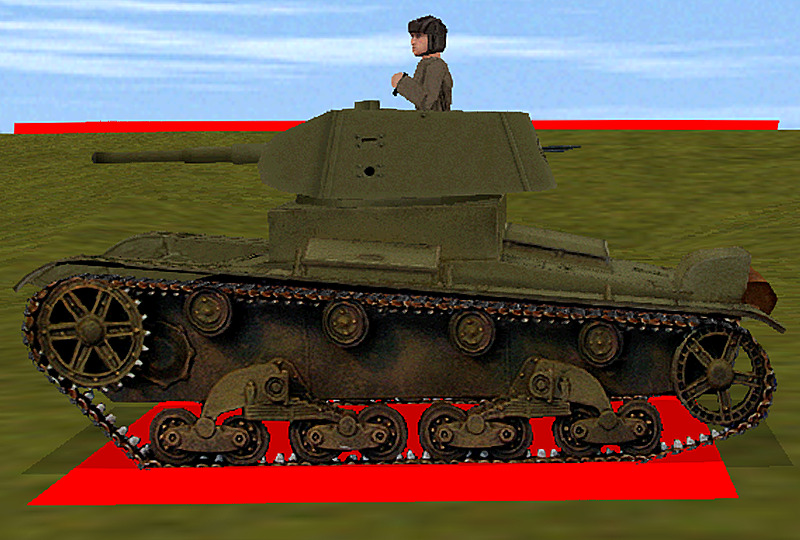 Crew: 3 Base Cost: 46 As far as I can tell this is just the '1938' model. While there had been some minor upgrades to the T-26 through the years, the biggest notable one was a new turret, added in 1938. The turret had a conical shape to provide a little extra protection for the same weight. The tank featured the same main gun as before, along with the rear-facing machine gun mount inside the turret. Nearly half of all T-26 tanks produced were of this model or later. However, by 1938 it was also apparent that this tank would not be as capable in the coming war as it had been in the previous conflicts, and newer designs were being favored for development by the Soviets. Kangra fucked around with this message at 06:48 on Feb 6, 2024 |
|
|
|

|
| # ? Apr 29, 2024 13:27 |
|
Operation 2, Battle 4 of 4 Battle Time: 0:20 We have full control of the ridge. However, there are two nigh-unstoppable German vehicles which are now moving towards us. 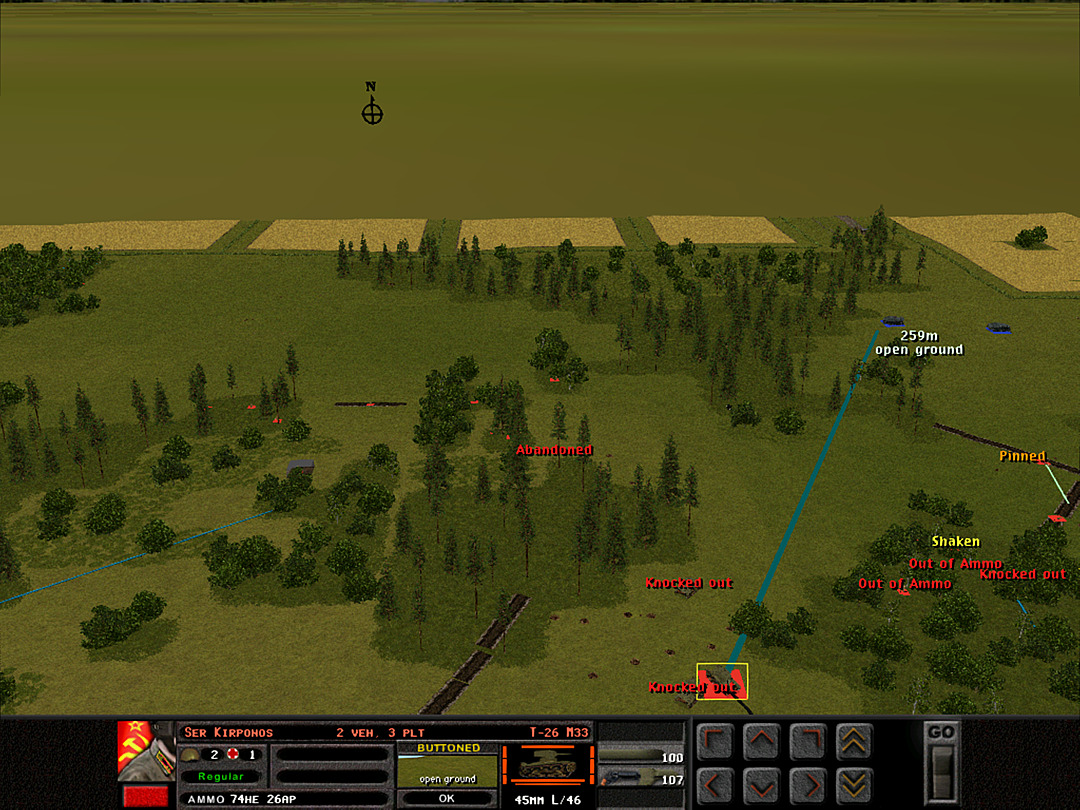 It appears that the Germans might have heard our own vehicles repositioning, and they are trying to get a bead on our tanks. 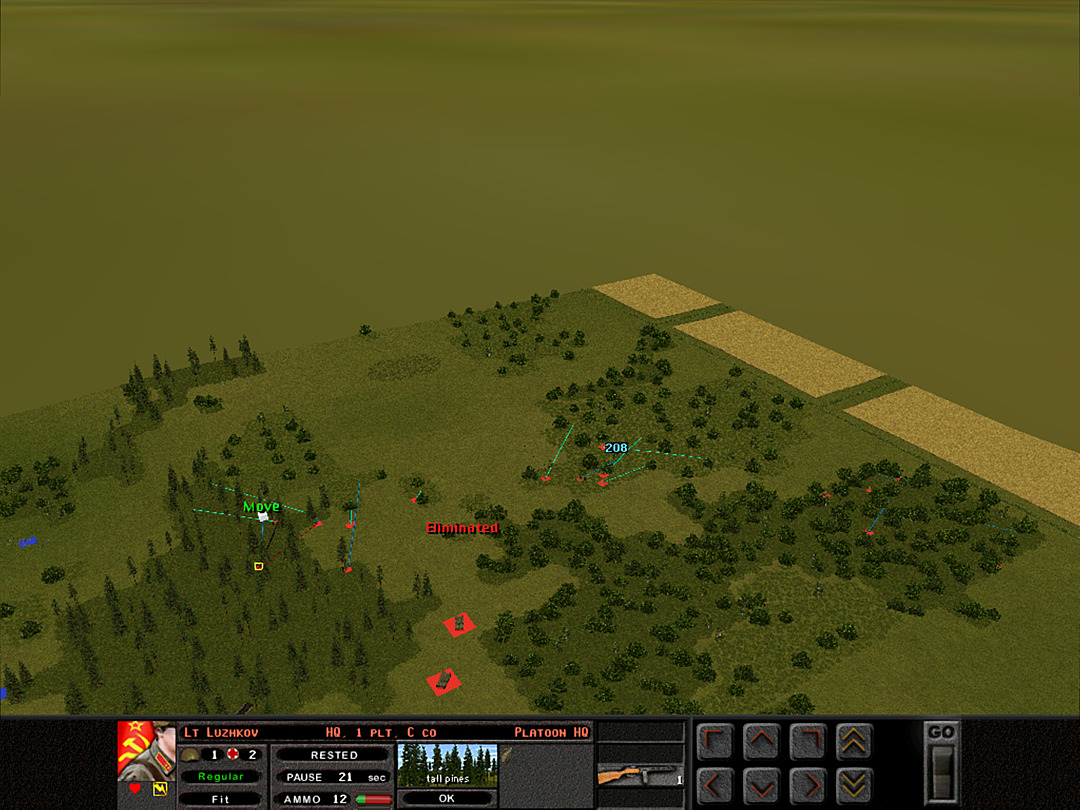 5 Plt will continue to scout the rest of the woods, just to ensure no enemy forces remain in the area. C Coy is nearly done with its task of clearing the southwest approach to the ridge. 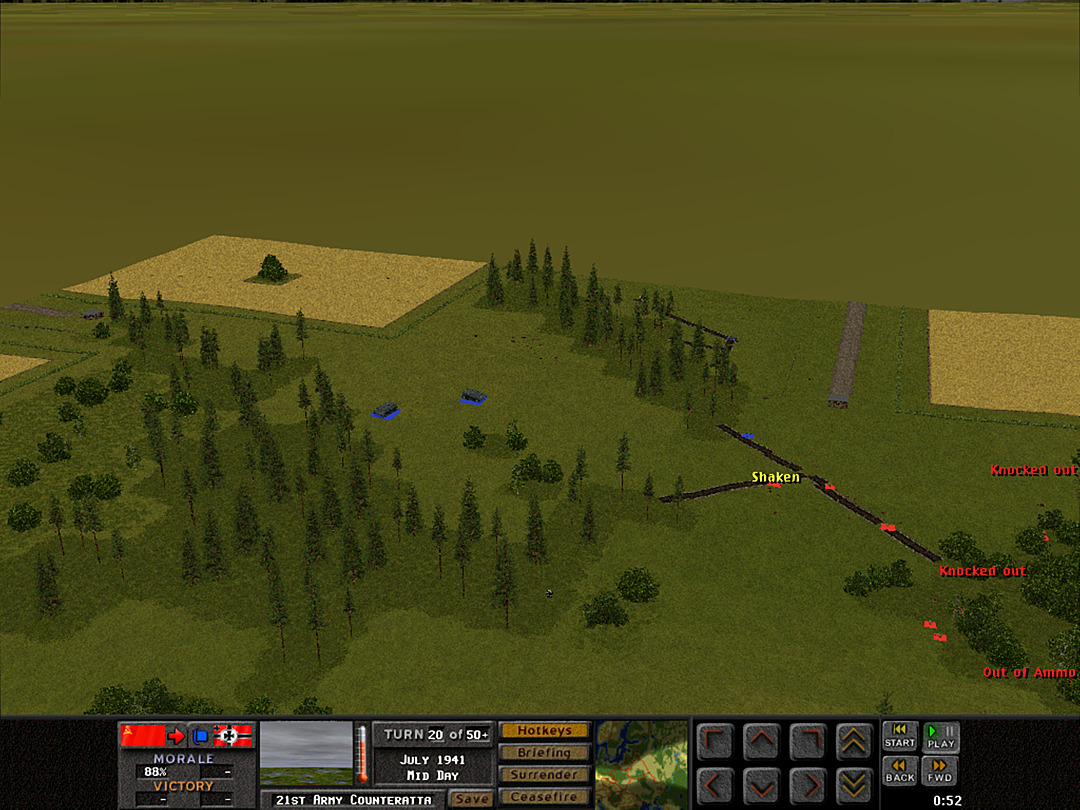 After the Stugs repositioned, the Germans once again push their squad toward the trench. We're pulling our own forces out of there, if possible. We do not need to control the trench; we just need to hold the ridge. 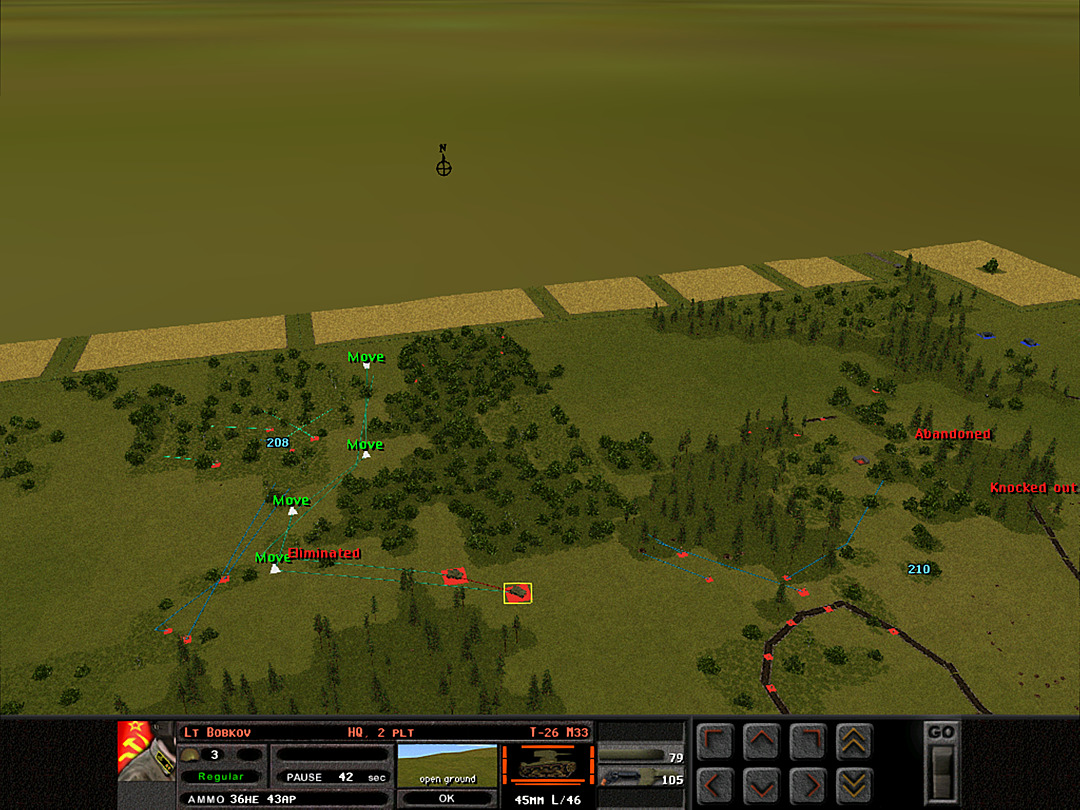 Assuming no hidden danger is discovered on the ridge, the tanks of 2 Plt will make it through to the farmland in the north. 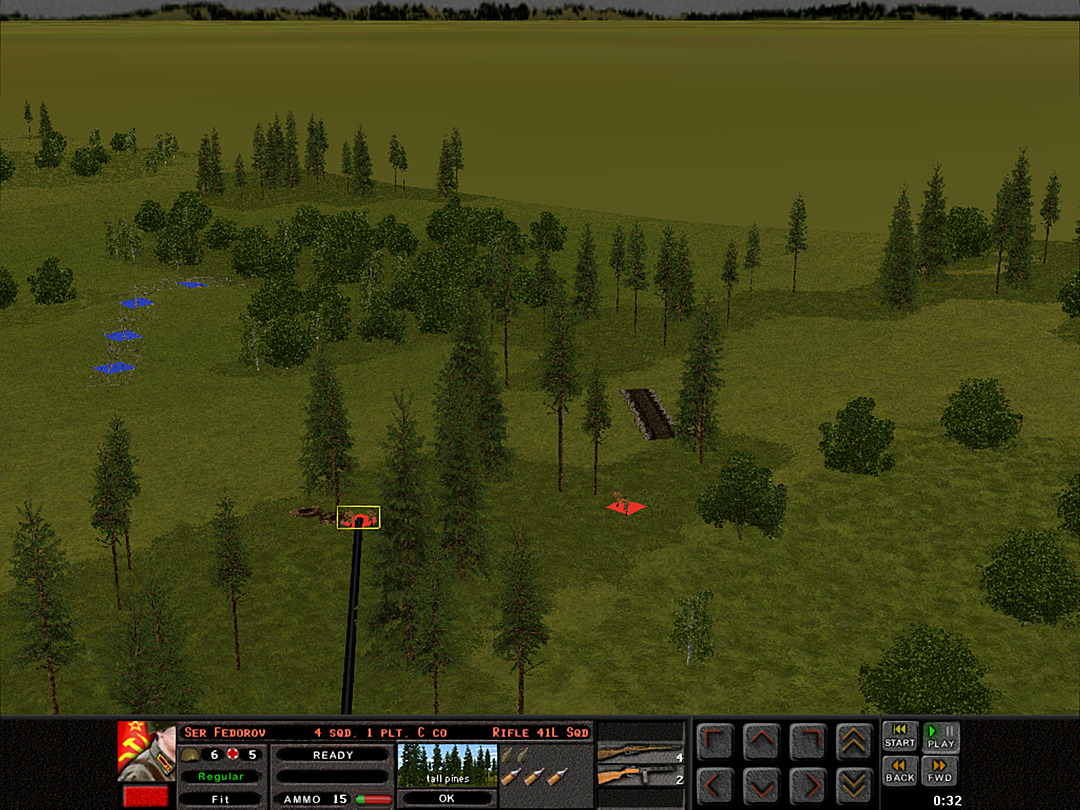 C Coy finds some empty foxholes, and an apparently abandoned trench, on the west edge of the woods. One platoon will investigate it. 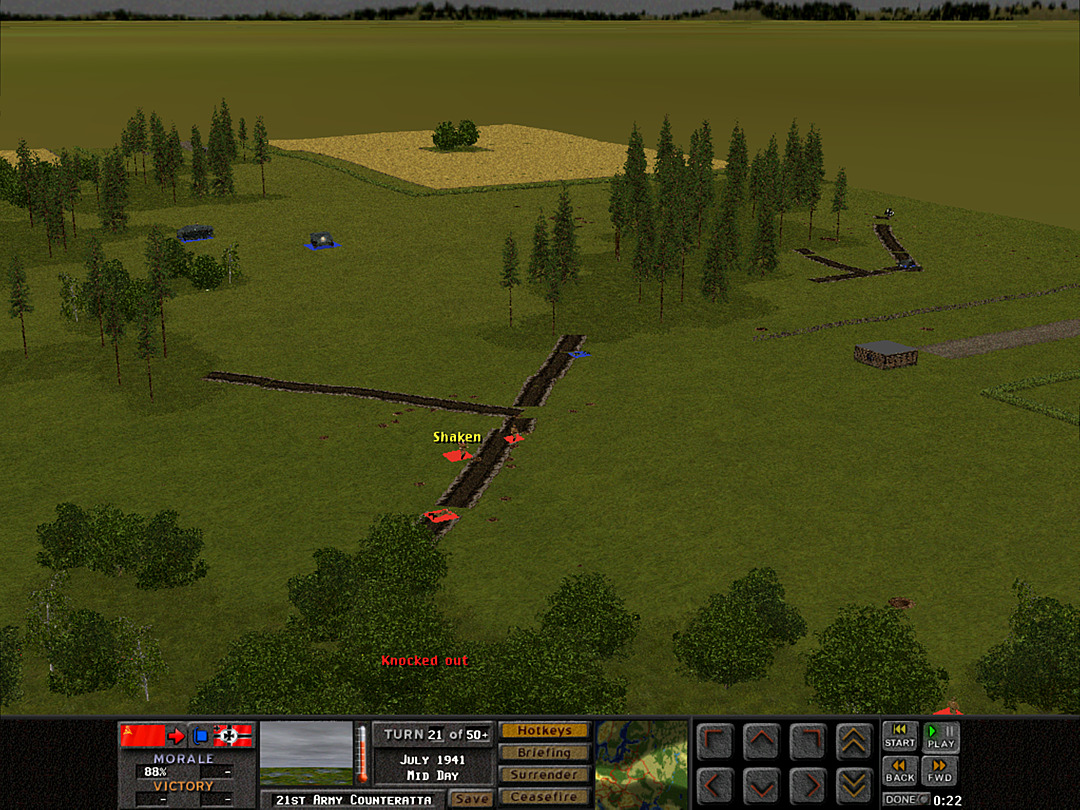 We're running into some difficulty in recalling A Coy, 2 Plt from the northwest trench. They are stuck in full view of the two German AFVs, and coming under continuous high-explosive fire. 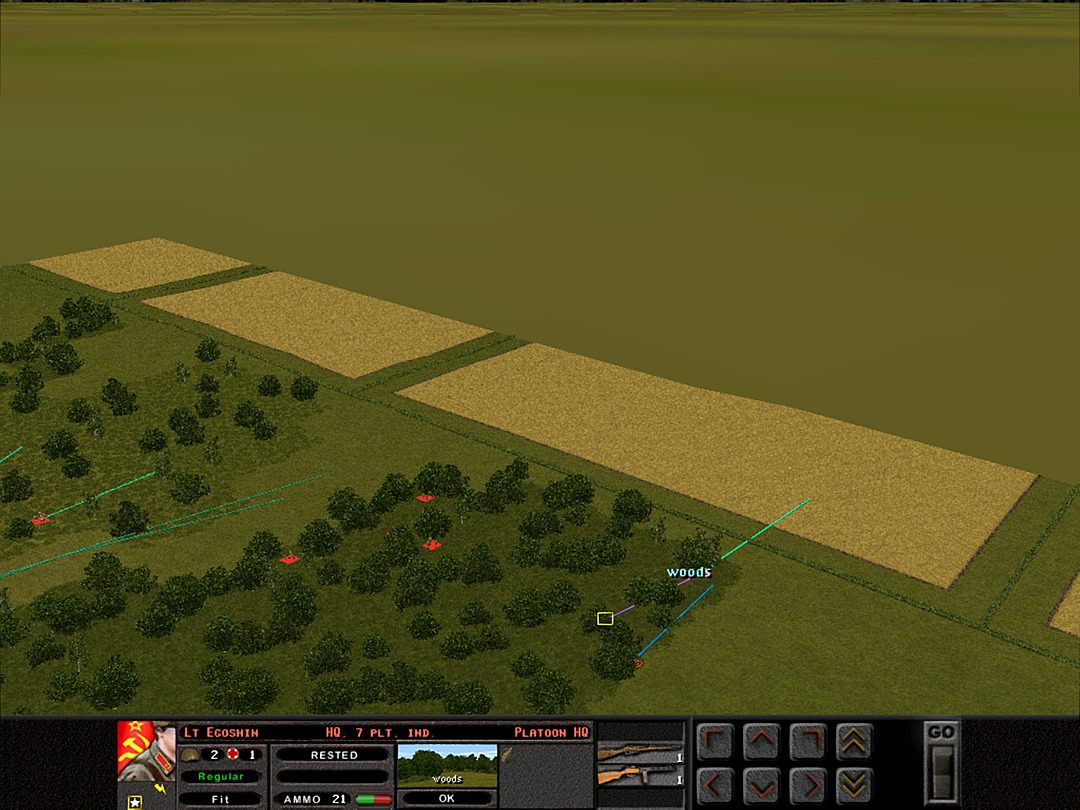 The Pioneers and the last platoon from A Coy are about ready to circle around on the north side. They'll make their way through the tall summer grass for concealment. 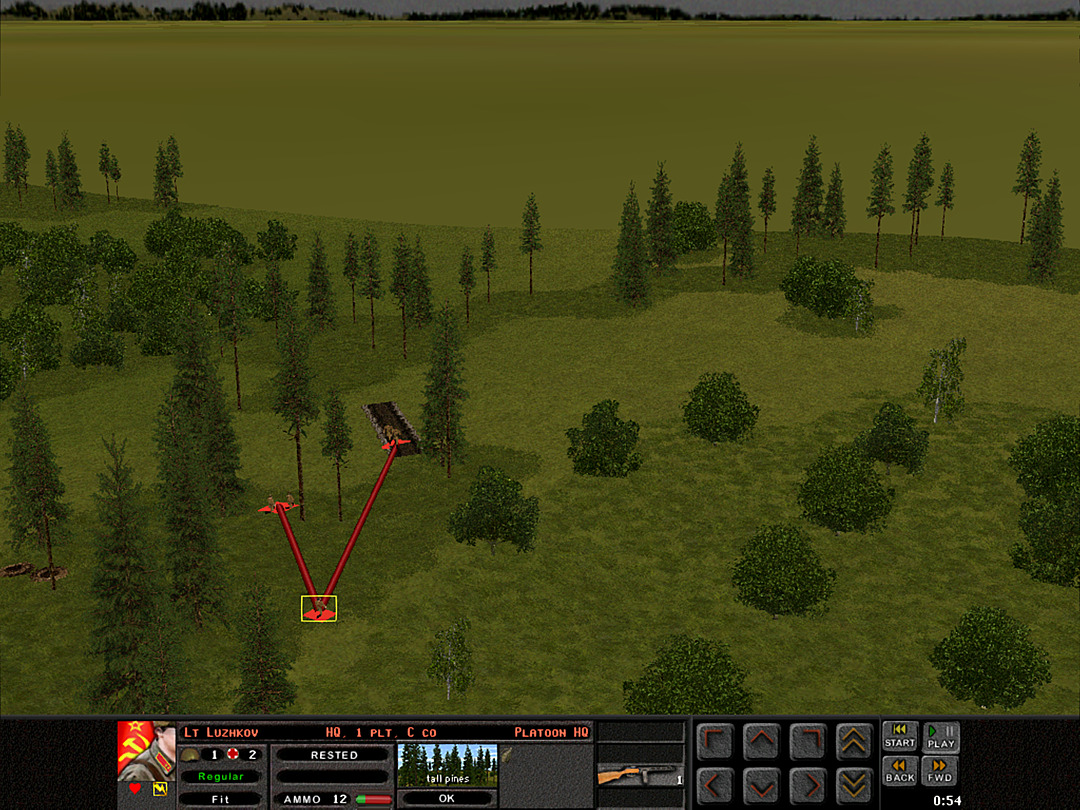 No enemies are spotted in the western trench. 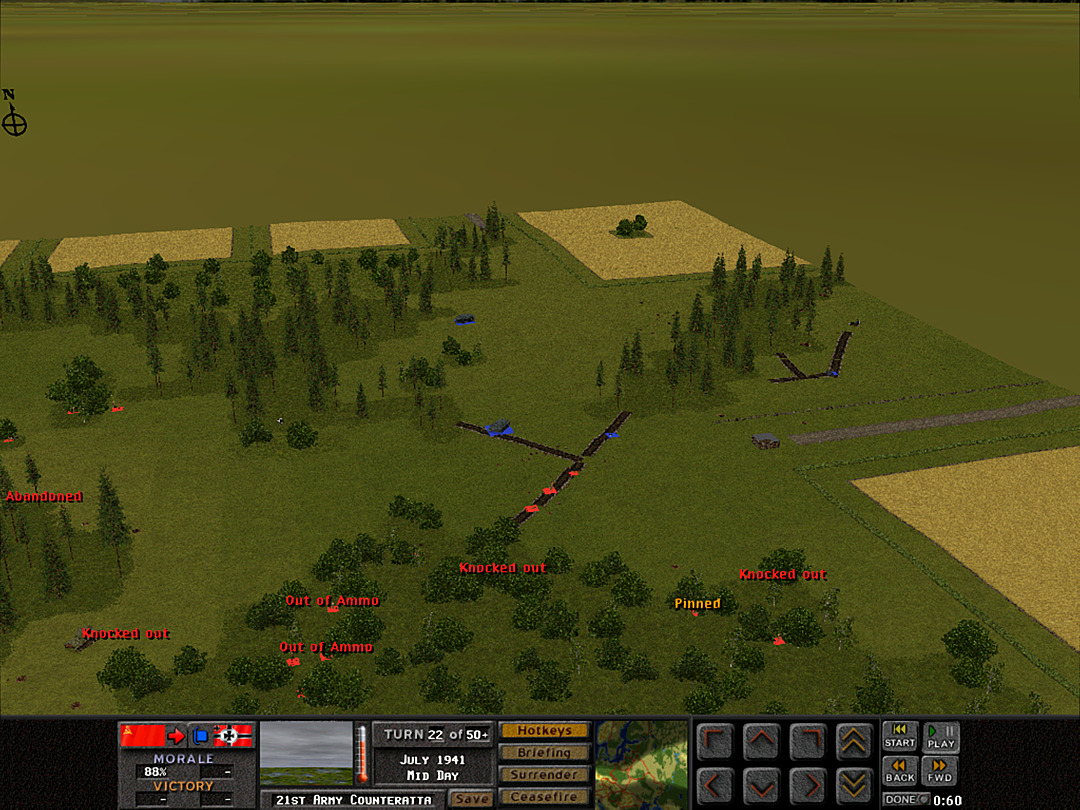 One Stug drives forward at our line. We can do nothing to stop it. 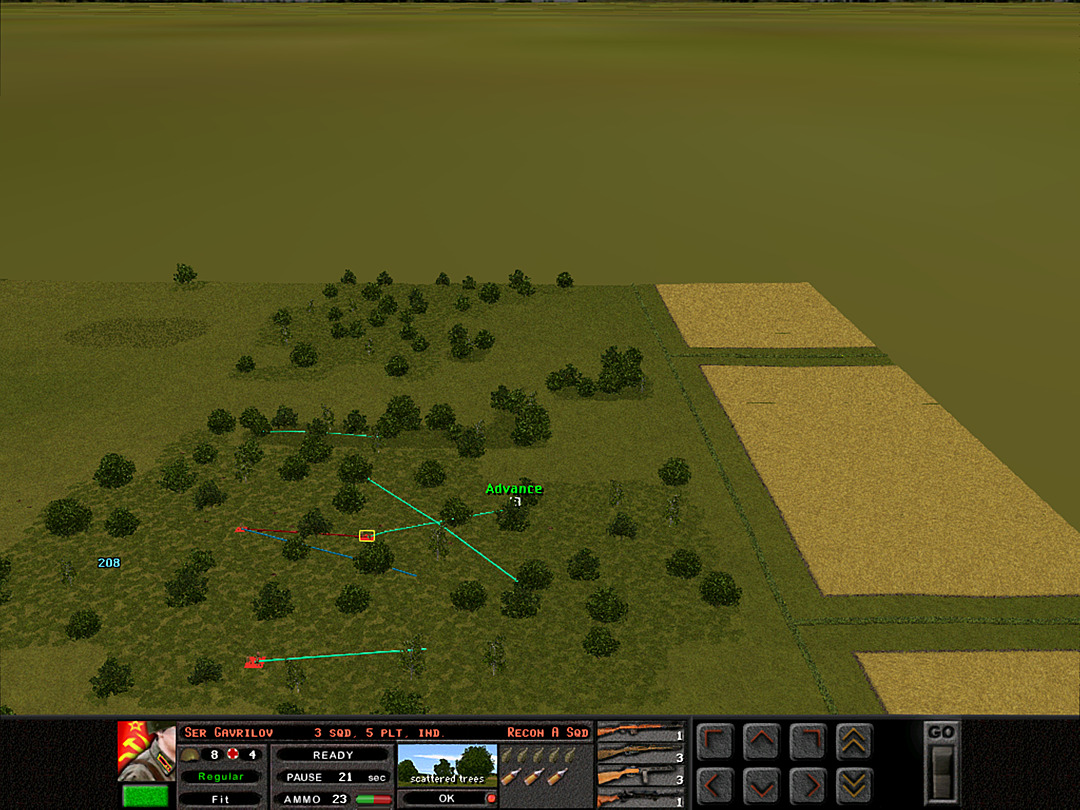 The recon troops in the lightly wooded end of the ridge continue their sweep. No contacts are reported. 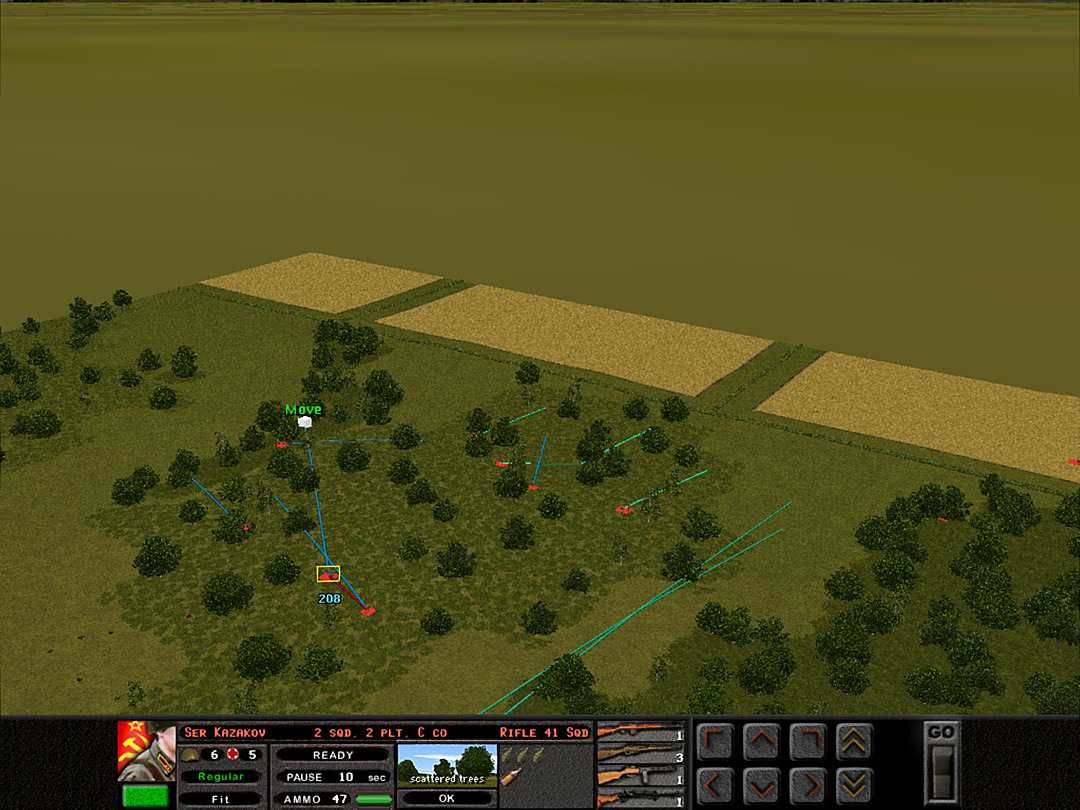 C Coy will be charged with remaining on top of this end of the ridge, although we expect no opposition. 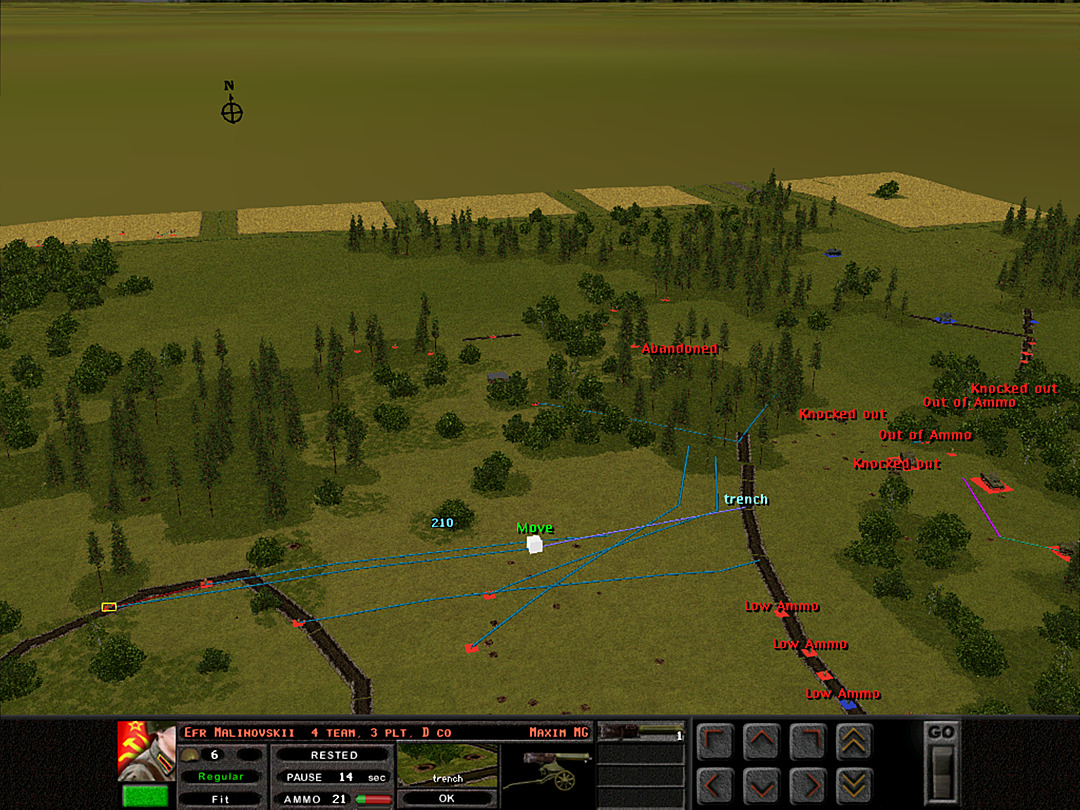 Our other units are repositioning to hold off the potential attack coming from the northeast. 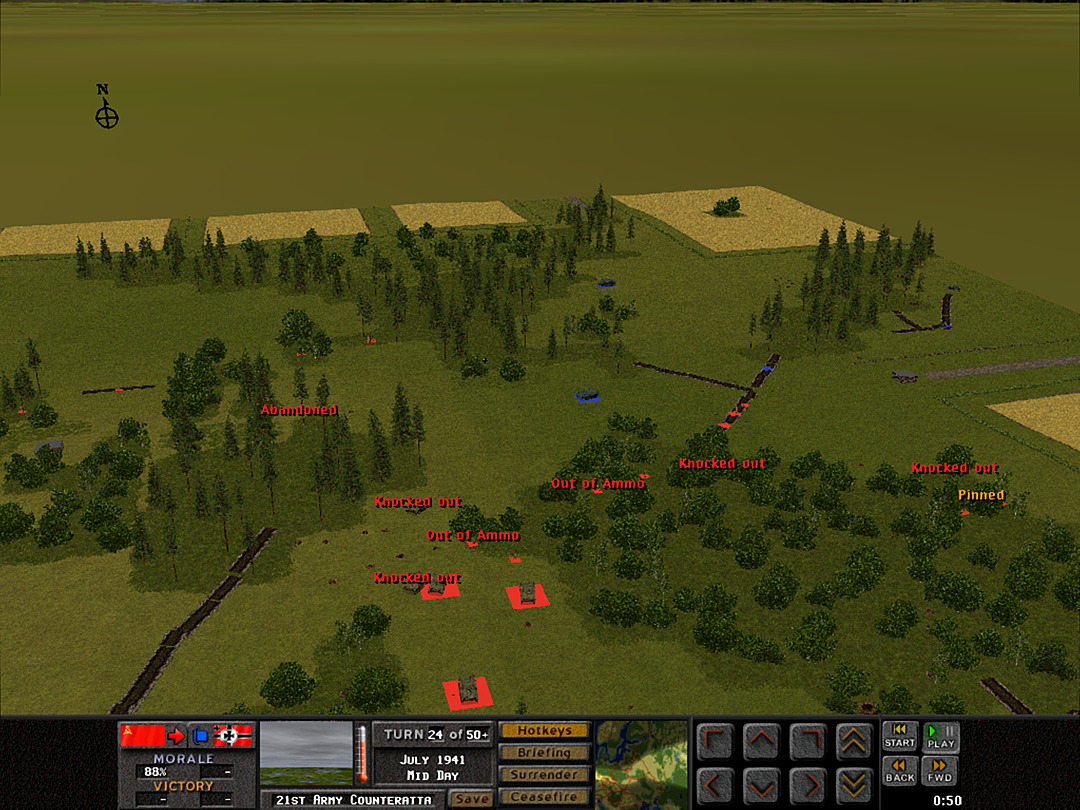 The lead Stug crosses the trench and rolls onward. 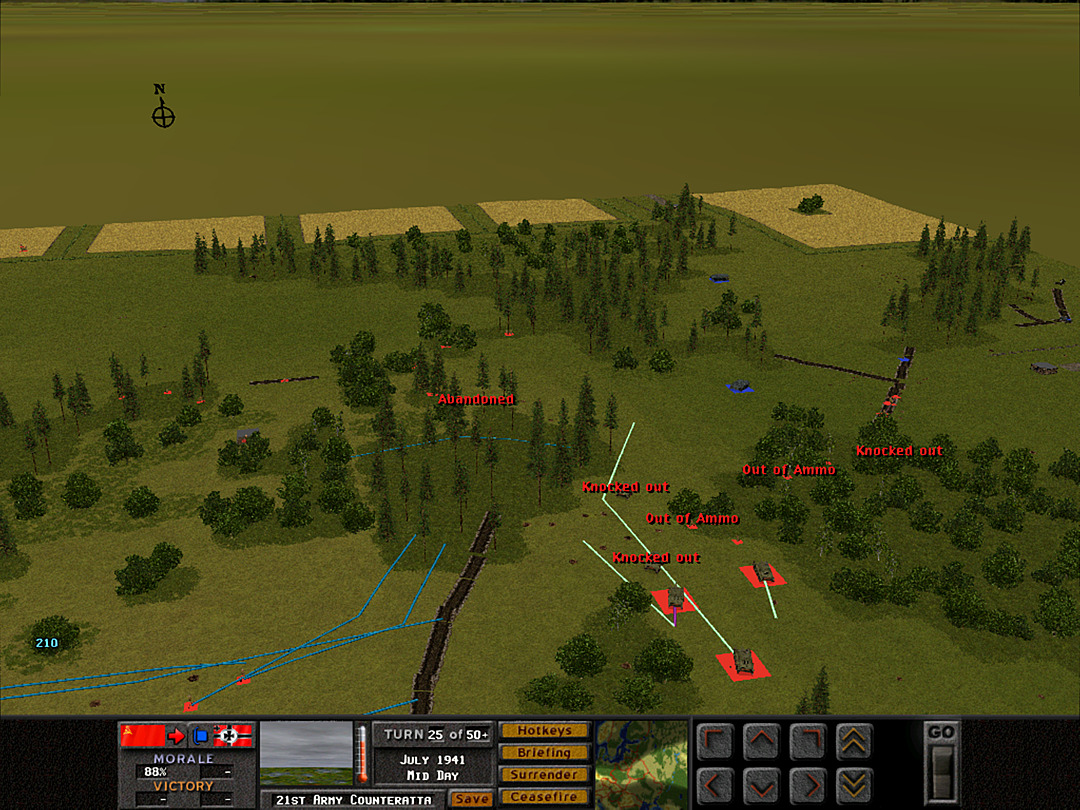 We have one desperate ploy to deal with the assault gun. If we rush two of our own tanks forward, they might be able to get around to its side or rear. At this point-blank range, they'd stand a decent chance of penetrating its armor. 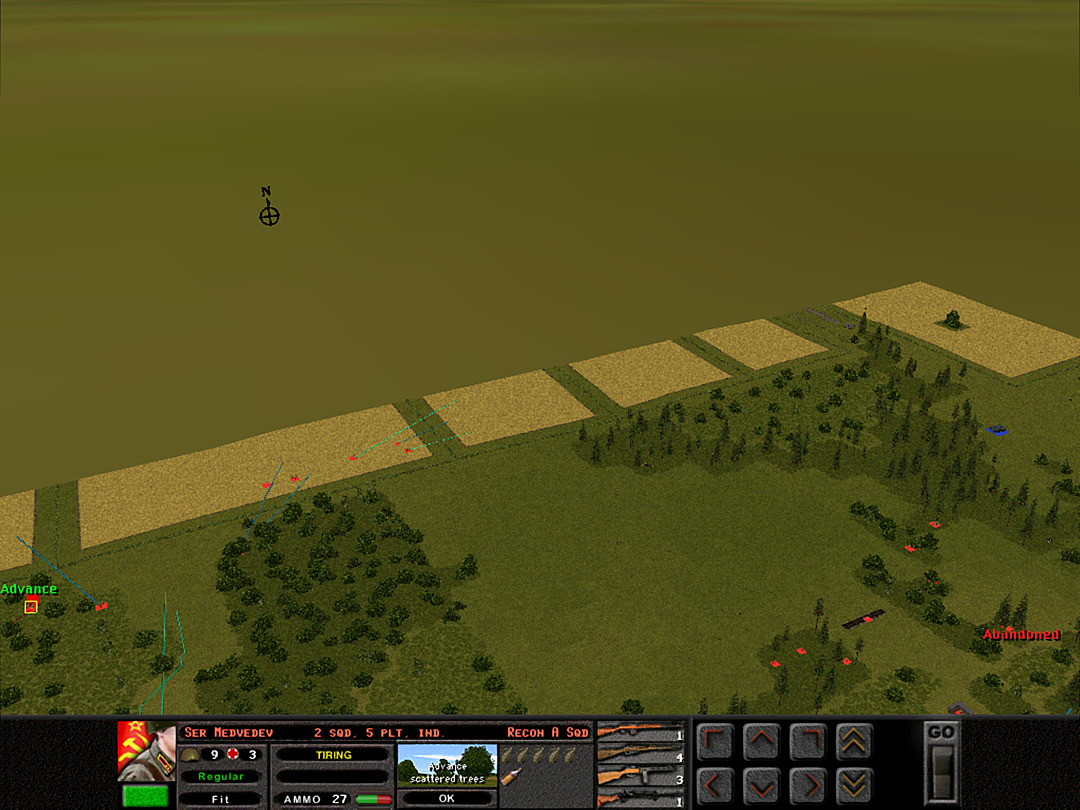 The northern farmland appears to be clear so far. 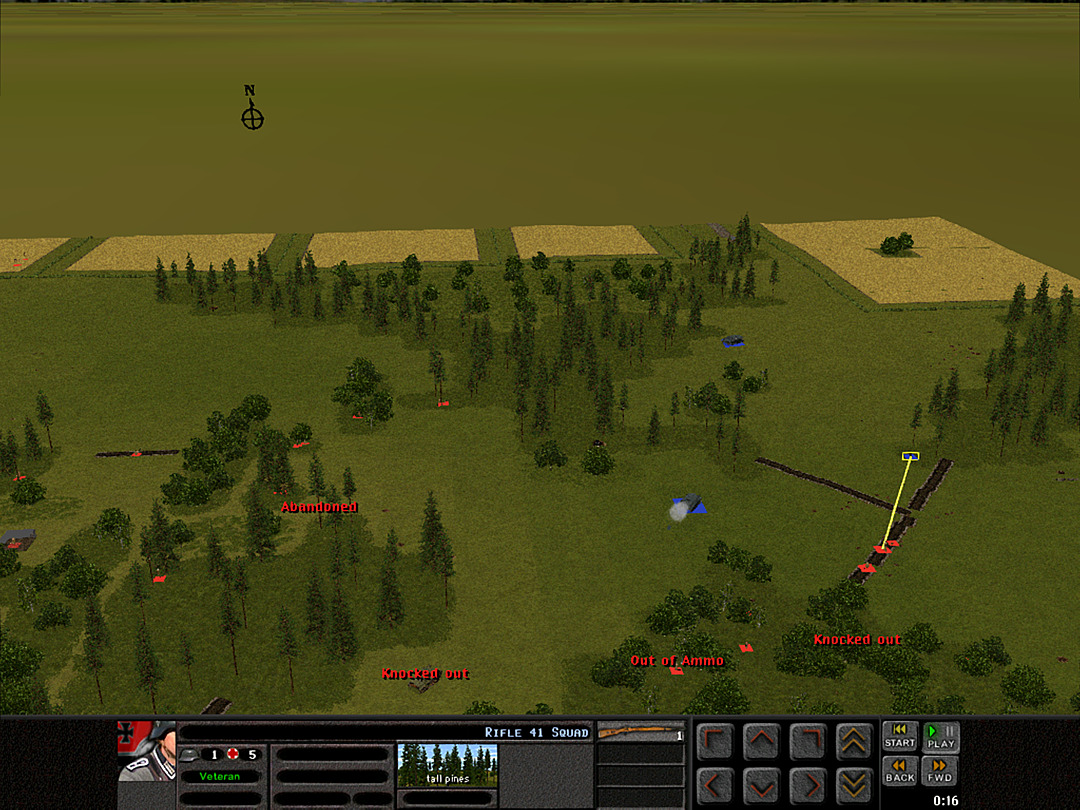 By now, we've had a good chance to observe the German infantry in the woods in the northeast. This unit has been reduced to its last man, and they don't appear to have any other squads to support him. At the same time, the Stug has started firing its main gun at our tanks through the trees. 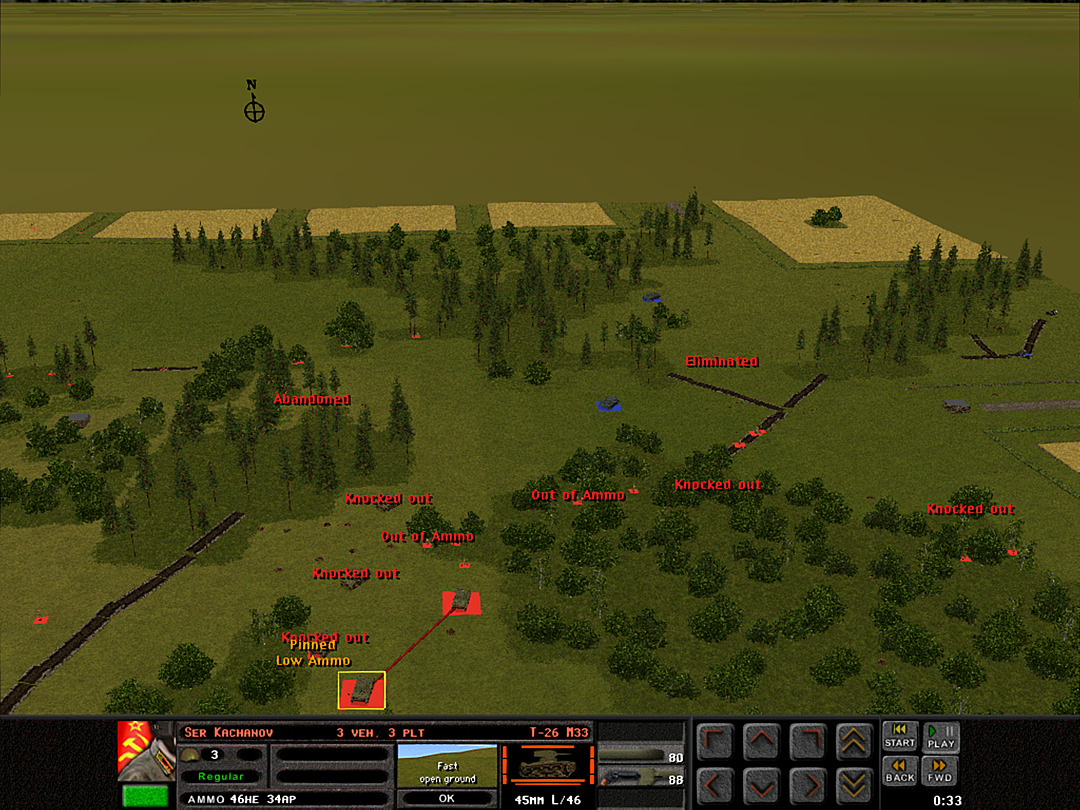 We had no time to put our plan into action. One T-26 is lost before it can even get in gear. 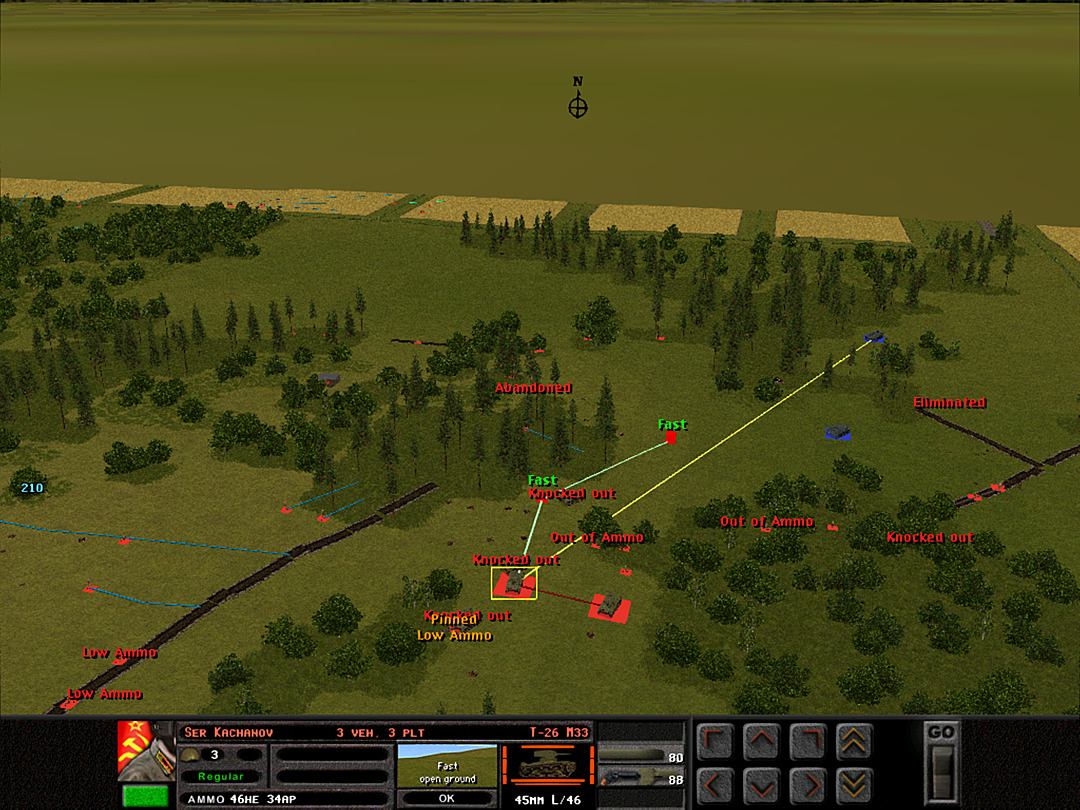 It turns out that both Stugs were able spot them. We may well lose another tank before it can get away. 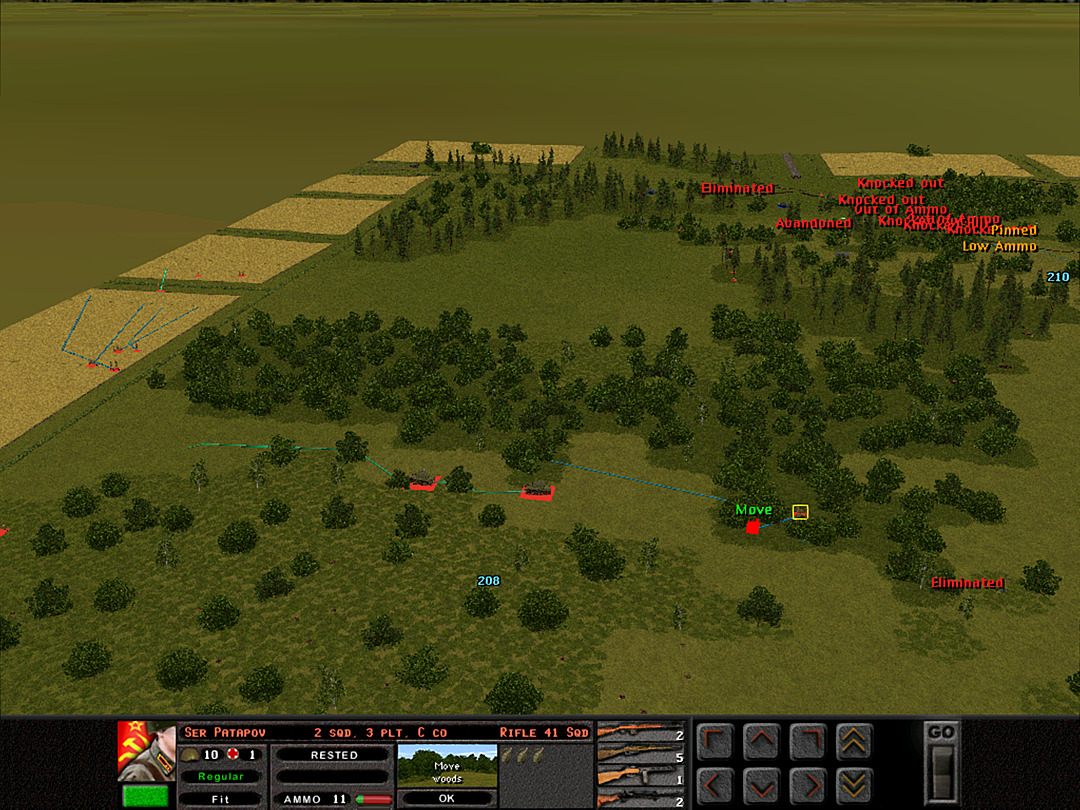 The west side does look to be entirely under our control. The tanks of 2 Plt will be able to roll around to the north of the ridge. 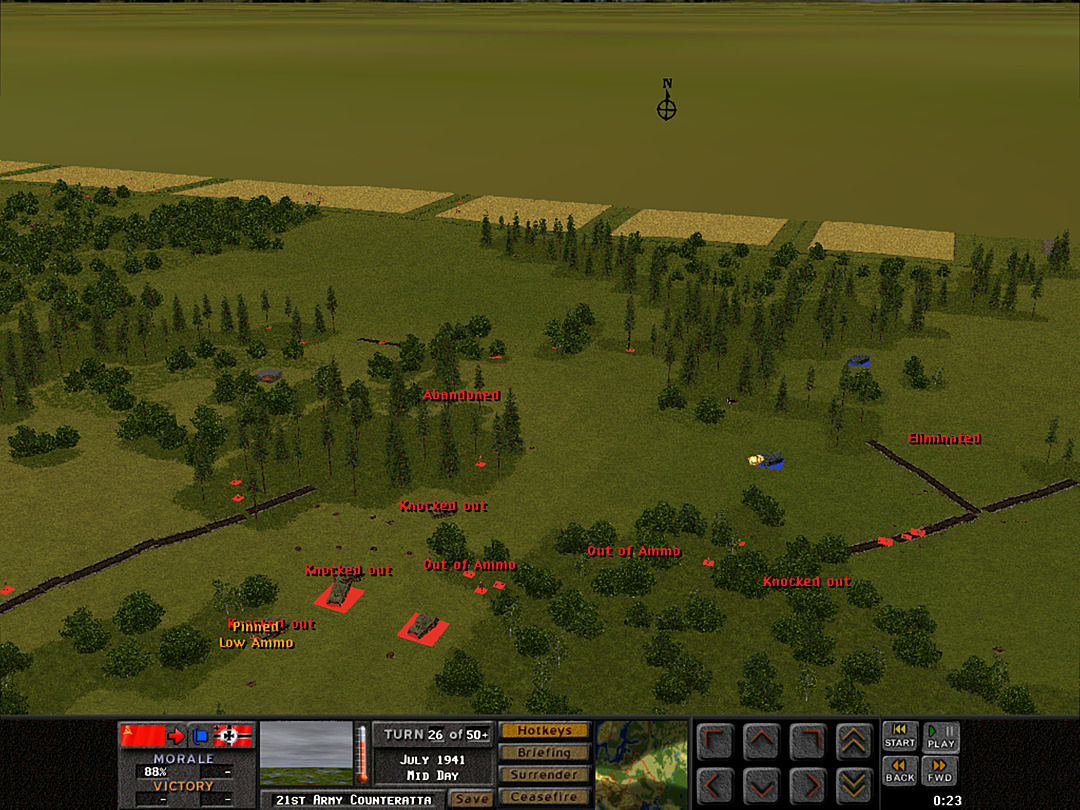 The first shot against the second tank of 3 Plt misses the mark. 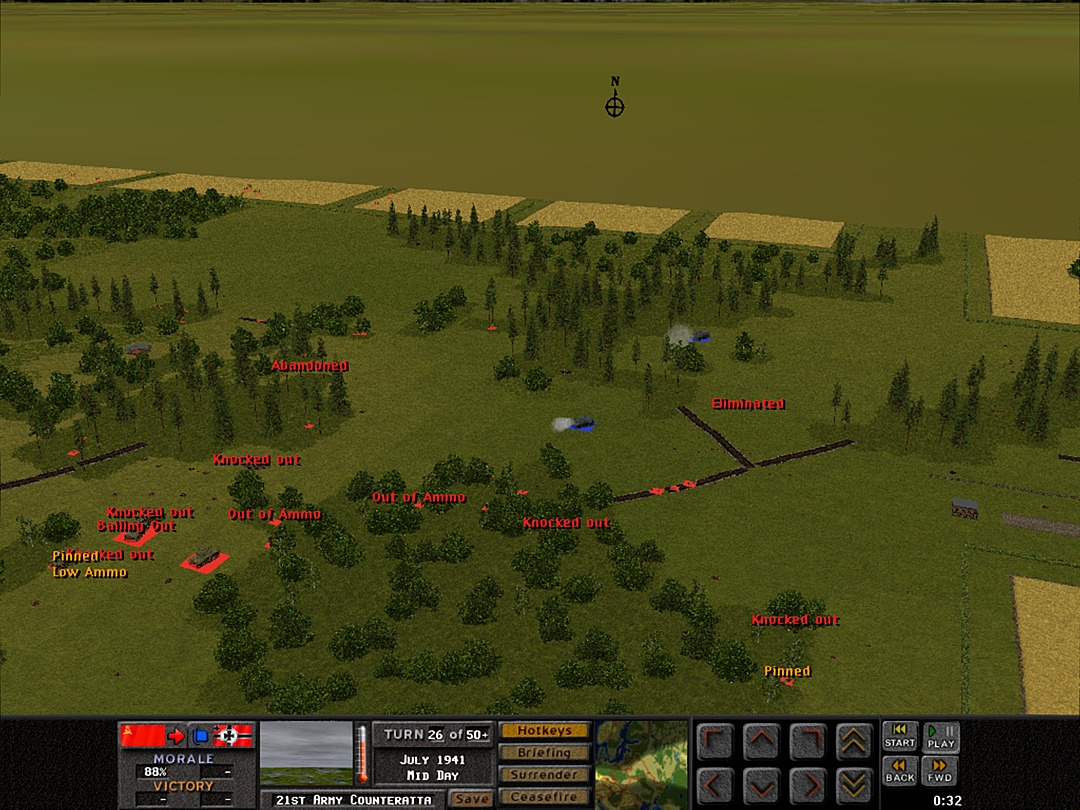 But with two heavy guns firing at such close range, it, too, is knocked out within seconds. 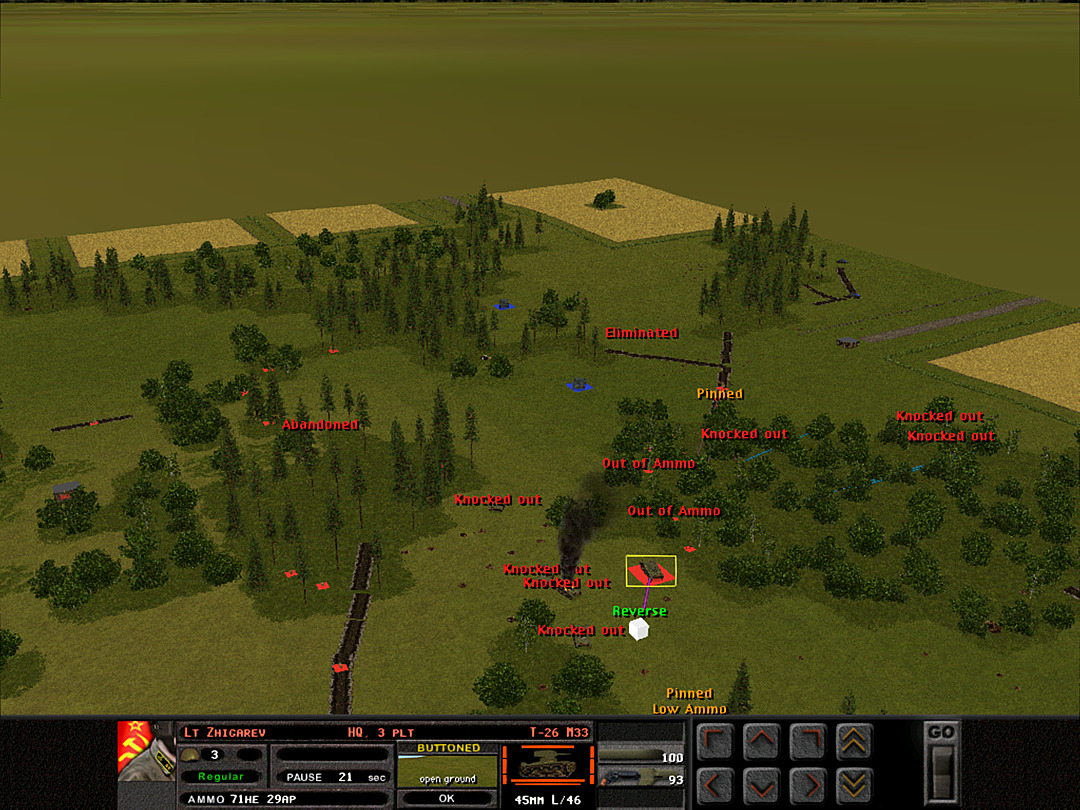 We're down to just one tank on the east side. It begins to retreat. 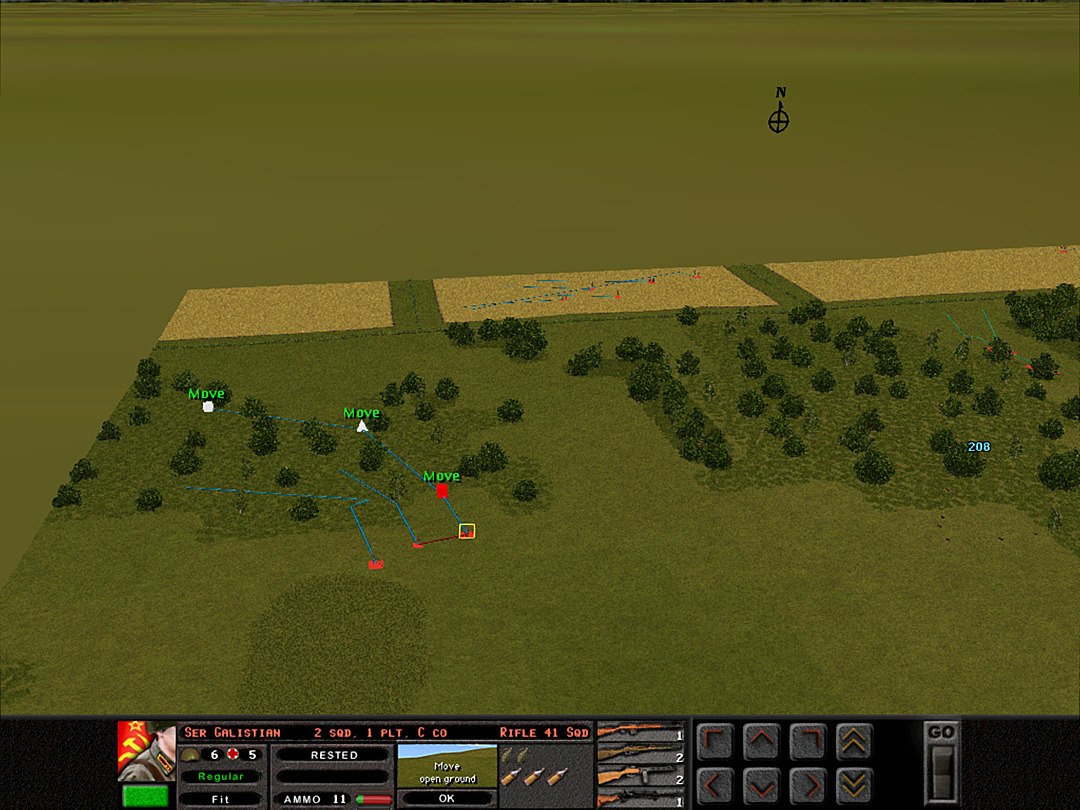 Almost as an exercise, another platoon of C Coy is sent to sweep the last patch of trees beyond the ridge. 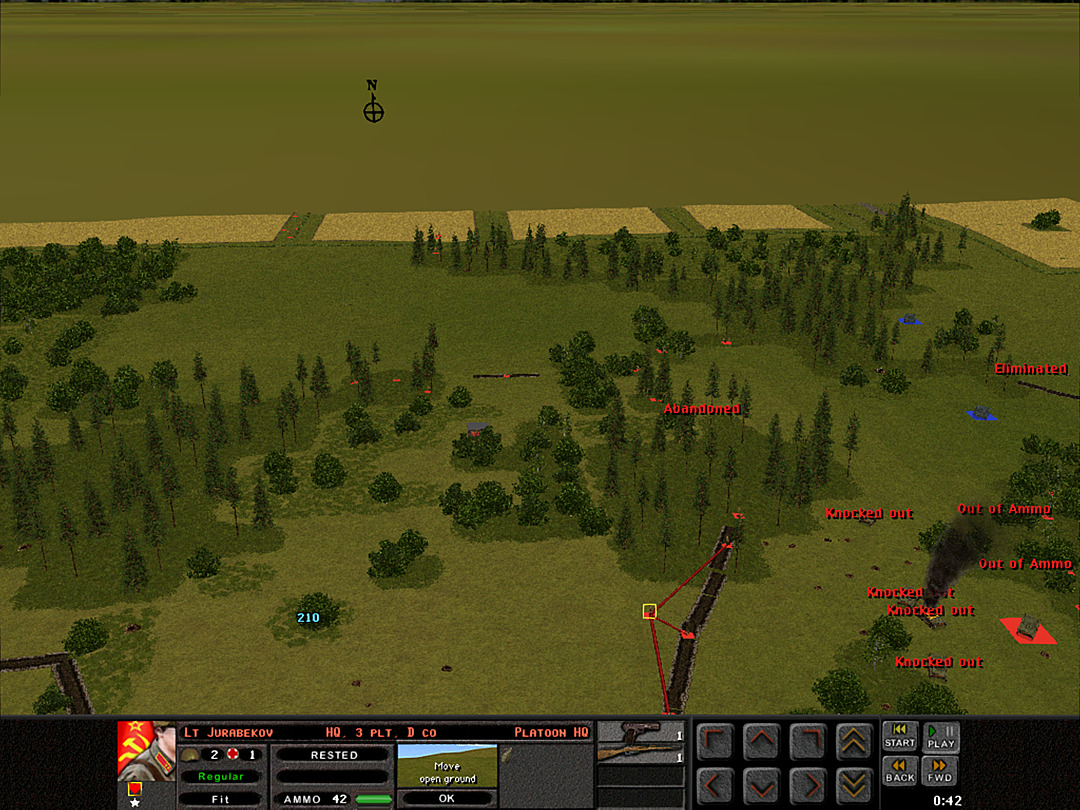 Even if we cannot stop the Stugs, we can at least put enough targets in their way to make it impossible for them to gain control of the ridge. 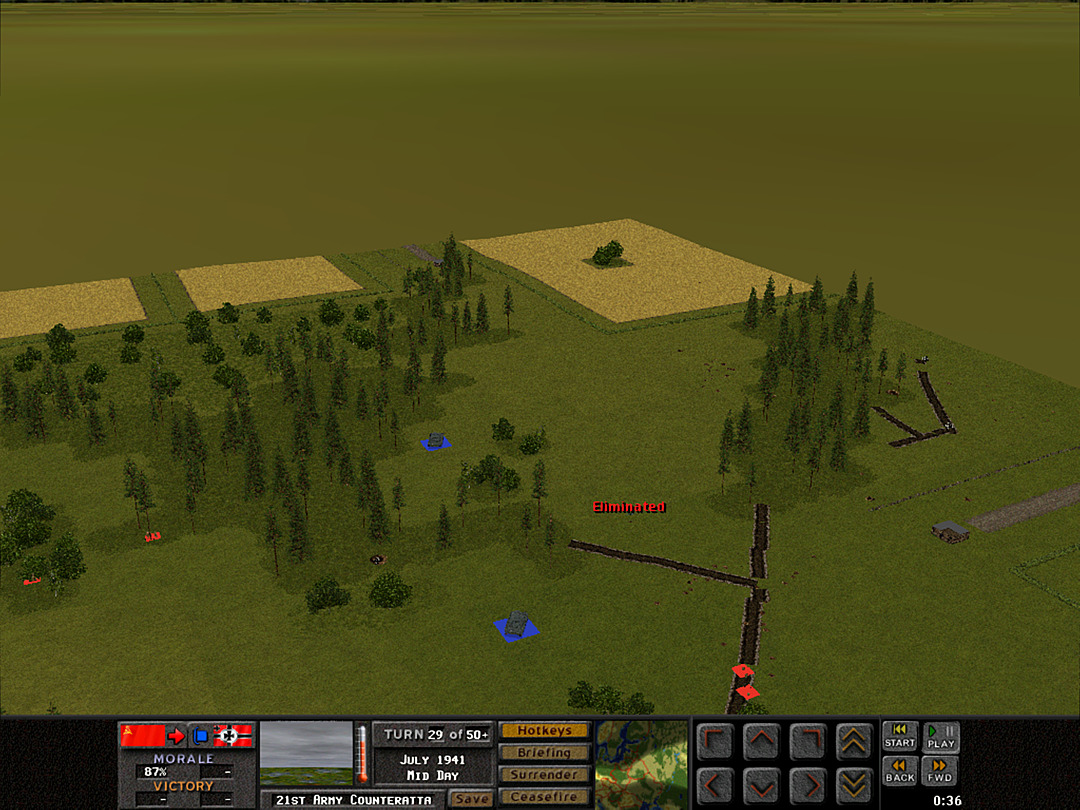 Seemingly satisfied with knocking out two of our own vehicles, the Stugs halt their advance for the moment. 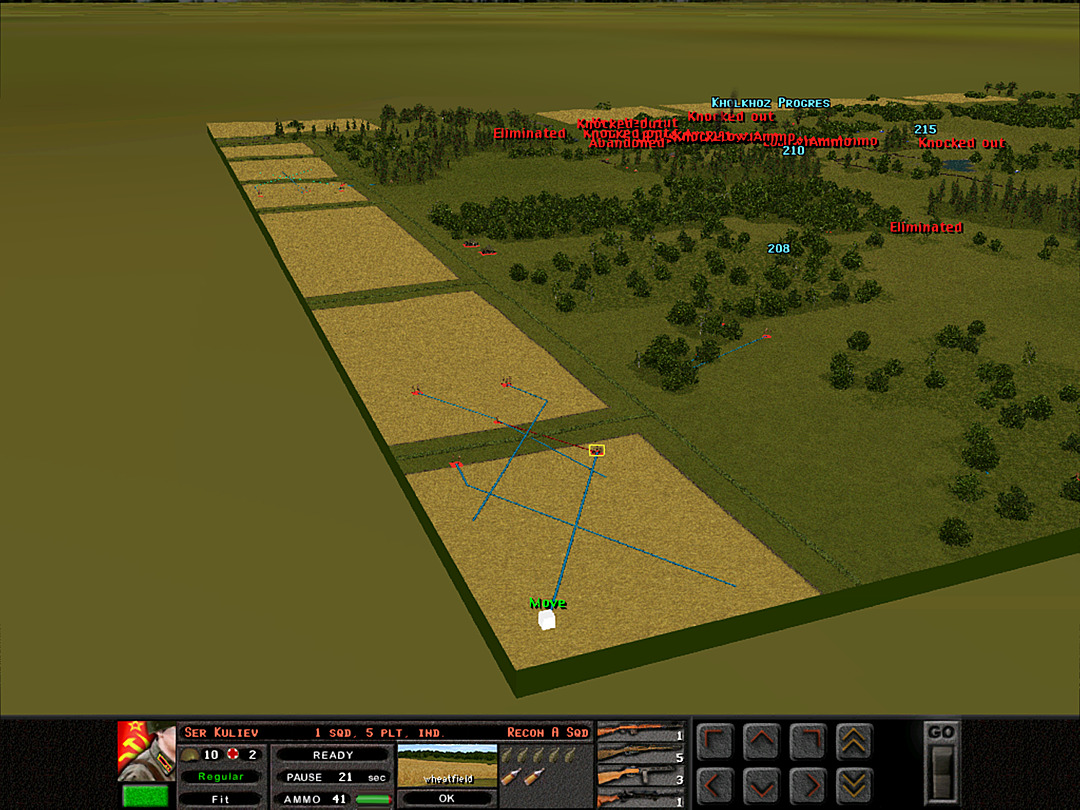 5 Plt completes a sweep of the farmland to the northwest. They have found no sign of any remaining enemy forces. 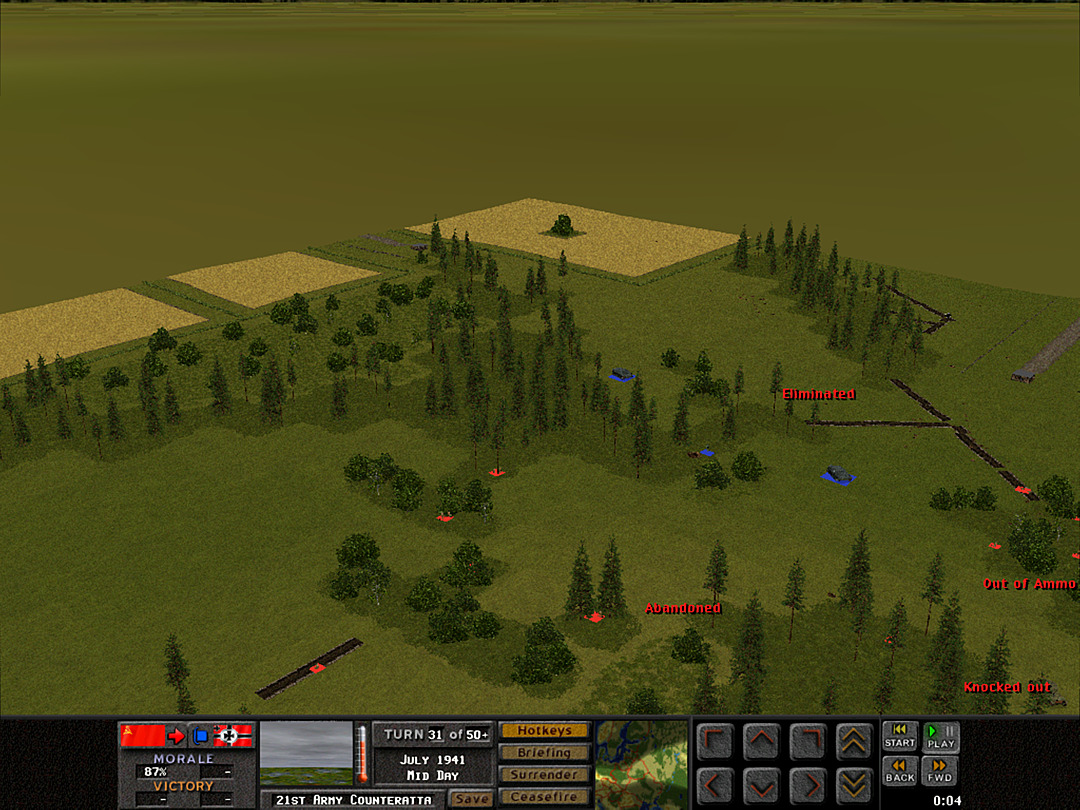 We have moved a squad into the woods to the north. Hopefully we can stall the Stugs from trying to skirt their way over past our main defensive line. 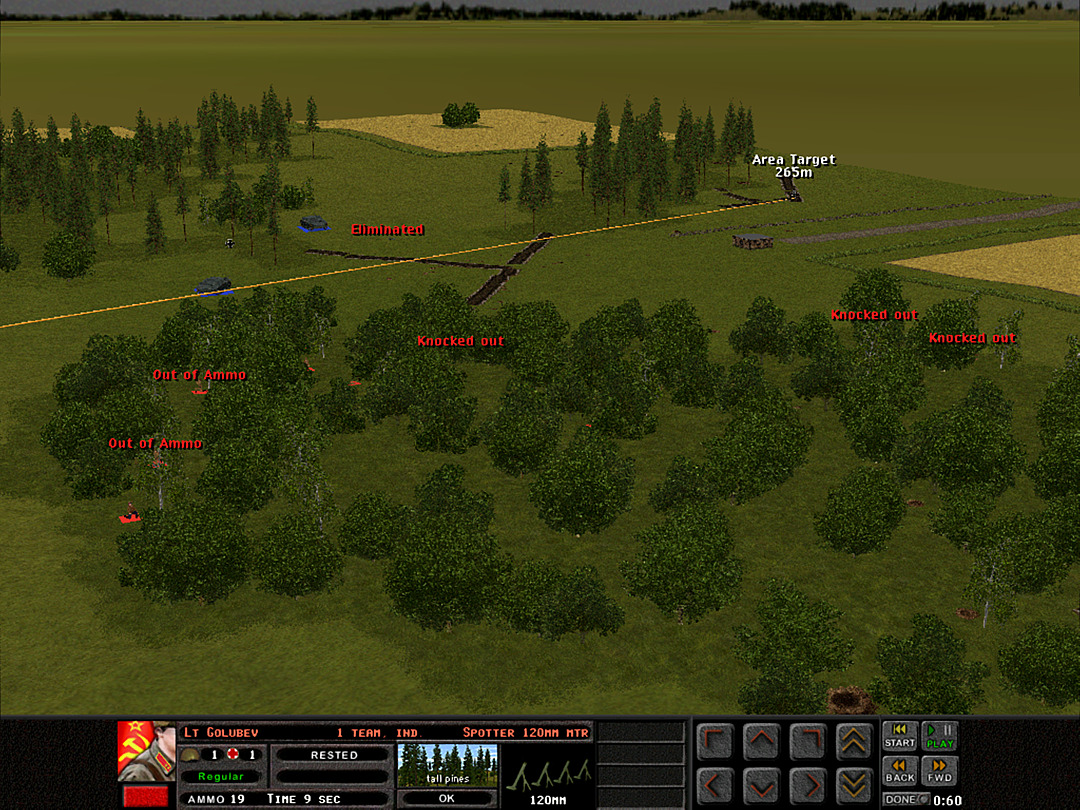 Our last artillery strike is sent over to the pesky guns, as it's about the only position where artillery might have some effect. 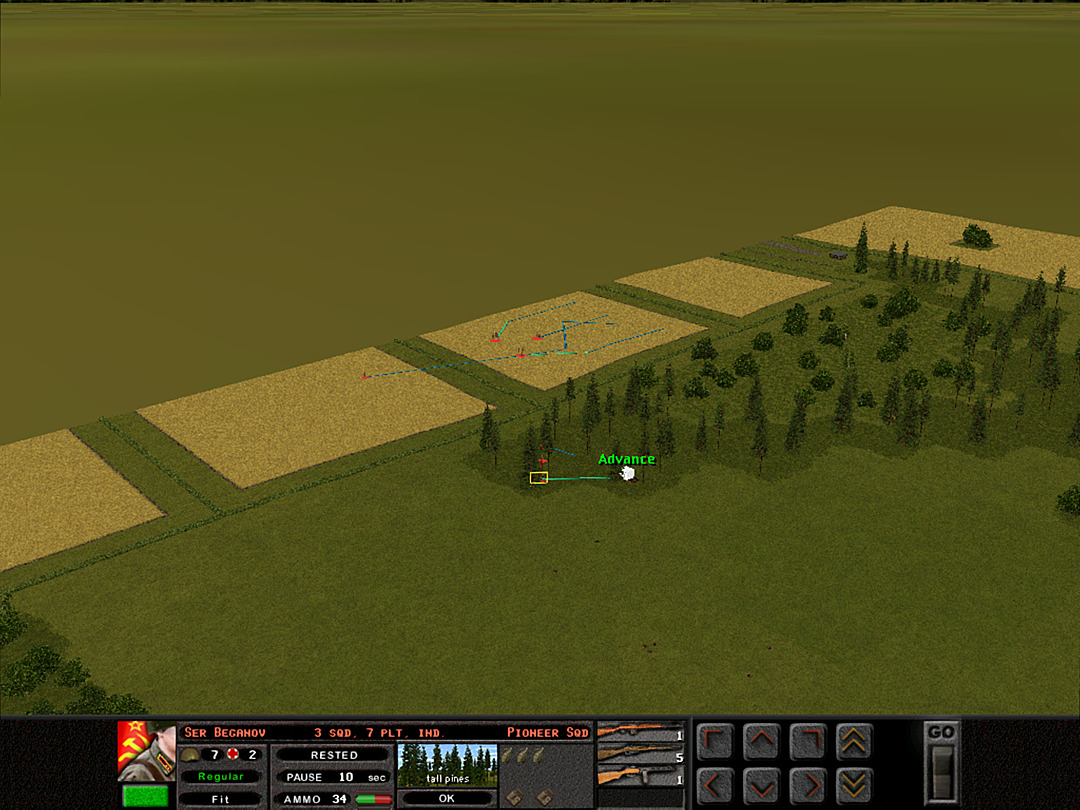 The Pioneers are now going to make a search through the northern patch of woods. 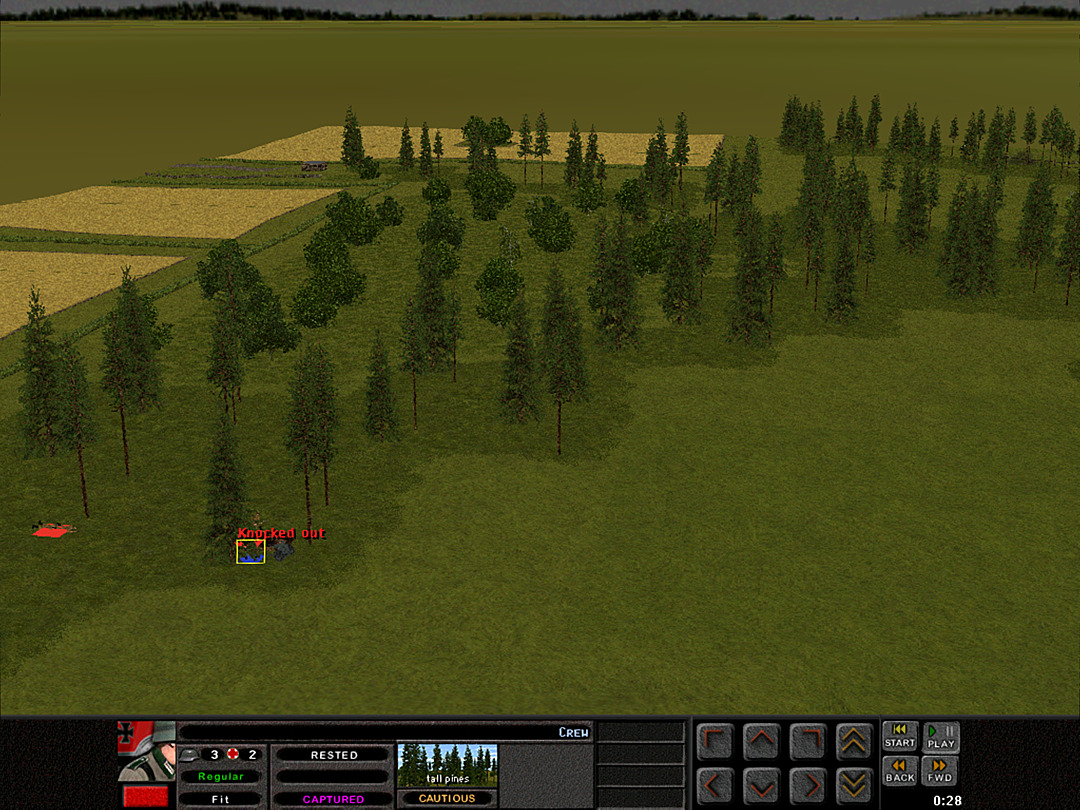 They immediately surprise an anti-tank gun, and capture it intact. 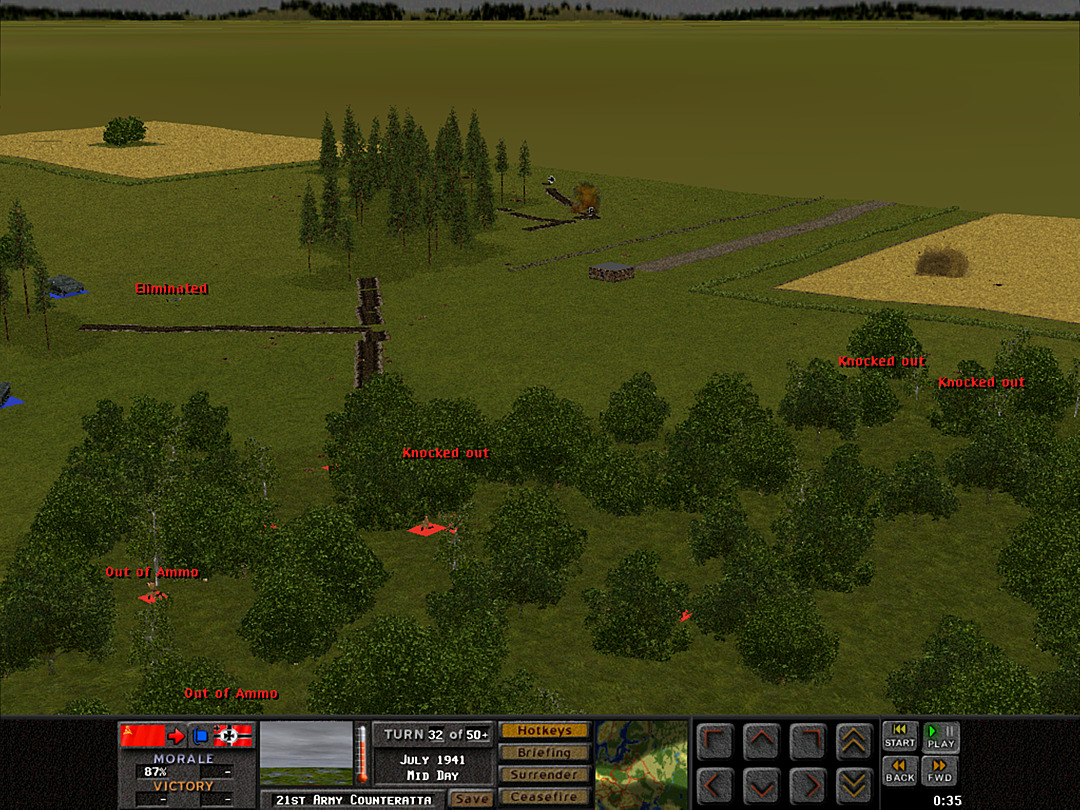 The bombardment comes in a little off-target. Try as we might, we can't shell this gun out of existence. 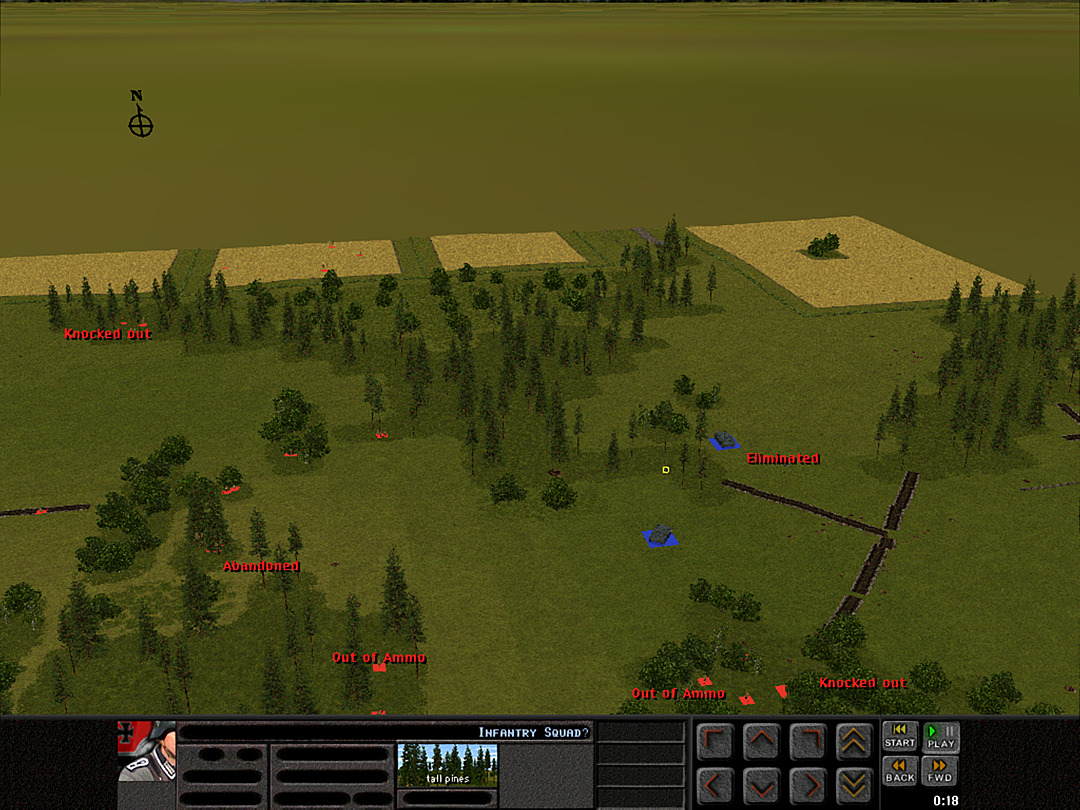 At least one enemy squad remains, but it seems the Germans lack the force for a proper counterattack. 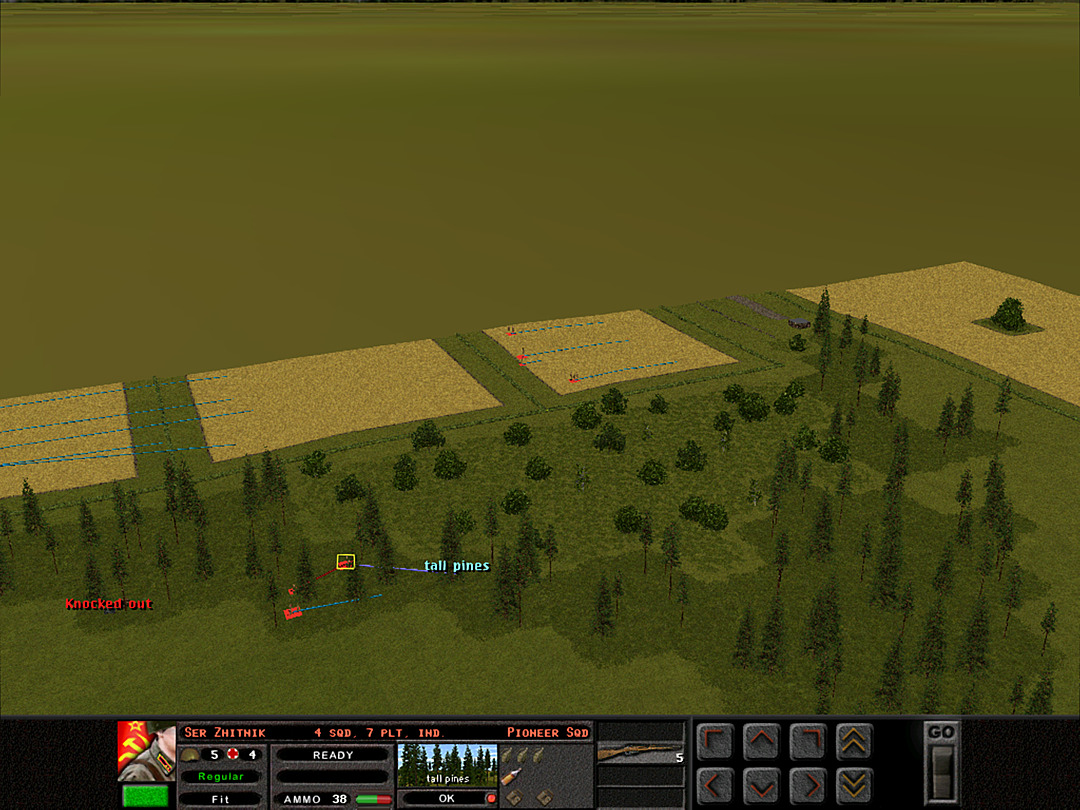 The Pioneers press through the woods, and find no further sign of enemy defenders. 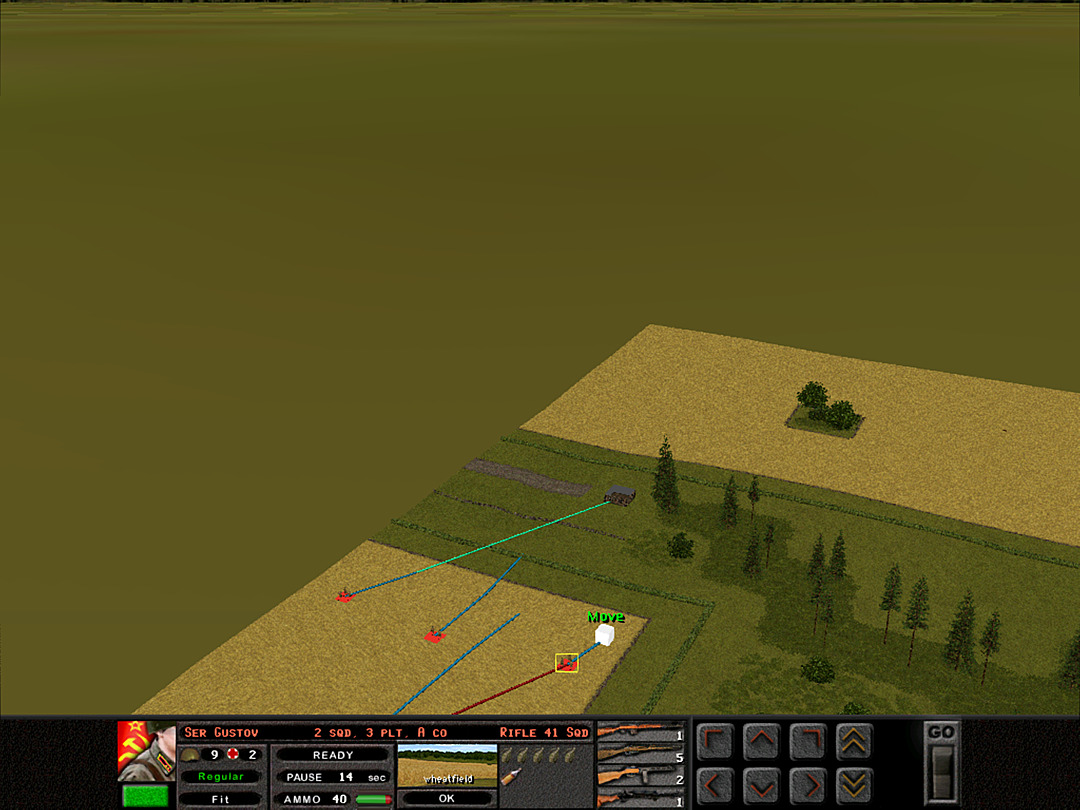 A Coy, 3 Plt has managed to cross almost all the way across the fields on the north. 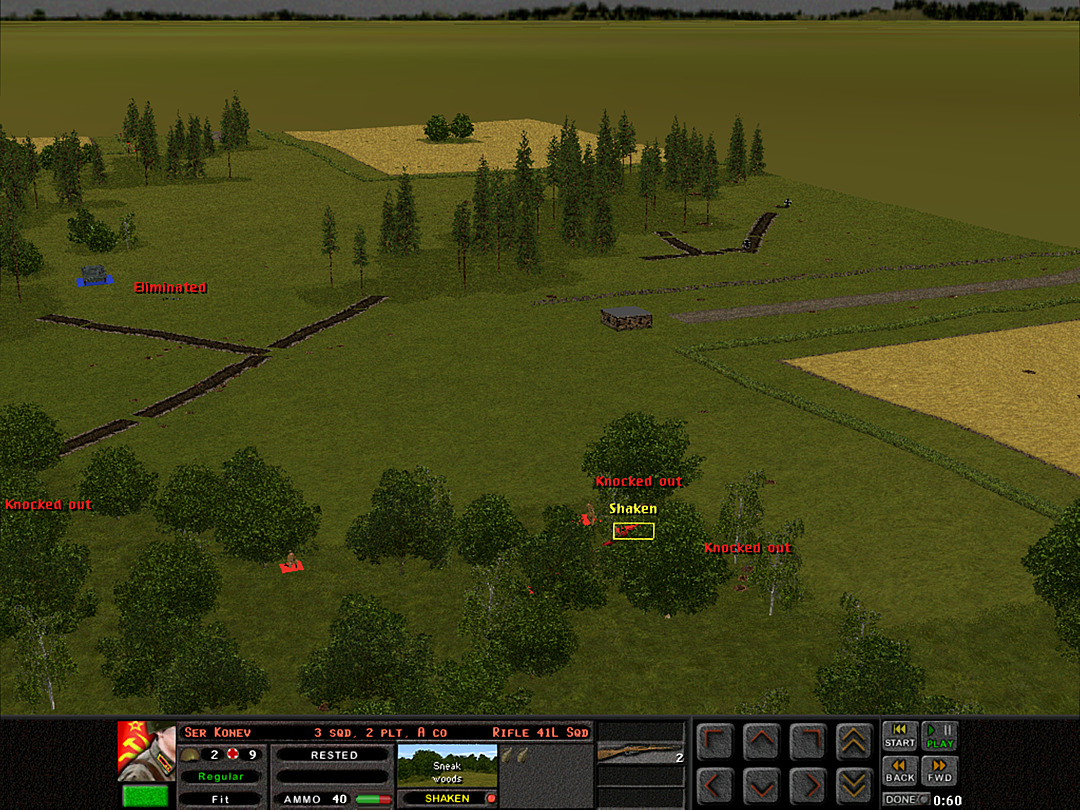 With A Coy, 2 Plt pulled out of the trench, we try one more time to go after the gun on the east side. 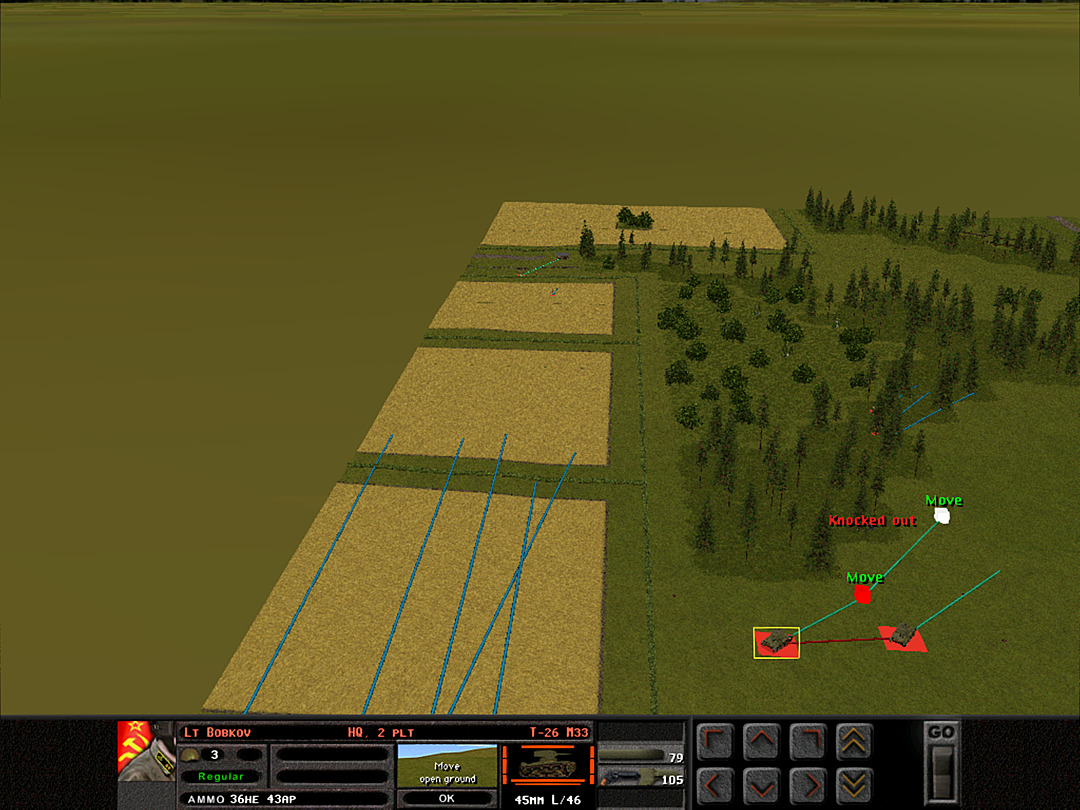 The tanks of 2 Plt will guard the exit to the north. We need not attack the enemy vehicles with them. 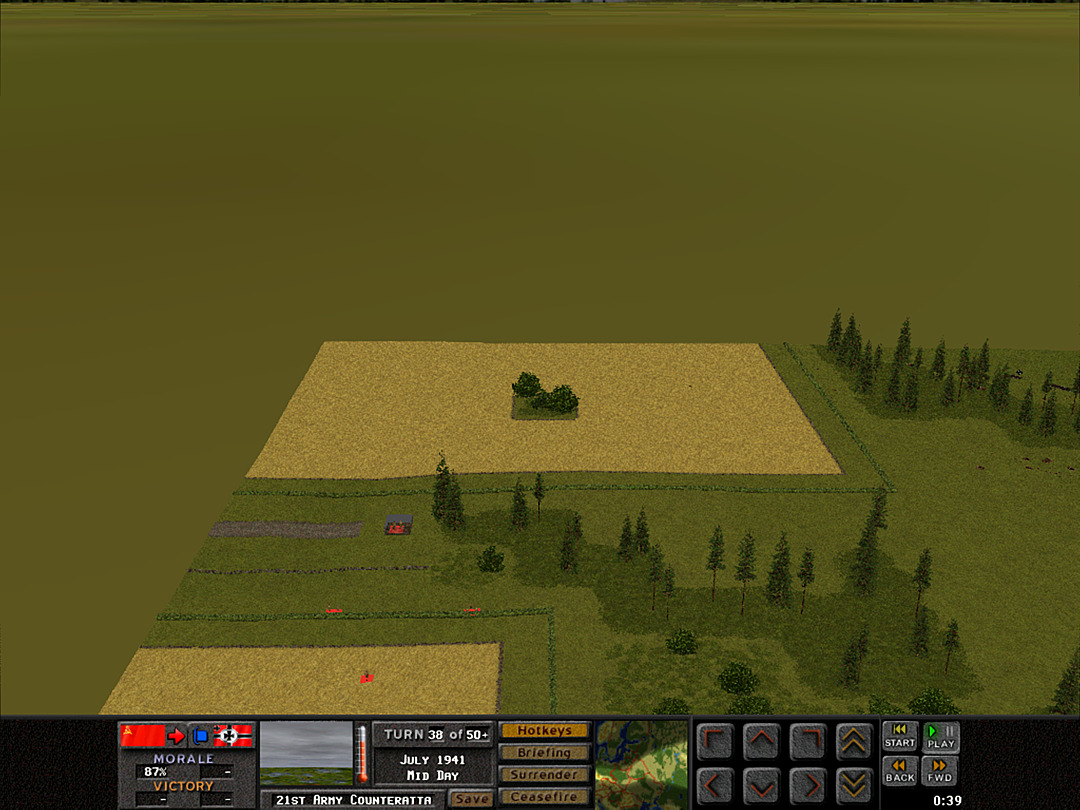 A Coy, 3 Plt takes control of the farmhouse at the far corner of the farmland. 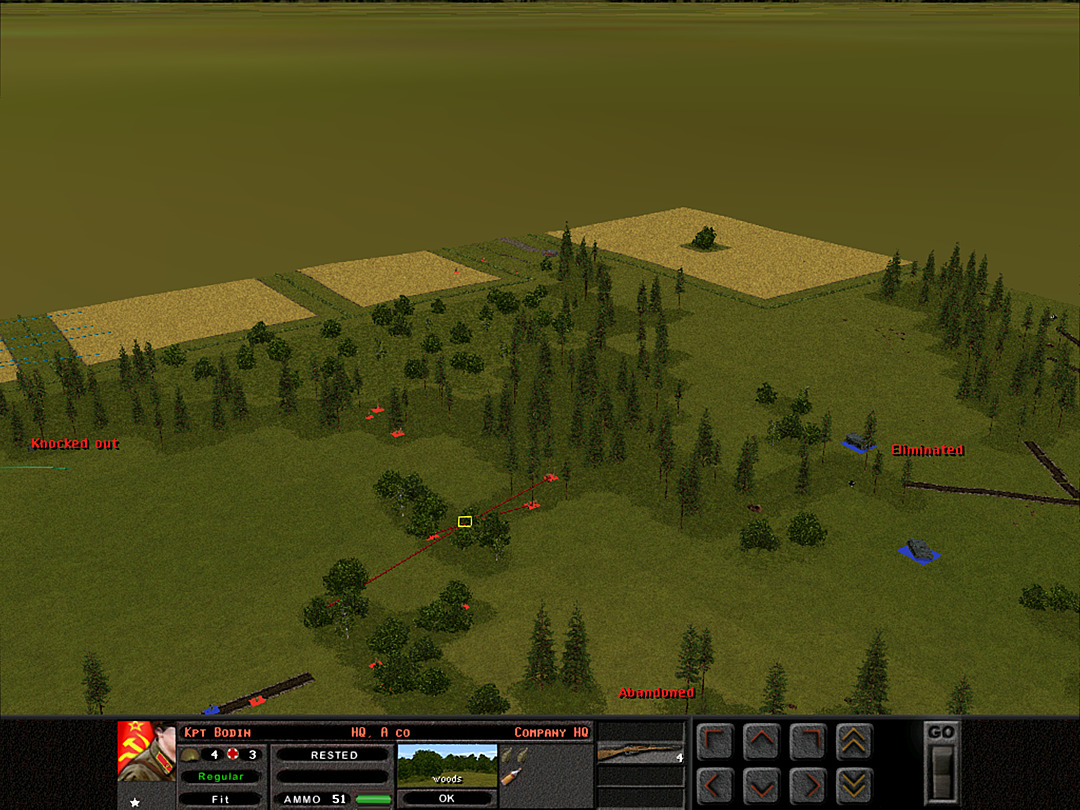 We have enough troops holding the ridge that we can shift more into the northern woods, so some of the "captain's platoon" shifts to take more ground. 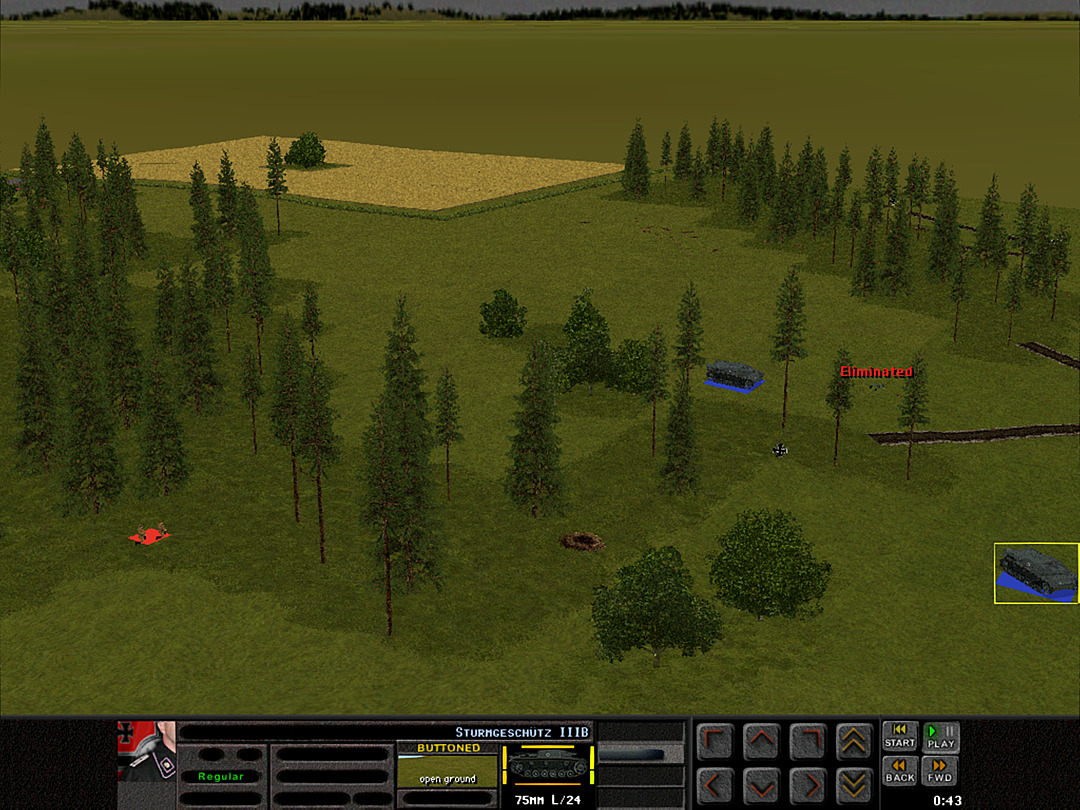 They spot a foxhole there; it might not be occupied, but it could also hold someone waiting to ambush us. 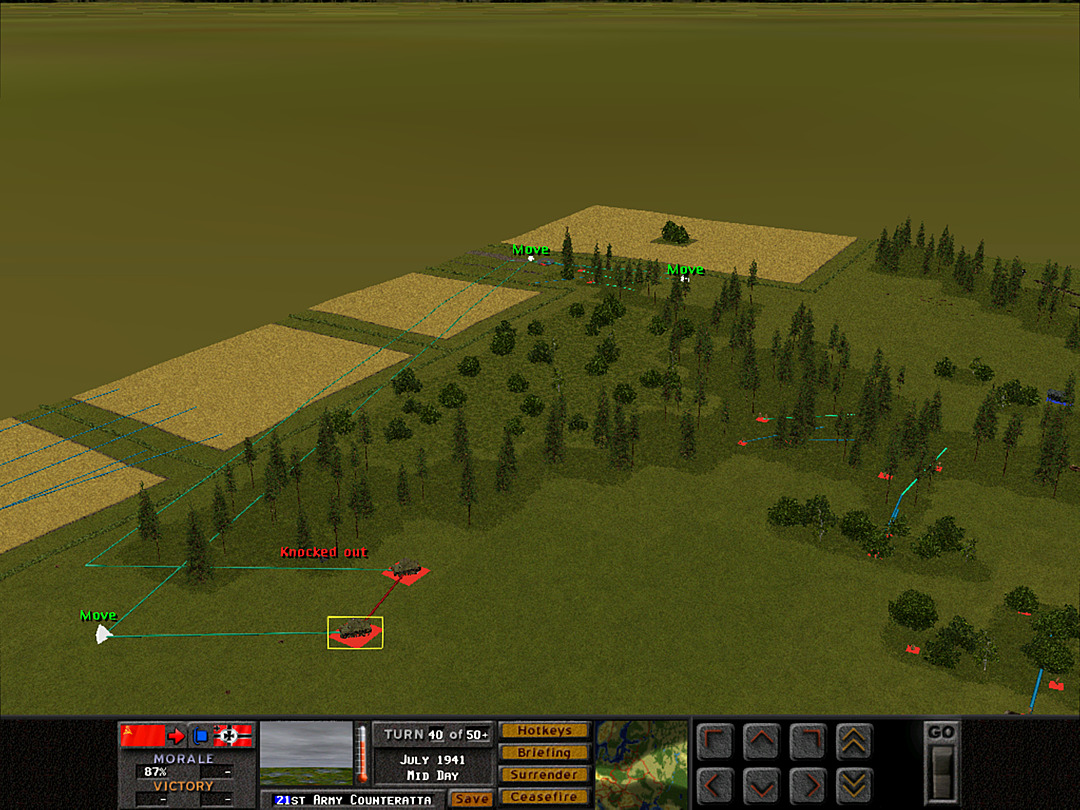 There is a chance we could catch the Stugs off guard by coming at them from two directions. The tanks of 2 Plt will circle around the northern woods. 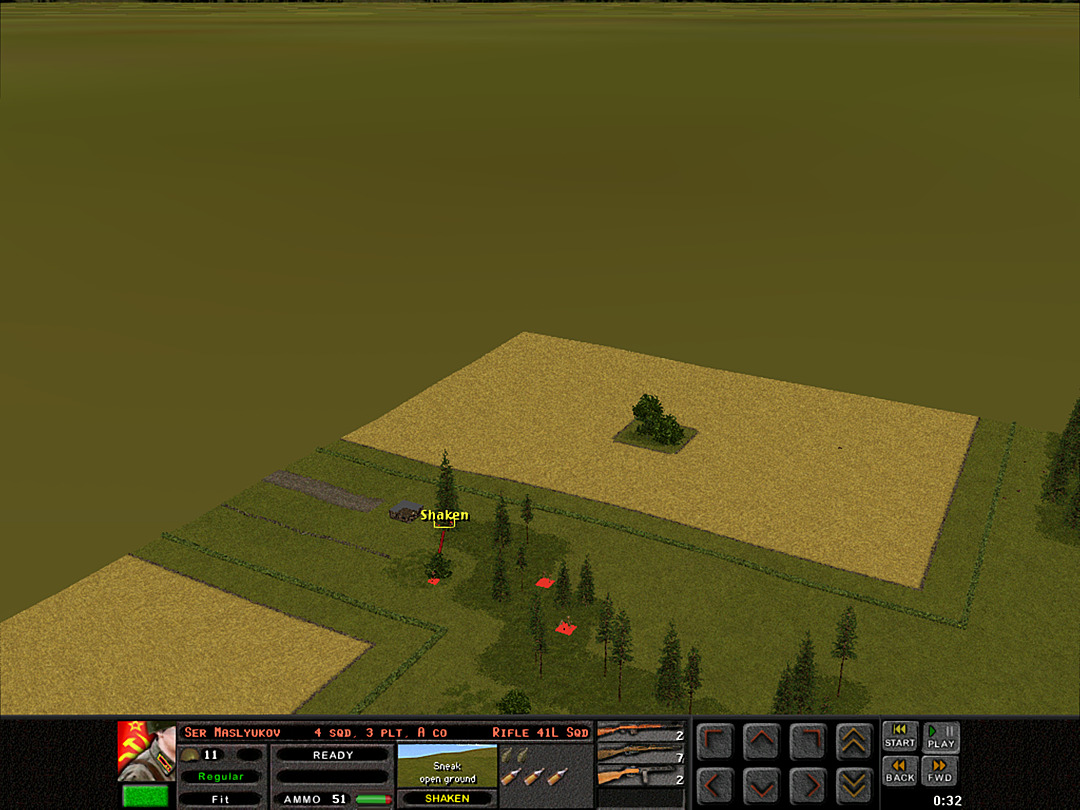 Near the farmhouse, a squad from A Coy, 3 Plt starts taking fire from an undetermined direction. 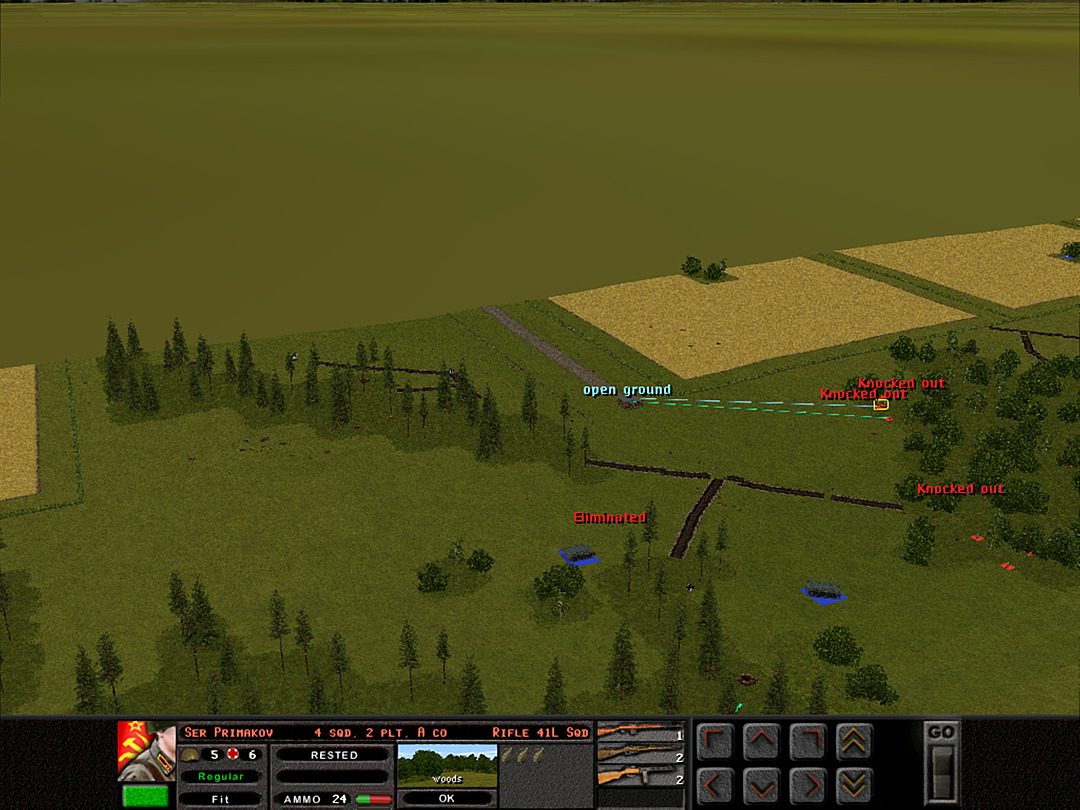 Now that we're pressuring the enemy from behind, A Coy, 2 Plt will try to charge for the guns. They head for the lone farmhouse at the north end of the fields. It seems to be held by some enemy soldiers, as we have seen shots fired out of it. 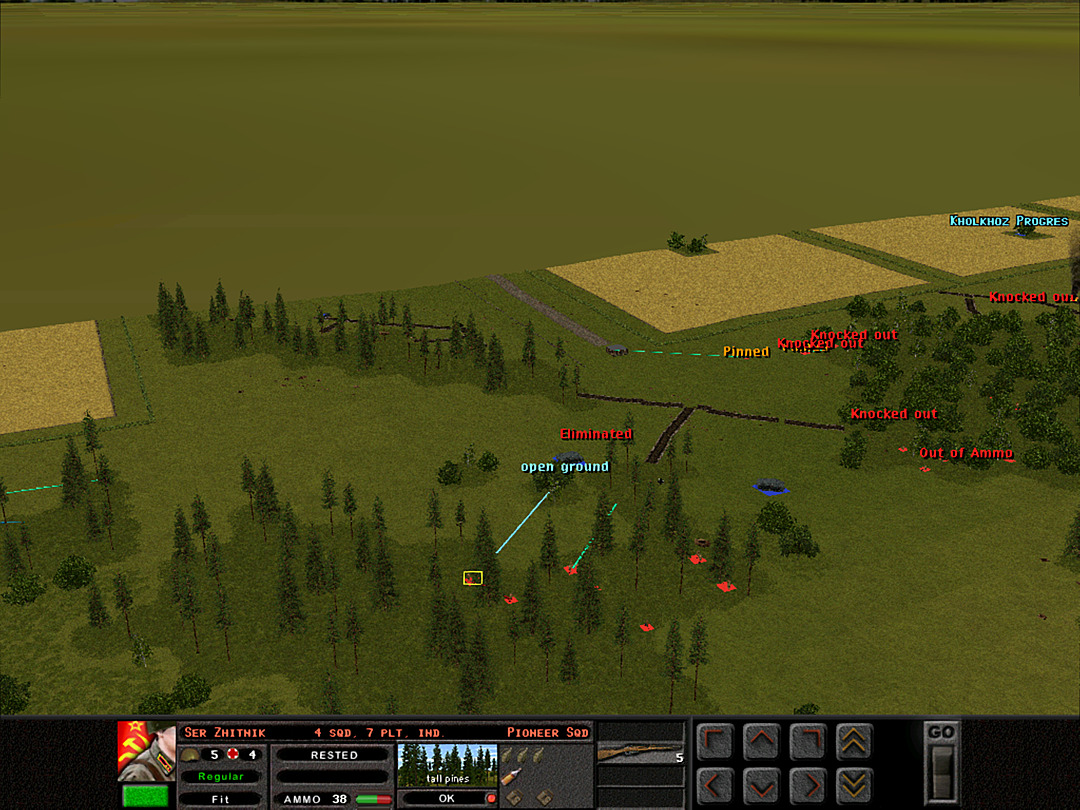 The Pioneers have made it through most of the northern woods, and are now fairly close to the Stugs. It's unlikely that the vehicles will remain in position while they approach, but this squad might be able to disable the assault guns with their explosives. 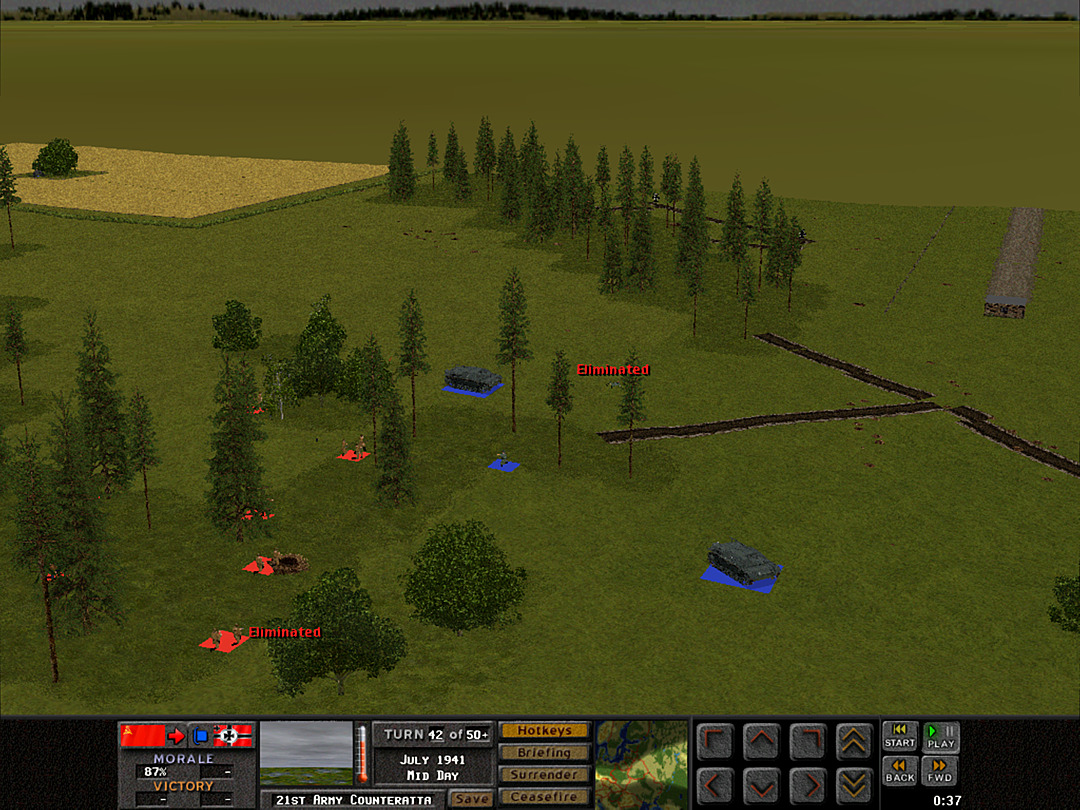 As the Pioneers rush towards one of the Stugs, the last few squads from A Coy, 1 Plt charge as well. One German squad is shot down, and another flees from our advance. 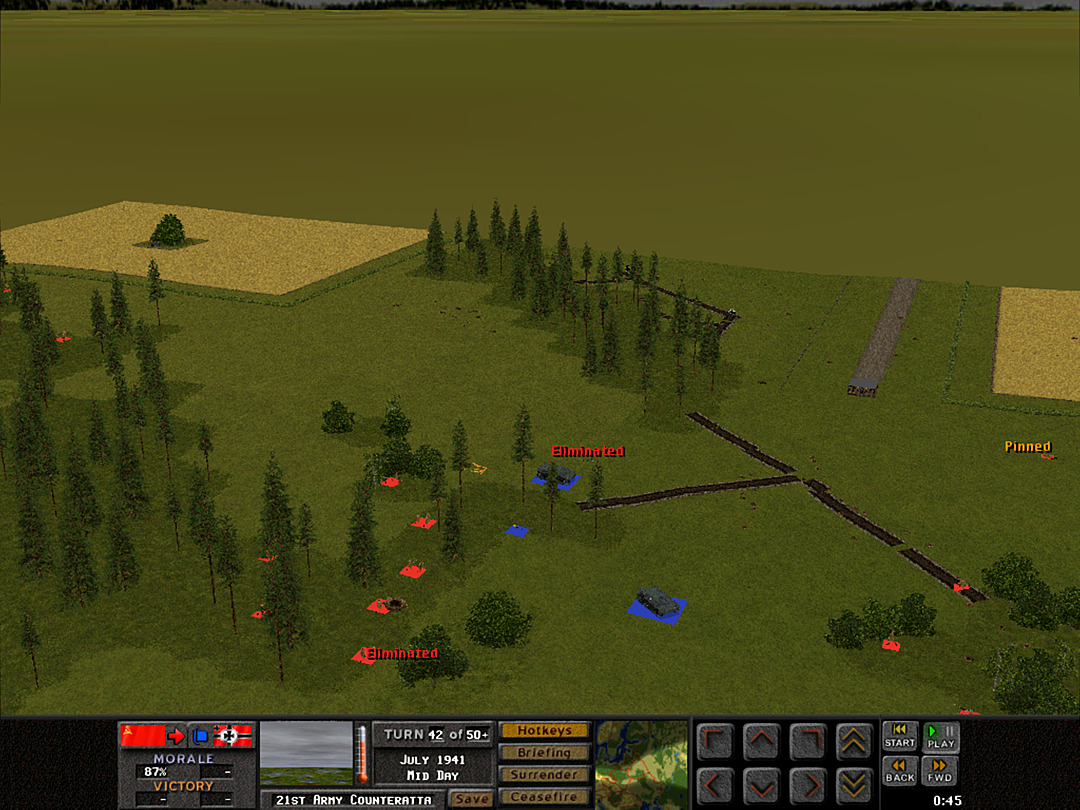 The Pioneers throw some explosives, but only succeed in alerting the Stug. 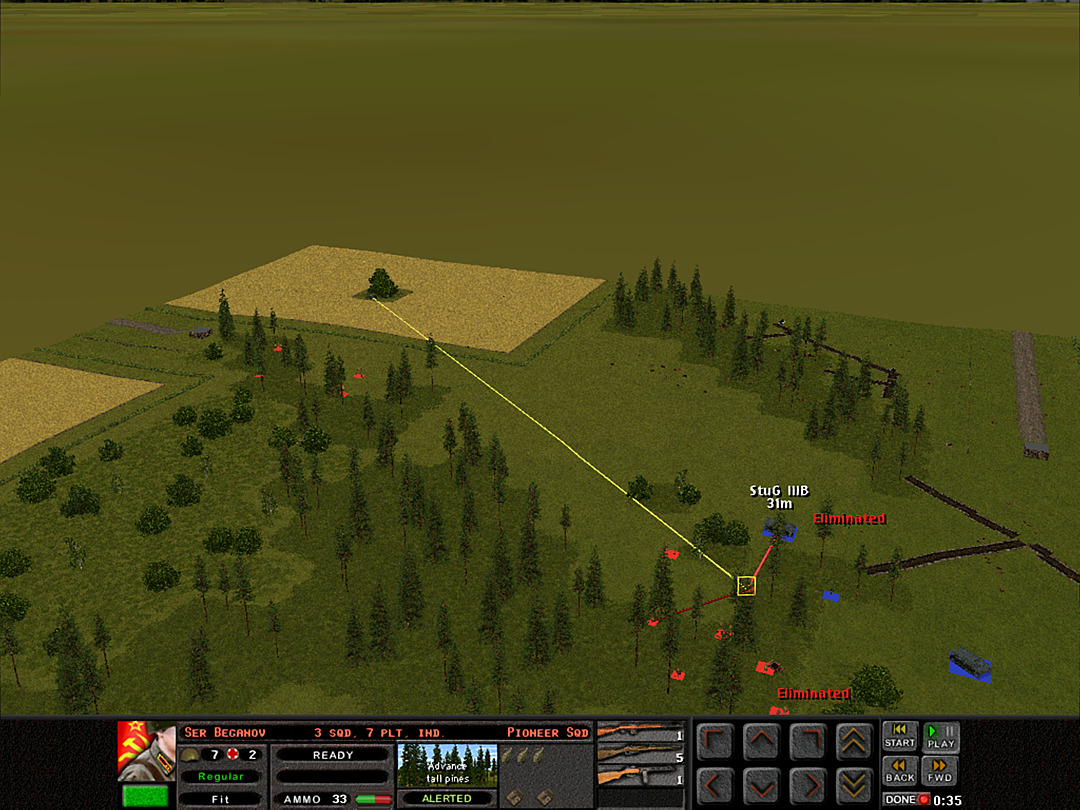 The squads then find themselves under attack from something in a clump of trees in the fields. This might have been who was shooting at A Coy, 3 Plt earlier. 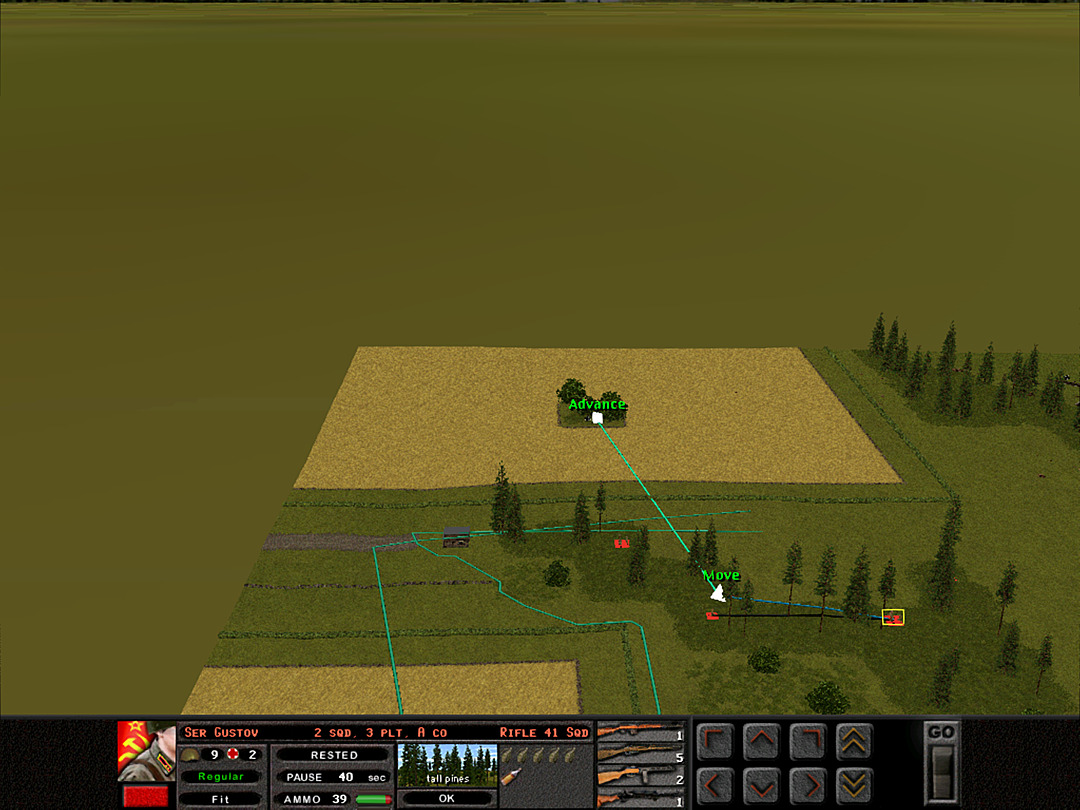 One squad from that platoon volunteers to rush the field. 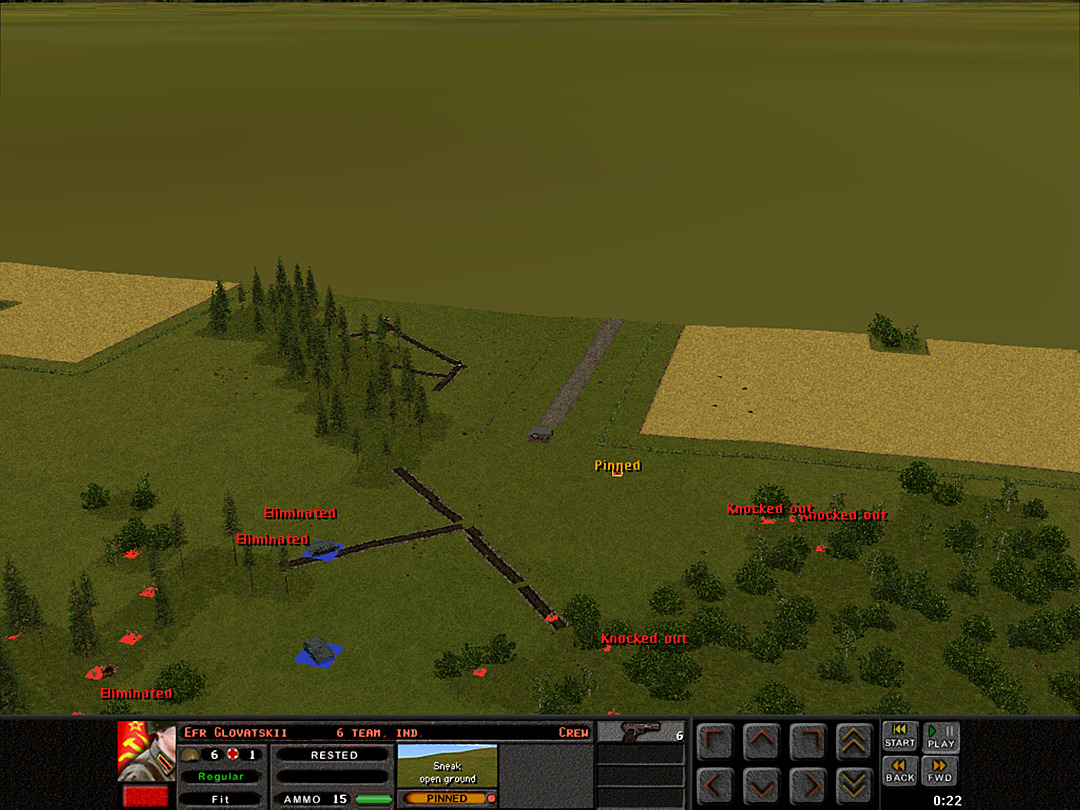 The attempt to go for the farmhouse on the east side fails, as gunfire from the building pins down the only squad that ran into the open. 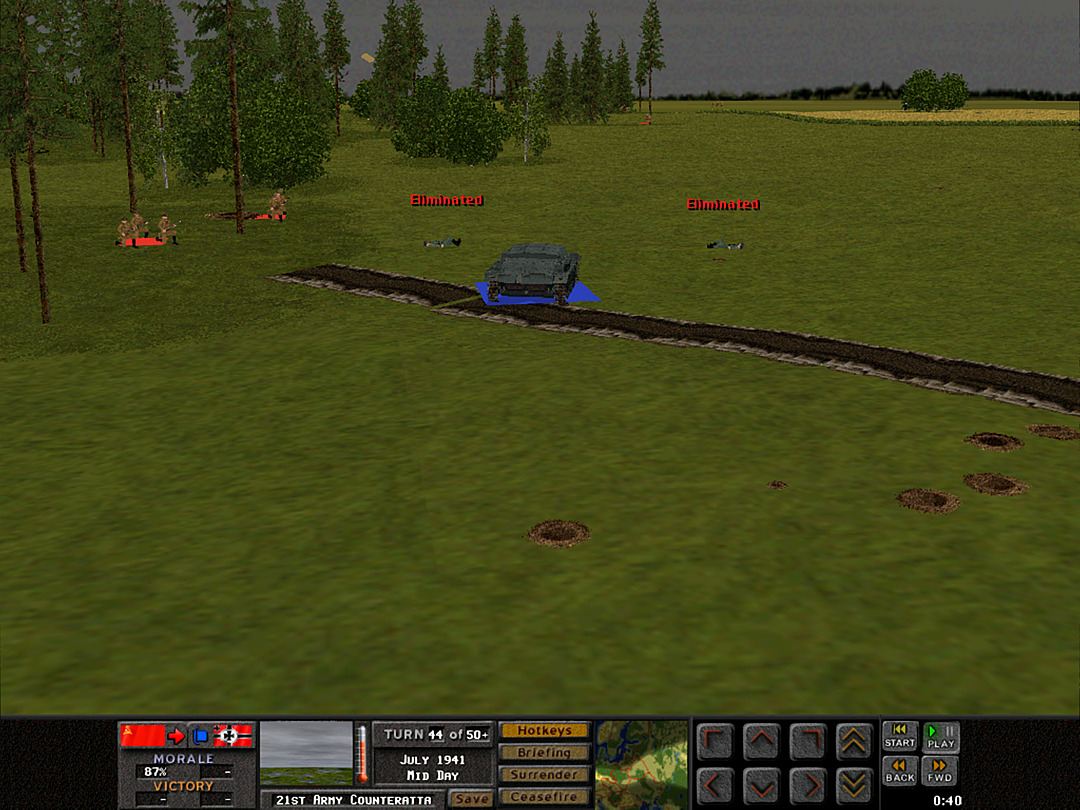 The Stug fled from one attack by the Pioneers, but it positioned itself right over the trench. A second squad throws a satchel charge into the trench. 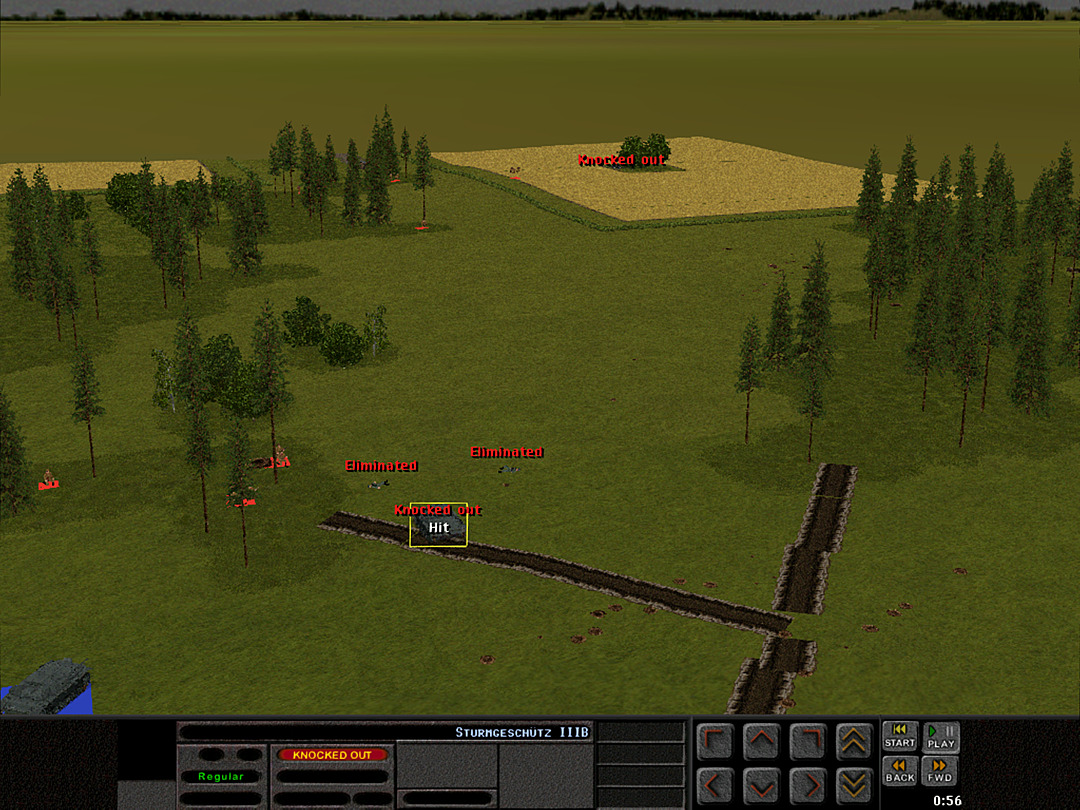 It lands perfectly! The blast knocks out the armored vehicle from below. We also shoot down the last enemy soldier over in the trees on the farmland. 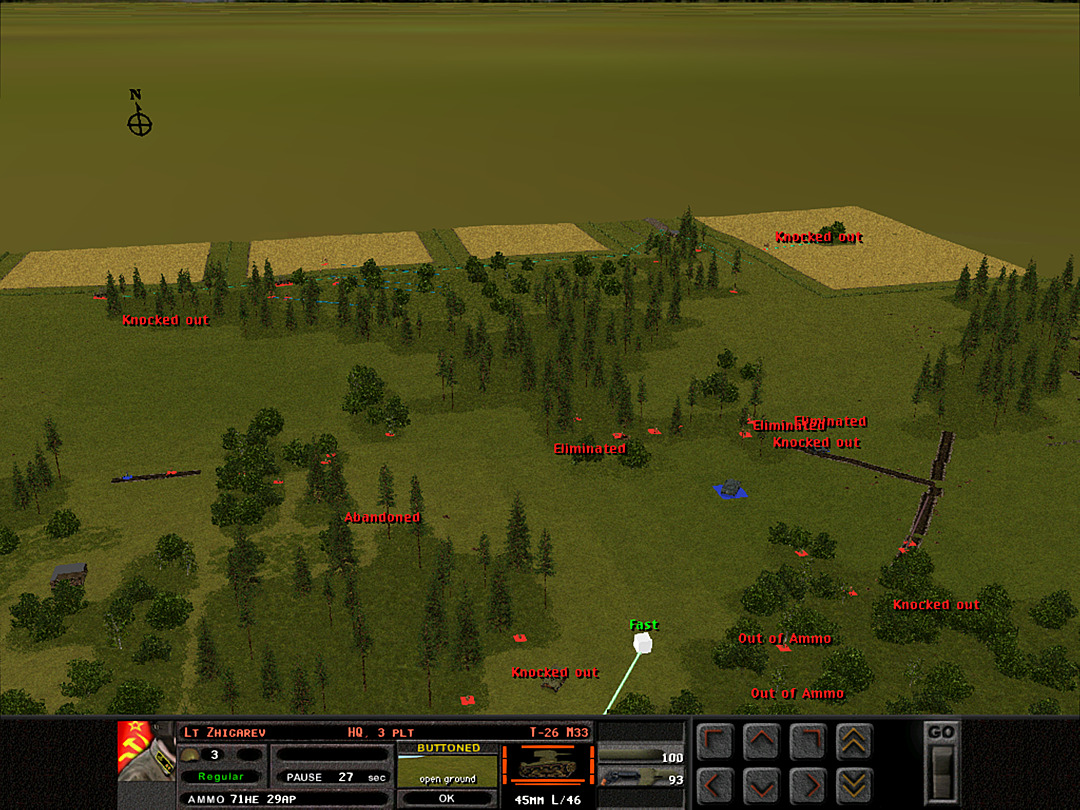 In the resulting confusion, the other Stug has turned itself completely around, possibly in fear that we have stronger forces on the north side now. It has exposed its rear to our T-26. 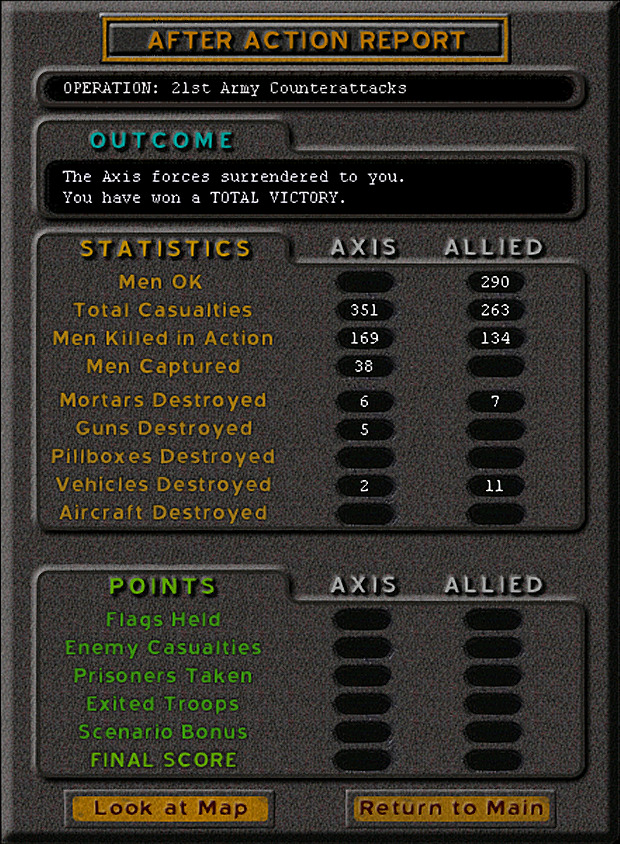 That won't be a concern, though, as the remainder of the Germans in the eastern woods are waving the white flag. The enemy has surrendered! Unit Highlight T26S Model 1939 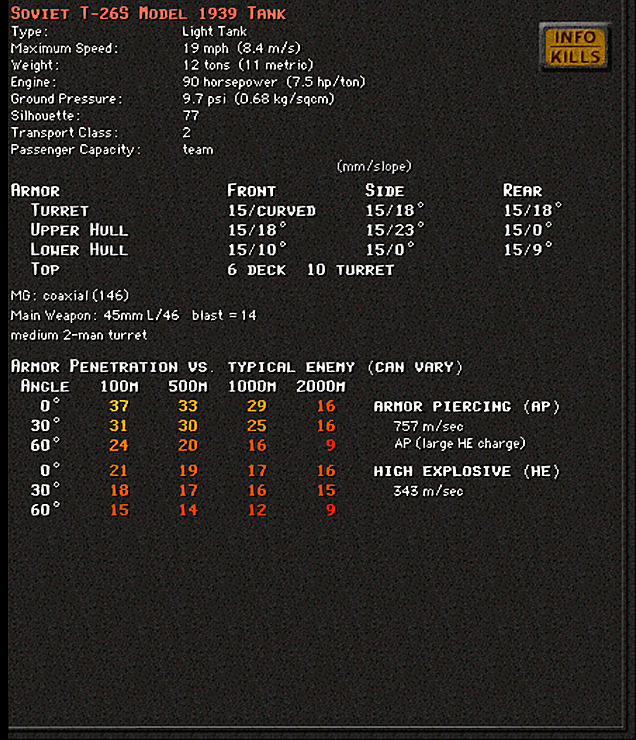  Crew: 3 Base Cost: 47 The last of the main models. The final modification to the T-26 line was another minor attempt to improve its protection, with a plate installed at the turret base. The tank continued to be produced until 1941, although almost all of those in the Soviet arsenal were lost by the end of the year. It had nevertheless served well in many conflicts prior to the war. Oddly enough, a small number were fielded against the Soviets by the Finns during the war, and lasted with the Finnish army for nearly a decade more, as they had captured many during the Winter War of 1940 (during which the T-26 saw its likely largest combat use). It is unclear why the game drops the rear MG on this one, although in truth it was not always installed. On the other hand, a decent number of these late tanks also had an AA machine gun mounted on the turret (this could be in addition to the rear-facing one inside the turret), and none of the in-game models feature that.
|
|
|


