

|
Dr. Fetus posted:I hate to say this, but Elder Dragon isn't the true final boss. There's one more big fight after it. But I'll be sure to give that particular finale exactly what it deserves. I look forward to watching you dunk all over its stupid, stupid face. I hated that thing. 
|
 #
?
Oct 6, 2017 09:02
#
?
Oct 6, 2017 09:02
|
|


|

|
| # ? May 28, 2024 22:34 |
|
|
Going out of the LPer's comfort zone is a very fun thing for both the writer and the reader. By all means, at least give the use everyone option a try.
|
|
#
?
Oct 6, 2017 11:05
|
|

|
Send in everyone
|
|
#
?
Oct 6, 2017 12:20
|
|

|
Fetus choice x4
|
|
#
?
Oct 6, 2017 16:18
|
|

|
Actually, I really want to see how you manage to use everyone, because that still seems kinda crazy to me.
|
|
#
?
Oct 6, 2017 16:30
|
|


|
I mean, if the party winds up needing help from Fang's identical quadruplet brothers I think we'd all understand. 
|
|
#
?
Oct 6, 2017 16:36
|
|

|
It's gonna be the last chance most of these cools folks get to do anything, right? Might as well give everyone one last bow!
|
|
#
?
Oct 6, 2017 18:09
|
|


|
VOTING IS CLOSED! Final results: Asteria: 13 Faye: 8 Cassandra: 8 MEGAQUEEN: 6 Rose: 6 Scott: 5 Sidney: 4 Charlotte: 4 Akatsuki: 2 Alice: 2 Smith: 1 My Choice: 15 Different party members: 11 Well, given that a lot of people want to see different party members being used your votes for party members mean absolutely nothing now! I'll be choosing which party members get to take on which sea quests, but not all will be seen. There are only 9 slots after all. Which party members are coming along? That will be a surprise. In the meantime, here's all the AI routines for all the Sea Quest bosses and such. Special note goes to the robotic turd known as Golem, who reads your inputs and decides when to use Reflection based off of that. Funnily enough, Bongaro actually input reads Golem right back, and avoids using Breakfire Fist as a result. However, the Zodiac sisters in the 3rd Sea Quest input reads Golem as well... and deliberately casts their elemental spells if they see it cast Reflection.  Oh, and it turns out that I did not glitch out Ruin Caller's AI in that update. I just got extremely lucky, as Ruin Caller has a 1% chance to cast Dragon Quake instead of Regenerate if any heads are missing. Omobono posted:Can't you subclass Alice into a wildling for this fight for a third head binder or is her tec too low for that despite farmer luck? Her ailment score matches Elder Dragon's instead of being above it due to her terrible TEC stat. So she's not a good candidate for the job. Huh, surprised someone caught onto that minor reference.
|
|
#
?
Oct 6, 2017 22:47
|
|

|
Dr. Fetus posted:However, the Zodiac sisters in the 3rd Sea Quest input reads Golem as well... and deliberately casts their elemental spells if they see it cast Reflection. At some number of attempts I remember I just straight up stopped reviving them, I let them nuke themselves and tried to do the fight without them. I can't remember if that worked or not (probably not), but at least I wasn't insane in thinking that they were intentionally screwing themselves over.
|
|
#
?
Oct 7, 2017 00:59
|
|

|
The sisters still do provide a lot of firepower though; at least Reflection doesn't negate the attacks altogether. I guess the theme of that battle is basically "nectar spam". But still... quote:If HP is below 76% and an Fire, Ice, or Volt attack was cast last turn, follow this routine for the rest of the battle until all skills in it gets cast, Regen gets cast, or self takes damage from a non-elemental source of damage: Two people can't really revive three NPCs at once, so once they desync out of their rhythm... 
|
|
#
?
Oct 8, 2017 16:46
|
|
|
Update 100: The End of Raging Waves (Alternate title: The Many Deaths of Elder Dragon.)  Does immortality work for all of us? Does immortality work for all of us? It better! It better! Alright, time to finish up all the Sea Quests once and for all! Hey! Long time no see! Except for you, I guess. I�m gonna be doing something a little different for this update. You see, the thread didn�t really vote for a party to partake in all the Sea Quests. Instead, they decided that I should tackle all the Sea Quests with different party members, so most of the guild will be partaking in the battles in this update. For this Sea Quest, I�ll be bringing Faye and Fang, since there�s not much else I can bring here. I need to bring supports for this Sea Quest, and damage dealers aren�t really an option since Victoria only supports the front row.  And here are the Limits I will be making use of. In hindsight, I should have put Indomitable on Fang, since he�s the more valuable support. 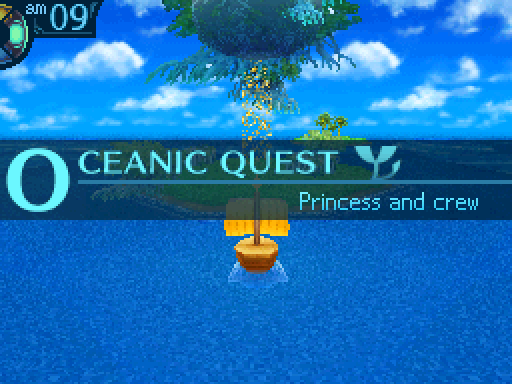 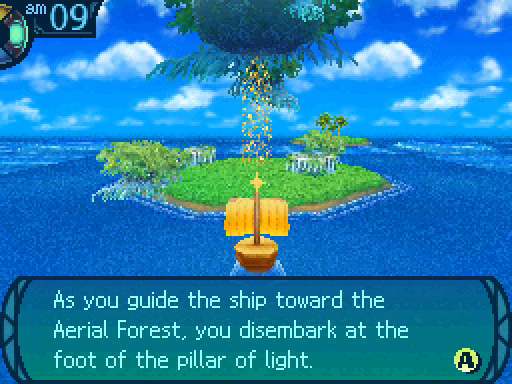 As you gaze toward the heavens with determination, a voice echoes throughout the area in response! It is the Elder�s voice, master of the Aerial Forest! Its low, dignified tone shakes the air!  Congratulations are in order. You have arrived here without succumbing to fear, weak humans... We dragons are ever your bitter enemies. We are the embodiment of fear, an ordeal spanning all time. And now the Elder dragon god stands as your final test. Such is our conflict�s unwritten law. ...No more words are necessary. Take up your weapons, warriors! Face this final ordeal! Congratulations are in order. You have arrived here without succumbing to fear, weak humans... We dragons are ever your bitter enemies. We are the embodiment of fear, an ordeal spanning all time. And now the Elder dragon god stands as your final test. Such is our conflict�s unwritten law. ...No more words are necessary. Take up your weapons, warriors! Face this final ordeal!The dignified voice bellows into a roar, and its god-like aura turns deadly as it descends from above! You draw your weapons, driven by great purpose... and dart toward the heavenly pillar of light!   Video: Elder Dragon Video: Elder Dragon If you clicked on the video link, yes the fight really did last for that long. Frankly, I�ll be surprised if you actually watch all of it. I do have to say, the backgrounds for this fight are quite nice. Though it�s being covered up by Elder Dragon and the UI. Here are some clean versions.   Heck, the backgrounds for all the Sea Quest fights are pretty good as well. Anyways, I�ve already gone over in detail what Elder Dragon is capable in the last update, so let�s just jump right on in. 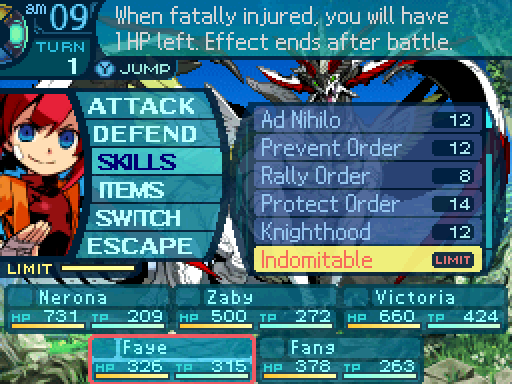 First things first, have Faye set up Indomitable in case something goes wrong.  Also have her set up Protect Order so the front row won�t die.  Since Elder Dragon is already hogtied, I�ll just have Fang throw out Primal Drums to make this go by faster. 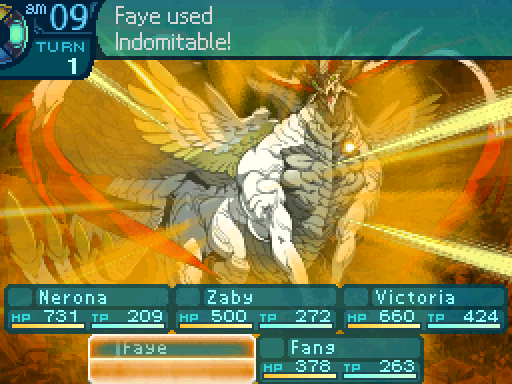 Can�t knock a good girl down! Can�t knock a good girl down!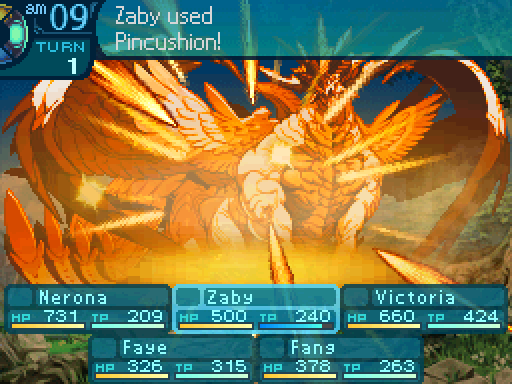 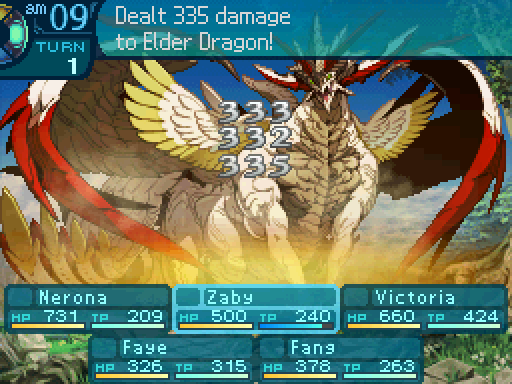 Uhhh, that�s a shockingly small amount of damage.  You know, I�m not really sure if that�s gonna help.  Don�t leave me out of the fun! Don�t leave me out of the fun!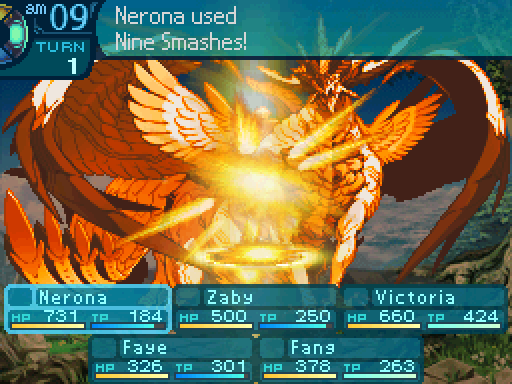 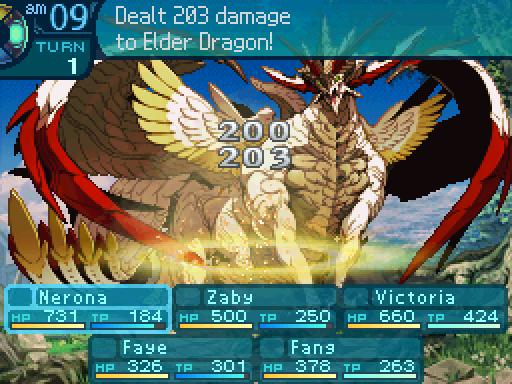 ...I�m sure you can see the reason why this is going to be a long fight. A total of 1403 damage dealt from both Zaby and Nerona. And Elder Dragon has 44800 HP. 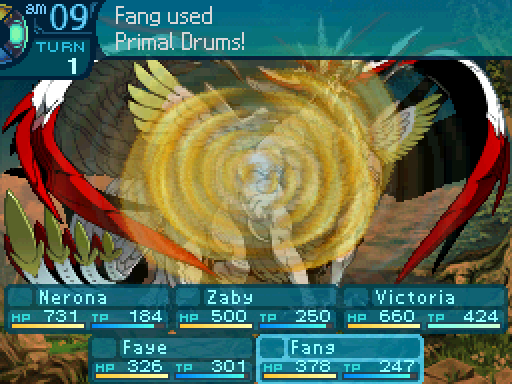 I love drumming! I love drumming!    And there�s the free turn.  Since Elder Dragon is tied up for the time being, I�m gonna try to have Fang drop an elephant on him to give us some more free turns. And because it will cause Nerona will throw out a Wolf Howl, speeding up the fight a bit more. 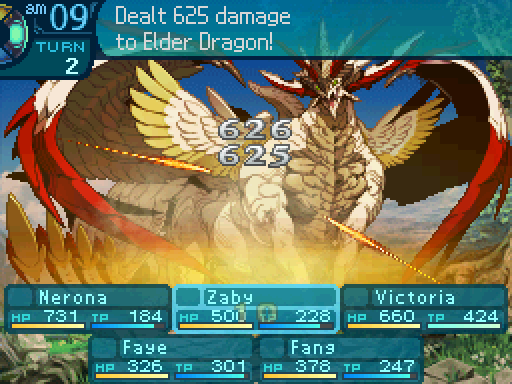 Yikes. 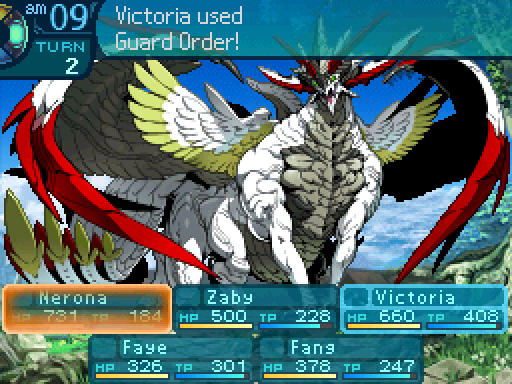 Well, at least the front row is in no danger of dying anytime soon. 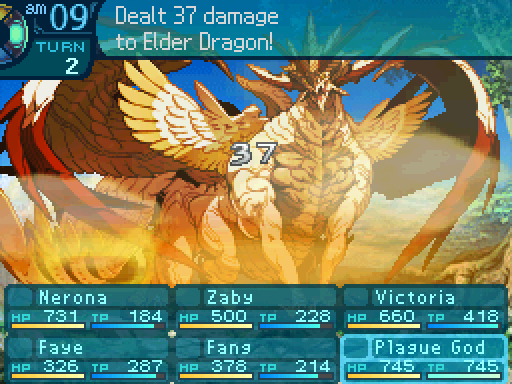 Don�t feel bad, you did your best! Don�t feel bad, you did your best!Bah, no Confusion proc. Not that the chance on that was great anyway. 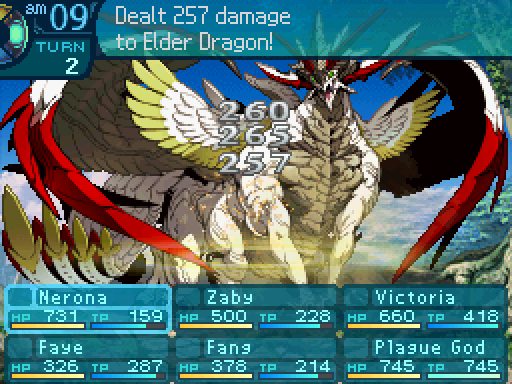  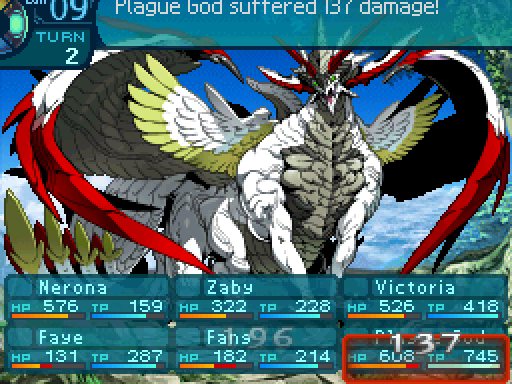  As long as Faye has Protect Order up, and Elder Dragon�s arms are bound, he can�t do anything to us. 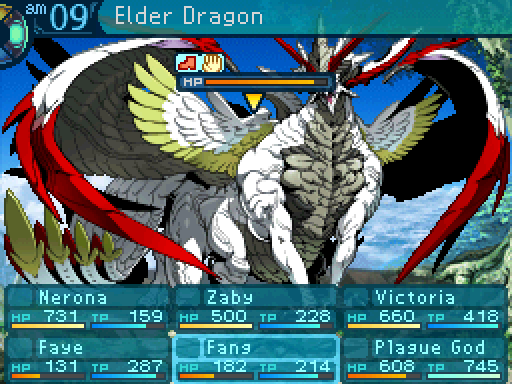 ...This is gonna take a while, isn�t it? ...This is gonna take a while, isn�t it?Even with all possible buffs on Nerona and Zaby, we dealt a mere total of 2859 damage on the last turn. We are in for a long fight. 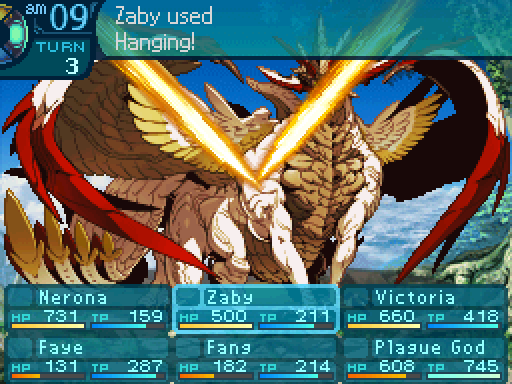 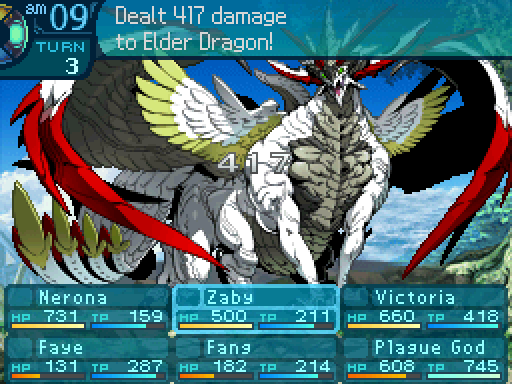  Also doesn�t help that the binding moves Nerona and Zaby have will lower their overall damage output. Though they are helpful when they land.  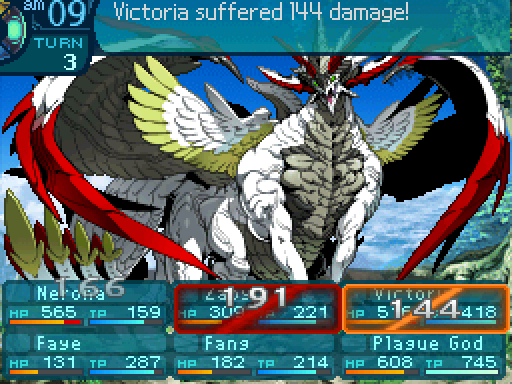 On the plus side, Elder Dragon can�t do too much to us either. At least in the first phase.  And Elder Dragon can�t cast Supernova because of the head bind. Rinse and repeat several times. The worst part is, I can�t really speed this up by bringing anyone else. I pretty much need Faye to ensure that the NPCs stay alive. And I need a binder for the fight since Zaby is unreliable, and there are no sources of leg binds otherwise. I can�t bring my own damage dealer and saddle Fang with healing duties either since he already has so much to do. 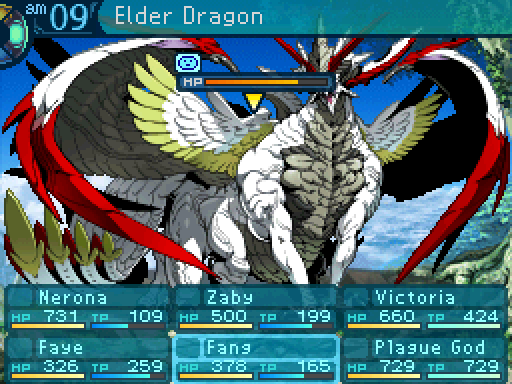 Well, Elder Dragon�s arm bind fell off. 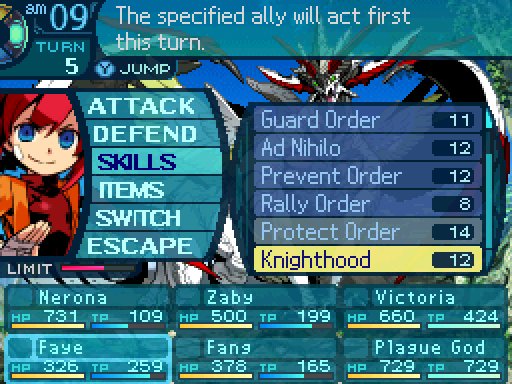  I�ll have Faye use Knighthood so Fang can bind his arms real quick, minimizing the damage done to our party.  You�re up, Fang! You�re up, Fang!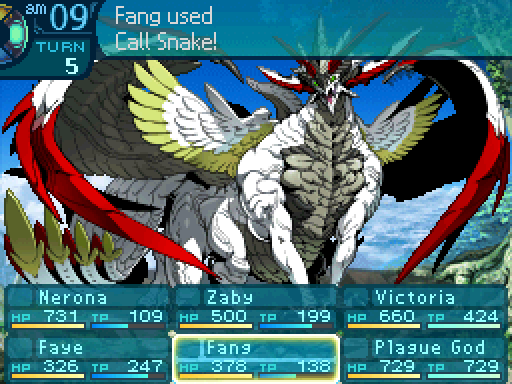 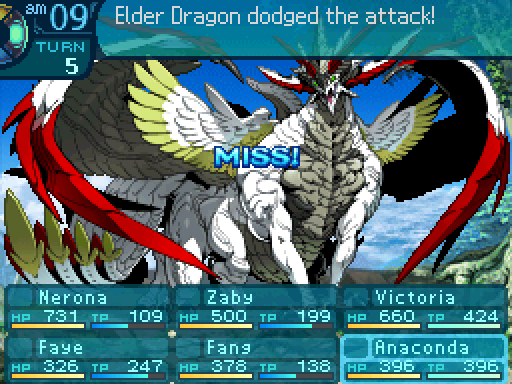 Really!? Hey, don�t be mad at Mr. Snake! He�s really sorry he missed! Really!? Hey, don�t be mad at Mr. Snake! He�s really sorry he missed!Oh, right. Animals can still miss their attacks, so that�s something that you also have to take into account. 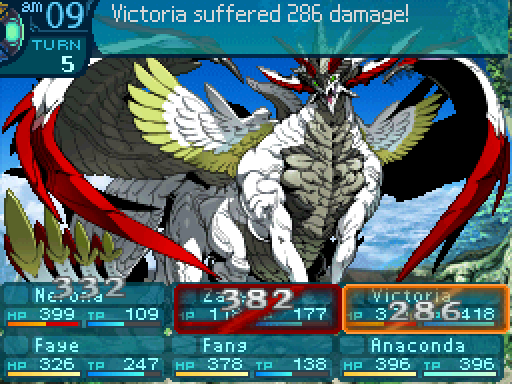 Elder Dragon�s physical attacks do more damage without the arm bind, but Protect Order has the party covered, at the very least. 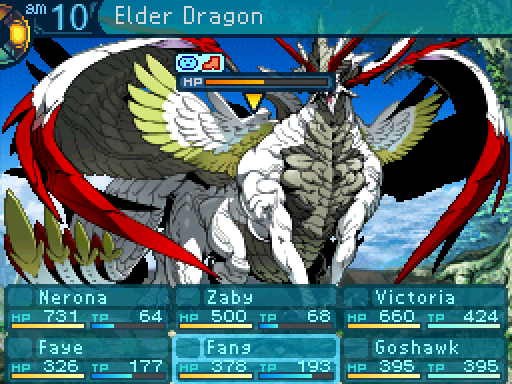 Several turns later, we got Elder Dragon�s HP to below 51%, so he should be using Ancient Breath now, and we�ll move onto phase 2 afterwards.  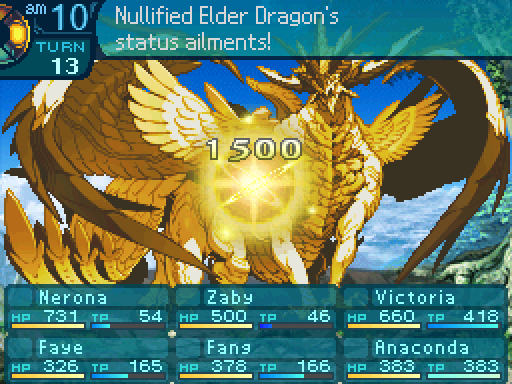 Supernova will be cast on the next turn, so it�s best to get your head binds ready once you see this happen. 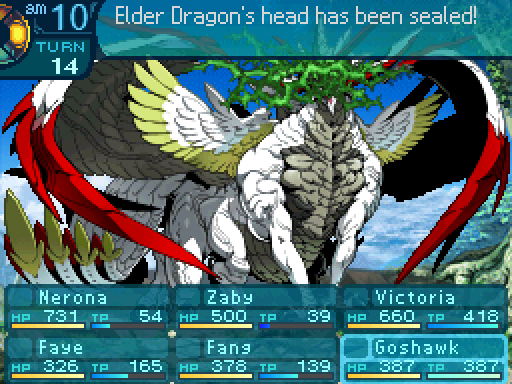   I won�t let you do that! I won�t let you do that!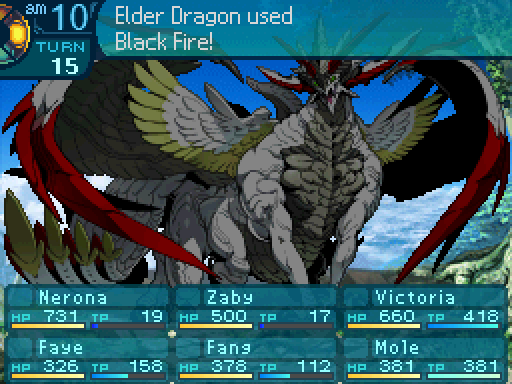  Elder Dragon breaking out his elemental attacks are where things will really start to get dicey. The only reliable way to deal with them is with arm binds. You can�t use Line Guard or physical defense buffs to deal with them, as they don�t work on elemental attacks. So arm binds are the only way to reduce their damage, and if they�re not on Elder Dragon, you could be looking at a potential party wipe. 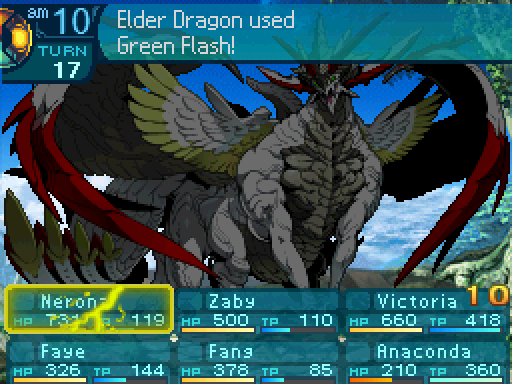 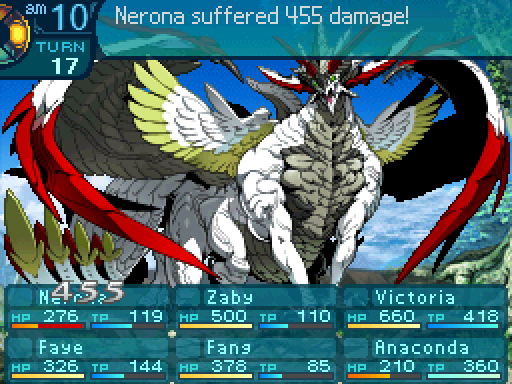 Green Flash is Elder Dragon�s strongest attack in terms of raw power (That isn�t Supernova.) If your party isn�t at full health and Arm Bind isn�t on him, say goodbye to whoever it targets. Hope that wasn�t a head binder or your healer it took out.  Also be warned that hog-tying Elder Dragon in his 2nd phase will cause him to be very likely to cast Ancient Breath on the next turn. 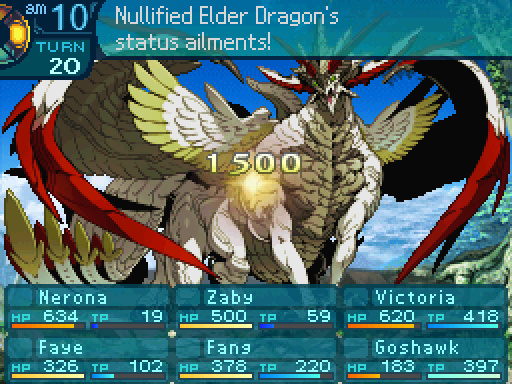 Like so. And unfortunately, while 1500 may not seem like much, remember how good our party�s damage output is at best. So it�s a very significant setback. However, that�s also a turn Elder Dragon isn�t attacking us, so it�s still in my best interests to bind him as much as possible. I should note that when Elder Dragon casts Ancient Breath due to this, his attack pattern is simply paused. Whatever action he was planning to do originally will be pushed back to the next turn.  ...Again? Really? That�s annoying. ...Again? Really? That�s annoying.Ugh, Elder Dragon also has a small chance to cast Ancient Breath randomly on turn 3 of his phase 2 attack pattern. 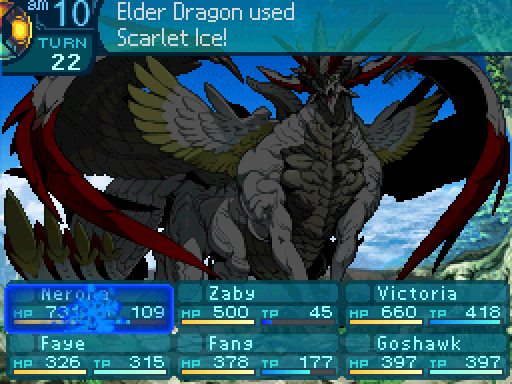 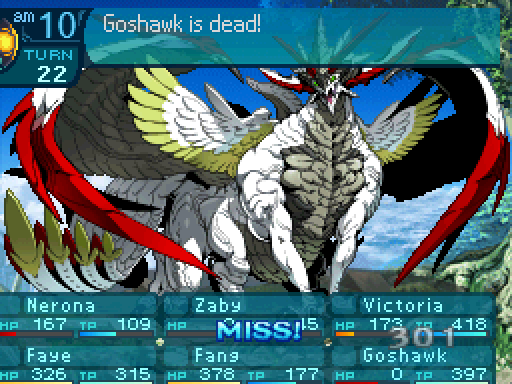 And yeah, that�s what happens if you don�t keep the arm bind on him at all times! Uhhh, this is a problem. Wakey wakey! Wakey wakey!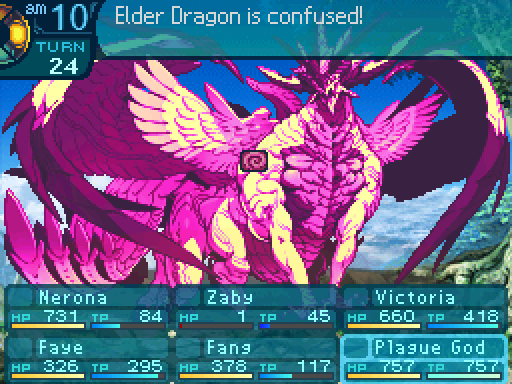 Good job, Mr. Elephant! Good job, Mr. Elephant!Alright! That should buy me a few turns!  And it should speed things up since Nerona threw out the Wolf Howl debuff.  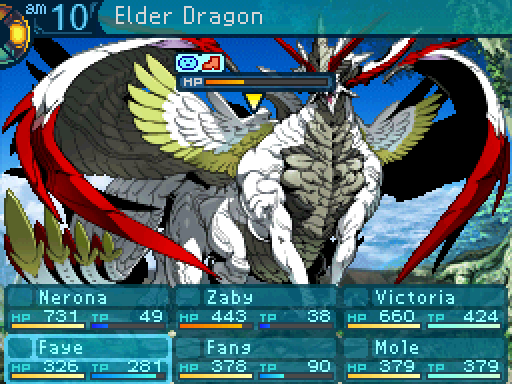 ...Never mind. Several turns of watching Nerona and Zaby plink away at Elder Dragon later...  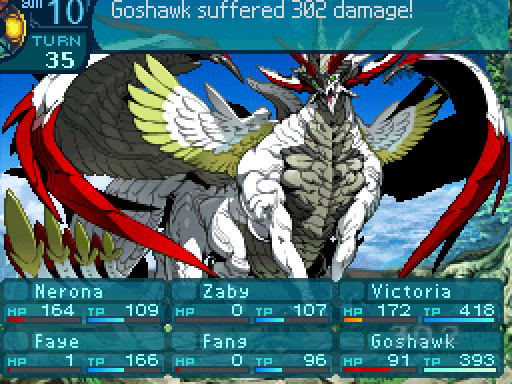 Ha! Told ya you can�t keep a good girl- aw geez. So cold... Ha! Told ya you can�t keep a good girl- aw geez. So cold...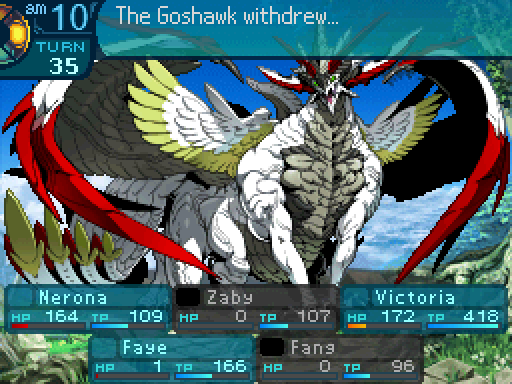 Wait, no! Come back! Uh oh. Wait, no! Come back! Uh oh.Elder Dragon�s arm bind fell off, and I failed to land it, so almost everyone died right there. In fact, if it wasn�t for Indomitable keeping Faye alive, I would have gotten a game over right then and there.  C�mon, Fang! No time to sleep now! Don�t attack don�t attack please don�t attack. C�mon, Fang! No time to sleep now! Don�t attack don�t attack please don�t attack.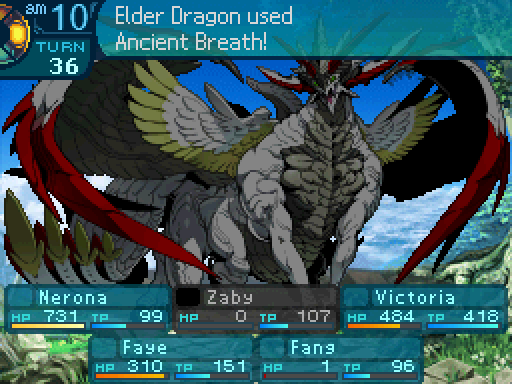 Phew! Phew!Well, that was a lucky break. Now let�s see if I can recover from this sticky situation.  Especially since I�m fairly close to winning this fight. 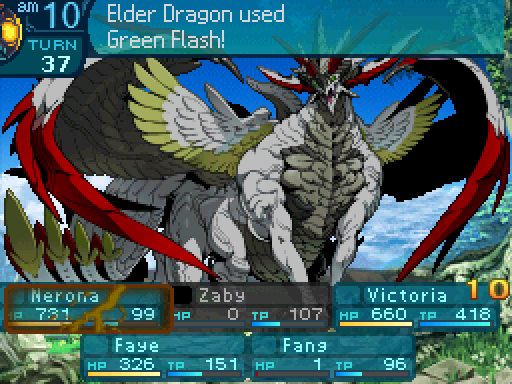 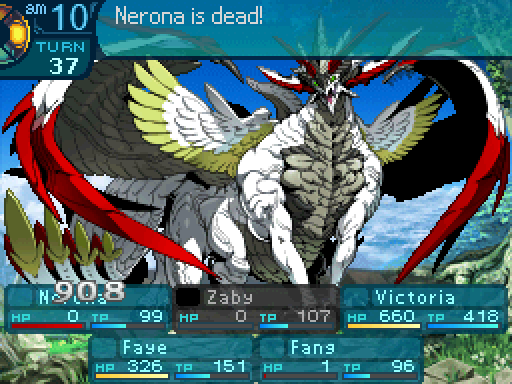 Oh come on! Oh come on!And that�s the normal damage output for a fully powerful Green Flash. Yeah, arm binds are just as important as head binds. 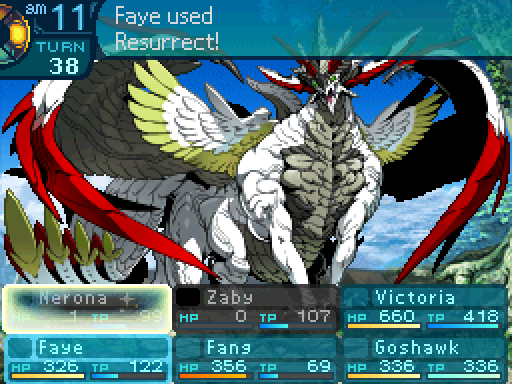 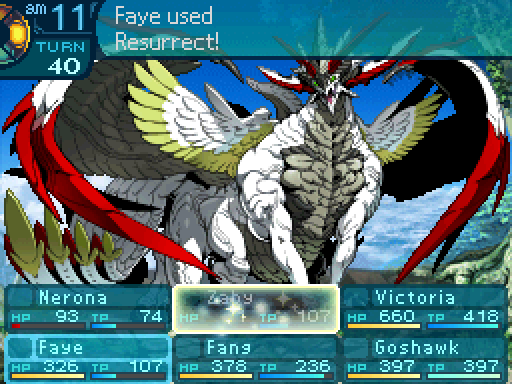 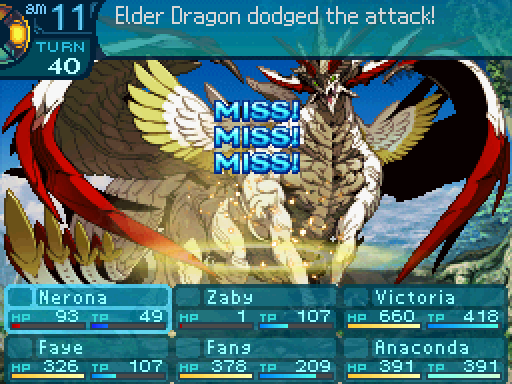 Maybe we shouldn�t have let them help us. Maybe we shouldn�t have let them help us.Nerona will still use Nine Smashes even if Elder Dragon does not have his evasion disabled, which can cause her to completely waste her TP and her turn! 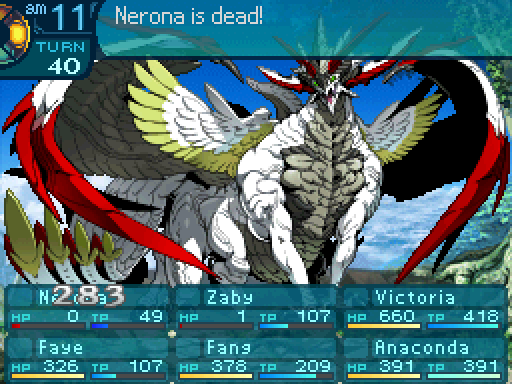 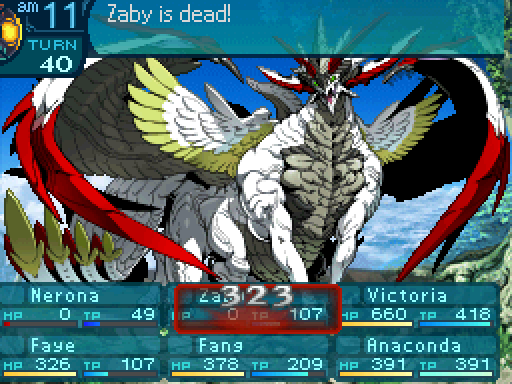 ... ...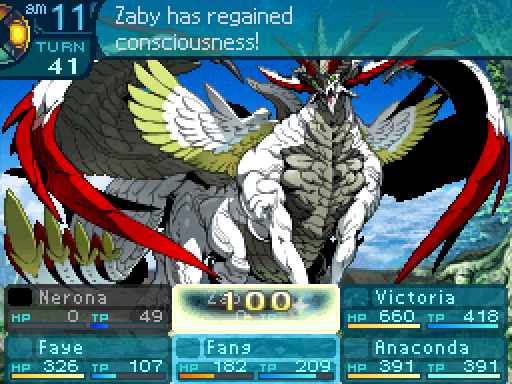   Sorry everyone, I let you down... Rrrrgghh...! Sorry everyone, I let you down... Rrrrgghh...! And barely any damage has been dealt to Elder Dragon due to all this silliness.  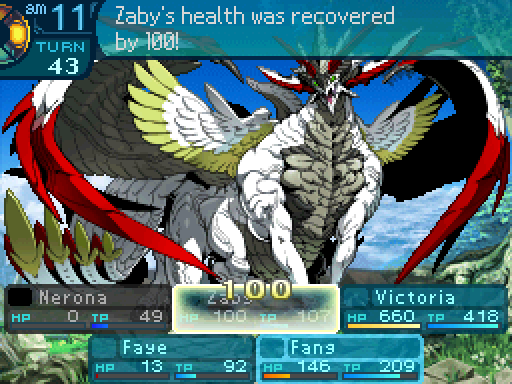  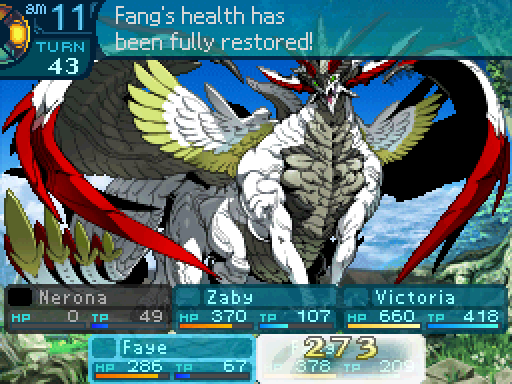 You all better appreciate the overtime I�m putting my butt through! You all better appreciate the overtime I�m putting my butt through!Okay, that should keep them from dying again. 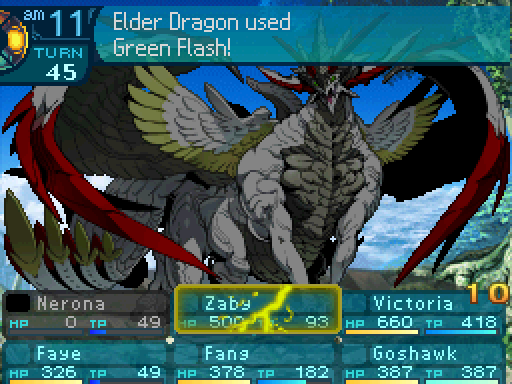  ...I hate everything. ...I hate everything.Unless Elder Dragon decides to just straight up delete someone. 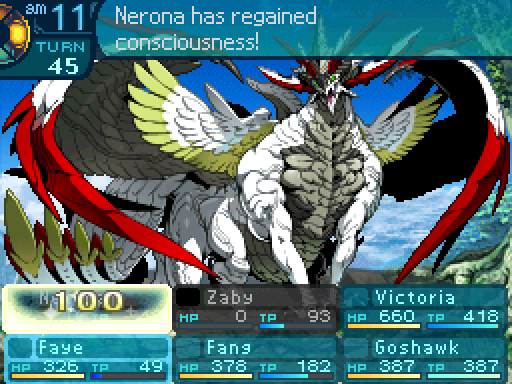 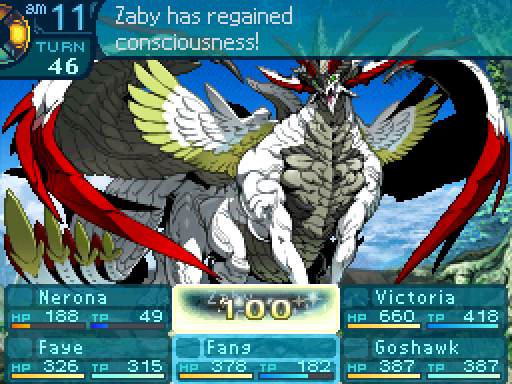 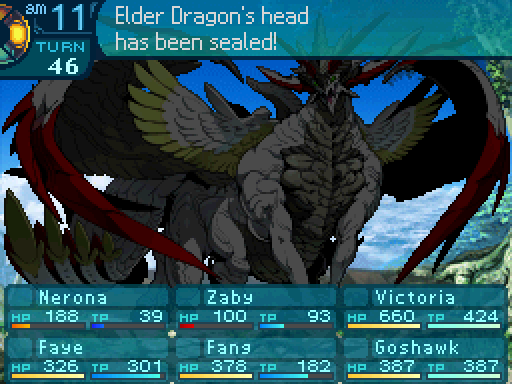 Maybe now some progress will finally be made in this fight!   Hmm, he�s pretty close to dying... 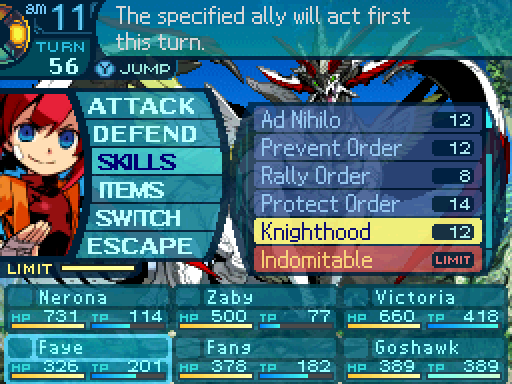 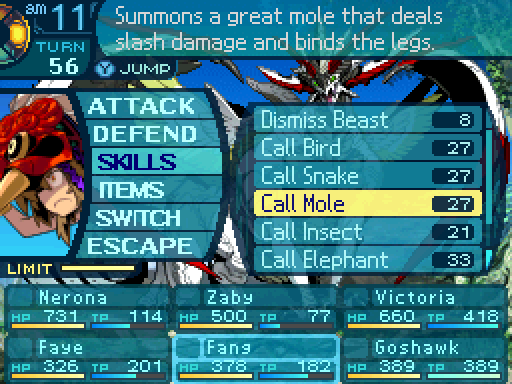 Sure, why not? Let�s try for the conditional. 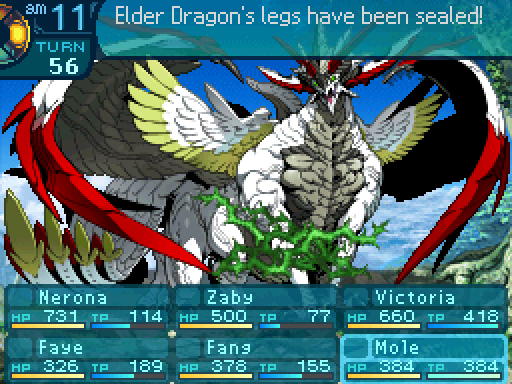 Well, that conditional is in the bag now. 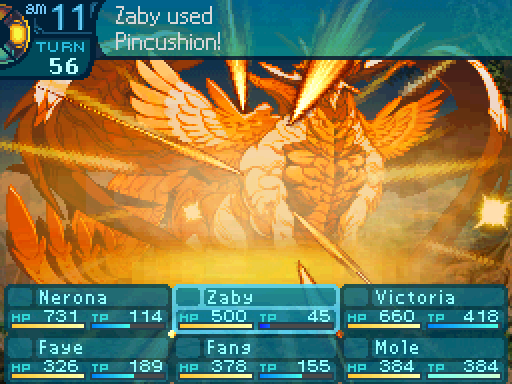 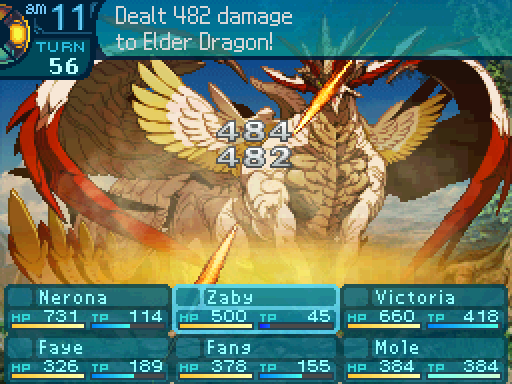 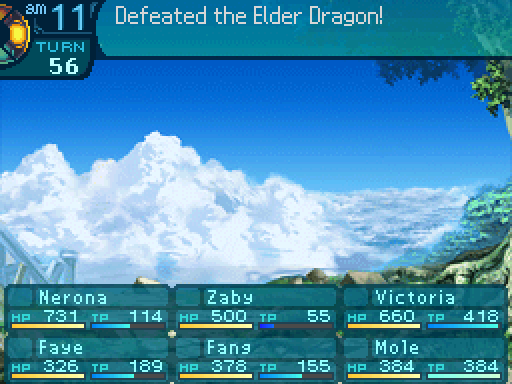 Huh? We did it? Oh hey, we did it! Hooray! ...I need a nap. Ugh, I think I�ll join you after we get back. Huh? We did it? Oh hey, we did it! Hooray! ...I need a nap. Ugh, I think I�ll join you after we get back.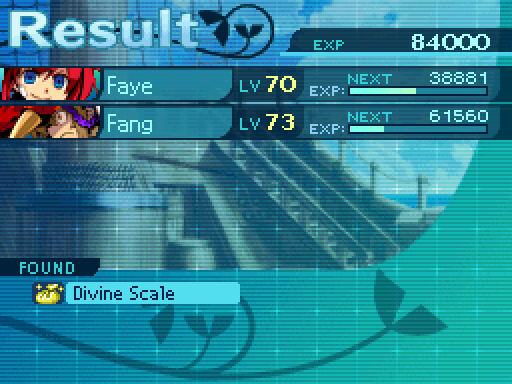 Good grief, 56 turns! If it wasn�t for that cycle of death and revivals, I probably could have cut that down to 40 turns. I�m not a fan of Sea Quests where you�re forced to bring only supports since those fights tend to take a ridiculously long time to get done.  But when you look around, you realize that you are back on your ship, floating in the tranquil sea. As you look at each other with dumbfounded expressions, the voice of the dragon god suddenly booms. Order is restored... Dragons are destined to be defeated by man. It is the stability I yearn for. You shall obtain new power. Power that subdues otherworldy evils, passed down by dragon and man. My mission is complete. Until I am needed once again, I shall watch you struggle to survive...With that, the dragon god�s voice fades... And a book appears before you, bathed in a bright light. You hold the book bestowed upon you by the dragon god close for the whole journey back to the city. 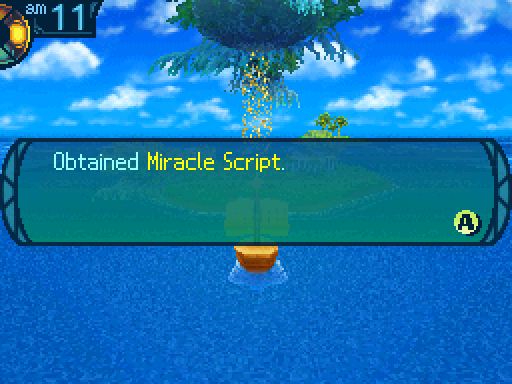 Ooh, thanks a lot! Ooh, thanks a lot!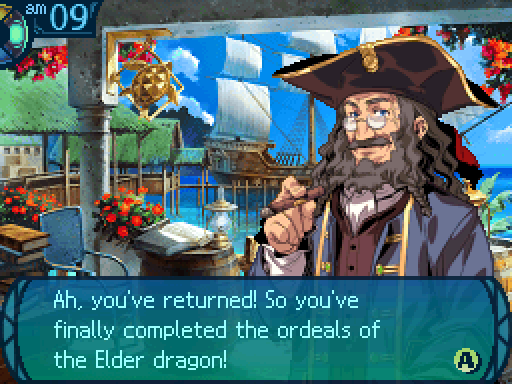  Your unyielding effort and the bonds you�ve fostered with your comrades are what made this possible. I don�t know how you will use the power the Elder bestowed upon you... But I know in my heart that you�ll use it correctly. You did well as always, but your adventurers aren�t over yet, no? Go forth and earn the glory you yearn for! Your unyielding effort and the bonds you�ve fostered with your comrades are what made this possible. I don�t know how you will use the power the Elder bestowed upon you... But I know in my heart that you�ll use it correctly. You did well as always, but your adventurers aren�t over yet, no? Go forth and earn the glory you yearn for! Death can�t stop me now! Death can�t stop me now! Has it ever? Has it ever?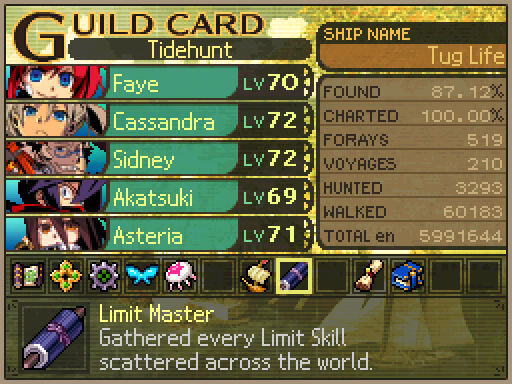 And that was the last Limit skill in the game we could obtain. We get a medal on our Guild Card for that accomplishment.  Anyways, the Limit skill we just unlocked was the Immortal Limit. And that description really does not do the actual effect justice.  You know what they say about heroes? You know what they say about heroes? They never die! They never die! More like you won�t let us stay dead. More like you won�t let us stay dead.What Immortal does is dispel all ailments and binds on the party, as well as bringing dead party members back to life and fully restoring their HP and TP! It can be a very strong panic button to make use of, and the last part I just told you about can ensure that you won�t ever have to leave the Labyrinth due to running out of TP. Unsurprisingly, that effect got completely axed in future titles. However, Immortal does have its weaknesses. It needs 3 people to use, and it activates at the very end of the turn. If any one of those party members die, you won�t be able to use the skill. All in all, I prefer the guarding Limits myself, but Immortal is also a pretty strong Limit skill to make use of. 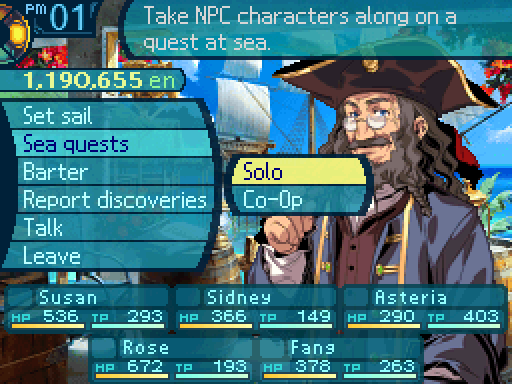 Anyways, that fight took quite a while huh? So before we move onto the next Sea Quest, wanna see an exploit?   Video: Elder Dragon Exploit Video: Elder Dragon Exploit   Like always, save and reset to set the RNG seed value to the one we want. 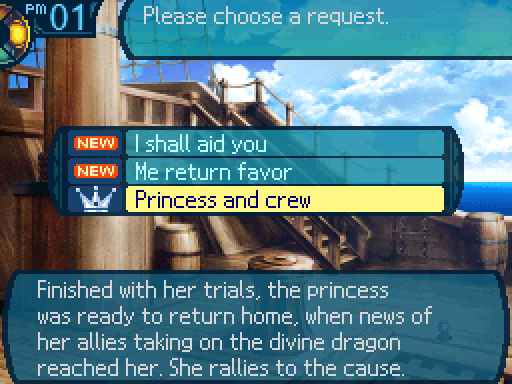 We�ll be going with the 3rd Sea Quest again.  Now you�re actually gonna need to put in some prep work to pull off this exploit. First of all, you need someone with Call Tiger (remember, Call Tiger�s level doesn�t matter. It�s Wild Mastery doing all the work here.) And they need to be slower than all the NPCs, but faster than Elder Dragon. You also need 1 other party member. The only requirements are that they�re slower than all the NPCs and your Call Tiger user, but are faster than Elder Dragon. Place those party members into these slots.  No need for Limit skills here as well.   Have your Call Tiger user cast Call Tiger on the first turn.  And have your other party member attack.   Call Tiger will fail on this turn. 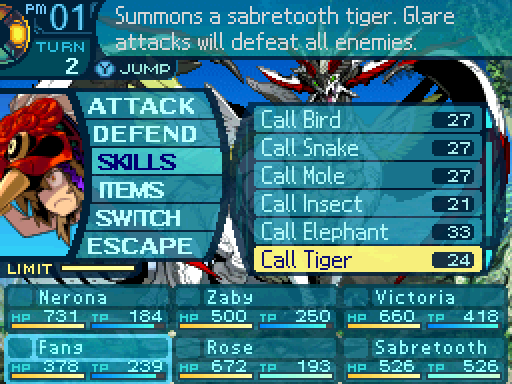 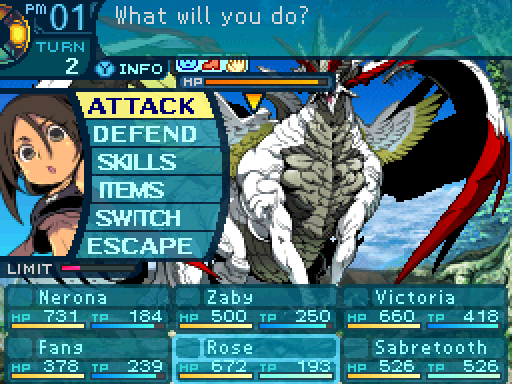 But just cast the exact same actions on this turn as well.  ROAR! ROAR! Wha-!? Huh!? Did you just-!? Wha-!? Wha-!? Huh!? Did you just-!? Wha-!?That�s for taking 56 turns to kill last time!  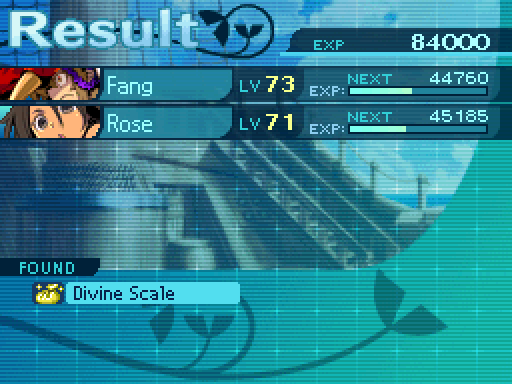 And voila! A quick way to kill Elder Dragon, and nets you the conditional drop easily to boot!  Oh, and Elder Dragon doesn�t even talk to you after beating him again. You�re immediately booted back to Inver Port. 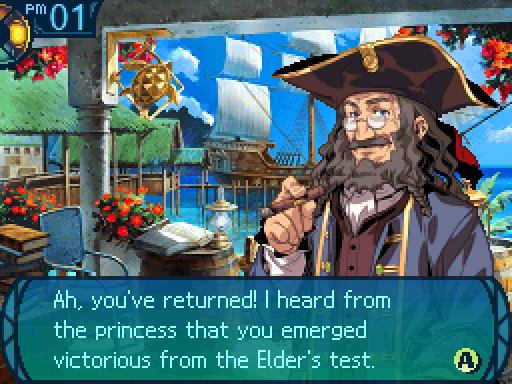  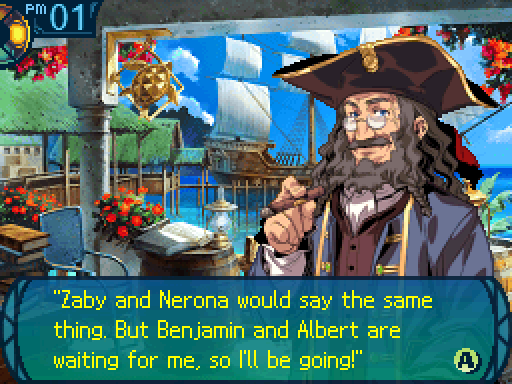 I�m sure they�ll continue to fight for the weak, even in foreign lands. The road home will be tough. She left this before she departed. It must be a farewell gift, from one warrior to another. I�m sure they�ll continue to fight for the weak, even in foreign lands. The road home will be tough. She left this before she departed. It must be a farewell gift, from one warrior to another. If you already got the equipment reward from any of these Sea Quests, his last line changes to this instead: You did well as always, but your adventurers aren�t over yet, no? Head for your next big adventure! At this point, you very likely have the ultimate equipment available to you, making these rewards novelties at best. ...Really? A heart attack? That�s what I�ve been telling you! I know it sounds crazy, but I saw it happen! She�s not lying! ...I guess if it�s coming from you, it must be true. See!? I told you that tiger gave her a heart attack! Yes yes, we�re sorry for not believing you back then. So Cassie, can we get a pet tiger? No. Phooey!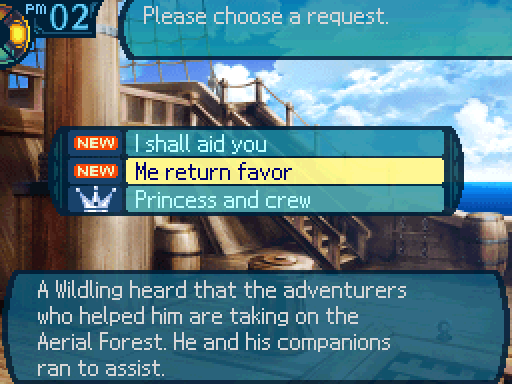 Next up is this Sea Quest.  I�ll be taking along these 3 party members now that I can fight Elder Dragon on my own terms. Oh, and before I forget... 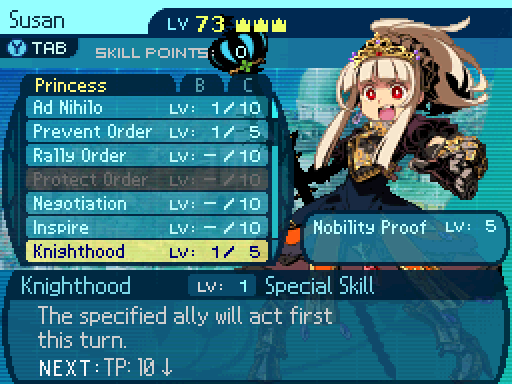  I can see my future court expanding already! I can see my future court expanding already!I gave Susan Knighthood to make things a bit easier on me for this Sea Quest. 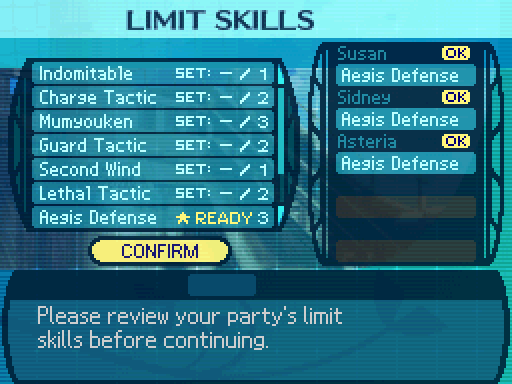 And here is the Limit setup I�ll be using this time. 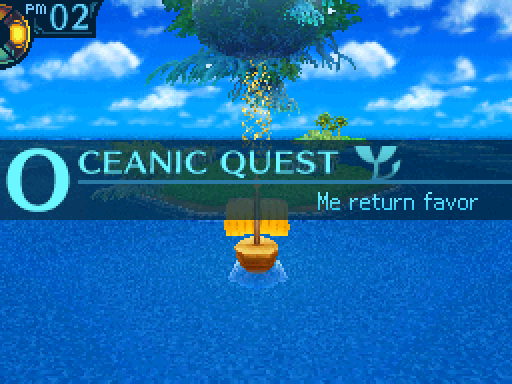 Okay, Elder Dragon�s intro is exactly the same for all the Sea Quests, so I�ll be cutting it out. Well, same for all 3 of the Sea Quests we can access. If you actually take him on in the Co-op exclusive Sea Quest, he actually has something rather different to say to us. quote:Upon reaching the Aerial Forest again, you take out the three dragon orbs and hold them aloft. The pillar of light released from the shining orbs stretches to the heavens, leading to the forest. As if in response, a low, dignified voice that shakes the air itself echoes from above. Interesting. Anyways, let�s get onto the actual fight. Oh, and unlike the first fight with Elder Dragon, I actually recommend watching the following video. Video: Elder Dragon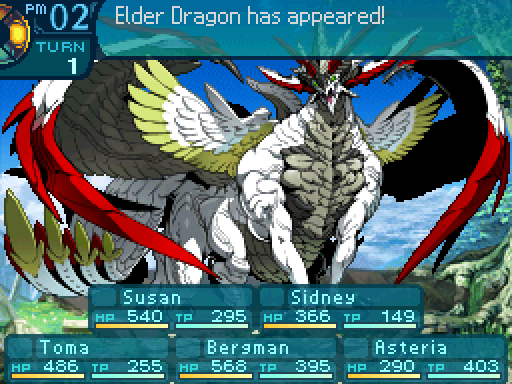 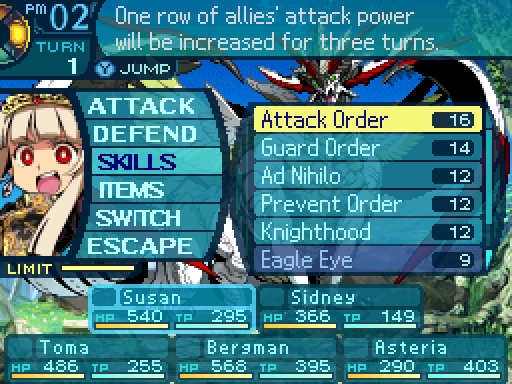 MEGAQUEEN will do what she does best, which is enabling murder!  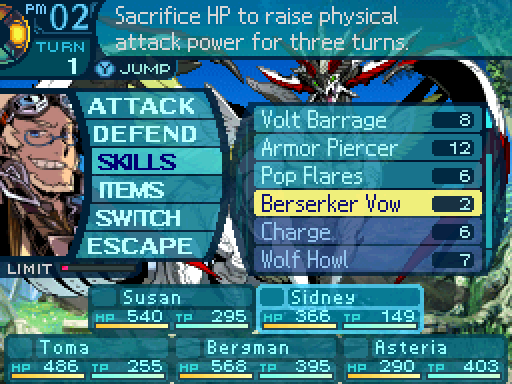 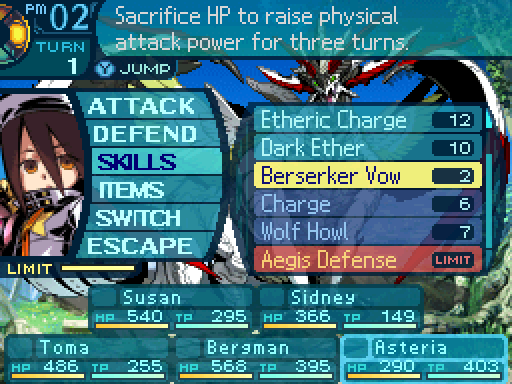 Elder Dragon is already giving us a free turn, letting me set up these Berserker Vows in peace.  Hoist that tome with pride in the heart! Hoist that tome with pride in the heart! Uh, thanks? Still not really sure how this works anyway. Uh, thanks? Still not really sure how this works anyway. Ow ooh! Or this! Ow ooh! Or this! This�ll hurt you more than it does me! I hope. This�ll hurt you more than it does me! I hope. Helpful, but we won�t need to take advantage of that too much. 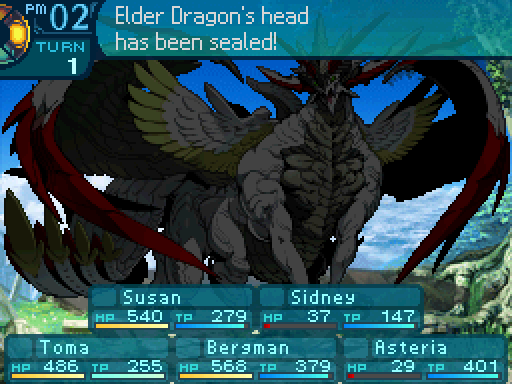  Susan will buy us another free turn. 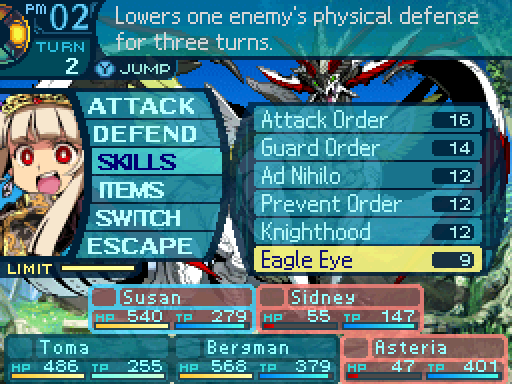 And enable even more murder. 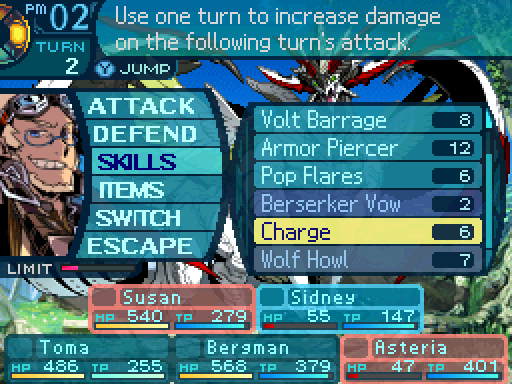 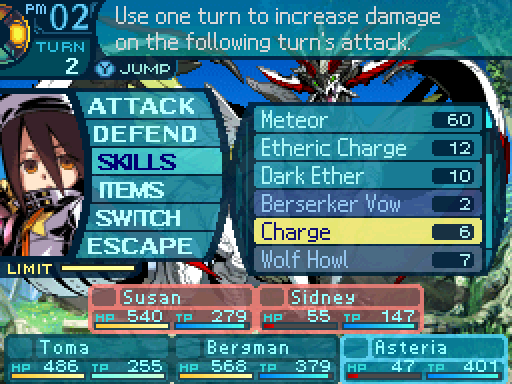 I�m really not comfortable wasting more time to get out more Berserker Vows, so I�m gonna go right on the offensive as soon as possible. Besides, Elder Dragon will give us plenty of free turns.  Can a dragon god get past this? I think not! Can a dragon god get past this? I think not!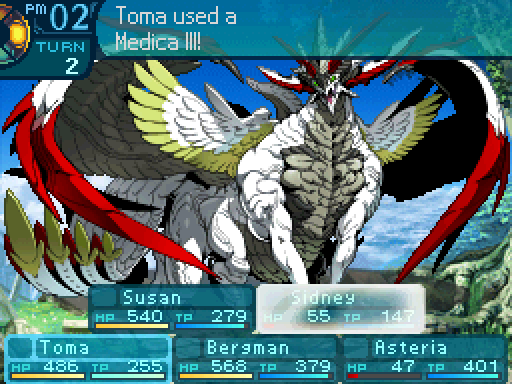 Free heals from Toma.  Ohohoho! Even a dragon god has his weaknesses! Ohohoho! Even a dragon god has his weaknesses!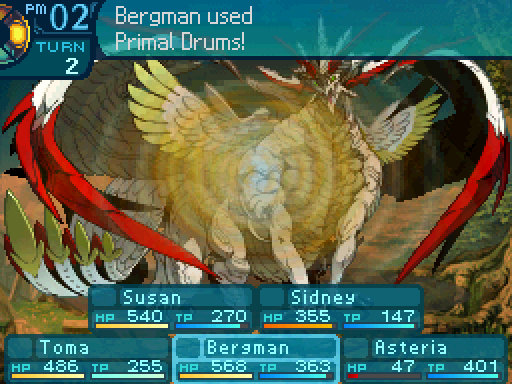 Oh, this is gonna be a slaughterhouse.   I decree: Denied! I decree: Denied!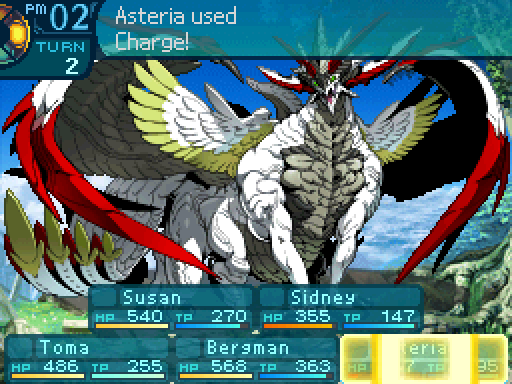 Oh my, these numbers can�t be right...! Oh my, these numbers can�t be right...! Hee hee hee! I can�t wait! Hee hee hee! I can�t wait! Better heal up Asteria now that she�s low on HP.  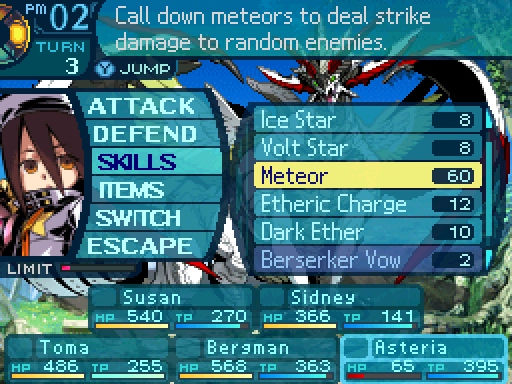 Let the carnage begin. 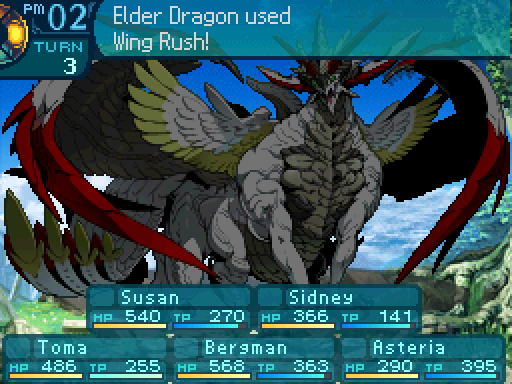 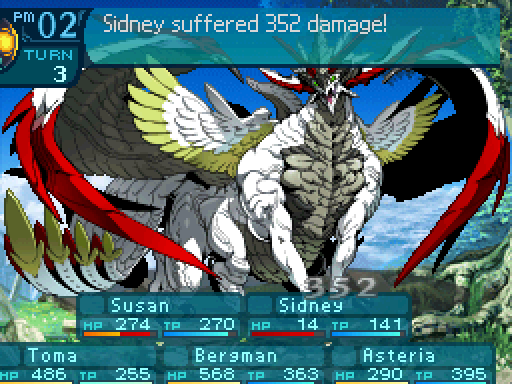 Medic... Medic...Sidney just barely hanging on.  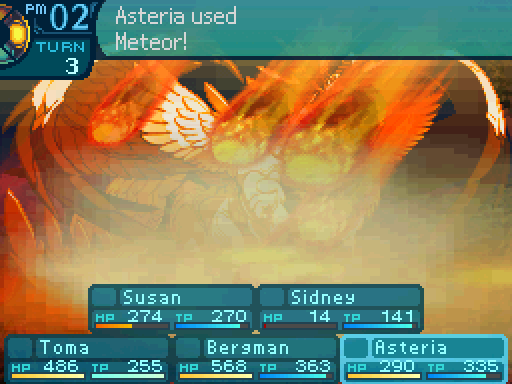  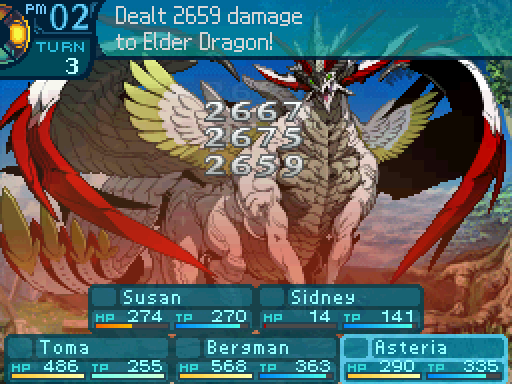 AHAHAHAHAHAHA! Try and keep up with that, Sid! AHAHAHAHAHAHA! Try and keep up with that, Sid!Oh, look at Asteria just casually dishing out 13327 points of damage! 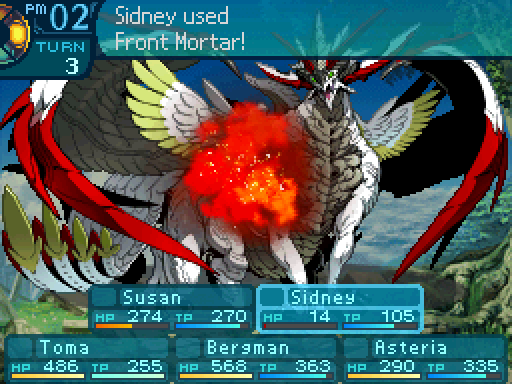 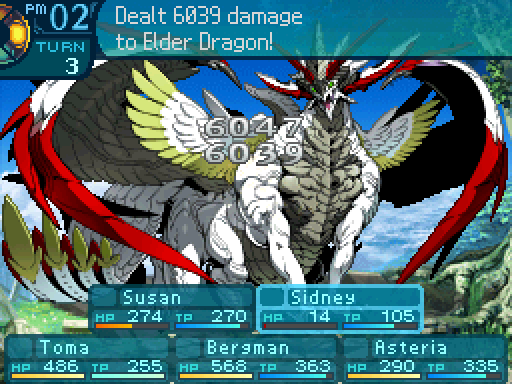 Bah! I ain�t one to be outdone! Bah! I ain�t one to be outdone!And Sidney just adds on 12086 damage onto that, for a total of 25413 damage.  Elder Dragon is already way below half of his maximum health. 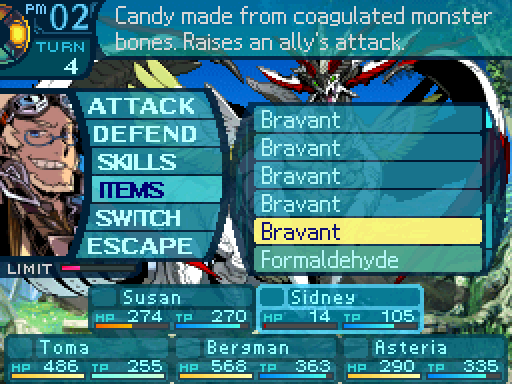 And let me just enable Asteria to murder him even harder. Asteria is my bigger damage dealer, so I�m just turning Sidney into a support now. And since Elder Dragon is gonna give us a free turn this round, I had Asteria use Berserker Vow again.  Here, don�t tucker yerself out now. Oh, why thank you, Sid. Here, don�t tucker yerself out now. Oh, why thank you, Sid. 1500 HP is a far more paltry amount when our damage output is far higher. 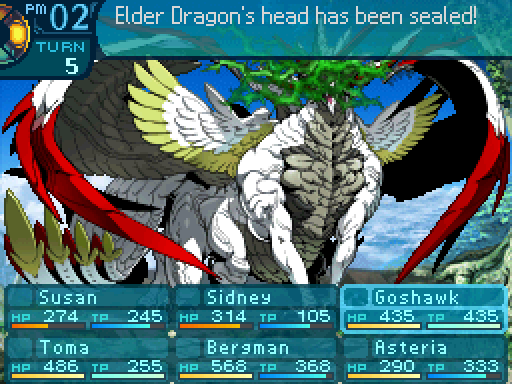 Okay, won�t have to worry about the Supernova this turn. 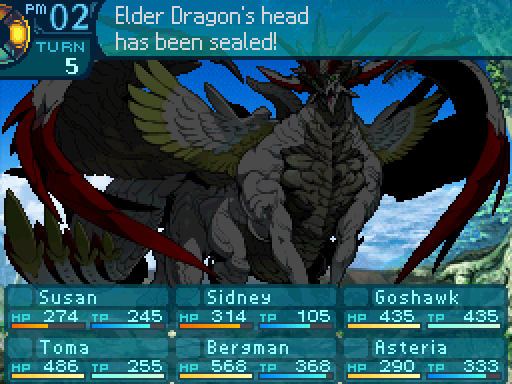 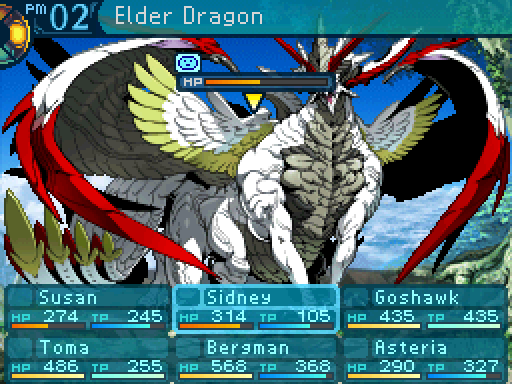 Elder Dragon�s arm bind fell off, and I don�t want Sidney dying so... 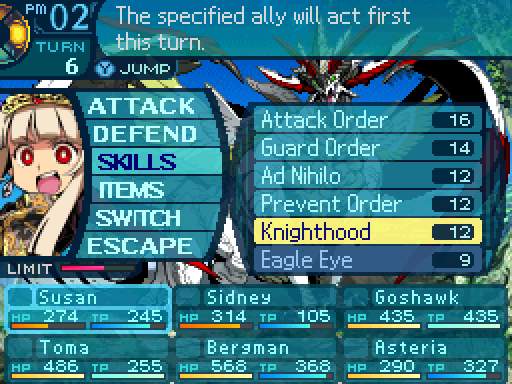 I�ll have Susan cast Knighthood on Bergman so Elder Dragon will get his arms bound before he can attack. 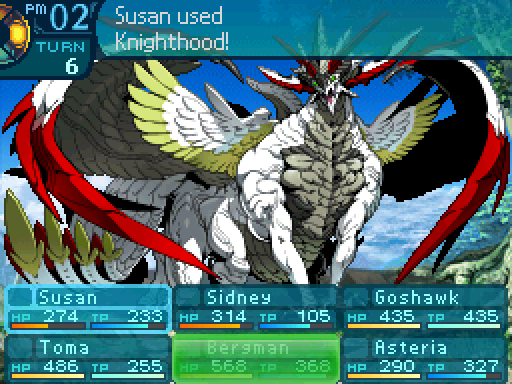 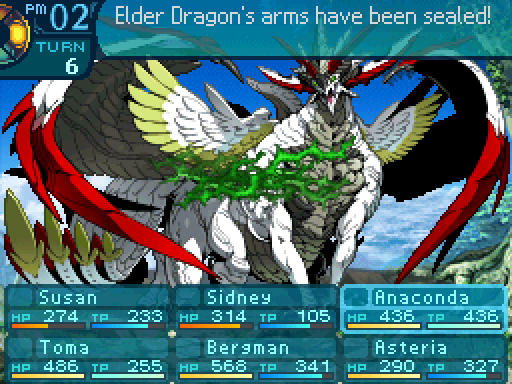 I dub thee, sir- oh, you don�t want a title? Fine, then. You�re the one that�s missing out. I dub thee, sir- oh, you don�t want a title? Fine, then. You�re the one that�s missing out.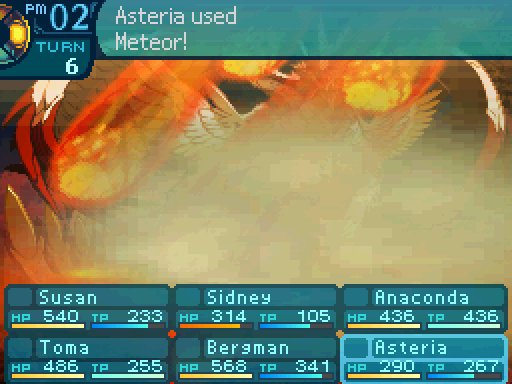 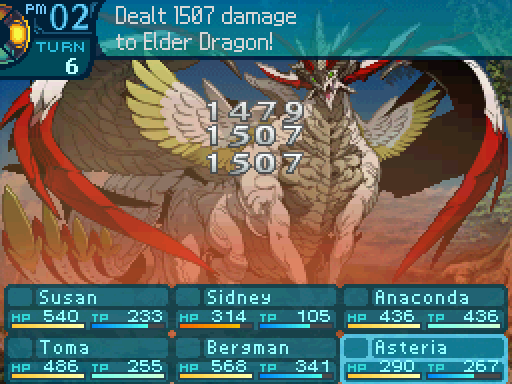 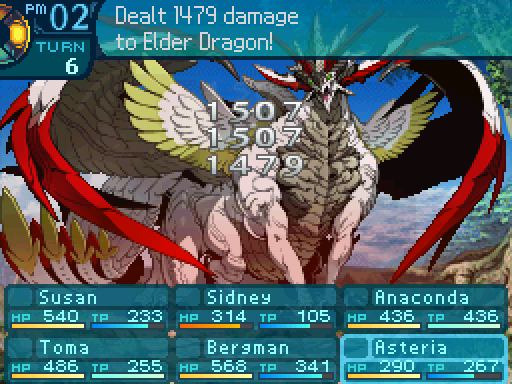 Not my best work, but good enough, I suppose. Not my best work, but good enough, I suppose.Adding on another 8958 damage on top of that.  Why did I even bother...? Why did I even bother...?A Sidney without buffs and Charge is a sad Sidney indeed.  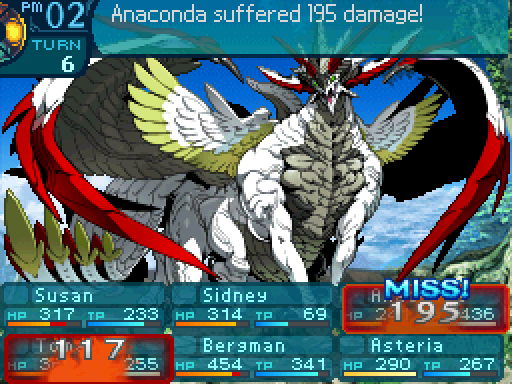  Not much left to the fight now. 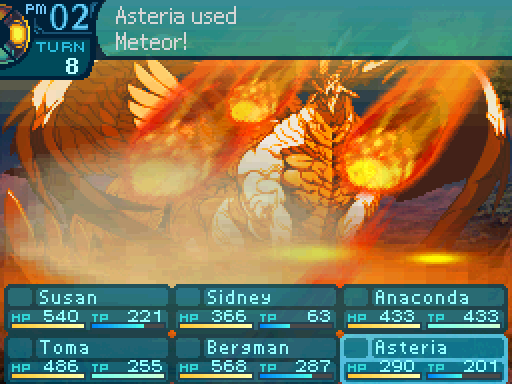 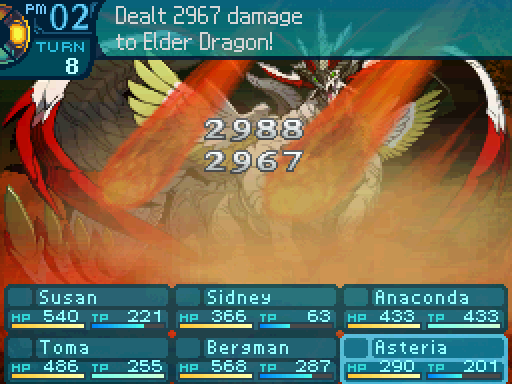 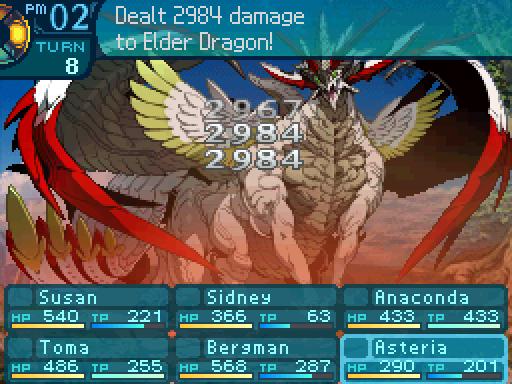 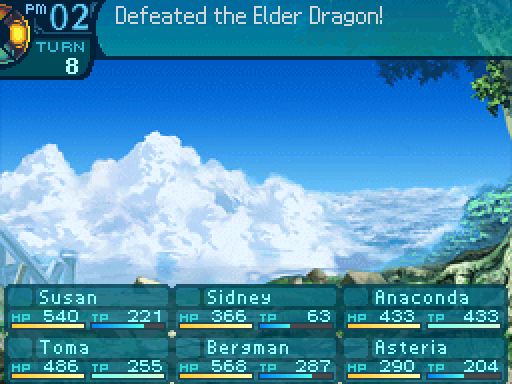 Oh, did I go overboard? Sorry, I can be quite the rear end-teroid at times! Ahahaha! Oh, did I go overboard? Sorry, I can be quite the rear end-teroid at times! Ahahaha!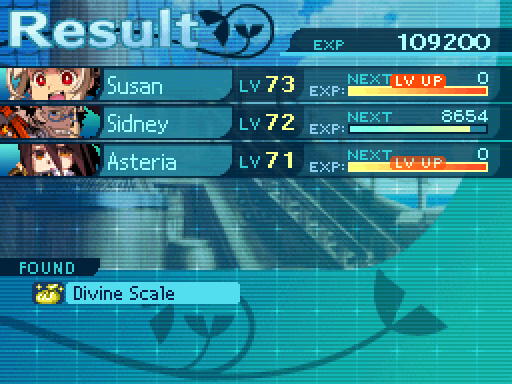 Told you level 90 was overboard. Just look at how much damage Asteria dealt out!    Have you ever stopped in at the bistro? You may notice a few familiar faces there. Also, the wildling left this in appreciation for what you�ve done. He must want to repay you. Have you ever stopped in at the bistro? You may notice a few familiar faces there. Also, the wildling left this in appreciation for what you�ve done. He must want to repay you.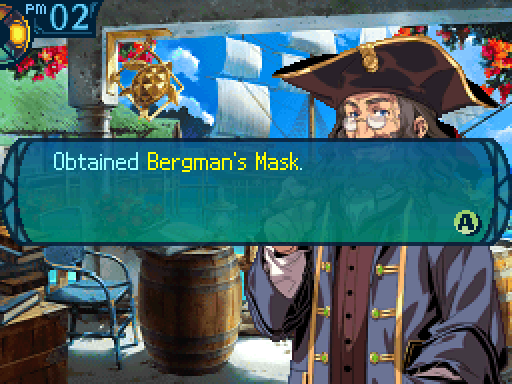 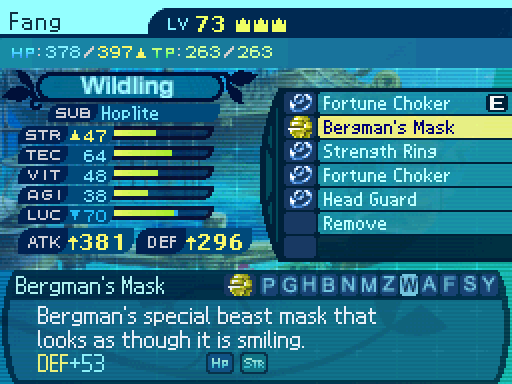 Bergman�s Mask is a helmet that�s exclusive to Wildlings. And I guess it�s okay? Not a particularly amazing piece of armor, at any rate. Anyways, that last fight was a pretty big dunk, don�t you think? Oh, but I�m not done yet!  Here�s the last Sea Quest we�ll be taking on in this entire LP. 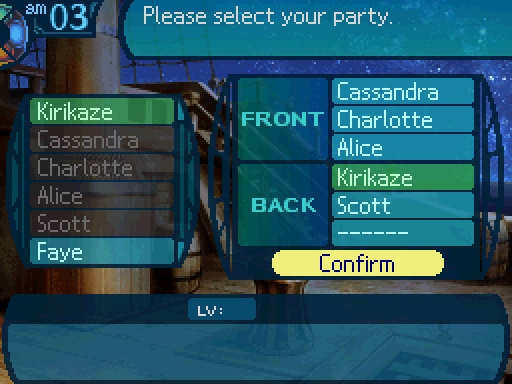 And here�s the party I�m bringing for this one. Yes, I�m actually bringing Alice to the fight. 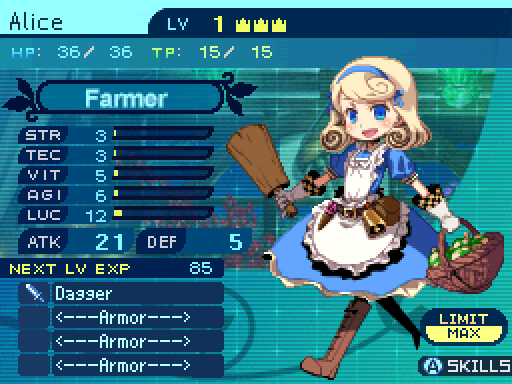 In fact, her very presence is crucial to winning.   And to make things easier to pull off, I�m partaking in accessory cheese. I�m not sorry for this. 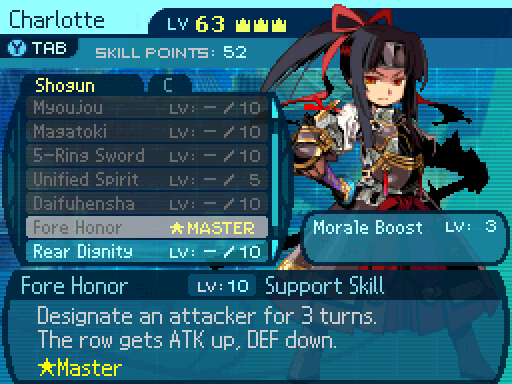  Mmmhmmhmm! With this formation, we�re sure to triumph over everything! Um, Charlotte? This formation you�re suggesting leaves us wide open for attack. Especially for that poor- Shush. It will work. Trust me. Mmmhmmhmm! With this formation, we�re sure to triumph over everything! Um, Charlotte? This formation you�re suggesting leaves us wide open for attack. Especially for that poor- Shush. It will work. Trust me.I have Charlotte learn Fore Honor and max it out. Fore Honor places a buff on one party member that increases their action speed by +6000 (essentially giving them priority) and their damage output for all attacks by 35%, but at the cost of lowering their defenses against all attacks by 50%. Contrary to what the description says, this skill is not row target and only affects whoever has the buff.  Oh, and this is the only Limit skill I really need for this fight.   Cassandra. Did you really have to take on his challenge this early in the morning!? Well, I would have taken it on earlier, but Faye�s little napping session screwed up the schedule for a lot of things. So we�ll have to make do now. Besides, you should focus less on complaining and more on making yourself useful. Cassandra. Did you really have to take on his challenge this early in the morning!? Well, I would have taken it on earlier, but Faye�s little napping session screwed up the schedule for a lot of things. So we�ll have to make do now. Besides, you should focus less on complaining and more on making yourself useful.Yadda yadda yadda, intro we�ve already seen. Oh and if you thought the last fight was a big dunk, you haven�t seen anything yet. I highly recommend watching the next video. You�ll get to see a very big, no. The biggest dunk in the entire LP in motion that way! Do note that the contents of the video are slightly different as to what will be seen in this LP, but it doesn't matter that much.  Video: Elder Dragon Video: Elder Dragon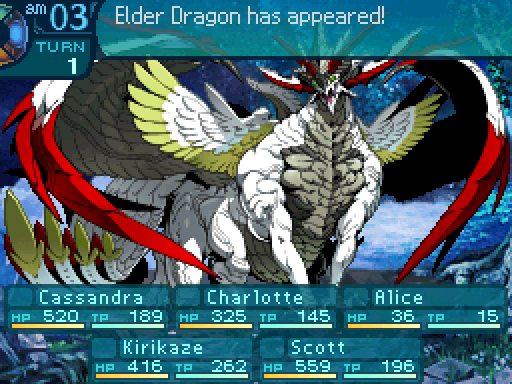 This is the last time that song will be heard in this LP. 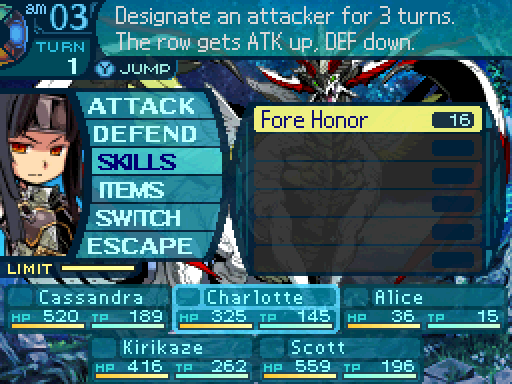 First, I�ll have Charlotte cast Fore Honor on Alice.  And I�ll have Alice set up Indomitable.  I-I�m ready for anything you�ll throw at me! I-I�m ready for anything you�ll throw at me!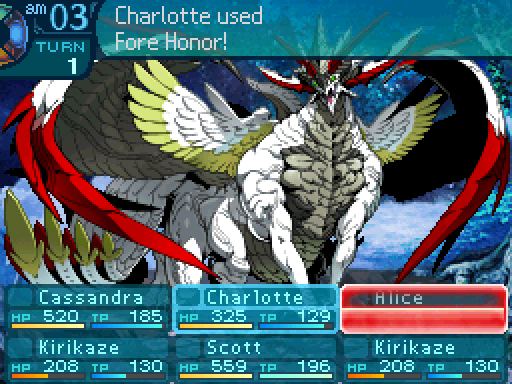  You�re in charge now! Wha!? You�re in charge now! Wha!?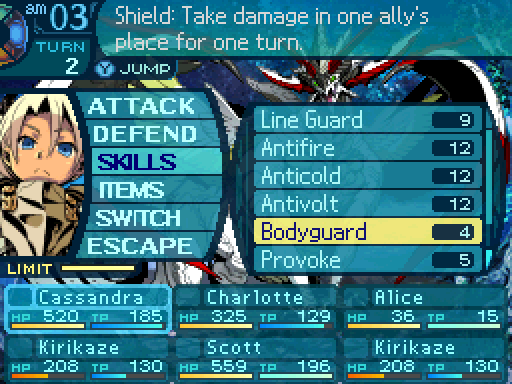 Next, I will have Cassandra protect Alice from any attacks.  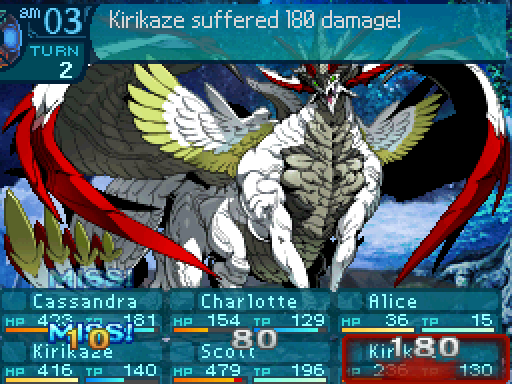 It�s important for her to be protected from everything. 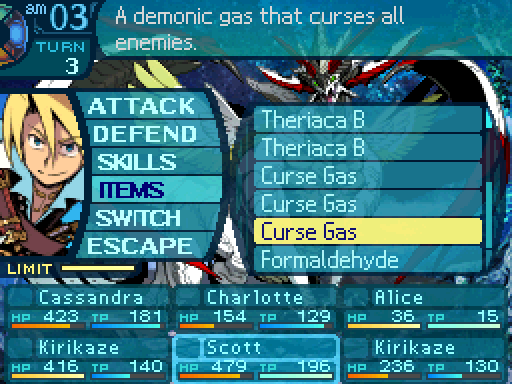 Well, the chances of landing Curse from this is really low. But that�s not the important part. The important part is that Elder Dragon can be hit with Curse at all. 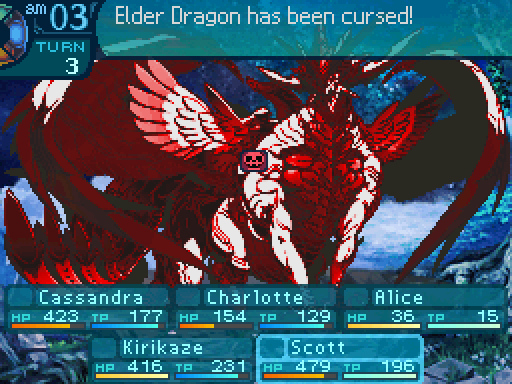  Jarate! Jarate!That said, Curse is a really bad ailment. In fact, it�s the shittiest ailment in the entire game.  And as we all know, Farmers are a pretty lovely class.  Cassandra. It�s 3 in the morning. I really, really need some sleep. Um, Alice? Now isn�t a good time for- oh no. Cassandra. It�s 3 in the morning. I really, really need some sleep. Um, Alice? Now isn�t a good time for- oh no.But if we combine the two together...  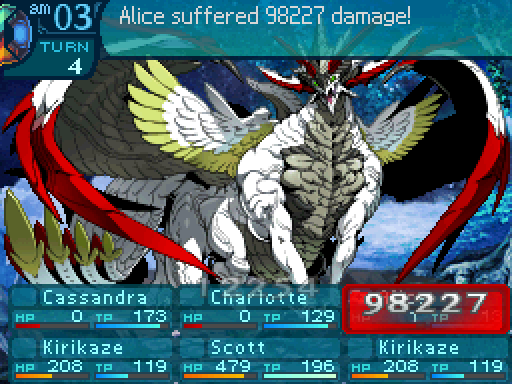 They�ll create something that�s so utterly shitacular... 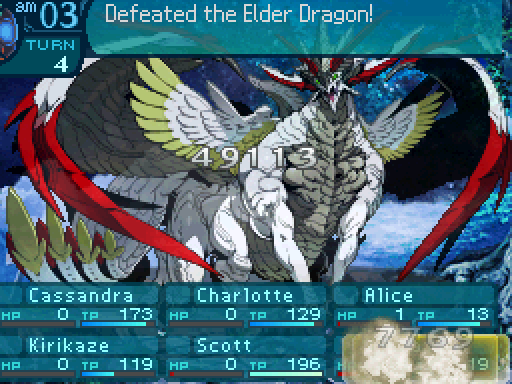 WHAT. WHAT. That it loops back around to create the most powerful force in the universe!  Even at her weakest, Alice is at her strongest. All hail Alice.  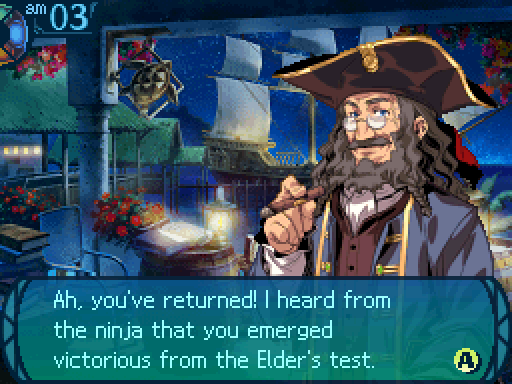   And then she left, just as the mist and wind in her name would tell you. But she left this with me. It�s a gift from her, celebrating your rising to new heights. And then she left, just as the mist and wind in her name would tell you. But she left this with me. It�s a gift from her, celebrating your rising to new heights.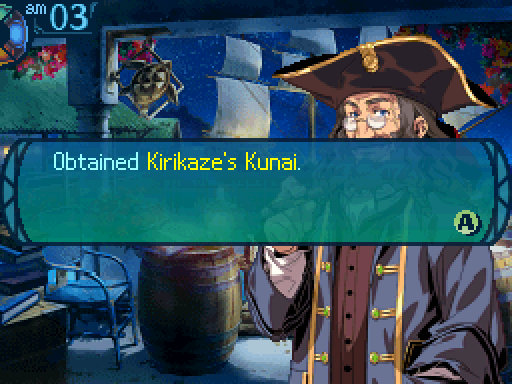 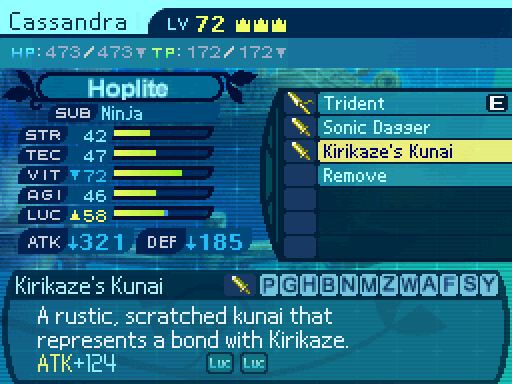  Really? Hee hee. So that�s what Alice did, huh? I guess she isn�t so useless after all, wouldn�t you say, Cassie? ...Yes, I suppose so. Isn�t there something you should say to her? Like, sayyyy, an apology? ...Mmph. I�m sorry I thought you were useless. What was that? I couldn�t hear you. F-Faye, you don�t have to guilt trip her- I�M SORRY I THOUGHT YOU WERE USELESS! There, are you happy now? ...Well, I would be lying if I said I wasn�t. Hee hee. Really? Hee hee. So that�s what Alice did, huh? I guess she isn�t so useless after all, wouldn�t you say, Cassie? ...Yes, I suppose so. Isn�t there something you should say to her? Like, sayyyy, an apology? ...Mmph. I�m sorry I thought you were useless. What was that? I couldn�t hear you. F-Faye, you don�t have to guilt trip her- I�M SORRY I THOUGHT YOU WERE USELESS! There, are you happy now? ...Well, I would be lying if I said I wasn�t. Hee hee.One last stop before I close off this update.  The Holy Horn unlocks... 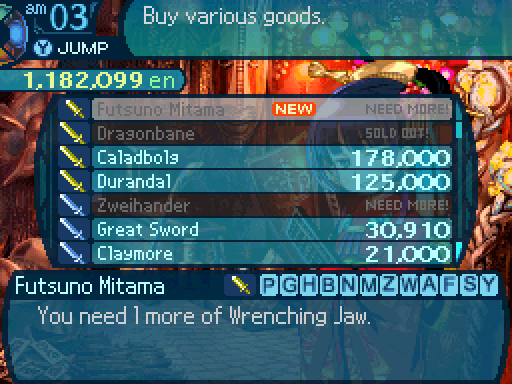 A weapon we need more materials for. 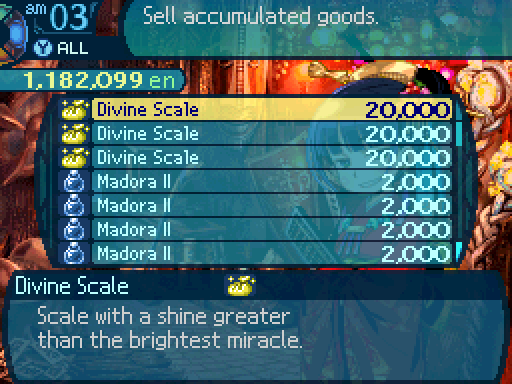 But as for the Divine Scale... 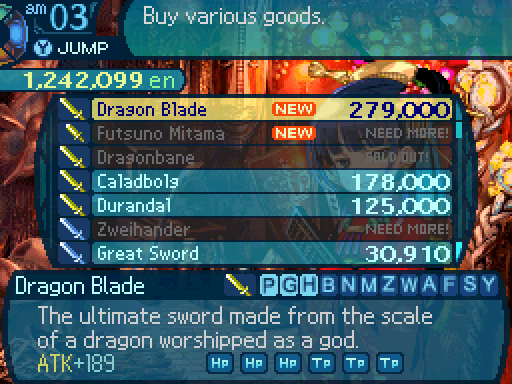 Uhhh, I think I�ll keep my old sword. Thanks. Uhhh, I think I�ll keep my old sword. Thanks.It unlocks the Dragon Blade, which is the strongest Sword in the game in terms of raw attack power, and comes with a +15% boost to the user�s maximum HP and TP pools. That said, the Dragonbane is considered to be the better sword since you can forge it to have whatever you want. (Though it�ll take a bit of grinding to pull that off.) Next time: Tying up more loose ends. Araxxor fucked around with this message at 18:53 on Oct 15, 2017 |
|
#
?
Oct 15, 2017 06:16
|
|
|
Wow. That curse cheese was glorious. Reminds me of the blizzard king curse cheese in EO2U. Glorious. Good job man.
|
|
#
?
Oct 15, 2017 07:25
|
|
|
I'm instantly reminded of level 1 Pokemon with Endeavor and Quick Attack. Regardless, by far the best way to cap off the Sea Quests.
|
|
#
?
Oct 15, 2017 08:08
|
|
|
Holy poo poo, that's like the cheese kill for the last boss of FFII in terms of suck compounding upon itself for ultimate power. Beautiful.
|
|
#
?
Oct 15, 2017 08:36
|
|


|
Poetry in motion The difference between the first and second fight is simply insane. Who thought that NPC lineup was a good idea? If the players have to fill in the healer and disabler slots for a fight you better give them NPCs competent at doing damage, not clowns armed with nerf swords 
|
|
#
?
Oct 15, 2017 09:02
|
|


|
It's everything I'd dreamed it would be
|
|
#
?
Oct 15, 2017 15:00
|
|
|
And you said she was useless, Dr. Fetus! I think someone other than Cassie owes her an apology right now! Alice, Elder Dragon Slayer. That's one hell of a way to end that fight.
|
|
#
?
Oct 15, 2017 17:18
|
|
|
Farmers need to be nerfed. Or should that be buffed? 
|
|
#
?
Oct 16, 2017 00:09
|
|

|
It may sound weird when I say it like this, but the first fight is how I'd imagine this battle going. Not necessarily the 50 turns thing or the struggle to revive everyone, but when the next battles are ended before 10 turns pass, you don't get as much of a feel for what the boss is going for. There's not gonna be a moment when I don't love seeing bosses get trashed and this is no exception, I just also liked seeing the boss actually be a boss. Did they actually write "by" twice in that description? It always gets on my nerves when I see mistakes like that in games (enough that I actually took a picture of the two or three I found in EO2U).
|
|
#
?
Oct 16, 2017 01:20
|
|
|
Omobono posted:Who thought that NPC lineup was a good idea? Probably the same person who balanced the rest of EO3.
|
|
#
?
Oct 16, 2017 02:49
|
|
|
Alice MVP! Stand tall and shake the heavens!
|
|
#
?
Oct 16, 2017 04:17
|
|

|
Well played. You showed that all off in style.
|
|
#
?
Oct 16, 2017 07:56
|
|


|
Omobono posted:The difference between the first and second fight is simply insane. Who thought that NPC lineup was a good idea? If the players have to fill in the healer and disabler slots for a fight you better give them NPCs competent at doing damage, not clowns armed with nerf swords A Magical Lamp posted:Probably the same person who balanced the rest of EO3. You two are grossly misunderstanding what's going on, but I can't blame you at all for that. Anyone who has played EO3 can easily tell that I am doing an absolutely atrocious job of representing the game right now. Well, what the developers intended, at any rate. I'm certainly showcasing just how imbalanced the game is. The constant quick kills of everything in the post-game most likely skewed everyone's views on how the game is actually supposed to be played. The length of the first Elder Dragon fight? That was the intended length of the boss fights in the game. Well, not 56 turns, but that was because of turns being wasted due to the constant revivals. The boss fights in the post-game normally take around 30 to 40 turns. (Main game boss fights are intended to take around 15 to 25 turns.) Those NPCs weren't weak. My party members were just way too strong. You're not supposed to be dishing out over 10,000 points of damage that easily at all in the game. That's just due to Berserker Vow and Charge being horribly overpowered. Efe posted:It may sound weird when I say it like this, but the first fight is how I'd imagine this battle going. Not necessarily the 50 turns thing or the struggle to revive everyone, but when the next battles are ended before 10 turns pass, you don't get as much of a feel for what the boss is going for. There's not gonna be a moment when I don't love seeing bosses get trashed and this is no exception, I just also liked seeing the boss actually be a boss. Which leads to issues like this happening where the fights barely get showcased and the difficulty gets misrepresented on a massive scale. The AI breakdowns were an attempted solution for this issue just so people would have some sort of an idea on how the fights operated. However, numbers and text can only get across so much. Of course the root cause of all these issues stems from one very big problem. My playstyle. In most EO games, I'm very aggressive with how I handle things. Due to said playstyle, when things get out of hand, I rarely can take control of the situation right back and that leads to a very quick game over as a result. Unless I gain the upper hand and keep it throughout the entire battle. So I'm not really good at showcasing even fights, because footage of those don't exist when I'm recording for this LP most of the time. Unless you all want to see failed attempts on turn 32 or whatever (Way too late to request those at this point, as there's only one boss fight left in the game to tackle.)
|
|
#
?
Oct 16, 2017 11:12
|
|
|
Dr. Fetus posted:The constant quick kills of everything in the post-game most likely skewed everyone's views on how the game is actually supposed to be played. Probably, but considering that lategame bosses can and will rocket-tag you if you give them half a chance, the only sane solution is to disable and rocket-tag them back. Like, what's the drawback on front mortar supposed to be, your Arbalist getting one-shot by everything? Because that already happens anyway even in the back row. You can't have massively reduced defences as a drawback in a game were passive defences are useless and active defences from Hoplites/limits are absolute.
|
|
#
?
Oct 16, 2017 12:28
|
|
|
It's normally pretty difficult to recover from going south. Generally when things go south, they go all the way south.
|
|
#
?
Oct 16, 2017 13:08
|
|
|
Omobono posted:Probably, but considering that lategame bosses can and will rocket-tag you if you give them half a chance, the only sane solution is to disable and rocket-tag them back. Front mortar is a massive risk/reward in the early to mid game where things arent pasting your frontliners and row damage reduction is still significant . All of that is moot once youre in end/postgame.
|
|
#
?
Oct 16, 2017 14:08
|
|


|
Omobono posted:Probably, but considering that lategame bosses can and will rocket-tag you if you give them half a chance, the only sane solution is to disable and rocket-tag them back. Arbalists have the worst defenses in the game. They have one of the lowest HP pools on top of having terrible VIT and TEC, so yes, they'll get pasted by everything unless they're in the back row. Of course Hoplites and Bodyguard exist, on top of the defensive Limits and Indomitable making that a moot point. And Hoplites are pretty much mandatory for most parties because you have no other defensive or offensive + defensive options given that disables in this game are completely unreliable due to the reworked Accumulative Resistance mechanics. Blademaster_Aio posted:It's normally pretty difficult to recover from going south. It depends on the game. In EO1, it's very easy to pull off due to how many defensive options you have in the game. Assuming you're making use of said defensive options in the first place. In EO2, you don't have said defensive options because they all got nerfed into the ground, so offense is all you have left. Meaning that killing things before you killed them is pretty much required, or you'll be seeing that game over screen. In EO3, defensive options became viable again, and hyper offense is a very bad idea since you can't really damage race bosses in this game. (Not until the post-game at least) so recoveries are definitely possible. In EO4 onwards, it just depends on the party since they gave you plenty of options now that the games got much better about class balance. That said in the end, I can't say that I'm completely sorry about all this because the post-game is miserable if things do not go your way. (There was a scrapped Anemone fight where it lasted for 66 turns. It was still just below full HP at that point due to healing up constantly, and I couldn't outdamage the healing, so I just mercy killed the run.)
|
|
#
?
Oct 16, 2017 17:57
|
|
|
I think I gave my hoplite one of those swords, since +15% HP/TP is pretty good for them, and it's not like they're hurting for more VIT or anything.
|
|
#
?
Oct 16, 2017 18:14
|
|
|
Dr. Fetus posted:You two are grossly misunderstanding what's going on, but I can't blame you at all for that. Anyone who has played EO3 can easily tell that I am doing an absolutely atrocious job of representing the game right now. Well, what the developers intended, at any rate. I'm certainly showcasing just how imbalanced the game is. The constant quick kills of everything in the post-game most likely skewed everyone's views on how the game is actually supposed to be played. I can confirm this. Playing through blind, EO3 easily has the longest boss fights out of all of the EO games. This is especially true if you like to mix and match subclassing. For example, there's really no reason for a physical damage class not to sub gladiator, but it's kind of boring to do that for all of your characters, so you only end up with one really good damage dealer by the late-/postgame. The only way you get quick kills on everything is by knowing the games inside and out (or by looking up optimal parties).
|
|
#
?
Oct 16, 2017 18:40
|
|

|
I must be forgetting it, I can't remember any extremely long EO3 boss fights. Then again I just slapped gladiator on everything since experience from SMT tells me charge skills are good.
|
|
#
?
Oct 16, 2017 23:46
|
|
|
To put things into perspective, this is how long you can expect Drake to take to kill in this game without making excessive use of cheap parlor tricks in that 6 turn shitshow in that one update. And here's how long Anemone is supposed to take to kill. And if you're going to argue "well, that's just not optimal so of course it would take a long time." You're not supposed to know what's optimal. You're not supposed to know what in the world the best skills are or what's the best tactic for each boss fight or what their weaknesses are. That information is all hidden from the player, and to put it bluntly, looking up that information is just cheating at the game. Araxxor fucked around with this message at 00:57 on Oct 17, 2017 |
|
#
?
Oct 17, 2017 00:42
|
|
|
Thus proving the age-old maxim "The only hit point that matters is the last one."
|
|
#
?
Oct 17, 2017 00:45
|
|

|
You know, Fetus, I'm glad that you said that. I felt really bad about my battle with the final boss in Etrian Odyssey IV taking like... a half hour or more to finish, and also outright taking several tries. It felt like it was really hard, but not unfair either, and the length of the battle felt punctuated by how long and dramatic the music is for that as well. They expected you to take a lot of time, but seeing deletions of bosses made me feel like I was playing the game wrong in general. I'm happy to know that that's not exactly the case.
|
|
#
?
Oct 17, 2017 00:47
|
|

|
I will happily cheese bosses if I can. Always. Cheating? Who even cares. Of course I tend to use my favourite classes only, so they might not be optimal. But if I can cheese, I usually will.
|
|
#
?
Oct 17, 2017 05:41
|
|
|
Alxprit posted:You know, Fetus, I'm glad that you said that. I felt really bad about my battle with the final boss in Etrian Odyssey IV taking like... a half hour or more to finish, and also outright taking several tries. It felt like it was really hard, but not unfair either, and the length of the battle felt punctuated by how long and dramatic the music is for that as well. They expected you to take a lot of time, but seeing deletions of bosses made me feel like I was playing the game wrong in general. I'm happy to know that that's not exactly the case. The funny thing about that boss is that the first time will take forever. Then later, you get the ability to rematch them and they drop like a sack of bricks, even with only a few additional levels.
|
|
#
?
Oct 17, 2017 08:07
|
|
|
I'll vouch for Wyrm also taking up about that amount of time if he gets super mad and spams howling.
|
|
#
?
Oct 17, 2017 16:56
|
|
|
Game Mechanics: Limit Skills Limit skills are a new mechanic that was introduced in this game. Well, not entirely new. All the Etrian Odyssey games in the series had some sort of super move mechanic in them. The first Etrian Odyssey game had the Boost system, where once a character�s Boost gauge was filled, you could power up a skill to make use of on their turn. It wasn�t really that widely used, as all it actually did was increase the skill�s level by 5, and due to how some skills scaled, it didn�t have that much of an effect most of the time. The second Etrian Odyssey game had the Force system replace Boost. Instead of simply being able to power up your skills ever so slightly once the Force gauge was filled, it let you make use of a powerful skill that was unique to each class. And said powerful is not an understatement. The skills had effects ranging from dealing a large amount of damage to enemies to nullifying all damage and disables for the turn, or having a 10000% chance of inflicting Stun or Head bind, Arm bind, and Leg binds all at once (Not an exaggeration!) The effects were quite frankly, overpowered. However, the tradeoff was that the Force Gauge built up extremely slowly. Which just led to people grinding up Force to make use of them against FOEs and bosses, so that didn�t really balance out the overpowered effects. And there were ways to accelerate Force gain to a ridiculous degree, nullifying that �balancing factor� entirely. Now we come to the third Etrian Odyssey game, where Limit skills replaced the Force system. The core concept of making use of powerful moves once in a while was kept, however some adjustments to the system was made. Overall, the effects of the skills in question aren�t as powerful as the Force skills in EO2, but they�re able to be used a lot more often, as the Limit gauge charges up much faster than the Force gauge did. Classes no longer have unique super moves like they did in EO2. Instead, the skills in question could be equipped to various party members. But these skills weren�t handed to you from the start. You had to acquire them yourself through various means. And, several of these skills required multiple people to equip them to make use of, making it so that you couldn�t launch 5 powerful skills at once. But it also limited what combinations of said skills could be used, which was something else players had to keep in mind when equipping these on their party. Limit skills have some properties to be aware of. If an offensive Limit skill (or Regroup Tactic) is used, the attacking stat of all the participants are averaged out and used in the calculations. So who exactly has the Limit skills equipped is important as well. However, they only take the caster�s passives and buffs into account when calculating factors like that. Anyways, let�s go over just how to affect your Limit gauges. quote:Limit is gained through: These are the only ways to affect your party�s Limit gauges. There was an item type in the first two games known as the Axcela, which filled up your gauges in those games by a certain amount. Yeah, those are gone now, so taking actions in battle is the only way to increase it now. Do note that Limit increases every time you take an action, and Second Sword and Swashbuckling procs count as separate actions. And when you take an action that increases your Limit gauge, the amount of Limit you gain is determined through this formula: Limit Gain Formula: posted:A = 5 + a random number from 0 to 10 + Skill Level + Number of Limit Forges + Limit Boost You can gain 5 to 15 points of Limit per turn. When you reach 100 points of Limit, you�ll be able to use a Limit skill. So the Limit gauge can be filled up in 7 to 20 turns. Only the caster needs a full Limit gauge in order to make use of it, though after casting, everyone who participated in the Limit will have their gauges emptied out. Having a max level Limit Boost or making constant usage of level 10 skills will guarantee that you gain the maximum amount of Limit in that turn. Limit forges also have a huge effect on Limit gain, as not only do they raise the minimum amount of Limit you gain, they also raise the possible maximum amount as well, making it so that you can build up your Limit gauges even faster. And now let�s go over the Limit skills themselves. Do note that all attacking Limits (aside from Lucky Hammer) do not have an accuracy check, and will never miss.  Cross Slash Stats Used: STR Party Members Required: 2 Target Type: Single Action Speed: Start of the turn, +23000 Obtained By: Received from the Guildmaster at the start of the game. Deals 230% Slash damage to one enemy. A very basic offensive Limit that should serve you well in the early game. At that point, you don�t have too many options, and extra damage is always nice. It will get outclassed by better Limits and the fact that most good offensive skills outclass this Limit easily.  Indomitable Stats Used: N/A Party Members Required: 1 Target Type: Self Action Speed: Start of the turn, +23000 Obtained By: Received from the Guildmaster at the start of the game. Grants the user the Endure state, allowing them to survive a killing blow and leaves them with 1 HP afterwards. Notes:
 Charge Tactic Stats Used: N/A Party Members Required: 2 Target Type: AOE Action Speed: Start of the turn, +23000 Obtained By: Received from the Guildmaster at the start of the game. Places a buff on the entire party that increases their damage output by 25% for 6 turns. Notes:
 Mumyouken Stats Used: STR Party Members Required: 3 Target Type: Random Action Speed: Start of the turn, +23000 Obtained By: Defeating Meregho Saeno for the first time. Randomly attacks all enemies 3 times, and deals 140% Pierce damage per hit. A slightly stronger offensive Limit than Cross Slash. Though while it is stronger, it does take more people to pull off. Might tide you over for a bit longer, but eventually better Limits will come along that you can get more use out of.  Guard Tactic Stats Used: N/A Party Members Required: 2 Target Type: AOE Action Speed: Start of the turn, +23000 Obtained By: Found on B3F, section E3. Places a buff on the entire party that decreases the amount of damage they take by 25% for 6 turns. Notes:
 Second Wind Stats Used: N/A Party Members Required: 1 Target Type: Self Action Speed: End of the turn, -10000 Obtained By: Defeating Cruel Roamer for the first time. Fully restores the user�s HP. Considering that this comes into effect at the end of the turn, you�ll have to time this right to be able to use it at all. On the plus side, that means your party member will most likely be in tip top shape at the start of the next turn. One of the best ways to make use of this skill is to use it when you�re sure you can provide enough of a safety net for the Second Wind user so that this skill can activate, or use it when you know they�re going to take a lot of damage but survive (Like say, a Hoplite Bodyguarding someone.)  Lethal Tactic Stats Used: N/A Party Members Required: 2 Target Type: AOE Action Speed: Start of the turn, +23000 Obtained By: Found on B6F, section C1. Places a buff on the entire party that forces all regular attacks to be critical hits for 6 turns. This is what I consider to be the worst Limit skill in the entire game. Why in the world would you ever use this!? Critical hits only affect regular attacks, and they�re just a 50% damage boost in those cases. Not to mention that you get access to Charge Tactic at the very beginning of the game, and while that�s only a 25% damage boost, it affects everything instead of just regular attacks.  Aegis Defense Stats Used: N/A Party Members Required: 3 Target Type: AOE Action Speed: Start of the turn, +23000 Obtained By: Defeating Ghost Ship for the first time. Nullifies any damage taken from Slash, Strike, and Pierce attacks and any additional effects attached to them for the current turn. Notes:
 Hellfire Stats Used: TEC Party Members Required: 2 Target Type: Random Action Speed: End of the turn, -10000 Obtained By: Defeating Hammerhead for the first time. Randomly attacks all enemies 3 to 5 times, and deals 65% Fire damage per hit. If you don�t have a Zodiac in your party, this Limit probably isn�t worth your time, and you�re better off using something else. Now if you do have a Zodiac in the party, say hello to the �I win� button for the early game and a good portion of the mid-game. Hellfire by itself isn�t too special. But Hellfire combined with Singularity and Etheric Charge is extremely powerful, and remains as such throughout the entire game. (Though it�s considerably weaker during the post-game compared to when you can first make use of it.) Singularity gives a damage boost if the attack hits an enemy�s weakness, and Etheric Charge can triple the damage output of the next attack. Since Hellfire has negative priority and Etheric Charge doesn�t, this means that on the very first turn of the fight, a Zodiac can cast Etheric Charge and then Hellfire and launch a very strong attack right off the bat. It�s also a huge help against the boss of the 2nd Stratum since it�s weak to Fire attacks. Considering how early this Limit skill can be obtained, this makes a Zodiac�s strong earlygame even stronger.  Wind Tactic Stats Used: N/A Party Members Required: 2 Target Type: AOE Action Speed: Start of the turn, +23000 Obtained By: Found on B11F, section C1. Places a buff on the entire party that increases their evasion by 30 for 6 turns. Not a great Limit skill. The Aegis Limit skills are a far more reliable way of protecting your party.  Absolute Zero Stats Used: TEC Party Members Required: 2 Target Type: Random Action Speed: End of the turn, -10000 Obtained By: Defeating Corotrangul for the first time. Randomly attacks all enemies 3 to 5 times, and deals 65% Ice damage per hit. The Ice version of Hellfire. If you manage to obtain this by the time you reach the 3rd Stratum, your Zodiac will have an even easier time contributing to fights since quite a bunch of enemies are weak to Ice at that point. And it�s another option to add to their arsenal.  Aegis Barrier Stats Used: N/A Party Members Required: 3 Target Type: AOE Action Speed: Start of the turn, +23000 Obtained By: Defeating Golem for the first time. Nullifies any damage taken from Fire, Ice, and Volt attacks and any additional effects attached to them for the current turn. Notes:
 Sungrazer Stats Used: TEC Party Members Required: 4 Target Type: Single Action Speed: Start of the turn, +23000 Obtained By: Defeating Ruin Caller for the first time. Deals 500% Almighty damage to one enemy. That damage output may seem high, especially considering that it�s TEC damage, but it�s really not a great offensive Limit Skill. A whopping 4 party members are required to make use of this Limit skill, meaning that this locks you out of using more useful Limit skills. And a big weakness of offensive Limit skills that require a large amount of party members is that the stats of everyone involved are factored into calculations. Meaning that if you have a diverse party composition, the damage output skills like this will deal will likely be brought down because more than likely, you�re going to have party members that have STR or TEC stats that are below average. And since this skill deals Almighty damage, there aren�t too many ways to boost its damage output. Still, it�s one of the few reliable sources of Almighty damage, so it can have some use if you want to make use of that damage type.  Regroup Tactic Stats Used: TEC Party Members Required: 3 Target Type: AOE Action Speed: Start of the turn, +23000 Obtained By: Found on B6F, section C1. Places a buff on the entire party that heals the party and dispels all ailments at the end for 6 turns. (Actually 5 turns due to a bug. See bugs for details.) The healing component has a healing power of 30%. Notes:
 Typhoon Bolt Stats Used: TEC Party Members Required: 2 Target Type: Random Action Speed: End of the turn, -10000 Obtained By: Found on B16F, section 5D. Randomly attacks all enemies 3 to 5 times, and deals 65% Volt damage per hit. The final elemental Limit that can be obtained. If you�re on the Armoroad path, refrain from using this on the 4th Stratum boss, as it pretty much takes no damage from Volt attacks. And at the point you get this Limit in the game, there aren�t too many enemies left in the main game that have a crippling weakness to Volt. At the very least, it�s another option to add to a Zodiac�s arsenal, and it can be used in the post-game. But as I said with Hellfire, the elemental Limits� damage outputs aren�t as impressive there compared to when you first get Hellfire. Though at that point, they�re one of the few viable options for elemental damage left at that point.  Aegis Shield Stats Used: N/A Party Members Required: 4 Target Type: AOE Action Speed: Start of the turn, +23000 Obtained By: Defeating King Penguin for the first time. Nullifies any damage taken from attacks for the current turn. Notes:
 Quintessence Stats Used: TEC Party Members Required: 5 Target Type: AOE Action Speed: End of the turn, -10000 Obtained By: Defeating Scylla for the first time. Deals 320% Almighty damage to all enemies. So, remember all the issues I said that Sungrazer had? Yeah, this skill is even worse. It deals less damage, and it requires the entire party to use. The only interesting thing about this Limit skill is that it�s the only AOE damaging Limit skill in the game.  Star Smasher Stats Used: STR Party Members Required: 5 Target Type: AOE Action Speed: Start of the turn, +23000 Obtained By: Found on B20F, section 1C. Deals 800% Strike damage to one enemy. At least this skill deals physical damage, so its damage output can be boosted a lot more easily. Even then, it�s really not worth locking yourself out of all the other Limit skills in the game, as this Limit provides pretty much no utility, and is just a damaging nuke.  Lucky Hammer Stats Used: STR Party Members Required: 1 Target Type: Single Action Speed: End of the turn, -10000 Obtained By: Defeating Leviathan for the first time. Deals 130% Strike damage to one enemy. Has an accuracy of 98. If the target is killed with this skill, they are forced to drop all their items, even conditional drops the party did not qualify for. One of the best Limit skills in the entire game. It�s essentially a reusable Formaldehyde, and can be used to bypass so many annoying conditional drops. This is pretty much the best way to farm for books from FOEs since you don�t have to spend time farming for Formaldehyde with this in your arsenal. That said, it can be hard to snag kills with it, but since Lucky Hammer is a physical attack, you can boost its damage output to make things easier. It�s also a popular Limit skill to make use of in Warrior Might parties, as it comes out at the end of the turn, and only 1 person is needed to make use of this Limit skill.  Uroboros Guard Stats Used: N/A Party Members Required: 4 Target Type: AOE Action Speed: Start of the turn, +23000 Obtained By: Found on B23F, section 2A. Nullifies any damage taken from attacks for the current turn. Half of the damage the target would have taken is then converted into healing. Notes:
Immortal Stats Used: N/A Party Members Required: 3 Target Type: AOE Action Speed: End of the turn, -10000 Obtained By: Defeating Elder Dragon for the first time. Fully restores the party�s HP and TP, revives any dead party members, and dispels all ailments and binds on the party. A very powerful utility skill, as this can function as a very effective panic button. However, since this Limit skill activates at the end of the turn, it means that all the participants need to be able to act in order for this to activate. So if something happens to them in the middle of a turn, this skill won�t be able to go off. Just something to be aware of. It can also help extend Labyrinth explorations since it also restores TP as well. Though this is pretty much a reactionary Limit skill. If you prefer to prevent things from happening to your party in the first place, you may want to make use of the Aegis Limit skills instead. Overall, Limit skills can be very powerful tools to make use of. Using them well can help you gain the upper hand in traversing the Labyrinth.
|
|
#
?
Oct 23, 2017 10:15
|
|
|
Update 101: Fluffy Puffy Loose Ends This update is pretty much gonna be purely informative since we�re just covering up the last of the loose ends here. First up, most of the leftover equipment I neglected to unlock.    6% boost to your damage output. A nice upgrade if you haven't already gotten the ultimate Knife just yet.   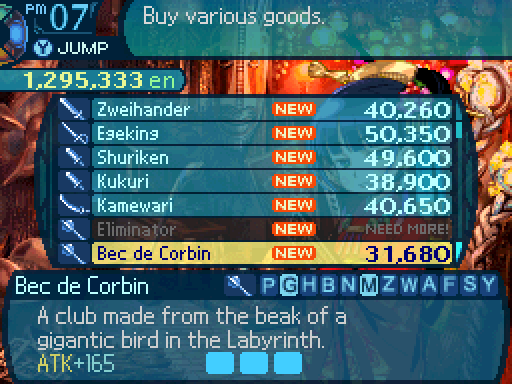 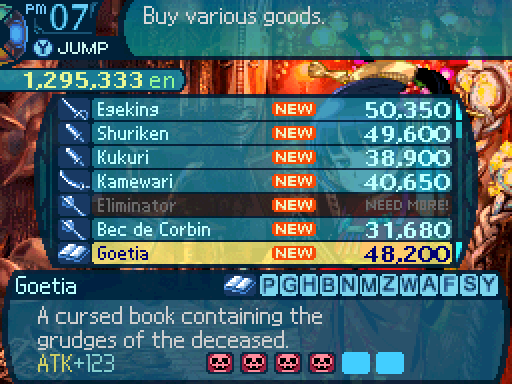 Oh hey, a book with a 15% chance to inflict Curse. You know what I have to say to this?  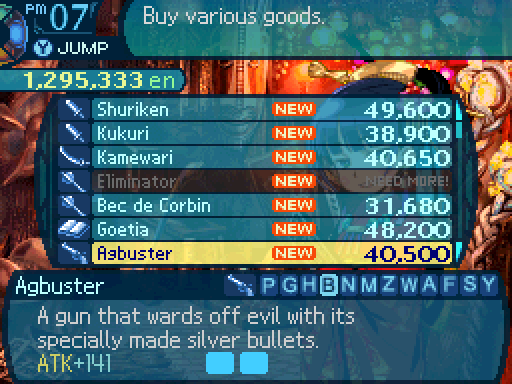 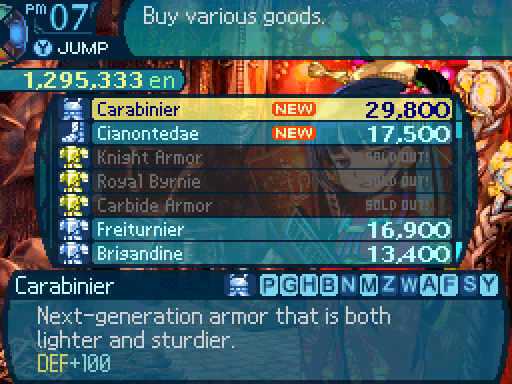 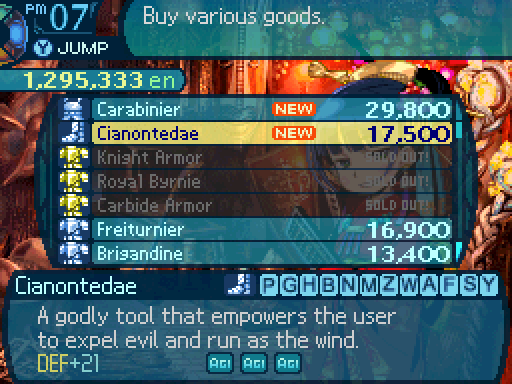 The Cianontadae are pretty much the best Boots in the game, for what that�s worth. At least they provide a nice boost to AGI (and by extension, speed.)  Ah, now we�re talking. Now we get to the really good accessories. Head binds are always nasty for supports to have, and a 50% increase to head bind resistance is nice. Stack 2 of these to gain immunity to the bind.  Curse is a nasty ailment to be inflicted with, but at this point in the game, there�s not much that can inflict Curse on you. Well, that�s not actually all the drops I could get at this moment in time. But it was a decent chunk at the very least. They�re all just upgrades to various categories of equipment. But if you already have the ultimate weapons or armor, then they�ll be irrelevant to you. I went back into the 6th Stratum to unlock the rest of the equipment I was missing. Oh, and to tie up another loose end.  THIS FUCKER. Remember it? Its conditional requires killing it while it is fully bound, but it has a 10% resistance to all binds, meaning that I only have 1 shot to snag it, and it also recovers from disables at the fastest possible rate due to stat dickery on Atlus� part.   Alright, I just need the leg bind, and I�m golden.   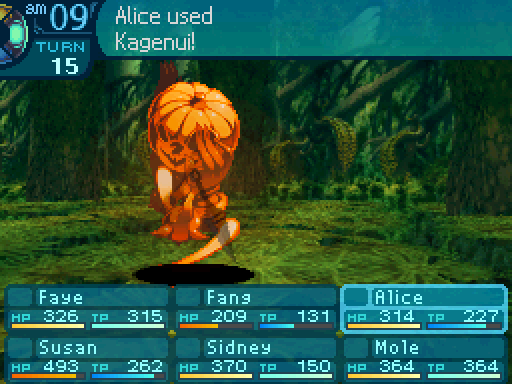  AAAAHHHHHH, you�ve got to be kidding me!  Okay, I have another shot. I think? 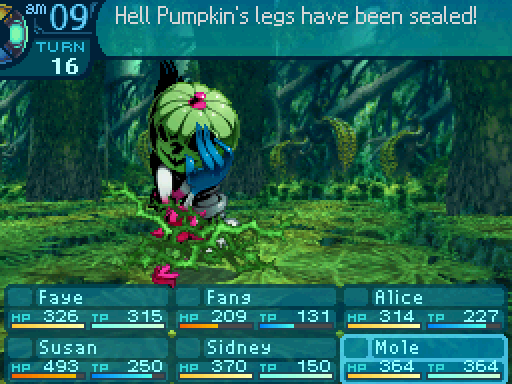 AHAHAHA YEEESSSS, wait, does it still have its head and arms bound? 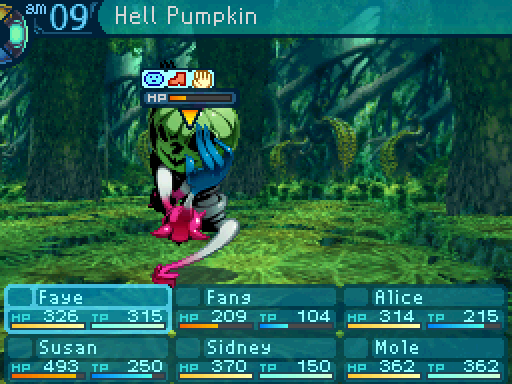 AHAHAHAHAHAHA- ahem. Excuse me.   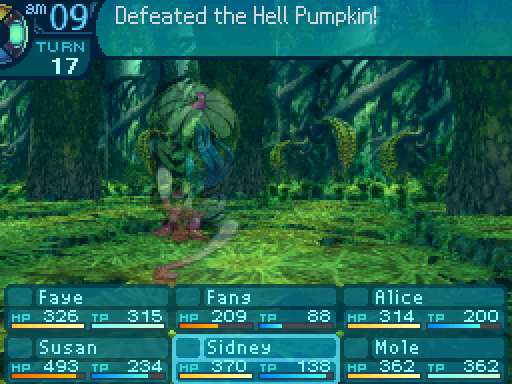  Eat poo poo, you stupid pumpkin! My goodness, that conditional was such a pain in the rear end to grab. Thankfully, I only need to snag one. 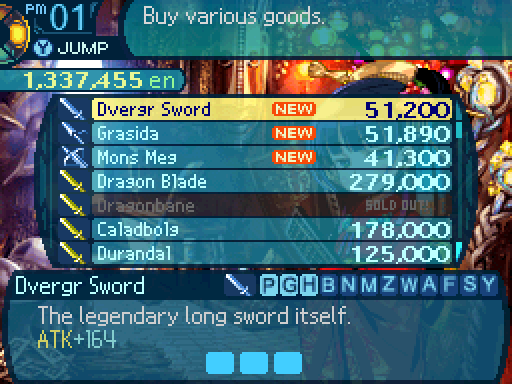 ...That�s certainly a description alright. 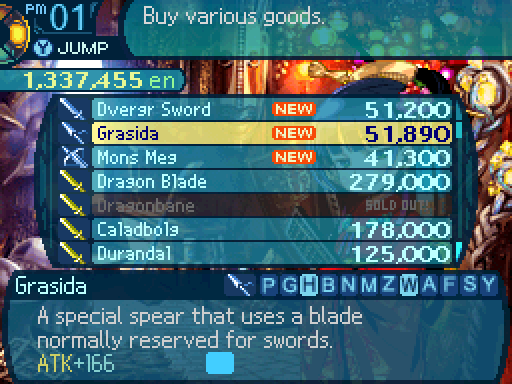 Oh yeah, that Hell Pumpkin�s conditional? It just unlocked this spear. That�s all it unlocked.  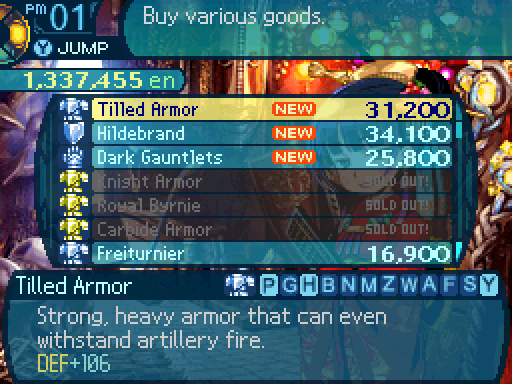 The Tilled Armor is the best piece of Heavy Armor in the game that isn�t a piece of ultimate equipment. Not that it means much since it provides no bonuses other than a boost to DEF.  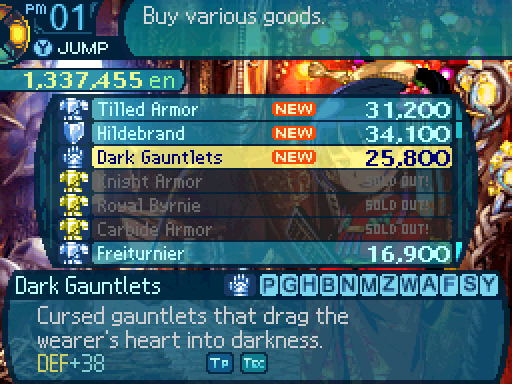 The Dark Gauntlets are the best Gloves in the game. Not that it really means much either.  Boost your crit rate all you want. That doesn�t change the fact that you really shouldn�t be making use of regular attacks as your main form of offense. Even if it is a 15% boost.   A 50% increase to bind resistance is nice to have. Provided you don�t want to wear anything else, that is. 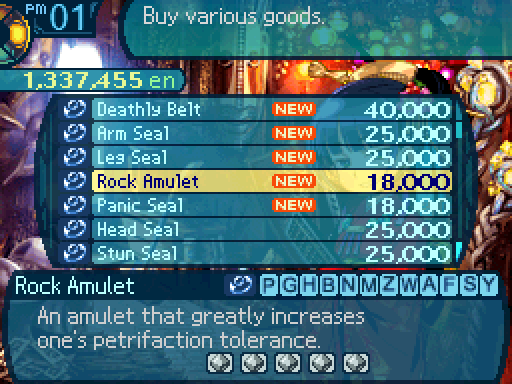 A 50% increase to Petrification resistance is also very nice. Stack 2 of these if you want to deal with the Dreamsmashers without worry.  While a 50% increase to a party member�s Confusion resistance is nice, at this point in the game, not many enemies can inflict Confusion. Anyways, that does it for all the pieces of equipment that we can unlock at this point. Now there�s one last thing to cover in this update. Namely, Pasaran hunting. But first, preparations for said hunt.  First purchase a Knife. Preferably one with an empty forge slot. And of course, one that you have enough materials for.  Put an Ice forge in that slot. This is one of the most important steps to the hunt we�re about to engage in. Put an Ice forge in that slot. This is one of the most important steps to the hunt we�re about to engage in.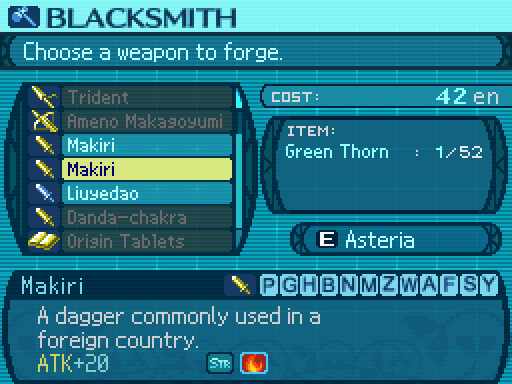 If you want lots of experience points, get a second Knife and put in a Fire forge in that slot. If you want lots of money, put in a Volt forge in that slot instead. 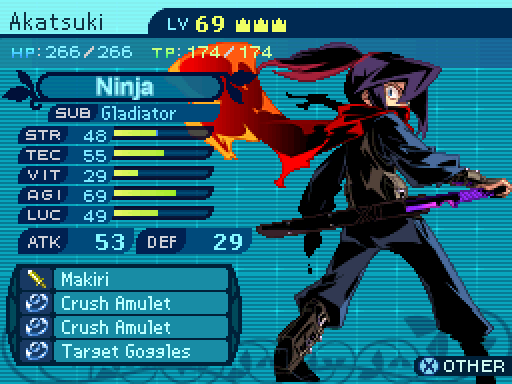 It�s important to put 2 Crush Amulets on everyone. Oh and for the people that have the Knives, it�s best to give them Target Goggles unless you want to play a dangerous game with the RNG. Also your party members pretty much need to have an action speed of 64 or above. If they don�t, then someone needs to have access to Knighthood. One last thing before we set out. You need access to a good single target attack. Random target attacks such as Blade Rave will not cut it here.  If you have access to the Immortal Limit, this will make the whole process easier. Also make sure to buy a few tents, but they aren�t exactly necessary. 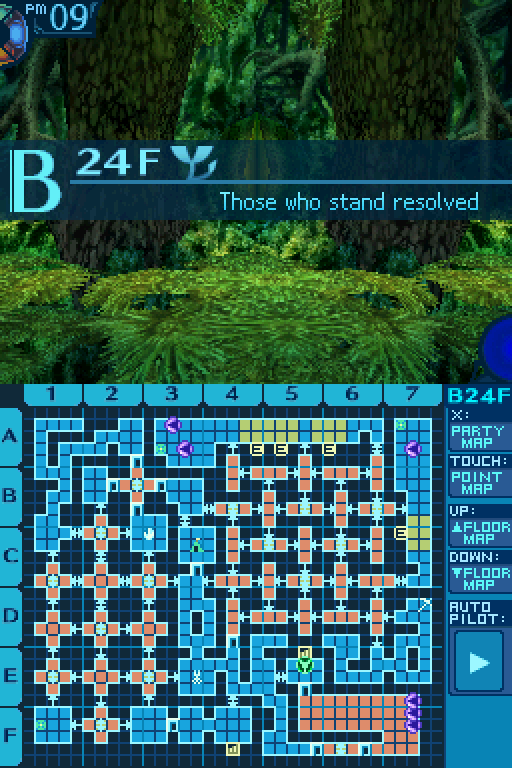 The point of interest in this update is floor 24. 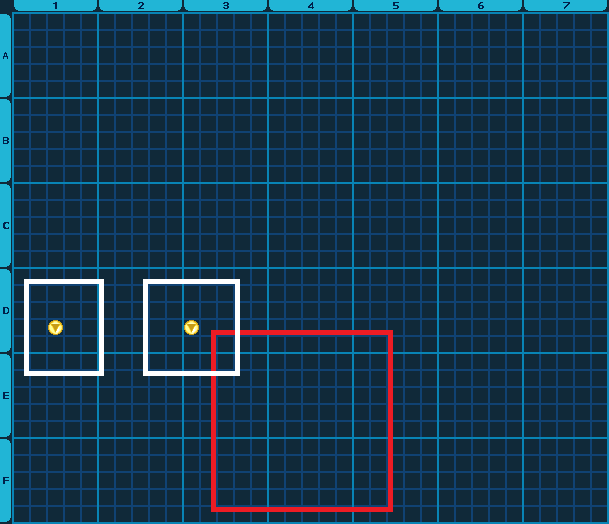 Namely because it�s home to 2 Pasaran spawn points. See those gold FOE icons? That�s where they can spawn. However in order to trigger their spawns, we need to have explored a good chunk of the area in the white rectangles. We�ve already done that when we explored floor 24 a while back, so all we have to do now to spawn them is walk around in the area in the red rectangle. For every step we take there, a Pasaran has a 2% chance of spawning in those spot. Yeah, not exactly a stellar chance, and it can be pretty time consuming to do that. 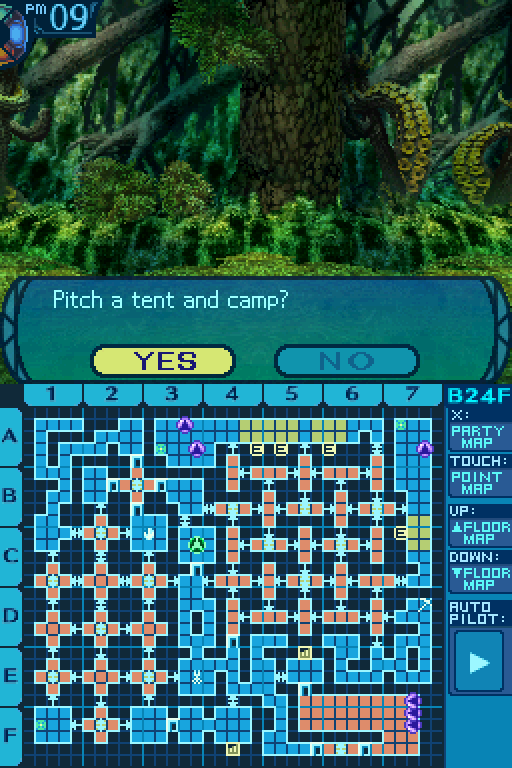 Or we could use a tent instead! Each time we use a tent here, a Pasaran has a 25% chance of spawning in one of those spots. 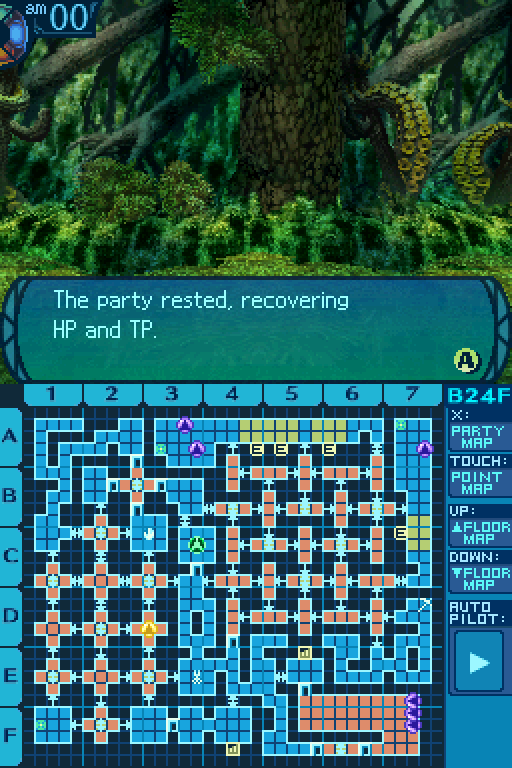 Much better! Now if you�re wondering why this floor is the one we�re performing our hunt on... 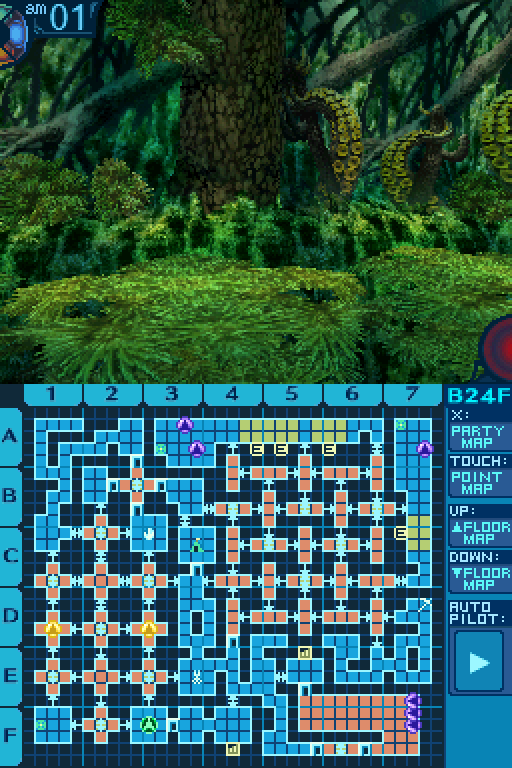 Unlike most other Pasarans in the game, the ones on this floor stay completely still and won�t run away from you. Well, unless you take too long to reach them, at which point they�ll just go off the map and you�ll have to spawn them again, but you would have to be wasting a lot of time for that to even happen. At any rate, that makes these ones incredibly easy to farm.  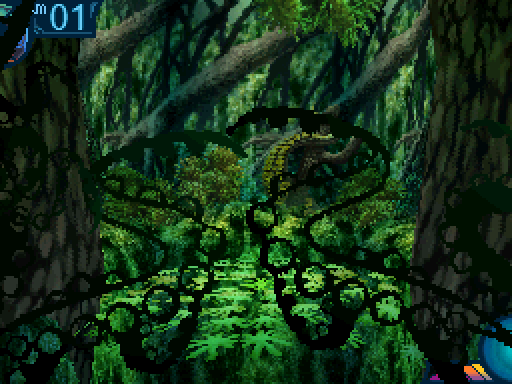 They don�t even turn either, so it�s really easy to grab a preemptive on them.  Remember those Blue Pasarans a long while back? They�re also the Pasarans that wander around in this Stratum too. Now there was actually quite a bit more to those enemies than I was letting on back then. I just opted not to go over the Blue Pasaran�s actual gimmick since I thought it was a bad time to go over them back then. But now we�re capable of farming Pasarans, I�ll go over its actual gimmick now.  Blue Pasaran Level: 58 HP: 650 STR: 38 VIT: 49 AGI: 58 LUC: 59 TEC: 49 Attack Type: Strike Exp: 2500 Item Drops: N/A Description: A friendly, blue fluff monster. When many gather, they all explode at once in excitement. Damage Resistances: Slash: 25% Strike: 25% Pierce: 25% Fire: 25% Ice: 25% Volt: 25% Almighty: 25% Ailment Resistances: Sleep: 1% Confusion: 1% Plague: 1% Poison: 1% Blind: 1% Curse: 1% Paralysis: 1% Bind Resistances: Head: 100% Arm: 100% Leg: 100% Other Resistances: Death: LR - 30% Petrification: LR - 50% Stun: 10% Skills: Self-Destruct: Uses the Head. The Pasaran explodes, dealing 140% Strike damage to the whole party, disappearing from the map and denies them exp. Has an action speed of +0. Has an accuracy of 99. Escape: Uses the Legs. The Pasaran escapes from battle, disappearing from the map and denies the party exp. Has an action speed of -3. Multiply: Passive skill. When the Pasaran is struck by a Fire attack, a Red Pasaran is summoned to battle. Multiply: Passive skill. When the Pasaran is struck by an Ice attack, a Blue Pasaran is summoned to battle. Multiply: Passive skill. When the Pasaran is struck by a Volt attack, a Gold Pasaran is summoned to battle. The Blue Pasaran itself doesn�t have much going for it. It gives out less exp than the Stratum 1 Pasarans, and doesn�t give out much else. However, strike one with an elemental attack, and it�ll summon another Pasaran. The type of Pasaran that gets summoned depends on the element used. Blue Pasaran�s AI Script posted:If Multiply activated at least once, follow this routine for the rest of the battle: Also Blue Pasarans like to explode. A lot. If there are 3 or more enemies in the battle, they�re guaranteed to blow up. Setting off multiply also makes them super likely to blow up. They can also run away, but you�re very unlikely to see that over seeing a bunch of blue fluff blowing up in your face. 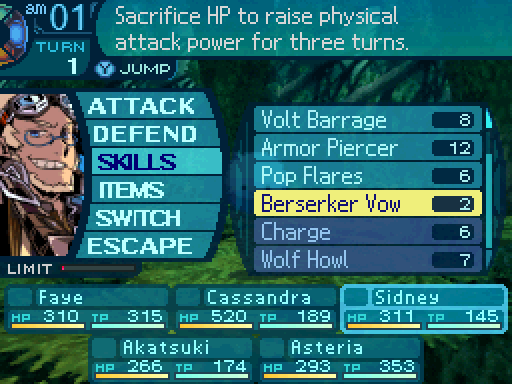 Before you begin the slaughter, buff up your damage dealers first. Remember that Pasarans are extremely durable, and you effectively have to deal 2600 damage in one turn to kill them before they deny you exp.  Anyways, for the person who has the ice knife, they have the most important job out of all the party members, and that�s to use regular attacks on the Blue Pasarans.   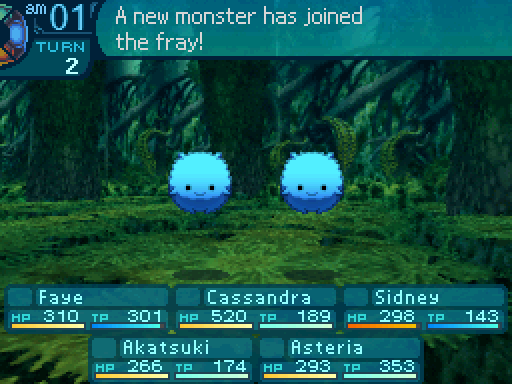 This is because newly summoned Pasarans cannot act. While the Blue Pasaran they attacked might blow up in the party�s face, the newly summoned one is incapable of doing anything. Meaning that the battle can be dragged out for as long as you wish as long as you ensure that Blue Pasarans keep getting summoned. Incidentally, this is why you want to wear 2 Crush Amulets. Self-Destruct deals Strike damage, and you really don�t want to let all that add up so easily since you want to summon Blue Pasarans constantly. Anyways, now that I�ve established the most important part of farming Pasarans...  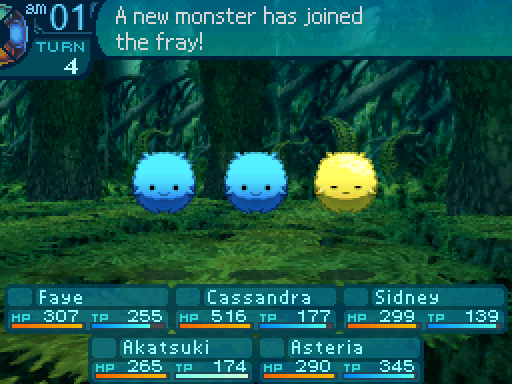 Let�s check out the other types of Pasarans we can fight.  Gold Pasaran Level: 58 HP: 650 STR: 38 VIT: 49 AGI: 58 LUC: 59 TEC: 49 Attack Type: Strike Exp: 2500 Item Drops: -Drop 1: Happiness Fluff - 75% Drop Rate. Unlocks nothing. Sells for 50000 en. --Golden shining fluff rumored to bring good fortune. -Drop 2: N/A -Gold: N/A Description: A shining, golden fluff monster. Its fur fetches a high price, making it especially lucky. Damage Resistances: Slash: 25% Strike: 25% Pierce: 25% Fire: 25% Ice: 25% Volt: 25% Almighty: 25% Ailment Resistances: Sleep: 1% Confusion: 1% Plague: 1% Poison: 1% Blind: 1% Curse: 1% Paralysis: 1% Bind Resistances: Head: 50% Arm: 50% Leg: 50% Other Resistances: Death: LR - 30% Petrification: LR - 50% Stun: 10% Skills: Self-Destruct: Uses the Head. The Pasaran explodes, dealing 140% Strike damage to the whole party, disappearing from the map and denies them exp and their item drop. Has an action speed of +0. Has an accuracy of 99. Escape: Uses the Legs. The Pasaran escapes from battle, disappearing from the map and denies the party exp and their item drop. Has an action speed of -3. Unload: Uses the head. Deals 50% TEC-based Volt damage to the entire party. Has an action speed of +0. Has an accuracy of 99. Gold Pasarans don�t give out that much exp either. However, they drop the 2nd most valuable material in the game. It�s a little tough to disable with binds, but at this point in the game, you don�t want to disable them. You want to kill them immediately. However, something very important to note is that Gold Pasarans (and Red Pasarans) lack the Multiply passives. Meaning that in order to keep farming Pasarans, you must keep at least 1 Blue Pasaran alive at all times. Gold Pasaran�s AI Script posted:If there are less than 3 allies in the battle: If there are 3 or more enemies in the battle, you�ll really want to kill these guys fast. Oh, and they have an elemental AOE attack, but that rarely gets to be used by them.  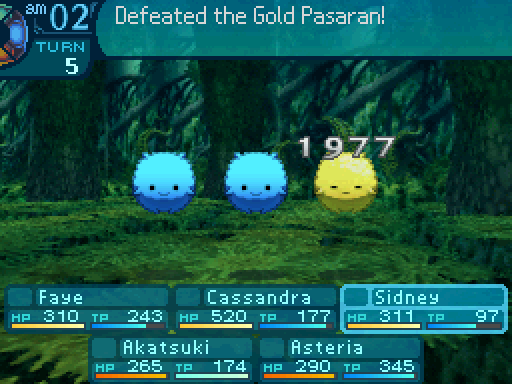 And that�s the Gold Pasaran down. You�ll want your damage dealer to be able to one shot them, as they�ll be likely to deny your their reward either through exploding or running away. And you don�t want to be wasting your time disabling them at this point. 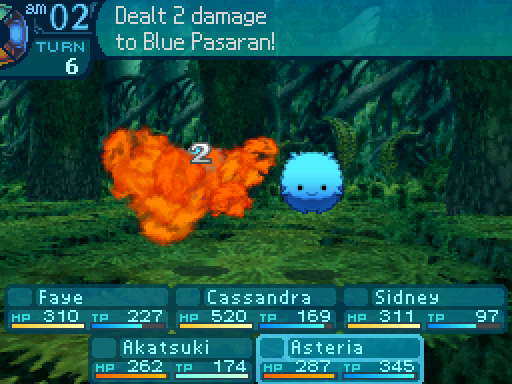 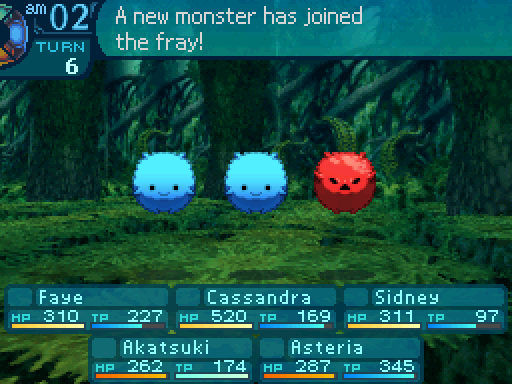 Now for the last kind of Pasaran we can fight.  Red Pasaran Level: 58 HP: 650 STR: 38 VIT: 49 AGI: 58 LUC: 59 TEC: 49 Attack Type: Strike Exp: 60000 Item Drops: N/A Description: A vibrant, red fluff monster. It has a sullen look and catches fire to explode when angered. Damage Resistances: Slash: 25% Strike: 25% Pierce: 25% Fire: 25% Ice: 25% Volt: 25% Almighty: 25% Ailment Resistances: Sleep: 1% Confusion: 1% Plague: 1% Poison: 1% Blind: 1% Curse: 1% Paralysis: 1% Bind Resistances: Head: 100% Arm: 50% Leg: 100% Other Resistances: Death: LR - 30% Petrification: LR - 50% Stun: 10% Skills: Self-Destruct: Uses the Head. The Pasaran explodes, dealing 140% Strike damage to the whole party, disappearing from the map and denies them exp. Has an action speed of +0. Has an accuracy of 99. Escape: Uses the Legs. The Pasaran escapes from battle, disappearing from the map and denies the party exp. Has an action speed of -3. Lower Arms: Uses the Arms. The Pasaran wriggles its arms, lowering them, and turns into the Pasaran from the 1st Stratum. Which heavily lowers the party's exp gain. Has an action speed of +0. Combust: Uses the head. Deals 50% TEC-based Fire damage to the entire party. Has an action speed of +0. Has an accuracy of 99. Red Pasarans are the ones that are likely to be of interest to players, as they give out the most experience points out of all the Pasarans. 60000 exp is indeed smaller than what post-game bosses give out, except with the right setup, they�ll be easy to kill. Red Pasaran�s AI Script posted:If there are less than 3 allies in the battle: And like with the others, you want to kill them fast since they have so many ways to deny you their payouts.  The other thing about Red Pasarans? You don�t have to stop at killing one. 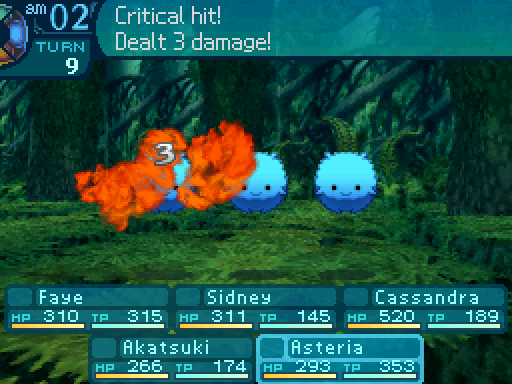 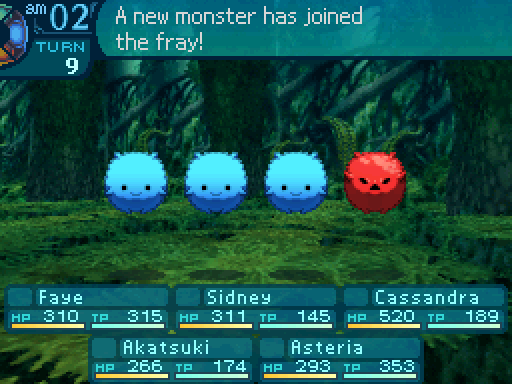 You can keep generating as many as you wish to keep racking up that exp. It�s one of the easiest ways to grind in the post-game if you have to.  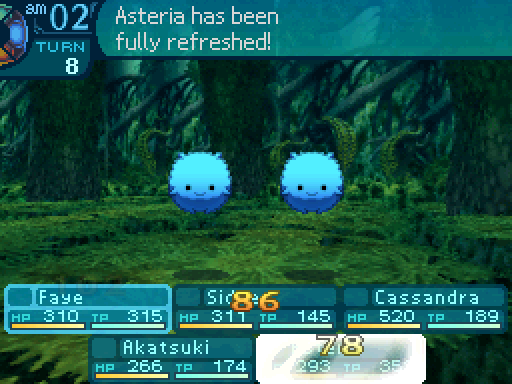 And if you have access to the Immortal Limit, you won�t have to worry about spending resources to keep your party in top shape, and can keep going for as long as you need to.  However, the fun will have to end eventually. Only 8 items can drop in battle, and there is an exp cap of 999999. Once you�ve killed 17 Red Pasarans, you�ll have to stop as you won�t be getting any more exp out of the battle. At any rate, this is one of the more popular ways to grind in the post-game as you can rack up a lot of experience points easily with the right setup. Oh, and by the way, Pasarans spawned by tents and Pasarans spawned by walking around are considered to be entirely different Pasarans. Meaning that you can do this entire process 4 times before you�re forced to go back to town to rest. And in order to respawn Pasarans, you�ll have to rest for 14 days before you can go back to walloping them.  Happiness Fluffs don�t unlock anything, but they sell for a lot of Ental. In fact, they�re the 2nd most valuable material drop in the entire game. You could try farming them from Gold Pasarans, and get up to a maximum of 400000en per battle. Anyways, that�s all I wanted to show for this update. Next time, we�ll tackle the final floor. It�s sure to be... tentacular. By the way, if you�re trying to use the Red Pasaran method to grind all the way up to 99 just to take on the true final boss of the game, let me tell you right now. THAT IS NOT GOING TO HELP ONE BIT. Well, maybe it will. But most likely it won�t. Why? Patience, everyone. I�ll cover exactly how that shitpile functions soon enough. Araxxor fucked around with this message at 18:22 on Oct 23, 2017 |
|
#
?
Oct 23, 2017 10:15
|
|
|
Dr. Fetus posted:
Isn't that an attack boost though?
|
|
#
?
Oct 23, 2017 18:16
|
|
|

|
| # ? May 28, 2024 22:34 |
|
|
Oops. I misread the forges. Yeah, fixed.
|
|
#
?
Oct 23, 2017 18:23
|
|