


|
Most romhacks are made by people REALLY into the base game and mechanics. Once you know something it's "obvious" and the human brain tends to gloss over the effort spent learning a skill once it's learned. So they design for their skill, something that would challenge a person who knows it inside and out and all the ways to break it. Mario levels requiring mid-air shell jumps or pixel perfect distances. A DKC romhack with krushas on tiny platforms with *just* enough space to get around them. Pokemon fangames where seemingly mundane ones are locked away until endgame because they can bypass the dev's "clever" mechanic of OP bosses with 500 in every stat and a single weakness if you go grind this one guy 70 levels. It's easy to design "easy" and it's easy to design "impossible." Anything in between? That takes skill because you're designing for unknown skill levels and have to hold yourself back. And "fun"? That's going to be different for everyone and I think a flaw here is that the kind of personality that goes and makes a romhack is going to want to explore the limits and, more importantly, is used to winning. They're on the other side now, but most romhacks out there still have the personality of a designer trying to beat you rather than challenge you. That said, I think the main issues here are just that the poison damage is scaled for later-game use but the enemies' other damage is balanced around not getting poisoned. Everything else seems standard hard romhack territory.
|
 #
?
Sep 1, 2019 18:10
#
?
Sep 1, 2019 18:10
|
|


|

|
| # ? Jun 3, 2024 17:56 |
|
|
Pretty much, it'd be like of the mini bob-bombs actually became an encounter enemy soon after you fought them as a miniboss given they do a relatively similar amount of damage if you gently caress up, similar to the poison pokeys.
|
|
#
?
Sep 1, 2019 18:37
|
|


|
Quackles posted:The Feeling Fine badge, which prevents all status effects on Mario, was moved from Merlow's stock in the base game, to... Floor 70 of the Pit of 100 Trials. Man, I hate when ROMhacks do that poo poo, moving useful stuff far out of the way because it's not the way they want you to play the game. It's the loving fish from Reborn all over again. We're playing an RPG, half the fun of these games in my opinion is having those options and fiddling around with them to find something you like the most. Removing options is just lame.
|
|
#
?
Sep 1, 2019 20:58
|
|
|
I think what might be worth considering is lowering BP cost to 1 per badge. Let players equip lots of badges so they have lots of options without having to open up the menu every time.
|
|
#
?
Sep 1, 2019 21:54
|
|
|
VanSandman posted:I think what might be worth considering is lowering BP cost to 1 per badge. Let players equip lots of badges so they have lots of options without having to open up the menu every time. OTOH, I don't think that versatility is a virtue in this sort of setting.
|
|
#
?
Sep 1, 2019 23:03
|
|

|
Yeah. More badges means more combinations means more """cheese""". All that would accomplish is either ratcheting up the baseline difficulty to suit or getting more badges banished to the Pit of 100 Trials.
|
|
#
?
Sep 2, 2019 01:39
|
|

|
Honestly, I feel like if the damage numbers were toned down you wouldn't need to alter your badge setups as much. Right now, badge setups feel like necessities because they will allow you to more efficiently get through a fight with as little attrition as possible. Damage Dodge is permanently stapled to my Mario, for instance. But if the damage was a bit lower, I could perhaps get by without it, recovering 3 BP for use elsewhere. But otherwise I don't feel like yet need to change badges constantly, and instead I just got with a set that works for the area I'm in. Like, if enemies aren't doing contact damage, then maybe I'll remove Zap Tap and put other stuff on in its place.
|
|
#
?
Sep 2, 2019 01:57
|
|

|
Honestly, having every battle be a puzzle is fine if you ask me but wouldn't that lend itself to just making every battle a one time affair and doing away with random over world battles? They probably can't do that with Paper Mario yet but the grind here seems entirely unnecessary.
|
|
#
?
Sep 2, 2019 02:50
|
|


|
Ultimately I go back to, there's been one official death to the first showing of Mummy Pokies and nothing else, so it seems like they're not that bad if a little tedious.
|
|
#
?
Sep 2, 2019 06:14
|
|


|
Part 14: Later, Chompinator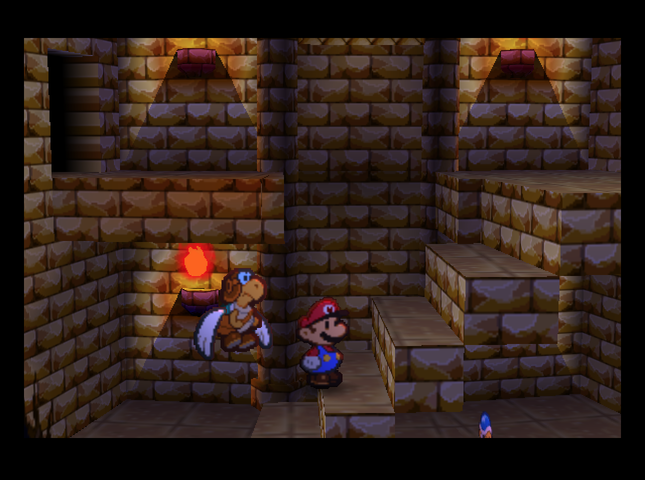 Now that we�ve got the Super Hammer, it�s time to test it out. 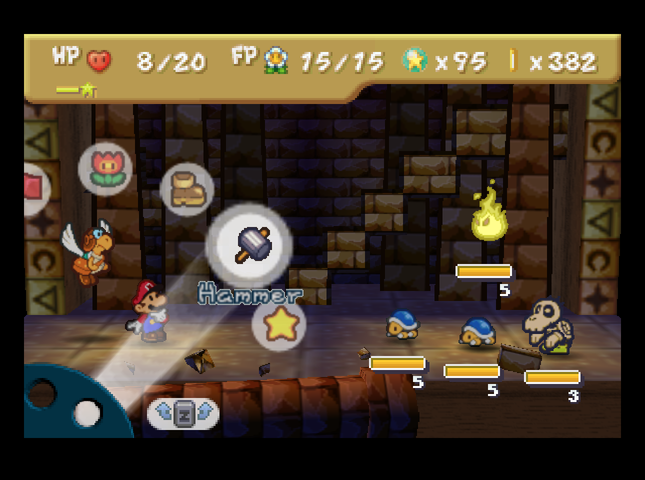 We pick a fight with the Buzzy Beetle on the lower floor of this room. 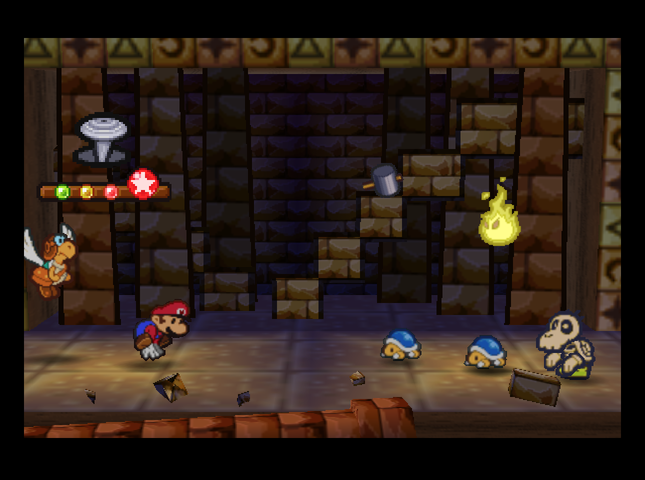 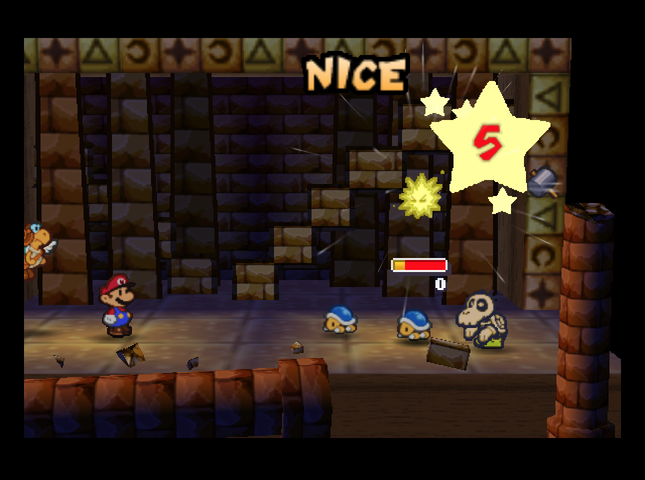 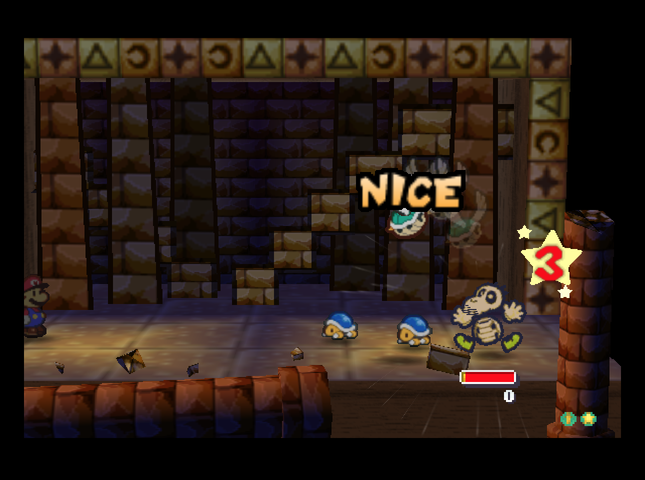 We use Hammer Throw - now neatly at 5 damage - to take out the Dry Bubble that somehow found its way in here, while Parakarry keeps the Dull Bones out of the fight. 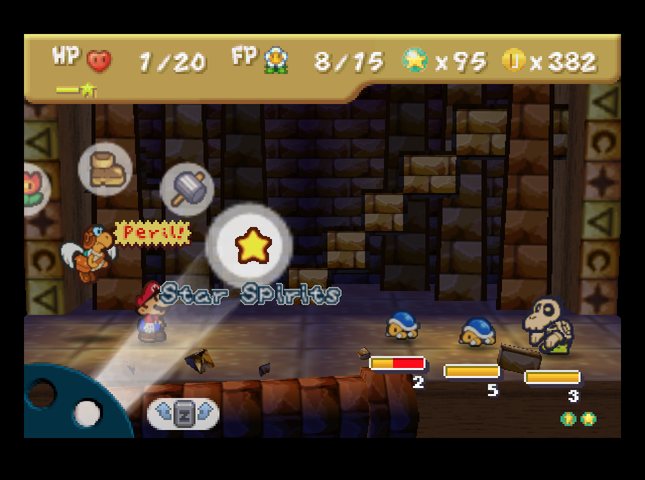 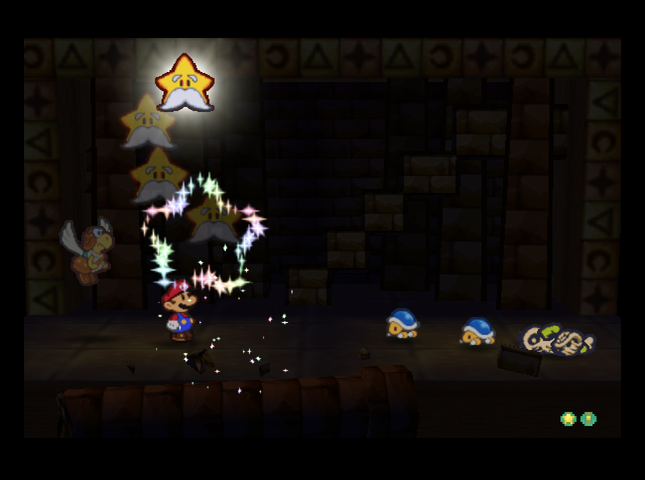 After a turn of bonking Beetles, we still end up in Peril - so, we Refresh. Parakarry KOs the Dull Bones again. 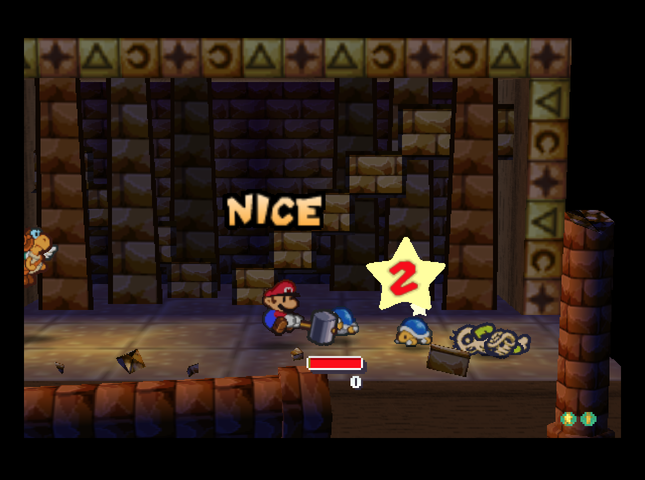 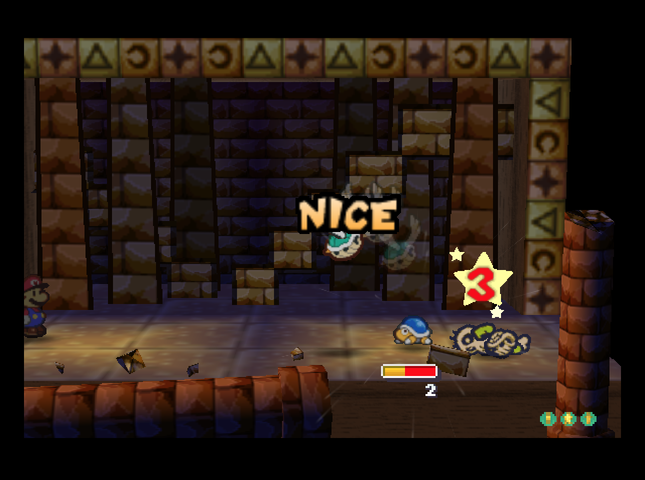 Next turn, Mario can KO the Buzzy Beetle by himself. Buzzy Beetles have 2 Defense, like in the base game, so Mario does more damage if he hammers the Beetle directly than if he jumps on it. Parakarry Shell Shots the beetle in the back, so that we�ll be able to KO it next turn. 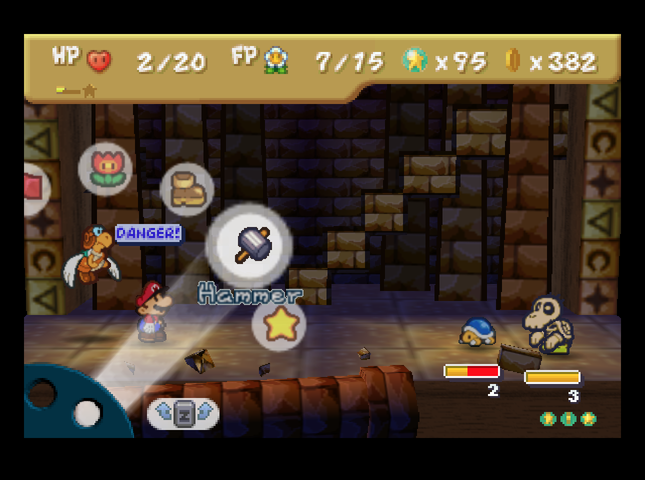 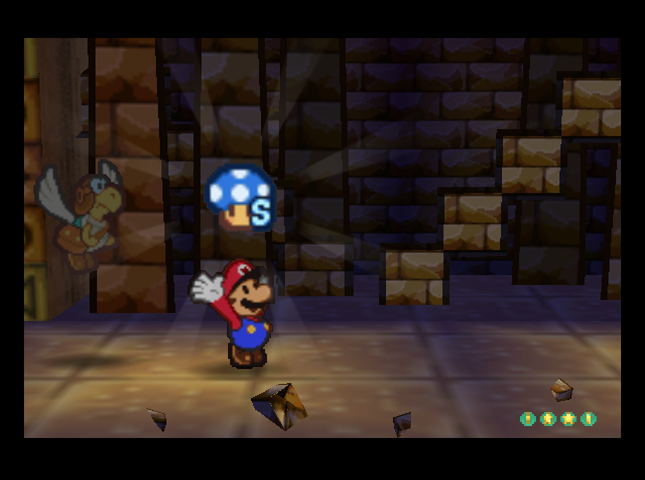 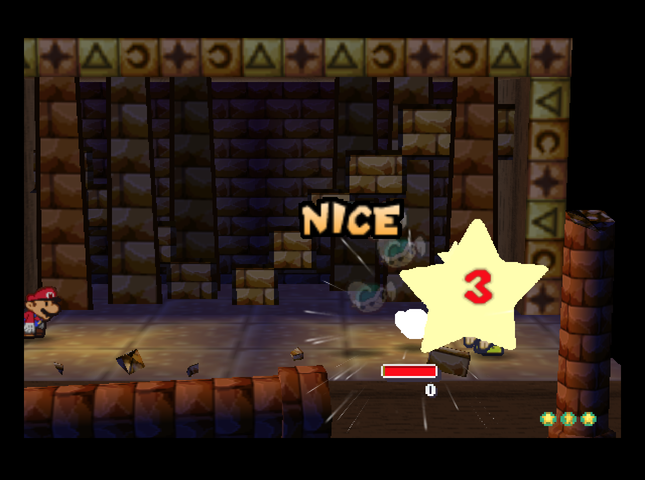 We end up in Danger, so Mario heals up, while Parakarry KOs the Beetle with another Shell Shot. 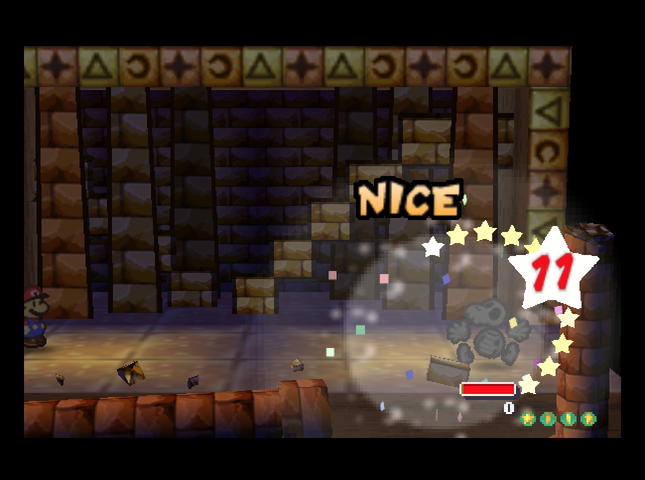 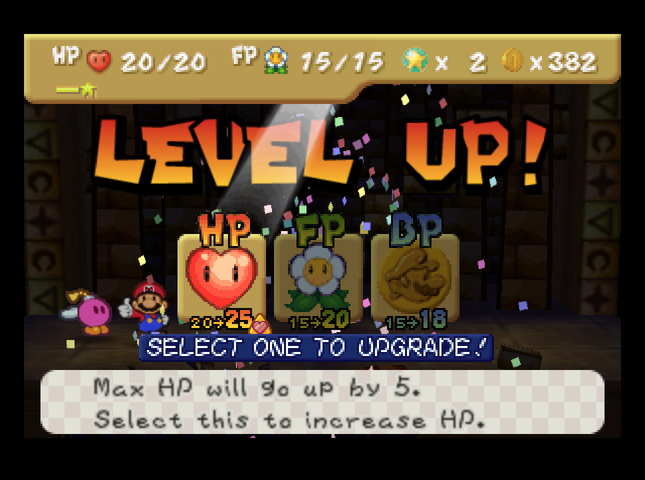 We end up with just enough FP to blow up the Dull Bones, and level up! We�ve been getting kicked around by the monsters here, so we pick HP.  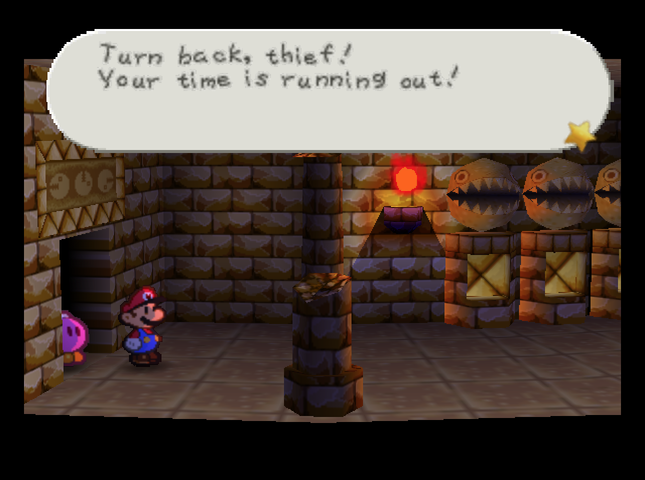  If you do not retreat, you�ll be in grave trouble! I do not lie! You will regret it! If you do not retreat, you�ll be in grave trouble! I do not lie! You will regret it!Following the next passage leads us into another room - and Tutankoopa yells out another warning. This is getting old. 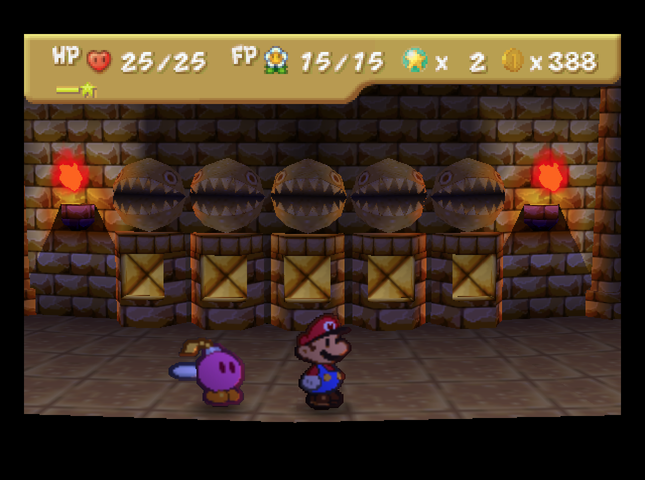 This room has a set of five Chomp Statues. They�ll open the way to the Tutankoopa fight once we put three key stones in the correct slots. 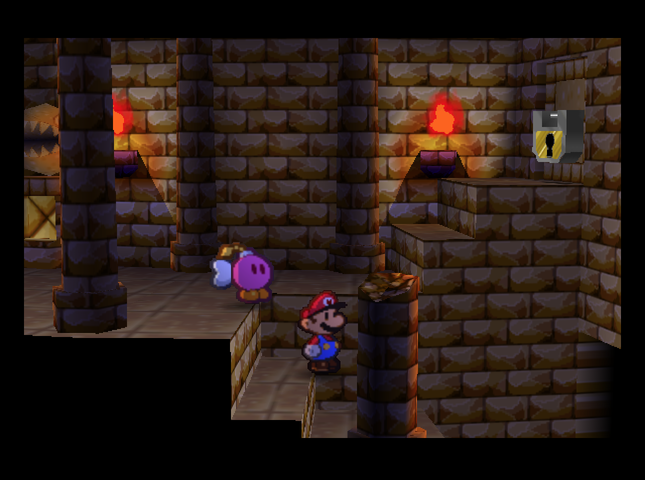 The path splits at the far end of the room, but one way is again locked. We go downwards.  The geometry of this room makes it look like you can jump to that key. 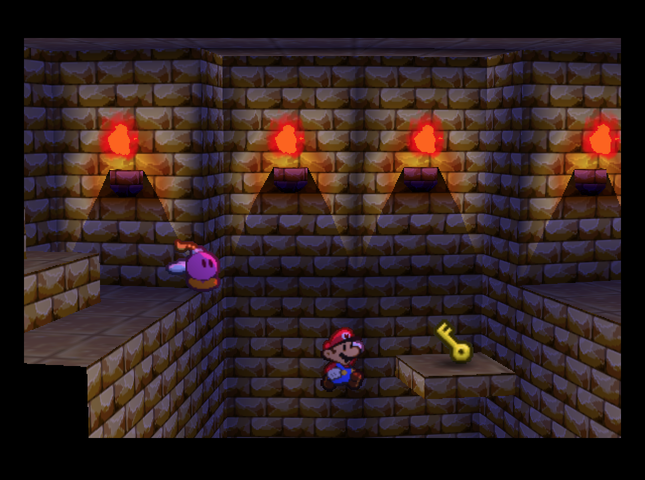 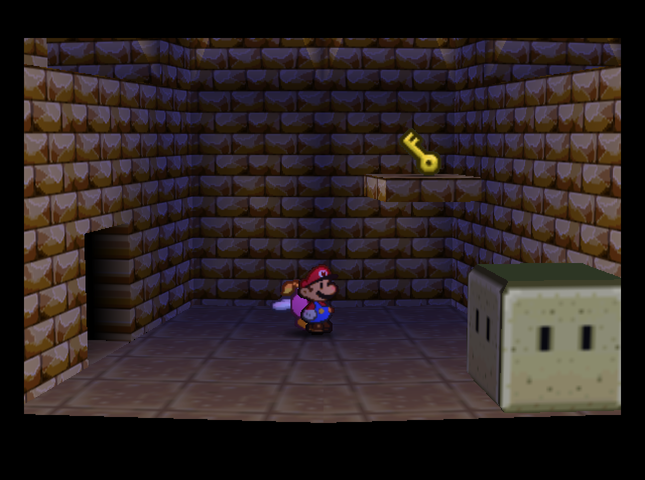 You really, really can�t. 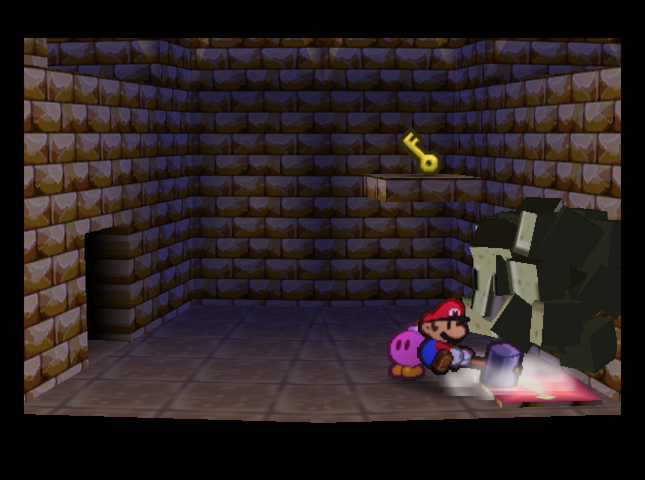 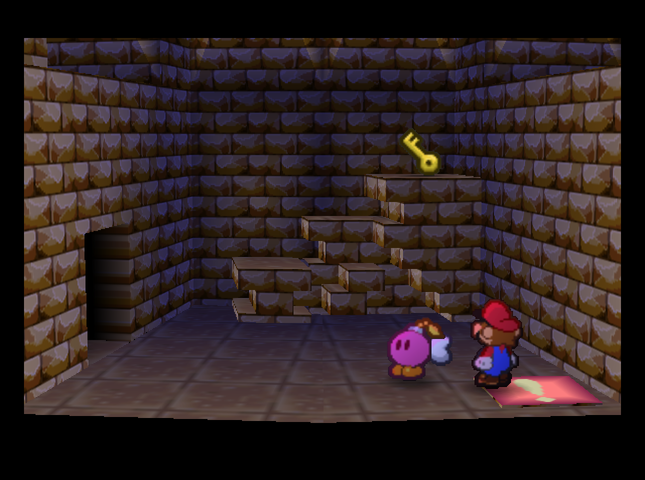 However, smashing a nearby Stone Block reveals a switch that lets us get the key. 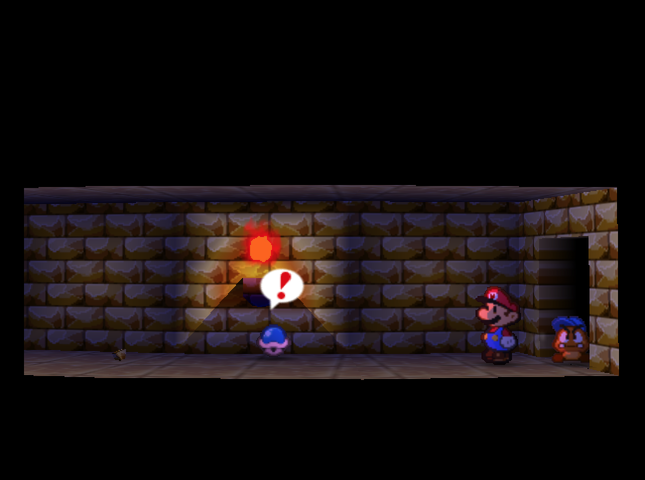 Now that we�ve fallen into the pit, we can�t jump out - so we have to go to the left, which is an underground passage. 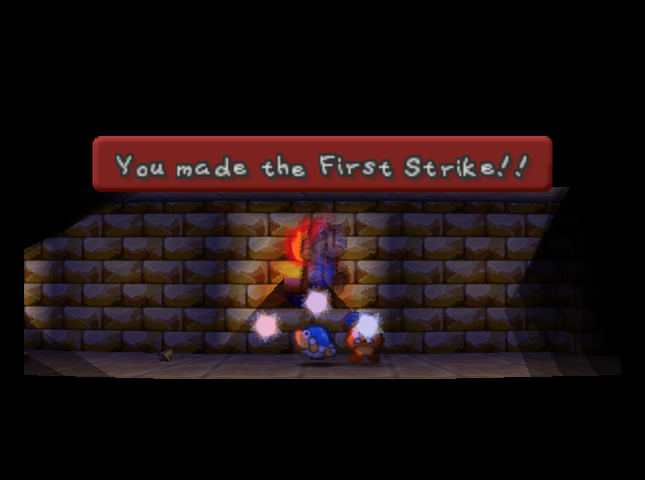 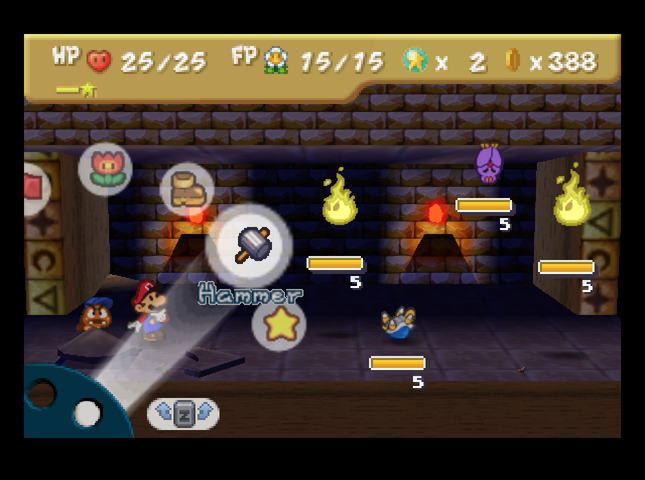 One with plenty of Buzzy Beetles! 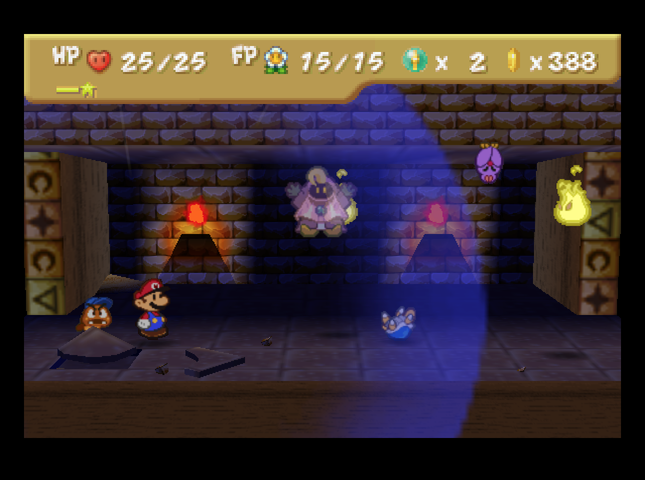 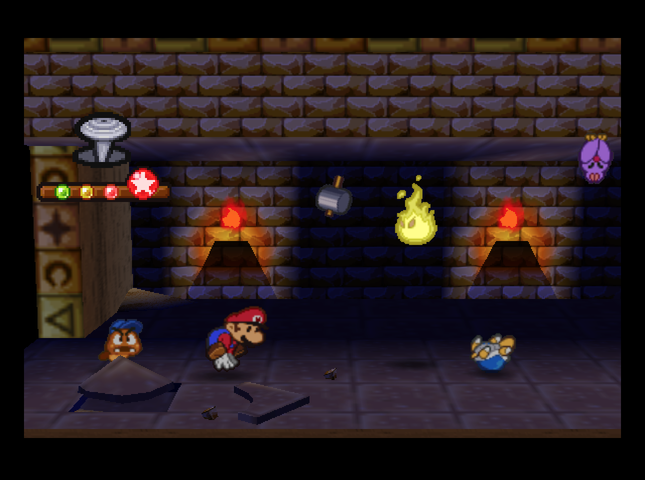 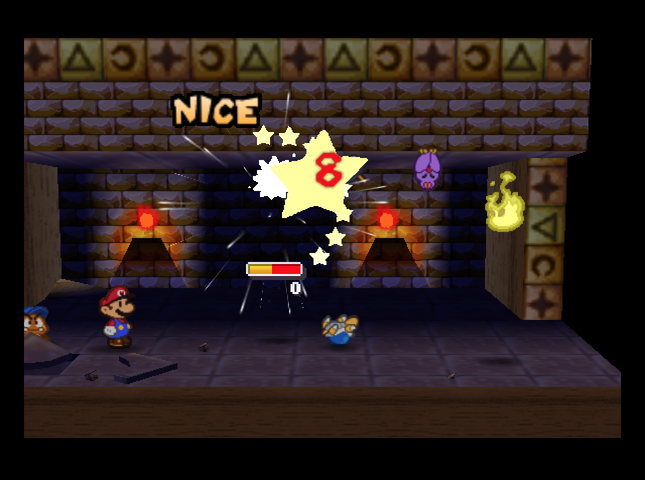  We make to take out the first Dry Bubble with Hammer Throw. Donlee intervenes, giving us a somewhat unnecessary power boost. Goombario does what he can.   After the second Dry Bubble is gone, the remaining battle isn�t much trouble.  There�s more Buzzy Beetles further on, clinging to the ceiling.  If I left this Beetle stuck to the ceiling, it would drop on me for 5 damage (two more than the usual Buzzy Beetle damage output).  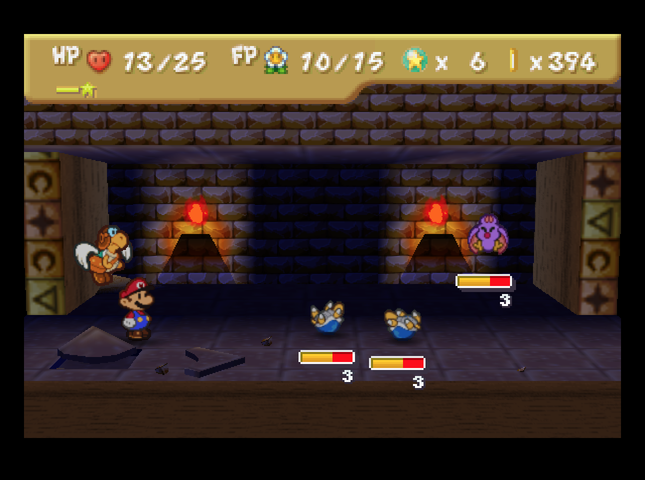 Quake Hammer ruins its dreams of skydiving. 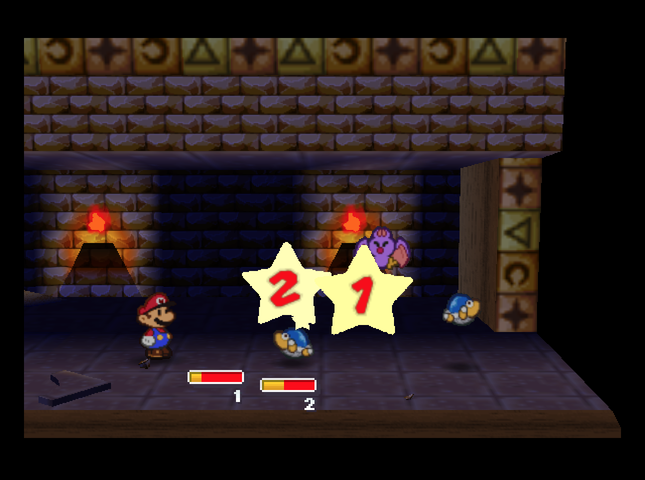 Because I have the Super Hammer, I can use Spin Smash against Buzzy Beetles without having to flip them now. 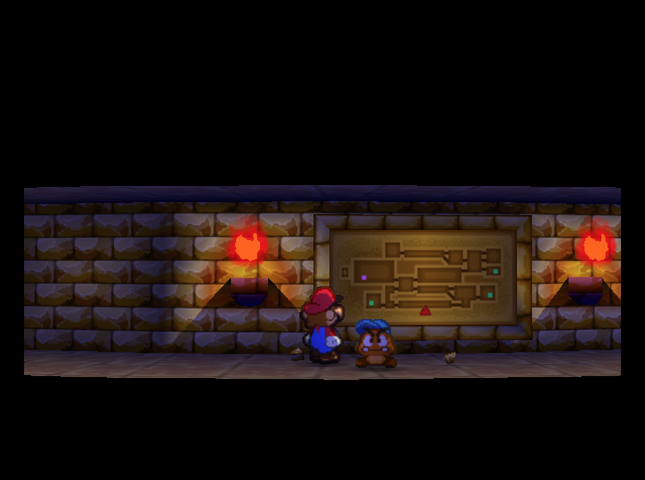 With the battle over, we check out this wall carving. It�s a map of the ruins. The purple dot is where we got the Super Hammer, but we�ve only been to one of the green dot rooms - it was one that had a stone key blocked off by a Stone Block. Hmmm� 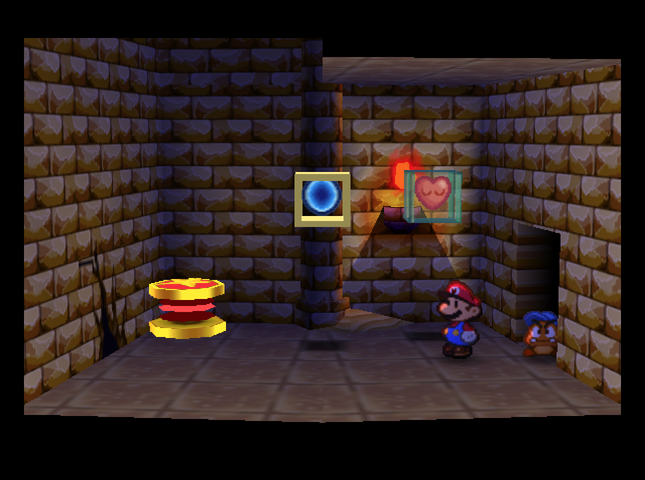 The passage kicks us out at a room with a trampoline, a Heart Block� and another Super Block!!! The question is, who to boost this time? 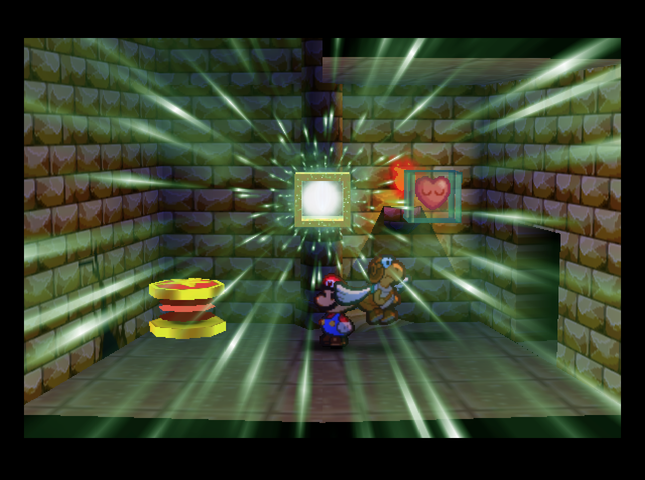 I settled on Parakarry. Goombario gets stonewalled by Dry Bubbles, Dull Bones, and Pokey Mummies, while Bombette can�t really deal with Buzzy Beetles or Swoopers. Parakarry has something for everyone - and in particular, the move he gets on Super Rank, Air Lift, lets him remove annoying enemies from the battle entirely. 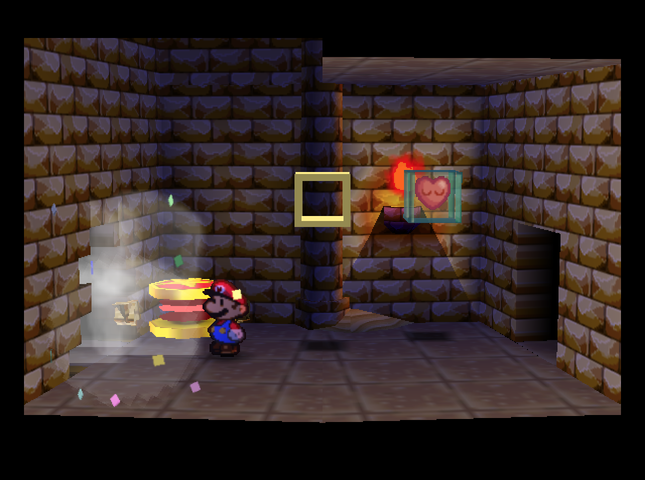 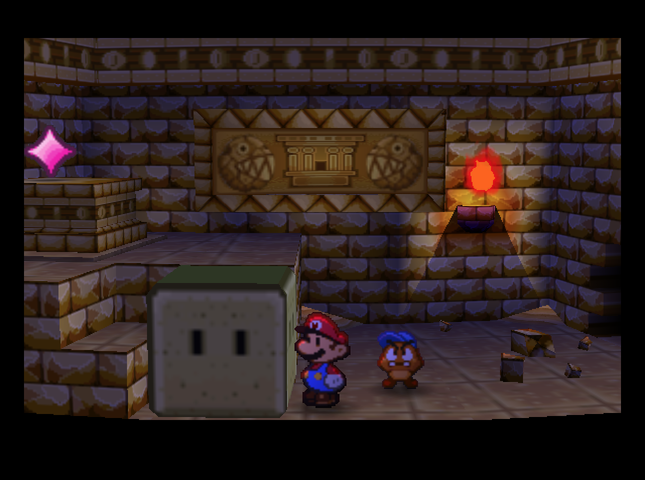 The cracked wall in this room leads to one of the rooms marked on the map. Inside is a room with a stone key. 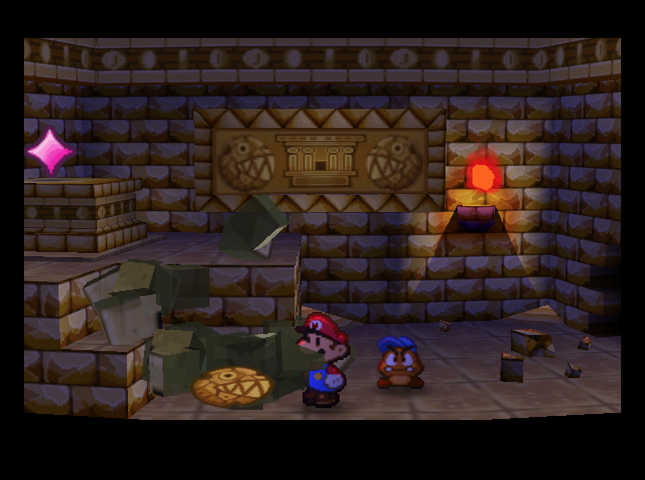 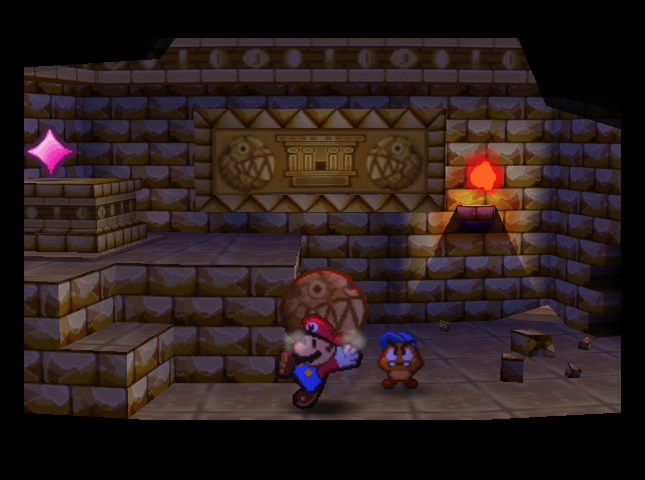 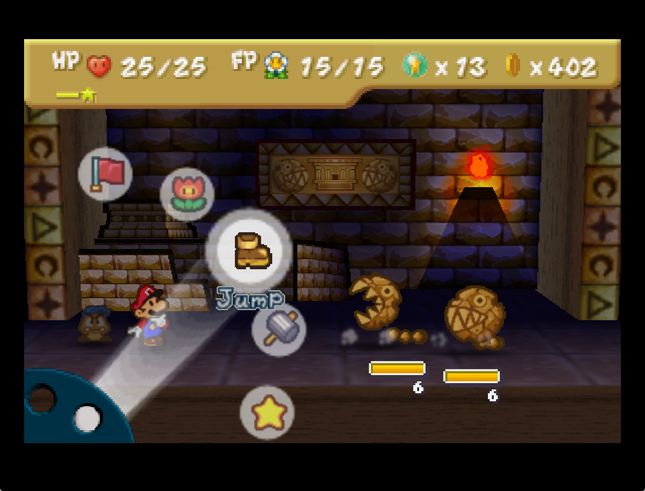 We break the block, but this room has a guardian: a Stone Chomp.  This is a Stone Chomp, who guards the treasure in this room. He�s made of stone. Duh! His jaws can supposedly crush a Coconut. I don�t know about you, but I don�t want to become a snack. This is a Stone Chomp, who guards the treasure in this room. He�s made of stone. Duh! His jaws can supposedly crush a Coconut. I don�t know about you, but I don�t want to become a snack.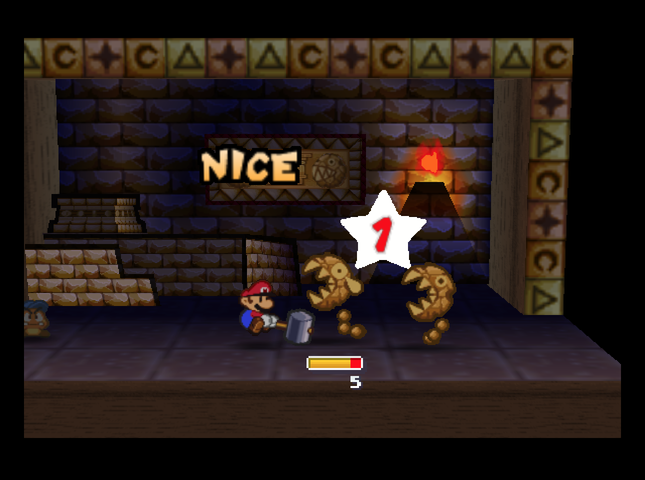 In Paper Mario, Stone Chomps had 4 HP, 3 Attack, and 1 Defense (so Mario�s new Super Hammer would deal 3 damage in one hit). Here, Stone Chomps have 6 HP (2 more), and 3 Defense, so Mario�s hammer juuuuuuuuuuust barely leaves a dent. A 1 HP dent, to be precise.   They have two attacks: one where they charge straight at you, and one where they stop early and pause to fake you out. Both deal 6 damage. 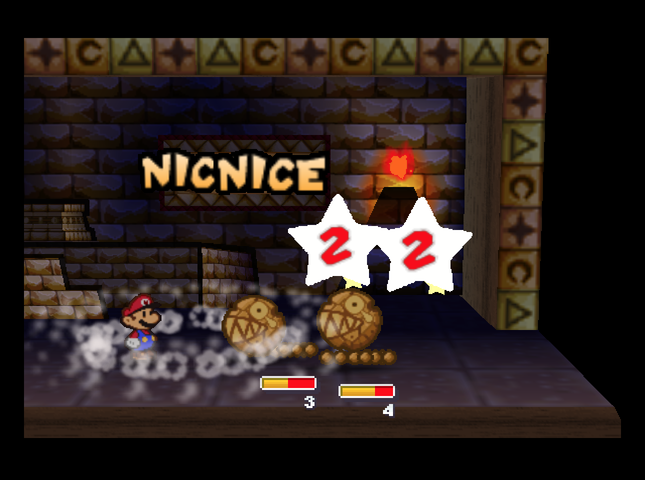 Quake Hammer hits both Chomps, and we switch to Parakarry. 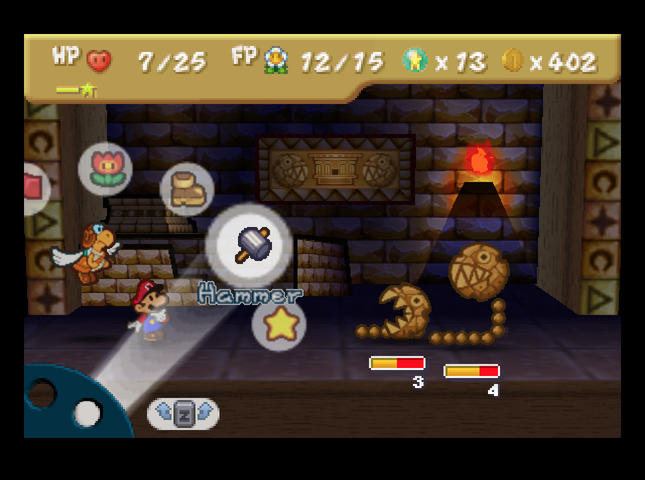 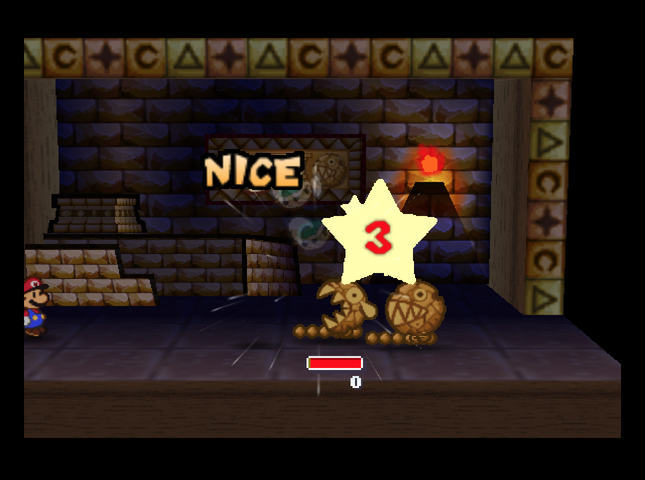  Parakarry�s Shell Shot now does 6 damage - enough to KO the Chomp in front from half health! We hammer the rear Chomp to get it ready to be Shotted next turn. 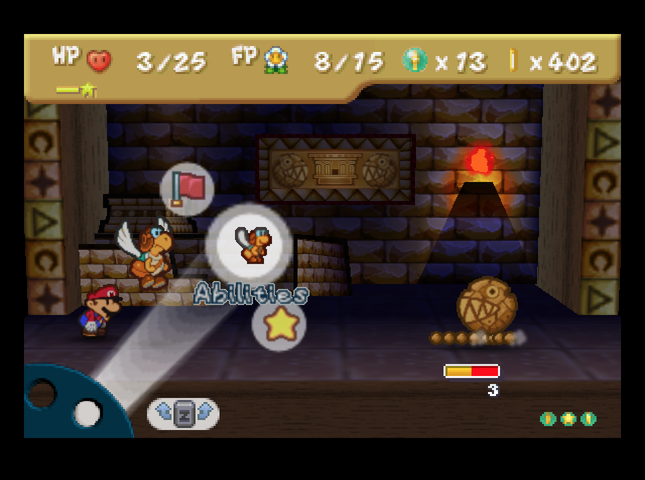 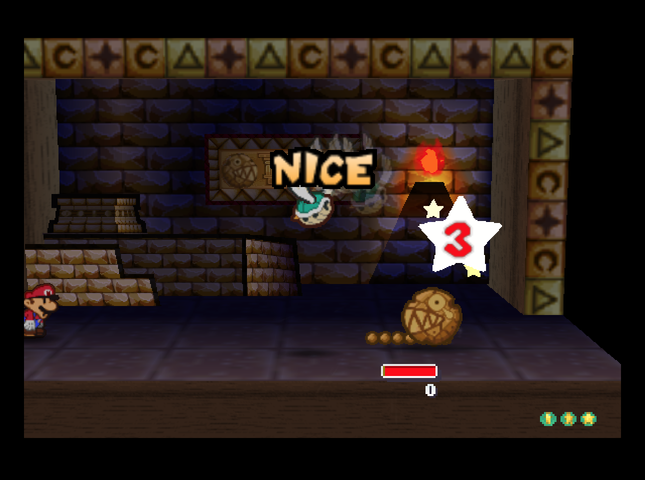 We do, and finish off the Chomps by the skin of our nose. 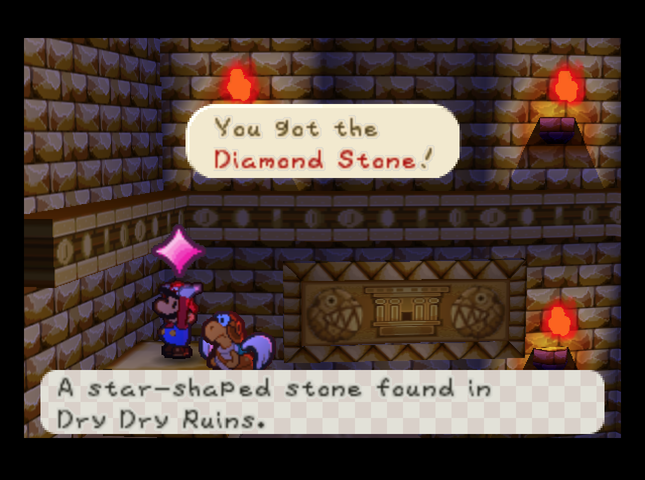 We claim our first stone key: the Diamond Stone. Then, we head back to the Heart Block. 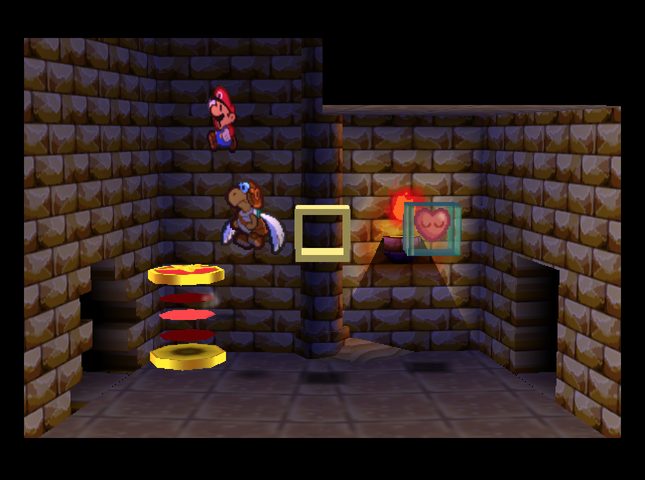 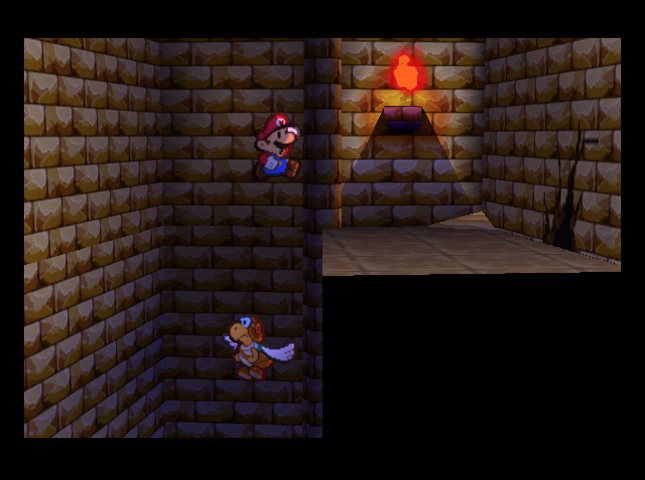 There�s only one way out of this room we haven�t checked: Up the trampoline. 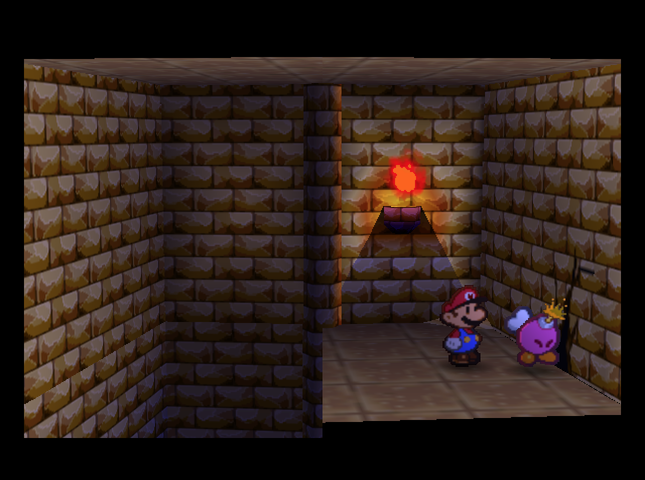 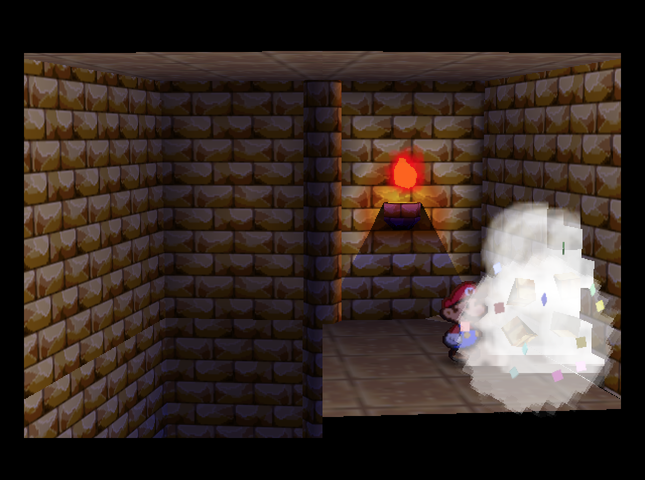 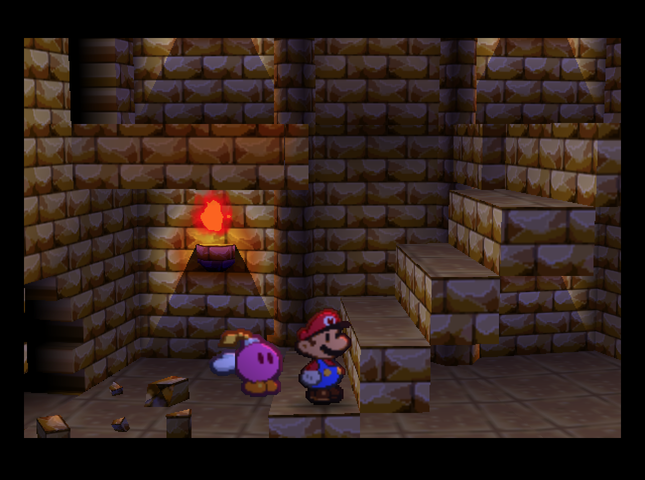 It turns out to lead to the room outside the Super Hammer room. 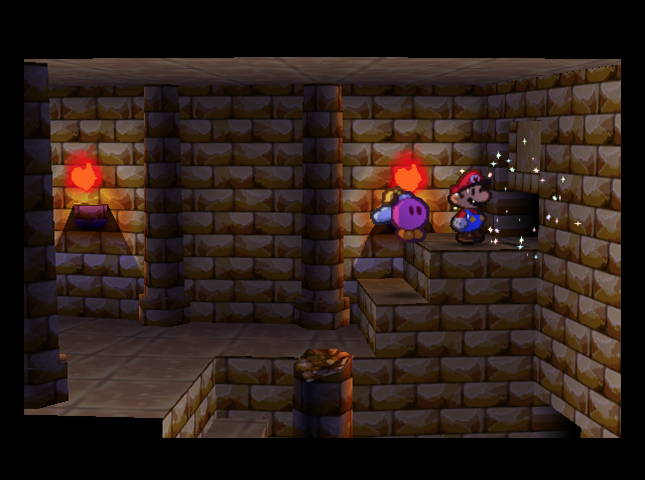 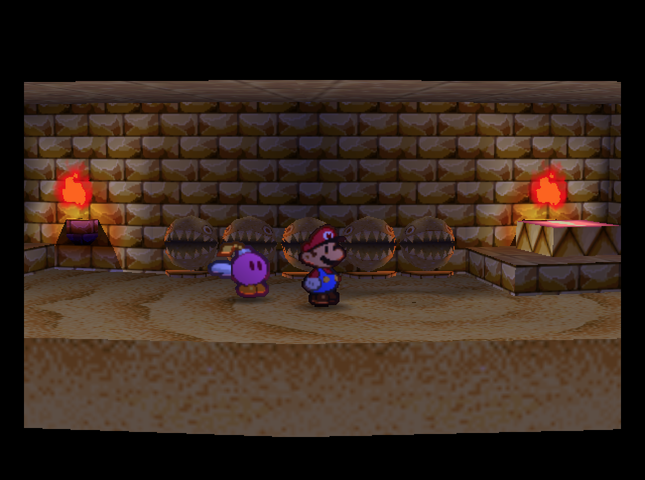 We return to the Chomp statue room, where we�re able to open the locked door. It turns out to lead to another control room filled with sand.  Pressing the switch drains the sand - and shows us a very important pattern. Where have we seen that diamond shape before? 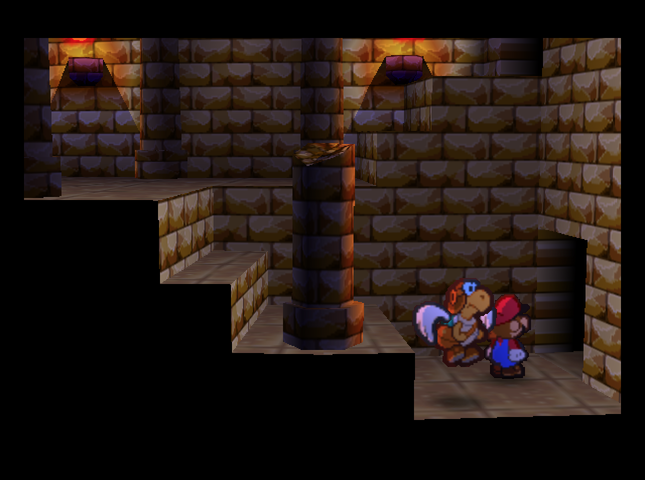 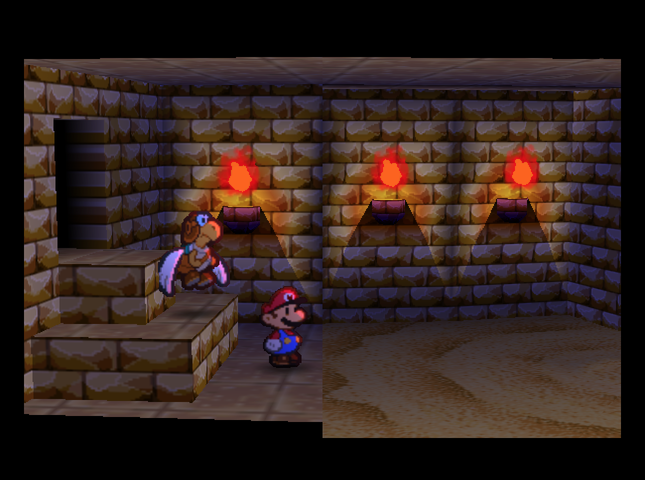 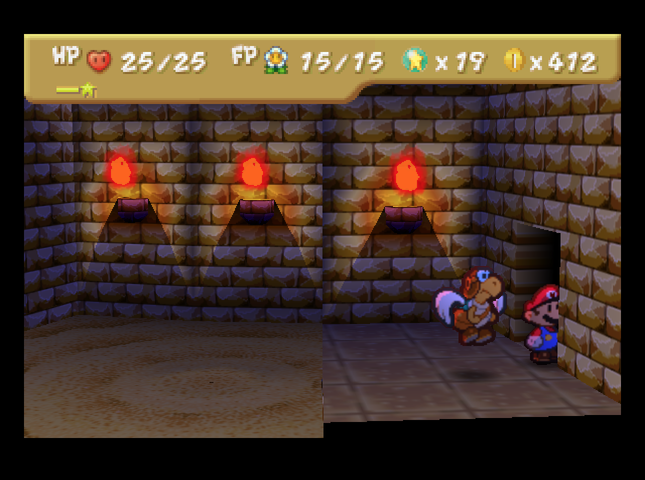 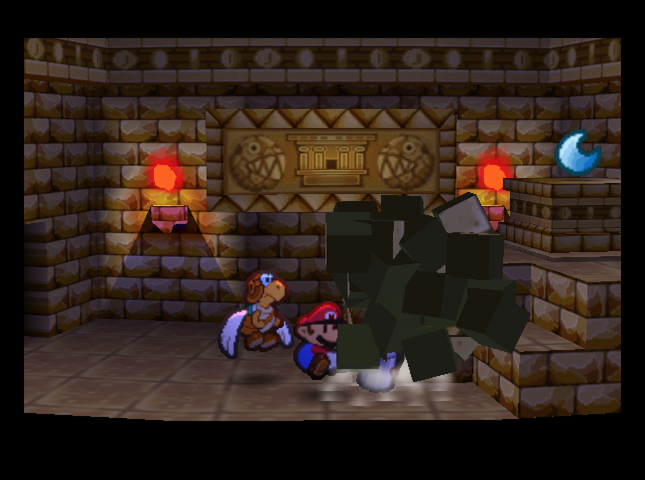 The room that had the key on a ledge is now filled with sand. We cross the pit and find a door, leading to a room with another stone key. 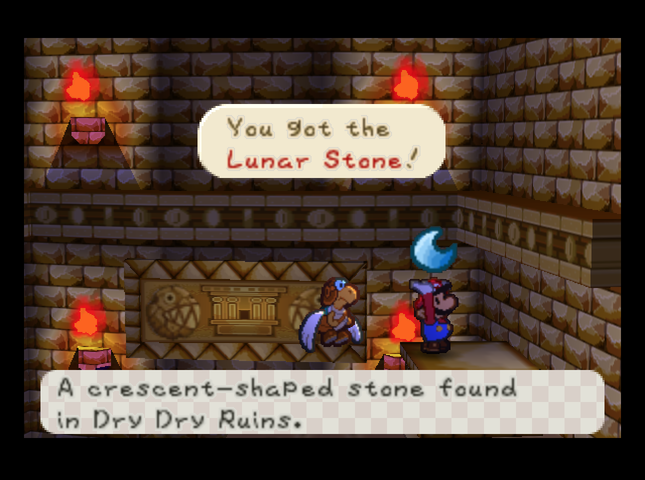 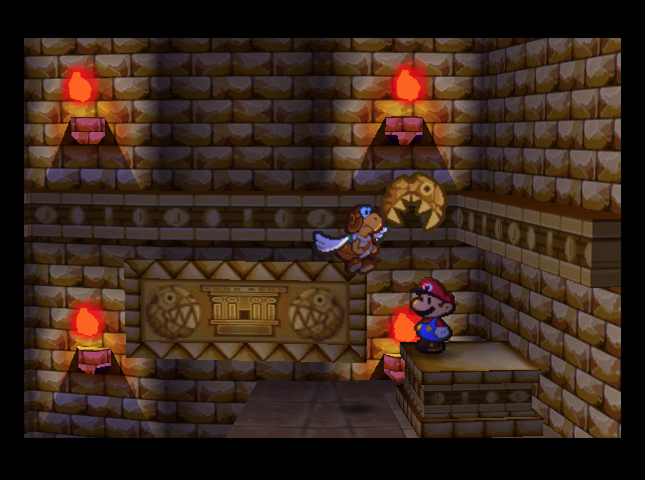  This time, the Stone Chomp doesn�t ambush us until after we grab the key. 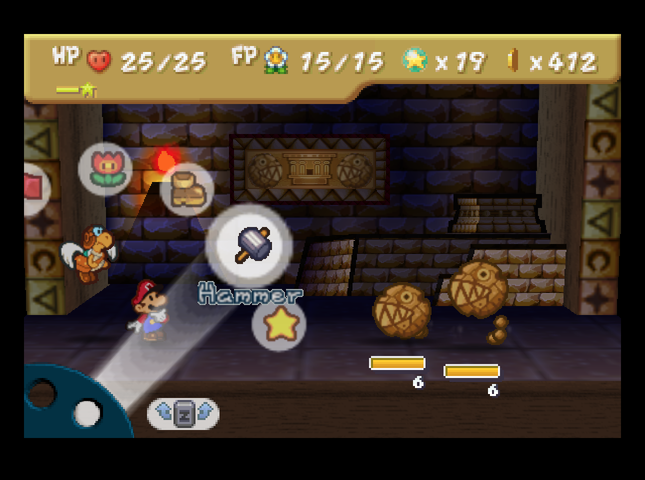   I decide to try something clever this time. Parakarry whittles down the front Chomp�s health with Shell Shot, then I Charge Mario�s hammer. 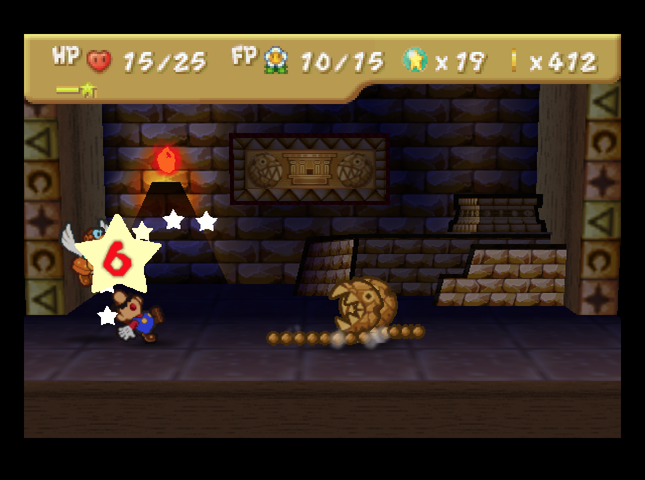 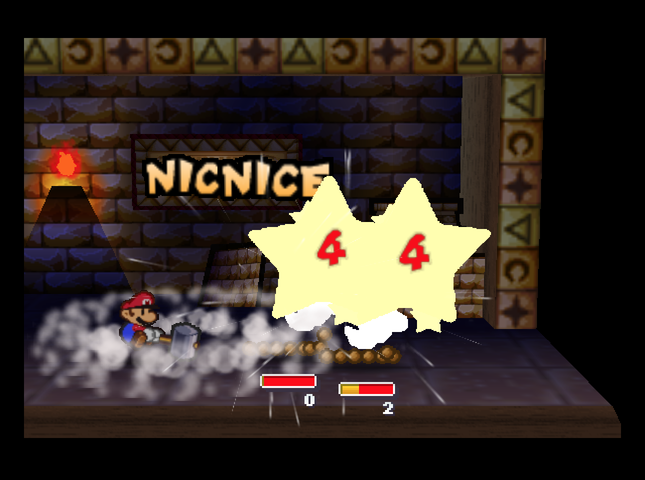 We take a little damage, but Quake Hammer does 4 damage to everyone next turn! This KOs the chomp in front. 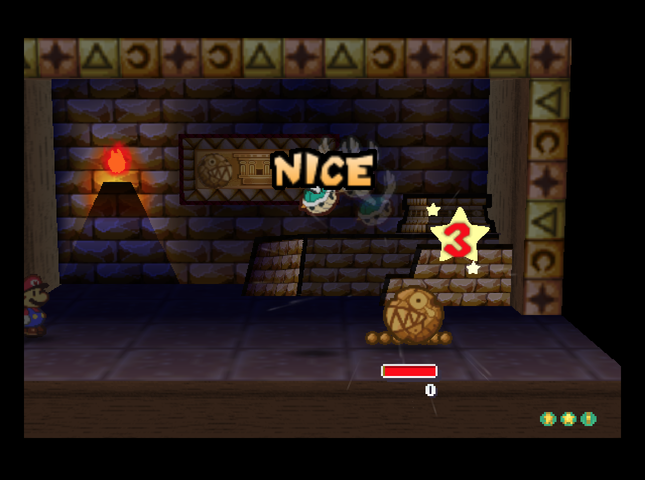 Parakarry finishes off the rear Chomp, and we leave the battle having only gotten bitten a little. 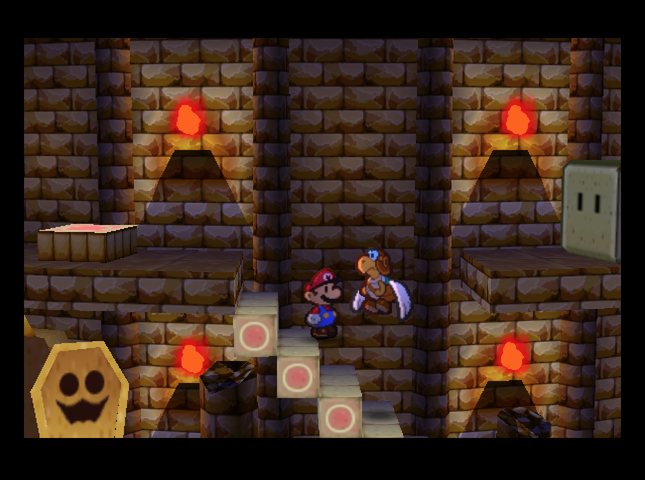 The third stone key (and Chomp fight) is farther towards the top of the Ruins. On the way there, we run into the small staircase puzzle from earlier, in the room with the Pokey Mummy ambush. 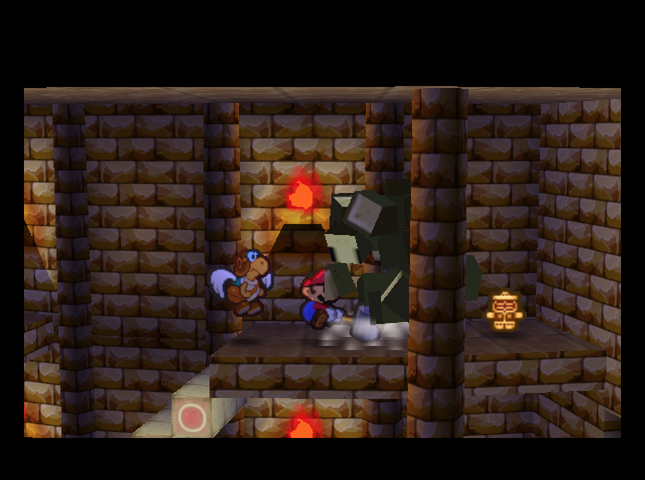 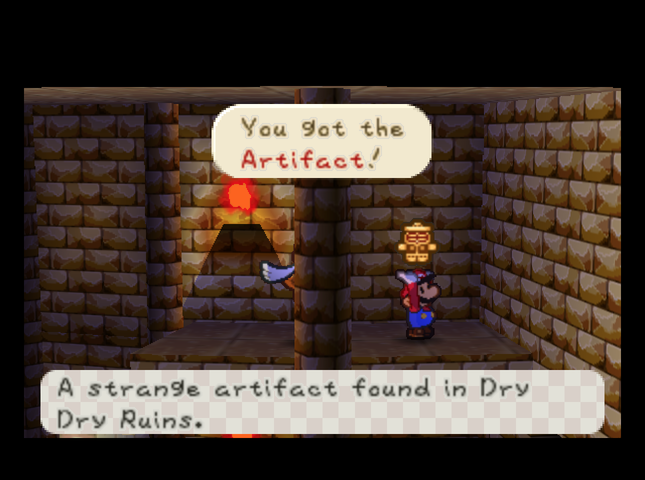 This time, though, we�re able to smash the block and collect the Artifact. I wonder what we should do with this?  Since we�re near the front of the Ruins, we use the Heart and Save blocks by the front door. 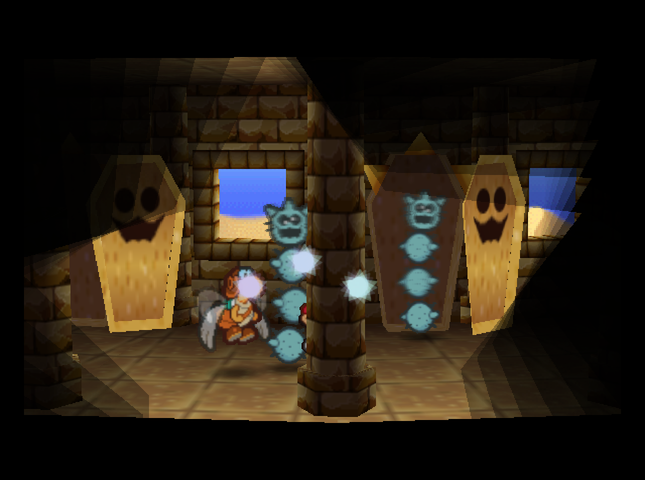 On the way back, we almost dodge the Pokey Mummies.  But that�s OK - Parakarry can demonstrate his new skill, Air Lift. 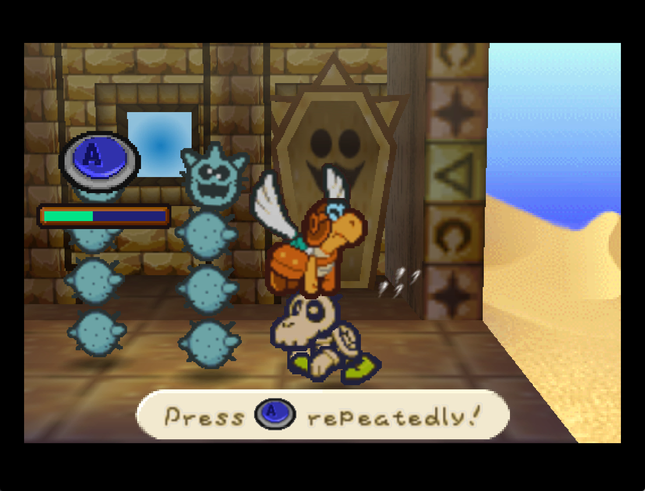  Air Lift, which costs 5 FP (2 more FP than in the base game), lets Parakarry hoist an enemy out of the battle entirely. You don�t get Star Points for it, and it won�t work on enemies that have spikes or which are on fire� but against something obnoxious like a Dull Bones that doesn�t give Star Points anyway, it�s perfect.  Pokey Mummies now take 3 damage from Mario�s upgraded hammer, too, rendering them far less of a threat. 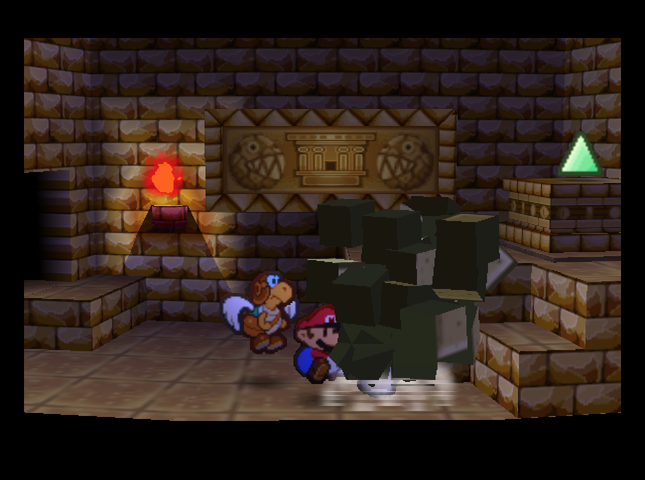 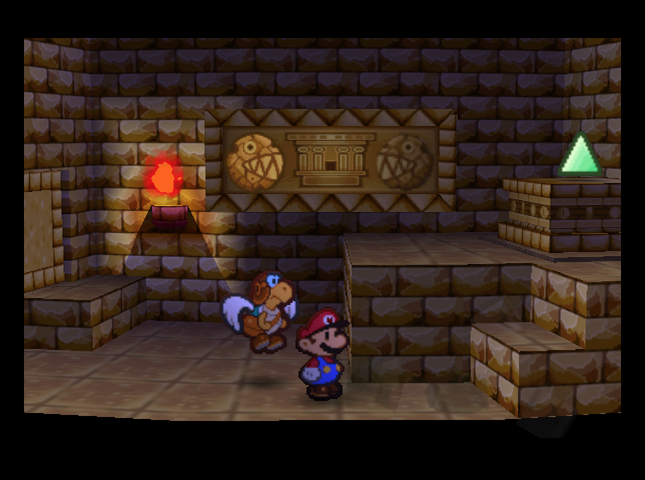  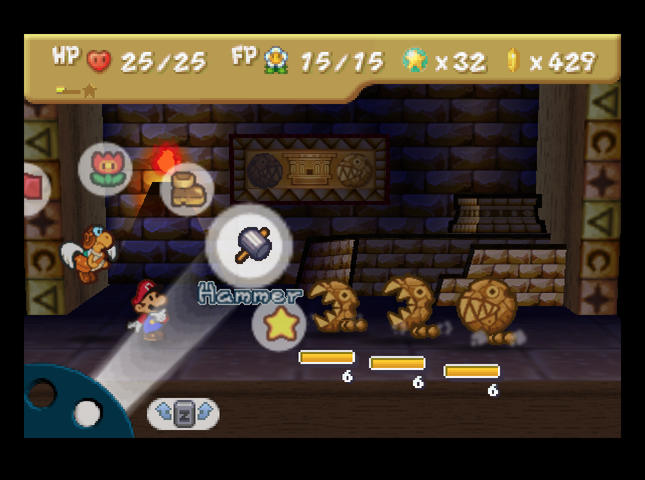 In the room with the third key, this Stone Chomp jumps out from a wall frieze. There�s a bit of a problem, because there�s three Chomps this time.    We use the same strategy as before: Shell Shot, Charge, and Quake Hammer.  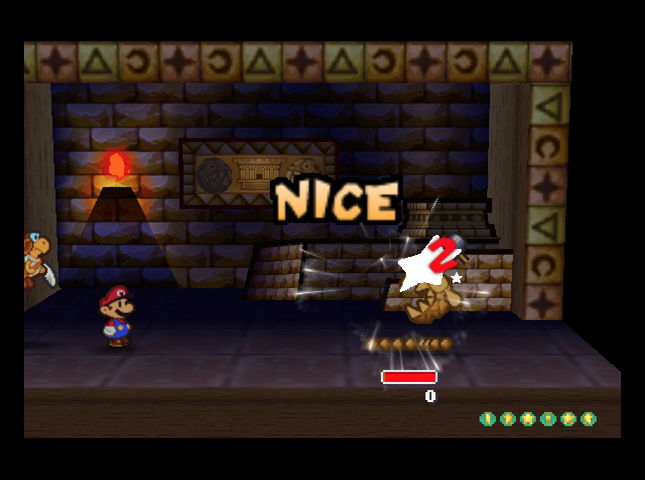 This leaves us with enough FP for a Hammer Throw to finish off the last Chomp, though we could also just hit it over two turns. 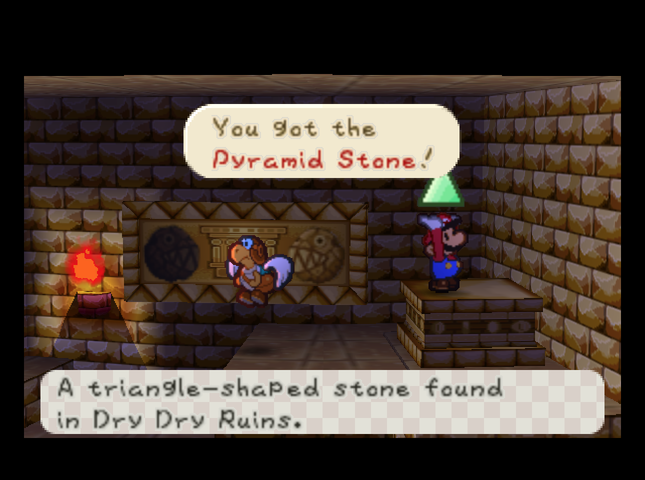 The Pyramid Stone is ours! We now have all three Stone Keys. 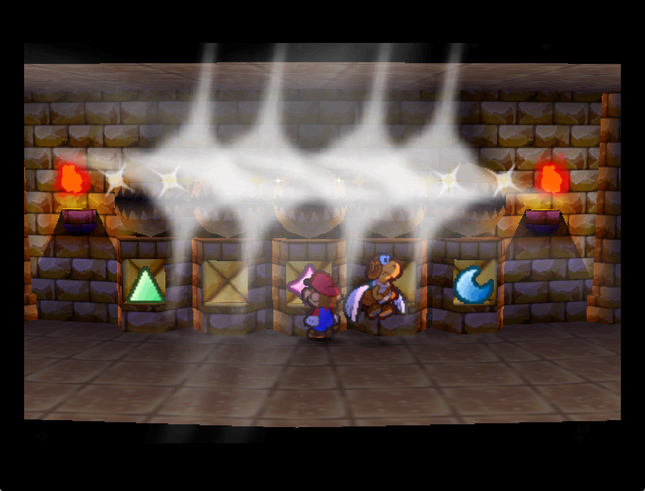 We put them in and�   A stairway appears!   Music: Heart of the Ruins Music: Heart of the Ruins This music plays throughout the entire Ruins once you open the way to Tutankoopa. 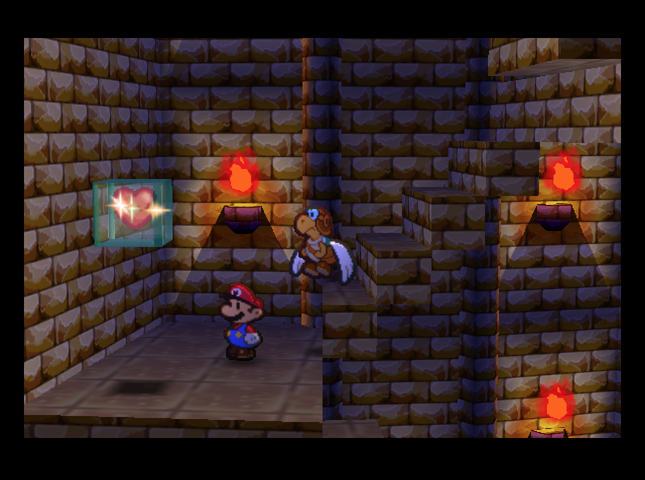 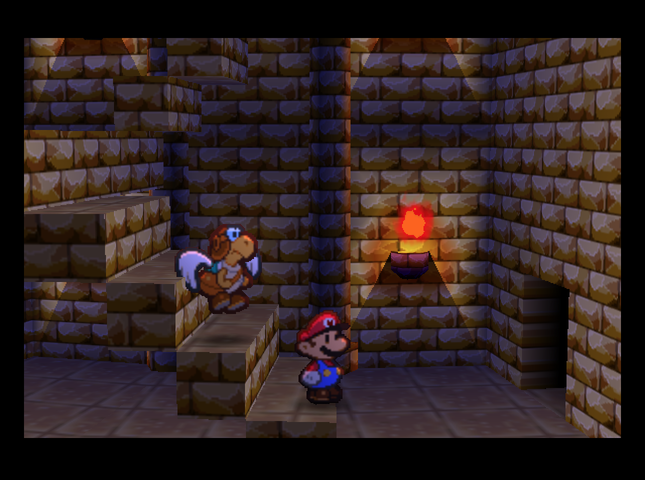 The stairs wind down past a Heart block� 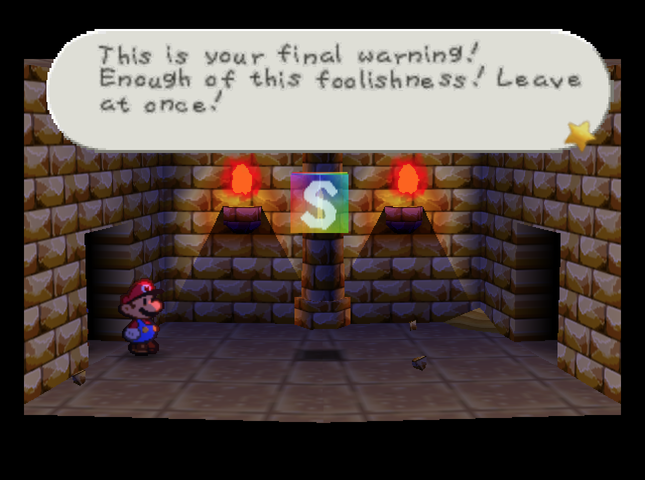 And a save block, with the obligatory Tutankoopa warning. It�s time to show this� whoever-he-is with the spooky voice who�s boss!  Bleah heh heh heh� Bleah heh heh heh�   There�s a cool animation where Tutankoopa assembles from a bunch of paper scraps at this point.  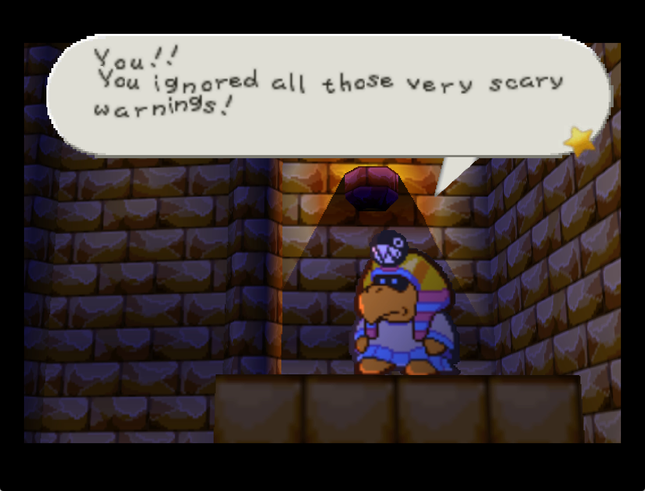  Don�t you have the common sense to get scared and run away? What�s wrong with you?! You shouldn�t mess with Tutankoopa, a faithful follower of King Bowser! Don�t you have the common sense to get scared and run away? What�s wrong with you?! You shouldn�t mess with Tutankoopa, a faithful follower of King Bowser!Well, now we know we have to fight him.  Ooops� I mean� Ooops� I mean� You shall regret this! You shall regret this!Get him! 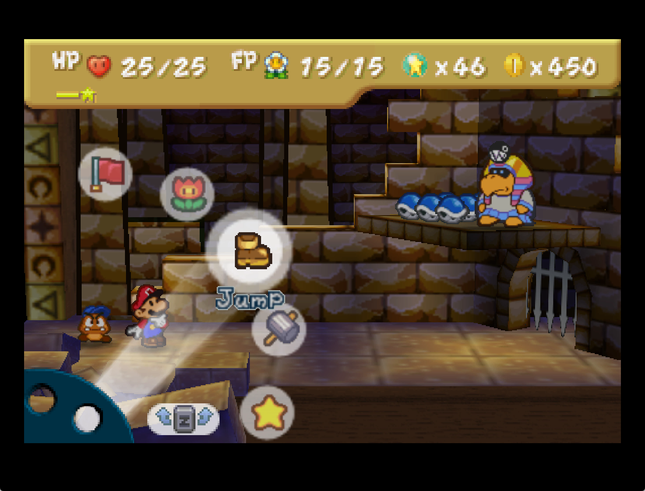 Music: Chomp Attack! This is Tutankoopa. He�s one of Bowser�s followers and he�s been assigned to guard one of the Star Spirits. I�ve heard that he has sort of a pharaoh complex. He attacks by throwing shells from that high perch. Try to dodge when he plays his song - it�ll put you to sleep. And he also summons Chomps, his loyal subjects. These Chomps have some serious attack power. Think hard about who to attack first, Tutankoopa or Chomp. Music: Chomp Attack! This is Tutankoopa. He�s one of Bowser�s followers and he�s been assigned to guard one of the Star Spirits. I�ve heard that he has sort of a pharaoh complex. He attacks by throwing shells from that high perch. Try to dodge when he plays his song - it�ll put you to sleep. And he also summons Chomps, his loyal subjects. These Chomps have some serious attack power. Think hard about who to attack first, Tutankoopa or Chomp.Tutankoopa has 45 HP, 15 more than his Paper Mario incarnation. 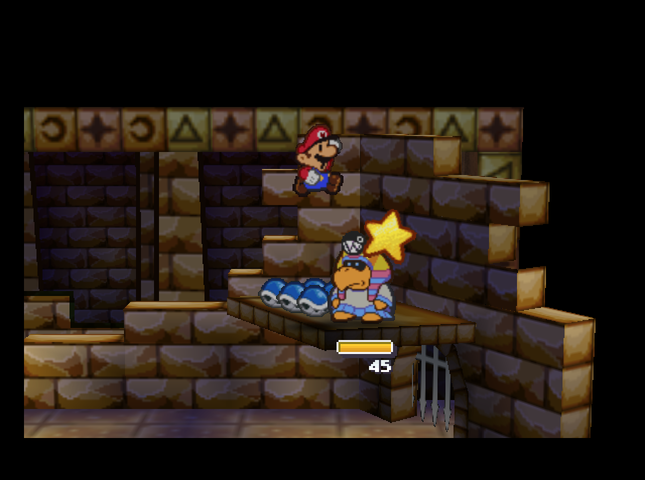 He also has 1 Defense, which he didn�t have in the base game either!  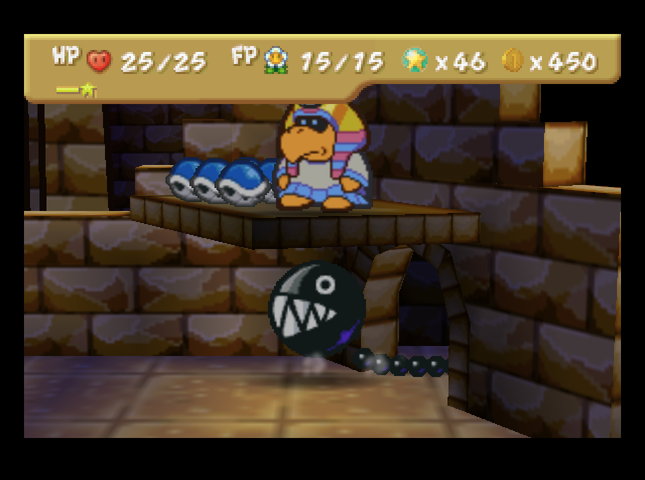 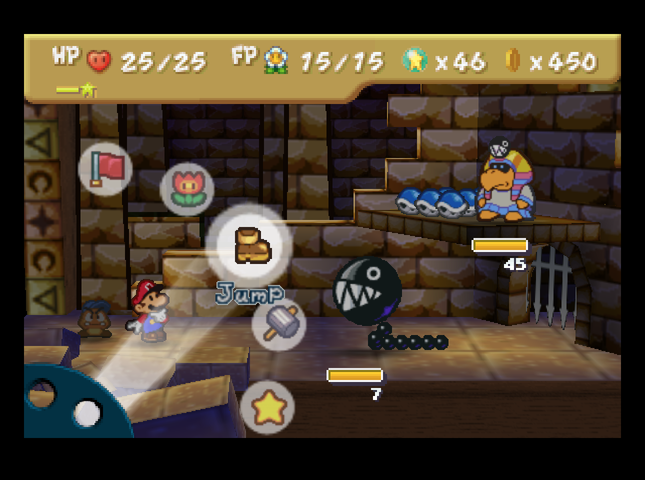 Tutankoopa�s first move is to summon a big-rear end Chomp. It�s a Chomp. You�ve heard about Chomps before, I�m sure. They�re made of such hard stuff that most of your attacks won�t faze them. I heard a rumor that the Chomps are a little peeved at Tutankoopa because he works them so hard.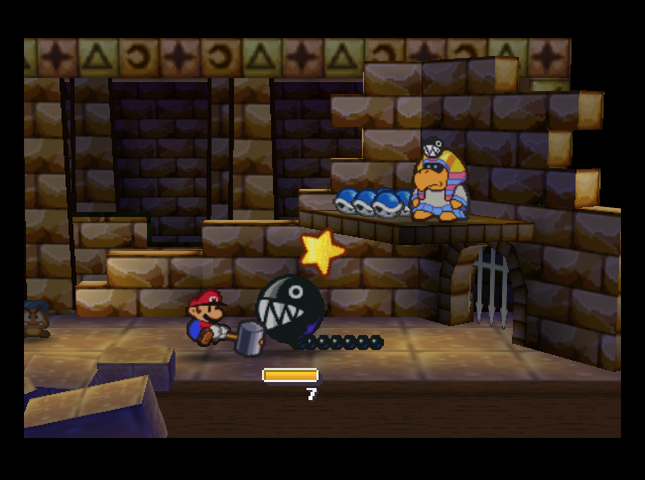 Remember Stone Chomps? This guy is worse. He has 7 HP, and a whopping 4 Defense. Goombario wasn�t kidding about most of our attacks bouncing off!!! 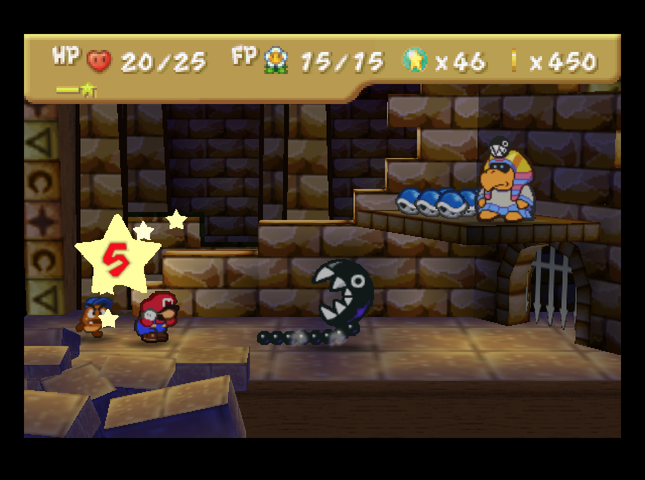 If that�s not enough, he attacks for a whooping 7 damage. For those who�re wondering, in the base game, the stats in question were 4 HP, 3 Attack, and 3 Defense. It�s a bit of a step up. By the way: This Chomp does have the same fake-out attack available that the Stone Chomps used. 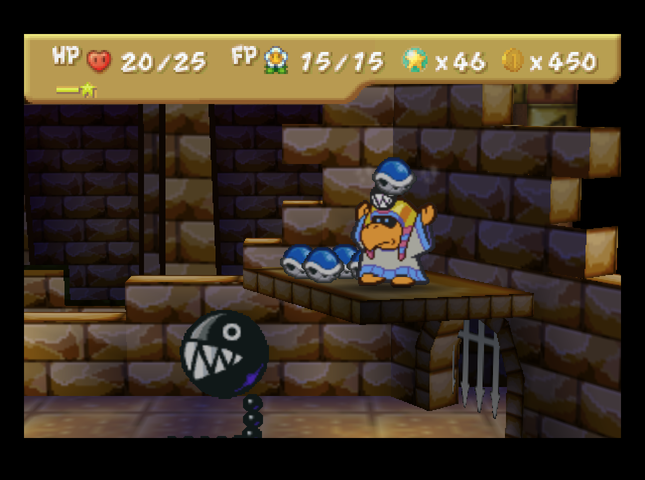  Tutankoopa himself attacks by throwing Buzzy Beetle shells. They do 3 damage - same as in vanilla Paper Mario. Small mercies, I guess - he has more shells than in the base game. This is a good thing: we�ll see why in a minute. 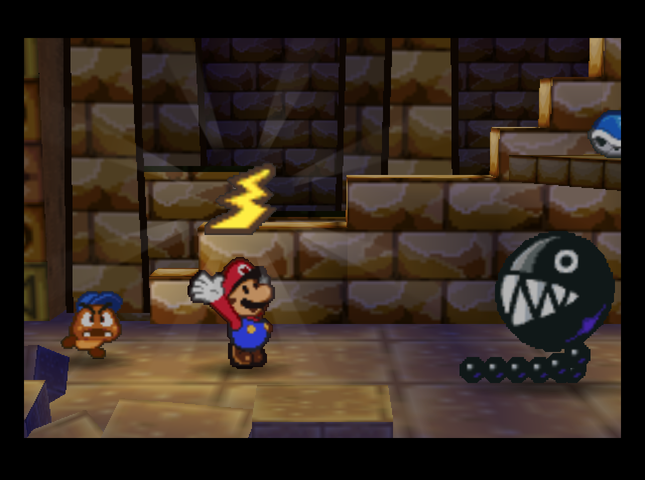  At this point, the Chomp's sheer attack power means that fighting fiercely goes out the window. Instead, we�ll have to fight smart! Fortunately, we kept the Thunder Rage from the desert in our inventory. It applies a massive Shrink to Tutankoopa and Chomp both.   Shrinking the Chomp means it only does 3 damage a hit before dodging, and we can safely ignore it - but Tutankoopa retaliates with his magic sleeping spell.    While the spell would normally deal 2 damage to each of us, the Shrink means it deals only 1. In the base game, this didn�t stun Mario, either - only his partner. 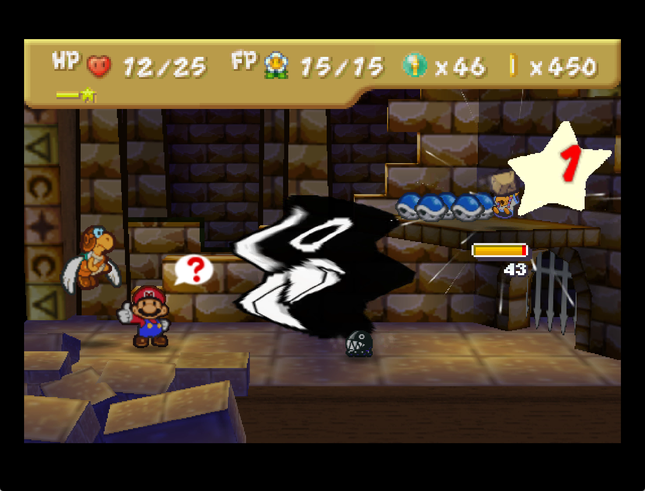 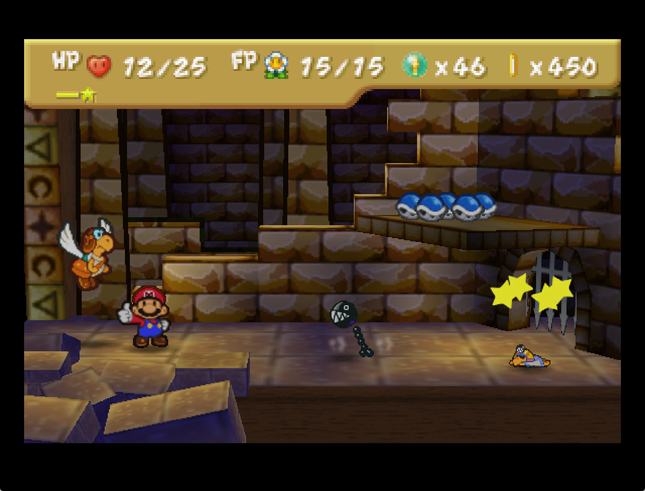 We burn a turn sleeping. Normally, Tutankoopa would throw a shell, but he won�t do it when he�s Shrunk. So, he launches into his spell again� which backfires, knocking him off the ledge. 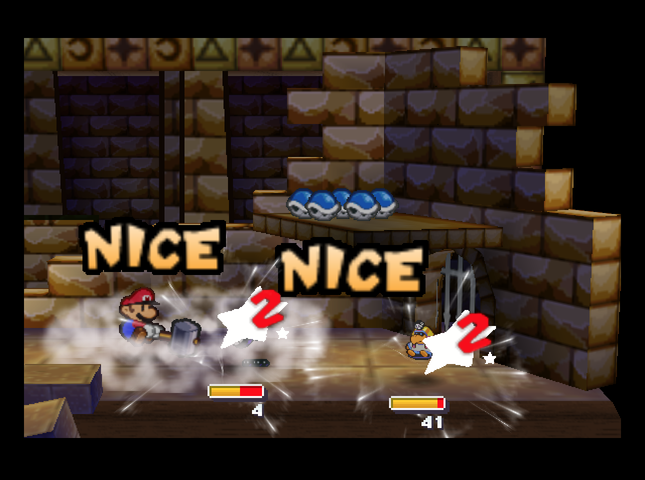 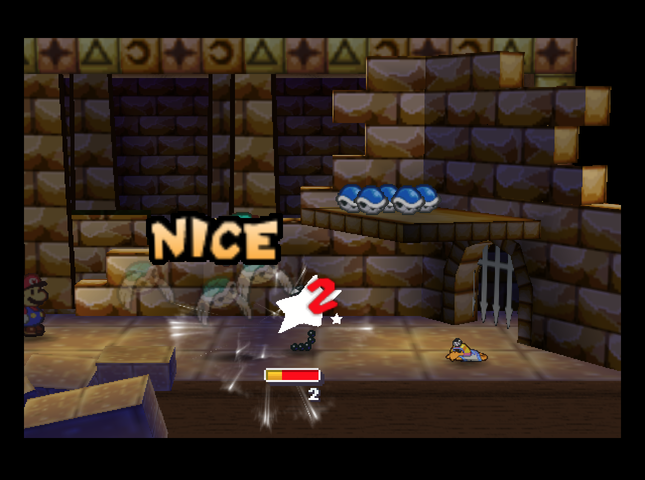 Mario can�t get at Tutankoopa directly, so we Quake Hammer. Parakarry Shell Shots� the Chomp, which in retrospect was a mistake. It only does 2 damage!   Tutankoopa levitates himself back up, and sings again - not like he really has much of a choice, seeing he�s at half size. This time, I�m able to block it for Mario, so he takes no damage and stays awake. 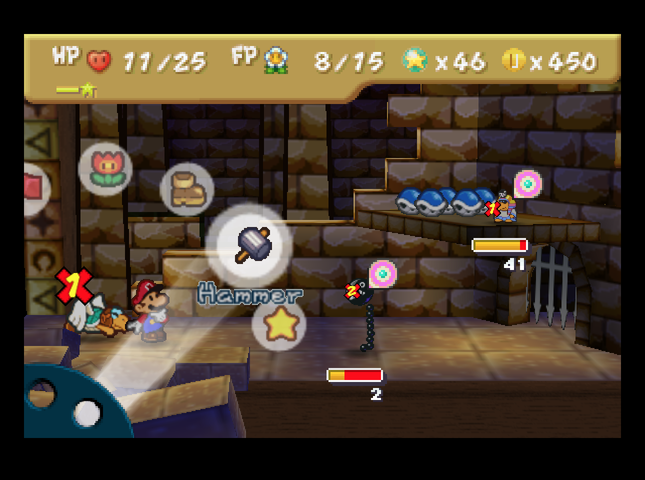 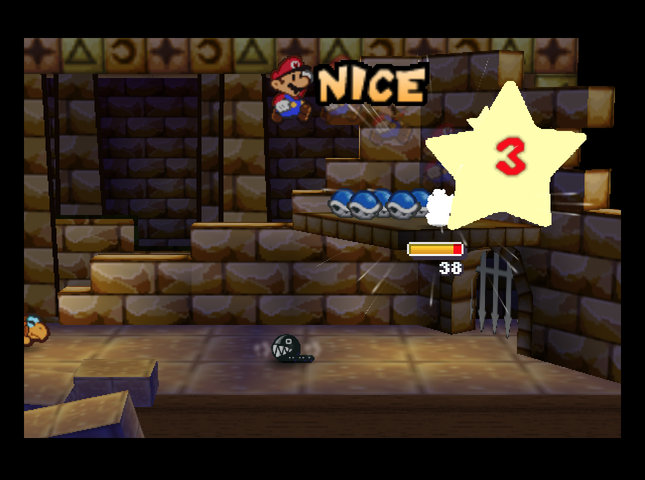 Sadly, I don�t manage to block for Parakarry. While he�s indisposed, Power Jumping on Tutankoopa seems to be the order of the day. 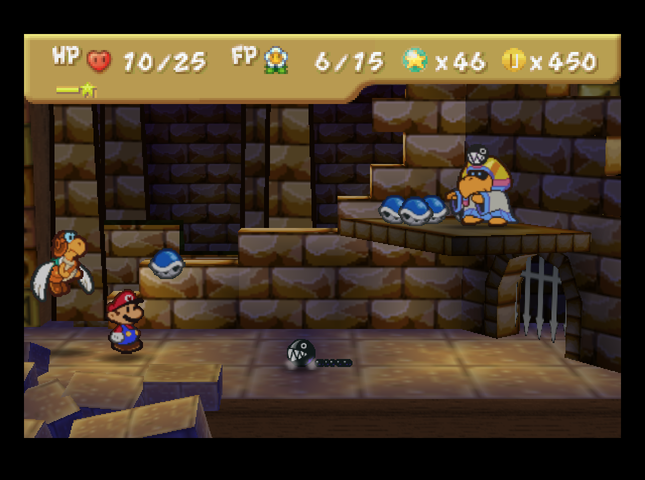 Tutankoopa finally returns to full size, chucking shells once again. 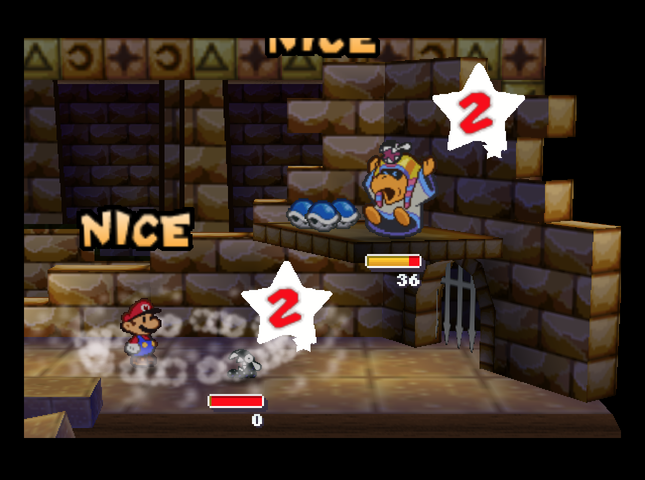 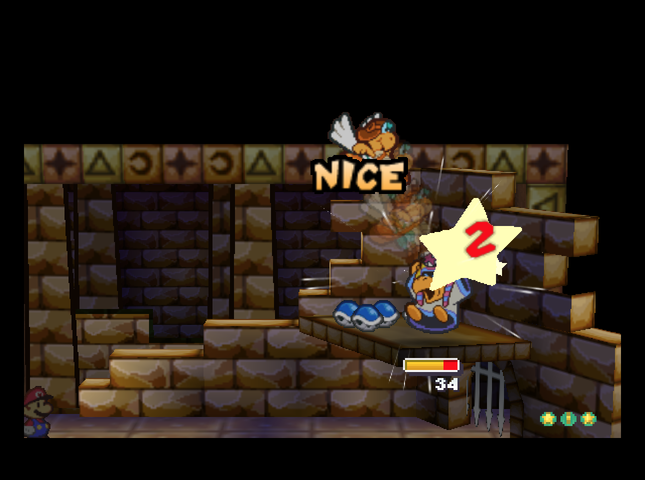 Because the Chomp is about to unshrink, I Quake Hammer to get rid of it. Parakarry Sky Dives in lieu of having the FP to Shell Shot. 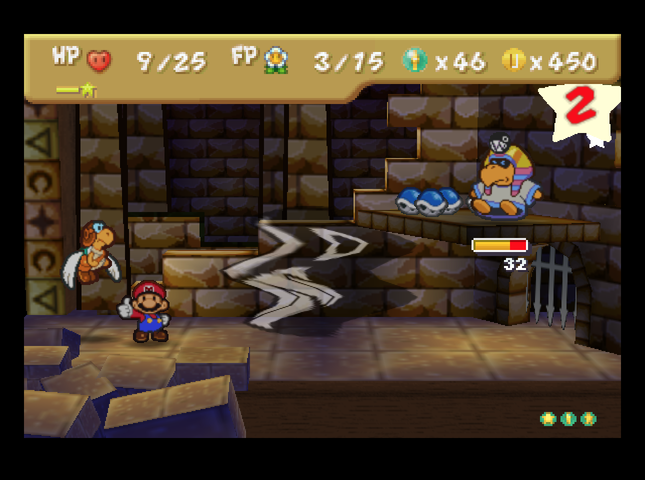 Tutankoopa�s song backfires this time, giving me a chance. 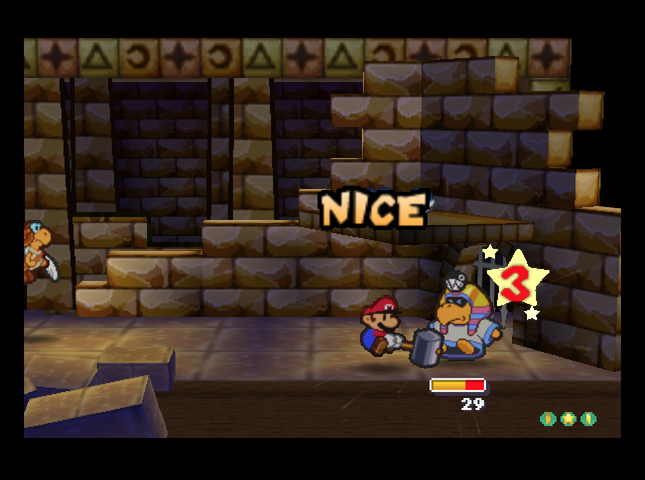 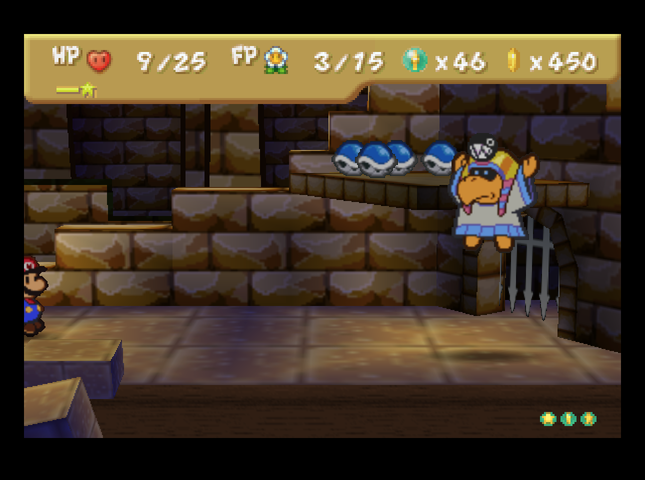  We hit him some, then he levitates up and tosses another shell. 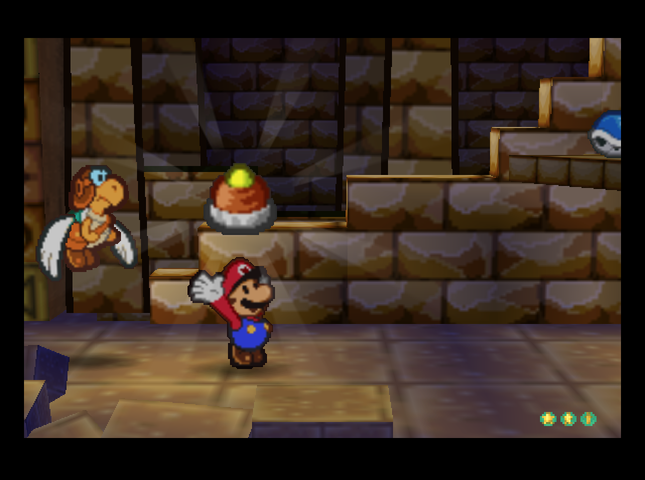 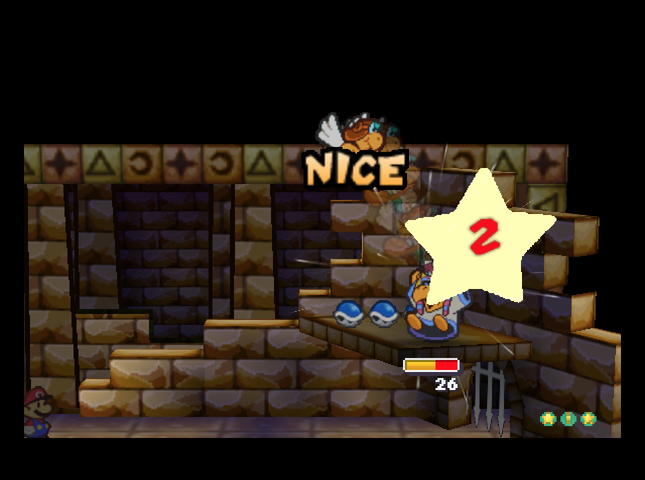 We�re running low on FP, so Mario eats a Nutty Cake. Parakarry keeps the damage coming. 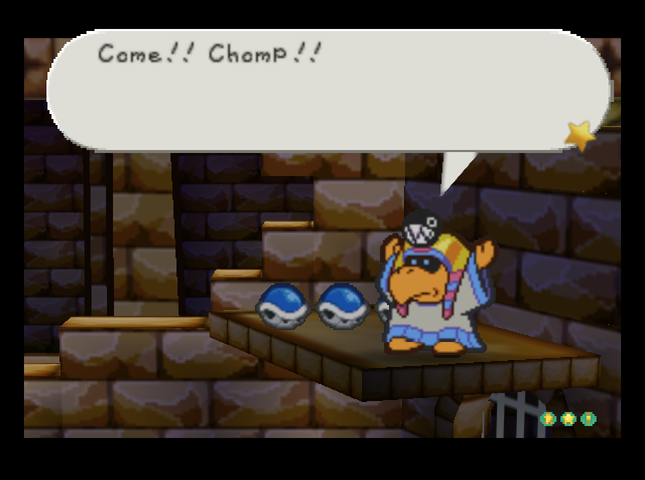  Tutankoopa responds by summoning another Chomp. He seems to have an infinite supply of them.  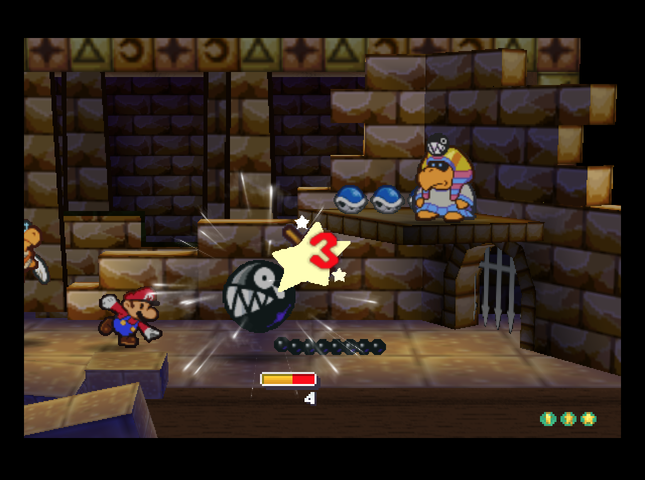 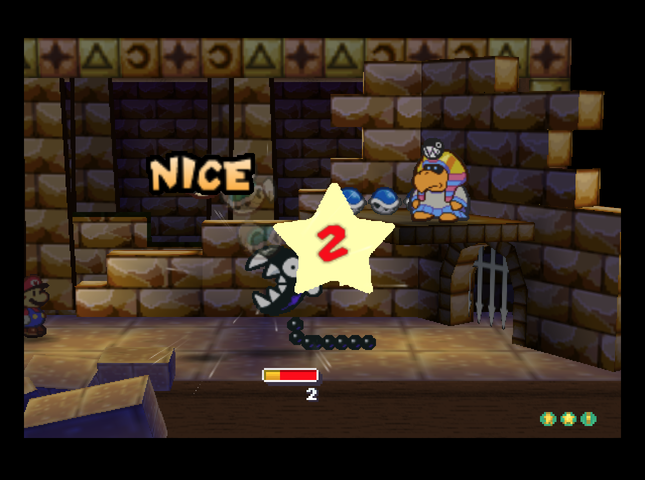 Remember how I said a while back that Dusty Hammers got buffed? Now we get to see them in action. Dusty Hammers now do 3 damage, and they pierce enemy defenses!! Mario tosses one, while Parakarry uses Shell Shot to get the Chomp down to 2 HP. 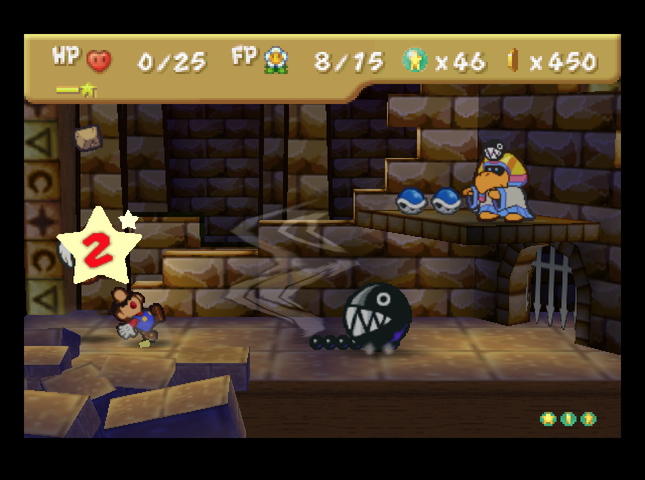 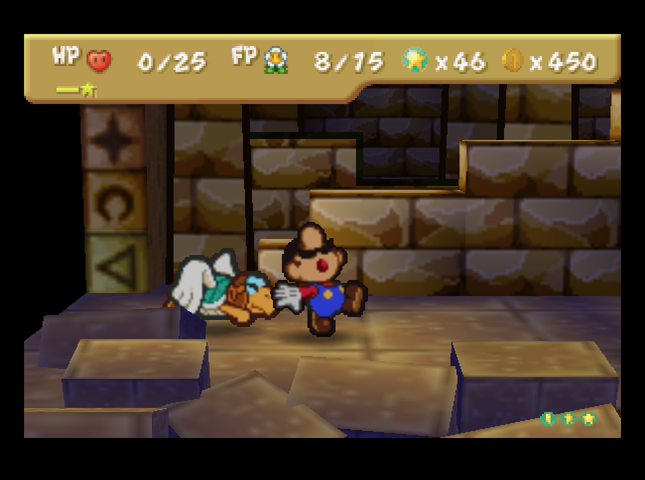 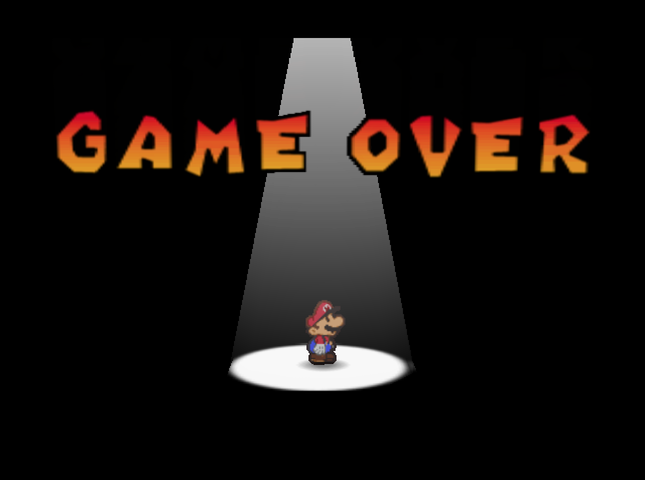 Everything falls apart when I miss the action command on the Chomp�s charge and Tutankoopa�s magic spell (which normally does 2 damage), which exactly KOs me. Postmortem commentary: Honestly, that went pretty well for a first attempt. Shrinking the Chomp is a good strategy, though we have to deal with a barrage of songs if we also hit Tutankoopa. Also, with the Chomp shrunk we can�t get at Tutankoopa to KO him if he falls down. According to the enemy stat walkthrough I�ve been consulting for the base game, Tutankoopa summons a new Chomp on the 3rd turn after you beat the current one, and it looks like he has a 1 in 3 chance to flub his magic spell after the first two casts (which will always be normal and a backfire, respectively). Given the circumstances, I think the strategy is: Use Thunder Rage / Thunder Bolts to keep the Chomp occupied, while Parakarry and Mario do their level best to flatten Tutankoopa. I�ll have to get better at dodging the magic spell, but� oh well! There was also a little issue with us running low on FP. Maybe we could do something about that�  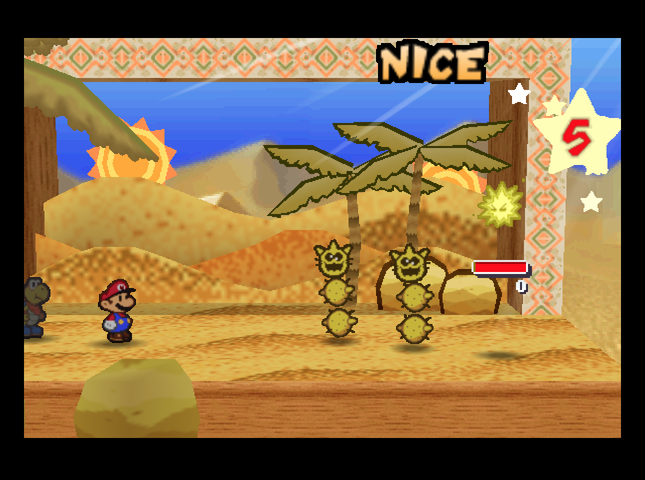   We head back to Dry Dry Outpost to prepare, which gives us the opportunity to fight a few enemies along the way. With the Super Hammer, we�re able to smash the Stone Blocks in the desert, shortening our route by quite a lot. 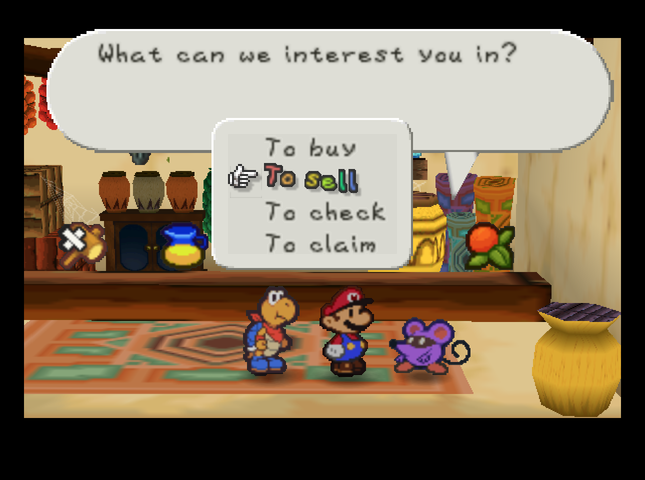 We sell the Tasty Tonic we picked up earlier, store the Fright Jar, and retrieve the Cake we baked a while back at Tayce T�s place. We�ll need all the FP restoration we can get! We also buy more Dried Fruit and some Thunder Bolts. 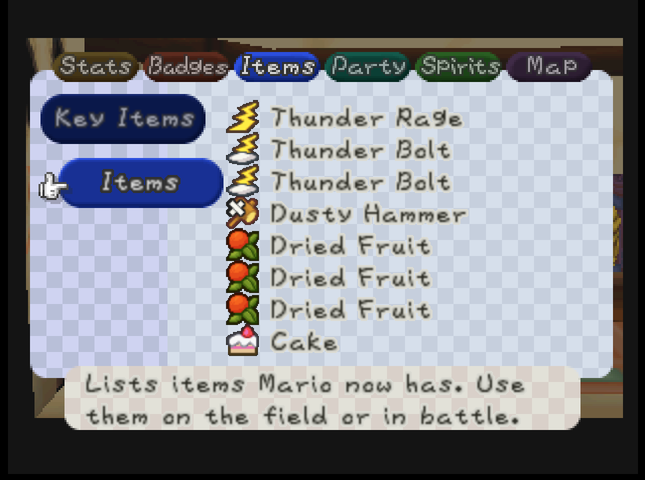 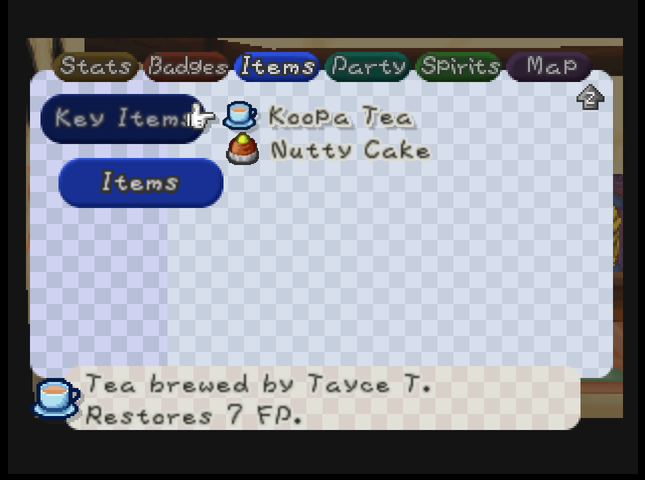 When we�re done, our inventory looks like this. 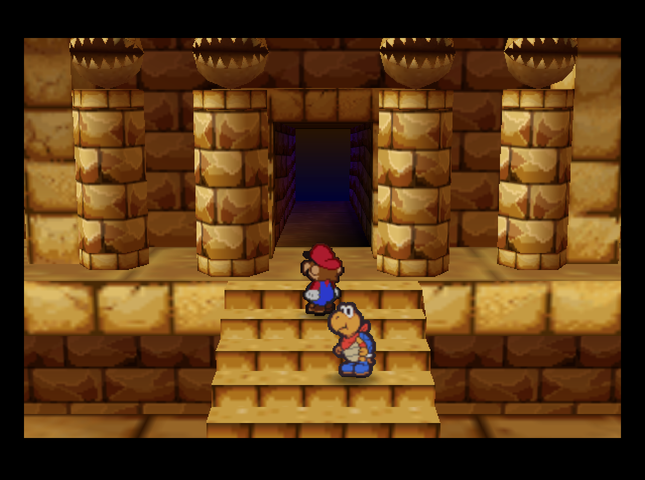 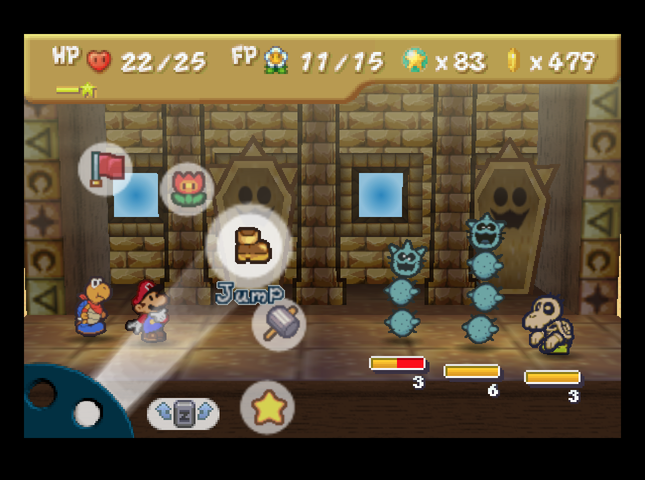 We return to the Ruins, and begin fighting every monster we see. (The monsters in the desert mostly give no Star Points now.) 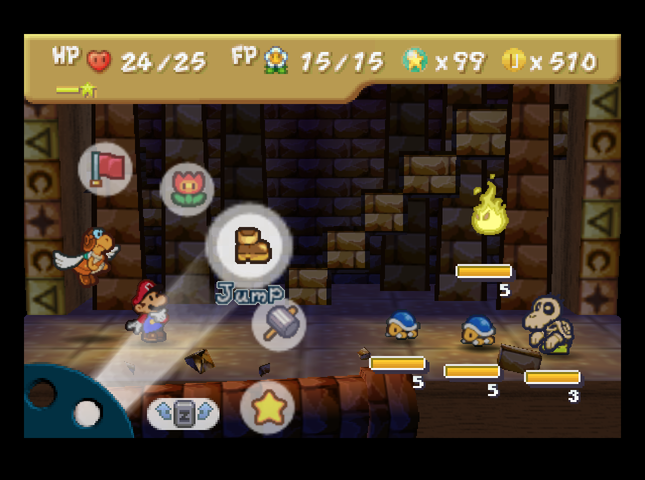 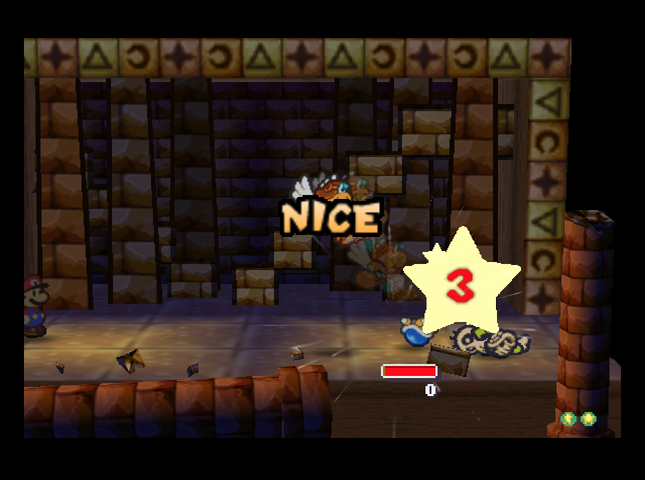 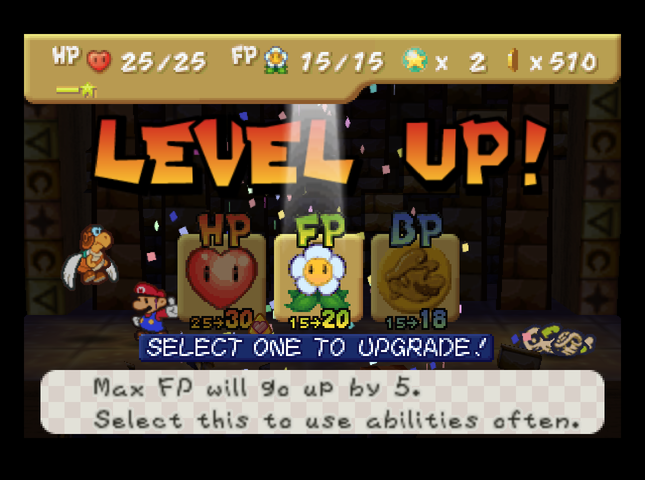 It isn�t long before we level up! This time, we�re picking FP to sustain our clever anti-Tutankoopa strategy. 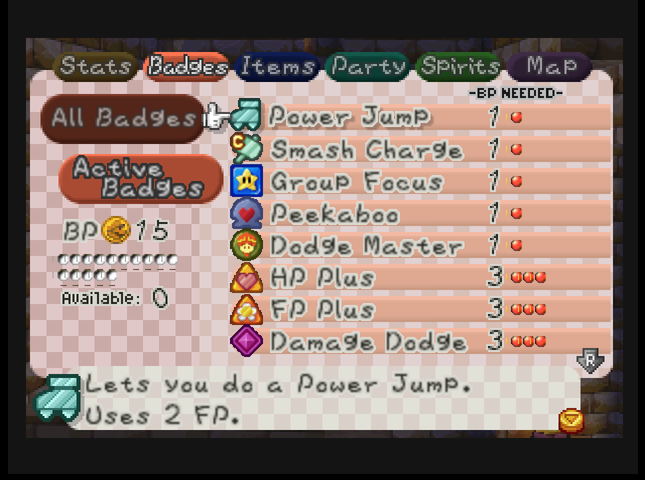 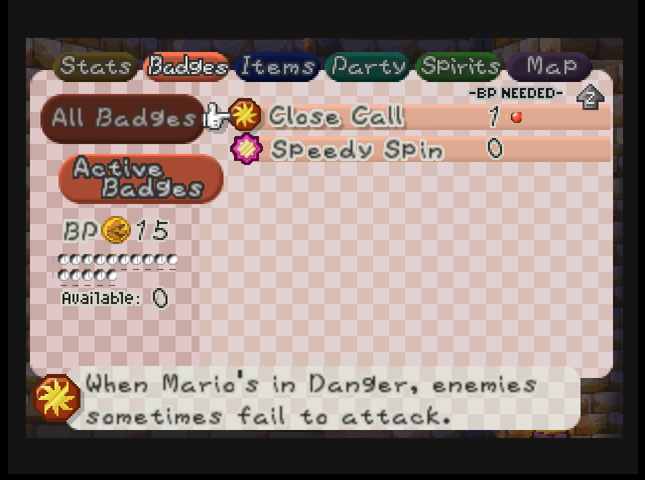 With our new level under our belt, we set up our badges. Hammer Throw and Spin Smash will be mostly useless in this fight, so off they go. I also remove Quake Hammer, as our strategy is not going to be to kill the Chomp. The freed-up BP lets me equip Peekaboo (so I don�t need to spend turns Tattling) and FP Plus, bringing my HP and FP up to 25 each. Let�s do this.  We didn�t run before, Tutankoopa, and we�re certainly not going to do it this time! 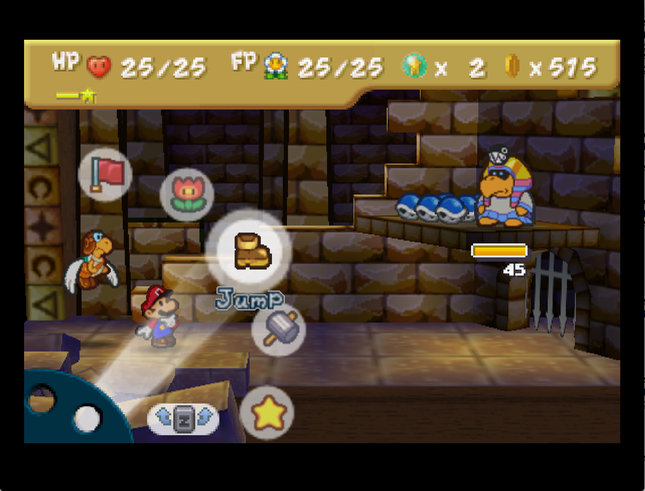 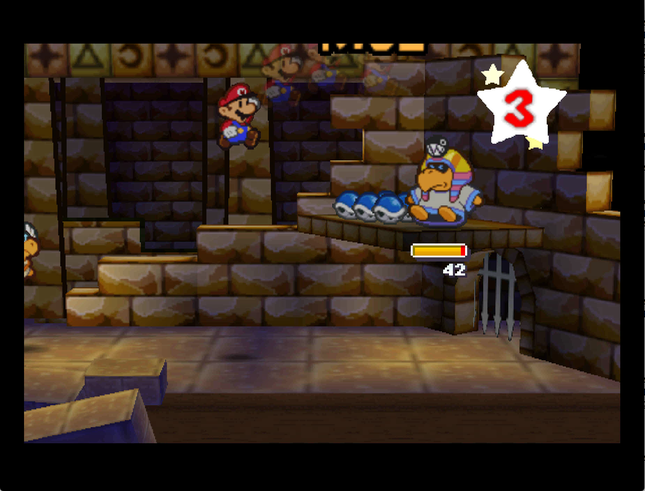  This is the basic strategy in action: hit Tutankoopa with as much force as possible. For Mario, that�s Power Jump; for Parakarry, it�s Shell Shot, though Sky Dive will still deal damage in a pinch. (Since we upgraded Parakarry, Sky Dive does 3 by default, so Tutankoopa will take 2 from the attack with his Defense softening the blow.) 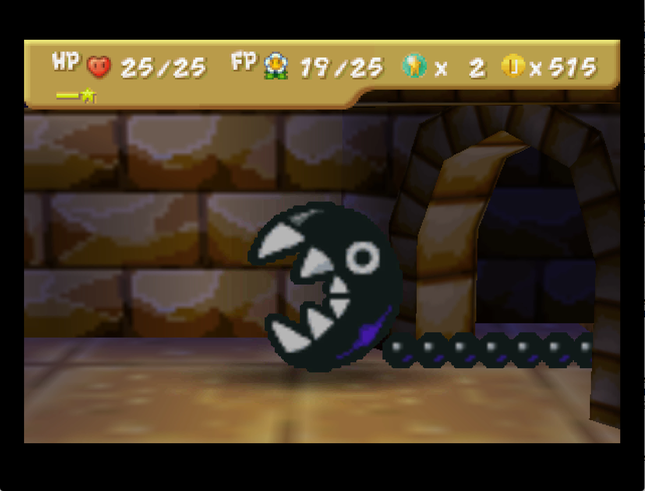 Tutankoopa summons his pet Chomp. We�ll start by Shrinking it with Thunder Bolts and save the Thunder Rage for later. (We�d prefer Tutankoopa to throw shells over singing - shells aren�t really a threat compared to the risk of stun.) 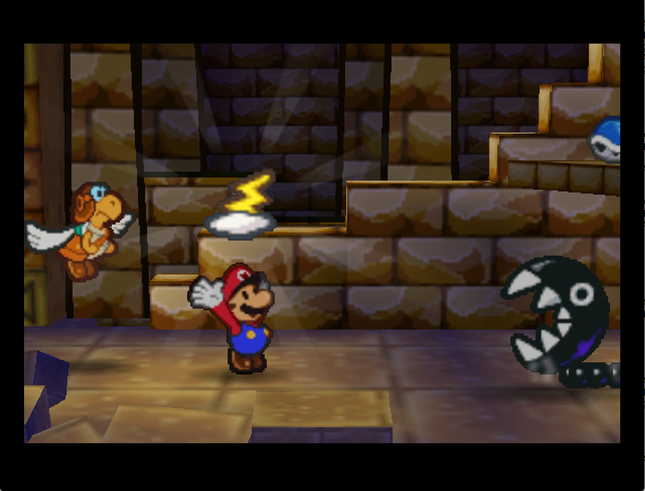  There�s just one little problem: it turns out that Thunder Bolts can fail to Shrink. The chance is low, but it�s there!! 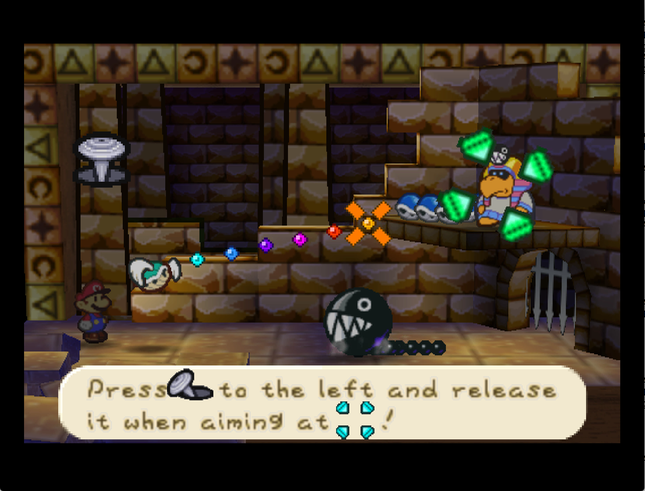 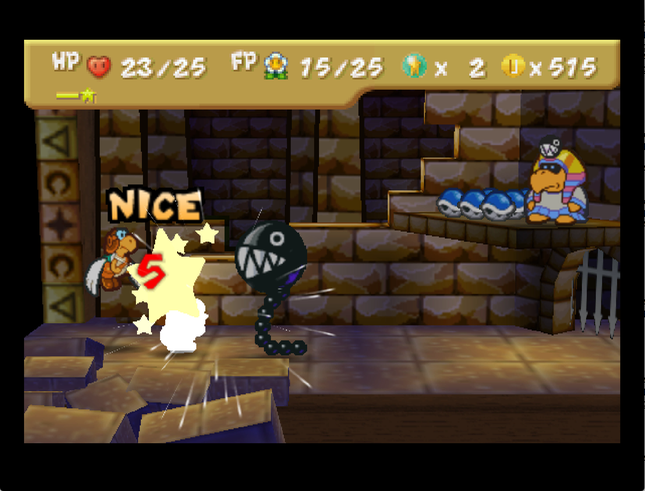 We take our lumps from the Chomp, while Parakarry keeps taking aim at Tutankoopa. (Tutankoopa throws a shell at us, by the way.)  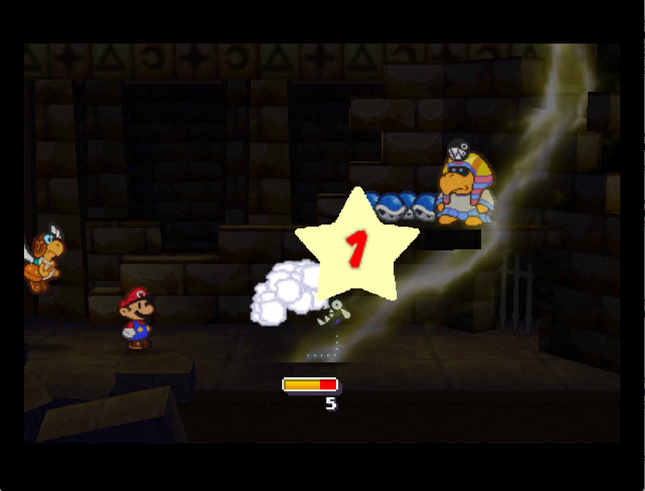 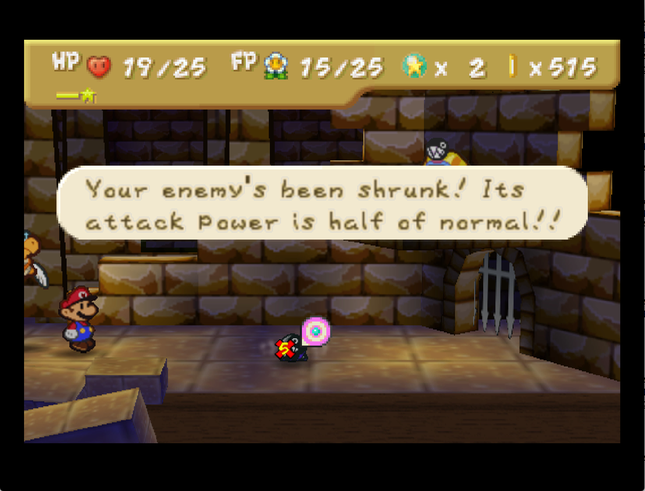 Next turn, we try again, and this time, it works! At 5 turns, we have plenty of time to safely ignore the Chomp now. 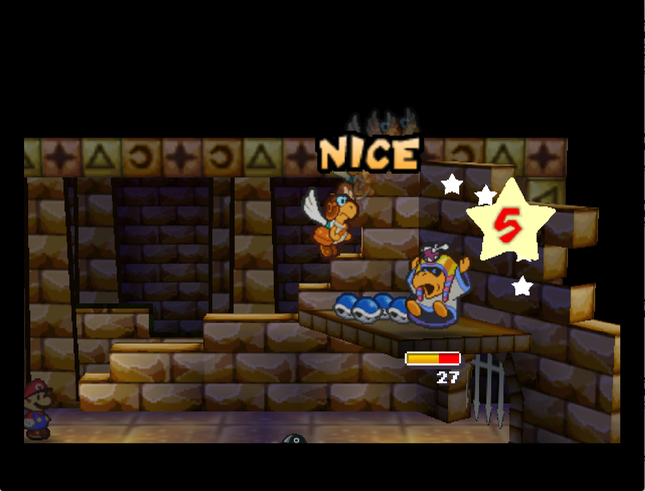 Parakarry keeps up the pressure, in the meantime. Tutankoopa�s now down to 2/3 of his total HP. 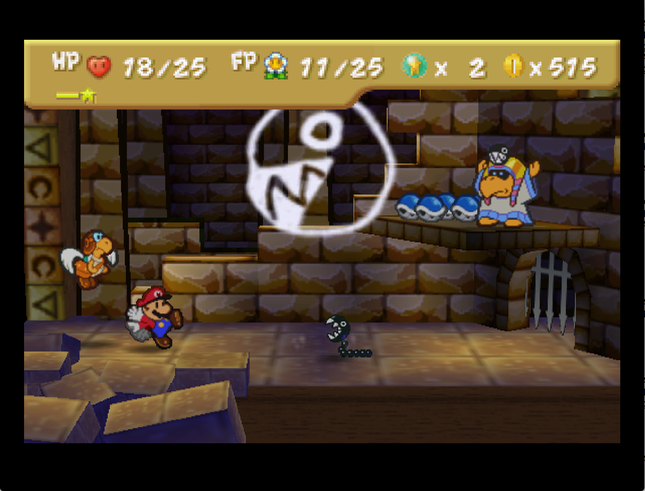 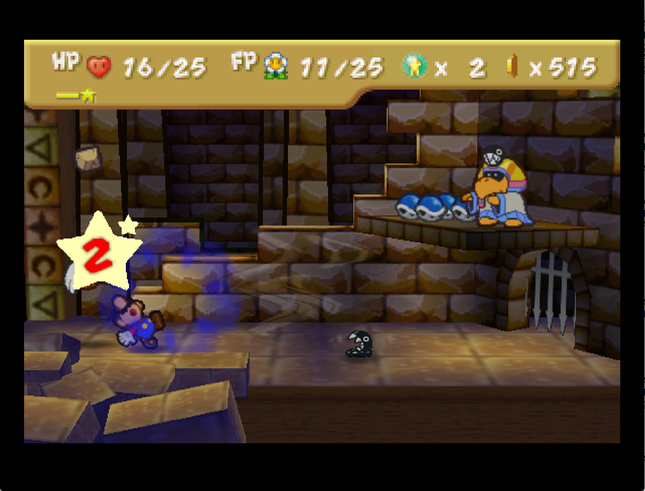 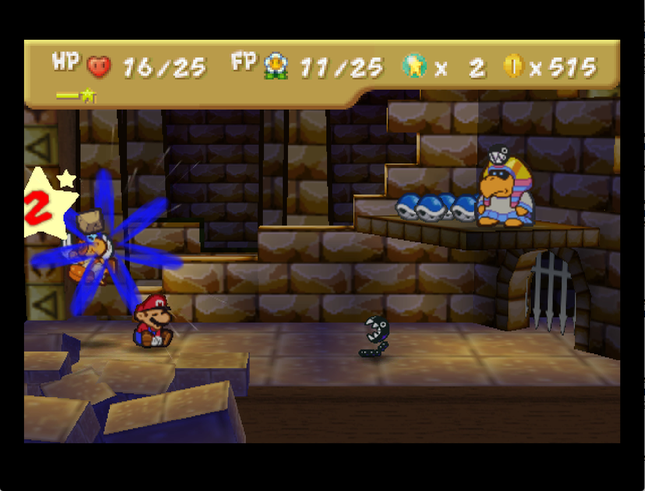 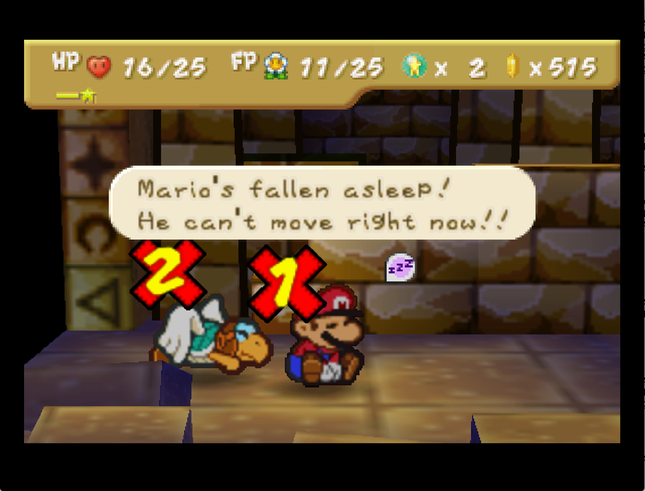 Tutankoopa retaliates with his musical attack. I flub the dodge timing for both Mario and Parakarry, so we�re both stunned.   However, this translates into an opportunity for Tutankoopa and Chomp to each hit us for� 1 damage. (Our battle is on a somewhat subtle time limit, because of the way Tutankoopa�s attacks work. Tutankoopa can only have one Chomp out at a time, so if there�s one already out, he�ll alternate between singing and throwing shells. If he�s out of shells, he�ll just sing every turn. Now, the song (assuming it doesn�t backfire, and our heroes don�t block it) will leave Mario asleep for 1 turn, and stun Parakarry for 2 turns. In Mario�s case, he�ll always wake up by the next casting, and so have an opportunity to dodge the falling rock. However, the same is not true for Parakarry. If Tutankoopa drops a rock on Parakarry while he�s stunned, the stun will be extended for 2 more turns, with no chance to dodge. If Tutankoopa sings every turn, this can lead to Parakarry being stunned indefinitely, unless we get lucky and the spell backfires on a regular enough basis. Shrinking Tutankoopa is kind of a mixed bag in this regard. He�ll always sing each turn (again, assuming he doesn�t need to resummon his Chomp), but the music attack will only stun Parakarry for 1 turn if he doesn�t block. This will be enough time for it to wear off and allow Parakarry a chance to dodge again before the next cast, assuming Parakarry was OK at the beginning of the sequence of events. The problem arises once Tutankoopa�s out of shells, and we�re out of Thunder items. Then, Tutankoopa will sing every turn, Parakarry will start racking up the stun, the Chomp will return to normal and start biting us for heavy damage, and things will generally go miserably.)   Mario Power Jumps next turn, as Parakarry is still recovering. Tutankoopa tries to use his magic again, but it backfires, dropping a rock on his head instead!  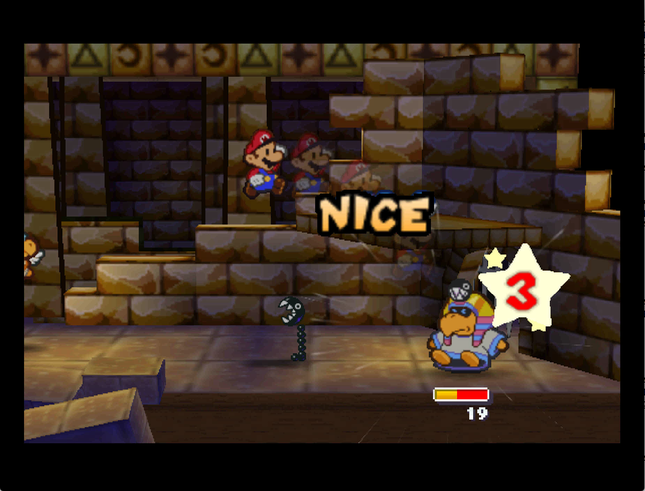 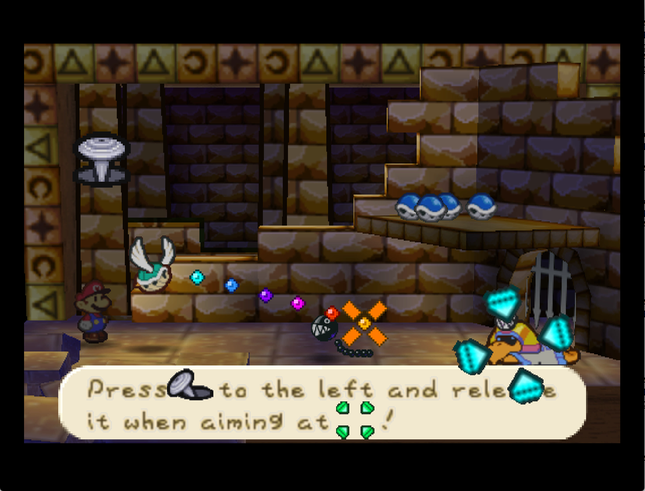 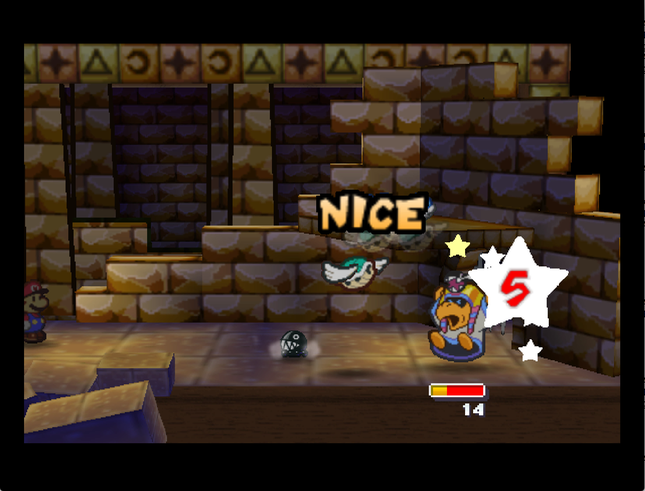 We take the opportunity to clobber him. (I honestly thought I�d miss this Shell Shot - I have actually had one fail before, in a regular battle, because Parakarry bounced off the floor.) Tutankoopa now has only 1/3 of his HP left! 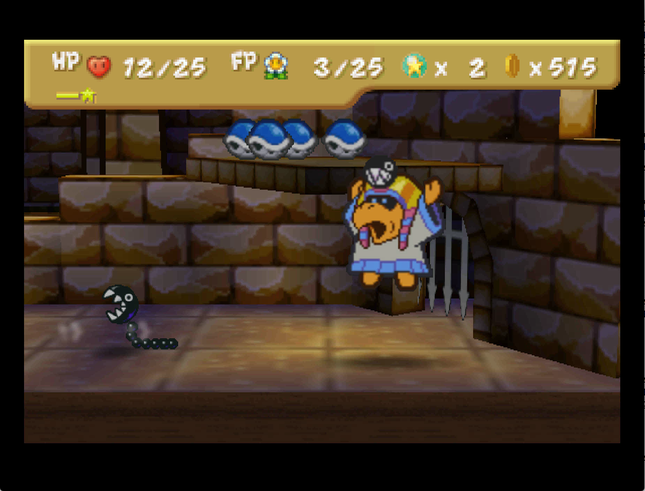 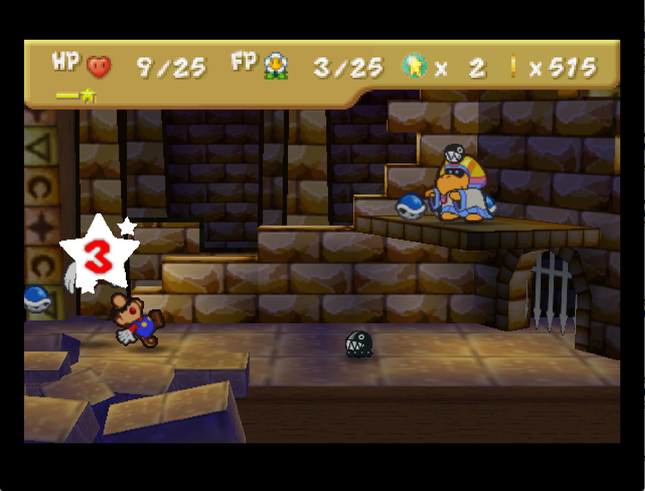 Tutankoopa responds by re-ascending to his perch, then throwing another shell (which I don�t quite make the dodge on, unfortunately.) 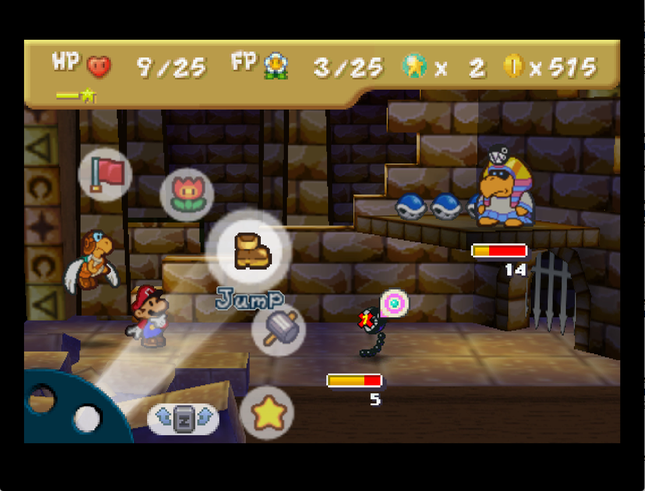 So this is where things get complicated. We�re low on FP, so Parakarry can�t Shell Shot more until it�s refilled. The Chomp�s Shrink is about to wear off, Tutankoopa is due to sing, and we�re at low enough HP that if Mario get�s stunlocked, the Chomp could KO us. 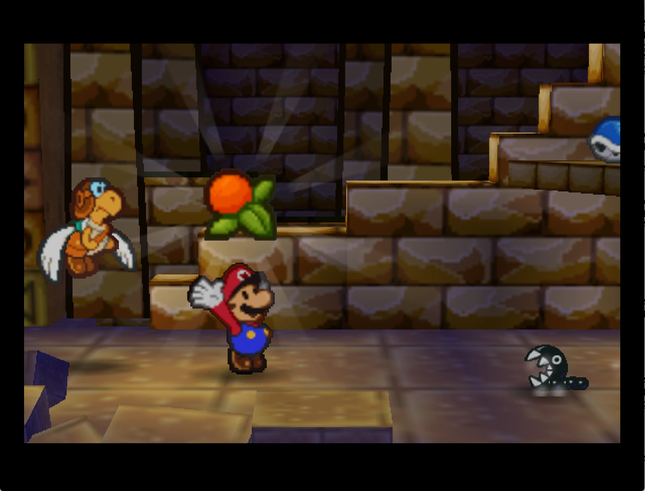 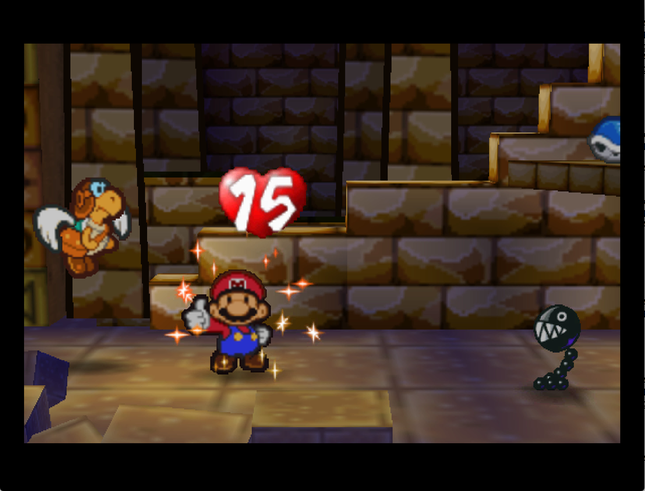  So, we recover our HP with some nice Dried Fruit. Survival�s our first priority. Parakarry falls back to Sky Dive to keep doing damage.    The scenario I foresaw comes to pass, and I fail to block Tutankoopa�s falling rocks once again. The Chomp takes some big bites out of us (and Tutankoopa throws another shell) before Mario has the opportunity to move again.    We only have one Thunder item left, but this one�s the big one. The Thunder Rage shrinks the Chomp and Tutankoopa, giving us some breathing room (even if we do have to contend with twice as much singing as usual). Parakarry spends the turn recovering.   We�re finally able to block Tutankoopa�s music attack - for Mario, at least. Parakarry still gets hit, though the Shrink shortens the stun to the next turn only. 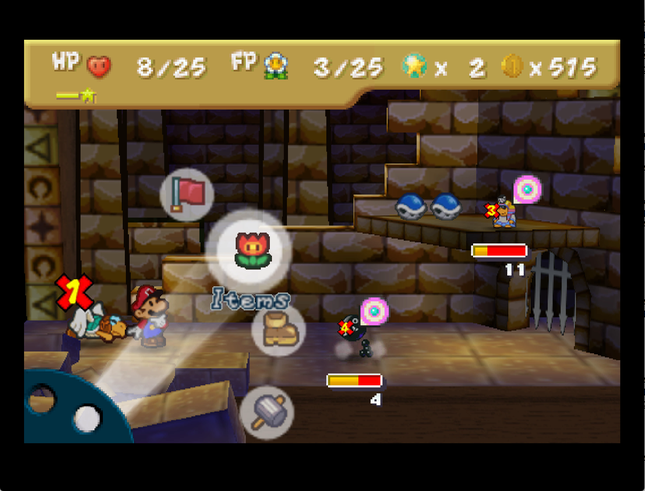 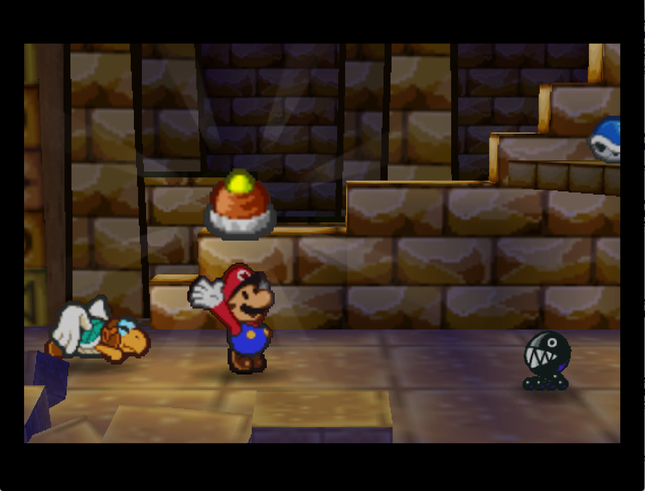 Now that we�re out of immediate danger, it�s time to recharge our FP, so that we can damage Tutankoopa in our final push. Today, the snack du jour is Nutty Cake, restoring 1 HP and 9 FP. 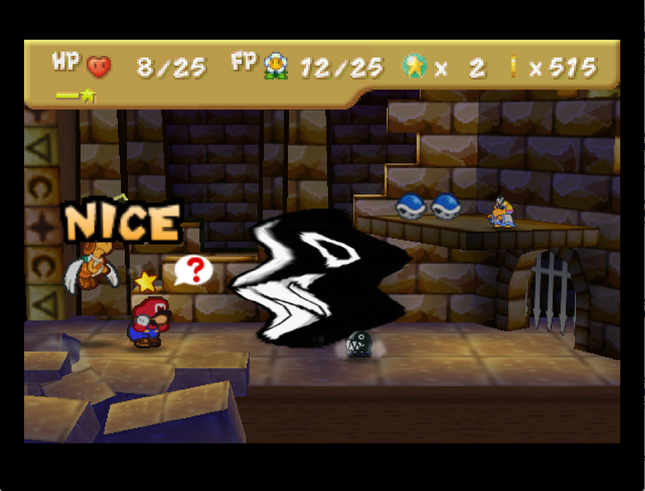  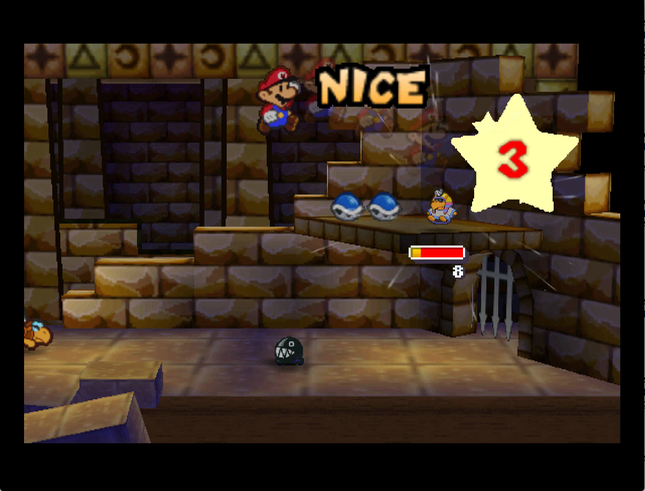 We make the block with Mario again, though Parakarry remains stunned. Mario Power Jumps on Tutankoopa. We�re getting close!   The Chomp�s bite puts us at 5 HP. Close Call kicks in, letting Mario dodge Tutankoopa�s rock (though I�m pretty sure I also made the action command) - and more importantly, I�m also able to block the rock with Parakarry, giving us the opportunity we need.   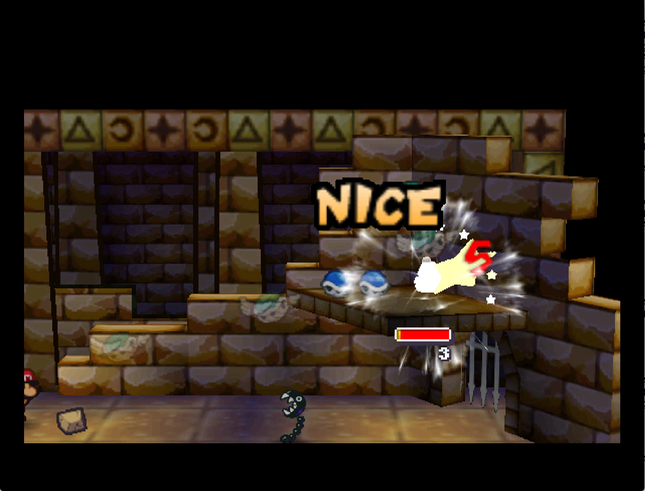 Parakarry Shell Shots, bringing Tutankoopa down to 3 HP� 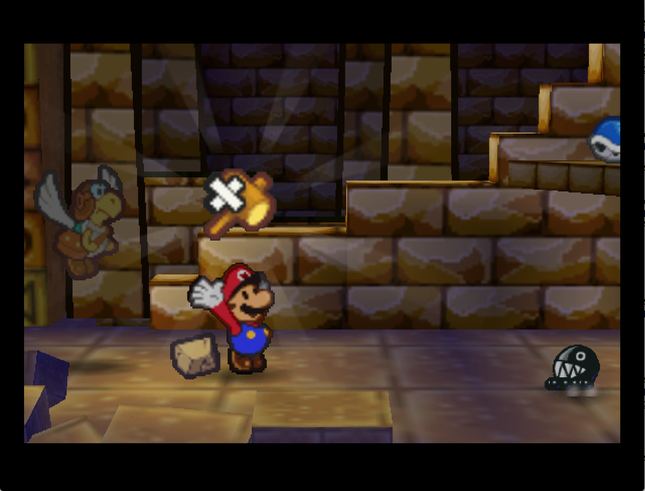  And Mario finishes things off with the Dusty Hammer we kept in our inventory just in case. 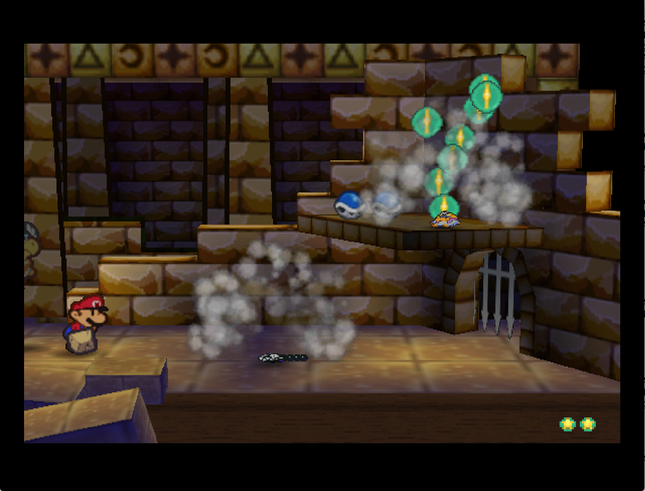 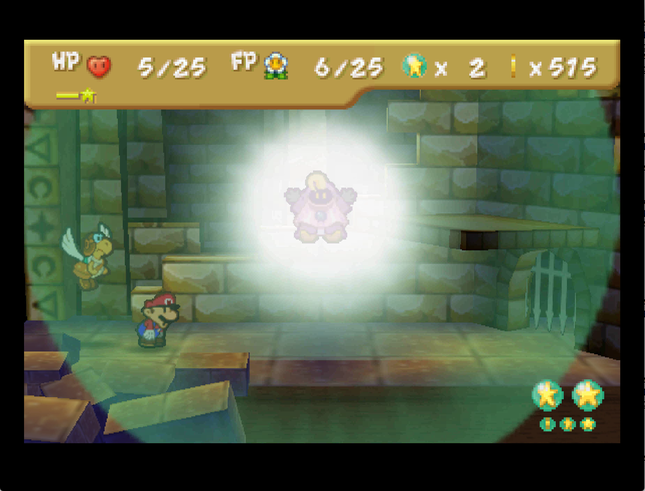  As we finish off Tutankoopa, something interesting happens: Donlee�s contract kicks in, doubling our Star Points! This explains why we didn�t get any help during the fight - she was waiting for us to clean up so she could score us double the loot!  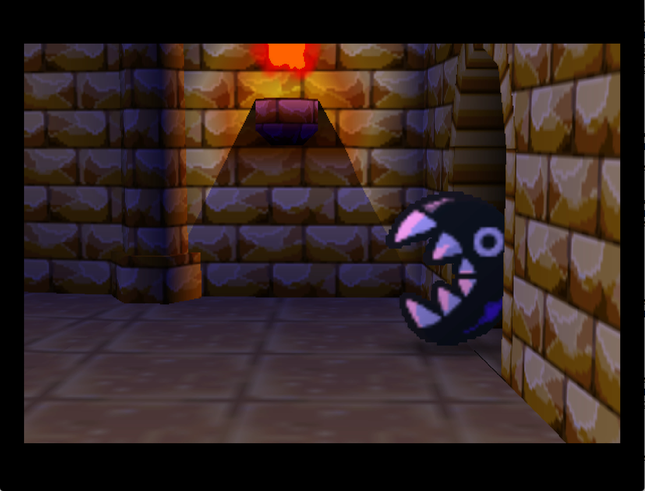 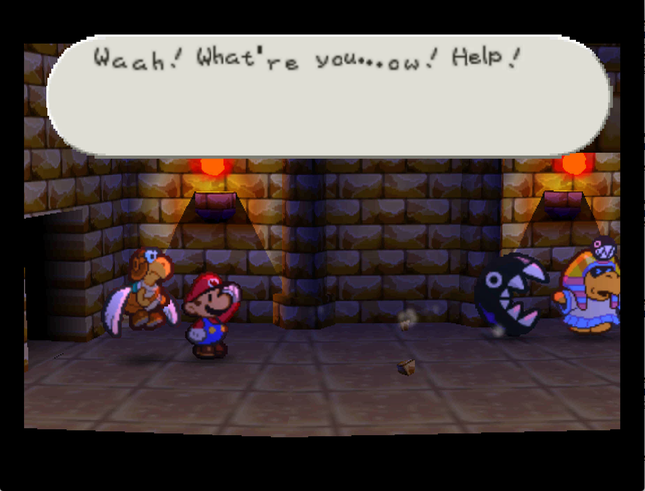 With the battle over, Tutankoopa gets chased off by his own pet Chomp. Good riddance! 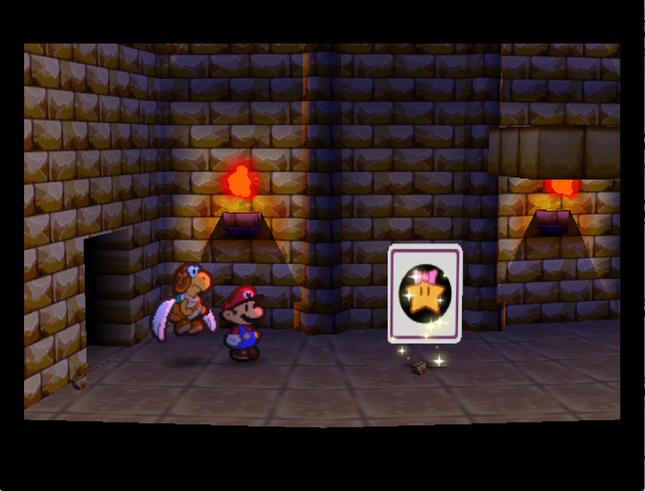   And we free the Star Spirit of Dry Dry Ruins!  Thus Mario and party unearthed the legendary Dry Dry Ruins deep within Dry Dry Desert. They smashed Tutankoopa the Pharaoh and freed Mamar, the second of the wish-granting Star Spirits. But the enemies awaiting Mario grow ever stronger... and the challenges more difficult. What's in store for Mario and friends... Where will their adventure take them next? Thus Mario and party unearthed the legendary Dry Dry Ruins deep within Dry Dry Desert. They smashed Tutankoopa the Pharaoh and freed Mamar, the second of the wish-granting Star Spirits. But the enemies awaiting Mario grow ever stronger... and the challenges more difficult. What's in store for Mario and friends... Where will their adventure take them next?Badges: 23/89 Recipes: 8/50 Star Pieces: 31/180 Chuck Quizmo�s Quiz Questions: 12/64? Game Overs (this time): One from Tutankoopa. It wasn�t a bad first attempt, honestly. Game Overs (total): 3. SUMMARY OF CHANGES FROM MAIN GAME (in this installment) � Stone Chomps take spa trip, calcify. (+2 HP, +3 Attack, +2 Defense, new fake-out attack.) � Parakarry finds carrying enemies more tiring. (Air Lift costs +2 FP to use.) � Tutankoopa ascends to slightly-more-obnoxious-impostorhood. Still nowhere near to being an actual god as of yet. (+15 HP, +1 Defense, magic attack now puts Mario to sleep. Tutankoopa also has 3 more shells to throw, though this is a nerf rather than a buff.) � Chomp hired as chaperone on Stone Chomp spa day; it gets some of the benefits, too. (+3 HP, +4 Attack, +1 Defense, same fake-out attack the Stone Chomps have.) Next Time On Master Quest: Bird isn't the word. P.S. Did you know Tutankoopa has a sprite without his fancy hat? 
Quackles fucked around with this message at 08:06 on Sep 3, 2019 |
|
#
?
Sep 3, 2019 07:56
|
|


|
Oh wow, that tutankoopa fight is mean as all hell.
|
|
#
?
Sep 3, 2019 09:45
|
|

|
God these fights all seem obnoxiously involved.
|
|
#
?
Sep 3, 2019 11:24
|
|
|
Yeah, that fight looked like it pretty much required using shrink items to deal with the insane damage numbers that were being tossed out. And buffing the Bosses's spell attack to also cause you to sleep on missing the block timing, ouch. That and the obscenely buffed up Chomps sure is a way to turn a modestly threatening boss into a potential terror alright. I dread what the next boss will be like based on how this fight went down. Do appreciate the improved item shop in town at least, minus the kinda pointless cost increases. Dusty hammers actually being pretty useful and not a more or less worthless joke item is really nice.
|
|
#
?
Sep 3, 2019 12:06
|
|
|
I was half expecting there to be a trick involving the Chomps attacking the boss instead of Mario give the right trick.
|
|
#
?
Sep 3, 2019 12:15
|
|
|
Honestly, I think encouraging the player to use status effects, especially on bosses, is good and it's something many RPGs seem scared to do, so I'll praise that particular choice. It's still a bit too limiting in how it's used here, but I think Tutankoopa isn't terribly designed unlike the rest of this dungeon.
|
|
#
?
Sep 3, 2019 13:26
|
|

|
I wonder if there's another way to beat that boss besides shrink items or winning the damage race outright. I like having a clever solution to the boss like that shrinking strategy, but not if it's the only way.
|
|
#
?
Sep 3, 2019 14:42
|
|

|
I like that status effects are viable, to be honest. It could probably do with some signposting otherwise you're just hurling everything at the boss until you find what sticks, but aside from that...
|
|
#
?
Sep 3, 2019 15:28
|
|
|
I rather liked that boss fight, mostly because it was pretty tense throughout.
|
|
#
?
Sep 3, 2019 15:47
|
|
|
I think the thing I hate the most here is having to go all the way back to town to get shrink items. There was no way to know ahead of time you'd want them, or if they'd even work on a boss (unless you'd thrown one at one of the previous bosses, maybe? are all bosses even shrinkable?), and you're probably loaded down with healing items to survive the attrition of a dungeon anyway. That's not gameplay, that's tedium.
|
|
#
?
Sep 3, 2019 15:48
|
|
|
I wish I'd thought to use the shrinking strategy, that seems easier than how I went about it. This definitely took me more than two tries, so kudos for that. I don't have a lot of notes from this fight, I started keeping better track shortly after this point. Of note is the fact that that Thunder Rage is a limited resource right now - that one is the only one you can get, though they'll become more accessible partway into the next chapter. That's probably why I didn't consider using it, though I think if I'd kept dying I'd have decided to try it eventually. I didn't think of using Dusty Hammers either. I'd also upgraded Goombario rather than Parakarry, which I tend to do out of habit because I feel guilty not Tattling everything, and that also made things different (I was actually a bit concerned that choosing badly who to upgrade might lead to an unwinnable state). Goombario isn't capable of damaging the Chomp, but with Charge he can output more damage for less FP against Tutankoopa. I used Hammer Throw (it does 1 more damage than Power Jump) and Quake Hammer as my main methods of attack, and put Zap Tap on to whittle the Chomp down as it hit me (between that and Quake it generally saved me a turn of damage, it wasn't great but it was better than nothing). Then it was just a matter of staying on top of healing (making sure I brought plenty of Dried Fruit; I had to retreat to stock up on these) and working on timing. I don't actually remember whether I had Zap Tap on during my successful fight or not. This fight wasn't awful, and I found it much less unpleasant than the normal encounters in the Ruins, even if I had more deaths. Struggling against a tricky boss feels better to me than getting unluckily bodied by random encounters over and over. Edit: Forgot to add. My biggest complaint is actually that the shrink items aren't guaranteed (I don't know if that's an implementation issue or a design choice; items that could inflict status always had chances to fail in the original game too), because if they want that to be a strategy you rely on in certain fights, they should let it be reliable rather than it being possible for random chance to screw you over even if you're playing correctly. I do actually quite like the idea of making status effects like Shrink matter, because there wasn't much reason to use them before and they do add strategy. Explopyro fucked around with this message at 15:57 on Sep 3, 2019 |
|
#
?
Sep 3, 2019 15:52
|
|

|
I believe status moves and items from the player's end has a base 100% chance of working. However, shrinking only has a 60% chance of working on Tutankoopa in the base game. No idea if the hack also changed other things around though.
|
|
#
?
Sep 3, 2019 16:21
|
|

|
I wouldn't have even thought to try shrinking the boss so I just attempted to win the damage race after my first failed attempt. I upgraded Bombette because I thought Power Bomb would be useful going forward (it now has an FP cost of 8 so not as useful as I'd hoped) but it didn't turn out to be great against him, meaning I had no substantial way to deal damage to Tutankoopa with anyone but Parakarry. I put Zap Tap on because it would passively deal damage to the chomp, since I knew I'd be taking lots of damage from it over time, and basically turned Mario into a heal bot to keep his HP and Parakarry's FP up high enough that he could just use a million shell shots. Wasn't a very fun fight but it worked in the end.  I wish I'd upgraded Goombario because at least he'd be able to inflict 1+1 through Tutankoopa's defense without charging, but with Charge he'd be doing 3+3, 5+5, or 7+7 depending on how many turns you let it go up. Not only that but it would cost less FP while doing more damage overall. Unfortunately I had no way to know Goombario would be the ultimate choice here, so I had to work with my decisions.
|
|
#
?
Sep 3, 2019 16:39
|
|
|
I'm not sure how much of the credit for this goes to the hack and how much to Quackles, but that boss seemed to hit the target: A painful first attempt that lets you learn the lessons you need, followed by a satisfying counter strategy that worked without trivializing the encounter. Hearing that other people used other methods is also very promising. As long as boss difficulty doesn't continue scaling up relative to player power, the boss fights at least might be tuned just about right.
|
|
#
?
Sep 3, 2019 18:26
|
|
|
I'll say this much: Considering the romhack is, after all, called "Master Quest", I'm kind of okay with the design philosophy. Each battle becomes a challenging puzzle to overcome, and bosses in particular may require you to prepare specific strategies with your inventory and badges. Are you a Master at Paper Mario? Time to prove it.
|
|
#
?
Sep 3, 2019 18:28
|
|

|
It's definitely like a thousand percent more palatable for bosses to be this way, because that's kinda what bosses are in an RPG. And a "hard mode" hack being more puzzling and more punishing on that front is totally within the line of expectation.
|
|
#
?
Sep 3, 2019 18:41
|
|
|
That boss is miserable; it seems doable only if the player knows the underlying non-transparent pattern (our host has a walkthrough on hand), and there's a huge luck component in spell outcomes from the boss (something outside the player's control). It only seems responsive to player input if it was designed with, as previously discussed, the belief the player is going to perfectly perform all the defense action commands (especially with that stunlock scenario). Why not change the boss's pattern instead of just buffing the hell out of its stats? There were a lot of other options to play with here.
Discendo Vox fucked around with this message at 20:21 on Sep 3, 2019 |
|
|
#
?
Sep 3, 2019 20:19
|
|

|
I liked the look of that one. Yes it was difficult and tense, but Quackles flubbed a bunch of action commands and still pulled it off. Also he only died once before beating it, and using status effects is a legit strategy. In the base version of this game I don't think I ever used items even once, and you can sleep through almost every fight with virtually no chance of losing. I feel like people are being a bit too harsh on the romhack here. I've definitely fought bosses in games like Shin Megami Tensei that took more tries and more frustration than that looked like it does
|
|
#
?
Sep 4, 2019 18:13
|
|

|
So a thing that stuck out here is that it seems like the game is struggling to account for timed hits. What I mean is that the game seems to be setting enemy stats as though it assumes you're going to nail every action command, because if you don't you're quickly killed/overwhelmed by status effects and then killed. That leads one to question why they don't just lower the enemy stats to their "assumed" damage and defense values after taking into account action commands, and the answer is if they did then you could do actions commands and be above/below what the hack creator wants the enemy damage intake/output to be. It seems like damage and defense are both a little too high because the player is assumed to always mitigate it to the value it "Should be", which seems a little backwards to me. Basically Nintendo's assumed desire with Paper Mario (IE a casual game where twitch reactions and timing in action commands could help make up for the assumed target audience of kids' assumed weaker strategic prowess) seems to run contrary to what the designers of Master Quest want to make, and so we have the rough edges of instant death mummy pokey and the possibility of a full lockdown on Tutankoopa. Omnicrom fucked around with this message at 19:10 on Sep 4, 2019 |
|
#
?
Sep 4, 2019 19:07
|
|


|
Yeah. Some moves make sense for the action command, like Tutankoopa's stun spell or Parakarry's Shell Shot (whose power is balanced out by having a miss chance). Others, like mundane enemy attacks (especially the save-or-die variety), might benefit from just having a fixed outcome and being balanced around that. But then there's the problem of never quite knowing what moves are blockable. Maybe the neatest compromise would be leaving binary abilities like Shell Shot as they are, but drastically reducing the impact of the action command in circumstances where it just adds or removes a point or two or damage. That way, you could still have fun tricks like the Chain Chomp's feint attack - but without having to decide between either (i) showing mercy to the player who often flubs or (ii) challenging the player who always nails it.
|
|
#
?
Sep 4, 2019 19:24
|
|
|
CountryMatters posted:...but Quackles flubbed a bunch of action commands and still pulled it off. Tutankoopa's rock attack is a little hard to time - the thing is hard to see and there's random debris (as a visual effect) falling down from there that has gotten me to block that instead of the actual rock at least once. More generally, though, I capture screenshots on my emulator by pressing a key ( ` ) a few frames before whatever it is I want to capture. So if I want to make a dodge and screenshot it, I have to press Z (mapped to the A button) and then ` within pretty quickly of one another, and my block rate goes down a bit (or a lot) because of this.
|
|
#
?
Sep 4, 2019 21:18
|
|
|
That sounds painful. Why not do the whole record it as a video and screenshot afterwards thing?
|
|
#
?
Sep 4, 2019 21:24
|
|

|
FoolyCharged posted:That sounds painful. Why not do the whole record it as a video and screenshot afterwards thing? Because video recording occasionally drops frames (take a look at the GIF where Tutankoopa uses his spell for the first time, when it hits Parakarry), and also I write episodes' text while I'm playing through them - so the video would be full of snippets of me Cmd-Tabbing out and writing something. And also because "Save Frame As..." in Camtasia doesn't have a keyboard shortcut, so it's a lot more of a pain to get images from a video recording than just use OpenEmu's built-in screenshot function (which captures the actual raw emulator output). Basically I'll only record video if I feel a GIF coming on, or for boss fights where I don't want to be disturbed. Quackles fucked around with this message at 22:04 on Sep 4, 2019 |
|
#
?
Sep 4, 2019 21:53
|
|
|
Quackles posted:And also because "Save Frame As..." in Camtasia doesn't have a keyboard shortcut, In VLC it does. Shortcut that saves it as an image file in a directory and with a naming scheme that you configure ahead of time in the settings.
|
|
#
?
Sep 5, 2019 06:21
|
|

|
obs wont drop frames and i dont think you need more features than it offers
|
|
#
?
Sep 5, 2019 06:30
|
|


|
Carbon dioxide posted:In VLC it does. Shortcut that saves it as an image file in a directory and with a naming scheme that you configure ahead of time in the settings. Sadly, I don't think VLC offers the capabilities of a nonlinear video editor (for GIF generation and etc.) heeheex2 posted:obs wont drop frames and i dont think you need more features than it offers To be clear, Camtasia is not dropping frames: Camtasia faithfully recorded OpenEmu dropping frames. I'd risk the same happening with OBS.
|
|
#
?
Sep 5, 2019 07:32
|
|
|
I know I've been down on the difficulty in the game, but I'm actually OK with it when it comes to bosses. As long as it's a straight shot to the boss from a save point and heal block so you can just replay it if you get owned I'm fine with making it a puzzle. Only thing I don't like is if they can stunlock you, because that's a bit too harsh of a punishment for making one mistake.
|
|
#
?
Sep 5, 2019 09:11
|
|


|
Part 15: The Dry Dry Quiz Show Scandal (and Other Misadventures)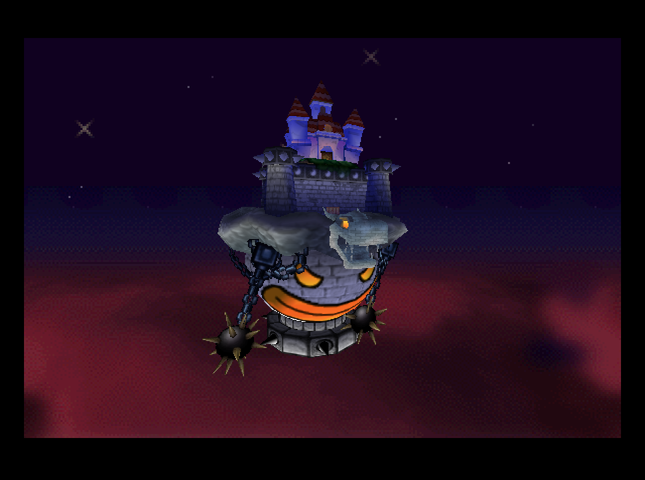 It�s interlude time again. 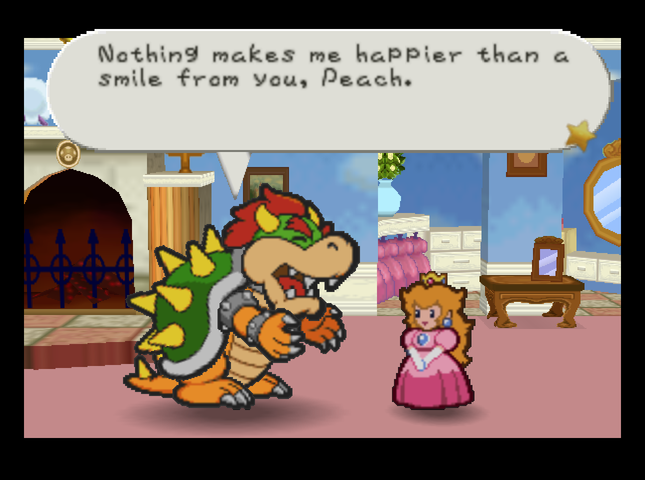 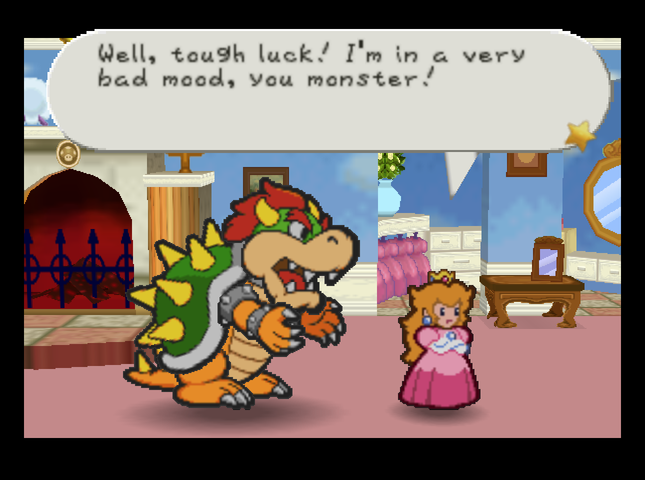 Bowser�s bothering the Princess� again.  You imprisoned all the guests from the castle! You are the single greatest disaster ever to befall the Mushroom Kingdom! You imprisoned all the guests from the castle! You are the single greatest disaster ever to befall the Mushroom Kingdom!There�s more discussion in this vein. Bowser even brags that the next boss will be the �Invincible� (?) Tubba Blubba. But then� 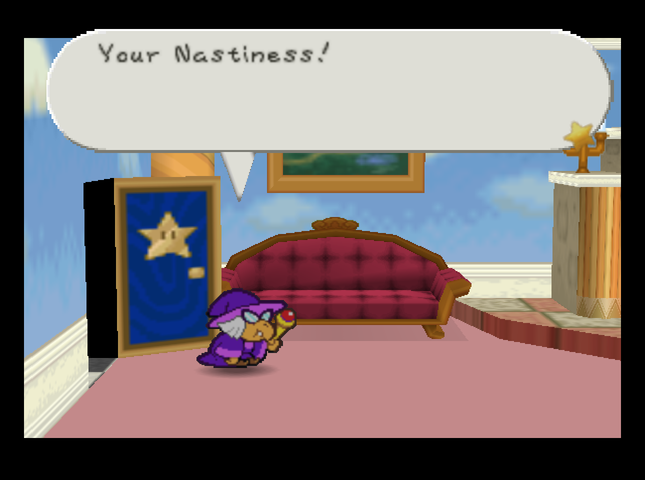  We have a problem! We have a problem! Whaaaat?! The Star Spirit flew away from Tubba Blubba�s Castle?! Whaaaat?! The Star Spirit flew away from Tubba Blubba�s Castle?!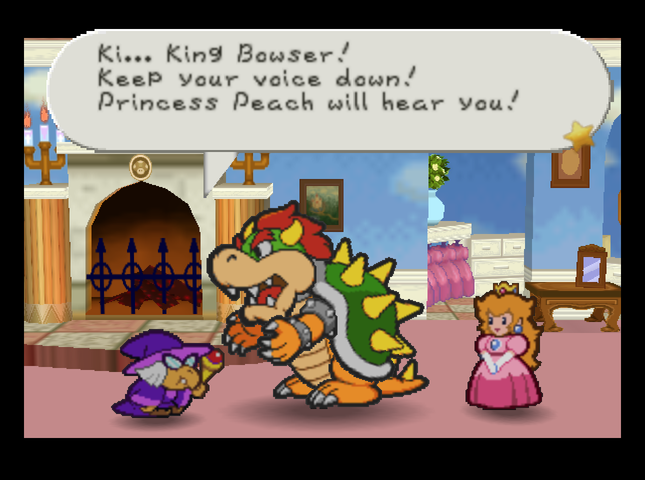 Tell me the details� over there. Tell me the details� over there. Bowser leaves to talk strategy. 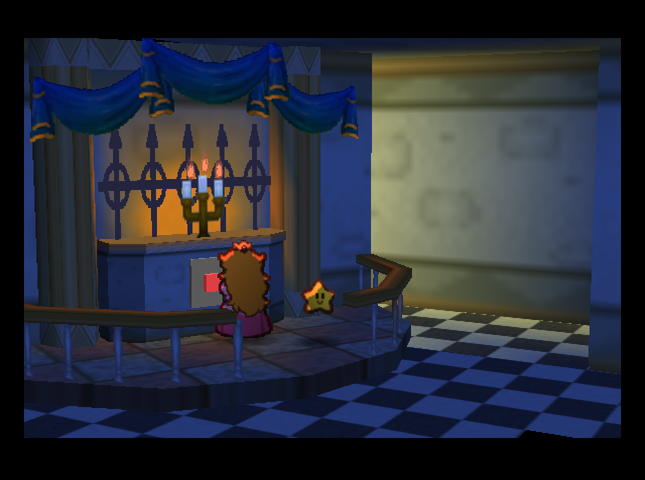 It�s time to go sneaking! 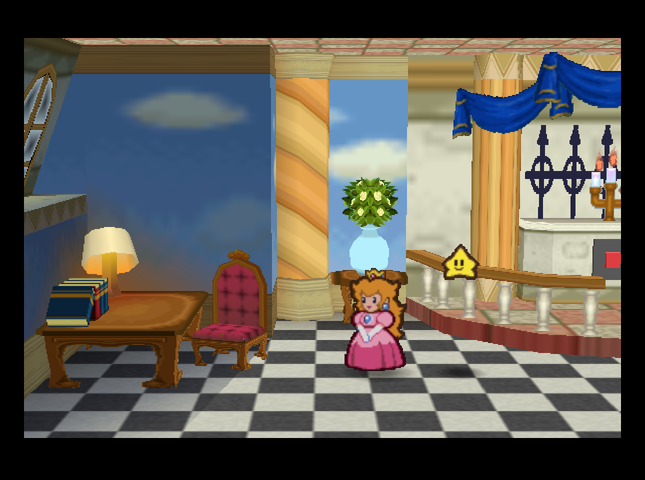 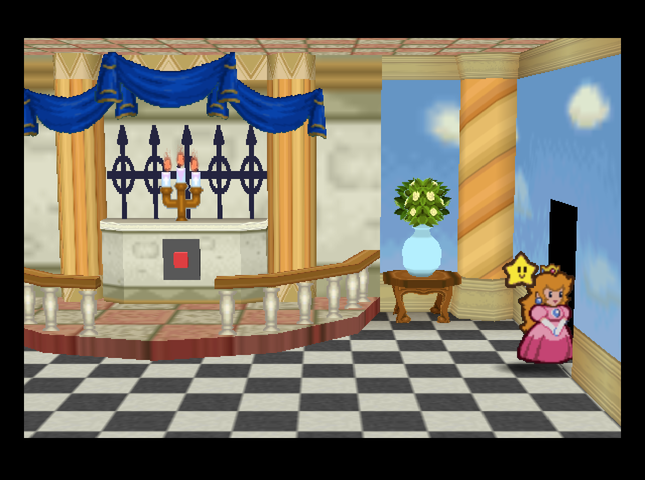 This time, Bowser�s secret diary is put away, and the door is unlocked. 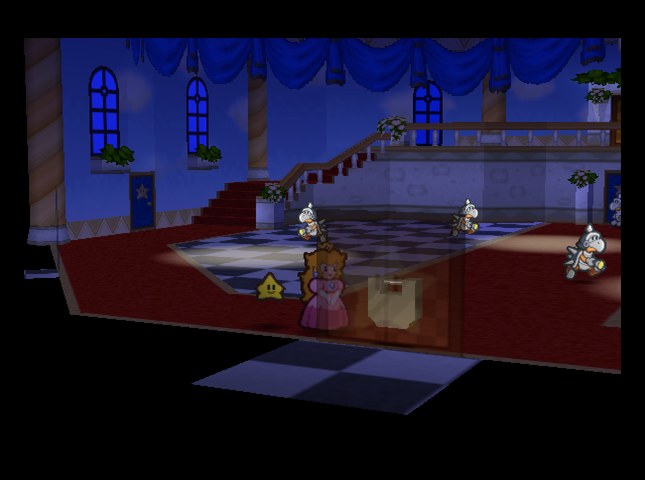 In this darkened atrium are Koopatrols� patrolling. Bowser�s room (which Peach came out of) is on the far left, under the windows. There�s another door to the left, leading to the library, which is where we need to go in this interlude - but let�s explore a bit first. The door downstairs is locked, sadly. 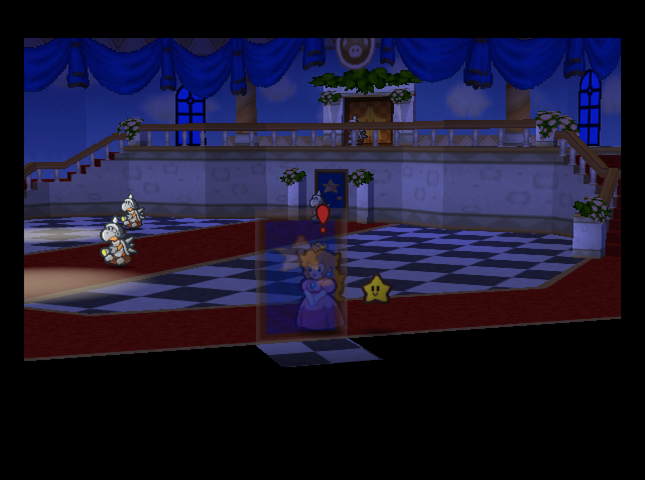 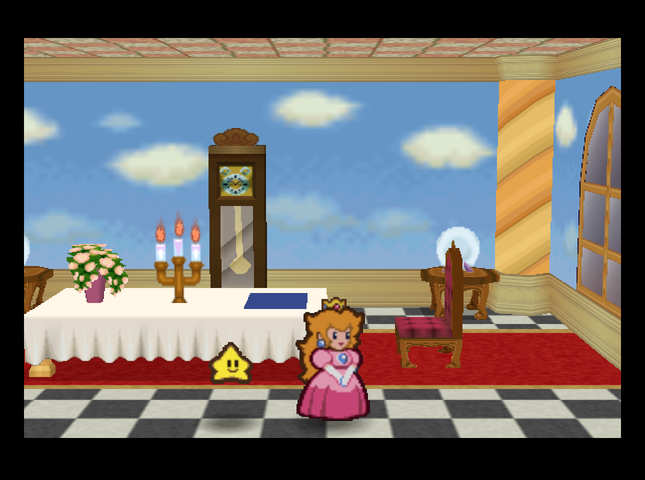 There�s several doors on the right side, too. This one leads into an empty dining room. 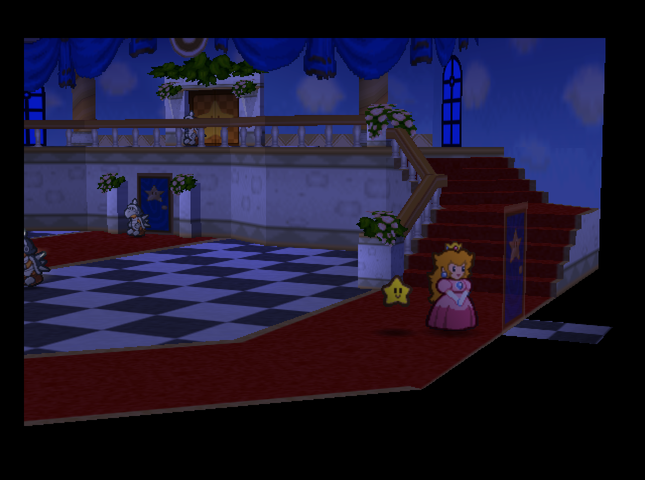 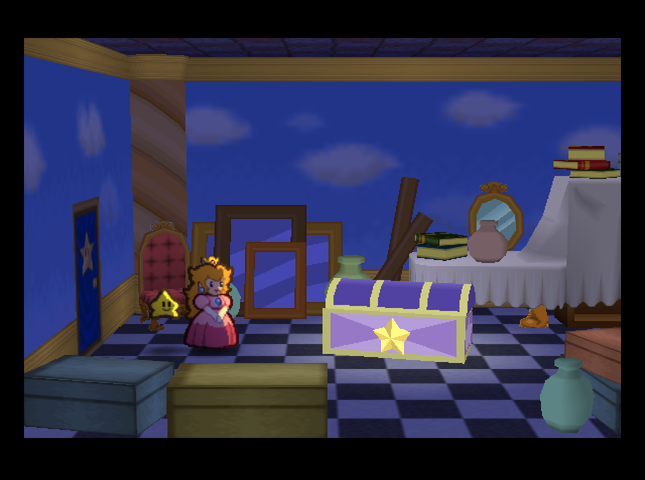 There�s a very mysterious treasure chest in this room. 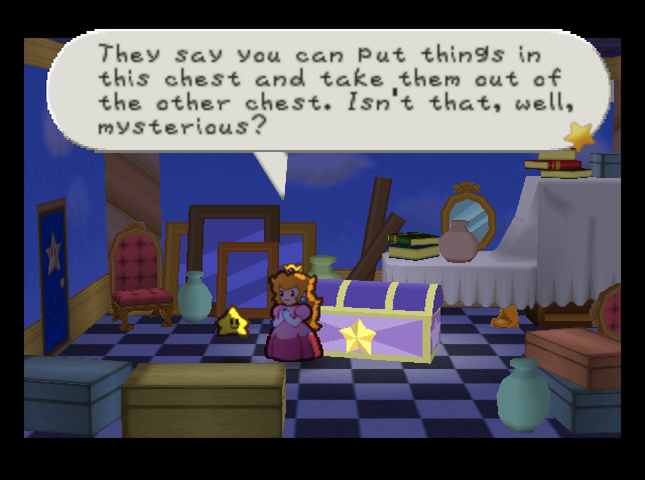 Hmm. I wonder if we�ve seen a chest like this before anywhere? 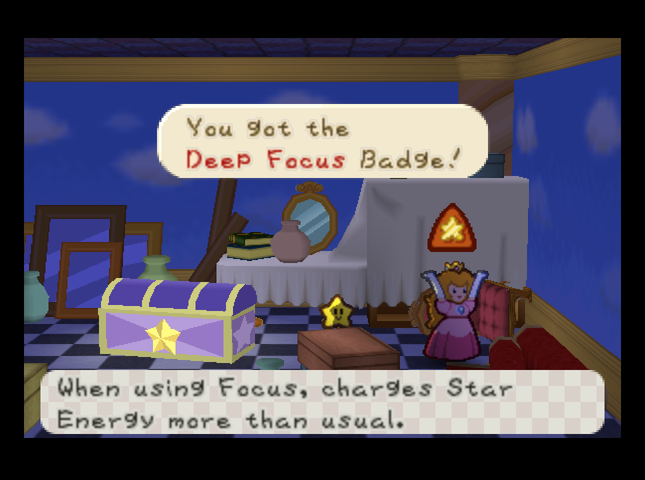 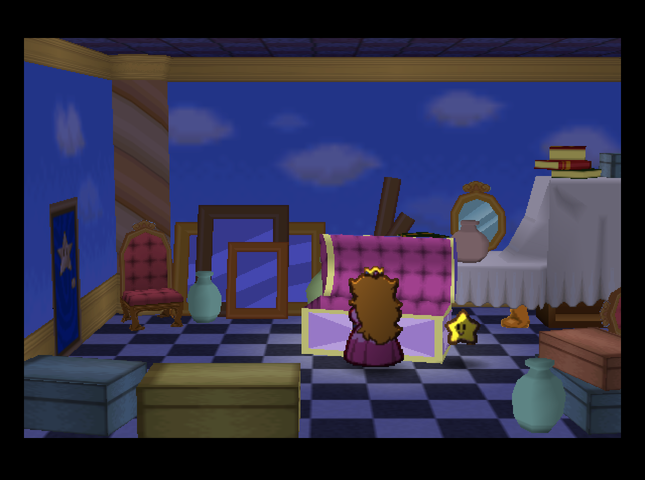 We find a Deep Focus badge lying behind the chest, and toss it in. This�ll let Mario (but not his partners) recover more Star Energy with the Focus command. 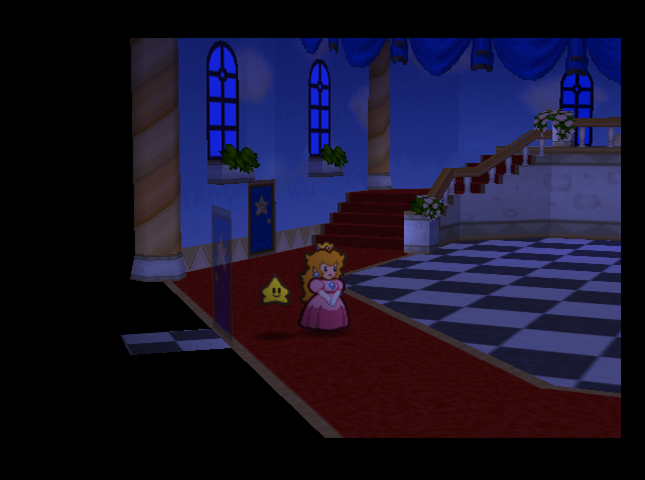 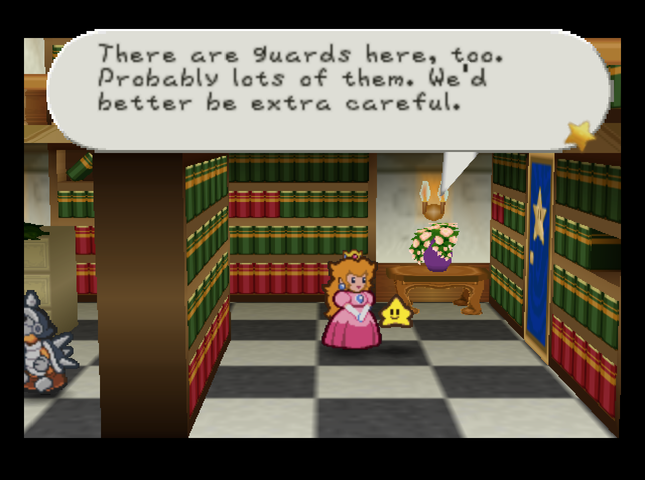 We head back to the library. There are guards patrolling here, too. 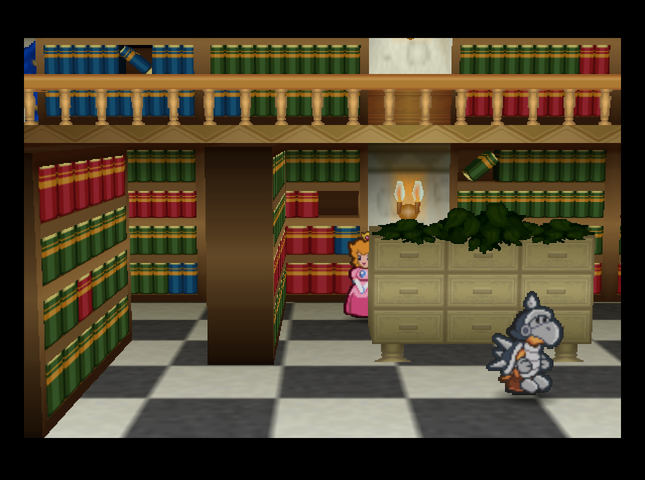 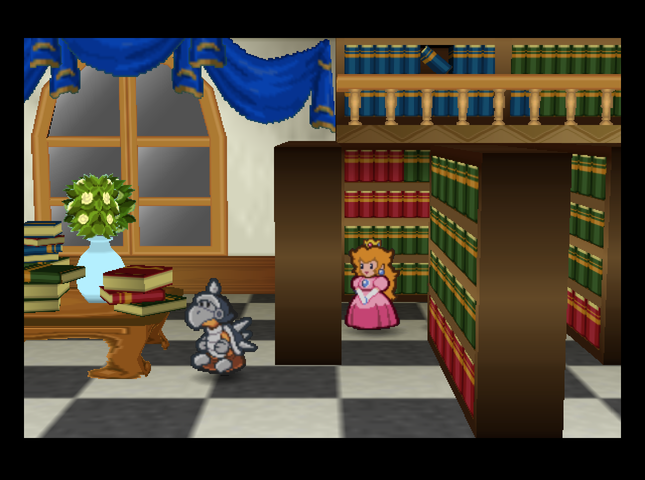 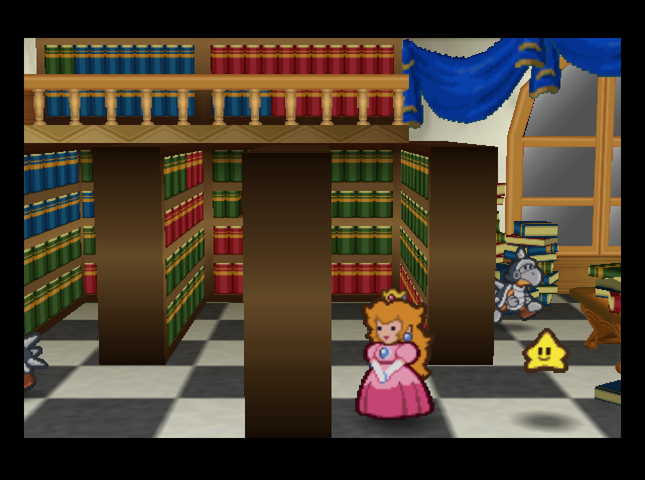 This sequence plays out much like the guard-avoiding sections of various classic Zelda games. 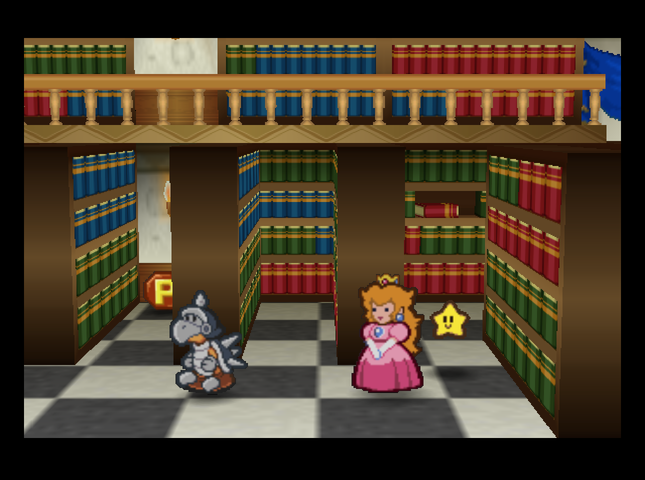 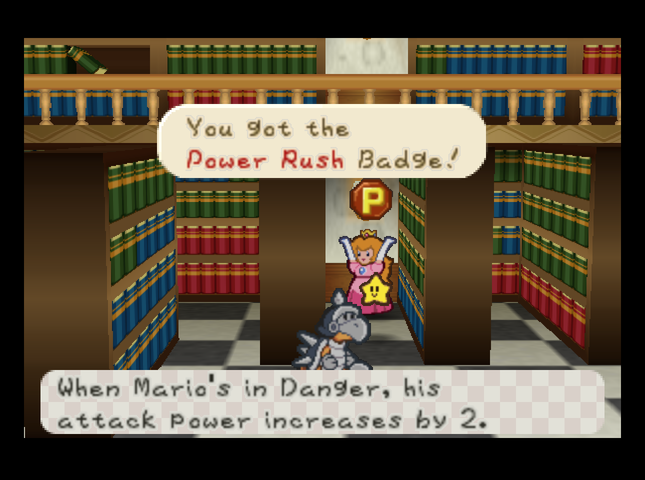 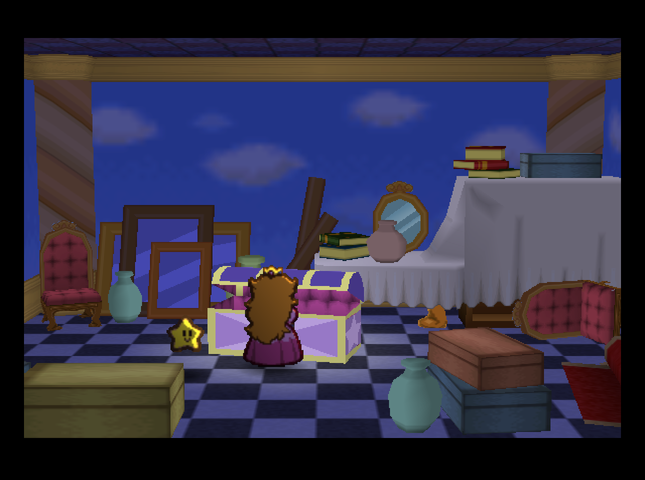 We find another badge - Power Rush, which boosts Mario�s Attack while he�s in Danger - and immediately backtrack to the chest to throw it in. 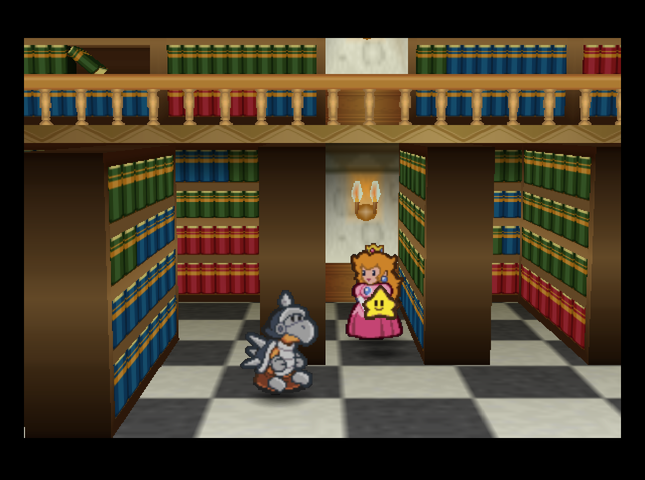 Now it�s back to the library.  Hey, who�s that hiding behind those catalogs? 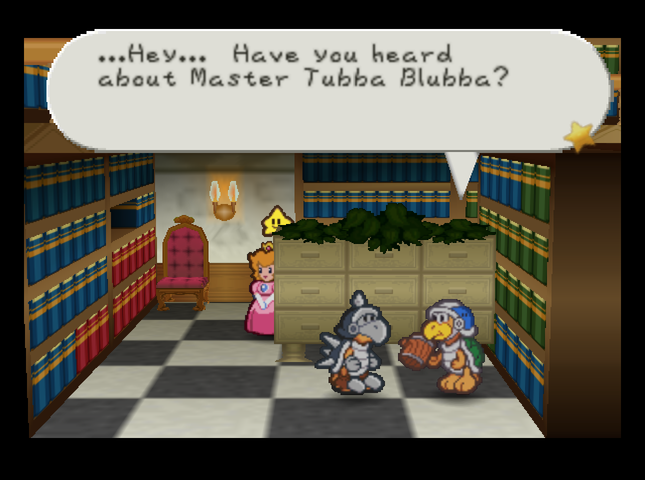 Looks like it�s some guards slacking off.  I think he�s guarding one of the Star Spirits right now. I think he�s guarding one of the Star Spirits right now.The conversation turns through different topics - Tubba Blubba loves to eat Boos, lives in Gusty Gulch, and� 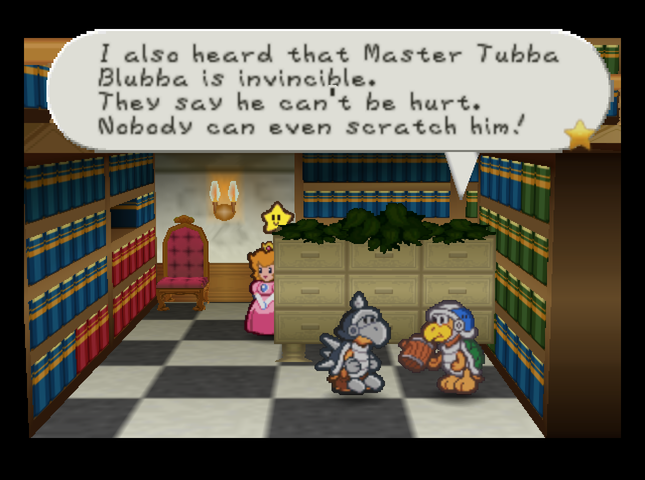 He�s apparently invincible. Oh dear.  He might even be stronger than King Bowser� He might even be stronger than King Bowser� I bet it�s about his past. I heard he didn�t used to be strong at all� I bet it�s about his past. I heard he didn�t used to be strong at all�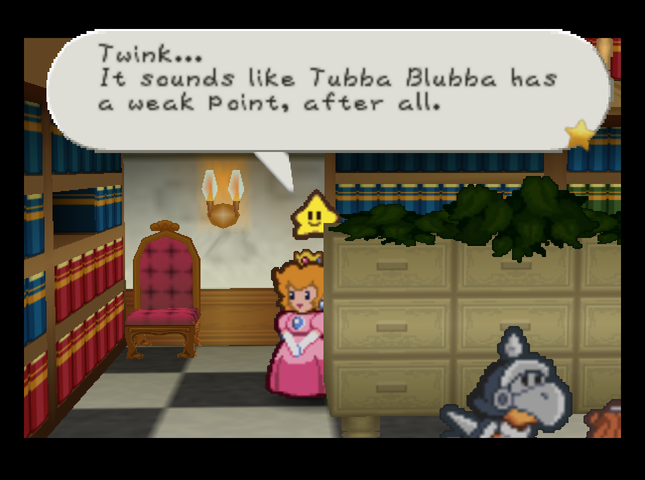  Unfortunately, it seems the Princess is just a little too close to not be heard while eavesdropping. 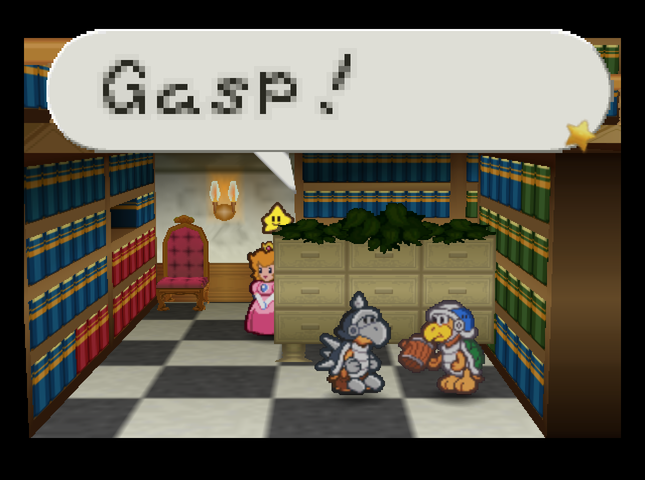 Do you think someone knows we�re goofing off in here? Do you think someone knows we�re goofing off in here?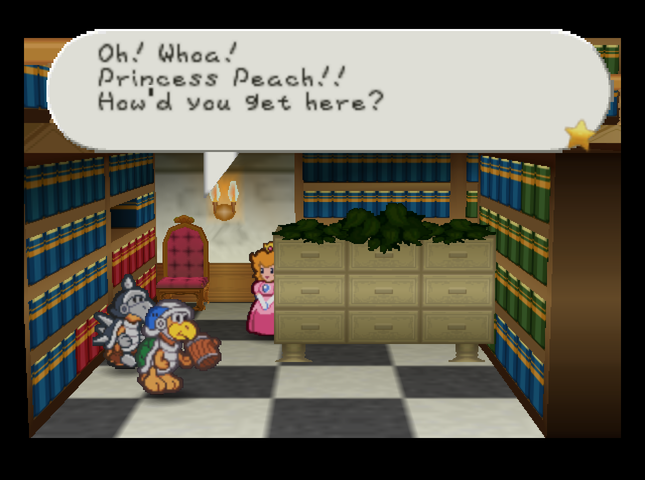 I�m sorry to do this, but� you have to go back to your room. Right now. I�m sorry to do this, but� you have to go back to your room. Right now.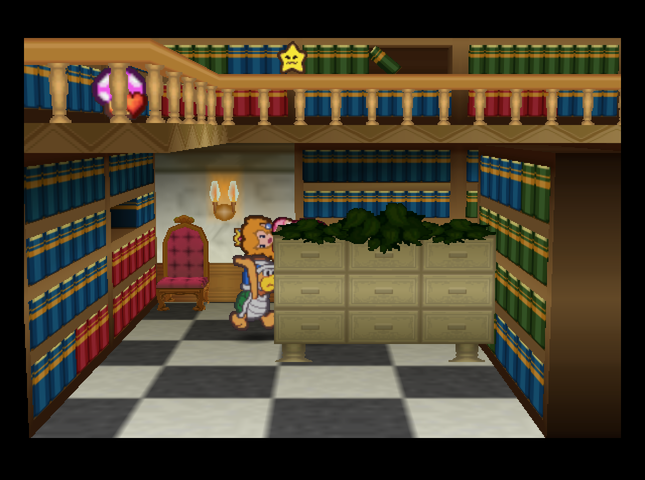  And Twink�s left to convey the news to Mario� 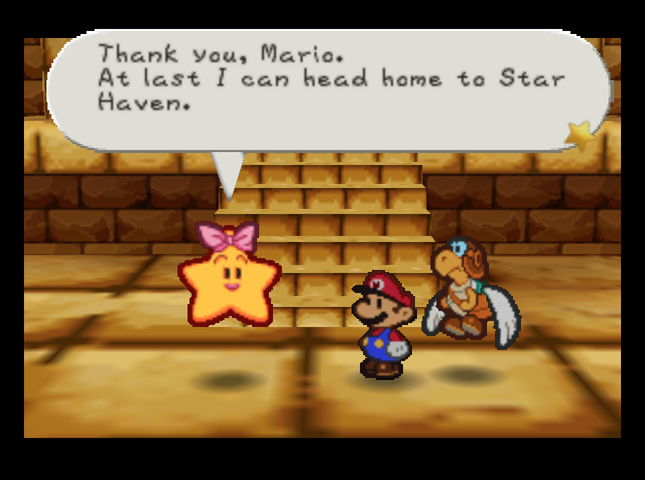 Meanwhile, Mario has made it out of Dry Dry Ruins.  My name is Mamar. So nice to meet you in person! <3 My name is Mamar. So nice to meet you in person! <3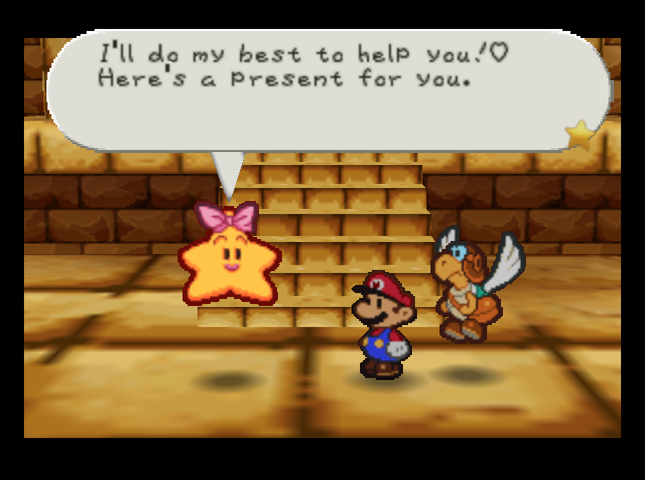 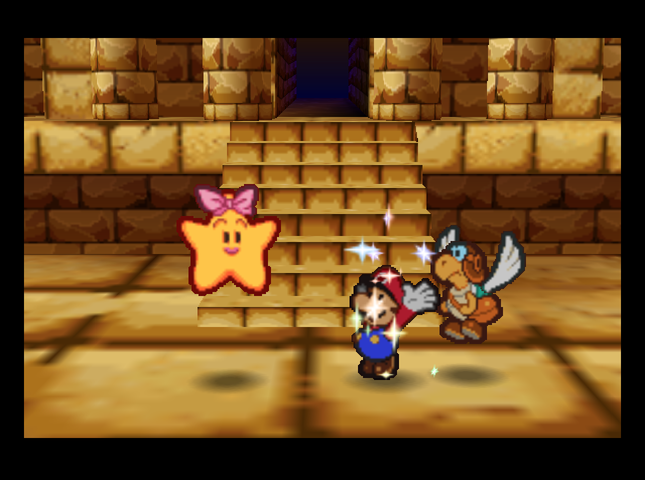 Mamar increases our Star Energy to 2, and grants us a new Star Power: Lullaby. This lets us try and put all enemies to sleep. 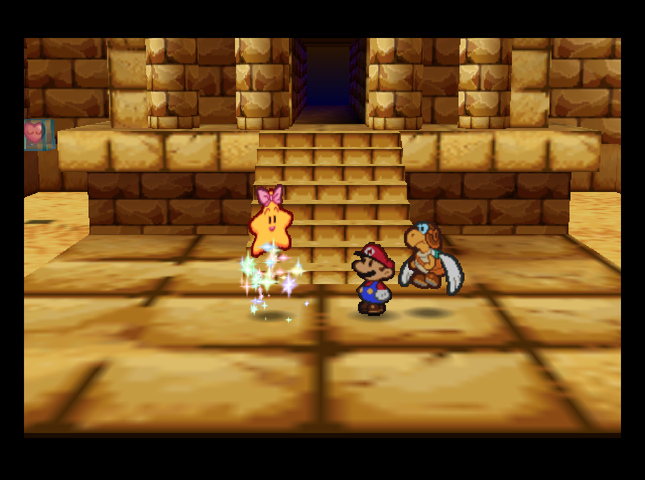 Mamar leaves. We reset our badges (remove Power Jump, FP Plus, Smash Charge, and Peekaboo, re-add Zap Tap, Spin Smash, and Hammer Throw) for the desert, then head out. 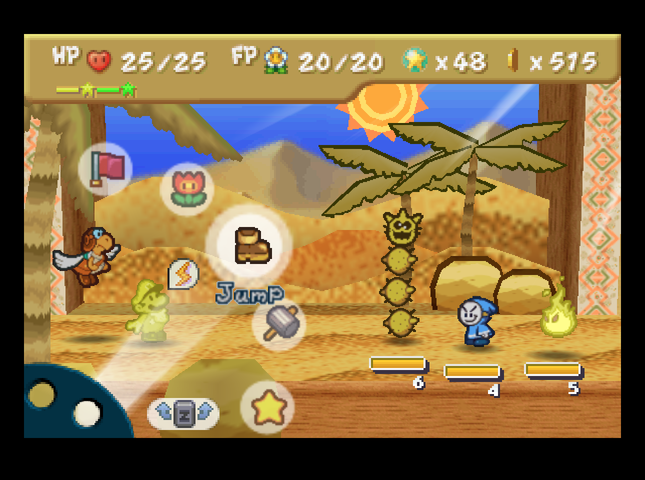 We quickly run into a Pokey who wants to make us into a new desert cactus. Let�s try our new Star Power!    Lullaby puts two enemies out of three - the Pokey and the Bandito - asleep for several turns each. Not bad. We KO everyone at our leisure.  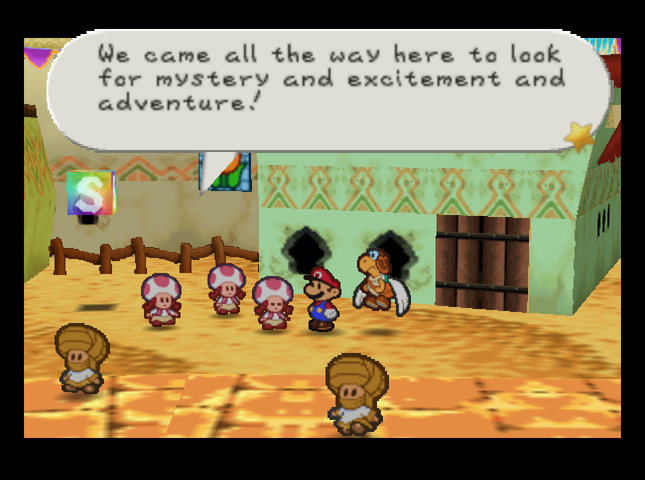  But it�s too hot. I feel like I�m drying up. But it�s too hot. I feel like I�m drying up.We stop in at Dry Dry Outpost before we head for home, in order to stock up on healing items. The place is almost the same as ever, but� there are tourists. 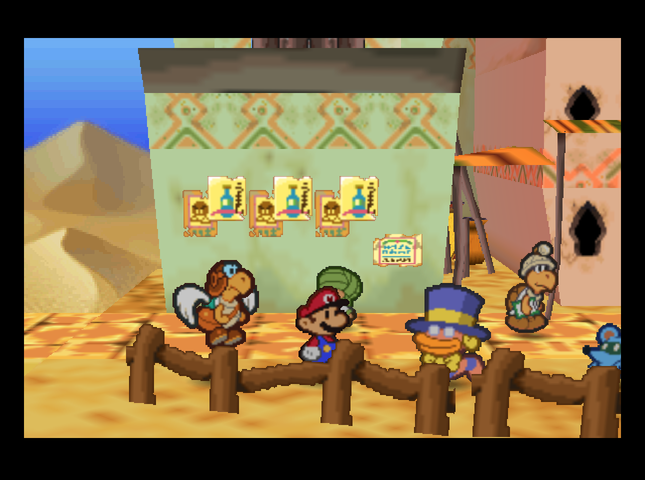 And on our way to the Toad House, we meet an old friend!  Kaaaa-wiiiizzz! It�s everyone�s favorite quizmaster, Chuck Quizmo! Kaaaa-wiiiizzz! It�s everyone�s favorite quizmaster, Chuck Quizmo!Let�s see what Chuck�s got in store for us today. 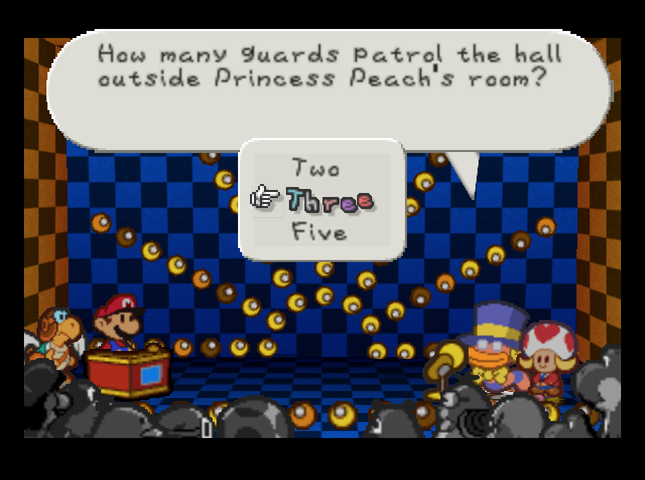 How is Donluvlee related to Donlon? How is Donluvlee related to Donlon?[His niece / His daughter / His granddaughter] Don�t forget - Donluvlee and Donlee are sisters. How many animal skulls decorate Dry Dry Outpost?[One / Two / Three] Two in Donluvlee�s tent, and one in Little Mouser�s shop. What is the name of my lovely assistant here?[Vanna T. / Hot T. / Beau T.] 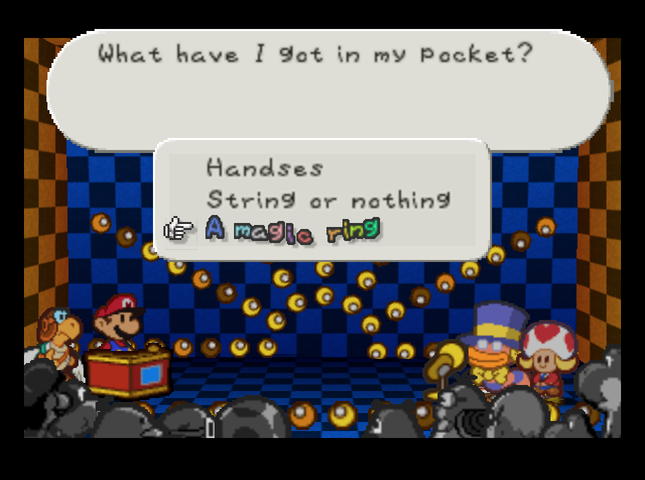 Go home, Chuck - you�re drunk. 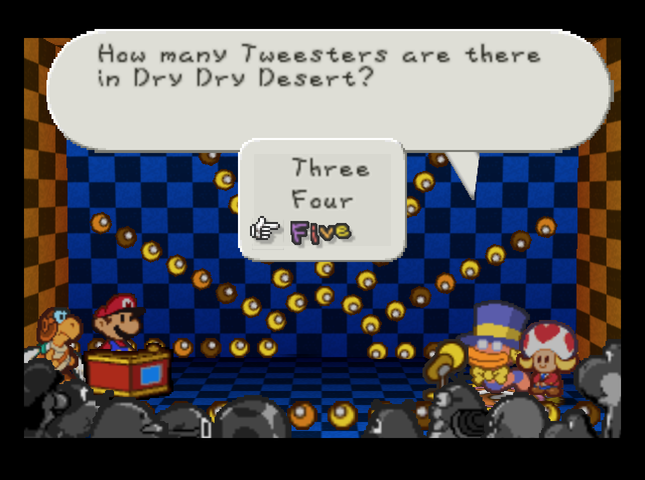 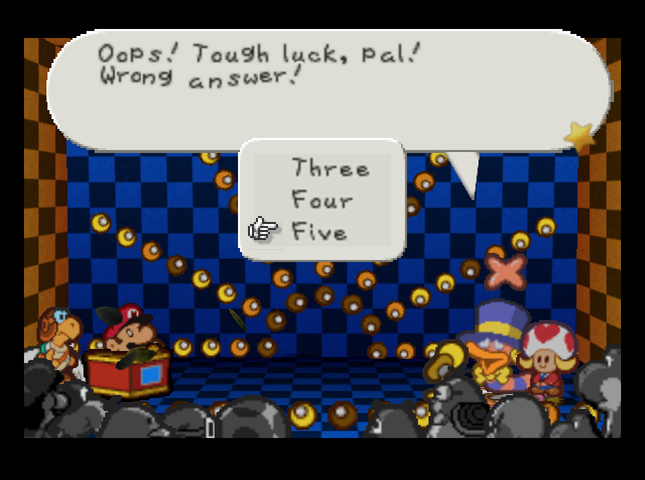 Hey, wait a second! I know this is the correct answer. I mapped the whole desert, after all. So, let�s back up and re-record� 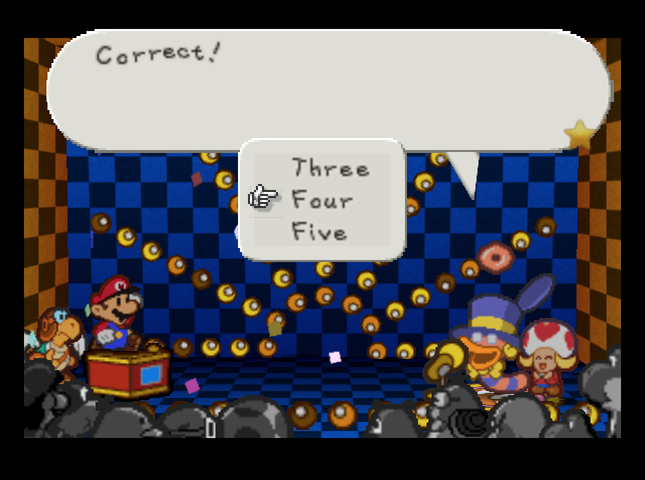 OK, here�s my theory on how this happened: There are four Tweesters in vanilla Paper Mario�s desert. An extra one was added for Master Quest, in the southwest part of the desert near where we fought the Bandit Leader. That said� this quiz question is new to Master Quest, so you think they�d have kept that in mind when doing the full count. 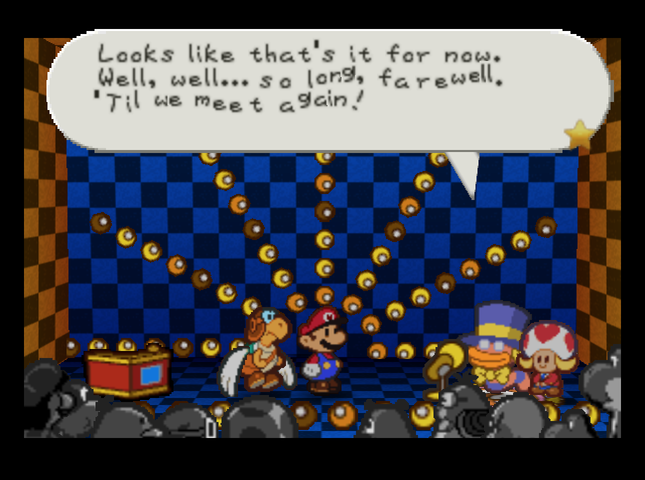 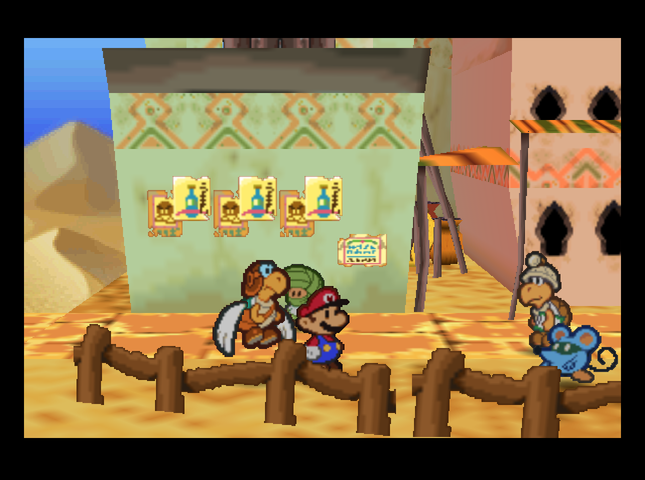 After collecting our haul - another 6 Star Pieces total - we head to the shop. 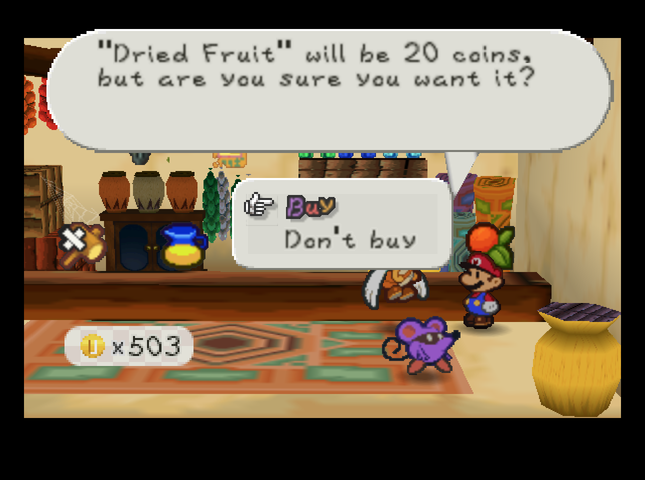 We end up buying some fruit for the trek home, and some more pasta and a Thunder Bolt as souvenirs. 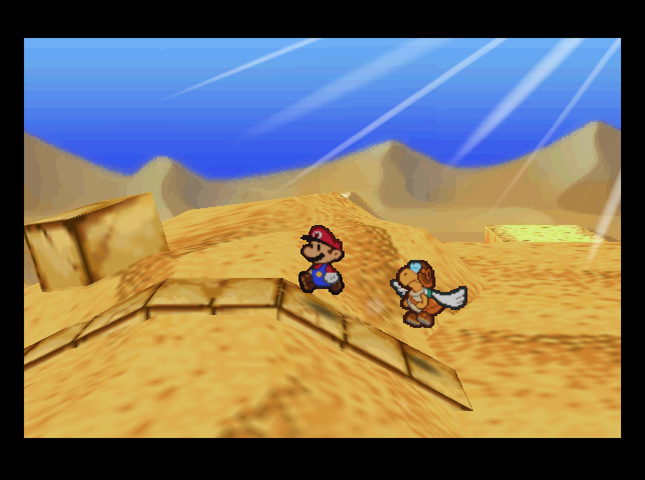 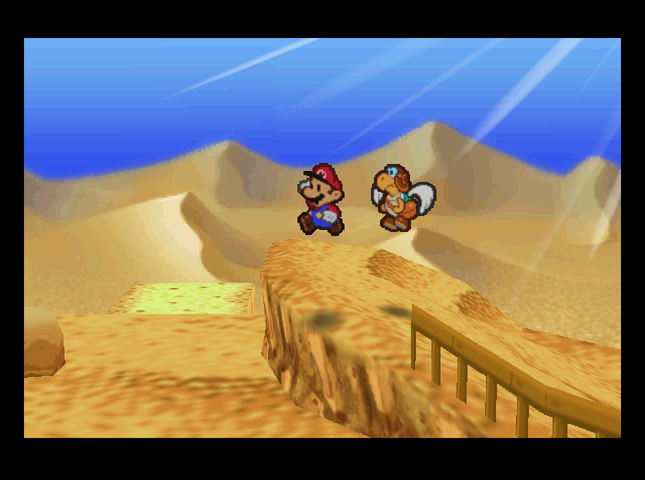 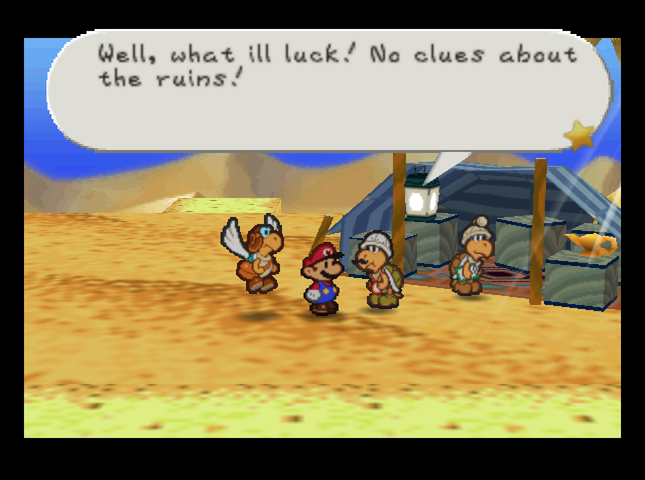 We stop by Kolorado�s camp as we leave the desert.  I�m getting so frustrated I just might have to give up the excavation for now� How very sad� I say�? Mario, that artifact you hold in your hand� It looks like� It looks quite important! Do my eyes deceive me, or is that a clue to Dry Dry Ruins? I�m getting so frustrated I just might have to give up the excavation for now� How very sad� I say�? Mario, that artifact you hold in your hand� It looks like� It looks quite important! Do my eyes deceive me, or is that a clue to Dry Dry Ruins?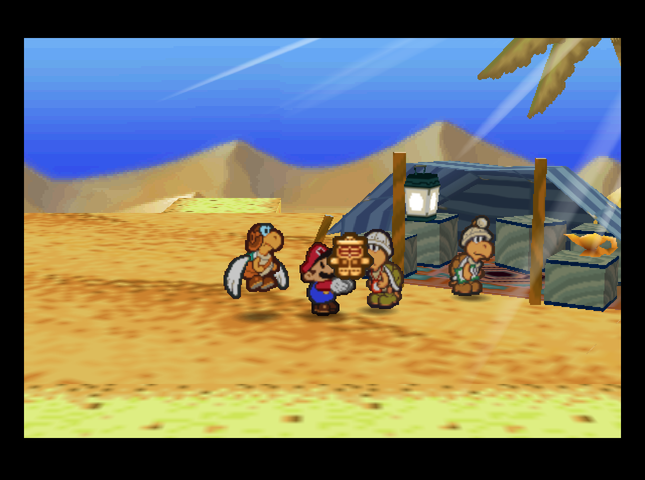 We probably shouldn�t tell him where we got it. Cheers, Mario! Smashing, really, old boy! Soon now, the mysterious Dry Dry Ruins will rise from the sands that conceal them!Yup, never telling him. 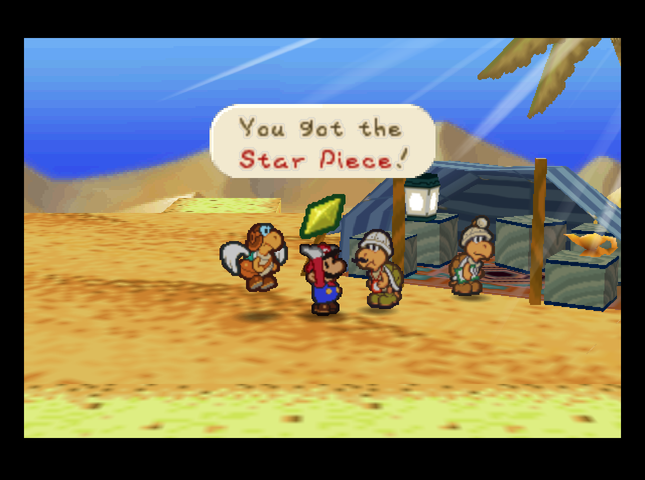 He gives us a Star Piece as a thank-you. You now know a bit of the magic of the desert. Cherish the memory, old boy!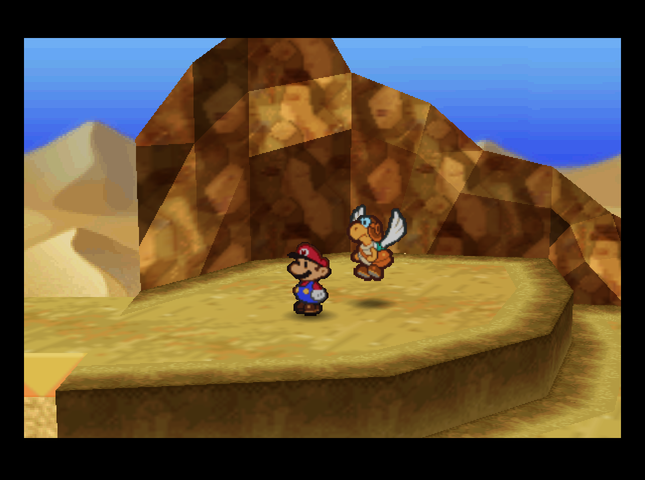 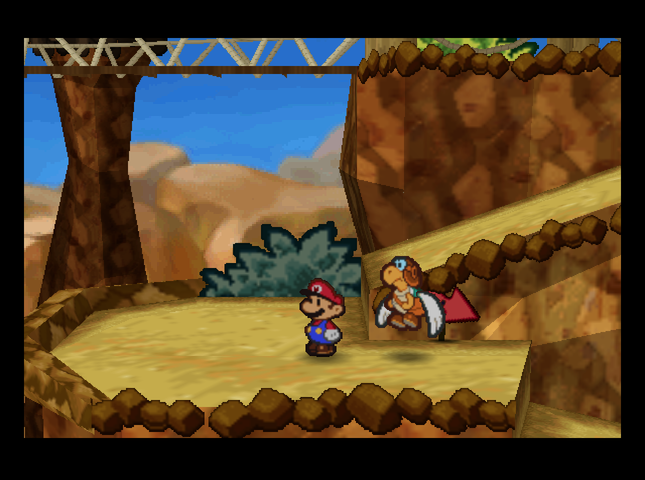 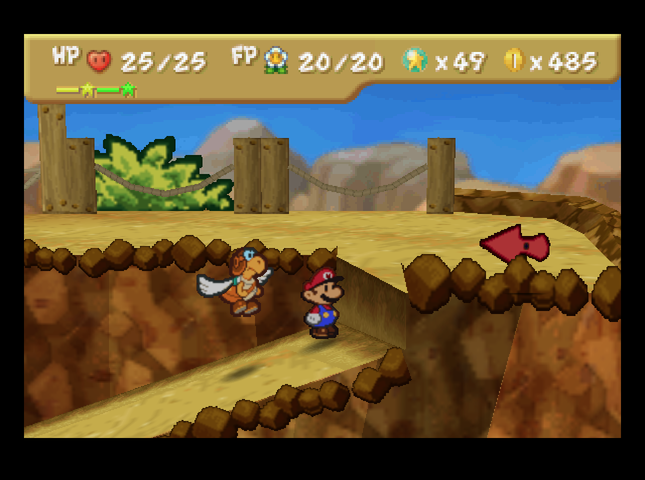 We begin the return trek up Mt. Rugged. Our trip back should be a lot quicker, now that we don�t have to� 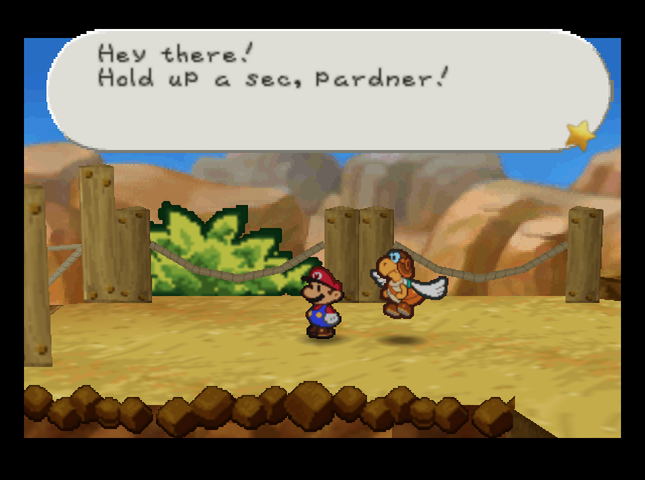 Oh hey, Buzzar! It�s-a me, your old pal� Luigi. 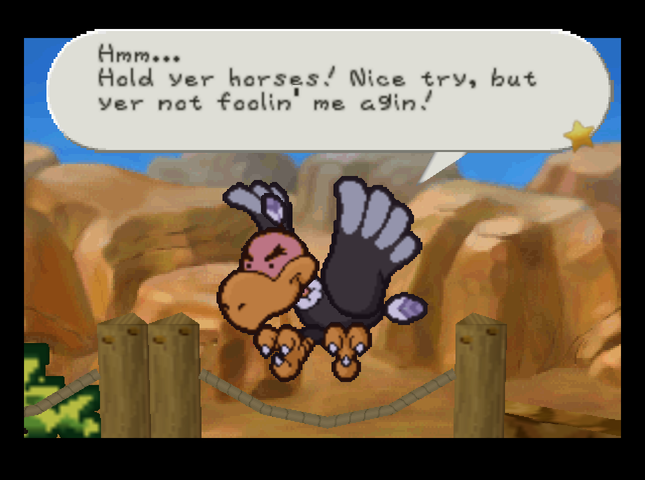 Aww, cr�   Yep. In Master Quest, you have to fight Buzzar at some point - he stops buying the �Luigi� lie after you beat Tutankoopa. (This is planned to be moved up to �after you get the Super Hammer� to keep players from returning to Toad Town with the Super Hammer in Chapter 2 and opening up a shortcut Warp Pipe to Dry Dry Outpost, thus making it possible to skip him entirely. But for now, the flag is tied to the Tutankoopa battle.) This is Buzzar. He guards Mt. Rugged. Wow! That�s one big bird! If you get caught in the clutches of his sharp claws, you�ll lose 6 HP! Try to wriggle out of his grip. His special attack is to create wind. This attack damages your party members, too. But he was hatching eggs, wasn�t he? Is it possible that he�s really a she? I wonder� Buzzar has a total of four attacks, though we�ll only see three of them. The first is flapping his (her?) wings to create wind. This stuns Mario and his partner for 1-3 turns - the more we button-mash, the less the stun is.  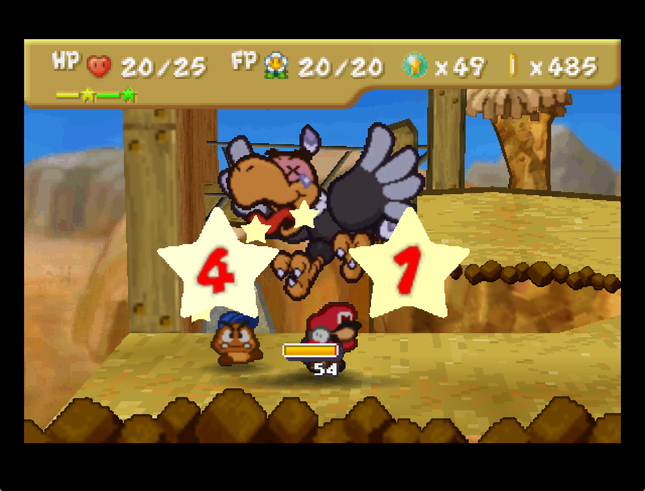 Because we�re indisposed, Buzzar takes a follow-up turn. This would be a grab-and-drop attack that did 6 damage, but Mario could wriggle out of entirely with more button-mashing. Instead, Buzzar takes contact damage from Zap Tap and decides to abort his attack. Those claws still hurt, though! This attack did 4 damage in the base game, instead. 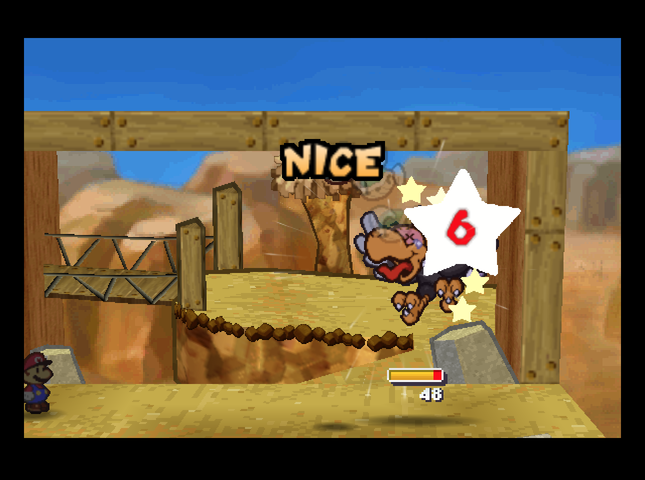 We switch to Parakarry, and he brings the damage with a Shell Shot. (Buzzar has 15 more HP than vanilla Paper Mario.) 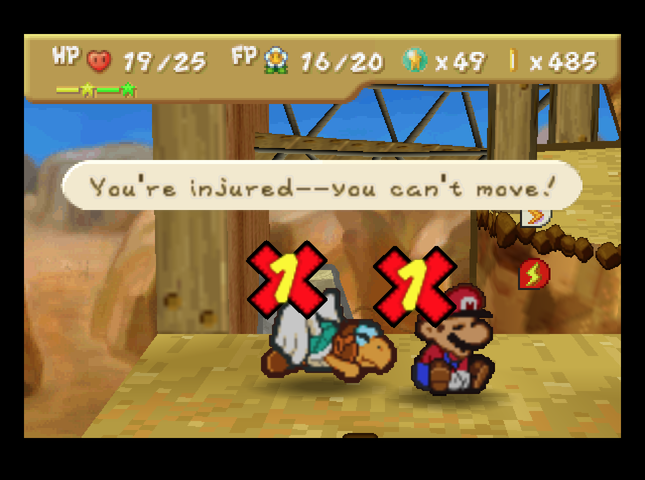 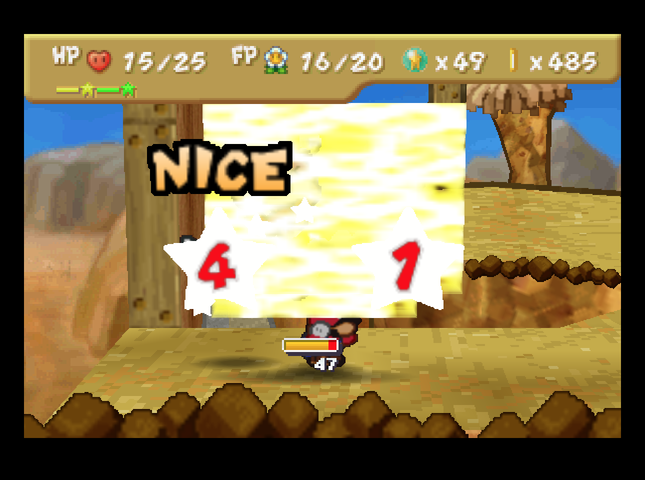 Because Zap Tap is equipped, Buzzar will skip his third attack - an 8 damage swoop that shrinks Mario! This only did 3 damage in the base game, and didn�t apply status. Hooray for Zap Tap! Buzzar instead returns to the start of his AI script, doing the wind attack and the claw swipe again.  Mario isn�t currently wearing Power Jump, so he�s mostly here for chip damage and support. Parakarry does the heavy lifting.   Or that�s what I thought, until Donlee intervened. Our jump does 8 damage! 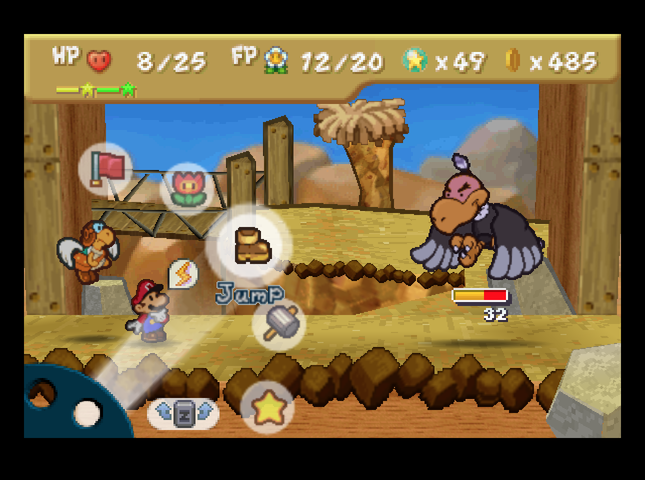 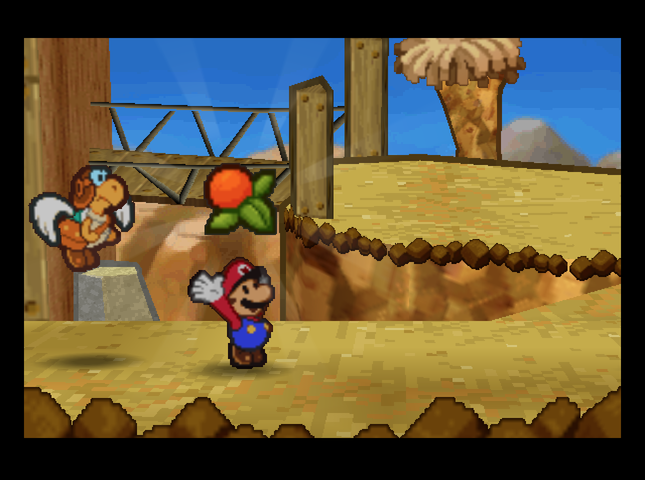 After Buzzar�s next salvo, our health is pretty low. Mario heals up with Dried Fruit while Parakarry keeps at it. 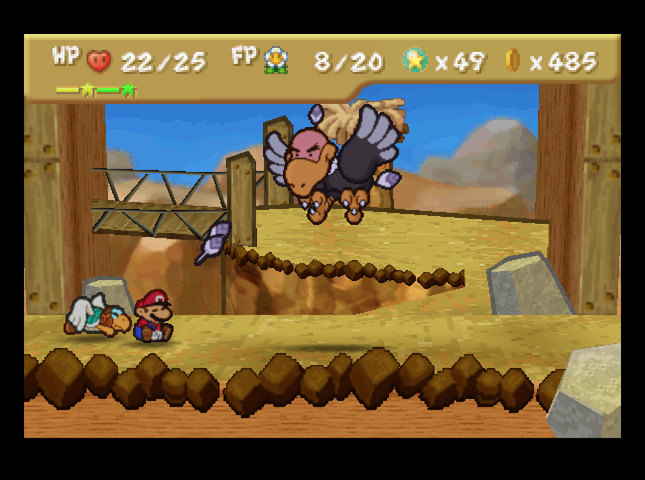 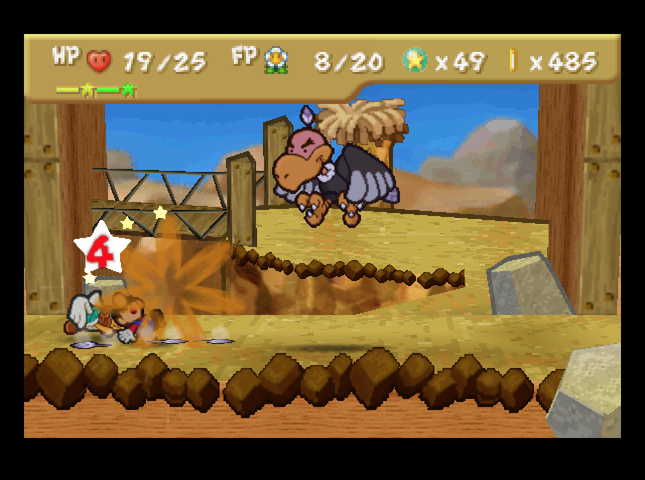 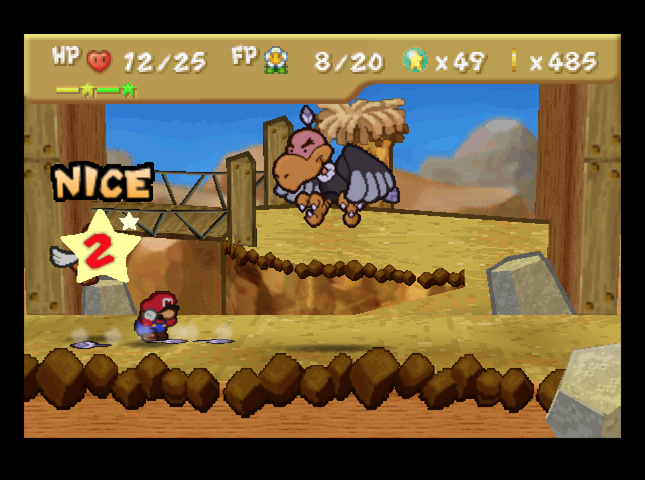 Now that Buzzar�s health is below half, he starts adding his fourth and final attack to the mix: a feather toss that does 4 damage - and also stuns Mario if it�s not blocked. He adds the feather toss onto BOTH the wind and the claw attacks. It�s not blockable after the wind attack (because of the stun), but blocking it is important when it gets added onto the claw swipe, because otherwise Mario will be out of the fight next turn! Let�s run the numbers, shall we? The wind attack does 1 damage and stuns. The first feather toss can�t be blocked because of the stun, so it does 4 damage. We spend our turn recovering, so Buzzar attacks again, for 4 damage (assuming we block the claw swipe). He follows THAT up with the feather toss again, for a further 2 damage (again, assuming we block it). Best outcome is, each turn he�s below half health, we take 1+4+4+2 = 11 damage a turn. 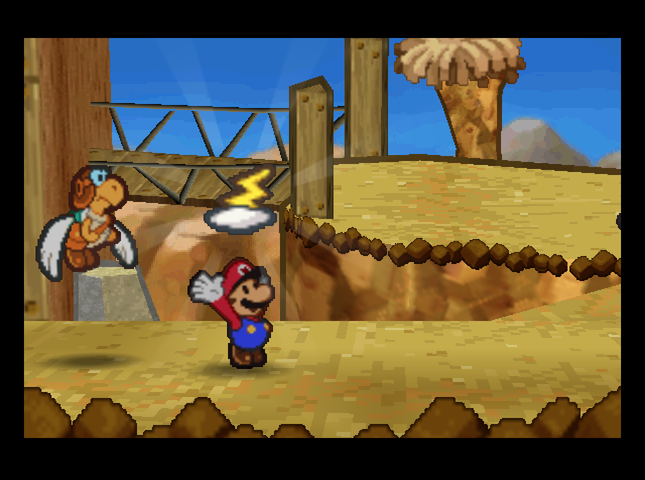 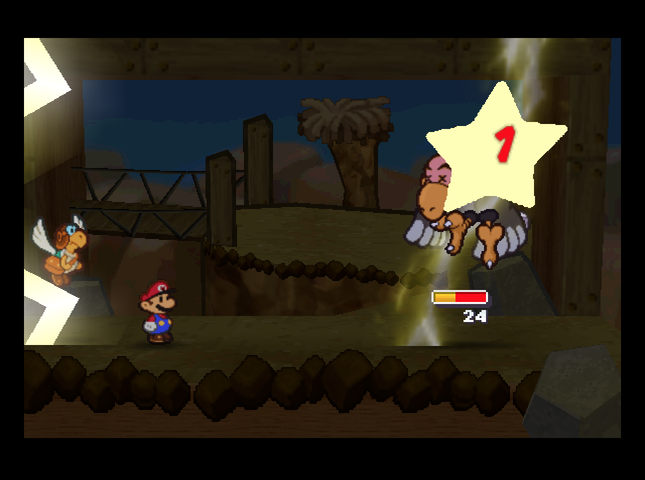 We try the Thunder Bolt we picked up, but it�s ineffective. Things are looking grim for our poor plumber! 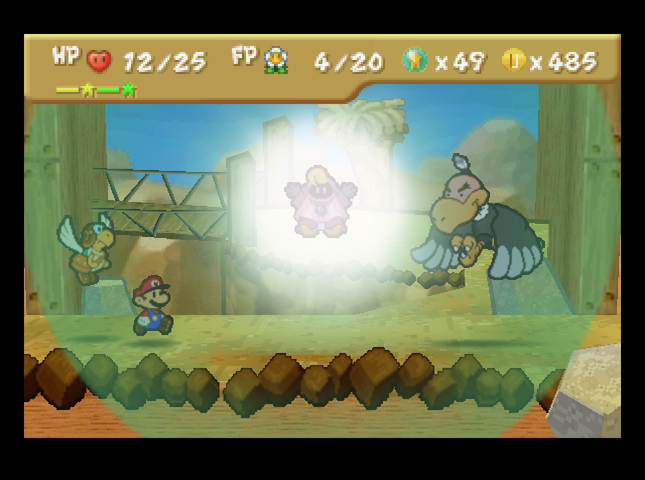 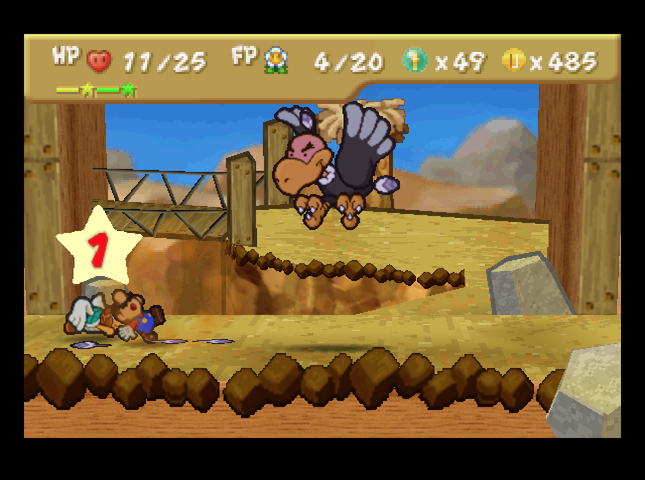 Then Donlee intervenes, blocking the damage from the first wind attack (which still paralyzes despite doing no damage), and reducing the first feather attack to 1. 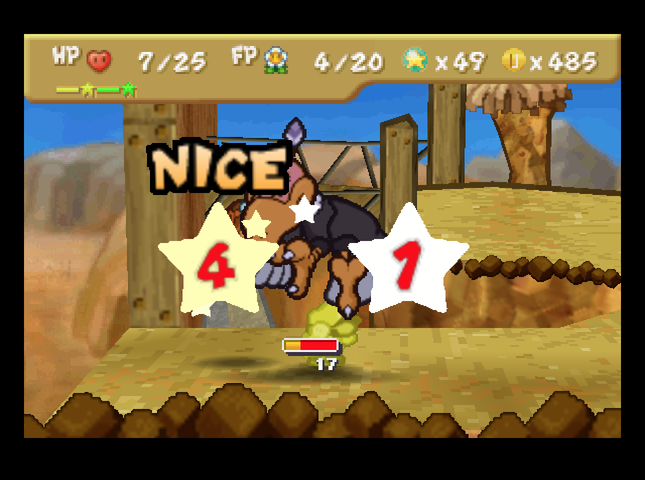 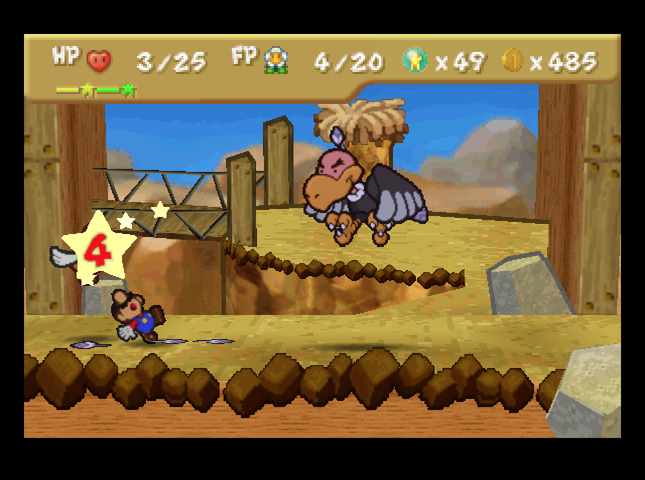  While we block the second claw attack, we flub the second feather toss, leaving Mario unable to act (read: heal) this turn. 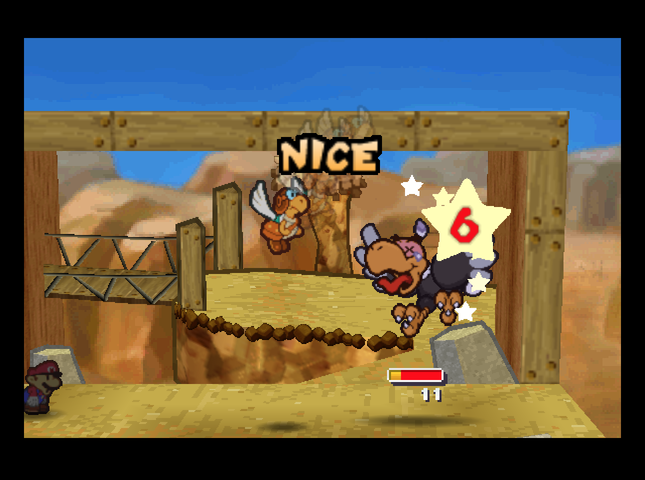 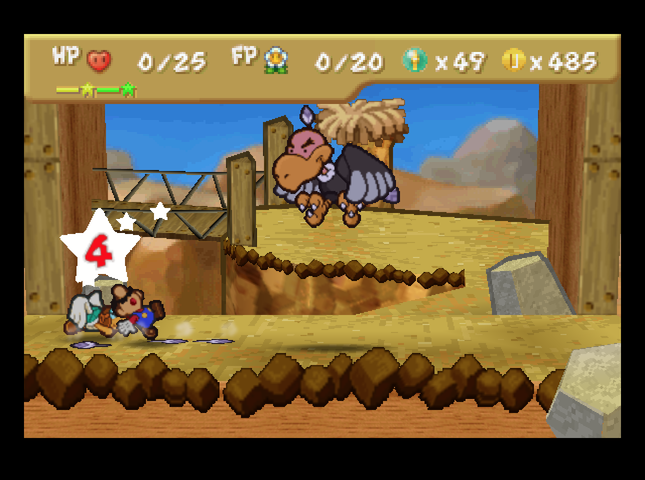  Parakarry Shell Shots again, but our doom is at hand.  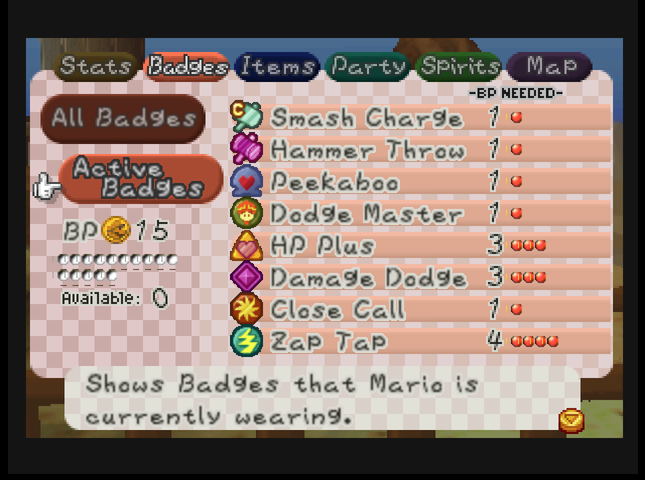 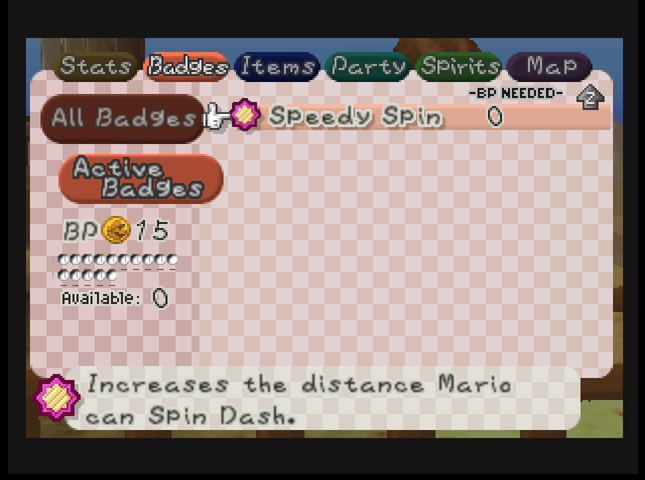 After resurrecting at the save block, we re-evaluate our badge setup, removing Spin Smash (which was mostly on for desert enemies anyway) and Group Focus in favor of Peekaboo and Smash Charge. 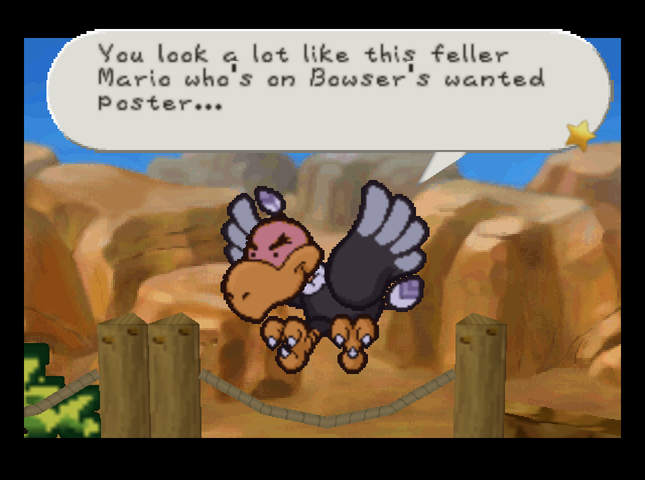 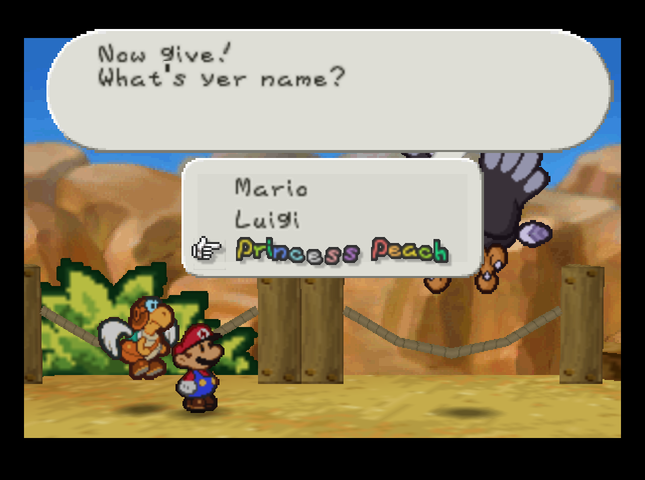 If Buzzar�s going to fight us anyway, we might as well do this properly.  What's that?! Princess Peach!? You take me fer a fool? Princess Peach is captured up there in Bowser's Castle! You reckon I don't know that? Yer askin' fer it, you big fibber! I'm thinkin' yer Mario! Prepare fer yer whuppin'! What's that?! Princess Peach!? You take me fer a fool? Princess Peach is captured up there in Bowser's Castle! You reckon I don't know that? Yer askin' fer it, you big fibber! I'm thinkin' yer Mario! Prepare fer yer whuppin'!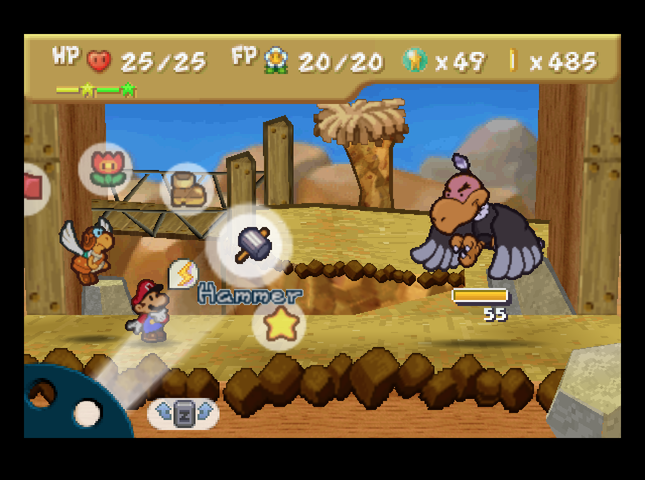 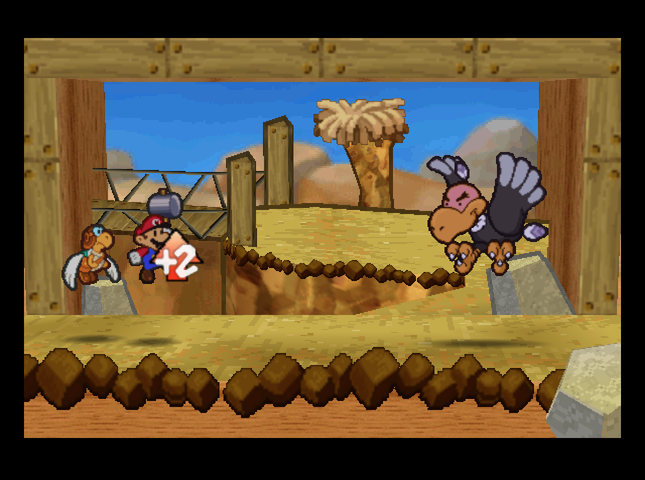  This time, we charge Mario�s hammer while Parakarry Shell Shots. We do this three times. 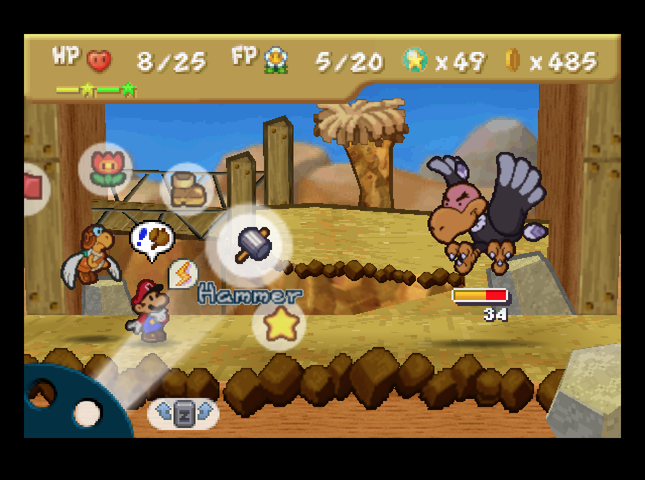  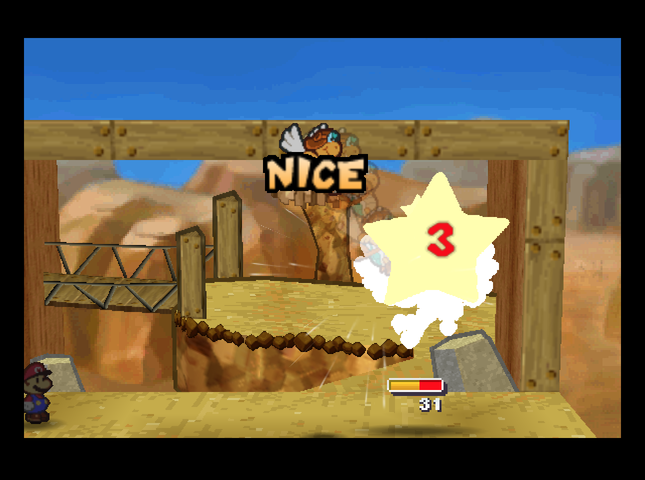 Mario�s Charge is now maxed at +6. We recover FP with the Cake we brought from Toad Town, while Parakarry Sky Dives, setting Buzzar�s health to 31. 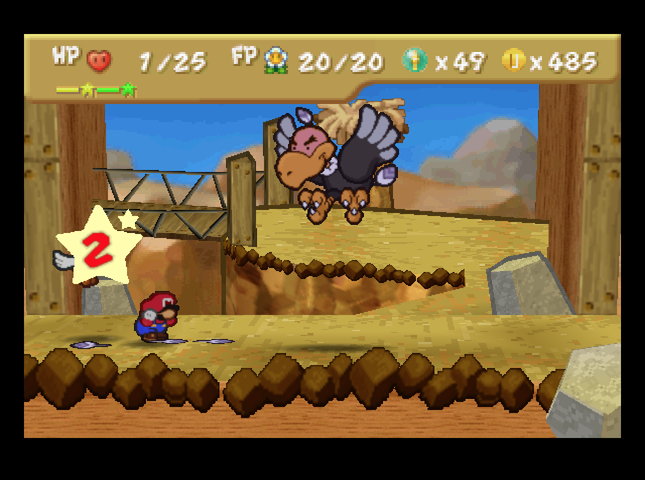 It turns out Buzzar starts using the feather toss when his HP hits 30, not 27 (which would be half health) - Zap Tap took off the 1 more health needed to activate the toss. I manage to make the block and thereby not die. 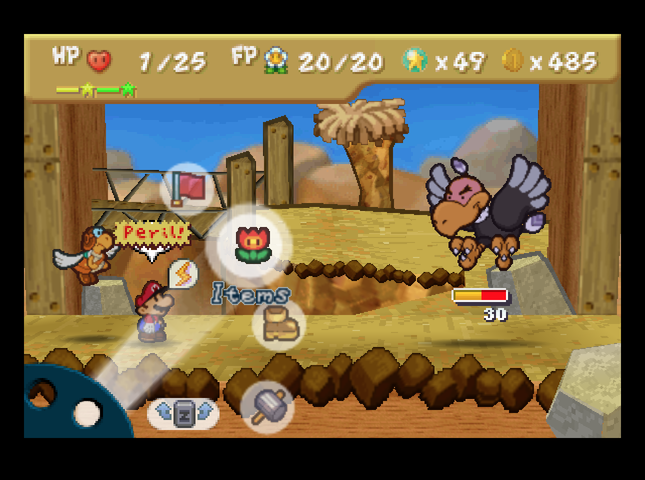  We heal, but�  We flub Buzzar�s second feather toss again (note how the camera starts zoomed in - the grab attack was interrupted by Zap Tap. That camera move kept throwing me off).   With Mario unable to continue healing, things go about as you�d expect.  Our third attempt goes about the same, except now we lay off the damage once Buzzar gets close to 30 HP, to give us room to heal. 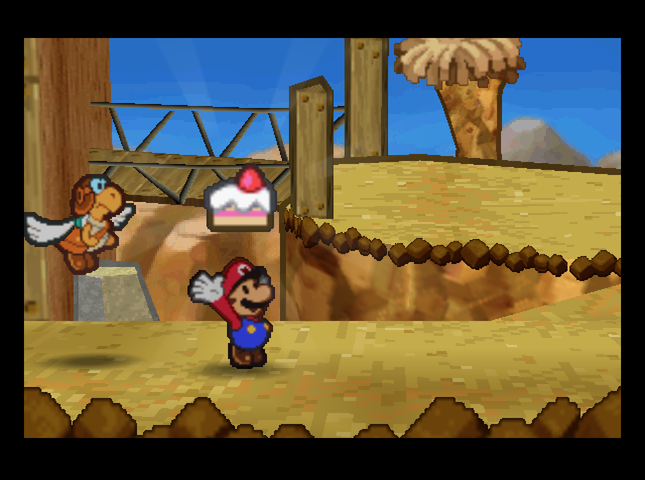   Now we�re ready.   The point of all that charging was to set up an 11-damage Hammer Throw. Parakarry adds a Shell Shot for good measure. 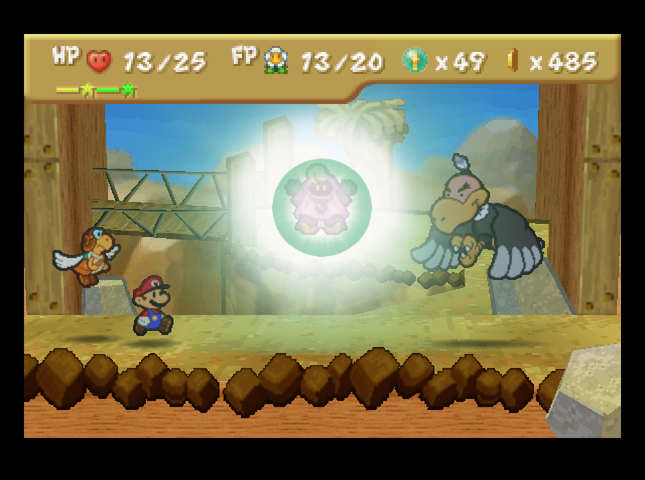 Donlee boosted my defense for this turn� 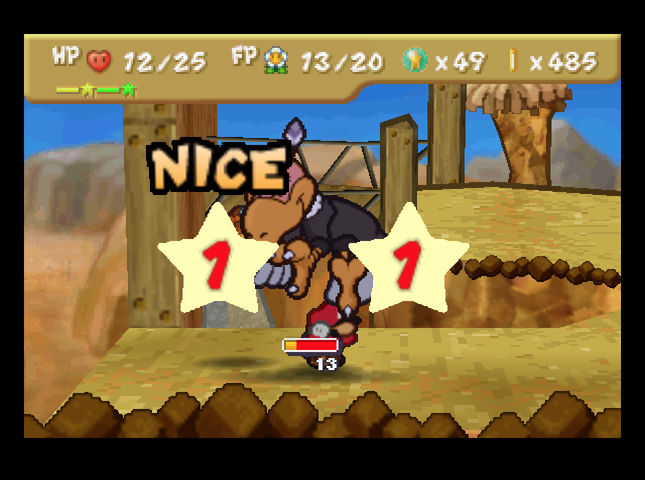  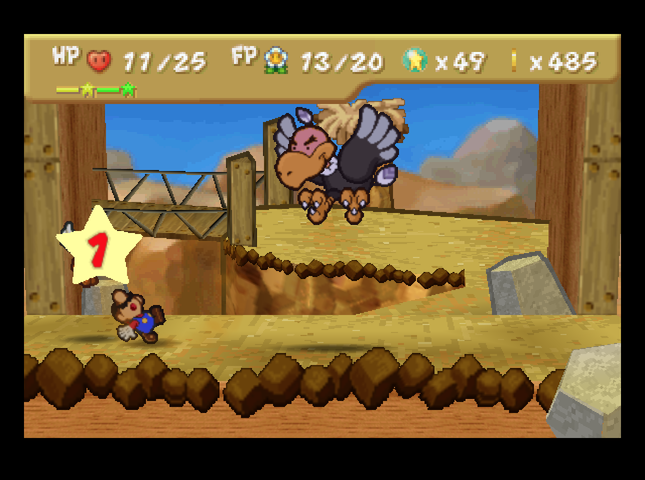 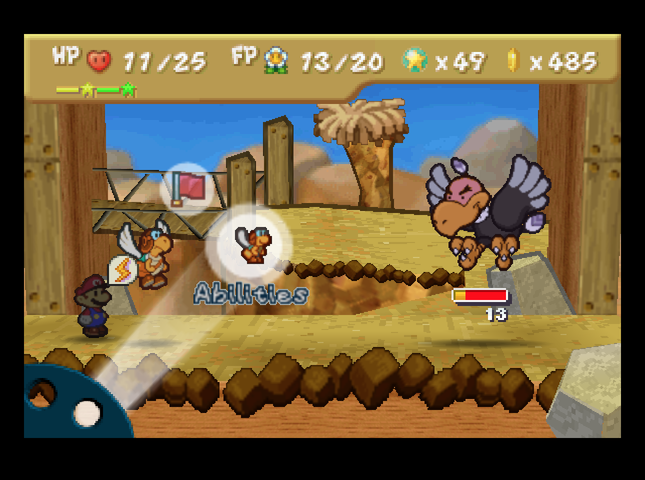 �and I flubbed the feather toss attack again, leading to Mario not having enough health (11) to survive Buzzar�s next barrage (11).  At this point, I shut off the emulator and went to bed.  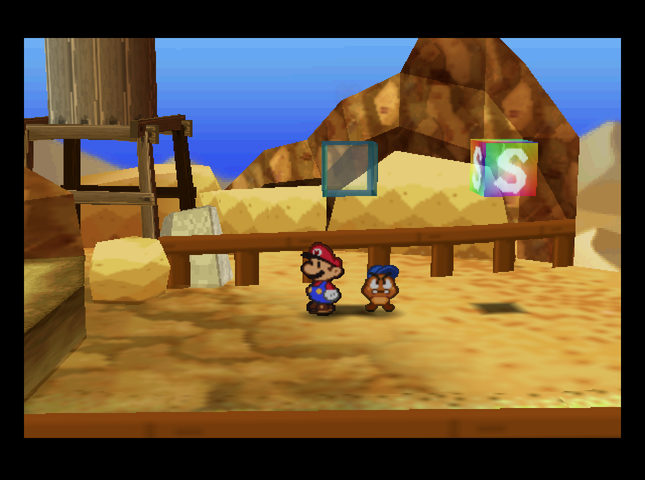 We reincarnate at the save block, after taking a break to sleep, work, and play a few rounds of Dicey Dungeons, a new roguelike by the VVVVVV guy. (I recommend it.) 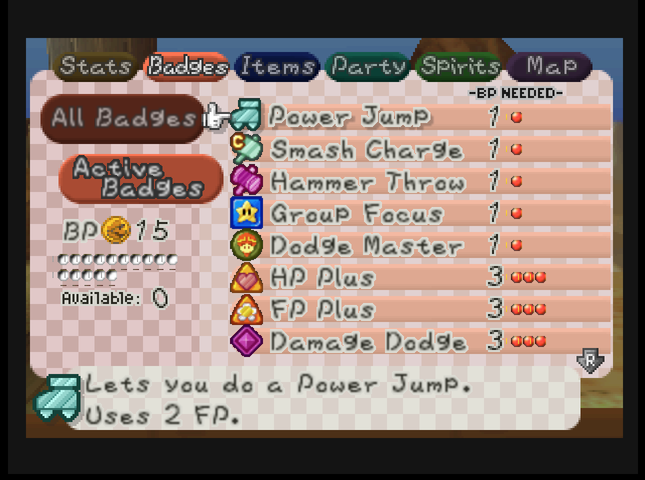 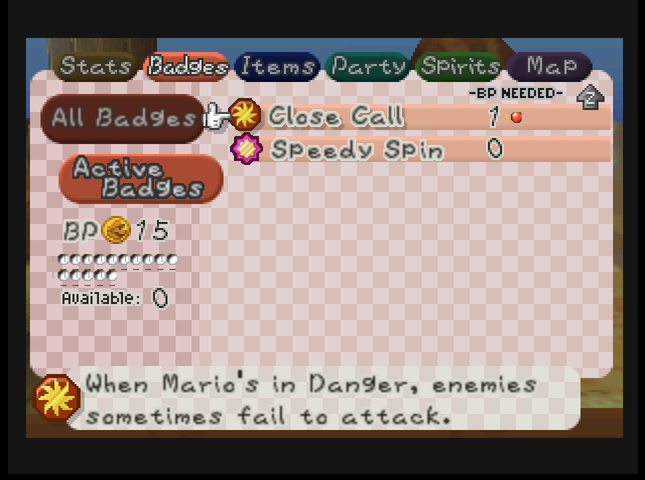 This time, I�m trying a completely different strategy again: taking my chances with the shrinking claw swipe. (That means, removing Zap Tap and Peekaboo, re-adding Group Focus and Power Jump, and slotting in FP Plus as a bonus.) 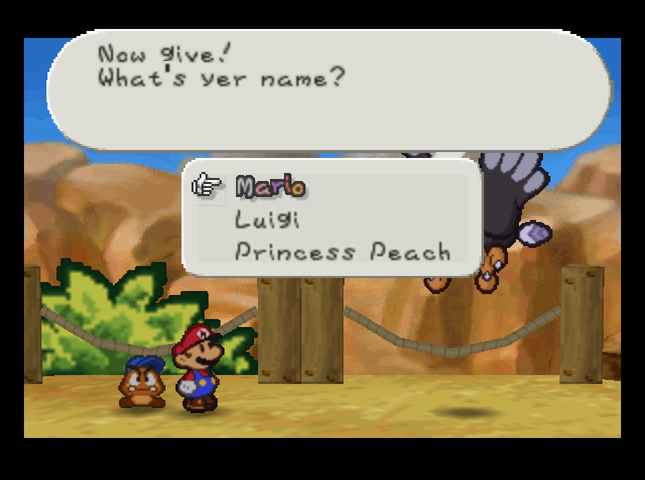  My name is Mario; you killed me three times in a row; prepare to die. 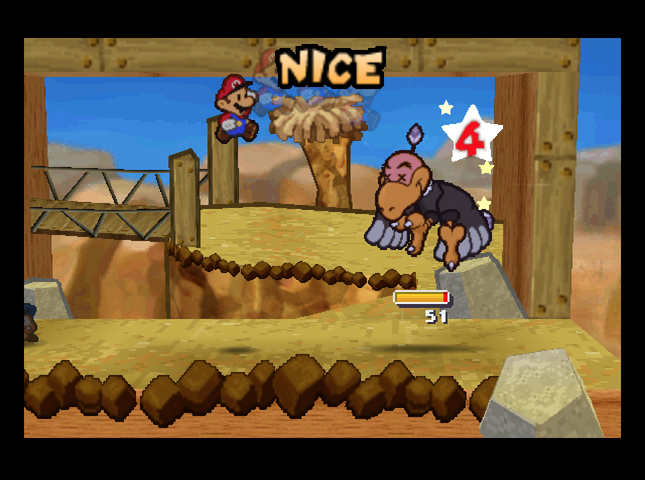 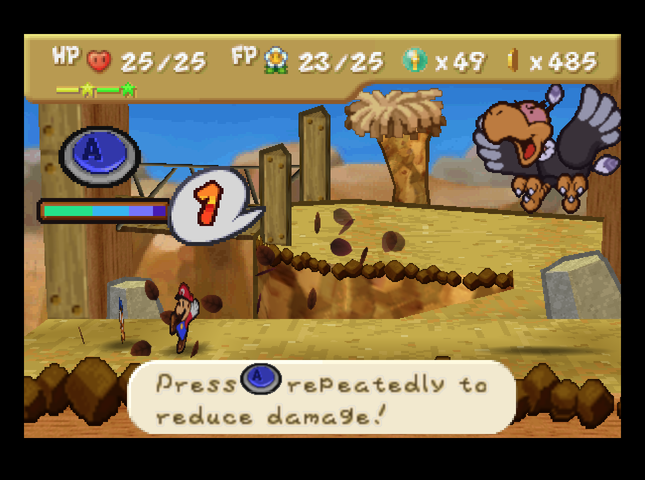 We open the fight with a Power Jump. Buzzar responds with his classic wind attack. 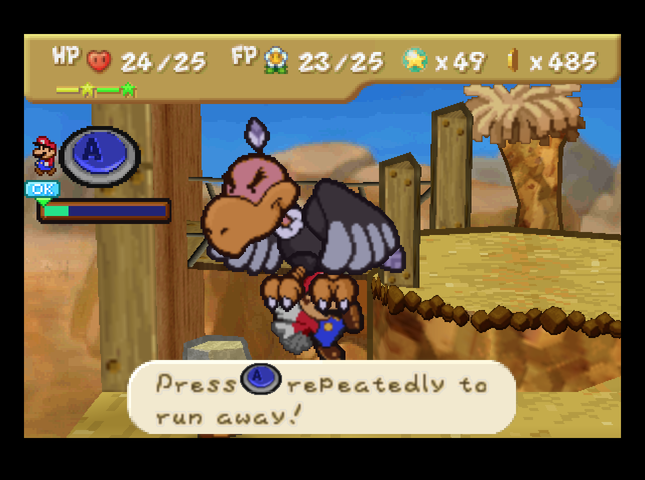 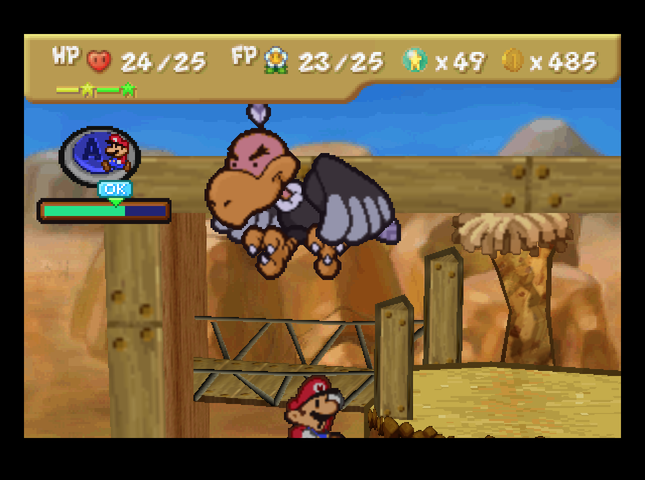 We�re stunned for the next turn, so Buzzar chains into his next attack: the grab. While Buzzar would hoist us up high and drop us, we can (and do) get out of it entirely by button-mashing. (Having Dodge Master equipped helps with this.) 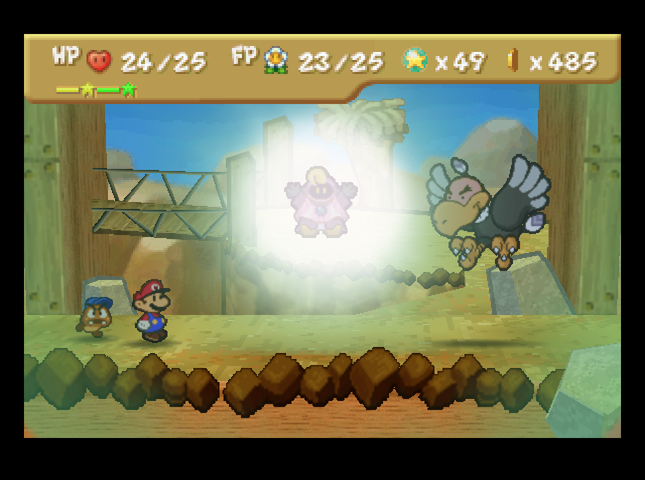  Based on my previous playthroughs of the battle, I noticed Donlee has always provided an attack boost on Mario�s second attacking turn. I take advantage of this by going for a normal Jump attack, for a total of 8 damage. Goombario swaps with Parakarry so we can have high-end aerial attack power. 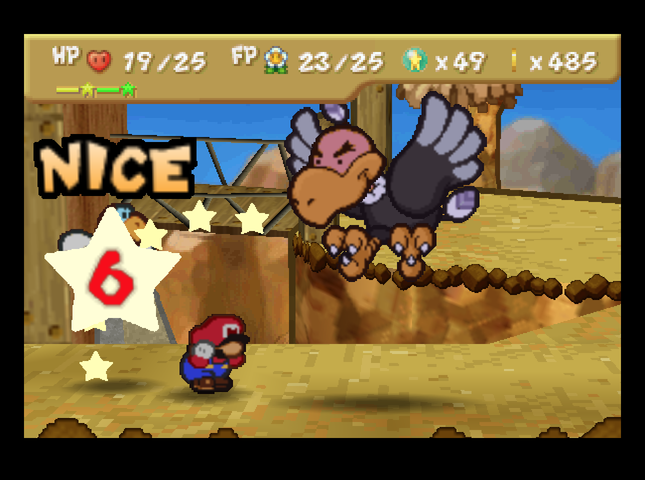 Buzzar�s next attack is the claw swipe. It�s not hard to block it, so we do. 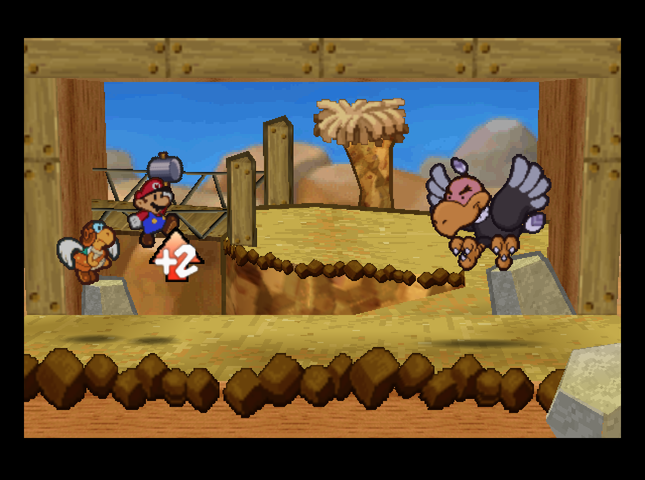 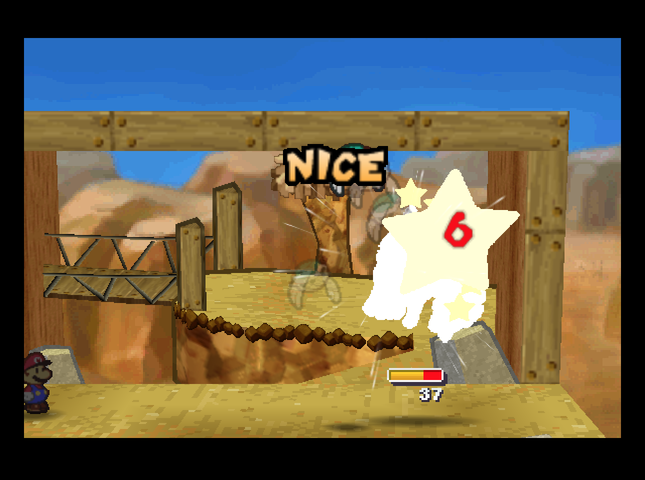 At this point, we switch over to the Smash Charge and Shell Shot strategy we used before. 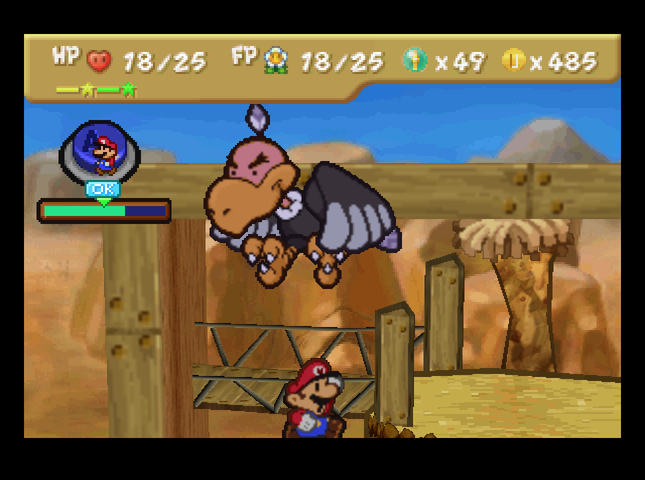 Buzzar counters with the grab again - he�s using his full AI script now. Our button-mashing skills continue to prove up to the task. 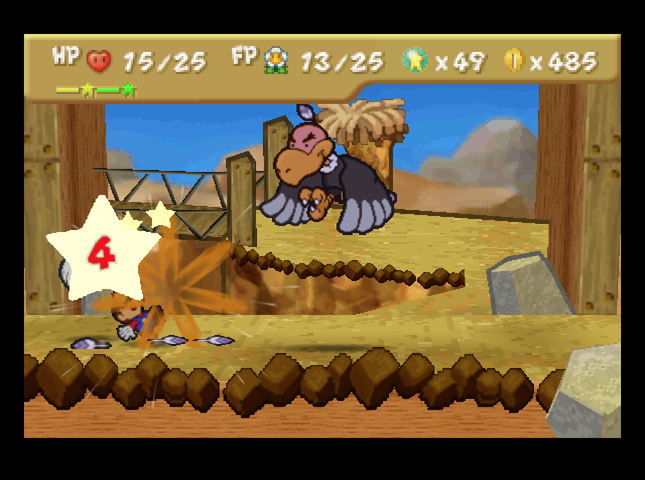 And next turn, he does the feather toss by itself. It�s a lot less of a threat that way. 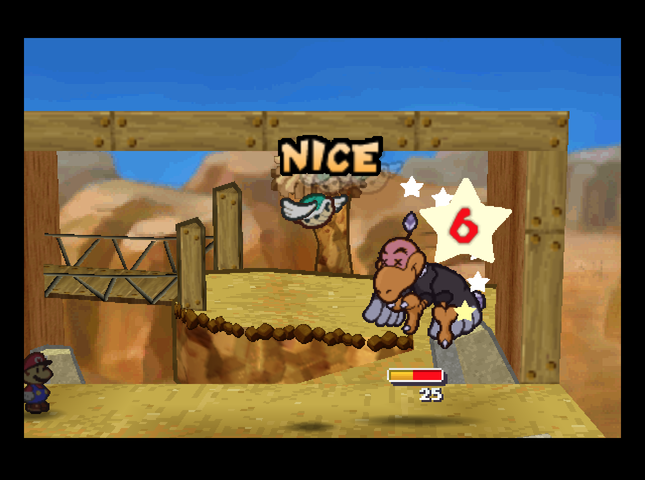 Parakarry Shell Shots again, bringing Buzzar�s HP below 30� 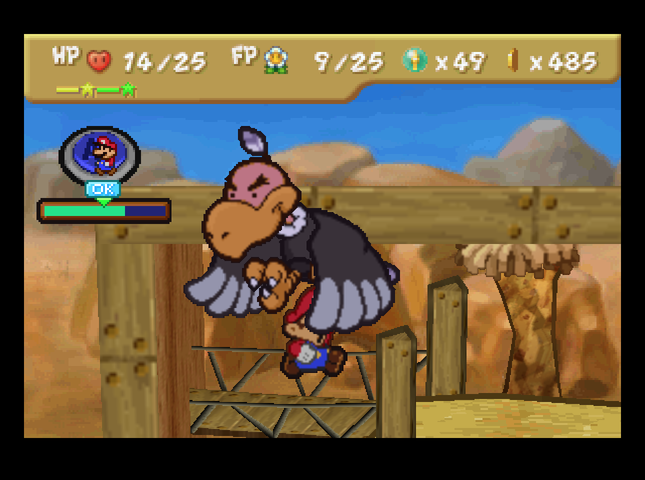 And Buzzar does the grab a third time - and, critically, doesn�t follow it up with the feather toss. It looks like the toss is only added to attacks that aren�t the grab. The reason this is important is that, behind the scenes, the grab attempt when Mario is electrified is coded as a separate attack. If I had to guess what happened, the Master Quest devs added the feather toss as a follow-up attack to every one of Buzzar�s moves (except the grab), not realizing that the 6 damage claw swipe was a replacement for the grab. From there, the devs either didn�t test the fight with Zap Tap on, or did test it and decided things were OK. So here�s a recap: Through accident or design, the Buzzar fight plays out very differently when Buzzar�s at low health (as demonstrated above). With Zap Tap, Buzzar�s feather toss gets used every turn. Half of the turns, Mario is paralyzed by the wind attack and the toss hits him for 4. The other half, he has to block the feather toss so as not to be stunlocked for a further two turns. Mario�s partner is also out of commission half the time, as well. Without Zap Tap, Mario is always freed from paralysis before Buzzar grabs him (which he does every other turn). The grab can also usually be escaped from without taking damage. Because of this, Mario has chances to heal up and generally recover / fight back. Moreover, Buzzar only uses the paralyzing wind attack once every six turns, giving Mario�s partner plenty of room to act in the background while all this is going on. I�d be a lot more OK with this if it were obvious that it�s Zap Tap that�s responsible for changing Buzzar�s AI script. I had to look up a battle mechanics FAQ (thanks, Araxxor, for pointing me to it originally) to find this out! 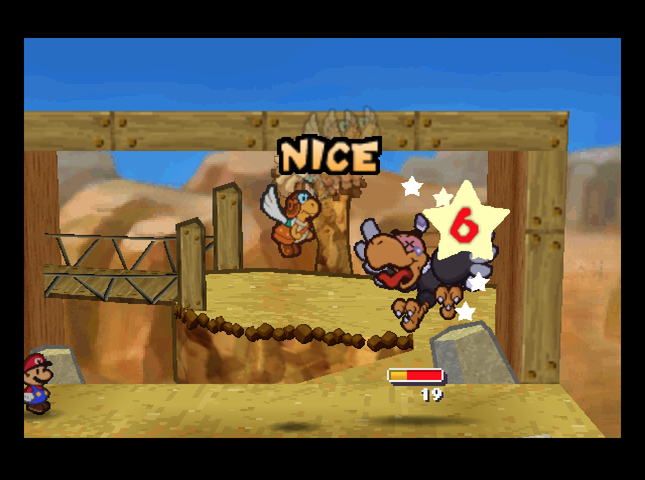  Back to the battle! The third grab, which we just experienced, is the last line in Buzzar�s normal AI script, so he�ll use the wind next turn. We use Refresh to heal up a little extra for the big salvo, and Parakarry keeps the damage coming. 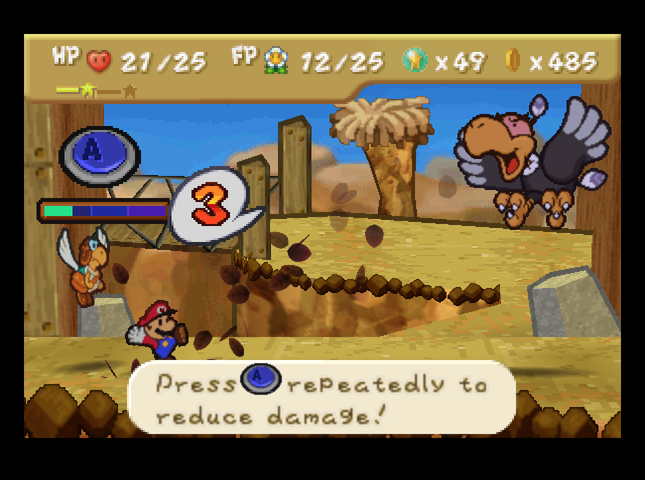 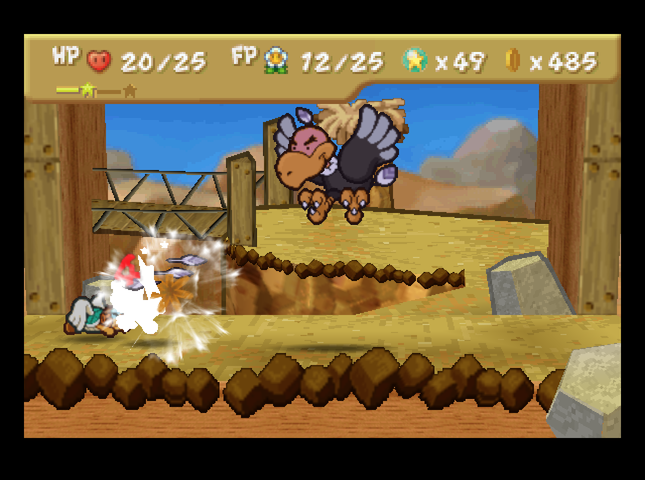 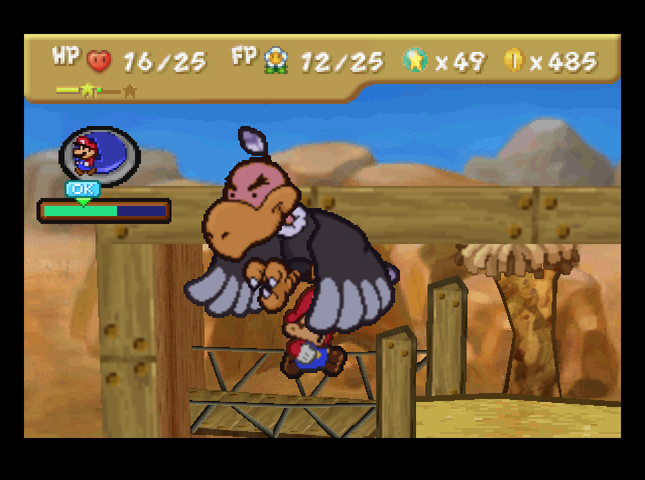 Sure enough - Buzzar uses the wind attack, and follows it up with the feather toss. That segues into the grab, which we wriggle out of. 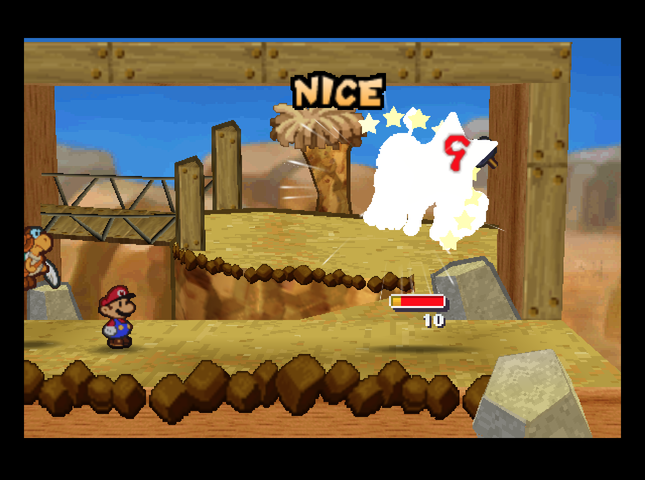 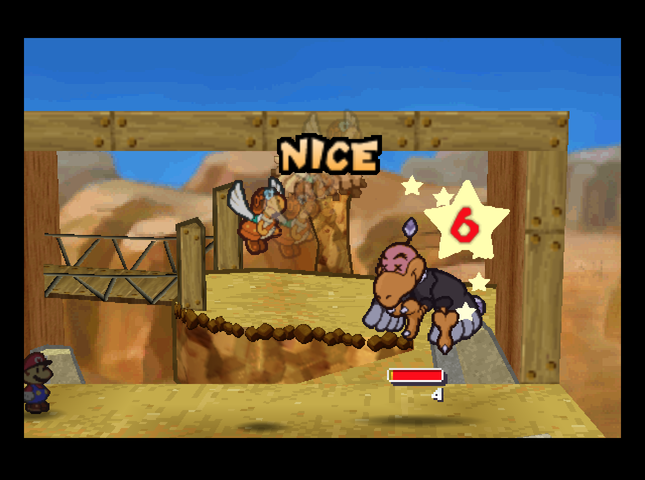 The Hammer Throw we�ve been charging does 9 damage to Buzzar, and Parakarry uses a Shell Shot to add another 6 on top of that. 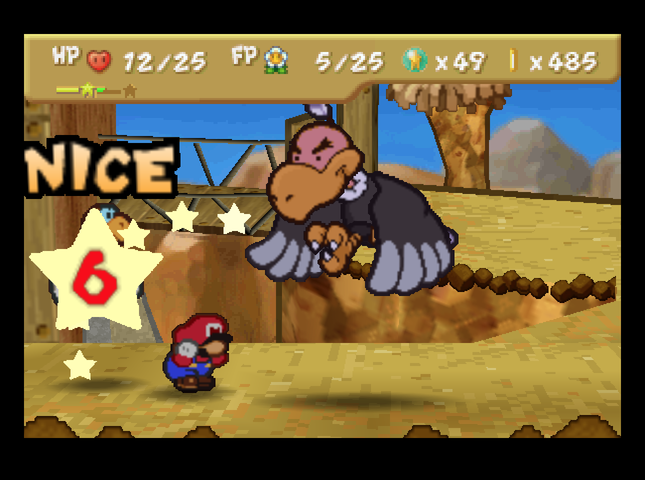 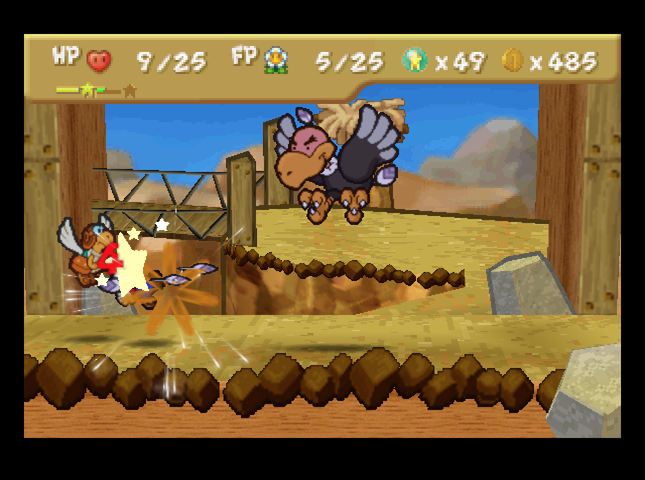 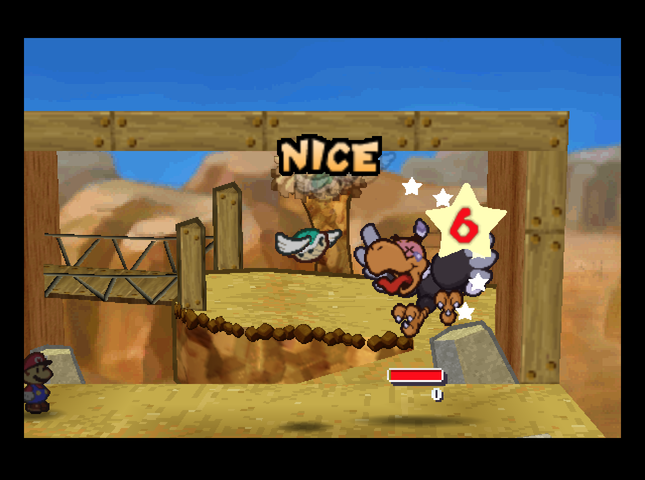 We do flub the feather toss again, but Parakarry is there with Shell Shot for the KO. 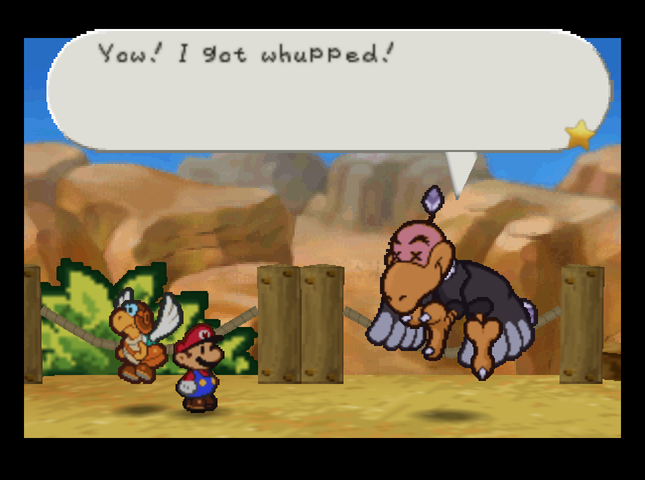 Now, let us never speak of this again. 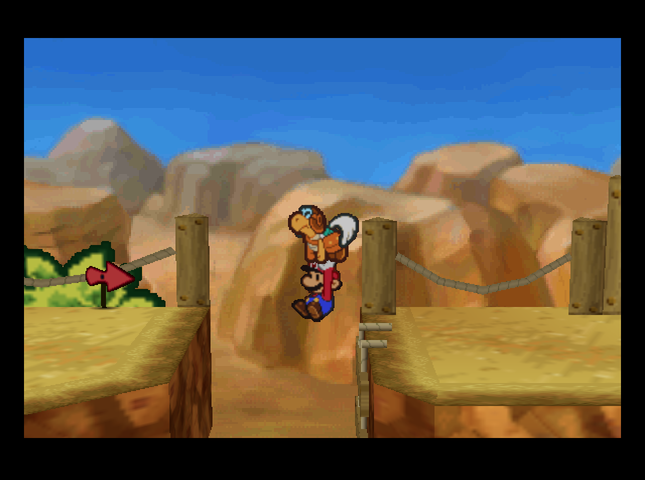 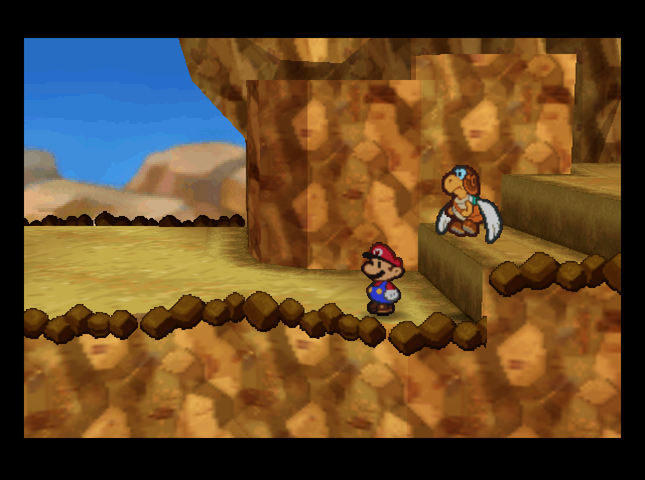 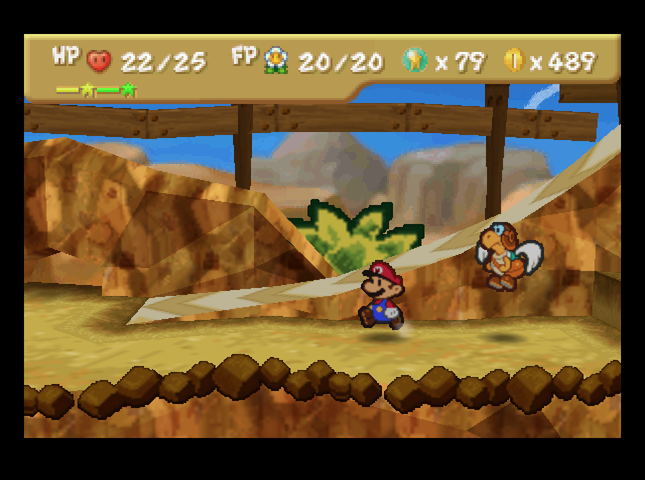   On the Toad Town side of Mt. Rugged, we find an area blocked off by a Stone Block.   There�s a Super Block back here! This time, it�s Goombario�s turn. His attack goes up to 2 (and still hits twice), and he learns Charge, which boosts his Attack by 2 for 1 FP (like Mario�s Smash Charge). 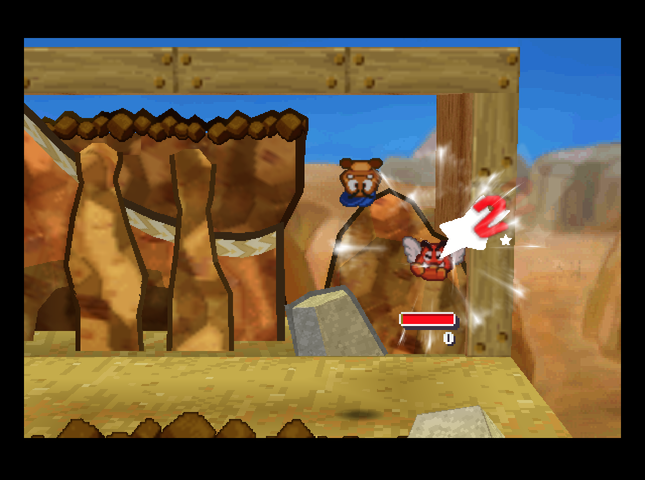 With this much power, Goombario can take on the Red Paragoombas on Mt. Rugged all by himself. 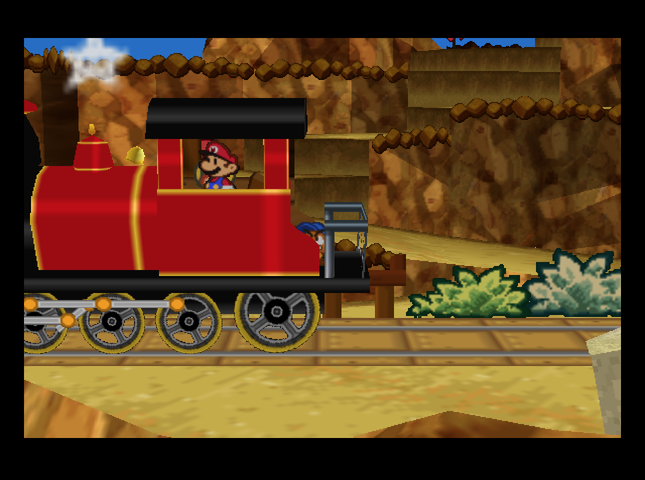 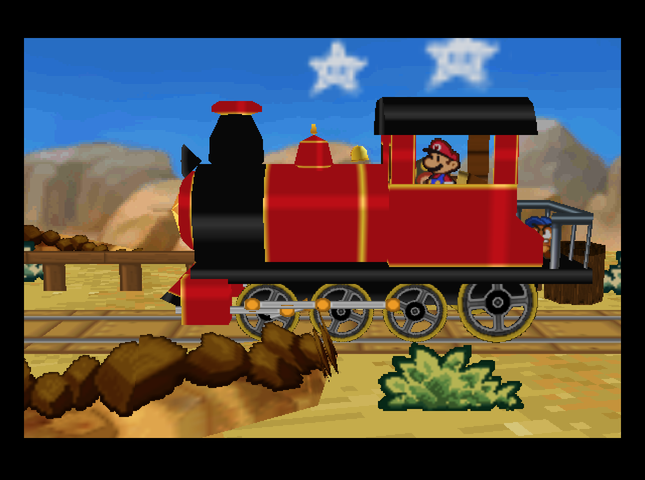 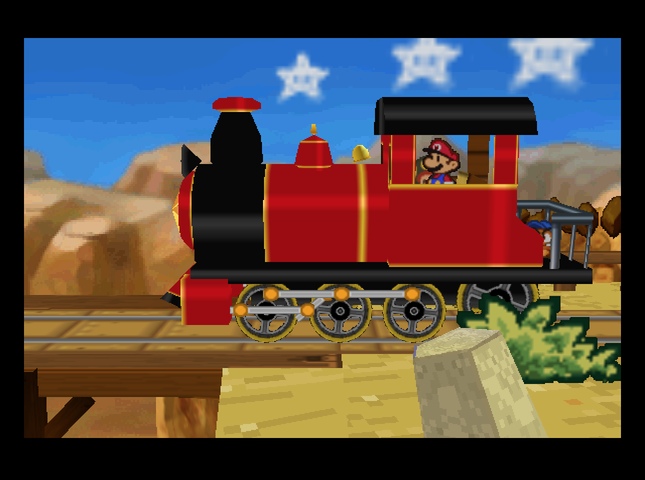 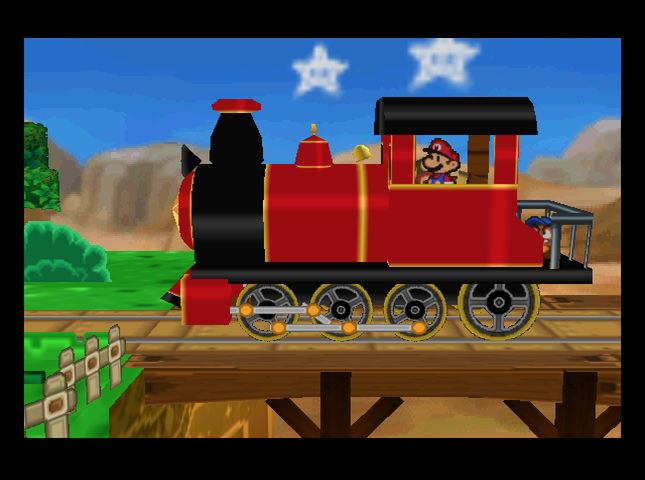 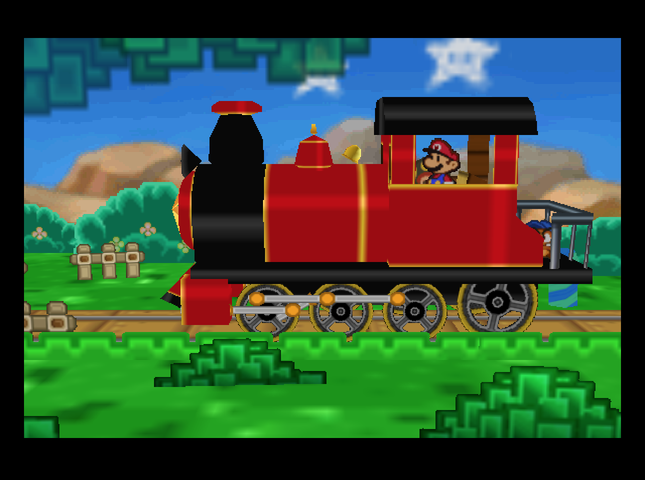 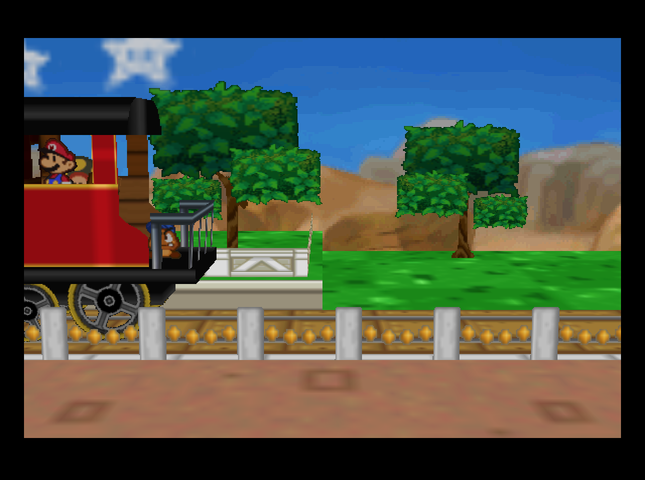 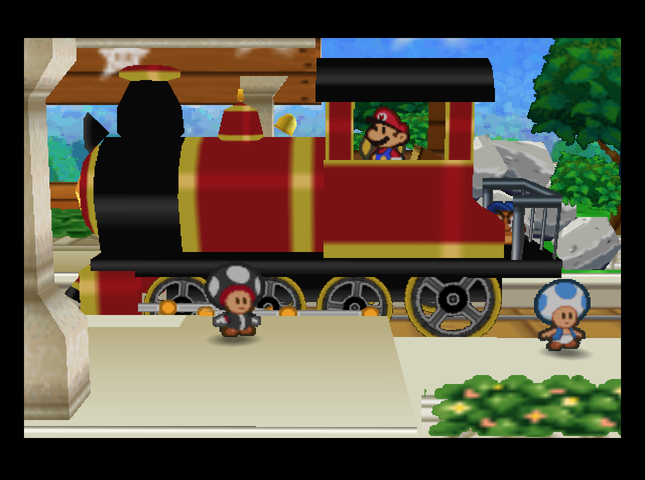 The rest of the trip home is uneventful. 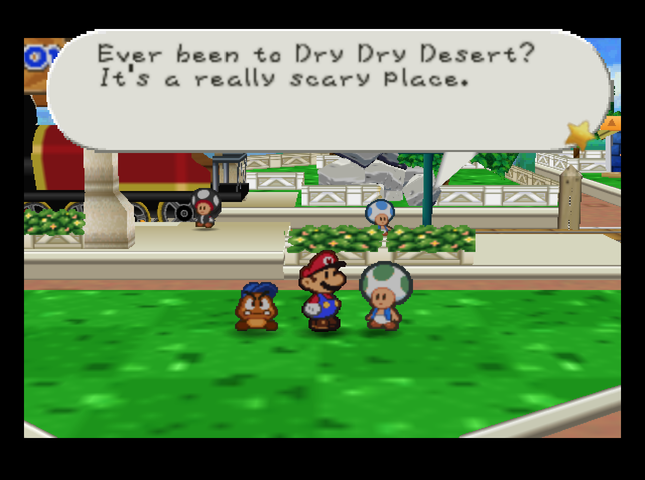 We talk to this Toad who�s hanging around the station�  The path is blocked now by sand dunes from the last big storm. I�m a desert expert, so I found the way through, no problem. The path is blocked now by sand dunes from the last big storm. I�m a desert expert, so I found the way through, no problem.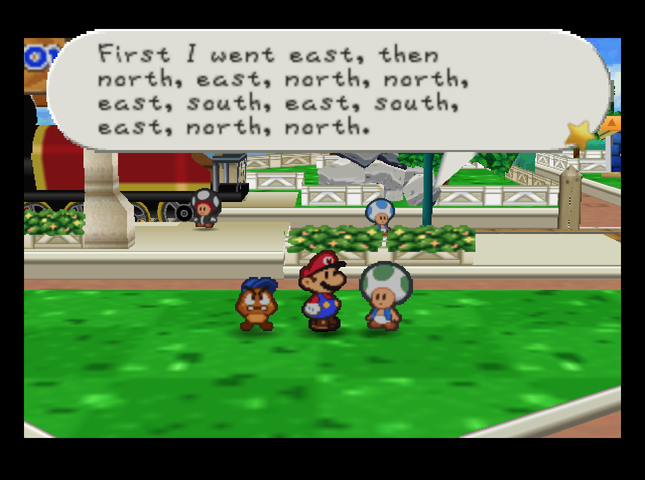 Then I went east, and south until I reached the path. Then I went east, and south until I reached the path.Fun fact: The first text bubble of the Toad�s route takes you exactly to the Pokey horde room. Anyway, it would have been nice to know this a while ago! 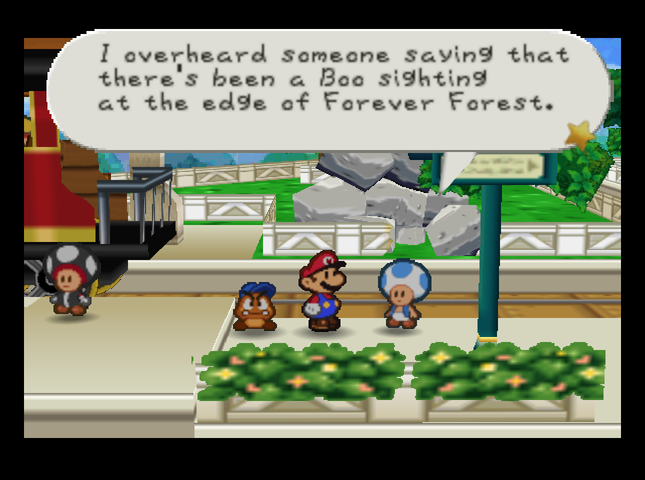 Another nearby Toad has our next plot hook. Anyway! It�s time to do all the everyday things of Toad Town. 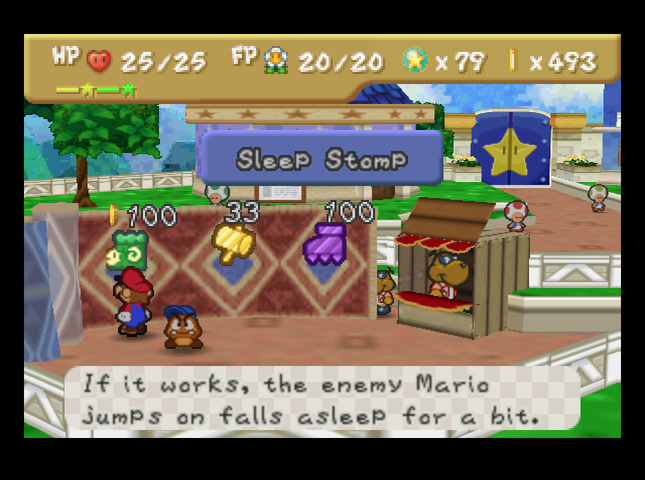 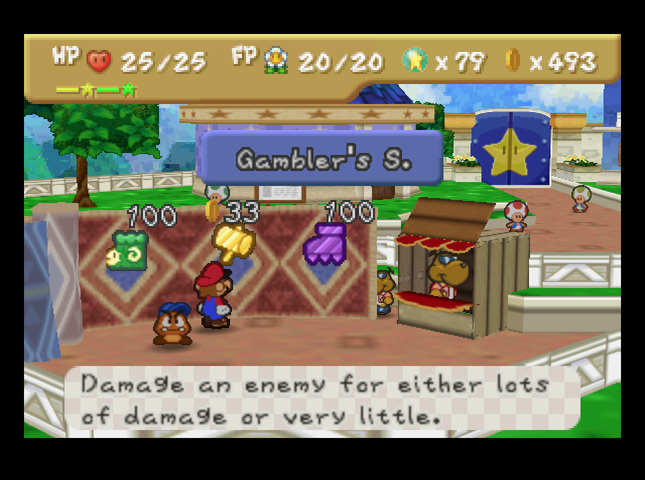 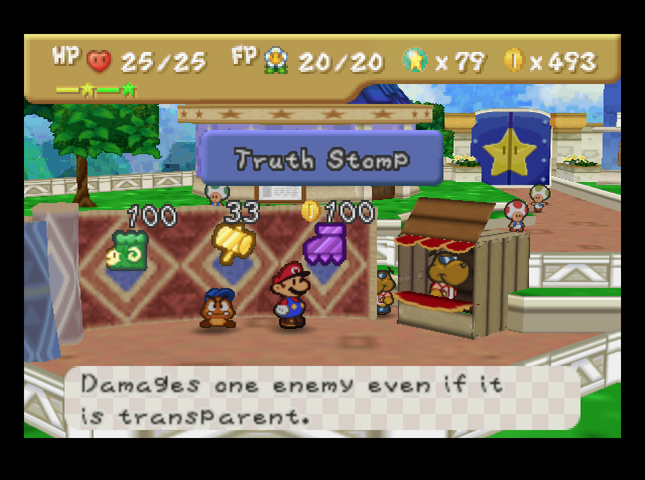 Our first stop is the Badge Shop. We pick up Sleep Stomp, which lets Mario stomp on enemies to try and put them to sleep - while single-target, it�s apparently a stronger effect than Lullaby. Gambler�s Smash, for 3 FP has a small chance to deal bonus damage� but also a much larger chance to do exactly 1 damage, so we�re really only buying it to round out our collection. Truth Stomp is a new one. The badge lets you stomp on invisible enemies, for 1 FP. Is there a use for this later in game? Sleep Stomp has been changed, by the way - it now costs 5 FP to use, instead of the 2 it did in Paper Mario. Moreover, Truth Stomp used to be a badge called Static Stomp, which let you try and inflict paralysis on an enemy for 5 FP - making it similar to Sleep Stomp overall. 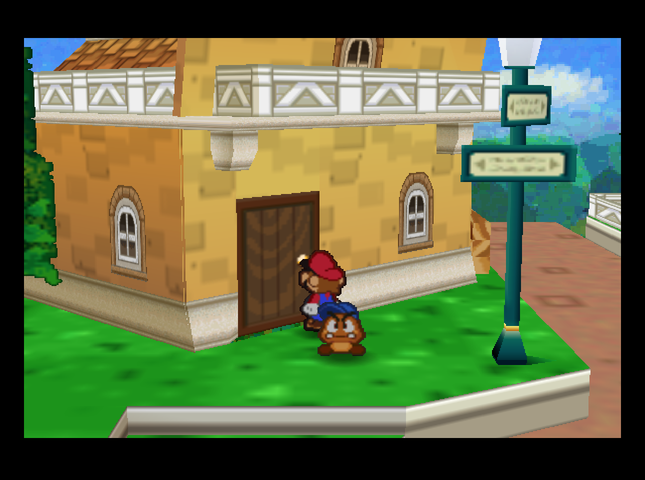 Next stop is Tayce T�s. We have two new recipes we can get our hands on. 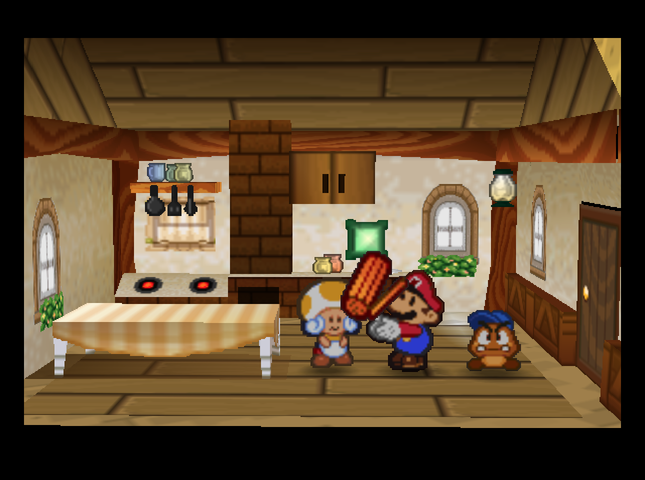 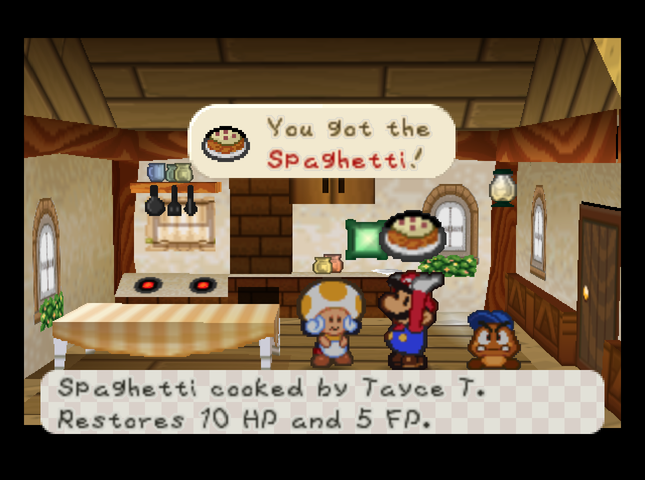 Dried Pasta, when rehydrated, becomes Spaghetti. This healed 6 HP and 4 FP in the base game, but it�s been majorly upgraded to heal 10 HP and 5 FP! A well-received change. 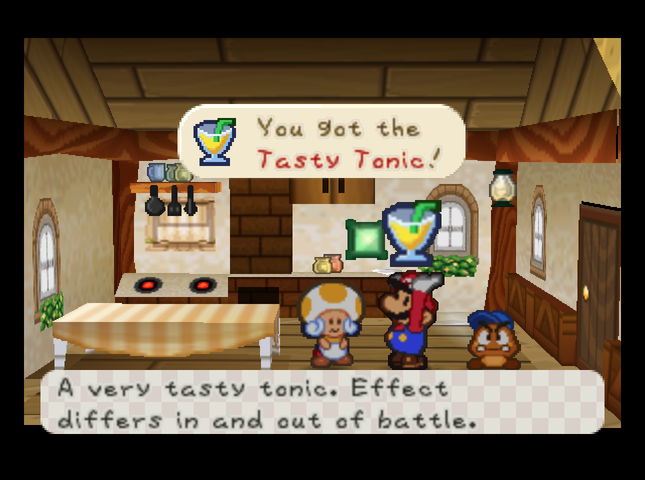 Juicing a Lemon or Lime yields a Tasty Tonic. This is a bit less useful to us, so we�ll sell it next time we�re at a shop. 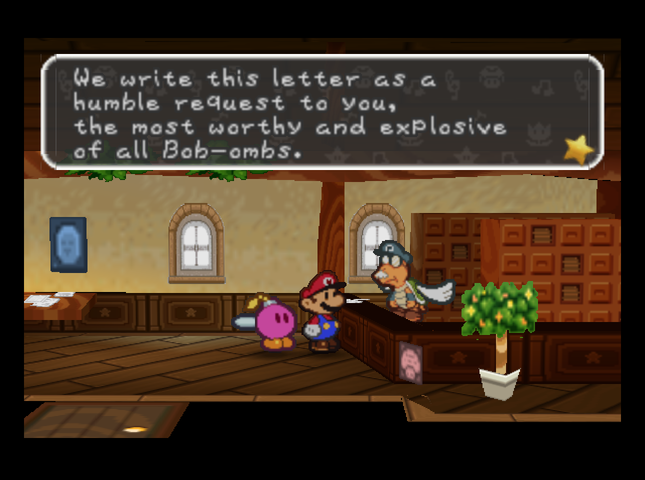 We check in at the post office. Bombette has a letter from the railroad company.  It�s still a long time off, but later this year we will be staging an opening event for a new Dry Dry Railroad route. We feel the event could be a gala bash if we could enlist your bomb-bursting help. Crowds love fireworks! Anyway, we�ll get in touch with you after your adventure ends to confirm the dates. Sincerely, Dry Dry Railroad - Transportation Department It�s still a long time off, but later this year we will be staging an opening event for a new Dry Dry Railroad route. We feel the event could be a gala bash if we could enlist your bomb-bursting help. Crowds love fireworks! Anyway, we�ll get in touch with you after your adventure ends to confirm the dates. Sincerely, Dry Dry Railroad - Transportation Department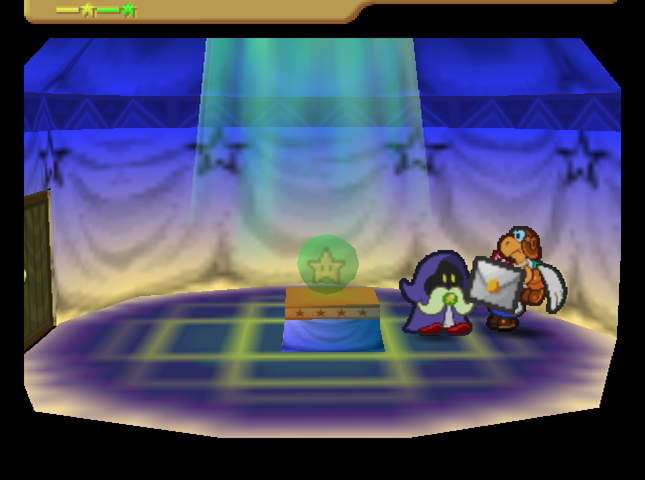 Since we�re by Donlon�s house, Parakarry delivers the letter to him we recovered on Mt. Rugged.  Hm? Who�s it from? Hmmmmm� Oh, my granddaughter, Donlee! She recently entered the family business. She opened up her business in Dry Dry Outpost, deep in the desert. It�s located somewhere quiet off the main drag. She seems to be keeping busy. That�s good to hear. Hm? Who�s it from? Hmmmmm� Oh, my granddaughter, Donlee! She recently entered the family business. She opened up her business in Dry Dry Outpost, deep in the desert. It�s located somewhere quiet off the main drag. She seems to be keeping busy. That�s good to hear.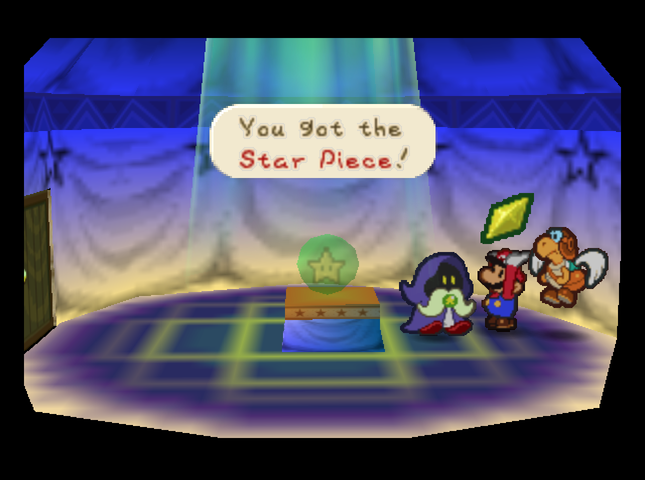 We get a Star Piece for services rendered. 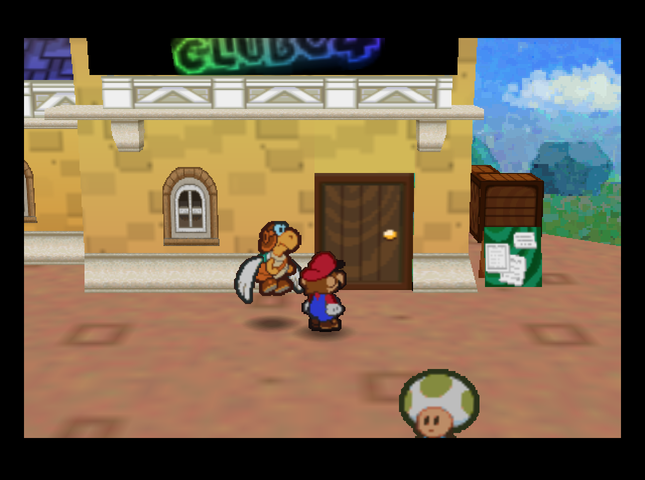 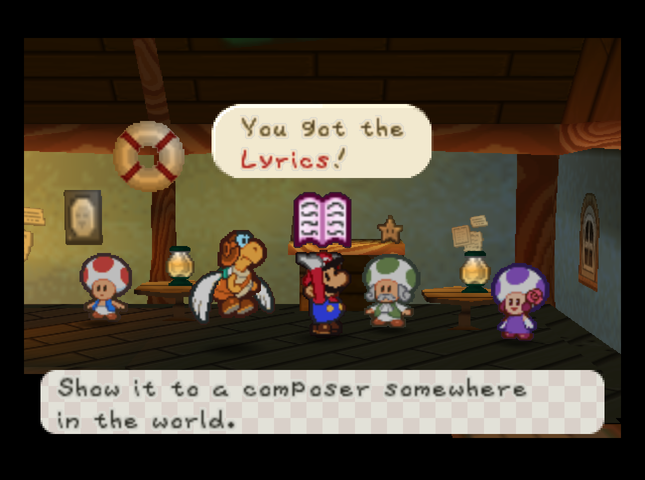 Next, we visit Club 64, by the port. There�s a small sidequest here involving finding a Composer to set some Lyrics to music for the Pop Diva on the right. (She had a crisis of confidence when Bowser Bowsernapped Peach�s Castle.)  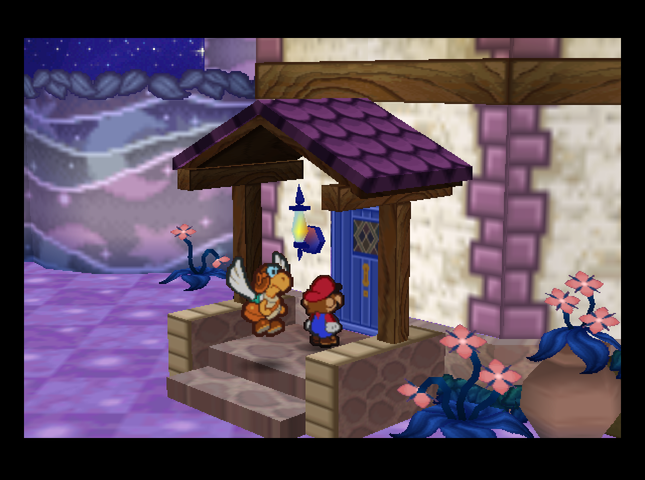 After that, it�s time to leave Toad Town. Our destination is Donlee�s house� 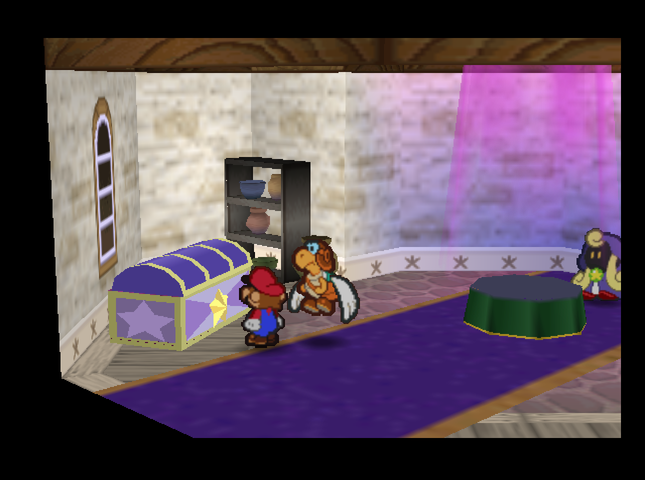 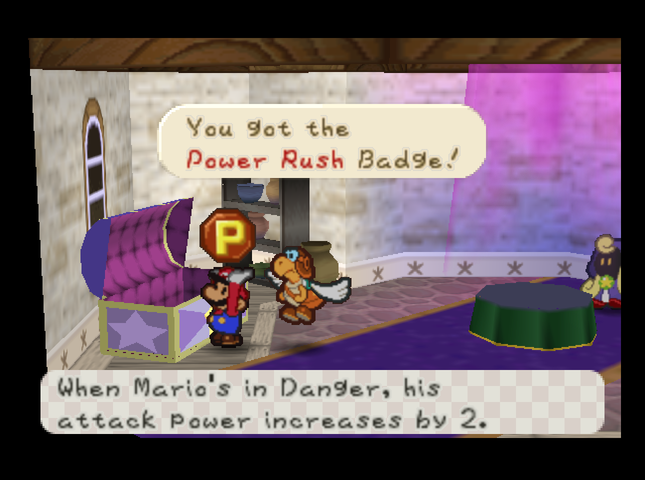 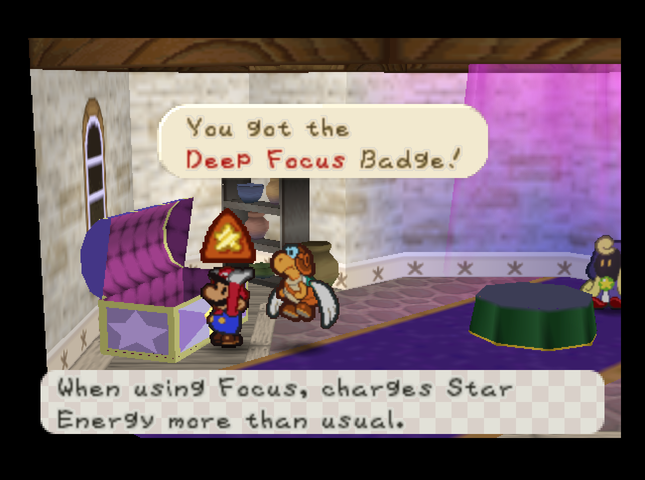 �specifically, the mysterious chest in her front room, which has the Power Rush and Deep Focus badges Princess Peach snuck into its twin.  With the amount of times Mario ends up in Danger in this hack, I think we�ll be keeping Power Rush on a lot - just in case. 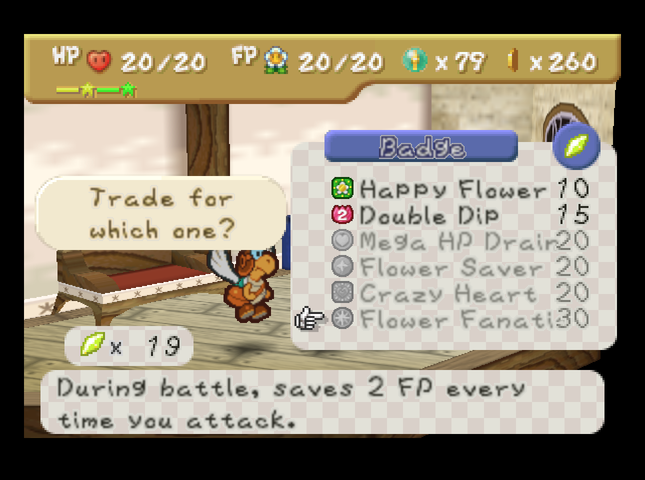 We have 19 Star Pieces, so we can get a new badge from Donlow, if we want. I can�t decide - and Koopa Koot likely has some favor or other that will give us more Star Pieces - so I�m going to poll the thread for suggestions. If you want to help me decide what badge to buy, scroll to the end of the post! 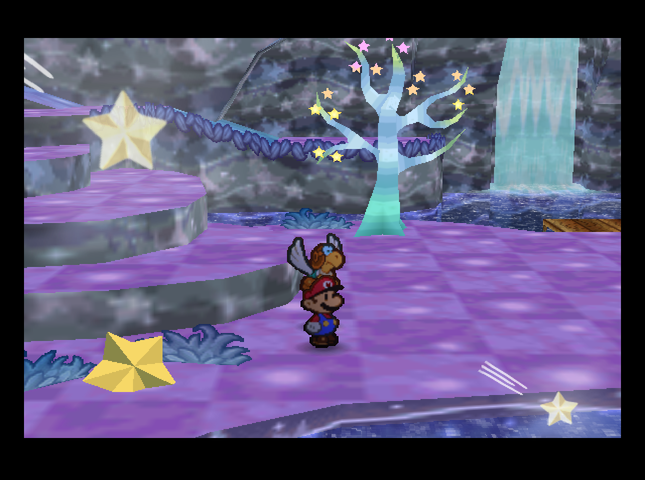 Since we�re in the area, we head to the Star Temple. 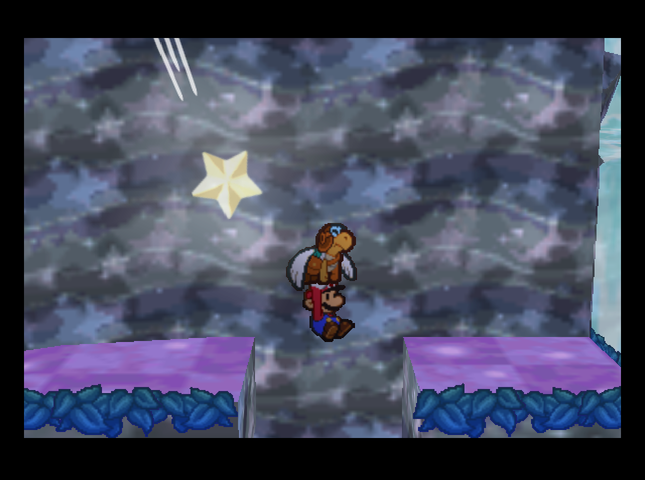 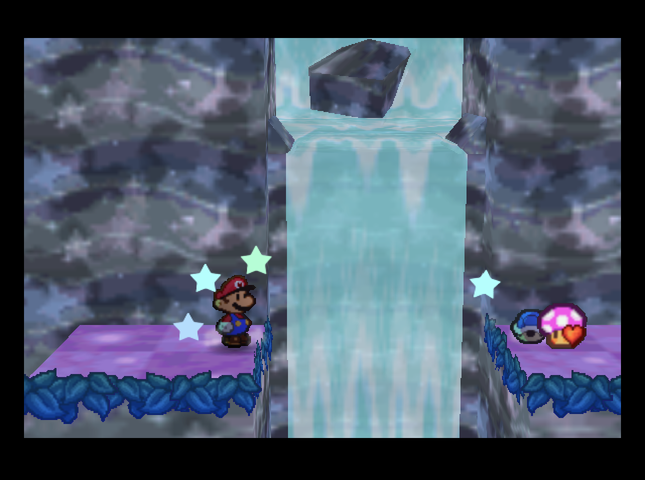 Now that we have Parakarry, we can cross a small gap, to a ledge by the waterfall. Here, Kooper lets us pick up� a Life Shroom? OK, there�s a story to tell here. Originally, the old Pro Mode hack put a badge called Lucky Stars here. It increased the activation frequency of Merlee�s spells. (The game tracks Merlee�s spells by setting up a semi-randomized, hidden counter that counts down battle turns to the next spell. The counter persists between battles. Lucky Stars accelerated the speed the counter decreased.) When Master Quest was first forked from Pro Mode, Merlee became Donlee, so Lucky Stars became Mafia Influence. The mechanics of the badge were left unchanged. Then, in Master Quest version 1.2.0.1, Mafia Influence was replaced. The primary reason cited is unreliability of the badge (if Donlee decides her next boost will be to your Star Points, she�ll wait until the counter hits 0, and then wait more to help out until the next time you win a battle with Star Points. This led to long waits between appearances and players assuming the badge was buggy). However, another reason cited was that the badge slot was needed for the express purpose of being turned into a completely different badge, which fans of the game had requested in the Discord. That badge was� Double Pain!  So yeah. Mafia Influence became Double Pain, and the badge was moved to the Pit of 100 Trials. All�s well that ends� well?   That�s a good chunk of the stuff we have to do in Toad Town. However, we still have a lot of errands to run - letters to deliver, favors to ask about, Stone Blocks out in the world to smash - and most of them will involve traveling to other parts of the Mushroom Kingdom.    Which means Mario�s journey now takes him deep into the sewers under Toad Town - seeking out the Warp Pipes that make travel a snap. What lies in store for our plumber as he plumbs the depths? We�ll have to wait and see. Badges: 28/89 (New: Deep Focus, Gambler�s Smash, Power Rush, Sleep Stomp, Truth Stomp) Recipes: 10/50 (New: Spaghetti, Tasty Tonic) Star Pieces: 39/180 Chuck Quizmo�s Quiz Questions: 18/64? Game Overs (this time): 3 from Buzzar. 11 damage salvos while wearing Zap Tap? Seriously, bird? Game Overs (total): 6. SUMMARY OF CHANGES FROM MAIN GAME (in this installment) � Buzzar is now a mean-rear end bird. (+15 HP, +2 Attack (claw swipe is +5 Attack, wind attack is not boosted), claw attack shrinks, feather toss and wind attacks now paralyze, now adds feather toss to every attack except successful grabs once he�s below 30 HP. Buzzar is also heavily resistant or immune to both Sleep and Shrink, by the way.) � Tayce T. unlocks the true power of pasta; her Spaghetti is even more delicious. (Recovers 4 more HP and 1 more FP.) � Lucky Stars badge added, then corrupted to Mafia Influence, then stolen and replaced with Life Shroom. Next Time On Master Quest: A saga of fighting and warp pipes! By the Way: Donlow Badge Suggestions We�re taking suggestions on what badges to buy from Donlow now that we can afford another one! Here�s the list of his remaining stock. Attack FX A: 1  , 0 BP - Changes the sounds of Mario�s attacks. No other use. , 0 BP - Changes the sounds of Mario�s attacks. No other use. Chill Out: 2 , 1 BP - Prevents Mario from being hit by an enemy First Strike.Pay-Off: 3 , 1 BP - Makes extra coins appear after a battle if Mario was beaten up a lot.Berserker: 5 , 0 BP - Boosts Mario�s Attack by a large amount (2-3?), but he acts on his own, and the player only controls the partner. Note that only Mario can use items and Star Spirit powers.HP Drain: 5 , 3 BP - Reduces Mario�s attack by 1, but he restores 1 HP each time he hits an enemy. (Multi-hit attacks count each enemy separately.)Pretty Lucky: 7 , 4 BP - Enemy attacks have a 1 in 10 chance to miss.Heart Finder: 7 , 2 BP - Makes 1-3 extra HP-restoring Hearts drop from enemies after a battle.Flower Finder: 7 , 2 BP - Same as Heart Finder, but with FP-restoring Flowers.Happy Heart: 10 , 2 BP - Has a 33% chance to restore 1 HP each turn.Happy Flower: 10 , 2 BP - Same as Happy Heart, but with FP.Double Dip: 15 , 3 BP - Lets Mario use two items in a turn, for a small FP surcharge.Mega HP Drain: 20 , 5 BP - Reduces Mario�s attack by 2, but he restores 2 HP each time he hits an enemy. Stacks with HP Drain.Flower Saver: 20 , 5 BP - Reduces the FP cost of moves by 1, to a minimum of 1.Crazy Heart: 20 , 5 BP - Has a 50% chance to restore 3 HP each turn.Flower Fanatic: 30 , 8 BP - Reduces the FP cost of moves by 2, also to a minimum of 1. Stacks with Flower Saver.
Quackles fucked around with this message at 23:19 on Sep 5, 2019 |
|
#
?
Sep 5, 2019 12:27
|
|
|
quote:(This is planned to be moved up to �after you get the Super Hammer� to keep players from returning to Toad Town with the Super Hammer in Chapter 2 and opening up a shortcut Warp Pipe to Dry Dry Outpost, thus making it possible to skip him entirely. But for now, the flag is tied to the Tutankoopa battle.) And now we're back to annoying decisions. That minor sequence break is fun and harmless. Patching it is just hostile. It's not a big deal on its own, but it grinds my Dungeon Master gears.
|
|
#
?
Sep 5, 2019 13:13
|
|
|
Sorites posted:And now we're back to annoying decisions. That minor sequence break is fun and harmless. Patching it is just hostile. I also really hope the Zap Tap thing with Buzzar is just an oversight, slapping in an outright trap option like that is just mean when there's no real indication that having it on screws you over that hard. And considering the damage numbers being tossed around and Mario being the only person who can toss items, odds are trying to make use of Power Rush will just get you stomped. For star pieces, I'd say save up a bit and get Crazy Heart. With all the chip damage you take from random battles, being able to regen most of it off rather than having to burn items would be a godsend.
|
|
#
?
Sep 5, 2019 14:23
|
|

|

|
| # ? Jun 3, 2024 17:56 |
|
|
Yowch. I didn't notice the Zap Tap issue, that's... yeah. Also, looking at that fight, I really don't know how I managed to beat Buzzar before Dry Dry Desert. (It took me three or four tries, admittedly, and lots of healing items). I actually enjoyed that fight, I think it felt fairer because Buzzar's attacks are reasonably easy to learn the timing on, and also it's balanced around the wind attack where the stun is impossible to dodge. Still, I think this fight could stand to have one of the sources of stun removed (either the wind attack or the other attacks probably shouldn't have it to be more fair). Not sure how I feel about Buzzar being made mandatory, but that's an interesting change (and again something I didn't notice on my playthrough, because I fought him earlier). (Also, Buzzar is far from the worst of the stunlock bosses, just you wait... ugh.) Re: Donlow's badges, there's a possible serious issue here. According to the board in Mario's house, there are 180 Star Pieces in the hack (there were 160 in vanilla Paper Mario). Adding up the cost of everything at Donlow's, we get... 182. I'm not sure if this is an oversight or a bug, possibly the board is just wrong, but if not it means it's impossible to get every badge and there will be some tough decisions to make here. (Well, in theory anyway. In practice I'd say it probably just means skipping Happy Heart or Happy Flower, other copies of those exist elsewhere and they're barely worth using anyway; on top of that I'm not sure if multiples of them stack.) As for suggestions... I bought Pretty Lucky (thinking that with how hard everything hits, dodging a few would make a big difference) but was very disappointed with it, it's too much BP for what it does and I've never actually put it on, so I'd say give that one a pass. FPZero mentioned Pay-Off earlier and I've found that to be very helpful, it's only 1BP and really does generate loads of coins (making it much easier to keep up with the increased need for healing items). I also think Double Dip can potentially enable a lot of strategies, but that's another one I've bought and so far not ended up needing. Lucky Stars/Mafia Influence is... interesting. I can understand why they took it out, I guess, but I'd definitely rather have that as an option than Double Pain. Sigh. Do people really want to make this harder? I can't imagine trying to play this with Double Pain on. Never mind there's already another hard-mode option in the Luigi challenge mode. I actually haven't been using Merlee/Donlee's curse in this playthrough despite normally liking it, because the unreliability will make it harder to judge the fairness/difficulty of an encounter, and i don't want to rely on chance to win, but it would be nice for things like the Pit of 100 Trials and I'd definitely have considered that badge there.
|
|
#
?
Sep 5, 2019 14:39
|
|