


|
Operation 4, Battle 3 of 6 Operation: Penny Packets Time: Mid-Day Skies: Overcast Ground: Damp Temp: Cold Wind: Windy WNW The Soviet attack has started in earnest. It turns out that they have far more tanks than we expected, and they're willing to send them off the road to drive us out of the trenches. With no real anti-tank capacity except some fairly weak guns, this battle is going to be tough. On the south side, we'll be forced to pull back. The Russian side of the trench is too exposed to enemy armor. The northern side of the road has held off the enemy assault so far, and we have a better chance of holding on there. However, with the position on the south side weakened, this point will be more exposed on the right flank and will also attract a greater concentration of enemy strength. 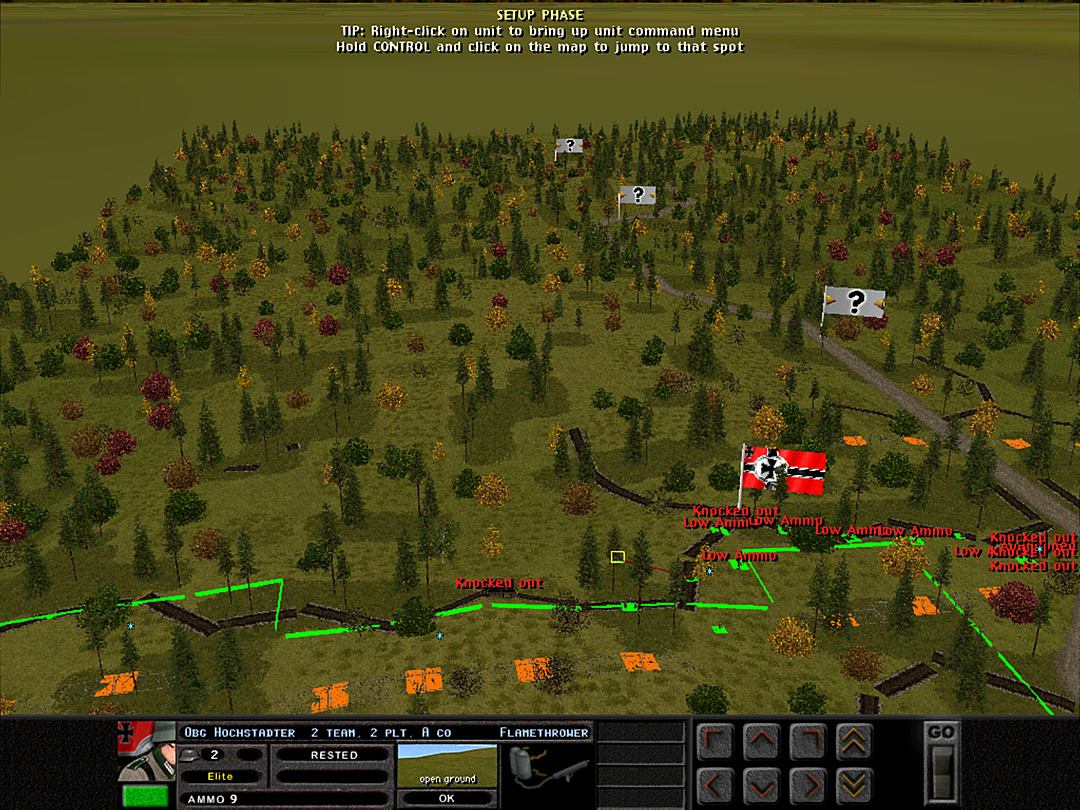 Unfortunately we once again have to pull the troops stationed in the trench back, as the Soviets have been able to harass the line and prevent any form of resupply.  B Coy, 3 Plt has marched up to man the trenches, while the remains of A Coy, 1 Plt will move up to guard the flank. The remainder of our squads that were here will stay in the rear trench to stock up on ammo. 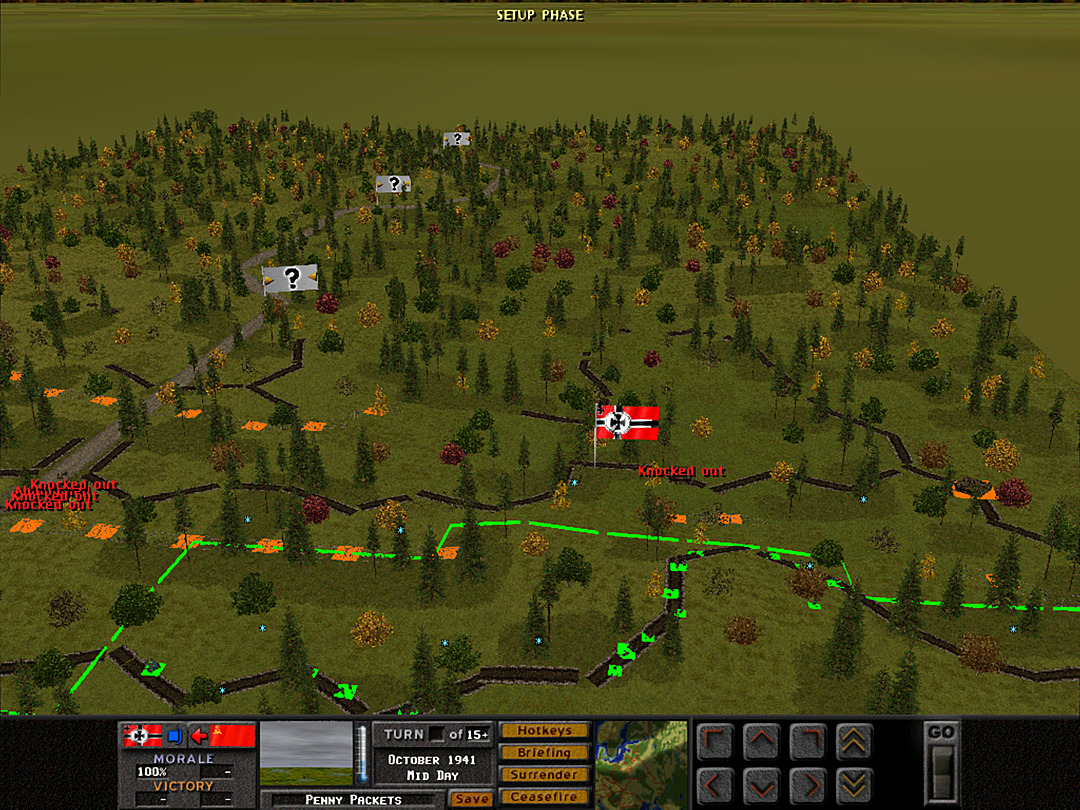 On the south side, both A Coy, 3 Plt and B Coy, 1 Plt have pulled back into our original trench line. This position gives a good view of the enemy as they approach, and will also allow a safer retreat if we come under pressure. The Airborne 4 Plt is down to two reduced-strength squads; they will station the trench in the middle, just to ensure that the enemy doesn't try to sneak through the wire. 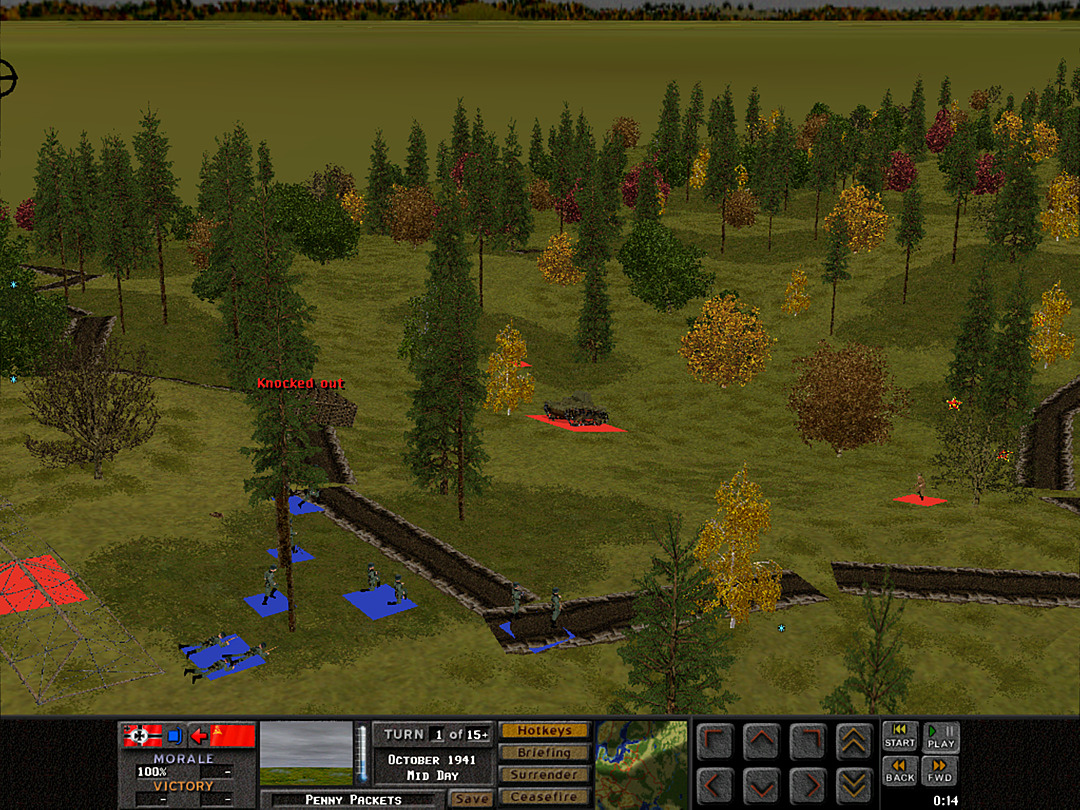 B Coy, 3 Plt immediately spots a tank that has circled around to the hollow below the north end of the trench. 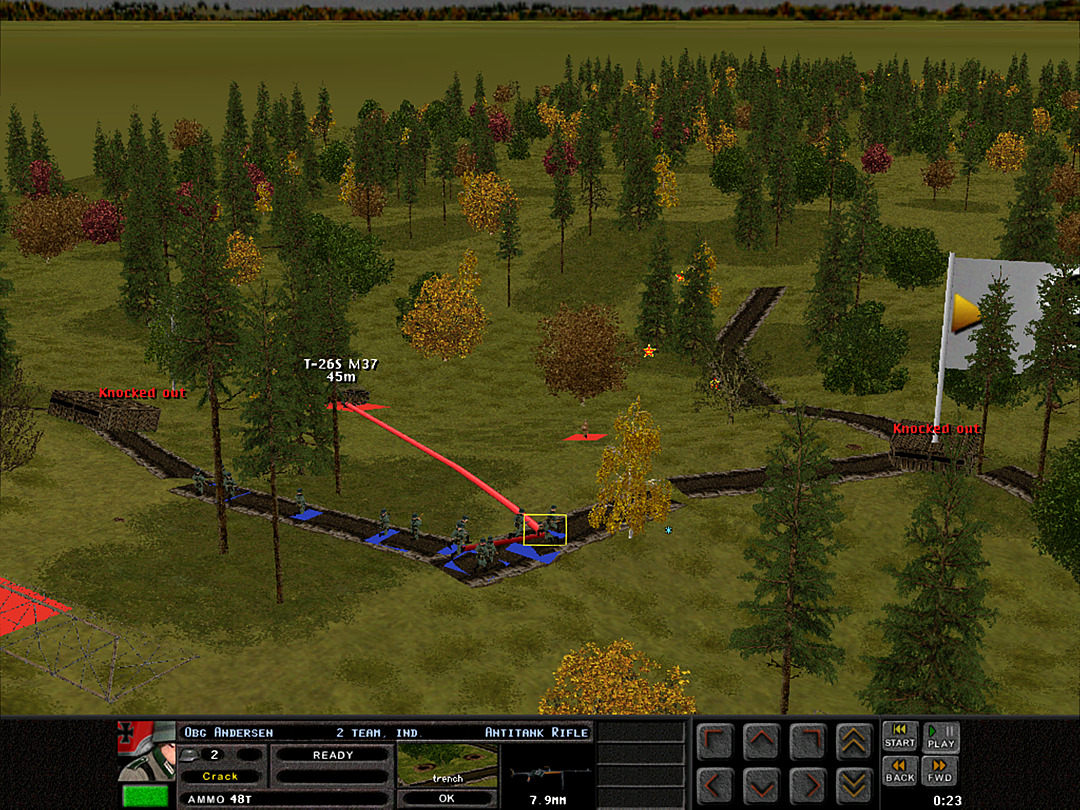 It looks to be a T-26, which our AT rifle team can easily penetrate. These rounds might not be enough to knock it out, but if we hit it enough, the crew should evacuate. 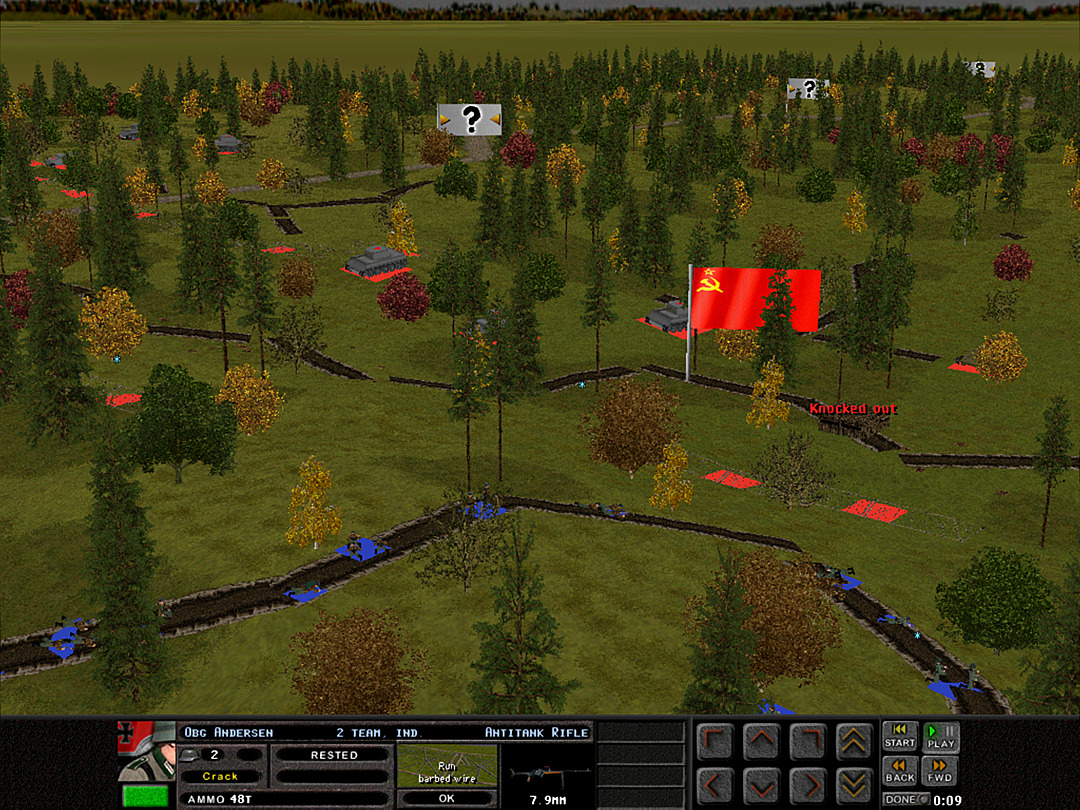 On the other side, we hear tanks on the move. We can't easily see which tanks they are, but conversely, they can't spot us either. 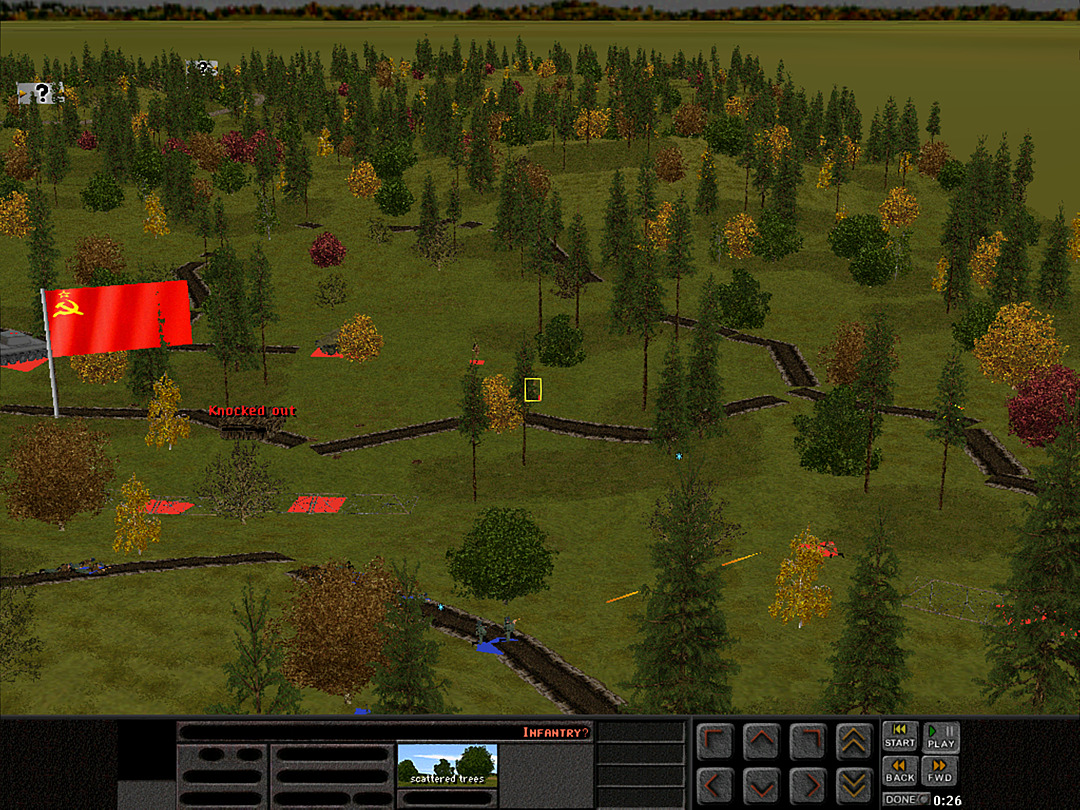 An infantry probe on the right comes in, though, and B Coy, 1 Plt engages. 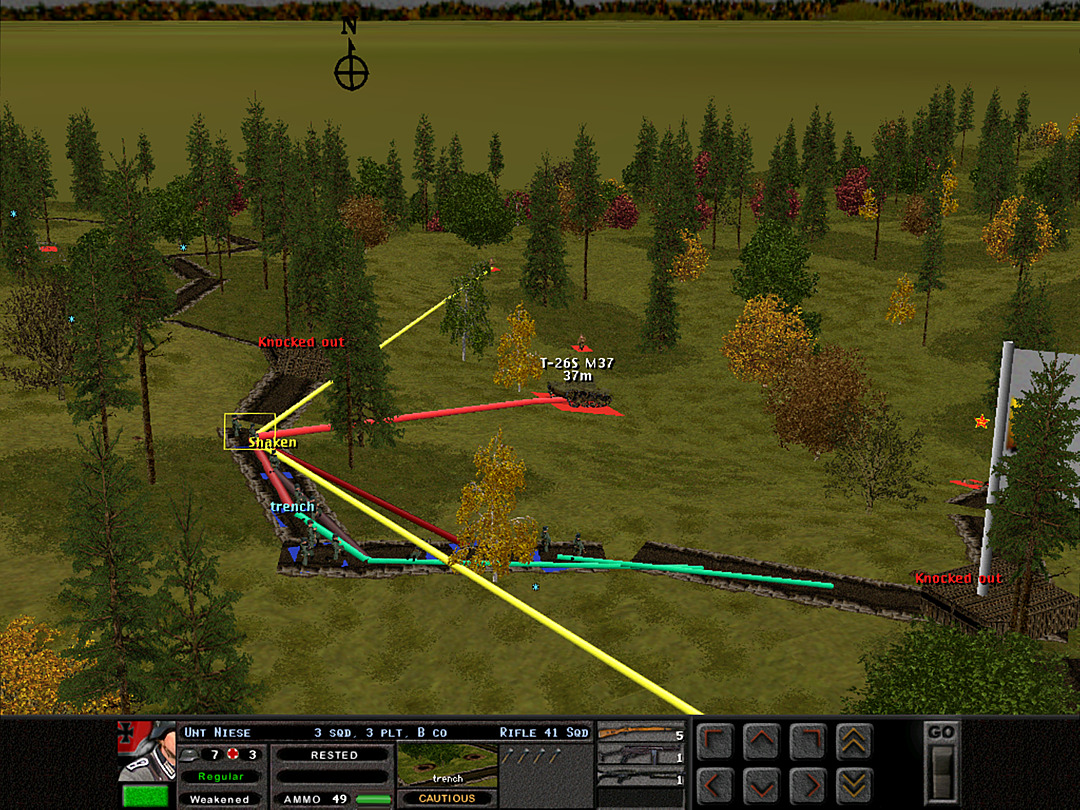 B Coy, 3 Plt has moved into the trench. They spot multiple contacts on either side; with those squads in addition to the T-26, it'll be hard to shift over to the forward bend that we want to regain. 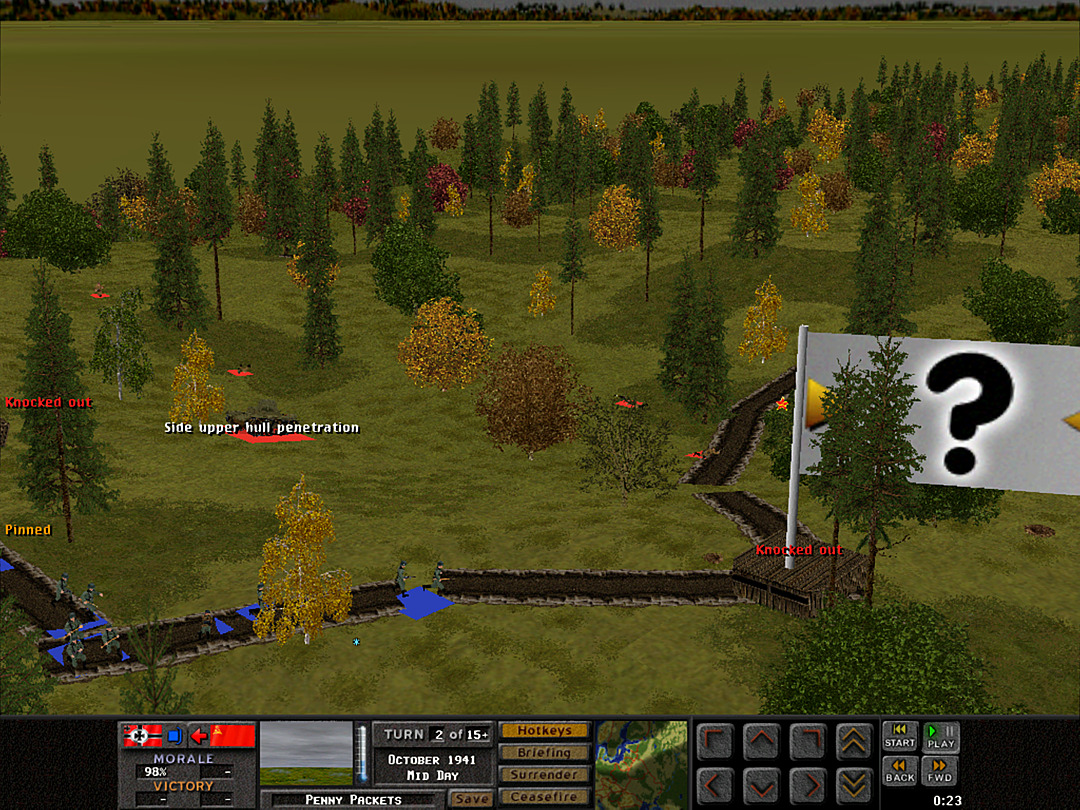 The AT rifle continues to fire at the T-26, but seemingly to no effect. 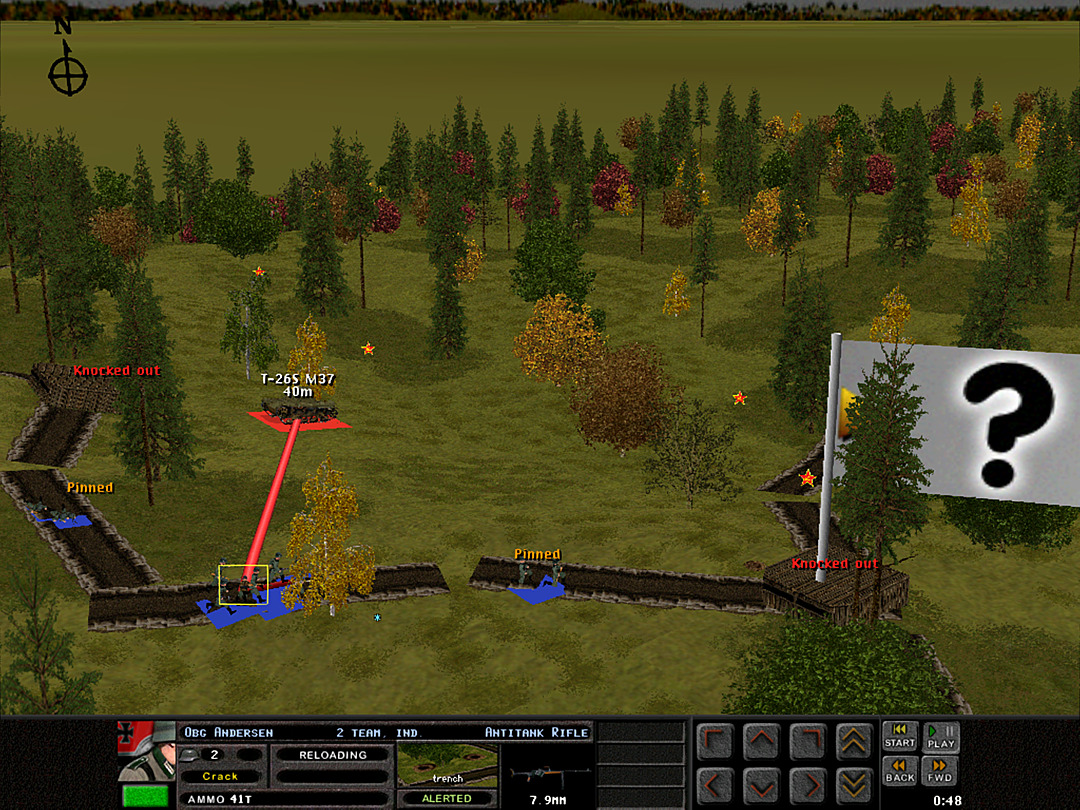 The tank responds by calmly rolling forward and turning its turret toward the rifle team. 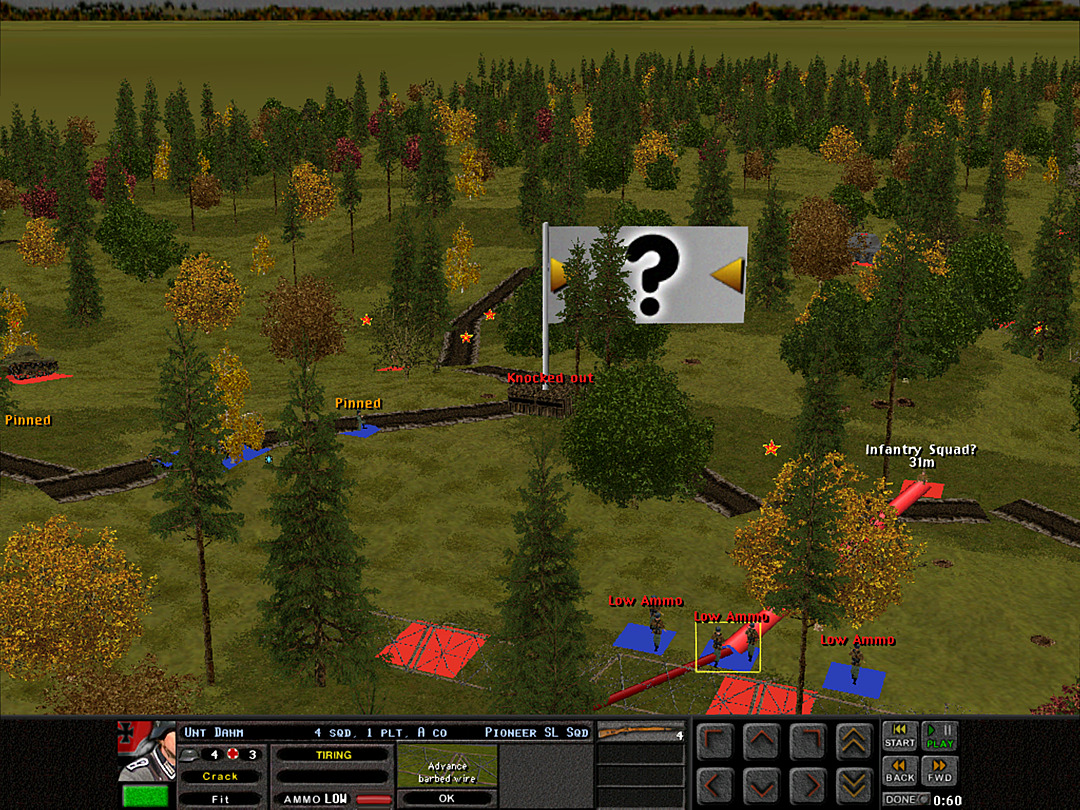 The squads from A Coy, 1 Plt get pinned back against the barbed wire before they can make any progress to the trench.  The defenders on the south hear what sounds like a tank rolling over a trench.  The forces on the south have at least repelled the initial probe. 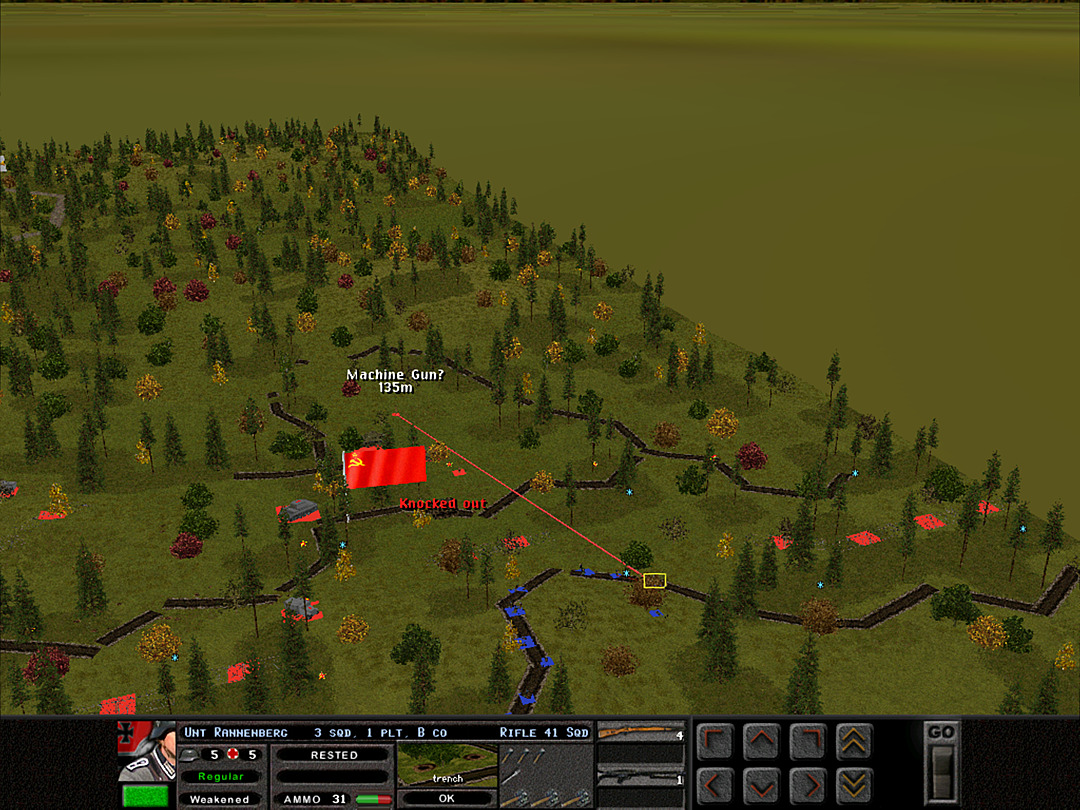 The Soviets are clearly moving more units in on the south side, though. They will occupy the trench we formerly held without difficulty. 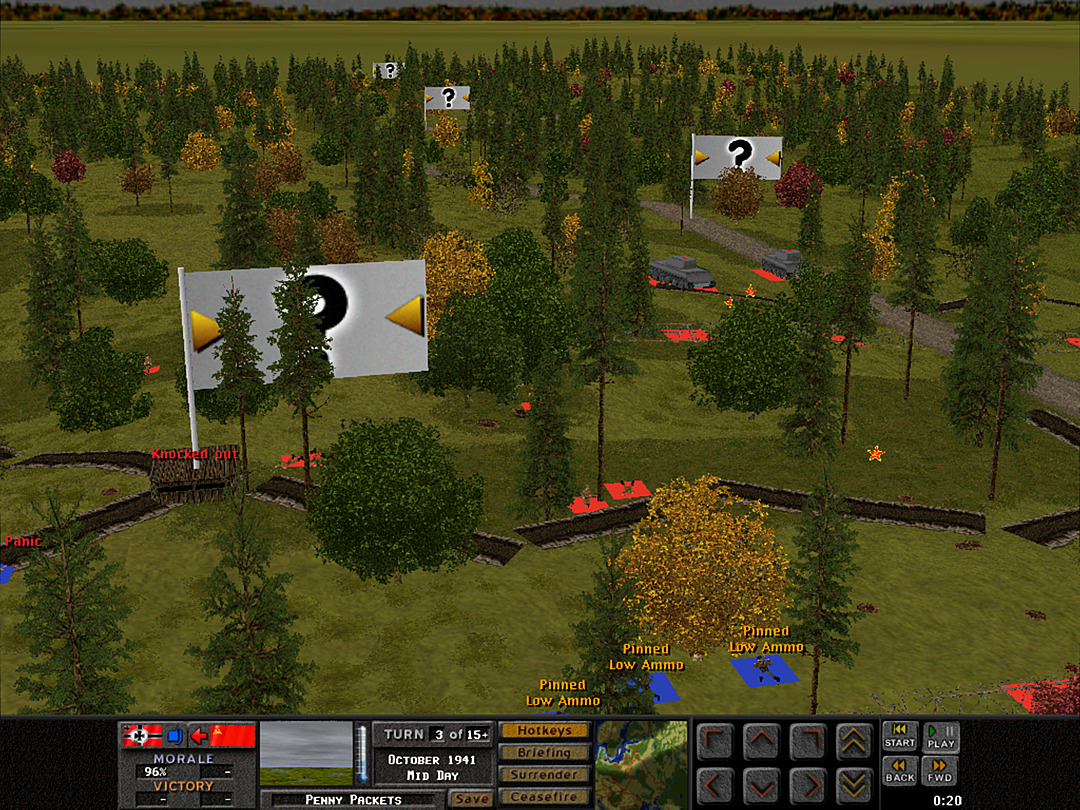 It doesn't look like we'll be able to secure the trench on the north side, as the enemy soldiers have rushed to take it first. 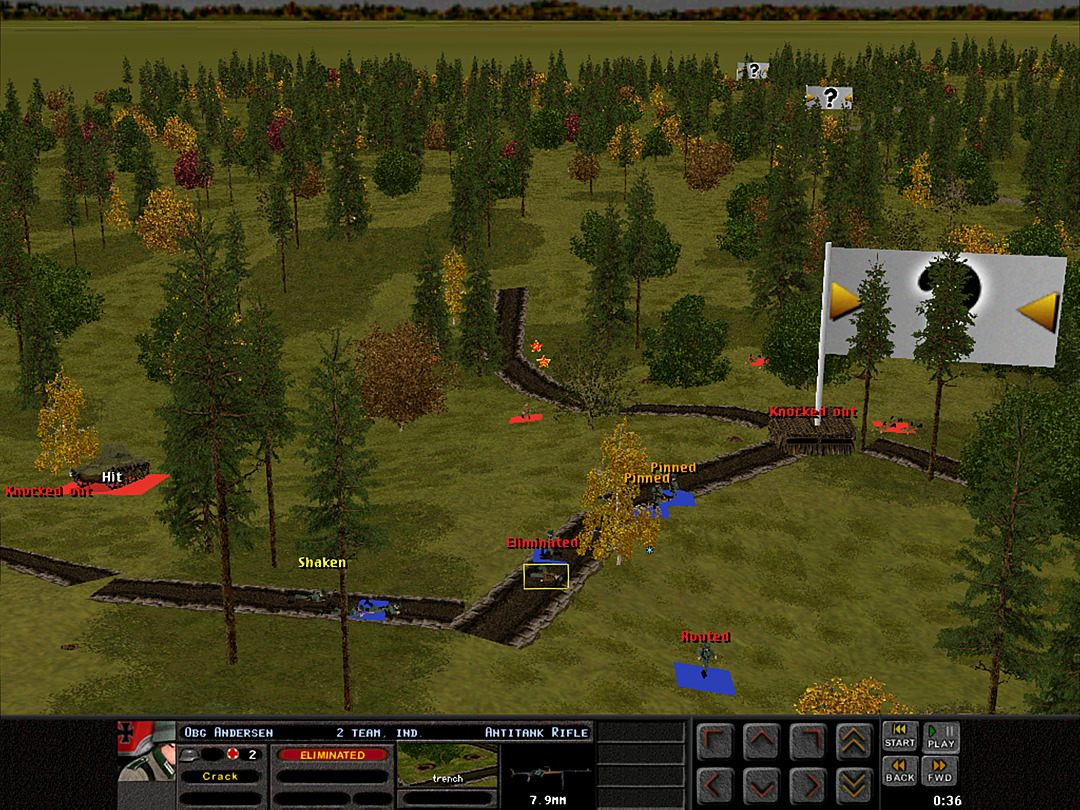 The T-26 blasts a round toward the AT rifle team, and our hopes of stopping the tank are lost. 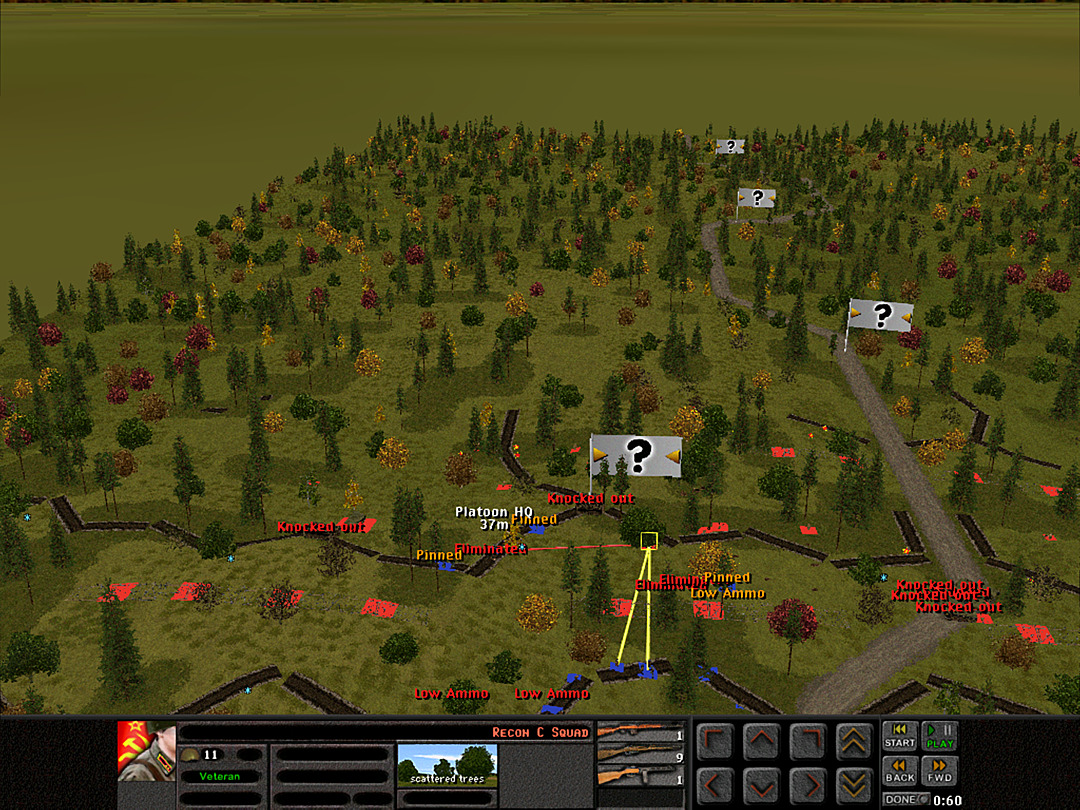 While the back line forces are able to engage the Soviets entering the trench, they can't do much to save the men of A Coy, 1 Plt. 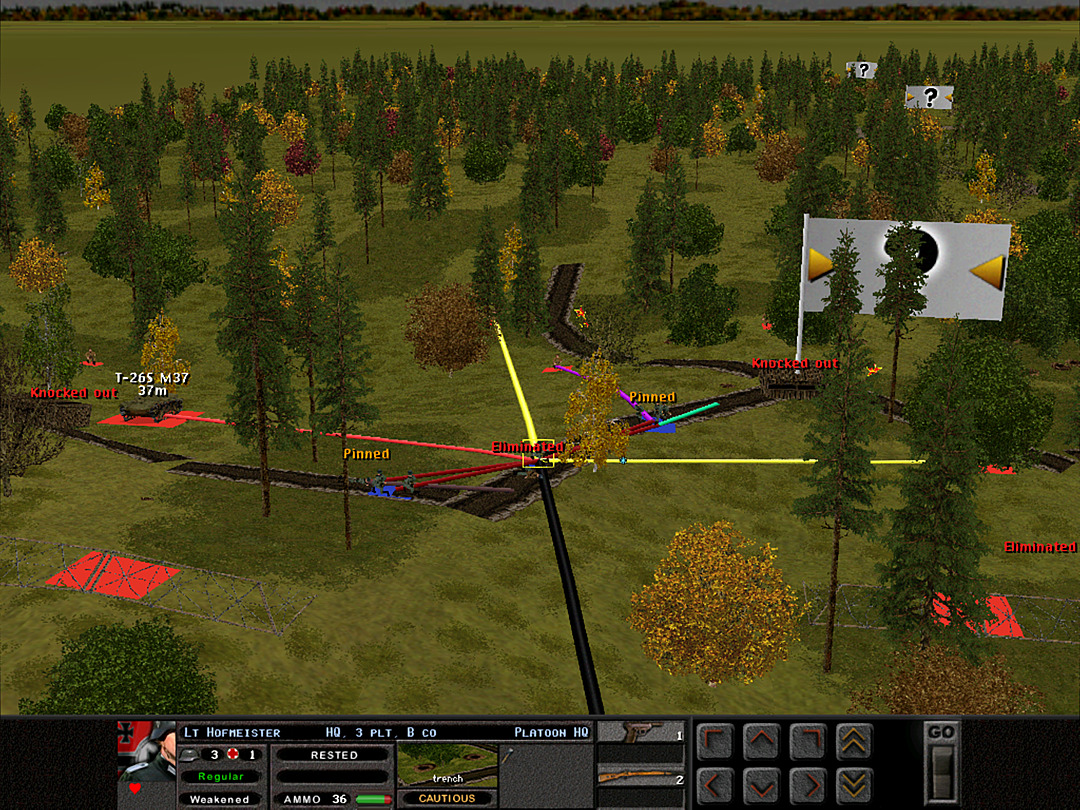 Now that the AT rifle is gone, B Coy, 3 Plt is coming under intense pressure. 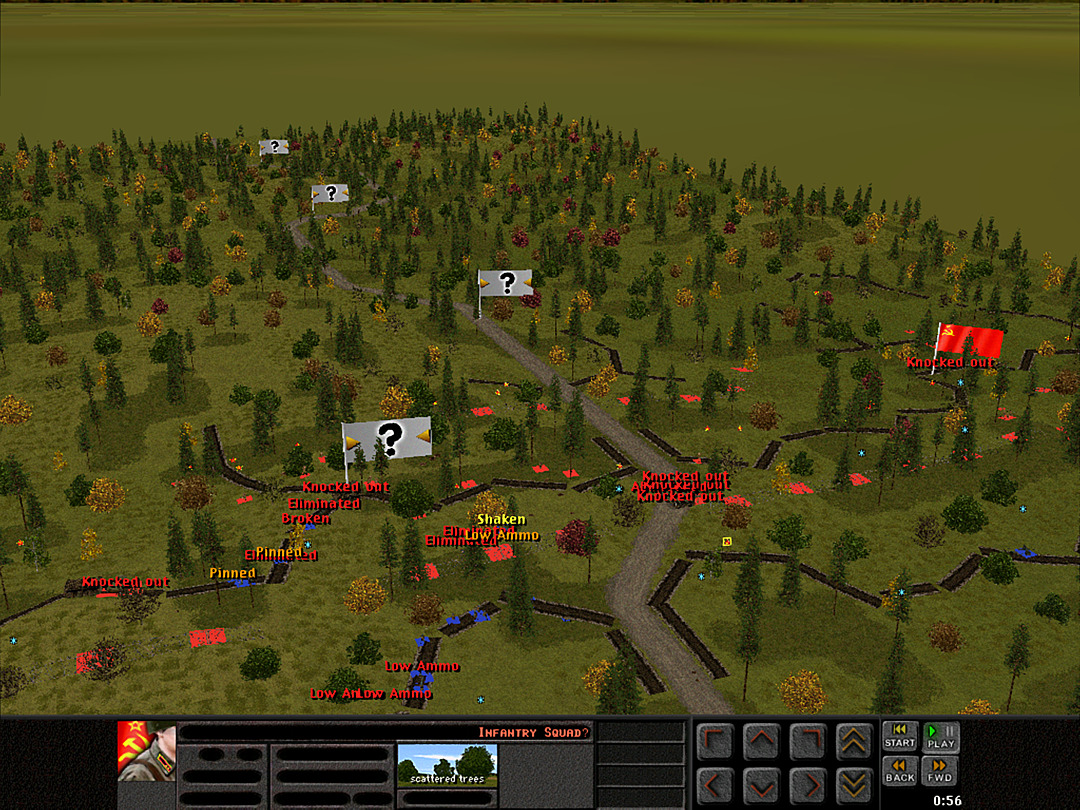 With the forward trenches falling, we're open to attacks through our center now. Enemy scouts are heard moving past the road. 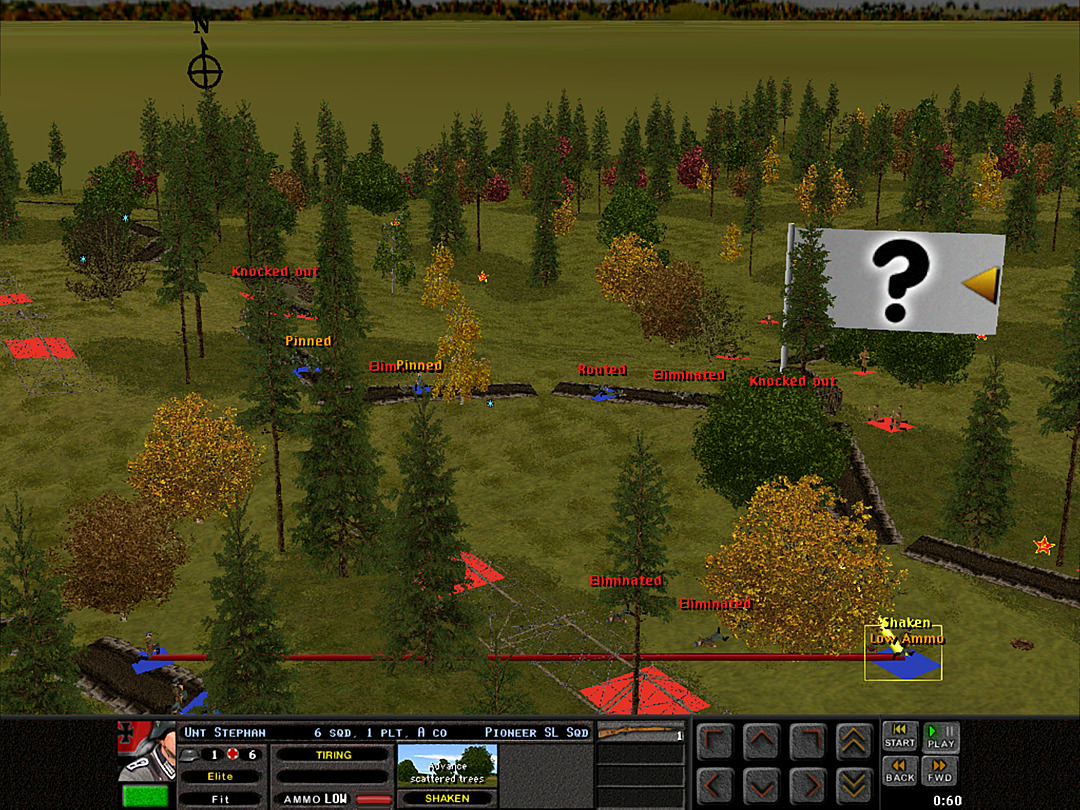 A Coy, 1 Plt is down to its last man. With prospects of survival dimming, the last soldier decides to make a crazed charge at the trench. 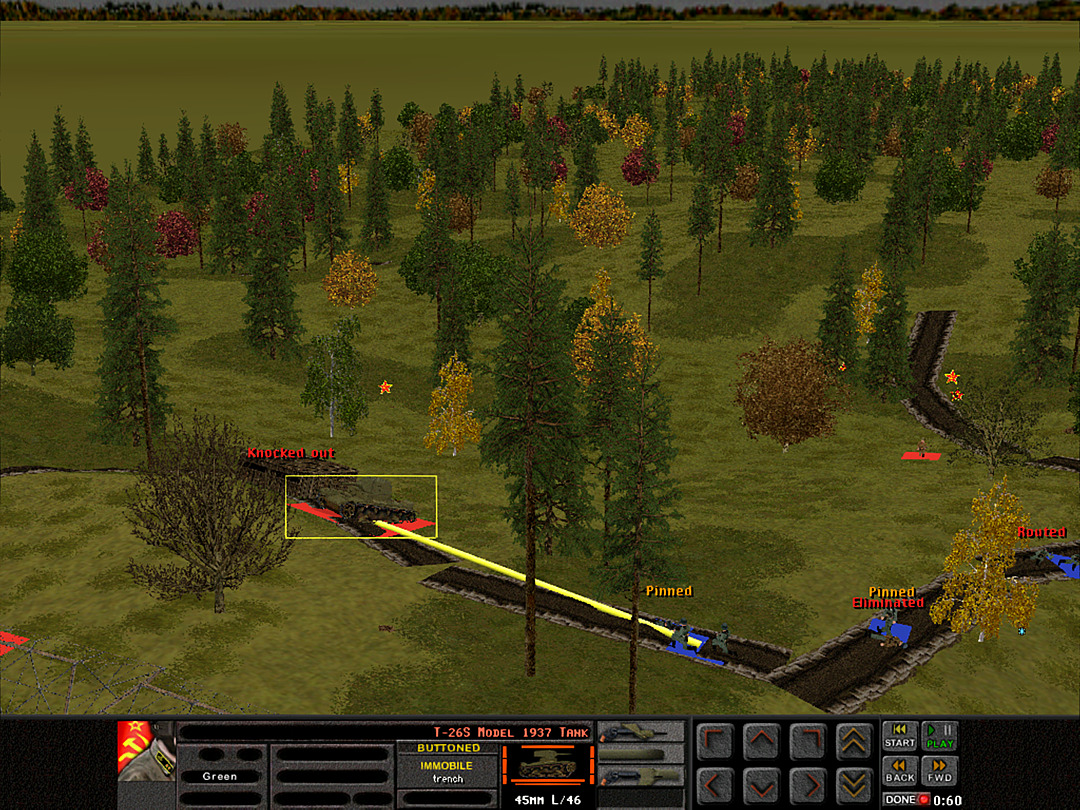 We're saved from disaster on the north as the T-26 gets stuck trying to cross the trench. It can still fire its guns at our soldiers, though. 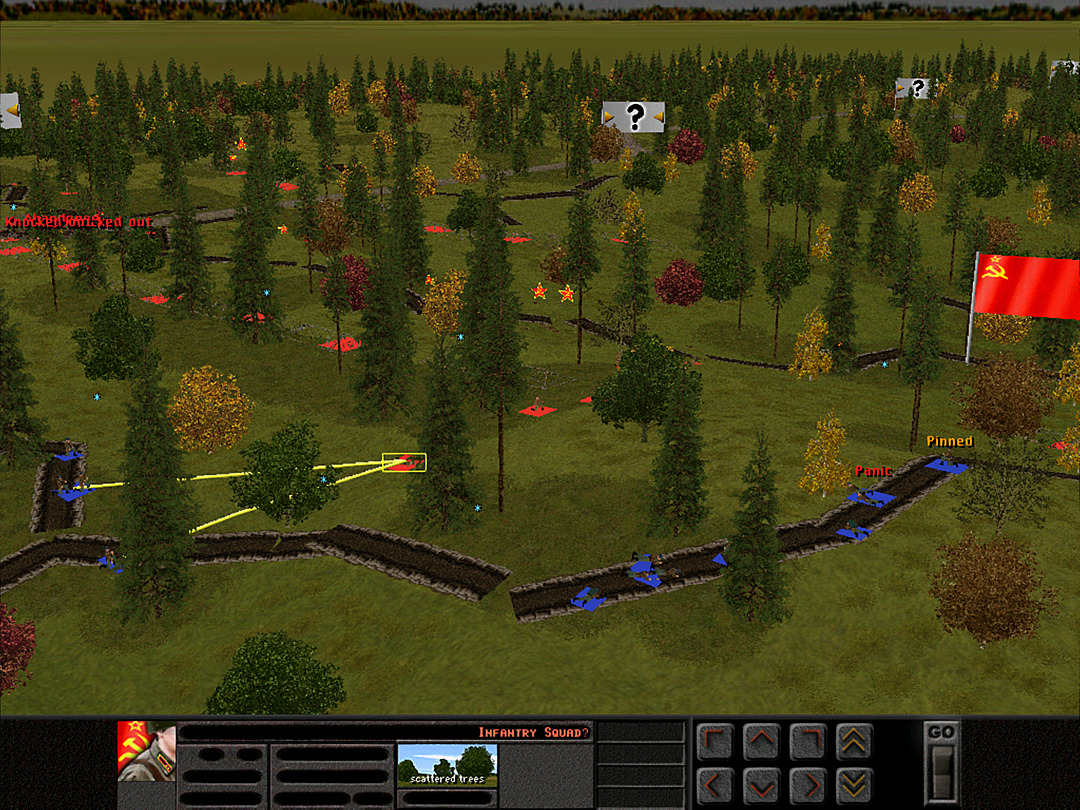 On the south, it seems some enemy squads made it through the wire without our more forward squads spotting them. A Coy, 4 Plt spots them and opens fire. 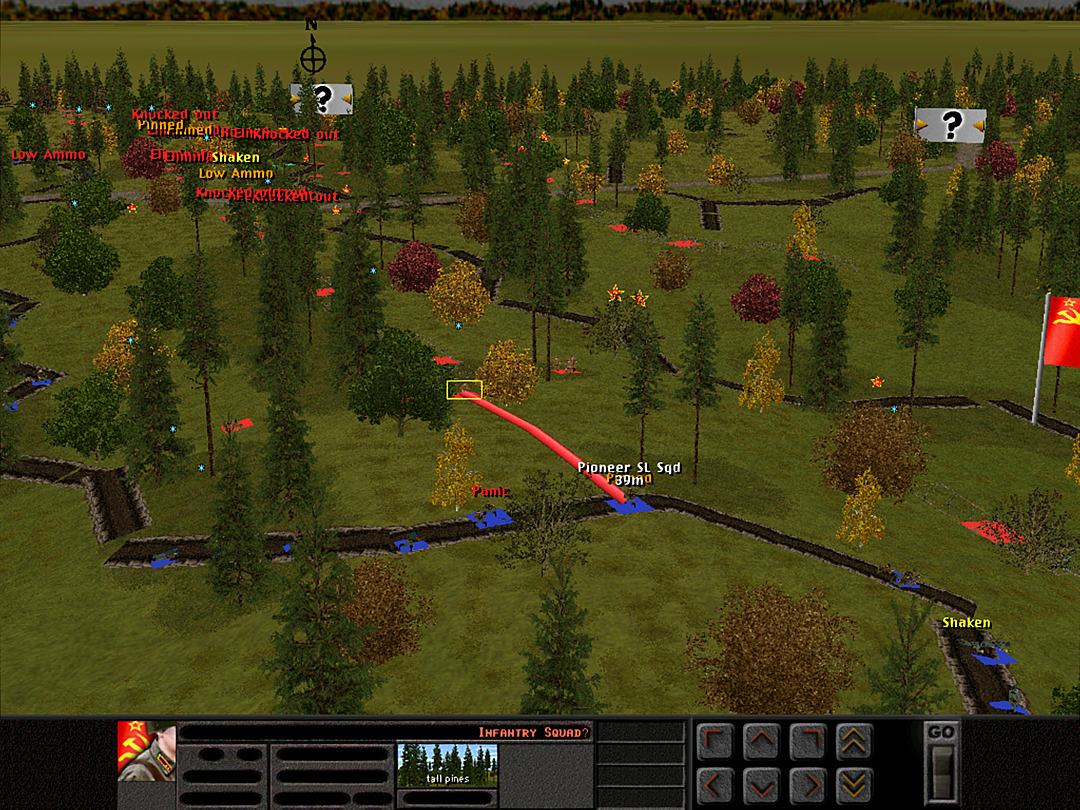 The rest of our line gets the alert and starts shooting at the other advancing Soviets. 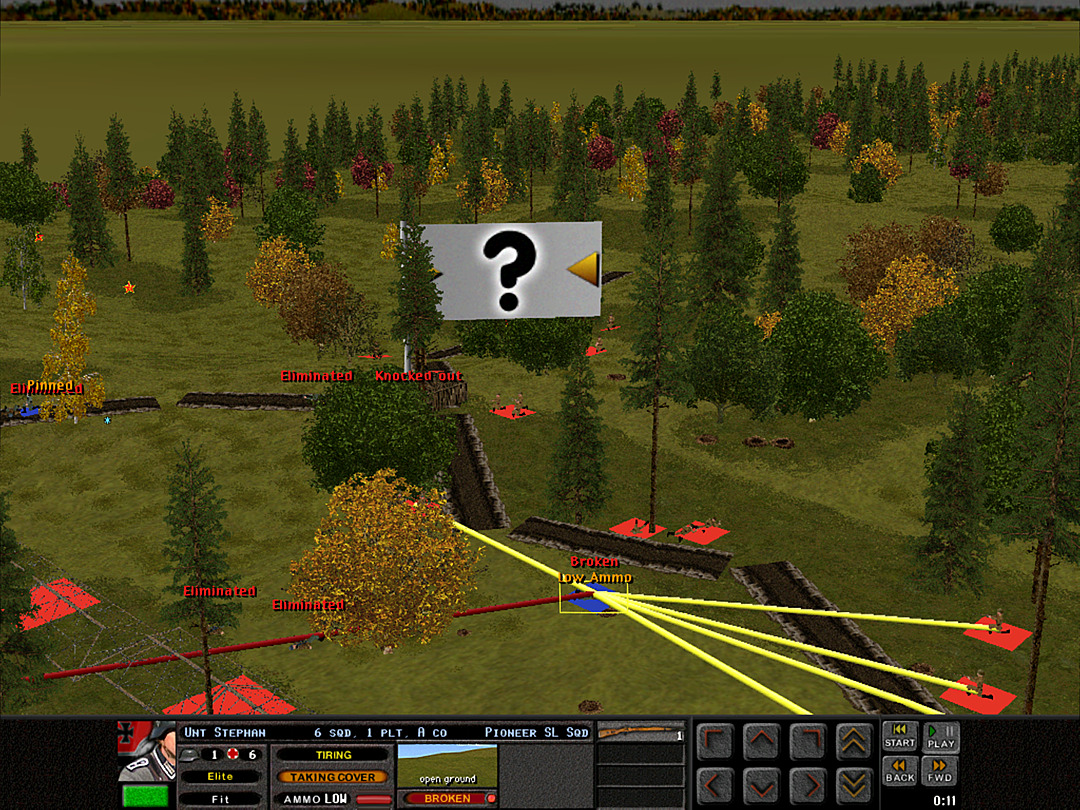 The lone soldier of 1 Plt dodges a hail of gunfire and nearly reaches the trench. 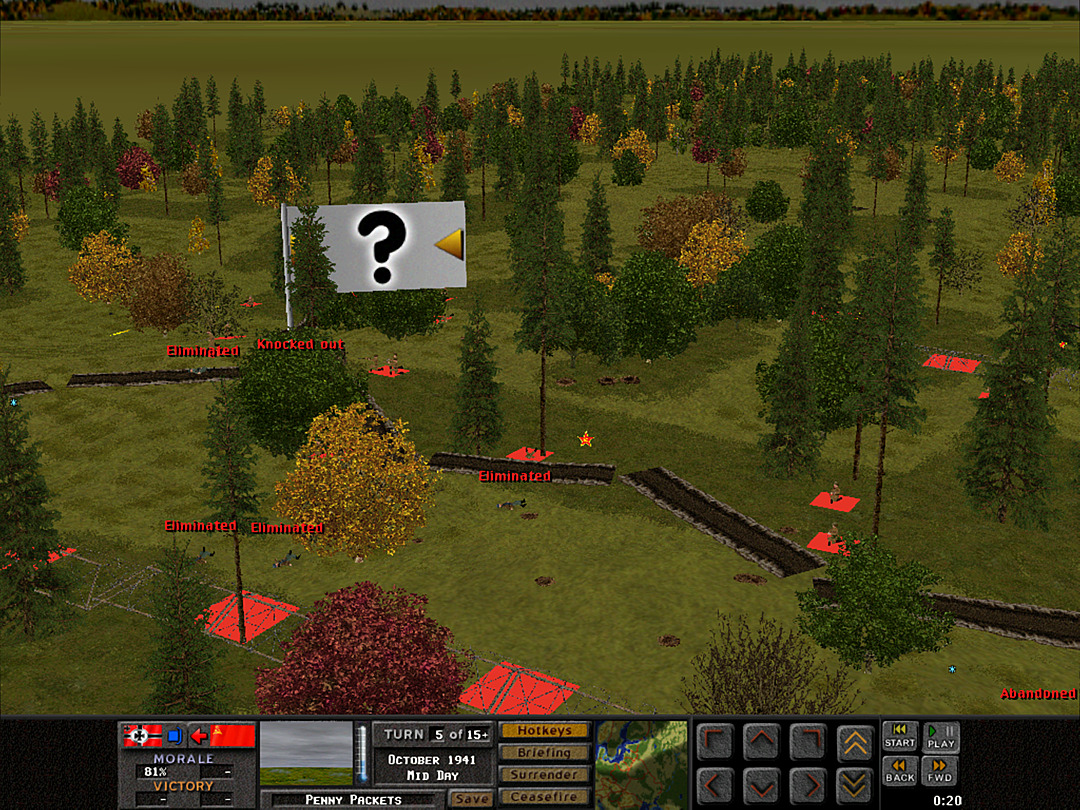 But he dies just short of it. 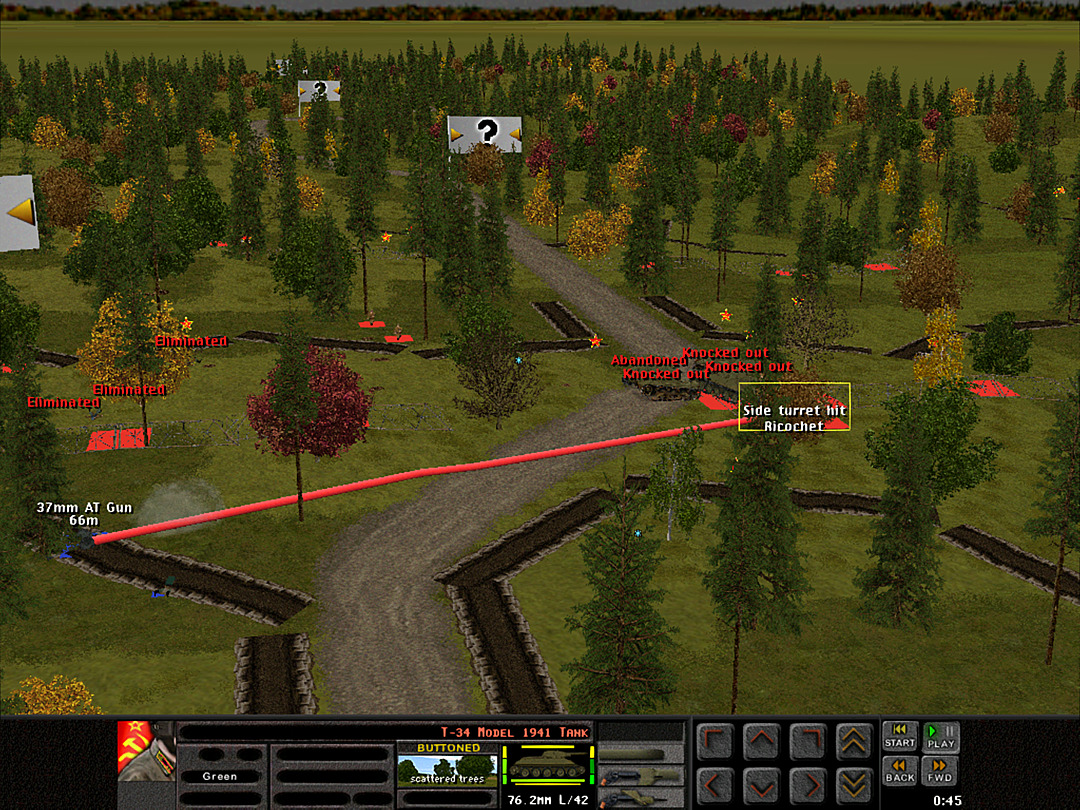 There are some tanks rolling up the road. Our AT guns have stayed disciplined until now, but cannot bear holding their fire any longer; they start shooting even with little chance of success. 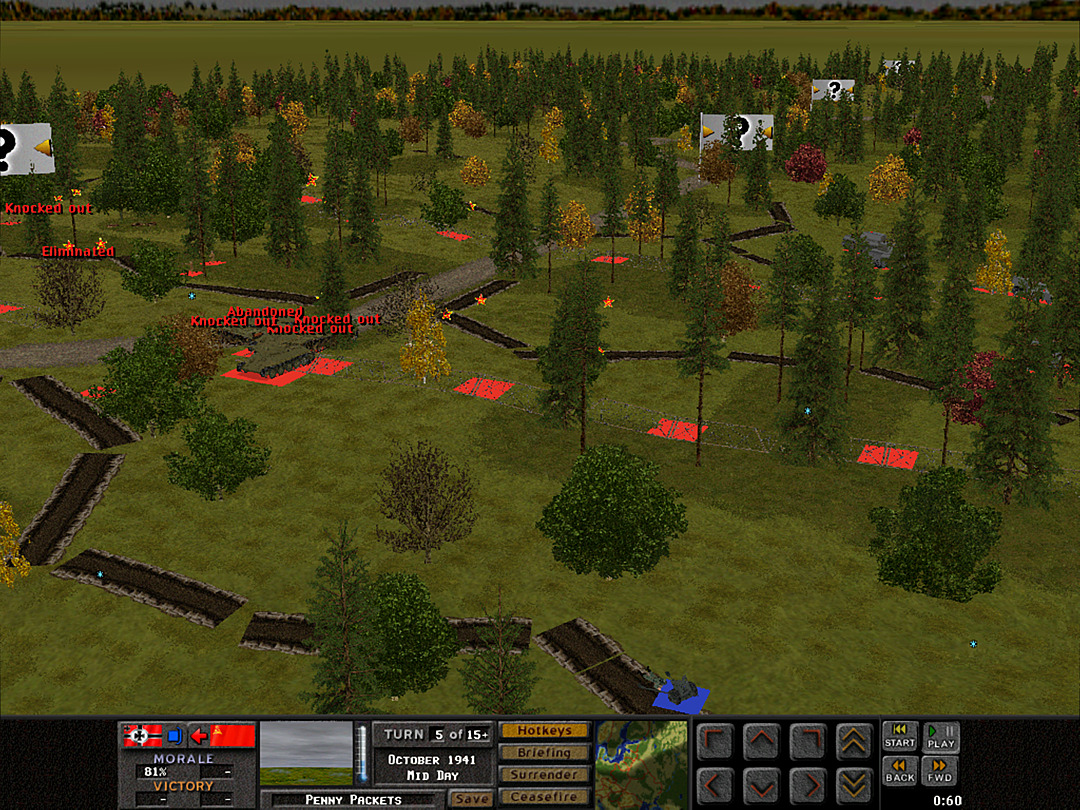 Our other AT gun doesn't have a line on the enemy tanks. 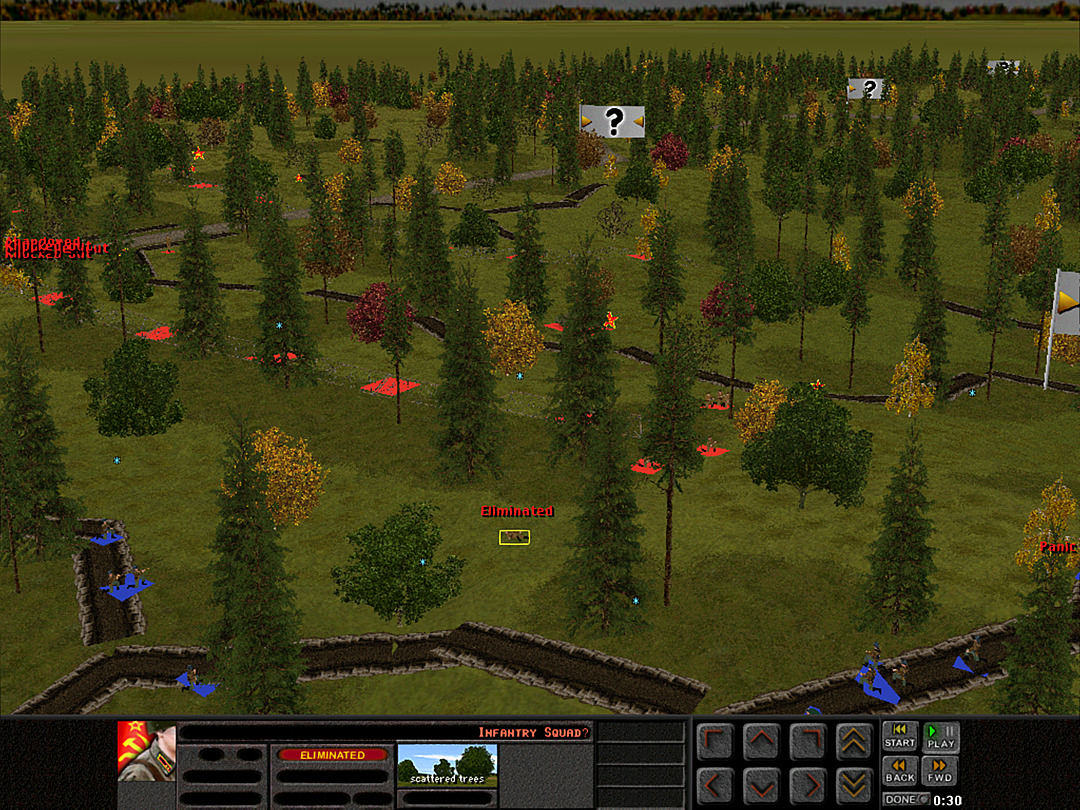 The defense of our original trench on the south side is going quite well. 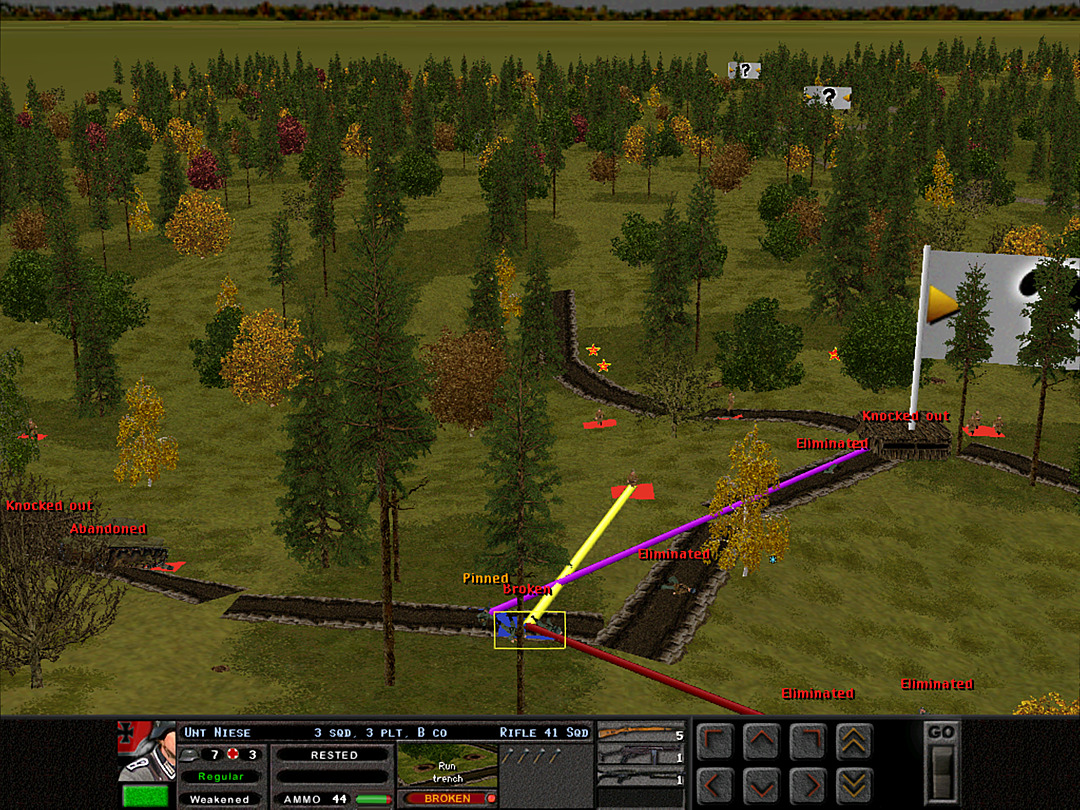 B Coy, 3 Plt has been unable to advance or retreat. They are being overrun. 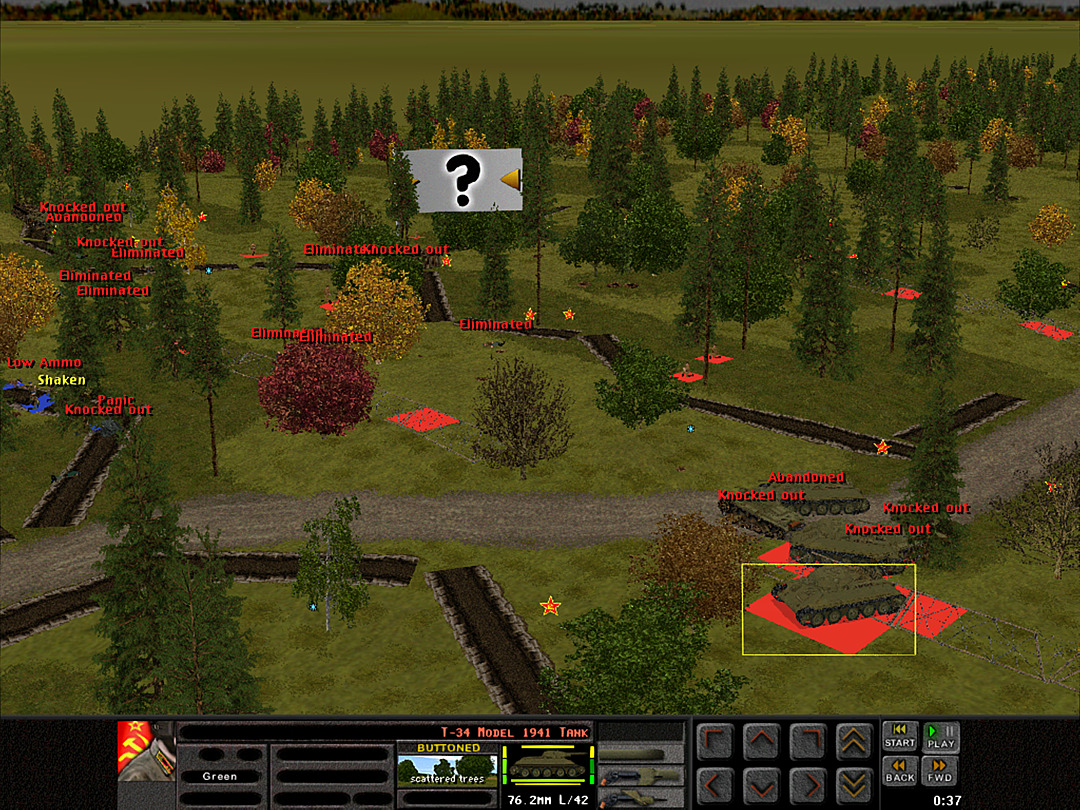 There were actually two active tanks on the roadway, and they make short work of the 37mm gun. It scored no effective hits. 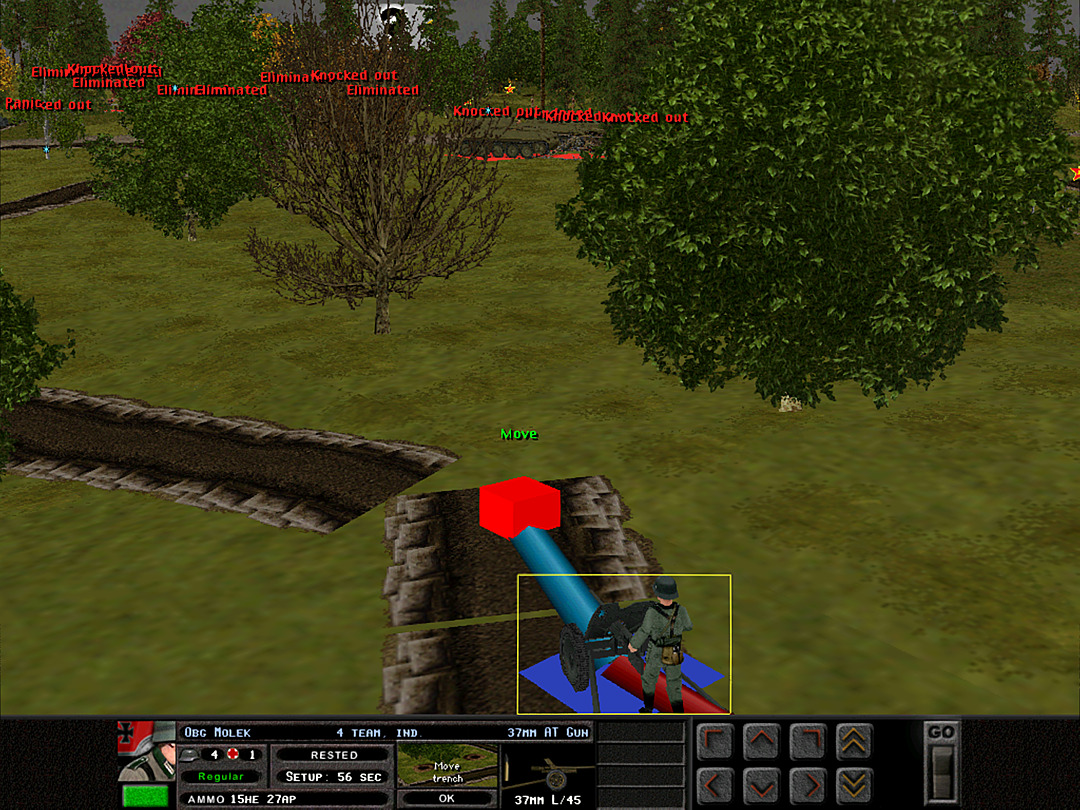 The other gun tries to shift its position to attack them, but it would probably be just as ineffectual. 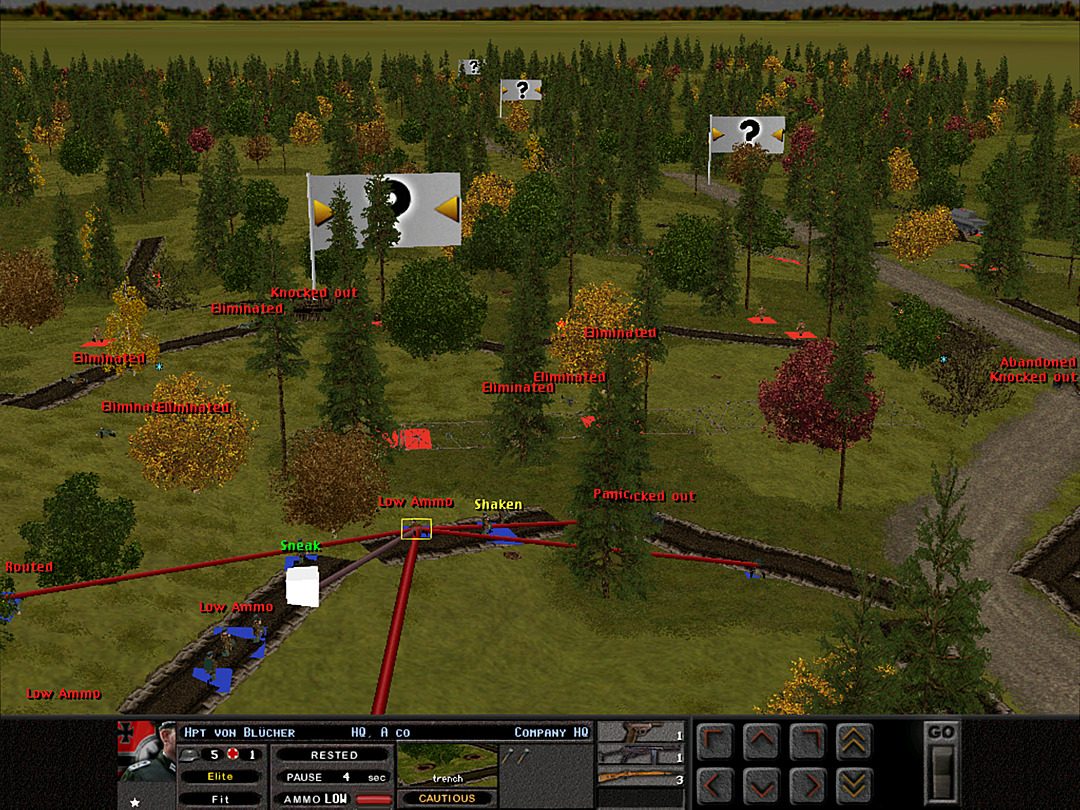 The secondary line of defense is now finding itself in an unsafe situation. The forward trench is falling as the men sent to retake have been wiped out, and the tanks on the road will soon be in position to pound us from the right.  The few men who survived from B Coy, 3 Plt were those who ran at the first assault. 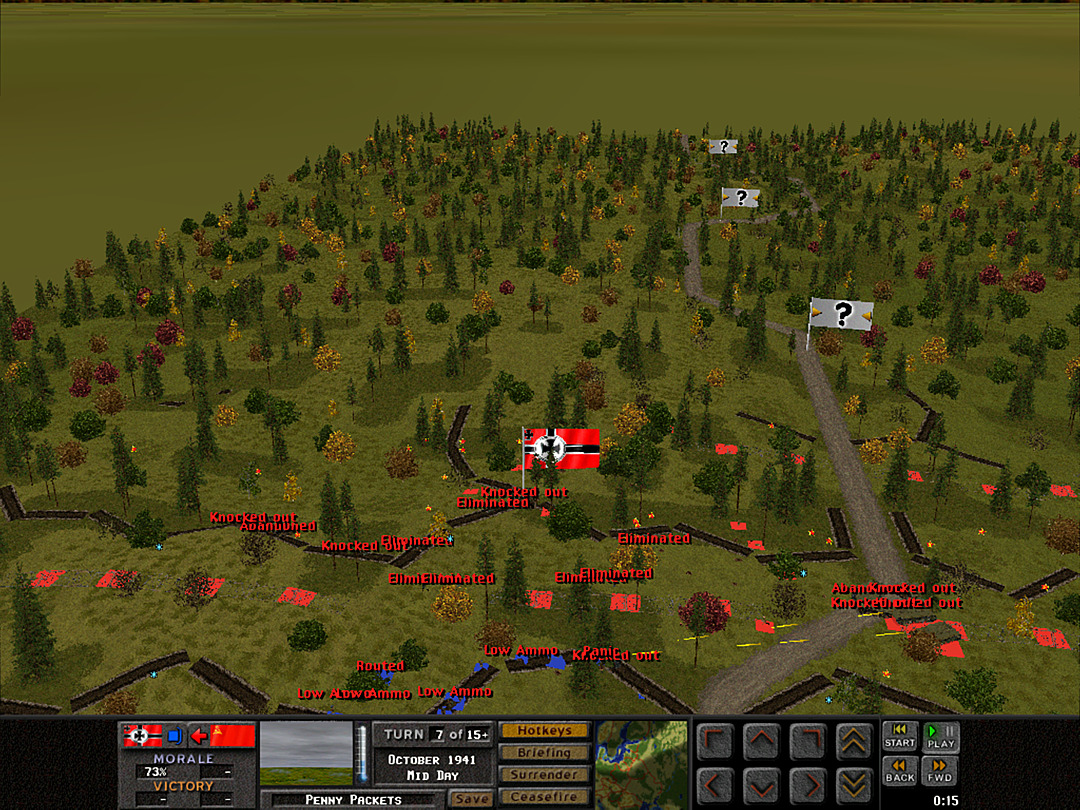 There's a brief moment of calm on the north side. It appears that the Russians did not bring much of an assault forward, or perhaps did not expect their original trench to fall so quickly. 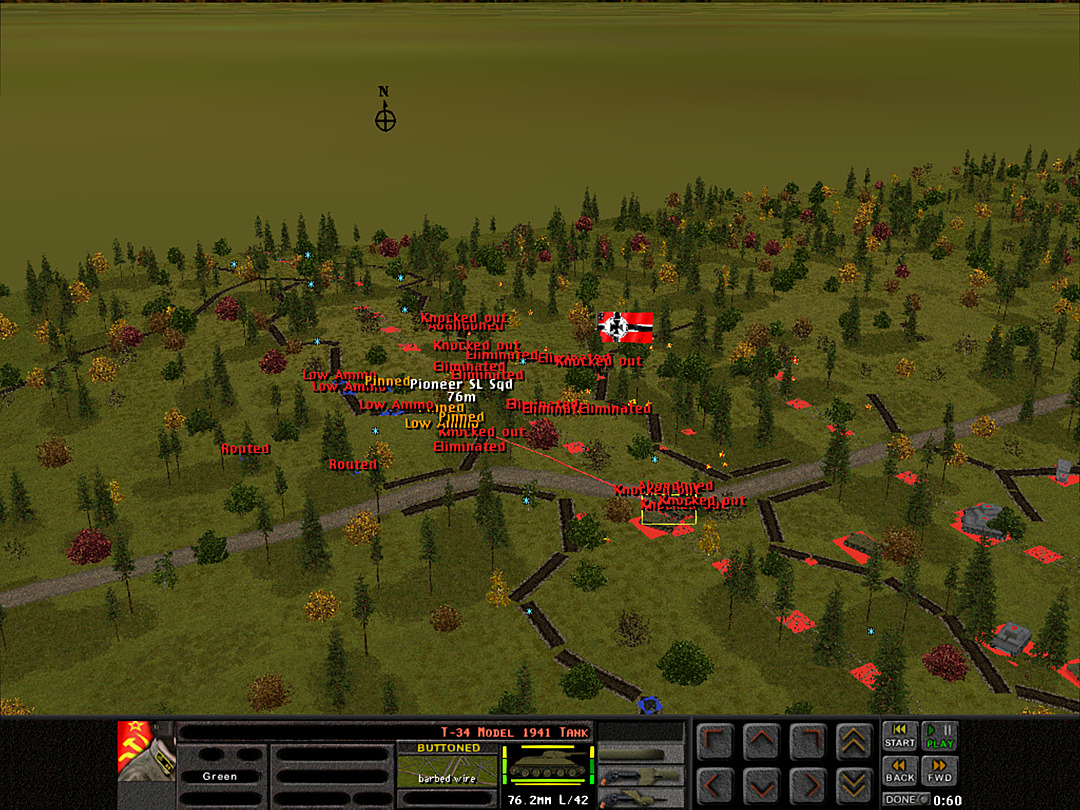 The T-34's on the road have no need to continue up the road, and they start punishing our forces in the original trench line. One more flamethrower team is lost. 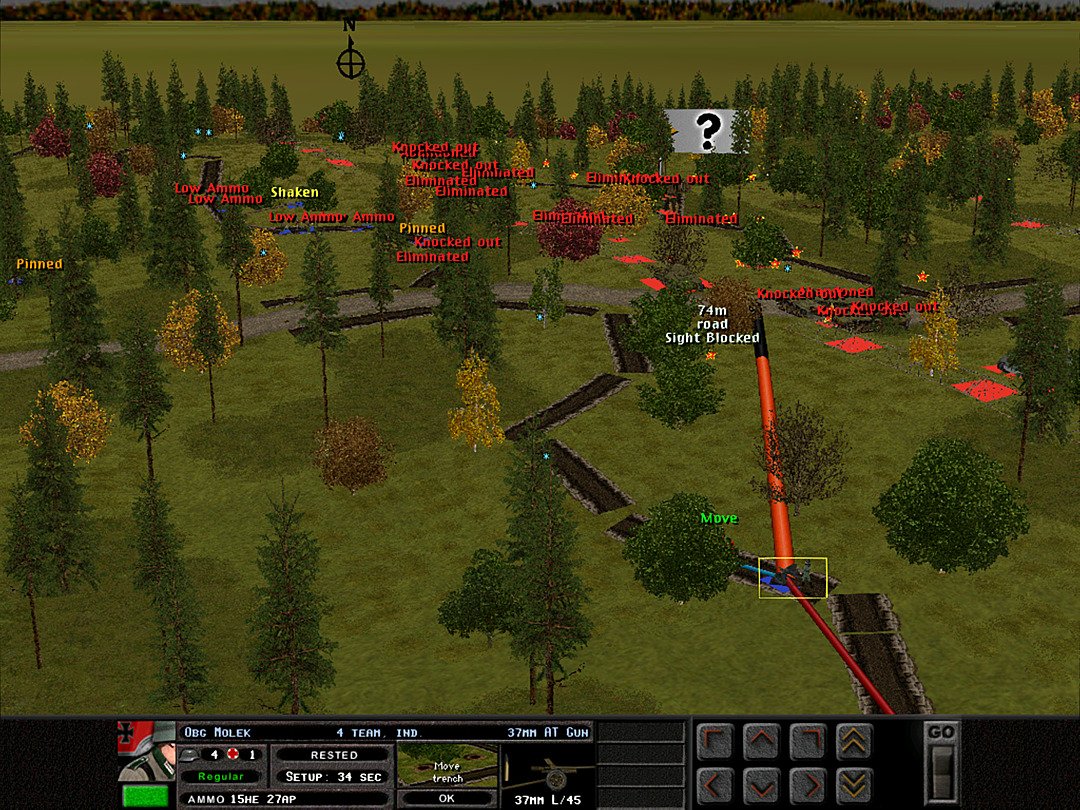 The second 37mm gun is just a little too far down the slope to get a clear shot at the tanks. 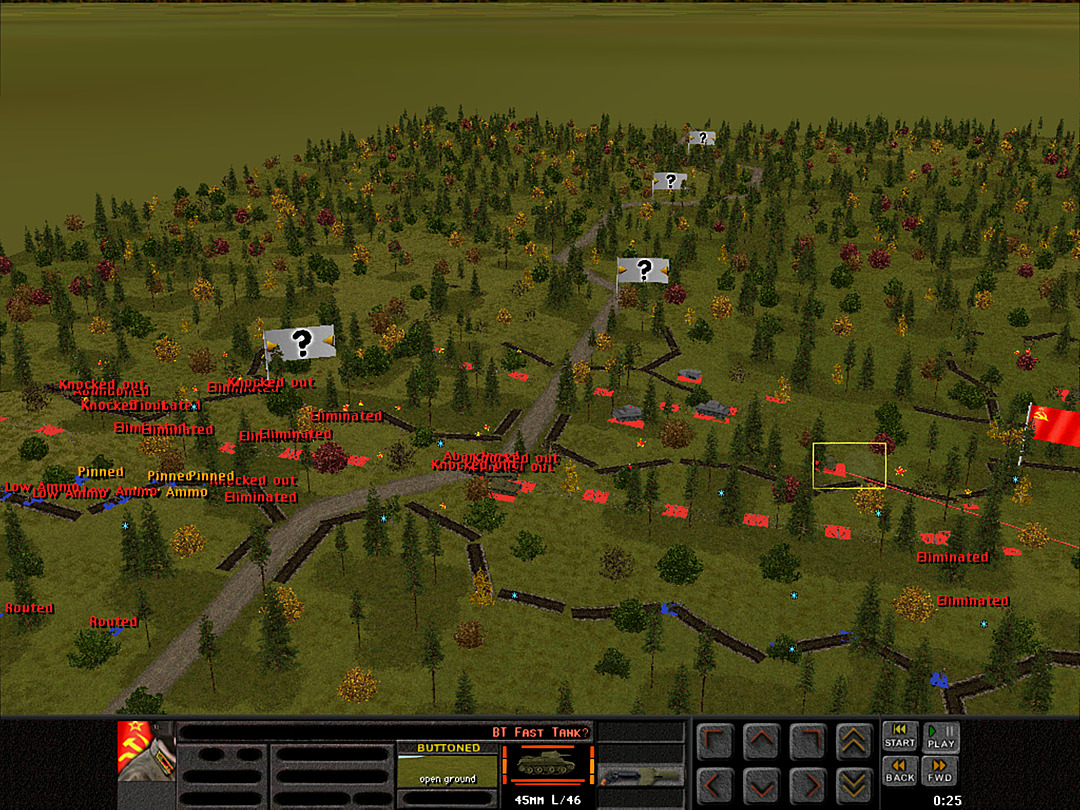 The woods on the south side prove to be too dense for the tanks to cross over, but they do hang around and send some fire towards our forces. 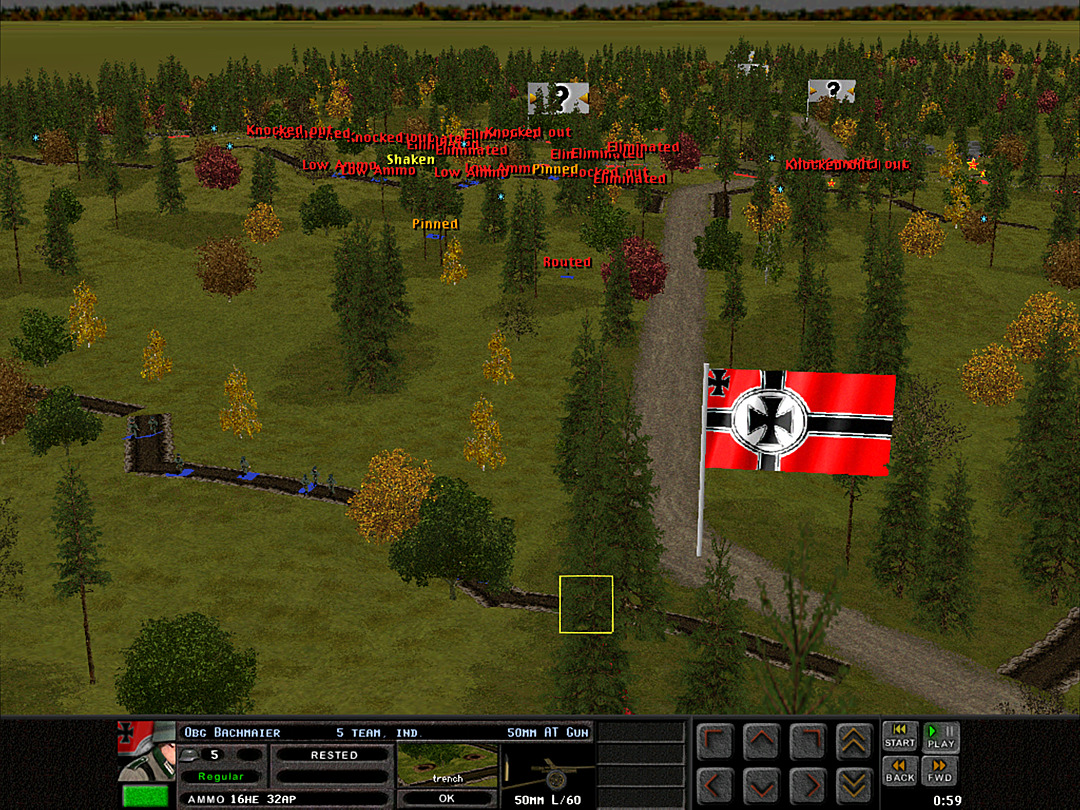 Our best (and nearly our last) anti-tank gun is monitoring the road. It seems the enemy tanks might soon enter its field of view. Unit Highlight PSW 223 Radio Car 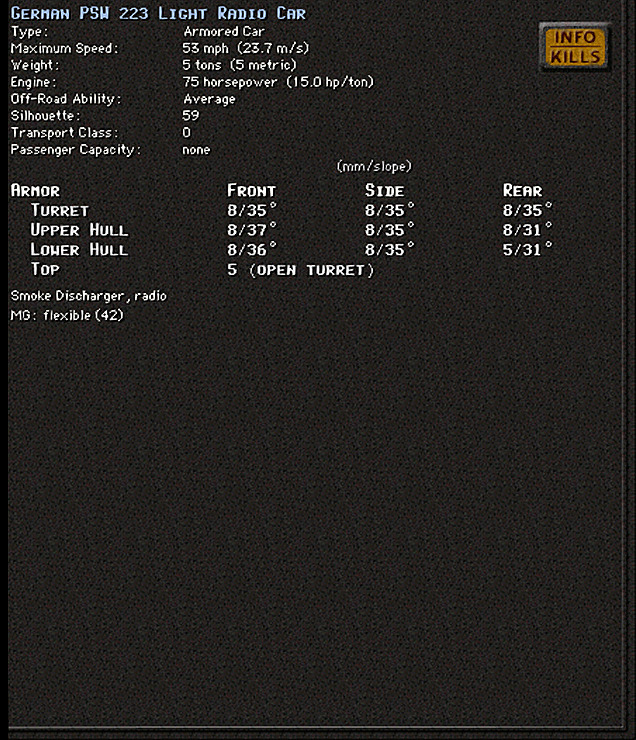 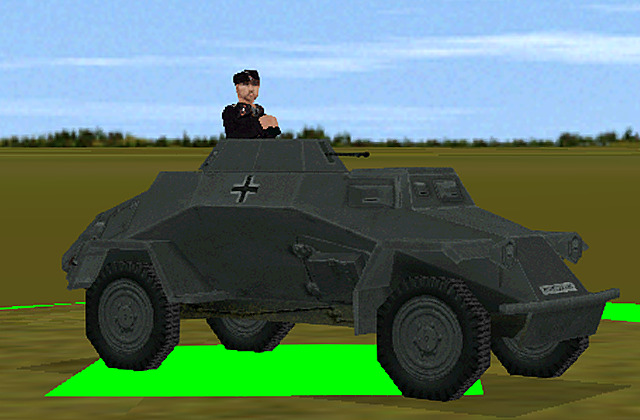 Crew Size: 3 Base Cost: 27 A recognition of the importance of communication from reconnaissance vehicles. The 221 armored car was improved on by the 222 in the late 1930s; the 223 was developed almost at the same time and based on the 221 as well, though with some of the same upgrades as the 222. It retained a single machine gun as its weapon, although the expanded crew allowed for a dedicated gunner. Its distinguishing feature was the antenna attachment and a longer-range radio set. One of these cars would typically be mixed in with the scout car platoons as a commander, and to rapidly relay battlefield information from the scouting locations. Kangra fucked around with this message at 00:20 on Apr 29, 2024 |
 #
?
Mar 26, 2024 21:00
#
?
Mar 26, 2024 21:00
|
|

|

|
| # ? May 16, 2024 04:38 |
|
|
Operation: Penny Packets, Battle 3 Battle Time: 0:08 Our attempt to hold the Soviet trenches has failed, and we're going to have to retreat cautiously. There is a chance we'll get some recompense by knocking out a few more enemy tanks.  The trench network on our side is fairly extensive; we can retreat from the northern position by moving first north and then westward to safety. 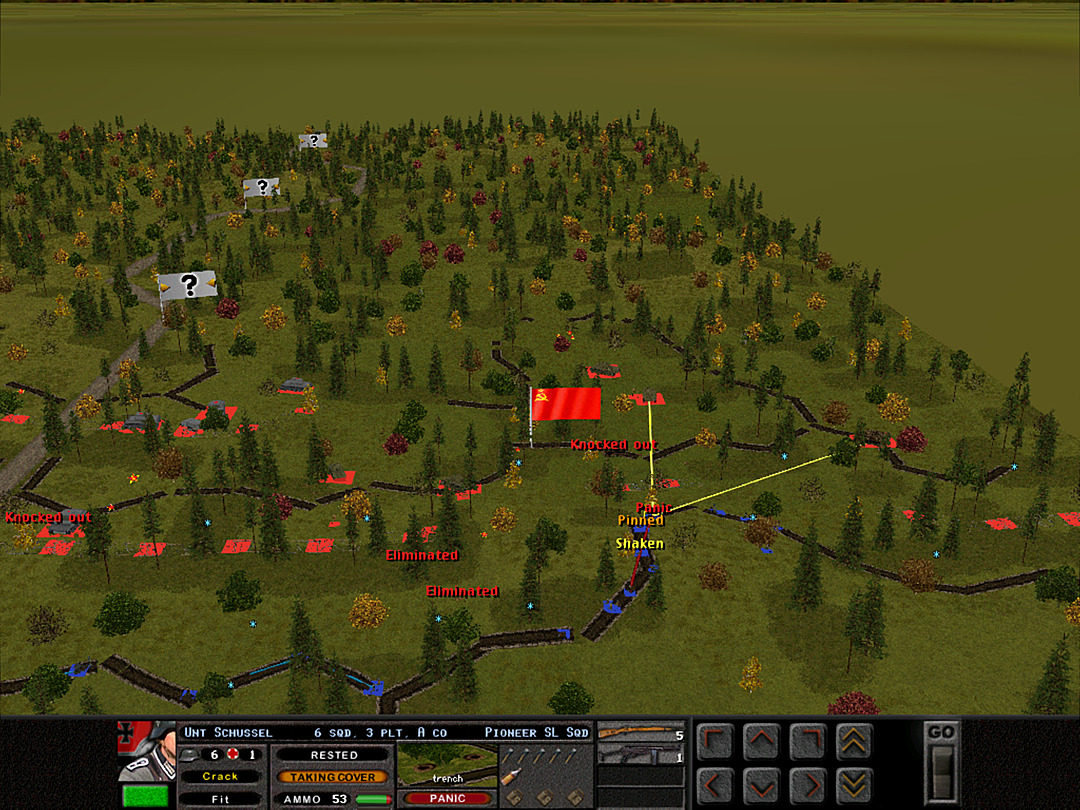 The enemy tanks on the south are some distance away, but their guns still cover the trench line fairly well. We might need to pull back a bit here, too. 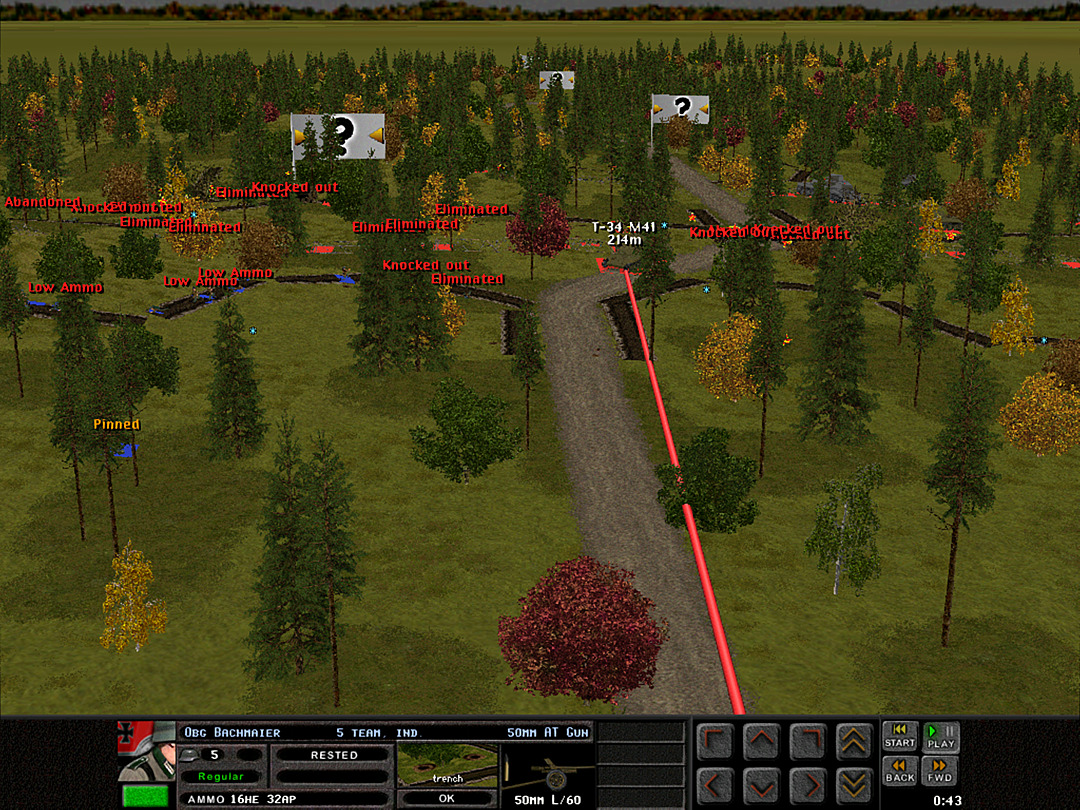 The tanks on the road roll right into the sights of our PaK38. 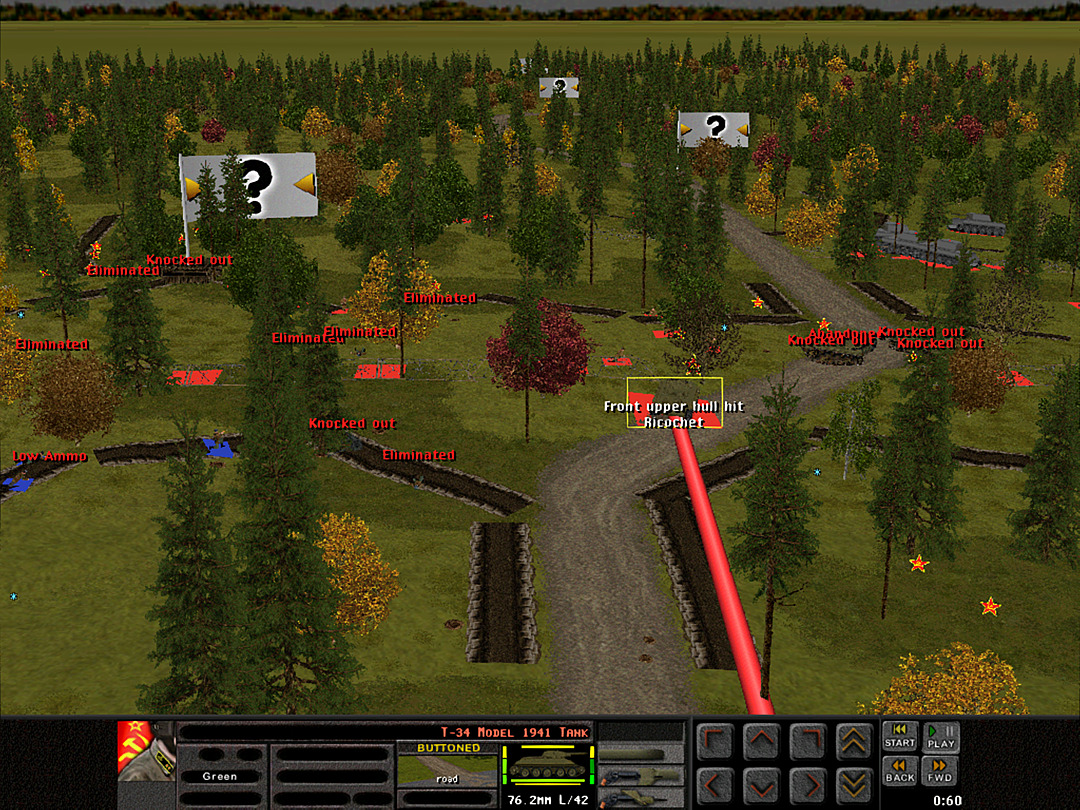 The first shot deflects off the highly-sloped front armor of the vehicle. 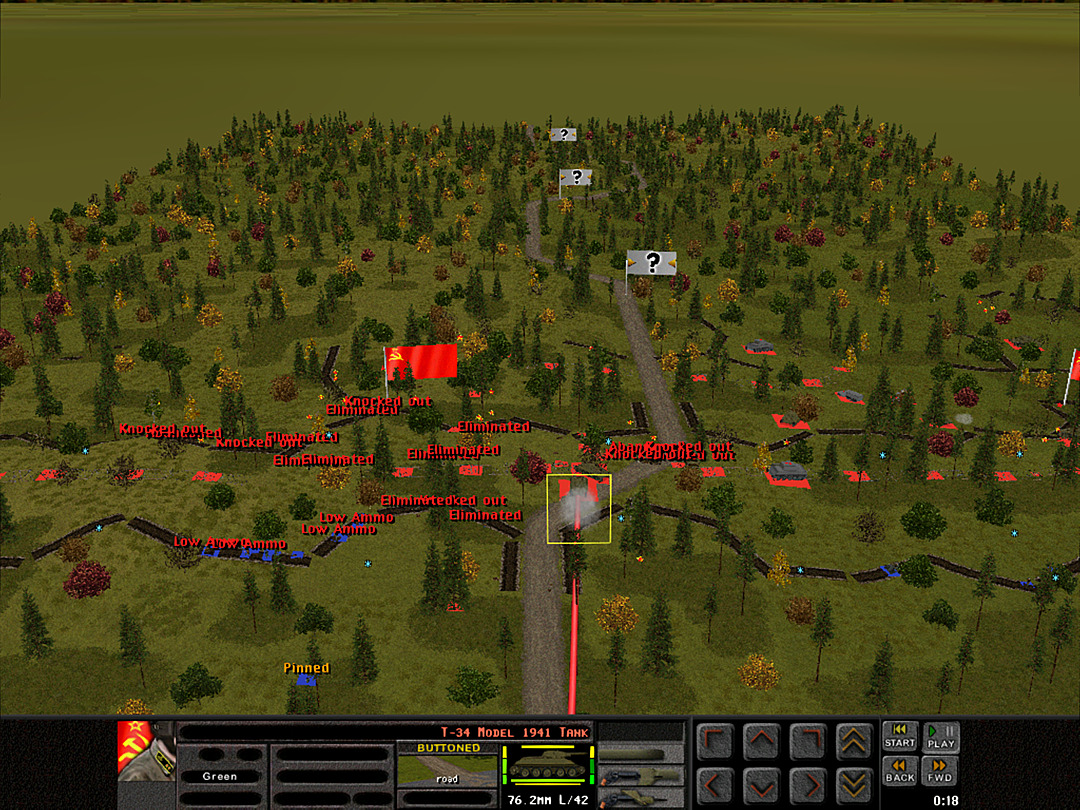 The enemy tank returns fire, but misses. 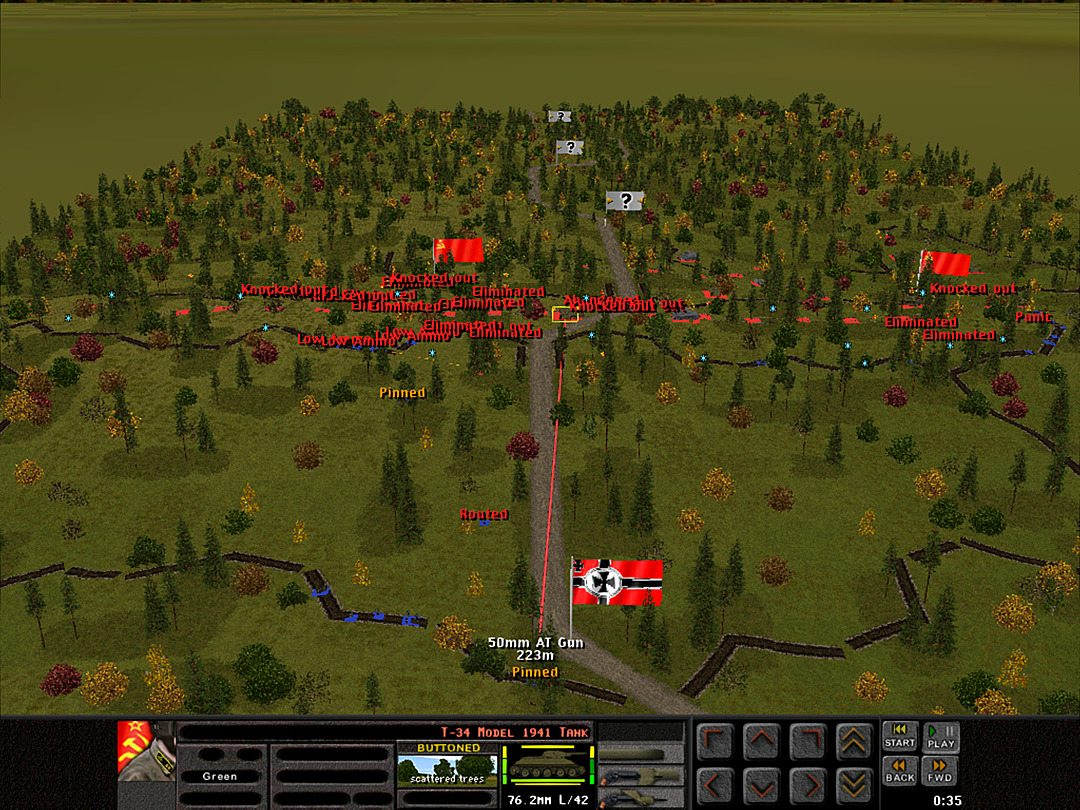 Subsequent enemy rounds land closer, and the gun crew is having trouble getting their shots off. 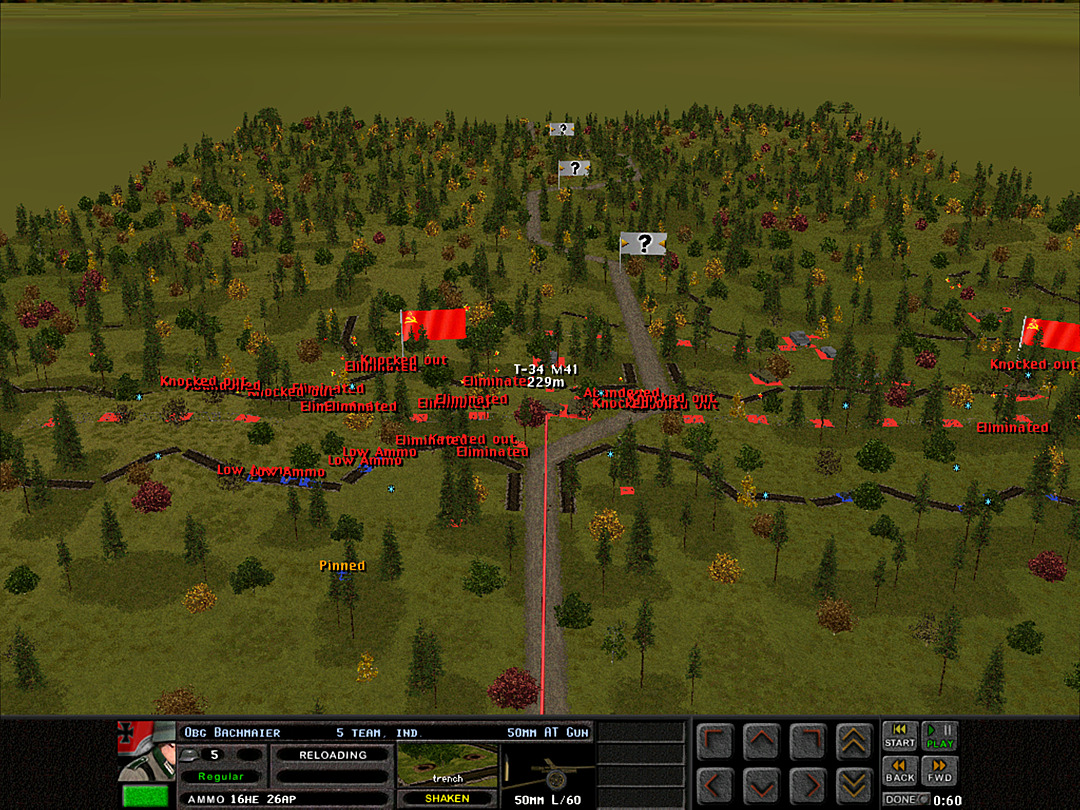 However, a second tank exposes its flank as it rolls across the road. The crew switches targets. 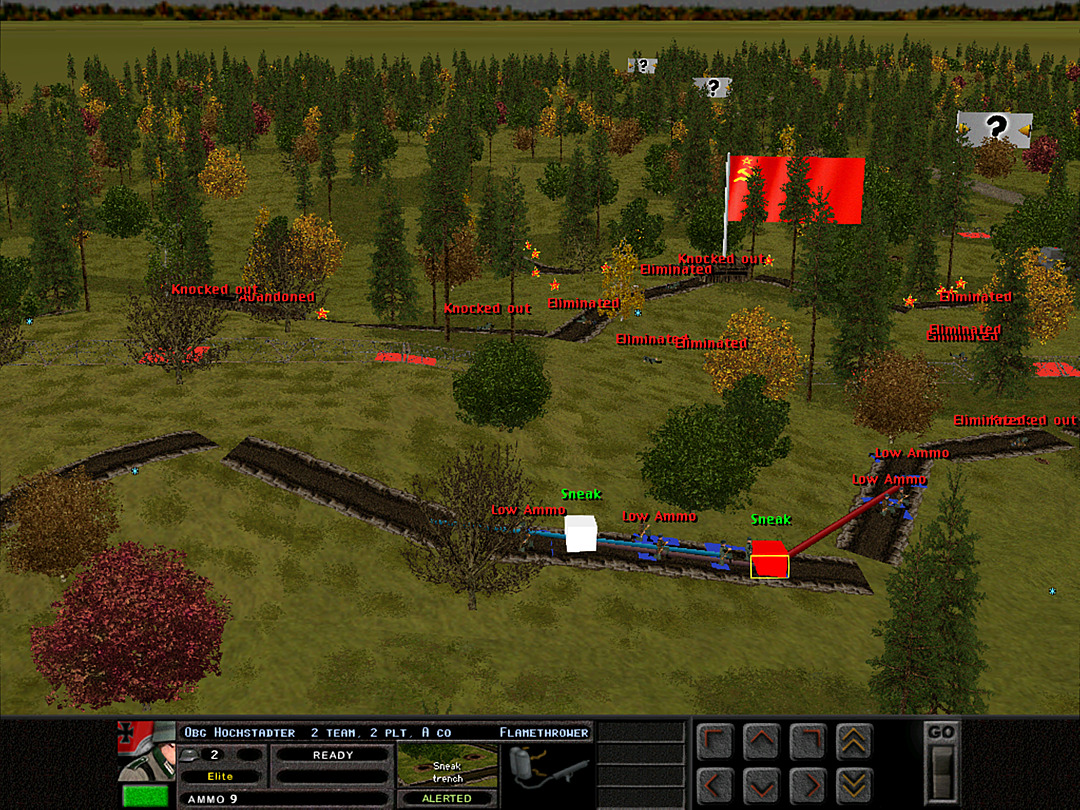 The gun duel has provided some distraction to allow our troops to shift along the trench line to the north. 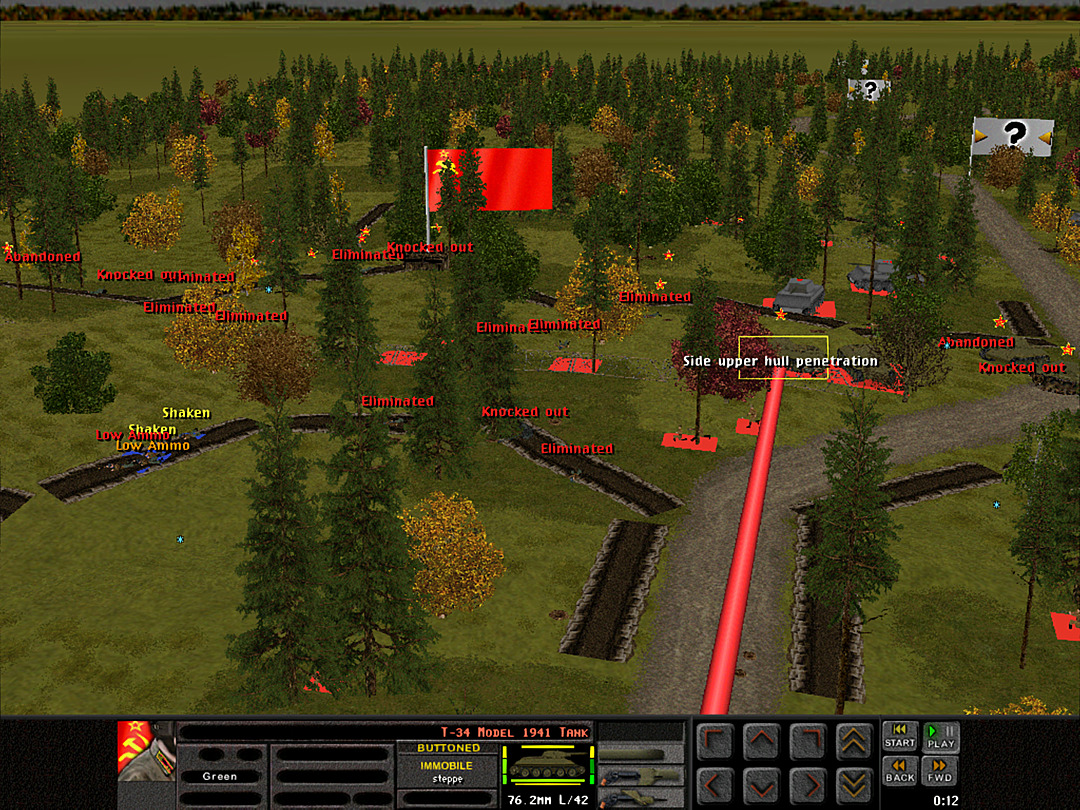 The 50mm gun hits! It doesn't knock out the opposing tank, but it is now stuck in position. 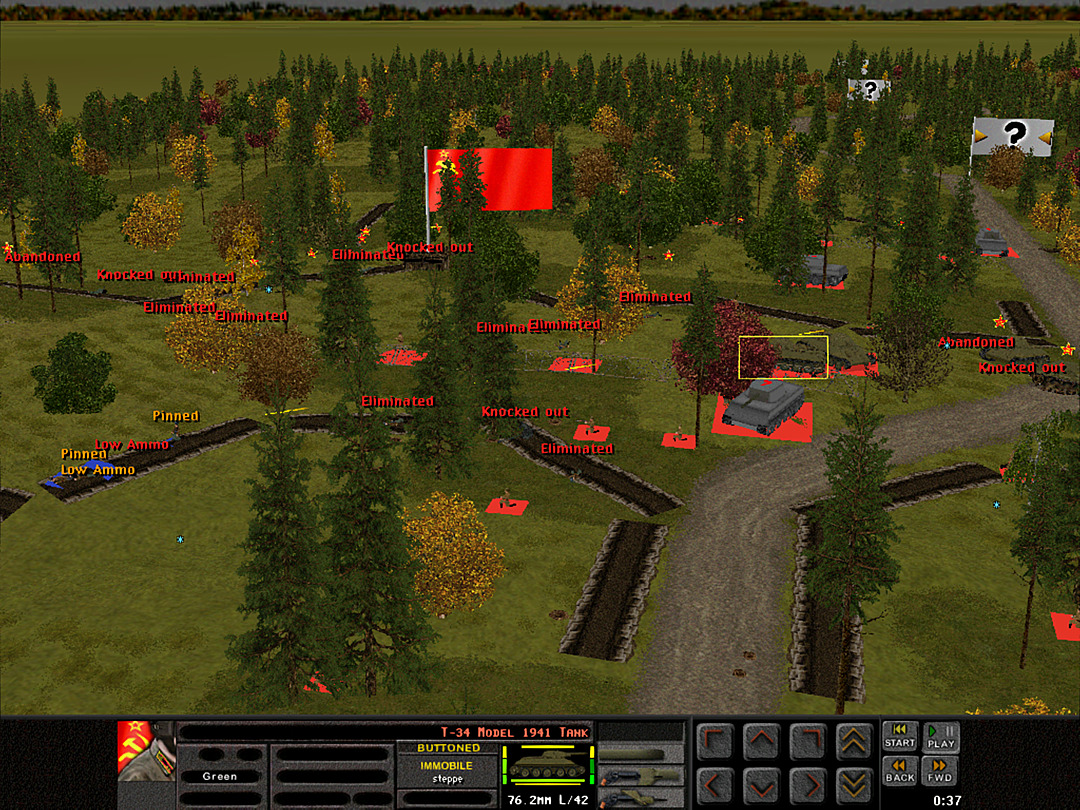 A second shot hits the tank but still fails to kill it. Another tank rolls out in front of it, blocking additional shots from our gun.  The new tank actually just rolls past it before our AT gun can even respond. The stopped tank is abandoned after we send another shot its way. 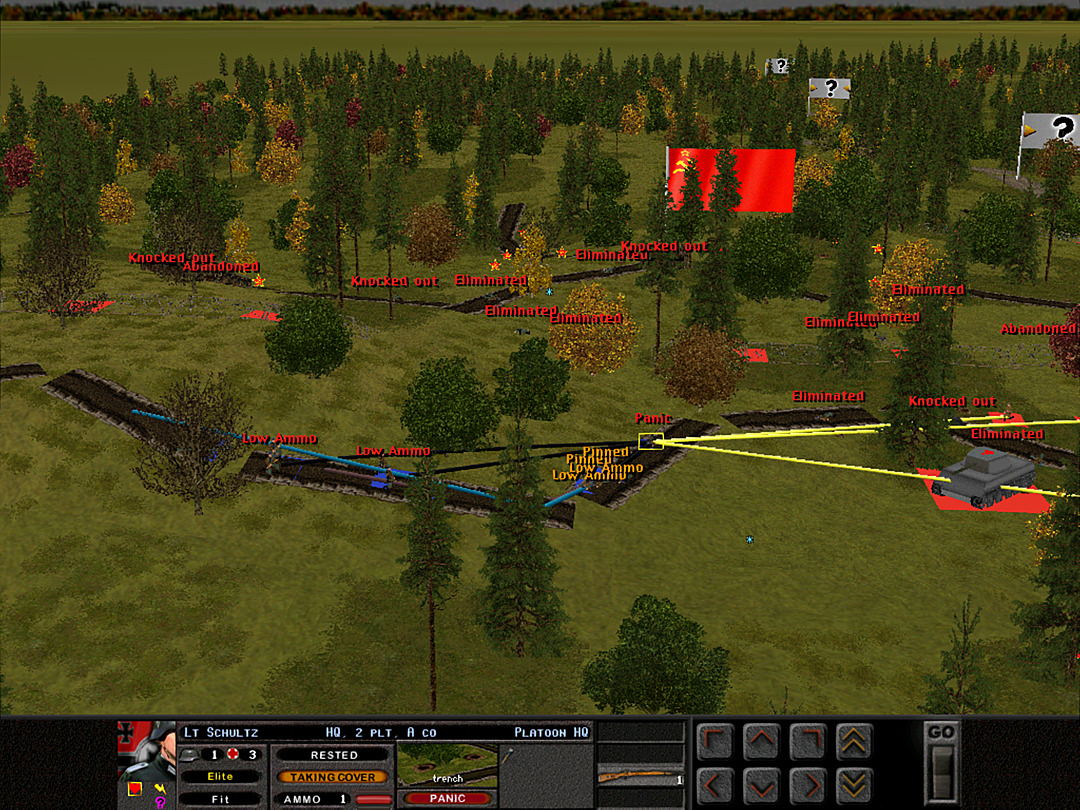 While we have been able to keep the Soviet infantry from advancing out of their original trenches, we can do nothing very little to stop enemy armor as it fires on the trench. We are making as orderly a retreat as possible on the north side. 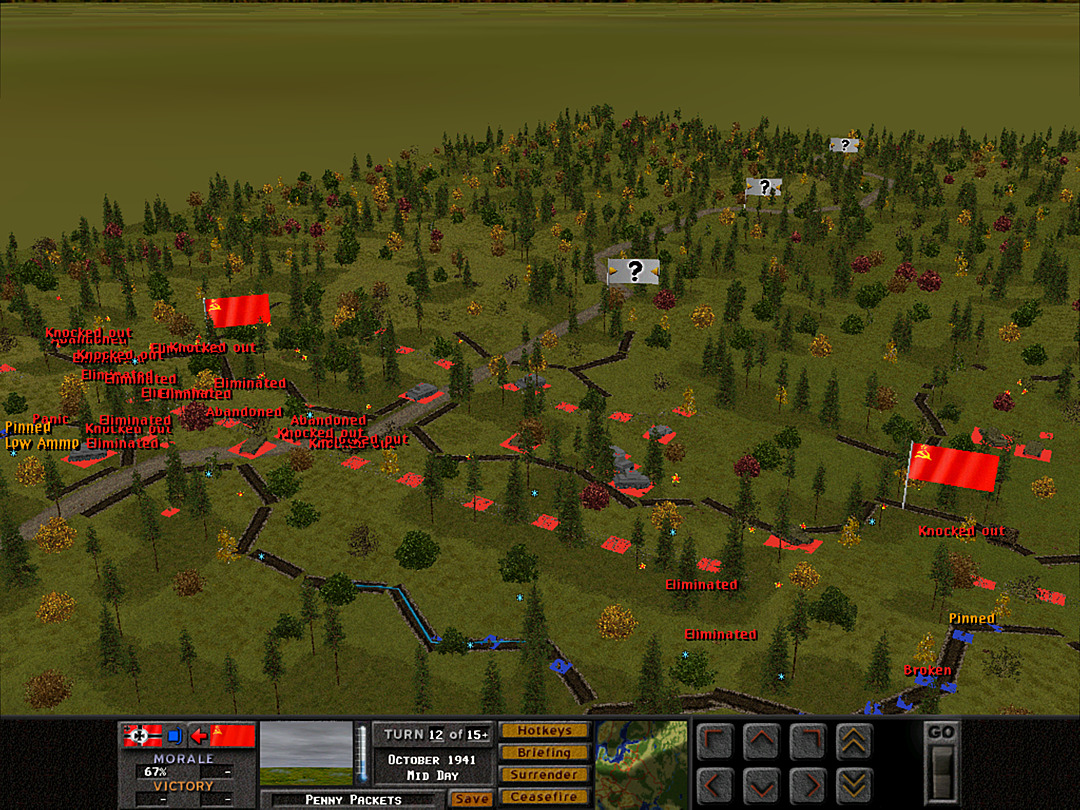 The units on the south side defeat the first infantry wave to come through the wire. It's no longer worth trying to hold this line very far forward, though. We definitely lack the ability to retake the Soviet trenches, and if we don't shift to secure the center, they'll just march right down the highway. 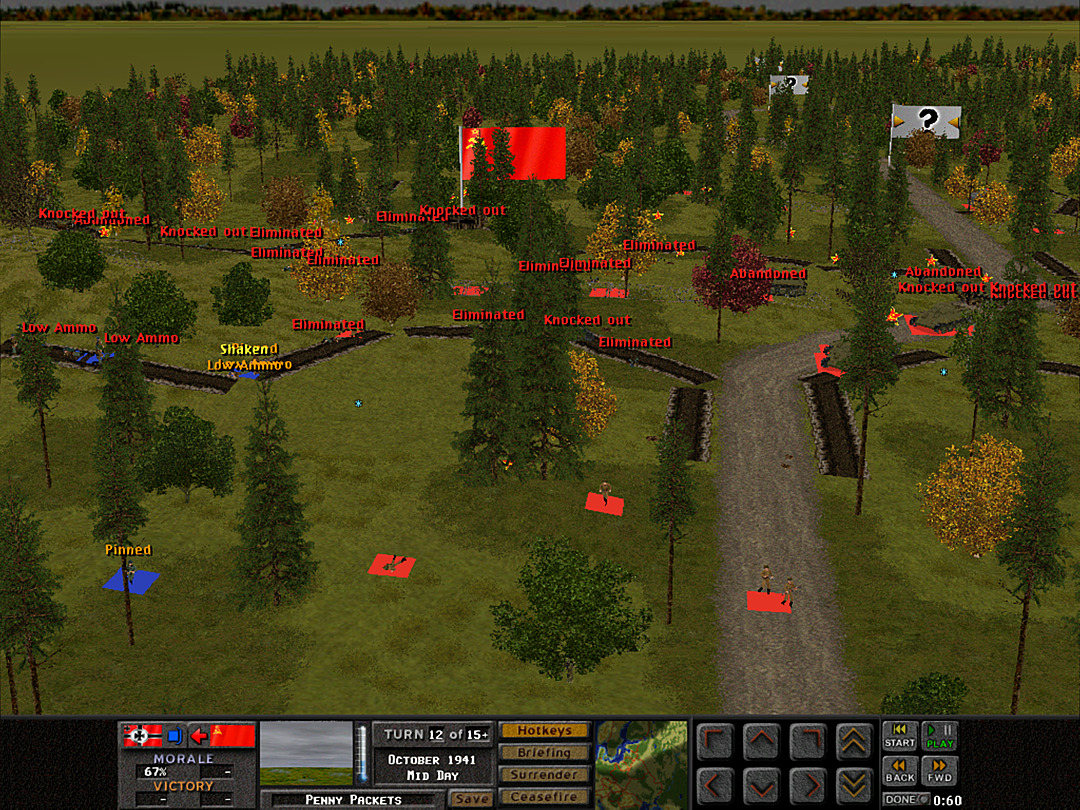 With the tanks leading the charge, the enemy infantry have started to do precisely that. It might be too late for us to hold. 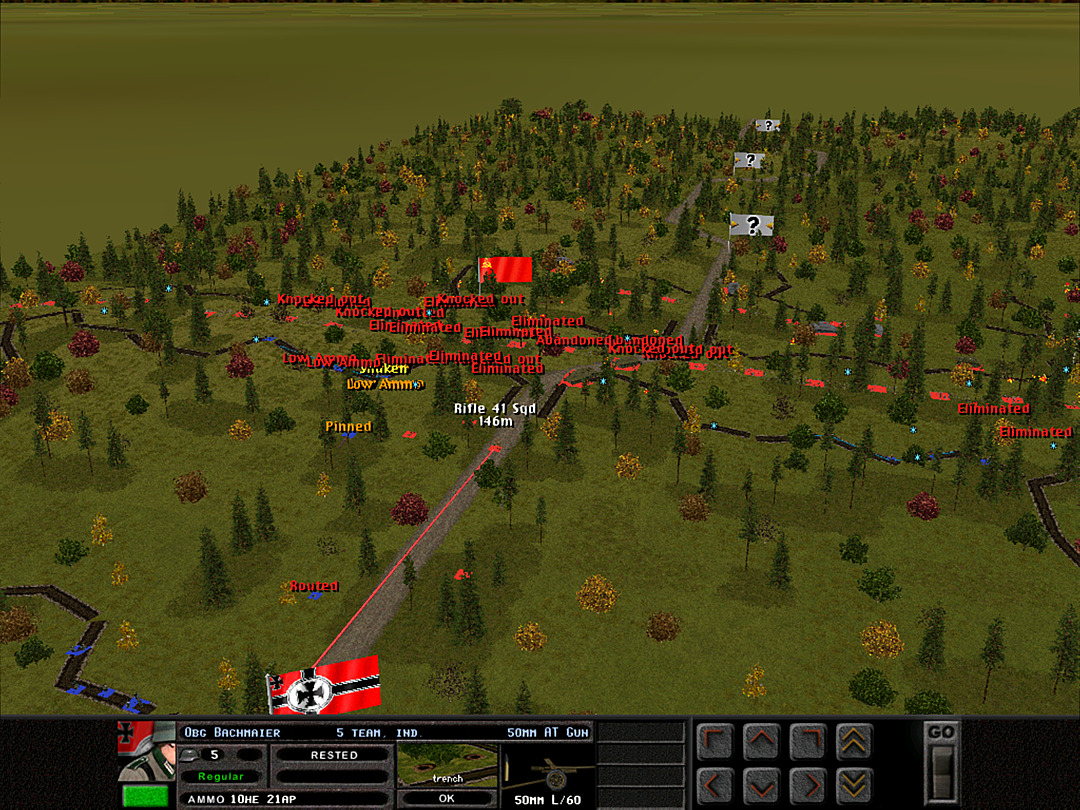 Even the AT gun switches to high-explosive rounds as the foot soldiers foolishly approach in the open. 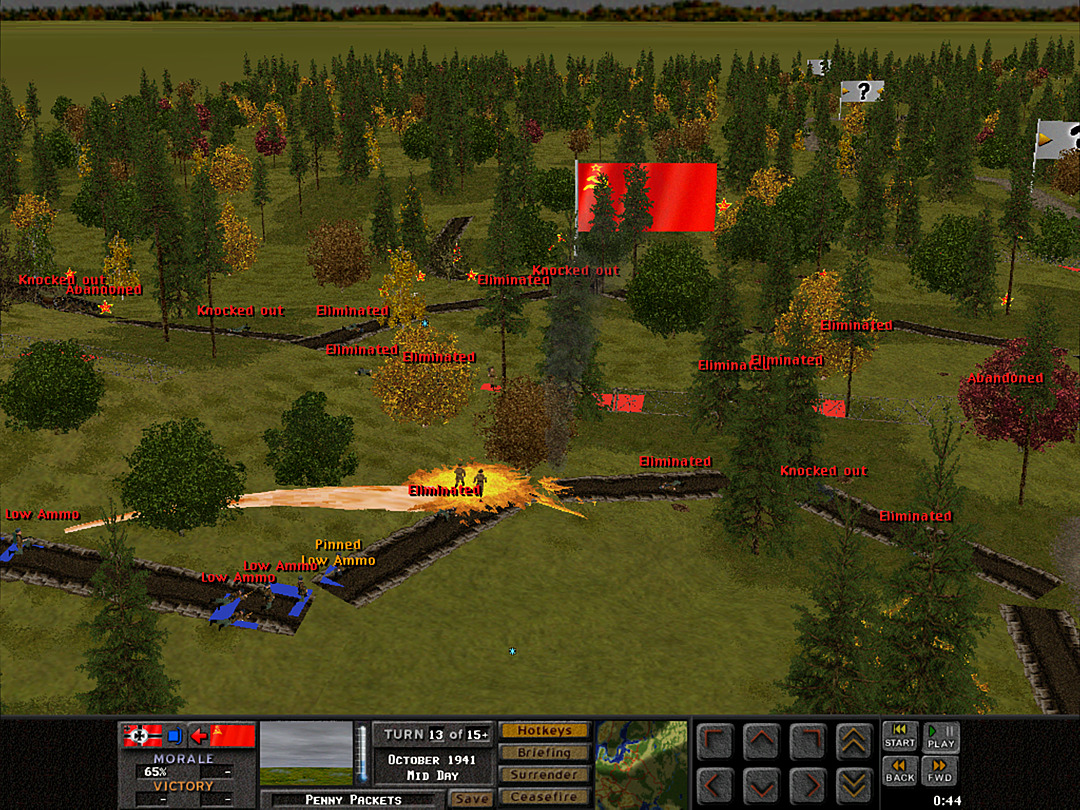 One of our few remaining flamethrower squads gets a good shot off. It forces the lead Soviet squad out of our trench. 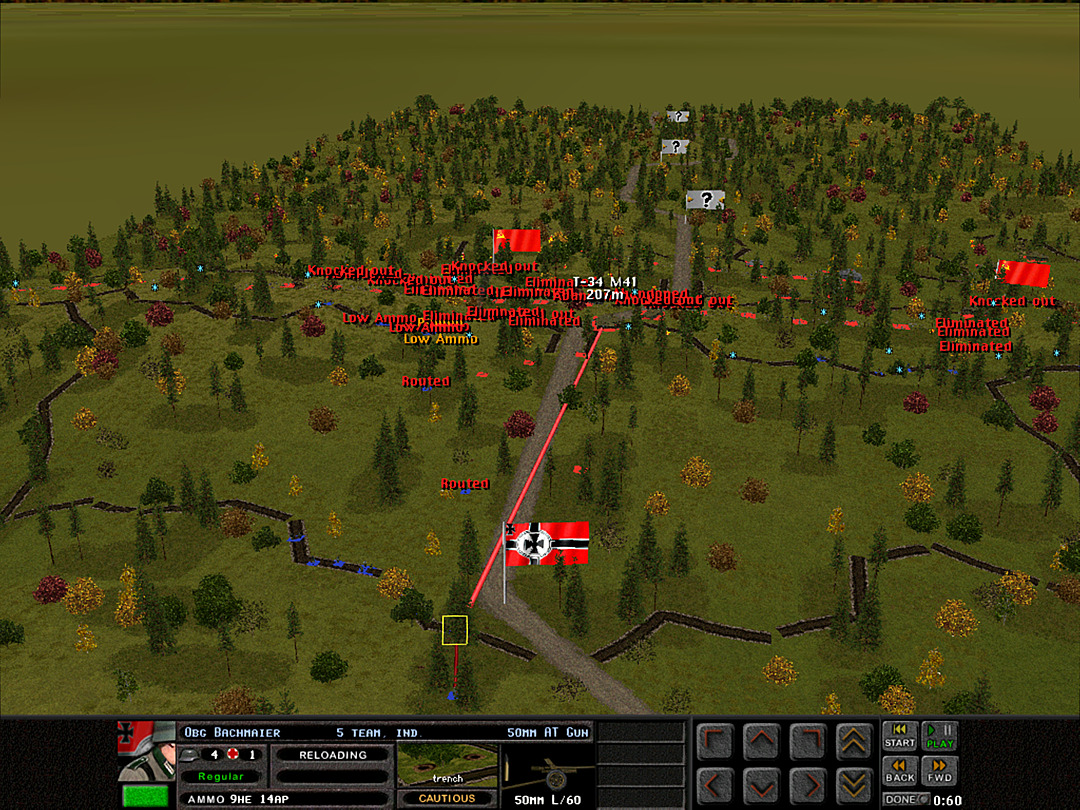 The tanks are back to firing at the PaK38, and they are all adapting a head-on position that makes them very tough to kill. 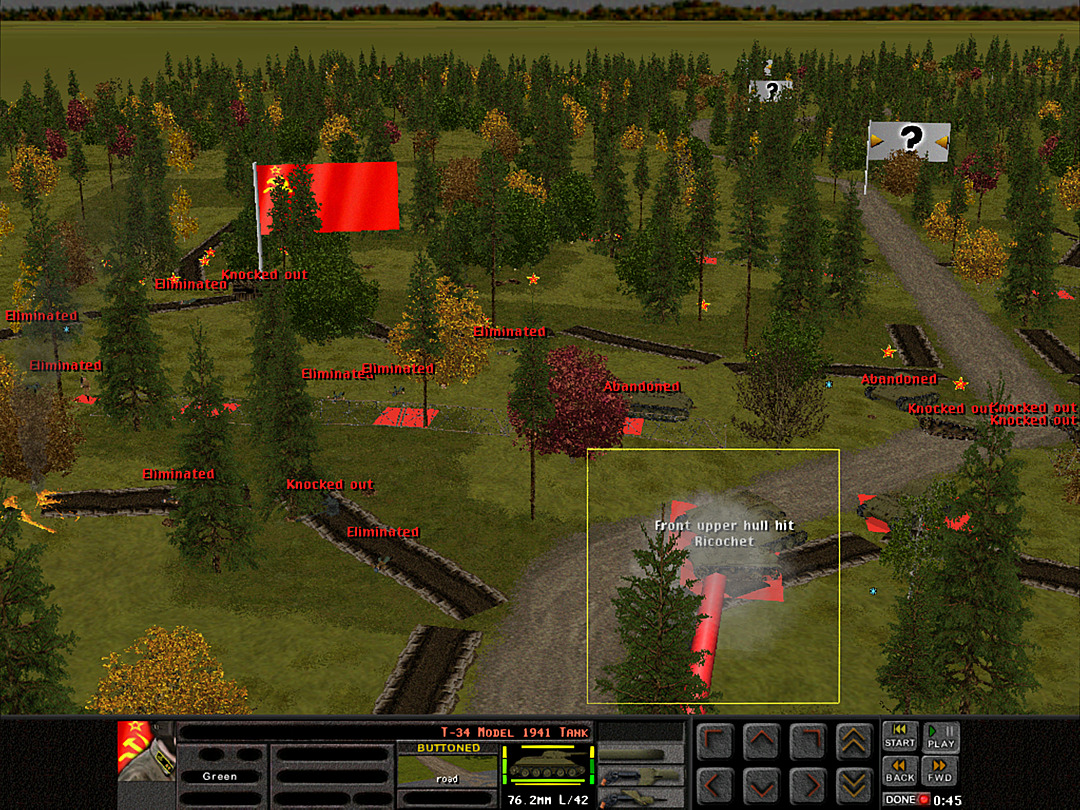 All our shots just bounce off harmlessly. 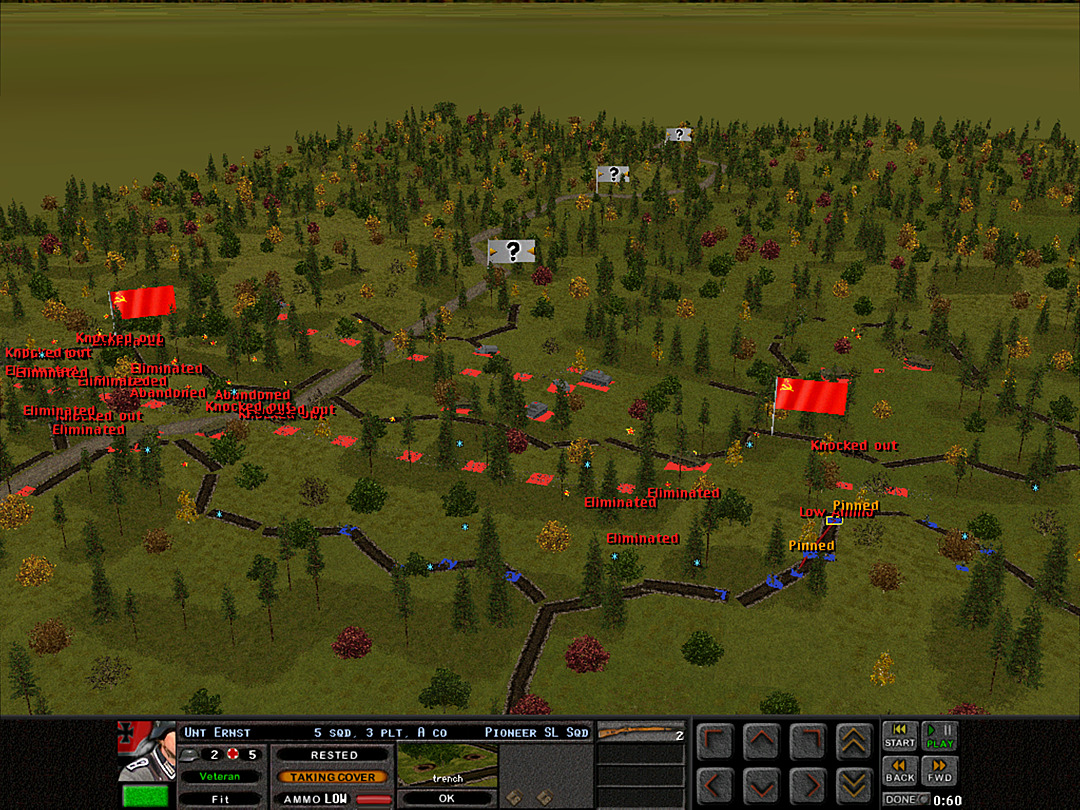 A Coy, 3 Plt is starting to tire on the south side. 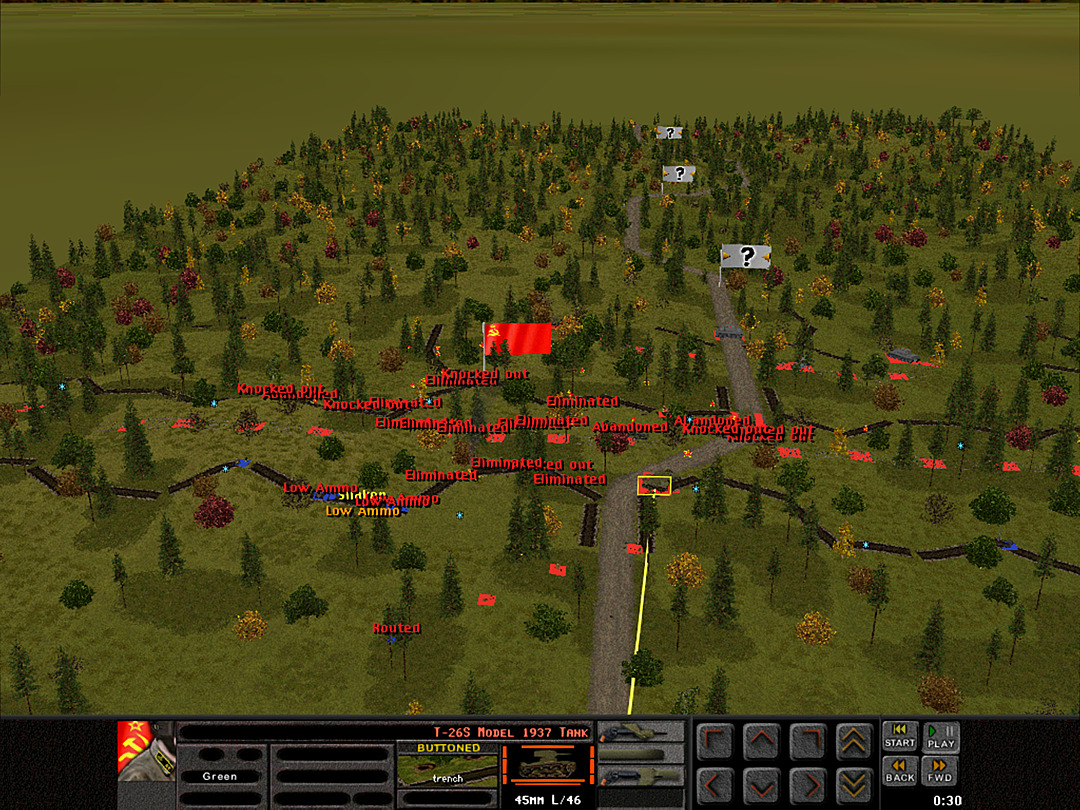 Another tank comes down the road. It's a T-26. This one at least will be an easy kill for the PaK38. 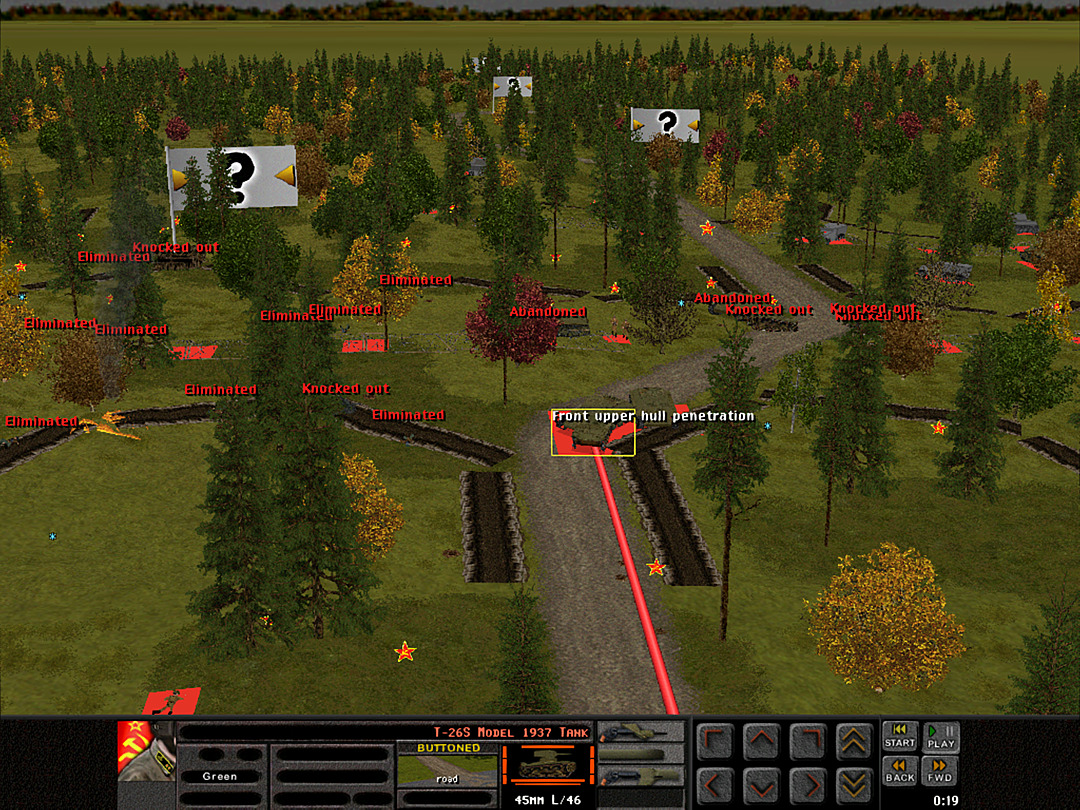 Clear hit, but no explosion. Something seems wrong with our anti-tank guns today. 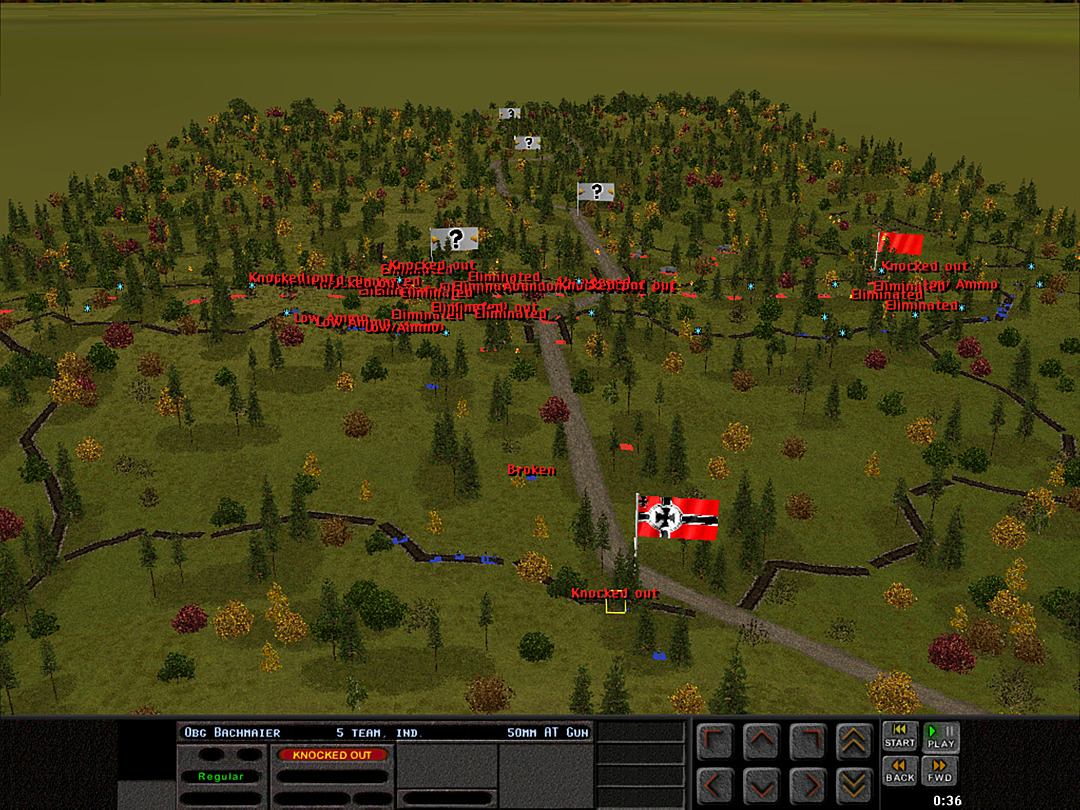 With several tanks having found its range, the 50mm gun is finally taken out. Our best hope for halting the armored advance is lost. 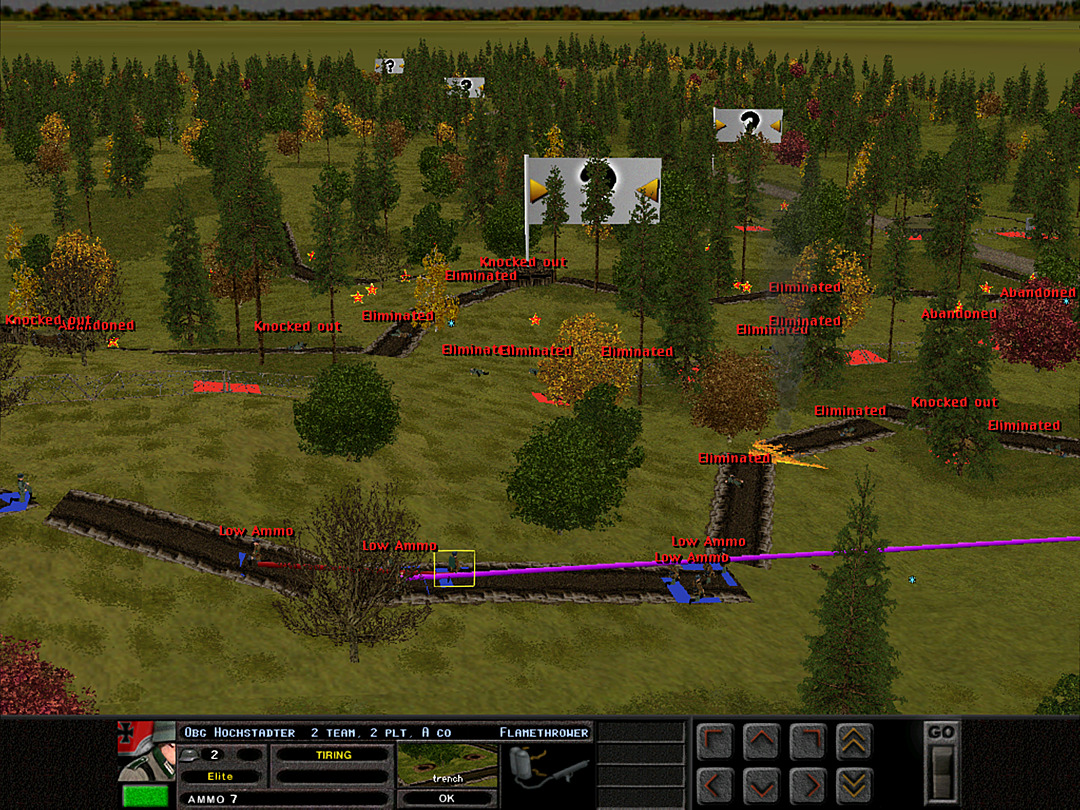 The battle is likely lost. Right now we hope for a brief ceasefire to allow us one more chance to regroup. 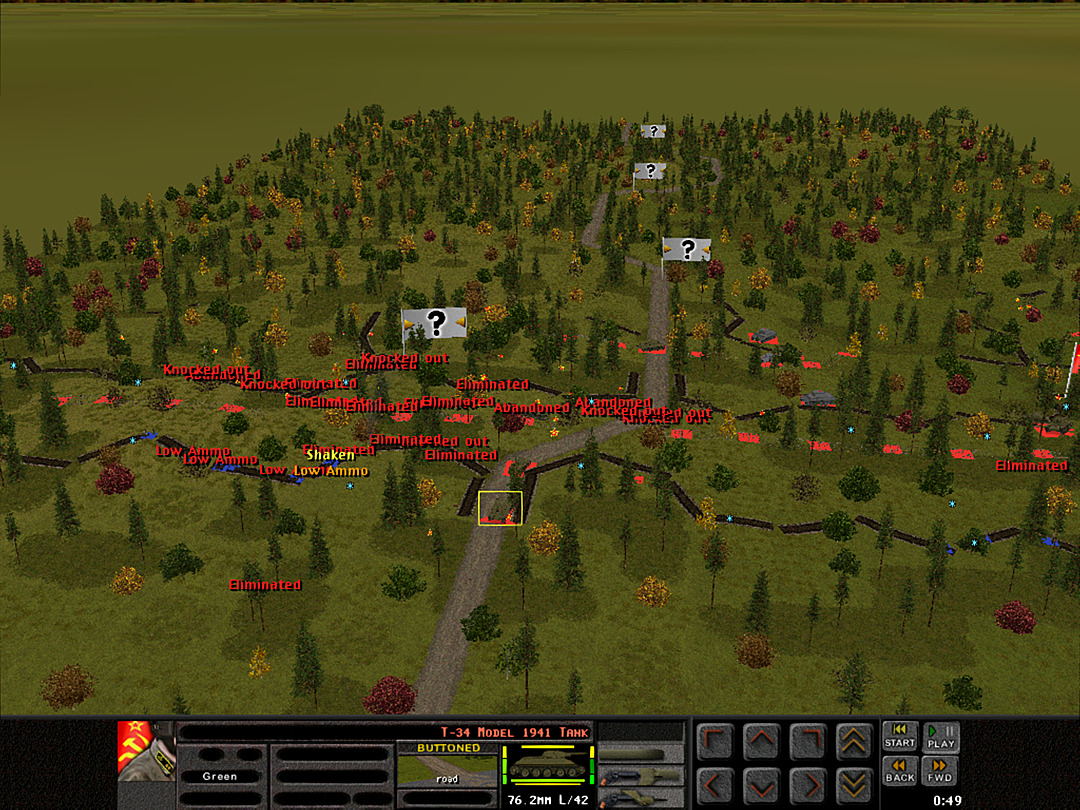 The tanks drive forward unopposed. 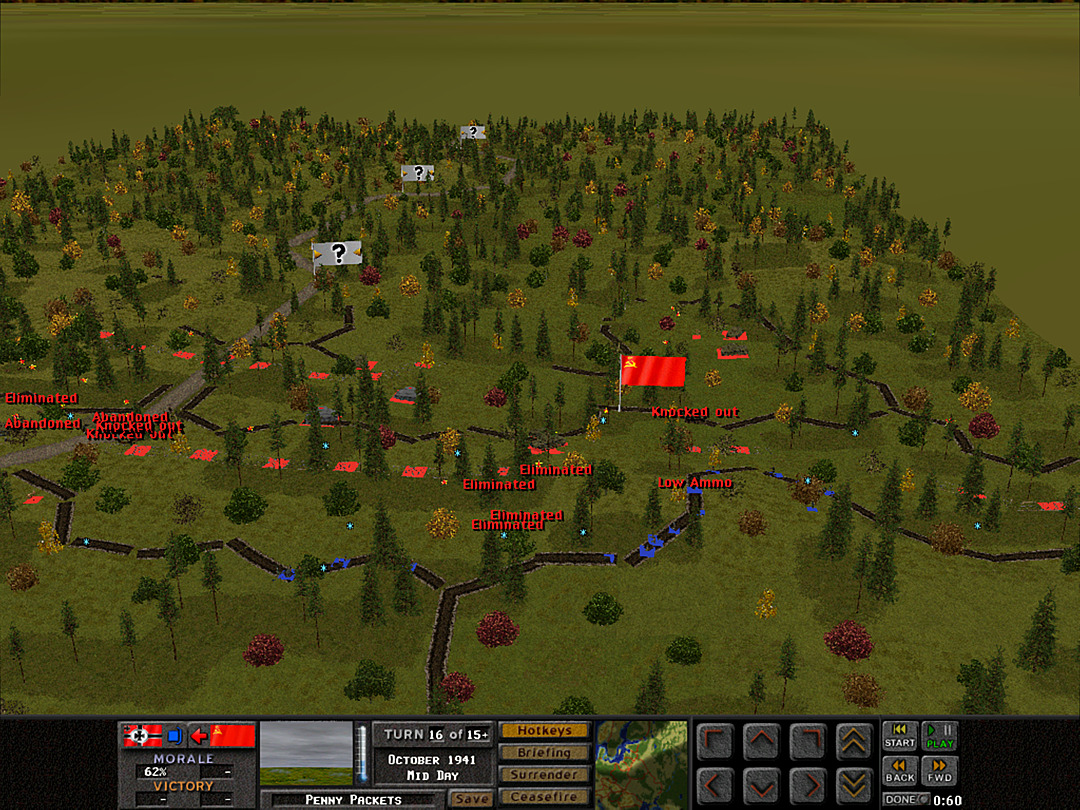 We begin to shift our units away from the south. The Russian assault there has been obliterated. 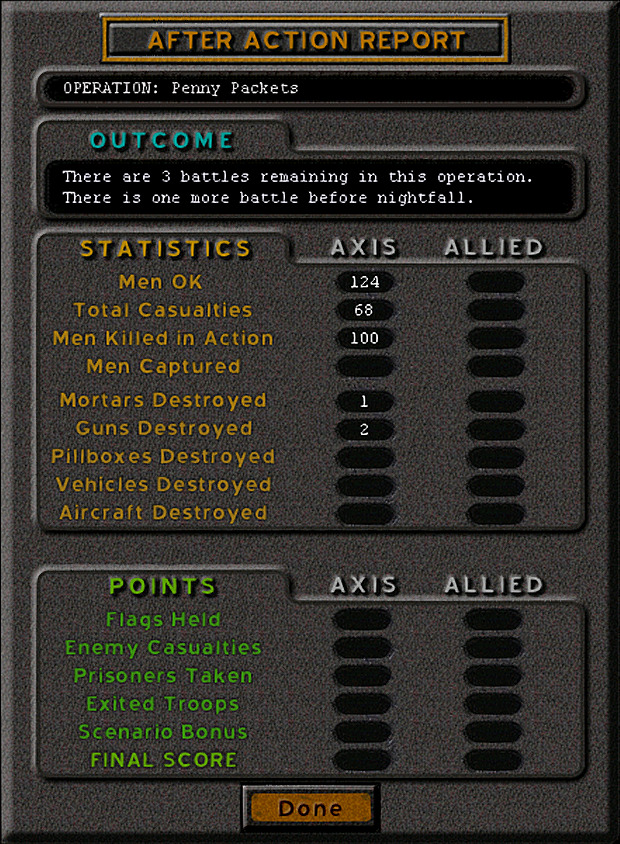 It's been a bloody day so far. At this rate, we'll be wiped out to a man by tomorrow. Unit Highlight Panzerj�ger I 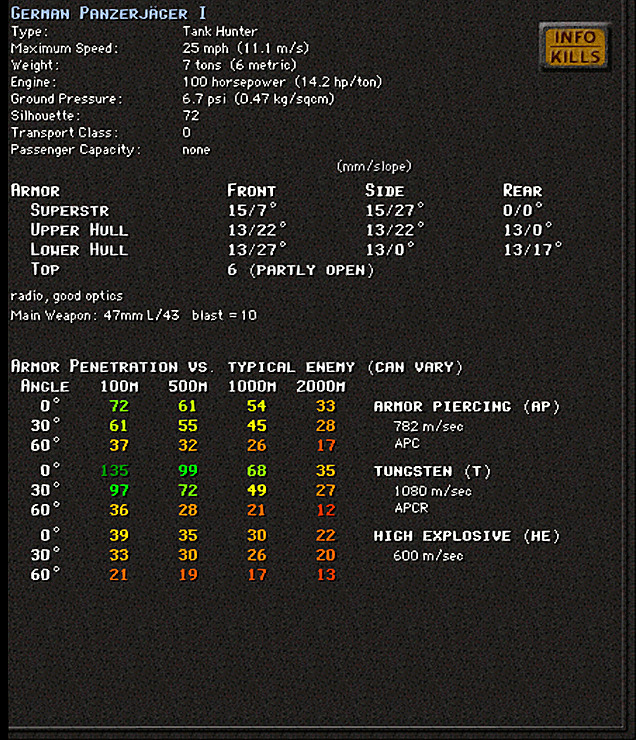 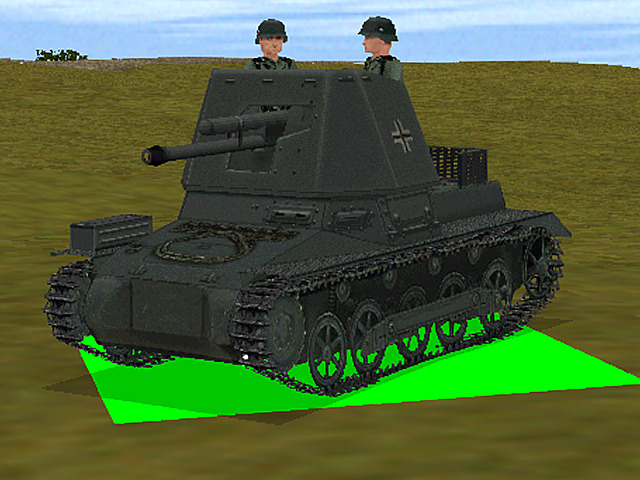 Crew: 3 Base Cost: 56 Stick an anti-tank gun on a tank and you've got a 'tank hunter'. Germany was an early proponent of having dedicated vehicles in the role of 'tank destroyer' or 'self-propelled gun'. By removing the turret, and often skimping on the armor, a much heavier gun could be mounted on a lighter chassis. In theory, this provided a more serious threat to enemy armor than a towed anti-tank gun, as it could maneuver into position rapidly wherever needed. Thus, the idea of converting the first new tank design (the Panzer I) into a 'tank hunter' was already present by the time the war began. Numerous captured 47mm Czech guns were available, so those were put into service on this model. Some saw action in France and the Balkans, where they were indeed effective. However, by the time of Barbarossa, even the decently-powerful gun was having difficulty damaging the latest Soviet models, and the weak armor of the Panzer I made it an easy target. The fact that the crew compartment was exposed at the rear meant it was vulnerable even to infantry at close range. While the tank destroyer concept persisted in the German army for the remainder of the war and beyond, nearly all of these earliest examples were destroyed on the battlefield.
|
|
#
?
Mar 30, 2024 07:08
|
|
|
Operation 4, Battle 4 of 6 Operation: Penny Packets Time: Mid-Day Skies: Overcast Ground: Damp Temp: Cold Wind: Windy E This morning, an entire platoon of B Coy was wiped out in minutes. The enemy has tanks and they're not afraid to deploy them to eradicate us. After that disastrous start to the battle, and the loss of our best anti-tank gun, we're in a serious fix. With so few troops, we don't have a good chance of holding even our own trenches, let alone take a position on the enemy line. The Soviet armor is just going to keep on coming. All we can do is pull the men together and hope for the best. If we can survive to the end of the day, it might just buy enough time to secure the Leningrad perimeter and deny the enemy a breakthrough. 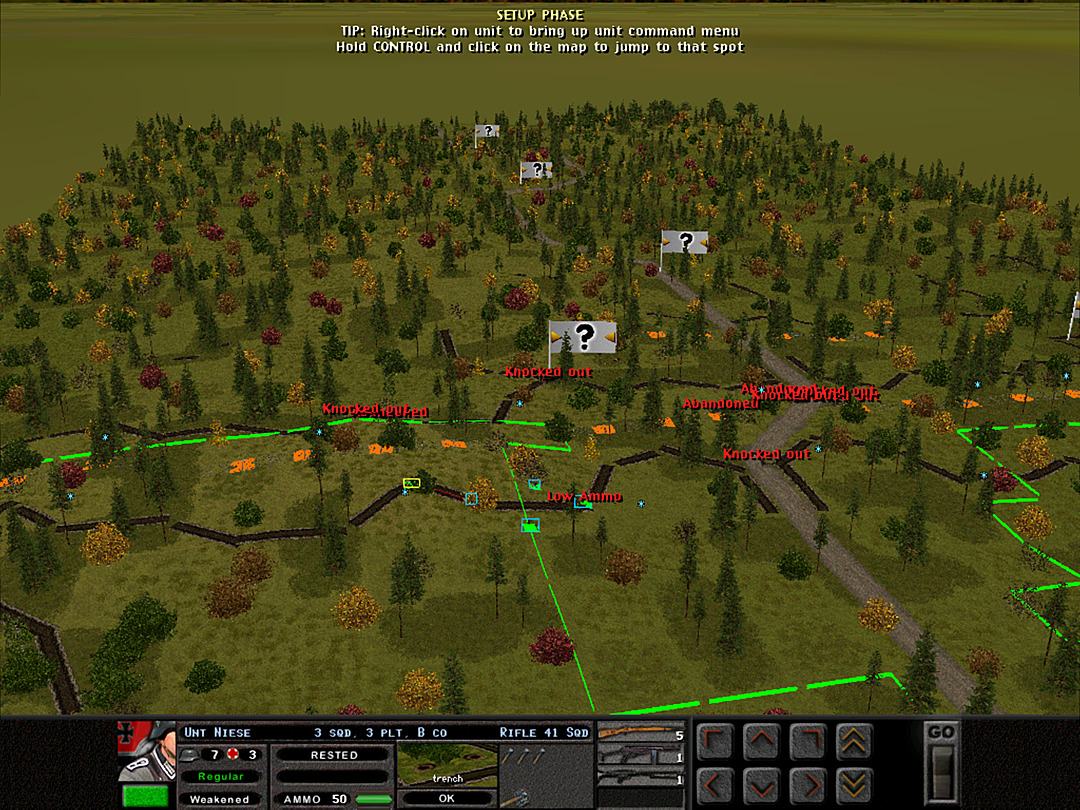 The remnants of the forces on the north side have formed an ad hoc platoon under the command of A Coy's captain. Once again, we can't hold the forward line, so these troops will be moved back to another trench line. 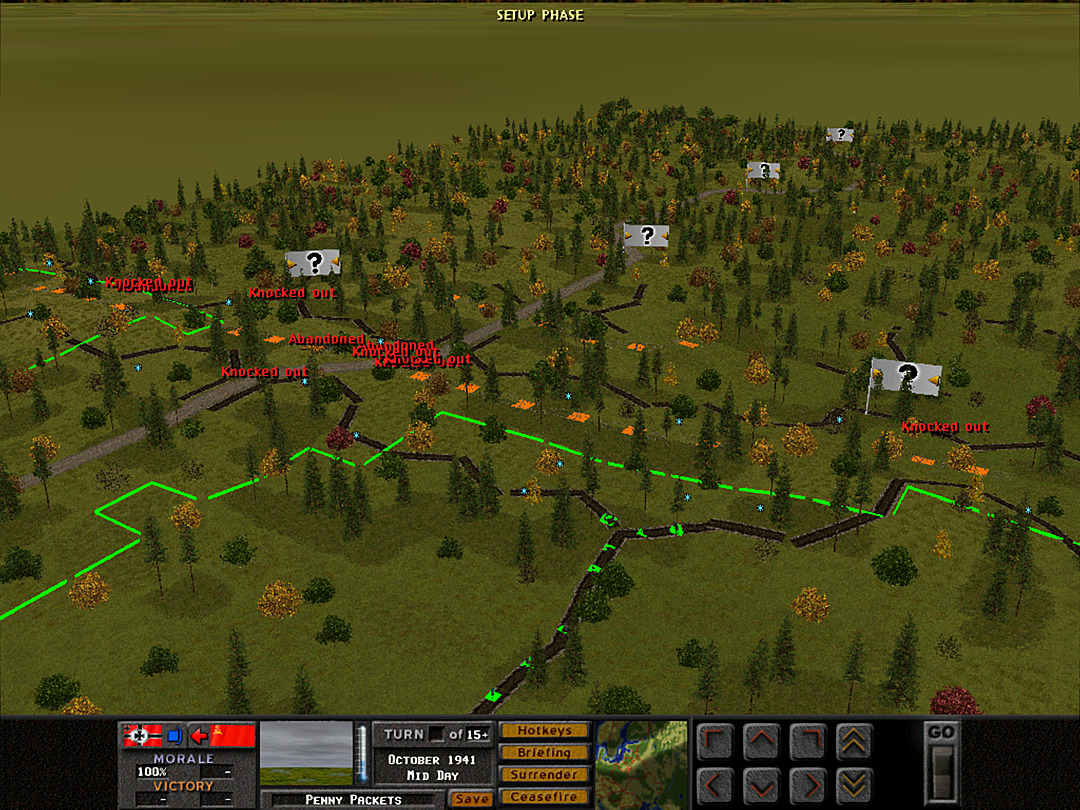 On the south side, we held well against a relatively anemic infantry attack. With our center failing, though, the troops here have to pull back a bit as well. Nevertheless, this is our best chance to slow down the enemy advance on this side. We move to the central trench to give an avenue of retreat, just in case our rear line comes under a heavy attack. 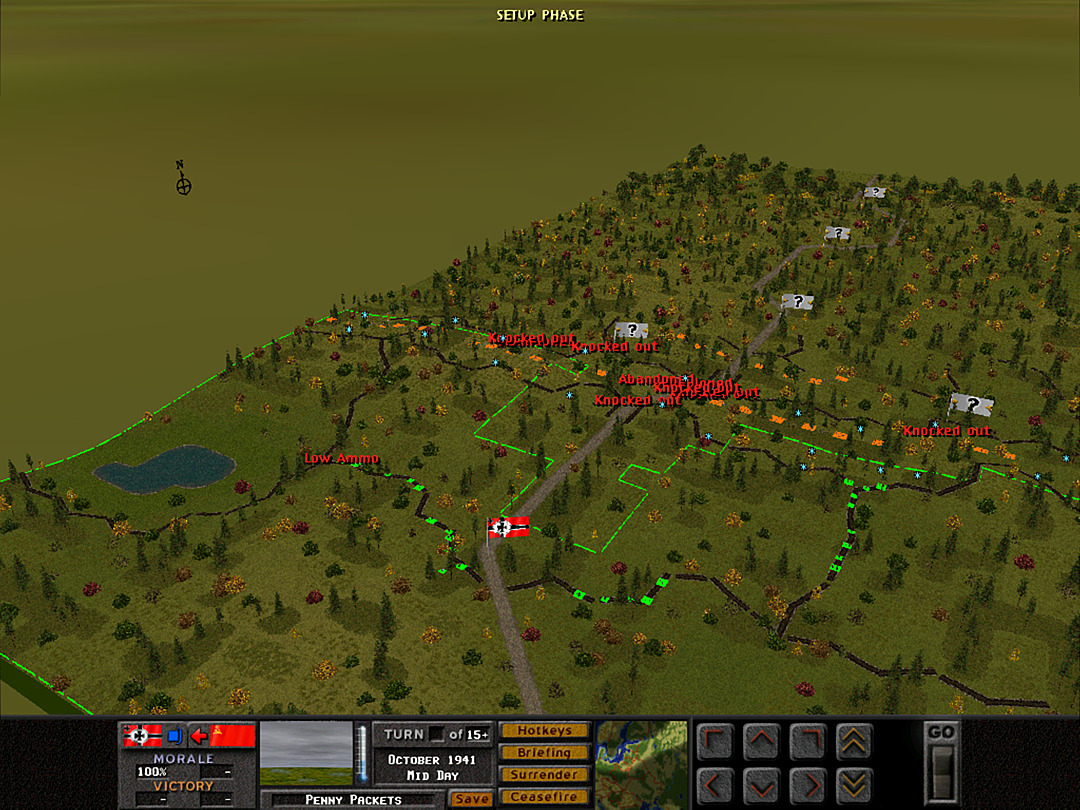 The last line that we cannot cede is the hill at the next bend in the road. The reserve platoon of B Coy has stayed back here, and now they might be the only decently-strong defenders. The ad hoc platoon spreads out on the north, to ensure that this position doesn't get flanked. Our remaining AT gun is placed to the southwest of the last road turn. Its best chance is to catch a passing tank from the side or rear as it proceeds along the road; from here it can also target some of the ground that infantry advancing toward the southern trench lines must cross. 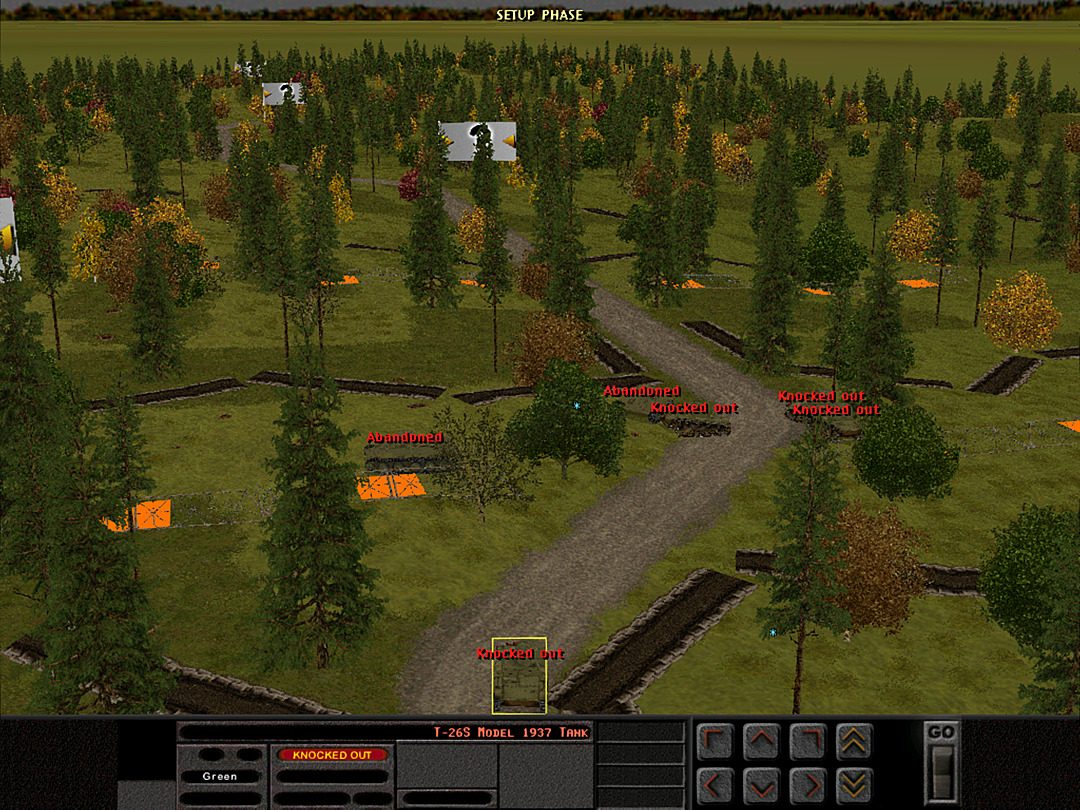 One slightly cheering thought is that after the smoke cleared from the previous battle, we saw no further activity from the T-26 that the PaK38 hit. It seemed we did score a kill; it just wasn't possible to determine at that time. Note that this is 'Knocked Out' and not 'Abandoned', which means it was taken out by the shot. It's not always possible to tell if your shot actually hit unless you see the message or note that the tank is burning/cooking off. 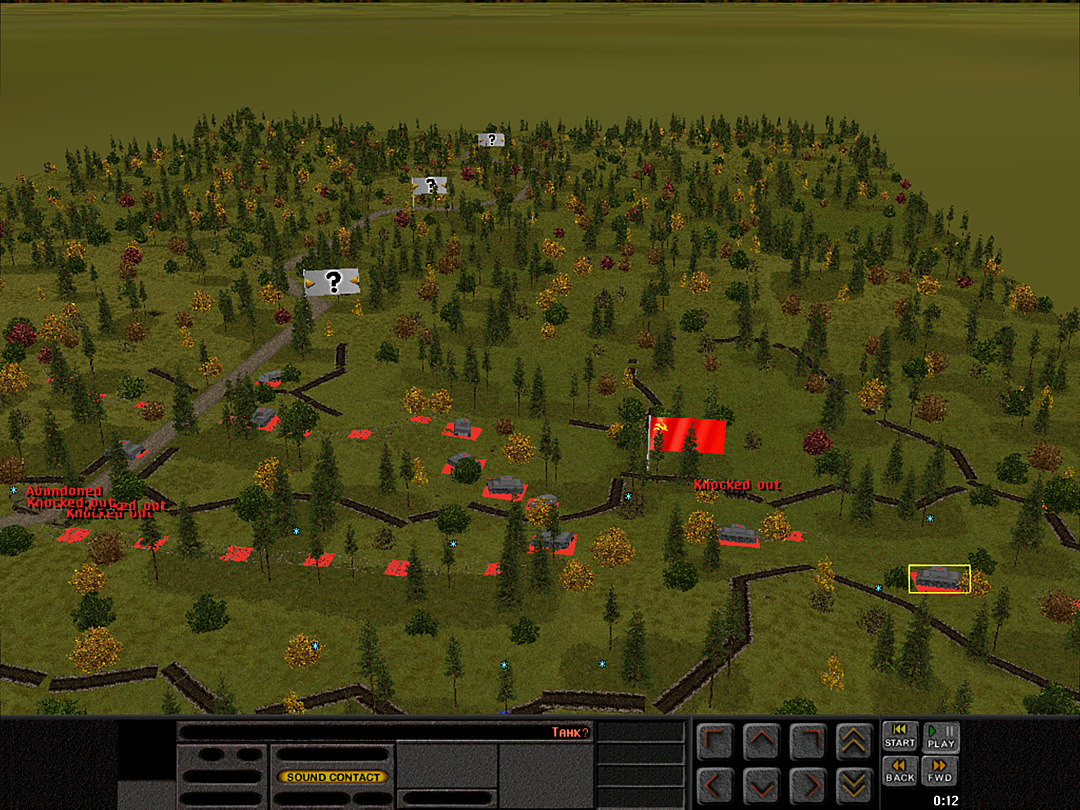 We hear definite tank movement on the southern ridge. It's a signal that the Russians are on the move again. 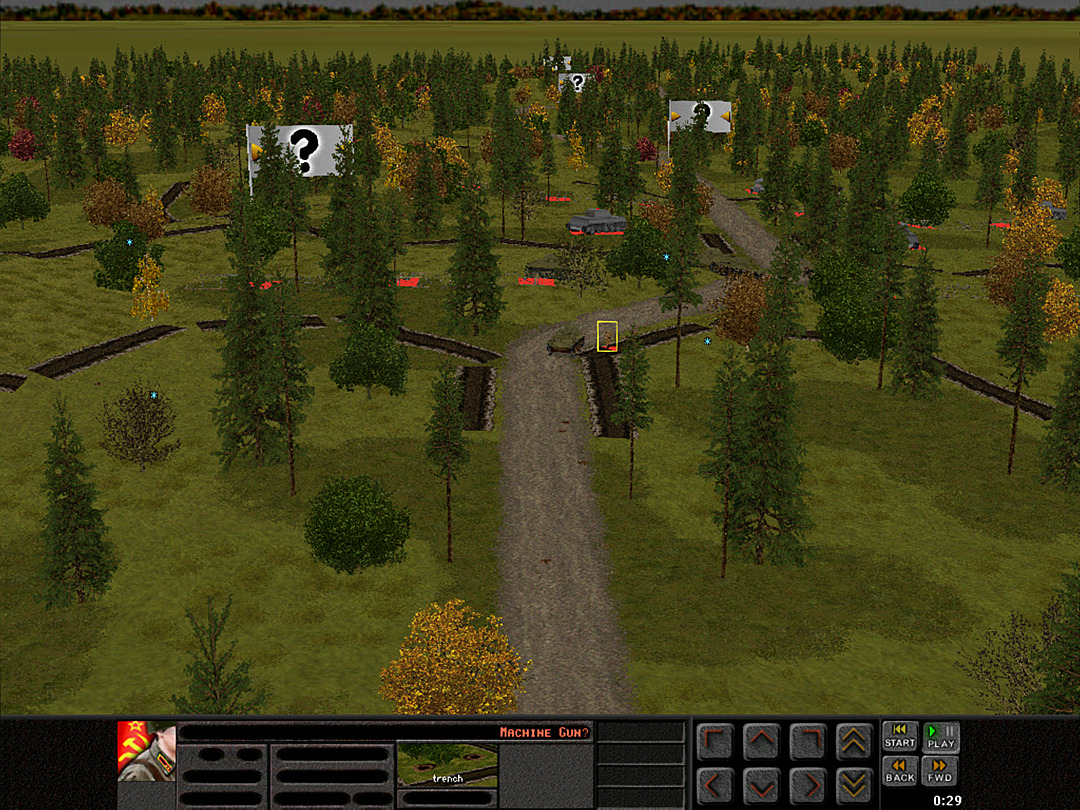 The enemy infantry are taking possession of the trench alongside the roadway. 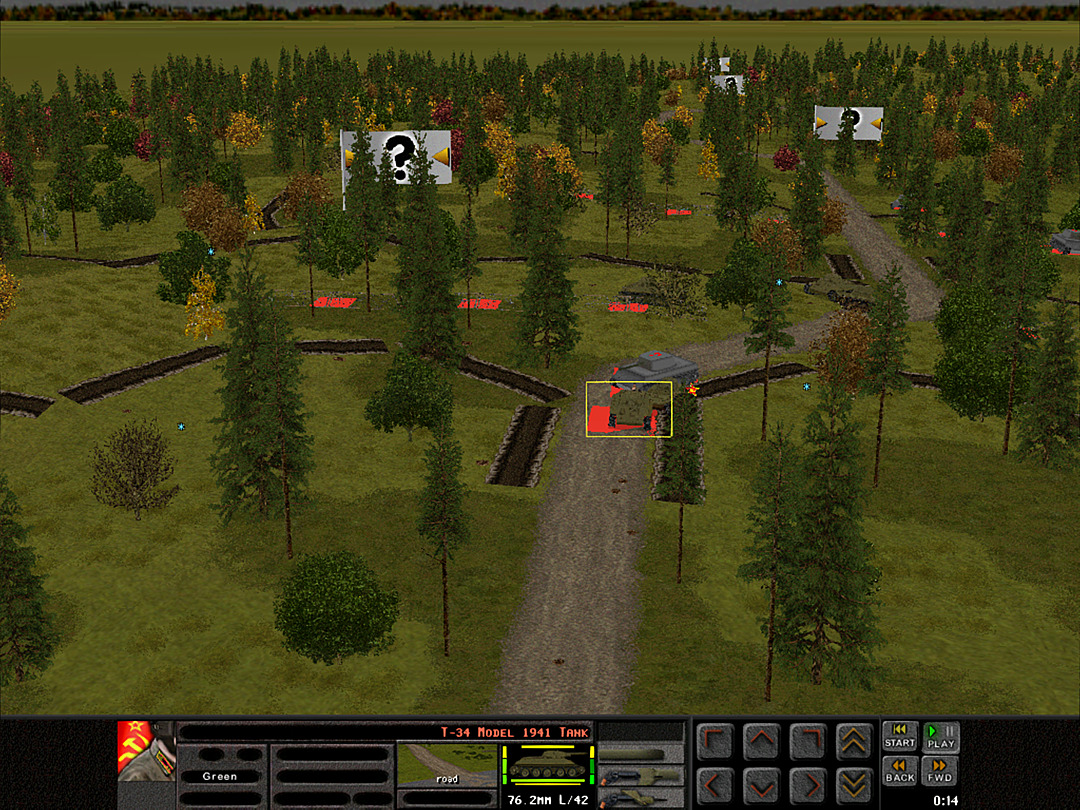 Then we spot what we hoped not to see � T-34's coming up the road. We have nothing to hold them back. 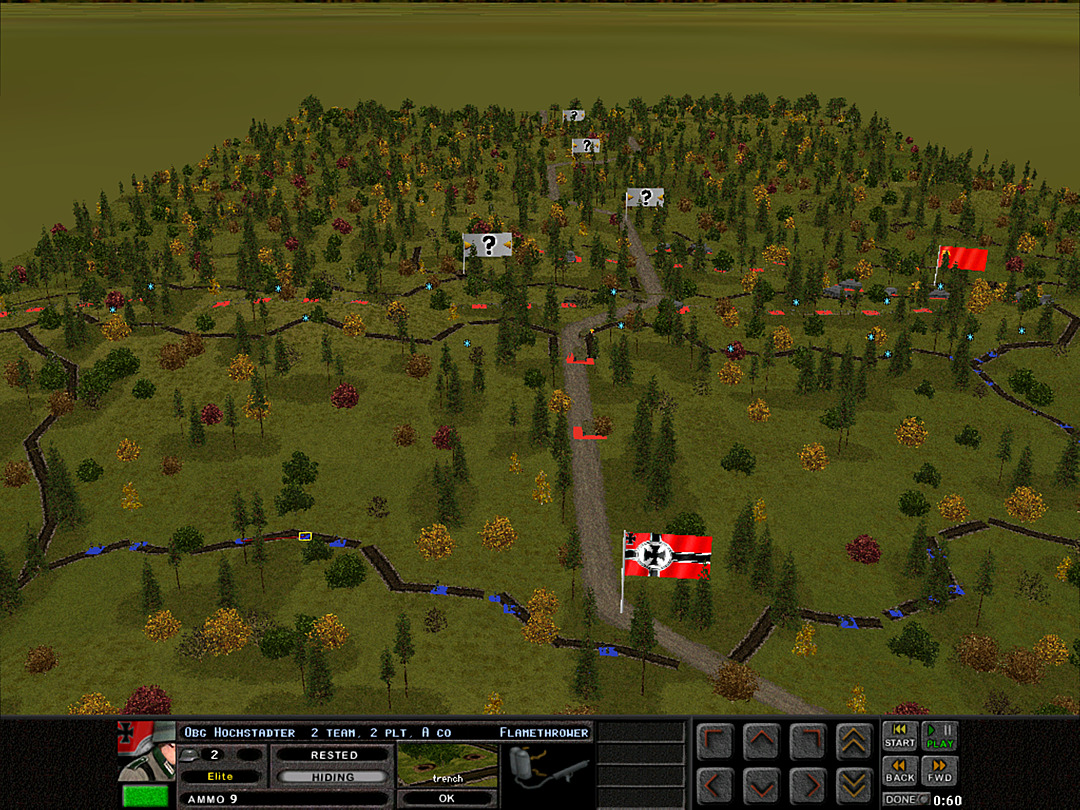 Two tanks make the charge forward. Our men try their best to take cover.  The only possible chance we have is to sneak men close enough to throw explosives that might render the tank immobile. 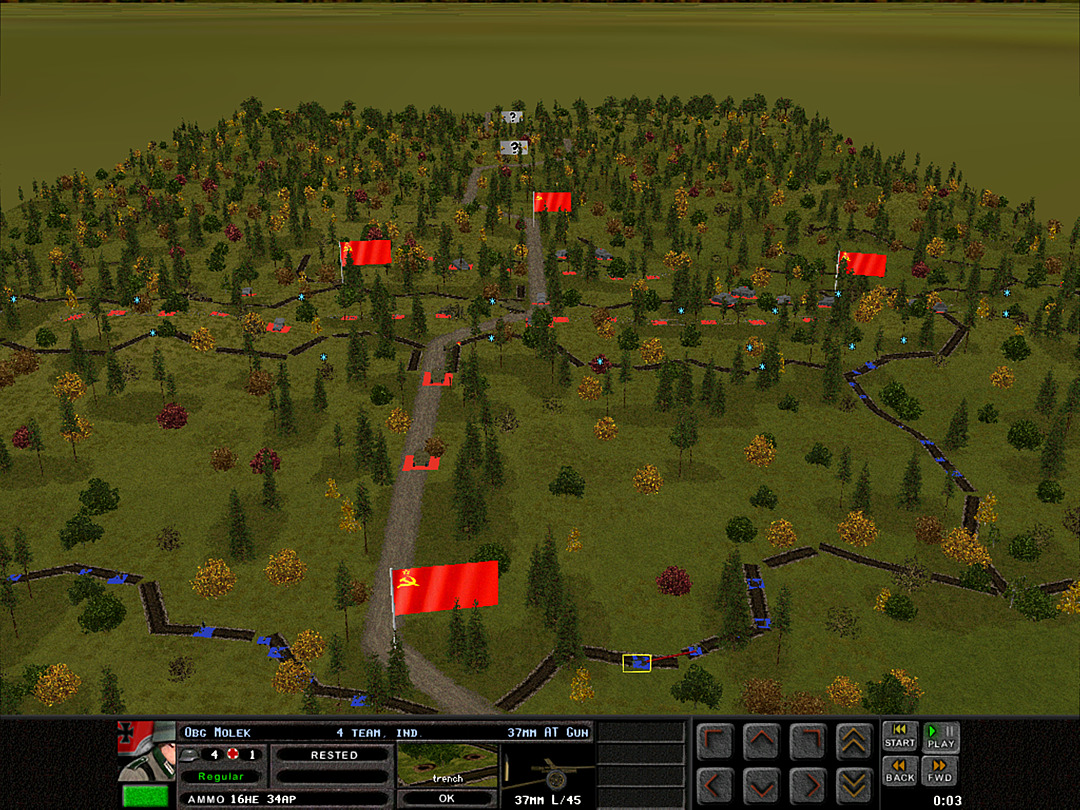 The tanks are powerful enough that we may just have to surrender right now. Our AT gun readies its ammunition, just in case it gets a chance to fire. 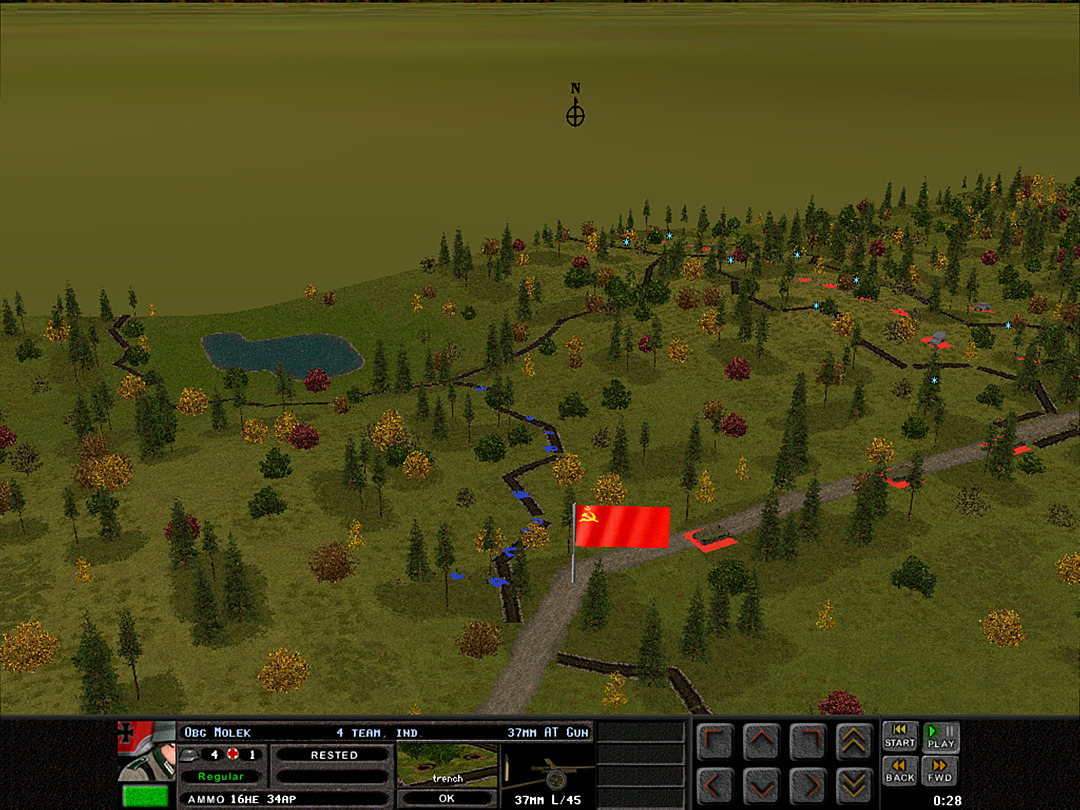 It's a full platoon of three tanks, and they simply roll ahead brazenly toward our position. 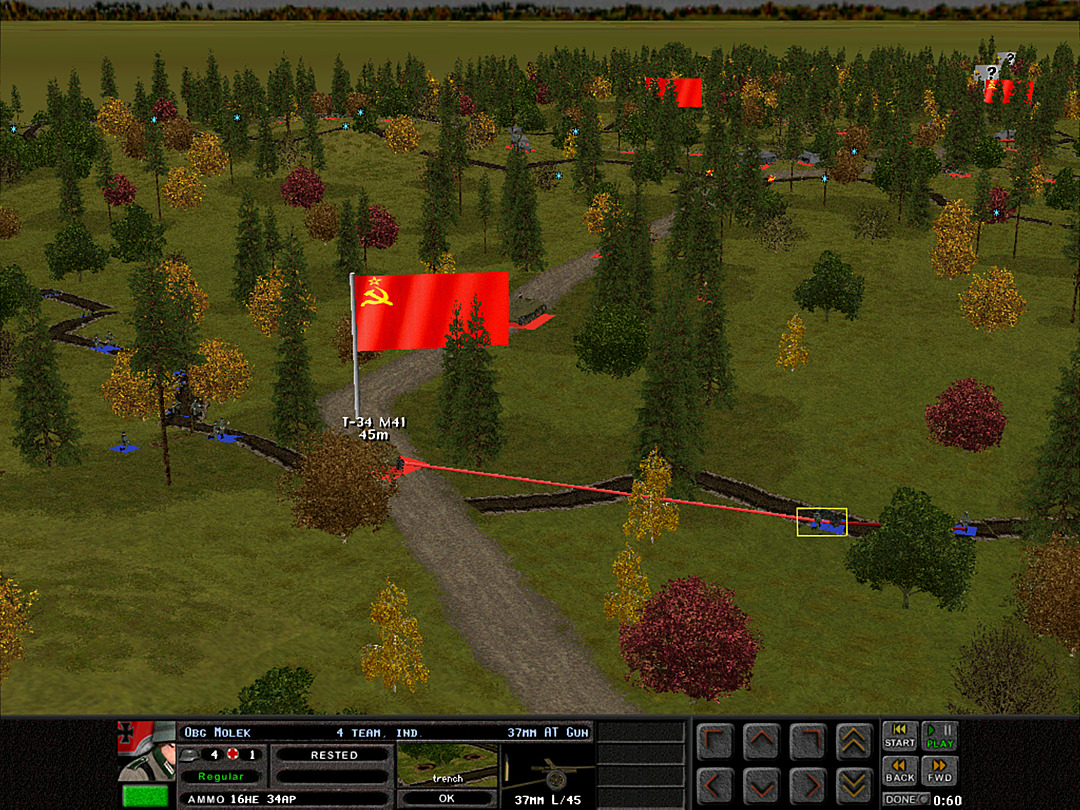 They don't even seem to care about the infantry, but the lead tank does stop when it spots our 37mm gun. 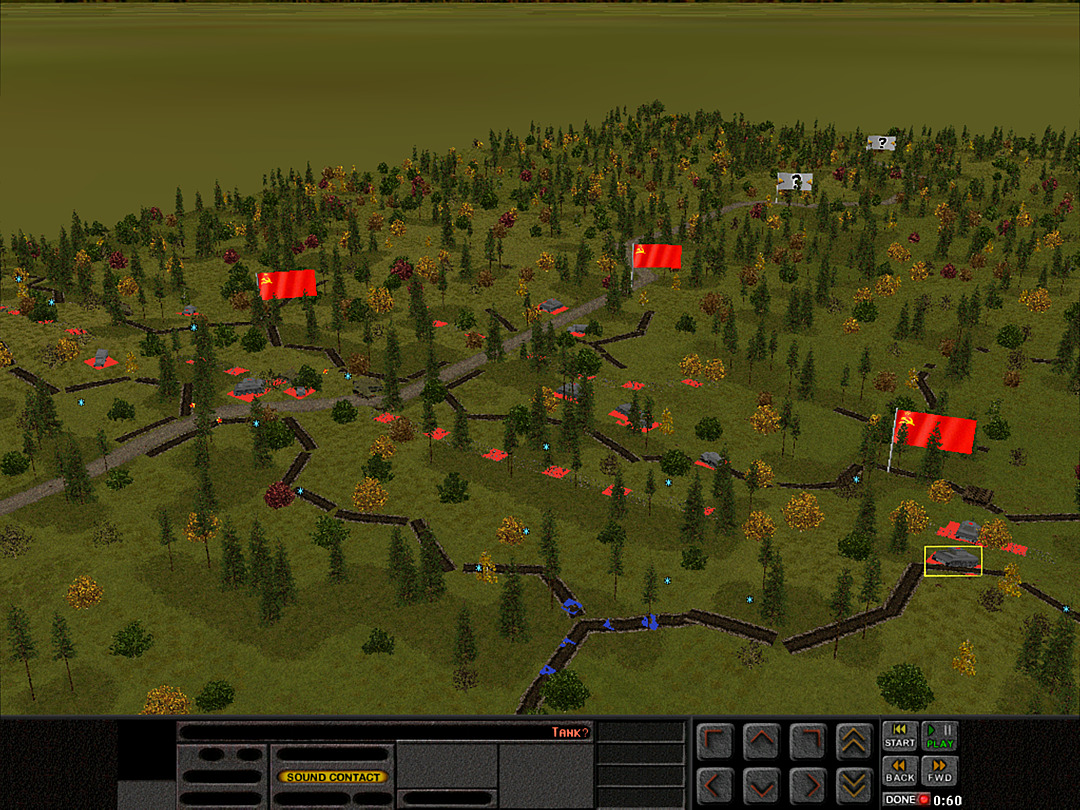 Luckily for us, it looks like the other tanks on the south are having difficulty finding a route over the ridge through the tree line. 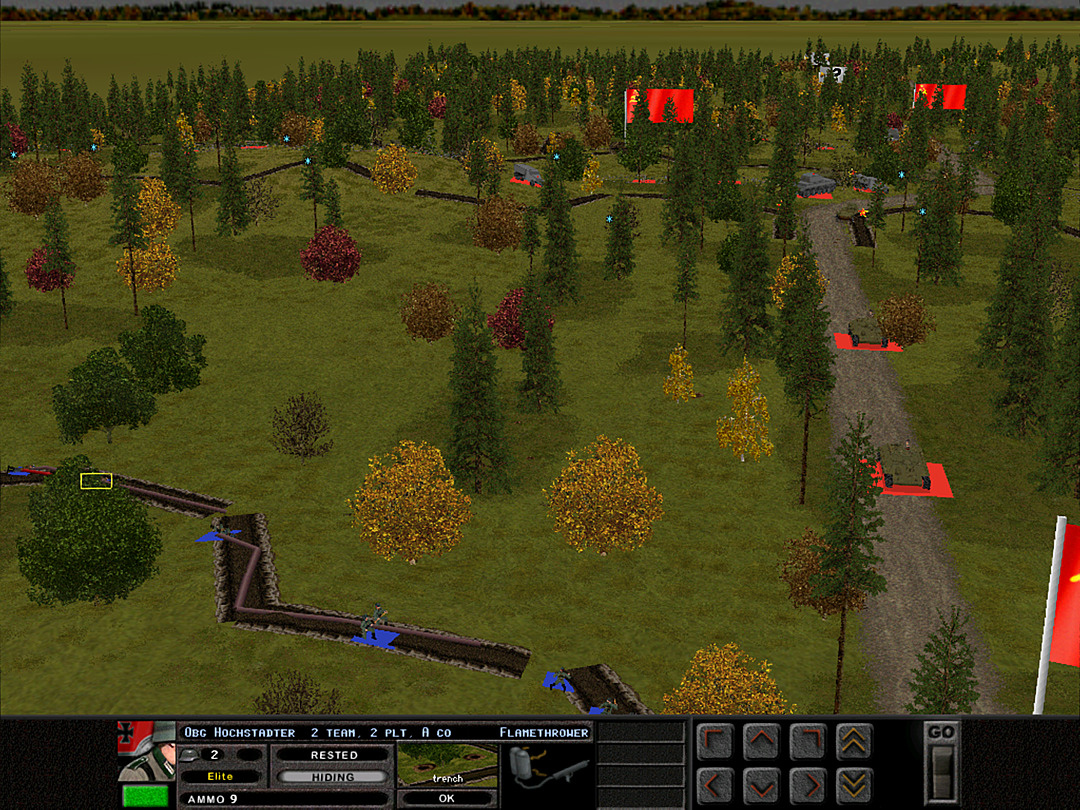 One of our last faint hopes for knocking out tanks is the flamethrower. They need to stay hidden until they can get in range. 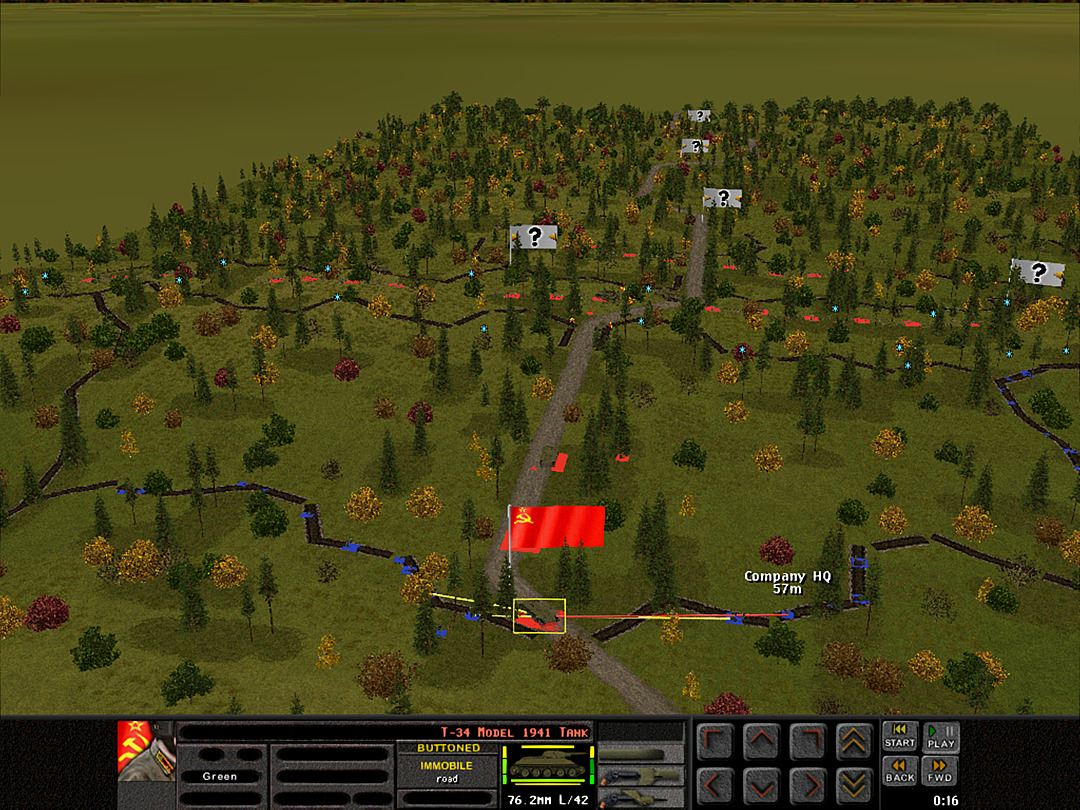 Incredibly, our first shot from the 37mm throws the tread off the first tank. 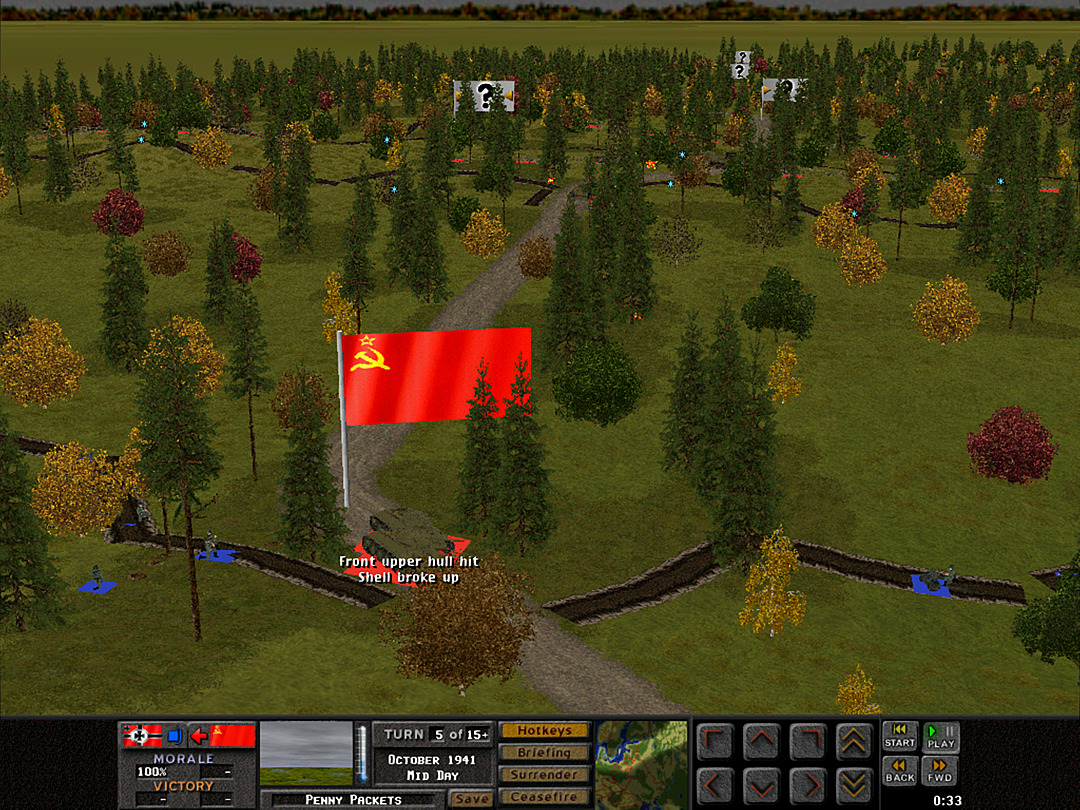 Additional shots fail to do any additional damage, and a second tank moves in to engage the AT gun. 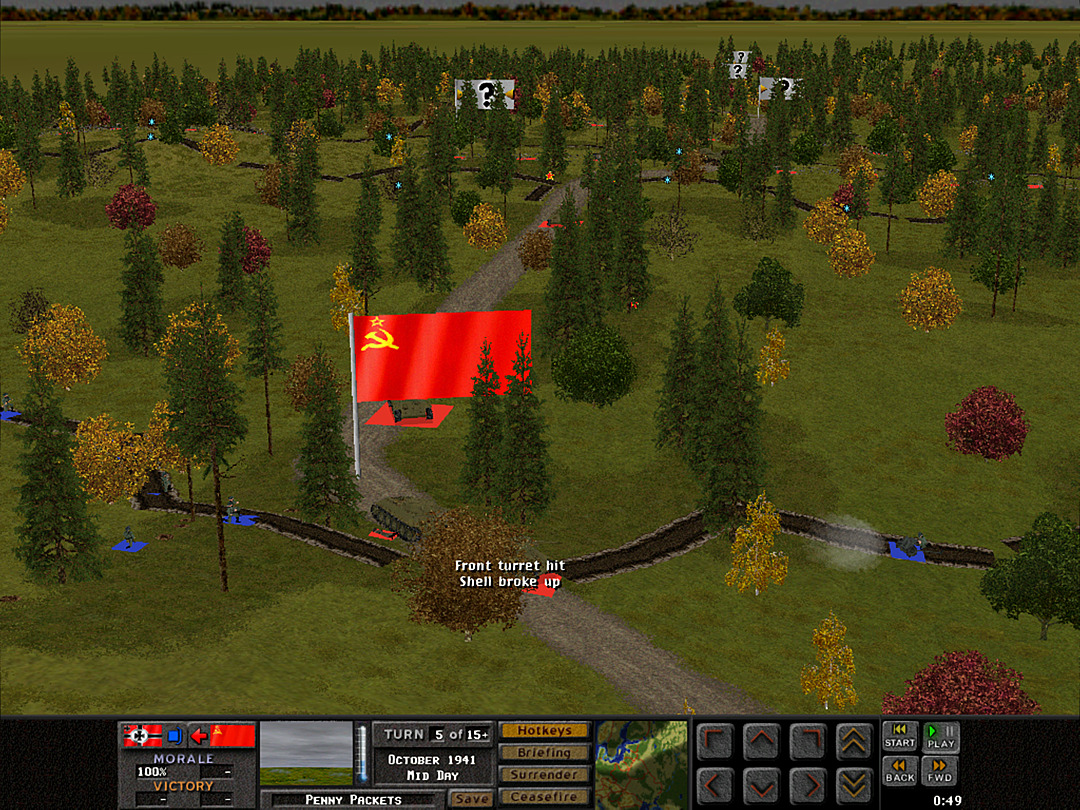 We pelt the second tank with shells, but to no effect. 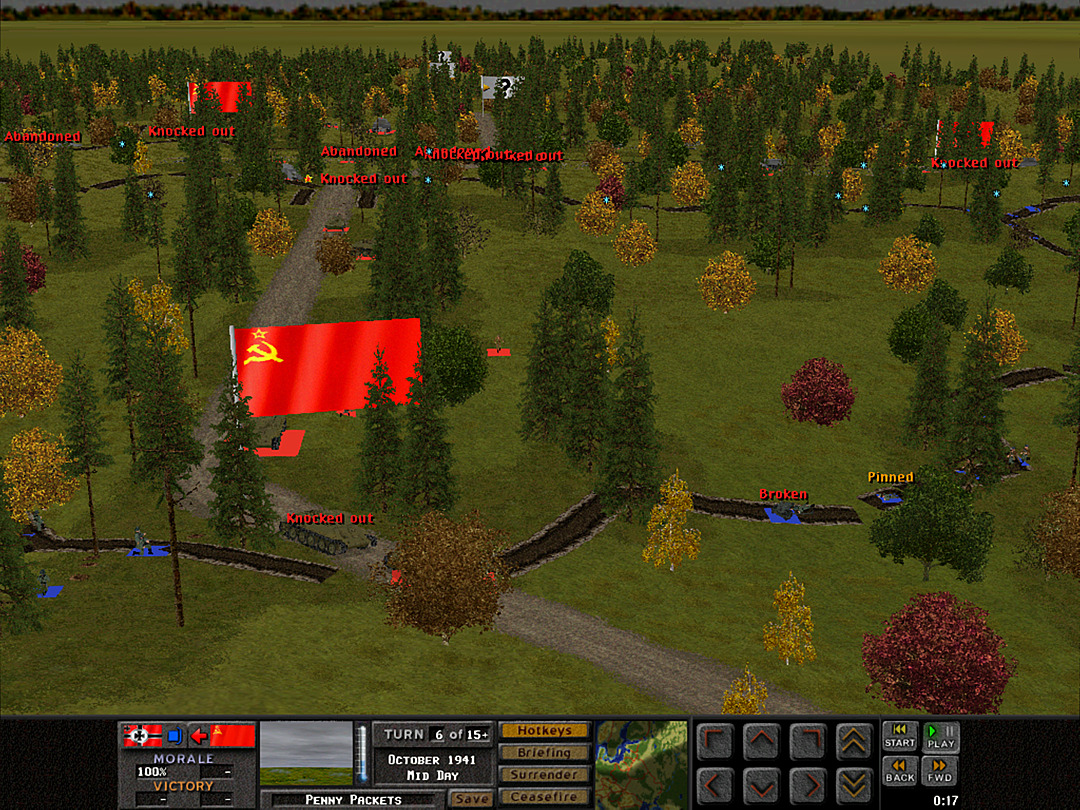 Finally, we get a hit on the side of the lead tank that knocks it out. But the 37mm gun has taken fire from the second vehicle, and is now having trouble getting any shots off. 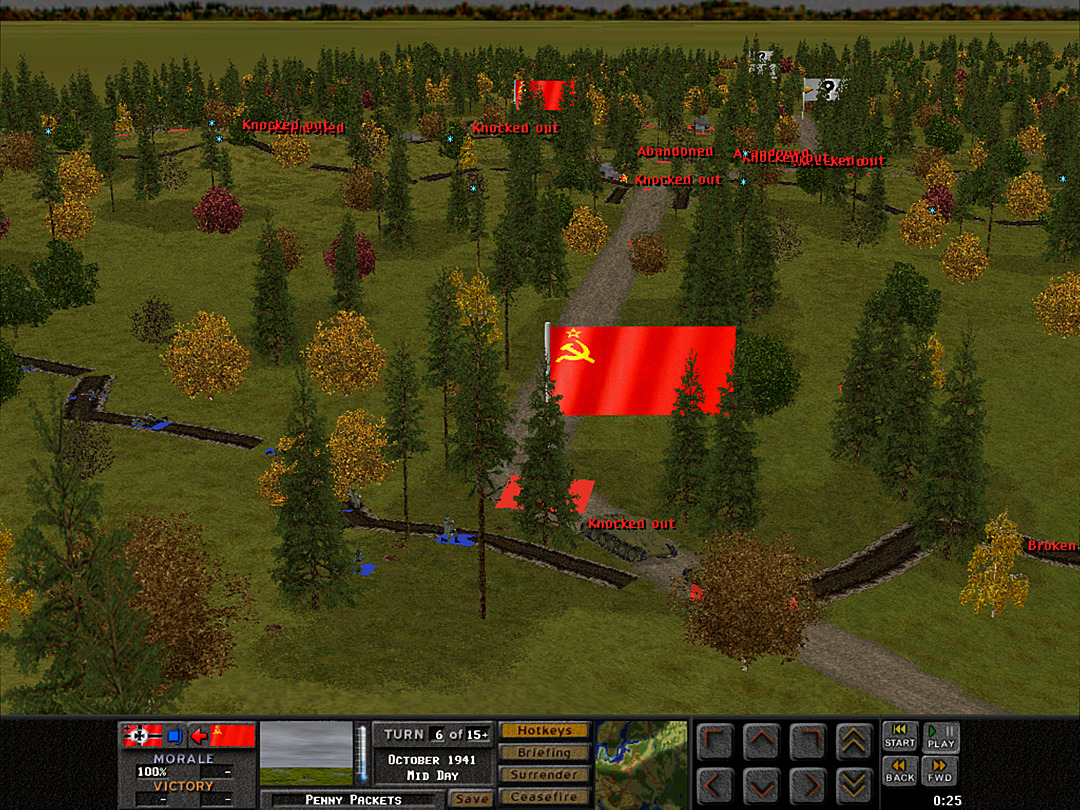 The third tank in the platoon joins the close-range battle at the bend. 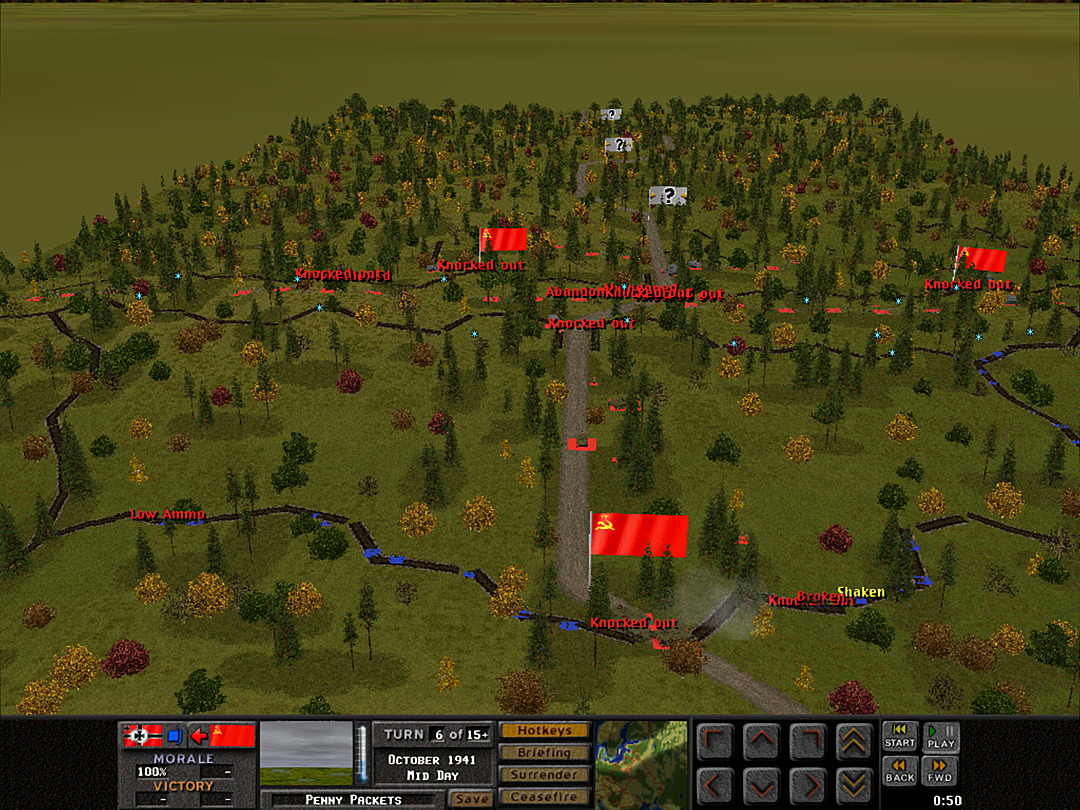 More rounds take out our last AT gun on the battlefield. We have nothing left that can penetrate an armored vehicle.  Some enemy infantry scouts have pushed forward to our lines, and additional tanks are coming along the road. 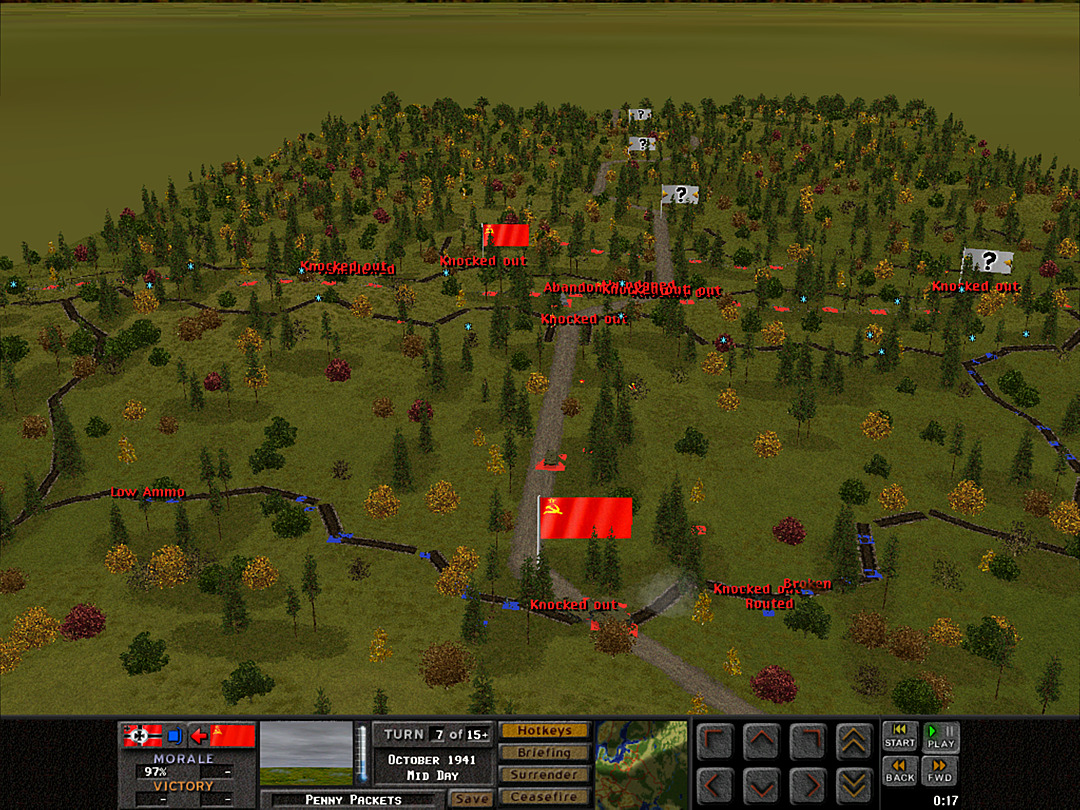 The troops defending the south side of the road might not hold; the captain of B Coy cracks under the pressure. 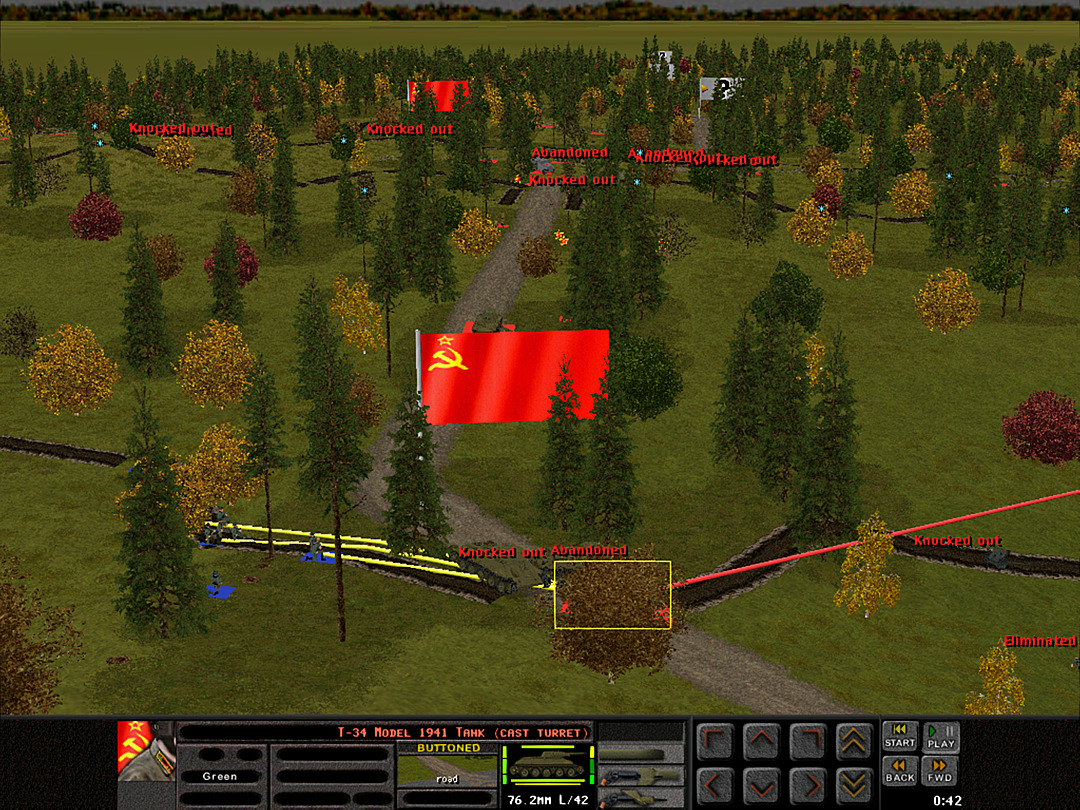 But we score more success. Grenades force the crew of another tank to bail out. 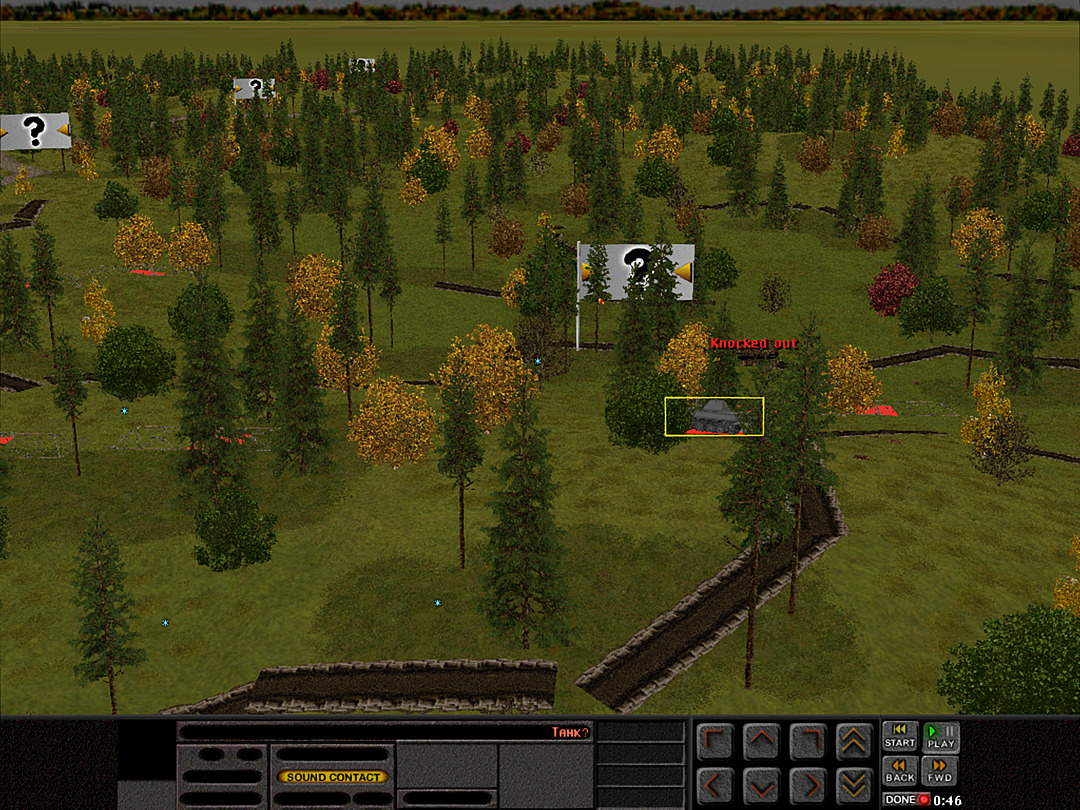 There's clearly no way for the enemy vehicles to get over the ridge on the south. The road is the only way. 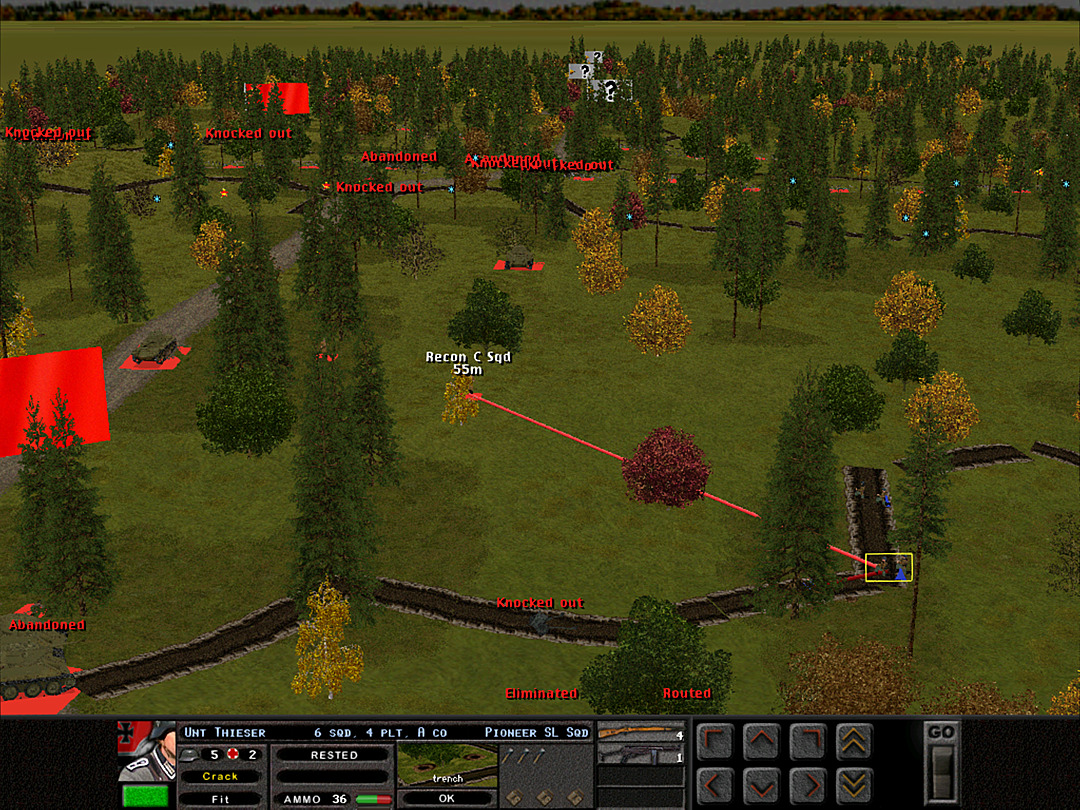 A Coy, 4 Plt, which had pulled far back to assist the rear line, engages the enemy scout teams. 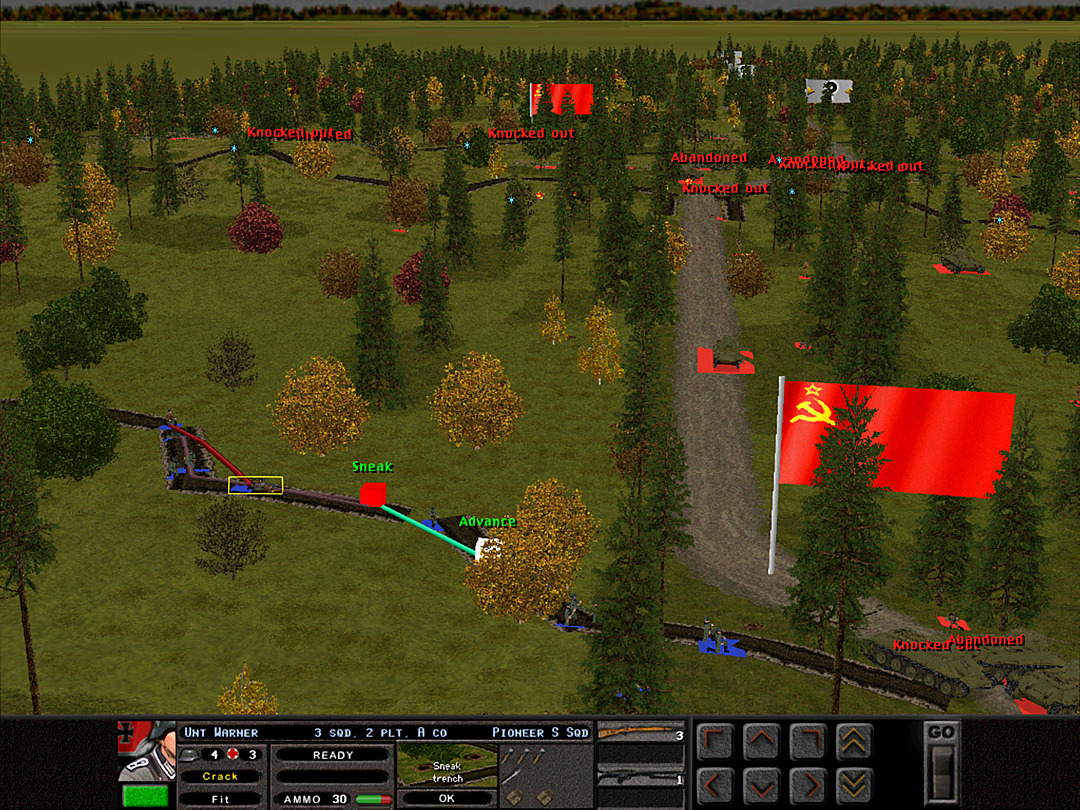 Meanwhile, the airborne squads from A Coy on the north are trying to get close to the tanks; they have more and better explosives to toss at them than what B Coy is equipped with. 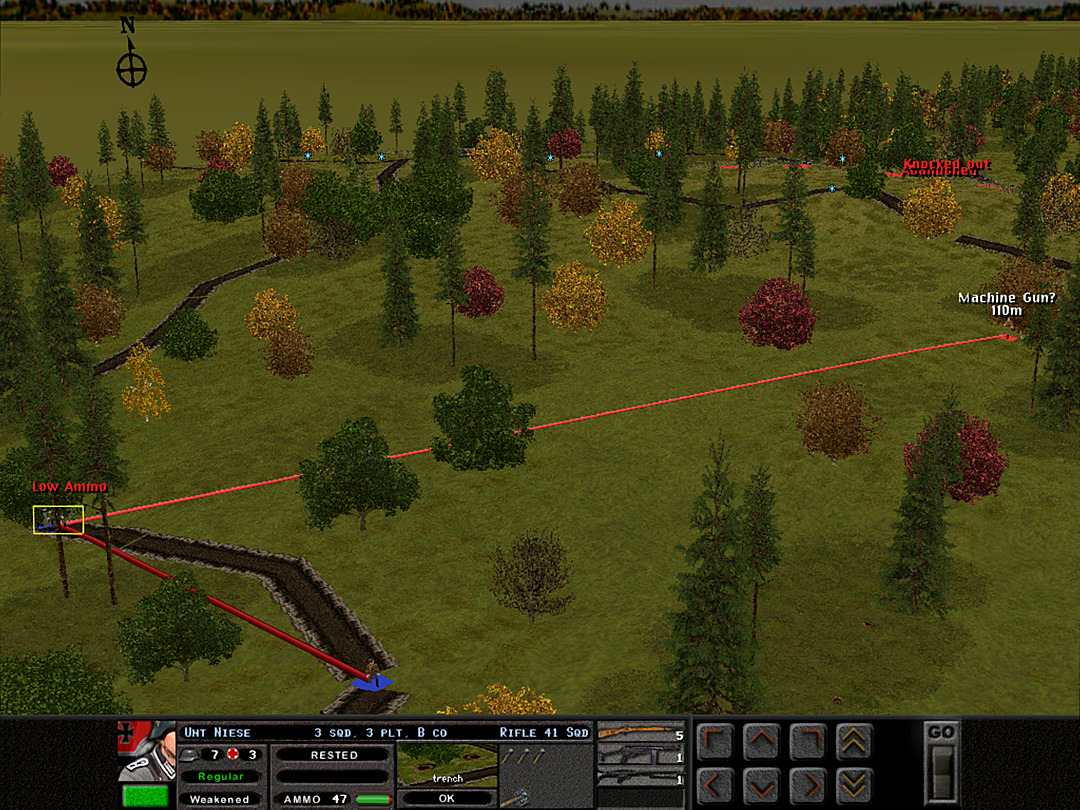 We can't shift everyone toward the tanks, however, as enemy forces are showing up in range of our squads on the north side. 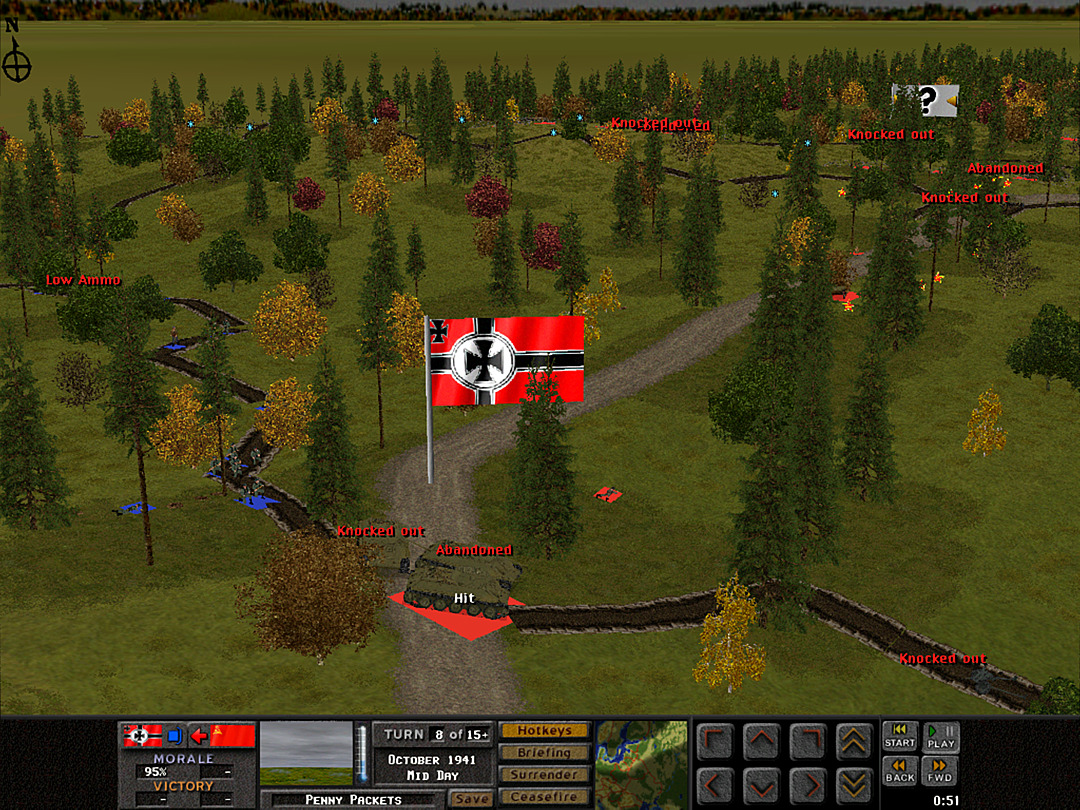 It turns out we won't need to work on the tanks anymore, though. More explosives force the last crew in the platoon to abandon their vehicle. We've knocked out three tanks with almost no resources! 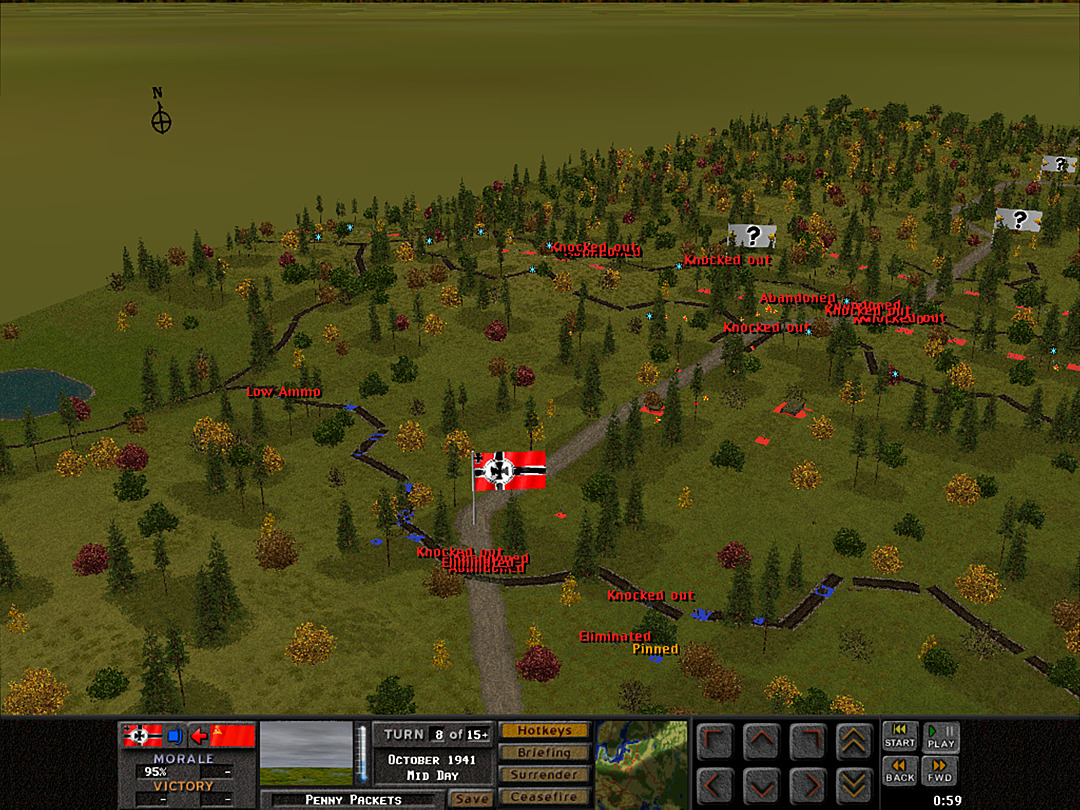 The second set of tanks appears hesitant about advancing into the death zone we created. Little do they do that we've expended almost all our explosives at this point. 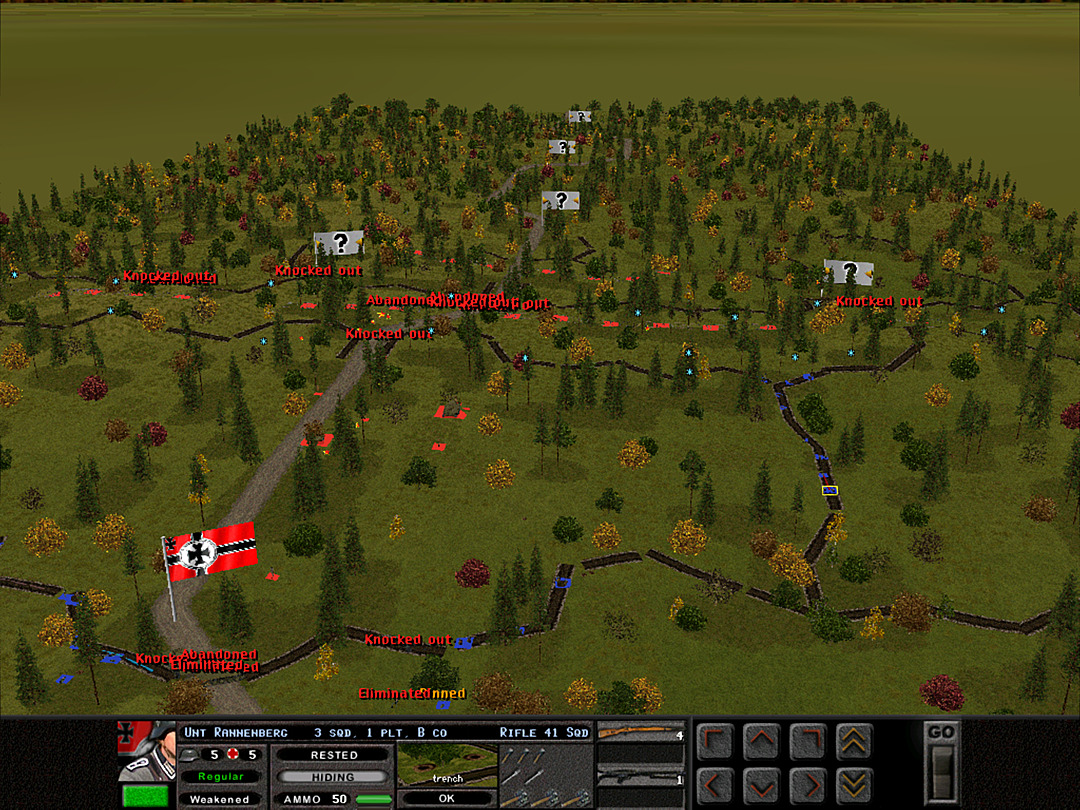 It's been fairly quiet on the south side. We may need to shift some forces to hold against an infantry attack coming through the center. 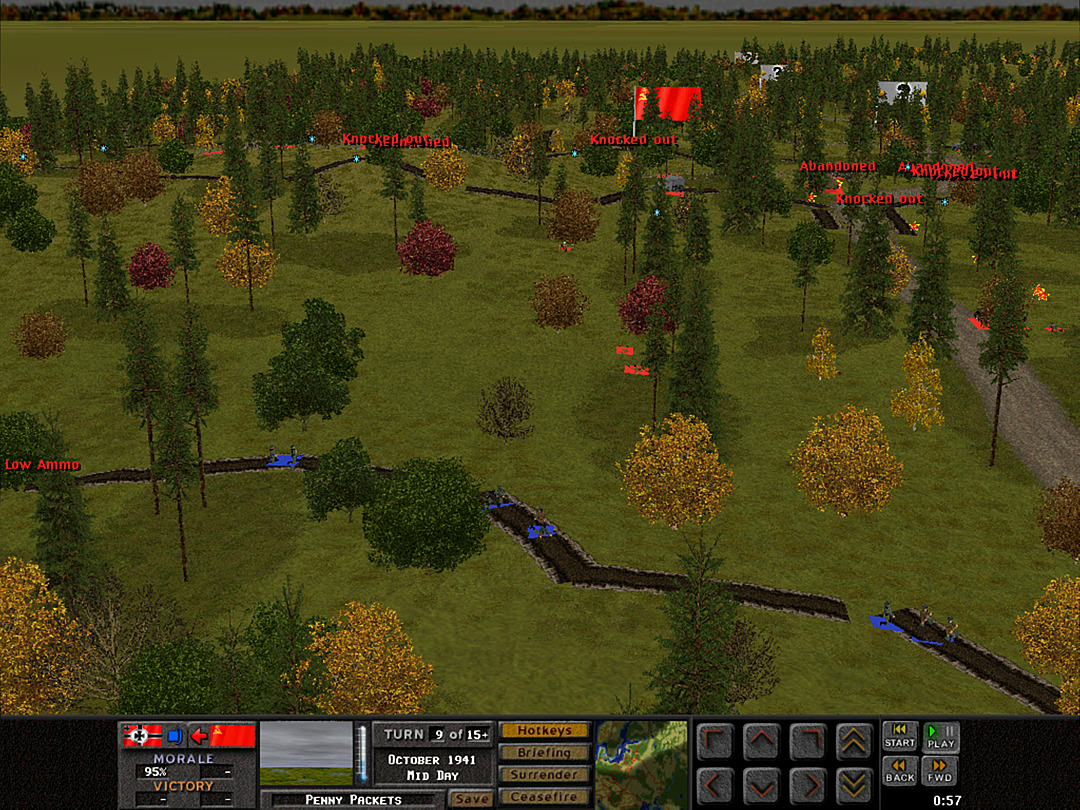 They're definitely making a play for the northern trenches.  The second set of tanks hold at a range of a few hundred meters. That spells bad news for us. The only thing helping us is that the trees are blocking the view somewhat. 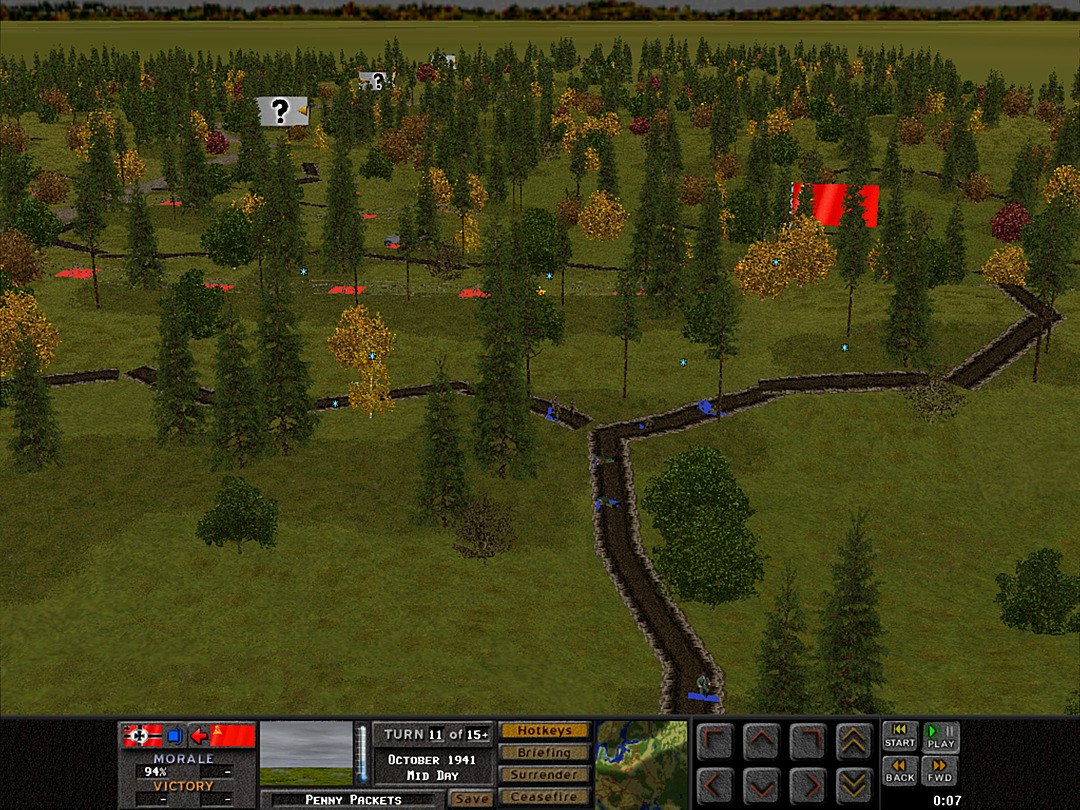 Some movement is seen up on the ridge on the south. 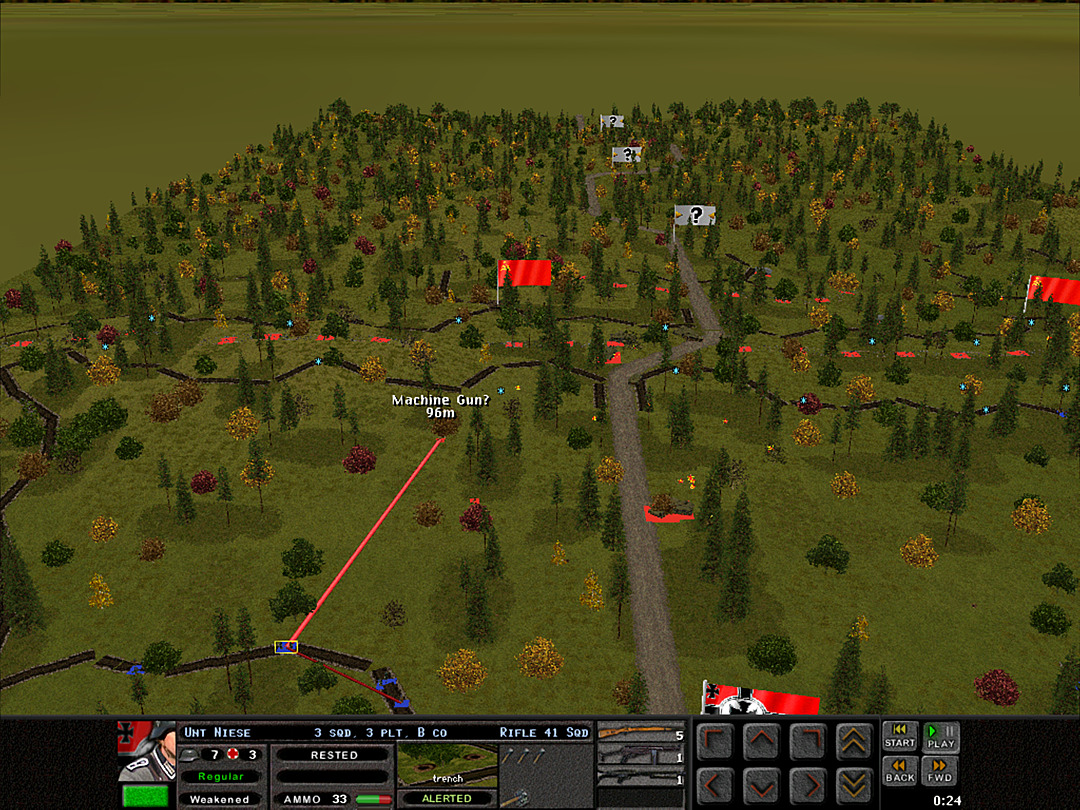 We have sufficient strength to get in a shooting match with the enemy infantry on the north side, as long as the troop strength stays relatively even. 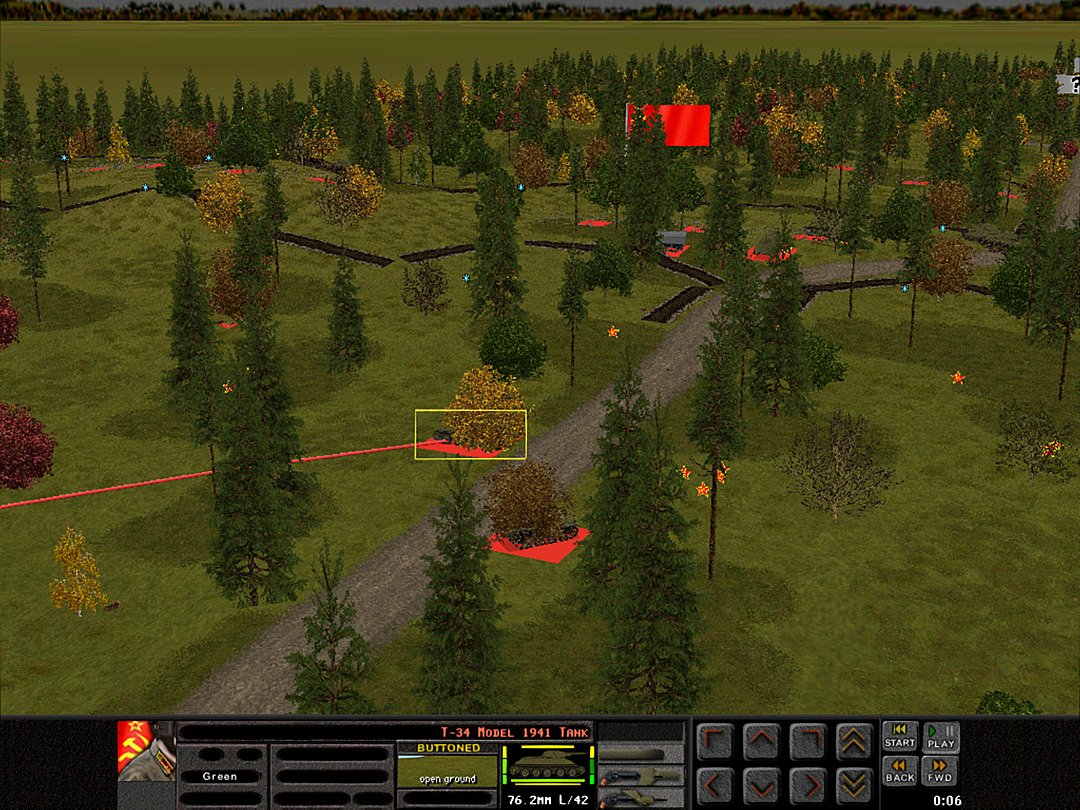 It does not, however. The second set of tanks shifts position to fire on our northern trench line.  A Coy, 3 Plt catches a retreating scout team and eliminates it. 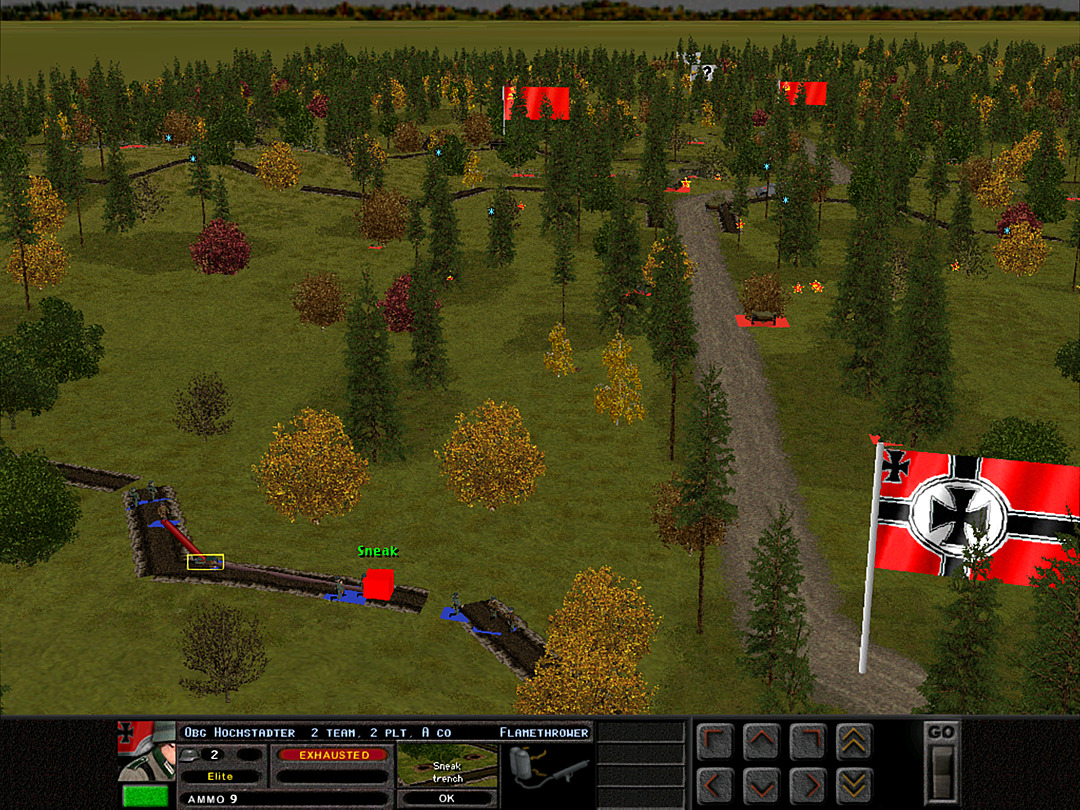 Trying to move through the trench while avoiding detection has tired out the flamethrower teams. 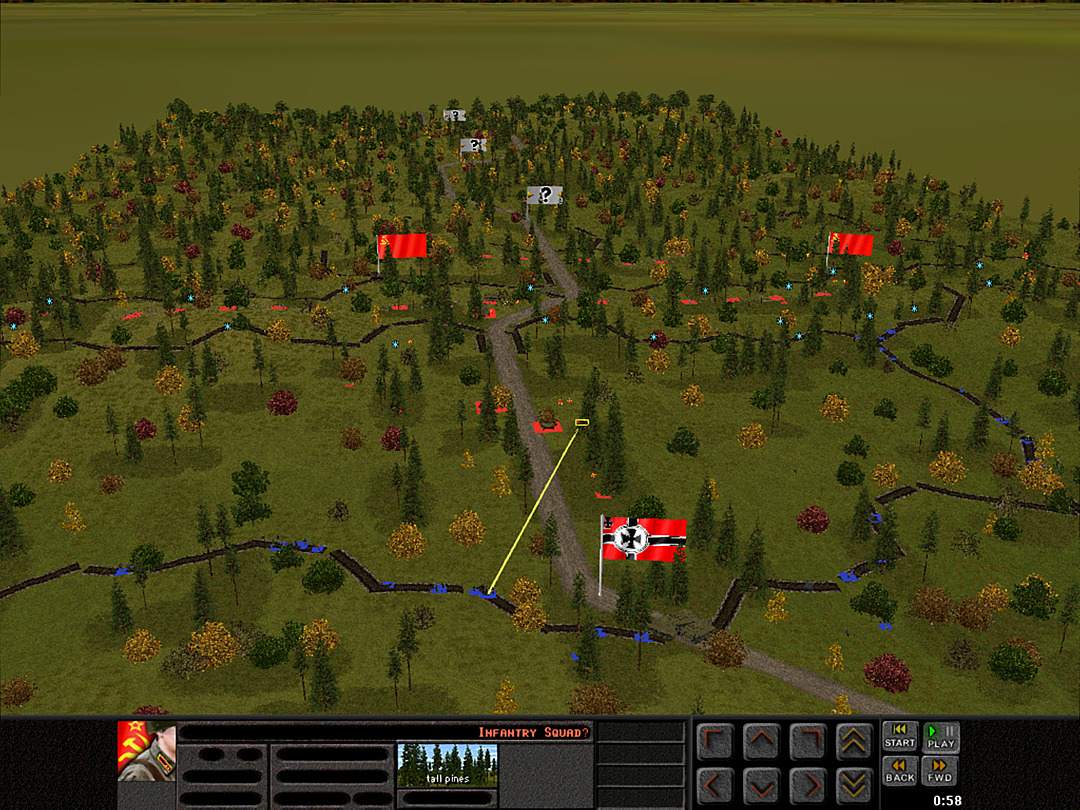 After the failure of the tank charge, the enemy infantry are coming through the trees. 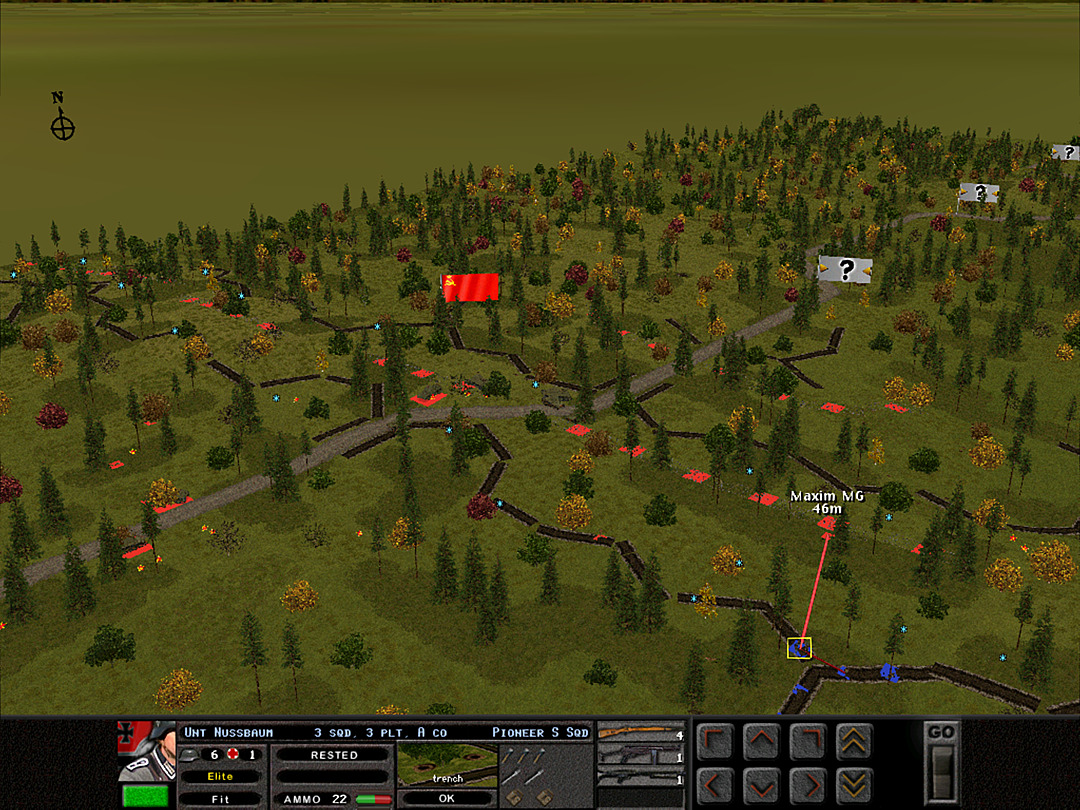 The Soviets finally get a squad through the barbed wire on the ridge. This seems like a poor place to try and sneak through, and we engage them as soon as we spot them. 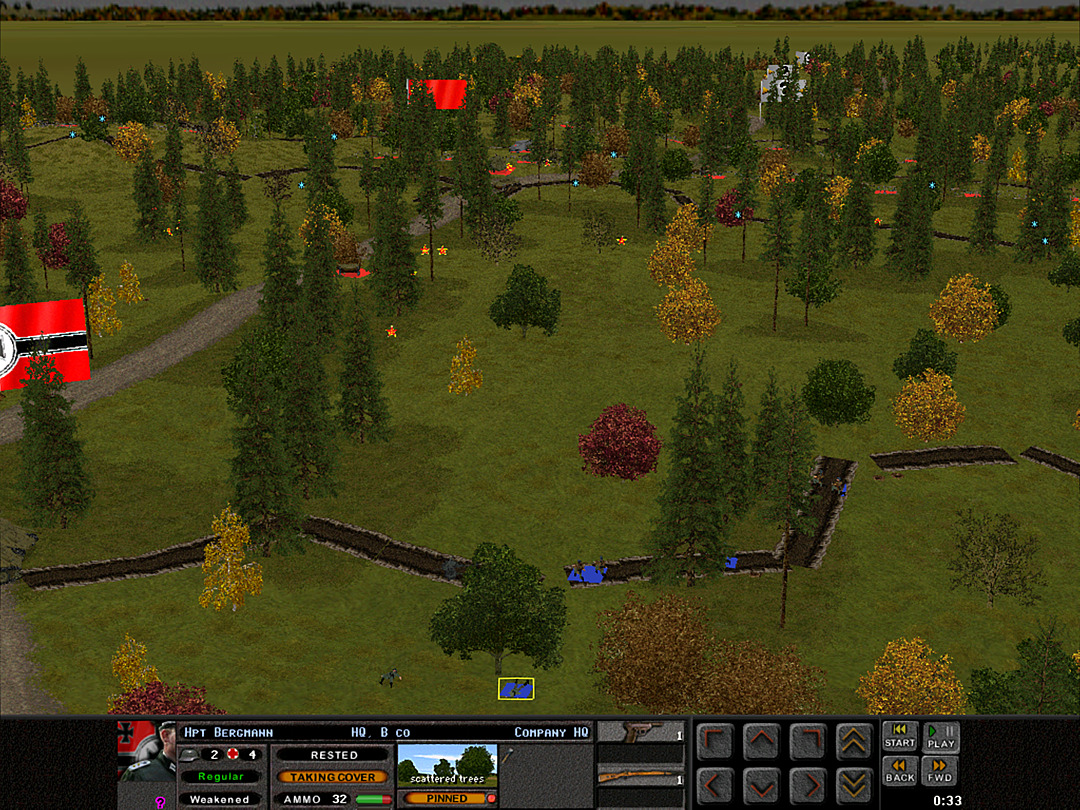 The captain of B Coy regains his composure just in time to direct the defense against the infantry assault.  The Soviets don't seem to have a proper plan of attack; they are cut down as soon as they get in range of our forces.  Even the troops sneaking through the forest are easily spotted and engaged. 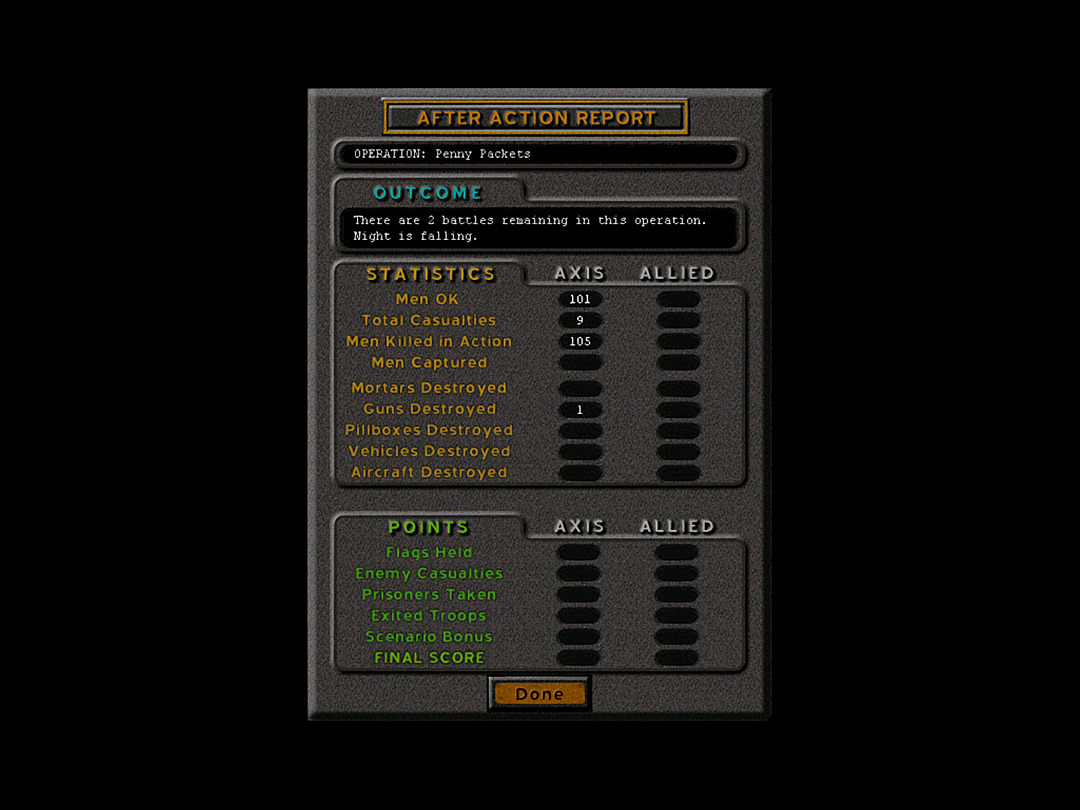 The assault is called off, as the enemy realizes they cannot dislodge us before night falls. We are officially down below half-strength now. But we can't help but be pleased with the results of the afternoon. The Soviets might not overrun us. Unit Highlight Sig33 15cm on Panzer Ib (aka Sturmpanzer Bison) 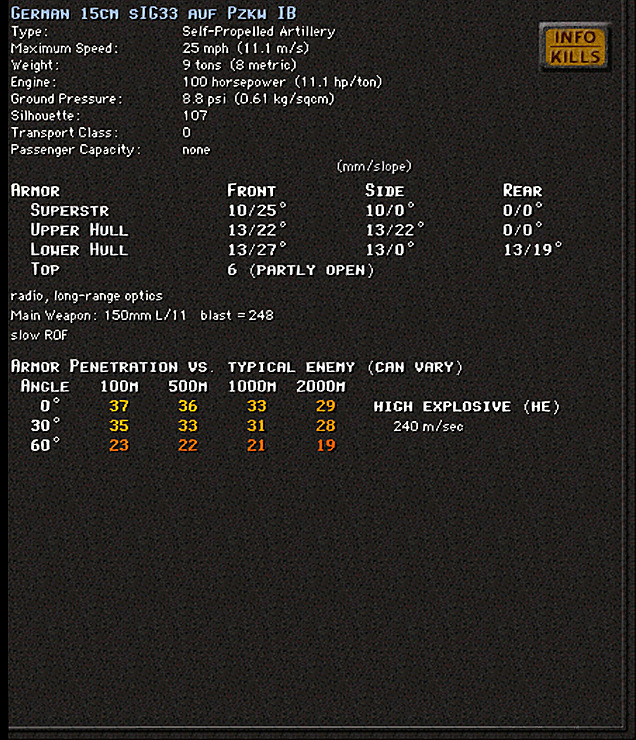 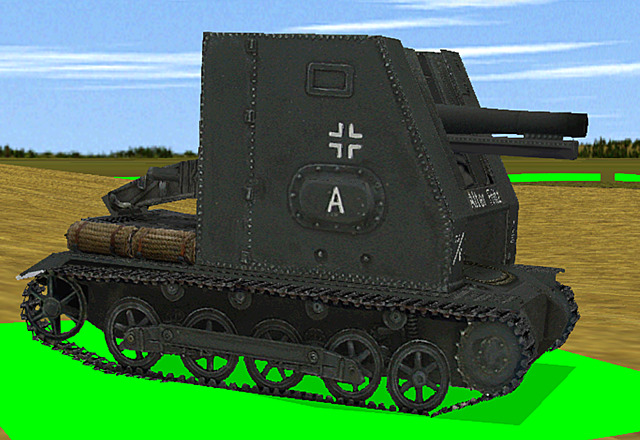 Crew Size: 4 Base Cost: 48 Roll an artillery gun onto a tank, and you've got an assault gun? The Panzer I was nearly obsolete even before the war started. However, it had been almost the only tank in production in the late 1930s, and thus additional uses were sought for the chassis. One of these was the rather unusual 'assault gun' which was in fact just a 15 cm artillery cannon on top of a tank. It wasn't actually built into the tank; it was the same towed field artillery that the infantry were using, with the wheels locked in place. A thin but sizable armored shell was installed around it to protect the crew from small arms fire. The resulting vehicle was much heavier than the Panzer I, and frequently suffered from mechanical breakdown on the overloaded suspension. On top of that, the large ammunition required by the artillery piece (and the lack of space in the tank) meant it could only carry a handful of additional rounds. Although it was effective as a gun platform, it wasn't really of much practical use. The thin armor was insufficient for a front-line vehicle, and it was too slow and unwieldy to be anything other than a means of towing artillery guns at a slightly more combat-ready pace.
|
|
#
?
Apr 3, 2024 08:25
|
|
|
Operation 4, Battle 5 of 6 Operation: Penny Packets Time: Night Skies: Overcast Ground: Damp Temp: Frozen Wind: Windy NNE Attempted to skip night combat : *YES* After a tough battle to take the Soviet trenches, and a nearly-disastrous morning, we've somehow held on by stopping the foolhardy tank assaults as they come unsupported down the road. Now that night has fallen, the tanks will likely be wary of attacking, but the infantry may try to sneak into our lines. Our best hope is to harass the enemy and slow any further attempts at a coordinated assault. 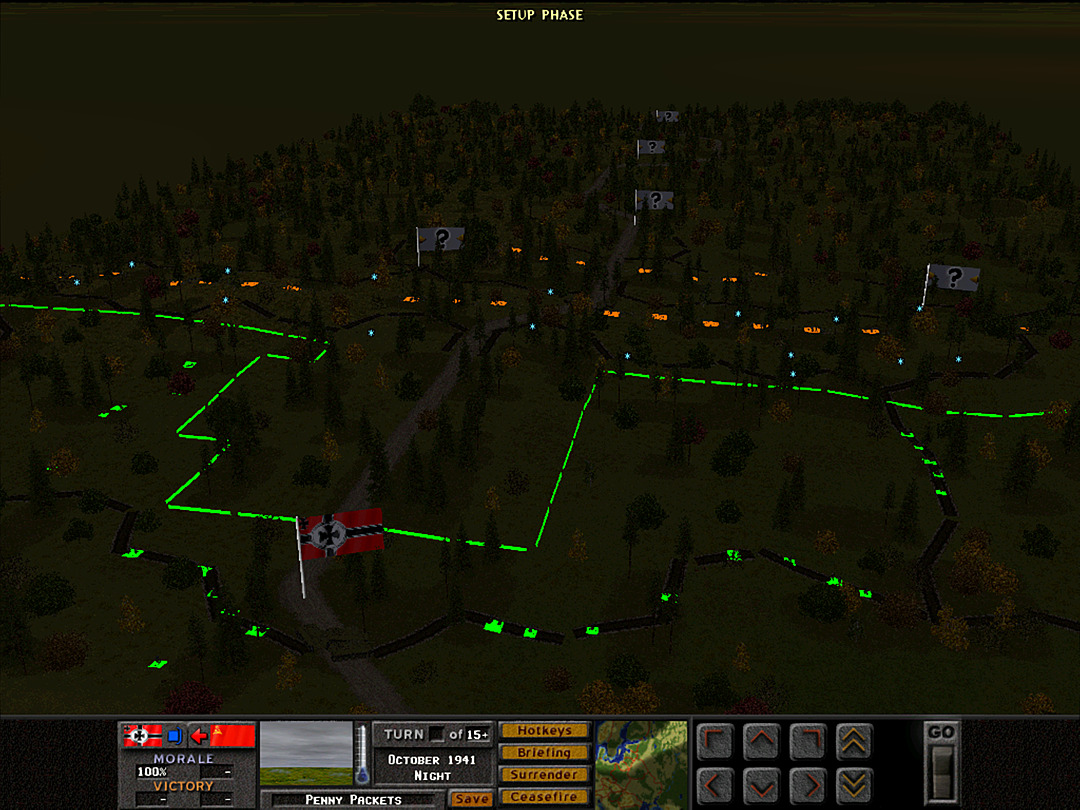 Most of our forces will do their best to hold the trench line. We've shifted the men around a little to ensure that the enemy doesn't think we are staying in one spot. The southern forces will stay in the trench for now, but if the coast is clear, they'll try to move in toward the road, with an eye on clearing opposing forces out of the woods or the trench line right next to the roadway. 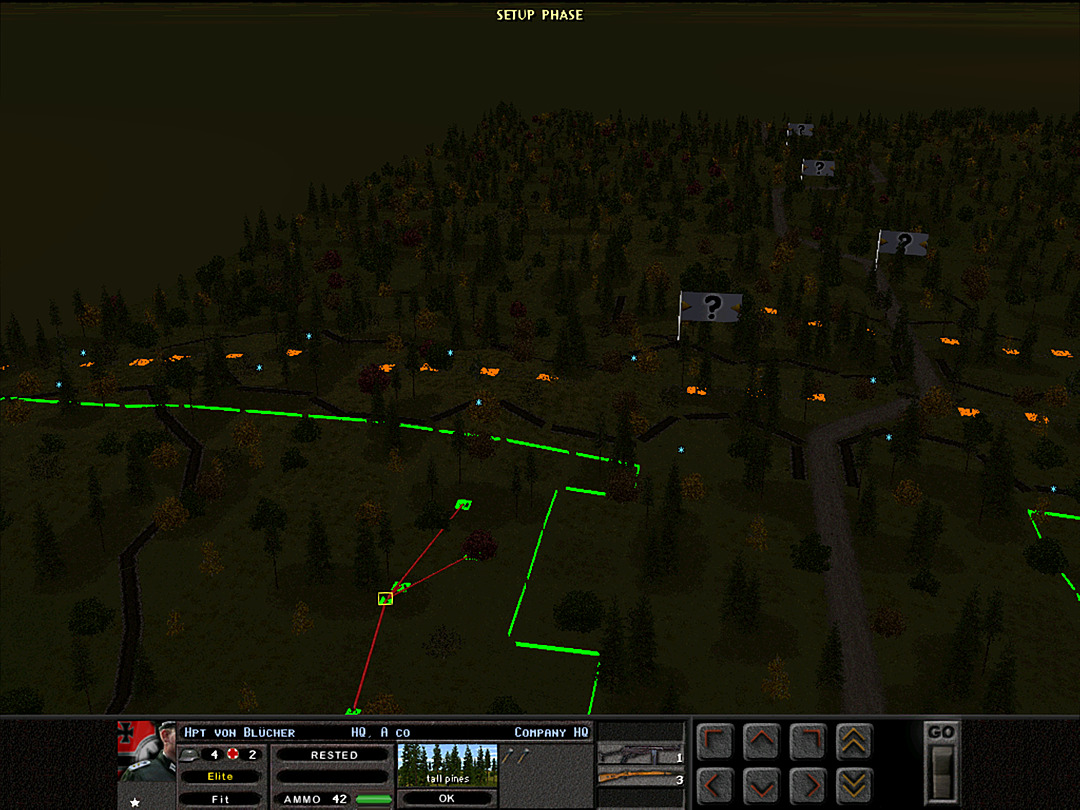 The 'ad hoc' platoon that makes up most of the rest of A Coy has been tasked with being 'night raiders'. They're going to harass and poke at the enemy lines. We plan to sneak a bit, but if detected, keep shifting around to confuse and distract the Soviets. If at all possible, they will try to take some of the trenches to hide until morning, so they can ambush any advancing enemy troops. The goal is to prevent the enemy from reaching our rear line both tonight, and tomorrow as the day's fighting begins. 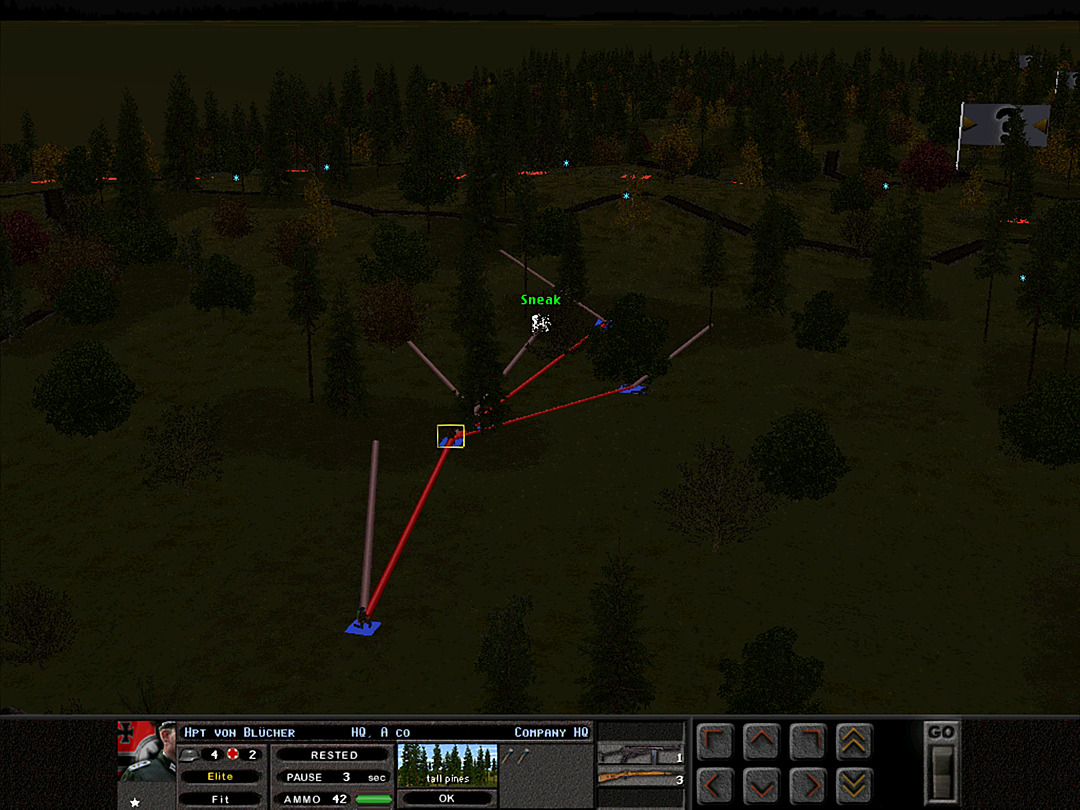 The 'night raiders' creep out as stealthily as they can. 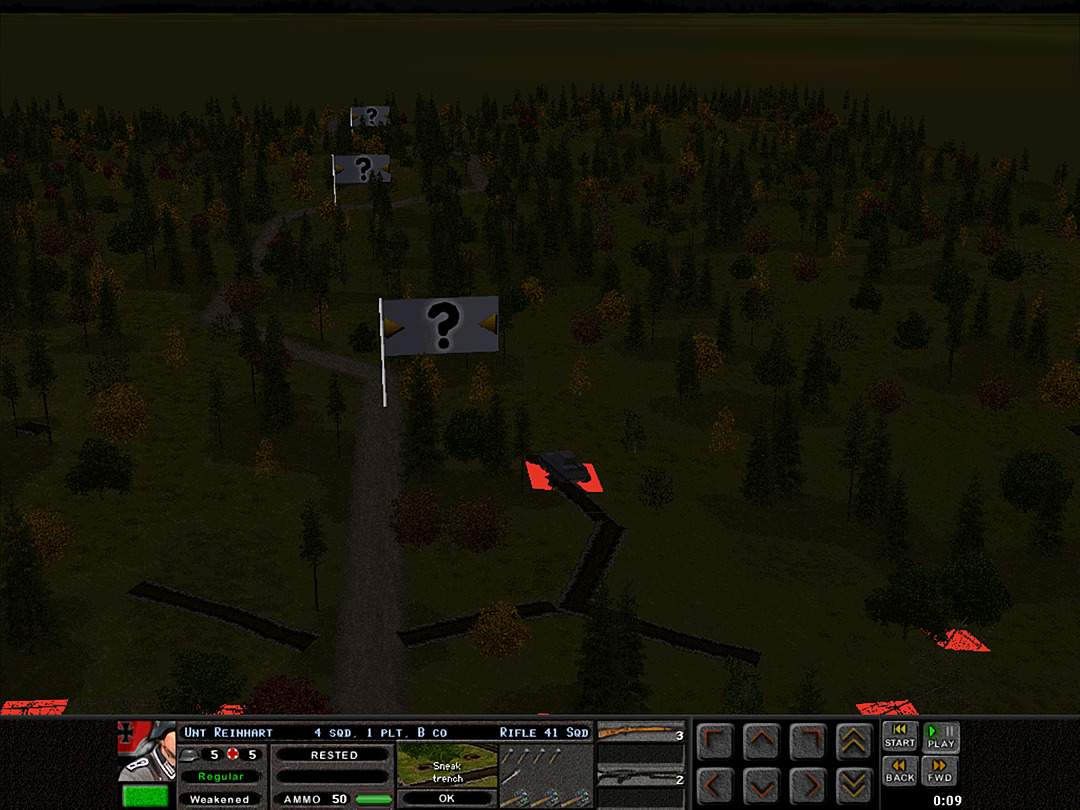 Some tanks are heard rumbling around behind the enemy front lines. 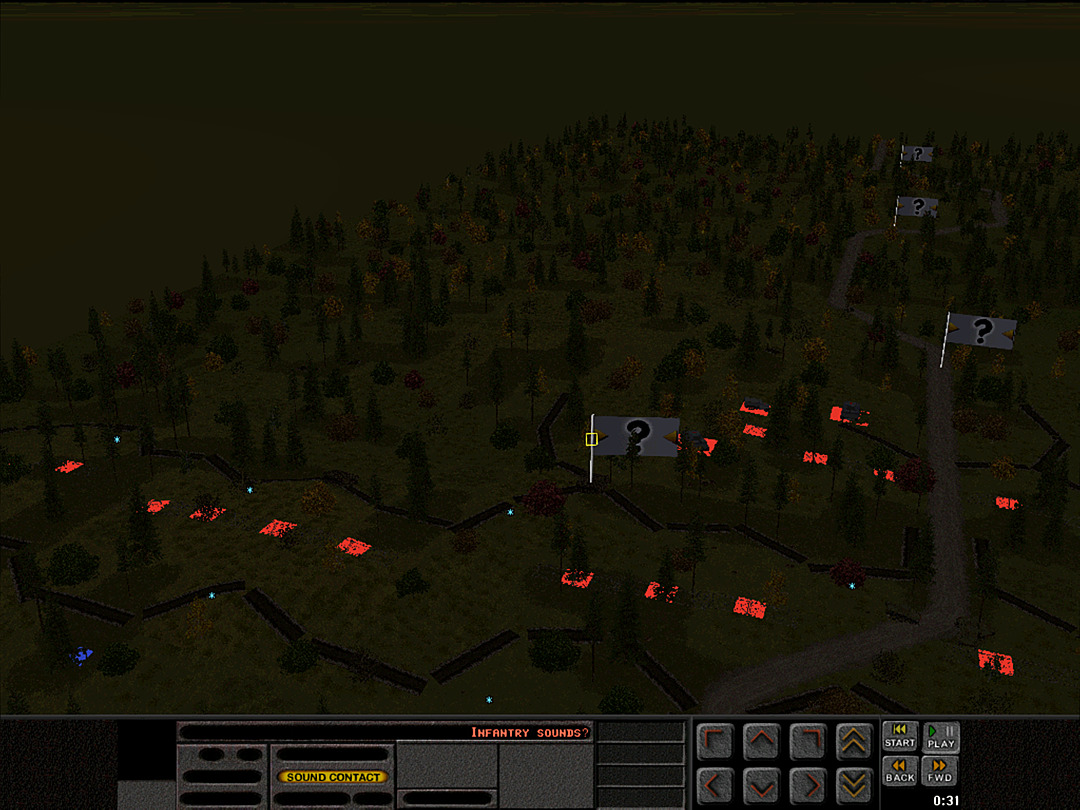 Indistinct sounds of men shouting orders are overheard from somewhere on the north side. 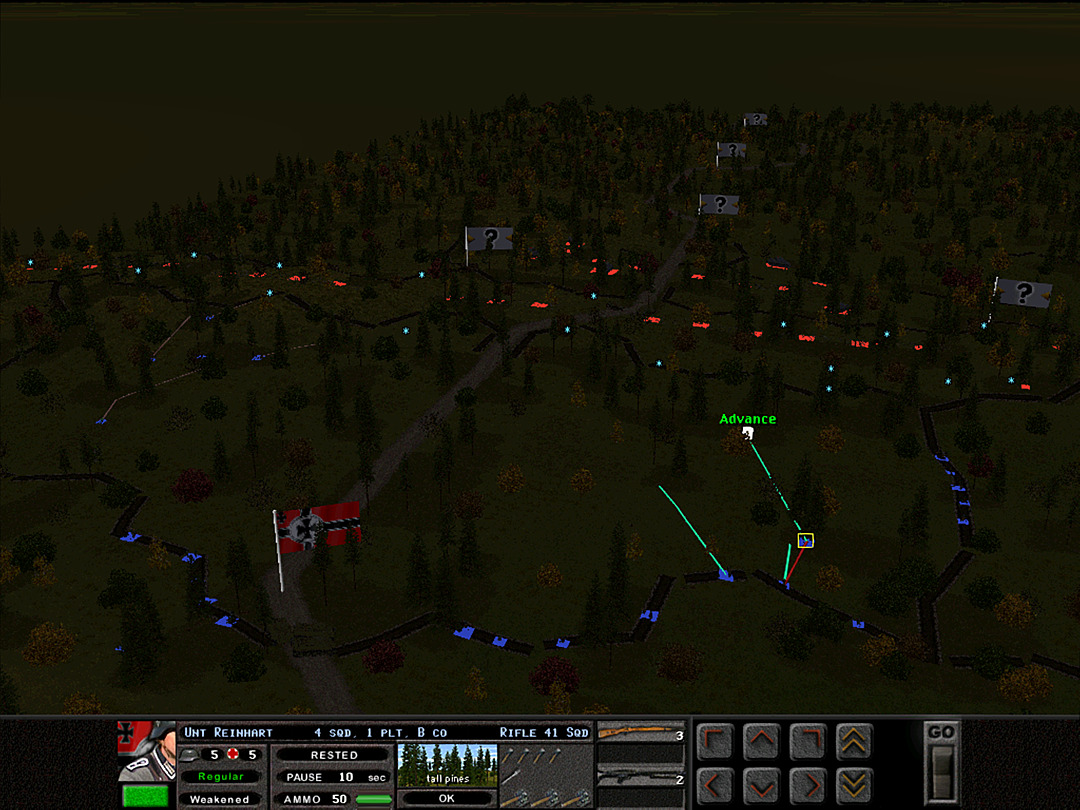 All seems quiet on the south; B Coy, 1 Plt is given the go-ahead to start aggressive scouting. 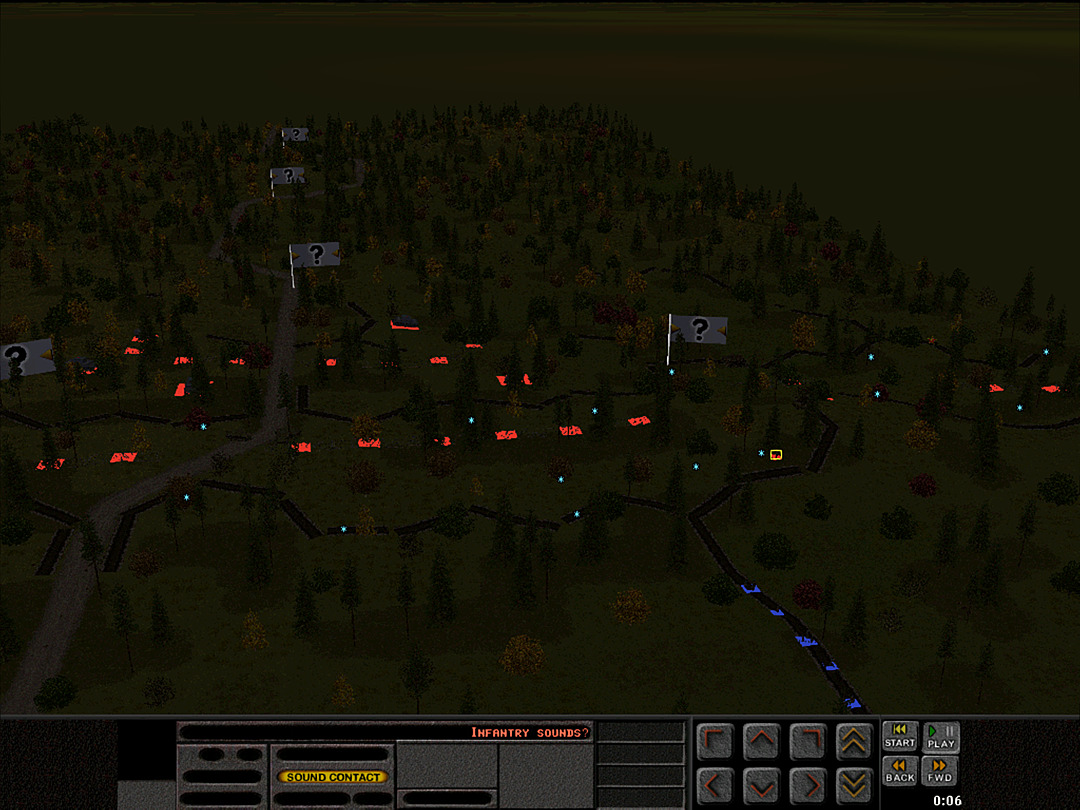 The infantry on the south are not seen, but do sound a bit closer to our lines. 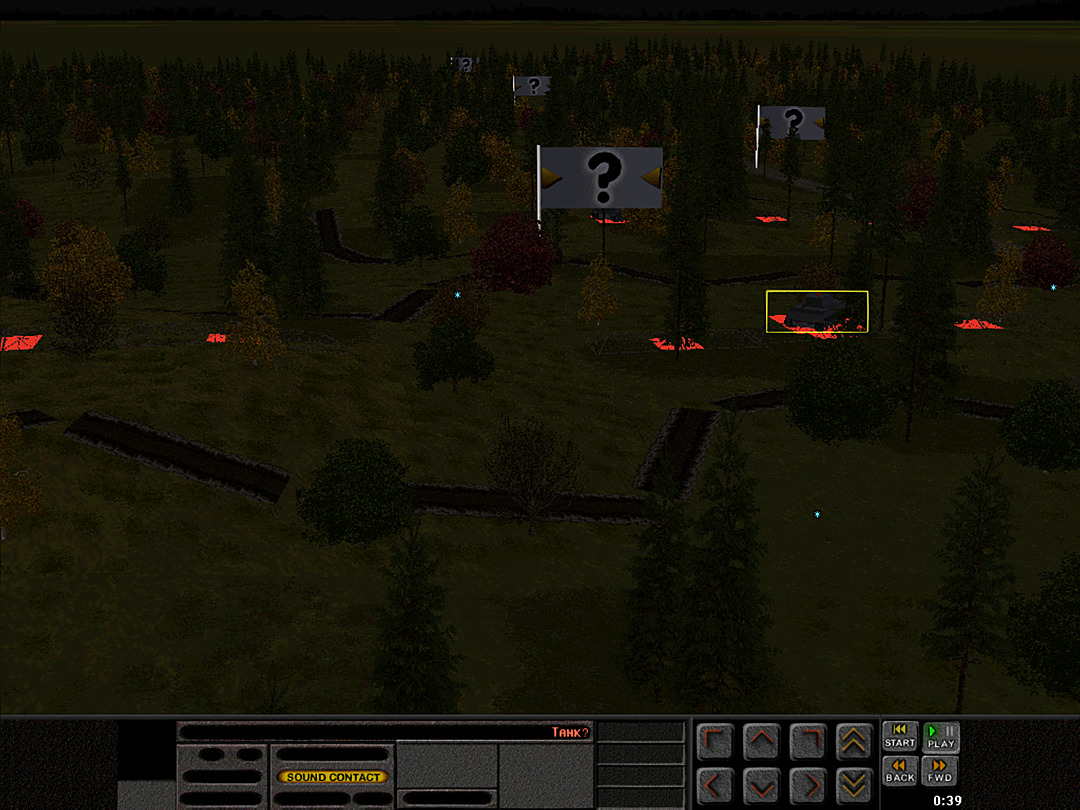 A Coy's night raiders have been as quiet as they could be. They hold their breath as the tank sounds grow closer. 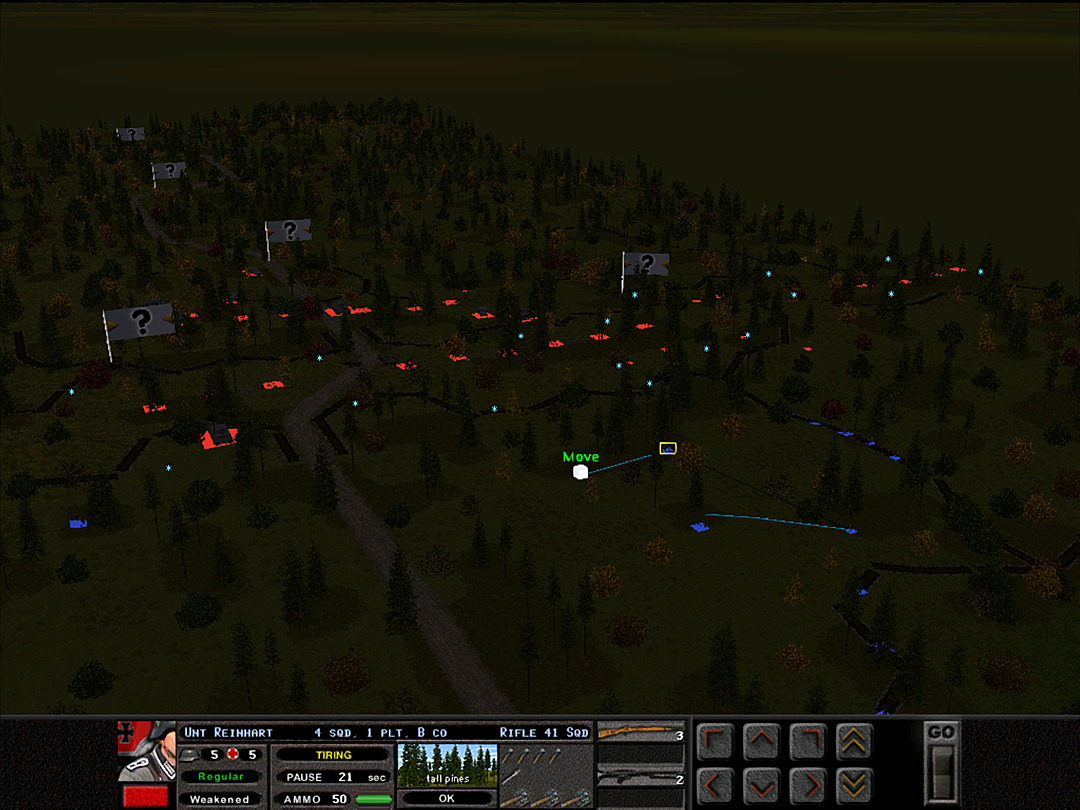 B Coy, 1 Plt's advance yields no contacts. 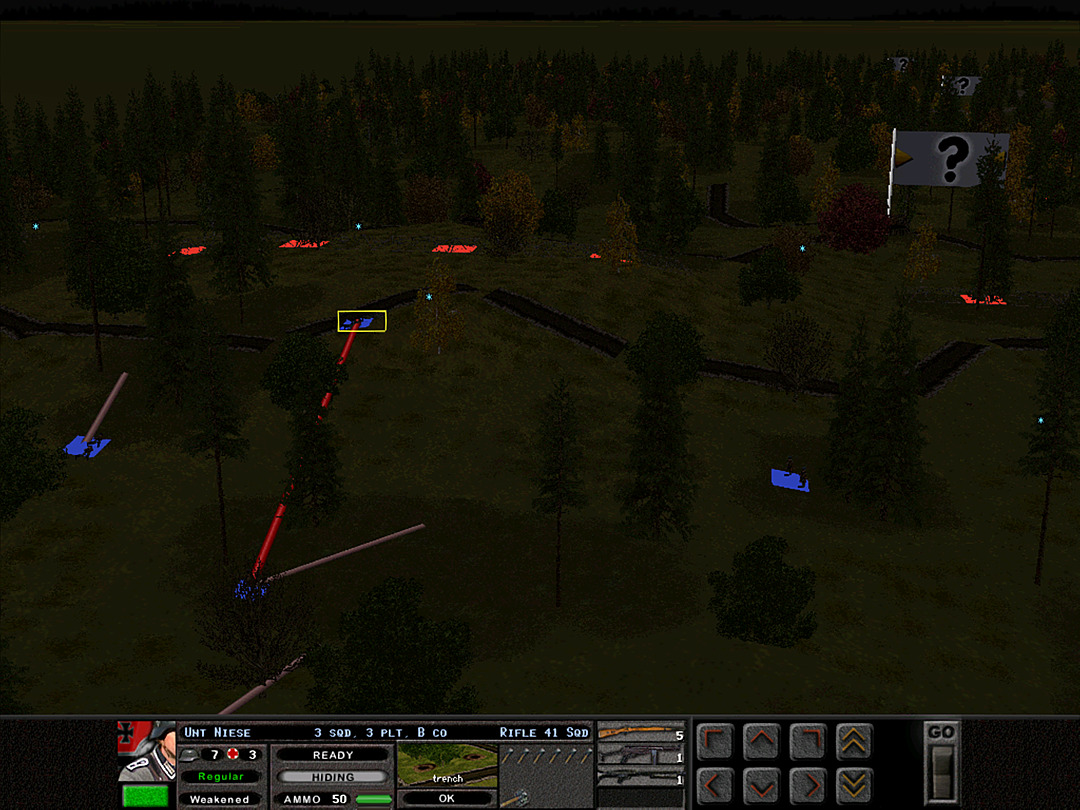 One squad on the north has nearly reached our original trench line. Thus far, there have been no shots fired, and no definitive signs of enemy infantry close by. 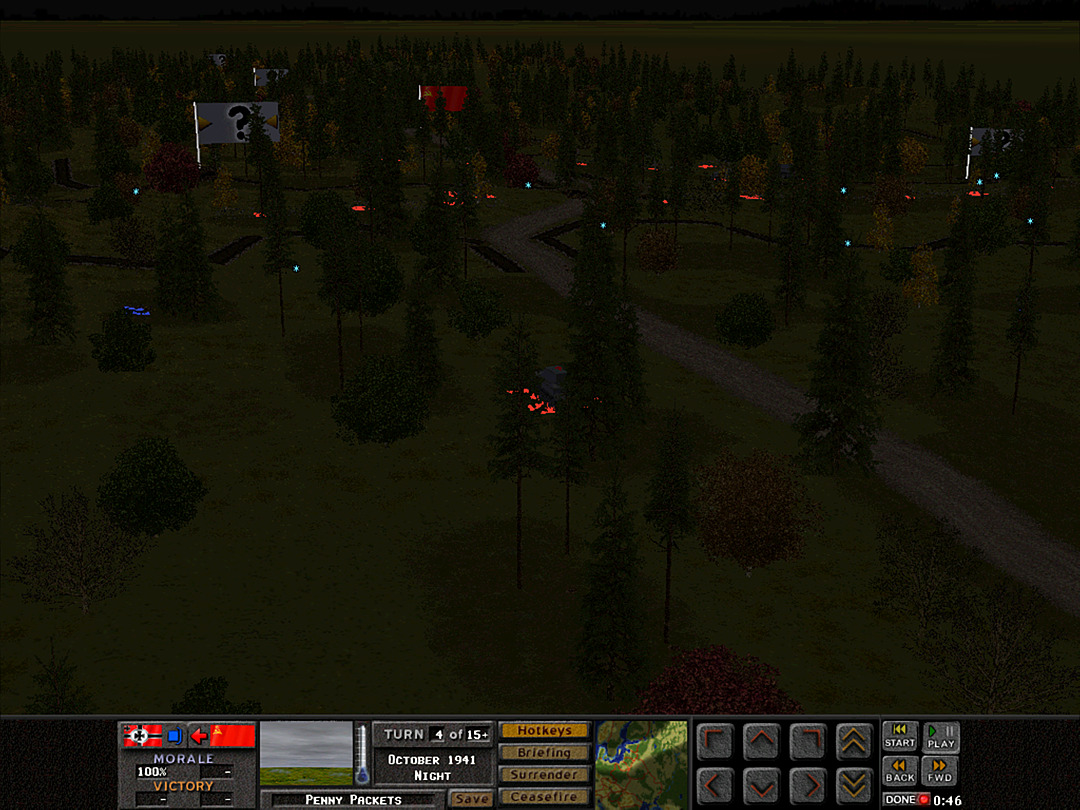 The tank on the north heads past A Coy and seems to be moving on our defensive strong point. 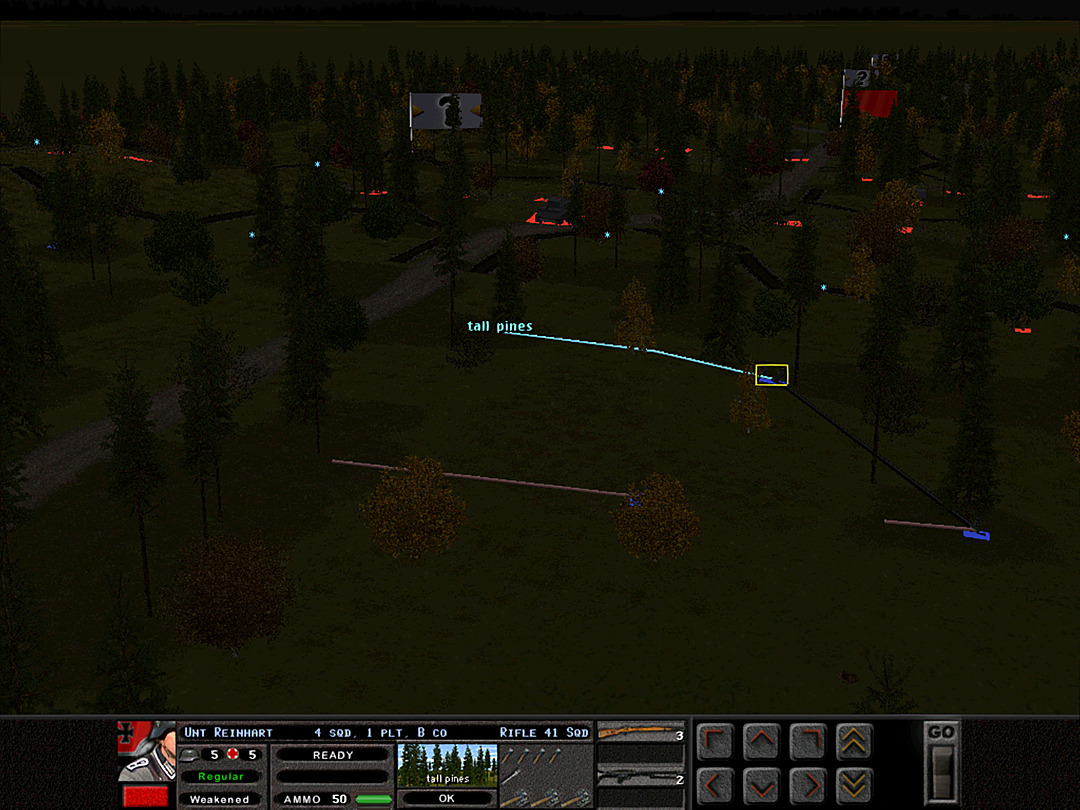 It looks like B Coy, 1 Plt can swing north to sweep the woods as best it can. 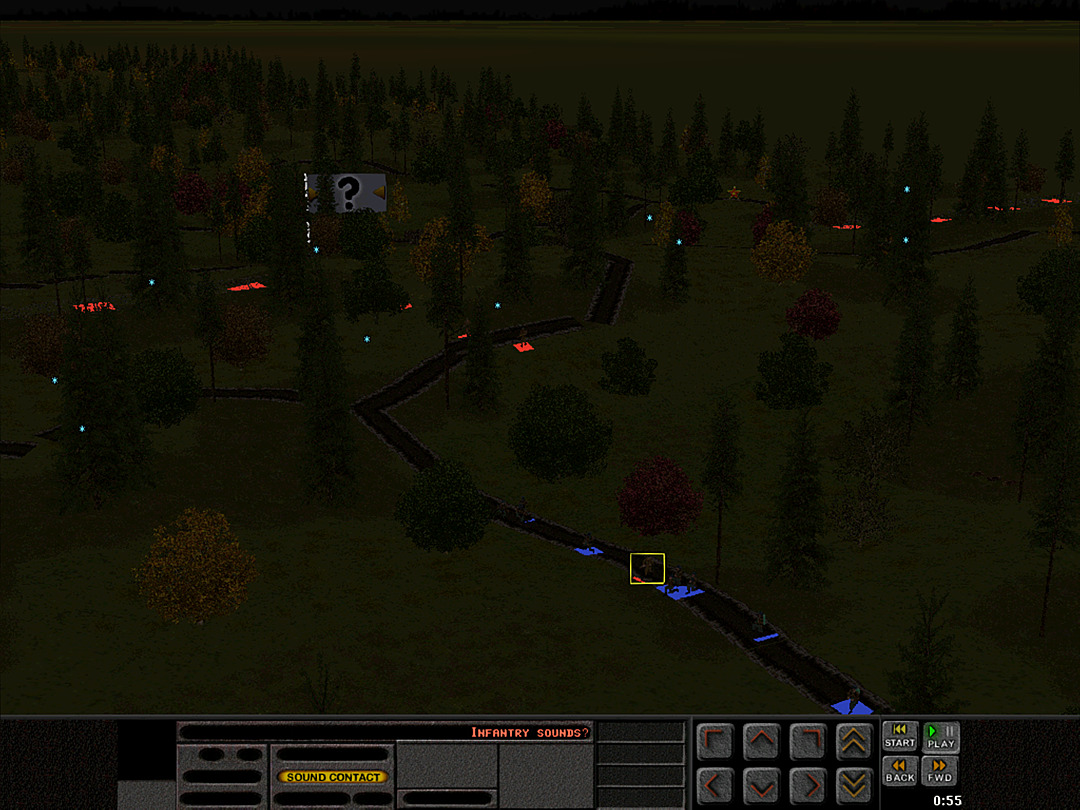 Men in A Coy, 3 Plt think they hear the sound of running feet just outside the trench. 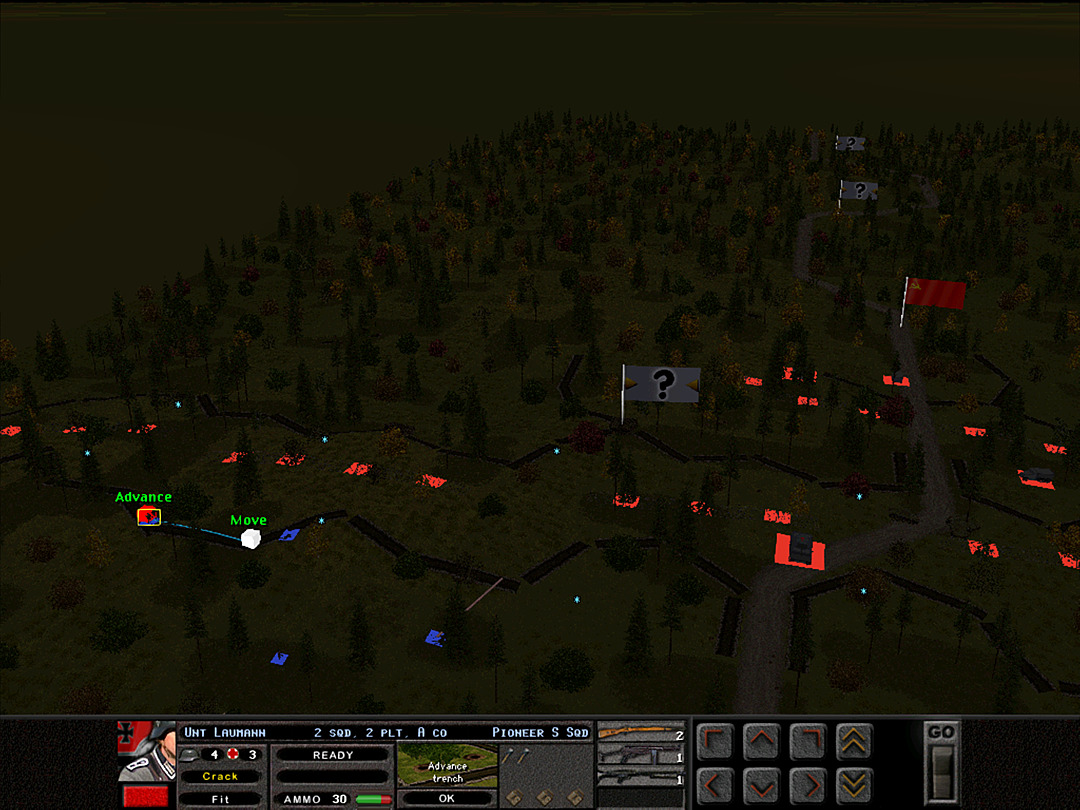 The night raiders might well secure the trench. They continue to explore the length of it.  The phantom contacts from A Coy, 3 Plt turn out to be nothing, but there's seemingly something more definite in the woods along the north-south trench. 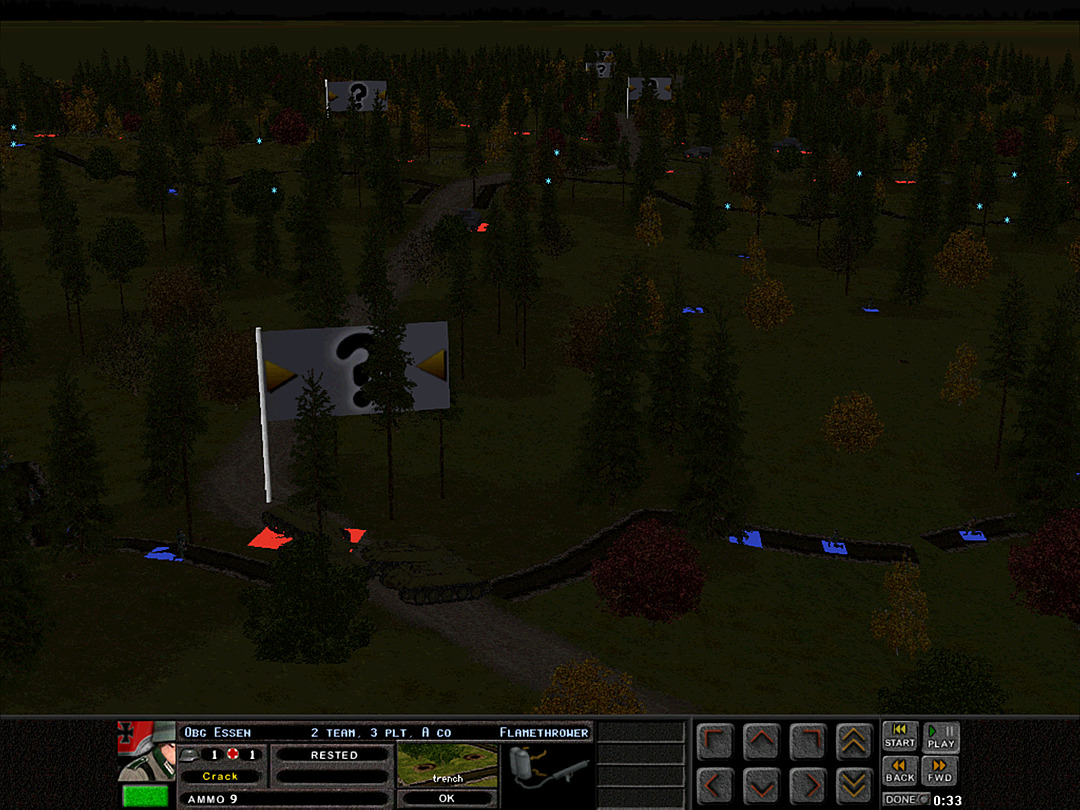 It's hard to believe a tank would roll in at night to the same place where three wrecks nearly block the road, yet that's just what one of the Soviet T-34's has done. 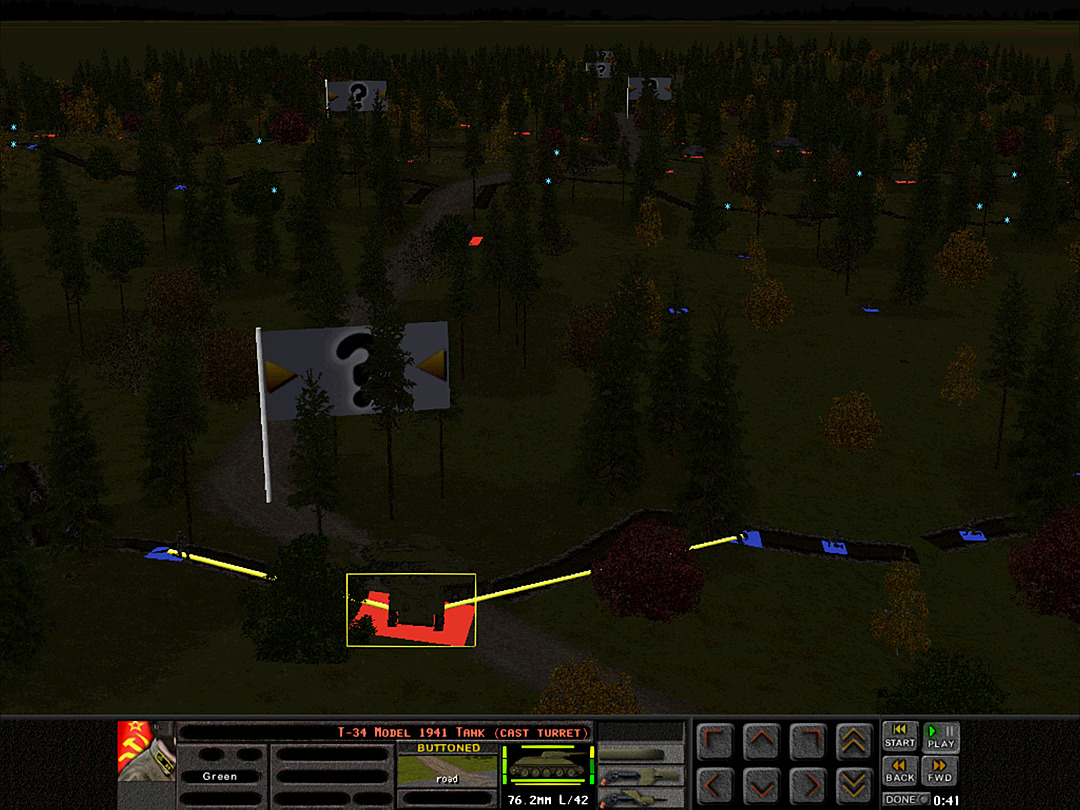 We spray it with harassing gunfire. 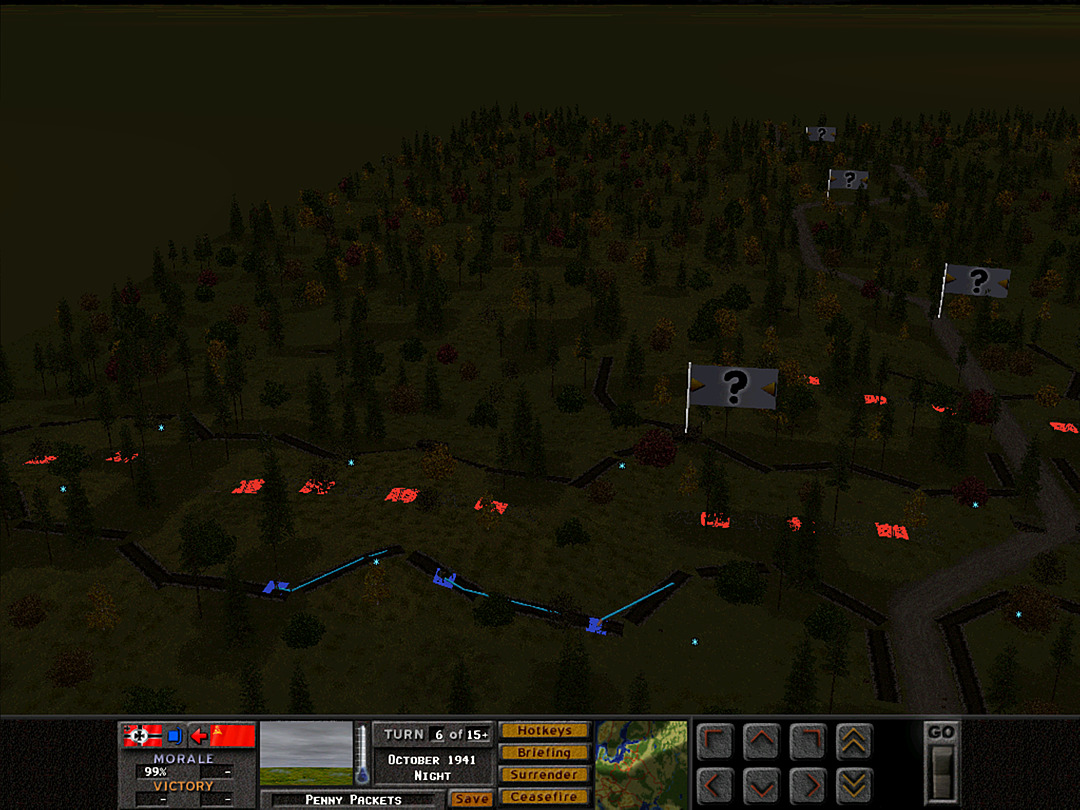 The 'night raiders' have so far met with nothing and no one to raid. They've simply reclaimed a trench without a fight. 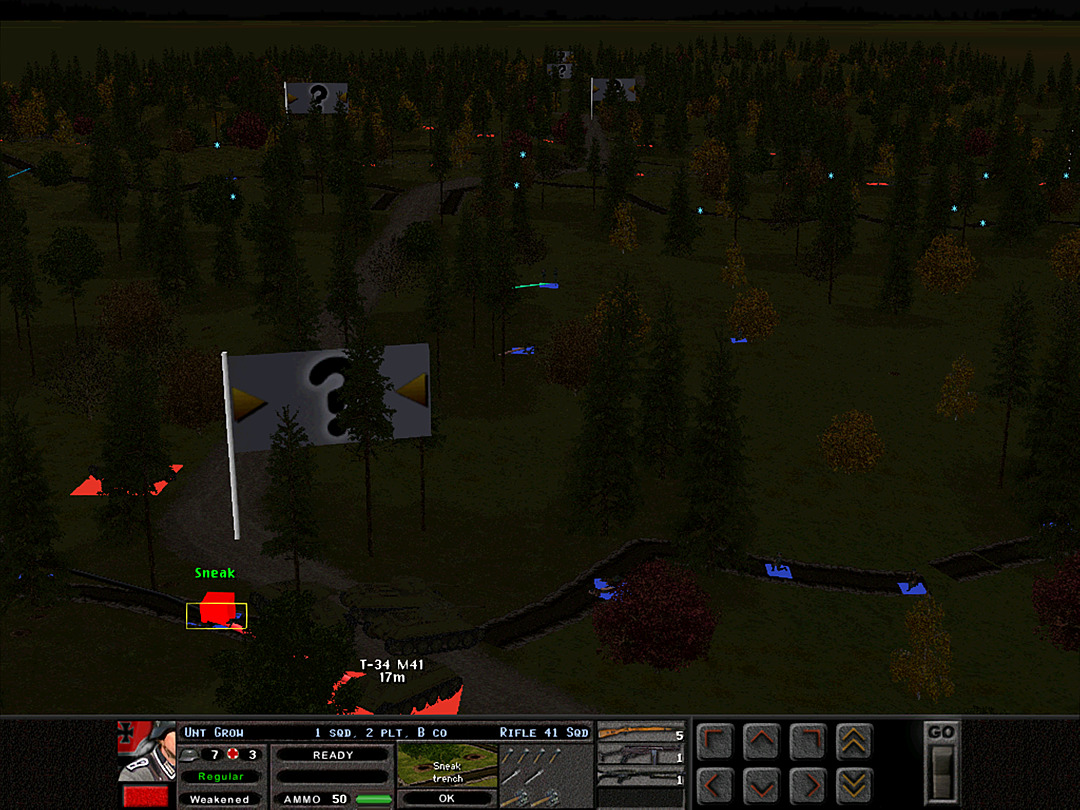 Meanwhile, two tanks are being used to scout the road in the middle of the night. They aren't even able to see us that well, so we have another chance to eliminate some vehicles. 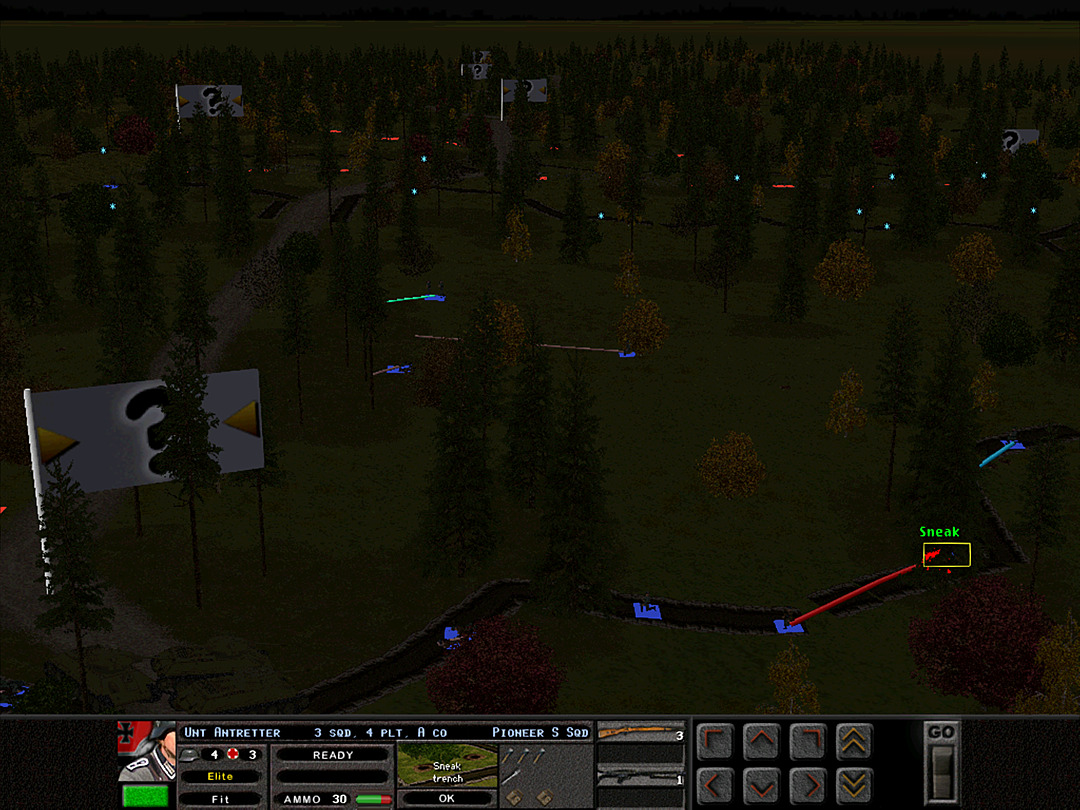 They represent the only serious threat we have encountered, so most available forces are shifting towards them now.  The ad hoc platoon decides to keep pushing forward until contact is made.  B Coy, 1 Plt nearly made it to the road, when suddenly an enemy infantry squad appeared out of the darkness. 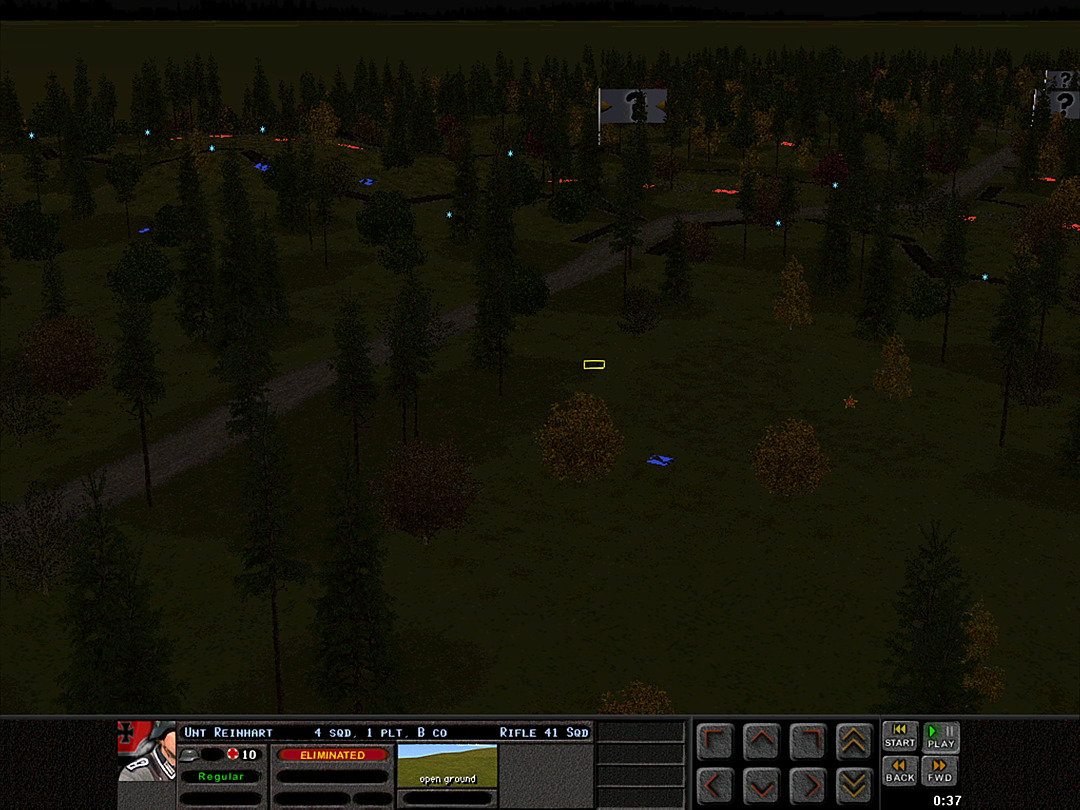 The lieutenant is able to escape when the squad under his command shouts and fires its guns to create a diversion. They pay for it with their lives, though, as there seem to be more enemy squads in the area, and they shoot back at the noise. 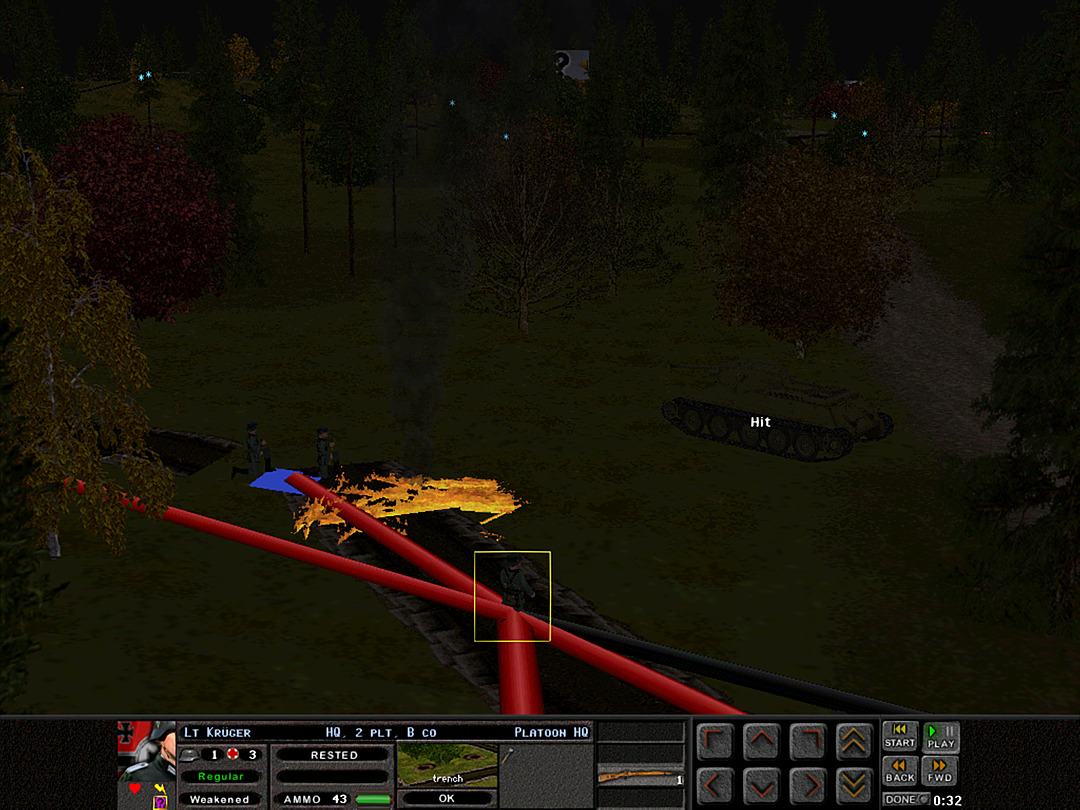 One tank is hit with explosives, and knocked out! Rounds from the tank sparked a fire in the trench, however. 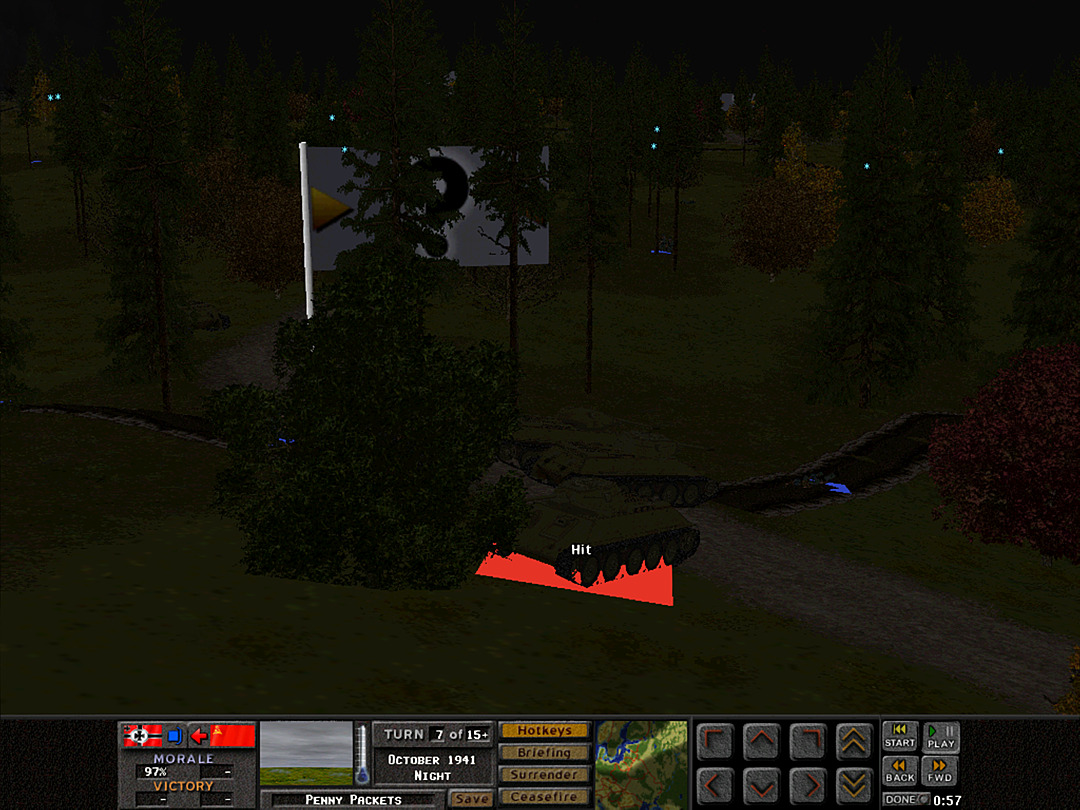 We close in on the lead tank. The first grenades have no effect. 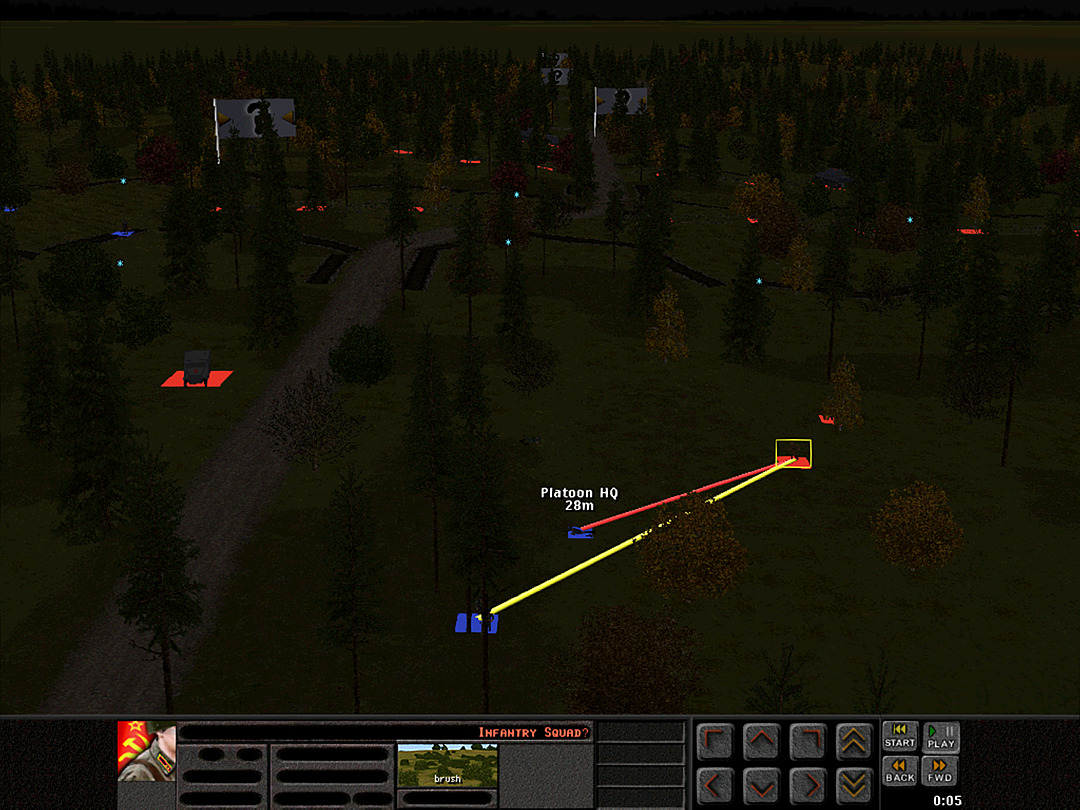 B Coy, 1 Plt is in danger of being trapped between advancing enemy infantry and a third tank coming down the road. 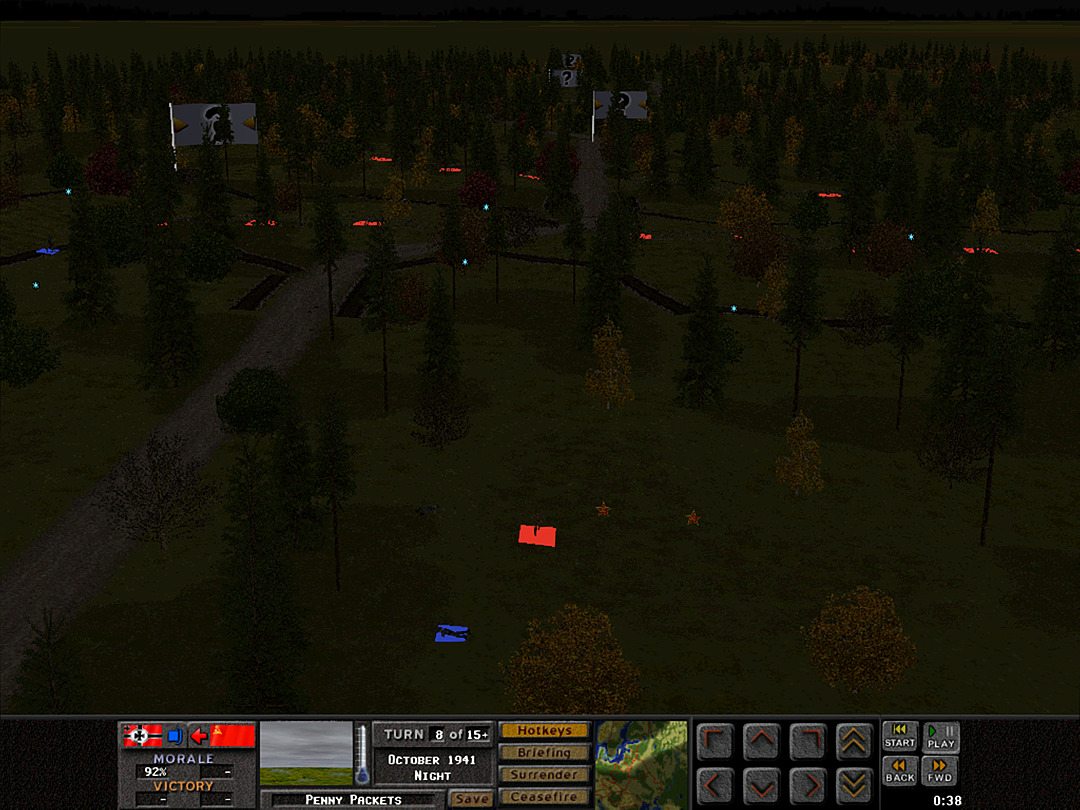 Their determined fire sends the enemy soldiers fleeing, however.  But more squads appear nearby, creating even more danger. The enemy tank has moved off the road to engage, though, and there's a clear exit path for what remains of the platoon. 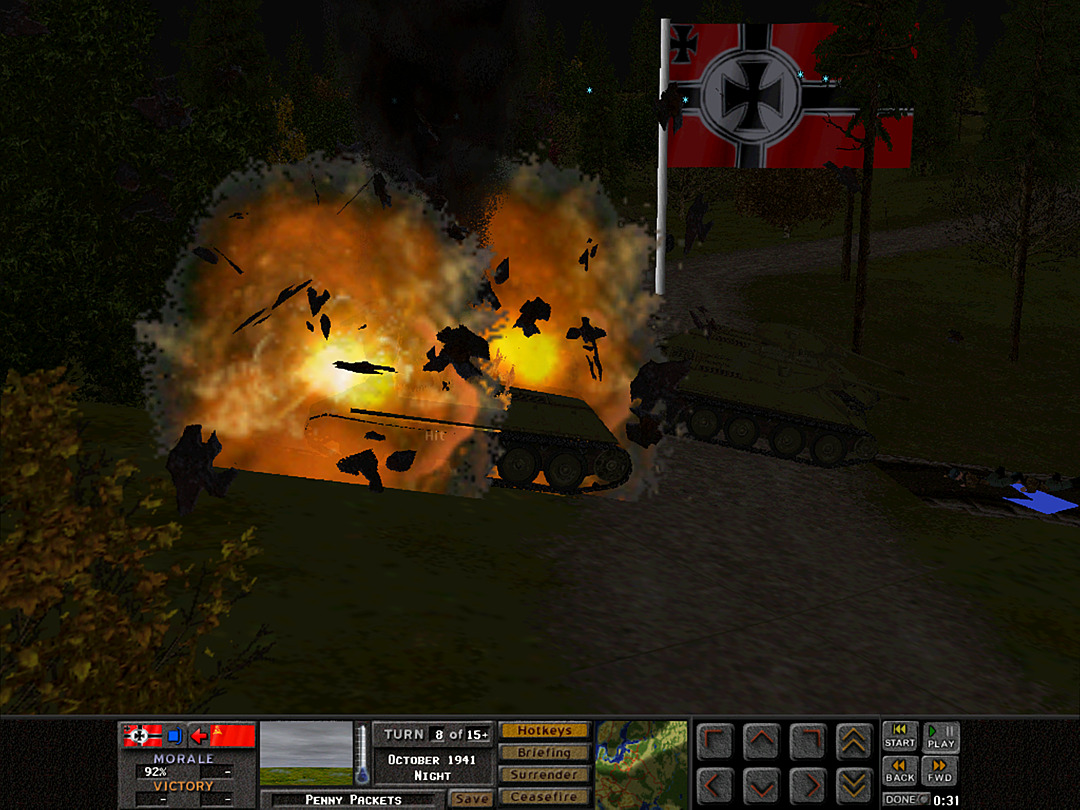 A grenade hits the fuel tank, and the lead tank is destroyed like the others that came in the daytime. It's a massive explosion that echoes all through the forest. 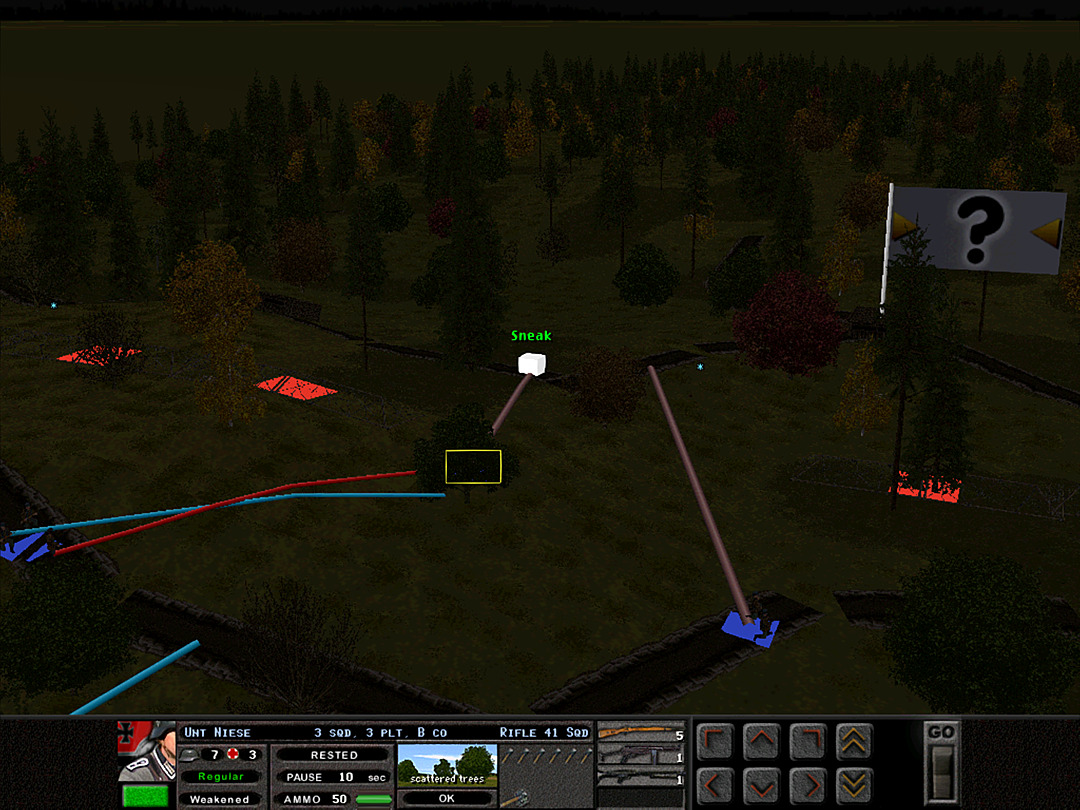 The prospect of seizing the Soviet position once more is too good for the night raiders to pass up. They send several squads quietly forward. 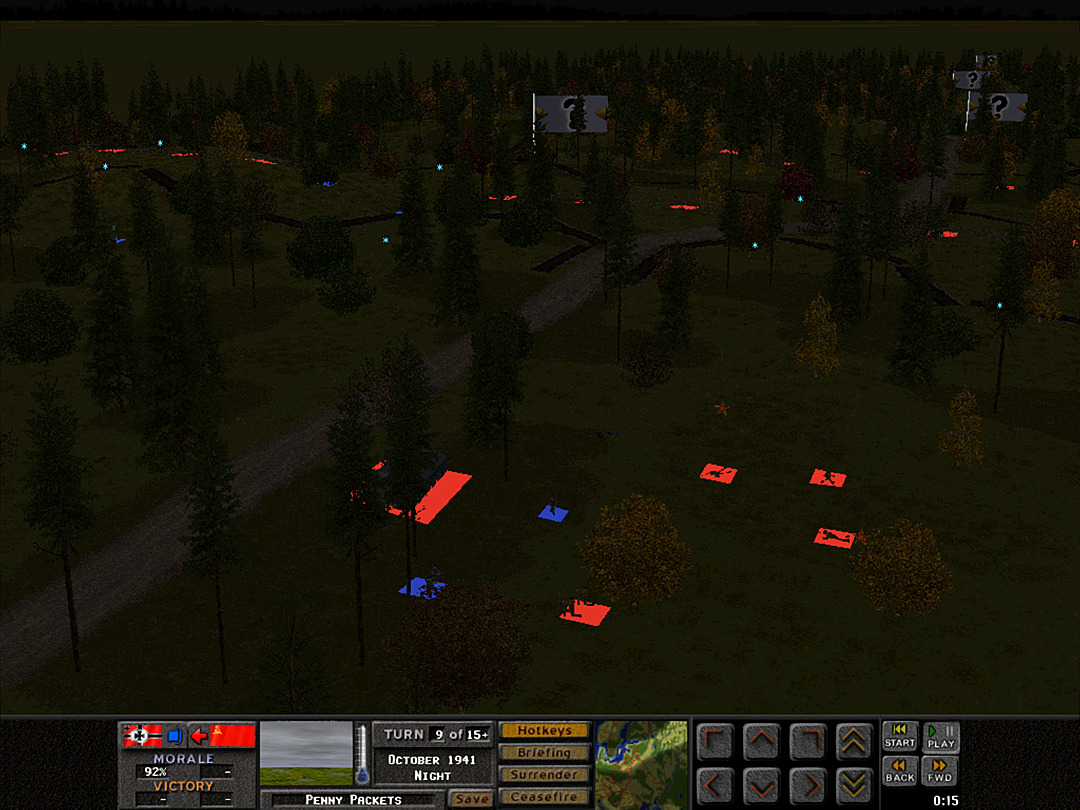 B Coy, 1 Plt is in the middle of a full platoon of attackers, and the tank crunches its way into the woods to cut off their retreat. They might not make it out alive. 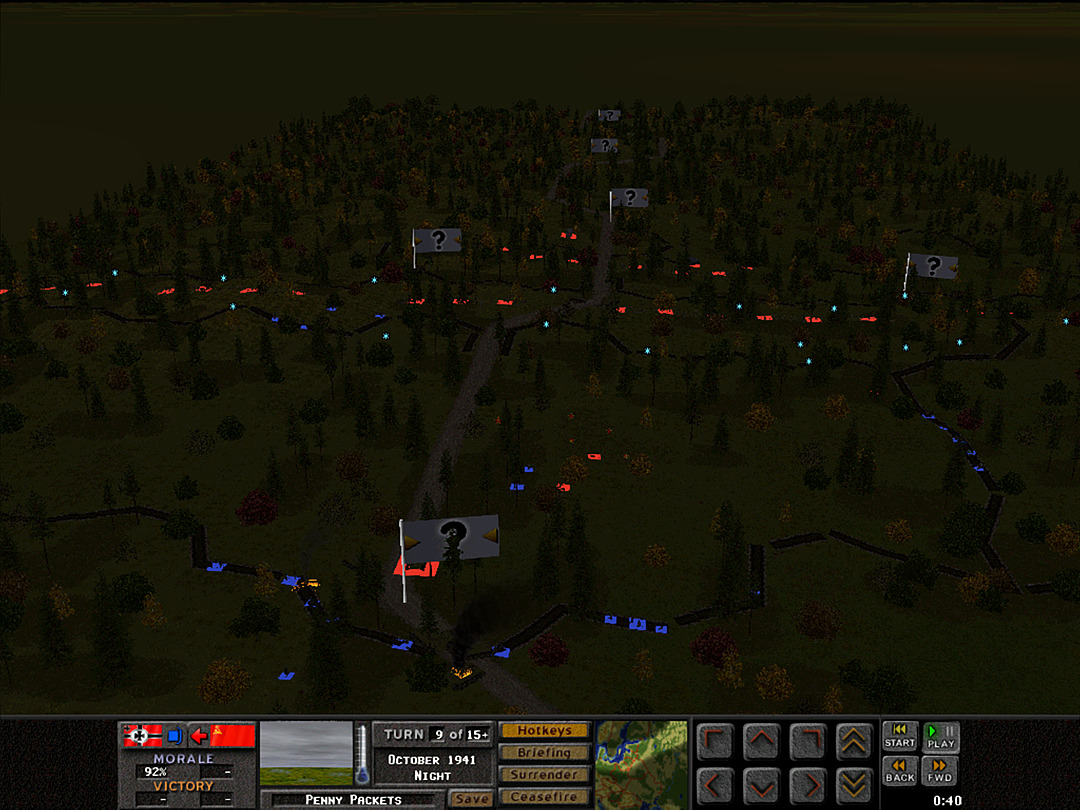 Inexplicably, the tank decides to ignore them and move toward the road. Perhaps they are trying to investigate the loss of the lead vehicle. 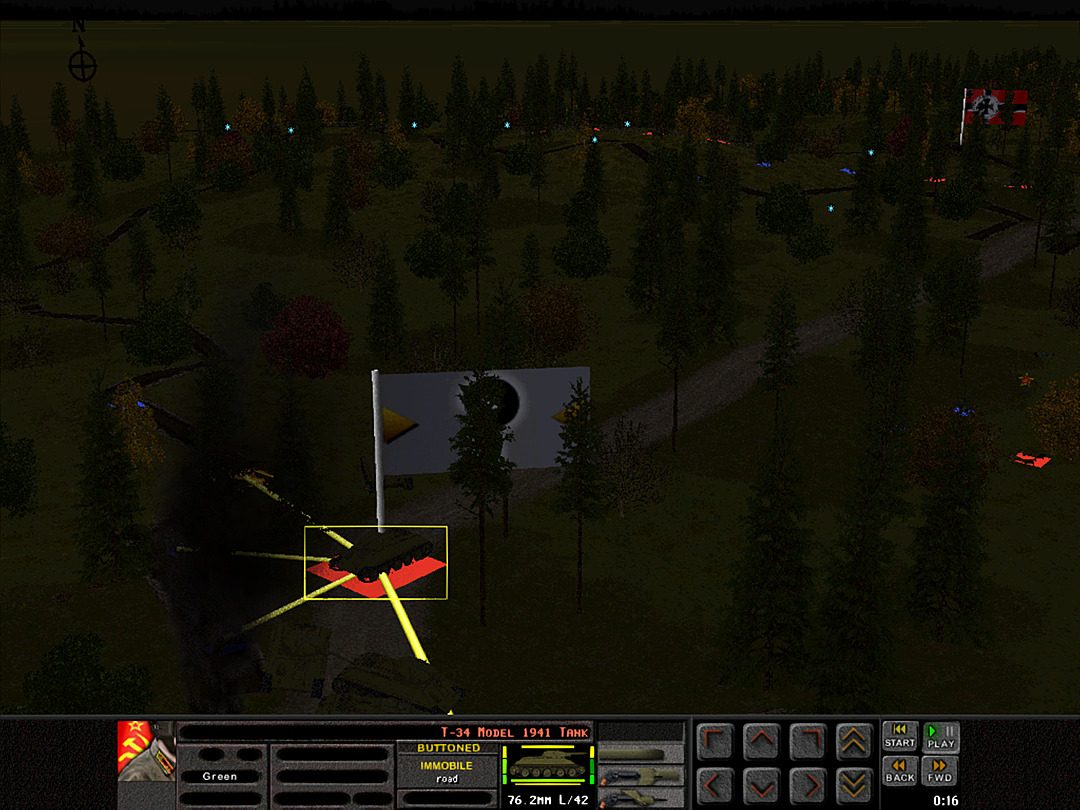 Once more, though, the Soviet tank has blundered into very close range of German infantry hidden in the trenches. 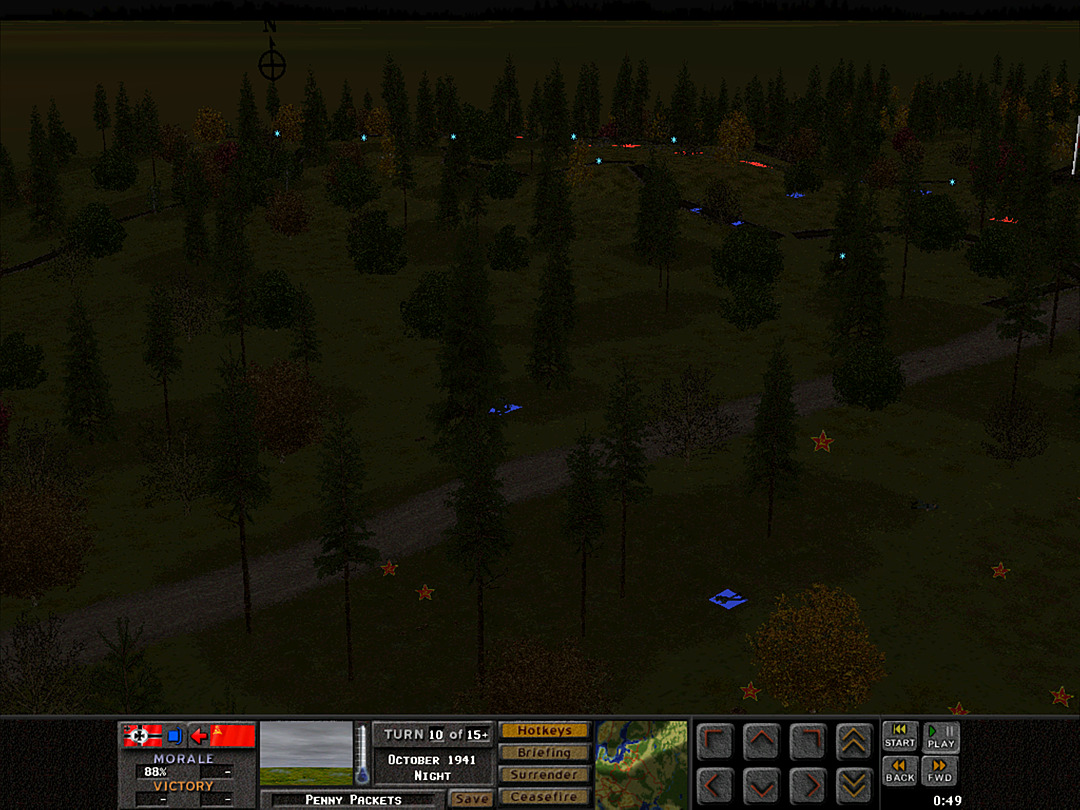 The last squad from B Coy, 1 Plt escapes across the road. 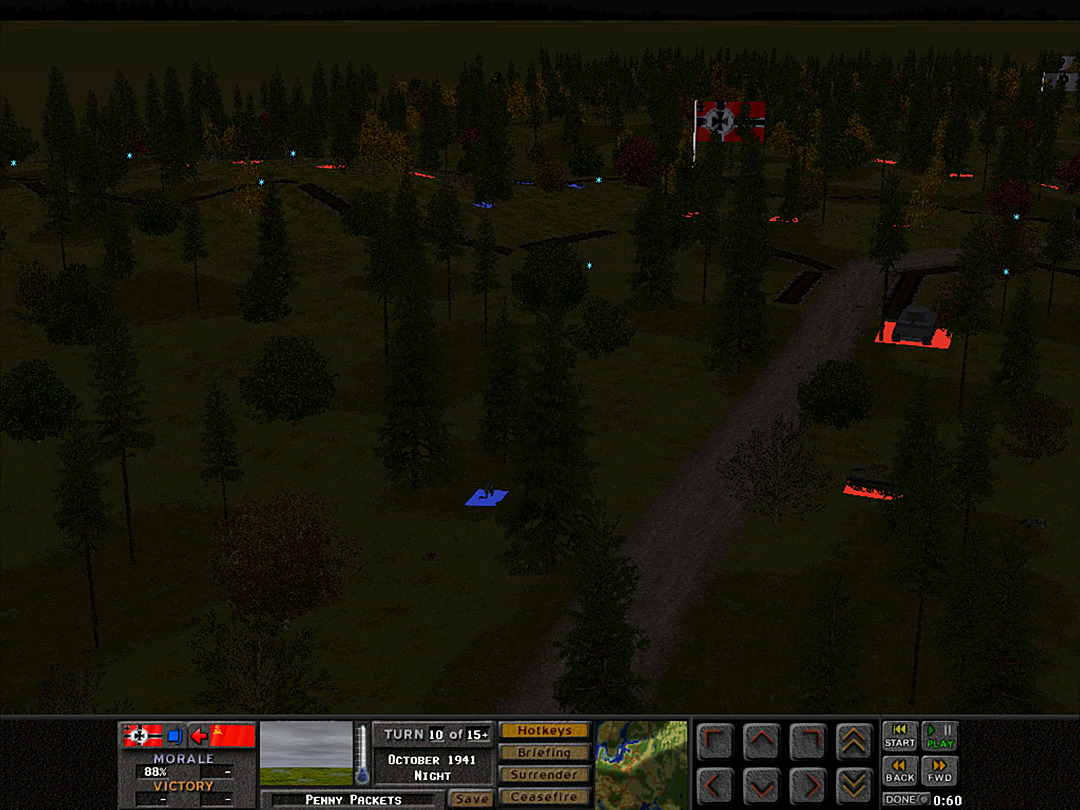 It needs to keep moving, though, in order to get away from the next few tanks that have been sent to avenge the loss of the T-34 platoon. 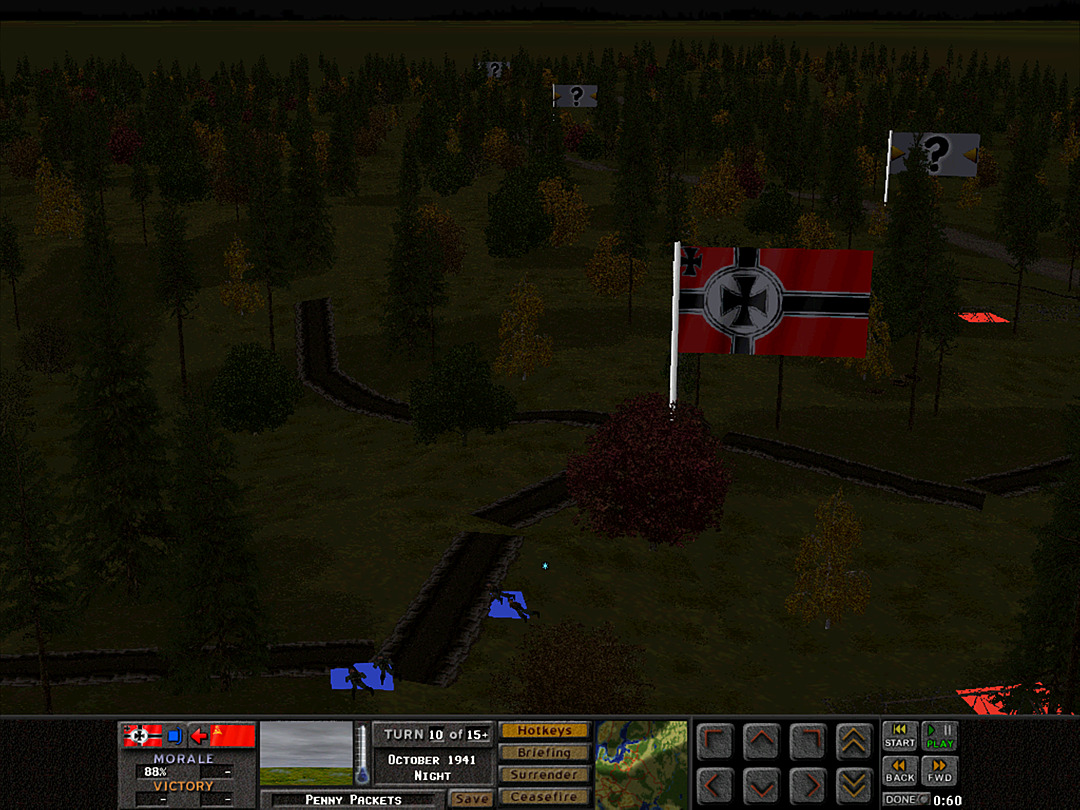 Improbably, the night raiders have recaptured the Soviet trench in the north. 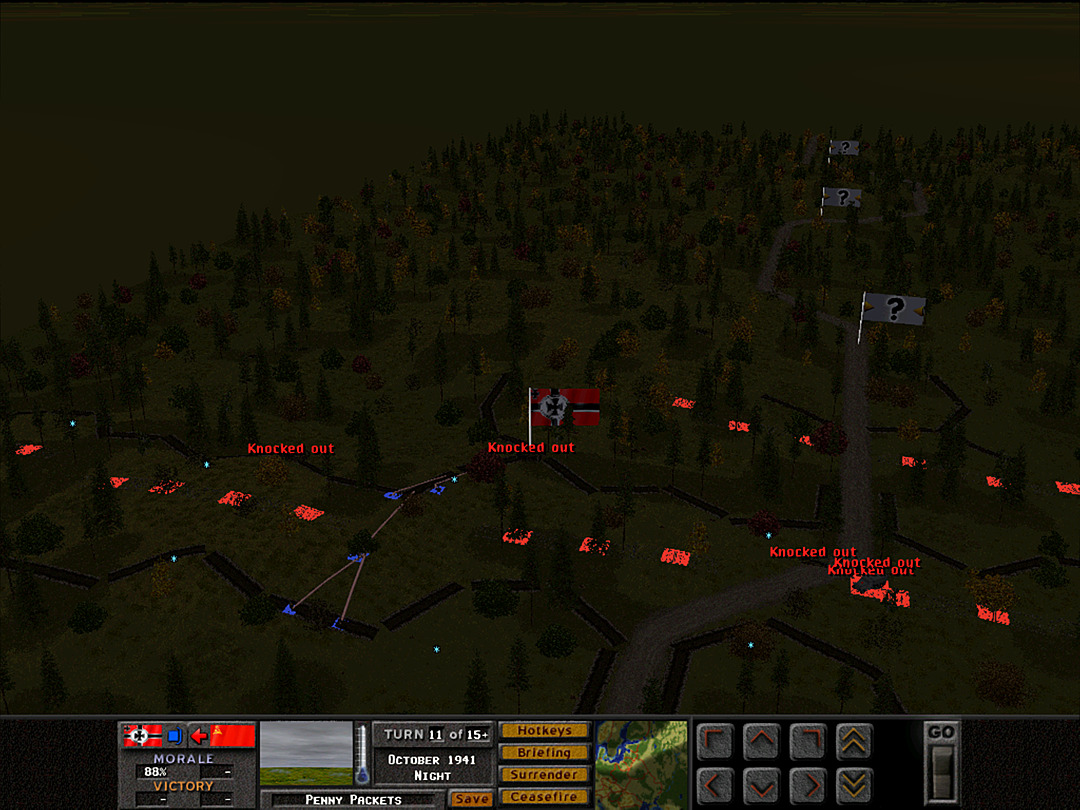 No enemy presence has been noted anywhere near the area.  The enemy squads have advanced through the woods, and the lieutenant of B Coy, 1 Plt is in dire straits now.  We did knock out the third tank, unsurprisingly. Yet more of them continue to force their way up the road in the darkness. Supplies of explosives are running low once again. 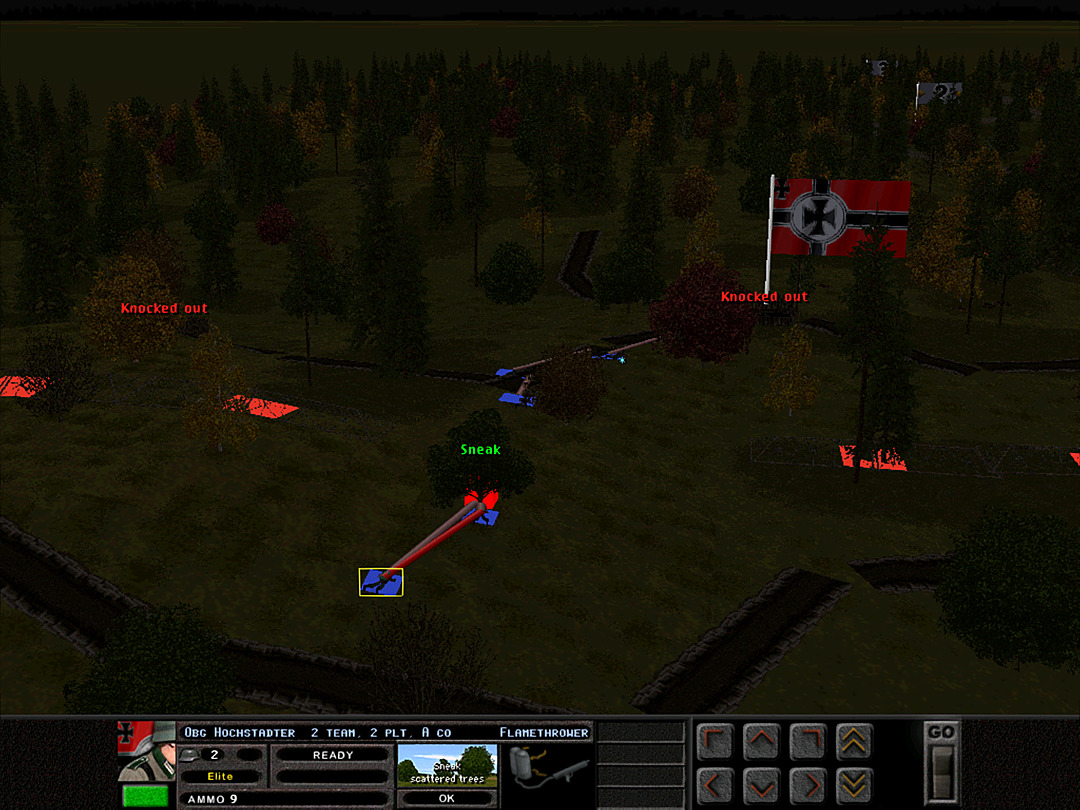 All of the men from the night raiders move up toward the Soviet lines. 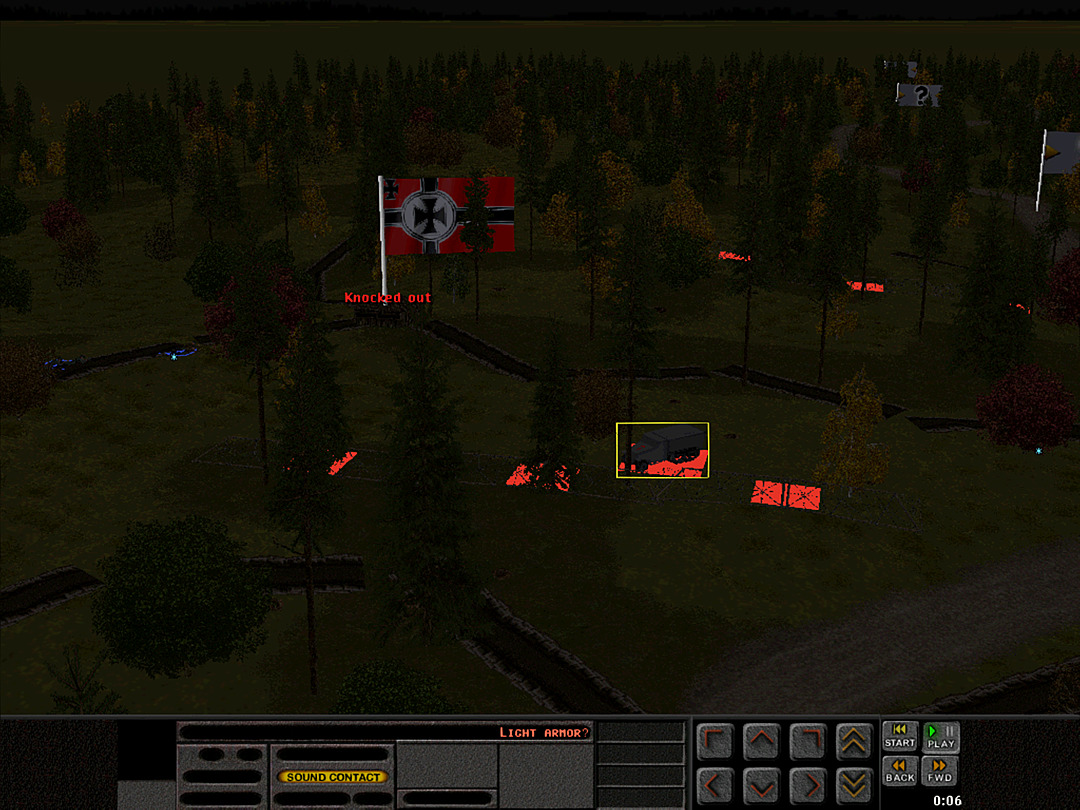 The first indication of any response to our strike on the north trench is the sound of a tank getting closer. 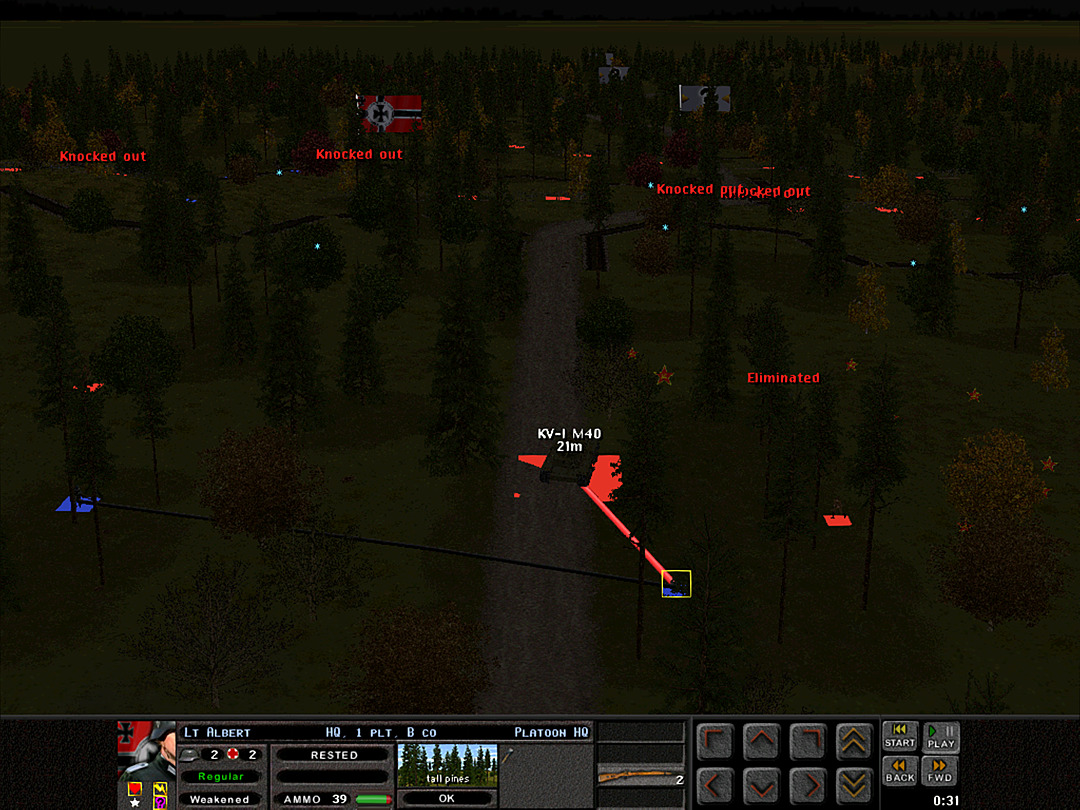 The last tank to come up the road is a heavy KV-1. It might be a bit tougher to slow down. 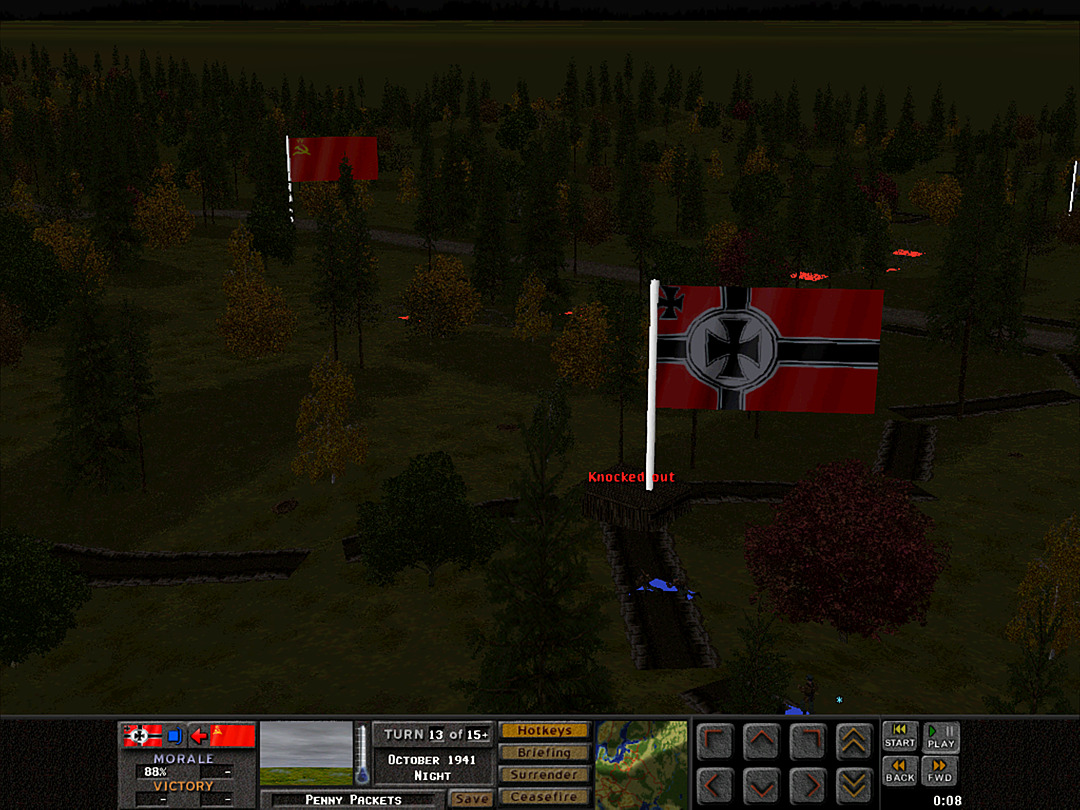 The night raiders spot a few enemy forces off in the woods, but none that are close enough to shoot at. 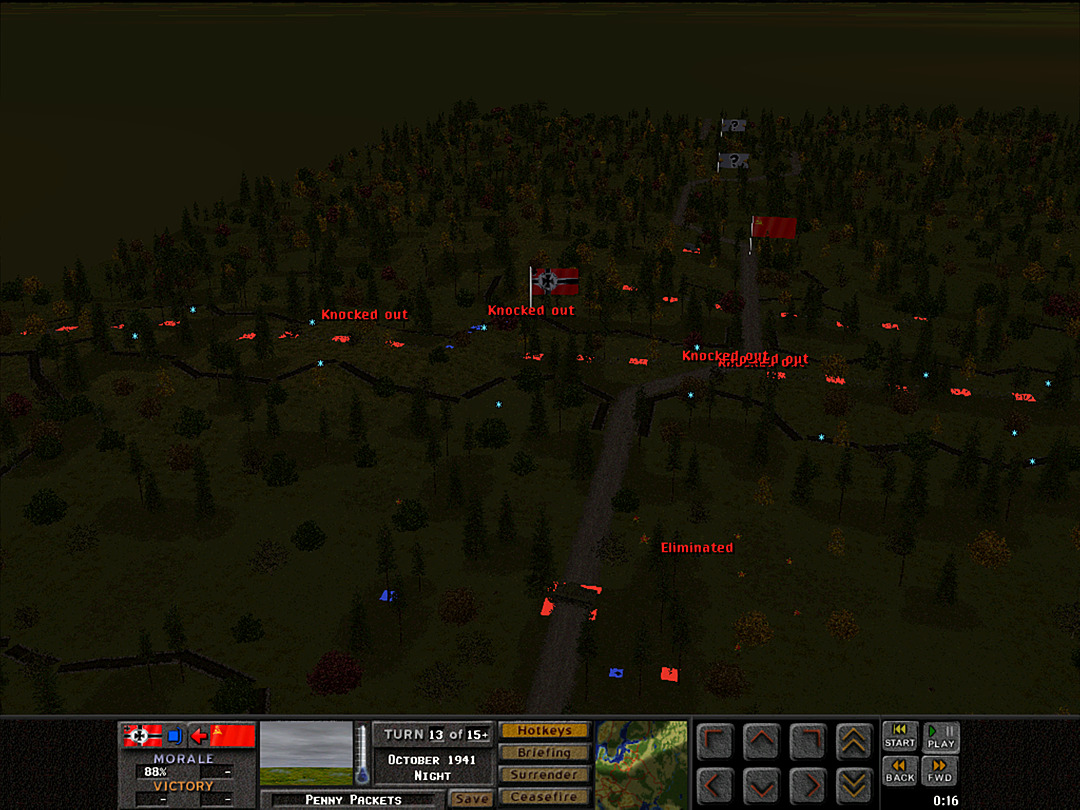 The KV-1 halts and suddenly turns around. Are the Soviets panicking after realizing we snuck into their lines once again? 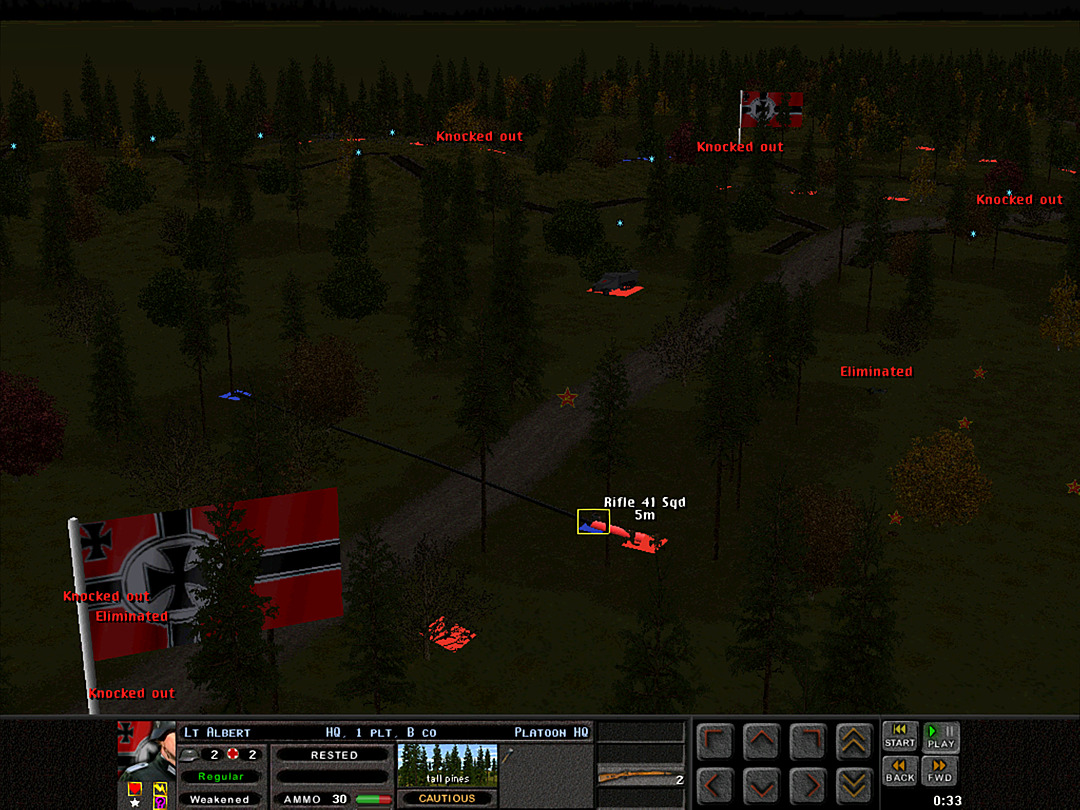 Leutnant Albert of B Coy, 1 Plt might just make it through this. 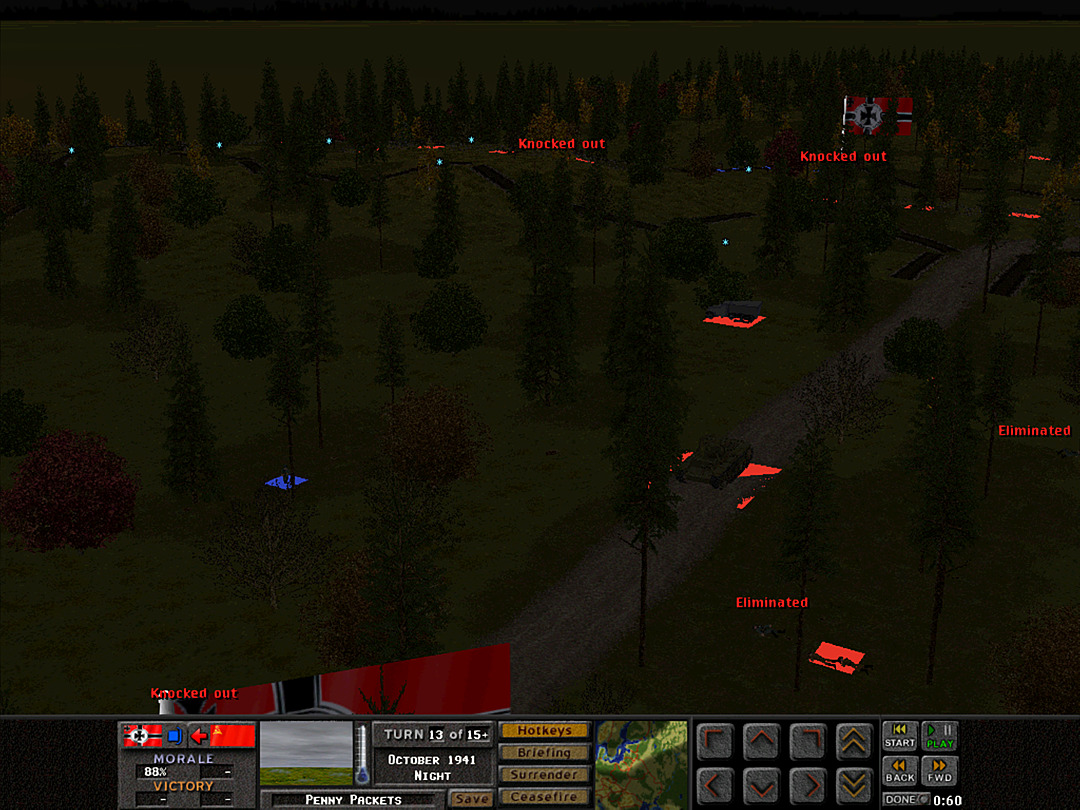 It is not to be, though. The enemy scout squad assaults and kills him. 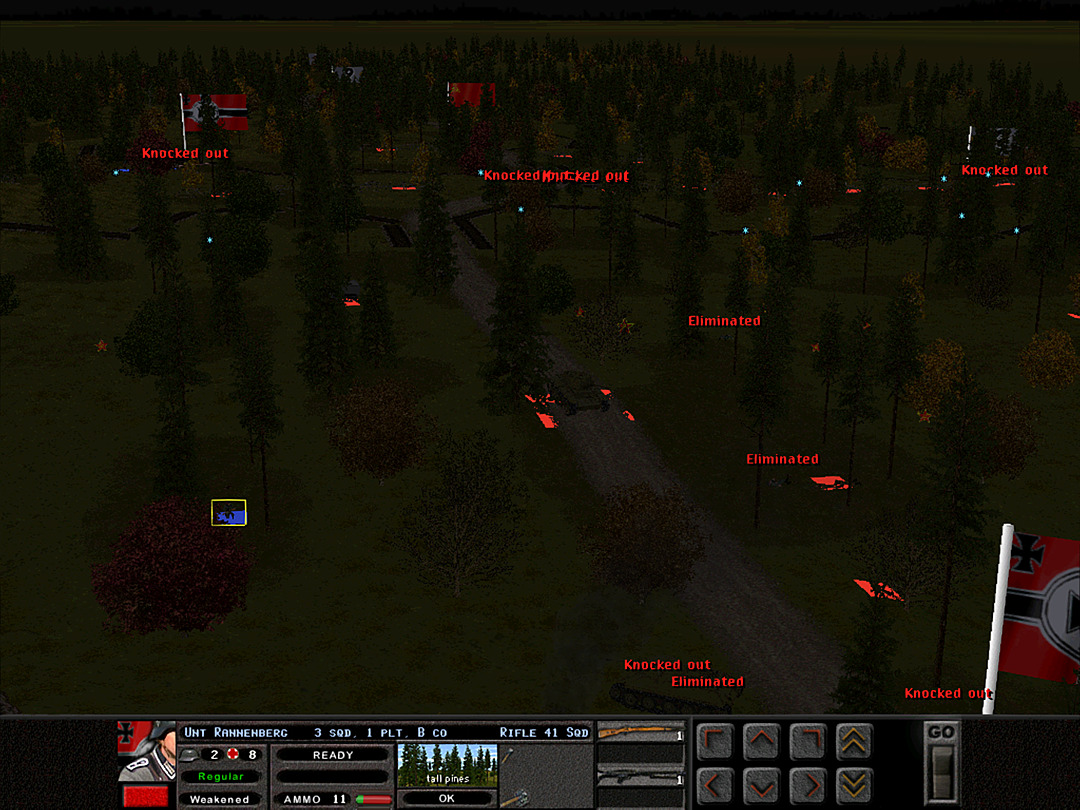 Our attempt to reclaim ground near the road has failed. The last two men of B Coy, 1 Plt retreat to the northern trenches. 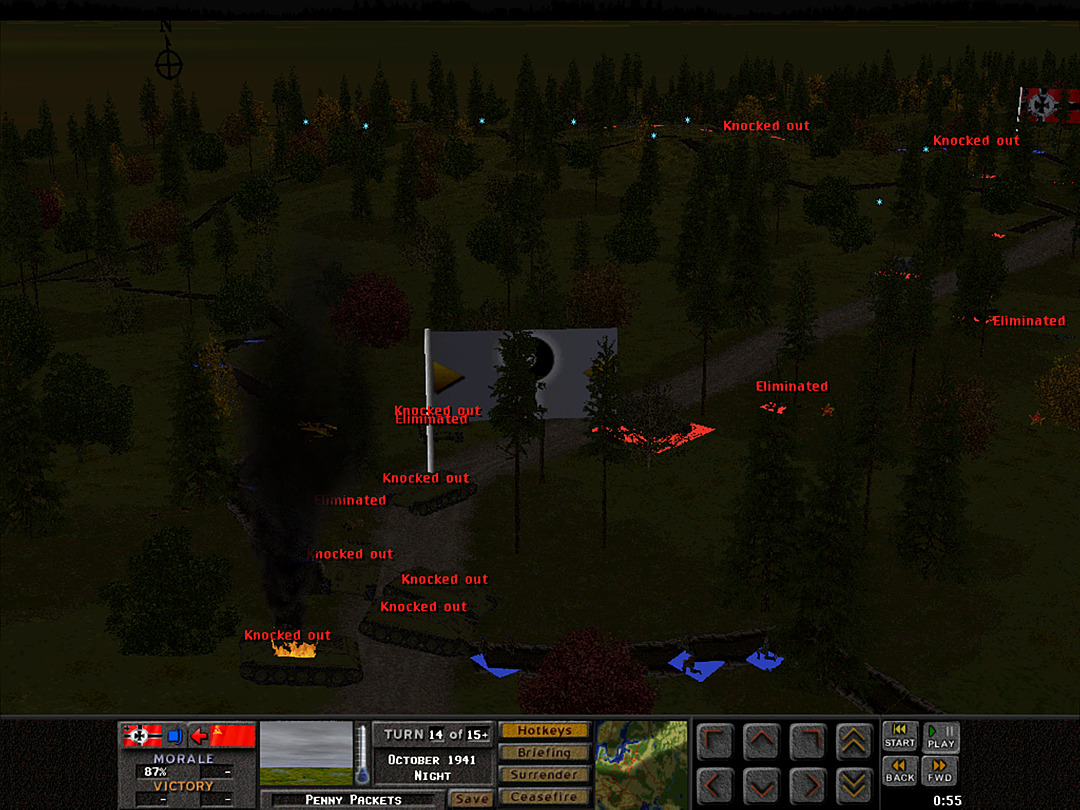 The indecisive KV-1 turns back and pushes toward the road bend again. Once more it halts. Possibly this cautious approach is to draw us out to attack it, but our men stay in the safety of the trench. 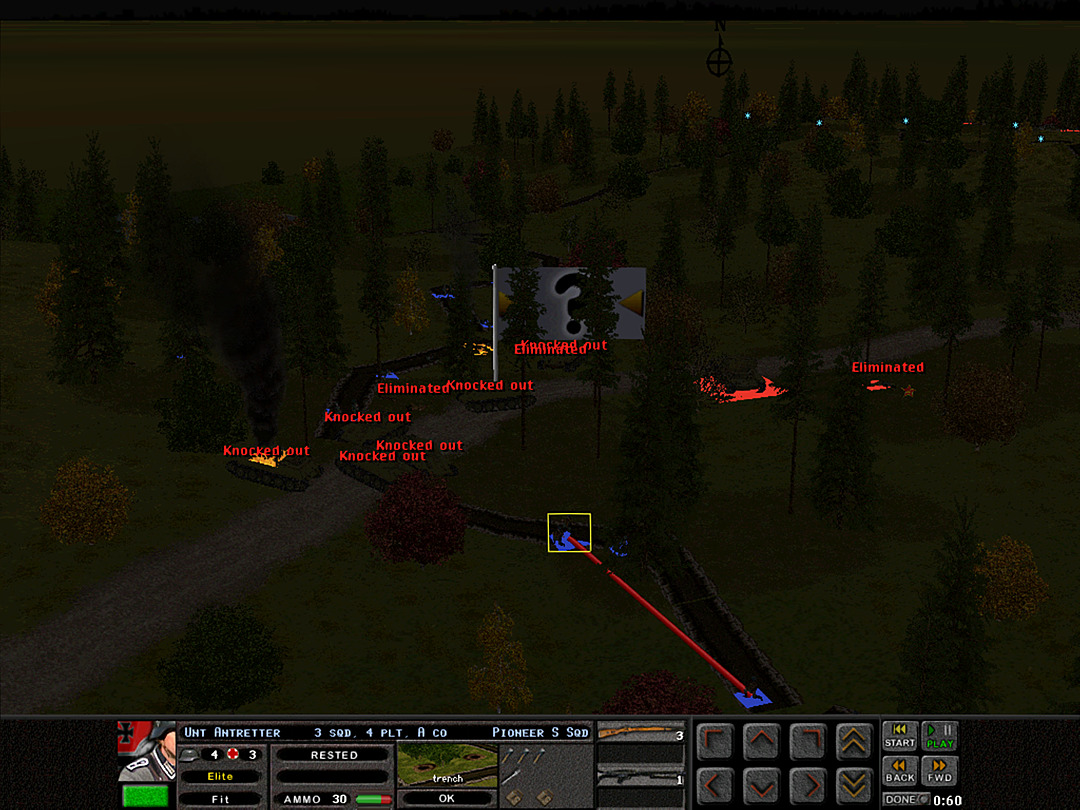 The airborne squads have some heavier explosives; they stand a good chance of halting, if not destroying the heavy tank.  The night raiders push their luck and try to clear more of the trench. 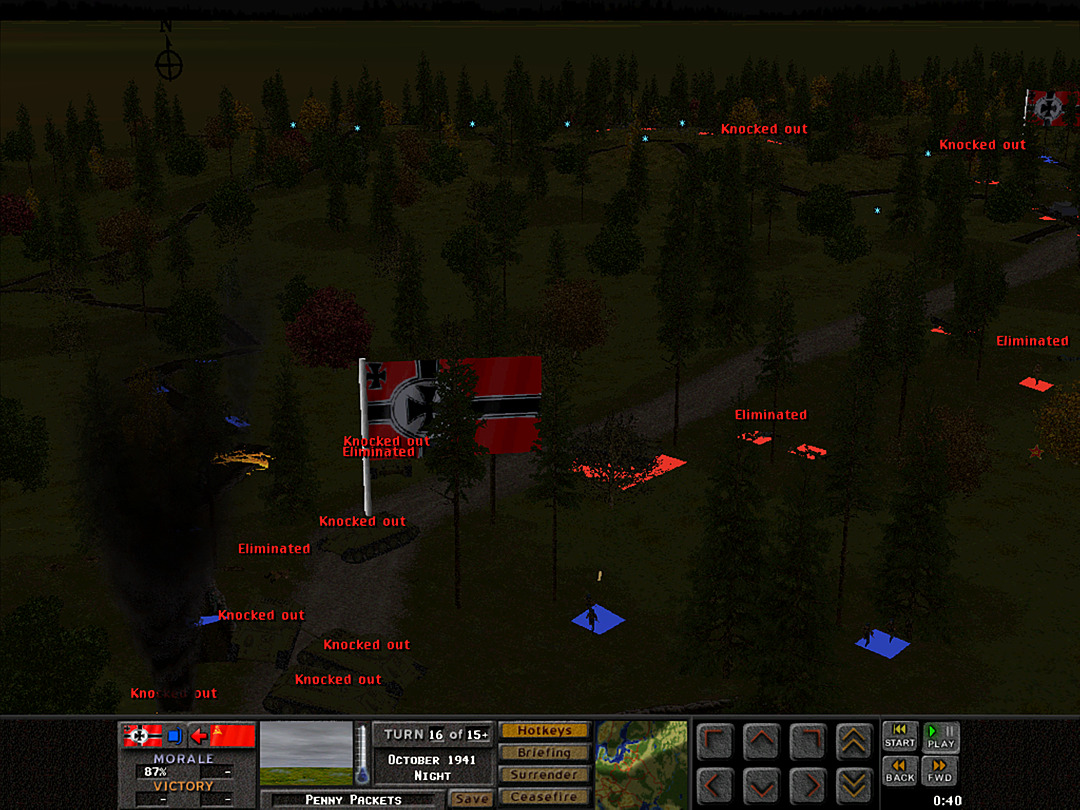 It seems the airborned squads haven't been detected yet. They get into range of the KV-1, and toss a heavy charge at it.  It's a hit! As expected, the tank's tracks are thrown off. It's a sitting duck now.  A second heavy charge hits it, and the concussion kills the crew inside. A heavy tank has been taken down.  The Soviets have responded to the night raid, finally. Some squads are spotted coming up the hill from our side, while two tanks drive into range.  After successfully knocking out the Soviet heavy tank, the airborne troops of 4 Plt do not return to the trench. They decide to engage the infantry close by.  Our men in the Soviet trench are prepared for the enemy infantry. It seems only a single squad was sent to investigate our raid. 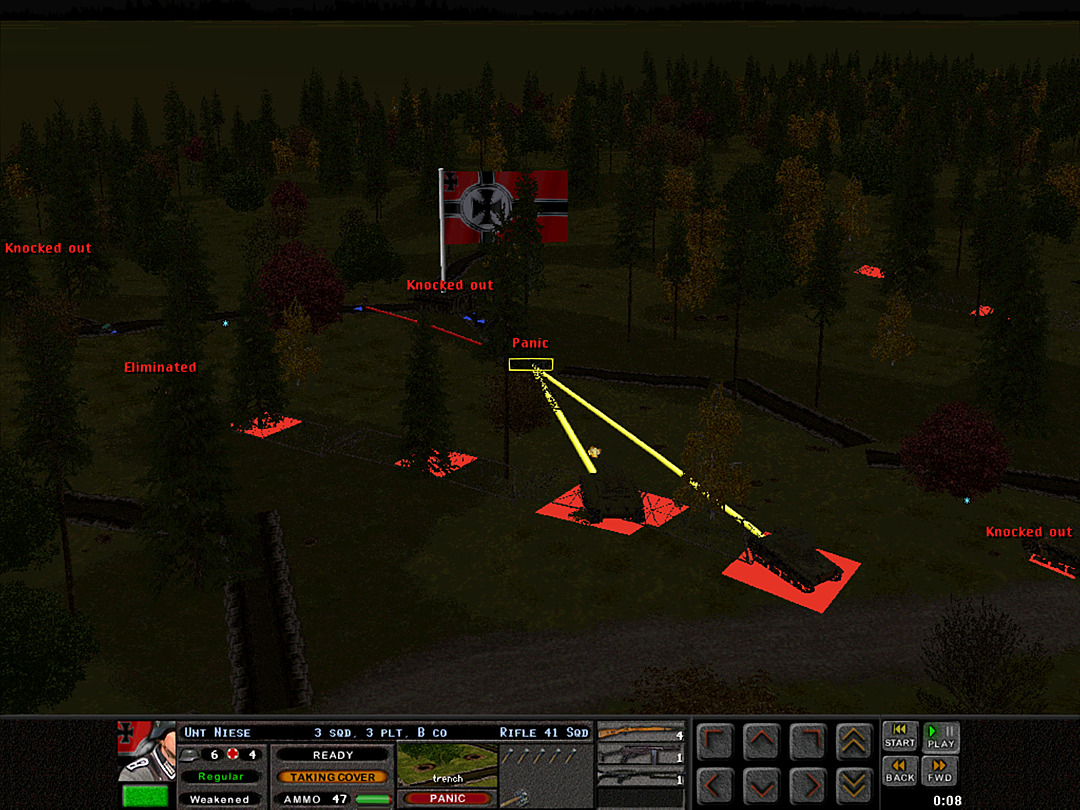 The squad at the edge of the trench takes the brunt of the fire from the tanks. They aren't advancing any closer than they need to, so we can't take them out with grenades. 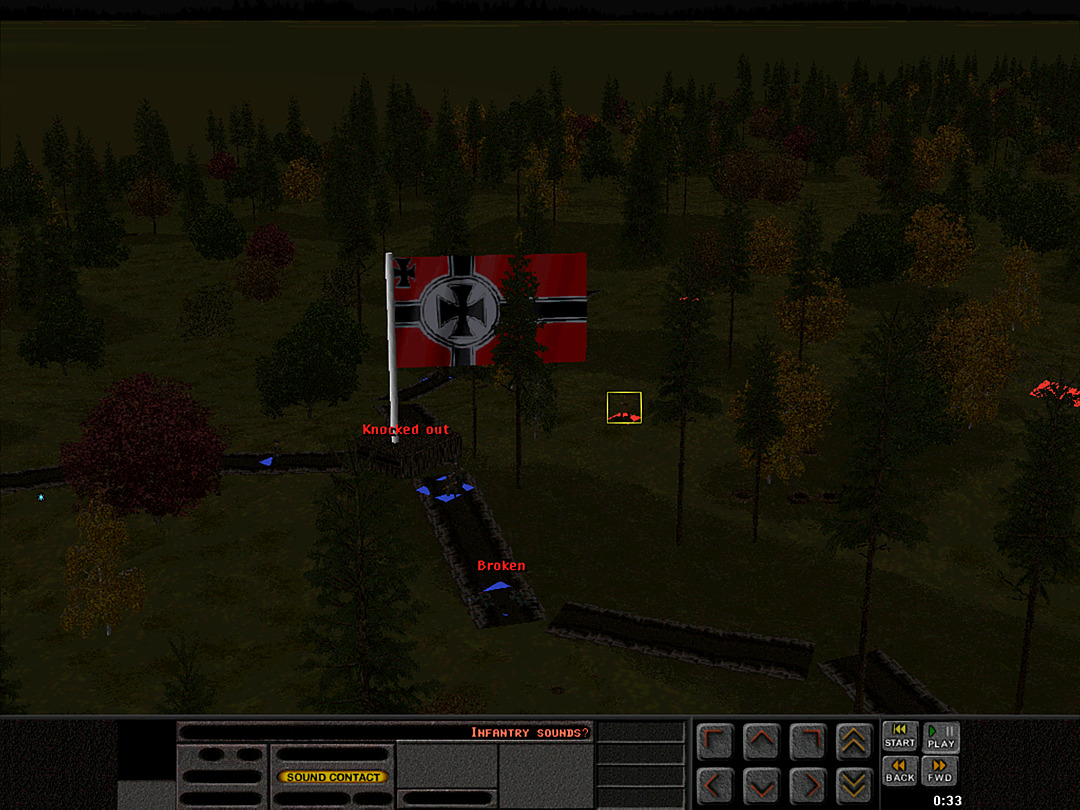 More squads approach from the east; it's unclear how serious the enemy is taking this threat. 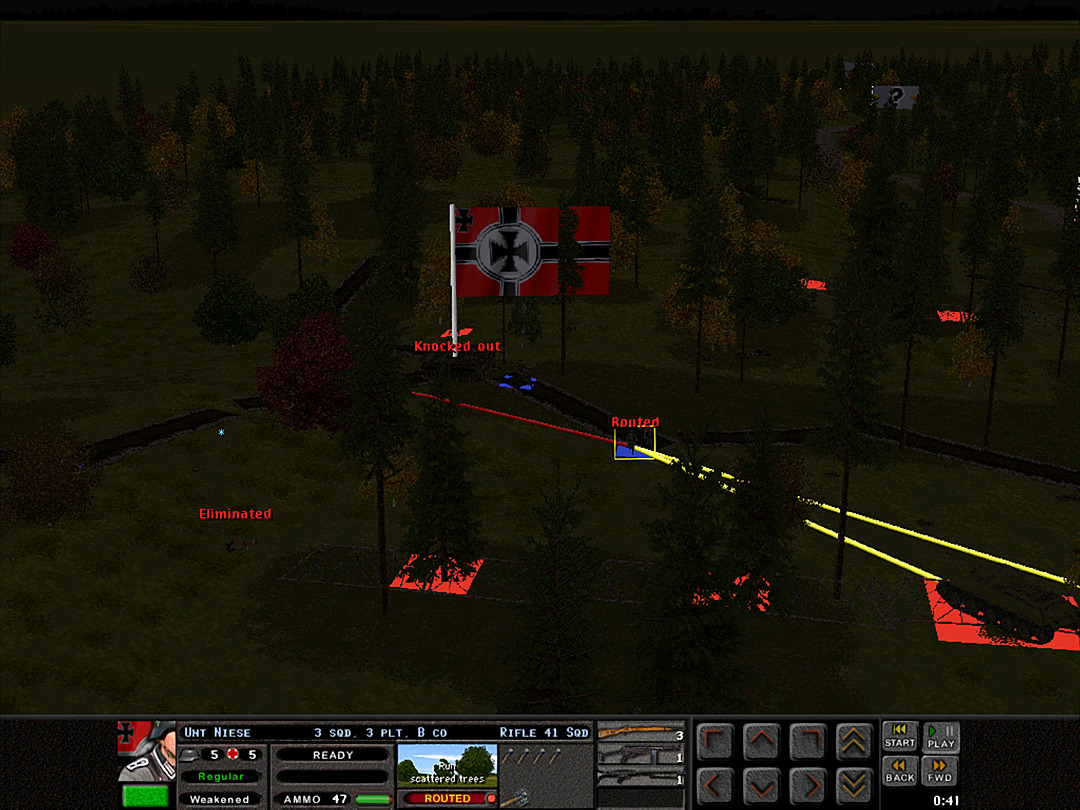 Finally, the less-disciplined men from the ad hoc platoon break under the pressure of tank fire. They run out of the trench and surrender to the enemy. 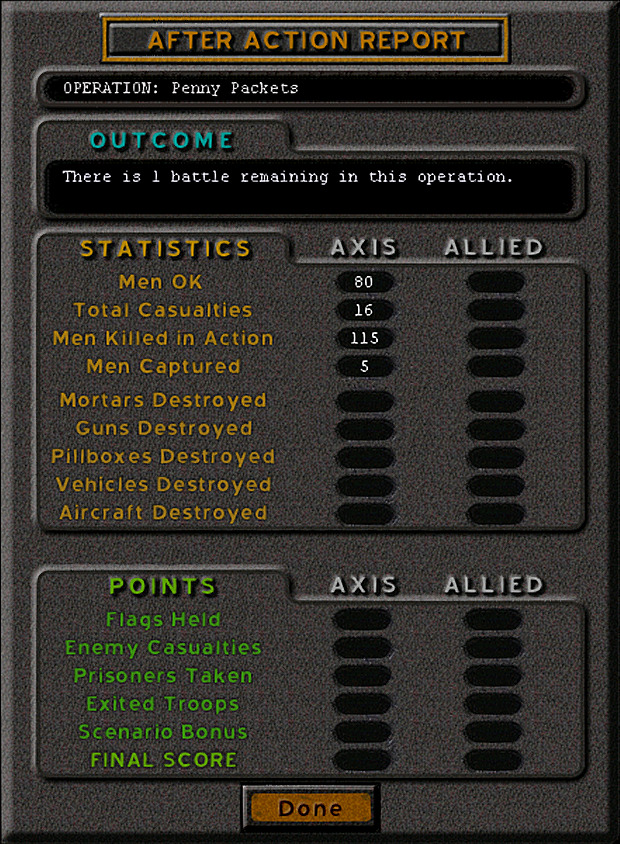 But the tanks come no closer, and the battle ends. Our losses were, relative to the rest of the day, light. Taking out four more tanks means we certainly hit them harder than they hit us. Unit Highlight PSW 222 Light Armored Car 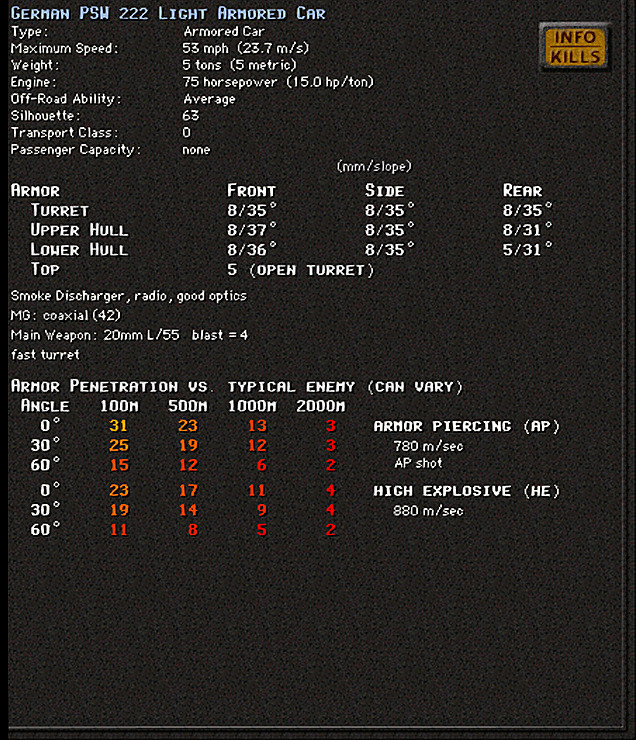 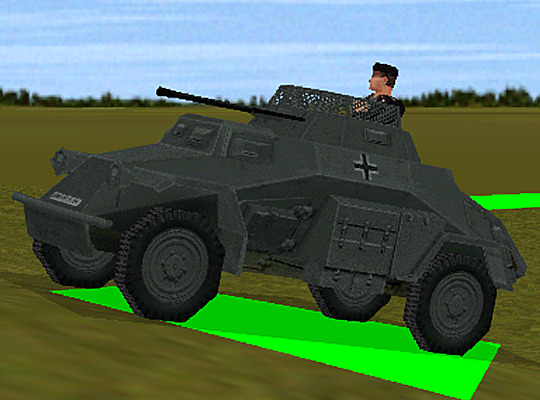 Crew: 3 Base Cost: 39 The PSW 222 was a refinement of the 221, and reflected the growing intent of Germany to prosecute a war. It improved the chassis to allow a greater weight; while the armor was not any better, it carried a 20mm cannon along with the machine gun, making it a formidable threat to enemy vehicles, infantry, and even some light tanks. Much like the 221, it really only performed well on good roads. It retained the high top speed of the first model, and thus served well as a scout that could strike fear into the enemy, at least in regions with a decent transportation network.
|
|
#
?
Apr 5, 2024 07:35
|
|
|
I'll say it, that was silly.
|
|
#
?
Apr 5, 2024 09:27
|
|

|
Unsupported tanks scouting each other's demise at night is a bit much, even for the immediately post purges Red Army and by the siege of Leningrad they did have a bit more experience than that.
|
|
#
?
Apr 5, 2024 18:06
|
|

|
SIGSEGV posted:Unsupported tanks scouting each other's demise at night is a bit much, even for the immediately post purges Red Army and by the siege of Leningrad they did have a bit more experience than that. Perhaps the officer who planned this only retained his job because he knows somebody who can cover his rear end.
|
|
#
?
Apr 15, 2024 04:53
|
|
|
Triple A posted:Perhaps the officer who planned this only retained his job because he knows somebody who can cover his rear end. Khrushchev is still retreating from Kiev at this date. WhiskeyWhiskers fucked around with this message at 10:54 on Apr 15, 2024 |
|
#
?
Apr 15, 2024 10:52
|
|
|
Operation 4, Battle 6 of 6 Operation: Penny Packets Time: Dawn Skies: Fog Ground: Damp Temp: Cold Wind: Still The day has dawned chill and calm after the windy battle of last night. Somehow, despite our heavy losses yesterday, we've held on against the constant onslaught of Soviet armor. That's largely owing to their failure to come in supported by sufficient infantry. Our forces are slowly dwindling, though, and they seem to stay strong. We must hold on at least as long as this morning. If we stop them now, they won't be able to break through, and we will have achieved at least some sort of victory. 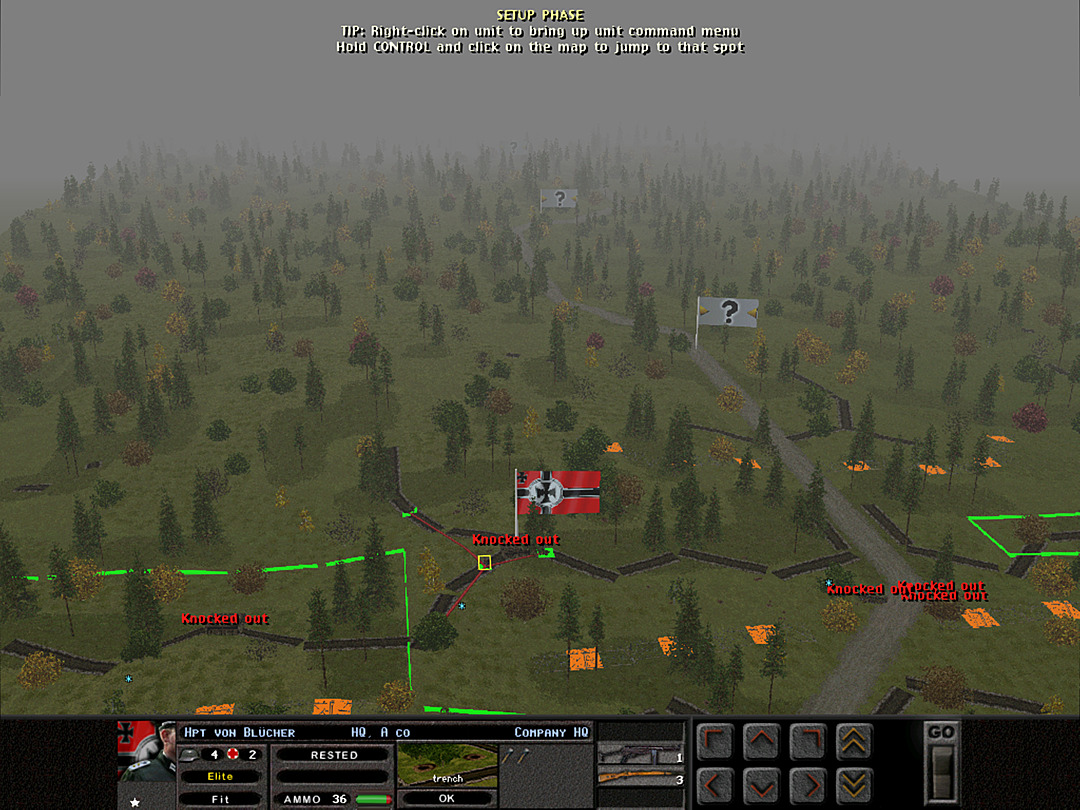 The 'night raiders' of last night took control of one of the Soviet trenches, and have stayed there all night. They have pledged to hold this position for as long as possible. This should force the enemy to commit at least some force here, lessening the pressure on our rear defensive point. 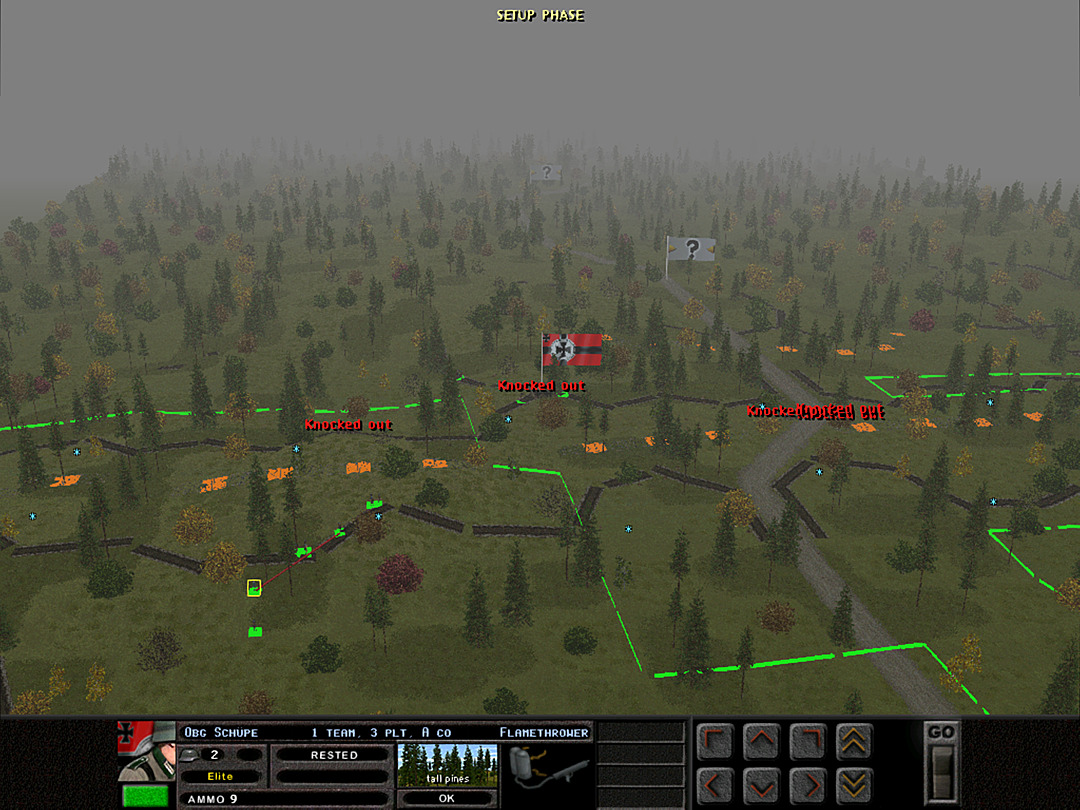 The strongest remaining platoon of the airborne soldiers of A Coy is 3 Plt. They have shifted from the south side of the battlefield to the north. They are hoping to create a connection to the rest of A Coy in the forward trench, and give fire support to defend them if possible. 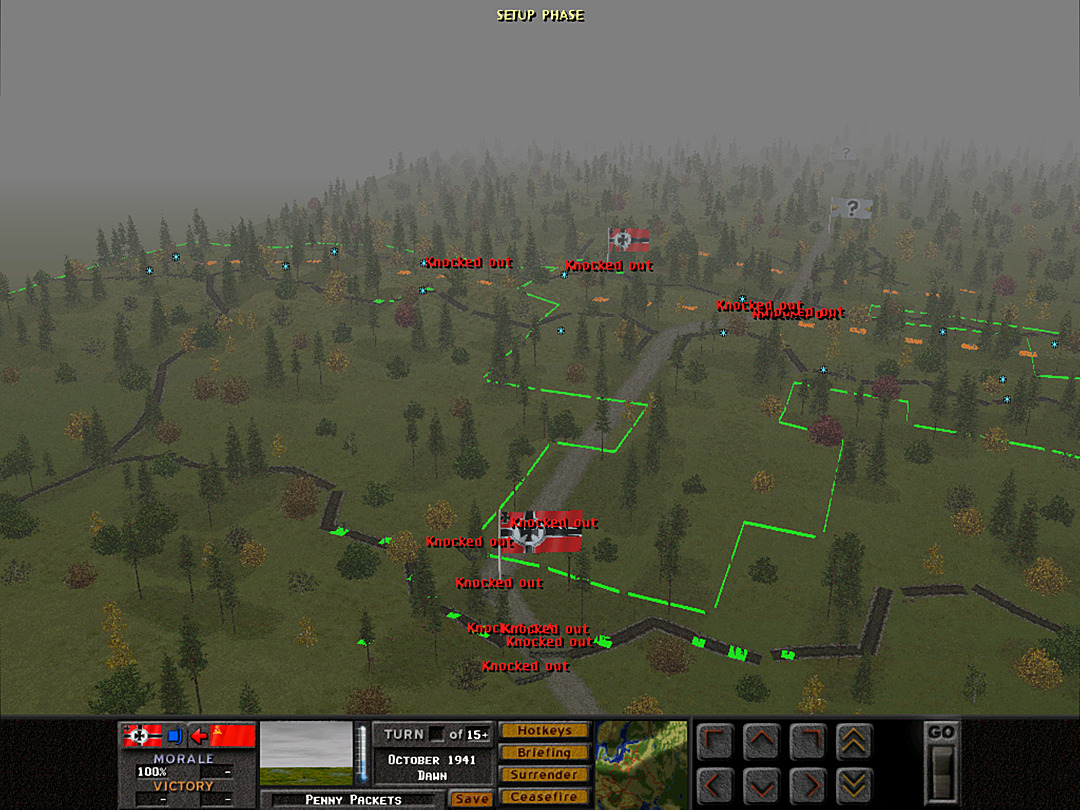 All the rest of our forces have pulled back to hold the hill. It's our last chance to defend; we have left all other positions open to the enemy.  3 Plt moves a bit southward along the trench. 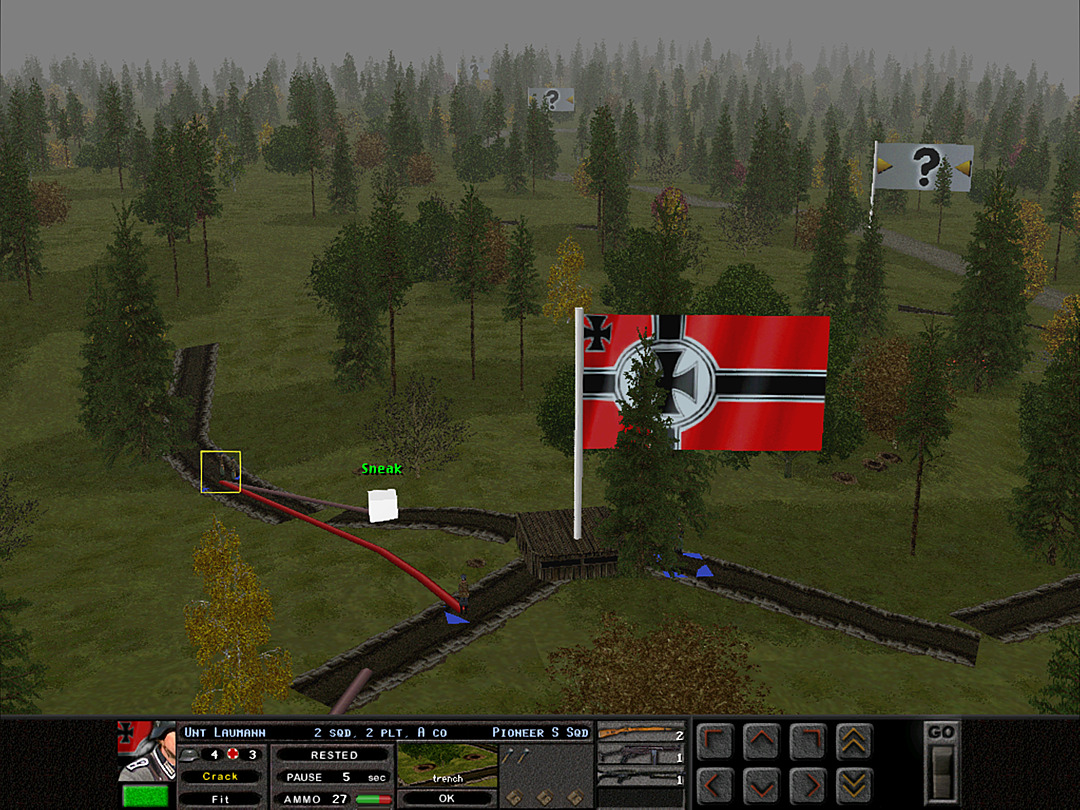 The ad hoc platoon pulls in tighter to maintain its defense. 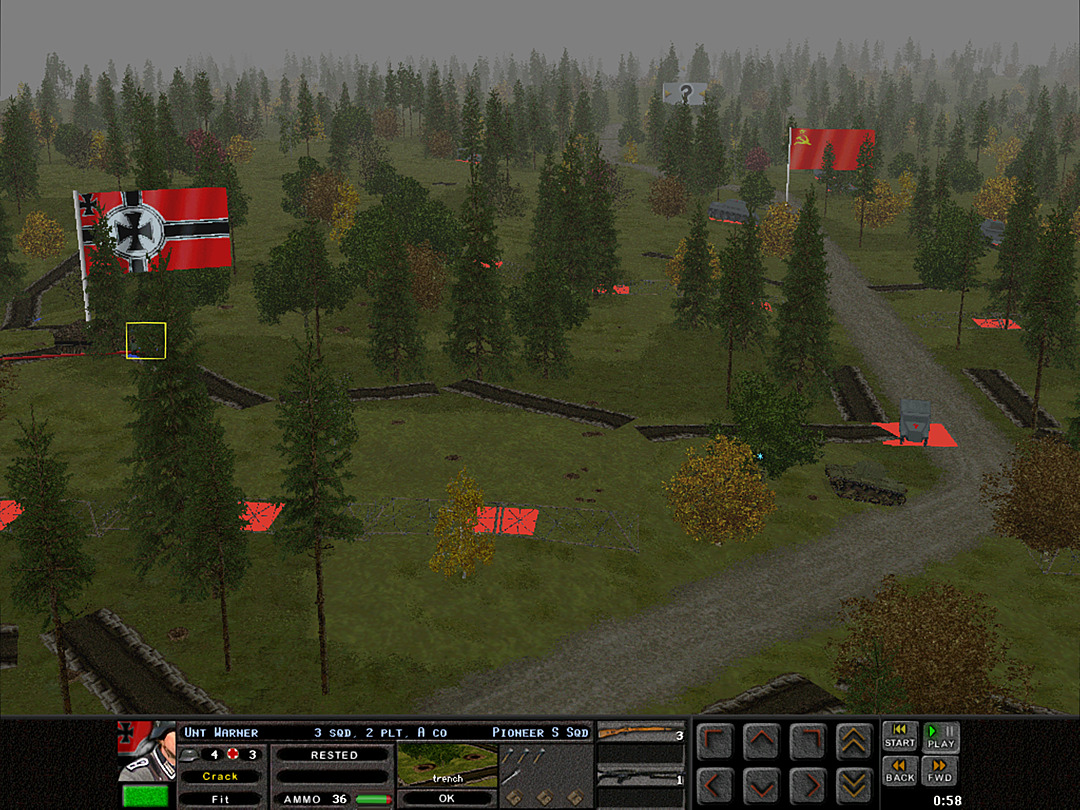 Tanks are heard indistinctly maneuvering somewhere off in the fog. 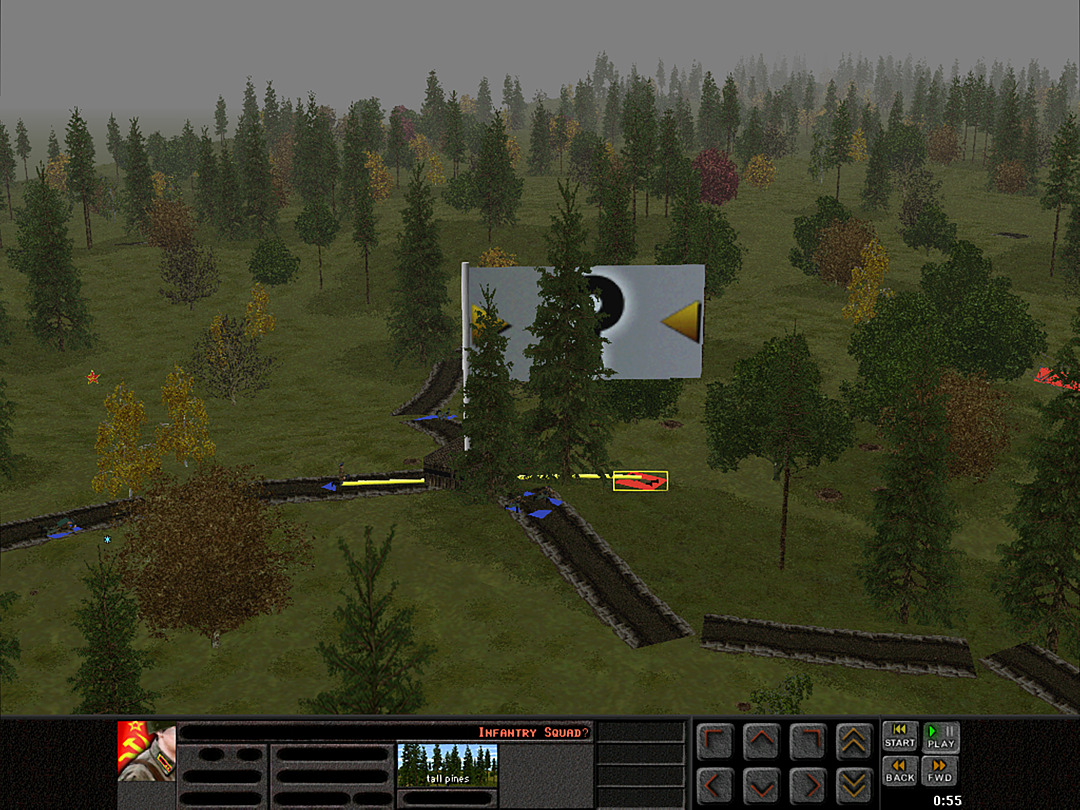 Then the men in the forward trench hear what sounds like men running right next to them. 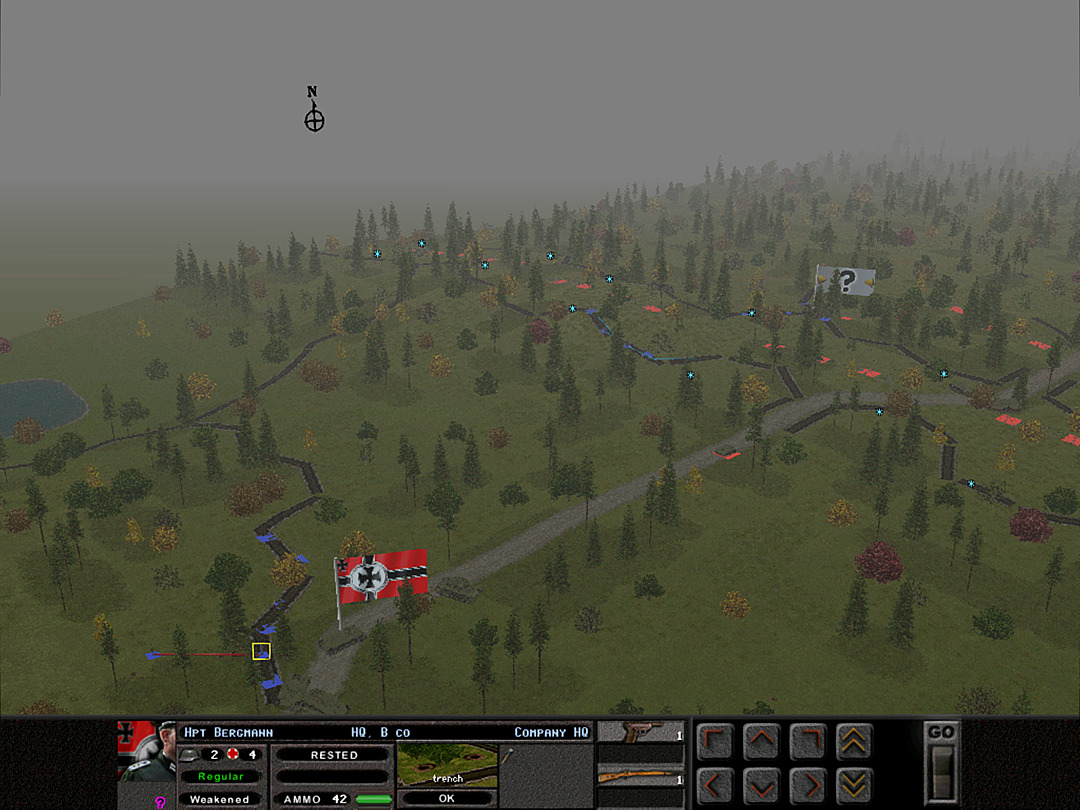 A tank is spotted coming down the road to the hill. 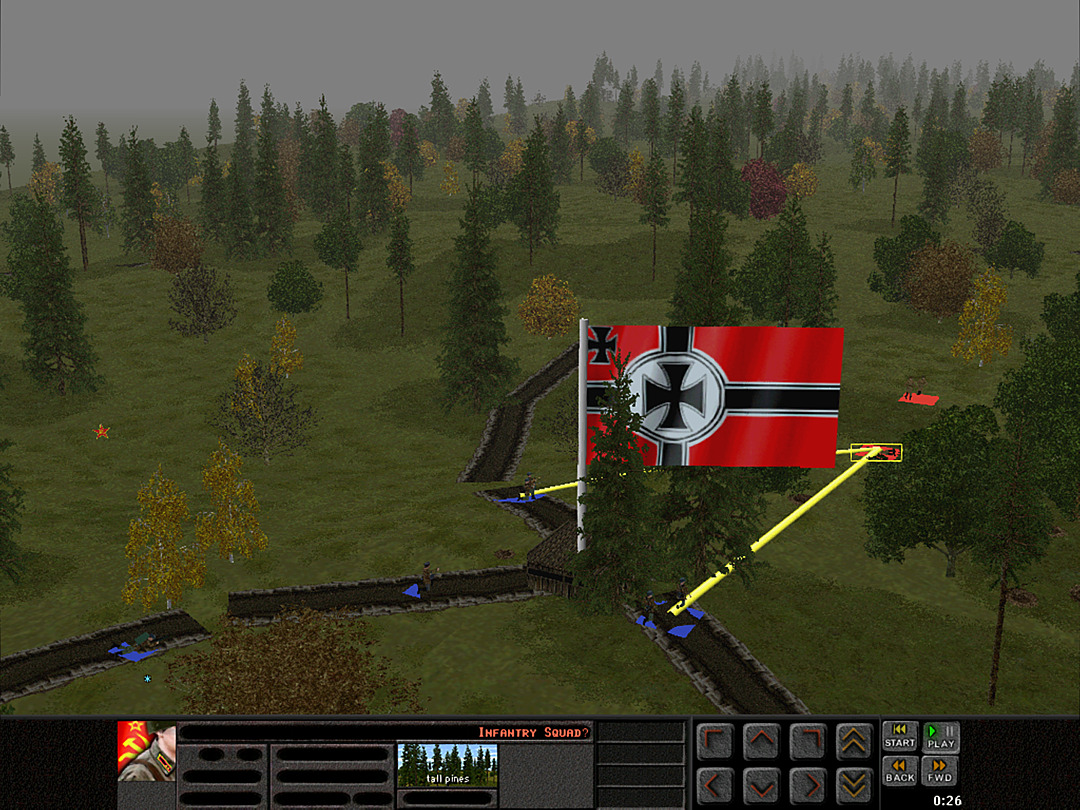 Our troops in the Soviet trench open fire on the men in front of them. More forces have been heard off to the north as well. 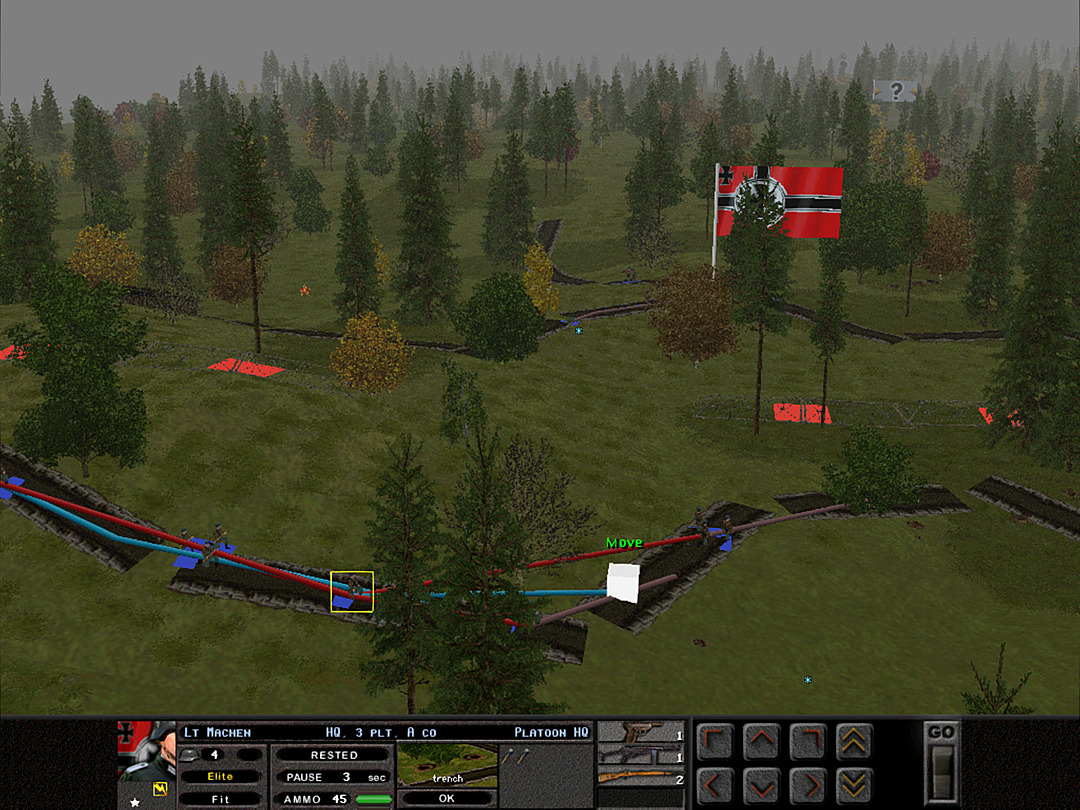 A Coy, 3 Plt has found no enemies in the trench. They move southward toward the road. 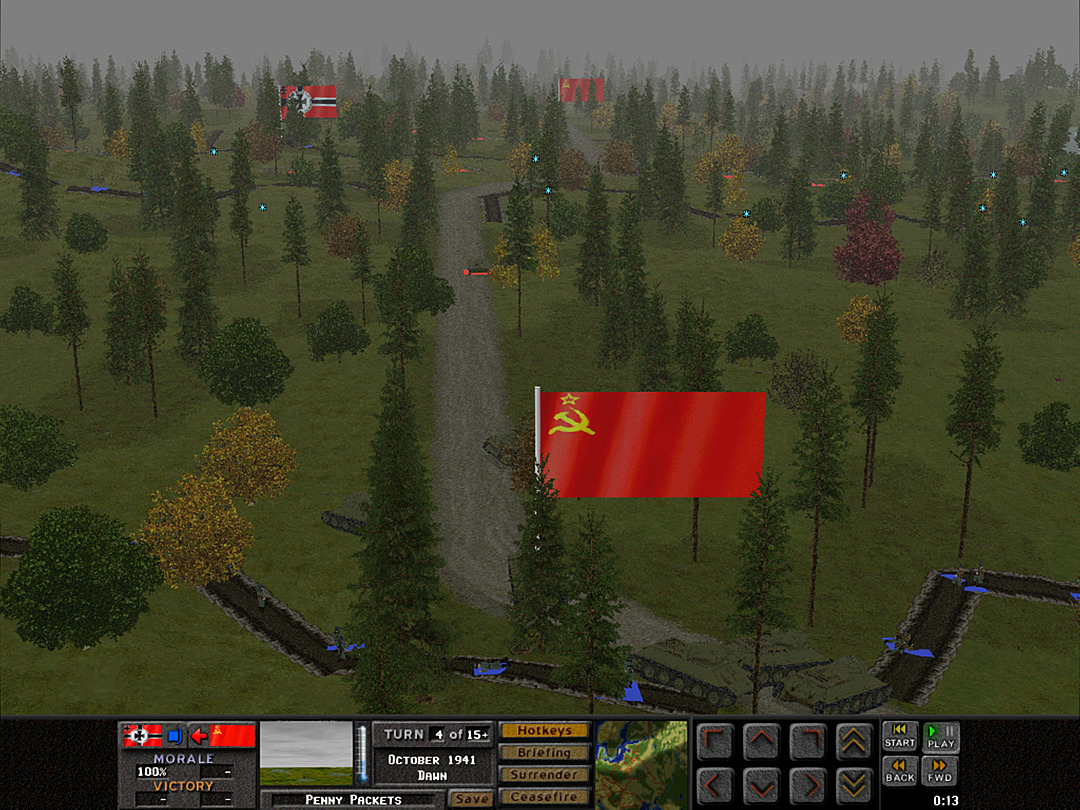 This time, the tank on the road is not rushing forward, but slipping forward cautiously a bit at a time. 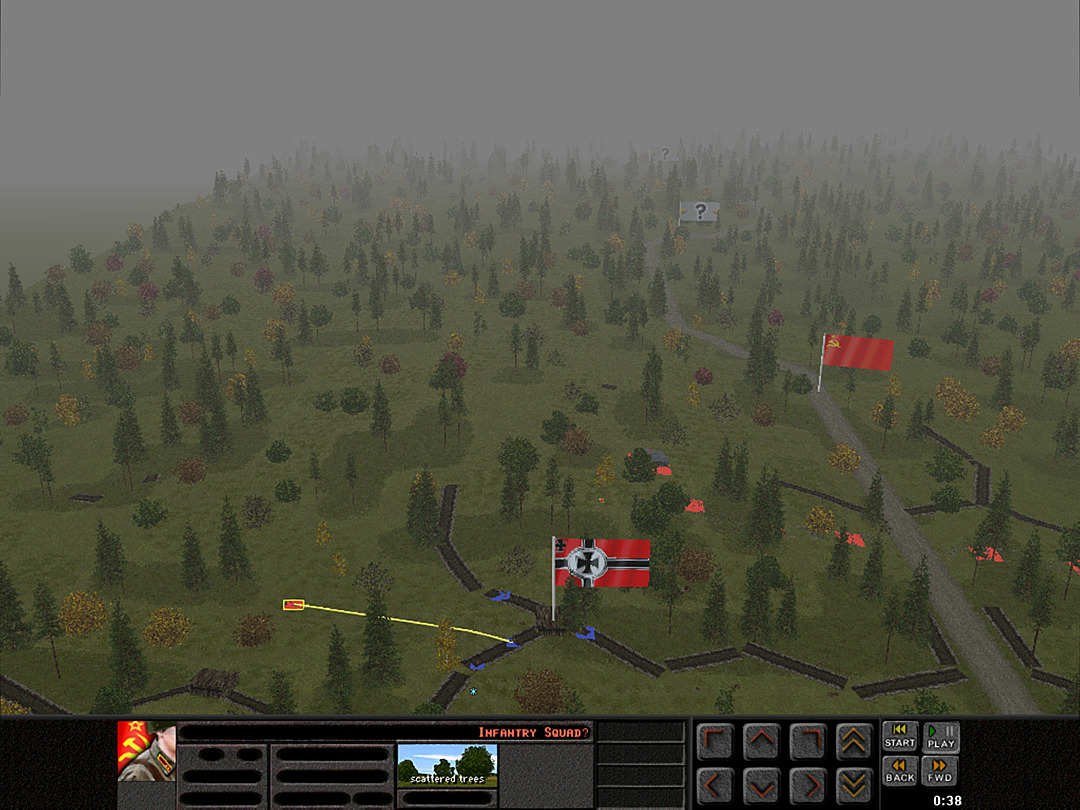 Just as soon as the ad hoc company fought off the first few squads, they see the men on the north pop up. 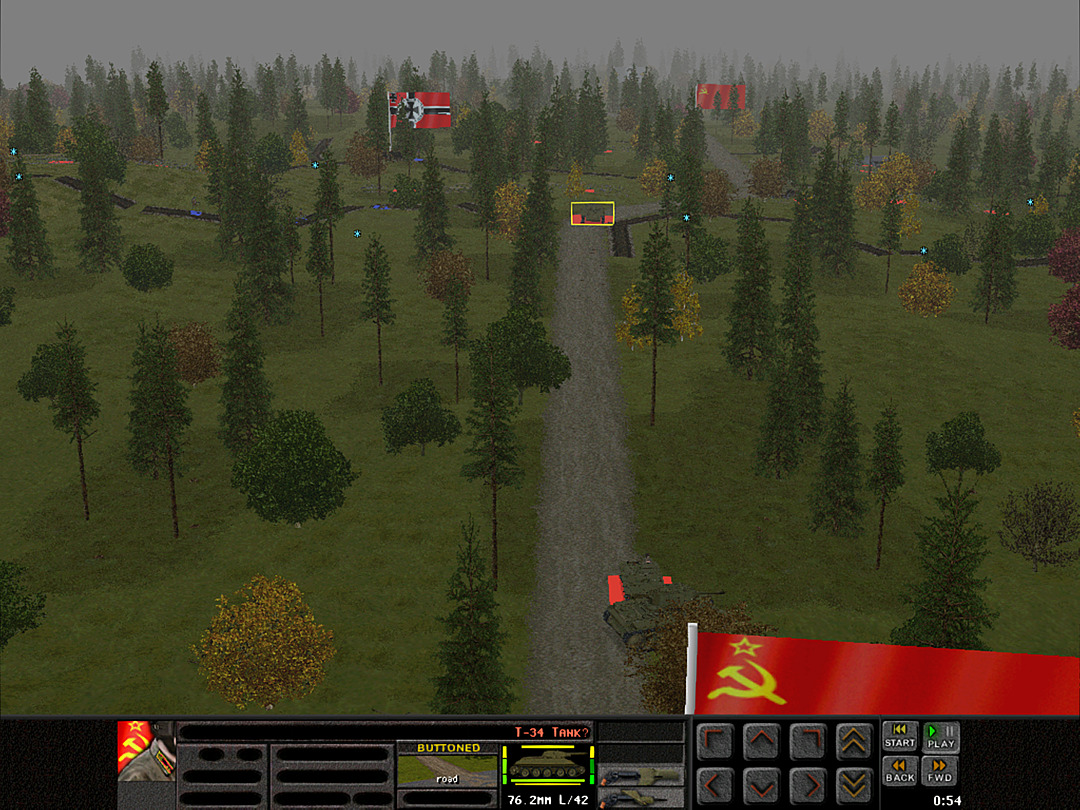 A second tank comes into view on the road. The lead tank decides to press its luck, and advances faster. 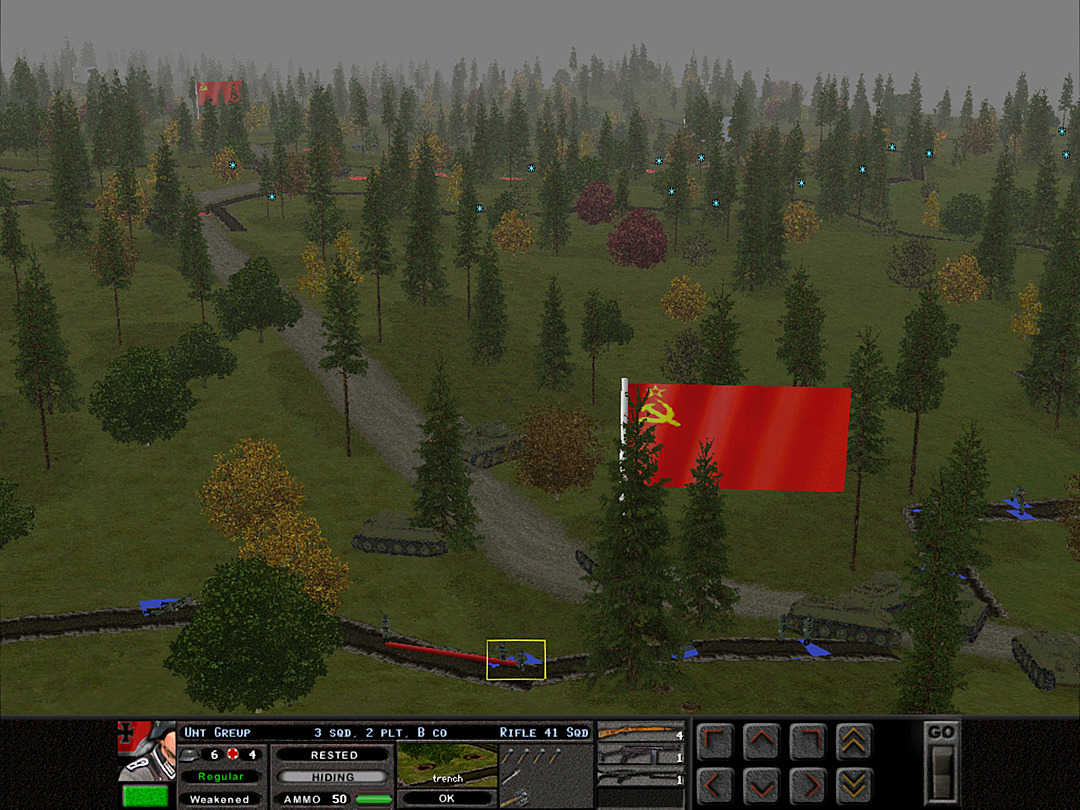 The troops are cowering in the trench, hoping that they will get another chance to fight back. 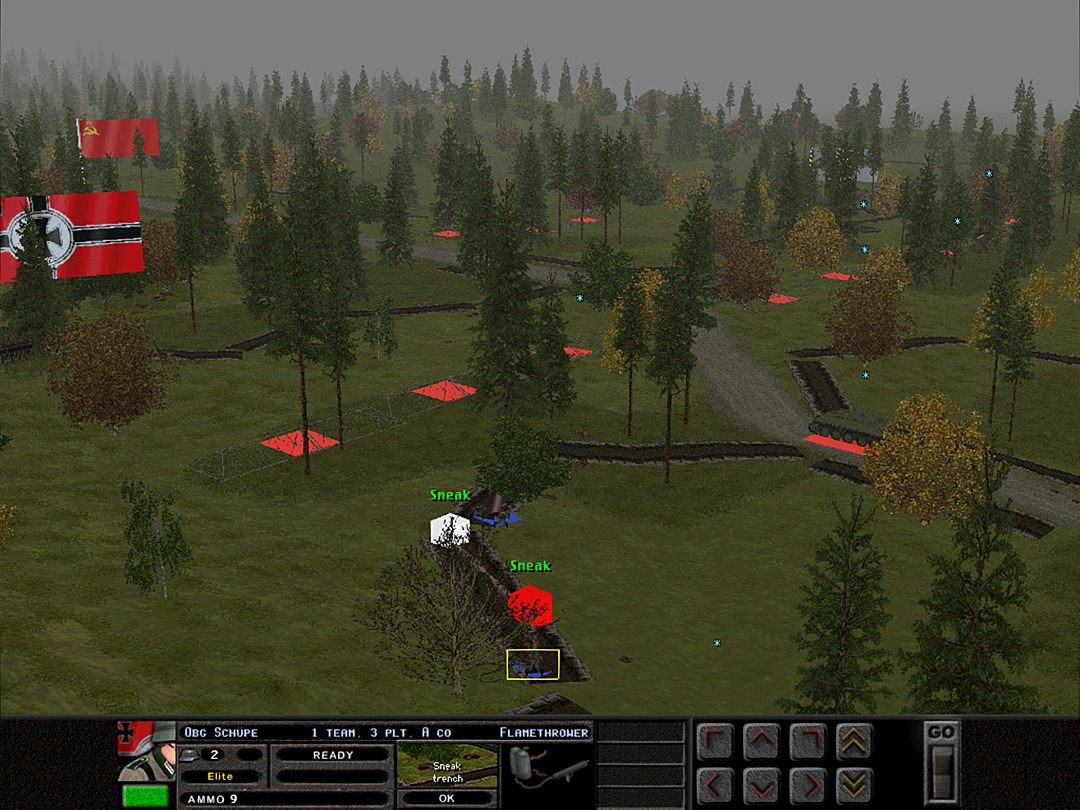 The men of A Coy, 3 Plt aren't close enough to engage the tanks. They are moving as fast as they can while still being stealthy.  The forward ad hoc platoon isn't seeing any new attacks coming from the southeast, so they shift a squad more to the north.  We close in on the T-26, as it should be possible to knock it out as we have all the others. 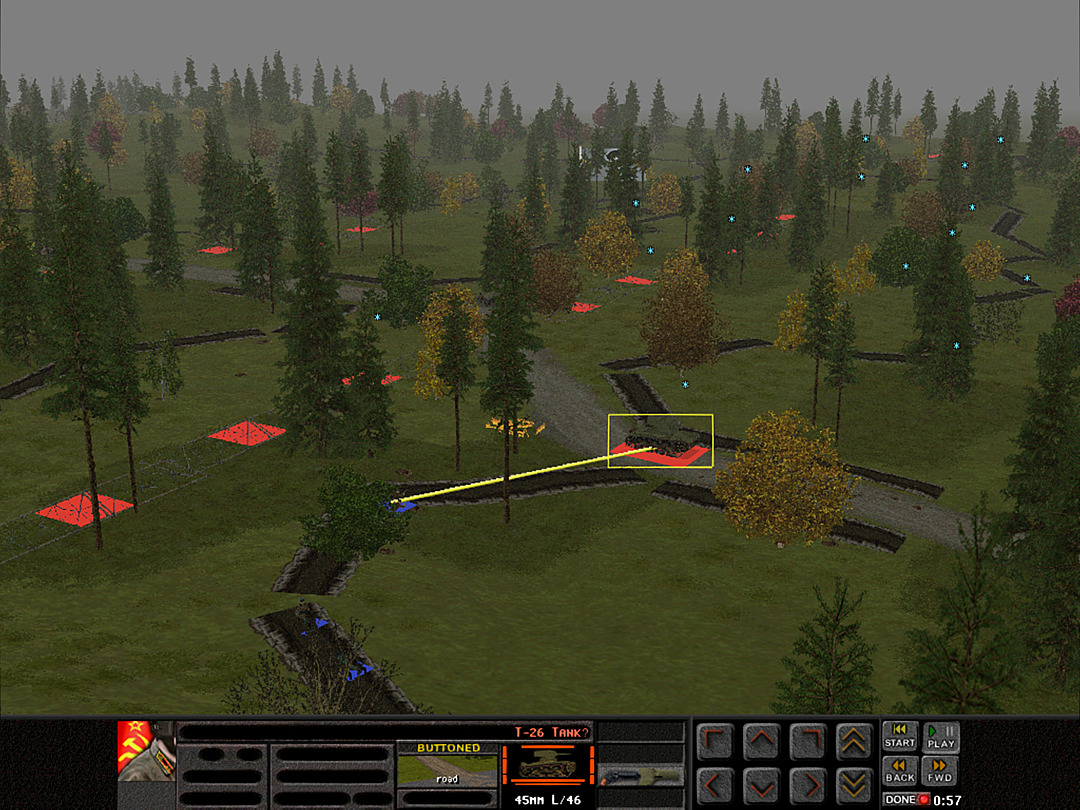 One of the squads in A Coy, 3 Plt attempts to take out a passing tank, but the explosive charges miss the mark. 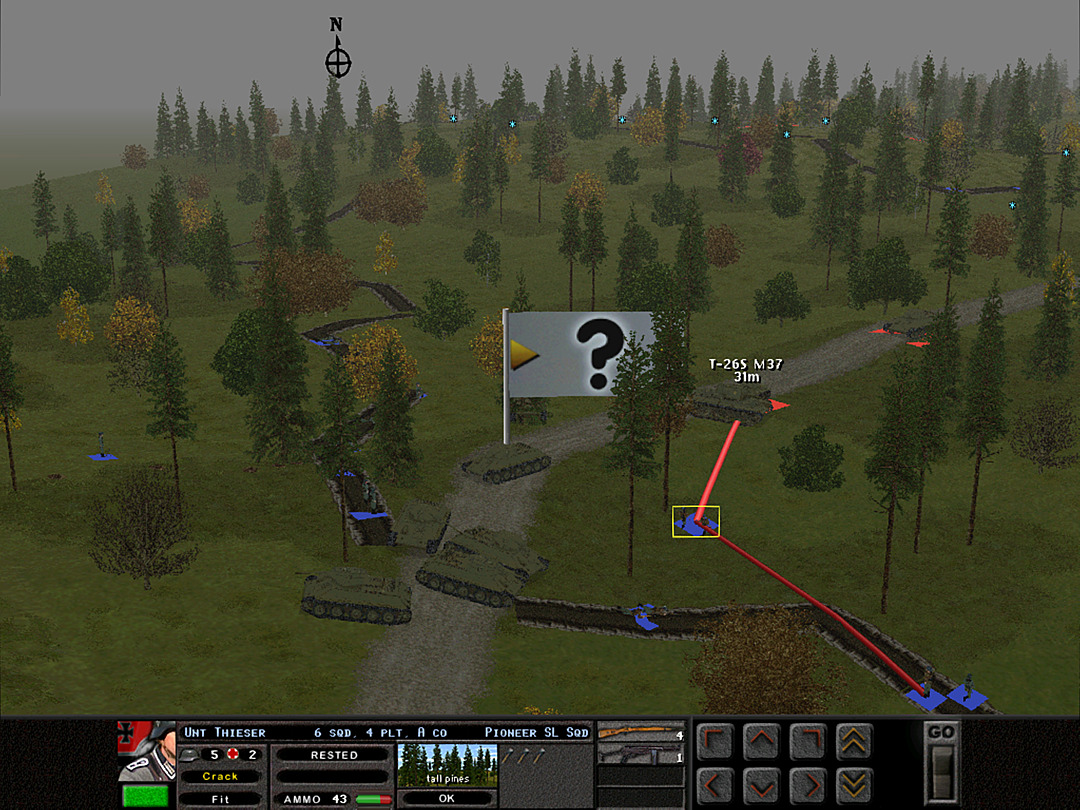 The airborne troops that tried to knock out the T-26 fail to do more than damage its gun, and they are forced to pull back once they expend their ammo. 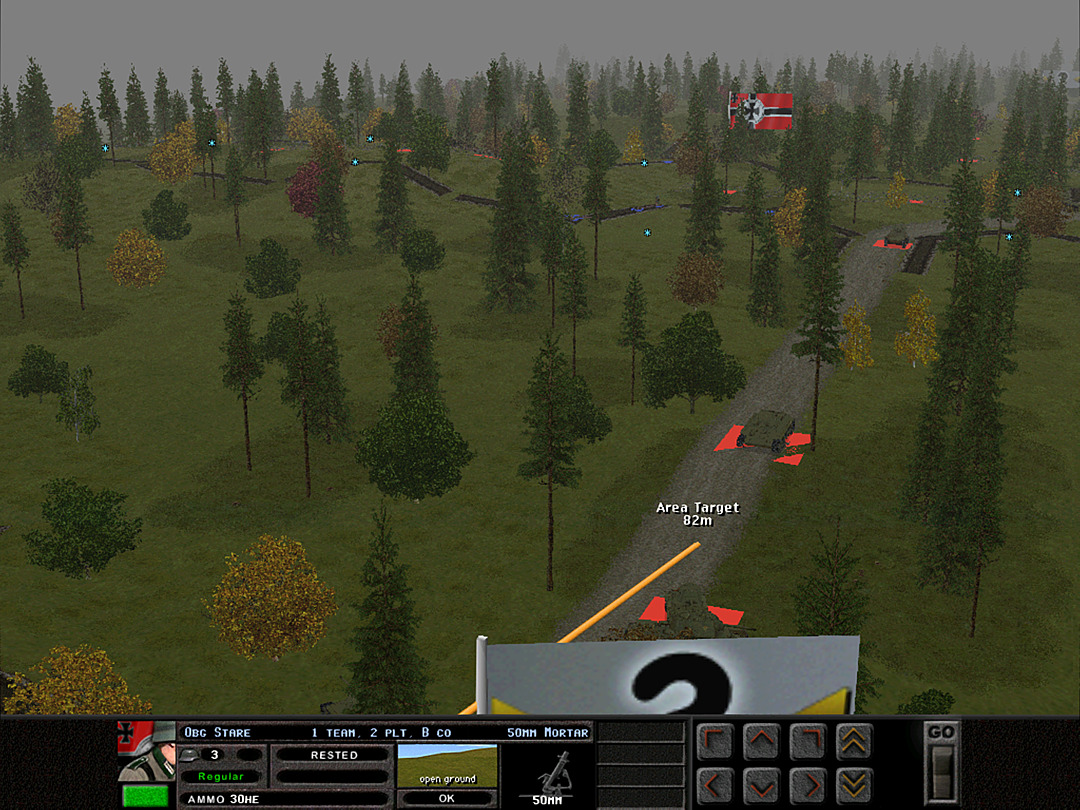 As a second tank moves up the road, we send harassing mortar rounds to ensure they stay buttoned up. 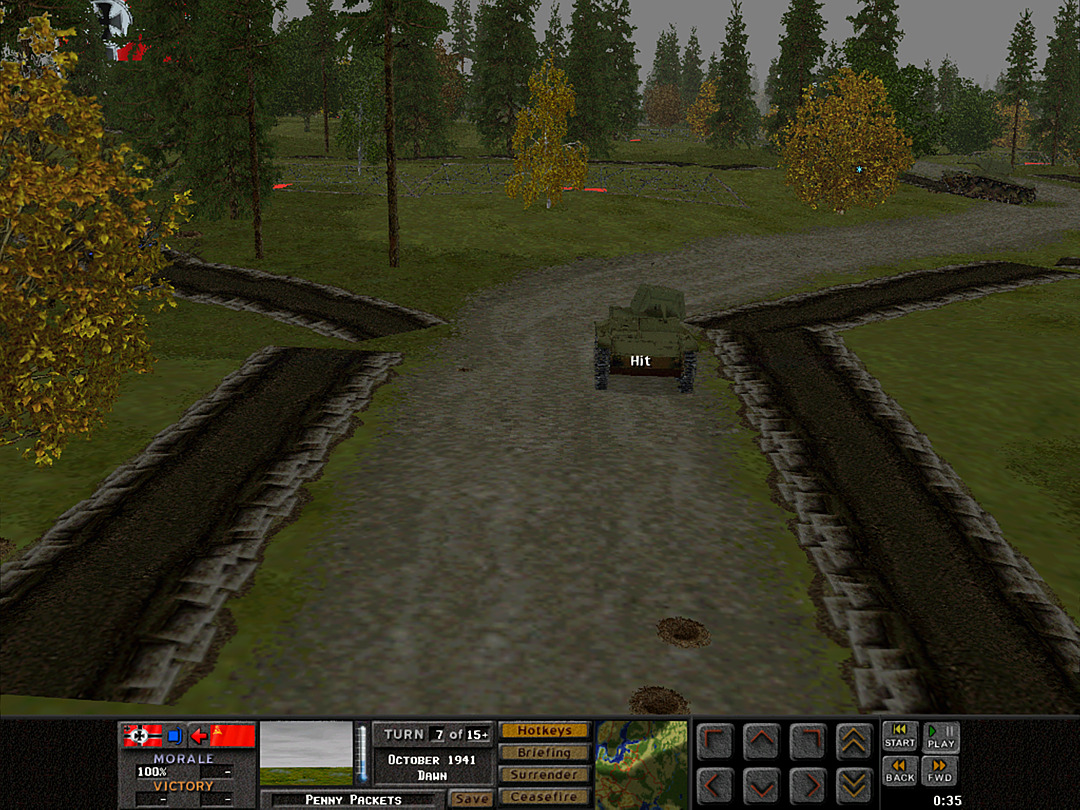 Additional attacks connect with the tank back near the trenches, and 3 Plt scores a kill. 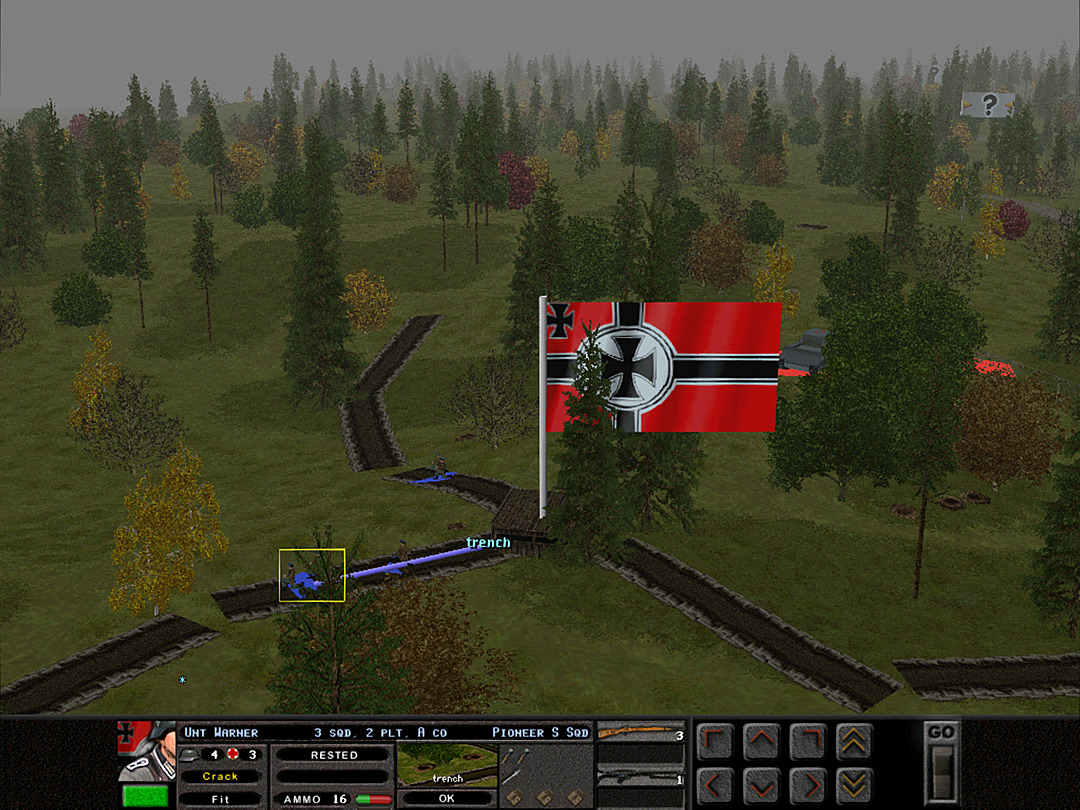 The ad hoc platoon is finally facing a serious threat, as enemy armor is heard close at hand. 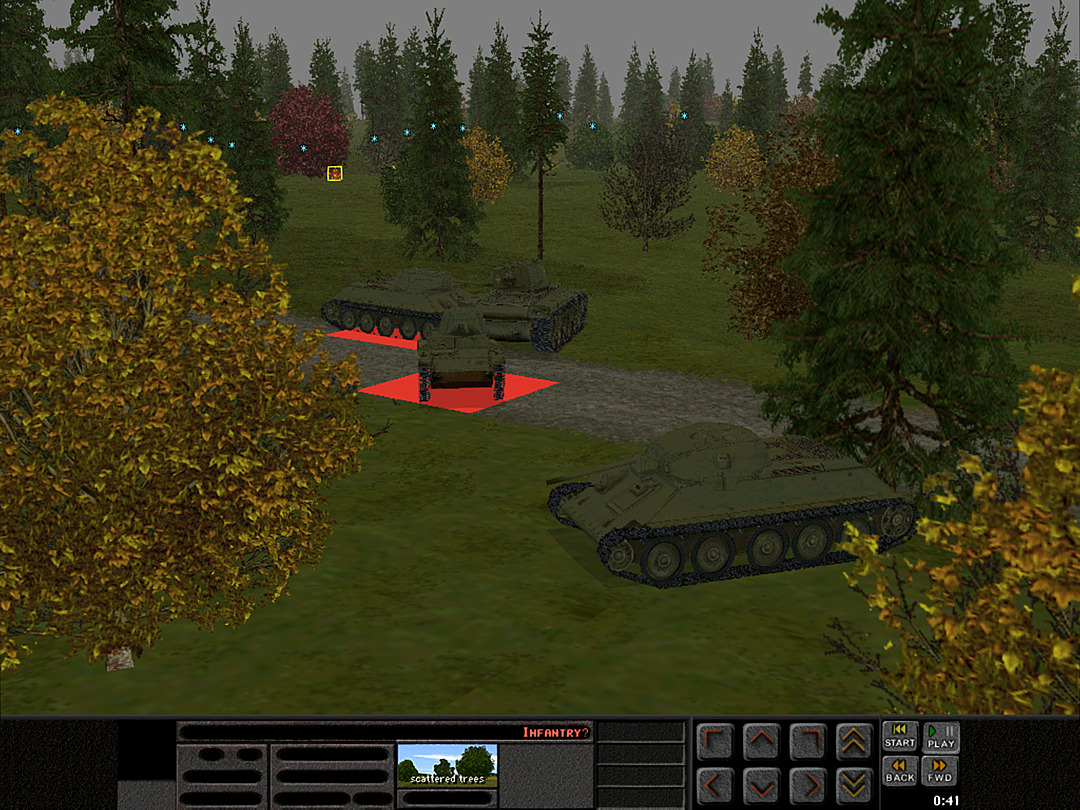 The tanks coming at the hill might be bringing infantry along with them for once. We'll need to act quickly to knock them out. 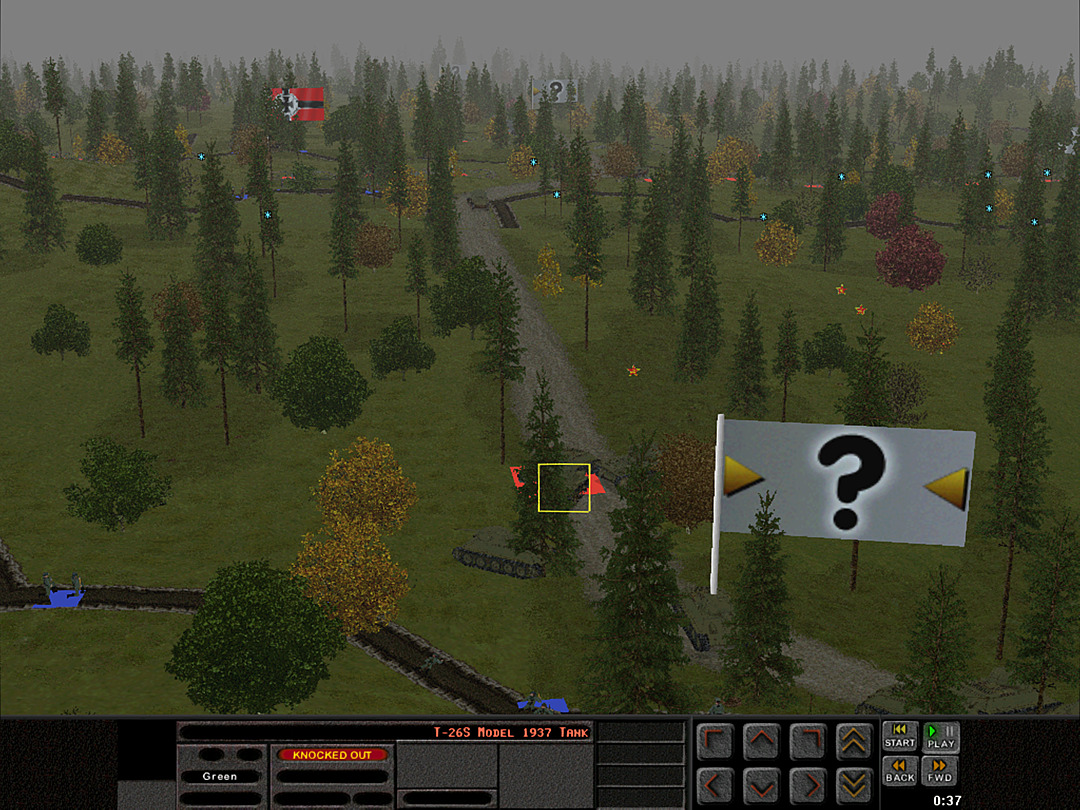 One T-26 is knocked out, but there is still a T-34 to deal with. 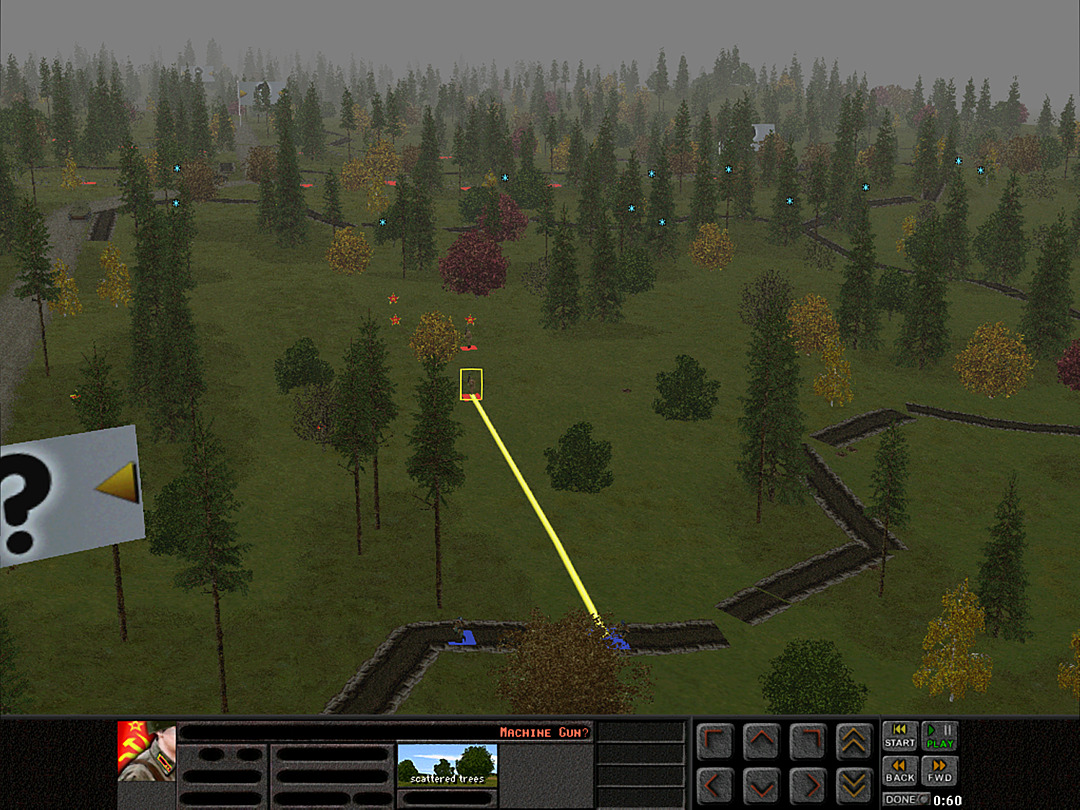 The infantry assault is coming in earnest on the right flank. 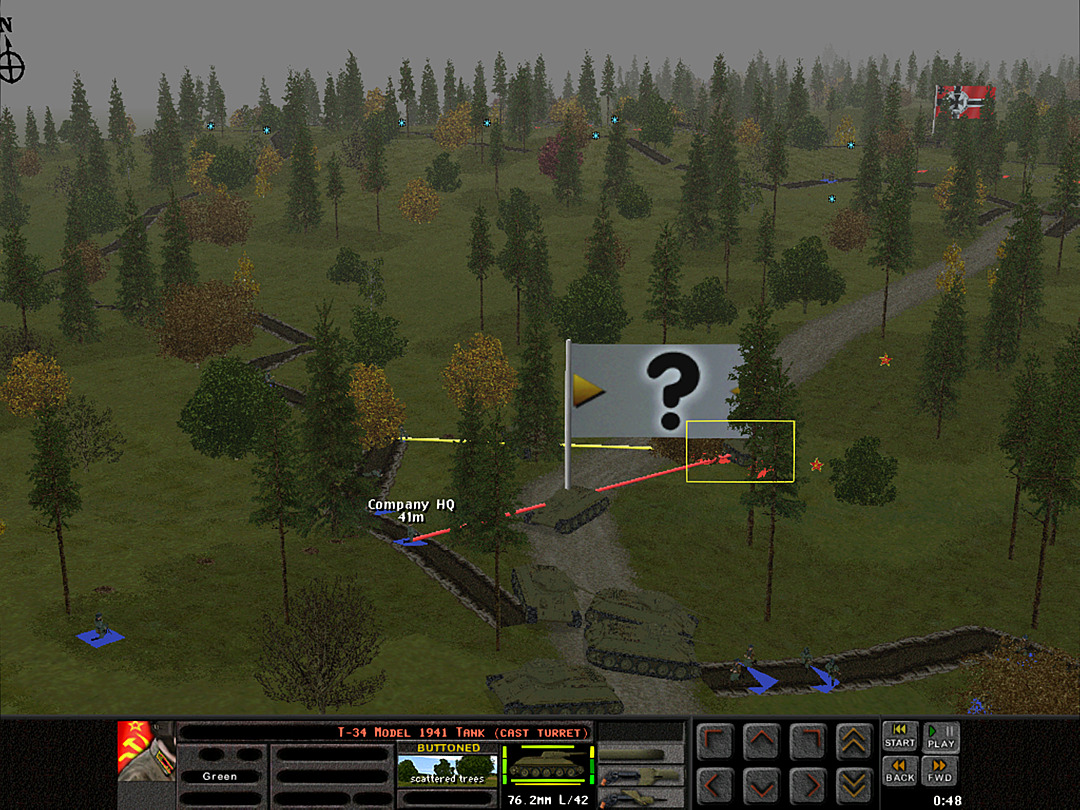 The T-34 is suppressing our forces on the left while the infantry advances. This is starting to resemble an actual attack. 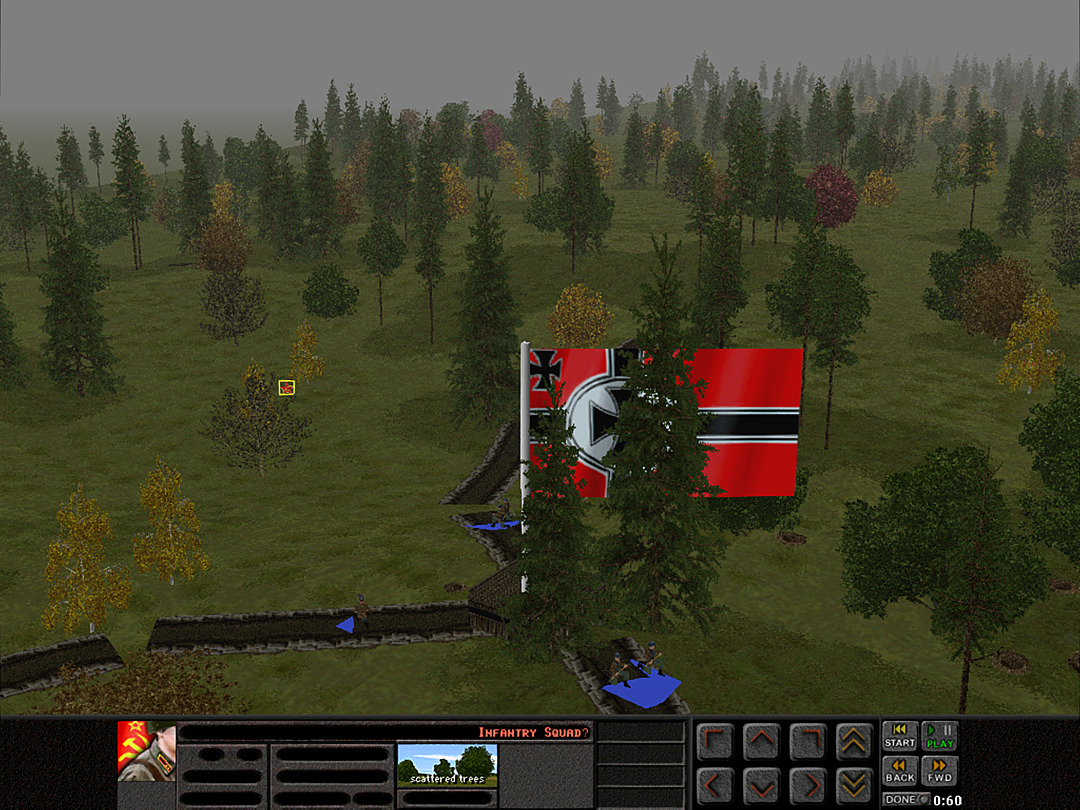 Our forward position is holding strong, fortunately. It seems the Soviets did not want to commit much force to re-take it.  Then the T-34 shifts across the road. All the enemy's force is converging on our right side. 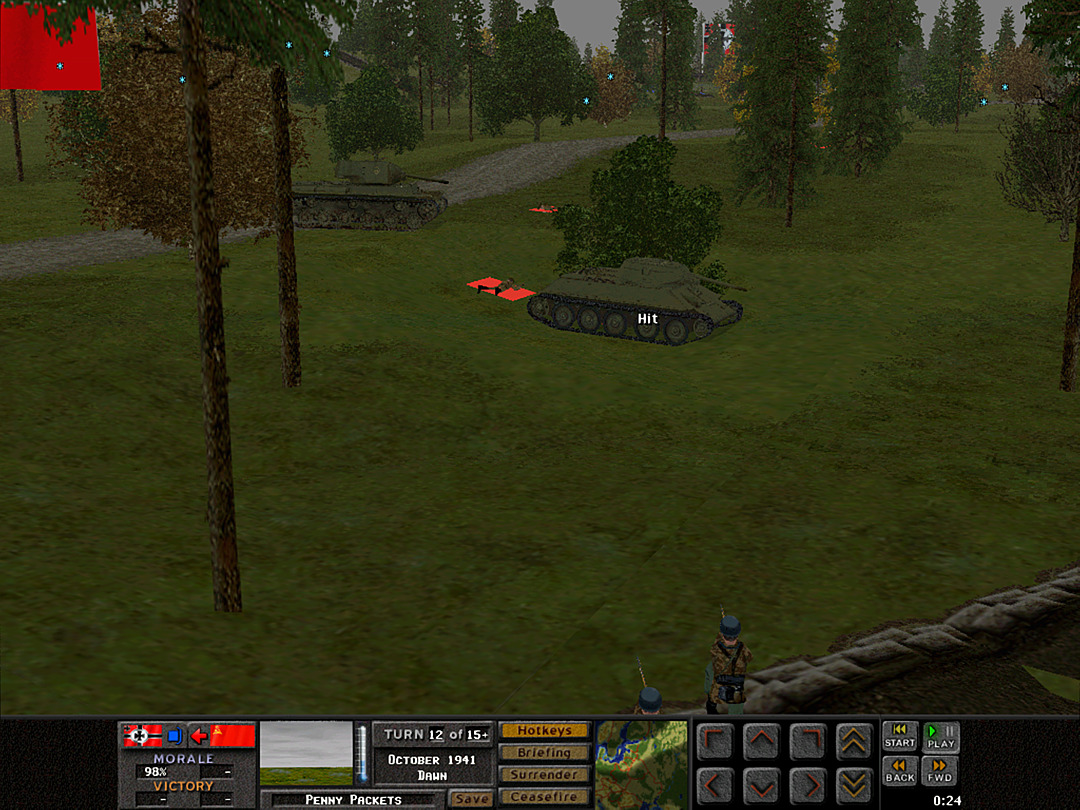 The tank has ventured too close to the airborne troops, however. Another enemy tank out of action. 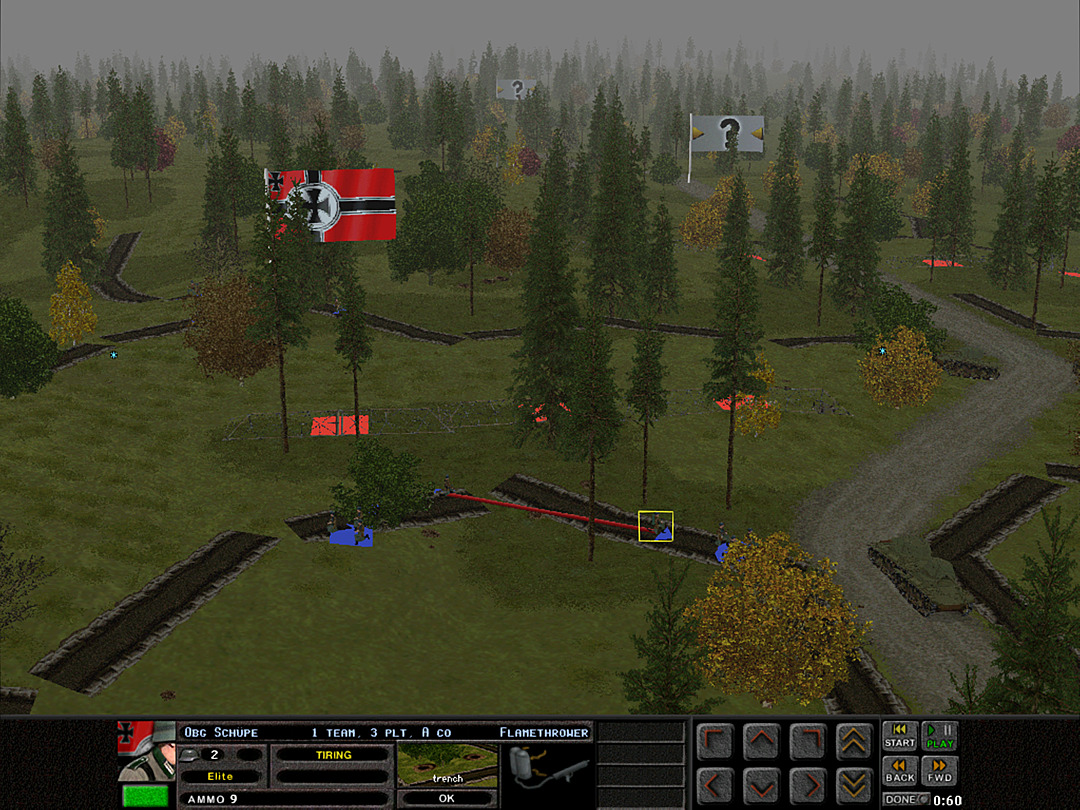 In the meantime, A Coy, 3 Plt has reached the trench alongside the road. There should be no more tanks advancing today. 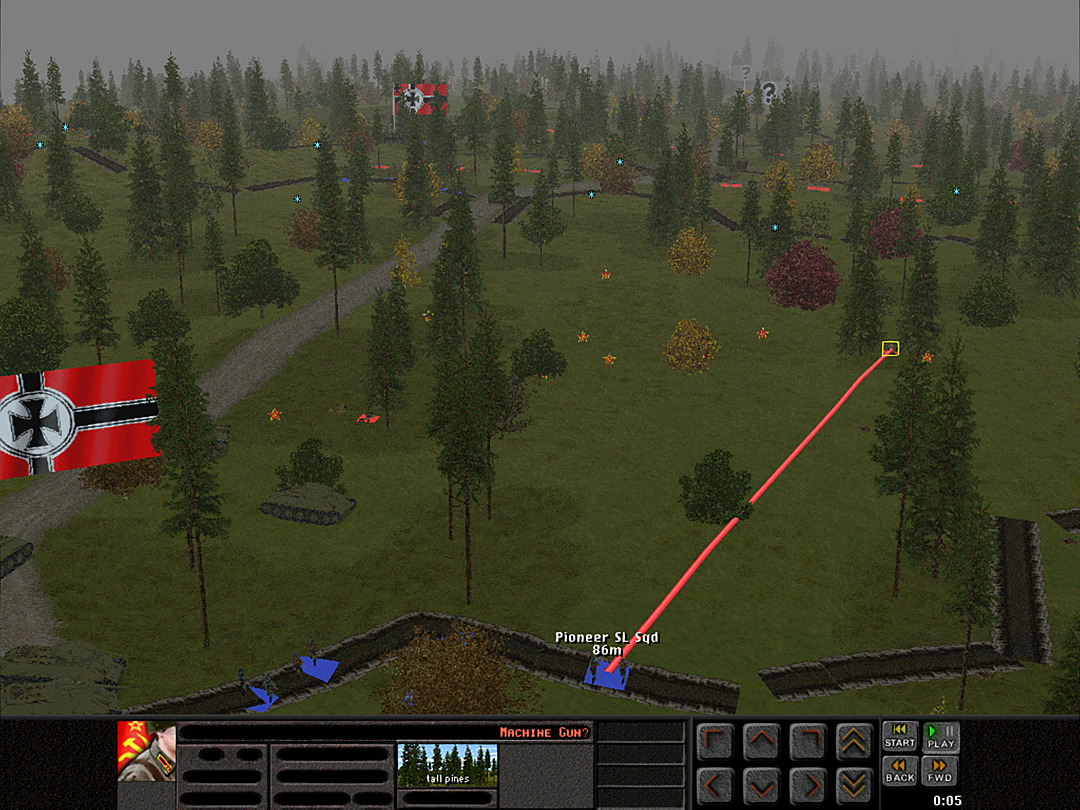 With the threat of armored assault eliminated, our men are free to fire back on the attacking infantry. 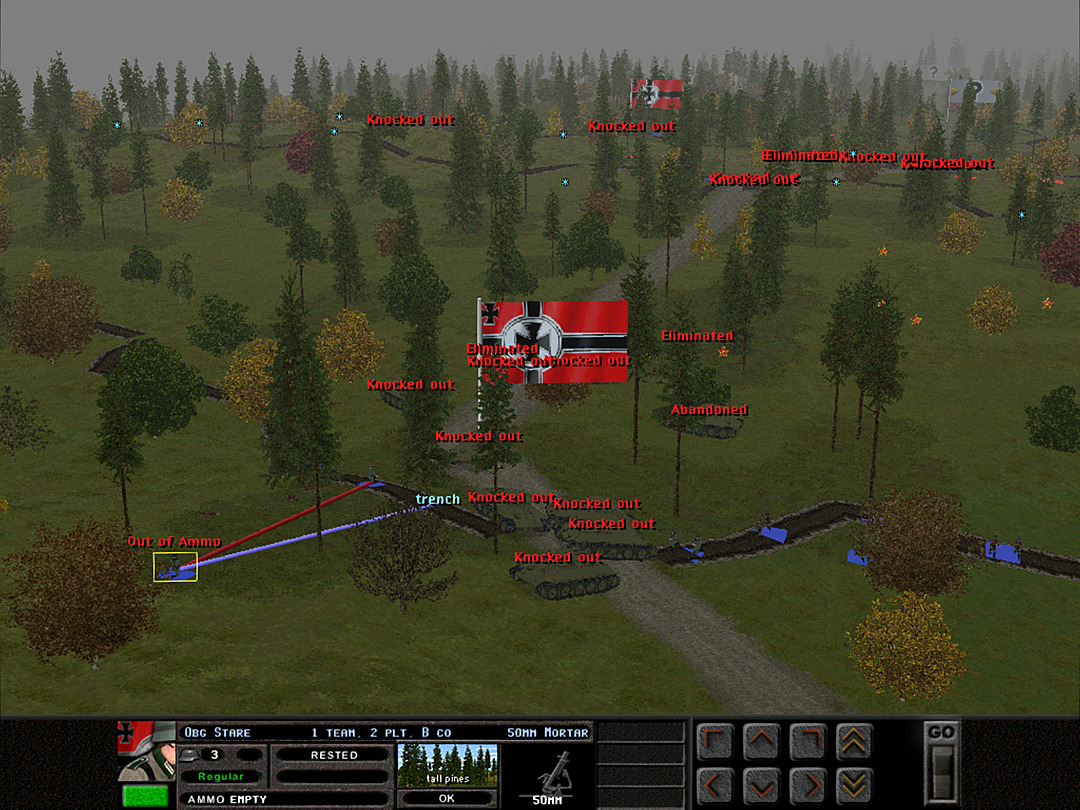 The mortar teams are out of rounds, so they're called up to contribute with small arms fire from the trenches. 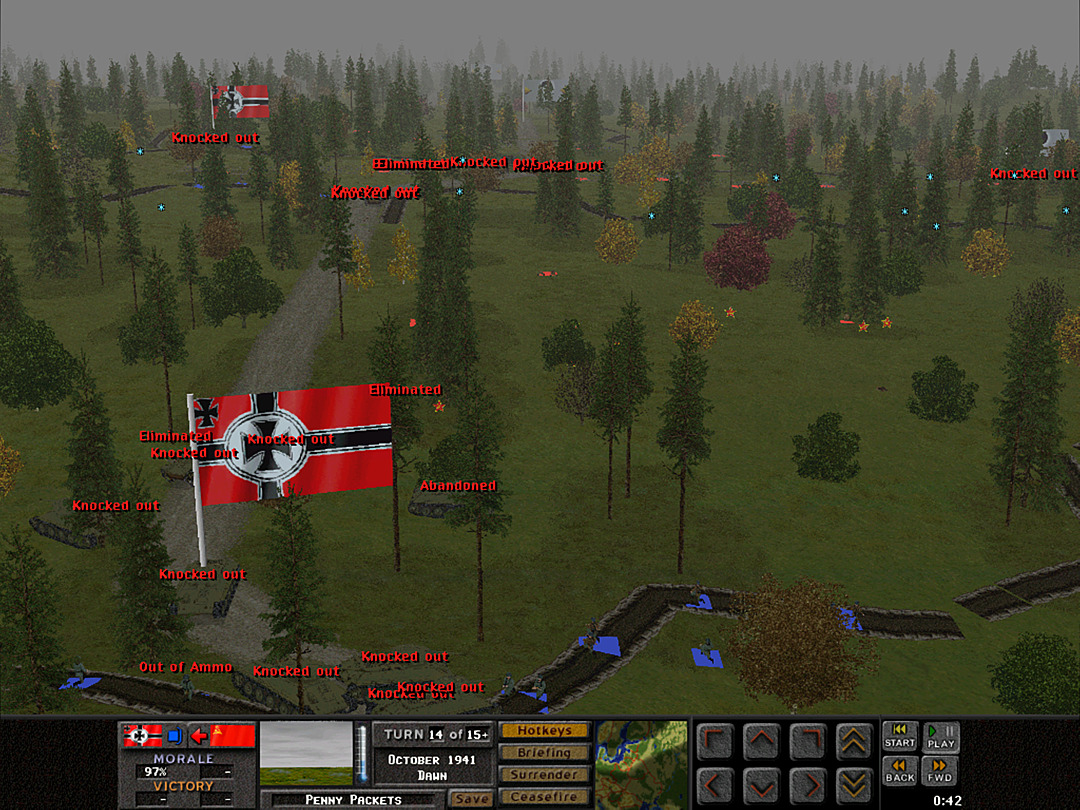 The Soviet advance has hesitated after the loss of the tank spearhead. 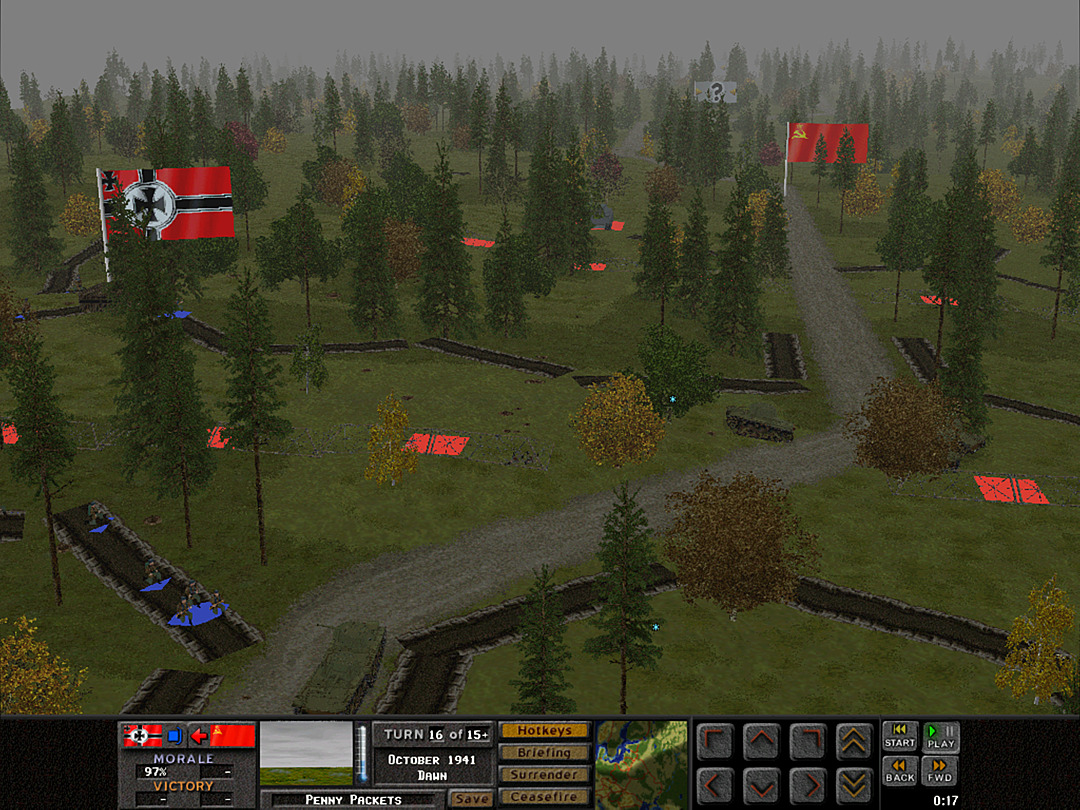 We hear sounds of tanks beyond the trees, but none of them are advancing our way. 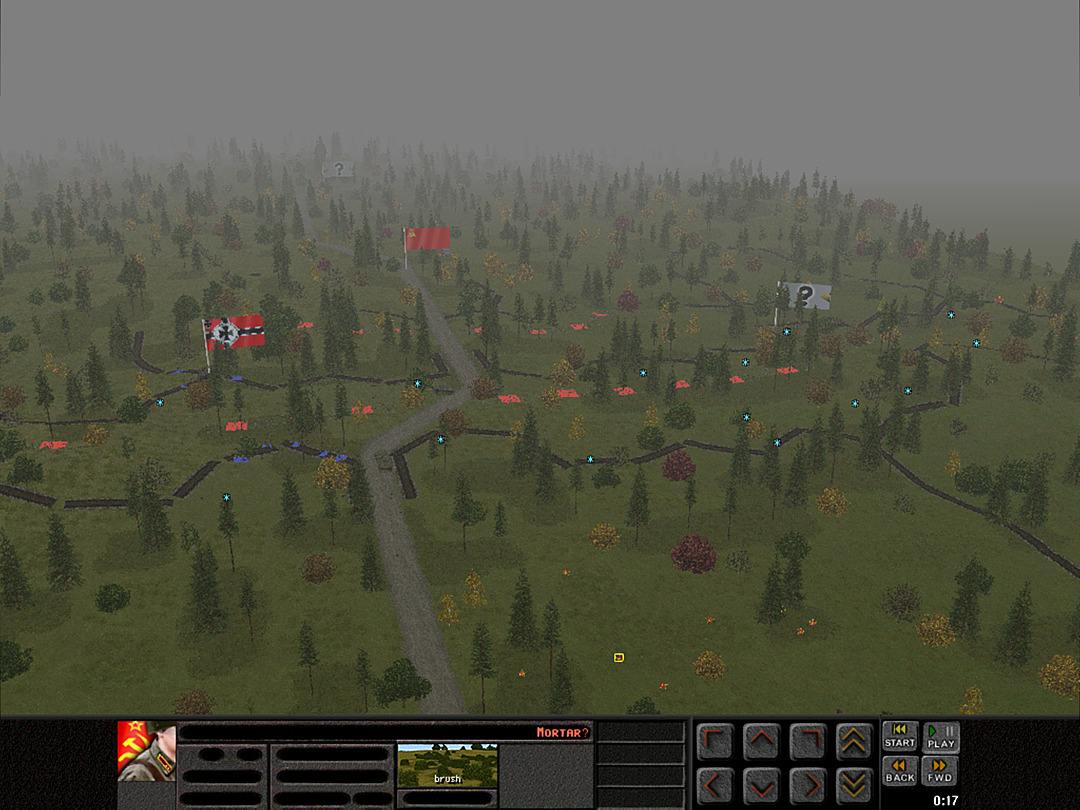 The fog is obscuring our view of even the infantry on the right. They do not appear to be moving forward, though. 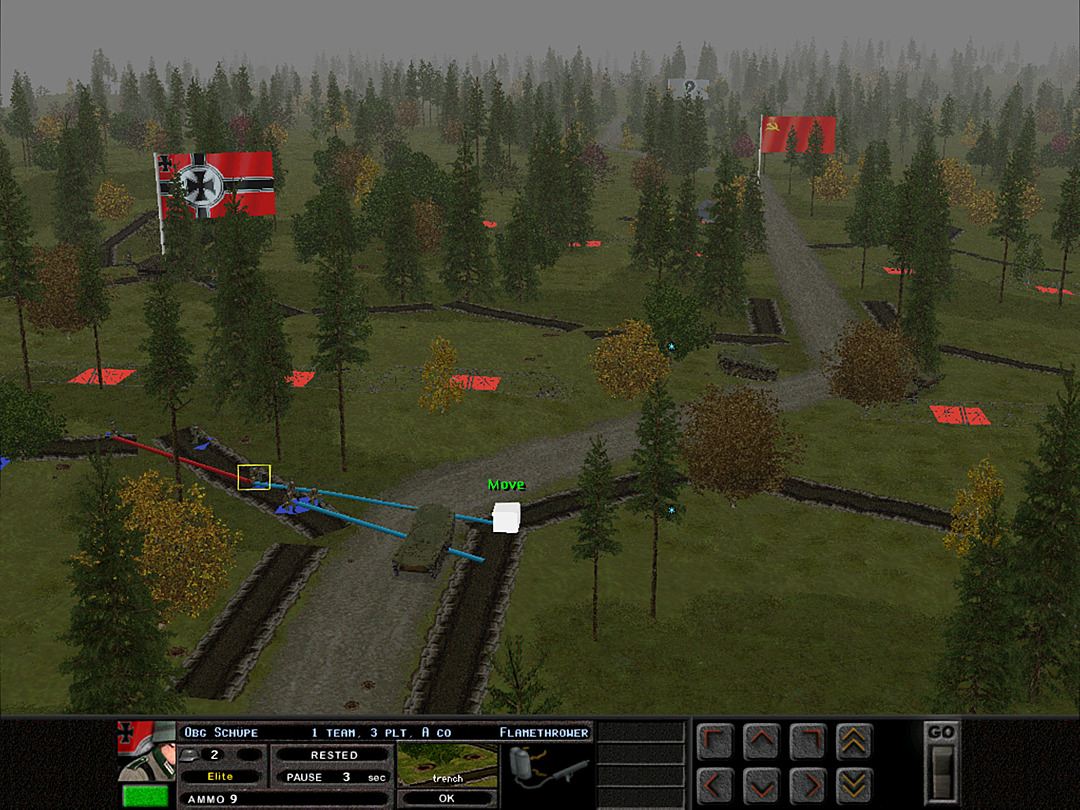 With the battlefield falling quiet, A Coy, 3 Plt decides to scout the other side of the road. 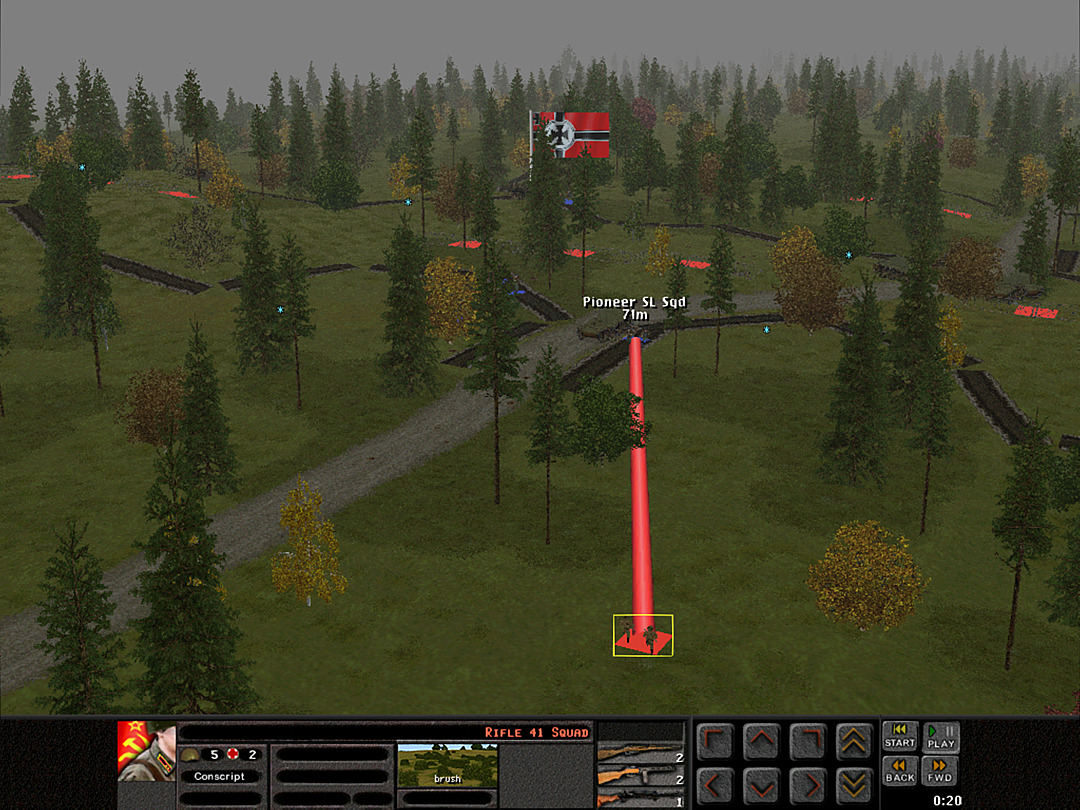 They are immediately spotted by forces in retreat from the failed assault on our rear position. 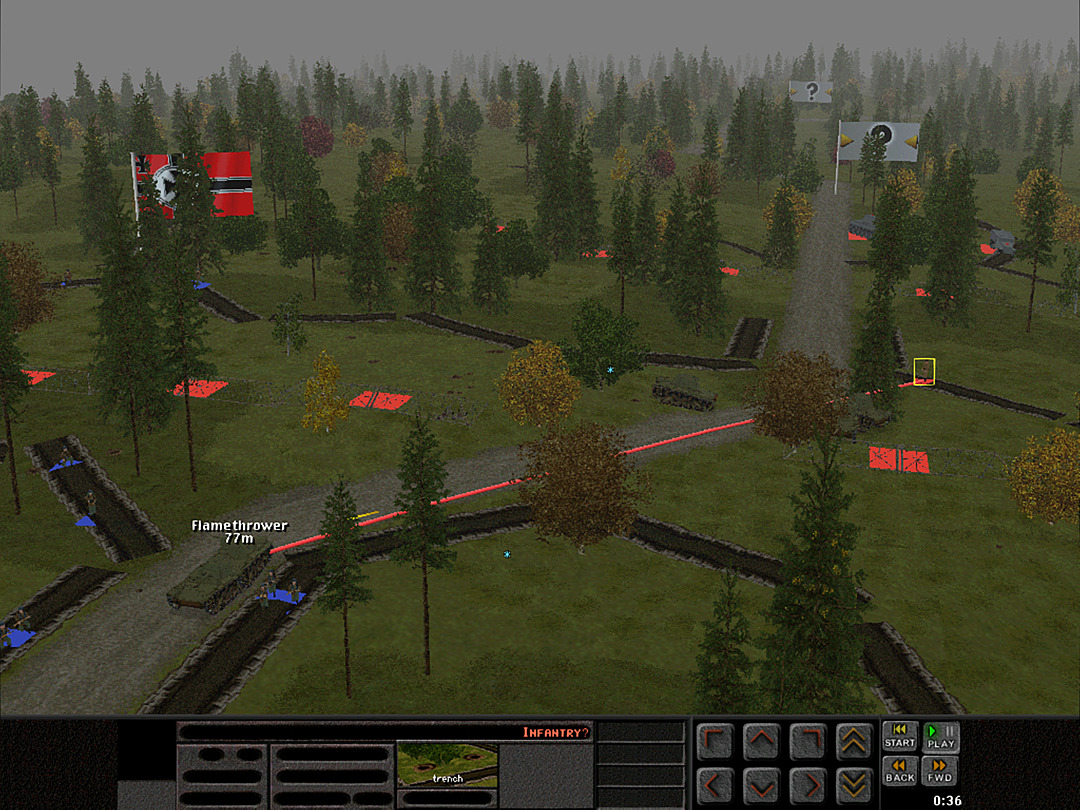 Hidden defensive infantry attack from an opposite trench, and we take the last casualties of the battle.  More tanks are heard rumbling around. They are possibly trying to get a view on the trench we just re-took by the road. 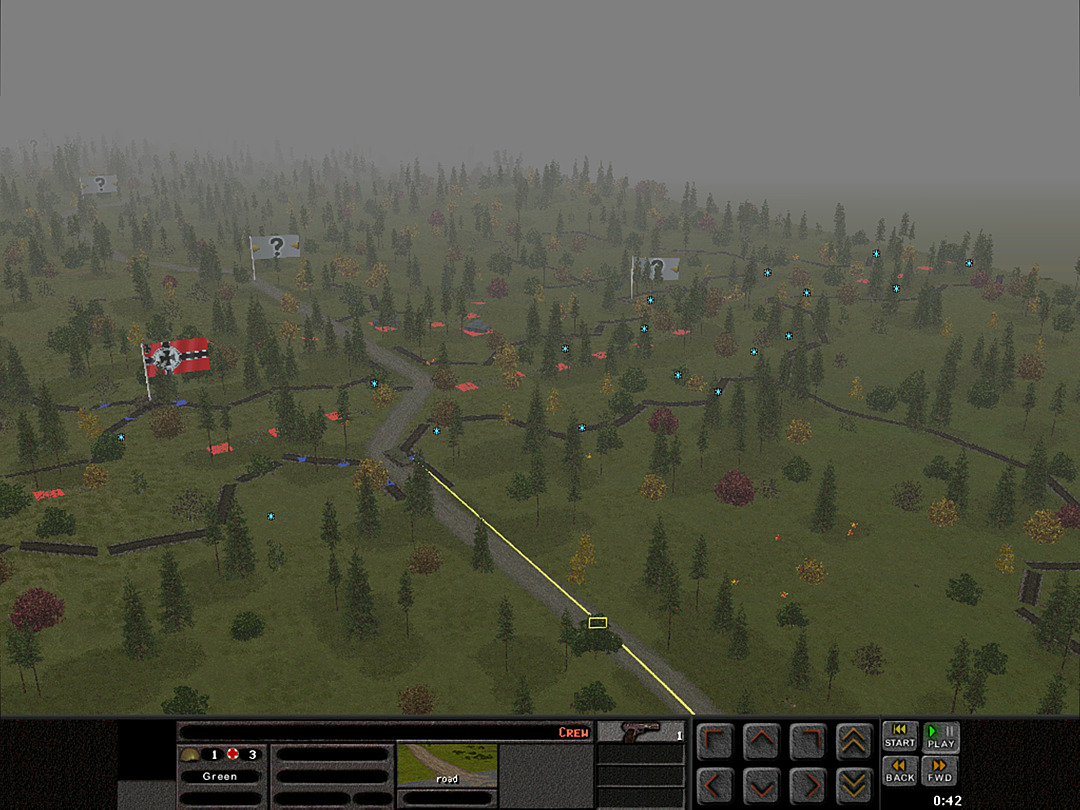 One last member of a Soviet tank crew is spotted fleeing from the battle. 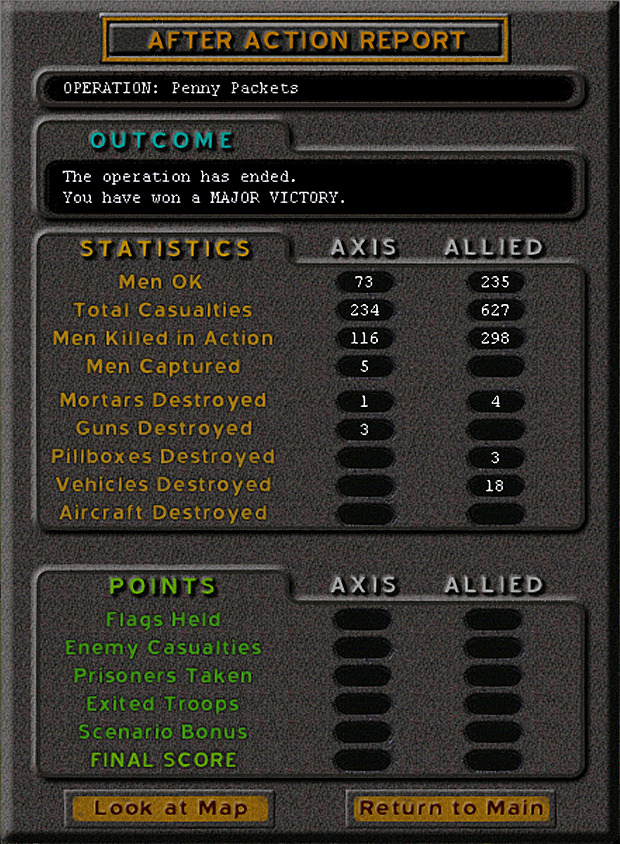 It's over. Despite our extremely high losses, we have stopped the Soviets. In doing so, we inflicted unsustainable losses on them, including the destruction of almost a whole armored company. Unit Highlight Airborne Pioneer Squad S/SL 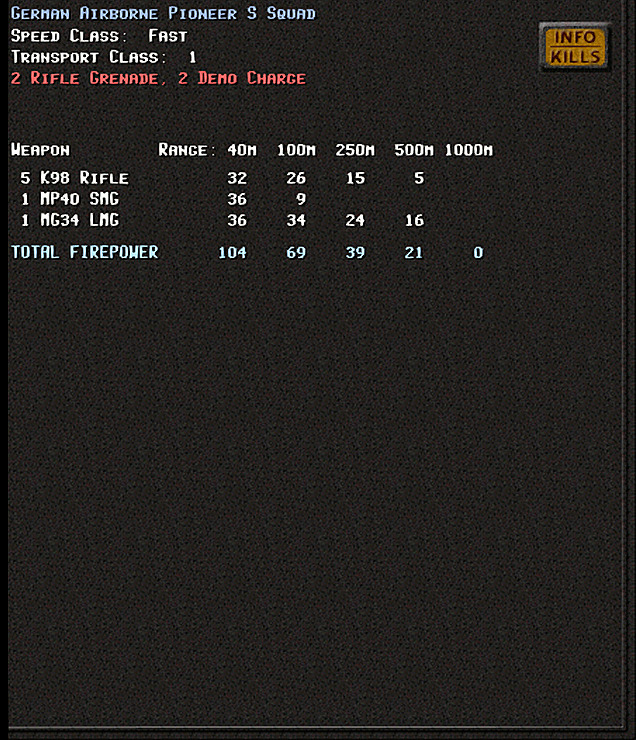  Base Cost: 21/24 Squad Size: 6 The 'SL' squad lacks the MG34, with the sixth member carrying a K98 instead. It has firepower values of 75/41/18/6/0. Weapons carried: ~4 Grenades 1-3 Rifle Grenades 1-3 Demo Charges Alternate weapons: (captured) PPsH SMG instead of the MP40. The one weapon that was somewhat specific to the airborne units was their rifle grenade, although I'm not sure the game distinguishes the models between the division types. As armored vehicles began to be a crucial element of warfare in the mid-1930s, the development of effective infantry anti-tank weapons ramped up as well. Rifle grenades (so called because they could be fired with an adapter from existing rifles or guns) were one attempt to give the single soldier a way to at least damage a tank. Generally, the launcher could not give them very much power, and relied on HEAT charges (shaped explosives) to achieve penetration of armor. The lack of power also made them rather inaccurate, and of quite limited range. Due to interservice rivalry, the Luftwaffe (which was in charge of the airborne infantry) developed its own rifle grenades. In 1941, the airborne troops would have been using the GG/P40, a small fin-stabilized round that was severely inaccurate, and was only capable of penetrating a relatively meager amount of armor. Later in the war, when the airborne forces were typically employed merely in a front-line infantry role, they switched to using the Army's more accurate version. Kangra fucked around with this message at 15:25 on Apr 17, 2024 |
|
#
?
Apr 17, 2024 06:31
|
|
|
 Voting Time Voting Time There was a bit of a break in this LP as I was off fighting a dragon that tried to swallow the sun. That's thankfully over, but with the current operation over, it's time for another choice. As always, the votes have two options available, and you decide which we will play from the Axis side. If one is decided for the Axis (Germans), the other will be Allied (Soviets). You can indicate the preference however you like (e.g. 'do the 2nd one as Soviets'), but you cannot vote for both to be played from the same side. This time we're heading into 1942. There are not that many in the early part of the year, so it's a choice between one in winter, or halfway through the year. The first option is Siberian Devils: 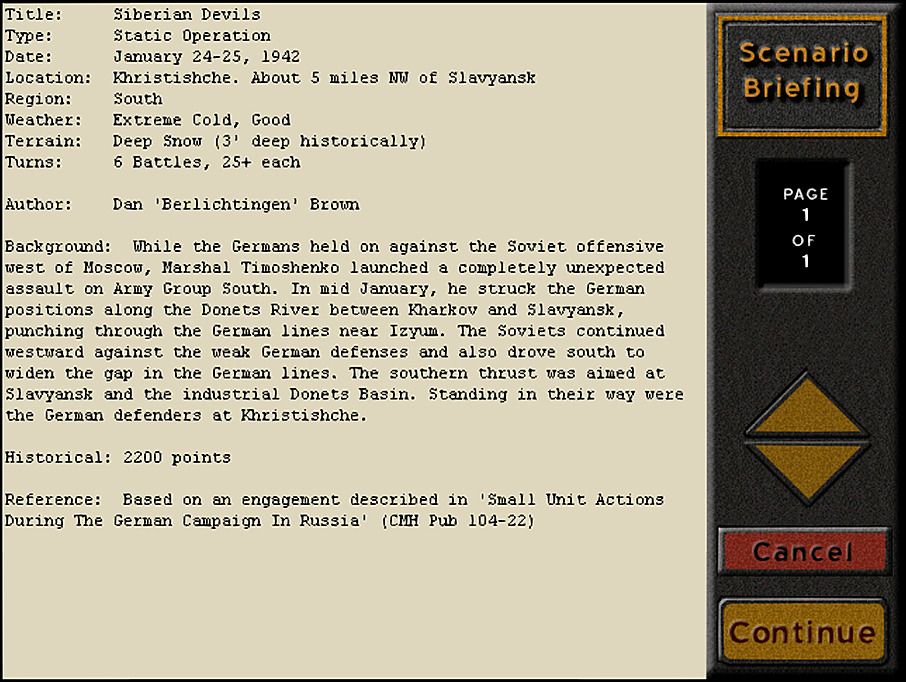 This one is on the smaller size for what we've seen, but it presents a new weather option (deep snow) along with fighting in a village, which we've only seen a bit of, back in Blitzkrieg. The Germans are the defenders here, with the Soviets coming with troops that might actually be capable of pushing them out. The second is Caucasus Canal: 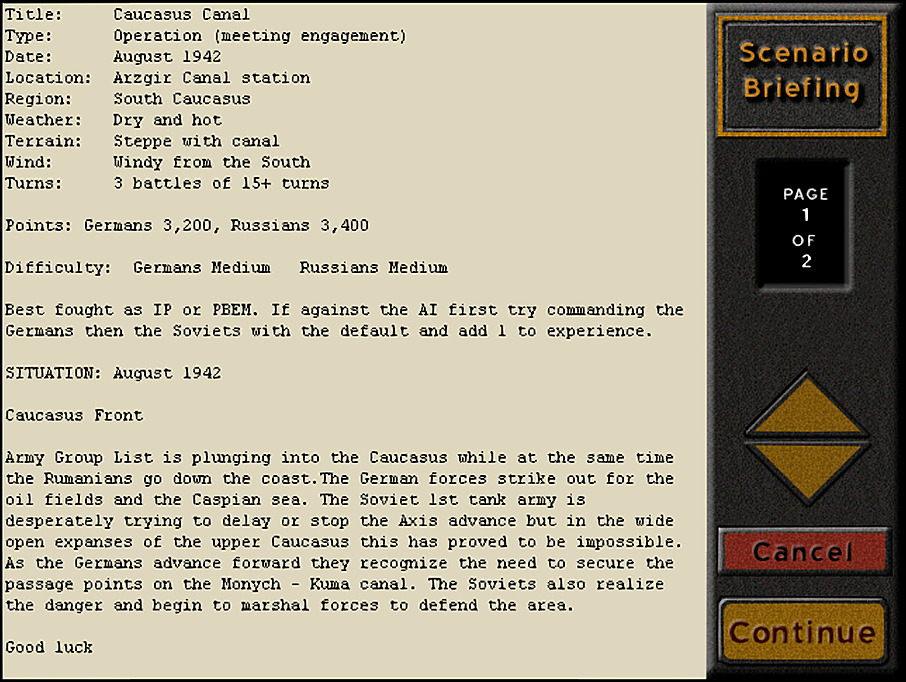 (There is no page 2, it's just blank. Probably an extra line at the end of the file.) It's quite the contrast as this one is in the middle of a hot, dry summer. I think this might be our first 'meeting engagement' battle. In theory, this would mean both sides stand an equal chance to get the objectives, but as I have some experience with this one, I know that the Soviets are more likely to get in first and take a defensive posture. The difference is that they can make the choice of how much of the map they want to take, as it might not be possible to hold everything with the Germans moving in on them. It's a higher point-value operation, but also one of the the shortest at only three 15-minute battles. Vote Now for which side we should play as. If you give only the name of an operation, it will be counted as an Axis vote for that one.
|
|
#
?
Apr 18, 2024 08:49
|
|
|
Siberian Devils: Soviet Caucasus Canal: Axis
|
|
#
?
Apr 18, 2024 09:10
|
|
|
Siberian Devils the other sounds more interesting as the attacker. Also I hope the dragon isn't totally out of commission. The eclipse was nice but we need something longer to offset global warming.
|
|
#
?
Apr 18, 2024 11:40
|
|
|
Siberian Devils as Soviets.
|
|
#
?
Apr 18, 2024 13:51
|
|
|
WhiskeyWhiskers posted:Siberian Devils: Soviet This. Also, any scenarios with the axis minors that are worth showing off?
|
|
#
?
Apr 19, 2024 14:45
|
|
|
Operation: Penny Packets With a few somewhat lucky breaks and some boneheaded enemy decisions, we were able to pull off a major victory here. Even though we lost a significant amount of our forces early on, and couldn't hold even half the objectives, the casualties gave us enough of an edge to win.  It was a bit too disorganized and anemic, but they were at least advancing with a fair number of infantry alongside the tanks for the final battle.  Most of their tanks had been committed (and destroyed) in the continual parade of foolishness. Not that many remained behind, and a number of the original platoons were broken up.  Here's a view without trees, to show what they might have used to retake the forward objective. It wasn't much. (Note that most of the big red blocks are barbed wire.)  There was a notable concentration of force at the junction where the original German line met the rearward communications trench. Probably they expected us to keep our forces there for longer. 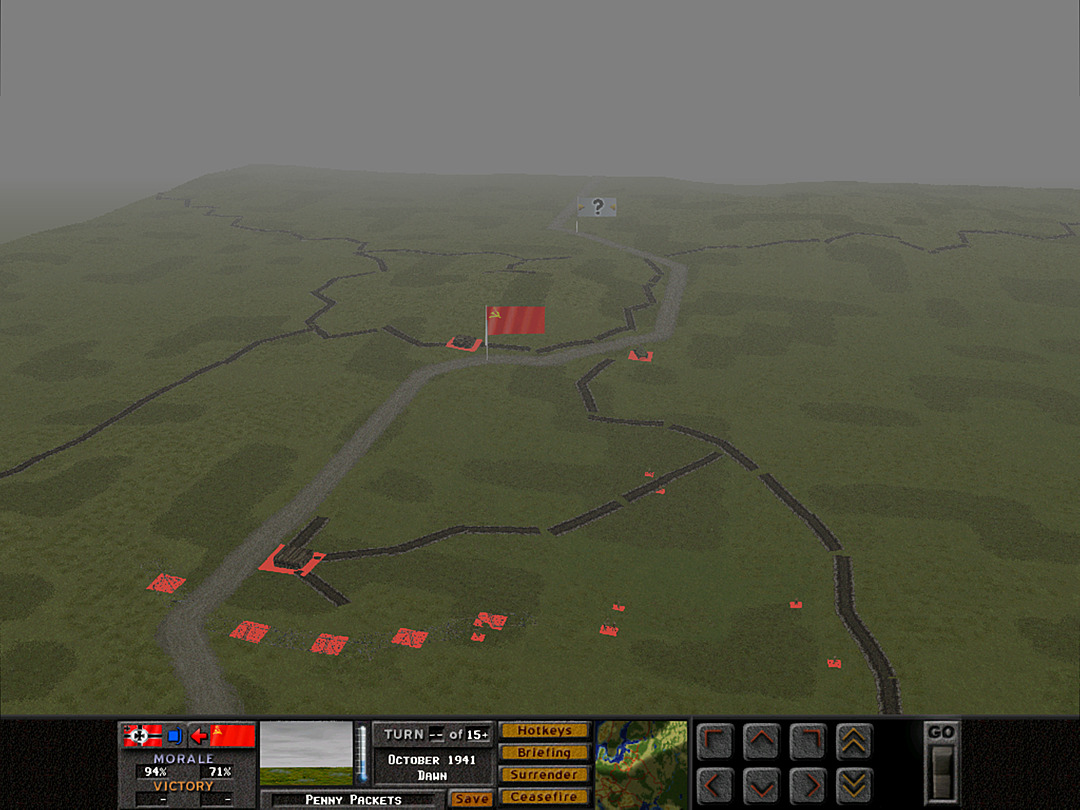 Not much remained in reserve for them. It appears they didn't even bother to hold one of the objectives, curiously enough. Now for the operation parameters: 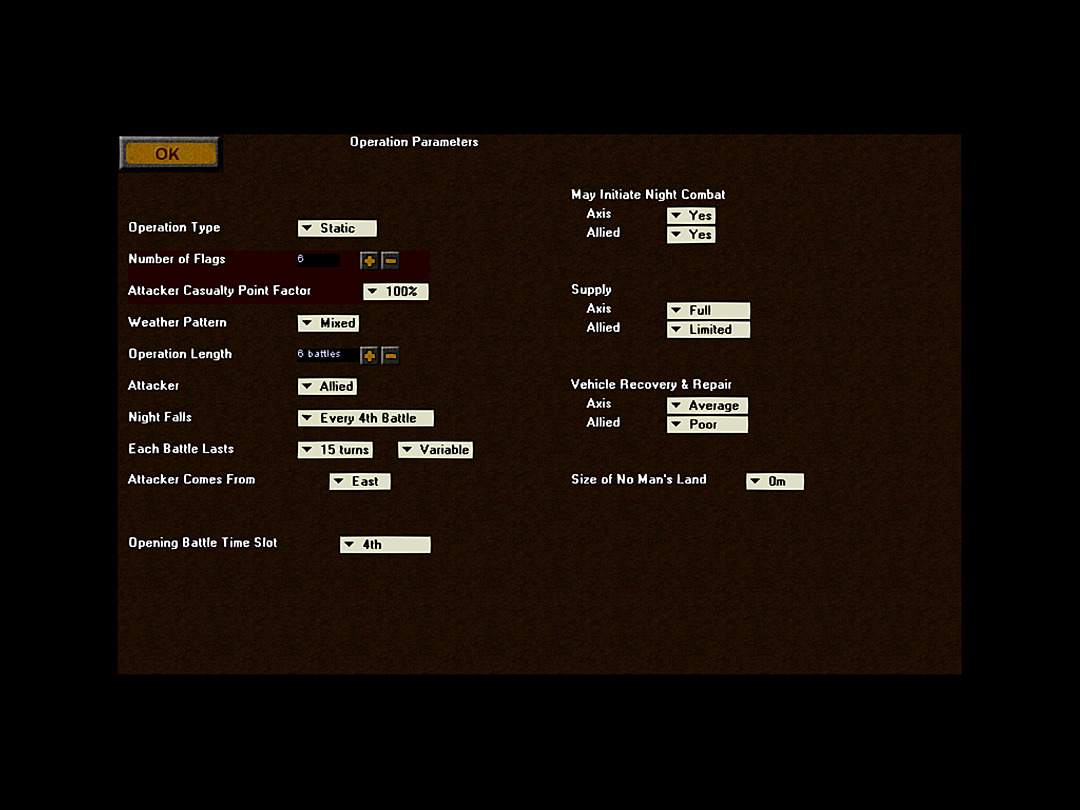 The interesting one here is that there was no No-Man's-Land, which allowed units to deploy practically on top of each other. I think this somewhat favors the Soviets, since they can push more numbers to overwhelm German control of a sector. The Allied supplies and recovery are considered poor, and that likely also had a significant effect. The operation lasted long enough that slow reduction of supply might have been a factor. The wasteful commitment of armor was only worsened by the unlikely recovery of the vehicles that were merely abandoned. The operational point totals: pre:Infantry Support Vehicle Armor Artillery/Air Fortification TOTAL Axis : 1079 527 0 0 0 850 2456 Allies: 1355 248 0 1406 74 2240 5323 Had the Allied side retained most of their nearly two dozen tanks, the battle would have been over with hardly anything for the Germans to do. There were two platoons of T-26's, three of T-34's, and the pair of KV-1's with a T-34 as an extra 'command tank' for them. With the Germans having a rather limited amount of AT capacity at anything more than 50 meters distance, the armor advantage here is rather stark. The Soviet infantry composition is similar to the set-up in Kruglowka. They start with conscript forces on the map, and gain company-sized reinforcements of Green and Veteran quality within the first few battles. They get a machine gun support company, although it looks like those are set up for defense initially. It was no surprise they took some time advancing with them. This was the first operation with almost no off-map support. The Soviets do have some artillery, although given the poor spotting range in this terrain, it would most likely be limited to pre-planned strikes. That still could have had an important suppressive effect at the start of each battle, but we stopped that since we managed to capture the spotter in the very first battle. It's hard to overstate how helpful it was for us, as otherwise our units holding the objective points would have come under a lot more stress. 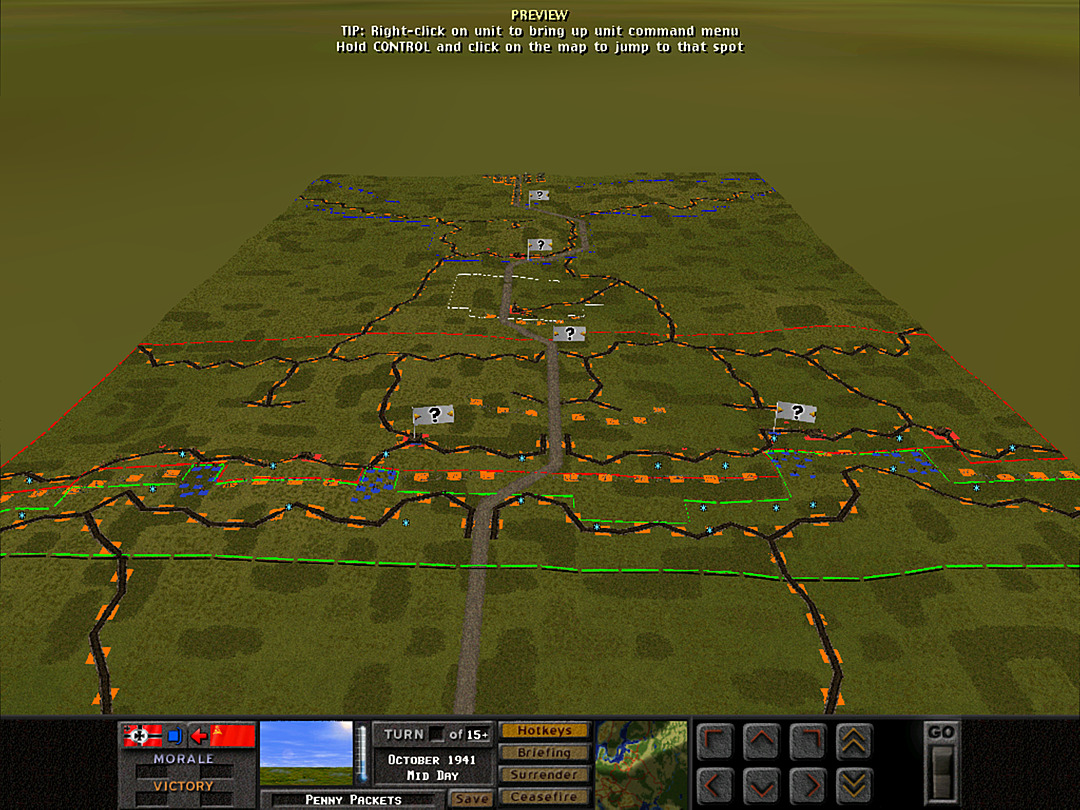 Here is the map overview. This shows off the initial German unit placement, which if left alone is quite vulnerable to enemy fire, even with the night start. It also shows just how deep the trench network goes on both sides. Looking at this, however, makes one of the issues I have with this scenario -- the map is way too big. 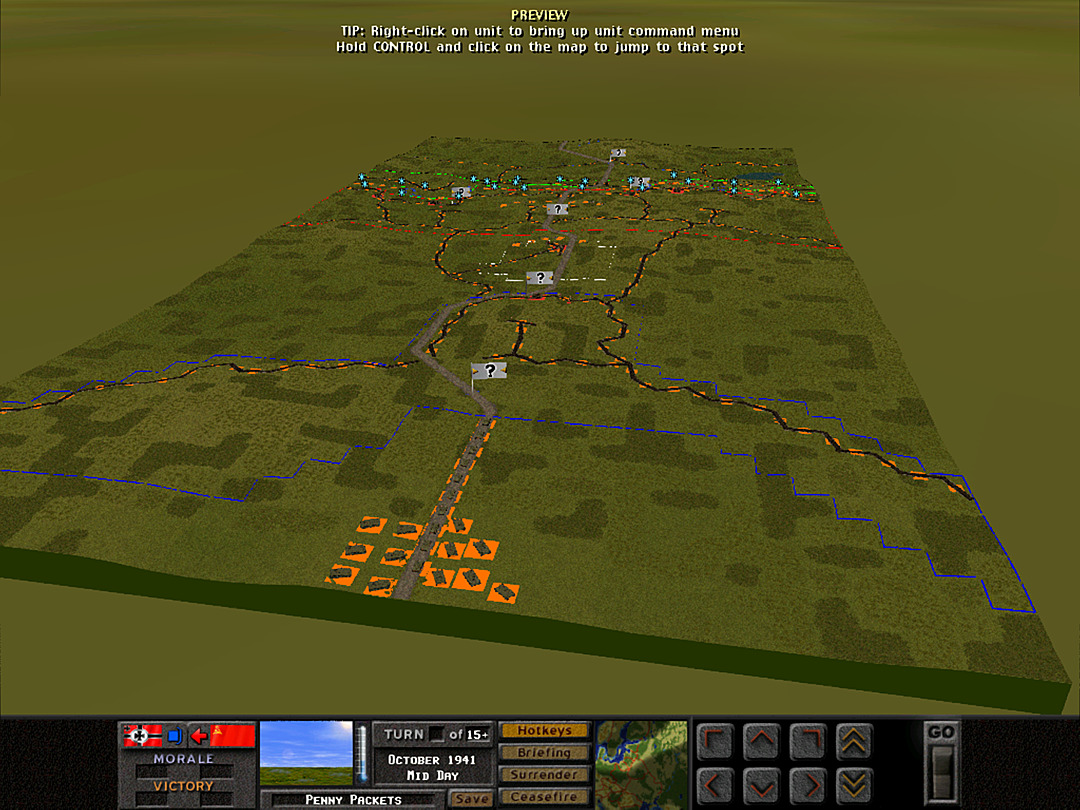 The Soviet side starts from way back here. It's almost hard to see the area where combat will actually occur. And all the tanks are actually on the map, but to what end? The Germans certainly aren't going to be advancing into this territory, so it's just extra time wasted moving them forward. The set-up zones show that some forces can't be put in the front trenches at the start, which is fair enough (it allows for the Germans to pull off their 'sneak attack'). Yet the same effect is easily accomplished by having them as delayed reinforcements. No reinforcements are scheduled after the third battle, so pushing each set out by one and shortening the map would make a lot more sense. This actually doesn't look like a bad map for a different sort of battle. It wouldn't surprise me if this had been designed for one where each side might be able to advance. For this operation, though, it is unnecessary. A full third or more of the map could be trimmed. The rearmost objective on the Allied side could be brought forward and still be safe from being lost. Reinforcement scheduling would allow for just as much choice in how the Soviets choose to advance as well; no need for them to gradually march the men hundreds of meters from trench to trench. Now we'll see the operational losses. As always, these are taken by surrendering at the start of each battle (so our side always shows up as wholly captured if not KIA). We're seeing the results of the previous battle in each case. 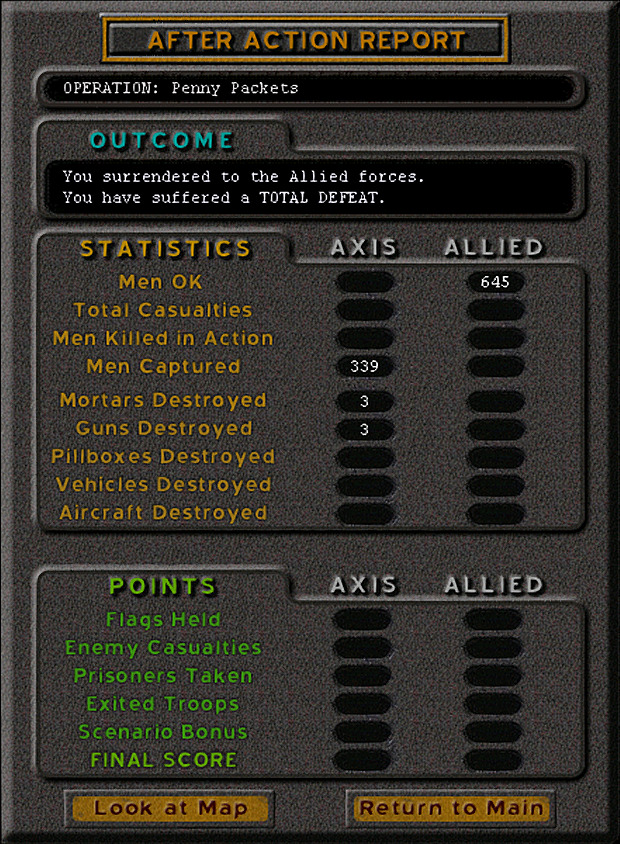 The Germans are outnumbered, but as we saw, most of the Soviet forces won't make it to combat in this battle, and the front line is weak conscripts against top-quality airborne infantry. Battle 2: 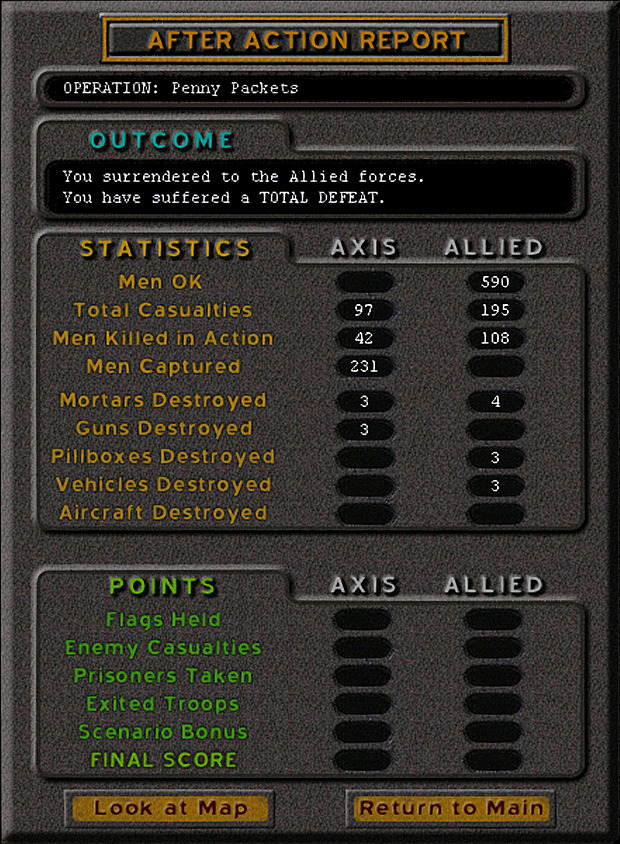 Capturing the trenches took a big toll on us; we lost 1/3 of our men, and even if we inflicted 2:1 casualties, the Soviets effectively only lost 1/4 of their force (less so considering more reinforcements are scheduled). The three tanks seemed like a huge score at the time, which is kind of amusing in hindsight. Battle 3:  The losses here were not great for us, though we did do quite a number on the enemy infantry. Thanks to reinforcements, the Soviets maintained a 2.5:1 manpower advantage. We also only took out a single tank. Battle 4:  I'm sort of surprised that we took so many more losses in Battle 3 than in Battle 2. Except for knocking out those three tanks, this one wasn't a very good outcome. Battle 5: 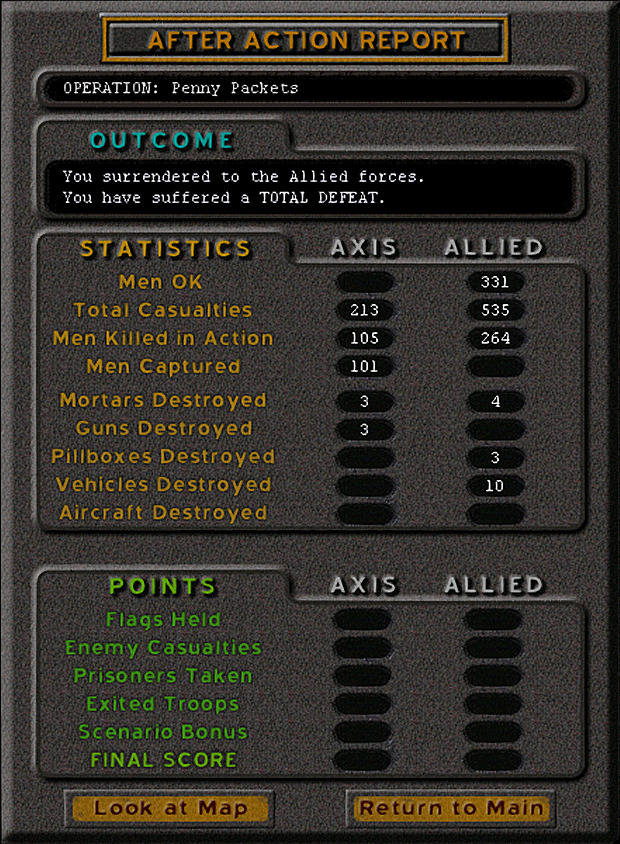 Low losses for the infantry, but another three tanks down. The Soviets had a clear advantage in numbers, but just didn't commit them properly. Battle 6:  I think this one really tells the tale. While we took some fairly critical losses, we inflicted much higher numbers of casualties, and knocked out four more tanks. And did this while retaking one of the objectives. Here are the final results again: My take on this operation: I can't say I'm a fan of this one. It did allow for an exciting comeback by taking risks and ultimately didn't fall apart after a badly-executed first mission. However, I just don't think it ever should have come to that, because it mostly happened due to AI incompetence. Any Soviet player could quite easily have just held the tanks at range and forced the Germans to retreat at leisure. Maybe there could be some interesting gameplay if the Germans could prove a bit too hard to dislodge from some locations, yet I'm not sure if they have the numbers to really hold any objective for long without being surrounded. The idea of having the Axis seize the objectives and then try to hold them is mildly interesting, but I can't see it resulting in anything other than an eventual retreat, as we saw that the Soviets could bring a lot of tanks to bear. If it was a 'Soviet advance' then maybe it makes sense. One other feature that could have made it interesting is if somehow there was a requirement to exit the tanks, or apply a higher point value to them, so that committing them to the battle would be a bit of a risk. Unfortunately I don't think the engine allows specific units to be flagged as essential; their strategic value remains whatever is deemed appropriate for the time and location. Next time around, the weather will have finally turned, and it'll be a solid amount of snow the whole time. Based on the thread vote, we'll be playing the Siberian Devils themselves, trying to force the defending Germans out of a village.
|
|
#
?
Apr 21, 2024 23:29
|
|
|
Triple A posted:This. Also, any scenarios with the axis minors that are worth showing off? For the operations, we don't really get anything other than German vs. Soviet/Russian forces (there's one sort-of exception). Technically the last one was marked differently as it was 'airborne' on the German side but not appreciably distinct. I took a look at some of the scenarios to see how much coverage they give to other sides. There were a couple that stuck out: One is Hungarian vs. Romanian units, set just after Romania broke out of the Axis. It's a short battle that might give a hint of how those sides worked. The other is Italians vs. Soviets, near Stalingrad. What's interesting about it is that it is a very long battle (70 minutes), so it's nearly as big as one of these operations. The Italian equipment would promise to be a lot different from what any other side is using. I could also consider a Finnish scenario; I don't think they can be set earlier than 1941 but equipment tables might be adjusted to make it work. (There are also Finnish-Soviet battles later in the war, of course.) I might play one to see if it is interesting enough to show off. It'd be a one-off, maybe as filler if I am gone again for a longer period. Although the Italian one is tempting to do as an extra multi-part set.
|
|
#
?
Apr 23, 2024 18:19
|
|
|
Operation 5, Battle 1 It is 1942 in Russia, and the Germans have been stopped just short of their objectives. Now that it's winter, the counter-offensive is underway. We have the responsibility of taking a key town in the way of the southern push of the army.  A huge map, and a point total comparable to what's been in these battles before. However, we aren't going to be using many high-value units (i.e. tanks or guns) in these battles; it'll be all infantry. With that high of a point value, we will have a lot of soldiers to work with. This is also an operation based on a historical battle (and one in which the Soviet forces did not give a very good showing). This is going to spread over a couple of days, although I think we'll get to have a few battles in daylight before the night falls. 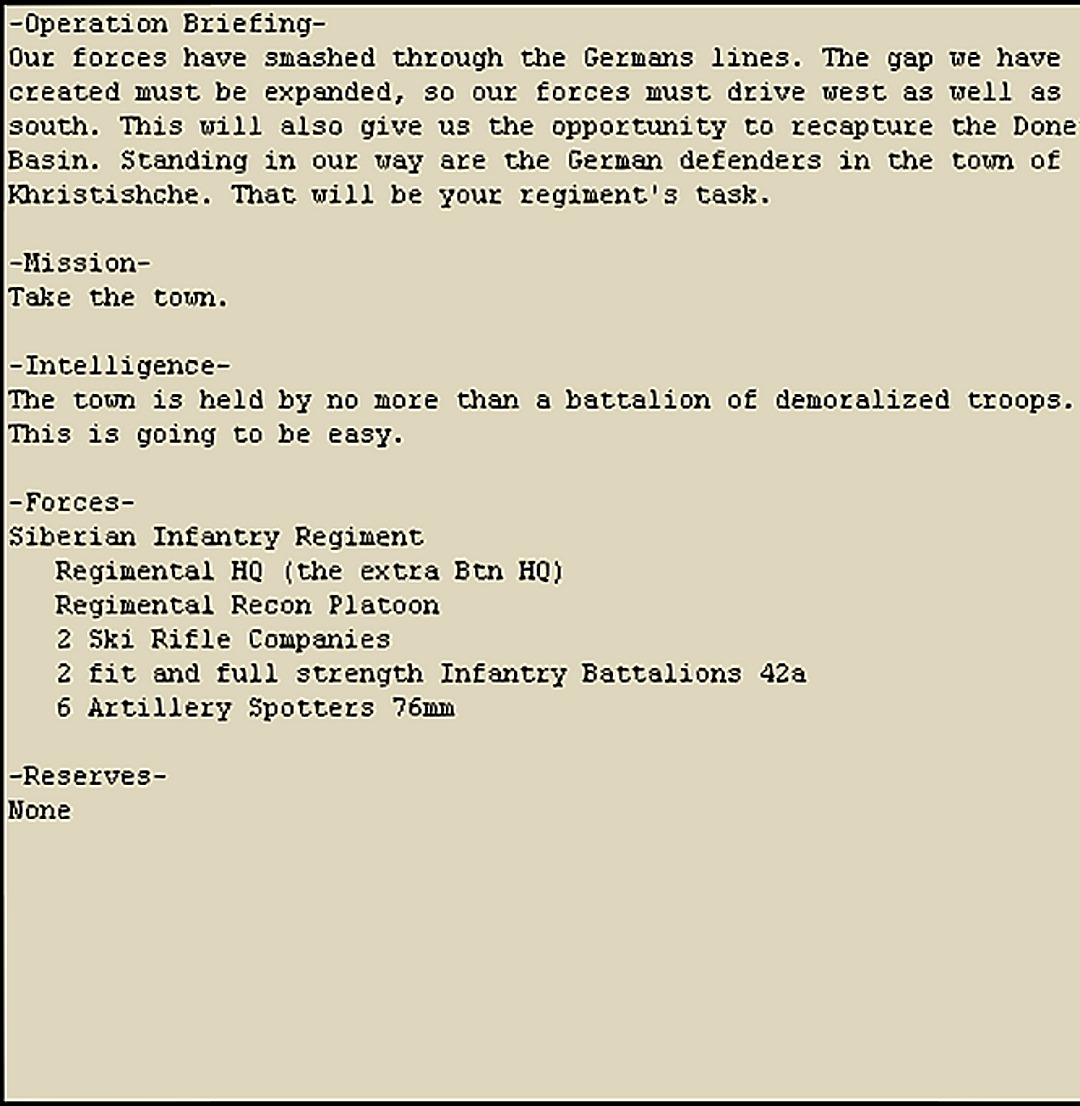 We have just about an entire regiment ready for attack. For maybe the first time, our unit is in full fighting condition. No casualties have yet been taken. The soldiers are all decently-trained as well. All our troops are actually fit for fighting. We have two full battalions to work with, along with two ski companies to assist. No tanks are present, but we don't expect the enemy to have any vehicles in the town. The Battalion/Regiment HQs are all in-game marked merely as Independent Battalion HQs with the rank of Major; I have assigned them myself to their respective positions. Except as noted, all forces are Regular experience, and in Fit condition. pre:Regimental Commander - Lt. Col Renko
I Battalion - Maj Lazarenko
A Company
1 Plt - 3 x Rifle 41, 1 x Rifle 41L
2 Plt - 3 x Rifle 41, 1 x Rifle 41L
3 Plt - 3 x Rifle 41, 1 x Rifle 41L
B Company
1 Plt - 3 x Rifle 41, 1 x Rifle 41L
2 Plt - 3 x Rifle 41, 1 x Rifle 41L
3 Plt - 3 x Rifle 41, 1 x Rifle 41L
C Company
1 Plt - 3 x Rifle 41, 1 x Rifle 41L
2 Plt - 3 x Rifle 41, 1 x Rifle 41L
3 Plt - 3 x Rifle 41, 1 x Rifle 41L
D Company
1 Plt - 4 x Maxim MG
2 Plt - 4 x Maxim MG
3 Plt - 4 x Maxim MG
II Battalion - Maj Cherniev
E Company
1 Plt - 3 x Rifle 41, 1 x Rifle 41L
2 Plt - 3 x Rifle 41, 1 x Rifle 41L
3 Plt - 3 x Rifle 41, 1 x Rifle 41L
F Company
1 Plt - 3 x Rifle 41, 1 x Rifle 41L
2 Plt - 3 x Rifle 41, 1 x Rifle 41L
3 Plt - 3 x Rifle 41, 1 x Rifle 41L
G Company
1 Plt - 3 x Rifle 41, 1 x Rifle 41L
2 Plt - 3 x Rifle 41, 1 x Rifle 41L
3 Plt - 3 x Rifle 41, 1 x Rifle 41L
H Company
1 Plt - 4 x Maxim MG
2 Plt - 4 x Maxim MG
3 Plt - 4 x Maxim MG
I Company [SKI]
1 Plt - 3 x Ski Rifle Sqd
2 Plt - 3 x Ski Rifle Sqd
3 Plt - 4 x Ski SMG Sqd
J Company [SKI]
1 Plt - 3 x Ski Rifle Sqd
2 Plt - 3 x Ski Rifle Sqd
3 Plt - 4 x Ski SMG Sqd
Independent Infantry
1 Team - Spotter 76mm (4 Tubes)
2 Team - Spotter 76mm (4 Tubes)
3 Team - Spotter 76mm (4 Tubes)
4 Team - Spotter 76mm (4 Tubes)
5 Team - Spotter 76mm (4 Tubes)
6 Team - Spotter 76mm (4 Tubes)
[BLUE] 1 Plt - 4 x Recon A Sqd { Veteran }
Date: 1941-01-24 Time of Day: Dawn Skies: Clear Ground: Deep Snow Temp: Extreme Cold Wind: Windy ESE 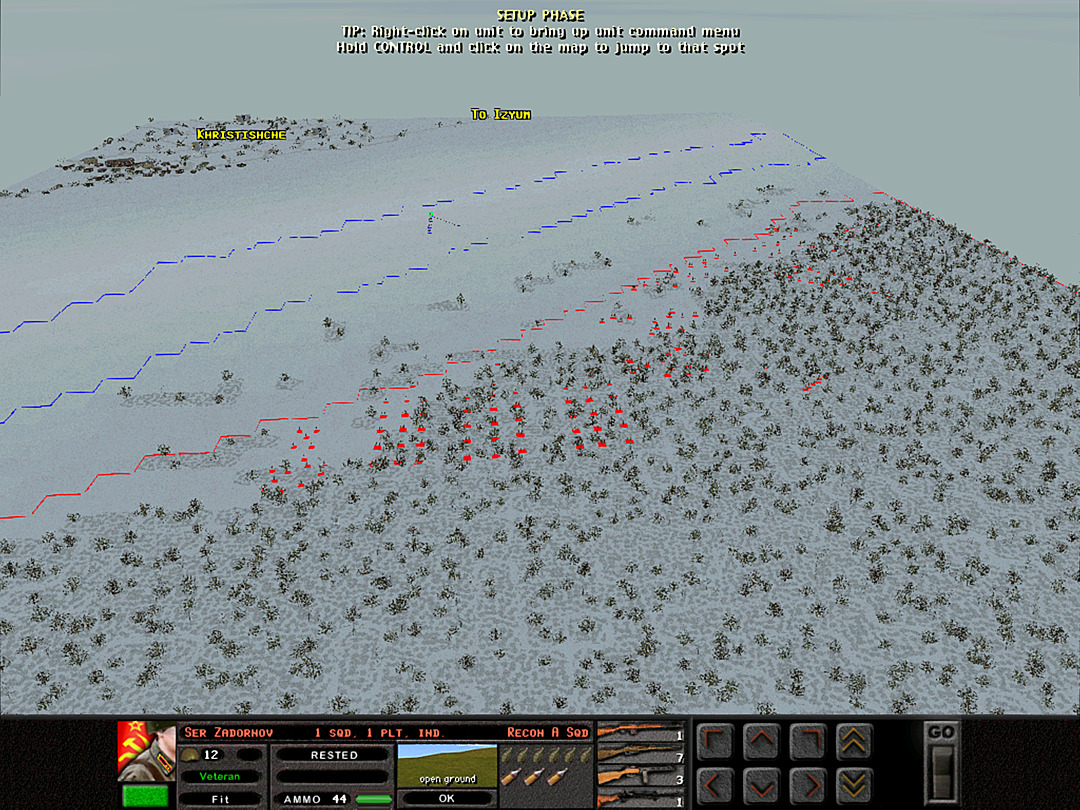 Except for the scouts, our entire force starts out nearly a kilometer away from the town. We have a lot of marching to do, and except for a moderately-high long ridge that blocks us from their view at the moment, there's effectively no cover on the approach. It's just a big expanse of cold white snow. The sun is rising now, but since we're approaching more from the north, it's not going to really be much at our back. The wind is ensuring that the temperature isn't going to rise much even with the sun coming up. Until we reach that ridge, we can do what we want, as we don't expect the Germans to be willing to venture out of the town in these conditions. I haven't bothered organizing the units much at all; the formation will work itself out over the course of the first battle.  The recon troops are right near the top of the ridge. The ridge is barely visible as the brightest line right at the forward edge of the blue setup area. Our forces are just about to exit the forest, and it's now that we need to begin our plan of attack. I Battalion, on the right, will be first to gain the ridge. They'll provide a base of fire, and maybe draw the enemy's attention toward the north. Then II Battalion will make an assault from the east. The ski troops, I and J Companies, will be useful in covering the ground quickly. J Coy will make scout patrols along the ridge. I Coy will be held back until they can support the main attack. 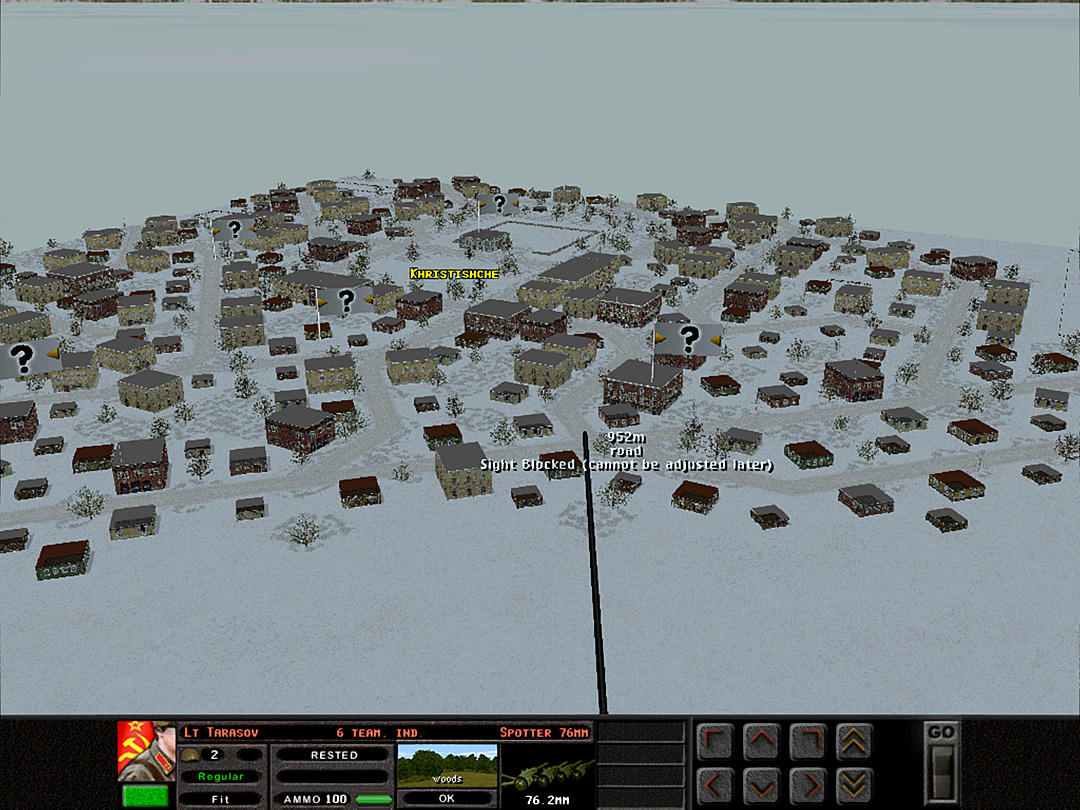 Two pre-planned artillery barrages are set to hit the north end of the town. We're avoiding hitting the other side, as we don't want to destroy too many buildings there; it will be tougher to gain a foothold in it if we do so.  I Battalion begins its moves. B and C Coy will take the ridge. A Coy will be held in reserve close to the forest for now, just in case things go terribly wrong. 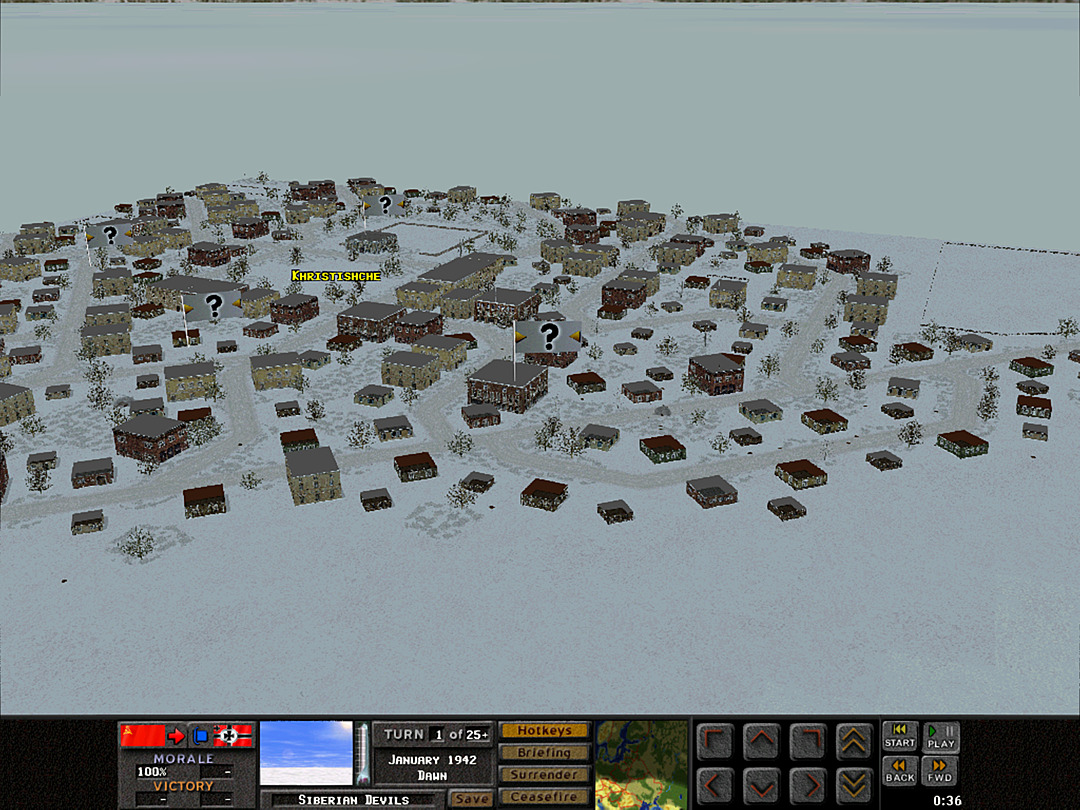 The first few rounds of indirect fire hit the town. 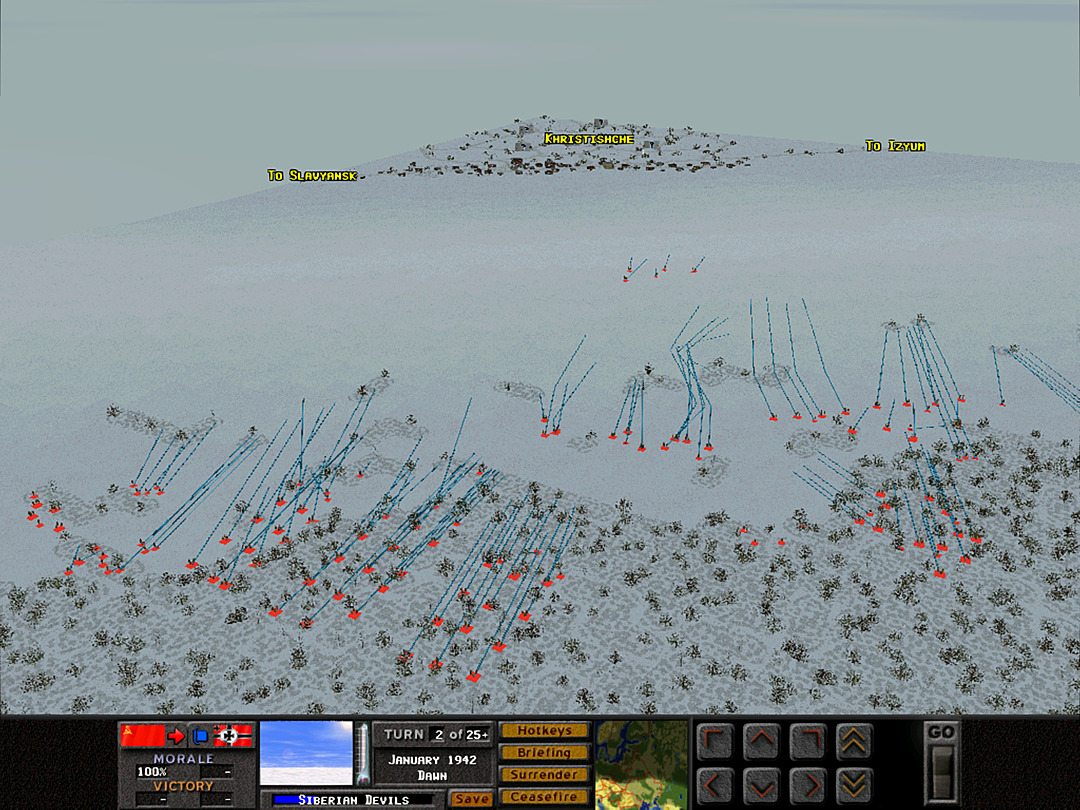 All of our soldiers trudge forward across the frozen landscape. 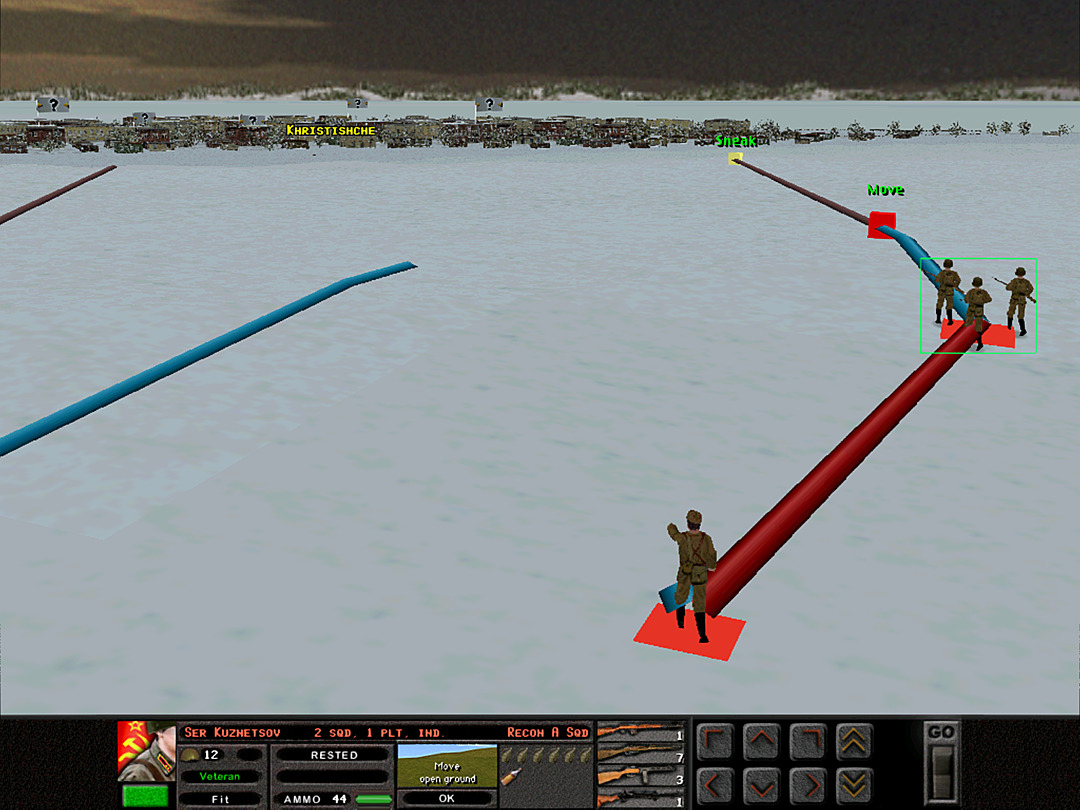 The scout platoon prepares to drop low as they come into sight of the town. 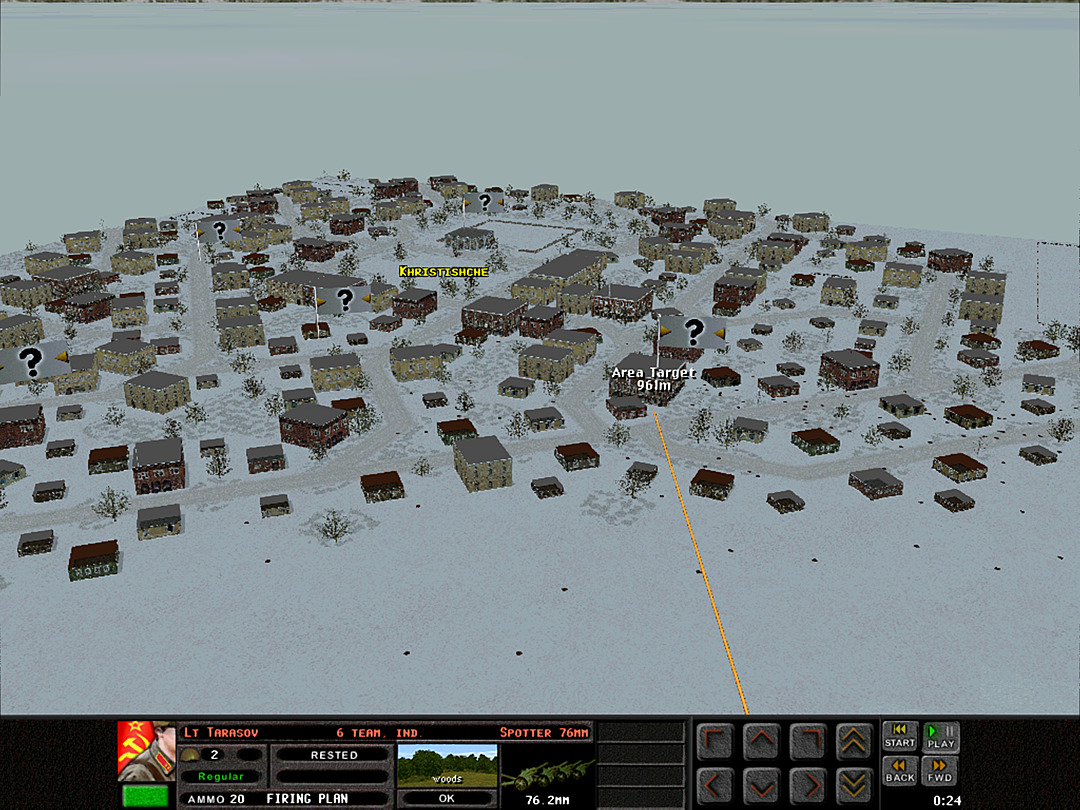 Explosions continue to rock the north end of Khristishche. 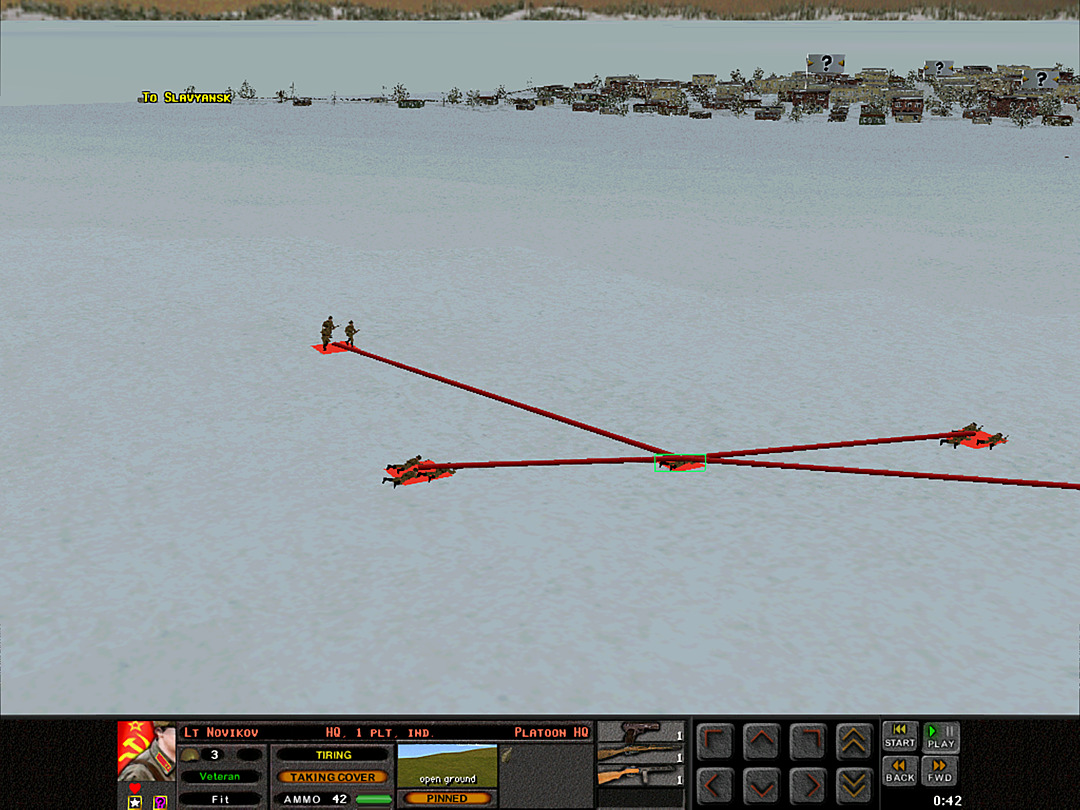 Just as soon as they reach the ridge, the scouts start taking machine-gun fire. They can't quite see which direction it is coming from, but it's a safe bet that it is somewhere in the town. 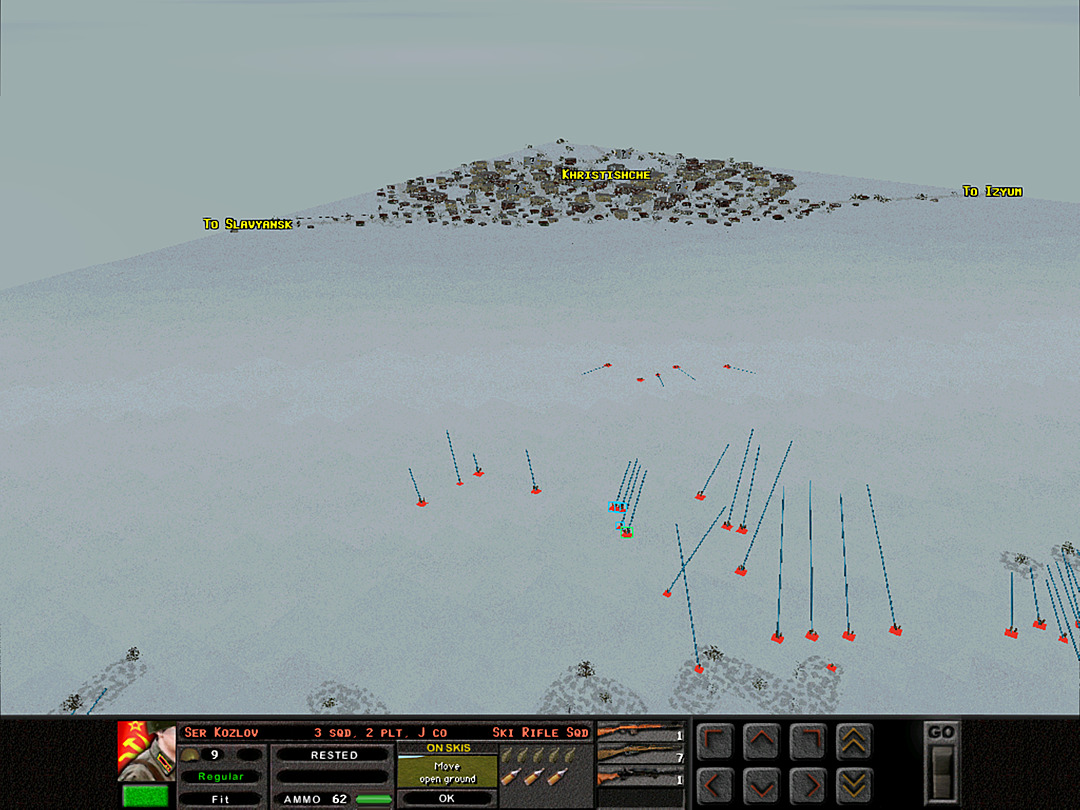 The ski squads are the only ones making real progress. It won't take them much longer to reach the ridge. 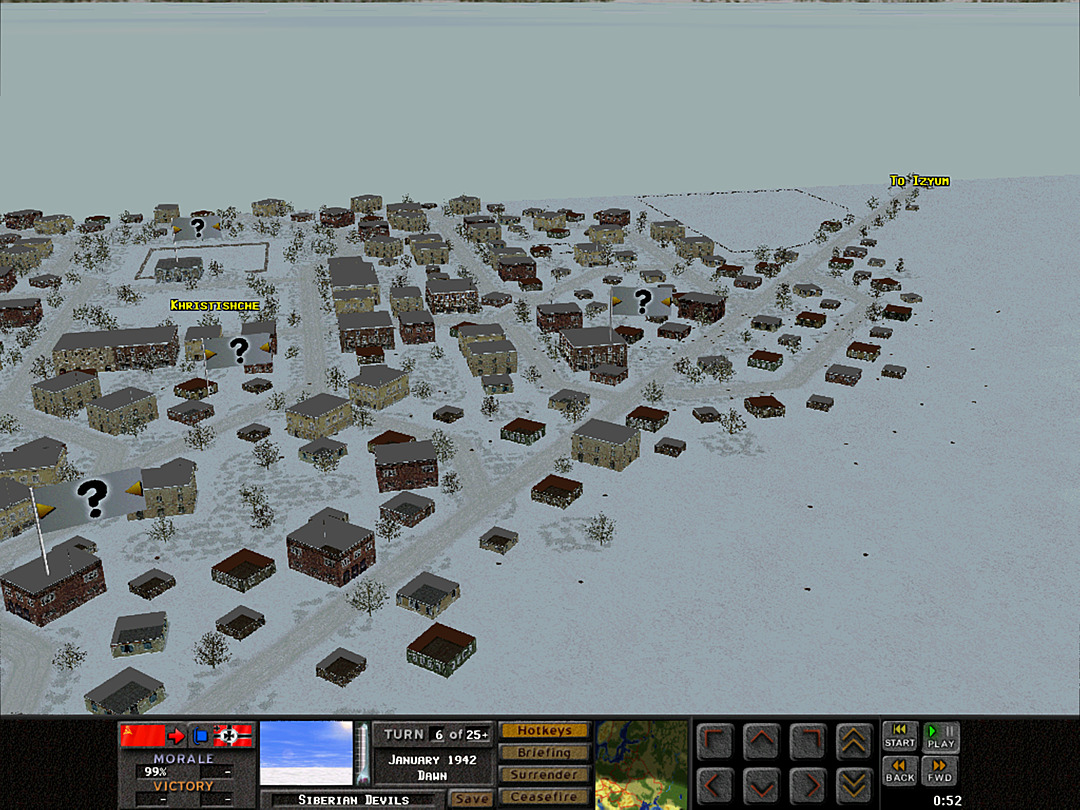 Our own barrage dies down. We don't know how effective the attack has been. 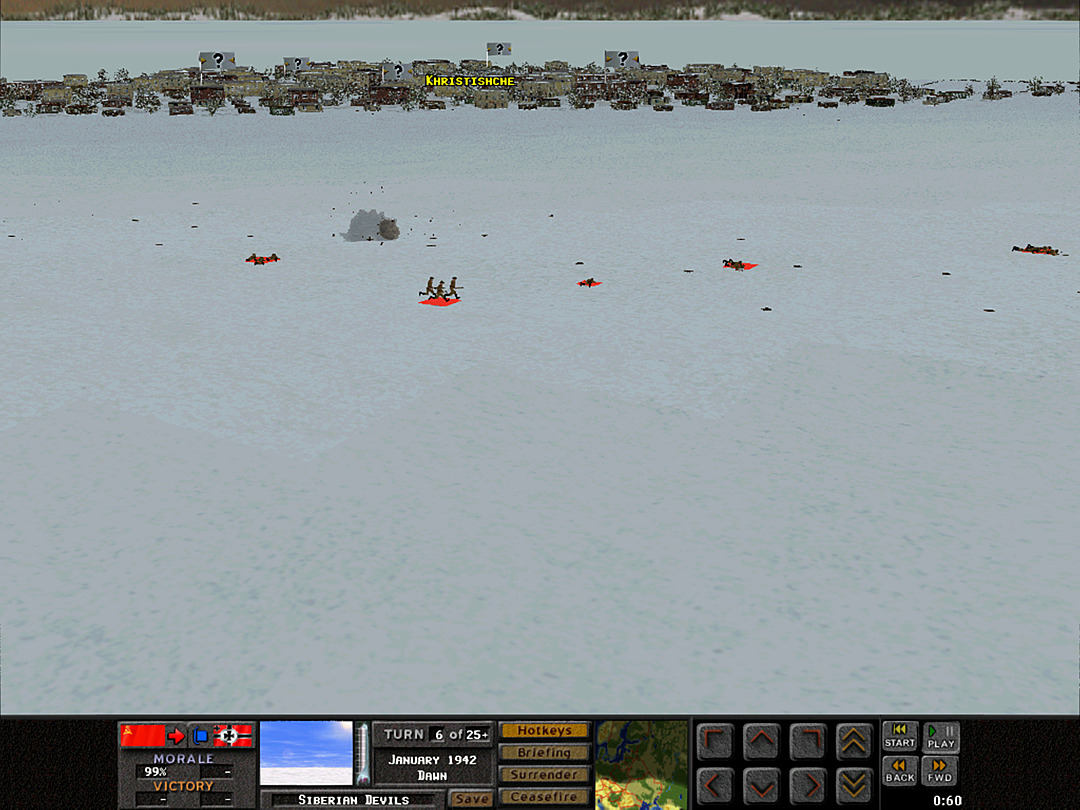 Moments later, the sound of explosions are heard again. The scout units are being hit by artillery! Either the Germans guessed well, or our men were spotted well before they came to the edge of the ridge. 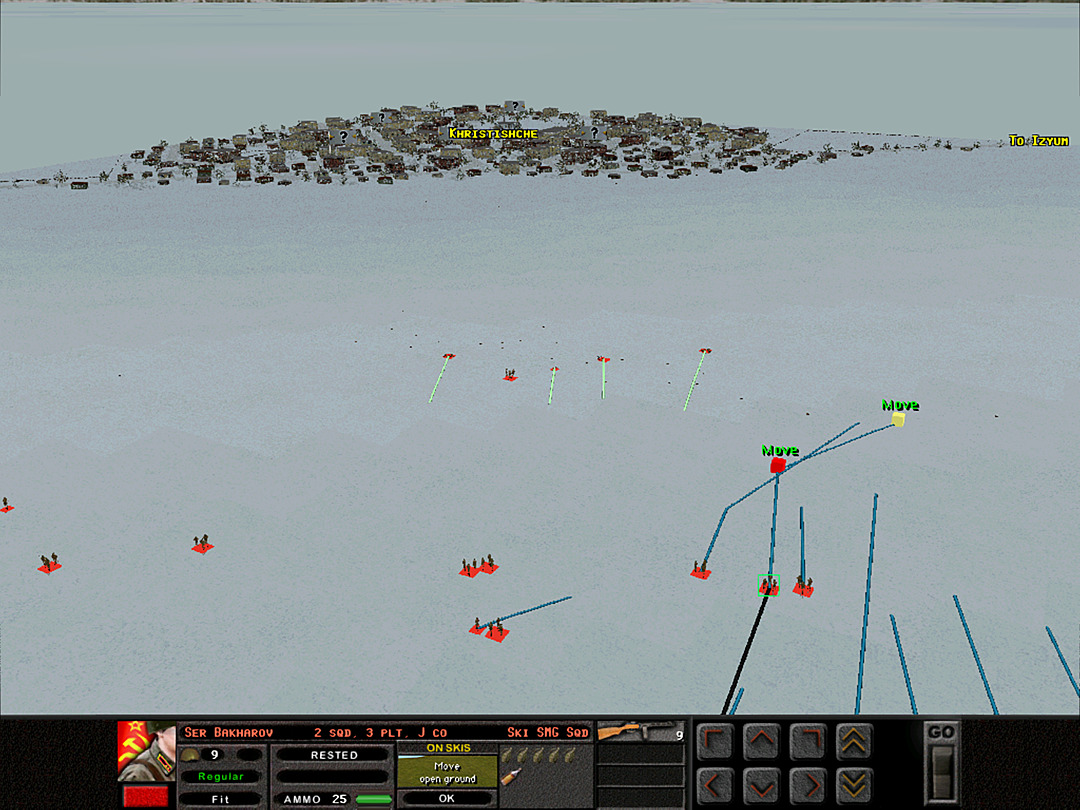 Some ski squads divert their route to avoid the area being shelled. 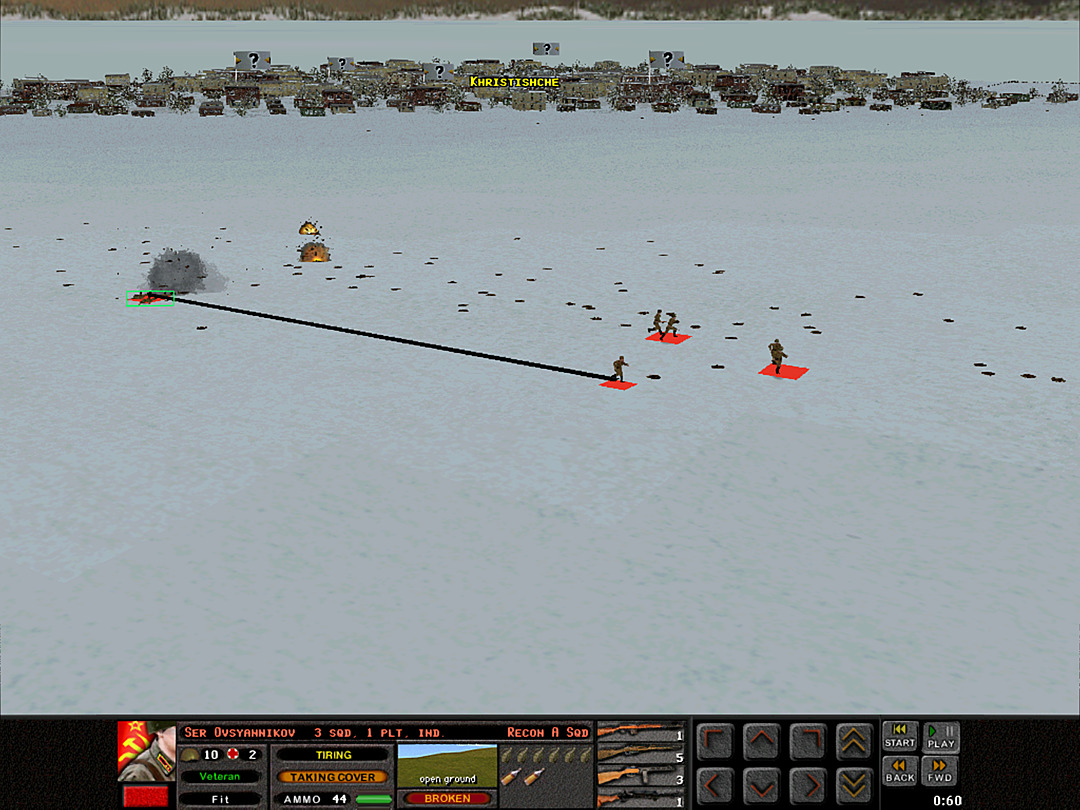 Most of the recon platoon is fleeing from the heavy artillery fire, but one squad is still stuck in the thick of it. 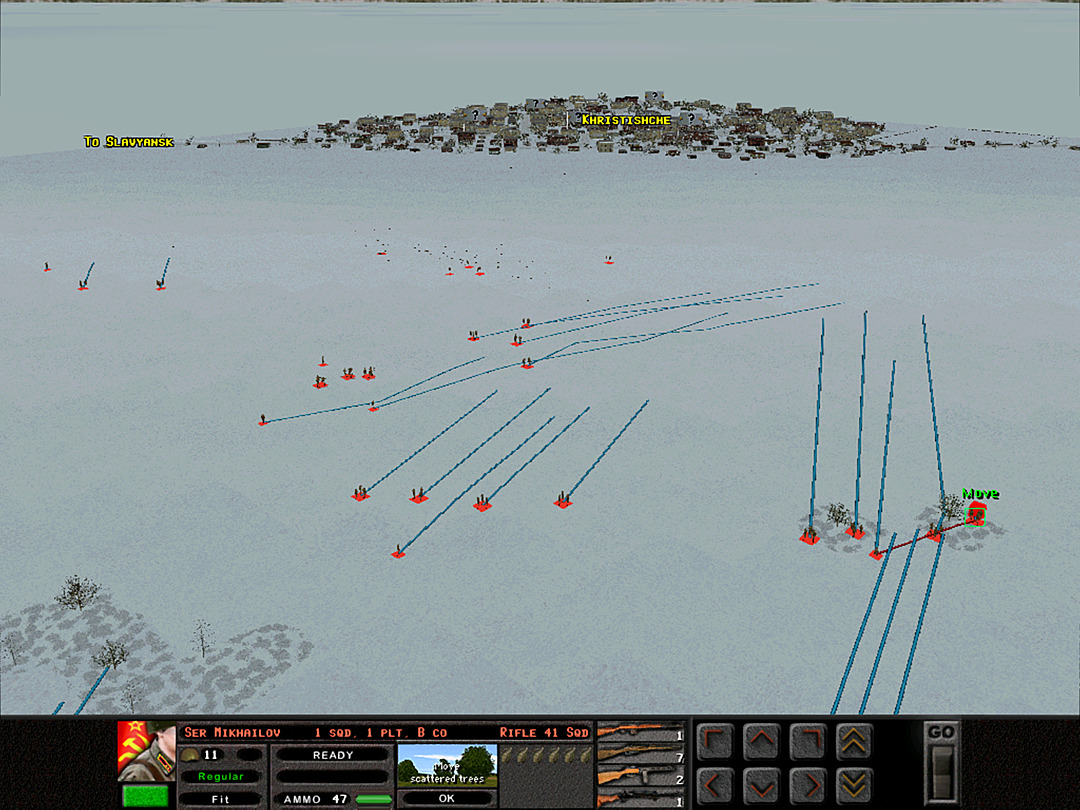 B Coy has reached the last bit of cover on this side of the ridge. It doesn't mean much for them to leave it, but they do know they won't be near a tree or anything other than open ground until we reach the town. 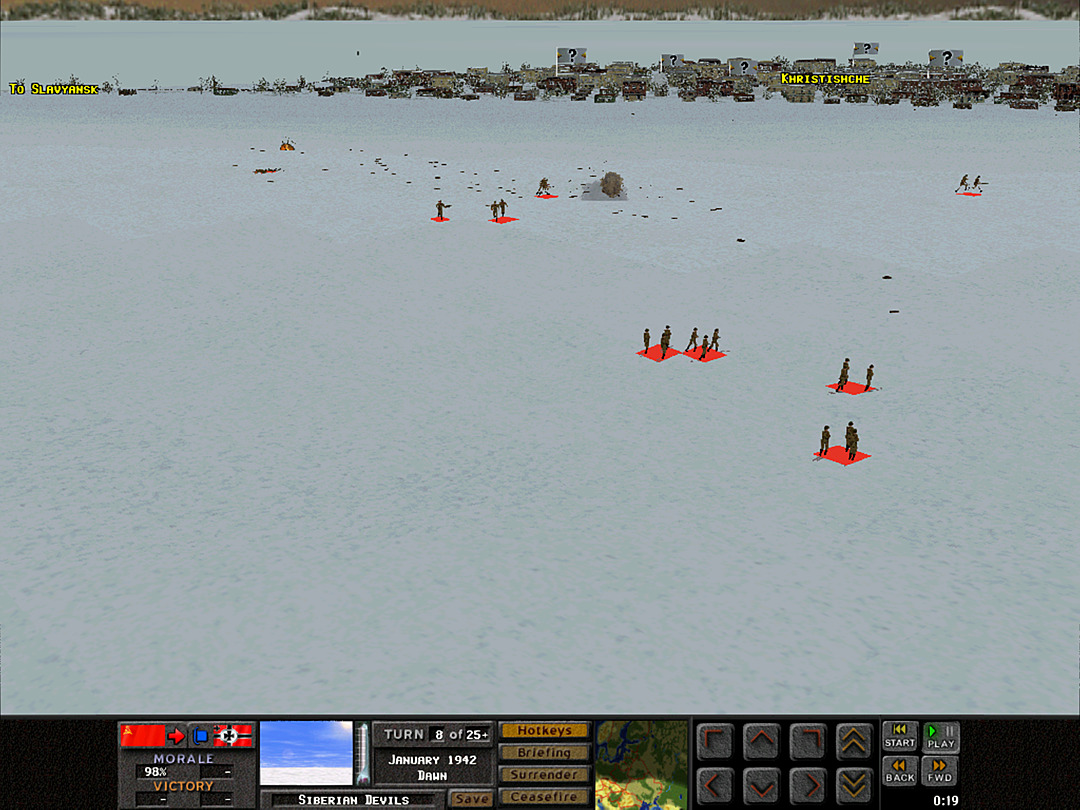 The artillery strike stretched a bit along the ridgeline, and the recon troops took even more casualties. 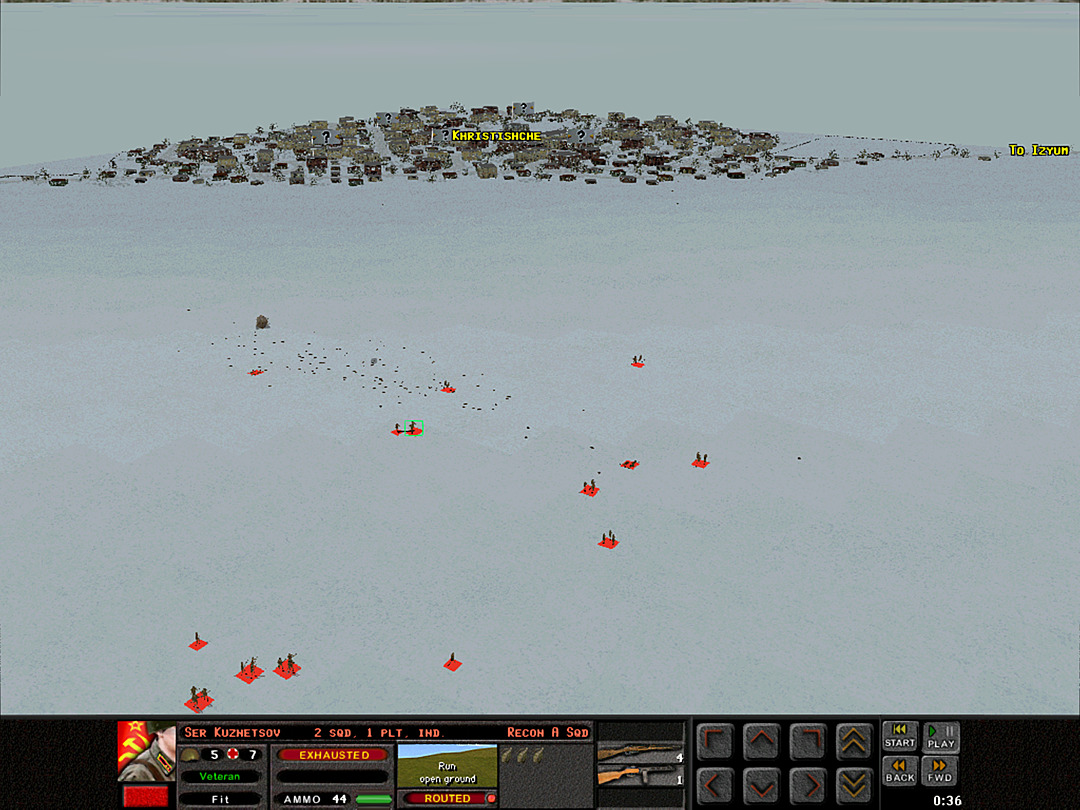 They can't continue to run anymore; the rounds still are falling and they cannot find cover.  The first ski platoon from J Coy reaches the ridge, but then immediately starts taking fire before they can do any scouting. 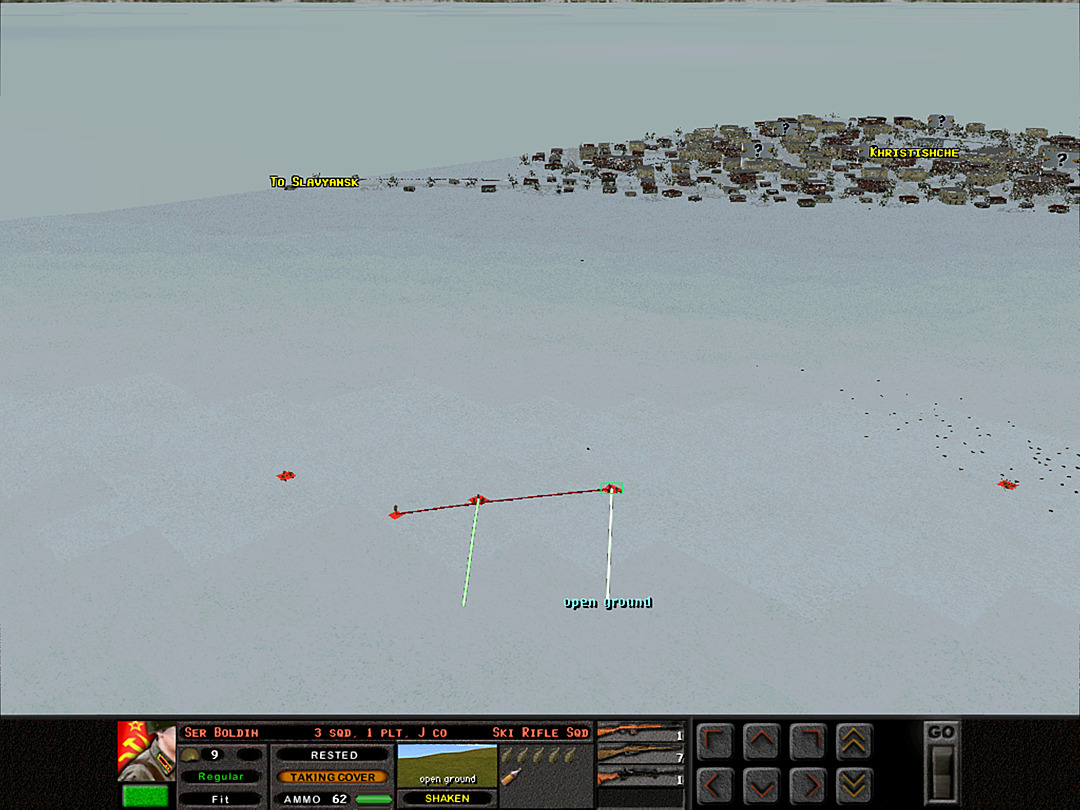 They pull back before taking any more losses. 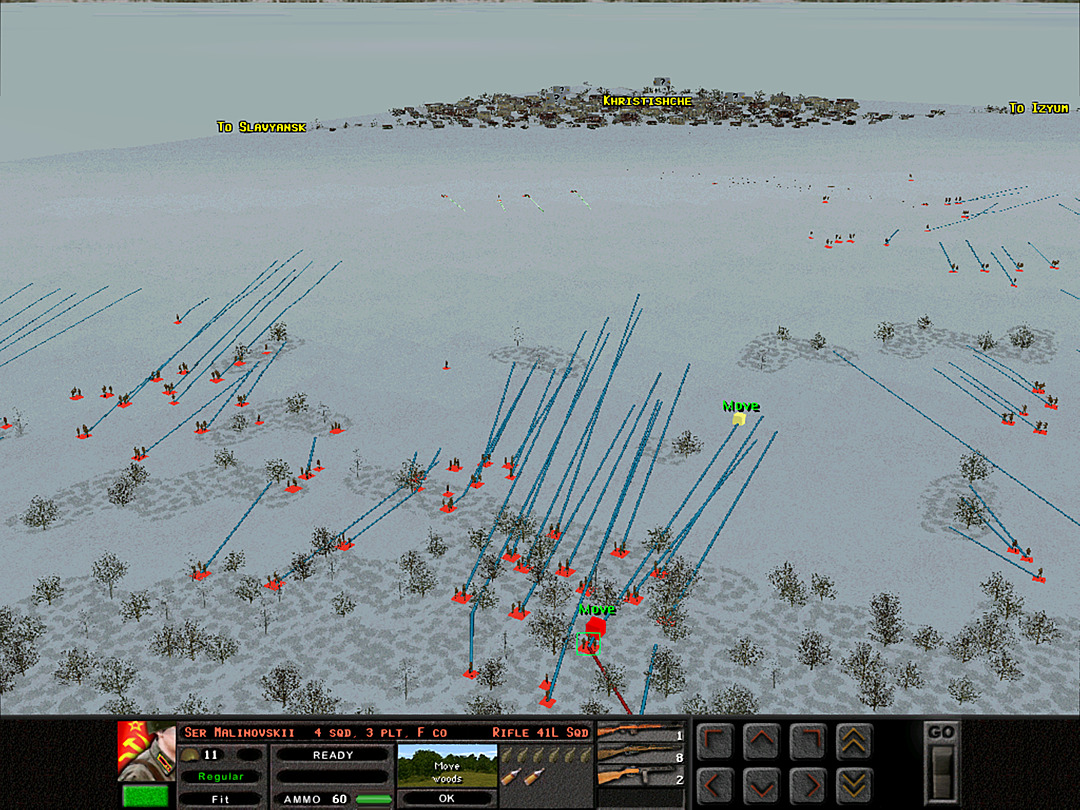 II Battalion is making slow progress out of the forest. 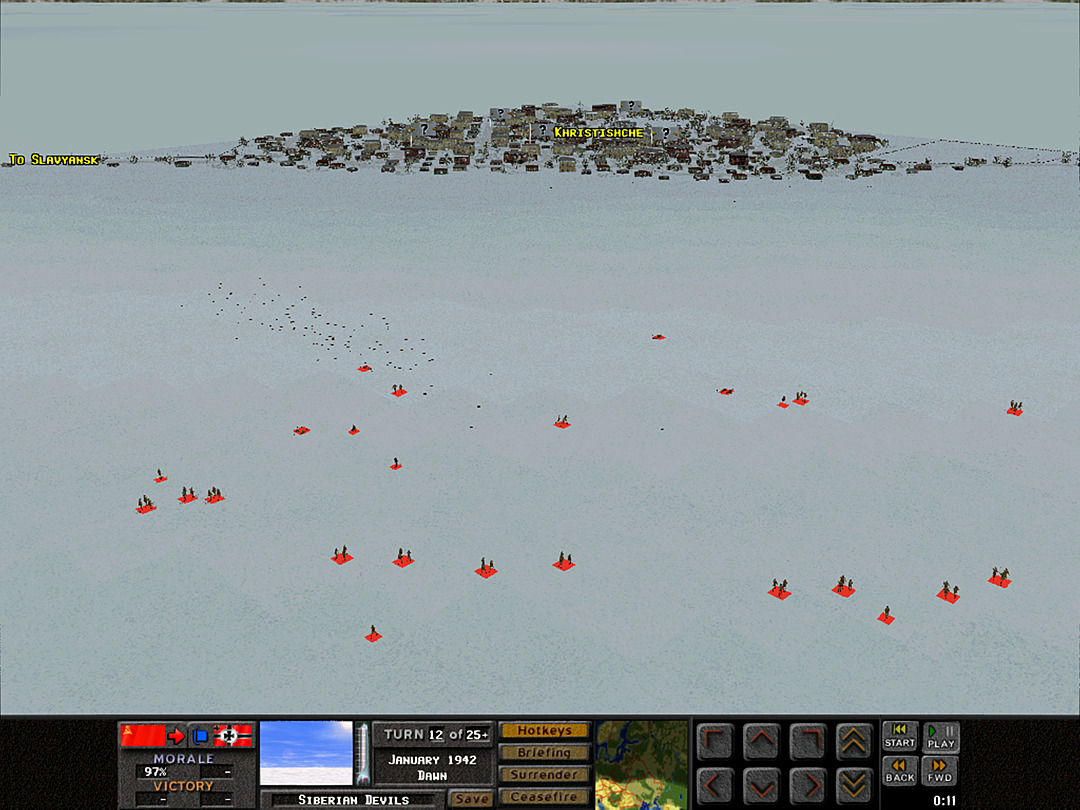 The rest of the forces are a little over halfway to the ridge. It's taken over 10 minutes to move a few hundred meters.  One of the ski squads was unable to avoid enemy fire, as they came to the ridge tired out from skiing, and could not ski off to safety with any speed.  A second patrolling ski platoon starts taking fire on the north end of the ridge. 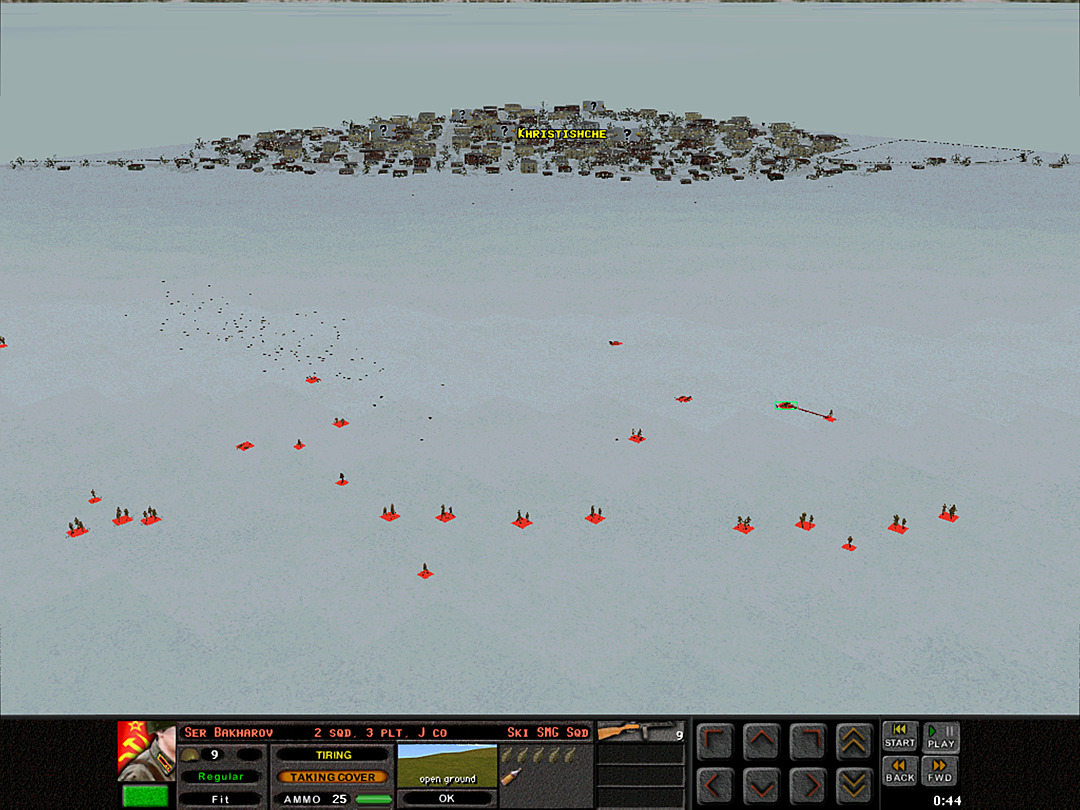 We still haven't discovered any definite enemy units. 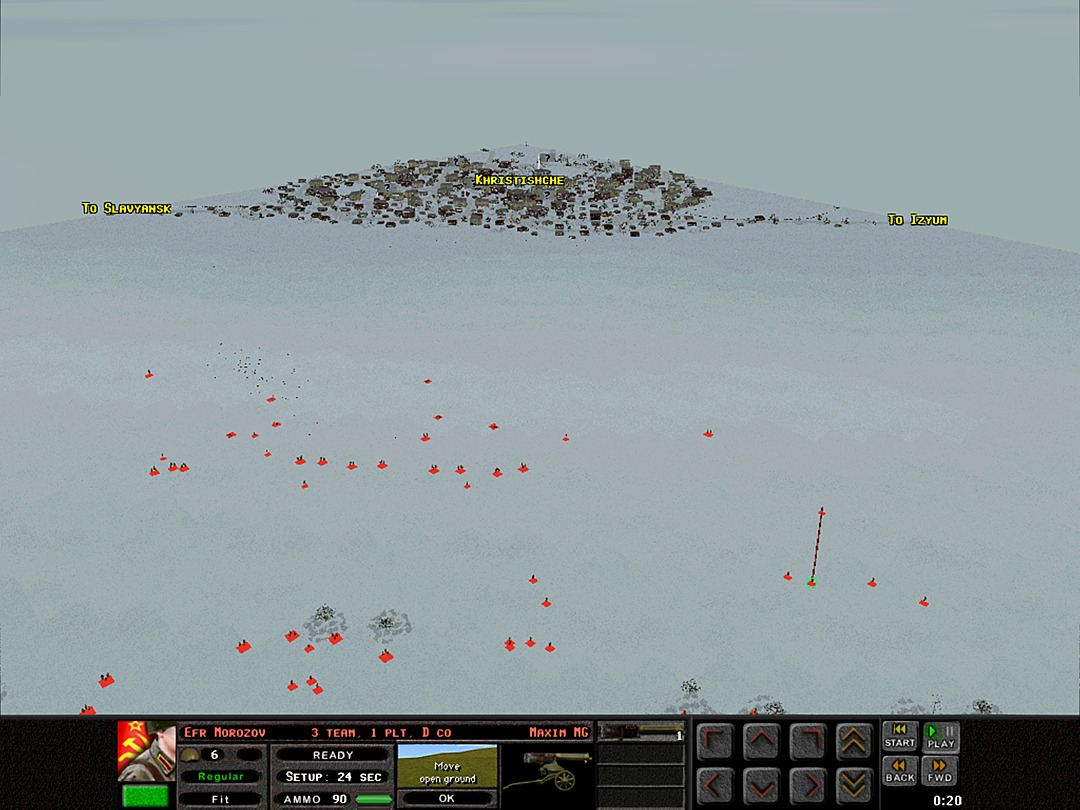 Key to our plan of putting troops on the ridge to support the attack is getting some machine guns up there. They aren't able to move very quickly in these conditions, though.  Two platoons from B Coy have nearly reached the crest. They hold back for a bit, as it seems the enemy is able to spot our soldiers pretty easily. 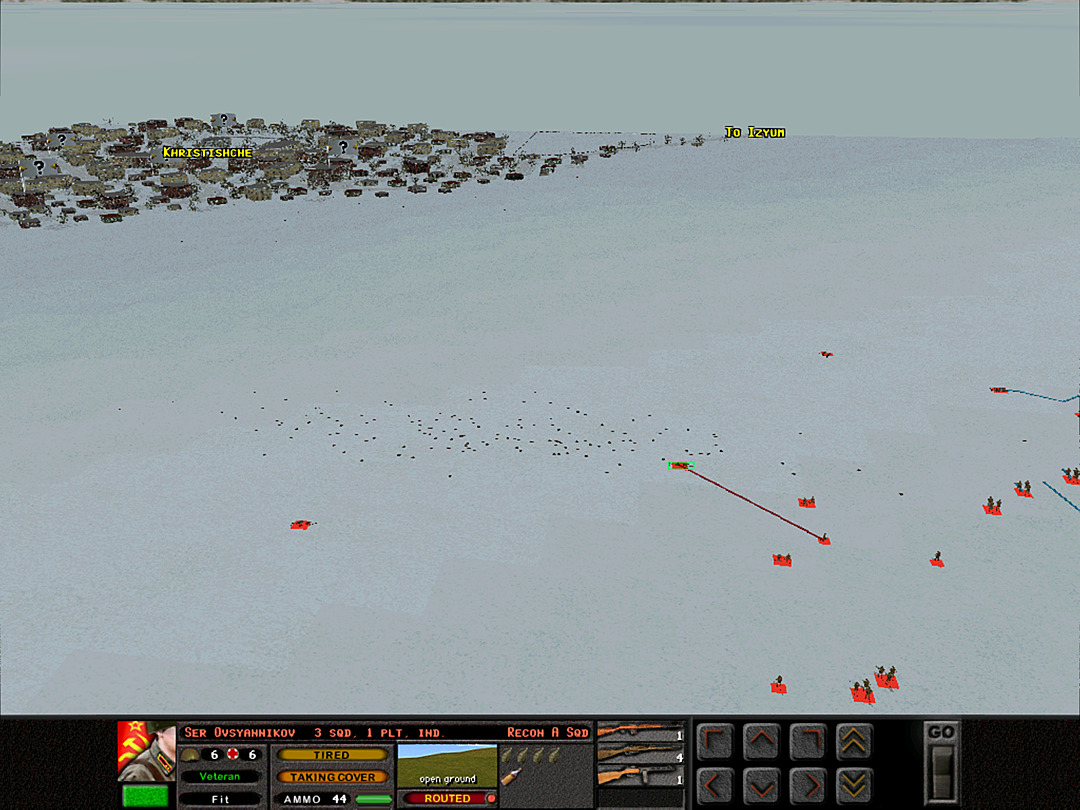 The recon platoon finally leaves the front line. The artillery attack has left them severely diminished. 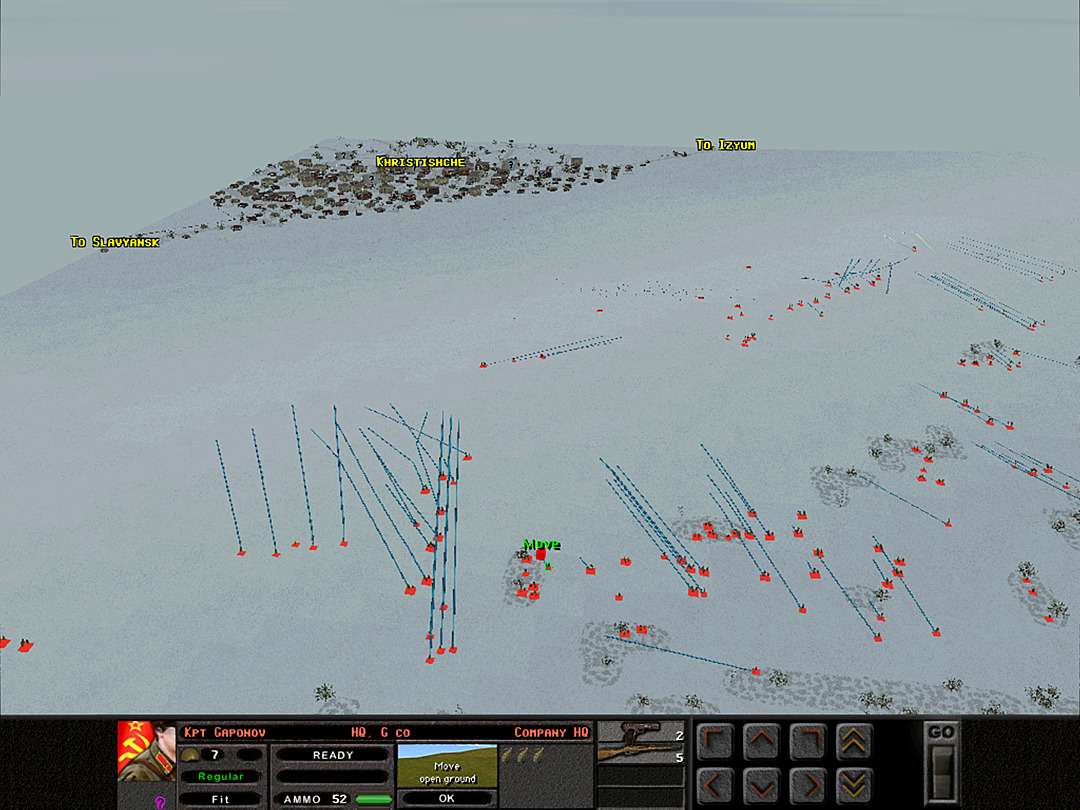 II Battalion is still a long ways from getting into position. 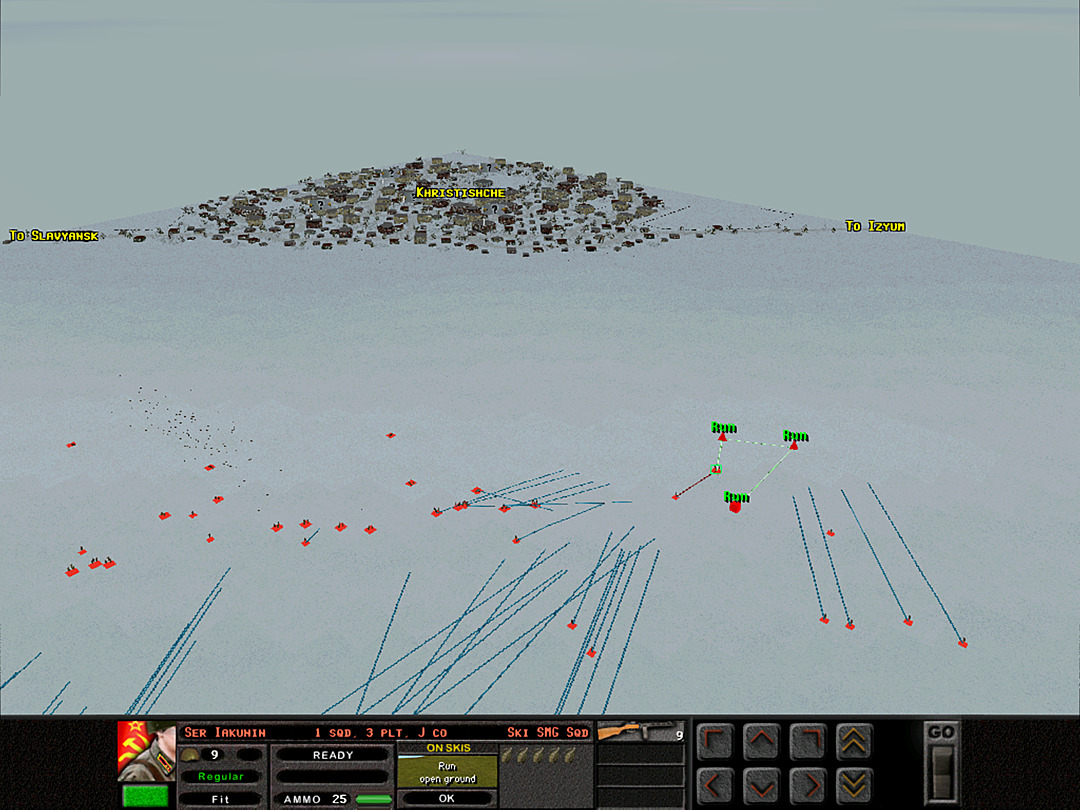 As more of our soldiers line up to move onto the ridge, the ski patrols try to scout the north end of the town. 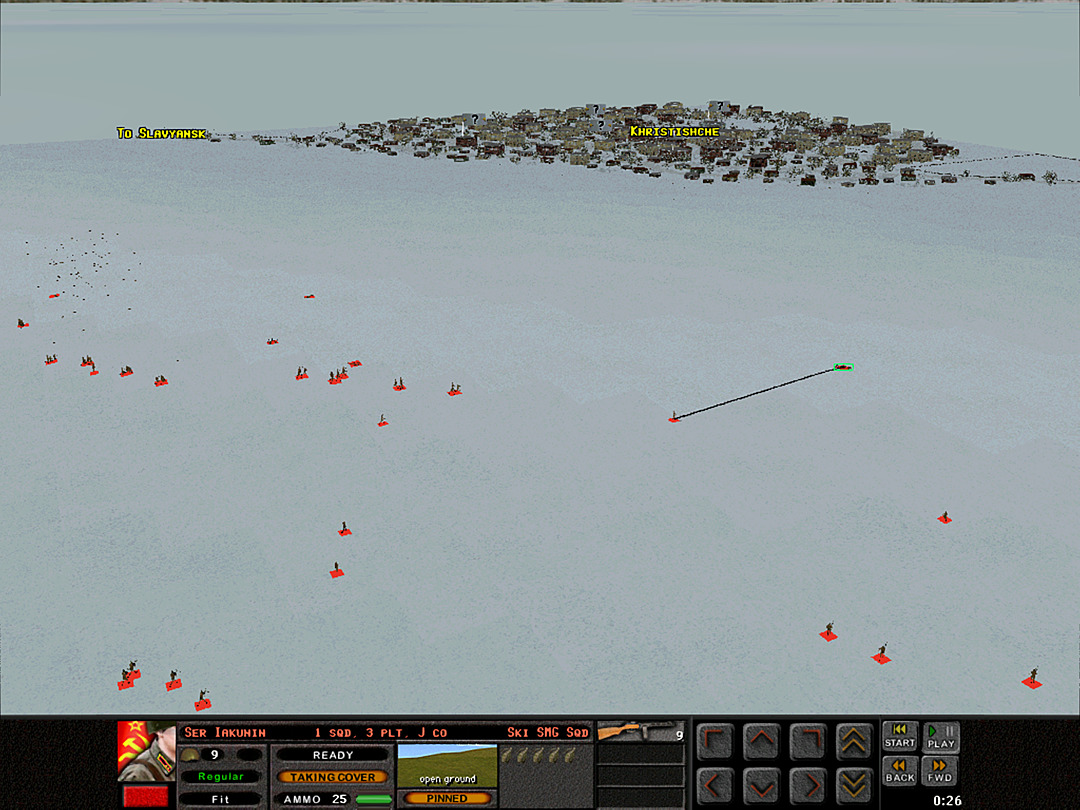 They continue to draw enemy fire, but fail to reveal any German positions. 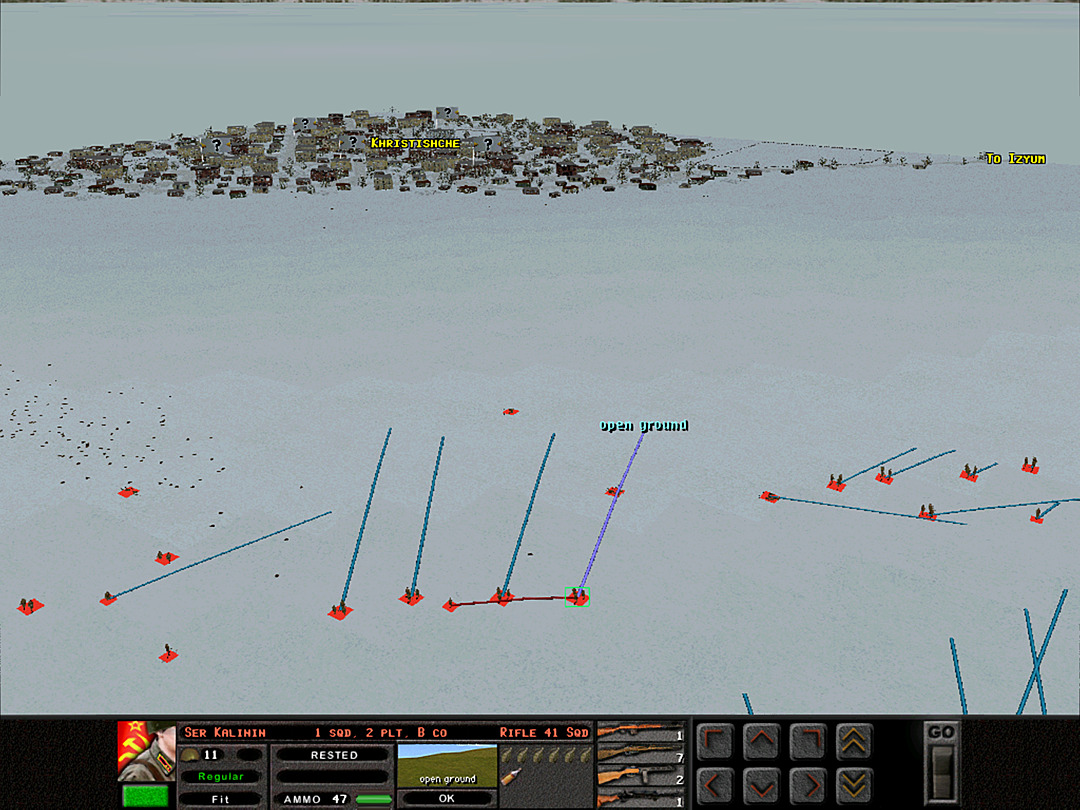 We can't just put single squads in the line of fire; we need to get more men up there so that they can't all be shot at once. 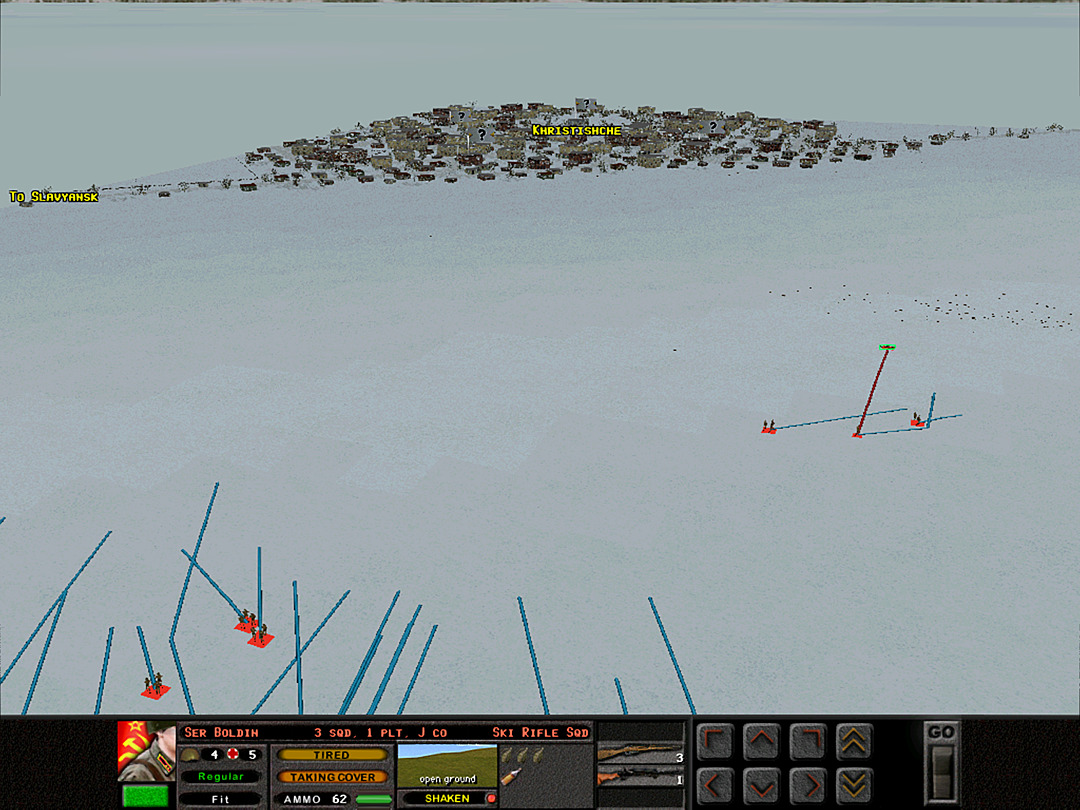 The proof of that is clear on the other side of the ridge, where one of the squads of J Coy is still trapped by enemy fire and is now below half-strength.  Finally, we get the first hint of an enemy unit. They might have sent some patrols of their own just below the ridge. 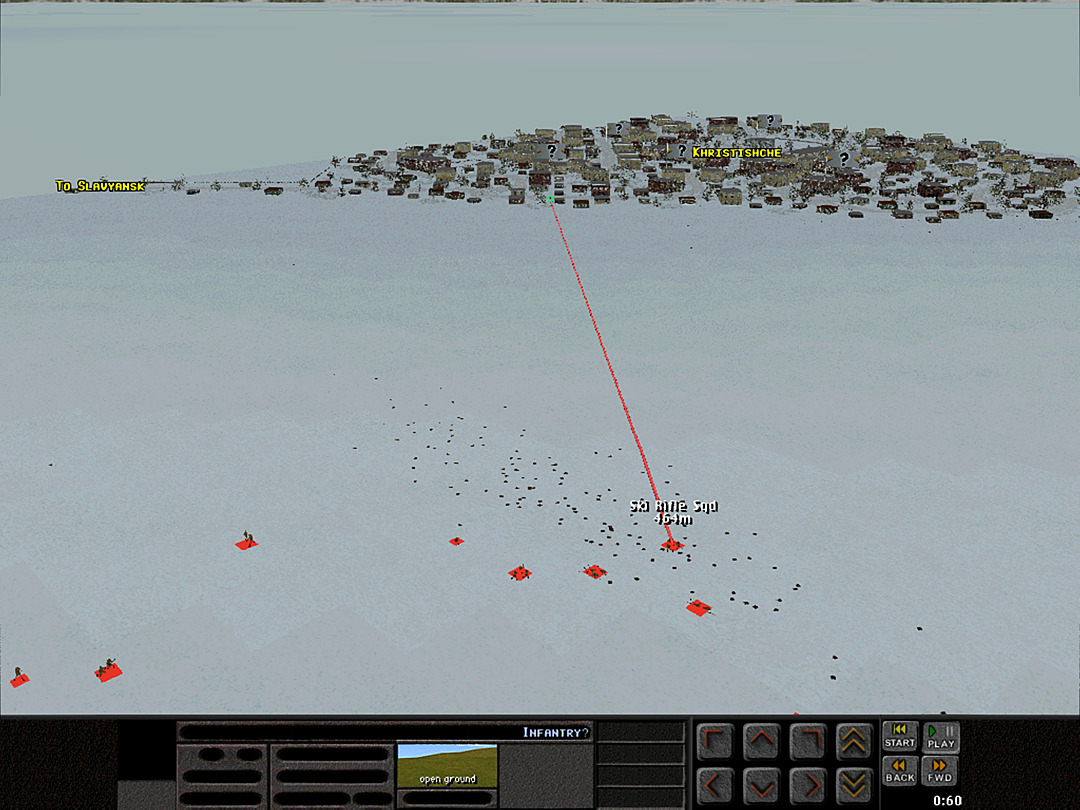 More Germans are spotted running around in the town. 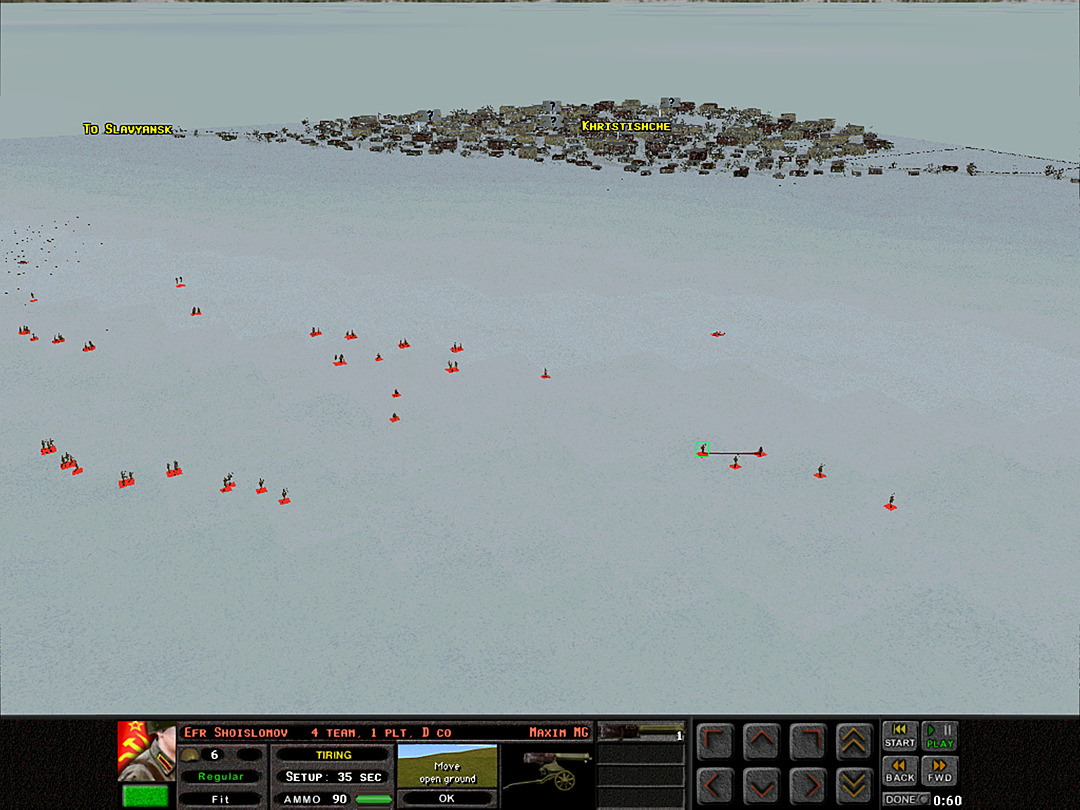 It'll still be a few minutes before we can get any machine guns up into position. 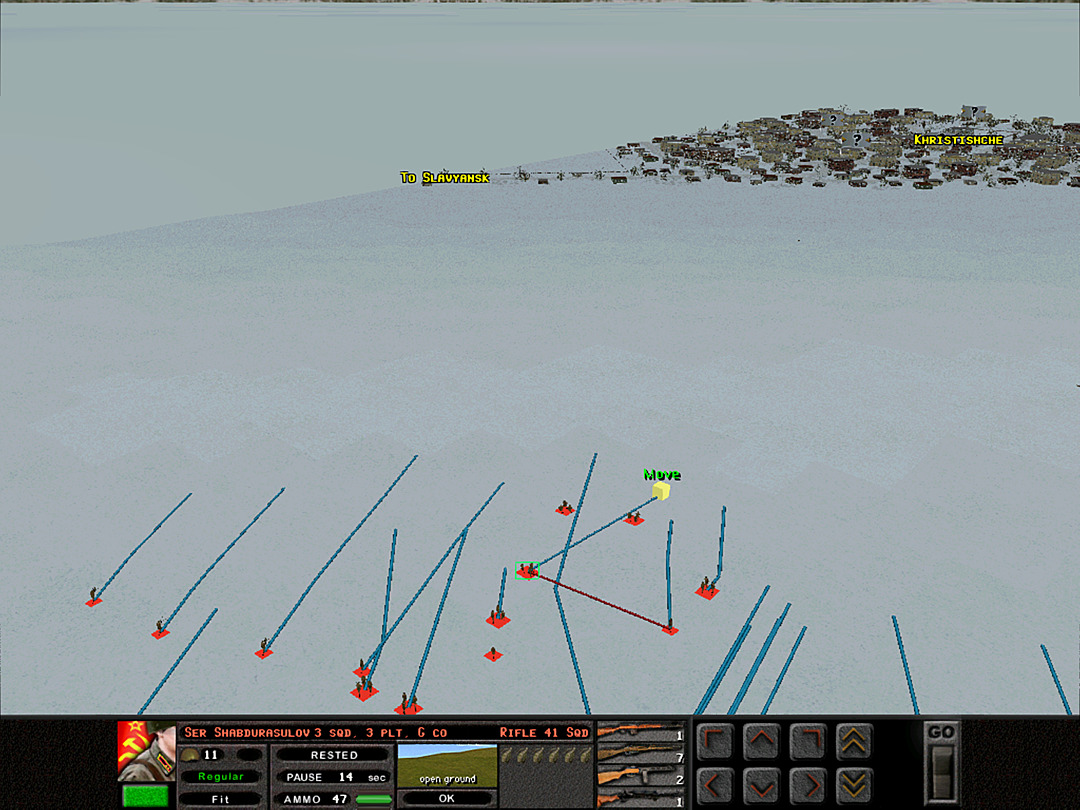 G Coy is going to lead the attack on the town. They are almost up to the crest now.  I Coy takes up the left side of the line. They will hold back until the first charge goes in. 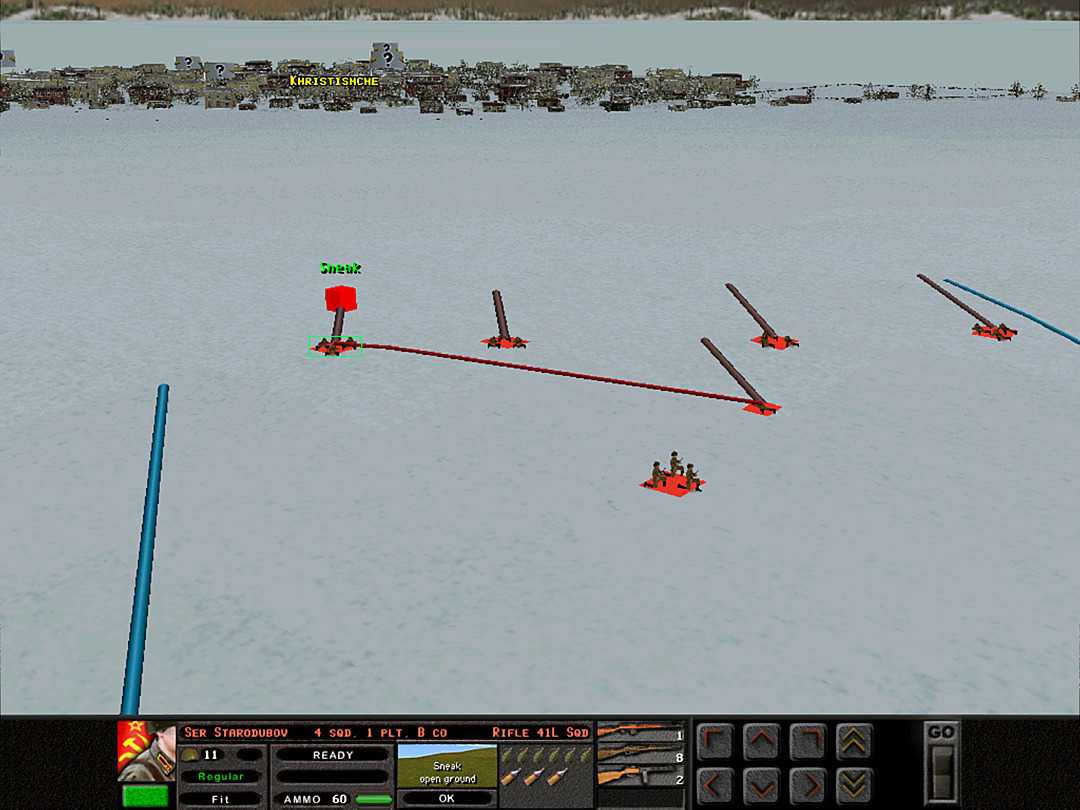 B Coy has so far not been detected. 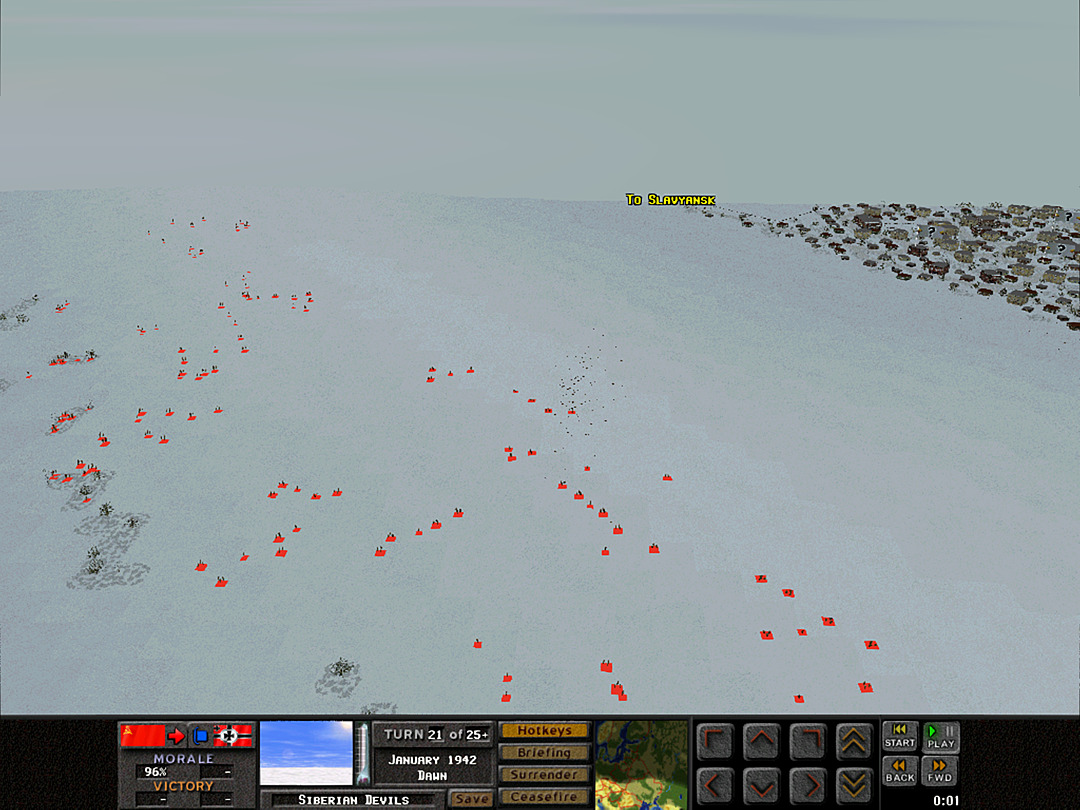 Almost all of the troops have left the forest. They still have quite a bit of marching to do. 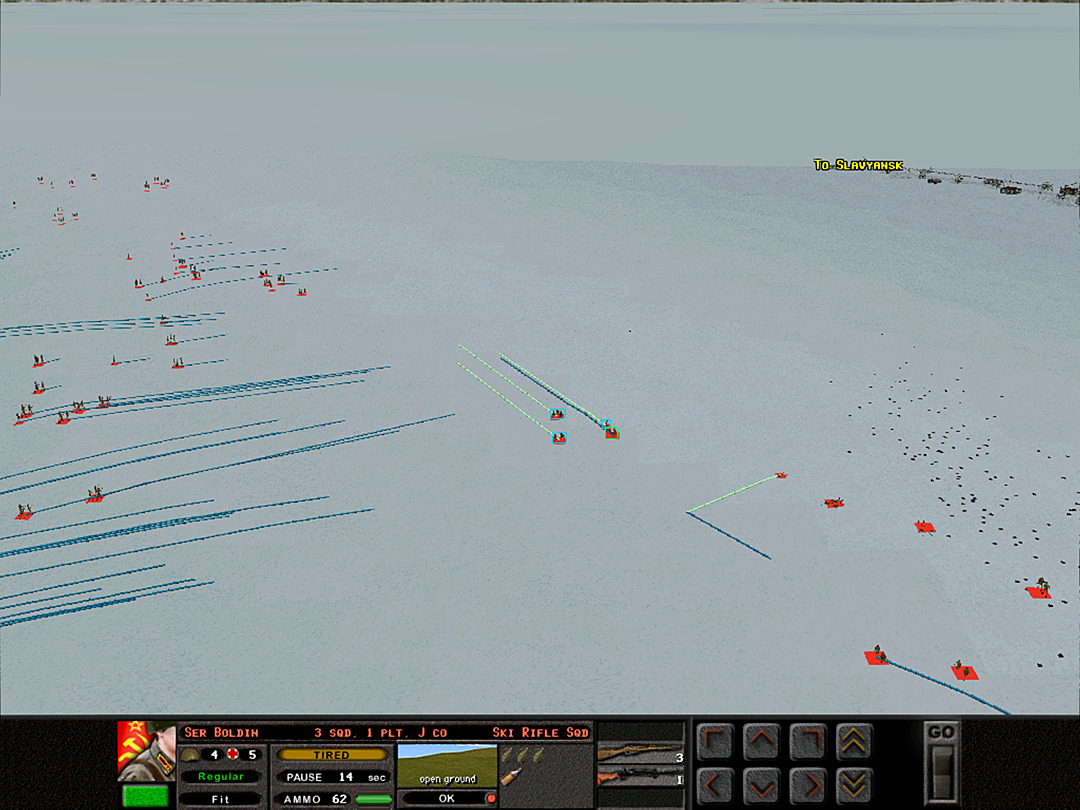 The ski troops on the southern side finally pull off the ridge and glide southward. 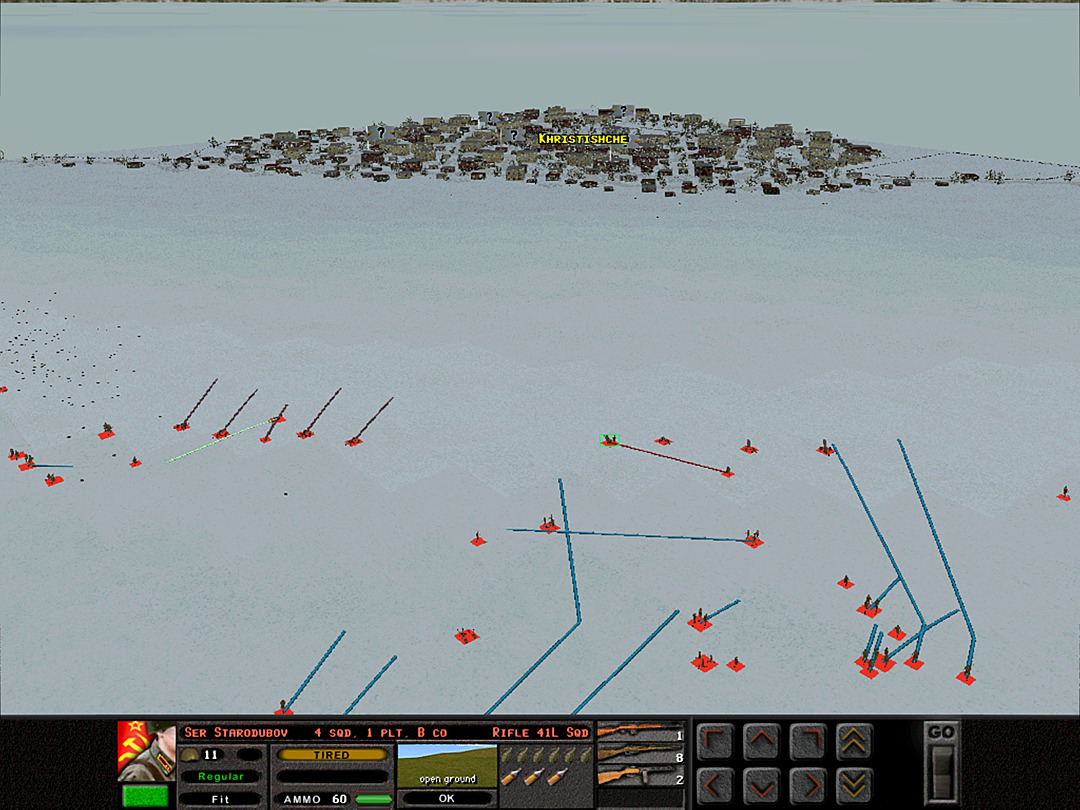 Staying low in several feet of snow is far harder to move than normal. B Coy is tiring out from moving so slowly. 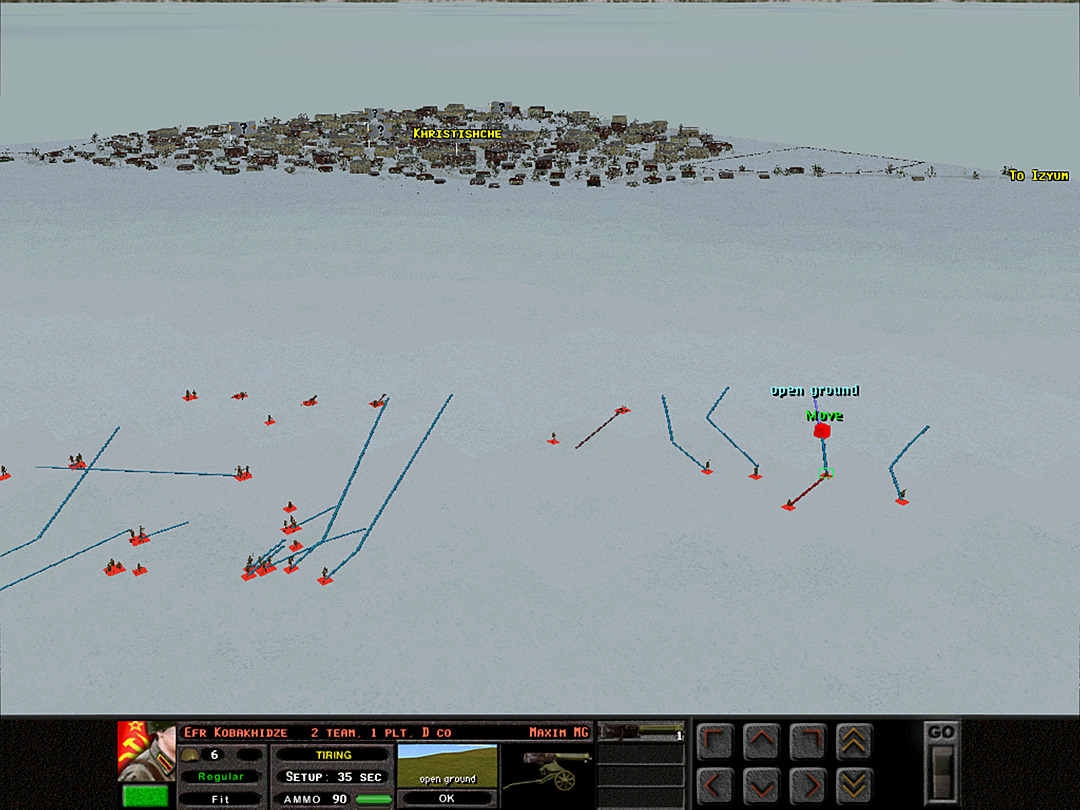 We've just about moved the Maxim guns to the north end of the line. 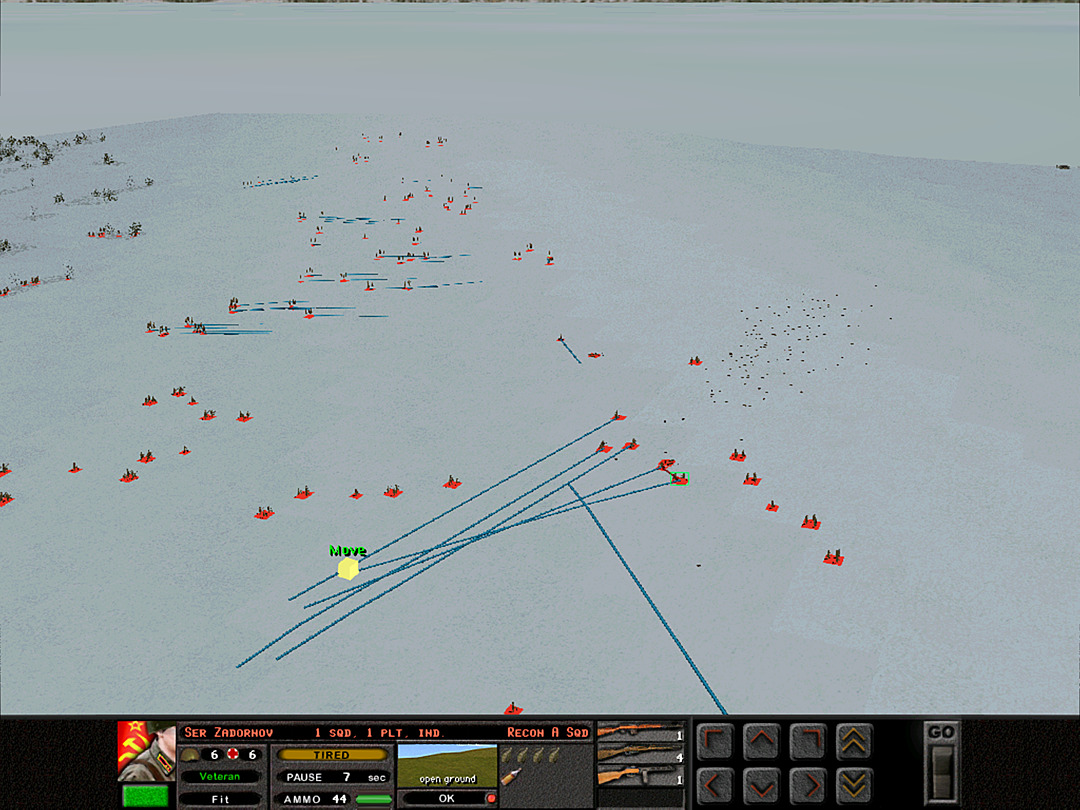 The recon platoon is ordered to withdraw to the rear. 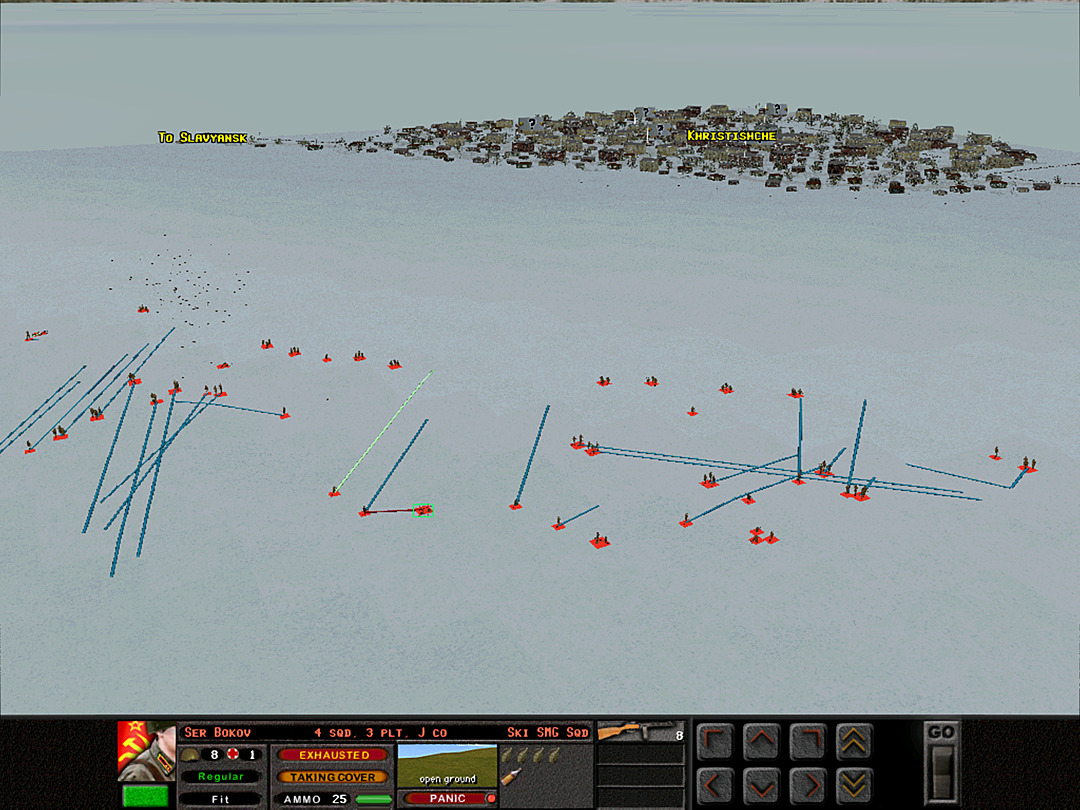 The ski troopers of J Coy, 3 Plt took several casualties trying to scout for enemy forces. They had no further luck spotting them. 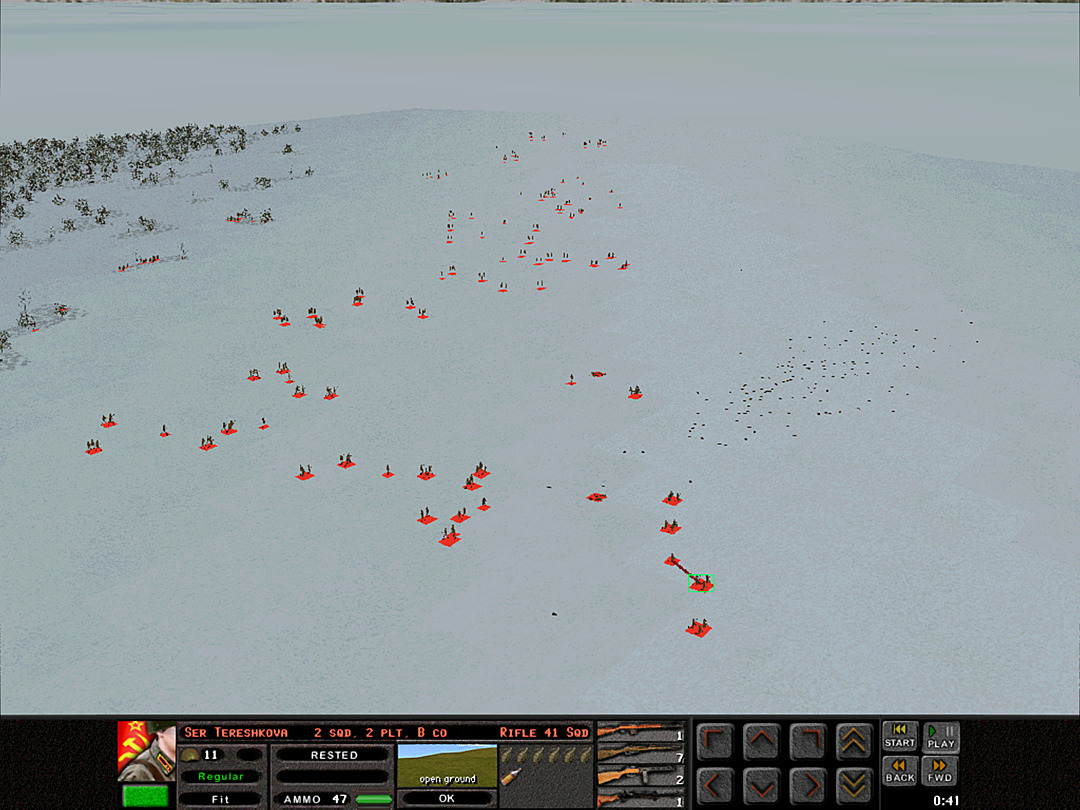 At least one platoon of B Coy is coming over the top now. So far they have attracted no attention. 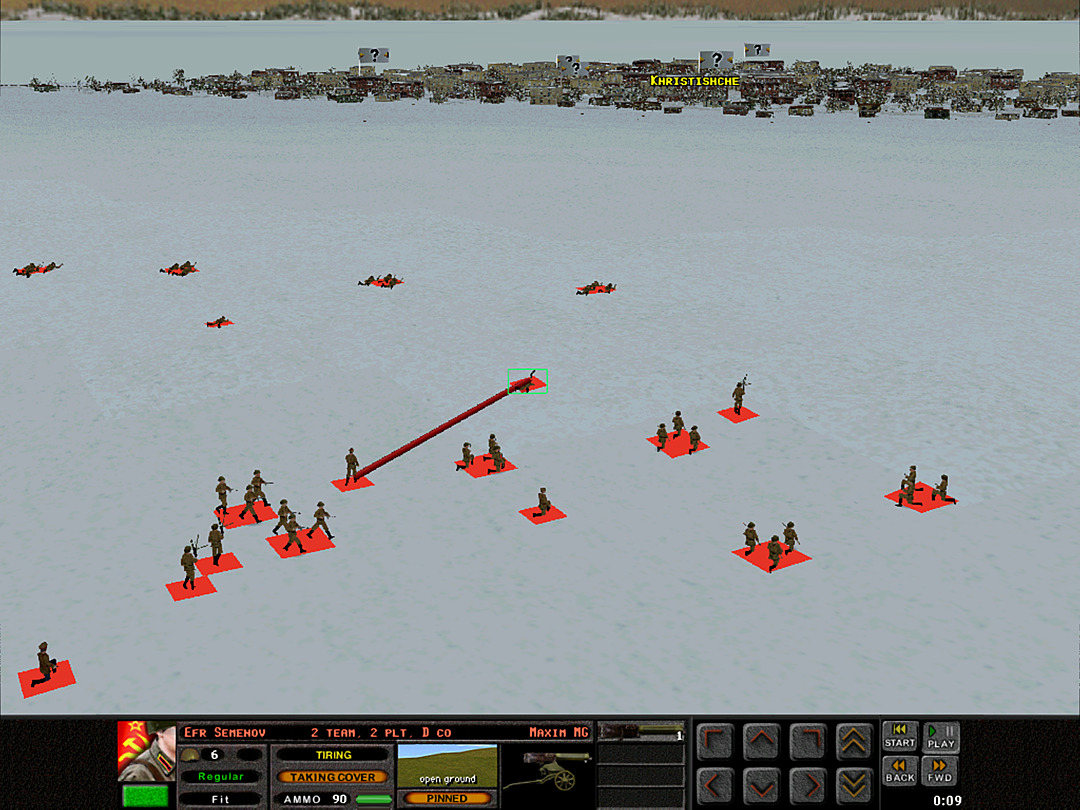 As soon as we wheel a machine gun into view, though, the Germans start shooting again. 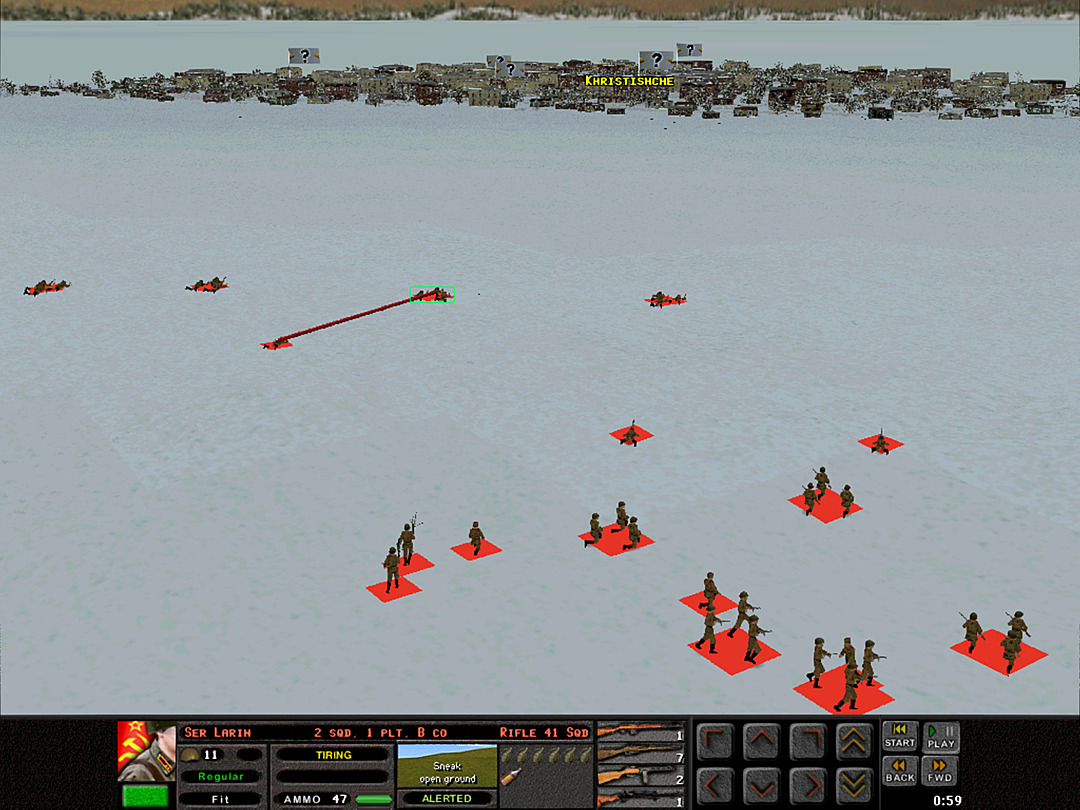 Yet we still cannot identify the source of the gunfire. 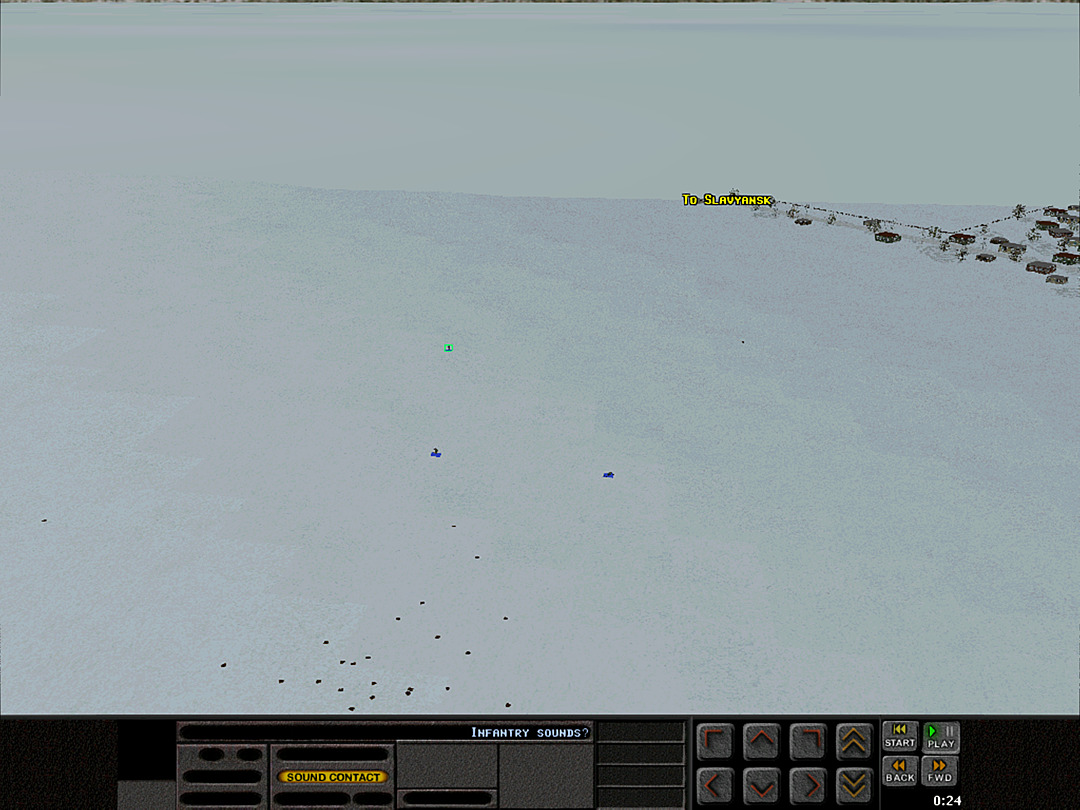 Eventually, however, we get the sense that at least some of the enemy's soldiers are not far from us, as we can hear movement out in the snow field. 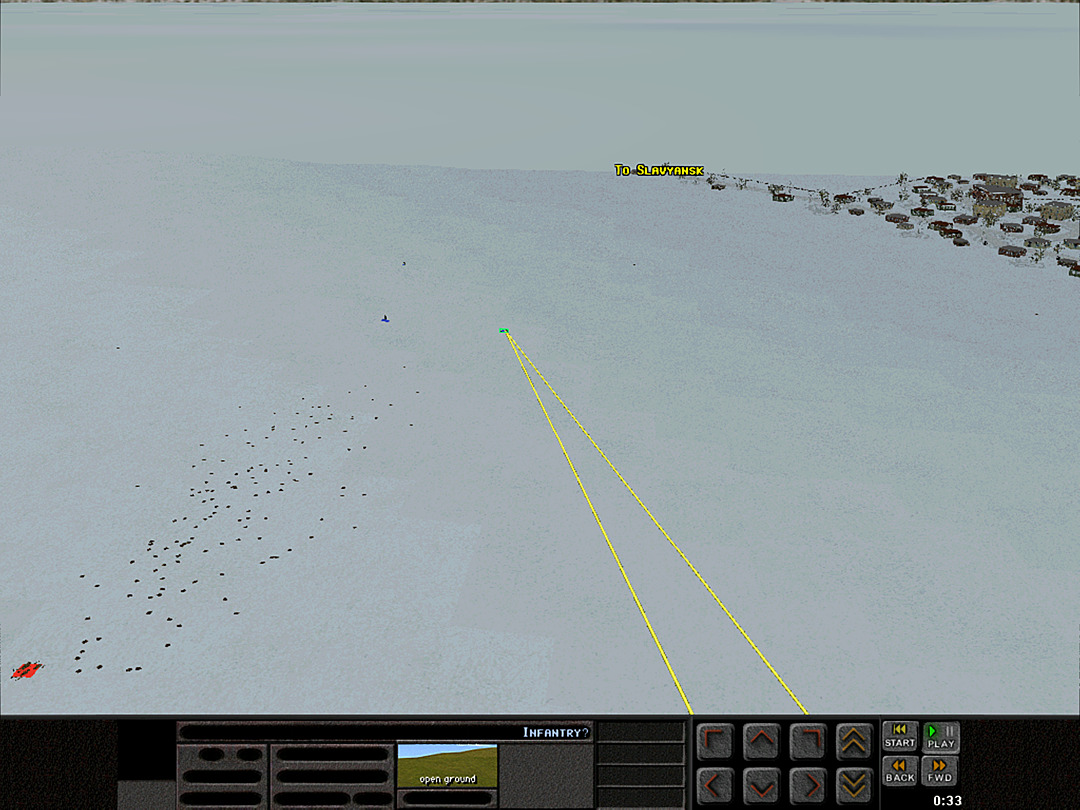 We finally return some fire. It's unlikely to have had much effect, but at least we are shooting at something real. 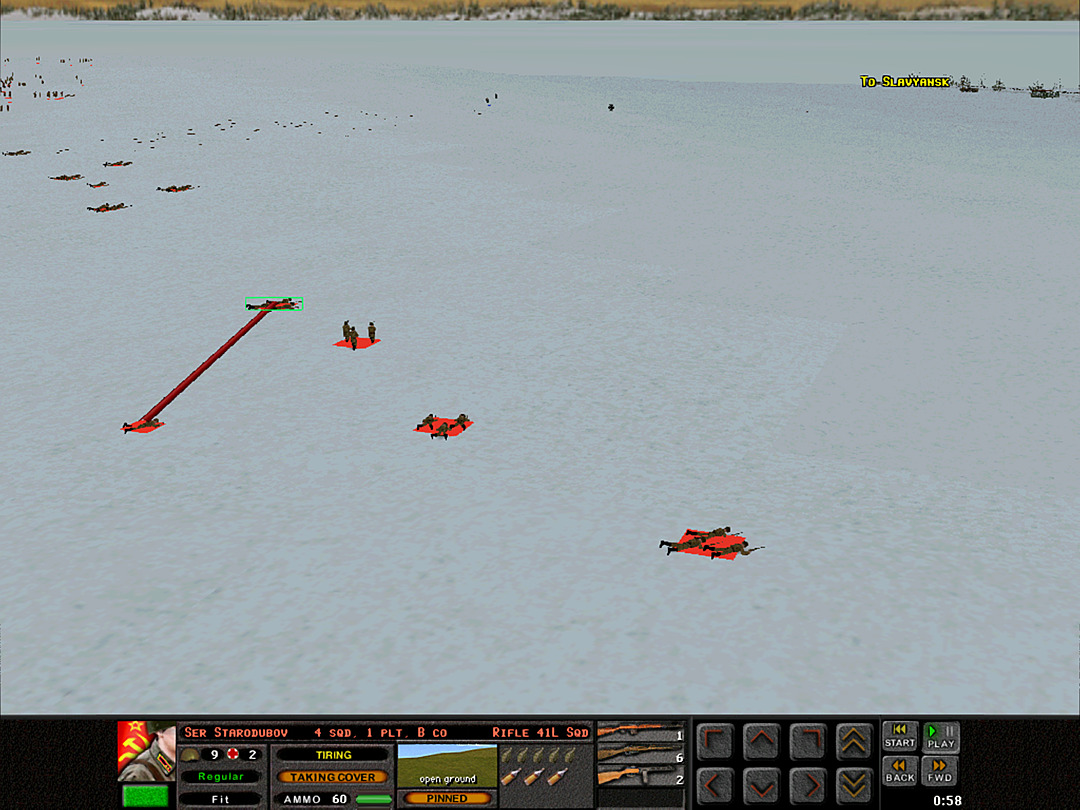 Enemy fire has likely been more accurate, sadly. B Coy starts taking casualties.  We took a lot of losses, and with almost nothing discovered about the enemy position. It was a painful and slow start to the battle. Unit Highlight 76.2mm Model 1927/39 Regimental Gun 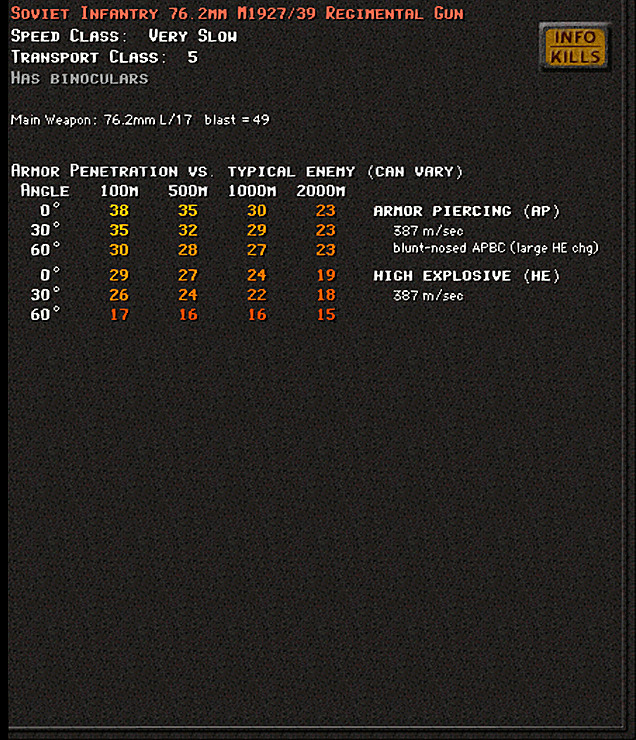 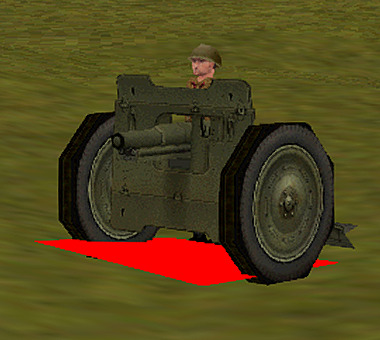 Crew: 5 Base Cost: 24 An older but serviceable model which ended up seeing a fair amount of action during the war. The Soviet army would designate some artillery according to the level of command that would decide its use. Many anti-tank or artillery guns were 'divisional', but a 'regimental' gun would need to travel along with the smaller unit. In the 1920s, the 76mm Model 1902 which remained in service was deemed too heavy to be maneuverable. The new gun, a modernization of a 1913 model, was designated the M1927 and put into production in 1928. It featured a short barrel and came in under 1000kg, making it reasonably easy for the crew to move around. On the downside, it wasn't very strong and lacked decent armor penetration. Despite being sized the same as many common anti-tank guns later in use, it could not fire those rounds safely as the smaller barrel required a reduced charge. Several thousand had been produced by the time of the war, and they served throughout the conflict, though production ceased in 1943. (I'm not sure what the '39' designation indicates, as I have found no mention of it. There was a variant designated 1927/32, which featured a reduced recoil; it was mounted as a tank gun, including on one T-26 variant.) Kangra fucked around with this message at 12:54 on Apr 28, 2024 |
|
#
?
Apr 28, 2024 07:32
|
|
|
I realized I'd mistakenly had the Panzer I and the PzB39 AT Rifle in two different updates; that should be fixed now.
|
|
#
?
Apr 29, 2024 00:33
|
|
|
Operation: Siberian Devils, Battle 2 of 6 Time: Mid-Day Skies: Clear Ground: Deep Snow Temp: Extreme Cold Wind: Windy SE We spent the morning fruitlessly trying to get an idea of where the Germans are. Ultimately all we could locate was some of their scouts that had left the safety of the town on a patrol. Now, we are poised for a frontal attack without knowing where the opposition will be. The weather stays clear and bone-chilling while the wind continues to blow strong against us. It will be no easy task, yet we have no other option but to go forward. The town must be taken. 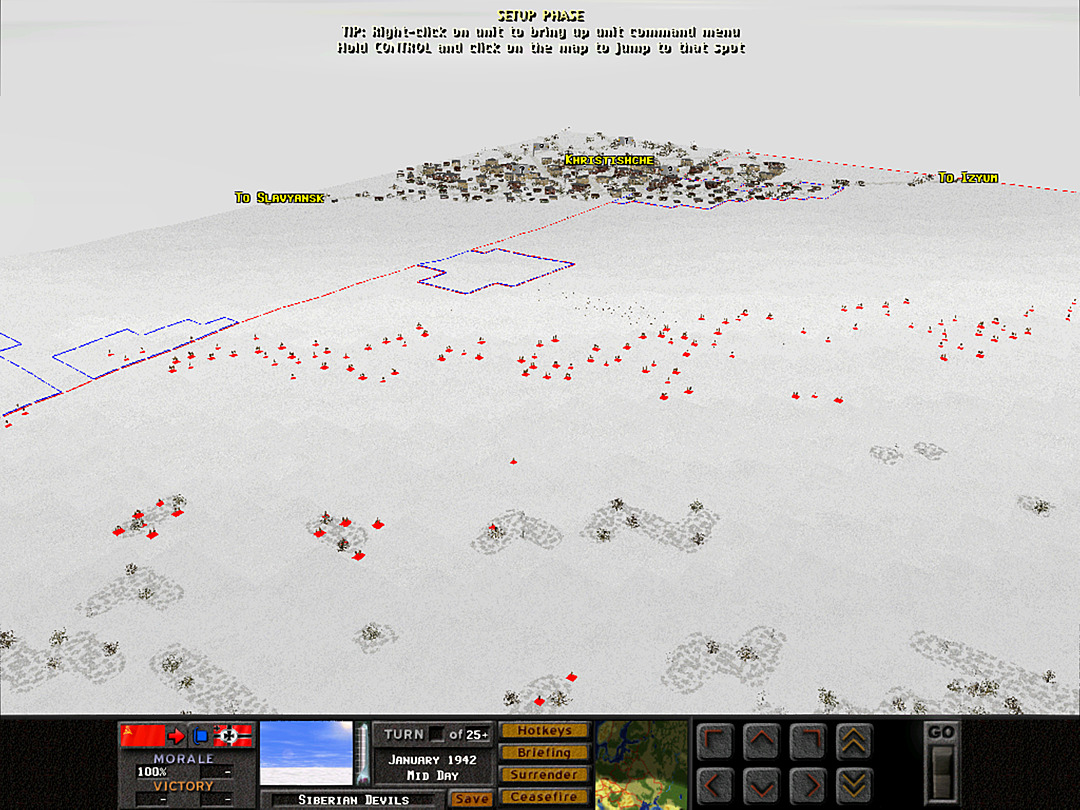 This is what the initial battle set-up gave us -- a wide open range in which we could reposition our units, and the revelation that we've 'captured' a large chunk of the map. It is obviously kind of silly and a quirk of the game system. If we so desired, we could move our forces all the way into the back of the town, since it's been left open. On the other side of it, we're unable to secure any territory on the south end of the ridge itself, since that 'edge' of the map is considered held by the Germans. There was some slight reorganization to bring all forces forward and put the platoons in the formation I wanted, but no one was moved beyond the line we had established at the end of the first battle. 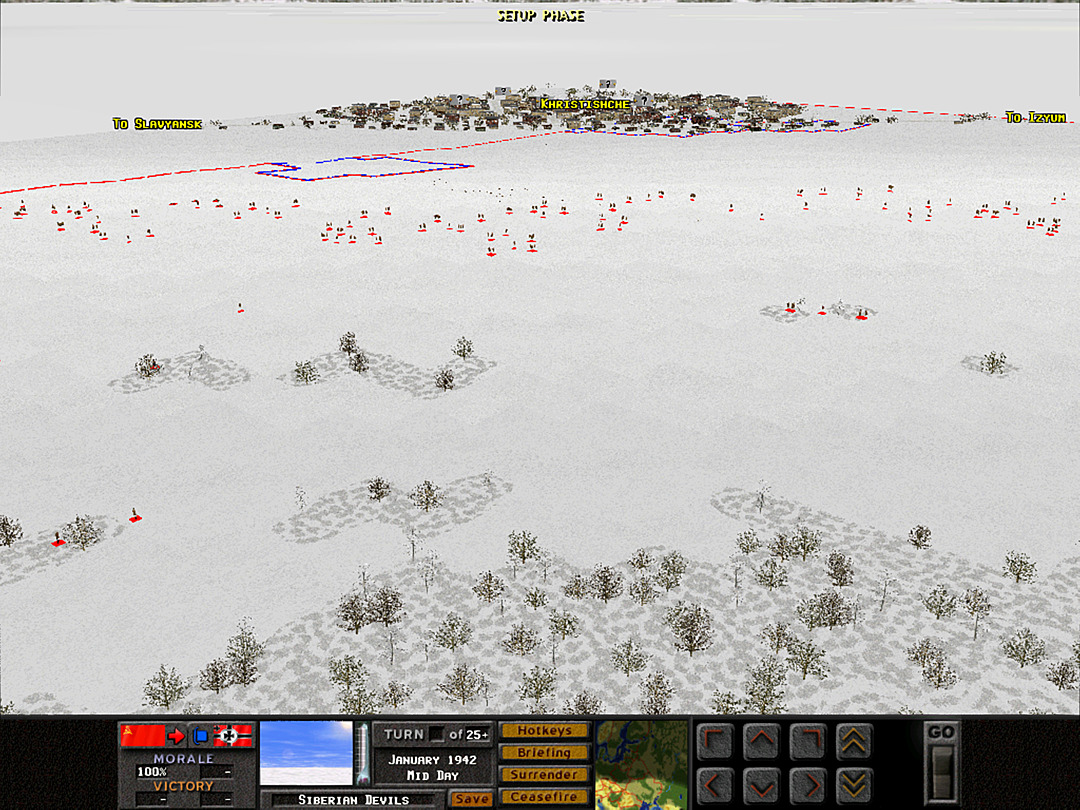 Except for I Btn, A Coy in reserve, we're moving everyone out of the forest. Seven companies of II Battalion are lined up and ready to mount the ridge. Two companies from I Battalion hold the northern line, and we'll have the machine guns on the edges, with a few scattered in amongst the rest of the troops. The ski troops of J Coy will continue patrols to try and bait the Germans into revealing themselves. For their part, I Coy will wait until the main attack has nearly reached the town and then ski in right behind for rapid reinforcement. 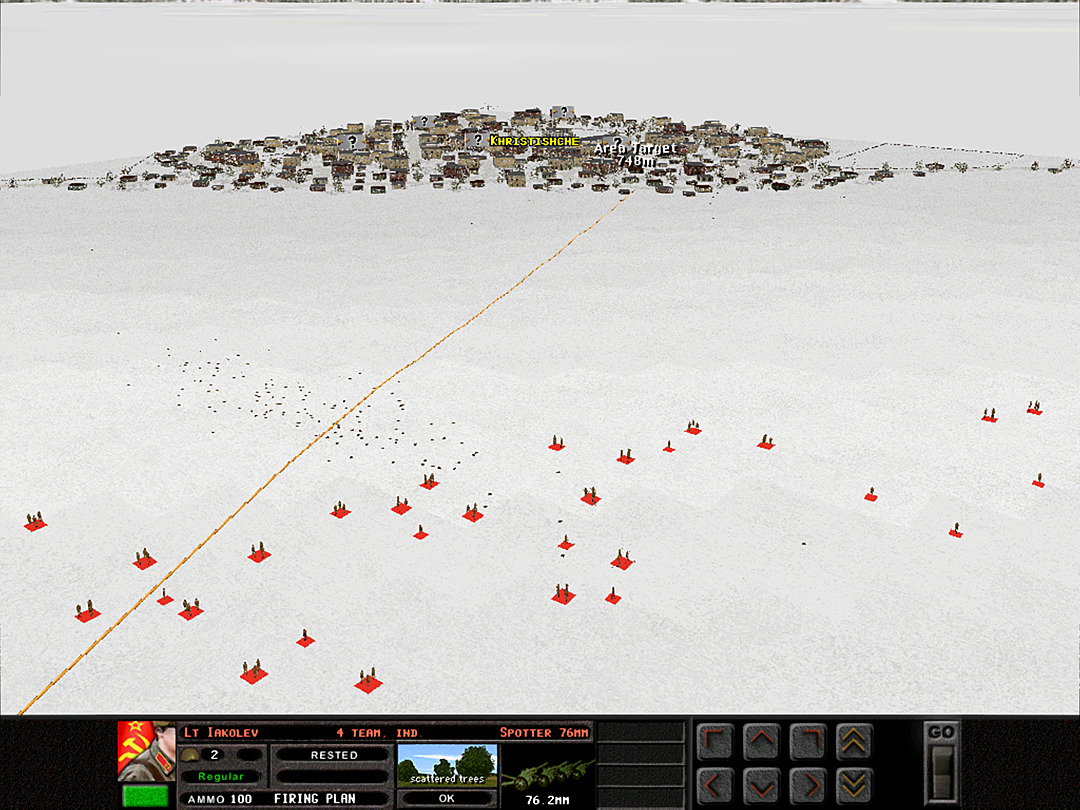 We open with a short barrage of 76mm on the town. Our spotters are able to get on the ridge to call in future strikes, so we'll save most of the artillery until we have more definite targets. 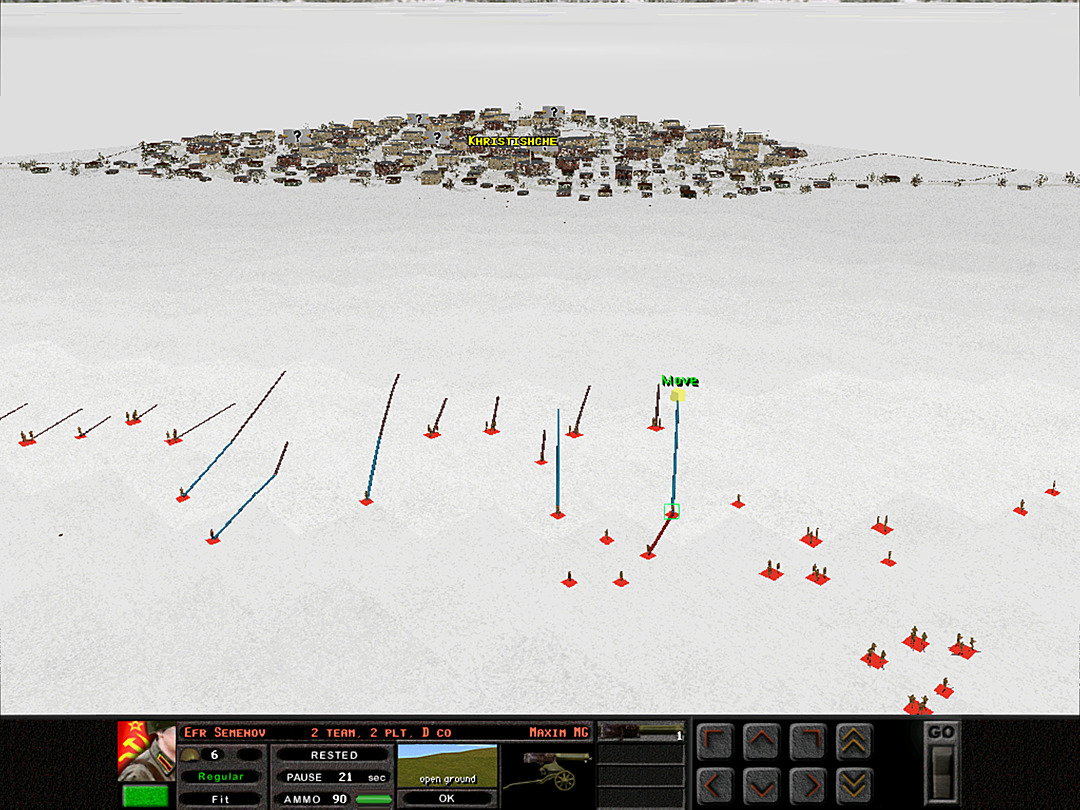 B Company shifts forward a bit for a better angle, and the Maxim guns roll up onto the ridge. 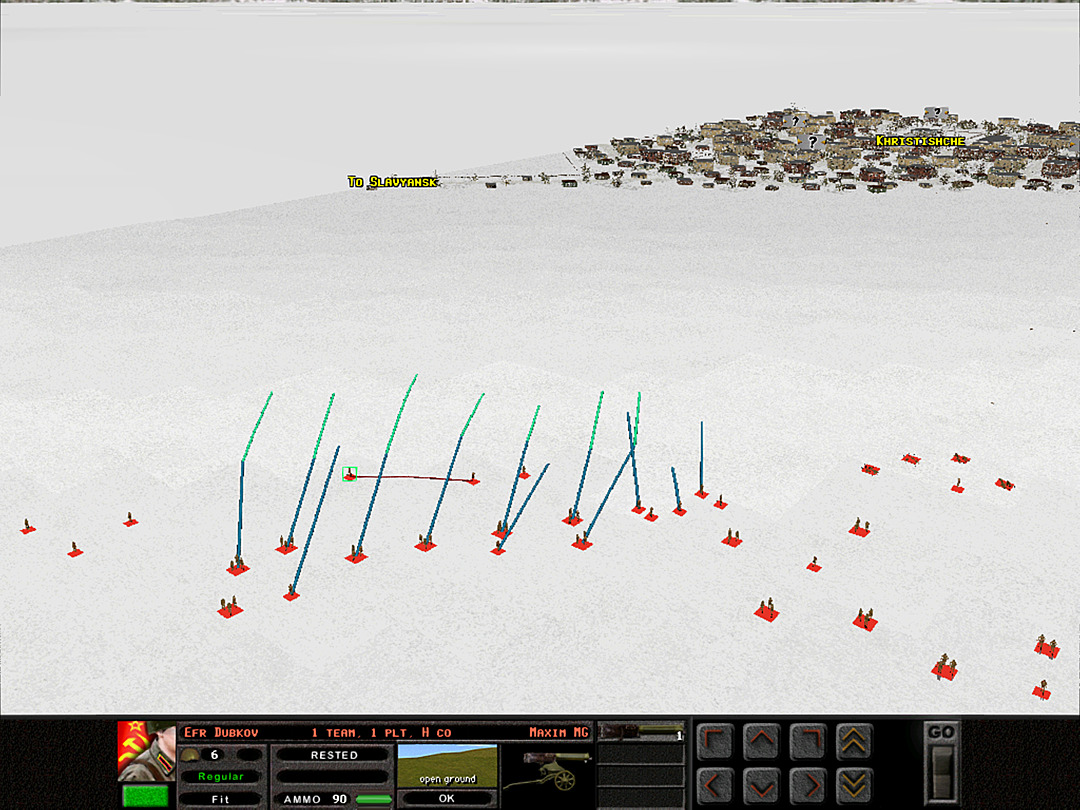 Most of G Company prepares to start the attack through the snow. 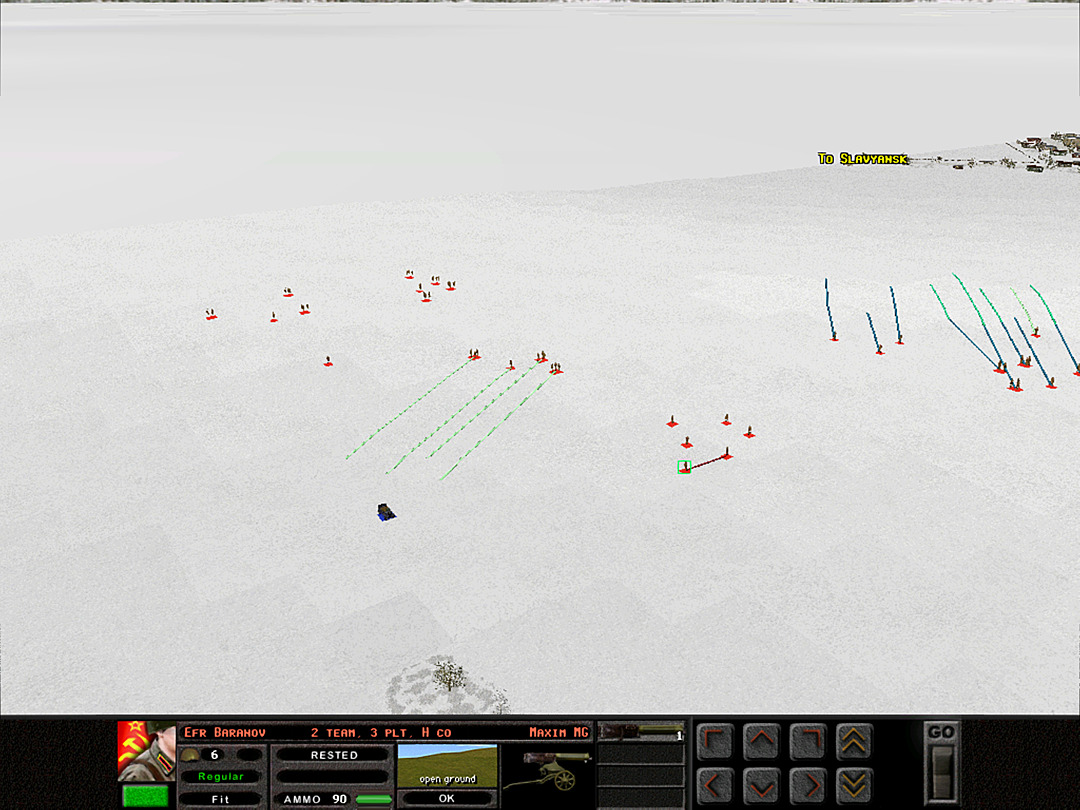 I Coy spots something that inexplicably passed them by before -- a German Kubelwagen has driven right through our lines! Just because I'm keeping to the spirit of the battle in defiance of the game mechanics doesn't mean the AI has to. Oh well.  It's soon discovered that at least three of the German vehicles made it out to the forest. Our guns swing around and knock two of them out with ease. The crew abandons the third after we spray it with gunfire. 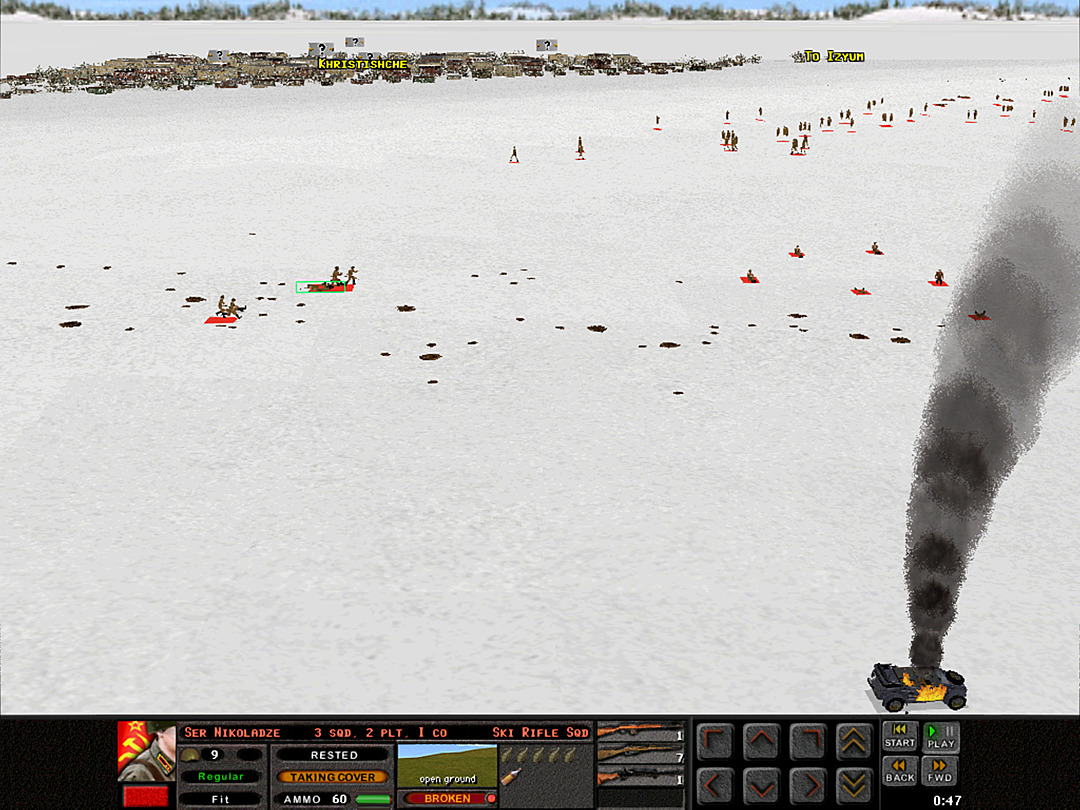 But I Coy then finds itself right in the midst of a precision heavy artillery strike. 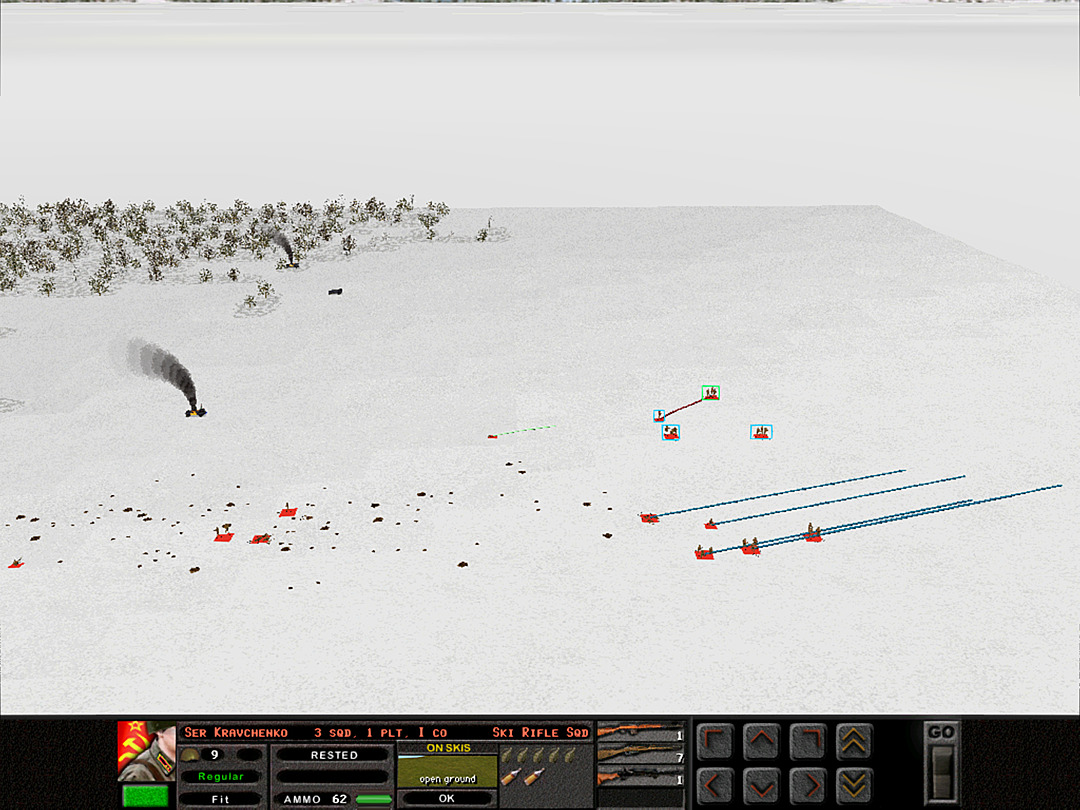 Most of the company starts to ski away. I Coy, 2 Plt is hit the hardest and the men freeze up in fear. 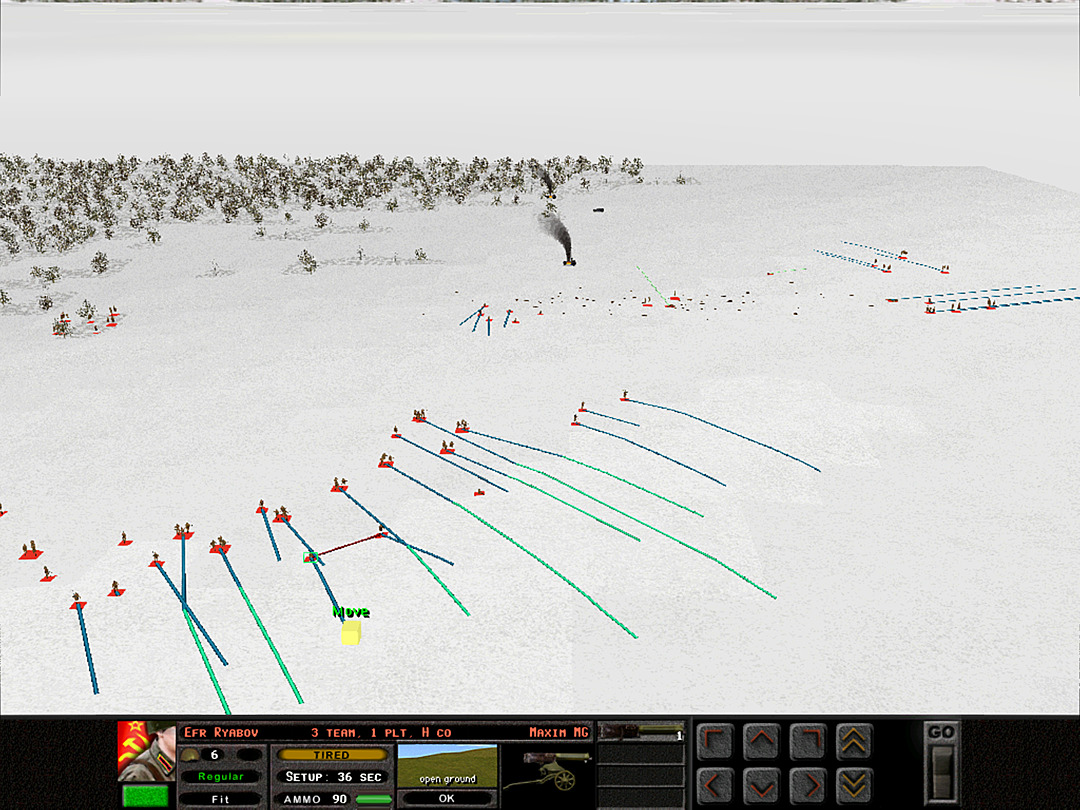 We can only be mildly grateful that the strike was not aimed at the ridge. If they'd hit II Battalion's forming-up point, the damage would have been far worse. 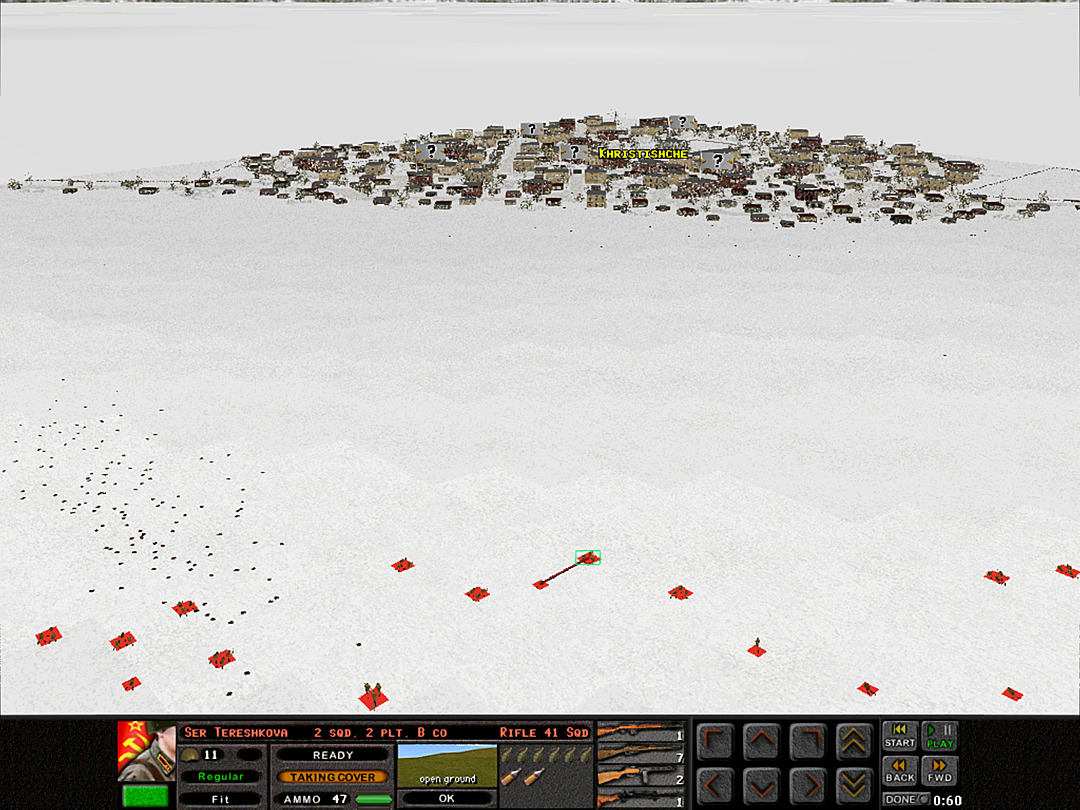 Machine gun fire from the town rakes along the ridge, and B Coy has to duck for cover. 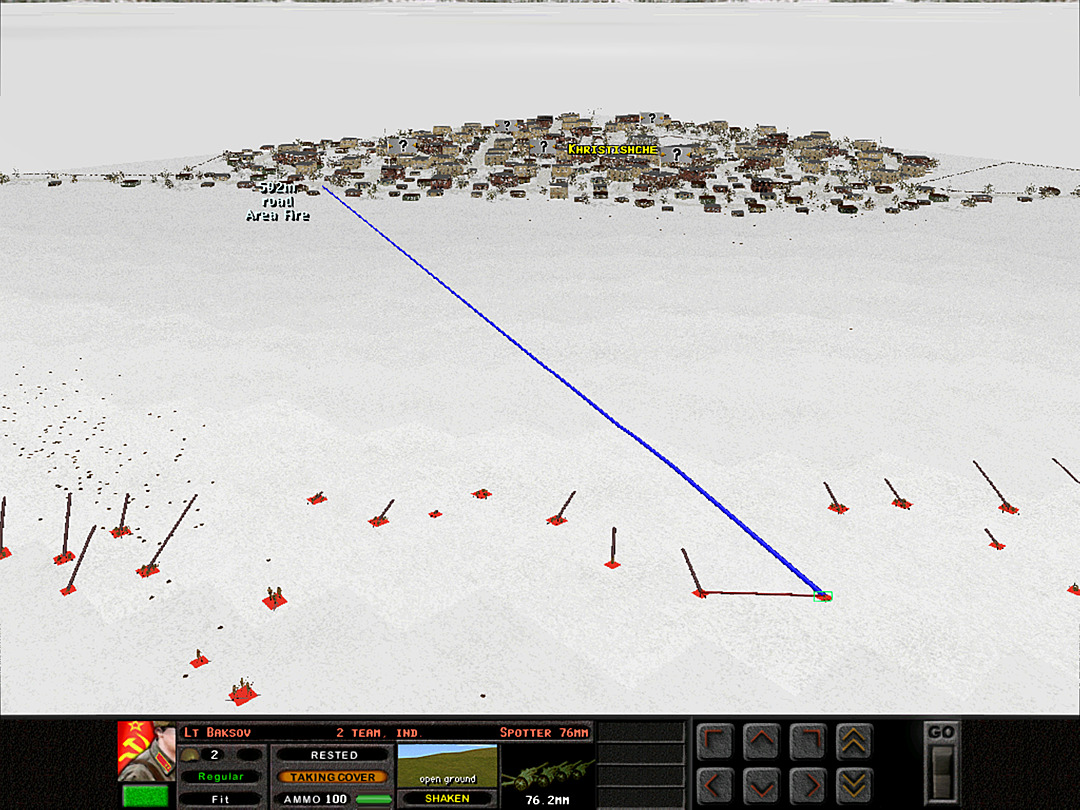 We can only guess at the enemy location; artillery on the south end of the town ought to suppress the forces here while the assault gets underway. 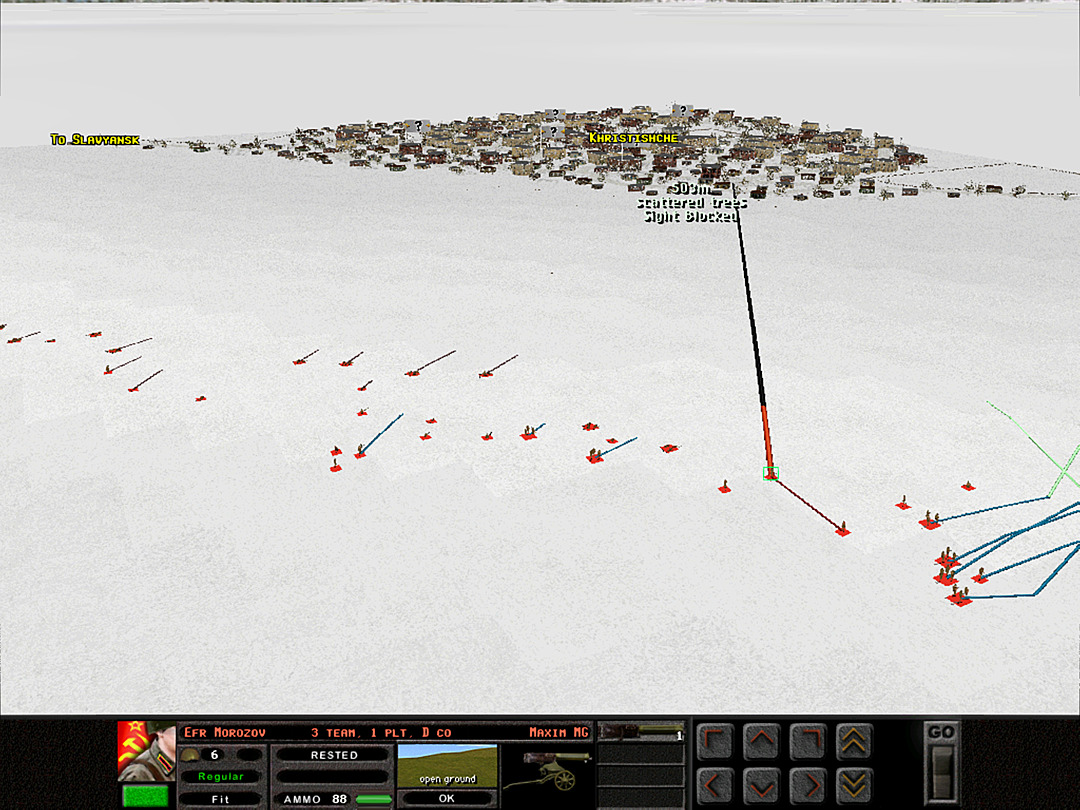 Our own machine guns on the north side aren't quite forward enough to fire into the town.  A few German artillery rounds landed close enough to H Coy's reserve platoon to cause a few casualties and a lot of panic. 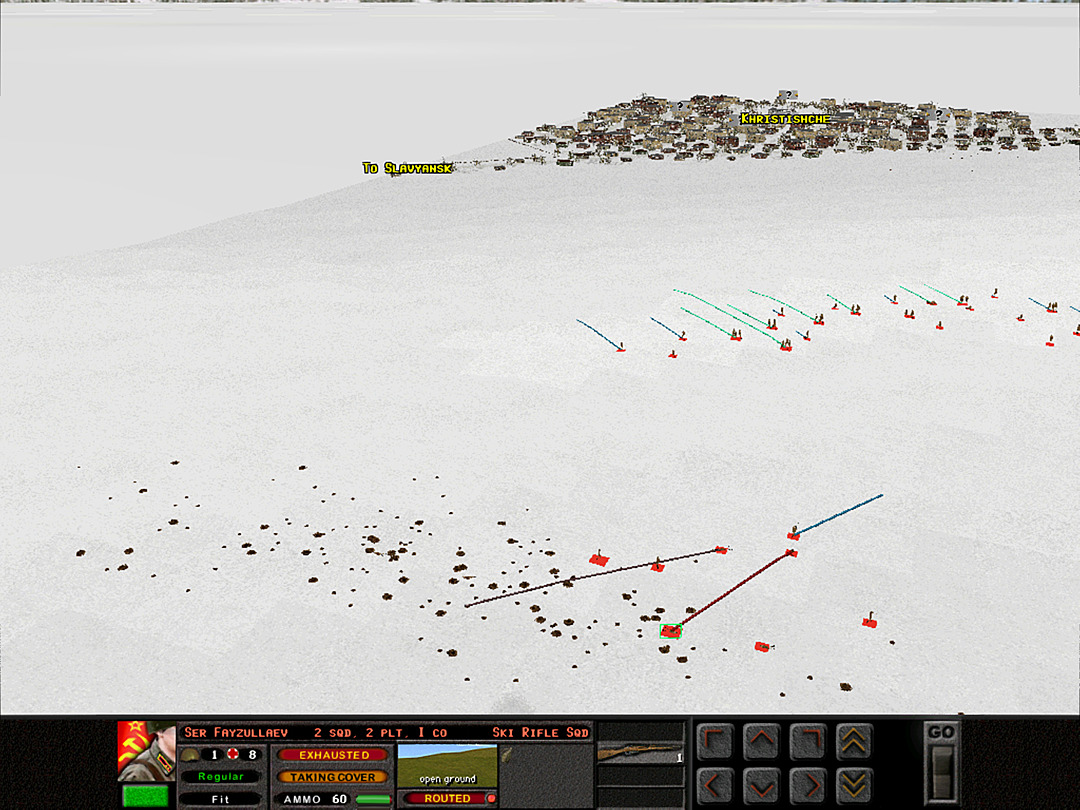 I Coy, 2 Plt has been all but wiped out by the artillery strike. Barely half of the men are still standing. 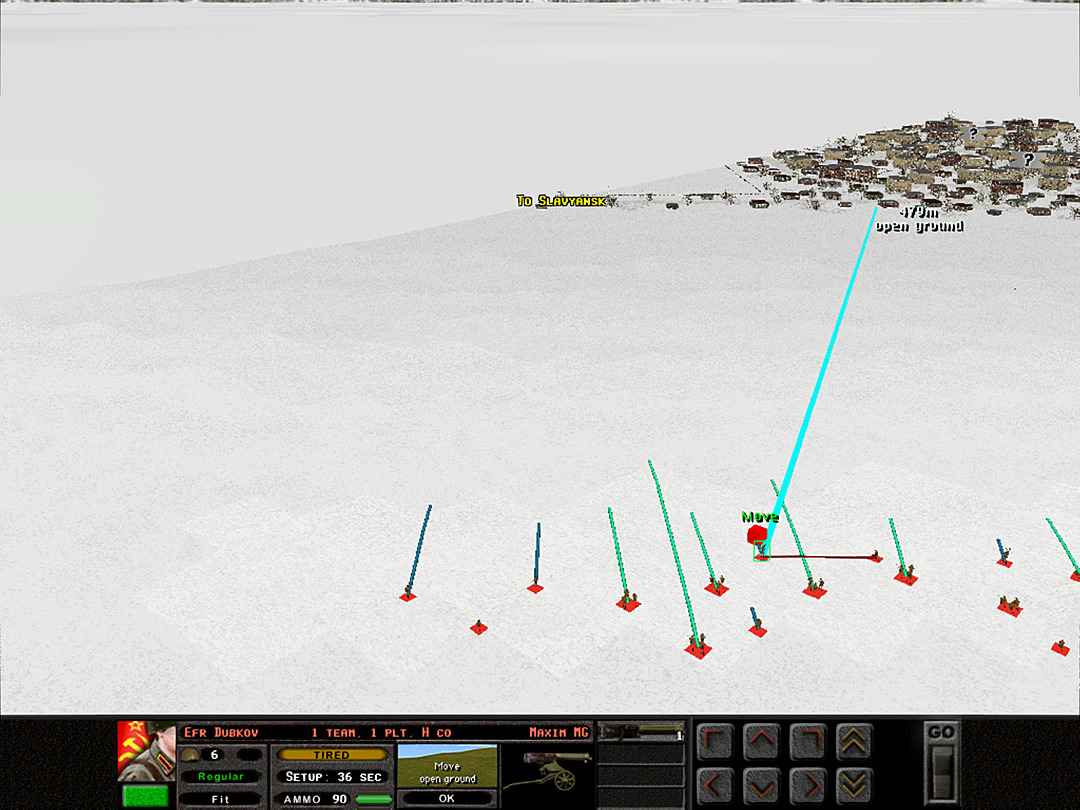 Some of the machine guns on the south end come into range of the town. They prepare to give support for II Battalion's assault. 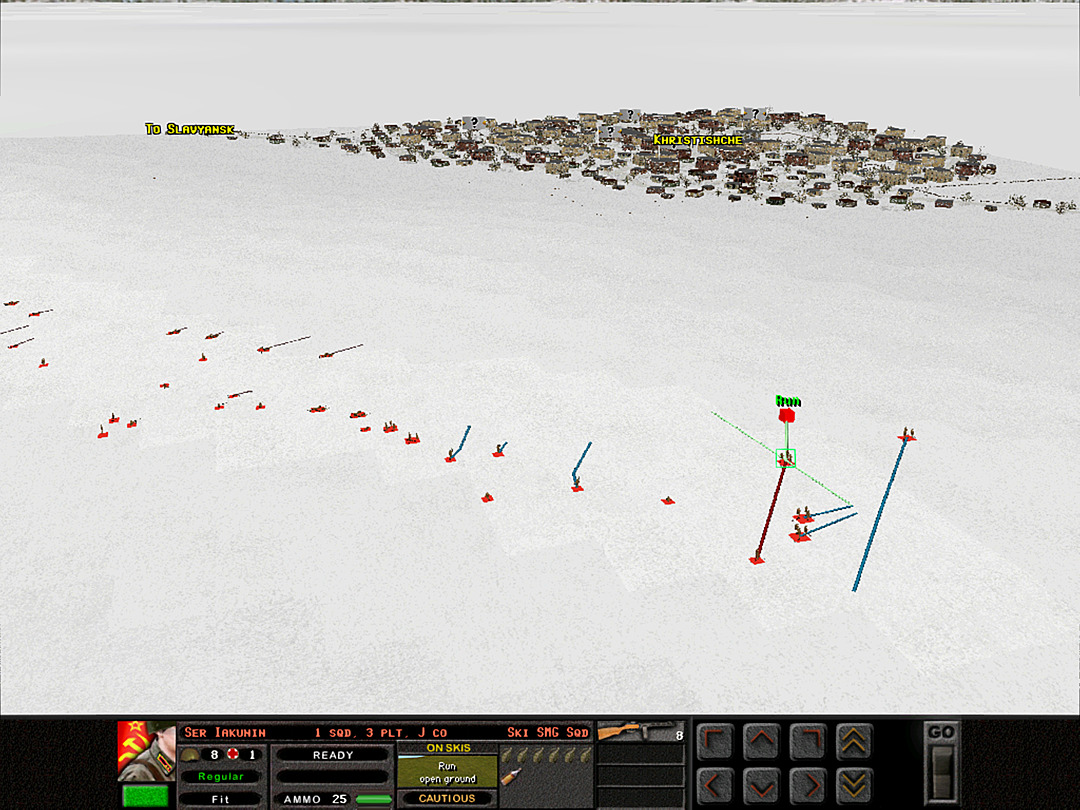 The ski platoons make scouting patrols on the north end of the line. 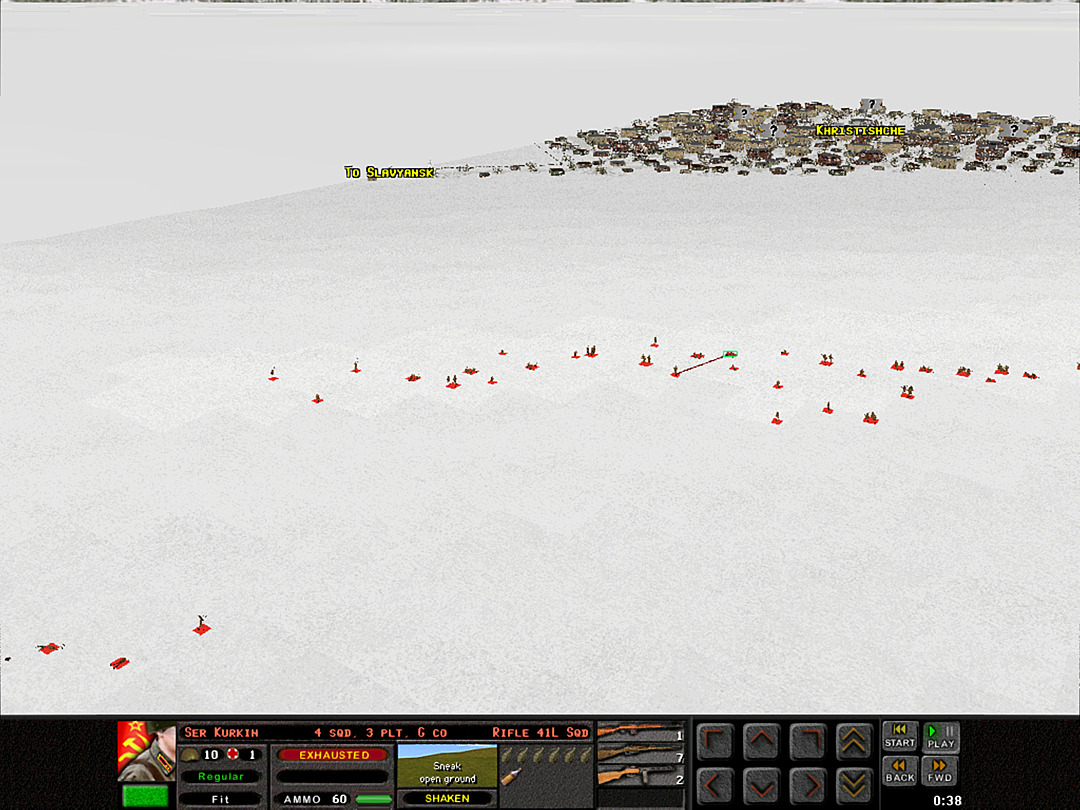 Despite the captain's orders to rush 'with all speed' toward the town, G Coy finds the conditions too punishing. The men are out of breath within 50 meters. 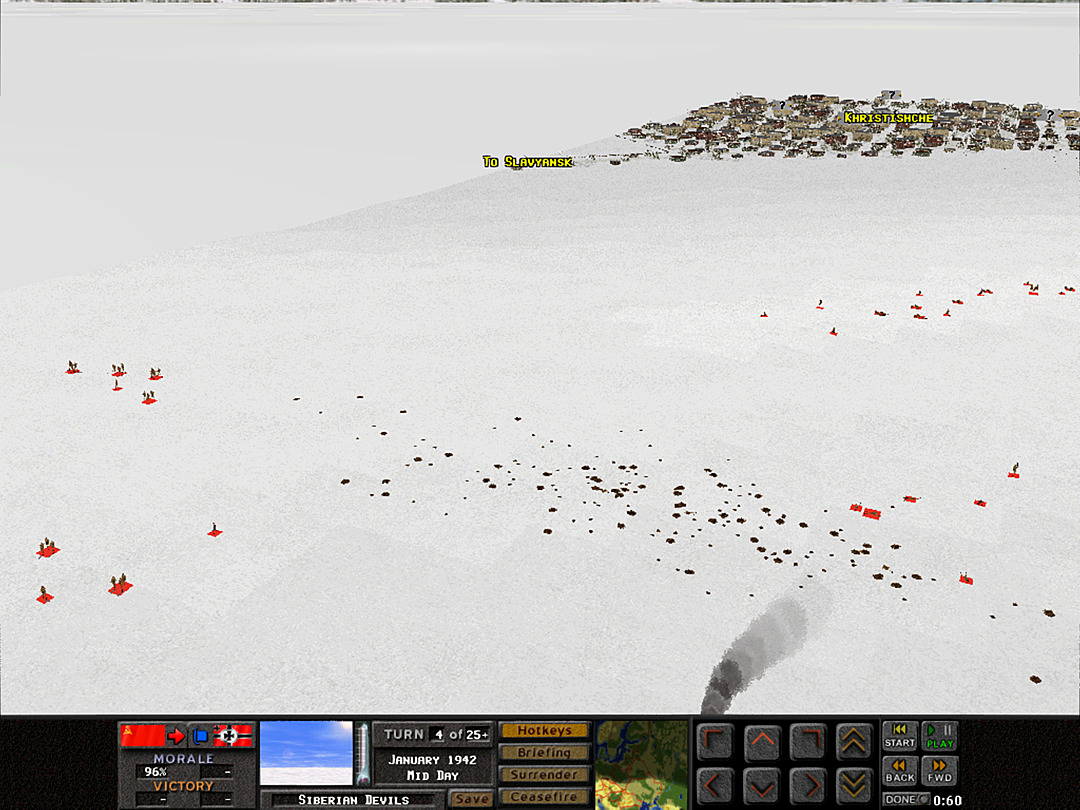 I Coy moves free from the deadly rain of shells, just about as the barrage tapers off. 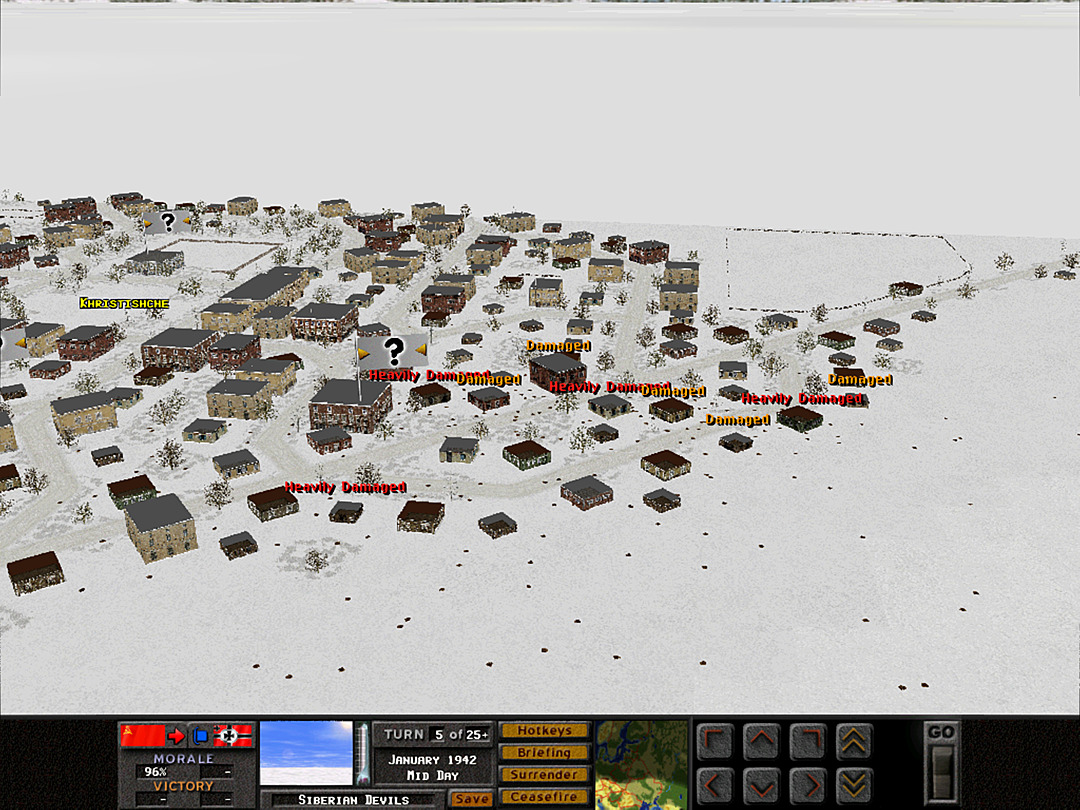 As we get a bit closer to the town in the light of day, we see the damage done by the morning's artillery barrages. We aren't able to spot any enemy forces yet. 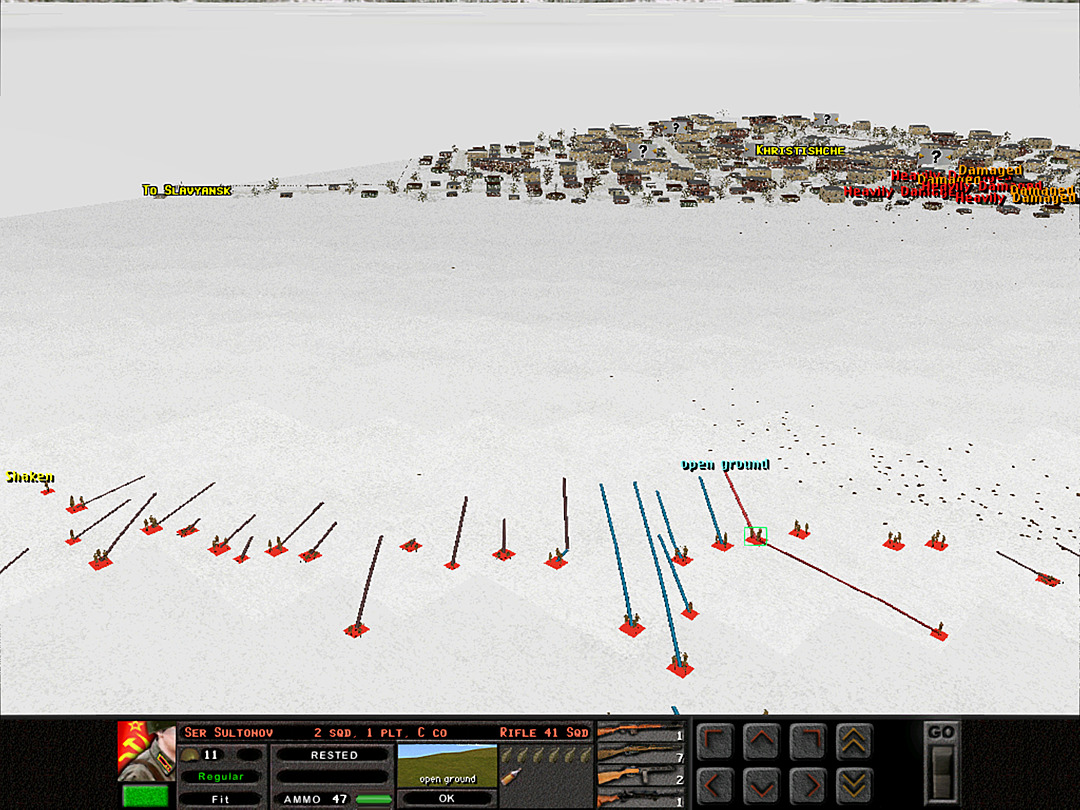 F Coy starts to march over the ridge. In the middle E Coy is slowly creeping forward. They're hoping to avoid being spotted until the absolute last minute. 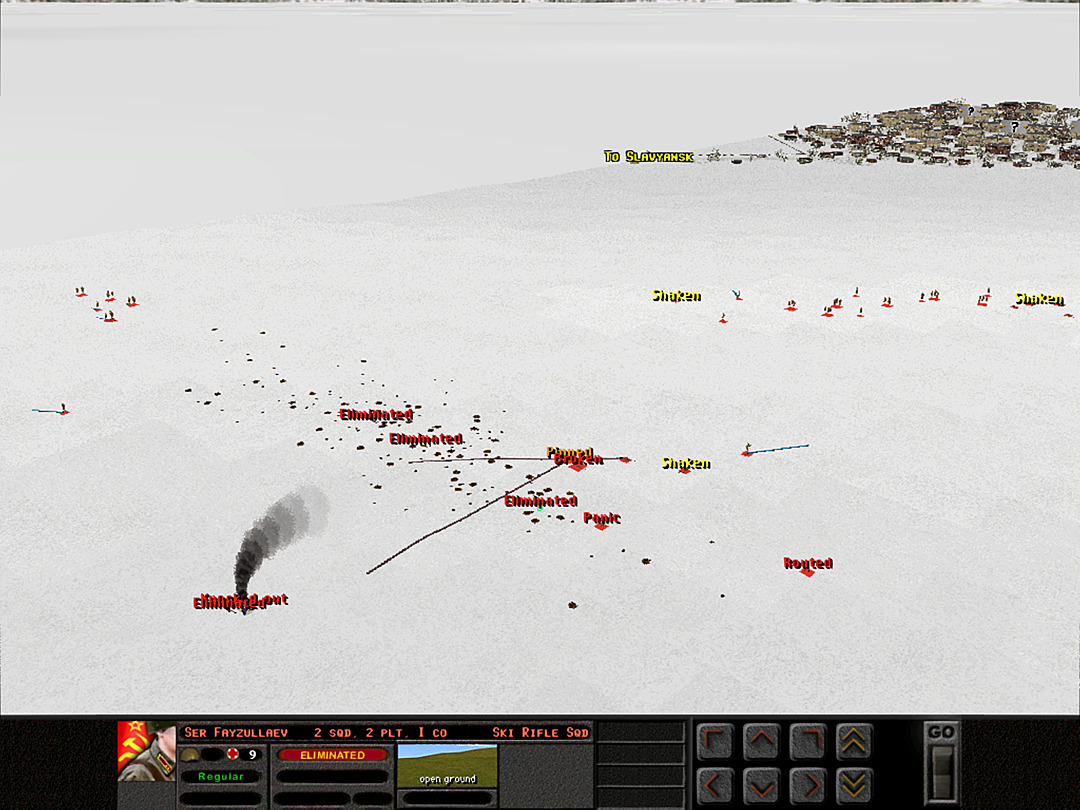 I Coy, 2 Plt lost one squad and their officer almost immediately, with a third one taken out by the final few rounds. They are completely out of the battle, and I Coy is down to two platoons. 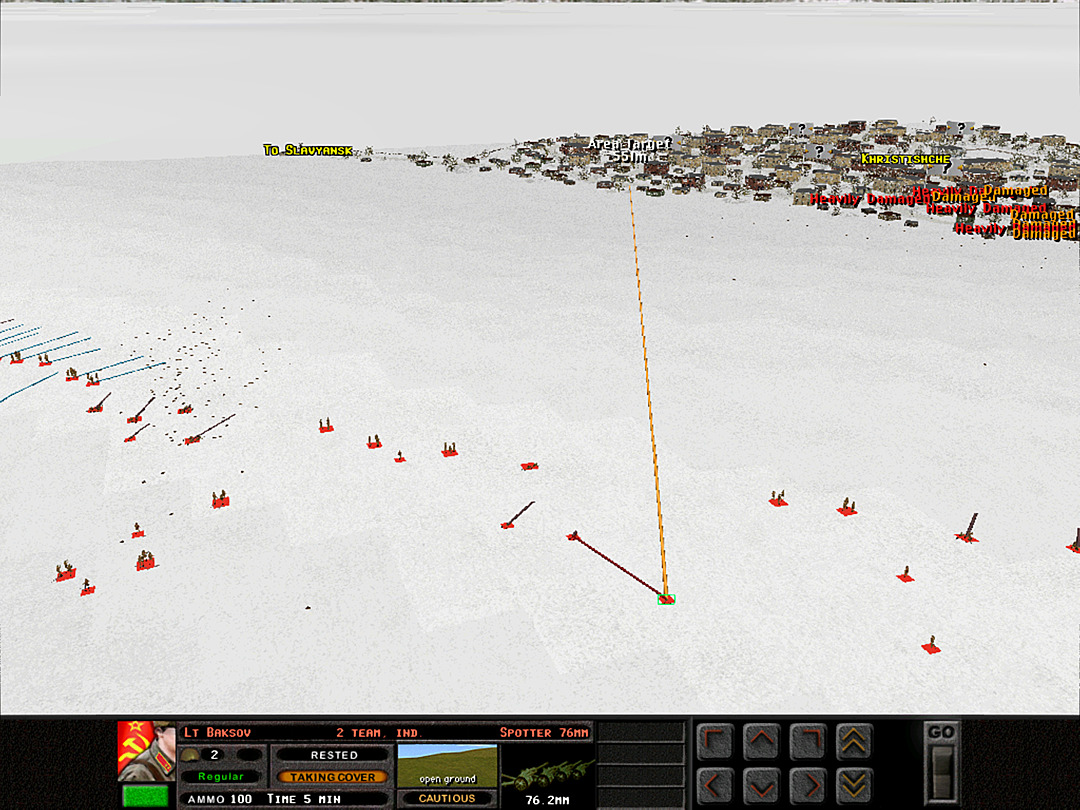 The artillery spotters on the ridge are having to dodge gunfire, and it's making it difficult to call in artillery strikes. 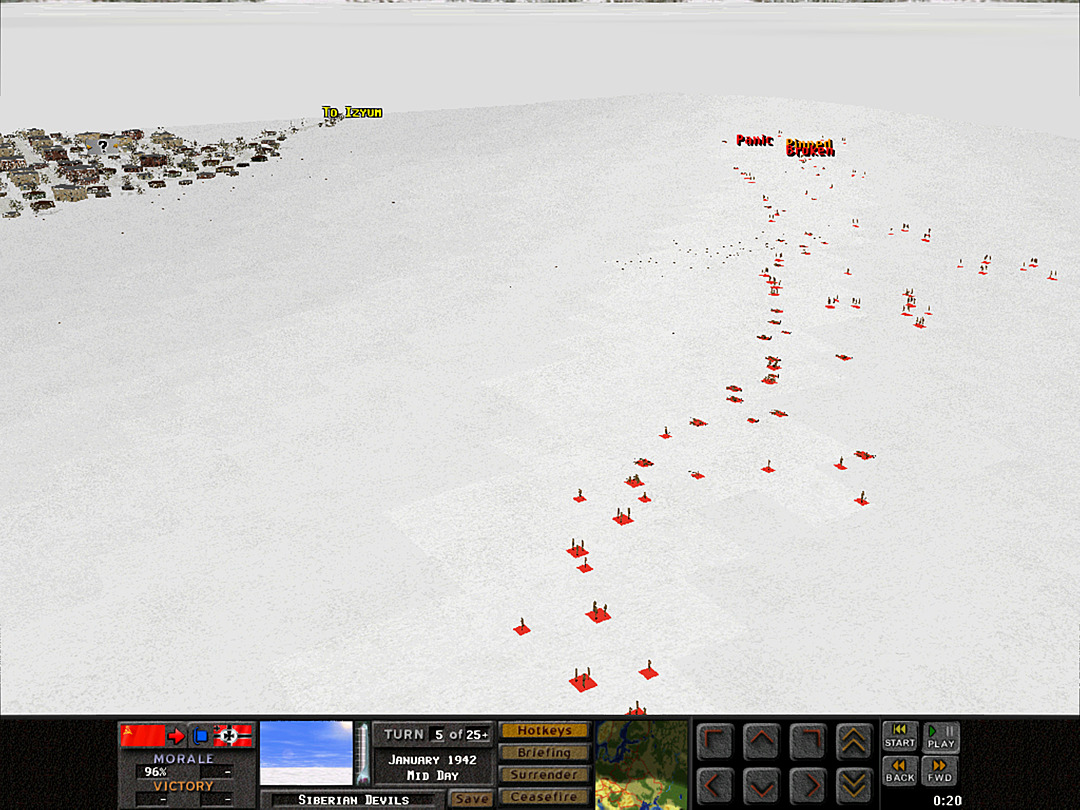 We have begun an attack from the south end of the ridge, but you'd be hard-pressed to notice it, given how slow the men are moving in this snow. 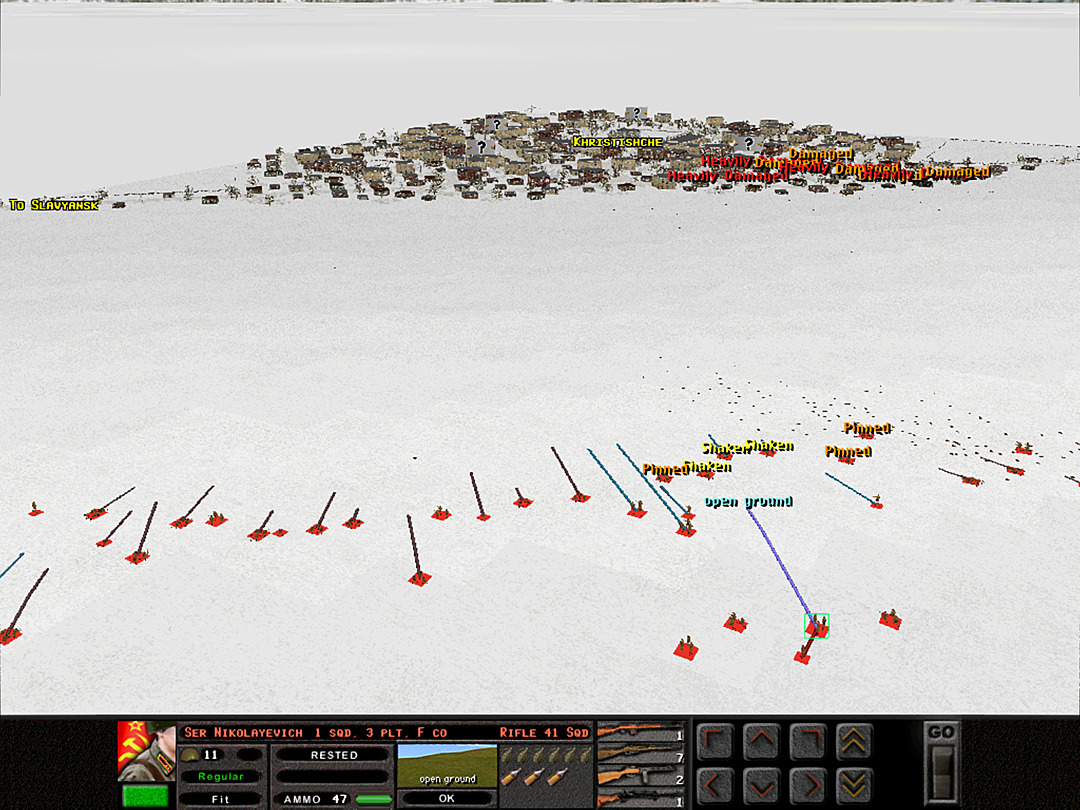 F Coy, in the middle of the ridge, takes the most of the enemy gunfire. C Coy is holding down the line nearby, but they take a lot of incoming fire as well.  The captain in charge of the Maxim guns in Battalion II attempts to regroup the men still shocked by the sudden artillery strike. 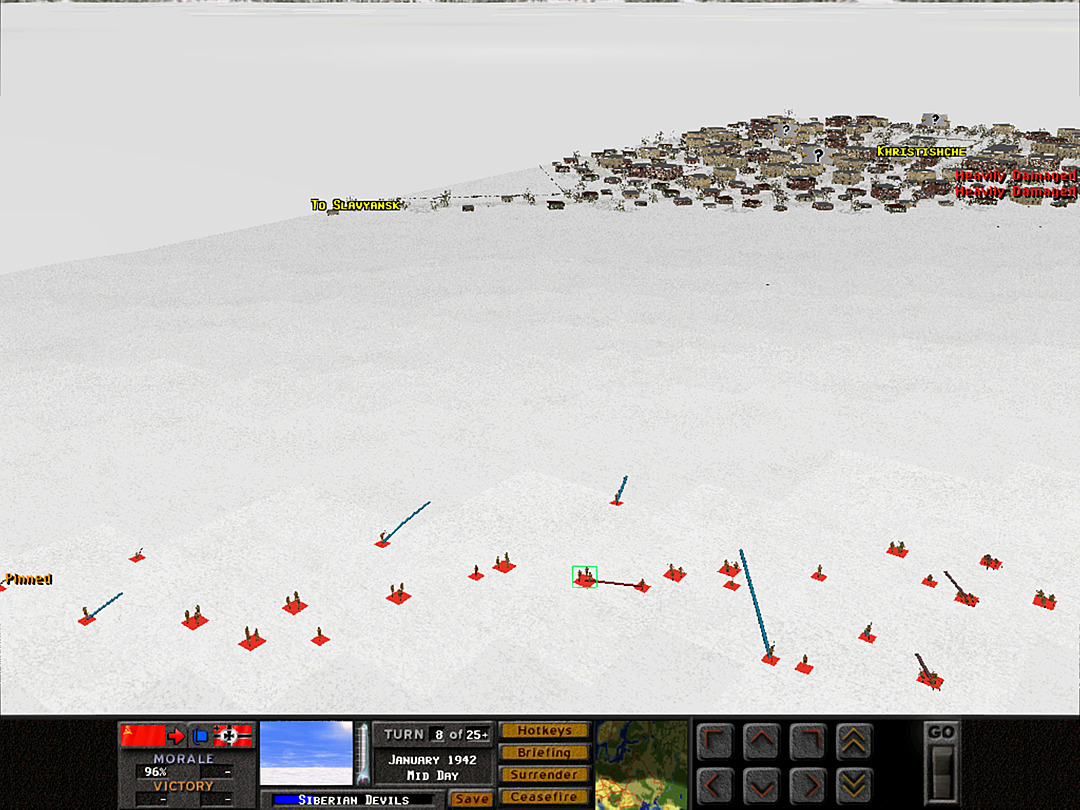 G Coy continues to trudge forward, but they have to take frequent breaks. This isn't a charge across the battlefield, it's a slow march. 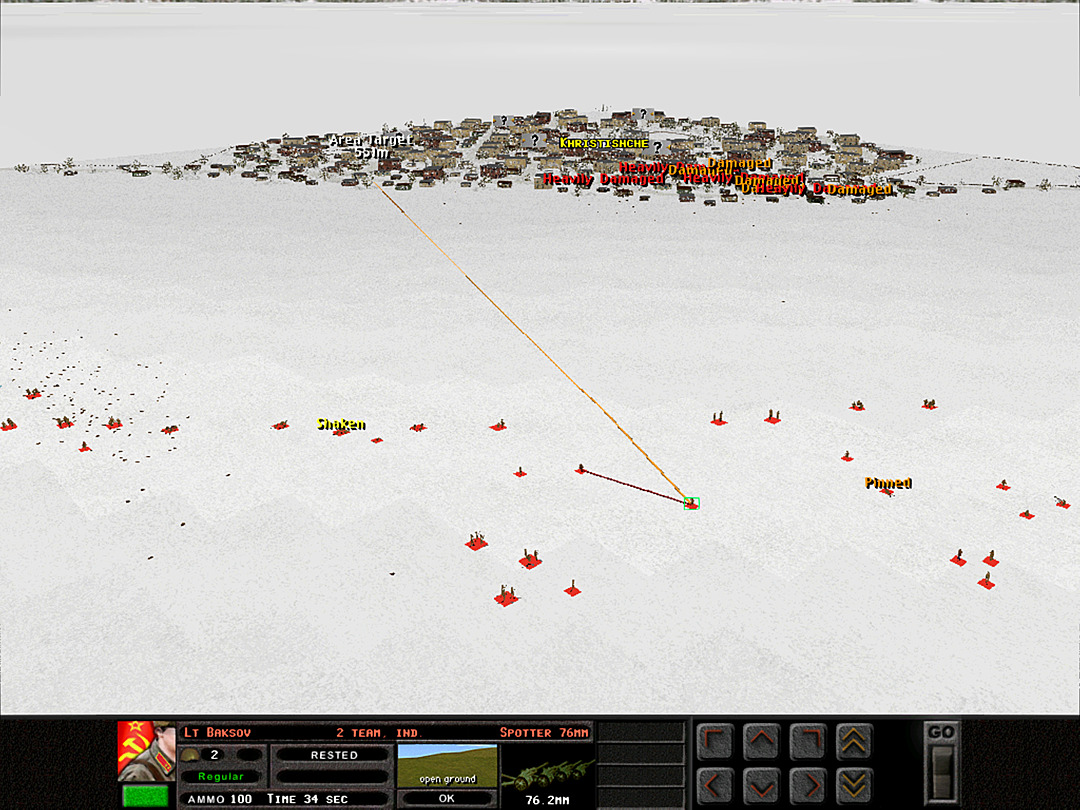 The good news is that we do seem to be presenting more targets to the Germans than they can shoot at all at once. The artillery strike on the town is about to arrive. 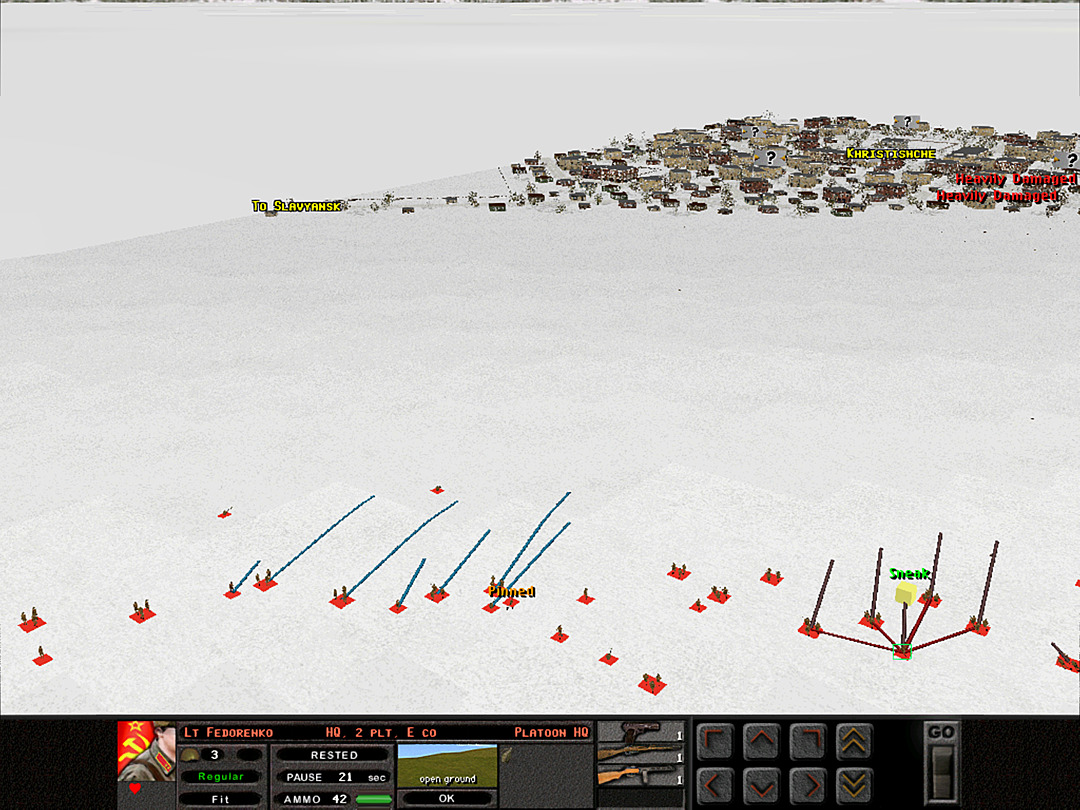 E Coy's men are getting deep into the snow. They are risking being frozen, but they have not yet been shot at. 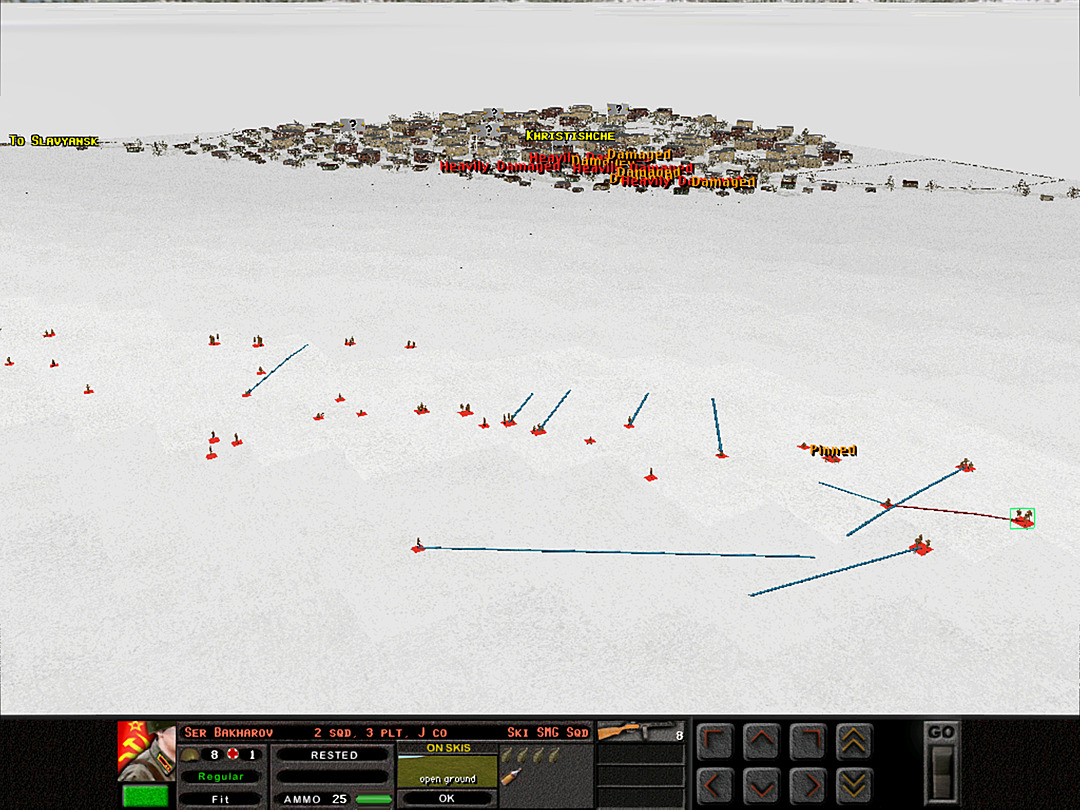 The scout run on the north revealed no enemy units. 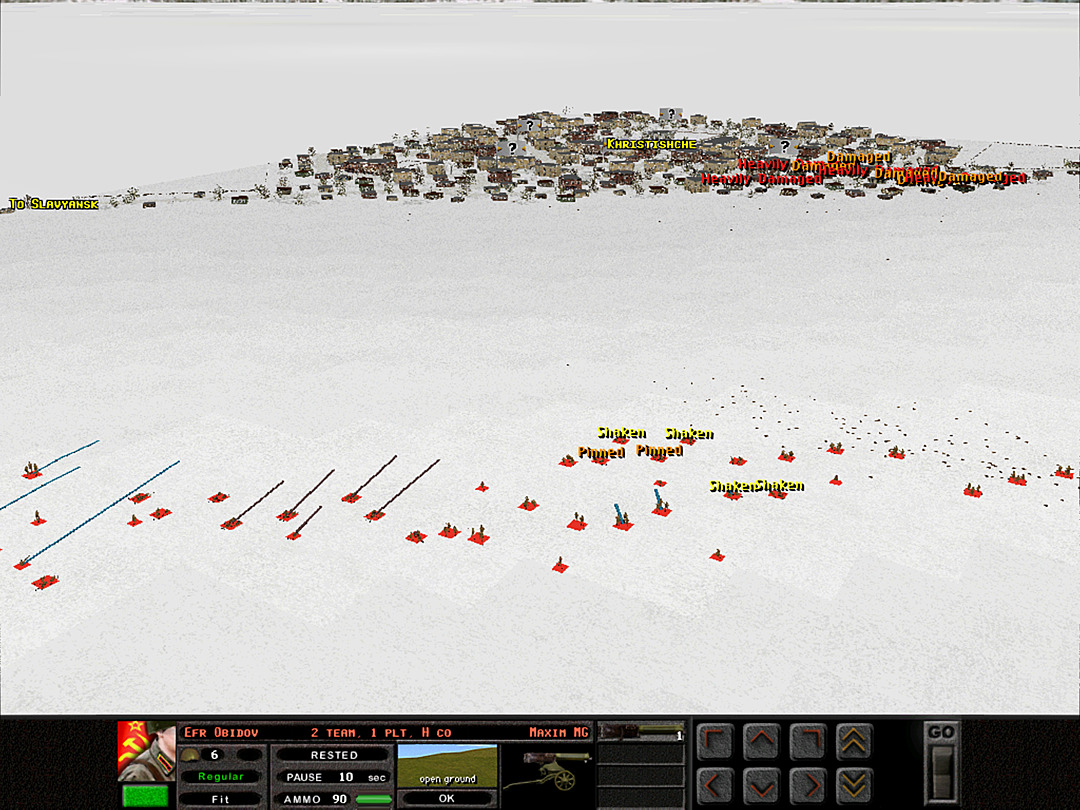 F Coy is still being shot at the most. They nevertheless persist in the arduous march forward. 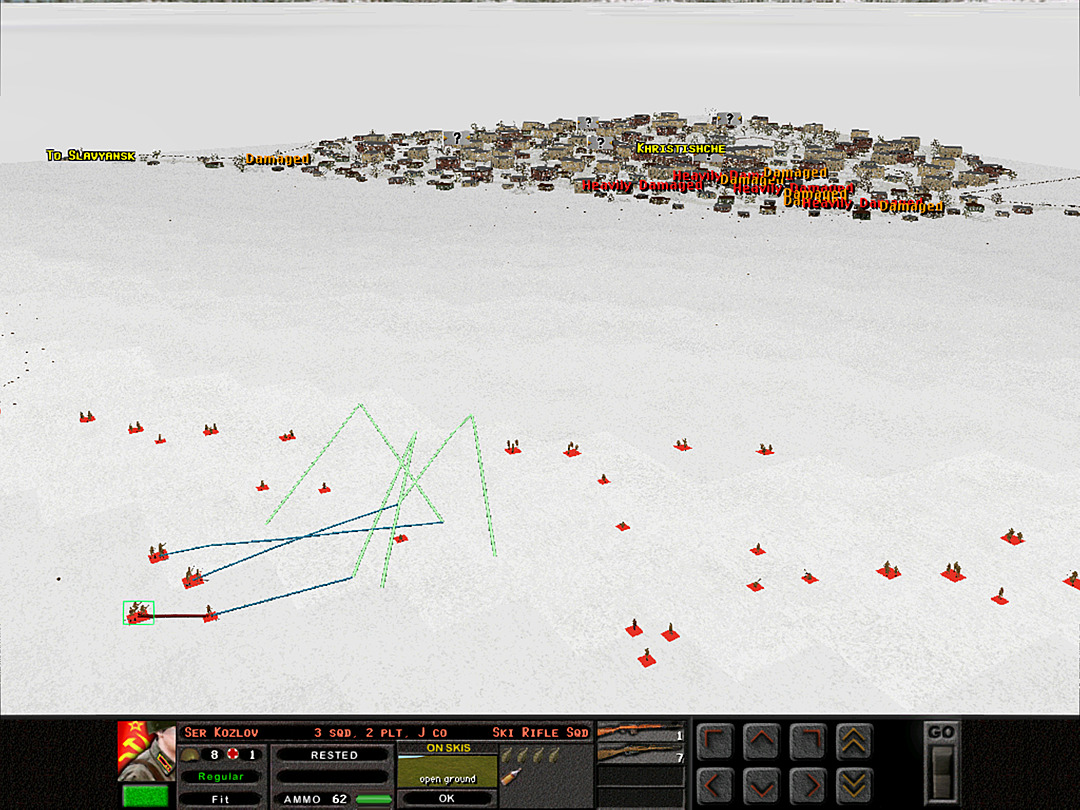 Another ski platoon decides to make a feint of an attack. Hopefully this will take some pressure of off of F Coy.  We've set up a good line of fire on the ridge, but still can't get make out a clear identification of any of the town's defenders.  Some activity is spotted on the south side of town. No definite contacts.  As the men advance, they spot what looks like a small hollow in the snow. It's likely the position from which the German scouts where seeing us in the early morning. 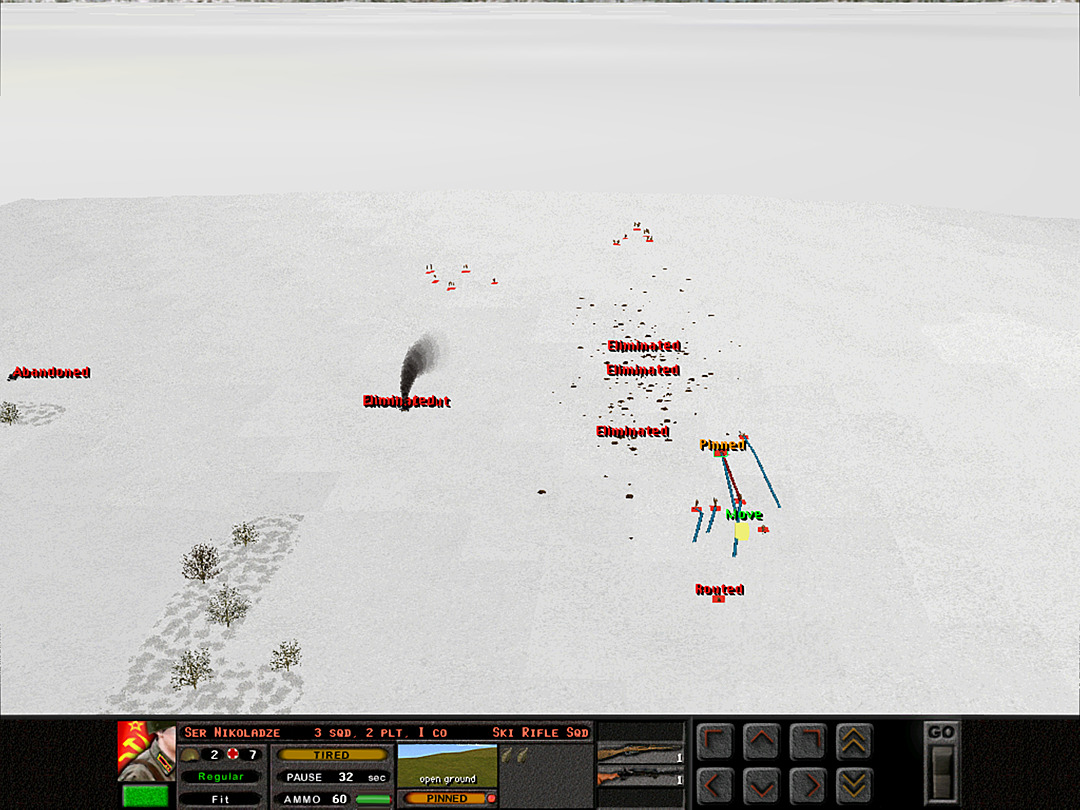 The survivors of the artillery strike slowly come to their senses and gather together. 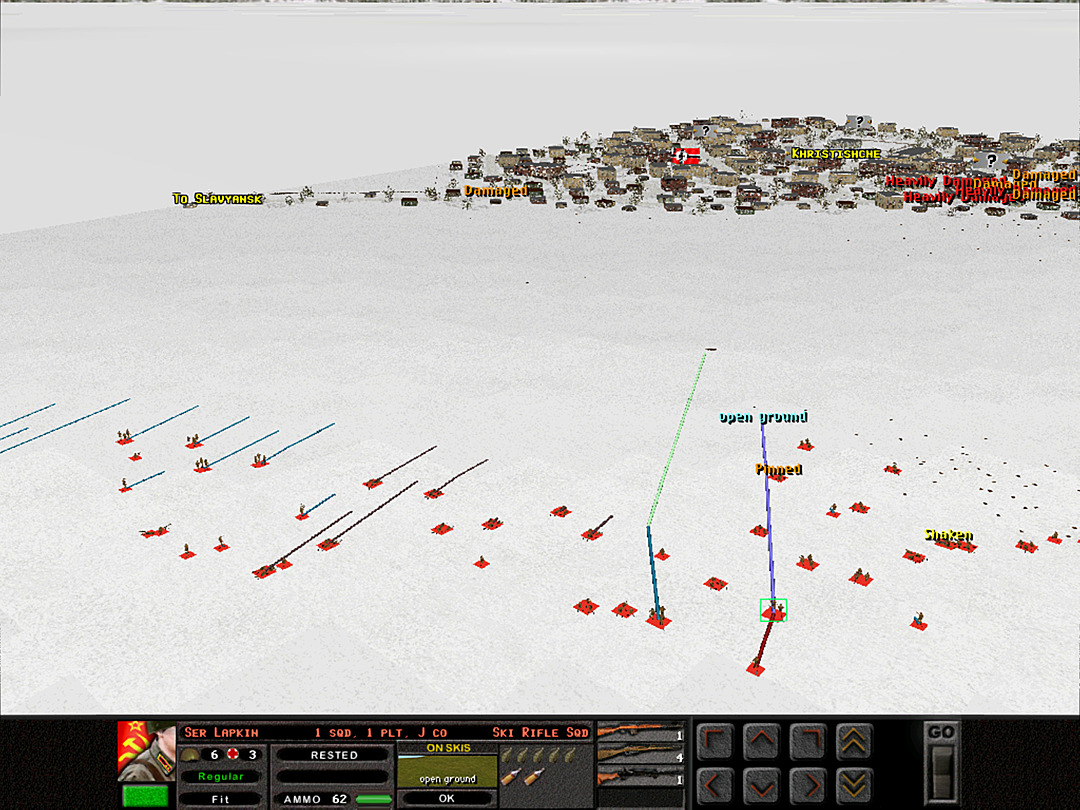 One of the ski squads hatches a bold plan: they will ski out as fast as they can to the enemy foxhole and use it to scope out the town. 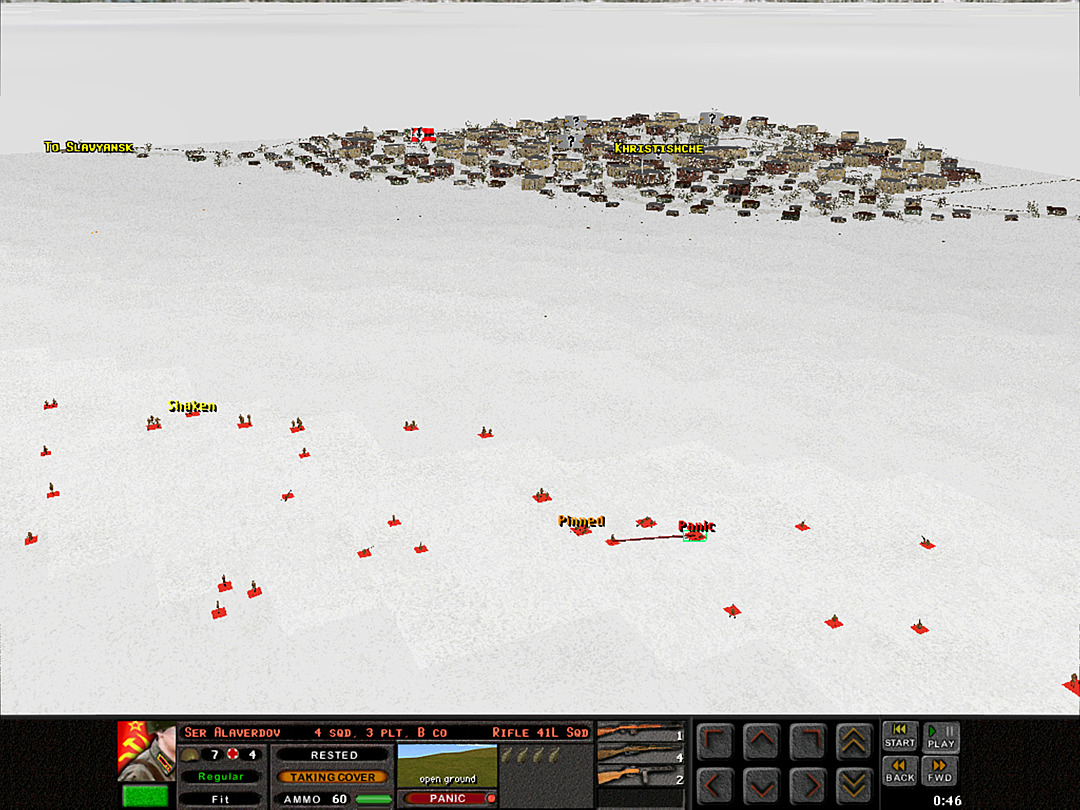 B Coy takes heavy incoming fire, and after a few casualties, the line begins to break. 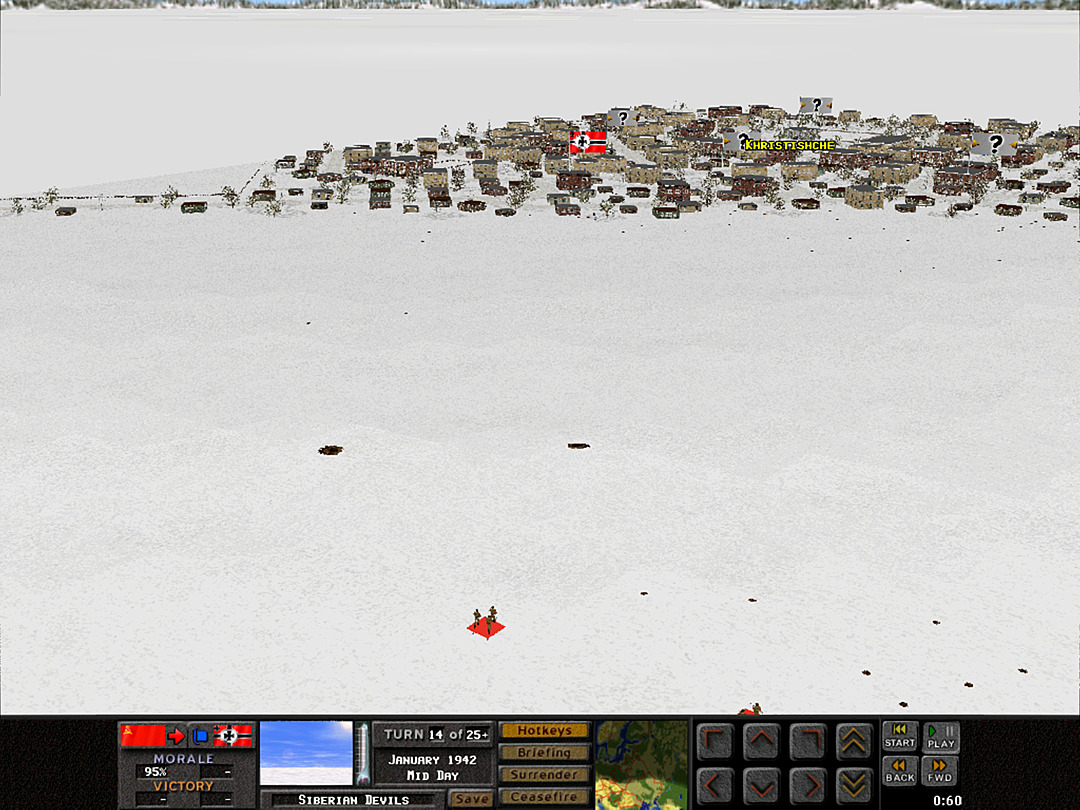 The skiers head down the hill, and before long, they spot a second foxhole. 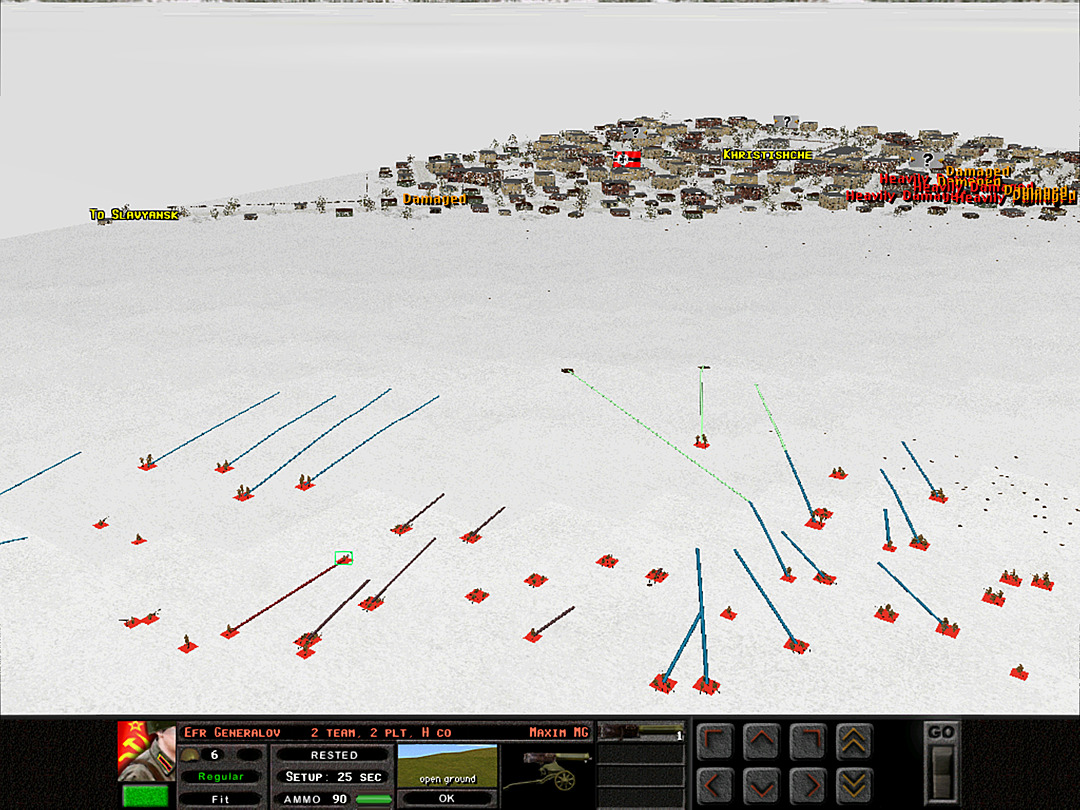 More of the ski platoon heads out to join them, while II Battalion creeps steadily forward. 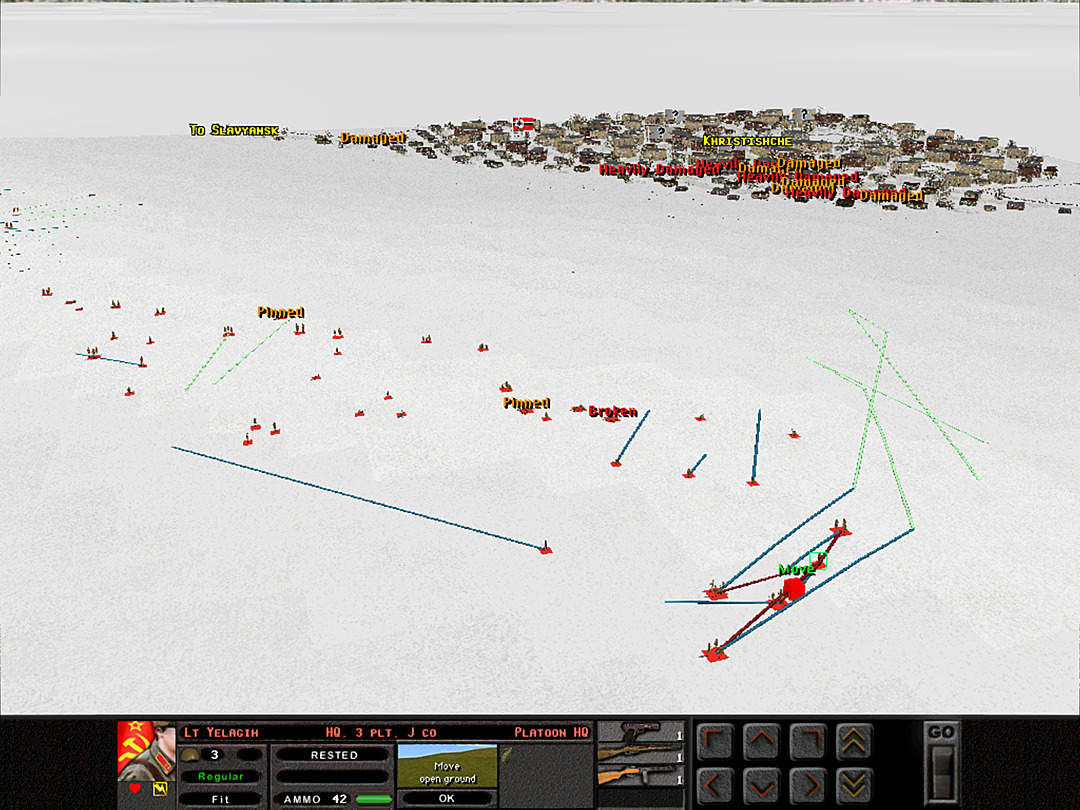 To relieve the pressure on B Coy, another ski patrol is sent out on the north side. This time, they take a risk and push even closer to the edge of the town.  The skiers rushing toward the foxholes spot a couple more before the enemy finally takes notice and begins shooting. 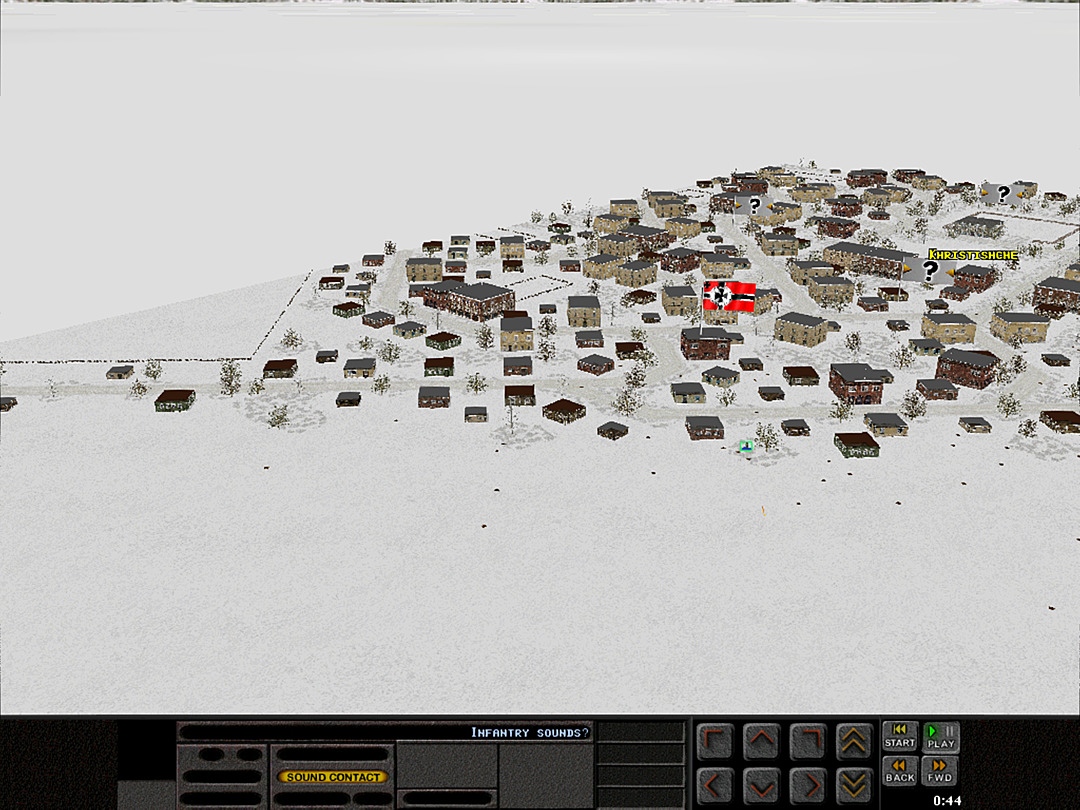 We might have spotted an enemy squad near the edge of the houses. 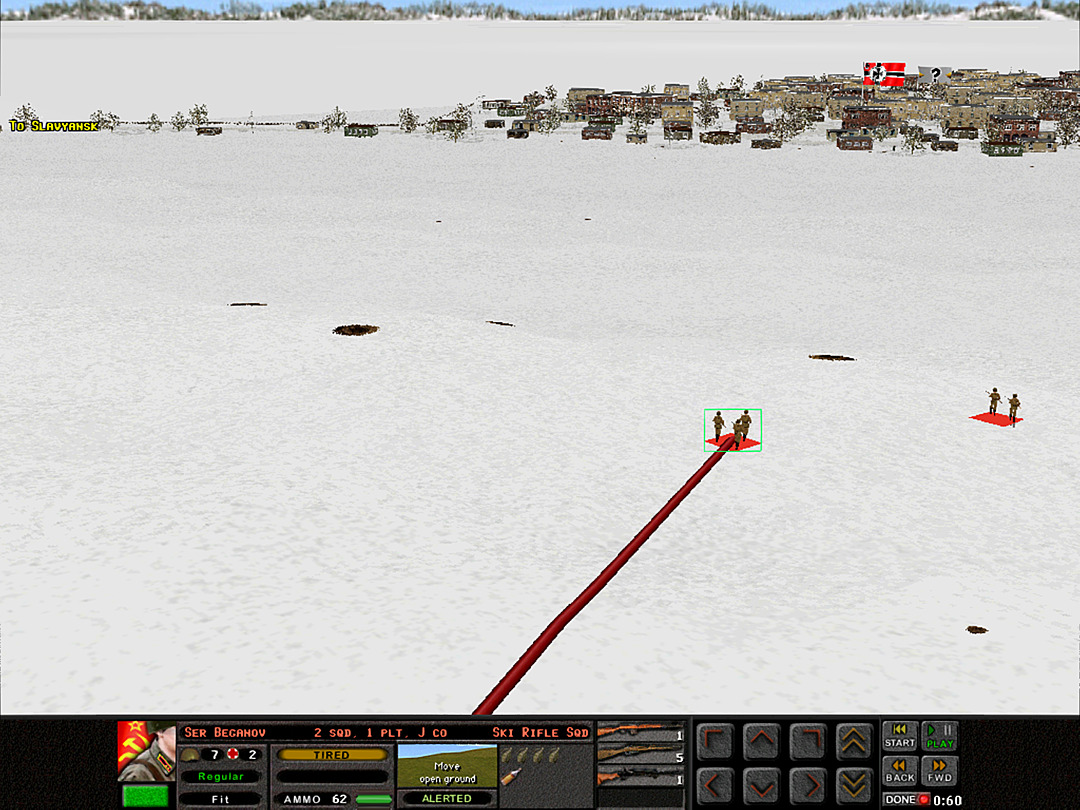 The skiers were pushing as hard as they could, but none of the squads made it to the foxhole before tiring out. They drop down and remove their skis so they can start returning fire. 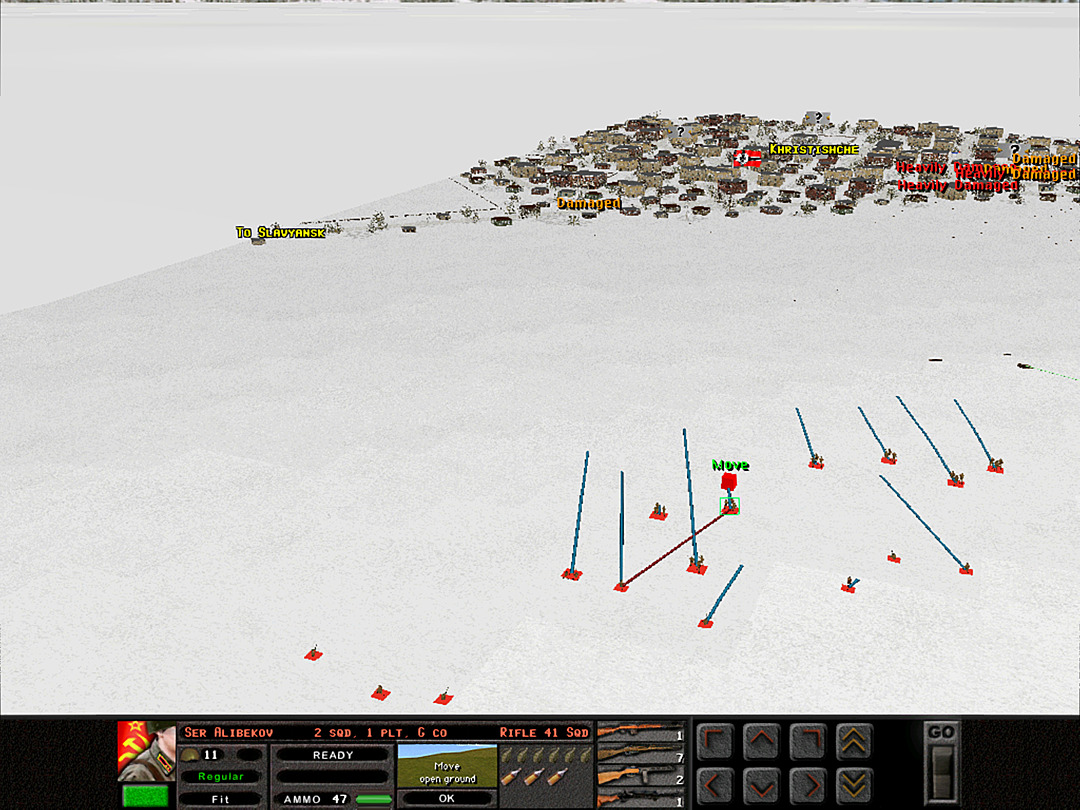 G Coy has covered a little bit more ground. They still aren't drawing any fire toward them, luckily. 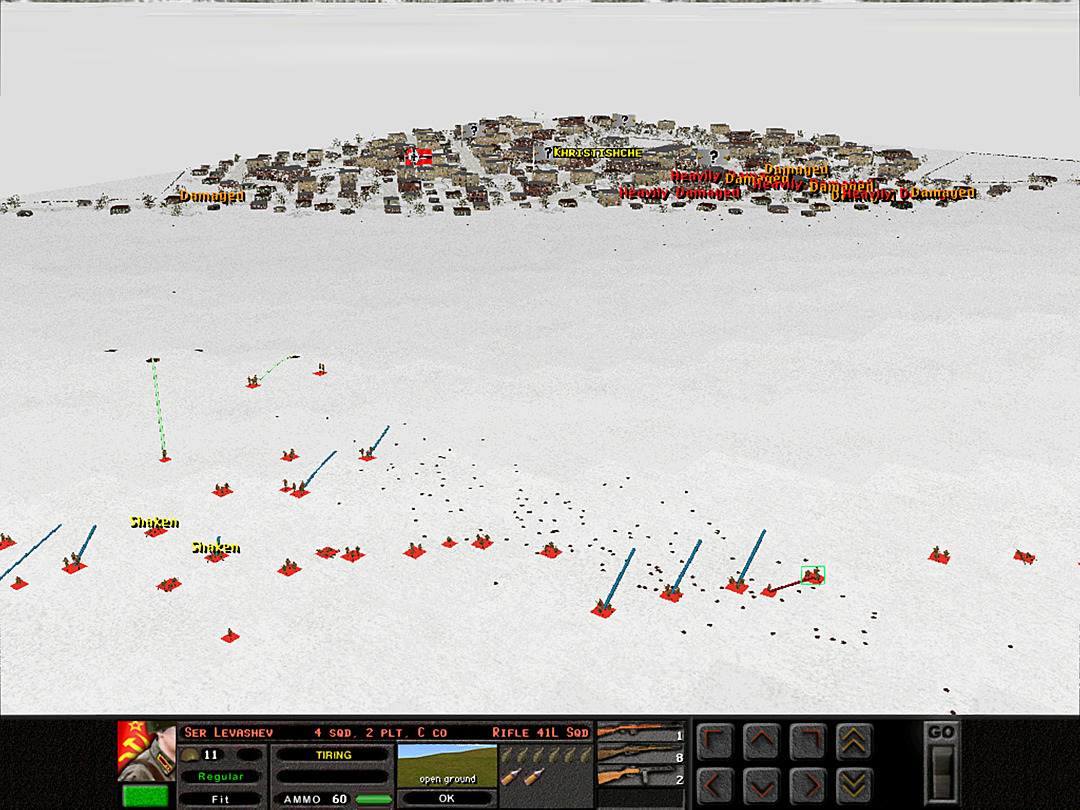 C Coy repositions somewhat to claim the forward slope of the ridge. 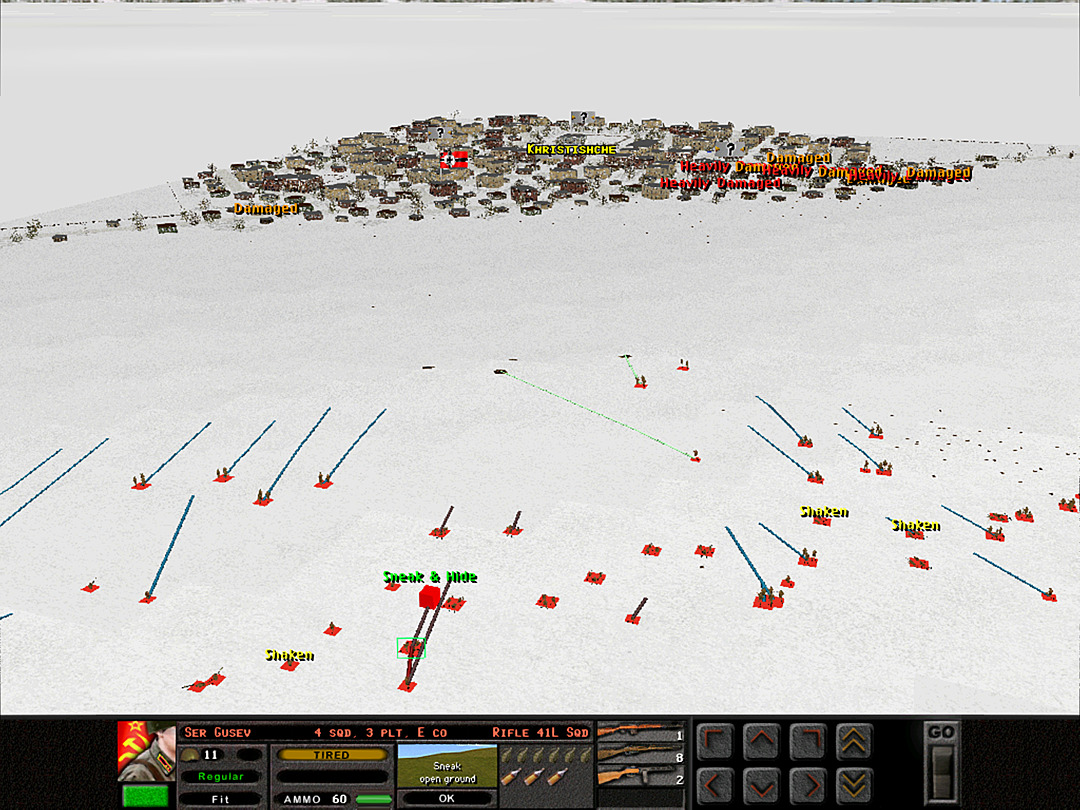 And E Coy holds close to the snow. 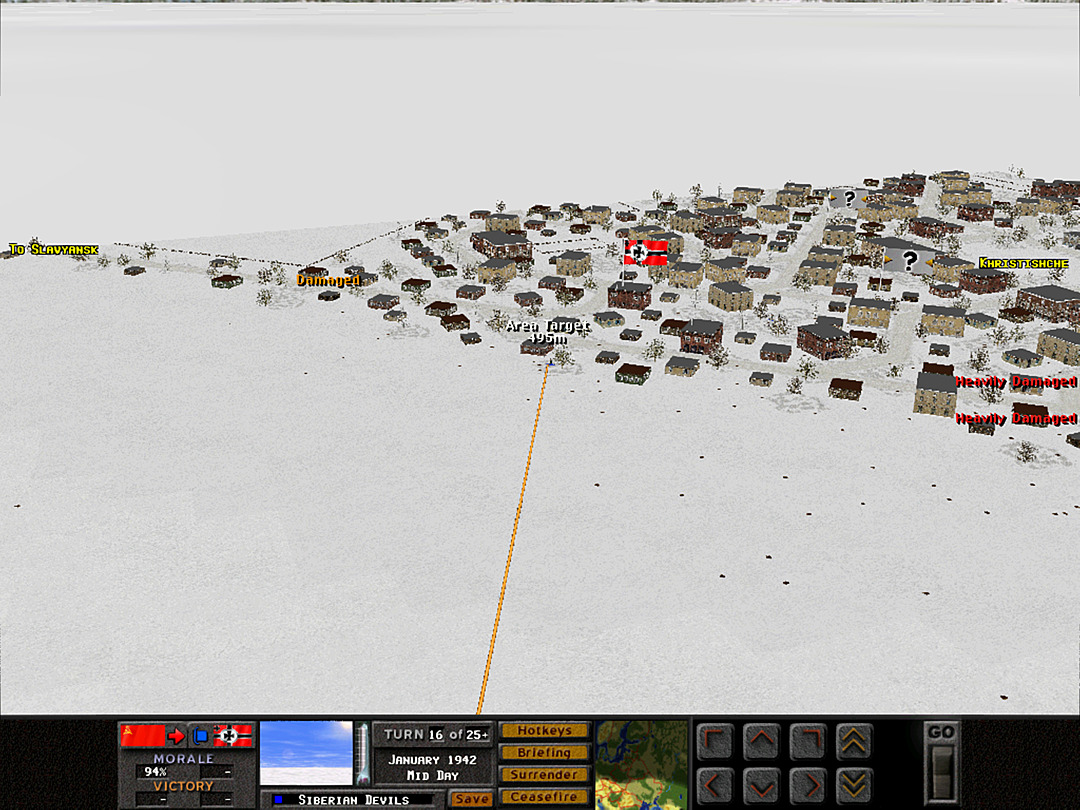 Now that we think we've seen some units, we set up another 76mm barrage. 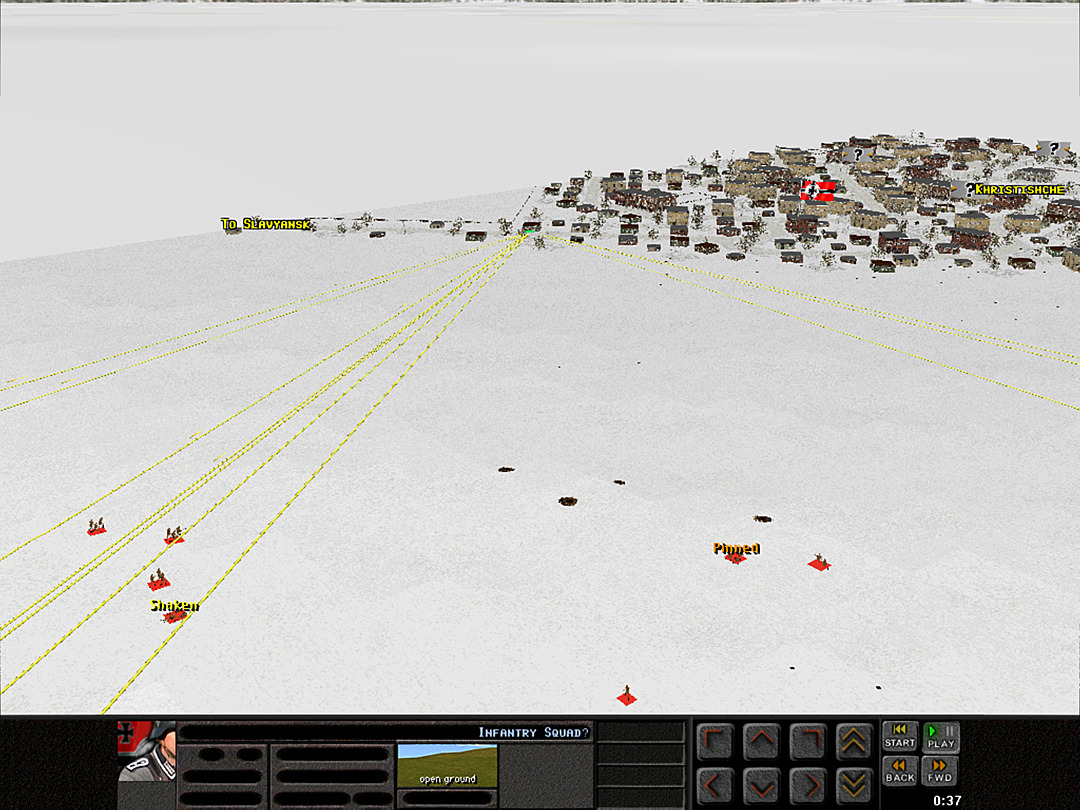 We then get a definite sighting of some infantry. Our guns open up.  Multiple German units are spotted in amongst the houses.  The ski troops are still trying to advance despite the enemy fire. The second squad to go in is getting close to the foxhole.  Now that we are actually shooting at them, the Germans start to choose their targets carefully, and focus on our Maxim guns. 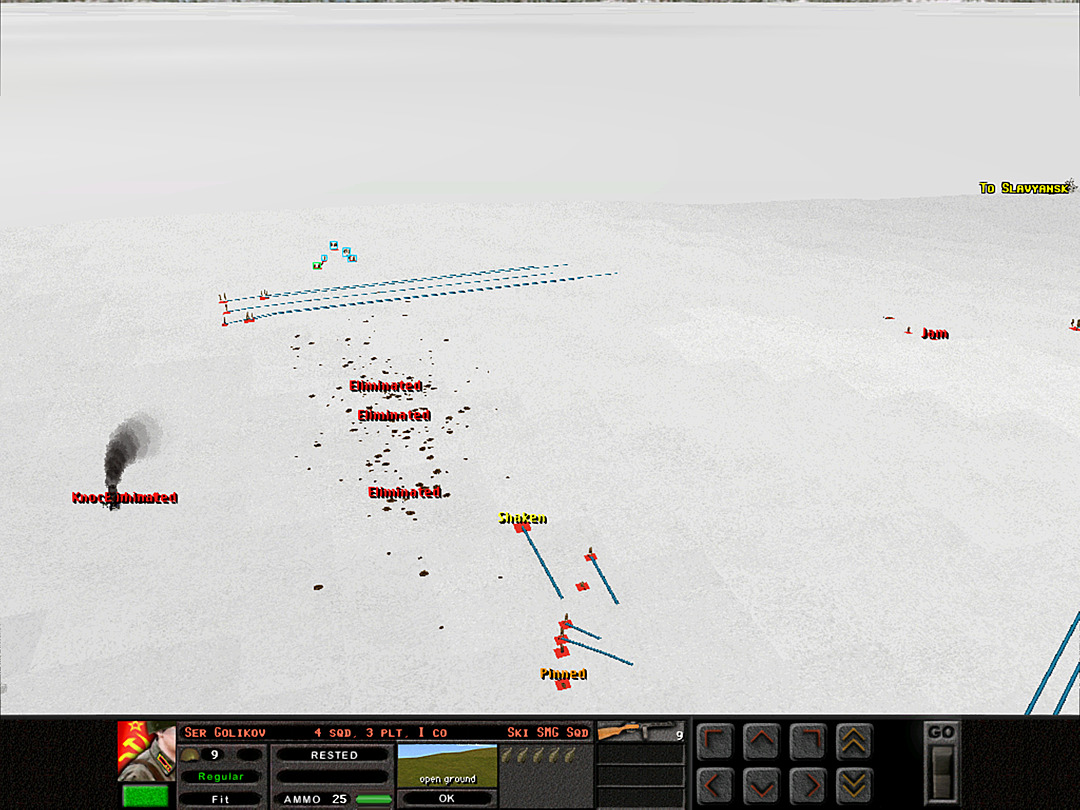 I Coy shifts forward to prepare for its advance. 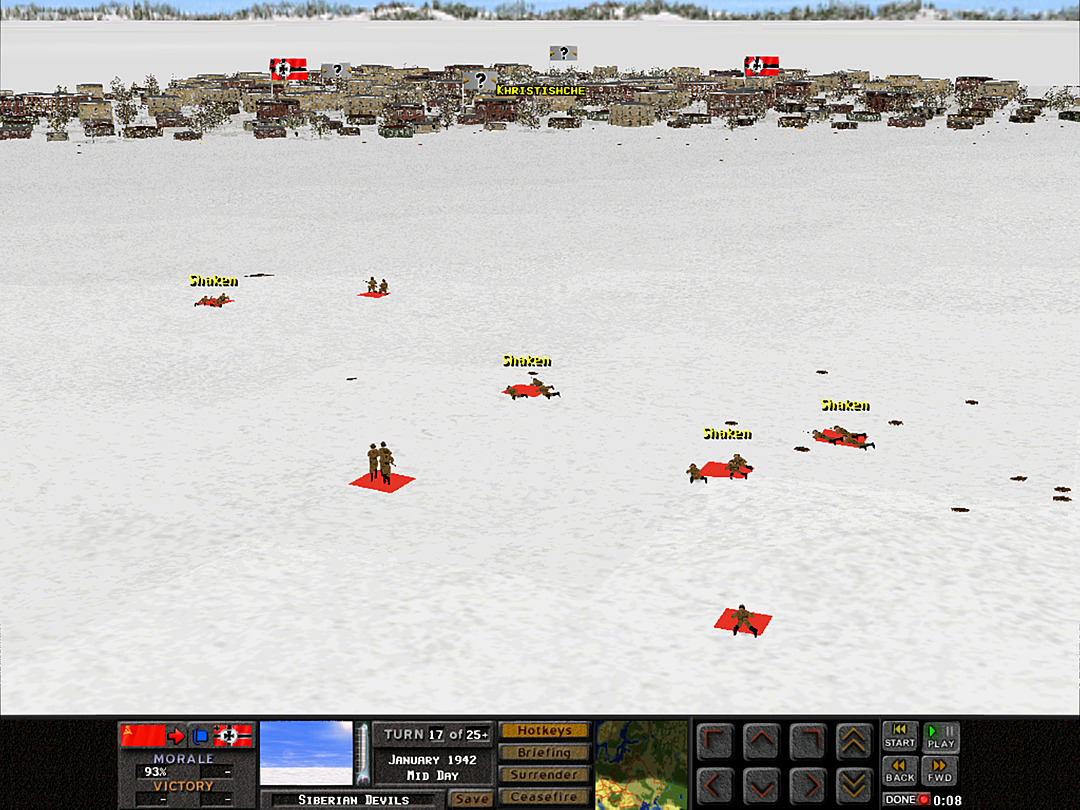 F Coy still struggles to make any progress. 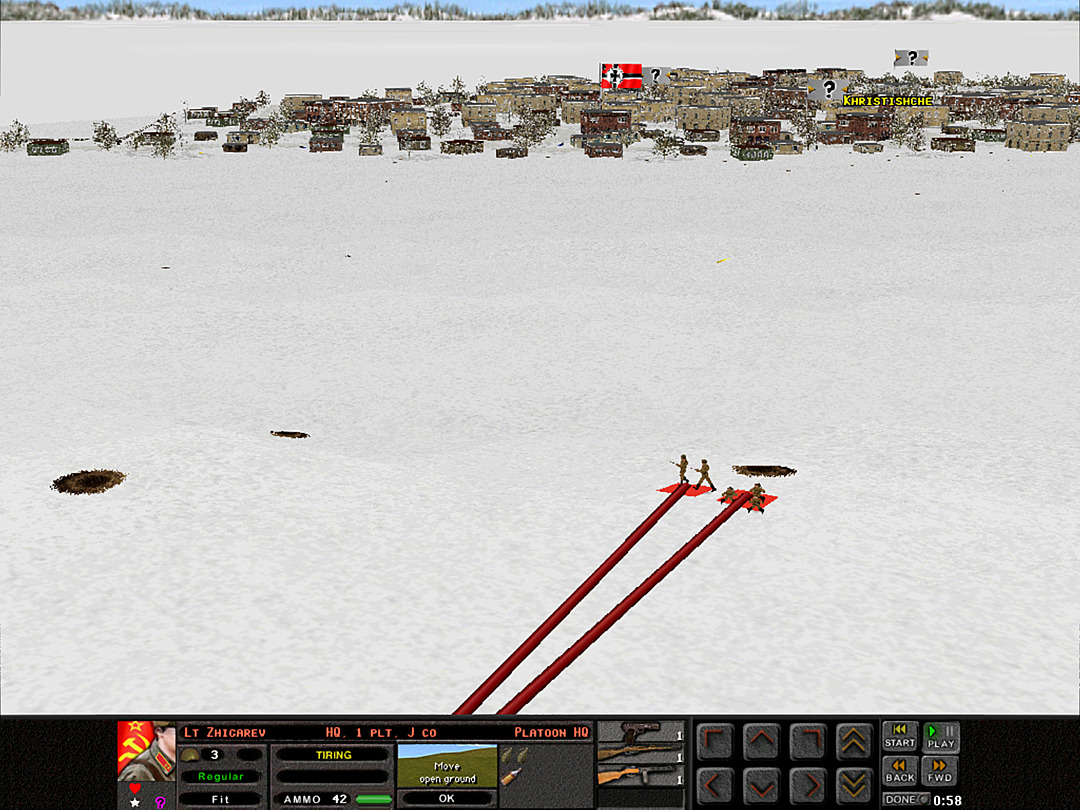 The ski troops, now without their skis, are doing their best to crawl forward. The foxhole is almost within their reach. 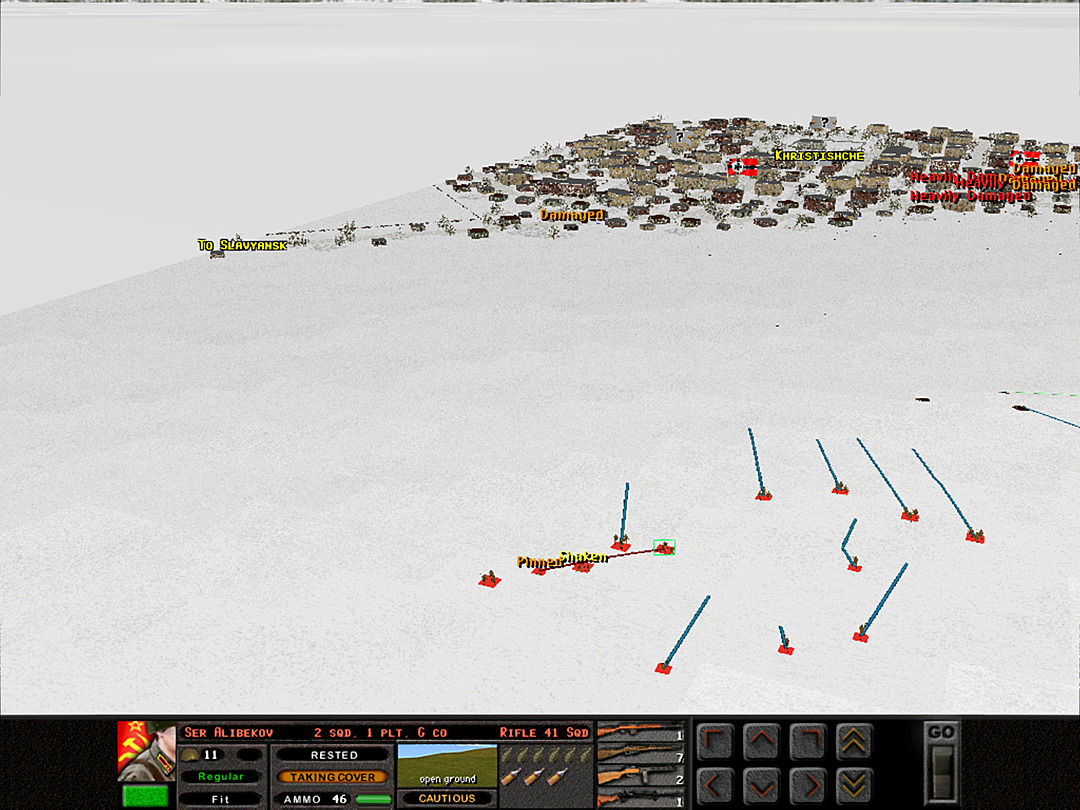 G Coy finally takes some return fire. 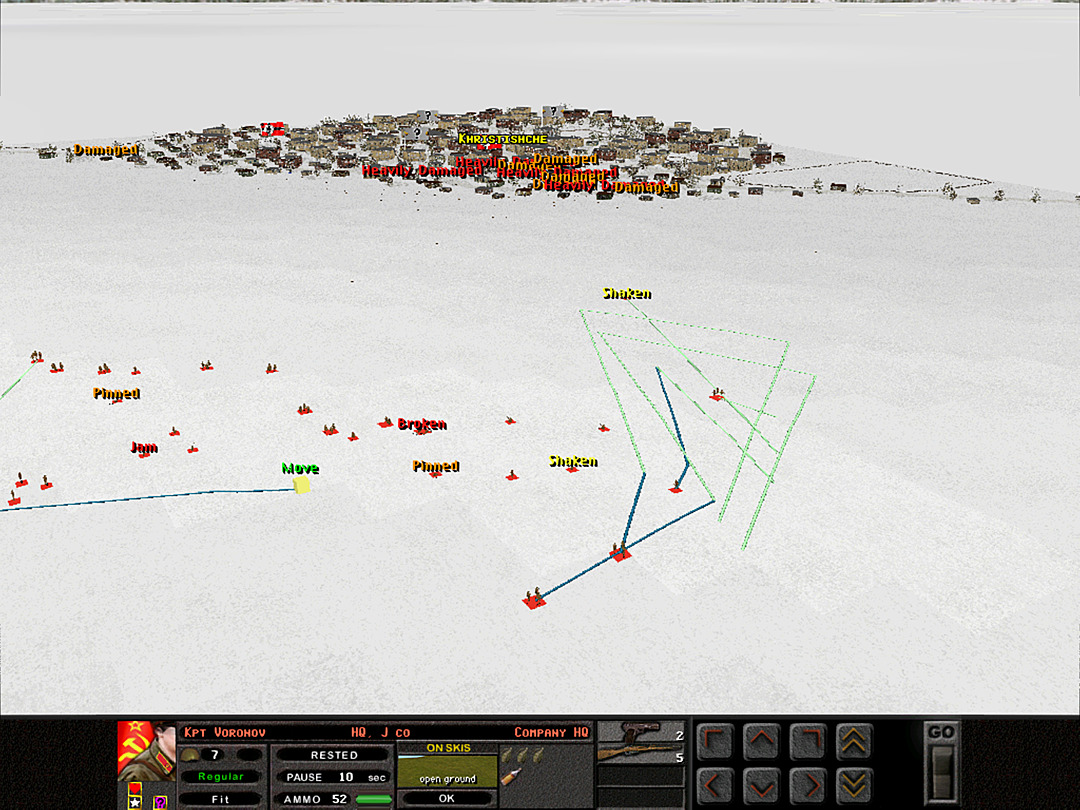 One of the ski squads that went out on the north side is having trouble returning to the line. 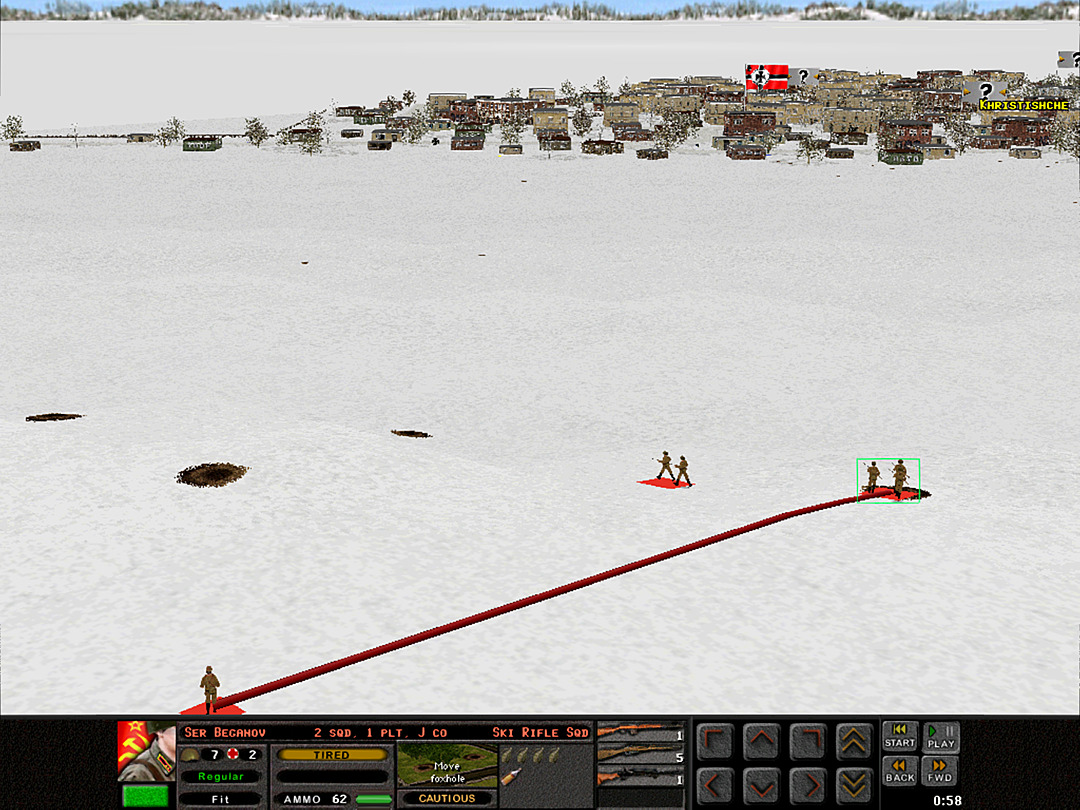 One ski squad that rushed out toward the foxhole gets inside. Amazingly, they took no casualties on the way there. 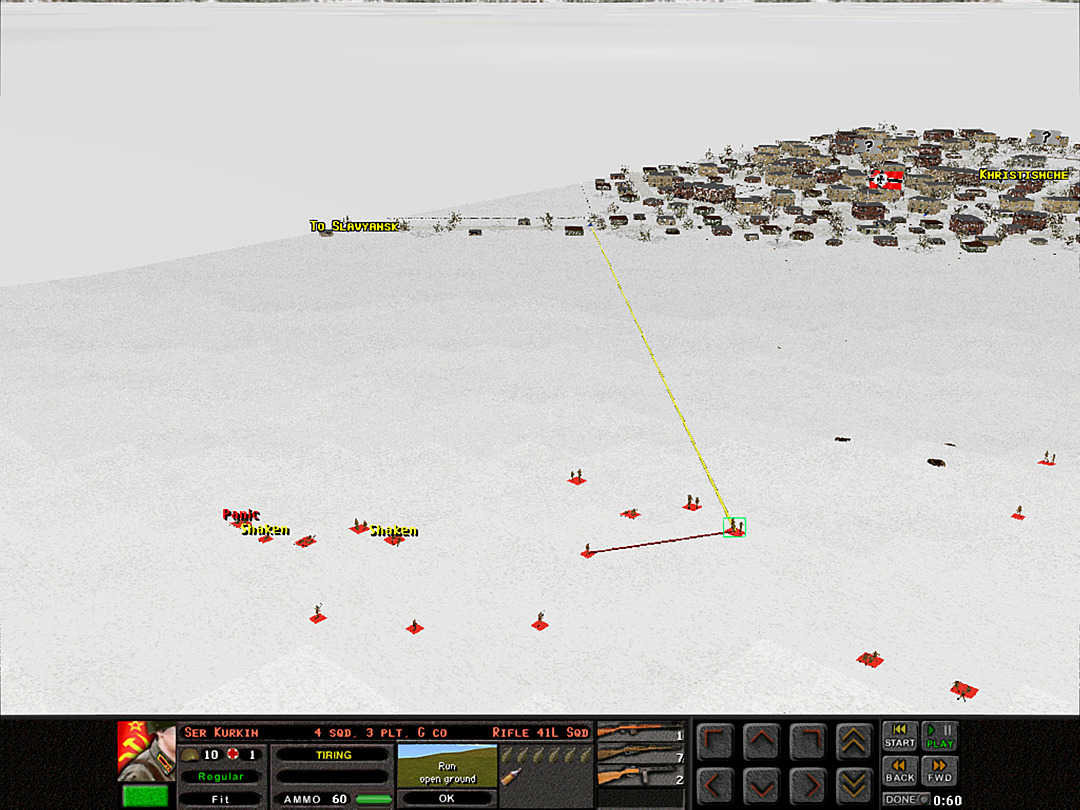 As they get ever closer to the town, G Coy is taking more and more incoming fire. 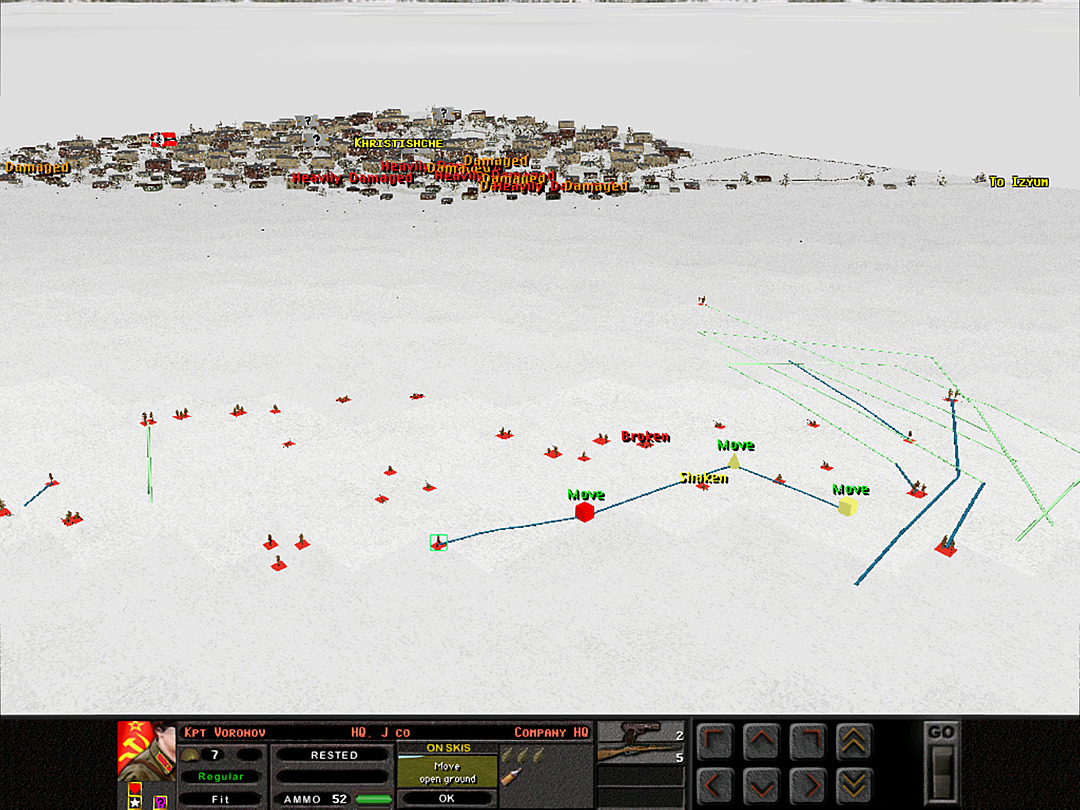 The captain of J Coy skis encourages all the men as he skis along the line.  We've almost taken a couple more foxholes. 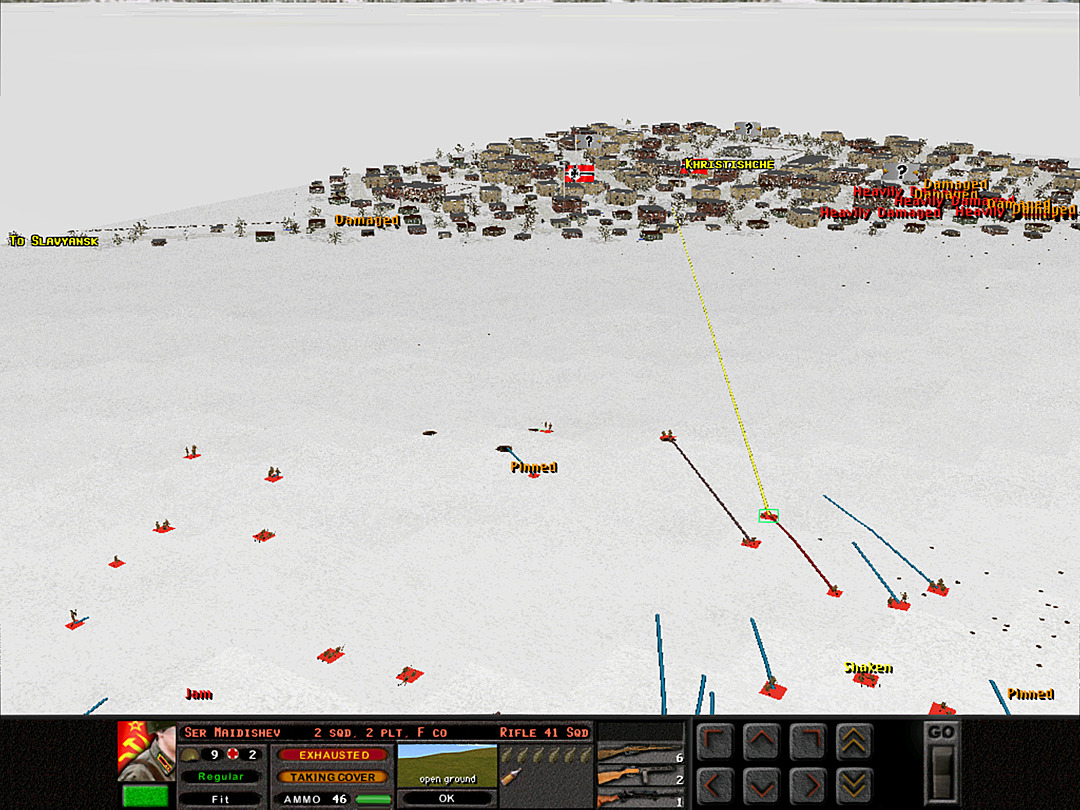 F Coy's relentless march forward has sapped all their energy. They've hardly made it more than 100 meters past the ridge.  We're seeing some soldiers in more exposed positions in the town, yet we still can't be sure of what sort of units they are. 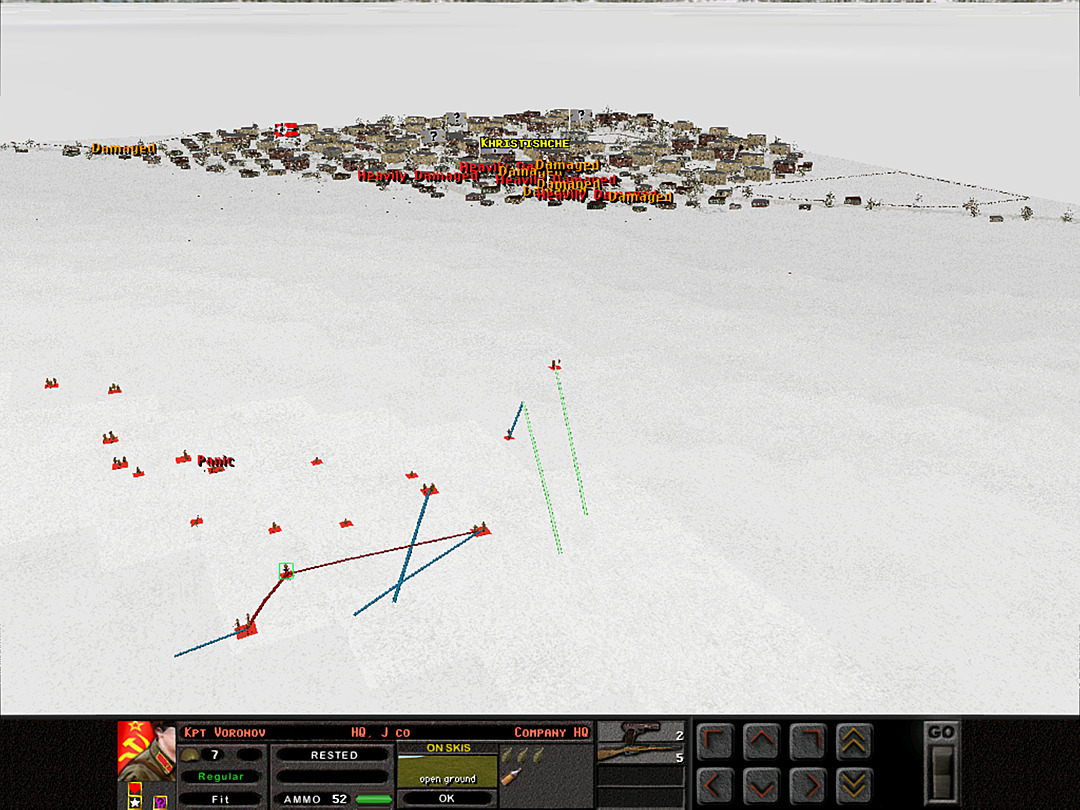 The skiers on the north side appear to be safe, though they are taking their time moving back. 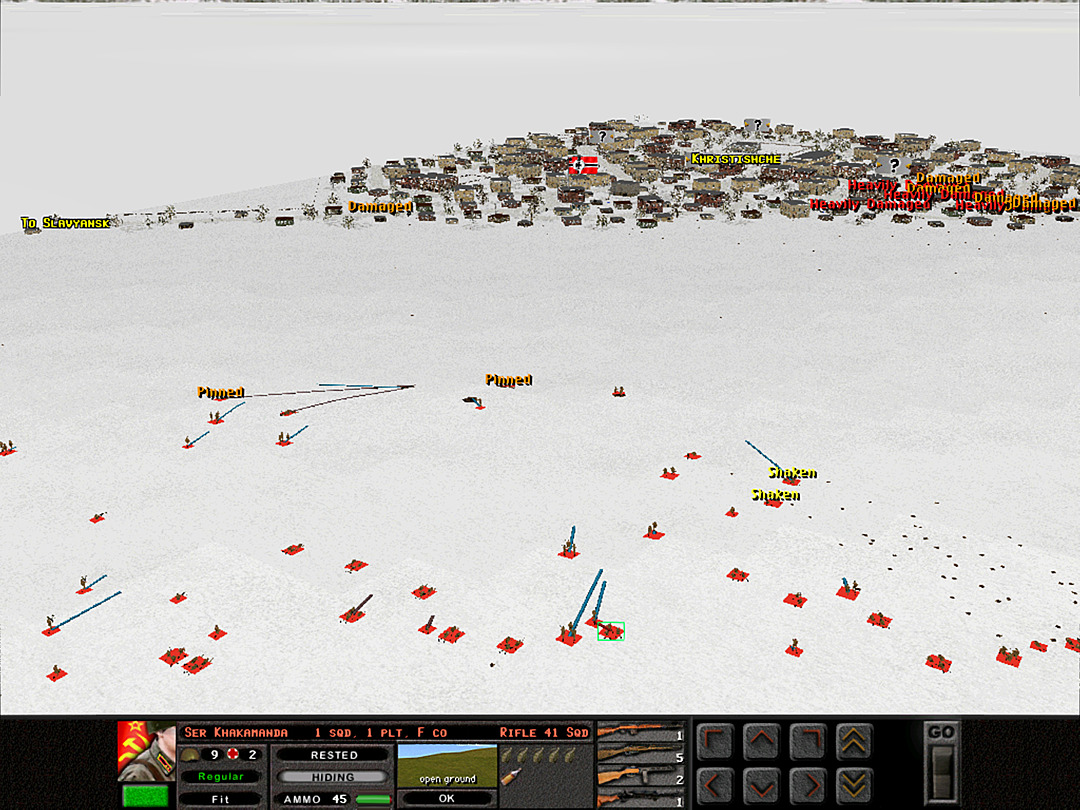 As G Coy advances close to the foxholes, and the casualties begin to mount, the frightened men begin to veer off their directed path to the safety. The captain orders them to keep marching forward. 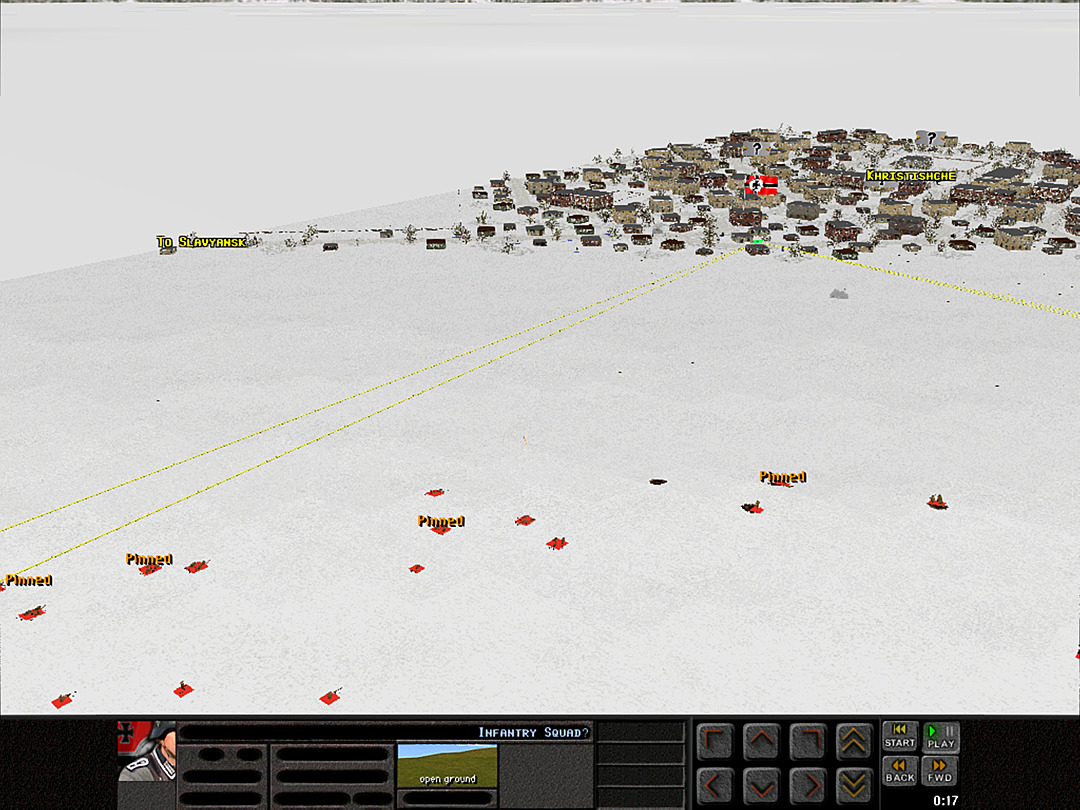 Our machine guns are able to find targets now, although we likely are too far away to inflict heavy casualties on the defenders. 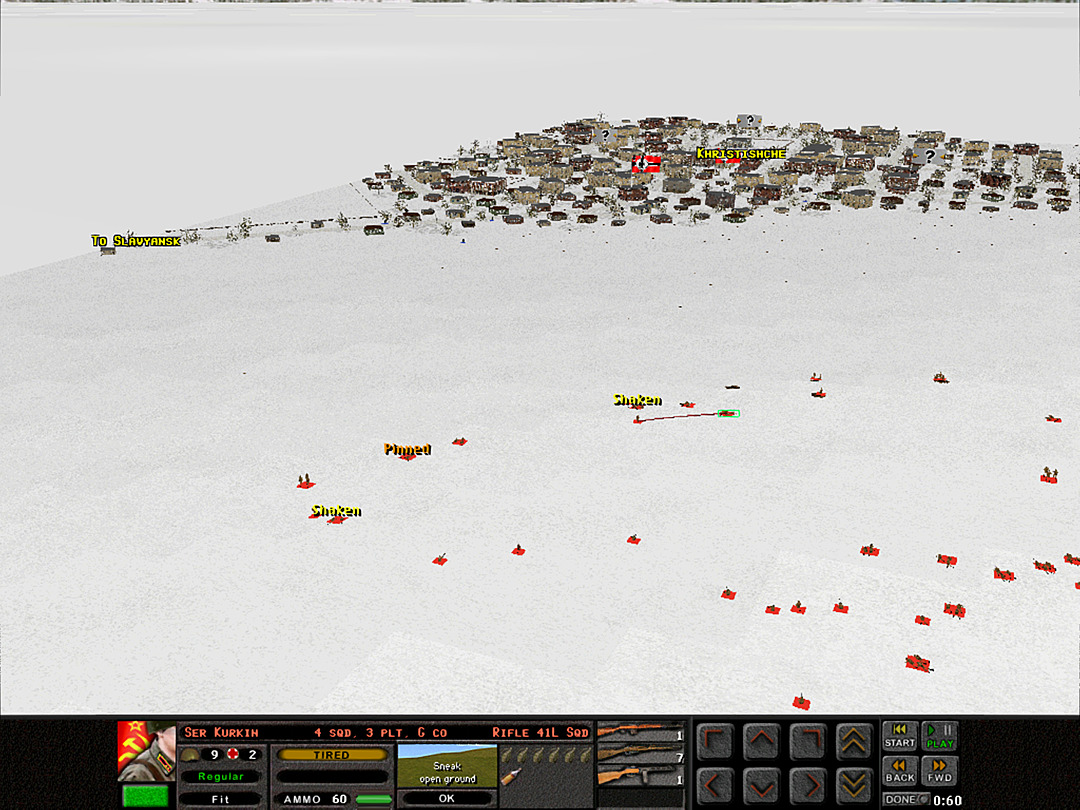 The assault doesn't seem to be going anywhere. A few squads have made it ahead, but others have exhausted their strength scrambling through the snow. 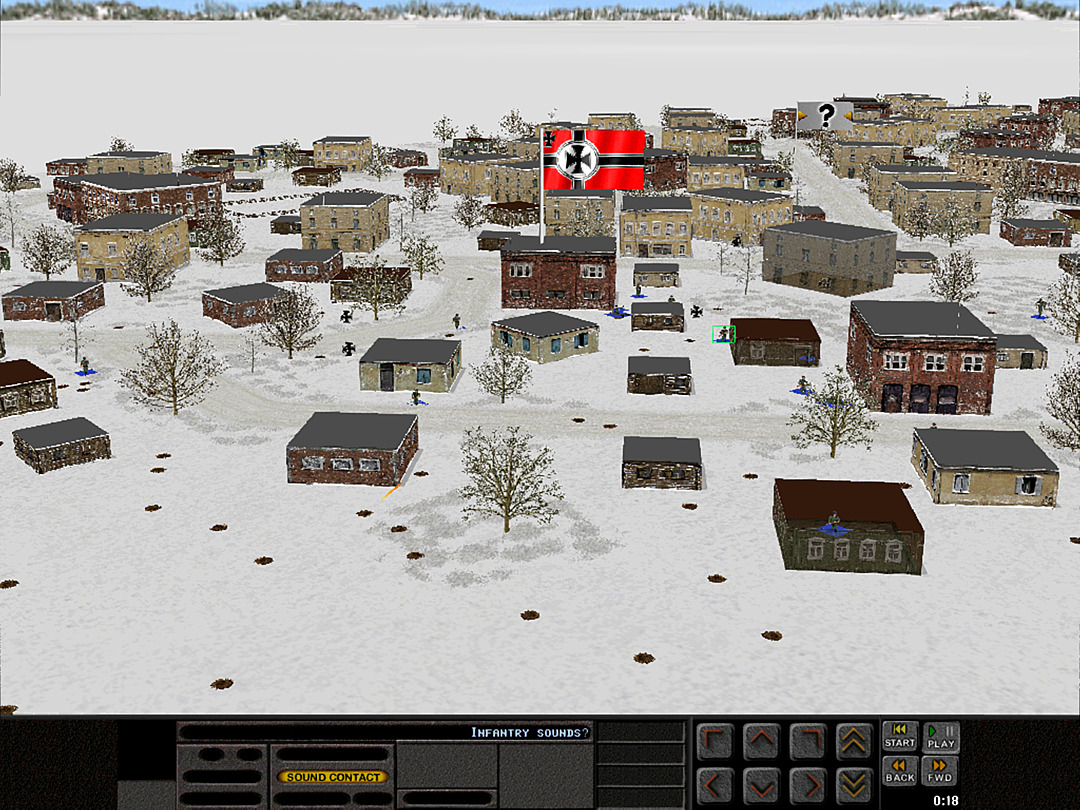 We have a vague picture of the defenders. Still no definite units.  The day's fighting is over. A lot of losses on our side, no clear progress, and hardly any damage done to the defenders. Unit Highlight BT-5A Artillery Tank 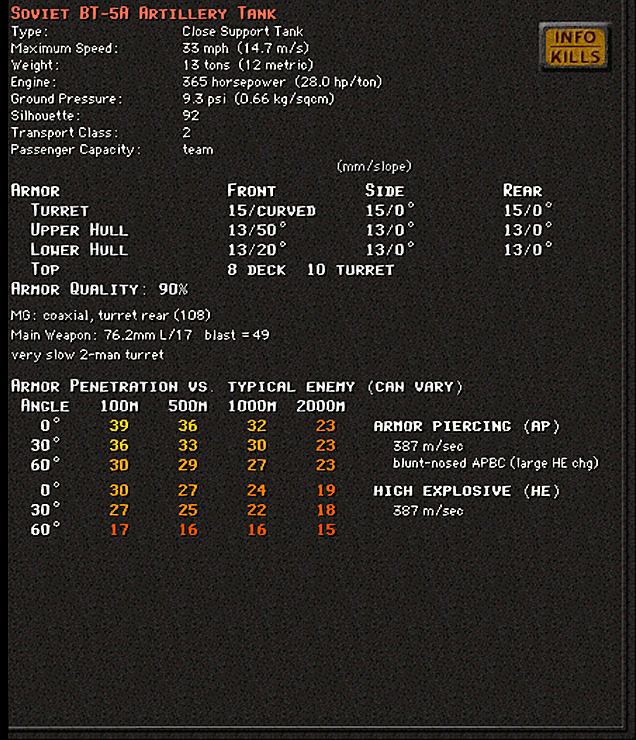 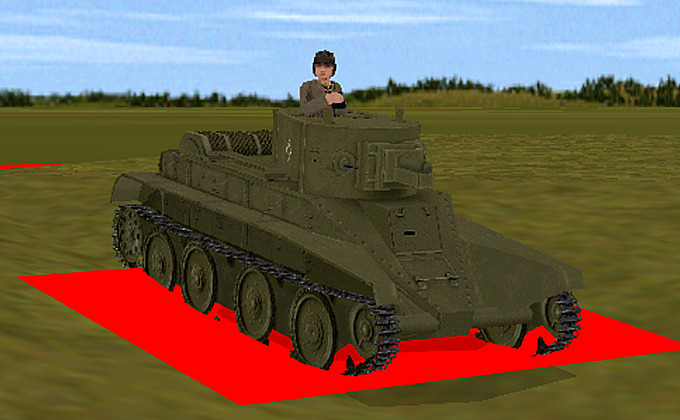 Crew: 3 Base Cost: 51 A variant that didn't seem to ever make it to production. There were a few experimental versions of the 'fast tank' models, including one that could drive underwater. The BT-5A was more mundane. It replaced the main gun with a 76.2mm direct-fire cannon, presumably seeking to turn it into a self-propelled gun. It might have been the adapted M1927 (which is what the game uses), or something similar. There isn't a whole lot of information on it, as it never made it past the prototype stage. Kangra fucked around with this message at 05:46 on May 1, 2024 |
|
#
?
May 1, 2024 05:44
|
|
|
No smoke for the artillery? I think the best second choice is to just plaster the closest line of buildings with a pre game barrage. Otherwise its just a shooting gallery.
|
|
#
?
May 1, 2024 08:28
|
|
|
habituallyred posted:No smoke for the artillery? I think the best second choice is to just plaster the closest line of buildings with a pre game barrage. Otherwise its just a shooting gallery. Yeah, the indirect fire is a bit weird on this one. No platoon mortars, and only 76mm HE, but way more of than you probably want unless you're going to level the town. Also smoke would get blown away to quickly due to the wind. One reason not to smash the town is so that you actually have the buildings to use for defense once you get in close, but it could be considered valid to hit the town to try to suppress it while advancing.
|
|
#
?
May 1, 2024 18:30
|
|
|
Operation: Siberian Devils, Battle 3 of 6 Time: Night Skies: Clear Ground: Deep Snow Temp: Extreme Cold Wind: Strong Wind NE ** Attempt to Skip Night : NO ** Visibility: ~200m After an unproductive day of battle, nightfall has provided us an opportunity. We can finally approach the town without being exposed to withering enemy fire. Now is our chance to actually advance. We will have to contend with the freezing cold, but that's nothing these men haven't seen before. With our disappointing effort at a direct attack in the daytime, a radical approach is required. Instead of continuing our death march toward the south end of town, we're shifting to an entirely new plan. The commanders suppose that since we have damaged or destroyed so many structures on the northeast side, the Germans are unlikely to house themselves there for the night. We ought to be able to make a play for that side of town. Of course, it'll lack cover for our side when we take it, so to really work, we need to grab a little more than the cluster of bombed out houses. It carries a risk, but it might be our best chance of infiltrating the town proper, and with one corner in our hands, we can start the push to clear out the enemy. Once again, I had the option of positioning forces entirely inside enemy lines at the start. It was also clear to me that there was little point trying to struggle against the awkward lines on the south, as I can never claim that territory without taking the town itself. So while I do think this battle plan is a sensible idea, it was definitely influenced by the game mechanics.  Since the 'base of fire' on the ridge will be useless at night, both I and II Battalions will be participating in the night attack. At least one company of I Battalion will be charged with taking the northerly end of town, and if possible, advancing to secure the right flank of the main thrust. At least two ski platoons will perform rapid reconnaissance of the few buildings on the far north before moving southward until contact is made with the enemy. Meanwhile, II Battalion will perform a wide sweep, heading from their current positions on the southern end of the ridge to the northeast end of the town. If it turns out that our plan has misjudged German desire to defend the northeast structures, it's hoped that this wide arc will allow for at least some additional territory to be taken on the other side. 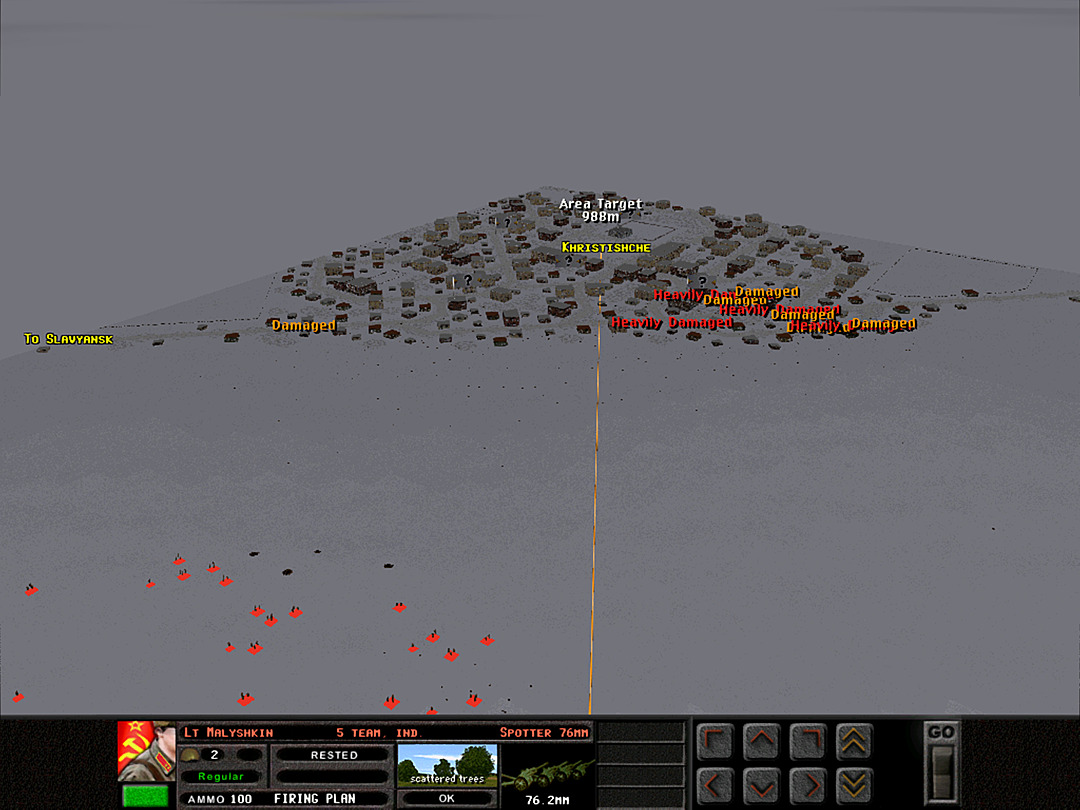 While the battalion commanders disagreed with the plan to kick off the advance with an artillery barrage, Lt. Col Renko overruled them, and a strike is sent deep into the town center. We will be sure to wake up the Germans, but we might catch some of them out in the open if they panic. 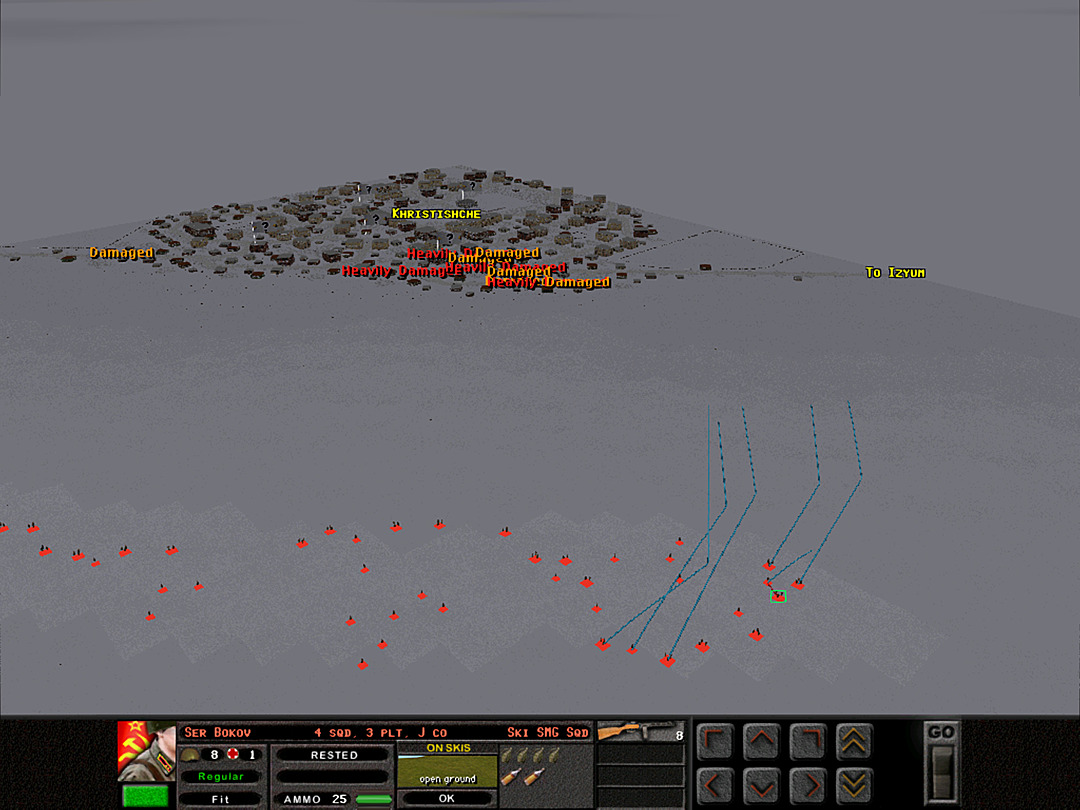 The ski squads begin their advance to the north of the town. 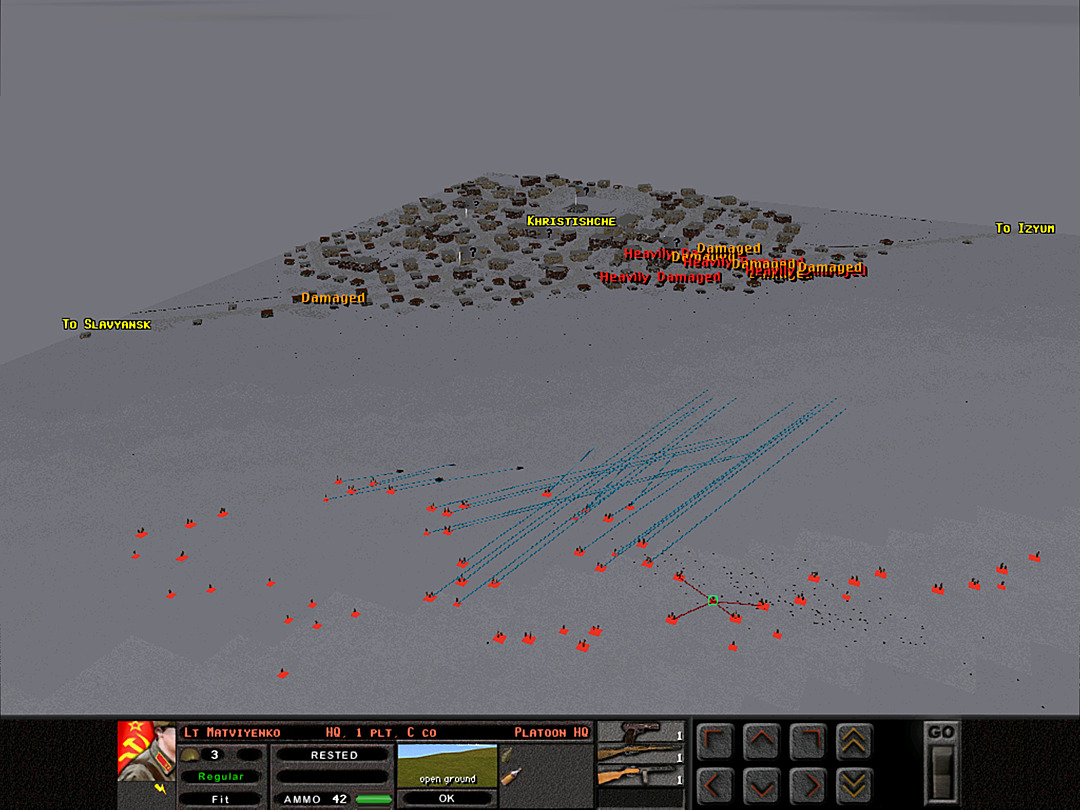 II Battalion sets its troops in motion. G Coy will initially hold at the foxholes, while E and F Coys form a line to hit the town in the northeast. If they are not caught by enemy patrols, they should be able to cover this ground reasonably quickly. 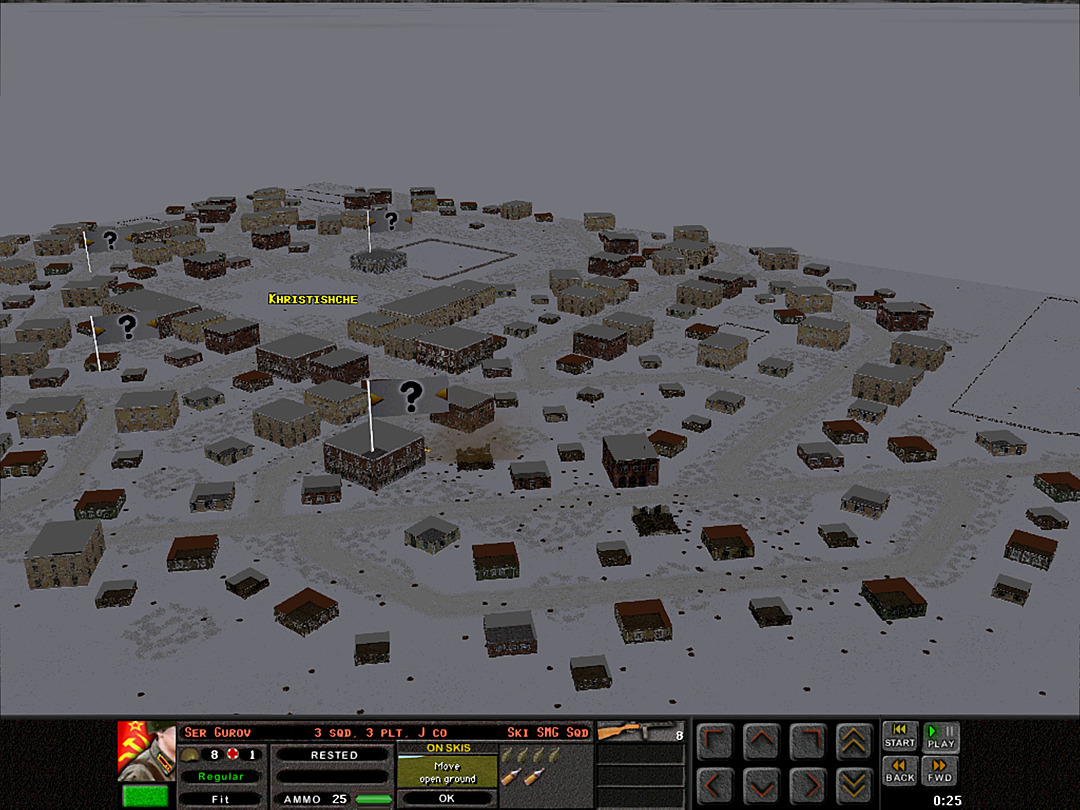 The artillery rounds fall short, and cause two more buildings to collapse. It's not clear if this bodes well or ill for us. 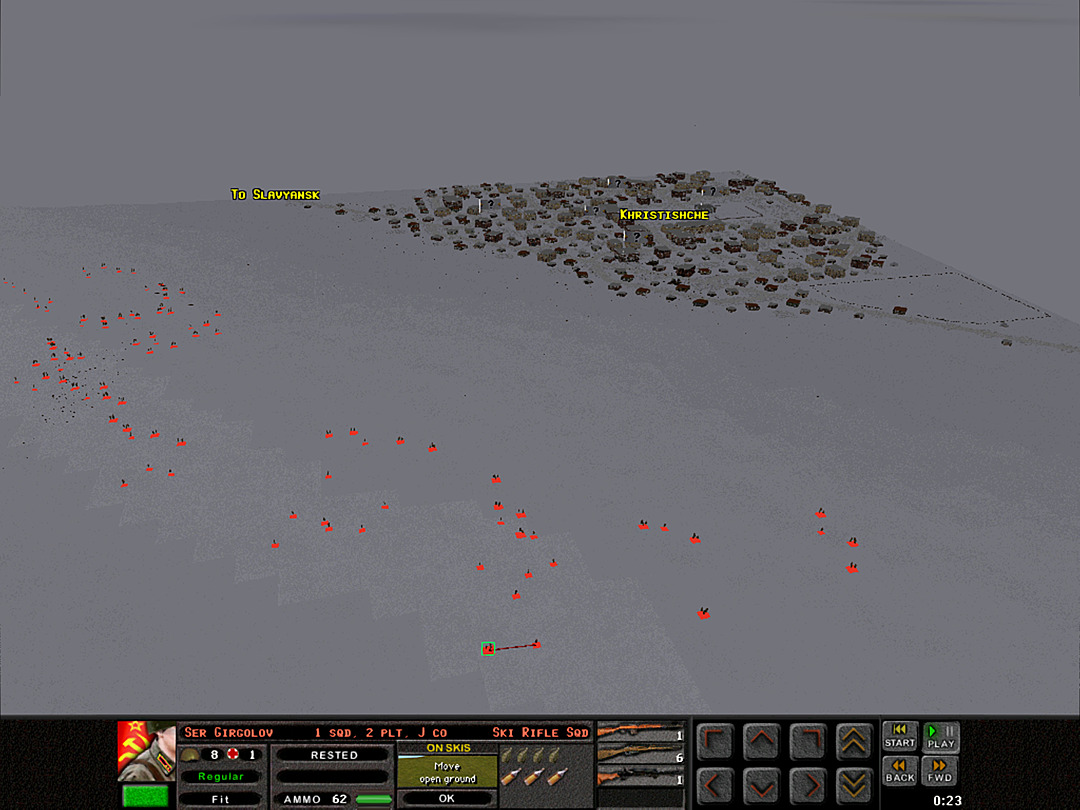 As the ski troops glide forward, B Coy starts to come down the ridge as well. 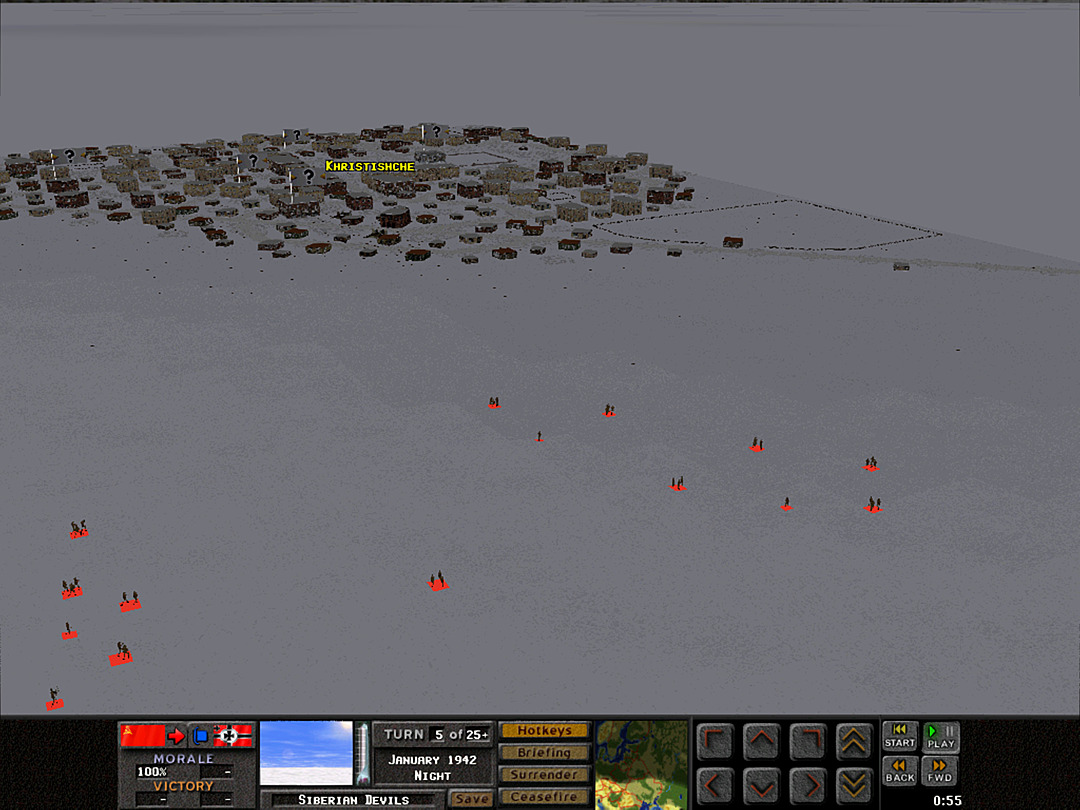 The shelling dies down, and the skiers advance. They're nearly within vision of some of the outlying buildings. 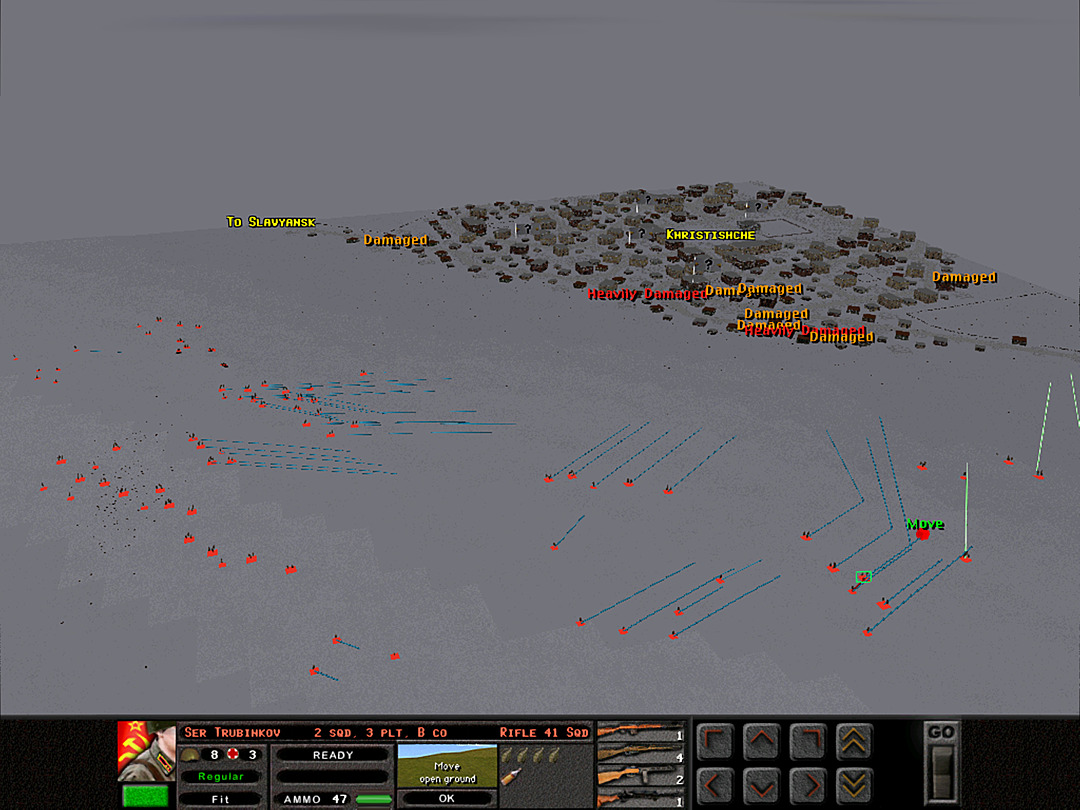 B Coy is moving all its men forward, although at least some of them will hold back to support the main line from close range.  If there are Germans in the north end of the town, they almost certainly have spotted our skiers on the way toward them. Yet as the men approach, only the whistling wind is heard.  As they fight the cold and reach flatter ground in the town, the ski troops show signs of fatigue.  They prepare to remove skis and enter the buildings. They must react quickly if the Germans show themselves.  B Coy is nearing the range from which they could be seen by the town. So far, no shots have been fired.  E & F Coy get a bit intermingled on their advance. All seems safe, though, and they maintain unit cohesion despite the darkness. 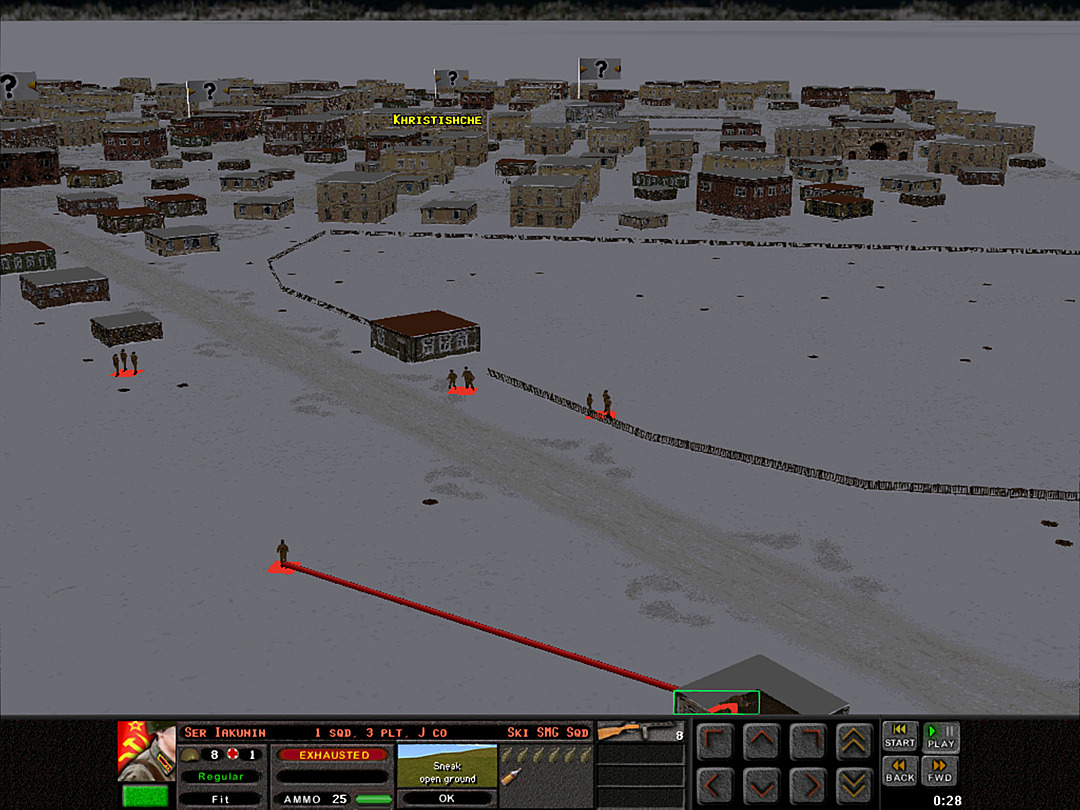 Breaking into a house on the town's outskirts has left one of the ski squads tired out. They can at least rest indoors for a few moments, as the place is unoccupied. 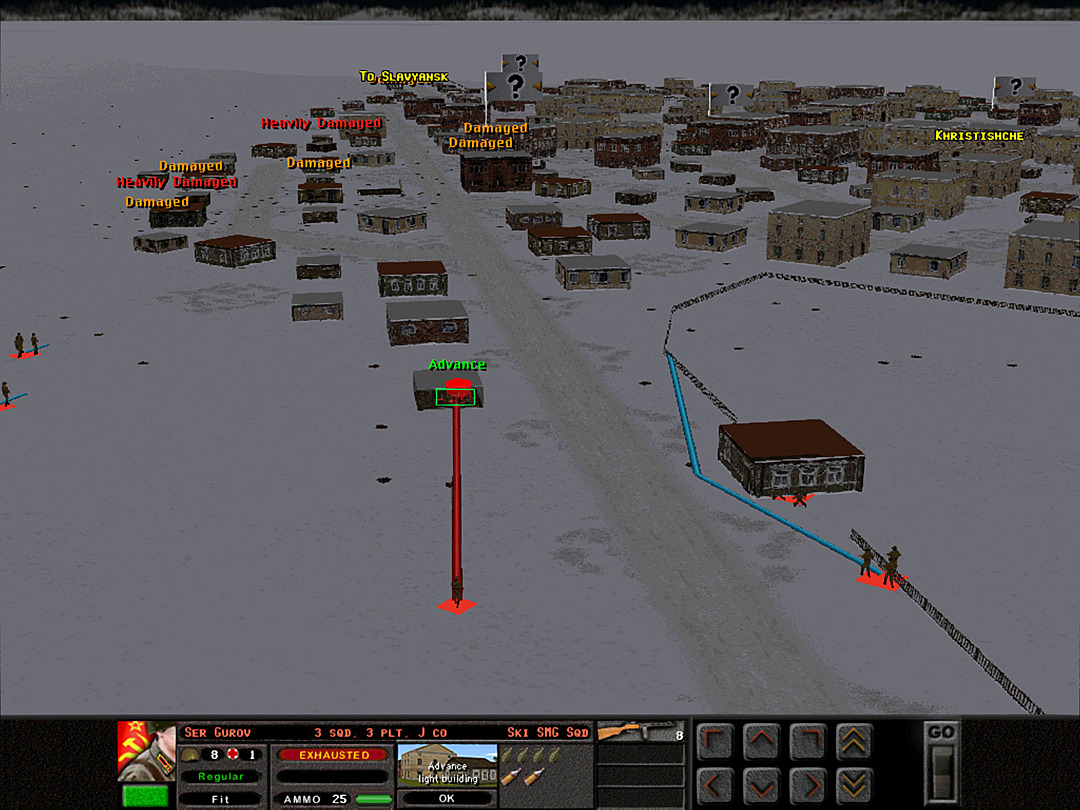 The outermost part of the village is found to be clear. The ski troops pushed themselves to the limit to claim them, but it seems to have paid off. No enemy has yet been spotted or heard.  The soldiers are having particular trouble wheeling the Maxim guns through the snowdrifts.  The second ski platoon reaches the north edge of the Kristishche proper, and secures a few more buildings.  As the rest of the battalion gets into position, G Company starts to slowly approach the south side.  The ski troops are entering the town now, and will proceed building by building.  B Coy is quite close now, but no enemy forces have fired. We might have guessed correctly that the Germans abandoned this area. 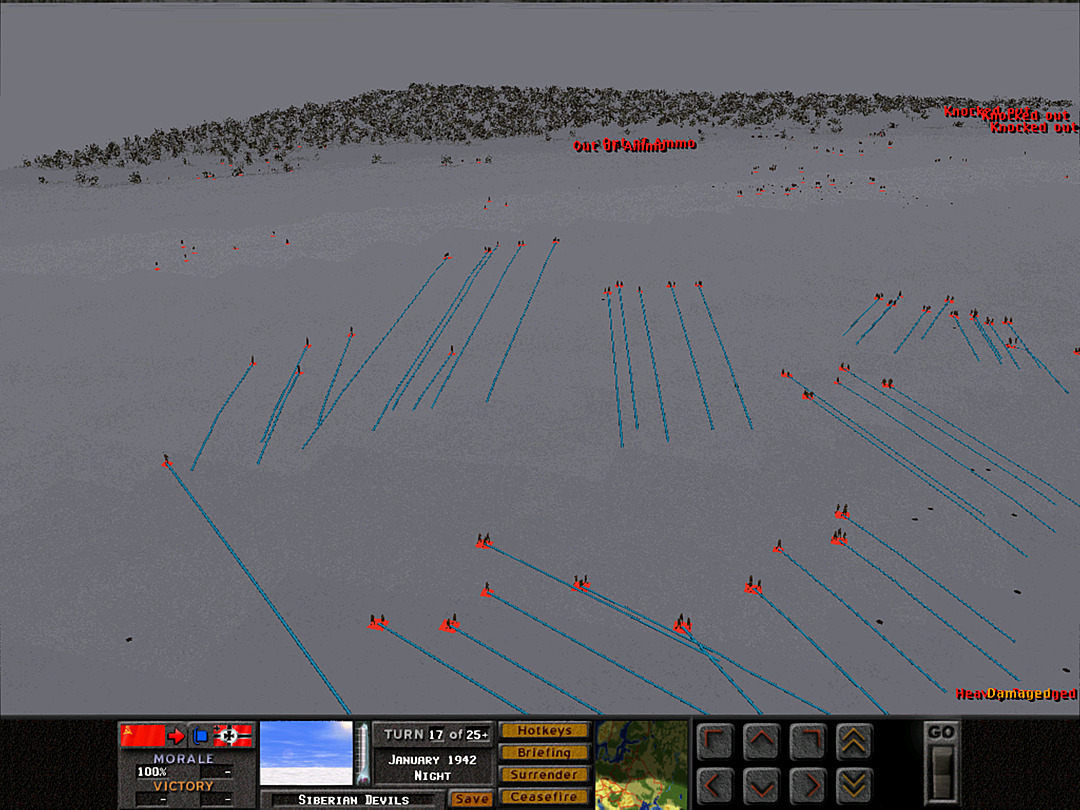 A few more platoons march toward the town. Now that we have cleared the northern edge of it, they can set up there to participate in tomorrow's attack.  The first gunshots of the night battle are exchanged when G Coy is spotted a few hundred meters out.  The two advancing platoons have maintained a tight formation, and start to spread just a bit as they enter combat. 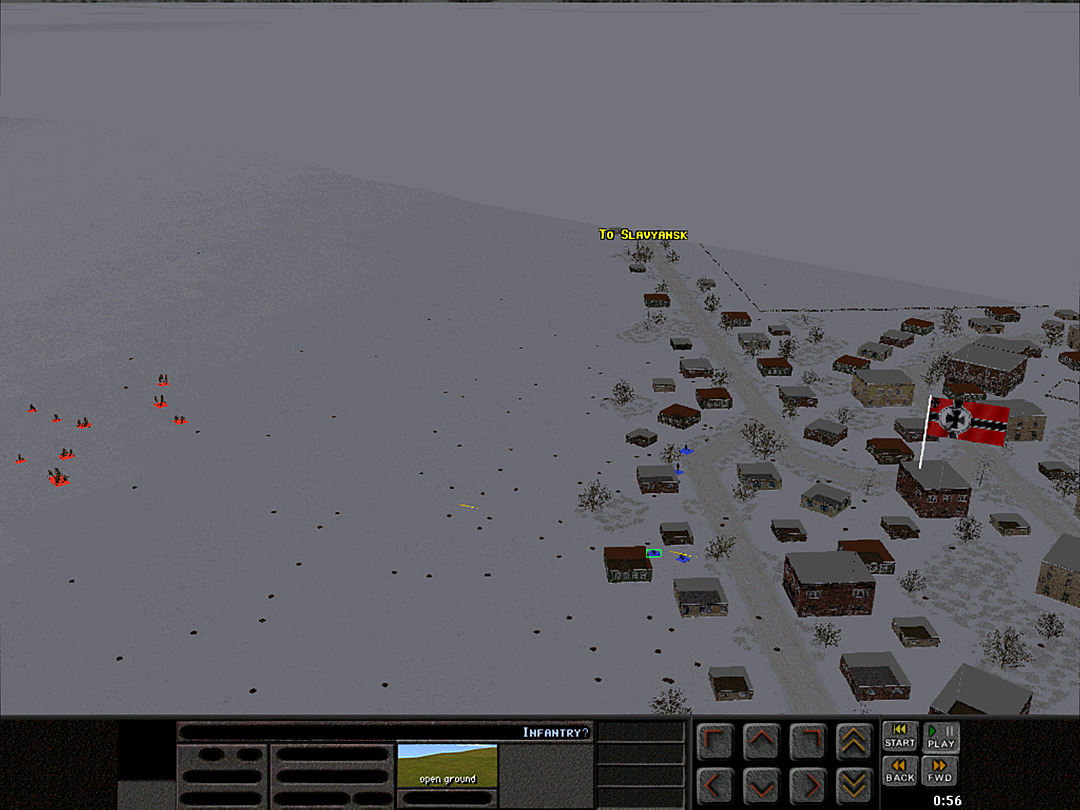 Before long, multiple contacts are sighted. They've either set up most of their defense here, or have rapidly shifted their forces expecting us to hit them on this side again. 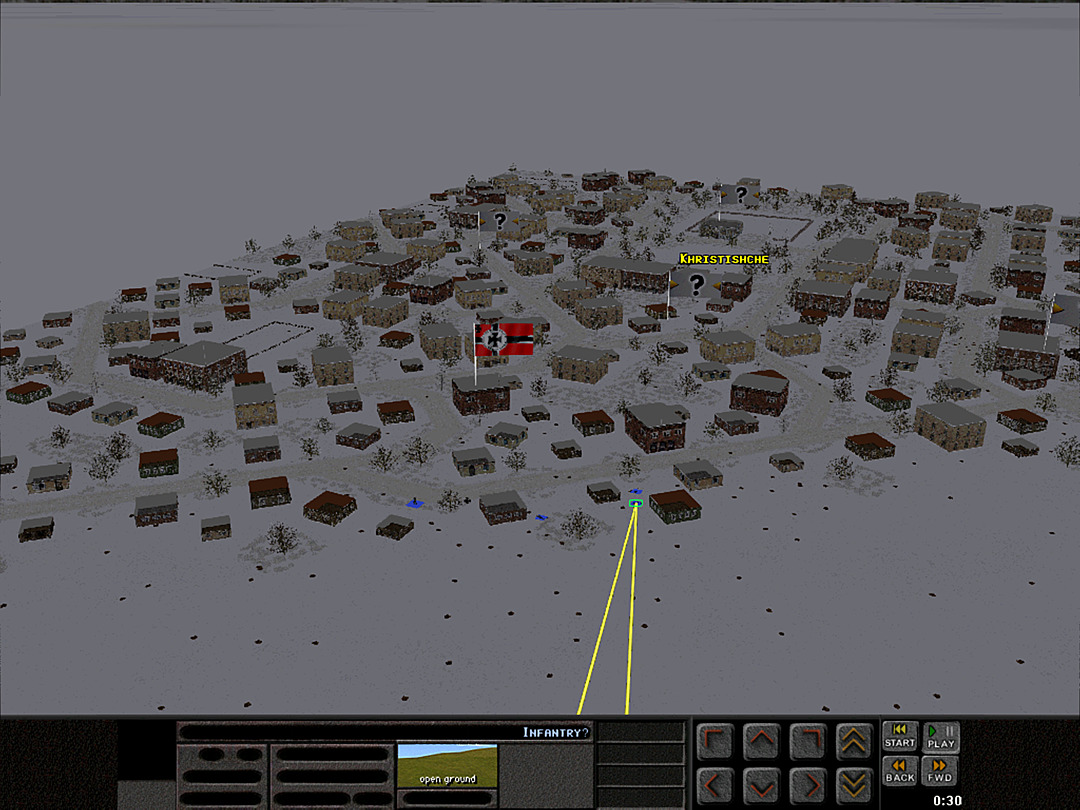 It's hard to really see if they are hitting anything, but G Coy engages them as best they can. Holding the enemy here should allow the men on the north side to claim more ground.  The other platoons of II Battalion shift a little to commence their move on the damaged buildings on the northeast. 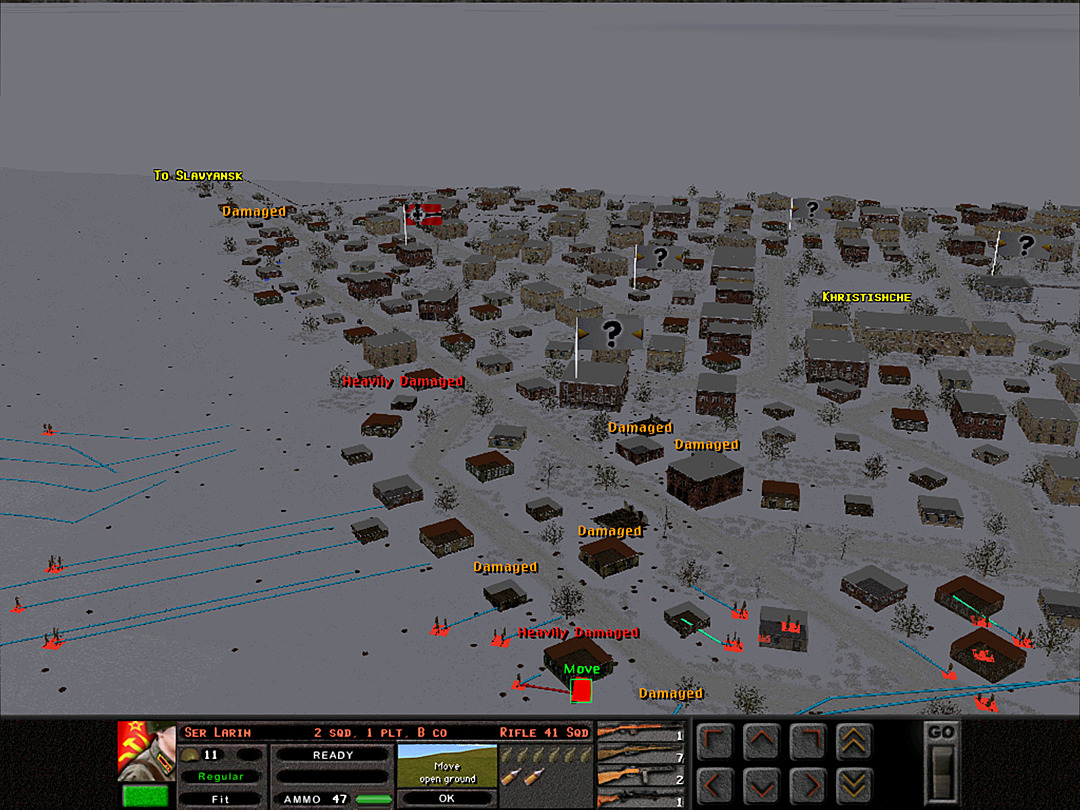 Meanwhile, B Coy has reached the town and starts to check out a few of the bombed-out buildings. The enemy could be hiding anywhere. 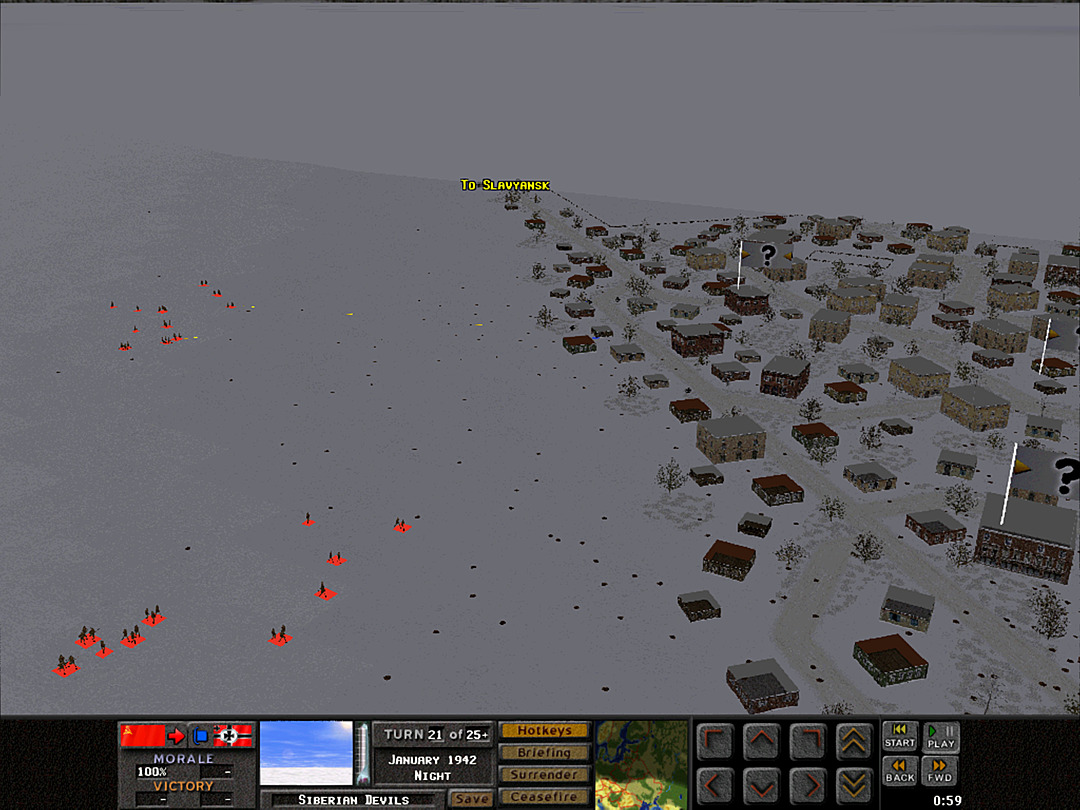 G Coy is staying disciplined, and despite a fair amount of fire from the defenders, they are maintaining a solid amount of return fire.  The ski troops are ready to cross the road on the north side. So far, they've encountered no one. 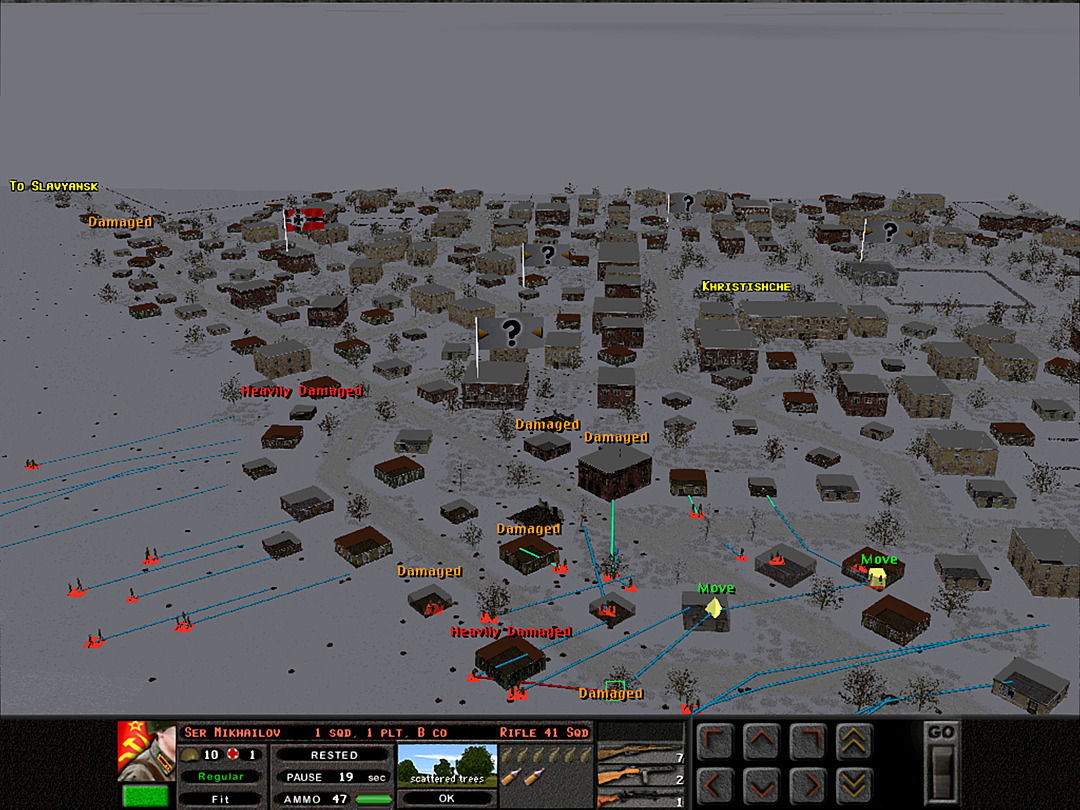 As they advance, B Coy will move over to the buildings on their right. 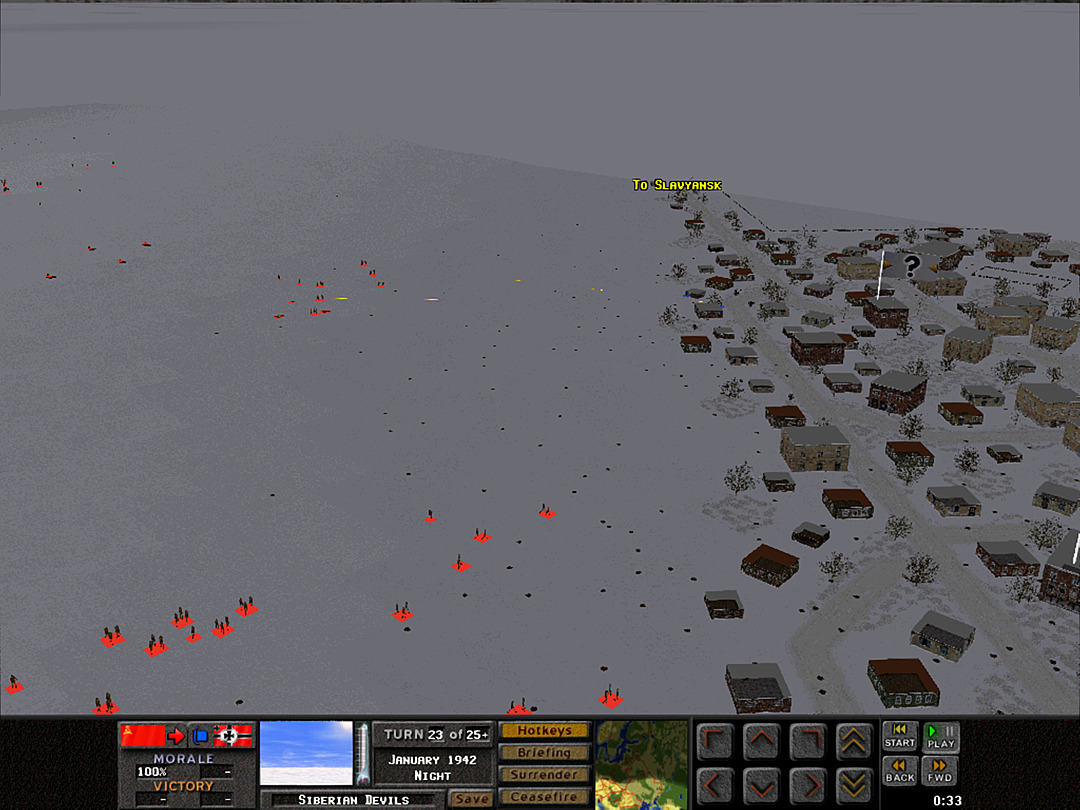 G Coy is keeping the enemy occupied. F Coy is just about to enter the town, and they don't appear to have been detected.  Suddenly the undesired sound of a German machine gun rings out above the wind. G Coy starts taking a lot more fire. 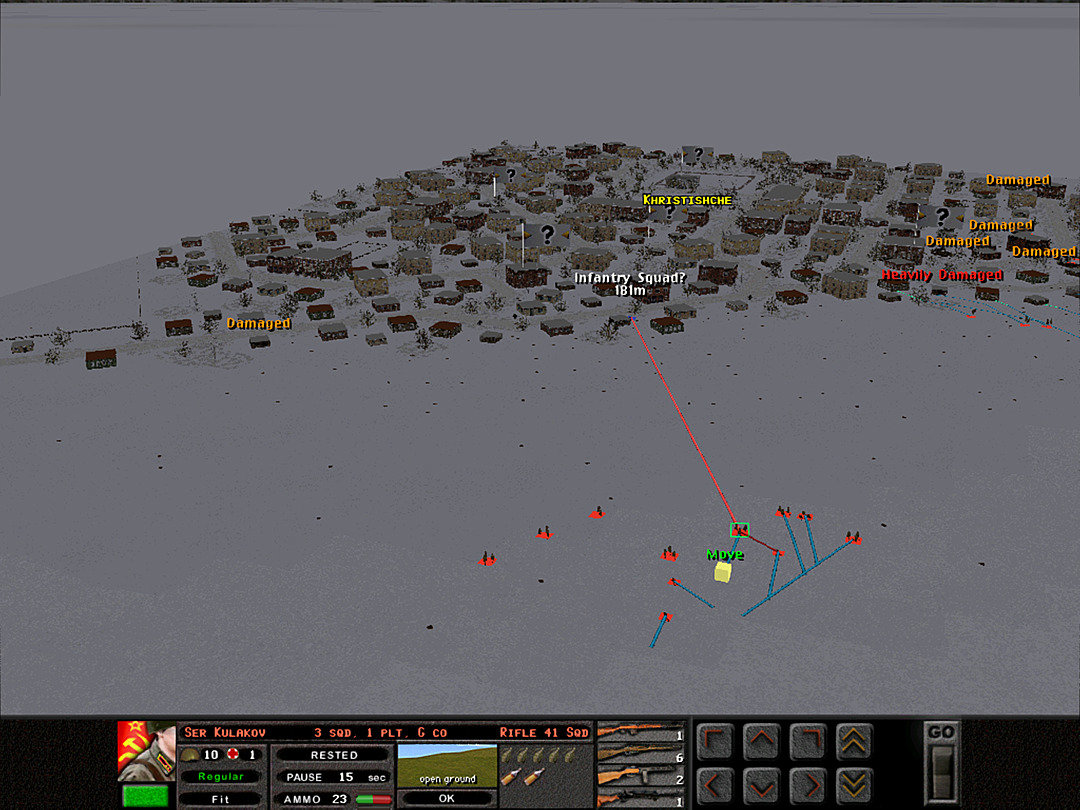 The captain of G Coy commands an orderly withdrawal. They have served well as a distraction, and do not need to attempt an advance; our original plan has worked.  The footsoldiers of B Coy have been moving through the ice and snow, and then in and out of buildings, and they are starting to tire out. 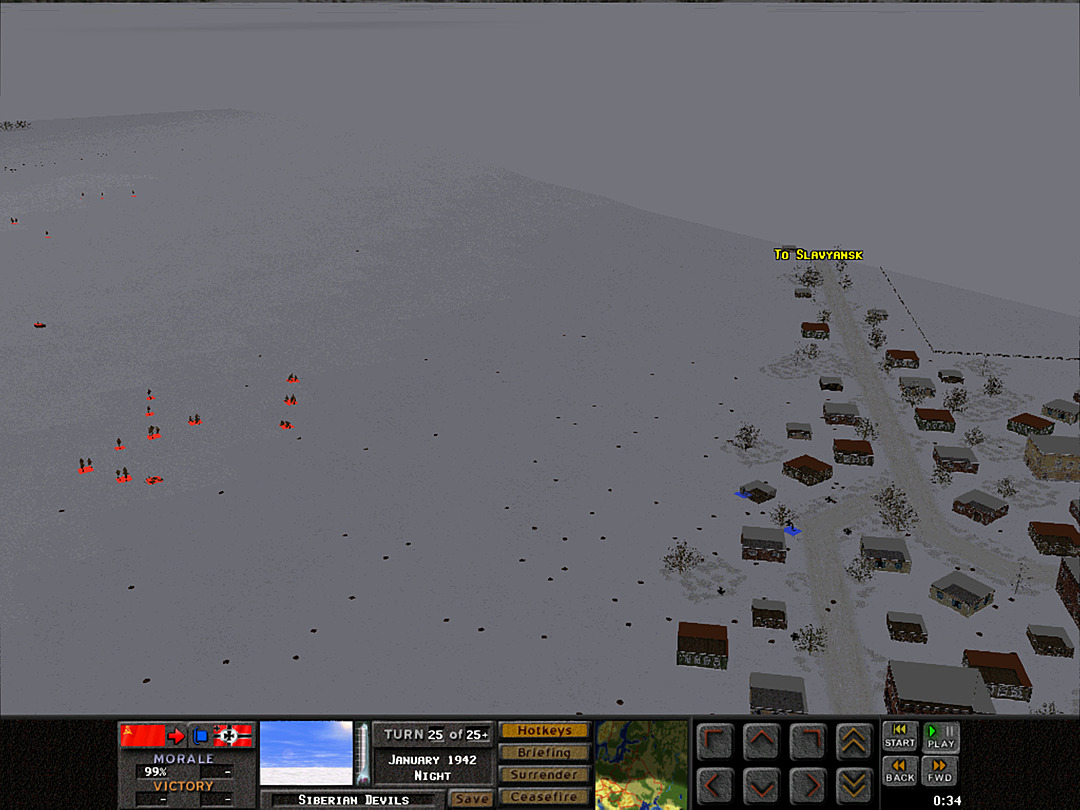 One platoon of G Coy forms a rear guard while the other soldiers retreat from the town. 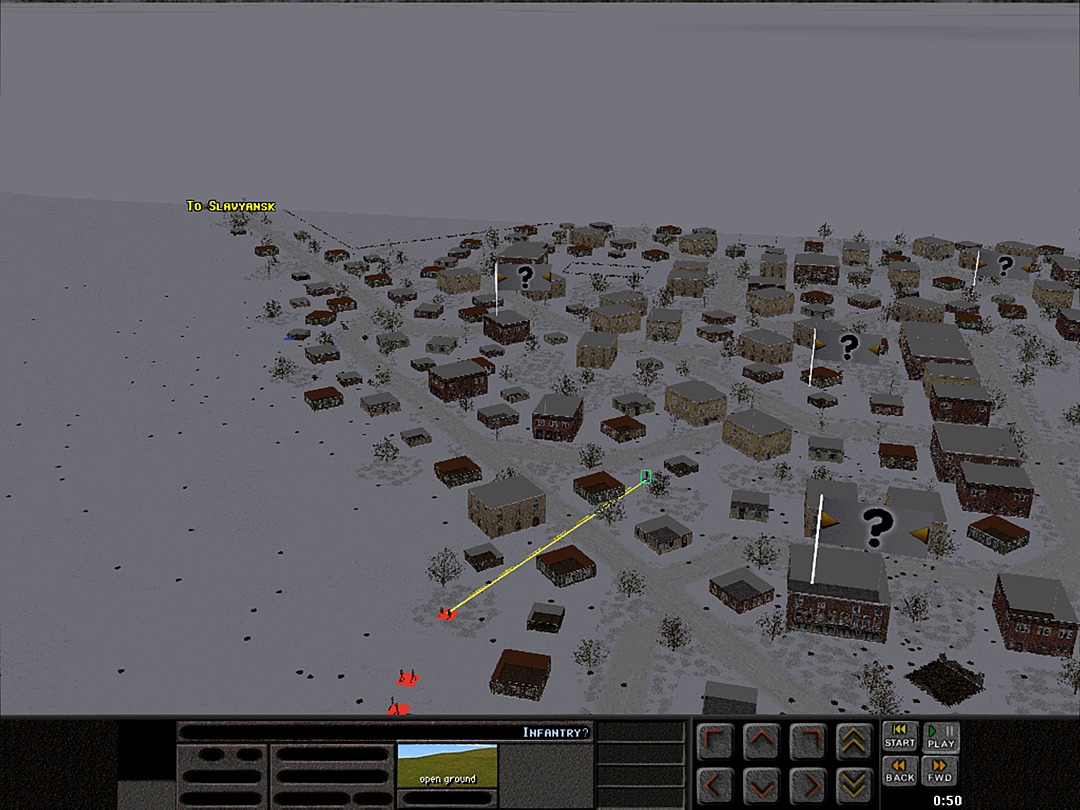 The troops of F Coy have just entered the first few buildings, when they spot enemy forces for the first time.  A few gunshots are exchanged, but the bulk of the night fight is over. We haven't quite claimed as much ground as we wanted, but we will not be easily dislodged come morning.  Only a single soldier, from G Coy, was wounded. Unit Highlight Soviet Infantry Battalion 41A 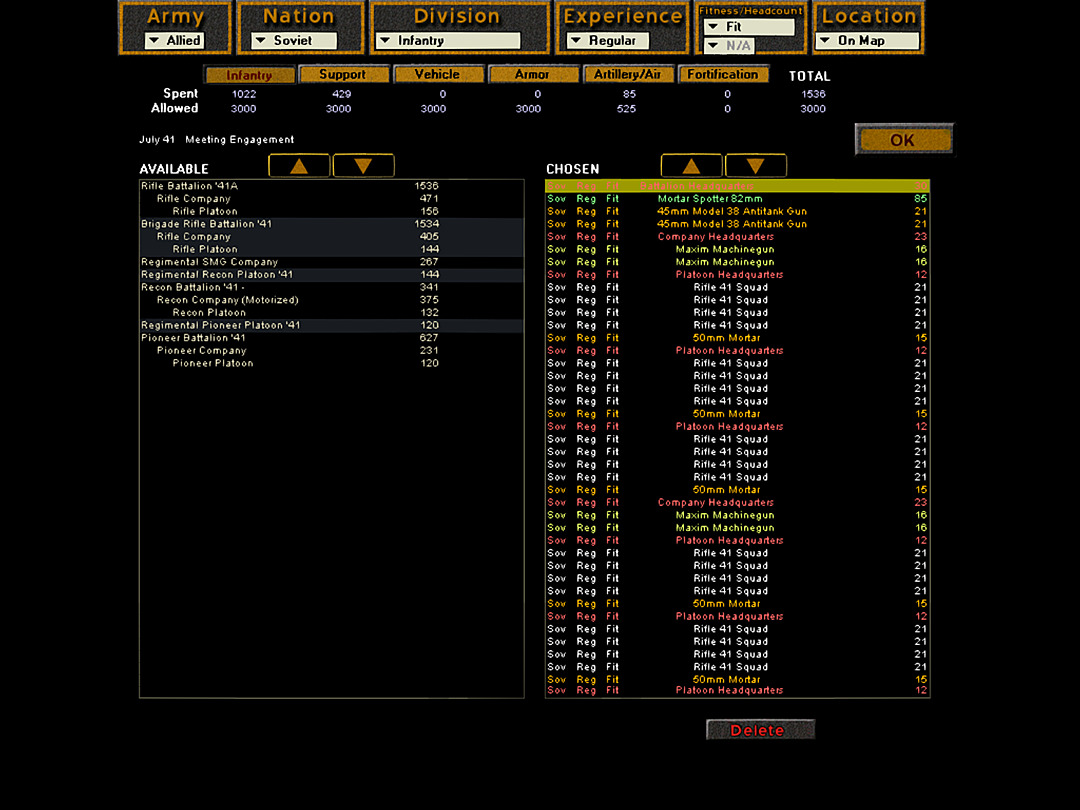   These units are not selectable on the map as a whole; instead we have the 'purchase' screen for a battle. The right side here shows the individual units included in a battalion; it takes two pages to list them all. The bottom image shows all of them when on the map (the machine gun company is in the front). Elements: 1 x Battalion HQ 1 x Mortar Spotter 82mm/6 tubes 2 x 45mm Model 38 AT Gun 3 x Rifle Company 1 x MG Company Base Cost: 1536/471 Coy/156 Plt These prices are shown in the image above; the secondary prices are indented below, allowing for smaller units of the same composition to be purchased as ad-hoc units. Each of those will be exactly the same as the unit listed with the battalion, following the commander for the unit (e.g. a Rifle Company would entail all units listed from 'Company Commander' in the first image down to the next 'Company Commander'). I will give 'highlight' spots to some of the various different higher-level formation, in particular the Battalions, which are the largest unit that can be purchased. While much could be said about the general structure (and restructuring) of the armies of the belligerents over the course of the war, it'll be likely more interesting to see these once we have others to compare them to, as the game has to make choices about what should be the 'normal' formation at any given time. Here we have the Rifle Battalion '41A', with the designation indicating that it comes earlier in the year. This TOE would be what most units had (at least on paper) right around the start of Barbarossa. They were supplied with multiple Maxim guns (or equivalent), as in addition to the Machine Gun Company, each Rifle company had two guns assigned to it. Each rifle platoon had a light mortar team as well. Anti-tank guns were present, but they were not the best ones, and some of the artillery (which would be regimental-level) is assigned to the group as well. If all of these units were available, this made for a potent mix of firepower, at least against infantry. That 'if' was quite often not the case, however. You may recognize this unit as what we had for the Kruglowka Railway operation (along with additional regimental/divisional guns and artillery assets).
|
|
#
?
May 4, 2024 14:39
|
|
|
The mix of extreme simulation and extreme gaminess is really funny, especially combined with the AI, I hope that the Germans are in that disposition because of extreme troop shortages rather than an attack from the map border.
|
|
#
?
May 4, 2024 17:00
|
|
|
Yeah, I realized it might be kind of hard to see in the perspective of the 'setup' images, but the German side did actually have full control of the bit of the map that covers most of the town; the red line is the limit of our control and dips back northward around it. There is a block that was "Soviet-controlled", though � basically the last few buildings on the map edge, near the fenced area up to the road. e: I checked back and the Soviet-controlled area was actually bigger than I'd thought, especially for the night battle. All the way to the second east-west street, looking from the north, was ceded. This is an indication both that they were shifting troops out of this sector, and that it was less likely to be defended if being surrounded was a concern. So possibly they saw this as a vulnerable salient due to that notch at the back, and pulled out. Or not. I think it is actually more that we brought our forces to bear more on the other side in the previous battle, so it was expected to continue. I have played this against the AI as the Germans (and won, but had a very tough time of it) and I know they're fairly outnumbered, and only slightly better in quality this time around. Kangra fucked around with this message at 13:20 on May 5, 2024 |
|
#
?
May 5, 2024 02:39
|
|
|
Operation: Siberian Devils, Battle 4 of 6 Time: Dawn Skies: Clear Ground: Deep Snow Temp: Extreme Cold Wind: Windy SSW A successful night attack has given us a toehold in the town. We don't quite have uncontested control of the north, though, so we will certainly have a fight on our hands. We must be aggressive as well, or the Germans will remain too strong. Today will decide if we can keep up the pressure and push the Germans out, or if we will fail to take the town in time. 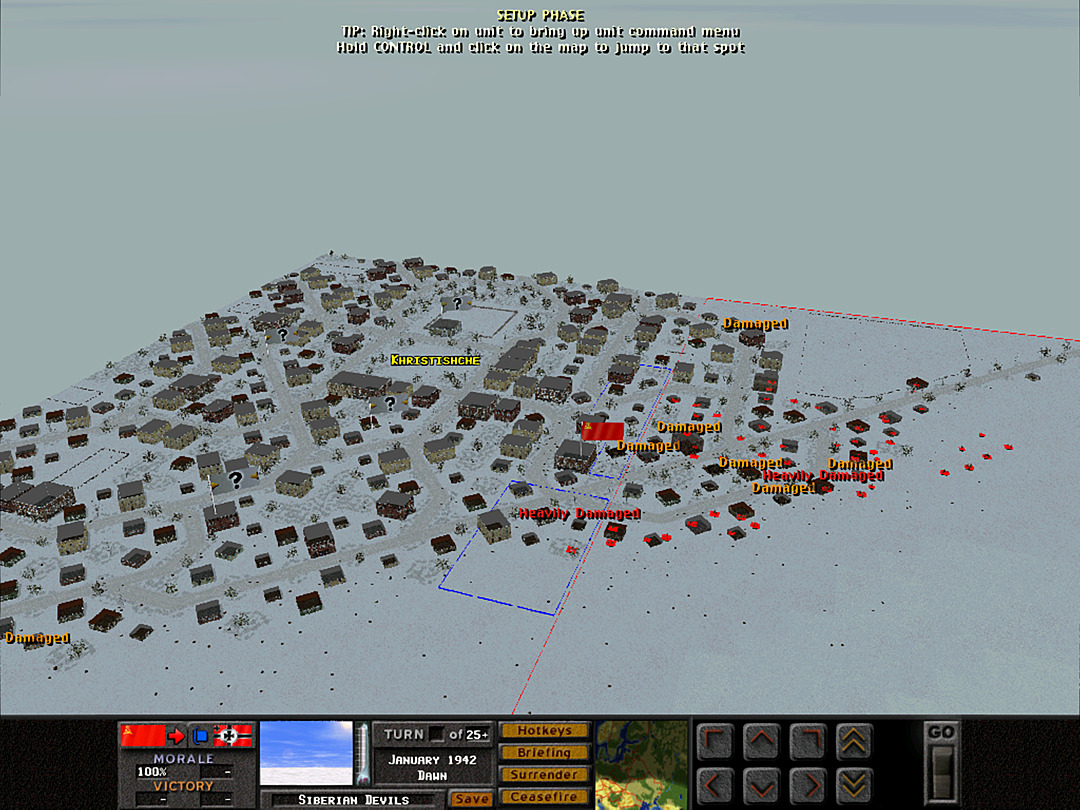 The morning finds us ready to move on from the few houses we found shelter in last night. II Btn, F Coy will lead the attack and push mostly along the main road into the town. I Btn, B Coy will make a broad push on the right side, but they are to move cautiously and stop if they meet heavy resistance. The ski troopers will stay on foot and clear out buildings where they can; E Coy will fill in the center and are authorized to advance southward as far as practical. 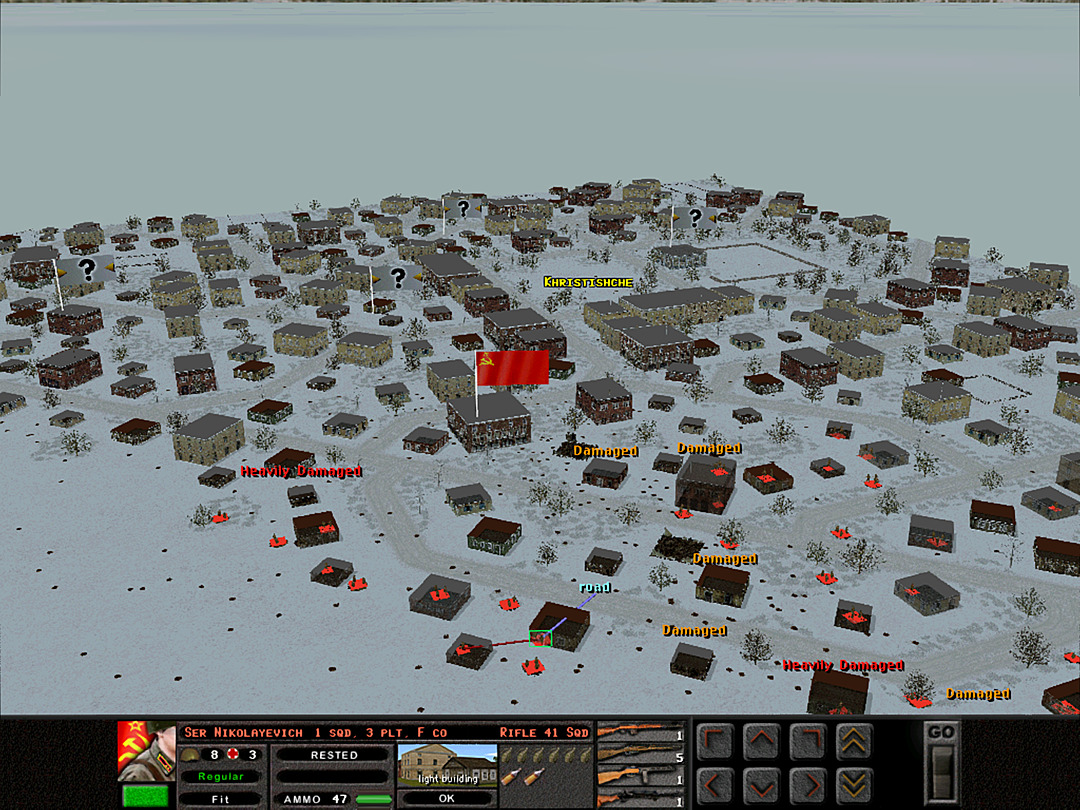 On the north side of the town there stands a prominent building � a former schoolhouse which has been converted to offices by the Party. It's our main objective this morning, and while the optimistic platoon leaders think they might be able to walk in and capture it, we suspect it'll be tougher than that. 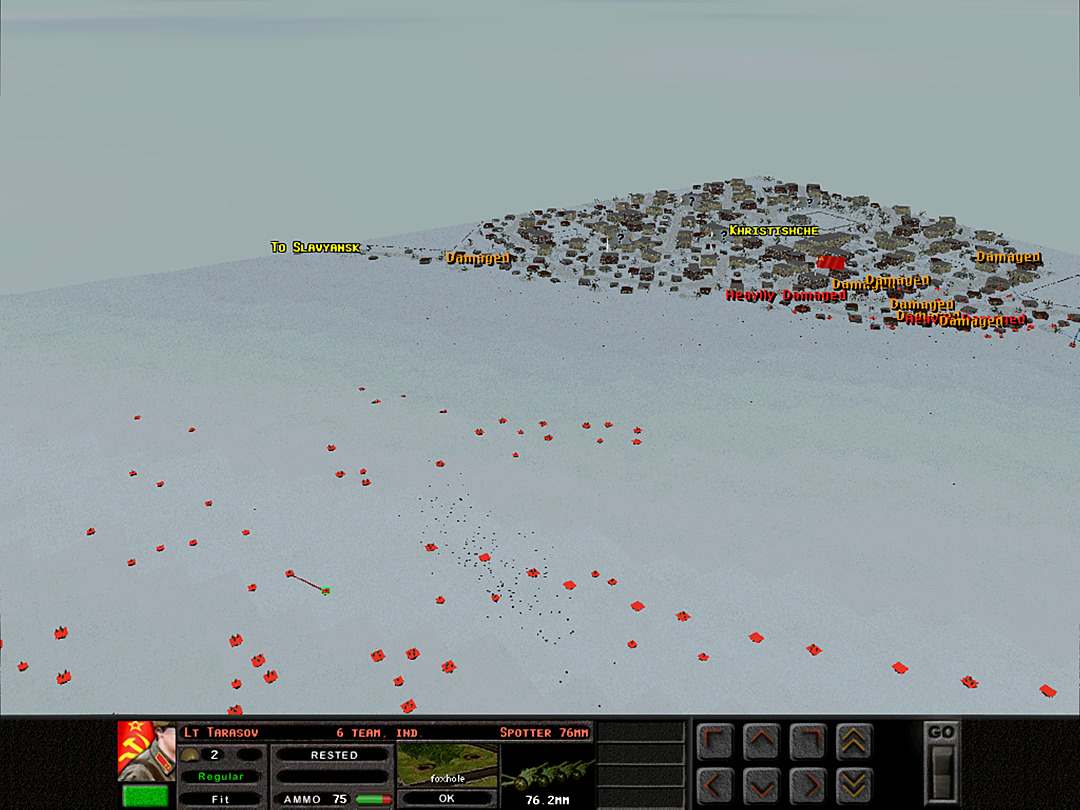 The remainder of our forces stayed out in the cold snow all night, though each squad cleared out a space to be free of the wind and provide cover from any stray shots directed at the ridge. They sit ready to provide fire support, or initiate an assault if it's requested of them. 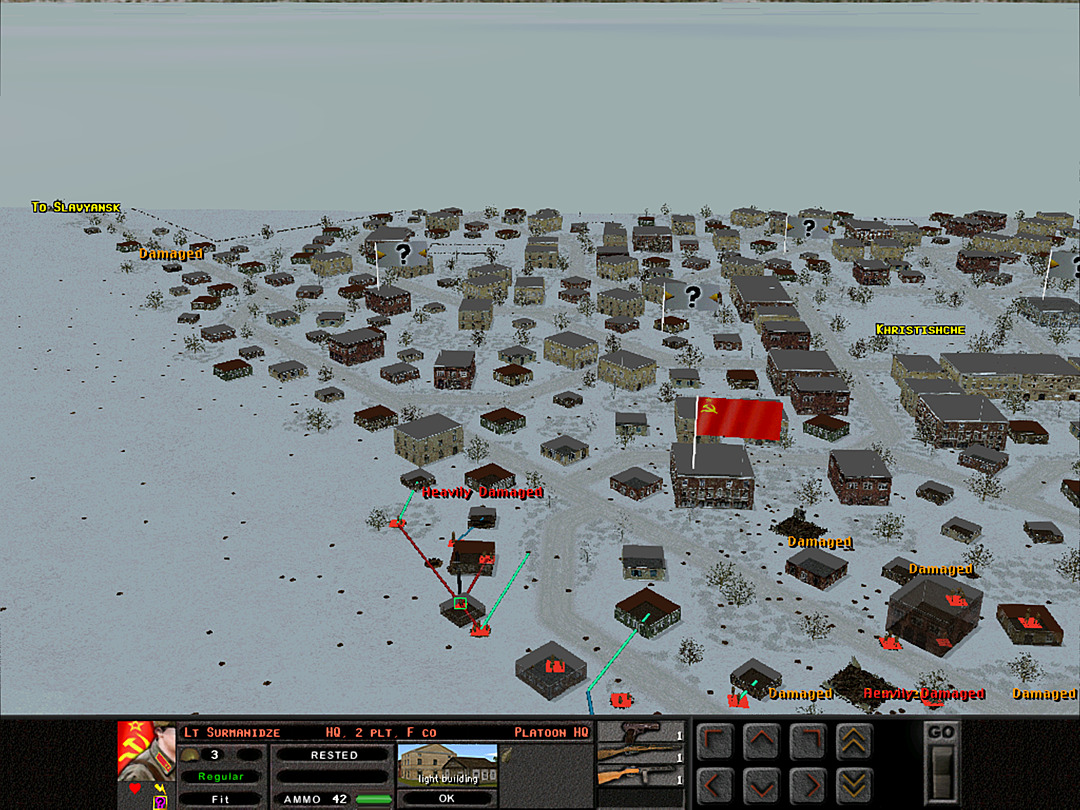 F Coy, 2 Plt takes the lead and continues to check through the damaged buildings on the northeast side.  B Coy spreads westward. They'll ensure the line of buildings on the north side is clear before advancing.  Shortly after we get underway, the first shots are fired. A machine gun is posted in a low building next to the former schoolhouse. 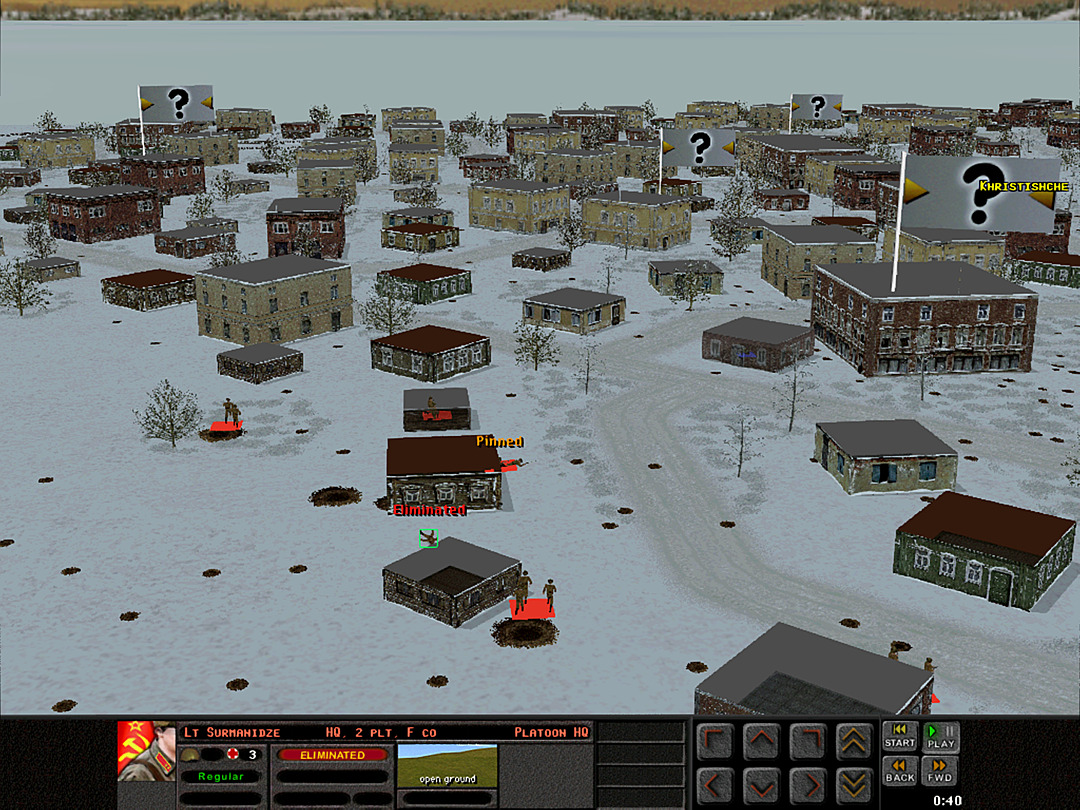 The MG34 swivels toward our troops and a burst of fire takes out the lieutenant of F Coy, 2 Plt.  Our spotters up on the ridge have a much better view of the town now, and can lay in more precise strikes. We send a barrage down toward a likely troop concentration. 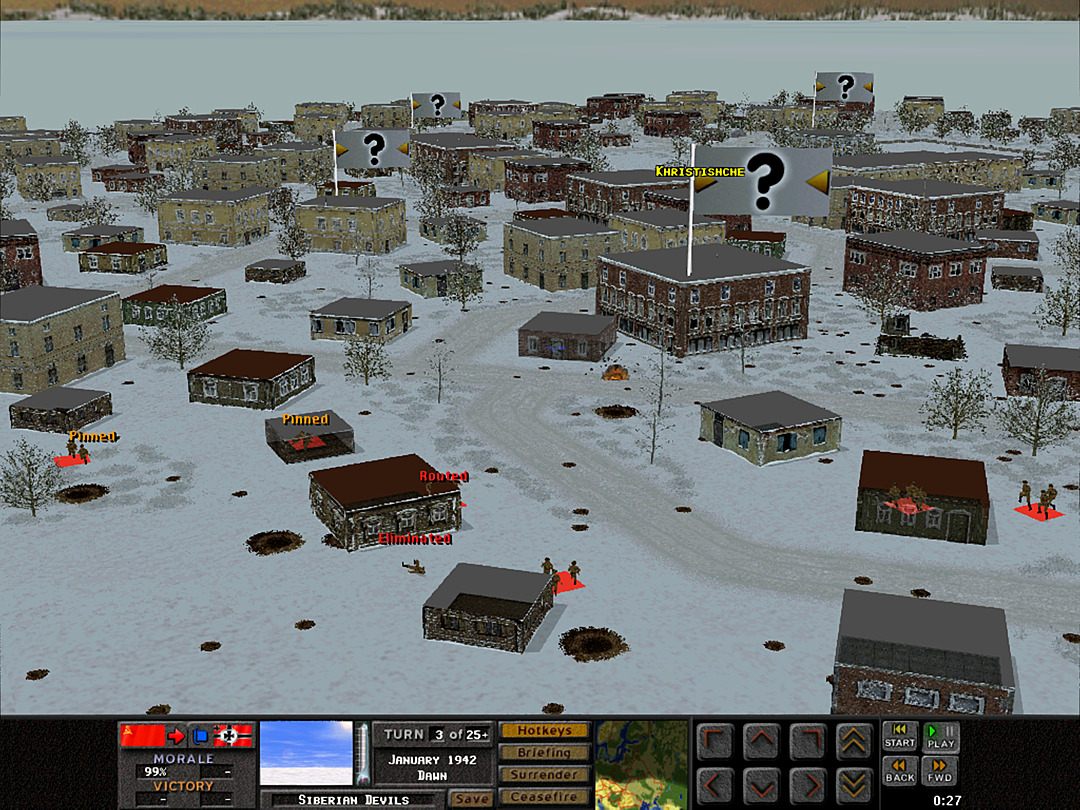 Suddenly heavy shells start to pound the ground right in front of the Germans. This isn't one of our strikes � their own artillery is falling short of the mark.  While half of the rounds fall on the Germans, F Coy is hit with enough ordnance to halt their advance before it starts.  The ski troops of J Coy, 3 Plt make some progress as they capture a few small buildings. They might be able to provide fire support for when F Coy finally starts to advance.  E Coy starts to head towards its assigned sector. The road may be covered by enemy machine guns off to the south, so they get across as quickly as possible. 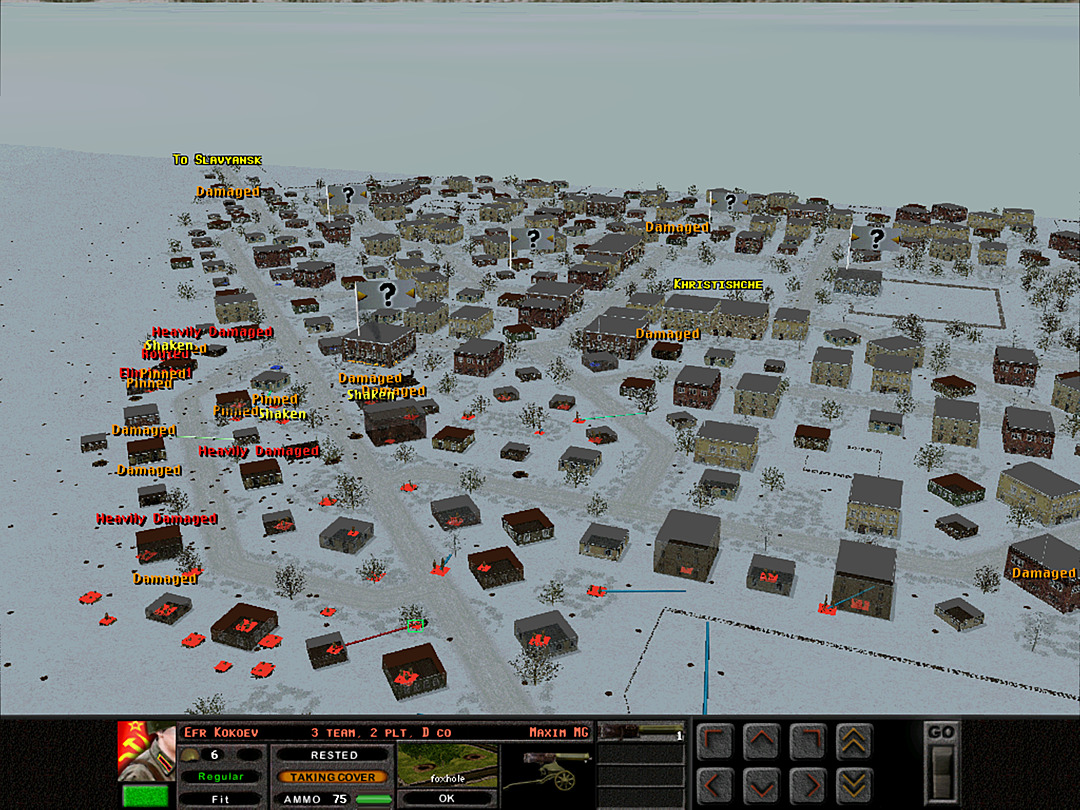 Our own machine guns are in position to cover the road, but they don't have a clear view of what's shooting at them.  Multiple dug-in enemy squads have now been spotted around the schoolhouse. 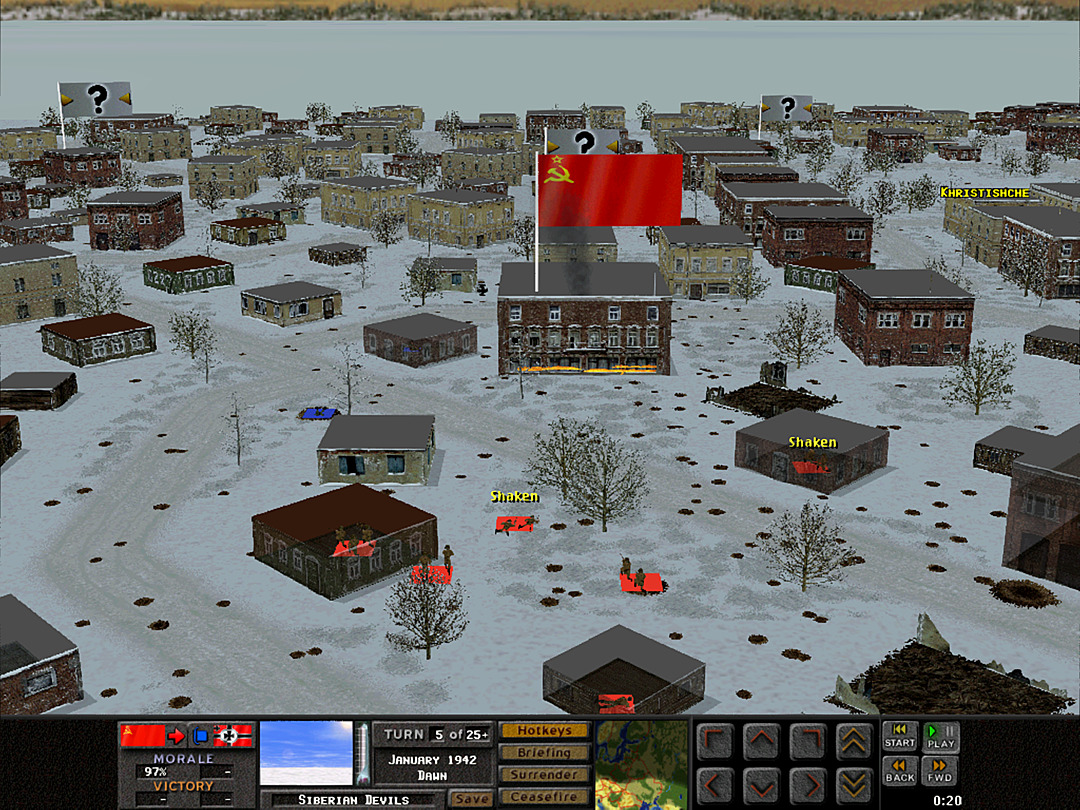 As the unexpectedly close artillery strike tapers off, we see that it has started a fire in the building.  J Coy encounters a scout group hidden inside a building and swiftly dispatches it. 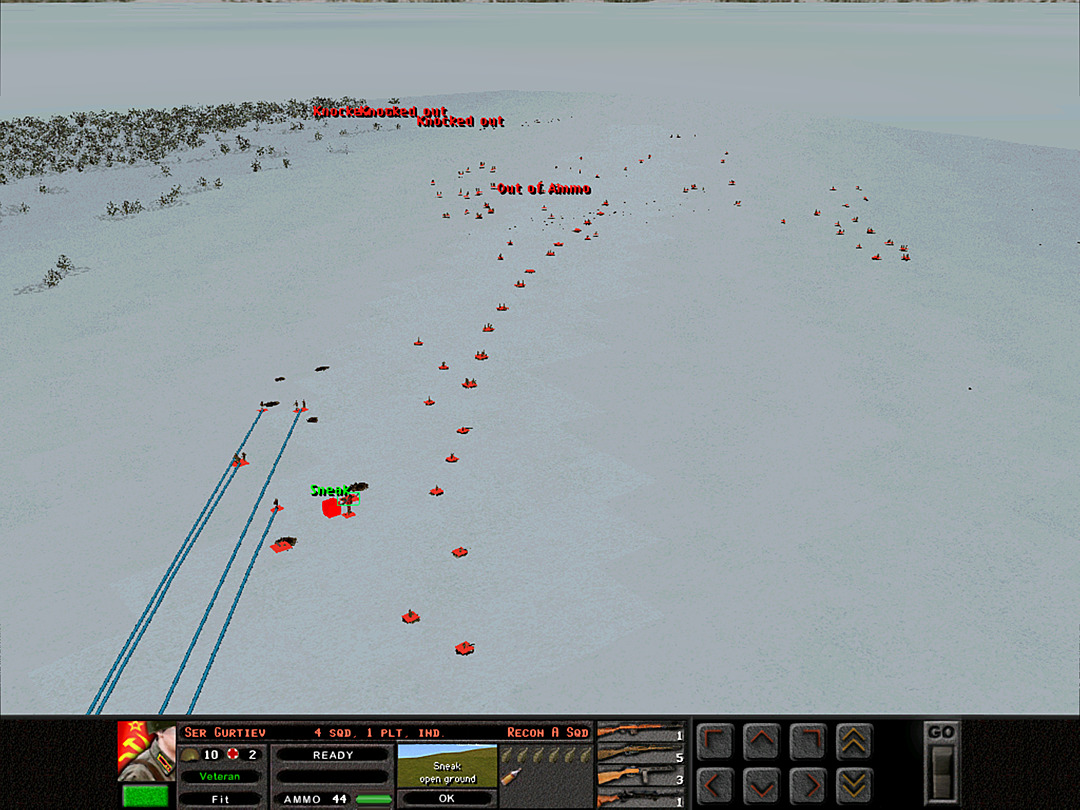 The recon troops moved up to the ridge last night. They try to move out to sneak toward the town, but are immediately fired upon. 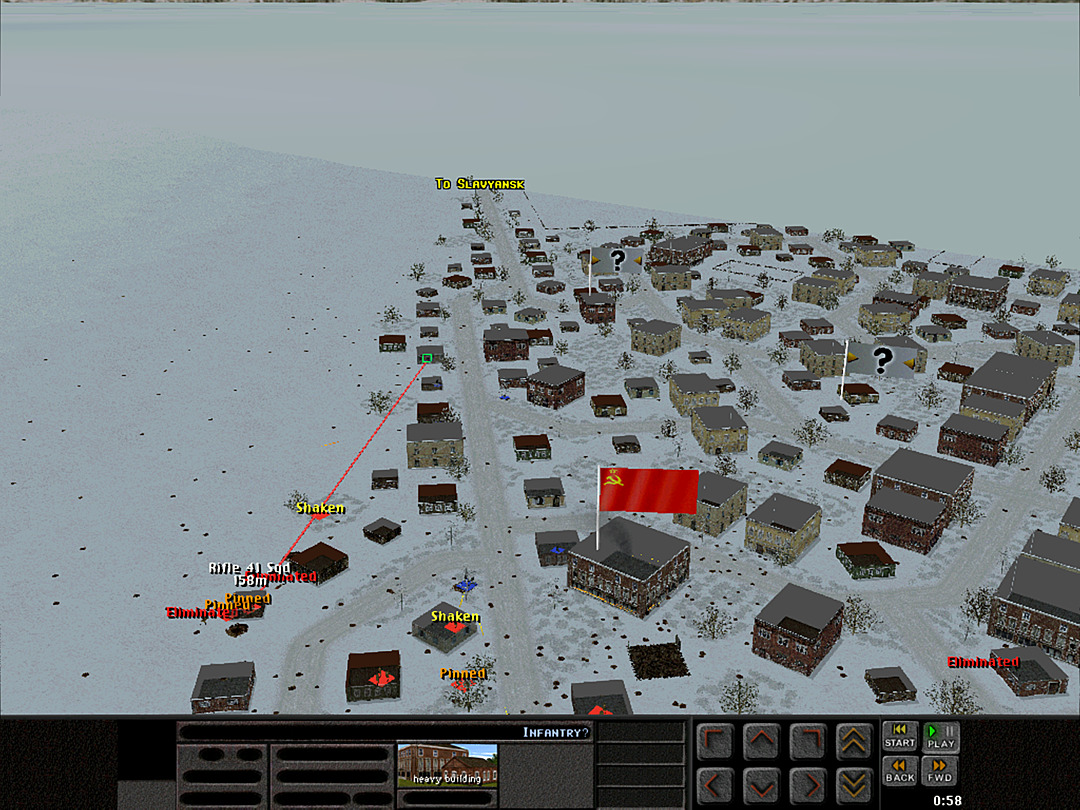 The leaderless platoon of F Coy spots more enemy troops along the edge of the town. 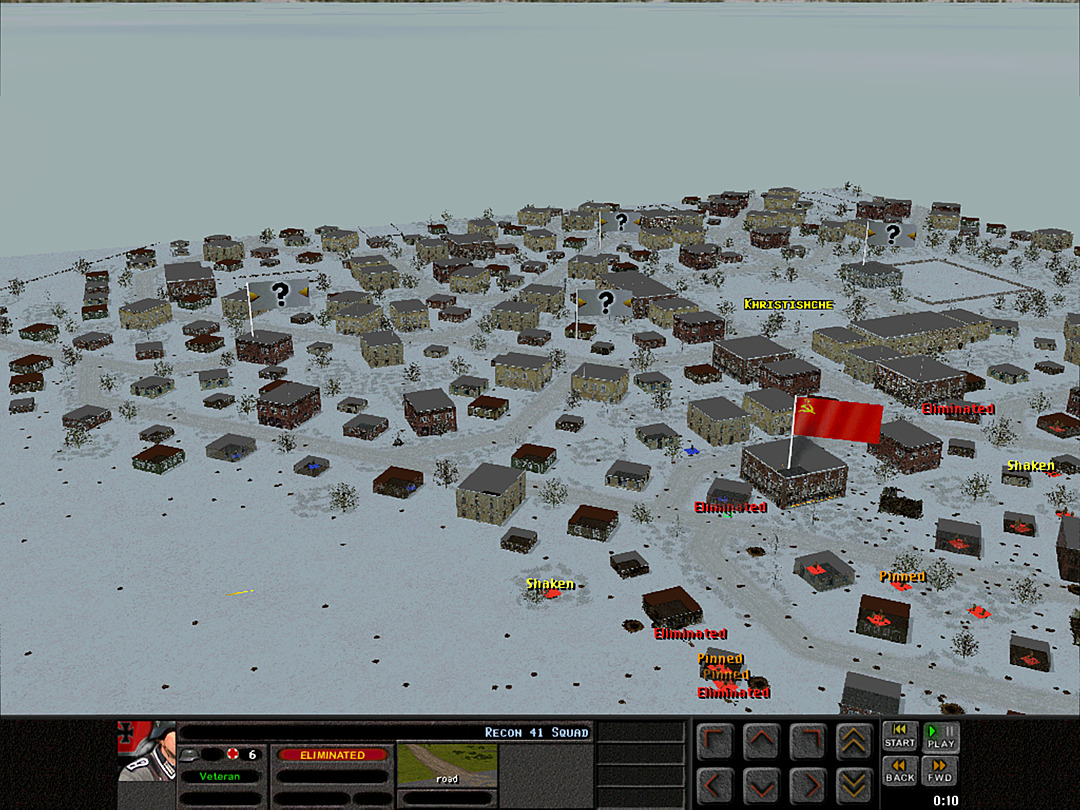 The enemy squad closest to our position is routed, and then shot down before it can get far. We have sufficient strength to capture the schoolhouse now, or whatever remains of it after the fire. 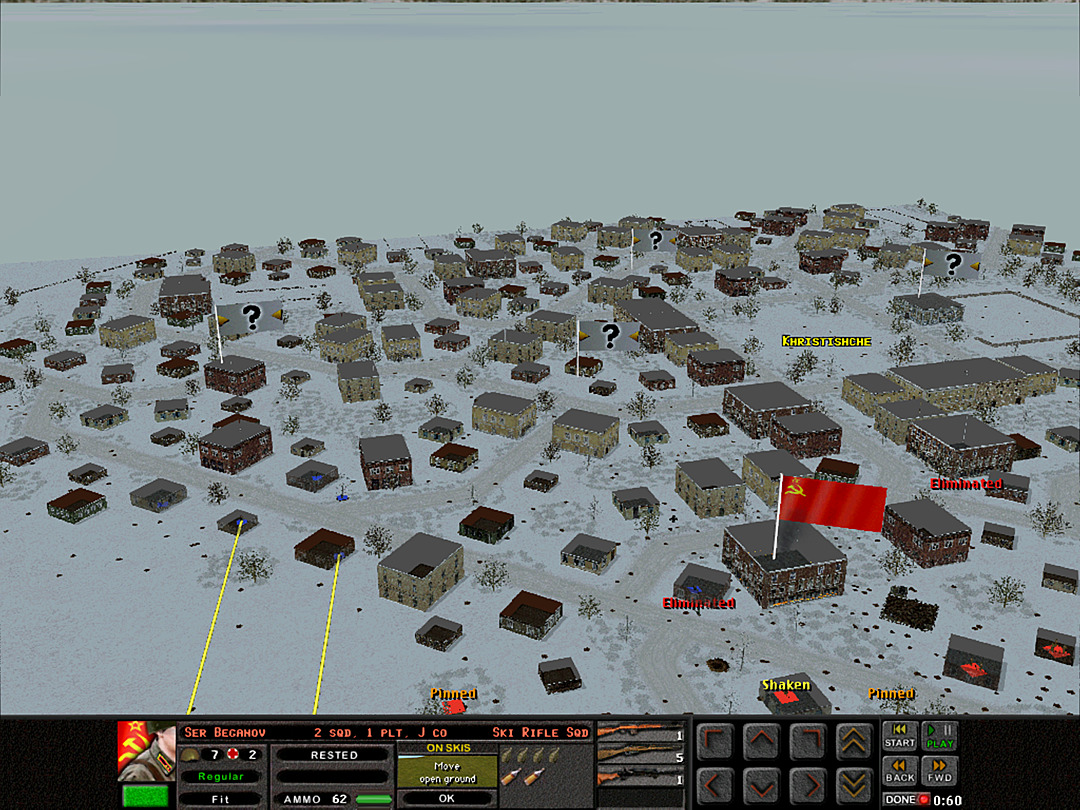 Additional ski troops heading toward the town draw fire from the Germans in the easternmost houses.  We shoot back from the line dug in on the ridge.  Another artillery strike is laid in as well. We intend to hit them with constant barrages today.  The initial advance of F Coy has run into too much resistance along the edge of the town, and is even having trouble pulling back.  E Coy, 2 Plt is starting to move into the center, now that the ski troopers have cleared the path somewhat. 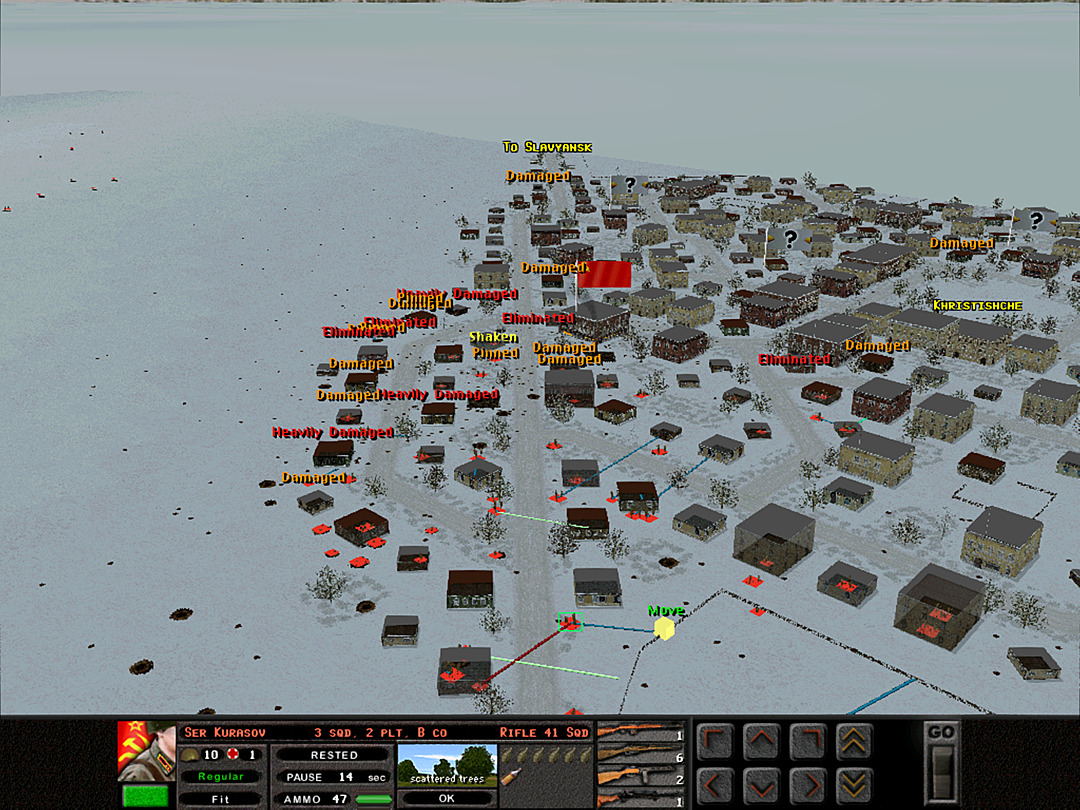 B Coy continues to cross over to form a defensive line behind II Battalion's attack. 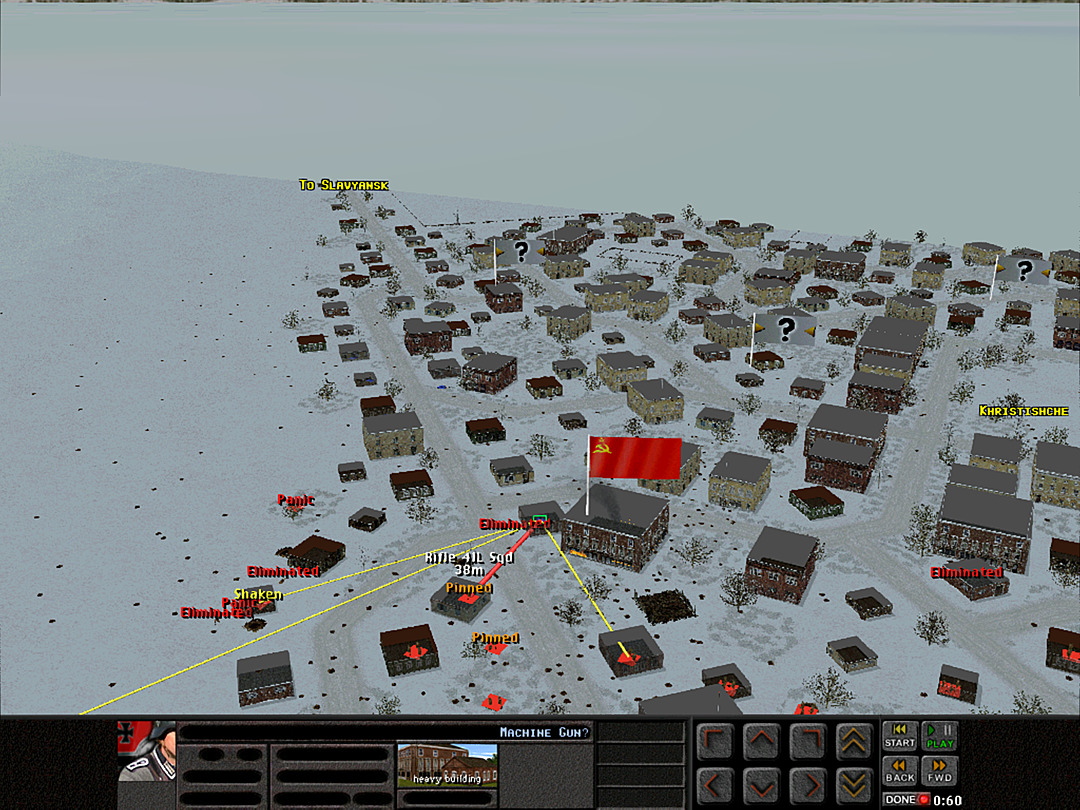 The machine gun next to the schoolhouse is still holding us off. We focus more fire on it, including from the Maxim guns on the ridge. 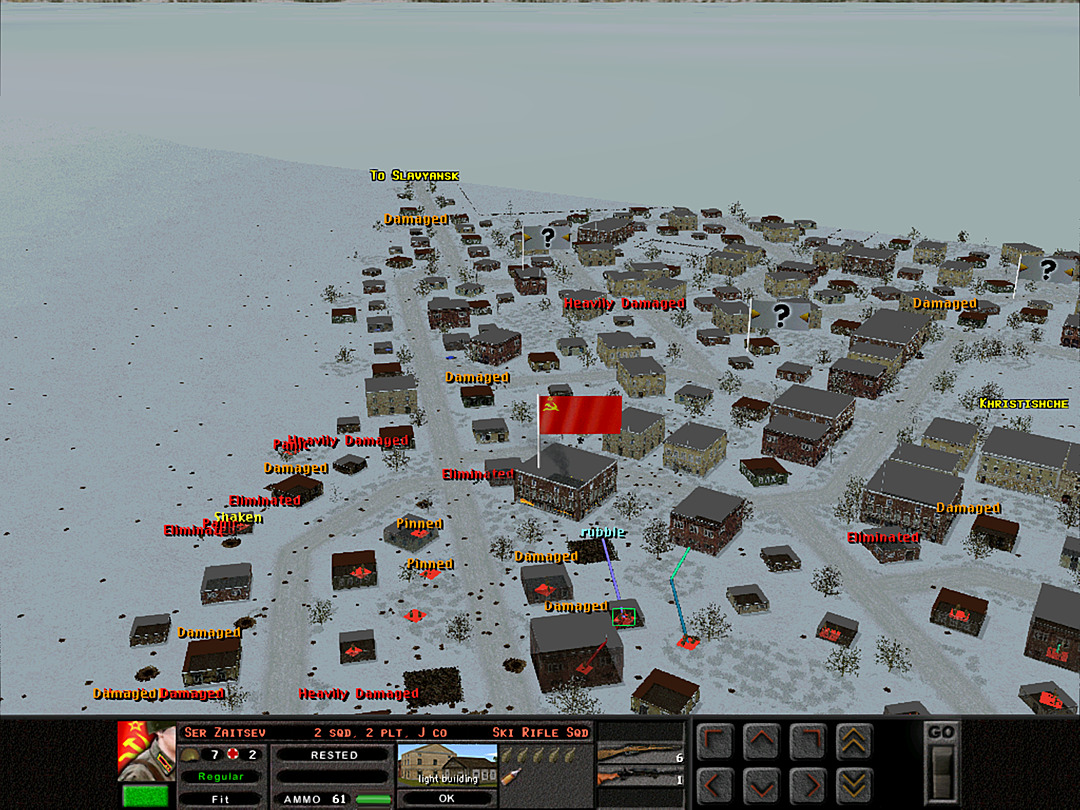 Some more of the ski troops move in on the west side of the schoolhouse. They could likely enter the building if the bottom floor were not ablaze.  We're attempting to position our own machine guns in more forward locations, as they can't target much just looking down the roadway.  Since the northwest side of Khristishche appears quiet, B Coy decides to investigate a few more buildings to the south. 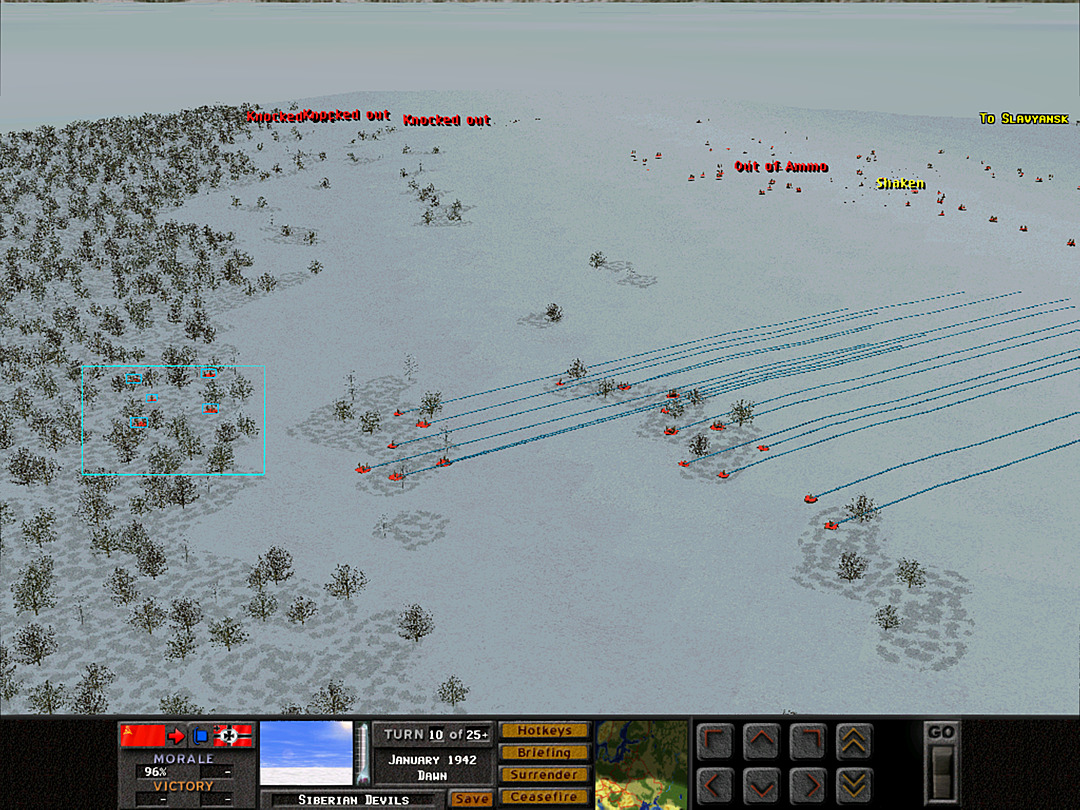 I Btn, A Coy is finally called forward. They will move into the town later in the day to back up an attack by B Coy, or might be used for an assault from the north end of the ridge.  The supporting fire from G and H Coys on the south is able to hit a few of the German units moving through the town. 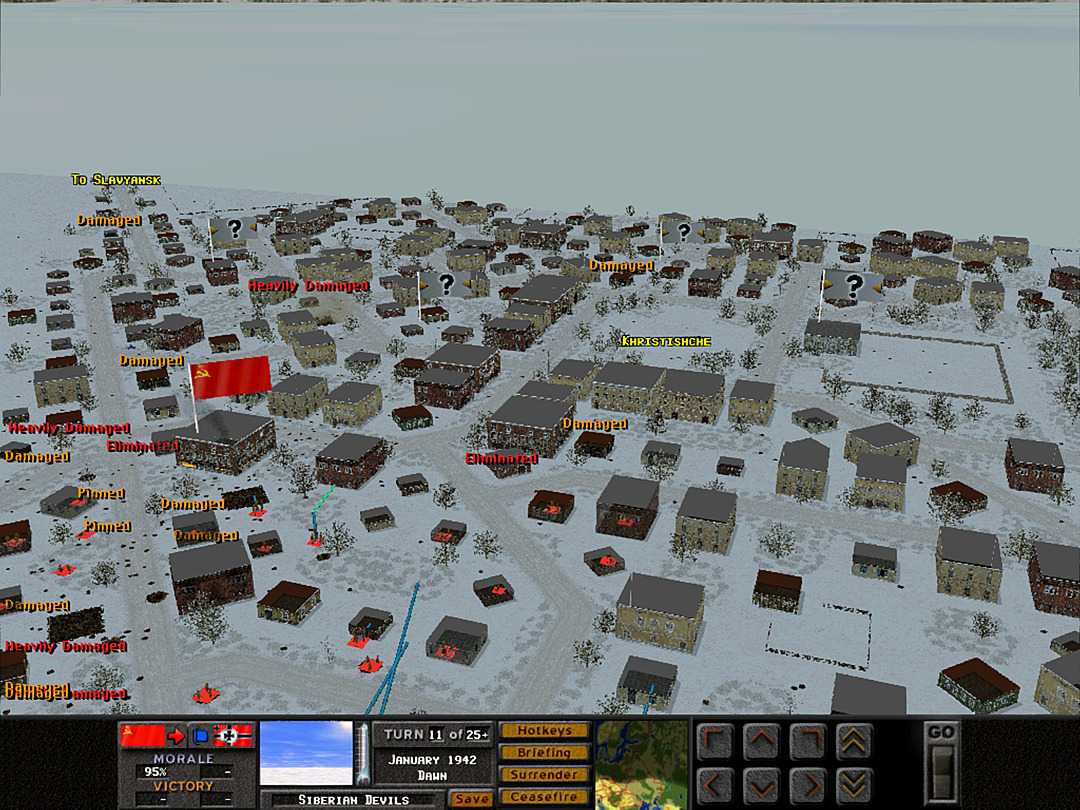 The ski troops in town have not discovered any additional troops in their block. 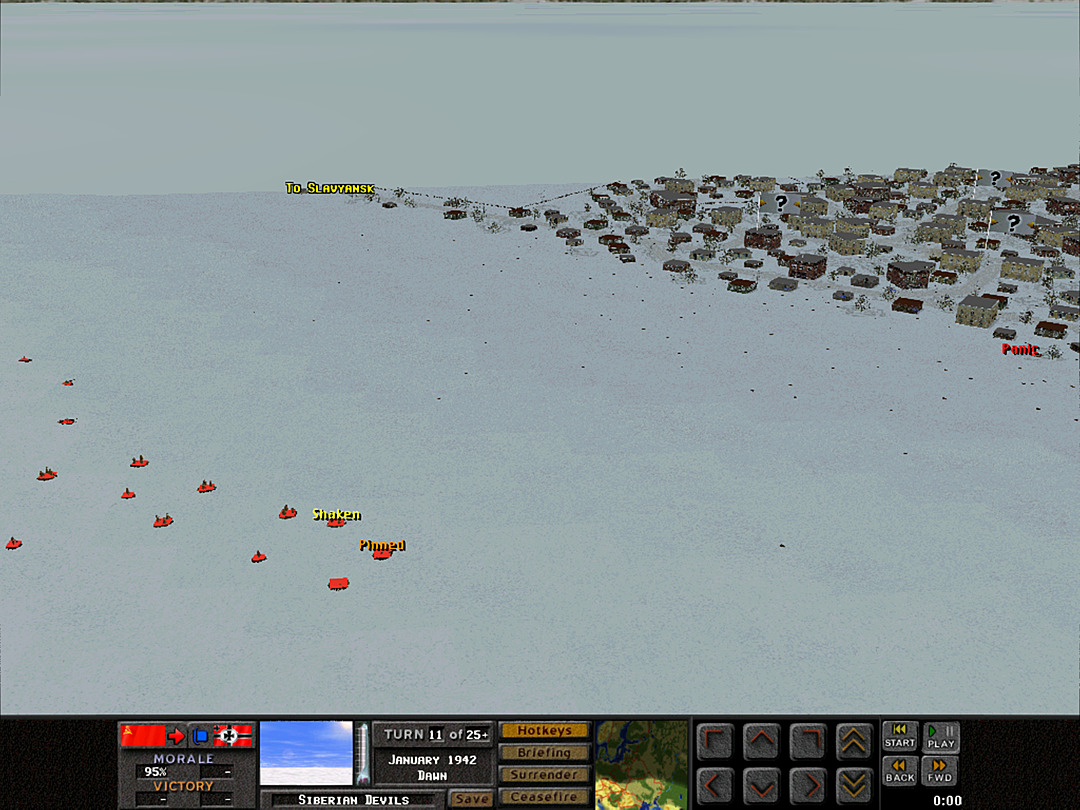 A few squads in G Coy are taking fire from the machine guns on the southeast side of the town.  The fire in the schoolhouse is consuming the whole of the ground floor. 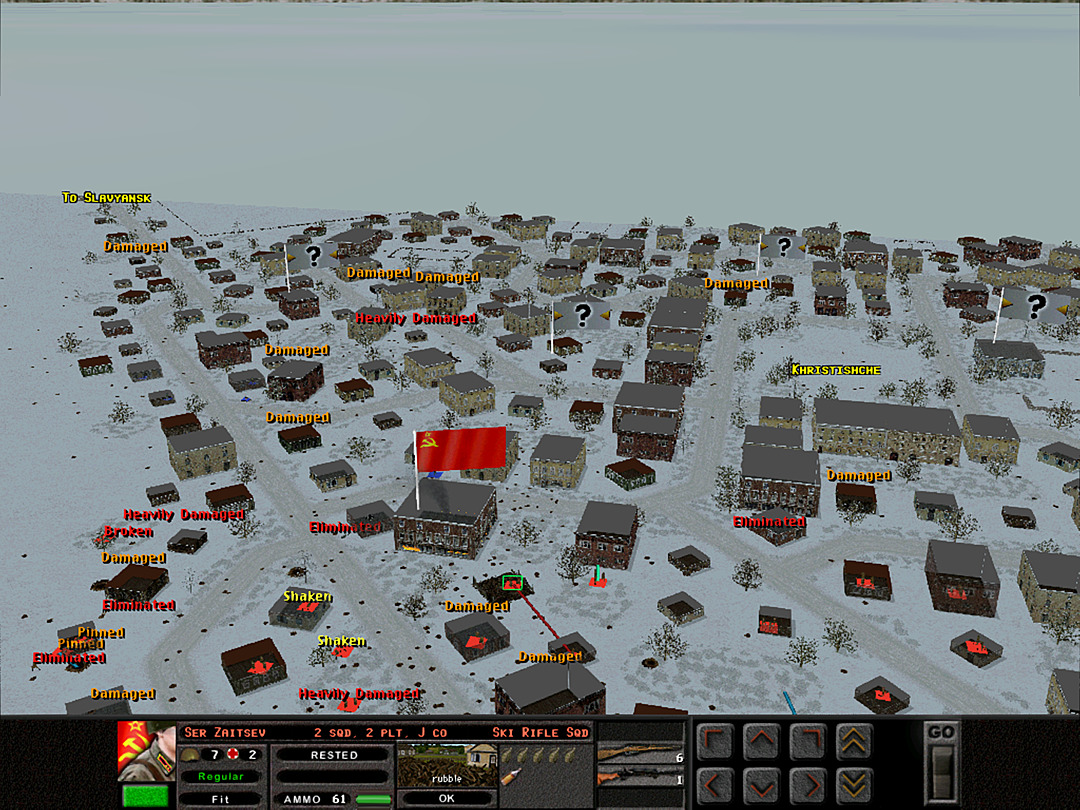 We continue to move a few troops to come around at it from the west.  The northwest shows no signs of the enemy, and another platoon from B Coy heads over to scout it.  The remainder of J Coy is sent into the town, though even as they speed along on their skis, they are dodging bullets.  F Coy remains paralyzed; they have to deal with not just the machine gun near the old schoolhouse, but a fair number of enemy units sending fire up the road at them. 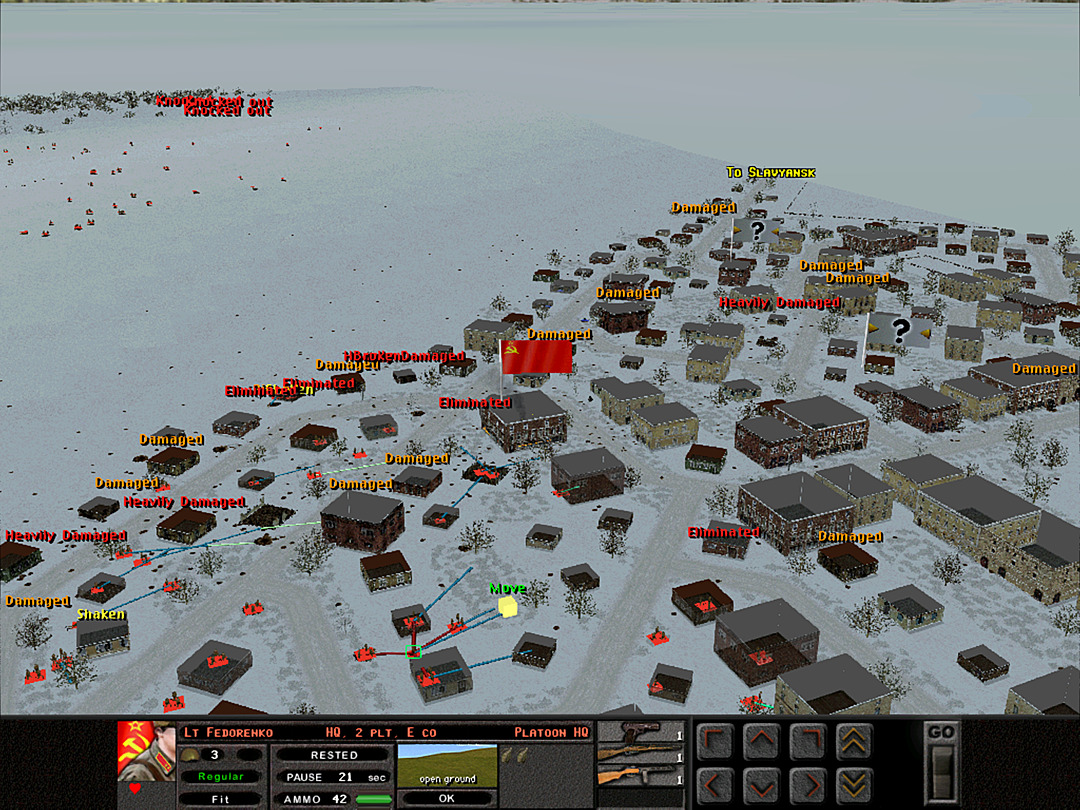 E Coy is starting to head forward, although they are still a few minutes away from starting an actual assault on an enemy positions. 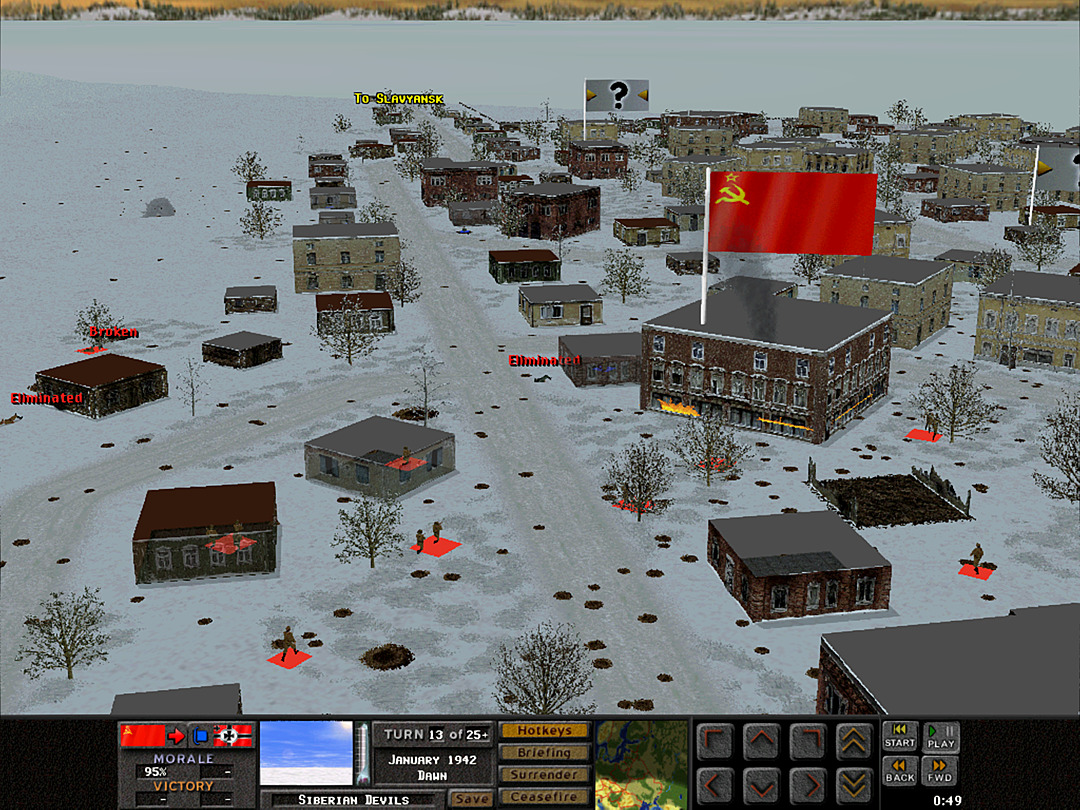 We get a few men into position just to the north of the stubborn machine gun, out of its line of sight. They might be able to sneak around to assault it, but it'll be tough with the schoolhouse fire raging out of control. Unit Highlight BA-10 Armored Car 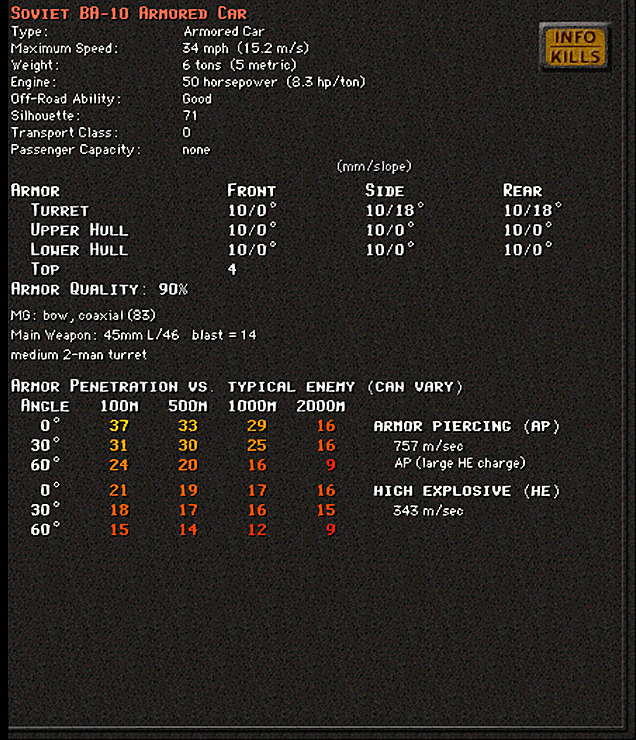  Crew: 4 Base Cost: 38 Just as a note in case anyone is comparing: No, that isn't a typo on the cost. This does come for cheaper than the BA-6, despite being slightly better. The only advantage I can see for the in-game BA-6 is that the MG gets more ammo. A refinement of an older design that only had a short time to shine on the battlefield Developed in the late 1930s, the BA-10 was an iteration on the BA-6 armored car, and indeed was largely based on the (prototype-only) 'BA-6M'. It was the last to use a six-wheeled truck chassis as the basis for its design. It did not change much from its predecessor, retaining a tank gun as its main weapon as well as the thin armor. The most notable improvements were to the engine and range. It could also install a radio, and this made it quite good at scouting a large amount of territory. While it was capable enough for the 1930s, it fared poorly in combat by 1941, and was withdrawn from front-line use in 1942.
|
|
#
?
May 11, 2024 07:25
|
|
|

|
| # ? May 16, 2024 04:38 |
|
|
Operation: Siberian Devils, Battle 4 of 6 Battle Time: 00:14 Our first real action in the town is heating up � literally, in the case of the schoolhouse at the focus of our main thrust. German resistance has been tough, but we are gaining ground inch by inch. 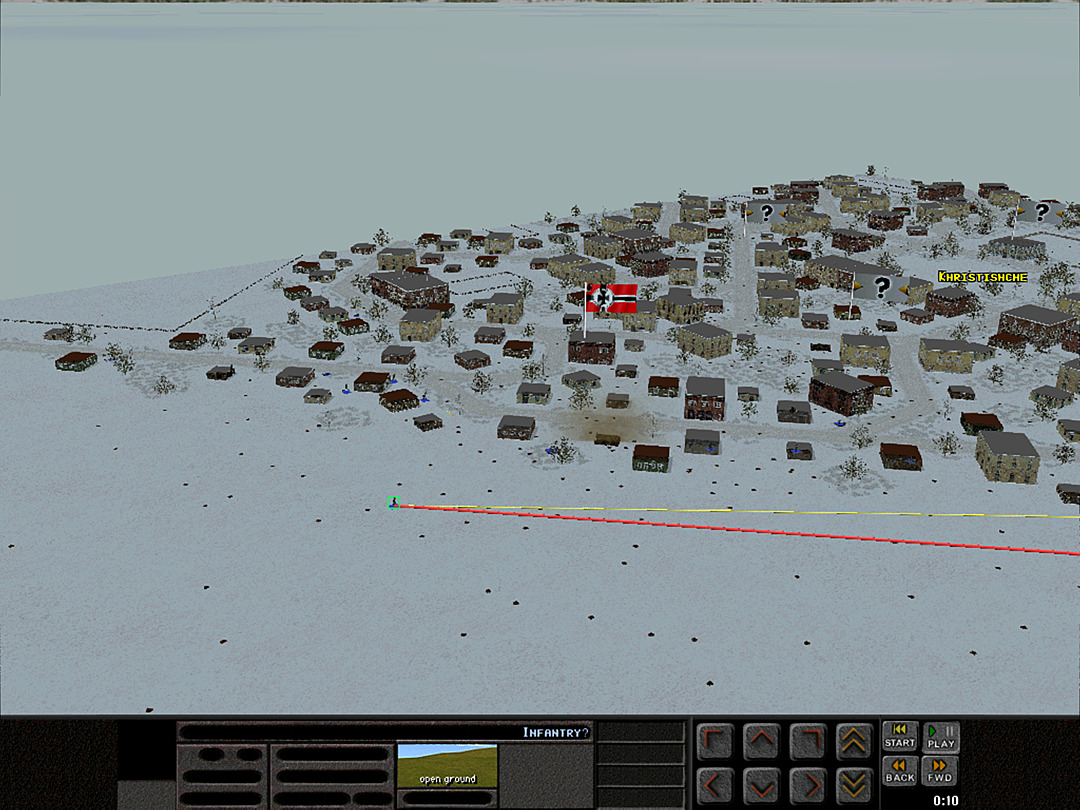 As soon as our latest round of artillery shells starts to fall, a number of German soldiers pop up from concealed positions on the south side. It seems we've roused them to action.  One explosion kicks up snow and debris from an already-destroyed house, and when it settles, we spot something new � a German infantry gun located right on the edge of town!  At the schoolhouse, one squad runs right around the edge of the fire, and gets within 20 meters of the enemy position. 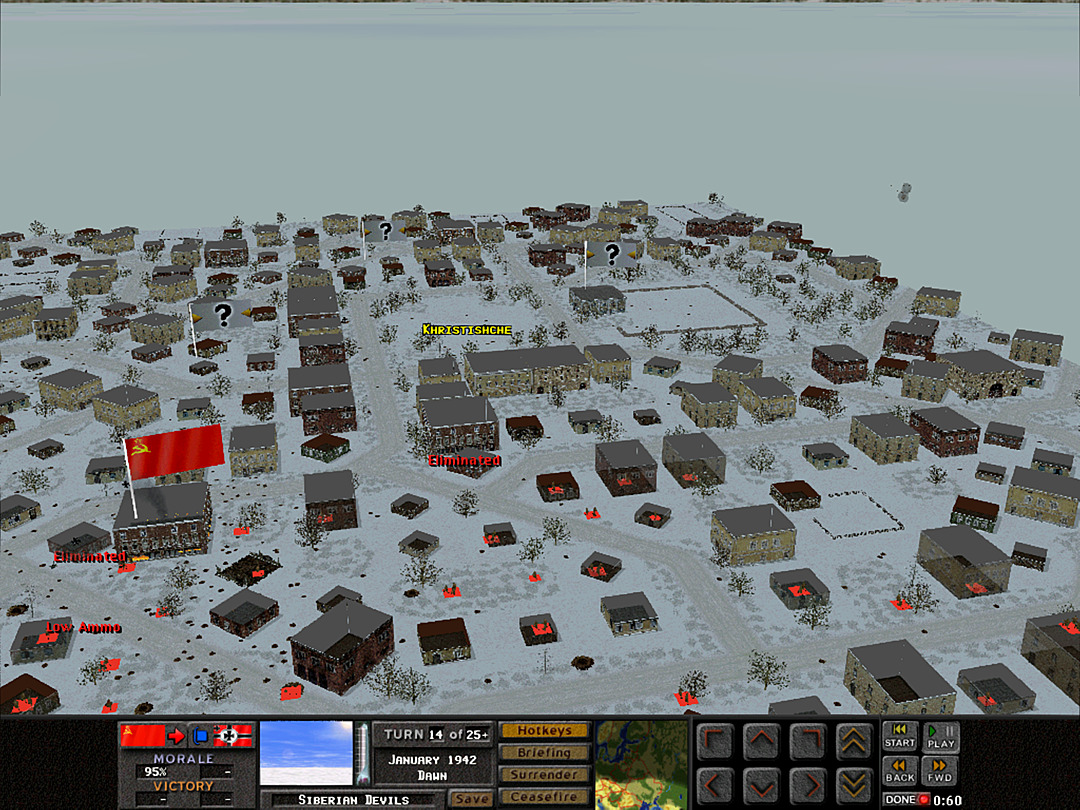 A second artillery strike that was aimed at the center of town lands off target, well past any enemy location. It looks a bit strange with the white snow background, but those are explosions from shells hitting off the map. 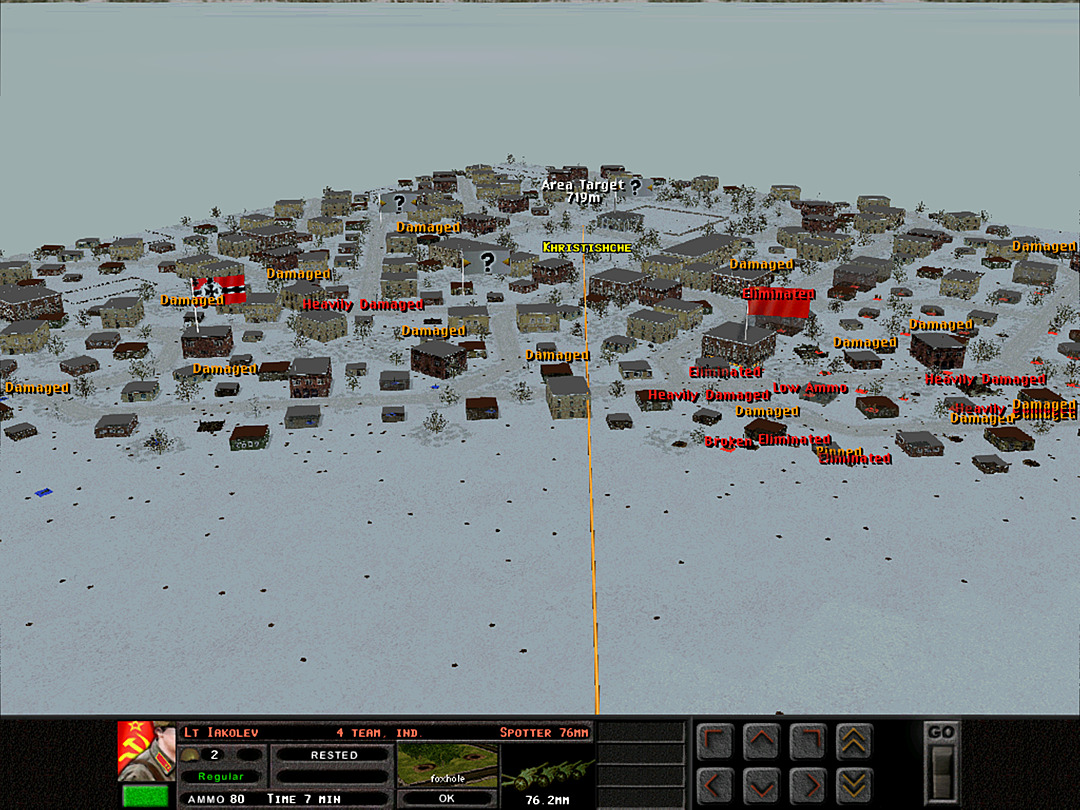 It's called off, and an attempt is made to call in another closer to the town's central square. This should allow E Coy to advance safely.  We're still not gaining any advantage in the firefight along the main road. Our guns aren't able to send enough fire at the dug-in defenders.  The squad at the schoolhouse isn't able to get any closer. It's held off by another enemy squad located on the south side of the road. We shift our fire to target this threat, but the opportunity to surprise the machine gun at close range has been lost. 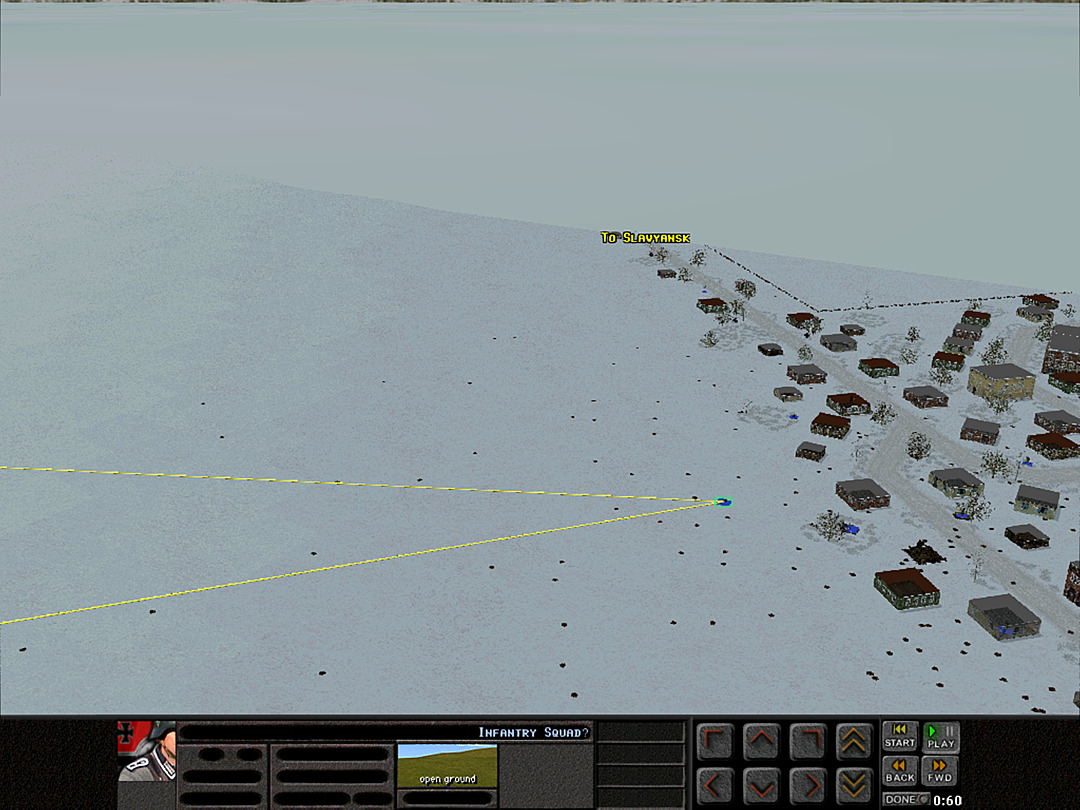 Our troops on the ridge take aim at many of the recently-exposed enemy squads on the south. 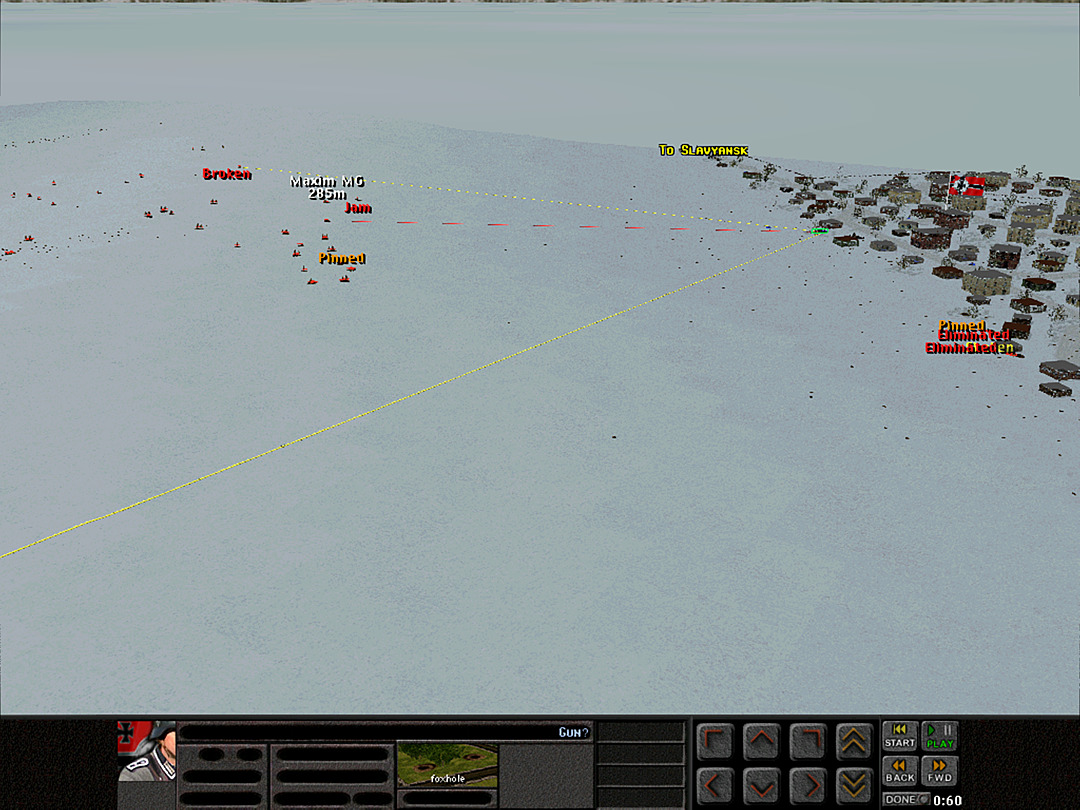 The gun is a worrisome threat, however, as we have no easy answer for it, barring a lucky artillery hit.  Between the artillery hitting the southeast edge and the fight near the schoolhouse, F Coy has had a brief window in which to advance. They need more squads to get ahead, as the lone lead squad is running low on bullets.  E Coy, 2 Plt is ready to start its own attack across the street. 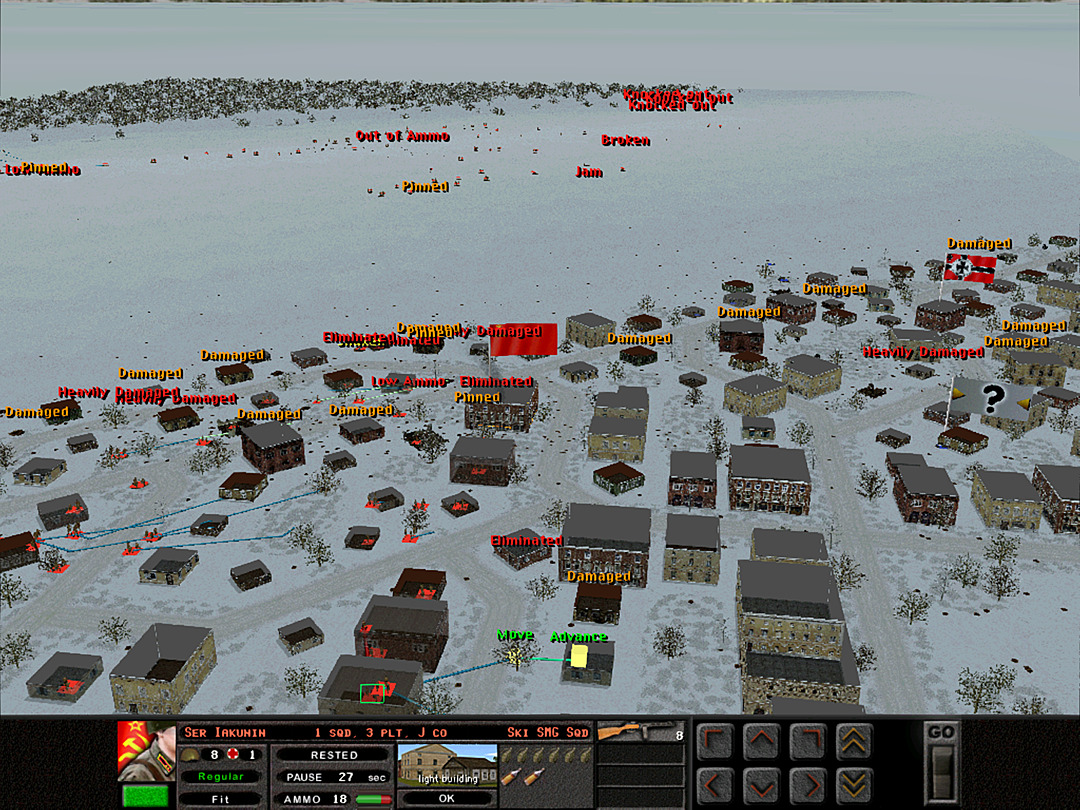 The ski troops are also about to push forward. They might be able to reach the edge of the town square. 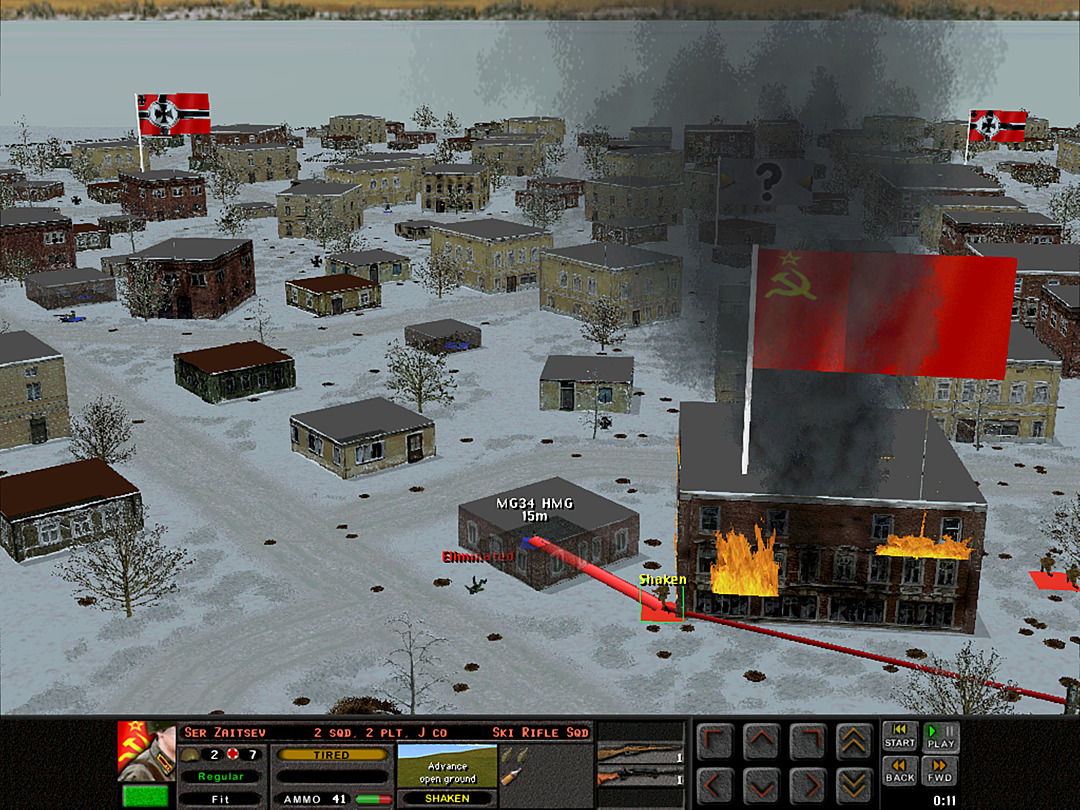 Despite the cold and snow, the intensity of the fire at the schoolhouse is making it unbearably hot. Serzhant Zaitsev is down to one man in his squad, and facing down an enemy machine gun. He does not pull back behind the schoolhouse to safety; he instead charges forward bravely.  And then immediately collapses to the ground, exhausted. The last men in his squad are shot down shortly afterward. 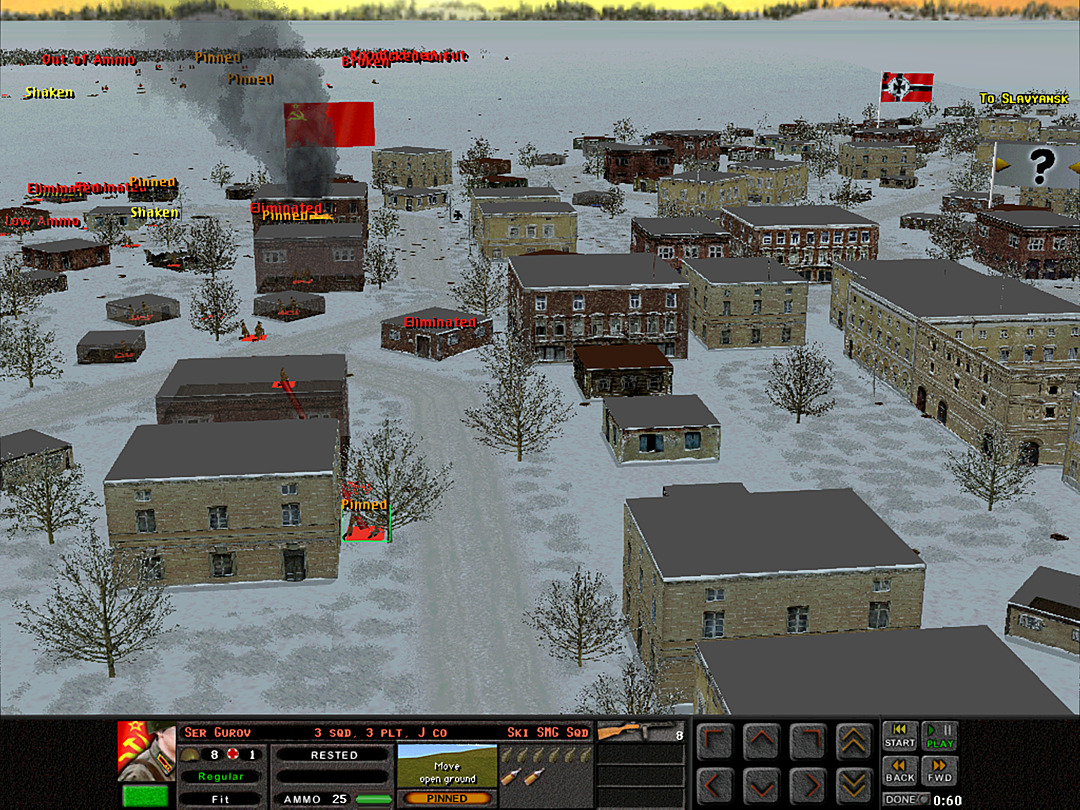 As soon as J Coy, 3 Plt sends a man outside to take the next block, they hear bullets pinging against the building. The soldiers drop down into the snow as fast as they can.  We try to suppress the infantry gun, but to little effect. 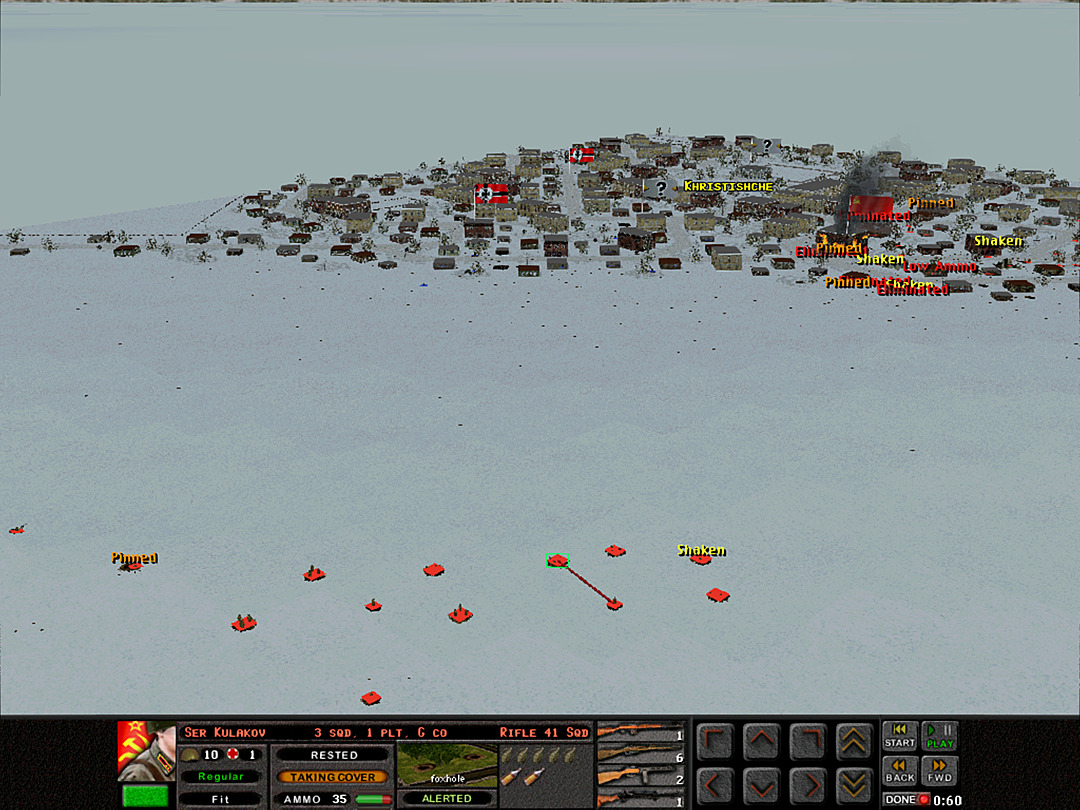 It lobs high-explosive shells towards the men in G Coy. Several casualties are taken. 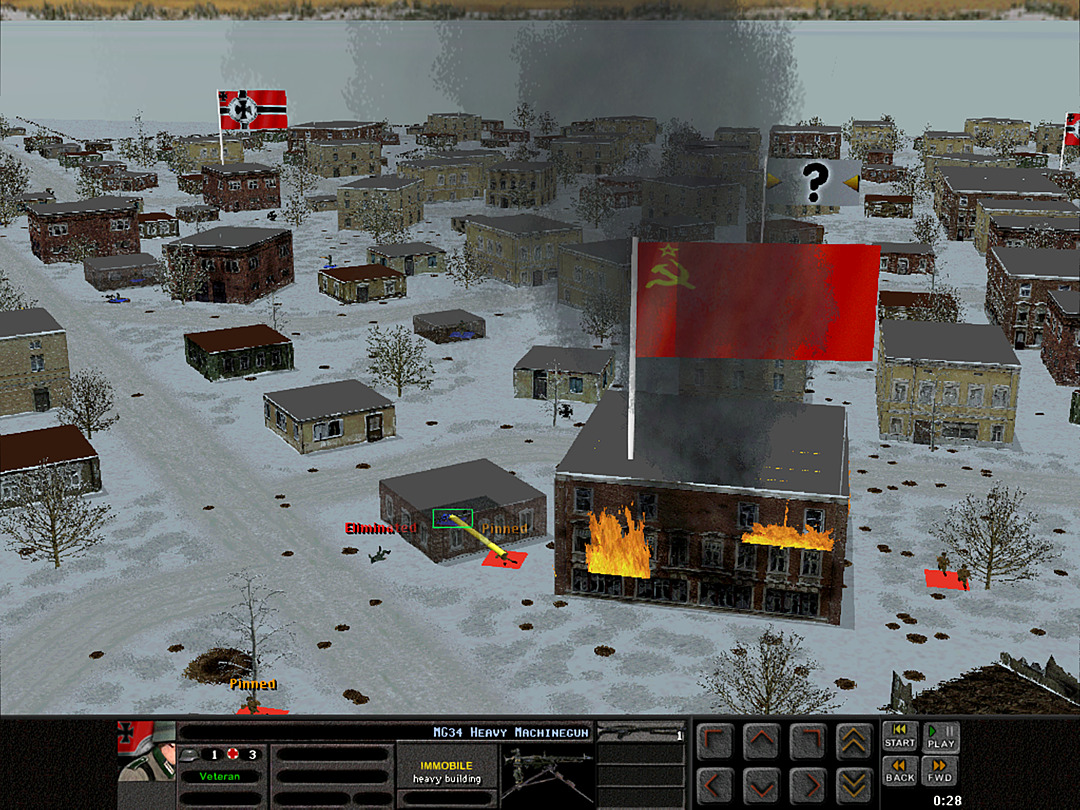 Zaitsev, now alone in front of the schoolhouse, crawls ahead and is at least able to relay that there is just one crewmember on the gun now.  A second squad from J Coy, 3 Plt dashes ahead, and makes it across the icy road without trouble. 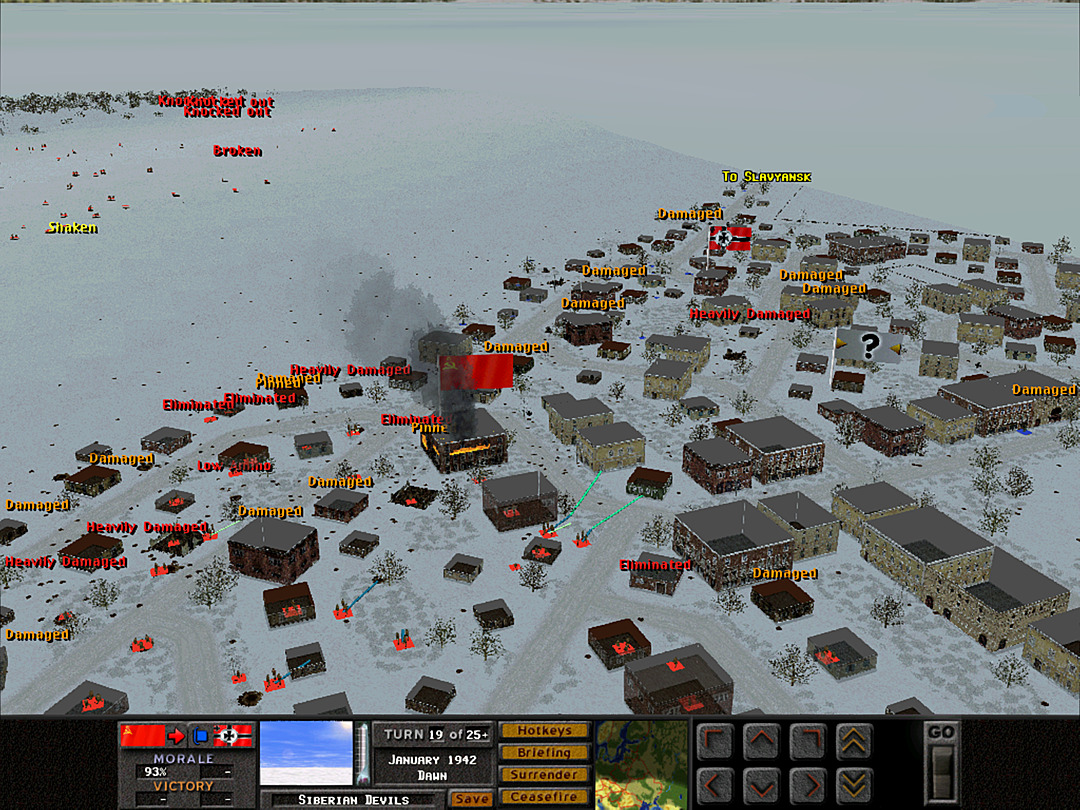 E Coy begins its movement across the road.  Meanwhile, B Coy moves to secure the whole of the northern edge of the town. 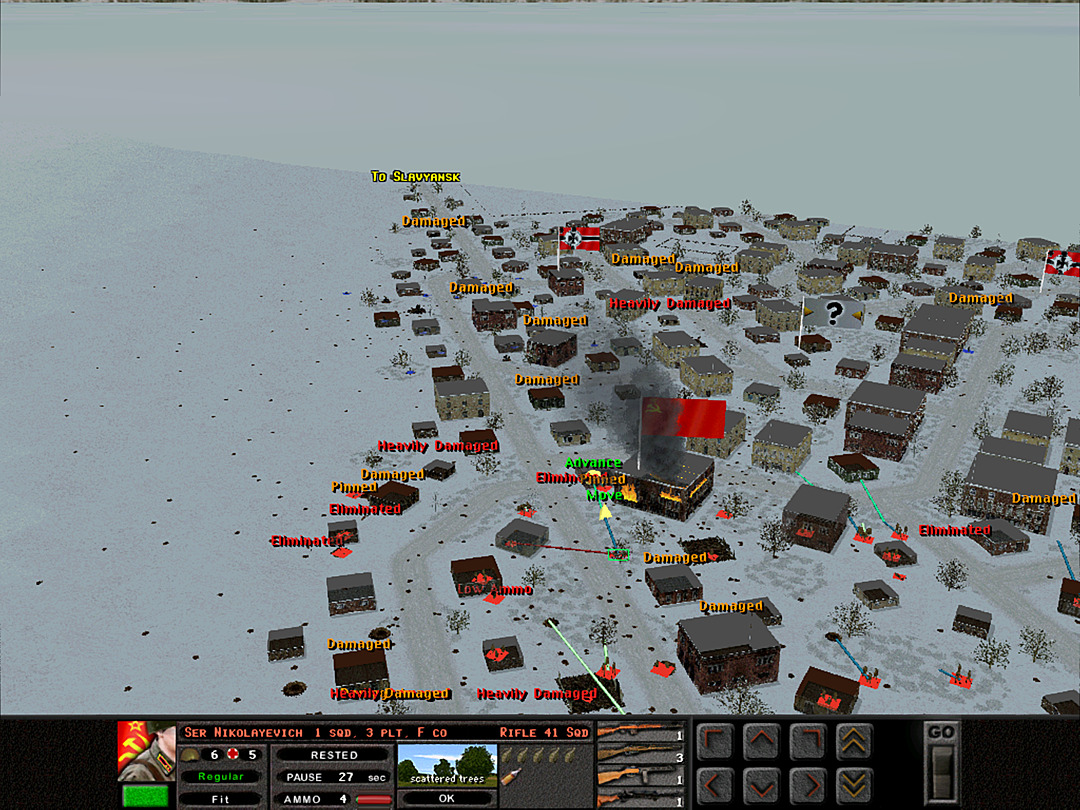 Inspired by Zaitsev's unflagging push forward, one squad from F Coy, 1 Plt crosses the street and attempts its own close-range assault. 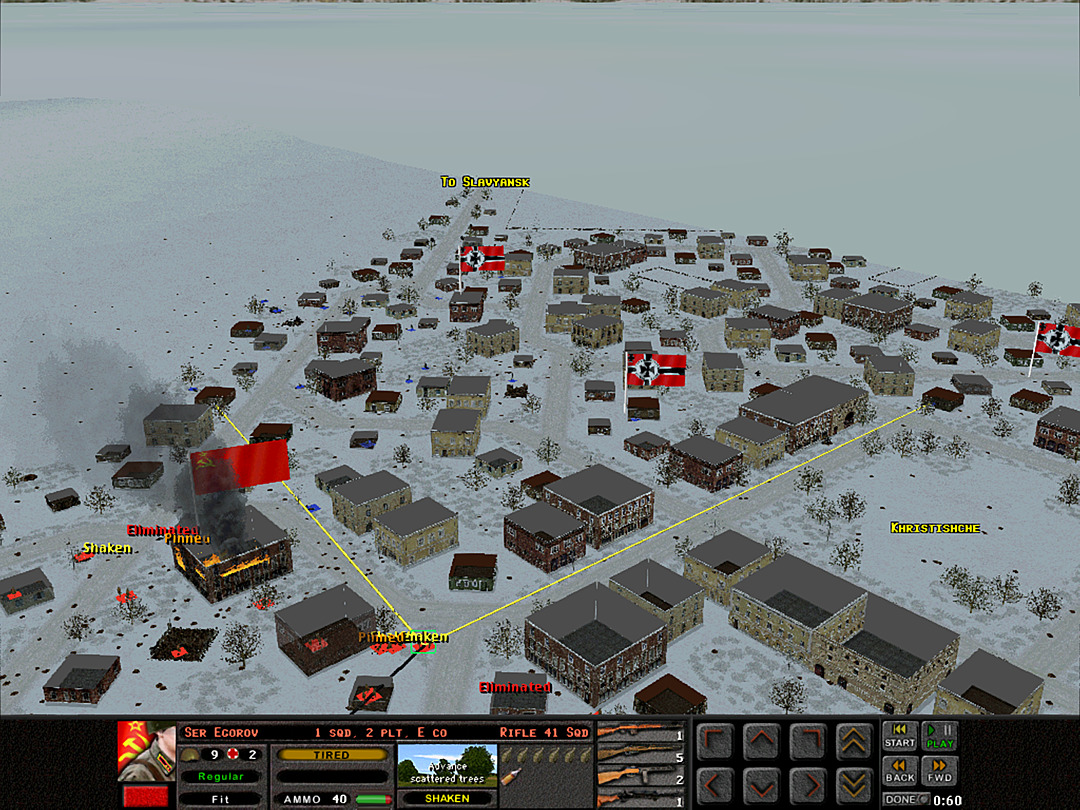 E Coy is unable to make any headway at all, as the charge comes under fire from nearly-perpendicular directions.  Their failure does seem to have distracted any troops supporting the machine-gunner near the schoolhouse, though, and the charge from F Coy, 1 Plt goes in safely. 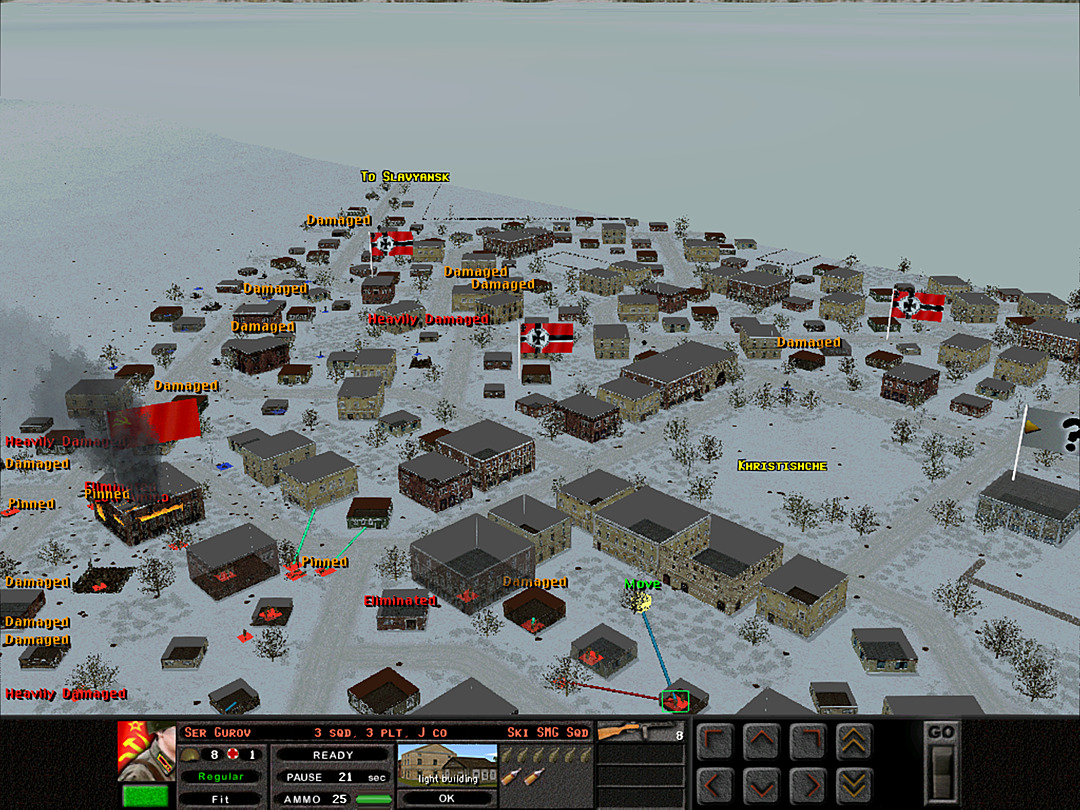 J Coy, 3 Plt has found the covered route across the street, and the rest of the platoon clears several more houses. 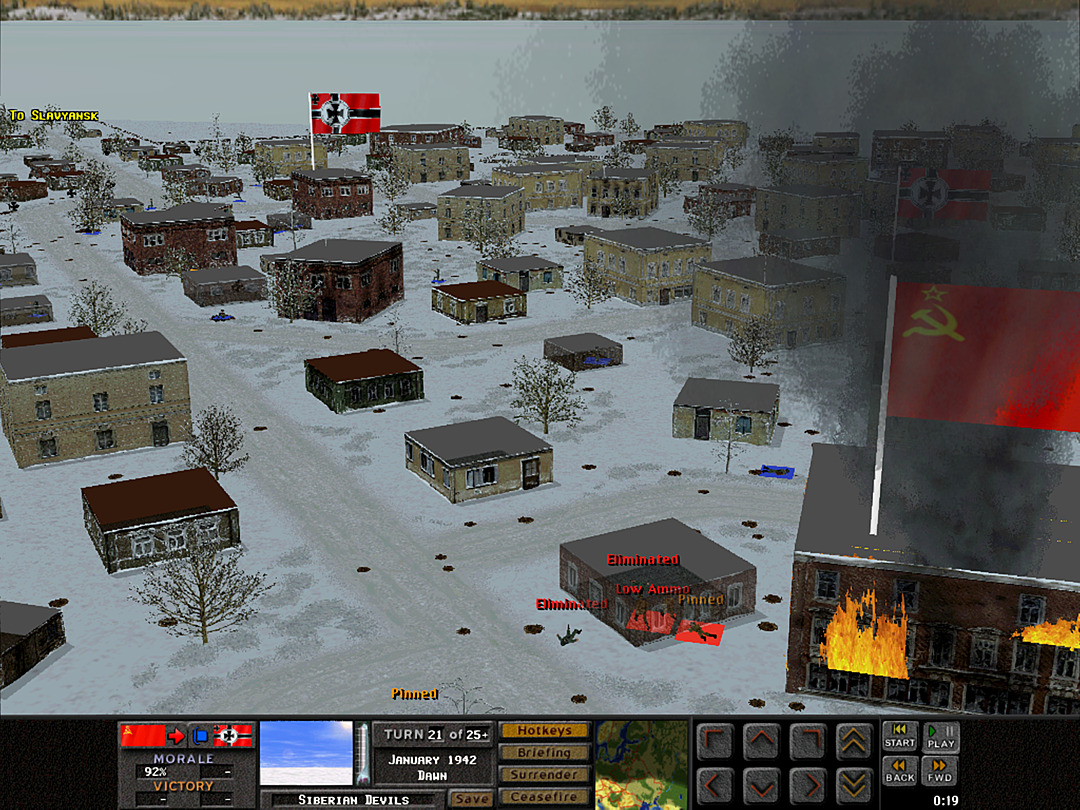 The machine gun is finally taken out in a brief 5-on-1 close assault.  One squad from E Coy, 2 Plt renews its charge and boldly rushes across the road.  The north end of town still looks unoccupied. B Coy continues to claim more buildings for our side. 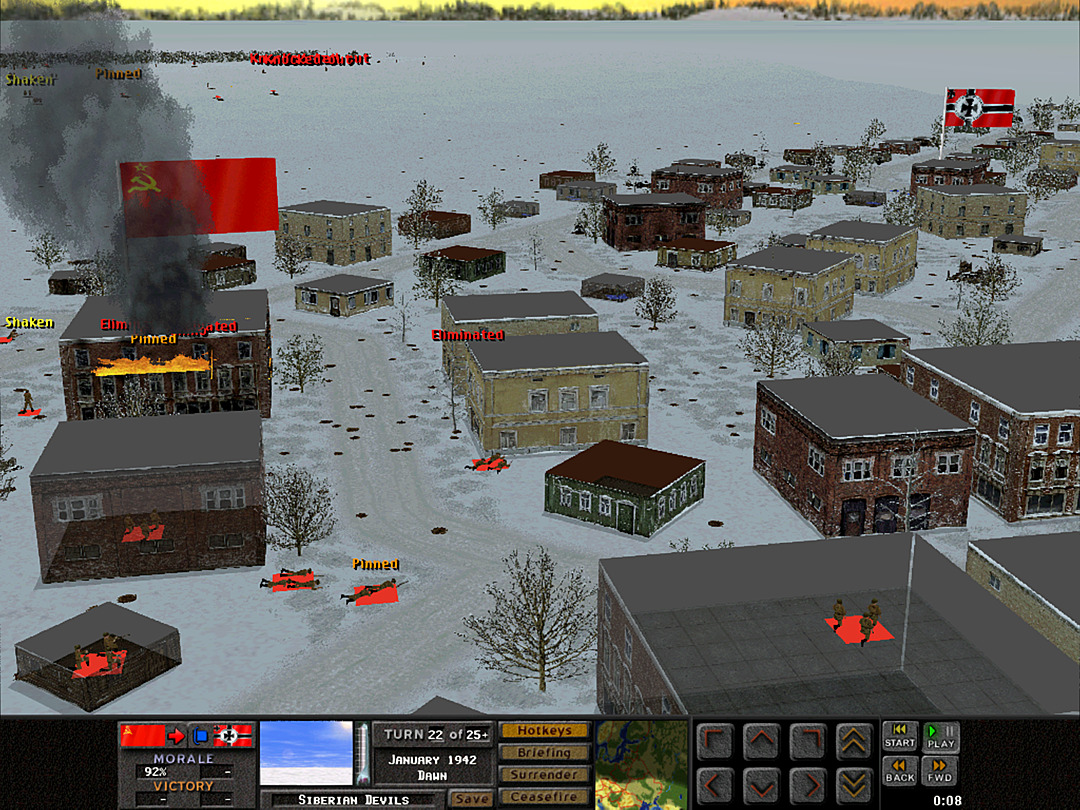 Some of J Coy enters one building overlooking the east-west street south of the schoolhouse, while E Coy, 2 Plt continues to attempt its assault toward the next block.  We're putting a lot of pressure on the infantry gun now. 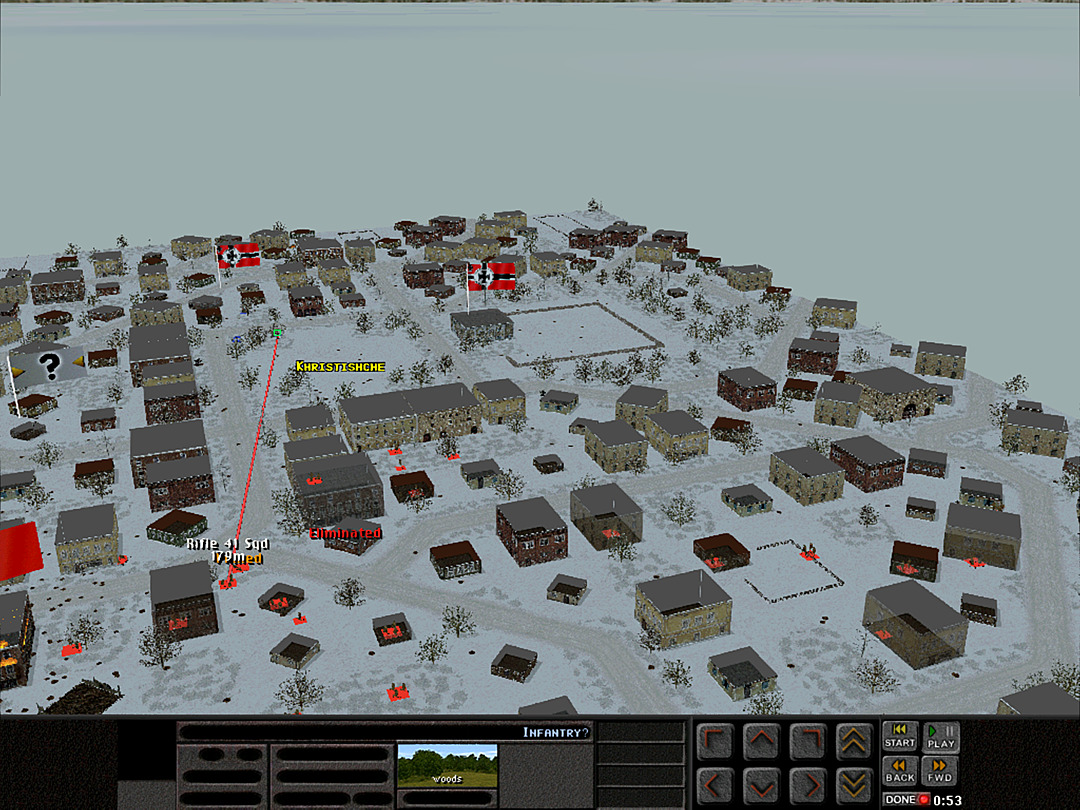 E Coy, 2 Plt is dueling with enemy soldiers on the south end of the main town square. 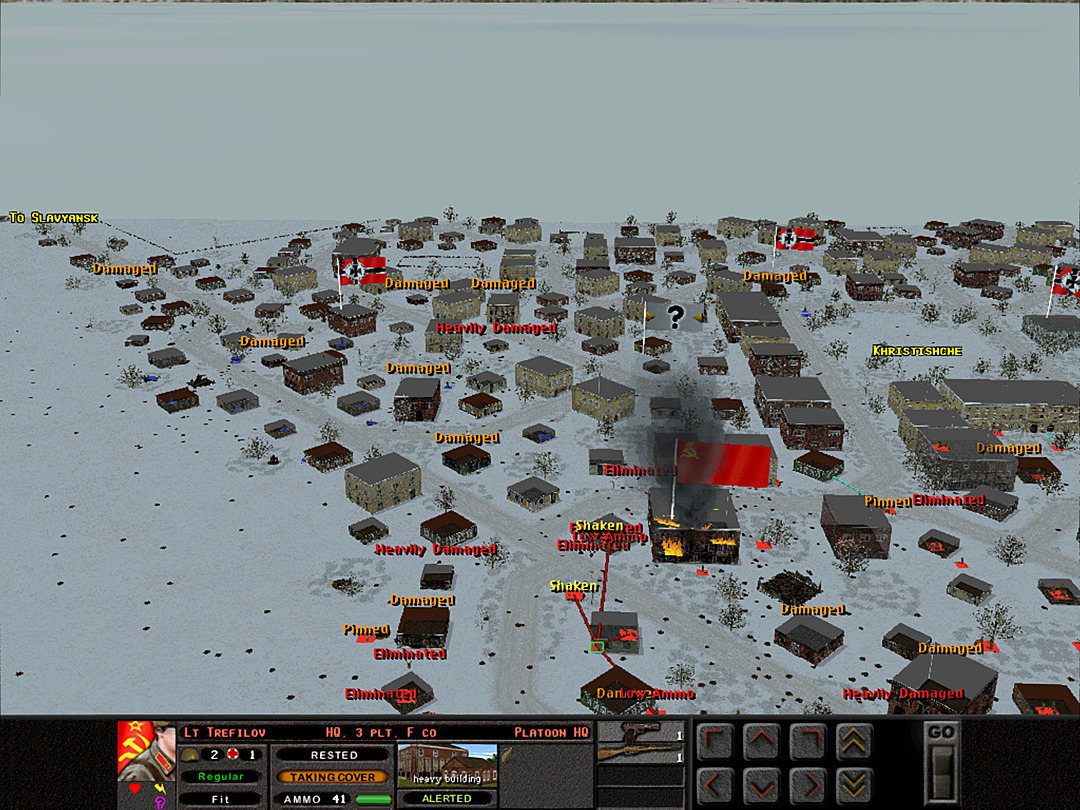 F Coy tries to consolidate its hold on the street corner at the schoolhouse.  The submachinegun troops of J Coy enter the buildings on the north edge of the town square.  The infantry gun goes quiet. It seems possible that we have knocked it out. 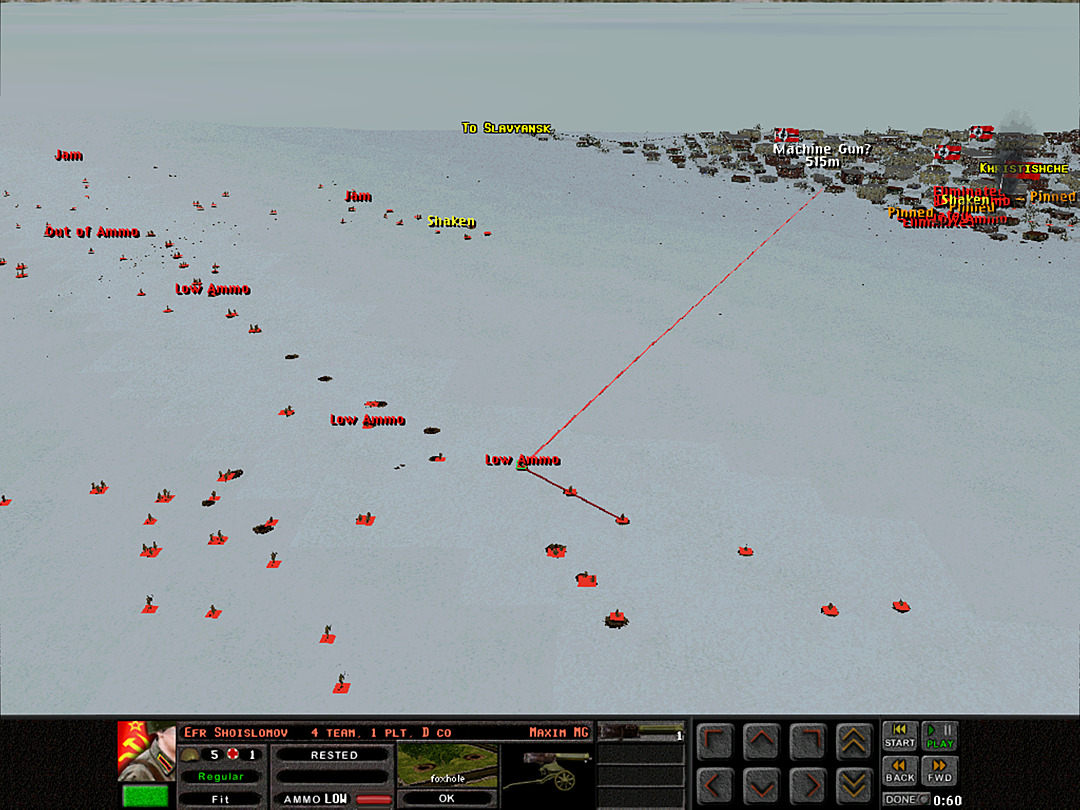 The forces on the ridge are starting to run low on ammunition.  Many of the troops down in the town are having the same problem.  A Coy heads off the end of the ridge and prepares to march toward the north end of the town. 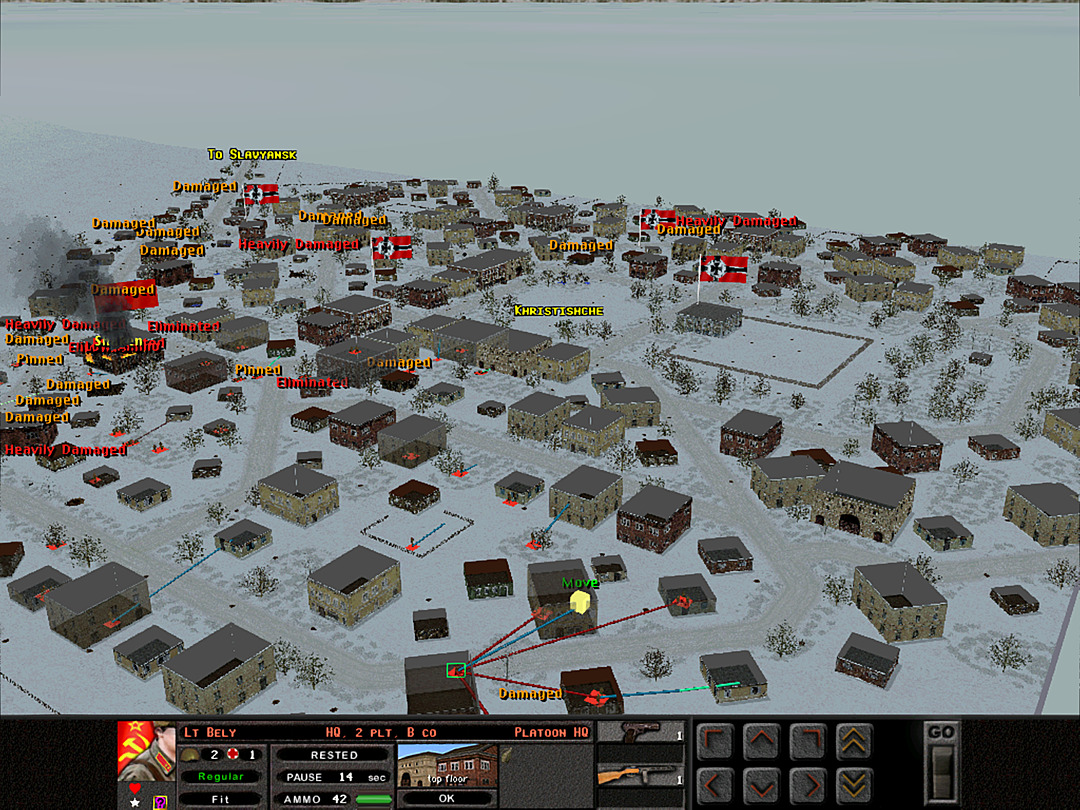 B Coy has nearly cleared as far south as the main assault reached, but with no resistance yet.  Many of the German squads on the south side seem to be rushing back into the town.  We are getting a picture of just how dug-in the town's defenders are. They have machine guns covering almost every road and alley corner. 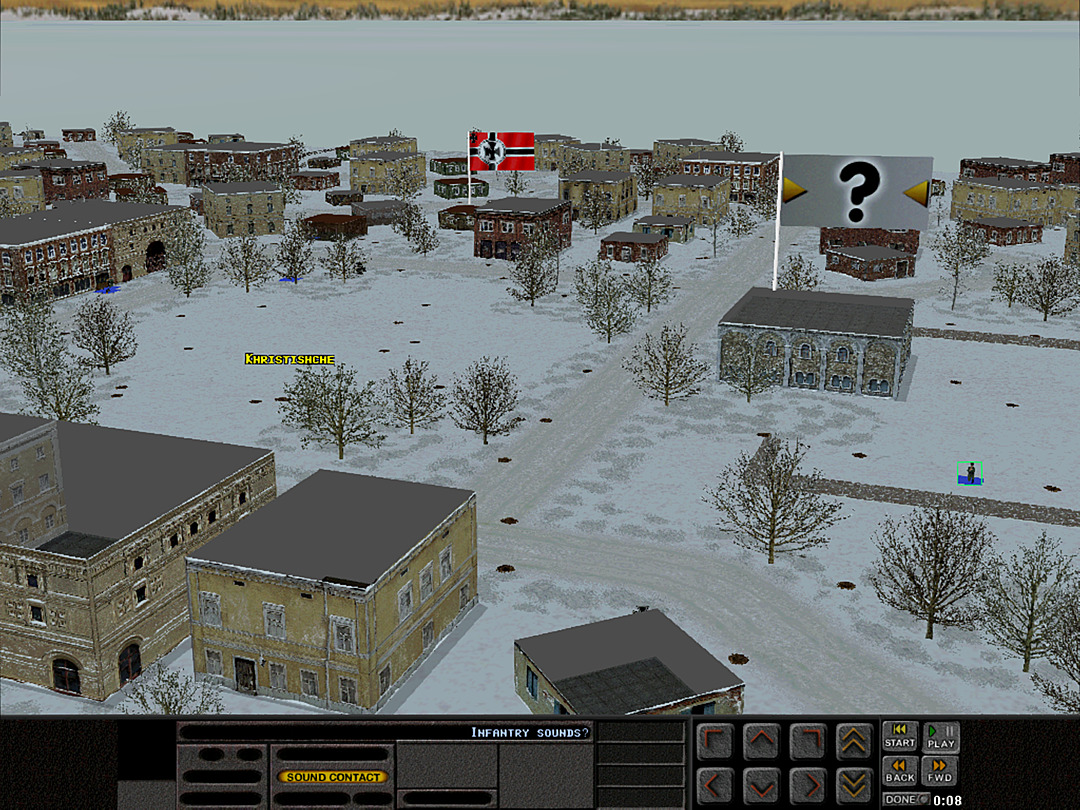 The ski troops, who have now taken over the north end of the town square, hear the first indication of German troops on the west side, past the town square. 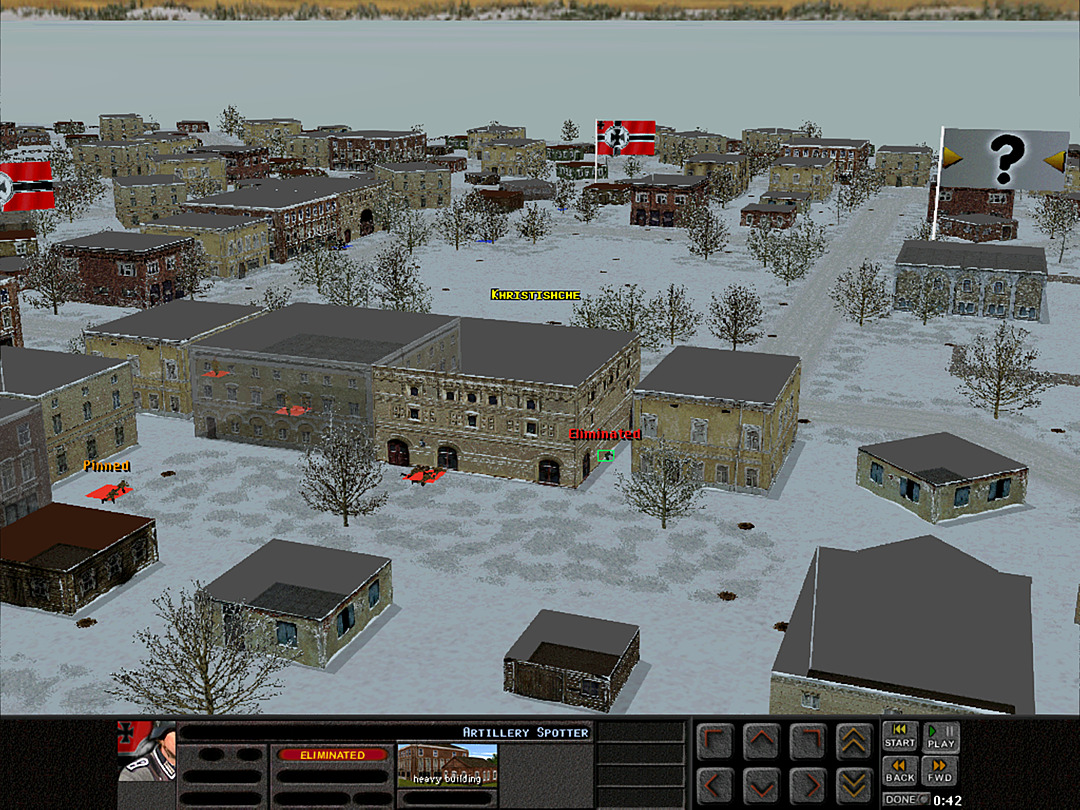 One of the SMG teams encounters a pair of men in one of the building, and realizes the team is the enemy's artillery spotters. They are dispatched with a quickness. 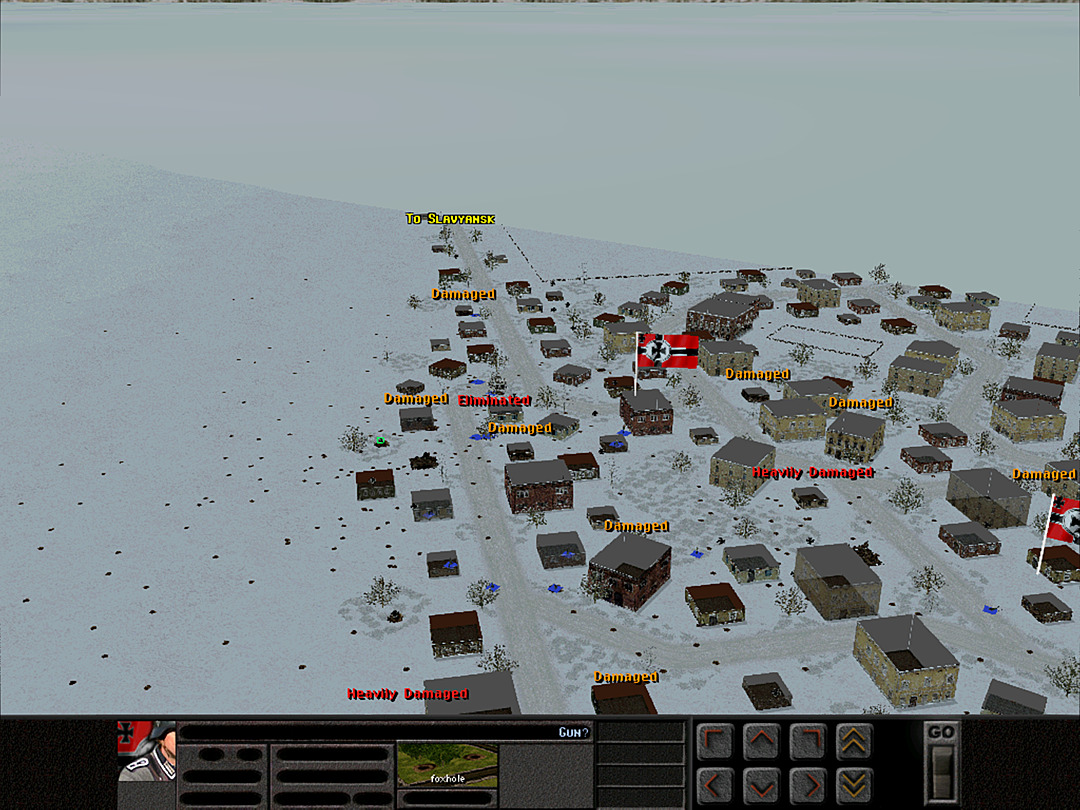 To conserve ammo, we stop firing at the infantry gun. It remains silent. 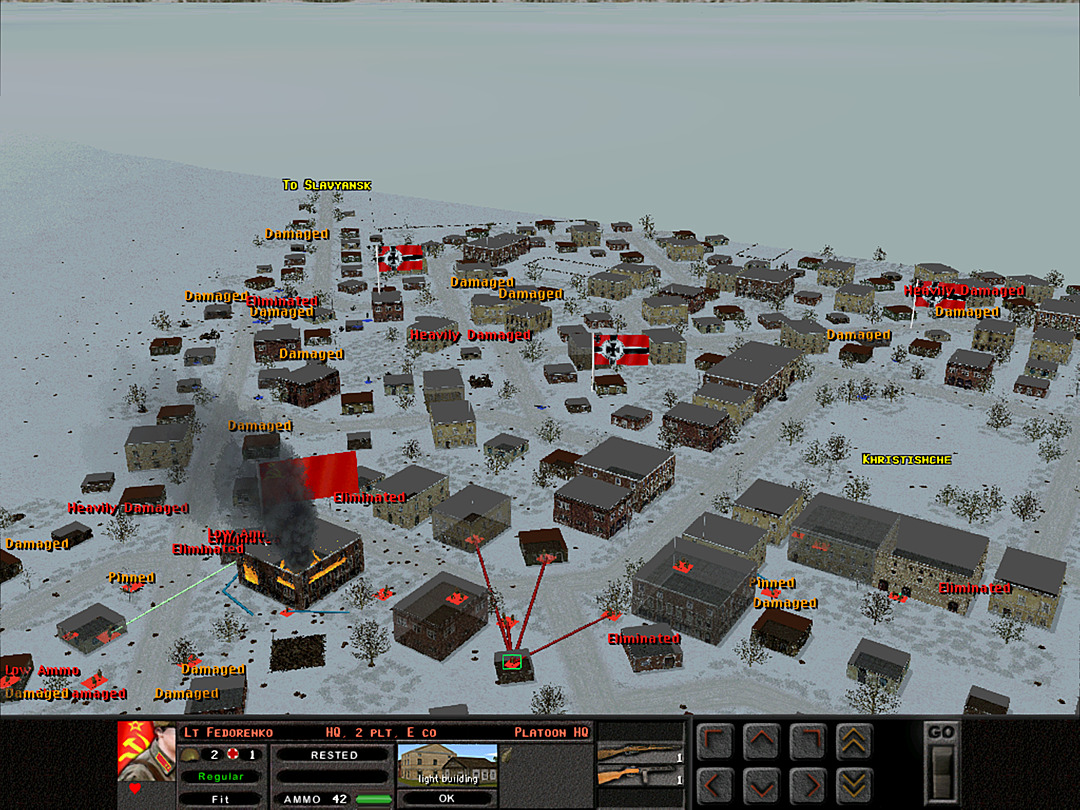 E Coy finally gets another couple of squads forward.  We keep shooting down the road as more enemy troops shift from the south side to defend against our main line of attack.  E Coy, 2 Plt takes a couple of buildings, but it doesn't seem like a good time to push any harder. We need to resupply and figure out the plan of attack for later today.  J Coy, 2 Plt pulls its men, including the weary Serzhant Zaitsev, away from the front edge of the line. 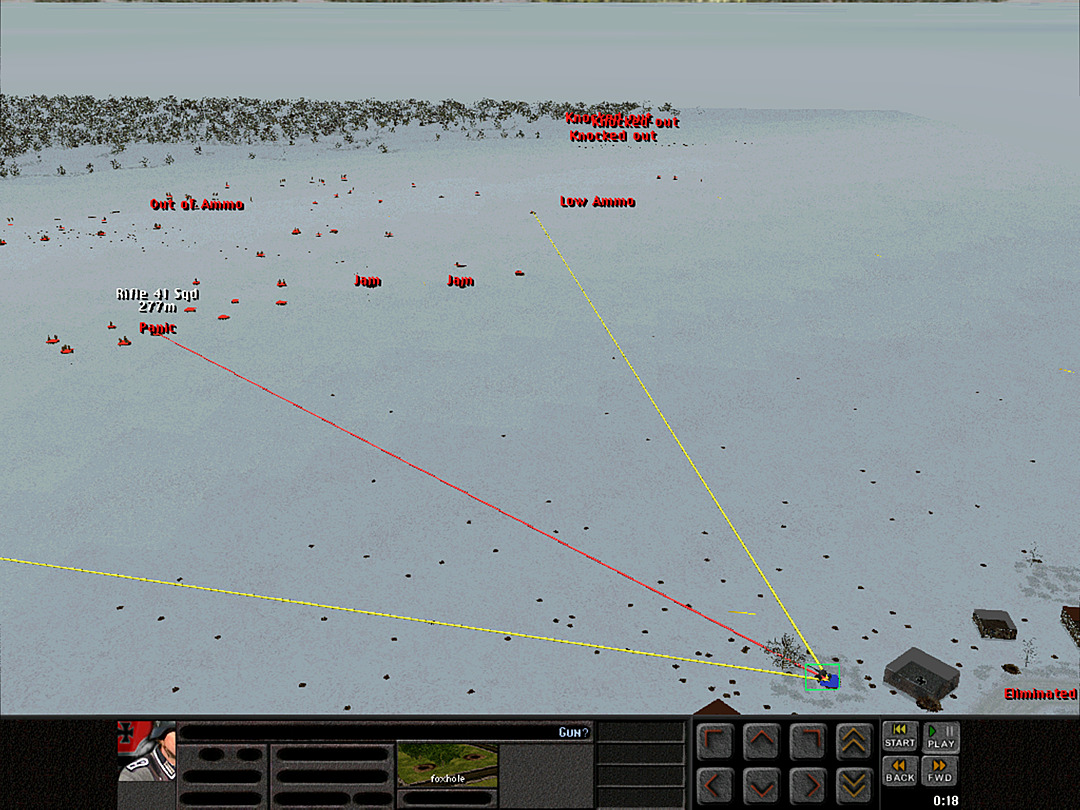 Suddenly the infantry gun sends off another round toward G Company. We open up with machine gun fire to suppress it. 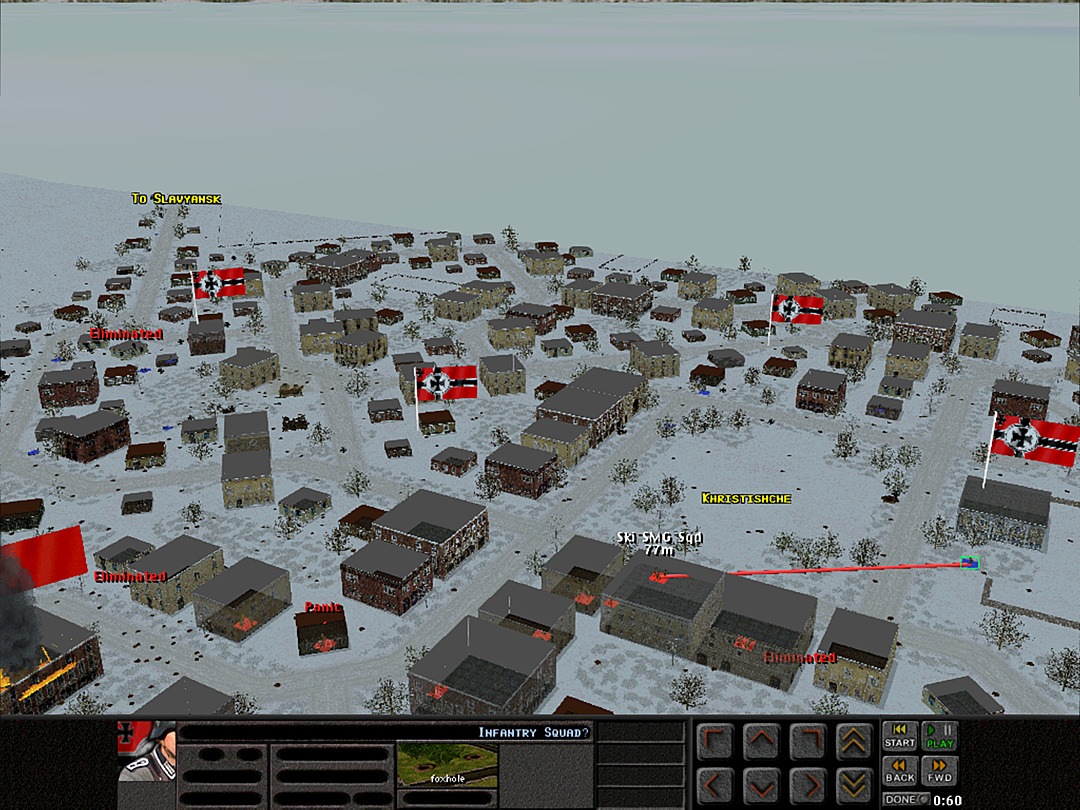 The submachinegun troops have some definite contacts around the town square.  We expected this area to be well-defended, and we were not wrong. 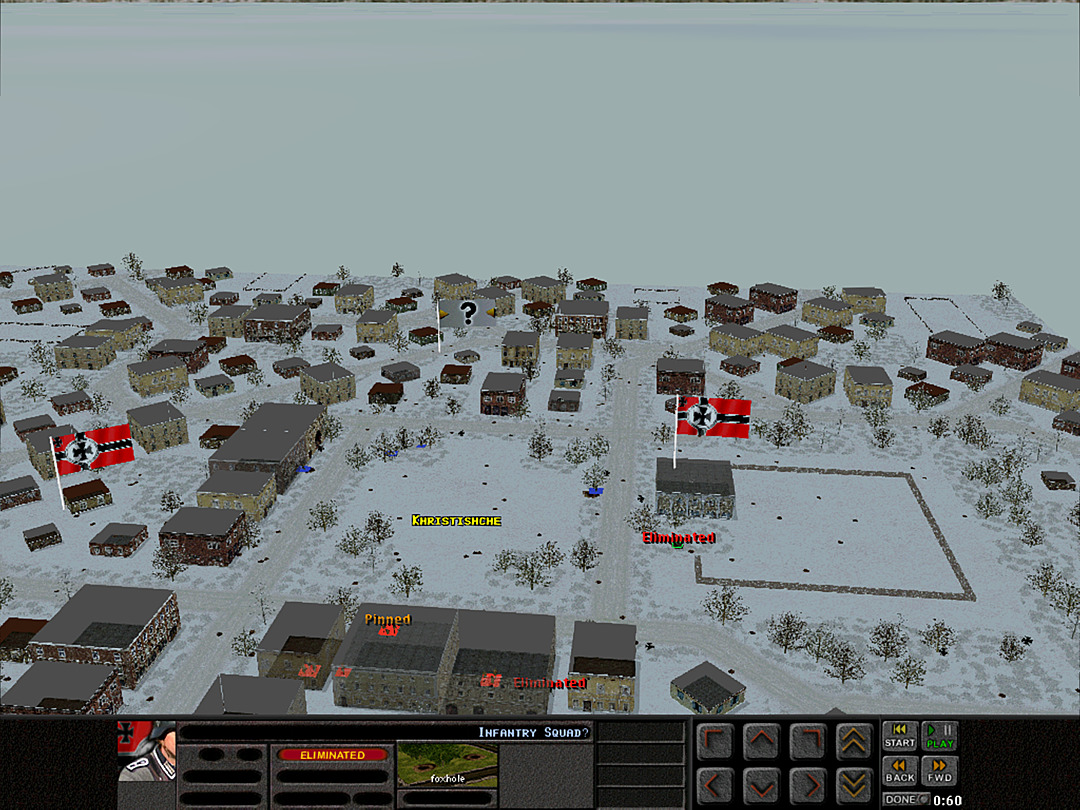 Yet the ski troopers have been ready to fight all morning, and rip apart an enemy squad in just a few minutes. 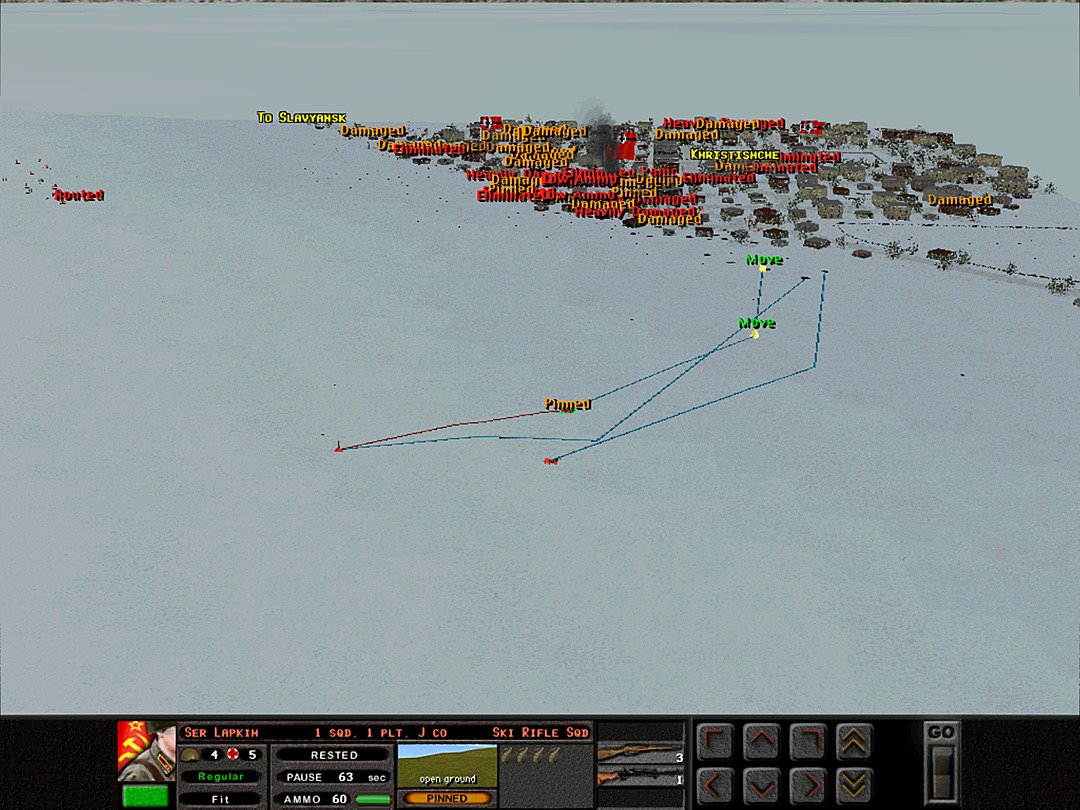 The rest of J Company has almost made it to the town.  E Coy, 2 Plt is facing a mini counterattack as more Germans shift from the south to the north. 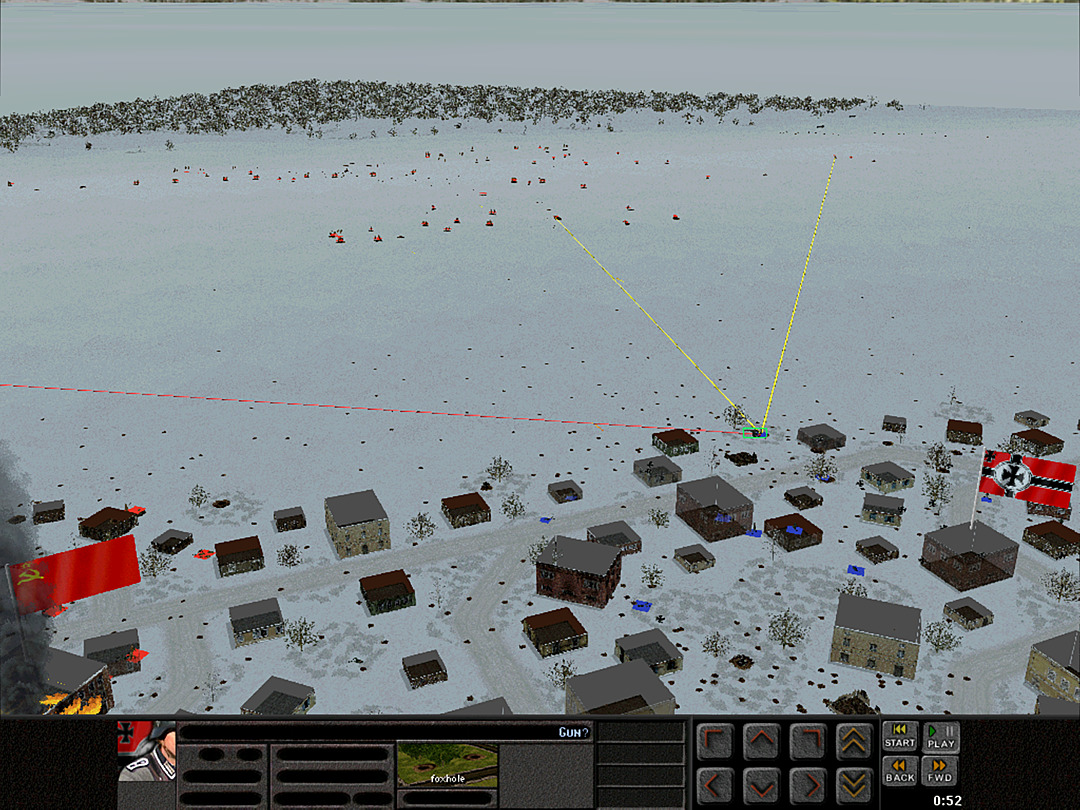 The Maxim guns do their best to knock out the infantry gun. It stays quiet for good after their latest attack.  An awful lot of enemy troops are spotted around the town square on the south.  Then B Coy spots its first contact; movement in one of the buildings across the diagonal street heading toward the square. 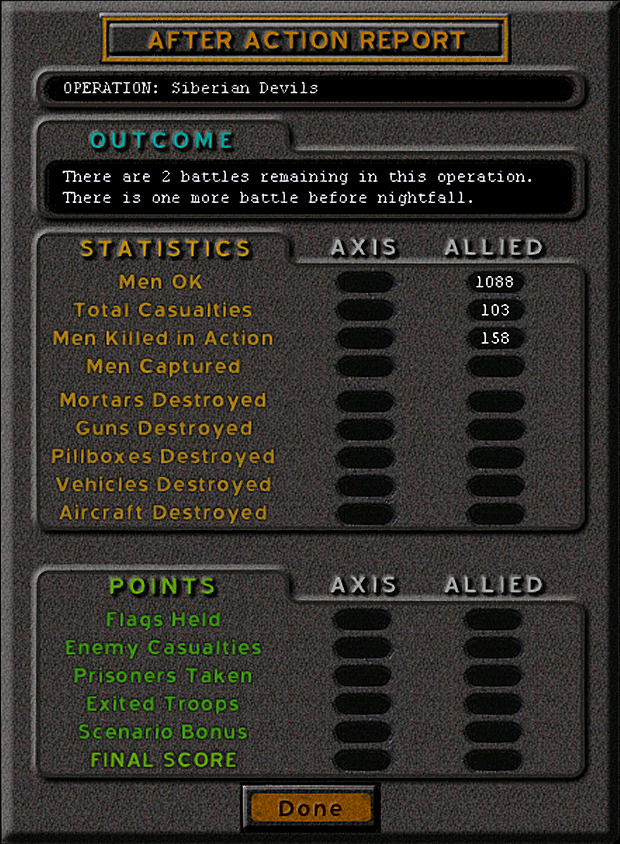 It's been a morning of very tough fighting. We've taken a fair number of casualties, but we also took the fight to the enemy for the first time. Time will tell if we can do a better job with our attack later today. Unit Highlight T-34 Model 1940 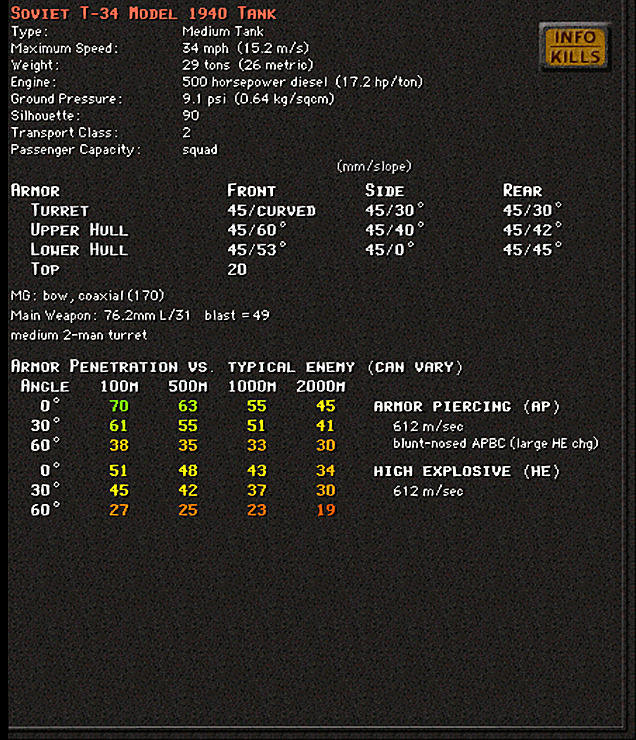  Crew: 4 Base Cost: 111 The first version of quite possibly the most popular tank ever developed . By the late 1930s, attempts to improve or refine the T-26 were reaching the limit on that chassis. A new model medium tank was needed, and Stalin wanted a more 'universal' tank. The 'fast tank' designs proved the value of mobility for armored vehicles, and thus the new model incorporated a strong gun with decent speed, while also providing the adequate armor the T-26 and other models had lacked. The T-34 somehow managed to meet all these goals, and it would go on to become the most-produced, and arguably the most-successful tank of the war. Its highly sloped armor proved to be the best innovation of the design, as it was a form that could resist a remarkable number of direct attacks. The 76.2mm main gun could deal with just about any tank the Germans would field for a while as well. It did have a few compromises, especially in the early models; notably it had a cramped interior and was prone to mechanical breakdown. The 1940 model was also somewhat pushed into production, leading to multiple problems that needed to be ironed out in later revisions. It did become available just in time to be deployed early on in Barbarossa, where it acquitted itself well and proved the strength of the new design. Kangra fucked around with this message at 06:38 on May 15, 2024 |
|
#
?
May 15, 2024 06:35
|
|