


|
Will Kabuki learn the true meaning of Christmas?
|
 #
?
Feb 11, 2024 01:10
#
?
Feb 11, 2024 01:10
|
|


|

|
| # ? Apr 28, 2024 21:54 |
|
|
Blaze Dragon posted:Will Kabuki learn the true meaning of Christmas? Of course! It's the friends we've met along the way!
|
|
#
?
Feb 11, 2024 15:43
|
|

|
Well, so last time we went ahead together with Okuni and finished rescuing princess Reina, who then decided to inherit the throne of London after all. After this we figured everything about the third disciple of Demon Cult, the Thousand Years Karune. In the end he was defeated, which opened up the way for us to travel to West End, the domain of the fourth and last disciple, Eternal Sangue. There seems to be something going on related to vampirism there. Oh and also, Zeami seems to have a suspicious amount of knowledge about this whole situation somehow!? Also, I managed to find a more complete soundtrack of this game, so I'll be posting a few more tunes along the way for your enjoyment. All right, so here we are in Keithely, the only proper town in West End. As a reminder, the other things which can be found here are Loch Ness (and Nessie) and also Stonehenge. But for now, let's make our usual tour of the town, starting by that guy in uniform there. A "dog bus"? Hmmm, is that like a "cat bus" from Totoro, just with a dog instead? Let's talk to the other two guys. Uh, I mean, anemia is not contagious, so why would we need to... oh, right, the vampires. Well, that means that we absolutely have to go there, right? But first, we'll go into that grand looking house there. This is the guy who used to work as a butler in Howarth. Not literally, right? Right...? Let's visit some other houses. There's a really tiny one here! Yeah, we just got bit and had our blood sucked. Luckily, we haven't turned into vampires, but our party members did lose some HP as a result. There are several poeple in this town who will do this to you, so now the "be careful because of anemia" warning makes a lot more sense! Next door is the Demon Cult church, but not too many people here. As usual, there's a priest here too. I think not. Let's see what's happening in the pub! There goes our HP again (you lose 10 HP per bite)! Man, this place is dangerous! Let's see what's happening at the inn. Upstairs. An ancient astronomical observatory is certainly one of the theories about the purpose of Stonehenge, but it's not really clear how valid this theory is since whoever built it didn't likely didn't have a writing system that they could have used to document anything about it (Stonehenge was built around 3000-2000 BCE). I'm sure we'll manage. There is, of course, a druid church here too. A druid priest is here, of course, if you need revival, curse removal, etc. All right. Let's do some equipment shopping before we set out! They have some good stuff here, so we're going to splurge a bit. This is not a problem as we'll soon be able to obtain two items which sell for hundreds of thousands. I know, it's sounds wild, but it's true. One of those is even a non-guaranteed boss drop item, which makes it even wilder. But more on that shortly. Let's see. First of all, "Suzuna Clothes" for Okuni for � 5000, bringing her defence up by +17! Next up is "Rainbow Coloured Robe" for Zeami for � 7700, which also brings his defence up by +18 which is really not bad at all! Also for Zeami, "Sage's Hat", for � 4500, this time upping his defence by a further +7. Okuni also gets to use this "Phantom Secret Sword" for � 4200, which increases her attack power by +11. Finally, for Zeami, these "Emerald Shoes", also for � 4200, increasing his speed by +16. Nothing for Kabuki this time, as it turns out. All right, that took us quite some time, but now we're ready to explore the West End district finally! Obviously with a whole bunch of new enemies! The Killer Dogs can hit for around 40 HP and still take 3 or 4 hits to die, so that's not ideal. Unlike in last game, we suffer a bit here for lack of spells which can hit ALL enemies at once (rather than only one group of enemies of same type). A very rocky landscape here. I like how in this game the landscapes are more varied than in Manjimaru--the graphics are generally improved across the board. Soon, on the western coast, we find our first druid altar in this area! Nothing, huh?. In fact this is similar to a spell we already had in the last game. When you cast it, it will randomly have one of seven different effects: - Put all allies to sleep - Seal magic of all allies - Recover 100 HP to all enemies - Damage 120 HP to all enemies - Damage 70 HP to all enemies - Decrease hit rate of all enemies - Decrease attack power of all enemies. So, as in the last game, it's a mix of positive and negative outcomes, but the negative ones are a bit severe, so at 18 MP per cast, this is probably not really worth it. Returning east, we'll head south along this wall and around that cliff. Oh, hai. Looks very dangerous, but in reality... the only thing it has going for it is lots of HP. Damage it deals is not high. Also, if you want to grind for money/experience, this is your guy as it gives an absolute ton of both! Anyway, down here in the southeastern corner is tucked away another druid altar. So, this Ehwaz (ᛖ) spell (not to be confused with similarly named Eihwaz (ᛇ) which we received earlier in the game) is probably one of the best spells in the game. In allows you to turn the physical attack of one ally from a single attack to a multi hit attack which hits for 2-5 times! Casting this on an ally gives this effect to them which lasts several turns. Yet another of "kind of broken" things in this game, and I'll happily use it in an upcoming boss fight. While we're here, let's head south into this forested area. Oh, hey, it's the Stonehenge! And looks to be in good shape still too (considering that it's literally prehistoric!). Let's take a look! It's kind of big! Hm, ok. But, there are clearly four stone tablets here with some writing on them, so let's take a look at what they say! Kabuki looks at the stone tablet and reads the faded letters on it. "The gods in the sky were embroiled in the battle of Ragnar�k and many fell down. In that battle, the Heavenly Dragon also lost its wings and was chased out of the sky and fell to Earth. The fallen dragon god lies silent at the bottom of the water... at the bottom of the deep, cold water. The wingless dragon sleeps deeply and can no longer remember. It only weeps. The dragon weeps tears of sorrow, wishing fro the sky... Its tears are beautiful blue stones. Those tears are the key to the corridors in the sky. Those tears are the proof of those who live in the sky. To those possessing these tears, I will show the way. The dragon that fell from the sky raged in anger. The battles between the dragon and the holy knights have been passed down from person to person and became legends. And the dragon, too, became a legend." Well, then. It seems, that according to this game, Stonehenge has something to do with Ragnar�k, then? Based on that, I would assume that the dragon mentioned in the story is Nidhogg. Also, let's notice a sneaked in thing about the tears turning into blue stone, because that just might sound like an item what we might want to bring here and see what happens. But we don't have it anyway, so we'll have to pursue other things in the meantime. So for now, we'll leave this place alone. Unfortunately the recent spiritual atmosphere is spoiled by a very annoying group of enemies. I hate these guys because they have a ton of HP and deal a lot of damage (80 HP) and in the end you don't even get a lot of money/experience for defeating them. They are very common in the area here around Stonehenge, so it's hard to avoid them really. Probably best is to just try to put them to sleep. On our way back, we make a short detour to pick up one more spell at a druid altar! The description is maybe not 100% clear, but the Dagaz (ᛞ) spell has the effect of dispelling any buffs from one whole enemy group. All right, well, after that little adventure, let's return back to Keithely to recuperate for a bit. And now that we have rested, let's head west to the ghost town of Howarth, that we've been hearing about. Here it is, between all these rocky mountains. Well. Certainly doesn't look like there's anybody here? However, somehow it seems there are people at the pub actually? Let's see what's up. Huh, you don't say. So these are all ghosts here, then? Well, let's talk to them. Maybe you have noticed that next door is a weapon shop... ...but it's abandoned. But sometimes, when you come in, the ghost merchant will be present and will sell you (actual) equipment. I'm only mentioning this because if you missed the Spanner earlier in the game, you can actually buy one here and for only � 300! The inn seems not usable, so nothing to do here. The mansion looks to be in good condition, though. Isn't it supposed to have burned down? Hmm. We'll check that out in a minute, but first... ...there is a small cave behind the house! Huh, it's a druid person? What is going on? Ah, you wouldn't want to explain this a bit more clearly? No? Ok. So clearly things are not right here, in more ways that one. To continue our investigation... ...let's head into the mansion! Huh, there are people here! Real... or not? That is the question. Let's approach! Interesting that they all have Italian names Gioia ("Joy"), Piet� ("Compassion") and Ira ("Anger"). On the other hand, we're "kind of" in Scotland (although real-life Stonehenge is of course nowhere near Scotland) and Scotland is known to have a relatively sizable Italian population due to how historical migrations had worked out over the centuries. So who knows. And then... Uh, that was... easy? So, I guess we should just head over to the castle and finish off Eternal Sangue once and for all! Incidentally, although the inn is not accessible in this town, it you talk to the ladies here they will let you rest and heal up for free! So let's head west, where the castle is. It's just here on this little island off the western coast! We come in to a wide open room. Obviously there are new enemies here. The jelly reminds of the flan-type enemies which were a staple of Final Fantasy games for a long time! Unlike the Final Fantasy versions, this one is NOT resistant to physical attacks! Bats can call up more allies, which is a bit annoying. They also drop an item which allows you to draw MP from the enemies, and it's multiple-use too! Some cool stuff on the walls here! But we'll head this way. The chest there by the way has the "Helmet of Futility". As you can imagine this is a cursed piece of equipment, and in this case it doubles your MP usage if you put it on. I mean, the lord of this castle is apparently a vampire, so... I guess you gotta have a hunchback named Igor somewhere around, right? This one hits like a truck, pretty much. Well, what's in here? Oh, it's a chest, but it only has another one of the MP-sucking items. So we'll be on our way. Next to that dining room(?) is a staircase up. A similar layout on the upper floor. I feel like enemies in this game are a bit more thematic related to the areas they're in. The door to the big room is not actually locked so we can just get in. Yep. Everything is "Bloodsucking" here. Anyway, inside the room, we find the person we've been looking for. This was surprisingly easy. Oh, come on, why was there no song? Nevertheless, we go straight into the boss battle, as usual. But I'm going to skip over it for the moment (for reasons you might have already guessed). In any case after some fighting, this happens. This is all completely wrong! This isn't supposed to happen until the true form of boss is revealed! But still, let's try using the Cross Sword to deal the final blow. And the battle continues. Looks like we may have been deceived and the sword is fake, or at least it's not possible to use it to defeat this guy! In any case, there's no exit from here, so we'll have to fight to the bitter end. And a bitter end it definitely is. Not having the correct sword, we have been completely defeated in this fight. But, I hear you ask, isn't this unfair from the game? I mean, to make you lose progress like this, when who knows when you might have saved last? Well, as usual, dying in battle in this game works just like in Souls games. You just get transported to the nearest druid doctor, but you don't lose any items or anything. So it doesn't really matter in the end. There is a way to avoid this by talking to a specific NPC, but I didn't do that because I wanted to give you the full experience! So we wake up back at Keithely, in the druid church! After getting patched up, let's head outside! But outside, it looks like the bus to Loch Ness has finally arrived! I know we DEFINITELY have someone we need to talk to ASAP (or rather, three someones), but we should probably make use of the fact that he bus is here because who knows when it's going to be here next time! There's something odd about it, though... Let's talk to that guy at the bus stop. "Good girl"? You don't mean... Actually, you know what, let's just board the bus and see what happens! Well, that was... something. I mean they did say "dog bus", so I'm not sure what I was expecting to see. So in case you're wondering what in the world is this supposed to be about... well, as I already hinted earlier, it's actually a reference to the 1988 Studio Ghibli movie "My Neighbour Totoro", which features a "cat bus" looking like this: So, yeah. Howevever, it did get us to Loch Ness, which is not really accessible in any other way, so let's se what's been going on here. That guy there has a bit of info for us. Well yes, there is. The same way we saved Okuni. By using the cure-all, a.k.a. The Fairy Dust! In fact, in order to save time, I picked one up from the Fairy Forest before we left Minster, so we can proceed to give it to the baby right now. (That there by the pier is actually the baby and not Nessie herself.) So let's go ahead and use the Fairy Dust! Nessie's baby has completely recovered! If you don't have a Fairy Dust when you come here, then, well, you'll be trekking back to Minster to get one! Anyway, after healing the baby, Nessie herself appears! Kabuki obtained The Blue Stone! So, this is a new one! As it turns out, Nessie is actually Nidhogg the dragon, who fell from the sky during Ragnar�k! We can talk to her a little bit more. Anyway, that's about it here for now. Let's just check in with the guy there before we board the bus again to go back. All right, let's take the bus back to Keithely. Here we go. Getting back to the topic of having suffered a deception regarding the Cross Sword, I think it's time to go and talk to the butler again, as the sole actual survivor of the Howarth massacre. Hello there! Uh, but what exactly is this mirror and... how do you even have it? Well, perhaps we'll find out later, but for now... ...let's head back to Howarth! Back at the mansion... we'll use the mirror, exactly as we've been told to do! And the rest is in a cutscene. WARNING: This cutscene contains white flashing. Huh... Eternal Sangue's daughter, Camilla. But... Zeami, how do you know this? You should not be able to know this? Also, the "Sky Corridor"... I think we still may be able to find it with the help of the item we got from Nessie, if you ask me! But I guess that's a question for later, because for now... Boss: Camilla HP: 3400 ...we have a boss fight to deal with! This is one is not too bad. Her attacks are all physical, so Wunjo will work well to decrase her accuracy. Otherwise cast Ehwaz on kabuki so that he can attack multiple times per turn. Also she's a bit weak to lightning, so Zeami's mask ability will work well here. On the other side, she will rarely use a fire-based attack which deals around 160 HP damage to one person and also has a "Sweet Breath" ability which inflicts status effects, most ntotably sleep and poison. But she doesn't use these two often. And that's about it. One notable element of this fight is that the Camilla actually has a chance to drop an item at the end of the battle: Fire Crystal. This is a multi-use item which allows you to cast a strong fire spell on one enemy. Like all multi-use items, it will eventually break, but if you want, you can also sell it for a whole � 175,000. That's a lot of money, but as it were, we are approaching the final part of the game so there's not really going to be that many more equipment upgrades to buy anyway. Not to mention that we'll be getting today also another similar item which sells for � 325,000. So I might just decide to use the Fire Crystal in future battles instead. The Fire Crystal is not actually a guaranteed drop, but the drop rate seems fairly generous. I did actually use some save state scumming to get it, as luckily the game only makes the decision after the battle, so I could simply replay the final blow a few times until I got it. It only took about five tries, so if you really want the item, it's not too bad even if you play "fairly" and re-do the battle. The game even makes it easier for you because there's a bug: after the battle, if you use the mirror again, without moving your characters first, the battle will simply start over! In any case, the aftermath of the battle is again presented in the form of a cutscene! We seem to have quite a lot of them today, somehow. So it seems we'll have to find a way up to the sky if we want the real sword, huh? Anyway, let's leave. Upon leaving, the illusion is broken and the house reverts to its burned out state. But it does leave behind a chest. The item in the chest is the "Thousand Ri Mask". As I think I've mentioned, Ri is an old distance measure of about 4km, but the mask itself adds an ability to Zeami which lets you look around the area one screen in each direction without physically moving. In the last game, Kinu had an almost identical ability. Why one of Zeami's masks would be here is indeed a good question. In a moment, we'll see that it is also a key item needed to progress the game. So, no, this boss fight is not optional. But, well, considering that we need to go up in the sky, I guess based on what we know so far, the place to do this would definitely be the Stonehenge. Here we are then. The things proceed again in a cutscene! The sky corridor, huh? Well, let's see what's here. At least there are no random encounters, if nothing else. To start with, let's read what's written on that stone tablet! Kabuki looks at the stone tablet and reads the faded letters on it. "The Sky Corridor is an eternal corridor. Those who do not have the proof of the sky will never be able to solve it!" That's ok, we have the blue stone! The whole Sky Corridor consists of platforms like these. But walking under those achways teleports you around. By having the blue stone, the correct archways to walk under will be illuminated like you can see here. So we just go like this back and forth for a while... ...until we reach the end of the labyrinth. Go up the big staircase! And we finally reach a big open area! Over on the side, there seems to be a curious break in the wall... almost like you could walk off this platform! But we'll ignore it for now. Uhhh. I can see where this is going. But let's look at the chest first. It contains "Moon God's Shoes". It's a piece of equipment for Okuni, which gives her a cool +18 in agility! She's already our fastest character and this will only improve the things even further! In the opposite corner is another chest. This time it contains "Holy Tree Staff". We can equip this on Zeami for a +9 in attack power. Well, I suppose there's no other way forward except to face this guy. He's clearly blocking the way to where most likely Cross Sword is. Boss: Slithering Demon HP: 2400 Well, good news is that he has less HP than Camilla, but also deals 90+ HP damage in one hit, and can also do another attach which does it to all party members. In addition it can buff himself to increase agility. As you know in this game, agility also drives the evasiveness so that also will temporarily make him harder to hit. From our side, Kabuki will definitely have Ehwaz on him most of the time, allowing him to hit between 150 and 250 HP per turn--of course some of the hits my miss sometimes, but still. Zeami and Okuni can do what is needed to help, especially Okuni with her all-party heal spell which may be needed here due to that attack which hits everyone for like a third of their HP. Defeating the boss of course opens the way forward. Huh. That's pretty cool. On the left side is the (real this time) Sun Cross Sword, which we pick up. Zeami obtained the Sun Cross Sword! This guy is going to need to start explaining stuff sooner rather than later. In any case, on the other side here is another mask for Zeami, "The Heavenly Might". It does huge damage to one enemy, but with a very low hit rate, so if you want to use it, you need to first put enemy to sleep (or alternately, freeze it). Anyway, before we leave, getting back to this little situation here. If we do fall over the edge... ...we end up unexpectedly on... another horse racing screen! But what's even funnier, when you do start the race... ...it turns out that this time it's not a horse race, but a pegasus race through the sky! Nice one, game. Well, that's just a little joke the game developers put in, and has not really anything to do with the plot. Anyway, we return back down to earth, finally. On our way back... ...we find out that in our absence, the overworld enemies have again been replaced by stronger ones! This one is kind of annoying as it LOVES to cast confuse on our characters. After this battle Okuni learns a new summon: a dragon which casts a thunder spell. I have not really been using the summons much as they're too expensive MP-wise for the power of the spells they cast. So I just rather use the regular fire spell she has. Well, I guess you gotta have Zombies, right? They're not overly strong, but have a surprising amount of HP. All right, we've made it back to Keithely, and we'll take a moment to rest here. And then, well, to the blood castle we go, now properly equipped! More enemies on the way, but not really aynthing notable about them. I mentioned that most enemies fit well with the environment/location, but... some really don't, like this one. Very cool design for these enemies, I have to say. Other than the fact they can put one party member to sleep, they are not very strong. Well, let's try this one more time then, shall we? This place again... The enemies here are also now different! Also where there was a wall before, now we can go through. Chests that we looked at before are now closed again, but this time opening them leads just to a random encounter! Like this one. Previous location of Sangue has also been replaced by a chest. It also leads to a random encounter... This enemy is an extreme case of "exactly what it says on the tin"! They don't really have a ton of HP, but can crit for 100+ HP damage. Anyway, after this room, there is nowhere further to go on the original route through the castle. So we have to go back... ...to that newly opened passage on the ground floor. This time, we'll take a different staircase up. For some reason, there are statues of Demon Cult disciples around here. Here we can see Golden Kanbie and Full Moon Ungie's statues. Surprisingly, one of the weakest enemies around here. It just has a ton of HP. Although it can cast confuse, so be careful. One of the chests here has a consumable and the other has a sword which is way weaker than what we already have (and it doesn't even have any special effects when used as an item!). Also here the statue depicts the third Demon Cult disciple, Zeami. On the other side, some, uh, bombs? And also more status of Demon Cult disciples. The chest here has "Weighted Shoes". They may be useful if you doing running training, but for us it's a cursed item which has the effect of blocking the use of skills. Here we can see the last two statues: Thousand Years Karune and Eternal Sangue. So this makes five in total: Kanbie, Ungie, Zeami, Karune and Sangue... but wait, isn't it supposed to be only four? And why is Zeami one of them now? It seems that we may be getting the answer sooner rather than later to the question that was already asked several times, "Zeami, what are you not telling us?". Let's continue upstairs. On this floor, there's a bit of an annoying gimmick. Some of the floor tiles are actually hidden lifts going up to the next floor. But you can't tell which ones unless you step on them. 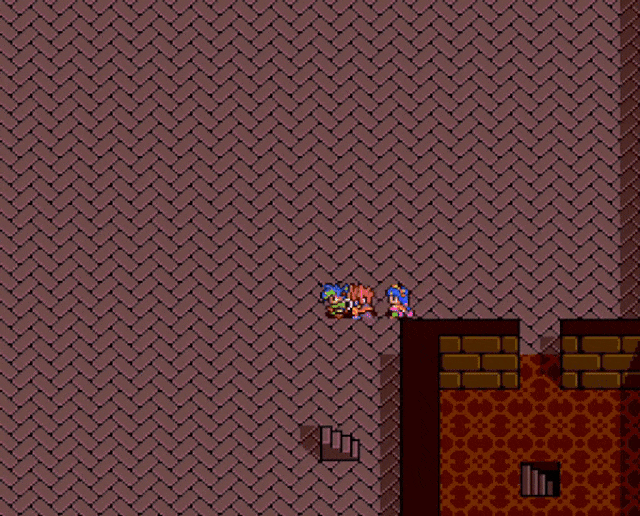 Like so. It's actually important to find the "right" floor tile to do this with as it leads to some nice items on the top floor that you would otherwise miss! When you're on the upper floor, you can then actually see where to step to go back down. Like a real mosquito, we'll try to ignore these guys. The chest we actually want is that one in the upper area, but it's closed off, so we'll have to find a different lift to get there. For that, we'll head over to the north side of that wide open area... ...and then make our way back down this hallway. We'll take a look at that room there first. Interesting. But the chest only has a consumable. Then we step on the lift right here. And that brings us to those chests. Here we get first "Pegasus Boots". They have the second lowest agility of all footwear that you can find in the game, but... this is actually yet another severely broken item in this game. Yes, as it turns out, they have a special effect when used in battle. When you use it as an item in battle, they make you do a physical attack three times instead of one. And I don't mean you use it to put yourself into some status (like that spell we got today), but in fact you do a triple attack immediately. It's absolutely crazy. In the other chest is the "Heavenly Dragon Sword" for Kabuki. It gives +15 to his attack power. Coming back to where we were... There is one more chest. This one has just an irrelevant consumable unfortunately. So, we'll continue this way. As we pass, the gate closes behind us! And then it suddenly becomes dark too! The only way to go is across that walkway... ...and into the vampire's lair. The boss is upstairs... but we want to go downstairs first. We have to go down several floors like this, but eventually... ...we reach our reward! Before I can open the chests, one last enemy. But this is getting a bit silly, I think. Anyway, back to the chest. One of the chests has "Thor's Hammer", but surprisinly, it's not a weapon. It's a multi use consumable that casts a strong lightning based spell. It also sells for � 325,000. Considering we're not too far from the end of the game, with this and the other item we got earlier today, if we sell both of them, we should be pretty set money-wise. The next chest has a "Senju Heavenly Spear" It's a weapon for Okuni which increases her attack power by +2. When used as item in battle it also does a multiple attack thing, but this time each hit has diminishing power! The other two chests have just consumables. Now that we've done this, let's go all the way back up. And then we head this way. And finally, we reach our destination. It is, of course, finally... time for a song! Seriously, whoever from the development team came up with this idea to have bosses introduce themselves via a song... I salute you, you madman. I think this is probably my favourite so far. In any case, like always, the full song was released on the soundtrack CD, so you can listen to it below if you want. I think this one in particular really benefits from being heard in its entirety so please give it a listen. And then, also as usual, it's time for some trash-talking. Eternal Sangue's magic fully restores HP and MP of all party members! Well, nice of him. In fact, even though it doesn't say, any party members which may be in a KOd status will also be revived! Boss: Eternal Sangue HP: 3200 So, it's time to fight the final Demon Cult disciple! He has a bunch of magic spells that he likes to use, so Wunjo will not be of too much use, however, you can still try to put him to sleep or to freeze him if you want. First, a lightning attack hitting one party member for 120+ HP. Then a more dangerous ice attack--it deals less damage, but has a chance to freeze one party member. You'll have to dispel this because you really don't want one of your party members out of action here! He does still have a regular physical attack for around 80 HP to one party member. No, you didn't get it wrong--he has no attacks which hit the entire party. As for our strategy, mostly pretty standard, except of course Kabuki will be using that free triple attack which we just got--it means around 150 HP total if all 3 connect! Zeami will be using the lightning spell as that's what Sangue is weak to. Kabuki and Okuni will be doing the healing as needed (one party member/all party members). As one last note, if you want you can try using those expensive fire/lightning crystals--they will do around 300 HP per hit, but may break at some point during the fight. And with that, the first phase is done! So it's time for some more trash-talking! And to the surprise of no one... 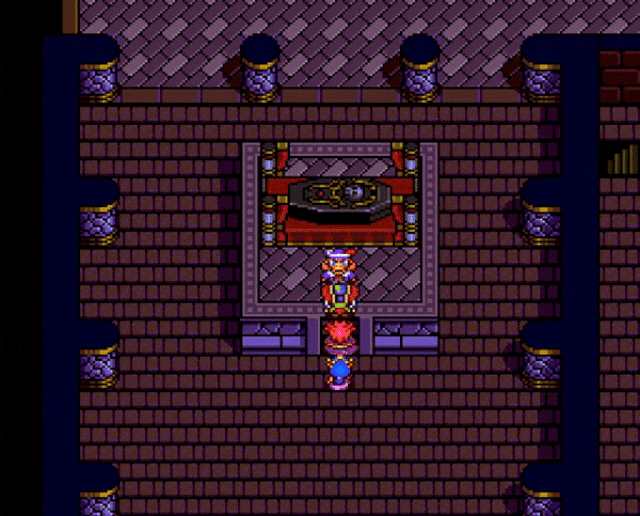 ...he transforms into a bat! Boss: Eternal Sangue (2) HP: 3500 It's time for the second phase! He has more defence in this one, but surprisingly his attack power is actually lower now, and his abilities have changed a bit. He only has a wind spell of around 90 HP damage to one party member, so will be using his physical attacks much more. Be careful of his physical attack this time as it can often crit for 200+ HP damage! That's really the only thing to worry about here.He does have to spend a turn charging it so you will know when it's coming though. Finally he can heal for 250 HP up to 3 times during the battle, so make sure to take that into account. And after a while of this we finally get to this point again... But when we do it, this time it doesn't go quite as expected! The subsequent events are shown in a cutscene. This is quite a long one (almost 12 minutes), but it's very important for the story, so I would NOT recommend skipping it under any circumstances. Well then. Potentially not quite the course of events we expected to see, but... at least a lot of things are clearer now. The fact that none of the "disciples" were actually willing participants in the whole scheme and in fact that they only got there because they tried to fight the Demon King is definitely an interesting twist I think. Fujiyama has joined the party! So, this was a somewhat heavy episode, so let's stop here for now. Next time we'll take a bit of a breather first and then it's on to the final part of the game! Until then, take care. P.S. To save you the trouble of counting: there were NINE cutscenes in this episode!
|
|
#
?
Feb 13, 2024 23:49
|
|
|
Well, a lot happened here. RIP Zeami, weird that you get such a big change in your party this late into the game, since I can't imagine Fujiyama works similarly to Zeami.
|
|
#
?
Feb 14, 2024 01:43
|
|
|
Blaze Dragon posted:Well, a lot happened here. RIP Zeami, weird that you get such a big change in your party this late into the game, since I can't imagine Fujiyama works similarly to Zeami. Yeah I guess it's a bit weird, but at least they did introduce the character earlier on in the game so it's not some kind of an rear end-pull with a completely new character literally 5 minutes away from the end of the game! Speaking of which, I'm expecting probably 2 more episodes to finish off the game, so we're really close.
|
|
#
?
Feb 14, 2024 20:58
|
|
|
That's such a bizarre choice, shaking up the party at this point. I guess it makes the game interesting, at least?
|
|
#
?
Feb 16, 2024 05:59
|
|

|
i just caught up from like 5 pages back and Wow was this a trip!!! poor zeami...  at least him and kabuki are Eternal Bros, now. at least him and kabuki are Eternal Bros, now.
|
|
#
?
Feb 17, 2024 08:55
|
|


|
 So last time a bunch of stuff happened, but mainly we managed to defeat the last Demon Cult disciple, Ungie. As part of that, we learned that Zeami was also one of the disciples, but decided to leave when he realised the truth about Demon Cult goals and go to Jipang to look for the warriors from the prophecy. In the end, Zeami sacrificed his life to keep the rest of the party alive, but shortly after we obtained a new party member anyway, the sumo wrestler Fujiyama! Oh and we also got to meet Nessie who turned out to actually be Nidhogg who fell down to earth during Ragnar�k. Yes. Anyway, we find our (new) party still in Howarth, after performing the funeral for Zeami. 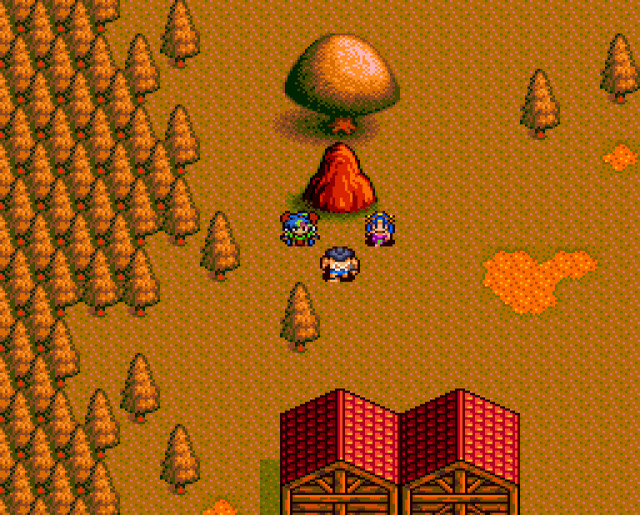  All right. So we've lost a party member, but then immediately gained a new one. It's a little unexpected beause we are literally about 5 minutes away from the end of the game, but that's how it is. For the final strech, Fujiyama will jump in to cover the hole left by Zeami's departure. But so you might ask yourself, Zeami had some stuff on him, equipment, spells, items; what's happened to those? So the game is here kind of not terrible. All spells and items that Zeami had will simply be moved over to Fujiyama. Any equipment that Zeami had on him, whether actually equipped or not, will be lost in the transition. Truthfully, most of Zeami's equipment was anyway specific to him, so this is not a huge issue, but if you gave him some weapon to use as item during the battle (like the spanner), then, uh, you might want to unequip this before the battles with Ungie, as otherwise you'll lose it. Now, of course, in the case of the spanner, it's no big deal as you can just buy a new one right here in Howarth for just � 300, but if there was anything else... Anyway, let's take a look.  Here's our friend Fujiyama's stats. His speed and defence are about on a par with Kabuki and Okuni, but his HP is larger and more importantly, his attack power is like 50% bigger than Kabuki, which is pretty fantastic. As mentioned, items and spells that he has, are simply transferred to him from what Zeami had, but having 0 MP, he can't actually use Magic, so we'll have to decide which magic spells we keep between Kabuki and Okuni and which ones we put in storage. Most of the spells which are usable by Zeami, Okuni can also use, so that's pretty good. One notable loss is the spell which freezes the enemy, which was Zeami specific, so we won't be able to use that one any more. As for equipment, quite expectedly, Fujiyama comes only with a sumo wrestlers loincloth (in this case, Yokozuna Loincloth) and nothing else, no weapons or shoes or anything. So we'll have to rectify that in due course. Like all characters, he does come with some skills/abilities: - "Hundred Slaps": Execute multiple attacks but at a reduced power. This one sounds more useful than it is as the power of a single hit is quite reduced (but in return there can be over 15 of hits in a single attack). - "Wait!": Make all enemies skip one turn (this one costs � 5000 to use so it's probably only for emergencies). In sumo wrestling this is used as signal of a false start of a bout. - "Hand Push": Push an enemy by hands and remove them from the battle. This is also a sumo wrestling move "oshidashi" (押出し). You still get EXP and money for that enemy! - "Wave Pattern": Reduce the hit rate of one enemy group. - "Hand Sword": Hit an enemy with the hand like with a sword and deal double damage. Hit rate is reduced from normal attack though. - "Forbidden Move": Prevent an enemy from doing anything but normal physical attacks. There are two more abilities which he will learn as he levels up, but for now I will just mention that of course none of these consume MP (since he doesn't have any, anyway), but having to pay to use the skill with money is an interesting concept.  As you could already see on the previous screenshot, I actually saved the Spanner that Zeami was using, because it turns out Fujiyama can also use it as weapon, so I will just equip it right now for a cool +30 in attack power. I did actually save one more piece of equipment which Zeami had used earlier in the game. Currently it's in storage so we'll pick it up along the way.  As mentioned, we're currently in Howarth, but it seems that the curse is really broken...  ...because the pub is now quite empty. The weapon shop does remain available in the usual way (keep trying until the shopkeeper appears).  So, what shall we do now? I mean we have our next task to deal with the four cathedrals and open the way to Tower of London, but I think before that we should take a bit of a breather and see what's going on around London and how people are doing. First of all, we'll head quickly to the west...  ...where you can see the ruins of Ungie's castle. So I hope you got any items from there that you wanted, as you can definitely not go back inside!  So let's go back to Keithely for a moment. Some time ago, Zeami used to use for a while a piece of equipment called the Hunter's Cap. We upgraded it at some point, but I didn't actually sell it like I normally would with most old equipment. Instead I put it in storage...  ...because as it turns out, Fujiyama can also use it! It's in fact the best headgear in the game for him, at +26 defence. I feel like this is a bit sneaky from the game, because you really have no reason to expect something like this would be possible, and the next lowest headgear for Fujiyama is only +20 defence. So at this point we're just missing a pair of shoes for Fujiyama, but don't worry, there'll be PLENTY of equipment upgrading today! 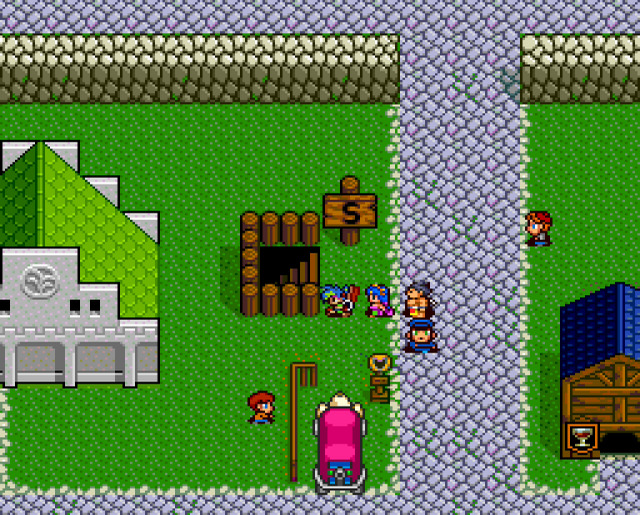 It seems like it would be a good idea to report back to Princess Reina, so we head down into the underground railway station. 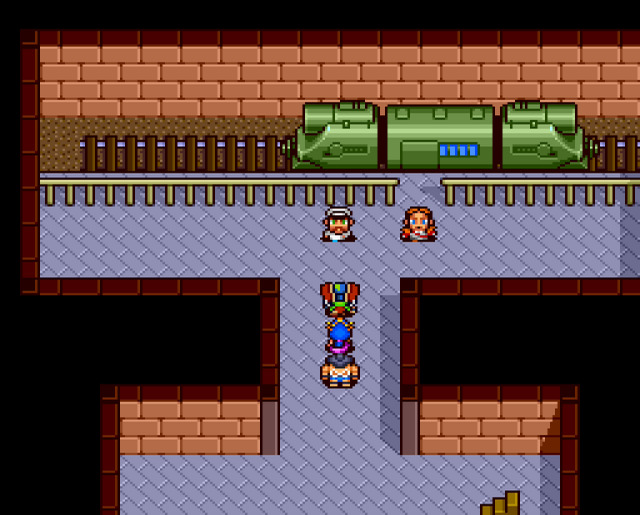 So yeah, if you go down into the subway, you'll be automatically taken to the palace. 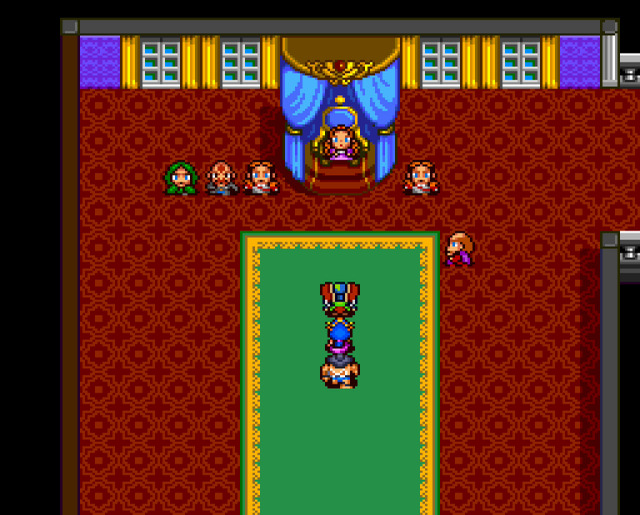 Here we are in the throne room. 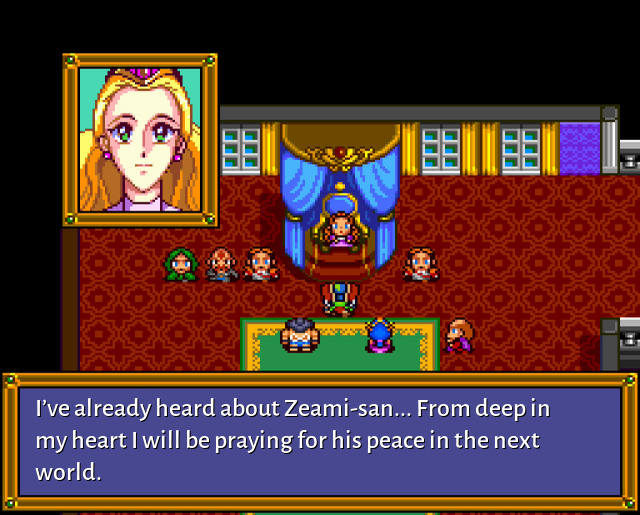 As it turns out, princess has a gift for us. But more on that in the following cutscene!  That's, uh, some gift, huh? Anyway, about that Garter. As it turns out, like seen in the cutscene, it's a piece of equipment that Kabuki can wear on his head, and it's not even a joke! 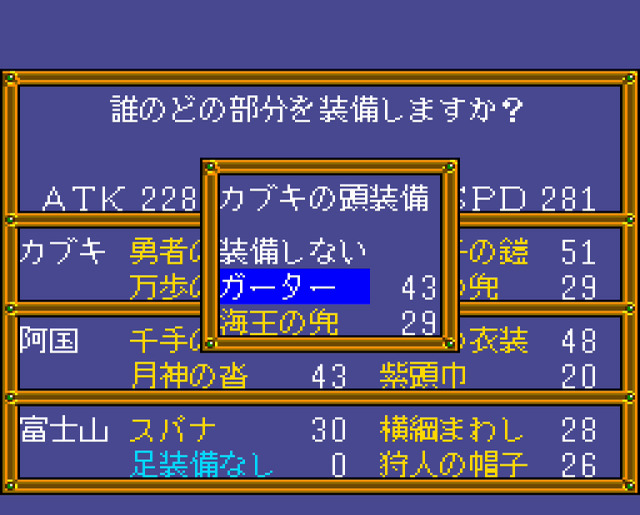 It gives him +14 defence compared to his previous equipment (Sea King's Helmet, which I feel he's been wearing for quite some time now, I think since even before we rescued the princess!). 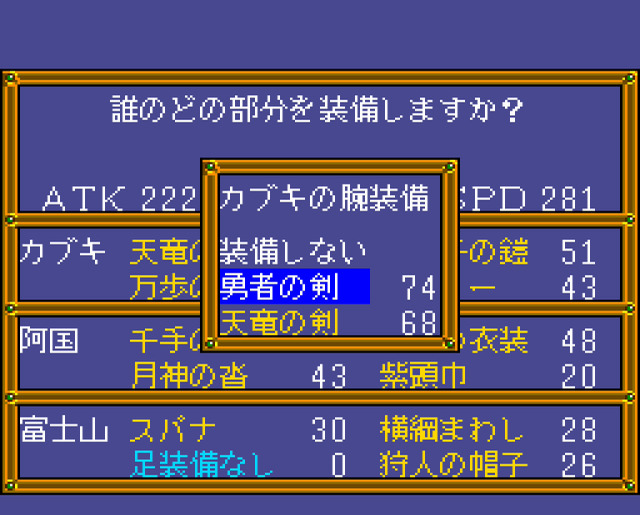 Also that Hero's Sword is pretty good at +6 compared to his current weapon! This sword is actually a little bit special, as we'll find out in due course. But for now, it's like this and it doesn't have any special abilities when used as an item. Before we go, we can talk to a few people here. First of all, Alex, the captain of the Royal Guards! 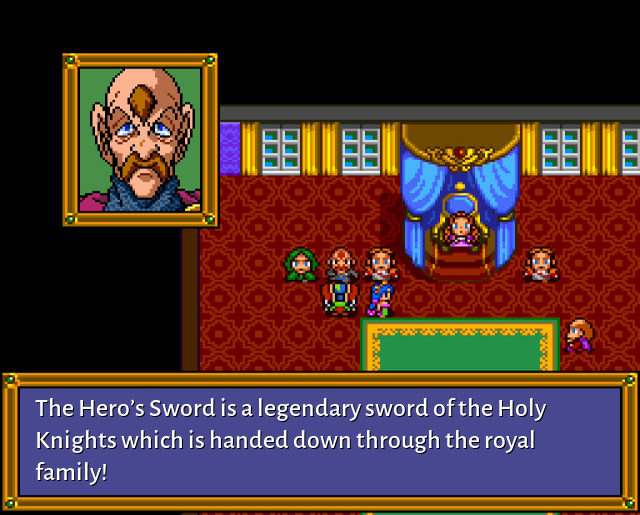 This is hinting a bit at a quirk about this sword, but we'll get to that soon enough. From the druid standing there next to him, we can get a bit more information about our task. Ok, so that seems easy enough honestly.  All right, we're done with that. Since we're here, let's stop also by some houses. 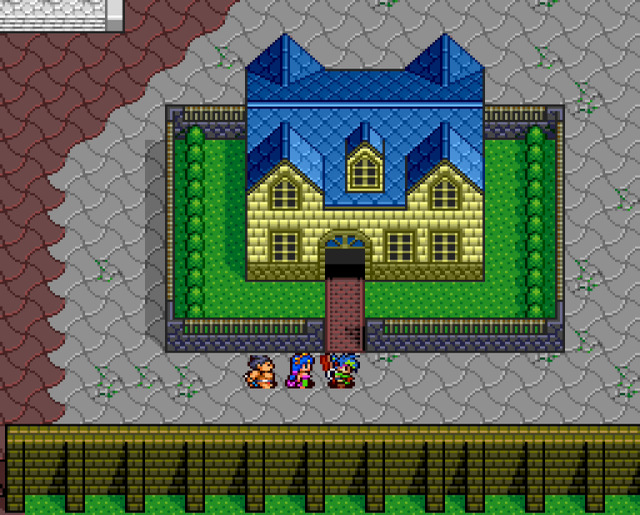 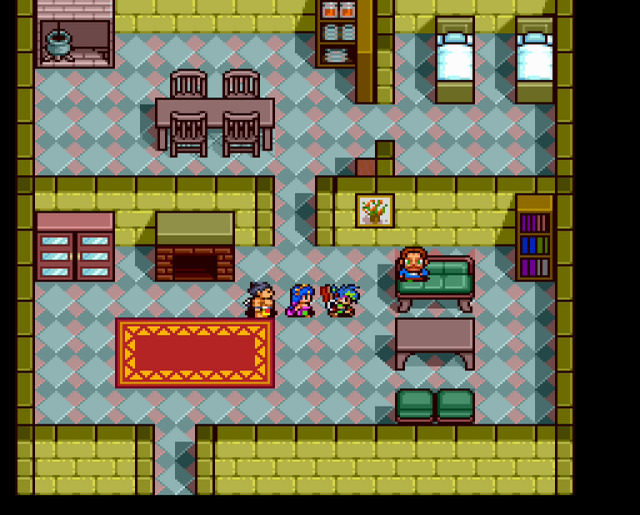 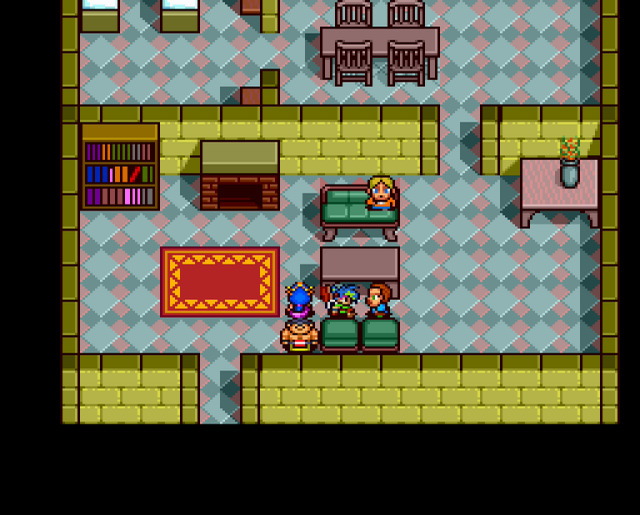 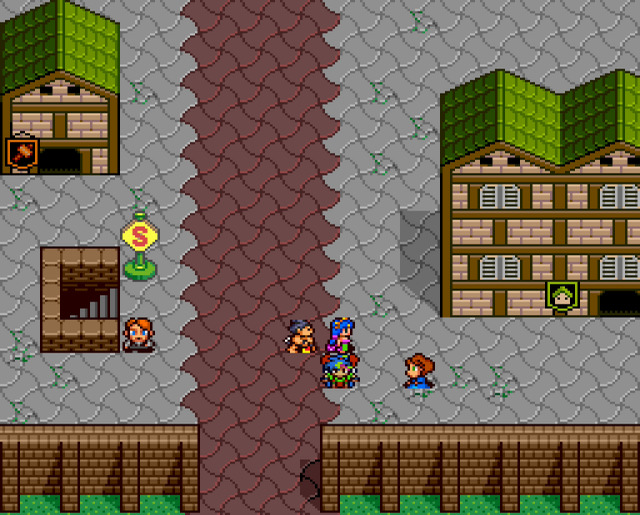 Let's also make a quick stop in Judge, on our way south. 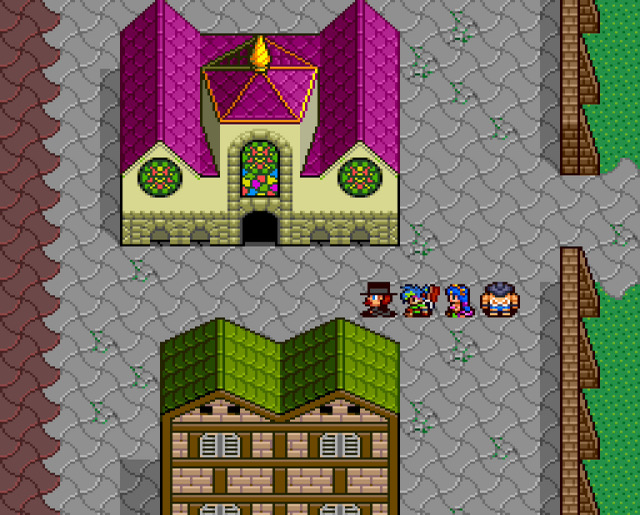 Goto and his people were planning to take over London completely, weren't they? No matter all the developments, how were they thinking they can make all this their private property?  Over in the Demon church, the process of doubling down is in progress: Incidentally, there's now no one in the church except the priest. 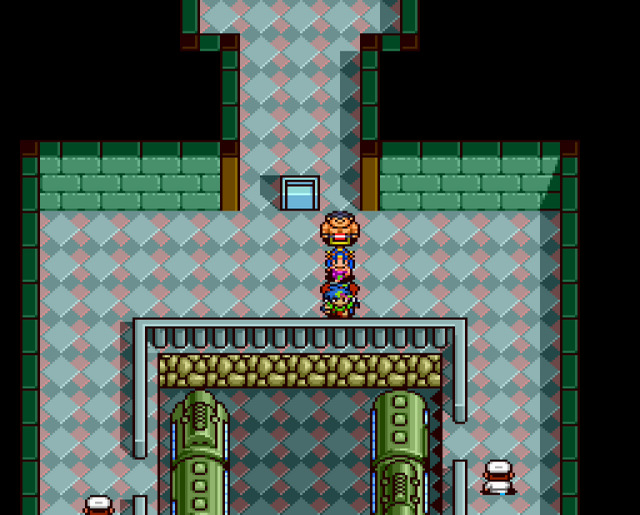 Well, ok, let's take the subway even further back, this time to The City. 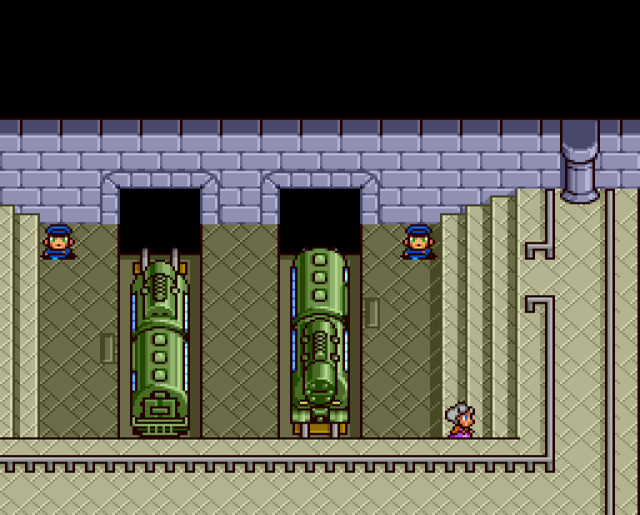 This of course brings us to Canterbury. 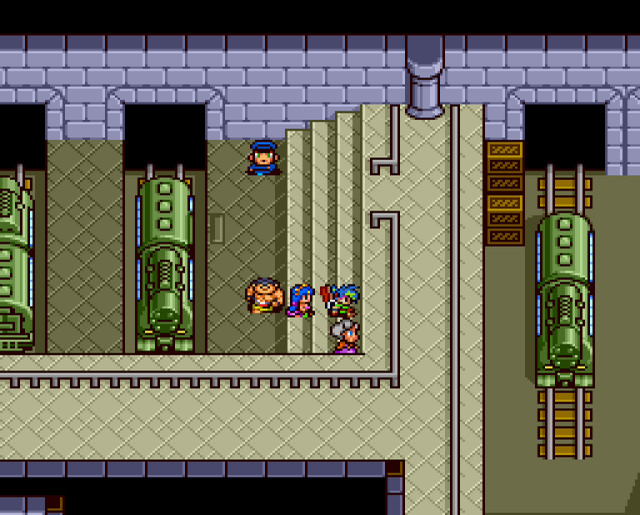 This lady here talks again about the prophecy related to the Hero of Fire and the Azure Wolf crossing the crimson fire and the moving of the forest and then adds... To be honest, the whole thing about the Azure Wolf should be somewhat obvious by now, but if not, don't worry, you won't have to wait long. 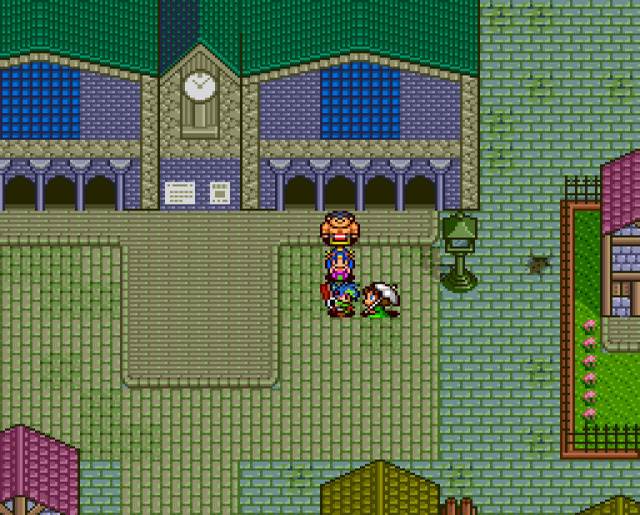 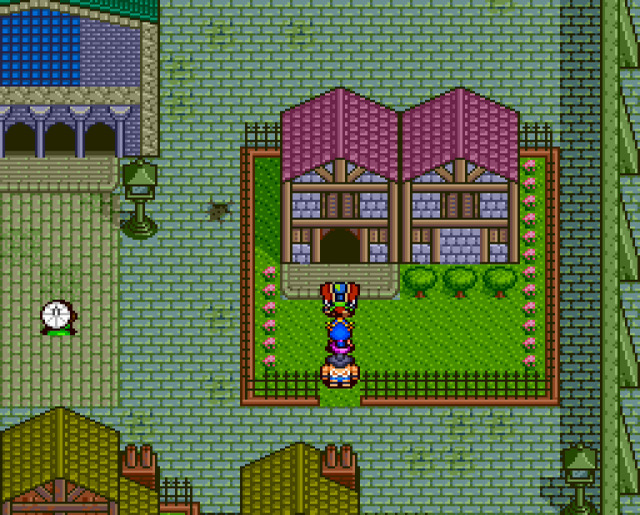 Over here is a rich family, who were supporting the Demon Cult previously. 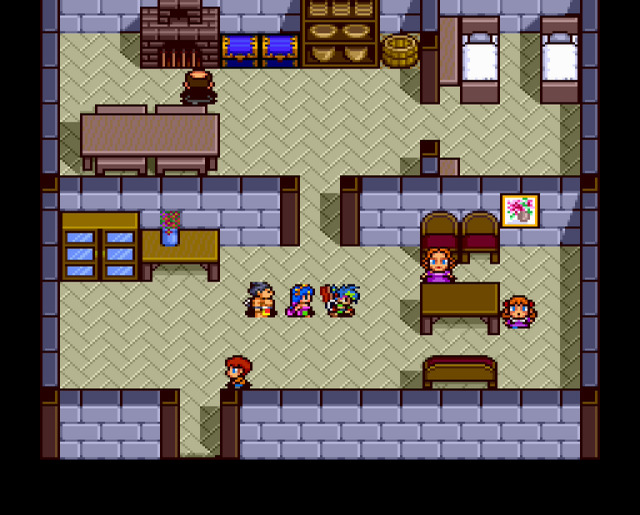 And finally we talk to the father... The chests actually have some decent stuff.  First of all, Shining White Armour for Kabuki. It adds +6 in defence!  In the other chest is "Cherry Blossom Hair Ornament" for Okuni. It adds +14 to her defence stat (nice) but also has a special ability when used as an item in battle: it's a free heal for one party member! As mentioned, there will be a lot of equipment shopping today as we move through the places--we're certainly not hurting for money after those items we received last time with around so we can afford it. 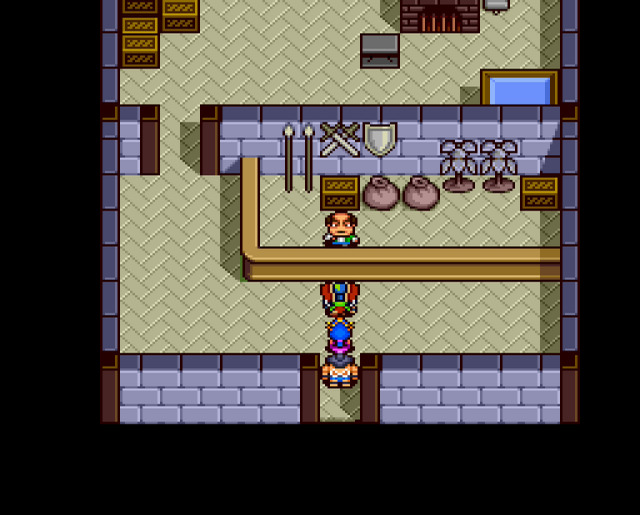 Since I'm talking about it already, let's just stop by the equipment shop and buy some stuff!  First, I'm sure you haven't forgotten that Fujiyama needed some shoes. So here they are, "Sandals of Power" which give him, uh, a +58 in agility!  Then, Okuni gets this "Angel's Haori" for a +30 in defence! By the way, "Haori" is a style of coat which is worn over a kimono, like so:  So those are two quite worthwhile upgrades for now, but in the mean time...  ...let's stop quickly by the pub! That's it for Canterbury. For now, let's head quickly back to Keithely as there are a few things to do there too. Probably we should have done that when were there in the first place, but... 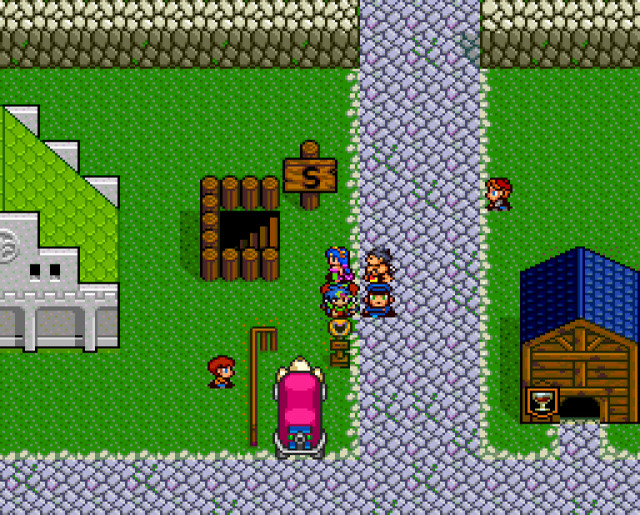 First of all... 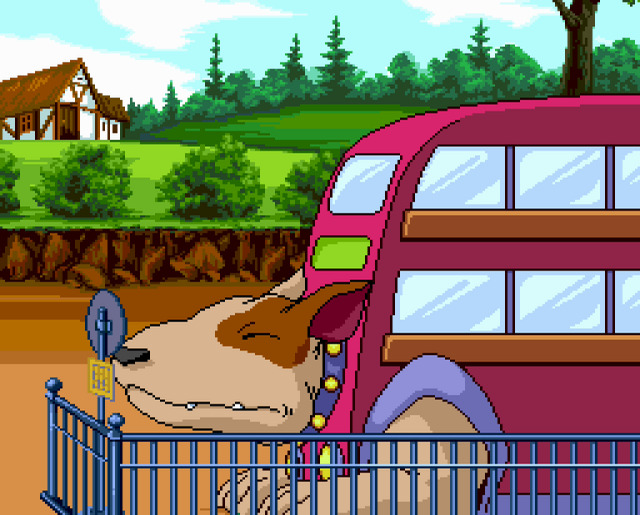 ...let's take the dog bus over to Nessie. We were asked to return later to hear some more about the olden days. So let's do that just now! 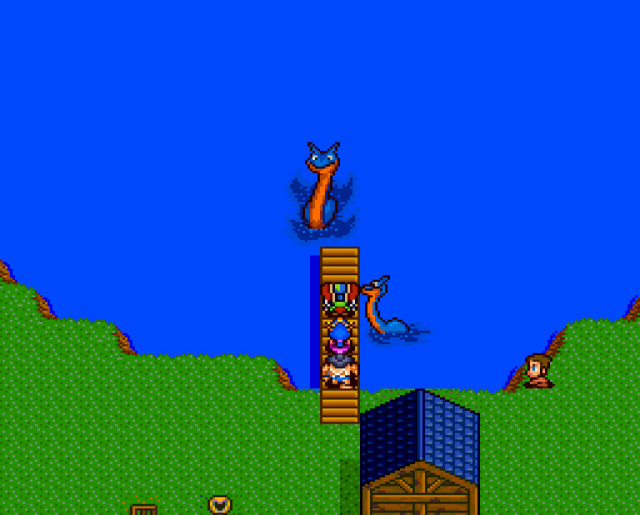 So, what do you have to tell us? 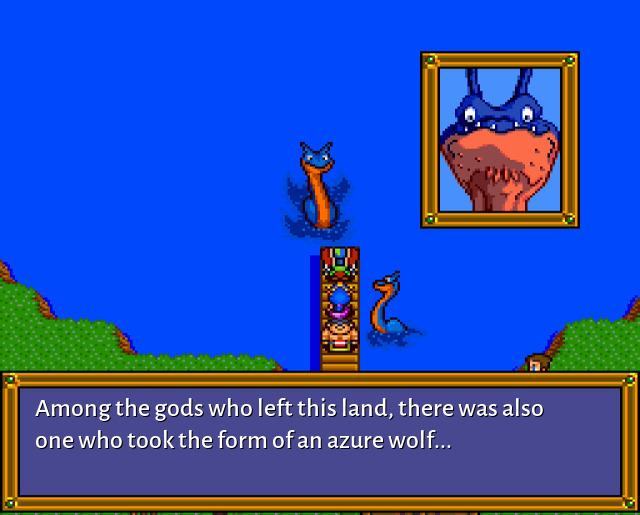 Yes game, it's been obvious for a while, don't worry, we've figured it out! Anyway, that's all we can do here, but before we leave, there's an interesting quirk in the game here, so let me show you! 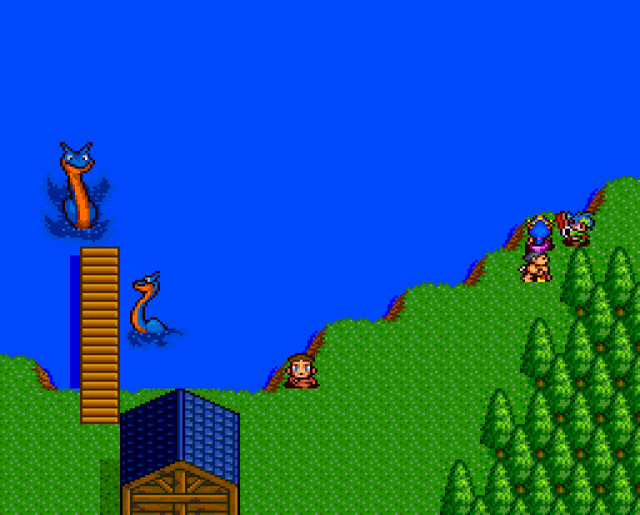 Over here in the corner, you can actualy walk past that tree! 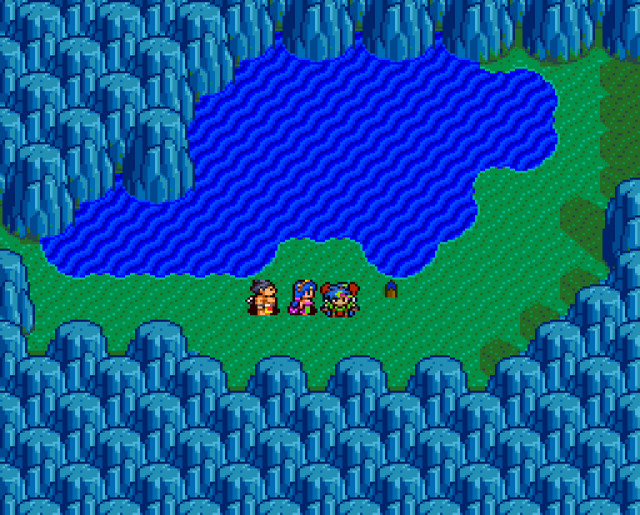 You actually end on the world map like usual when you leave a town/location! But there's nothing to do here as it's completely enclosed by mountains and the only place you can go back to is the pier where Nessie is. I'm guessing this is some quirk of game engine that it had to be like this, but I'm curious why they didn't just block off the path there which takes you to this little bit of world map? All right, as I said, we're done with Nessie, so let's go back to Keithely. 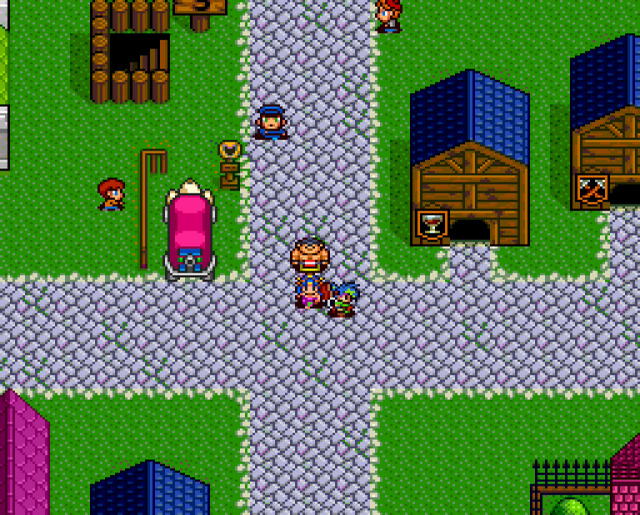  So let's check out the gossip in the pub. The owner is not happy. The customers are happier! 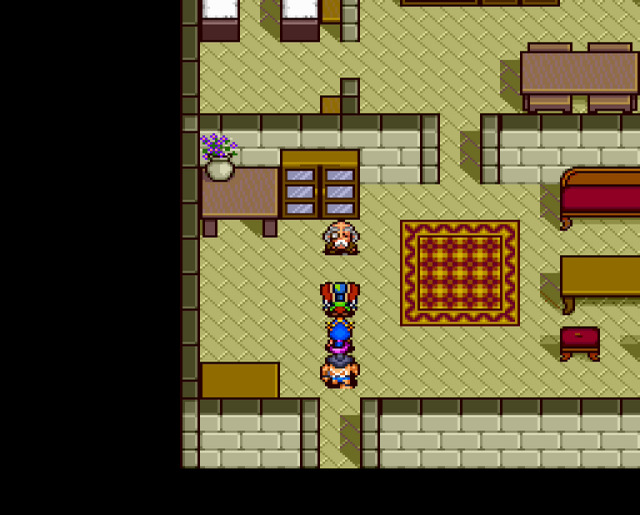 Let's pay also a visit to our friend Butler! Well, as usual, a bit more info about the boss of this area which we can get after the defeat. 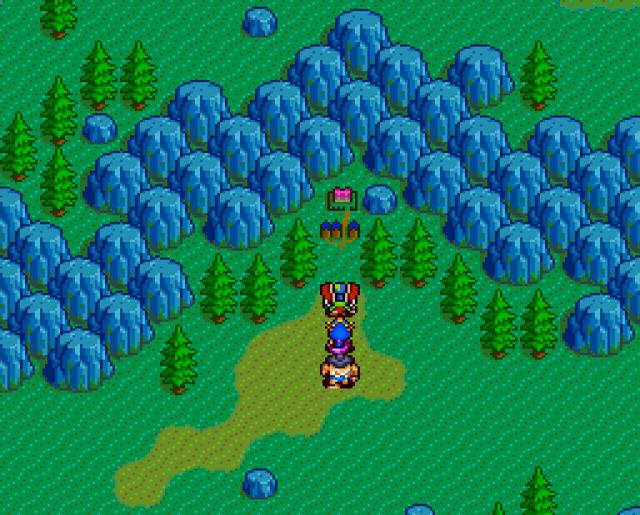 Next, we'll head back over to Howarth one last time... 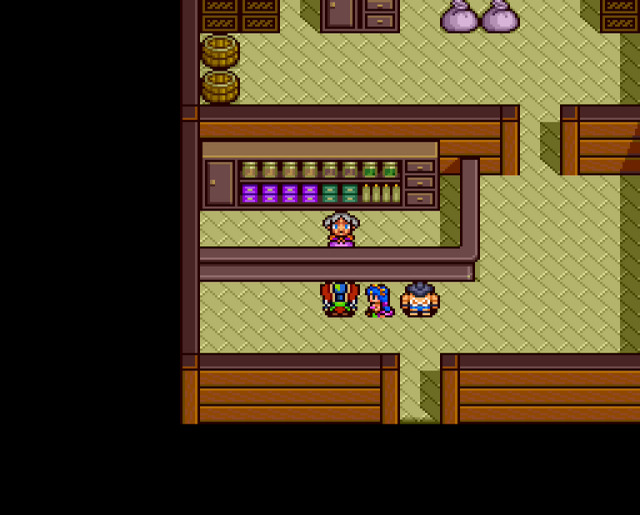 I really just want the equipment shop. As mentioned, it does still work as before. 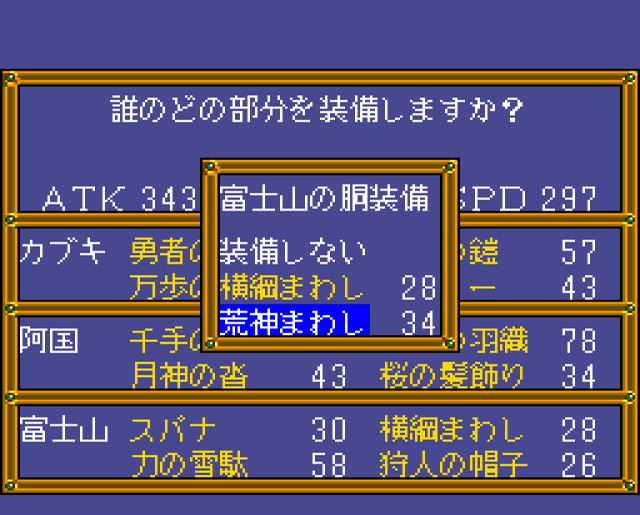 First, we'll replace Fujiyama's clothes with this Stove God Loincloth for � 26000. As you can see, it gives him +6 in defence and it is in fact the best clothing item for him in the game. Well, there's only two anyway not counting the third one which is cursed. 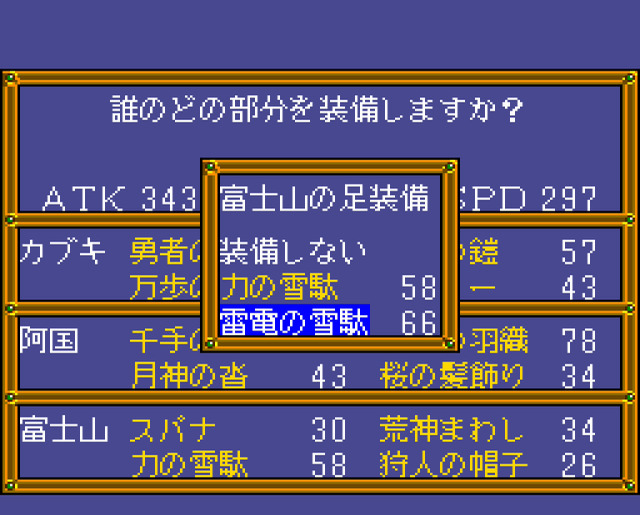 And then we'll replace his sandals with these "Thunder Sandals"... yes I could have completely skipped buying the previous sandals since we had absolutely no fights in between, but here we are. Anyway, these give a further +8 in agility. This is also the best footwear for Fujiyama that there is in the game, so at least we're done upgrading these two things! Ok, with this we're basically done in West End. So for the moment... 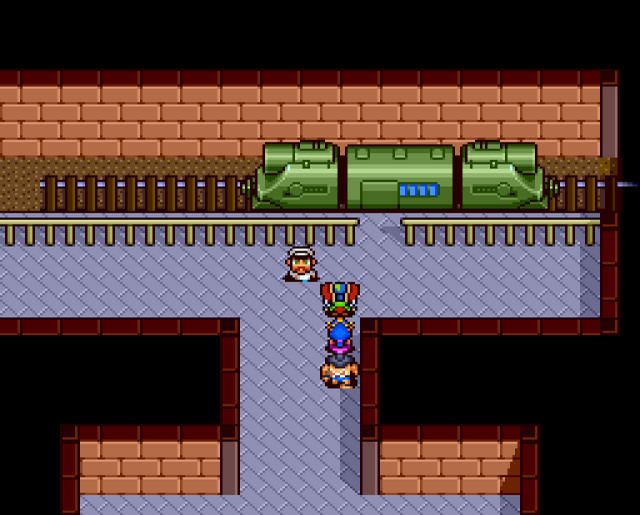 ...let's take the subway back down to Canterbury.  But actually, we've pretty much already done that, so I really want to head west to Epsom and see how things are there now. 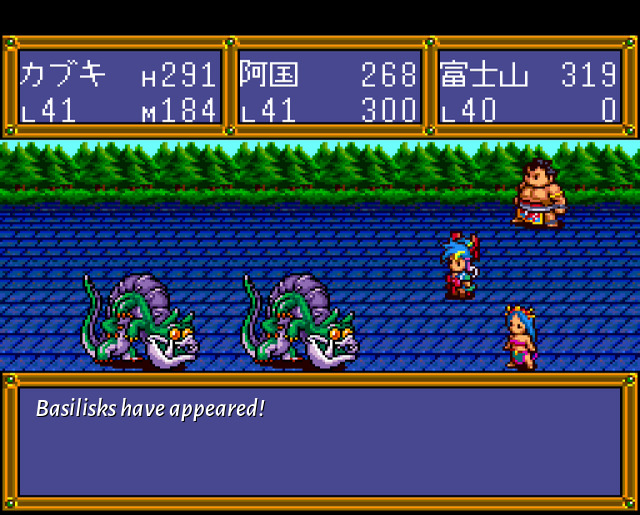 Oh, but! Remember how before there were no random encounters in this part of the world? Well, now there are, after defeating all four disciples! These guys poison you, but are not otherwise dangerous. 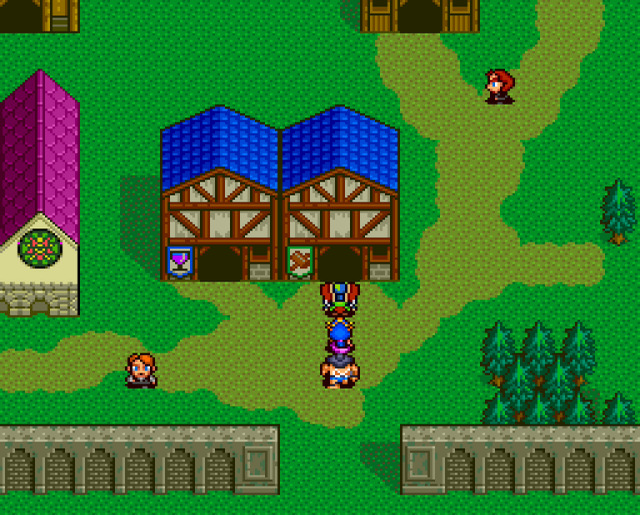 Welcome back to Epsom, the horse racing mecca, for one final time! 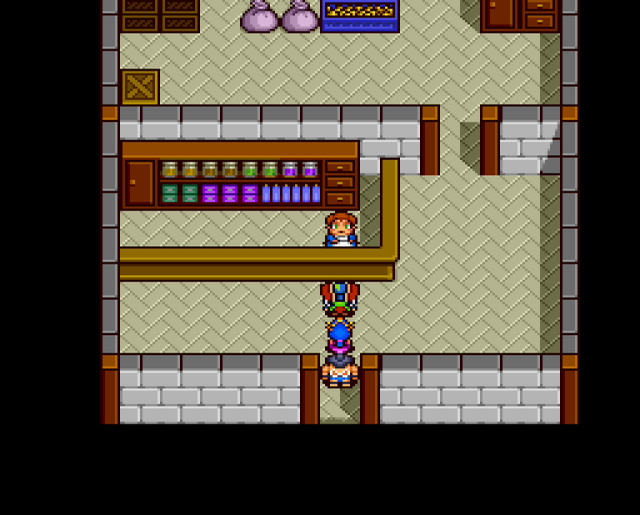 First of all, I will just admit I have a problem and head straight again into the equipment shop! You might recall from last time the "Heavenly Horse High Boots" that we found. This item allows you to attack 3x every single time when using a physical attack! As it turns out, this shop sells it now... but it has only one. So I will buy it for � 30000 and thus we now have two characters which do triple hits (Kabuki and Fujiyama, since Okuni's attack is weaker and she's better with spells anyway because of large MP pool). This does kind of break the game a little bit, but... it's literally there for you to use, so I'm not going to be shy! 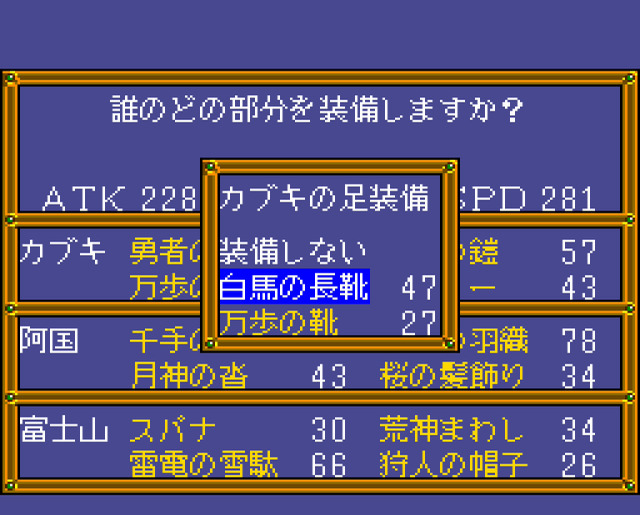 In addition to that, I will buy a pair of White Horse High Boots for Kabuki. These are for him to actually wear (and give him a +20 in agility) and the other ones are just to use as item in battle but not to actually equip since they are much weaker agility wise, but when used to attack they just do your regular power attack but three times. 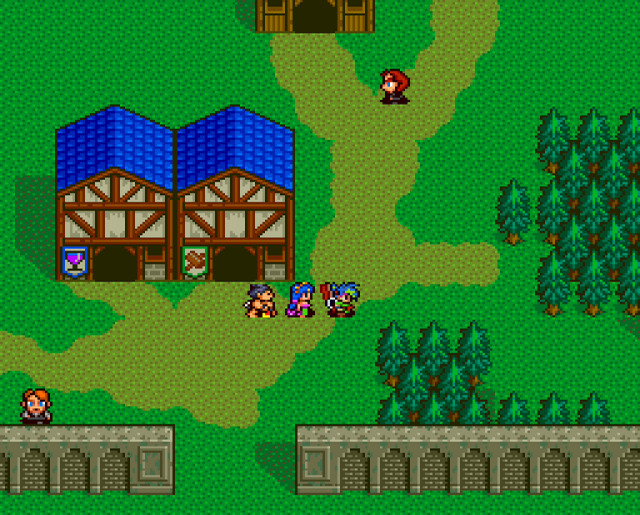 And now that we're done with that, let's go outside and talk to a few people in this town! Of course, the forest from the prophecy. 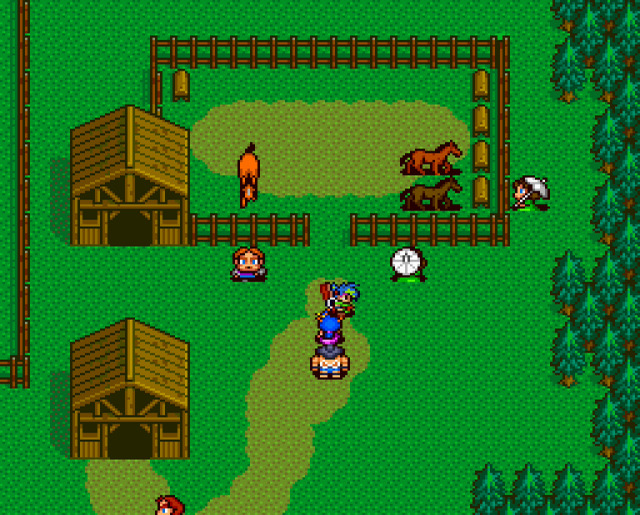 Let's see what's new around these upper class ladies here. 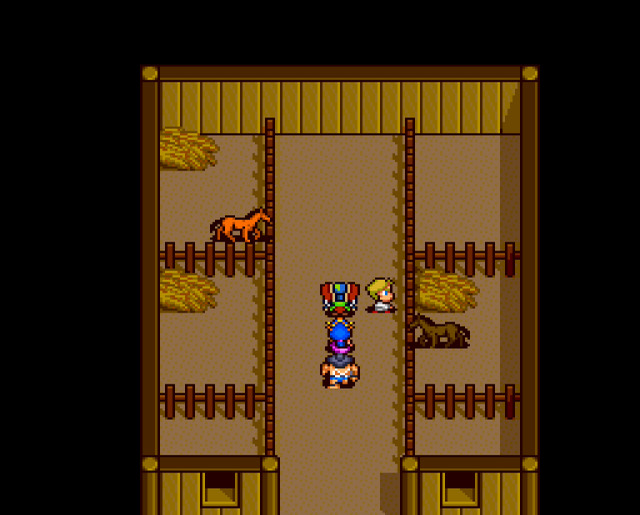 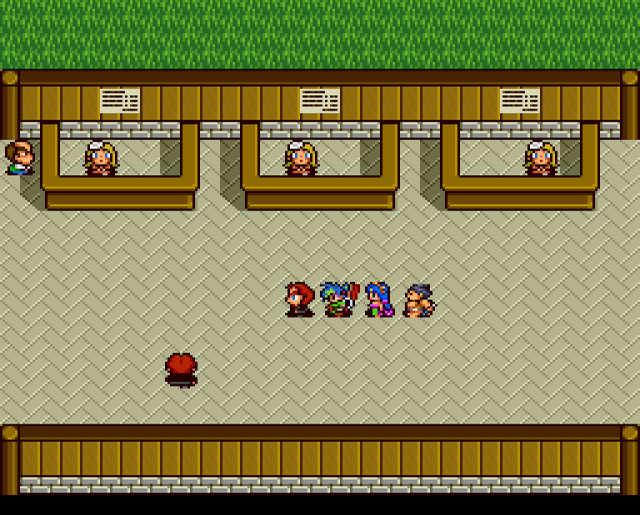 At the race track... 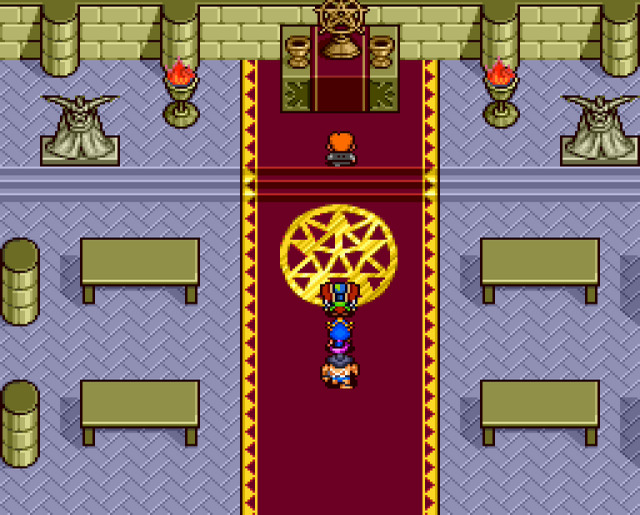 In this Demon church, they are singing a different tune! Sure, sure. 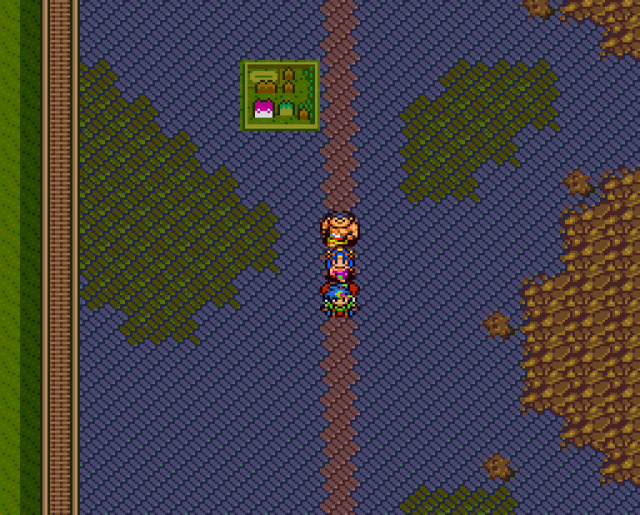 All right, I want to make a quick visit all the way back to Dover before we do anything else. In order to do that, we have to first reach Oxford where the ferry departs from. 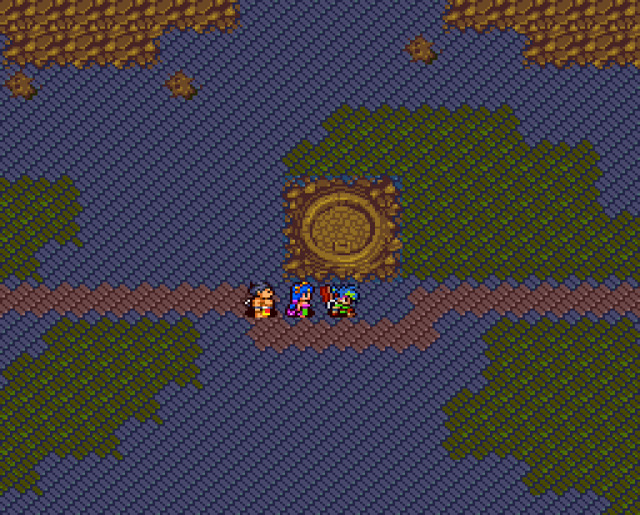 We pass by this thing again... 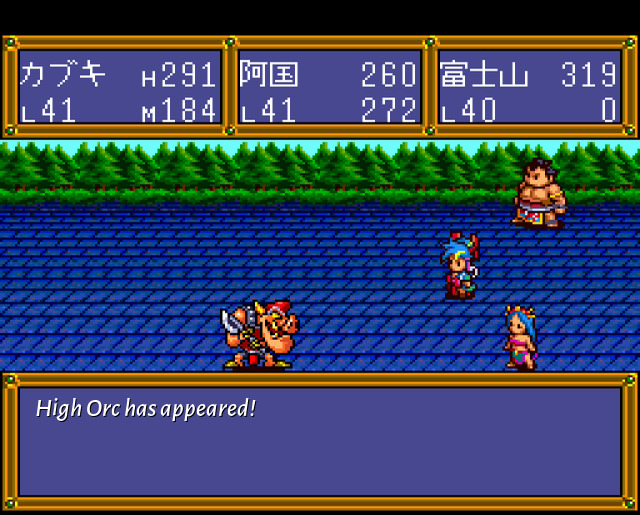 And also get attacked again, but with everybody triple hitting it's hardly any kind of a problem.  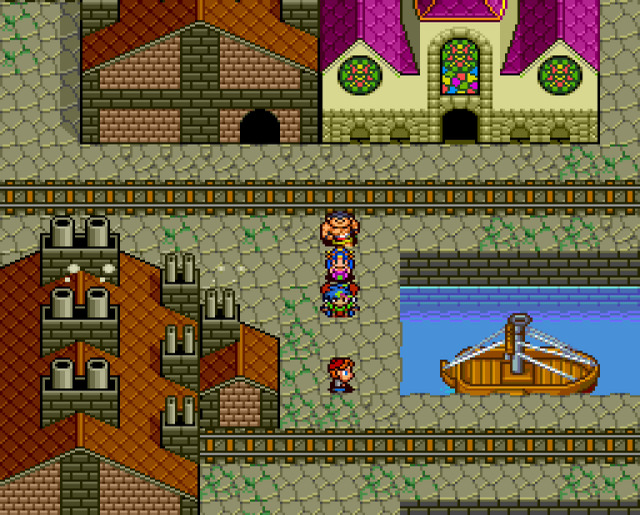 Here we are in Oxford--we'll return shortly, but for now let's just take the ferry to East End. 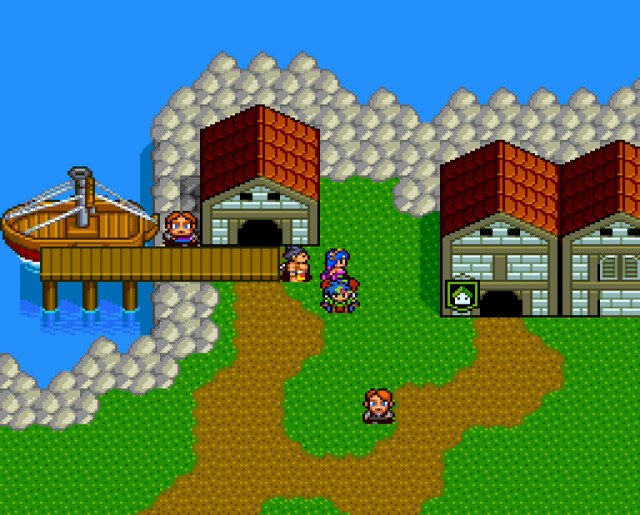 Of course, the ferry drops us off in Cornwall first. 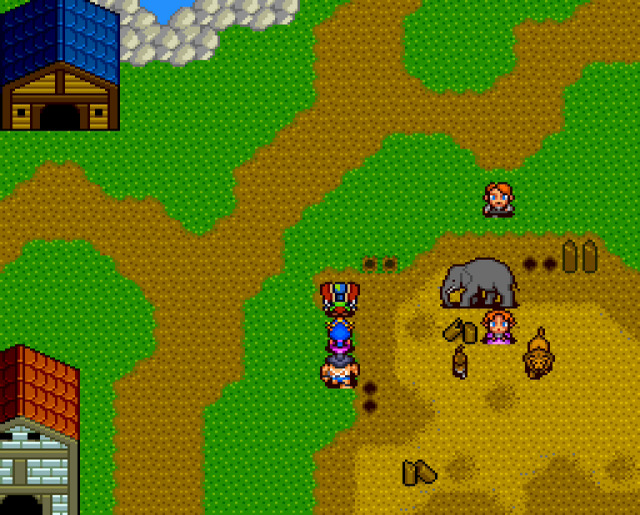 Interestingly, here we can now find the animals from the former circus which we "disbanded" early on in the game! Speaking of Julia, we can have a chat with that other guy here. Ah, right, I guess Julia is still here running the inn. It has a benefit for us that we can rest for free, except... we don't have a reason to ever come back here at this point, so... But it's a nice touch I guess.  All right, let's continue to Dover. As before, there are no longer any random encounters here, so this is an easy walk. 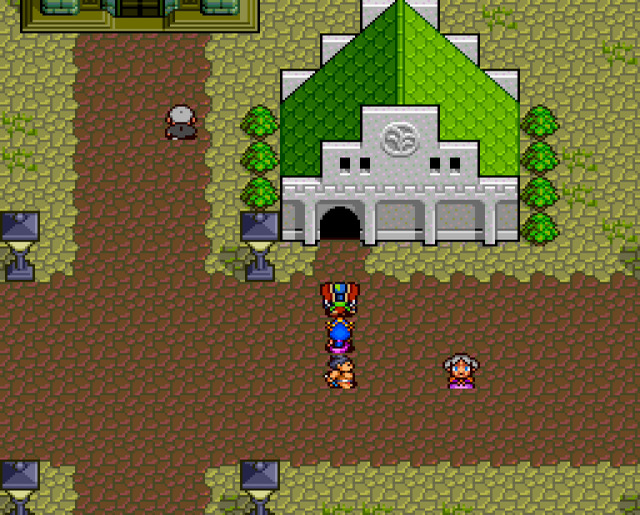 In Dover, we'll stop by the Druid church. 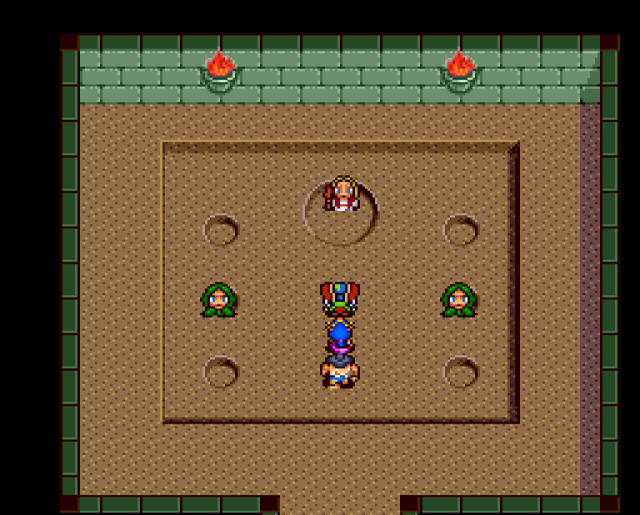 Here we can talk to our old friend Mossfield, whom we haven't seen in a while! 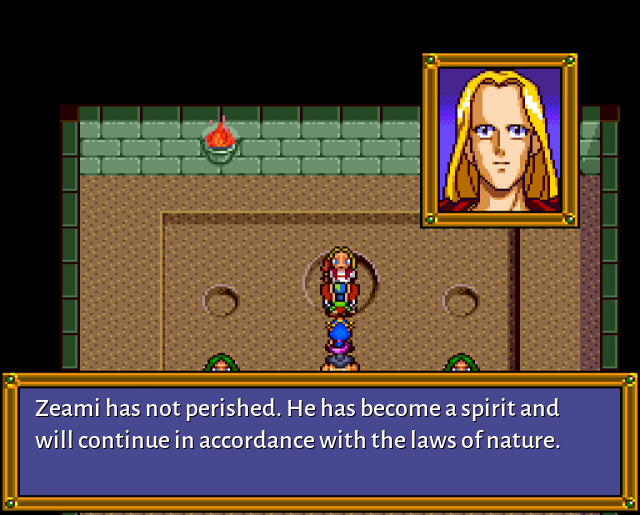 Moving the forest doesn't sound like it should be too much more difficult than moving the island in the previous game, or so I hope. Anyway, not really any new info from him, but I just thought it would be nice to pay him a visit again. And with this... 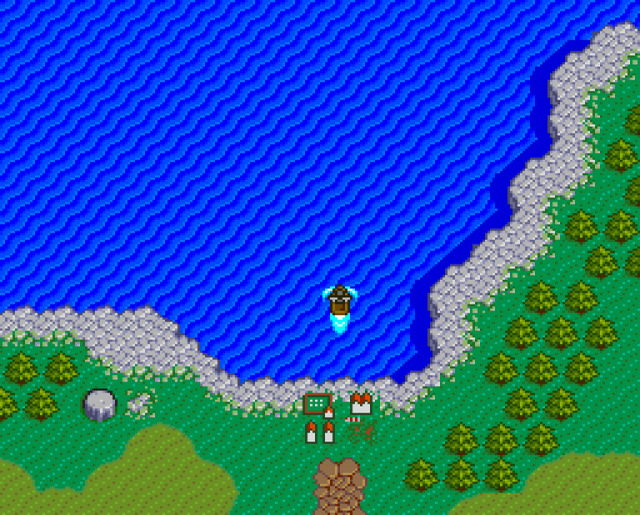 ...we'll just catch a ferry back to Oxford, and talk to a few more people there. And then it's time to end this mini-break and get on with our task! I do like this whole situation that you can really find out what's been going on in the world as a consequence of your actions. We'll see even more of that in Oxford shortly. 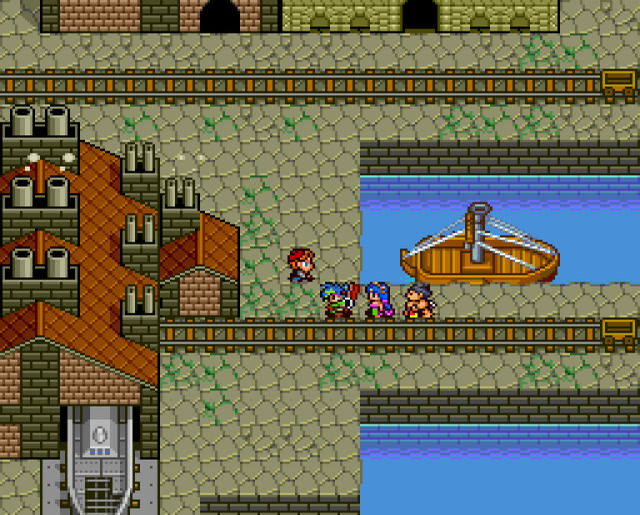 Then, here we are back in Oxford, the centre of London's industrialisation! Let's find out how things are going. 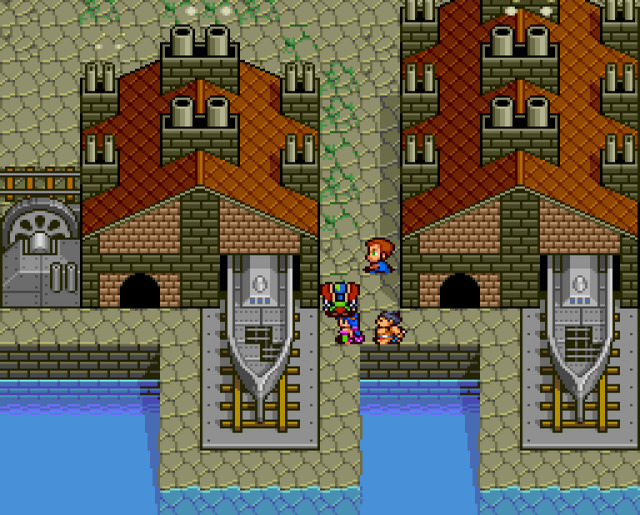 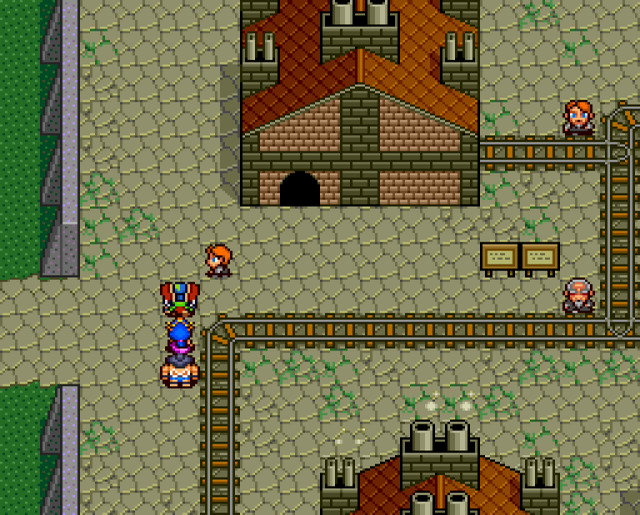 Ah, that must be the place we've been walking past but haven't looked inside, I guess. 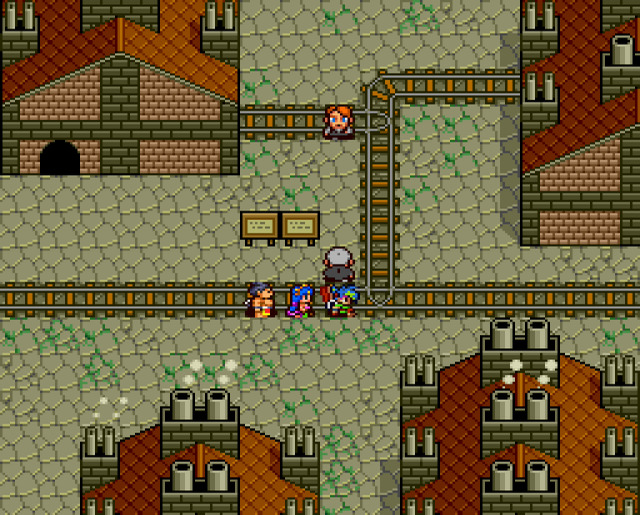 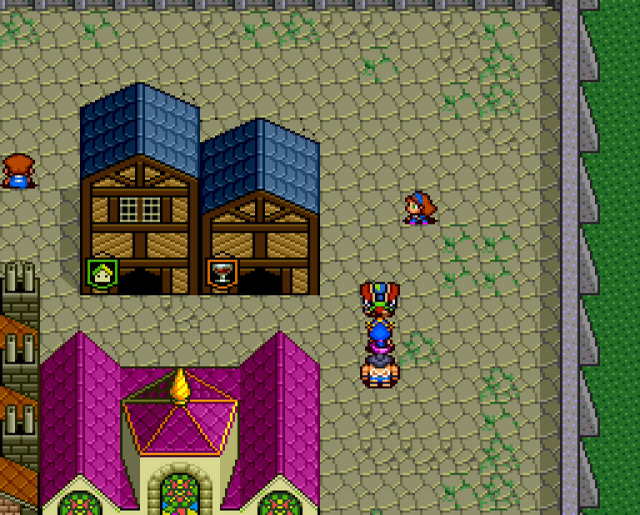  Let's see how it looks in some of the factories, too. If that last one sounds weird, it's actually a quotation from a well known poem by the Japanese author Ishikawa Takuboku (1886-1912). 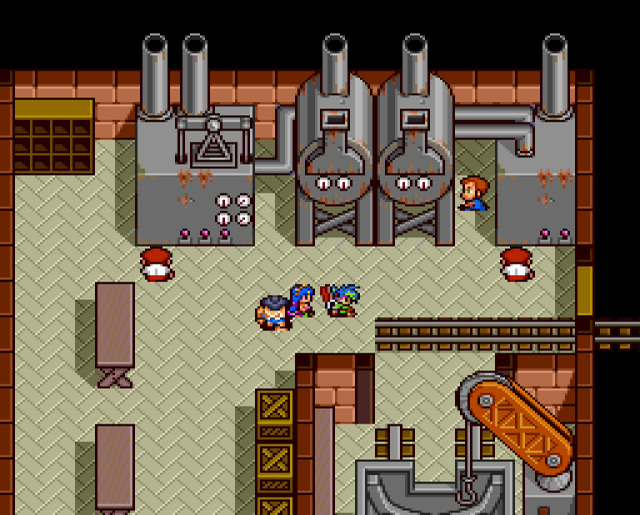 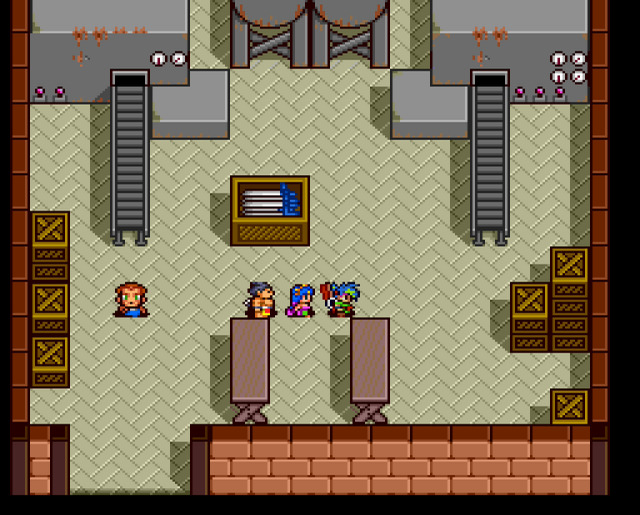 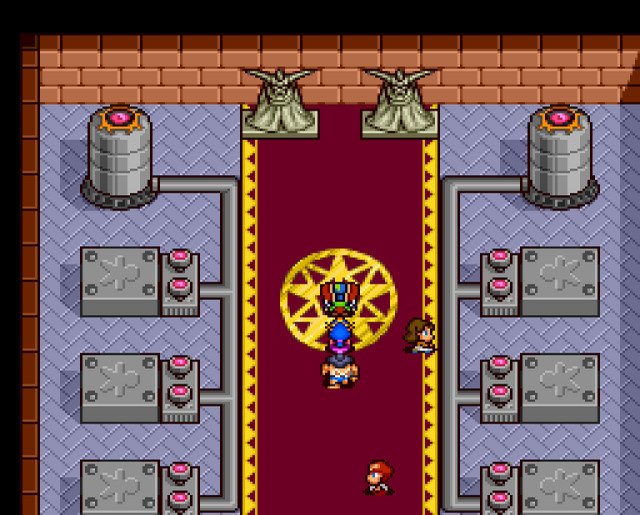 This building was not accessible to us before. Let's see what's going on! Well, that's pretty scary... 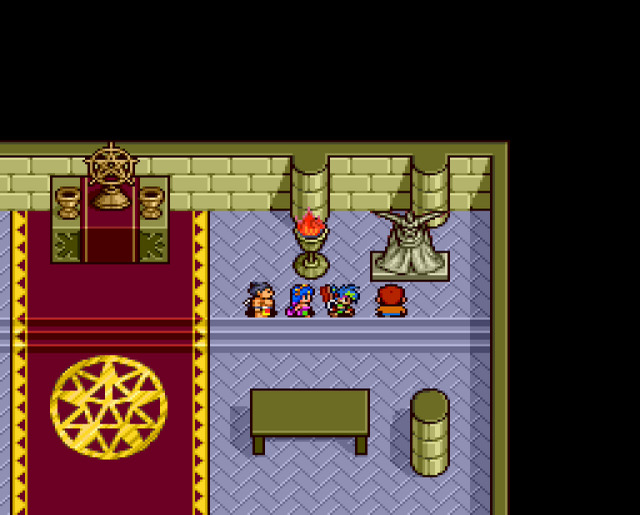 The Demon church is completely empty except for this one guy! 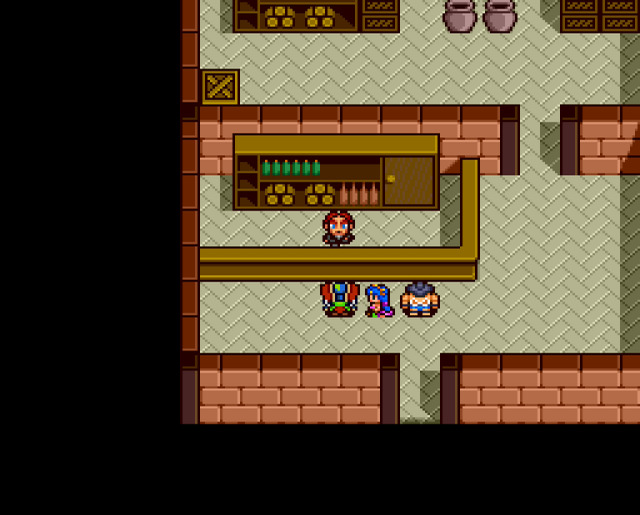 Finally, as is tradition today, let's stop by the equipment shop here too! 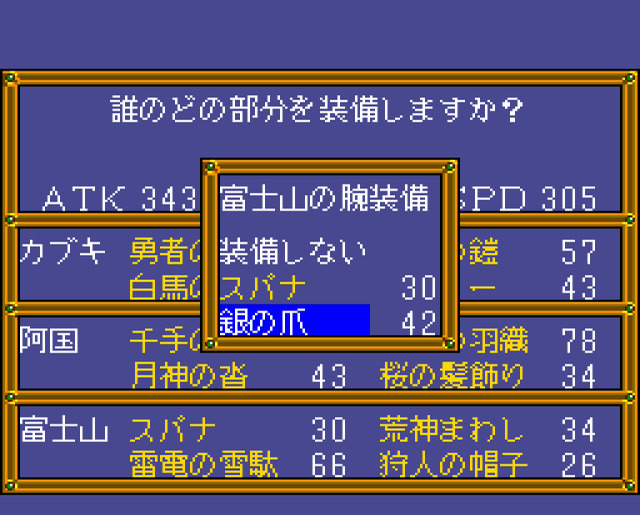 We'll spend � 48,000 on this Silver Claw for Fujiyama, replacing his previous Spanner for a +12 in attack power! Sounds good to me. It's the strongest weapon in the game for him. Spanner of course we'll keep as it's still useful to put enemies to sleep sometimes. 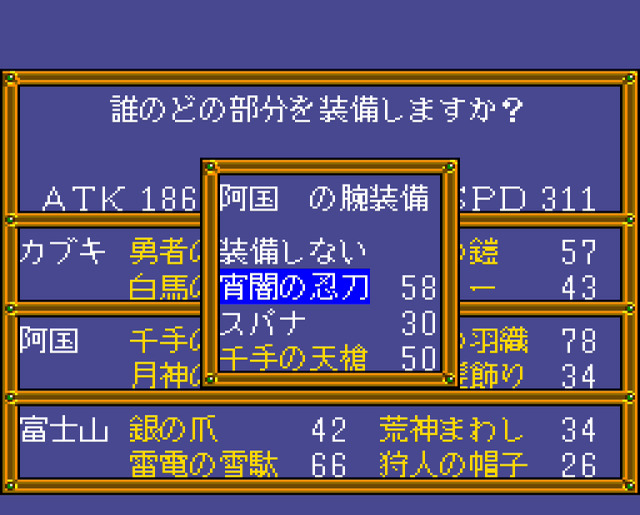 And Okuni gets to have this Twilight Ninja Sword for a +8 in attack power. It only costs � 6,300 so it's not a bad deal! 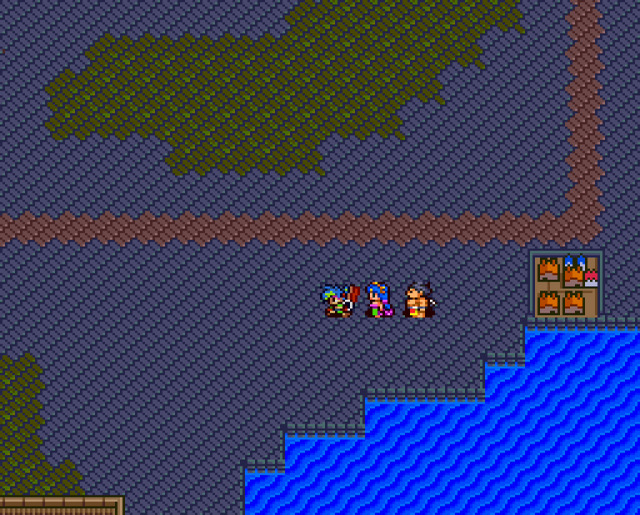 And, well, it's time to deal with the four cathedrals! 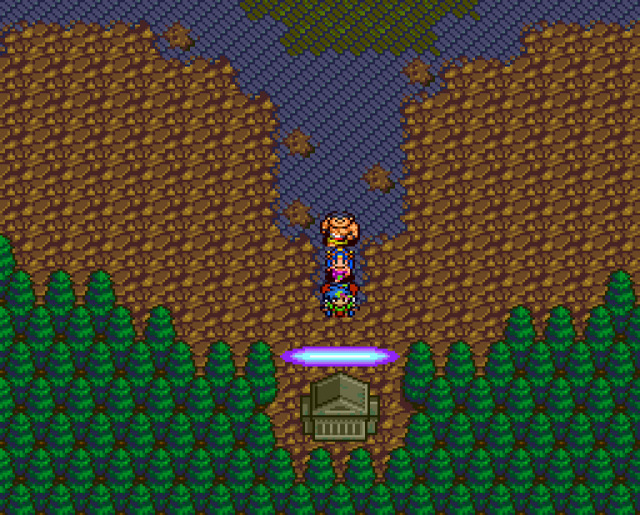 We'll start from the north side, this cathedral belongs to Kanbie. Using the mask removes the barrier, thus allowing us entry! 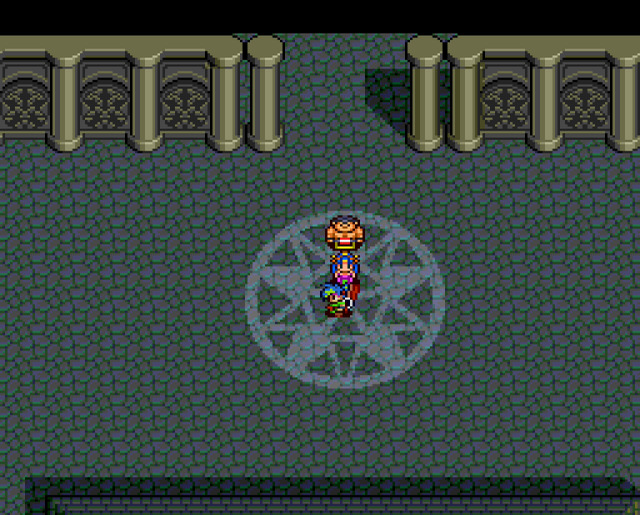 Inside, the voice of Garp speaks to us! 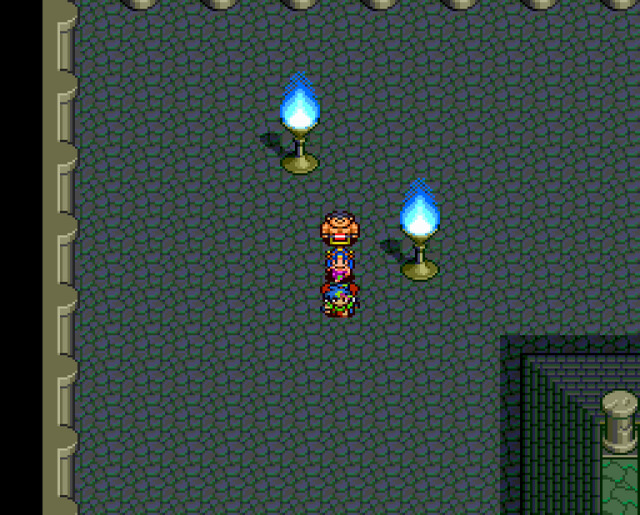 Weird looking place. 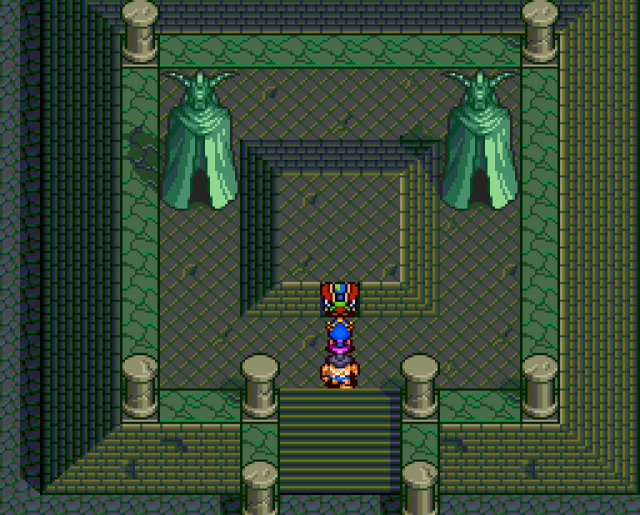 But there's an altar looking thing in the middle! If we activate it...  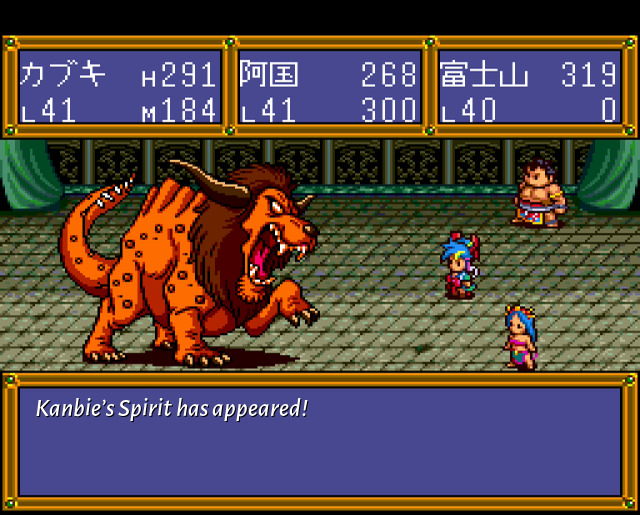 Boss: Kanbie's Spirit HP: 660 ...we get into a fight! Despite the different name, this is the same fight as Kanbie's second form with the same HP and stats. So it's actually over in one turn! If you thought that was a bit lame, don't worry, because we segue straight into...  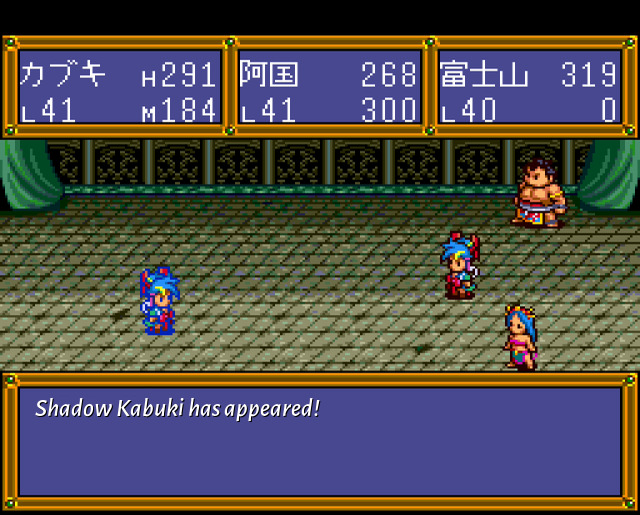 Boss: Shadow Kabuki HP: 4000 Aha. I think I may have an idea how these four cathedrals will go. This is not too bad actually. With our standard triple hit strategy, we deal a total of about 500 HP damage per turn. The Illusion Kabuki hits one character physically for around 70 HP and has a few other spells that the (Jipangese version) Kabuki also has (Fire Snake to buff attack and Stone Snake to buff defence). The physical attack can hit all three characters at once sometimes, which regular Kabuki cannot do, but other than that this is pretty straightforward really! 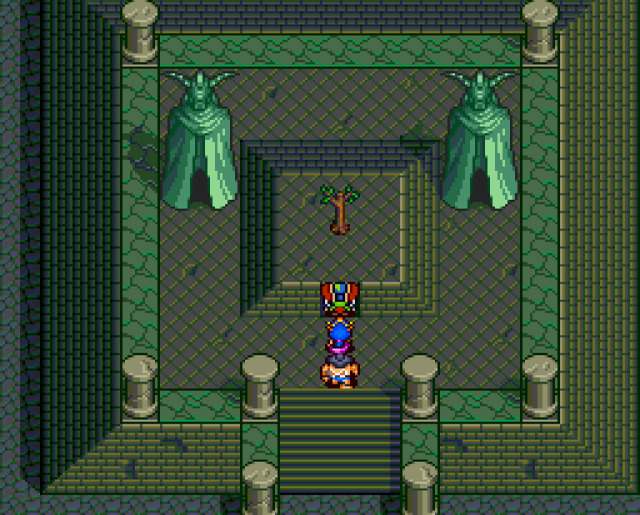 After this, as we were expecting, a tree appears that we can pick up! Kabuki obtained the Eternal Tree! As you can see, the tree doesn't actually match the boss we just fought, but that's not a problem! 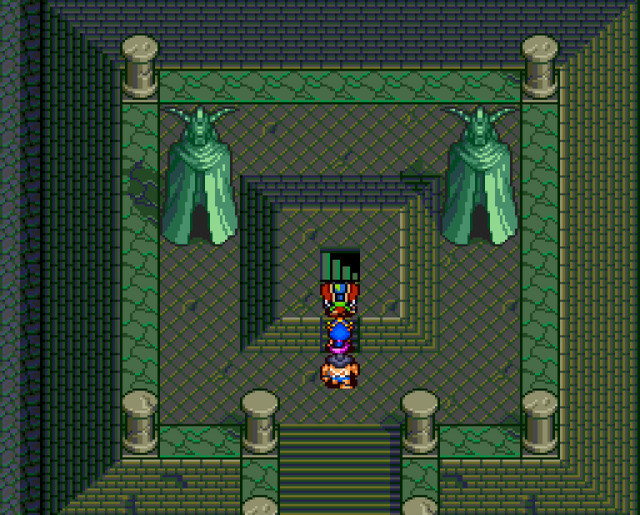 Picking up the tree reveals a staircase! 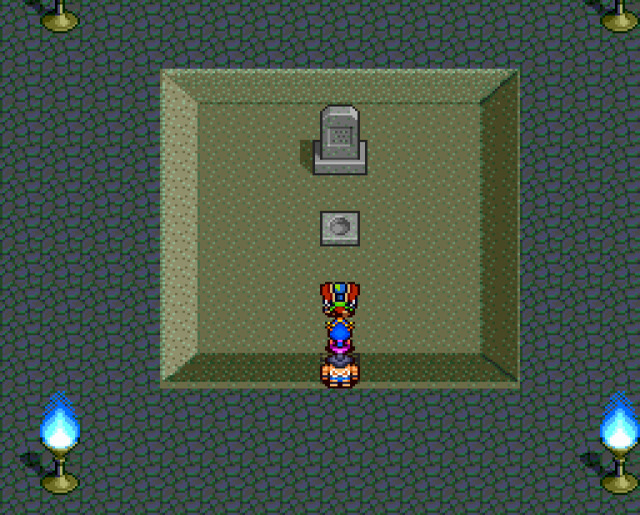 Downstairs is another interesting room. The little pedestal in the middle is the place to put the tree; but of course we don't have the right tree to put in here since this is Golden Kanbie's cathedral. So we'll have to first defeat all the bosses and then go back around and place all the trees. For now though, we can read what's written on that stone monument there. 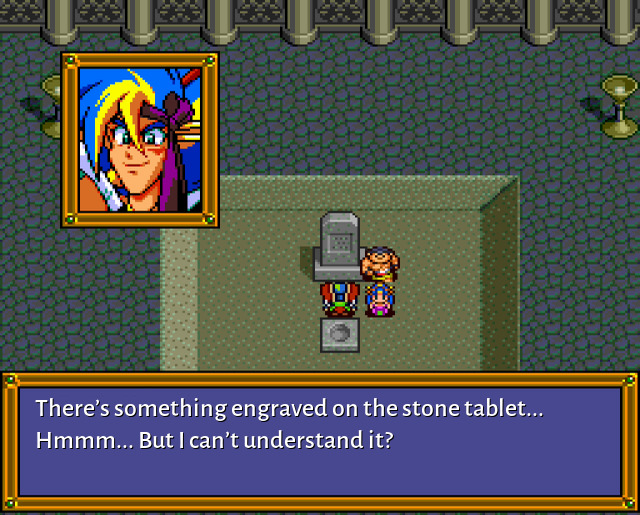  But for some reason, Okuni can read it. In any case, nothing much to do right now, except to move on to the next cathedral!  On the way to the next cathedral...  ...more enemies. Cool tail, but with our enhanced abilities, not really a threat.  And the same goes for this guy, especially since it has much lower defence stat than the last!  I feel like this game gives you a few too many ways of completely breaking it with stuff like the Spanner, triple hit weapon which you can easily obtain and so on.  Anyway, next we approach the eastern cathedral.  Inside, we're again addressed by Garp!  The procedure is the same as before...  Boss: Ungie's Spirit HP: 1230 This is again the same fight as before, so we move on swiftly to the second phase...  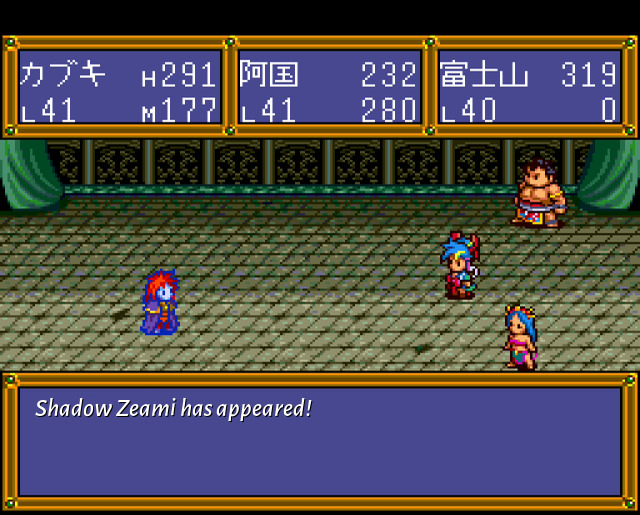 Boss: Shadow Zeami HP: 3600 By the way, I really recommend listening to all four character themes (oops, hope that's not a spoiler since there are four cathedrals), because they are all absolutely awesome! Anyway, this time we fight the Shadow version of Zeami. As expected he can use his mask abilities (like lighting or fire attack or heal) and they are actually quite powerful at 130+ HP damage per hit, but he doesn't have any attacks which can hit more than one person, so we can simply use the Mannaz rune to heal which already heals one character for around 150 HP. He does still have that mask ability which has a minuscule chance of insta-killing one character, so I guess bring a fairy dust just in case (somehow it actually happened to me when I was preparing this episode!). Anyway, after the fight...  Kabuki obtained the Thousand Years Tree! And then as before, we move on downstairs. 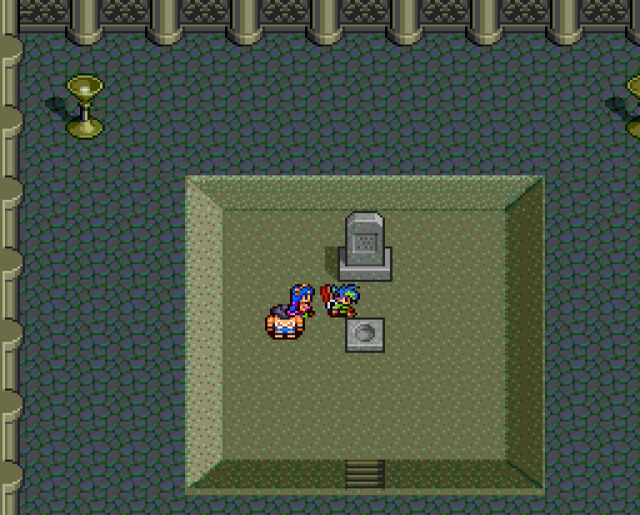 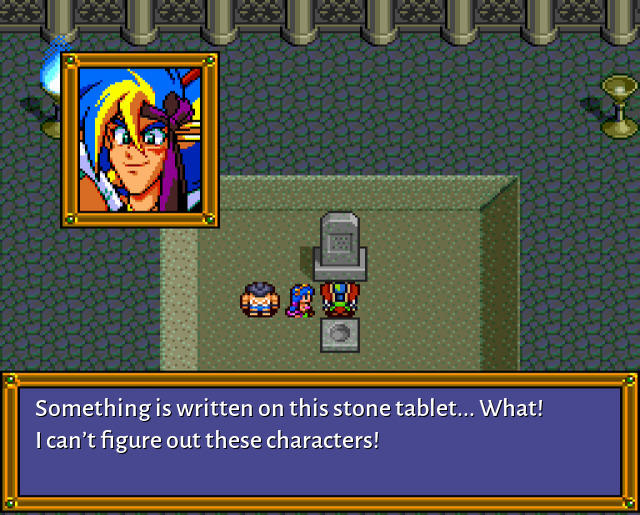 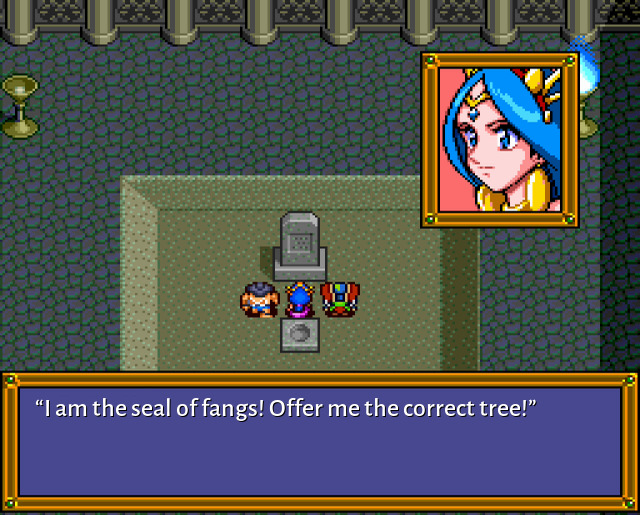 Yeah, this is a bit weird, isn't it? 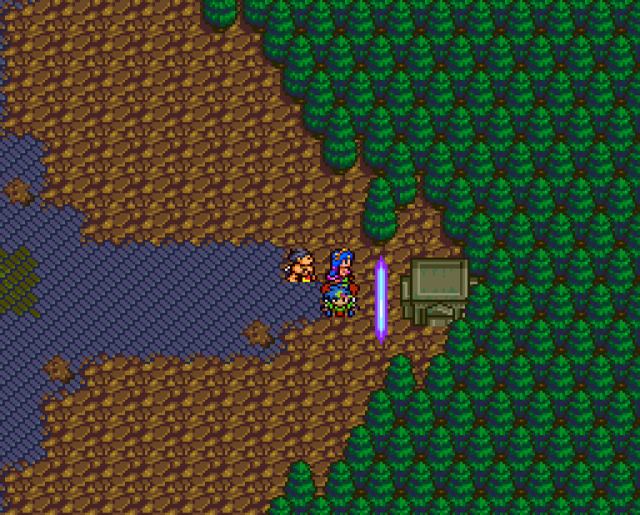 Having finished here, next we approach the western cathedral. It doesn't actually matter in which order you do them, but I have decided to do them in the same order we did the disciples in the game. So this one is therefore the cathedral of Thousand Years Karune! 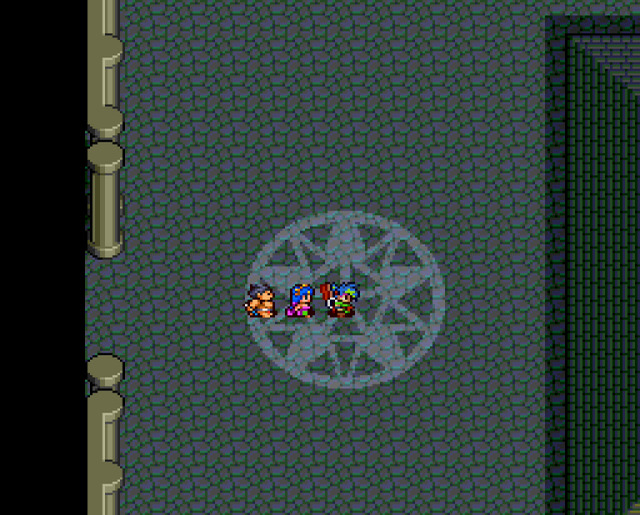 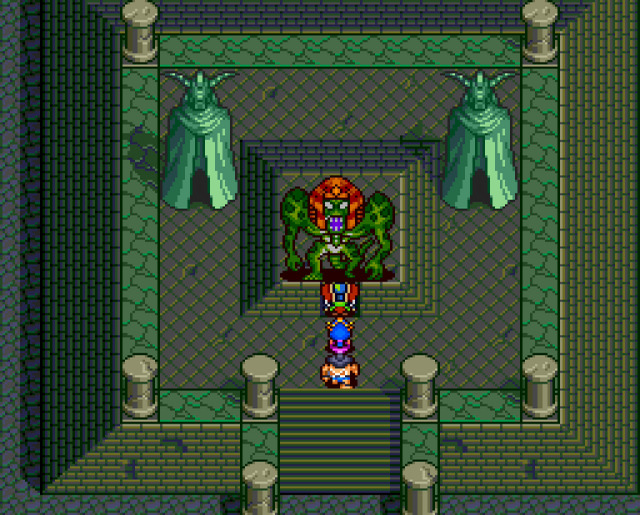 I mean sure, we're not going to stop now, are we?  Boss: Karune's Spirit HP: 2200 You know how this goes!   Boss: Shadow Fujiyama HP: 3800 Like Zeami, he will also use some of his special abilities, but the most dangerous is the "100 Slaps" which deals around 15 or so hits of around 12-15 HP damage to one character. So this can definitely kill you if you're not at sufficiently high HP. But on the other hand, his attacks are all physical, so Wunjo rune will definitely help here to reduce his hit rate. Also he has lower defence than Zeami so this fight will definitely go faster than the last.  Kabuki obtained the Golden Tree! 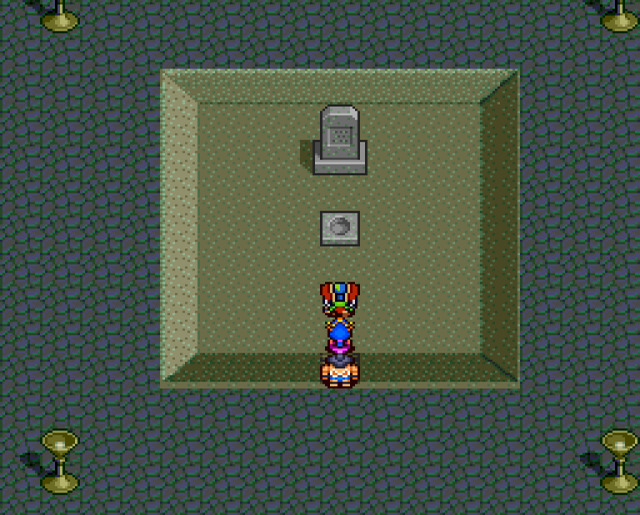 Also, downstairs...   Anyway...  ...it's time for the last cathedral, the one in the south.  He sounds a little worried about us, right? I think he does! 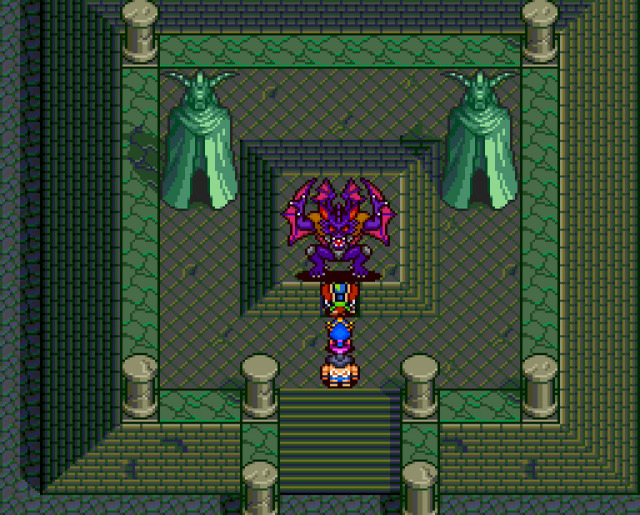 Anyway, the final altar and the final rematch. 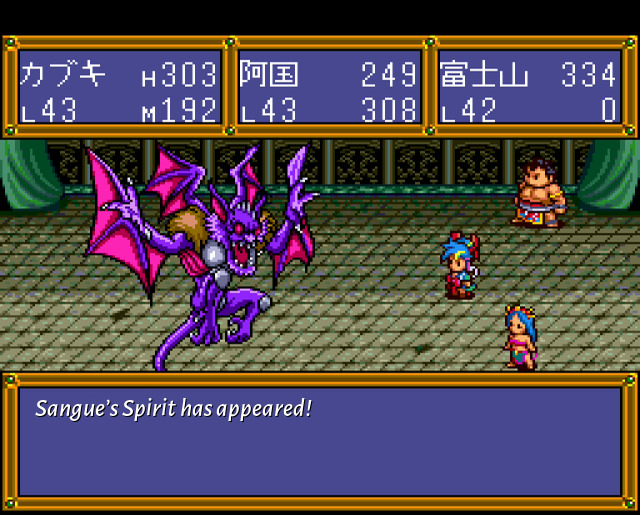 Boss: Sangue's Spirit HP: 3500 We just did this one, so let's move on to the final Shadow character, which is of course...  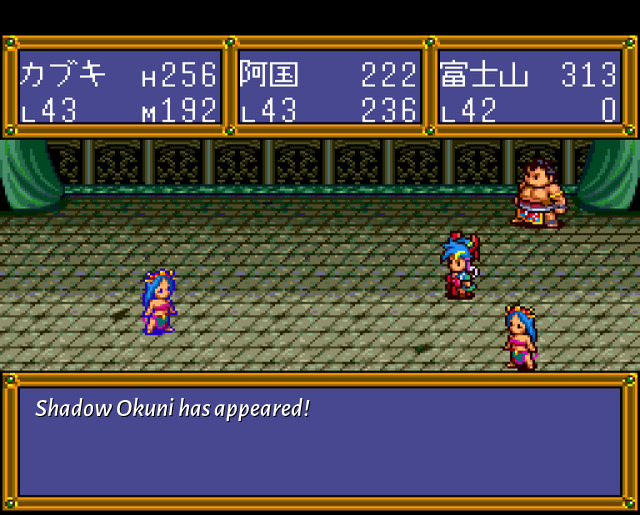 Boss: Shadow Okuni HP: 4000 The last fight is of course against Shadow Okuni. She's also not too bad, especially because her physical attack is not too strong. She will, however, happily use her fire summon (Oshichi), looking like this: 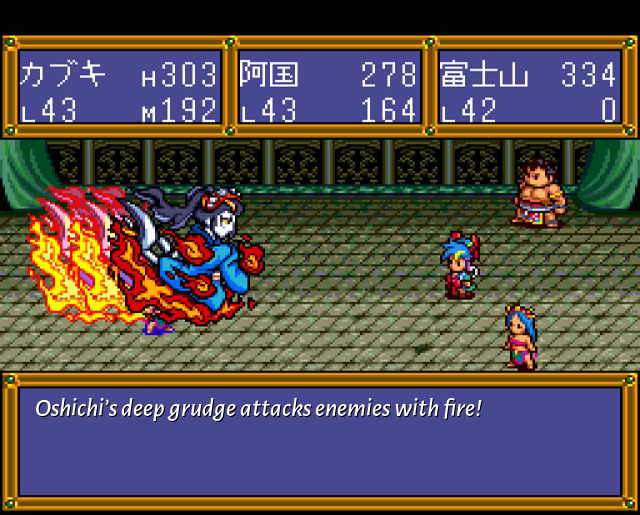 It causes moderate fire damage to everyone (30 HP), plus lingering fire damage for the next several turns afterwards! She will also summon Buddhist deity Acala: 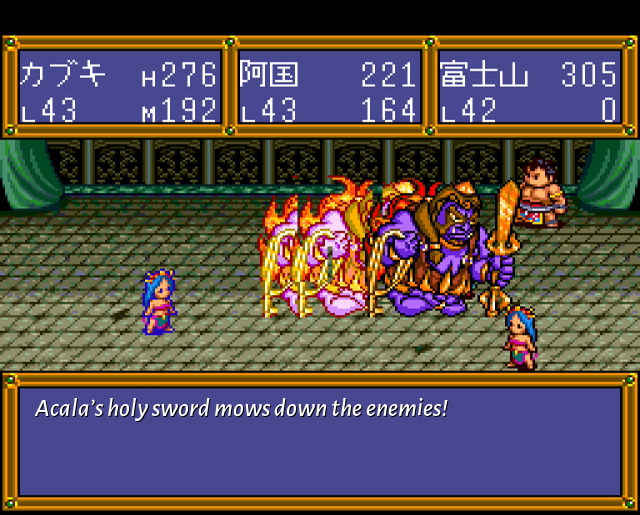 It will cause around 100 HP damage to everyone. And that's basically it here, the main thing is to be aware of the fact that both of her summons will attack everyone, so keep properly healed.  Anyway... Kabuki obtained the Full Moon Tree. Hovewer, going downstairs... 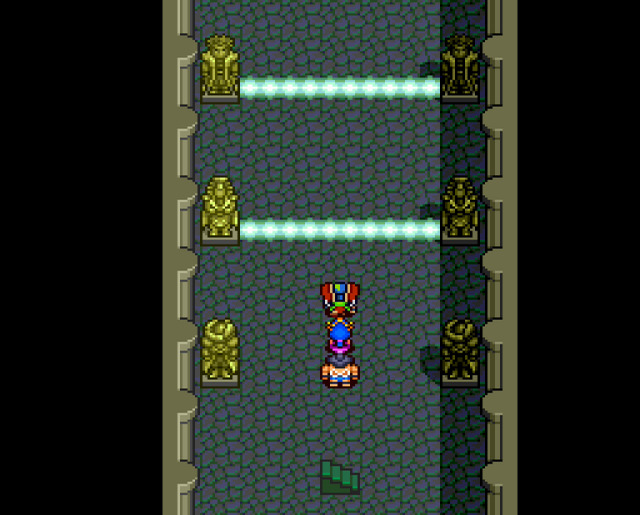 ...we find our way blocked. Looks like we need to go back and put up all the other trees and then come back here. 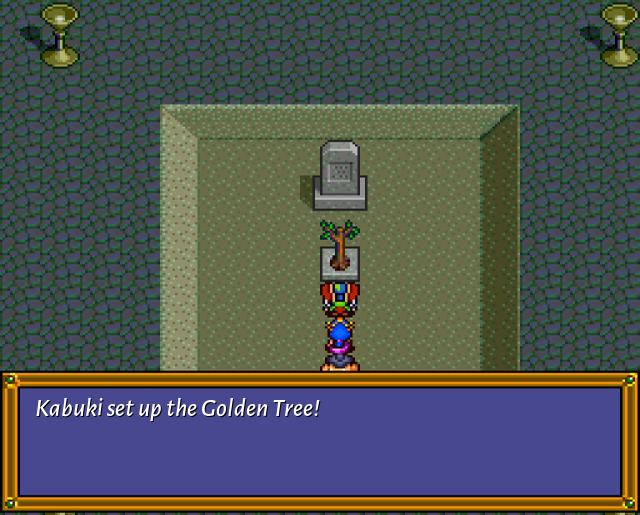 Doing this... 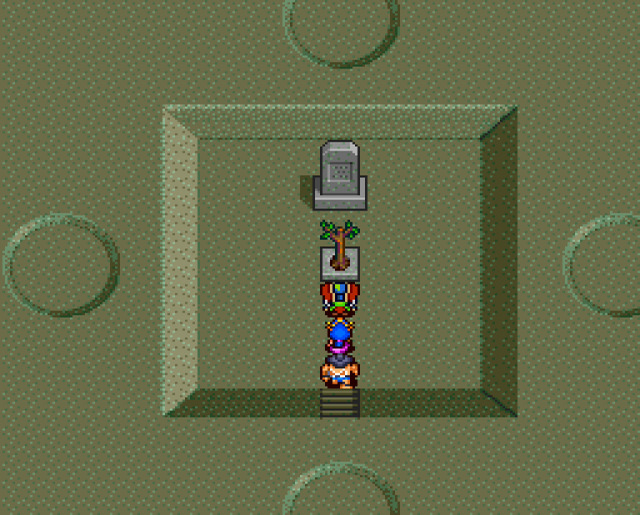 ...causes each cathedral to completely disappear! Also... Suddenly... The Hero's Sword begins to glow! ...something starts happening to Kabuki's sword! 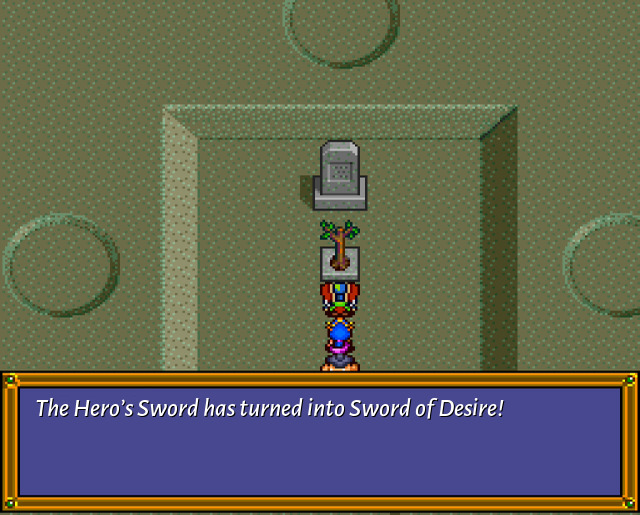 What is going on. 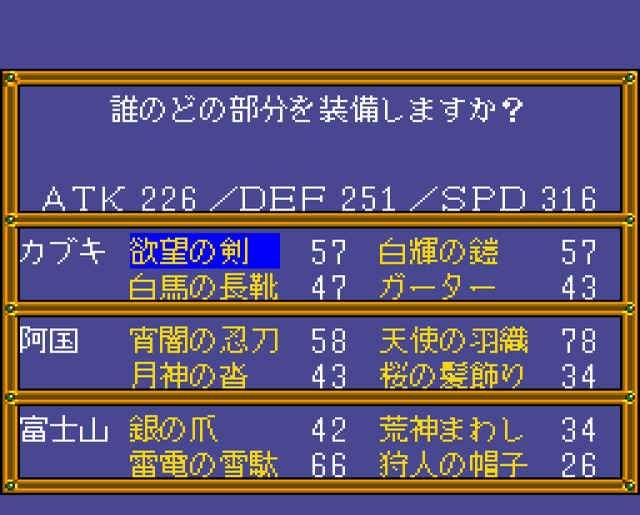 As it turns out, it's attack power is now only 57, which is 17 less from what it was before (74). But not to worry, as this is only temporary! 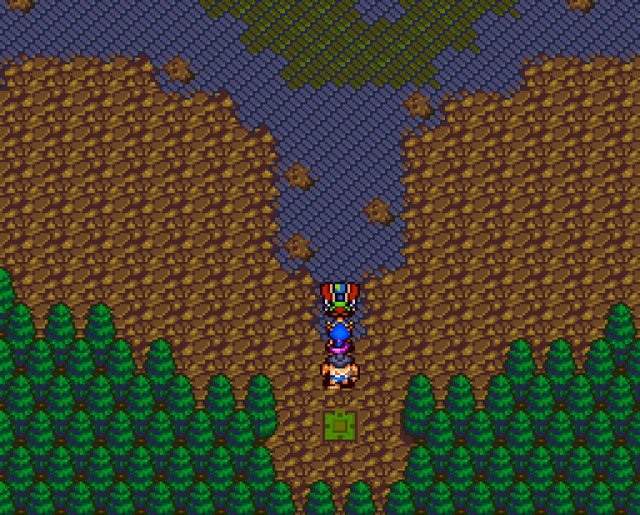 In any case, as you can see, the cathedral is gone. Now we need to do this for two more and then return to the southern one. Nothing further happens to the sword in the second cathedral, but in the third... 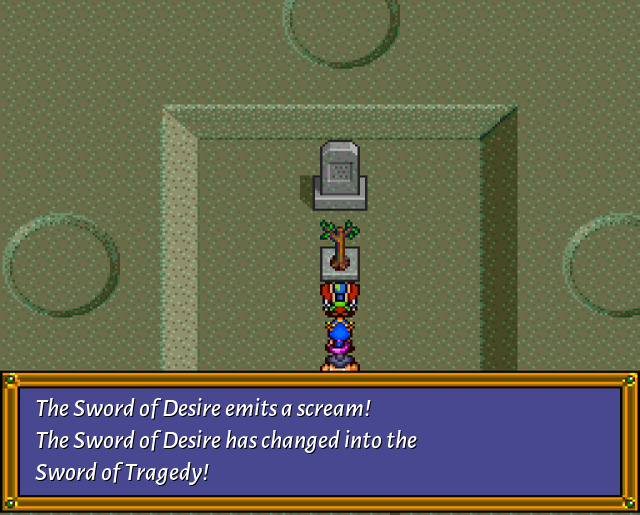 This brings the attack power up again all the way to 82! In this form, using it as an item in battle deals damage to all enemies at once! (The previous two forms didn't have any special ability.) 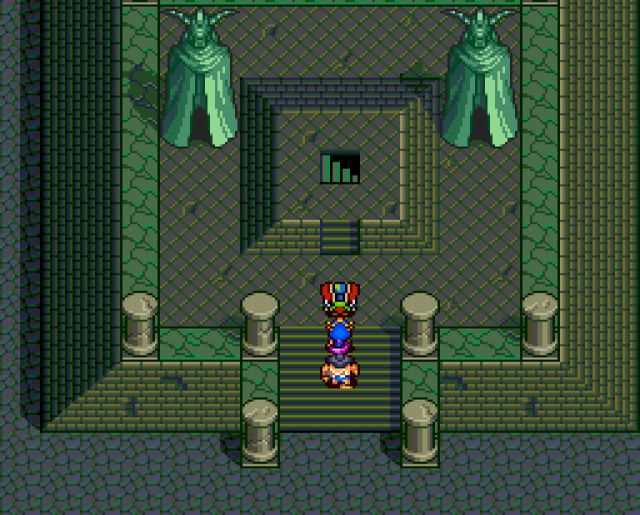 Anyway, the final cathedral. Let's head down. 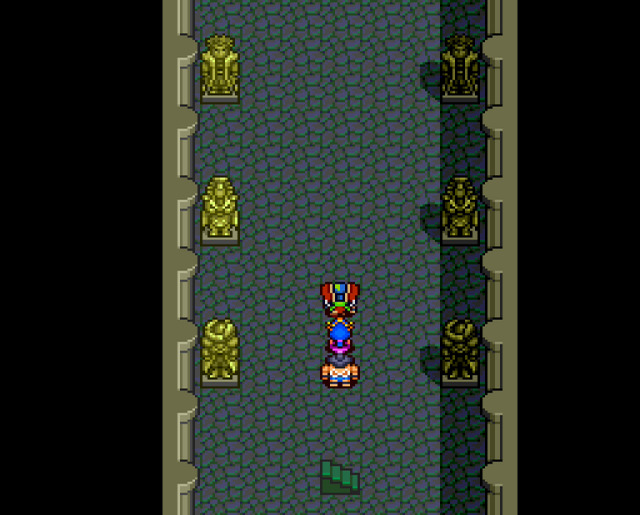 The way is open now, as expected!  But, it seems it's all the same stuff here as usual. A stone tablet and a place to set up the tree. But, let's watch a cutscene to find out what happens next! It's time to fulfill the first part of the prophecy, namely the Azure Wolf!  So, uh, that was a bunch of stuff. Well, of course, the identity of the Azure Wolf should have been mostly obvious for a while now,but, well here we are. There was a bunch of other stuff there such as Okuni being suddenly a descendant of Chinggis Khan (also known as Genghis Khan, but I use this spelling as it more accurately reflects the native Mongolian pronunciation of this name), but it's all coming out a bit late in the game and feels just a slight bit random at this point in the story. Still, it seems that there is a power than she and Kabuki can only unlock together, so I guess let's keep going! It seems we need to visit the Flame Wolf altar... But, before that! Okuni awakened the power of Azure Wolf! Okuni learned the Azure Wolf summon! So, she also learns a new summon. It nullifies physical damage to entire party over a few turns. Kind of what you saw happen in the video, where Garp was not able to kill the party due to the protection of Azure Wolf. 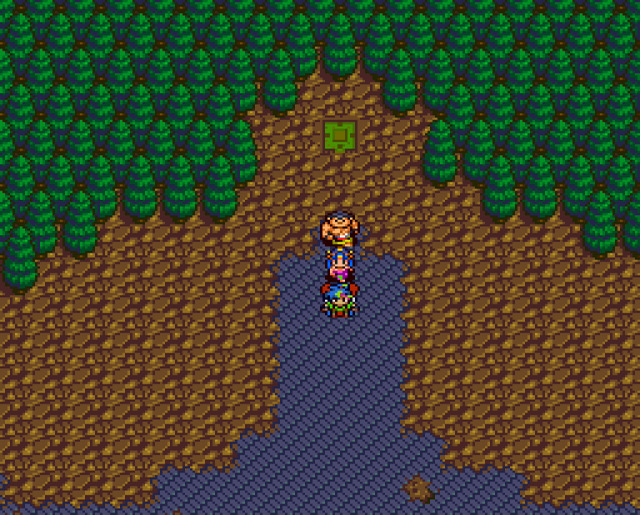 Heading outside... 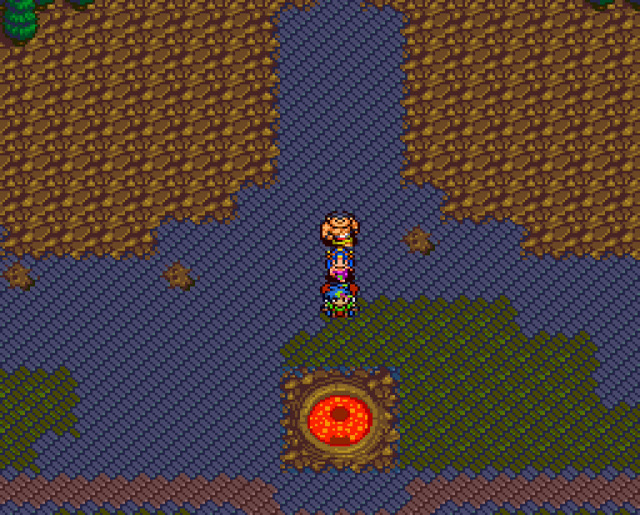 ...one of the NPCs already told us that this place which we have been avoiding so far is in fact the Flame Wolf altar, so let's head in! 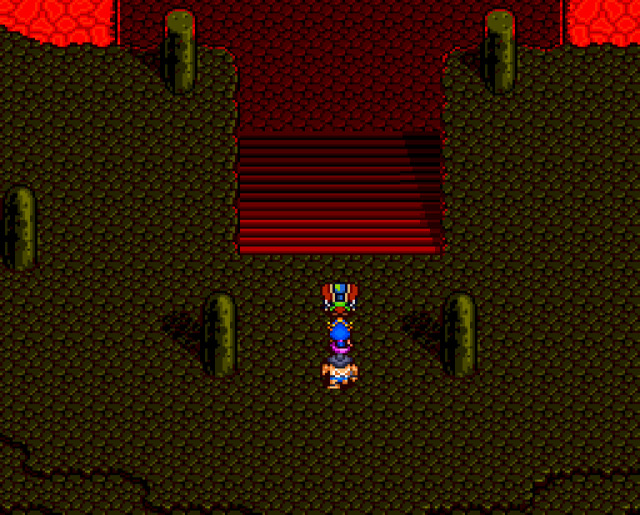 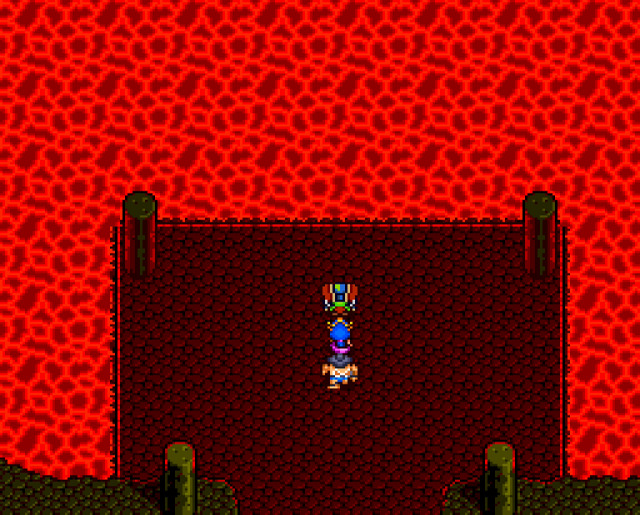 Well, that sure looks hot. But as the prophecy says, the Azure Wolf is supposed to be able to traverse the crimson fire in order to be able to move the forest. So... I guess Okuni has some way forward here, right? The answer is in the following (another) cutscene! CONTENT WARNING: * The following cutscene contains a few moments of nudity. The context is "anime magical transformation" so nothing sexual happens, but still I thought I should warn you in case someone might be looking over your shoulder. * There is some lower intensity flashing at several points in this video.  Well, at least now we know that the castle we saw in the very introduction of this game was none other than this very Tower of London here. Everything has finally come full circle. 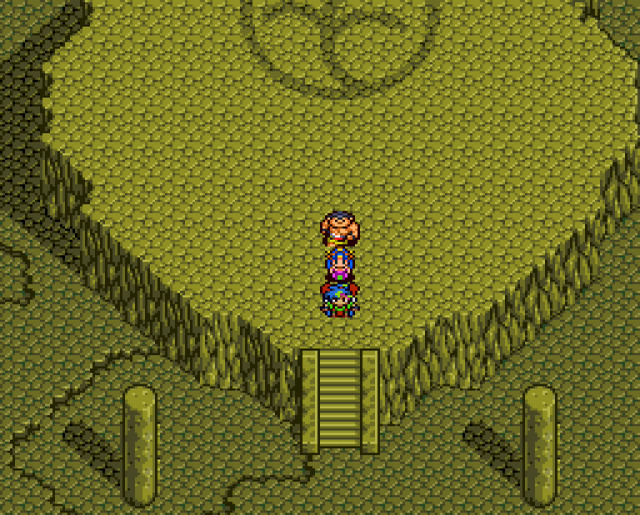 Well, all right, let's go then. 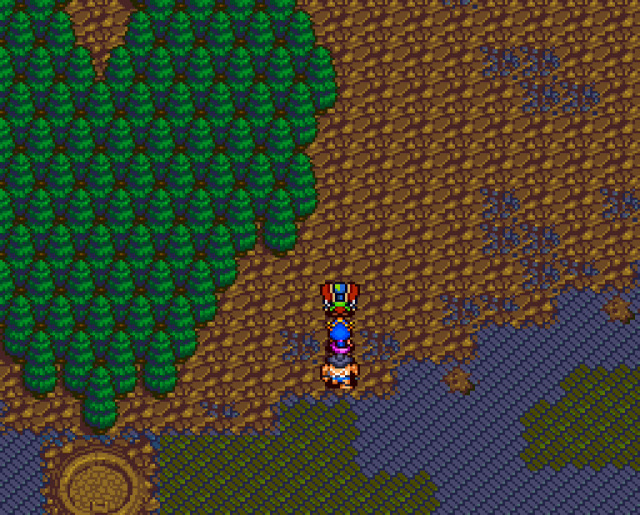 Outside, the forest has moved around... 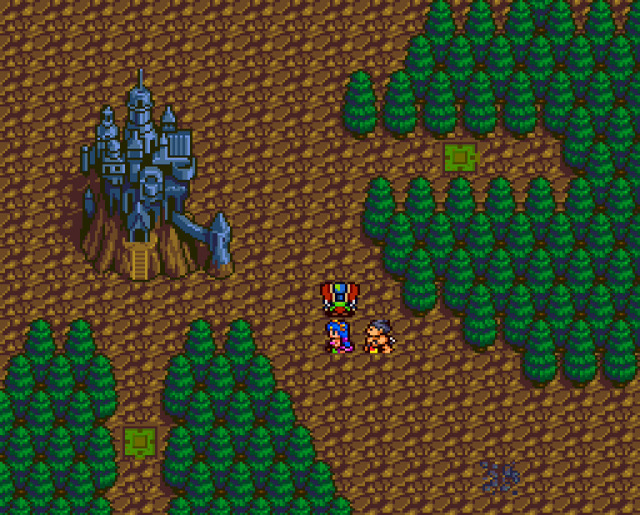 ...providing access to the Tower of London, where presumably Demon King Garp resides. So it's been quite a romp this game, but now it's time to finish it! But we'll see about that next time, and in the meantime, take care!
|
|
#
?
Mar 3, 2024 21:23
|
|
|
I wouldn't call that a magical girl transformation, that'd imply she gets a new outfit afterwards. Instead she's just naked until the end of the cutscene.
|
|
#
?
Mar 4, 2024 02:42
|
|
|
ivantod posted:
In the video he mentions the Order of the Garter, which is a real English knightly order that still exists to this day. The devs sure did dip into some obscure English lore, and I respect that.
|
|
#
?
Mar 4, 2024 08:07
|
|
|
LJN92 posted:In the video he mentions the Order of the Garter, which is a real English knightly order that still exists to this day. Lol I had no idea this is actually a real thing! I thought it was just a joke so never even bothered to look it up!
|
|
#
?
Mar 4, 2024 09:49
|
|
|
Well all right, here it is. I've finished recording the gameplay videos all the way to the end, and here is the final time: 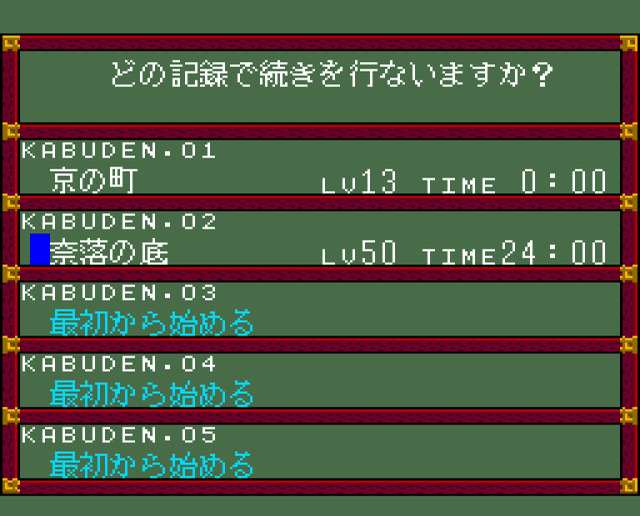 So the final time is 24 hours, or just about half the length of the original game. Although I think it feels shorter than that still somehow and certainly between 1-2 hours of that time are just cutscenes, and also encounter rate in random battles is higher/they tend to take longer because of higher enemy HP, so that all adds up. I would say actual content-wise it's probably more like 1/3 of the previous game if I discount those things. Now I just need to get everything ready and post it here! ")
|
|
#
?
Mar 6, 2024 23:15
|
|
|
 So, last time we defeated the four cathedrals and thus opened the way to access the Tower of London, where Demon King Garp resides. Oh and also it turned out that Okuni is actually the Azure Wolf! 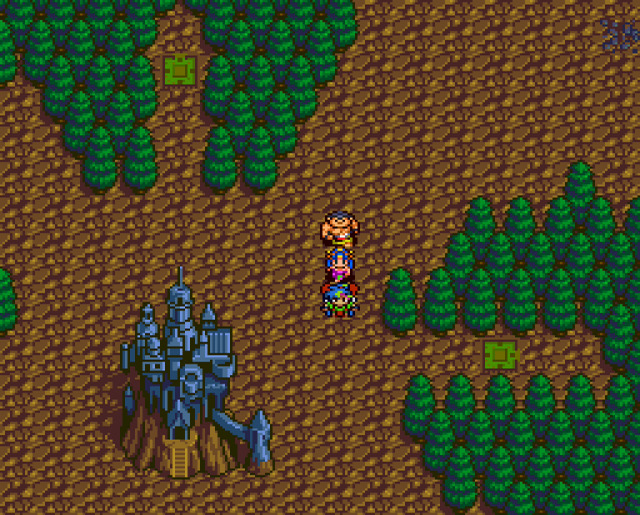 Here we are, just outside of the Tower of London (which in real life is not actually a tower at all!). 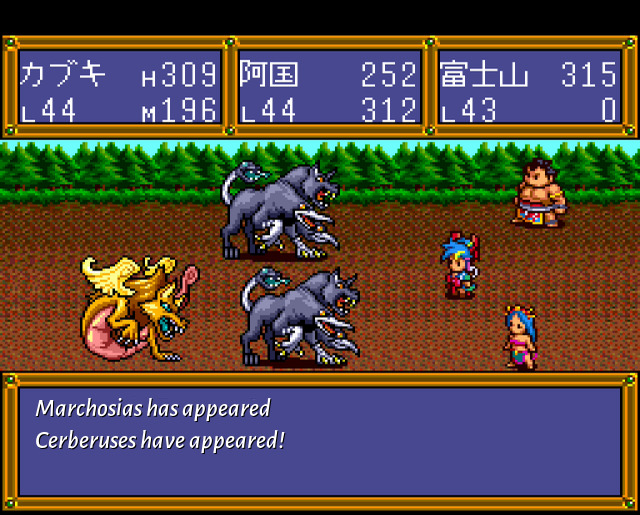 As we make the last few steps, it turns out that after defeating the four cathedrals, enemies around here have again been replaced by stronger ones. However, with our famous triple hit, they still pose no problem at all. Also, after many Japanese demons/youkai in previous game, here we get a European one! Marchosias is a fire spitting winged wolf/chimera demon first appearing in stories around the 17th century! Here is a 19th century illustration: 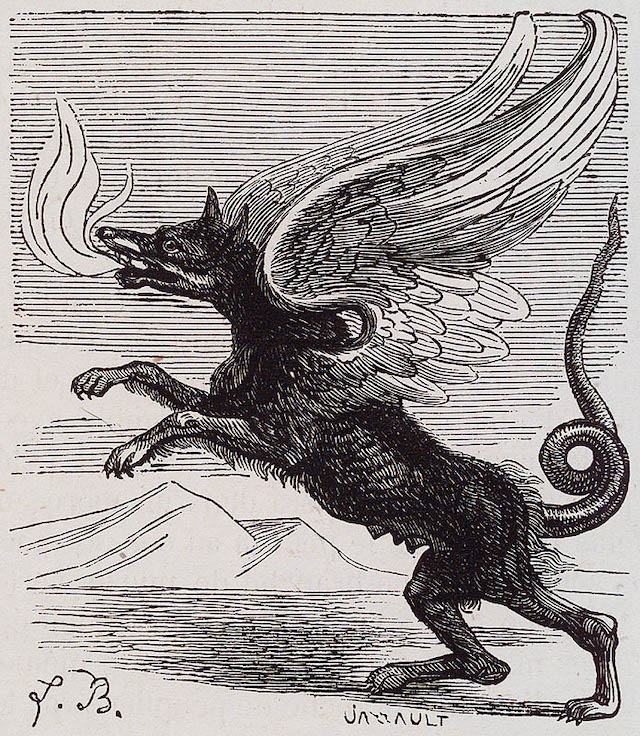  Inside the tower... we are again accosted by Garp's disembodied voice! I wish. I wish he would stop introducing himself from the beginning every time. But he's not going to stop, unfortunately. But, let's proceed. Walking further in...  ...we can see the Roman numeral Ⅰ written on the floor. I guess it means the "first tower"? Well, let's see what happens. 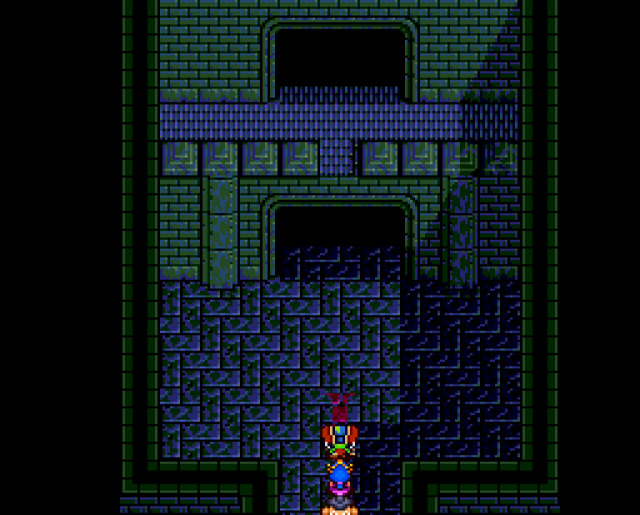 There are two doors, but we can't get to the upper one. 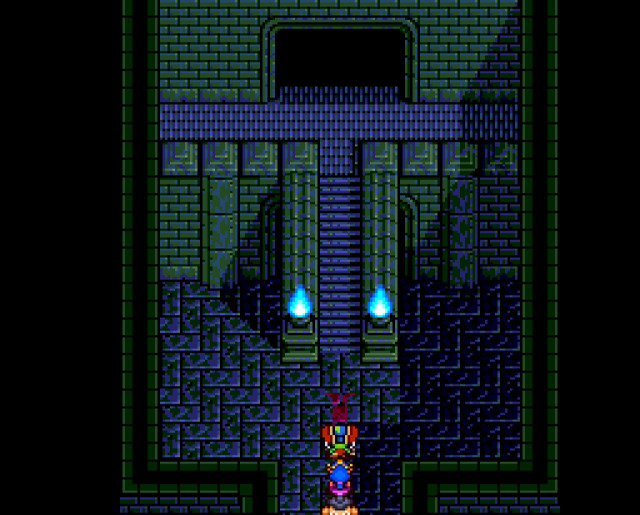 But then a staircase appears, blocking the lower path. Upstairs it is then, I guess. 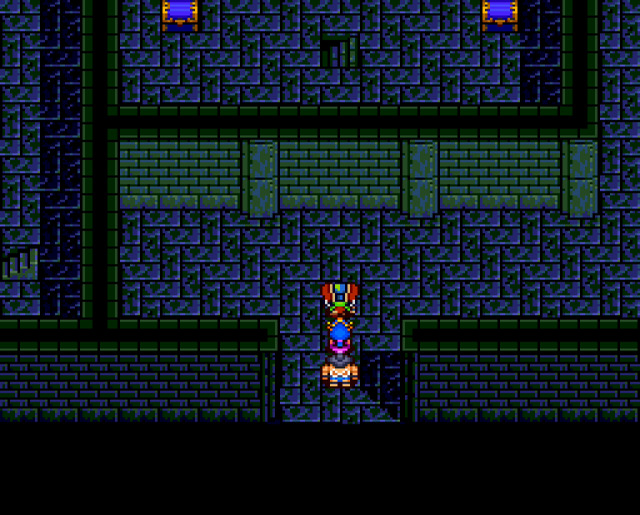 Inside, we're addressed by Garp again. So, looks like we'll be playing challenge games here, huh? It's a bit cryptic, but what this means is that in the first tower, we're not allowed to use ordinary attacks, i.e. the "Attack" comment in the battle menu is disabled! This counts also for regular random encounters and not just for the boss of this tower. However, this is almost irrelevant for our setup, since our triple attack is invoked by using the "Item" command and not "Attack". Therefore, we can pretty much proceed as normal here! Also, this happens: 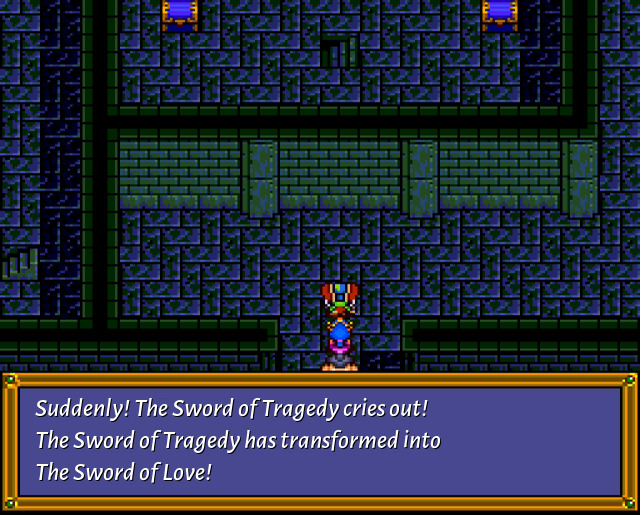 Ah, yeah, we still have these weird transformations happening with Kabuki's sword. This actually lowers its attack power just a bit from 82 to 78. Its ability when used as an item in battle also changes: now it can remove status effects from all allies for free.  Anyway, let's proceed. These individual towers are actually not very long and pretty linear for the most part, so it's not too problematic to navigate. Even the random encounter rate is definitely on the lower side (for this game's standards). There are some chests there, but we can't get to them from here. A number of chests in the towers have various cursed pieces of equipment which we'll ignore, but there are also a couple of actual upgrades to be found, so you definitely want to make sure to get those! 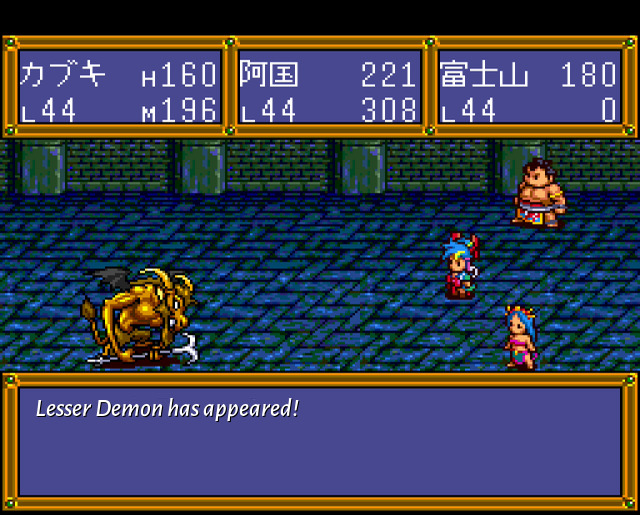 There are also various unique enemies to be found here, but most of them are again pretty easy to handle with the triple hit. 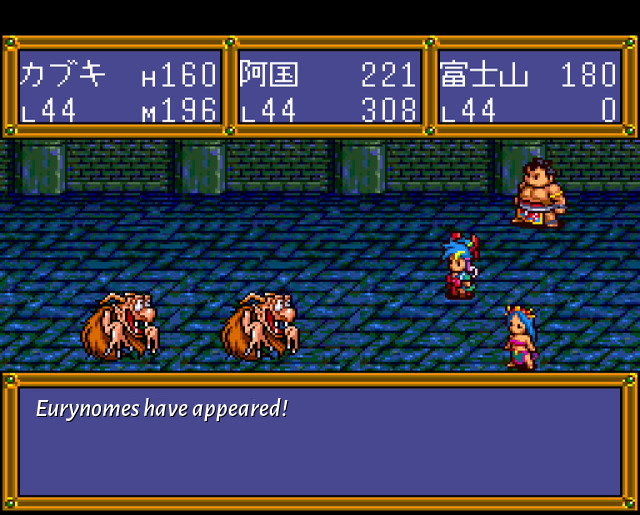 Eurynome (or Eurynomos) is a demon from Greek mythology who feeds on corpses in the netherworld. So that tracks. It's also a lot of fun (also sometimes not really), tryng to decipher what the katakana names of these monsters actually correspond to! So at this time, I would like to thank Google's "did you mean" function which saved me a few times while playing this game! 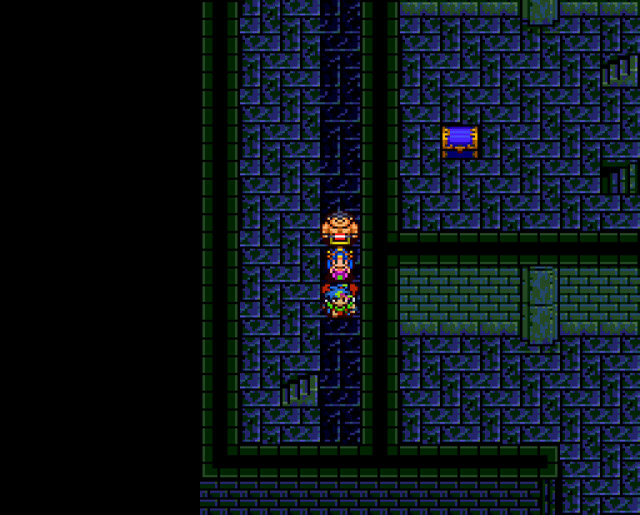 For now, we proceed upstairs. 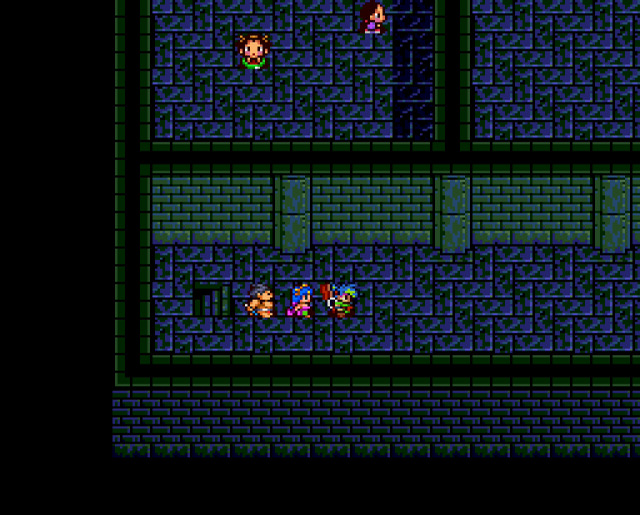 Huh, some prisoners over there, looks like. 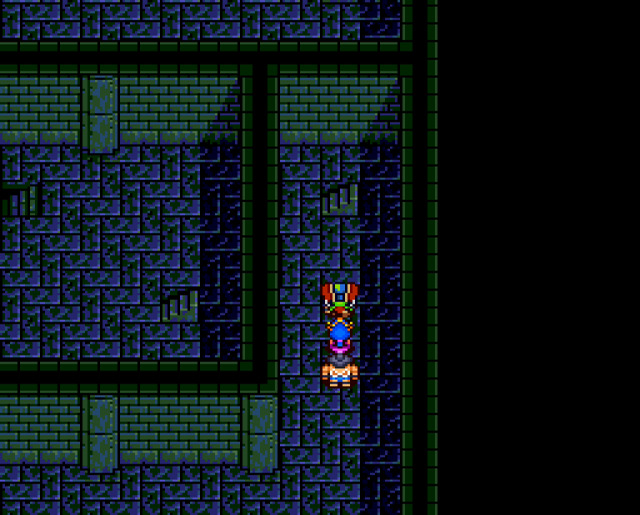 But again, we can't get to them from here, so we proceed further upstairs. 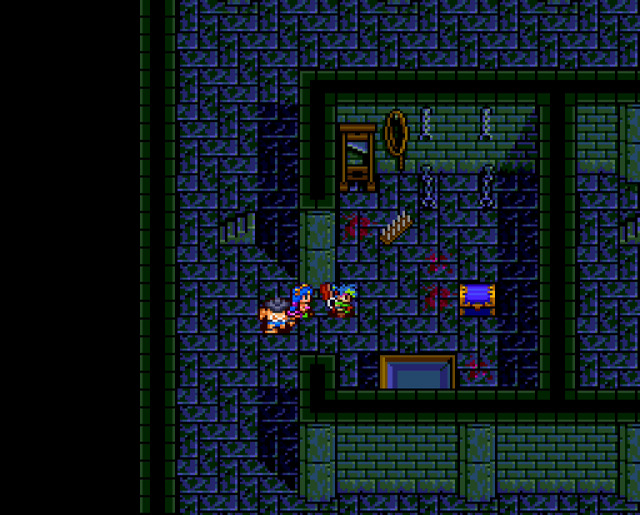 Here's at least one chest which we CAN access! But it only contains the Sword of Desperation, which in theory would be a good upgrade for Okuni. Unfortunately, as mentioned, it's cursed and its curse effect is that sometimes randomly it will lower the attack power of the entire party! Anyway we'll find a better weapon for Okuni a bit later in one of the towers, so we can ignore this one.  In the meantime, we take this staircase down, which SHOULD bring us back to where the prisoners were. 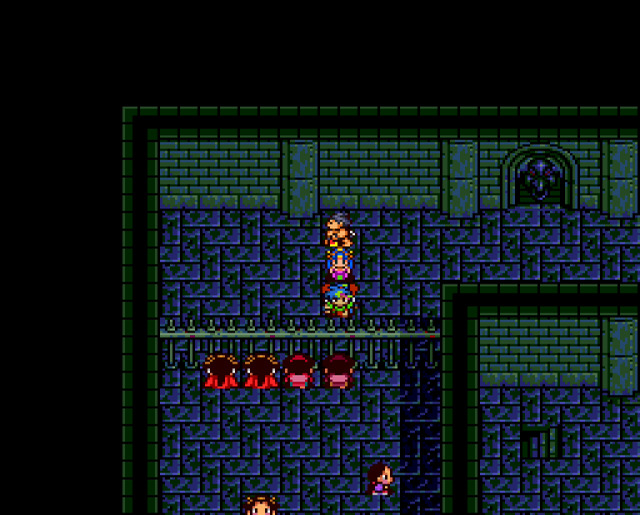 Indeed. Let's see if they have anything interesting to say. Well, sure. That's what we came here for, right? 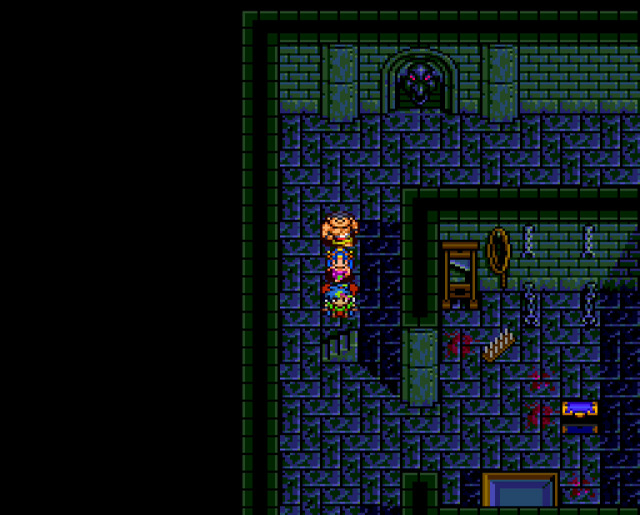 We'll return back to that chest and proceed upstairs again. 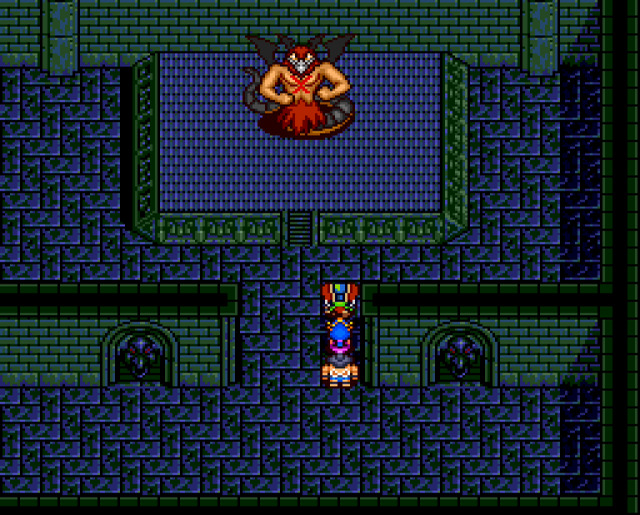 Ah, that looks like a boss of this tower. Well, that was not too long of a trek to get here. Since other towers mostly look similar, I'm not going to cover the traversal in quite this much detail, but they're all about the same length. For now, let's fight this boss! 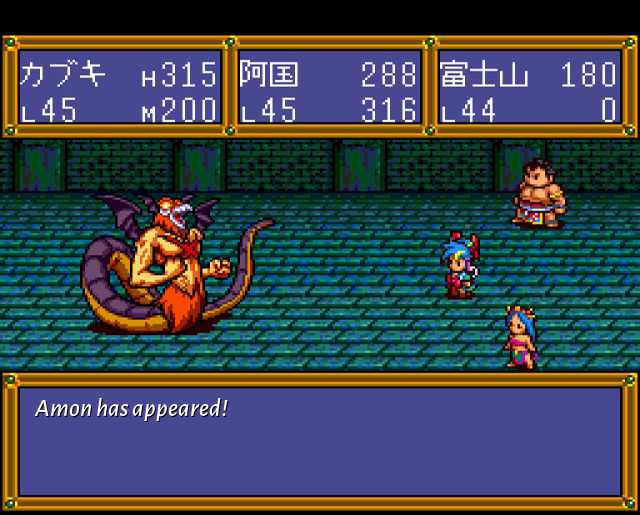 Boss: Amon HP: 3200 Actually, not too much to say here. The boss only has two attacks! 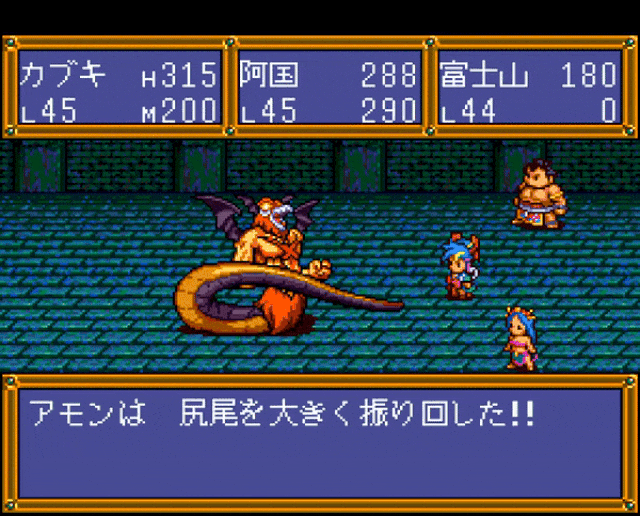 A tail attack which hits everyone for around 60 HP. 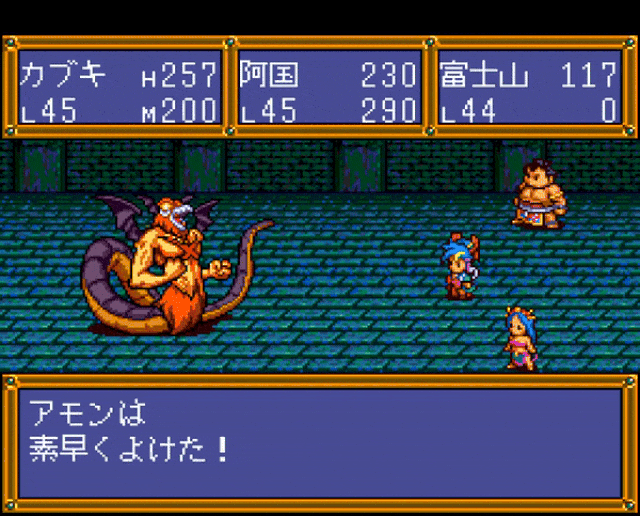 And also a fist punch attack which hits one person for around 90 HP. So really nothing at all to worry about here. Regular attacks are forbidden to us, but we're actually using our equipment as items in battle to produce the triple hit, and items are not forbidden to use. We can also cast a spell that raises our party attack power in order to speed things up, but that's really all there is to this fight! Also, yes, it appears that we get some more detailed attack animations for these final few boss fights. But of course, nothing like those in the previous game! 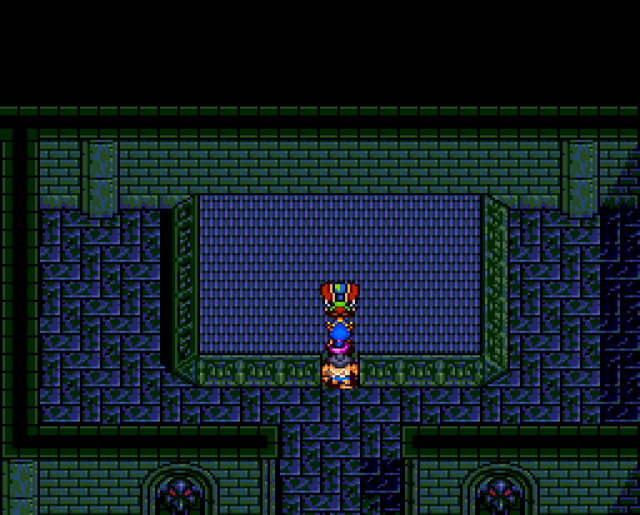 All right, we're done with this. We are addressed by Garp once again in his inimitable fashion! 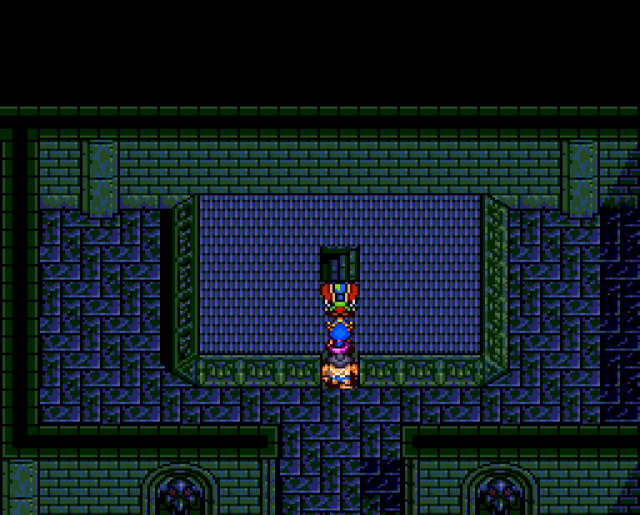 And he opens a staircase for us. 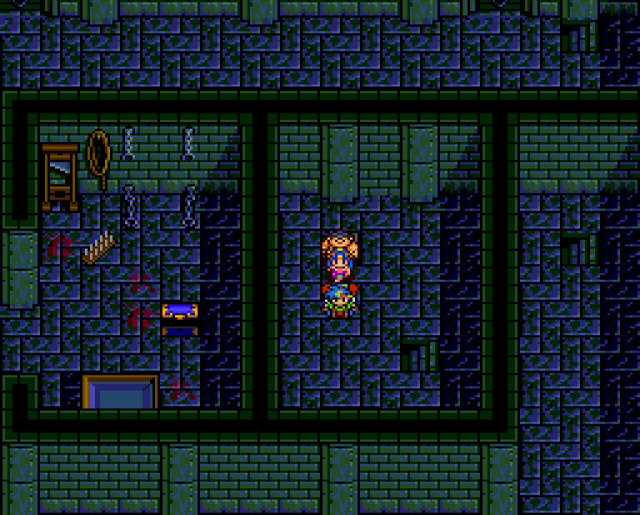 We have a bit to go downstairs. 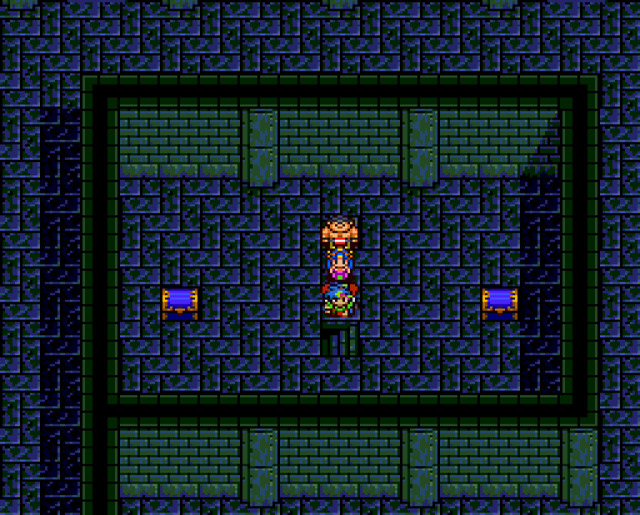 Ah, there are the chests we found at the very beginning. Finally now we can access them! They just have a couple of consumable items, so nothing special. 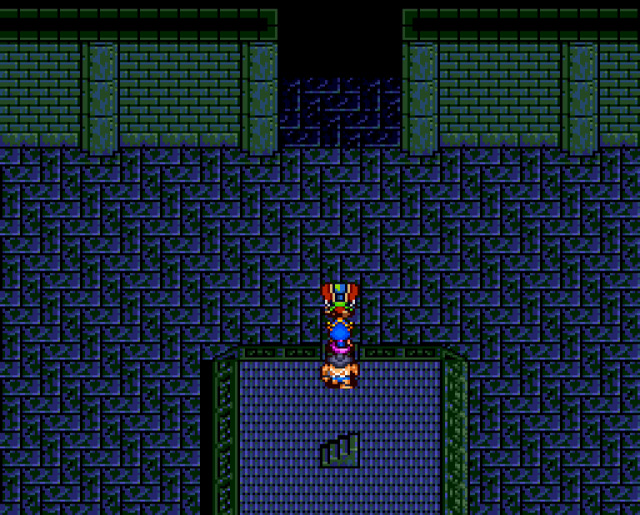 Hmm. This looks interesting. 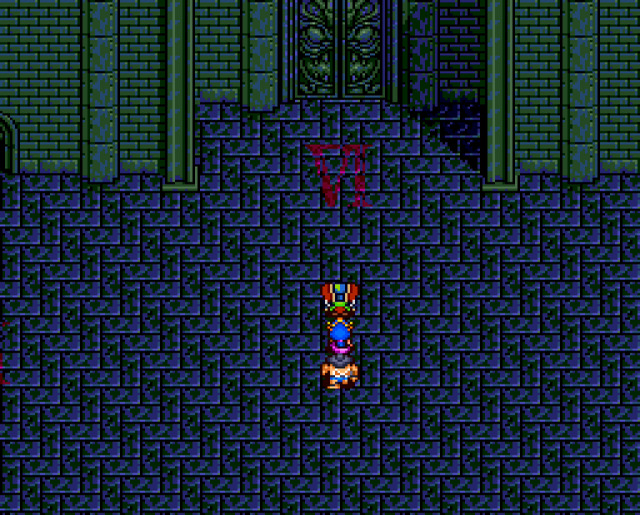 It leads to a large room, which has Roman numerals marked on the floor, but this one says Ⅵ, so I guess there must be at least six towers to visit. 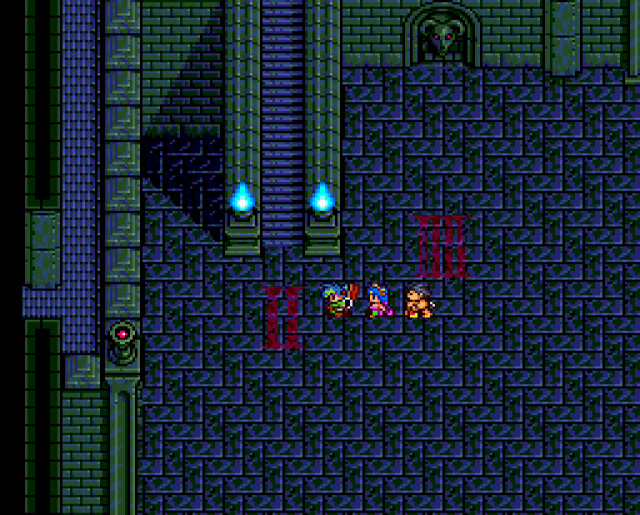 However, we of course want number Ⅱ which is over here (well, others are blocked anyway, so). 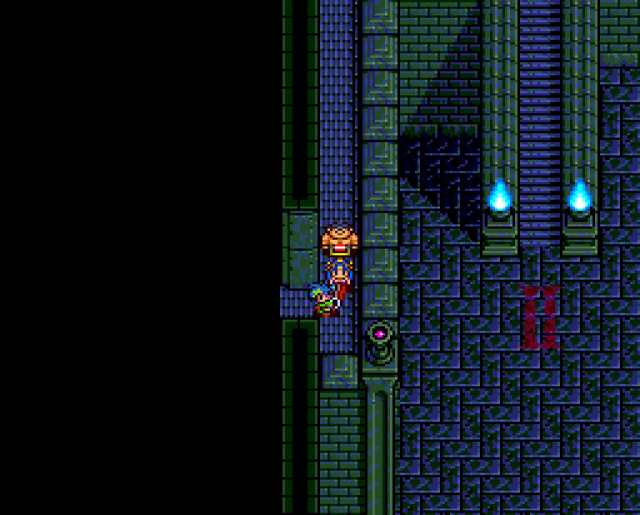 This way.  As usual, an introduction from Garp. So in this one, we can't use magic, so that also means no healing spells. You might think this is a problem, but a while ago we equipped on Okuni a "Cherry Blossom Hair Ornament". When used as an item in battle, this piece of equipment casts a 150HP heal on one party member! So... we'll just use that instead! We'll have to do without a full party heal spell, but oh well. 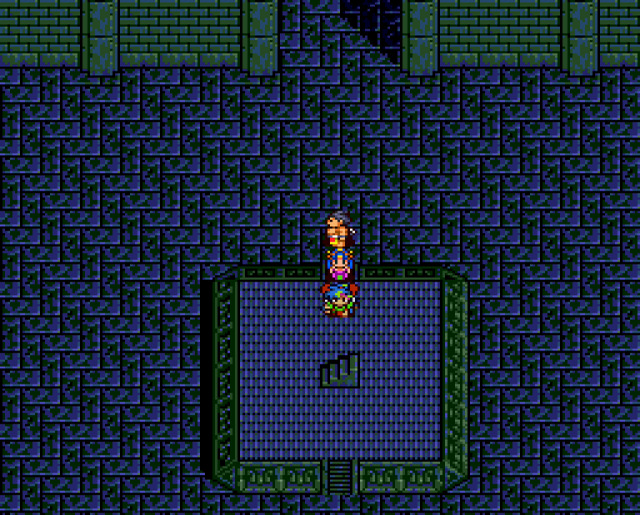 We'll head up from here. 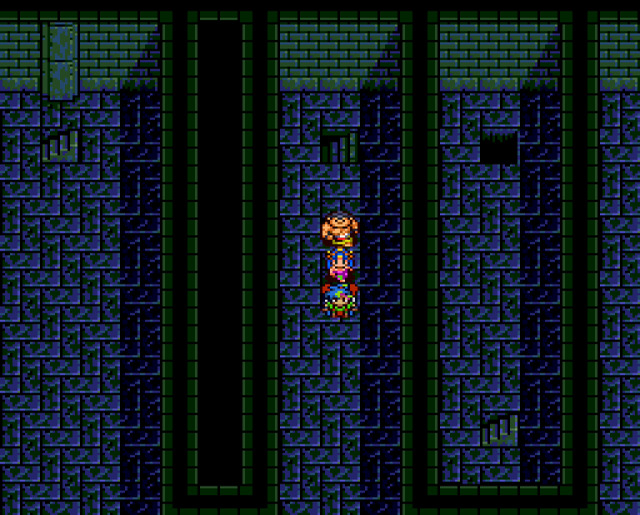 Interesting layout here. 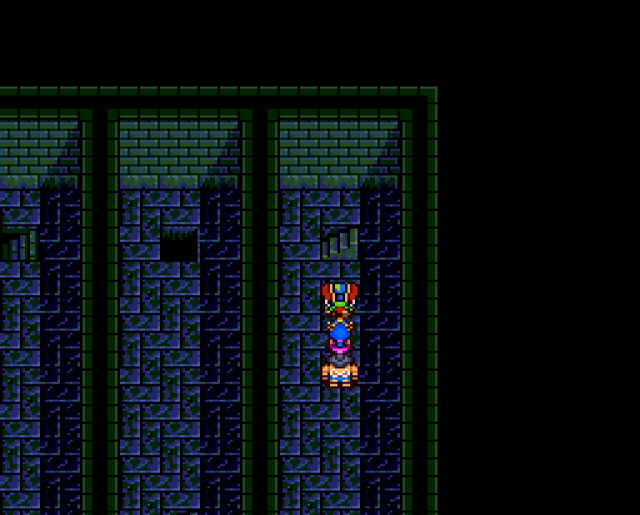 We'll head upstairs for now. 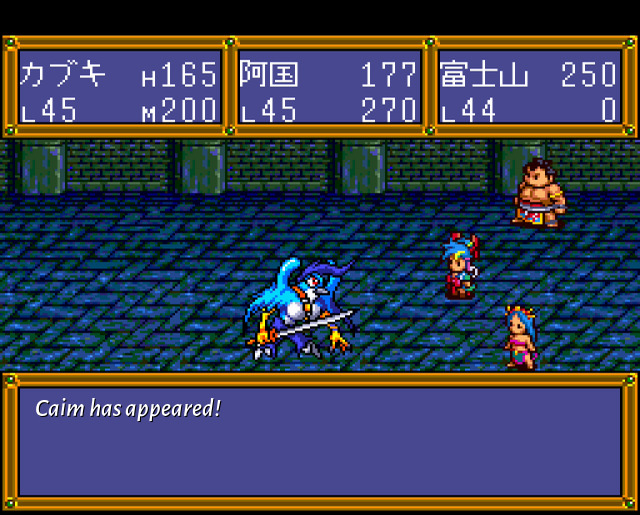 Different towers do have somewhat unique random encounters actually. I love the colours on this sprite! Caim is another from the Western European pantheon of demons, usually depicted in bird form, as you can see there. 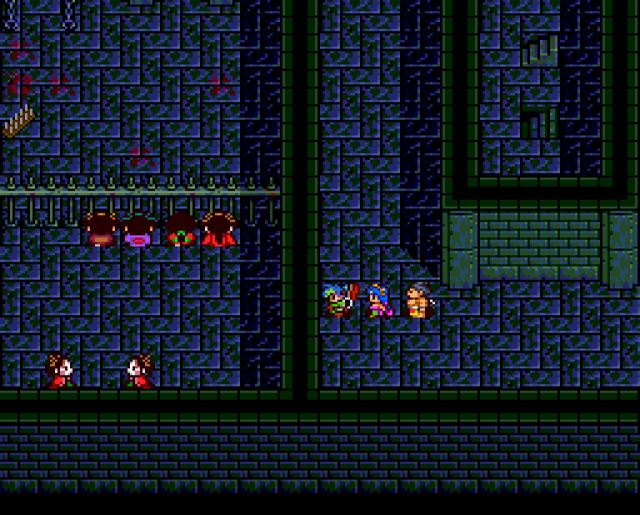 Oh, hey, more prisoners here! But again, we can't get to them from this floor. 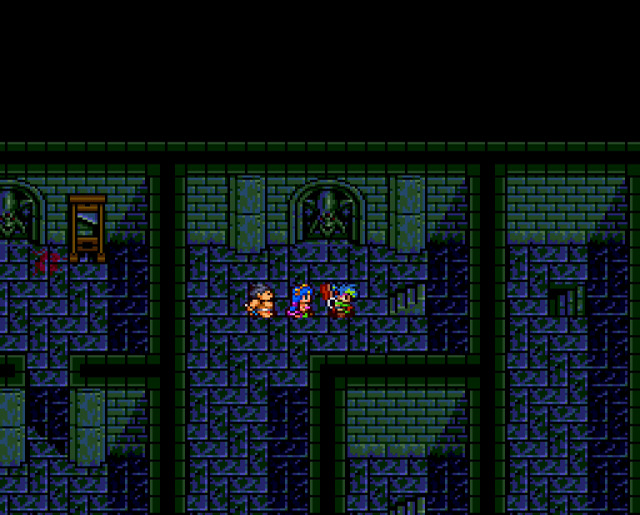 So we continue upstairs. 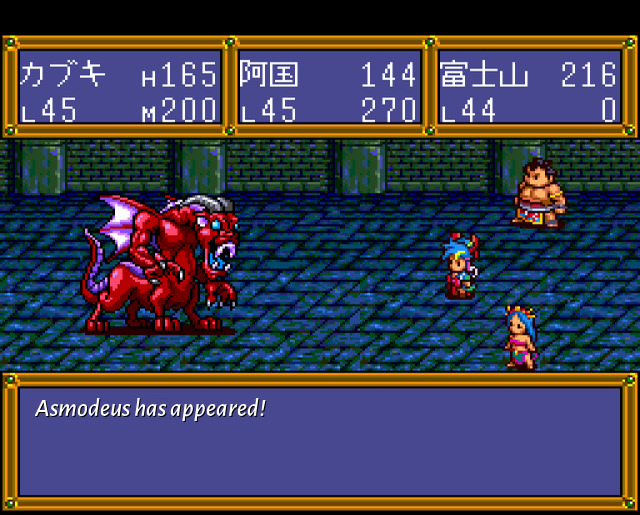 Continuing with the theme, Asmodeus is a demon from Judeo-Christian tradition. 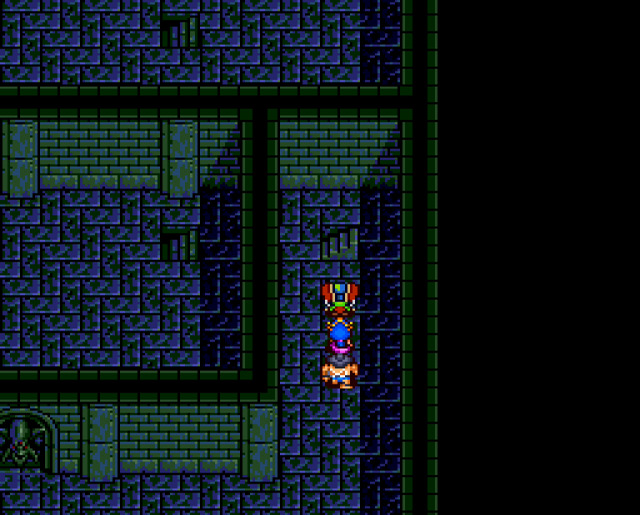 And more upstairs! 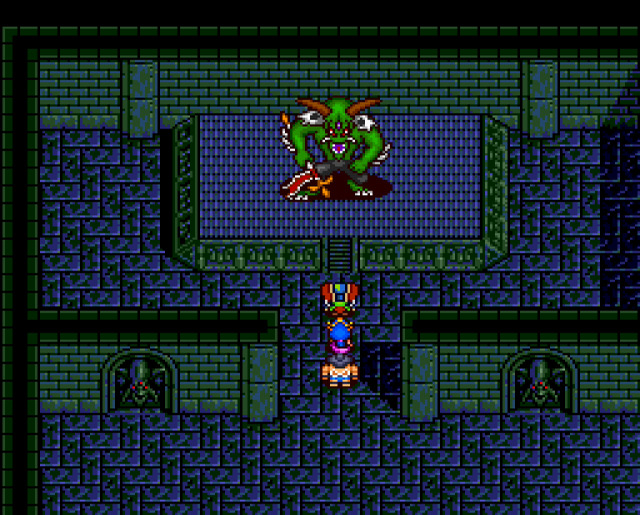 This already brings us to the second boss. I guess we'll have to check out the prisoners (and a couple of chests) on our way back down to that central room! 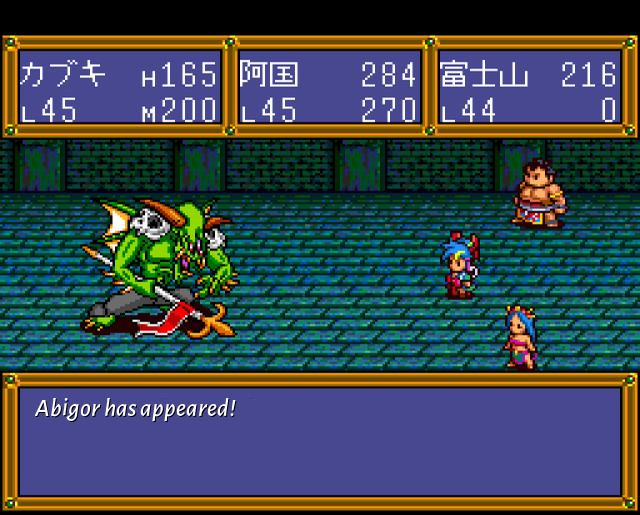 Boss: Abigor HP: 3200 Again, continuing with the theme, Abigor is a demon usually depicted as a knight carrying a lance. This is another fairly easy fight. The normal attack does around 90 HP damage to one party member. Other than that, he can also use "Red Mist" (which casts fire damage on all party members, plus lingering damage for several turns) and "Black Mist" (which causes "acid" status on one party member, which is basically the same as poison). He actually never used either of these two when I was fighting him so that made this fight even more easy that it usually is. Since the spells are sealed, you can't really cast any buffs, but the triple hit should be MORE than good enough to finish this quickly.   As usual, he opens a staircase so we can return back down to the central room. 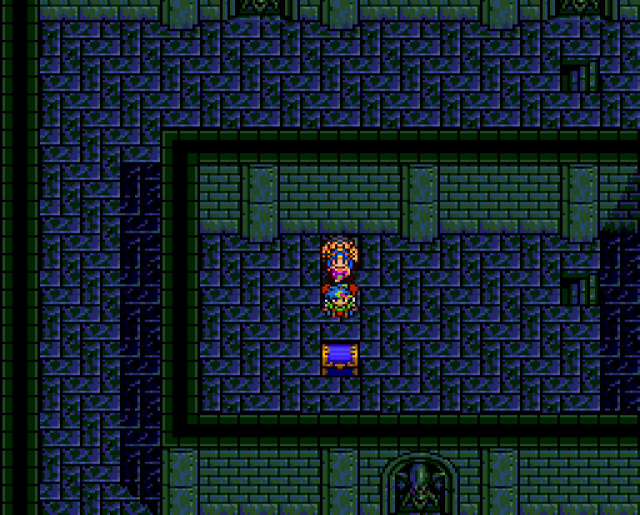 On the way down, in this chest we find a "Short Spear of Heavenly Might".  This is the strongest weapon in the game for Okuni and gives her +14 compared to her previous weapon. When used as an item, it can also cast a spell which seals one enemy's magic (if it lands). 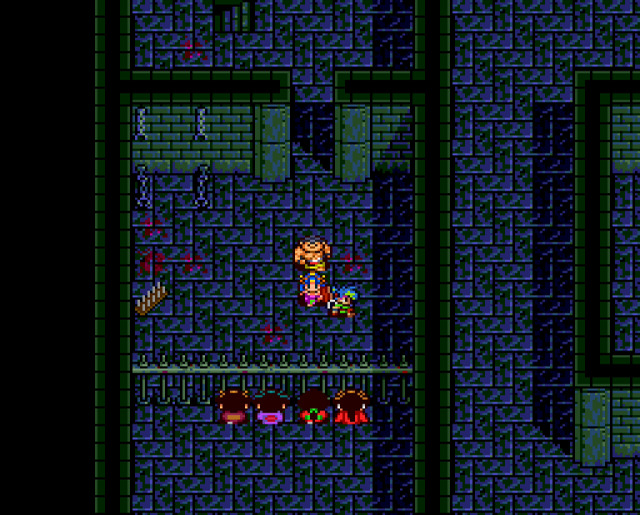 We also stop by the prisoners, to see what they have to say. It's been a while since we've last seen them, but Yumetaro and Komamoto are those two girls from Kyoto who initially took us to meet Orochimaru! But anway, back down in the central room... 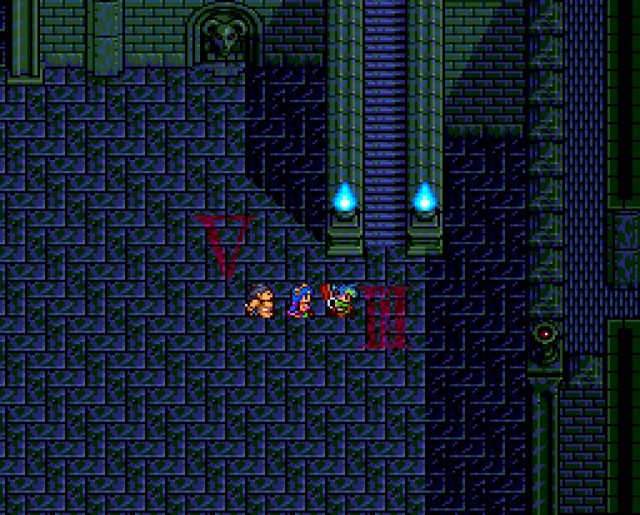 ...we find a staircase labeled Ⅲ on the opposide side of the room! So let's proceed. 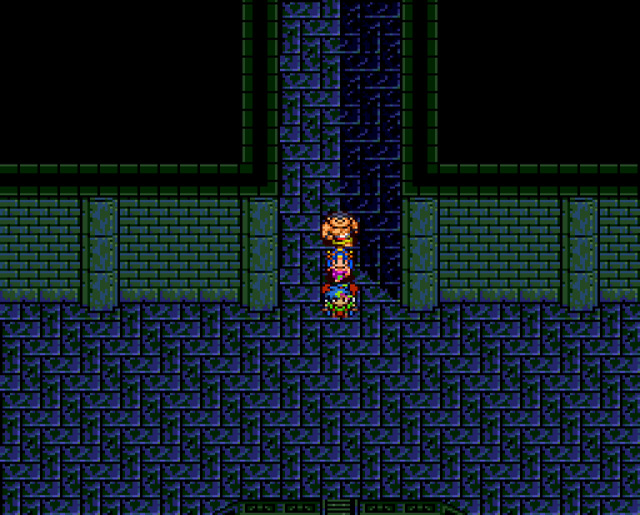 Well, this one is hardly a problem. In this game we have so many other (broken) tools, that special abilities hardly matter. Also unlike the last game, they cost MP so that also kind of discourages their use. So we'll just proceed as normal in this one. 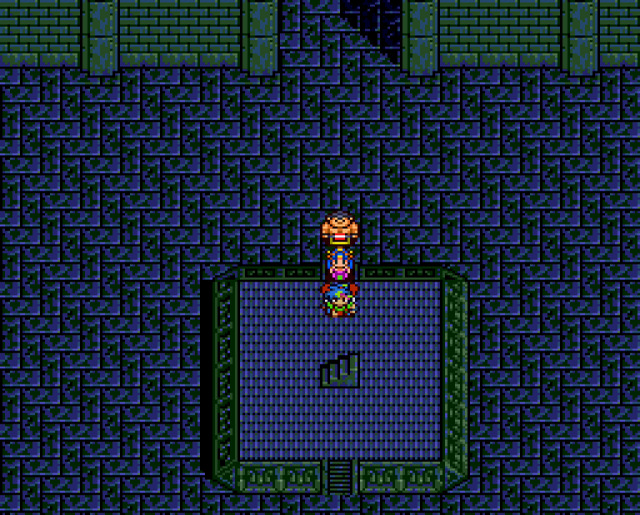 As usual, we head up. 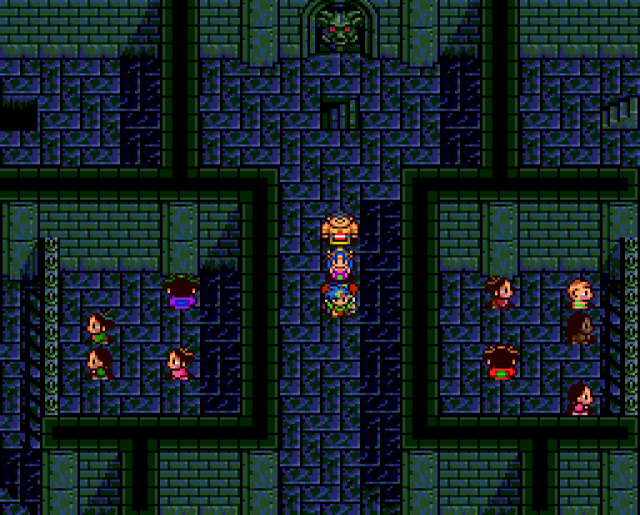 This time, we encounter prisoners straight away! And we can talk to them immediately as their cells are accessible directly from here. Yeah, we know. They are a thorn in our side for a while now, but that seems unlikely to change. 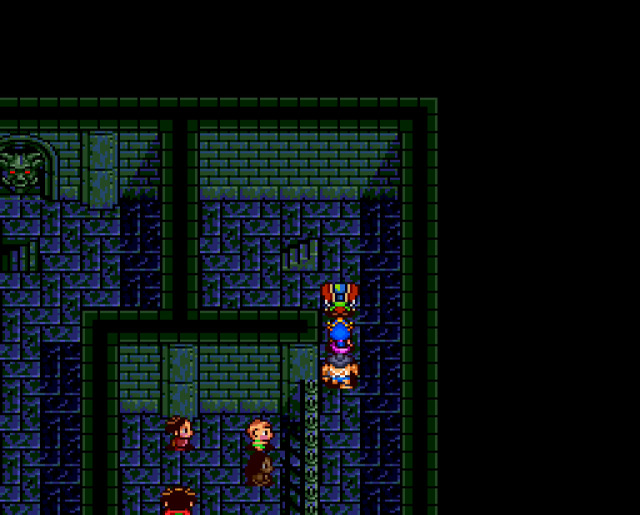 Keep going upstairs.  And still. The chest has a cursed helmet which inflicts confusion, so we can skip that. 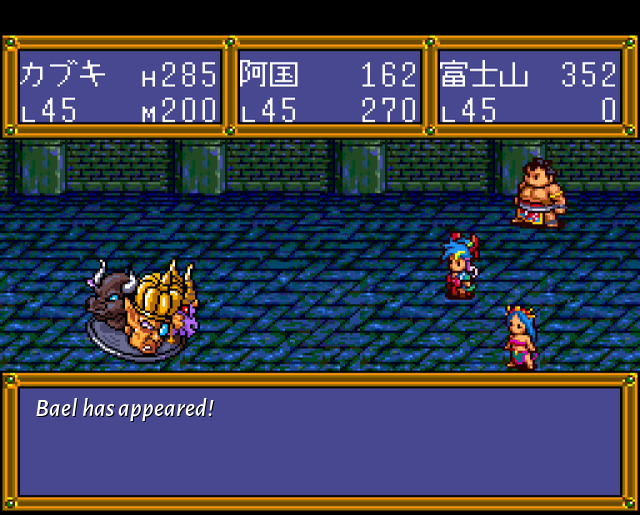 The demon compendium theme continues, but really I have nothing much to say about these enemies since they just die too fast to be of any consequence! 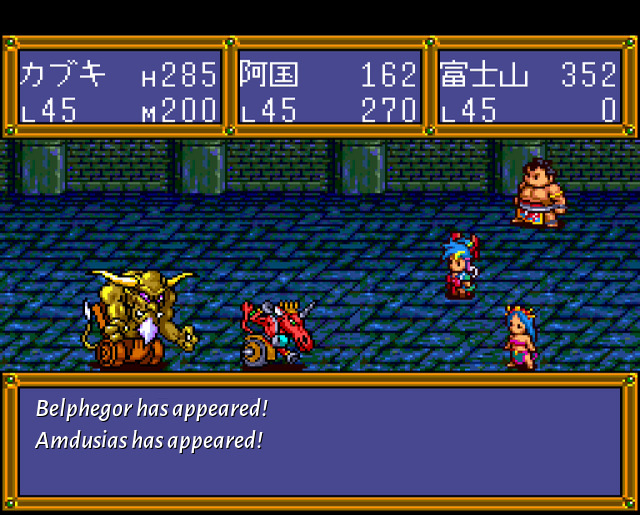 And here too. 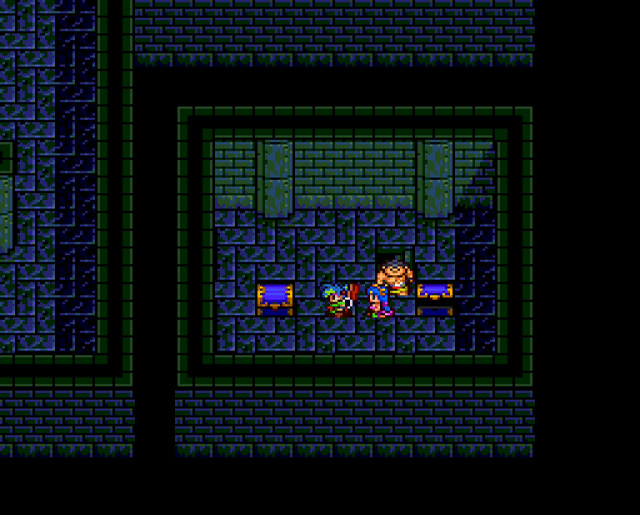 We also find this dead end room, with two chests. One of them has a not cursed weapon which allows multiple attacks also, but is a lot weaker than what we already have. As a reminder, our current multi hit ability comes actually from shoes, so it will always have the strength of our actual weapon whatever it is, so it's a much better option. 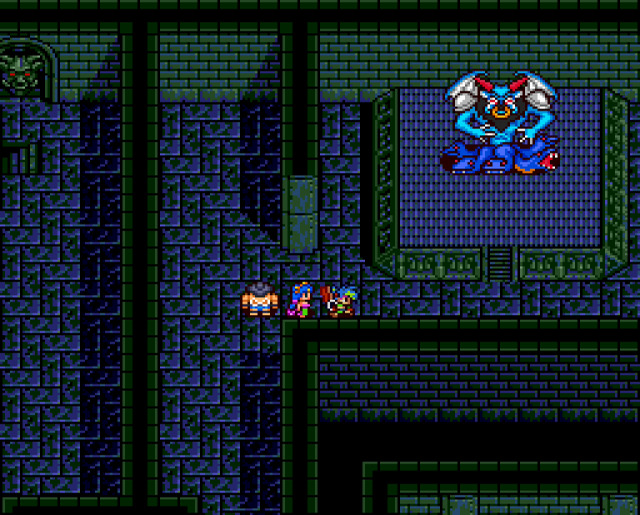 Anyway, after a bit more walking around, we find the next boss! 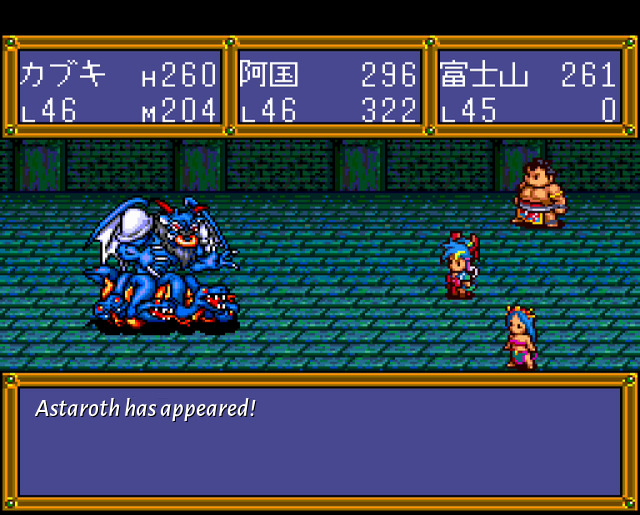 Boss: Astaroth HP: 4800 Ahhh, Astaroth, the great duke of hell, together with Lucifer and Beelzebub! Completely unrelated, but try to guess the names of next two bosses. A bit of a jump in HP value compared to previous two, huh. Regular attack is about 100 HP to one person, so pretty similar to others really. He does also have a fire based attack which hits everyone, but it only does aroud 85 HP damage per person. So you may ask yourself, am I overleveled? And the answer is not really, because in addition to everything else it does to help you win, this game will also after certain bosses increase your level up to a specific fixed point. So if you play normally (like I do), you will usually be neither under- nor overleveled at any point. Anyway, that's about everything for this boss fight, so just buff your attack and go to town, while keeping Okuni on standby for healing when needed since her attack power is the lowest. After the battle, Garp talk to us as usual. 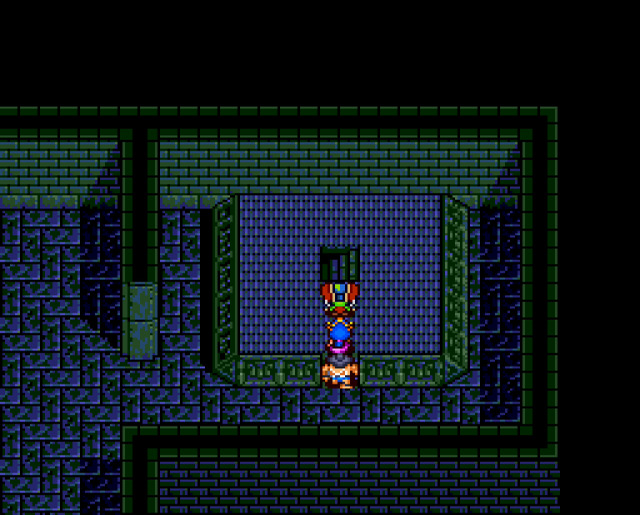 As usual, he opens a staircase for us. There is no items to be found on the way back down, so... 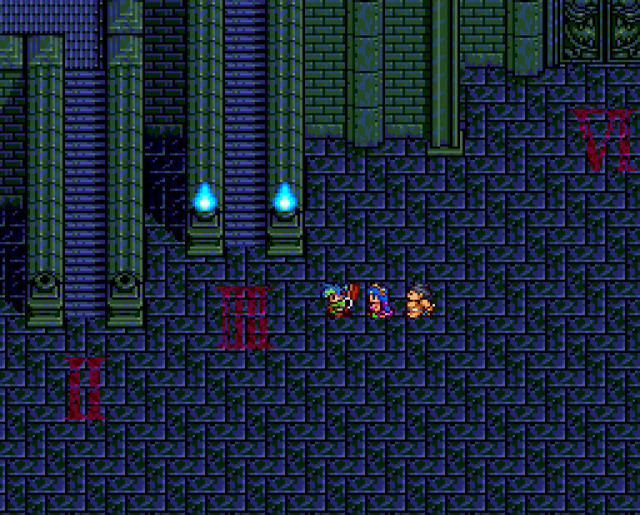 ...we make our way back down to the big room. The staircase to the fourth tower is now open to us (it was not there before), although it may confuse you for a second as number four is written as IIII instead of the more common Ⅳ. But what can you do. The usage of IIII was more common during the middle ages in Europe (which is why you often find it on old clock towers across the continent), but in Ancient Rome it was definitely always Ⅳ. So considering the themes and setting of our game, one could say that writing 4 as IIII is not actually out of place. Anyway, enough of that... 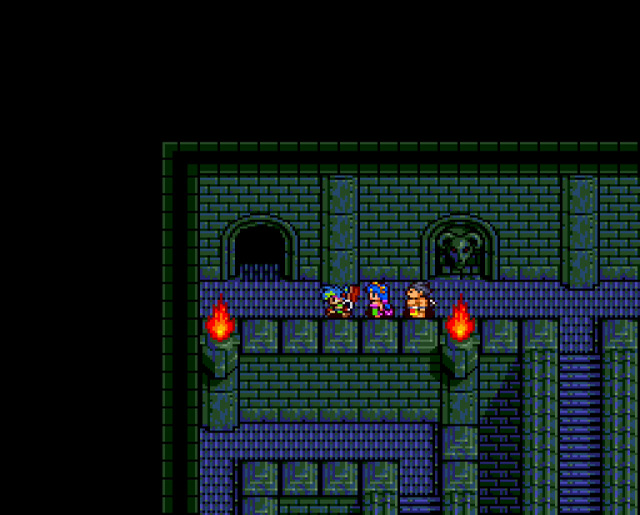 Let's get into the next tower (we're half done at this point). 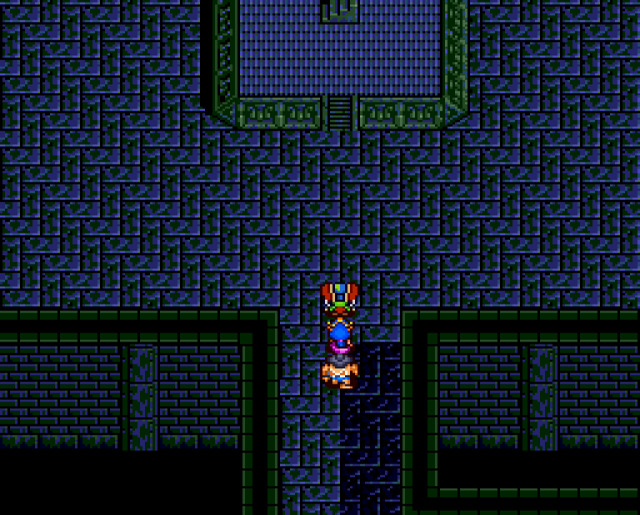 Ah well, we all knew this was coming at some point. Usage of weapons during the battle as items counts as "item usage" for the purposes of this restriction, so in this tower we won't be able to use the triple hit. This is going to make traversal a bit slower but it shouldn't be too much more difficult than usual. Also, this happens: 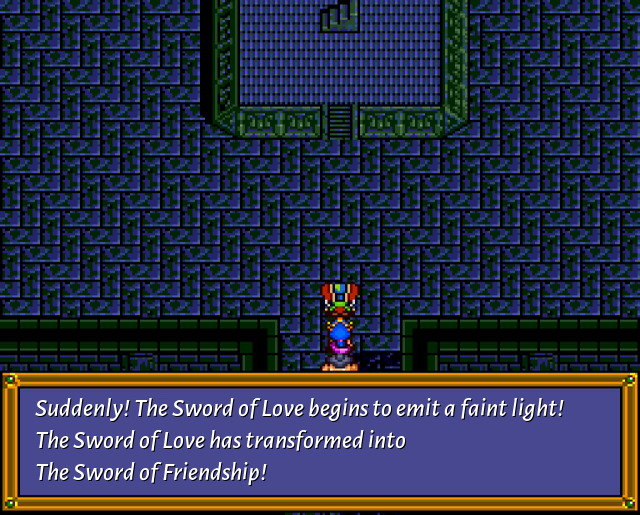 Our sword takes its next form! 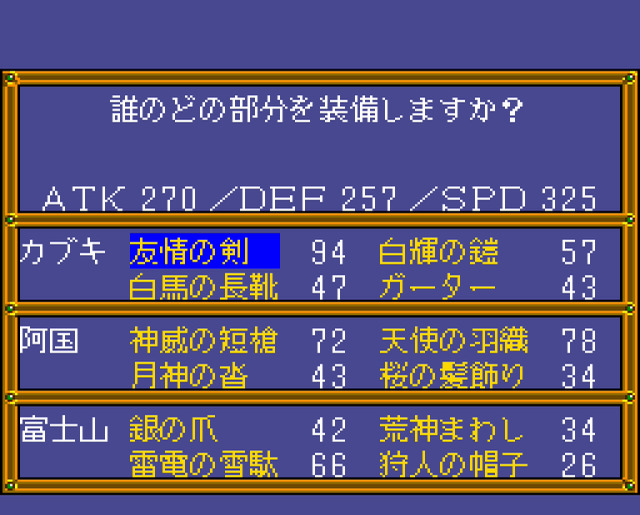 This time attack power goes back up to 94, or +16 from its previous form. Its special ability also changes: it can now replenish around 50 MP to one party member for free when used as an item. Just in case you were wondering how come we never got anything like that in this game. Well, here it is. Although we'll lose it soon when the sword transforms again. But not to worry as we'll get a different one shortly after! 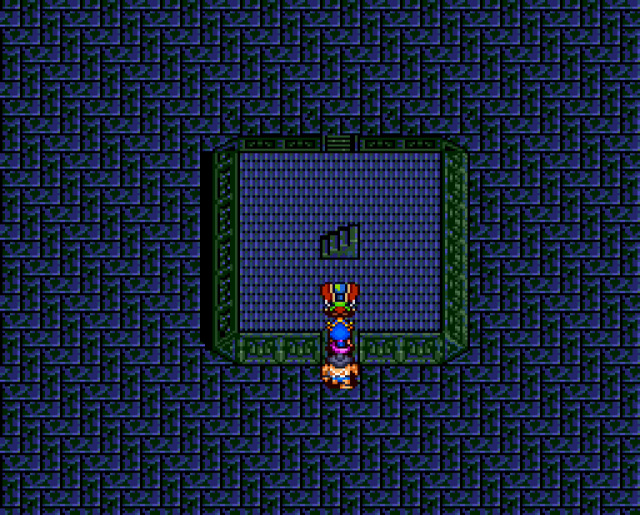 As usual, we start by going upstairs. 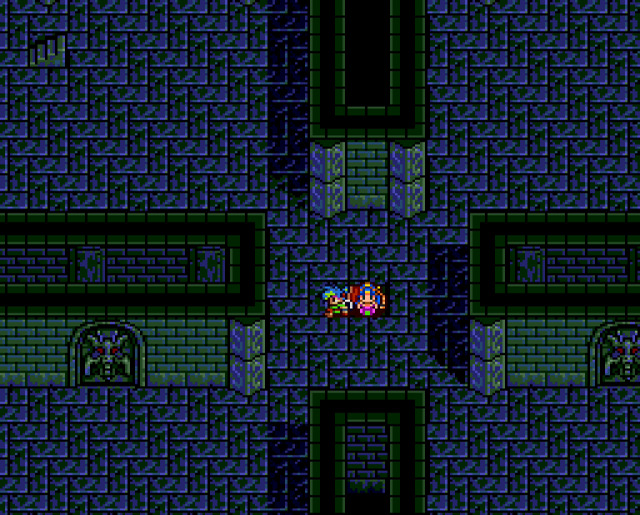 Very slightly different layout than usual. 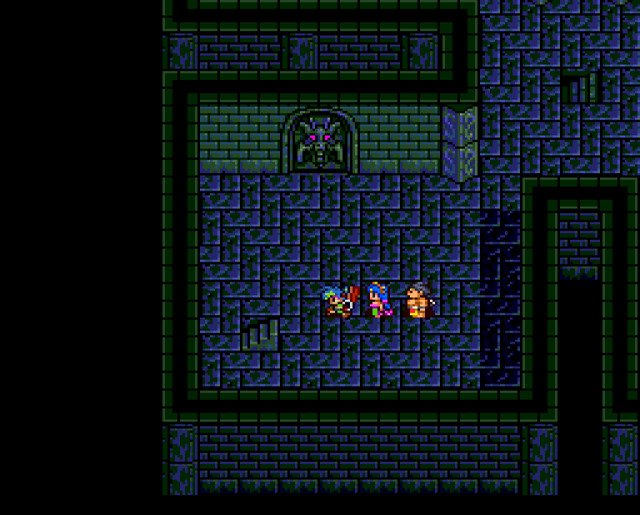 Nevertheless, we do the usual thing of going up. 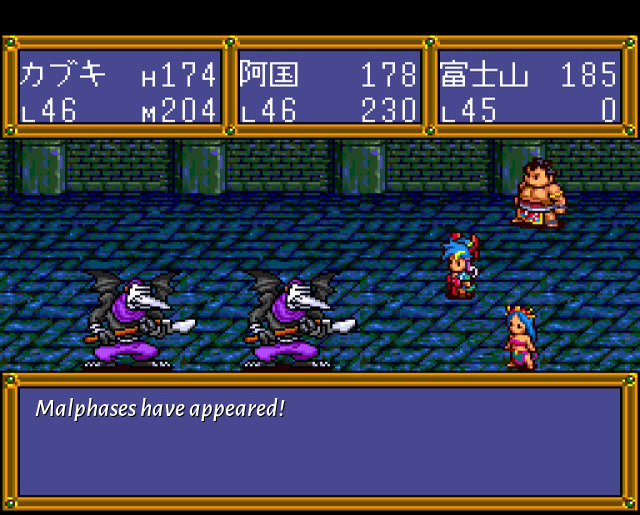 We also continue to enumerate the demons, this time it's Malphas. Someone actually did a bit of research here from the game development team, huh? 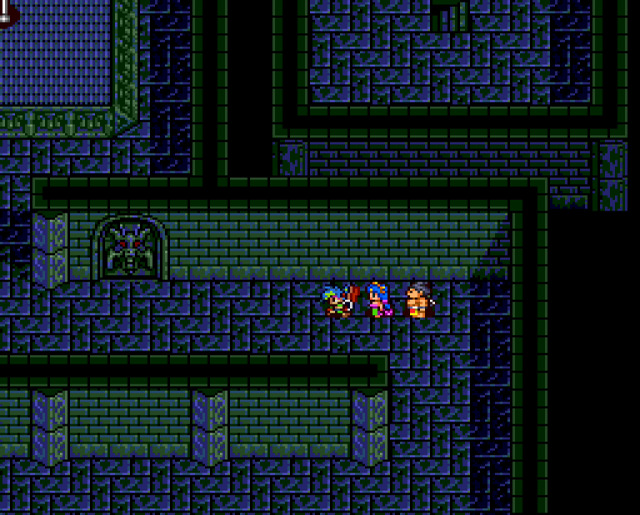 After just one more climb, we can already see the boss pedestal there. 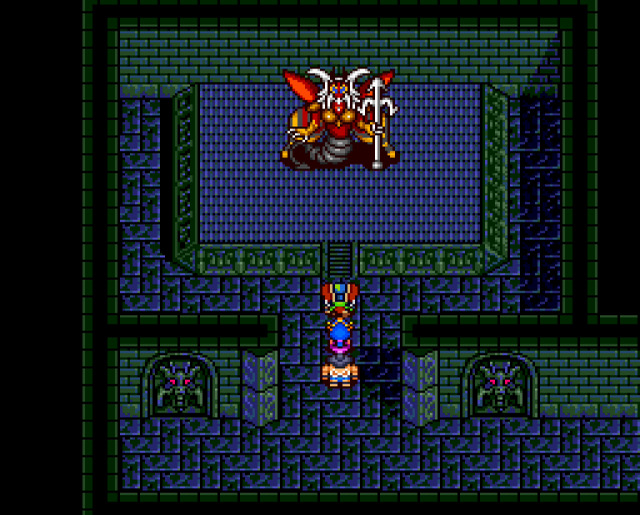 Indeed.  Boss: Beelzebub HP: 3700 As predicted, here is Beelzebub! Regular attack is still nothing to worry about too much, around 100 HP to one person. However the special attack is a little bit annoying this time. It's called "tail sting" and does no damage, however it causes paralysis to one person. Normally this wouldn't be an issue as we could just use a spell to remove it or an item if the paralysed person happens to be Okuni (who is the only one who is able to use that spell). But, of course, we can't use items in this tower, so if the paralysed person just happens to be Okuni, then... well, you'll just have to wait it out pretty much. It's annoying, but not really the end of the world. It will take a bit longer that previous fights due to inability to use triple hit, as already explained. After the fight...  Down we go!  On the way down there is a chest, but annoyingly just triggers a random battle (random battles otherwise stop in a particular tower after that tower's boss is defeated).  Cool looking enemy, Dullahan is a demon from Irish folklore, usually depicted as, yes, a headless horseman. A fairly large HP pool but otherwise nothing we can't handle. Especially since after the defeat of this tower's boss, the item usage restriction is also now lifted!  We also come across this situation on our way down. Seems impassable, but...  ...since we've defeated the boss, the statue just moves to let us through! Yo do want to come here, because one of the chests has the "Holy Flame Armour" for Kabuki.  It's the strongest chest piece for him in the game with a +15 compared to previous. When used as a item in battle, it temporarily decreases the attack power of one enemy.  Back in the main room, the staircase numbered Ⅴ is now open to us, leading to the fifth tower. I should also mention that you don't have to do all towers in one go without saving/resting. Each time you're back down in this room, you can simply exit outside and go rest at an inn or save and then come back. 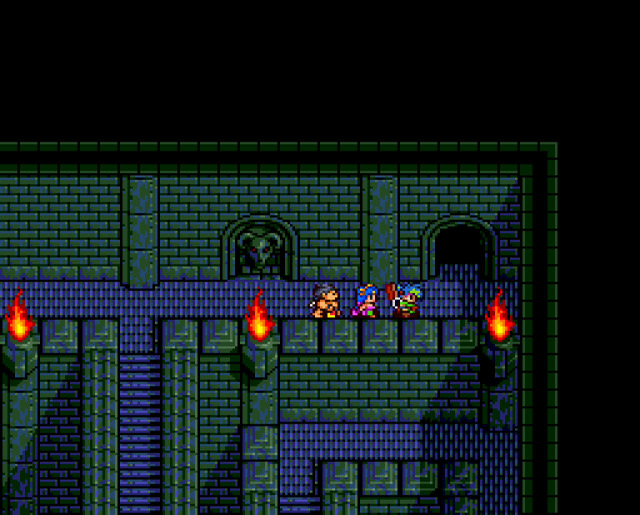 Through the door here. But what will be the restriction this time? 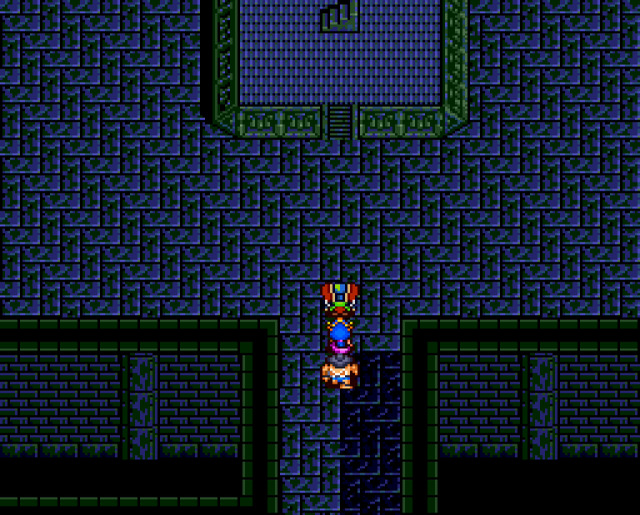 Actually the restriction is this time just a joke as I'll explain in a moment! 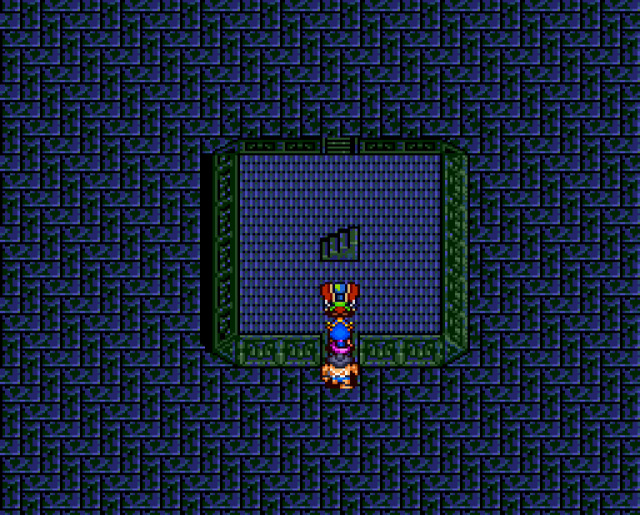 Well, let's climb up then. 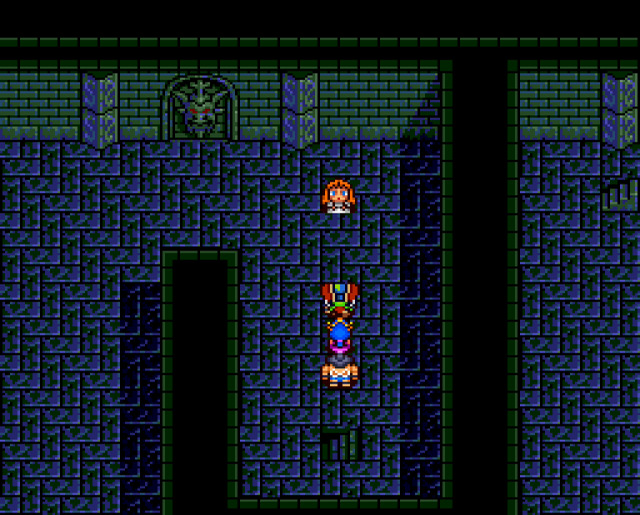 Huh, there's a woman just standing there like that. Actually the gimmck here is that you'll find women standing around everywhere in this whole tower. But you must not approach them, because if you do you'll lose 50 HP each time you touch them! So as I said, it's just a bit of a joke. Just stay away and you'll be fine!  Like I said, they're just standing around like that. 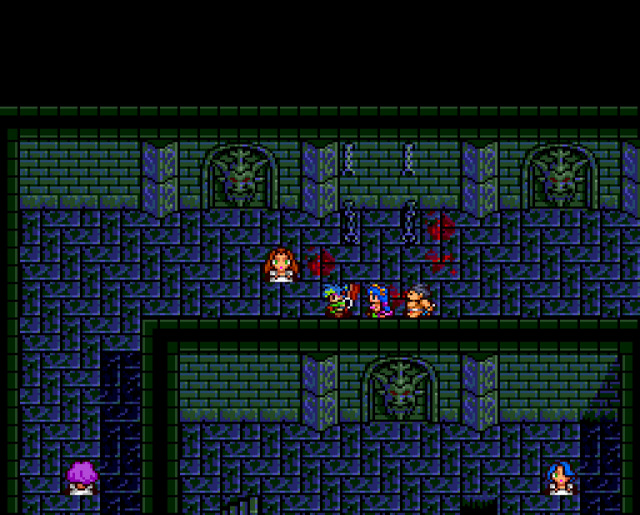 Walking past is fine as long as you don't actully walk towards them. 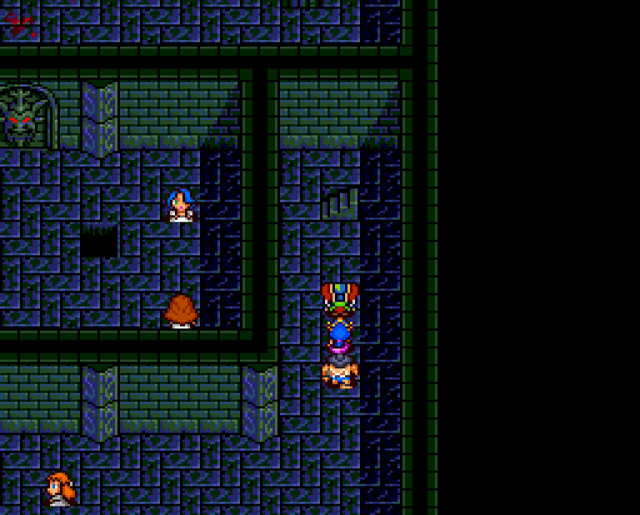 There are no unique enemies in this tower, they're all repeats, so we just proceed up. 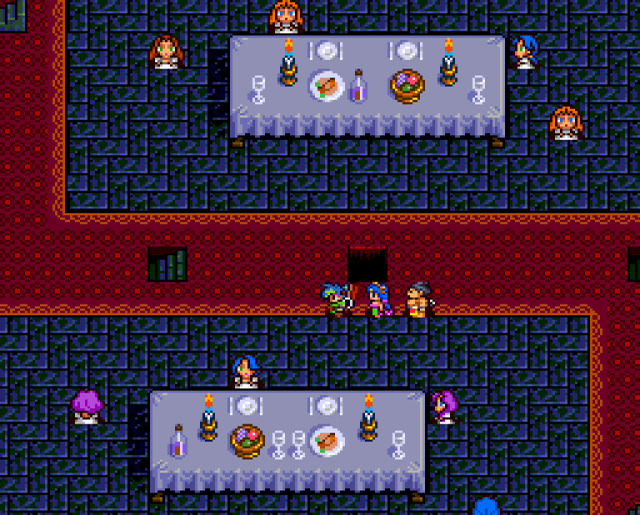 Whatever's going on here, we're not invited so we should just ignore it. 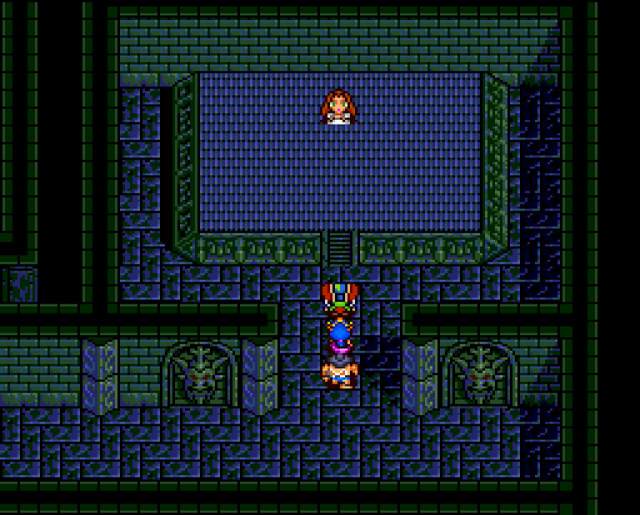 Taking one of the stairs, we arrive here. Is this really the next boss? No, it's just bait. The boss is elsewhere. 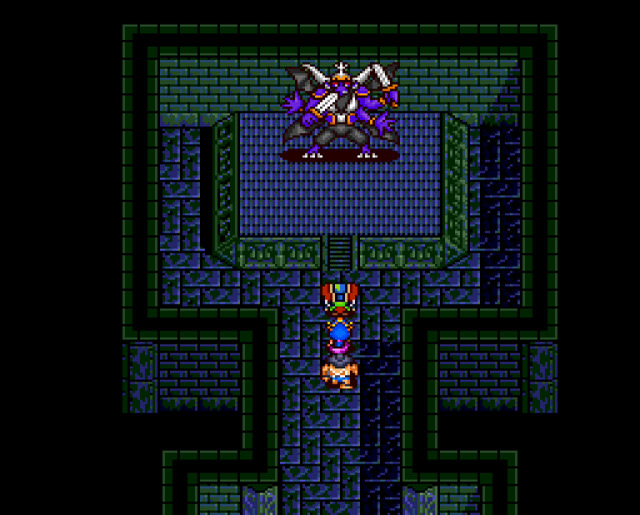 Taking a different path leads us to the actual boss! 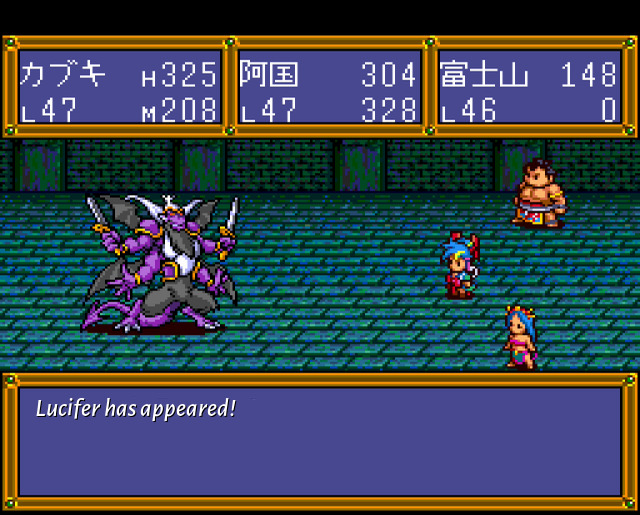 Boss: Lucifer HP: 4200 It is, of course, Lucifer. Since the restriction in this tower is a bit of a joke, we don't actually have any restrictions in battle! This time we again have a boss with only physical attacks! Normal attack is in the 90-100 HP range to one person, similar as others we've seen so far. 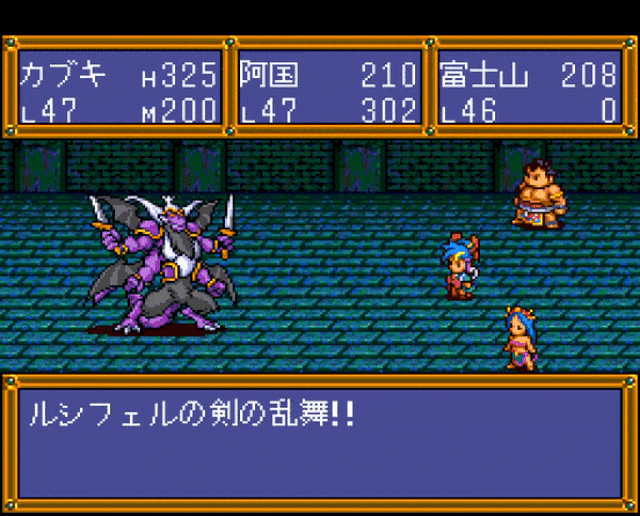 Then there is this thing ("Sword Dance") which attacks the whole party for 100-110 HP each! And finally there is the "Simultaneous Sword Attack" which is really your standard multi-hit attack on one person with 2-3 hits of 80-90 HP each. So this one is a bit dangerous and you should try to keep properly healed to avoid it. Of course, usage of spells like Wunjo (to reduce the hit rate) or even Okuni's Azure Wolf summon (to temporarily completely block physical attacks) are quite viaable here. 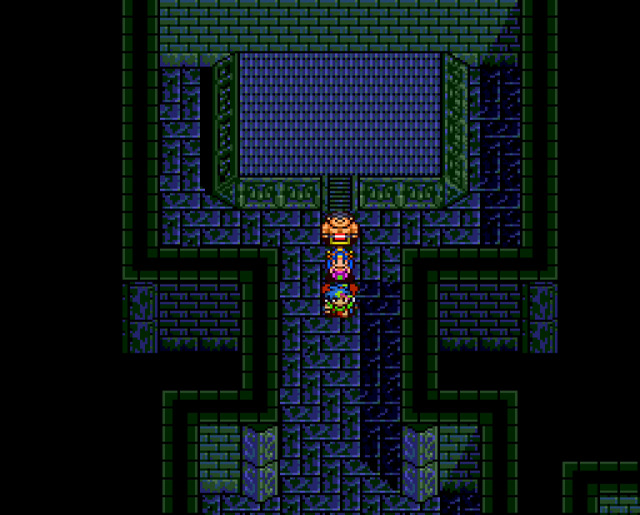 After the battle... nothing happens. No secret staircase is opened. So we just have to walk back the way we came! 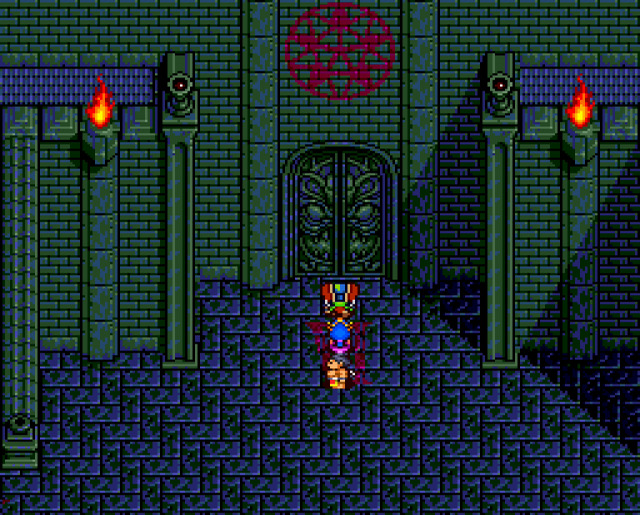 Finally, back in the main room, we can walk through the bit door marked with Roman numeral Ⅵ! As we do so, Garp addresses us once agan! 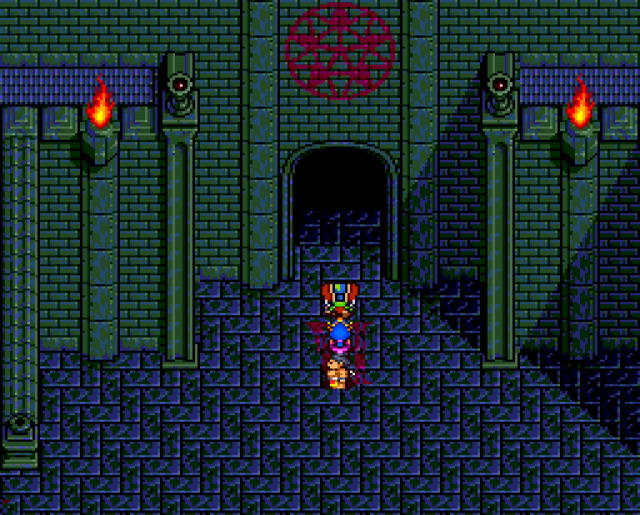 And the door is open for us to go through! 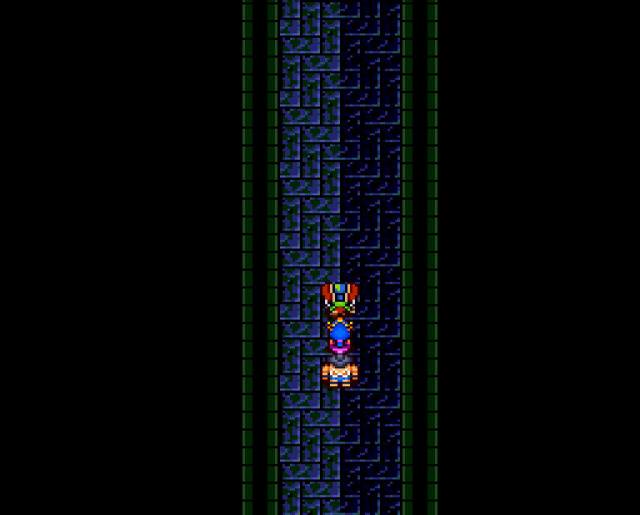 There are no restrictions in this tower either, not even as a joke! 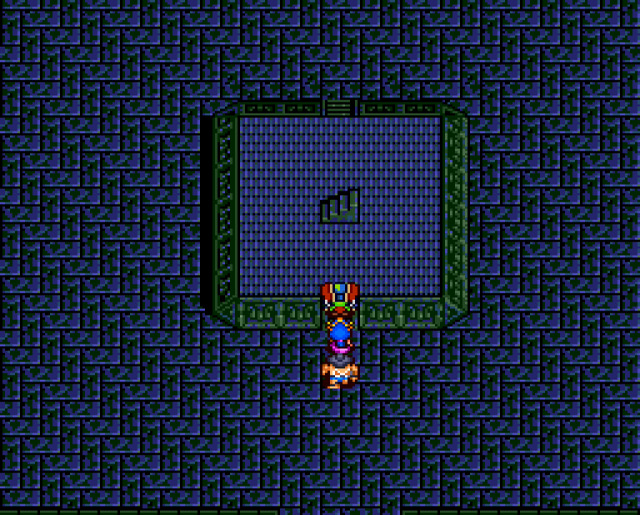 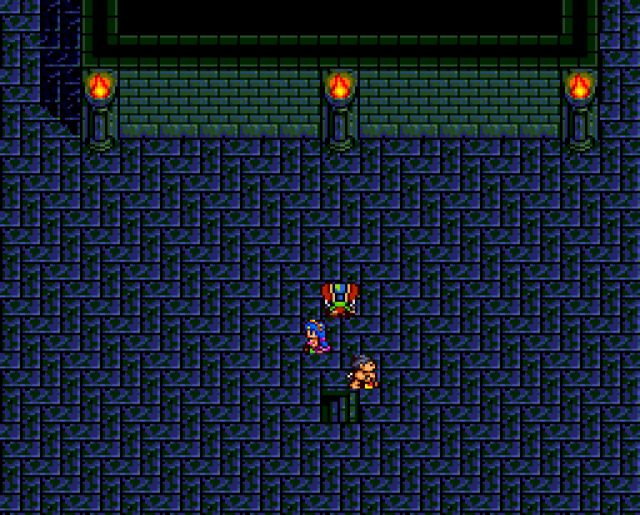 And here we go. There's only one thing left to do. But after climbing up, our characters stop for a moment to assess the situation! 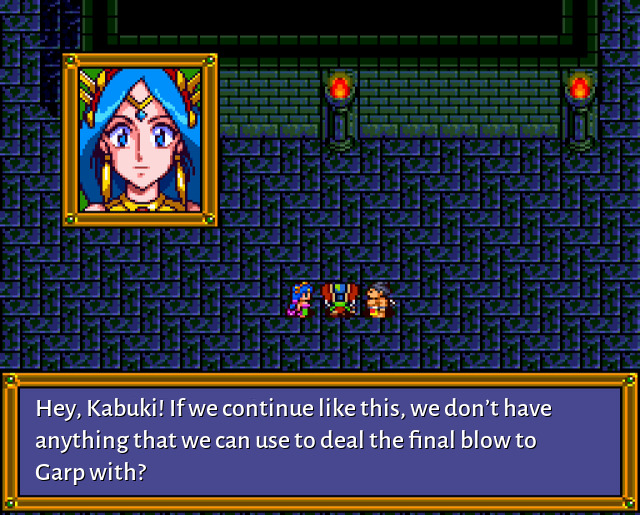 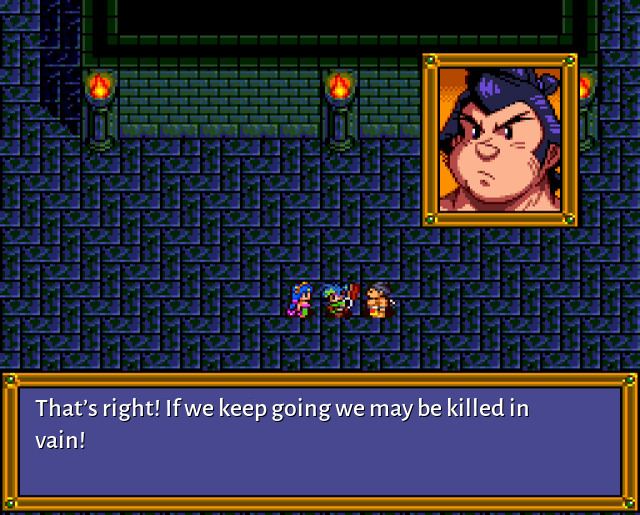 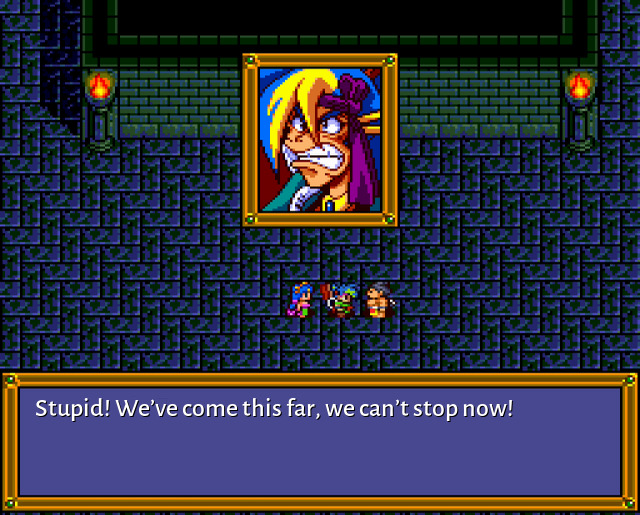 All right, with this mini-crisis averted, we can keep going. 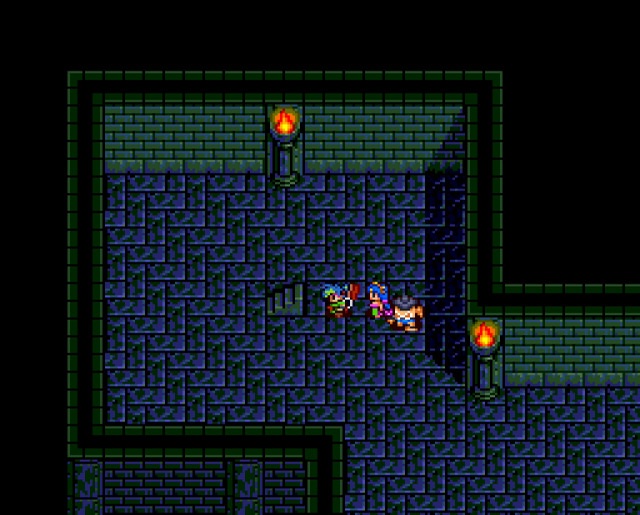 Upstairs, of course.  We take a brief detour into Hindu/Buddhist mythology with garuda, a bird/man like creature with a golden coloured body. 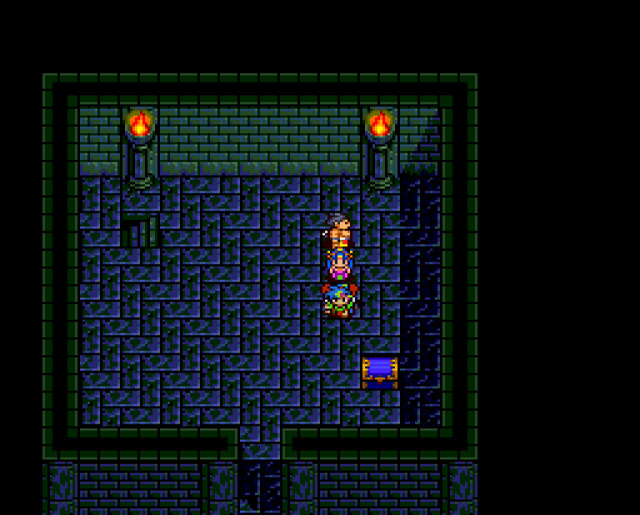 The chest has just a random encounter inside: 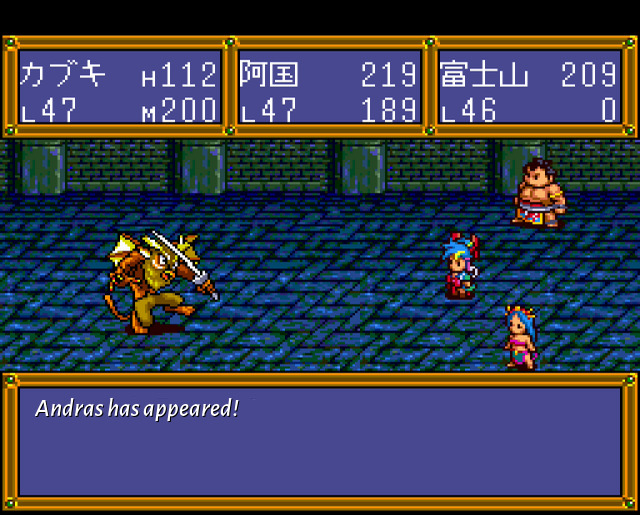 Andras, another ruler of hell brings us back to our regular demon compendium, though. 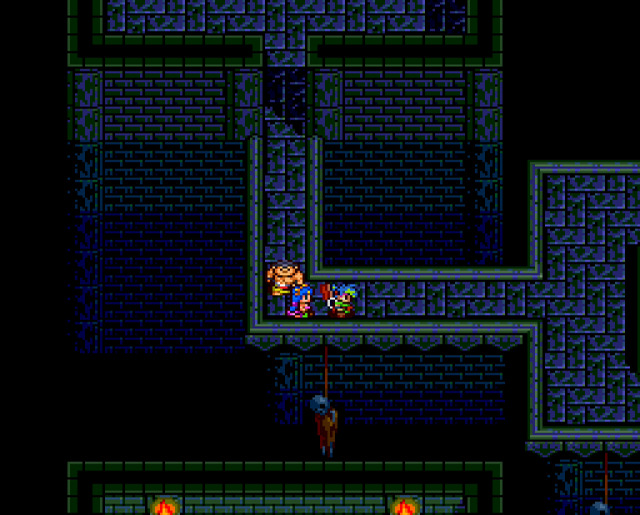 Again, the layout here is a bit unique. 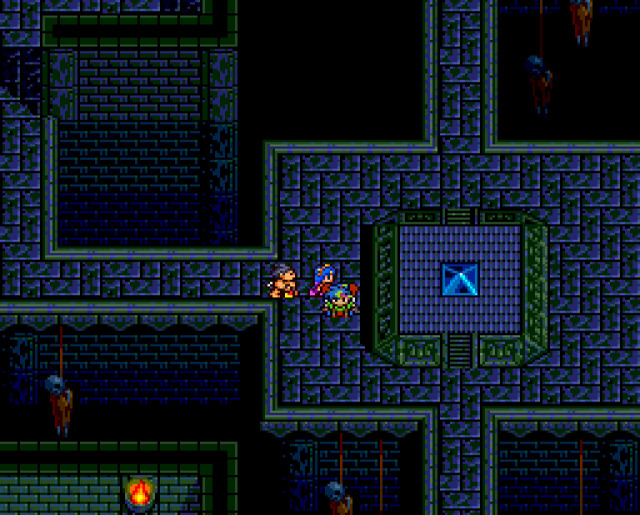 Well, that looks interesting. Let's examine it. 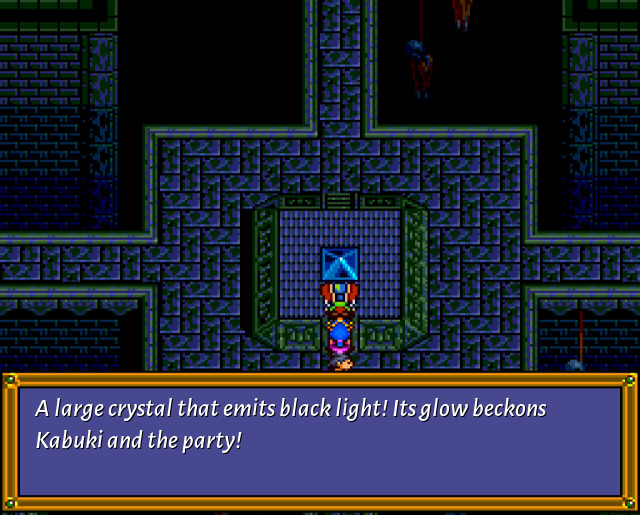 Move the black crystal? Yes/No I mean, sure, yeah, what can happen really. 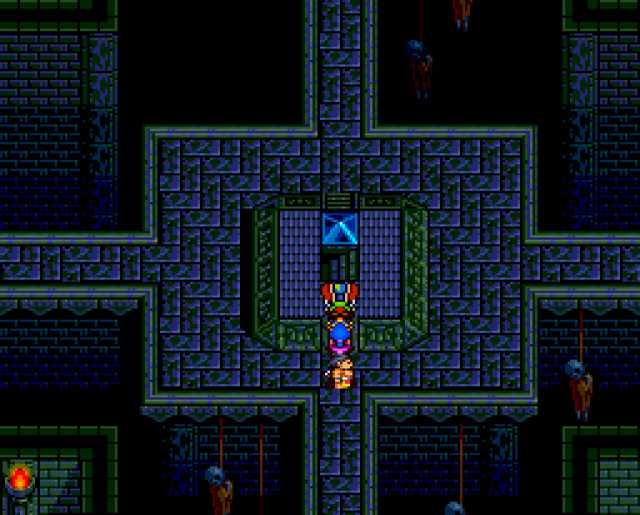 Somewhat anticlimactically, all it does is open another staircase down! 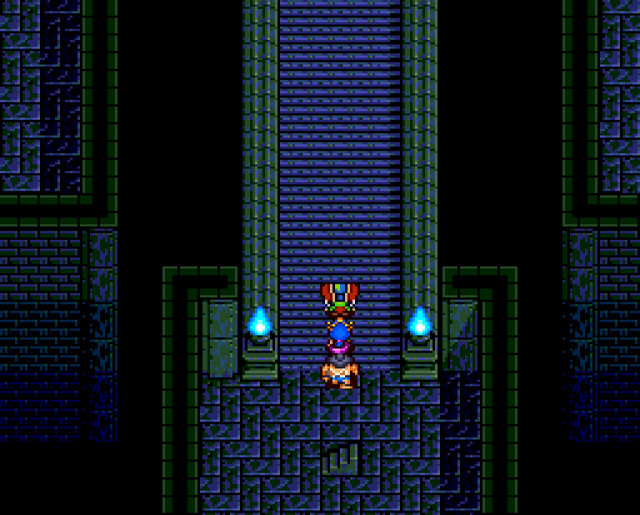 Well, let's see what's in here. 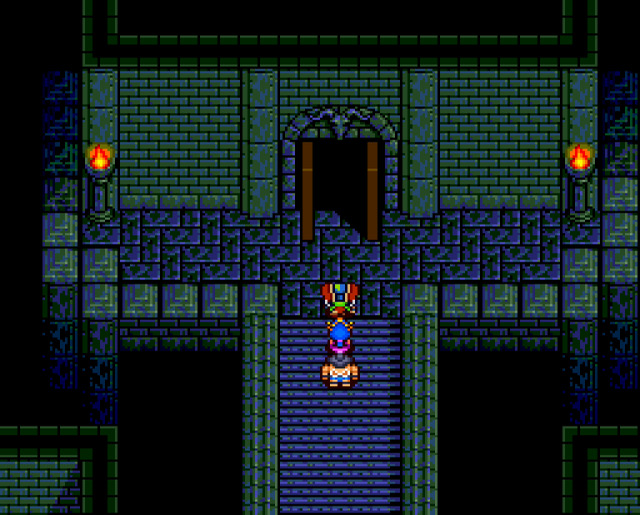 Apparently a door we can go through? 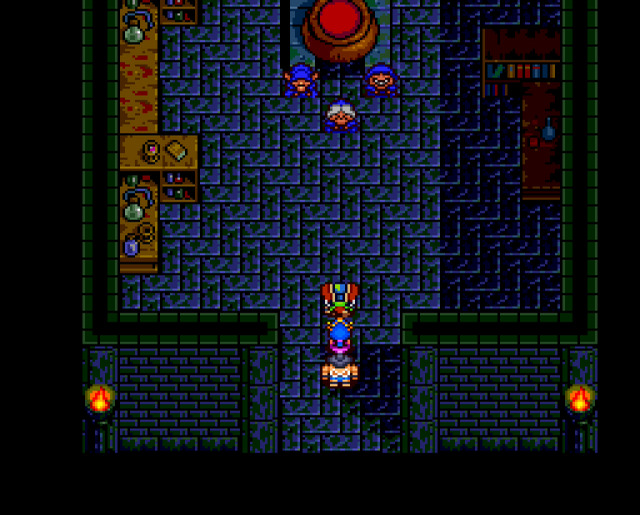 And inside are... the three witches from the very beginning of the game! We already knew that the tower we saw in the intro was this tower, but now here are the witches too! We get a short cutscene here:  And after that... 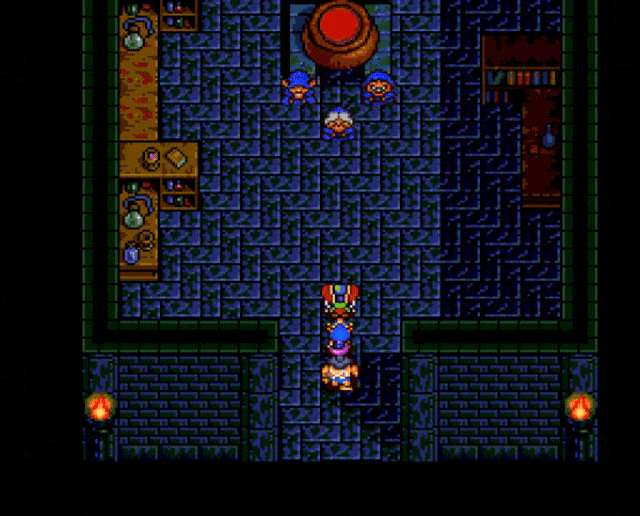 ...they just teleport out! Sure. What exactly was their goal here? And then this happens:  With this, our sword reaches the final form...  and becomes the strongest weapon there is for Kabuki, with +4 in attack power compared to previous form. Its only special ability is... to be able to deal the final blow to Garp! So that's that problem solved then.  Let's continue.  It's starting to look a bit ominous!  And here, although the "boss pedestal" is empty, we find the two girls from Kyoto, Yumetaro and Komamoto!   We're interrupted... 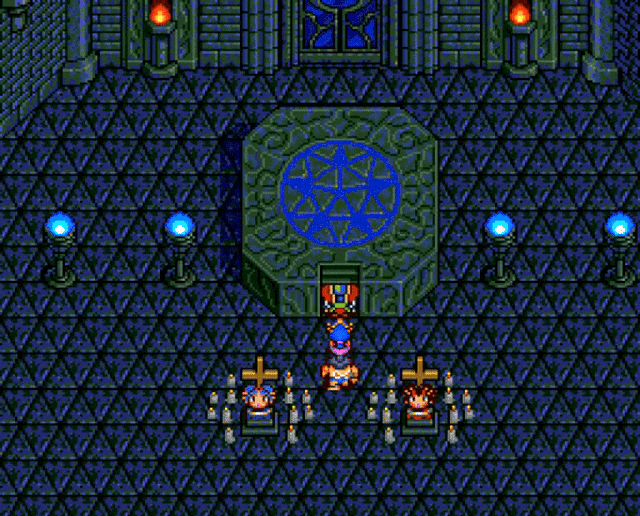 ...by the appearance of Garp, the Demon King Garp! It's time for him to finally introduce himself properly to us! And would you believe it that in the grand old tradition, it will be done... in the form of a song one last time! However, even having heard all the previous ones, nothing can quite prepare you for this one! So enjoy! WARNING: There is white flashing at the beginning of this video.  Well, that was rather... epic, and quite unexpected after the kind of style the previous songs were in! Unfortunately, this time there is no longer version, what is in the game is the whole thing. 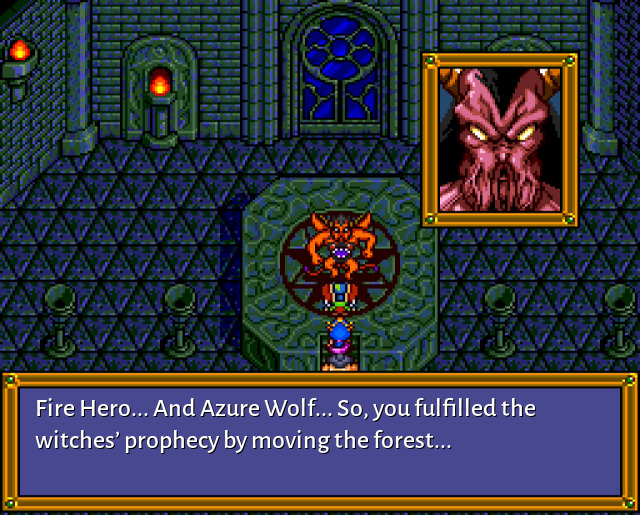  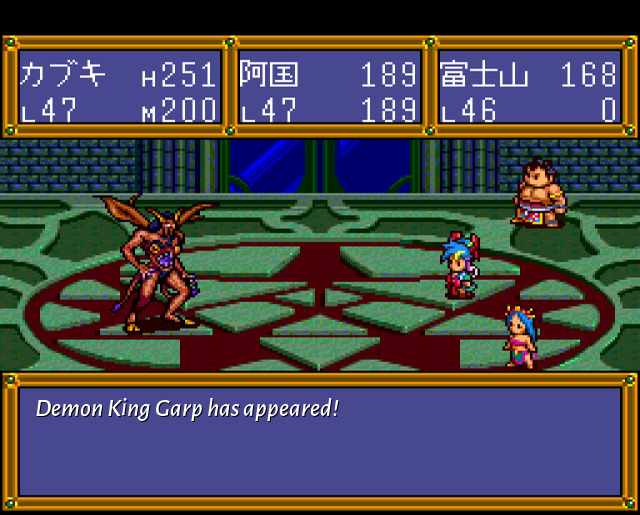 Boss: Demon King Garp HP: 5000 And here it is! The final battle, or at least the first phase of it! First of all he has an annoying ability to put up a barrier for a few turns. This is kind of irritating as it means you can't do anything to him for several turns. I guess use it to heal or whatever. Also, normal physical attack does around 100 HP to one person. 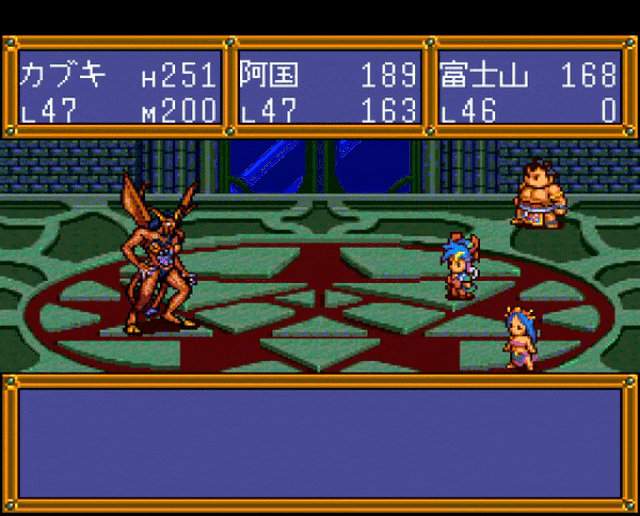 Then we have this "Evil Light" thing, which just deals around 70-80 HP damage to everyone. We can use the whole party heal to deal with this as it heals for around 100 HP to everybody. And finally...  ...there is a magical attack which also hits everybody but this time for around 105-115 HP each. So no matter how, you can't fully protect yourself and will have to rely on healing. But anyway, eventually we're done.   As usual, he transforms into a (more) monstrous form for a second phase. But this game doesn't believe in the "point of no return" concept, so even now you're free to walk back out to the inn and have a rest and then come back for the second phase!  Boss: Demon King Garp (2) HP: 7000 But we're doing pretty fine, so we'll just continue. Even if those HP numbers are rising sharply at this point! So what are we dealing with here? Mainly his attacks are much more dangerous now. First of all, the normal physical attack deals around 120-140 HP damage... to everyone (although it can happen sometimes also to one person)! So you might want to make use of that weapon ability which decreases enemy attack power. Then you have this awfulness: 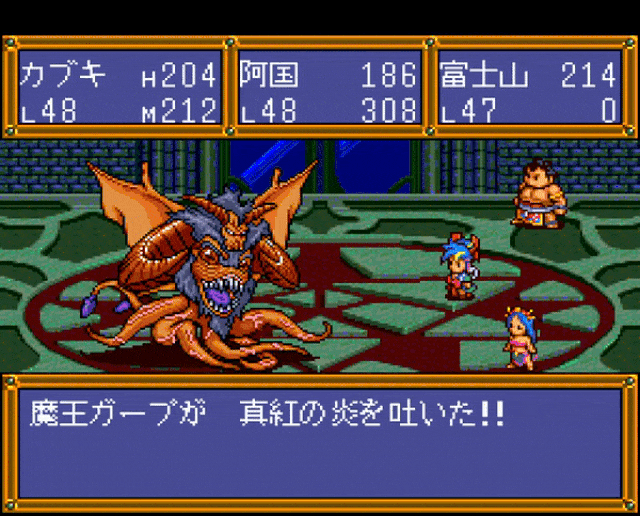 ...which deals over 200 HP damage to one person. As you can see, Okuni didn't fare so well there, so I had to restart this. In addition to this he does also have a lightning based atack which hits everyone, but he doesn't use the elemental attacks very often. Anyway, mostly it's just standard thing of buff/debuff as much as possible (recall also that Spanner still works) and certainly Azure Wolf summon to block the physical attacks is useful, but you do need to be careful with MP here as all those spells can be expensive. You can also bring a whole bunch of MP recovery items, too (Kabuki's sword had this ability for a short period of time, but lost if after the final upgrade). Anyway... 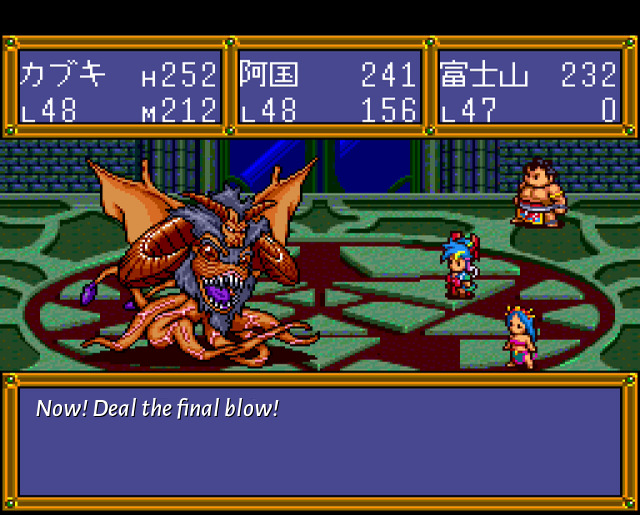 ...despite the large HP, this moment does finally come! And so we use our sword. And then, we are treated, like usual, to one final cutscene as we say goodbye to the boss!  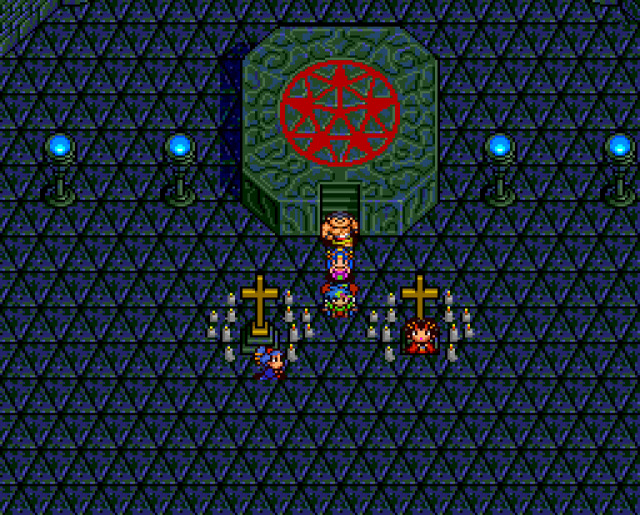 So, that's done it seems! We are approached by Yumetaro and Komamoto... 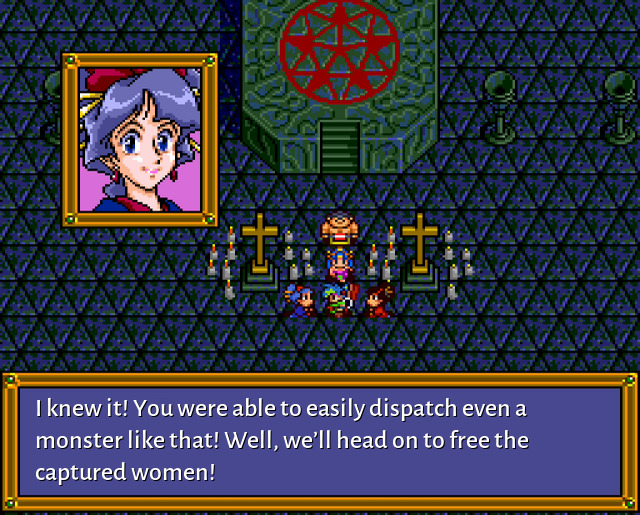  They leave. But, as we get ready to leave too, the three witches materialise behind us again. Surprisingly, they do not actually have character portraits! 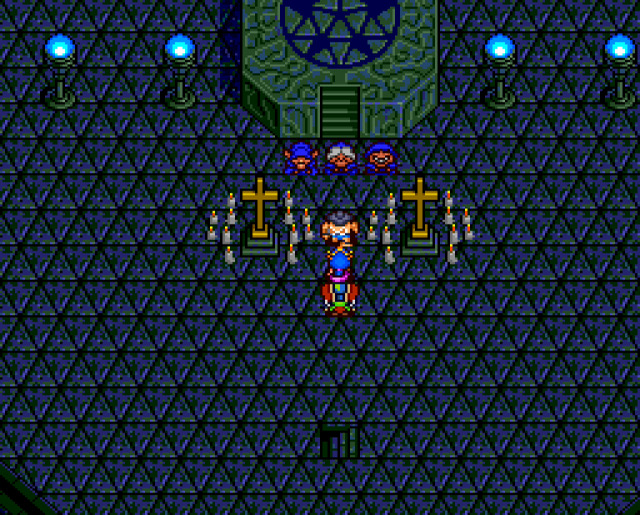 As the witches depart, the whole place starts shaking. It seems it was again a load-bearing boss! 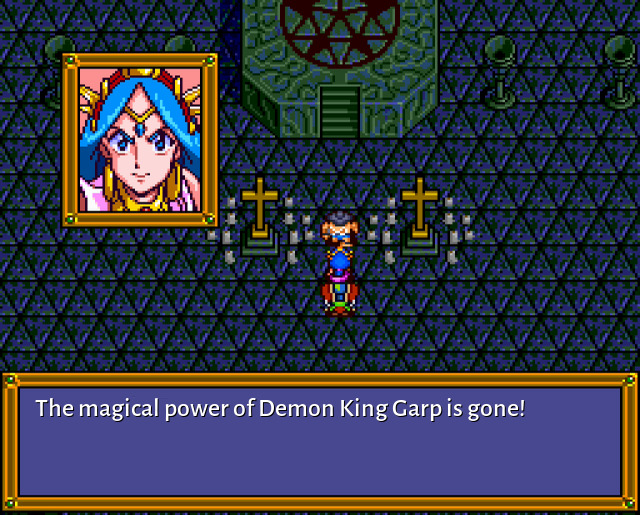 Indeed...  ...the pieces of the building start crumbling around us! 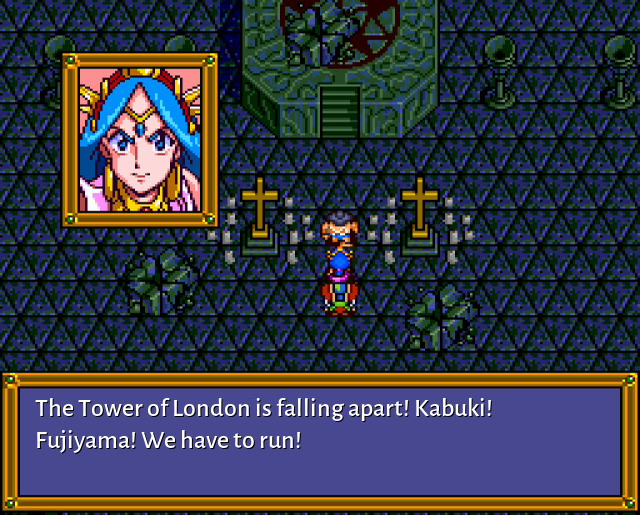 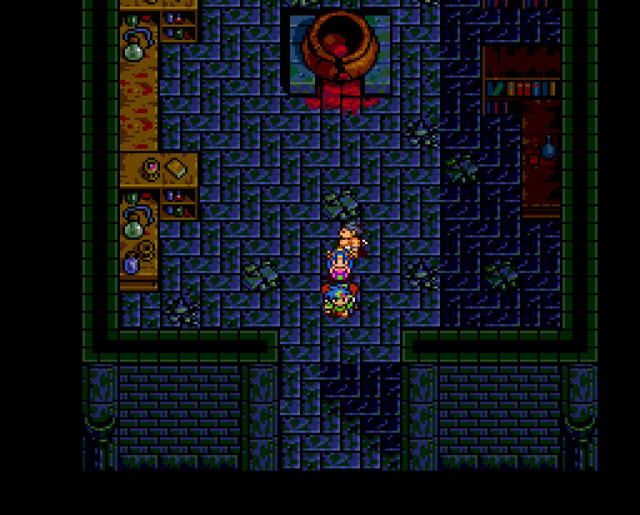 But we can just walk out normally, we're not on a timer or anything. 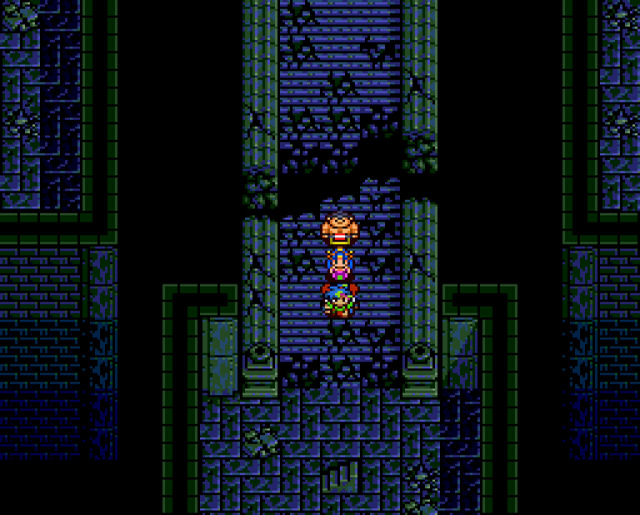 Things crumble to dust as we go past.  Here we are, back in the main room (which has seen better days!). 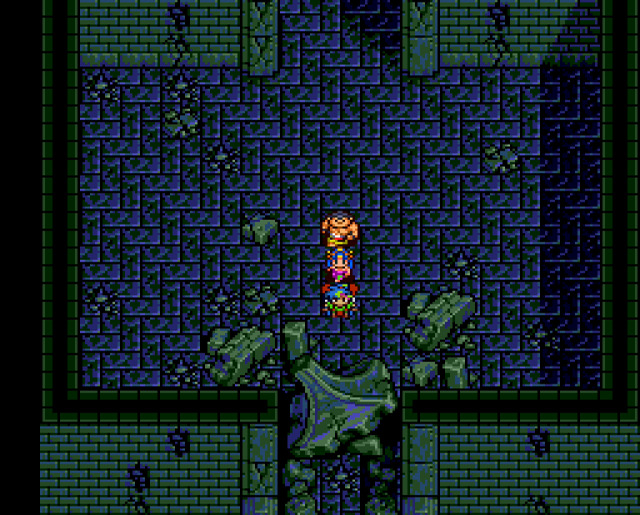 But oh no the actual exit is blocked! Whatever shall we do! 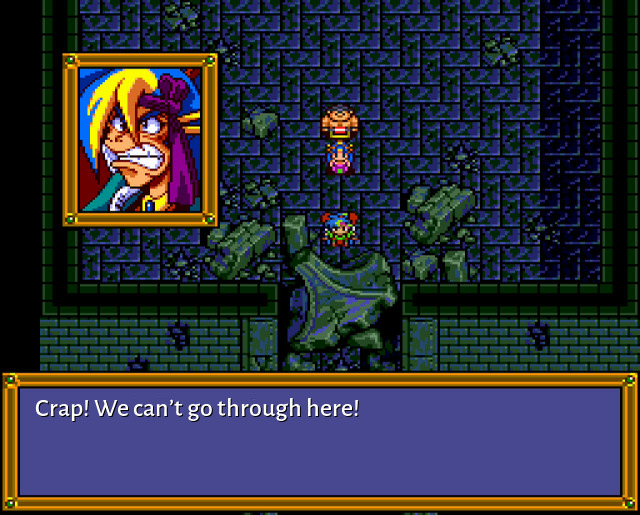 But then, again, we hear Zeami's voice! 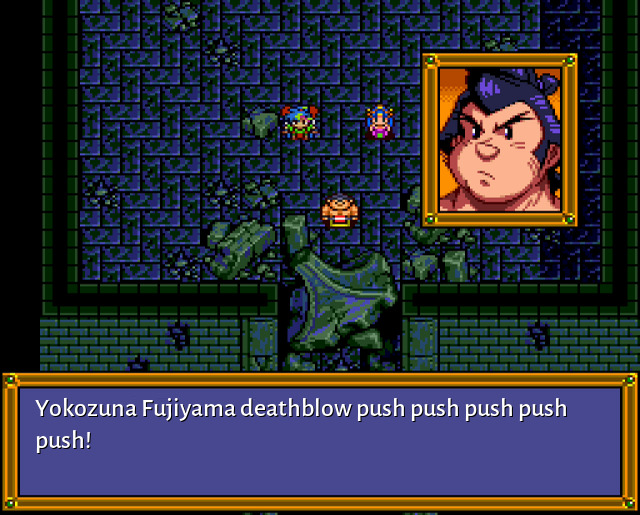   Well, all right. And as we escape, we can observe what happens to the Tower of London.  Nice! * * * After successfully defeating Garp, our story picks up a short time later as the celebratory meeting is in progress at the royal palace with Princess Reina presiding!  Talking to the Princess will push you straight into the ending cutscene, so you do want to talk to everyone else first before you do that. So, let's see.   Are you all right, Komamoto? You seem a bit...   Haha, I like this one. Looks like he wants to build the collection of London Museum the same way the real life British Museum collection was built! Then one of the guys gives us another letter from Orochimaru! Hope you didn't forget about those!  Congratulations, Kabuki! I already received the report from Okuni. But I never expected you'd be able to defeat the Daimon Cult. I really didn't think you could get this far. Well, I guess I should have expected it from a disciple of mine. I'm really proud! Anyway, I'm looking forward to when you and Okuni and the women return to Jipang. Sincerely yours, Orochimaru. P.S. On the way back home, keep your hands off the ladies!! Let us continue.  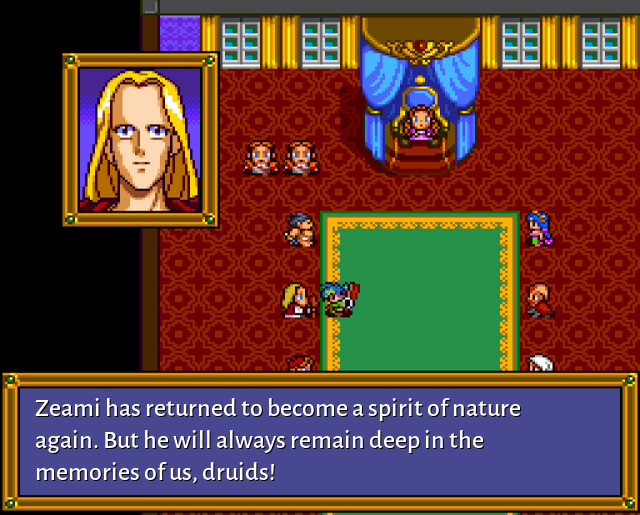 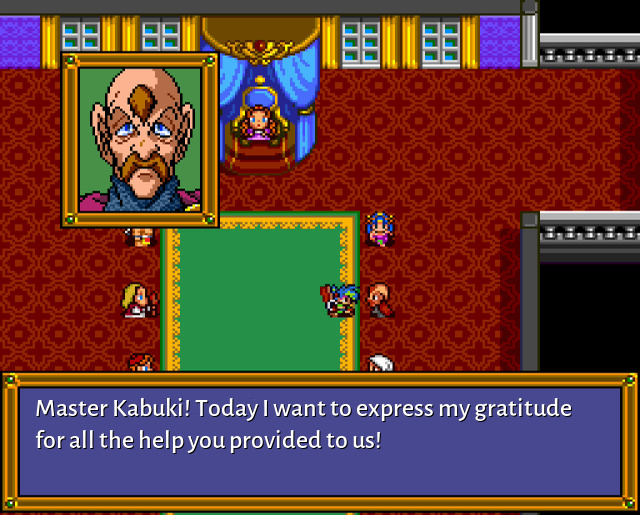 Finally, we get to talk to our two companions! 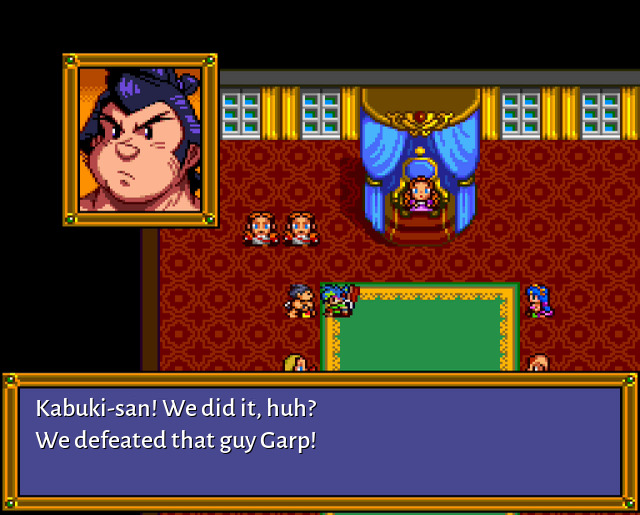 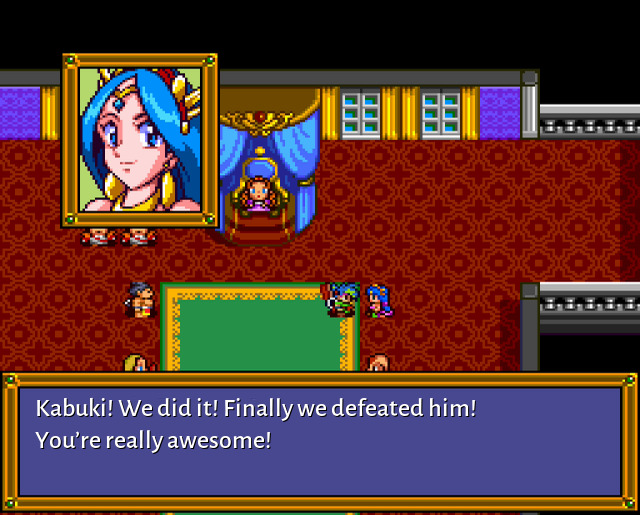 Finally we go and talk to the princess!   They head over to the balcony...  ...away from everyone else. The rest is presented to us in the ending cutscene (which includes also the credits). Don't stop watching when the credits start, though, as there is more after.     WAT.
|
|
#
?
Mar 13, 2024 23:33
|
|
|
Given we've gotten deep into the Key of Solomon with the enemy names now, are you sure Garp isn't supposed to be Gaap rather than Luffy's grandpa? (though this probably predates even the first chapter of One Piece) Also I was waiting for some kind of other shoe to drop on all those arbitrary sword transformations, but I guess it's just a thing that happens for some reason. Mister Olympus fucked around with this message at 01:08 on Mar 14, 2024 |
|
#
?
Mar 14, 2024 00:57
|
|

|
Man, this game. Crazy to the last.
|
|
#
?
Mar 14, 2024 02:48
|
|

|
Was I expecting Gaap to have a third form? No. Was I expecting the closing credits to do a high-pitched rewinding sound and rewind to the beginning? No, and it's loving hilarious.
|
|
#
?
Mar 14, 2024 03:13
|
|
|
Mister Olympus posted:Given we've gotten deep into the Key of Solomon with the enemy names now, are you sure Garp isn't supposed to be Gaap rather than Luffy's grandpa? (though this probably predates even the first chapter of One Piece) Oh, good, I wasn't the only one thinking of Vice Admiral Garp.
|
|
#
?
Mar 14, 2024 04:17
|
|
|
Ah there's that surprisingly gorey bit that's been missing from the game.
|
|
#
?
Mar 14, 2024 05:42
|
|
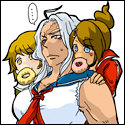
|
Mister Olympus posted:Given we've gotten deep into the Key of Solomon with the enemy names now, are you sure Garp isn't supposed to be Gaap rather than Luffy's grandpa? (though this probably predates even the first chapter of One Piece) And all that after I'd just been bragging about being relatively successful in deciphering the katakana names! Oh well. I think we'll just have to live with it as going back and fixing it everywhere is probably not something I have the energy to do now. Mister Olympus posted:Also I was waiting for some kind of other shoe to drop on all those arbitrary sword transformations, but I guess it's just a thing that happens for some reason. So anyway, next episode is going to be the final one for realses this time! It will be a bit shorter so there will be a couple of extra bits (there is a little bit of a hidden extra thing you can access in the game if you know how). Also let me do the thing that I always do and mention what is coming next LP-wise, since I guess I just can't help myself lol. So the two candidates are: 
I need professional help I think.
|
|
#
?
Mar 14, 2024 12:30
|
|
|
I do love Leiji Matsumoto's works, so I'm gonna be biased towards Yamato
|
|
#
?
Mar 14, 2024 14:54
|
|
|
I am Blaze Dragon, the goon Blaze Dragon! Honestly this is kind of fun, I can understand why Gaap needs to do this every time. A post-credits final boss was not something I expected but the credits literally rolling back was very funny. Also everything in Gaap's final form looks horrifying, the previous two forms were too tame.
|
|
#
?
Mar 14, 2024 15:46
|
|
|
Robindaybird posted:I do love Leiji Matsumoto's works, so I'm gonna be biased towards Yamato I think you'll be quite happy when I get to that, since there are a whole five games in the series! Two for PS1:   � Space Battleship Yamato: Faraway Planet Iscandar � Farewell Space Battleship Yamato: The Soldiers of Love And then there are 3 more for PS2:    � Space Battleship Yamato: Memories of Iscandar � Space Battleship Yamato: Counterattack of the Dark Nebula Empire � Space Battleship Yamato: Collapse of the Double Galaxies So, uh, there's going to be plenty there to do! (These are not the only games, there are a couple of others on platforms like Wonderswan and PC Engine.)
|
|
#
?
Mar 14, 2024 21:13
|
|
|
Honestly, both games look pretty neat, but now I'm just floored that there were 5 yamato games in that series. That said, I really do like the vibe of Black Matrix a bit more. I'll definitely be happy either way.
|
|
#
?
Mar 16, 2024 17:51
|
|
|
Hello everyone and welcome back to our final installment! Last time things seemed to go well, but then it turned out, not so well after all. However, since today's actual episode is a bit on the shorter side, let's have a look at a couple of extra things first! First of all, in the "ending" cutscene last time, there was a shot of Kabuki's Kita-za theatre in Kyoto, with a bunch of banners hanging from it. I mean this one:  I didn't really have space in the video subtitles and also didn't really want to spoil the crazy ending, so didn't have the opportunity to tell you what they mean. So, here it is, reading them of course from right to left, as you would in Japan (or even Jipang!): Kabuki Danjuurou's Triumphant Return Performance "A Tumultuous Story of Kabuki" A Romance of London Now that we've cleared that up, there's a whole other extra thing in this game. It's a bit weird to access it, because you need to press one of the controller buttons during the ending cutscene (and I mean here the real ending, not the fake one), and then start your game again and load a save in the final area, and then you need to go to a specific spot, where you'll now be able to fall through the floor and access a new area in the game. It's a bit convoluted so I'm not really sure how you'd find it on your own, but there it is.  If you do all that, you fall into this area here, called "Beckoning Cat's House". There is here indeed what appears to be a cat, so let's see what's up.   Inside, more cats! 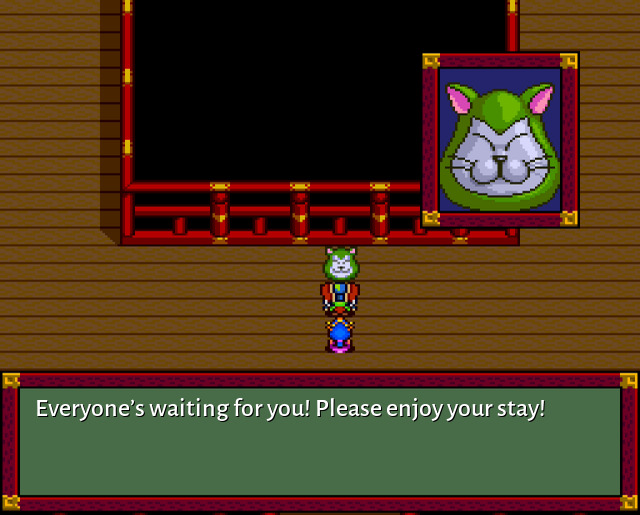 So, what we have here is a bunch of hallways like this. Let's have a look where they lead.   This is the first one from the left.  It leads to a staircase up. Actually they all do lead to a staircase like this one. It's just what's on the other end that's different. 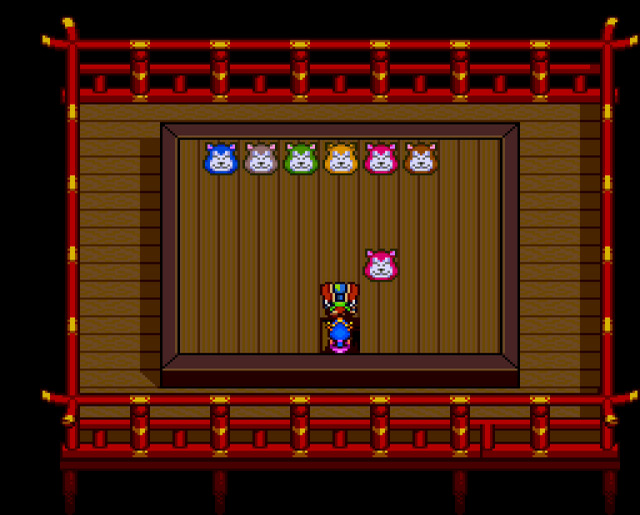 Oh, my. Let's see what this is. 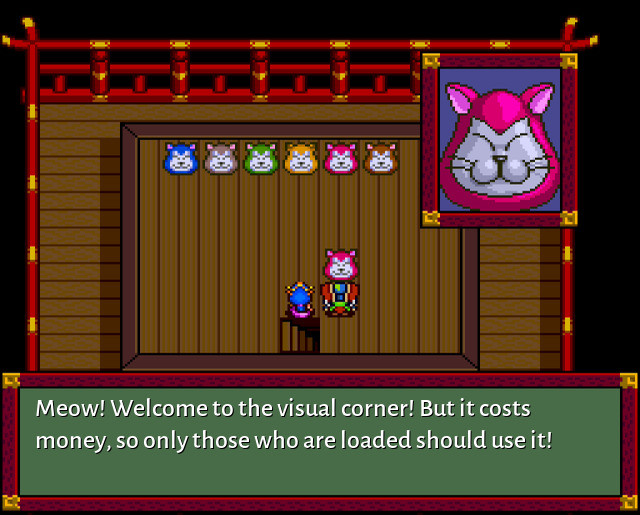 A visual corner, you say, huh? But actually still some of it is actually free. Let's try from the left again! 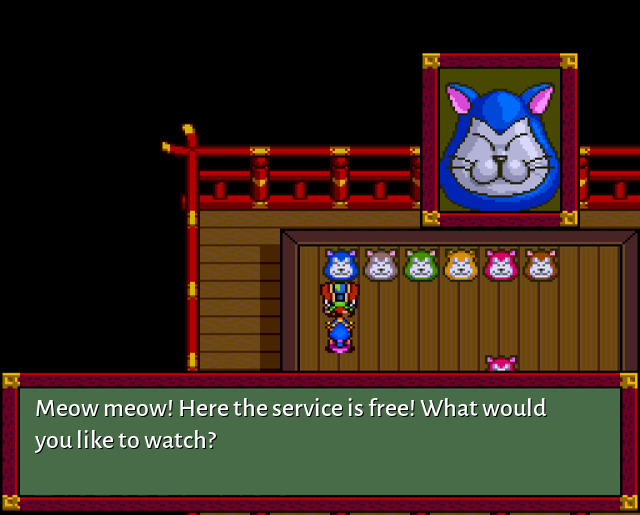  And then we get a list of a few cutscene videos to choose from (for example "Prologue", "Kabuki's kabuki", "Princess Reina's Decision" and so on. Each cat in a row has a few of them, and as you move towards the right, the prices go steeply up, so the rightmost cat charges 100,000 per view and has the final few cutscenes from the game. The money that you have just carries over from however much you had in the save you loaded. So it's not really an actual restriction, because you can keep reloading the game to get your money back and them come here again. Interestingly the "fake" ending from last time is referred to here as "Dummy Ending". Funny. 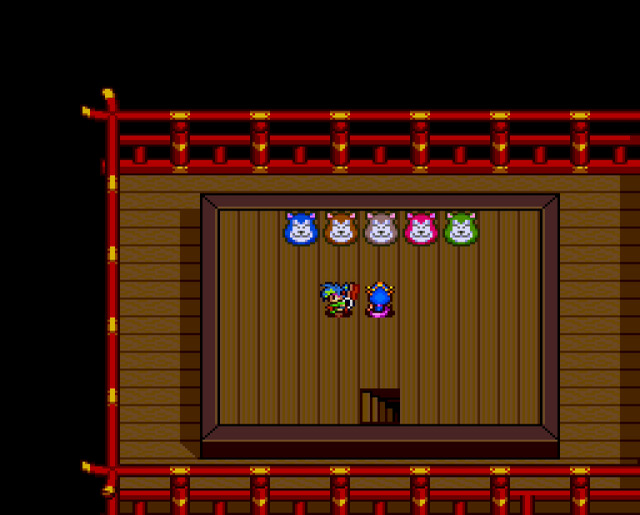 The second room contains various audio clips (voiced dialogues and such) from the game, but...  ...the selection is not presented in the most, uh, user friendly format. Still, they're there if you want them. 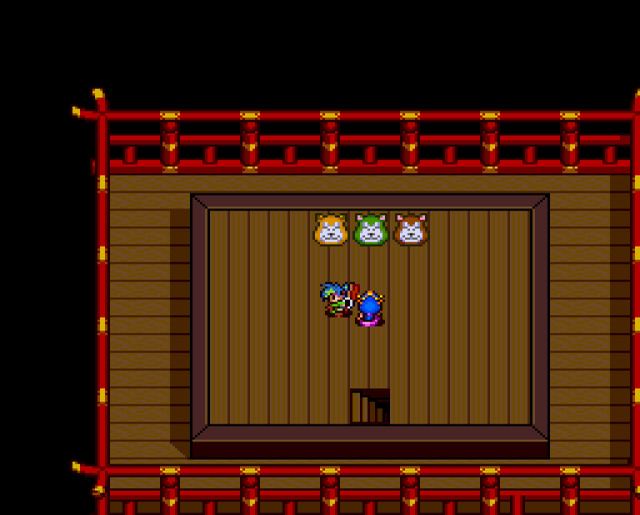 The third room has the first part of game music. Here you can play the themes which are recorded as CD audio tracks (so these are the "high quality" ones, whcih includes also all the songs that the game bosses sing). Unfortunately, but not surprisingly, the vocal songs are the short versions, as heard in the game. 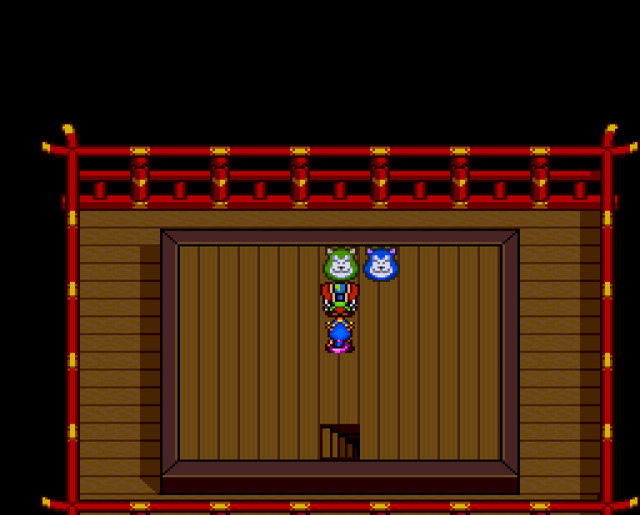 The next room is just the repeat of Kyoto's gambling house. So nothing really much to see here. The second cat here of course has to with racing betting!  The betting screen is the same as always, but...   ...this time it's not horses or unicorns racing, but instead... cats! Yes, they actually went to the trouble of implementing this whole thing even though most players will never see it!  Anyway, next room! This is again a music room, but it lets you play those parts of music which are synthesized as chiptunes. Obviously there was not enough space on the CD for all music to be in high quality CD audio, so the majority of music had to be done like this instead. 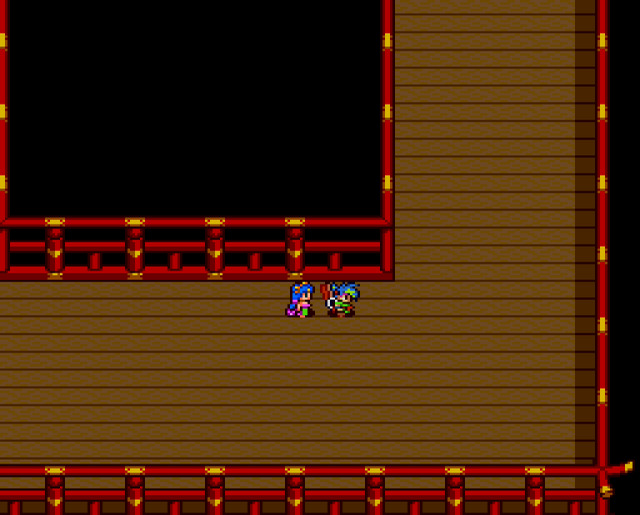 After this, we've reached the other end of the hallway, so there's just one room left. Let's see what's in it! 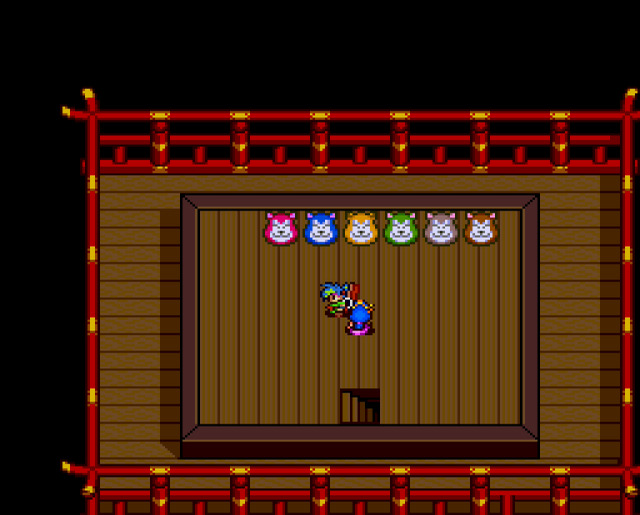 This one is actually probably the most interesting one, because it contains no less than a full bestiary for this game. And again, yes, they actually hid this in a place most people will not find (or at least weren't going to back in 1993). Each of the cats has the bestiary info for one of the game's areas (Kyoto, The City, West End, etc.). For example: 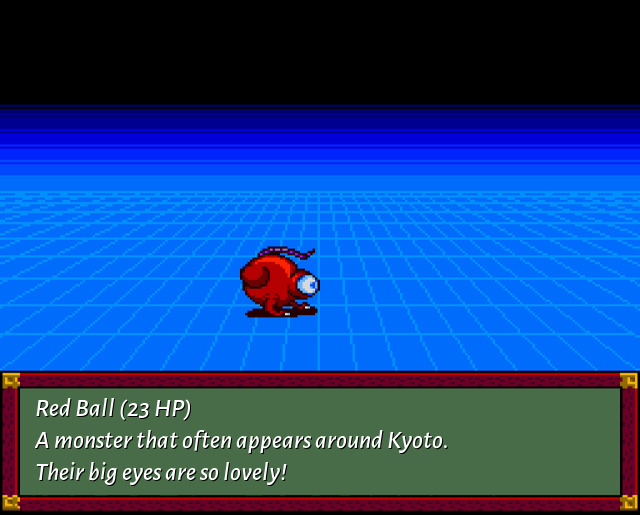 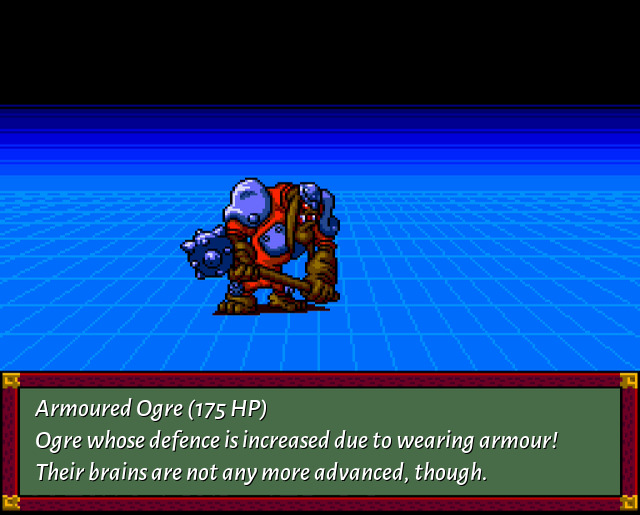 As you can see, they are accompanied by some humorous commentary, but also this is the only place in the game where you can see the actual HP values of various monsters! Or this one: 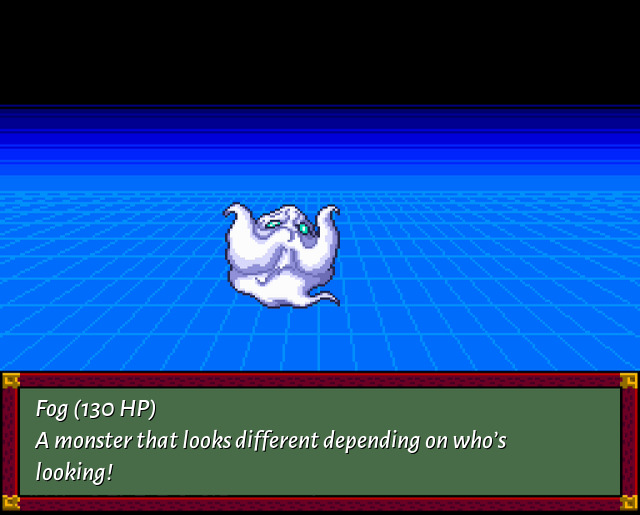 If this doesn't make any sense to you, it's because... 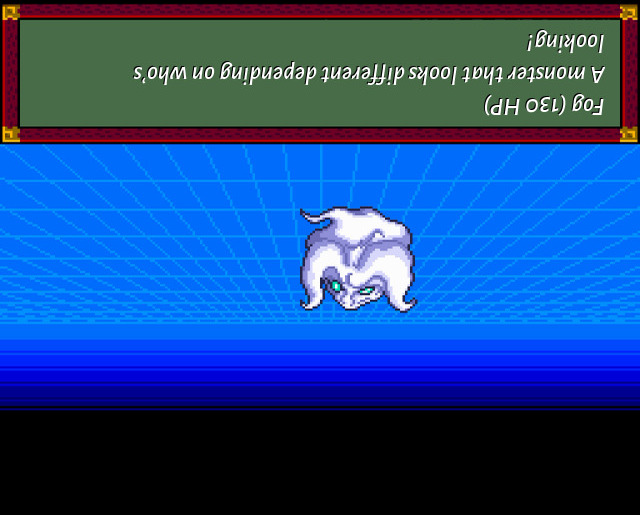 ...it looks like a person's face when you look at it upside down! All right, so that's about it as far as what you can see here. So basically all the audio visual parts plust the bestiary. So, in a desperate attempt to pad this episode to a reasonable length, there's just one more fun thing I wanted to show you. It's not strictly part of this game, but it involves the characters from these first three games, so I thought it would be nice to see anyway. Anyway, back in 1994, a console named PC-FX was released in Japan. It was meant to be PC Engine's successor (PC Engine was discontinued at around the same time), but it kind of failed. Although it lasted for four years, until 1998, only around 400,000 consoles were actually sold. However, it somehow, somehow, has ONE Tengai Makyou game on it. With this, I'm prepared to say that there literally is not a console in existence from PC Engine up to XBOX 360 which doesn't have at least one Tengai Makyou game on it (be it an original one or a port/remake). But anyway, back to the game, it's a fighting game where depending on your button presses on the controller, characters execute actions via pre-rendered hand drawn animations. So it's that kind of game, nothing special really. The name of the game is a bit convoluted, something like "Tengai Makyou: Cyber Trick Fighting Legends", but the reason I'm mentioning it here is because its opening features a very cool video introducing a whole bunch of characters (heroes and villains) from the first three Tengai Makyou games (TM: Ziria, TM: Manjimaru and TM: Kabuki). The animation is nice so I thought it was worth seeing it to revisit the characters one more time before the end. So here it is:  By the way, those two "cat" characters seen in the video are not in any other game, they were added specifically just for this one. Well, all right then. I think that's about enough delaying, so let's get back to our story now!  So, last time when we left off, Kabuki and Okuni had returned back to Jipang after successfully defeating Demon King Garp, but then it turned out that the defeat was not quite 100% successful as it seems Garp had entered the body of our friend from Kyoto, Komamoto and travelled with us on a ship back to Jipang. And so, just as they were trying to celebrate, Kabuki and Okuni are thrust into a new battle with an even more monstruous version of Garp!  So you might think, well, ok, guess there's a third phase to this fight. And sure, there is, but there's also a problem! Having just travelled from London back to Jipang, like the last time, we have lost all our equipment, items and spells! So the only thing available to us is a simple bare-fisted attack! But that's not going to take us very far here, now, is it? 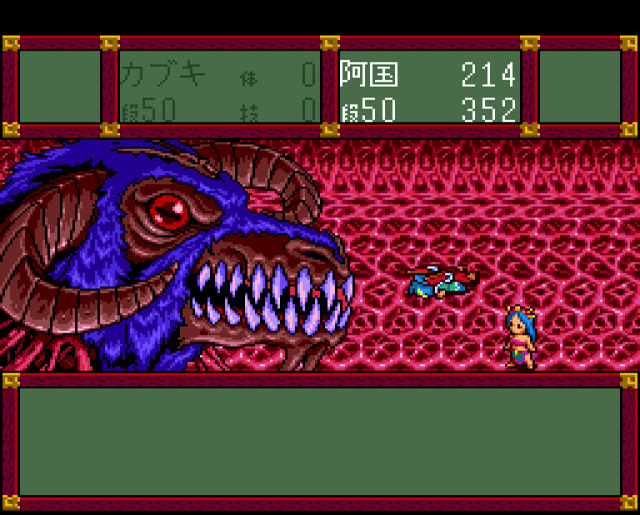 Indeed not. But that doesn't stop Garp from still gloating. 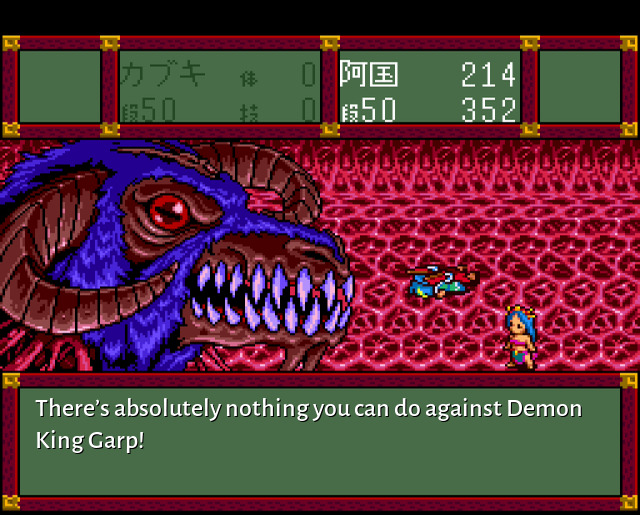  But instead of being dead... 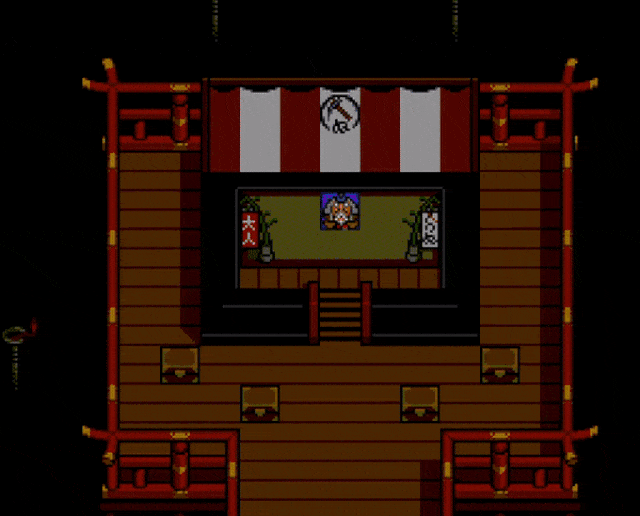 ...we fall down into a place called "Naraku" (奈落). This is a pretty cool word in Japanese since it can mean any of the following things: "hell", "worst possible situation", and somehow, of all things "the under the stage area of a theatre"! So as you can see, you can pick whichever meaning you want, and it fits. Also as a reminder, at the very beginning of the game, you may recall that Kabuki was praying to the got of "below stage", the protector of actors. 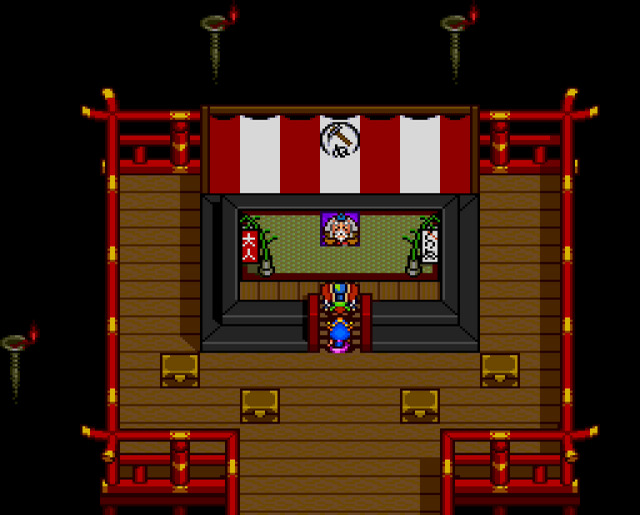 But there is someone here! Let's see what happens when we talk to them!  And then... 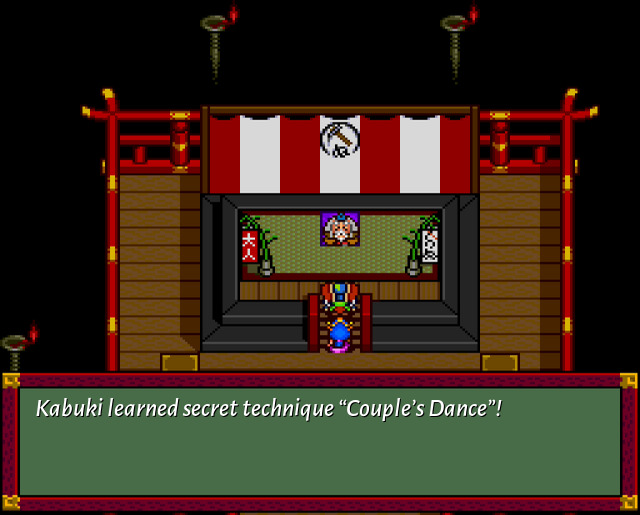 All righty then. Before we continue let's check out those four chests around here as he suggested we do. They should have some equipment and spells for us in them! The first one on the left: Kabuki found the outfit for below stage: Kabuki found Ultra Sword King Lion! Kabuki found the Armour of Loyalty and Courage! Kabuki found the Shoes of the Underworld! Kabuki found the Sky Rending Helmet! Actually we got here some pretty powerful equipment! These are all stronger than what we had in London, plus they have super good abilities when used as items in battle! The sword when used as item attacks all enemies at once; the armour when used as item, recovers around 50-60 MP (hey, there we go!), the helmet casts a lightning spell (hence the name!). The second chest: Kabuki found the 24 spell scrolls! These are of course now again Jipangese spells, and some powerful ones too. But they're all repeats from the last game, so there is nothing new here. The third chest gives you a multi-use item which also recovers around 50 MP. And finally, the last chest, as you might expect, has Okuni's new equipment. Okuni found the outfit for below stage: Okuni found Crimson Ninja Sword! Okuni found Morality Play Robe! Okuni found Chrysanthemum Shoes! Okuni found Butterfly Helmet! Out of these, the shoes can be used as an item in battle and the result is a multi-hit attack (2-5 hits randomly). So. I think we have some pretty reasonable resources to work with here, if you ask me. Before we go, let's talk just quickly again to this dude. 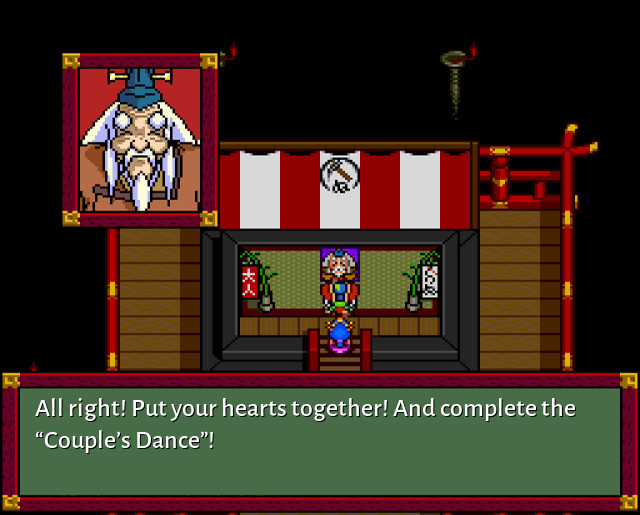 Can't say that I have. Who is that? Well, I guess we'll be on a lookout for her. Incidentally, Ame-no-Uzume is a Shinto goddess of mirth and revelry and the story is that she once used an enticing dance to draw out the (other) goddess Amaterasu out of her hiding place! You may have already come across this name in Persona/Shin Megami Tensei games, as she is a regular in those. Here is an artistic depiction though: 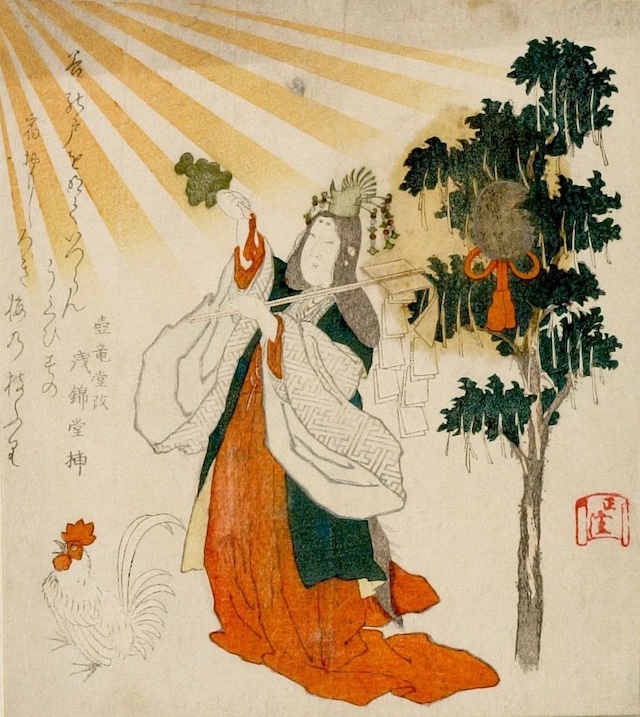 Just so we can recognise her if we ever come across her, basically. 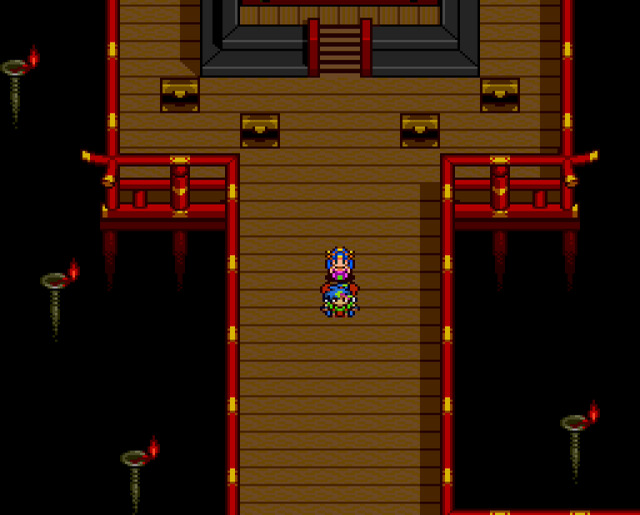 Anyway, with this, we can be on our way. It wasn't mentioned directly, but I suppose our goal is to find Garp and defeat him, now that we are slightly better equipped! 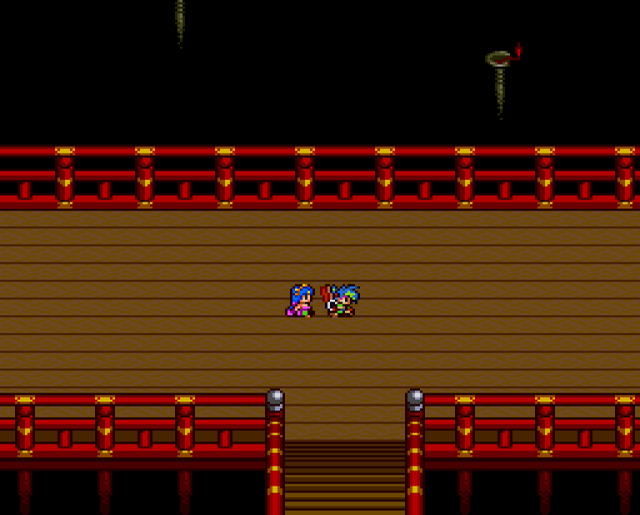 The actual progress is down that way, but we'll continue to the right side for the moment. 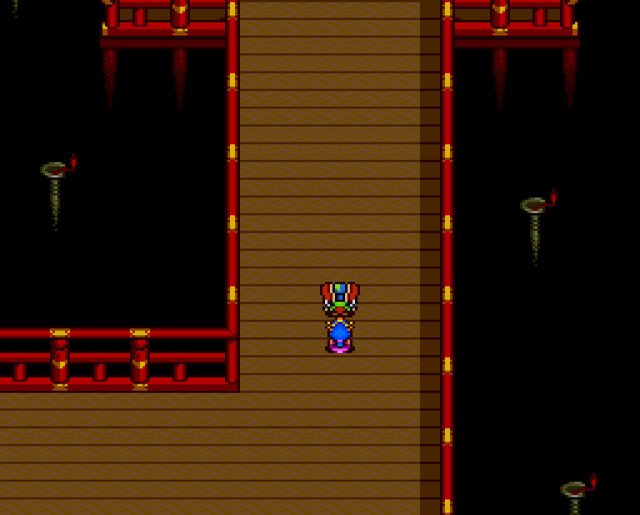 Because, over here... 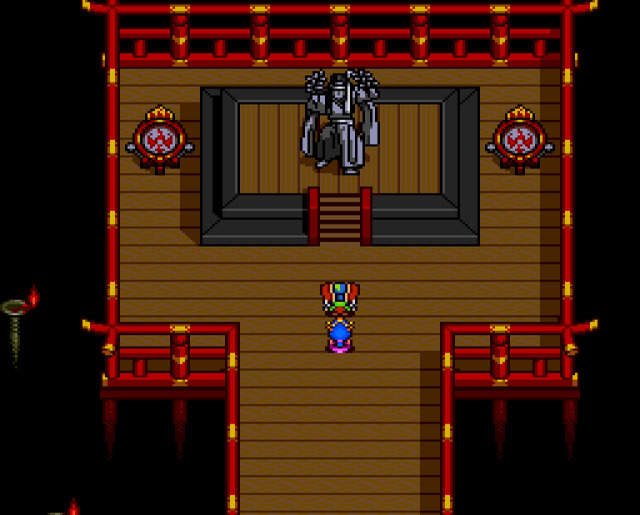 ...is none other than Ame-no-Uzume! But I have to disappoint you, because it's simply a save/health recovery point and nothing really else. However, if you want to access the video/audio gallery and bestiary, then you need to save your game here, because this is where you want to be able to reload from later on. I'm also going to take a moment here to rearrange our spells to whoever they are best suited for. After that...  ...we return back here and can start going towards the goal. 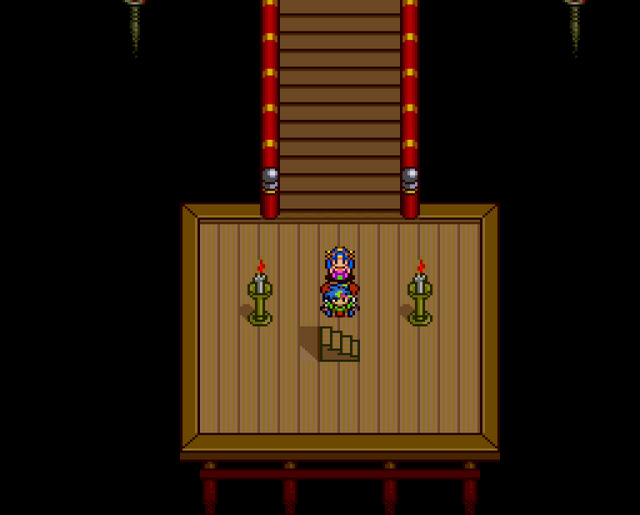 But it just goes upstairs. How far down have we actually fallen then?  All right, from now on, there will be random encounters to be had here. Thanks to Kabuki's sword which hits all enemies at once, mostly it won't be a problem, but there are a couple of problematic ones still. Also, although short, this area features some pretty imaginative enemy designs!  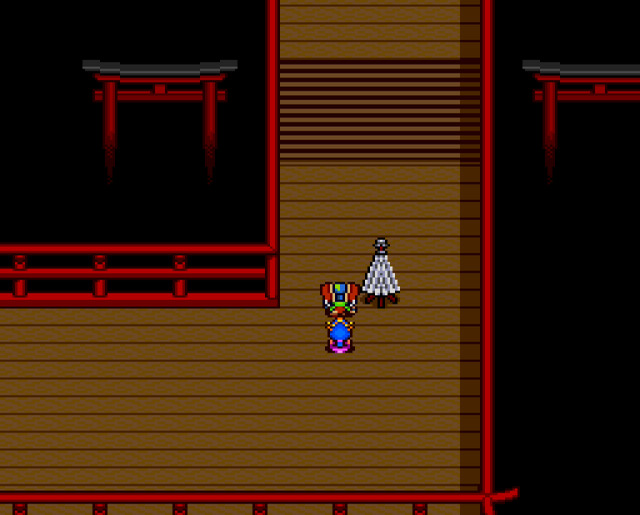 That's just decoration there. Nothing you can interact with. 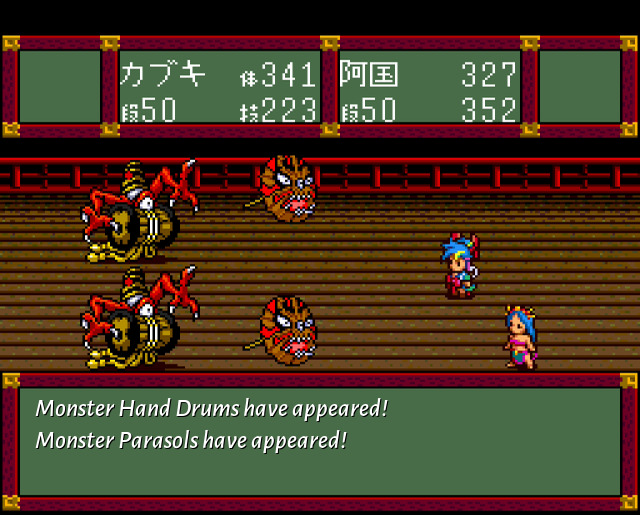 So when I said that the sword hits all enemies, I meant actually all, not just one group of same type! That helps a lot to speed up battles such as these. On the other hand Okuni will be using mostly "Military Fire" spell which hits one group of enemies with a very powerful fire attack (MP is not an issue since we have a free way to replenish it, so...). 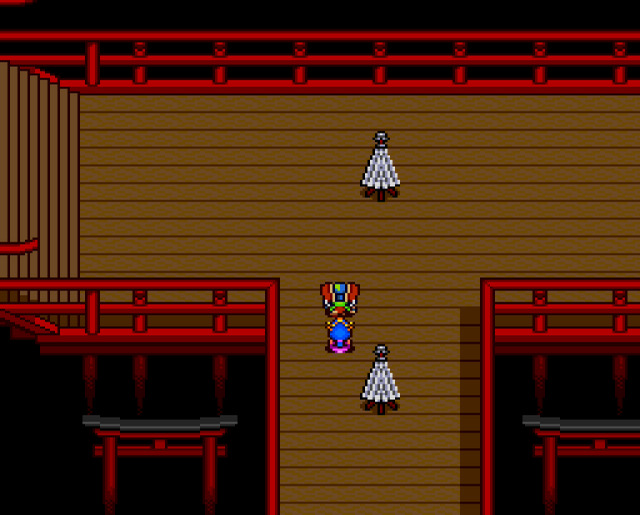 Another little intersection. But before we can make a choice... 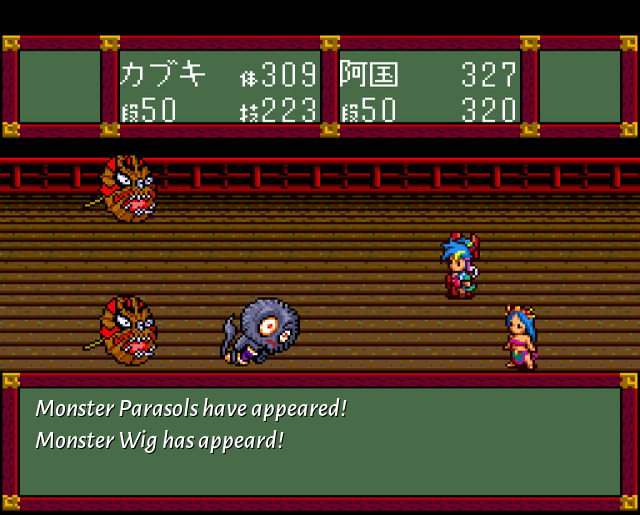 Oh, I see what's happening here. It's the monster versions of all the various theatre props/equipment that are attacking us here! That's pretty clever actually. 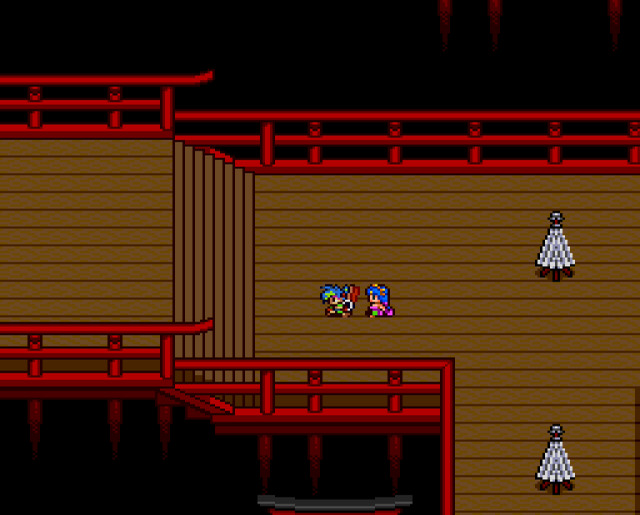 Anyway, we'll head left. 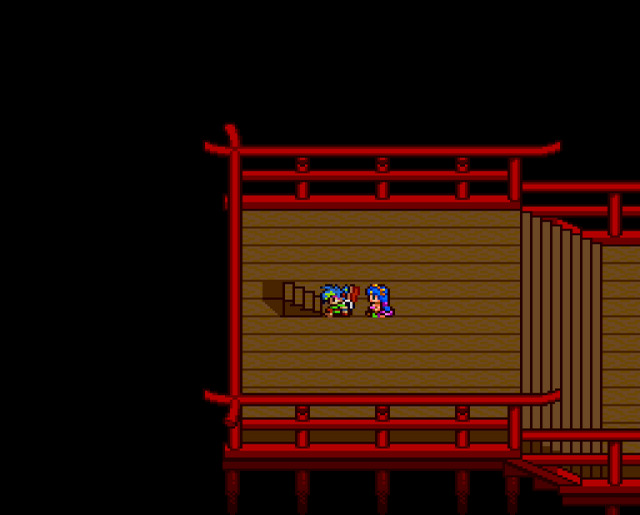 And then again upstairs. 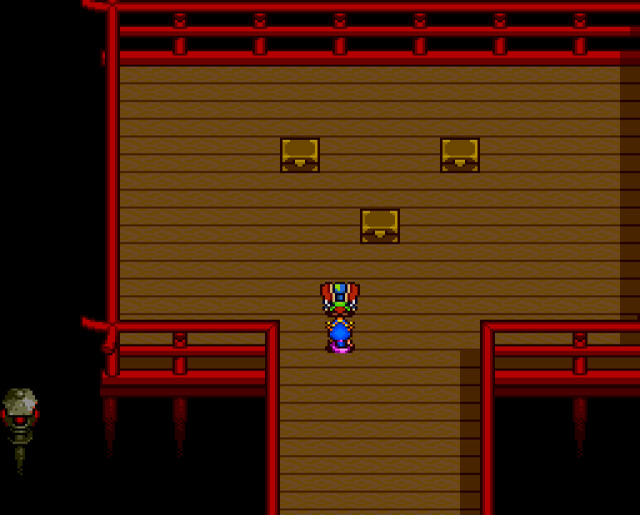 This takes us to this little nook with three chests. They all have various high level consumables, to help you out in an upcoming boss fight. Also, getting back again to that hidden area we visited earlier. If you press the button at the end of the game, and then reload your save in this part of the game, then you can come here and in the top right corner fall through the floor to access the secret area. But the floor will only give out if you previously pressed the button at the end and reloaded your game here. So again: how in the world is anybody supposed to figure that out? But all right. This is a dead end, so we pick up the items and return back to the last intersection. 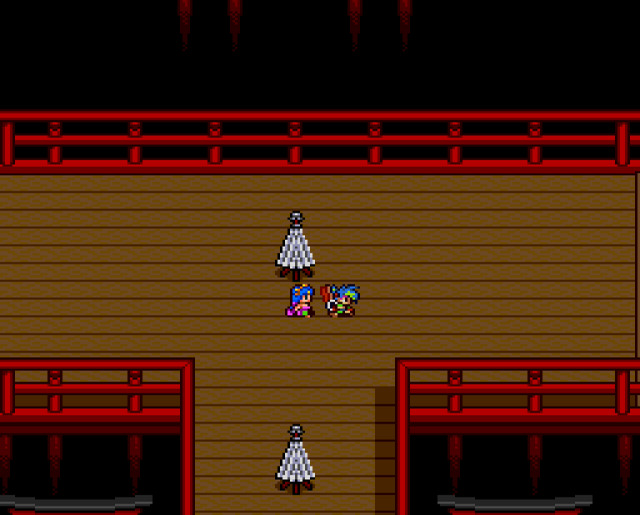 From here, we head, of course, to the right now. 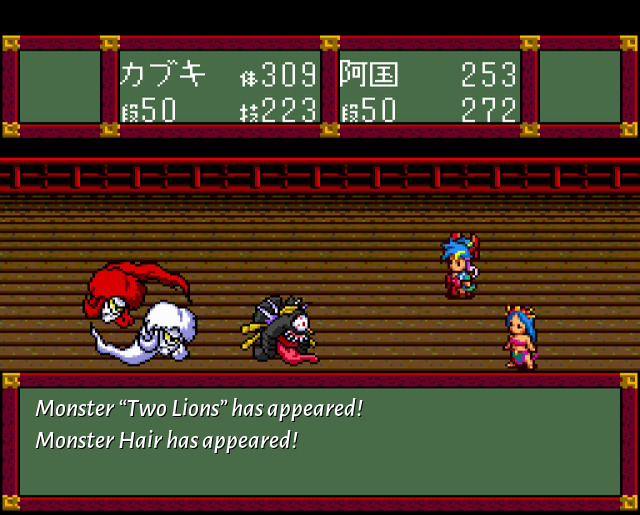 This is incredible. I am absolutely sure that this "Two Lions" enemy confuses you, so here goes: "Two Lions" (連獅子) is actually a well known kabuki play by one Kawatake Moukami, first performed in 1872! So now even the plays themselves are attacking us! It's just... Also, here is a photograph of one of the lion characters in a 1944 performance of said play in Tokyo: 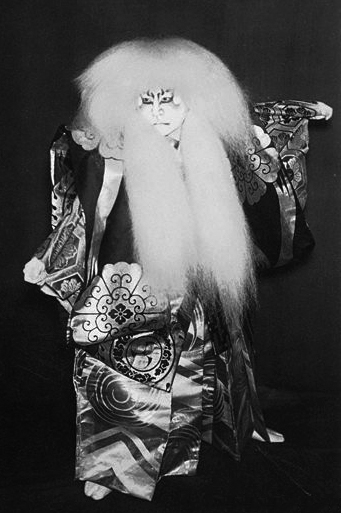 I am posting this picture for no other reason except that it looks cool!  Anyway, we have a job to do, so let's keep moving!  Upstairs again, huh? Somehow I would have expected us to be going deeper and deeper, but no. 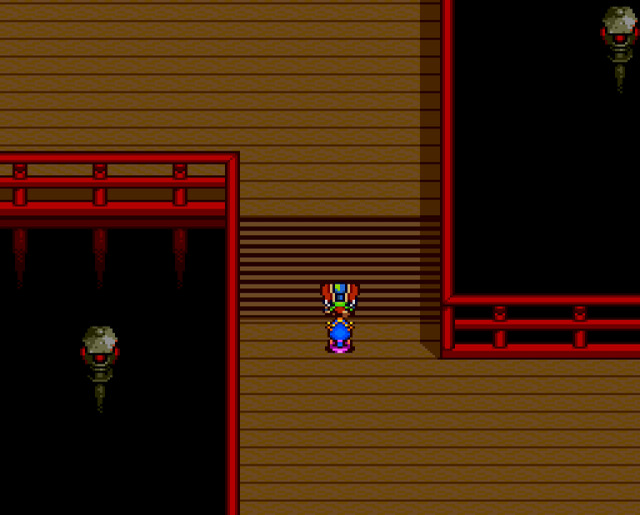 This part is mostly linear. 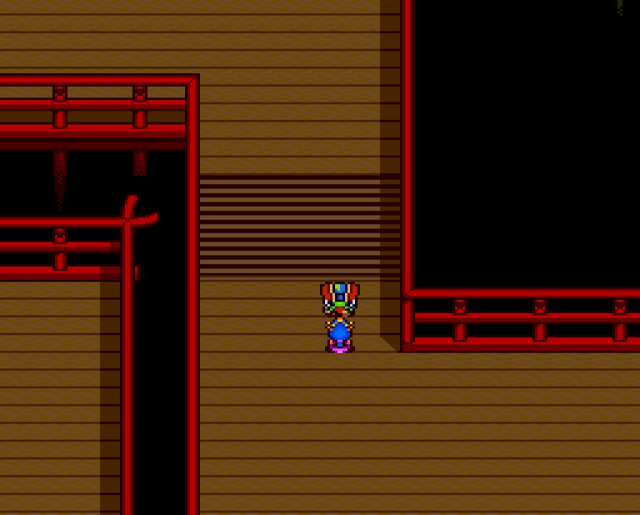 Huh. We can see the adjacent bits from here. 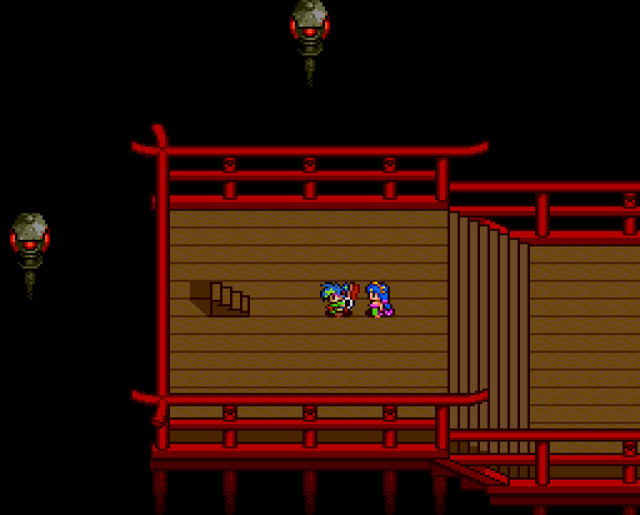 And you guessed it, we keep going up still. 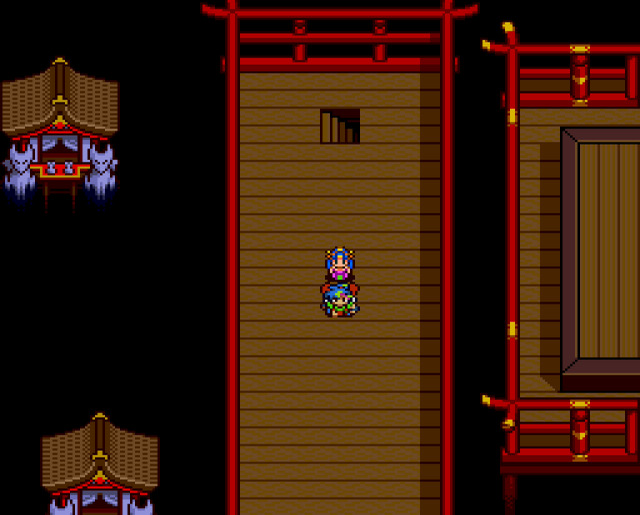 Huh, what's that on the right? Also, those ghostly fox shrines? 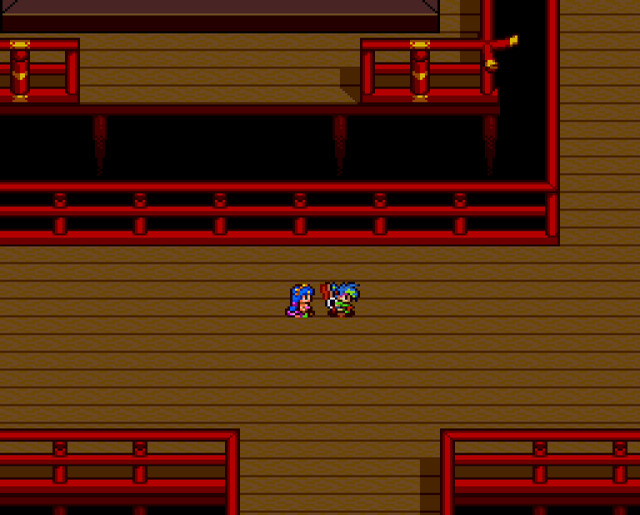 An intersection again? 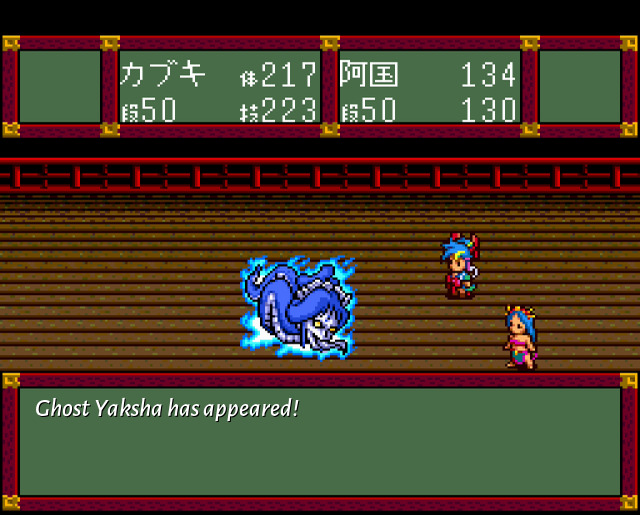 Enemies here start changing into stronger ones. "Yaksha" is a Buddhist demonic guardian deity. They can cast a fairly strong fire spell on us, so best to be careful. Anyway, we'll continue to the right for now. 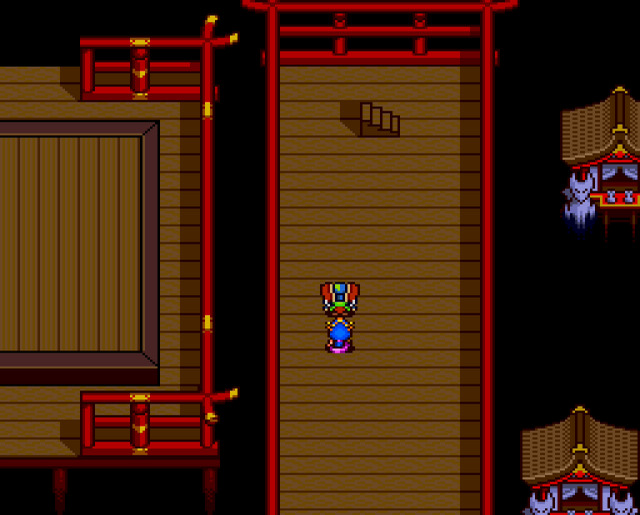 And then go upstairs again. 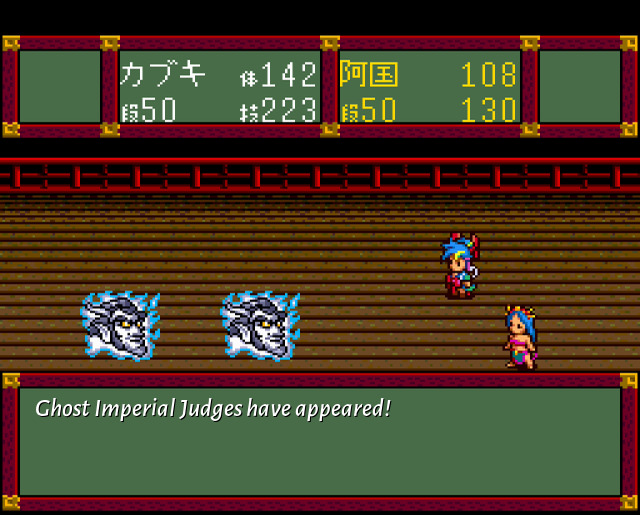 It's getting a bit weird here. For the curious, the exact name for this enemy is "danjo" (弾正). 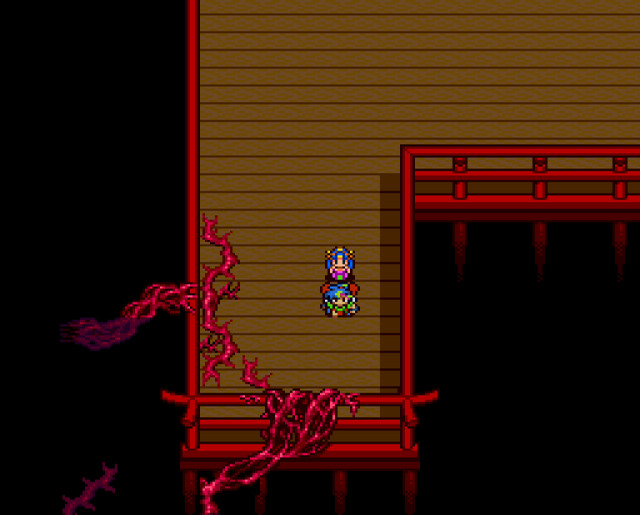 But as it turns out, upstairs was a fakeout and just a dead end. So we need to go back to the intersection and take the other route! 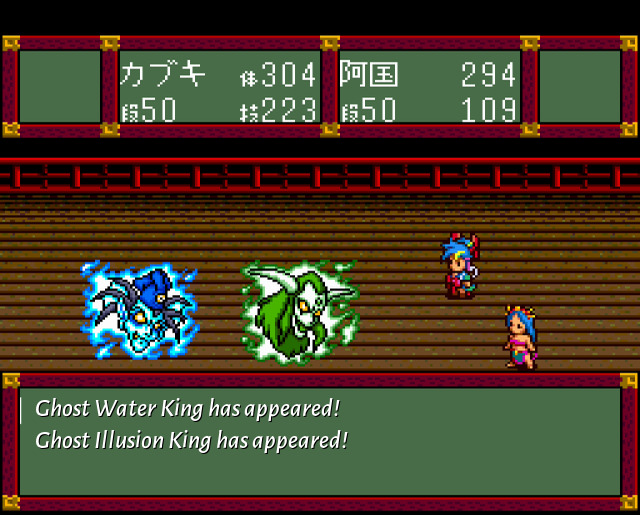 I... yeah. But they look cool. 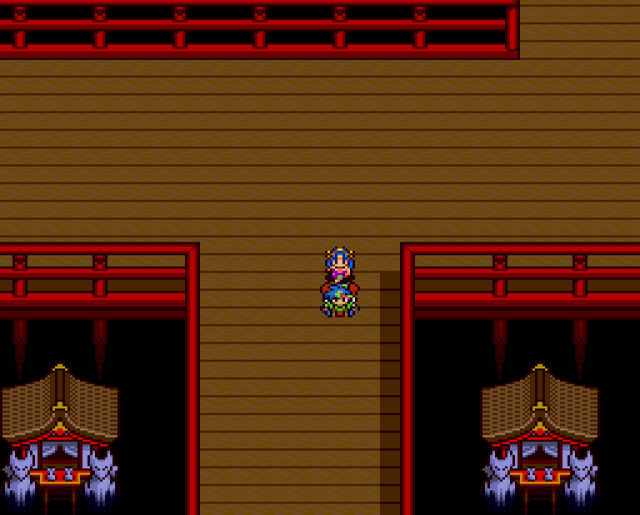 Let's head this way then. 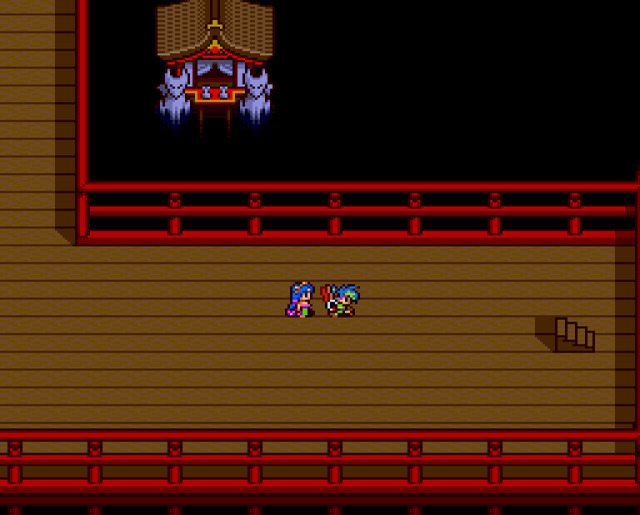 And then up again. 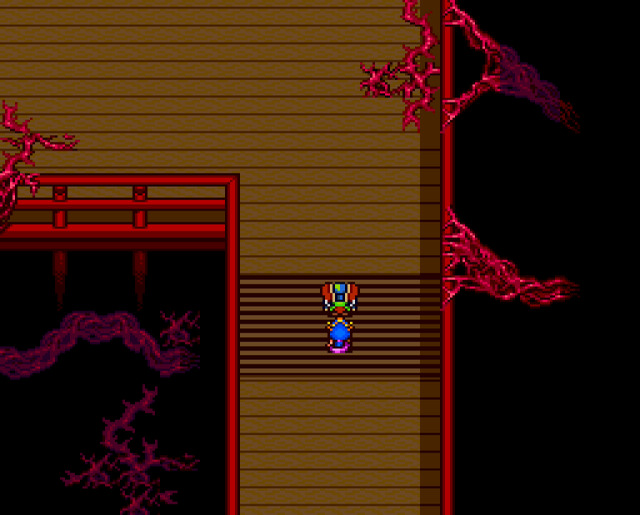 It's not looking great here. We can now see some of those "tentacles" hat Garp has spread out. Must be getting close. 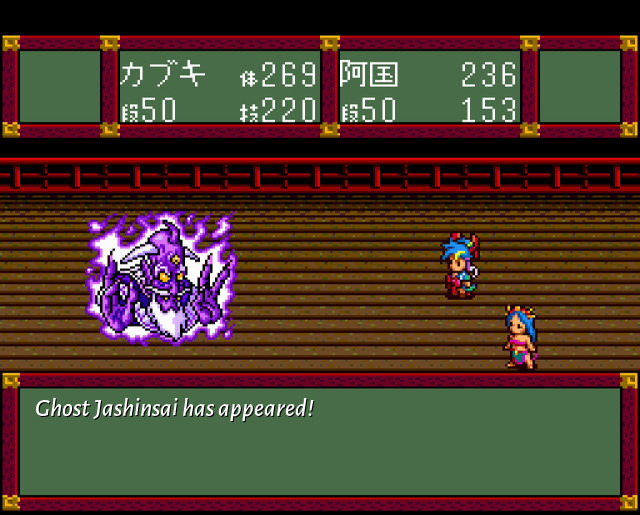 Oh my god, this guy. I hate this guy. Soooo much HP, basically boss level HP. Casts all kinds of fire spells and what not. Takes ages to defeat and it isn't even worth it for exp or anything since we're already at level 50 which is pretty much maximum anyway. Just run if you can, honestly not worth bothering with this guy. Incidentally, all these "ghost" enemies are "ghost" versions of enemies from the first game (I mean "Tengai Makyou: Ziria" here) and this guy was one of the 13 Daimon Cult disciples back in that game. So a major boss. Here he is what he used to look like: 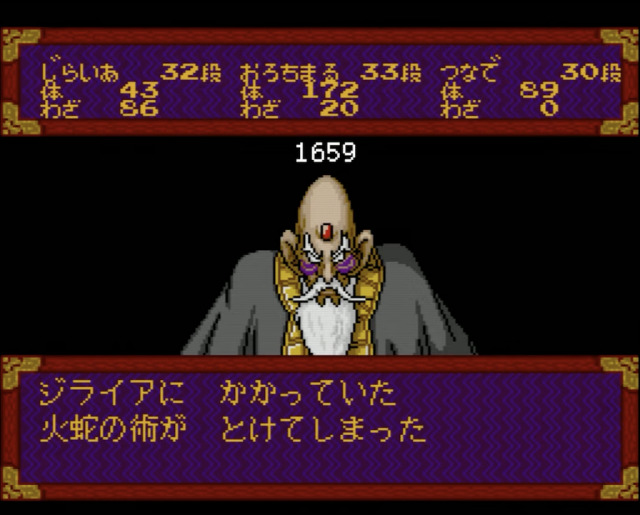 And also his demonic form: 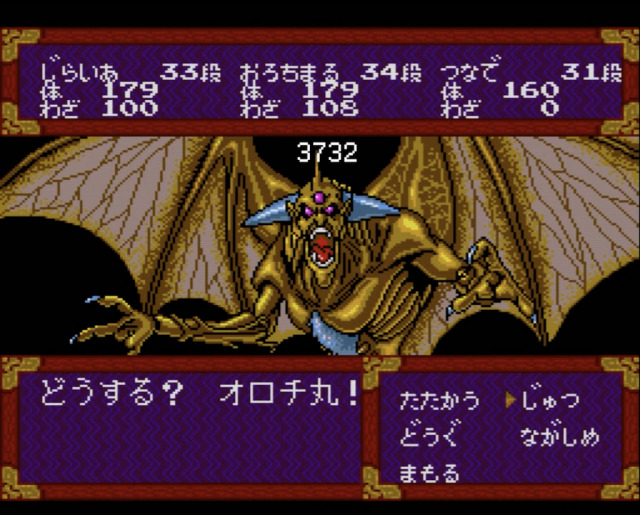 And then this: 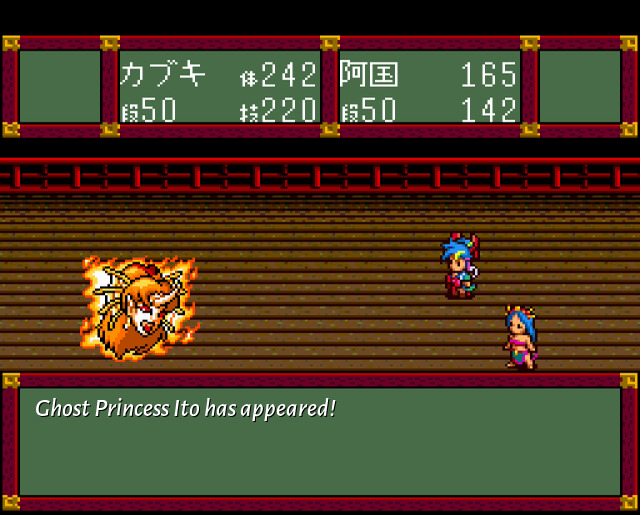 Also a former boss from the Ziria game! Here's her original version: 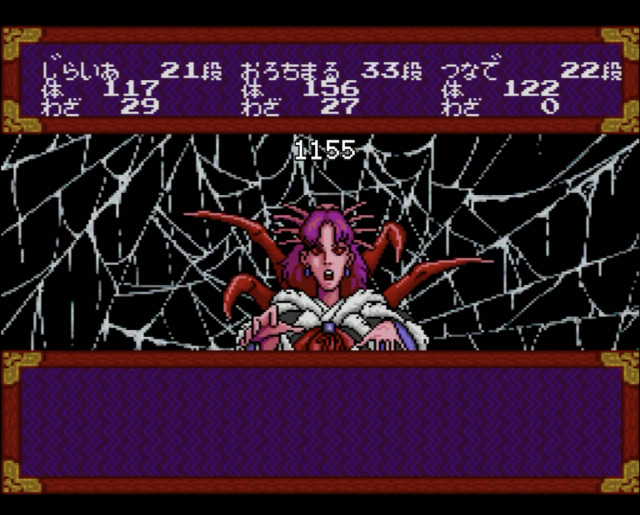 It seems in our game she lost her spidery-ness. But in case you're wondering about that, her name, Ito (糸) means "thread", so there's that. 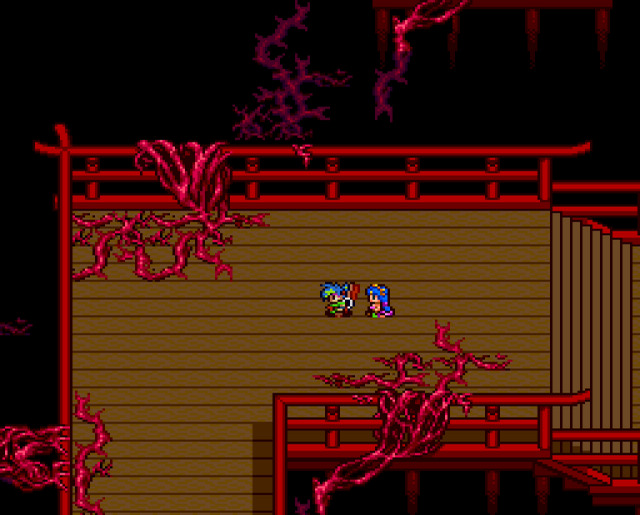 We're definitely getting closer.  But not before one more staircase! Well I guess it makes sense, since Garp appeared in the theatre auditorium. And speaking of which... 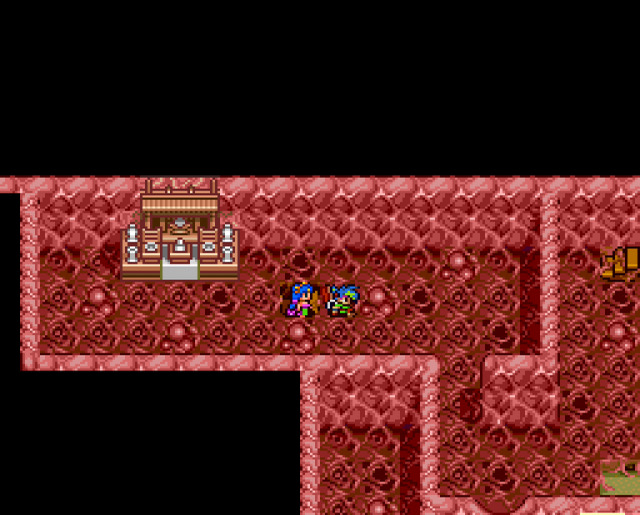 ...the theatre itself doesn't look so hot. In case you don't recognise it, this is the corner where Kabuki prayed to the God of Below Stage at the very beginning of the game! So we have certaily come full circle! 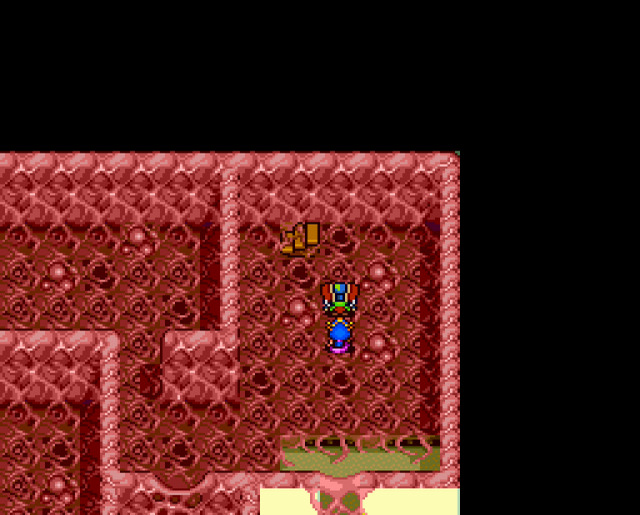 Going up one last time, to reach the auditorium finally. 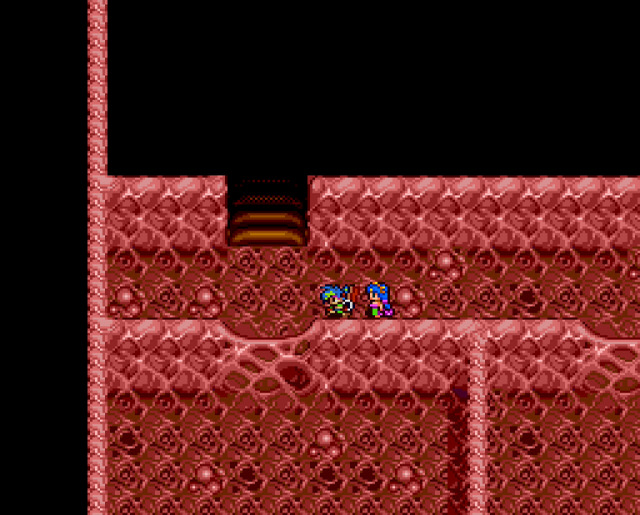 Ah, there it is. 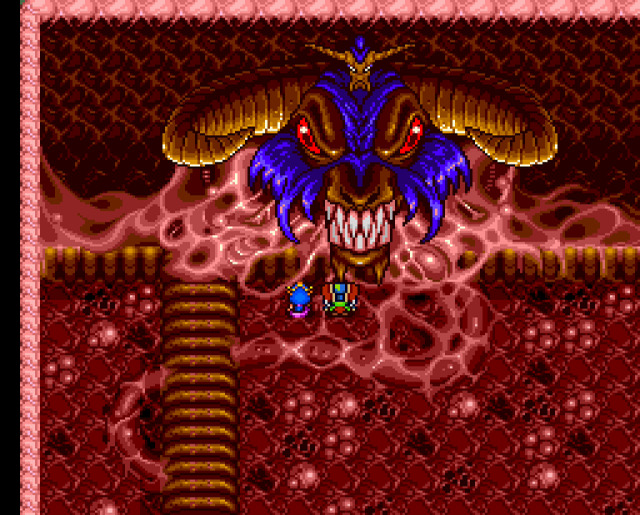 Hello sir. Would you care for a rematch? 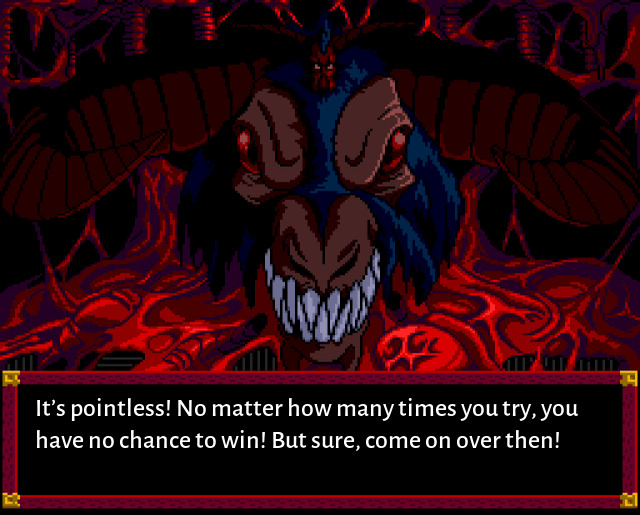 I don't know about useless, but we have to try. 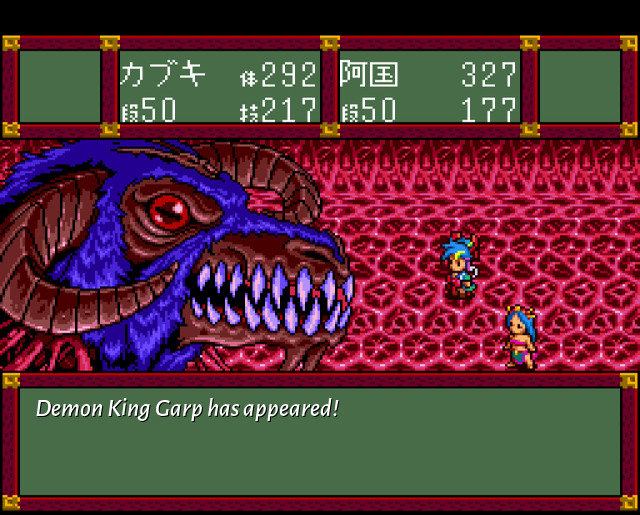 Boss: Demon King Garp (3) HP: 3500 Finally, finally, let's get this done! As you can see there's at least one good news to start with: it has only half the HP of the previous phase! On the bad side, his attacks mostly hit everybody. 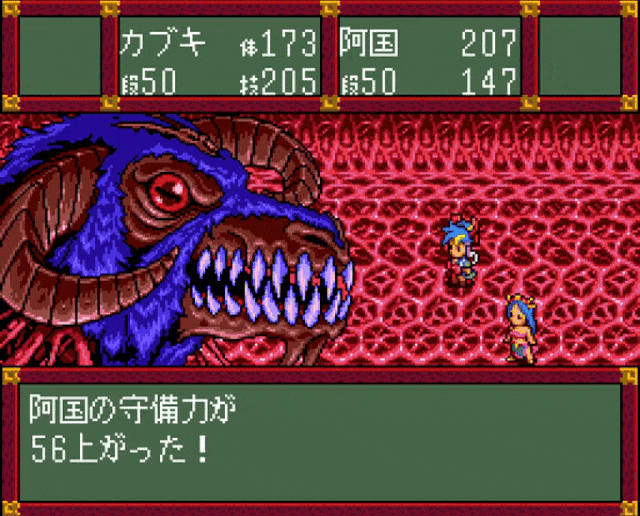 I guess this is the "normal" attack which uses a tentacle to hit everyone for around 70 HP. So this one is definitely not an issue.  Then we have a stronger version, which hits everyone for around 120 HP. 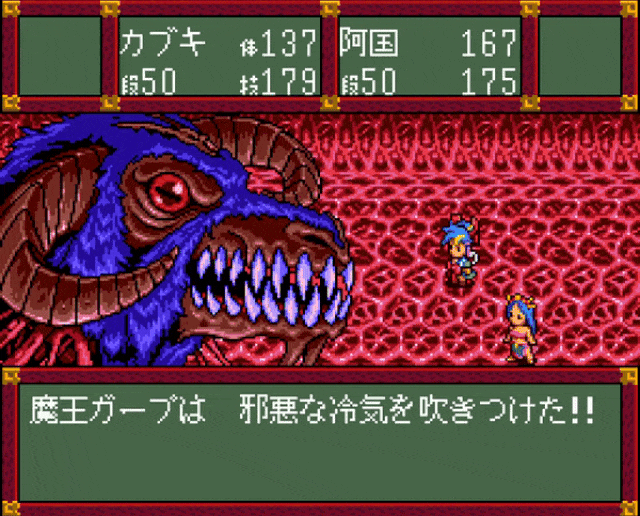 This one is a bit more problematic with around 100 HP damage to one person (which is not a problem), but also has a good chance to put that character into frozen status, which is not ideal. He does also have a "deep breath" move, which removes any status effects from himself. As for what we do about it, well, it turns out he's weak to fire. One of the spells we got from the God of Below Stage was in fact "divine fire", one of the old spells from the last game. Giving this to Okuni will do around 200 HP damage each time, so that seems like the way to go. Healing duties will be shared between her and Kabuki, and he'll also be responsible to making sure her MP is kept replenished. Other than that, he is also somewhat susceptible to freeze, so... 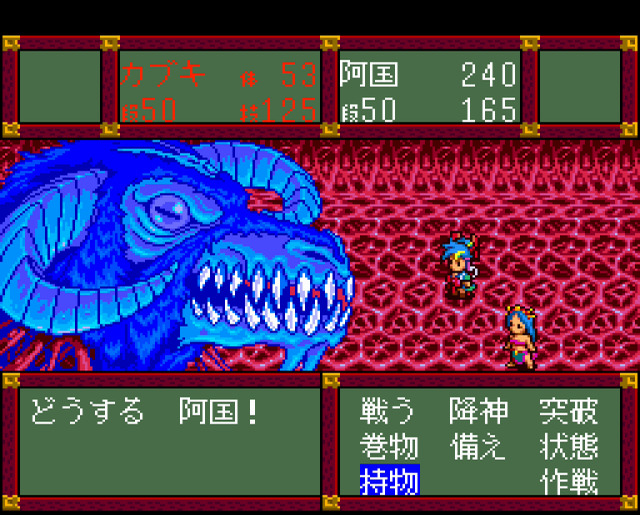 ...you can also try that. It doesn't usually last too long, but if the freeze lands, it should give you probably about two free turns to go to town on him. Mostly that's it. And, so, eventually...  ...as usual, we get to this point! Choosing the option from the menu, there's first a bit of dialogue! And then even the God of Below Stage somehow manages to get himself heard here! And go they definitely do, but for that we slide directly into the final ending cutscene followed by the credits! I would actually recomment you to not skip the credits part, as it contains in the background some images which are not in the actual game and appear to be potentially unused parts of cutscenes that were never finished (or maybe cut from the game). In any case they show a few more small details from game's events which were not shown so far! WARNING: First minute of this video contains rapid white flashing! This game seems quite bad with this.   And, well, that's about it for this game! I love love love that even at the end, the game goes for one final troll with, "uh, did any of this actually happen, or was it all just a theatre show?" In fact, this would perfectly explain for example why musical numbers exist in it among other things! Or even why there is a cast photo at end of the credits and all that! Something to ponder, for sure! Well, I guess we'll never know, but this marks the end of the third and final "mainline" Tengai Makyou game on the PC Engine platform, and the subsequent mainline games will now move on to platforms like SNES, Sega Saturn, GBA and PS2. Of course, there are also many side games and not to mention various ports and remakes. So there's plenty to choose from. But if you want to play in English, then your choices are the following: � Tengai Makyou: Ziria (PC Engine, 1989) � Tengai Makyou Zero (SNES, 1995) � Tengai Makyou: Oriental Blue (GBA, 2004) For these three games, the fan translations exist, but others still remain Japanese-only. At the time when Ziria remake was published on Xbox 360 (what a weird choice of platform), there was some talk about bringing them over to the west, but I guess it never really materialised in the end. As you've probably seen through this LP, they're kind of a nightmare to localise because they go deep into Japanese mythology/folklore. Also a final word of warning: for the PC Engine games, DO NOT play the remakes. The Manjimaru remake on PS2 and GameCube suffers from muddy low budget graphics and completely nerfed difficulty, whereas Ziria remake on Xbox 360 apparently makes some weird changes to the game in general which are not viewed in a favourable light. Anyway, as I said, this is about it for this LP, it was fun for me to do it, and hopefully also for you too to follow, and thank you for reading this far. As you can see the Kabuki game is really more like what today would be a substantial DLC expansion (I'm thinking along the lines of Frozen Wilds for Horizon: Zero Dawn, or something like that), but it's definitely a fun experience, especially with a much more flashy presentation compared to its predecessor. Presentation is overall fantastic with improved graphics and I have to give a special shoutout to the absolutely banging muscal score from the veteran game/anime music composer Kouhei Tanaka. Of course, Tanaka, and lots of other people from this game, including the creator/director Hiroi Ouji, will soon be moving on to making the massively successful Sakura Wars series still at their same company home of Red Entertainment. Overall I think this game fares pretty well in the end, with a particularly fun cast of characters, which is enhanced even more because this time they're actually alowed to talk to each other and discuss what they're doing over the course of the game. I think Kabuki works just fine as the lead character and definitely didn't have any issues with that. As for what works less well, I guess we can say that the game is a little bit too easy. The random battles and boss encounters, while they have a variety of designs, don't really require any kind of variety of strategies, and especially with the bosses it's pretty easy to just brute force most of them, since the game gives you several somewhat broken tools and abilities. I mean sure you don't have to use them, but... Anyway, I don't want to rag on this game too much since it's overall a very fun experience. As for me, I will be moving to other games for now, but at some point in the future, I would definitely like to do an LP of Tengai Makyou: The Fourth Apocalypse for Sega Saturn--that's the one Tengai Makyou game set in America and it's... quite something. All right, anyway, I hope to see you soon in a new thread of mine (I will mention it here, as always), but in the meantime, take care! 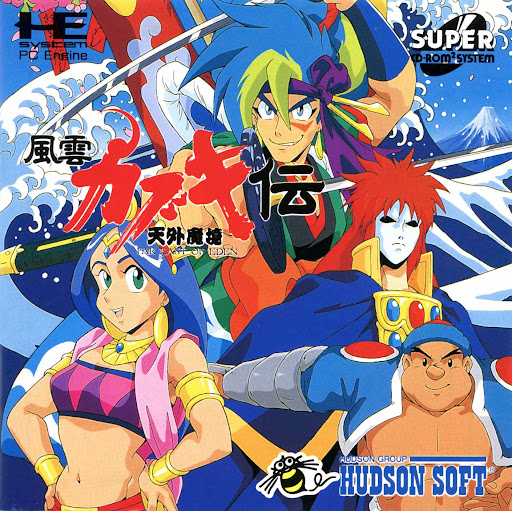 ivantod fucked around with this message at 21:08 on Mar 16, 2024 |
|
#
?
Mar 16, 2024 21:05
|
|
|
Geizt posted:Honestly, both games look pretty neat, but now I'm just floored that there were 5 yamato games in that series. Not only that, but also when the first PS2 game was published, it orginally included a sleeve to hold all three DVD cases in the future when the other 2 games were published, plus an extra bonus DVD! They really went all out on this one:
|
|
#
?
Mar 17, 2024 18:26
|
|
|
lol what a cool game!! very fun they pull one last twist on you too kabuki was inexplicably charming as well, bold to have a total fuckboy as the main character in the gaiden game 
|
|
#
?
Mar 26, 2024 07:47
|
|
|
yeah, it's really easy to make someone like Kabuki extremely obnoxious, but while he's definitely a scoundrel, he still has many good qualities about him.
|
|
#
?
Mar 26, 2024 18:01
|
|
|
Preparations for the next game are underway and it's coming in a few days to a friendly neighbourhood thread near you! "Please look forward to it!"
|
|
#
?
Mar 28, 2024 21:48
|
|
|
That kind of style always gives me a big rush of nostalgia, even if I don't know the game itself like this one.
|
|
#
?
Mar 29, 2024 00:59
|
|
|

|
| # ? Apr 28, 2024 21:54 |
|
|
Hey, come over and check out the new thread I made: https://forums.somethingawful.com/showthread.php?threadid=4057909!
|
|
#
?
Apr 4, 2024 20:48
|
|