


|
Bodyguard the guy in Aurefont Kill the bugs in the Altours orchard Climb Mt. Scurve
|
 #
?
Nov 27, 2023 04:17
#
?
Nov 27, 2023 04:17
|
|


|

|
| # ? Apr 27, 2024 08:24 |
|
|
Monica kinda looks like Monica from Romancing SaGa 3.
|
|
#
?
Nov 27, 2023 17:30
|
|


|
MonsieurChoc posted:Monica kinda looks like Monica from Romancing SaGa 3. Probably not a coincidence.
|
|
#
?
Nov 27, 2023 19:26
|
|


|
Seraphic Neoman posted:Feather Seconding this
|
|
#
?
Nov 28, 2023 01:11
|
|

|
Voting is now closed. I see we're starting to get more divergence in votes as the quests thin out. Should make the LP a little more unpredictable.
|
|
#
?
Dec 1, 2023 06:07
|
|
|
Woo. Played this game myself (though with heavy reference to a guide because SaGa games do be like that), and I'm always hyped to see someone else's take on a game I love.5-Headed Snake God posted:Doing this without Theodore and Raphael sours the mood, as we kind of made fools of them. Since it's already done and dusted... It should be noted that this is a quest that kicking out a couple of people for the length of *one* quest isn't a bad idea, as doing the quest without the two knights actually makes the gold reward much worse. While it can be done like how it is in the LP, the resource scarcity in the game kind of punishes you for this decision even if you do still get paid.
|
|
#
?
Dec 2, 2023 06:43
|
|
|
Magic Fanatic posted:Woo. Played this game myself (though with heavy reference to a guide because SaGa games do be like that), and I'm always hyped to see someone else's take on a game I love. I was not aware of that! SaGa, y'all!
|
|
#
?
Dec 2, 2023 13:23
|
|
|
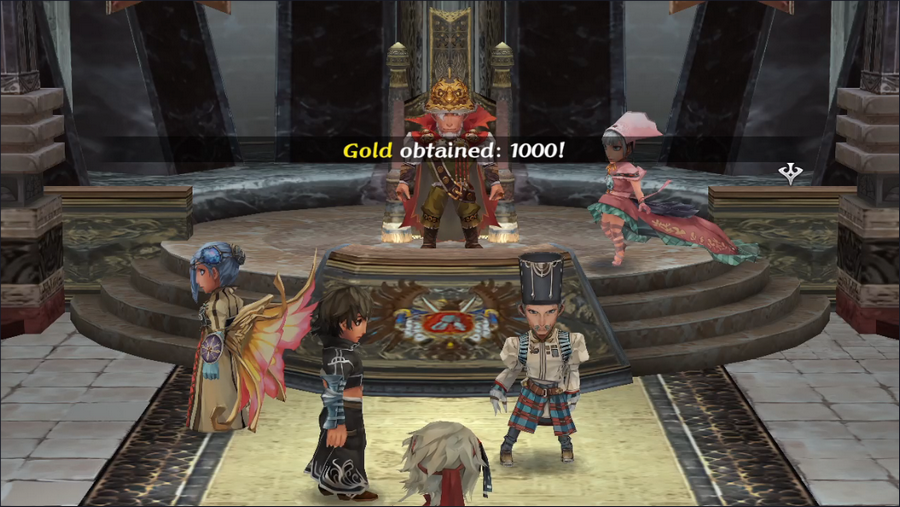
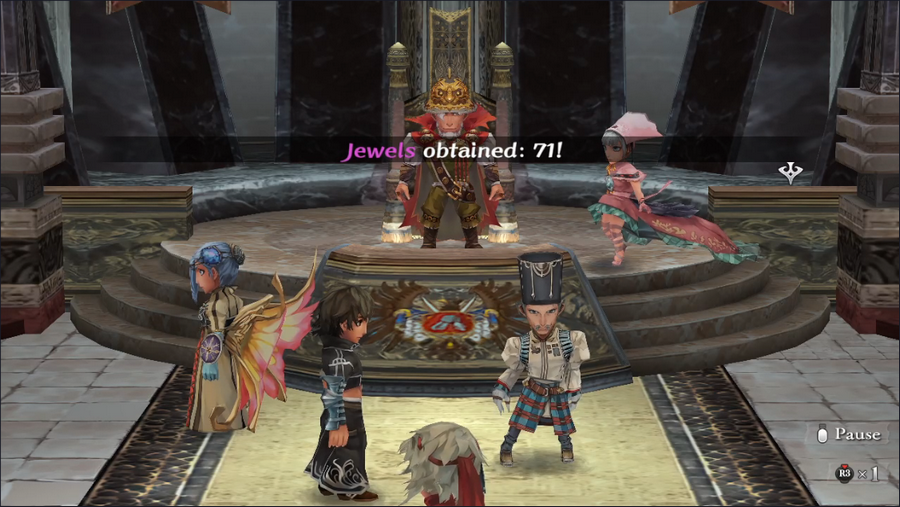
Welcome back, everyone. The votes for today's session were much more split than they have been, which left me with a variety of options. I figure we may as well take care of something that's been on our to-do list for a while now: getting the ancient scroll from Hawke.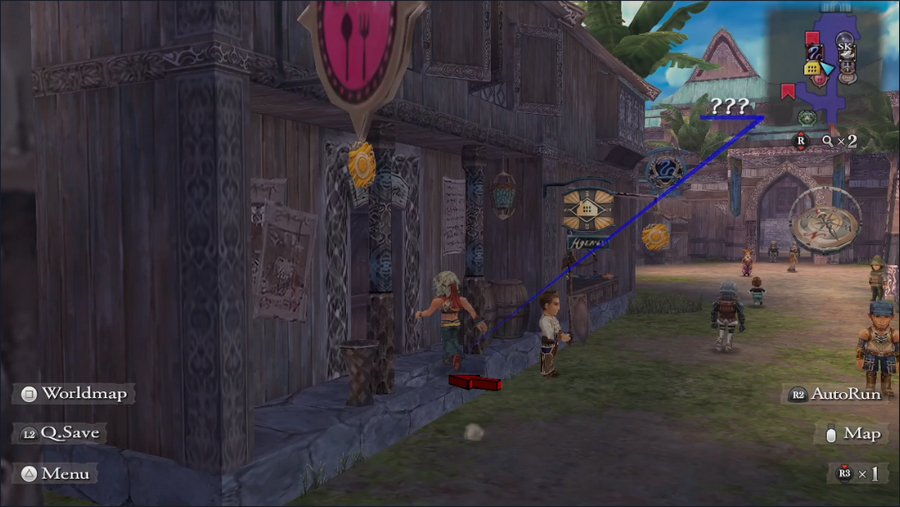 Before we do though, we need to stop by a pub. 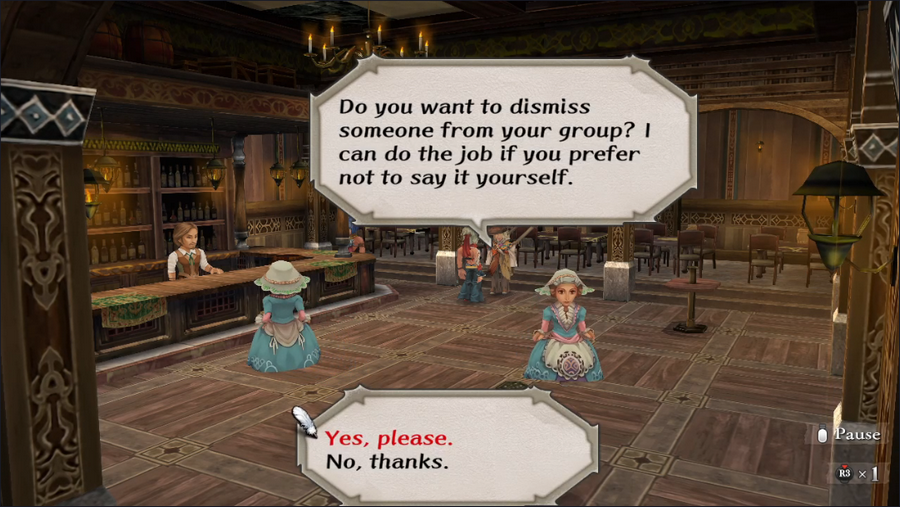 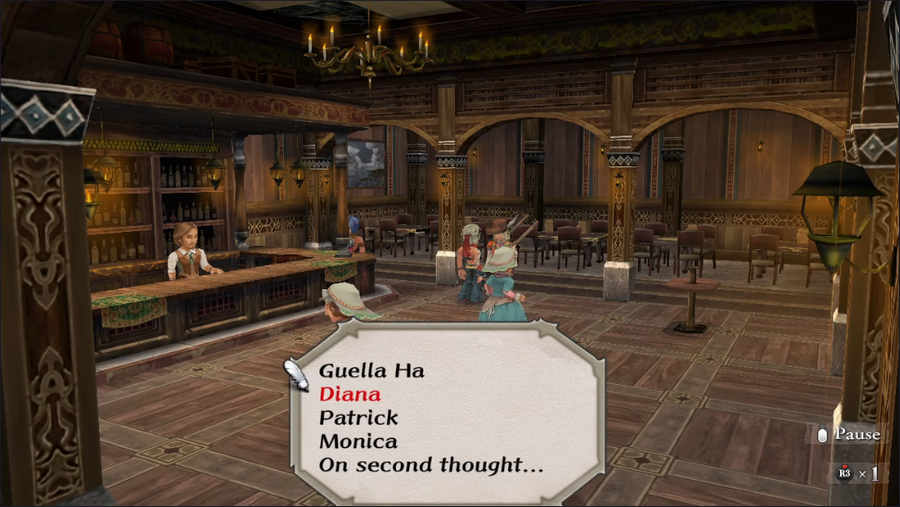  We need a free space in our party and Diana's easy to get back, so we'll give her the boot. 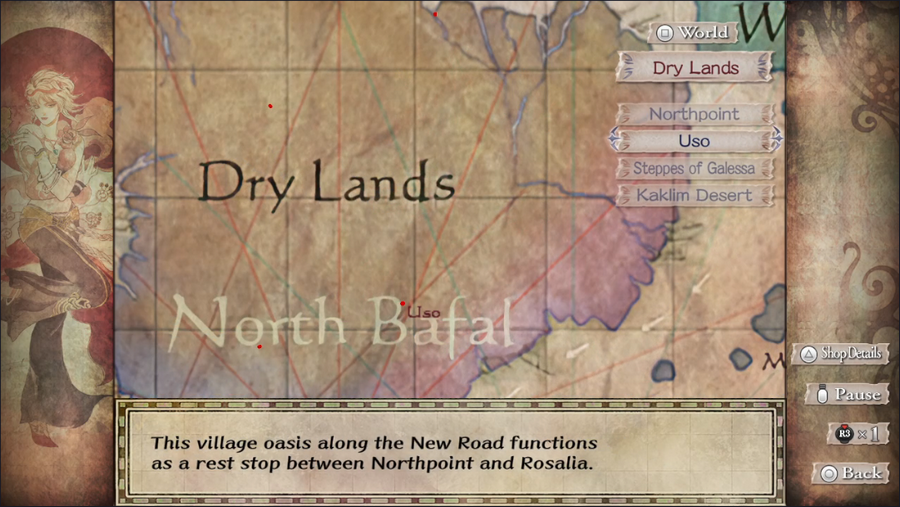 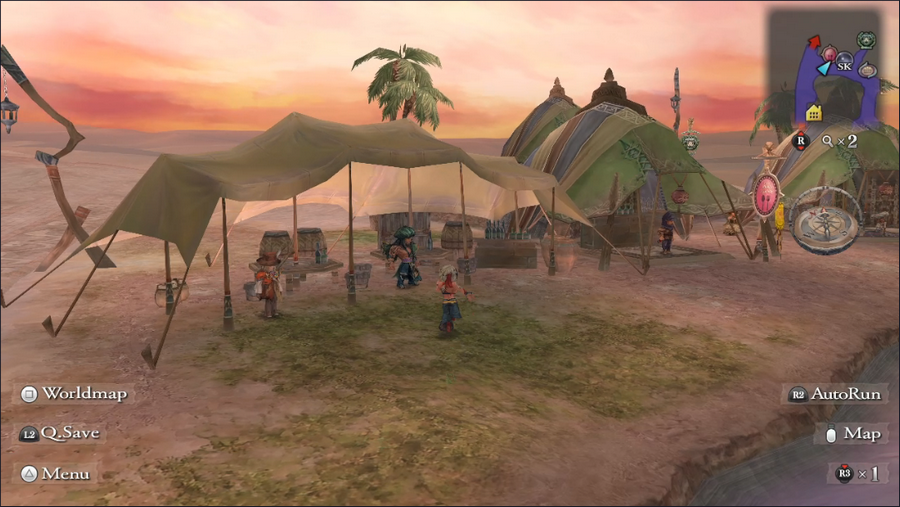 Although we didn't know who he was at the time, you might remember seeing Hawke in Uso in Aisha's intro. 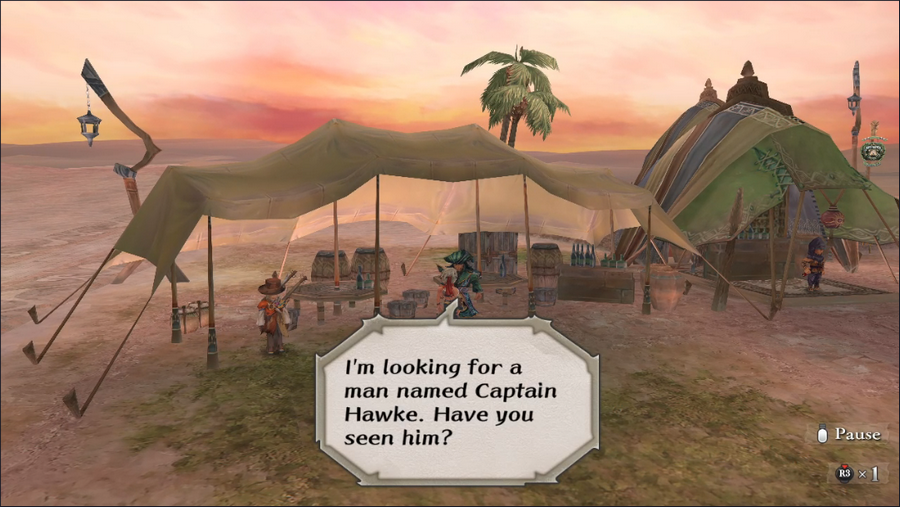  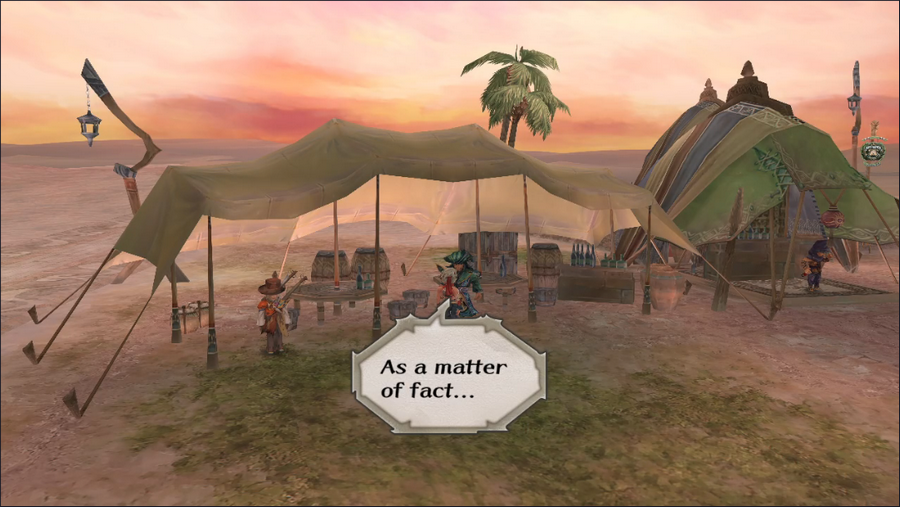 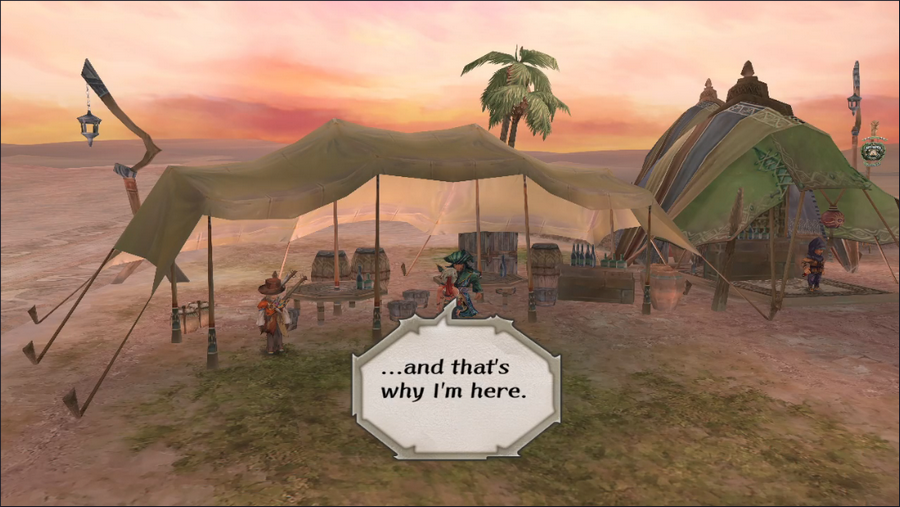  After explaining the situation, we can either ask Hawke for the map or ask him to join us. In the former case, he'll sell it to us for 15,000 gold - a pretty huge sum.   But if we ask him to join us, he'll give us the scroll for free.  That's the good news. The bad news is that it's ancient enough to be written in an incomprehensible dead language.  Not for long you won't.  See, now that we have the scroll, we can safely ditch Hawke and keep it for ourselves. Sucker.    After that, we head to Godongo and reenlist Diana  We sail back to the mainland at Northpoint, where an usual sight awaits us at the docks.   Barbara, you already know this guy is shifty as hell.  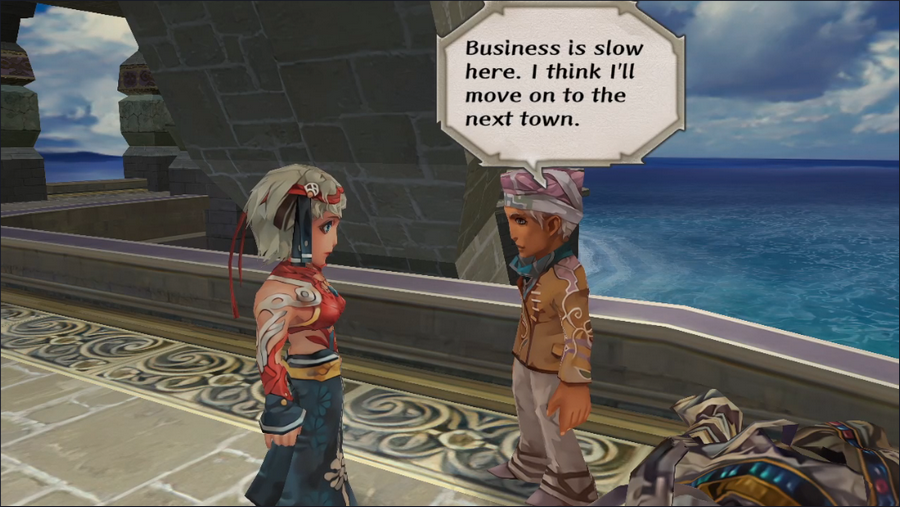 Yep, just a guy hauling around a desiccated corpse. Nothing suspicious about this. 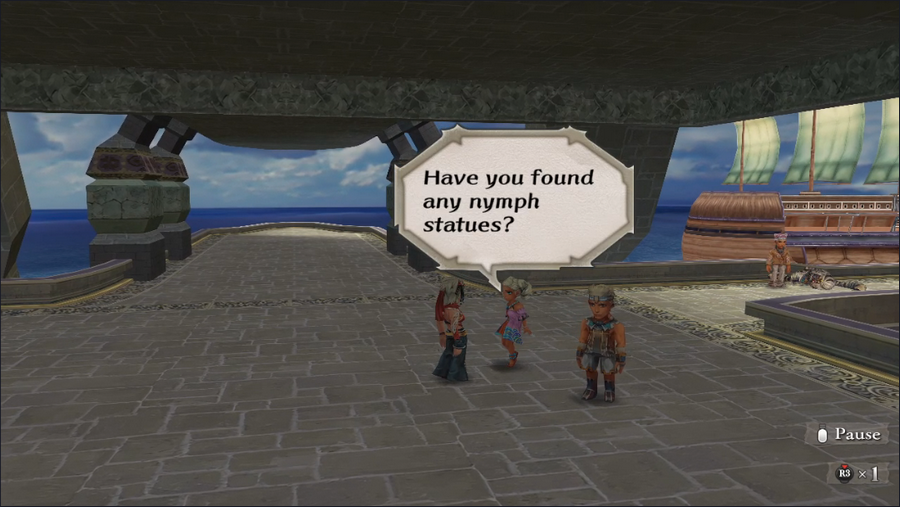 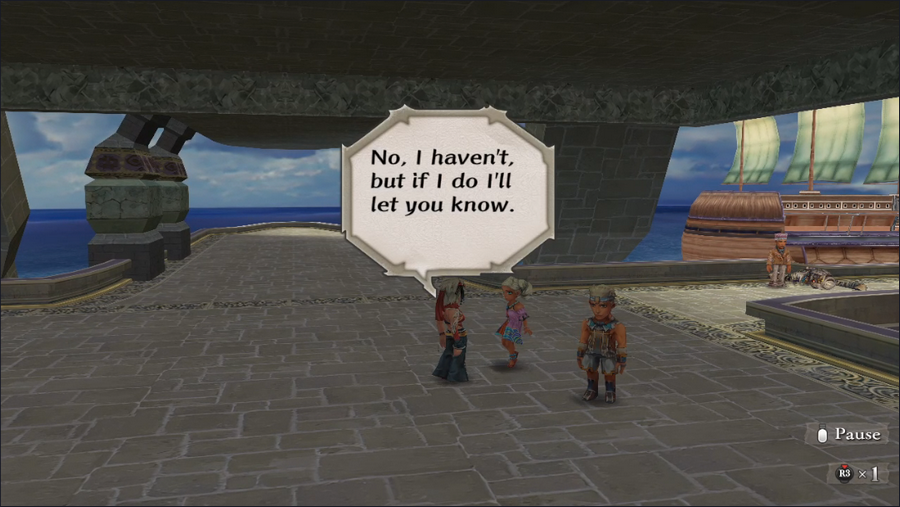 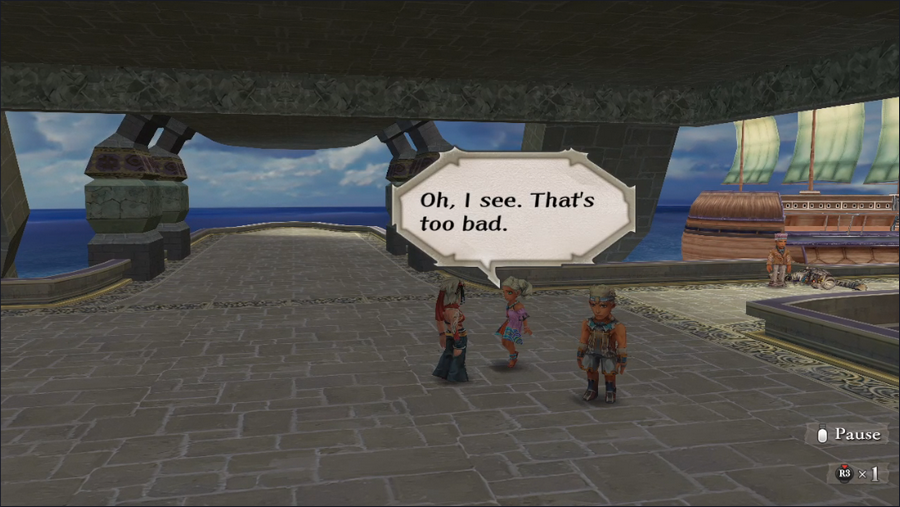 We also meet Marina again, though we have nothing new to tell her. She hangs around in most port towns at the moment. 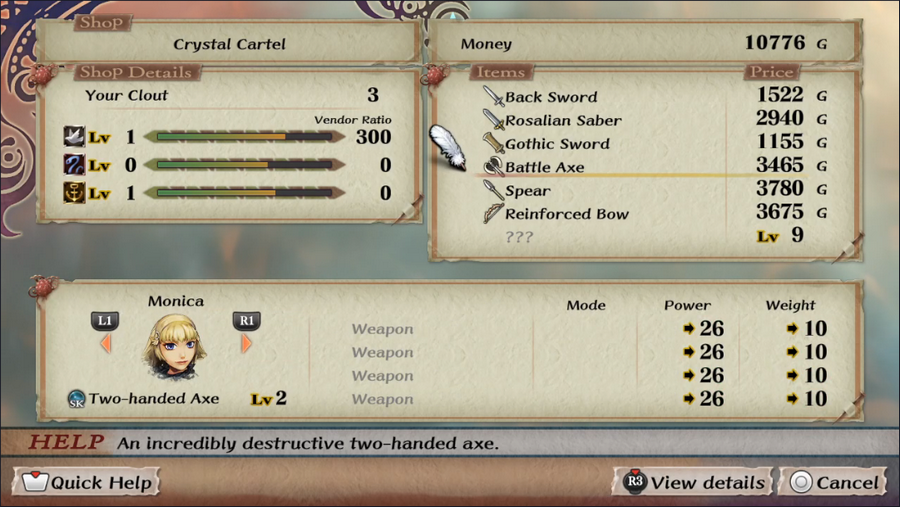 While we're out traveling, we also grab a weapon for Monica. Two-Handed Axes are pretty strong and no one else in our party can use them, so buying one is an easy choice. 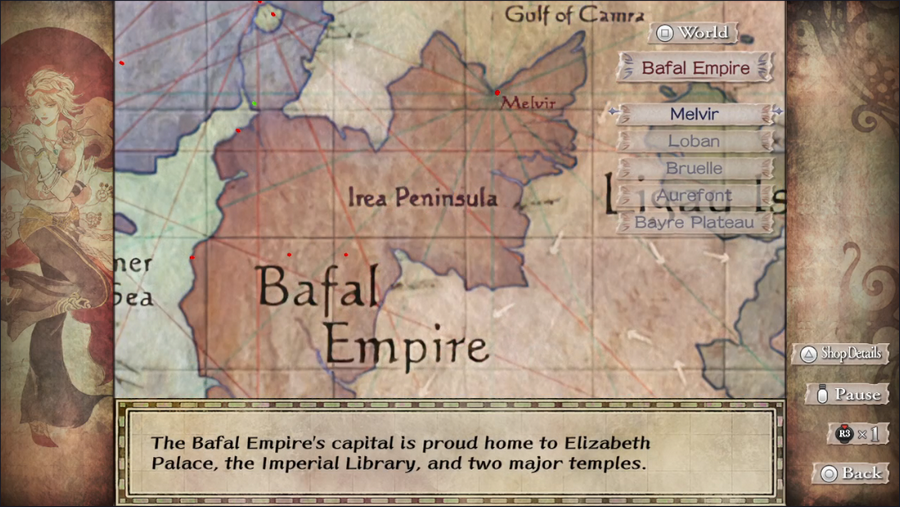 But it's time to stop faffing around and get on to our real destination: Melvir. 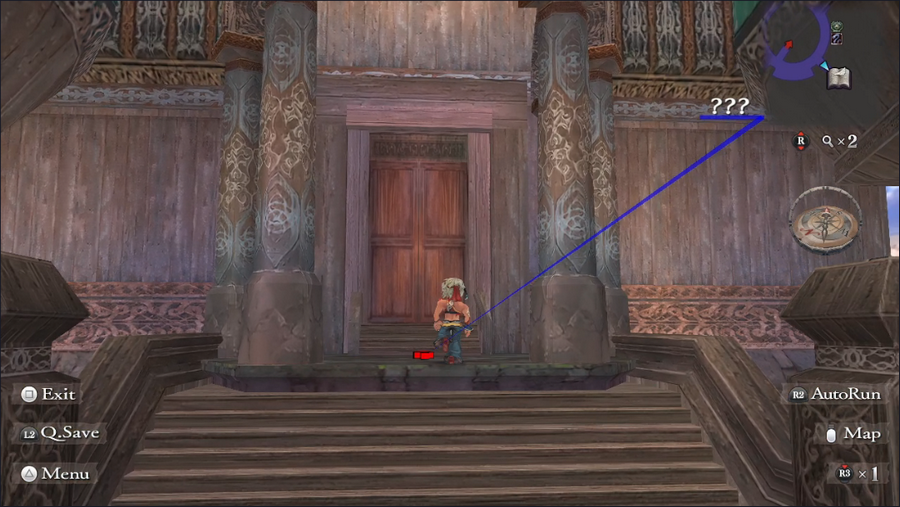 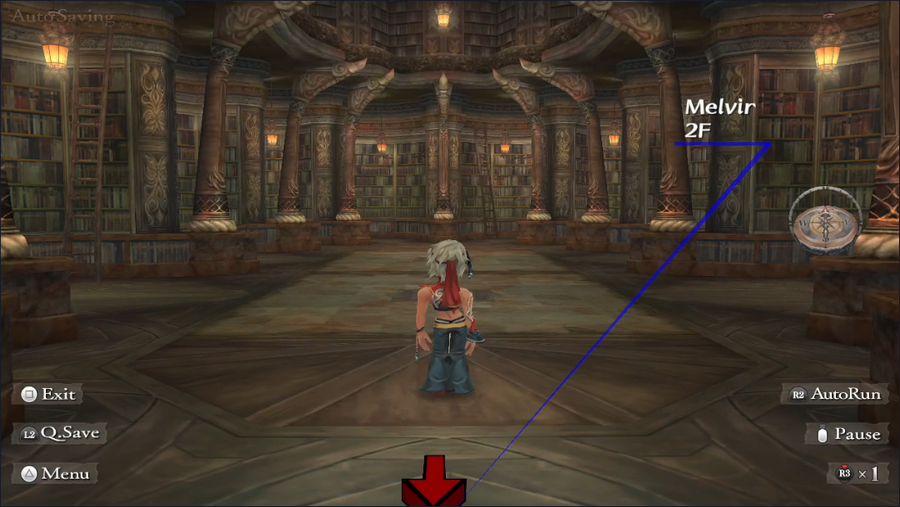 Melvir, as you may remember, is home to the greatest library in the world. It has sections devoted to a number of topics, including history, ecology, mythology, and most importantly... 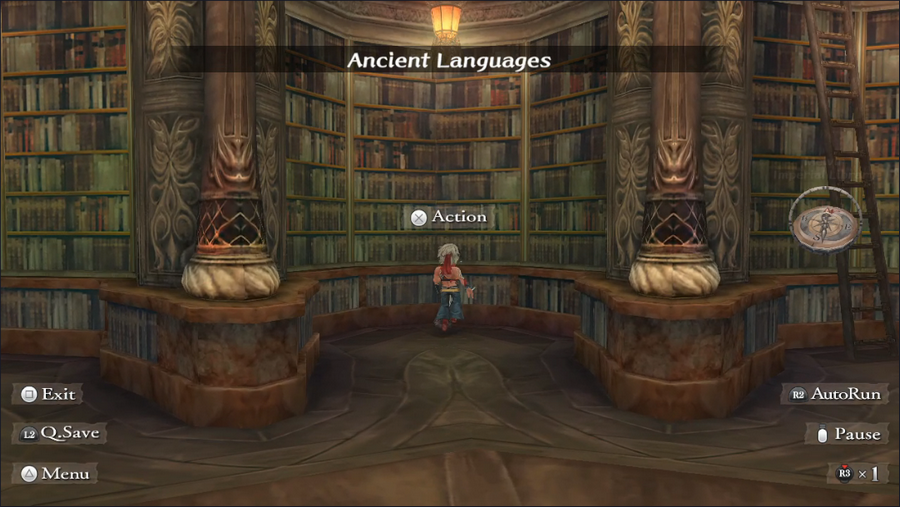 ...ancient languages. 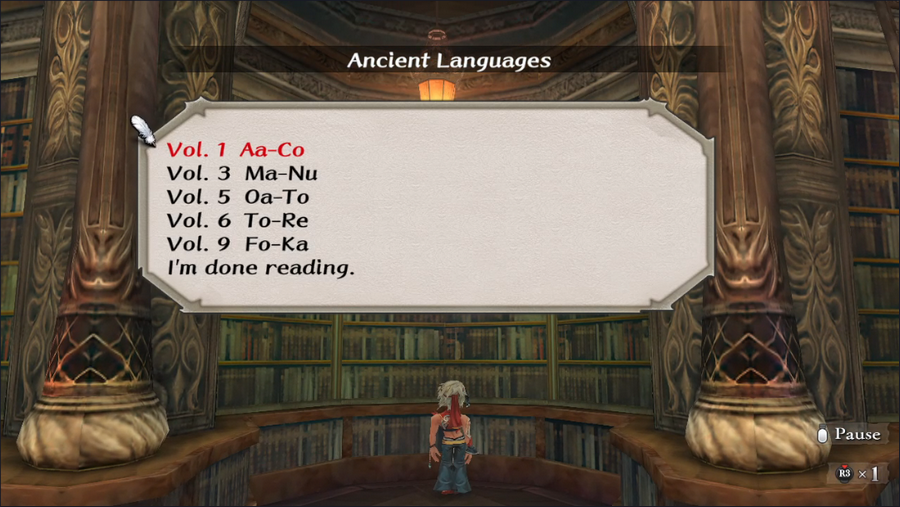 The menu here makes it look like its going to be more work than it is. Each volume only covers one word that we need. 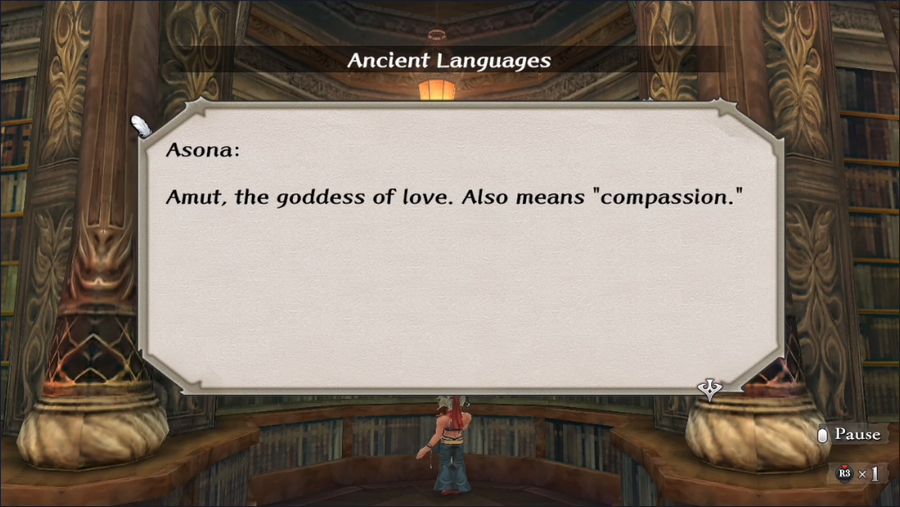 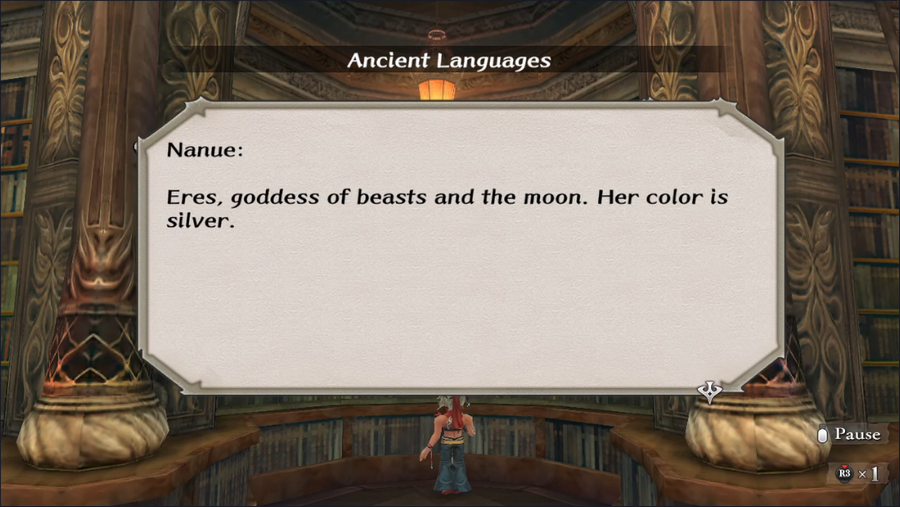     If you'd like to try and puzzle out the solution yourself before reading ahead, feel free. Luckily for a player, this isn't necessary - after reading each volume, the protagonist figures it out on their own. 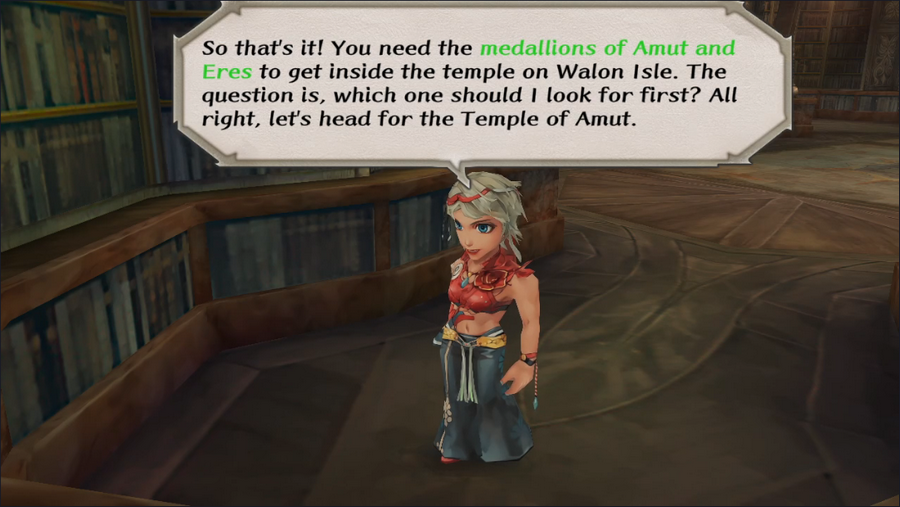 We heard that there was a temple deep in Walon Isle's jungle, and these texts seem to be the key to getting in. Catain Silver's treasure is also supposed to be hidden in the jungle - could they be related? A question for later. 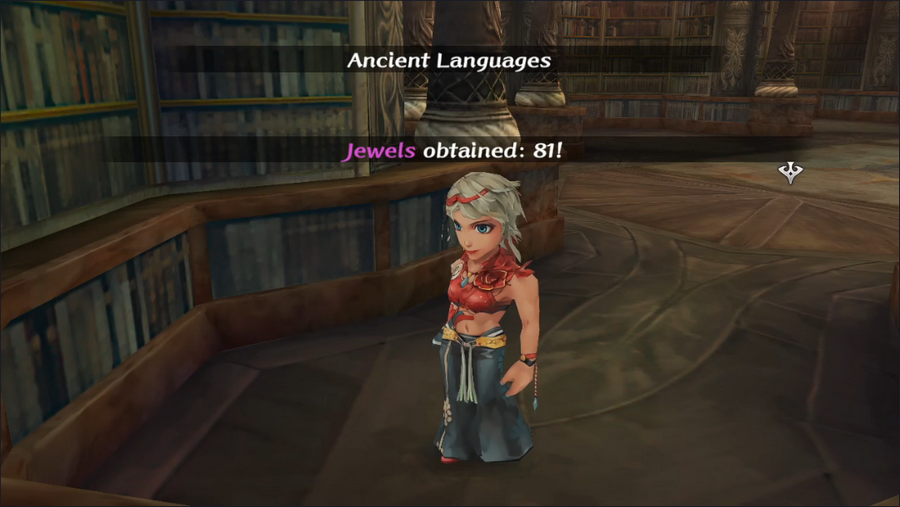 For now, we take a small reward of jewels and prepare to go get the first medallion. 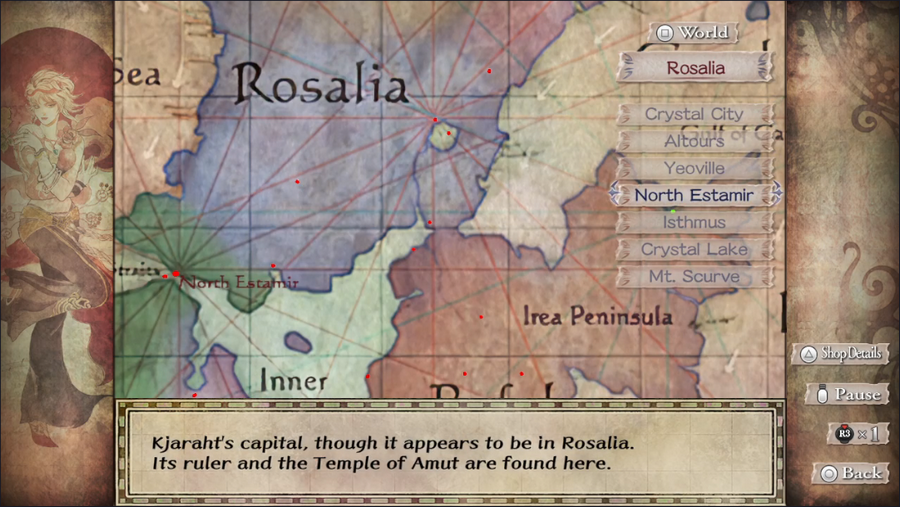 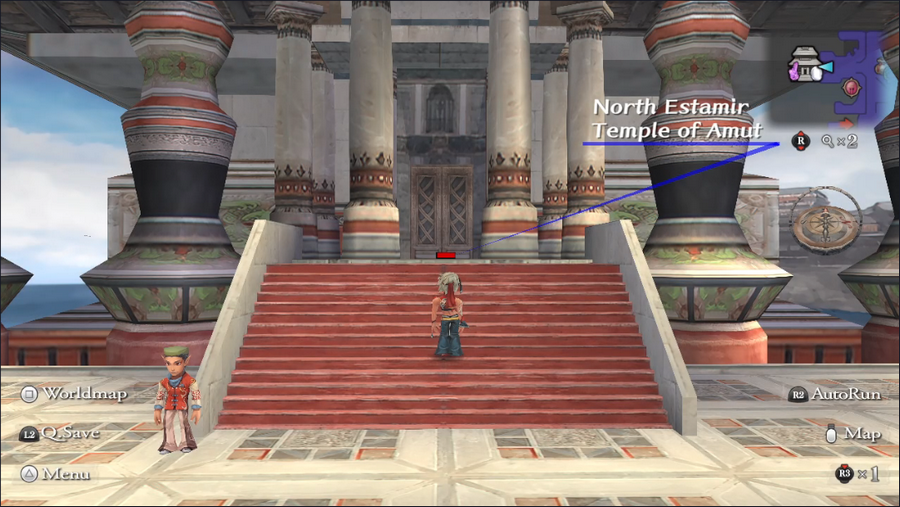 There's only one temple dedicated to Amut: the one in North Estamir. This was where Wuhan's secret room was hidden. 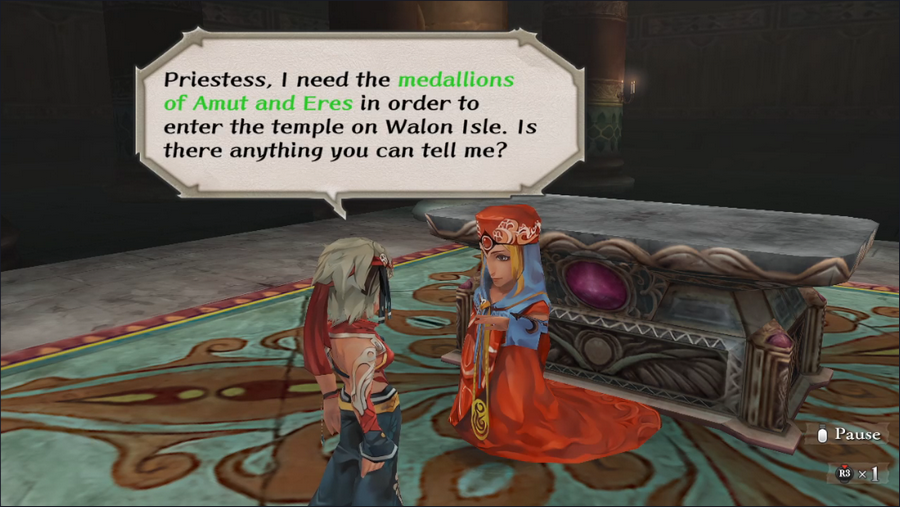 Almost any player who undertakes this quest is going to get this scene, but it isn't guaranteed. Instead, it's based on a hidden game mechanic: Favor. 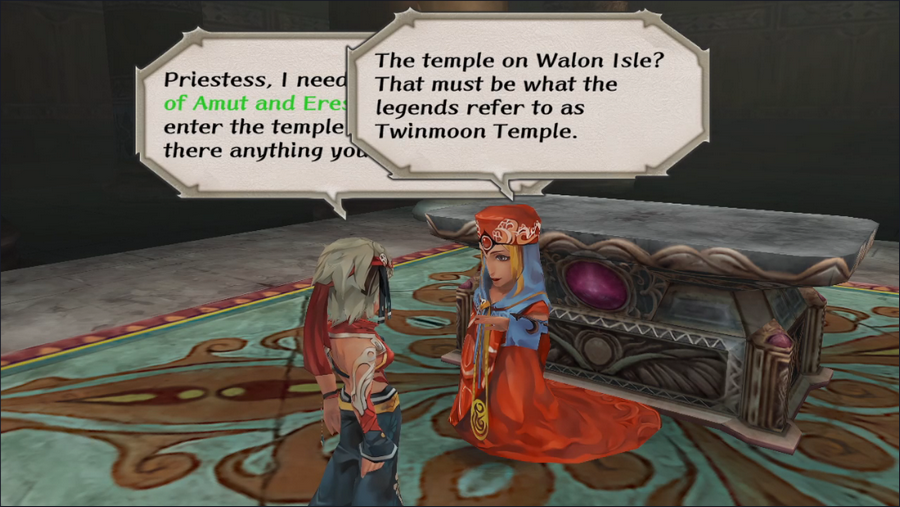 The game tracks how much Favor the player has with each god as a secret value. Each protagonist starts with a different amount of favor with each god, and those amounts can be affected by certain actions in game, most notably completing quests. 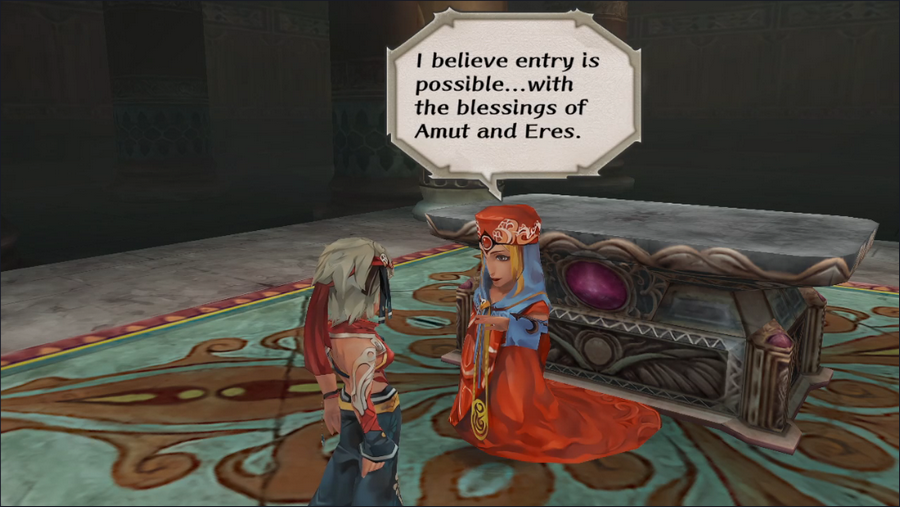 Almost every quest affects our favor with at least one god, and if those quests have multiple resolutions, those resolutions can also affect favor in different ways. Remember when I said there was a reason not to follow the cultist into the Melvir sewers? It's because skipping out on that quest gives the player a huge amount of favor with Saruin. That's pertinent for reasons I'll cover later on. 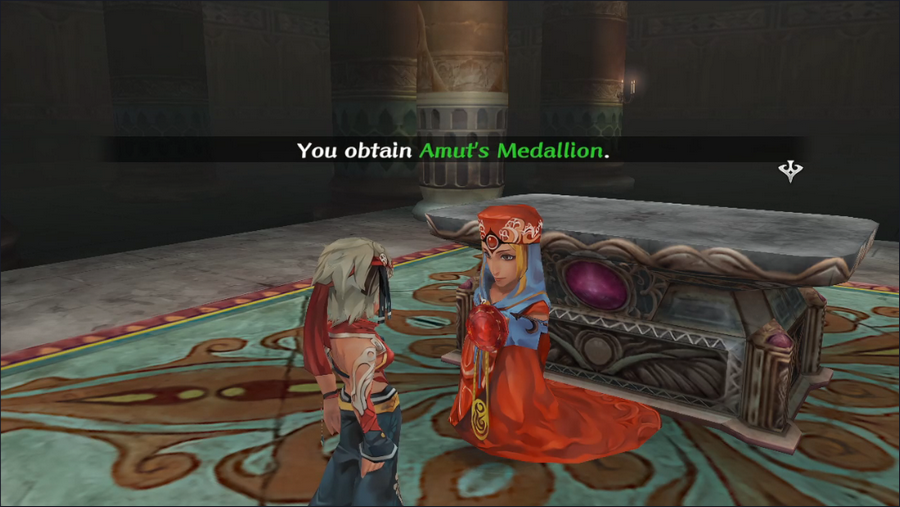 As for what favor actually does, that's a bit more complicated. Sometimes, like now, we need a minimum level of favor with a god to advance a quest. If we had zero favor with Amut, we'd be stymied, but we have well over the 1 favor required to get Amut's Medallion. Barbara actually starts with a significant amount of favor with the goddess of love, so we'd have been safe regardless. 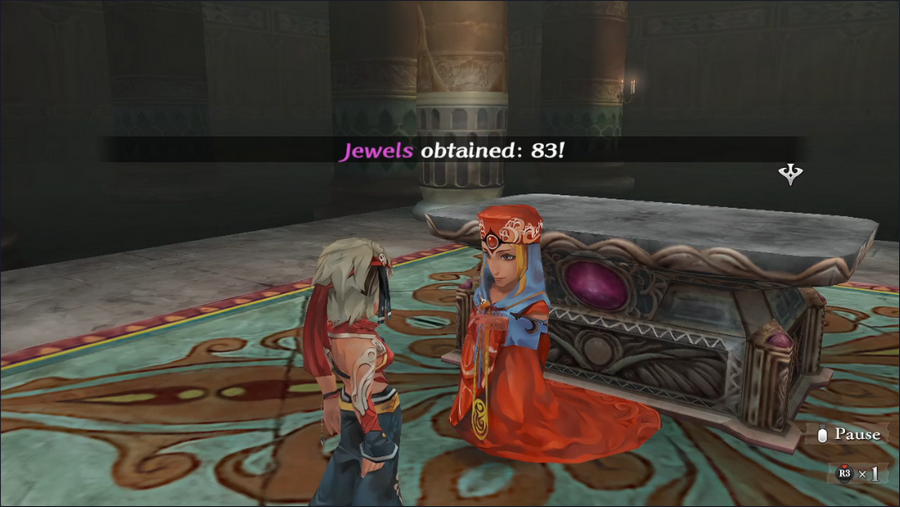 Besides the amulet, we also get more jewels for this, so this has been a pretty lucrative use of our time. 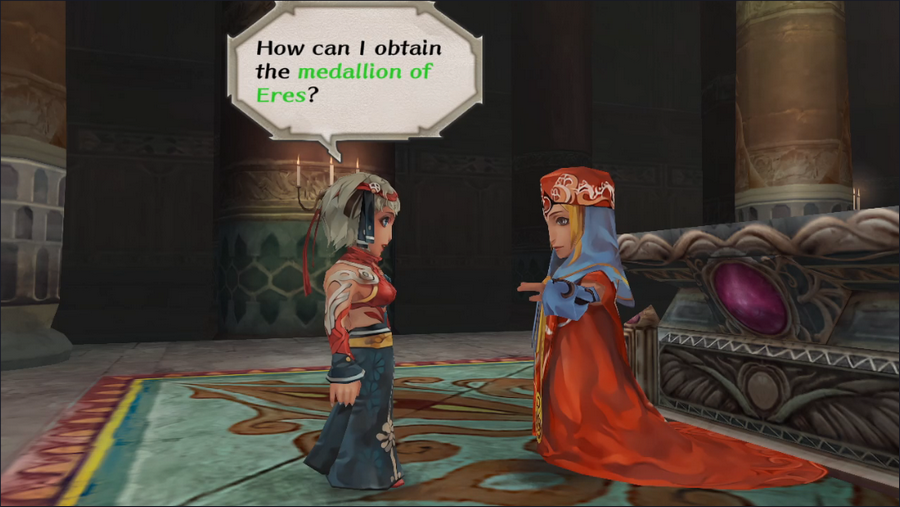 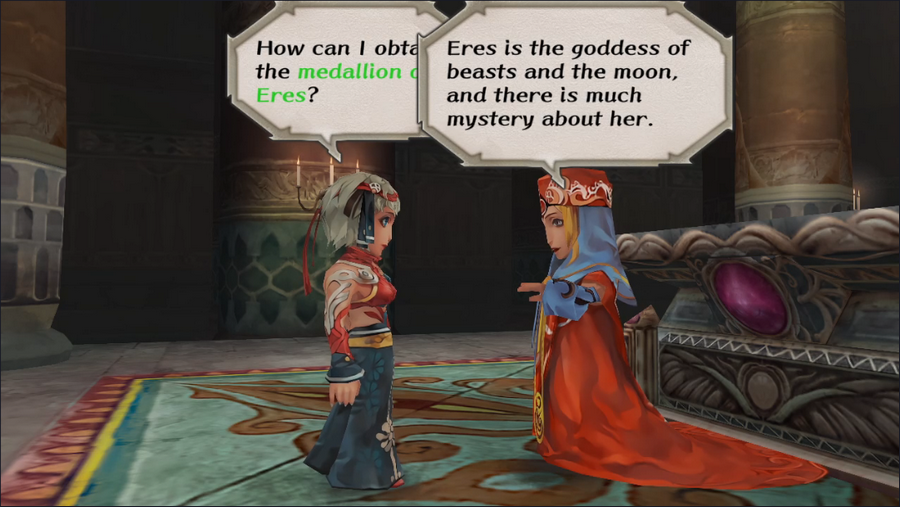  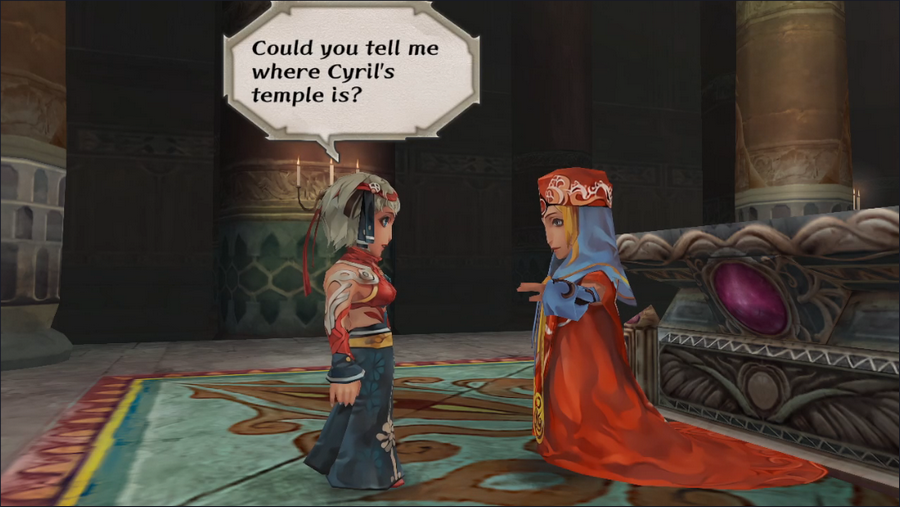 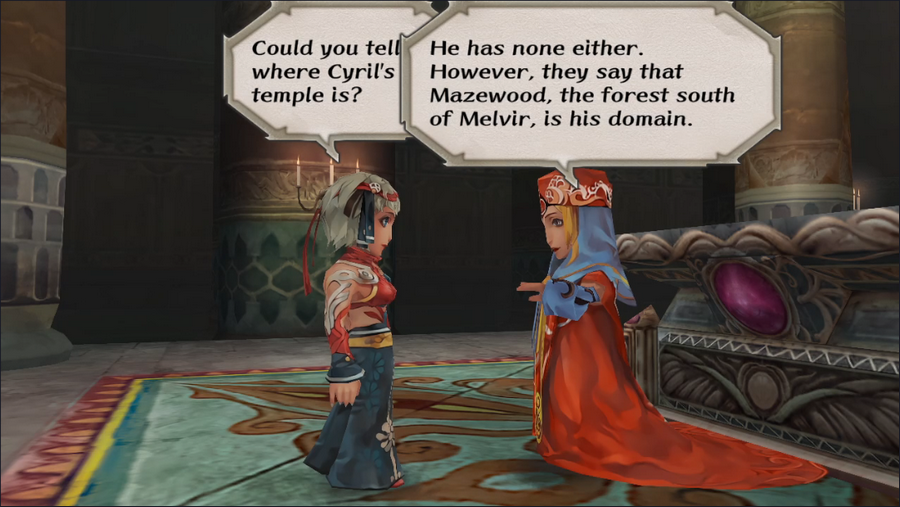 This is a bit of a problem, as we don't yet have access to Mazewood. We probably will by the time it becomes important though. I could also boot Diana again to recruit Claudia, but it's not especially important yet. 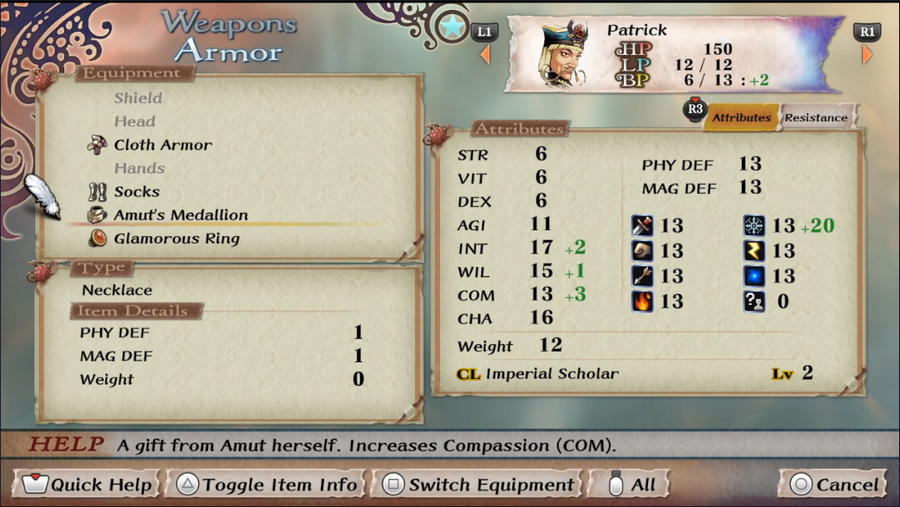 For now, we can at least equip Patrick with the Medallion, which provides a small boost to his Compassion, giving him slightly better healing. 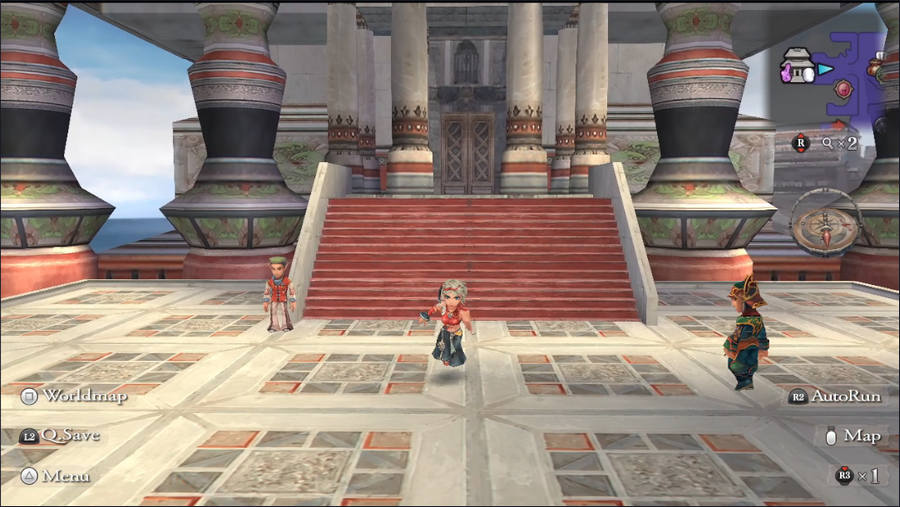 Back outside the temple, one of the Kjari guards seems to be walking toward us. Maybe he's got a quest for us.  Oh. Um. Well, this is awkward. 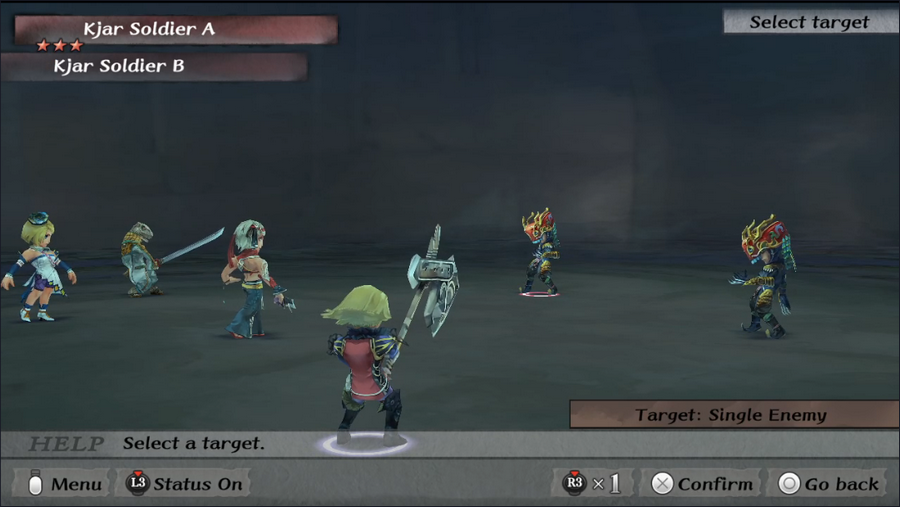 Luckily, the two Kjar Soldiers we have to face here aren't especially threatening.  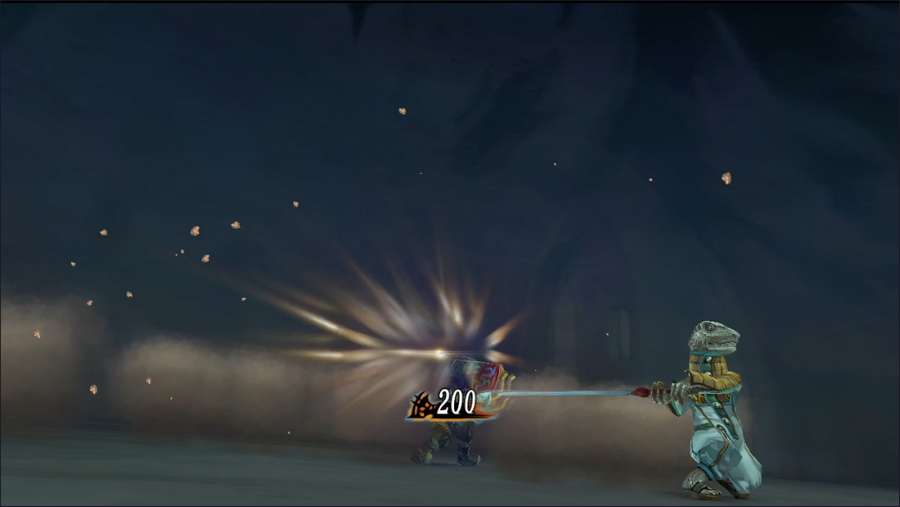 The only interesting this about the fight is Guella Ha Glimmering a new technique, Running Slash. It doesn't cost any DP but has a somewhat steep BP cost. This would normally be the end of the update since we finished as much of this quest as we could, but that would be a pretty short update. So let's take care of another task. 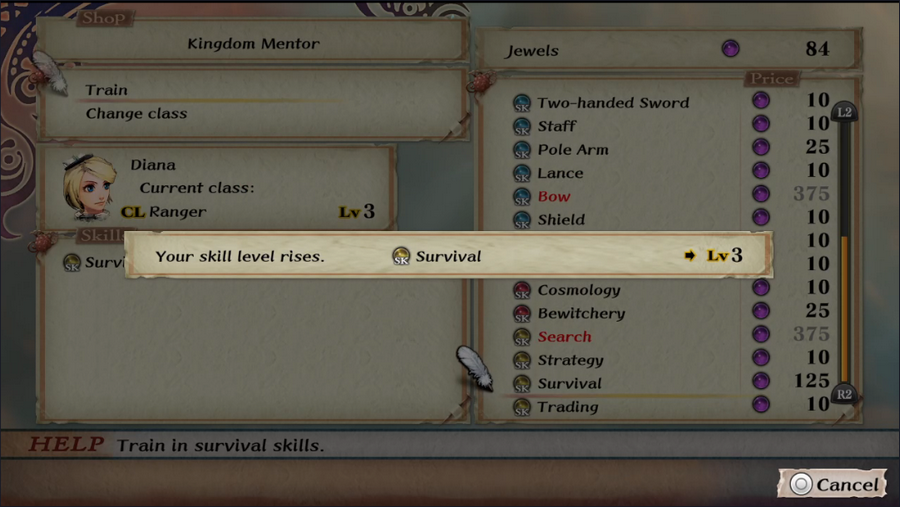 We're getting Survival to level 3 for this. 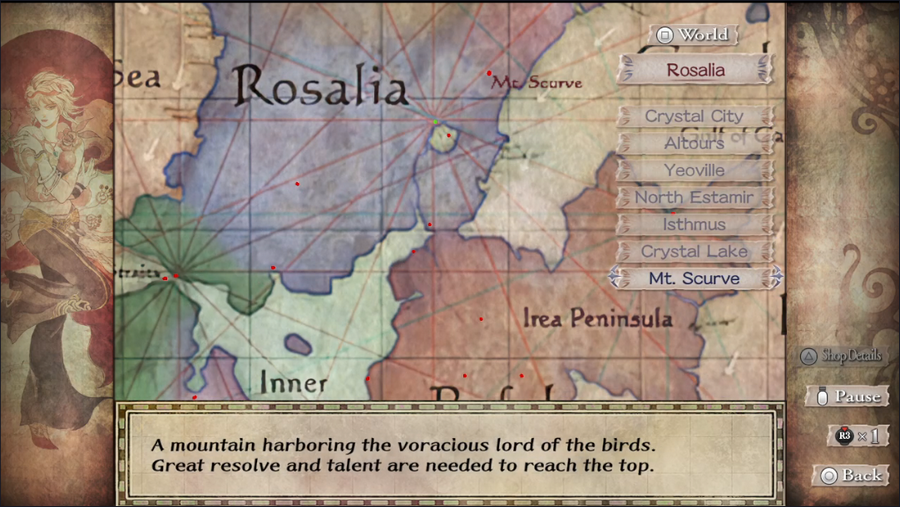 We'll need it to climb Mt. Scurve. 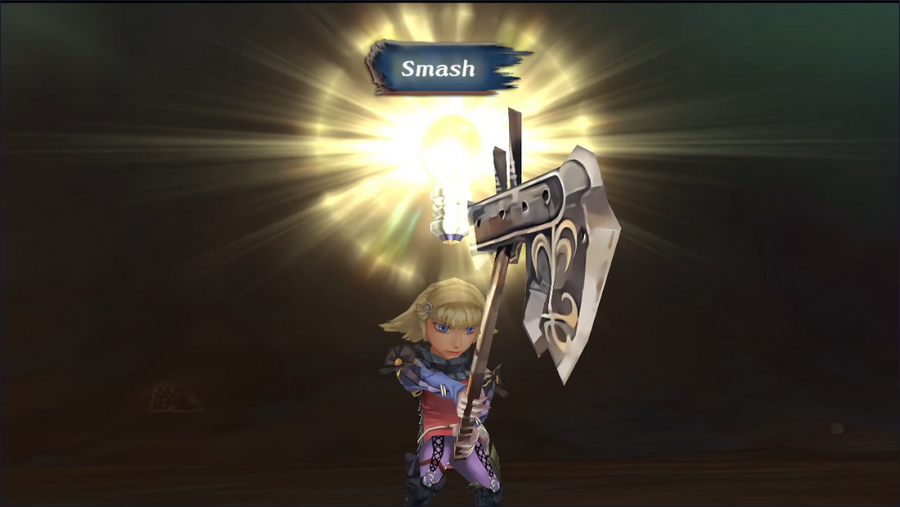 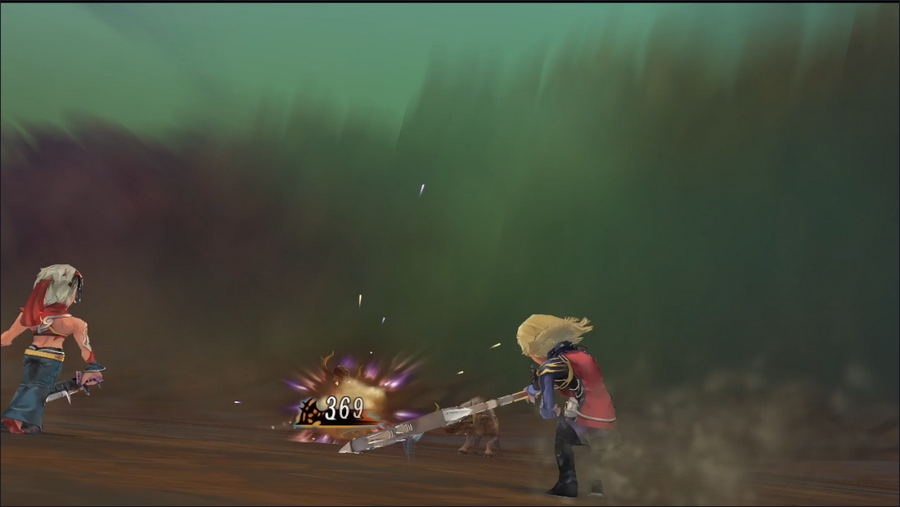 The very first fight on the mountain gives us another Glimmer, and Monica's first. Smash is a very basic high-damage strike. It has a low BP cost but a relatively high DP cost. 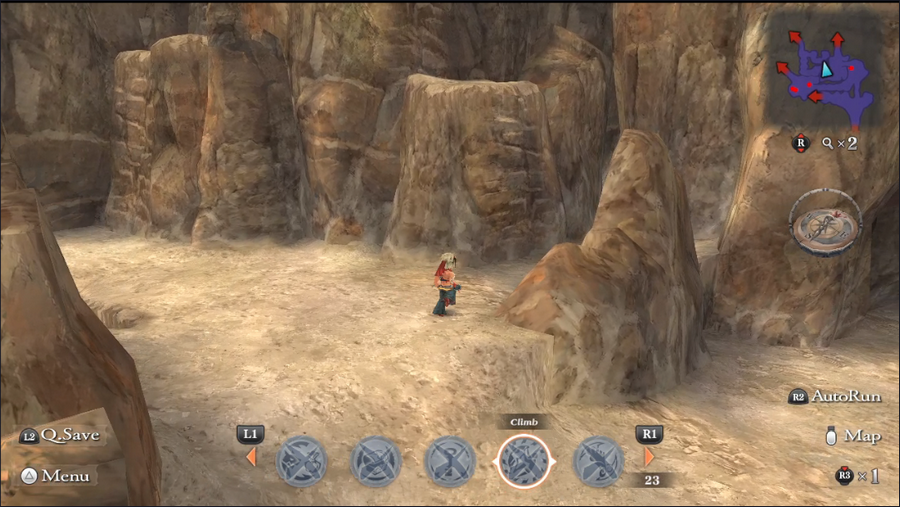 With the monsters at the mountain's base dealt with, we head to the climbable wall that stopped us on our first visit. 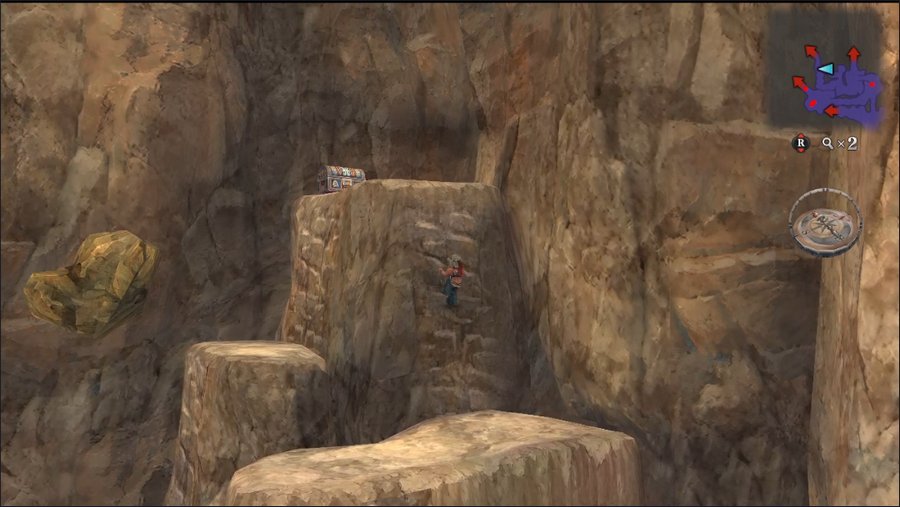 This is actually a series of Climb points connected by ledges. Also note that falling rock on the left. Those boulders fall intermittently on all the platforms in this section, and any that hit that party reduce everyone's LP by 1. Luckily this is the only place they appear. 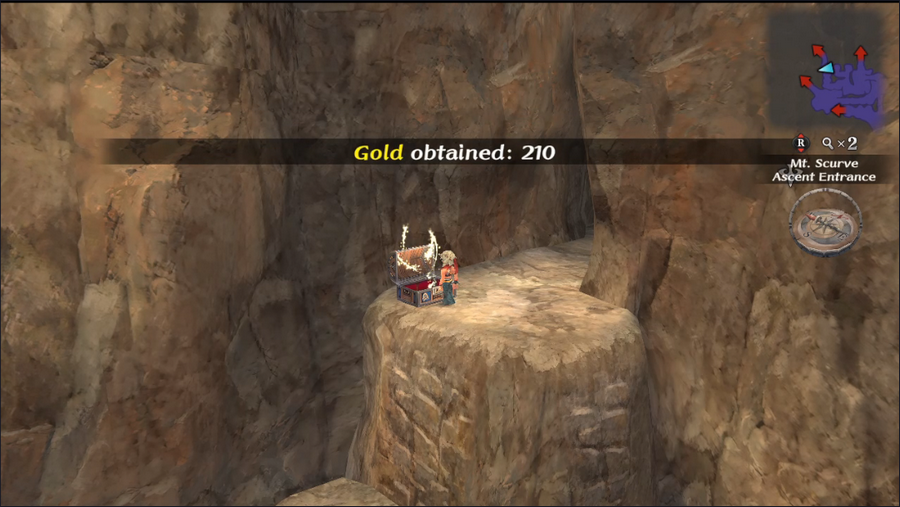 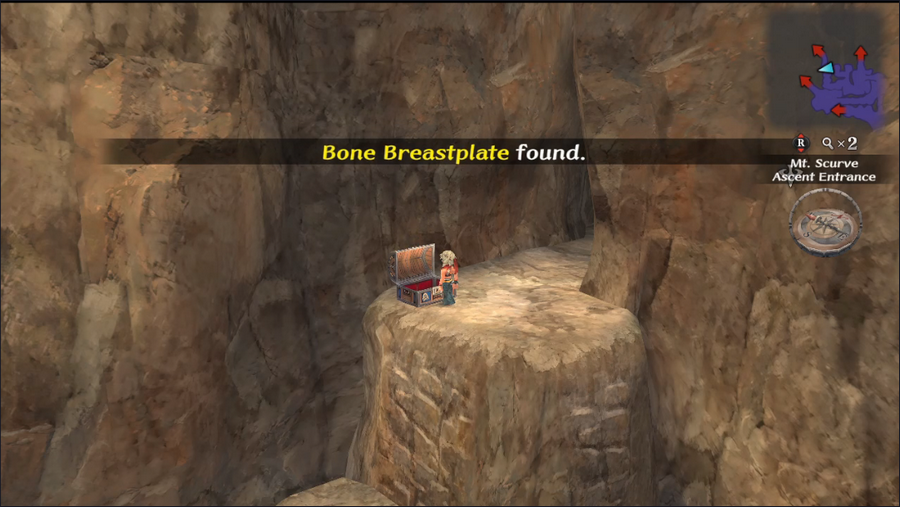 At the top of the climb is a treasure chest containing some gold and a decent piece of body armor, plus a cave entrance. 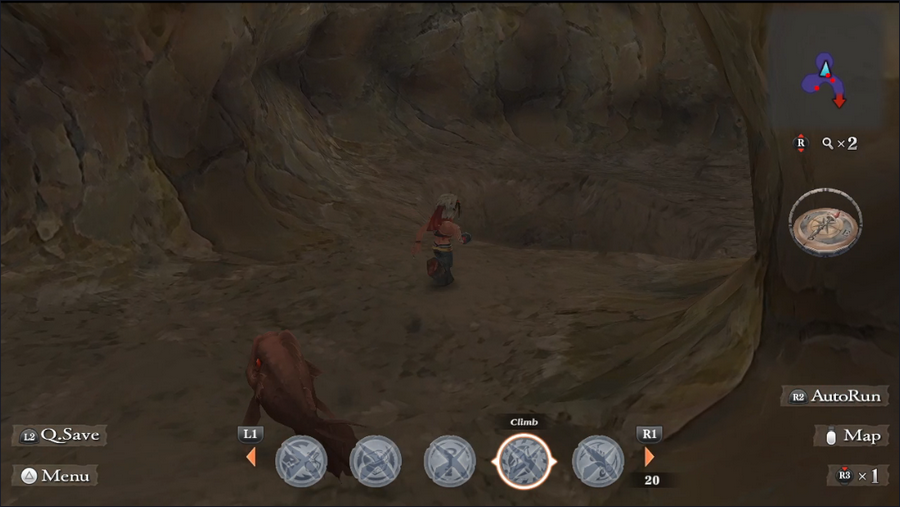 Inside the cave is the only Aquatic enemy in all of Mt. Scurve and a big hole in the floor. 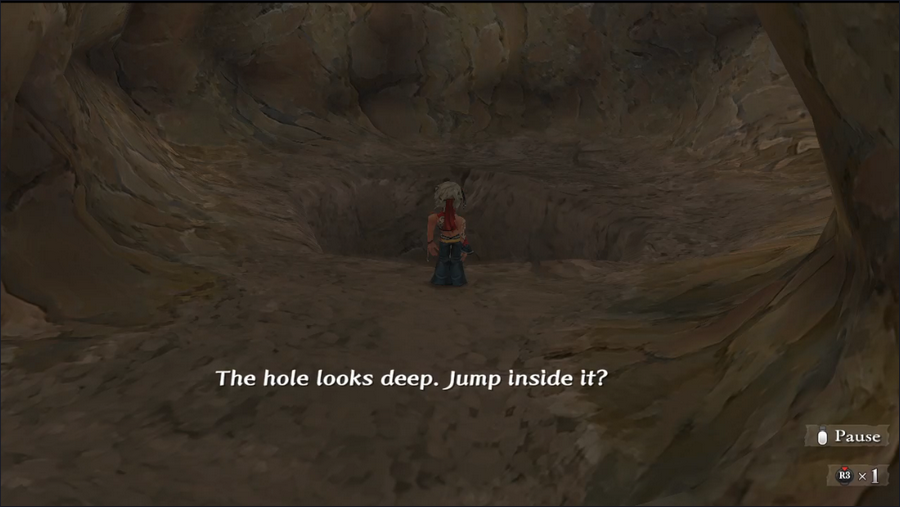 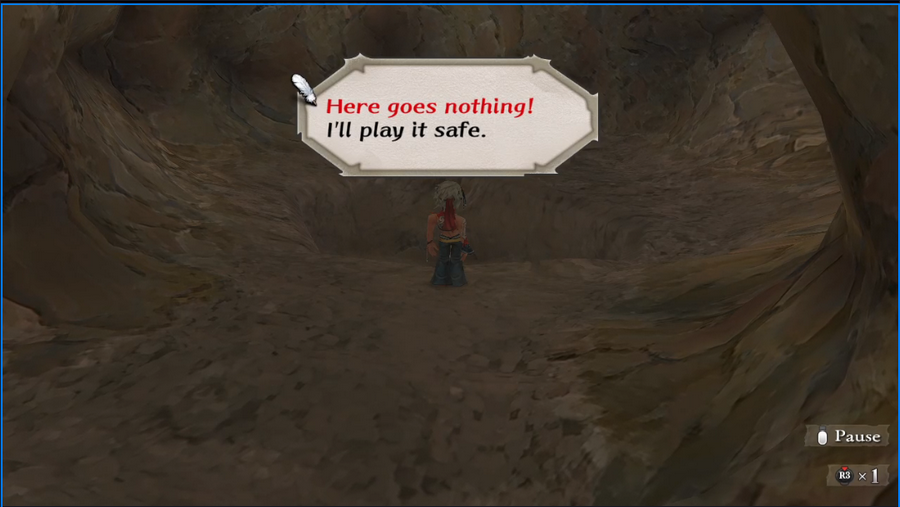 Obviously we'll jump in.  This takes us to a lower area, which we also could have reached via the cave entrance we saw on our first visit. This route is a bit better for avoiding monsters, though.  Outside the cave is another area with multiple exits - Mt. Scurve can be an obnoxious maze if you don't know what you're doing.  The exit we want is atop the natural stairs here.  The next cave is basically a straight line. There's a hole here, but we don't want to jump in. It's in this cave that we meet some new enemies.  Peas are Demon enemies that exist specifically to annoy spellcasters. The usually open battles with Grind, which hits the whole party for no damage but inflicts Shock (Stun, but only for magic). They tend to be pretty fast too.  Mancroakers are, well, humanoid frogs. There's nothing special about them. 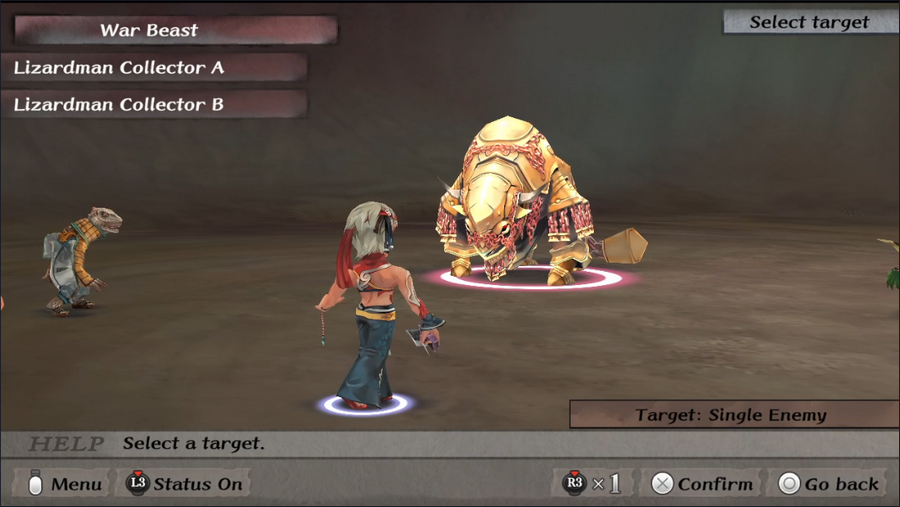 War Beasts are most notable for having a really cool design, looking like bronze-armored oxen.  Also they can block attacks, which can get annoying. 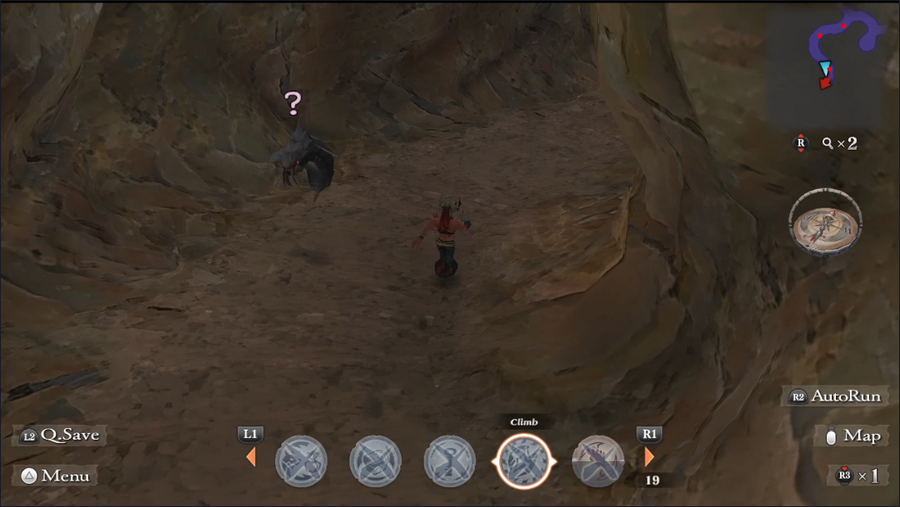 We use Move Silently to avoid a few monsters and make our way to the cave's exit. 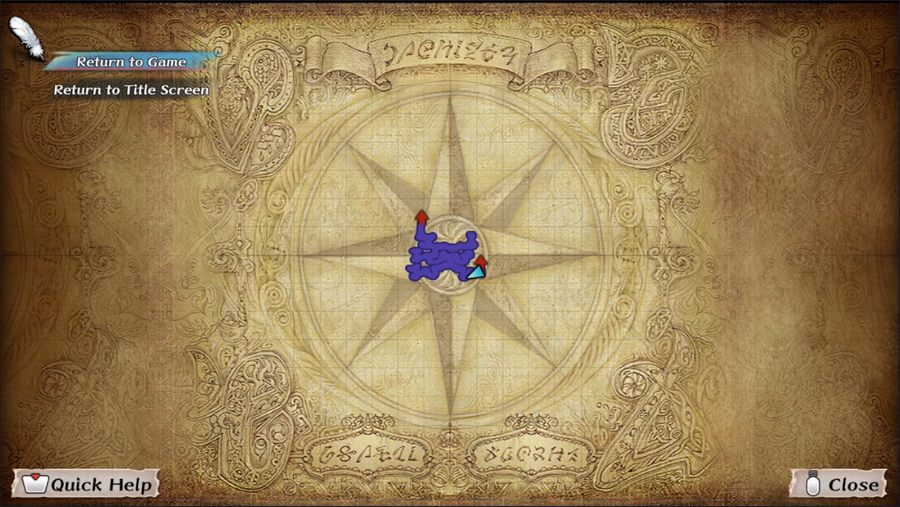 This puts us at the home stretch: a maze-like wall of Climb points. Some lead to dead ends, some to treasure, and one path leads to the summit. The good news is that I know what that path is. 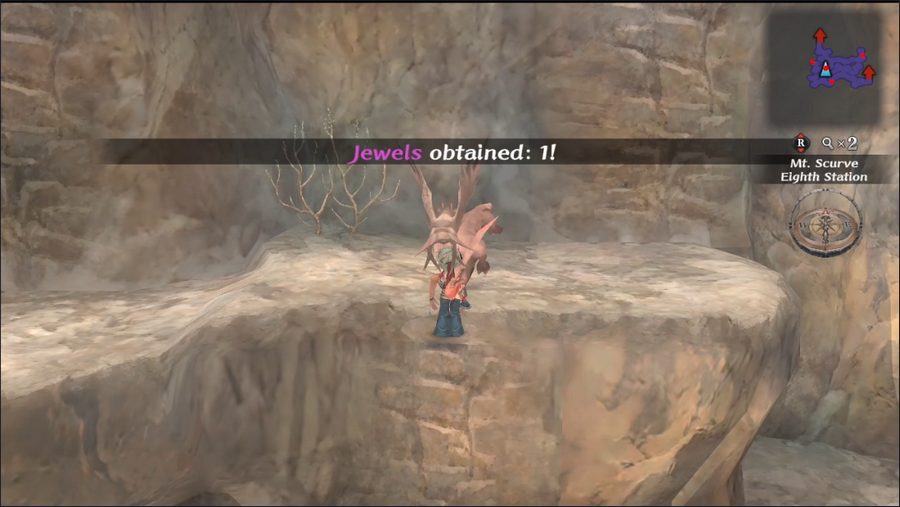 The random enemy placement means that it can be impossible to avoid getting back attacked by monsters. 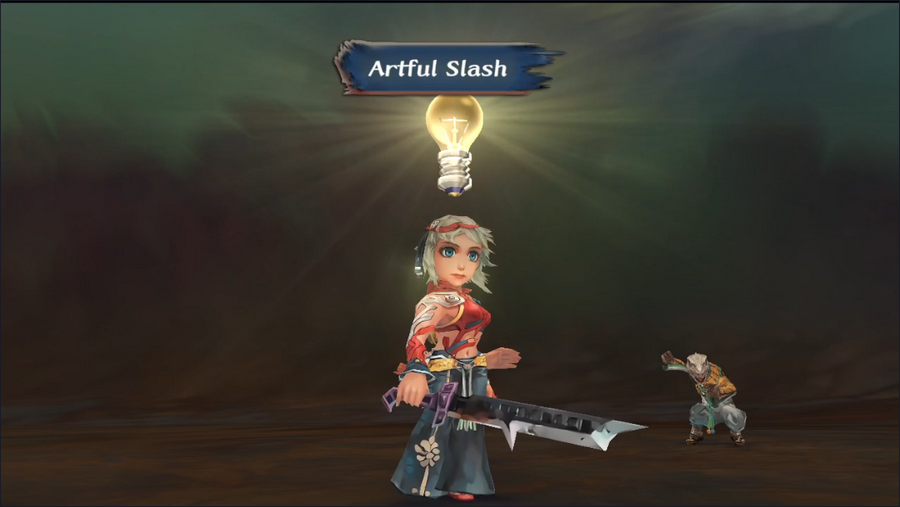 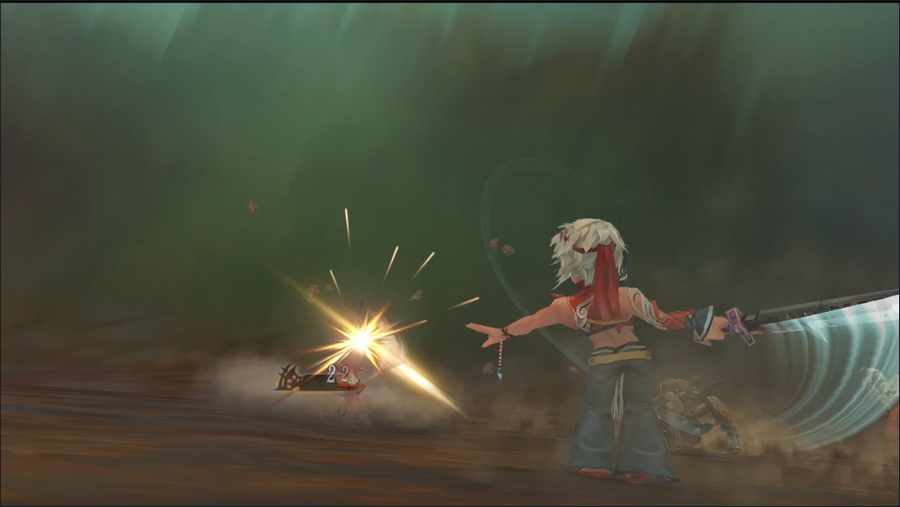 At least we get a Glimmer out of it. Artful Slash is kind of weak, but it almost never misses. 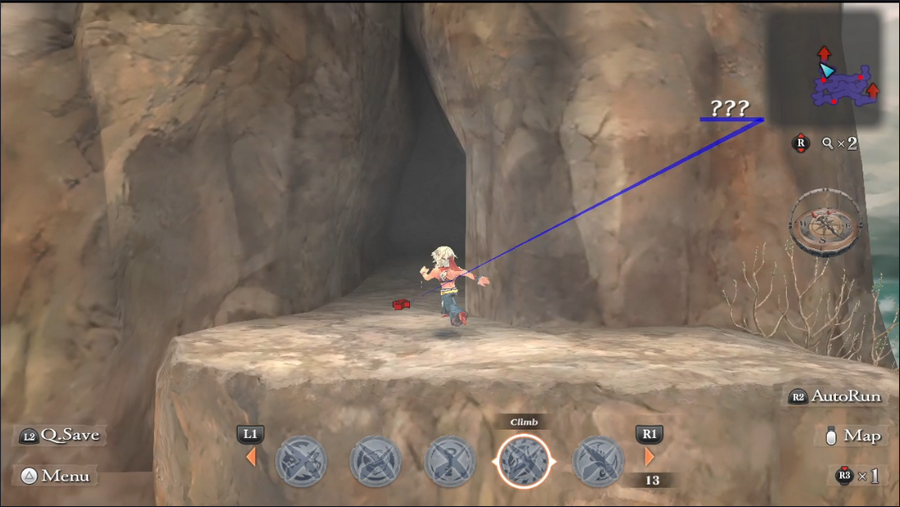 Finally, having climbed until our legs were sore, we reach the top. 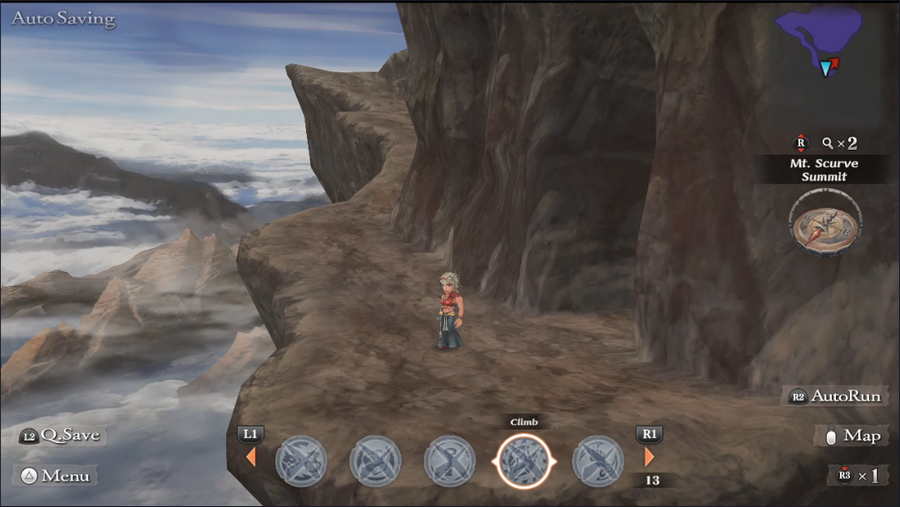 The view is legitimately impressive. It really sells the sense of height.  We head up to the top and spy a feather just waiting to be taken. And there's no monster bird in sight!   Avi is, obviously, the name of our mysterious lord of the birds. His feather can be worn as headgear to slightly raise Charisma, which lets Patrick get a minor boost to his Illusion spells. We also get some jewels for completing the quest.  But then a voice rings out.   In a flash of light and an explosion of feathers, our monster bird arrives.  He descends from his nest in a shower of those same feathers.  Barbara refuses to cower, and answers the beast's question directly. 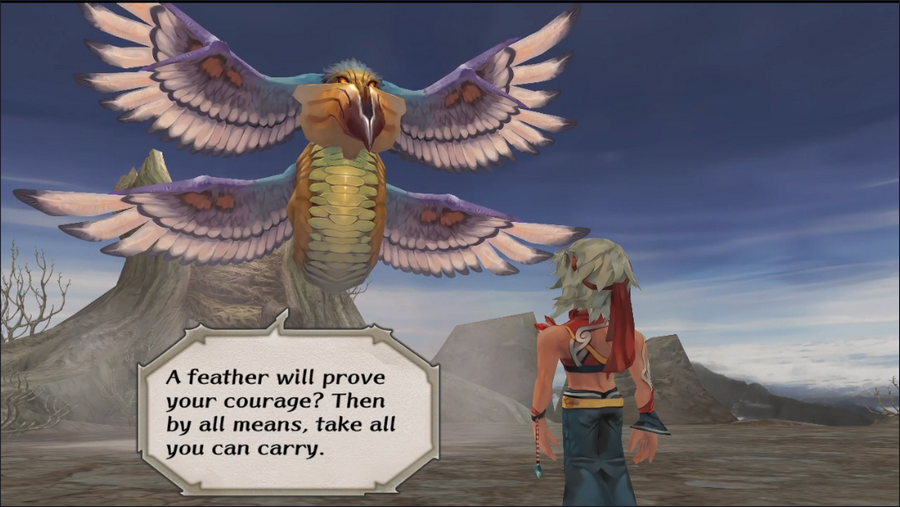 Avi is actually pretty chill. He's more bemused at our efforts than anything. 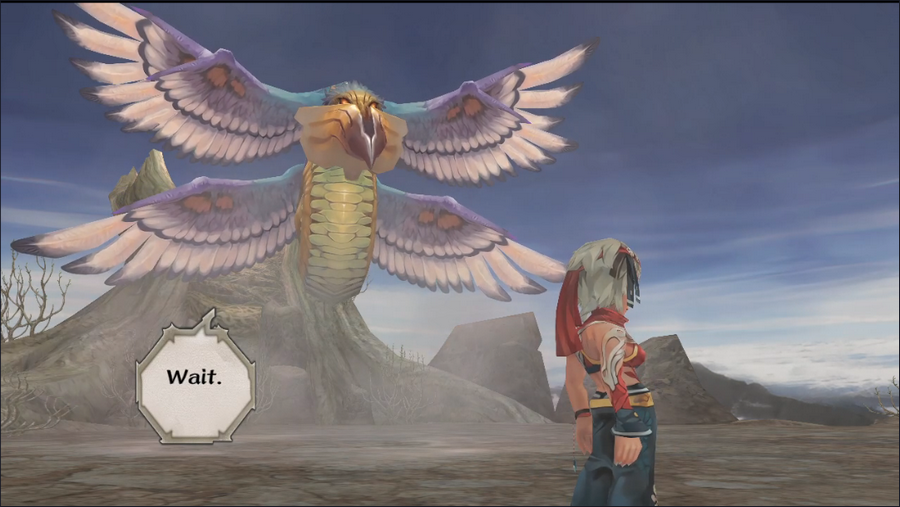 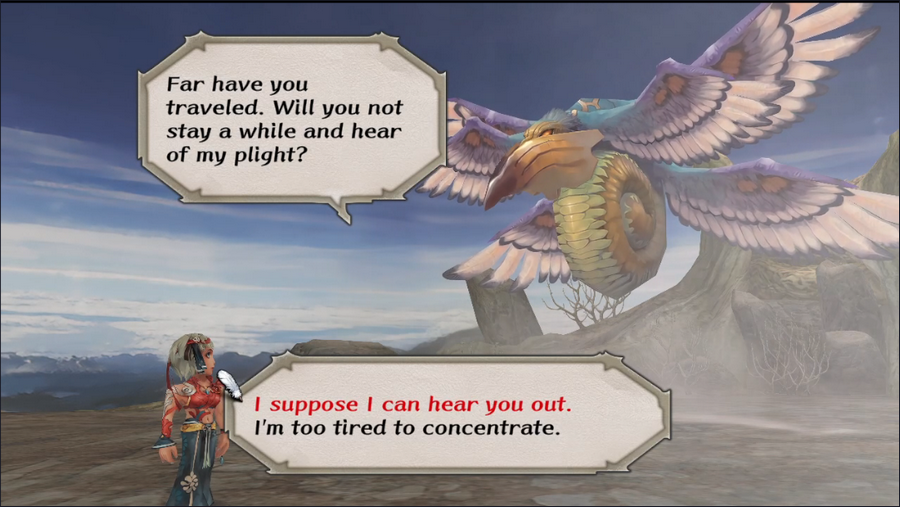 We may as well. 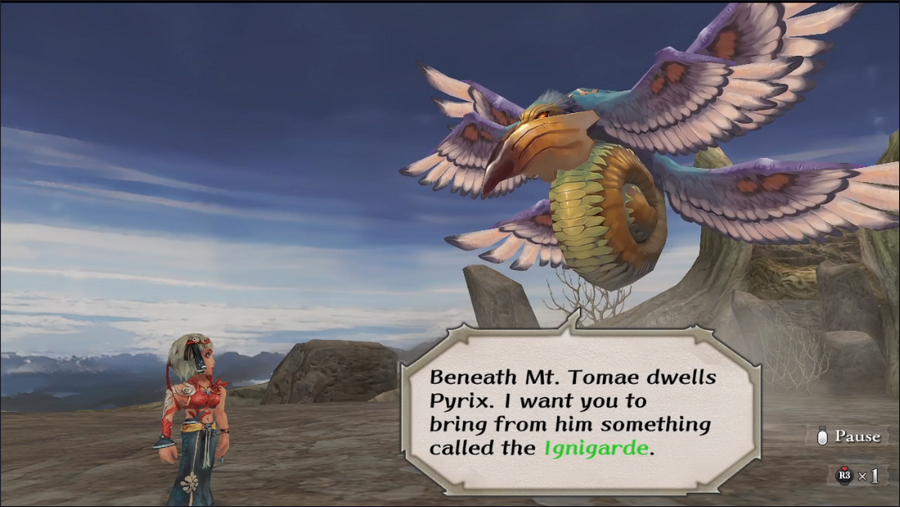 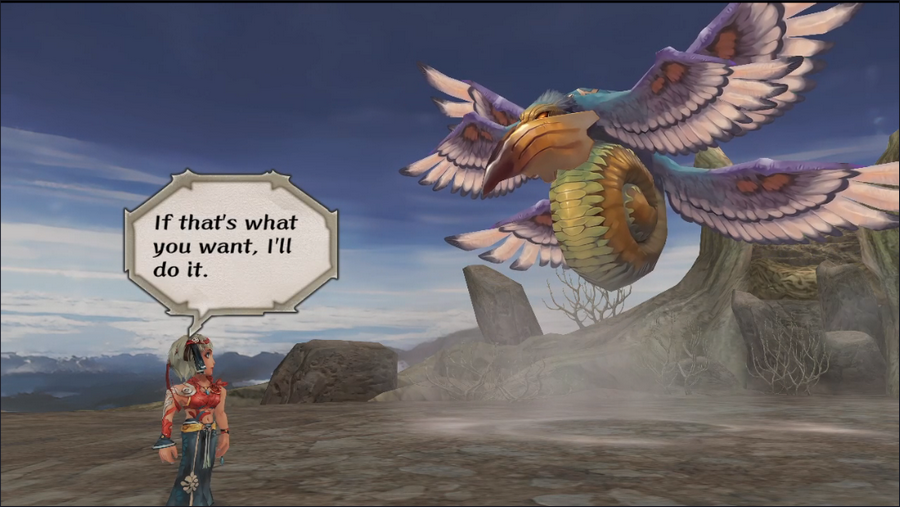 Barbara confidently agrees. Unfortunately, we haven't heard of anyone named Pyrix nor a place called Mt. Tomae, so we can't complete this request at the moment. 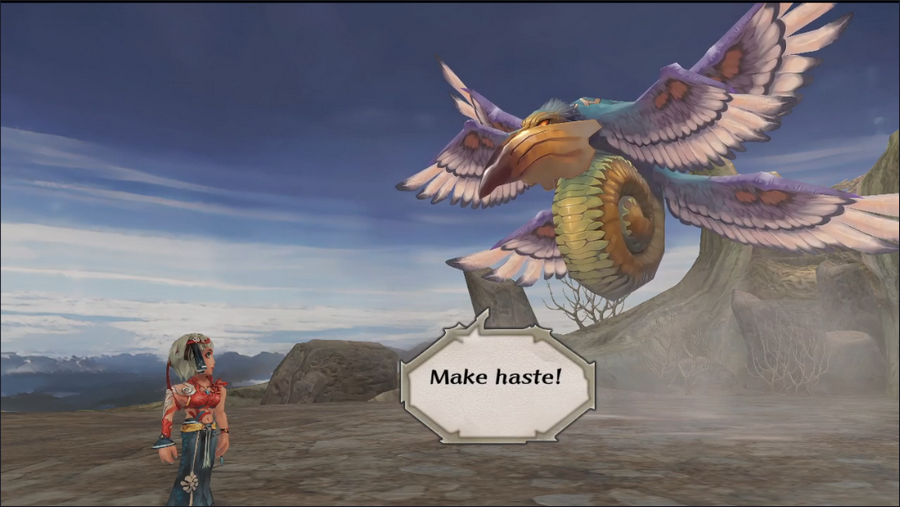 Fat chance! 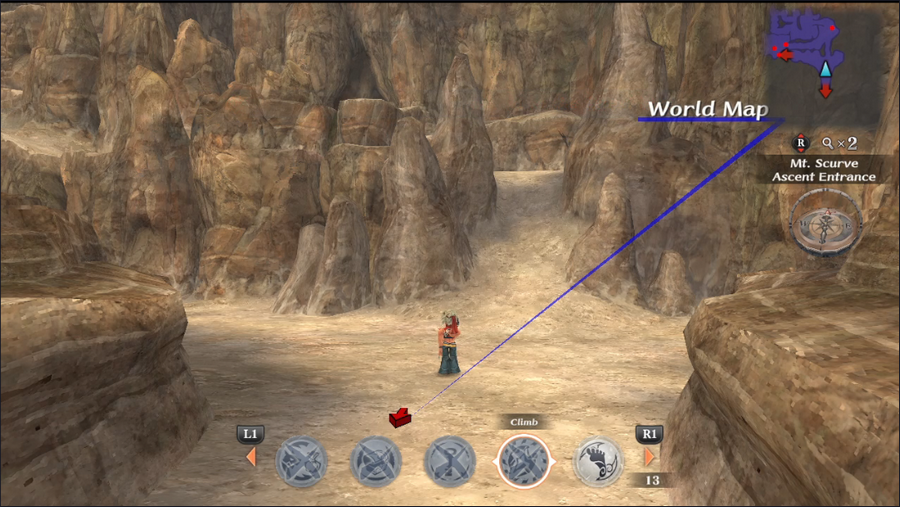 Avi conveniently sends us to the base of the mountain, so we don't have to climb back down. And that's it for today. Our event rank hasn't changed, so our task list is largely the same as before. Cast your votes! Current Event Rank: 6 Things to Do Retrieve the Aquamarine from Crystal Lake - We probably still aren't strong enough for this Kill the bugs in the Altours orchard Find Captain Silver's treasure Bodyguard the guy in Aurefont Find nymph statues for Marina - We have no leads on this Acquire the Medallion of Eres - We need access to Mazewood to do this Places to Explore Estamir sewers The remainder of the Geckling cave Melvir sewers Bayre Plateau Isthmus Keep, or what's left of it The Walon Isle jungle The Ligau caves Mt. Scurve Crystal Lake - We probably still aren't strong enough for this Yassi Cavern Abandoned Keep Saoki Cavern Treasure Maps Jungle, Level 1 Ligau Plains, Level 1 (2 Maps) Bonus Glimmer Showcase https://www.youtube.com/watch?v=iCTLA4rFAeo 5-Headed Snake God fucked around with this message at 13:12 on Dec 5, 2023 |
|
#
?
Dec 5, 2023 06:15
|
|
|
Can we access the Ligau Plains and find those treasures? Because if not, then I guess let's go for the remaining three doable quests on our to-do lit
|
|
#
?
Dec 5, 2023 07:07
|
|


|
Seraphic Neoman posted:Can we access the Ligau Plains and find those treasures? We can! I haven't actually been there yet, but we can absolutely go to Ligau any time.
|
|
#
?
Dec 5, 2023 13:13
|
|
|
The low favor variants for the scenes in this quest are really interesting. Not because of the scenes themselves (It's basically just "Can I have the amulet?" "No") but because I don't think they're actually possible to trigger through normal play - with the way favor is calculated, hitting 0 favor with a god is impossible unless you start the game at 0, and nobody starts the game with 0 favor with Cyril or Amut. There's also barely any scenes like this in the game where your favor changes things, it's almost entirely restricted to this quest. Is it a leftover from a point in development where favor was supposed to work differently, or is it just like that because that's SaGa?  For next time, I vote for Orchard Bodyguard Treasure hunting in ligau plains
|
|
#
?
Dec 5, 2023 15:00
|
|
|
Avi posted:Make haste! I'm unsure if this is the quest line I'm thinking of, but Avi's not kidding that you should make haste. Failing to do will result in... unpleasant things happening. Though, the reward for letting said things happen is arguably better. That is all I have to say on the matter for now, as I do not wish to spoil things.
|
|
#
?
Dec 5, 2023 15:44
|
|
|
Gilgamesh255 posted:I'm unsure if this is the quest line I'm thinking of, but Avi's not kidding that you should make haste. Failing to do will result in... unpleasant things happening. Though, the reward for letting said things happen is arguably better. That is all I have to say on the matter for now, as I do not wish to spoil things. I think I know what you're talking about. If I'm right, it's something that can only happen in New Game +. I obviously can't show that off in this LP, but I'll give it a mention if and when we get to the relevant point. 5-Headed Snake God fucked around with this message at 16:22 on Dec 5, 2023 |
|
#
?
Dec 5, 2023 16:14
|
|
|
Hmm ... Captain Silver's treasure bodyguard the Aurefont guy and yeah, let's go treasure hunting in Ligau!
|
|
#
?
Dec 5, 2023 16:30
|
|

|
Then I pick Bodyguard duty Silver's treasure Plains treasure
|
|
#
?
Dec 5, 2023 19:10
|
|
|
Isthmus Keep Abandoned Keep Bayre Plateau
|
|
#
?
Dec 6, 2023 12:47
|
|

|
Voting is now closed.
|
|
#
?
Dec 8, 2023 01:44
|
|
|
Snake Maze posted:The low favor variants for the scenes in this quest are really interesting. Not because of the scenes themselves (It's basically just "Can I have the amulet?" "No") but because I don't think they're actually possible to trigger through normal play - with the way favor is calculated, hitting 0 favor with a god is impossible unless you start the game at 0, and nobody starts the game with 0 favor with Cyril or Amut. There's also barely any scenes like this in the game where your favor changes things, it's almost entirely restricted to this quest. Is it a leftover from a point in development where favor was supposed to work differently, or is it just like that because that's SaGa? Yeah, it feels a little tacked on in that regard. There is one point we'll see where it's super important though, and its other function is still pretty interesting. Hopefully I'll get a chance to show that off.
|
|
#
?
Dec 9, 2023 20:24
|
|
|
Welcome back, everyone. Votes were split this time around, but since both winners are pretty short and simple tasks, why don't we do both?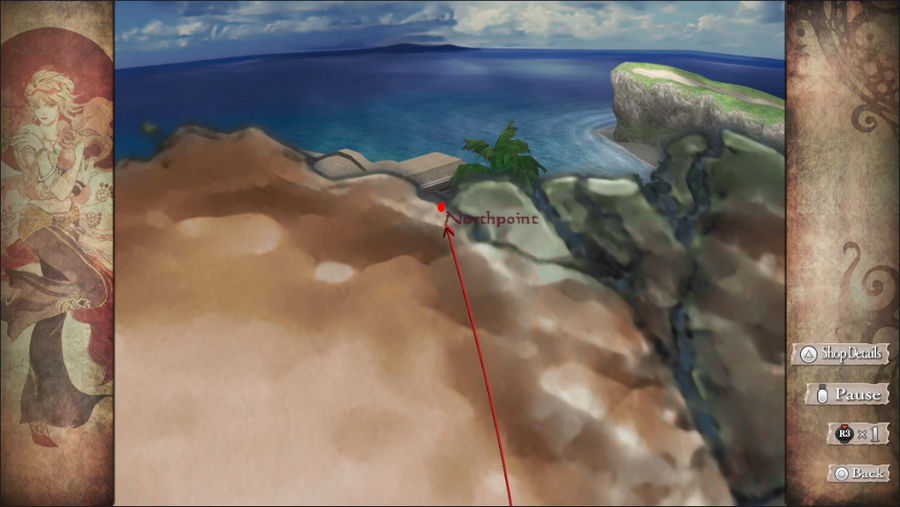 Before we get started, though, we need to make a quick trip to Northpoint. 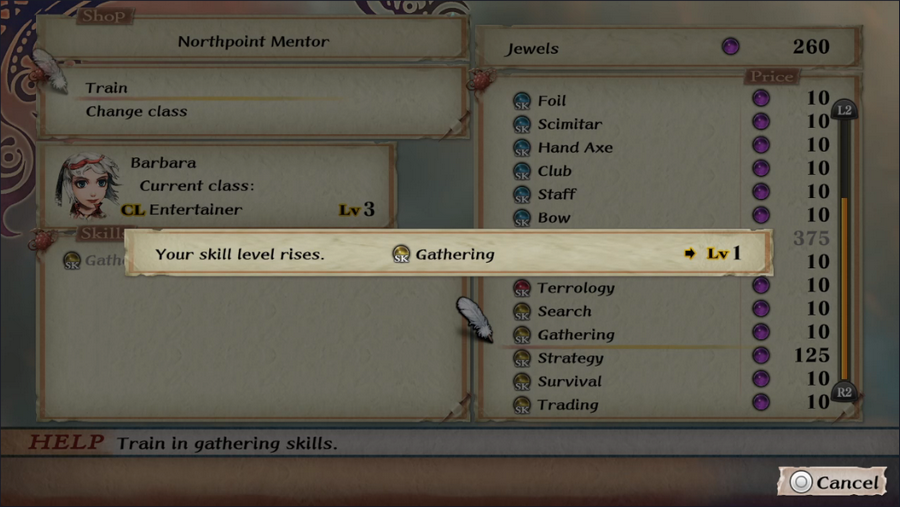 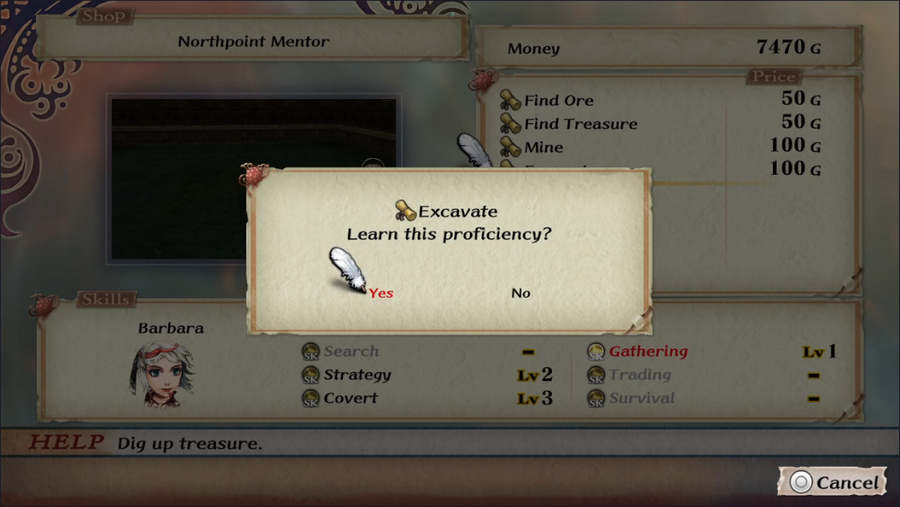  We need to buy a level in the Gathering skill, as well as the Excavate and Find Treasure proficiencies. 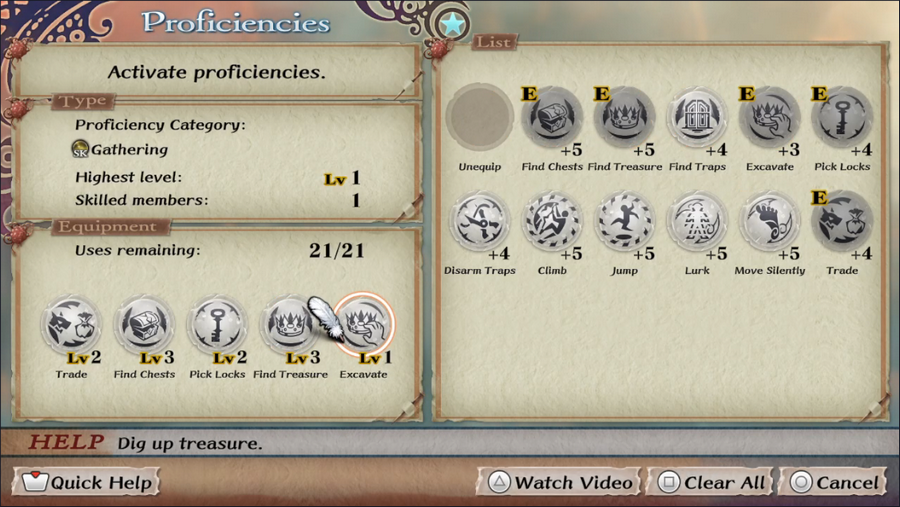 This suite of proficiencies should be adequate for some basic treasure hunting. 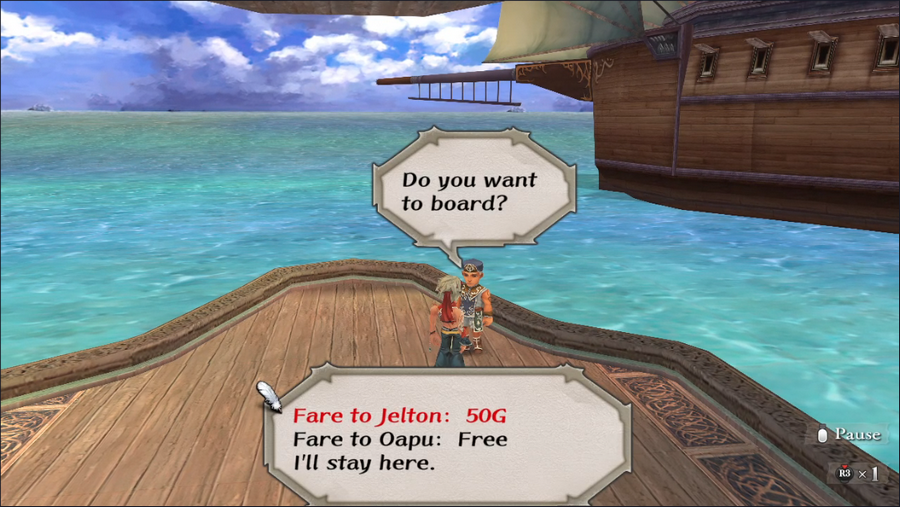 Next, we're off to Melvir, where we can hire a ship to take us to Jelton. 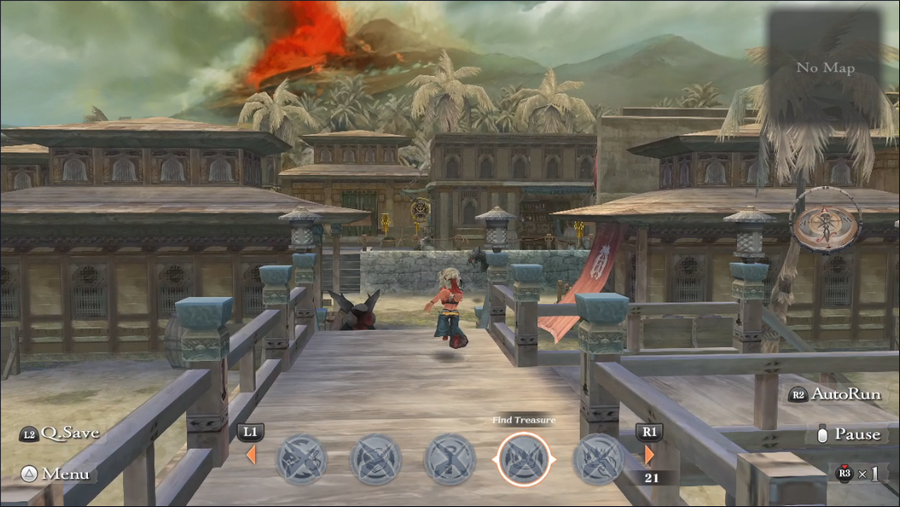 When we arrive, though, something is very wrong - ominous music is playing and instead of NPCs, the streets are filled with monsters! 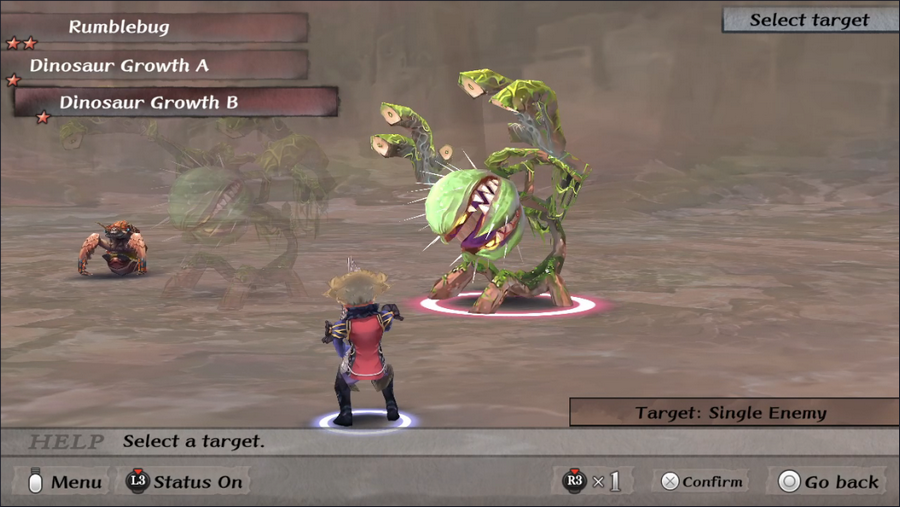 One of these monsters is new: the Dinosaur Growth. These are low-level plant monsters which I believe are unique to Ligau - that is, they don't spawn anywhere else in the game. 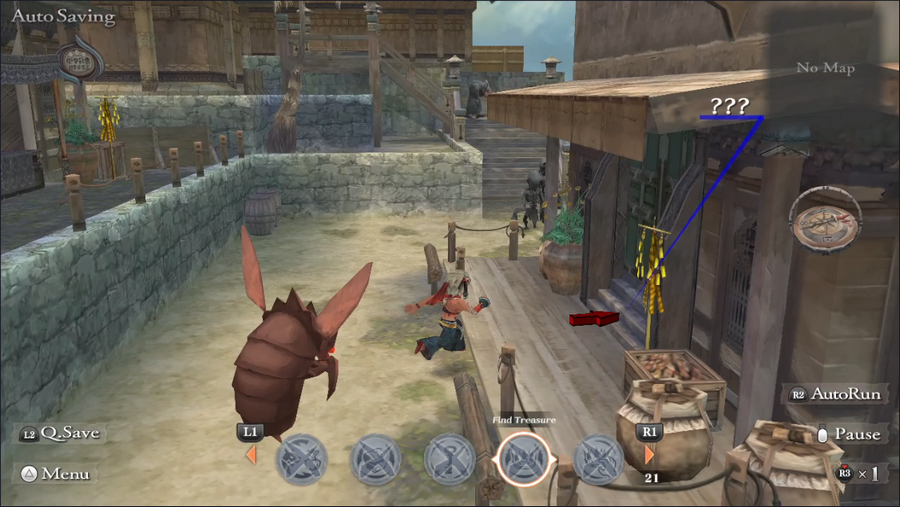 We head for the one indoor area in town, the local pub, which is somehow still open. 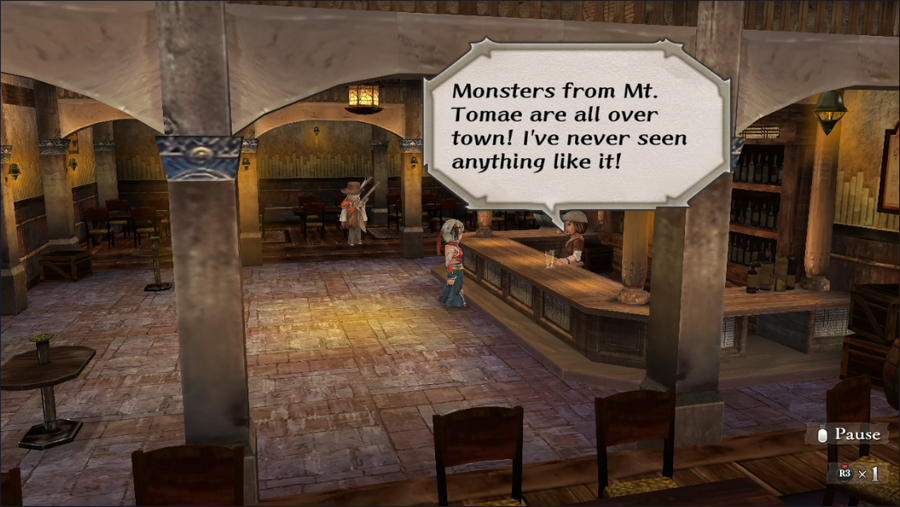  The place is devoid of customers, but the barkeep is here. He tells us that monsters invading the town came from nearby Mt. Tomae. This is also where Avi wanted us to go, so we have that available to us.  With that, we head out onto the Plains.  If you look at the compass, you'll see that it has two directional indicators. The red-tipped arrow is our own facing, as usual. The blue-tipped indicator is our Treasure Map pointing us where to go. Only one map works at a time, but we can leave the area and come back easily.  The game makes it clear when we've reached the right spot, at which point we need to use the Find Treasure proficiency. 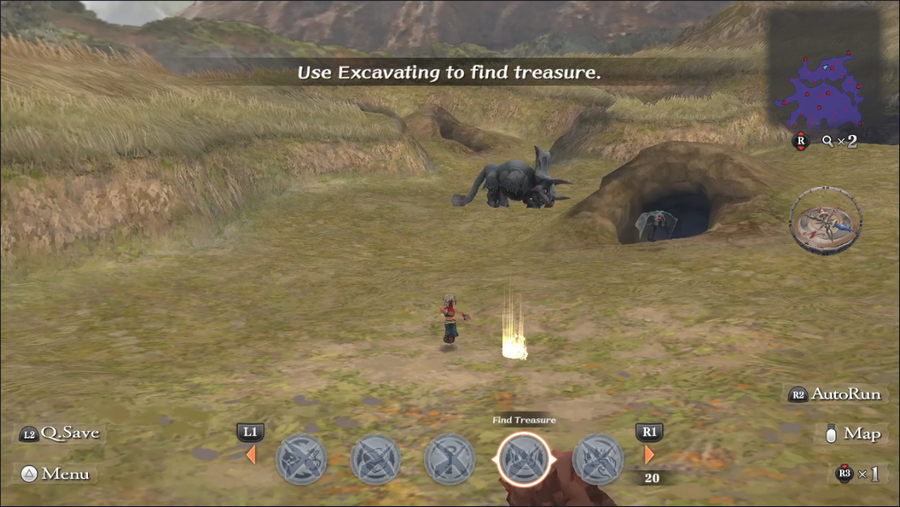 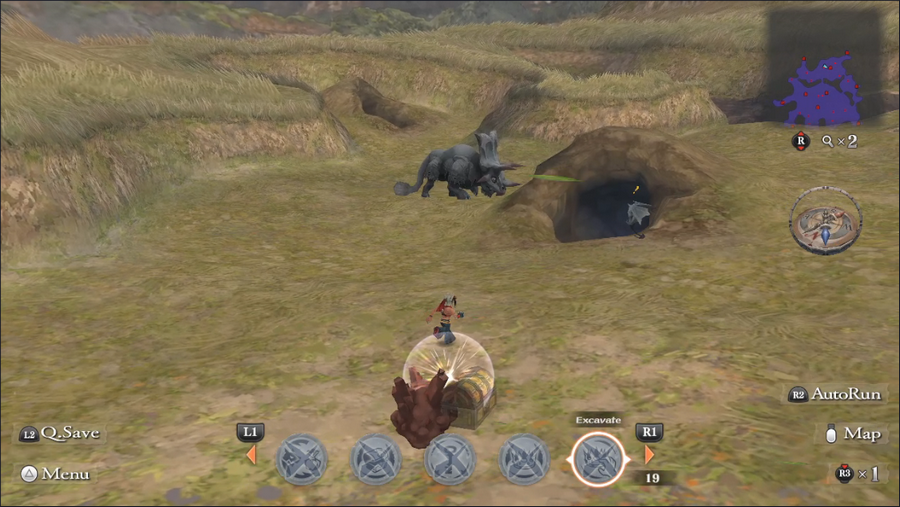 Once we've done that, we can use Excavate to dig up the chest. 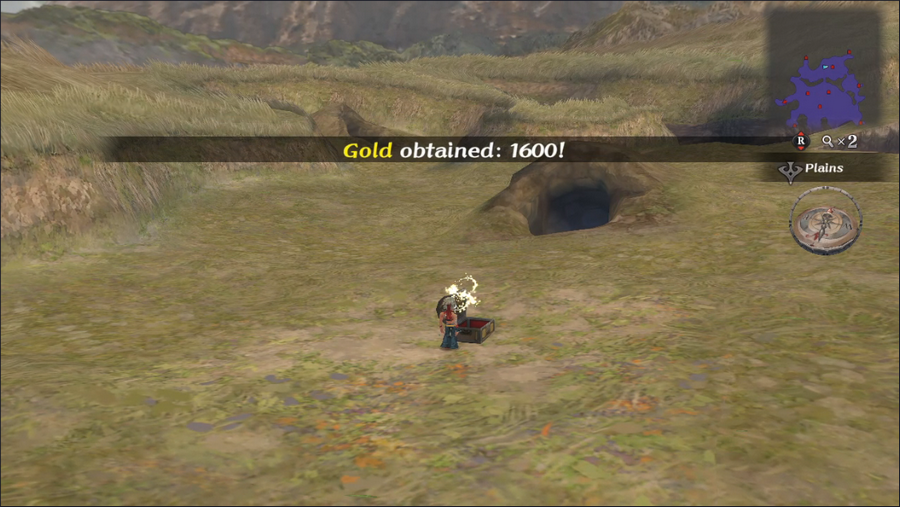 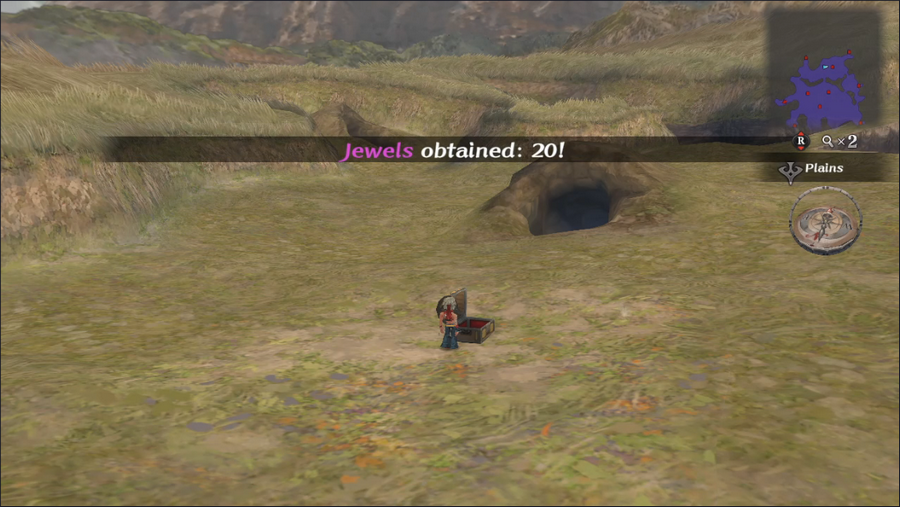  The chest contains a modest amount of gold and jewels, as well as a rare item, the Last Leaf.  This is a necklace that boost Compassion (more than the Medallion of Amut, at that) and provides immunity to attacks that drain LP directly, which are rare but pretty nasty.   We we make our way to an exit so we can use our other map, we actually get into a fight that drops yet another Treasure Map. It's another level 1 map, this time for the Steppes of Galessa. 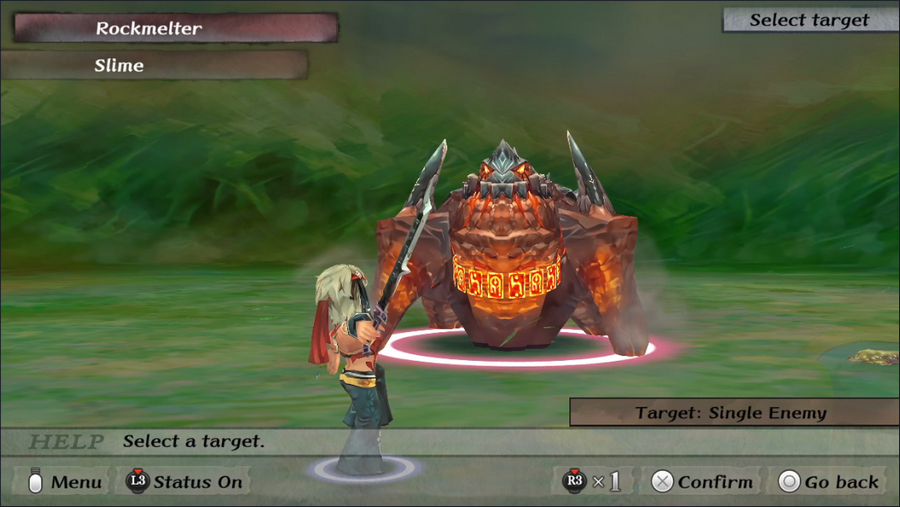  We also encounter a couple more new enemies. Rockmelters are big Unknown critters with solid HP and power and quite high defense. The slimes are a slightly stronger variant of the ones we faced in Gray's intro. 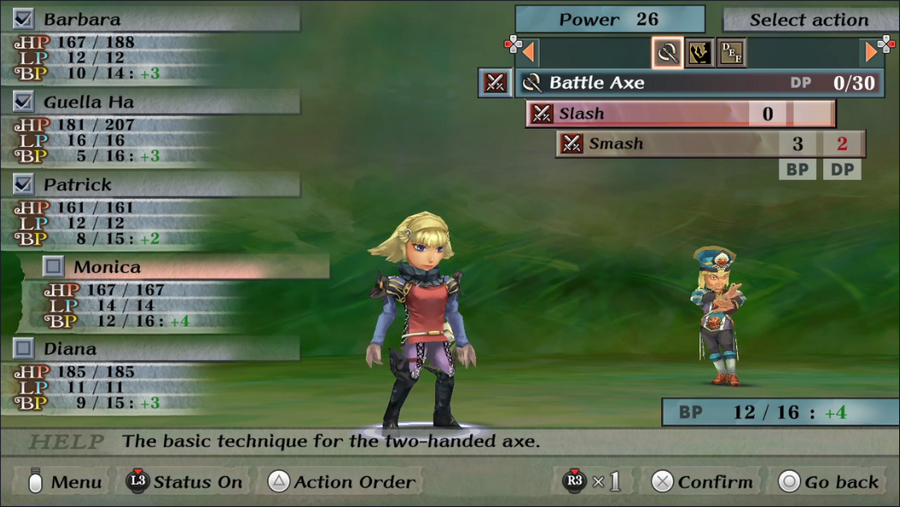 Also, Monica has reached the point where she's getting 4 BP per round, more than anyone else. Once she starts getting some techniques this will prove very useful. 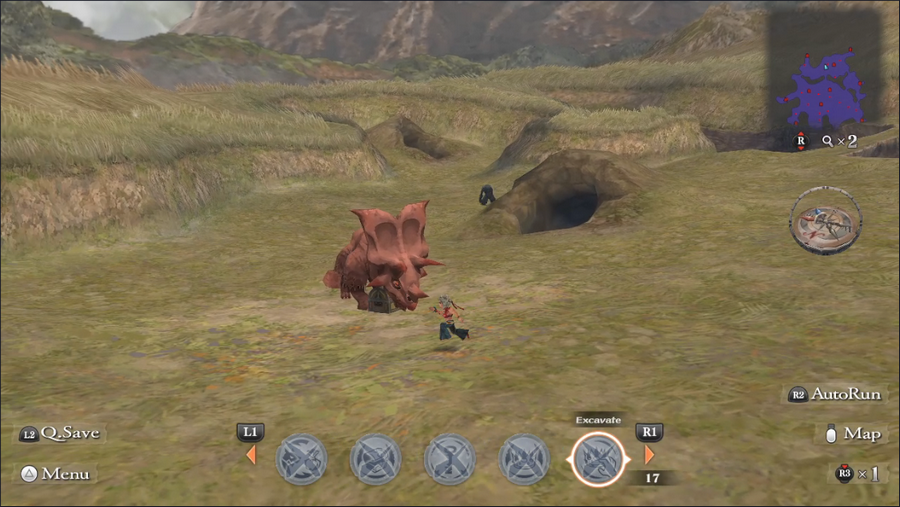 Our second Treasure Map leads us to the same spot, but we have to deal with a Dinosaur to get it. 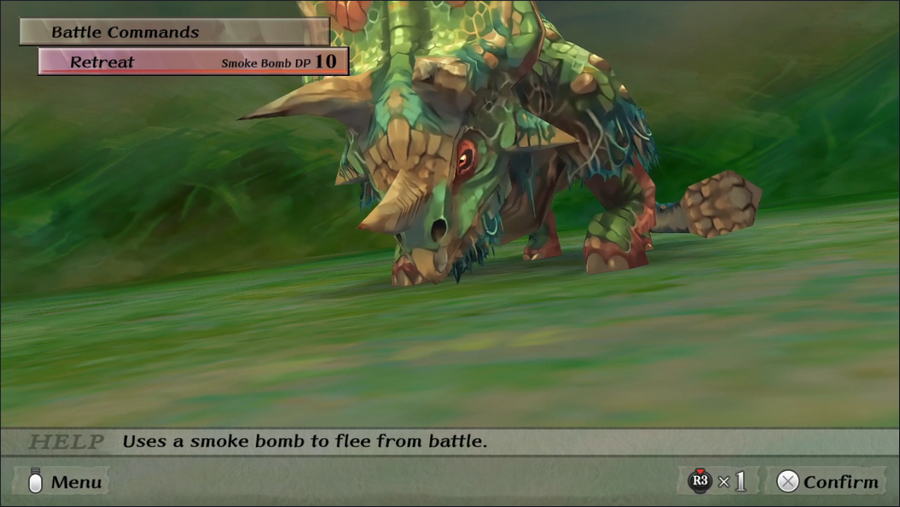 Smoke Bombs make this a nonissue. 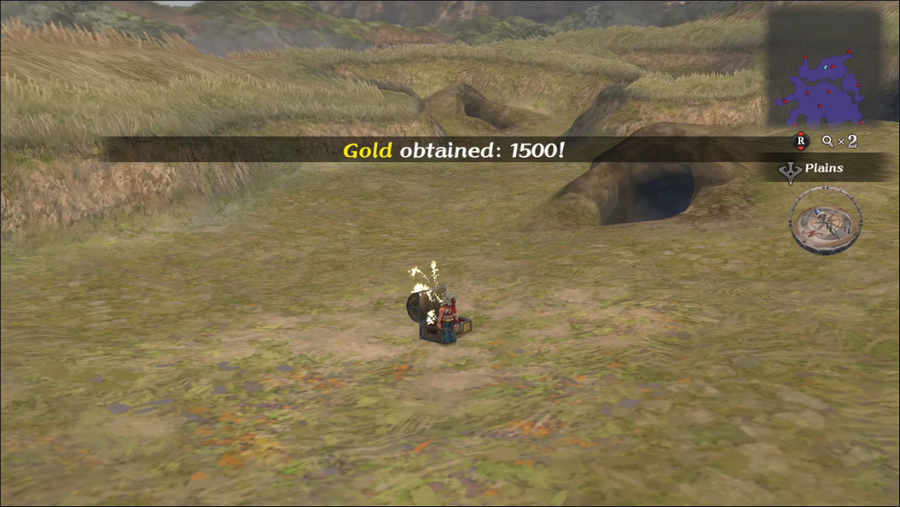 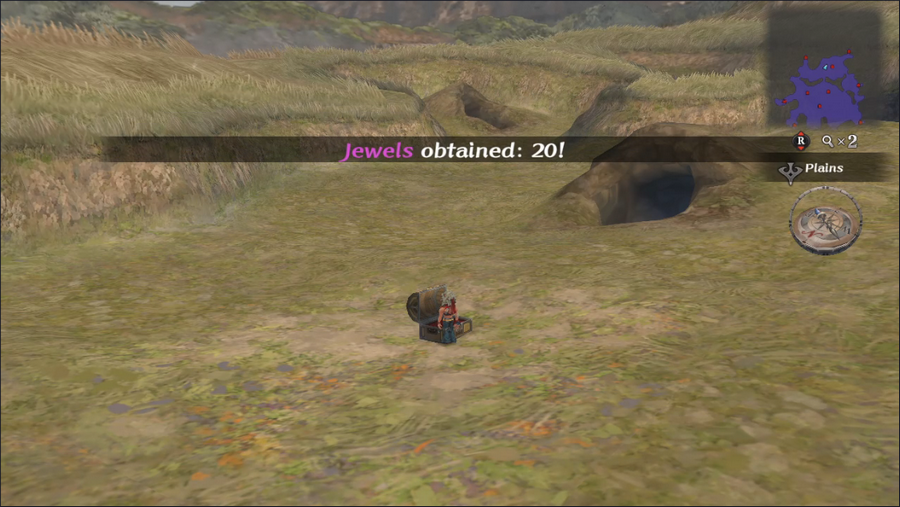 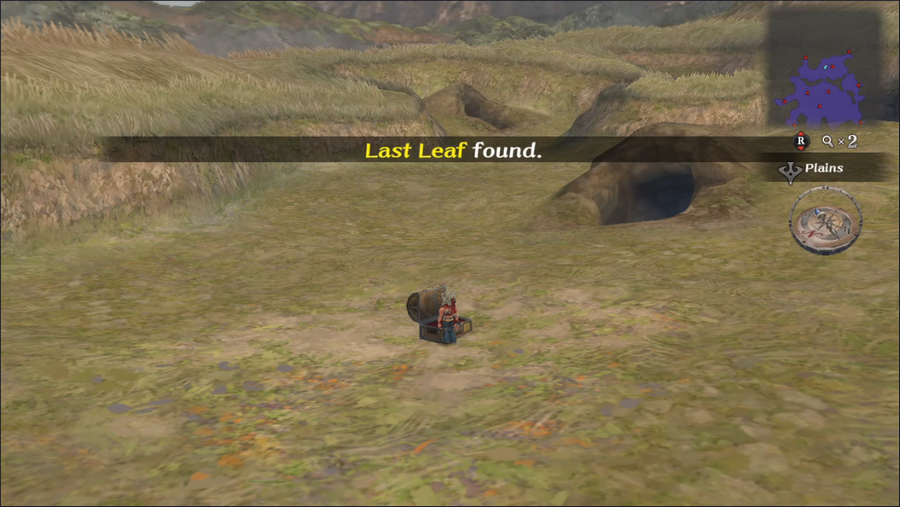 Oh, you've got to be kidding me. Well, at least immunity to death attacks isn't bad, and Monica can use the Compassion boost since her class has access to Cosmology. 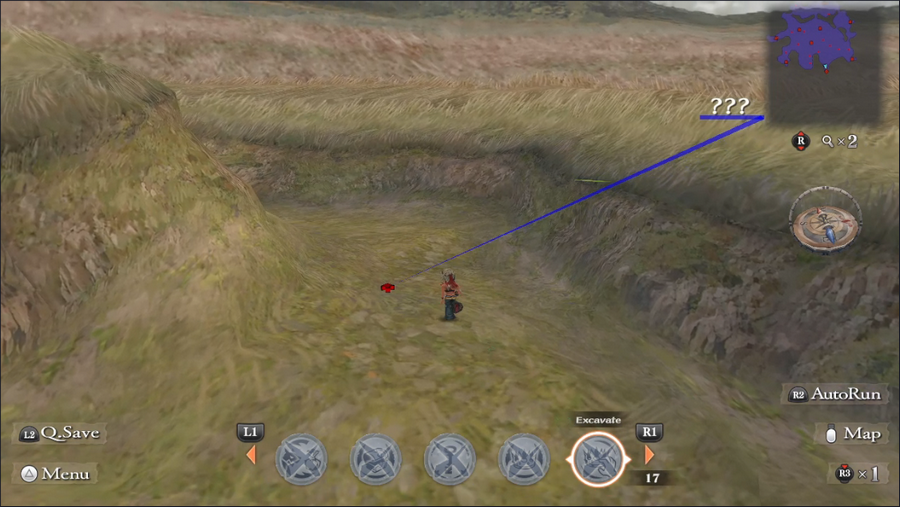 With our treasure hunting done, we head out the central-southern exit of the plains. 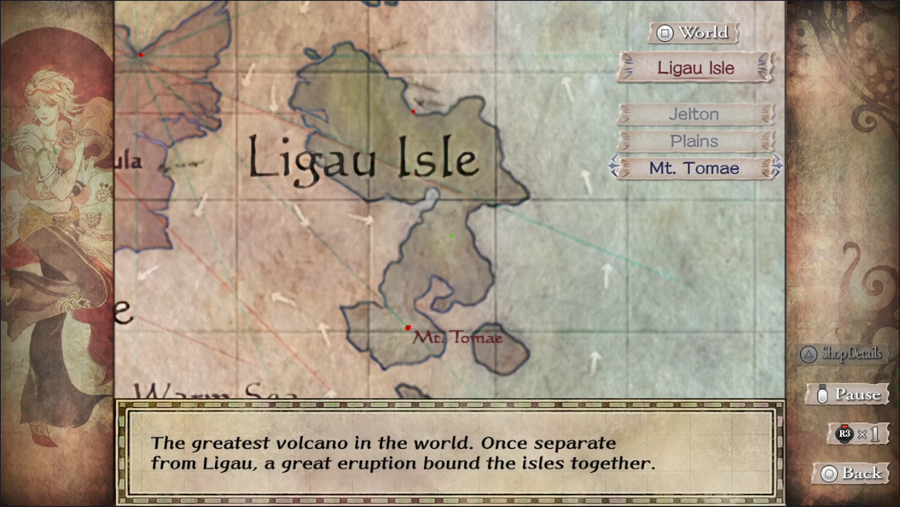 This takes us to the world map and thus allows us access to Mt. Tomae, but it also allows us to leave Ligau without resolving the monster issue. 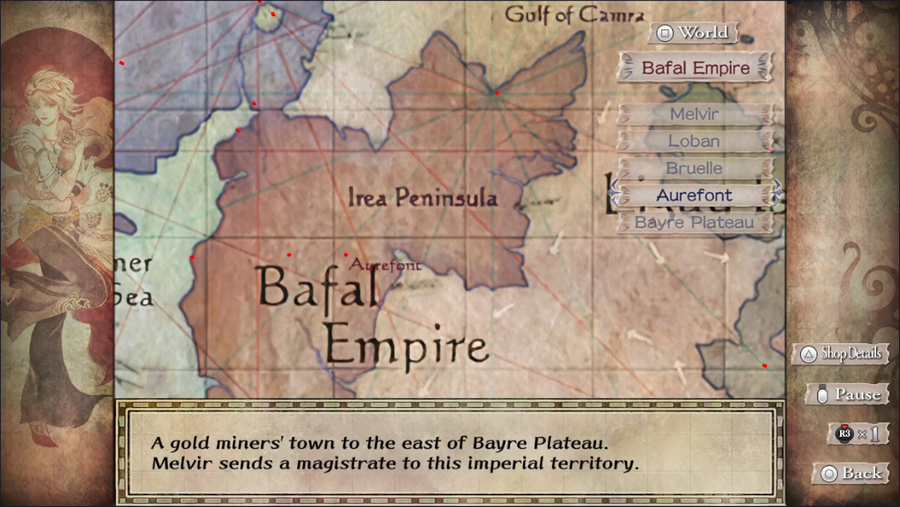 Our next stop is Aurefont, where a guy with a parcel needs a bodyguard. 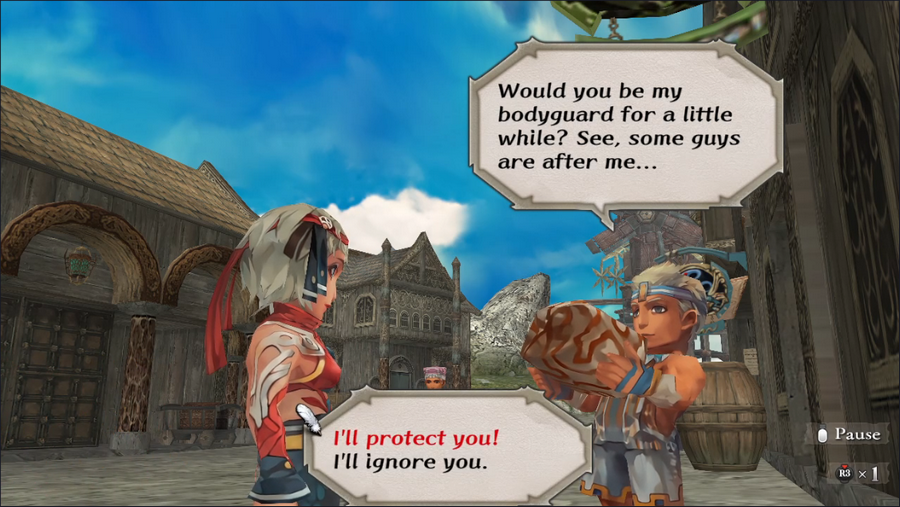 Sure, you seem trustworthy. 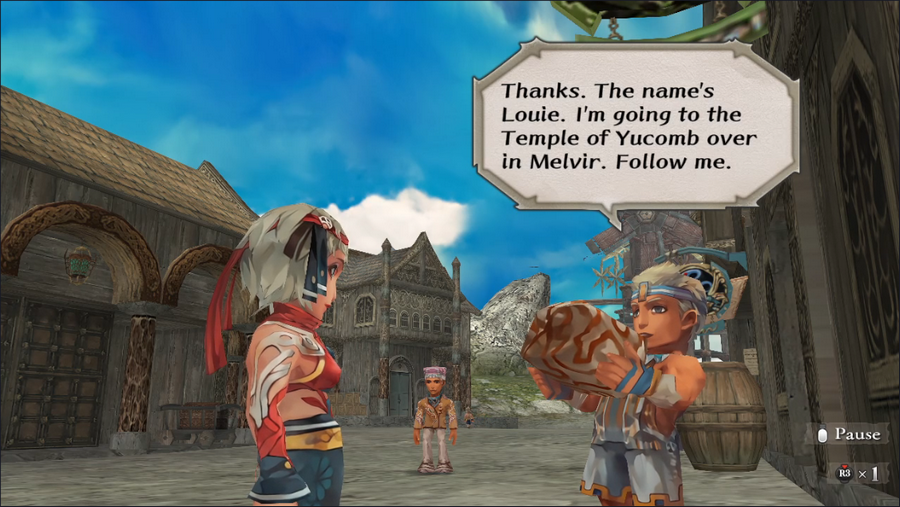 Louie speaks with a comically stereotypical Brooklyn accent.  He might be shifty, but at least he pays us up front.   On the other hand, he also appears to be extorting priests.  Louie pays for a stay at the local inn, but our rest is interrupted.   Gunfish are slightly above our current Battle Rank. They require a bit more effort to kill but aren't too tough.  Doubly so when we can combo them.  That... doesn't sound right, but then again, we did see a bunch of them in Jelton.   Looks like Louie is getting what he wants. He opens the package to reveal... 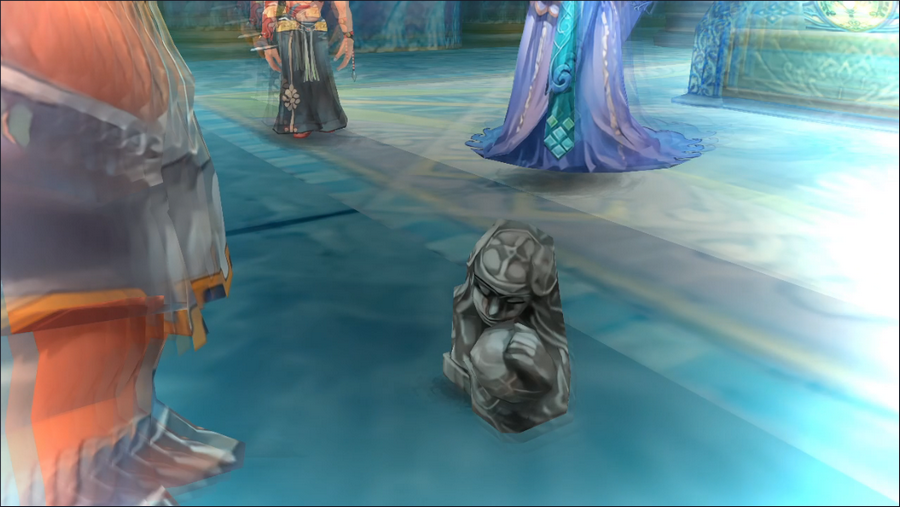 Oh. OH.  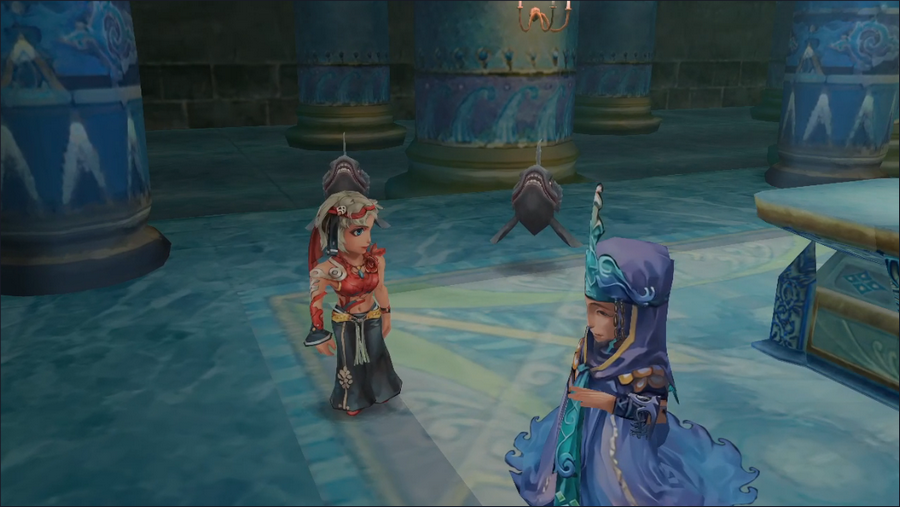 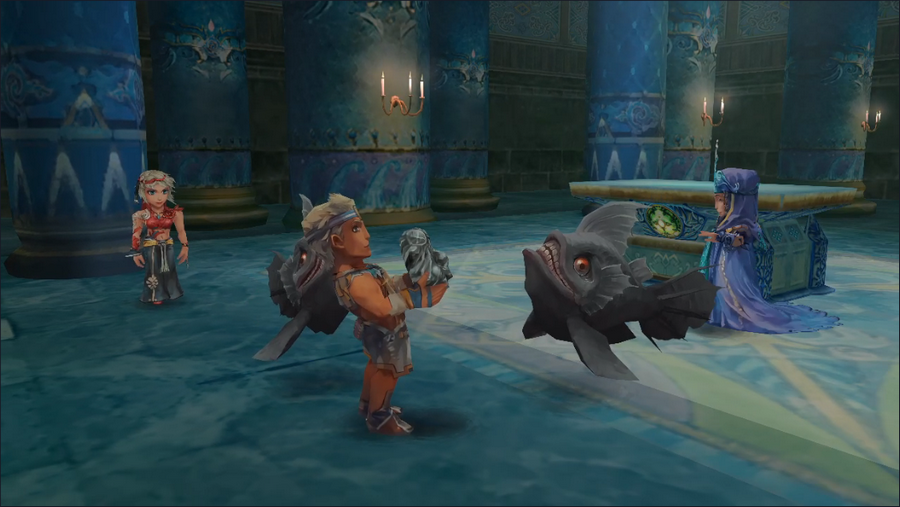 Suddenly, a pair of monsters appear in a burst of water and attack Louie! 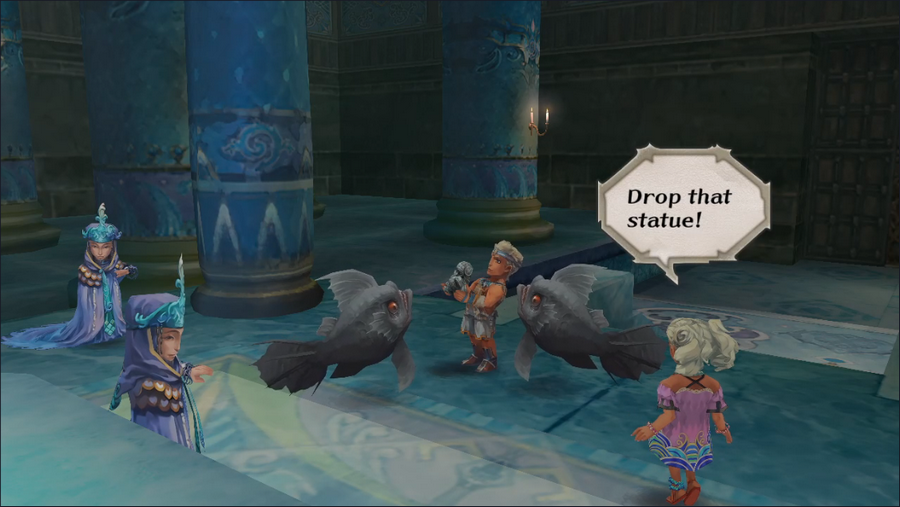 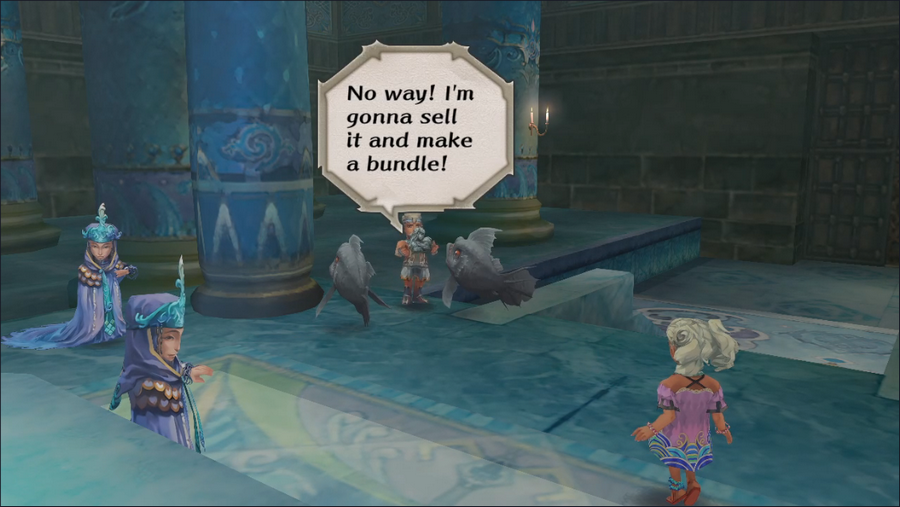 Marina runs in out of nowhere, imploring him to drop the statue, but Louie's greed gets the better of him and he refuses. 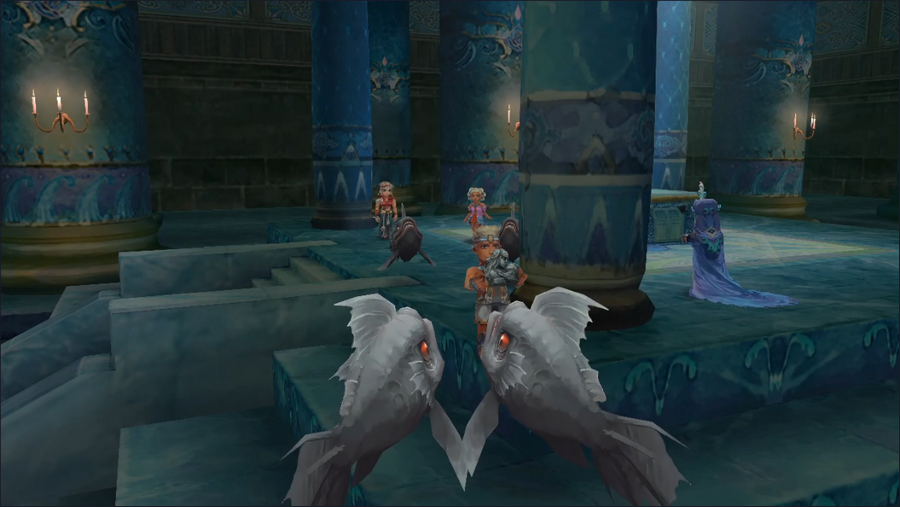 He tries to escape, but two more monsters appear to block him. 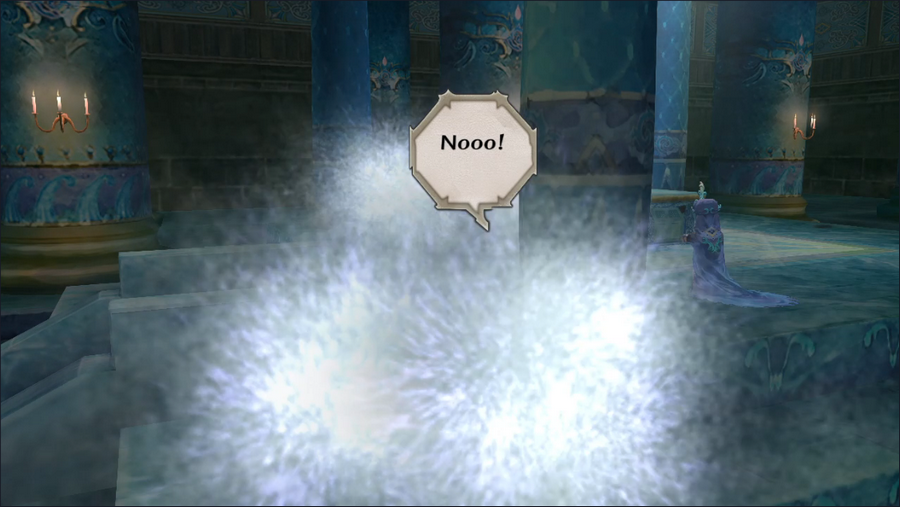 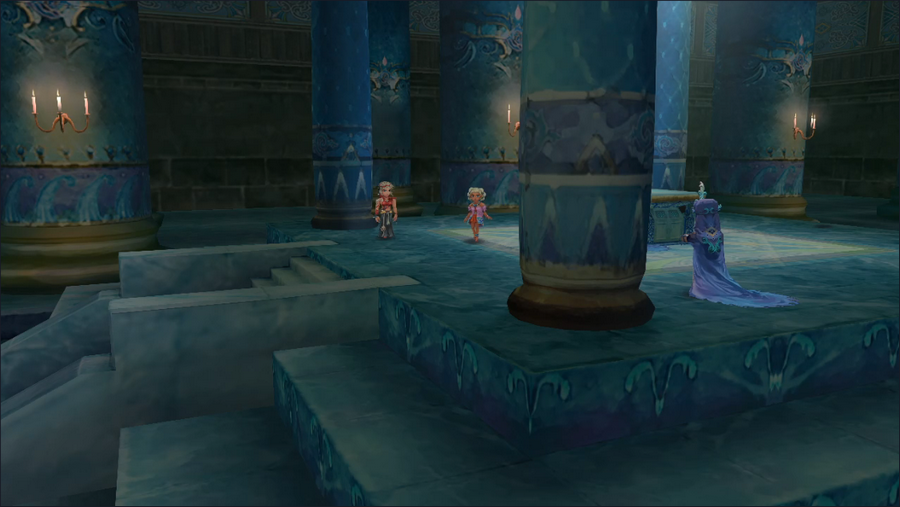 In another bust of water, the monsters are gone, along with Louie, whose last word is a terrified cry. 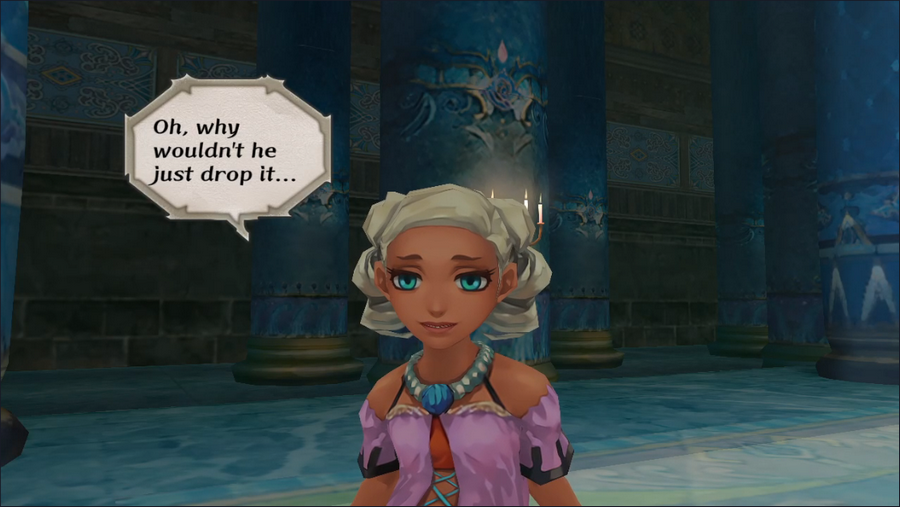 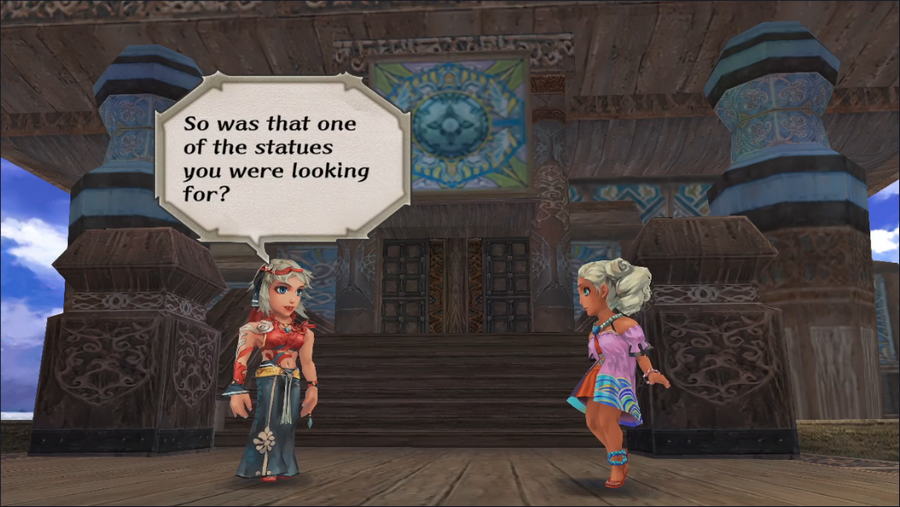 Outside, we catch up with Marina. 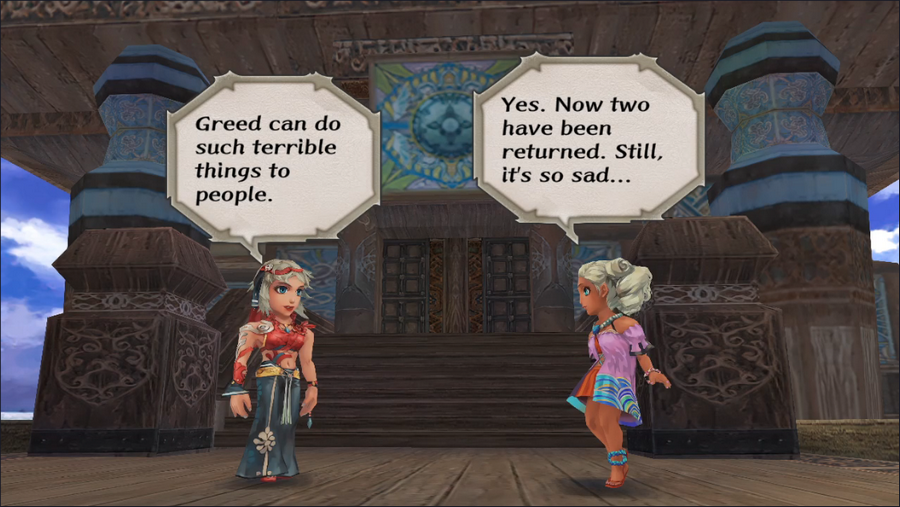 At this point, I want to pause for a moment. Marina mentions off-hand that one statue was recovered without our intervention. With that in mind, let's go way back to Albert's intro. 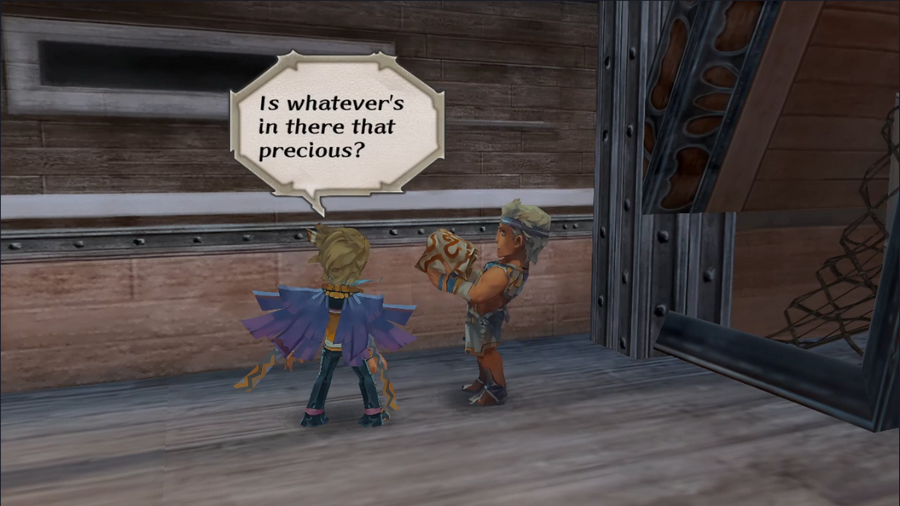 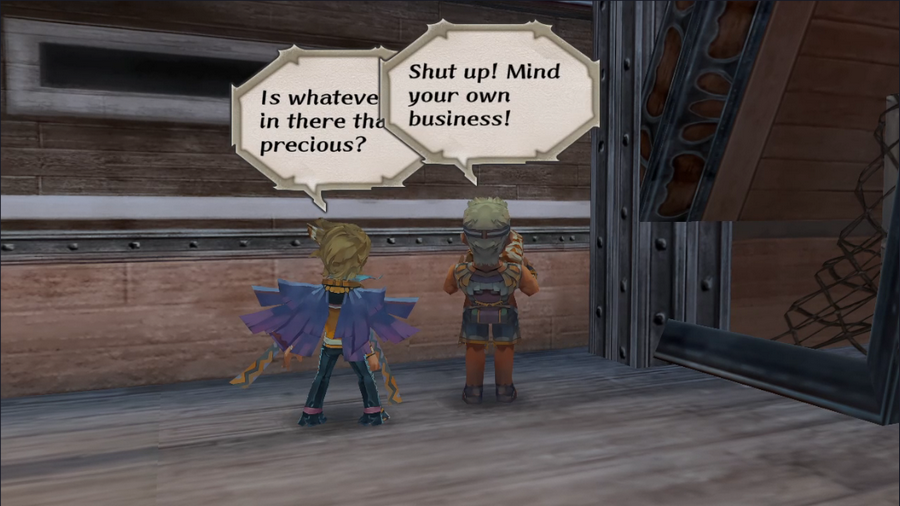 Remember this guy? The one who seemed to serve no purpose to the narrative? He was carrying one of the statues. The storm that sunk Albert's ship was no coincidence; it was the wrathful fist of Yucomb taking back his property, and drat the collateral damage. Anyway, let's return to our story in progress. 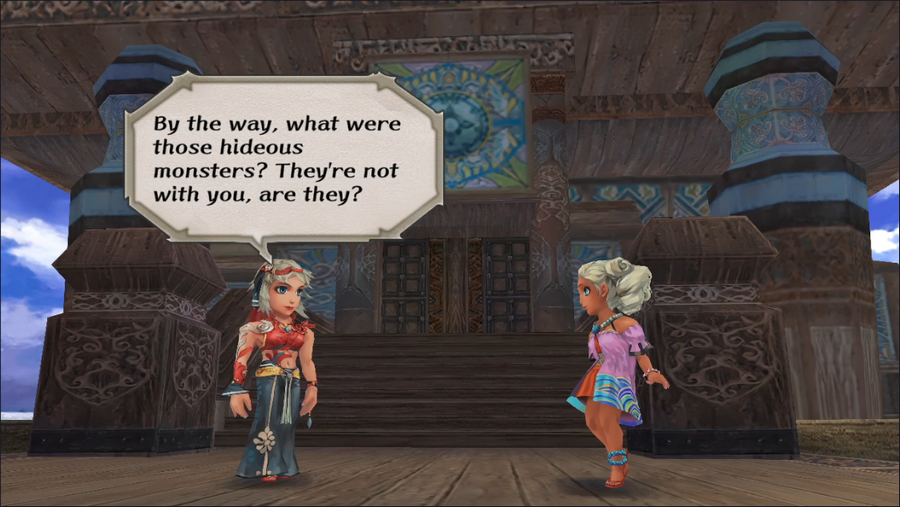 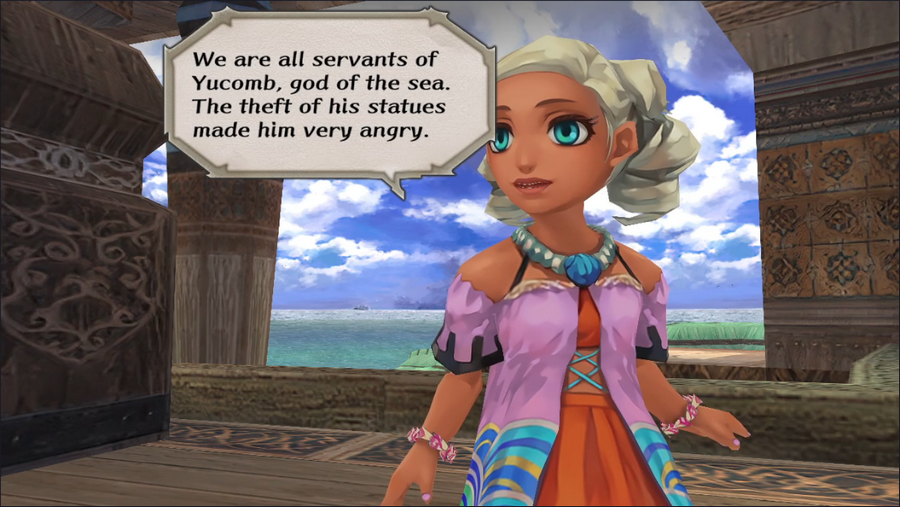 Most all monsters are hostile, but not all of them serve Saruin. Even the gods have monstrous servants.  Luckily, Marina is much more concerned with needless death than her master.  With that, we have our next destination. This is technically part of a different quest, but it's one connected story, so we may as well do it now.   The priest in South Estamir hasn't seen any statues. Maybe Marina's instinct was off.  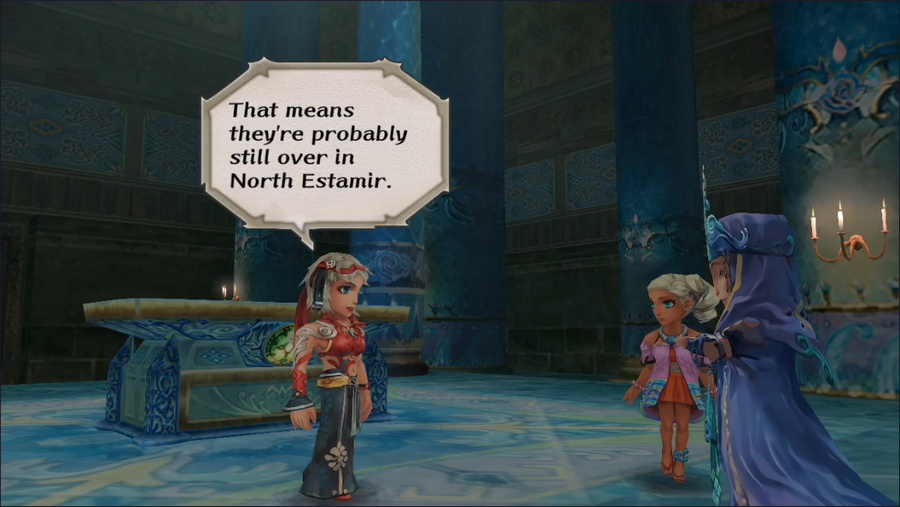 Barbara, however, devises a very reasonable explanation. 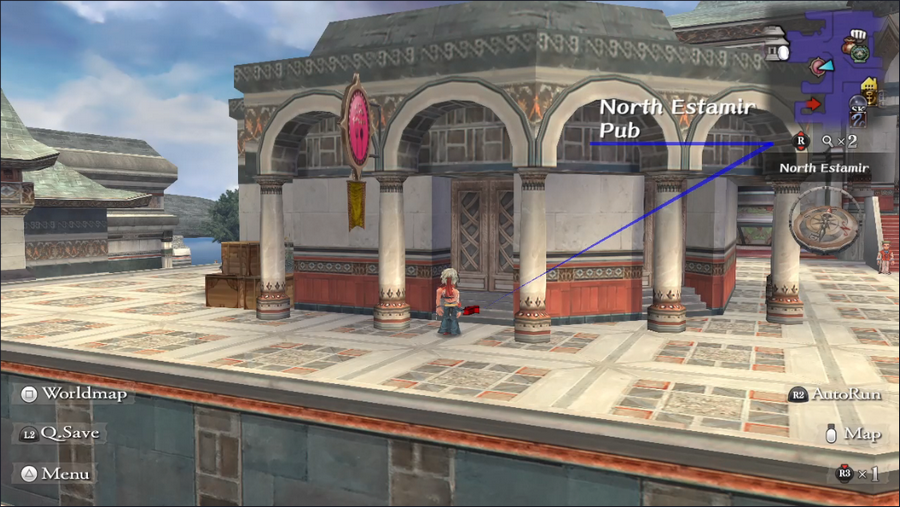 So we head to North Estamir, and specifically its pub. 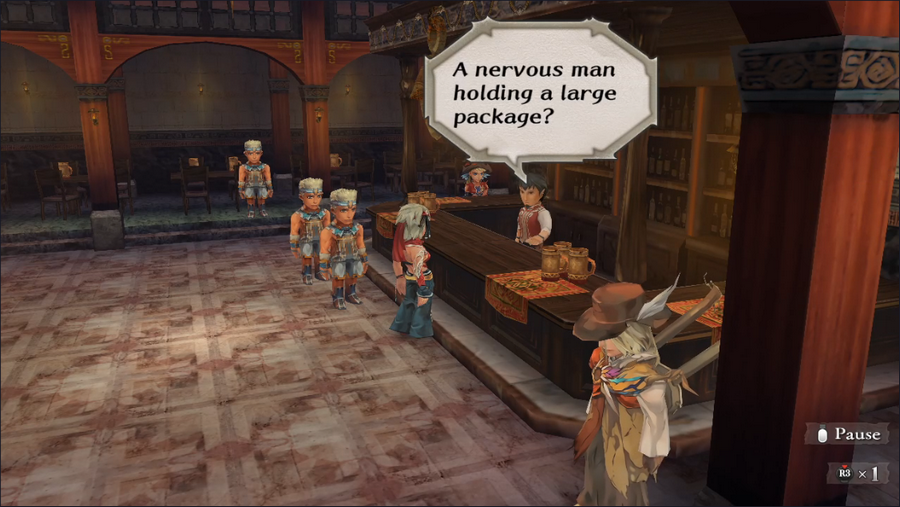 NO JOKES. 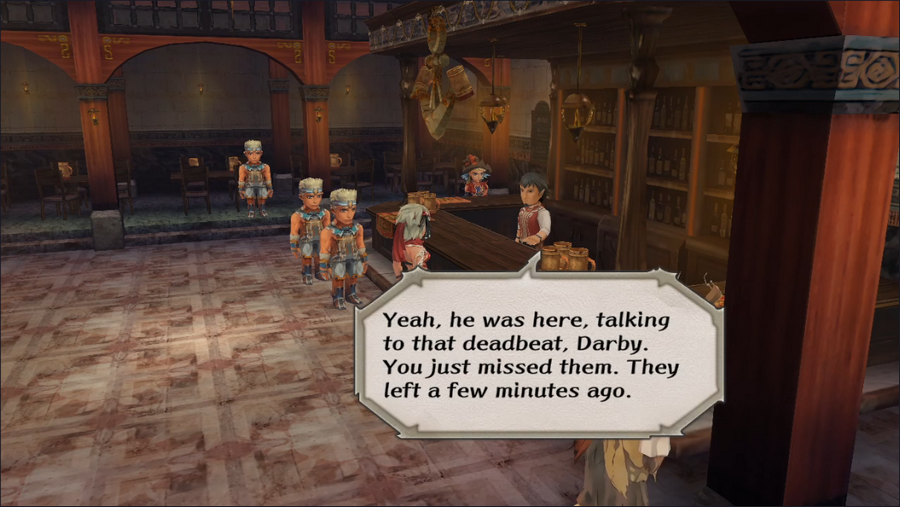 Seems like we're a step behind. 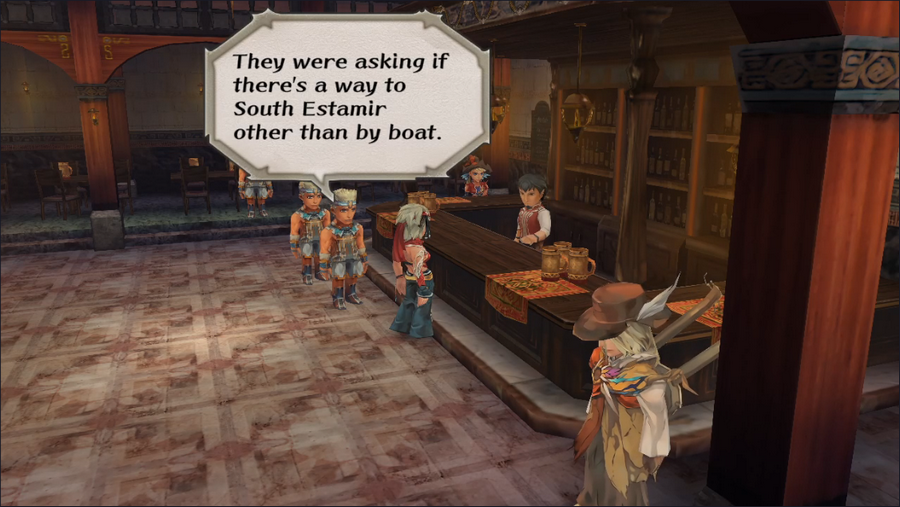 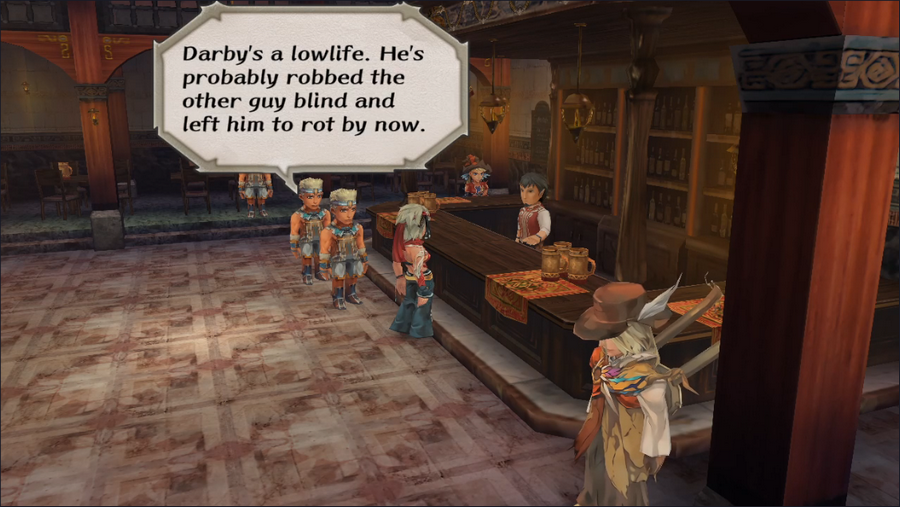 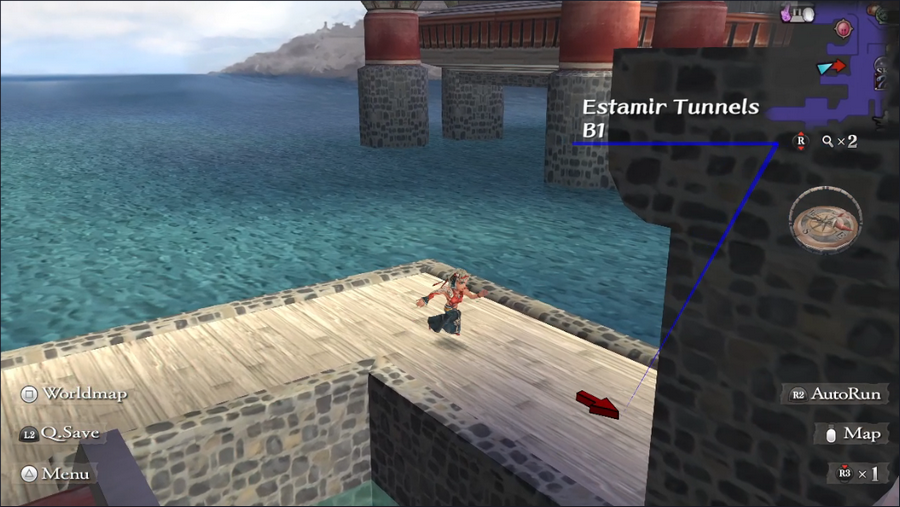 The barflies don't tell us explicitly where our quarry went, but there's only one way from North Estamir to South other than by boat: the sewers. 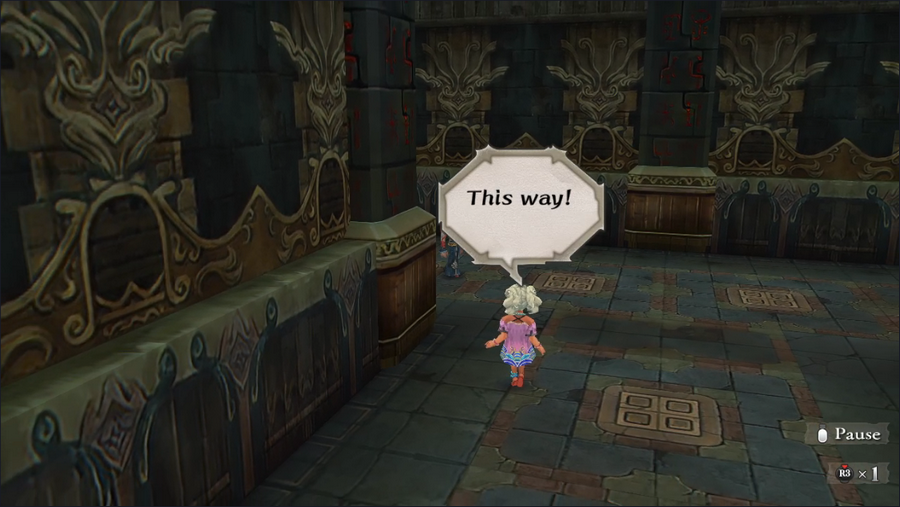 There are a few ways to go here, but at each intersection, Marina pops up to guide us. In this quest specifically, it's nearly impossible to get lost. 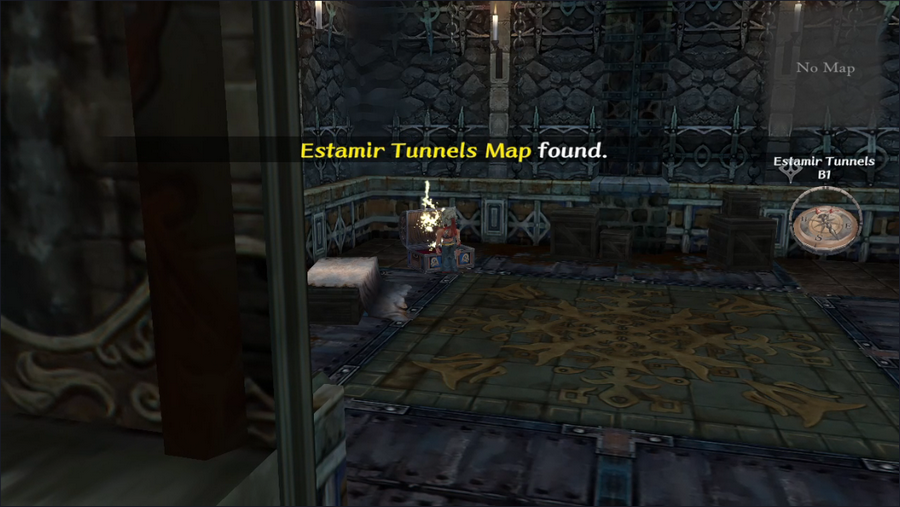 Doubly so when we can grab the area map along the way. 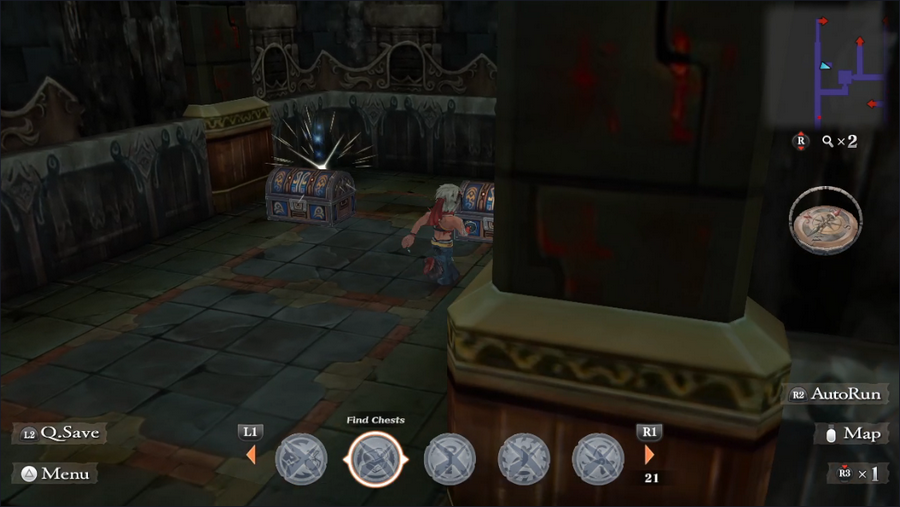 We also stop in a small alcove for a pair of chests, one of which is hidden. 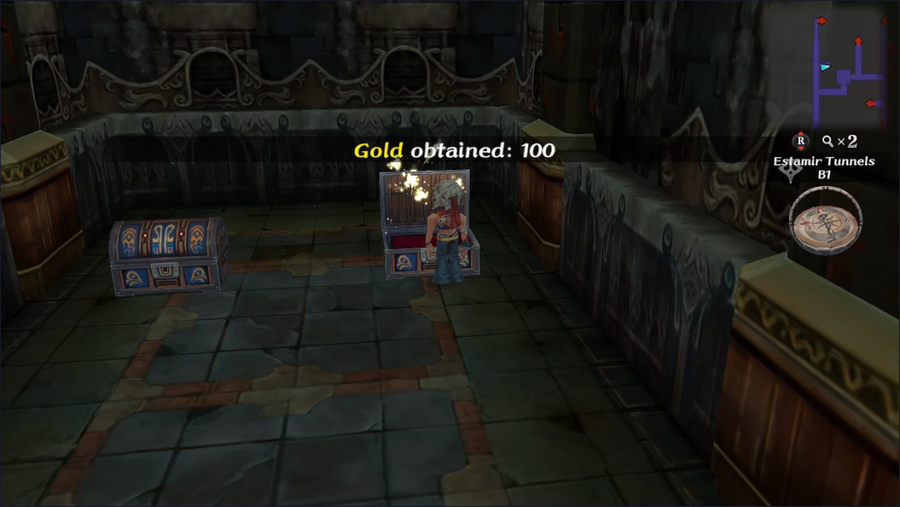 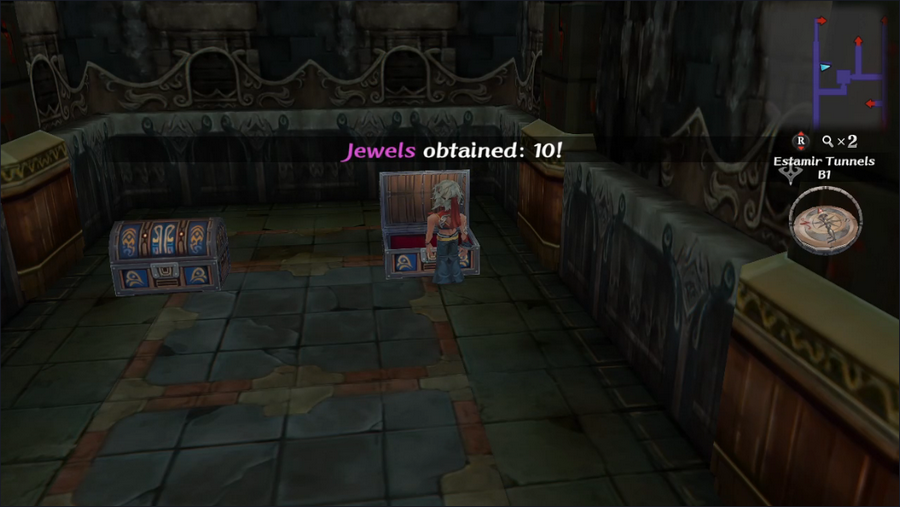 One of the game's little touches is that it plays different voice clips when opening chests depending on the quality of the loot. Minor prizes like this elicit a bored, "Eh." from Barbara. 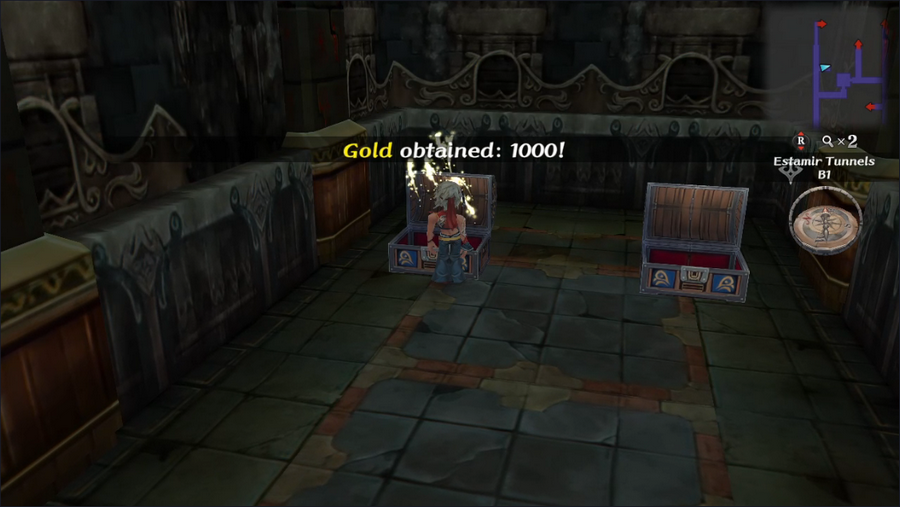 Bigger hauls like this instead get an approving "Oh!"  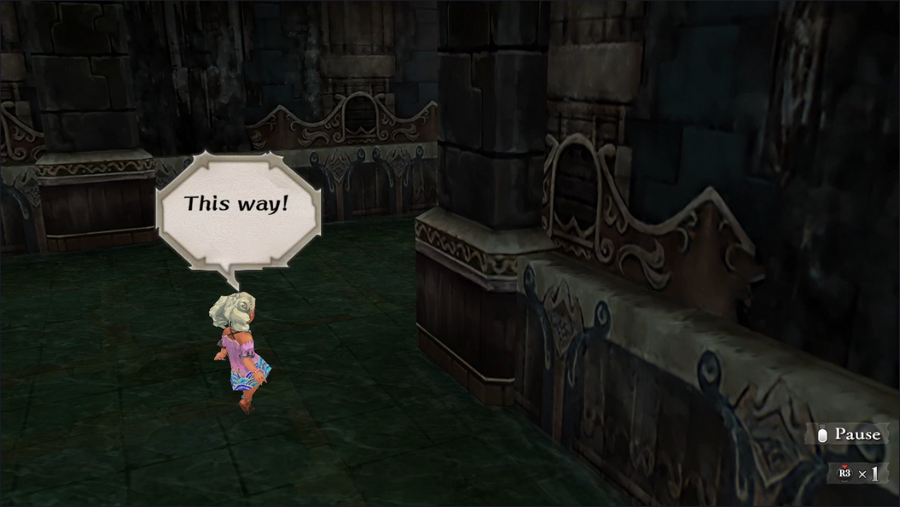 In any case, we head down to the next floor, where Marina continues to guide us. 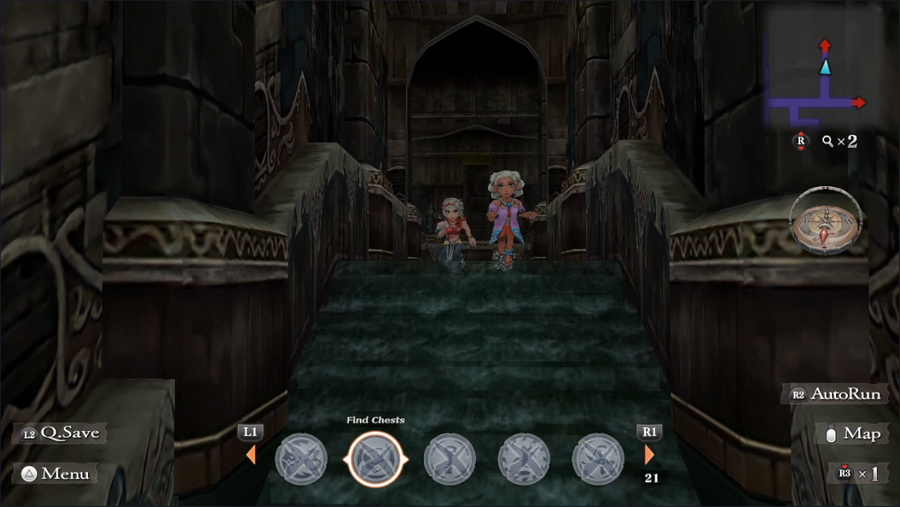 She eventually leads us to a watery slope leading even further down.   It seems that Darby has run out of patience.  Before he can do anything, though, another fish monster appears - doubtless another servant of Yucomb.  Barbara and Marina hear a scream, and know their time is short.  The room below contains a huge number of Undead monsters - just look at those minimap dots!  Luckily they're slow, so we can avoid them easily and get to our target. 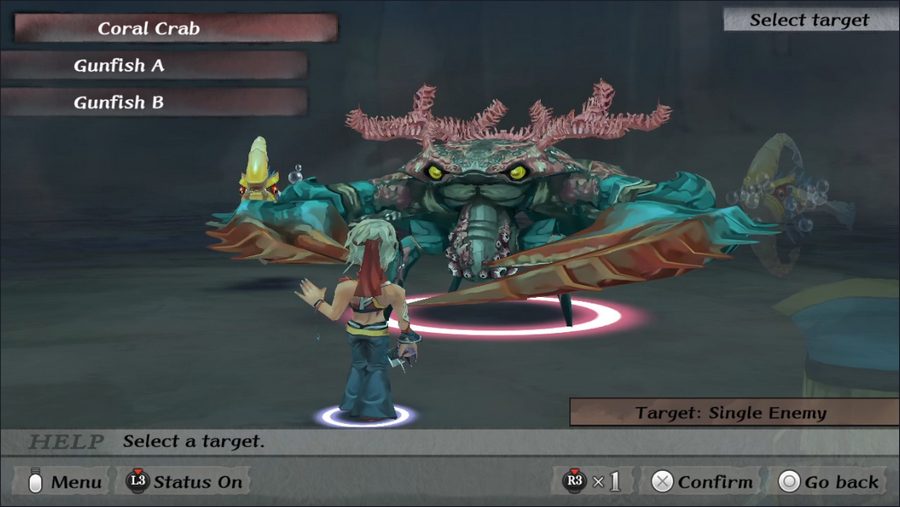 This fight is against two Gunfish as well as a new and much tougher monster, a Coral Crab. Unlike the Gunfish, this thing is actually a real challenge. Our best bet is to try and kill the fish on round 1, then focus down the crab. 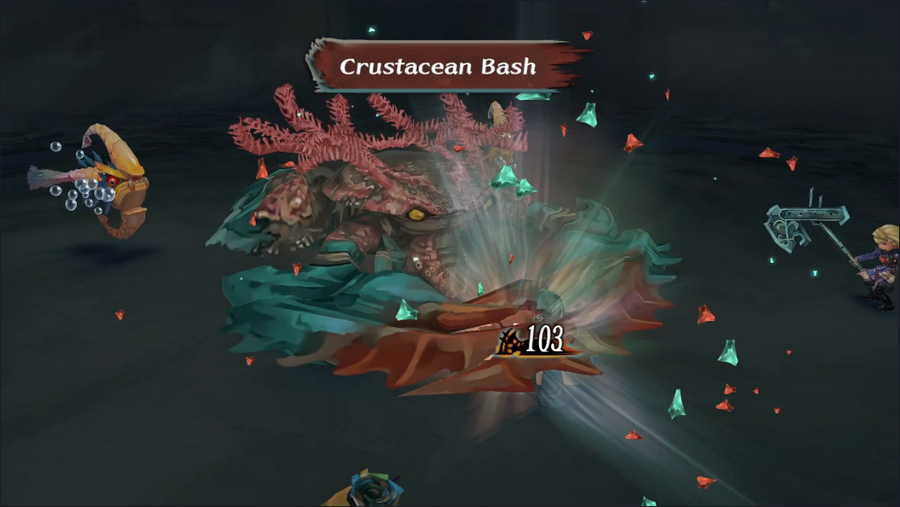 The crab hits pretty hard, taking off more than half of Barbara's HP with a single strike. 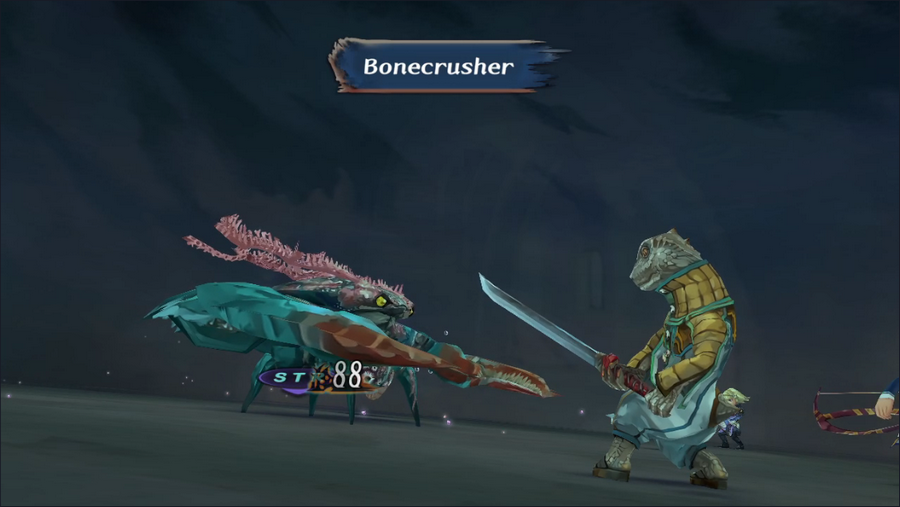 Lowering its Strength with Bonecrusher definitely helps.  Our strategy works - Rapid Volley helps thin out the Gunfish, and the crab goes down on round 2.  The next scene takes place outside. Darby's fate is unclear, but he likely fled when he saw what we did to the crab.   Louie's brother, at least seems like a sane man.  He, Marina, and our party all head to Northpoint. Luckily this is an entirely overland route. 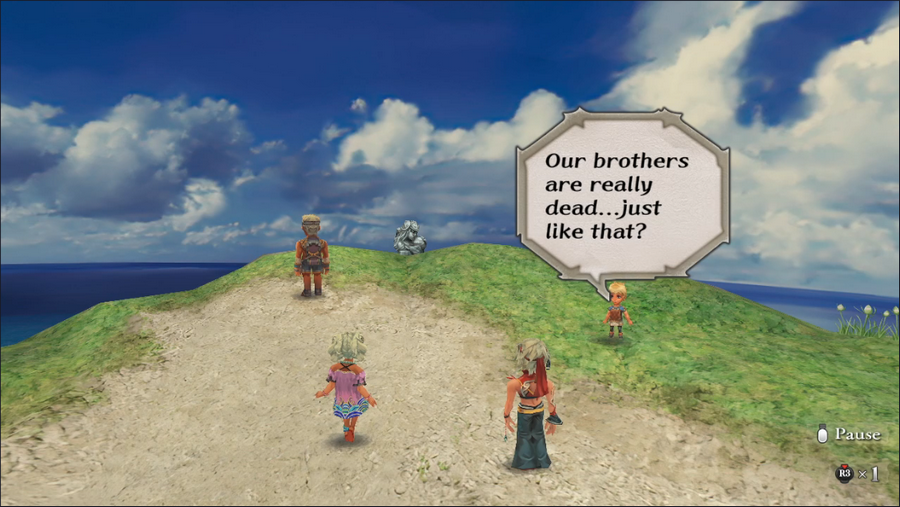 By the way, they also have a fourth brother, who's just a child. This is a heavy and sorrowful loss for him. 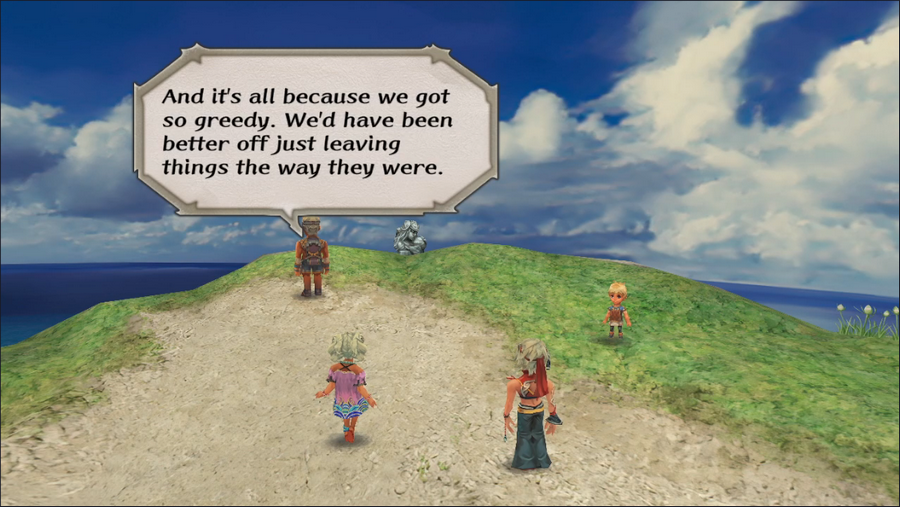  Marina, please, read the room. 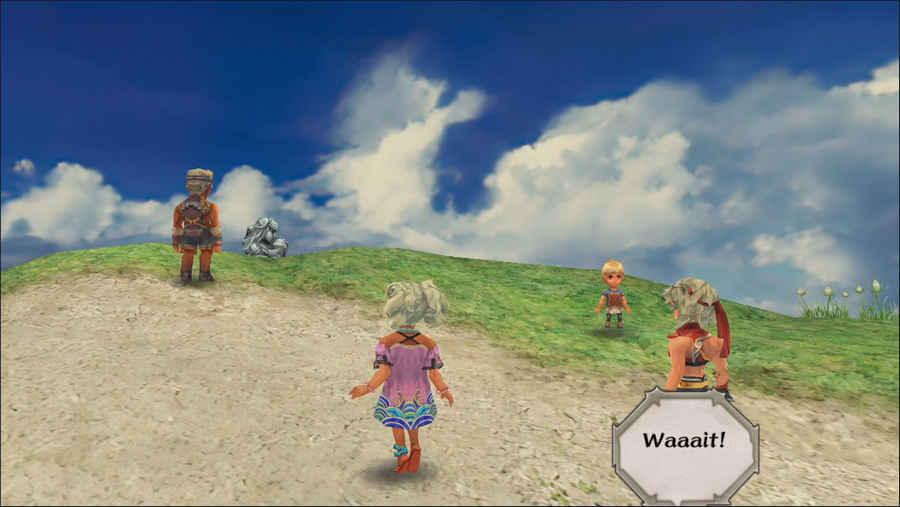 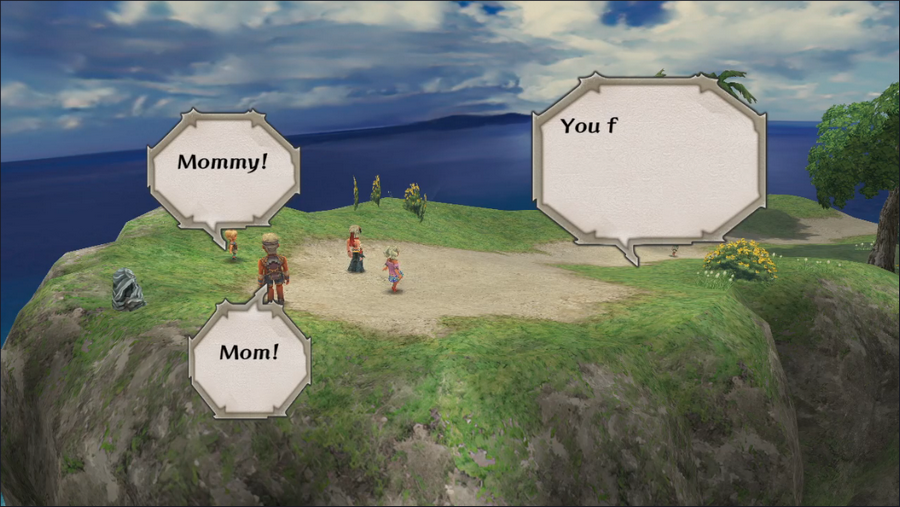  Suddenly, the brothers' mother runs in, thrilled to see the statue that could make their family rich.  She grabs it, but can't arrest her momentum and plummets into the sea.   This is a super dark ending! It's pretty unusual for this game. 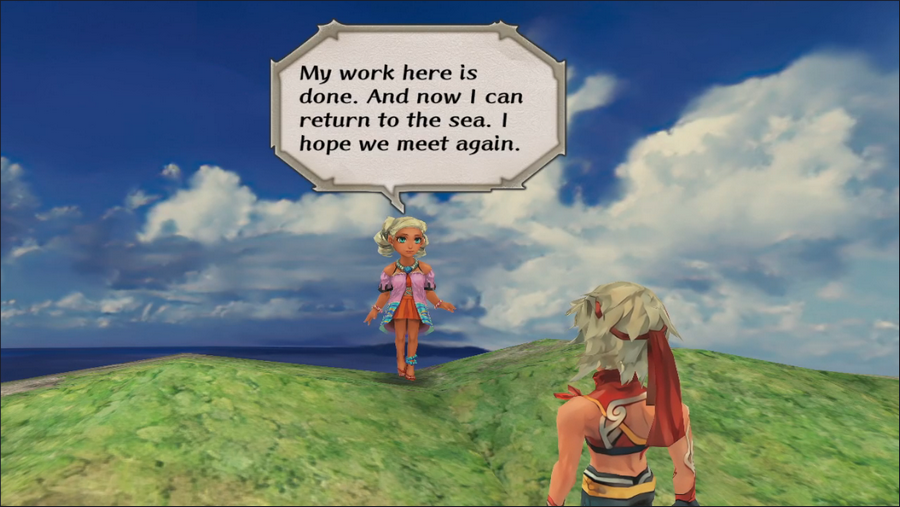 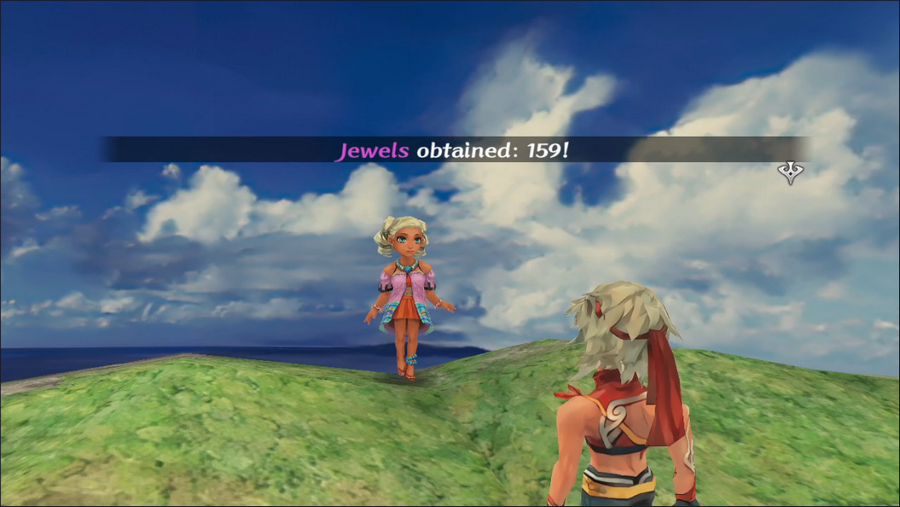 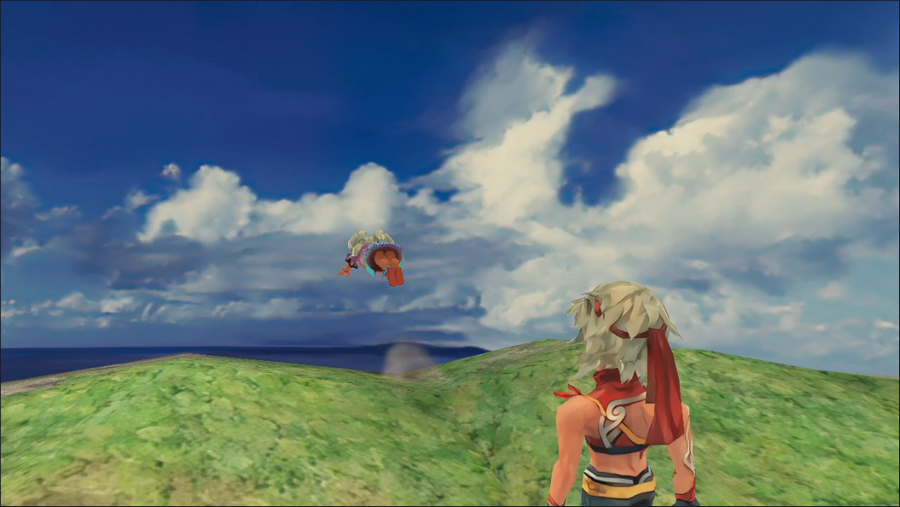 Marina gives us our jewels, then dives off the cliff!  Oh. OH. 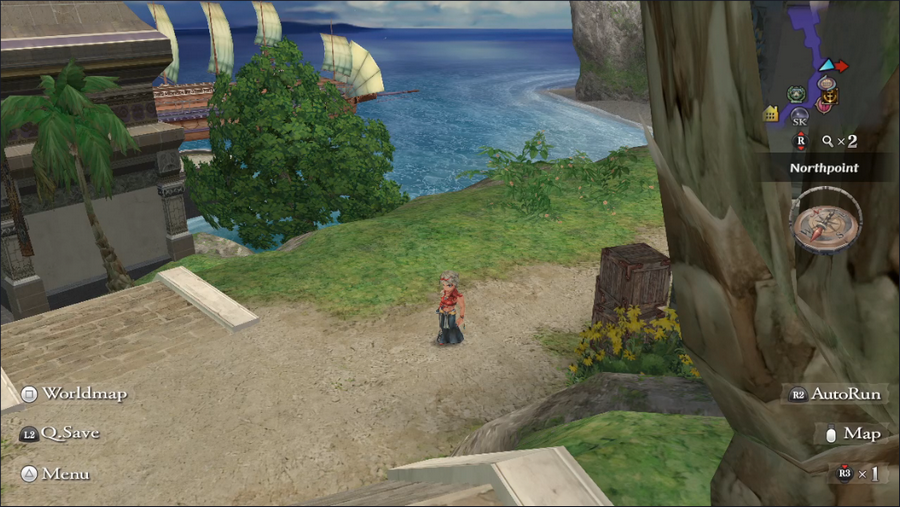 With that, we've finished this quest. But we've also hit Event Rank 7, which unlocks a single new quest. 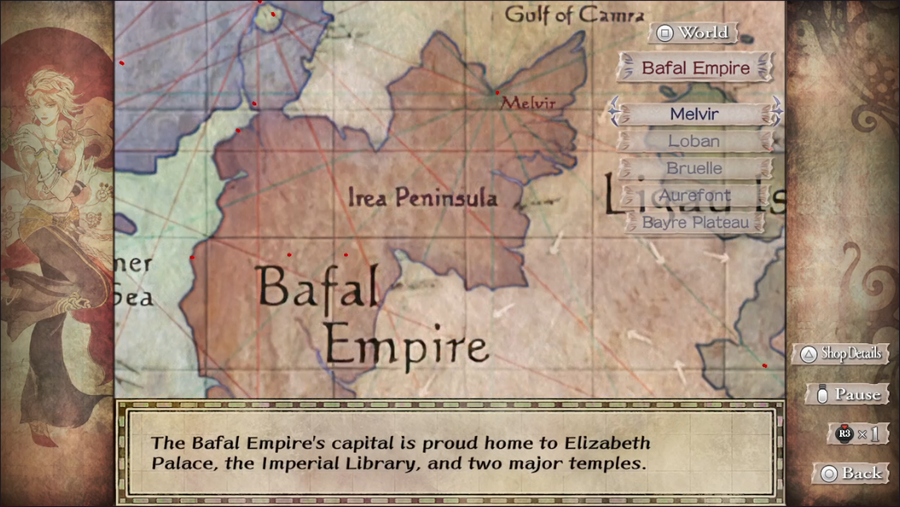 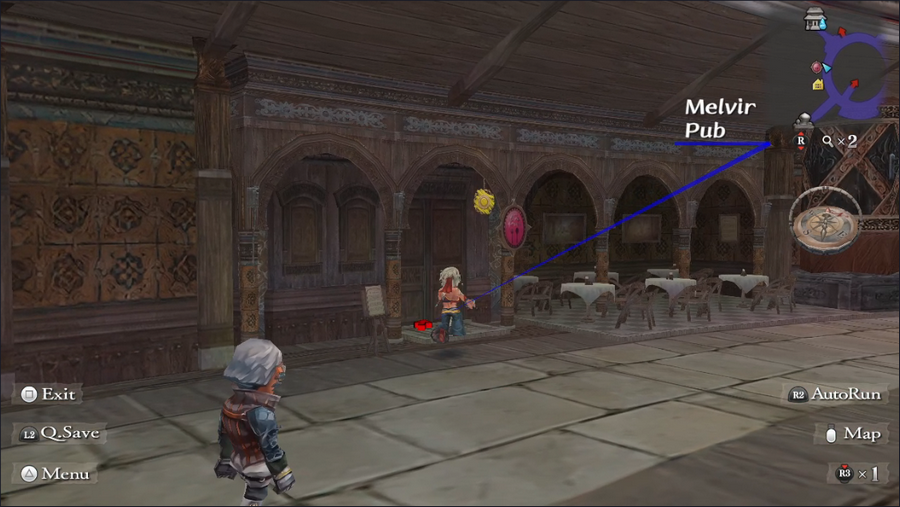 For this, we need only head back to the Melvir pub. 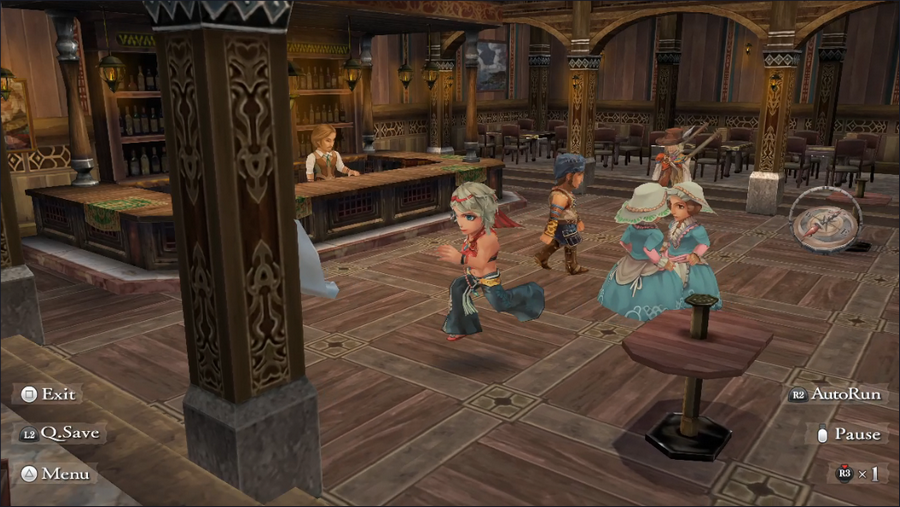 There's a new note here, but it's not from Neville.  Well, that's... odd. Maybe we should check it out. With that, we are done with this update. As usual, cast up to three votes for our next activity. This vote will remain pen for about a week since I'm going out of town, with the next update likely being a week after that (Christmas or thereabouts). Current Event Rank: 7 Things to Do Retrieve the Aquamarine from Crystal Lake - We probably still aren't strong enough for this Kill the bugs in the Altours orchard Find Captain Silver's treasure Acquire the Amulet of Eres - We need access to Mazewood to do this Enter Mt. Tomae to meet Pyrix and/or stop the monster attack on Jelton "Seeking extermination assistance with creepy butterfly" Places to Explore Estamir sewers The remainder of the Geckling cave Melvir sewers Bayre Plateau Isthmus Keep, or what's left of it The Walon Isle jungle The Ligau caves Mt. Scurve Crystal Lake - We probably still aren't strong enough for this Yassi Cavern Abandoned Keep Saoki Cavern Treasure Maps Jungle, Level 1 Steppes of Galessa, Level 1 5-Headed Snake God fucked around with this message at 01:39 on Dec 11, 2023 |
|
#
?
Dec 11, 2023 01:37
|
|
|
I enjoy those quests that are basically just a vehicle for a someone else's tragedy, one the player characters are basically entirely uninvolved in, both as a change of pace and also because it makes the non tragedies brighter by contrast. Abandoned Keep Isthmus Keep, or what's left of it "Seeking extermination assistance with creepy butterfly" (I like castles what can I say.)
|
|
#
?
Dec 11, 2023 02:31
|
|
|
Enter Mt. Tomae to meet Pyrix and/or stop the monster attack on Jelton "Seeking extermination assistance with creepy butterfly" Find Silver's Treasure
|
|
#
?
Dec 11, 2023 05:13
|
|
|
Don't mess with the ocean, folks! Let's see ~ Find Captain Silver's treasure "Seeking extermination assistance with creepy butterfly" and let's go to Isthmus Keep
|
|
#
?
Dec 12, 2023 03:45
|
|
|
Well. Having scene that quest ending out of context, I can't say I was expecting a character we've never met to be the one running in and yeeting herself off the cliff trying to grab the statue. Either way: - Find Captain Silver's treasure - Isthmus Keep, or what's left of it - Enter Mt. Tomae to meet Pyrix and/or stop the monster attack on Jelton
|
|
#
?
Dec 12, 2023 04:19
|
|
|
SIGSEGV posted:I enjoy those quests that are basically just a vehicle for a someone else's tragedy, one the player characters are basically entirely uninvolved in, both as a change of pace and also because it makes the non tragedies brighter by contrast. I wonder if they were going for dark comedy here or something like that. It sure feels like one with Marina going "well okay bye" and jumping off the same cliff casually in the exact same angle 
|
|
#
?
Dec 12, 2023 07:24
|
|
|
They probably were, It's someone else's tragedy after all.
|
|
#
?
Dec 12, 2023 13:22
|
|
|
-Silver -Pyrix -butterfly
|
|
#
?
Dec 13, 2023 01:51
|
|
|
Voting is finally closed.
|
|
#
?
Dec 18, 2023 03:41
|
|
|
Welcome back, everyone. It's the holiday season, and you know what that means: a short update because I've been exhausted. We had another split vote for this session, so I'm going to break the tie in favor of one of my favorite quests.  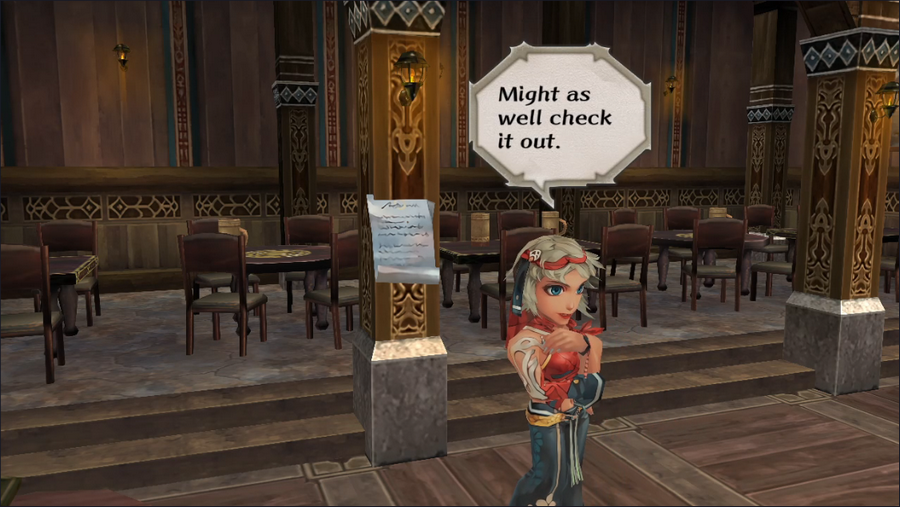 We're gonna do some pest control. 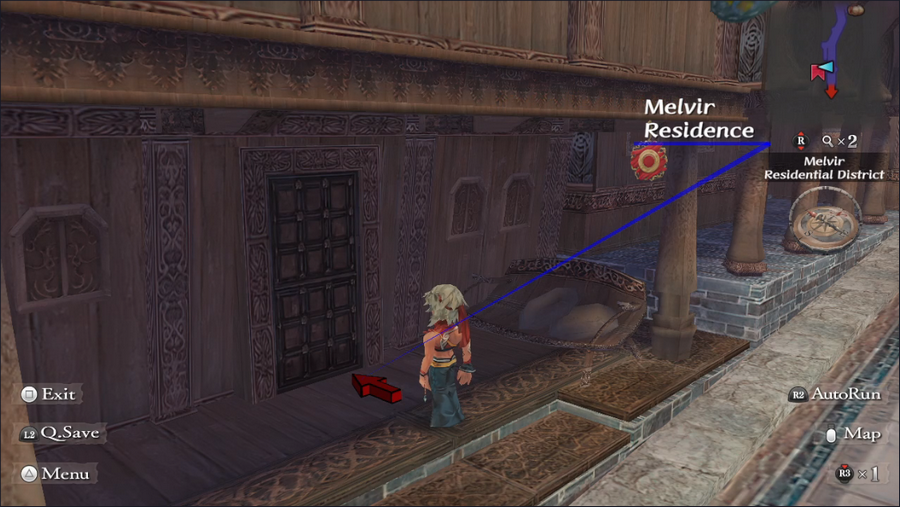  After examining the note, we're automatically taken to a marked house in the city. Inside are a couple of generic-looking NPCs. 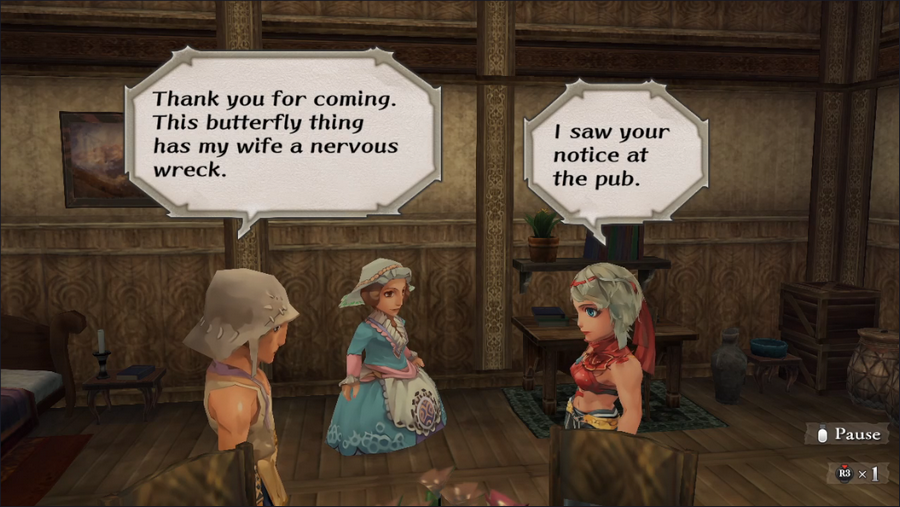 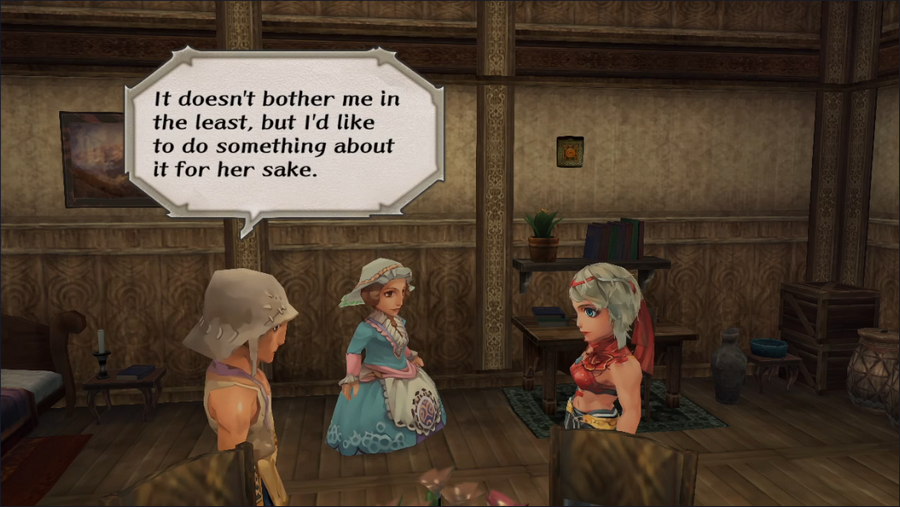 I hope y'all like reading because this is another text-heavy update. 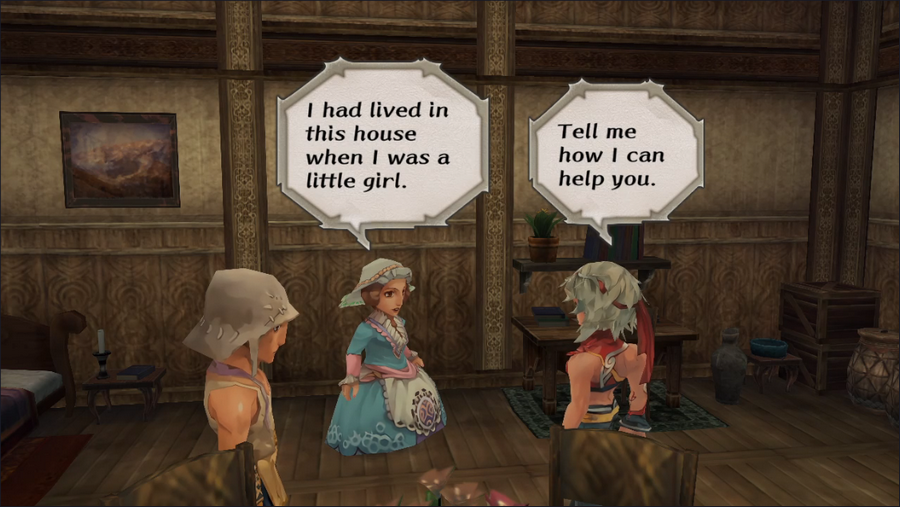 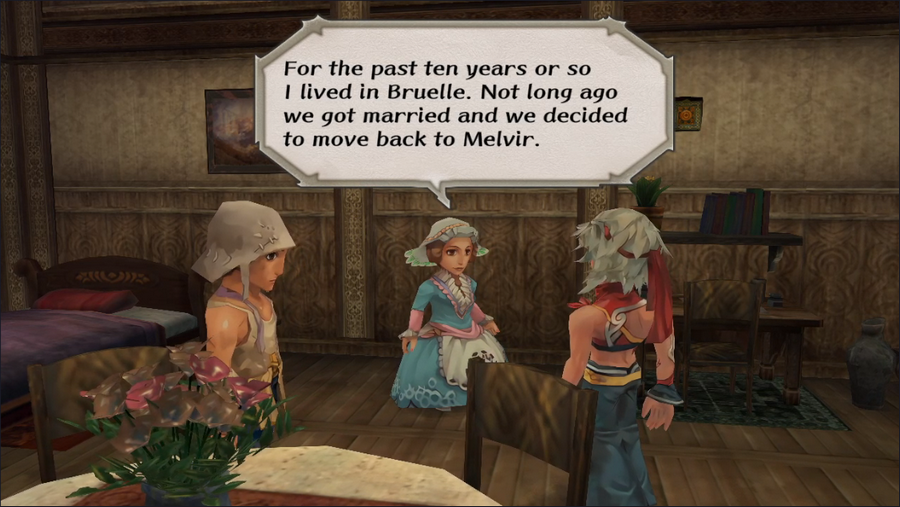 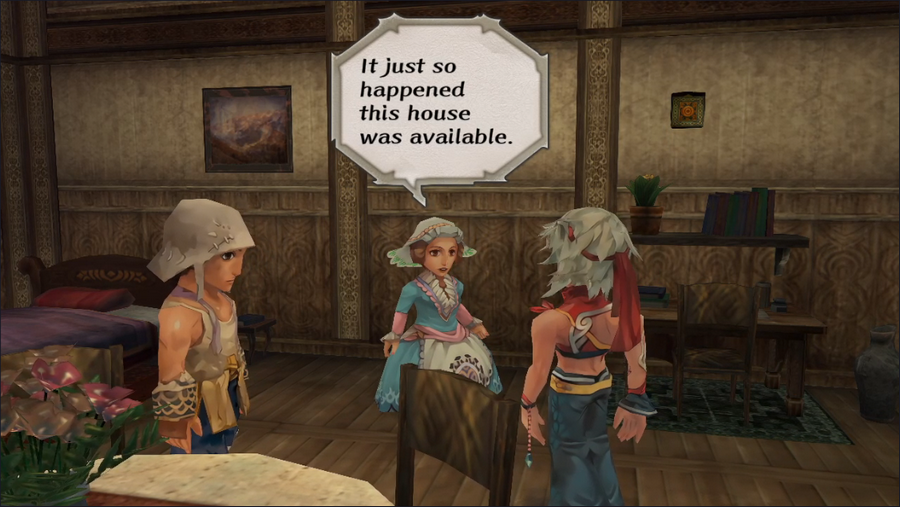 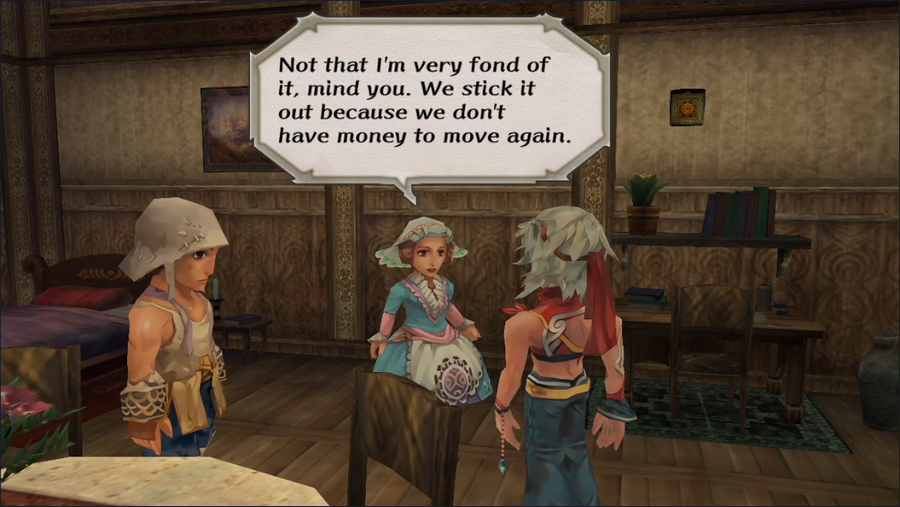     This doesn't seem very relevant to the job we've been given, but it's a reasonable question. 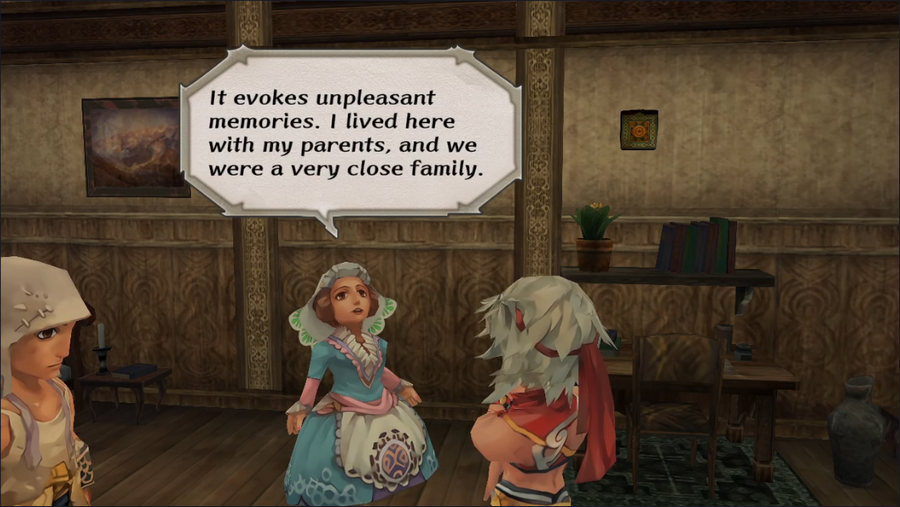 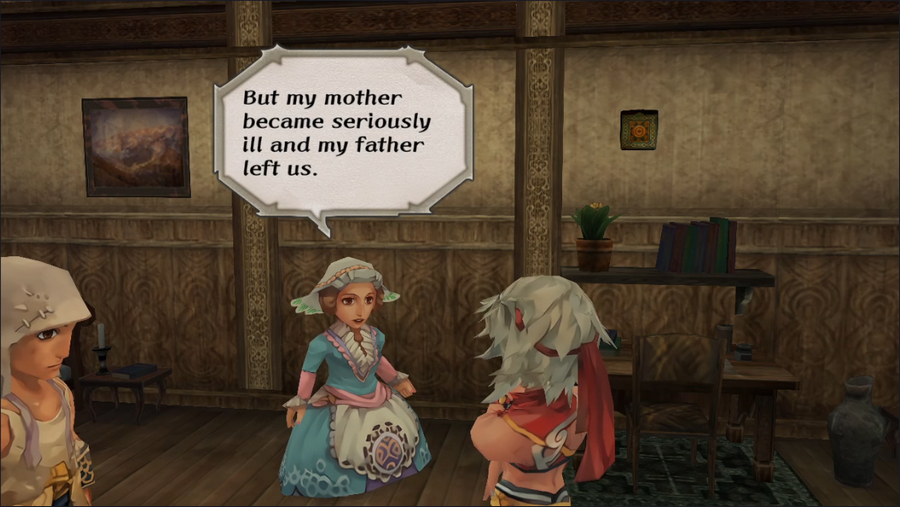 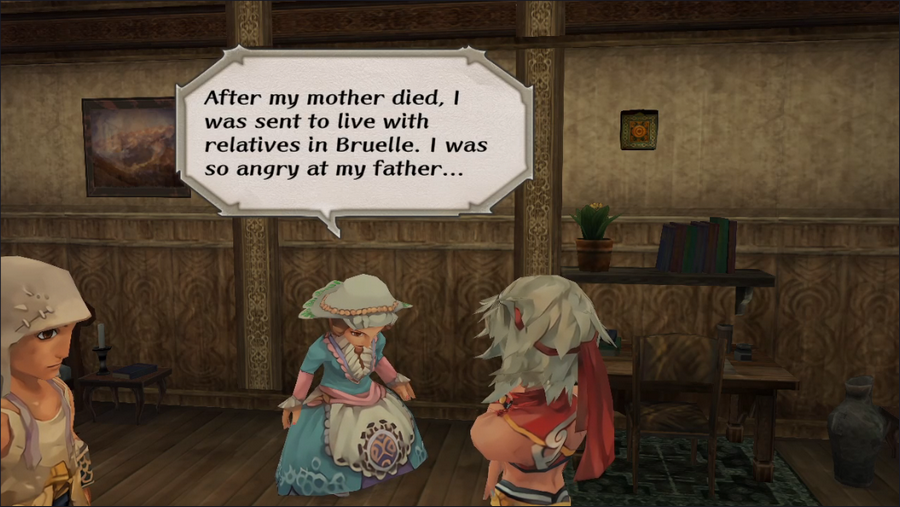 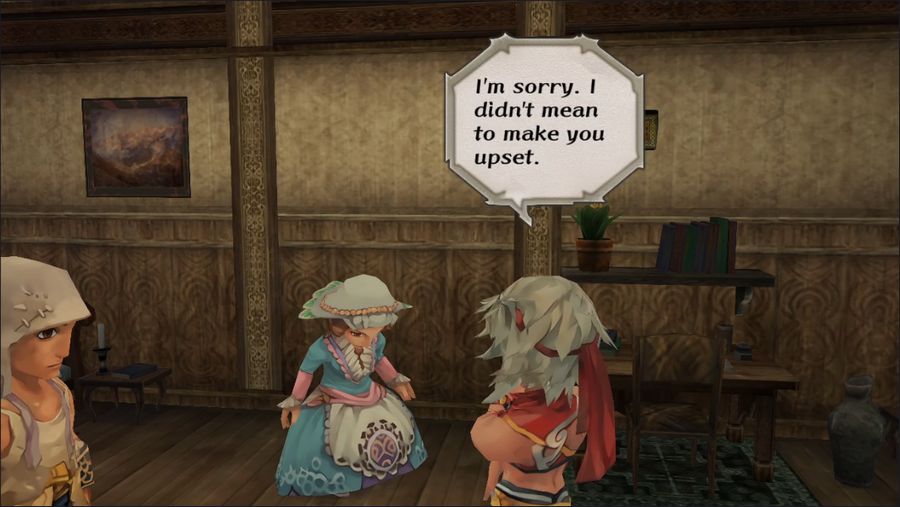 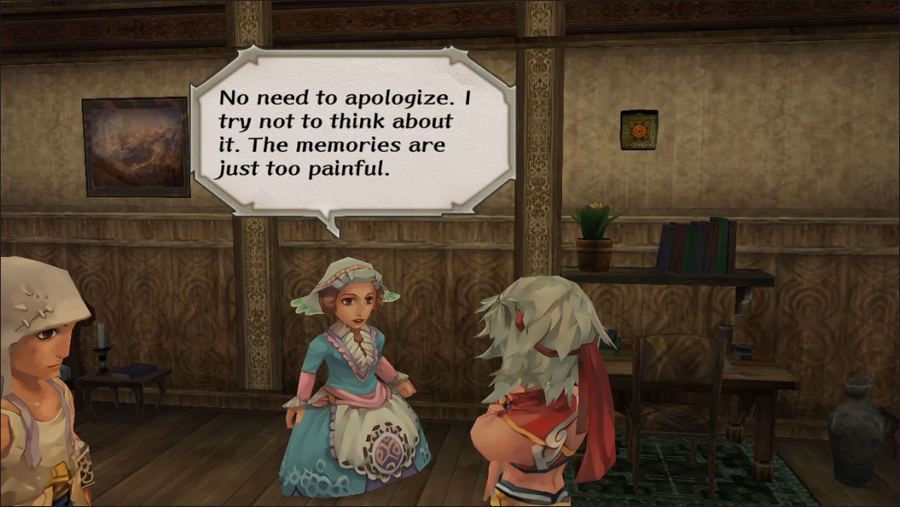 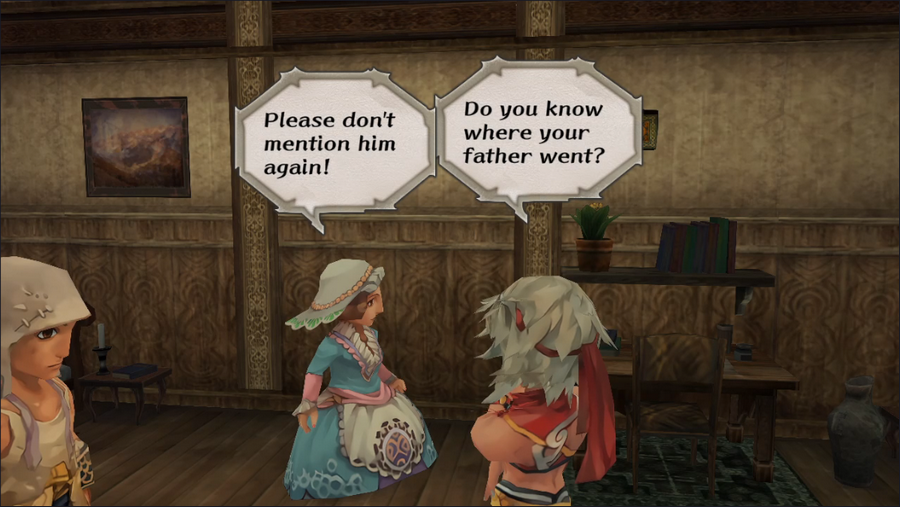 Despite what the woman says, this is obviously a very touchy subject. 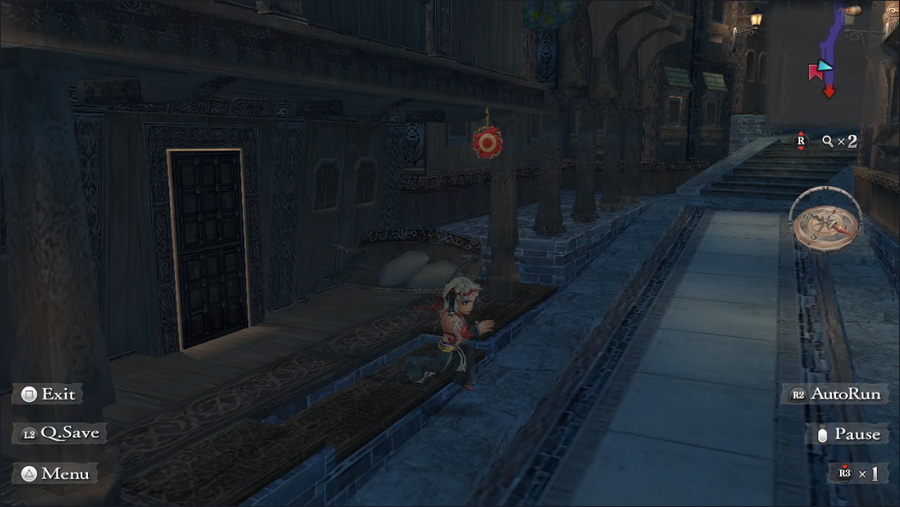 We head outside to find that night has fallen. 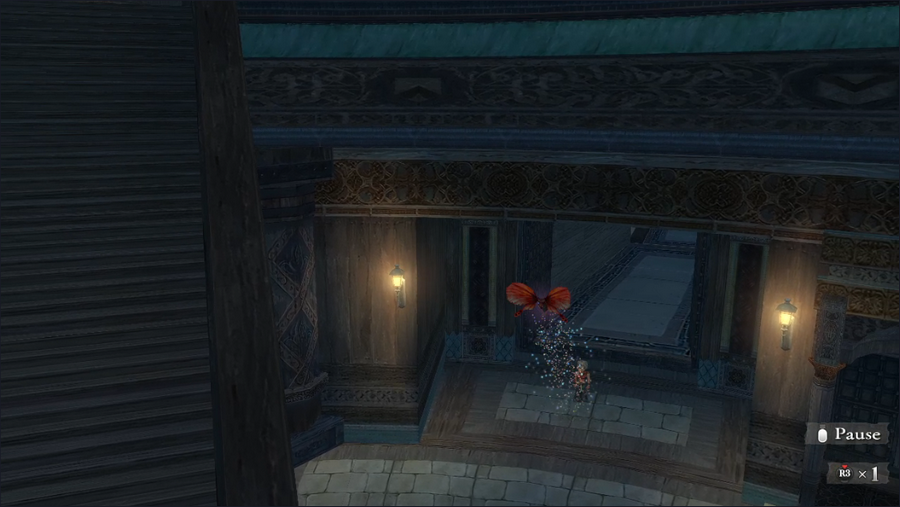 As we enter the city's main square, we see what must be the butterfly. "Creepy" is a good word for it.   The butterfly flies out of the city, and Barbara races to follow it. 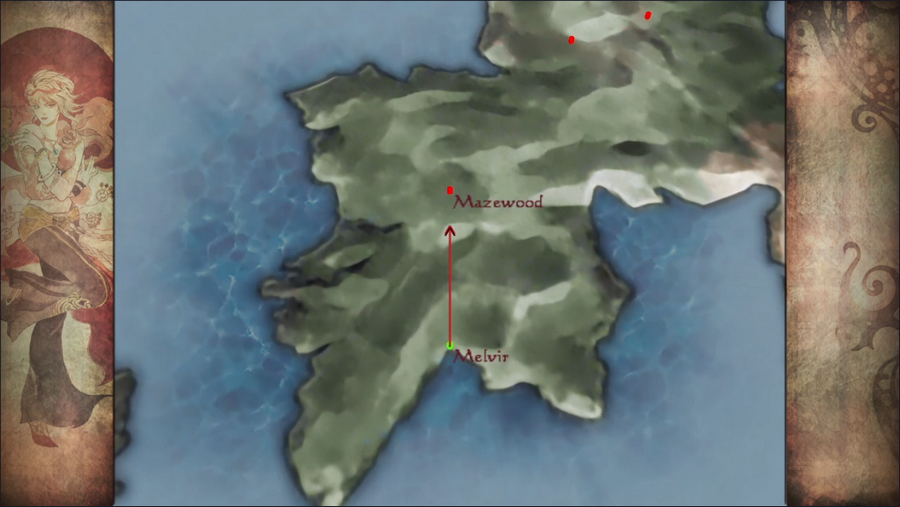 The trail leads us to Mazewood. This gives us the location for when we want to get the Medallion of Eres. 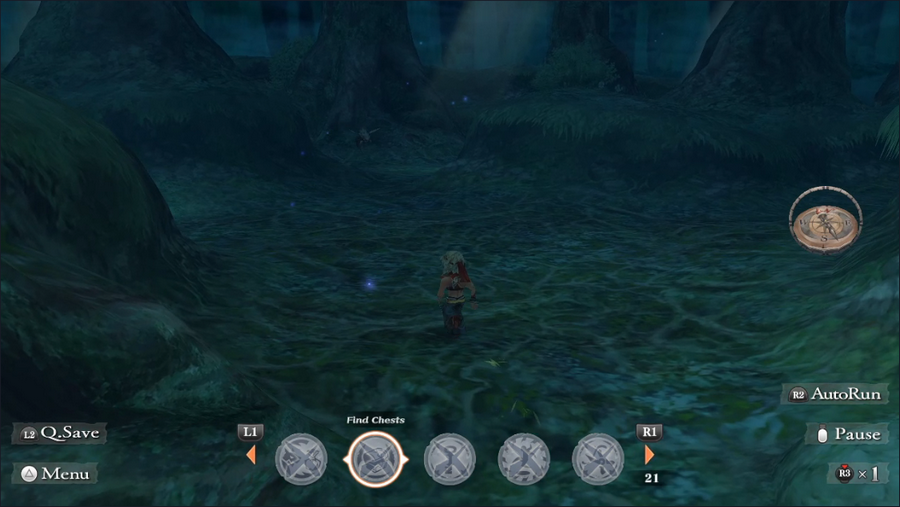 It's still night when we arrive, and the monsters are out in force.  As we move forward, the butterfly appears and crosses our path, as if leading us.  We follow it further into the forest.   In the nest area, we hang a left, ignoring the butterfly.  This is why. It's the only chest in Mazewood, so a small diversion to get it seems worthwhile.  Inside is the Wood Spirit, one of the five spirits we need to break the barrier around the throne in Faerie's Grove. Yes, they're just hidden in chests in out of the way places. It very much feels like a quest the player is supposed to pick at over multiple playthroughs until they eventually find everything.  In any case, for now we'll focus on this quest. We head back to the main path and follow the butterfly still deeper into the woods.  It leads us into a clearing containing glowing plants and a skull. The butterfly hovers over to the latter and fades away. 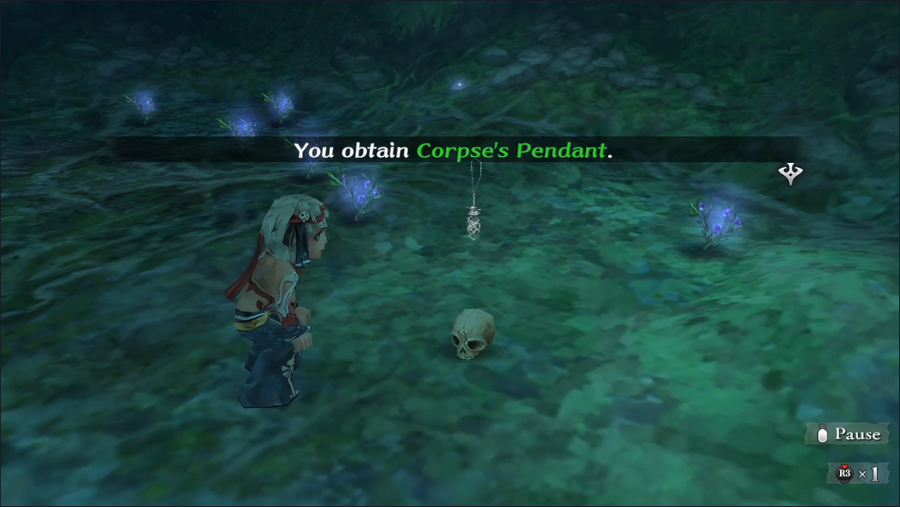 An examination of the skull turns up a dead man's pendant. 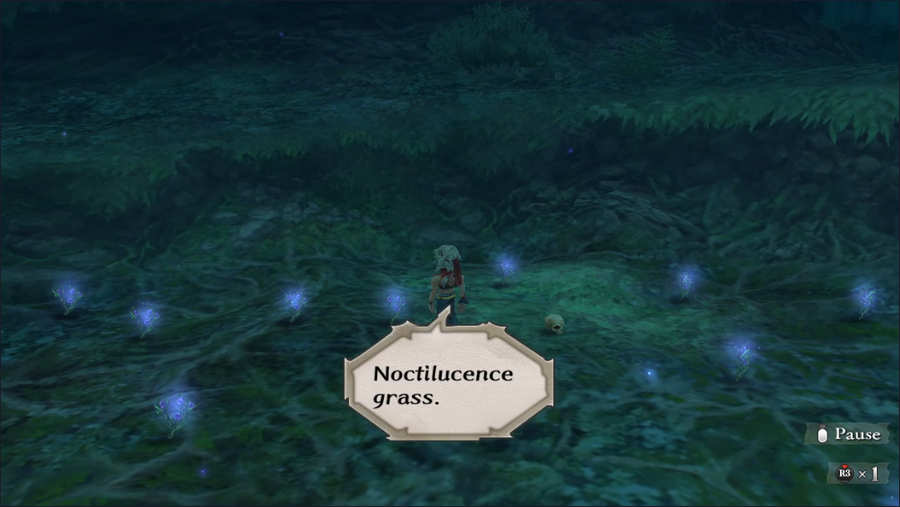 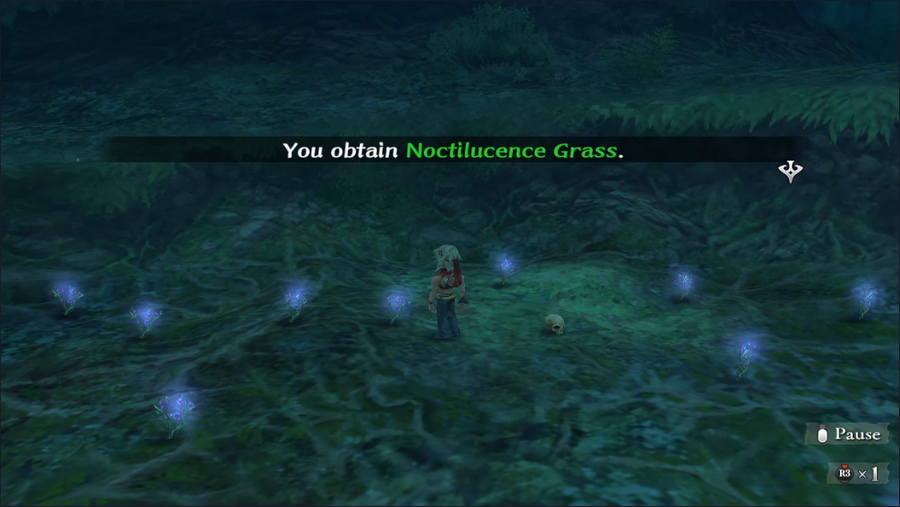 Next, we take a look at one of the plants, which Barbara identifies as noctilucence grass. What a fitting name. She takes a sample just in case.  With that, we can leave Mazewood, though we have to walk out the long way. 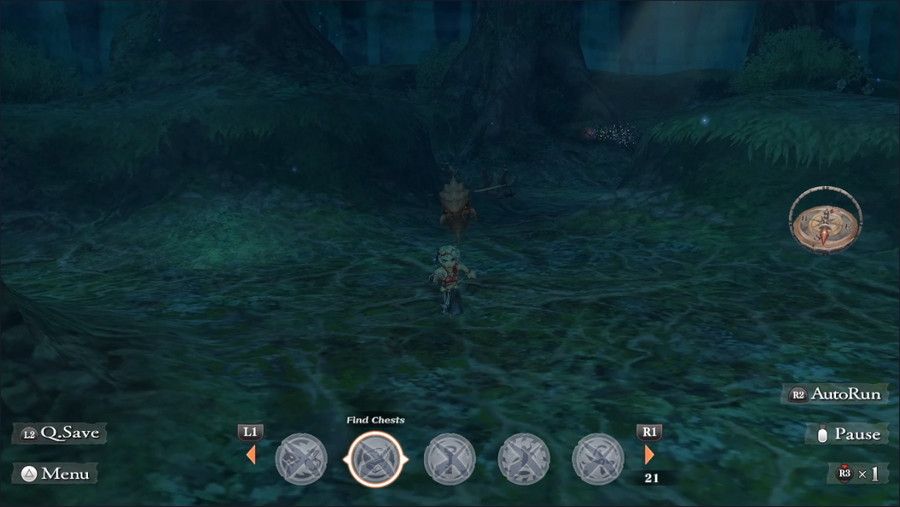 The butterfly even shows up on the way out, trying to lead us back to the clearing. There's not much more to say about our trip to Mazewood; it's a small area and we didn't get into many fights. However, there were a couple of incidents worth mentioning. 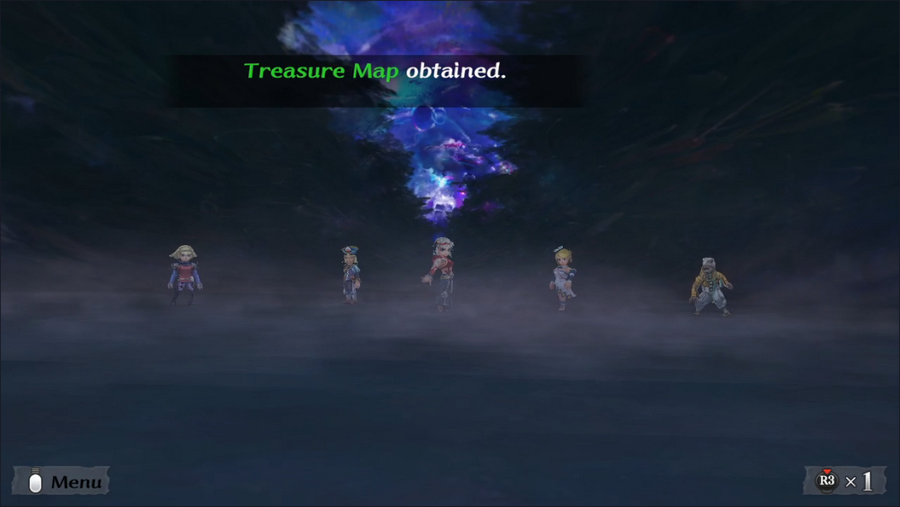 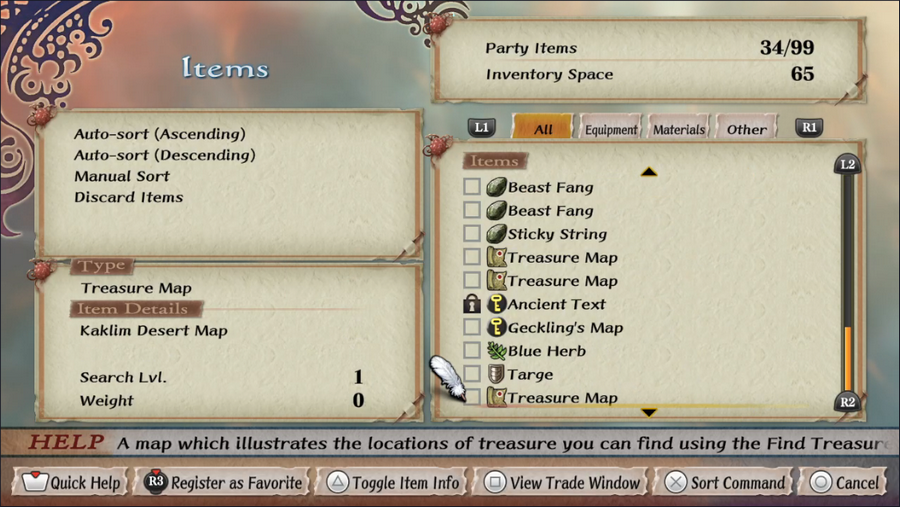 First, we got another Treasure Map. This one is for the Kaklim Desert, which we've unlocked but haven't had reason to visit. 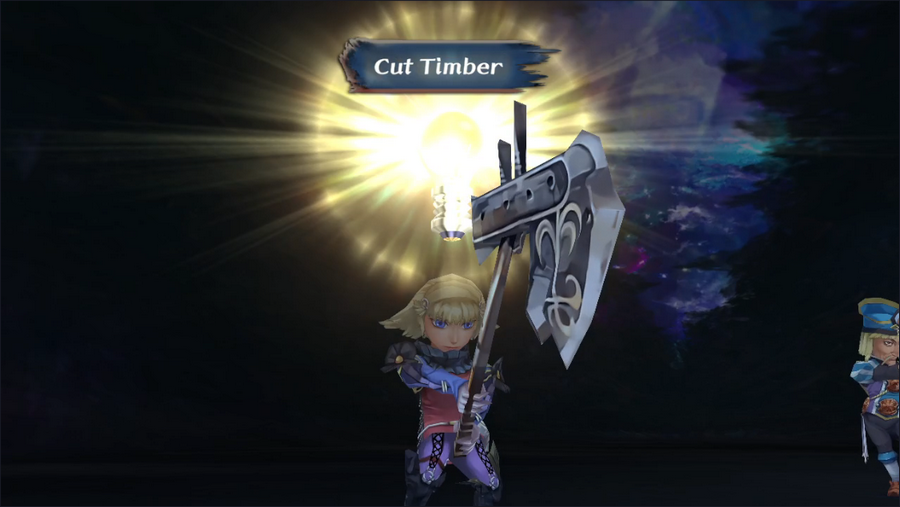 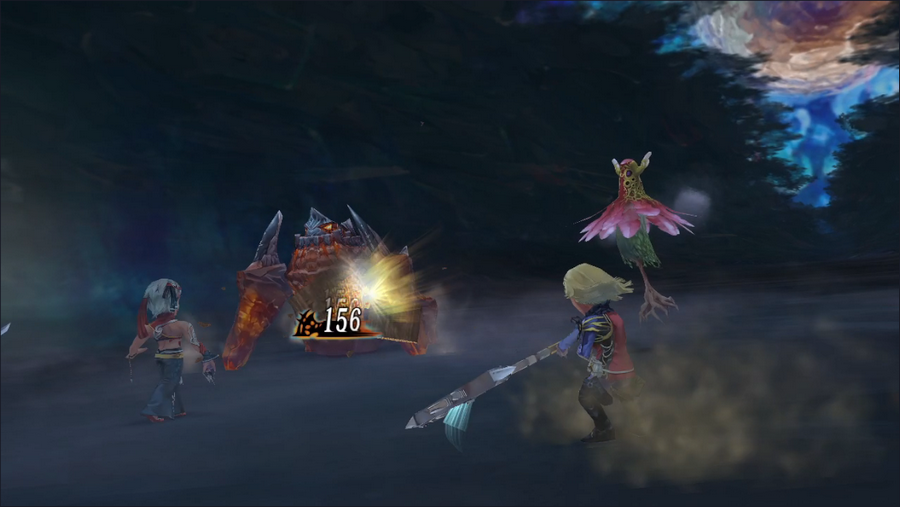 And second, Monica Glimmered a new technique, Cut Timber. It's a low-level axe attack that, as you might expect, deals extra damage to Plant monsters. 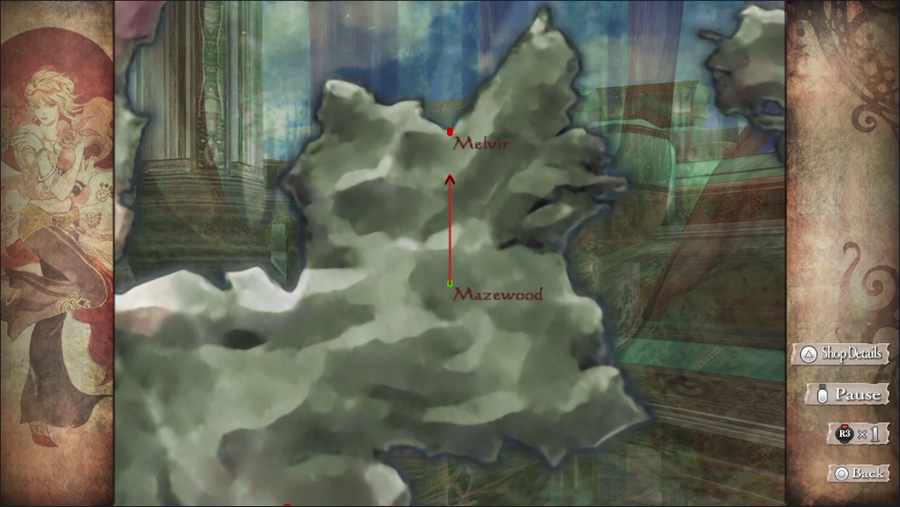 And that's it. Let's get back to Melvir. 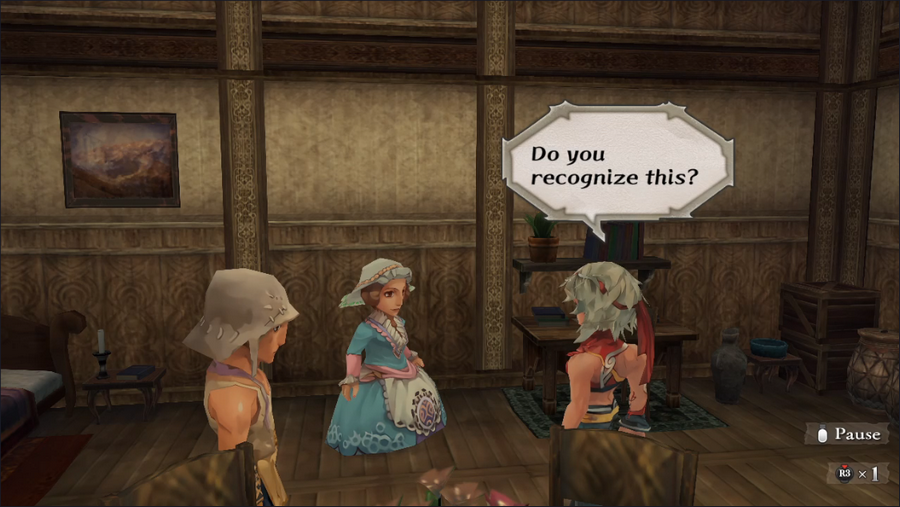 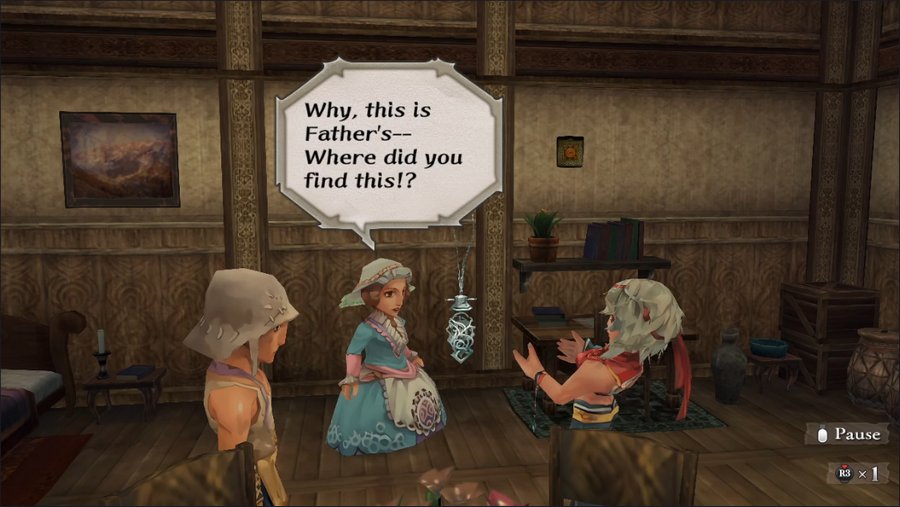 The woman recognizes the Corpse's Pendant. 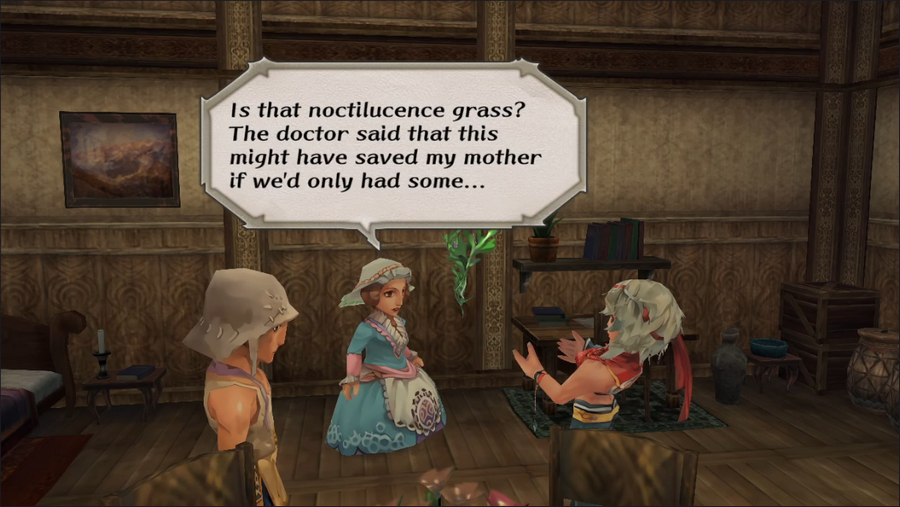 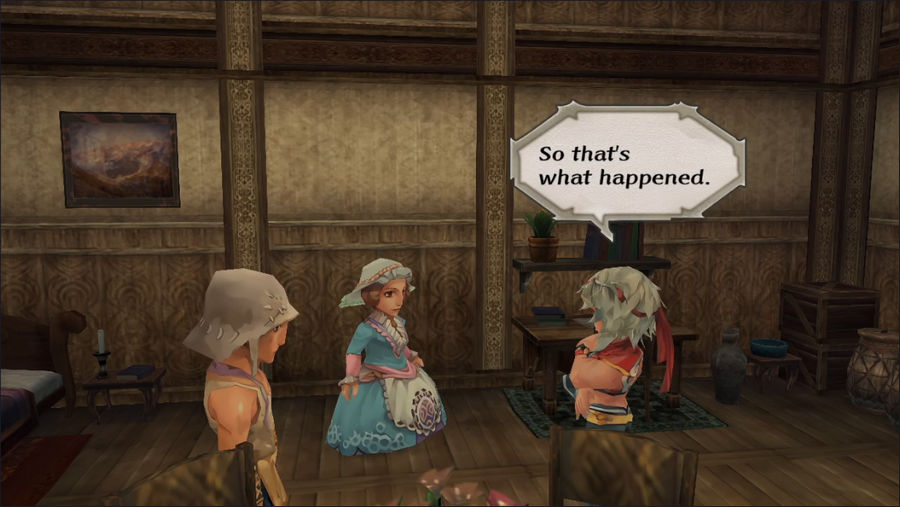 At this point you can probably piece the story together yourselves. 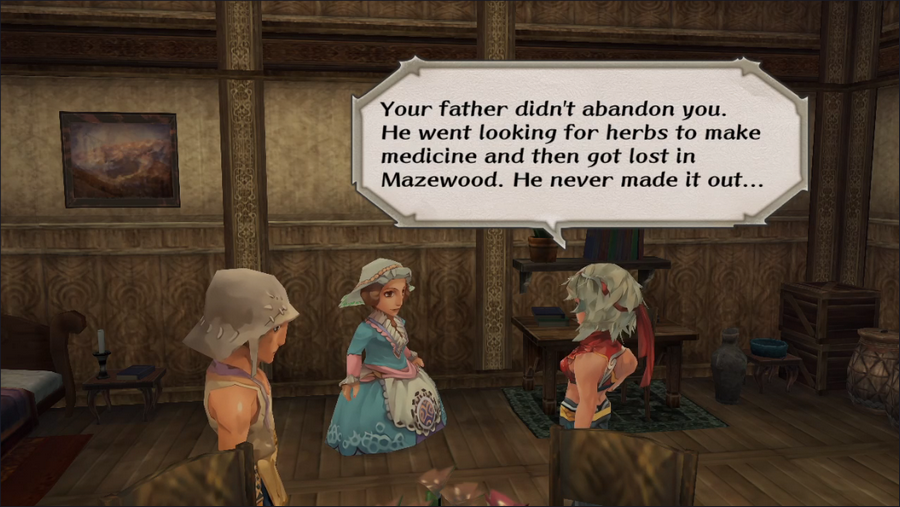 It's nothing epic or convoluted. It's just one of those everyday tragedies.  But even mundane tragedies leave scars. 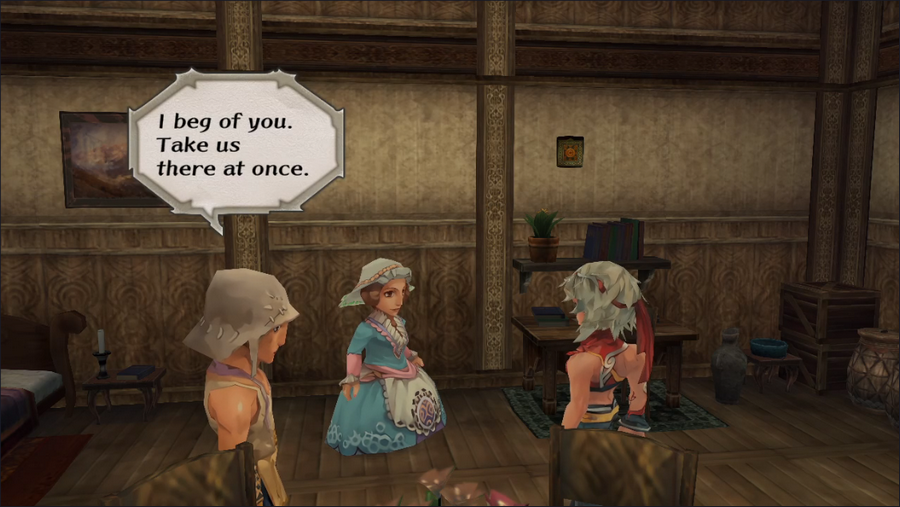 Maybe this is a chance to heal them. 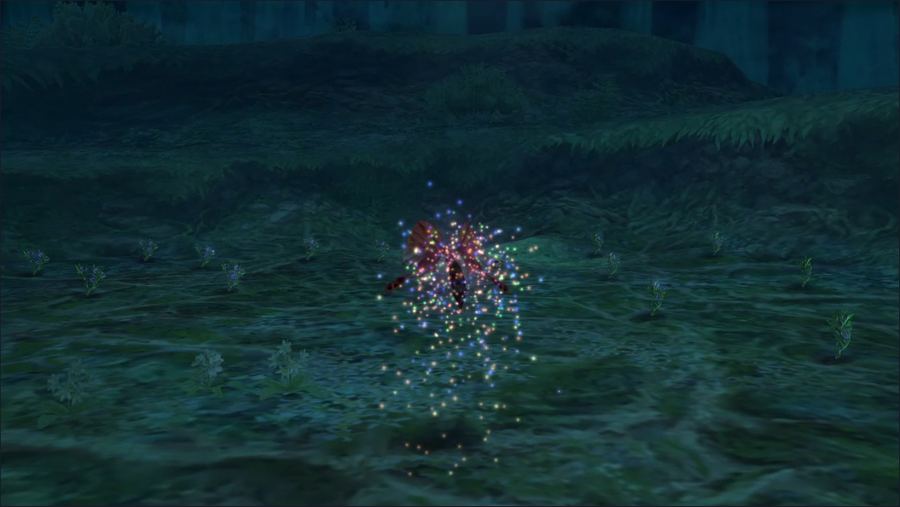 Our return to the clearing is automatic; the game doesn't break the pacing by forcing us to go through the area again. 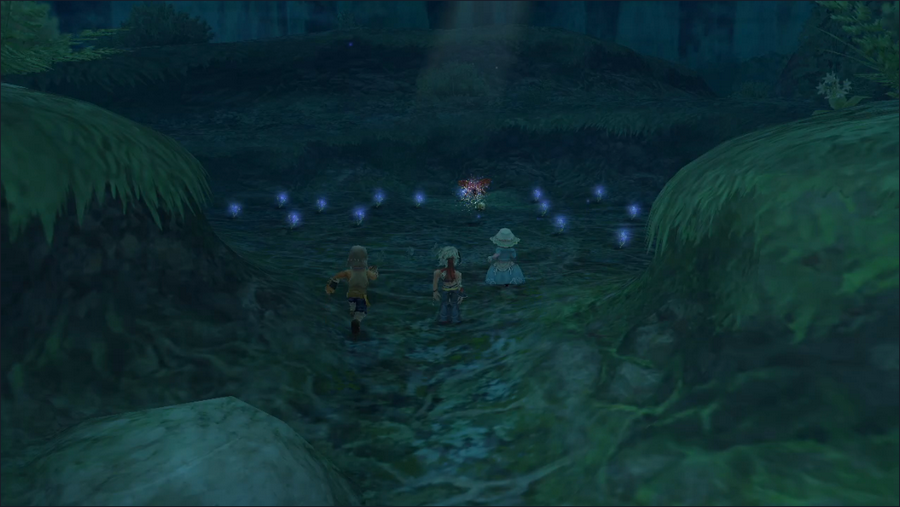 The butterfly heads for the skull again, and the married couple are quick to follow. 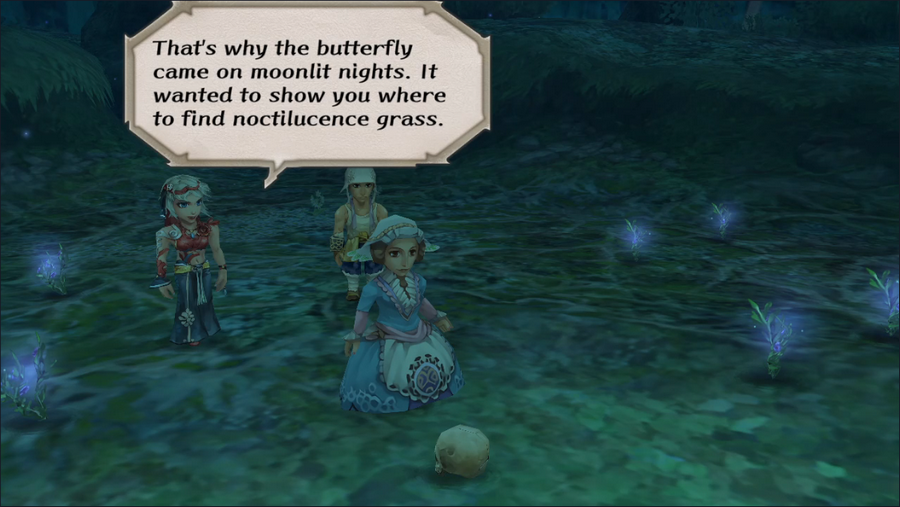 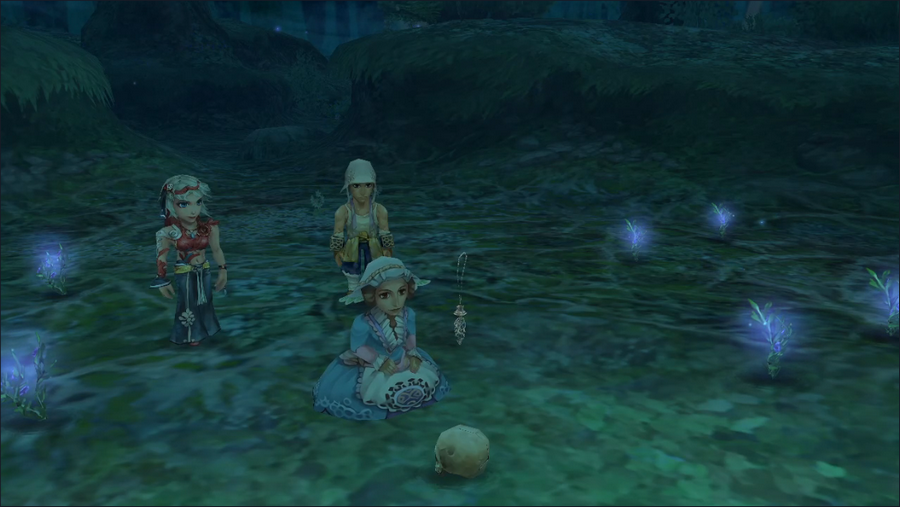 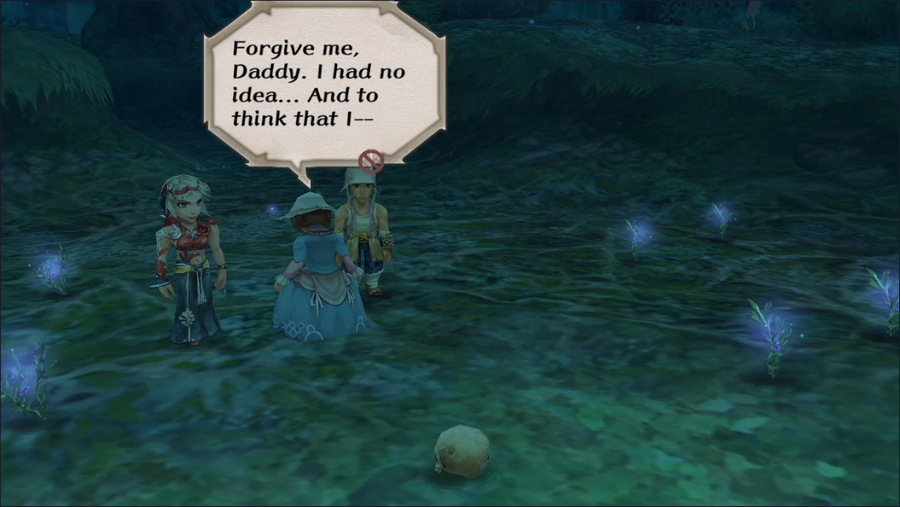 The voice acting here is a bit over the top, but all in all the story and scene are both very well done. As a big softie, I always get a little misty-eyed when I play this.  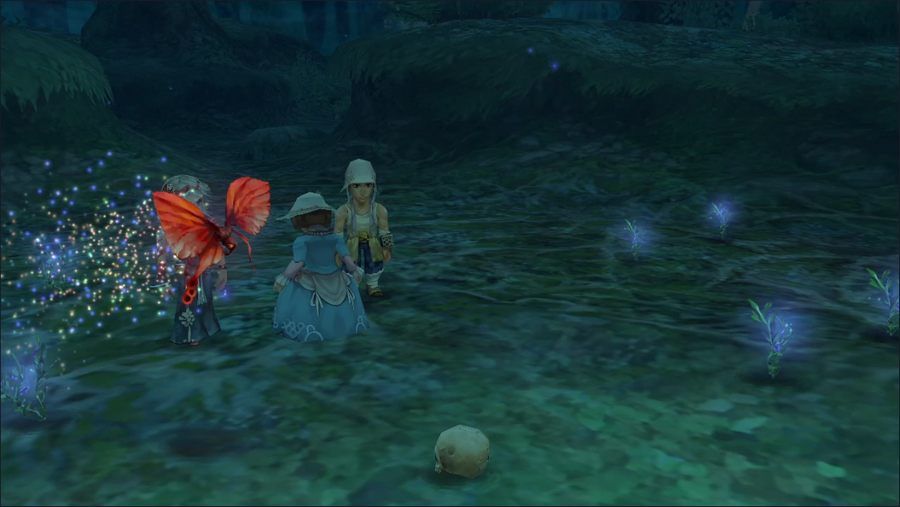 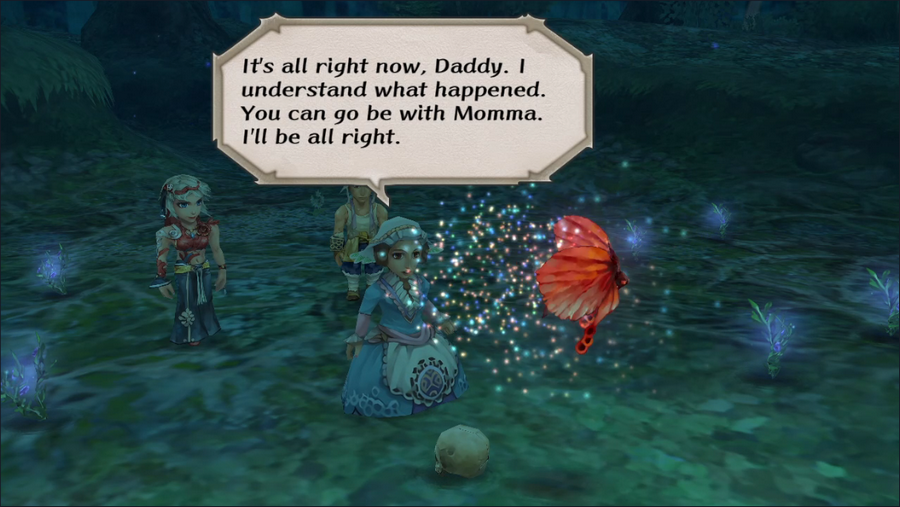 The butterfly reappears, but the woman is no longer bothered. She understands what happened and has let go of her resentment. 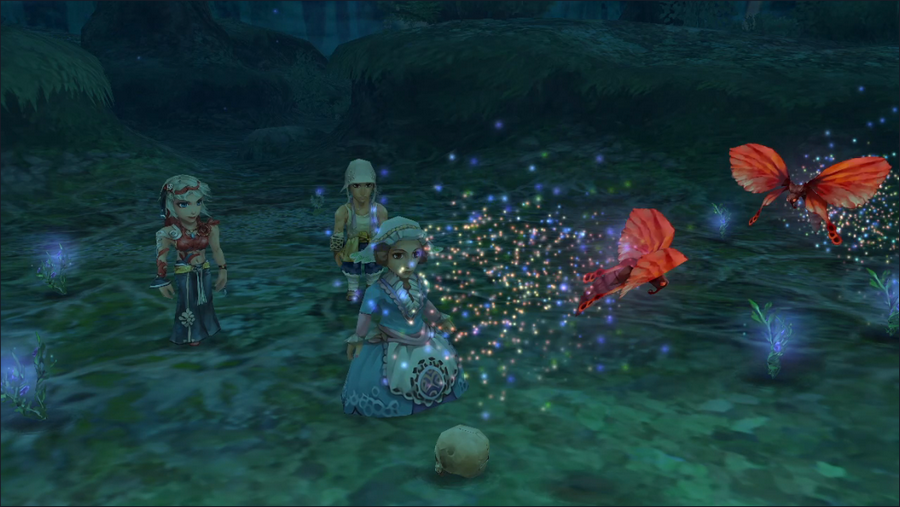 As if in response to her words, another butterfly appears, and the two flutter around each other affectionately. 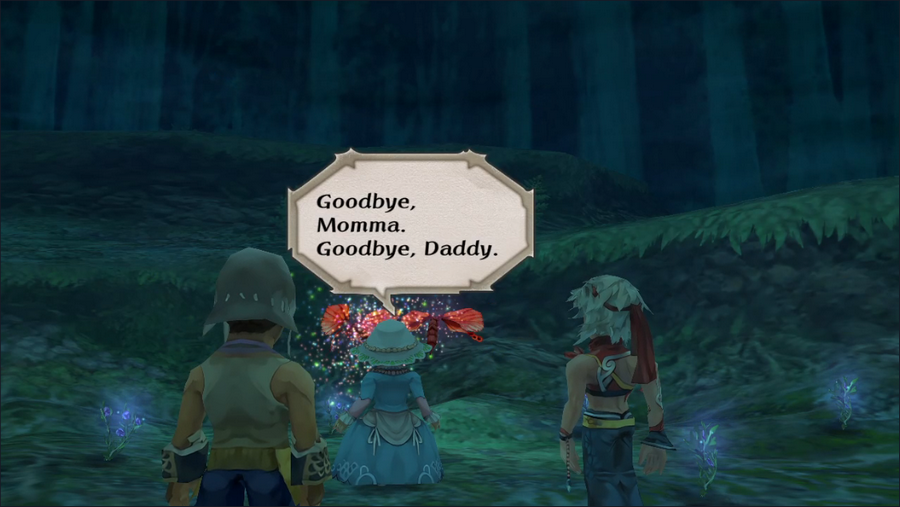 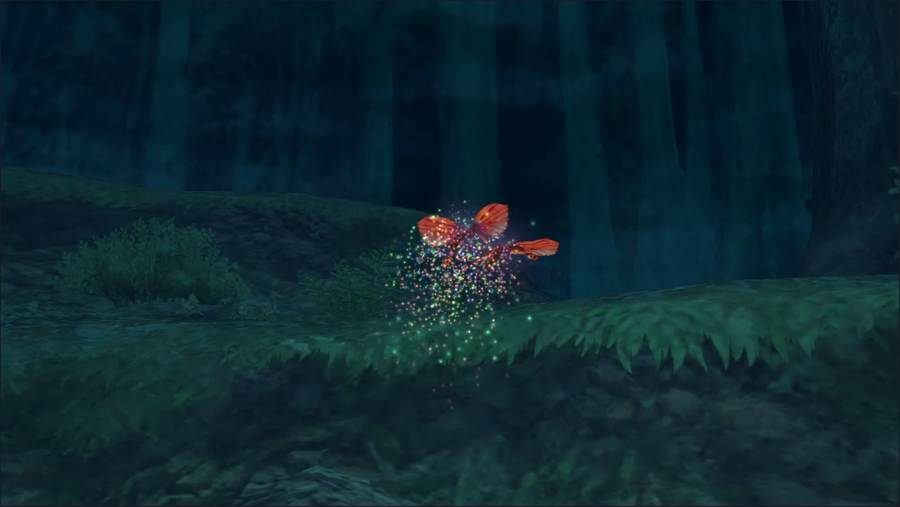 As the woman bids her parents goodbye, they fly away into the sky and... 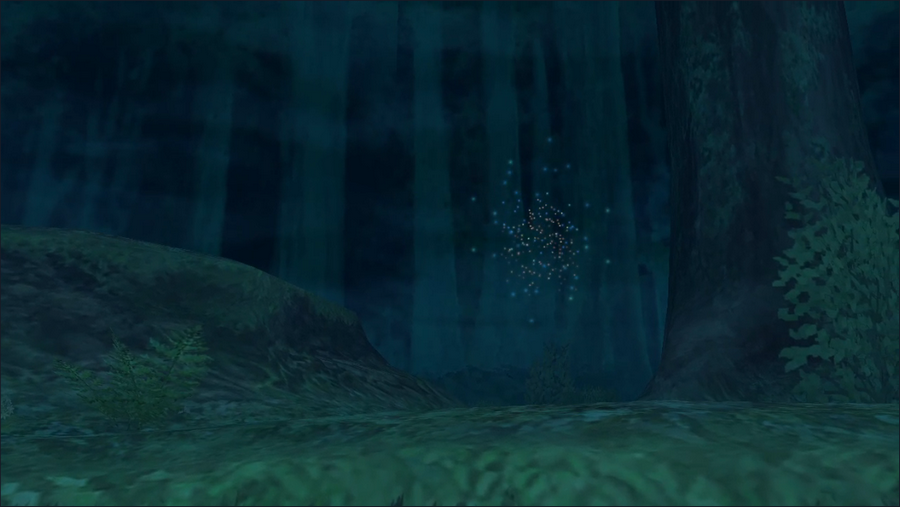 ...disappear.   The screen fades to black, and our quest rewards are given in silence, maintaining the somber mood.  But then it's over, and we're back in Melvir. That concludes this update. As usual, cast your votes for what we do next. Current Event Rank: 7 Things to Do Retrieve the Aquamarine from Crystal Lake - We still may not be strong enough for this Kill the bugs in the Altours orchard Find Captain Silver's treasure Go to Mazewood to acquire the Medallion of Eres Enter Mt. Tomae to meet Pyrix and/or stop the monster attack on Jelton Places to Explore Estamir sewers The remainder of the Geckling cave Melvir sewers Bayre Plateau Isthmus Keep, or what's left of it The Walon Isle jungle The Ligau caves Mt. Scurve Crystal Lake - We still may not be strong enough for this Yassi Cavern Abandoned Keep Saoki Cavern Treasure Maps Jungle, Level 1 Steppes of Galessa, Level 1 Kaklim Desert, Level 1
|
|
#
?
Dec 31, 2023 03:38
|
|
|
Find Captain Silver's treasure Enter Mt. Tomae to meet Pyrix and/or stop the monster attack on Jelton The remainder of the Geckling cave Also, 
|
|
#
?
Dec 31, 2023 04:26
|
|
|
Go to Mazewood to acquire the Medallion of Eres Enter Mt. Tomae to meet Pyrix Find Captain Silver's treasure ayyyyyyyy we found the Mazewood we can get the thiiiing.
|
|
#
?
Dec 31, 2023 06:10
|
|
|
Gilgamesh255 posted:Find Captain Silver's treasure I think this is more of a  moment. It's a spirit being put to rest and a living person letting go of long-held resentment. It's a bittersweet but ultimately positive ending. moment. It's a spirit being put to rest and a living person letting go of long-held resentment. It's a bittersweet but ultimately positive ending.
|
|
#
?
Dec 31, 2023 13:23
|
|
|
I like that quest. Hm, quests ... Find Captain Silver's treasure and let's check out Isthmus Keep Ligau caves
|
|
#
?
Dec 31, 2023 16:35
|
|
|
Isthmus Keep Abandoned Keep Enter Mt. Tomae to meet Pyrix and/or stop the monster attack on Jelton I sure like to repeat myself but there's also some big hero stuff that needs doing.
|
|
#
?
Jan 1, 2024 02:14
|
|
|
Enter Mt. Tomae to meet Pyrix and/or stop the monster attack on Jelton Go to Mazewood to acquire the Medallion of Eres Isthmus Keep, or what's left of it I have to admit, that NPC is exceptionally strong of heart to just let go of a grudge held for possibly more than a decade like that. It's kind of inspiring.
|
|
#
?
Jan 3, 2024 01:19
|
|
|
5-Headed Snake God posted:I think this is more of a Honestly, I was looking for something more along the lines of "manly tears", but couldn't find it. Yours is probably the closest I can get to that.
|
|
#
?
Jan 3, 2024 02:16
|
|
|
Voting is now closed.
|
|
#
?
Jan 5, 2024 05:17
|
|
|
Welcome back, everyone. The votes for today were decisive: we're going to Mt. Tomae.  First, though, we're going to spend our hard-won jewels to raise Patrick to class level 3. His BP-per-round value is low, and lowering the costs of his spells should help him keep up.  We'll also buy Mine for Barbara and set up our proficiencies thus. (This turned out to be a waste since we never used Mine, but Jump is the only one we really need, so we're good.) 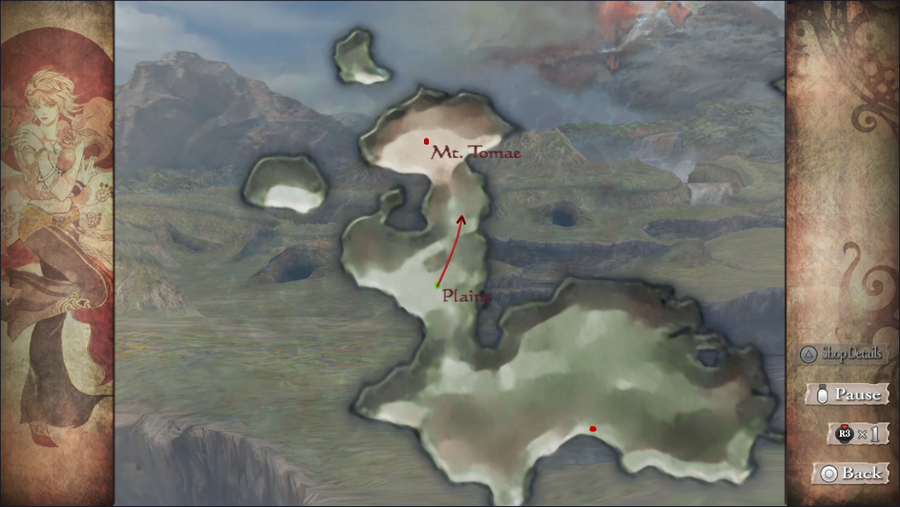 After that, we're off to our destination. 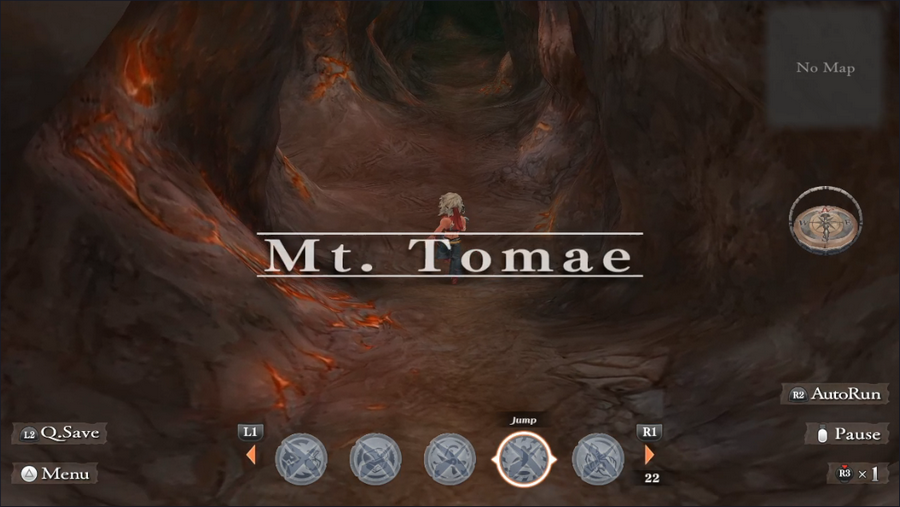 Mt. Tomae is very clearly a volcano. Its magma-veined walls and floors are found nowhere else in the game. Music Highlight: Sacred Domain/Impenetrable Domain This theme is used for Mt. Tomae as well as his monstrous siblings, about whom we'll learn later in this update. This music plays in three of their dungeons. It's an impressive, almost oppressive theme with a sense of majesty to it. 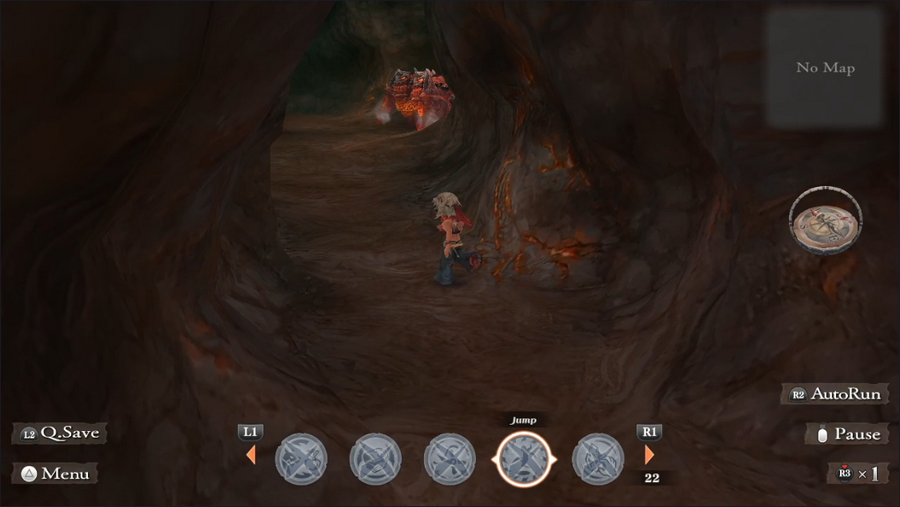 Mt. Tomae is a pretty linear dungeon, but right at the start we do have a split path. Heading straight and around a corner brings us to a passage guarded by two rockbeasts. 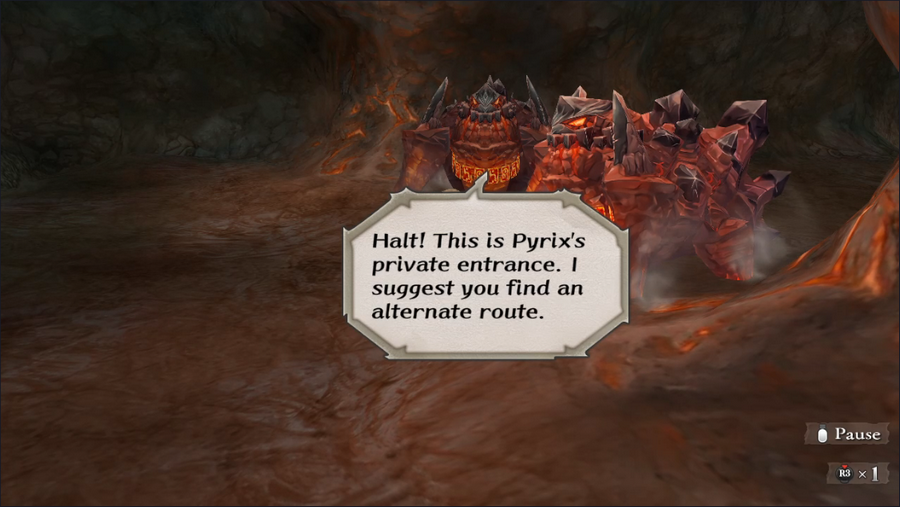 They're surprisingly civil, but they don't let us pass - there isn't even an option to fight them. 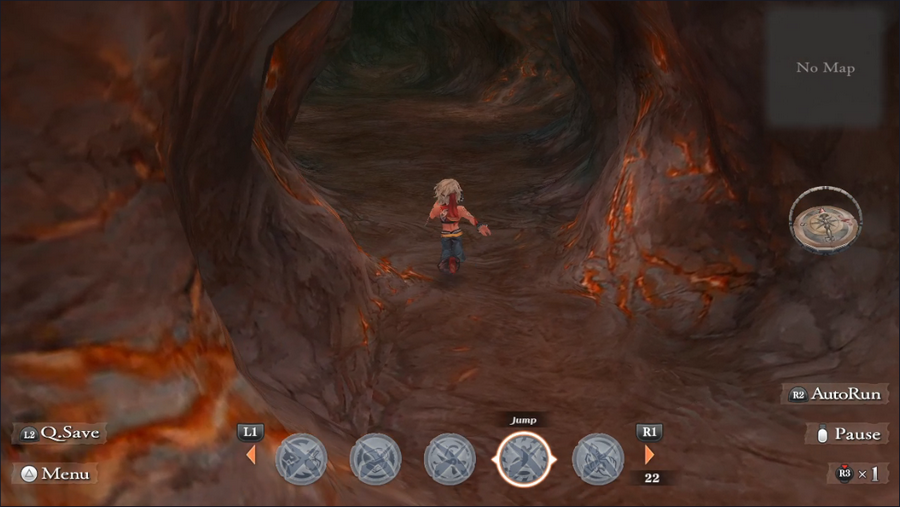 We'll have to take the long route. 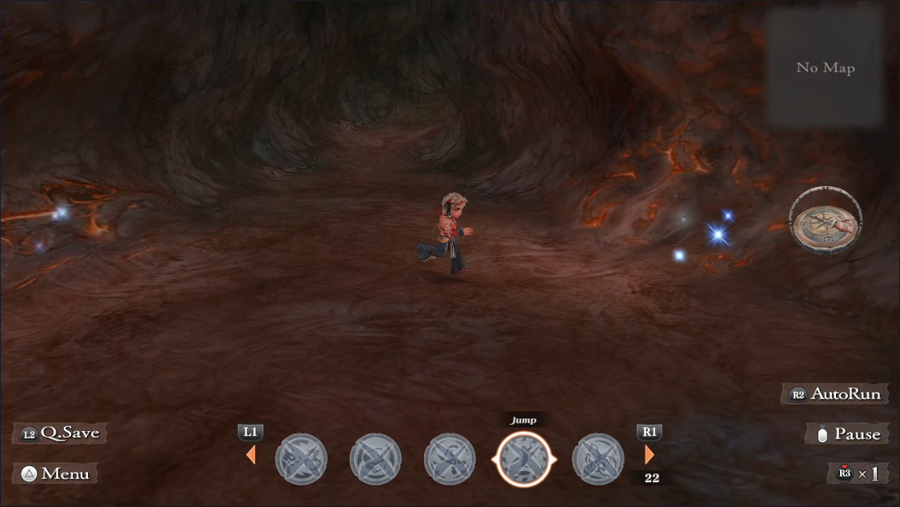 There are quite a few sparkly spots here indicating mineral veins, but without Find Ore we can't mine them. 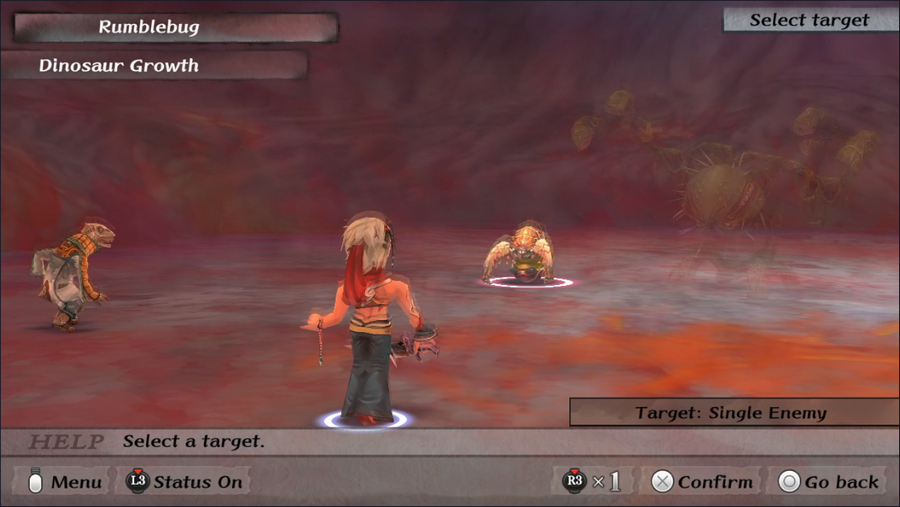 The battles in the volcano have a heat haze effect that makes enemies and party members somewhat indistinct when the camera is at a distance. 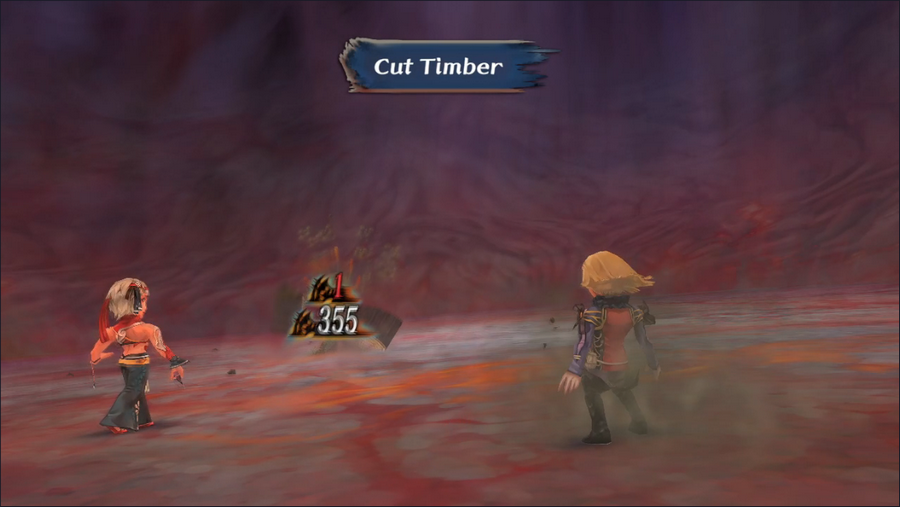 It's not so severe as to be distracting, but it does make things look fuzzy at times. It even affects damage numbers, which is kind of funny. 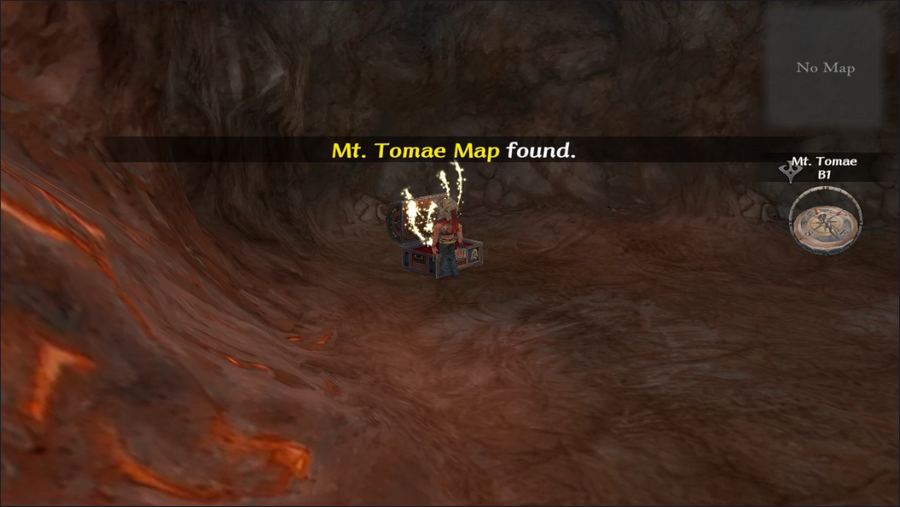 Continuing past the first batch of monsters brings us to a chest containing the area map. 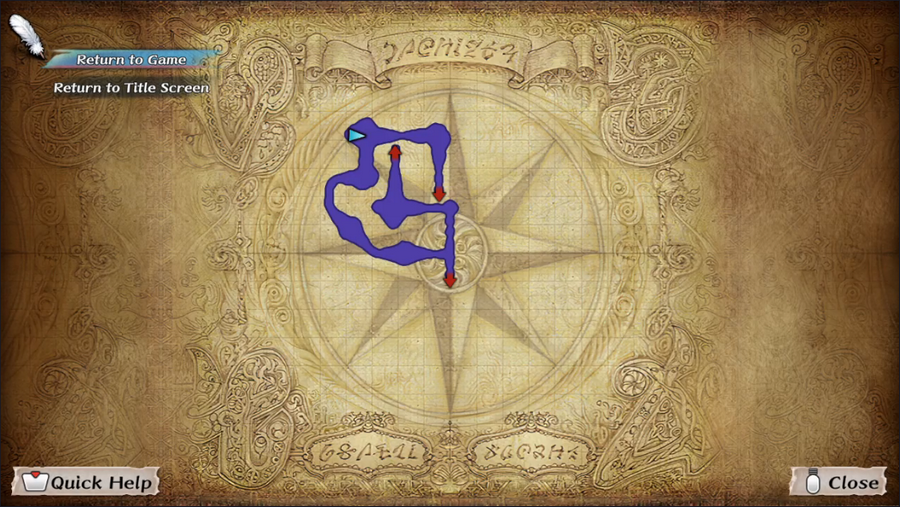 As you can see, this floor is still pretty linear. 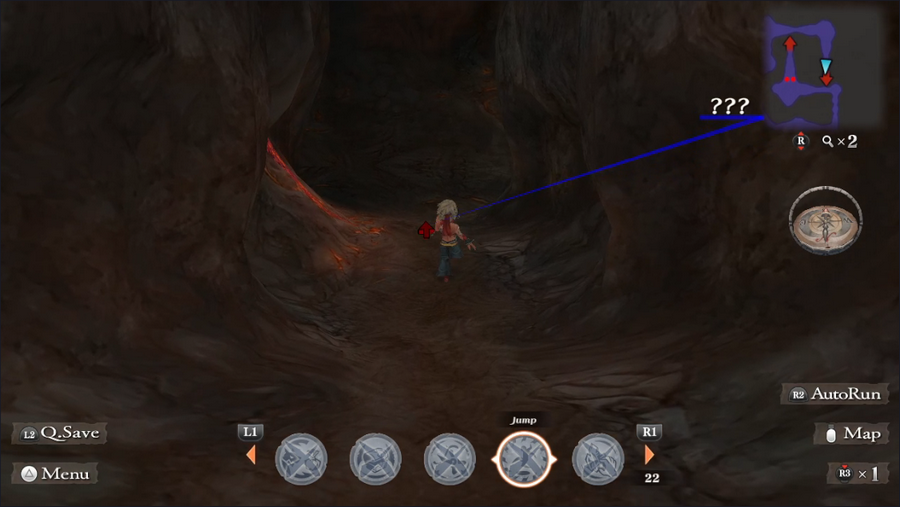 We move just ahead and down to B2. 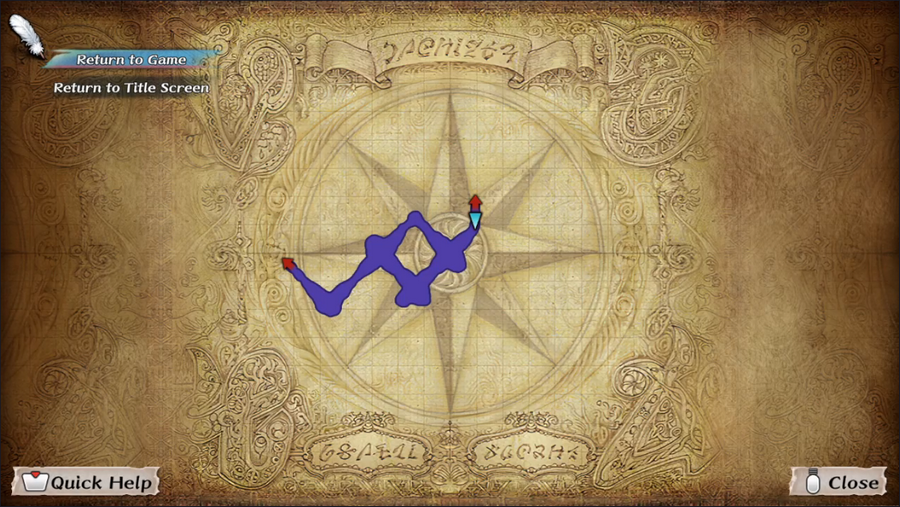 B2 is also not entirely linear, but the two branches hardly constitute and interesting choice. 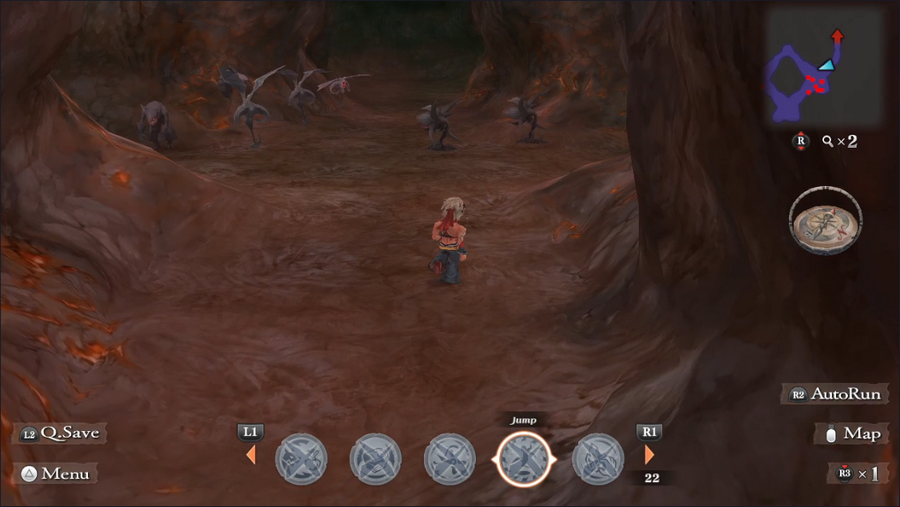 Holy moley that's a lot of monsters. We can avoid most of them by sneaking off to the right. 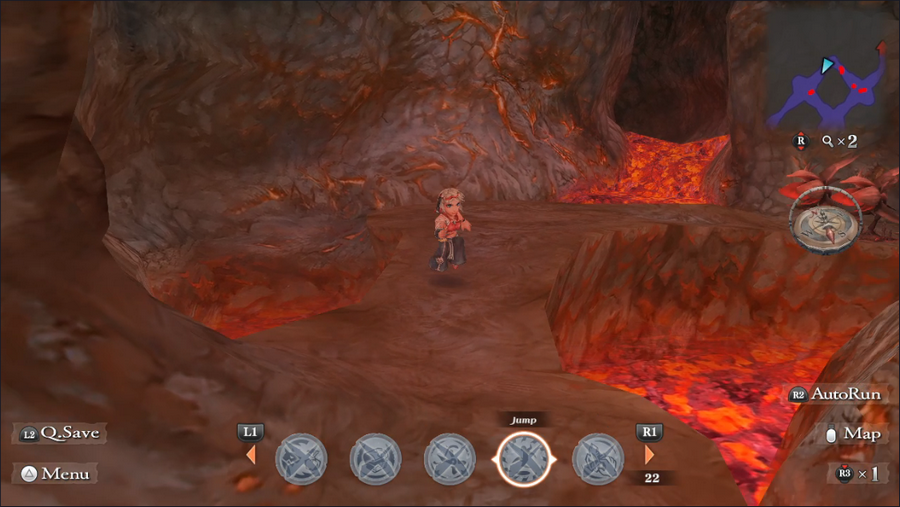 The open magma flows in this place do lend it some great atmosphere. We're lucky convection isn't a thing in most video games.  B3 is another linear affair, save for the small room to the west. 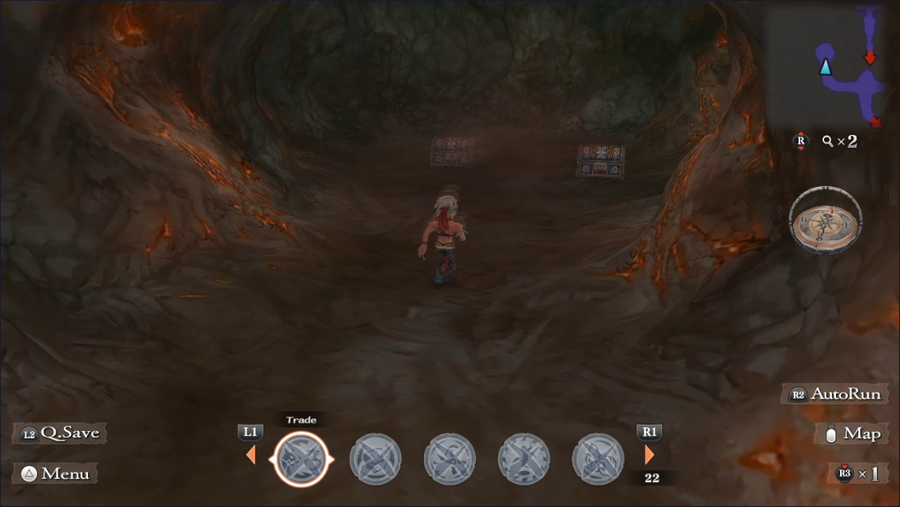 I won't say no to treasure chests! 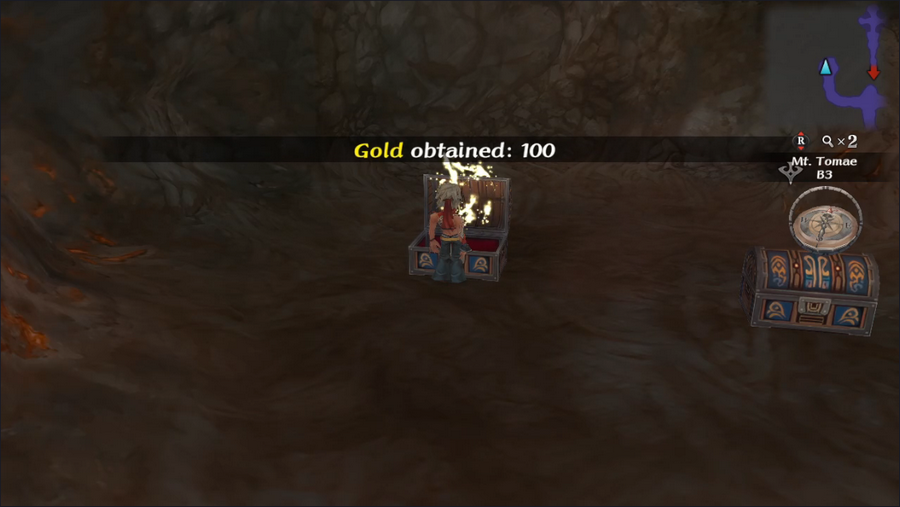 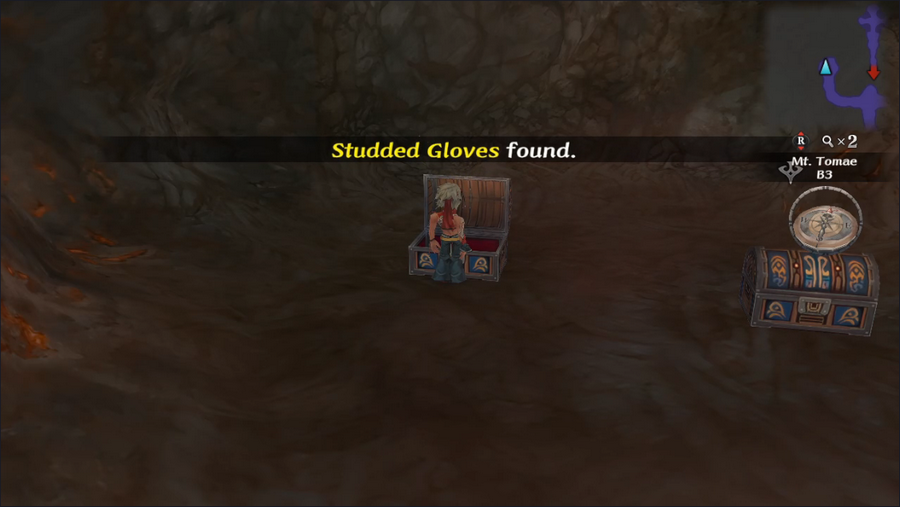 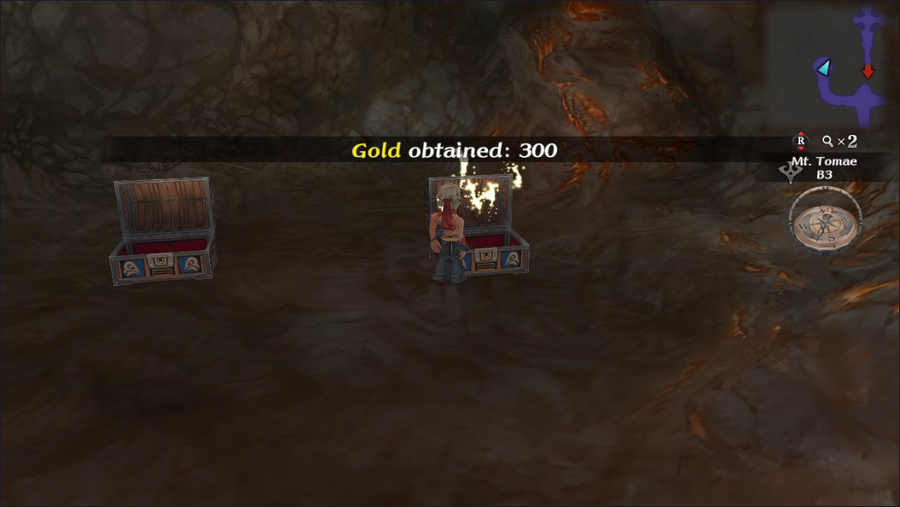 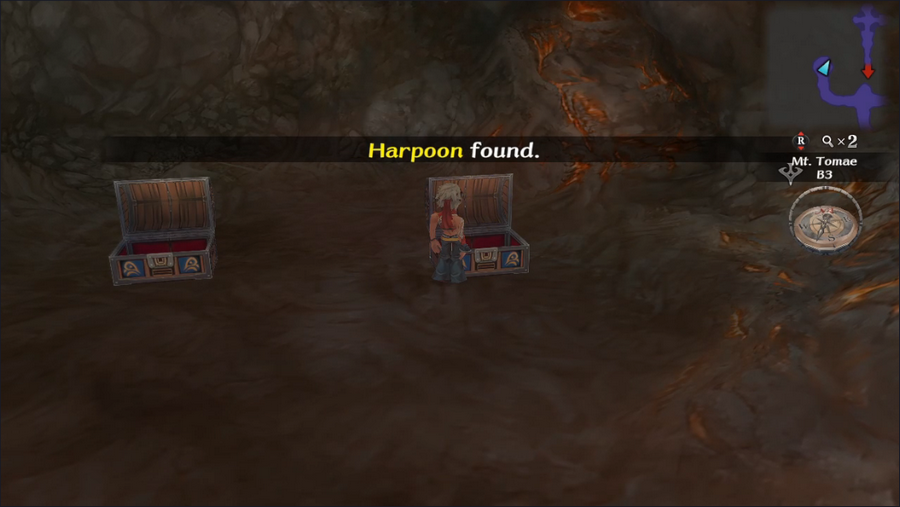 ...Even if they are pretty disappointing. We can make use of the gloves, but none of our party members use spears and the gold is piddly.  This floor is where we fist encounter our only new enemy of the dungeon, the Walking Corpse. They're undead, obviously, and have decent durability, especially against piercing attacks. 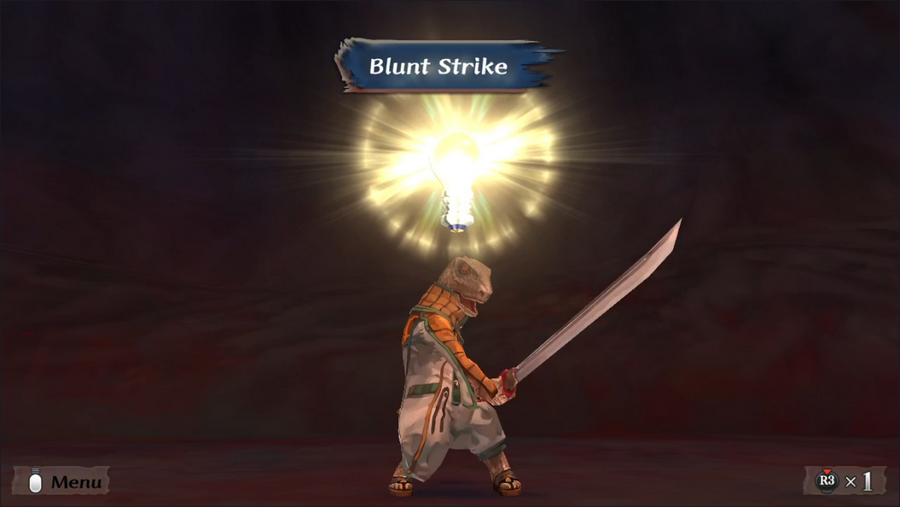 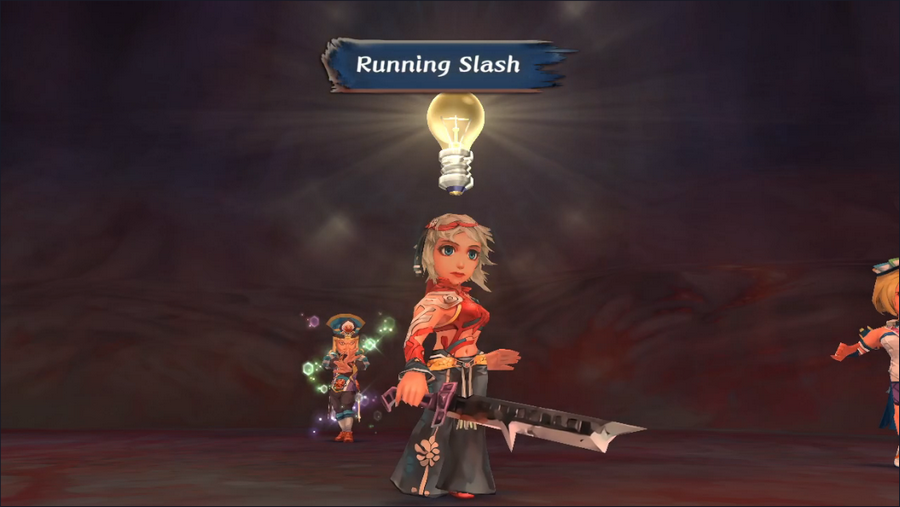 We do, at least, get a couple Glimmers off of them, though they're nothing especially exciting. 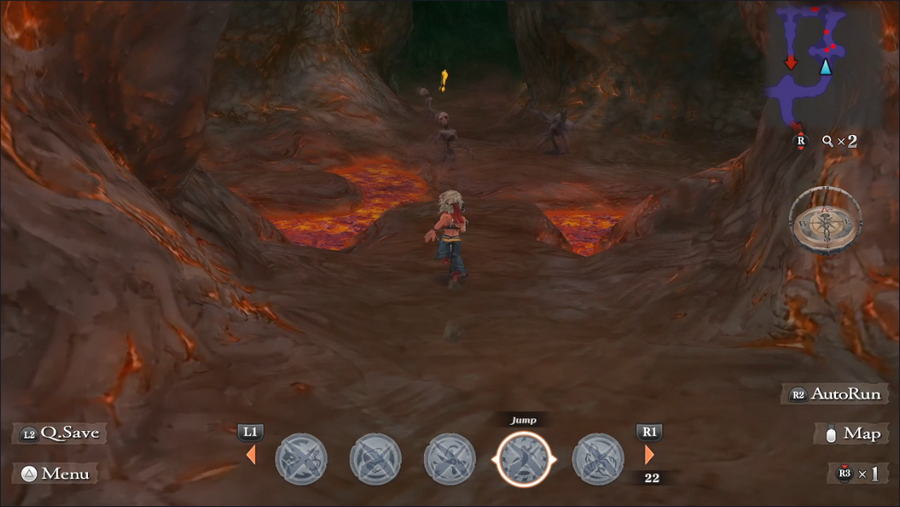 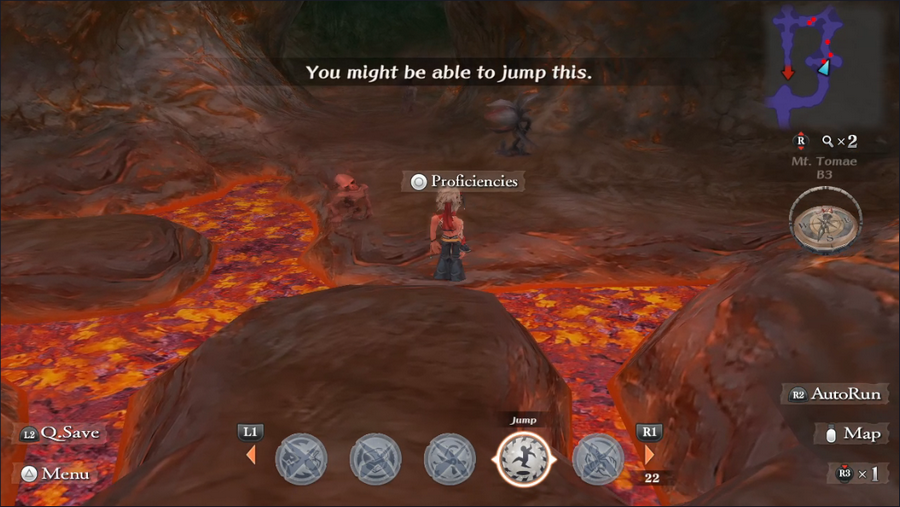 This floor also shows why we needed Jump to finish this dungeon. We have to jump over open magma pools, which seems rather dangerous. 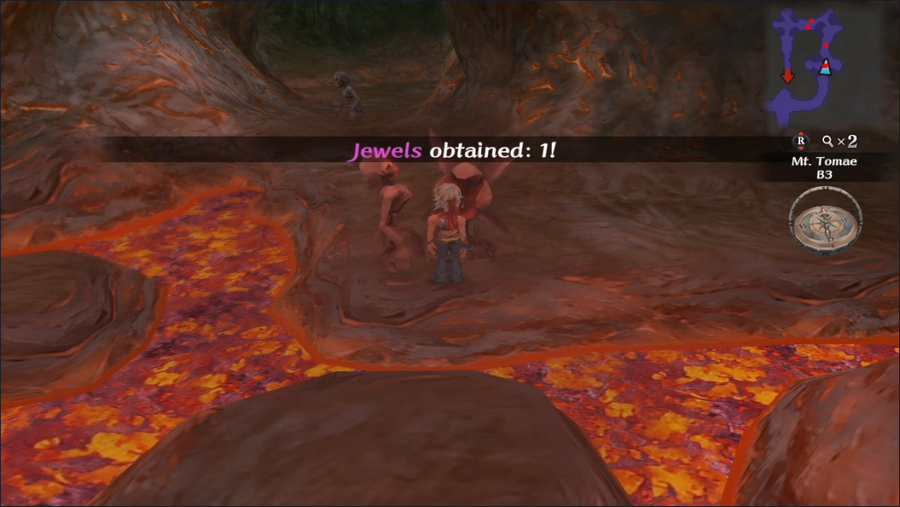 Unfortunately, once we land, we're stuck with the jewel message pops up, guaranteeing a chain battle that starts with a surprise attack. It's not usually deadly, but it's obnoxious when it happens. 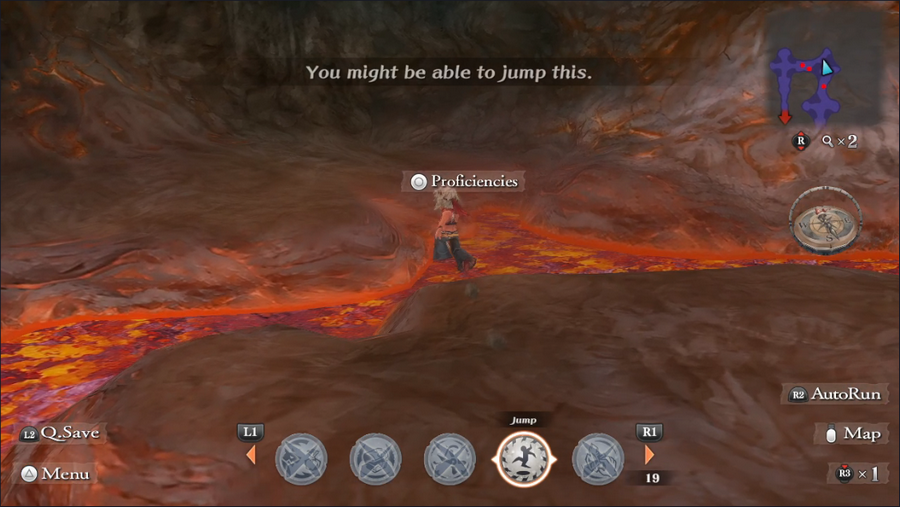 This particular jump setup appears twice in the dungeon, and is mostly noteworthy for the jump spot not being where you'd expect. Jumping from that outcropping on the left is impossible. 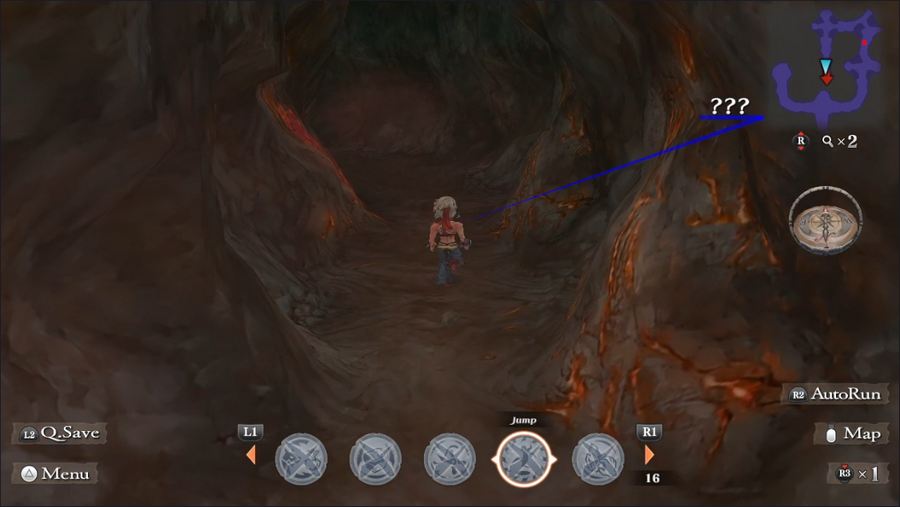 Down to B4 we go. I didn't get a map for this level, but it's 100% linear. 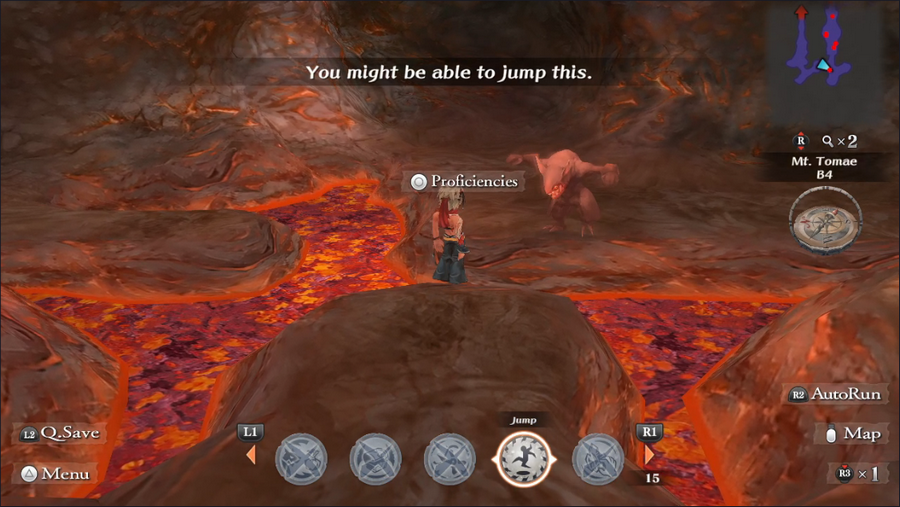 Jumping directly to the left ledge from where we are seems like it should be possible, but it's not. We have to burn two proficiency uses and fight an extra battle to get where we need to go. 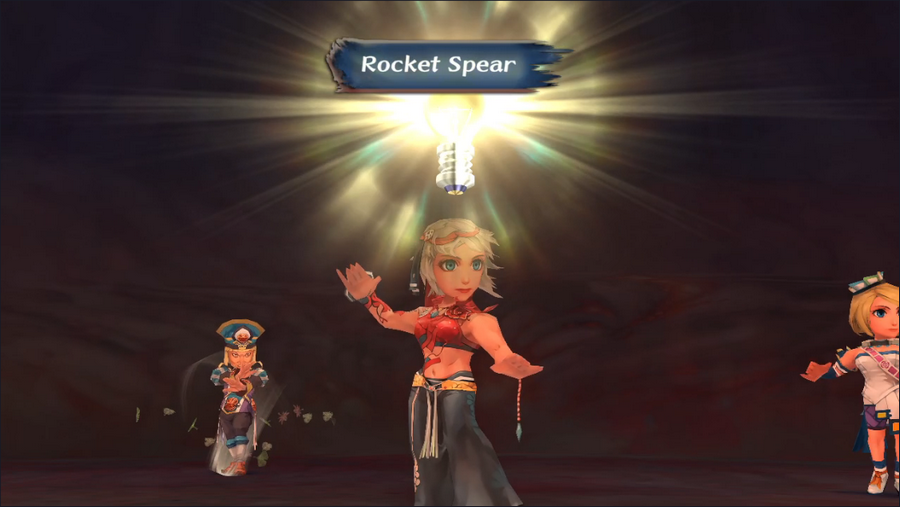 On the plus side, this battle does see Barbara Glimmer what might be the funniest technique in the game, Rocket Spear. 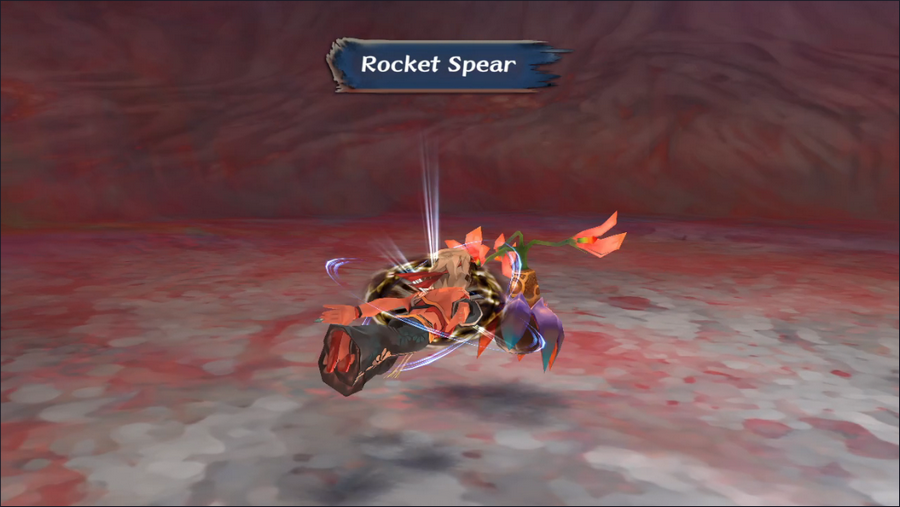 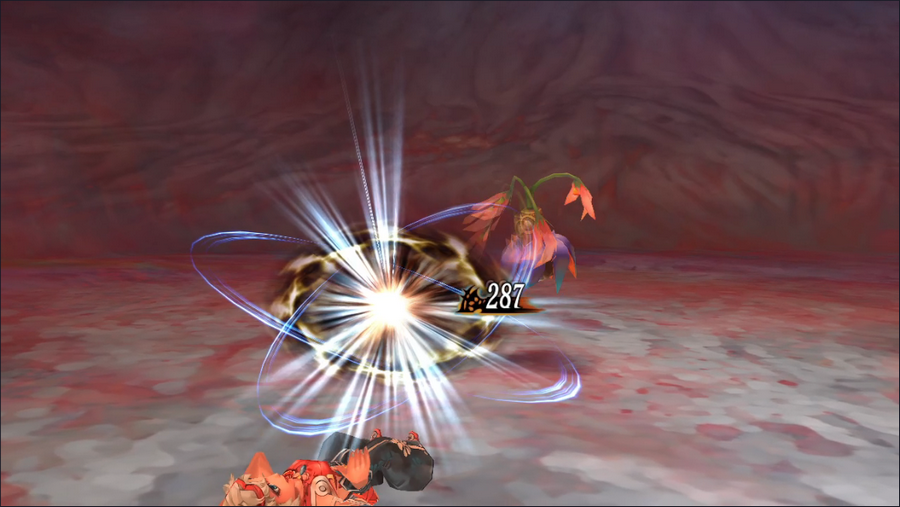 She closes the distance to her target in a split-second and delivers a glorified headbutt, then falls flat on her back. At least the damage is passable. 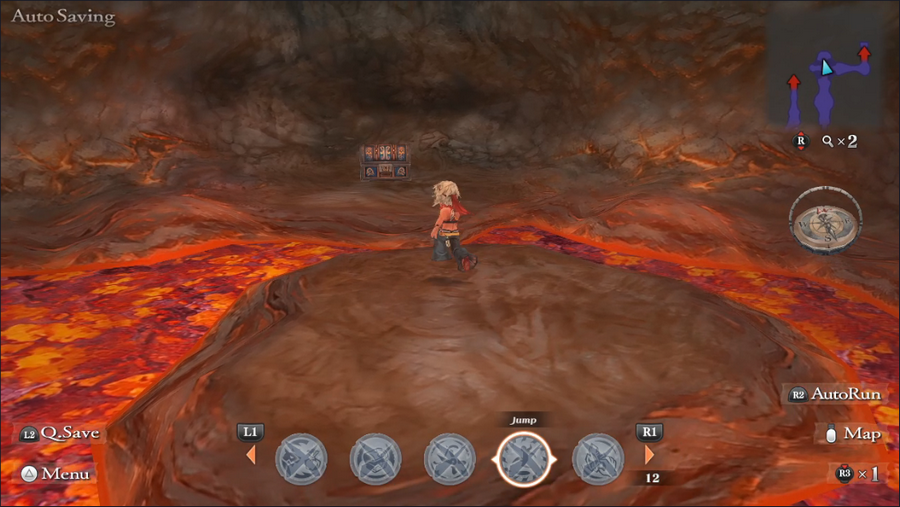 Anyway, further ahead we come to an isolated island. We need to go to the right, but we can't just ignore the treasure chest straight ahead. 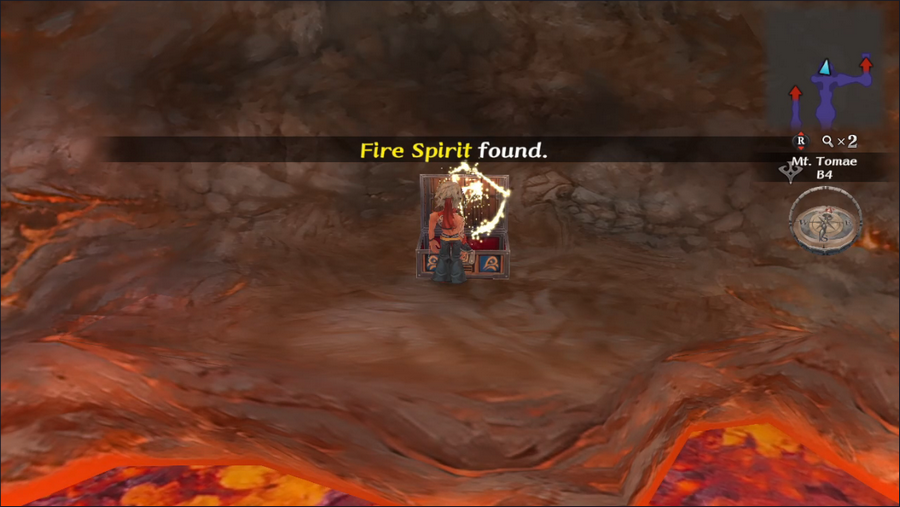 It's worth it, too: we now have two of the five spirits needed for Faeries' Grove.  We jump back and move on, heading down to B5. 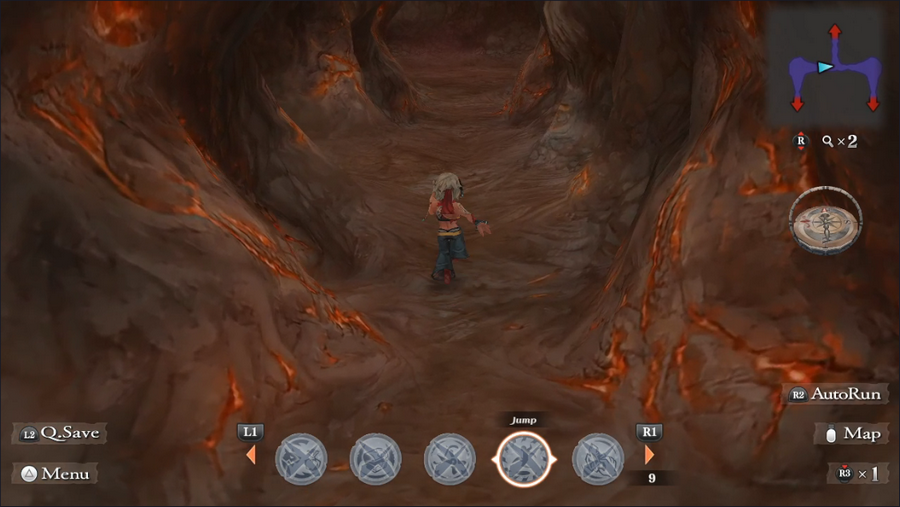 The layout here suggests that this is the end. 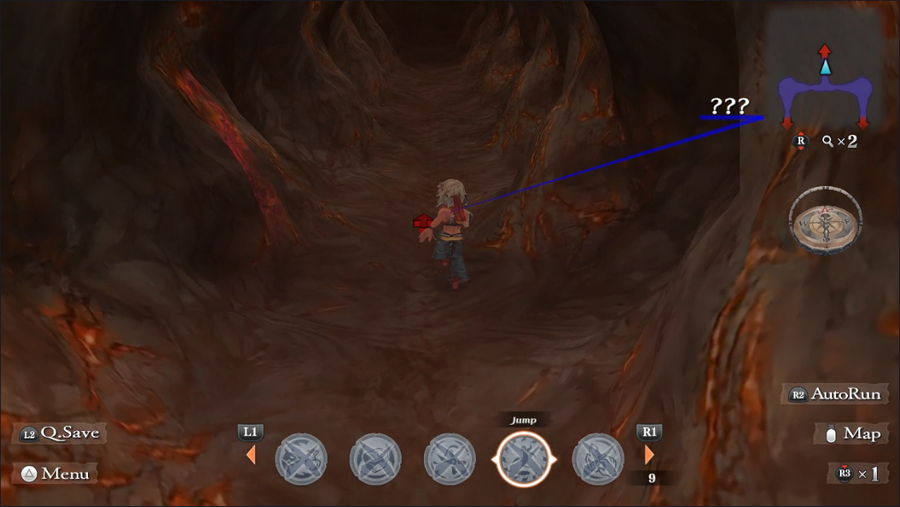 We head north to reach the end of the dungeon. 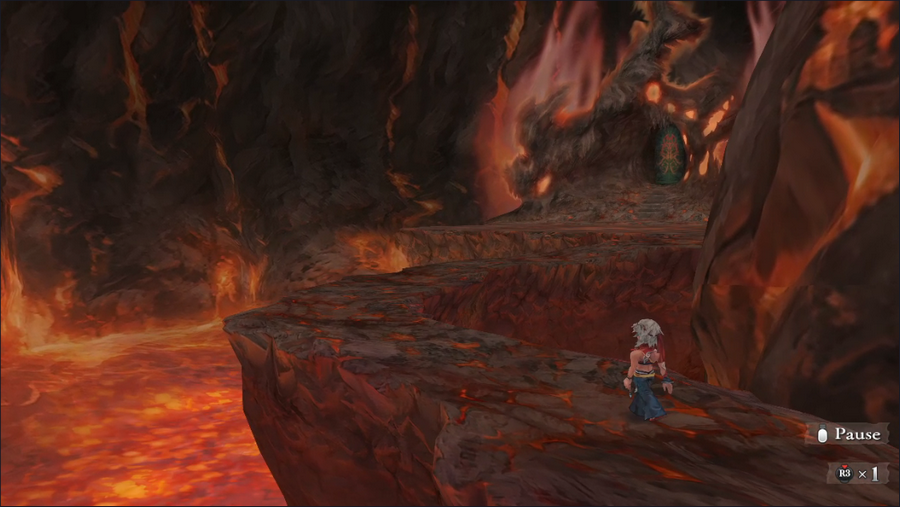 The view here is, like the peak of Mt. Scurve, really impressive. And is that a door in the background? 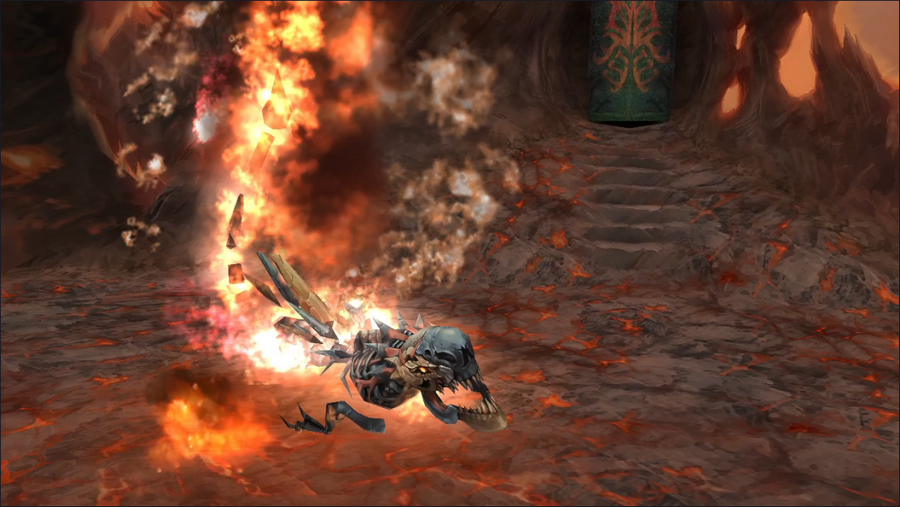 We don't have a chance to check it out, as the master of the place makes his fiery entrance.  You might have expected a dragon. I'm betting you did not expect a fire-wreathed bone serpent with t-rex arms.  We get a dramatic shot of our entire party approaching, apparently unimpressed by this creature.   Pyrix is, like Avi, surprisingly chill. 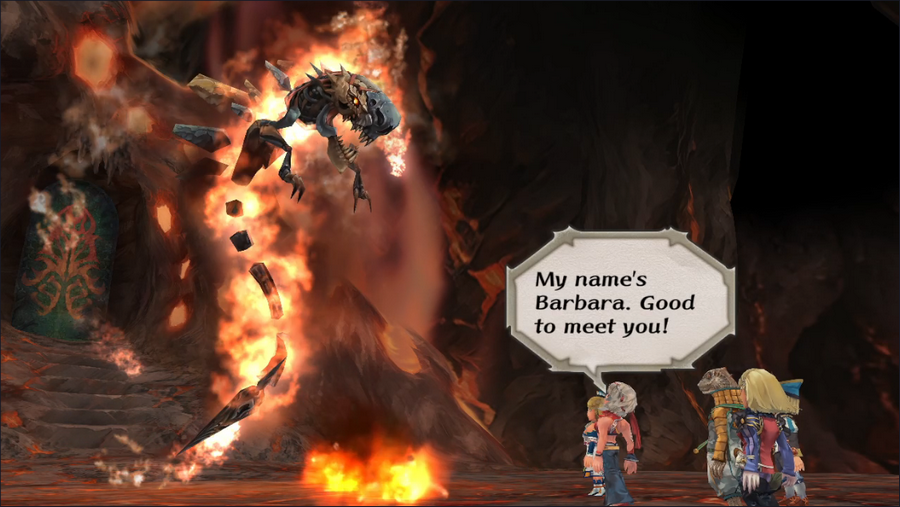 The fact that Barbara introduces herself like this to everyone, even giant fire serpents, is kinda funny, right? 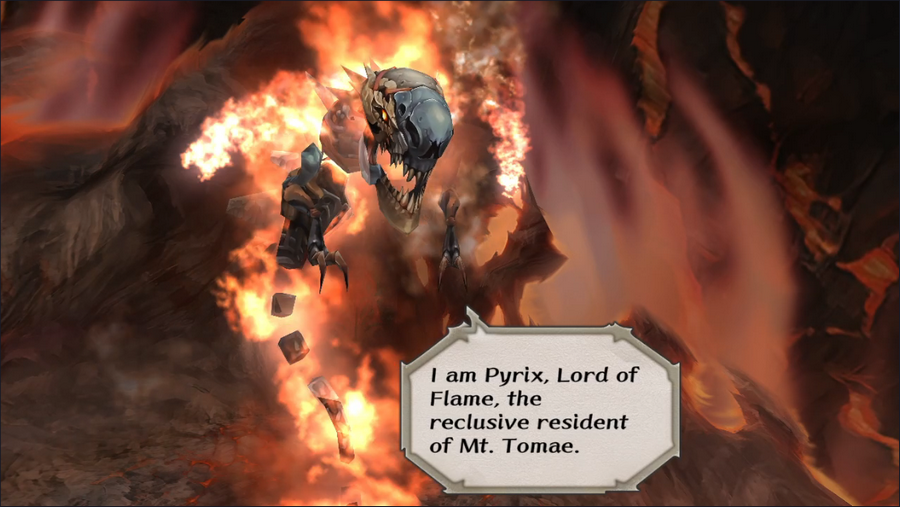 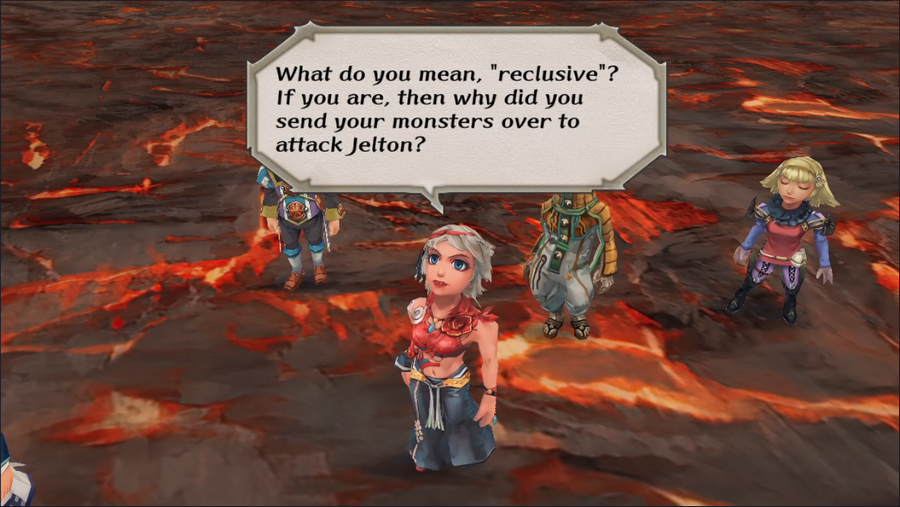 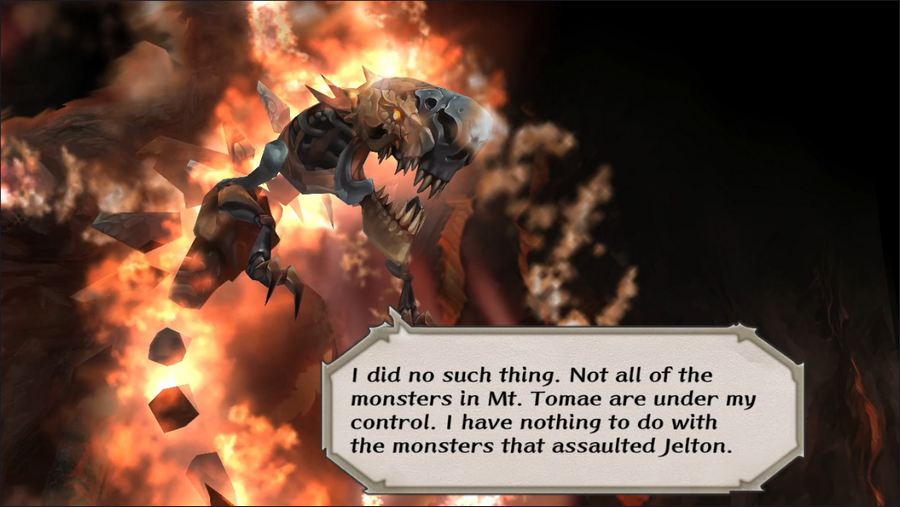  Pyrix hews pretty close to lawful neutral on the alignment spectrum.     Now this is some interesting info. To expand a bit: during his war with Elore, Saruin created four monsters to rule the four elements on his behalf. But they were intelligent and didn't like being servants, so they sided with Elore to win their freedom. Avi we've already met, of course. You may also remember a man in Tarmitta dropping Strom as the name of Kjaraht's guardian diety. Only Adyllis' name is new, and we have no idea where they are.    Well, that's one issue solved. But we have a second reason for coming here.   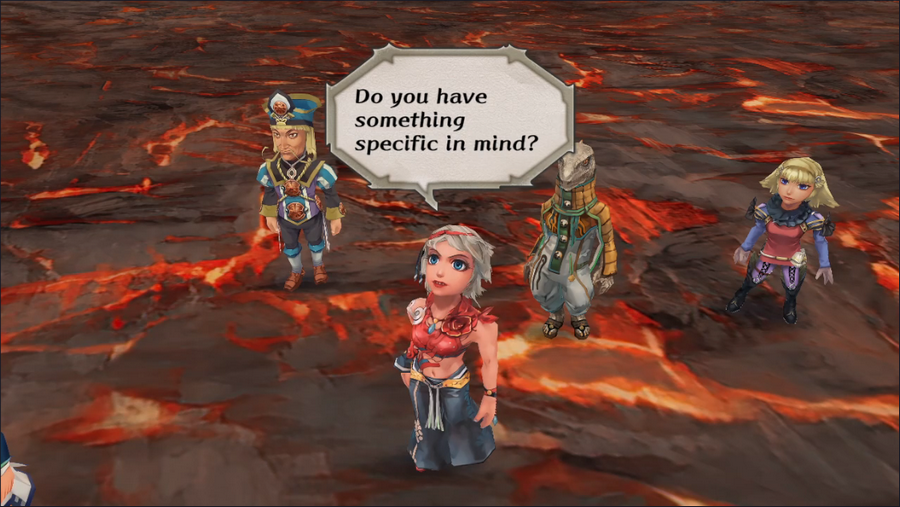  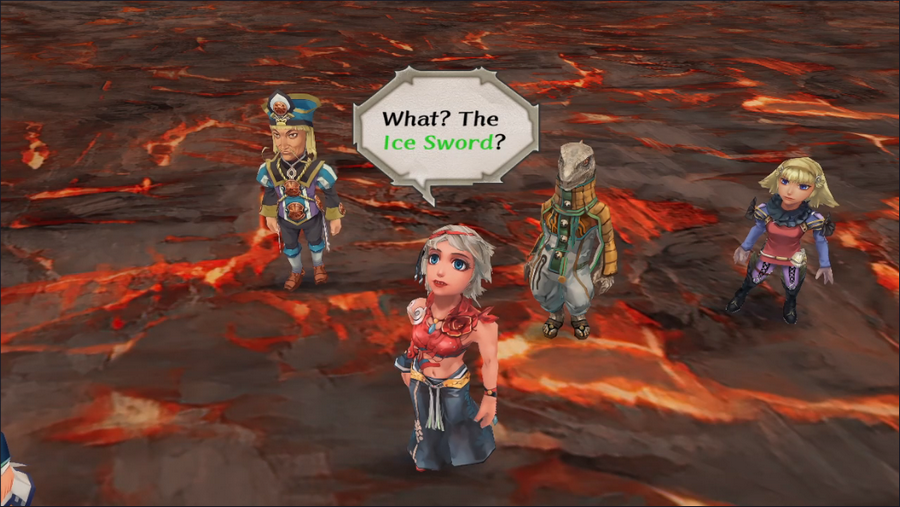 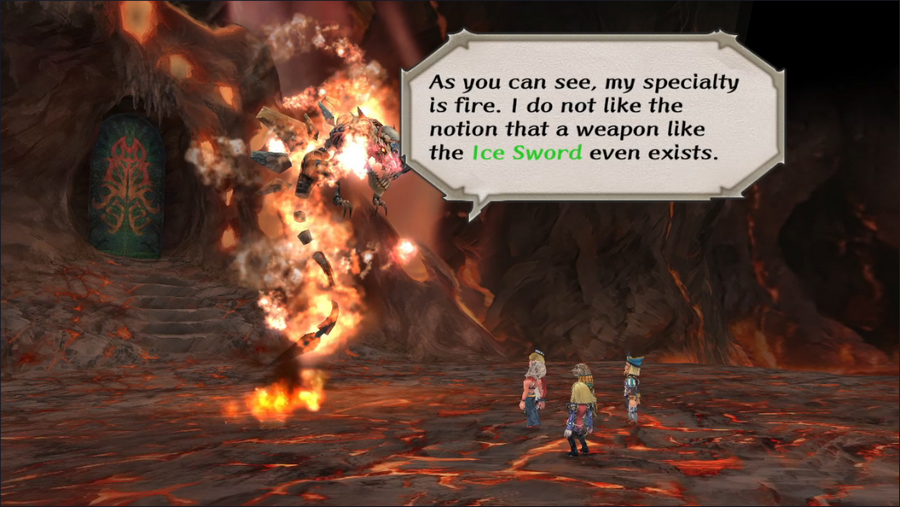 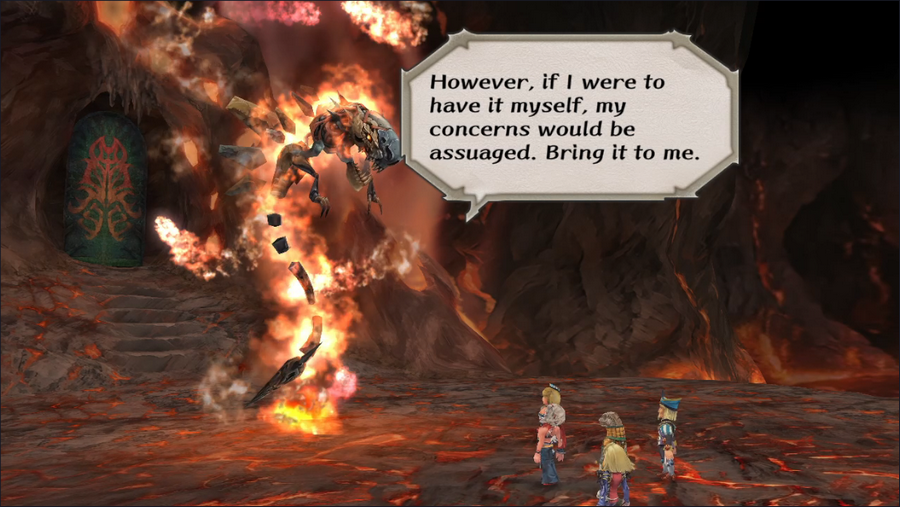 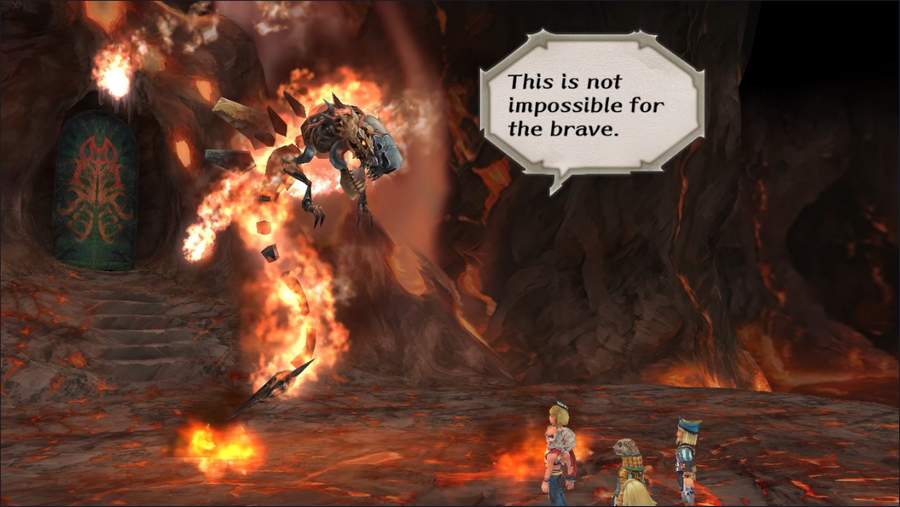 This seems reasonable. So we need to get one legendary item to trade for another. 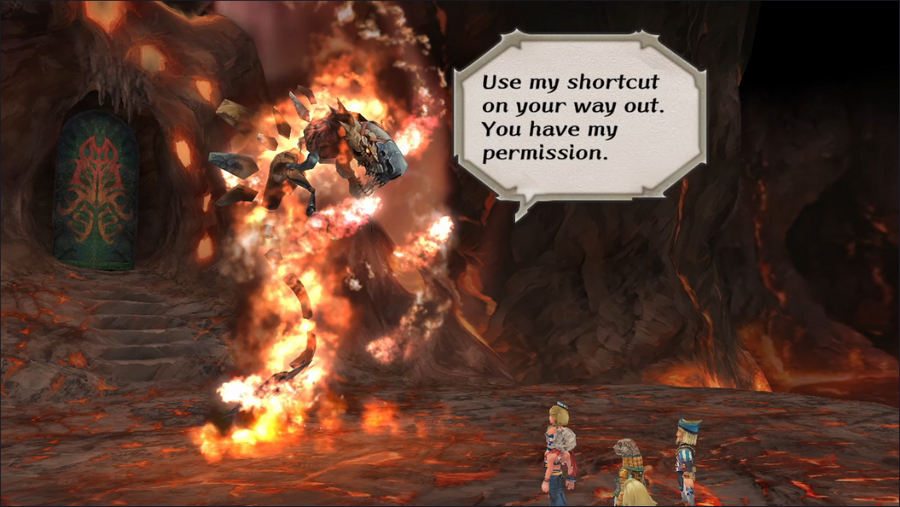 Pyrix also gives us permission to bypass his guards, so our exit and any future visits will be much easier. I wish Avi did the same thing. With that, we're sent back outside Pyrix's lair. But... Let's say, hypothetically, that we don't want to get the Ice Sword.  Yes, fighting Pyrix is an option too. 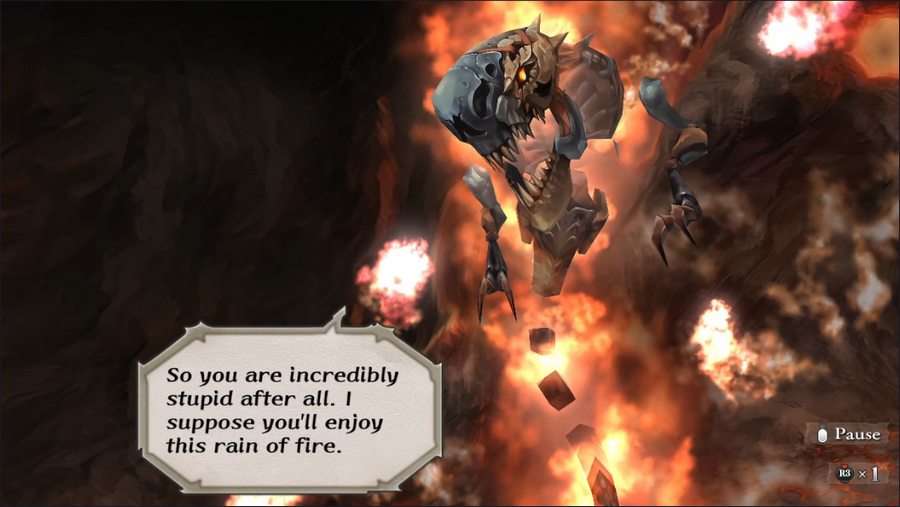 He's not pleased about it. Now, I have to be honest: I have an ulterior motive for showing off that this is possible, and it's for this Music Highlight: A Challenge to God/Divine Provocation The battle theme for the four elemental lords is a genuine contender for best song in the entire game. Just go listen to it. There's no video for this fight, because it's a totally one-sided loss. Pyrix isn't invincible, but he is incredibly powerful. He has three main weapons to use against us. 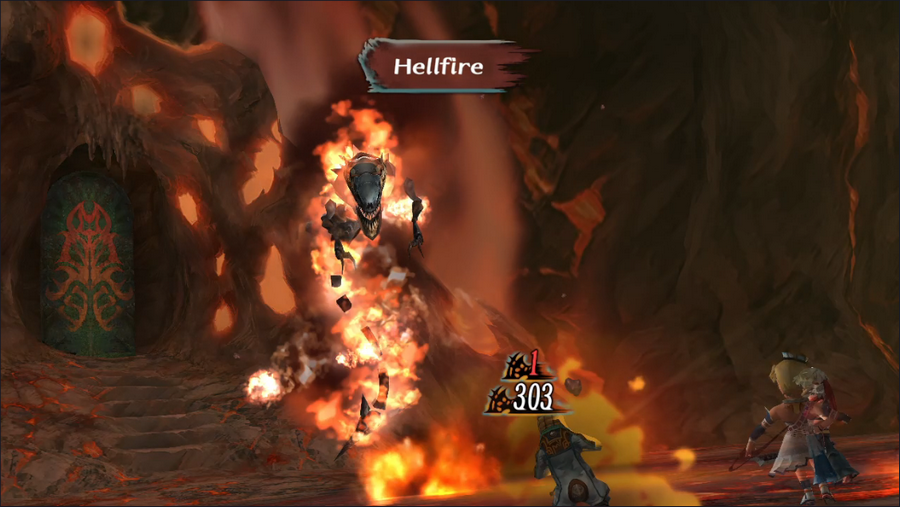 First, he can cast the Pyrology spell Hellfire. It's strong enough to one-shot any of our characters.    Second, he has a special attack, Fracturing Blast. It does terrible amounts of damage and also will one-shot anyone it hits.  Finally, and most obnoxiously, he has a Self-Immolation effect. Self-Immolation is a Pyrology spell that protects the caster from fire and cold attacks. It goes away if the caster suffers a melee attack, but only after reflecting the attack's damage back on the attacker. Pyrix doesn't cast Self-Immolation, though. He generates the effect automatically at the start of each round. Characters without ranged attacks or spells can attack, but one of them is going to take some damage every round.  All in all, we have no chance here. 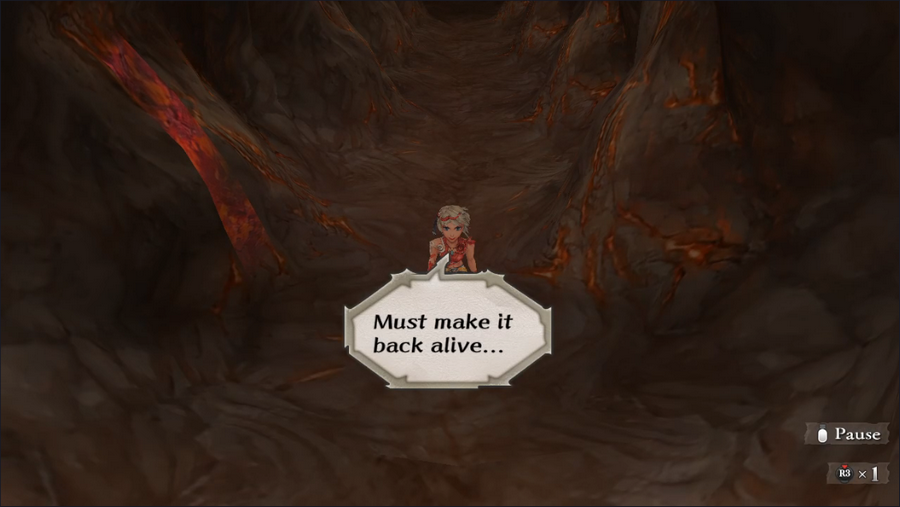 That said, losing to Pyrix isn't a game over - we survive, though only barely. However, since we don't want to infuriate him (at least not yet), we'll just reload. 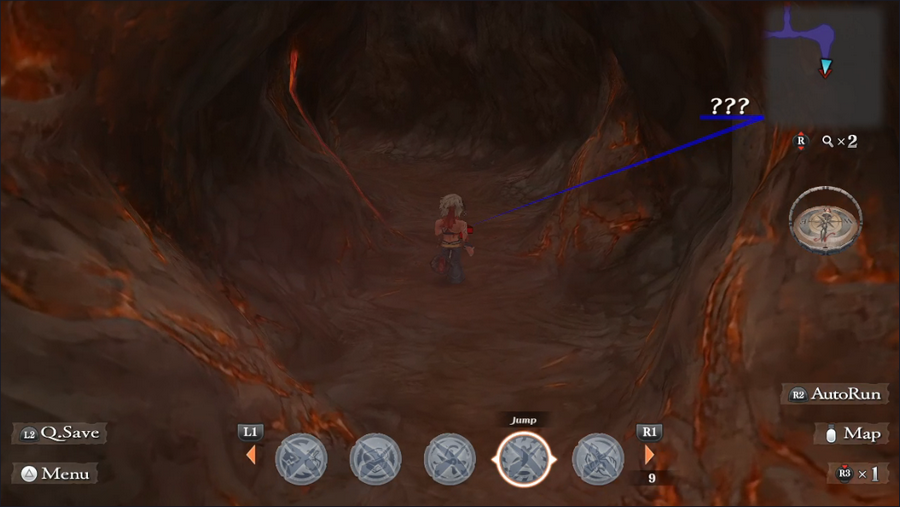 Instead of going back in for a fight, let's head out the opposite way we came in. 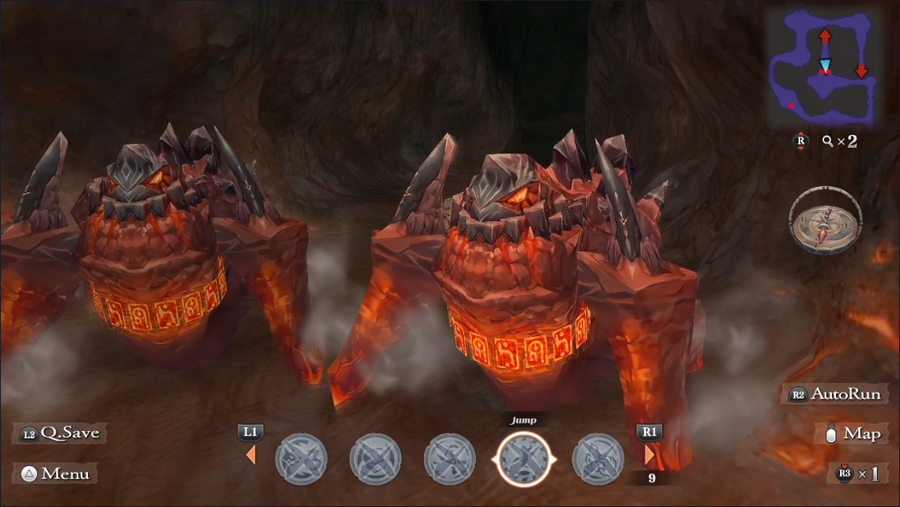 As expected, we come out behind the rockbeasts. 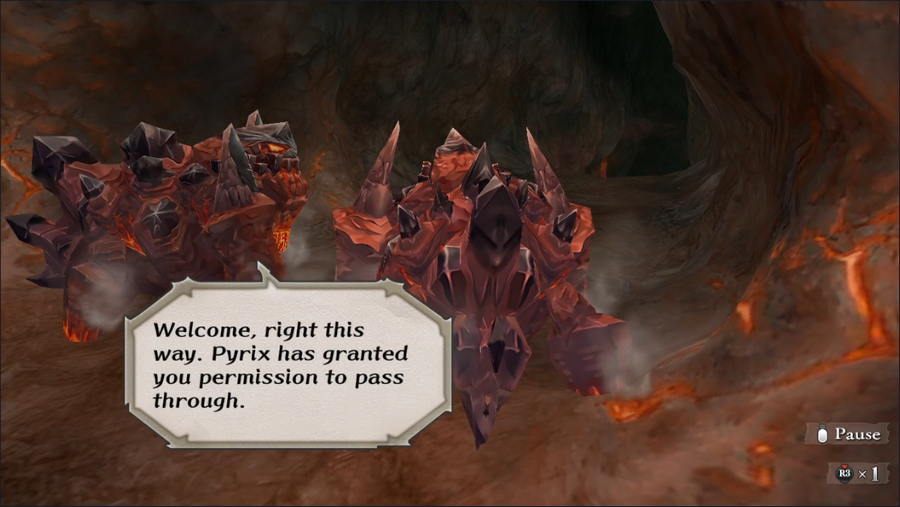 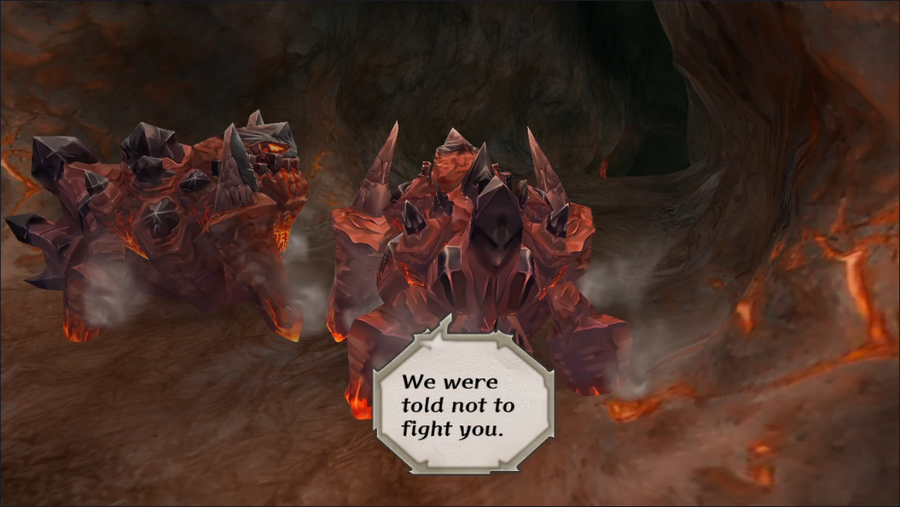 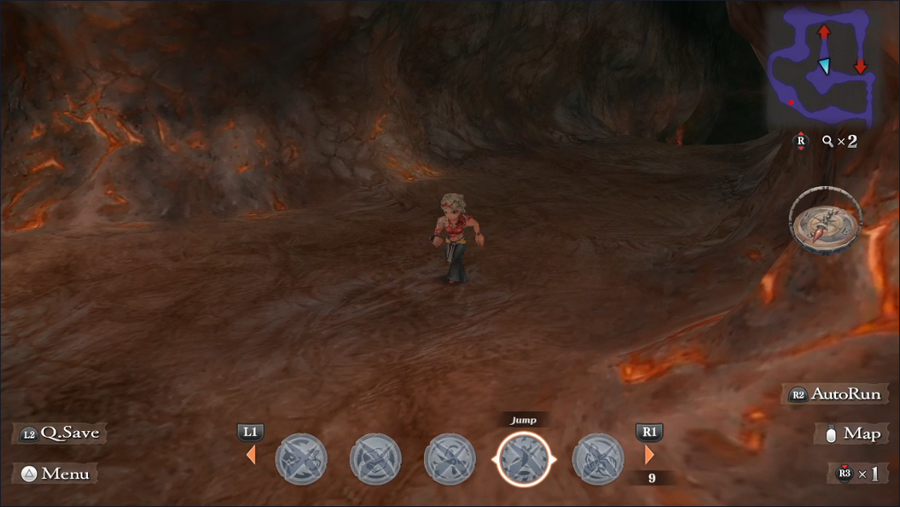 They disappear, and we can freely use Pyrix's shortcut for the rest of the game. 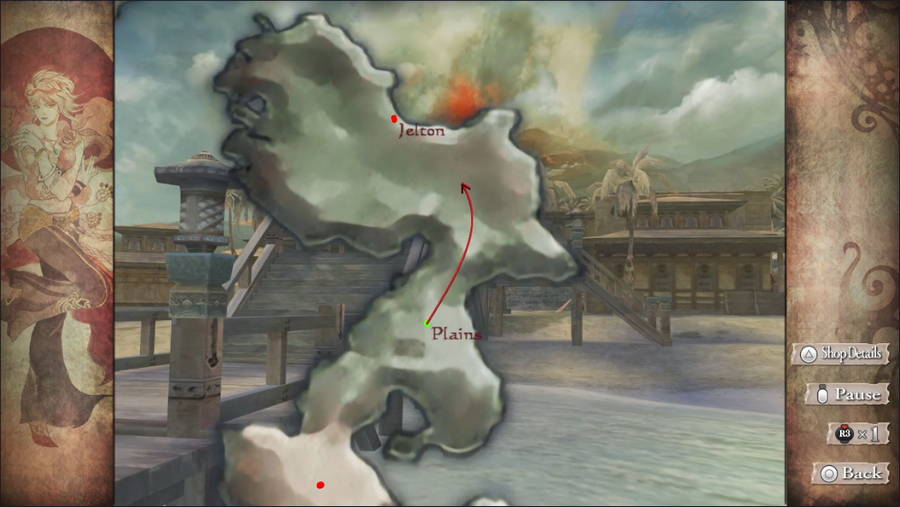  Returning to Jelton, we find the Pyrix was good to his word. The monsters are gone, and the townsfolk are back out and about. 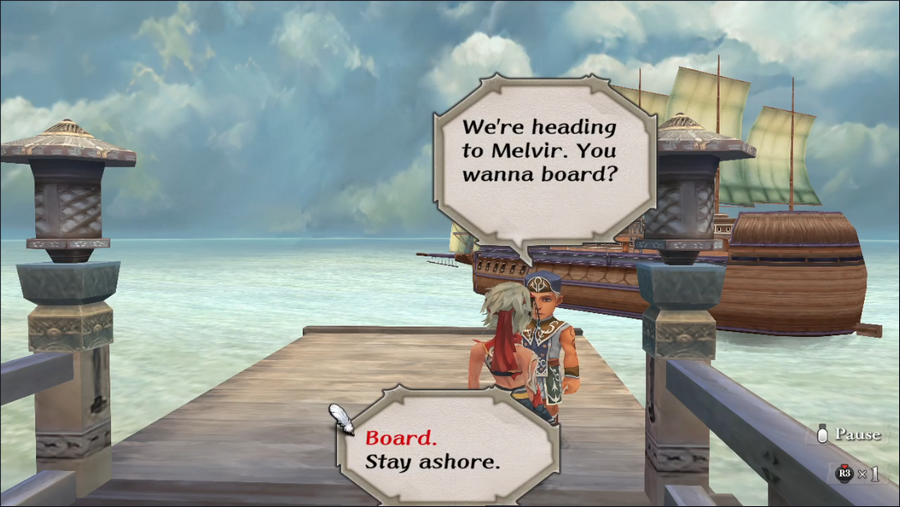 Let's head back to the mainland.  So, Pyrix wants the Ice Sword. Well, there's some good news: we know where it is. We saw it in the Altours weapon shop earlier in the game. 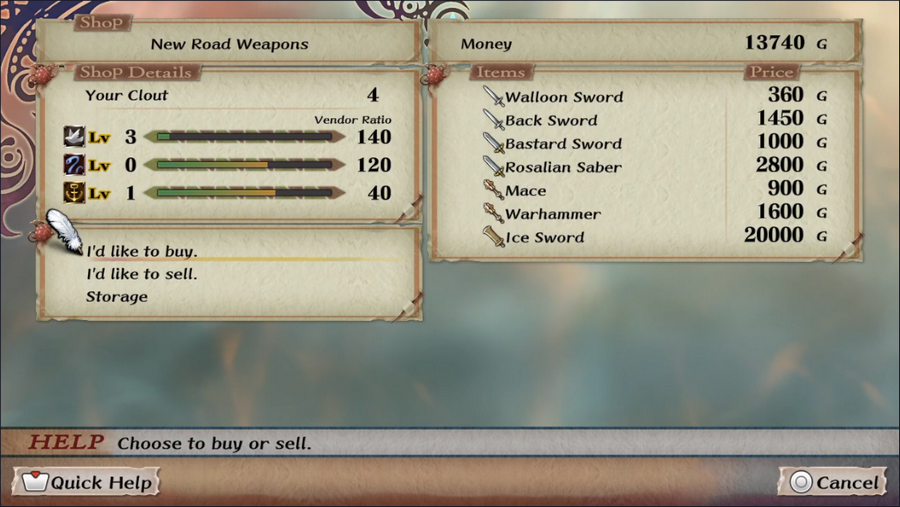 Of course, there's also bad news: it costs 20,000 gold. I've actually been trying to save money for this moment, though, so while we're not there yet, we probably will be before too much longer.  And so we come to the end of this update. We've hit a new Event Rank, but no new quests have opened up (apart from helping or killing Pyrix, neither of which we can yet do). But there's still plenty to do, so cast your votes! Current Event Rank: 8 Things to Do Retrieve the Aquamarine from Crystal Lake - We still may not be strong enough for this Kill the bugs in the Altours orchard Find Captain Silver's treasure Go to Mazewood to acquire the Medallion of Eres Get the Ice Sword for Pyrix - We can't afford it Kill Pyrix - We aren't strong enough Places to Explore Estamir sewers The remainder of the Geckling cave Melvir sewers Bayre Plateau Isthmus Keep, or what's left of it The Walon Isle jungle The Ligau caves Mt. Scurve Crystal Lake - We still may not be strong enough for this Yassi Cavern Abandoned Keep Saoki Cavern Treasure Maps Jungle, Level 1 Steppes of Galessa, Level 1 Kaklim Desert, Level 1 5-Headed Snake God fucked around with this message at 16:21 on Jan 7, 2024 |
|
#
?
Jan 7, 2024 16:17
|
|
|
I love Pyrix  He looks so spooky and intimidating and he�s so unfailingly polite and friendly. He doesn�t even finish you off if you attack him unprovoked, what a softie. We need money so clearly we should Find Captain Silver's treasure (and the jungle treasure map while we�re there) Which probably involves Exploring the jungle so we may as well explore the remainder of the geckling cave while we�re there.
|
|
#
?
Jan 7, 2024 17:50
|
|
|
Isthmus Keep, or what's left of it Abandoned Keep The remainder of the Geckling cave
|
|
#
?
Jan 8, 2024 02:28
|
|
|

|
| # ? Apr 27, 2024 08:24 |
|
|
There...is an optional way of getting the Ice Sword, but I'm already saying too much as it is. I'll just leave off with some ominous laughter. Ah ha...ahahaha....
|
|
#
?
Jan 8, 2024 04:18
|
|